 Our second winter/holiday project comes with a story, just like our first. If you were to ask how I schedule all the work, I am sure I would hesitate before I answered. There are many factors, some involving the availability of materials and other logistical issues. But personal issues for clients play a big part in the scheduling. A client whose daughter was getting married as I began writing this came first. No doubt someone else will be first next season. Our second project involves a landscape client who is hosting 19 members of his greater family for Thanksgiving at his home. They live a long ways away; the earliest arrivals are tomorrow. Shortly after Thanksgiving, they are leaving on an extended trip. They wanted their holiday/winter pots to be in place well in advance of the Thanksgiving holiday with family, as they would be celebrating both holidays at once.
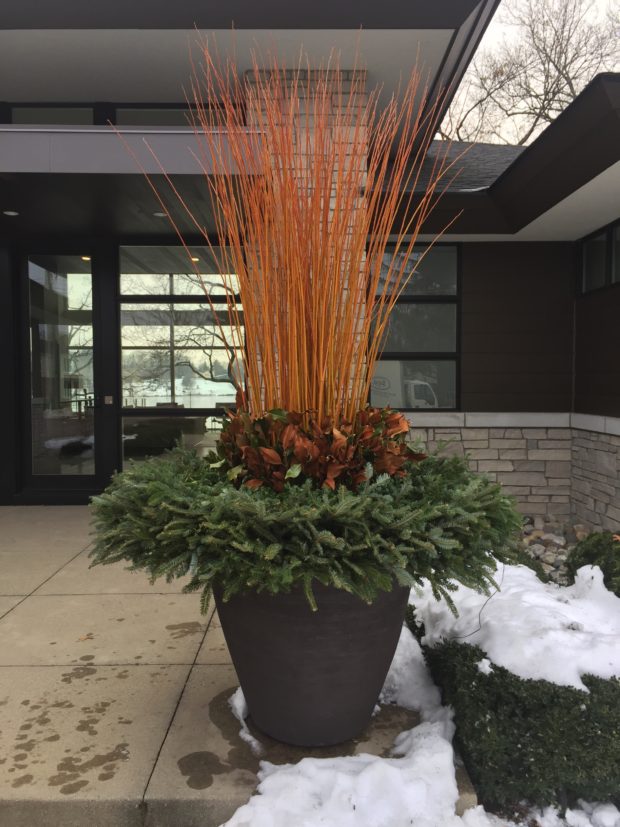
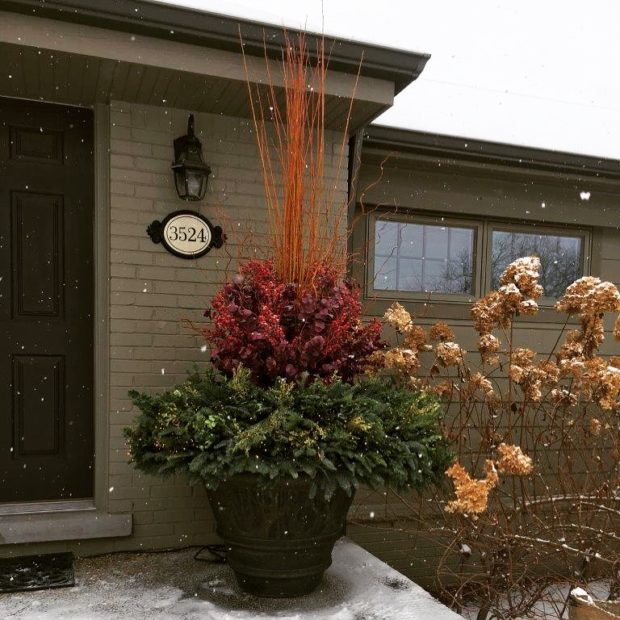
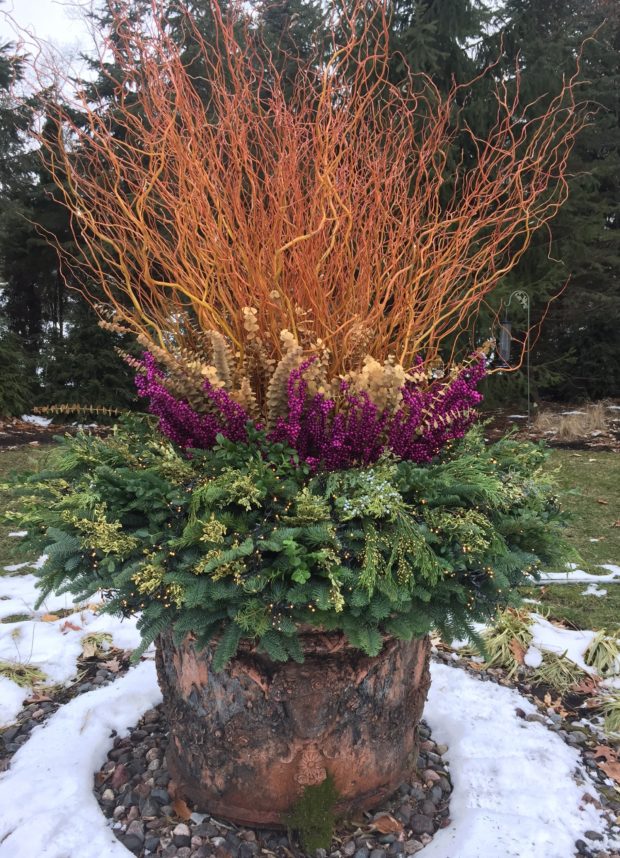
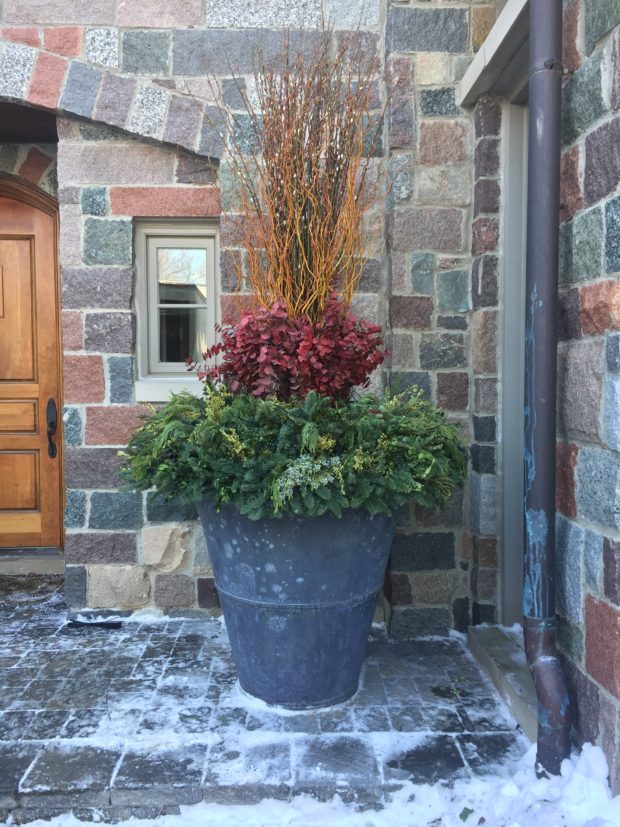
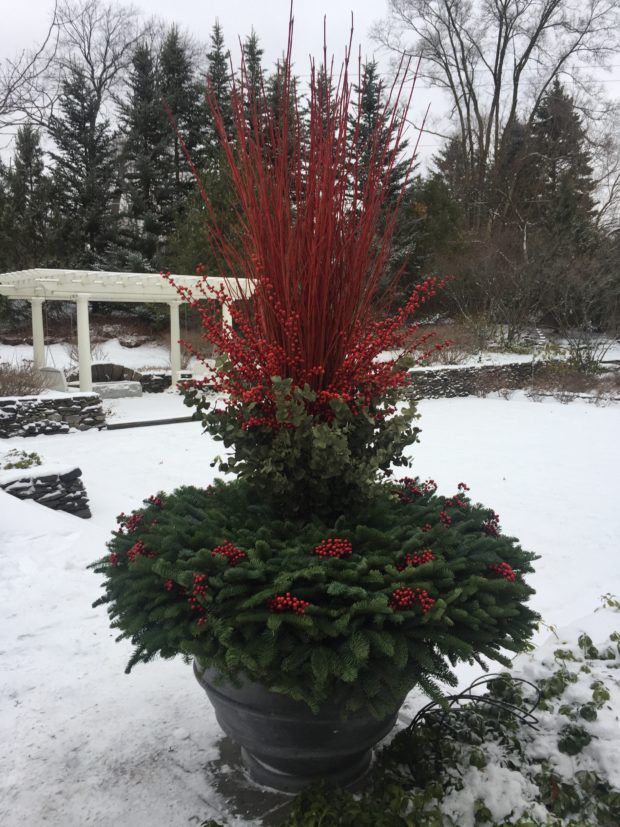
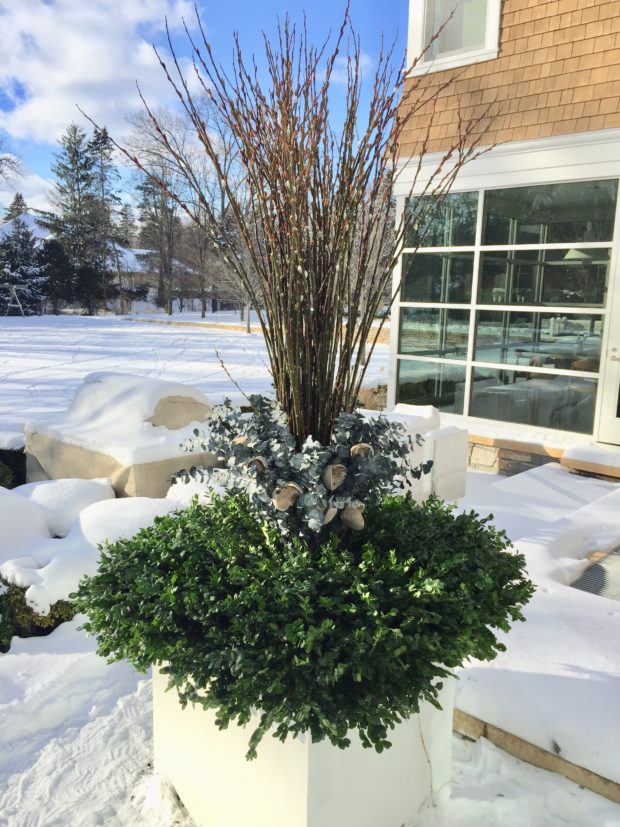
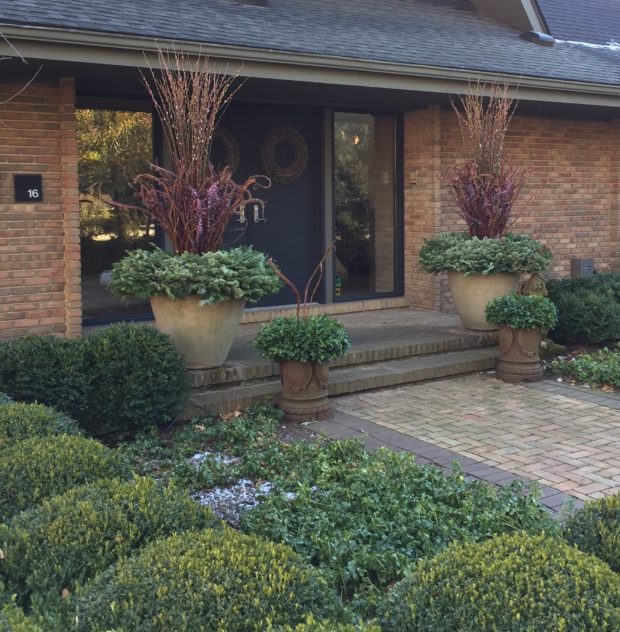
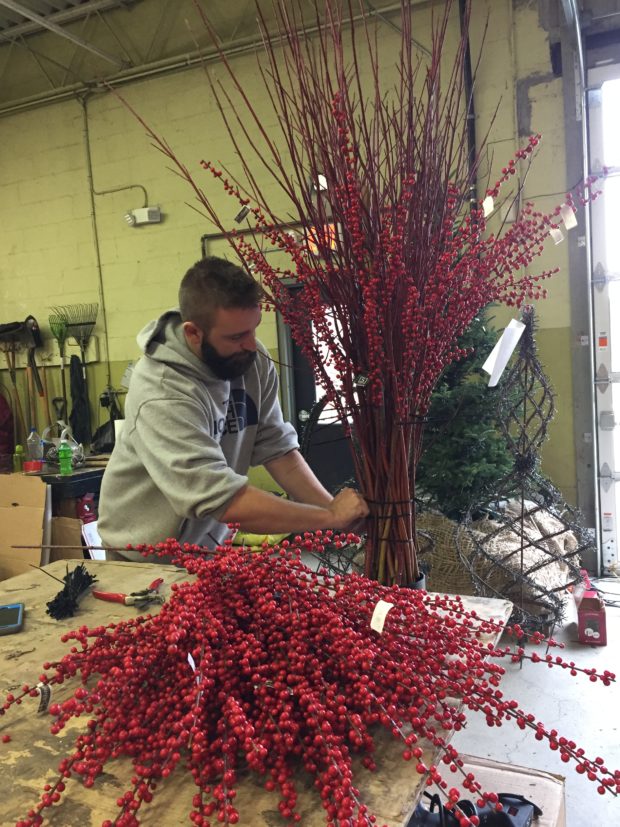
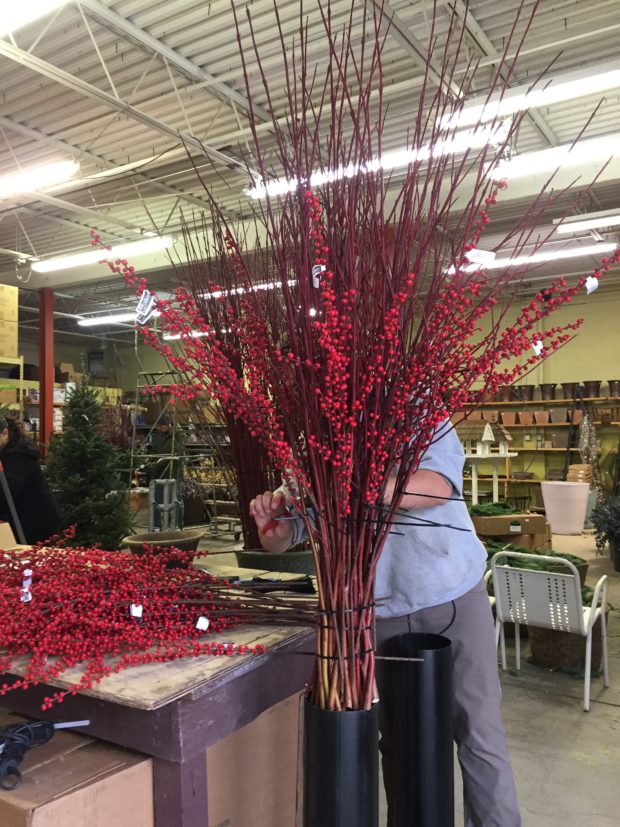 We began the fabrication of all of their pots and holiday decorations this past Wednesday. They had a specific request for red, in any form we might manage. I understand that. The winter landscape in Michigan is varying shades of brown set against interminably gray skies. Our winter daylight is watery and wan. Some of my favorite shrubs and trees feature a red berry set for the winter. A well grown stand of Michigan holly (ilex verticillata) in full berry mode electrifies our winter landscape. Funny this – I have a love for red in the landscape at the visually hungriest times of year. Red tulips in the spring are such a welcome and cheery burst of color. A plan for red in our winter landscape is equally as celebratory. Our second year red twig dogwood bunches are especially beautiful this year. We rarely have the opportunity to purchase old growth red twig of this caliber. The thick stems are heavily branched, and arch outwards as if they were still growing. Long faux berry stems zip tied to the natural twigs make a big statement about winter red. Our winter and holiday container arrangements are as much about sculpture as they are about nature. We know whatever we fabricate has to endure a entire winter’s worth of windy and snowy weather, unfazed. A construction site in our garage means we are able to recreate natural and graceful shapes that are able to endure the worst of our winter weather.
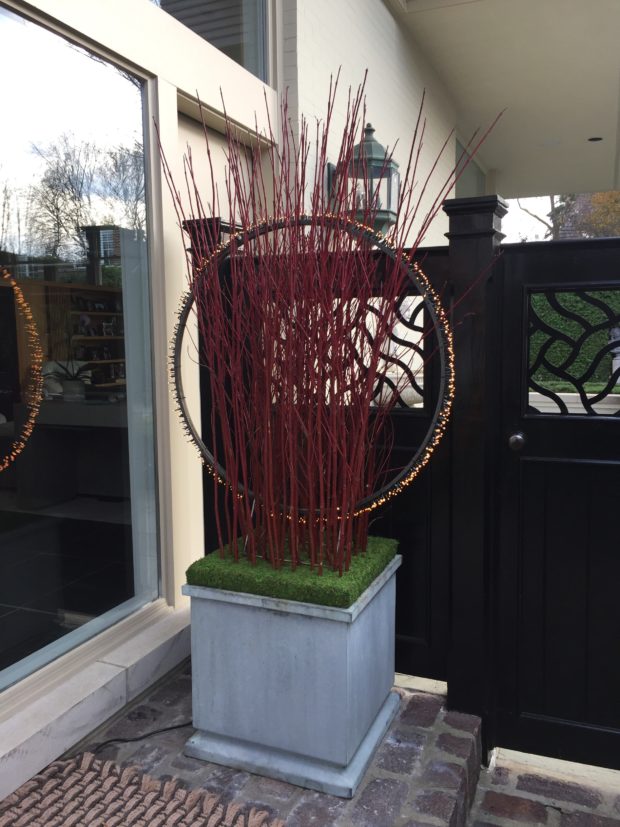
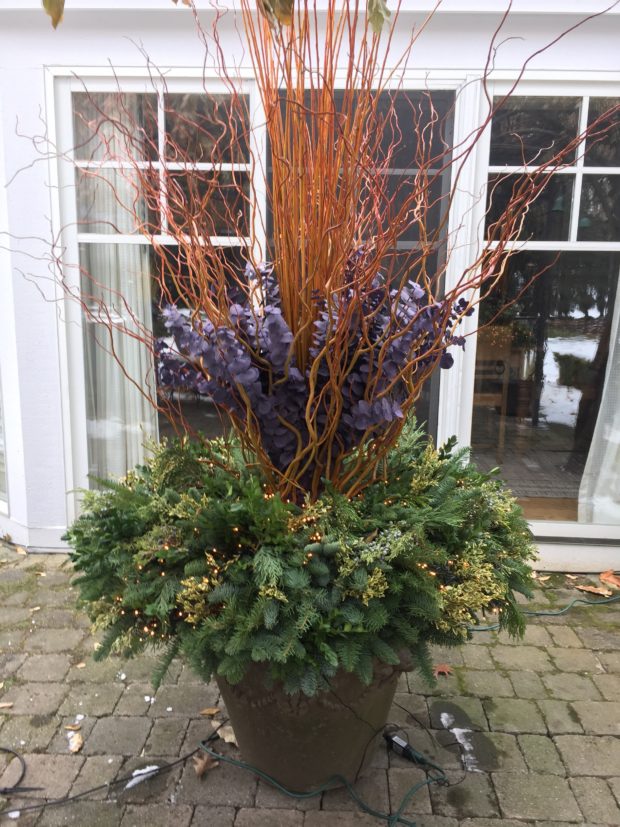
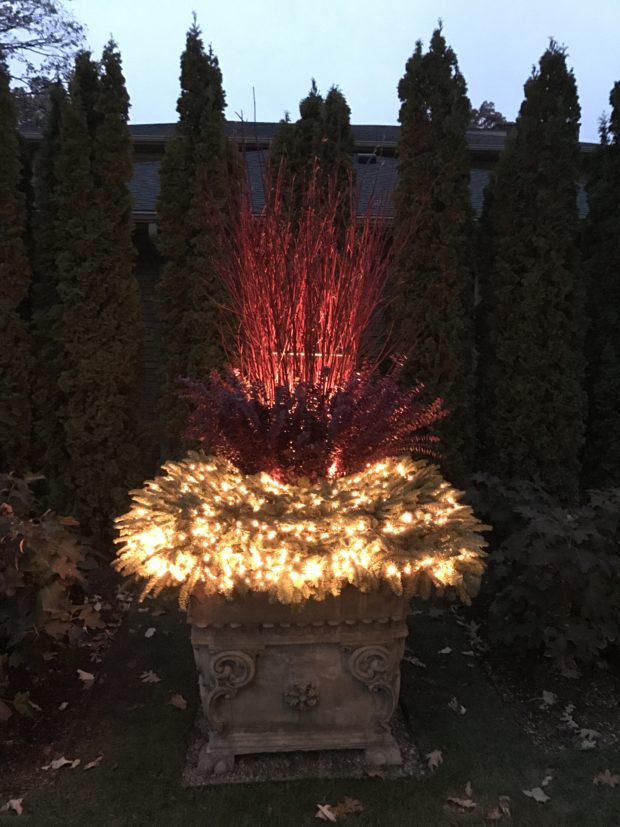
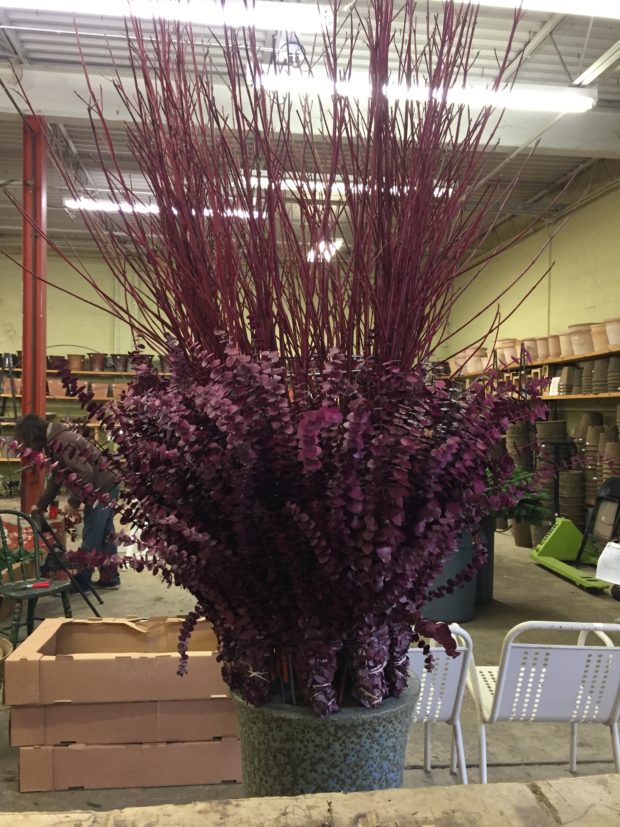 Our clients have one container that is 42″ by 42″ square, by 40″ tall. This is an incredibly large container that is home to a tree sized banana plant over the course of the summer. Of course the size of a container asks for an arrangement of a proper and proportional size. The centerpiece for this pot needed a good deal of mass and volume. A galvanized tomato cage was perfect for zip tying individual cut stems of second year red twig dogwood all around the outside to create the illusion of great mass. It took 8 bunches of fuchsia eucalyptus to match the scale established by the height and diameter of the dogwood centerpiece, and the size of the container.
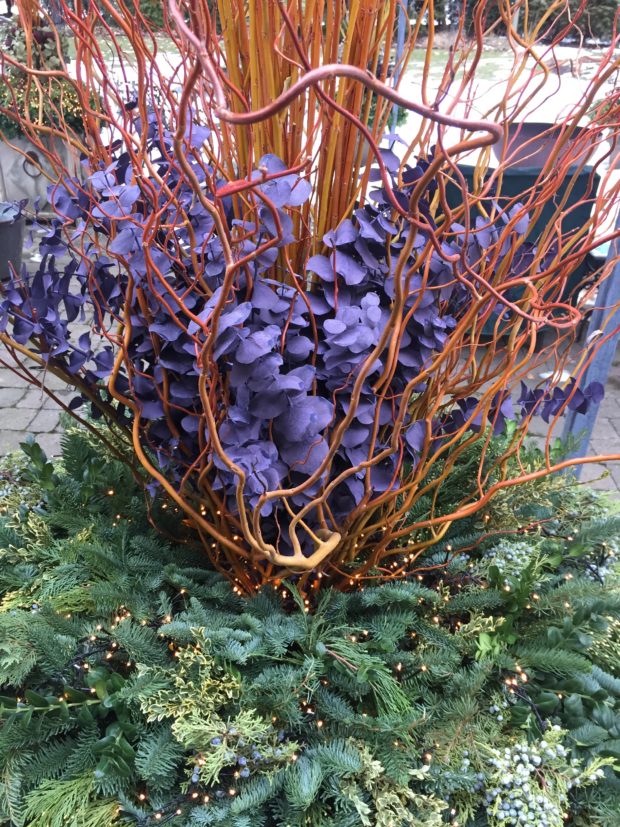
 The upper galvanized steel ring of the tomato cage is evident in this picture. Topiary forms, or in this case, a heavy gauge galvanized tomato cage, can provide a key sculptural element to a container. I am grateful for topiary forms that enable my mandevilleas to climb skyward during the summer. Those forms can be strung with lights and grapevine for the winter season. In this case, the tomato cage provides an unseen structure for the twigs. Am I concerned that I can see this top ring? No. As you will see in the following picture, this pot is viewed from afar, rather than up close.
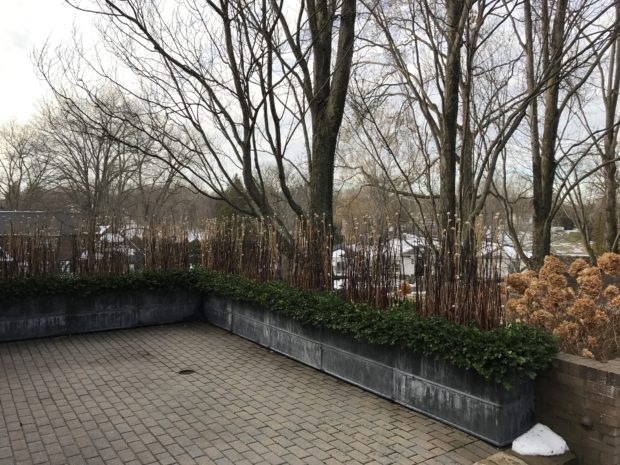
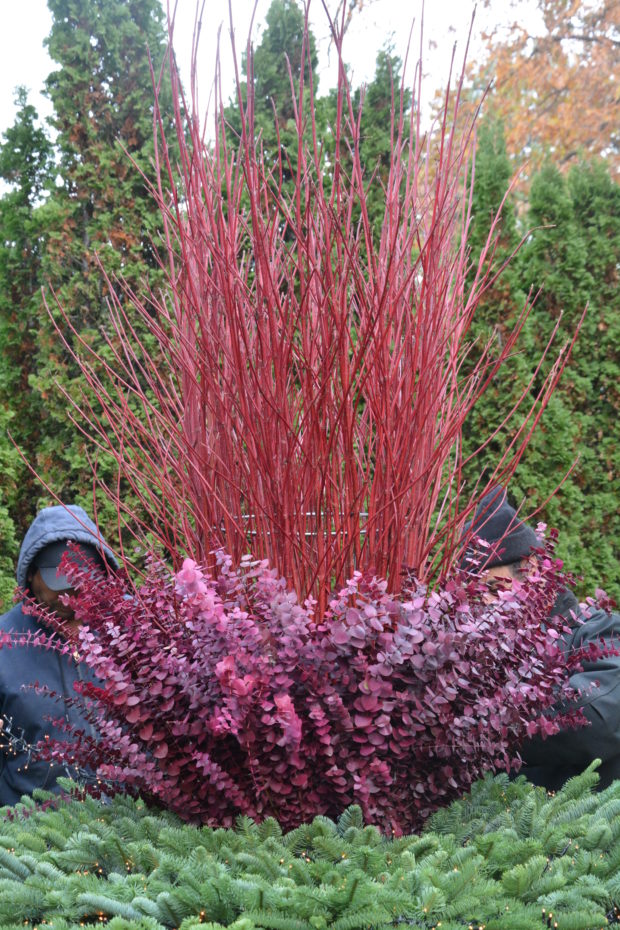
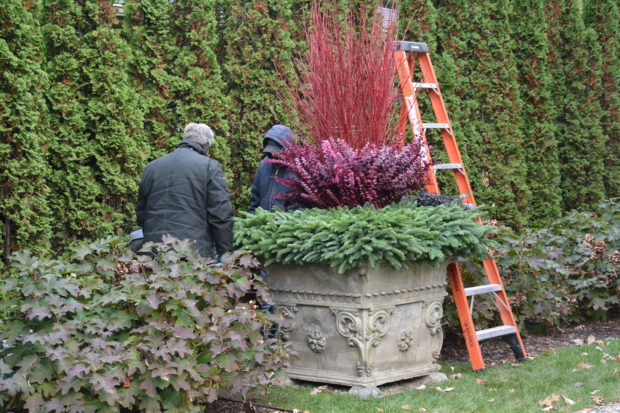 Not all tomato cages are created equal. Rob buys very heavy gauge galvanized steel rod cages in a variety of sizes. They provide significant support for vines, and in this case, twigs. This very large container has a centerpiece appropriate to its size. The fuchsia and red echoes the late fall color of the hedge of the oak leaf hydrangea “Ruby Slippers”.
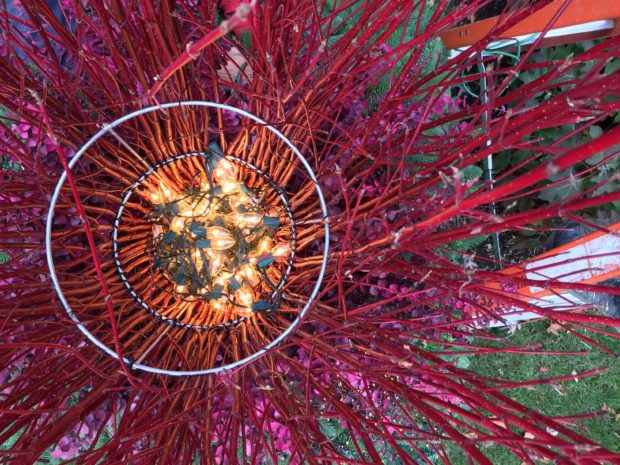 I asked Dan to take this picture down into the centerpiece from high on the ladder. The red twig is zip tied to the form at the soil line, and again 2/3rds of the way up. This takes some time to do, but it insures that the twigs will stay put throughout the winter. Illuminating this centerpiece from within would take a lot of light, so we installed four strands of 25 count C-9 incandescent lights.
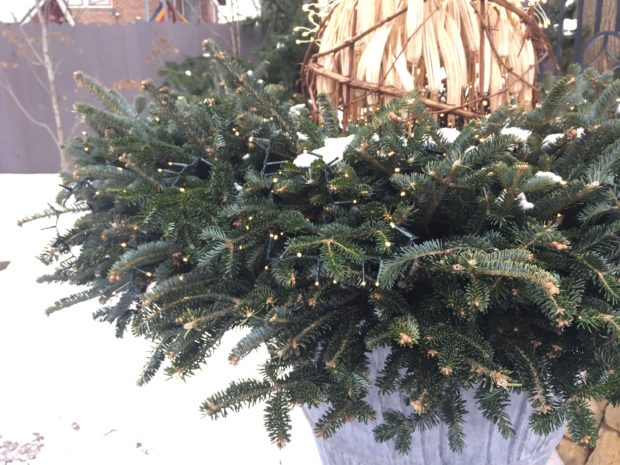
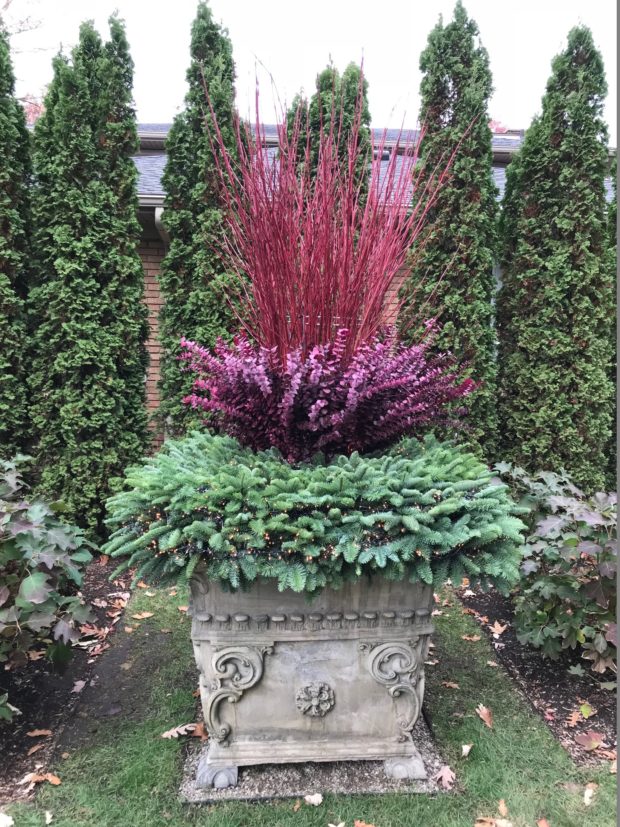 The greens were liberally dosed with Lumineo LED light strands. Barely visible during the day, they will do a great job of illuminating the greens and exterior of the centerpiece at night. This pot will light up a fairly dark spot on the driveway all winter long.
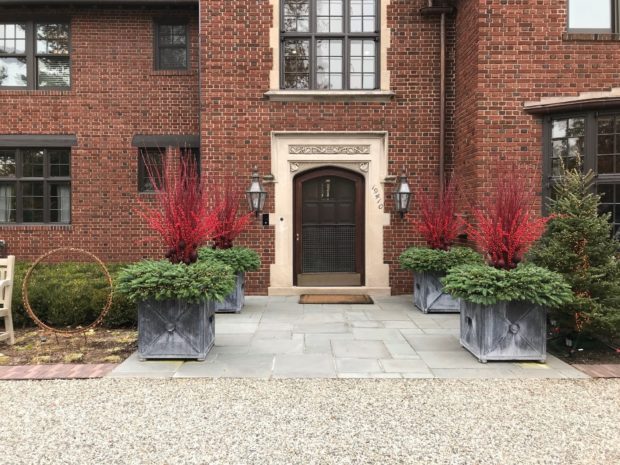
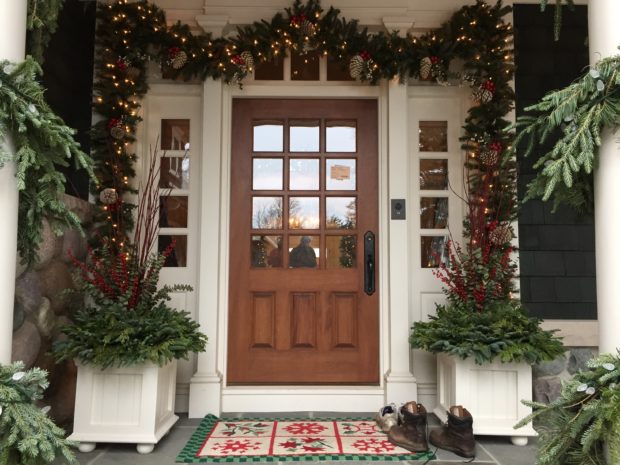
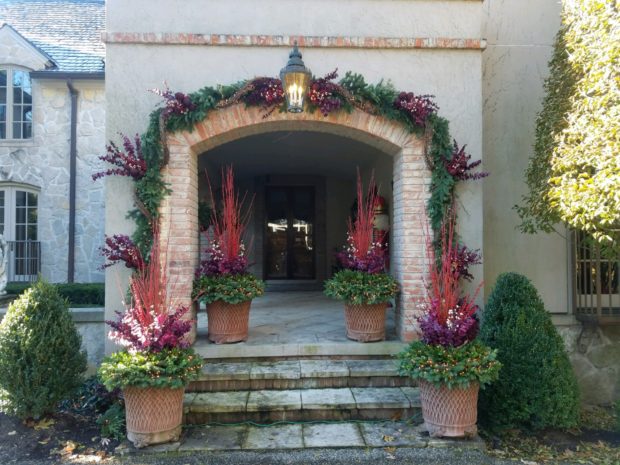
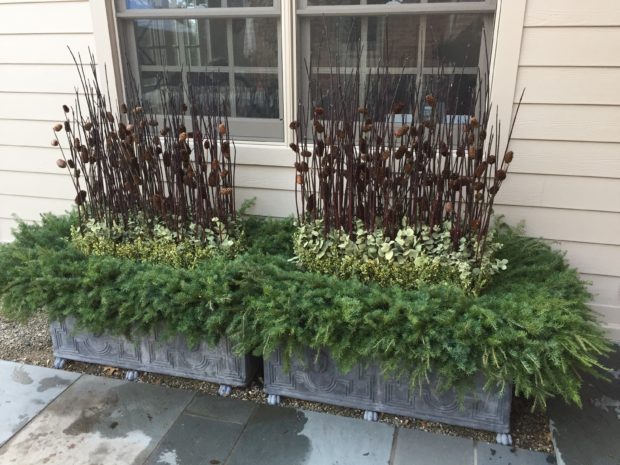
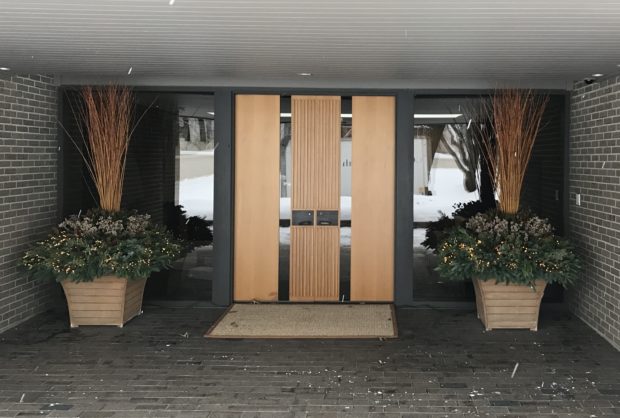
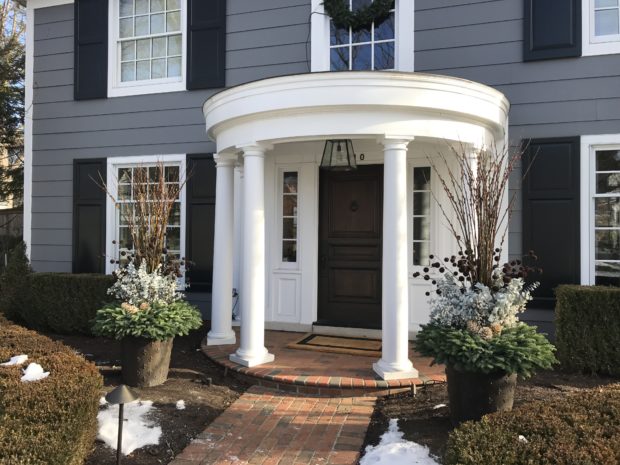
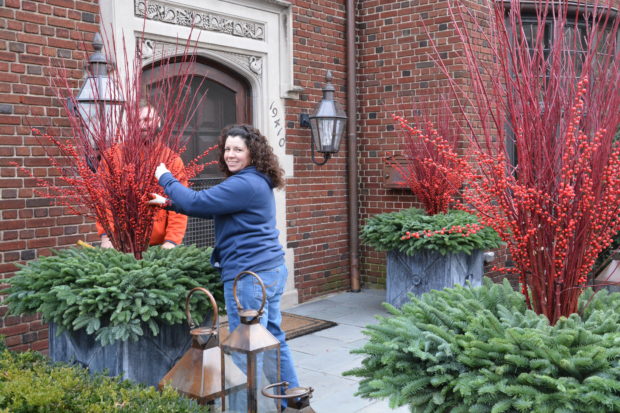 The four boxes at the front door feature lots of that winter red. Marzela stuffs the noble fir into dry foam in the studio, and David constructed all of the centerpieces. The centerpieces are secured with steel rebar and concrete wire. The bottom portion of the foam form is wedged into the box.
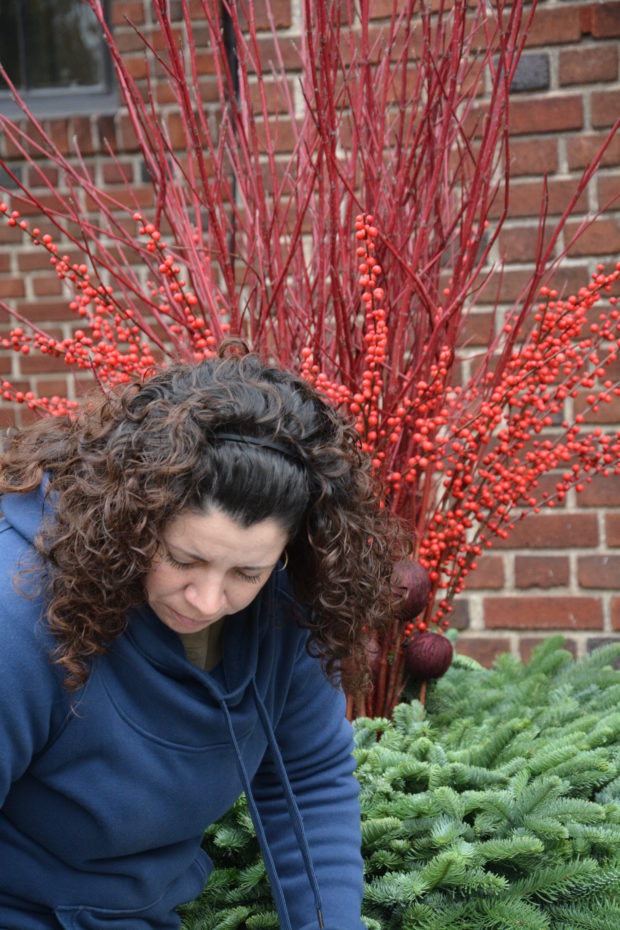 Marzela adds the last element to the pots on site.
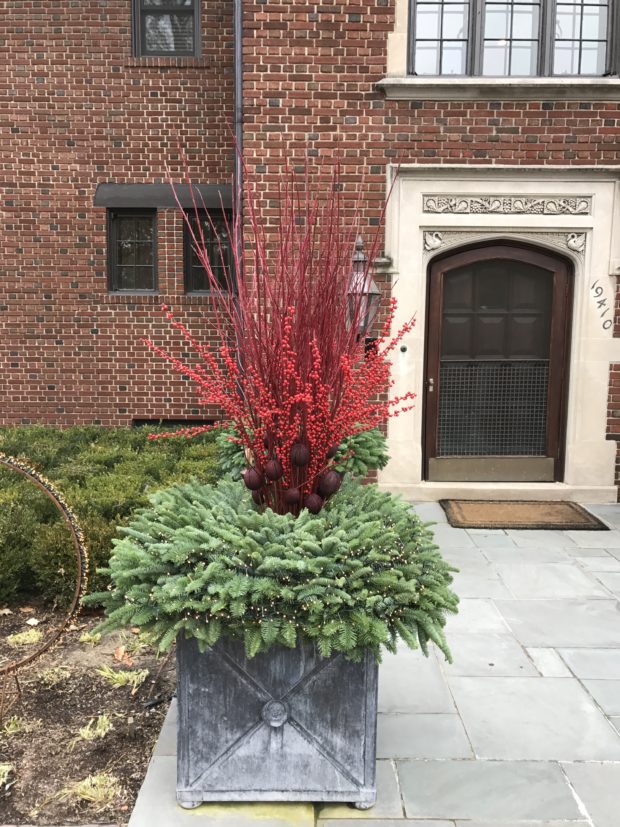 The red/red violet seed pods on stems provide a transition from the greens to the centerpiece, and conceal any zip ties from the centerpiece construction. The greens are deliberately shorter in the center, so the entire centerpiece can be seen.
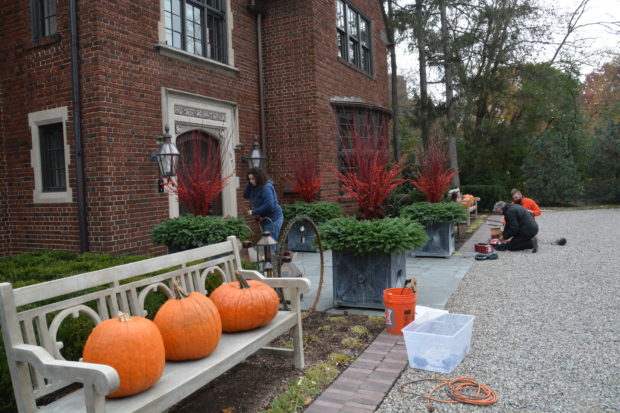 The lighting of the pots comes last. The light fixtures on the house are large, but their light is more glowing than illuminating. The lights in the pots will brighten the entrance walk with lots of light.
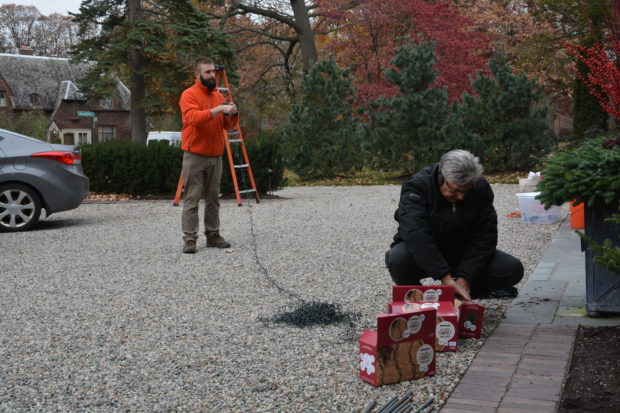 David and Dan rewind all of the strands for the pots, so they are easy to install.
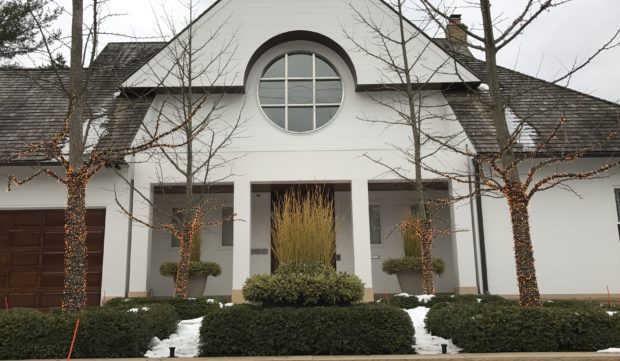
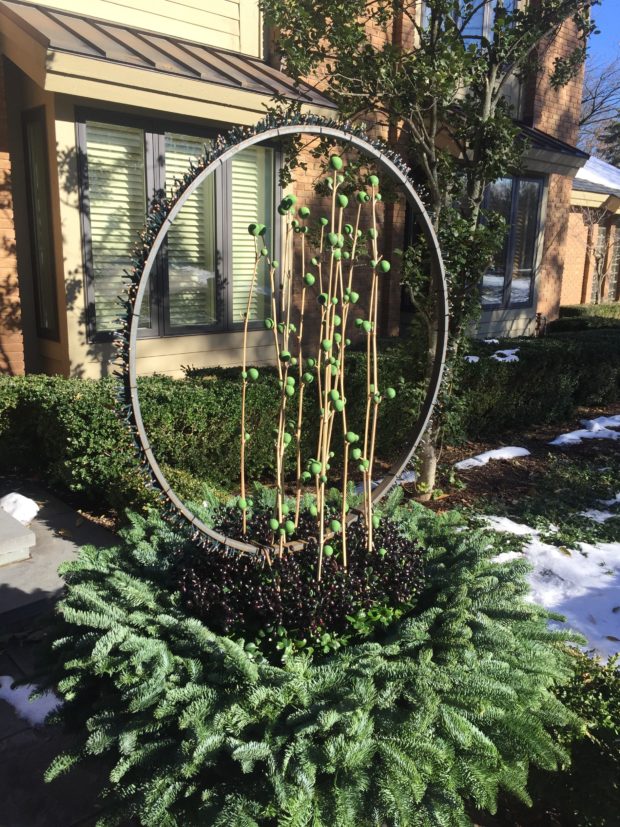
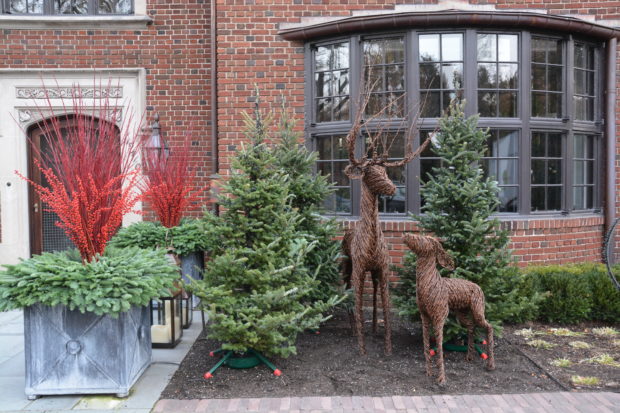 The bed to the right of the walk is already planted with tulips for the spring. It is planted with seasonal plants in the summer and fall. This year, my clients requested a winter vignette with cut trees and grapevine deer, to add to the festivities. The trees were lighted in the garage before we brought them. The heaviest concentration of light is on the trunk. The lighting on the branches is lighter, both in density and color. The Lumineo strands are designed to be as unobtrusive as possible. That design works. It is hard to spot them during the day.
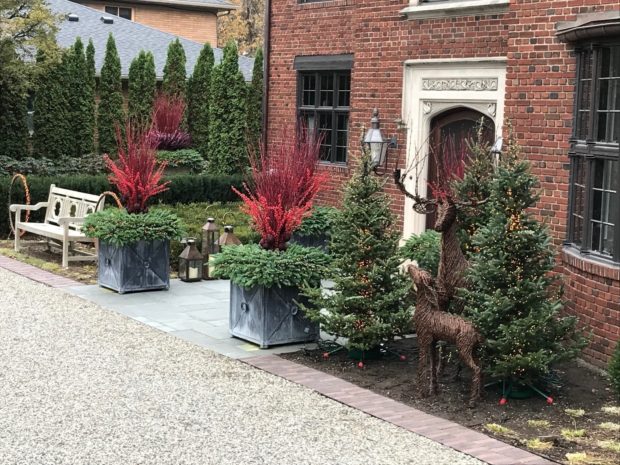 This is the finished installation, as seen from inside our box truck.
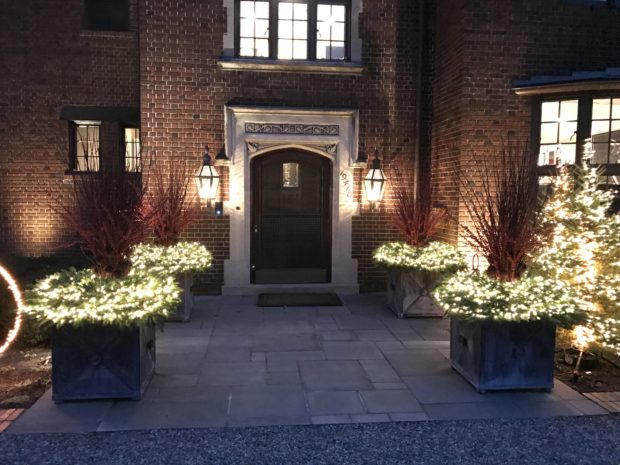 At 5pm, the natural light has all but faded. The length of the exposure taking the picture intensifies the light more than what it looks like in person, but you get the idea.
 Their landscape is ready for their holiday, and their winter.
