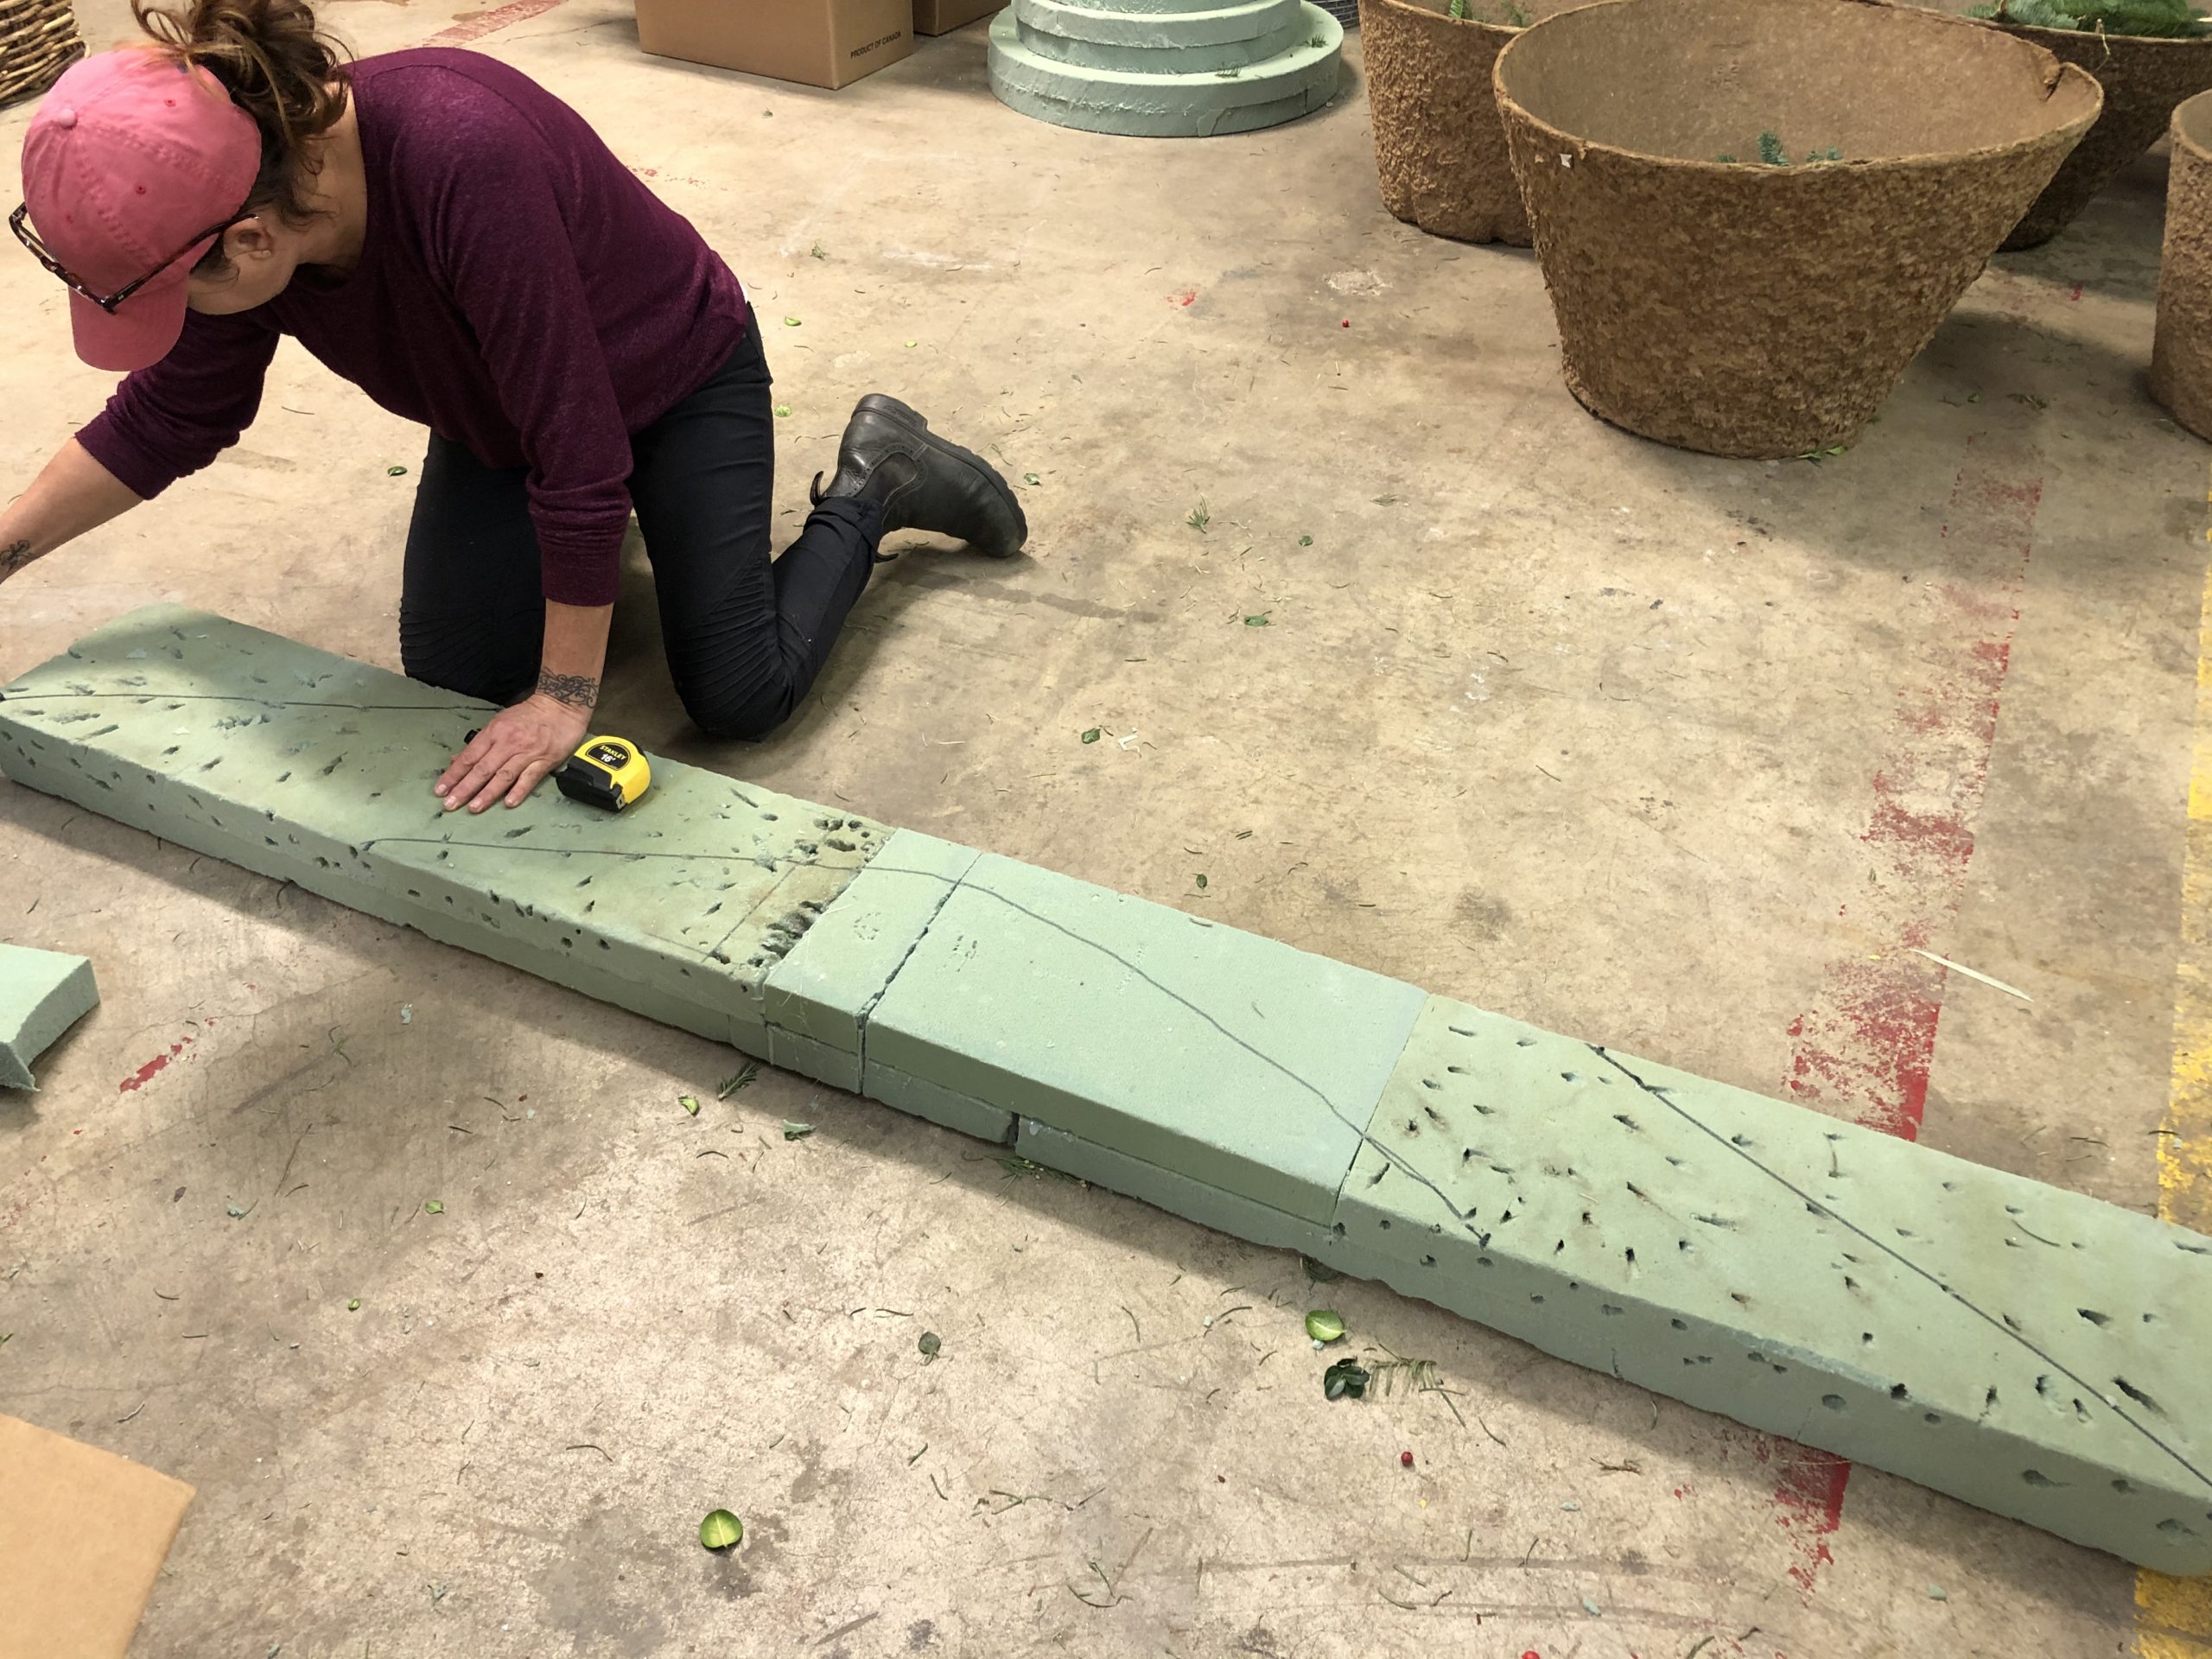
 Every project we do for the winter season begins with a good deal of discussion. The winter containers for Ms. H is the subject of a particular discussion. That astonishing level of discussion on her behalf is simple to understand. We have a big love for her. This year, we had two issues to address. The forms were very long and narrow. This meant there was always the danger, and sometimes the reality that the foam would break in the middle. The fact that all four pots had steel light rings 3 feet in diameter inserted into the forms piled on additional stress. This made for a rather nerve wracking installation. It was a simple matter to split the long forms into two shorter ones. The forms could be stuffed with greens side by side, and labelled as to their position in each pot. In the picture above, Karen is detailing a plan drawing of the most significant innovation-a separate form for the light ring and all of its fixings would be set squarely on top of the spot where the pair of greens forms would meet. The half oval shape drawn on the form above would dictate the position of the light ring form. The widest point of that half oval would just about cover the spot where the two shorter forms come together. The swoop de do would be stuck with German boxwood. The rest of the lower forms would be stuck with Noble fir. What??
 It is much easier to explain this new construction protocol in pictures. I am happy to say it was entirely of David’s invention. He not only constructs winter arrangements, he is an expert at installing them. It took longer than I really want to admit for me to understand what he was proposing, but once I understand, I could appreciate the pure genius of it. The plan called for filling the interior of the ring with various picks. Why not have a separate form for the ring and its fixings? This would provide a stable base for the ring to travel in the truck. None of the picks would be disturbed trying to remove the ring for transport, and putting it back in exactly the right location during installation. The shape of the ring form was determined by the design and arrangement of the picks. The rear prongs of the ring would go through both layers of the mini form. The front prongs would rest on the lower form. If you are still unclear about the plan, don’t feel bad. David had to show me before I fully understood what he wanted to do. See the following picture.
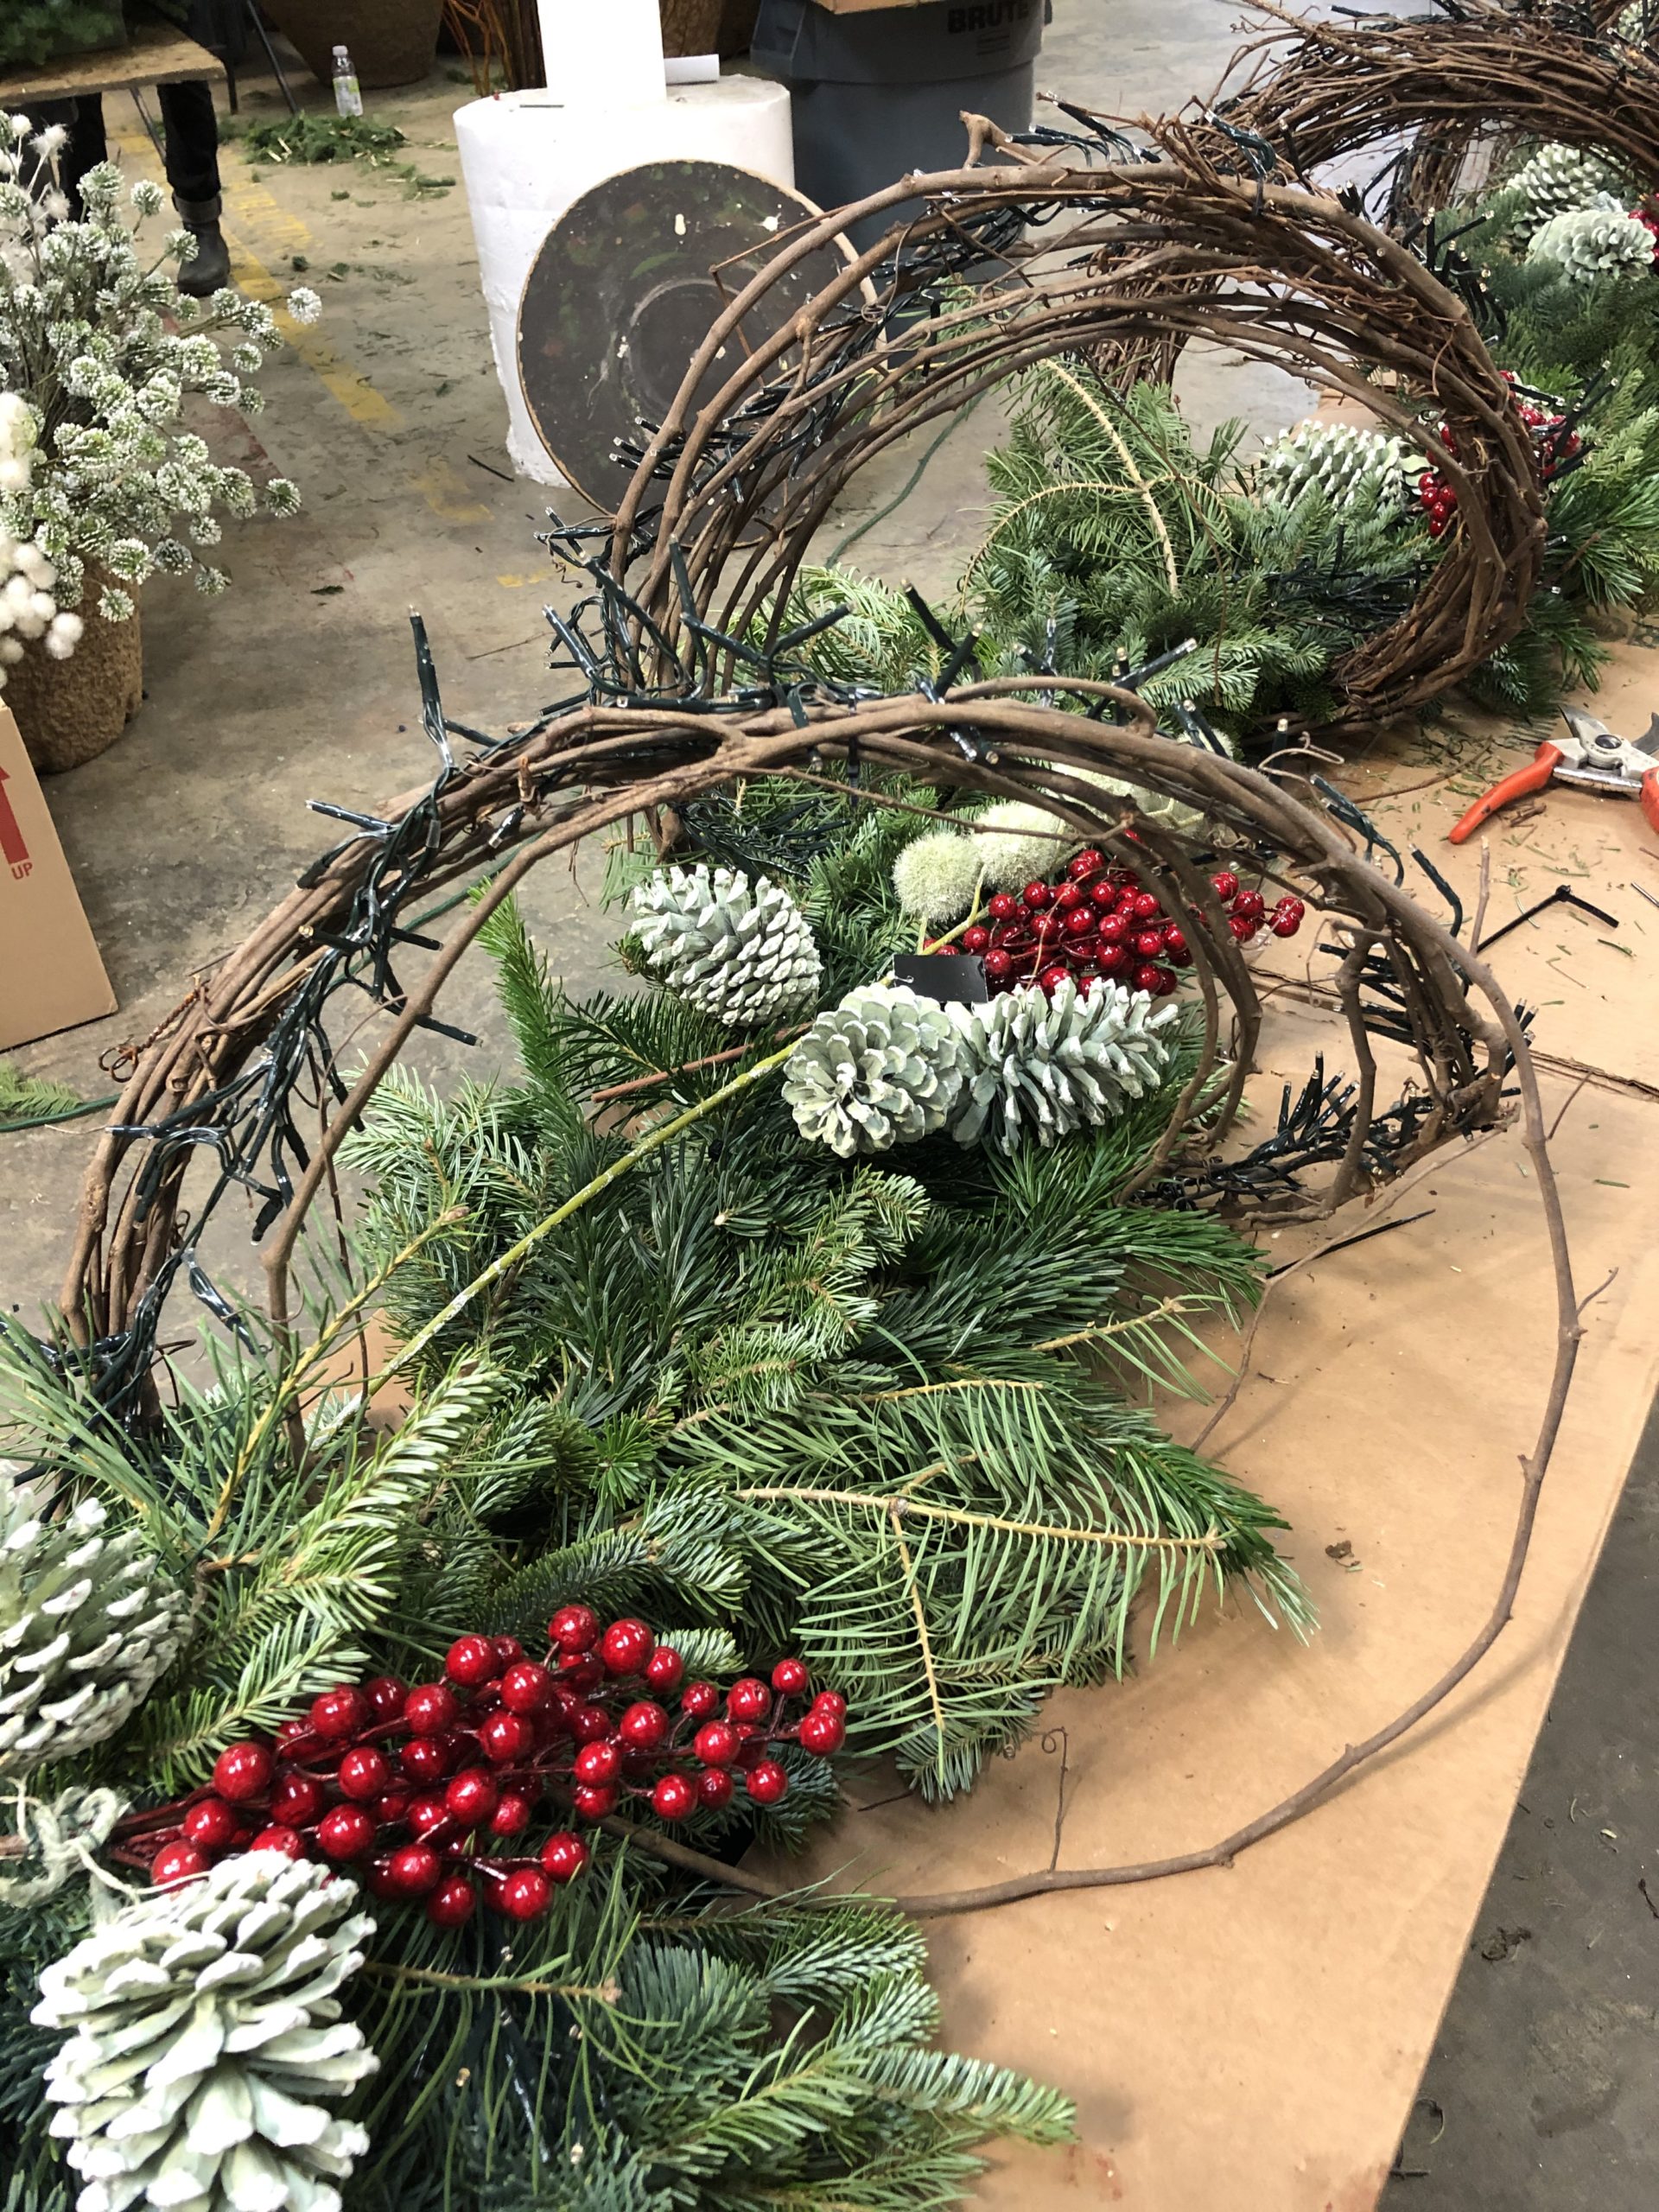
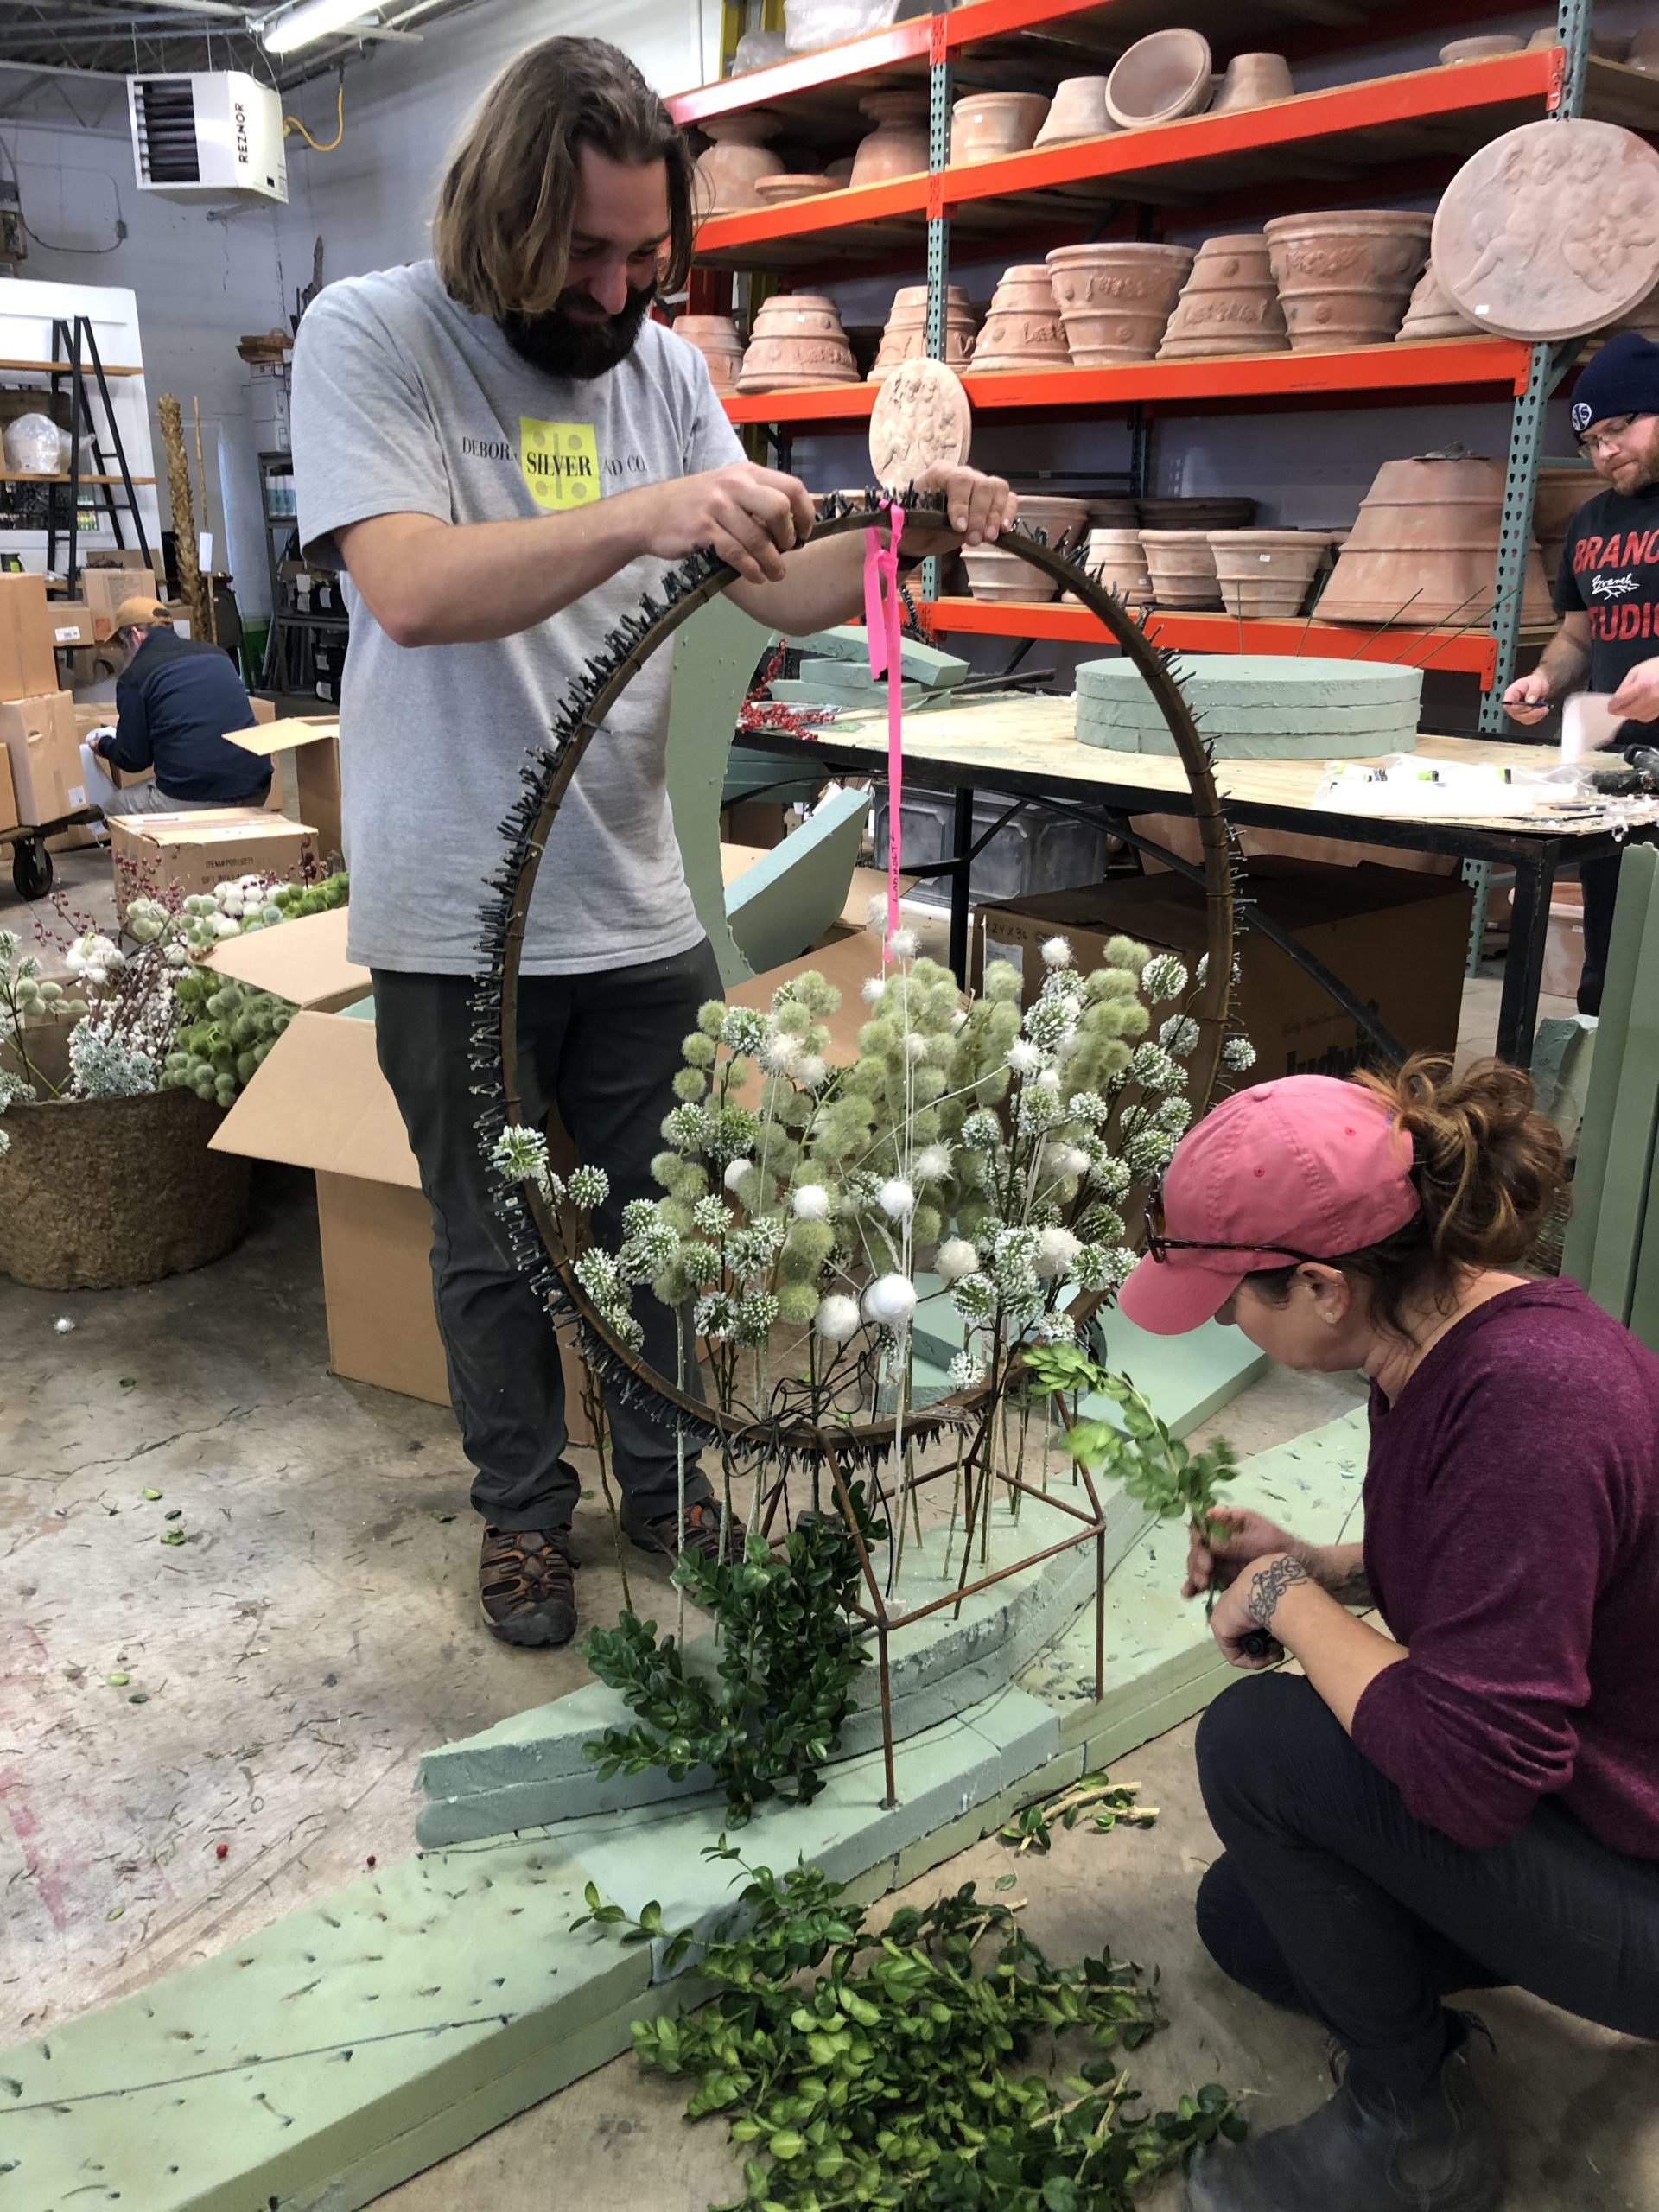 The ring 2 layered form would sit on top of the 2 layered greens forms. That long curved upper form would cover the split forms which would be the bottom layer. Once set on top, the rear legs of the ring would be pushed all the way through both layers of foam and a little bit into the bottom forms. The picks are stable in the top two layers of foam, but they do not provide any structural connection between the two layers of foam, and the bottom two layers. Small diameter green bamboo stakes would be driven through all four layers of foam and into the soil in the pots. That would provide structural stability to the entire affair.
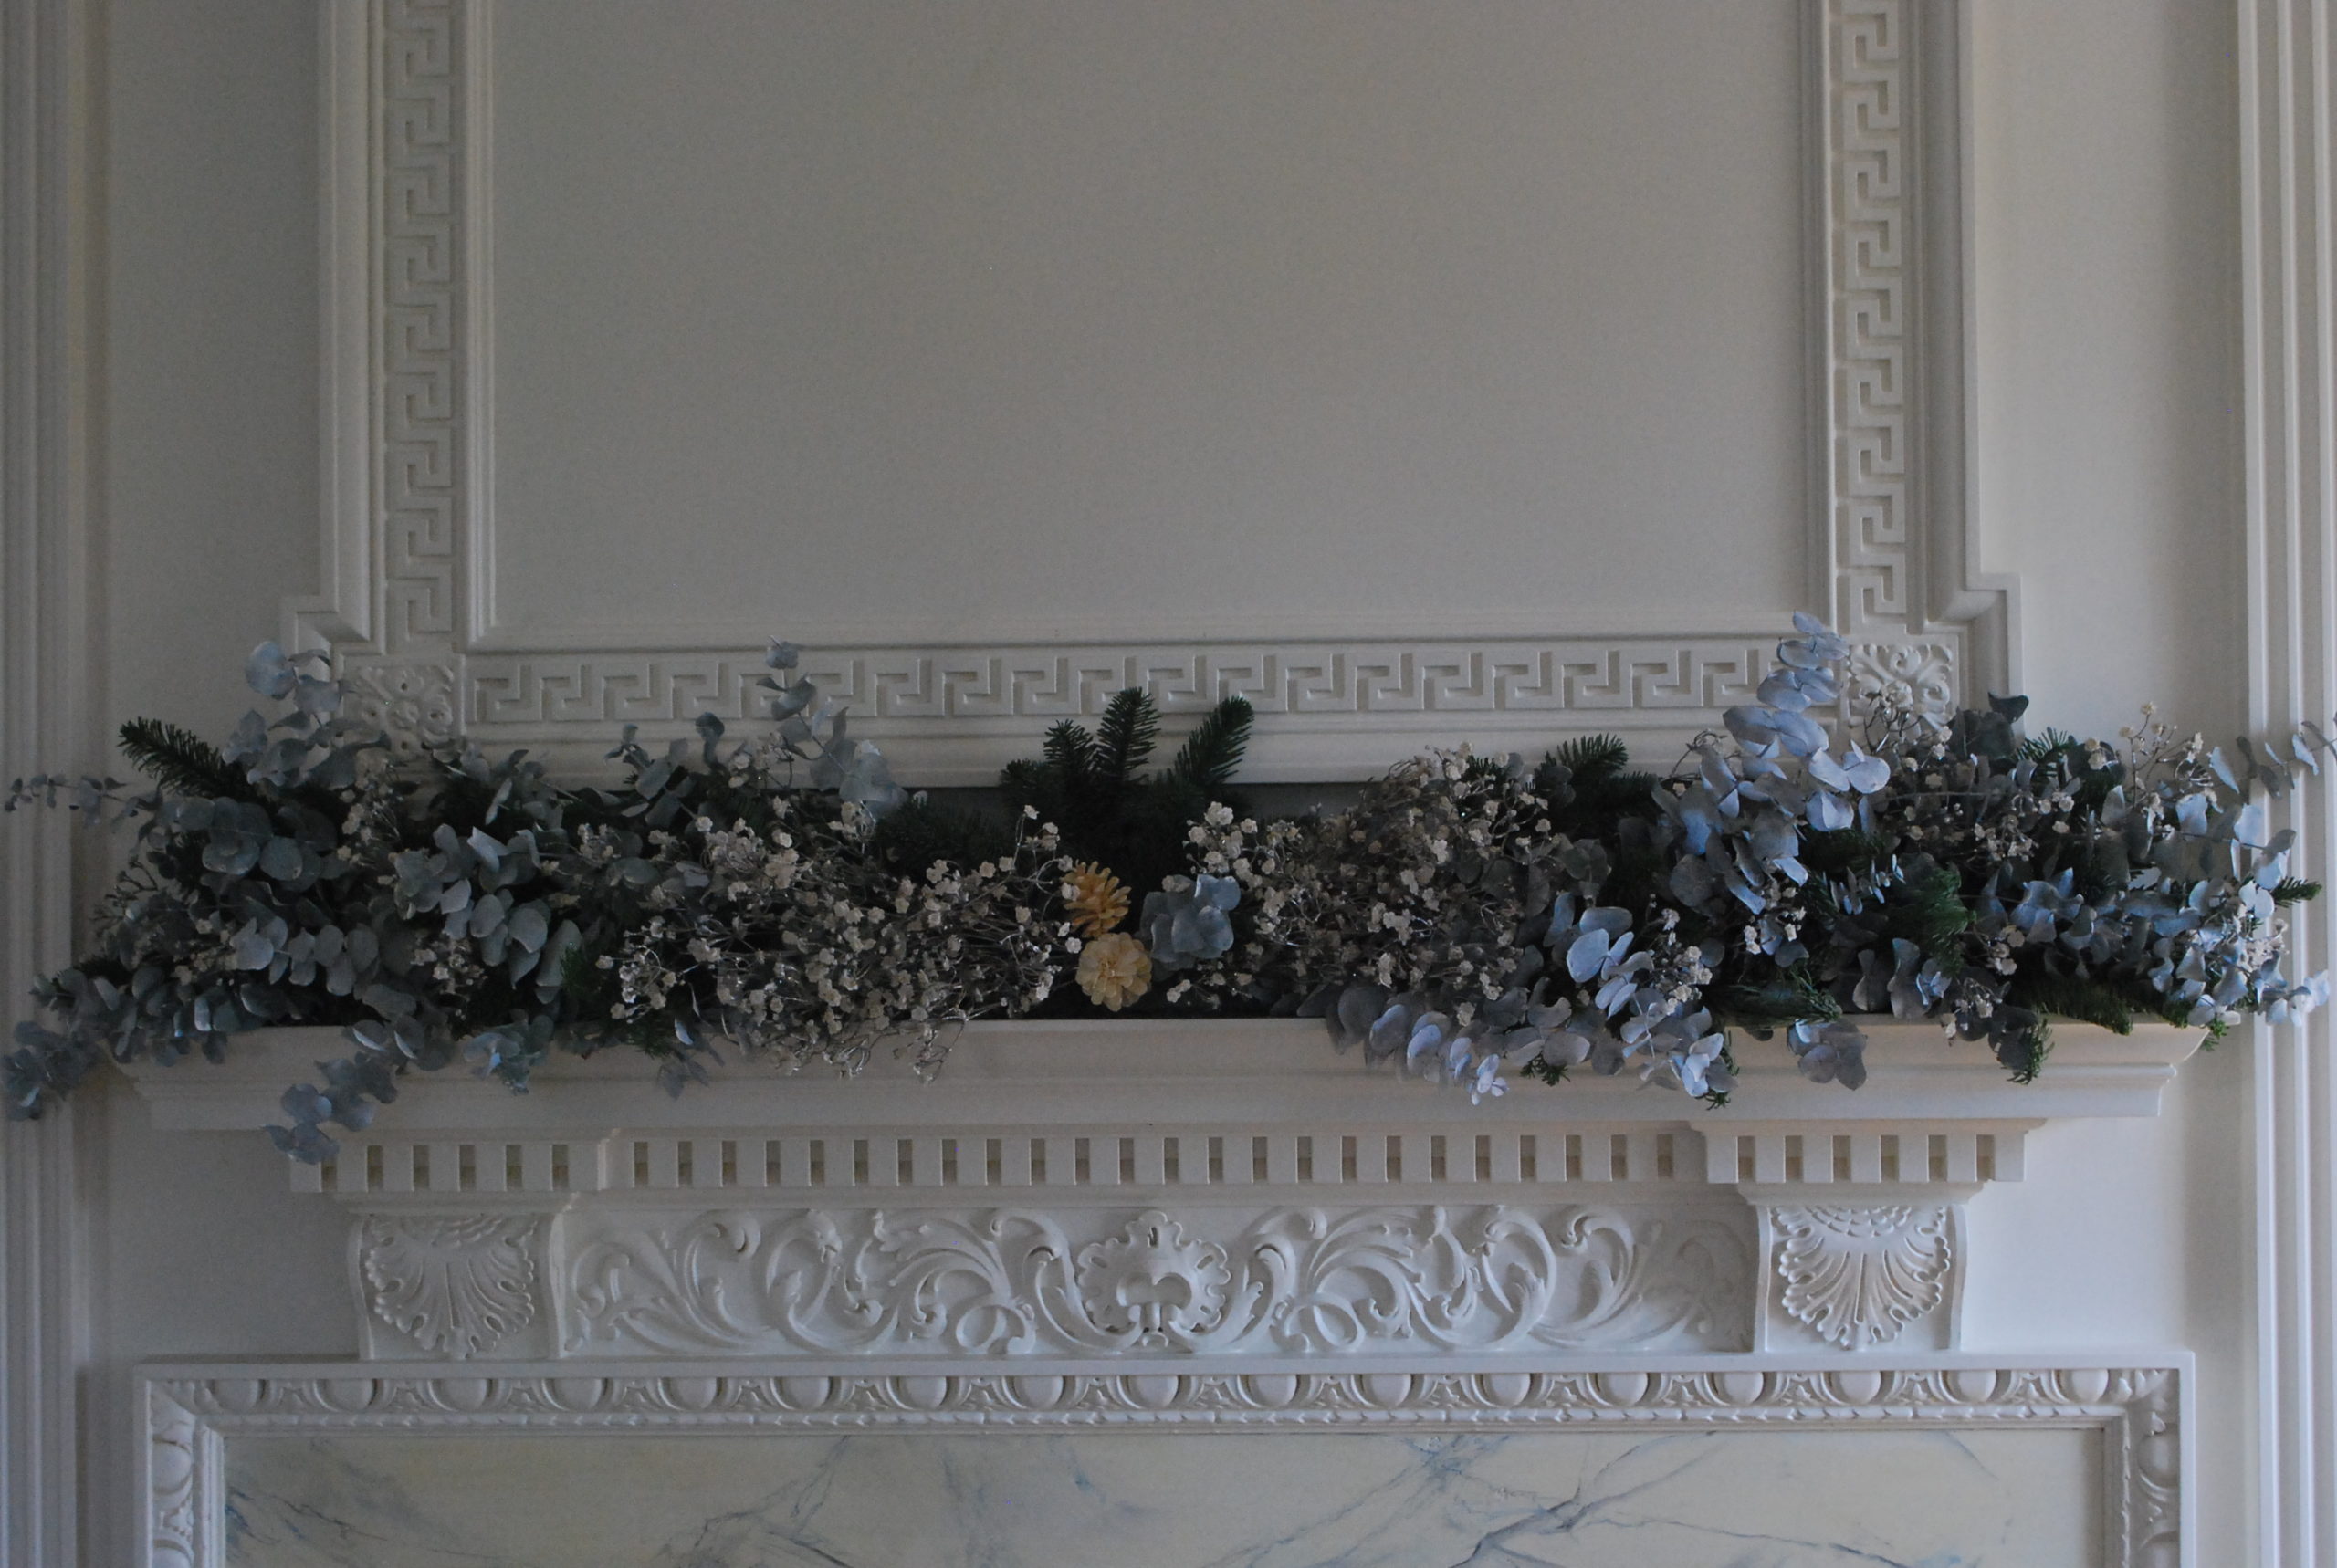
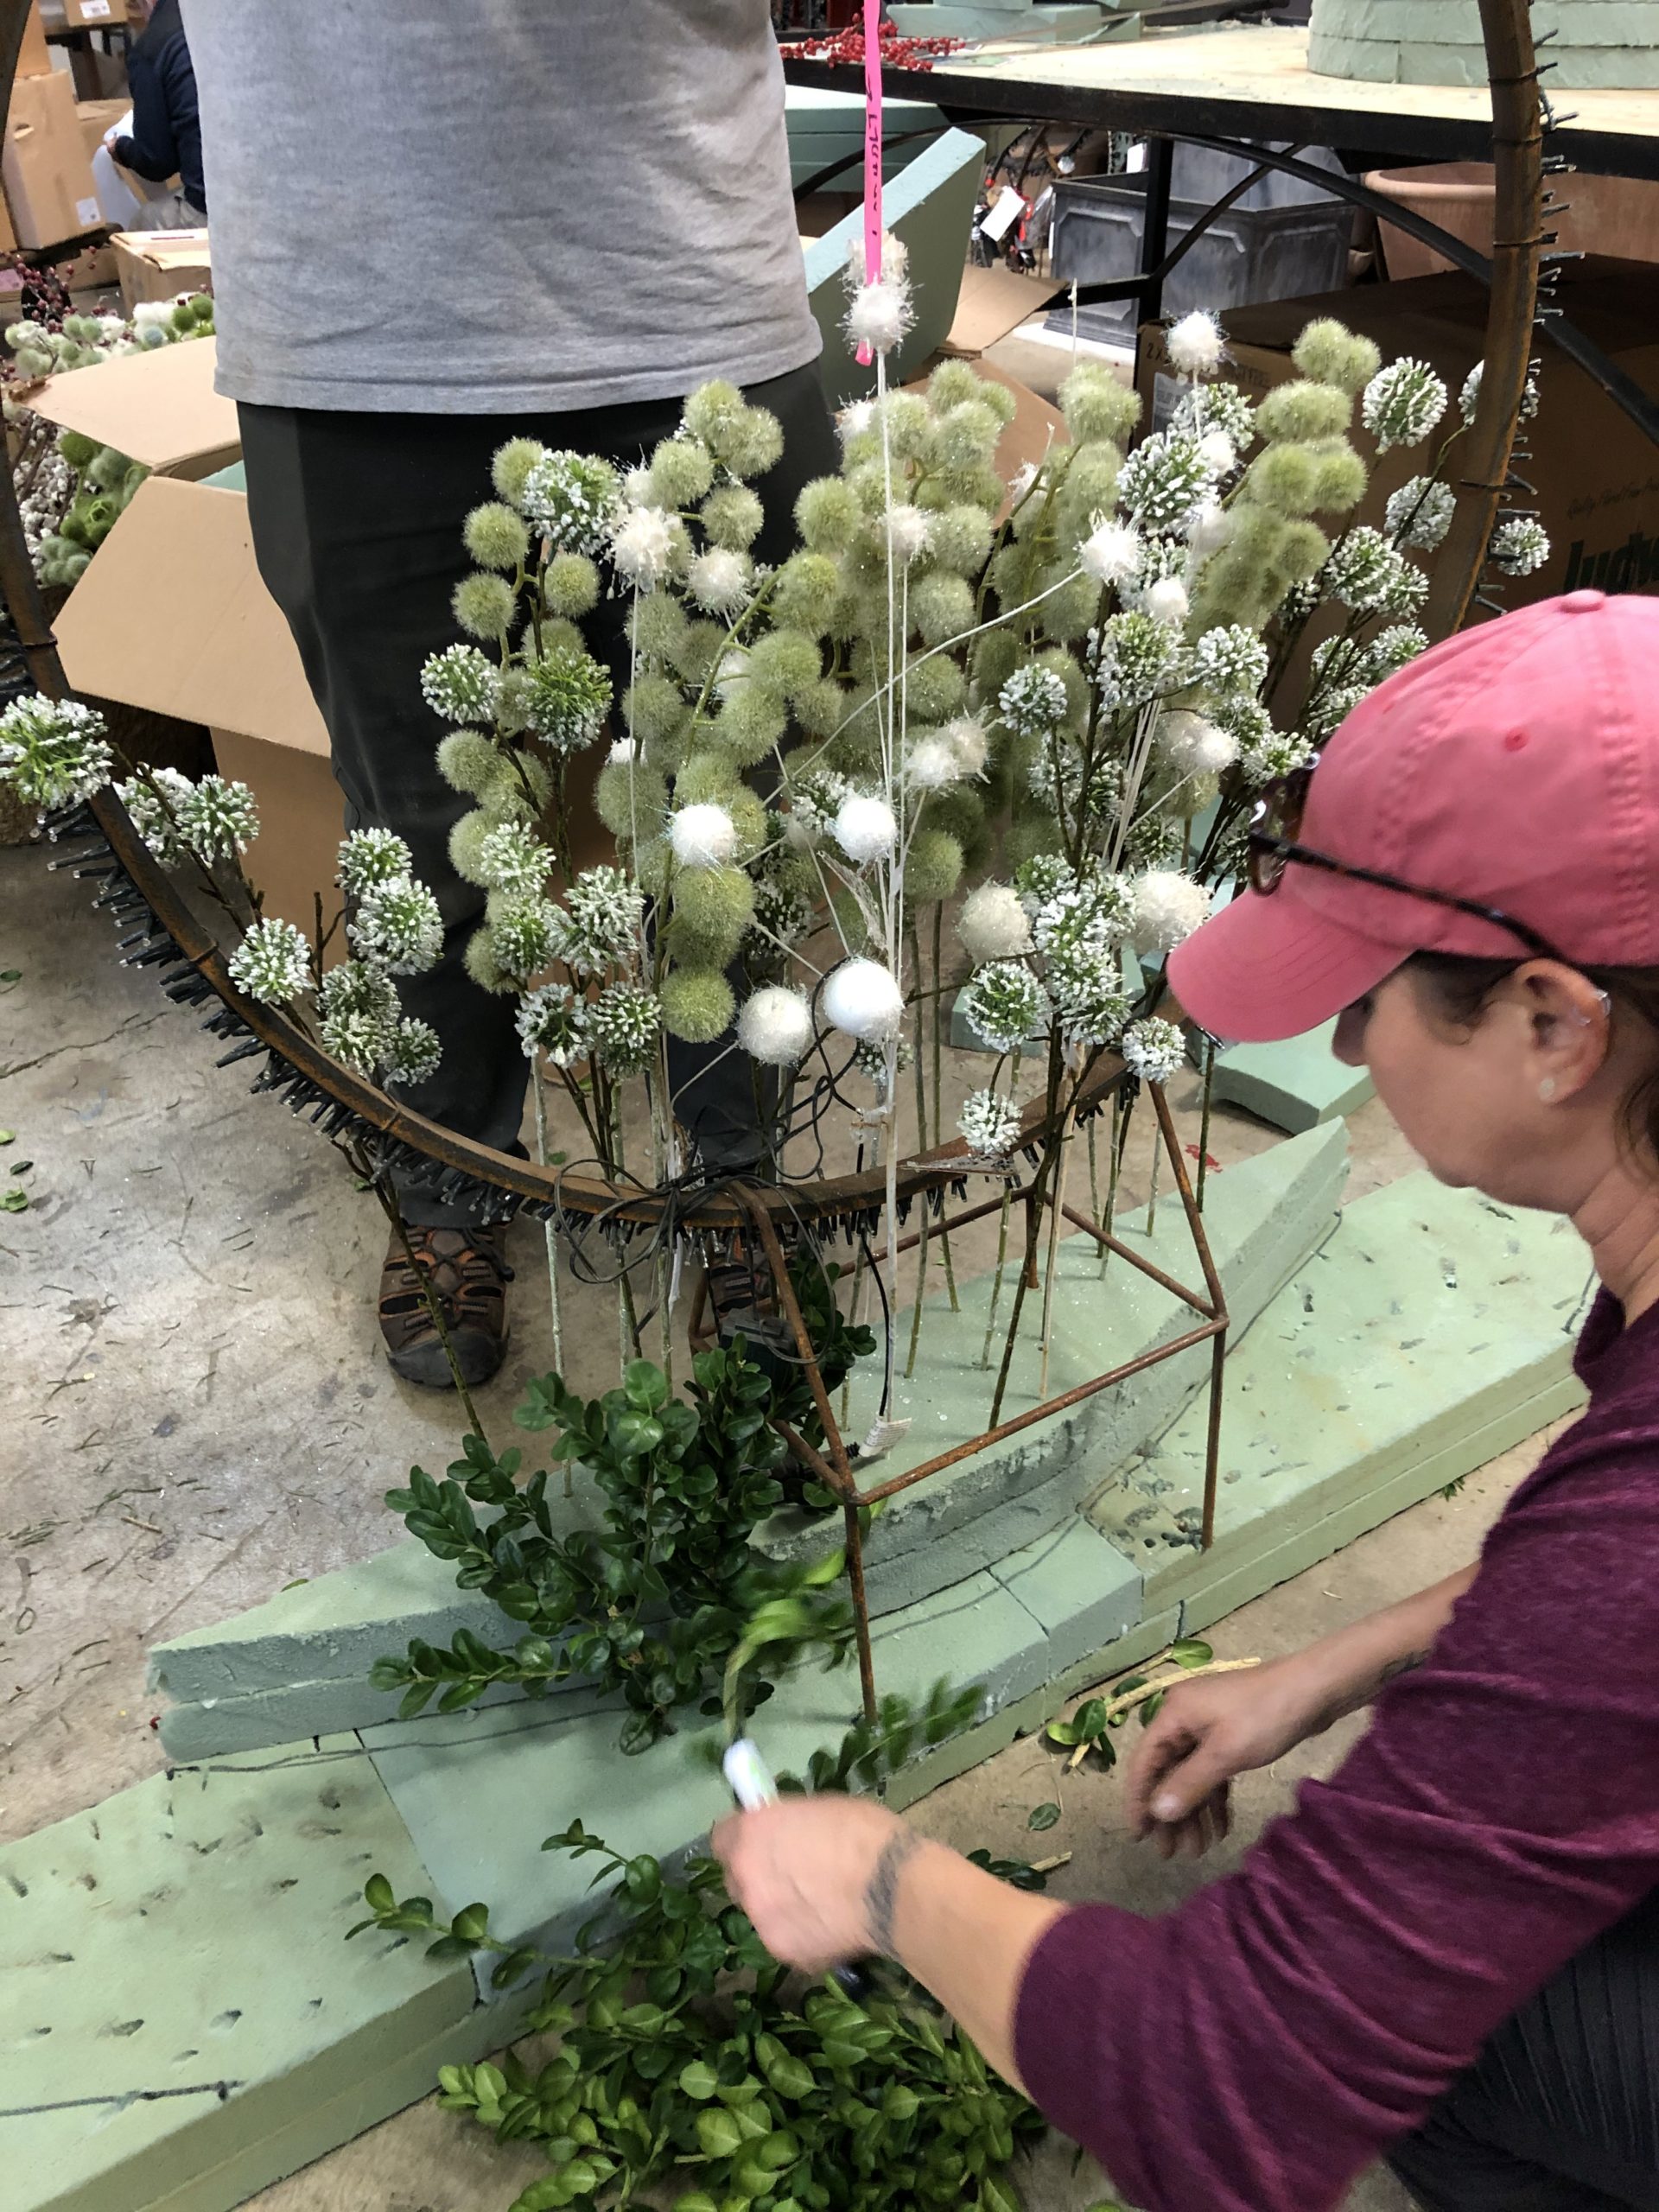 The top of the ring form would be stuck with German boxwood. That same boxwood would be used to cover the face of the upper form.
 This rear view tells the story. The lower two layers of foam tell last years story. The very bottom piece of foam is wedged into the pot. The layer immediately above that has holes in it. Those holes are from the greens we stuck in last year. One of the advantages of using large scale evergreen boughs is that it does not take that many stems to create a lush appearance. This is why we are able to reuse the forms for a good many years. The forms are quite strong, as long as no undue stress is put to them.
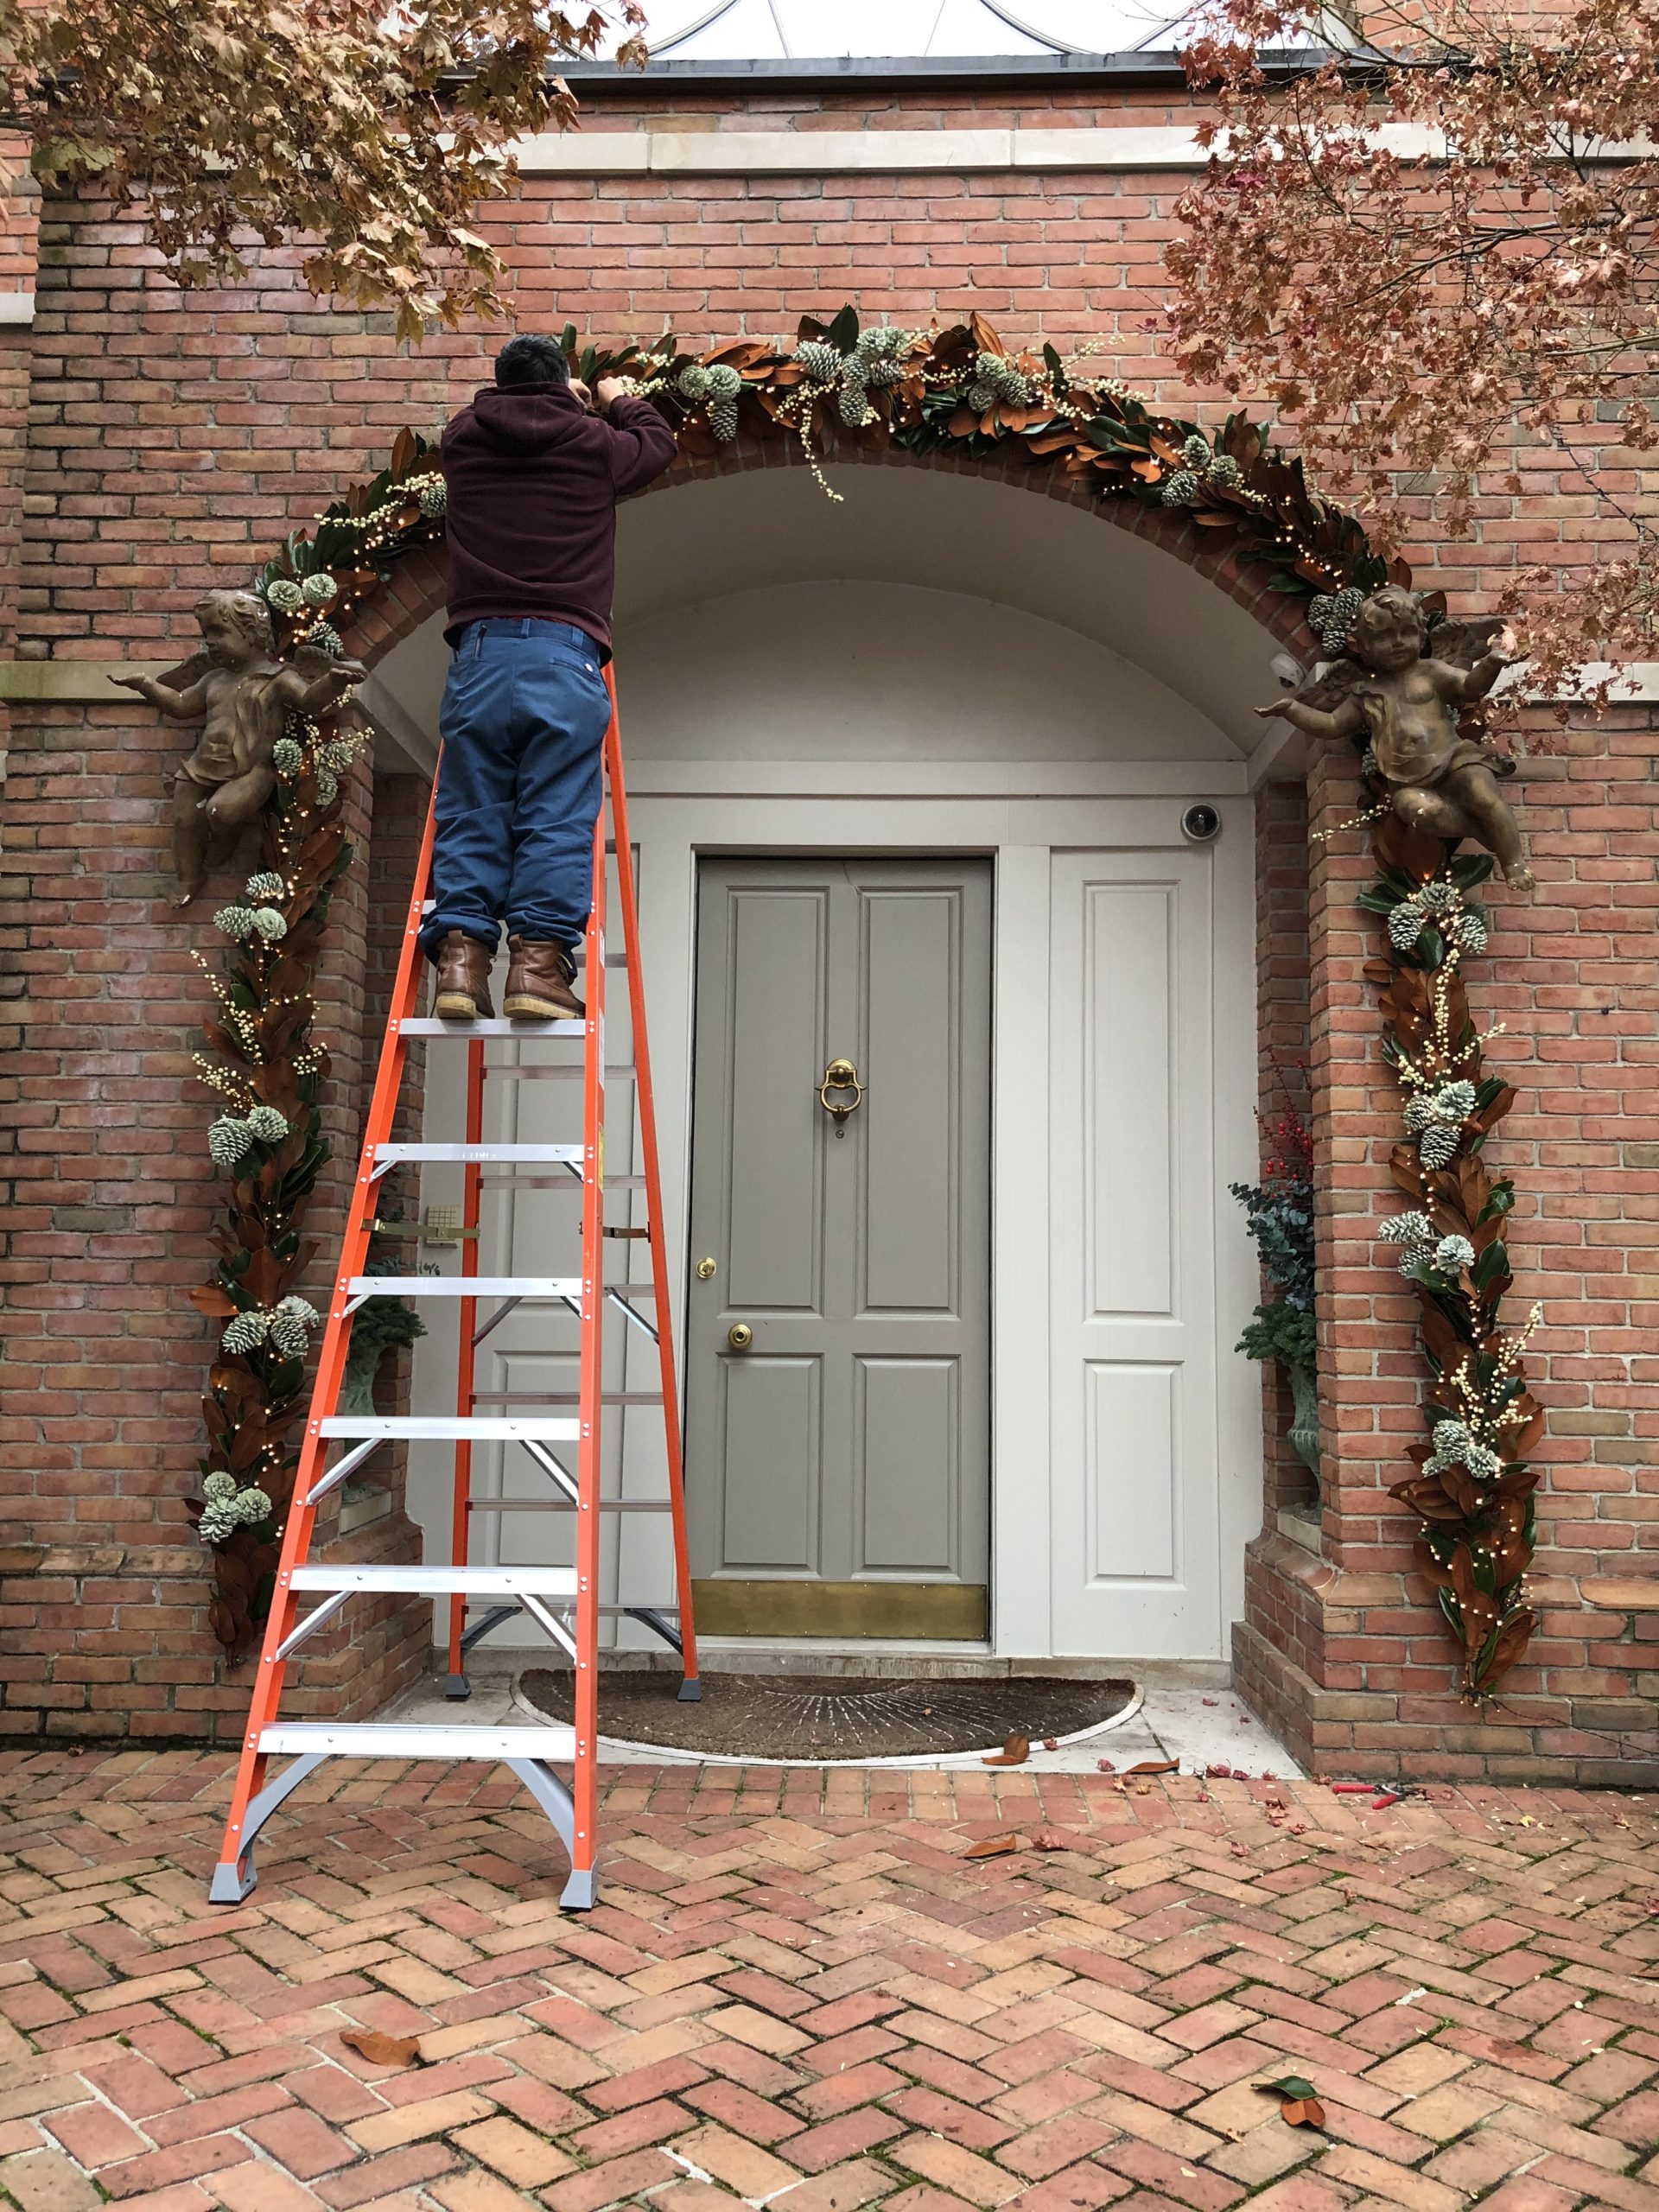
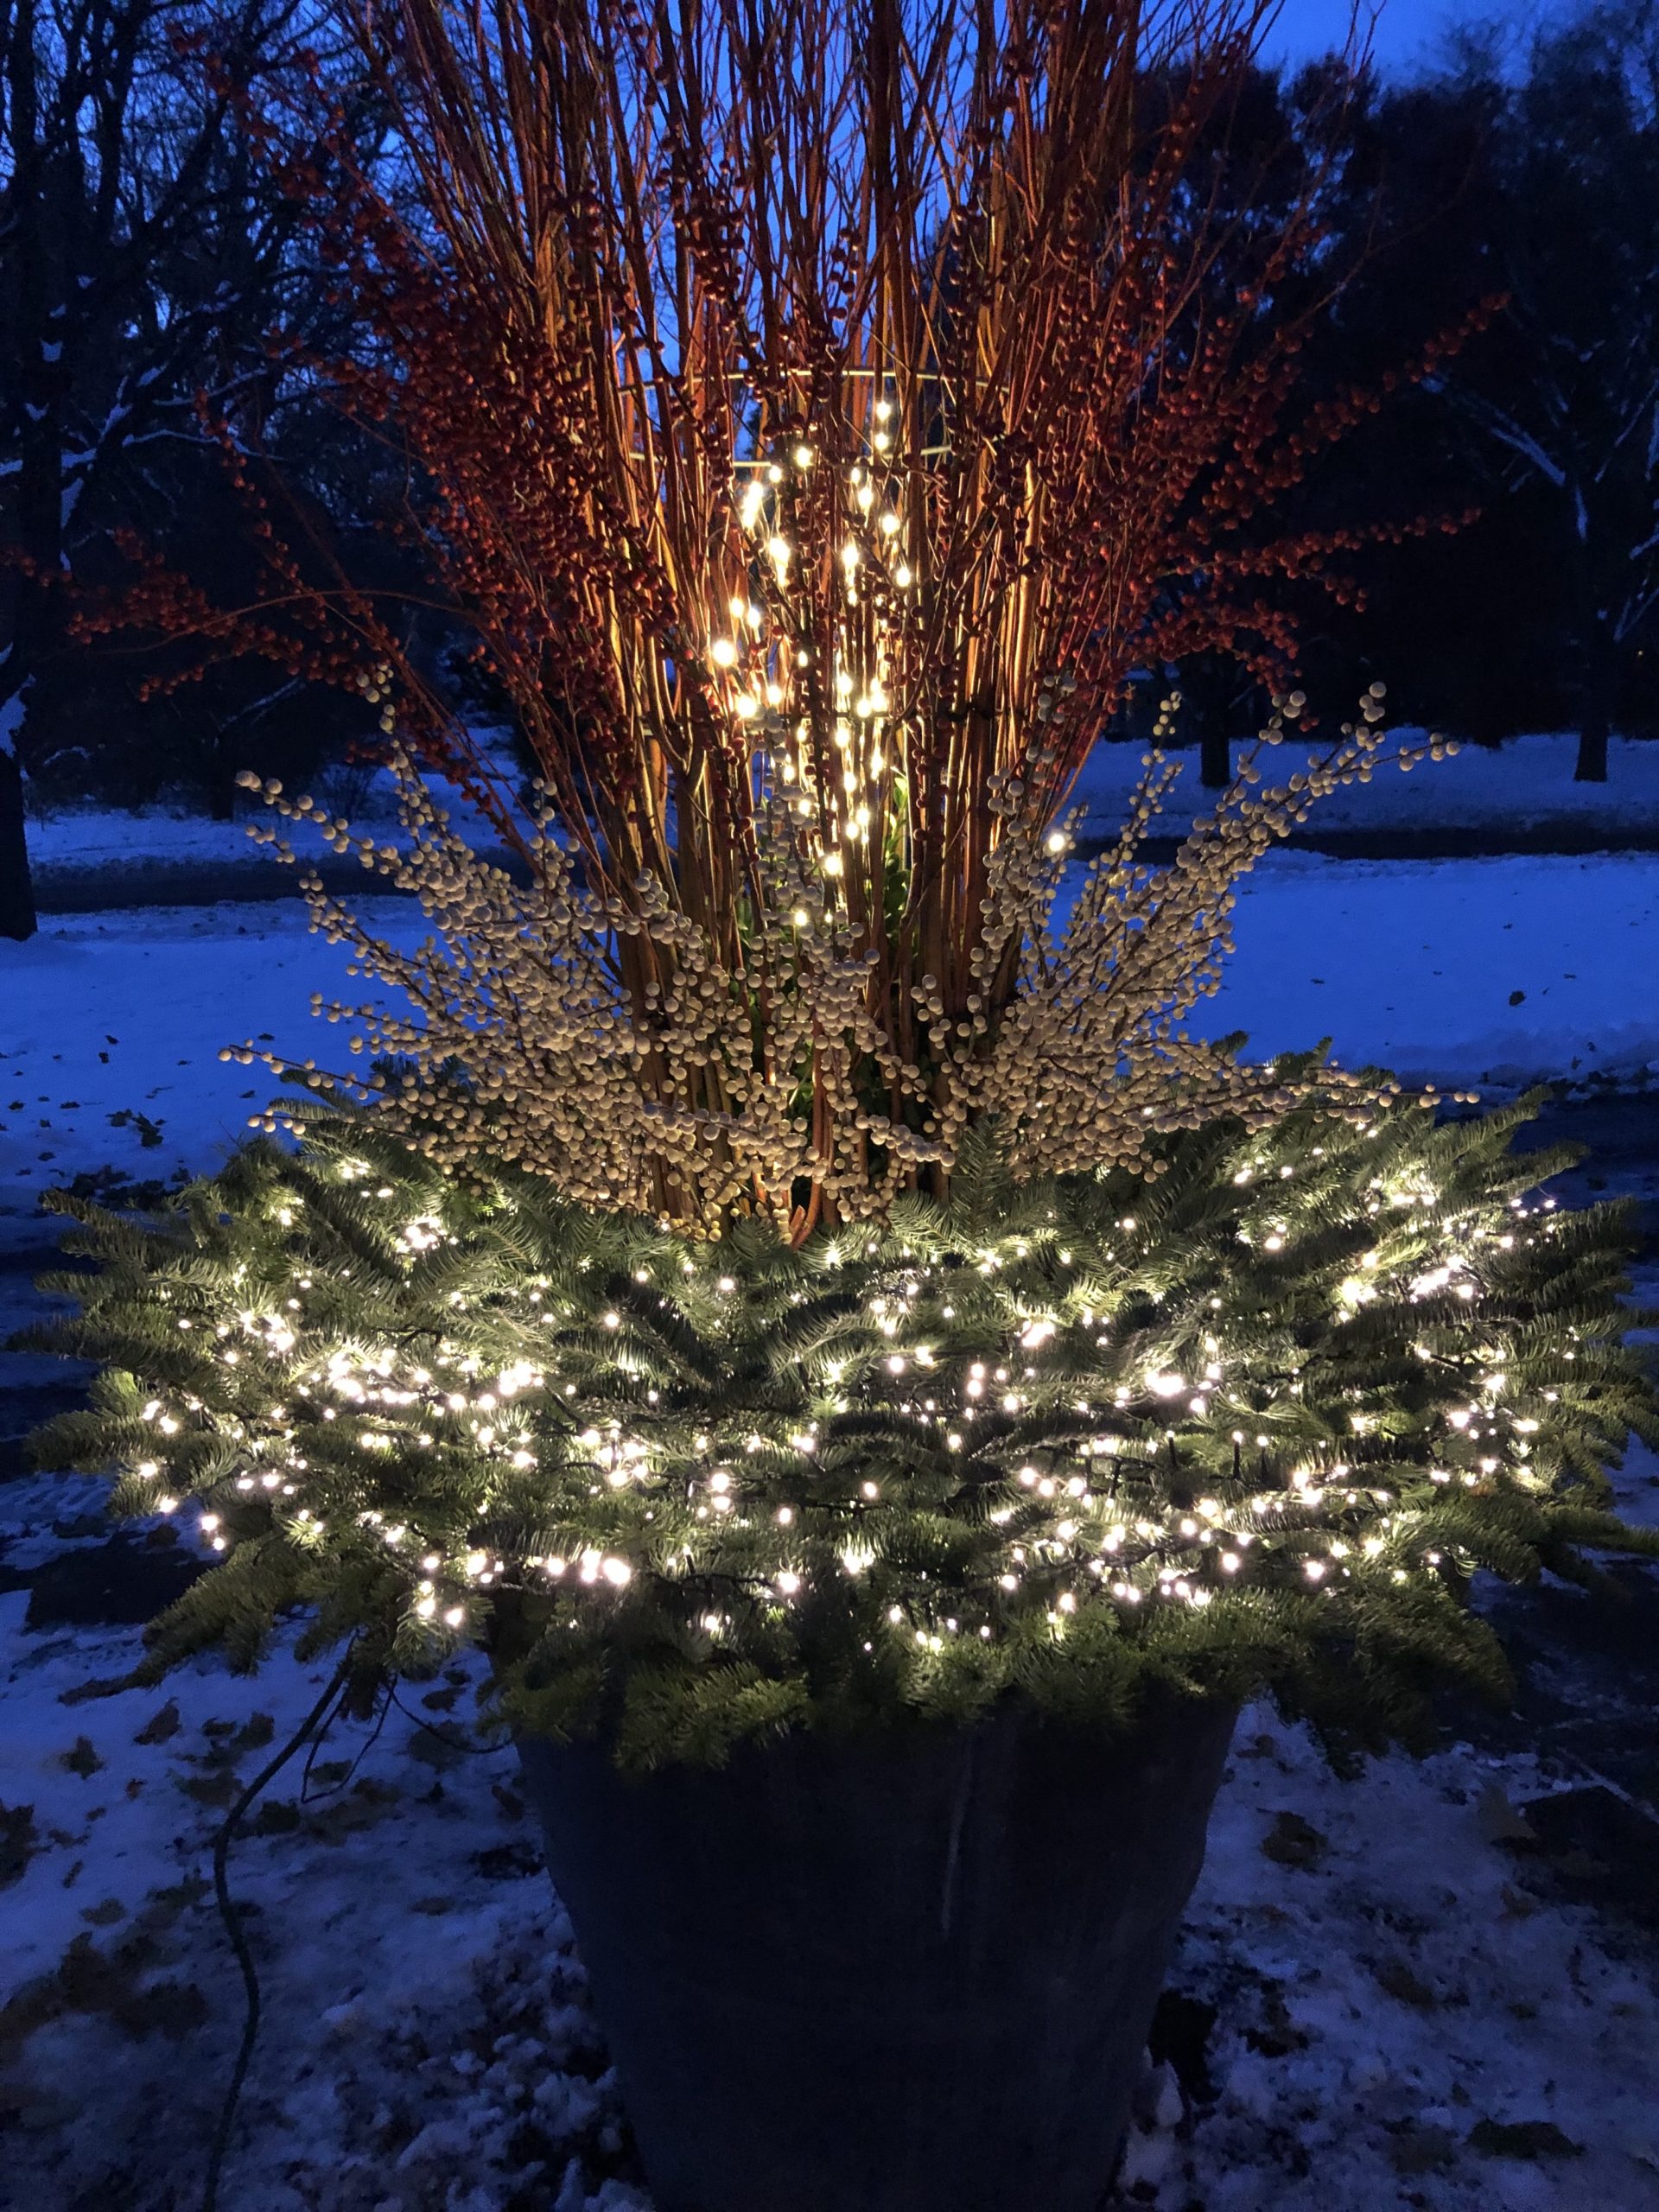
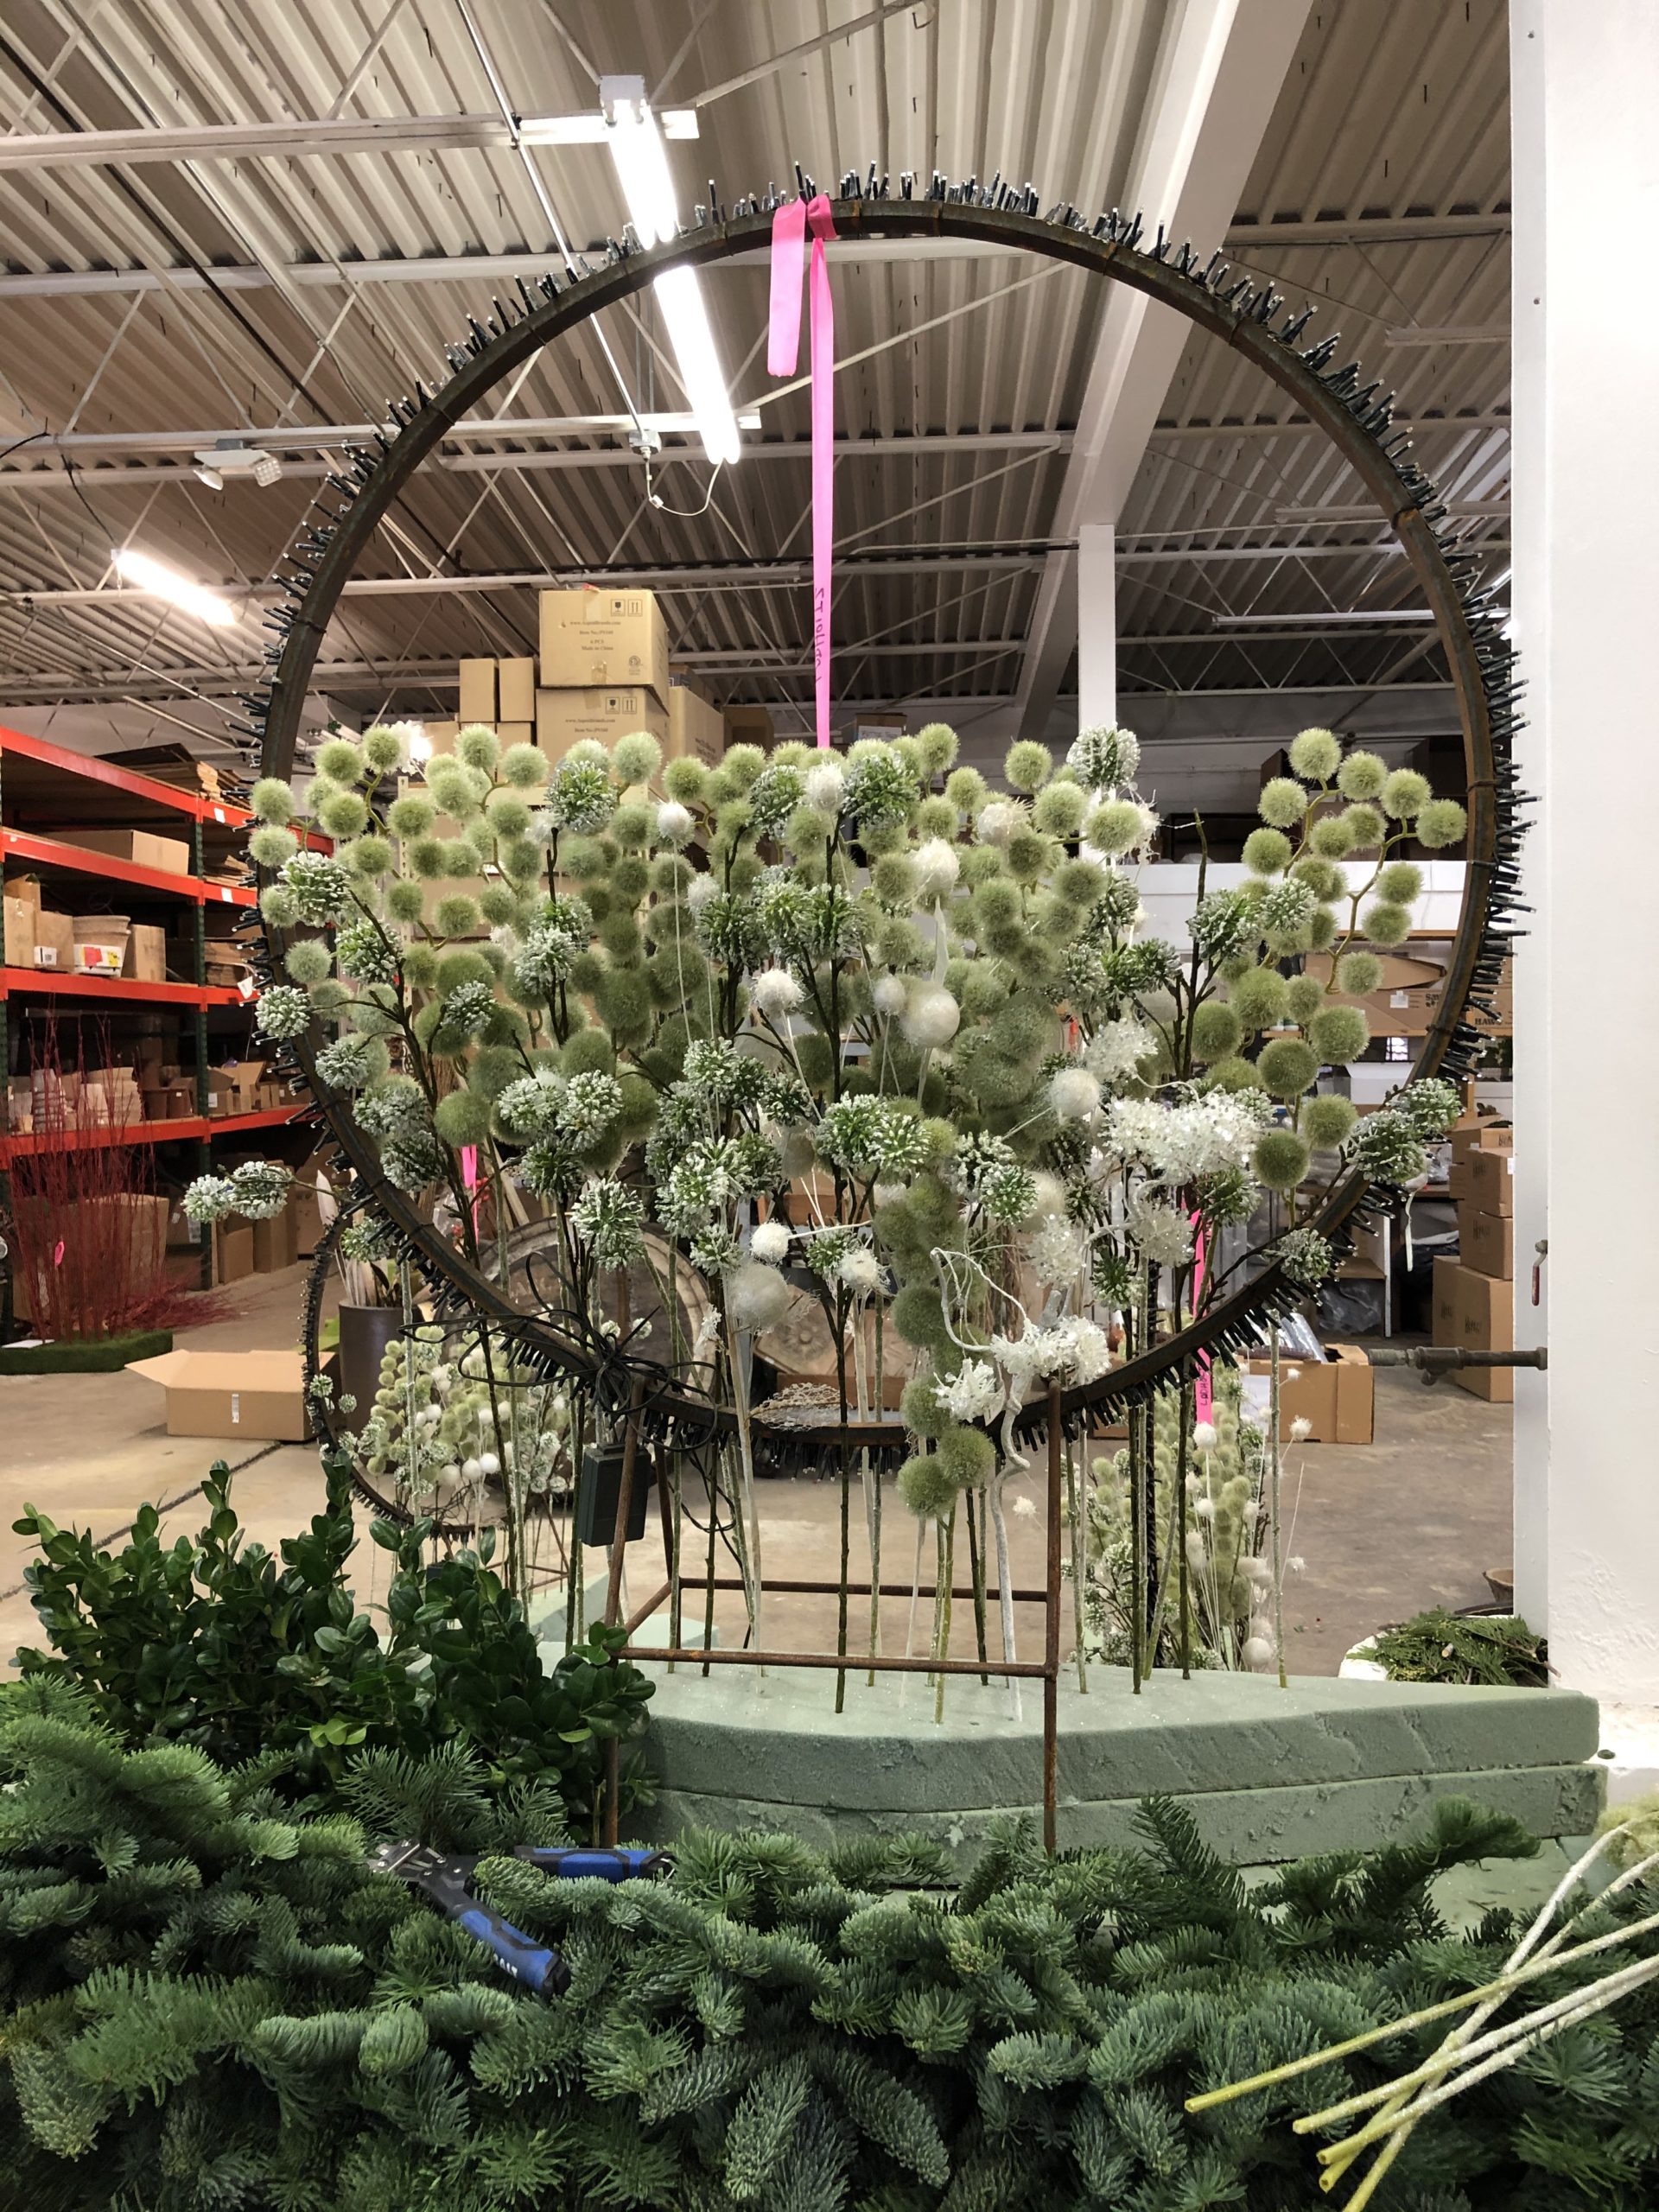 The other critical design issue is all about the placement of the bottom of the ring. I like it to be set such that the bottom of the ring is visible, both during the day and at night. This placement and finish creates the illusion that the ring is floating. This means that the legs of the rings will need bamboo stakes or rebar zip tied to it, to both prop and keep it up at the desired level. I am not crazy about burying the bottom of the ring in twigs, picks or greens for another reason. Though the light sets are factory sealed, I don’t like them in a situation where water can collect and persist. If there is an electrical problem, I want easy access to the cord and transformer.
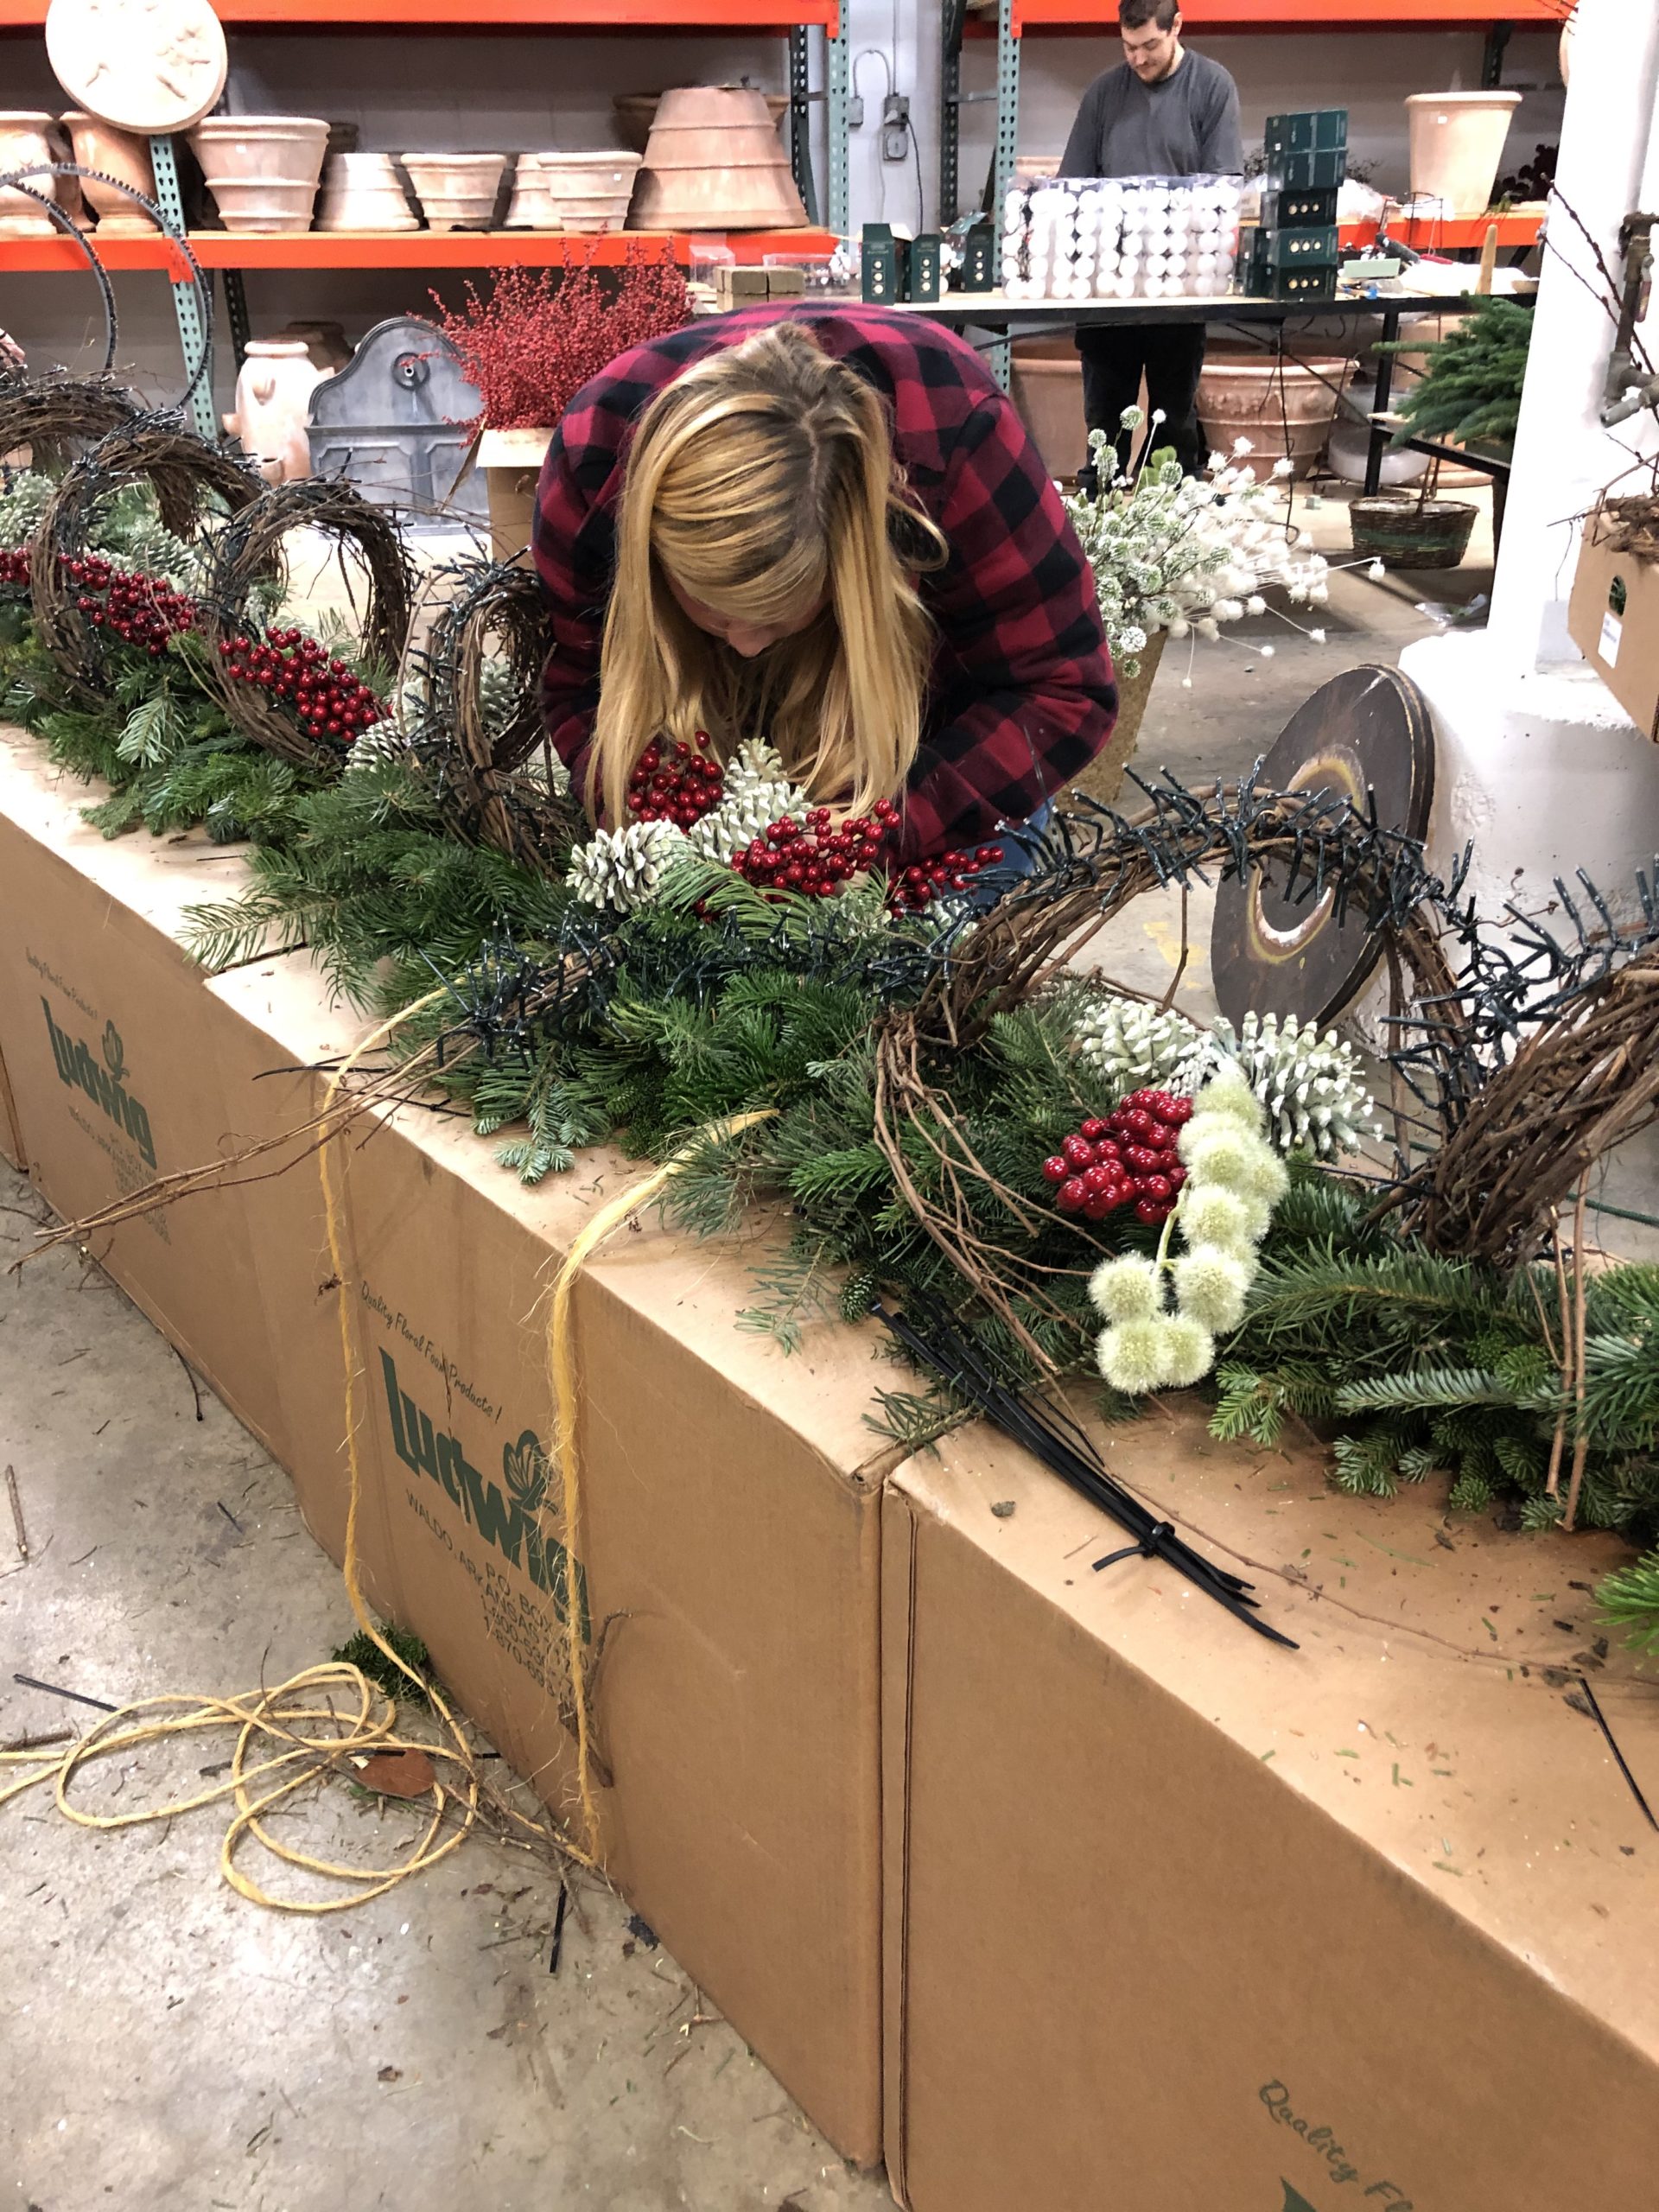
 Karen does a terrific job of greening the lower forms. How she sticks them creates the illusion of a shrub growing. She does a terrific job of so many facets of the holiday installation. How I value her work. Thanks, Karen.
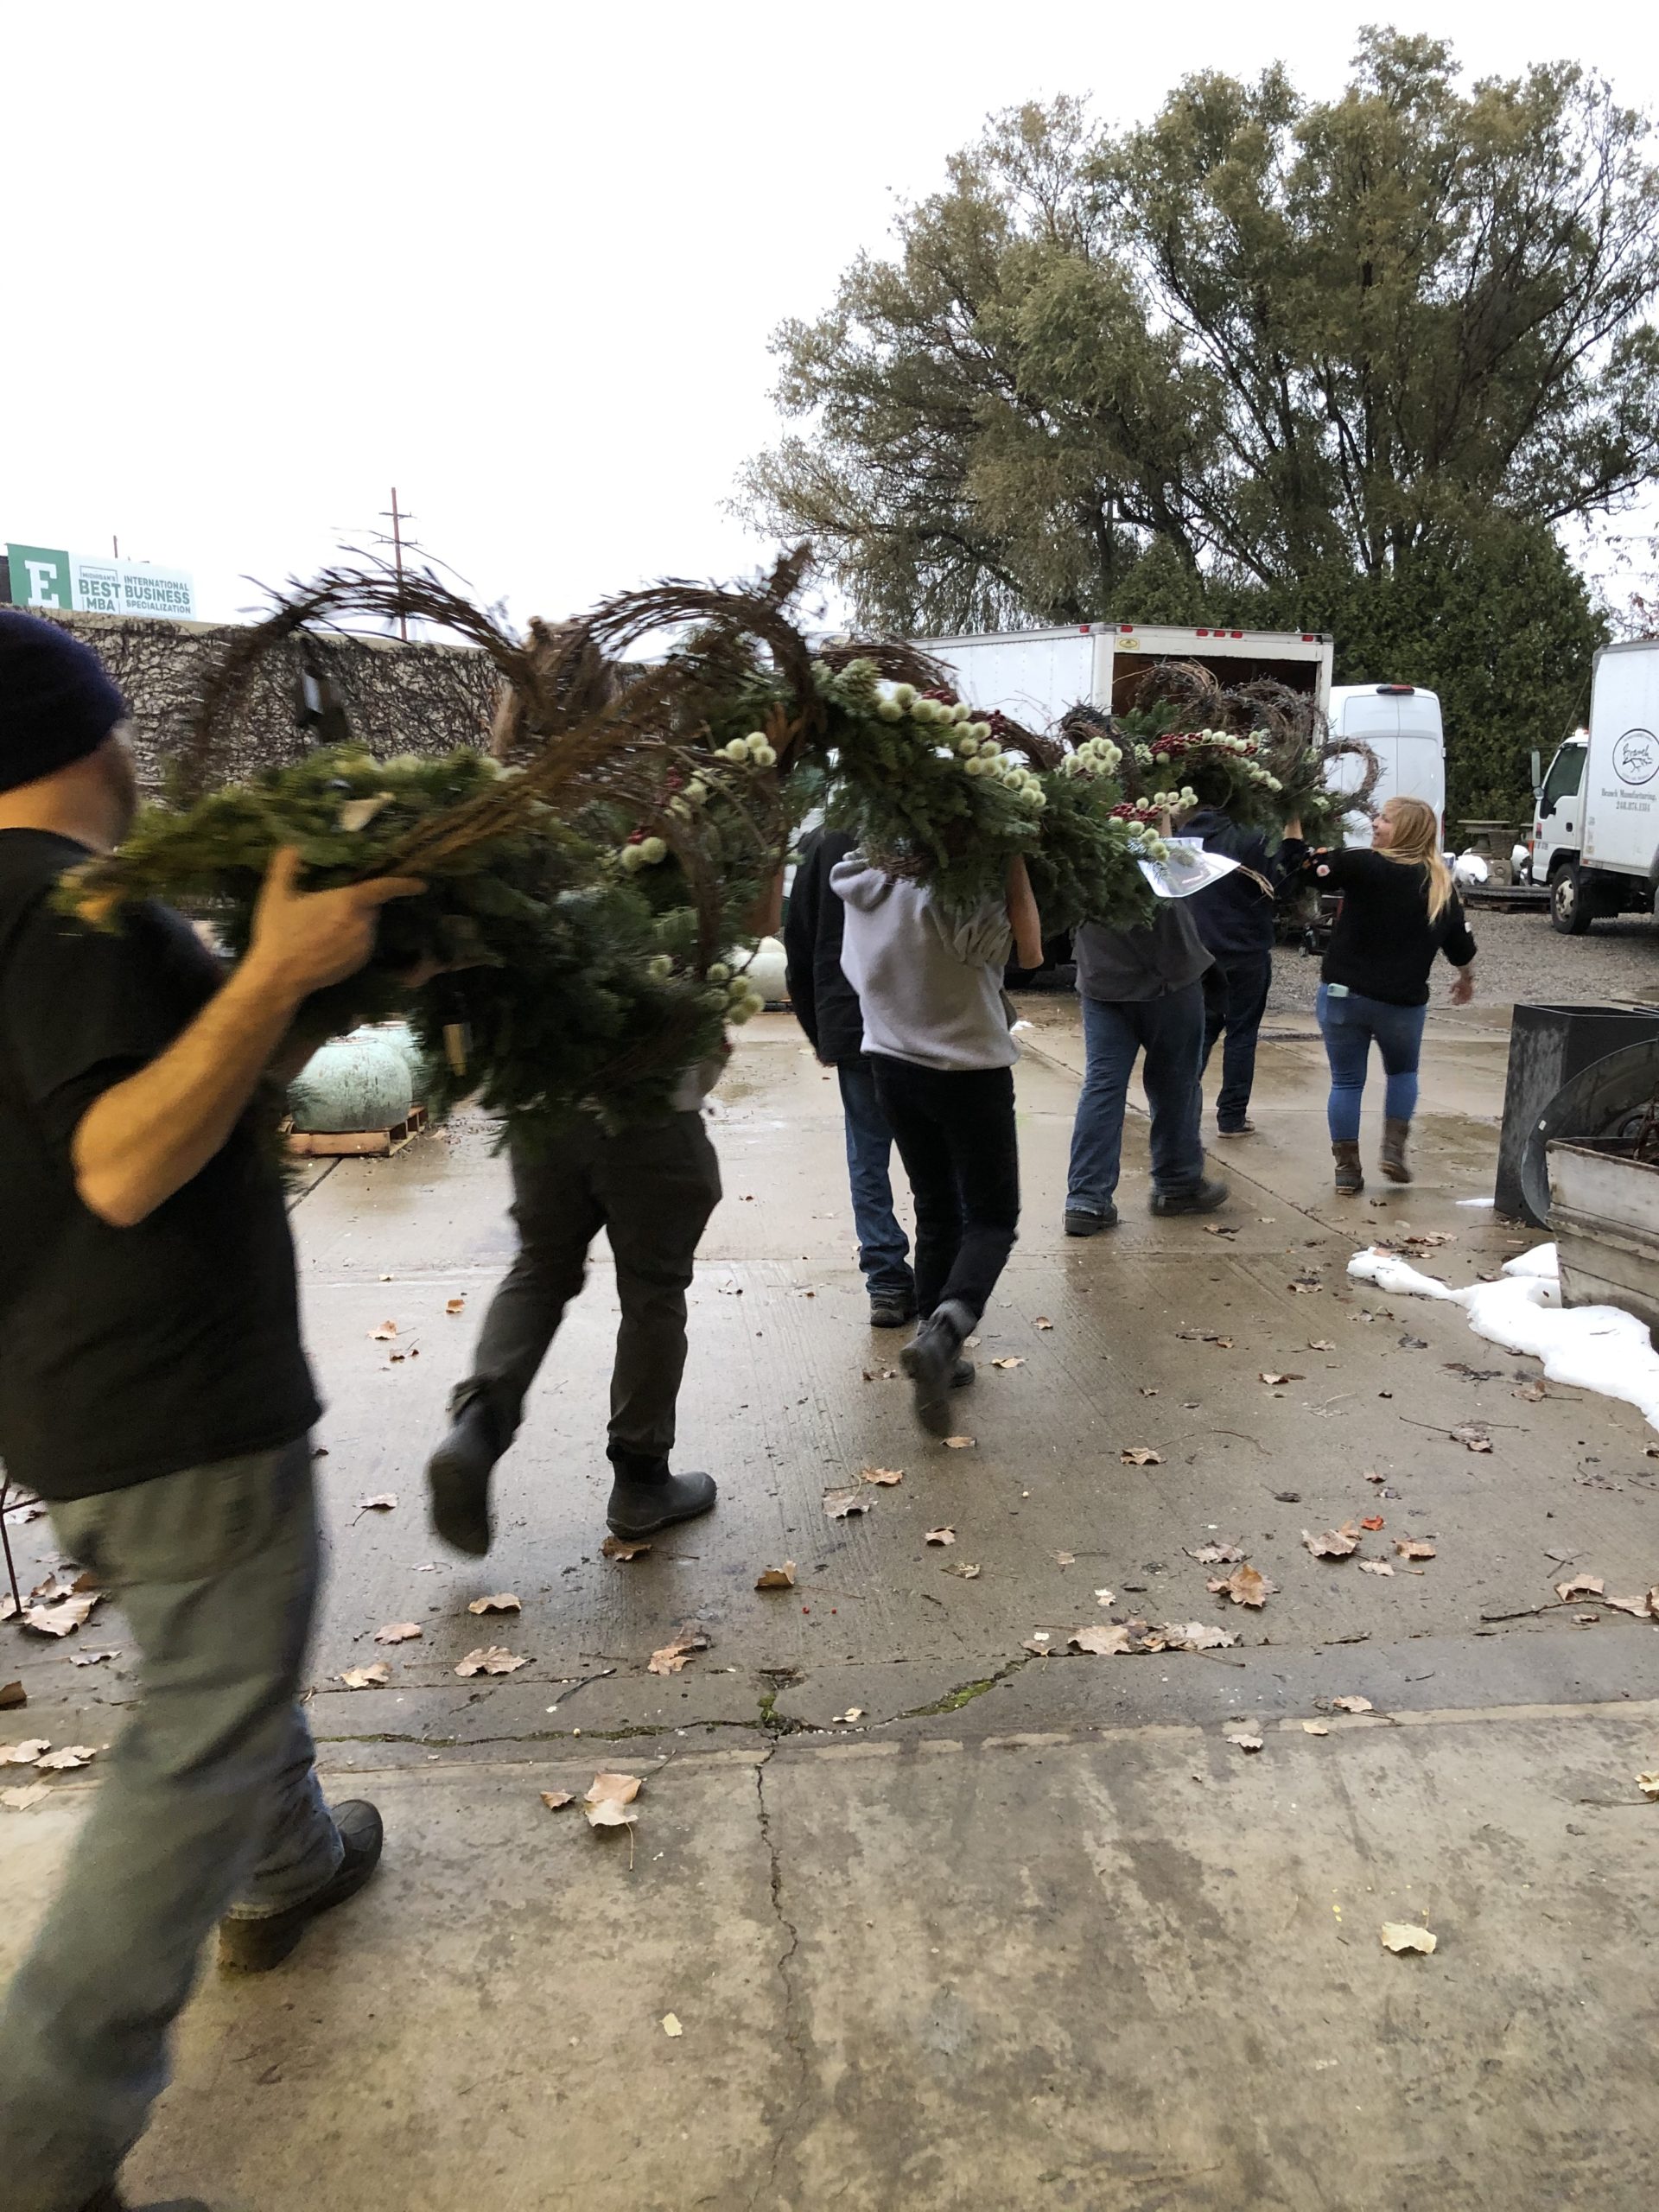
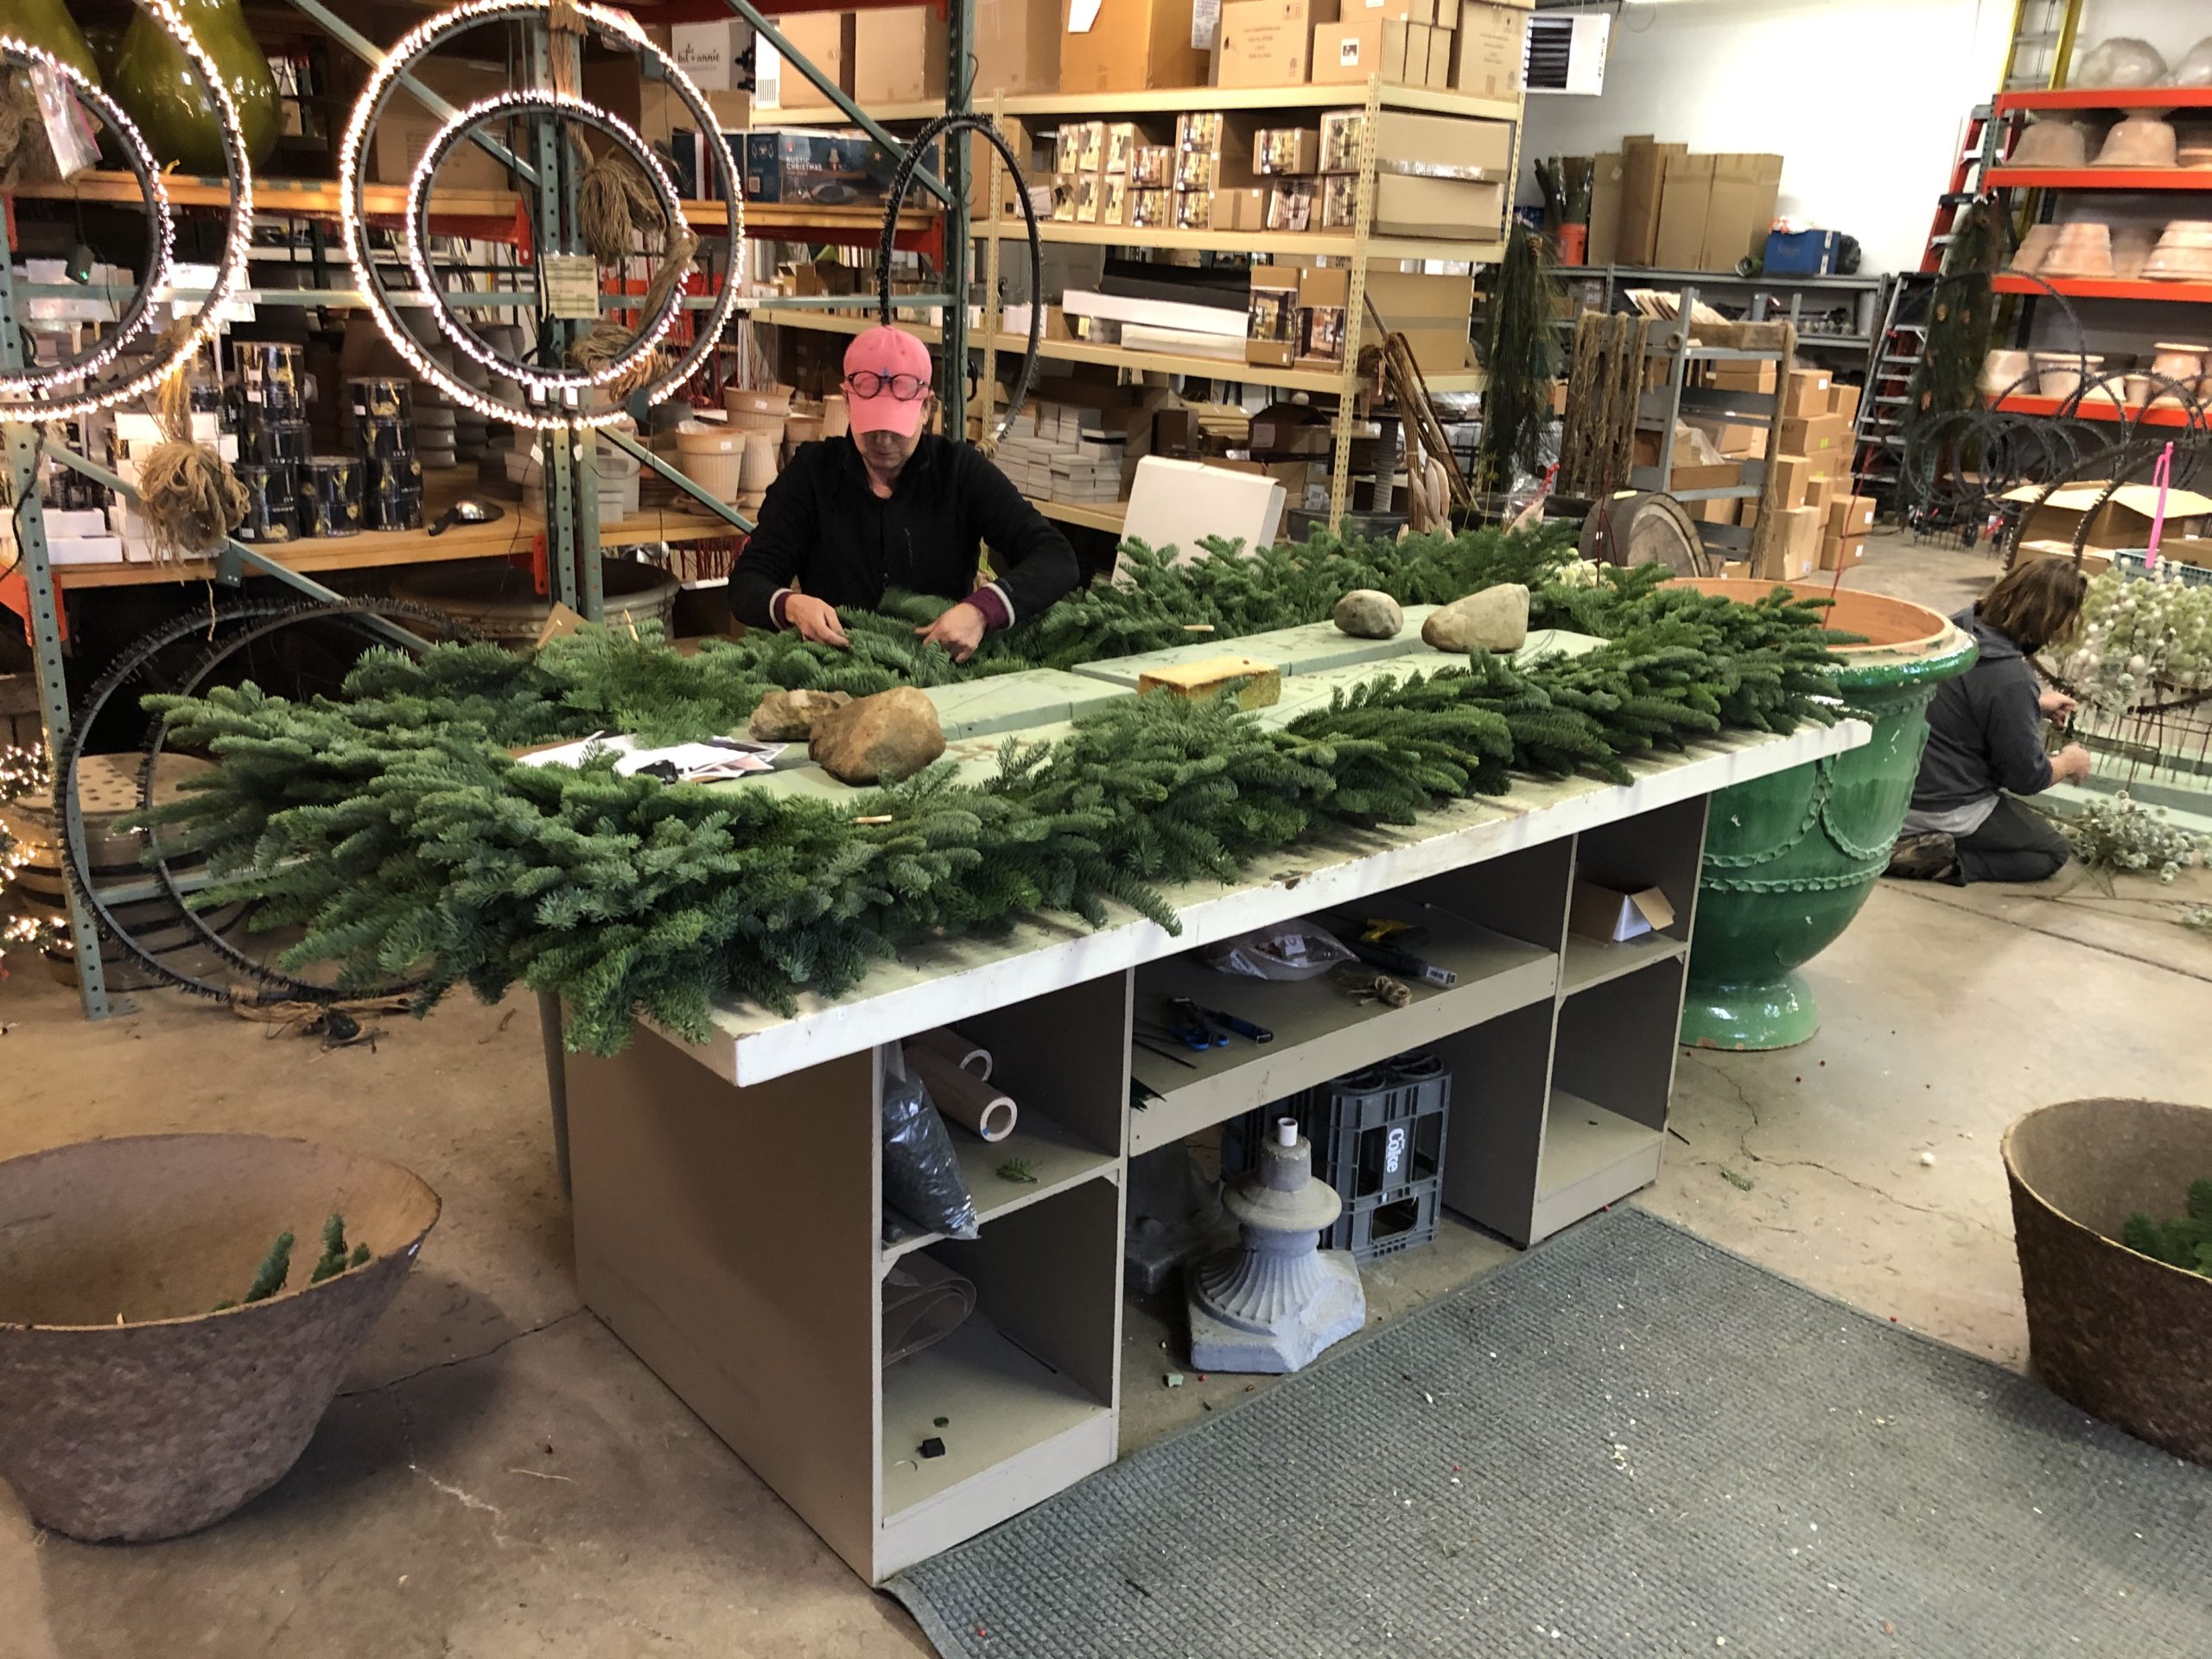 The greens are heavy. They are composed of fresh wet wood, and water saturated needles. This explains the need for rocks and bricks to keep the forms from tipping over.
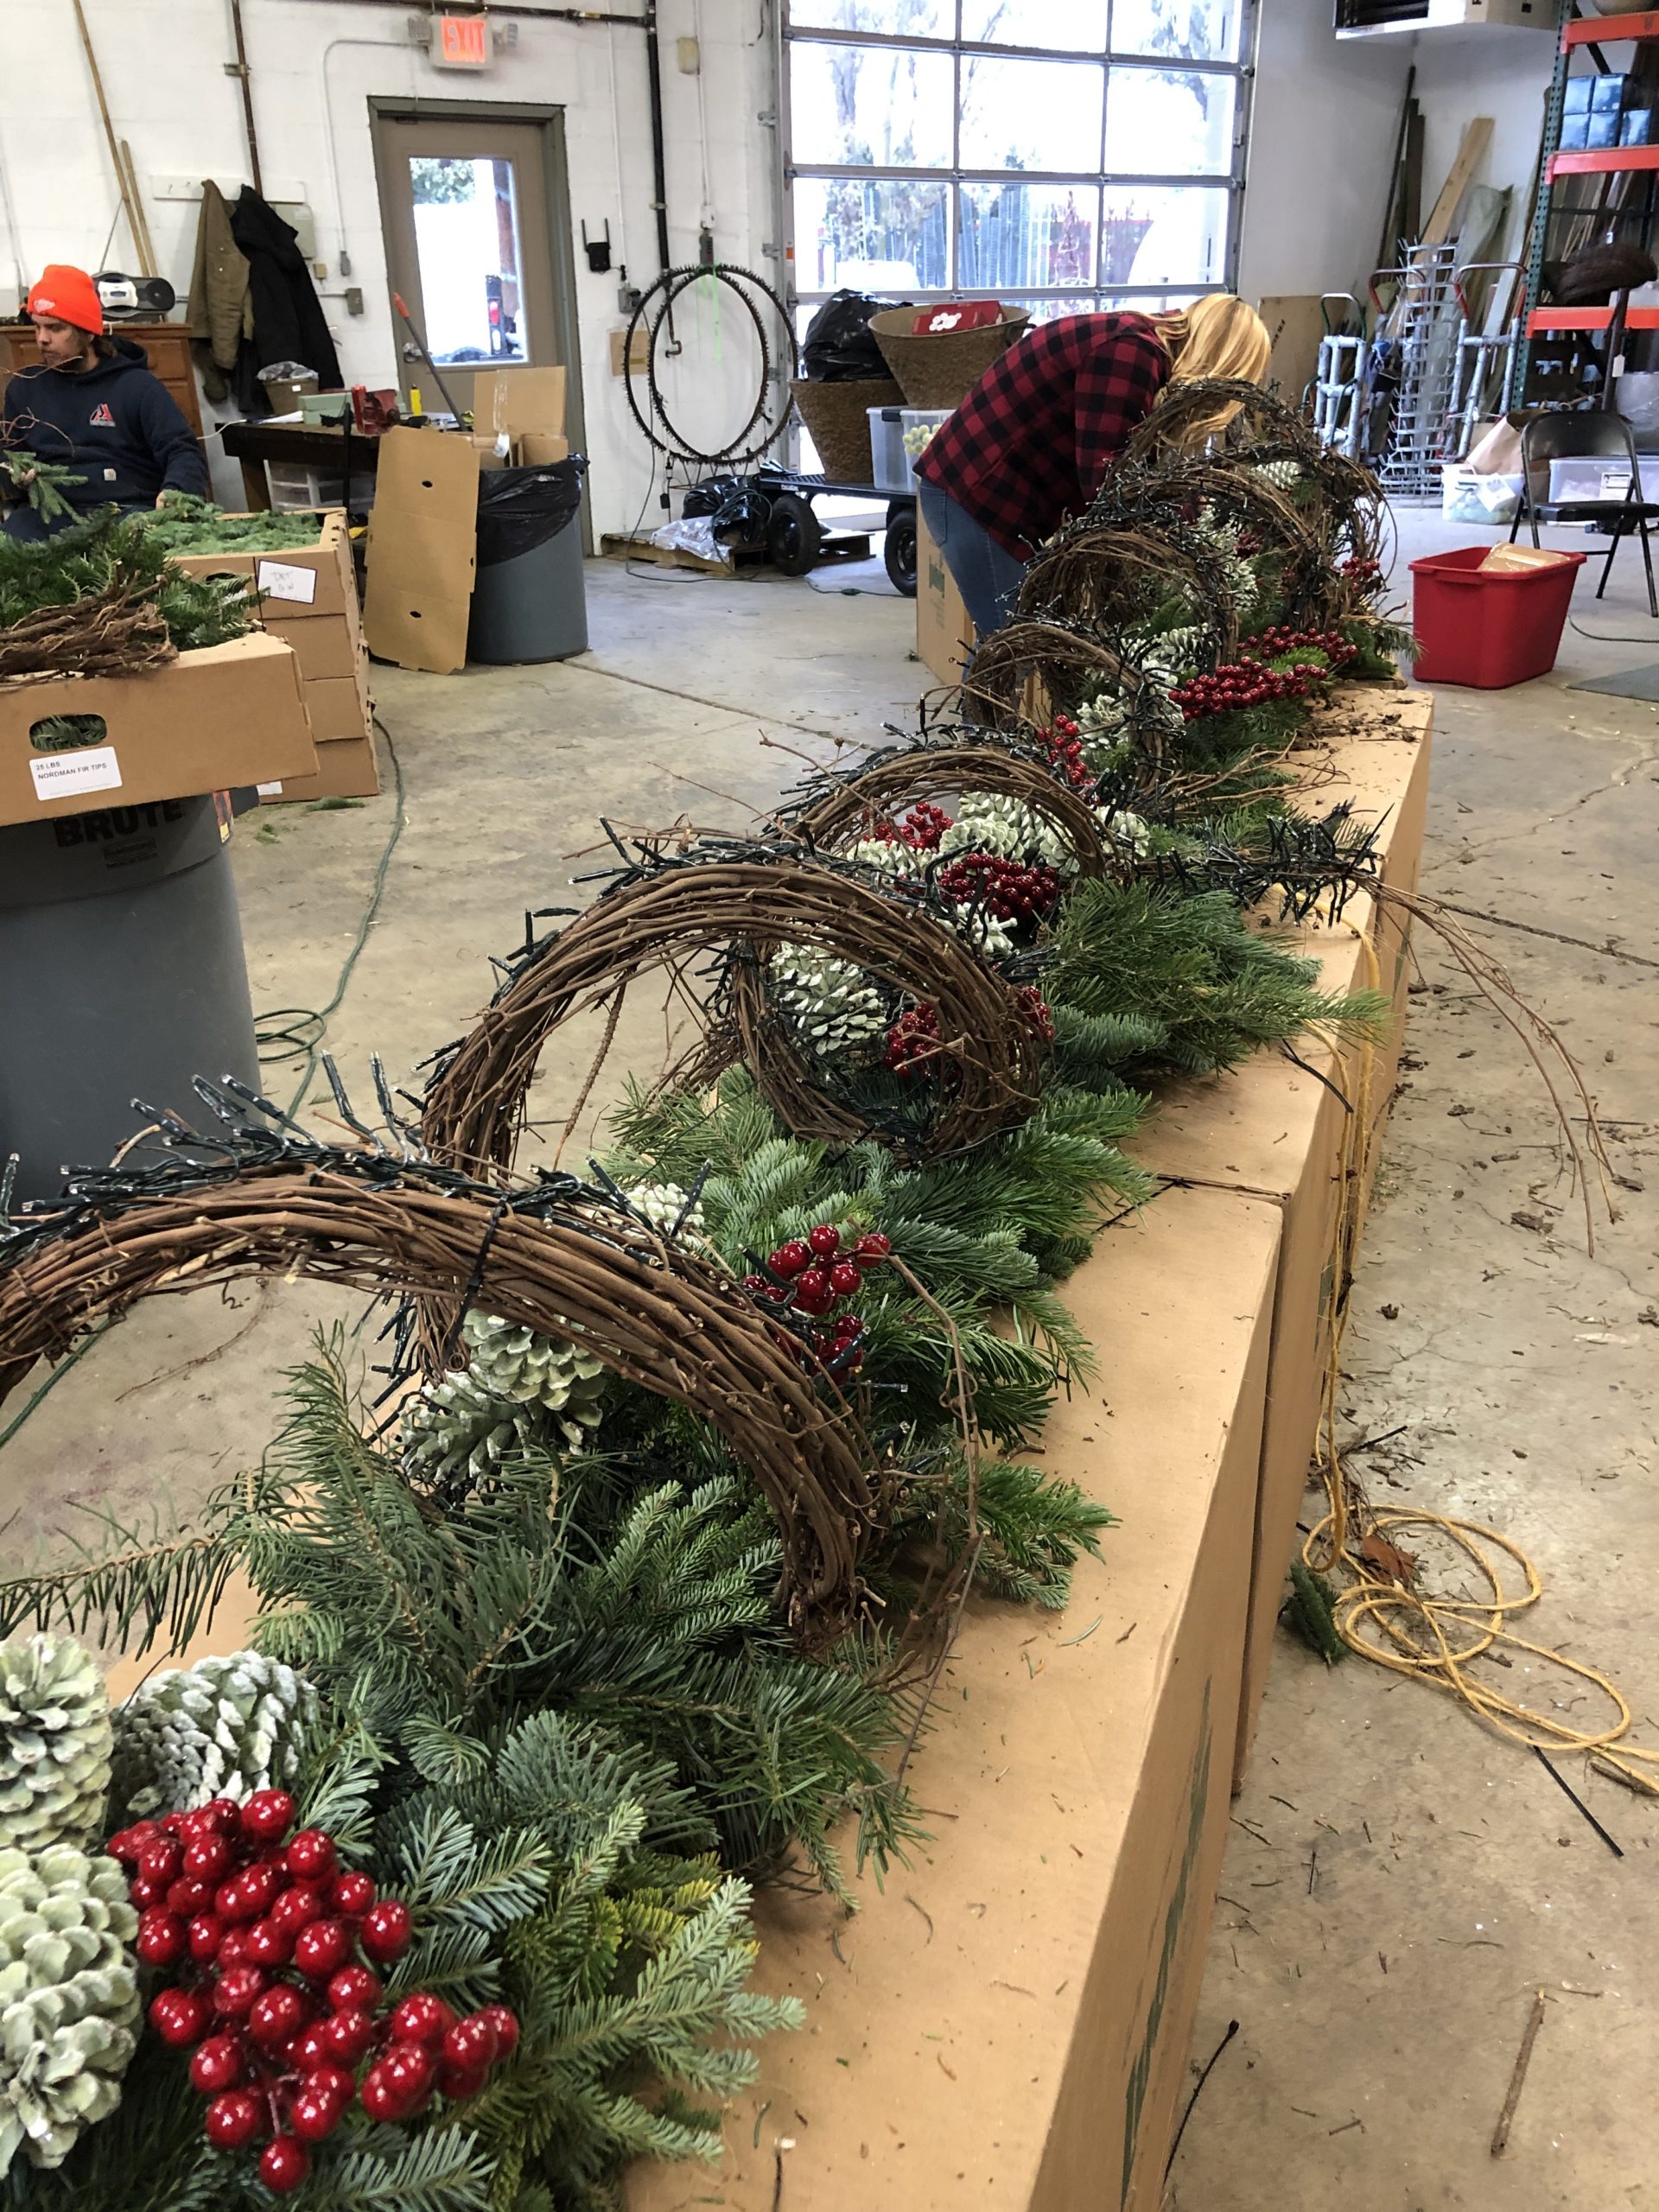
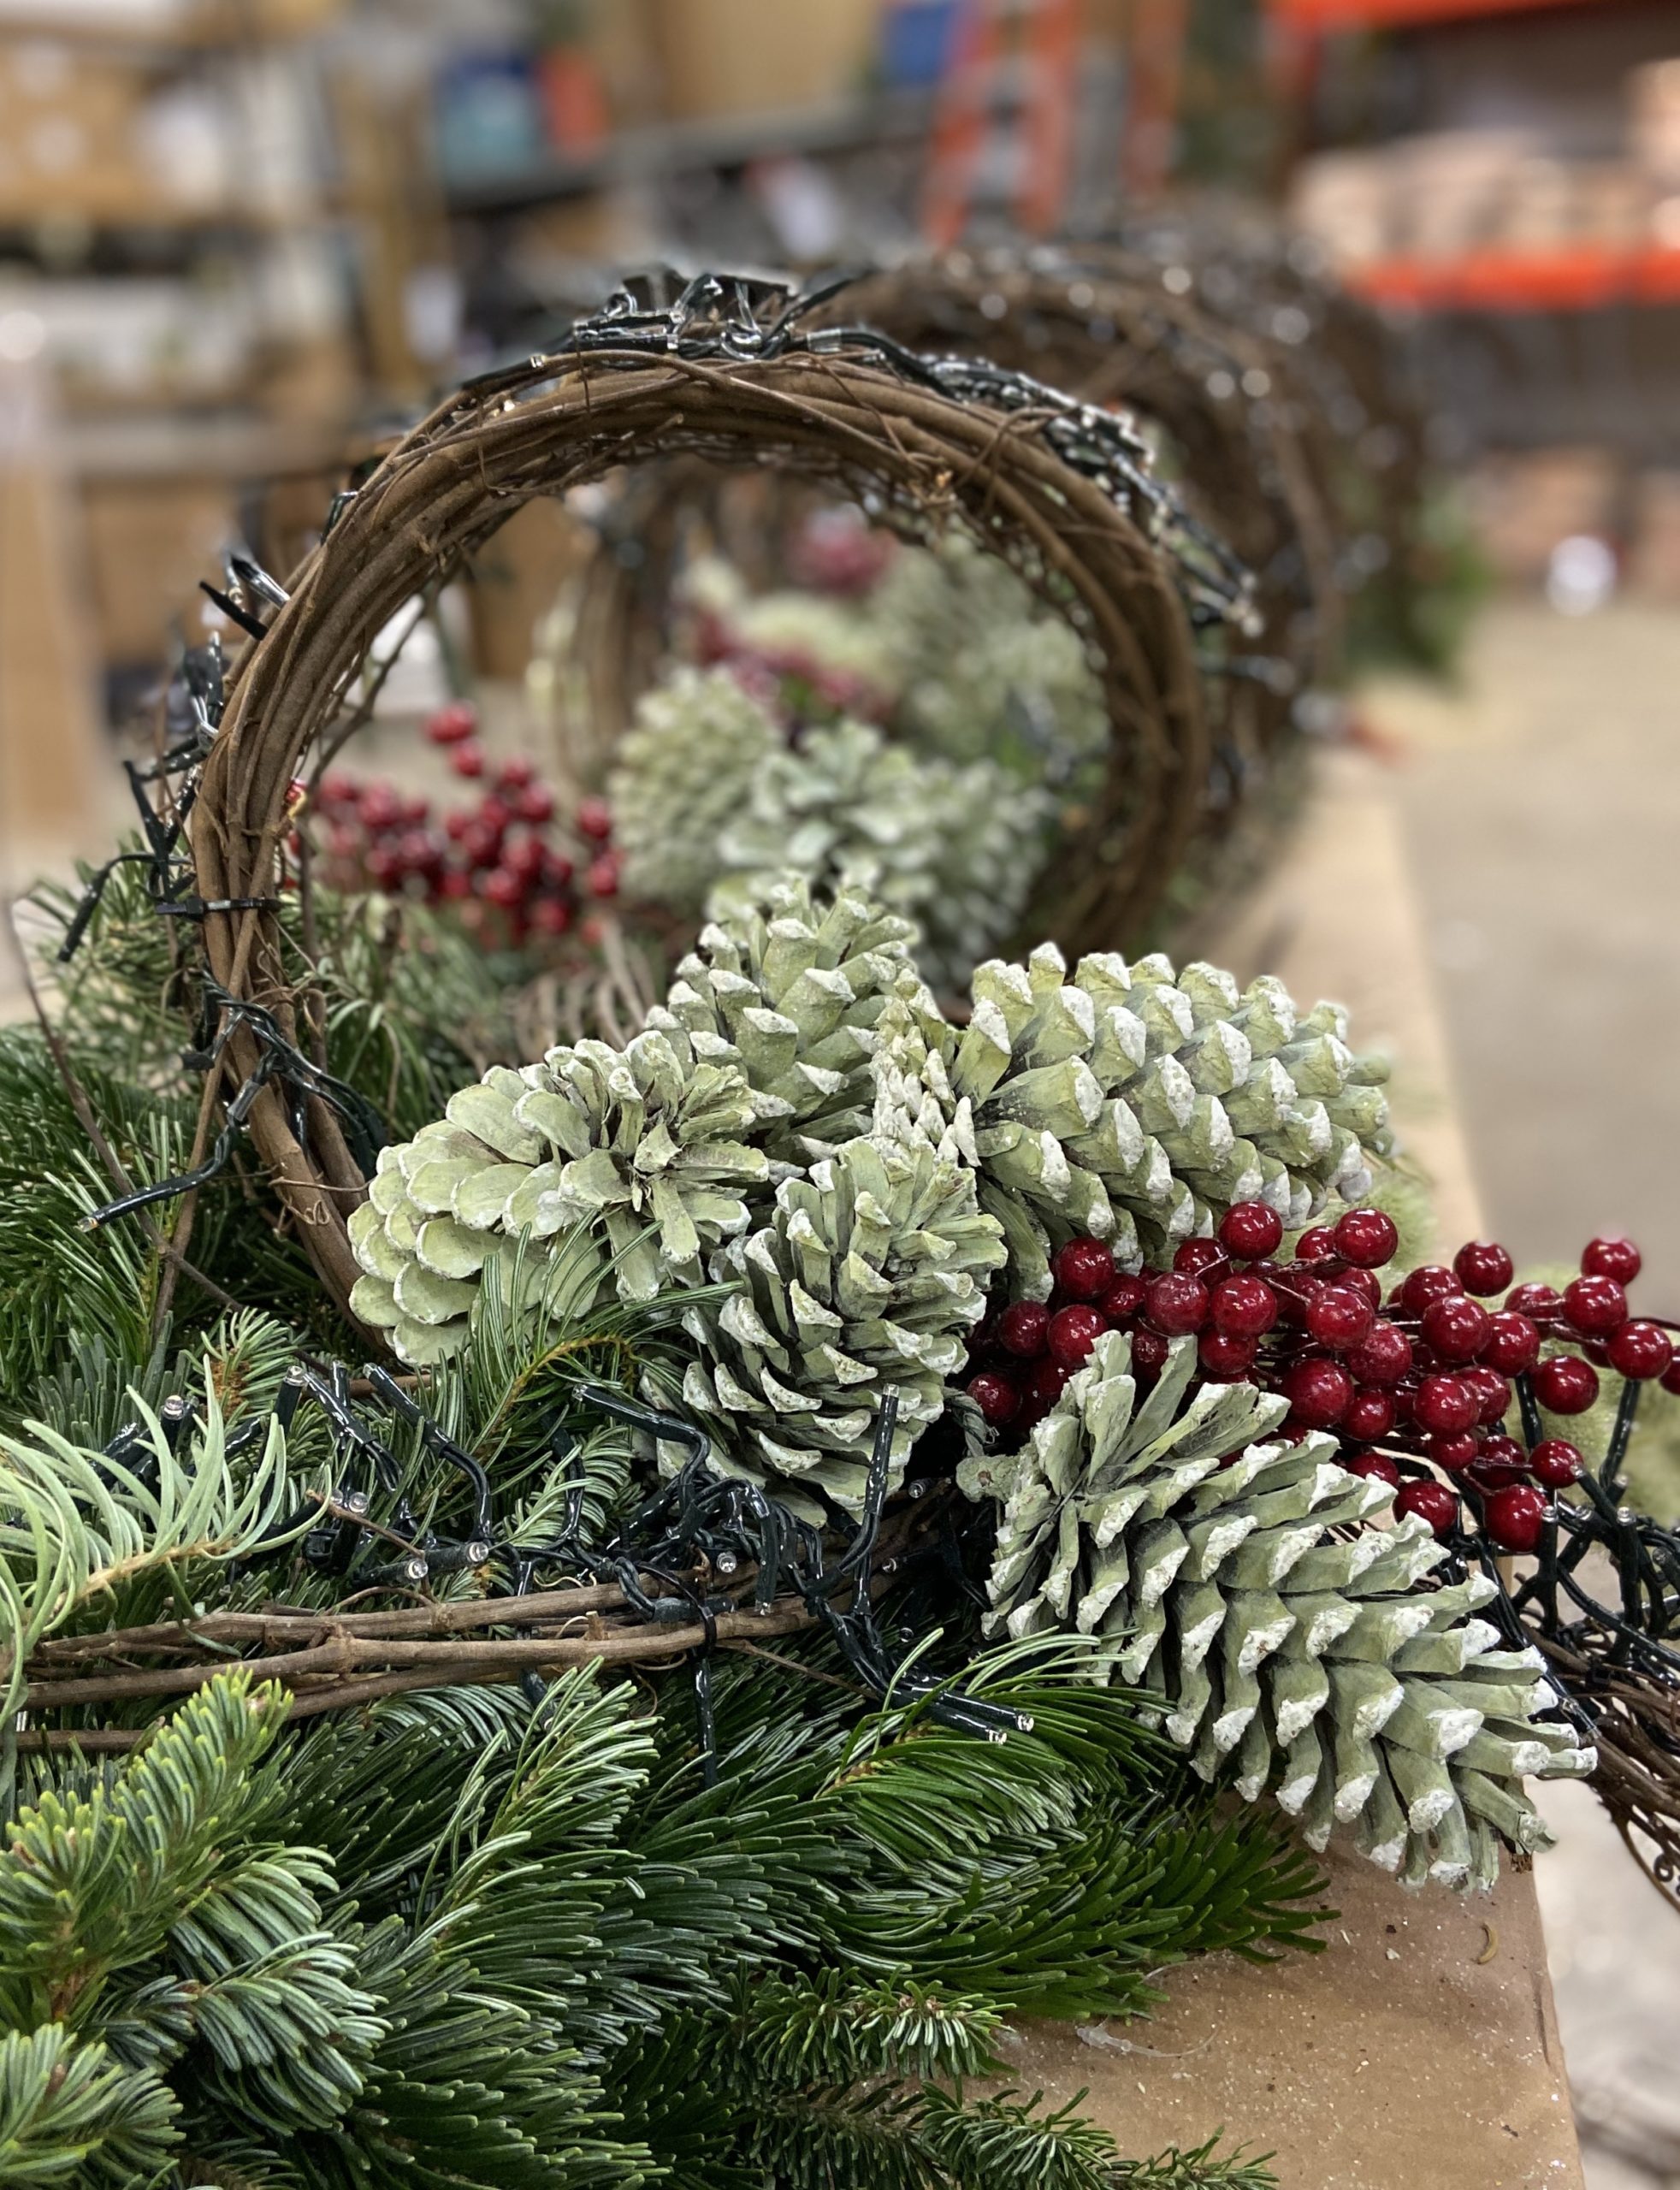
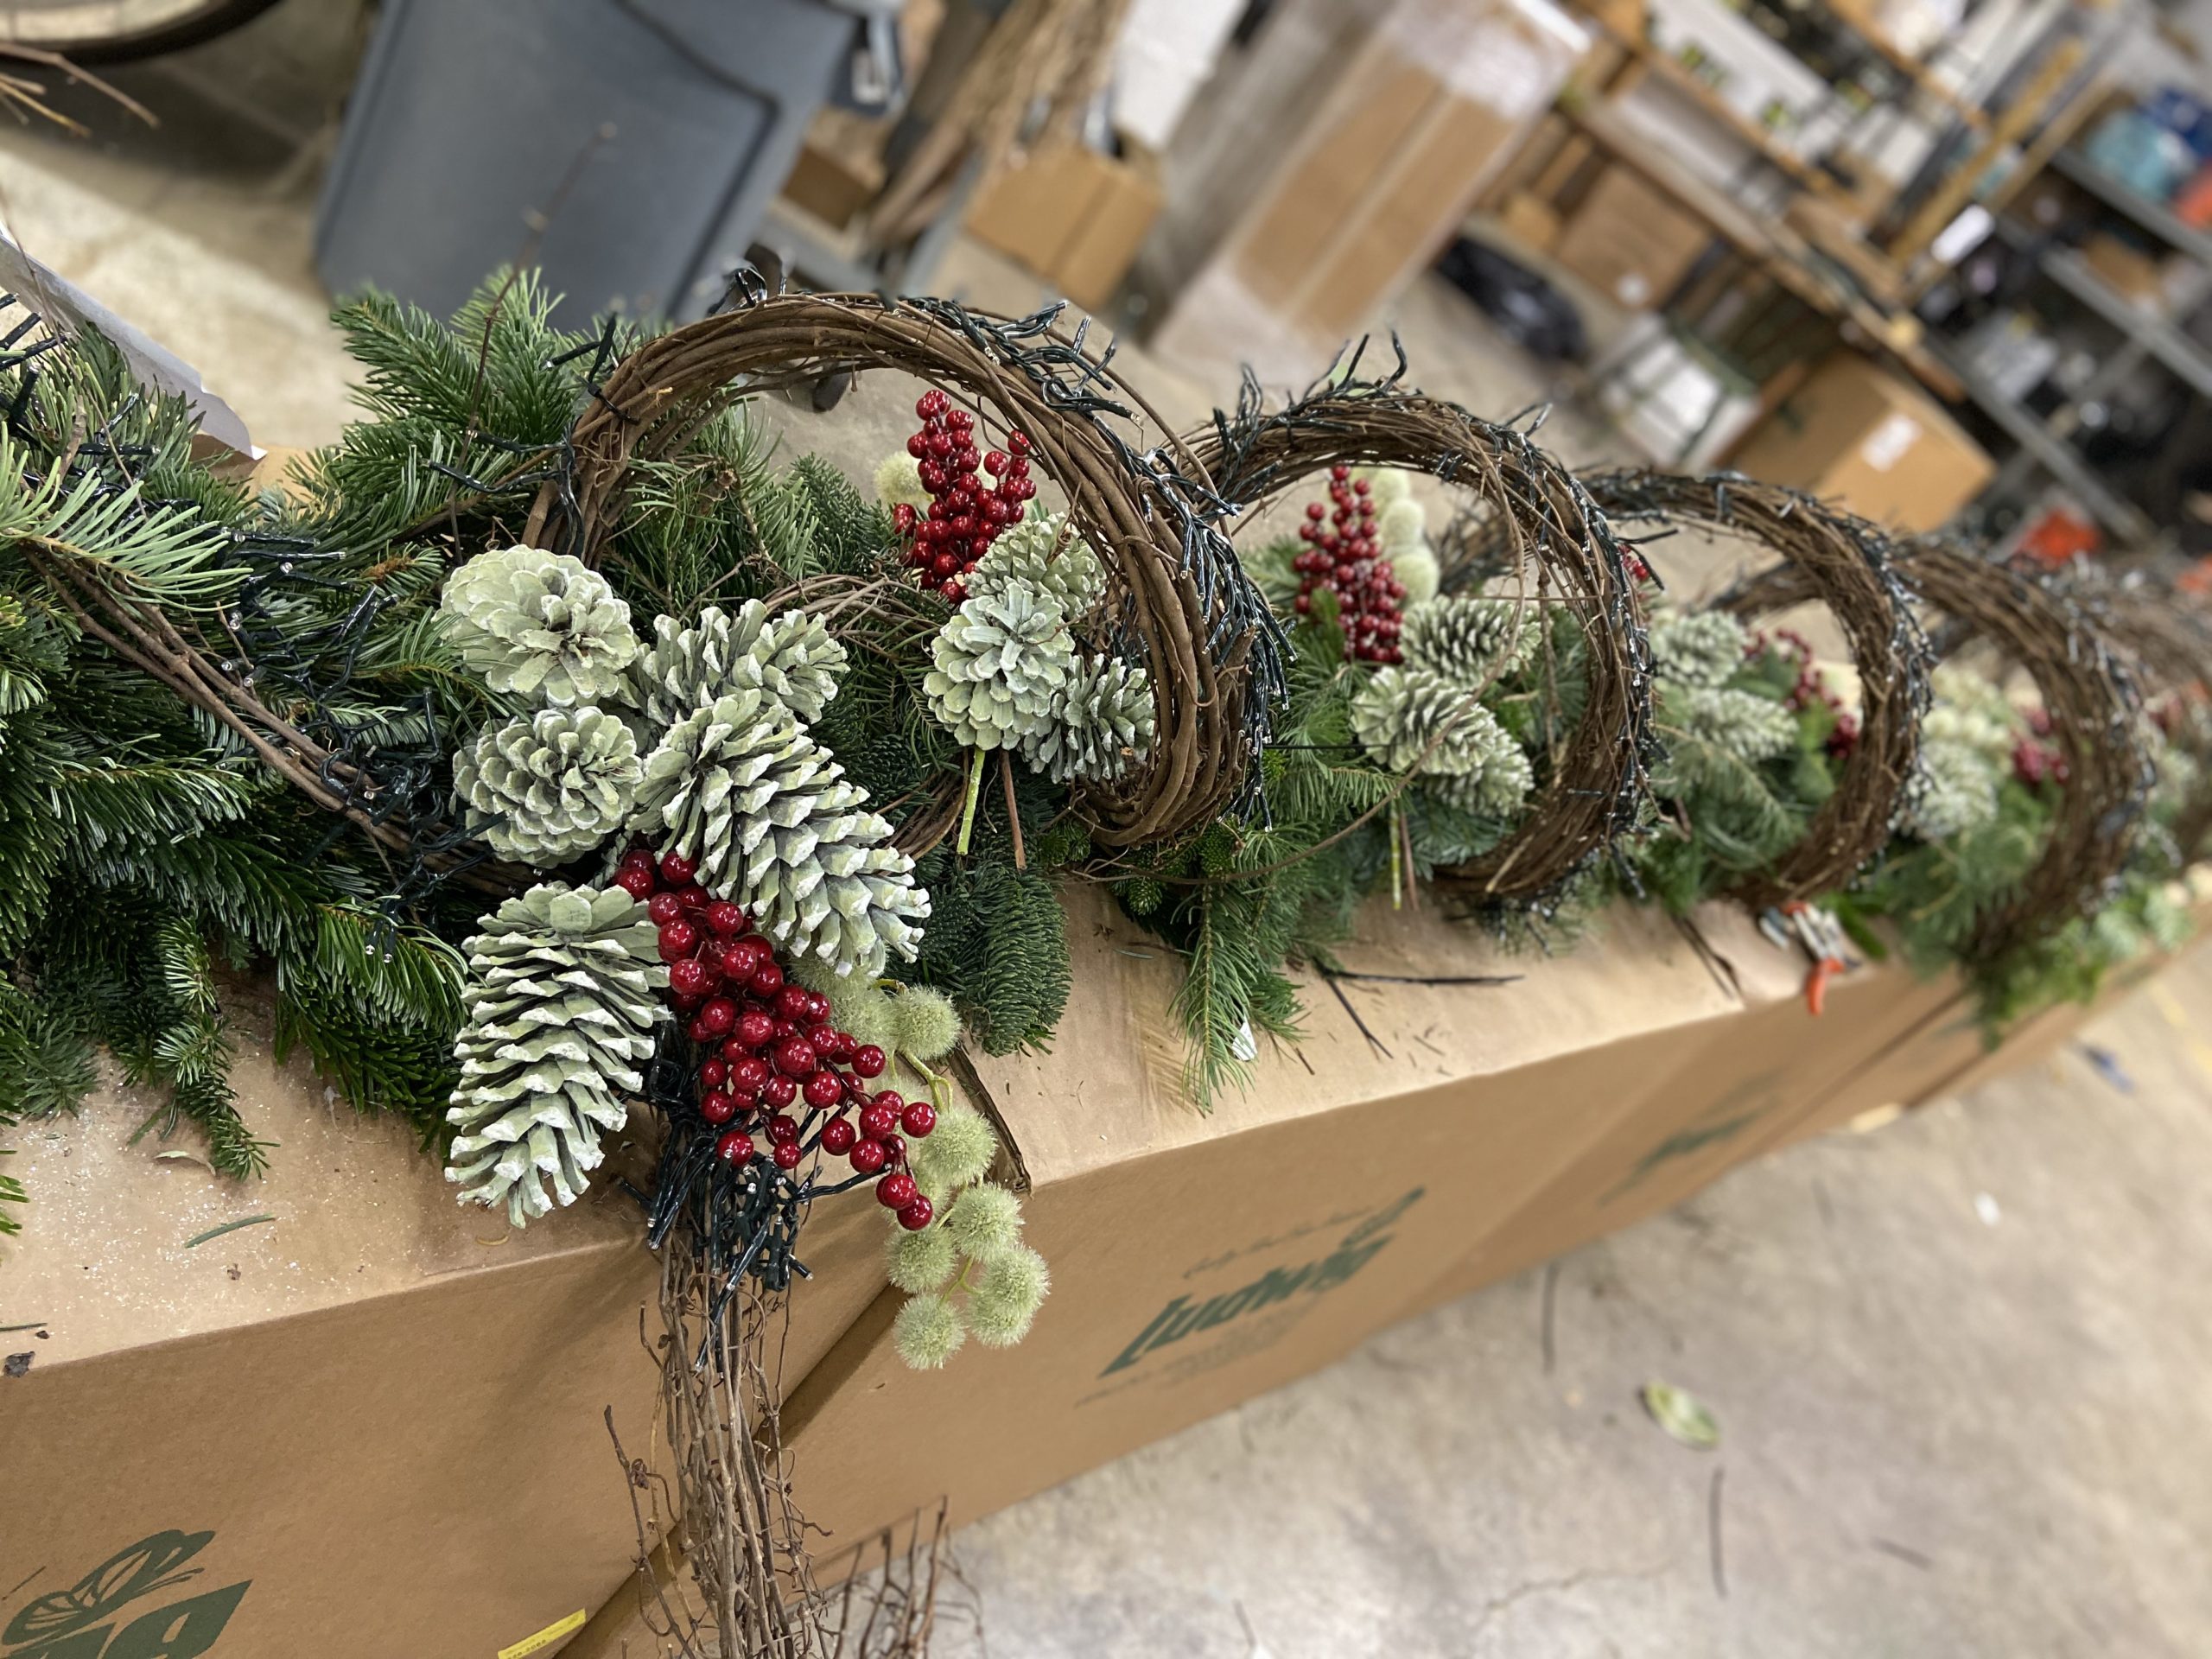
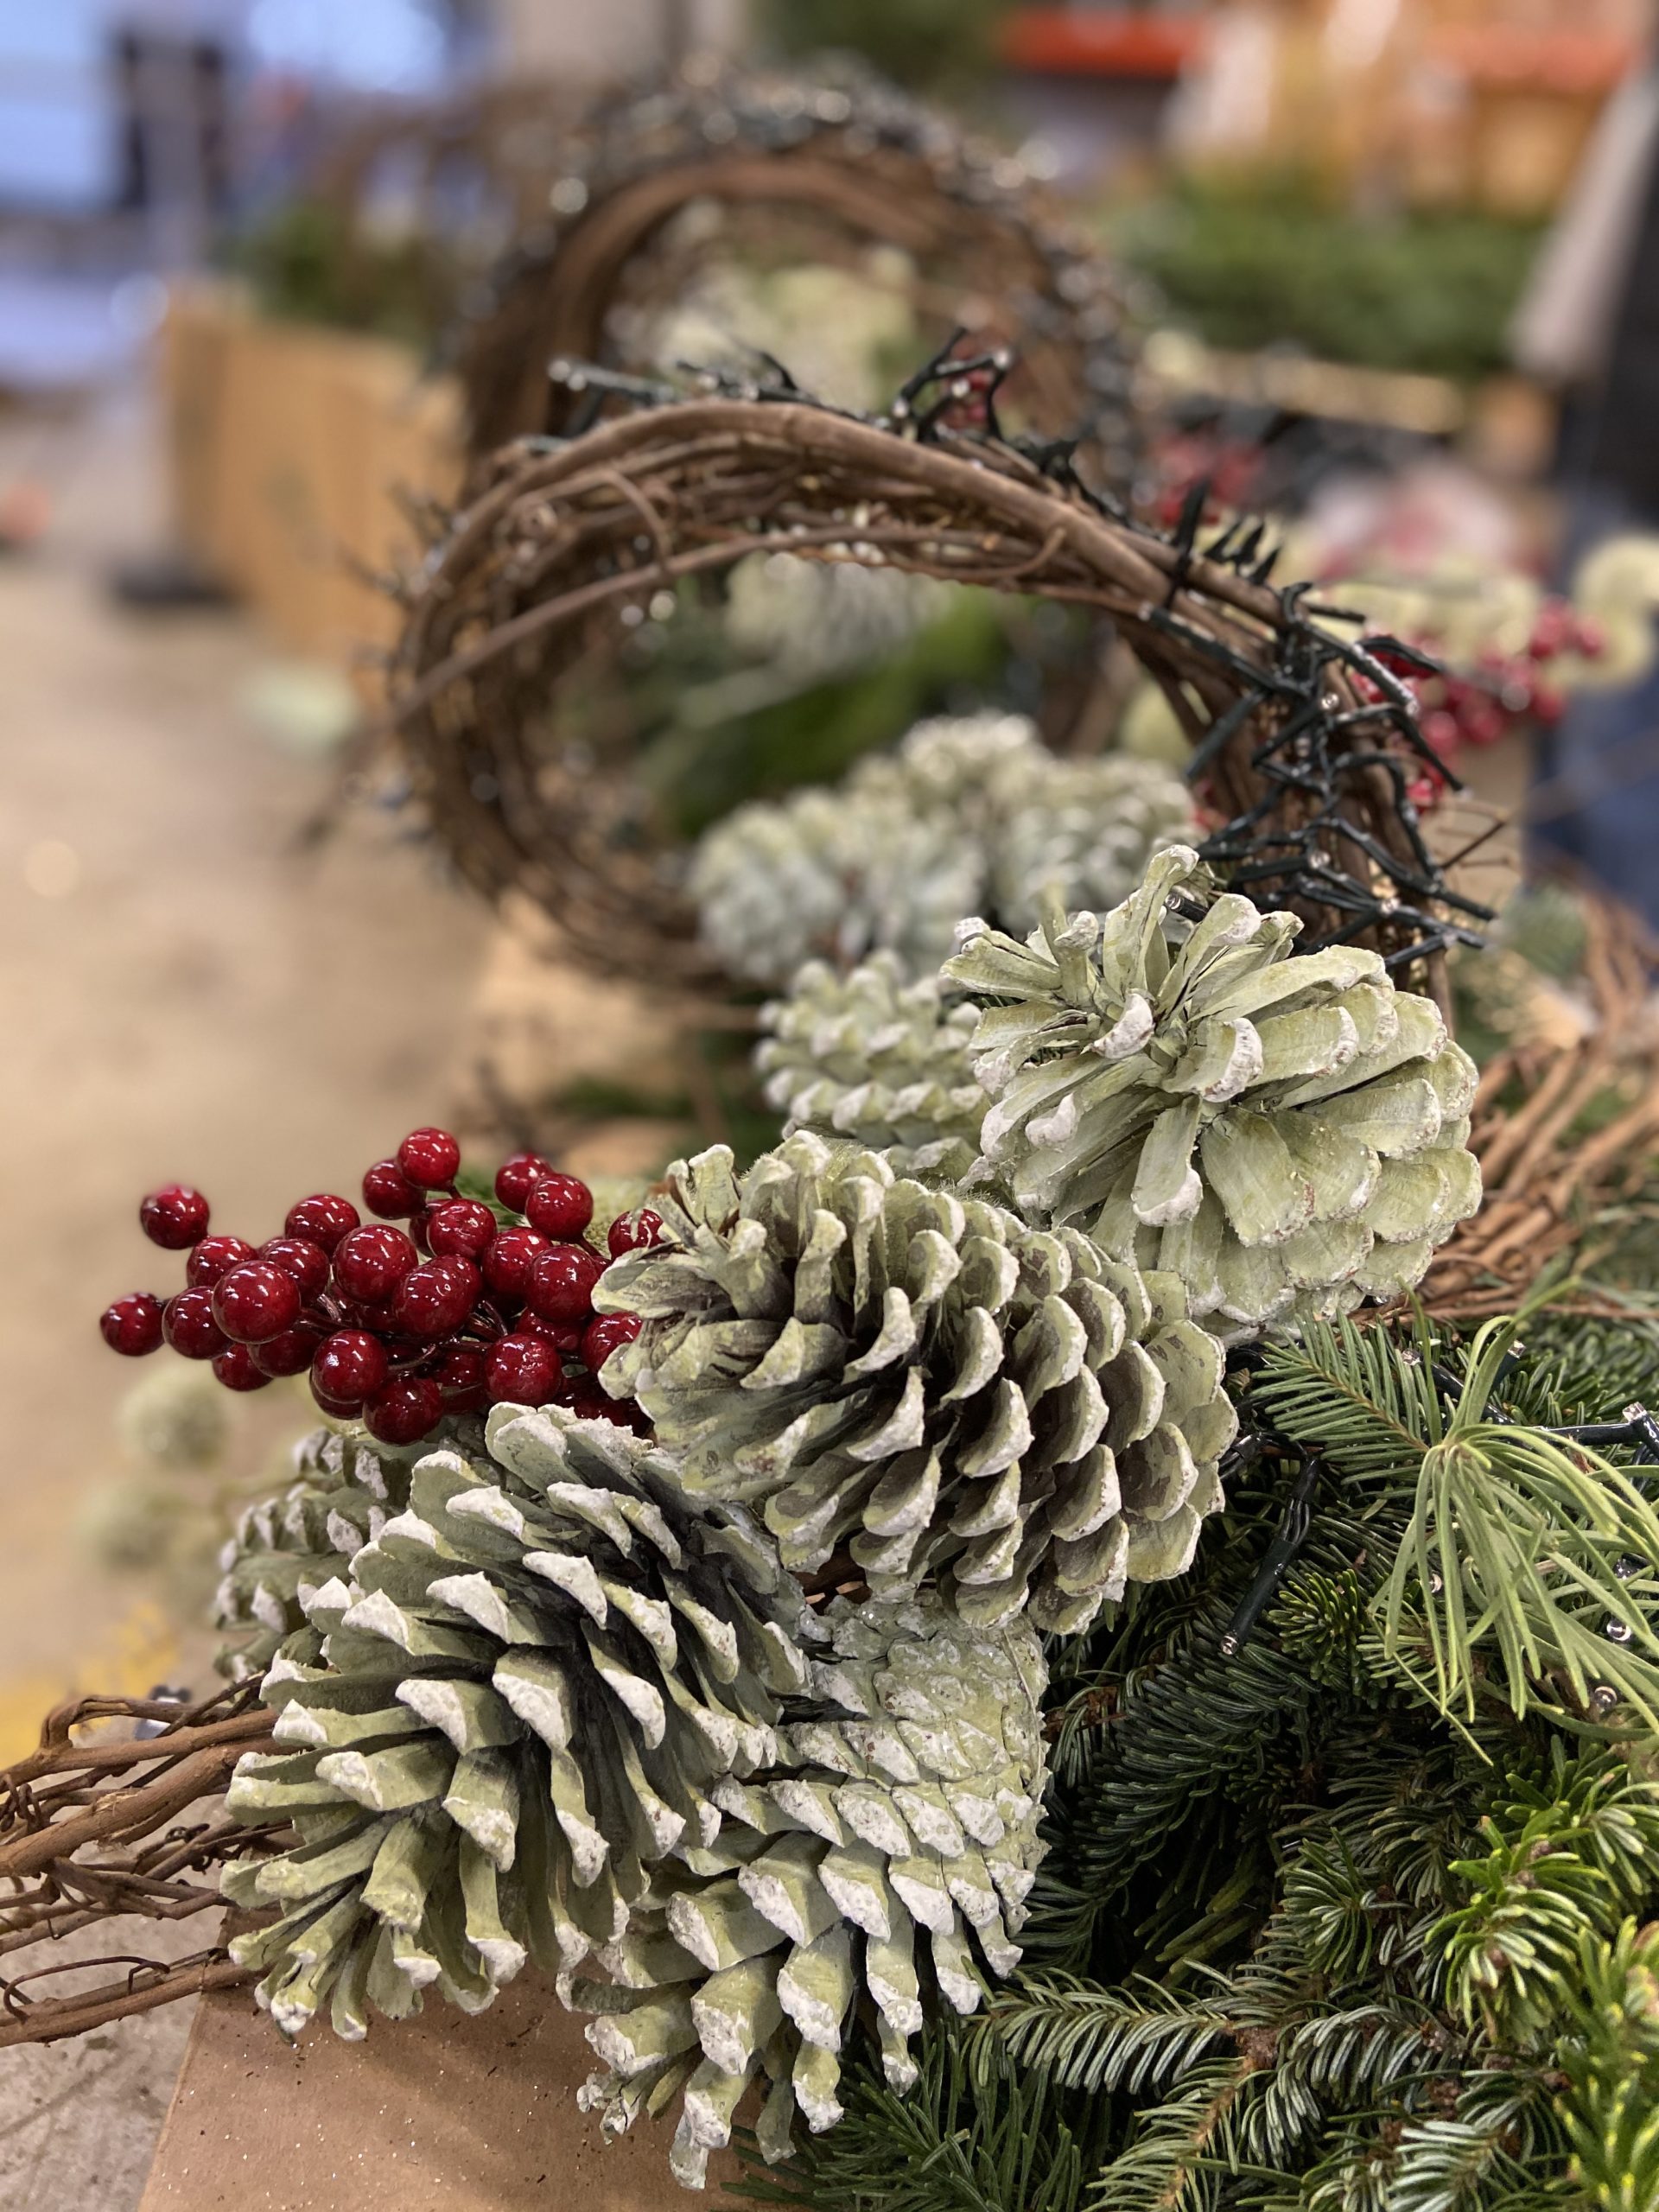
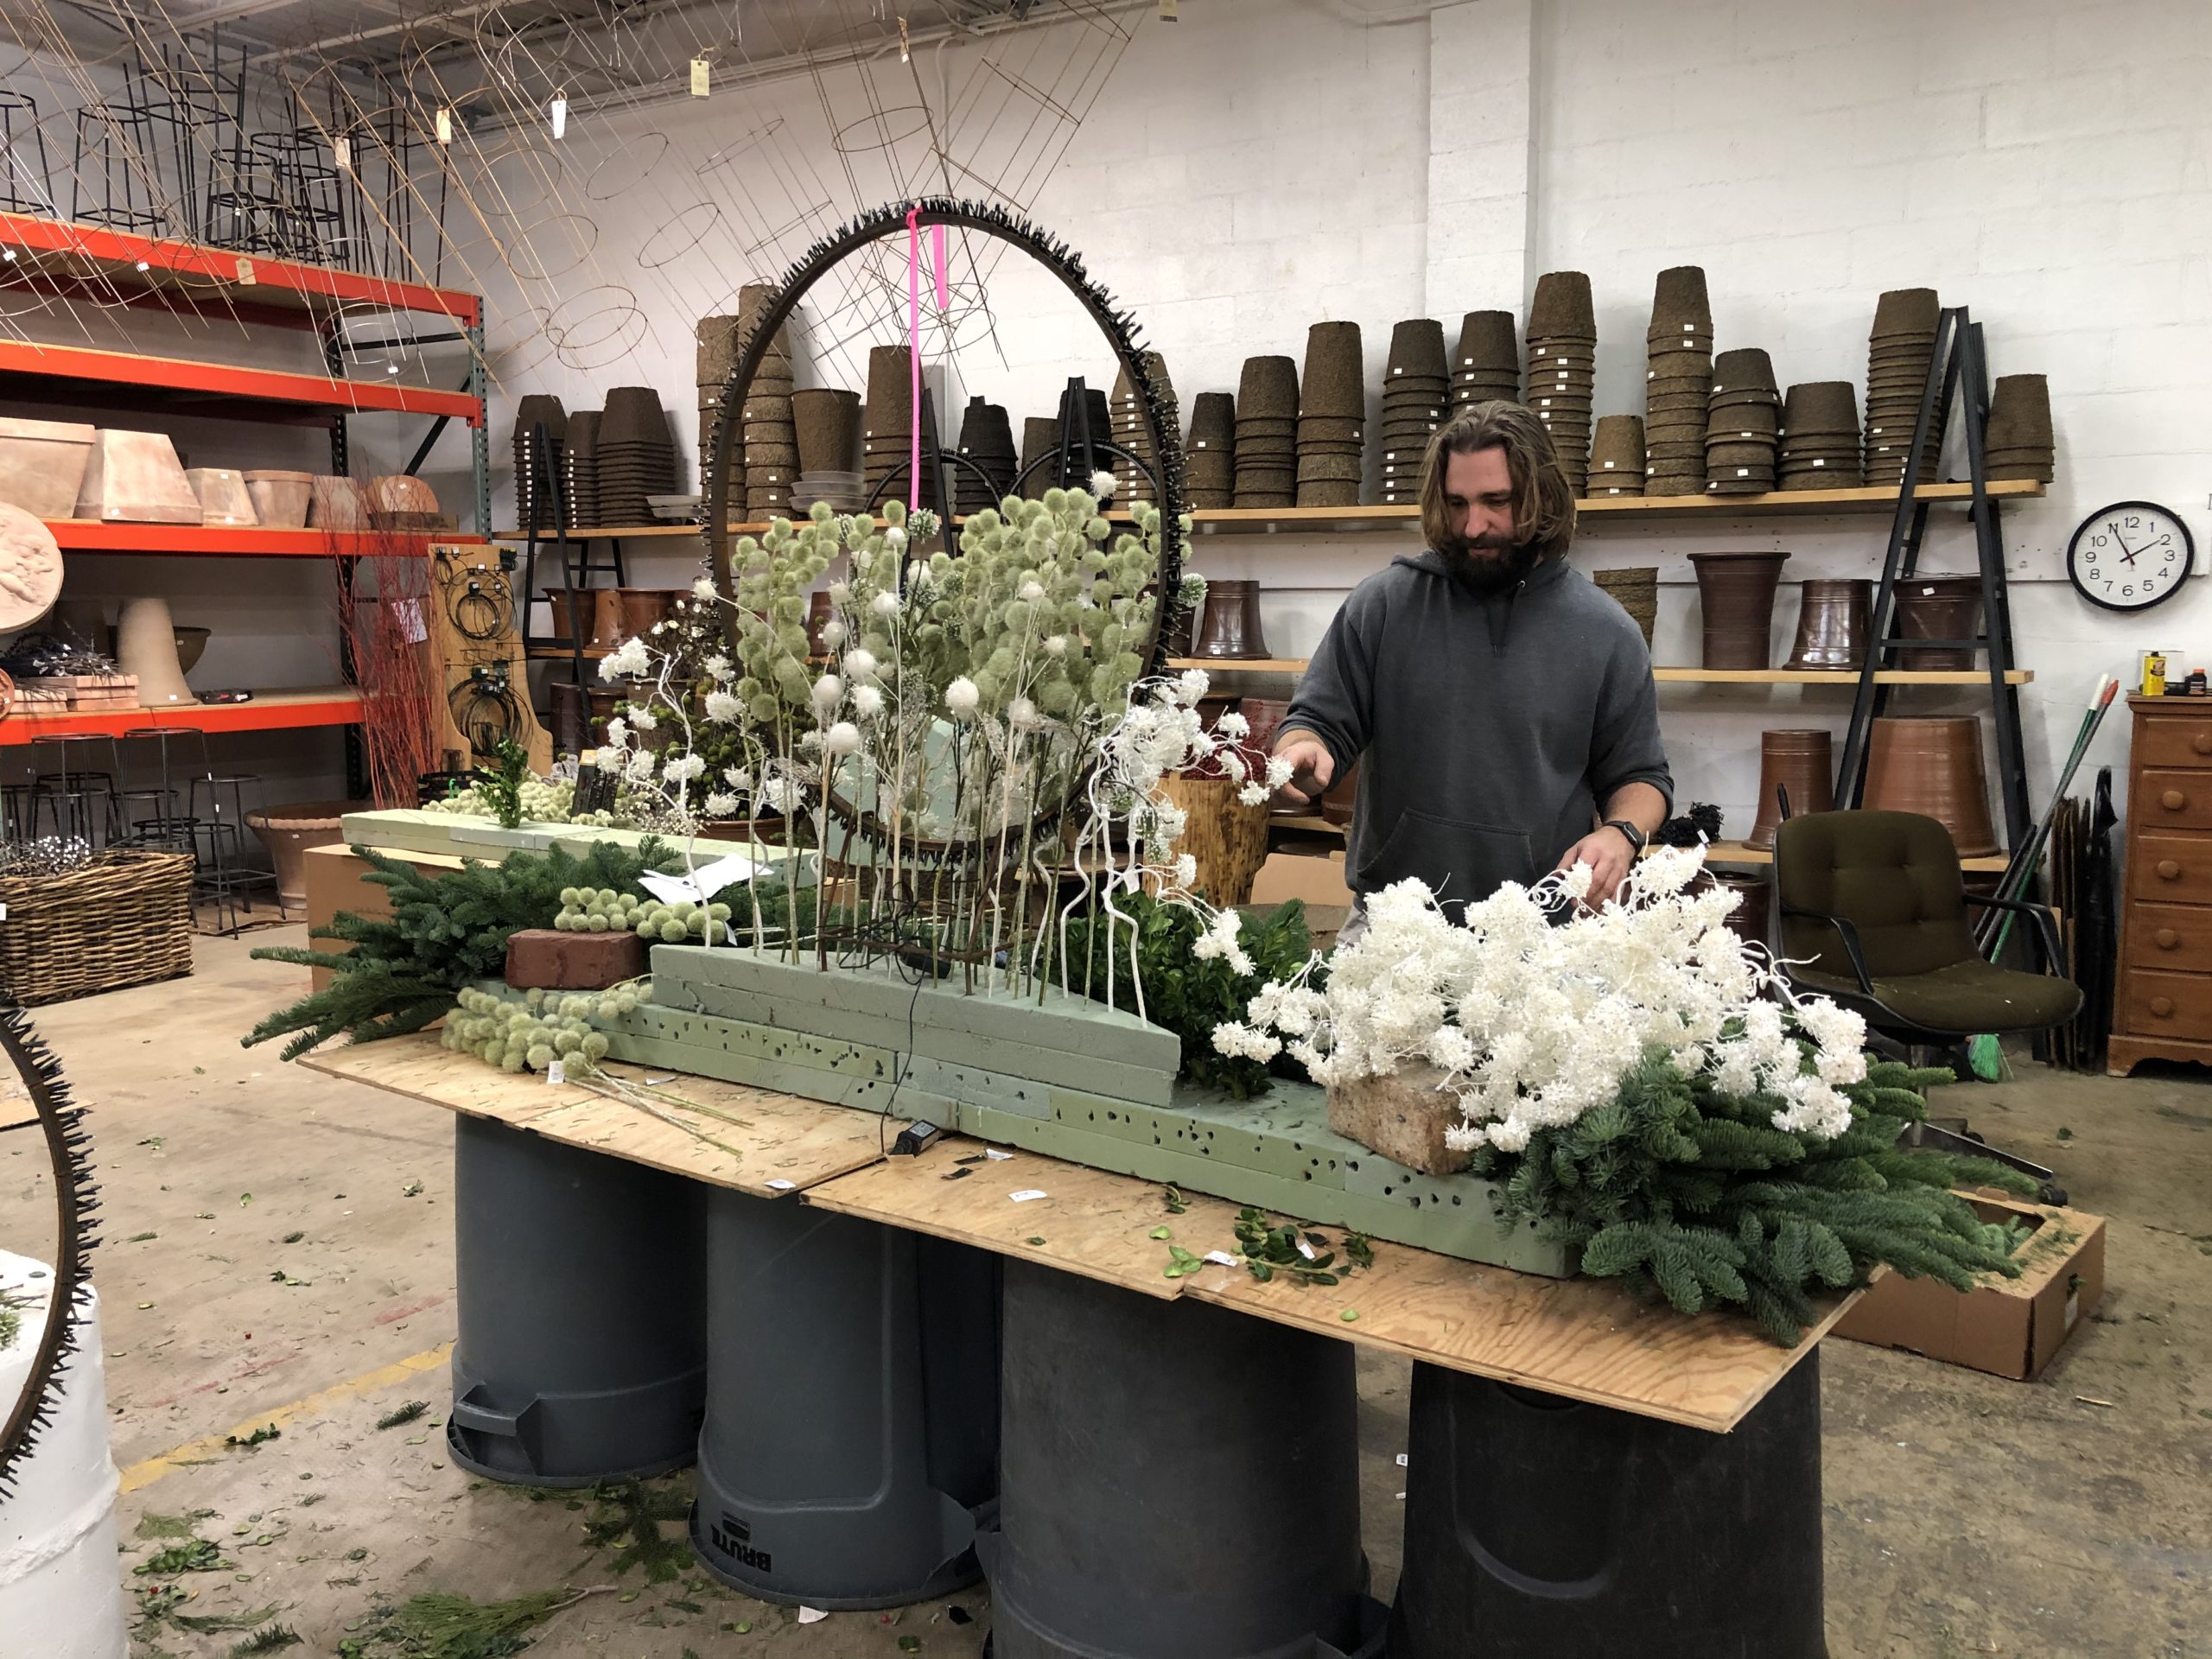
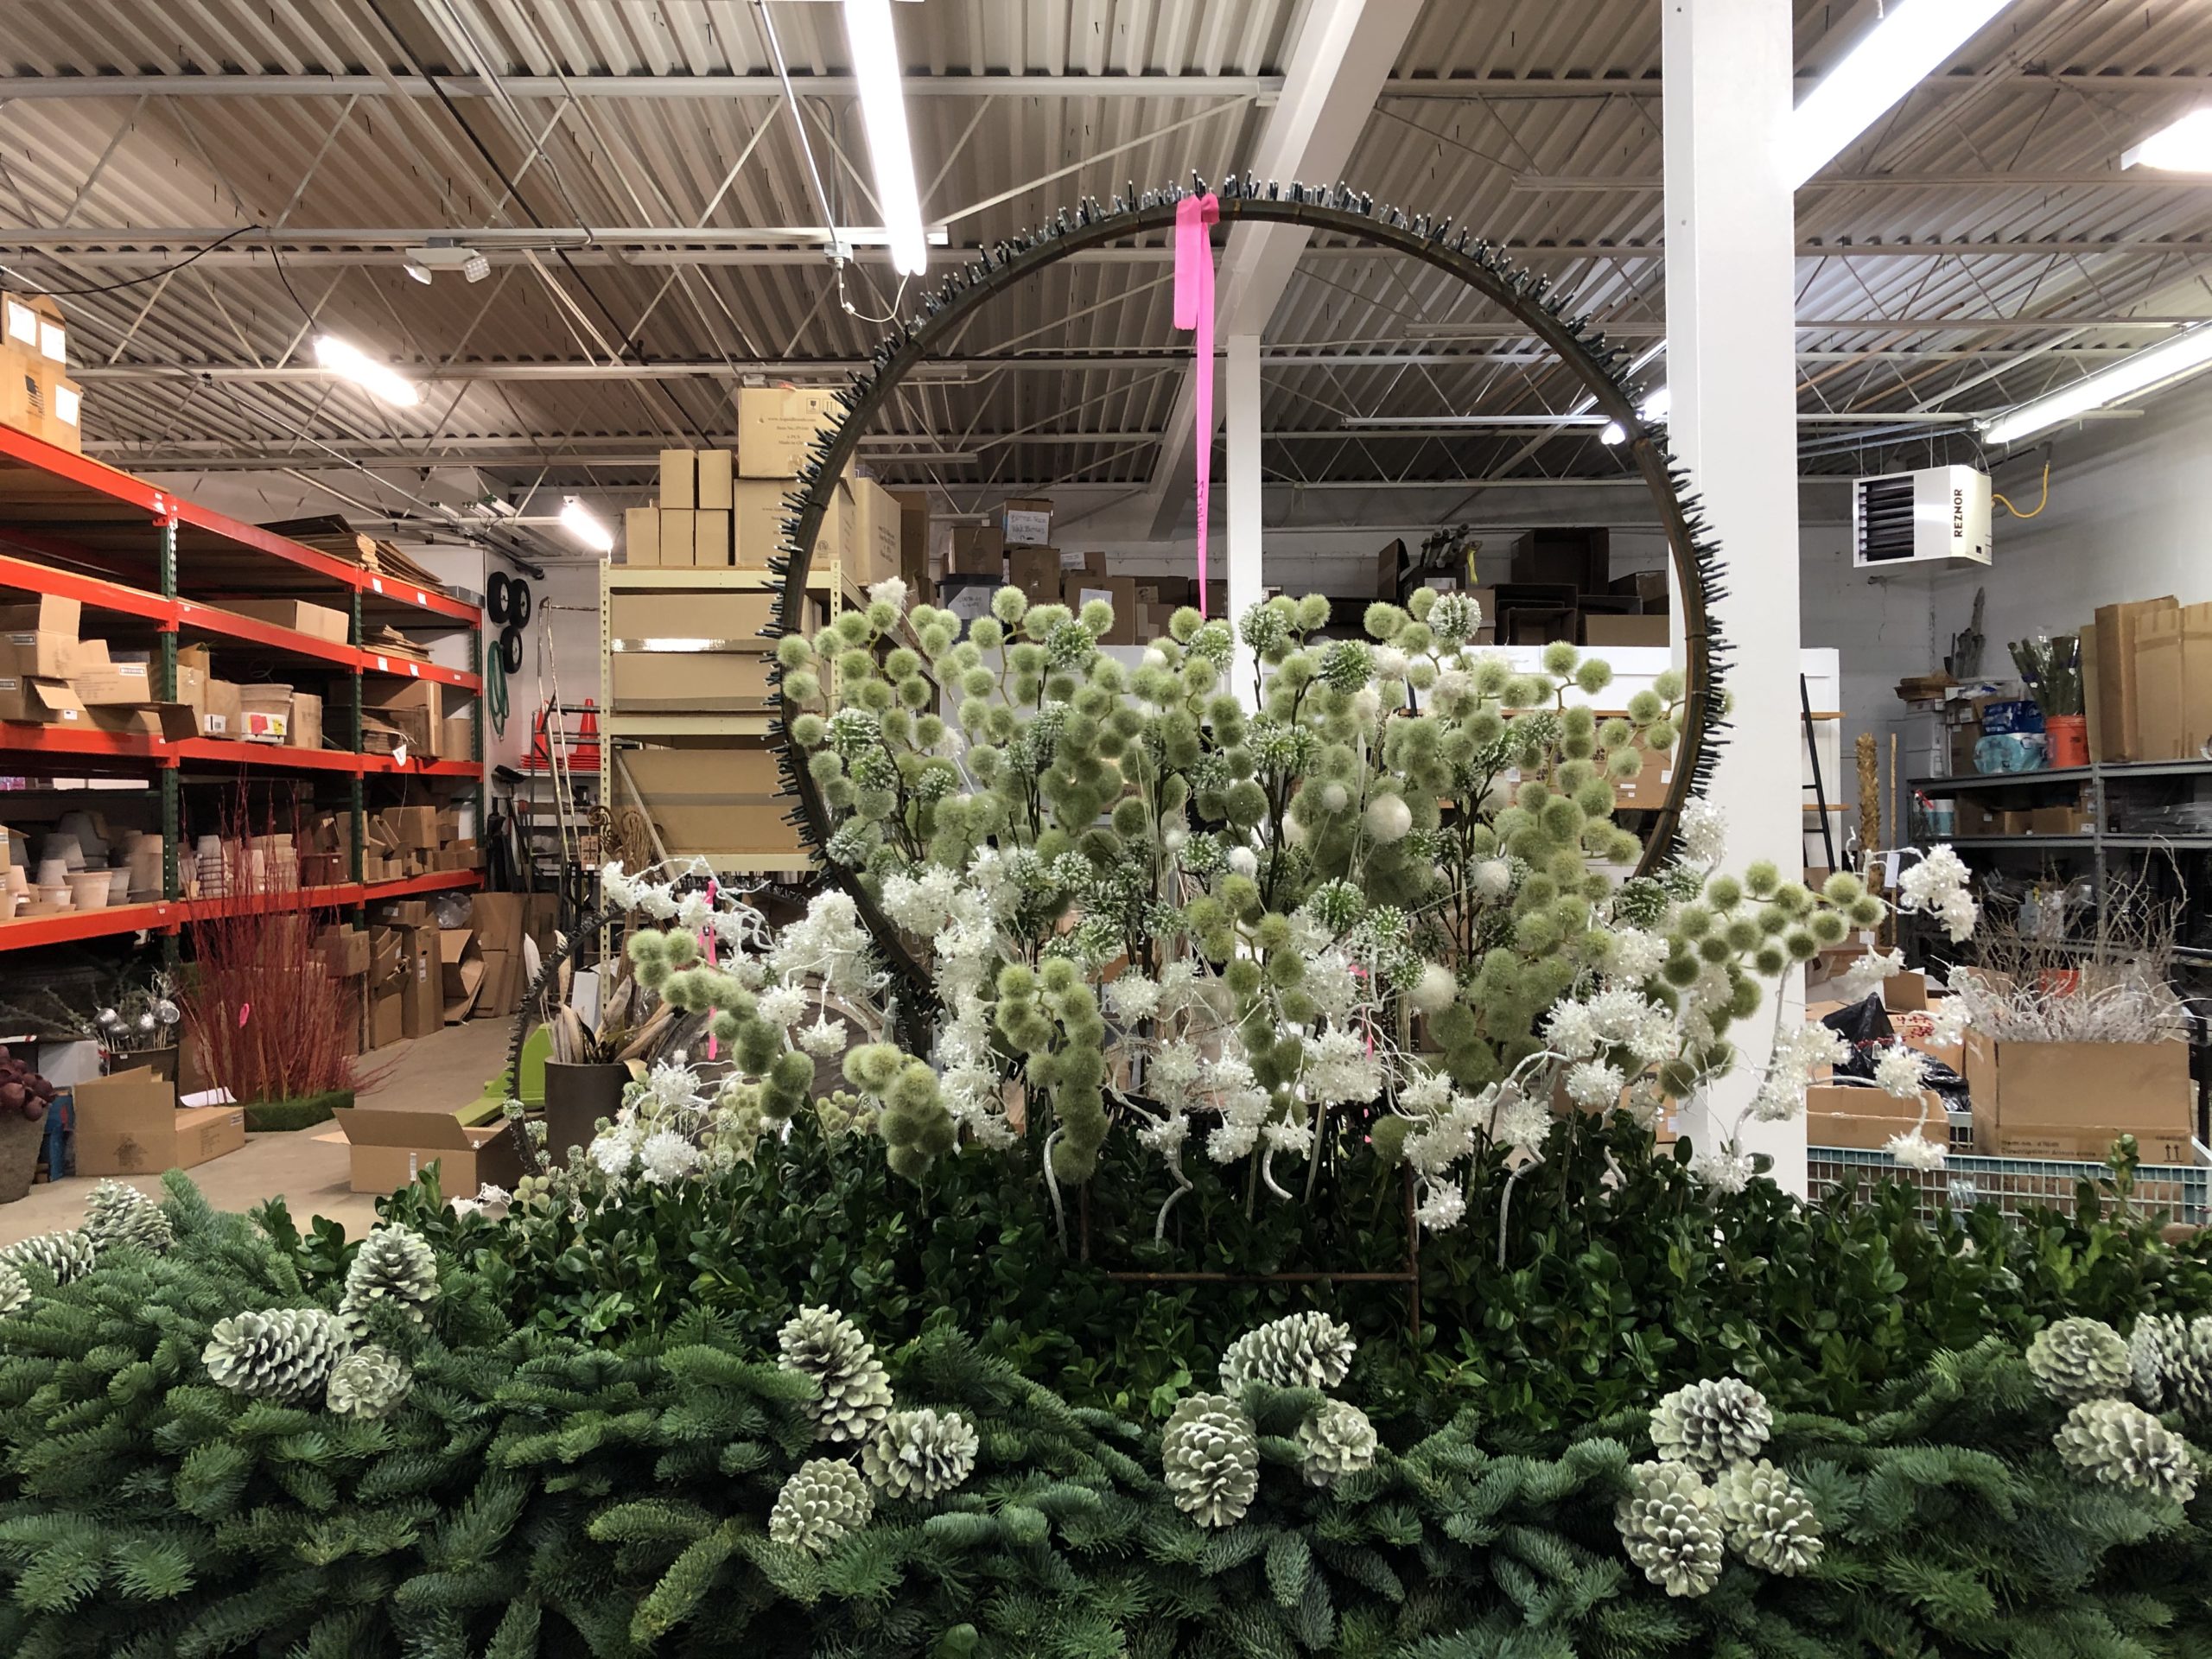
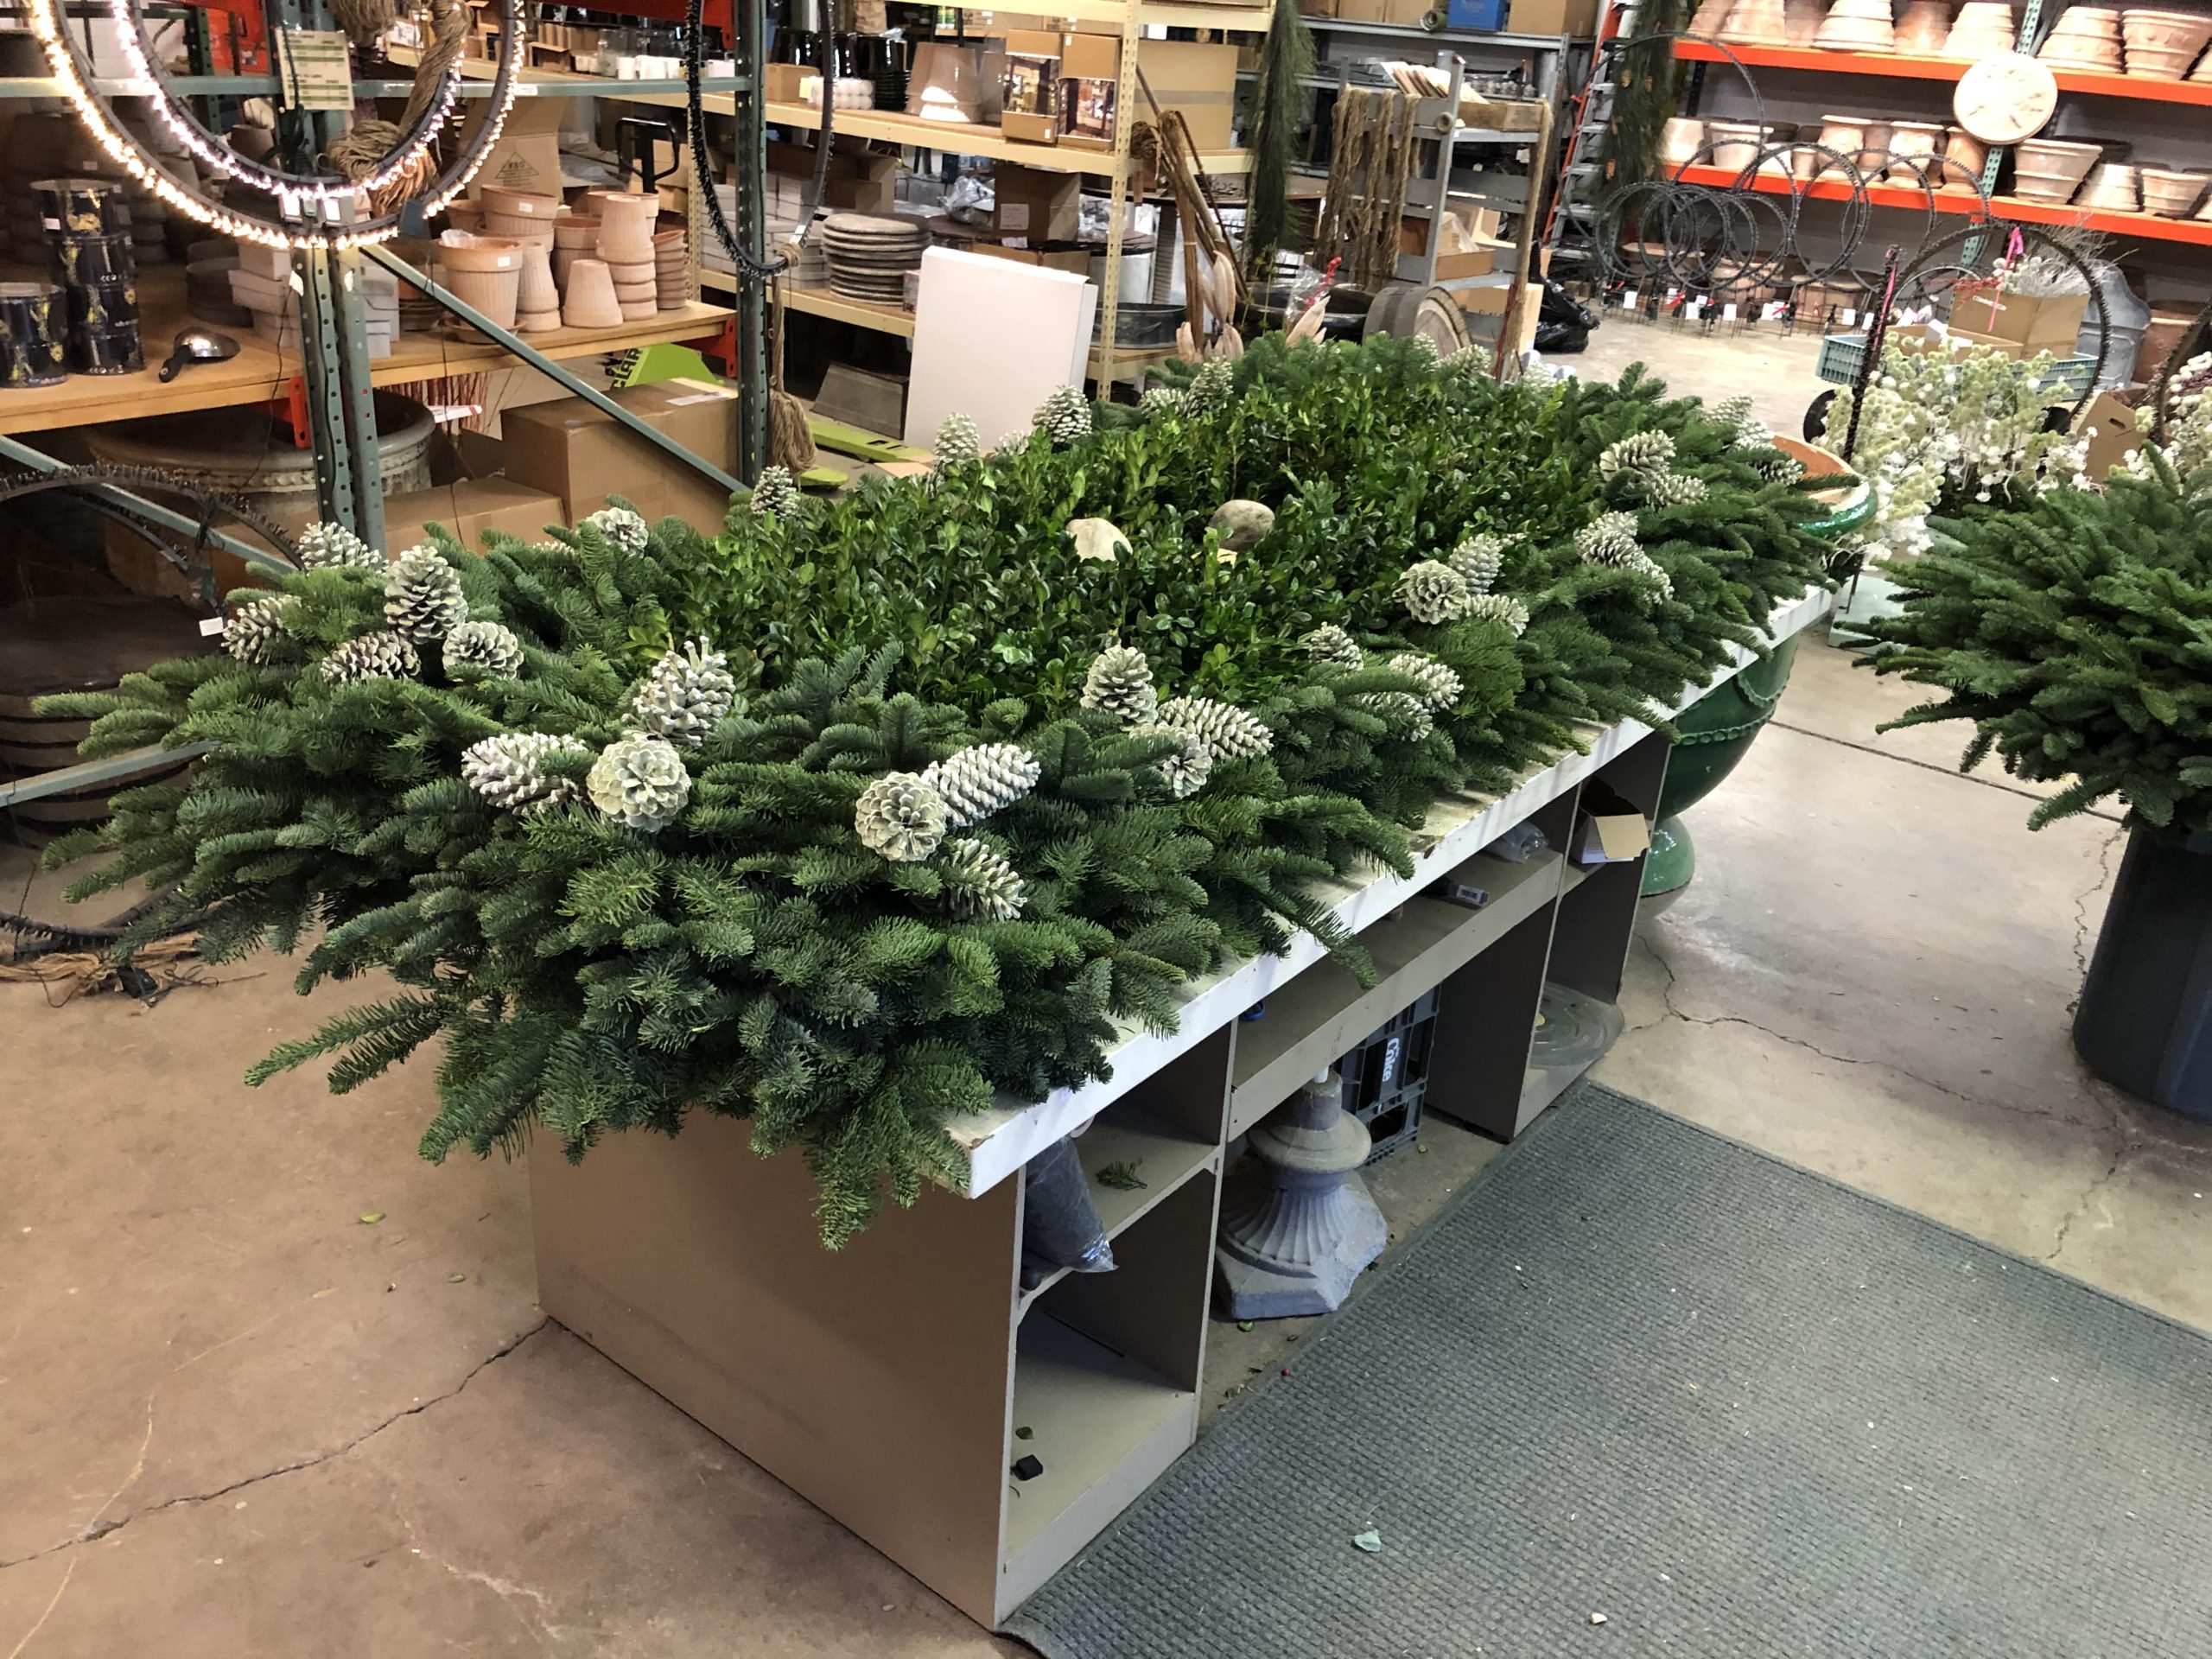 This table top was made from a full 4′ by 8′ sheet of plywood. This table holds 4 forms-enough for two of the four boxes. These lower forms, greened up, and punctuated with pine cones, are all ready to go to the installation phase.
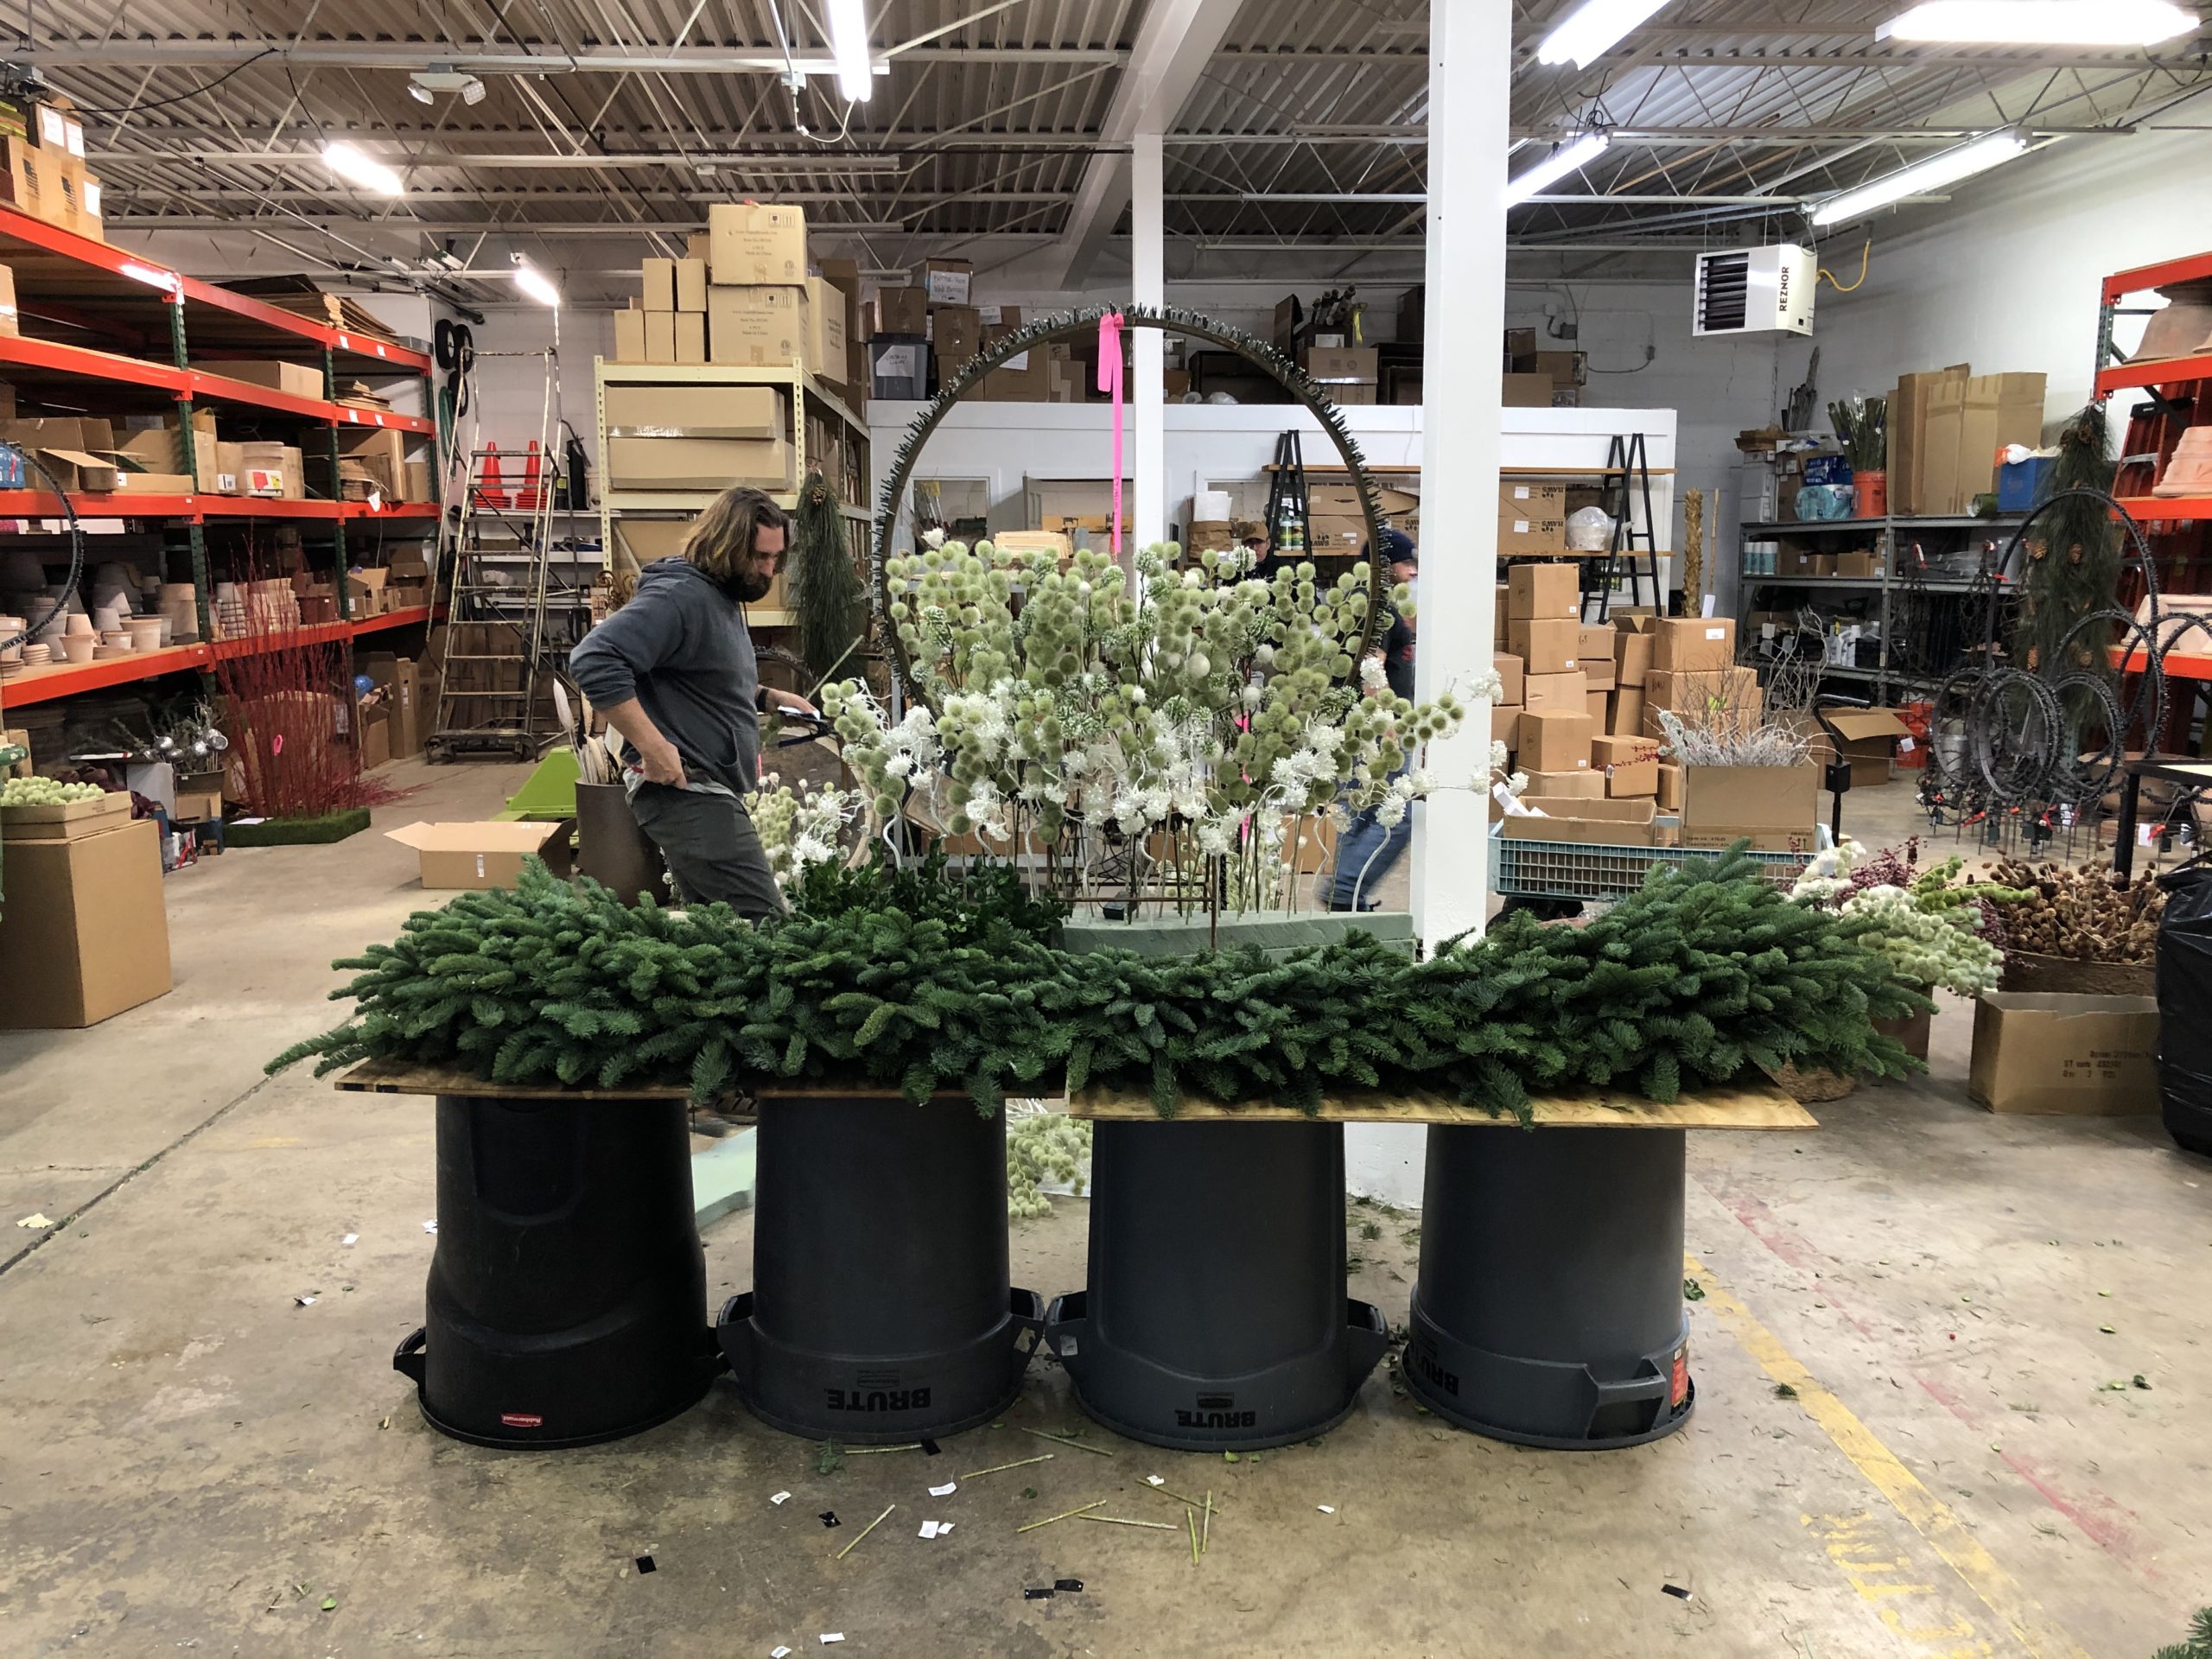 This shop shot taken in process details how much work we do prior to an installation.
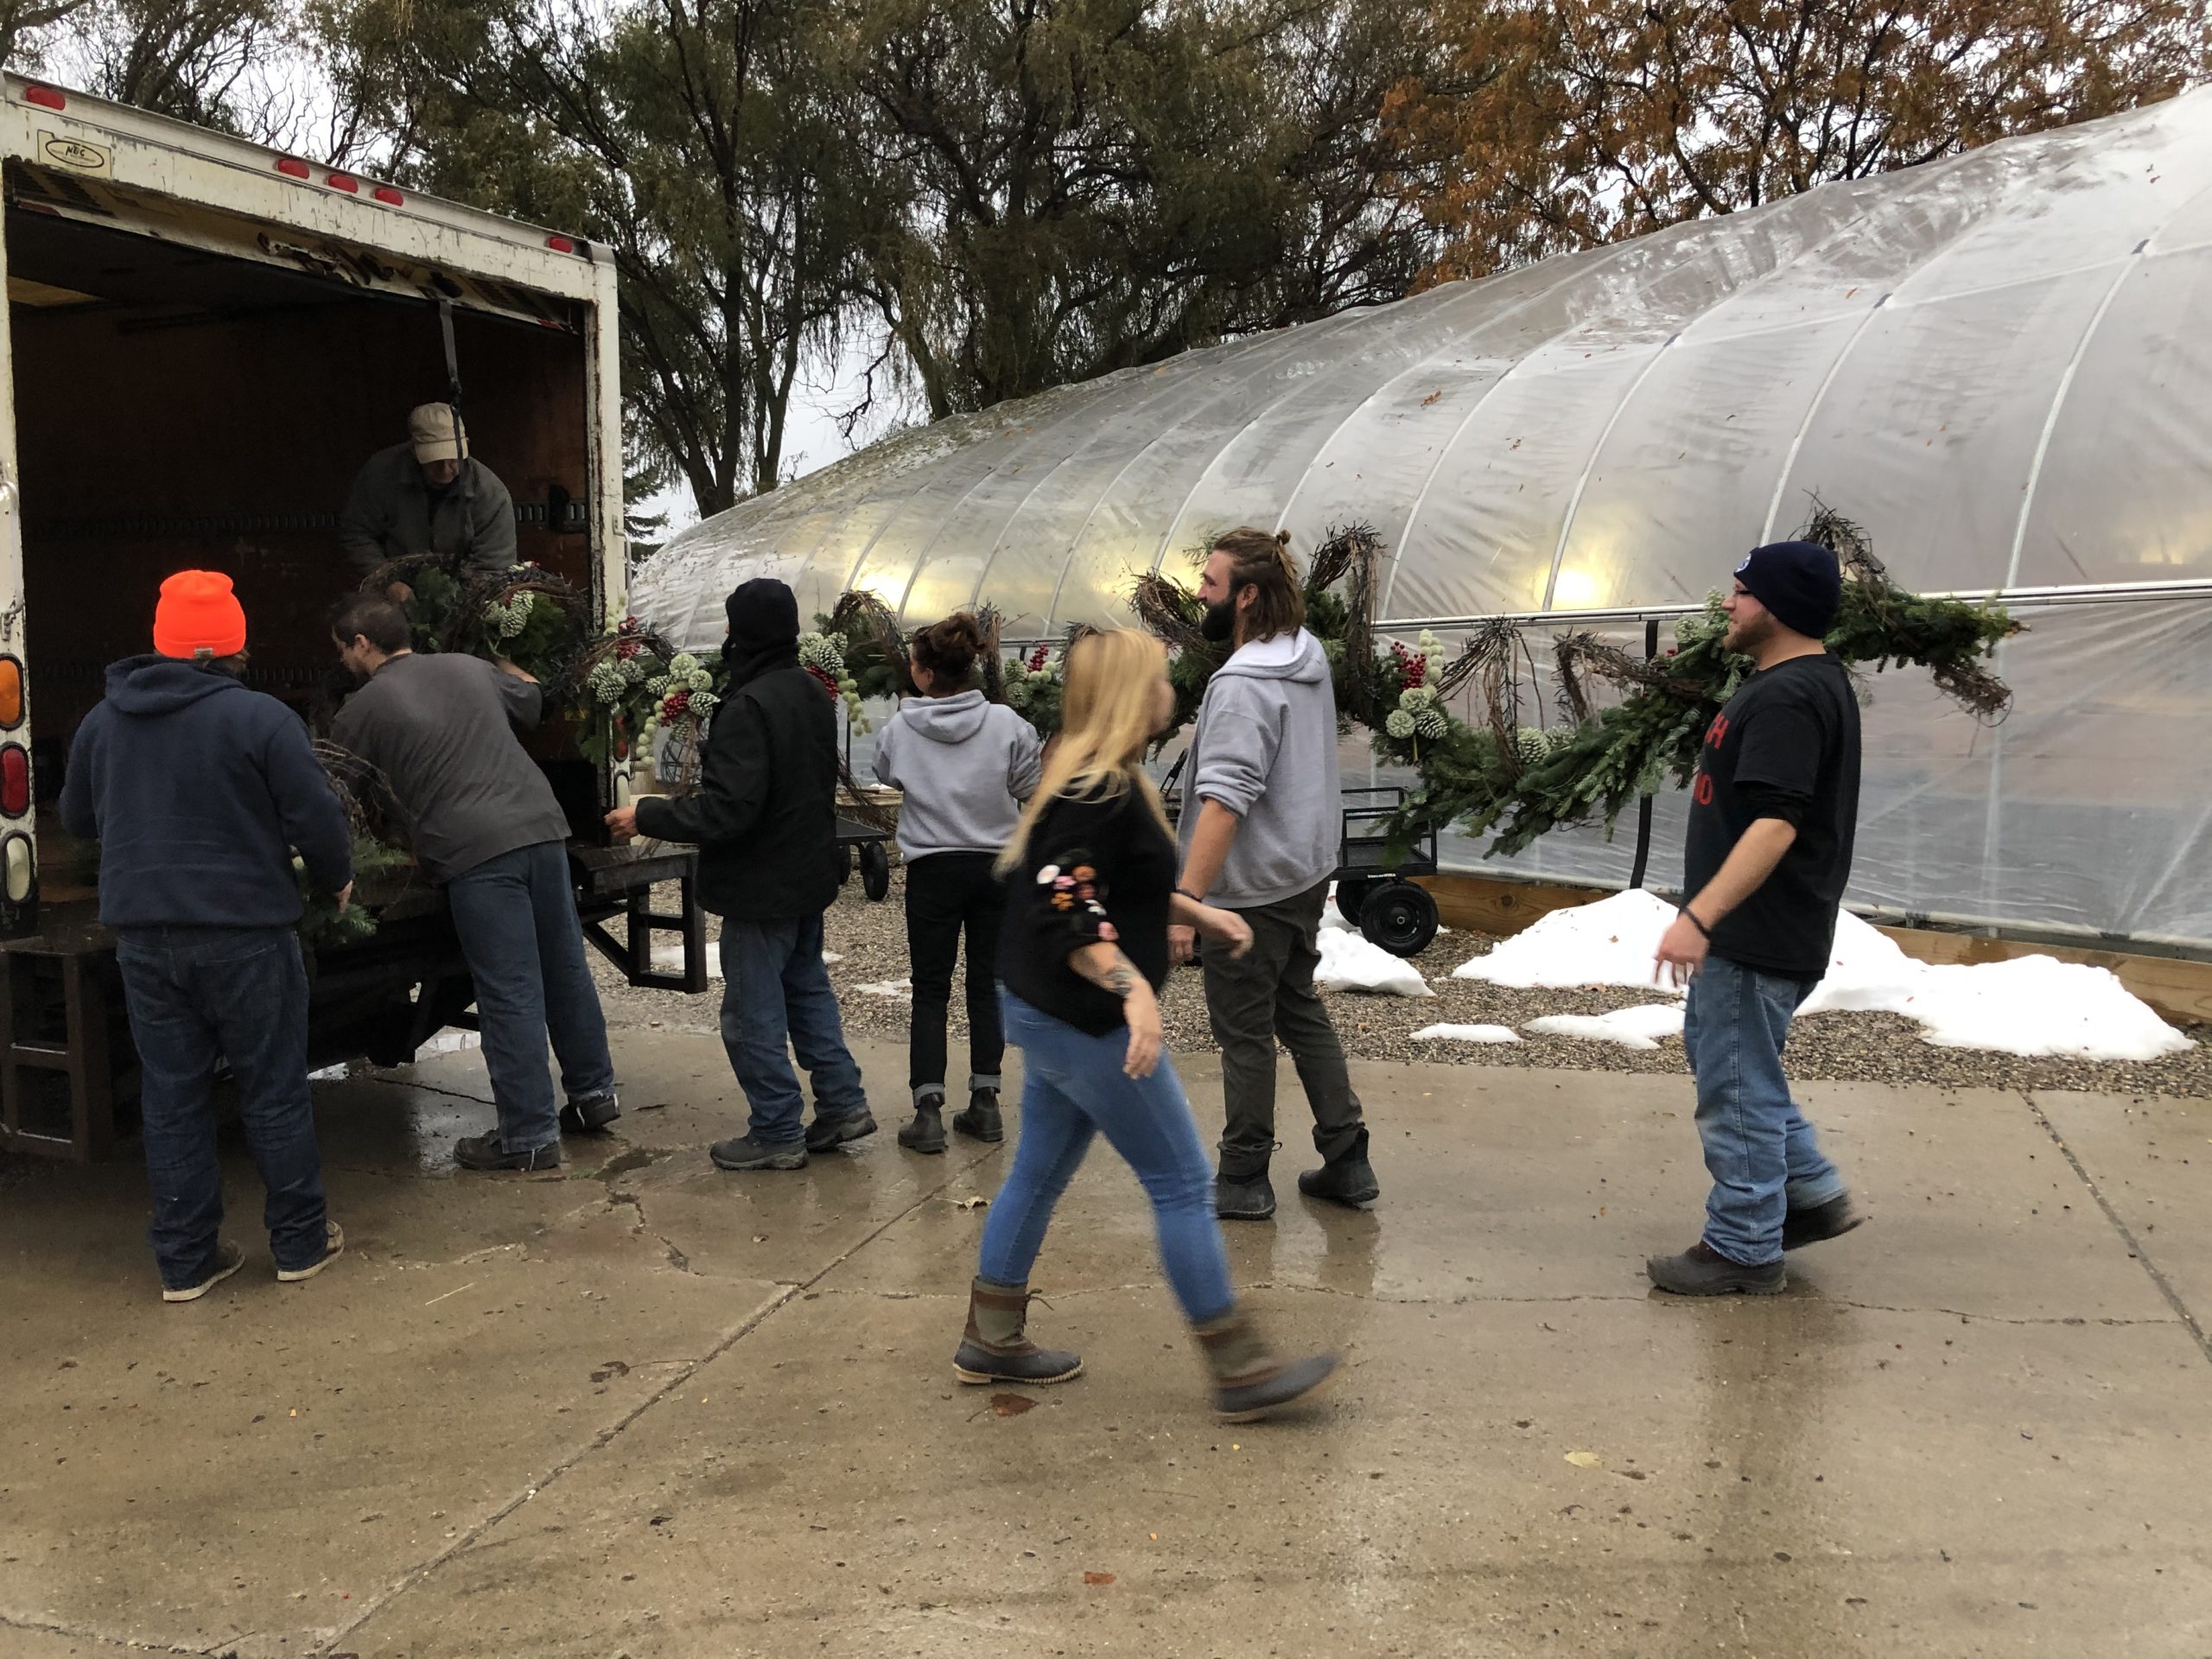
 Once our fabrication group gets a project to this moment, we know we are ready for an installation.
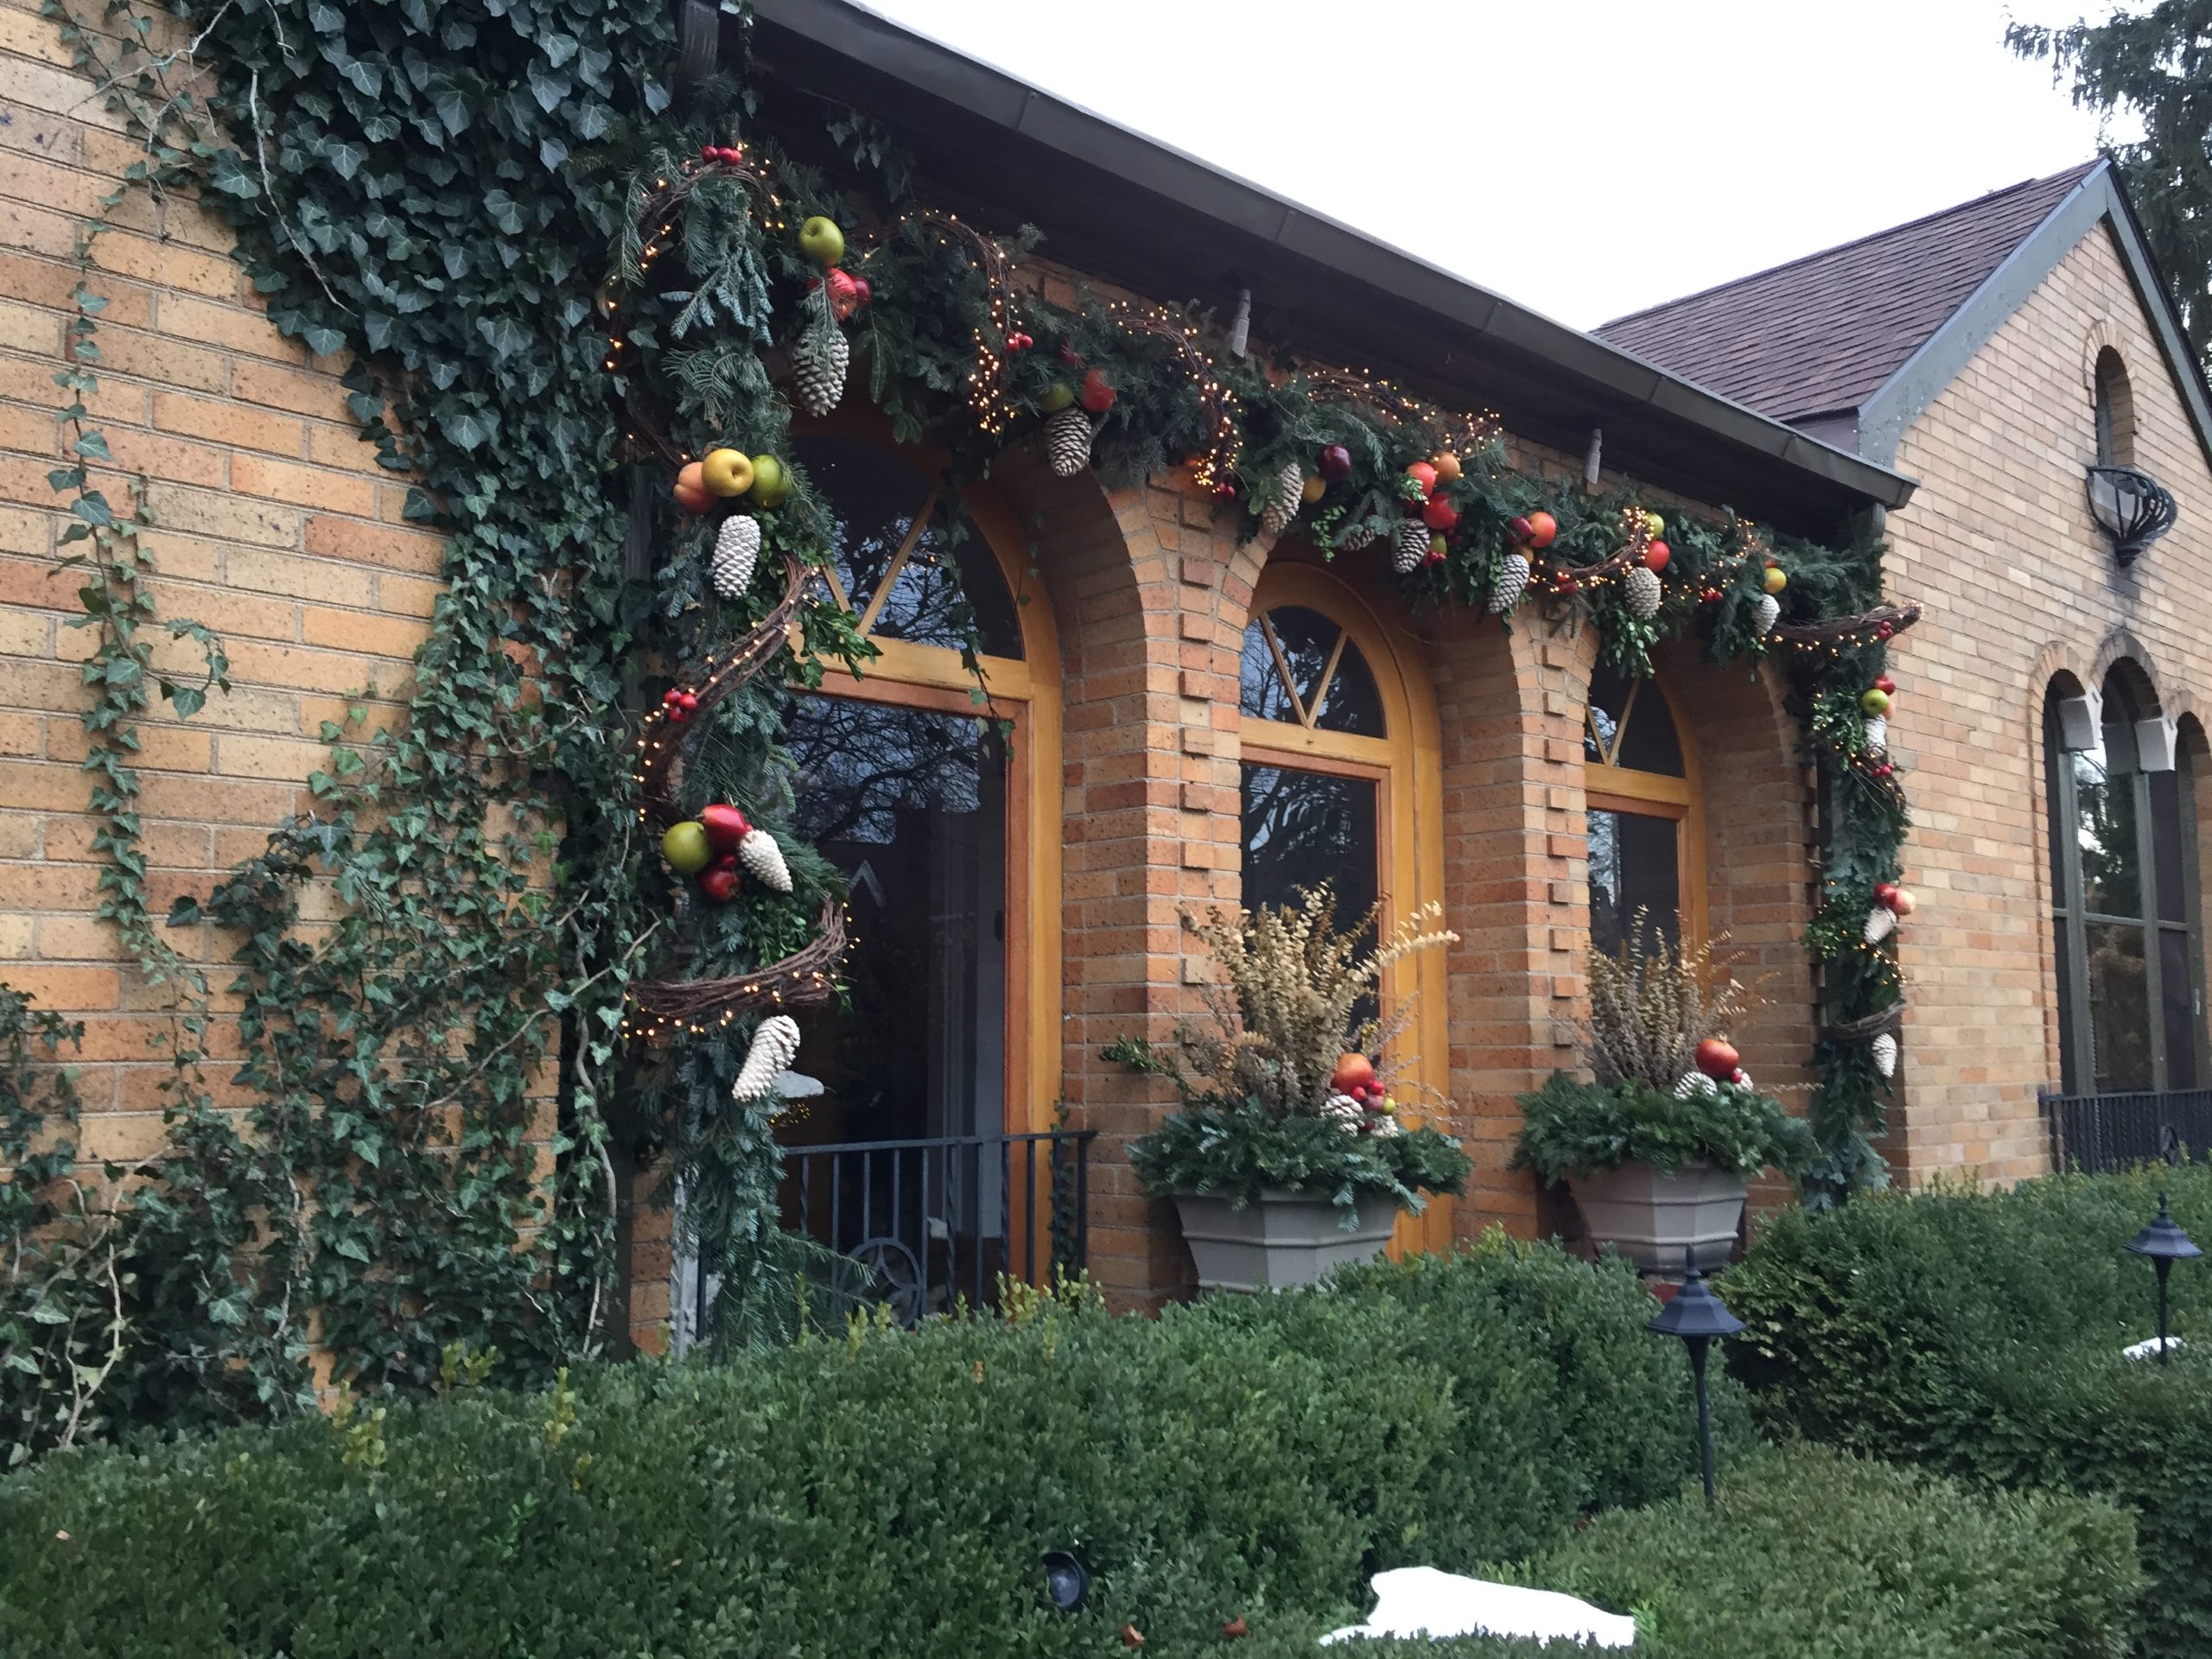
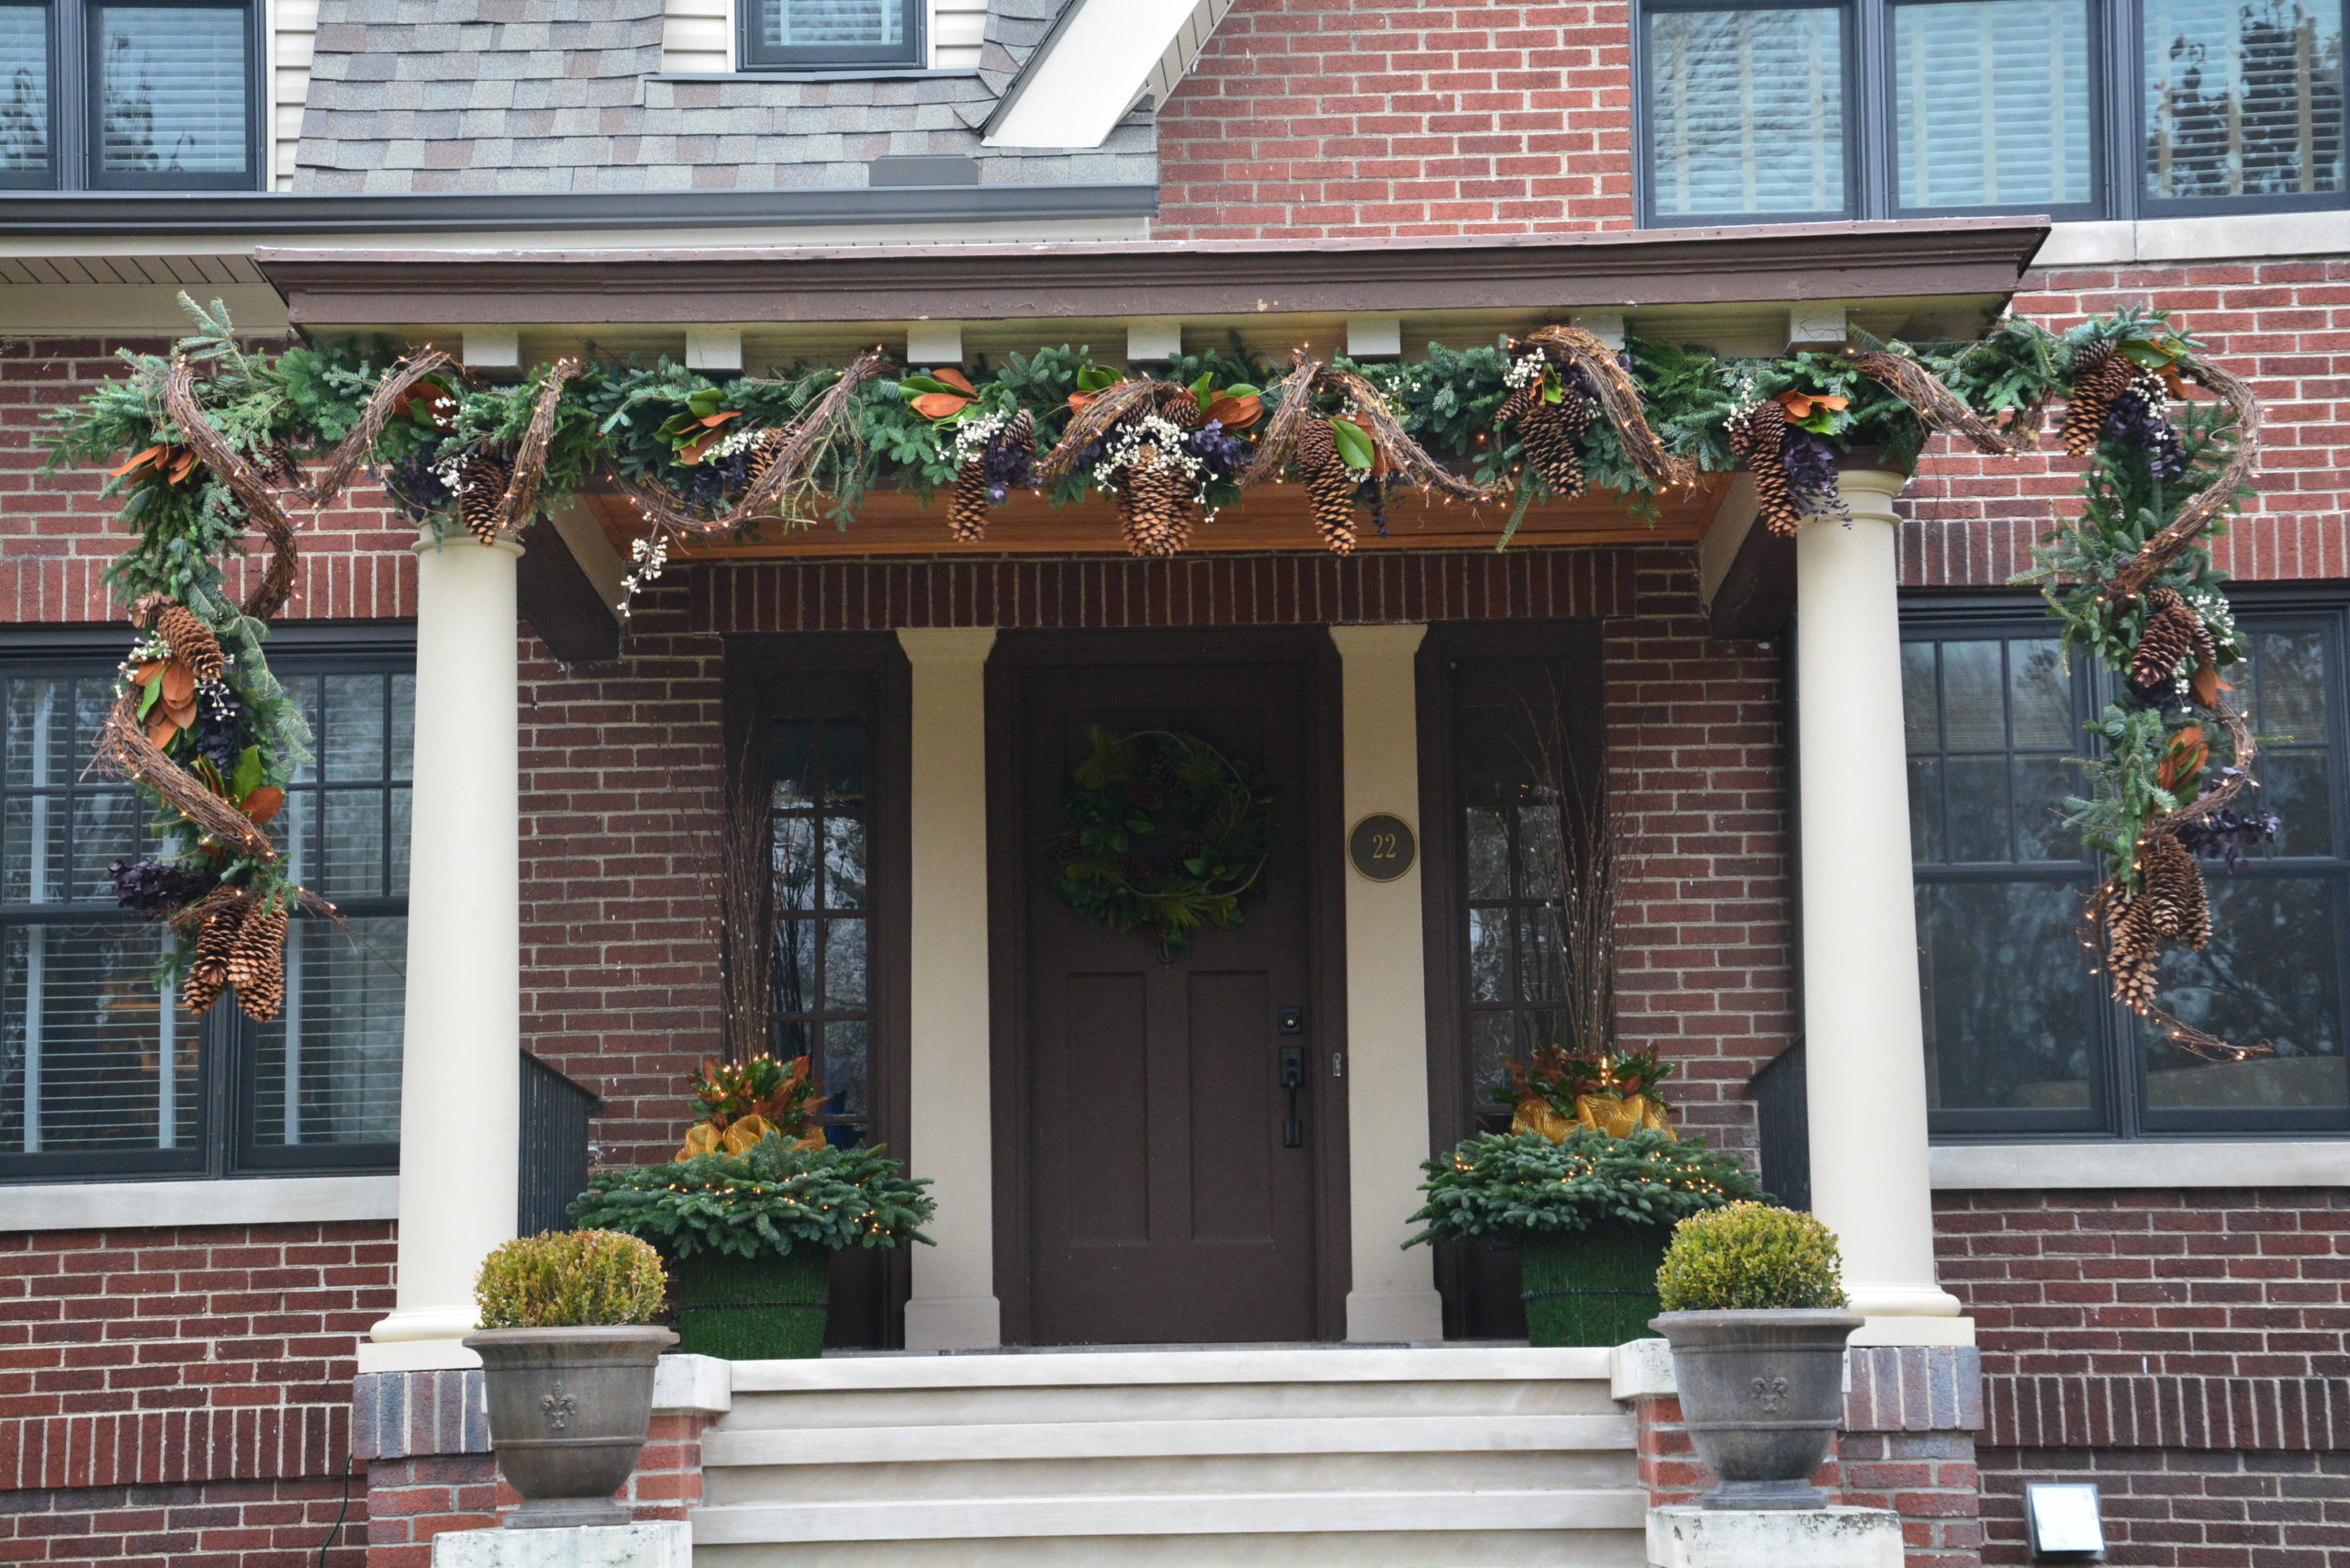
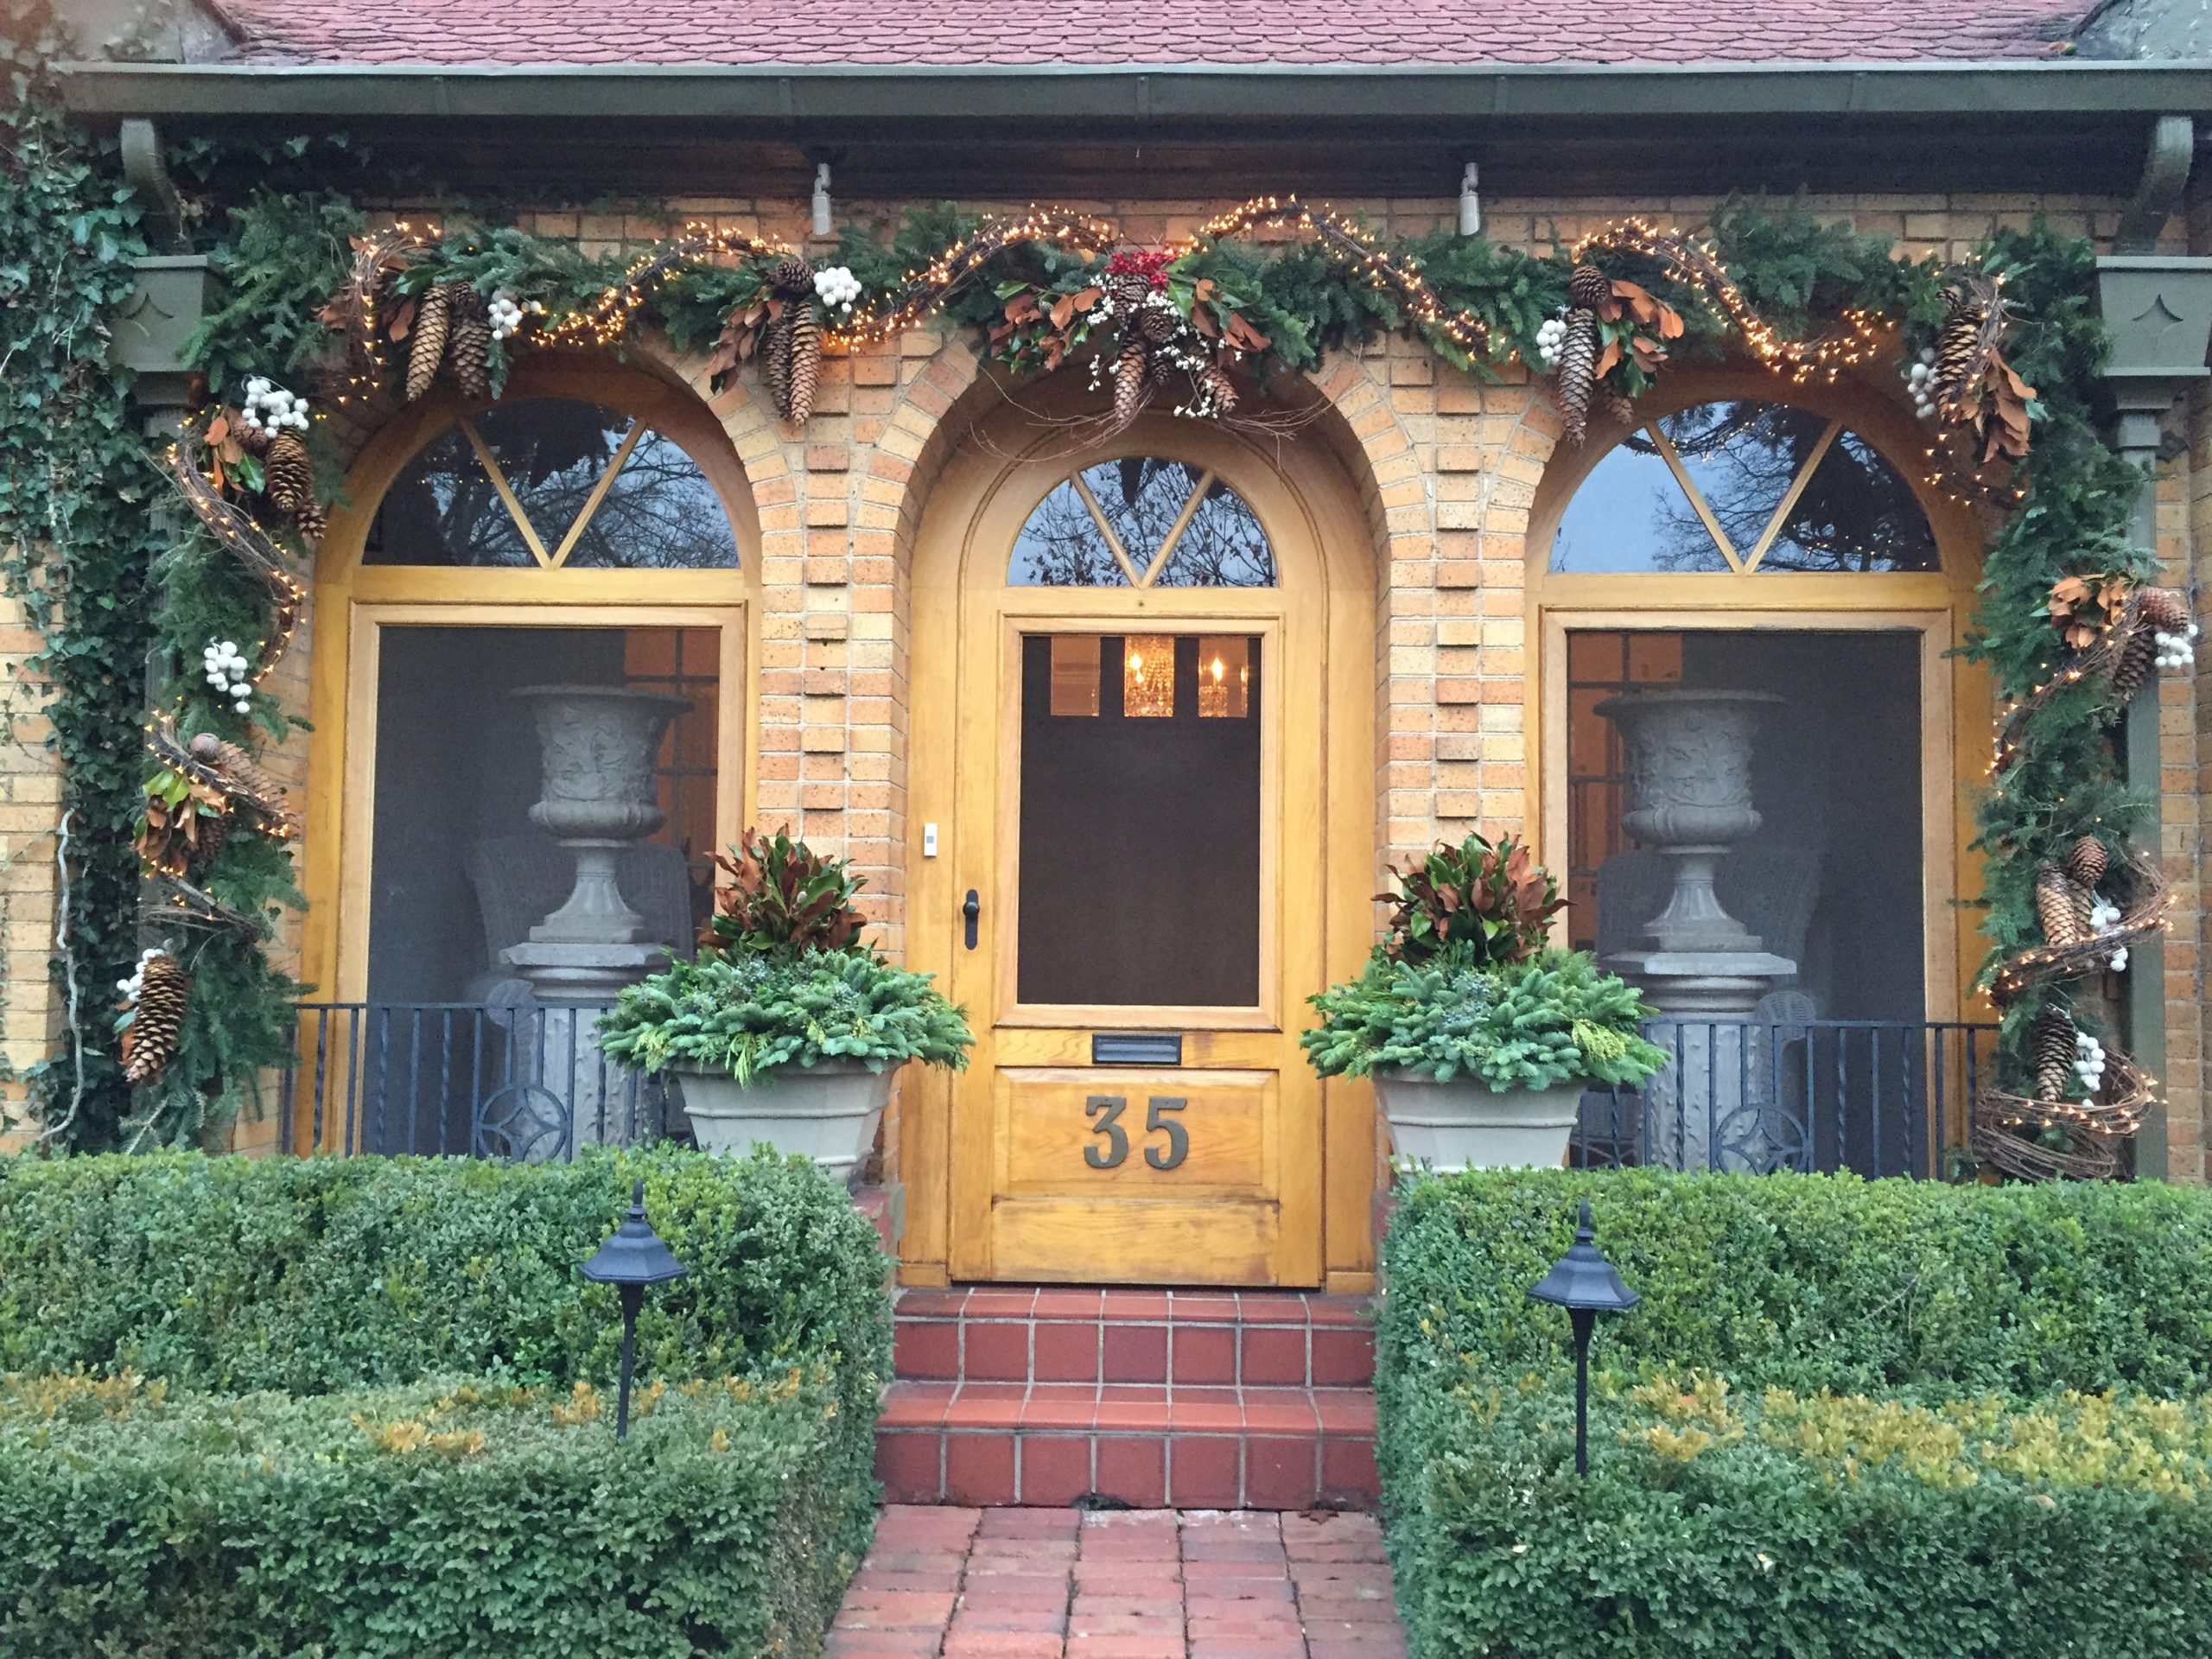
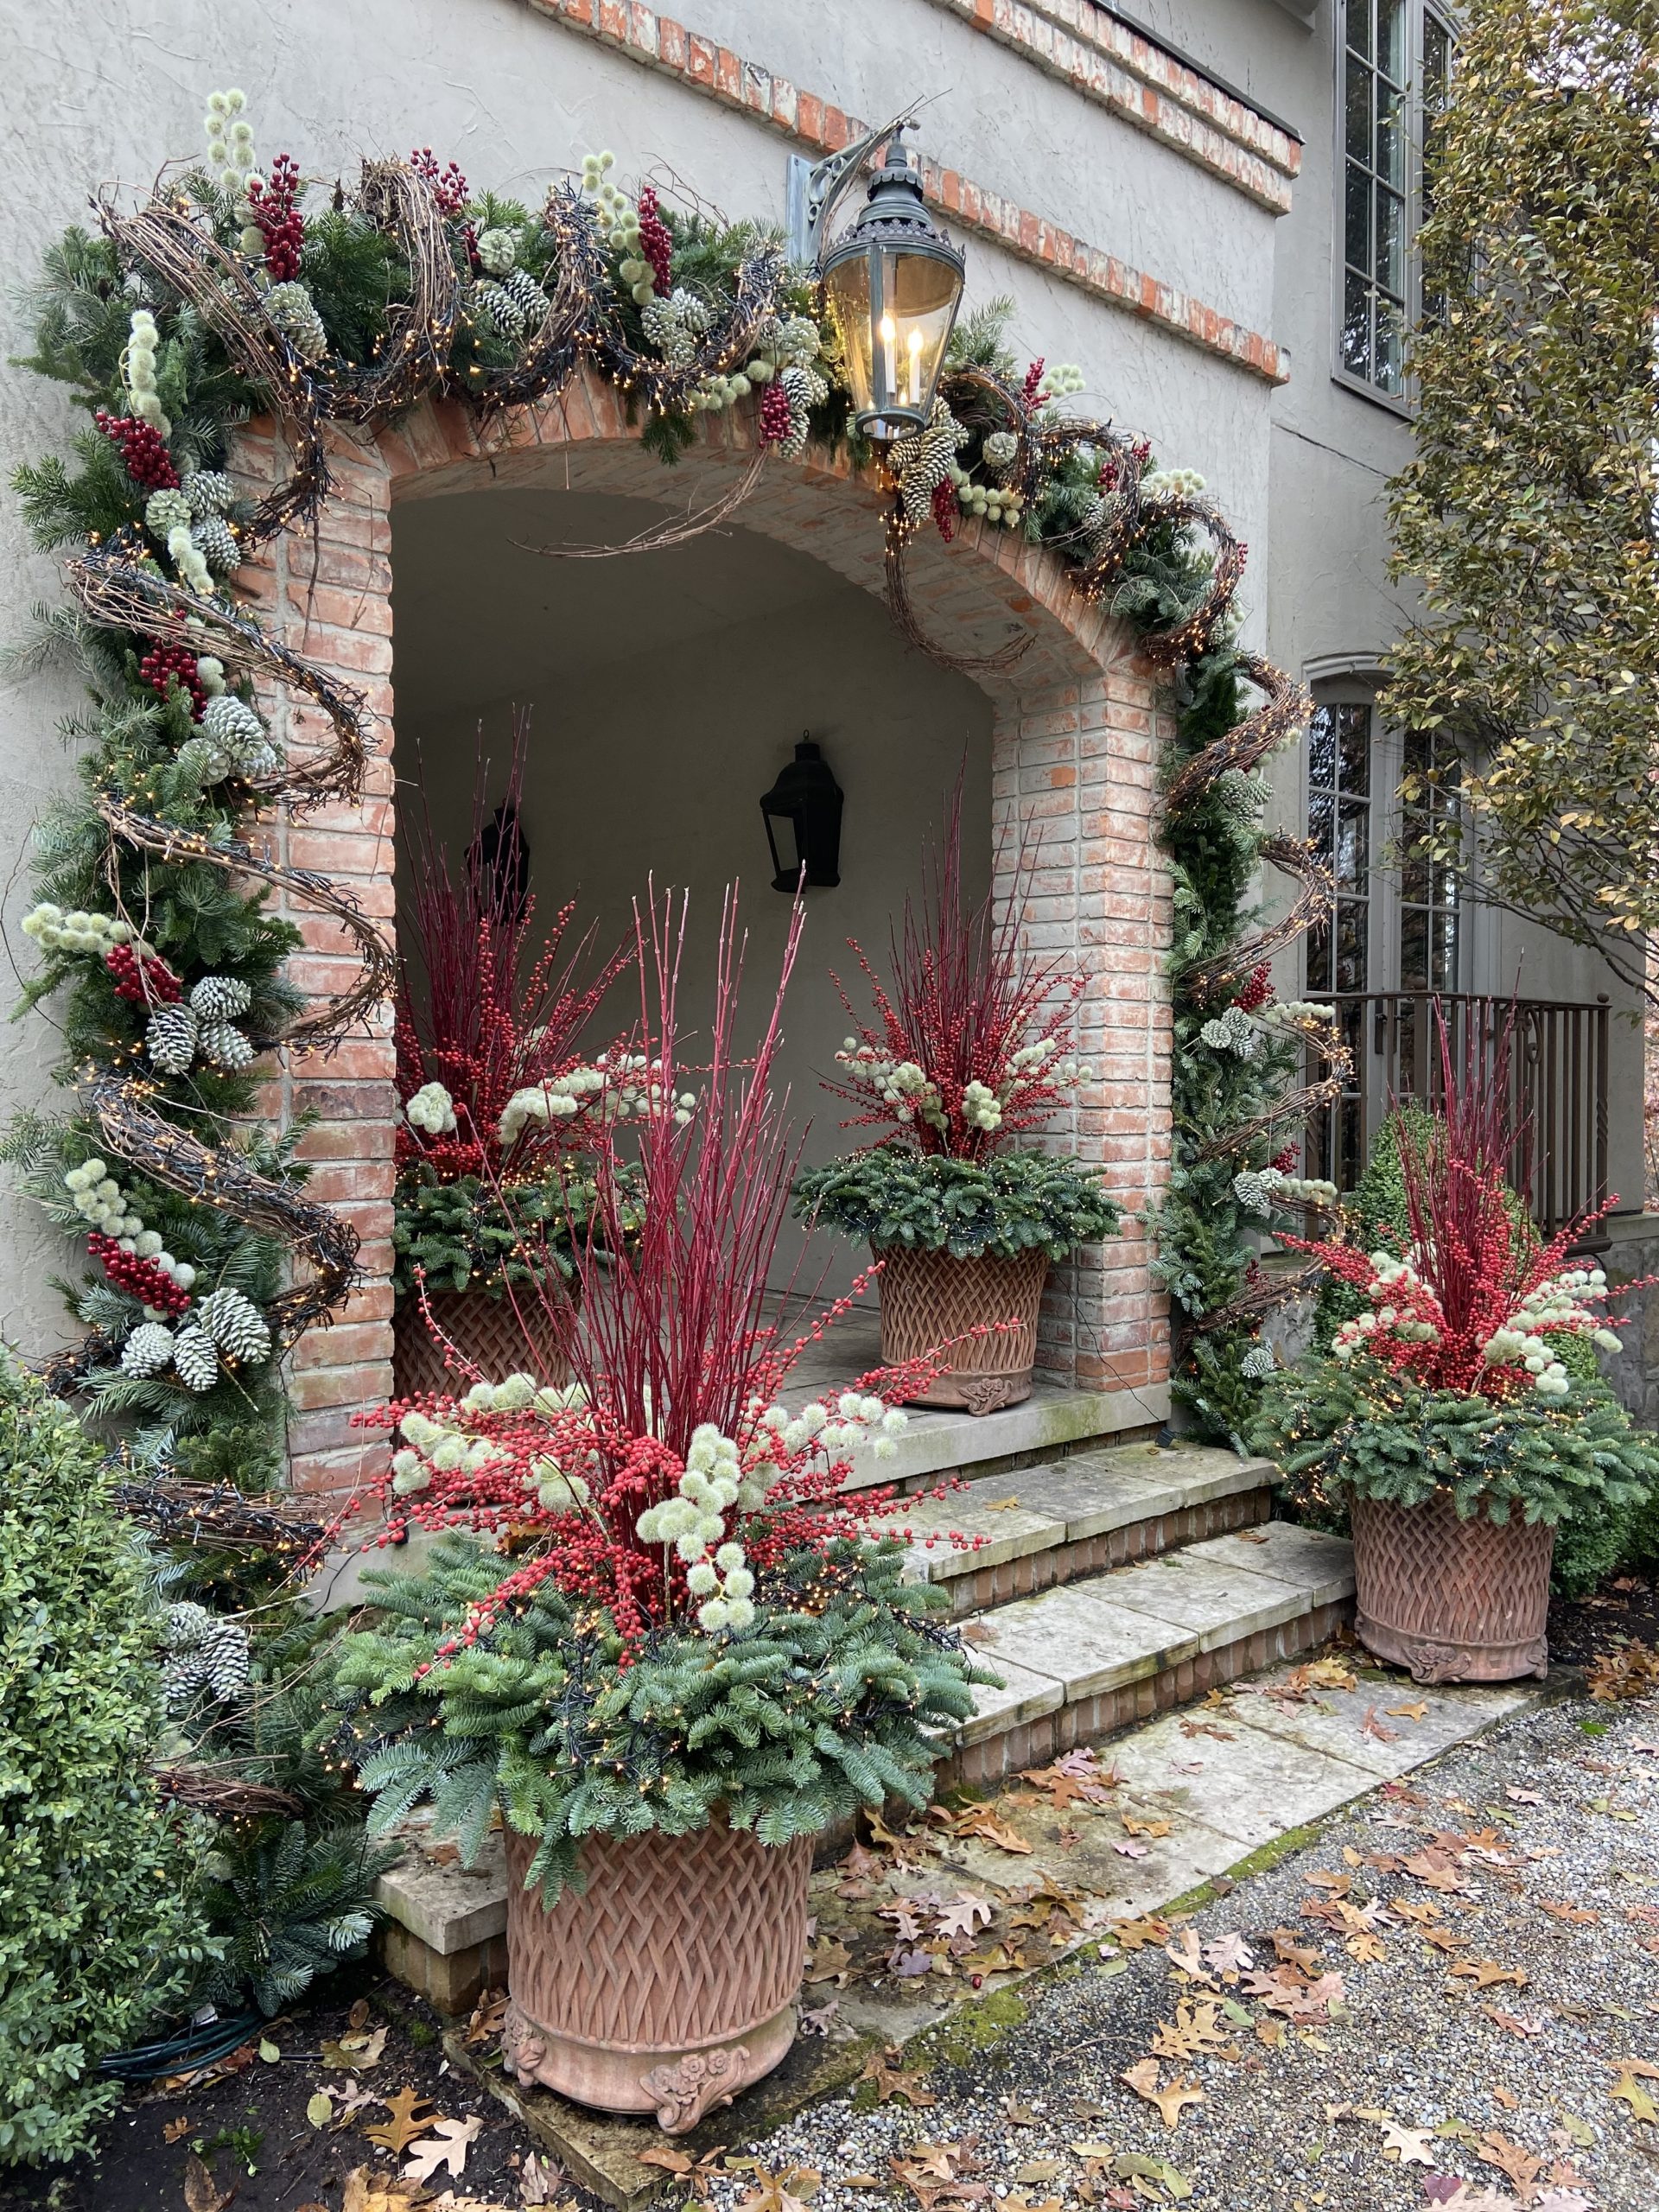
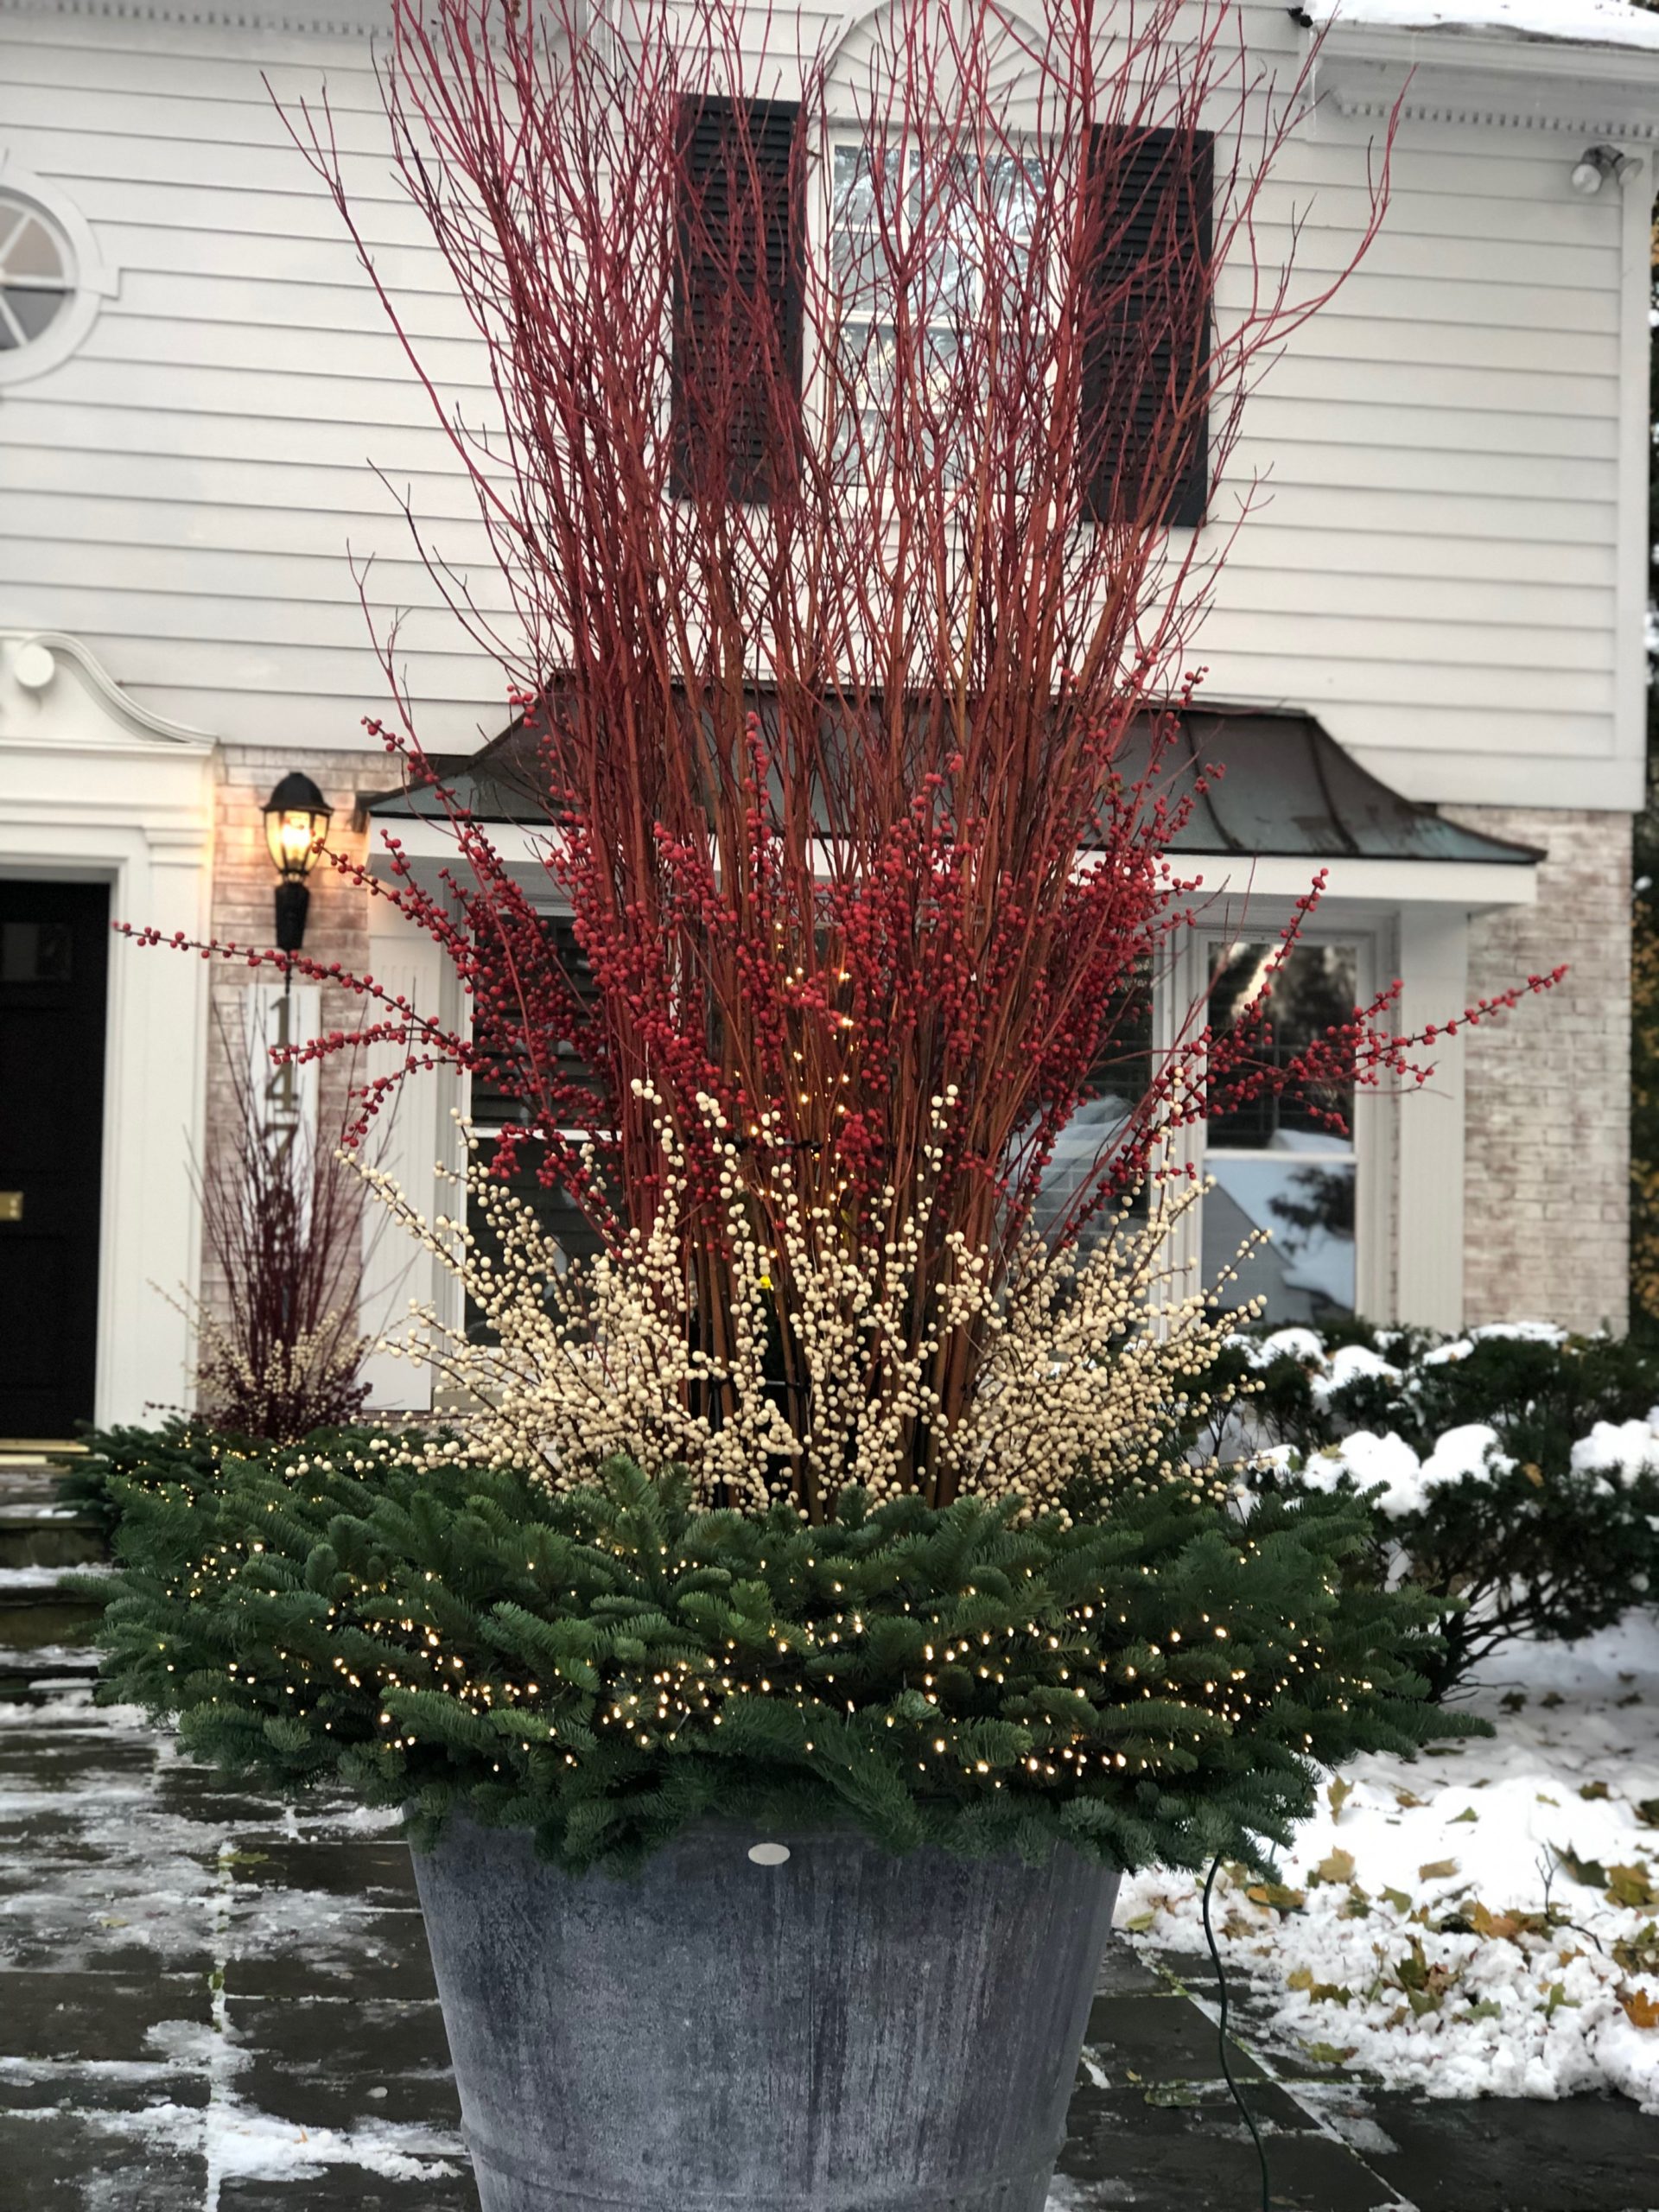
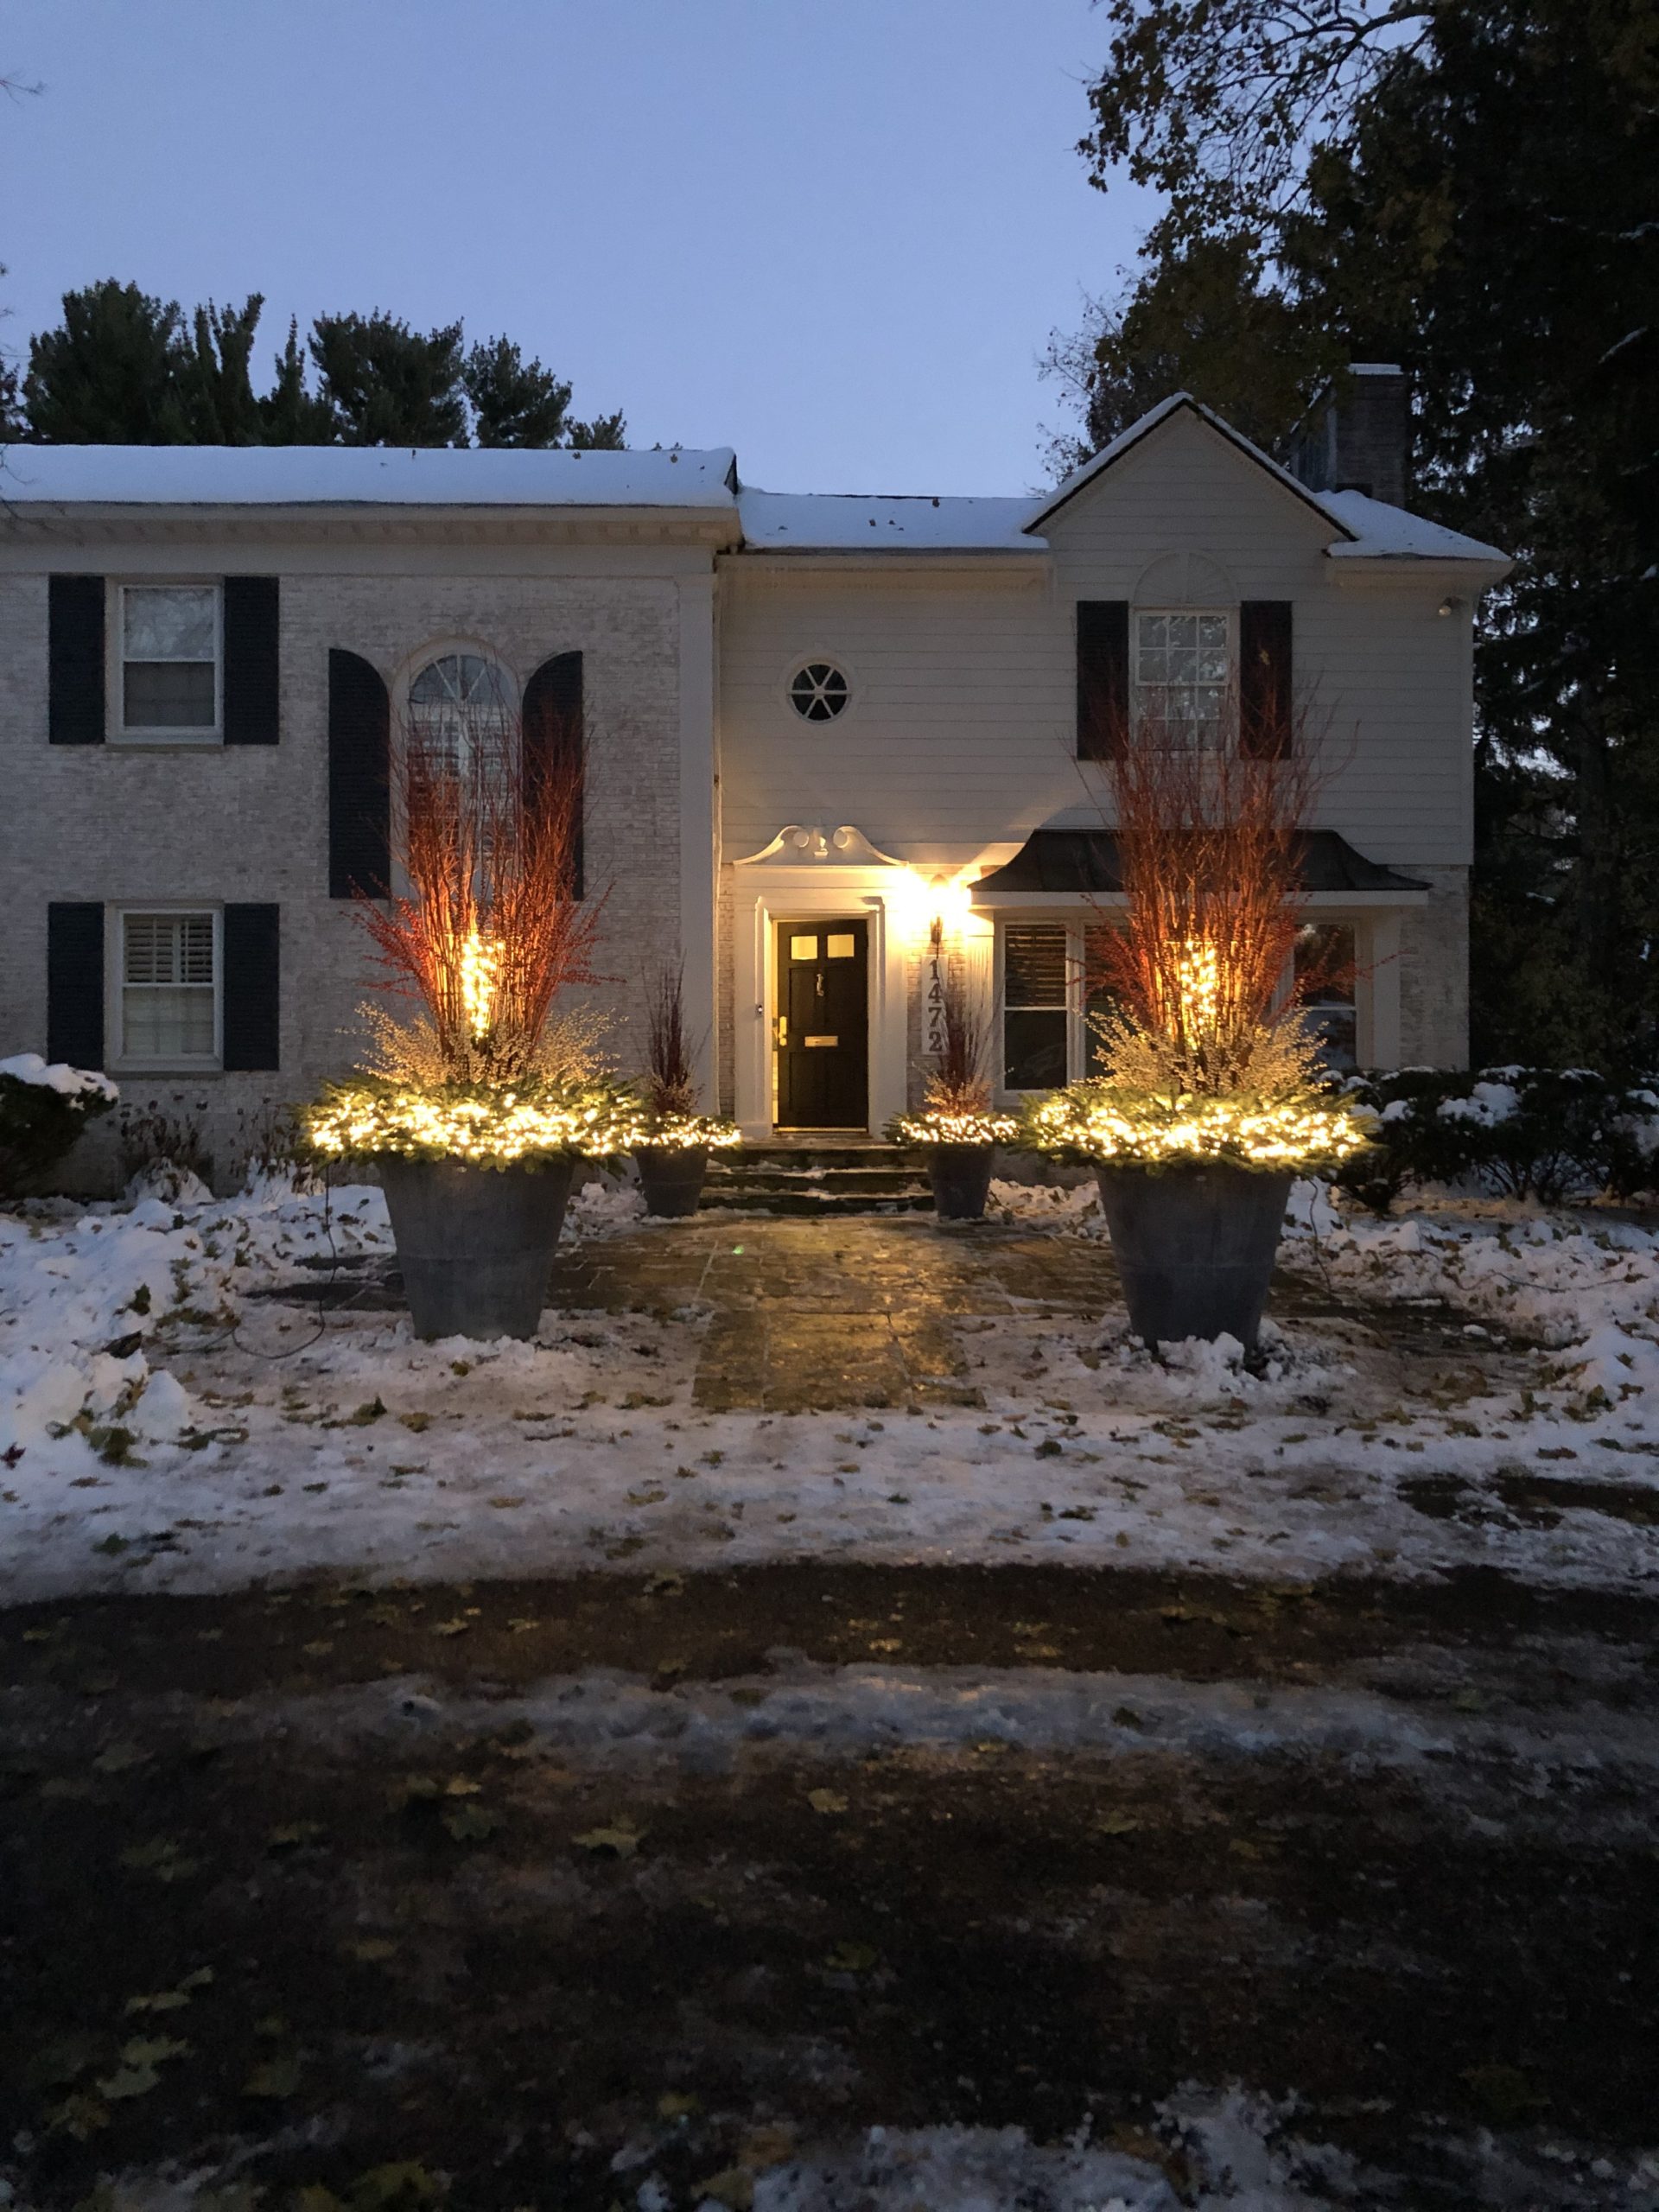
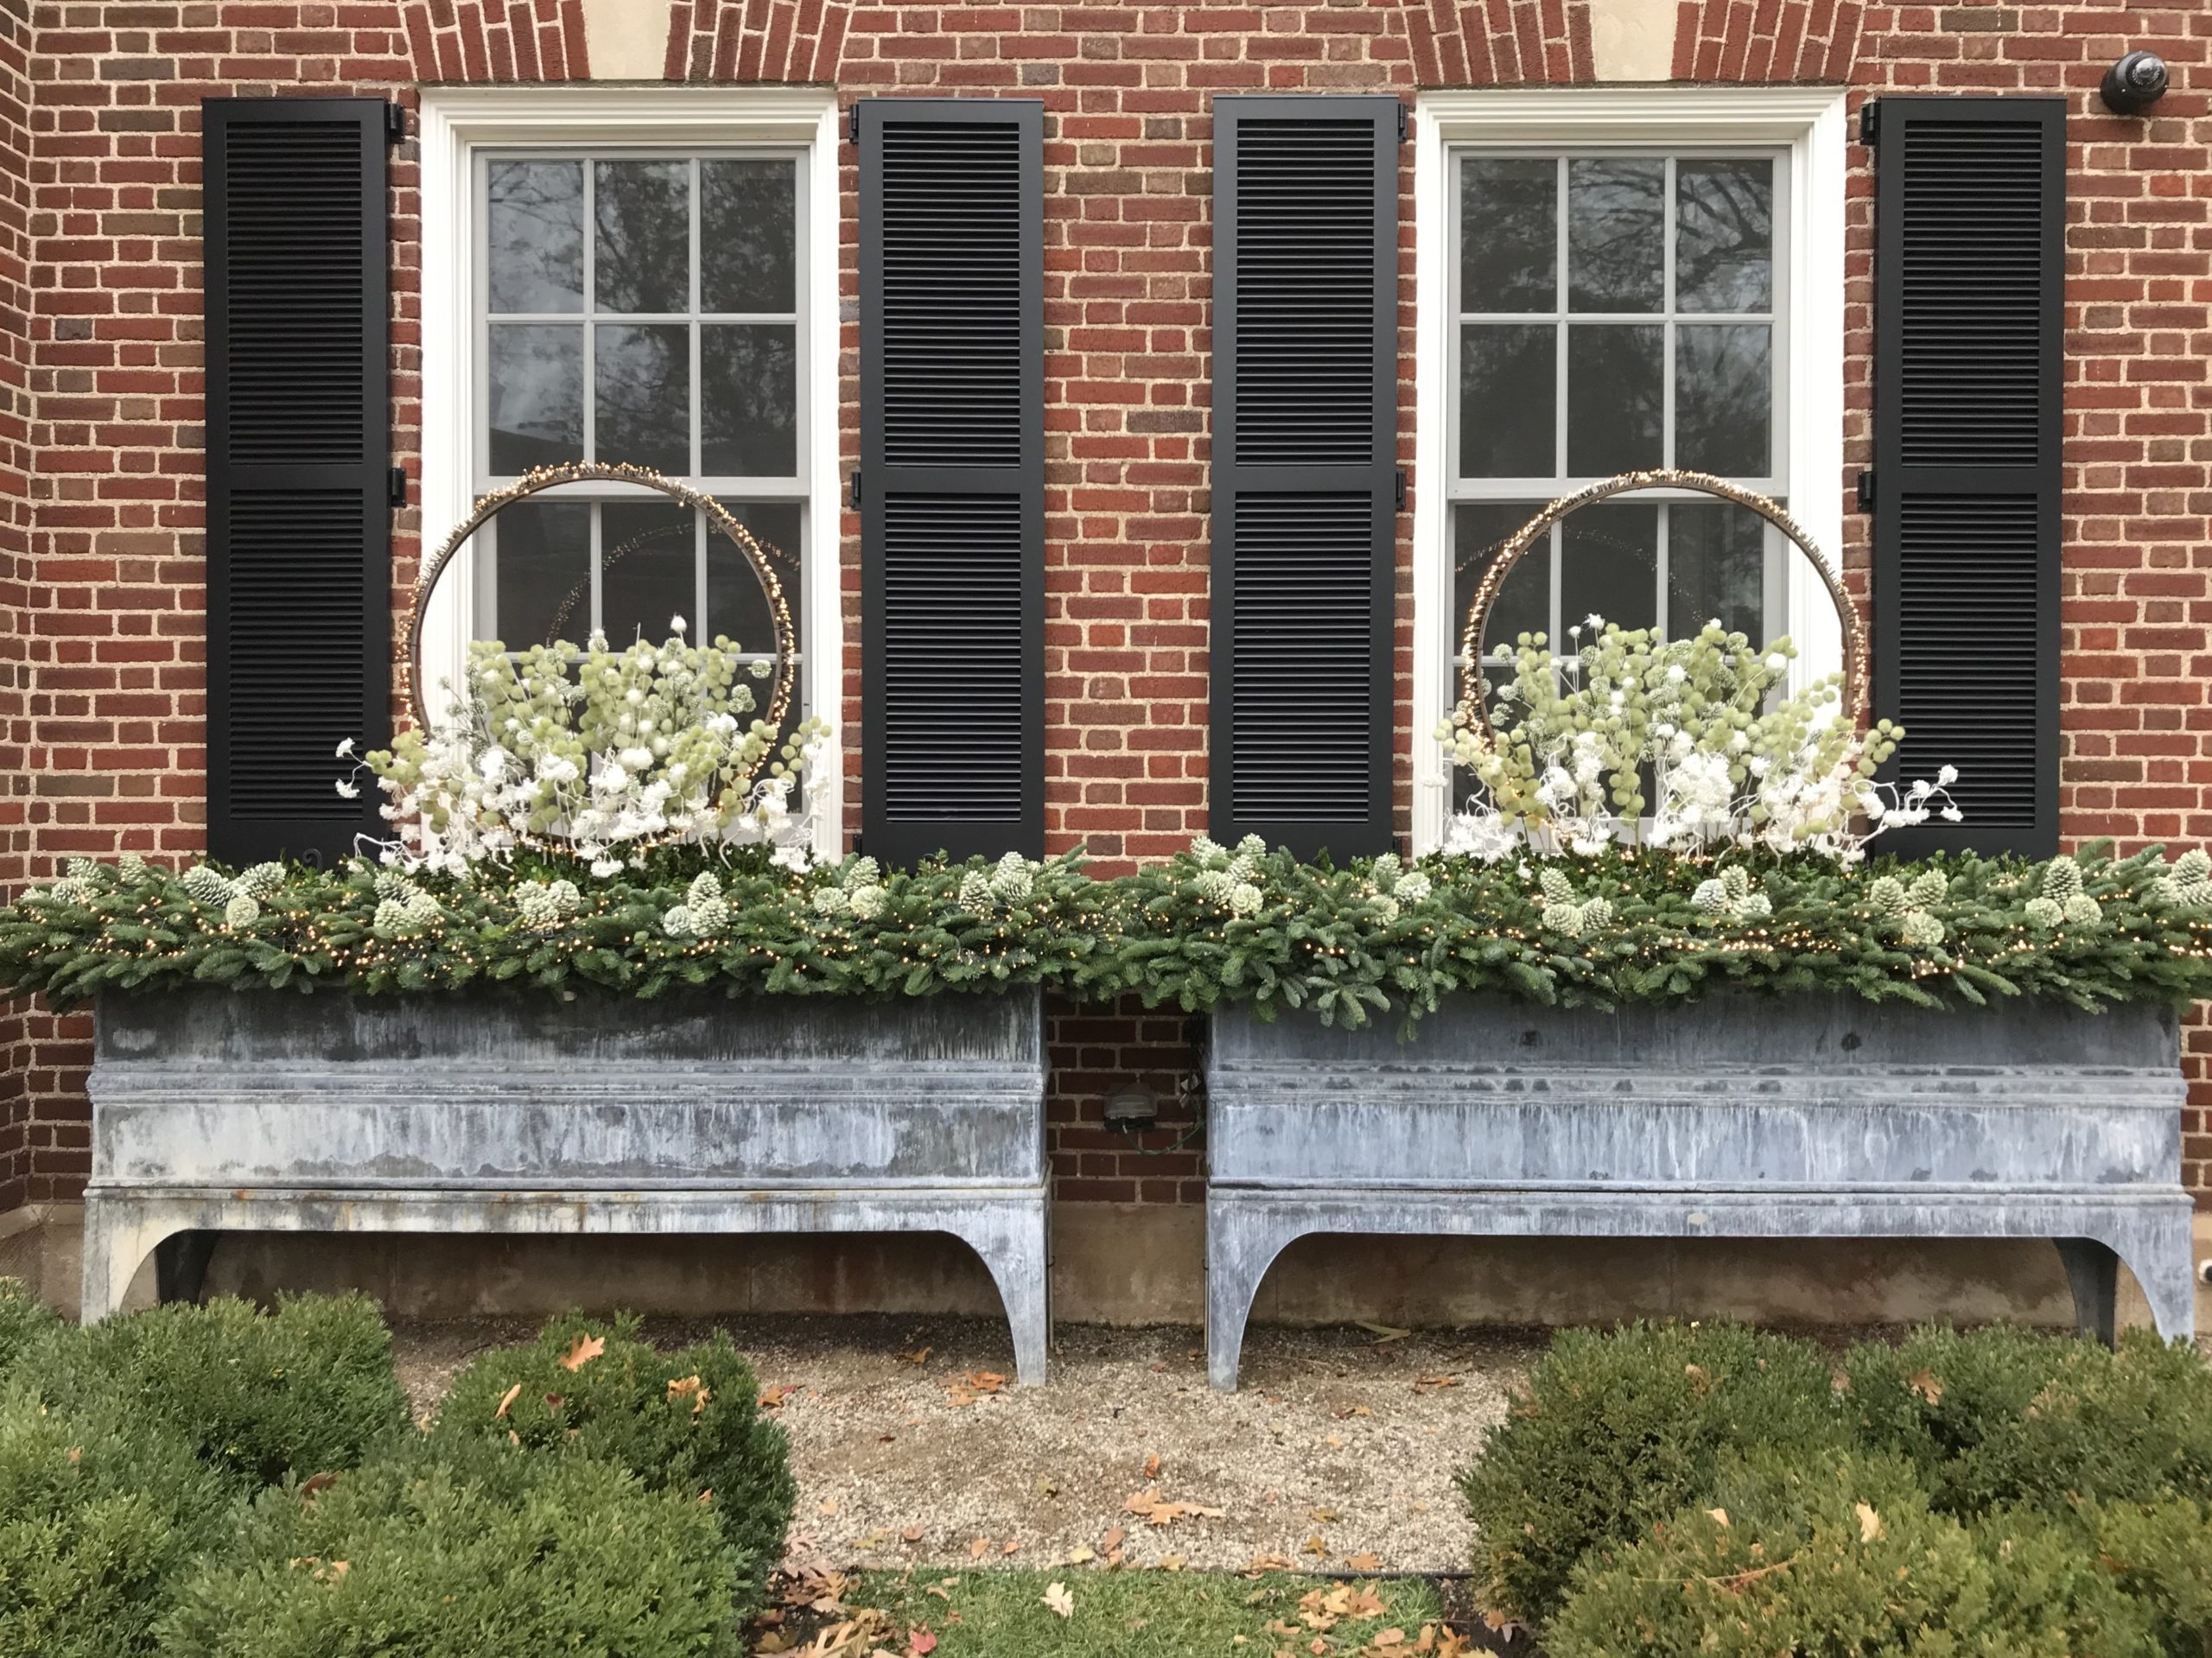 The installed winter containers boxes to the right of the front door. Perfectly beautiful, to my eye.
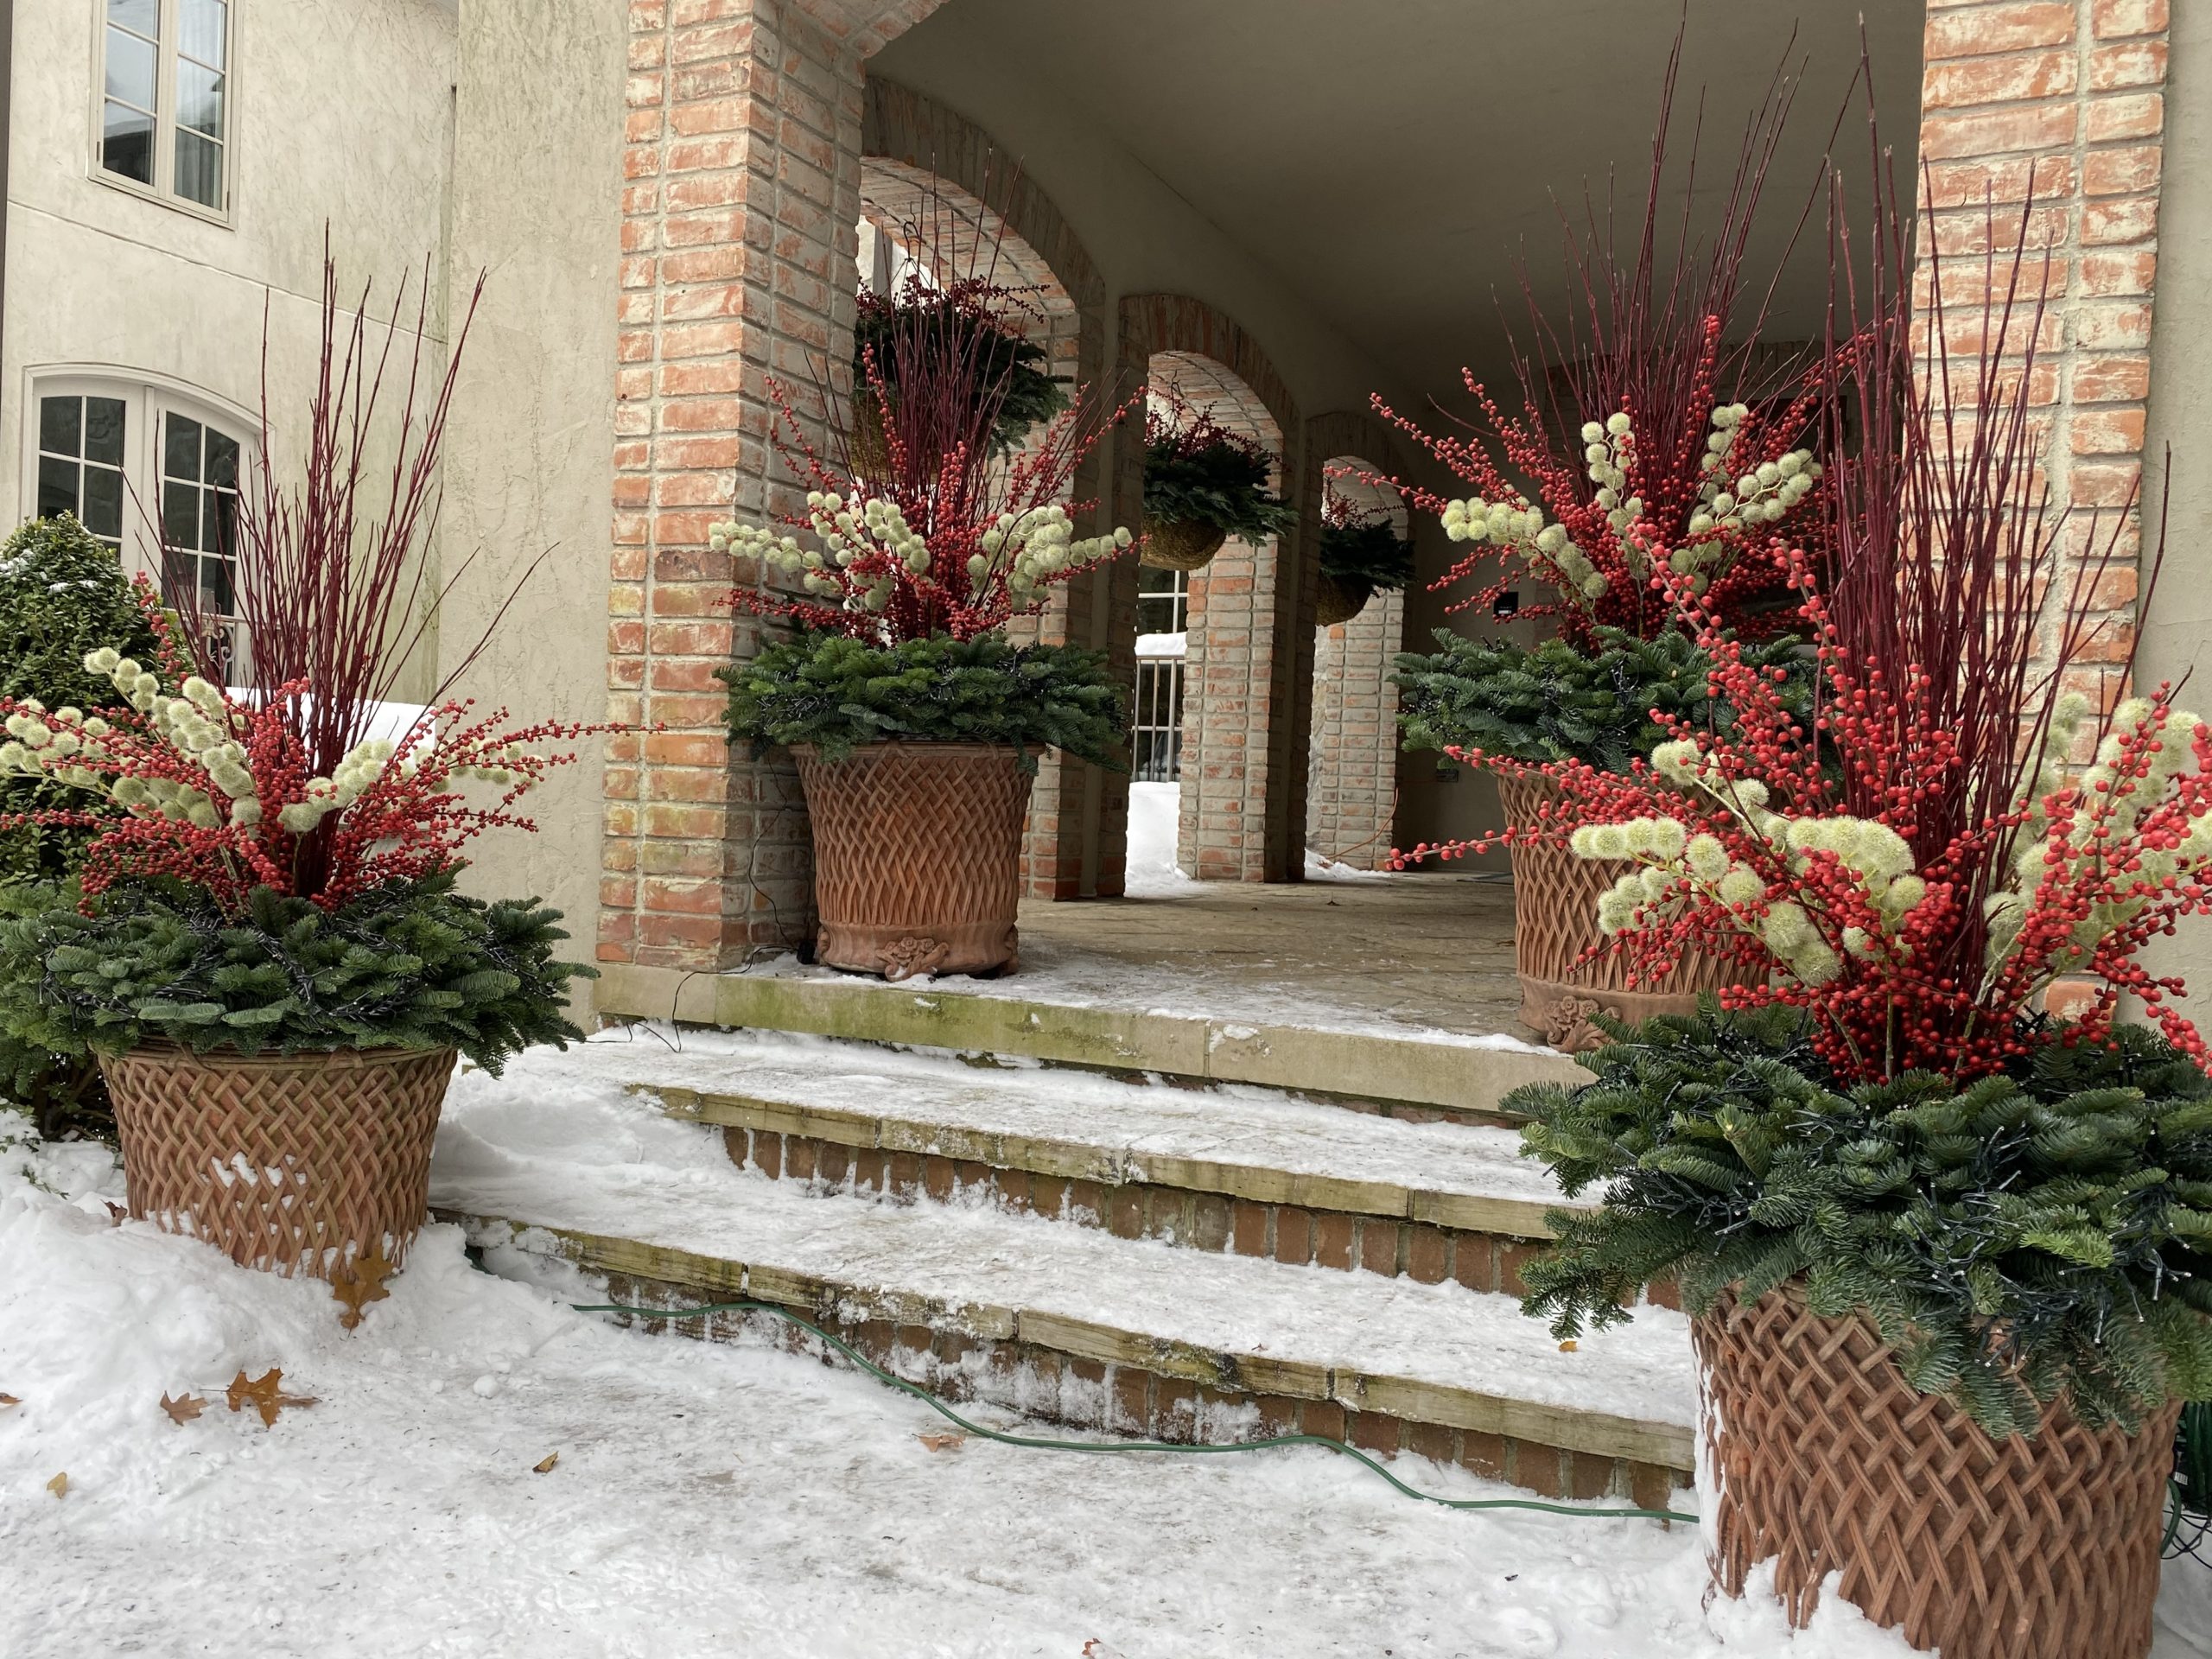
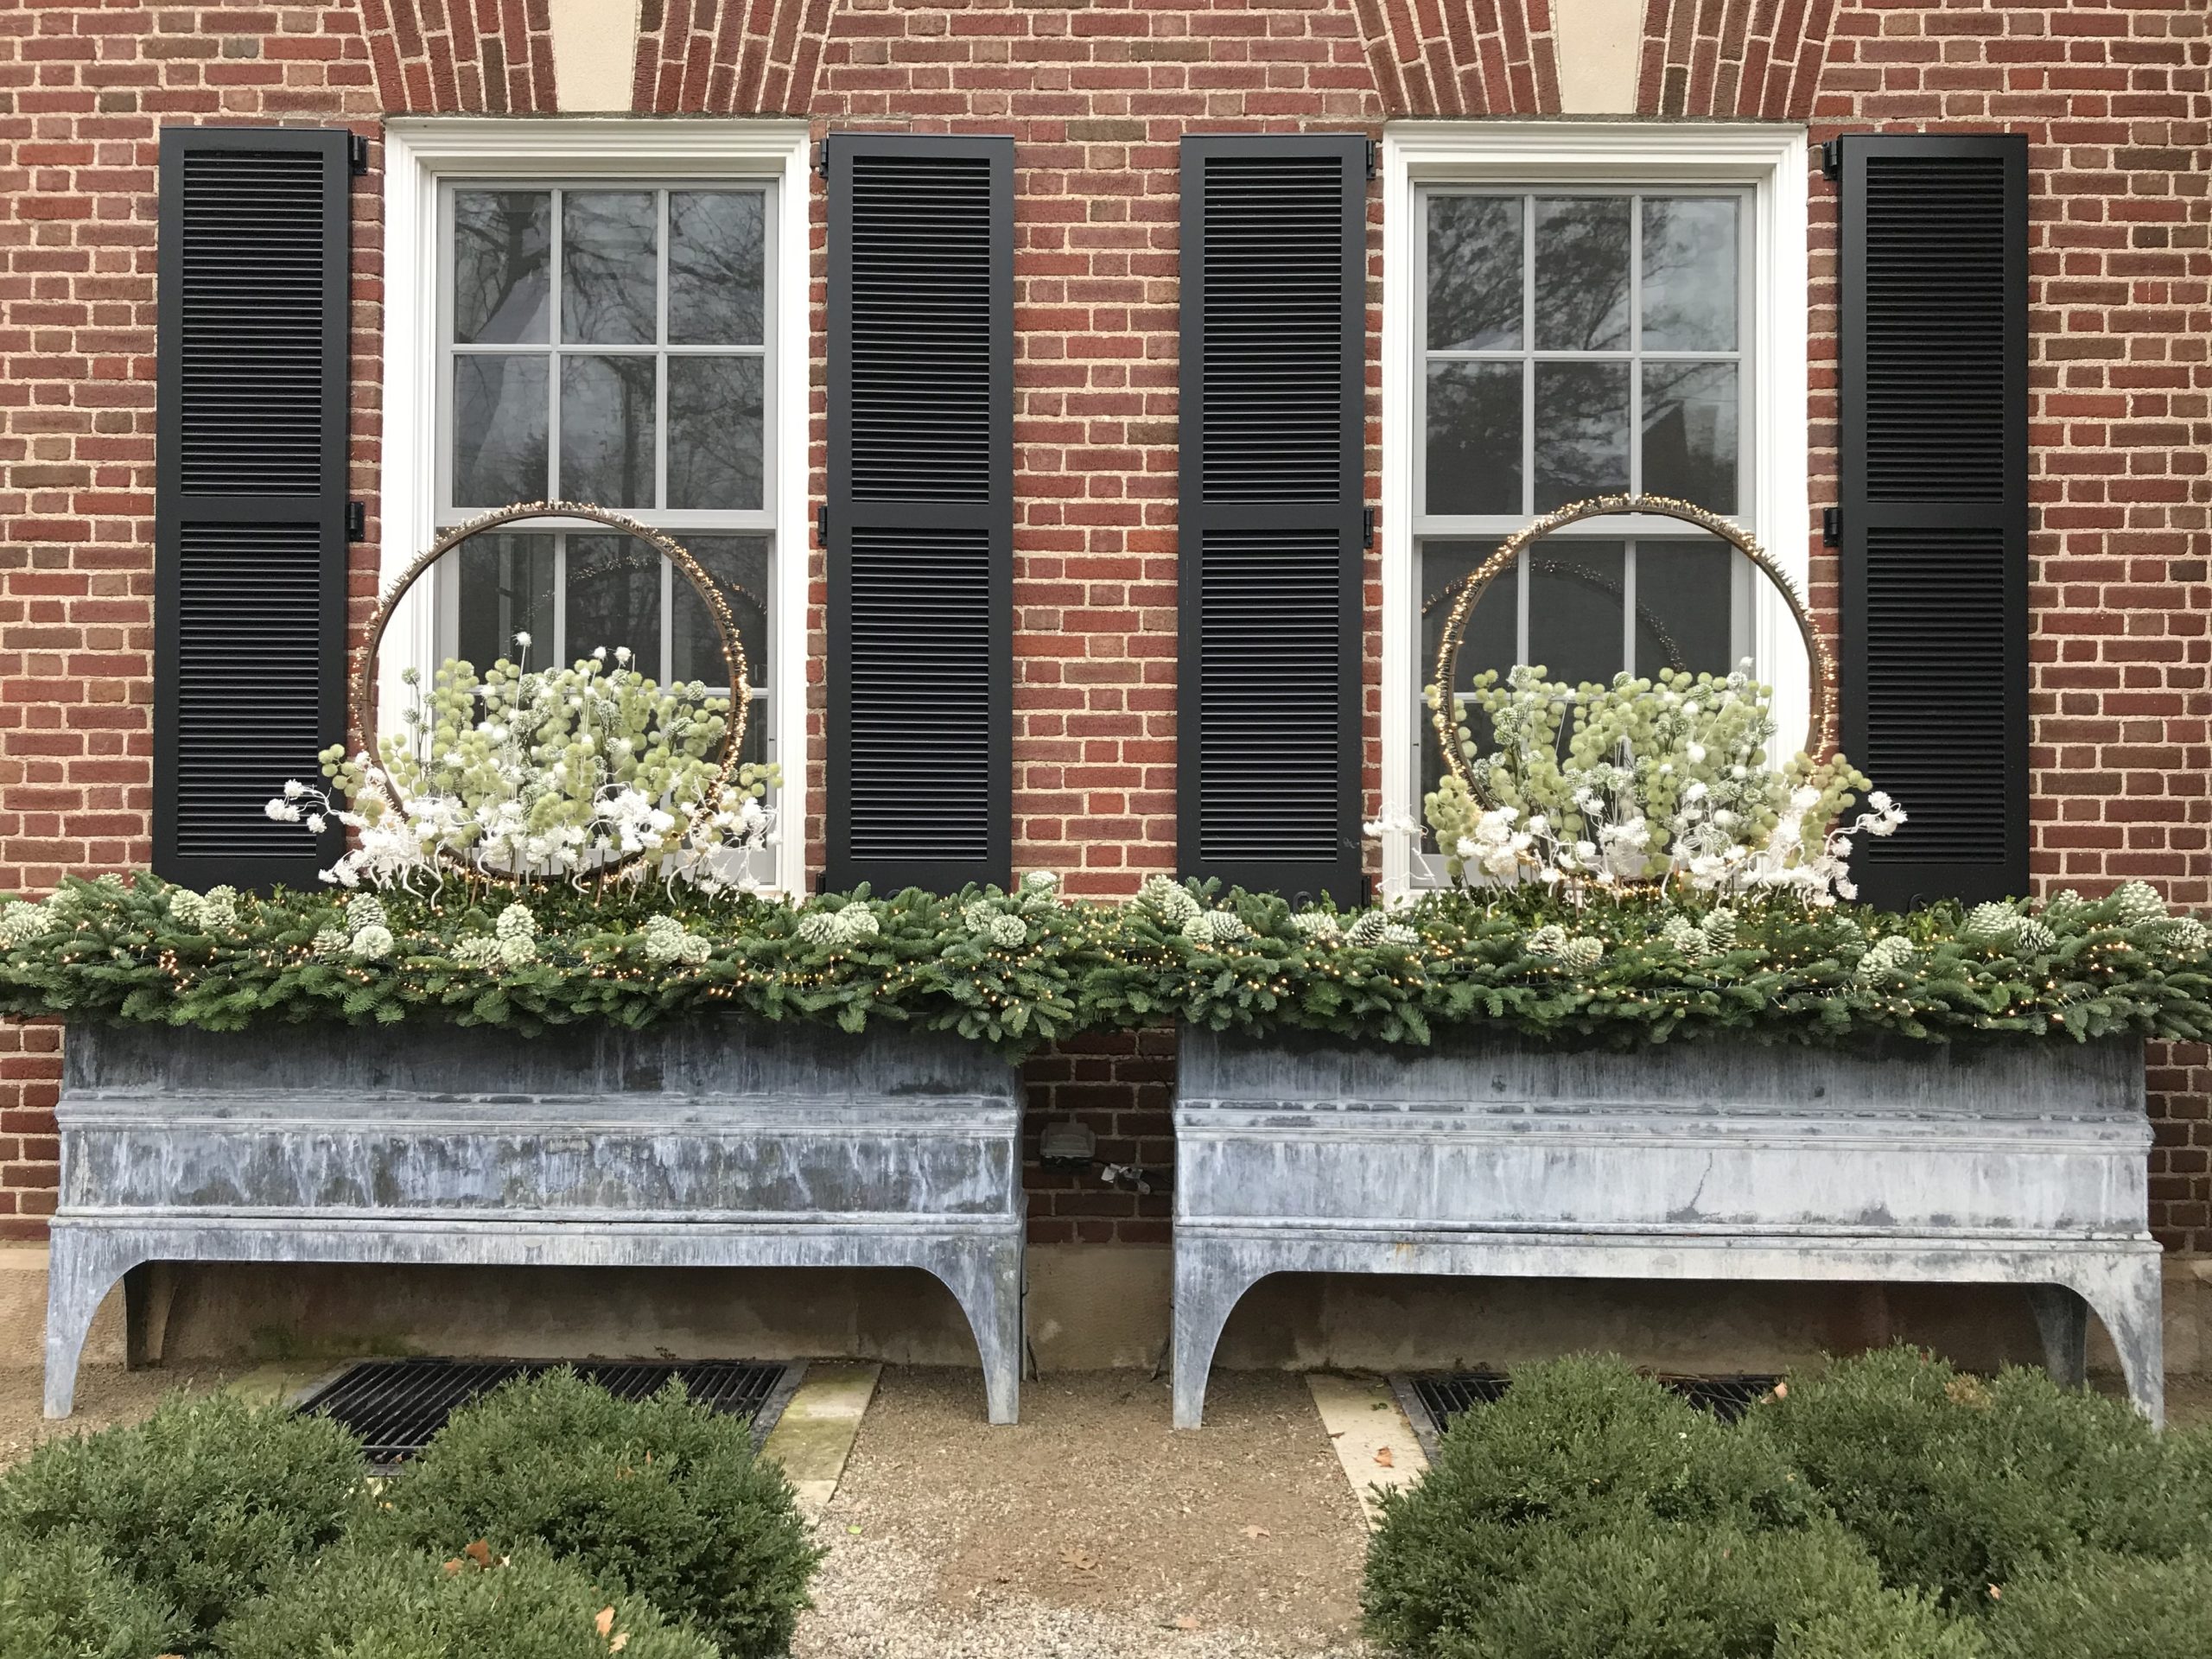 The installed containers to the left of the front door. Be advised that we work very hard to keep the construction issues behind the scenes. The finished pots show no signs of what it took to get them to this point. Except the fact that they look deliberately composed, and finished.
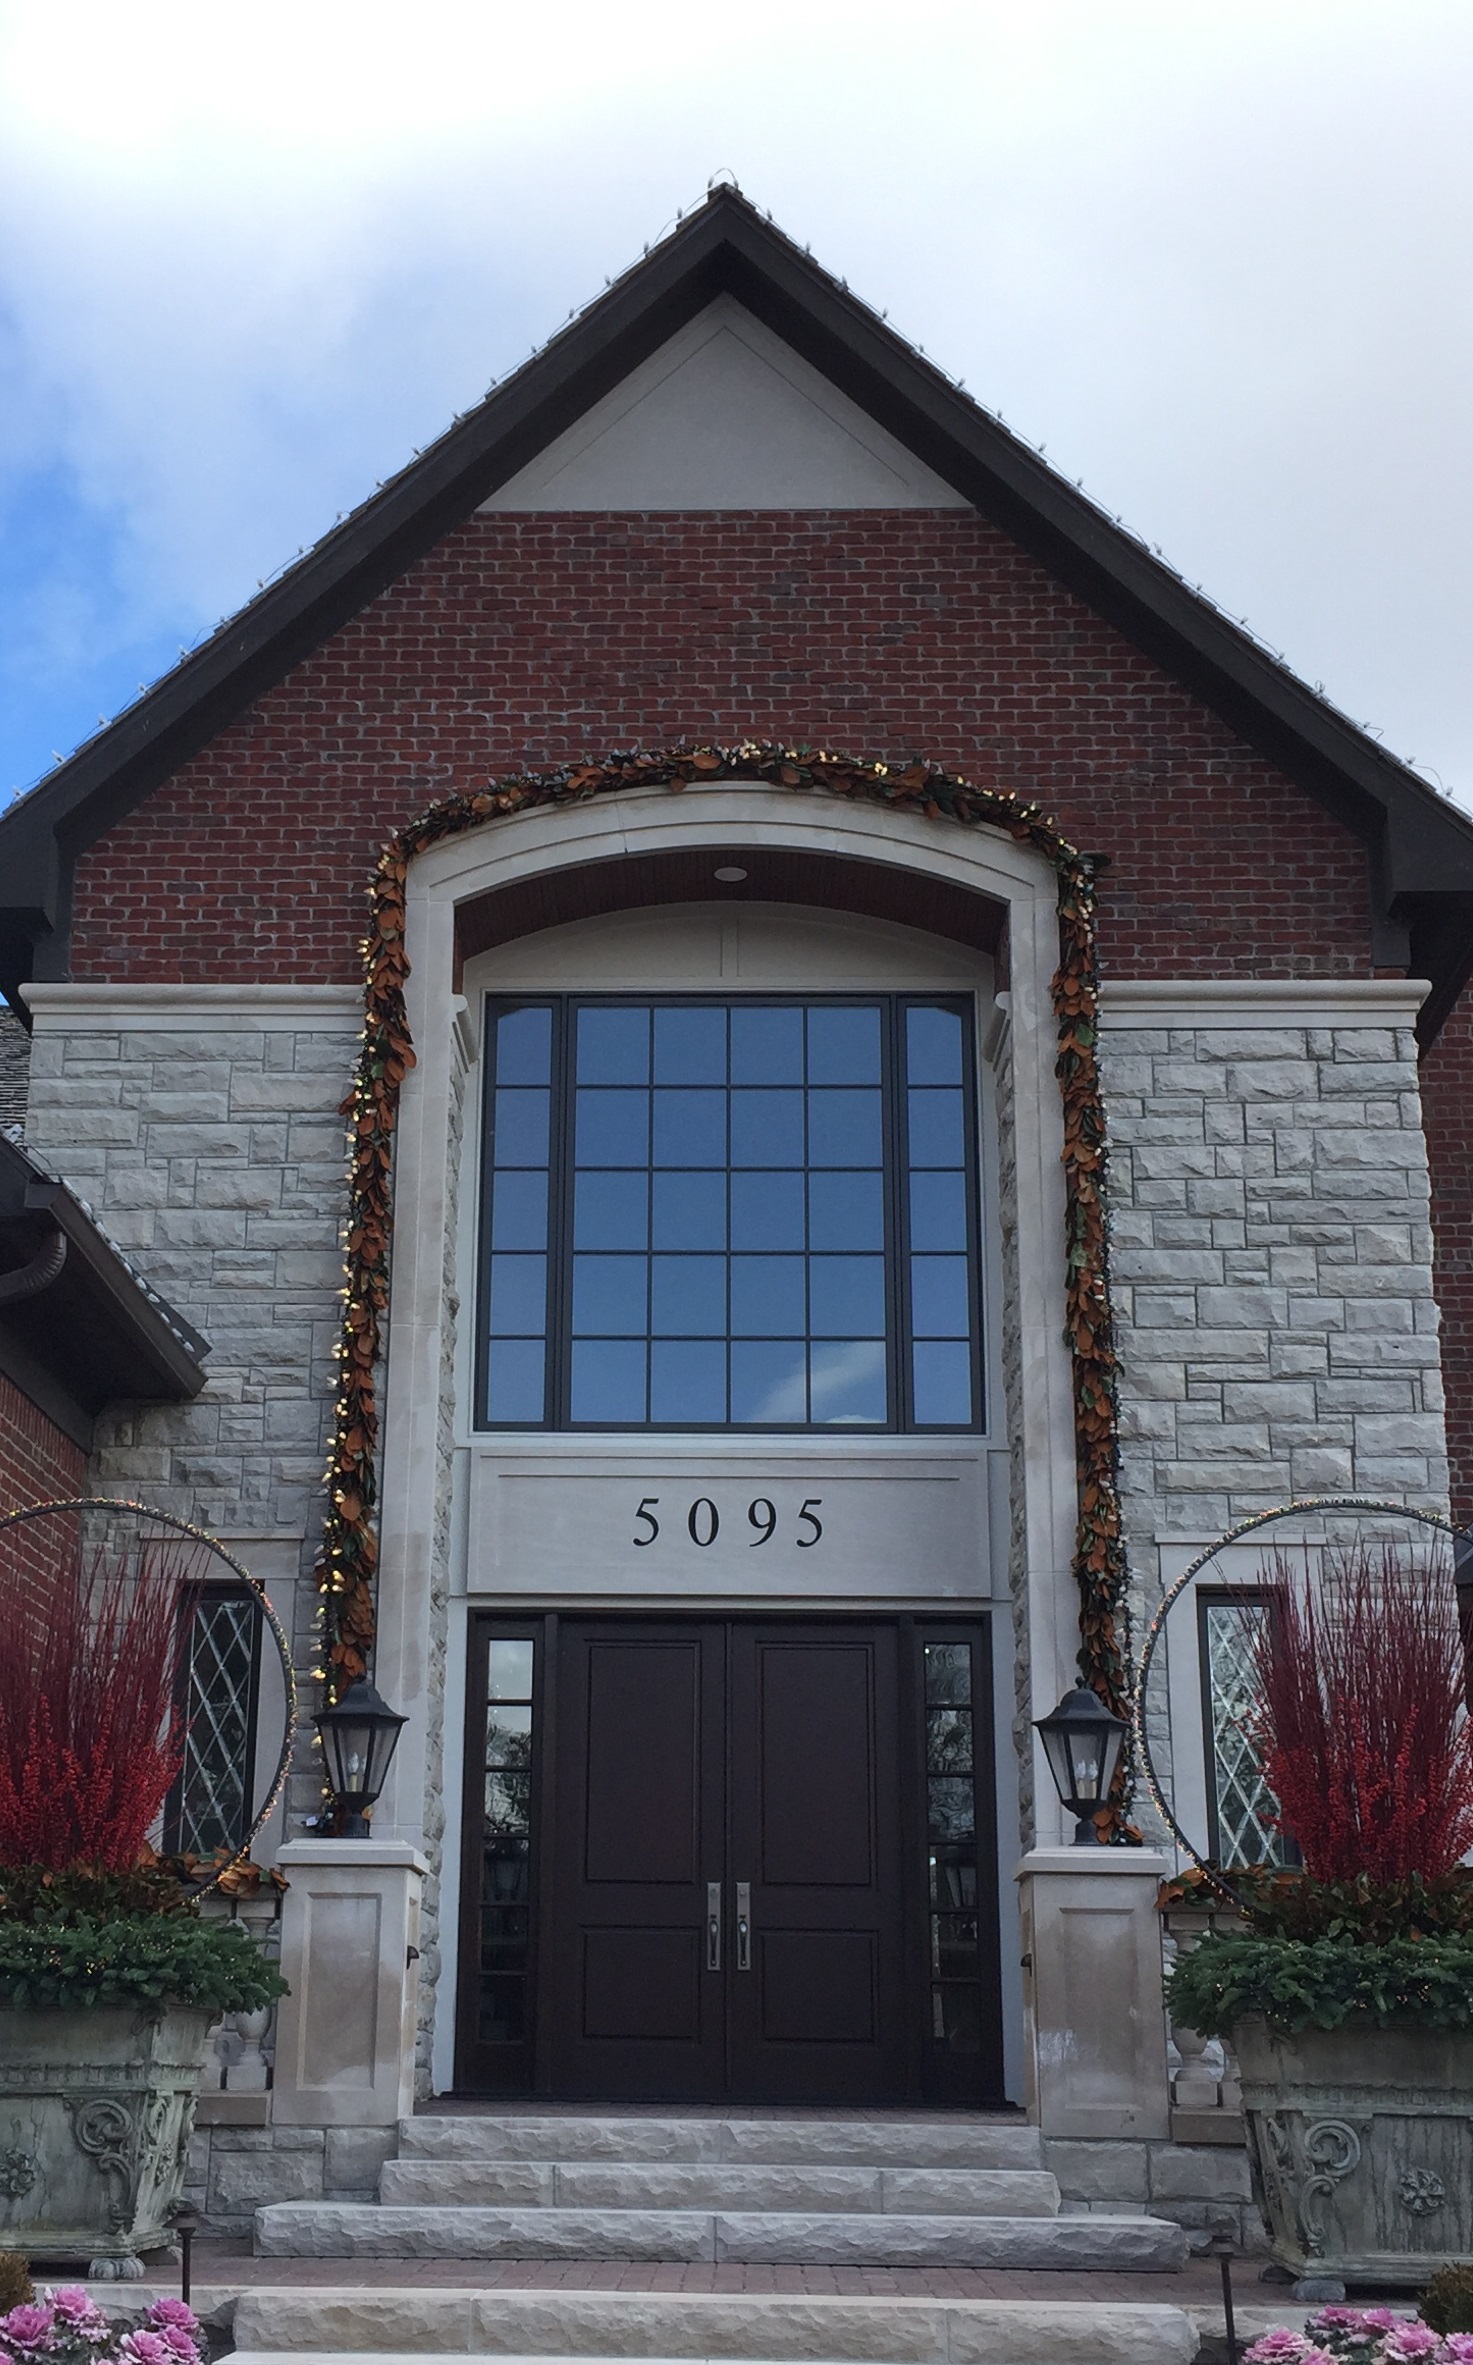
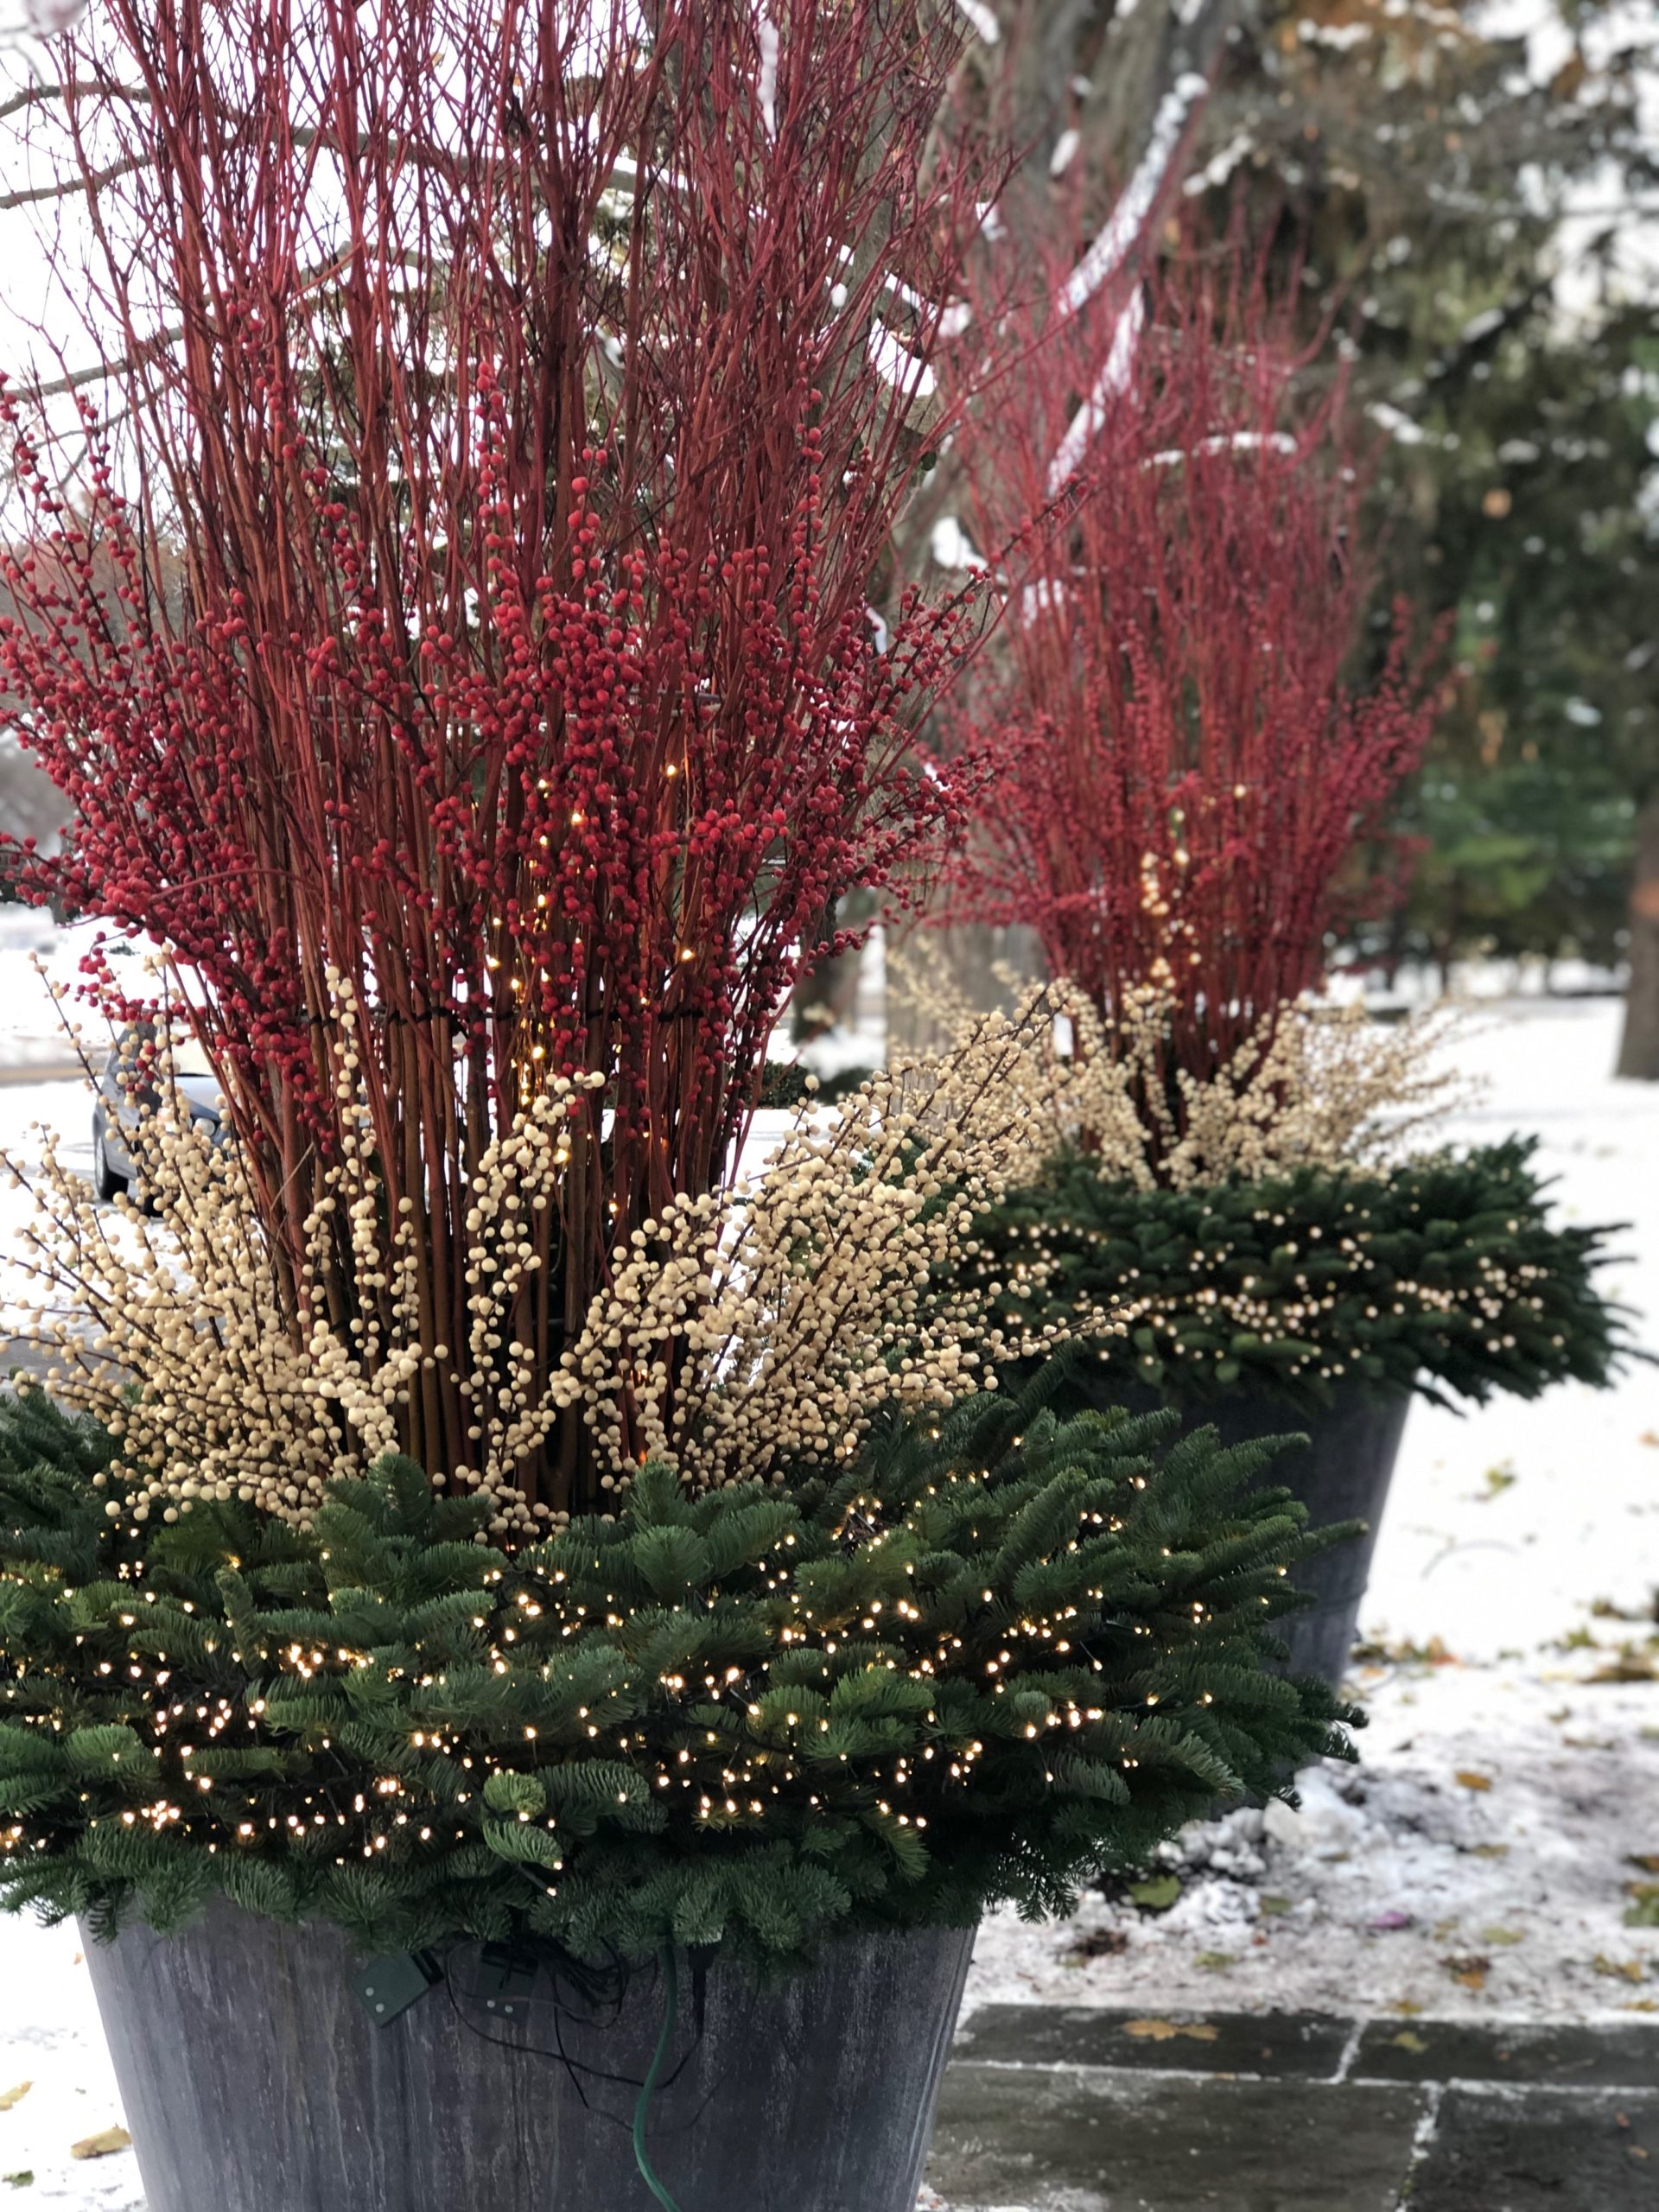
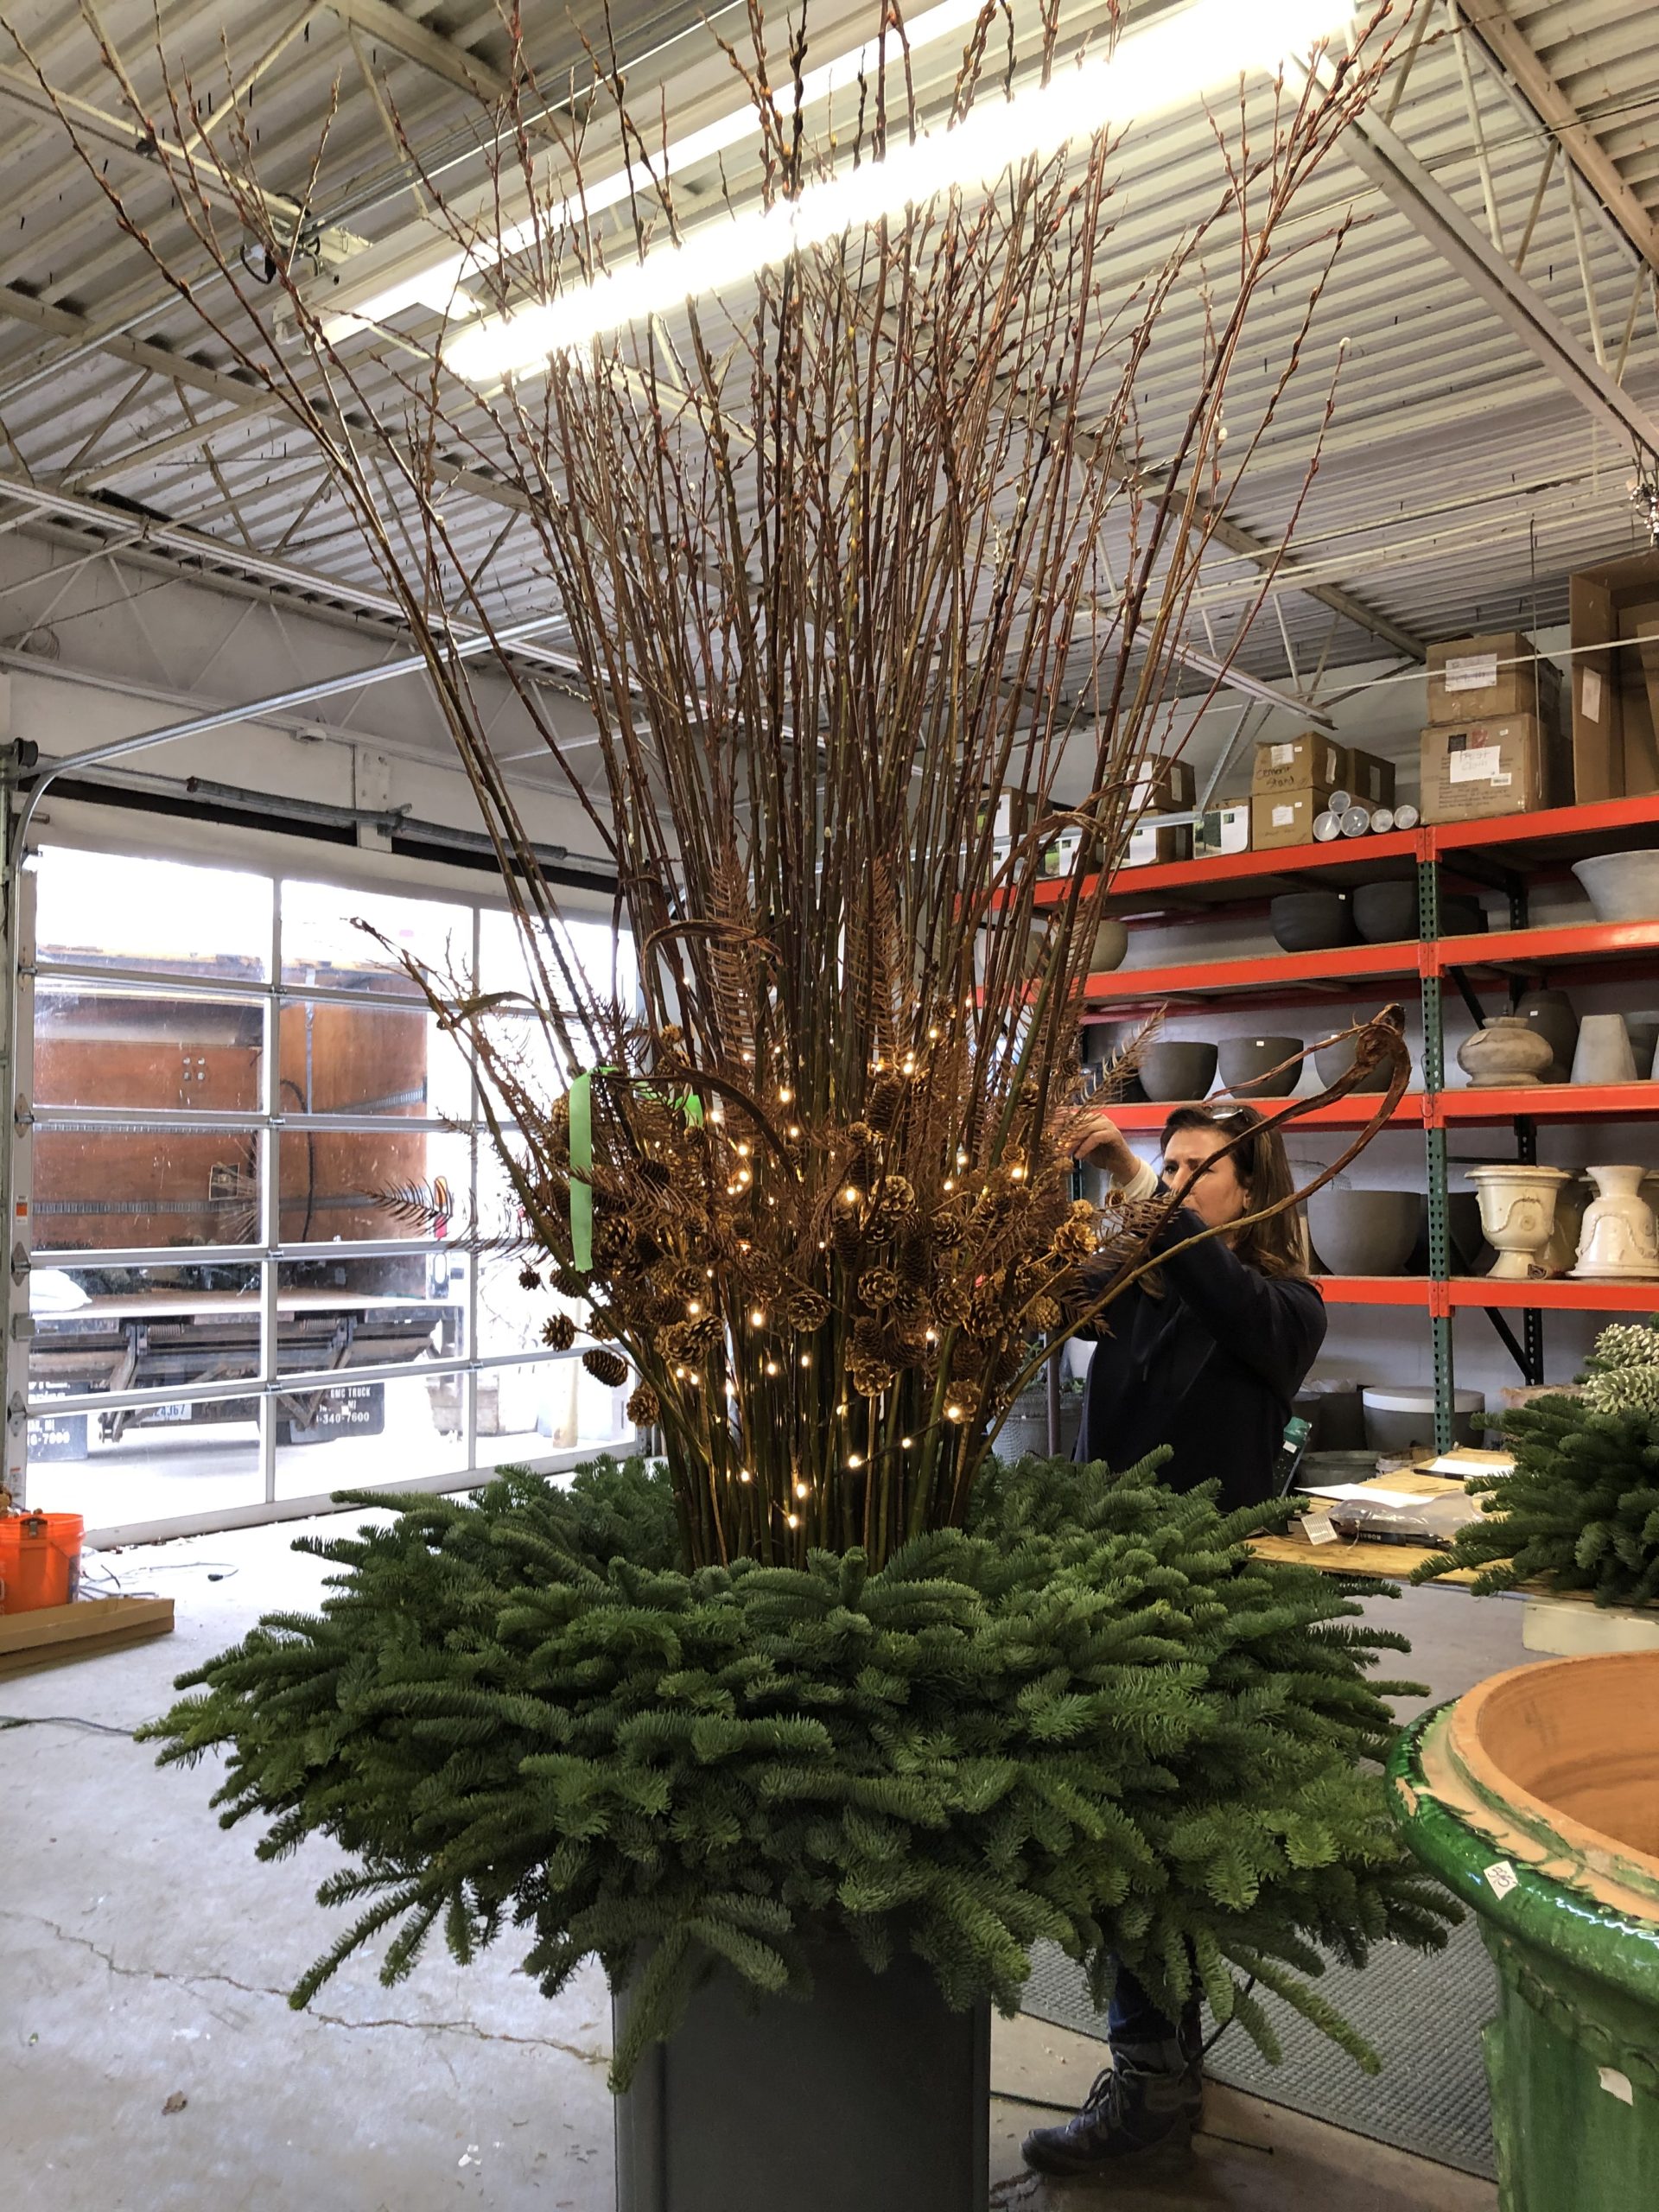
 Dressing the French pots in the back for the winter season was a new addition to this project. David did a great job of taking on a pair of winter container arrangements that asked for considerable size and scale.
 Karen lending a hand securing the picks
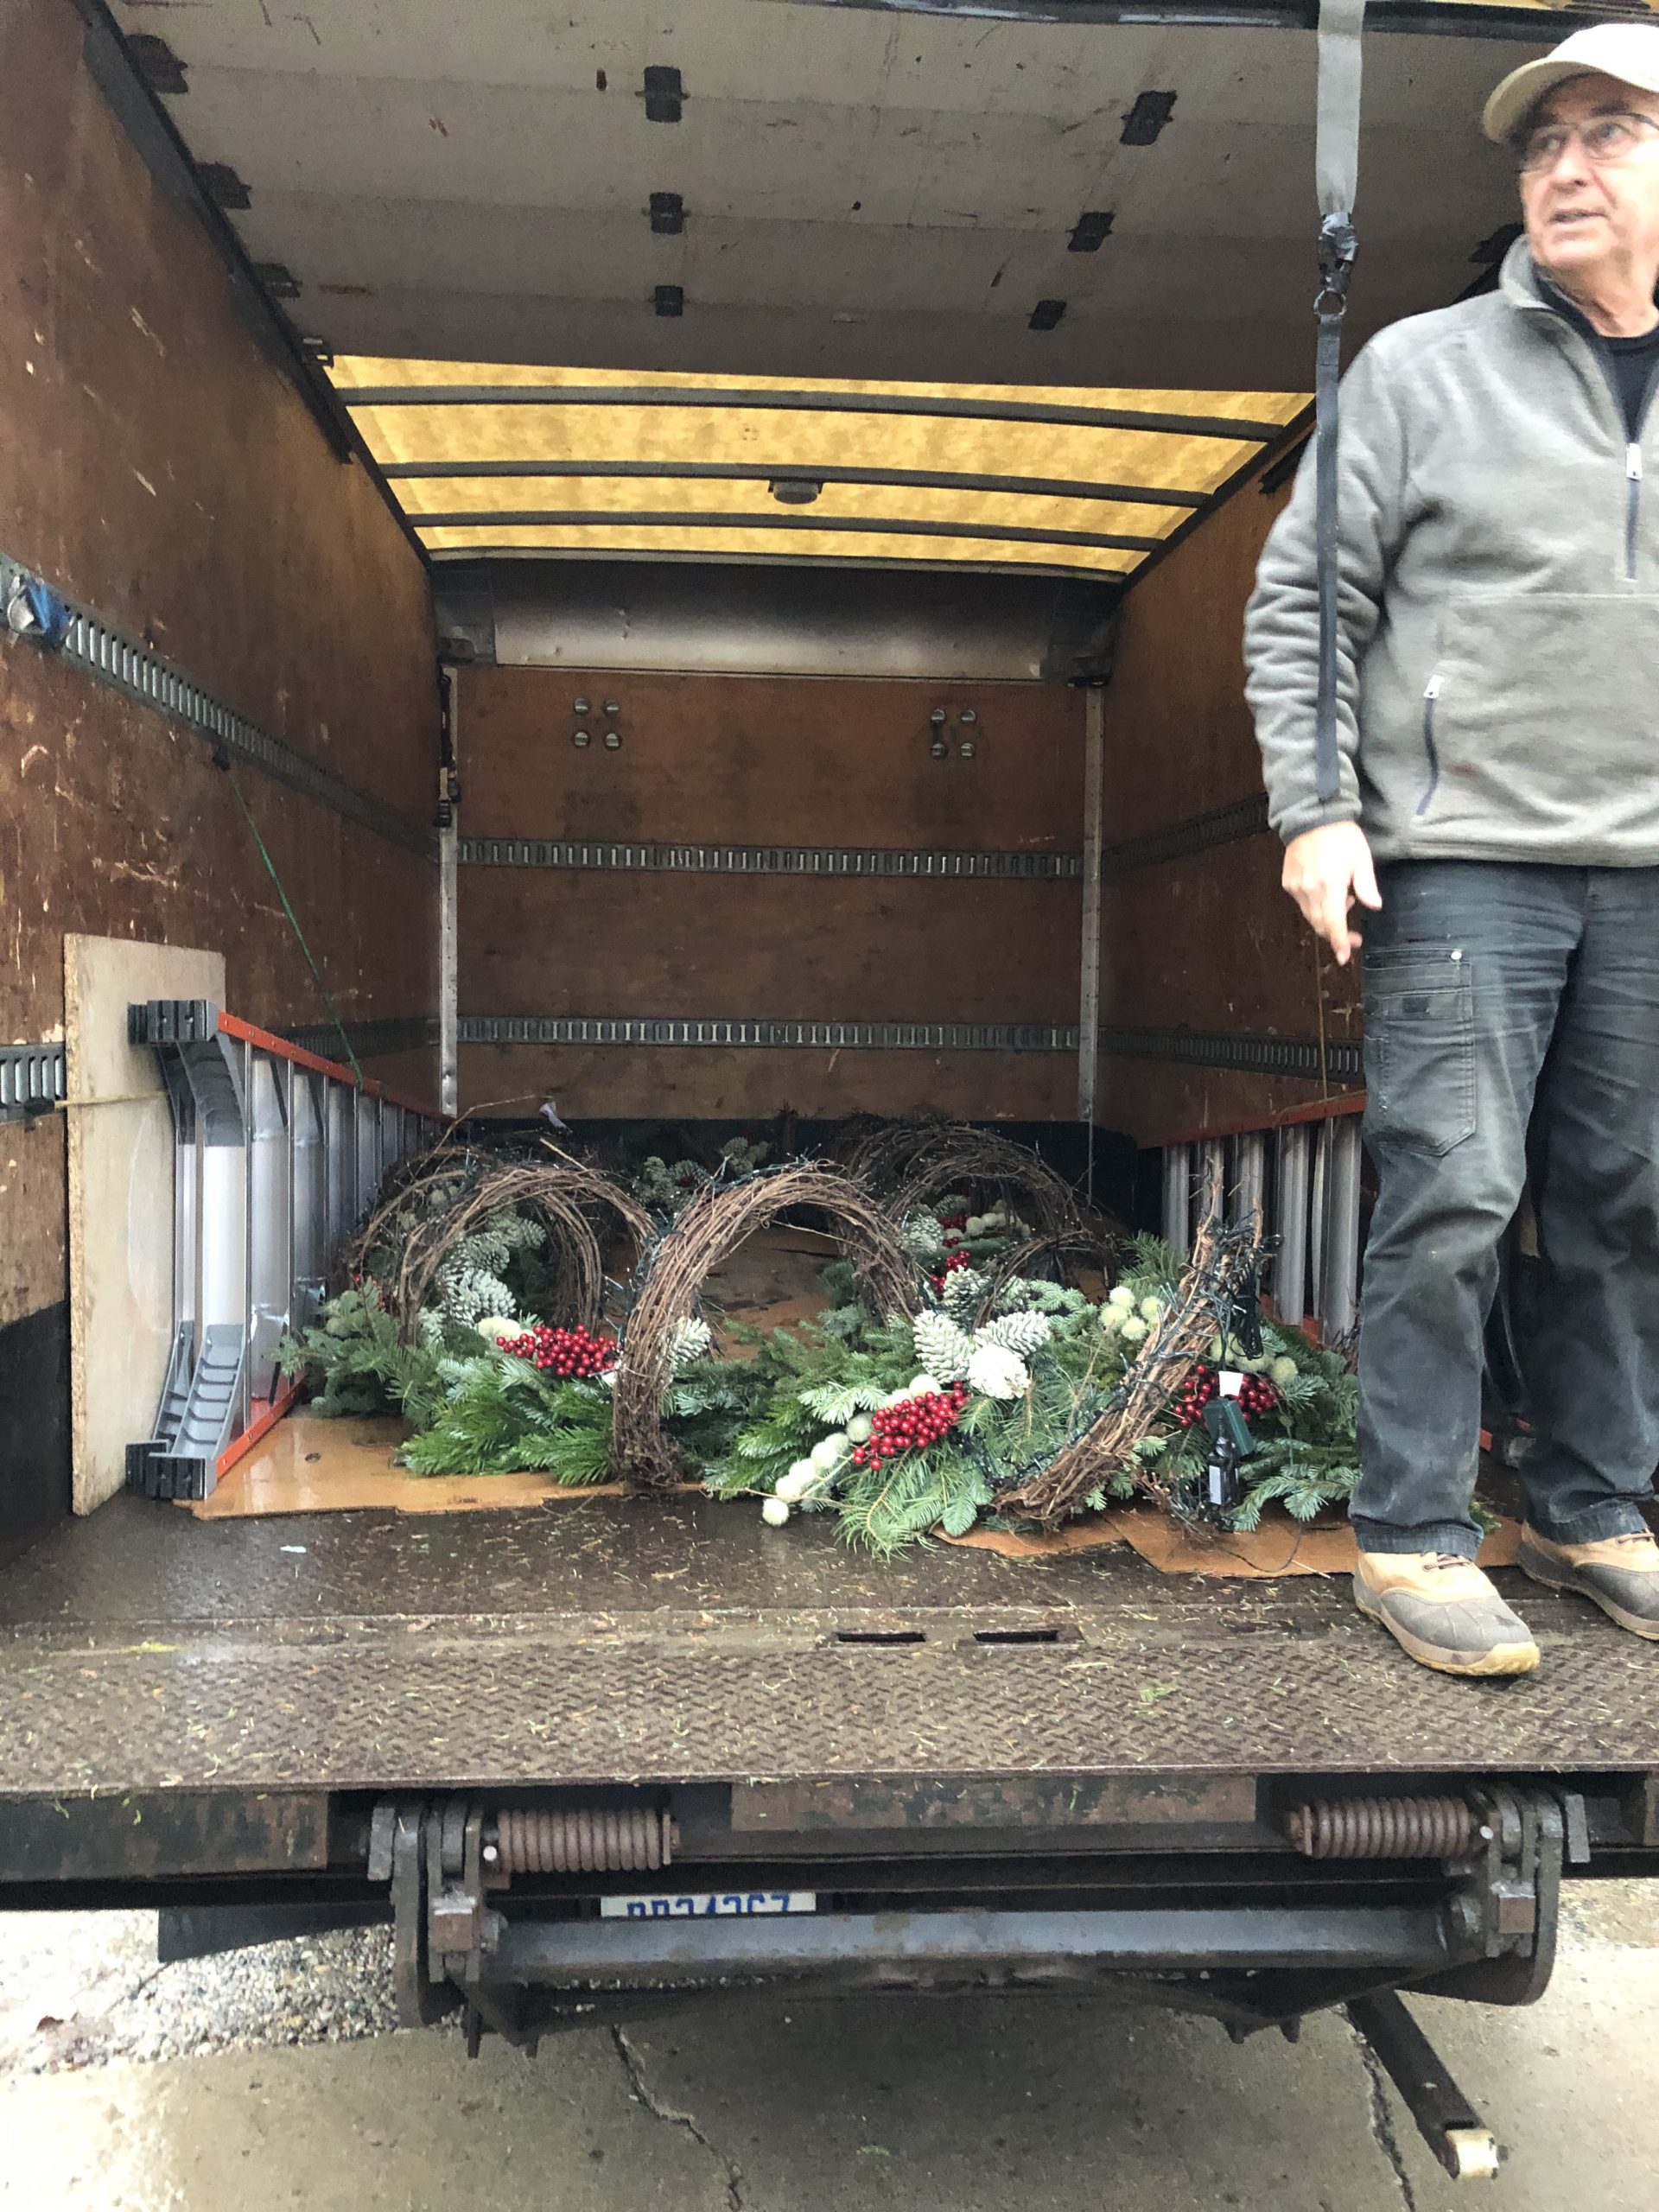
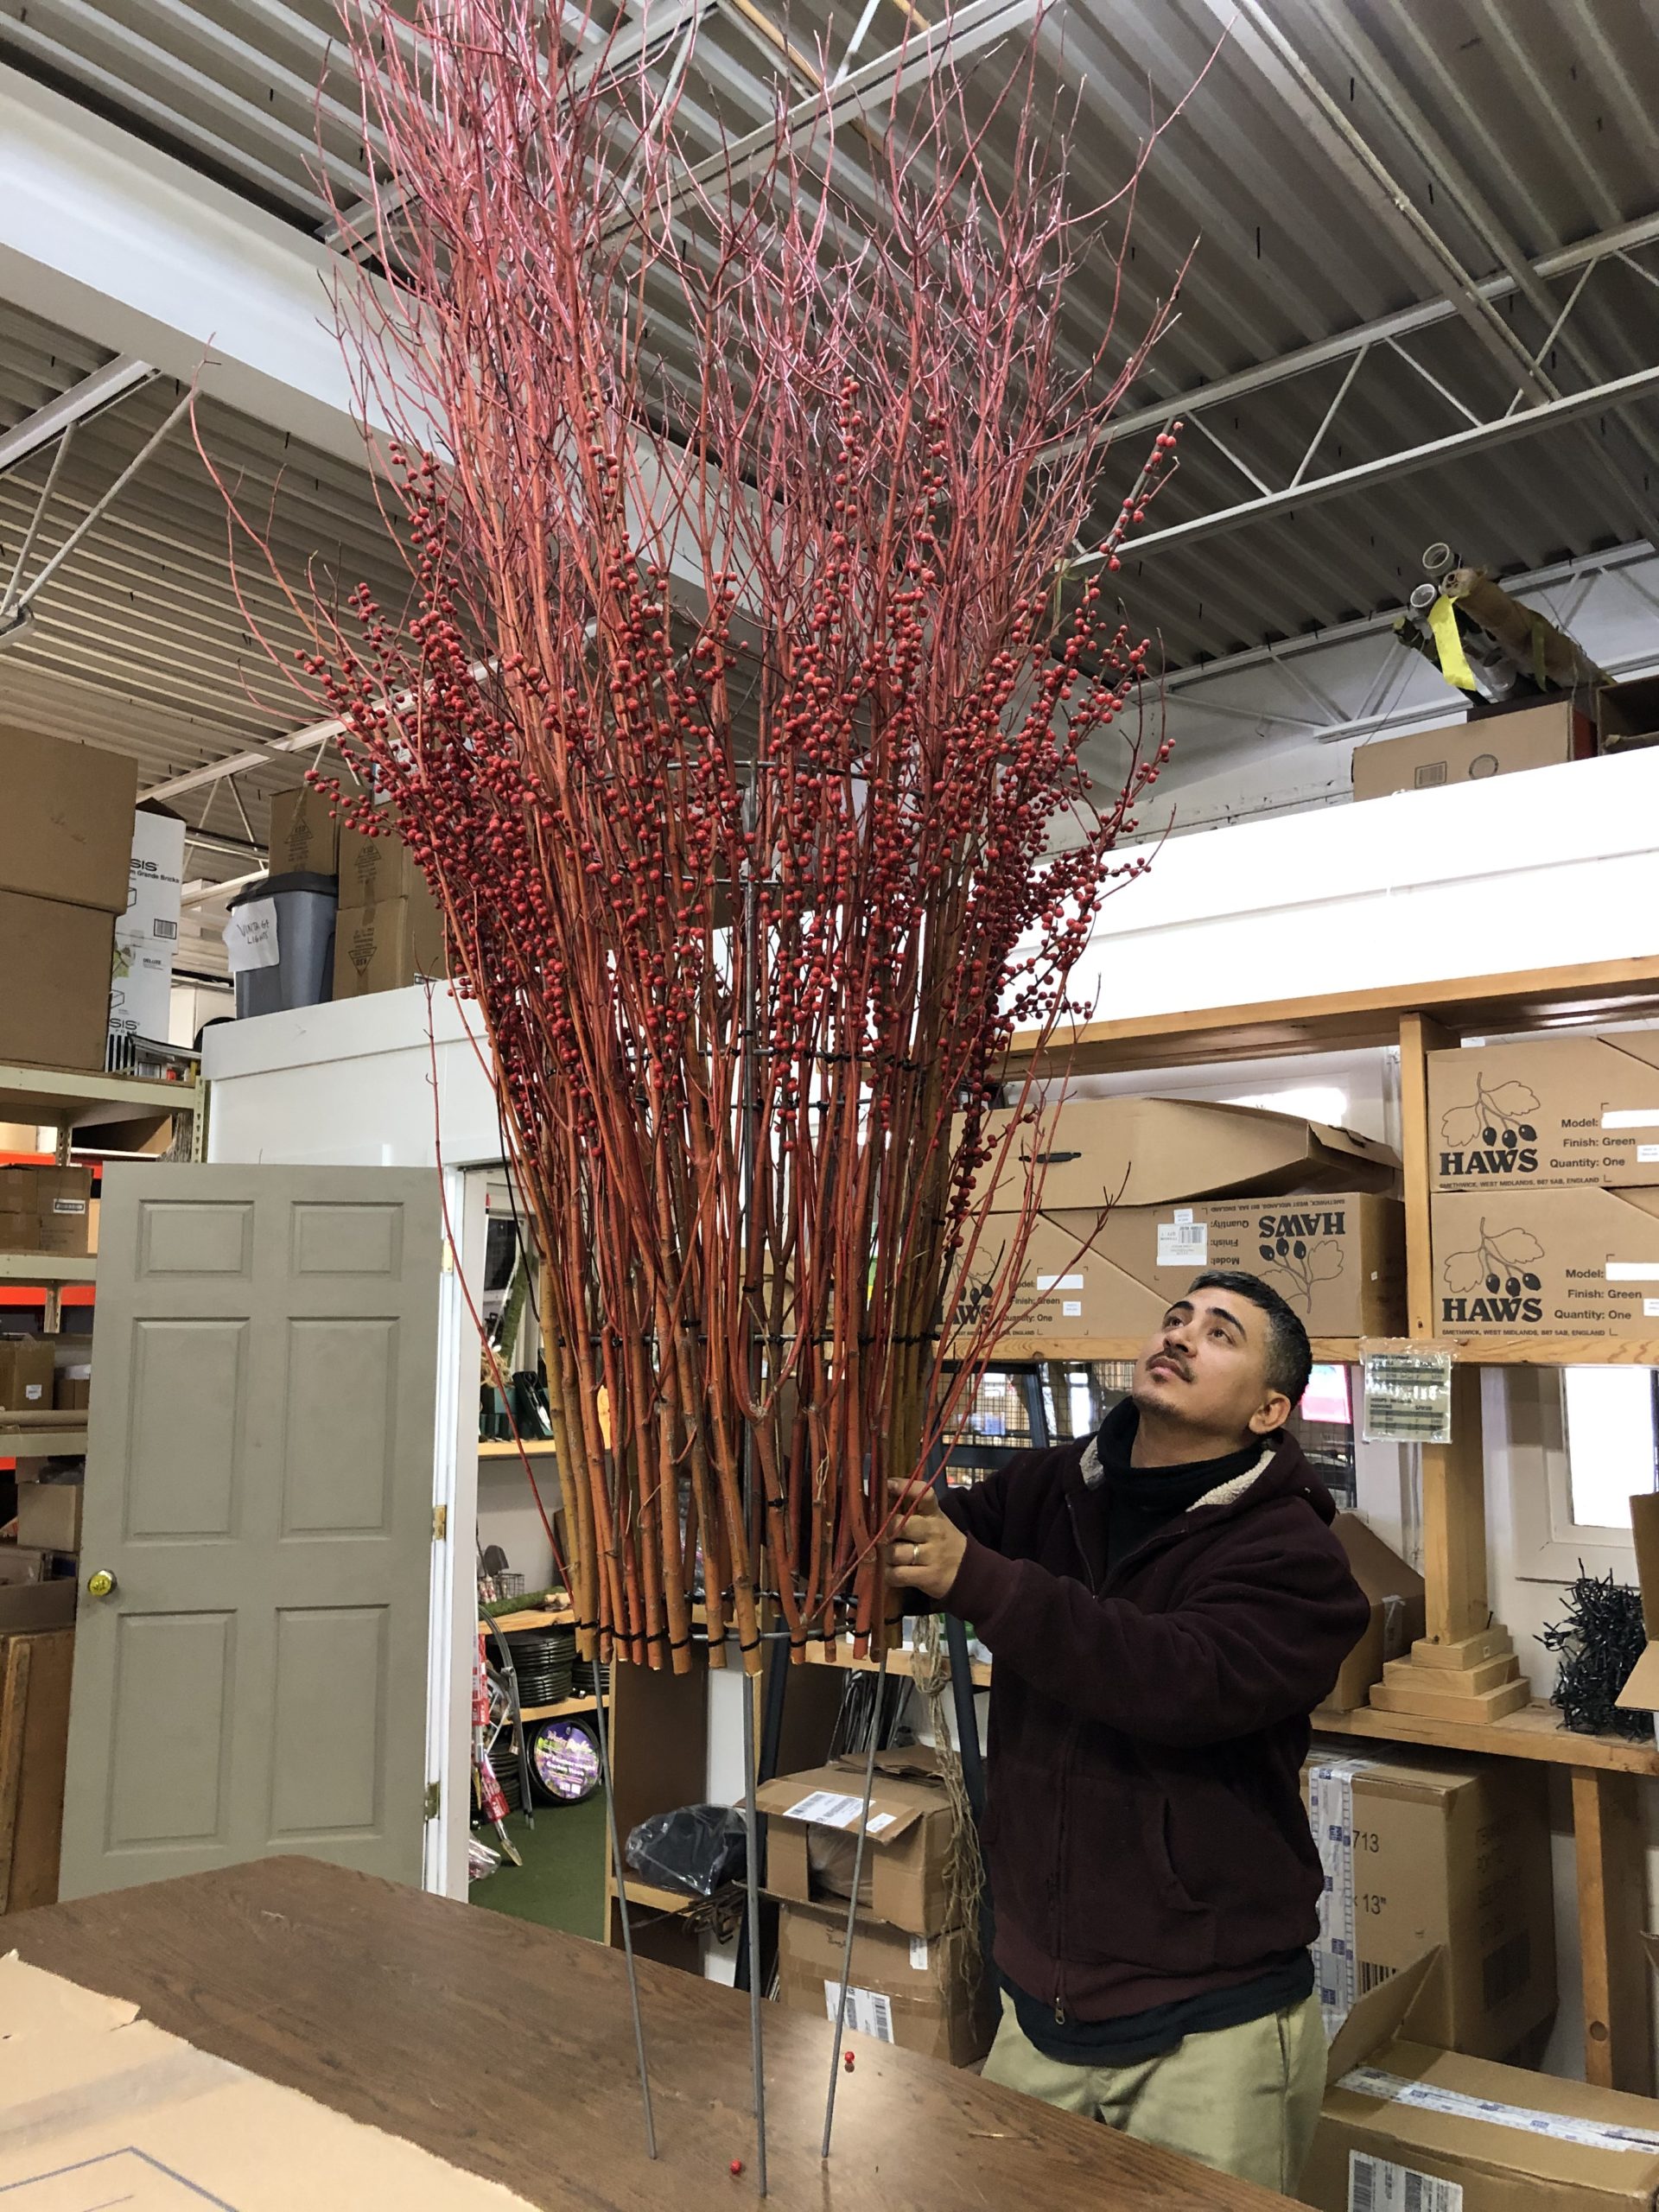
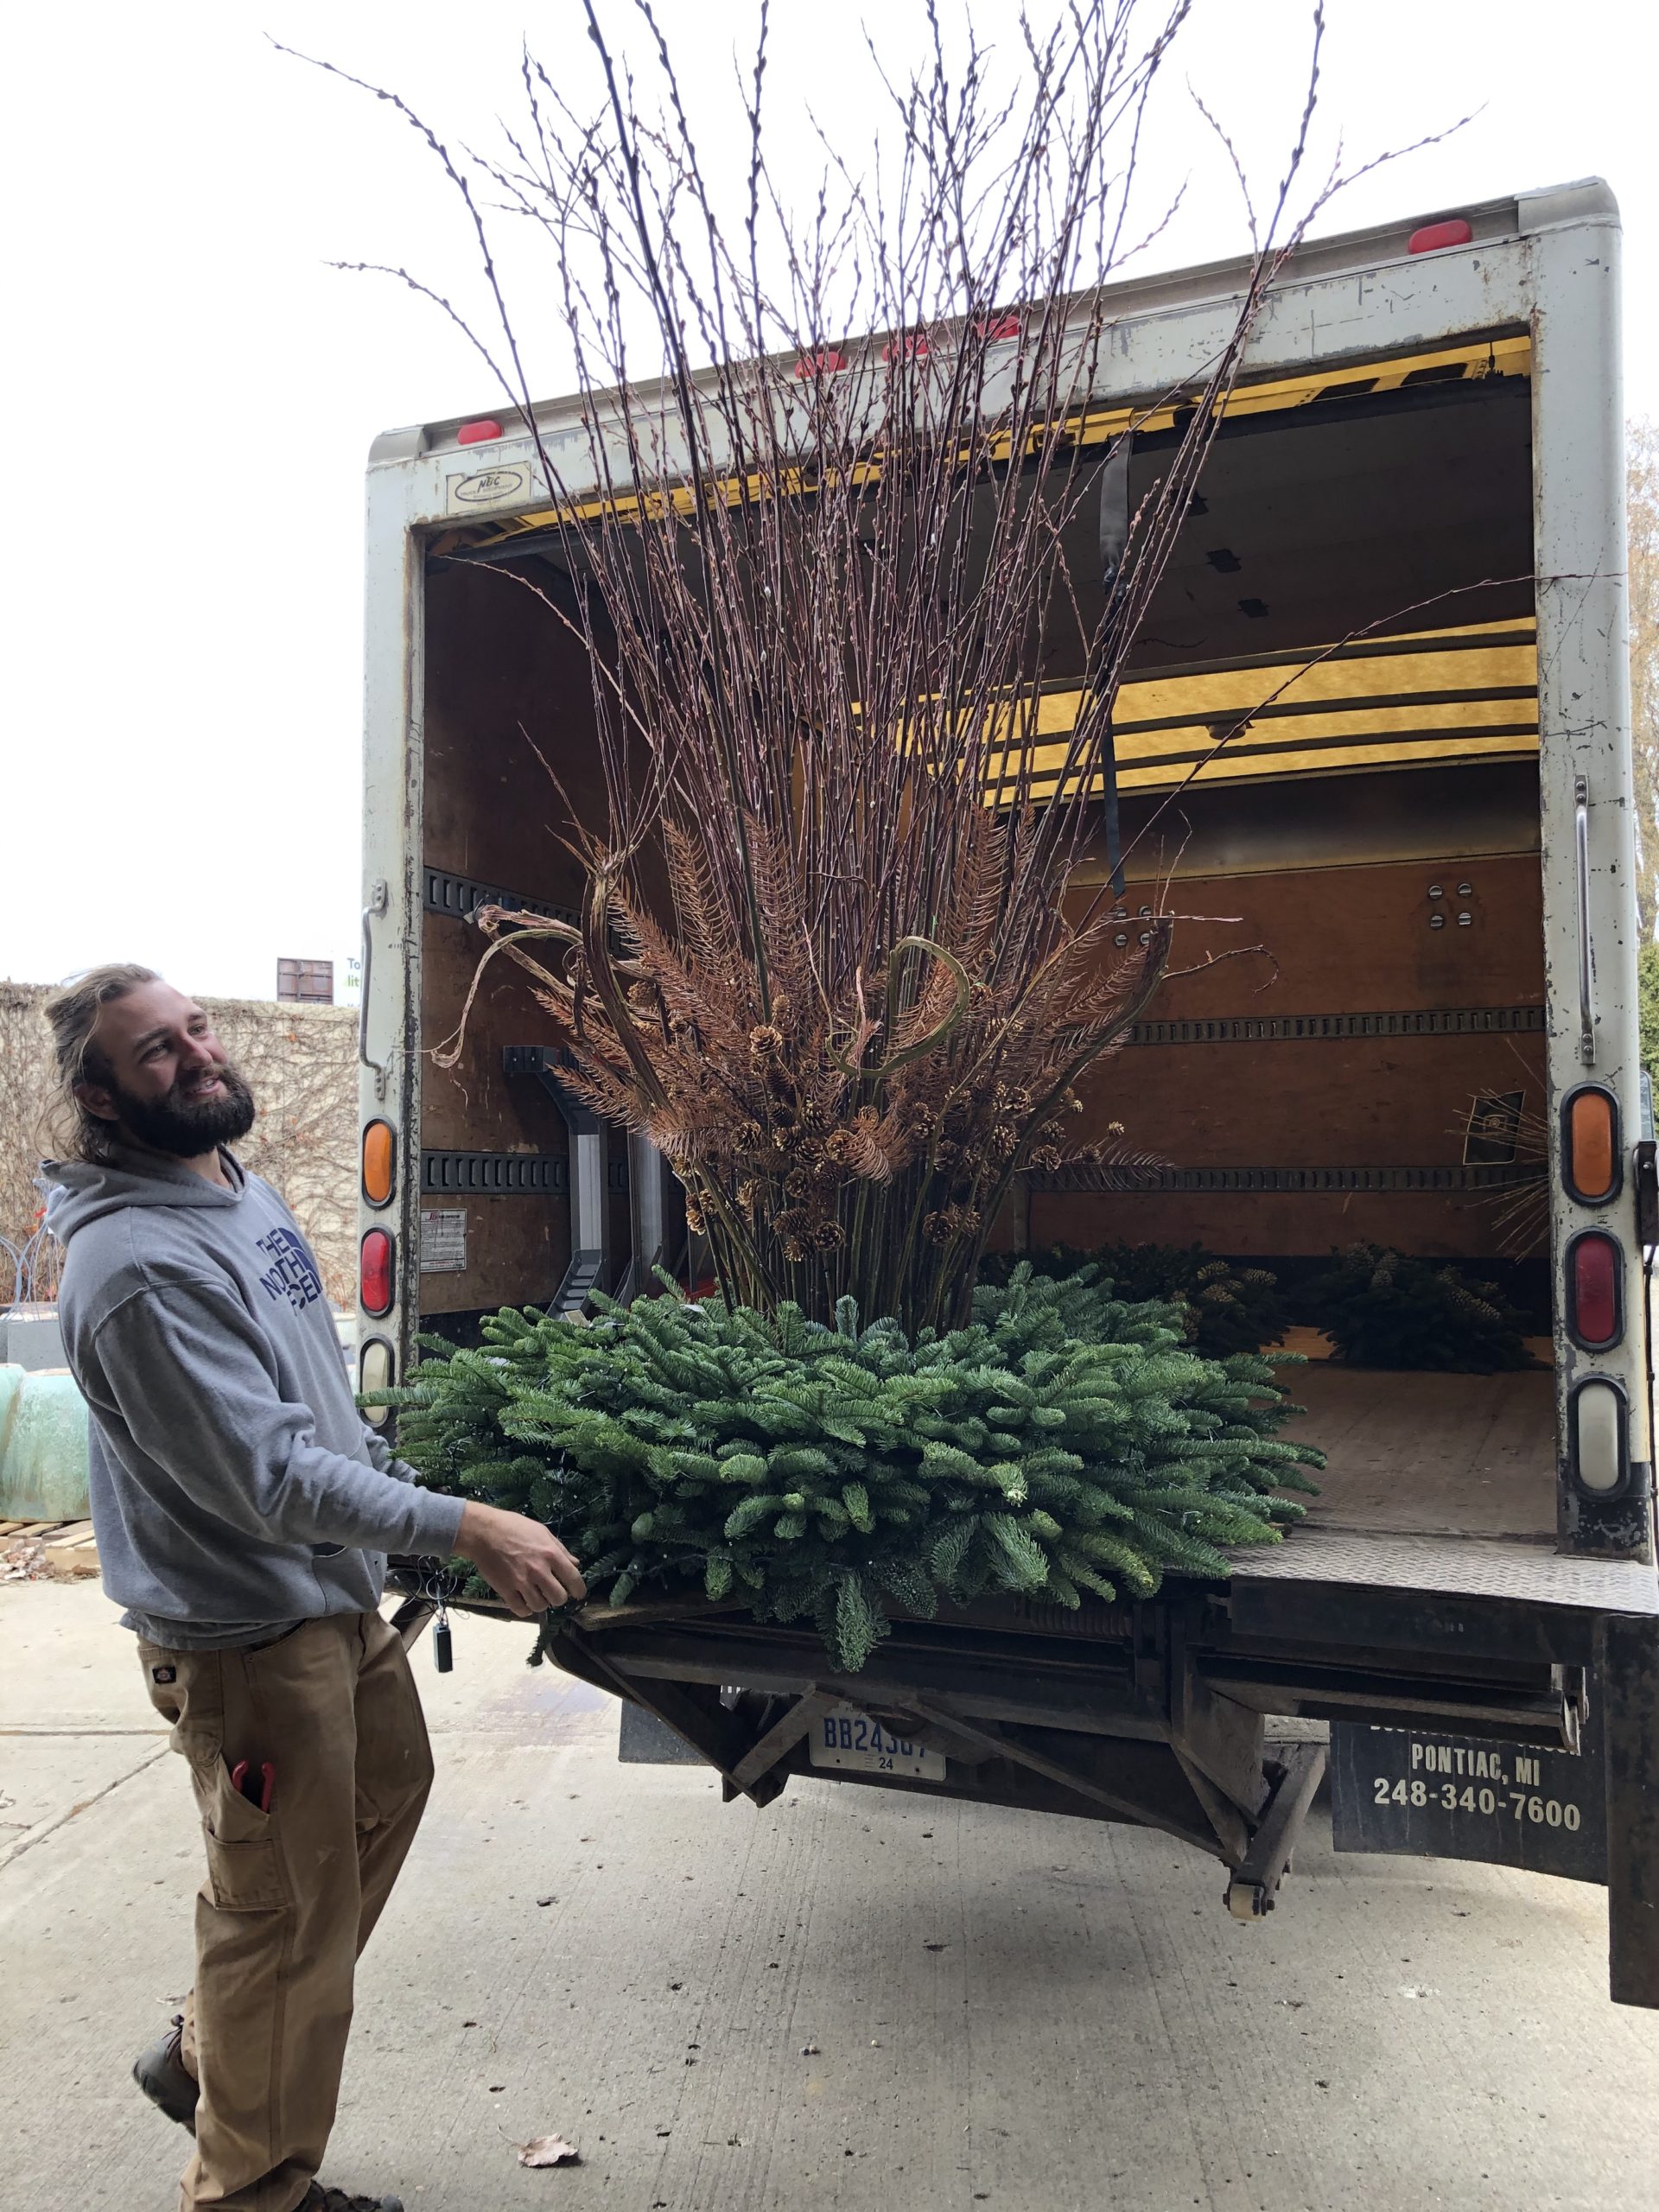 A discussion of the transport scheme was lively, but the tops of these fresh cut pussy willow twigs had no problem bending over for the trip across town.
![]() See what I mean?
See what I mean?
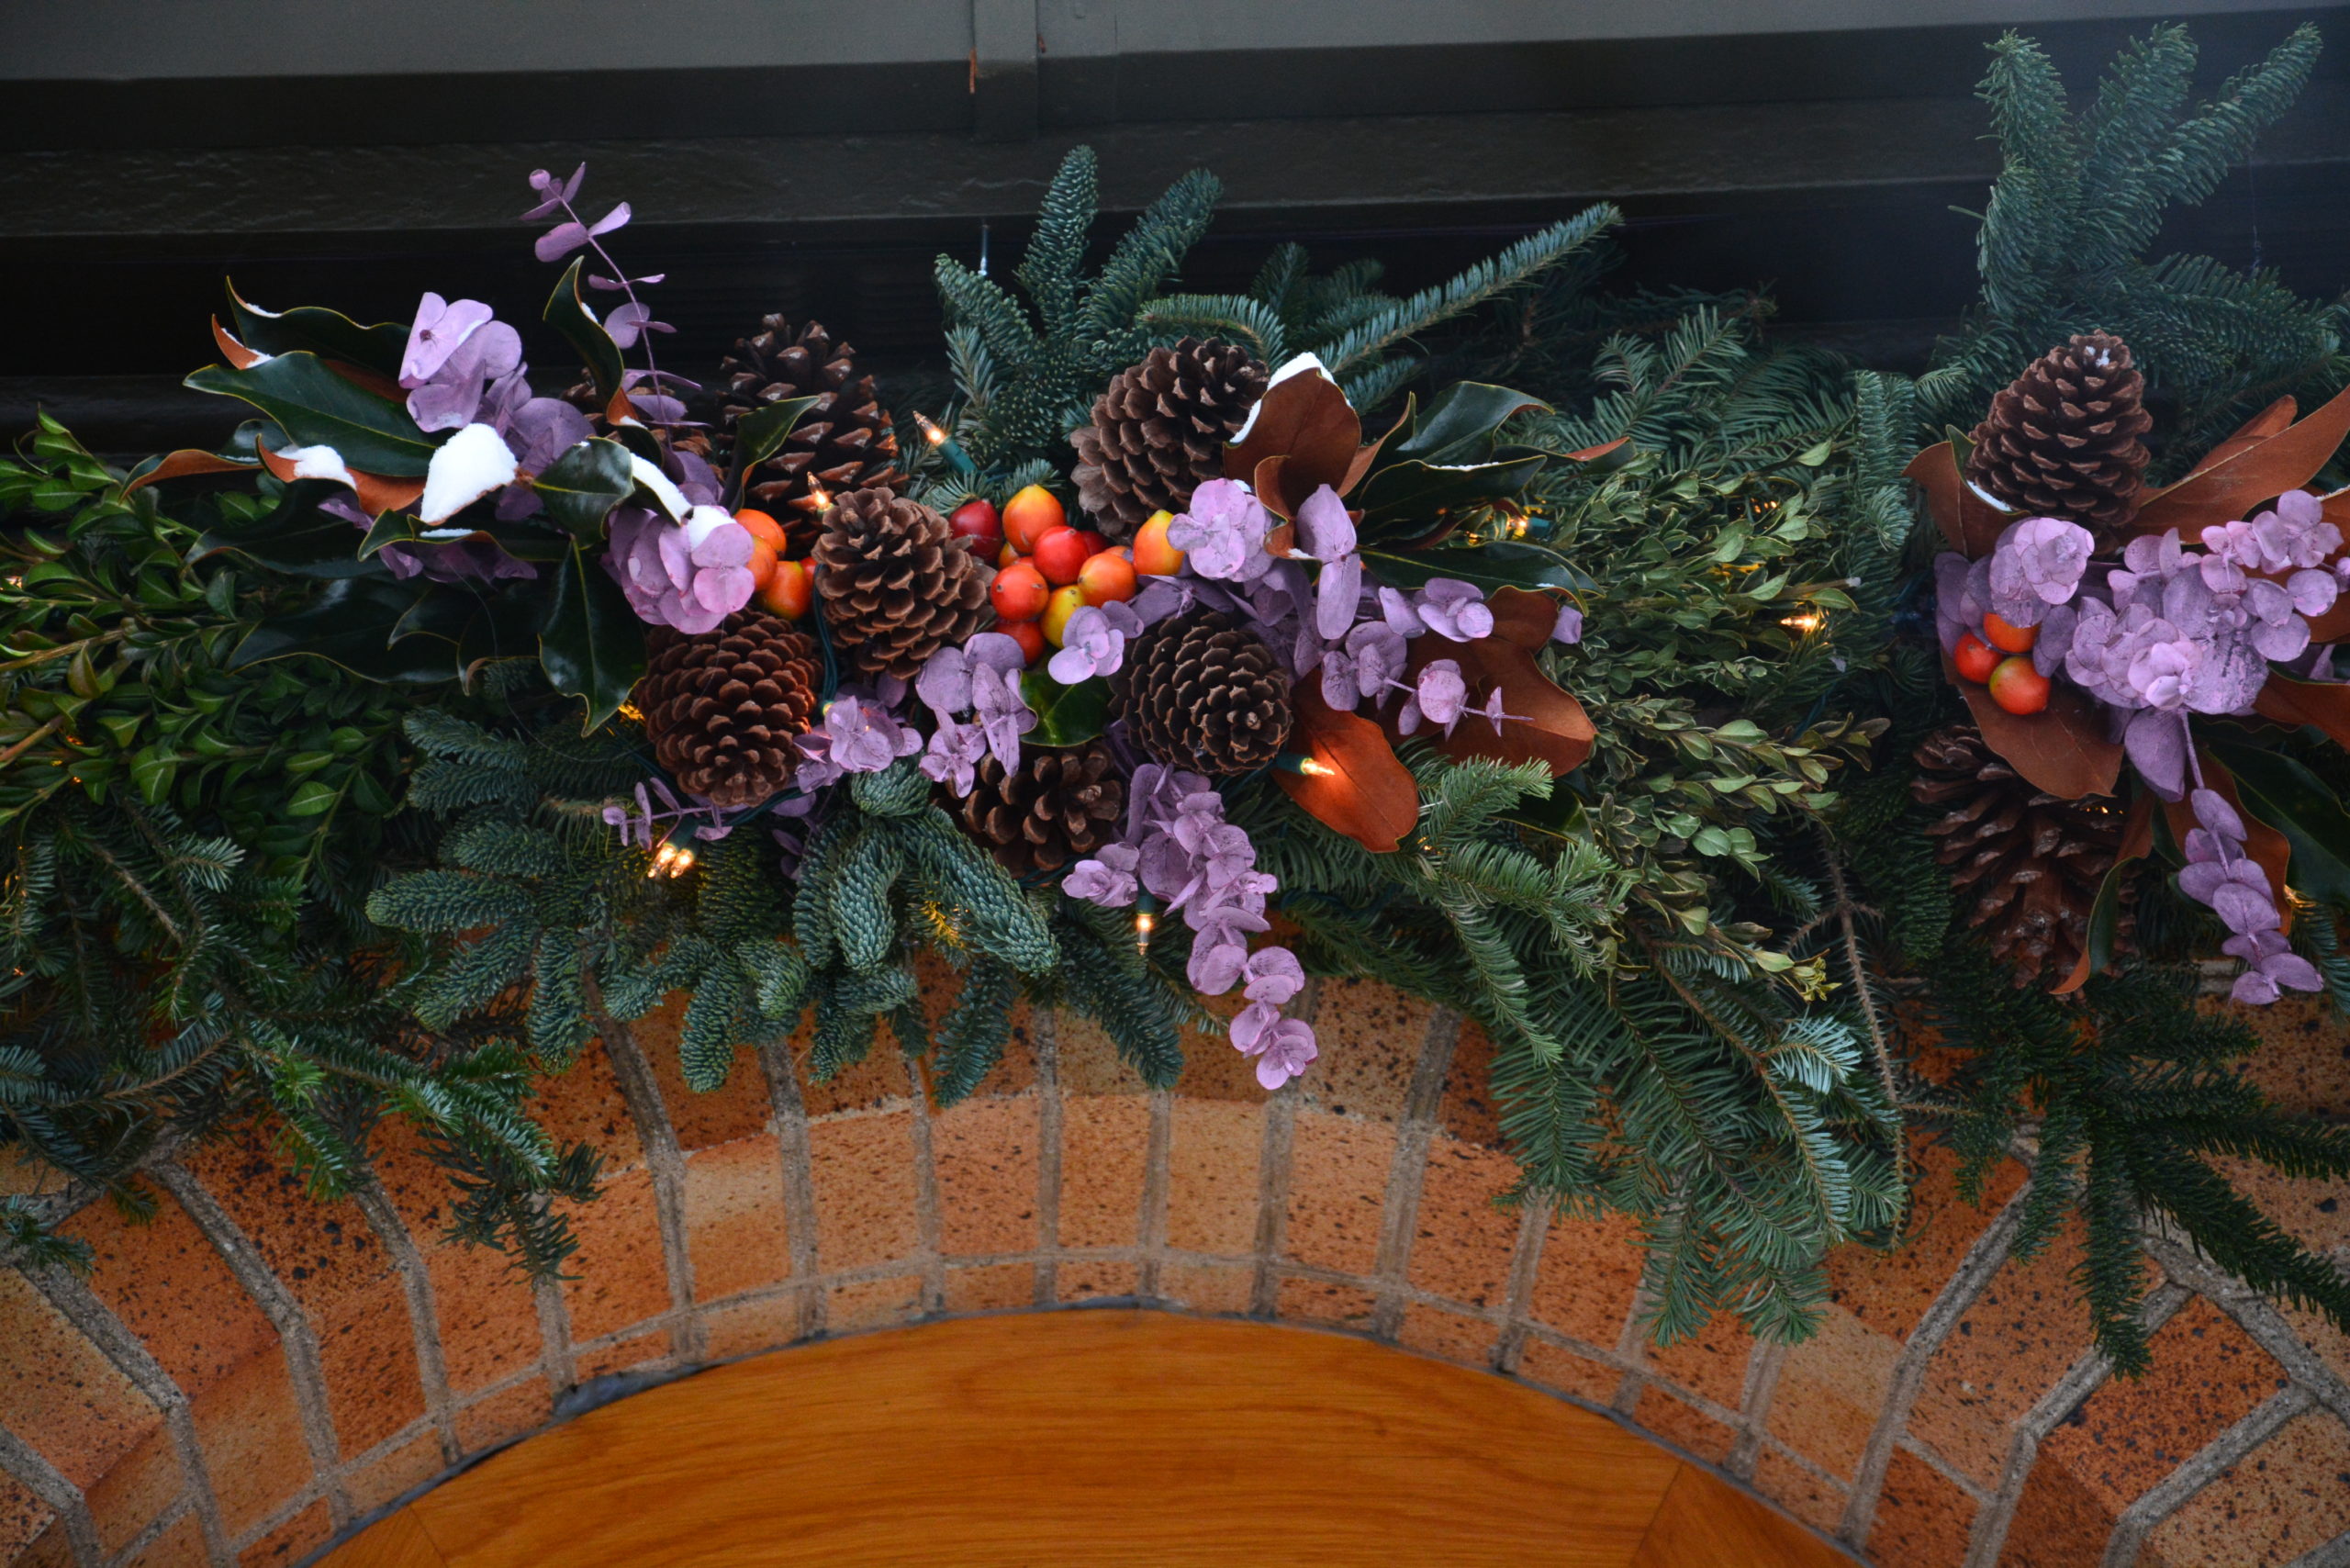
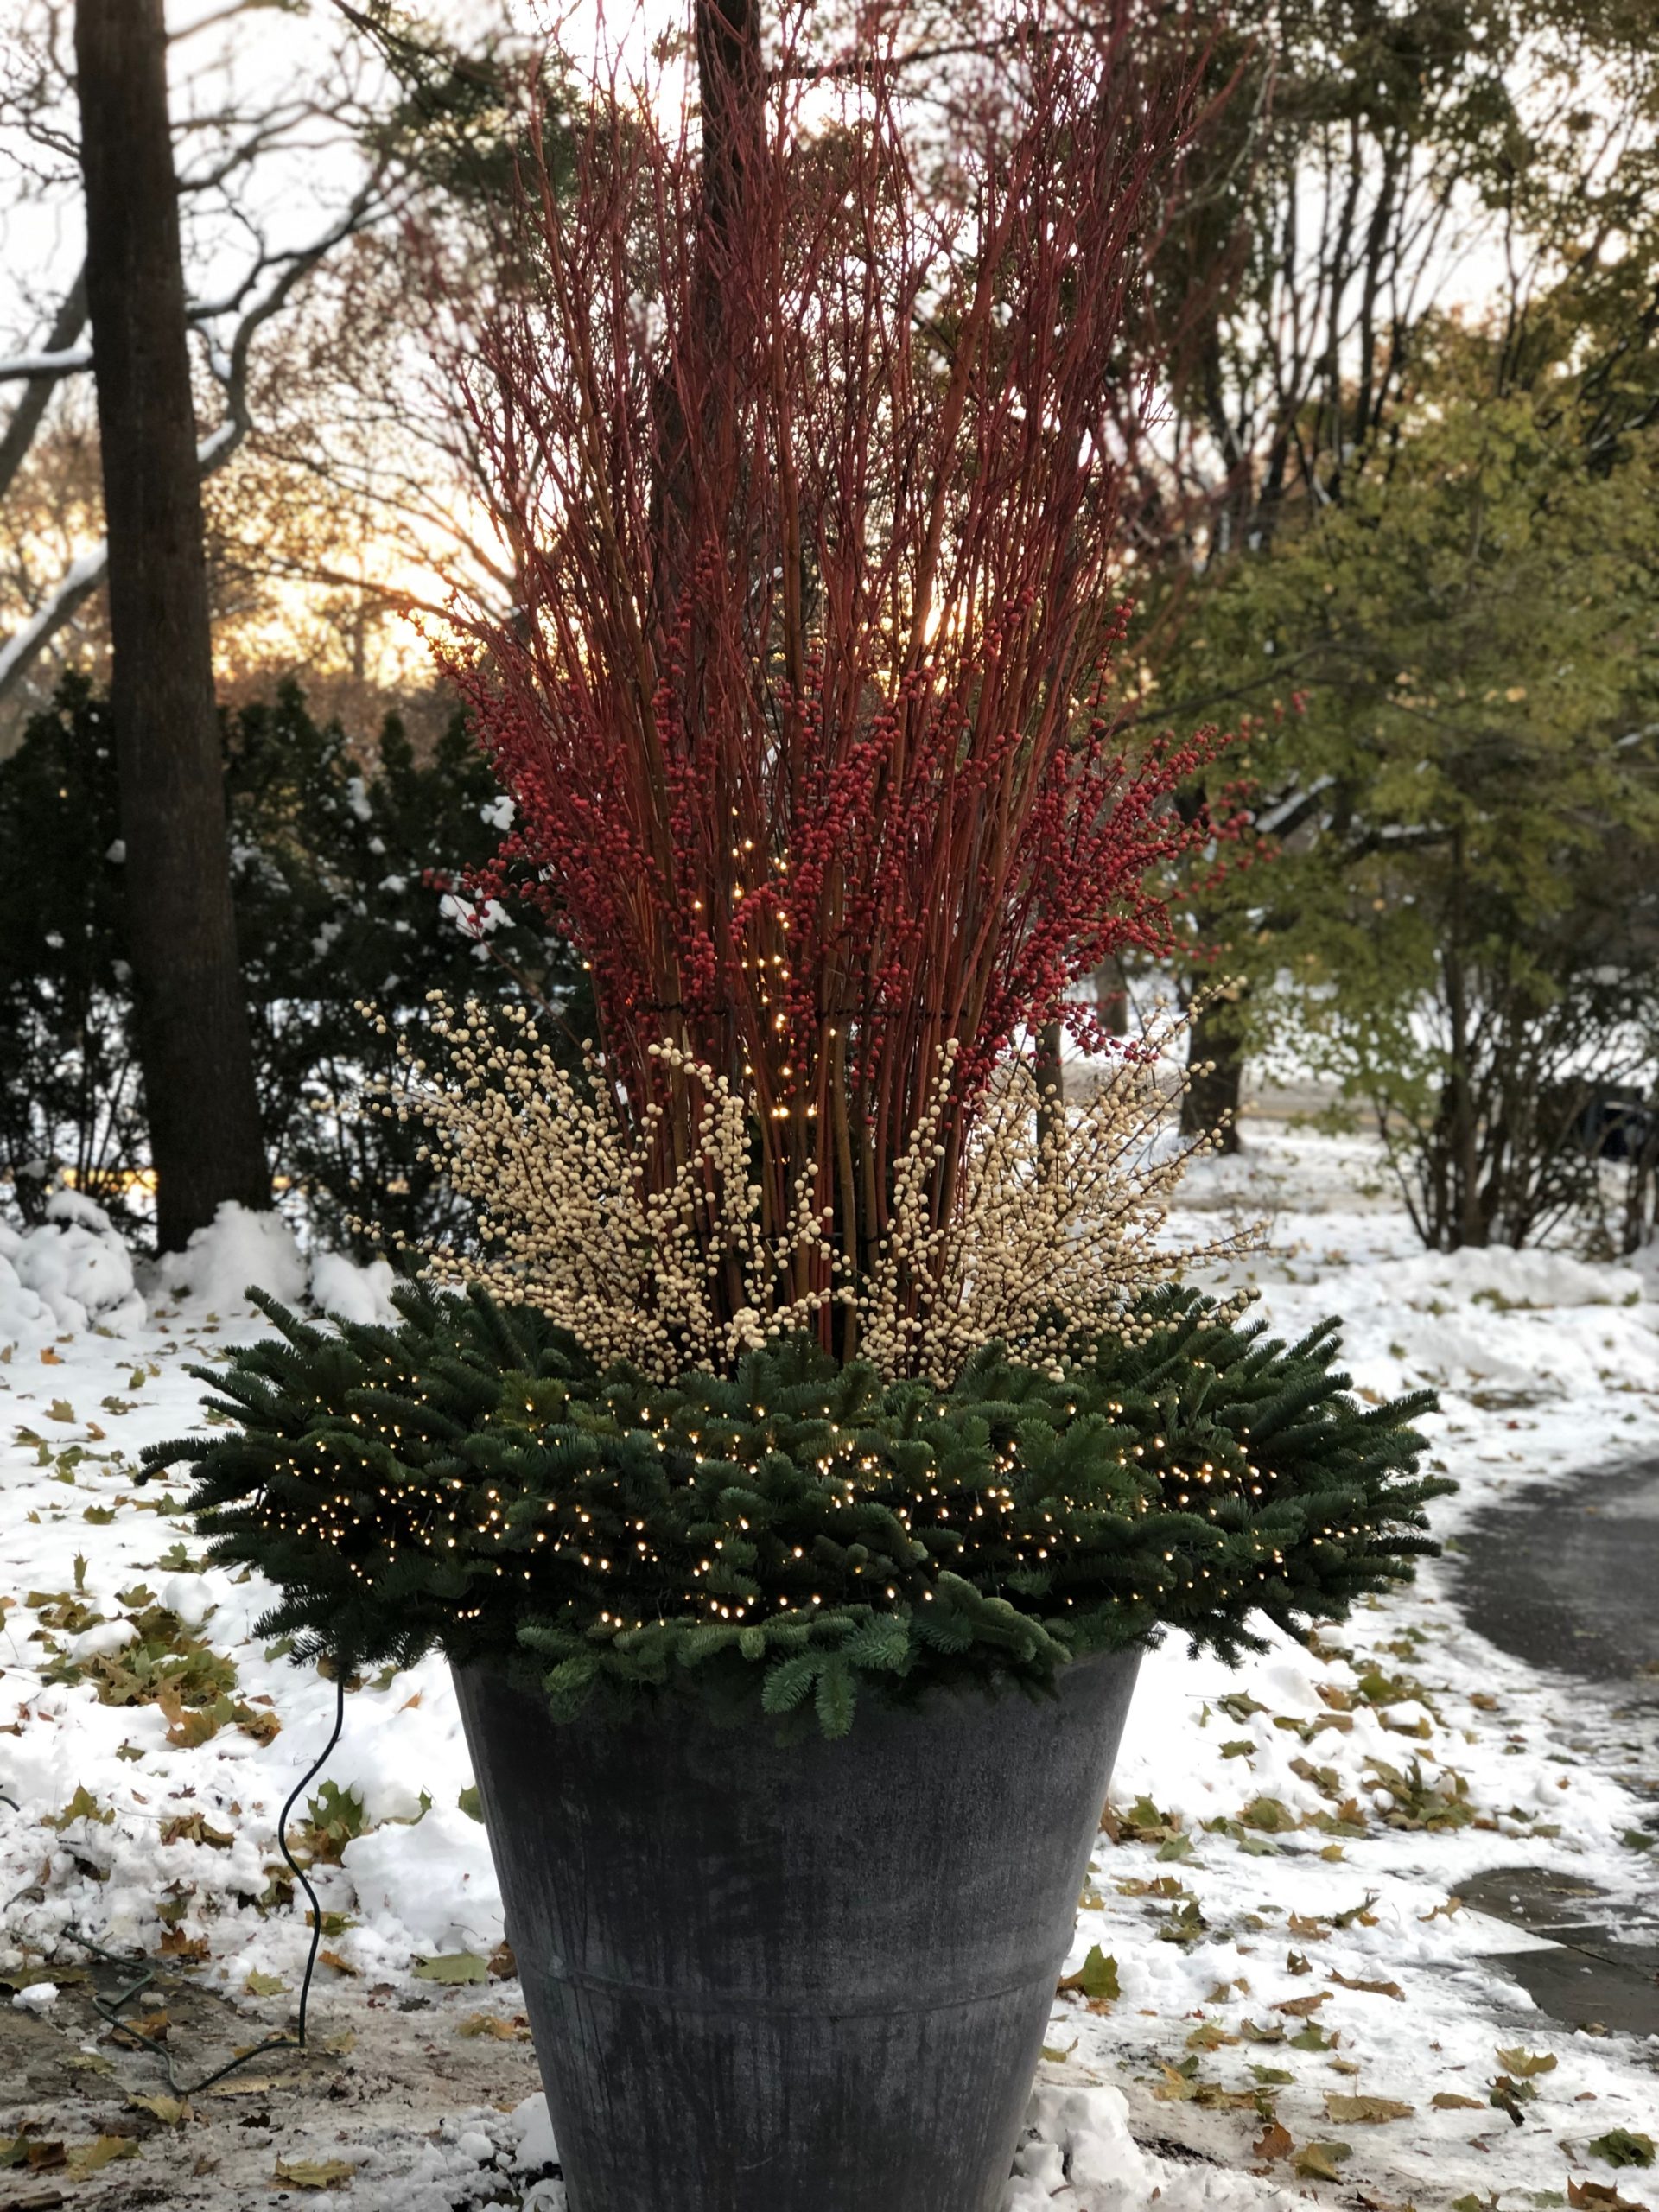
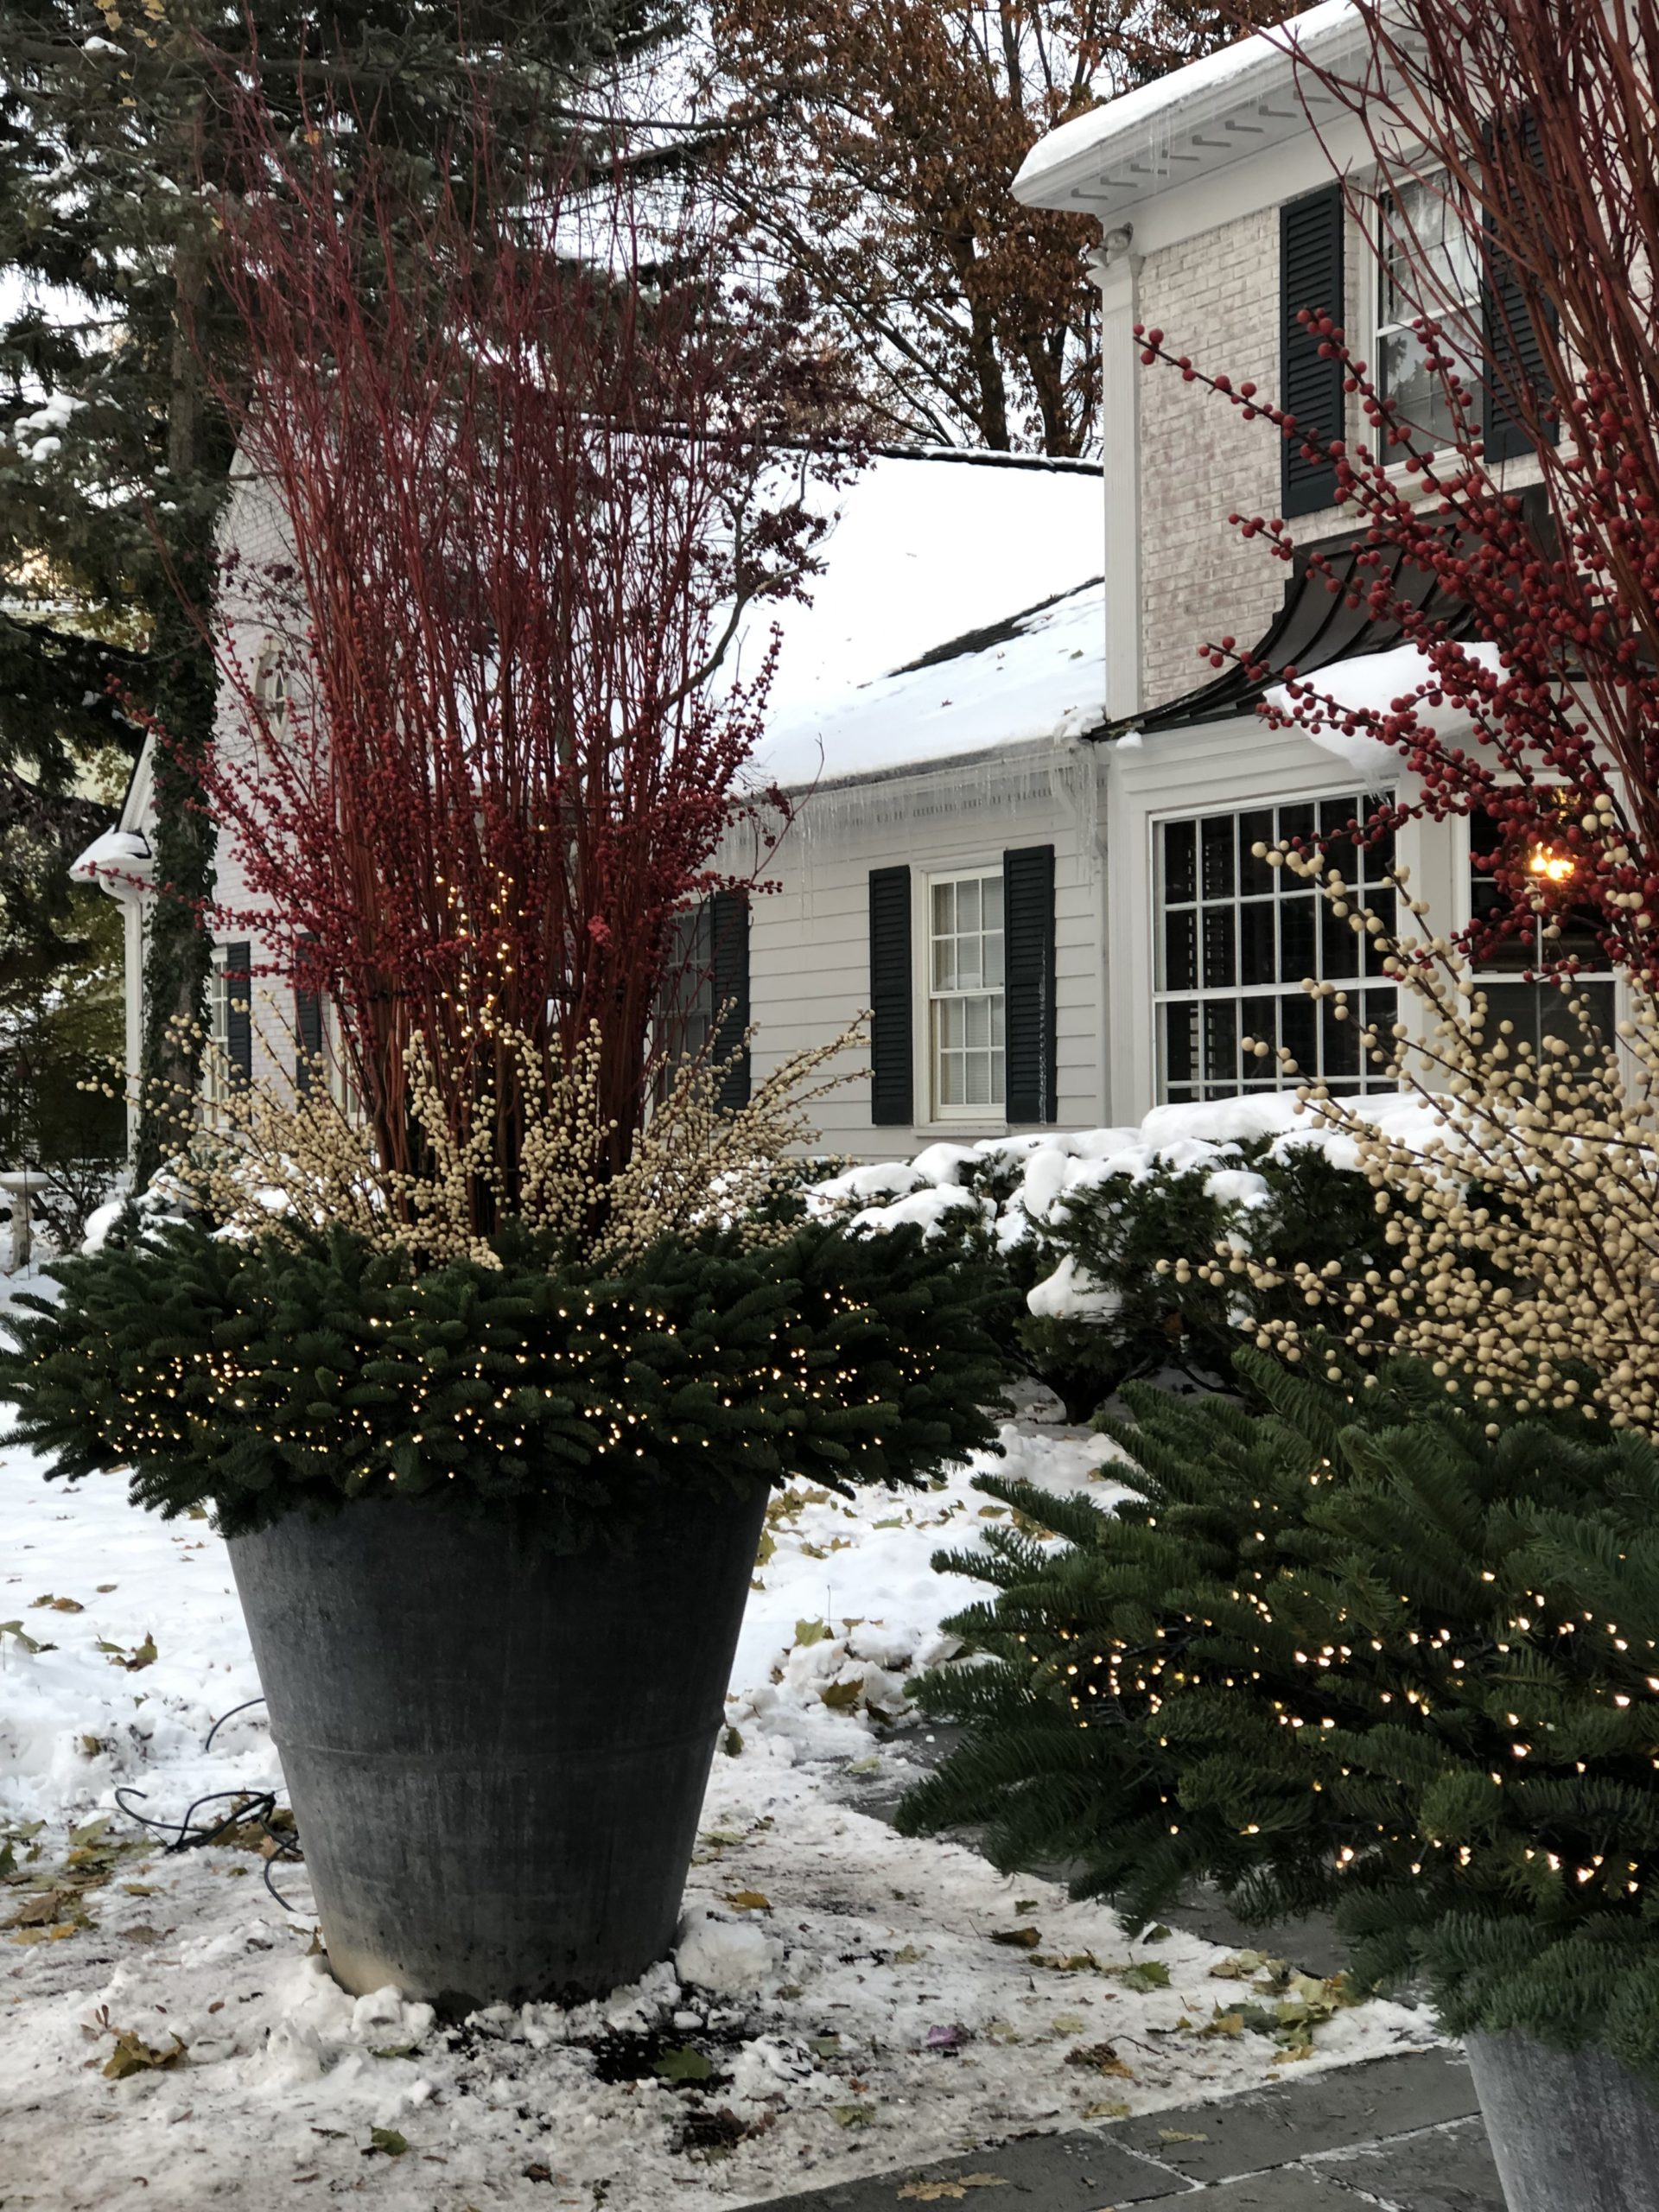
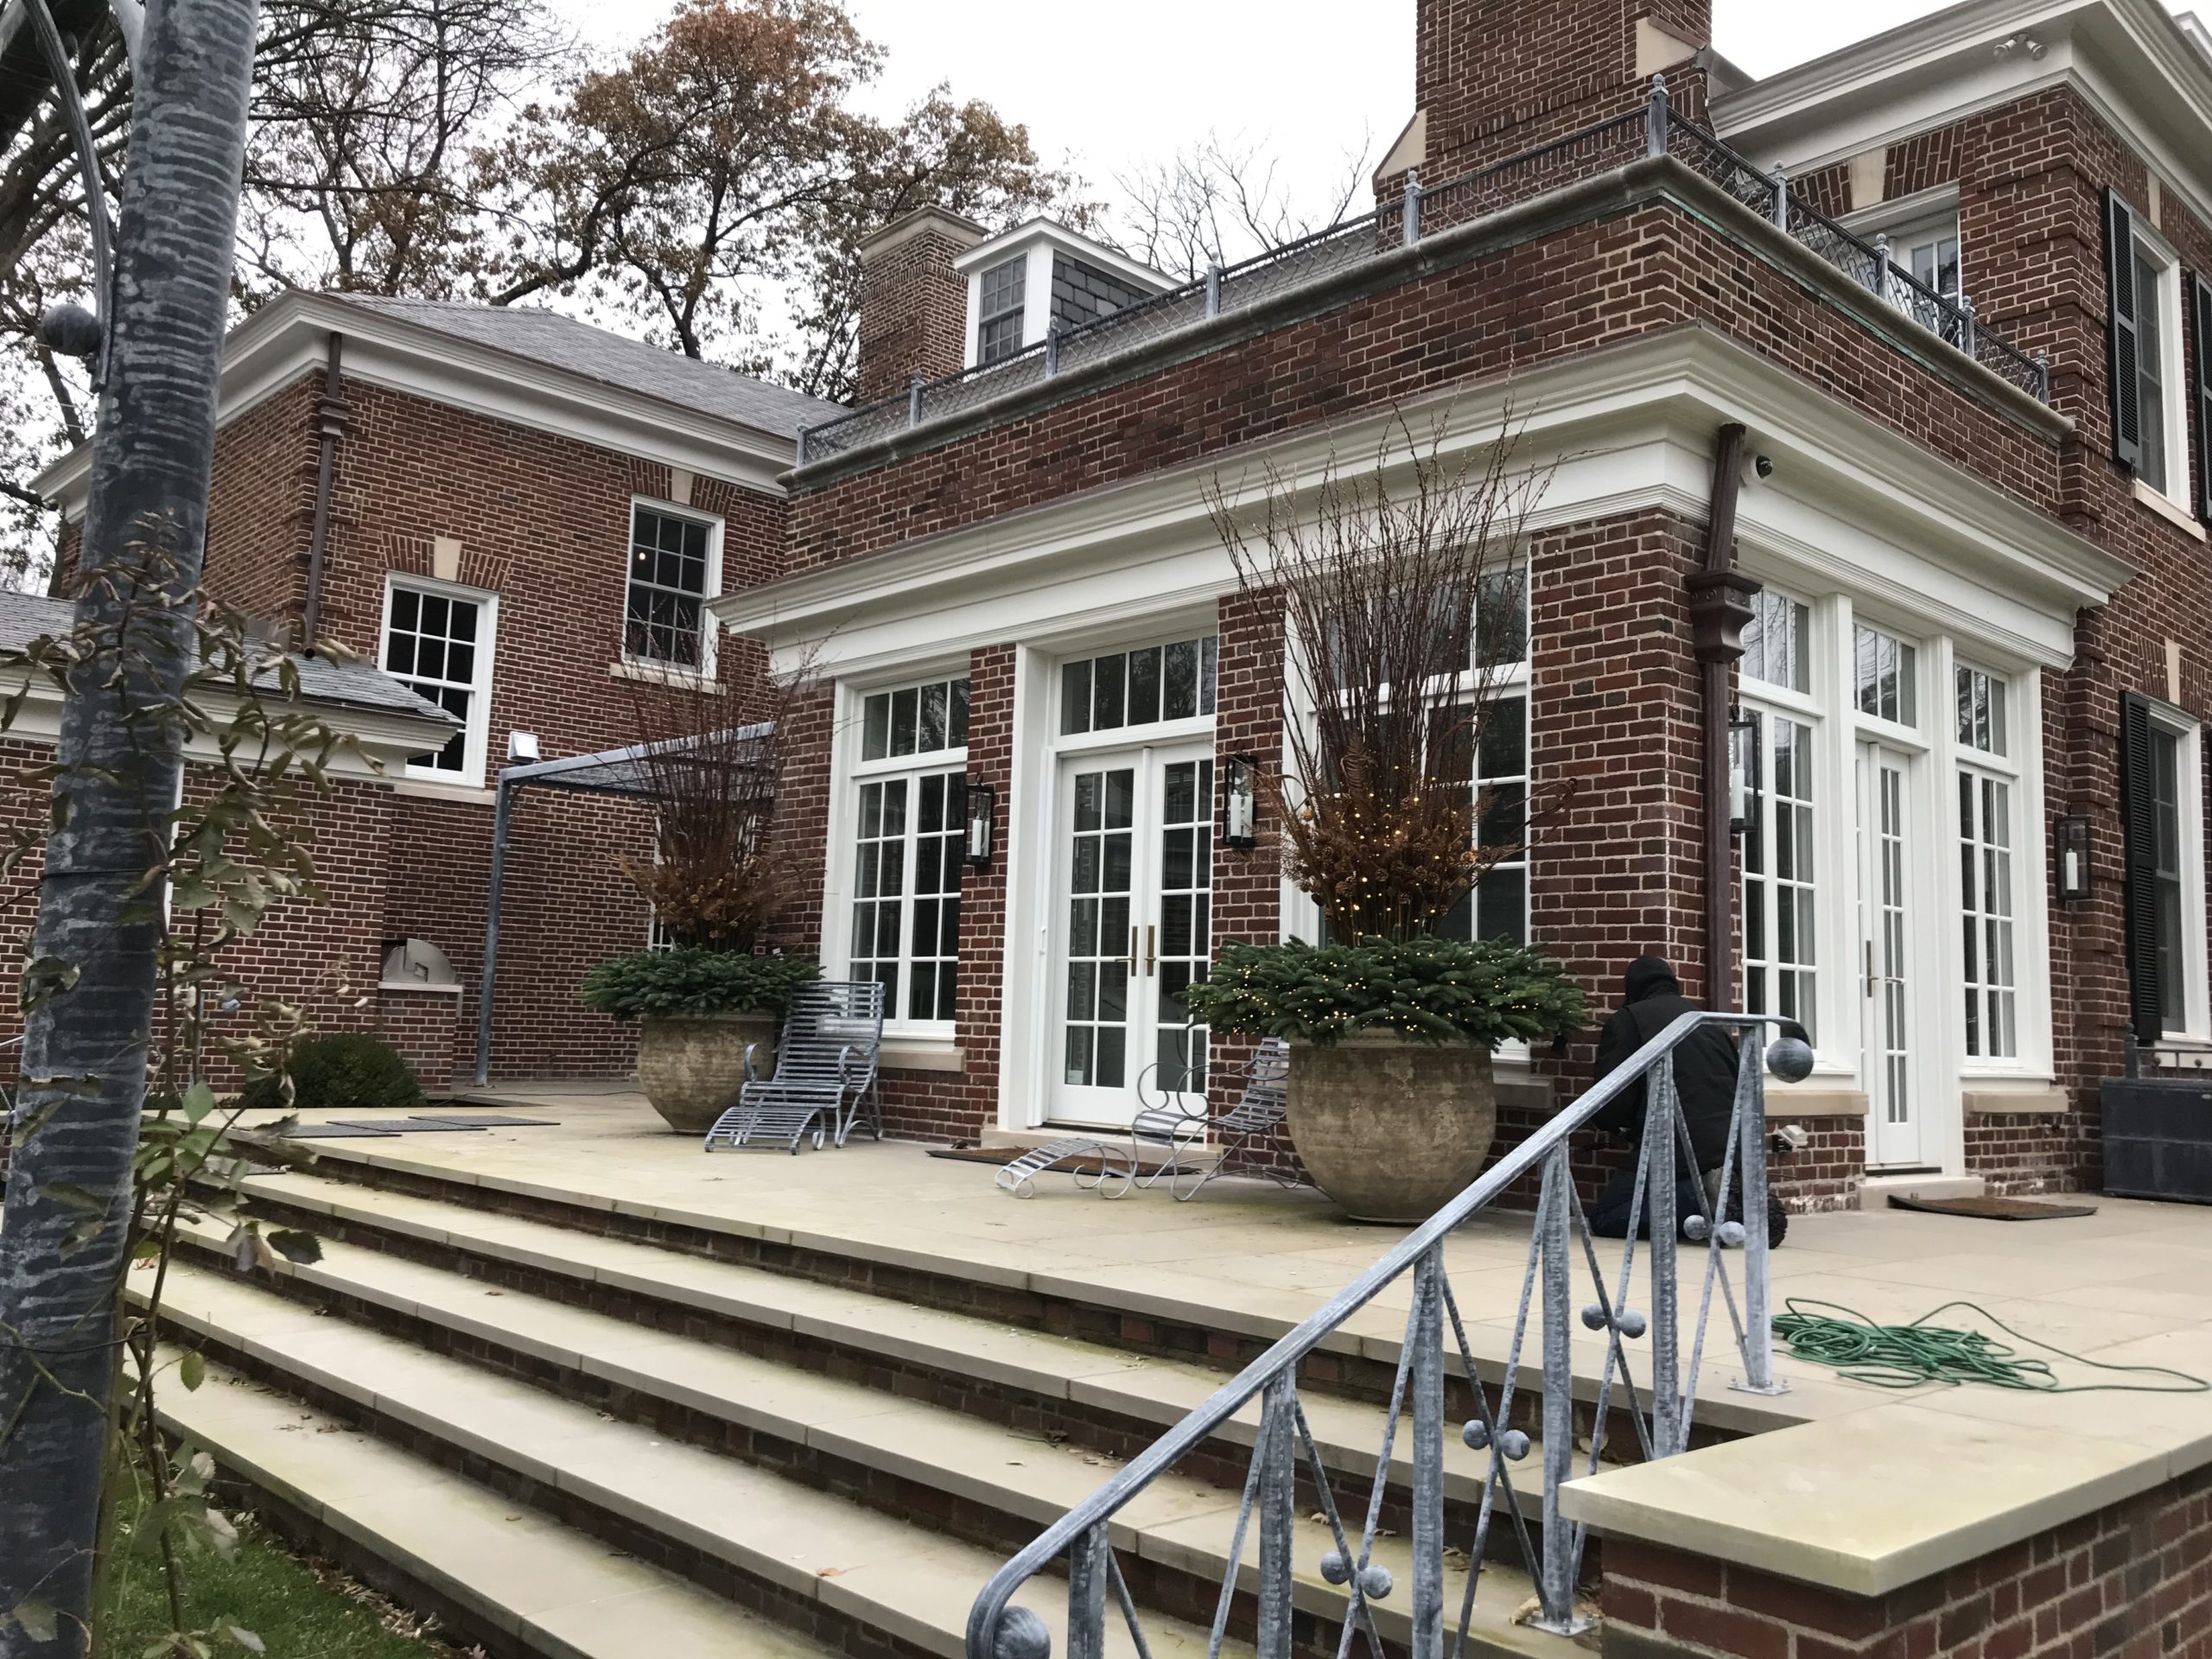
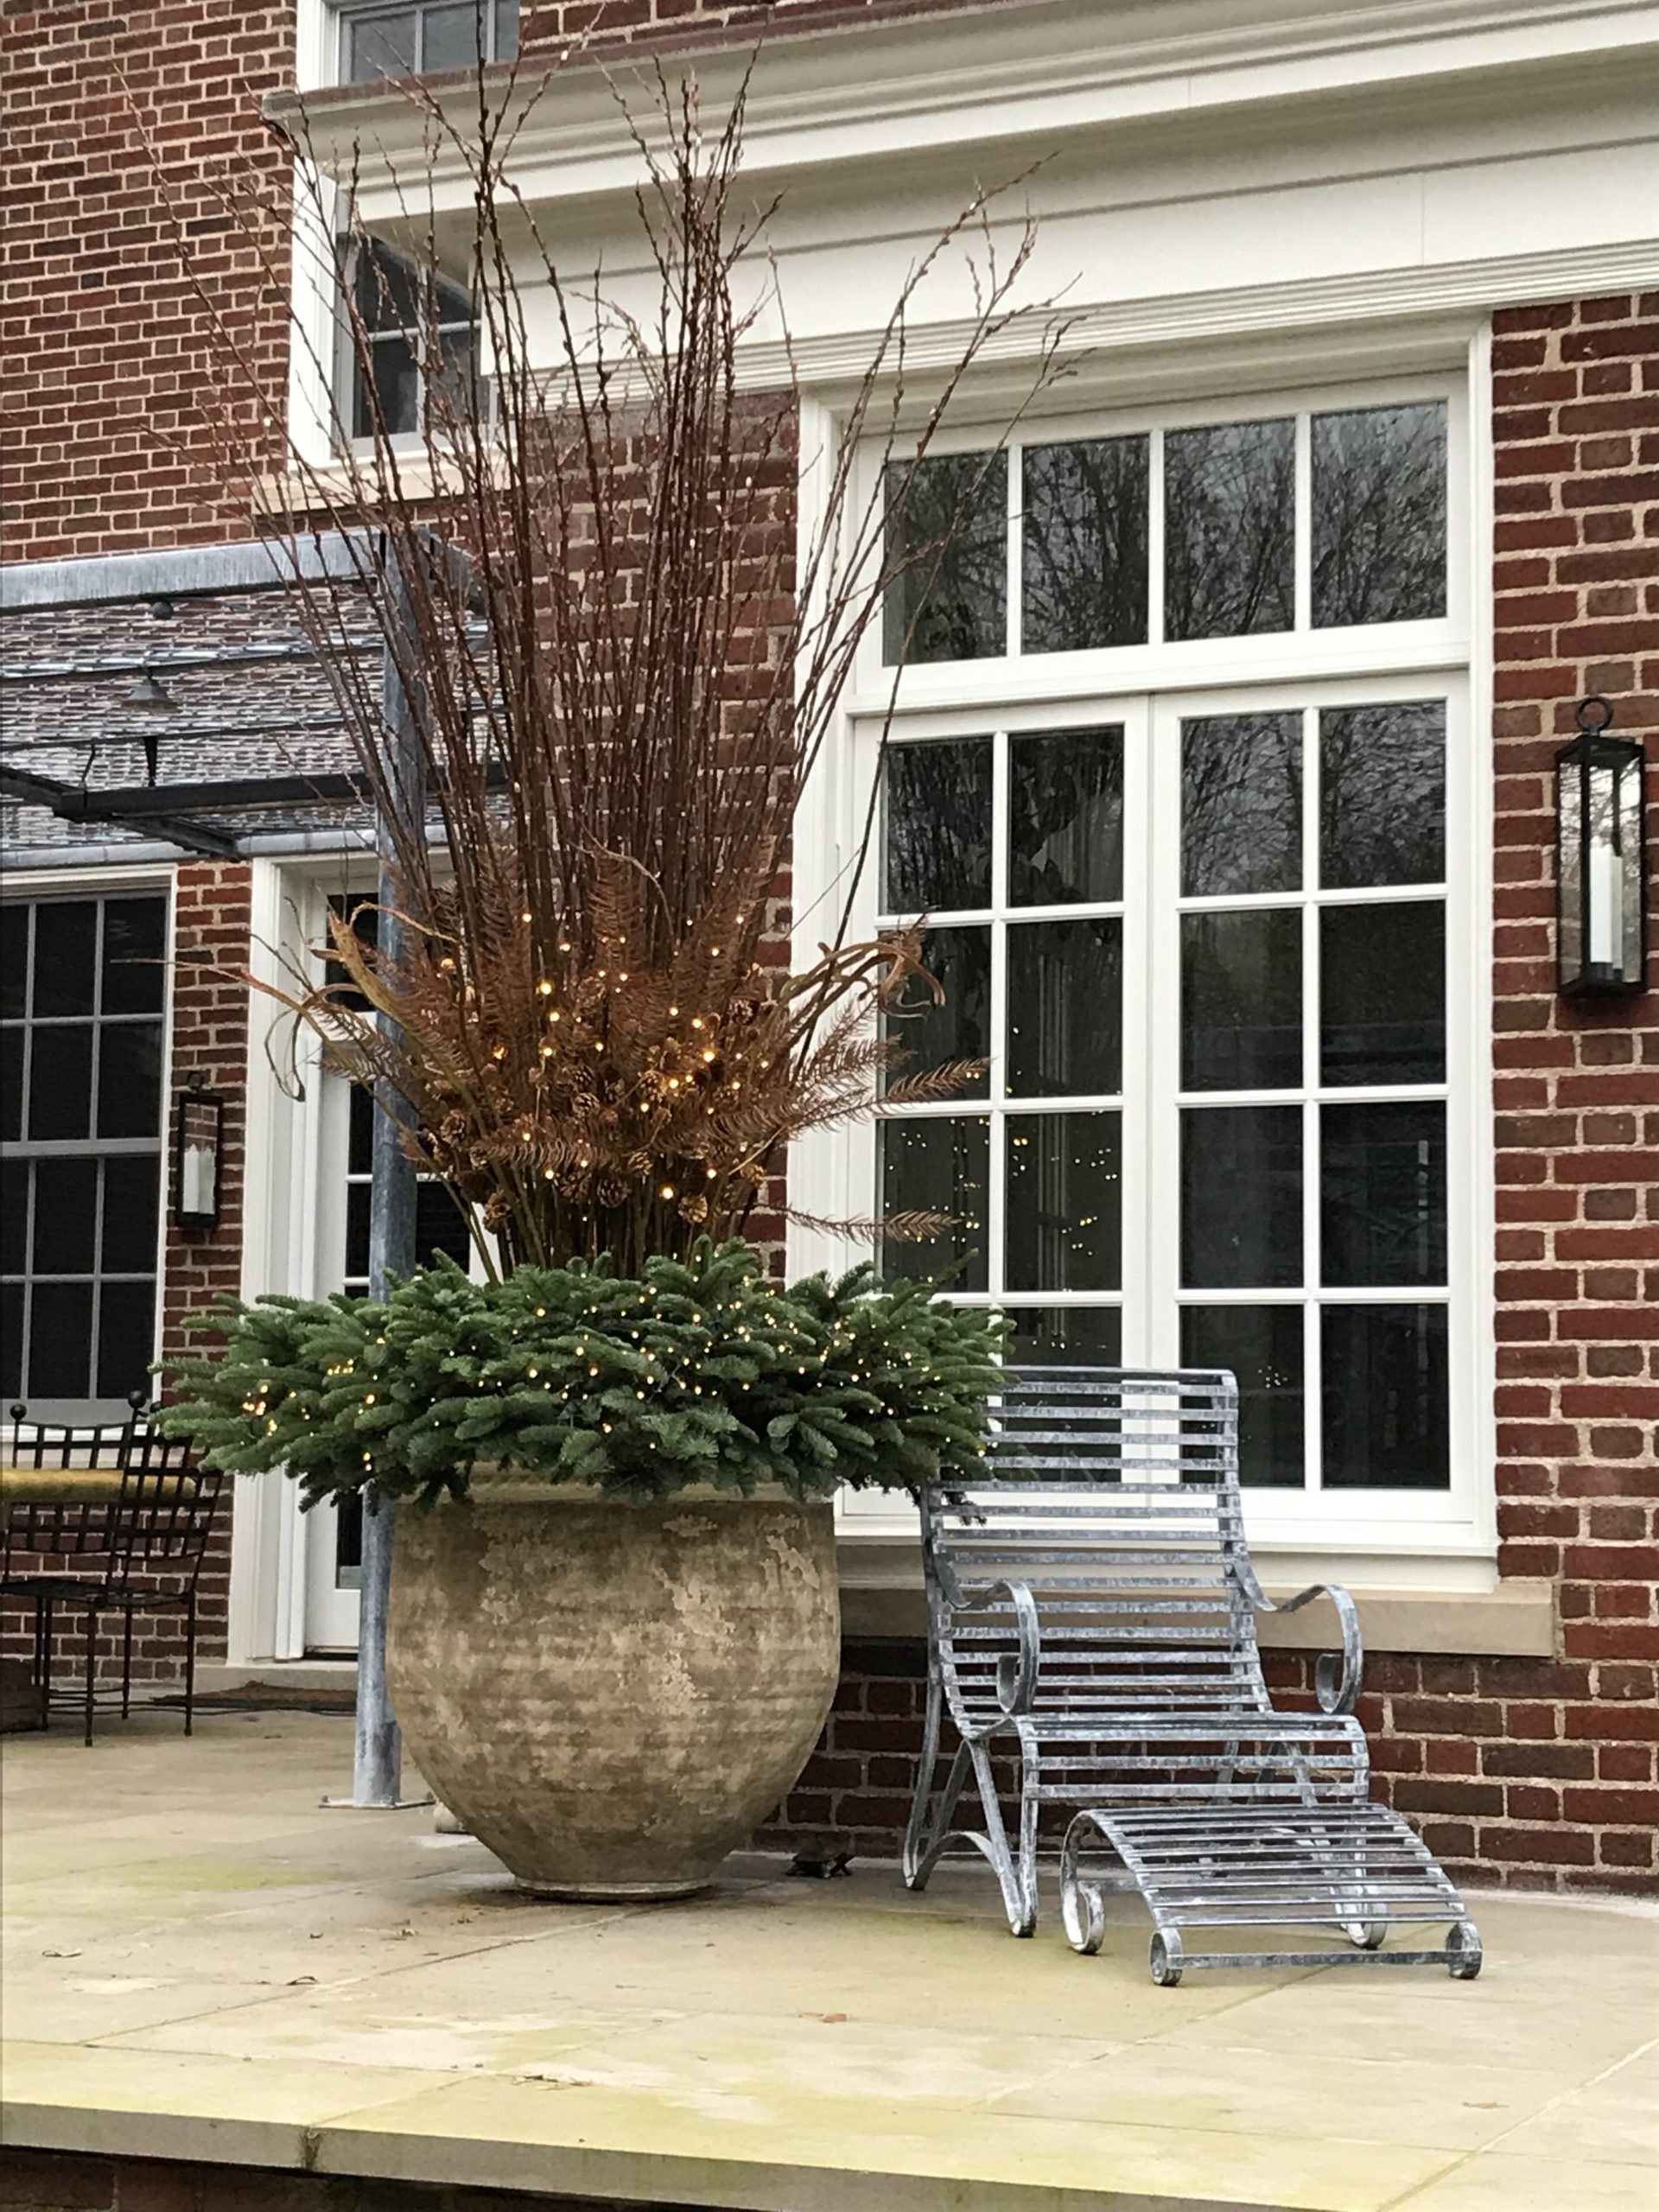 Set in place, the scale of this winter arrangement works well with in this space. The materials reflect the landscape that can be viewed from this vantage point. The color is very friendly to the color in the glaze of this French bugadier. The pot is filled with gravel, so there is proper ballast to handle the height of the arrangement. The foam form provides another service. As it does not absorb water, it prevents water from getting in to the pot. This form is 6″ thick overall, so the lower 3″ is wedged tightly into the pot.
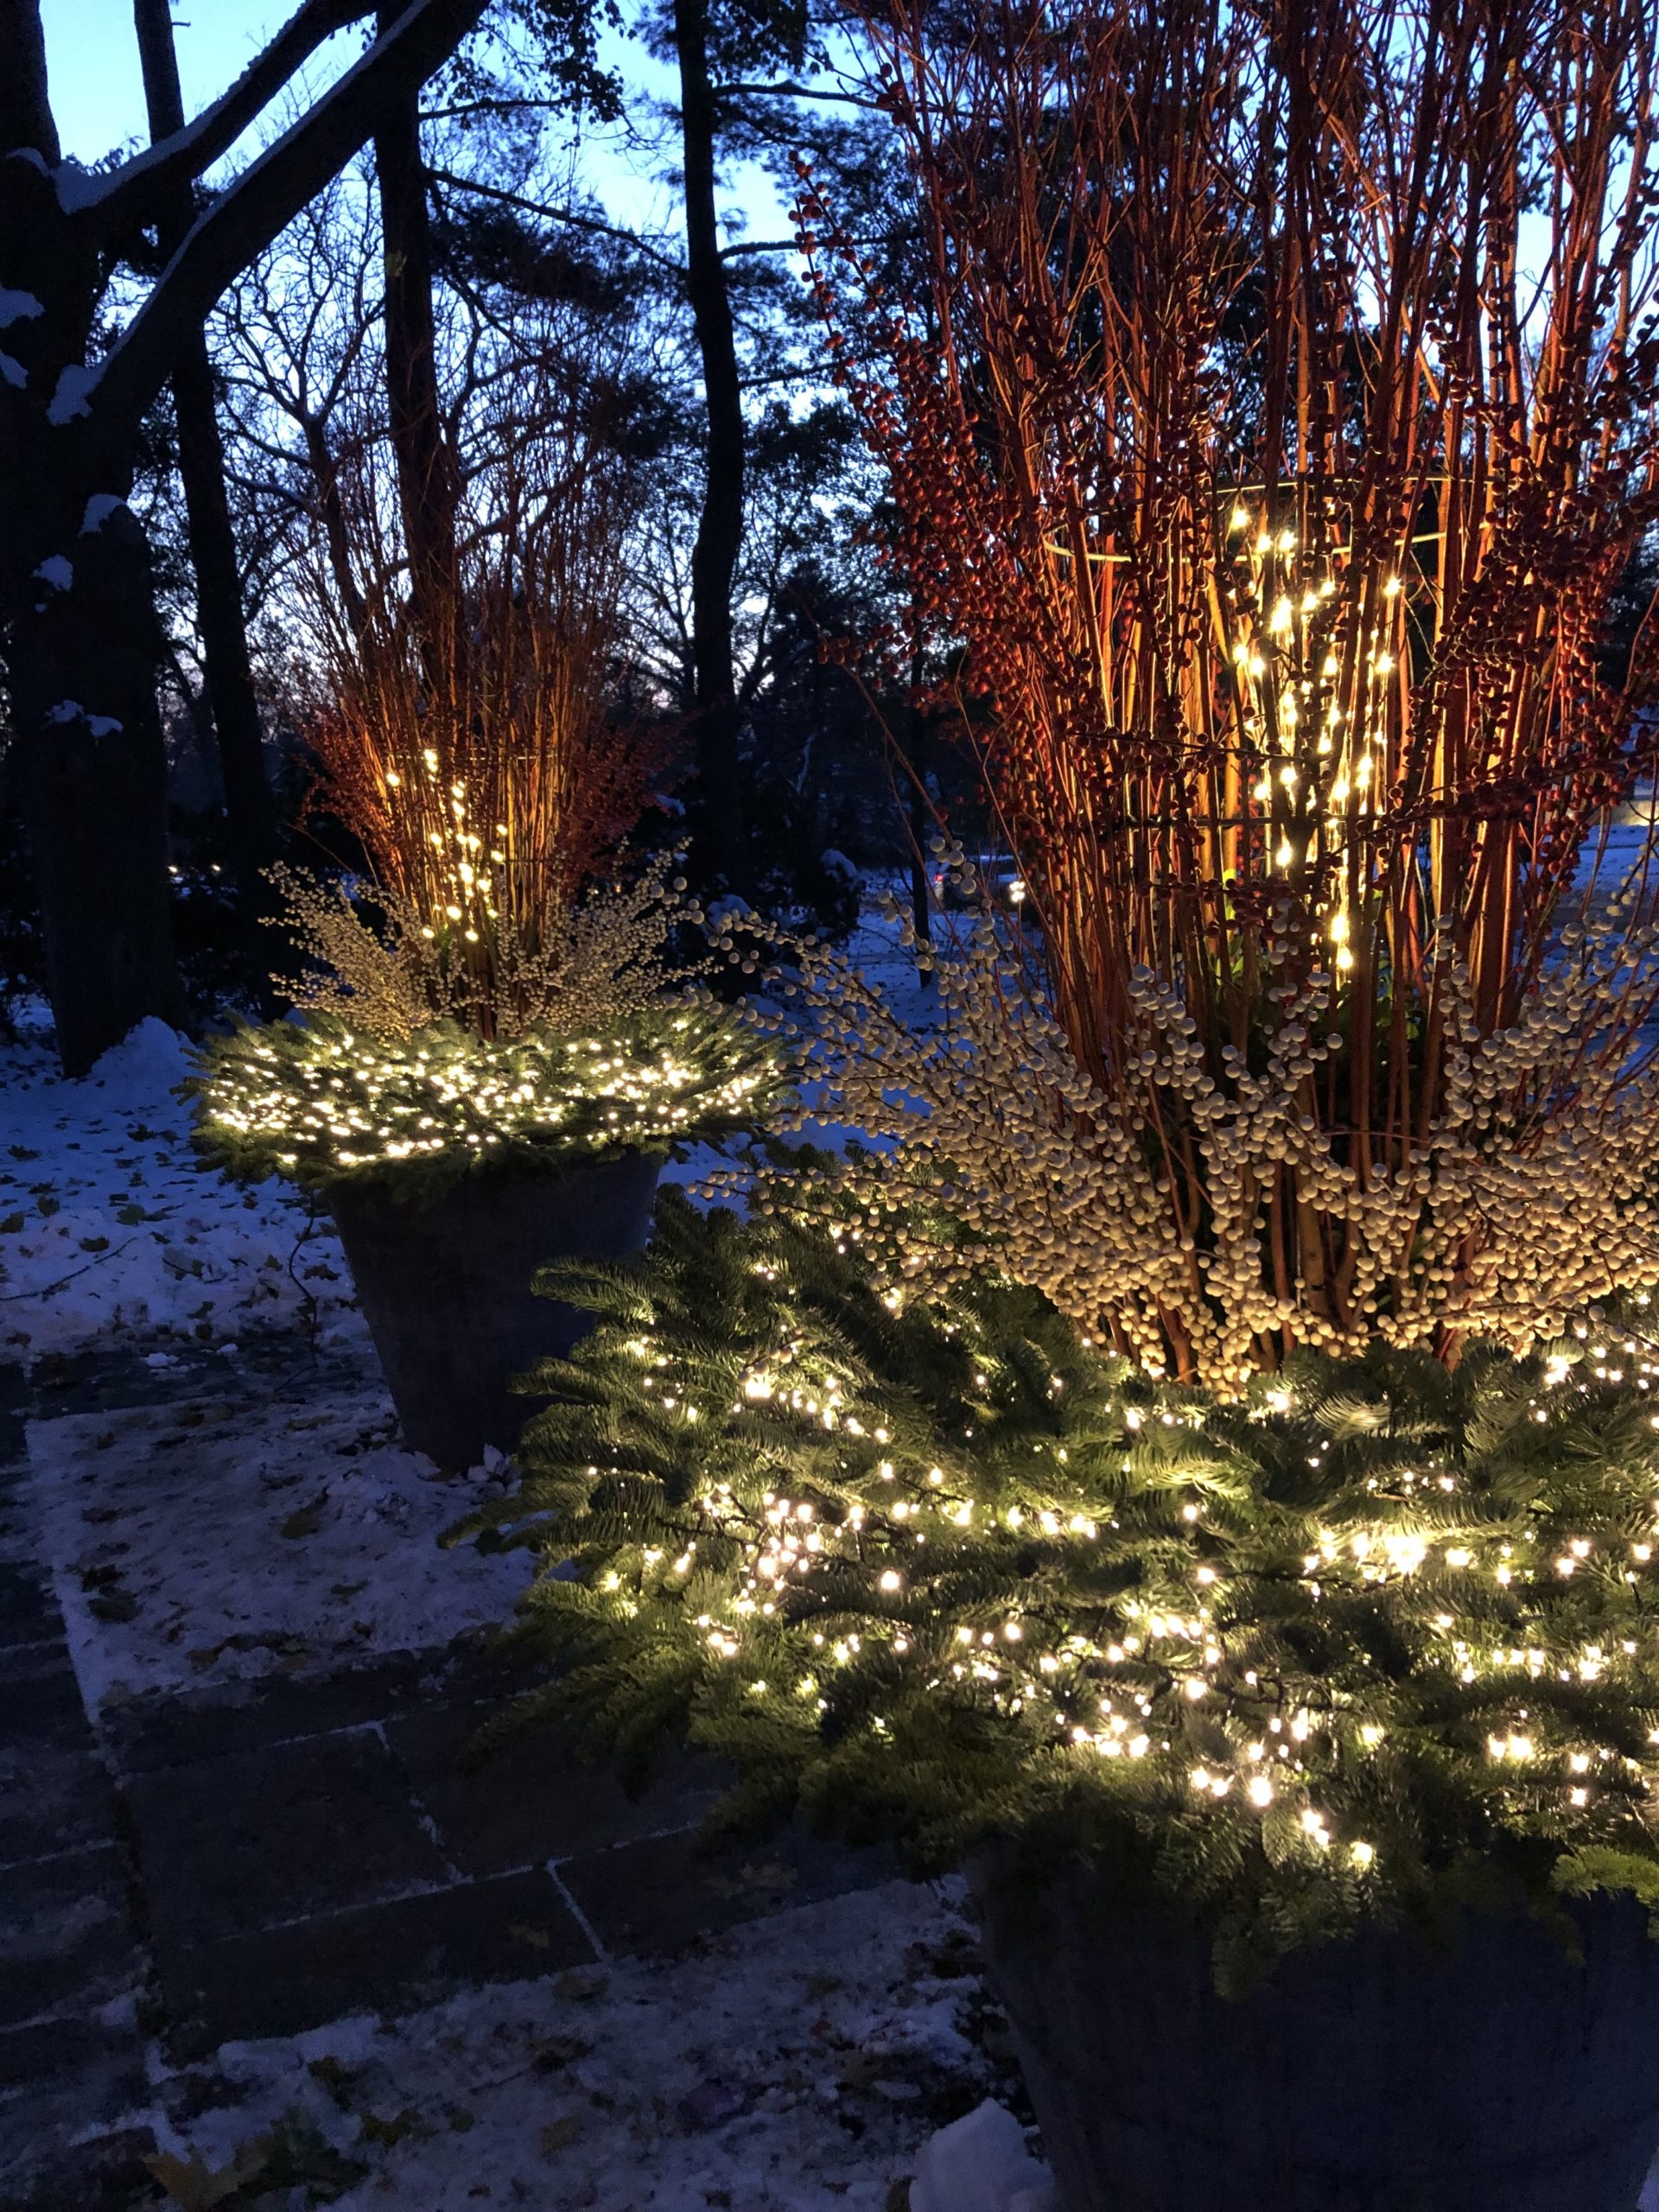
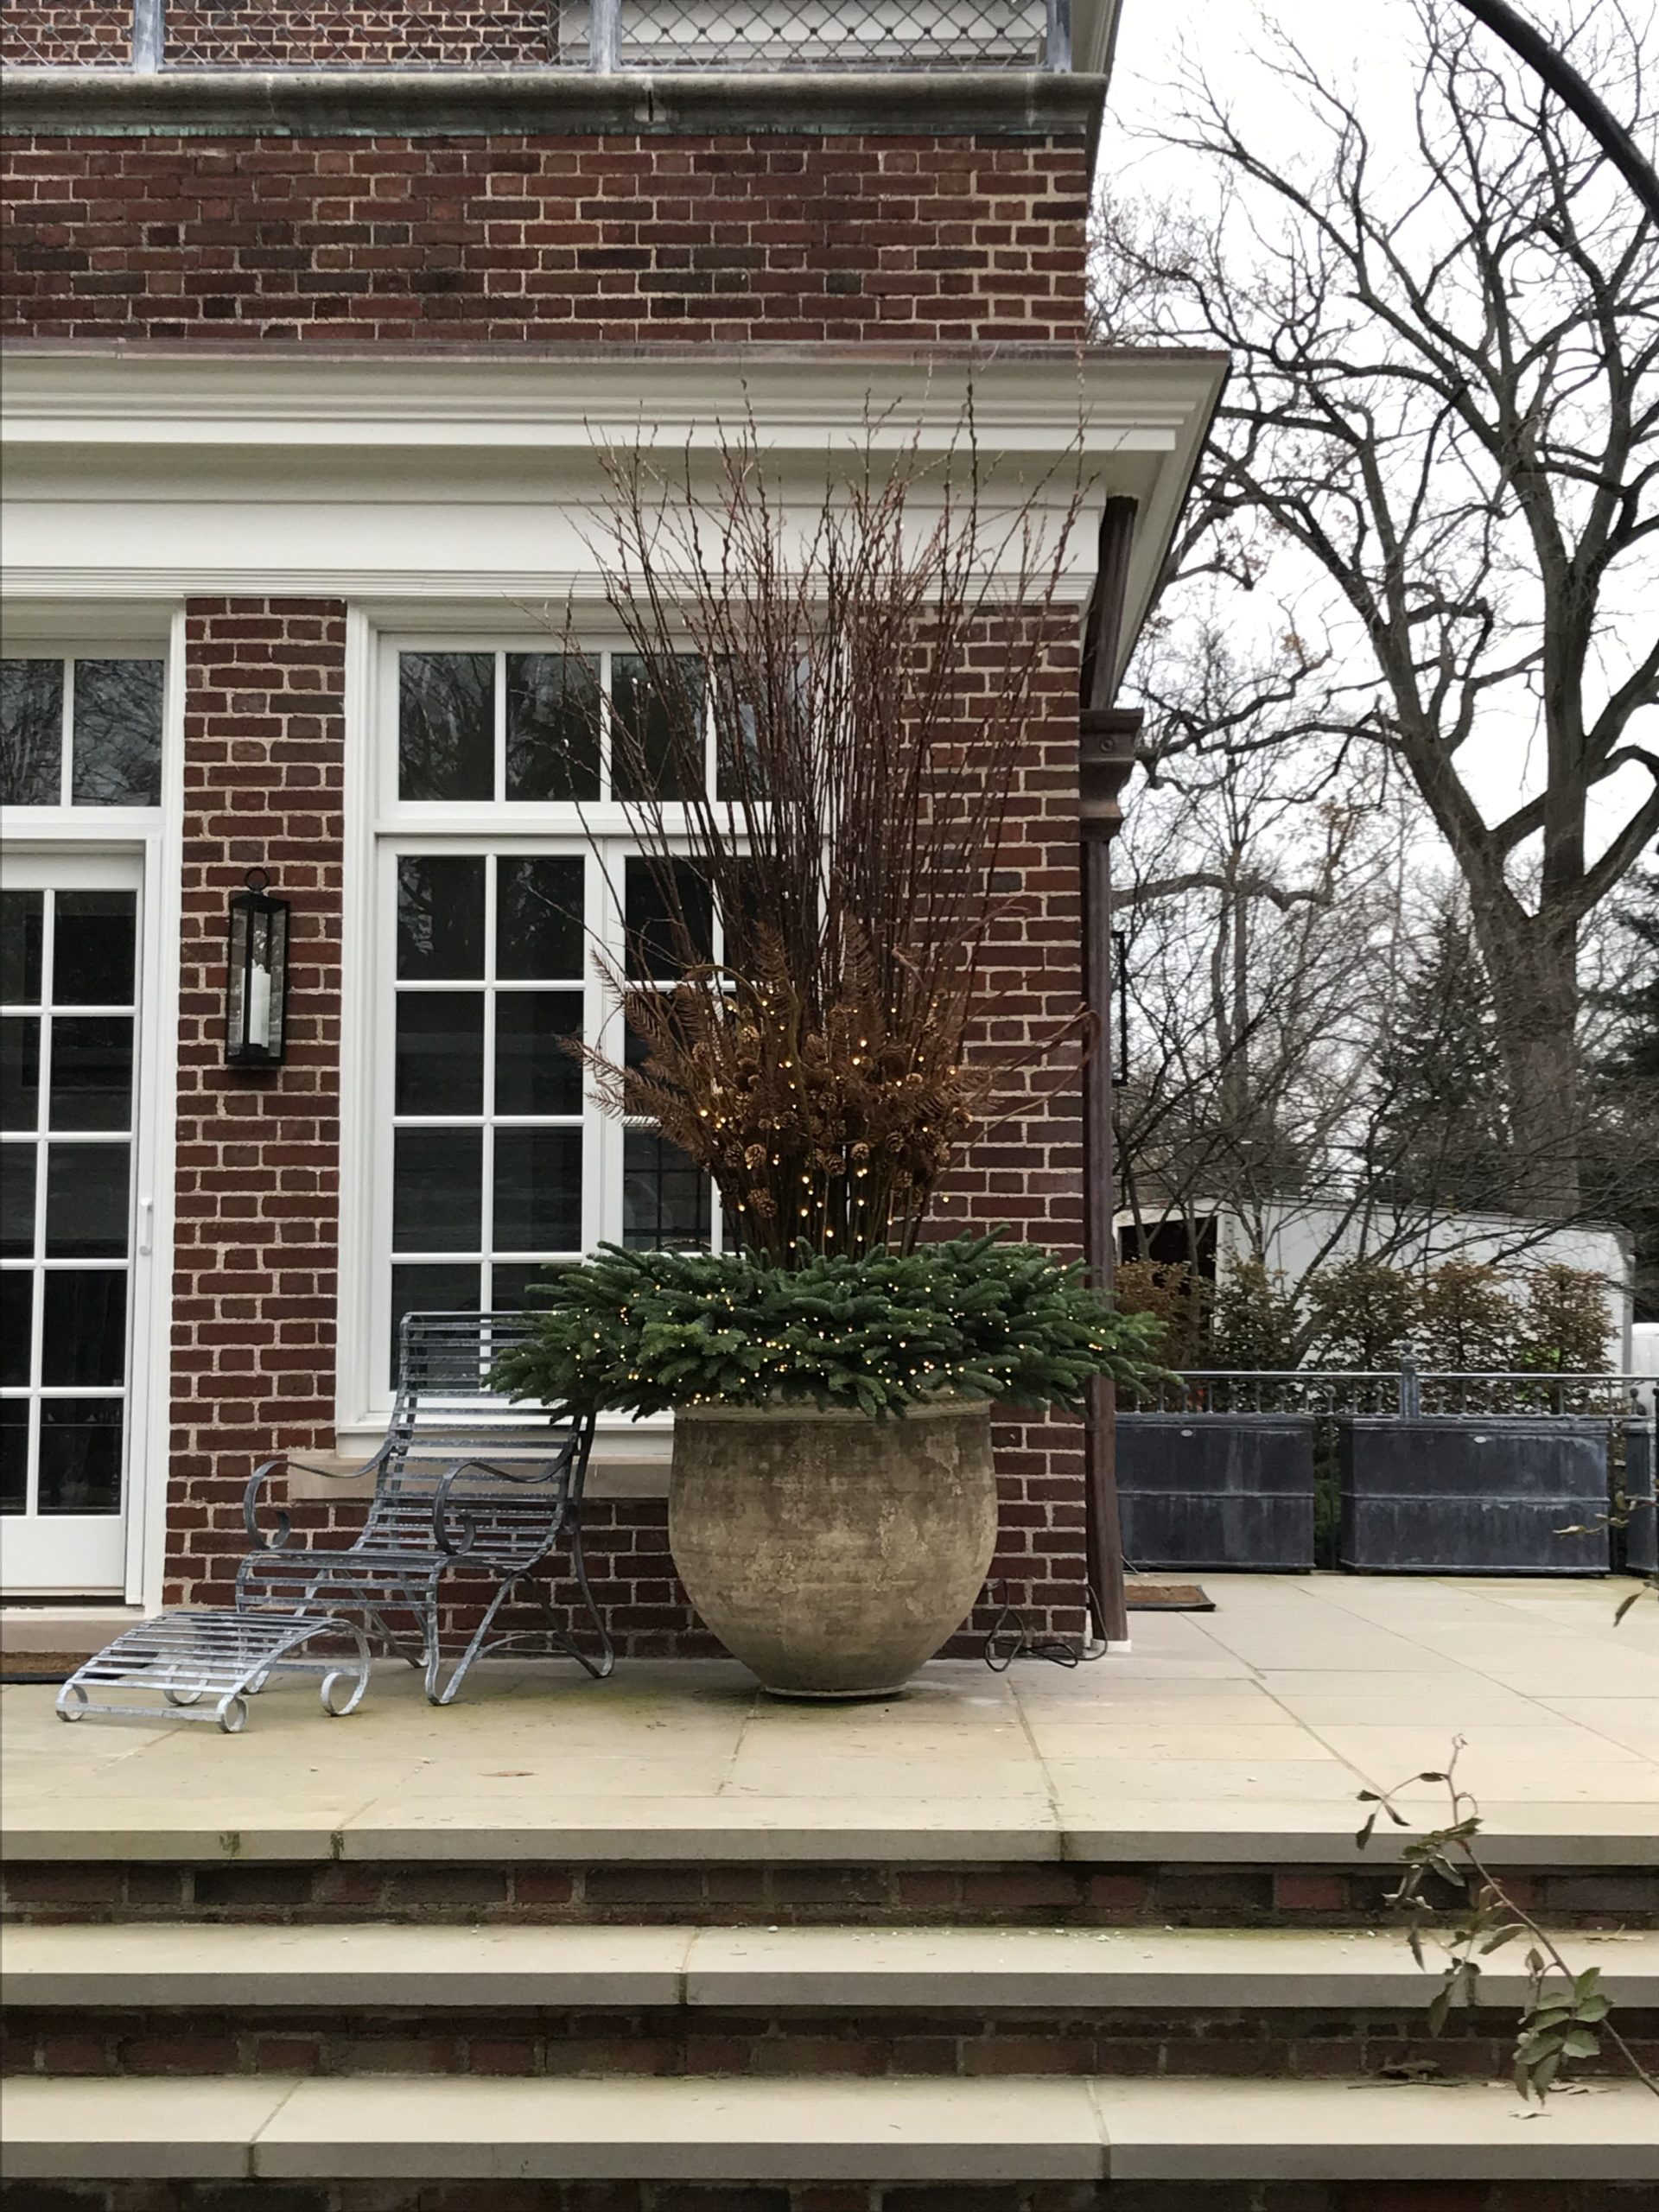 winter arrangements in the back yard
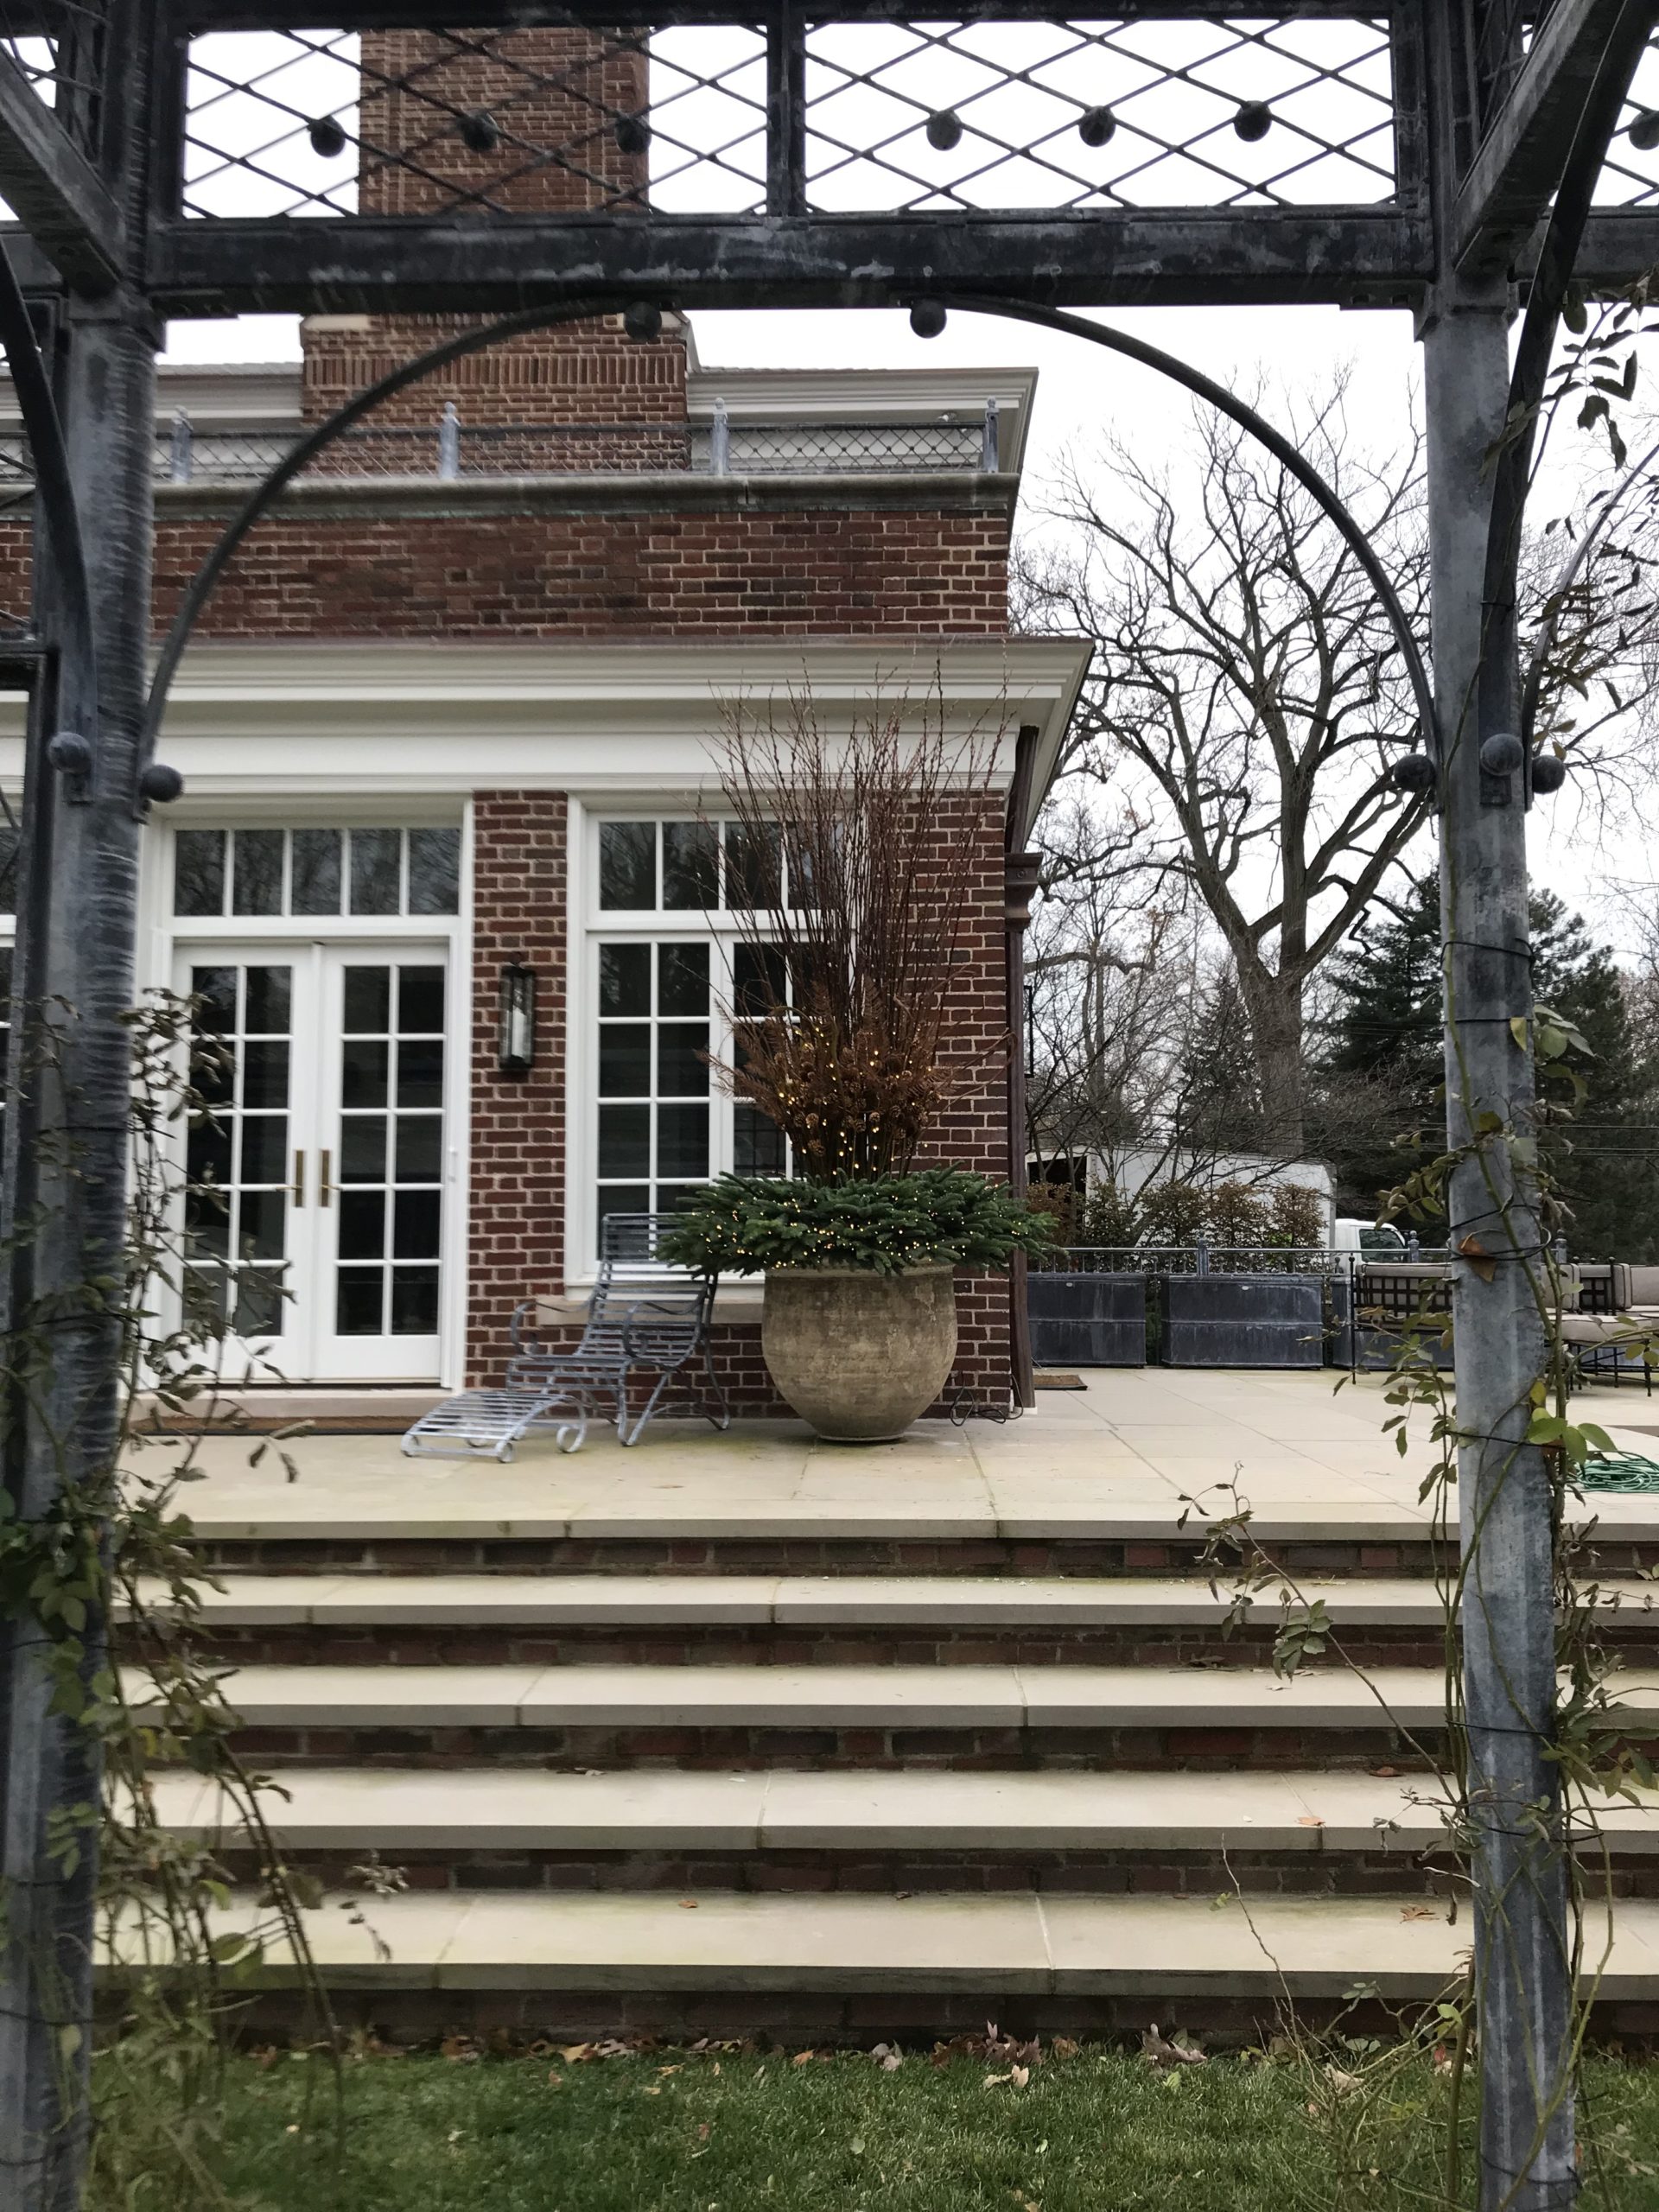 framed view
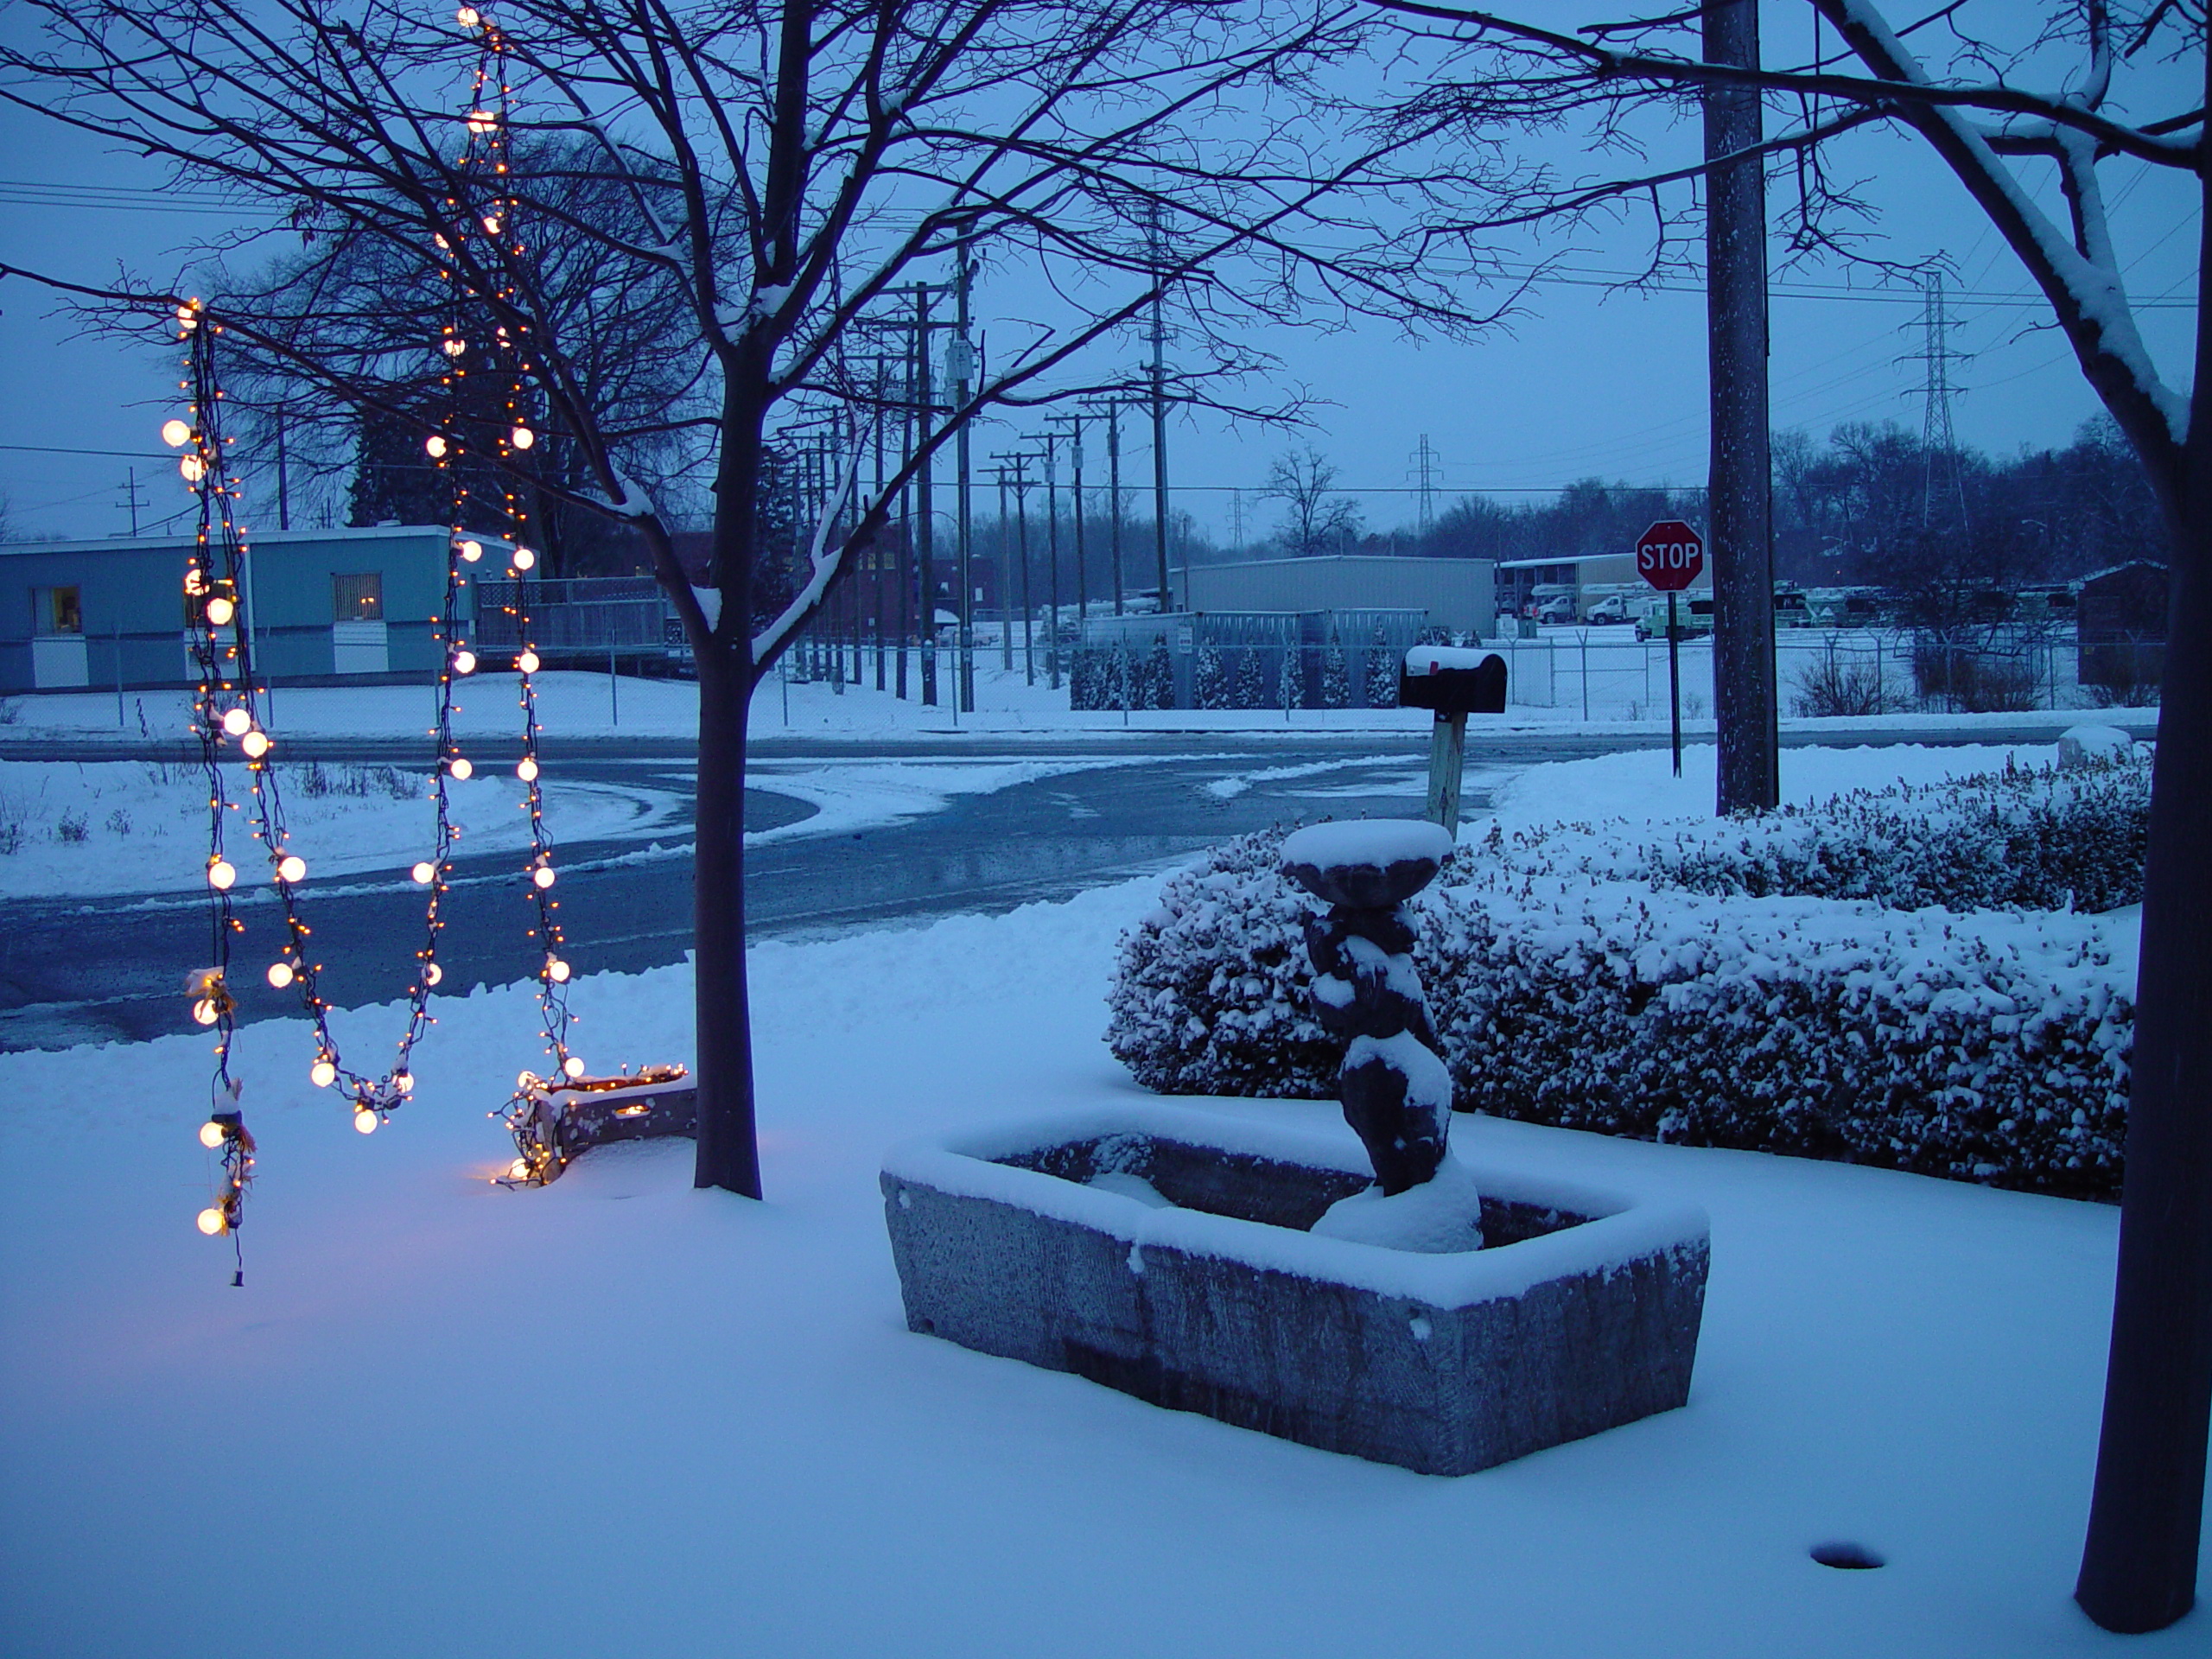
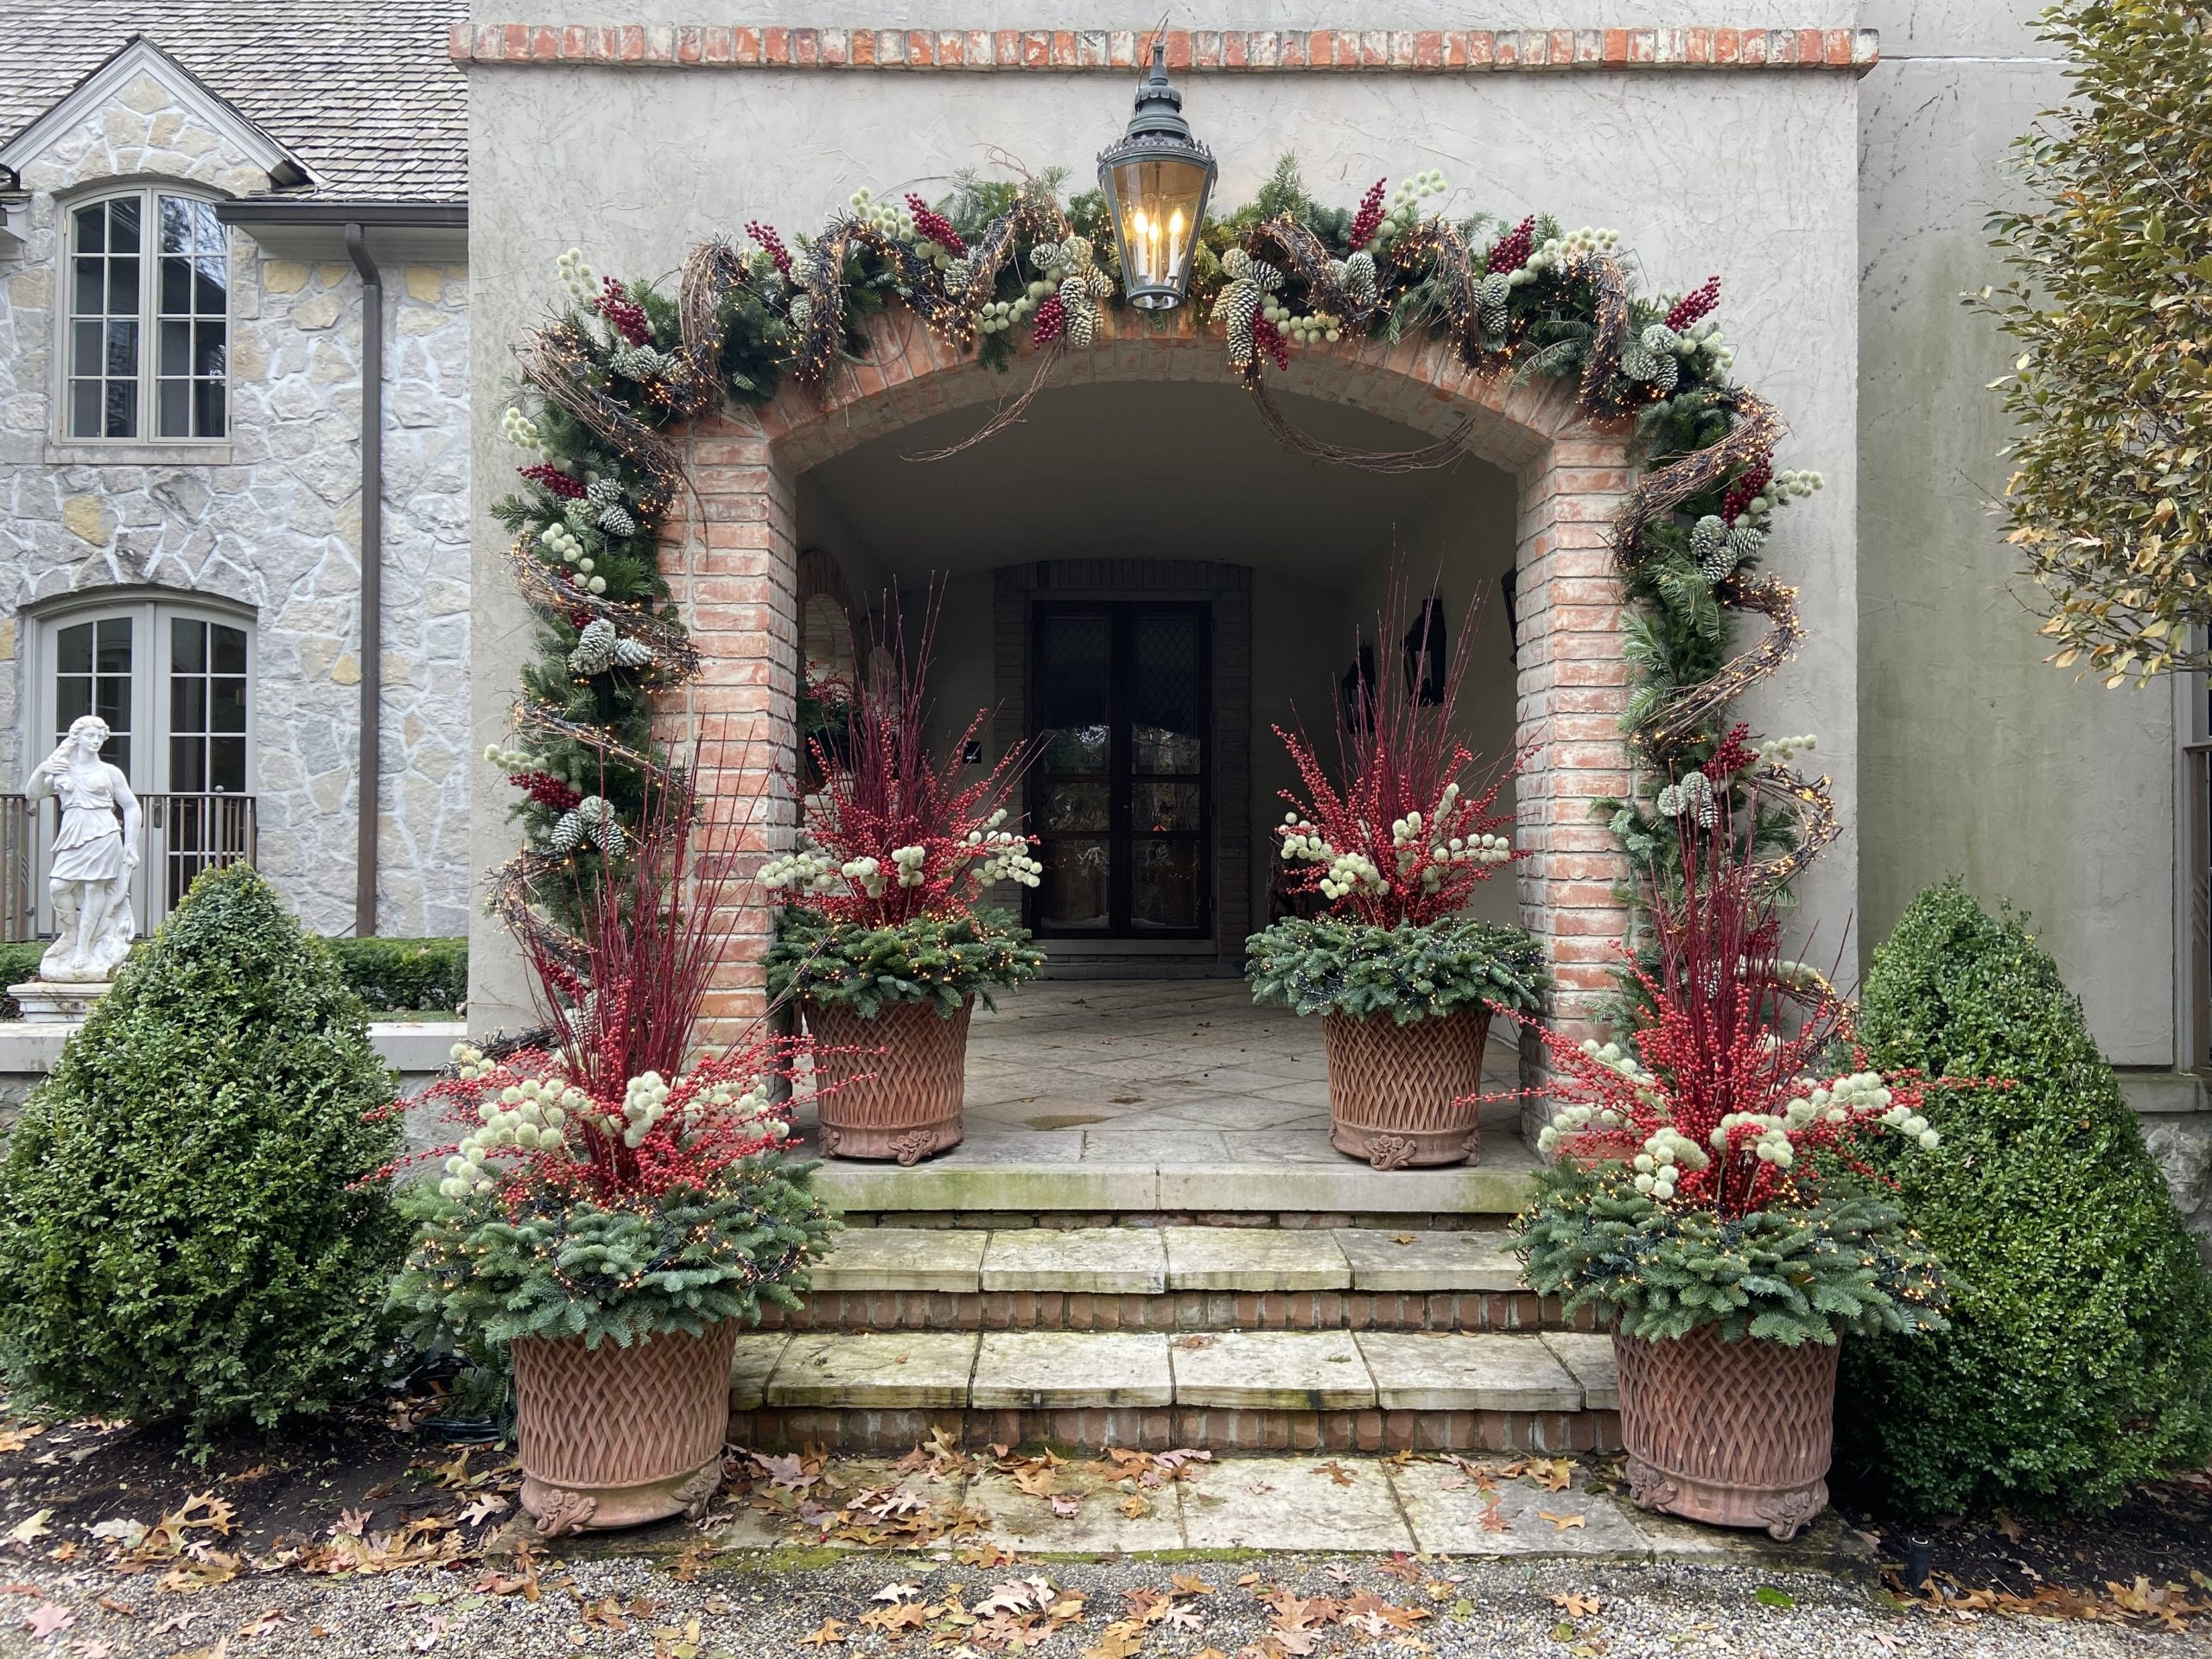
 There is no doubt a viable, approachable, and beautiful winter season ahead in the garden. Every gardener needs to determine how they will handle that. I garden in every season. The winter pots help speak to that.