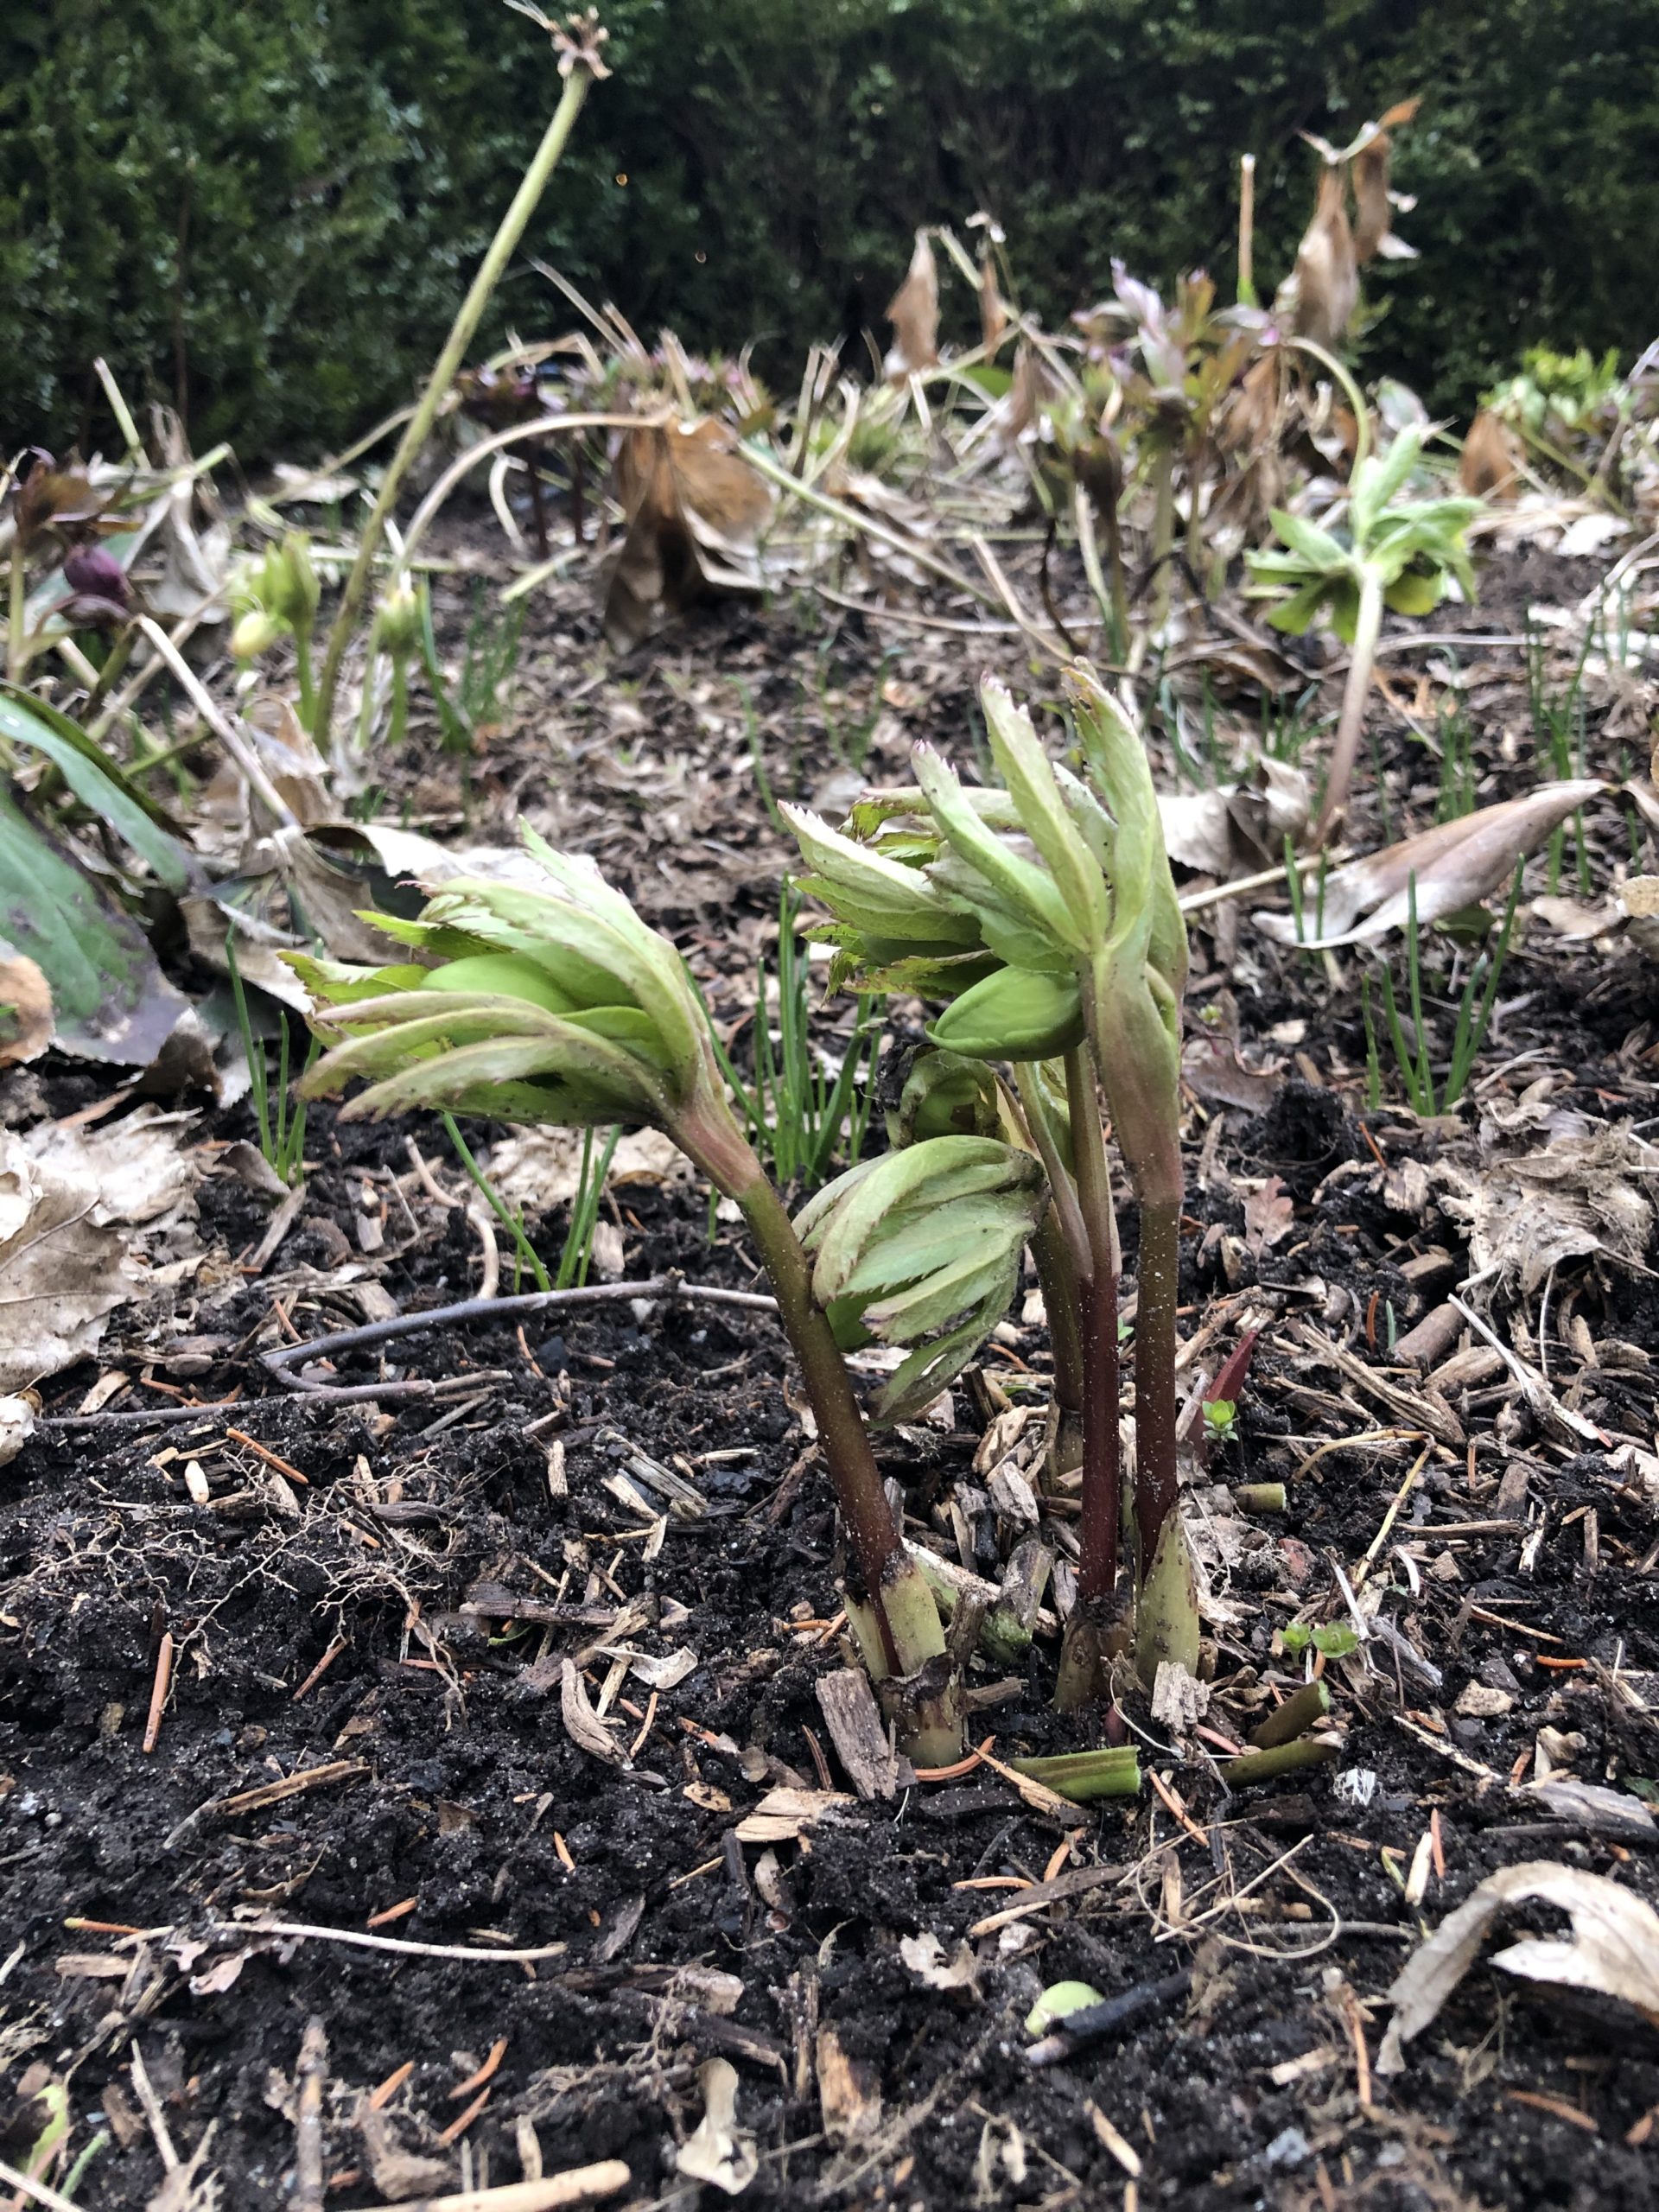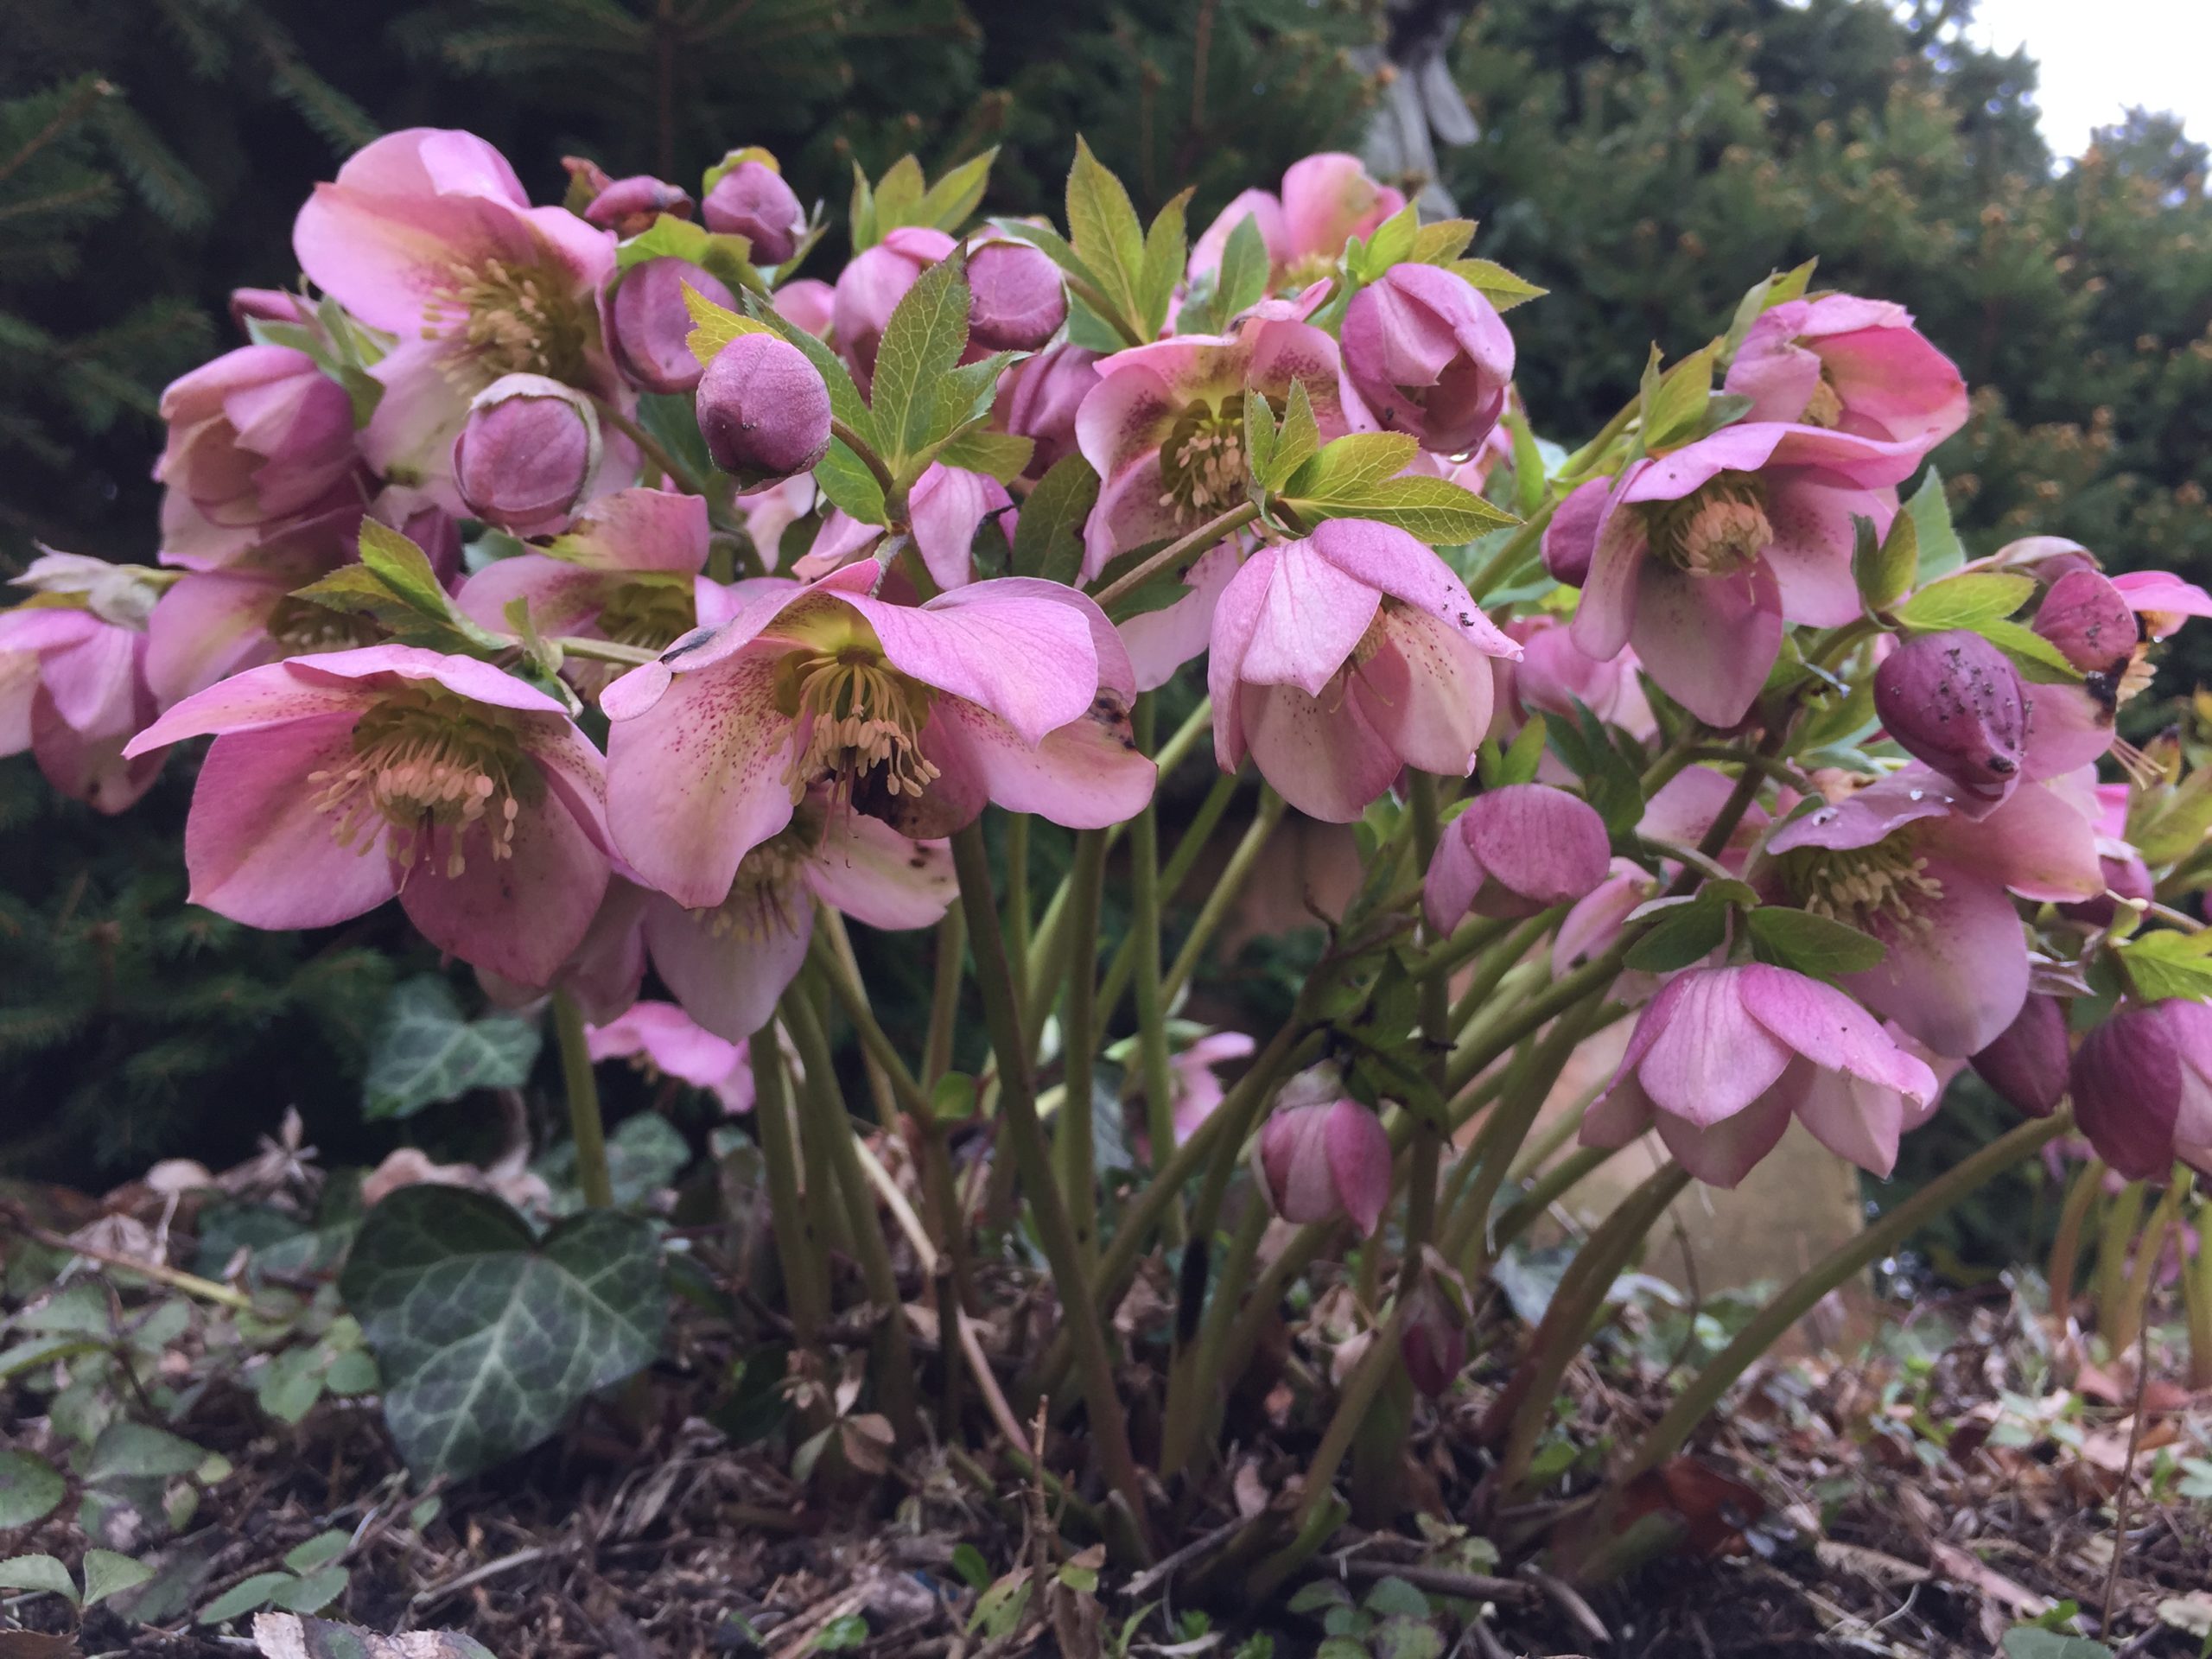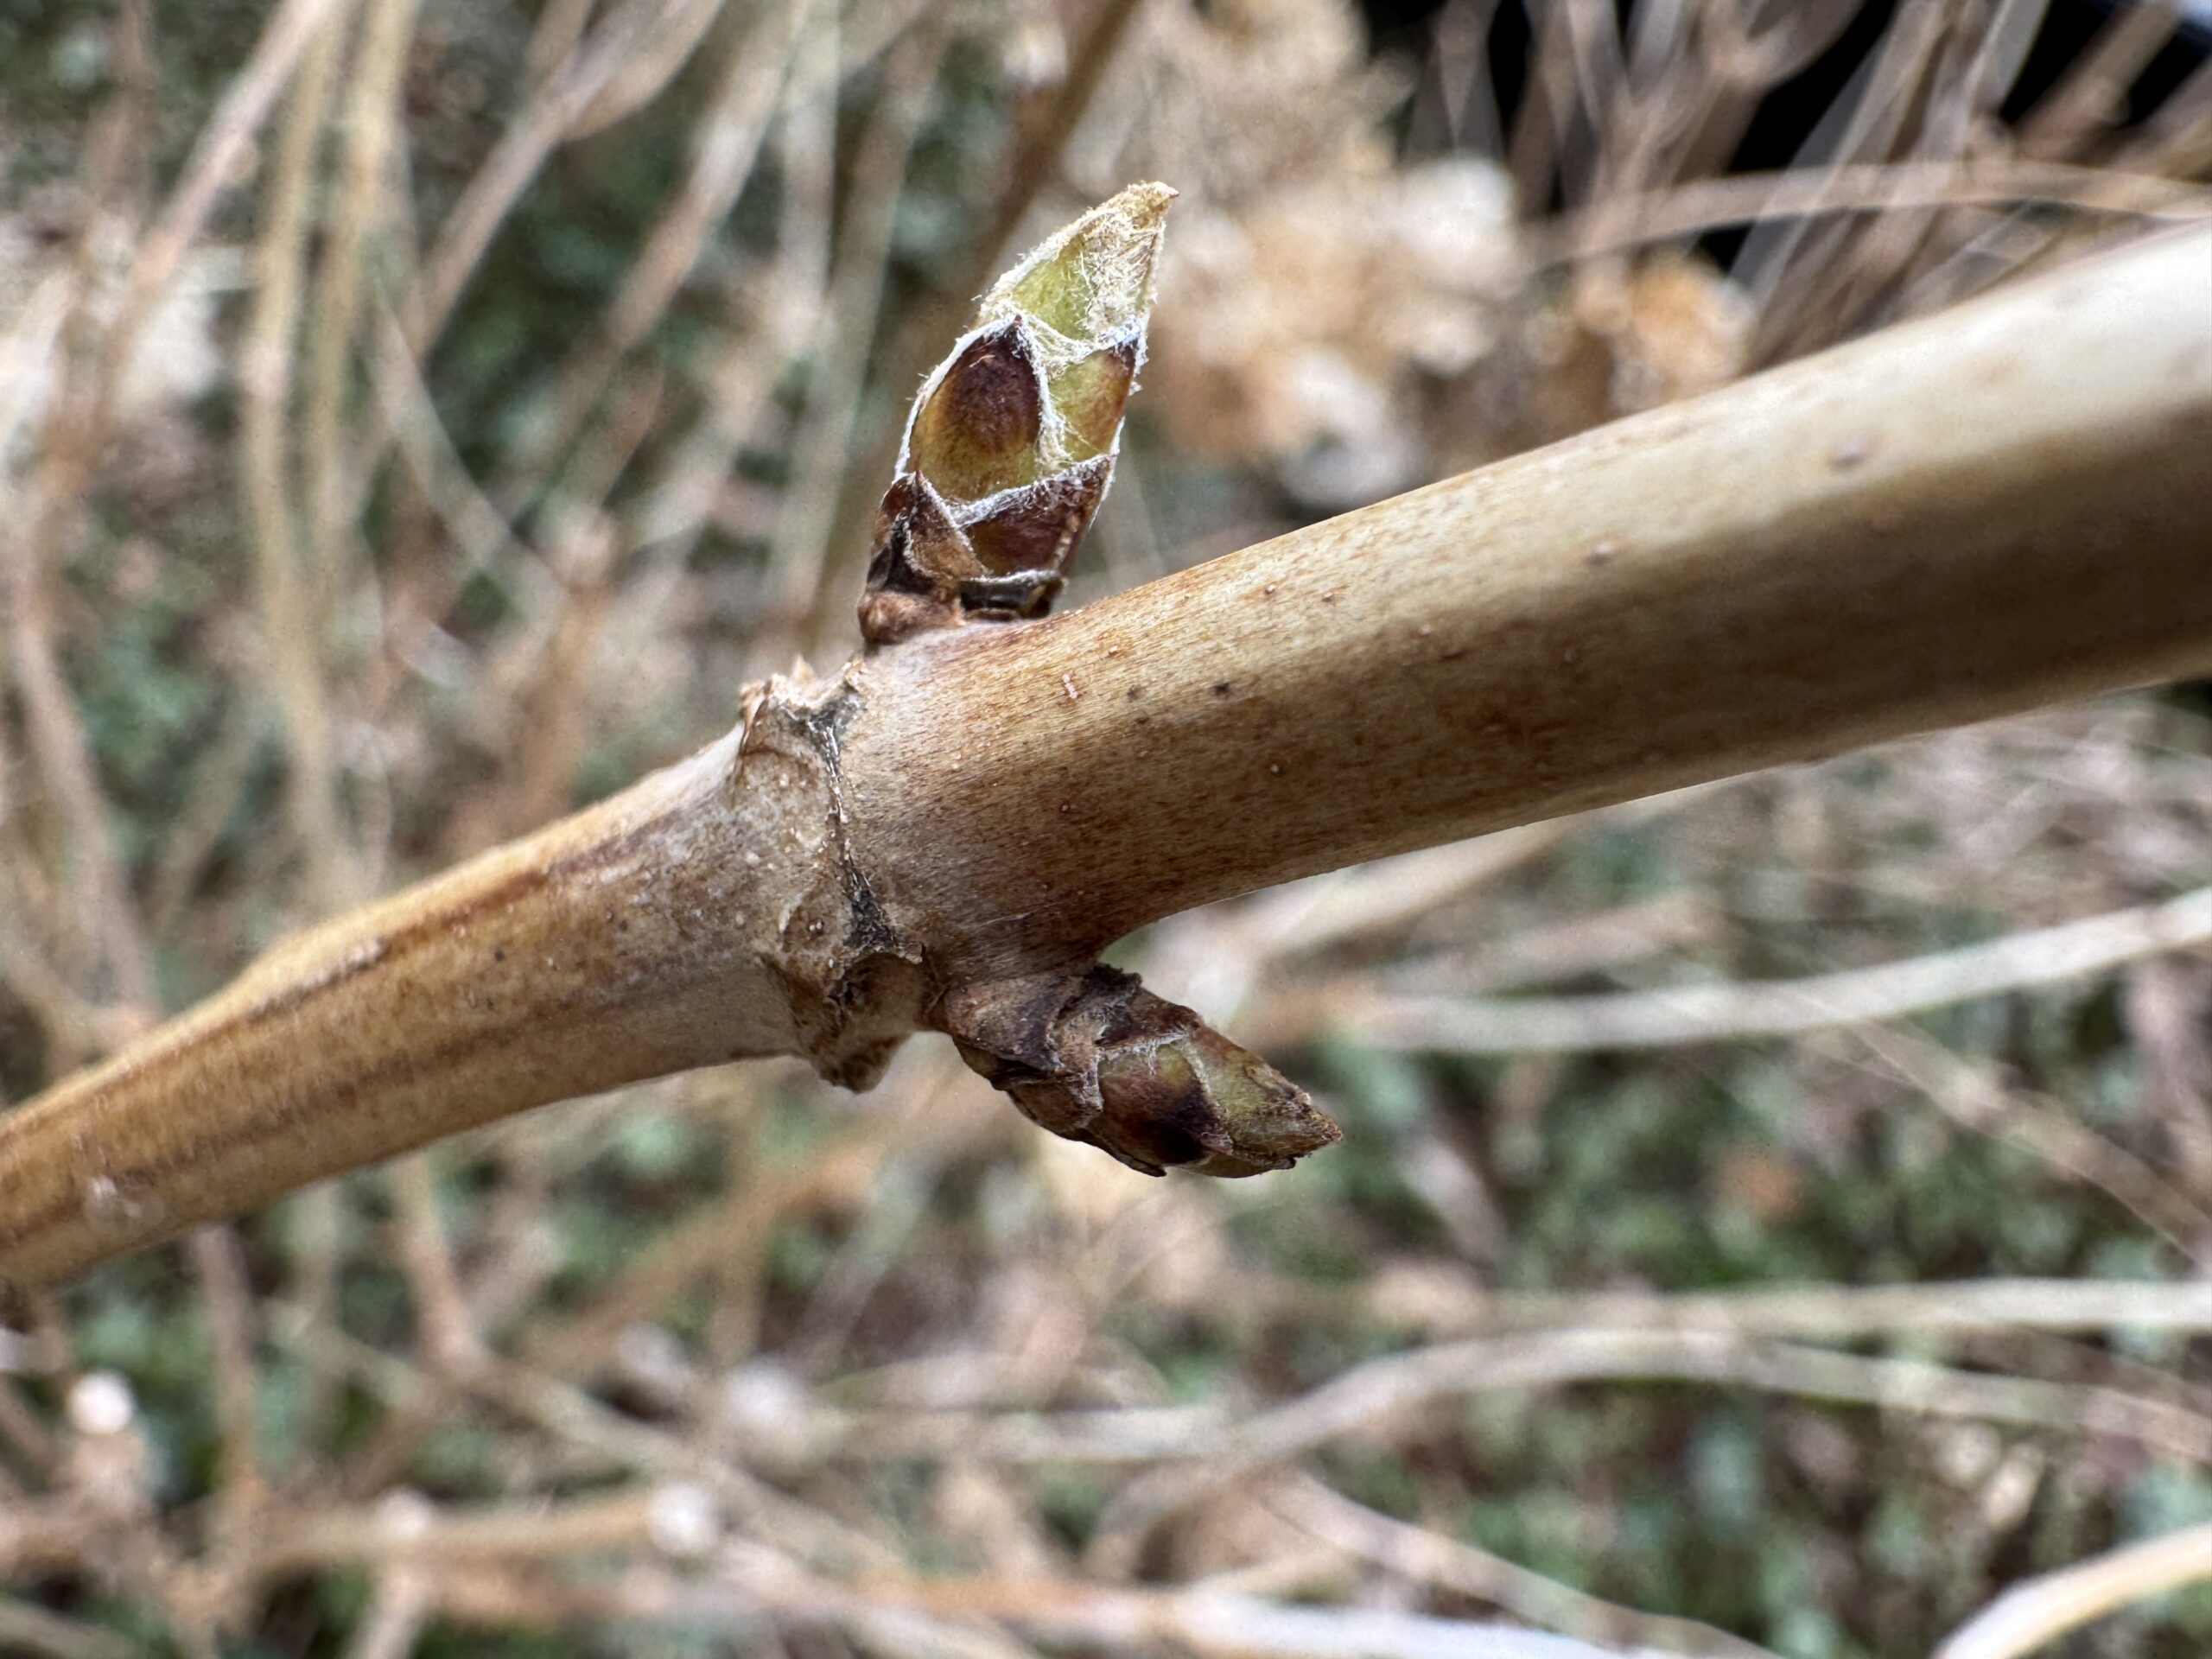
I usually write about hydrangeas in the late summer, when they are gracing most every garden in my zone with their armloads of marvelously frothy flowers. Ha. Hopefully that written description sounds just as extravagant as they appear in full bloom. This shrub, and all of its many iterations and cultivars, energizes and endows our late season landscape with an unparalleled and succinct representation of summer. Who doesn’t swoon over hydrangeas in bloom? I do. Each properly placed and well grown shrub is covered in flowers for weeks at summer’s end. It is indeed the super nova stage of the summer landscape. A brass band playing loudly in perfectly brassy unison, if you will. Hydrangeas representing in all their glory define what it means to be robust. They are so willing, and eminently worth cultivating. They give so much more than they need or demand. They are not wall flowers, or delicate ephemerals, or gracefully weedy perennials-nor are they on that tough to grow list. They are like a freight train pulling in to the station with steam billowing up from the tracks and a horn blaring. Are you ready? If the leaf buds have broken dormancy and are swollen all along the stems of the shrubs – and if those swelling buds are greening up – it is time to prune.
Let me get what not to do out of the way first. My opinion on the matter is all I have to offer. Do not prune in the fall. Pruning is a call to grow. Encouraging a shrub that is facing the winter to get up and grow is just not a good idea. Your best move is to encourage the long sleep. Movement towards winter dormancy in woody plants starts in my zone in August. Once the leaves turn color, mature, and drop, leave all of the rest of the shrub intact. The most important thing to do to hydrangeas in the fall is nothing. Do not cut the flower heads off. They look lovely with snow on them, and they wave in the winter winds. That cinnamon brown color is beautiful with evergreens. If you must remove the flower heads, OK, but do not cut these shrubs down to the ground in the fall. That will force them to sprout from below ground in the spring. Be merciful. Leave at least 3 or 4 buds above ground when you prune-in the spring. If you are growing big leaf hydrangeas-as in hydrangeas that bloom on the previous year’s wood/growth, do not prune in the fall or the spring. Prune them promptly and only after they finish blooming. If you don’t know which type of hydrangeas you are growing, find out before you prune.
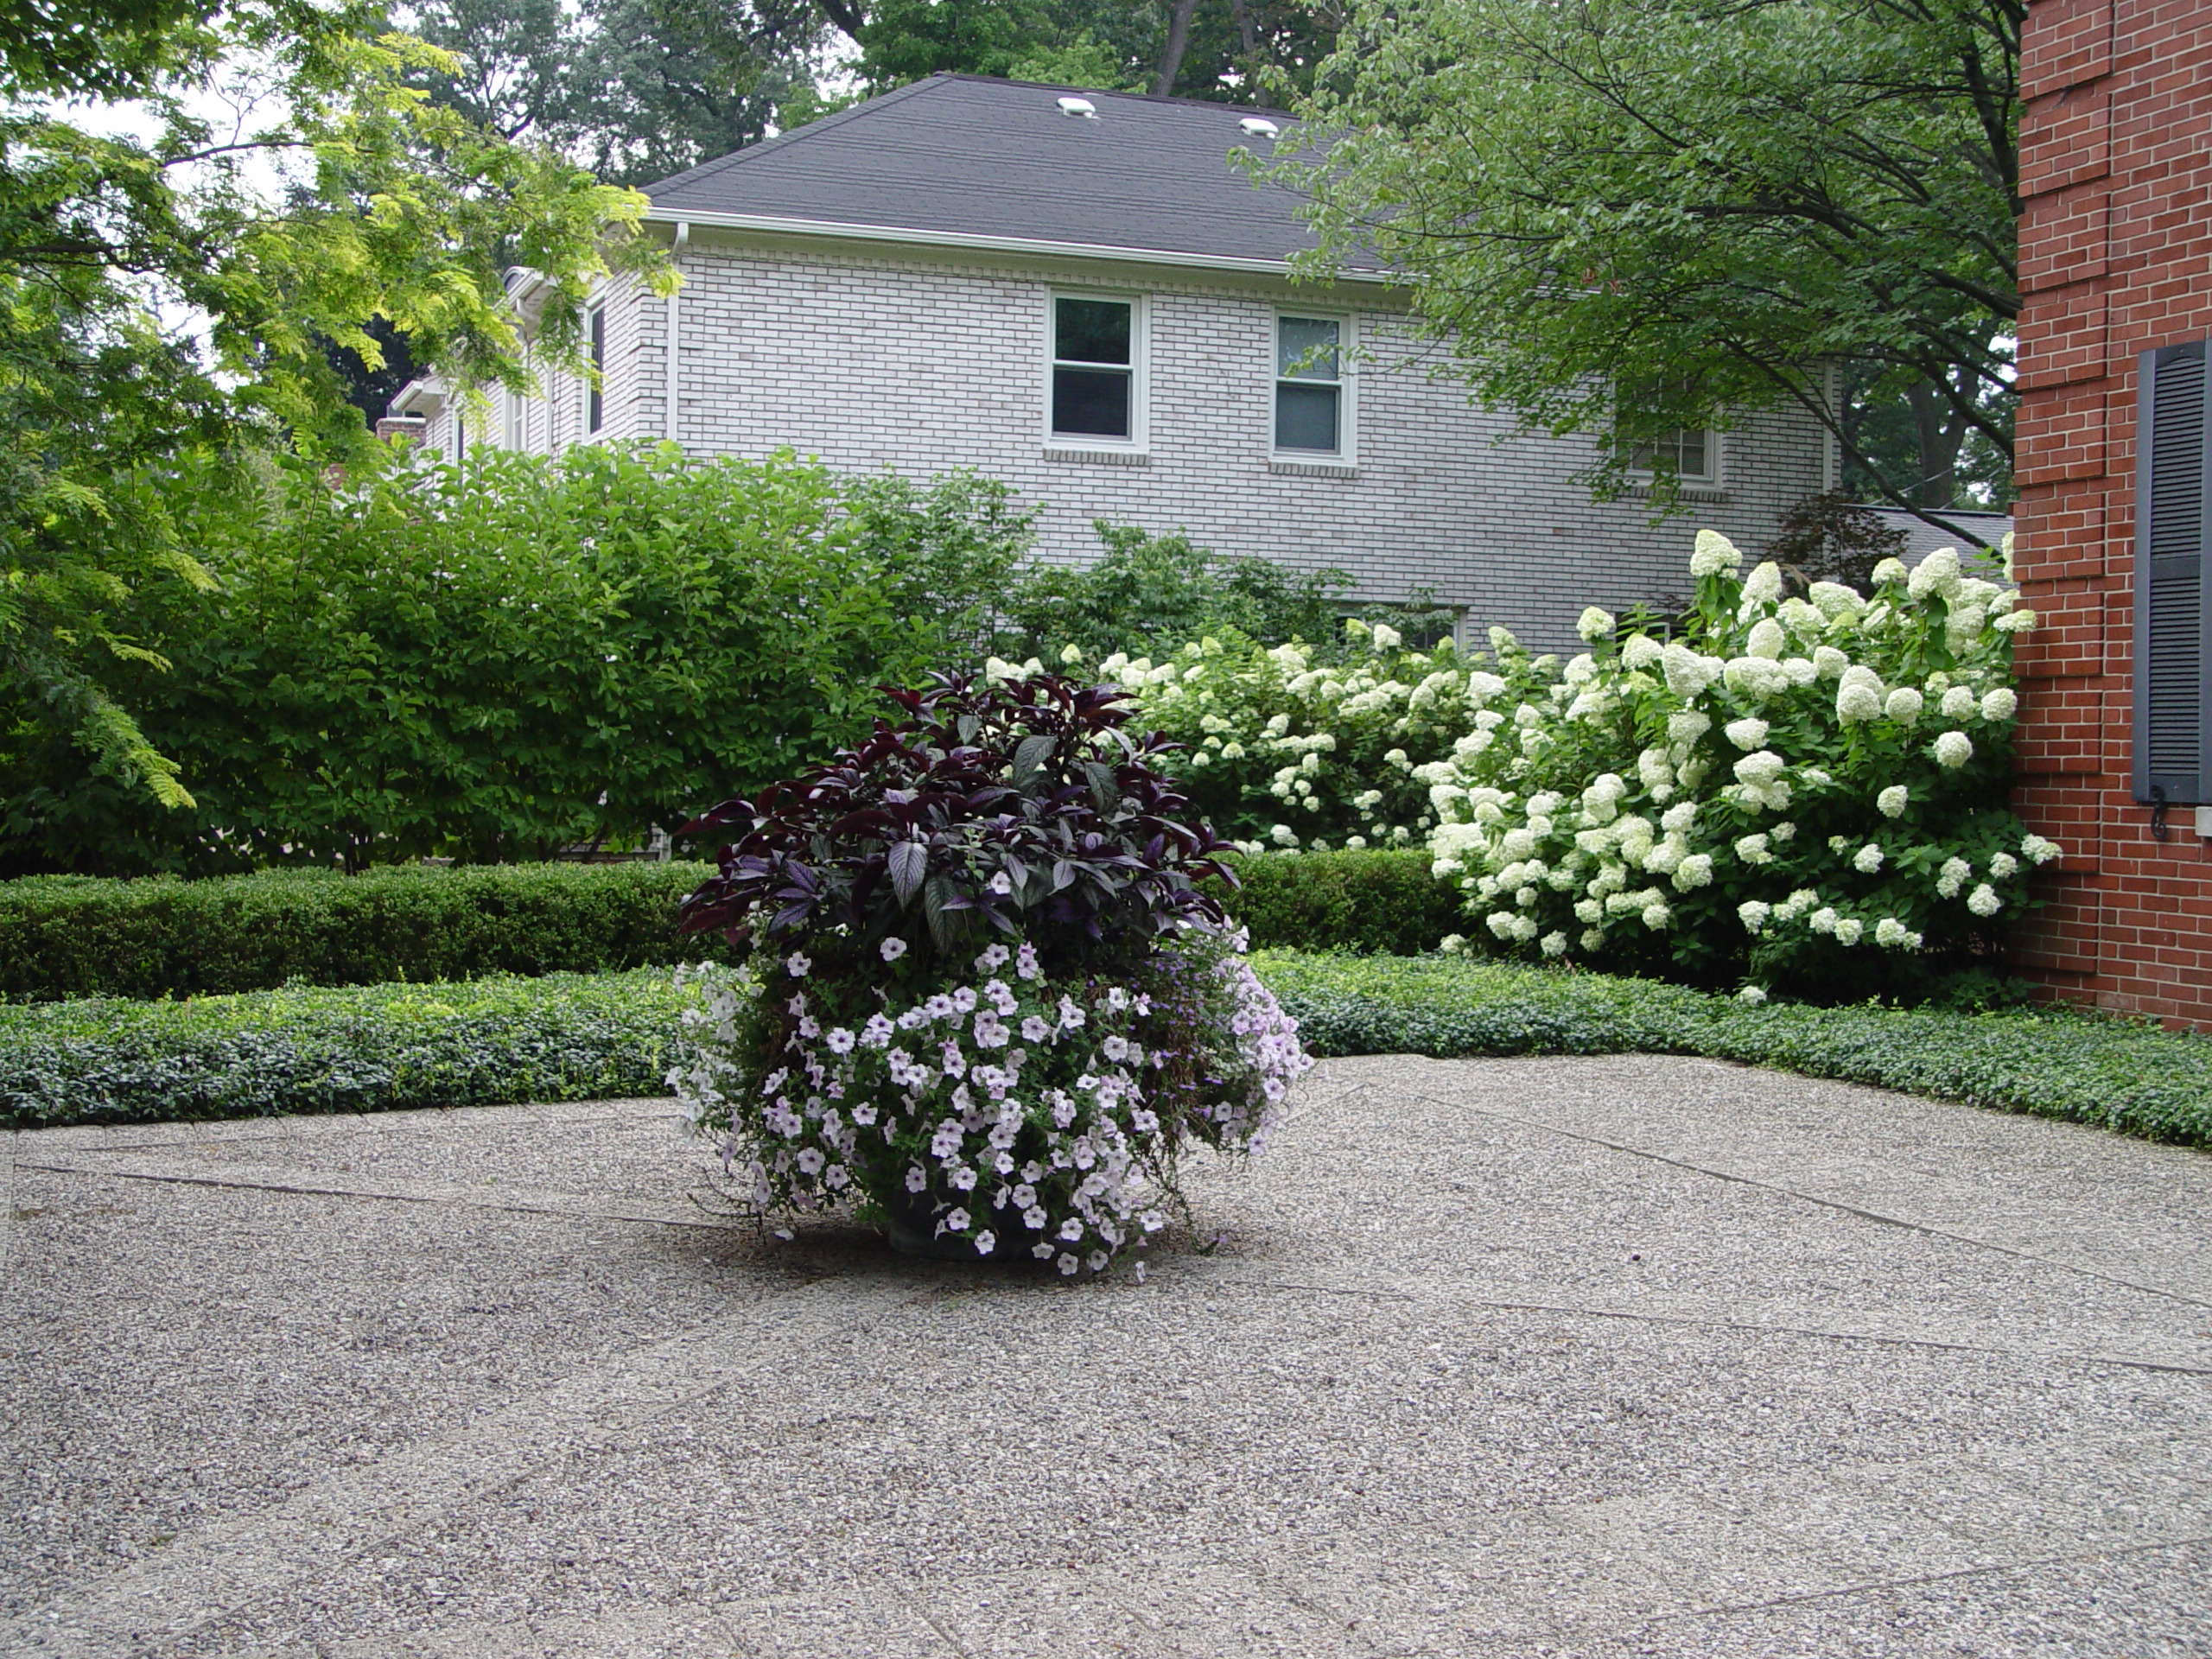
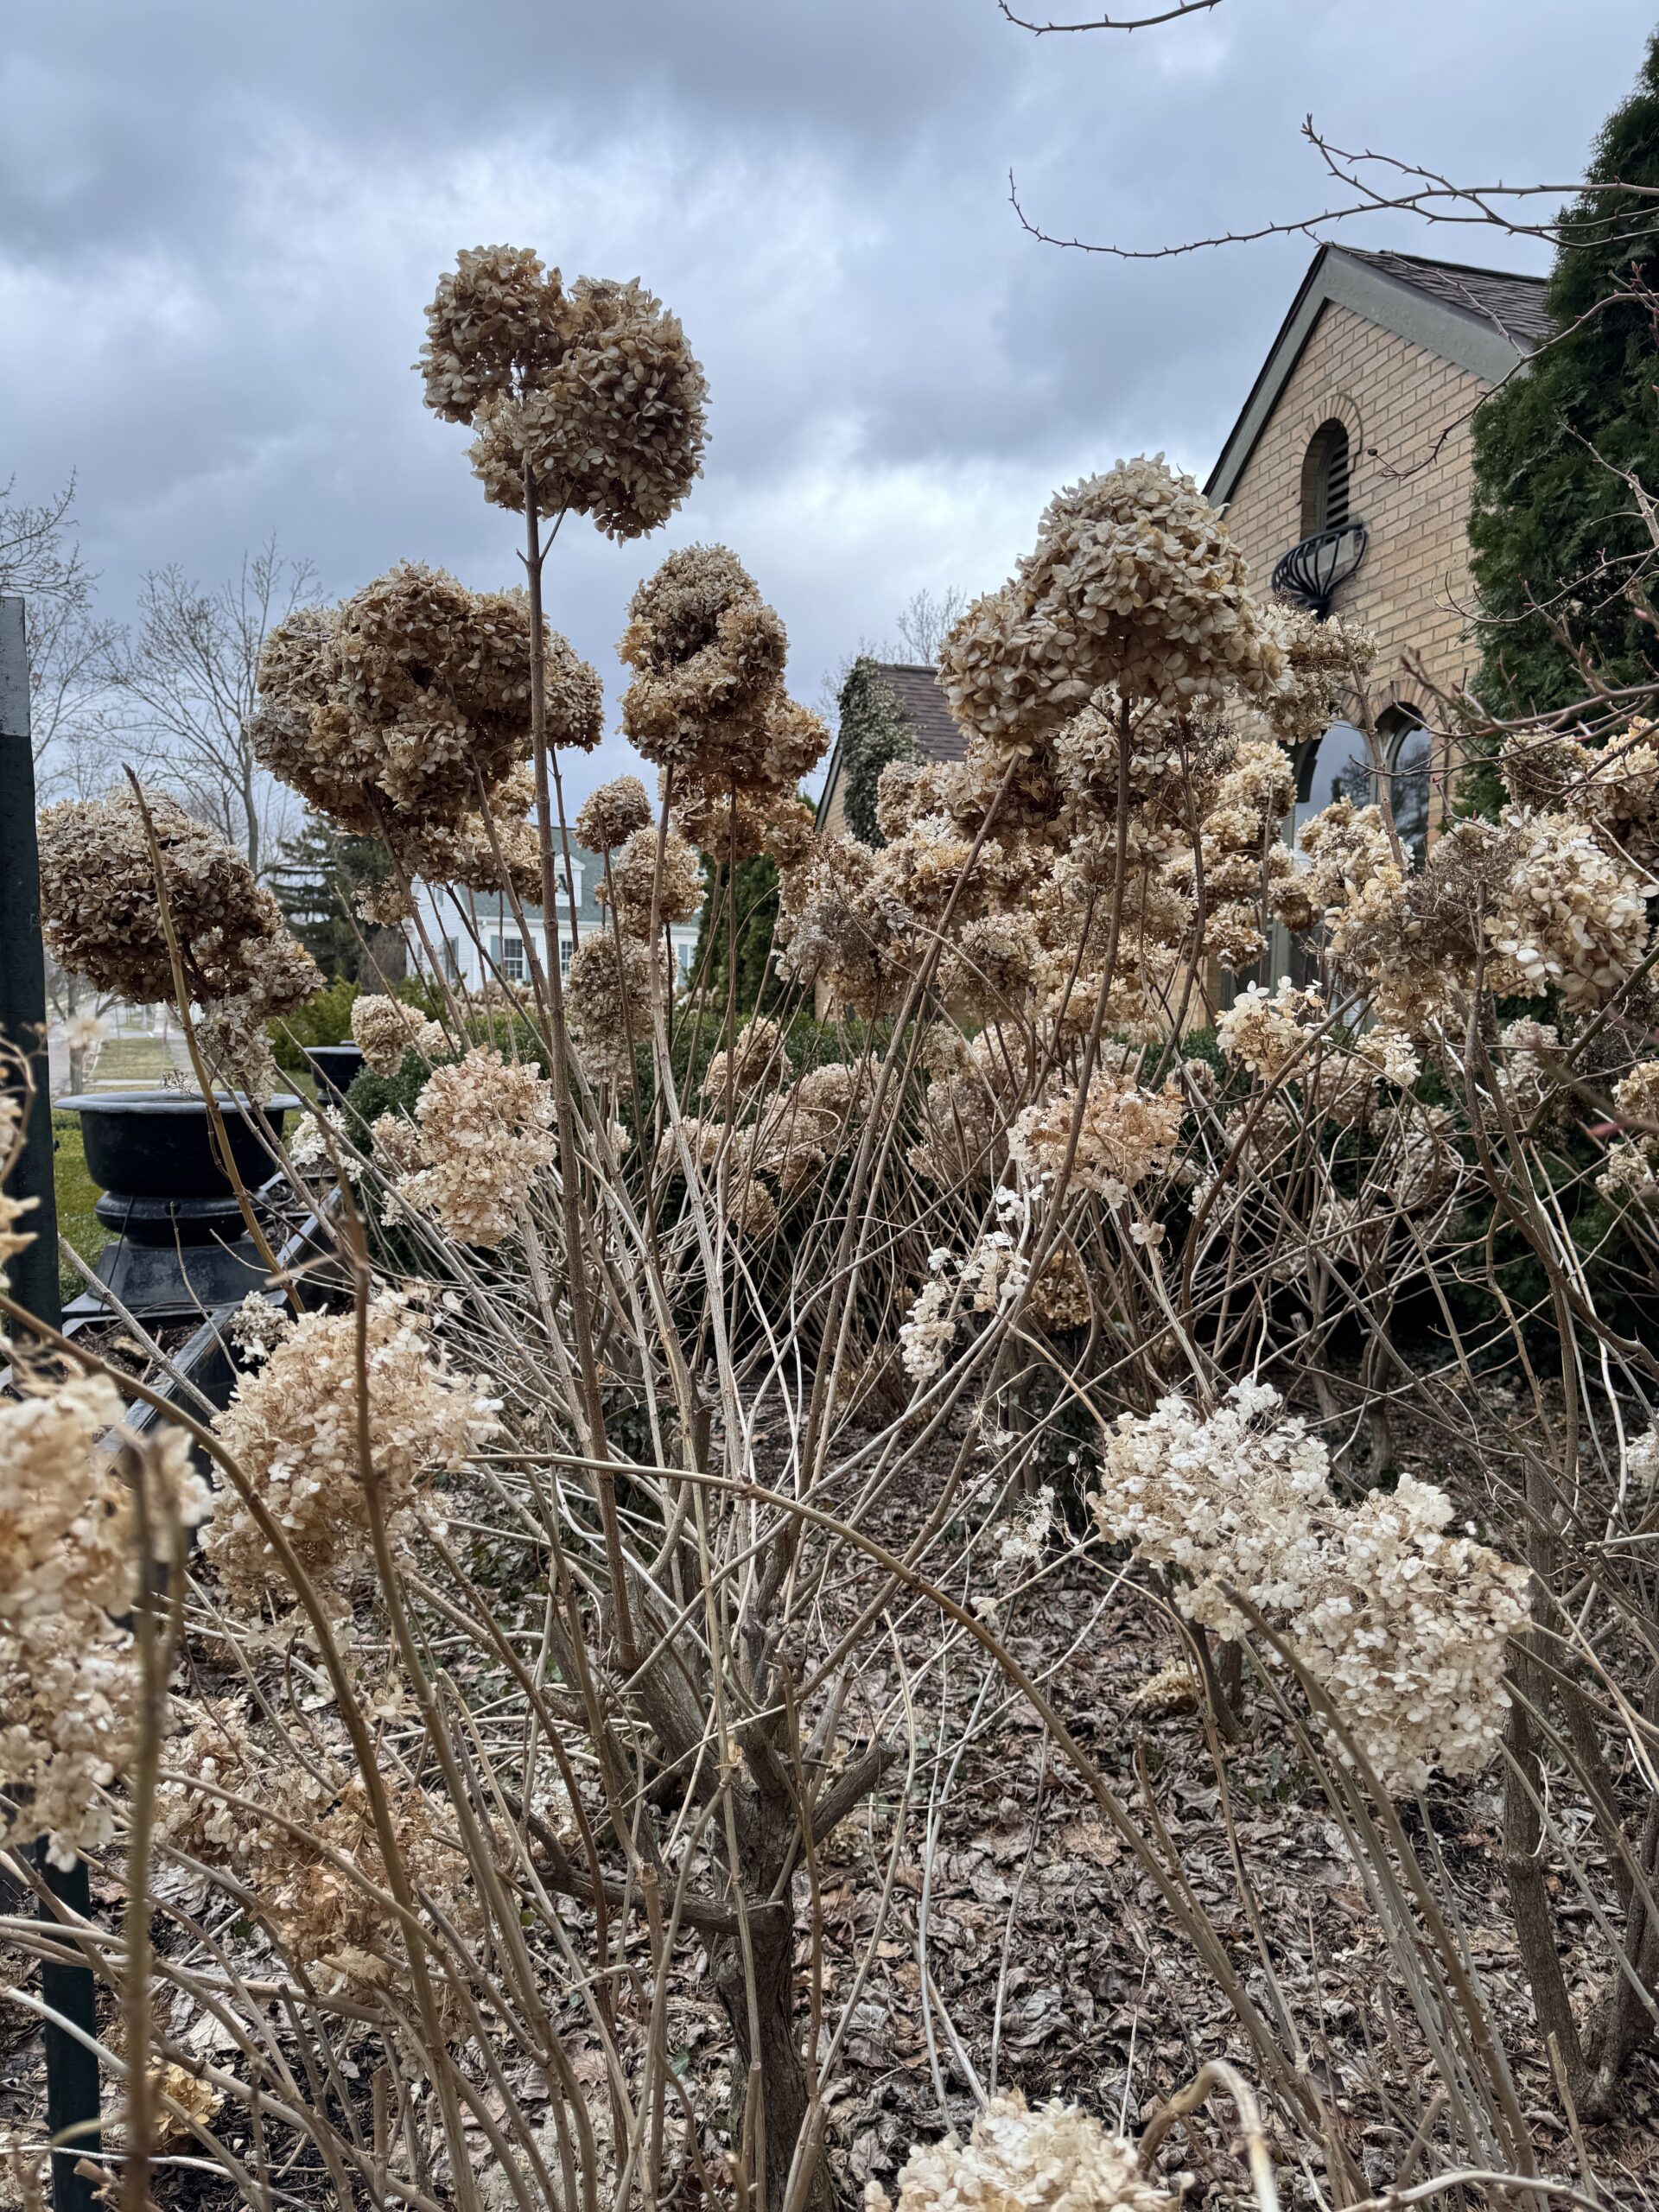
Hydrangeas do not respond very well to a formal shearing. Few plants do. Shearing hydrangeas encourages multiple breaks below the cut, which result in a dense thicket of stems and leaves at the top. The bottom half of the shrub gets shaded. I am amazed at how many hydrangeas I see pruned like this, but it is not good for the health of the plant, or the flowers. I give my hydrangeas a shag haircut, keeping the stems at the top shorter and the stems nearer the bottom longer. The idea is to provide a sunny and airy space for each branch to live free. You can see this arrangement in the location of the flower heads in the photo above. Each branch has its own address.
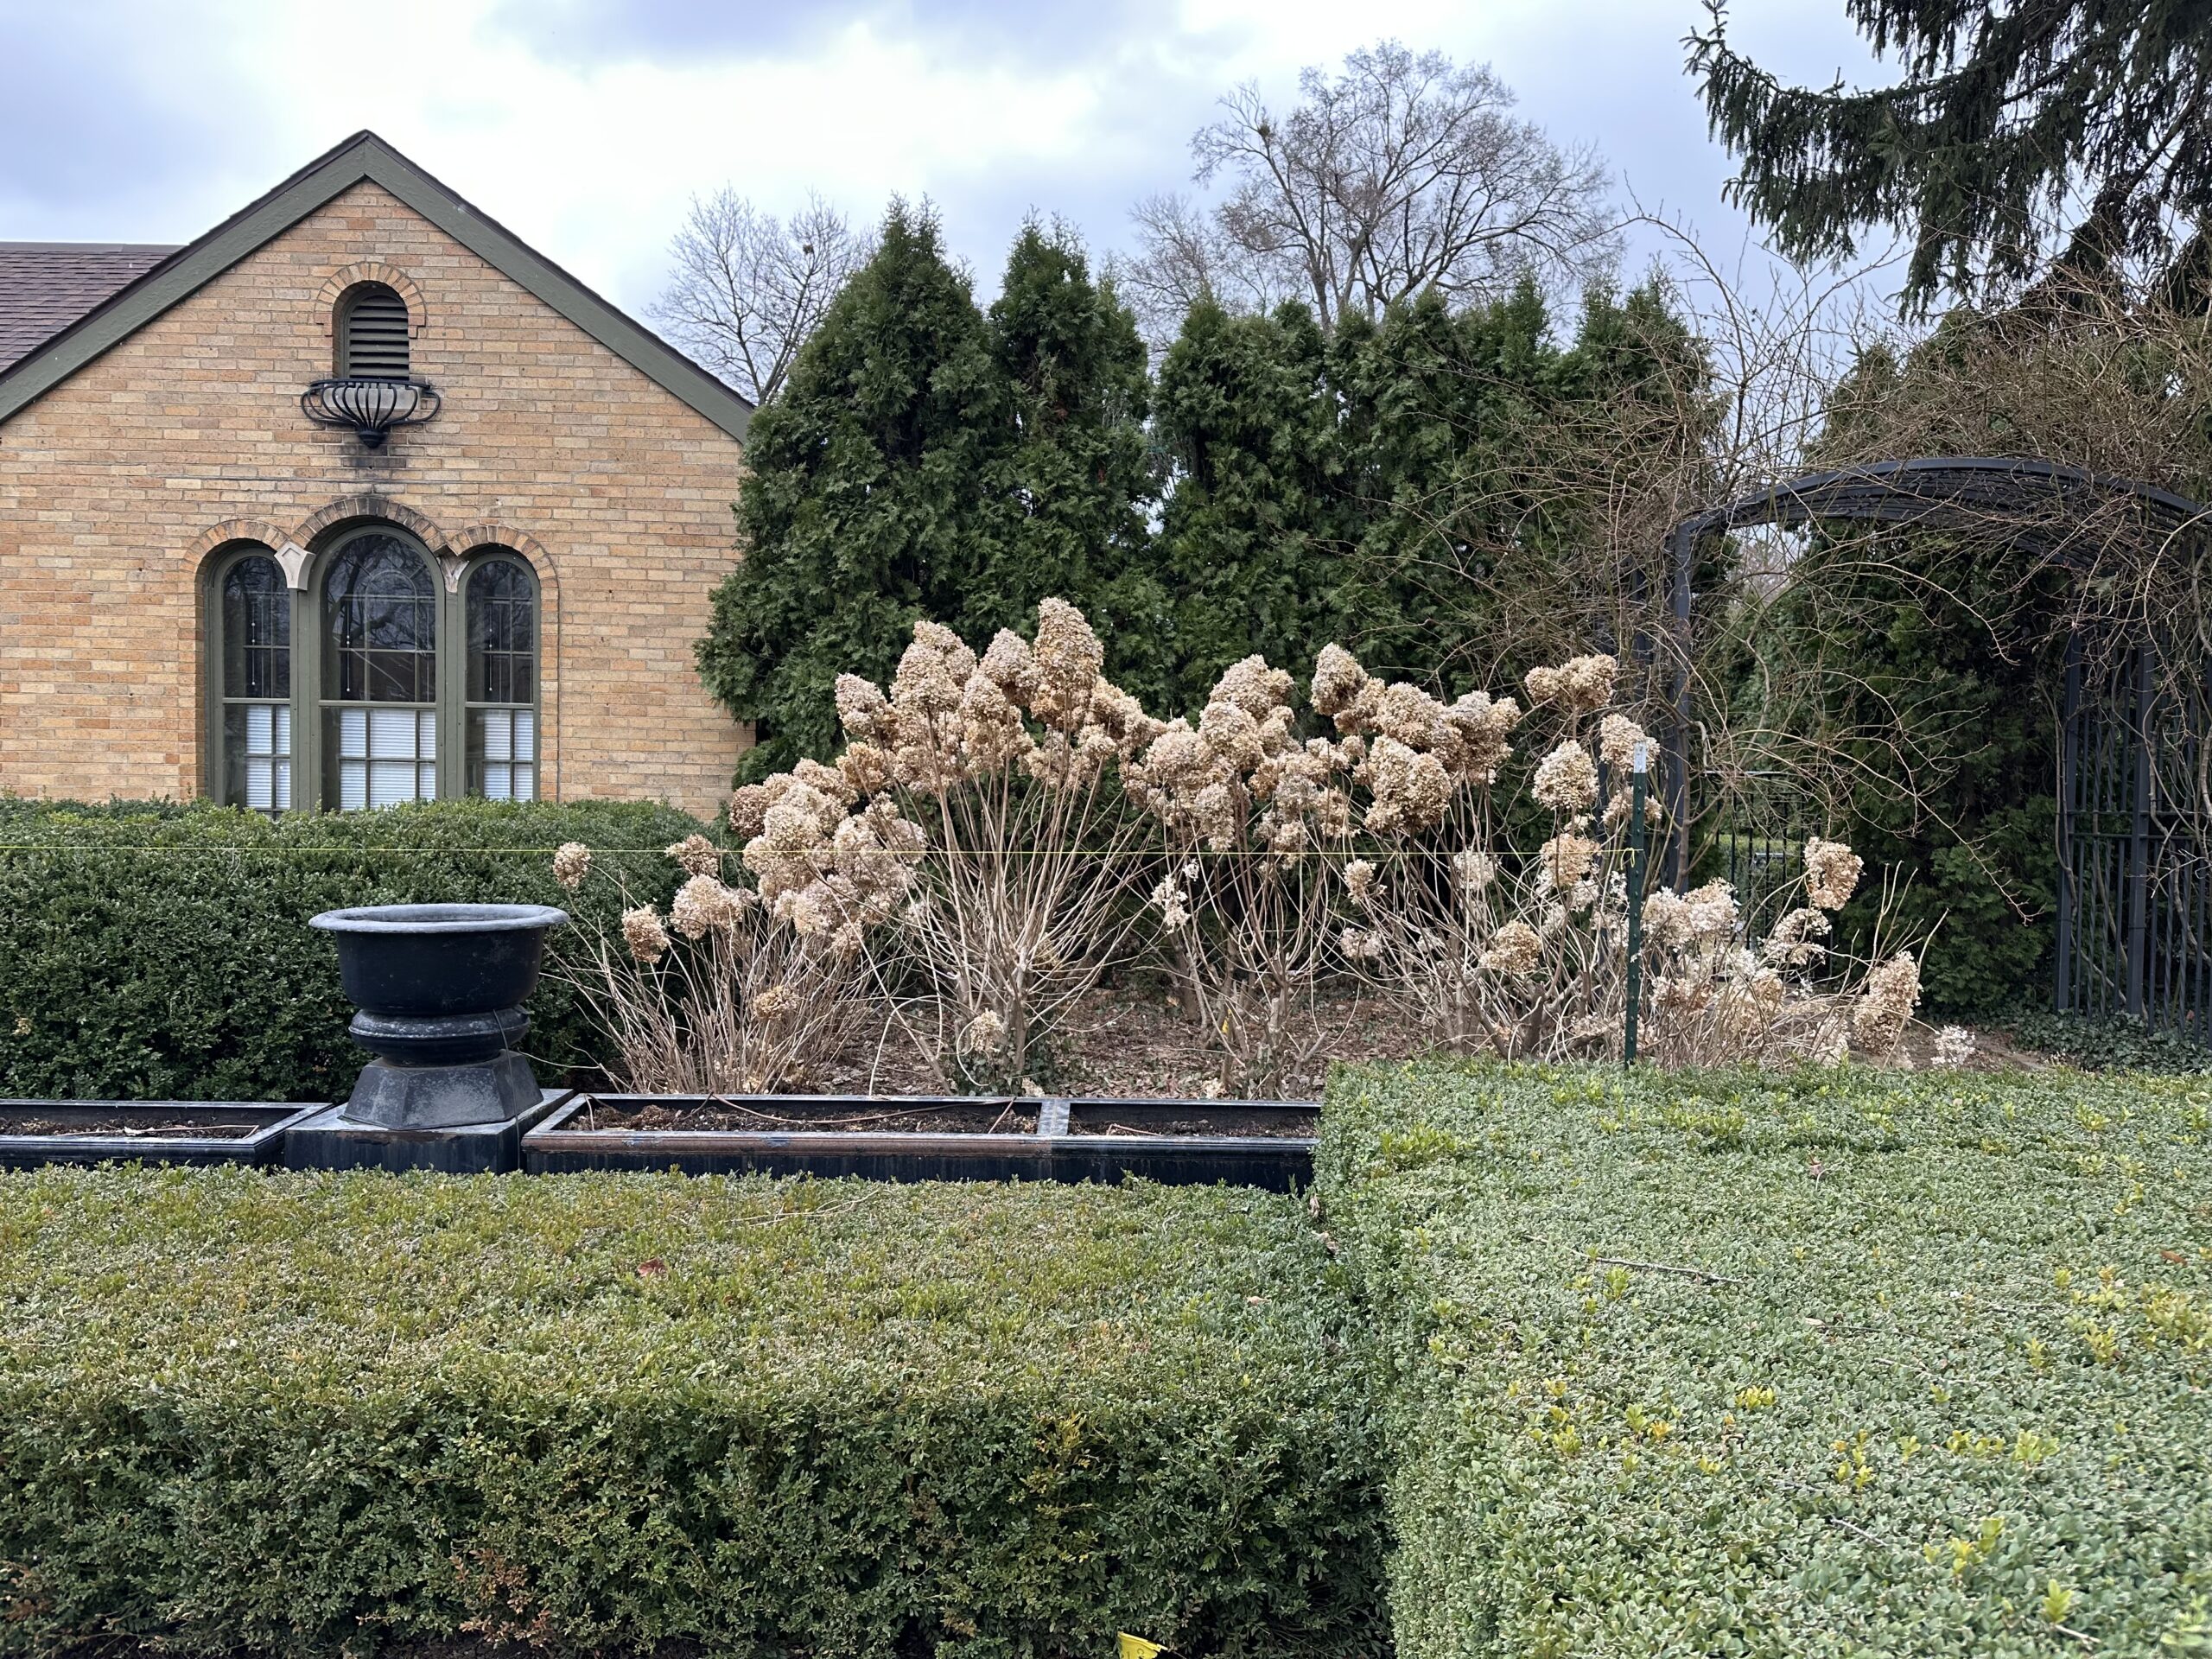
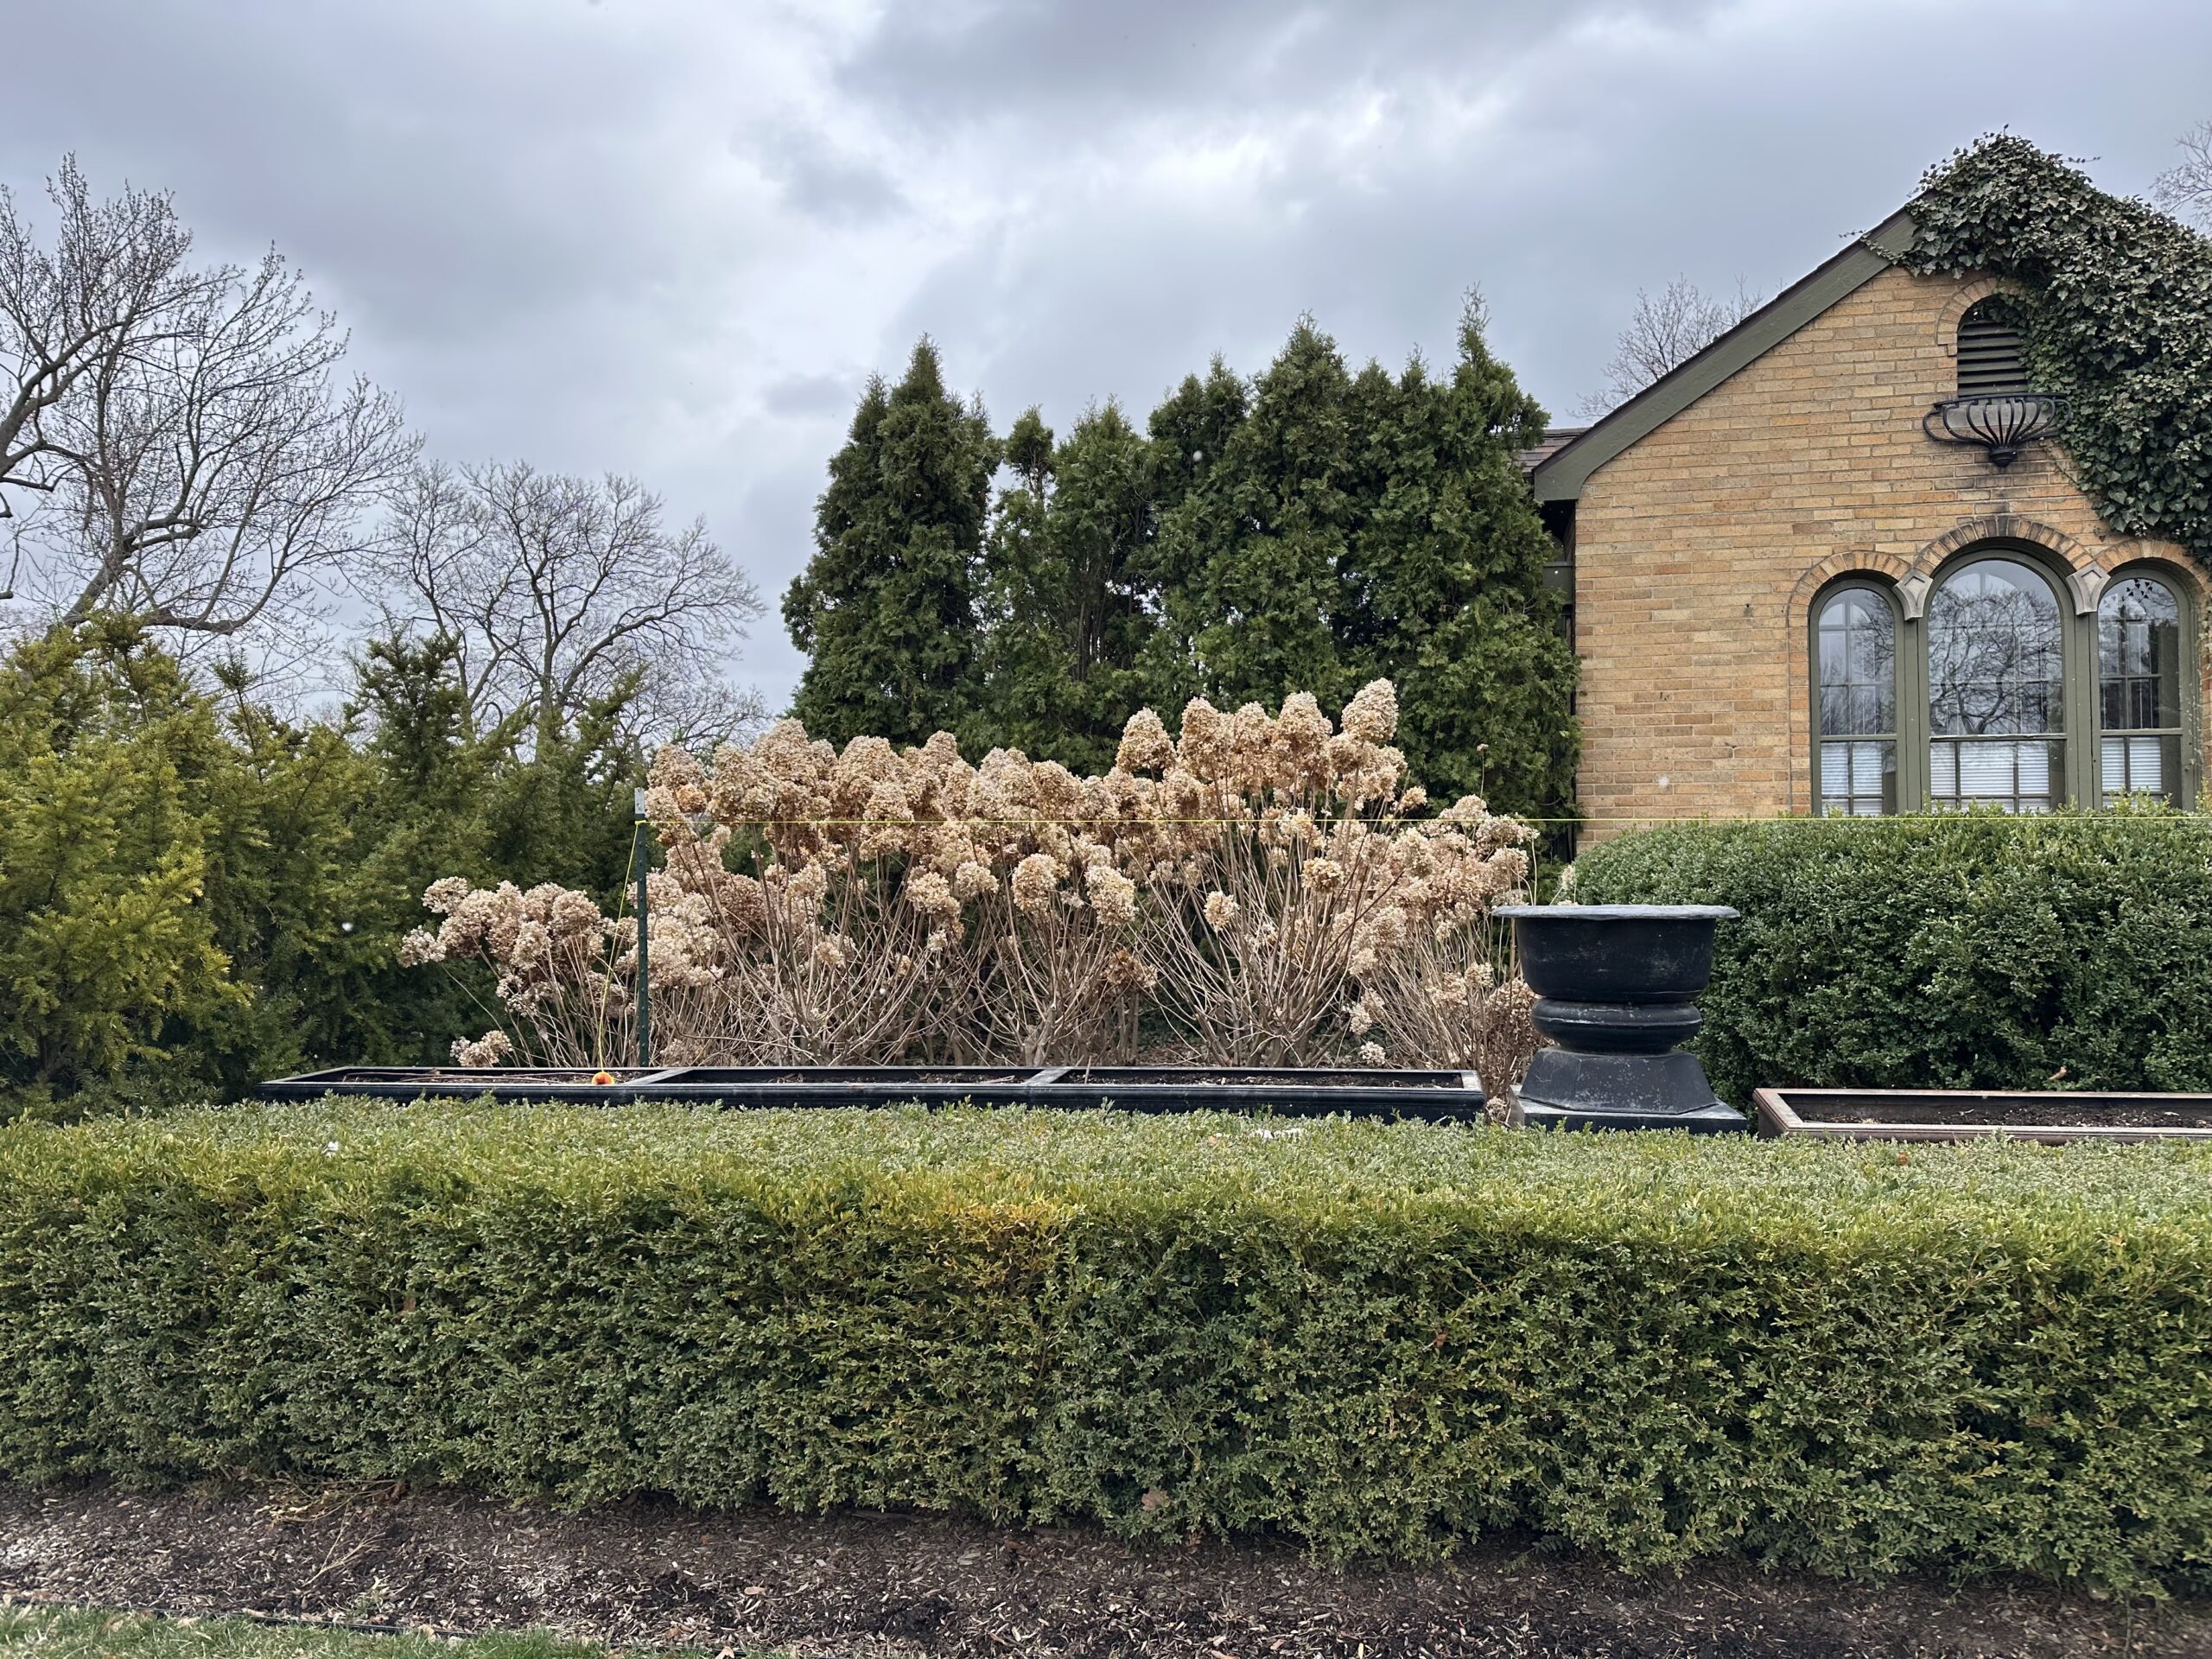
What might not be so obvious is that these last 2 pictures show two different types in hydrangeas. On the far left and far right of a center block of Limelight hydrangeas, as in Hydrangea paniculata “Limelight”, are rows of Incrediballs – Hydrangea arborescens “Incrediball. They add flowers at a lower level, and they bloom earlier than Limelight. Their upright plant habit and carriage is vastly superior to their predecessor, the storied “Annabelle”. You can see the Incrediball flowers are fairly round, and the Limelights are broadly cone shaped. A certain amount of legginess is inevitable with Limelight. That mess of twigs is what you get over the winter with them. The Incrediballs help cover up those bare legs. These cultivars have different parentage, but they are pruned the same way. They bloom on new growth. On what will be the current years growth.
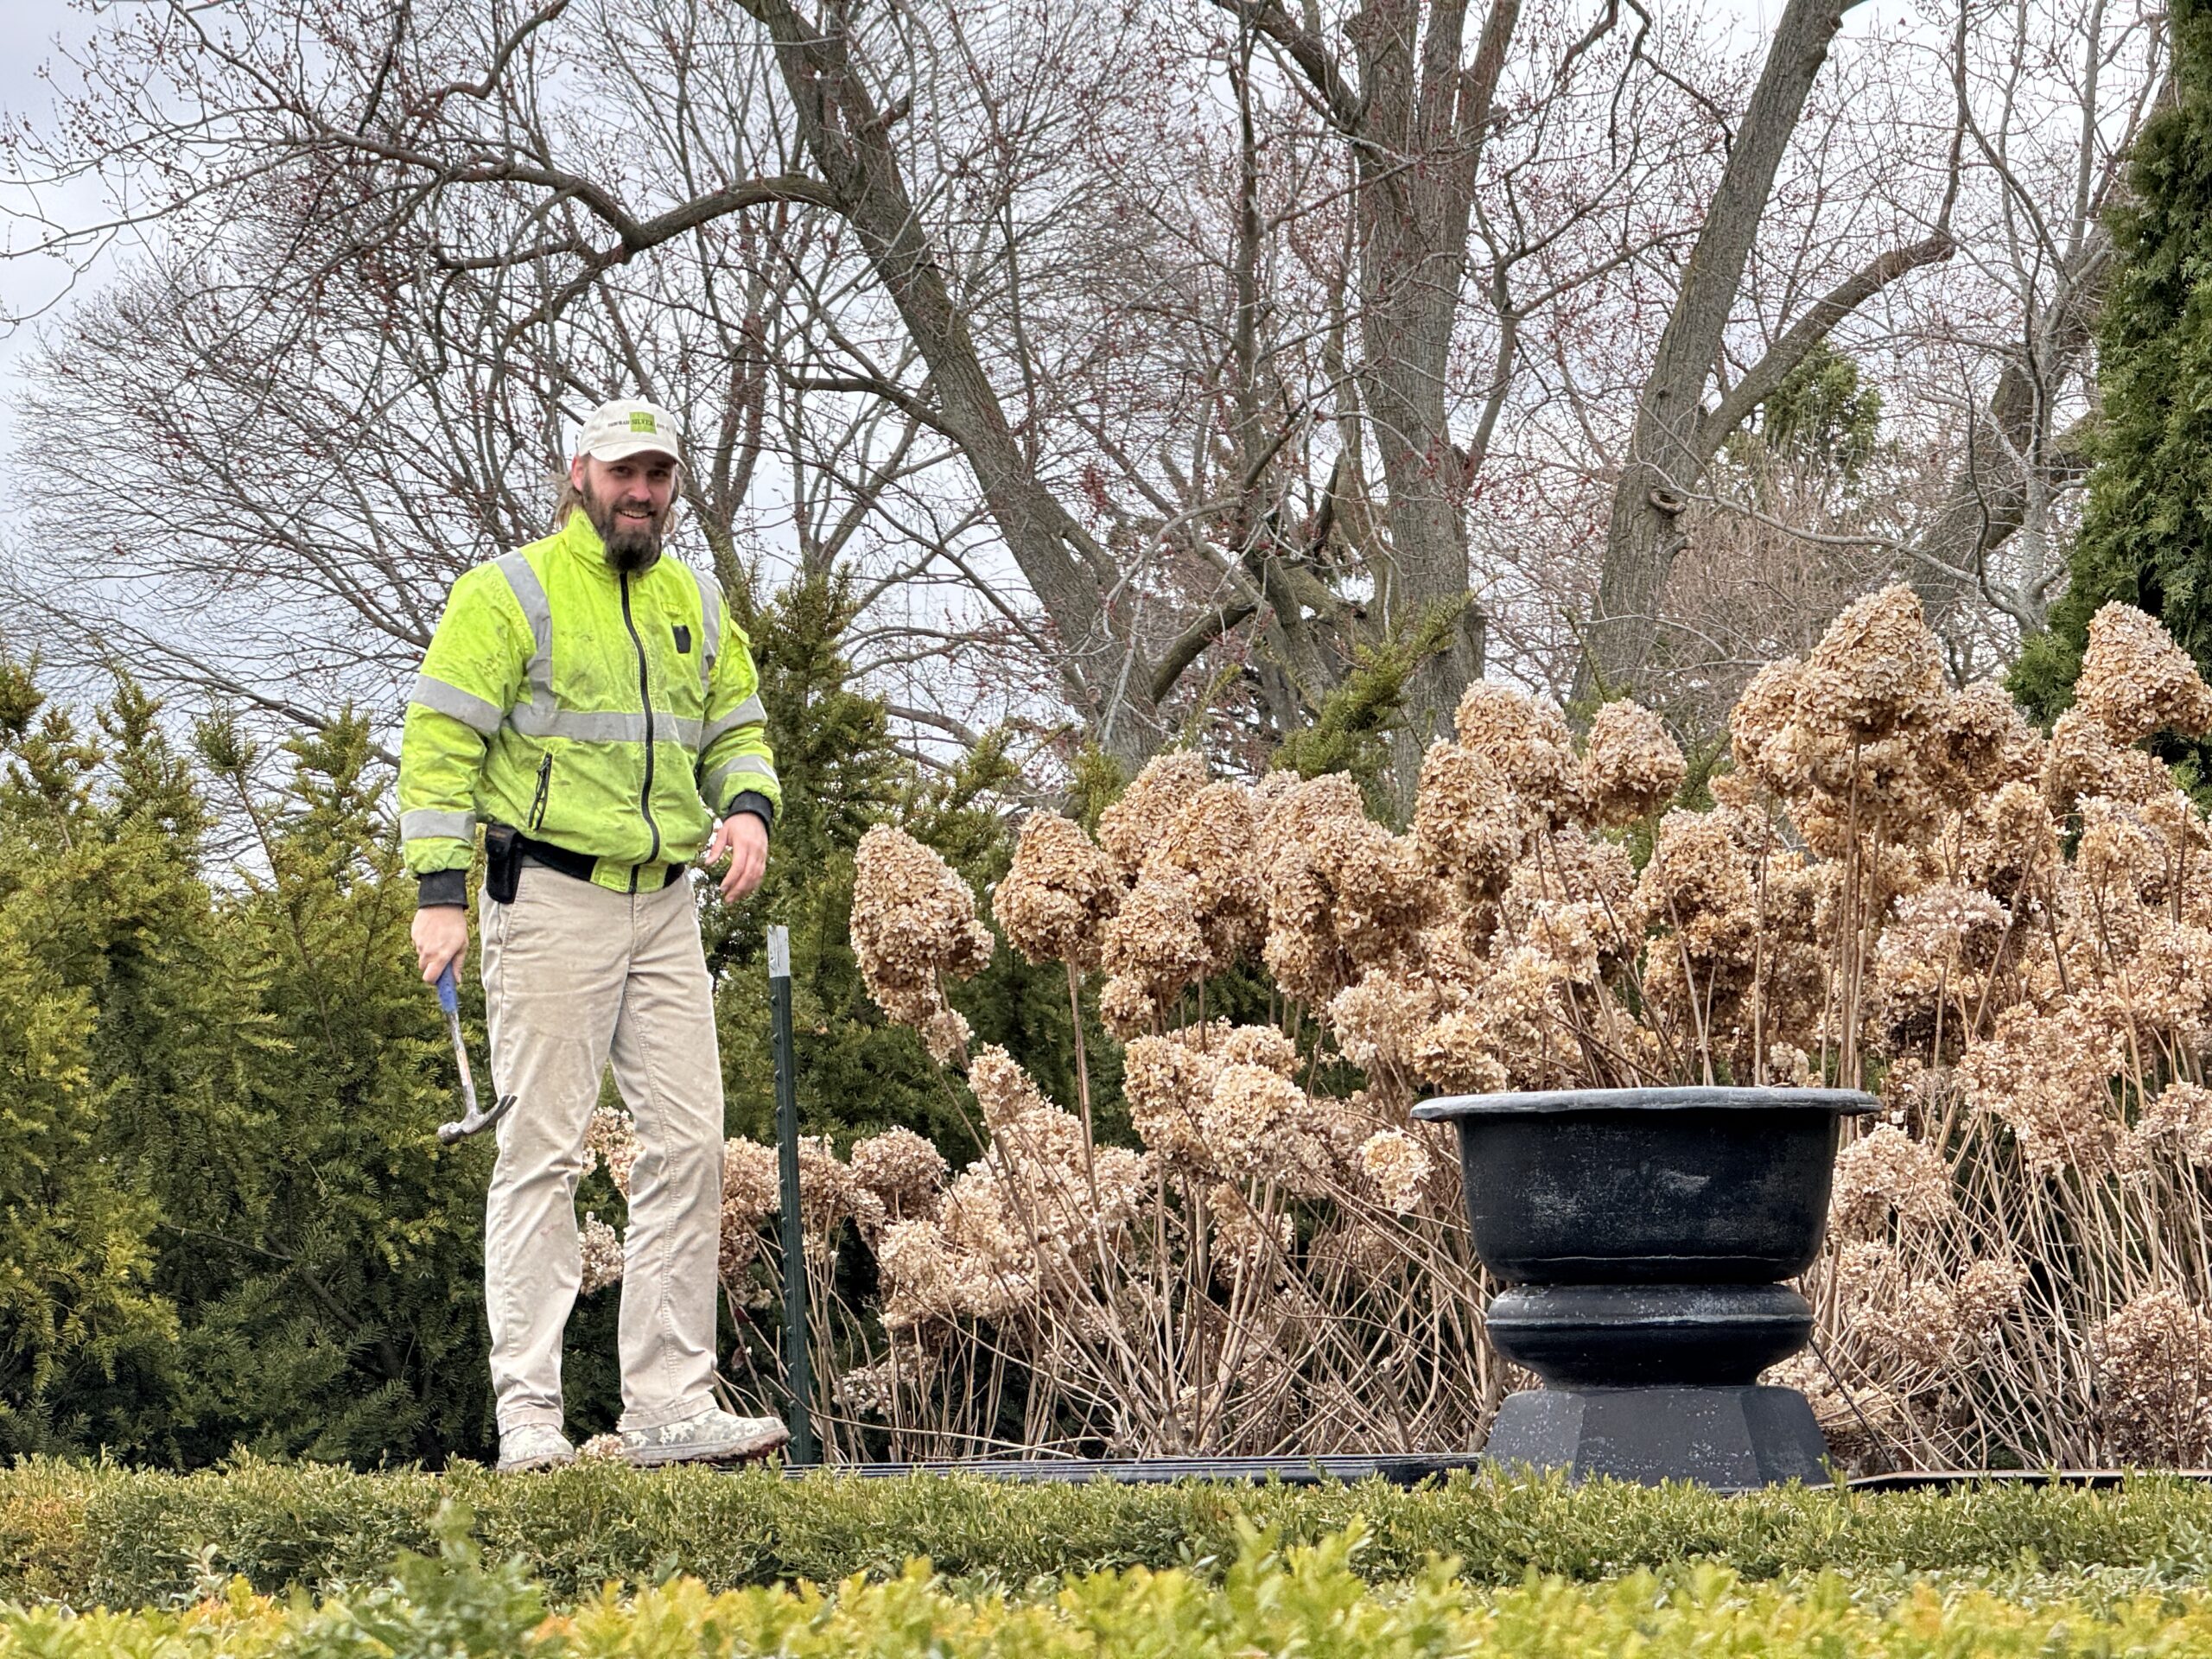
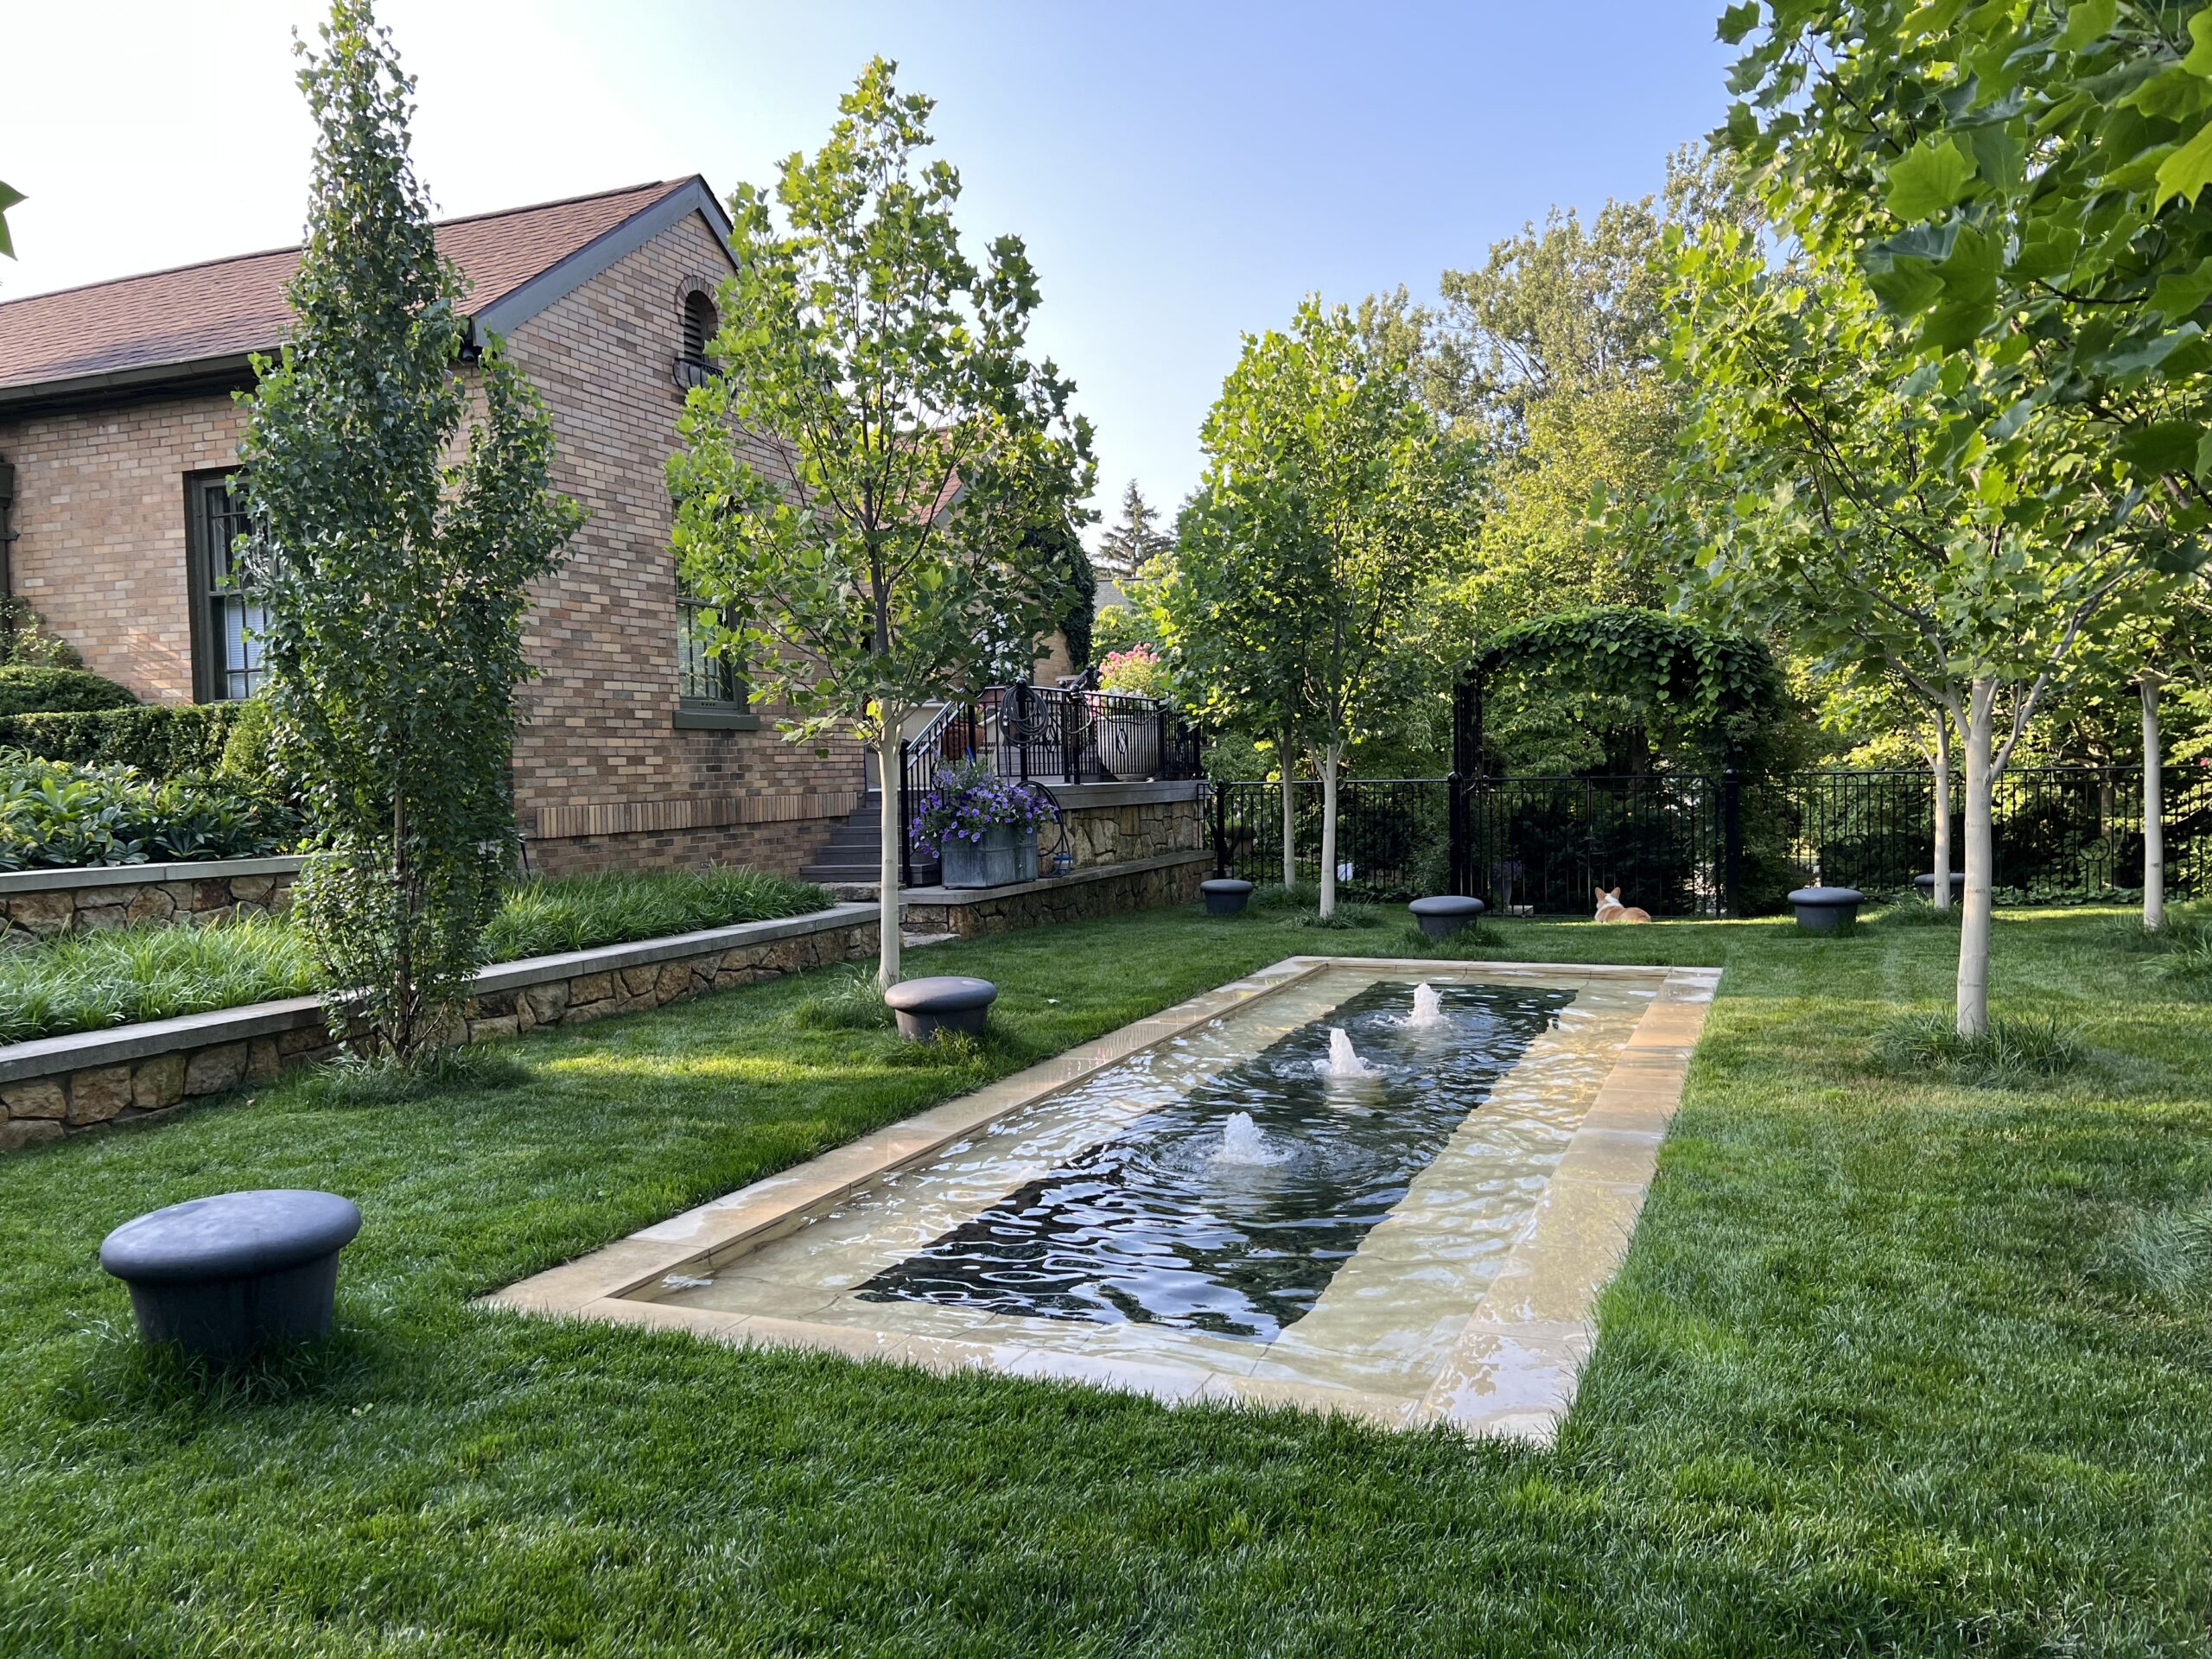
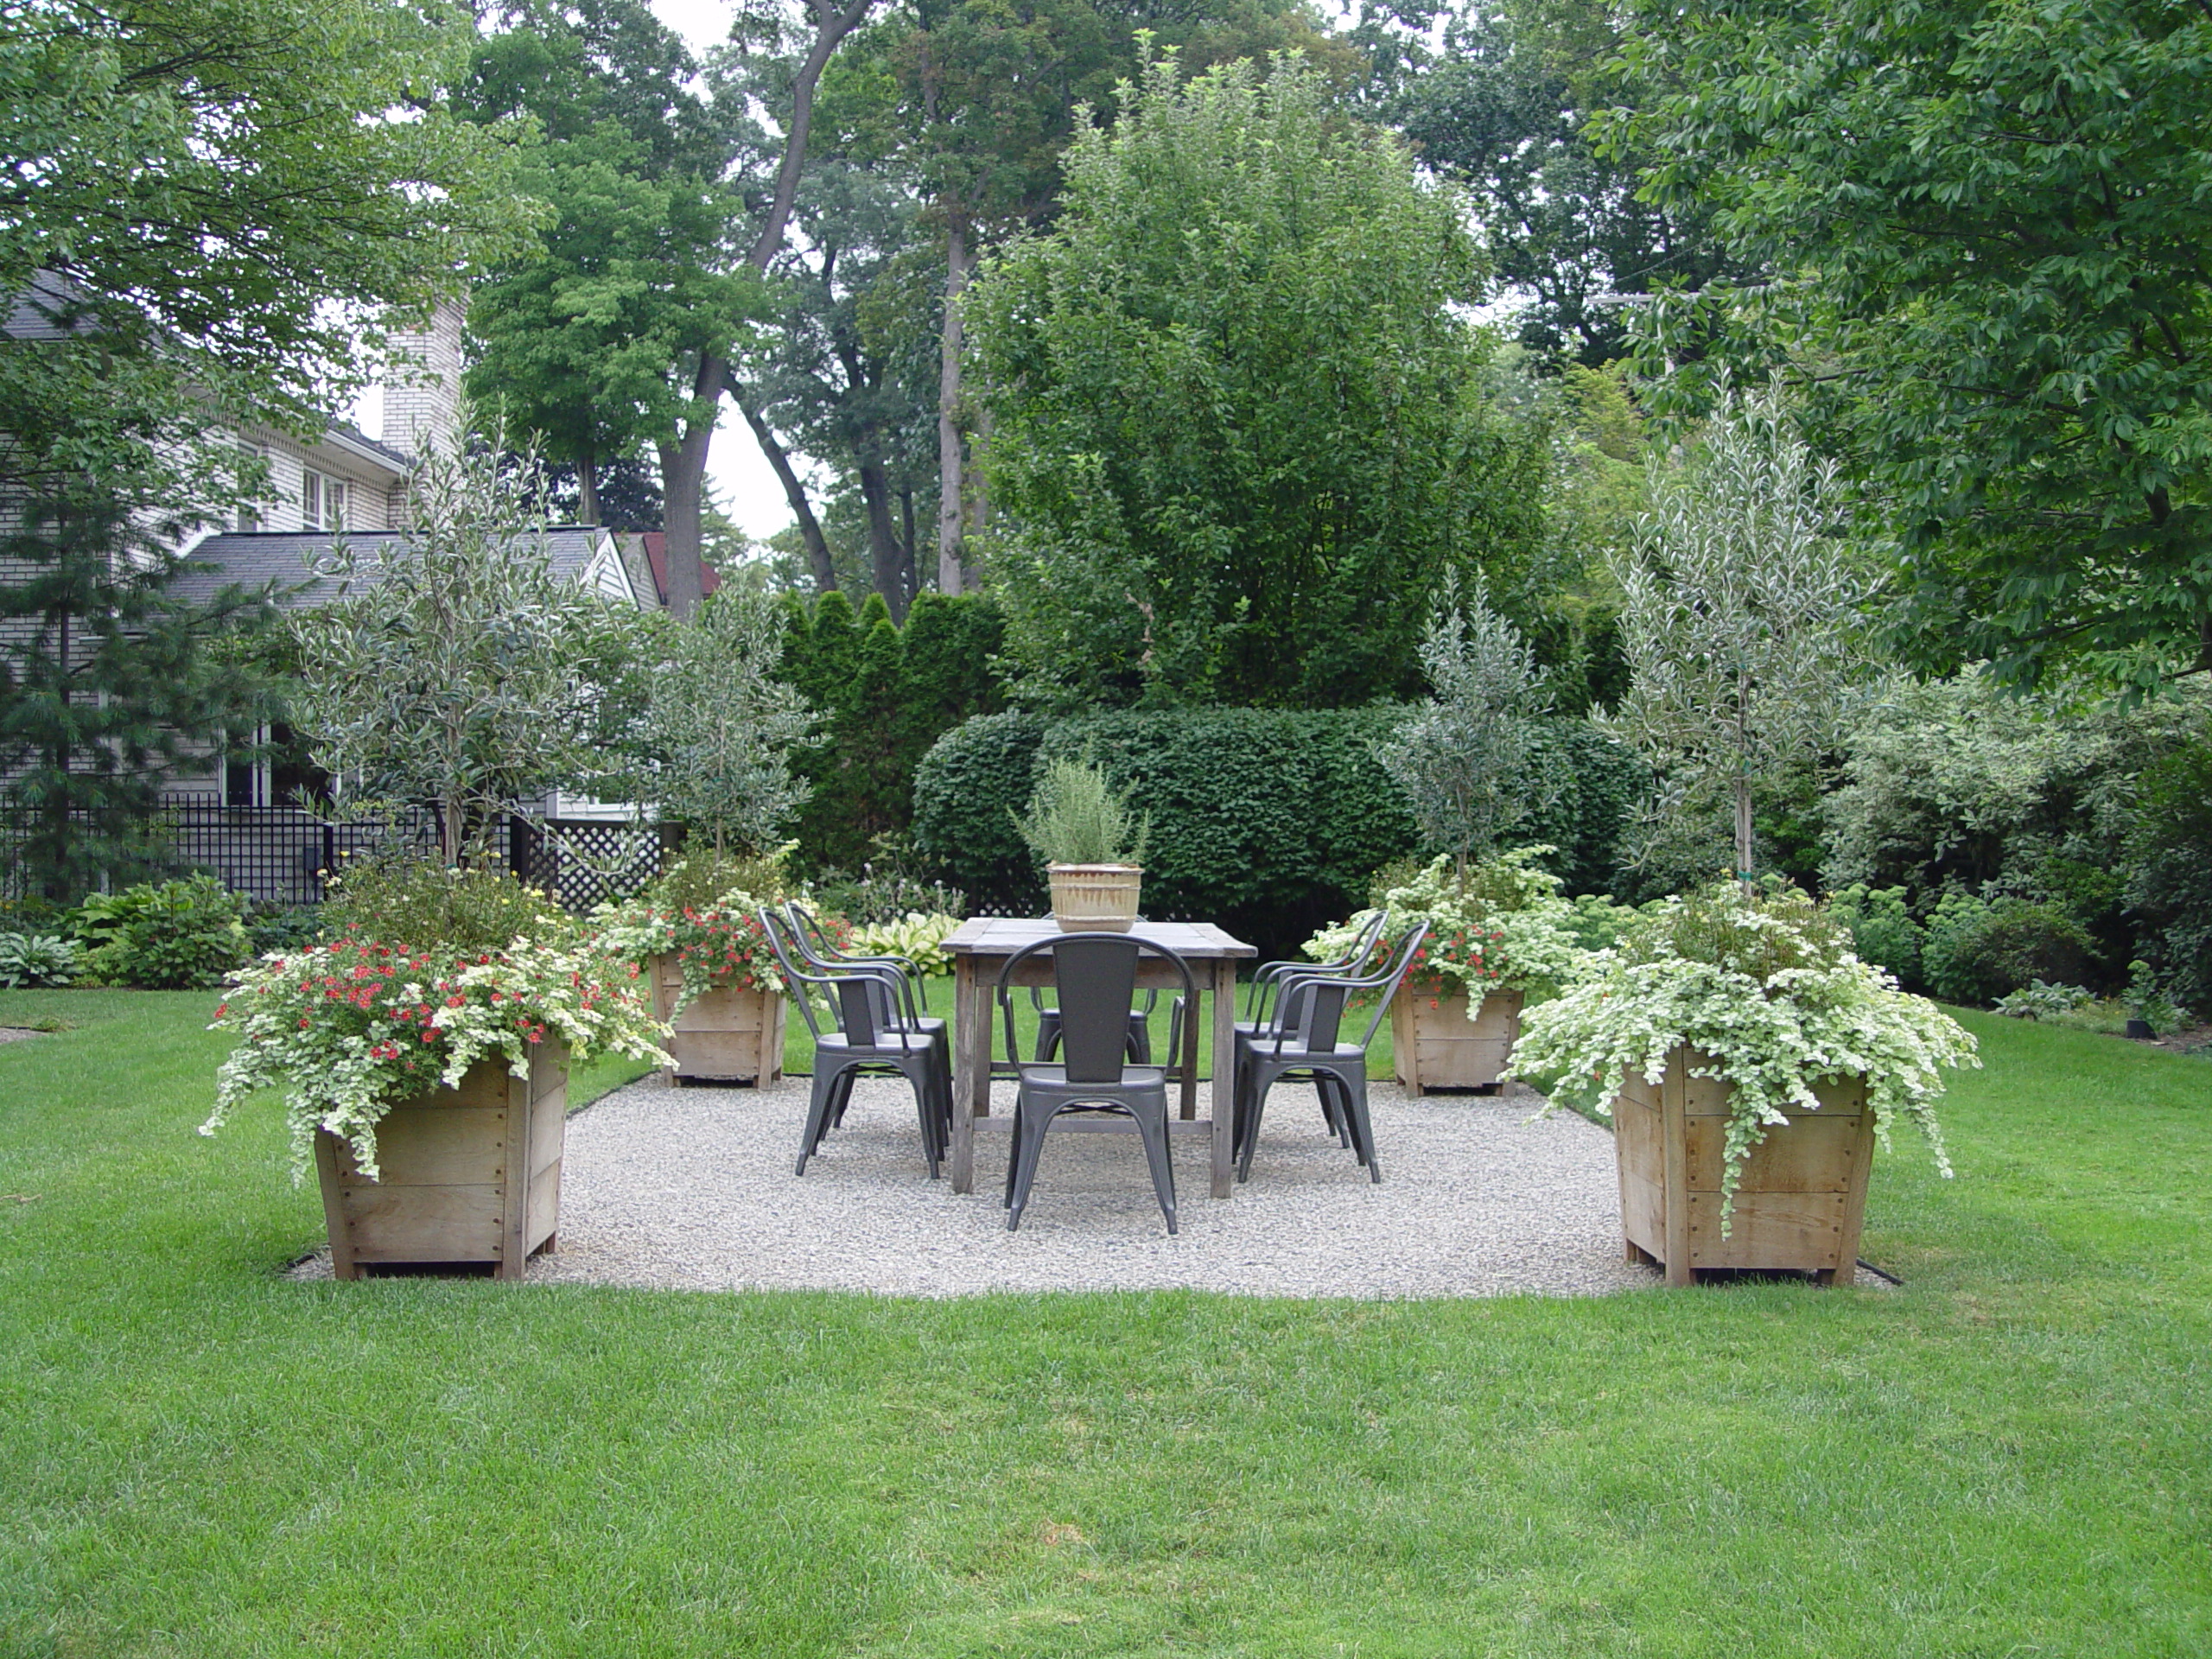
So if it’s not appropriate to prune hydrangeas by shearing, what is the purpose of setting stakes and string? My yard, where these photographs were taken, slopes dramatically from one end to the other. The blocks of hydrangeas are a good distance apart. I would want those blocks to loosely resemble one another. The only way to tell if they approximately occupy the same spot in the landscape composition on both the north and south is to set up a level line. It’s easy to do with a bamboo stake or metal fence post, and a ball of spring. A tiny level can be clipped on to the string.
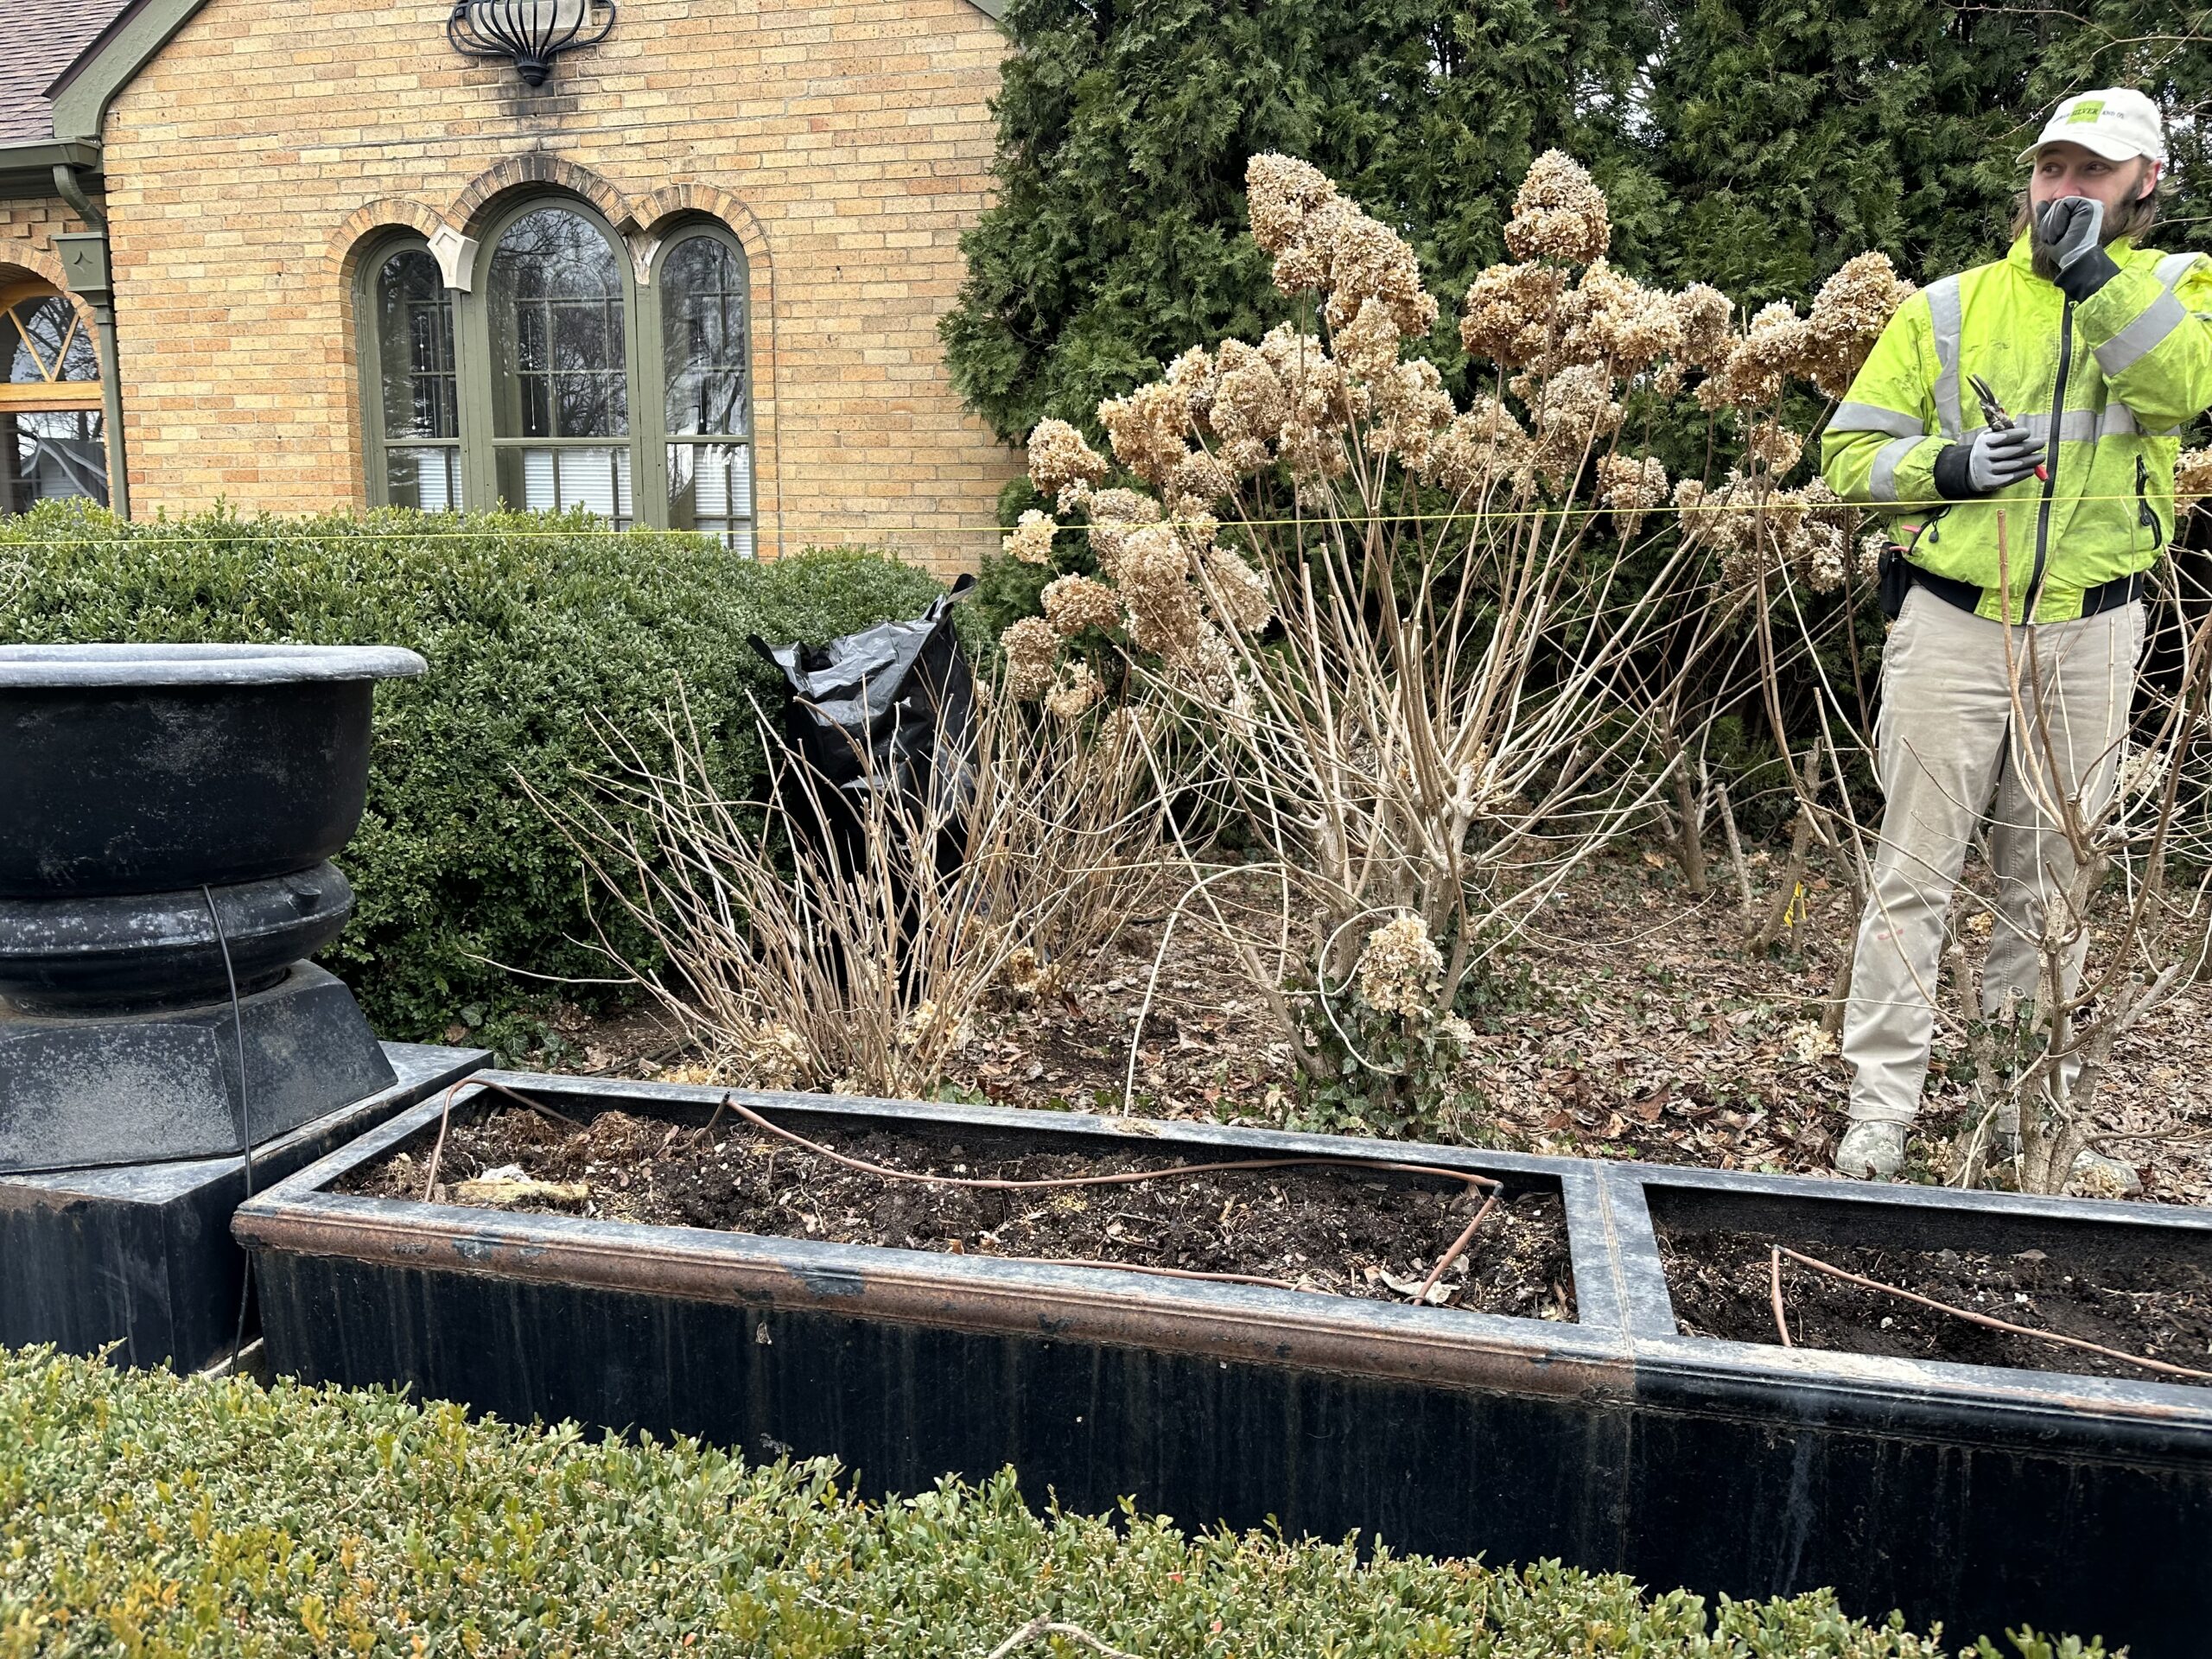
Pruning by eye can be incredibly inaccurate. I see a lot of that too. Pruning that matches uneven terrain, or follows a sloping driveway. Or pruning just to prune, with no thought to the horizon. I see that too. Sometimes it is hard to believe a level attached to a string line is accurate, but it is. I would never trust my eye to see a level line for pruning. It is terrible to wade through a big pruning project only to discover your vision for them is lopsided. And what is required to set it to right is not possible until the mistake grows out. I shudder to think of that. Happily most plants are very tolerant of off the cuff pruning. The recovery just takes time.
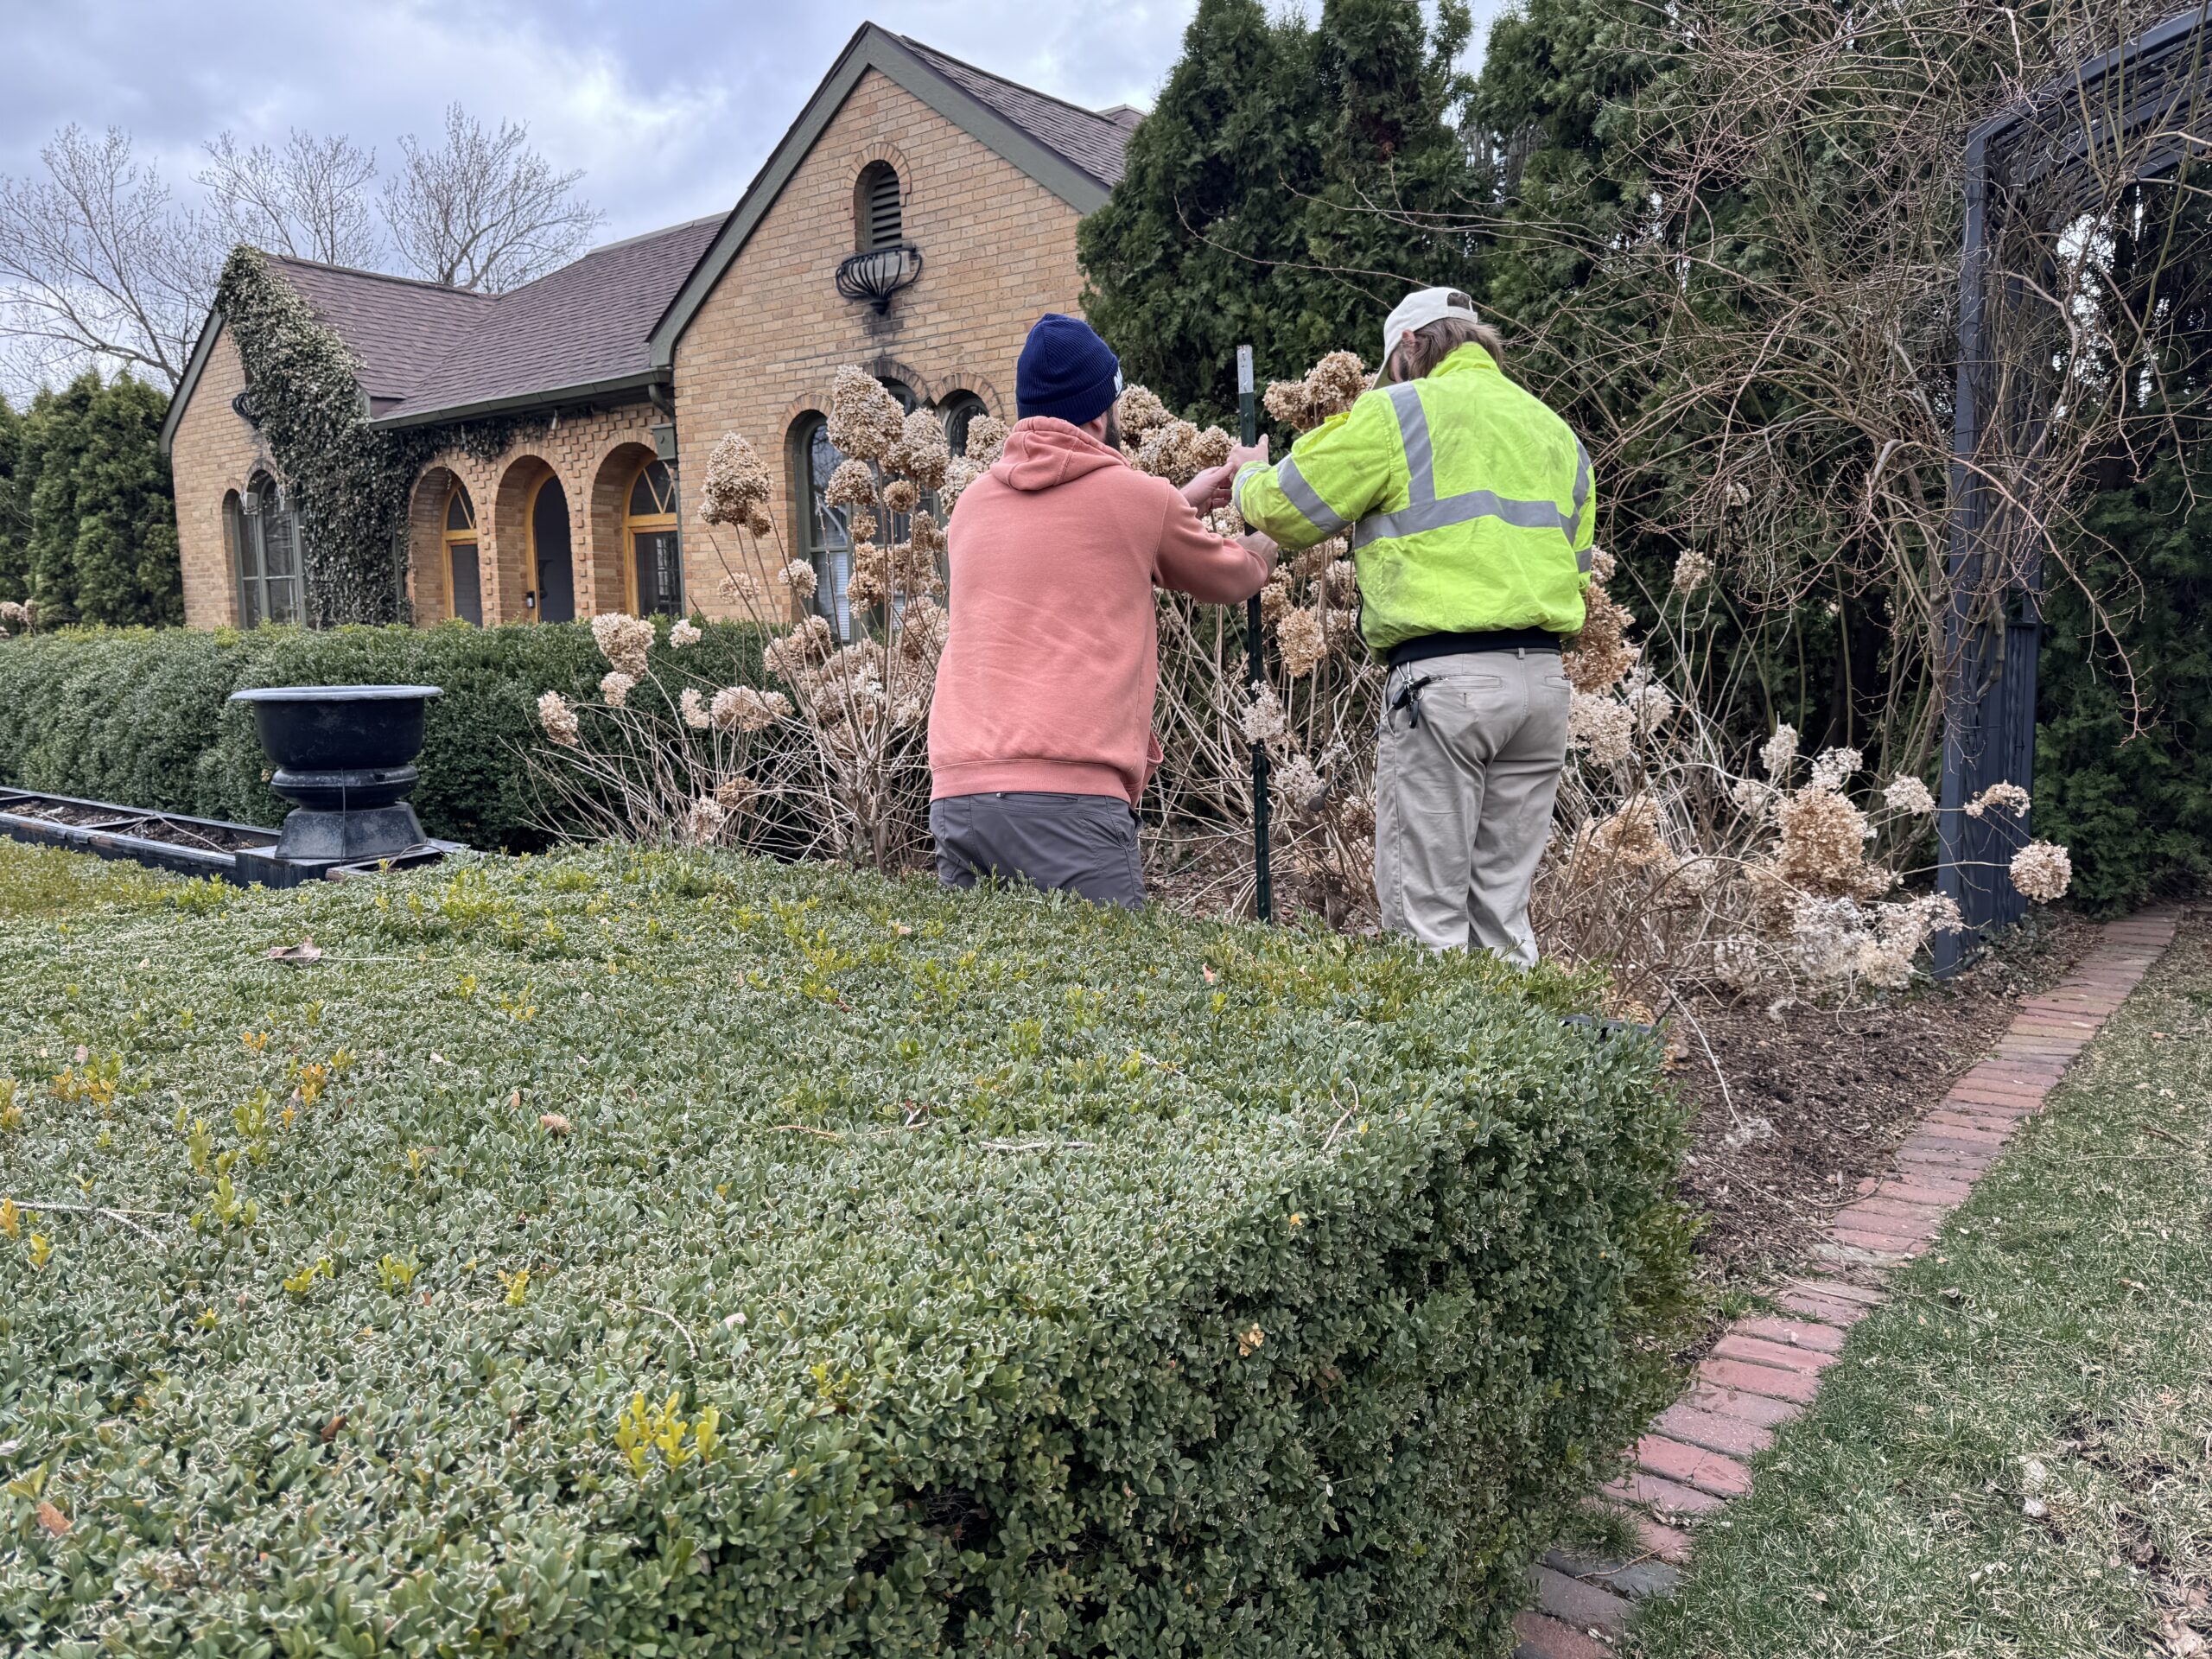
My level line set up is an approximation of the horizon. In the ballpark, as it were, or within shouting distance. It is not exact. It does not represent or enforce a rule. Nor does it rule the pruning process. It provides orientation. As in up and down, and left and right. It provides a framework from which to work. Taking the time to set up 2 poles and a level line is a way to walk away from the the noise of the day, and study on this first foray into the new garden season. It is a way to get ready for the job at hand. But in spite of all this, should you decide to prune your hydrangeas from the hip, Mother Nature will treat you just the same as any other gardener. Indifferently. But indeed you will notice the difference.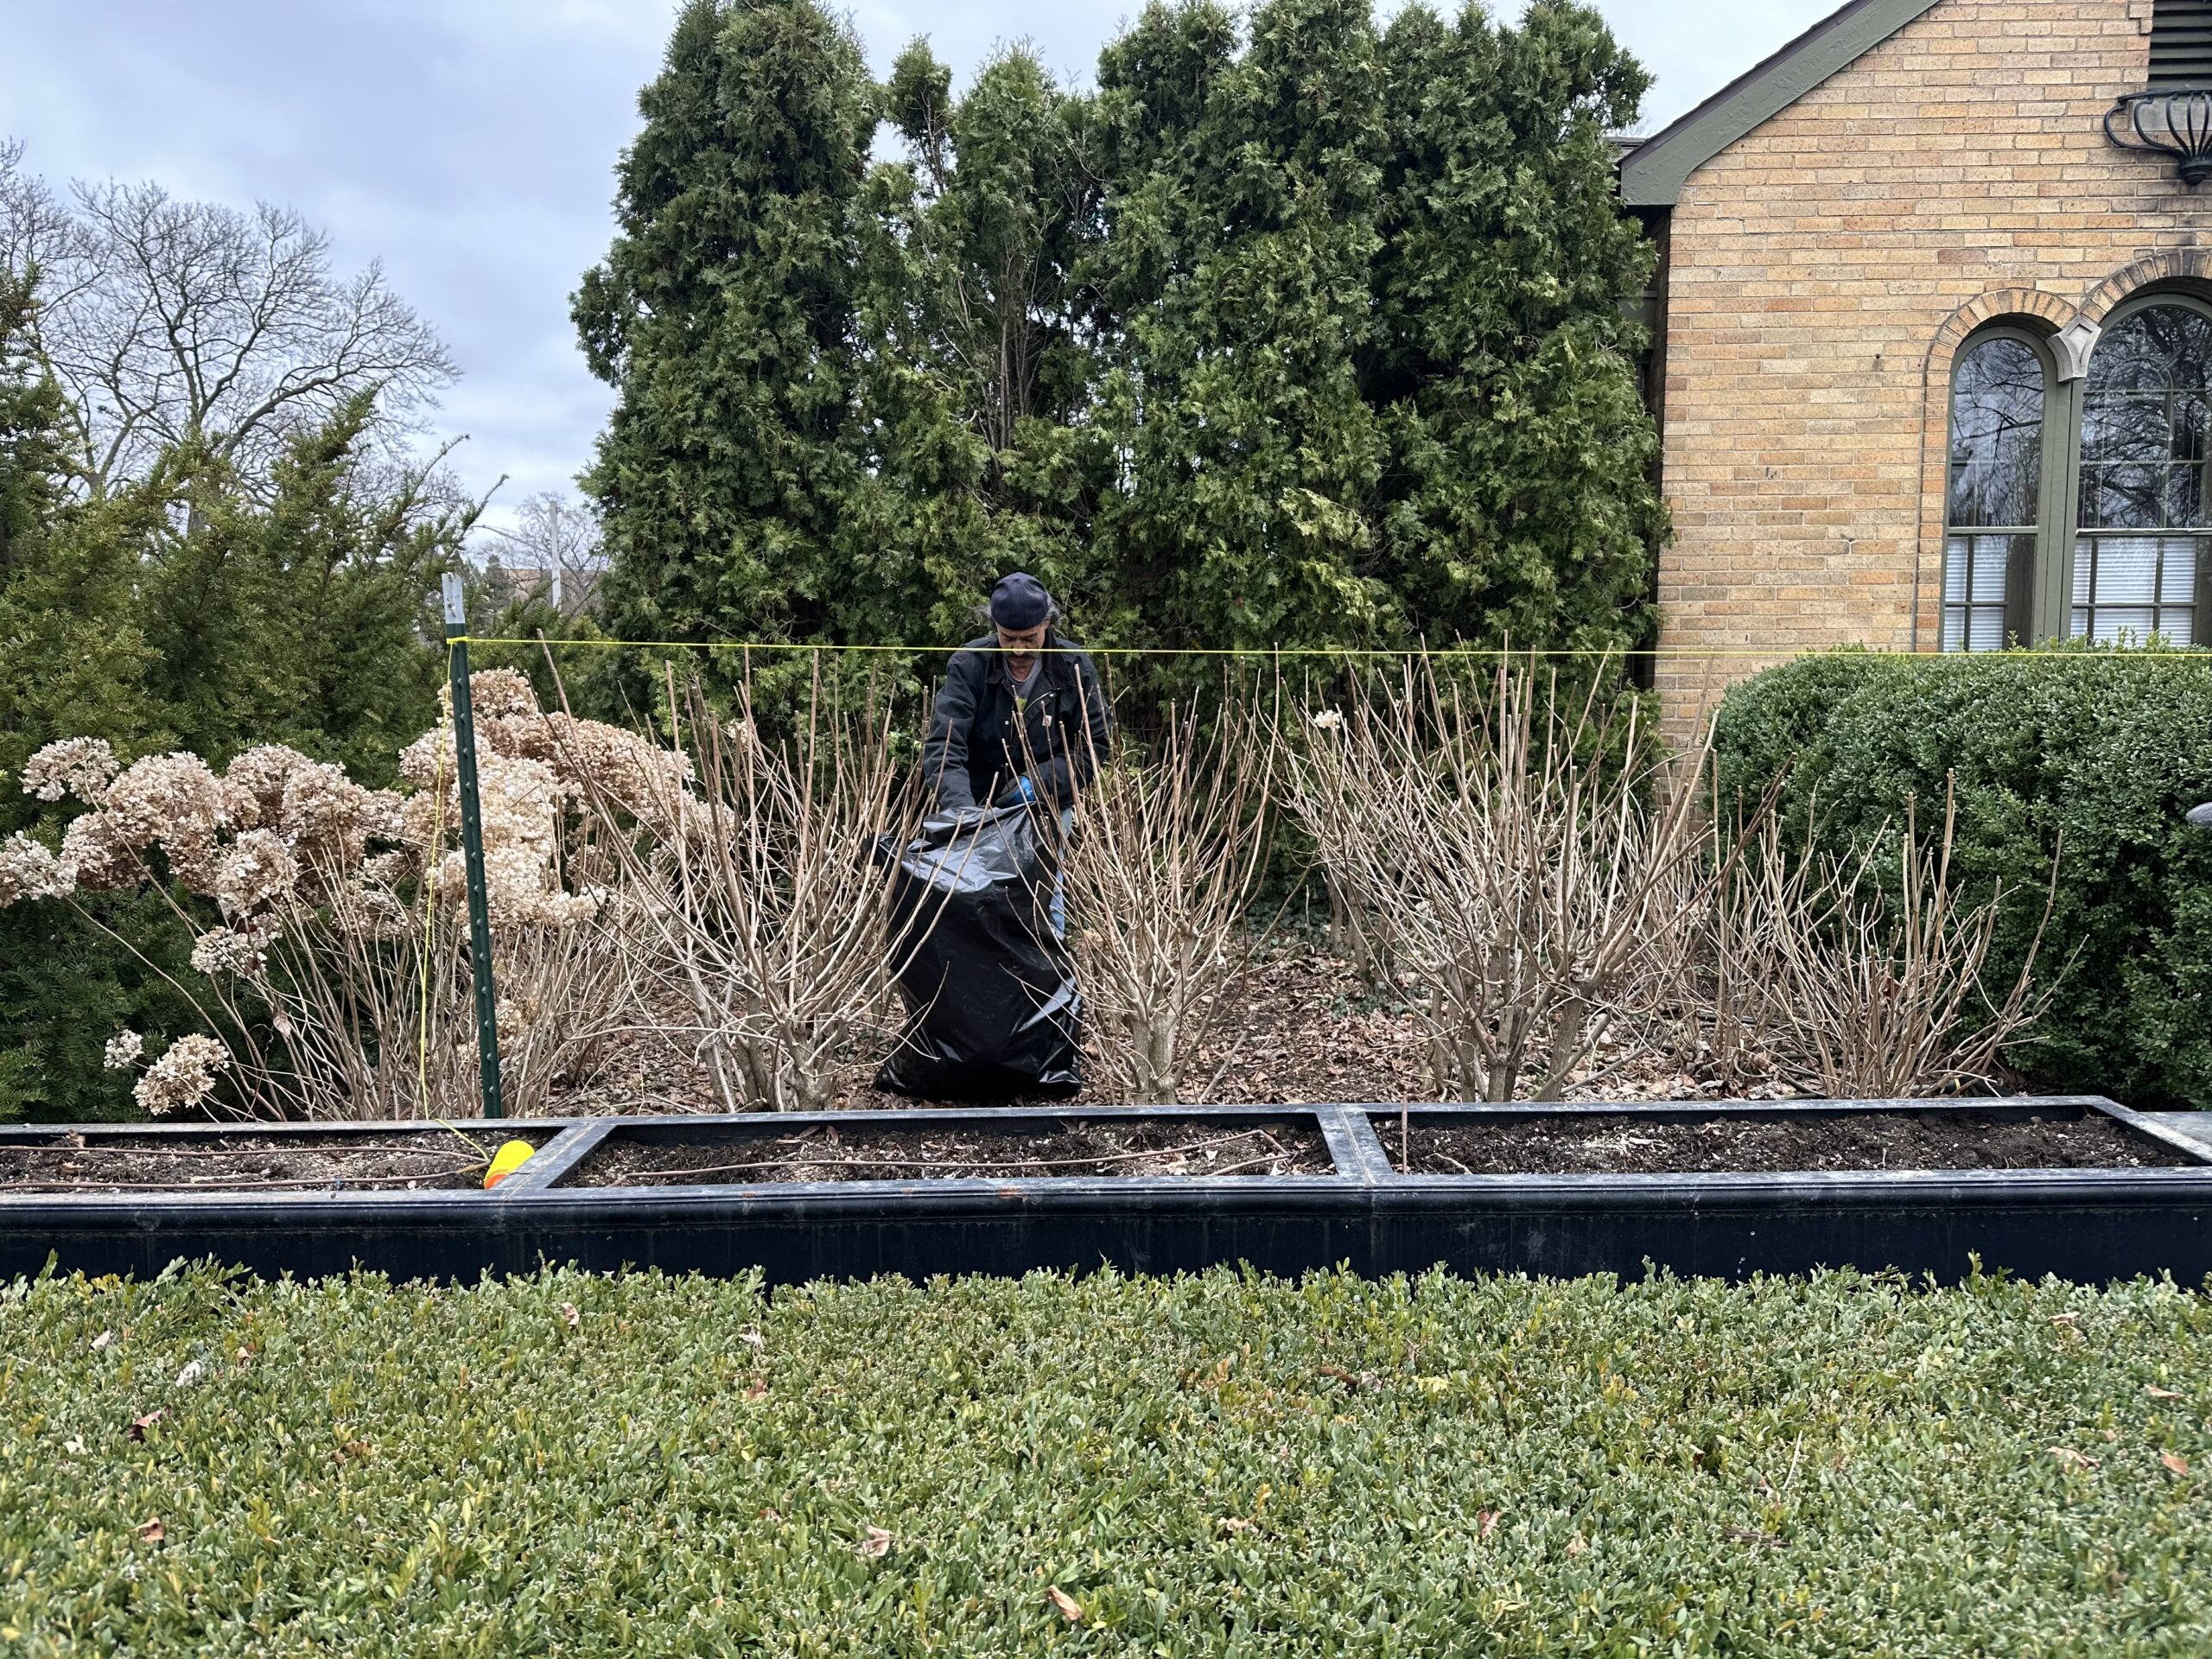
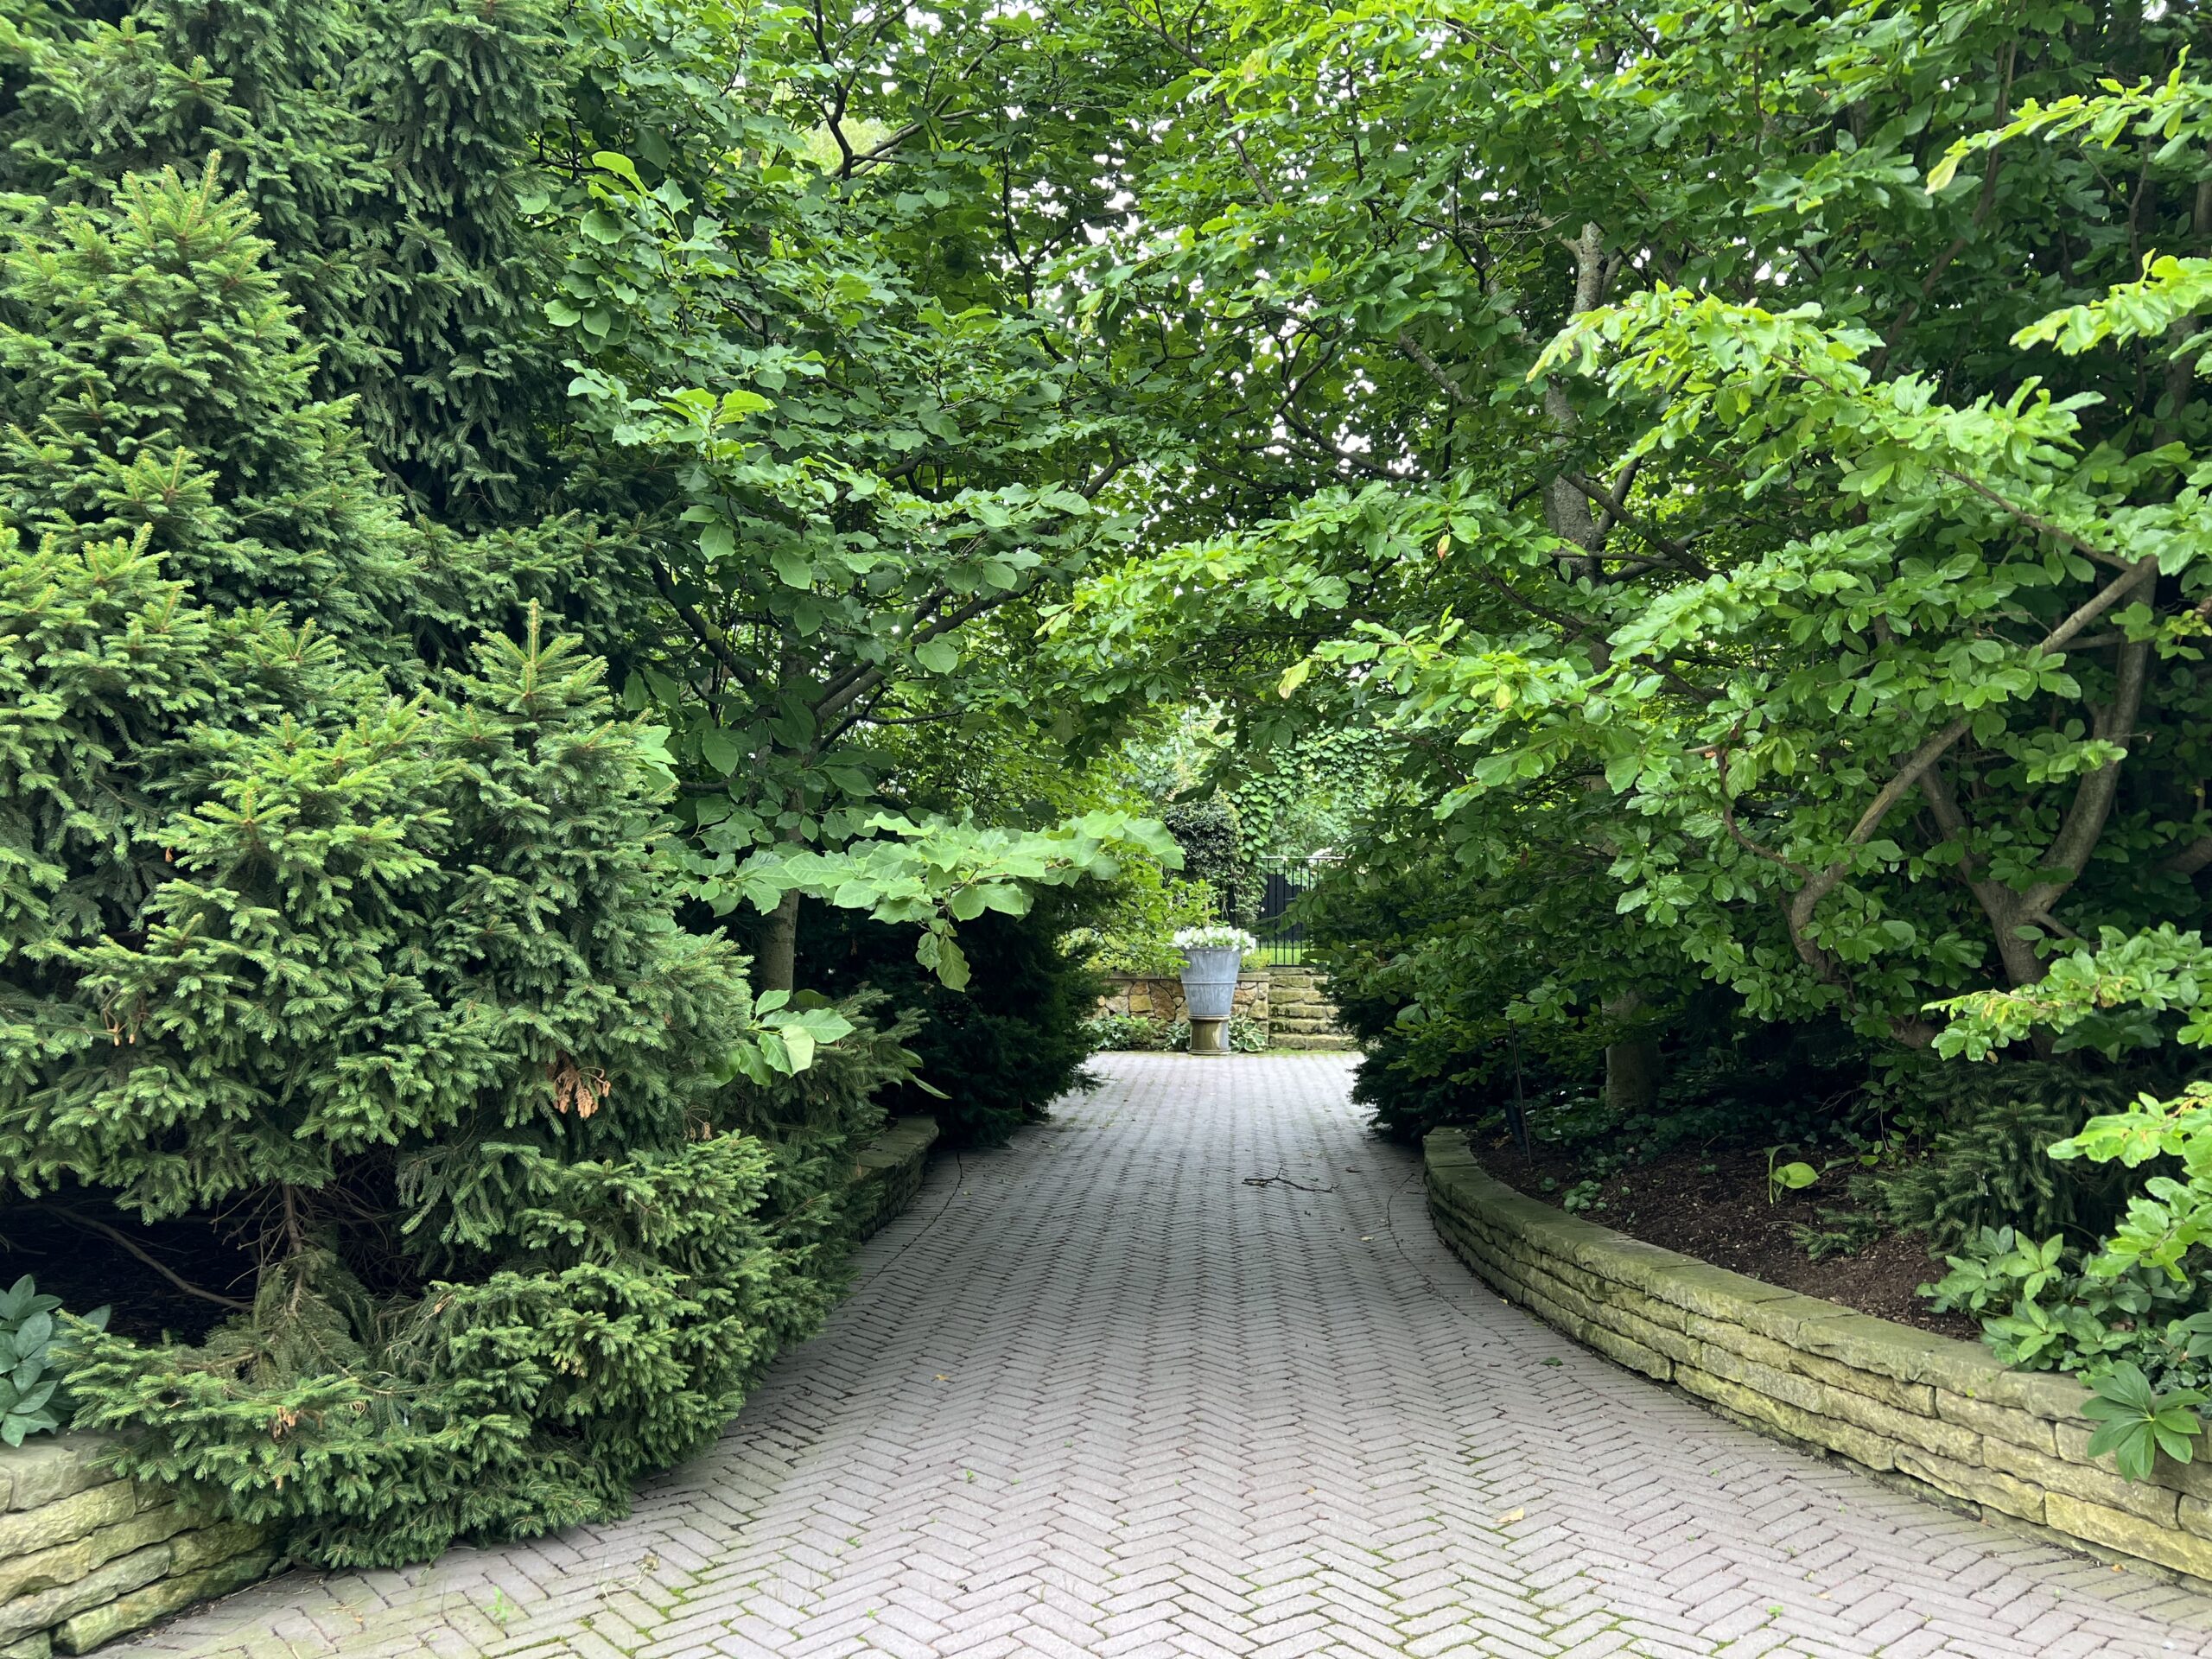
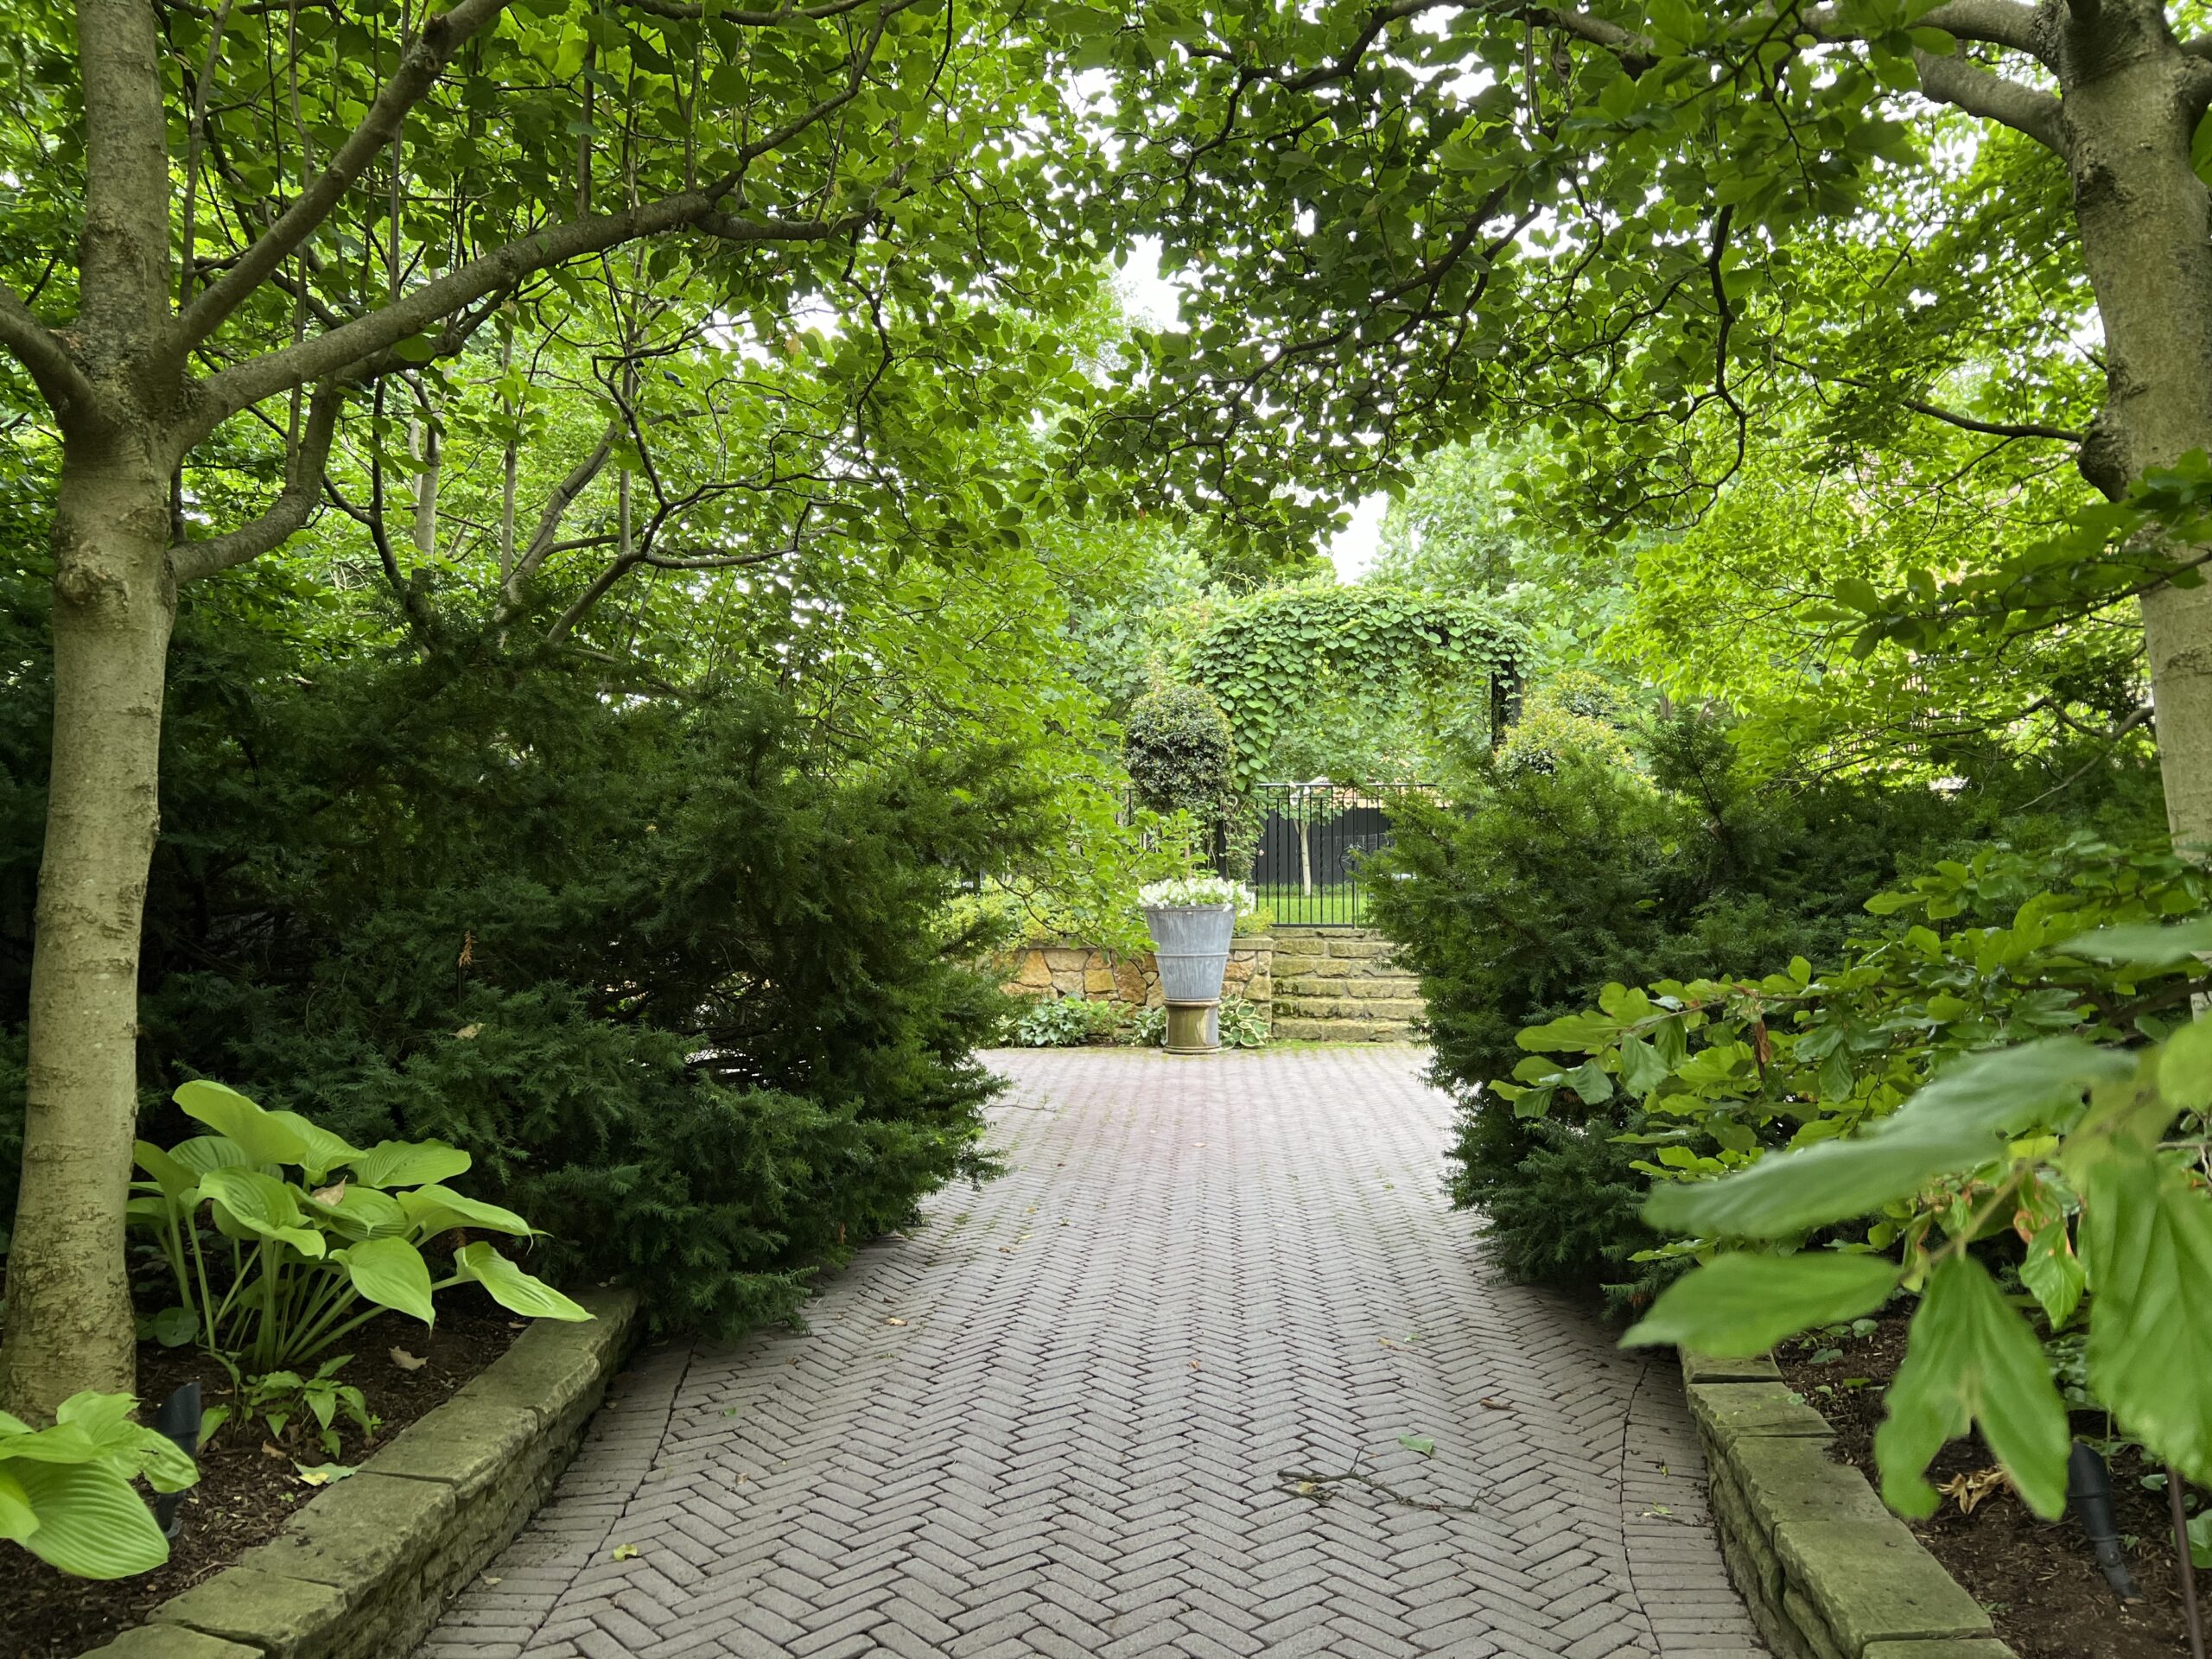
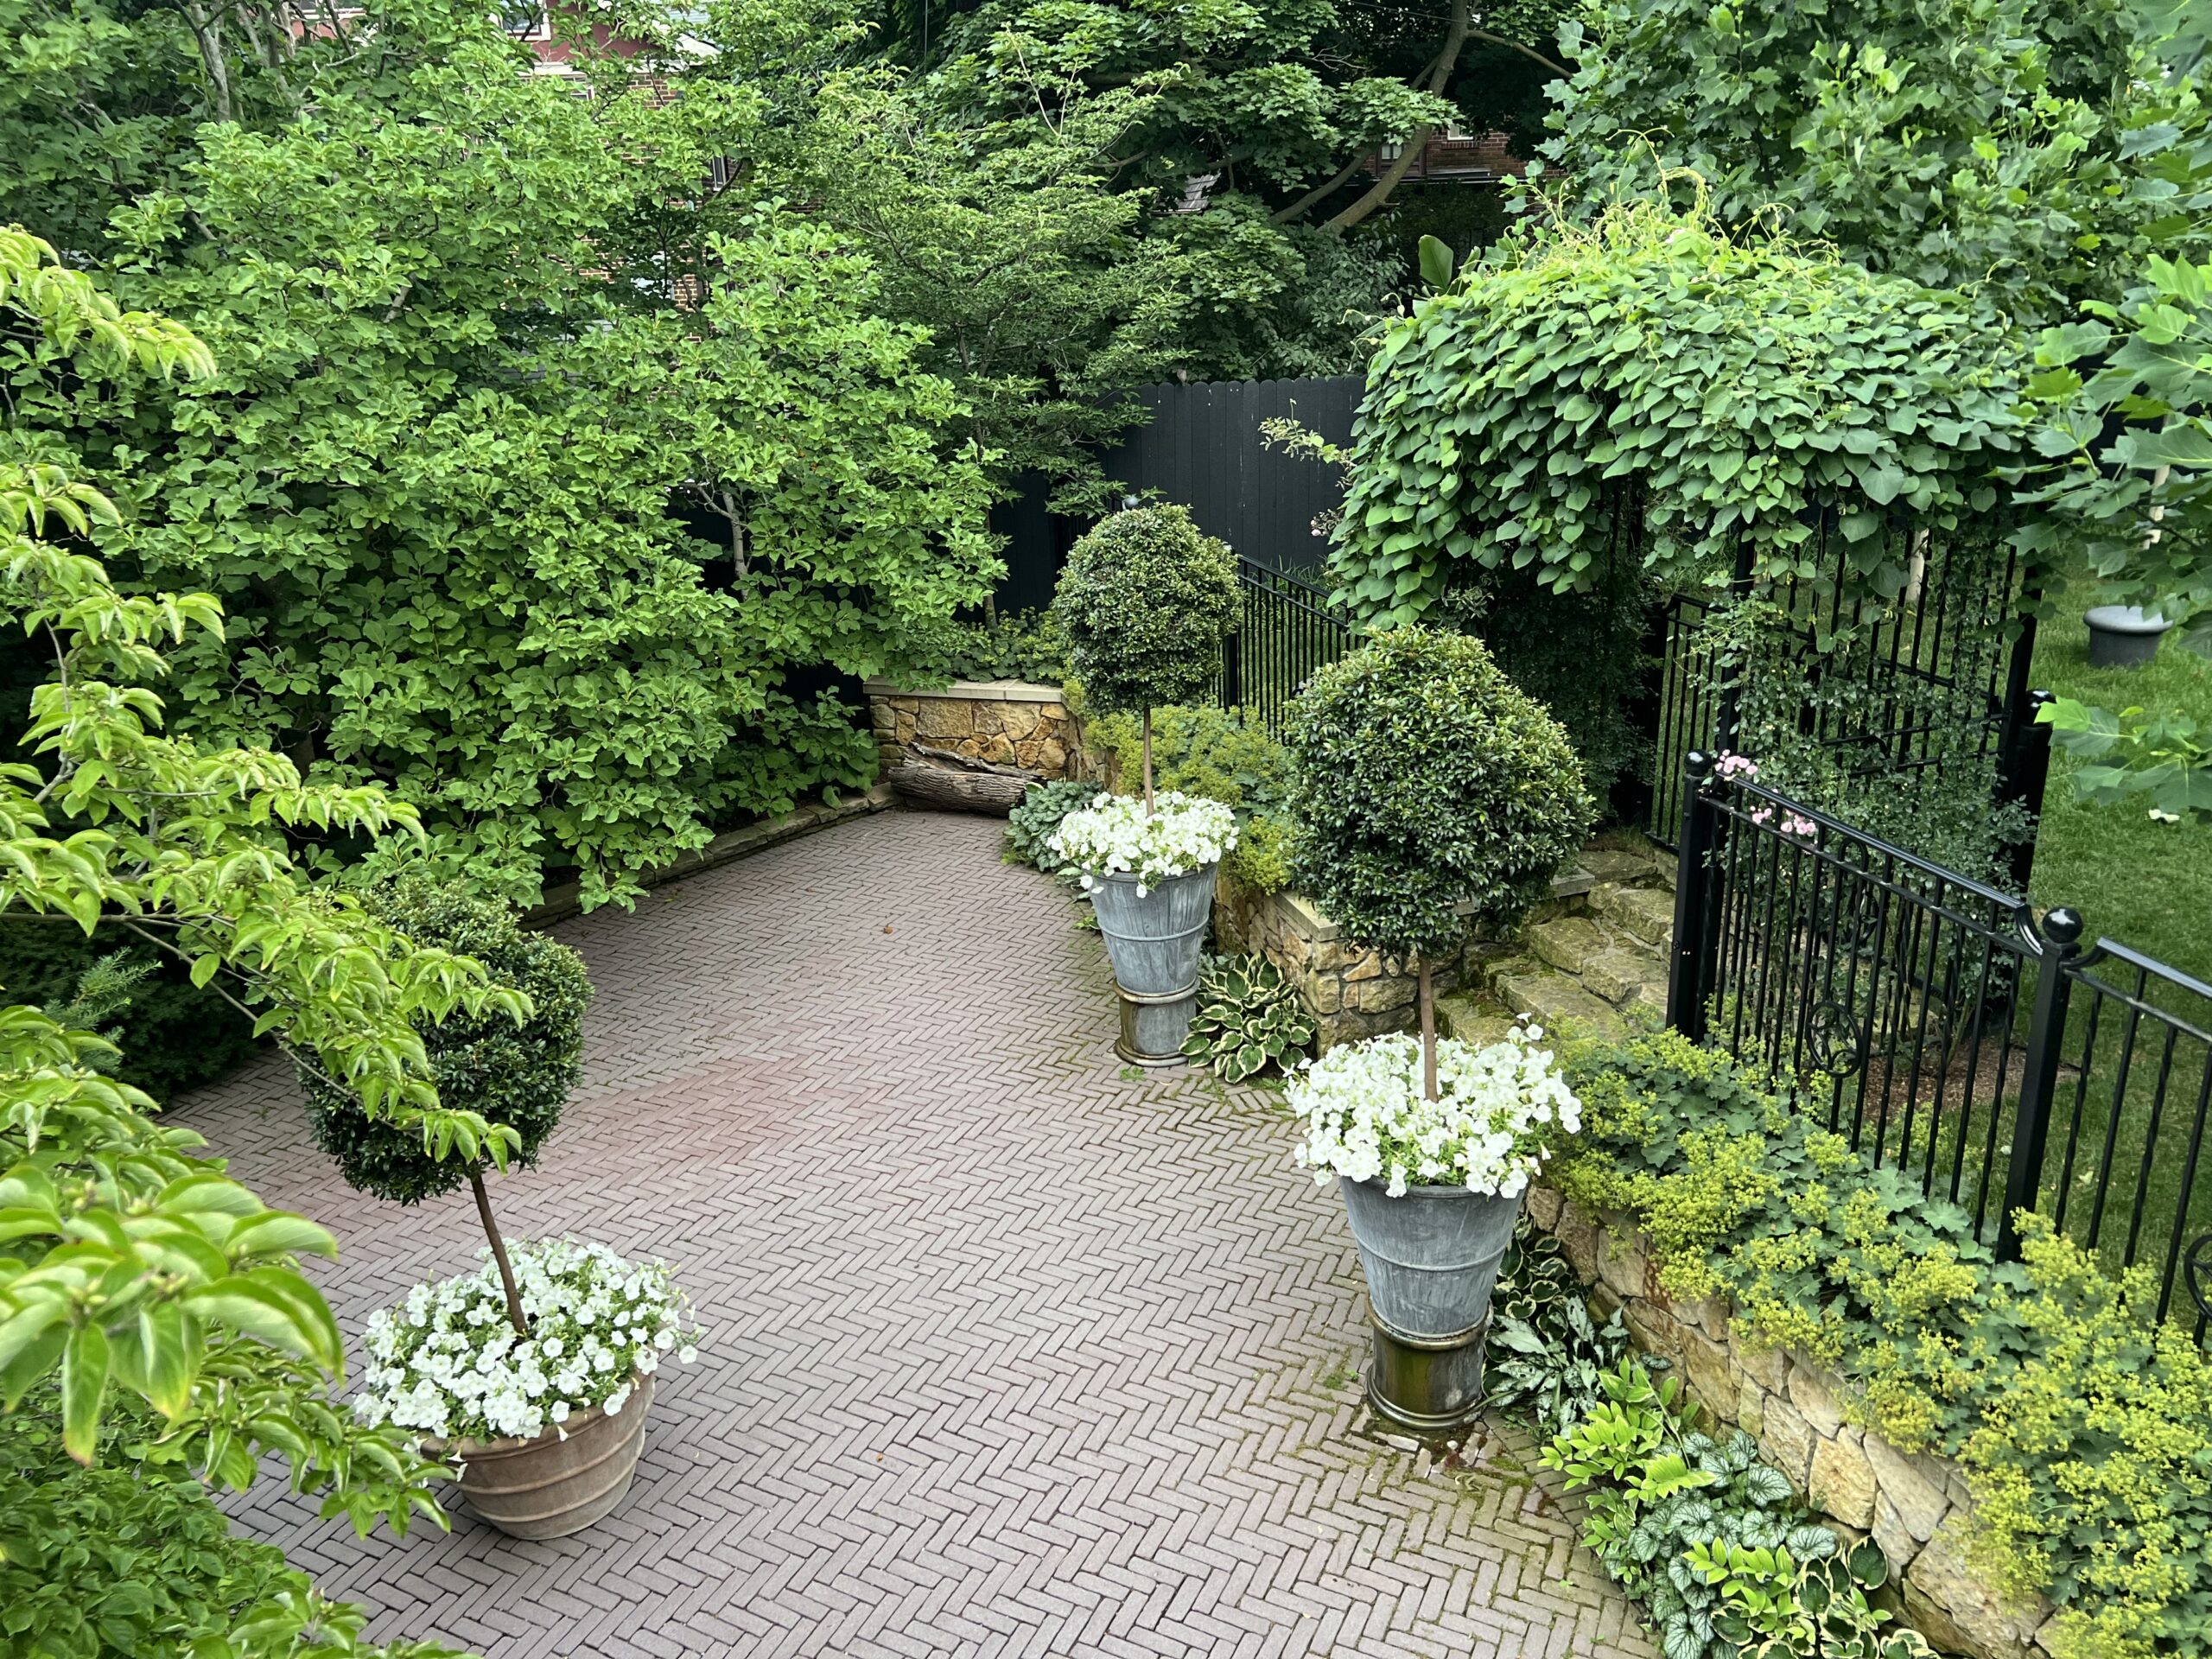
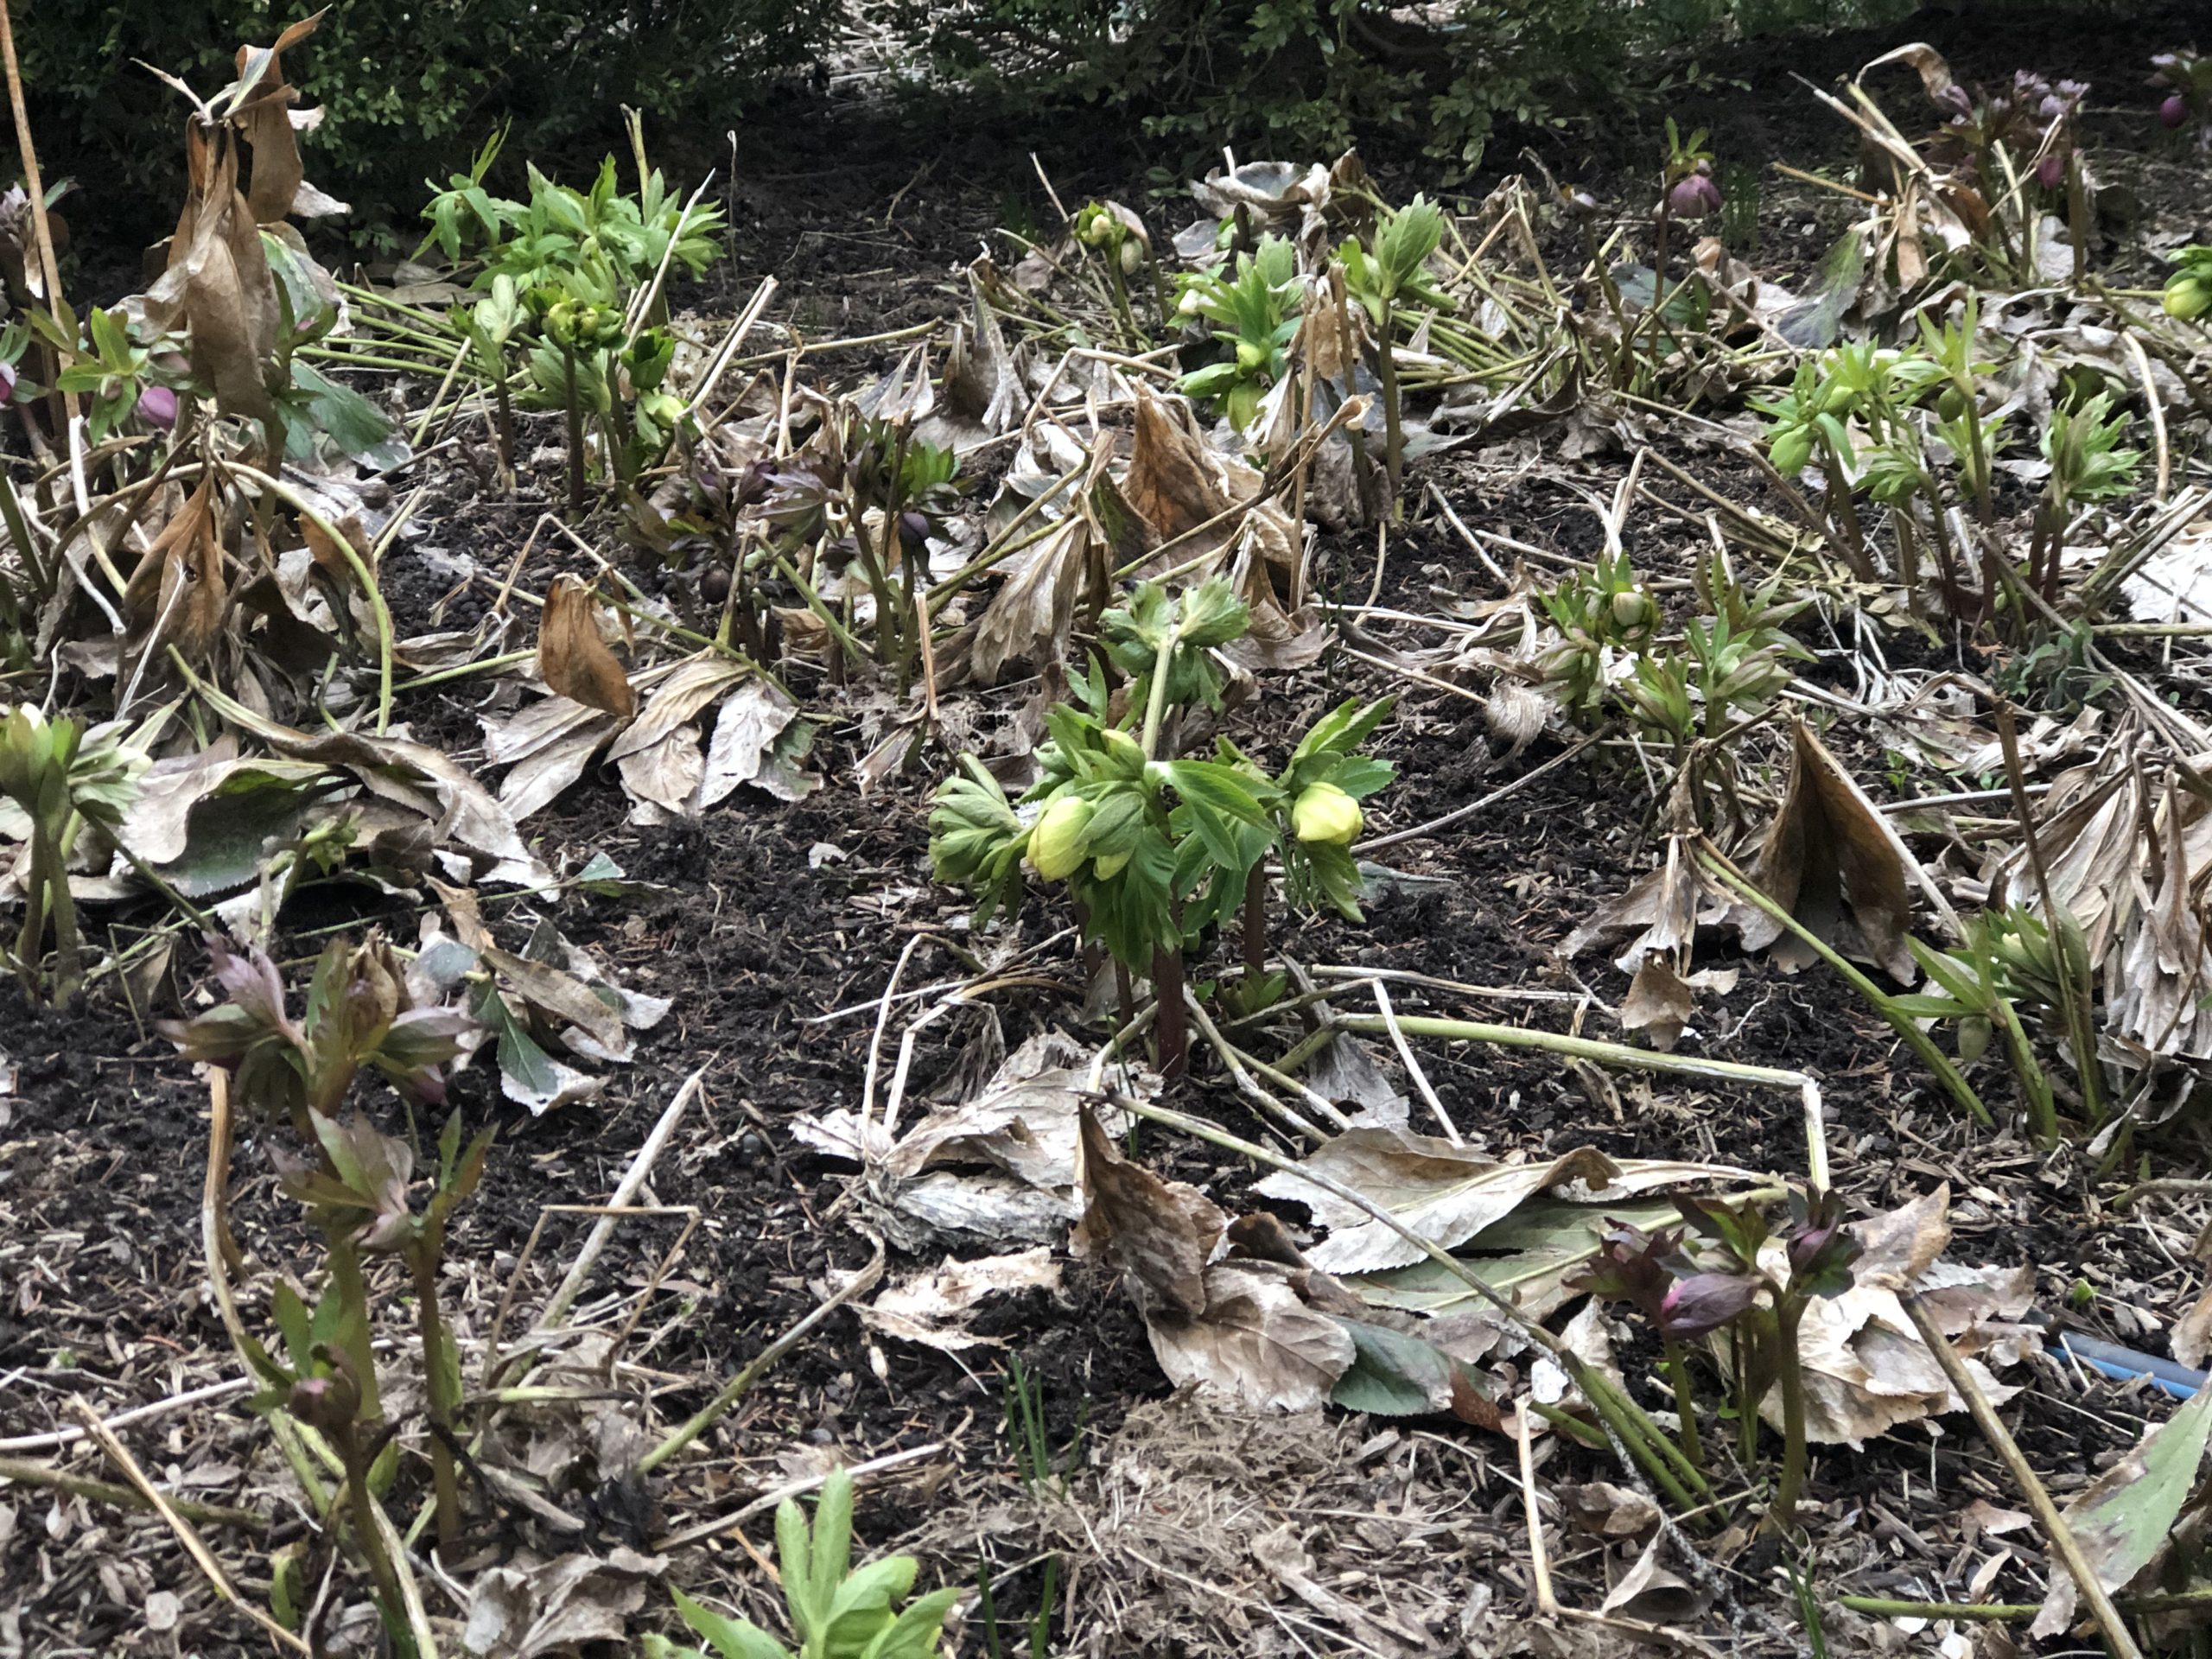
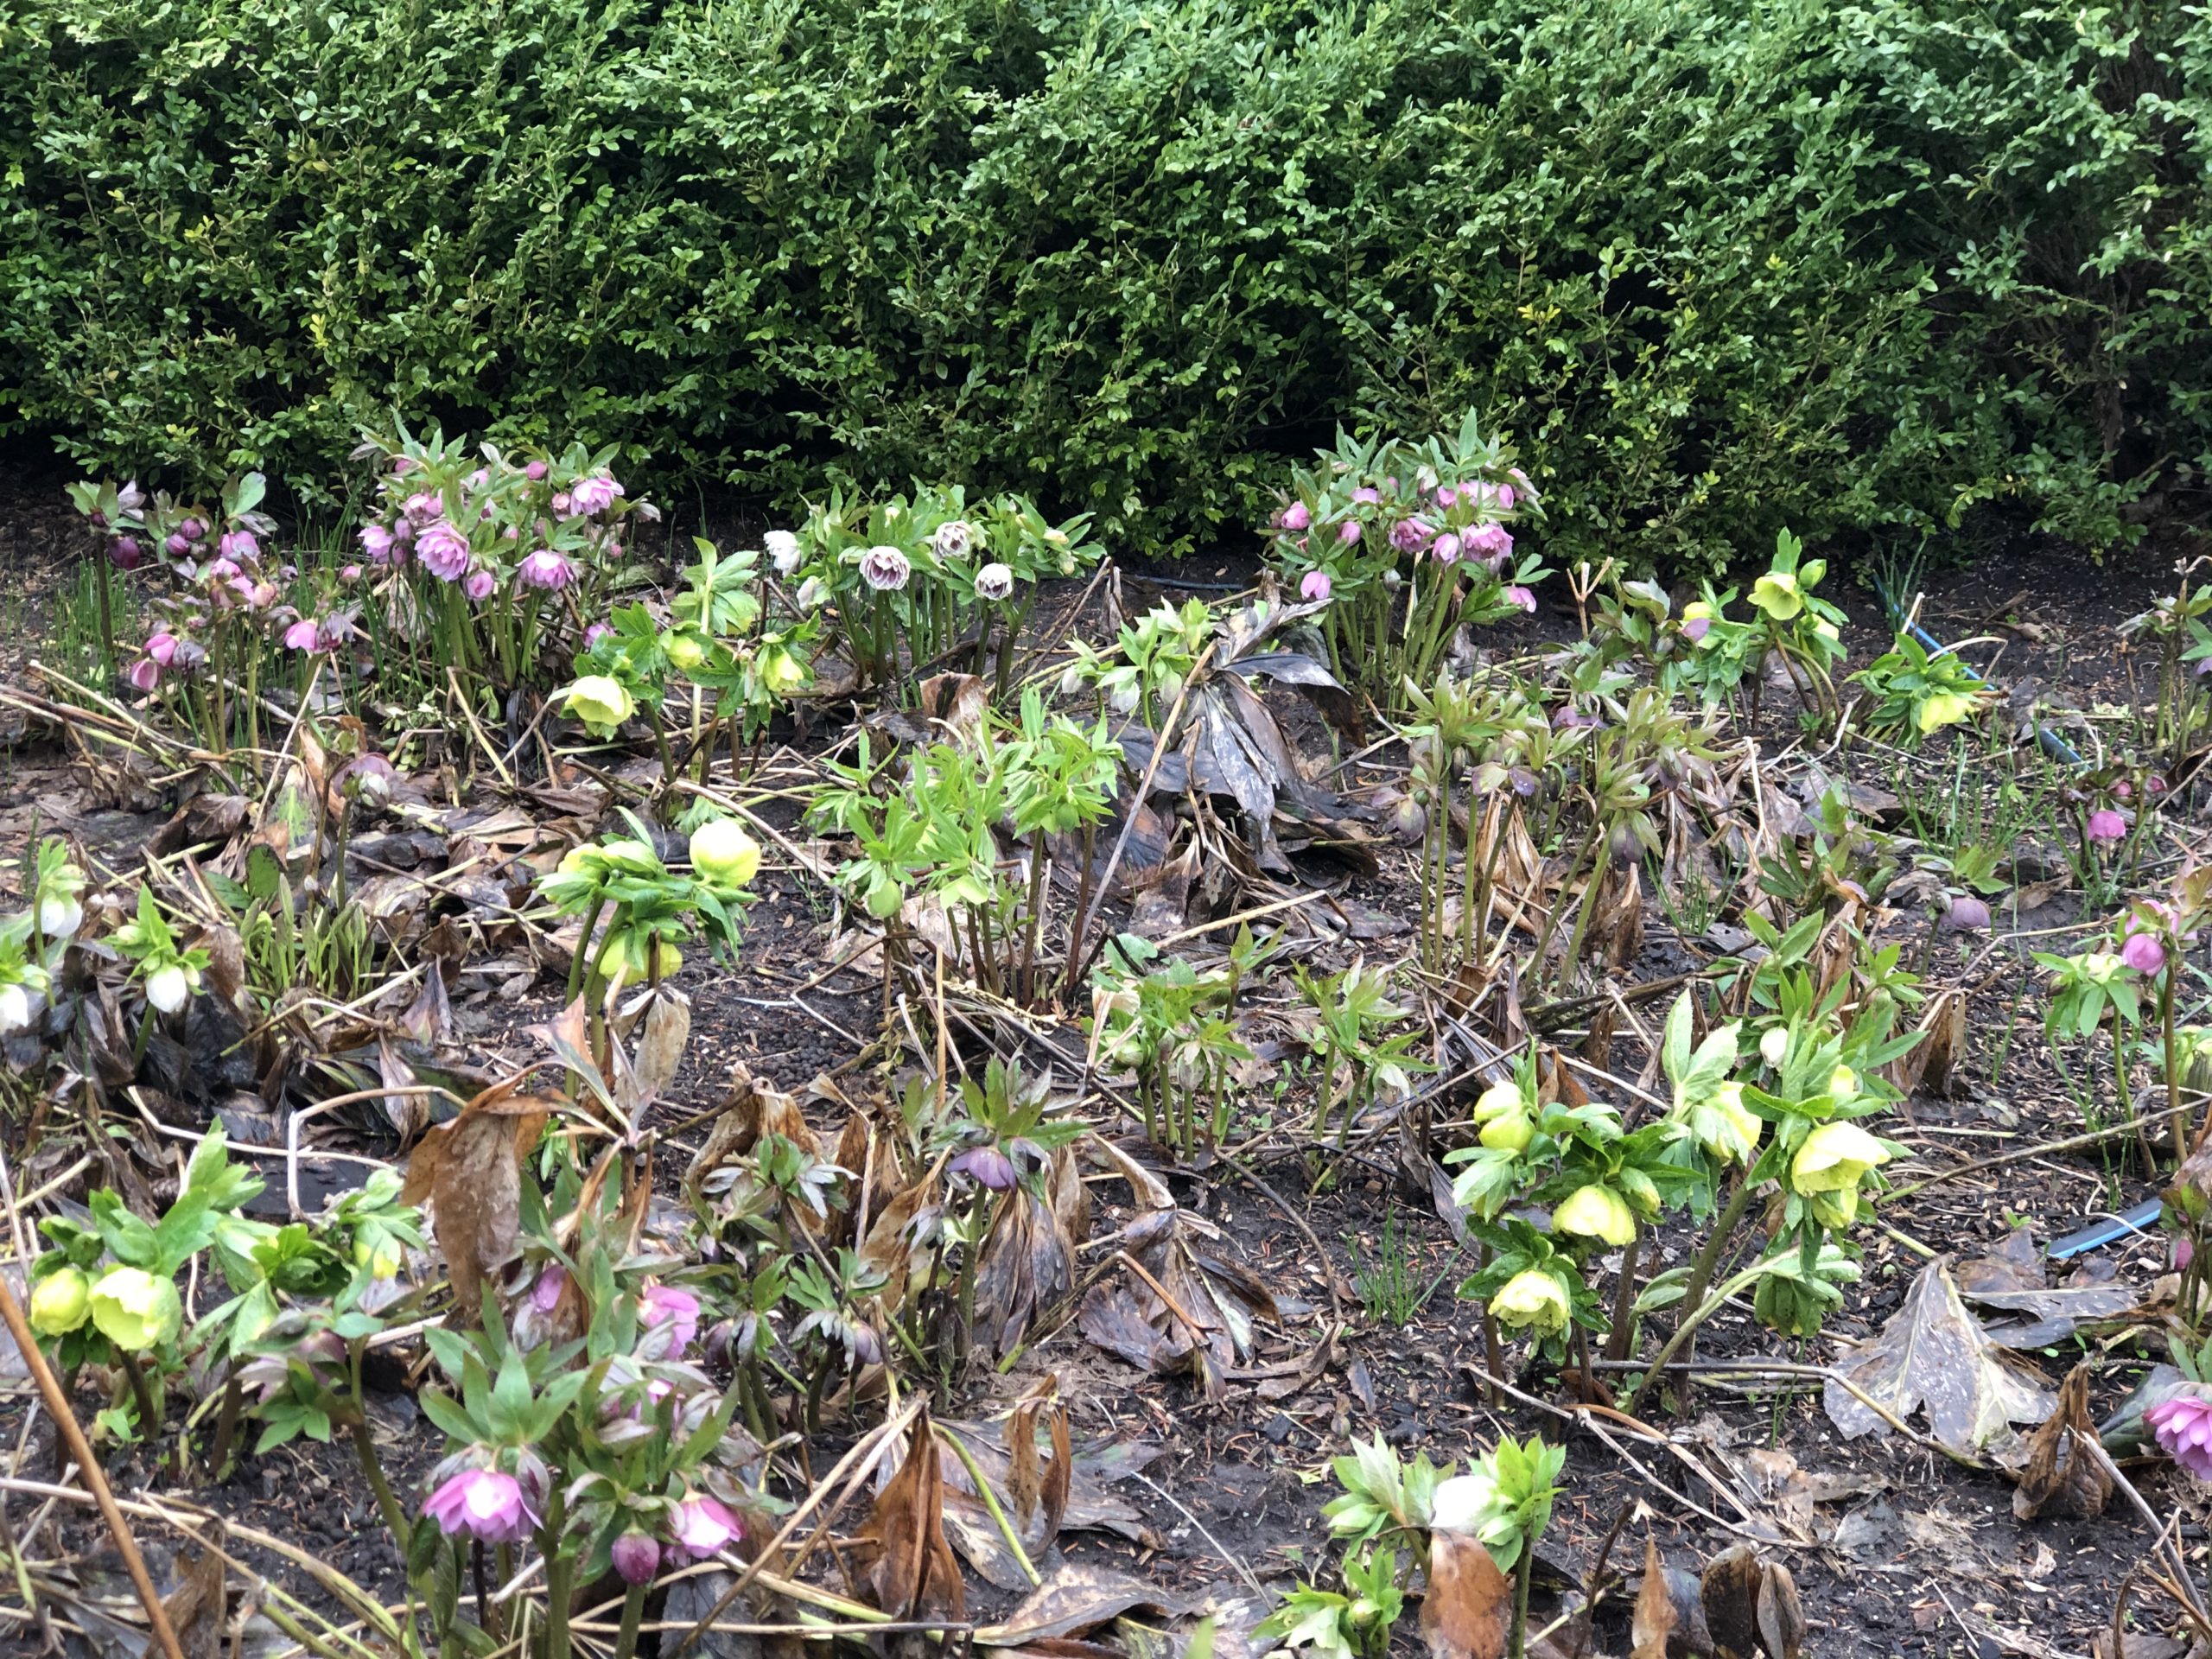
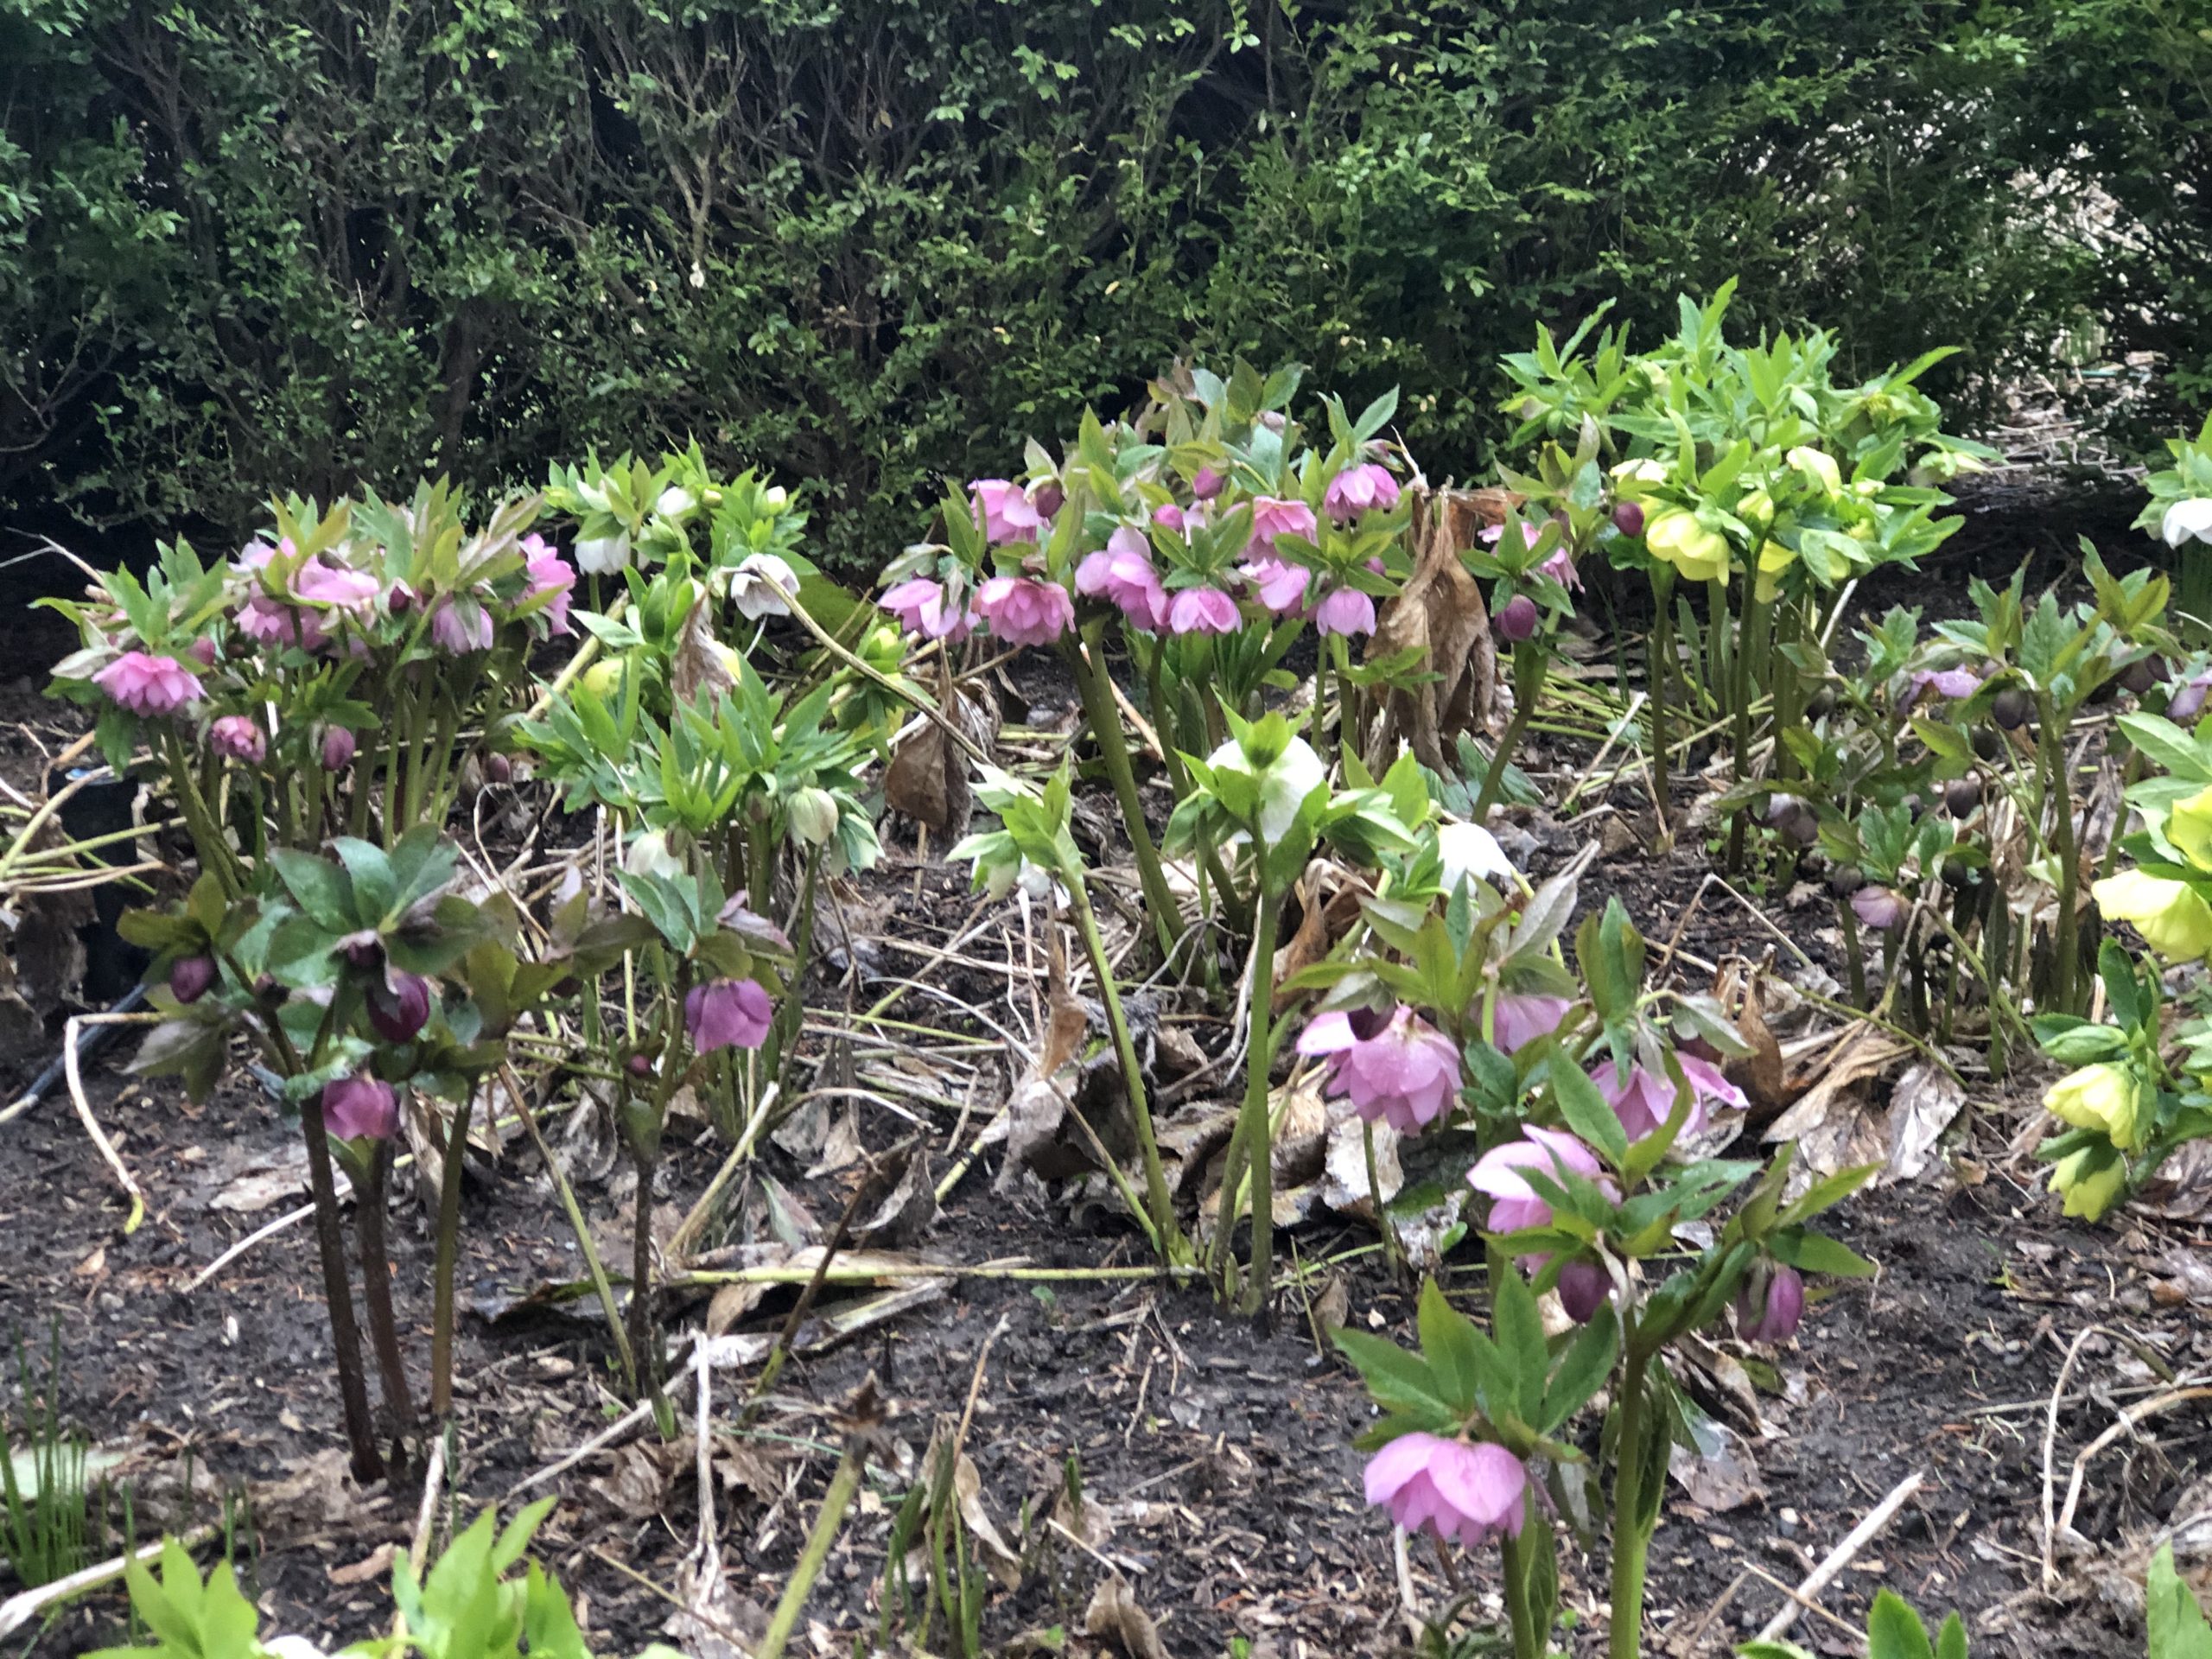
The pruning of my hydrangeas is underway.