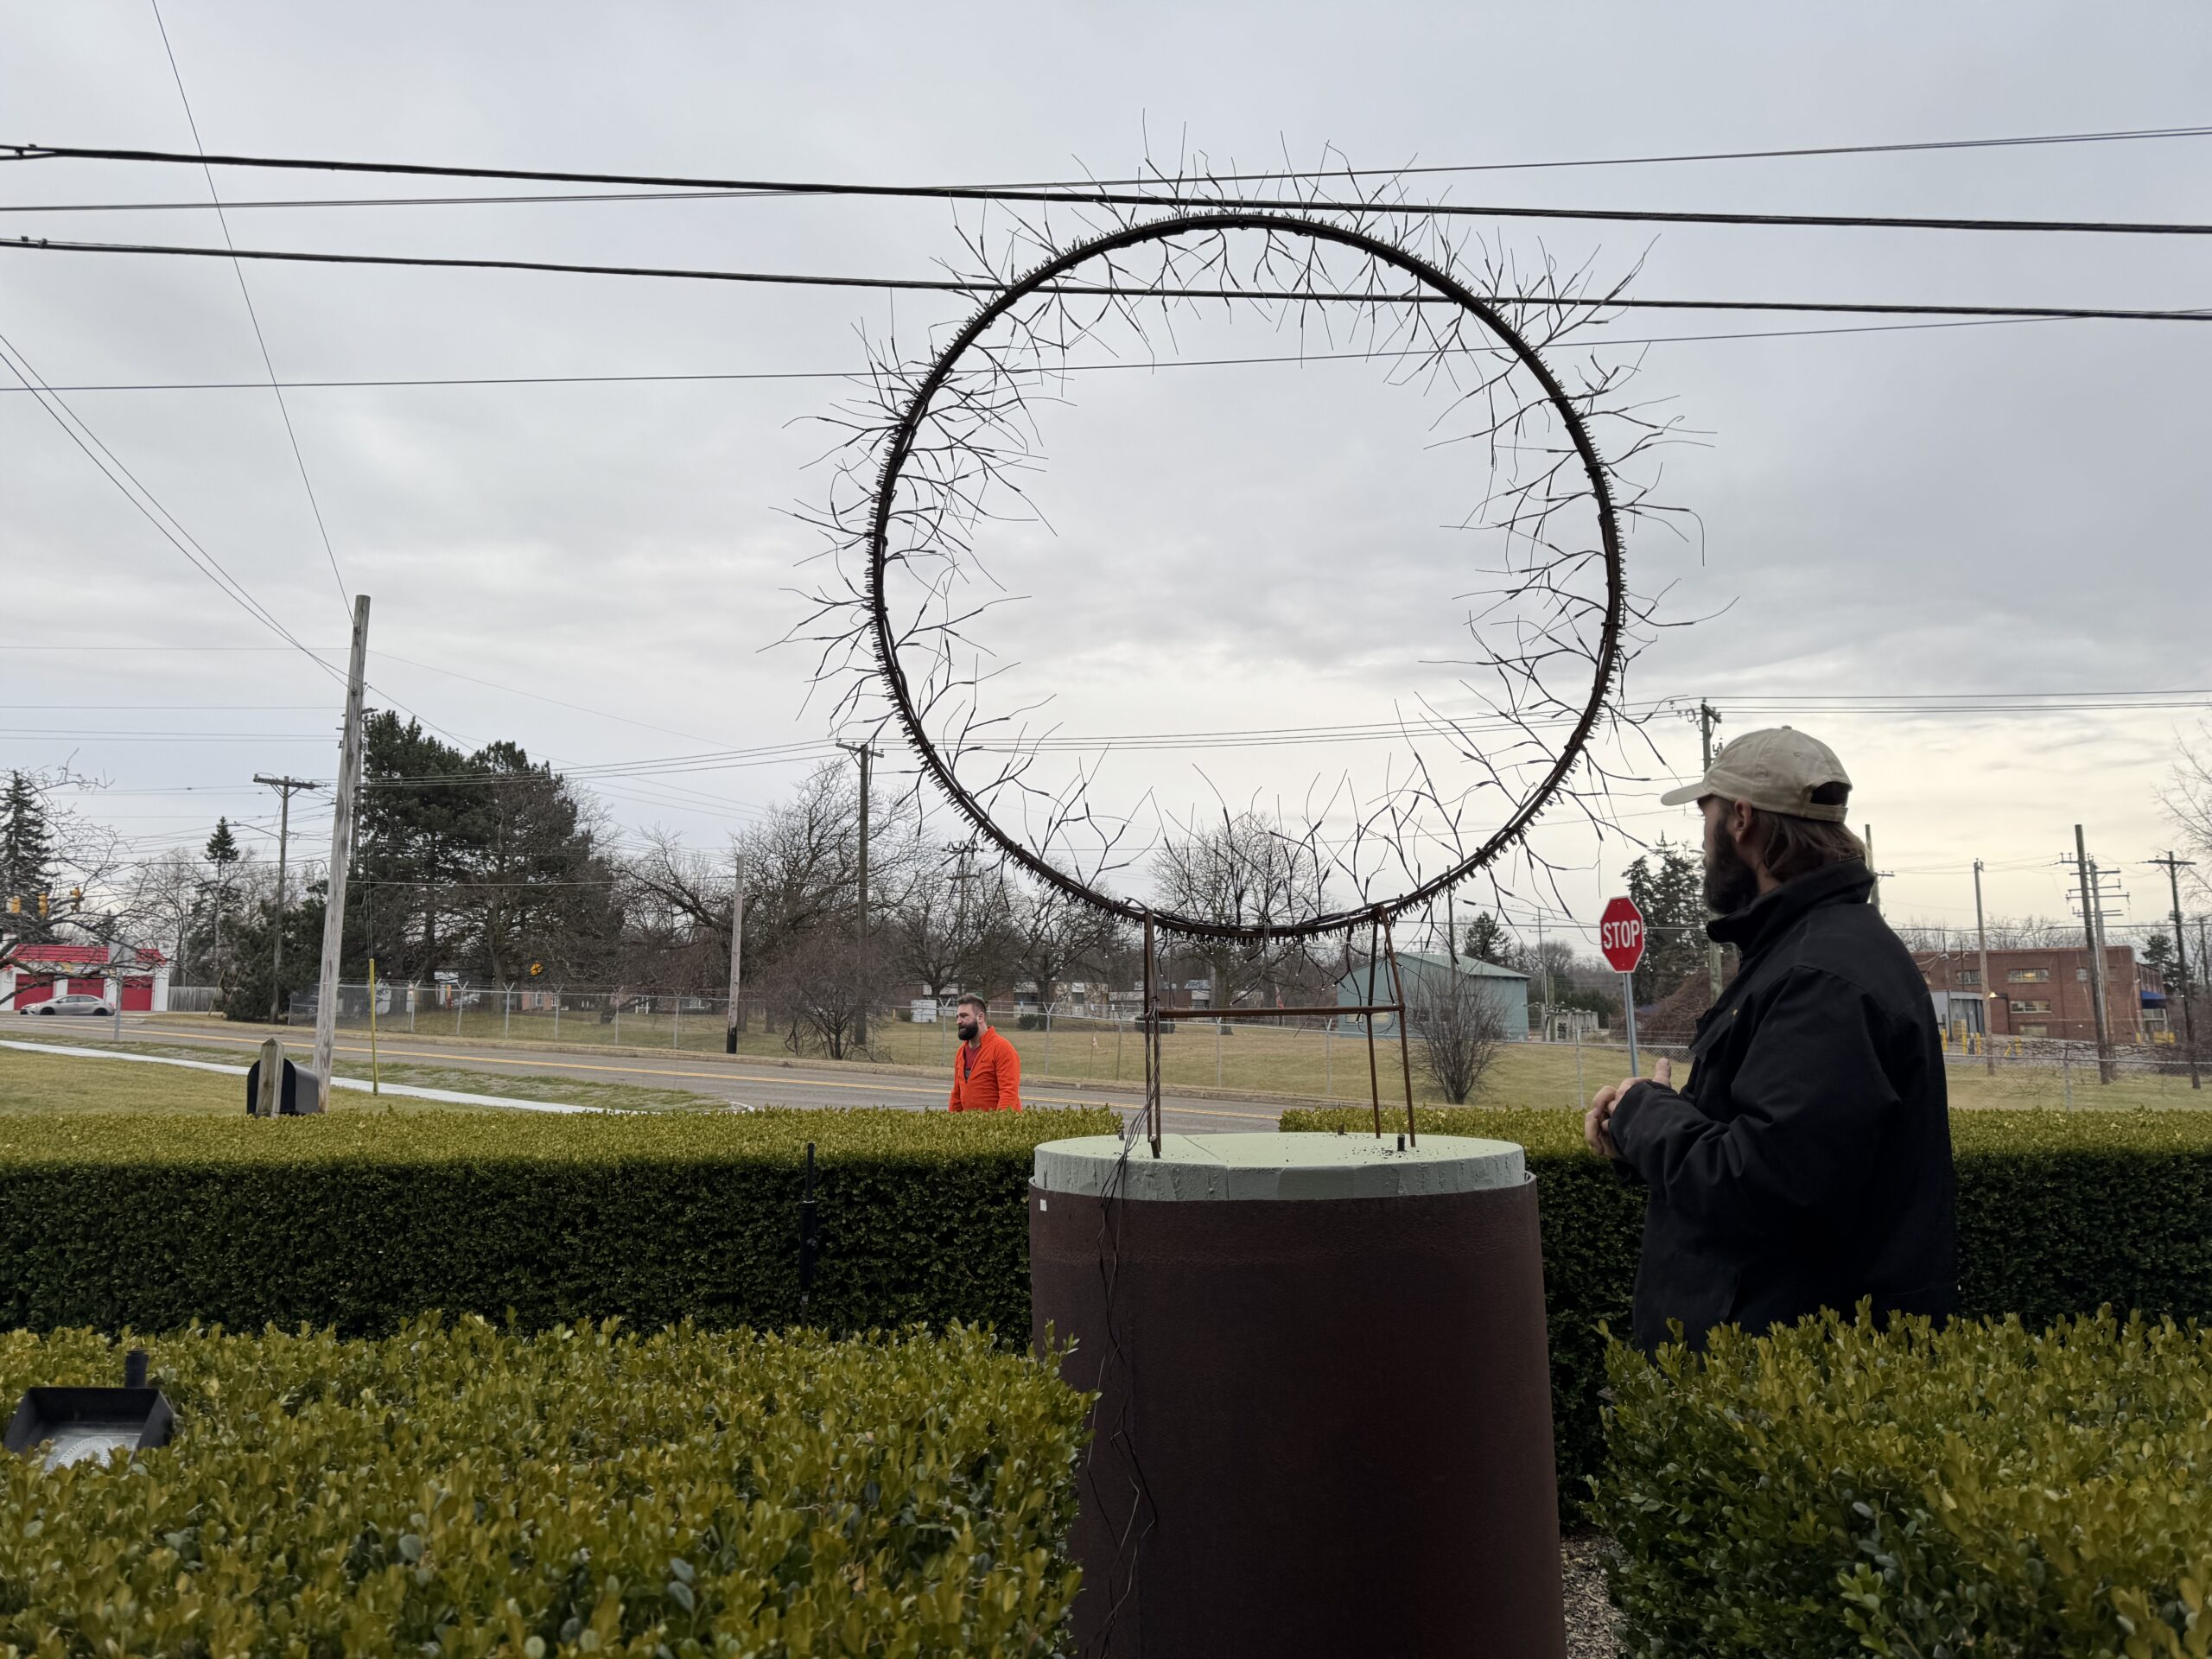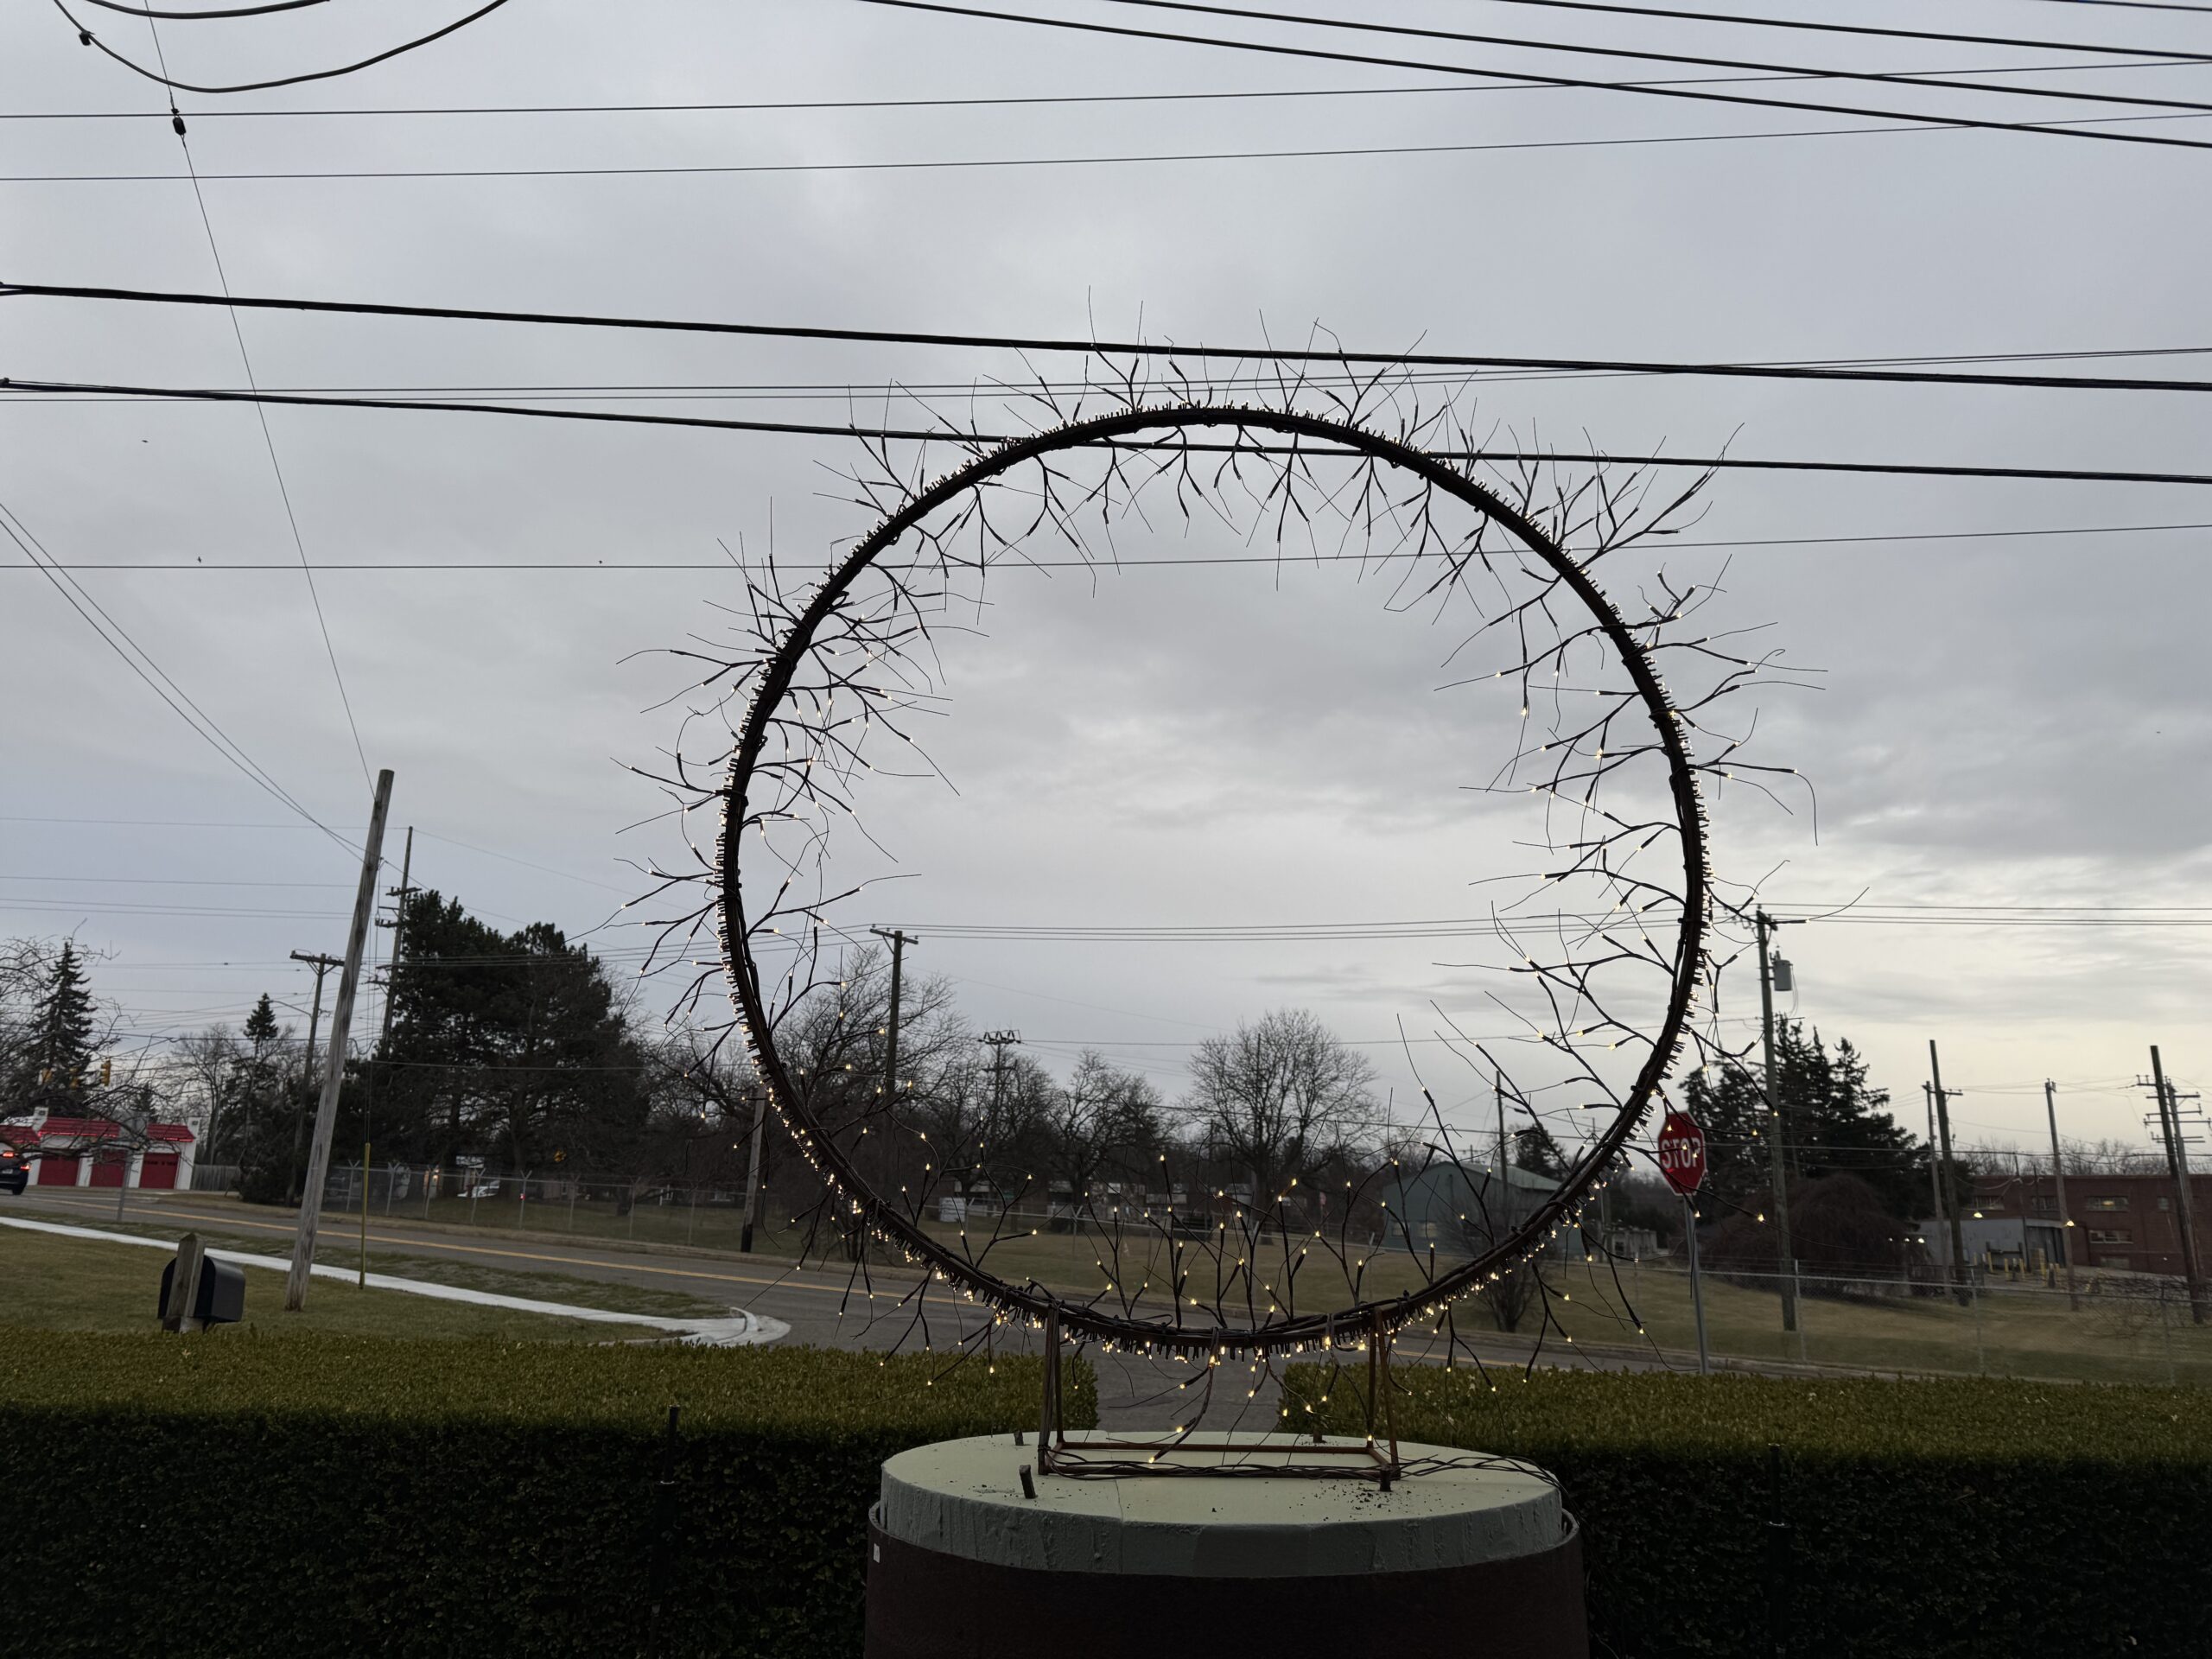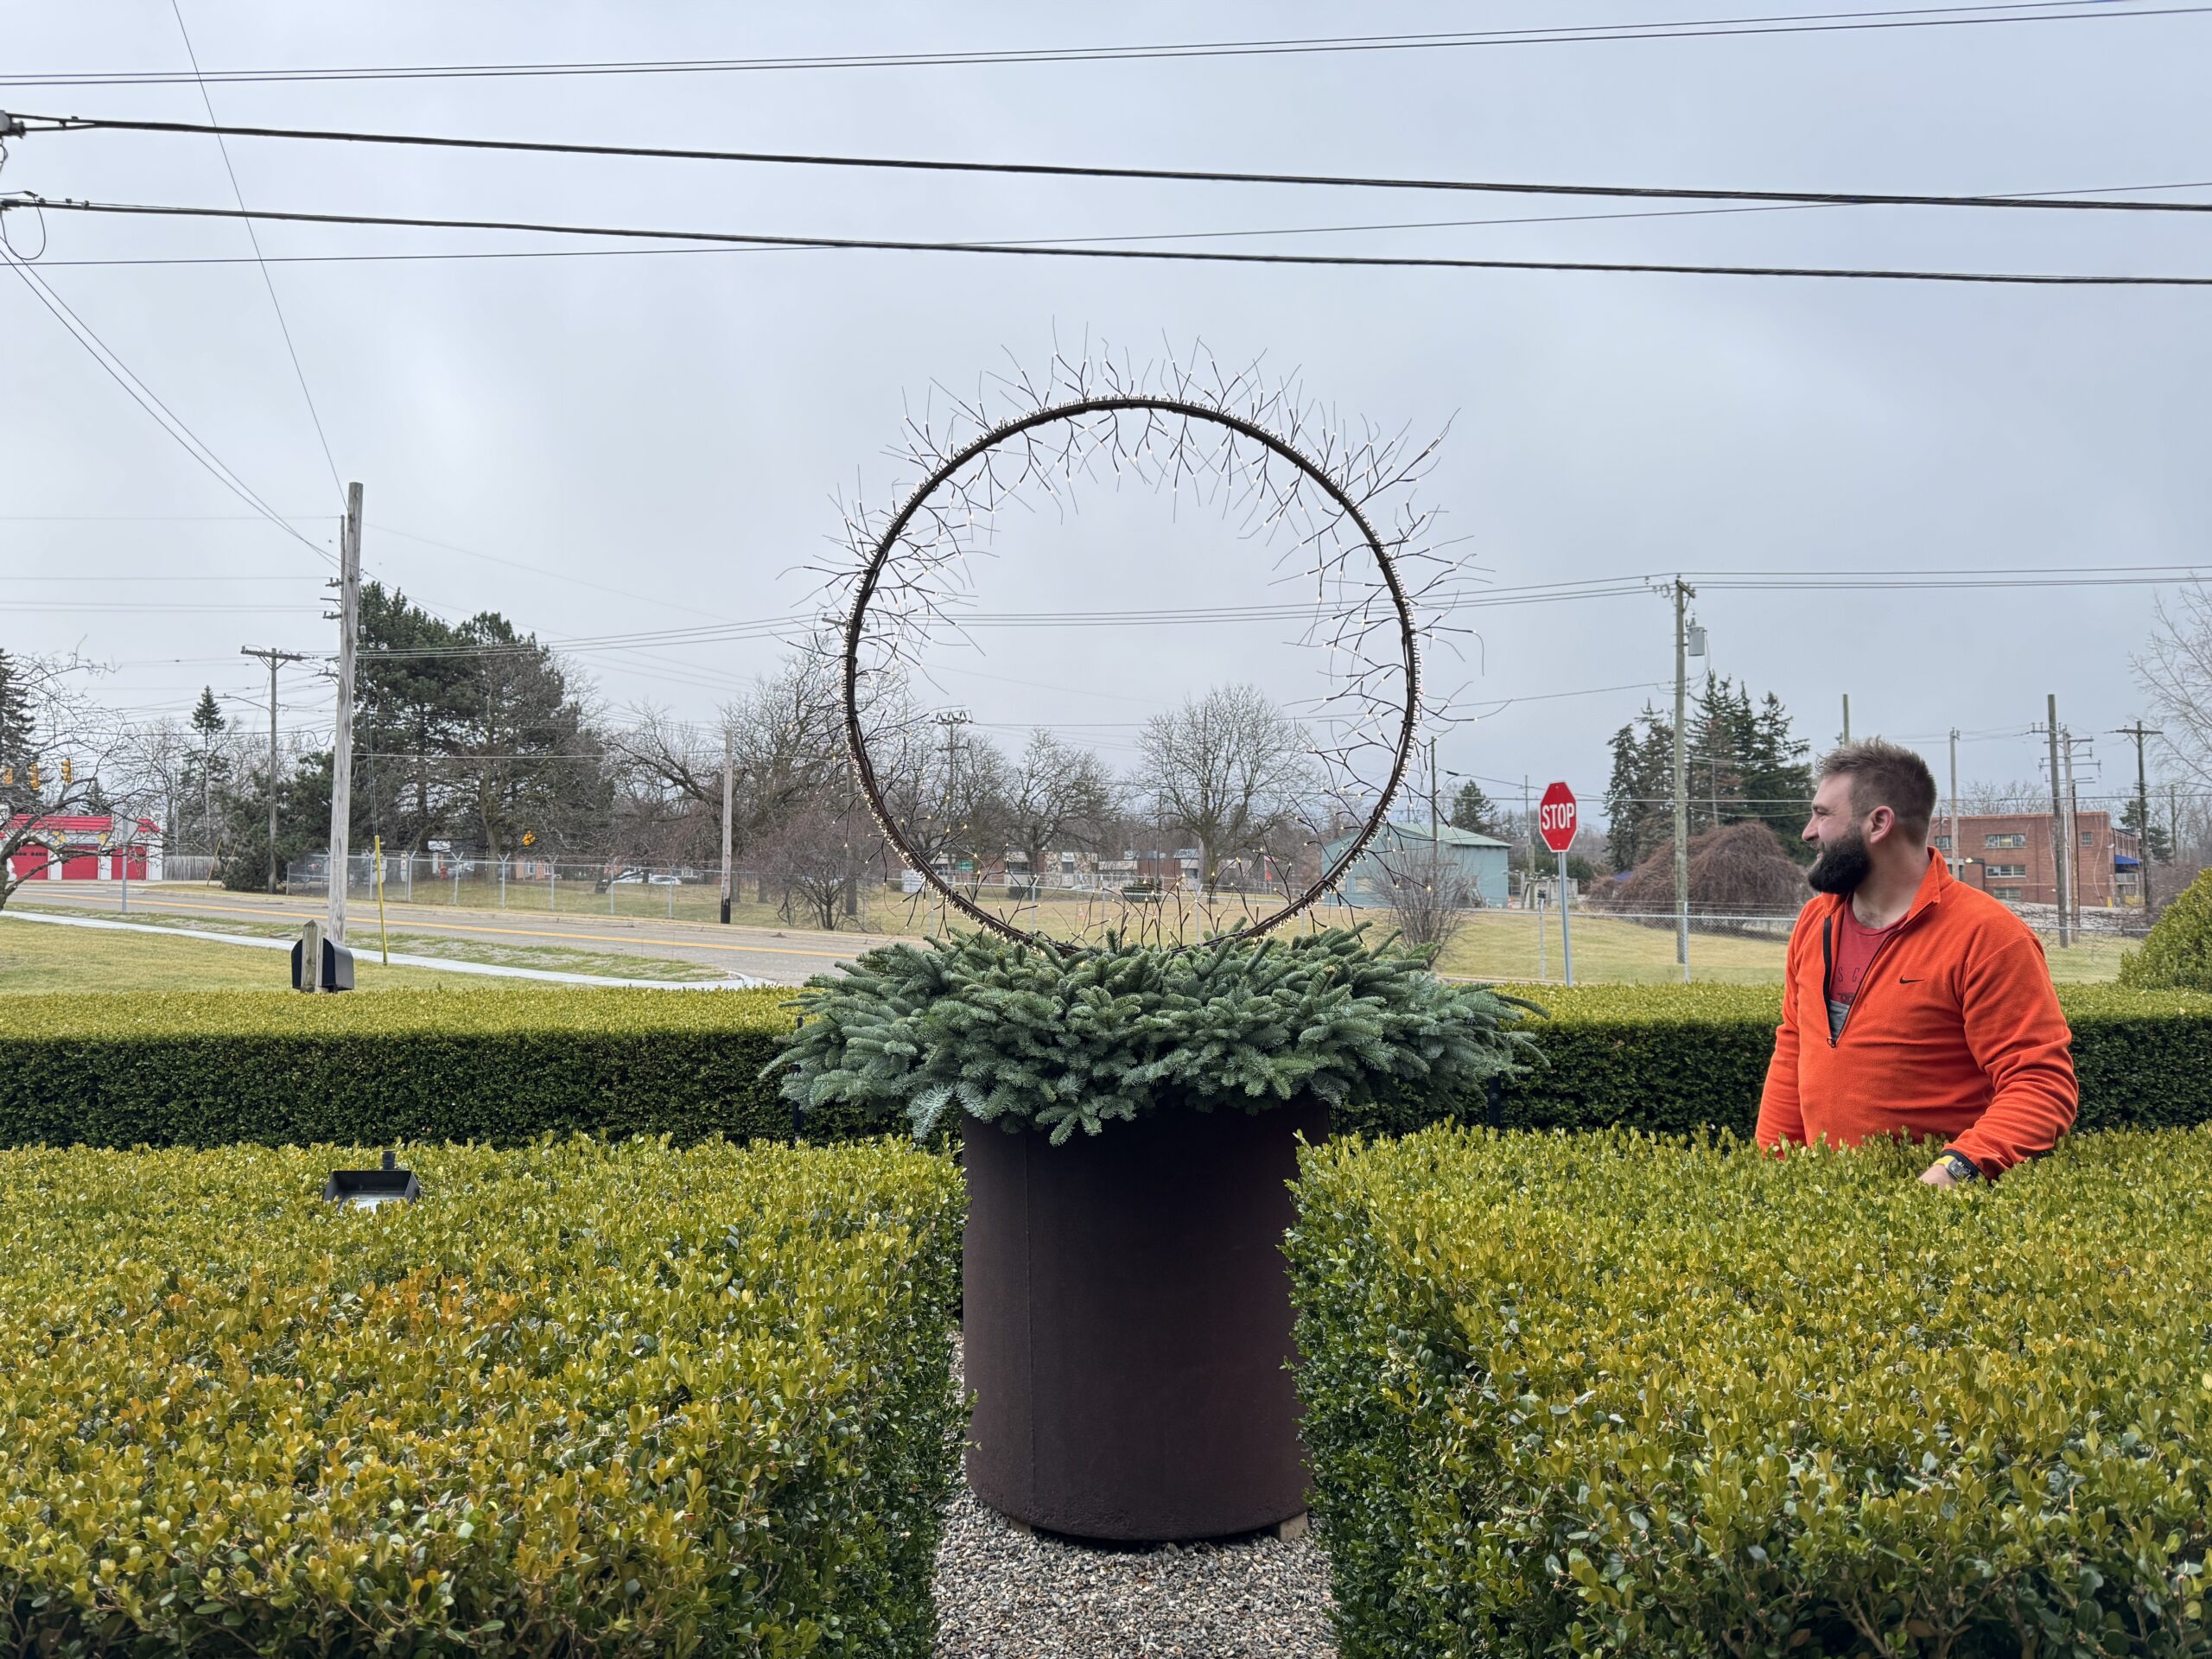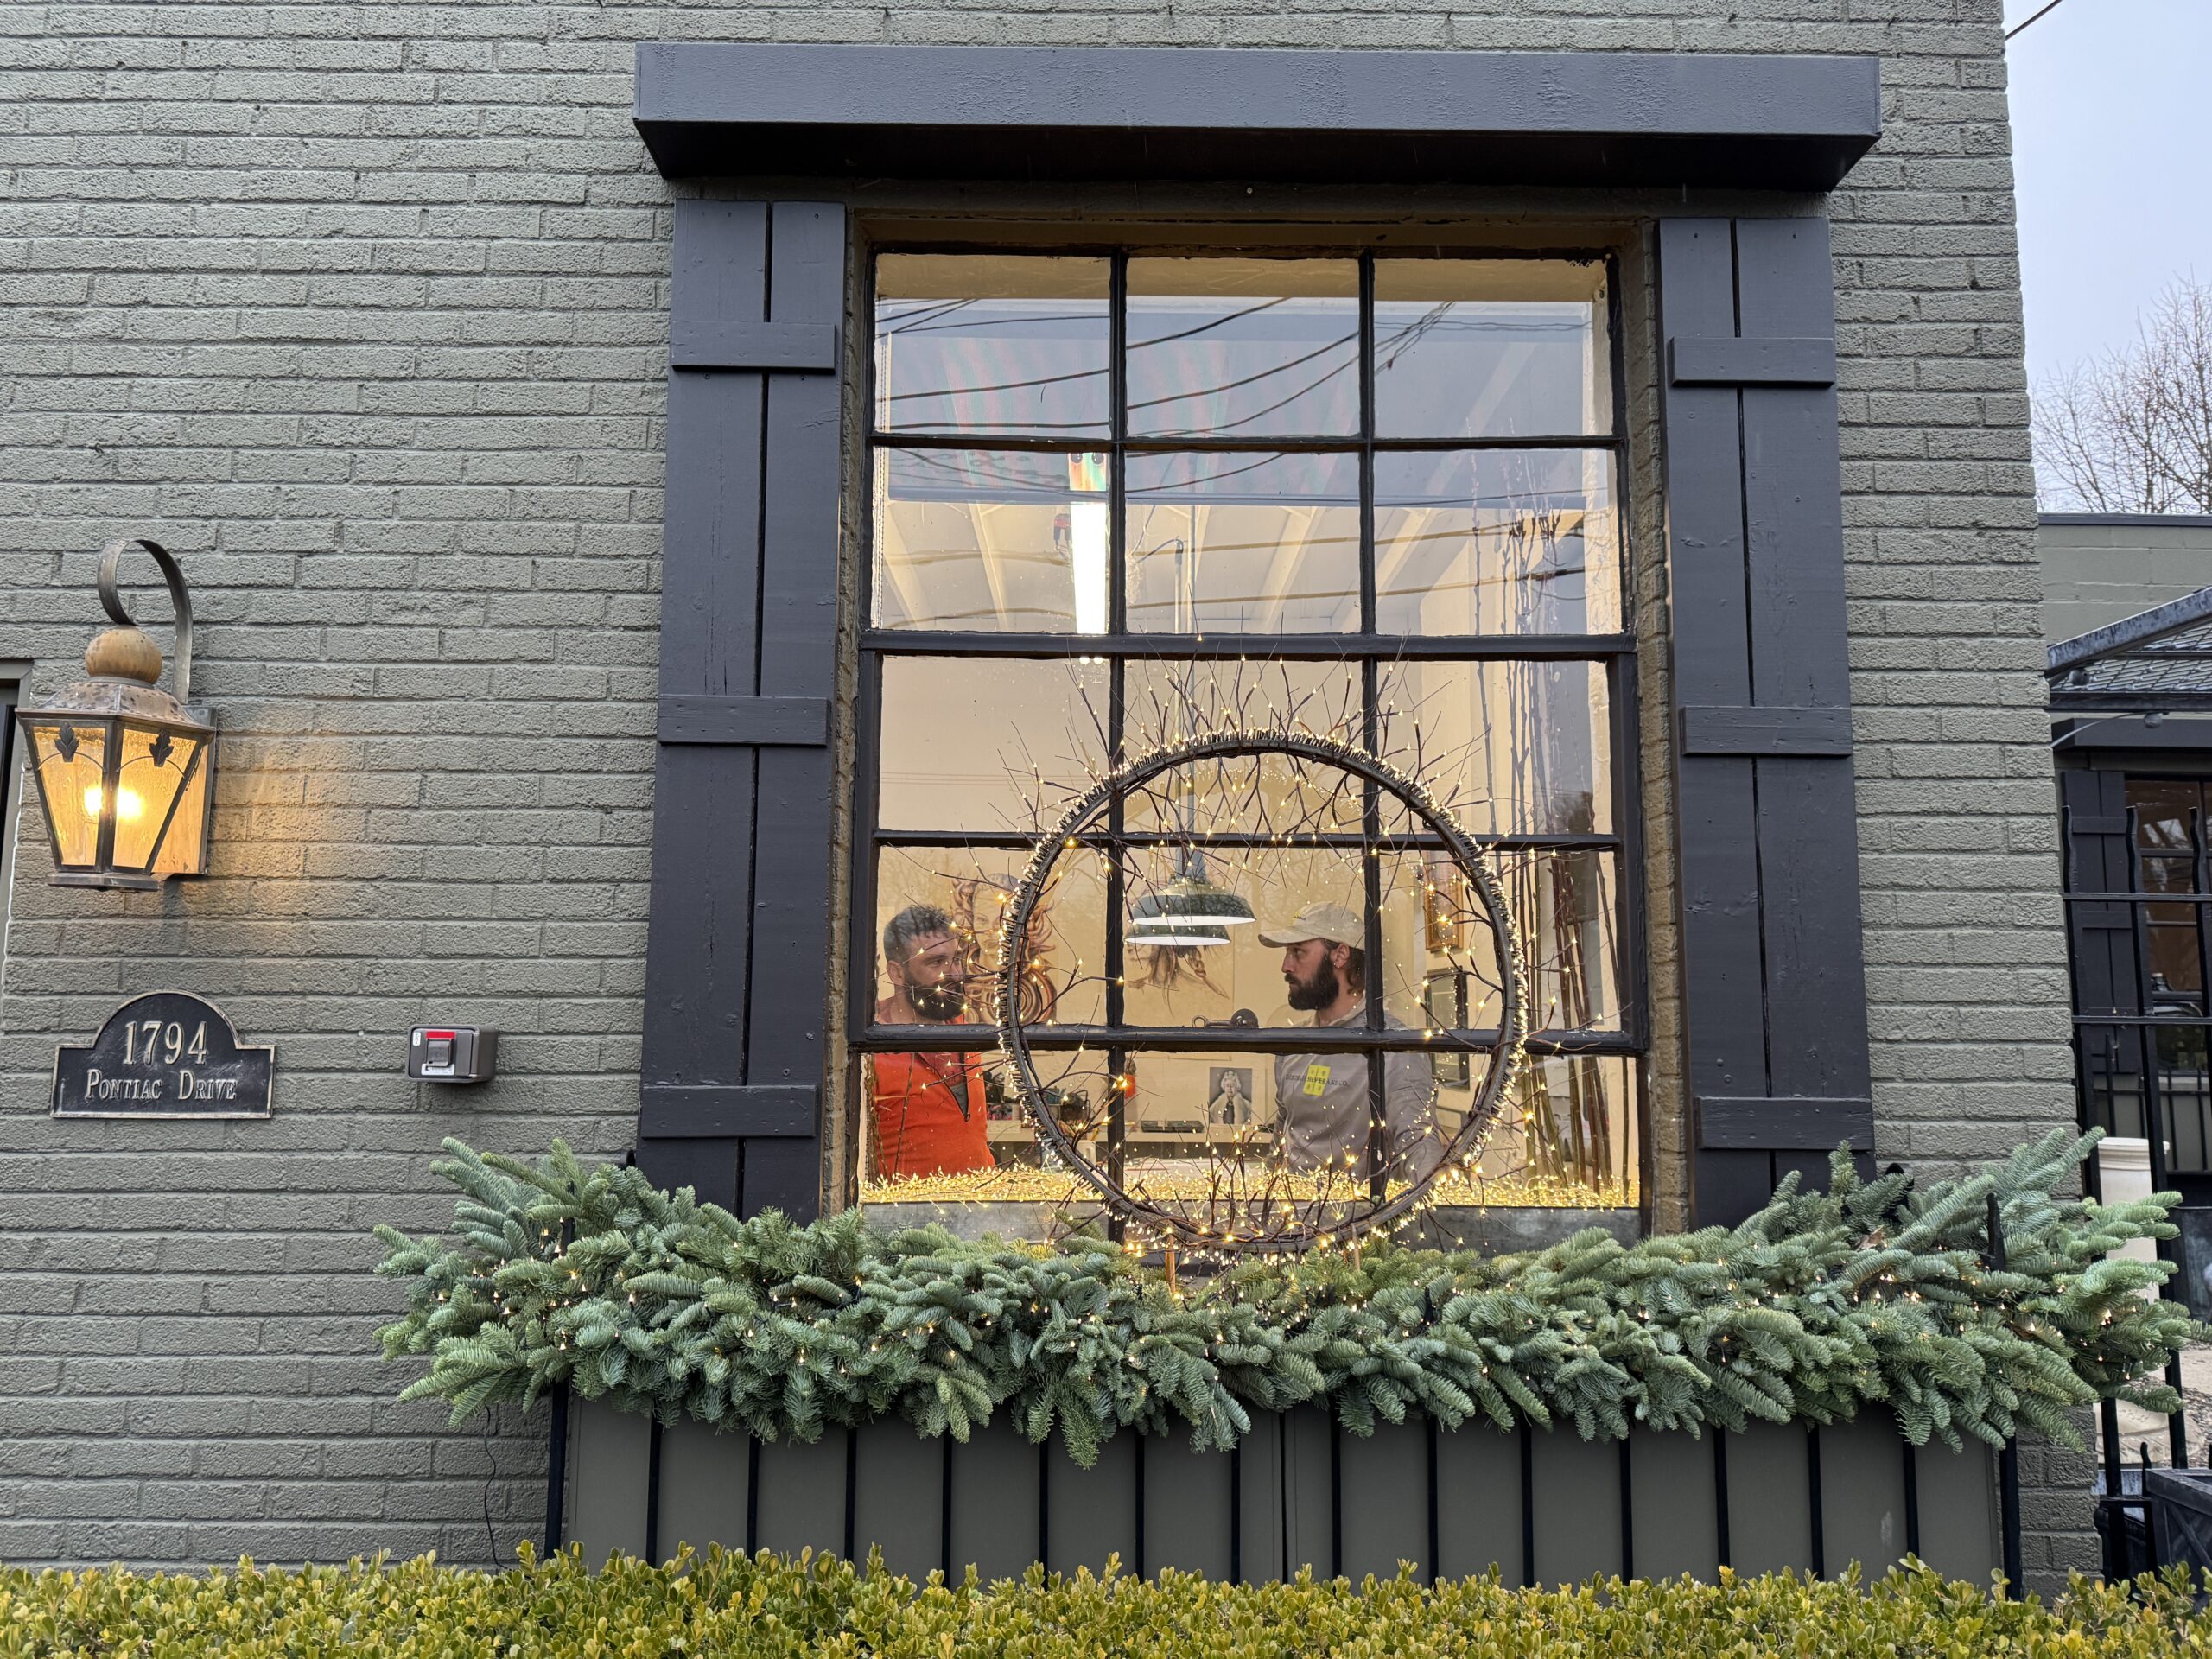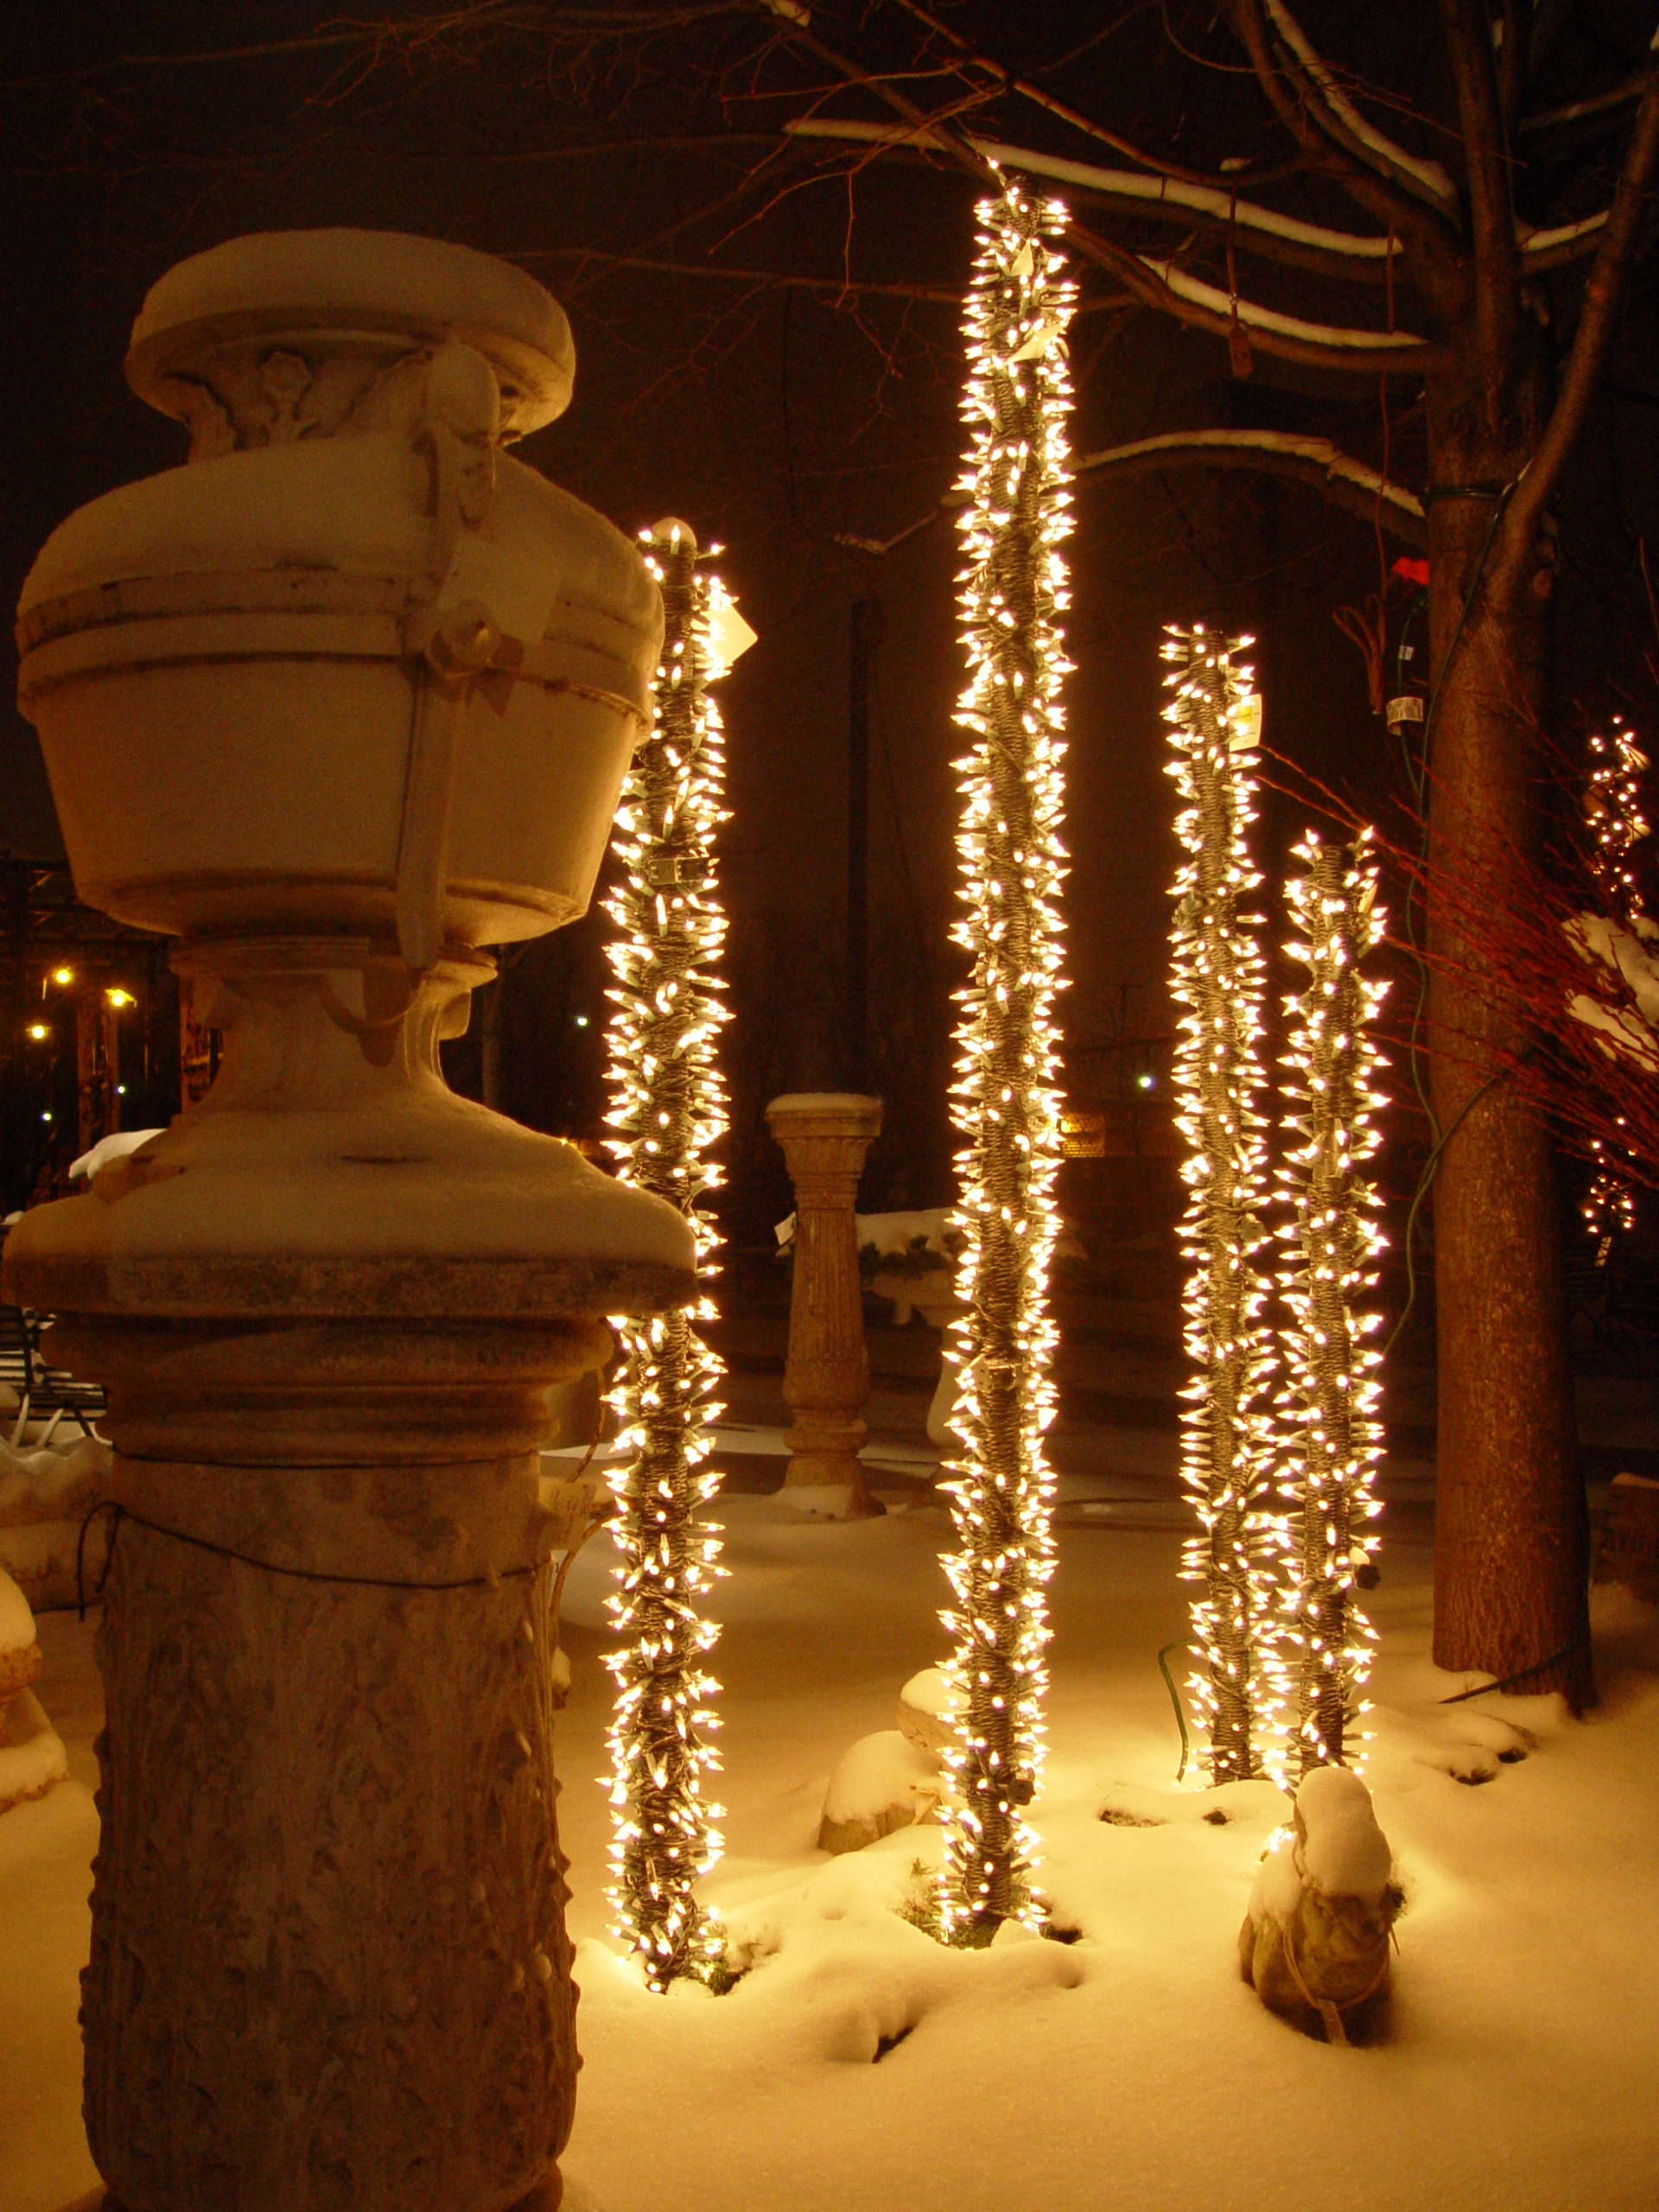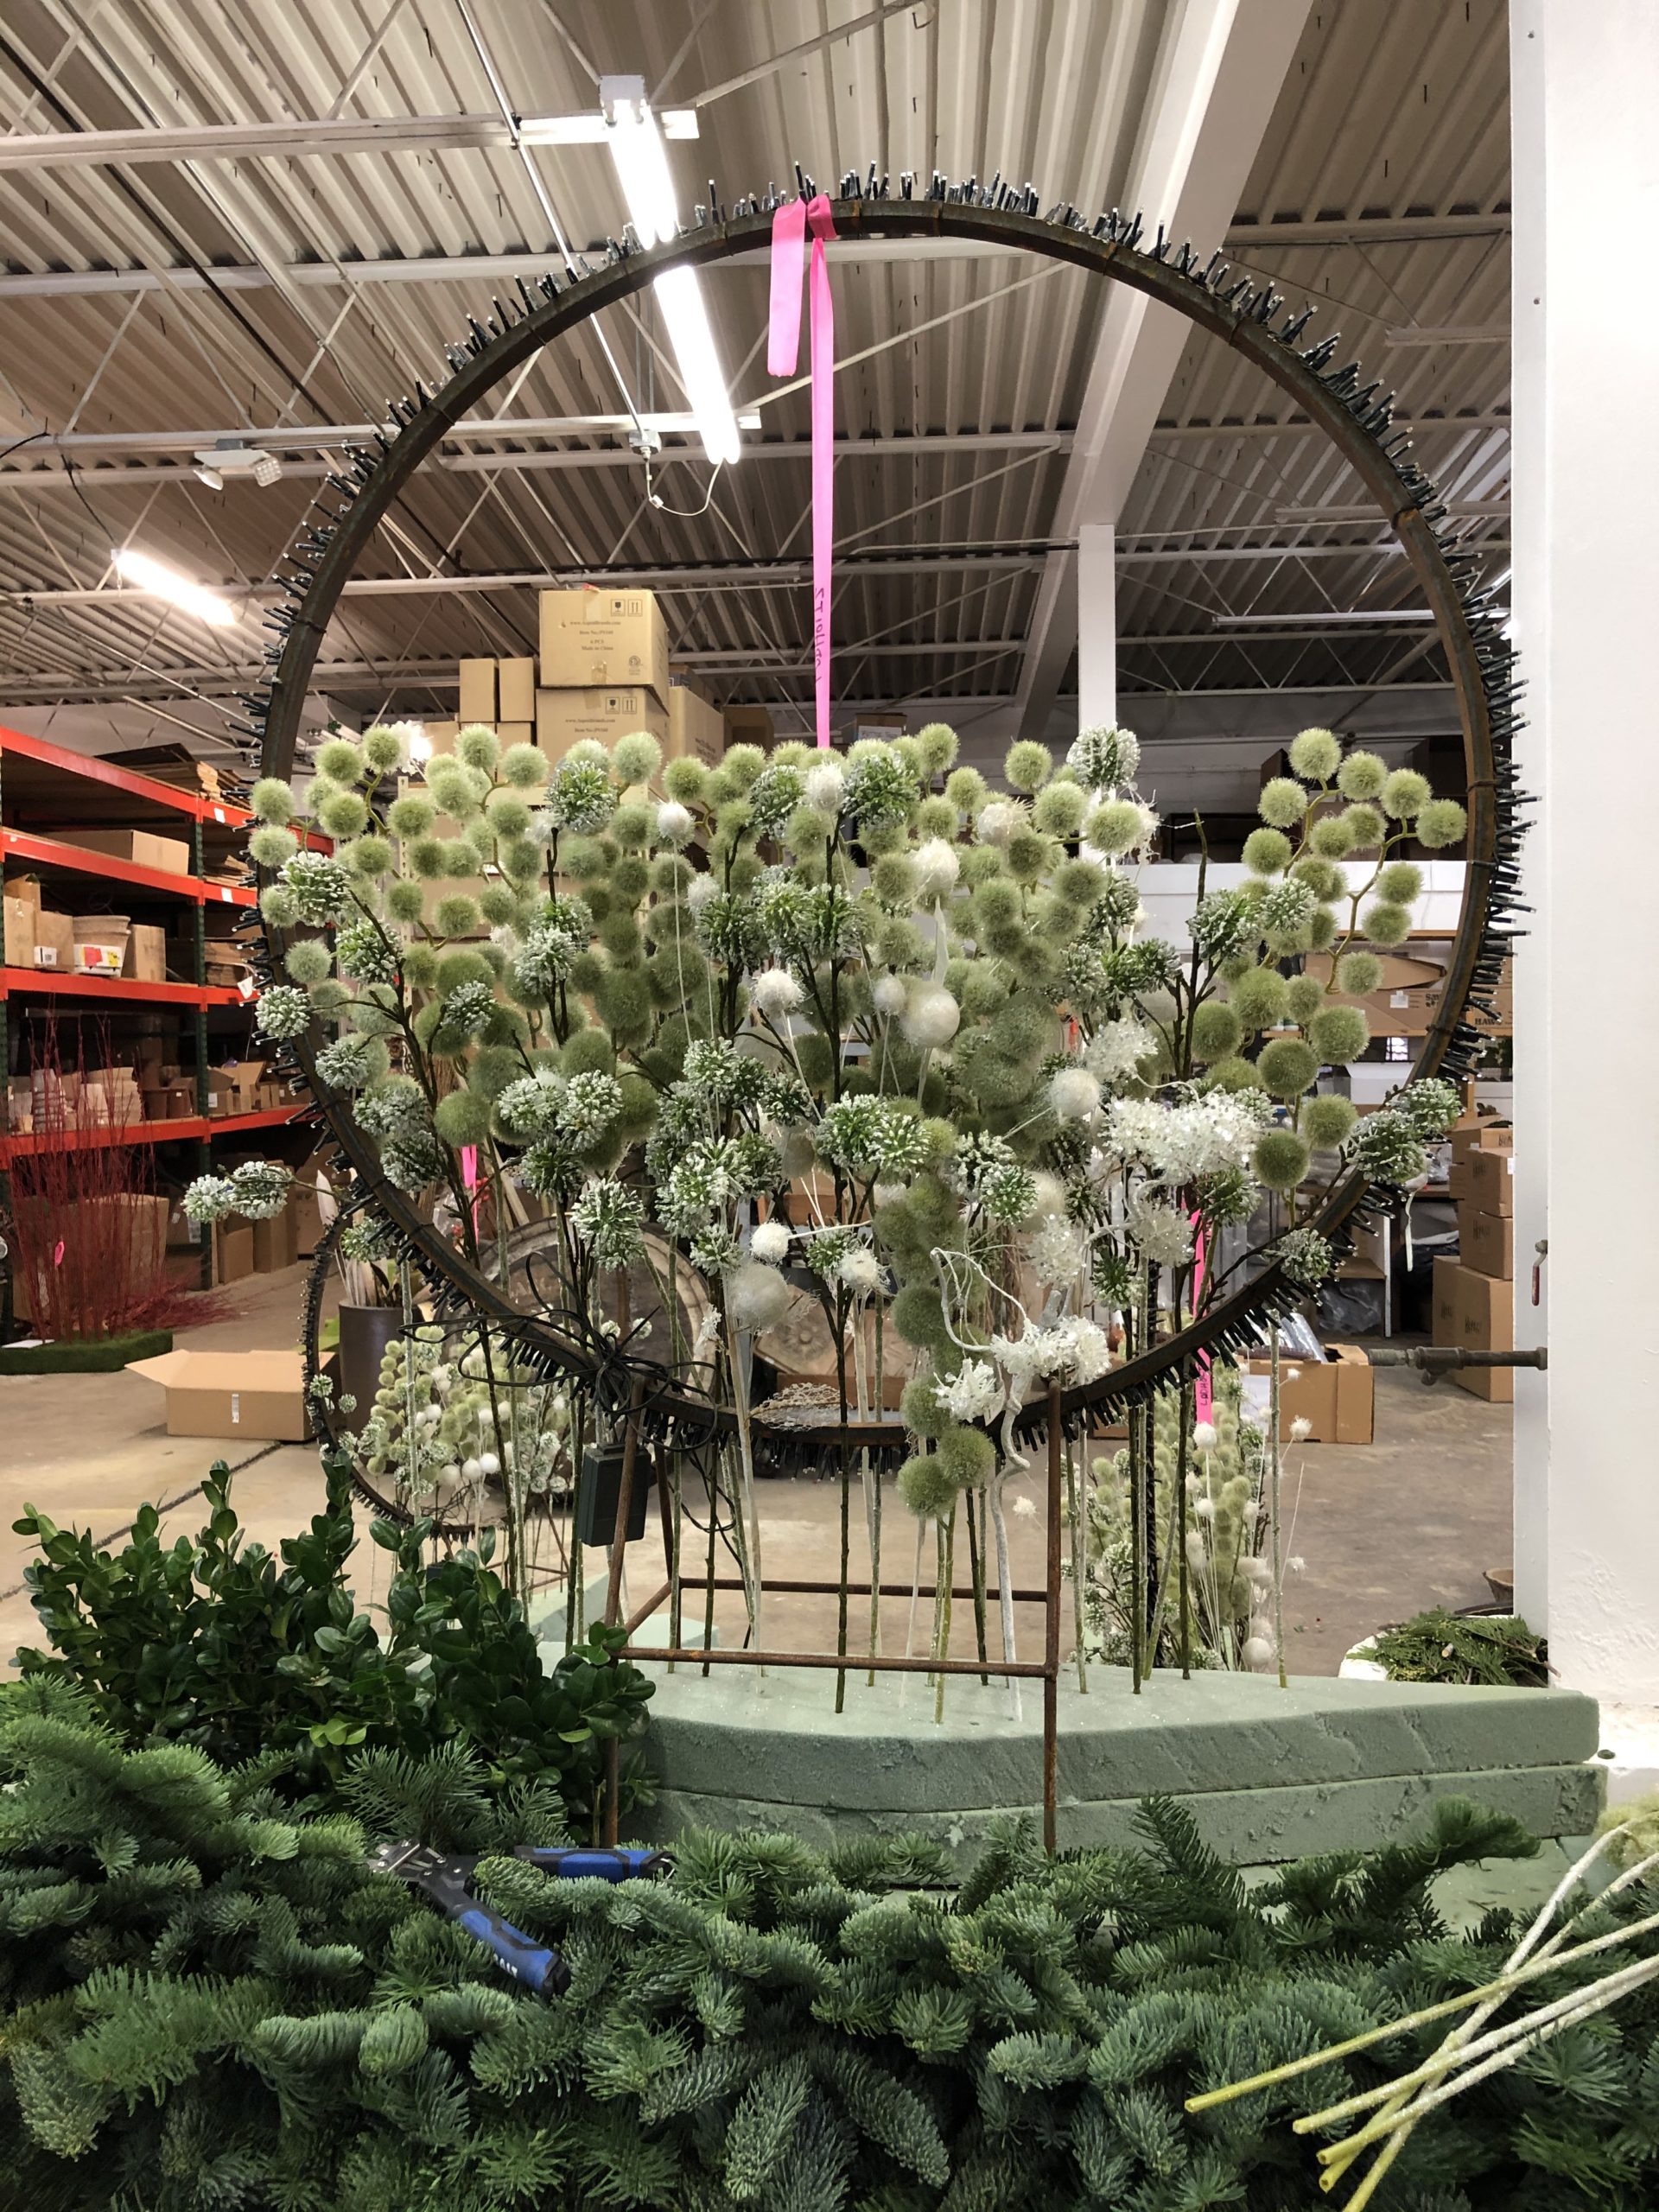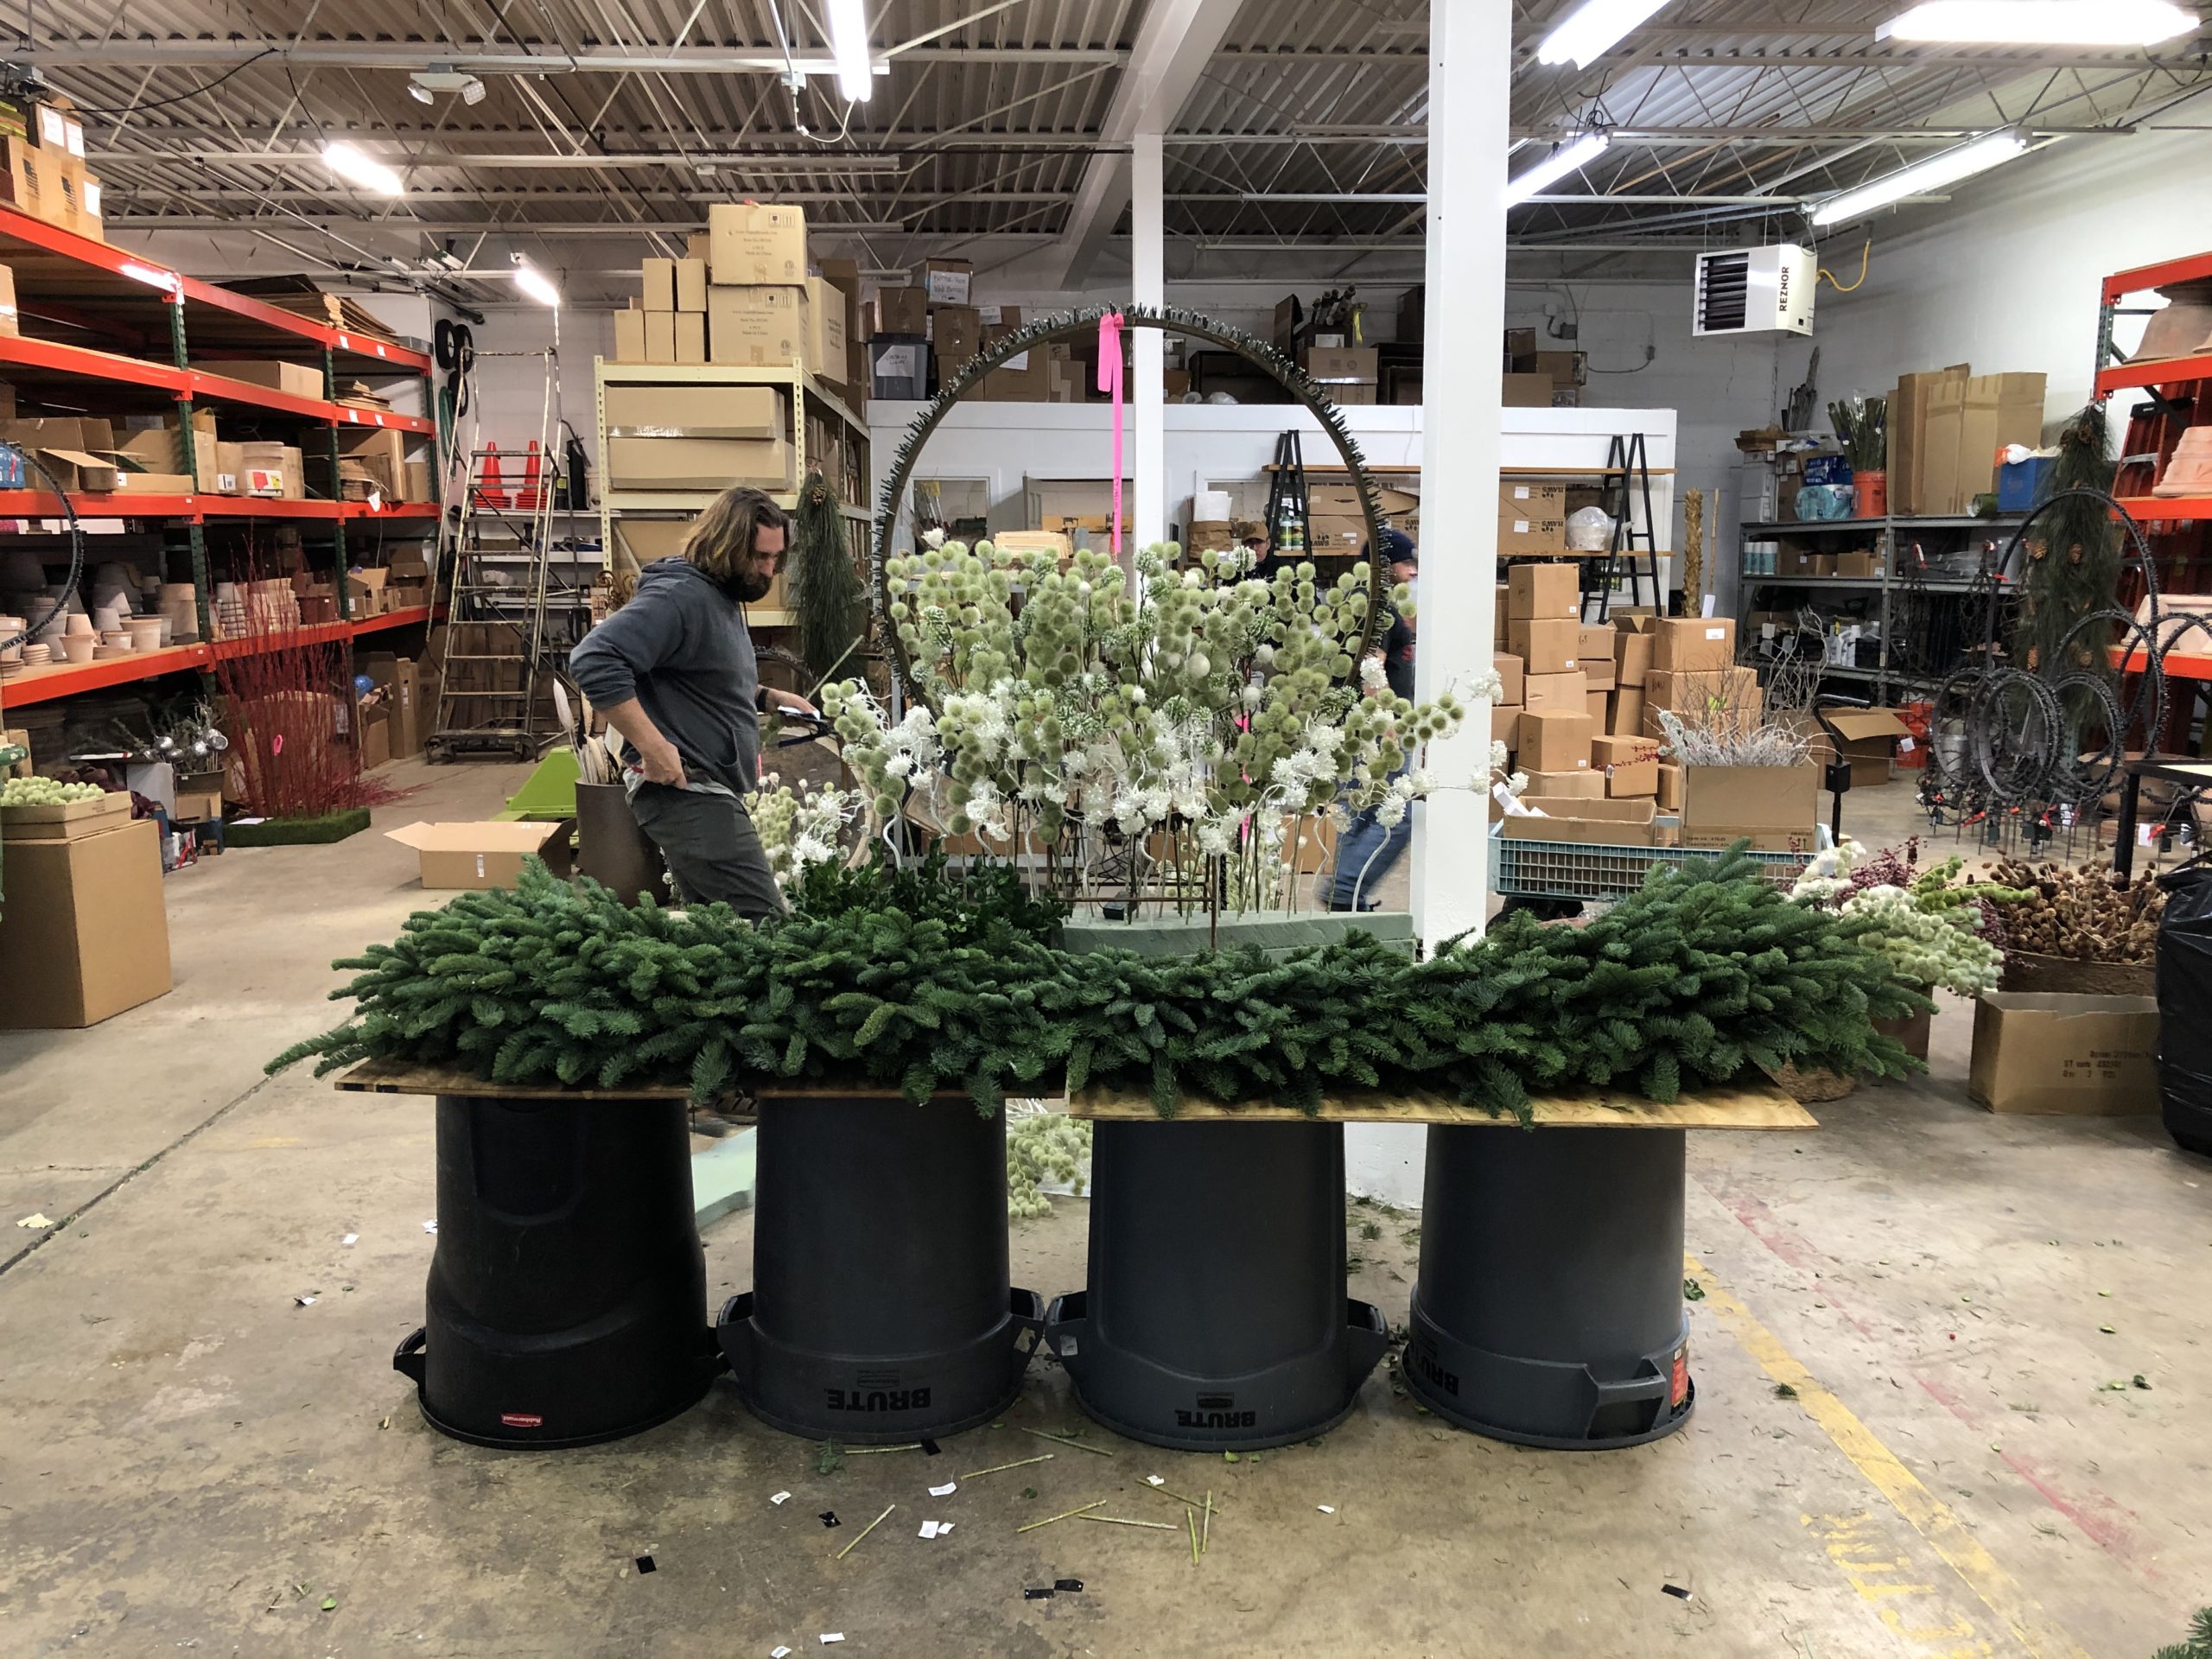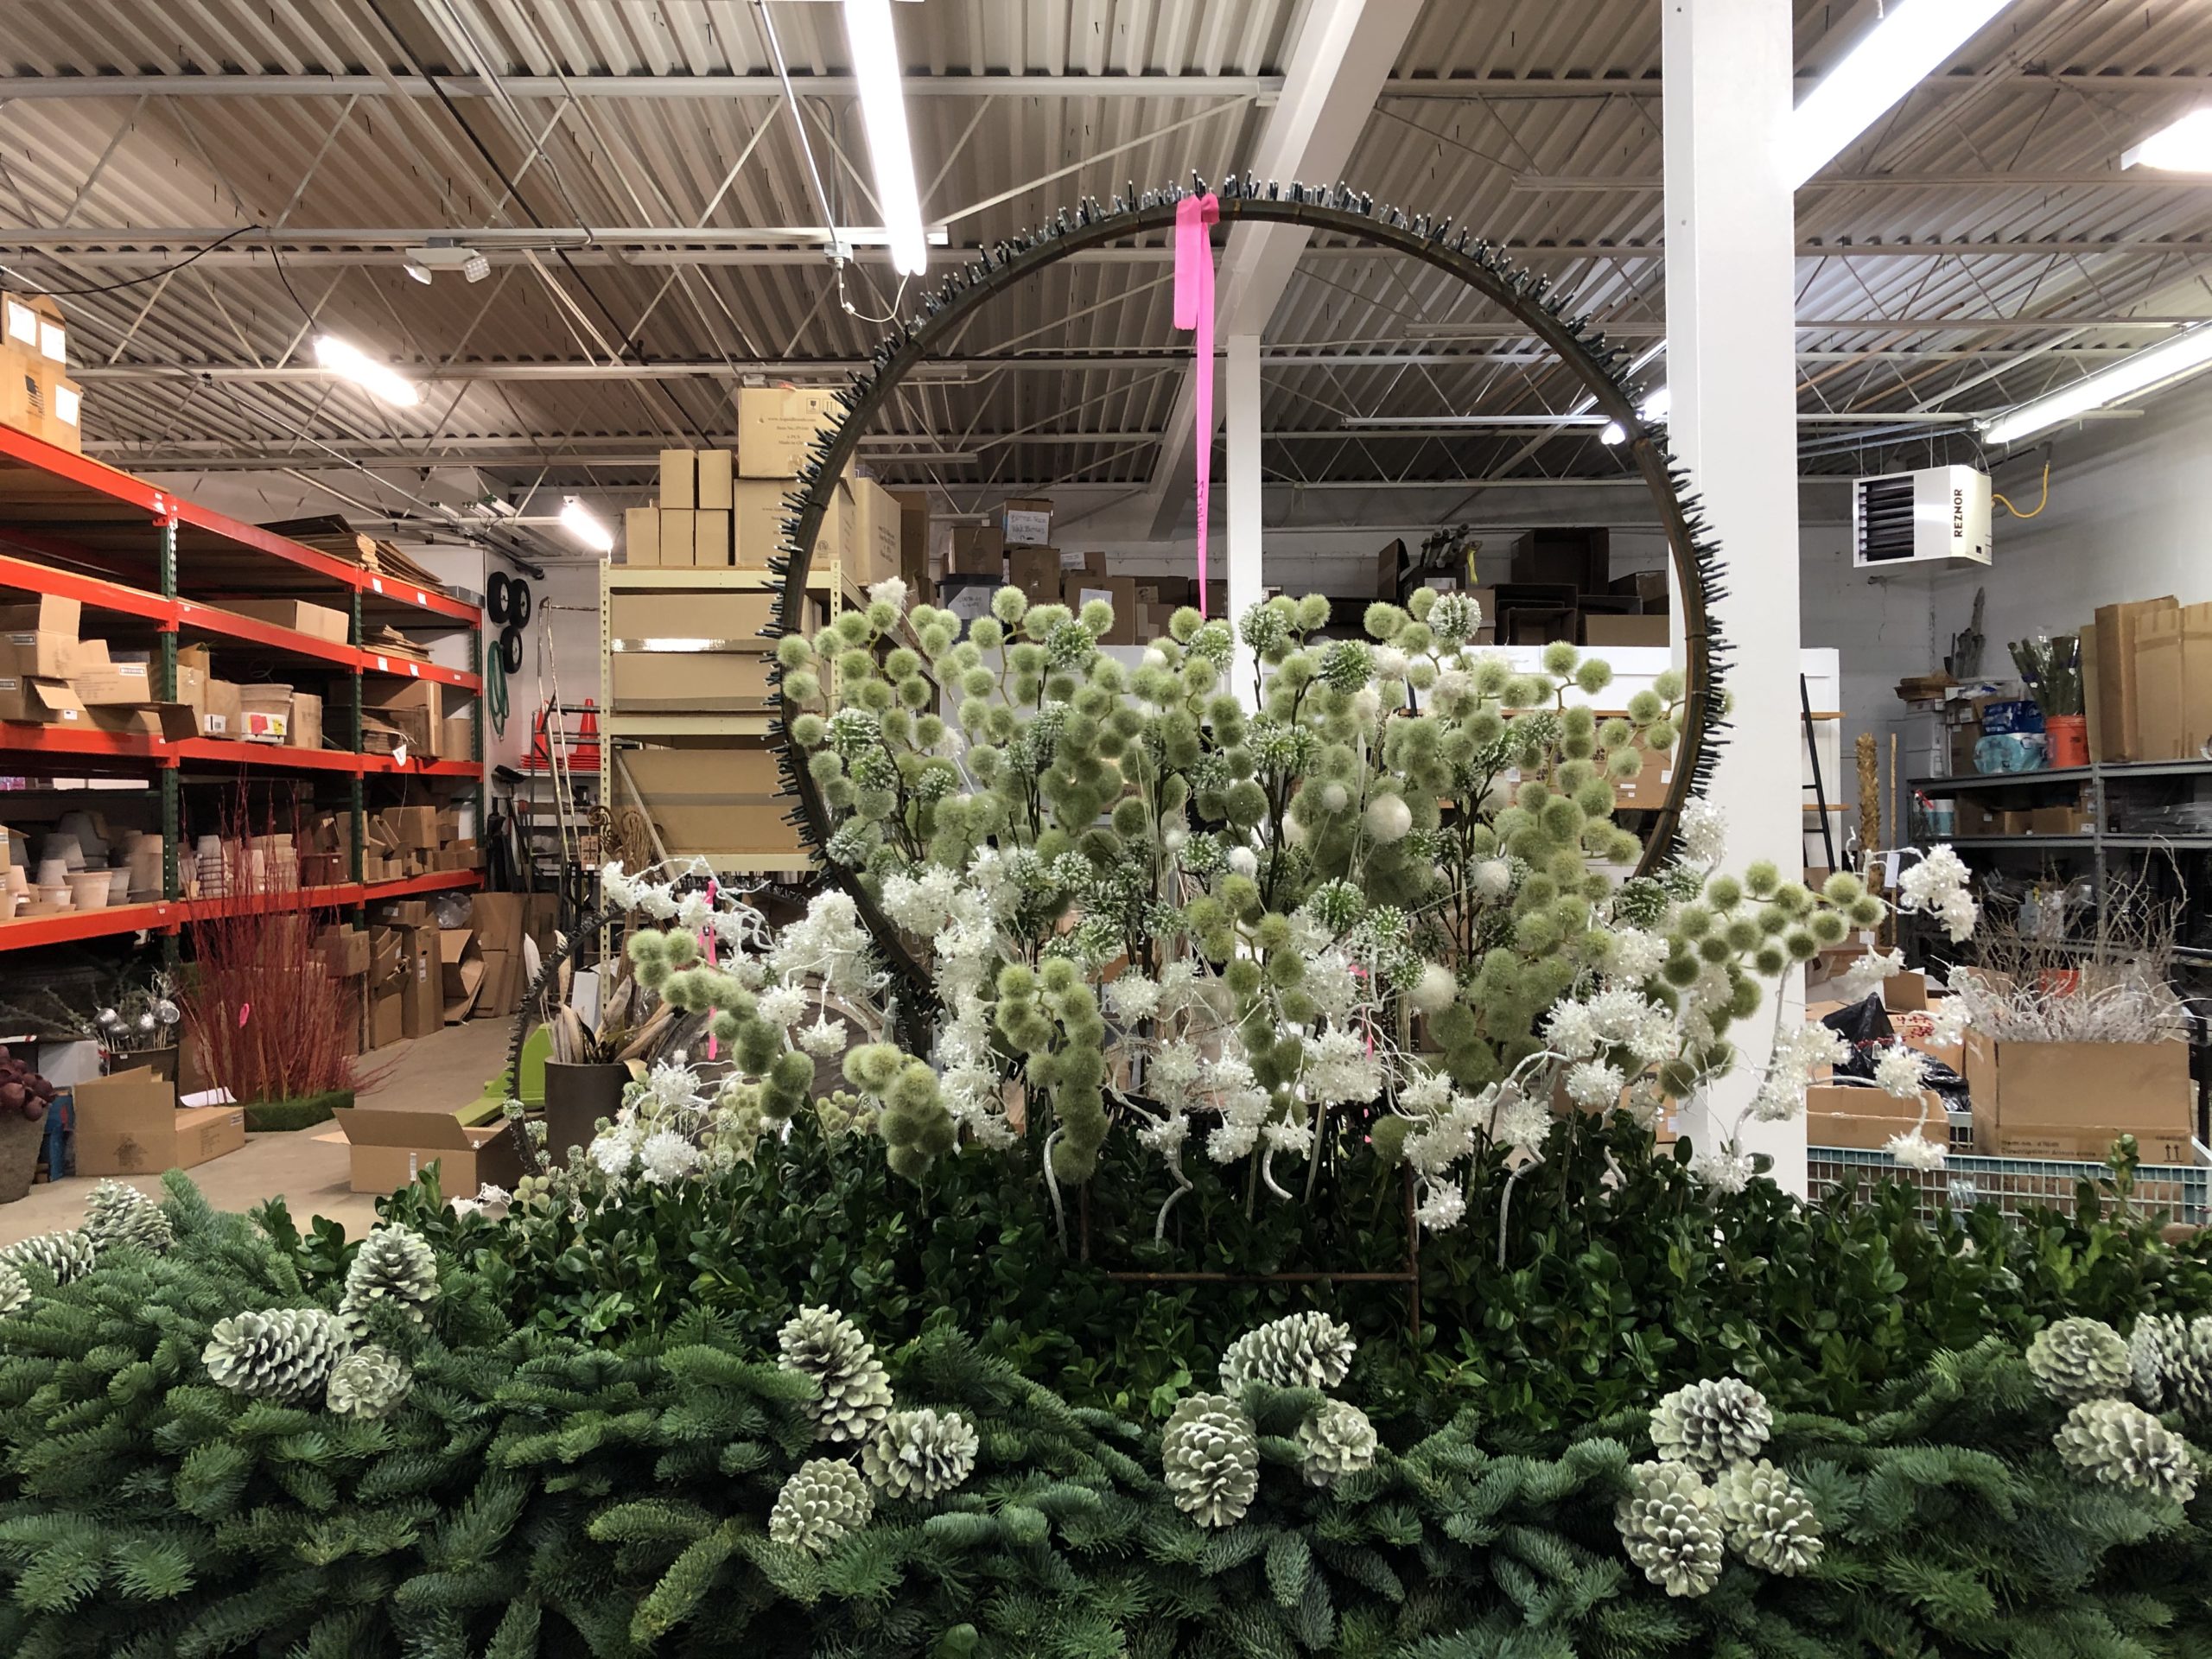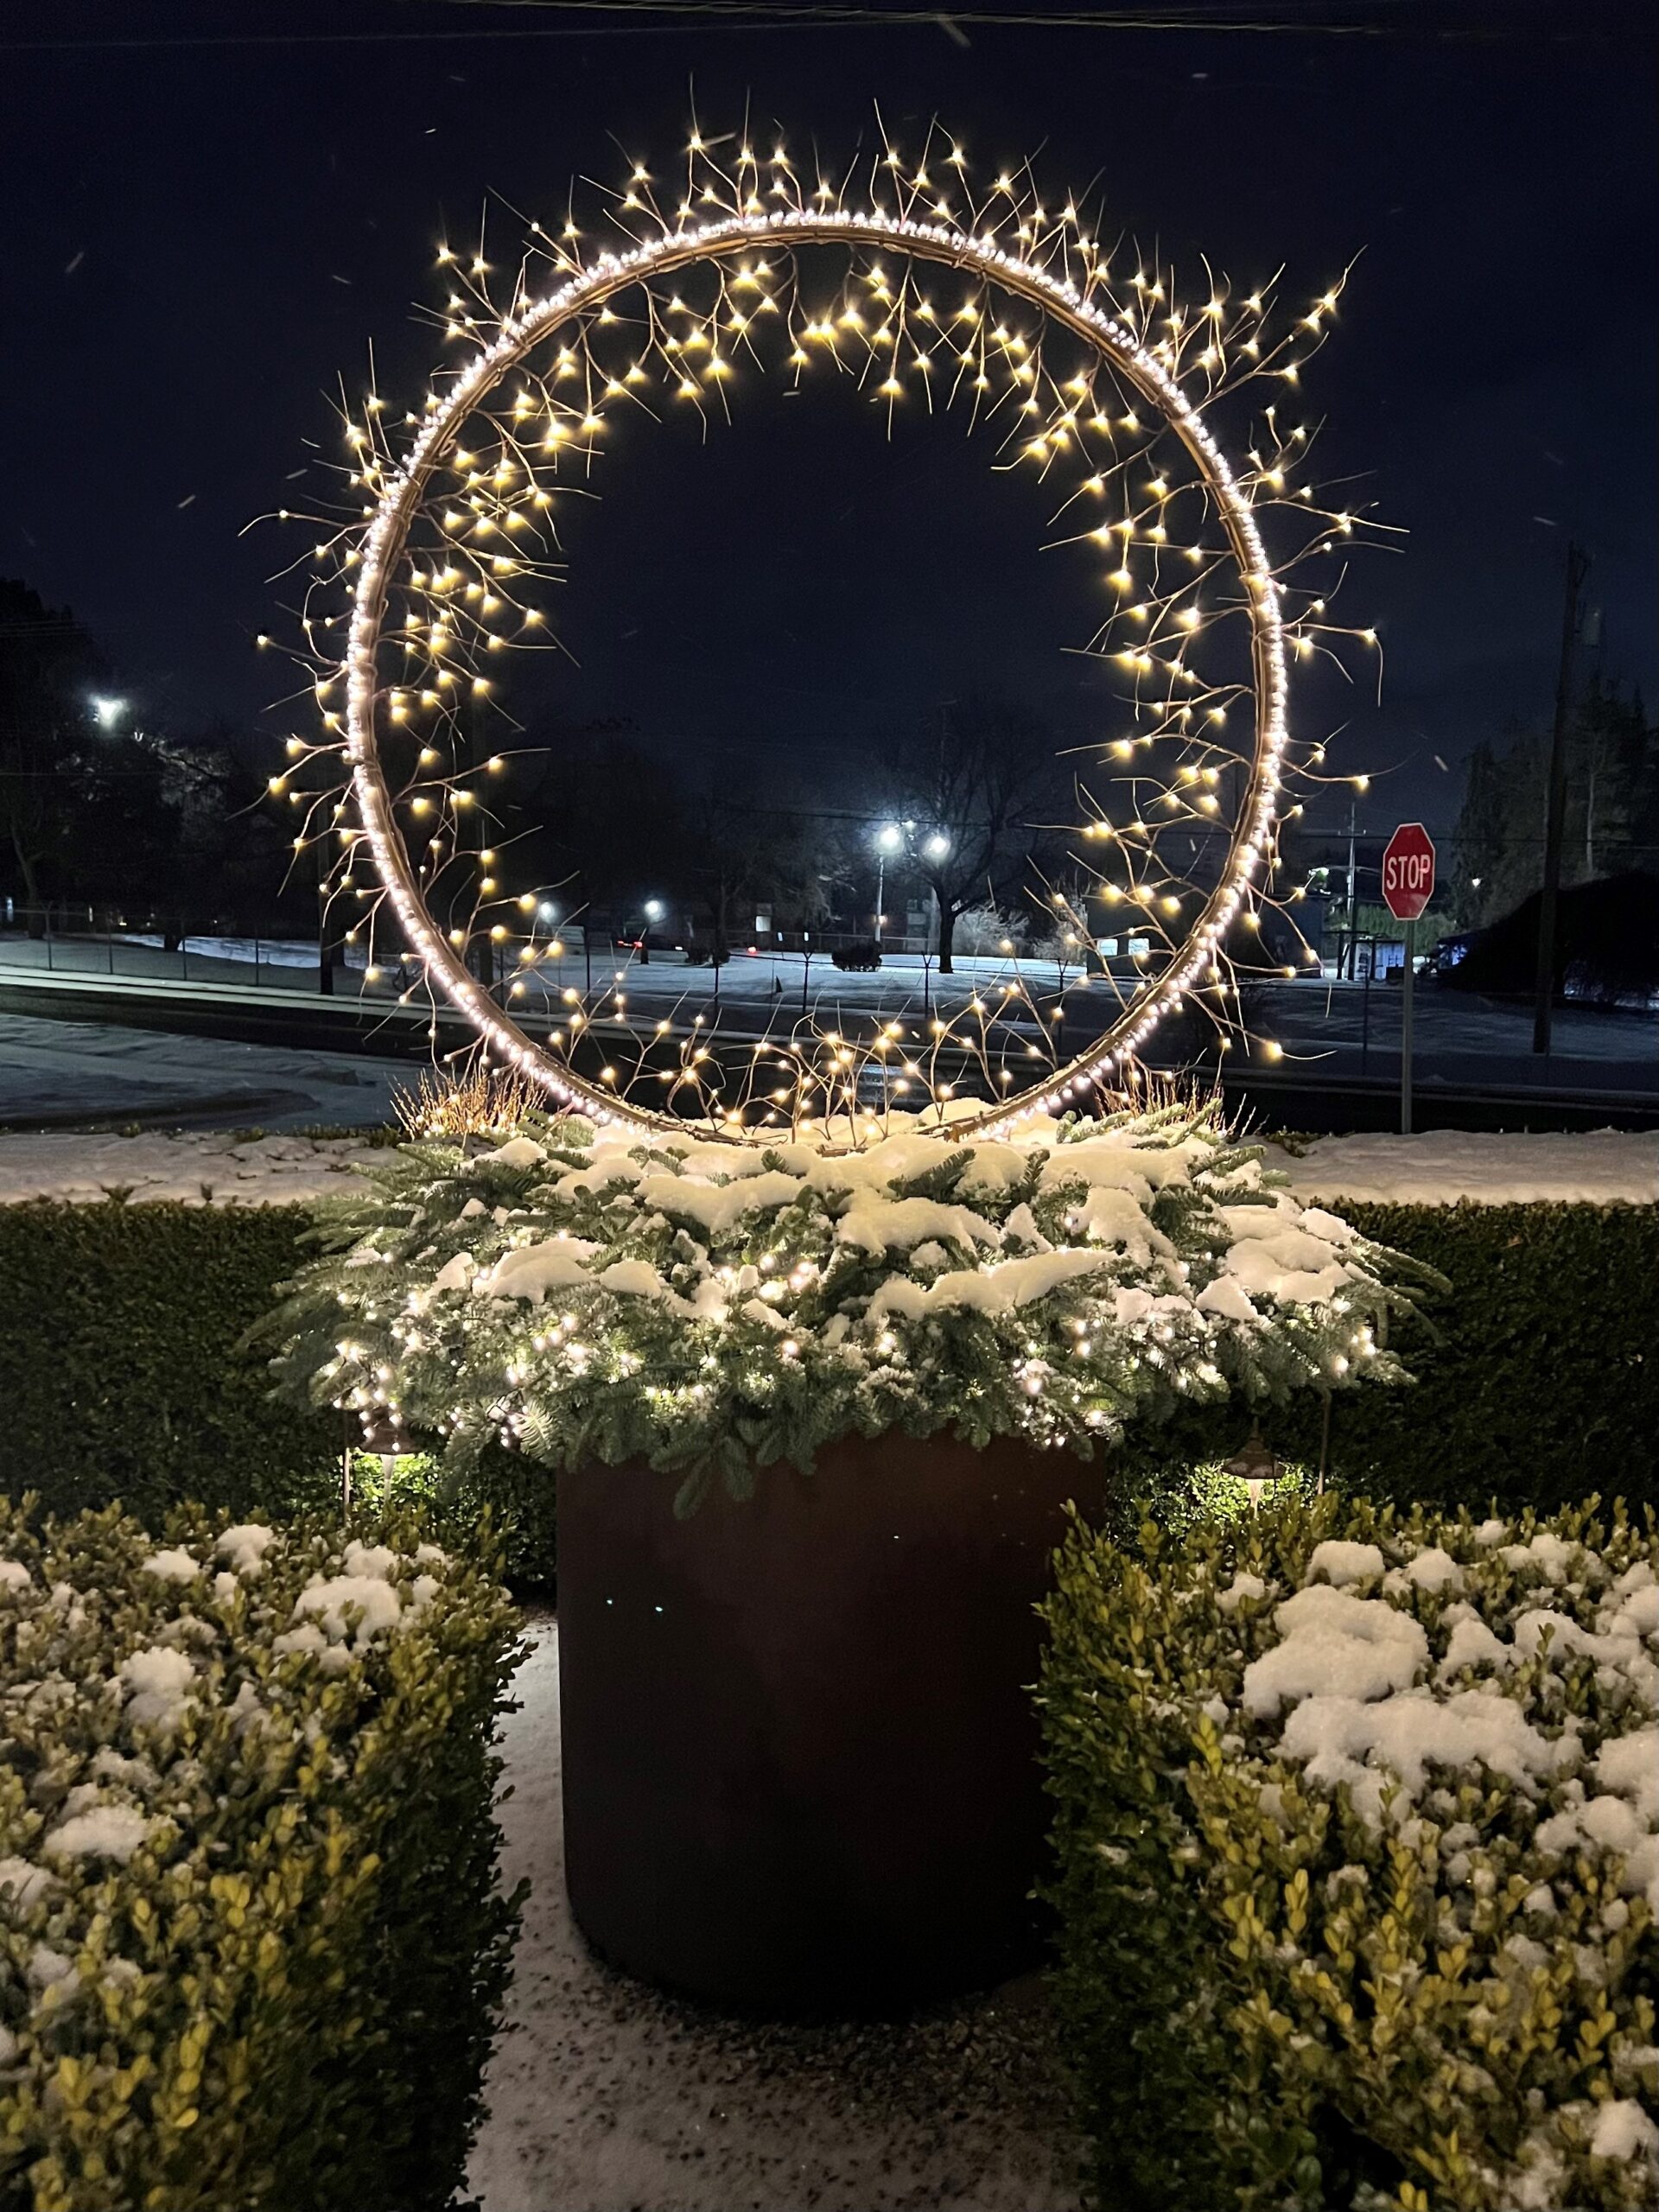
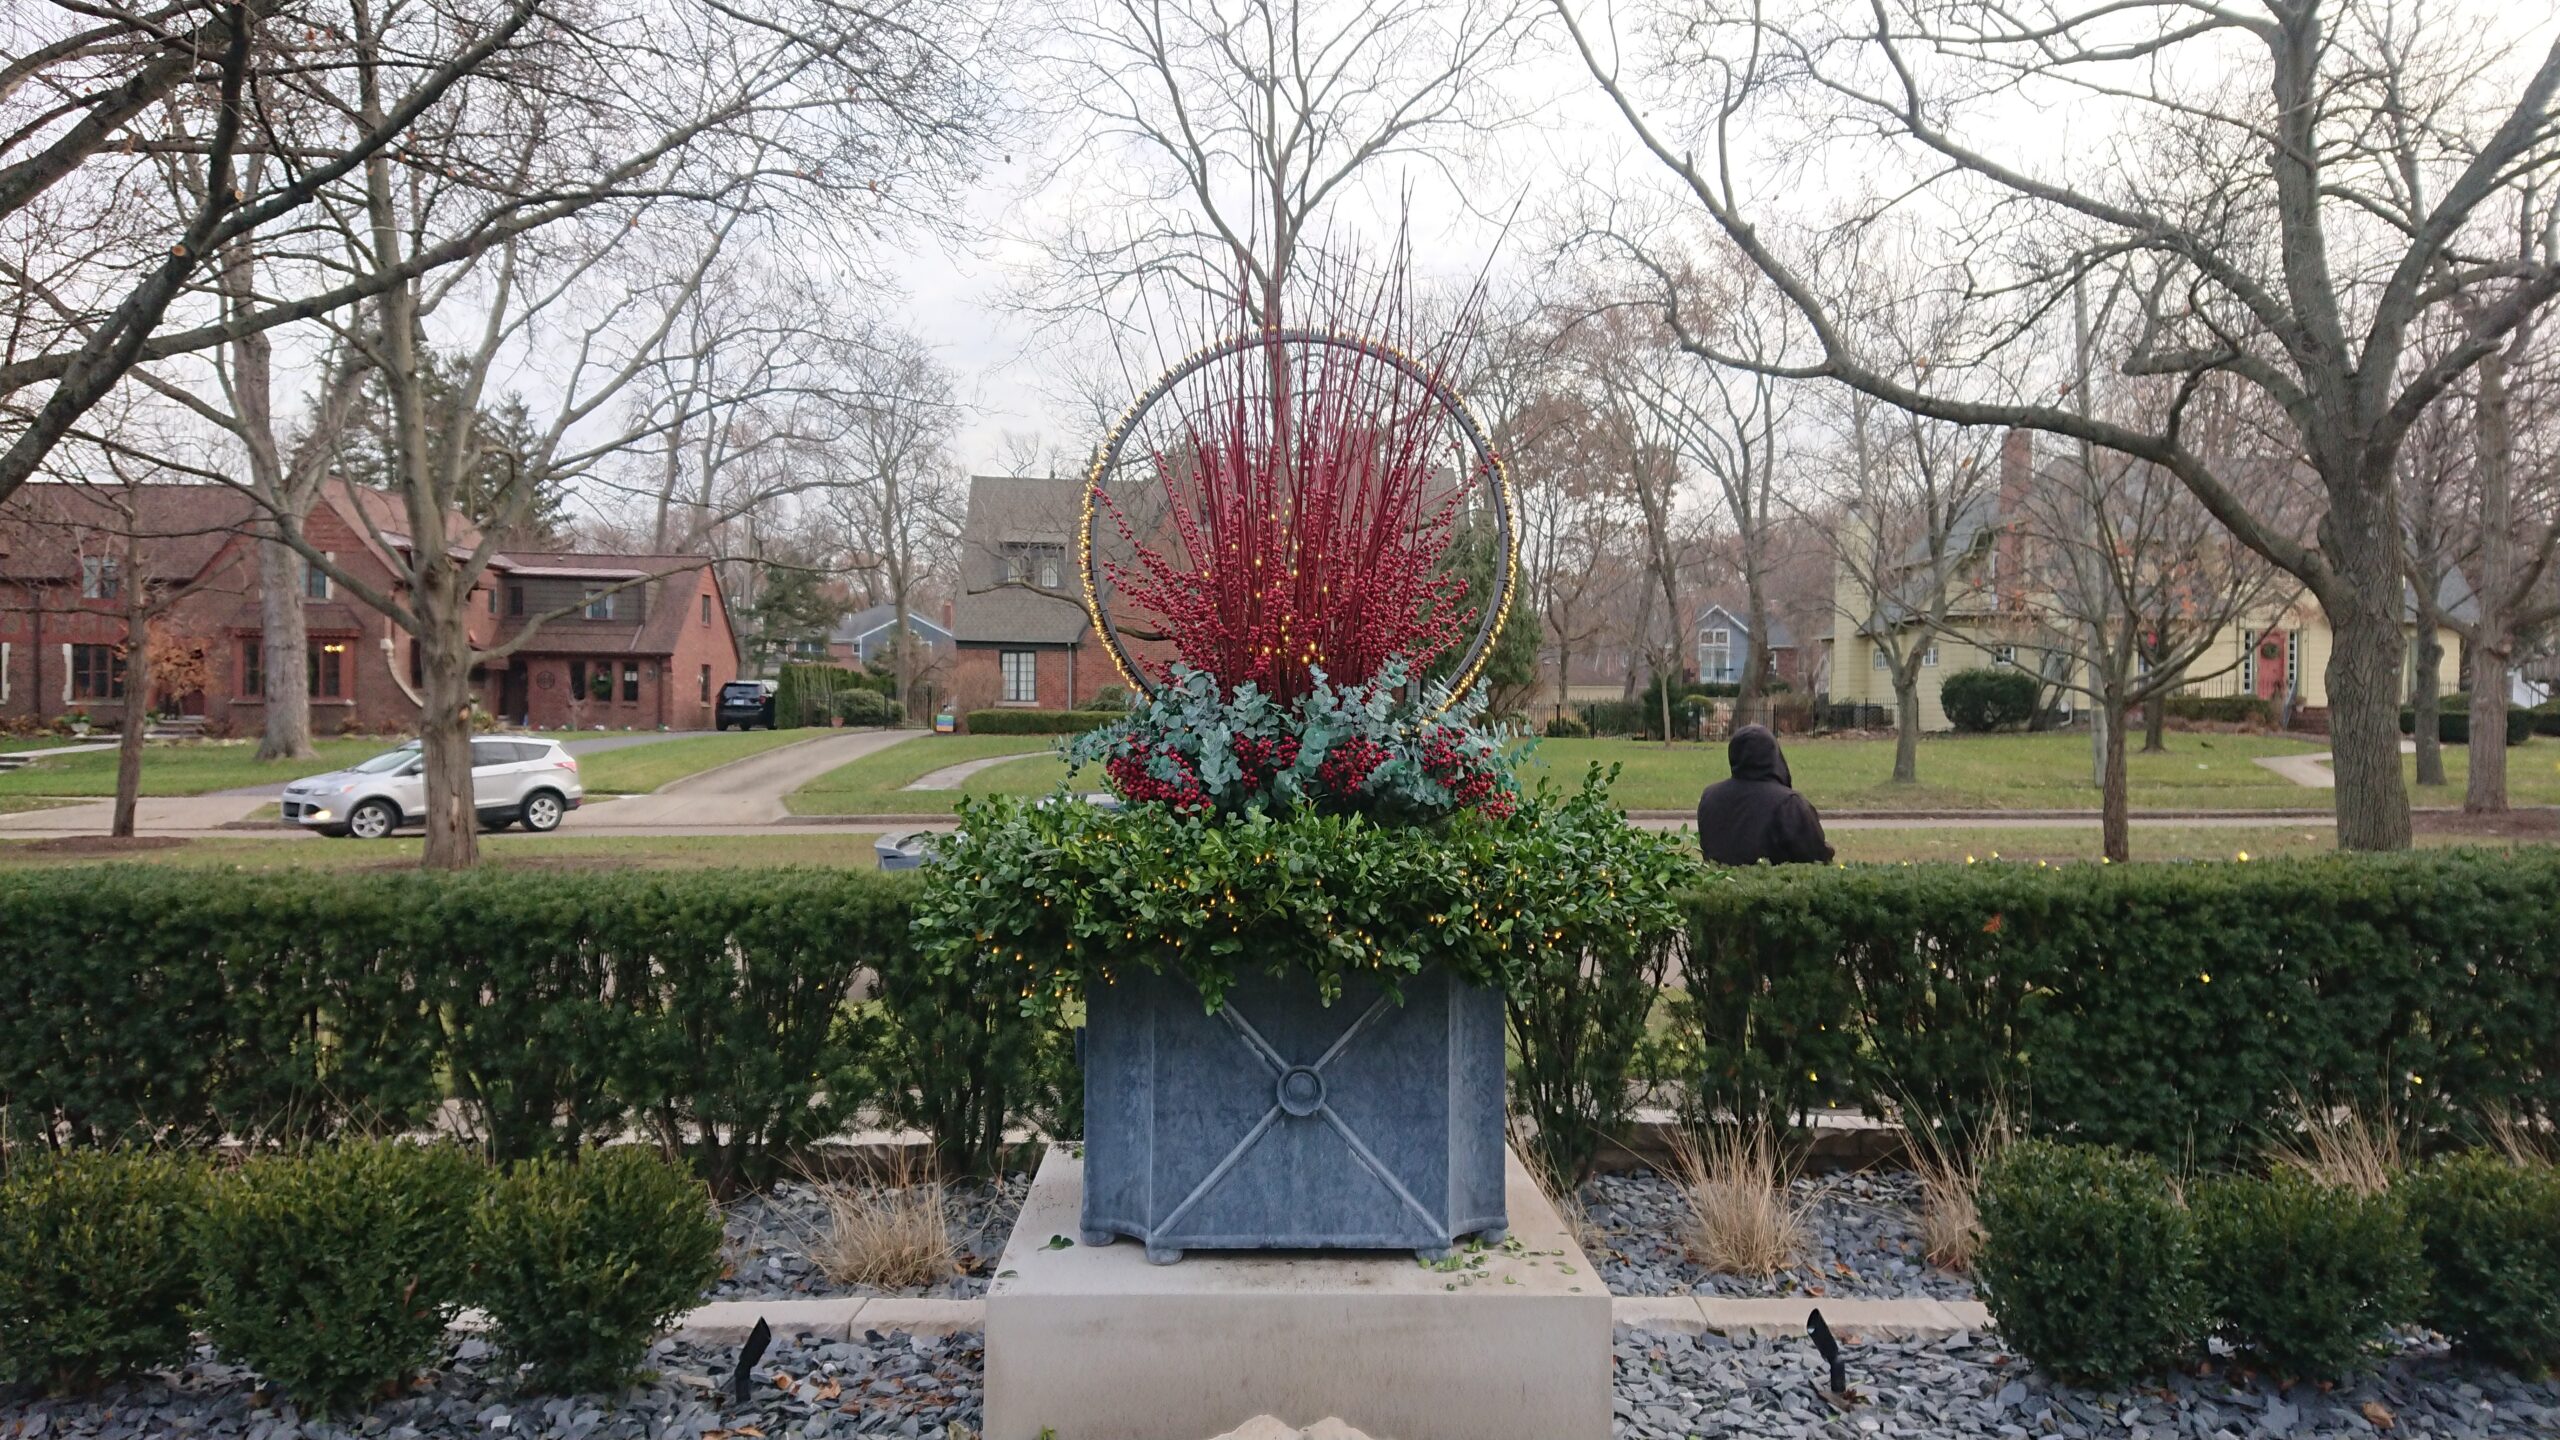
To follow is a visual collection of light rings which we have placed in winter containers over the past 15 years or so. This first picture is a detail of the last. The last picture features our current display of them at the shop. I am very pleased that adding strings of twig garland lights proved to be transformative. We will go on making them – in one form or another.
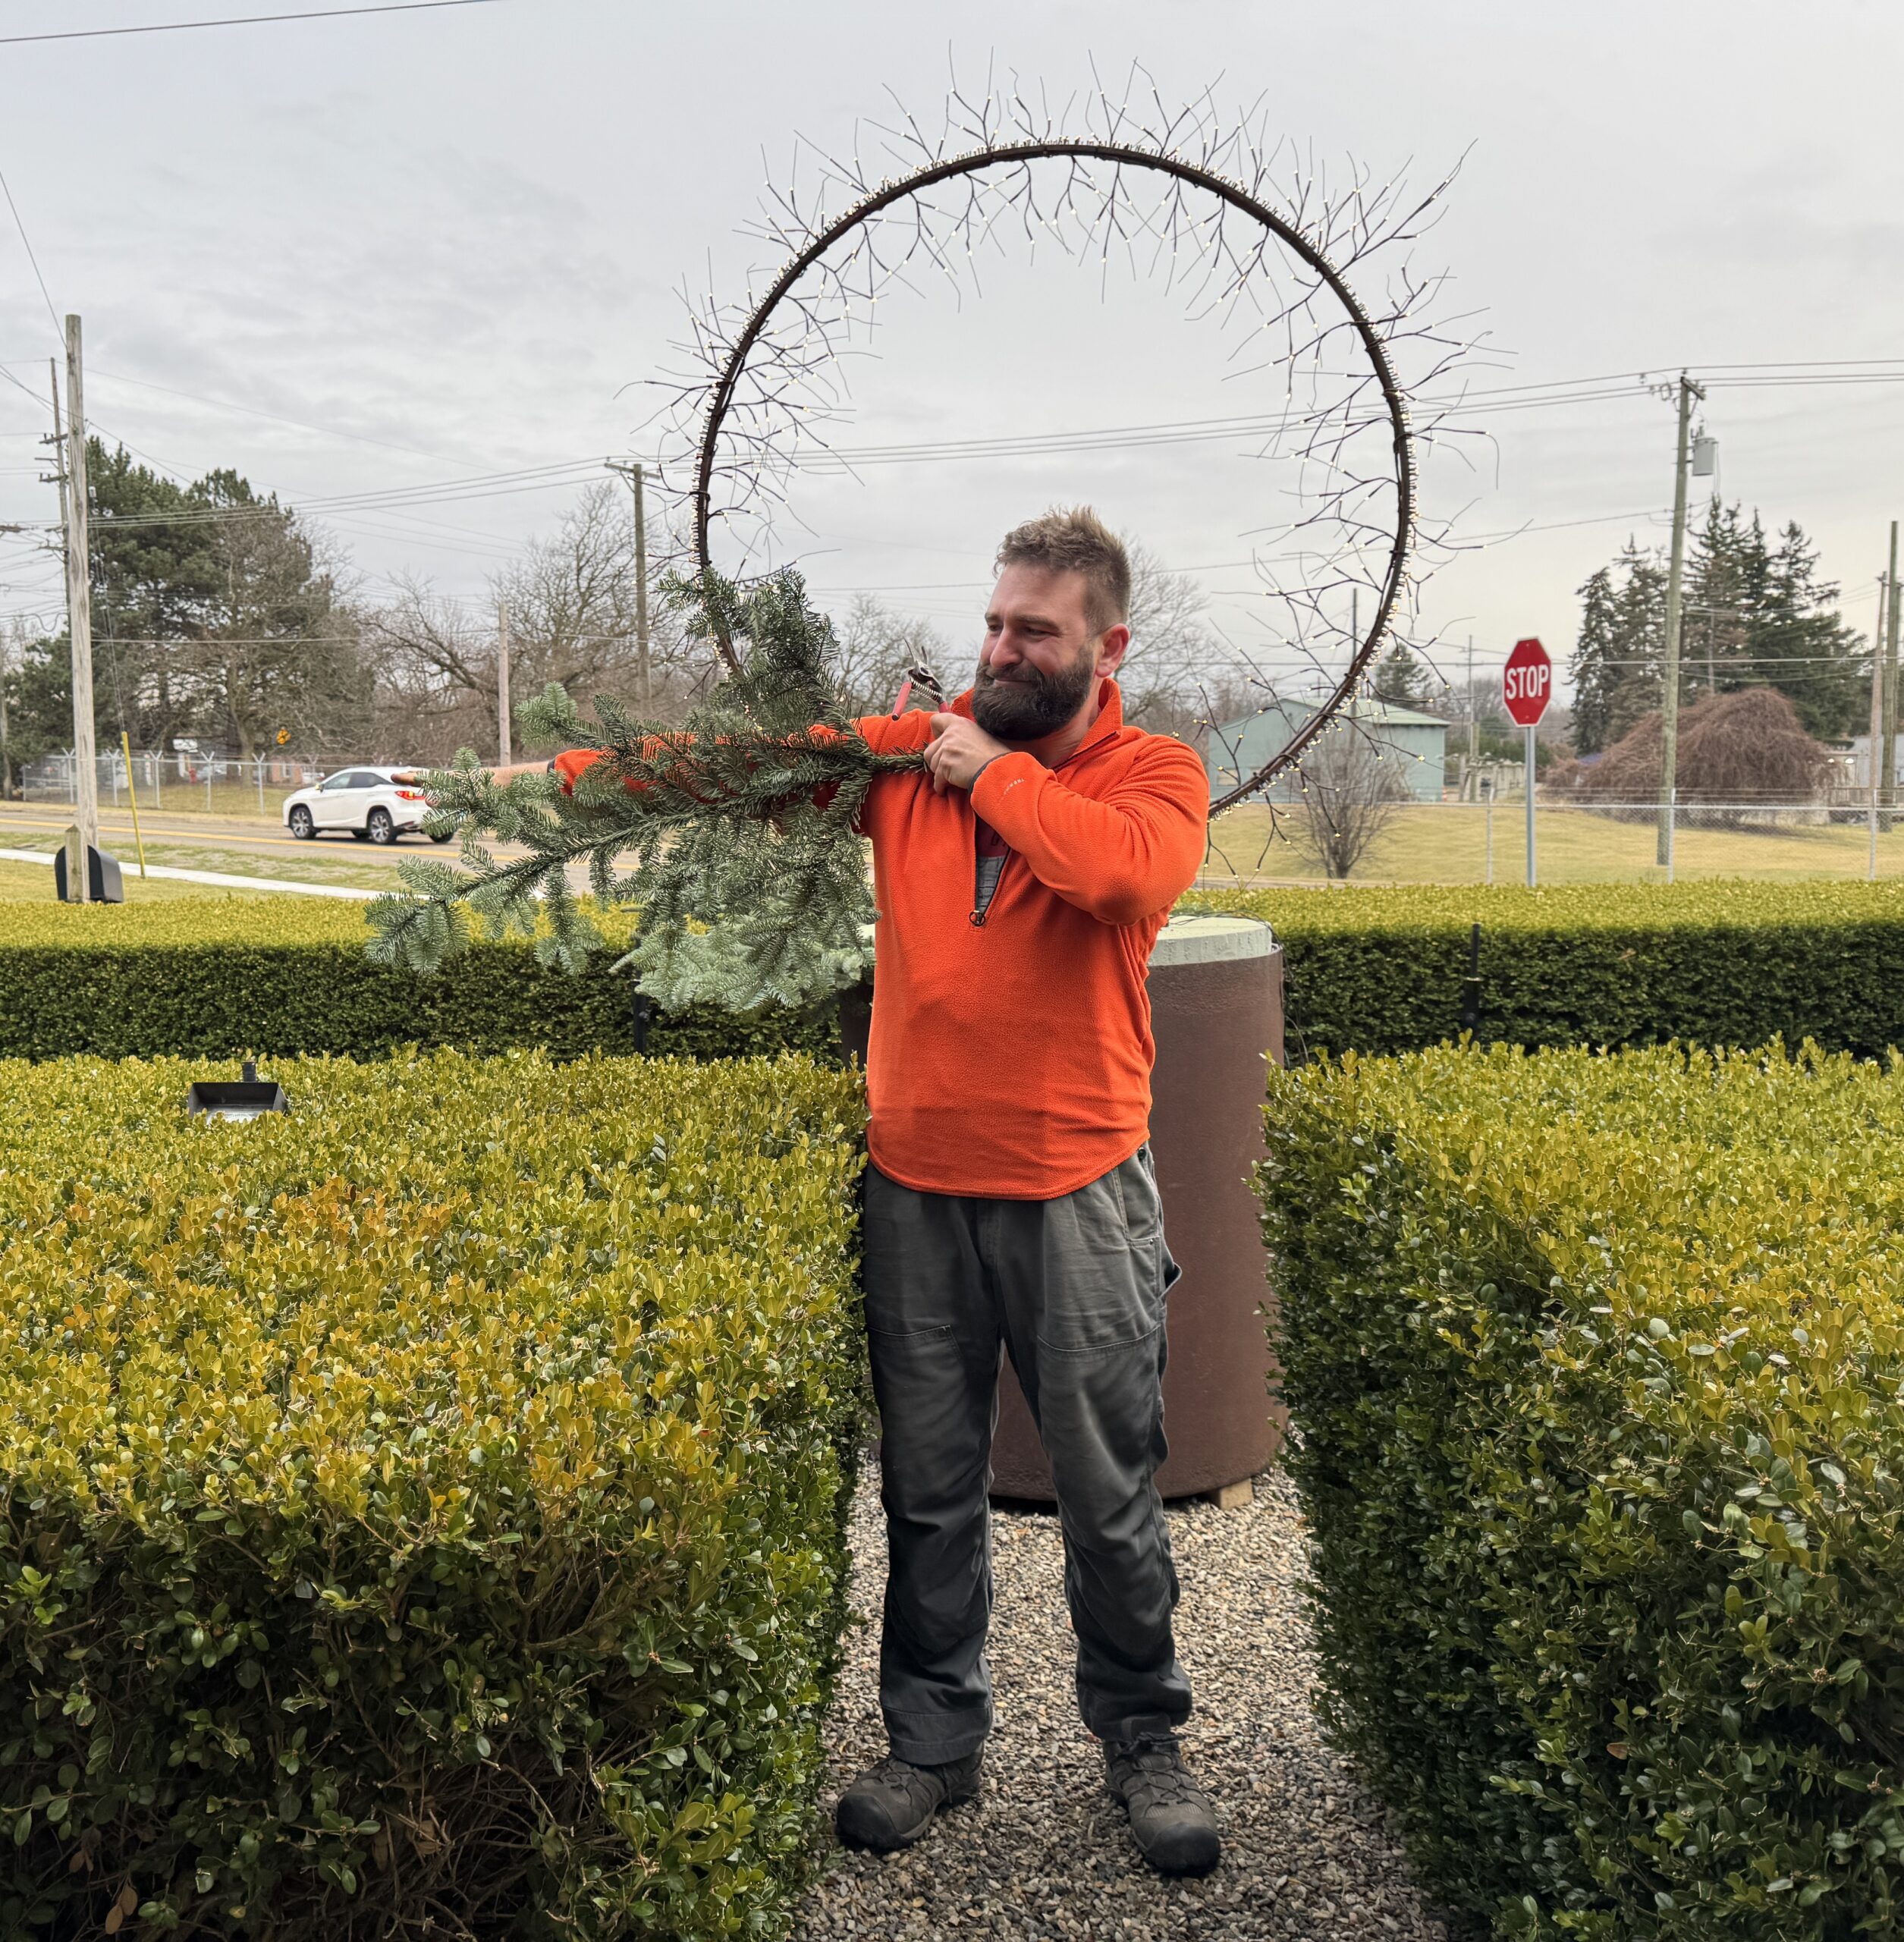
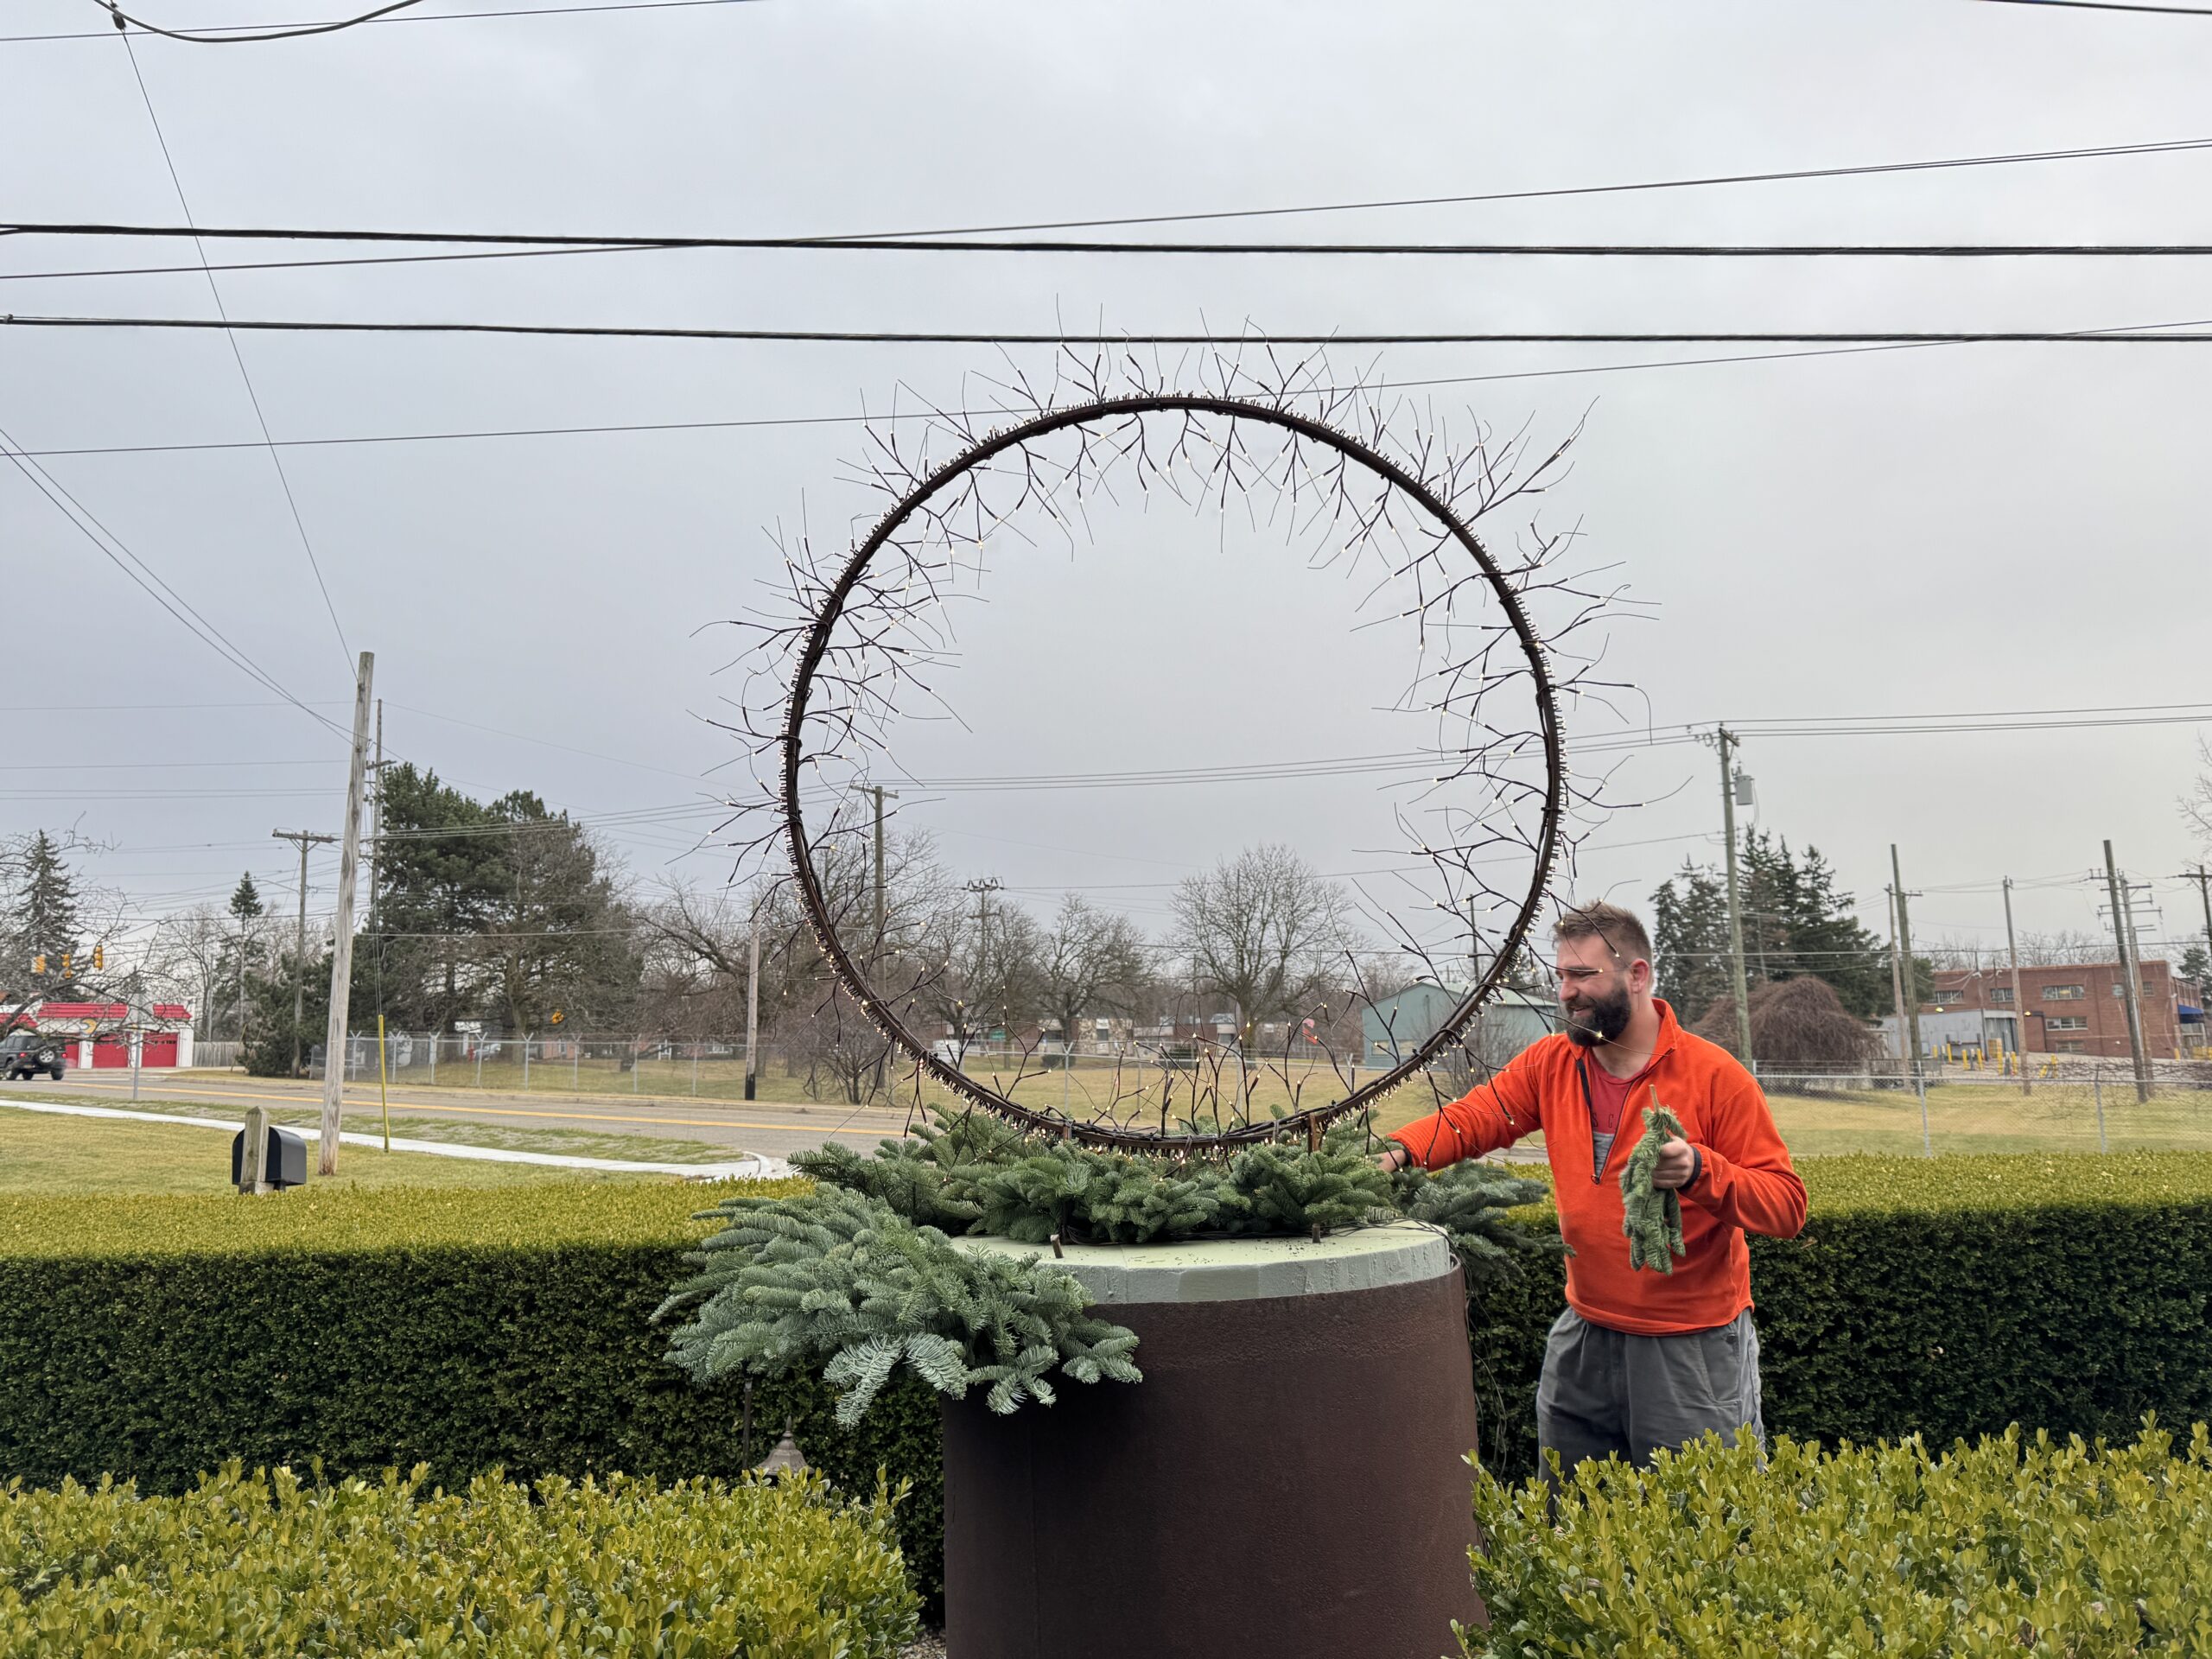
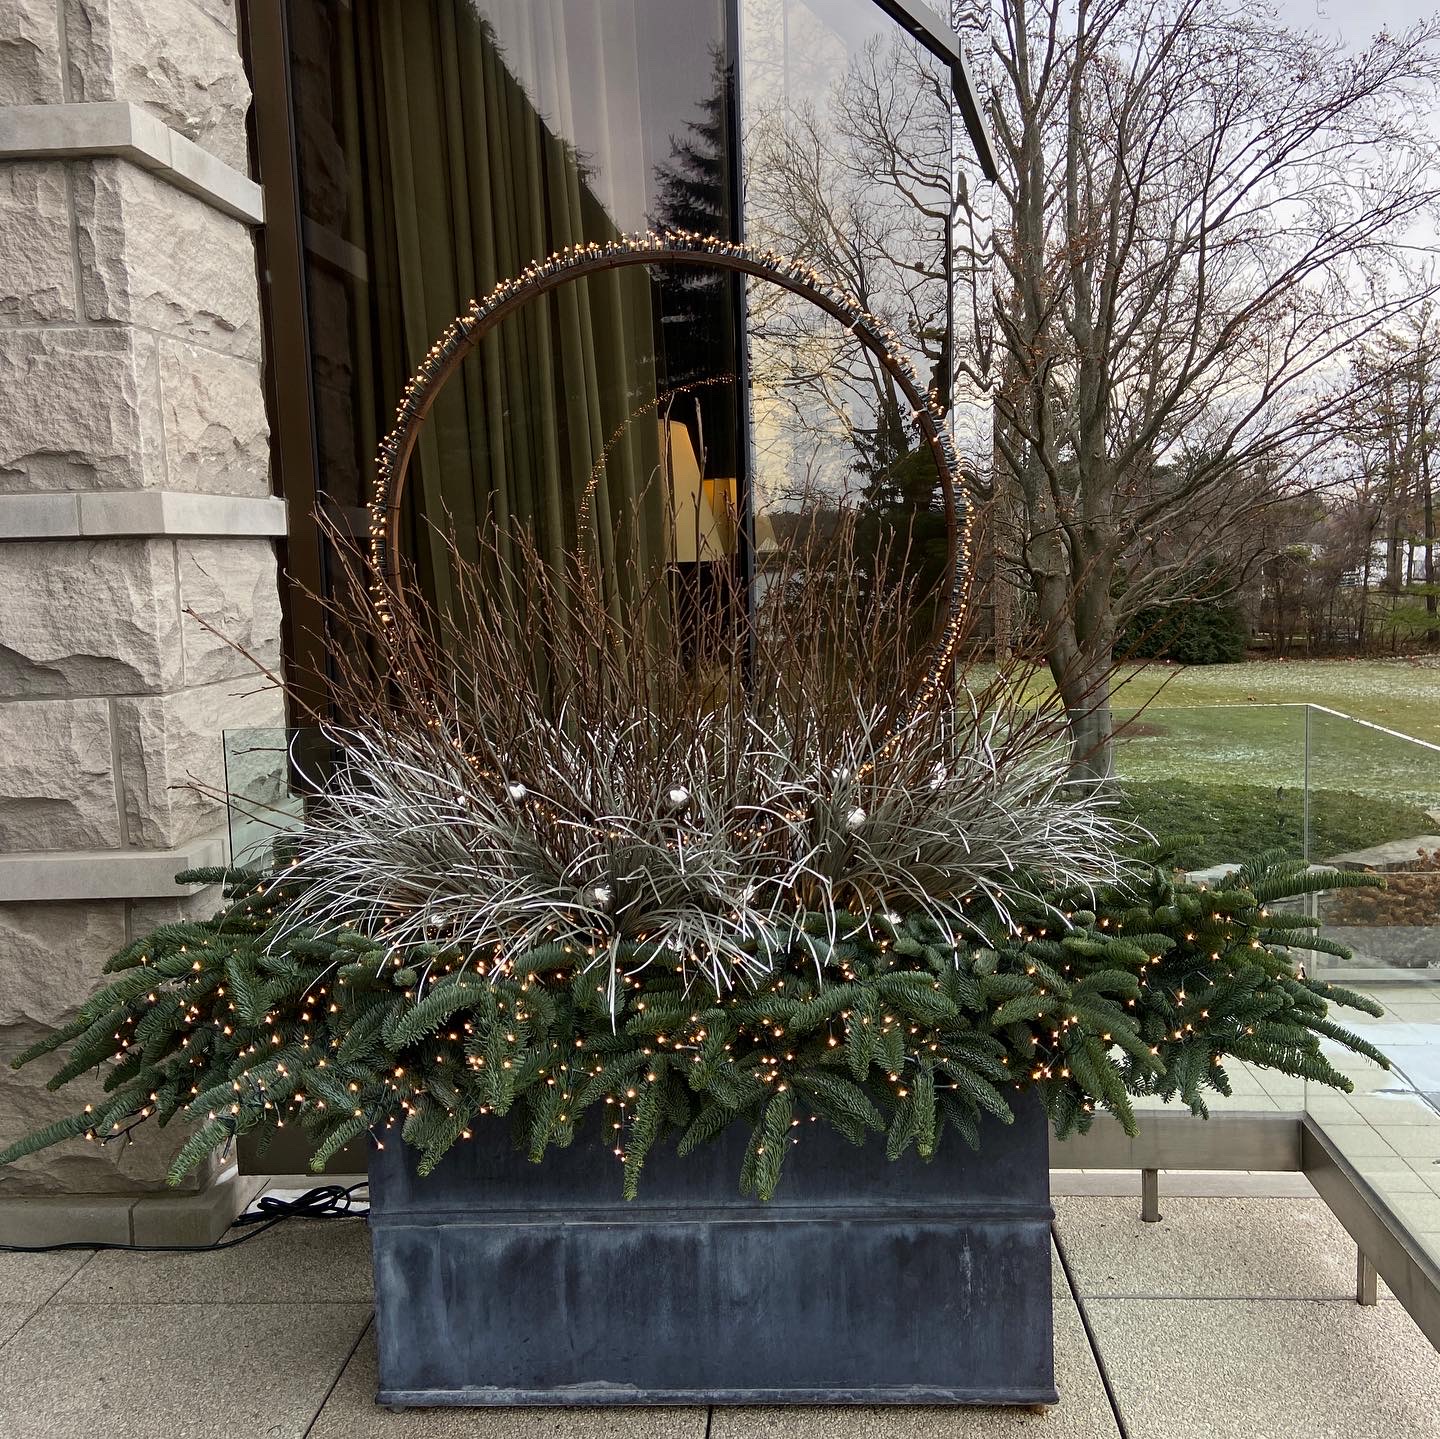
lighted ring lined with fir

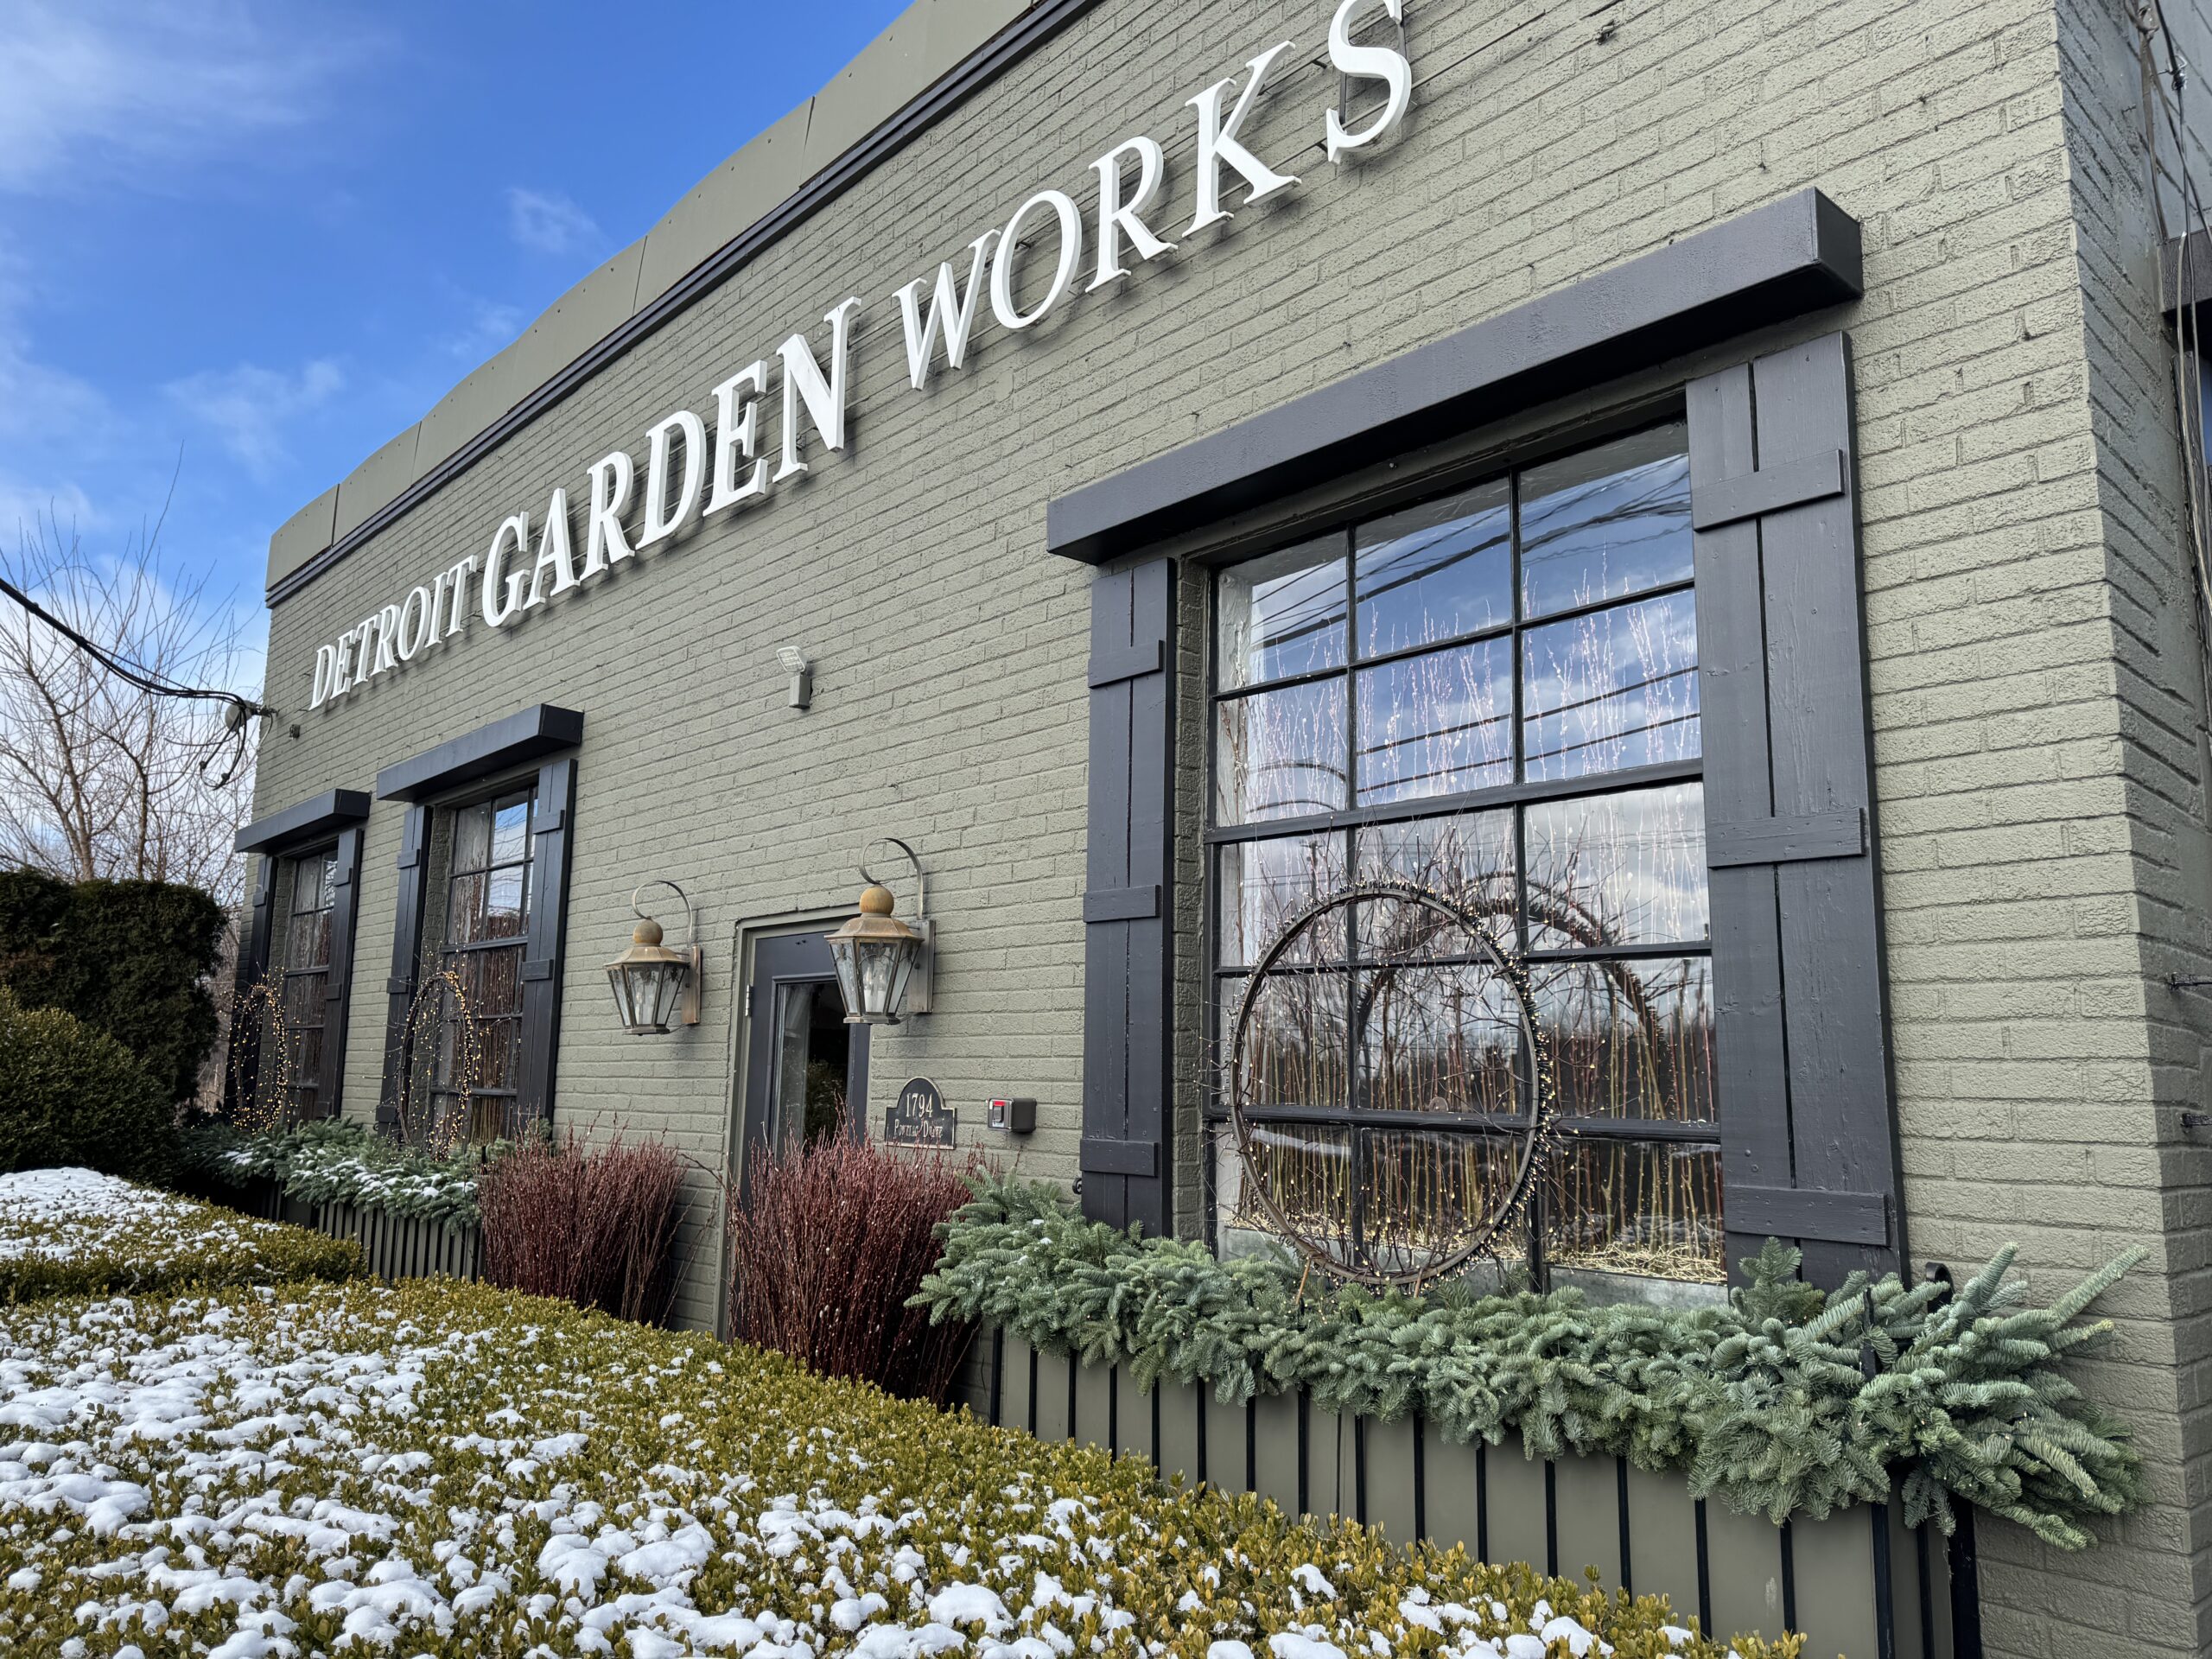
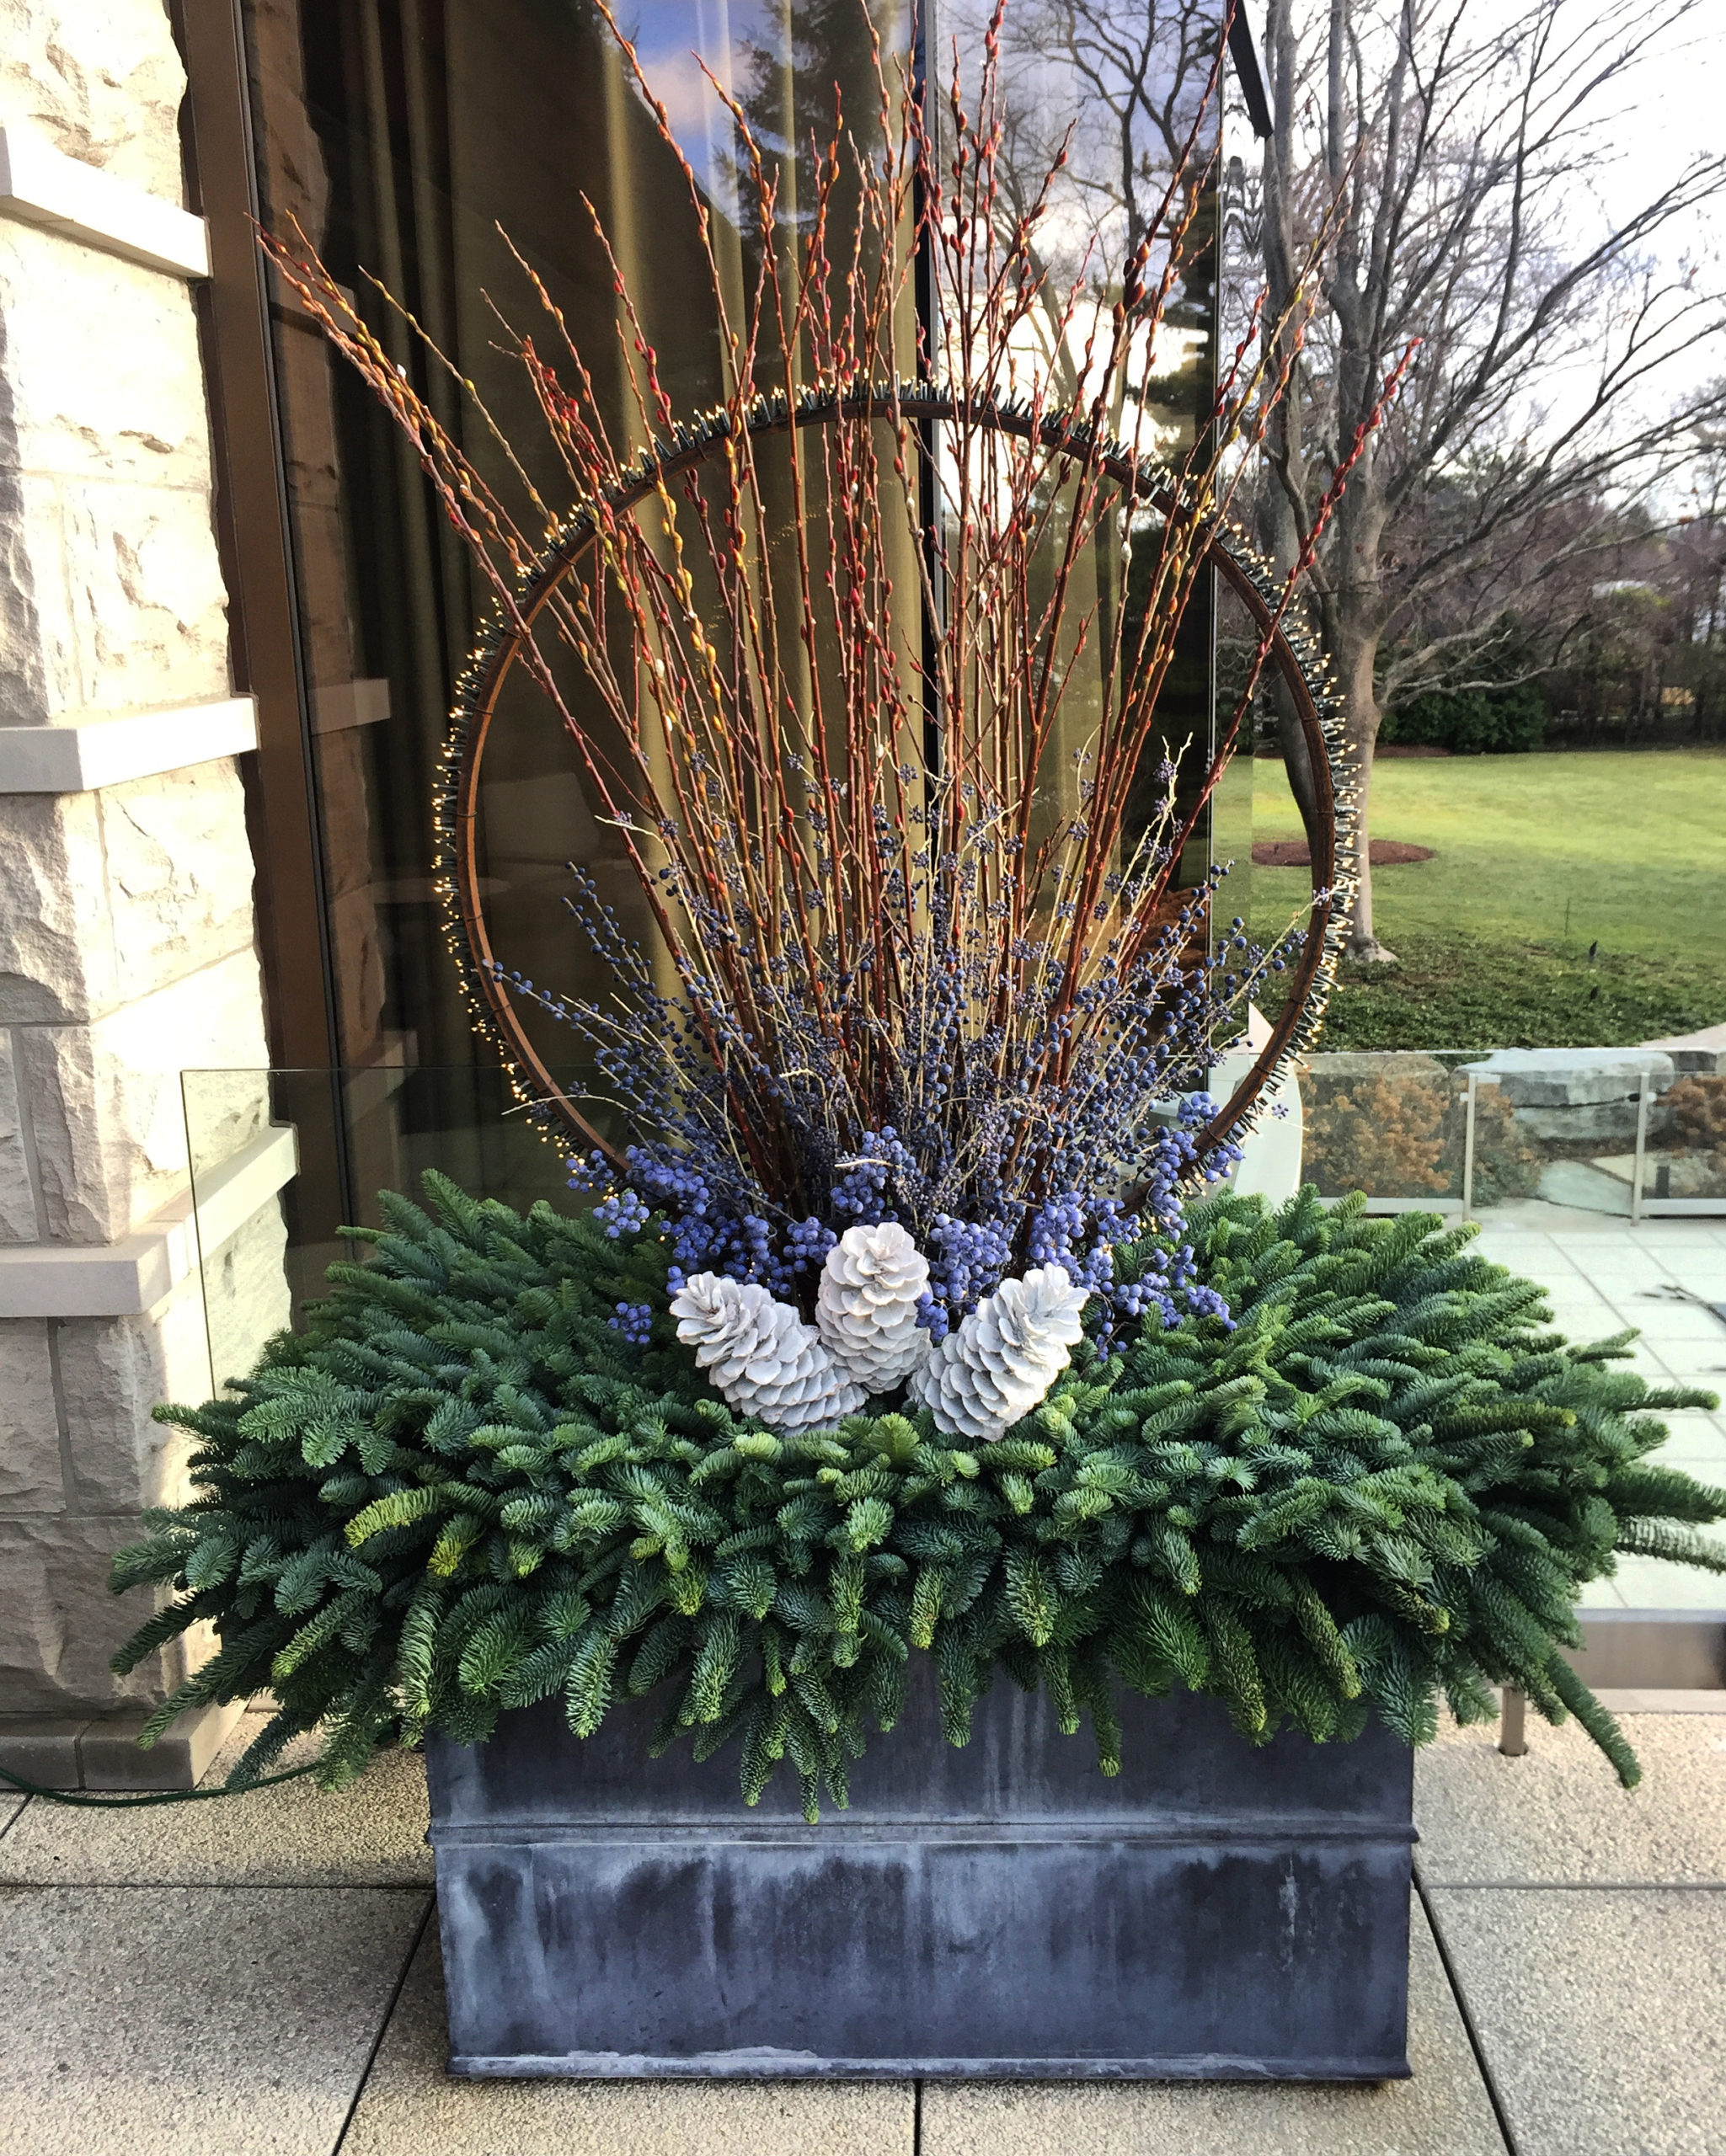
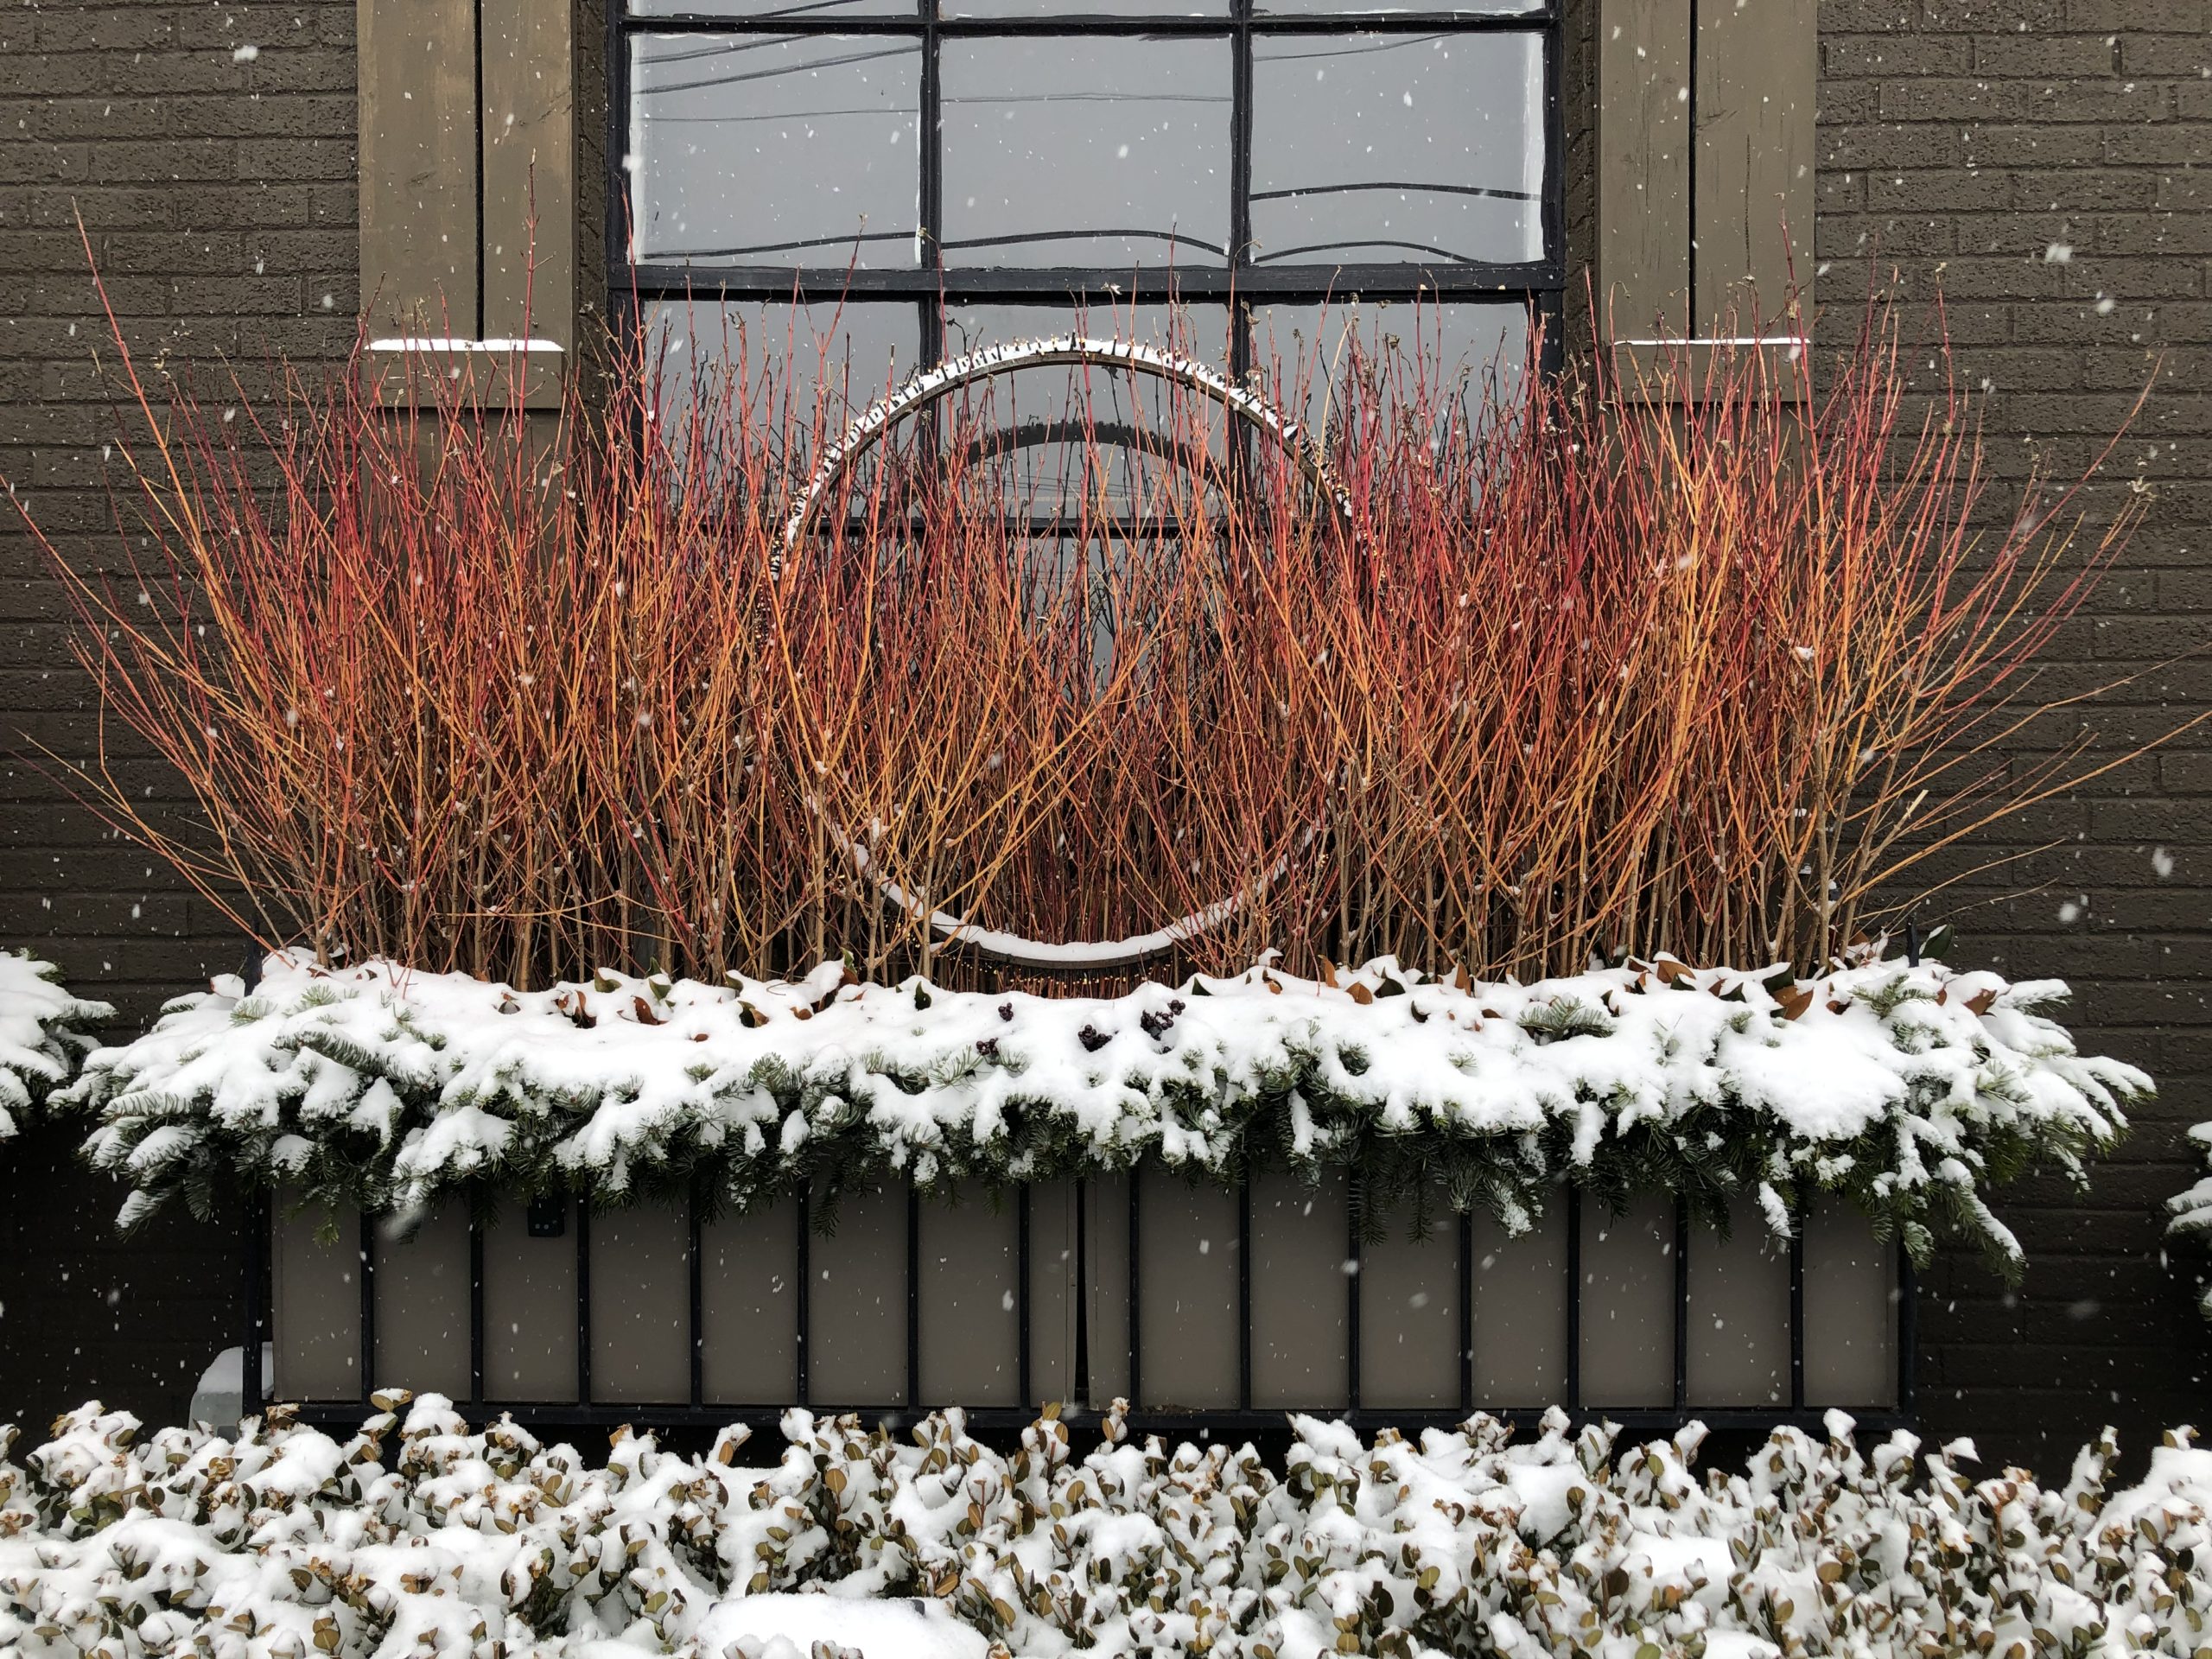
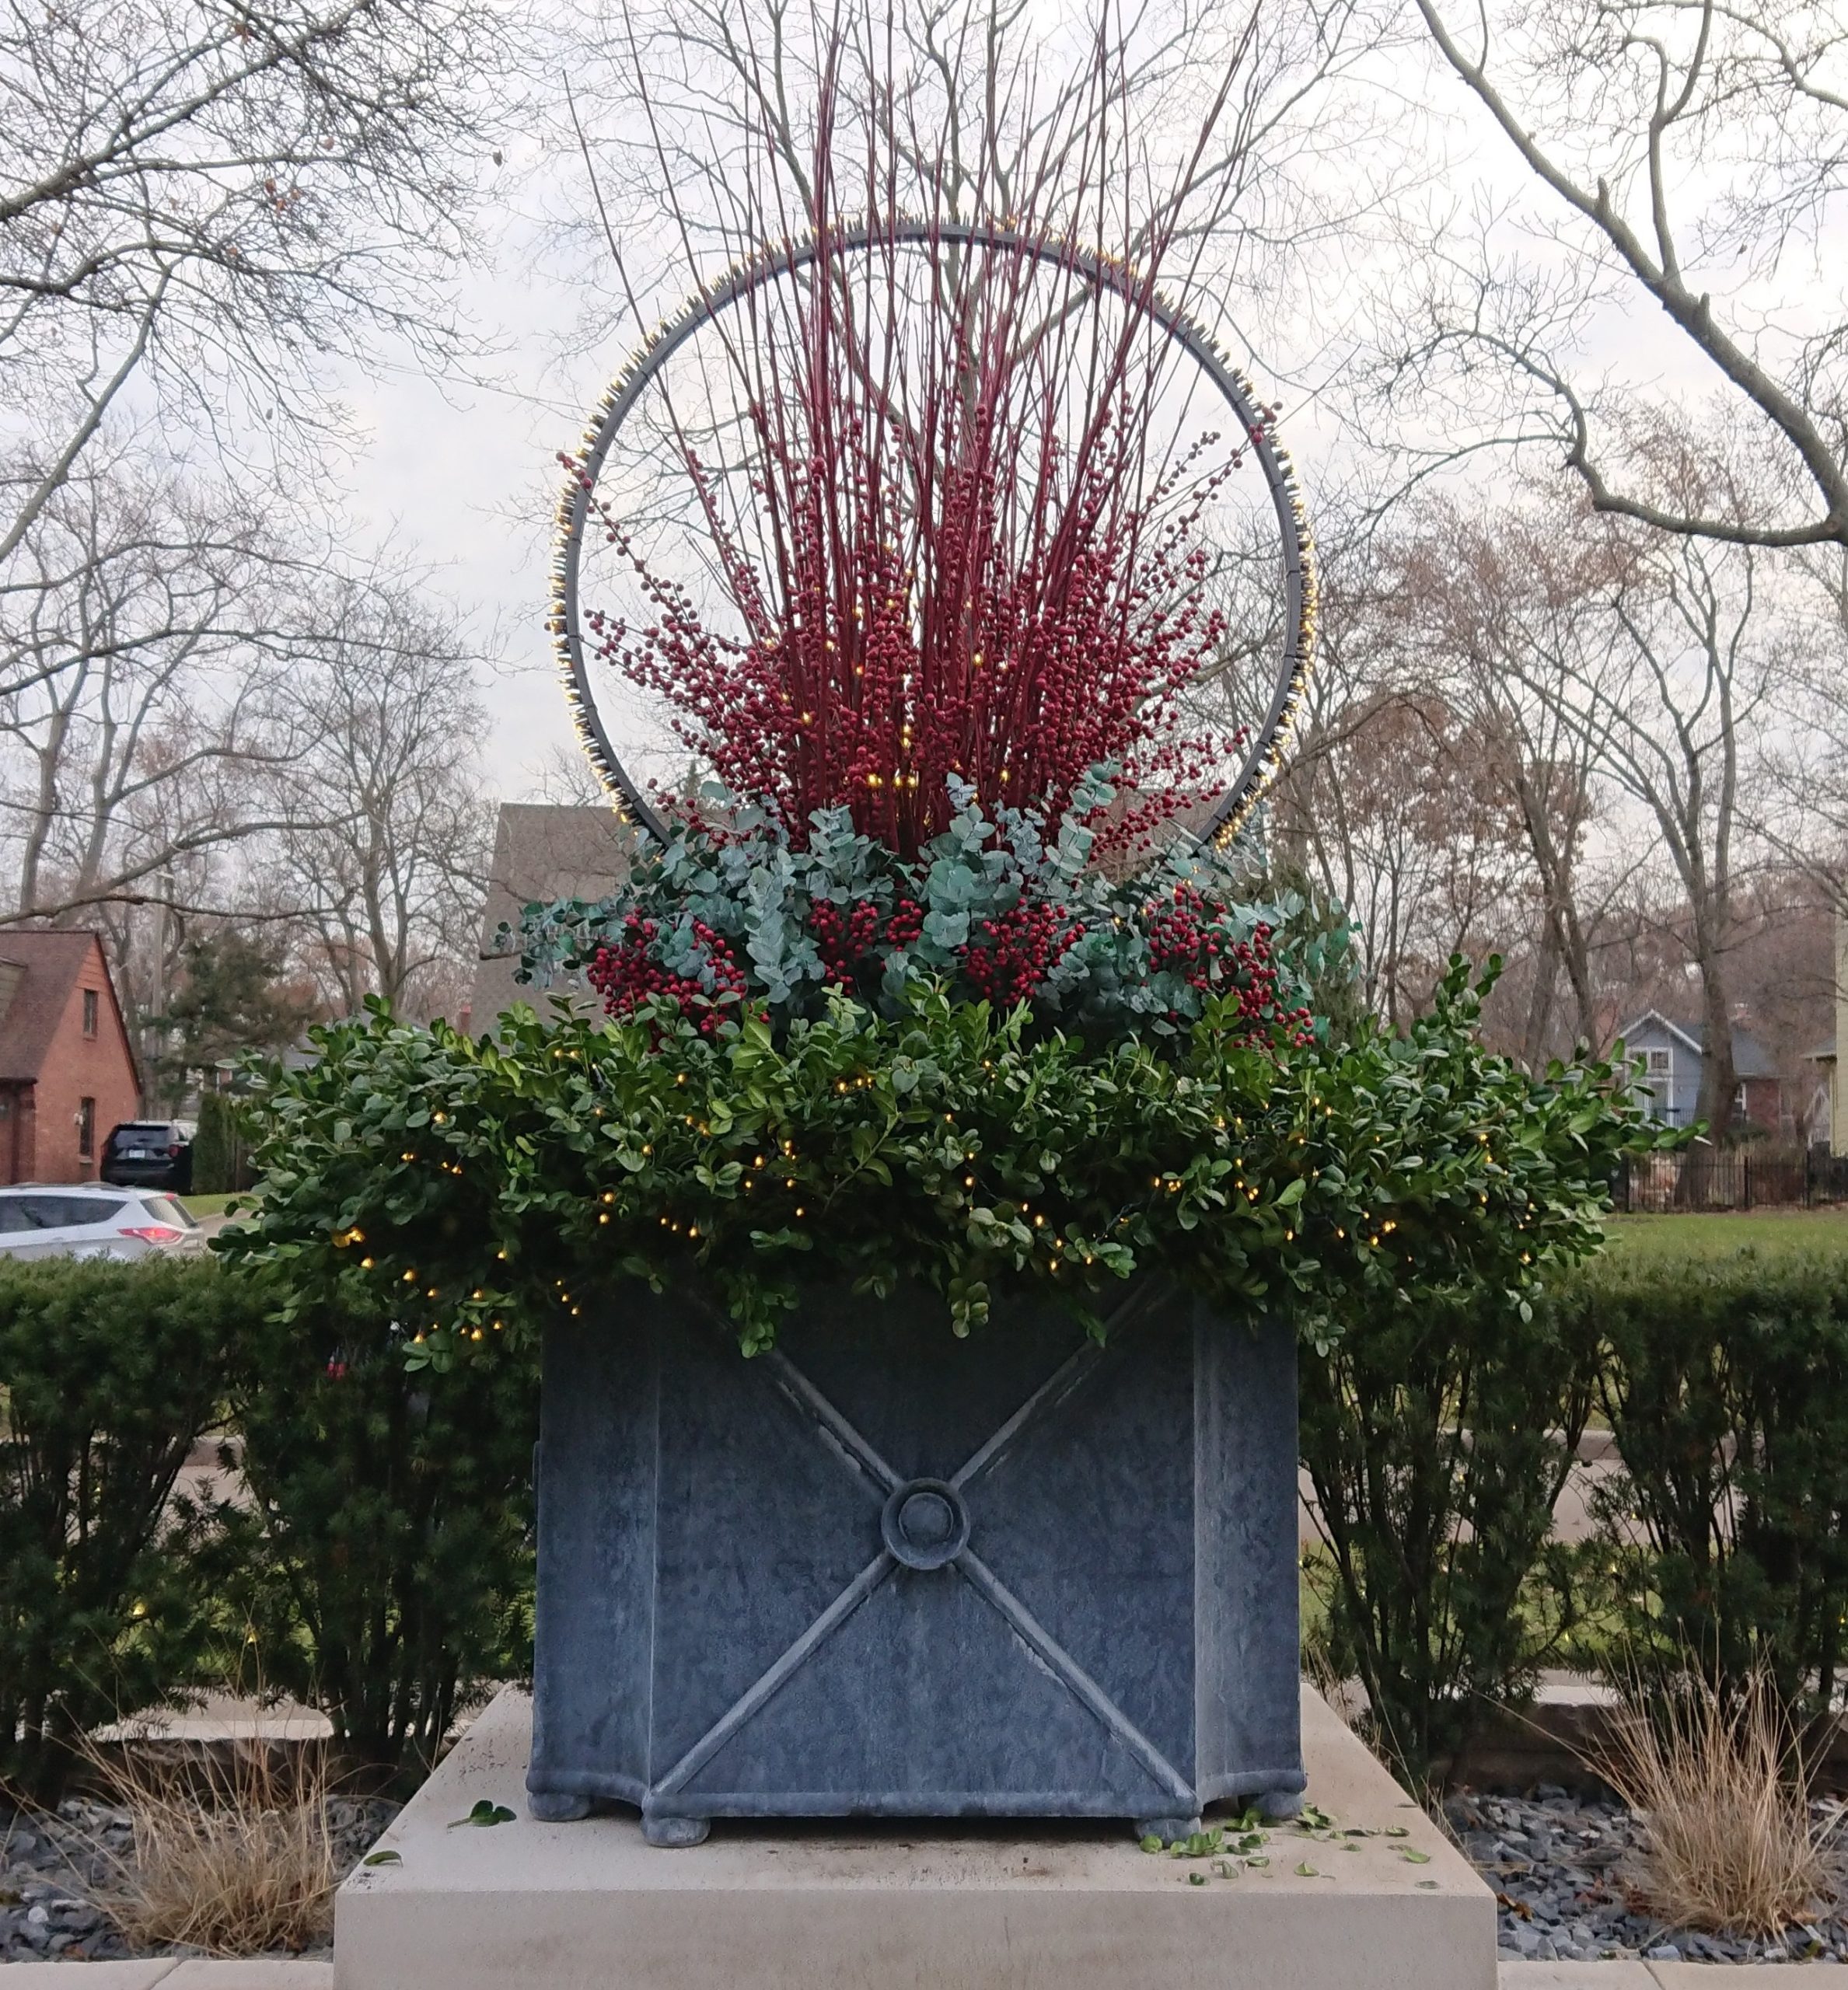
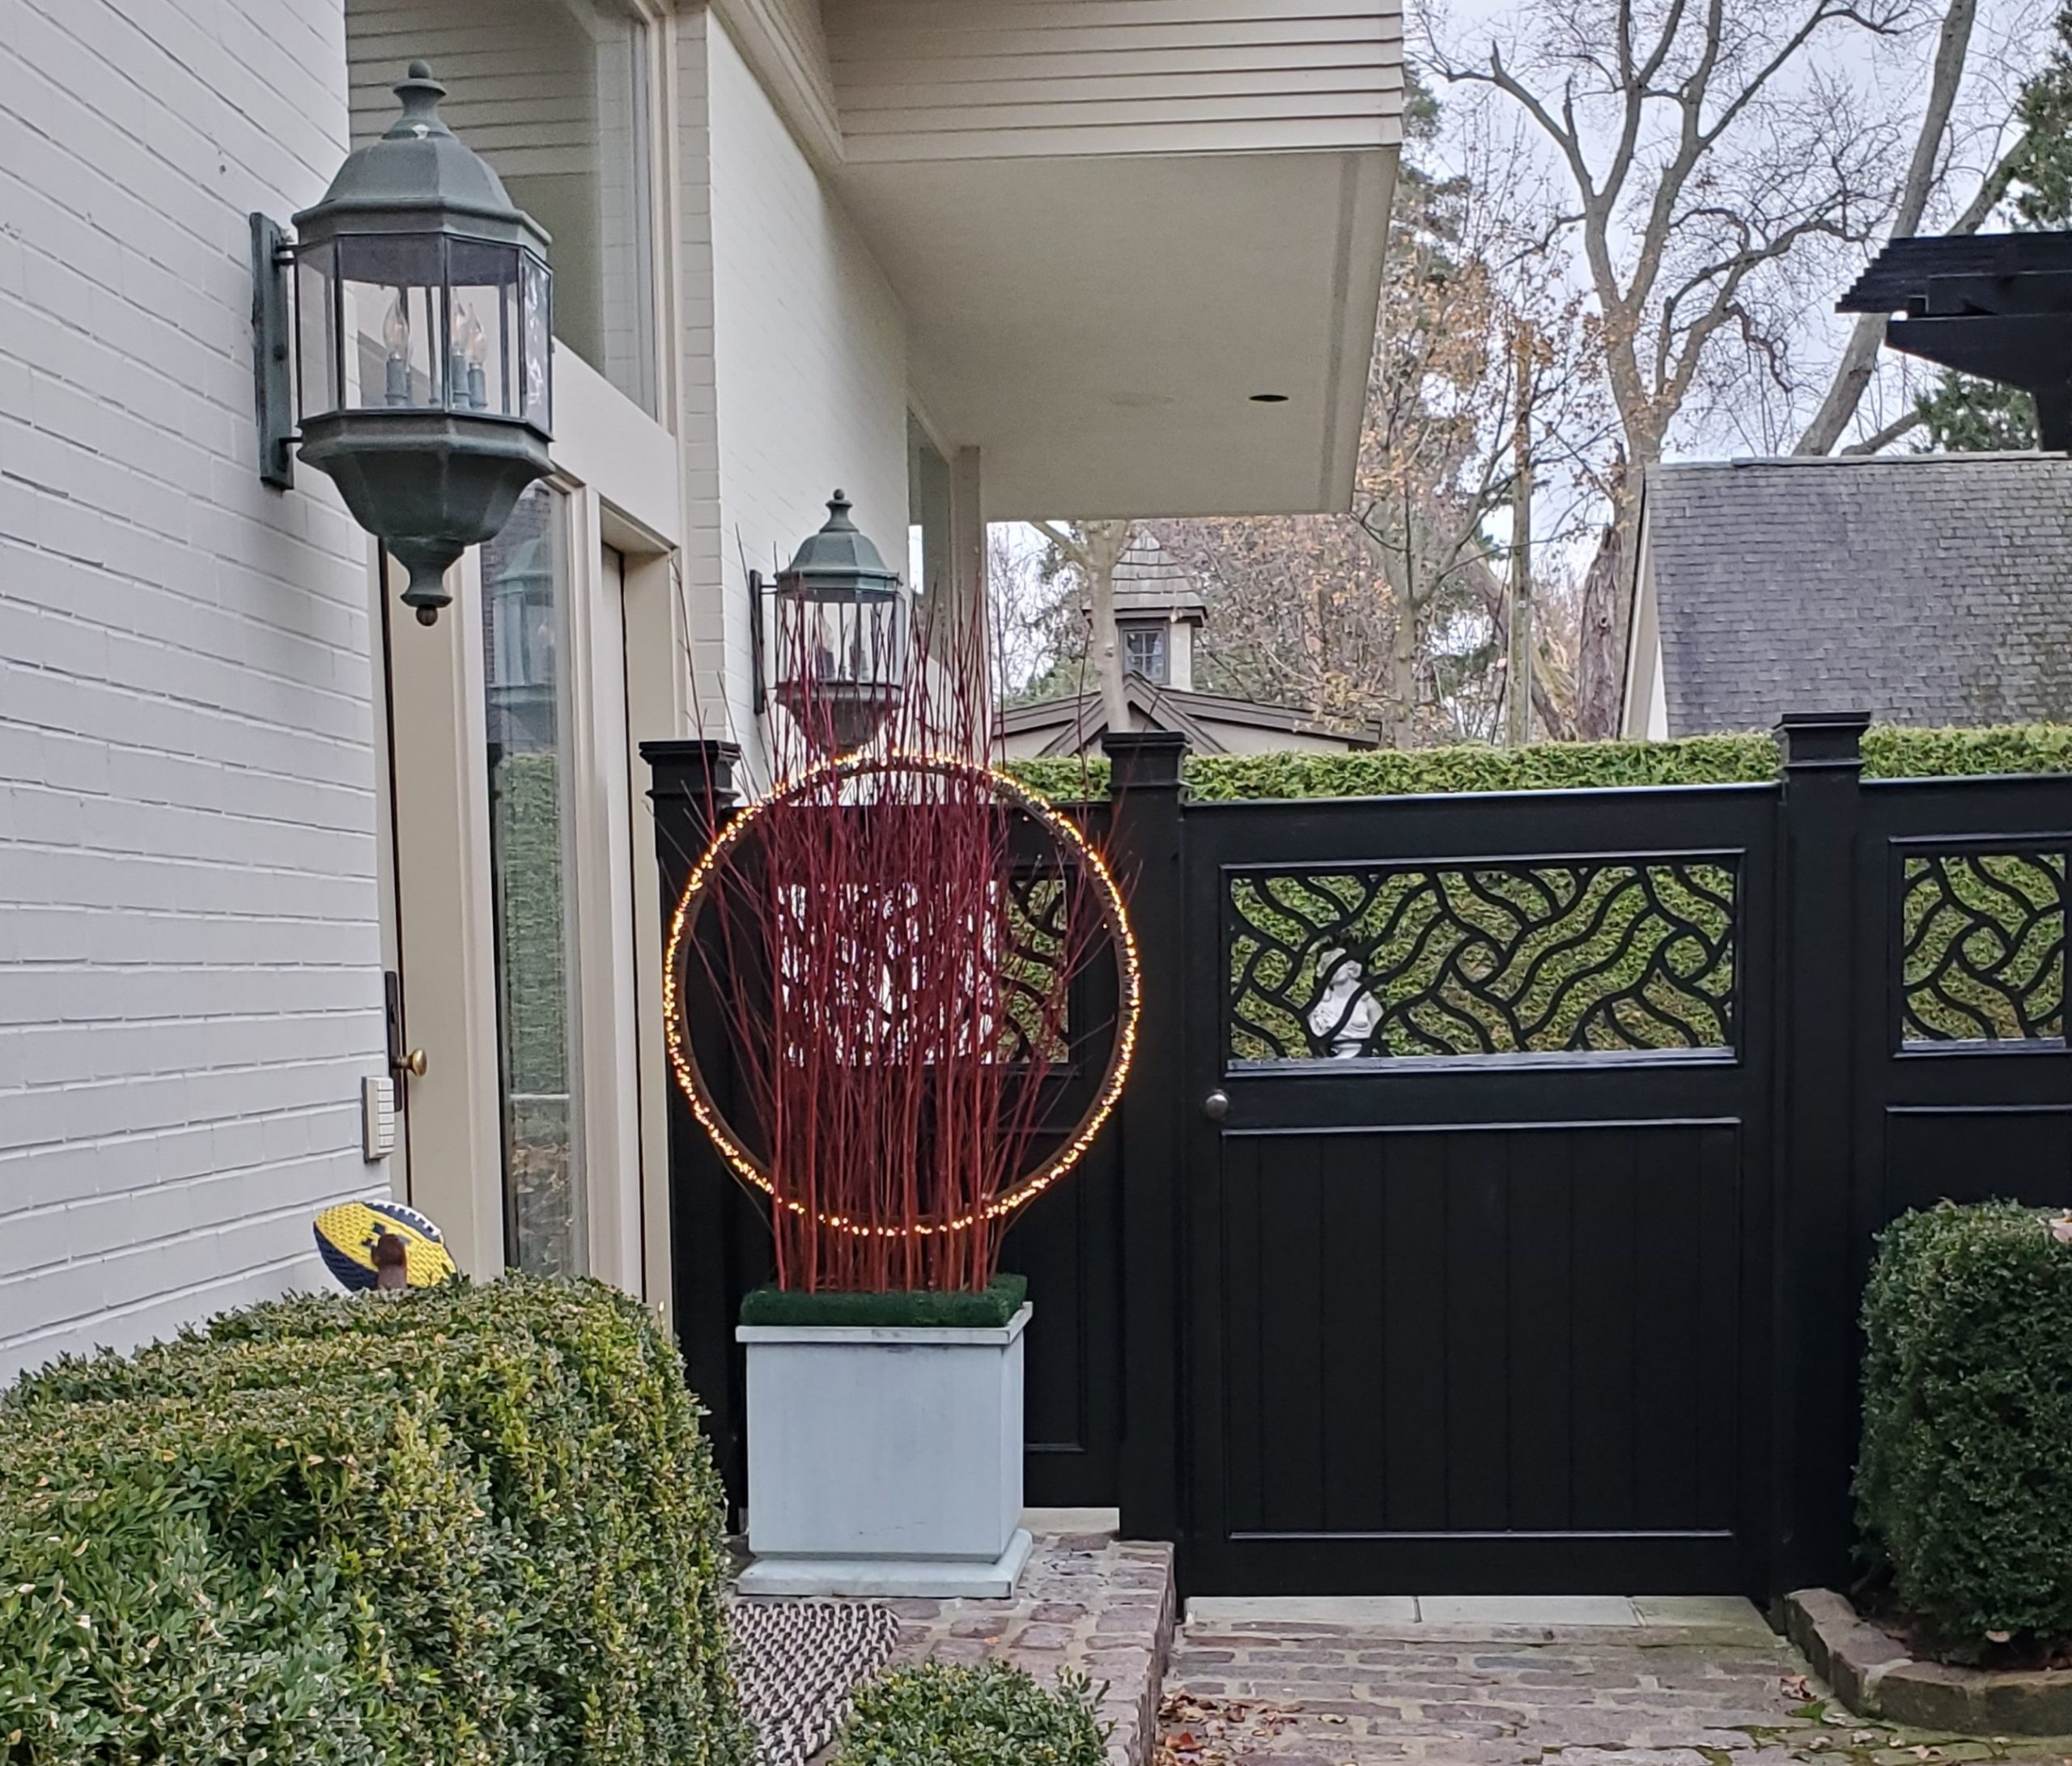
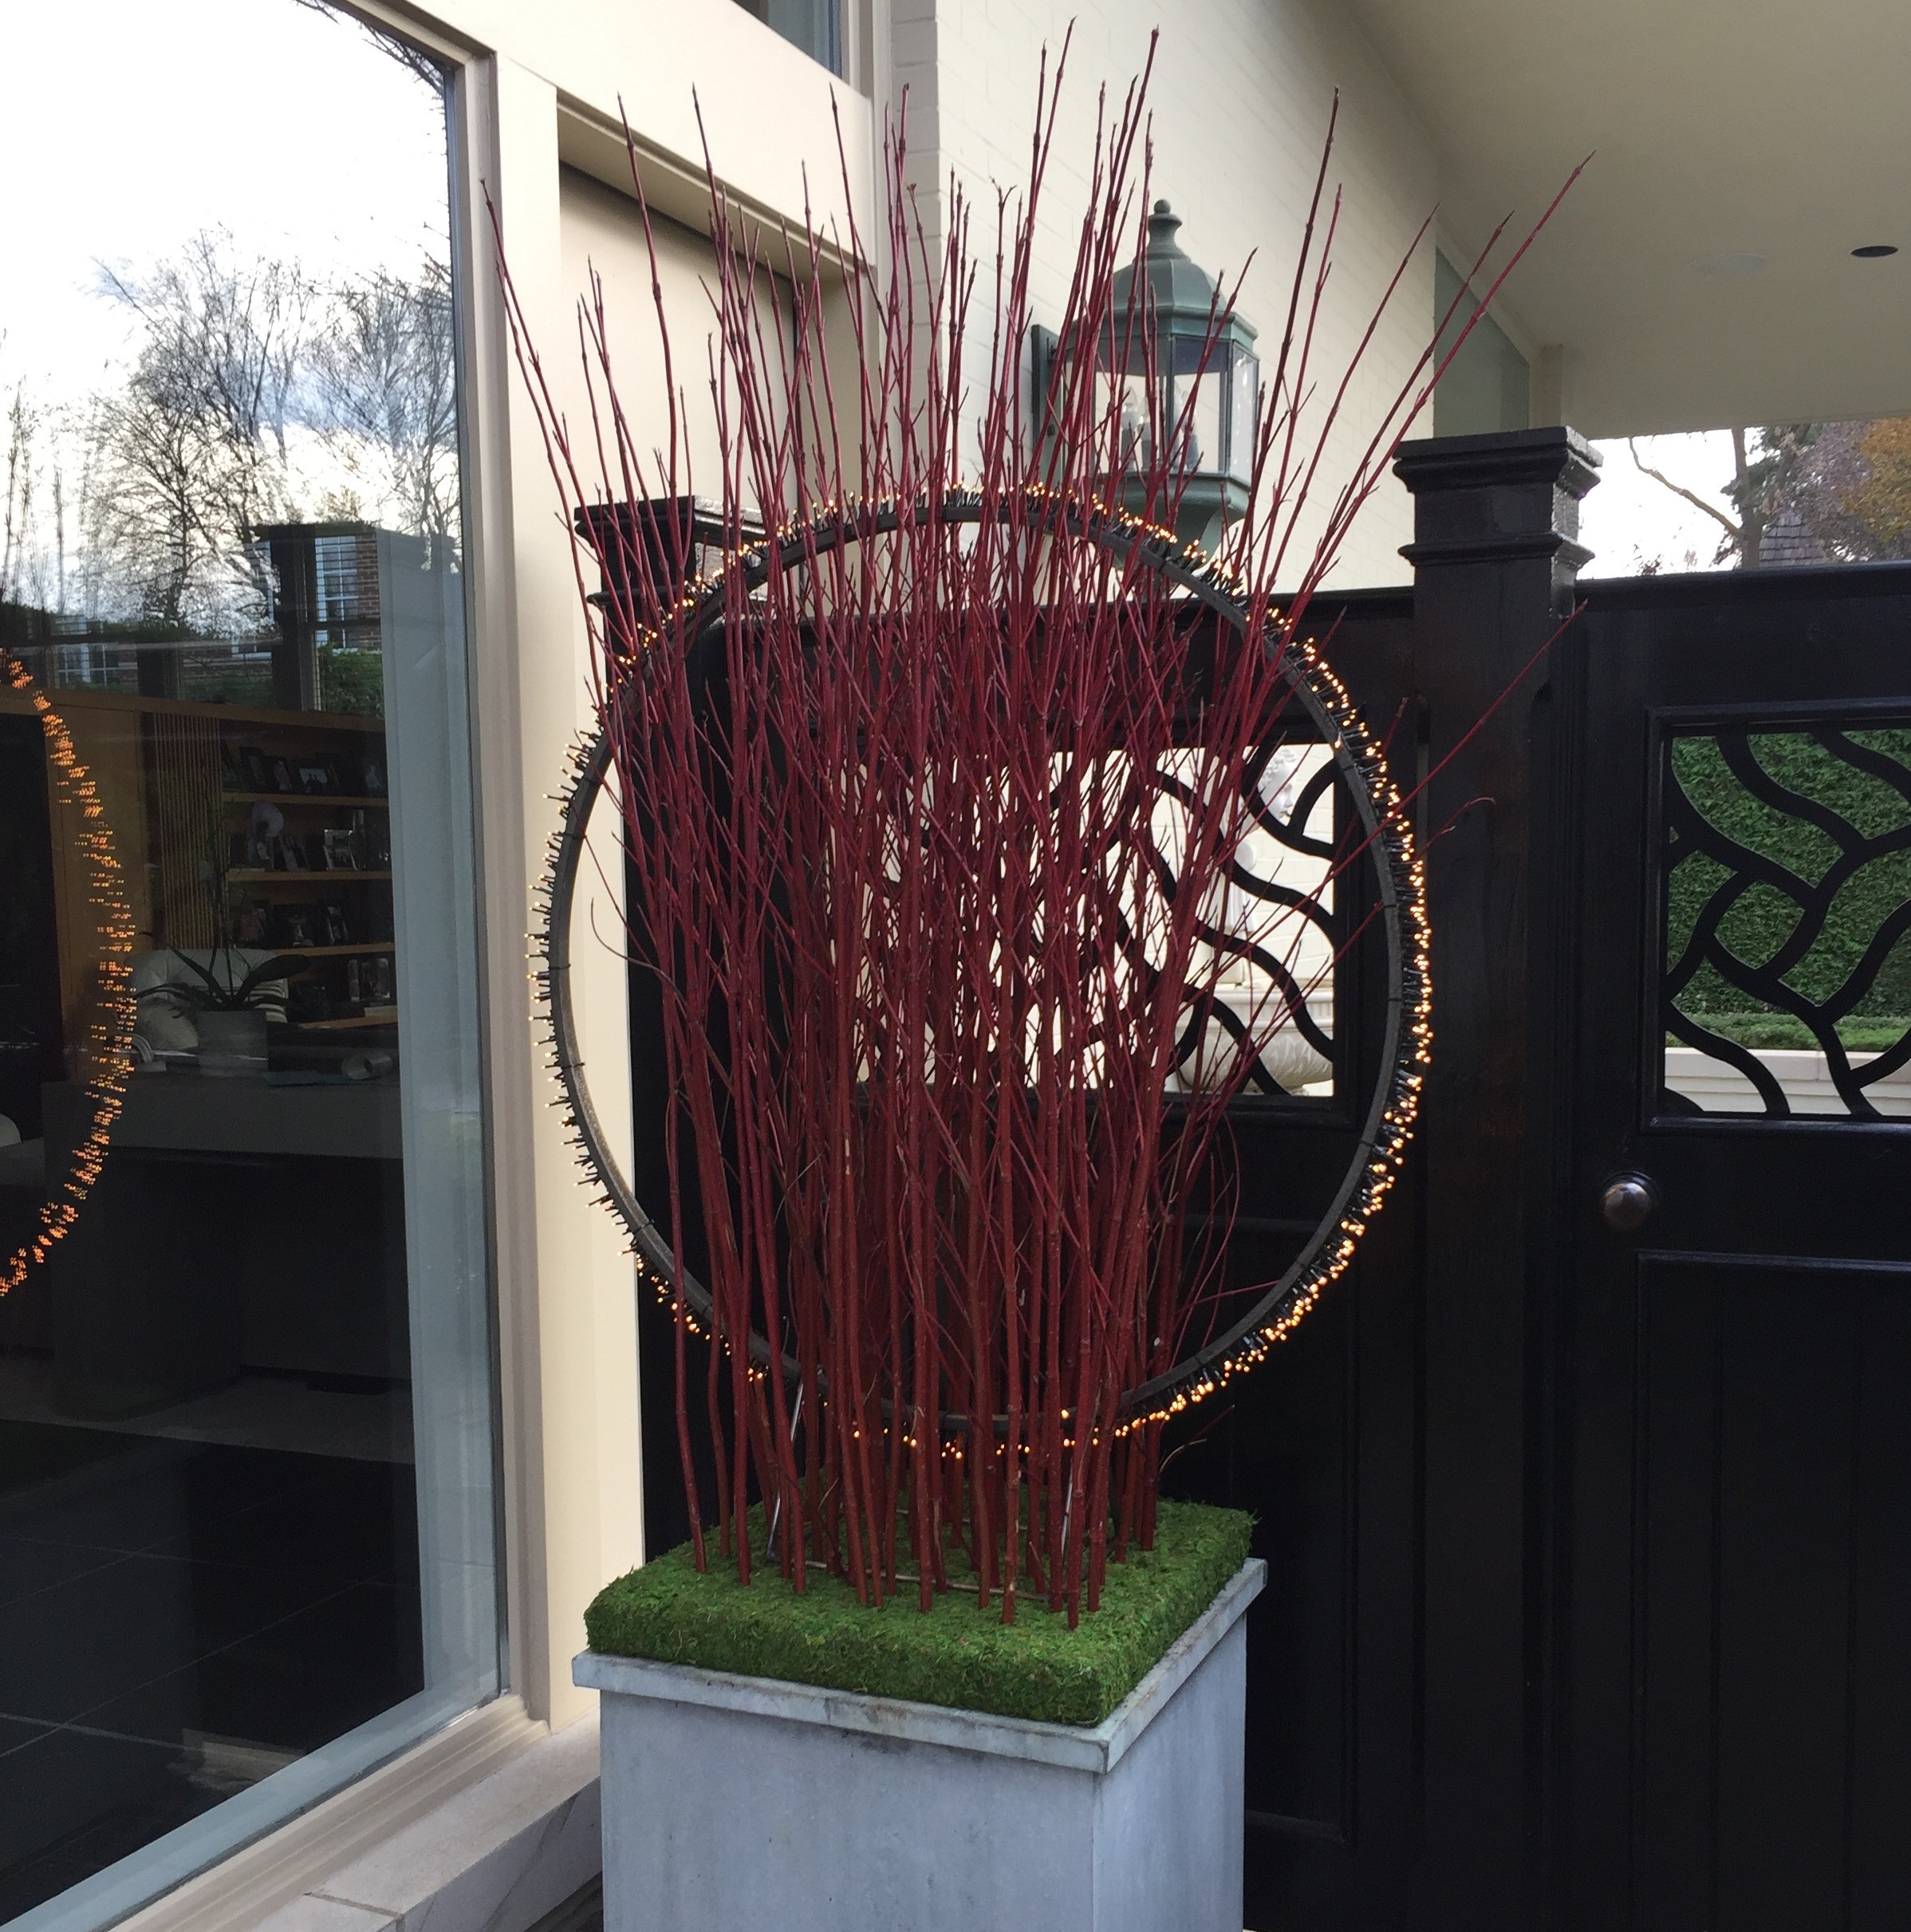
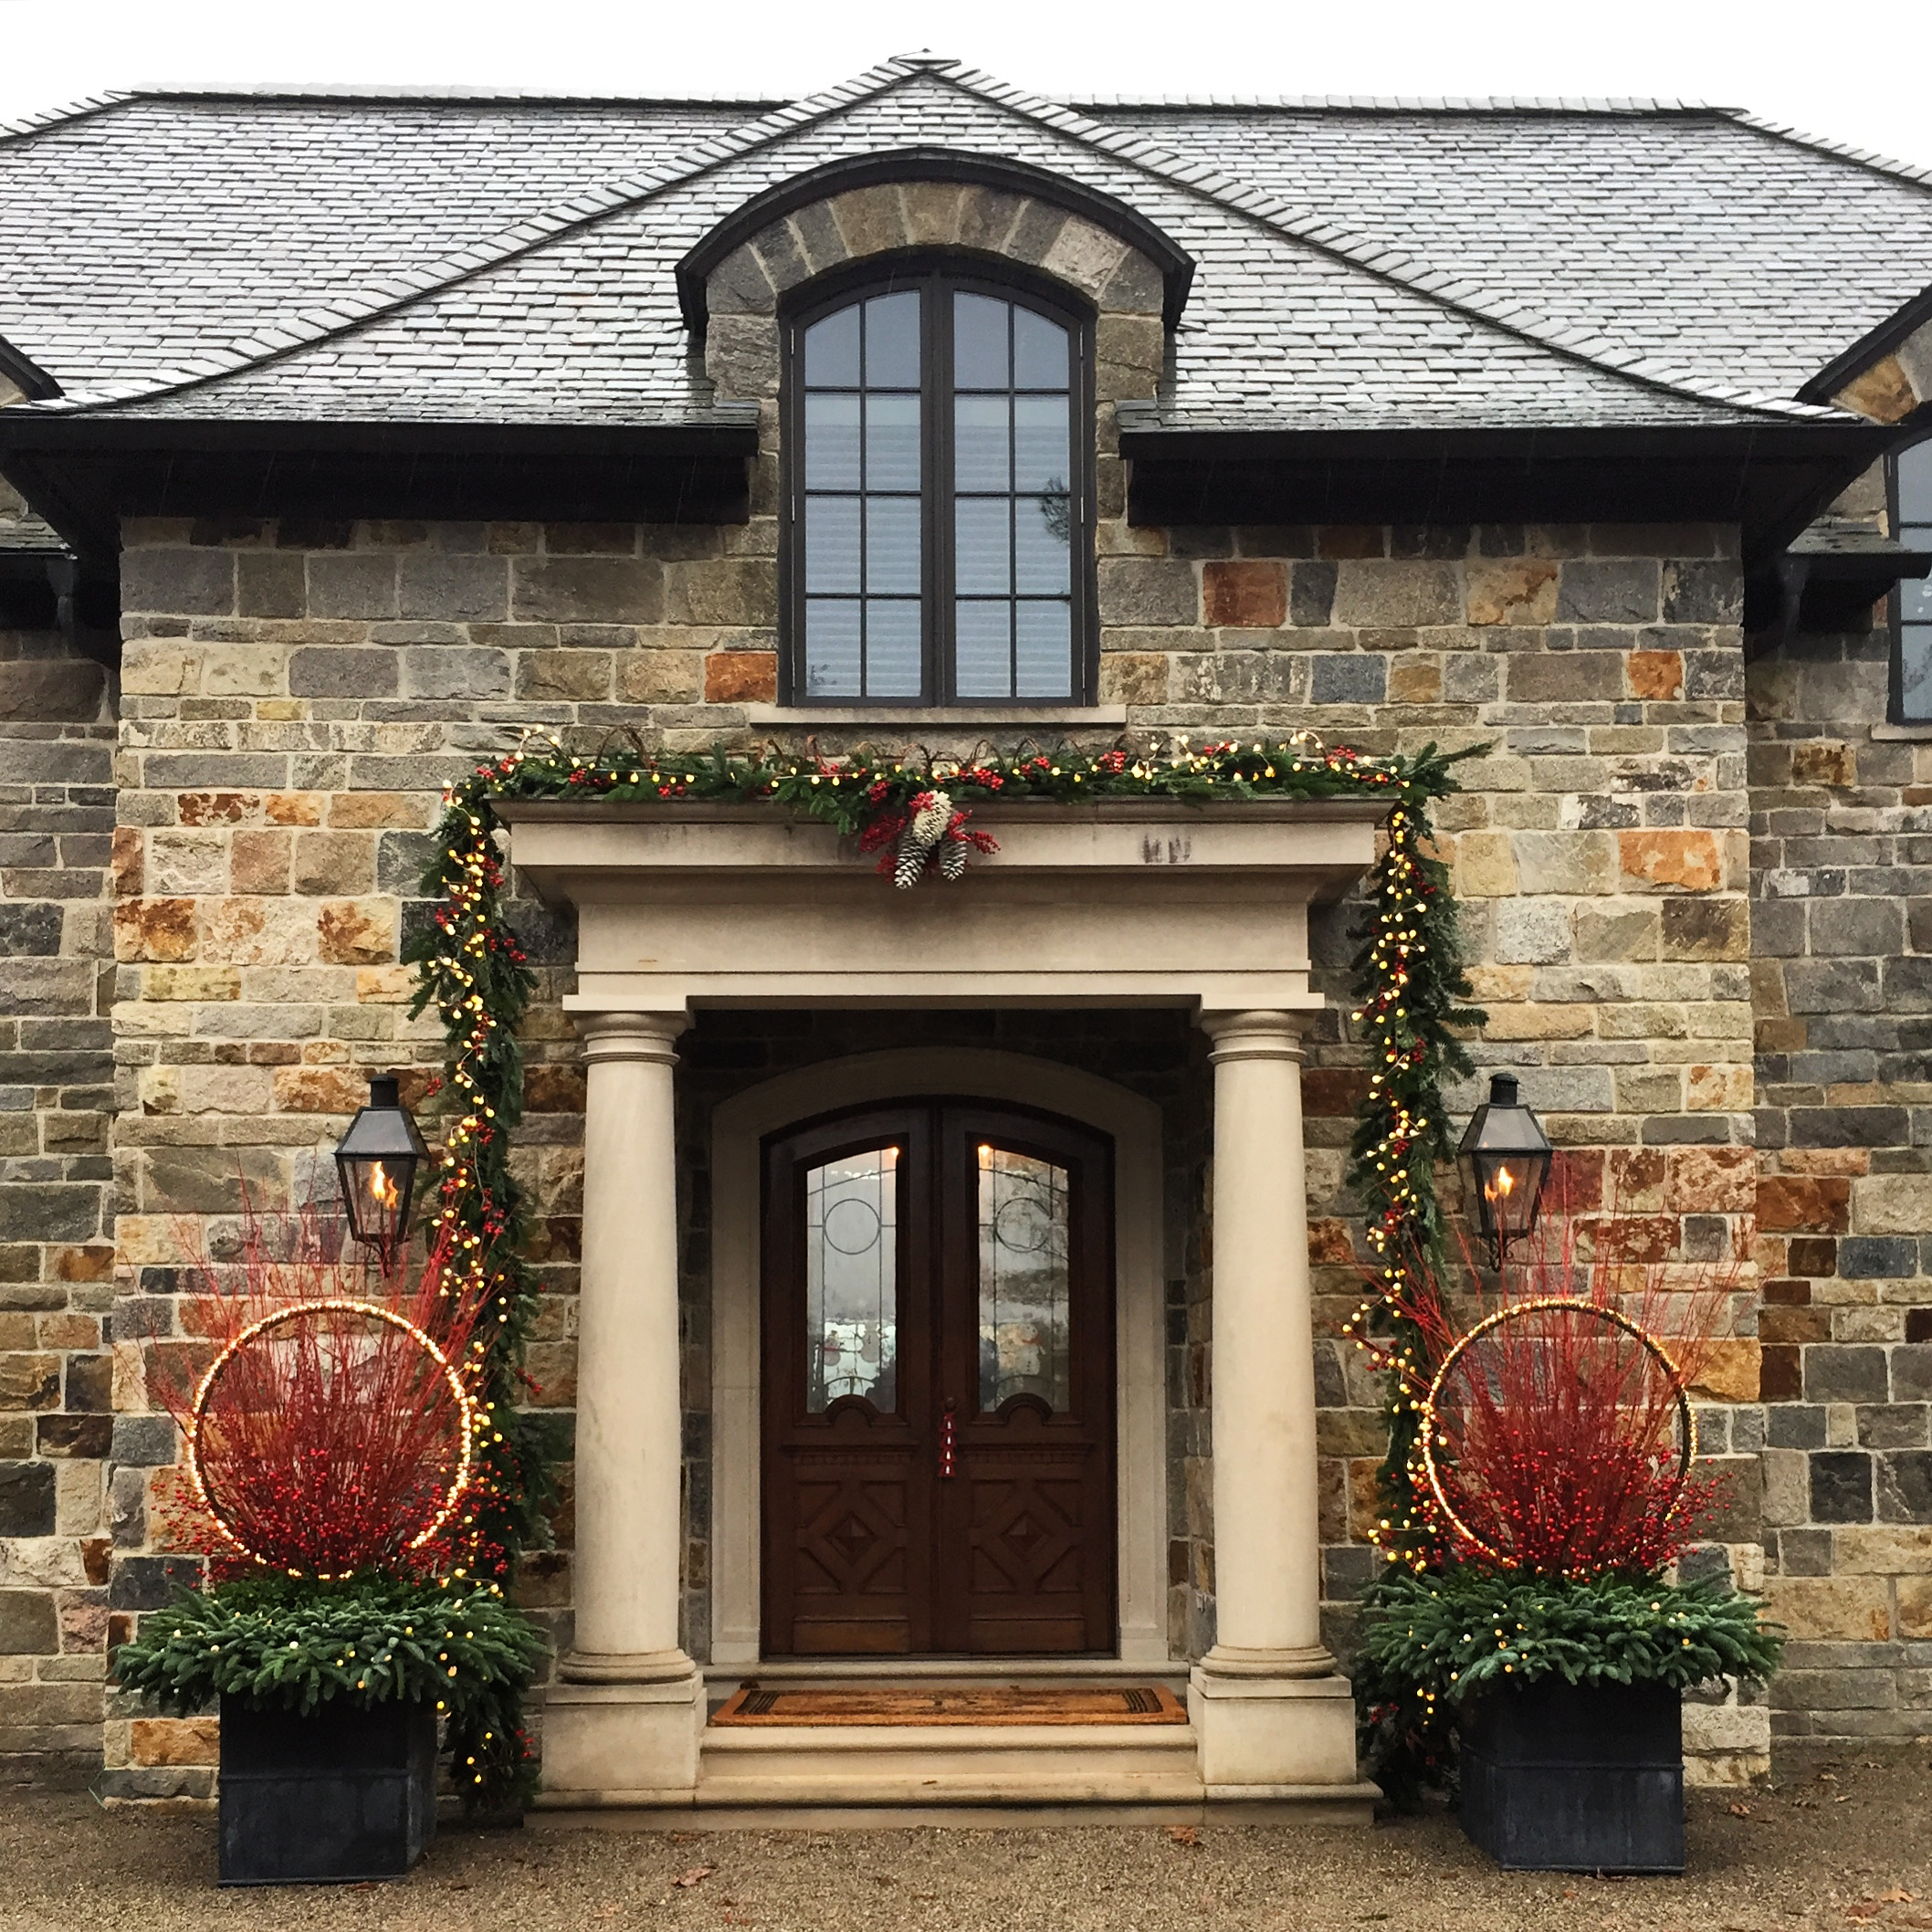
five foot ring with red twig dogwood
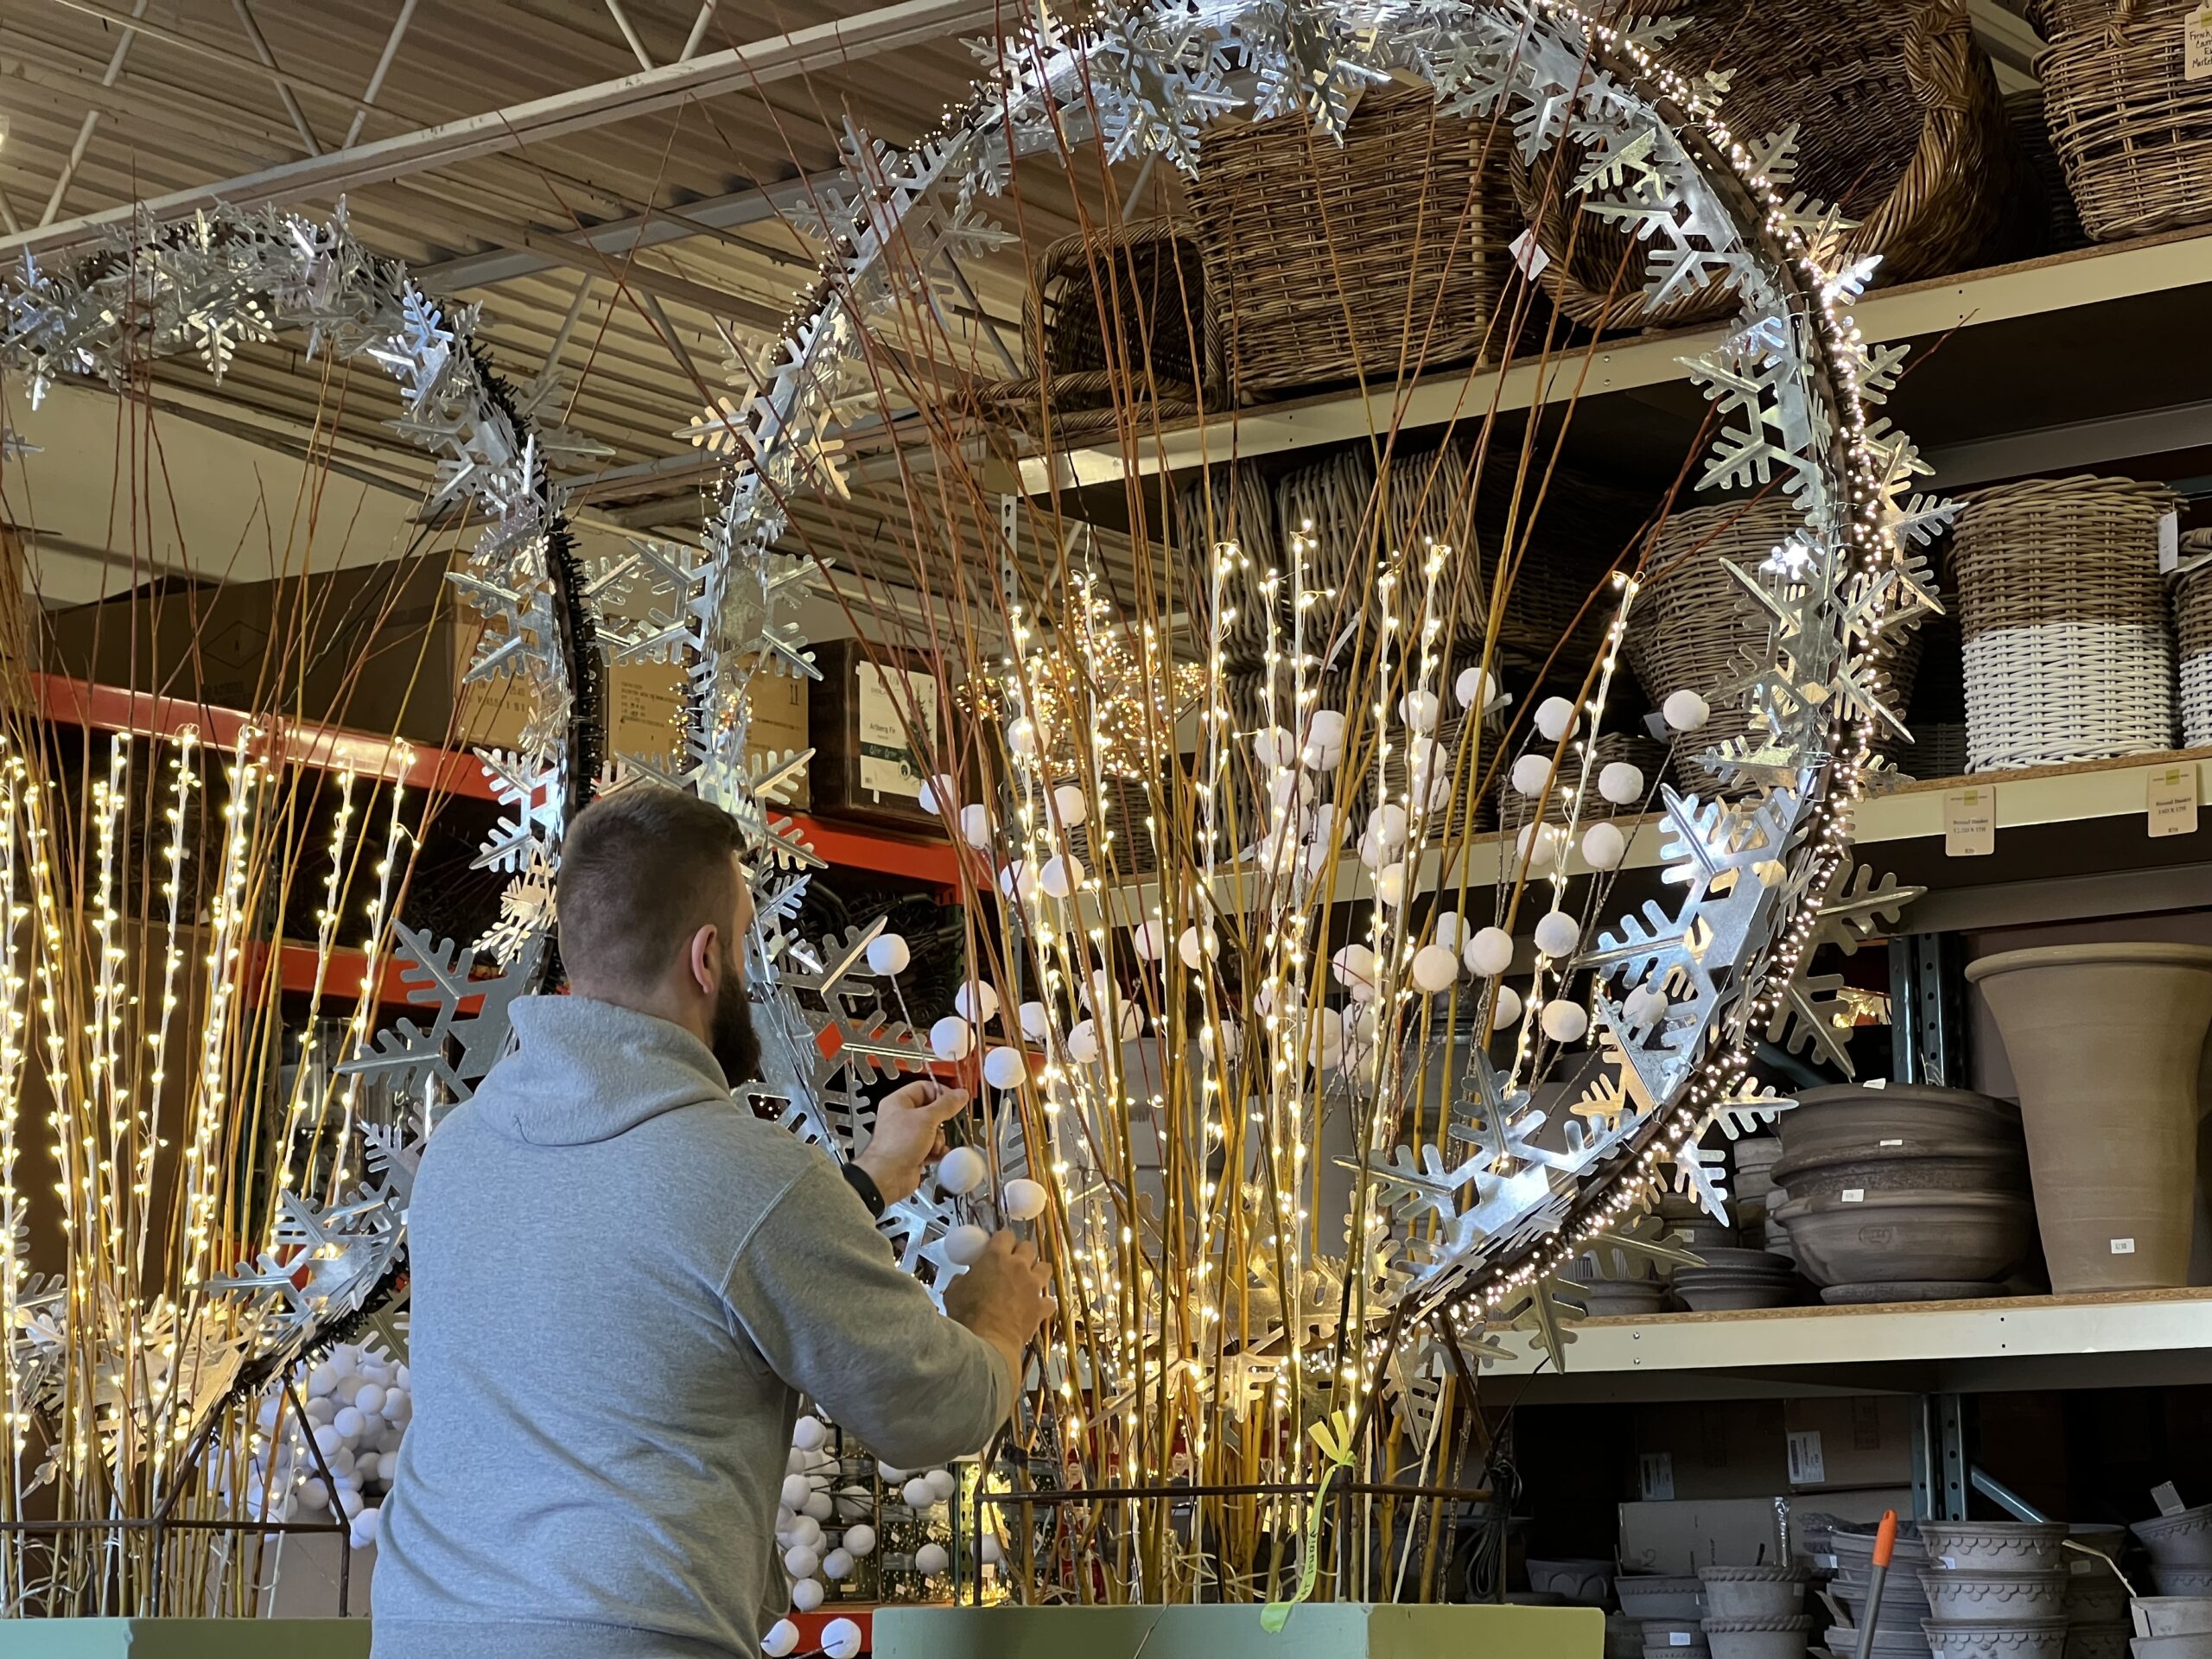
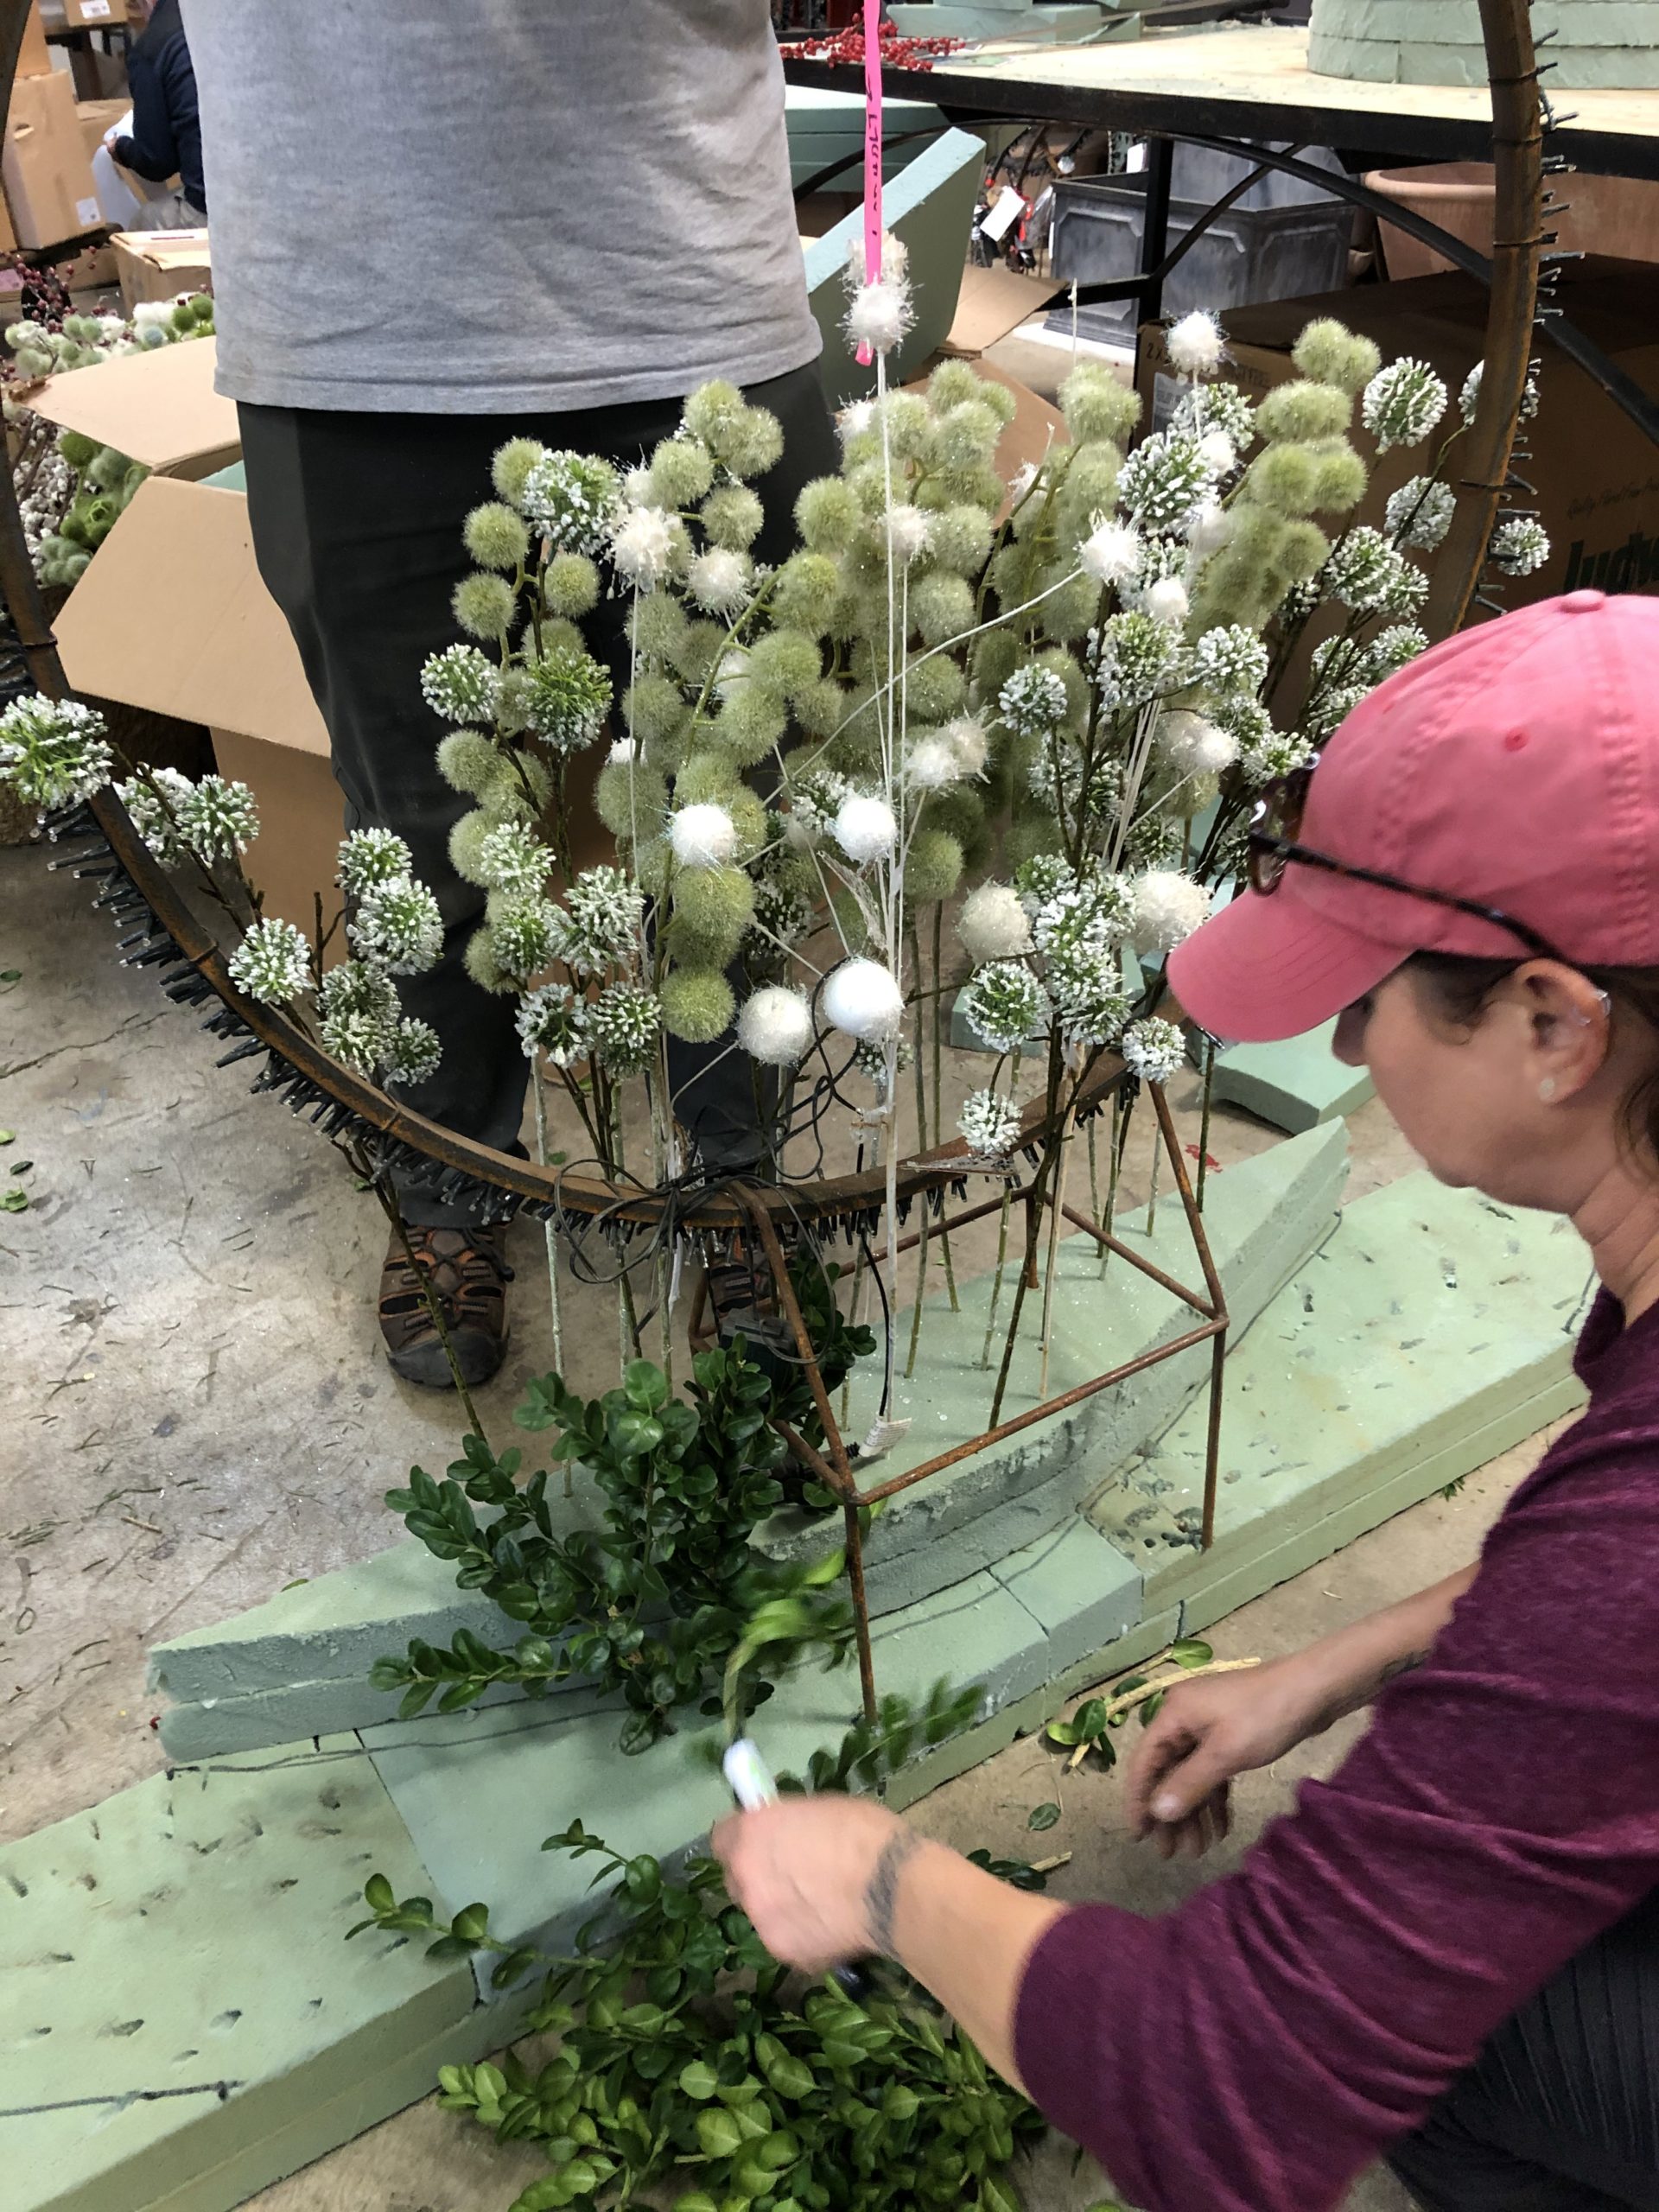
galvanized snowflakes and snowball picks
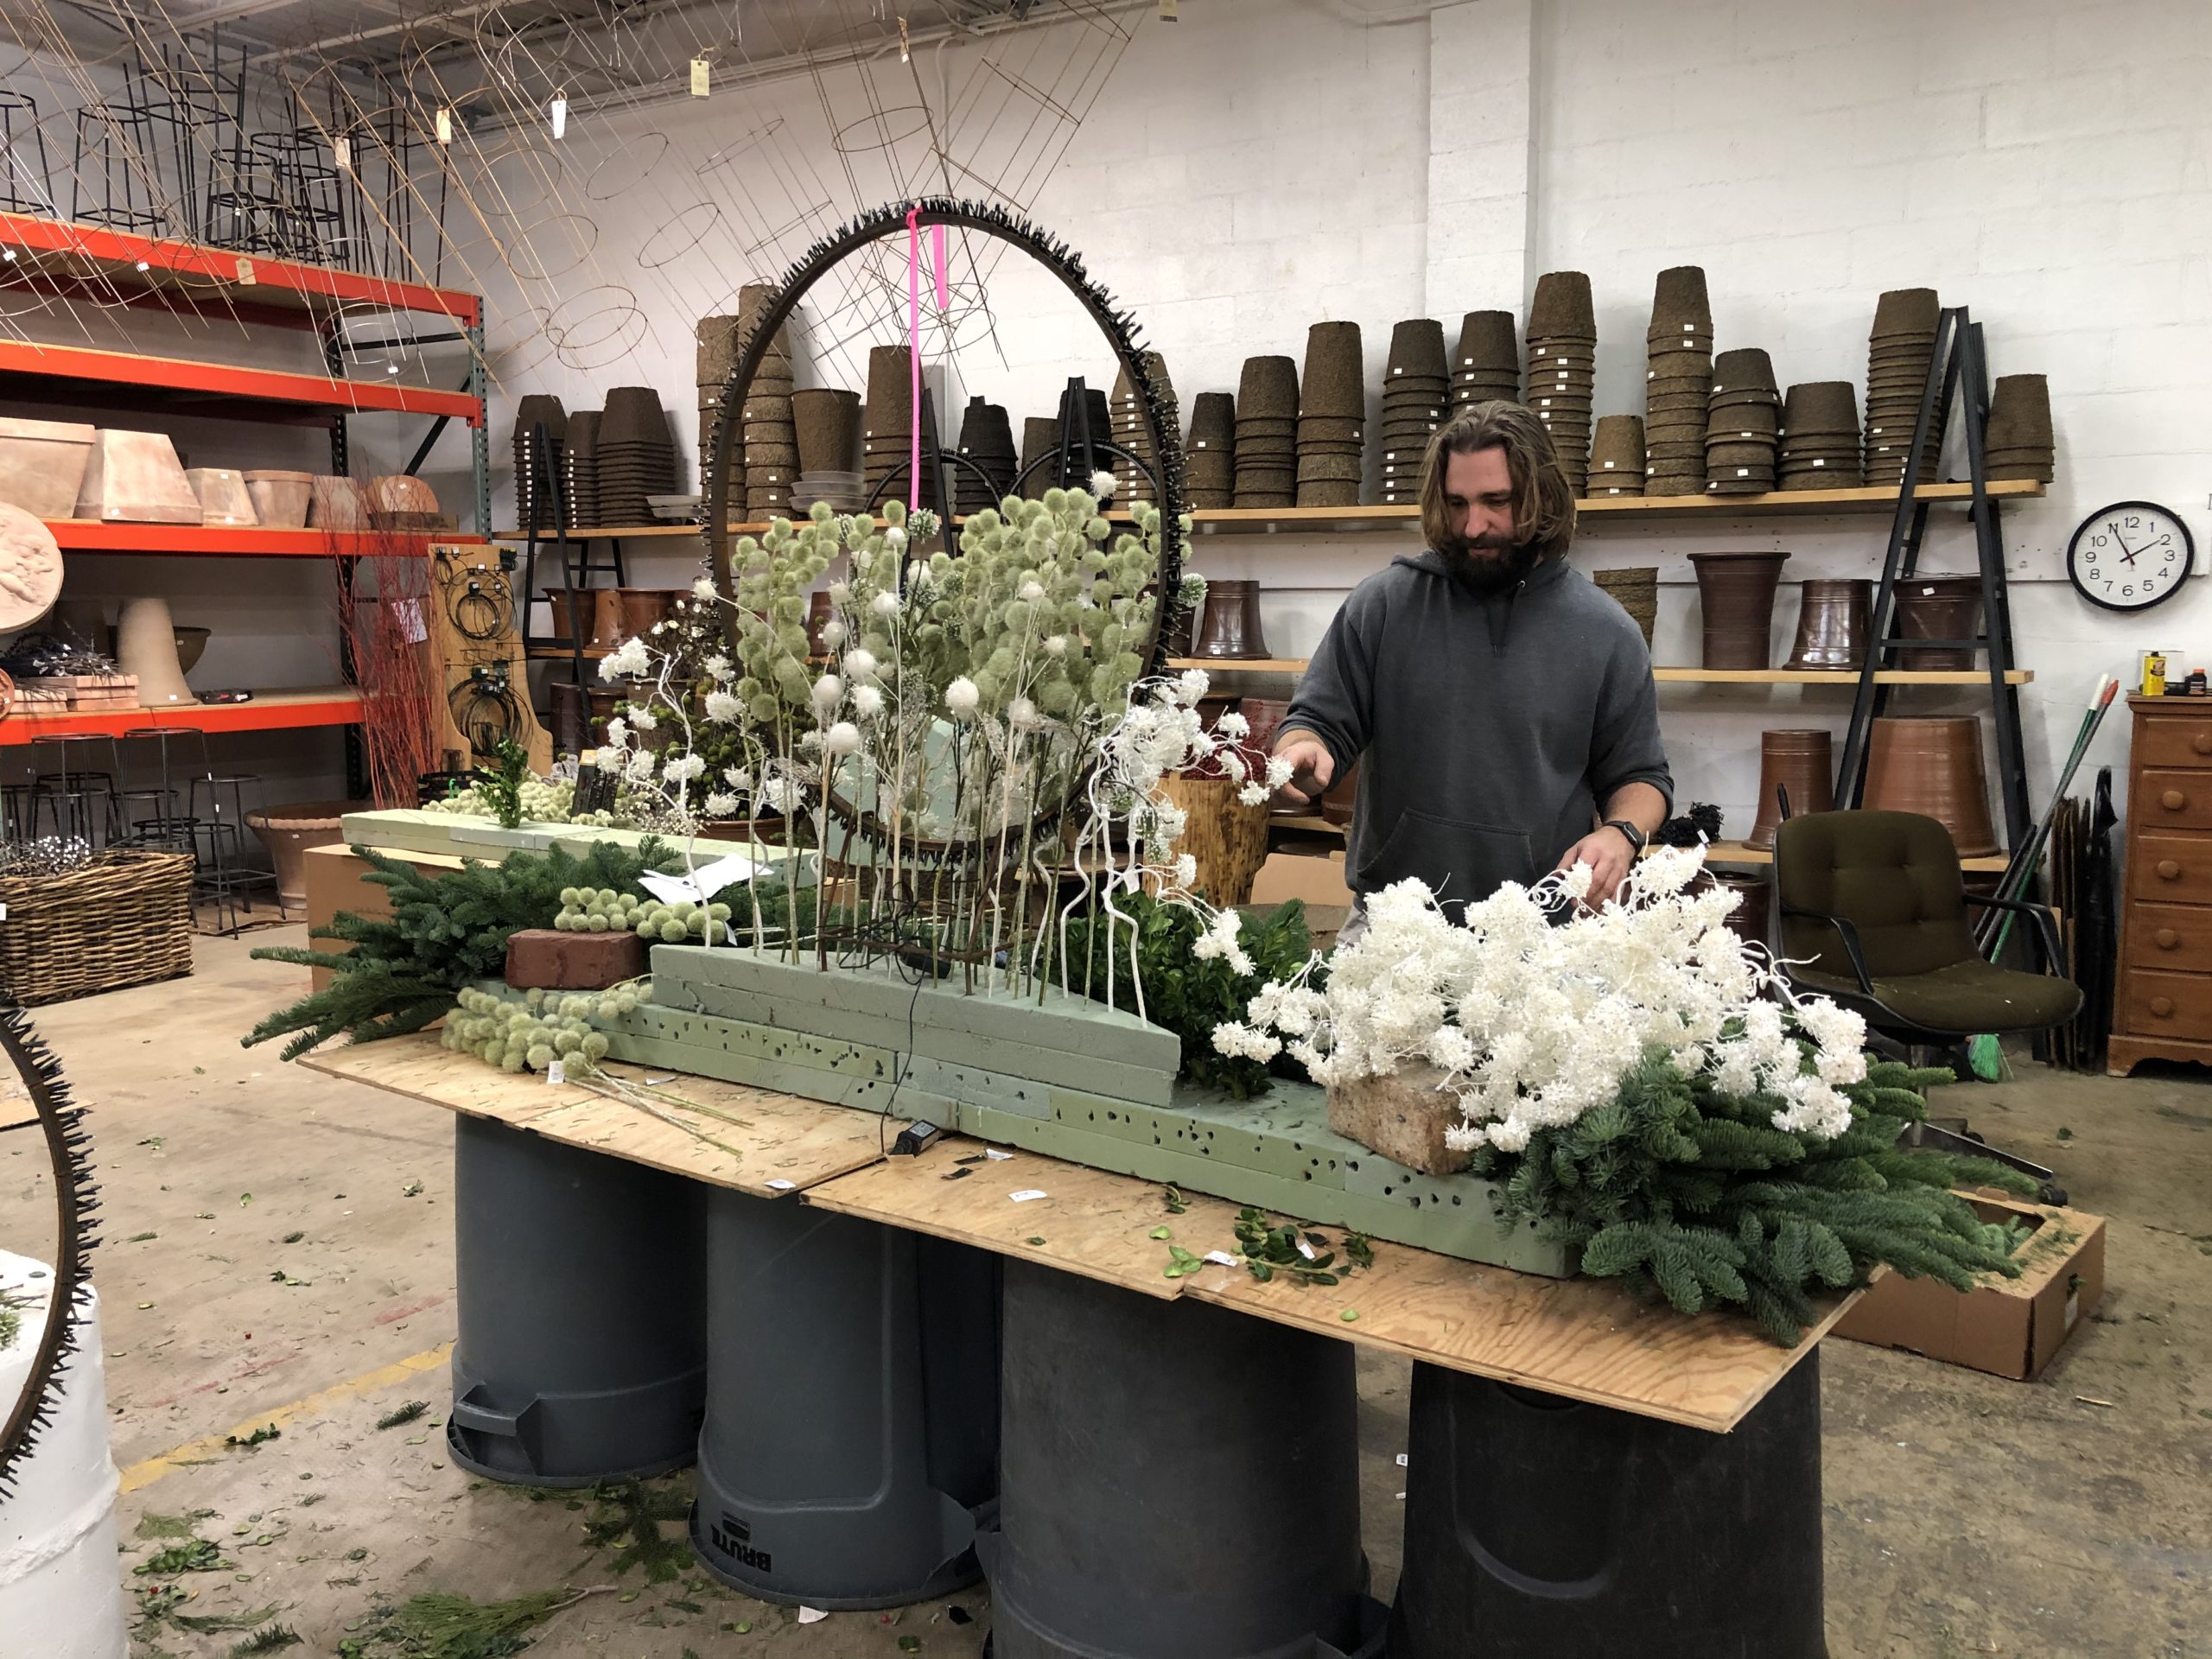
Jackie Classic style steel box and light ring both fabricated at The Branch Studio
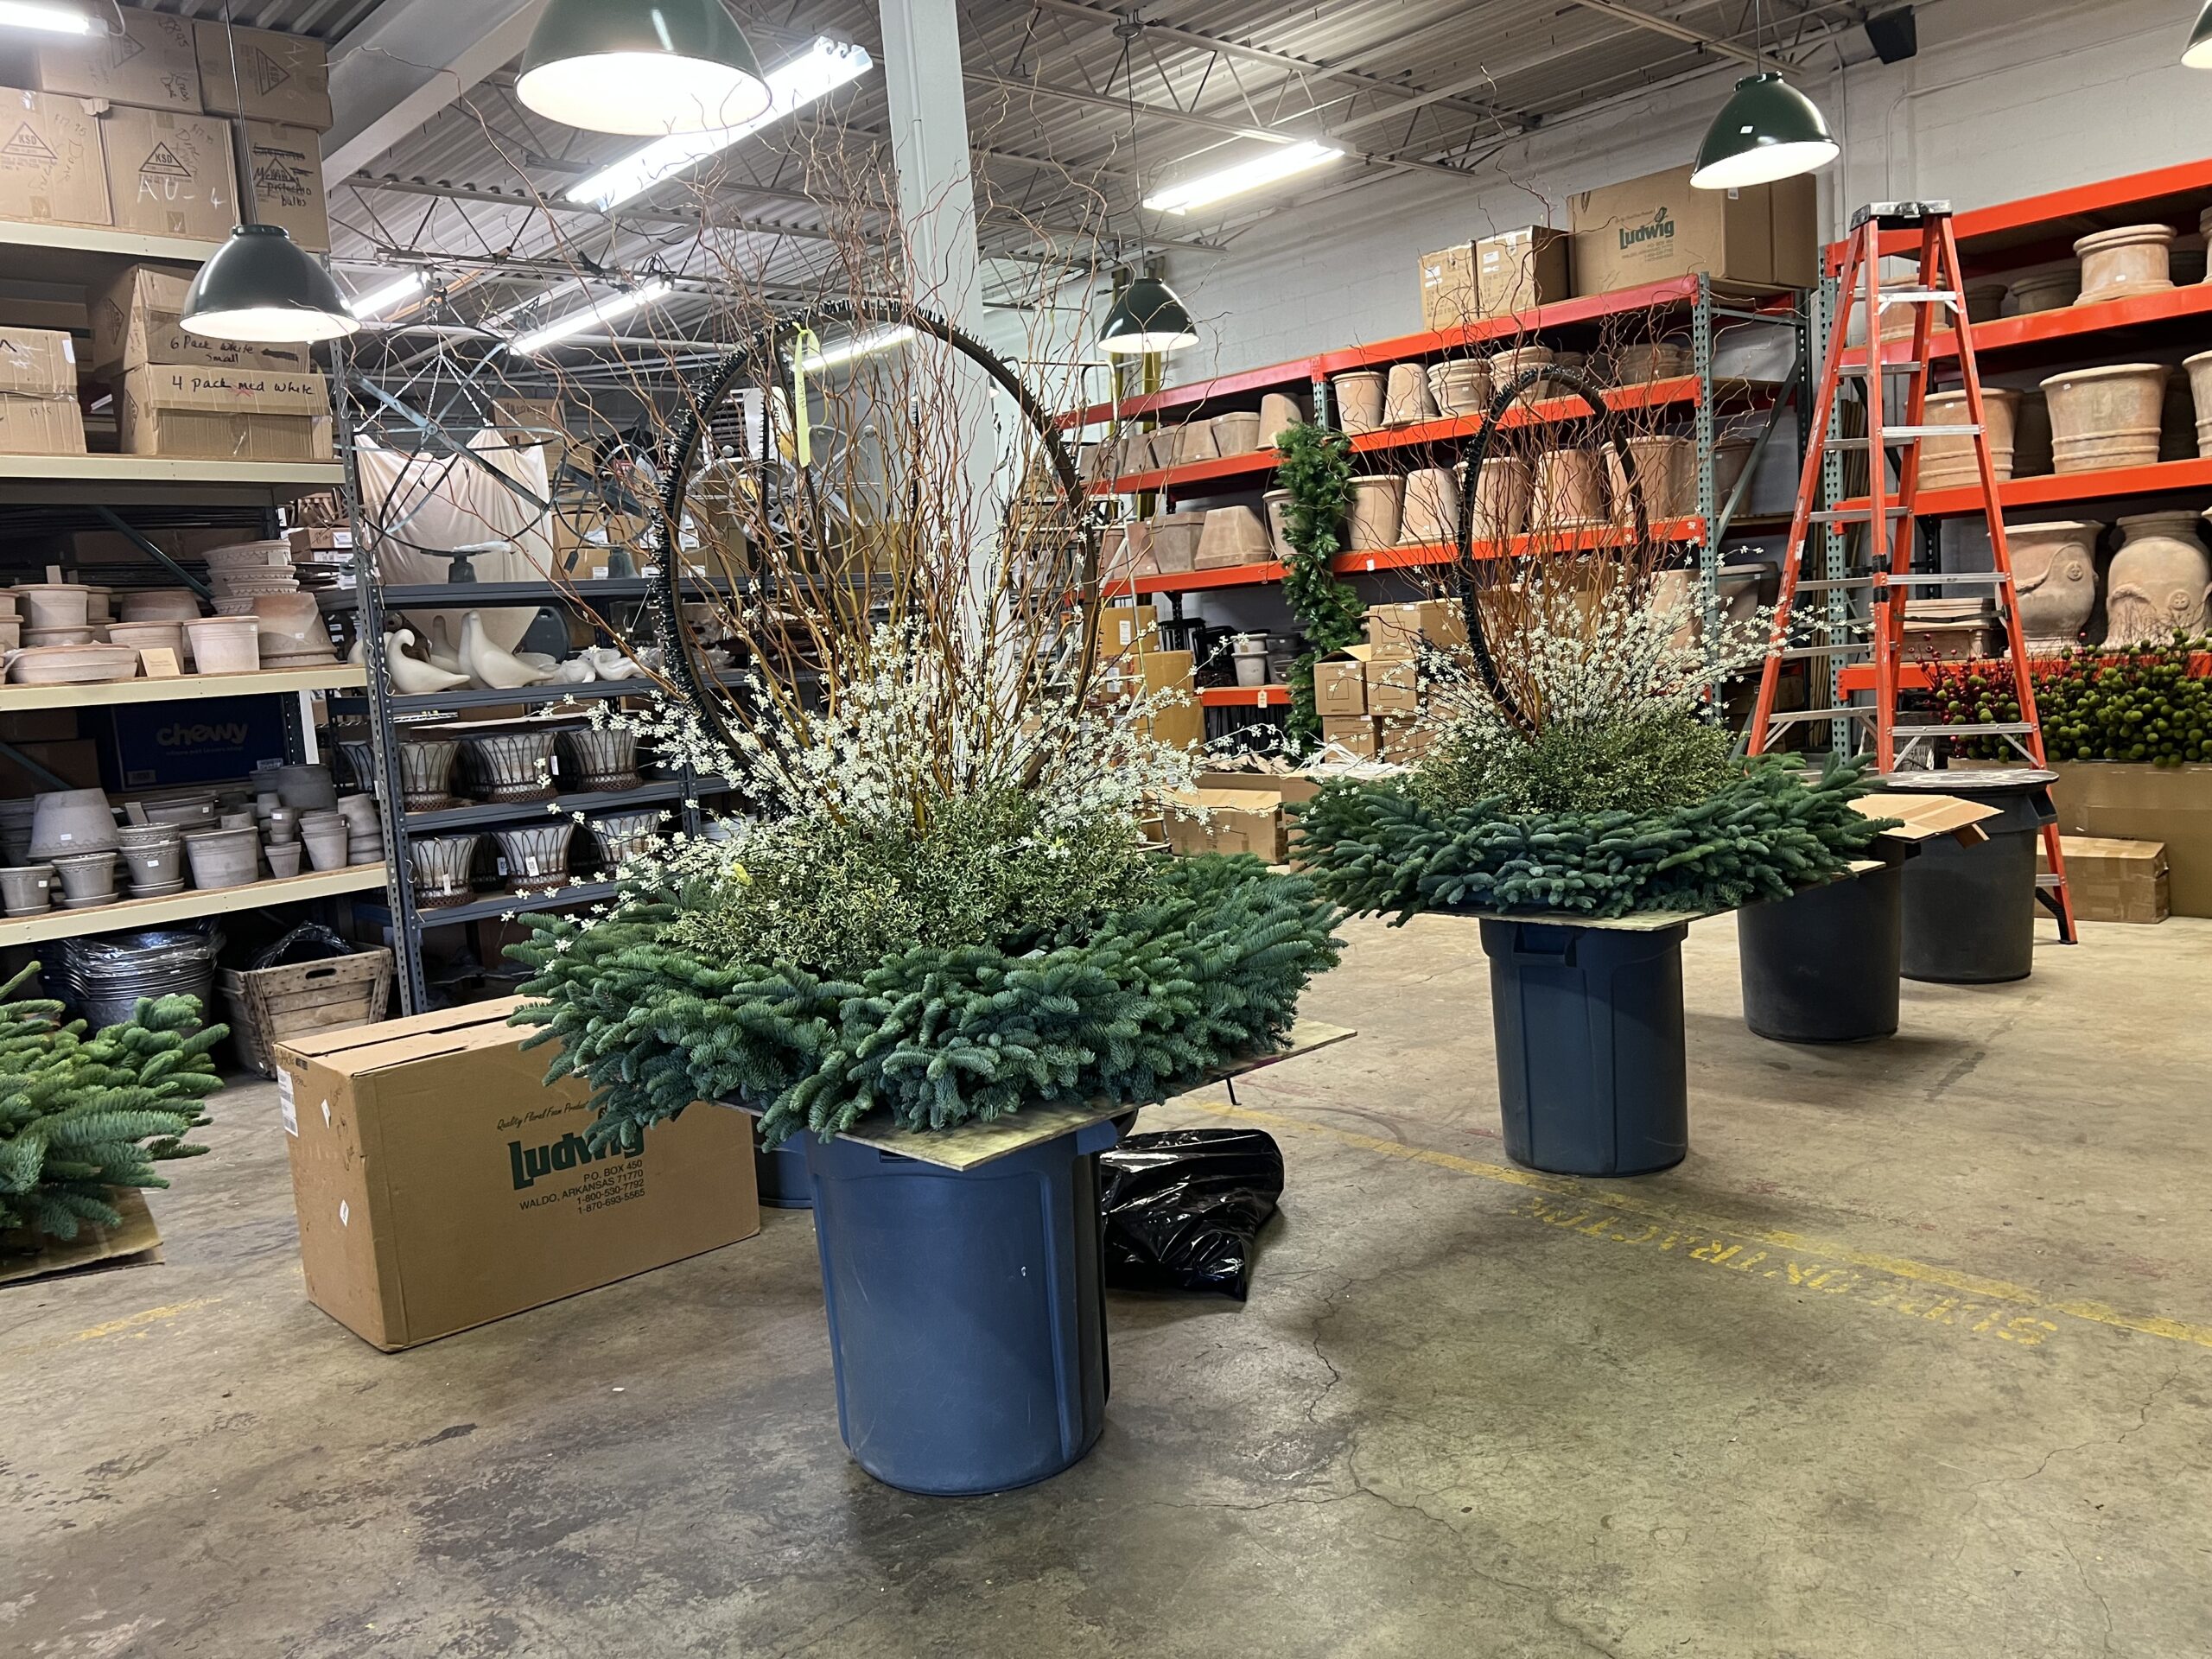
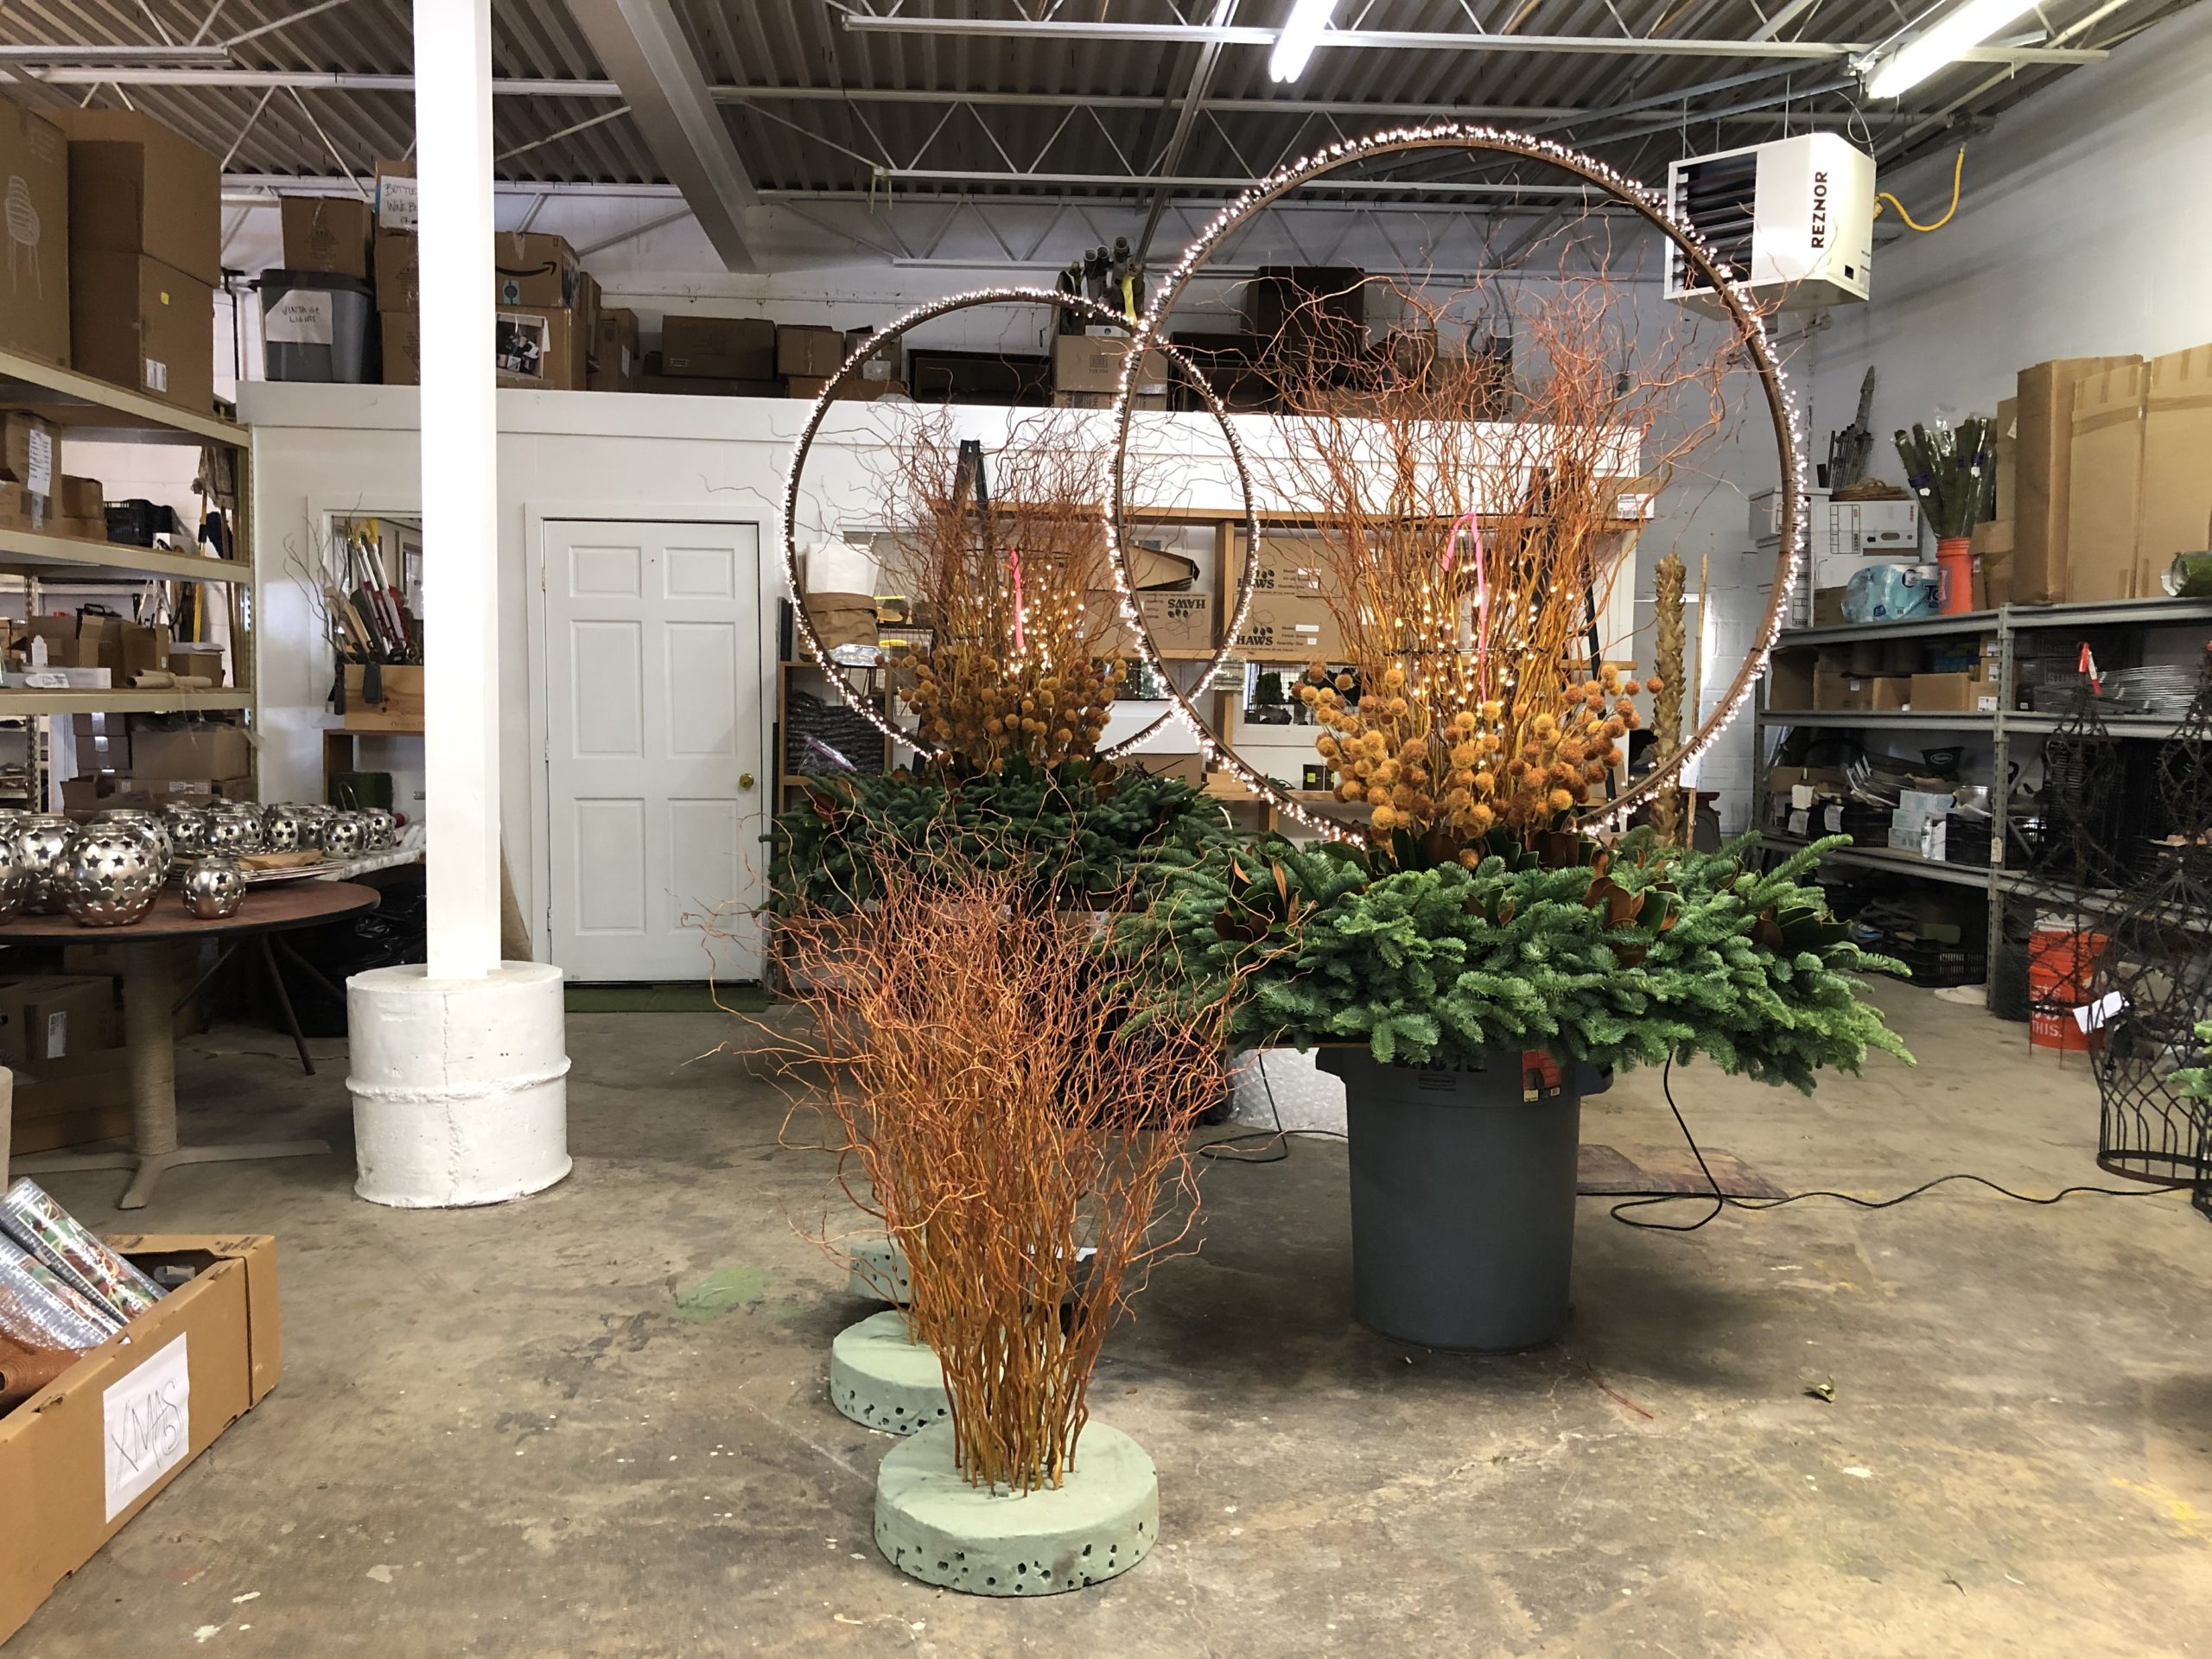
curly willow on either side of a ring
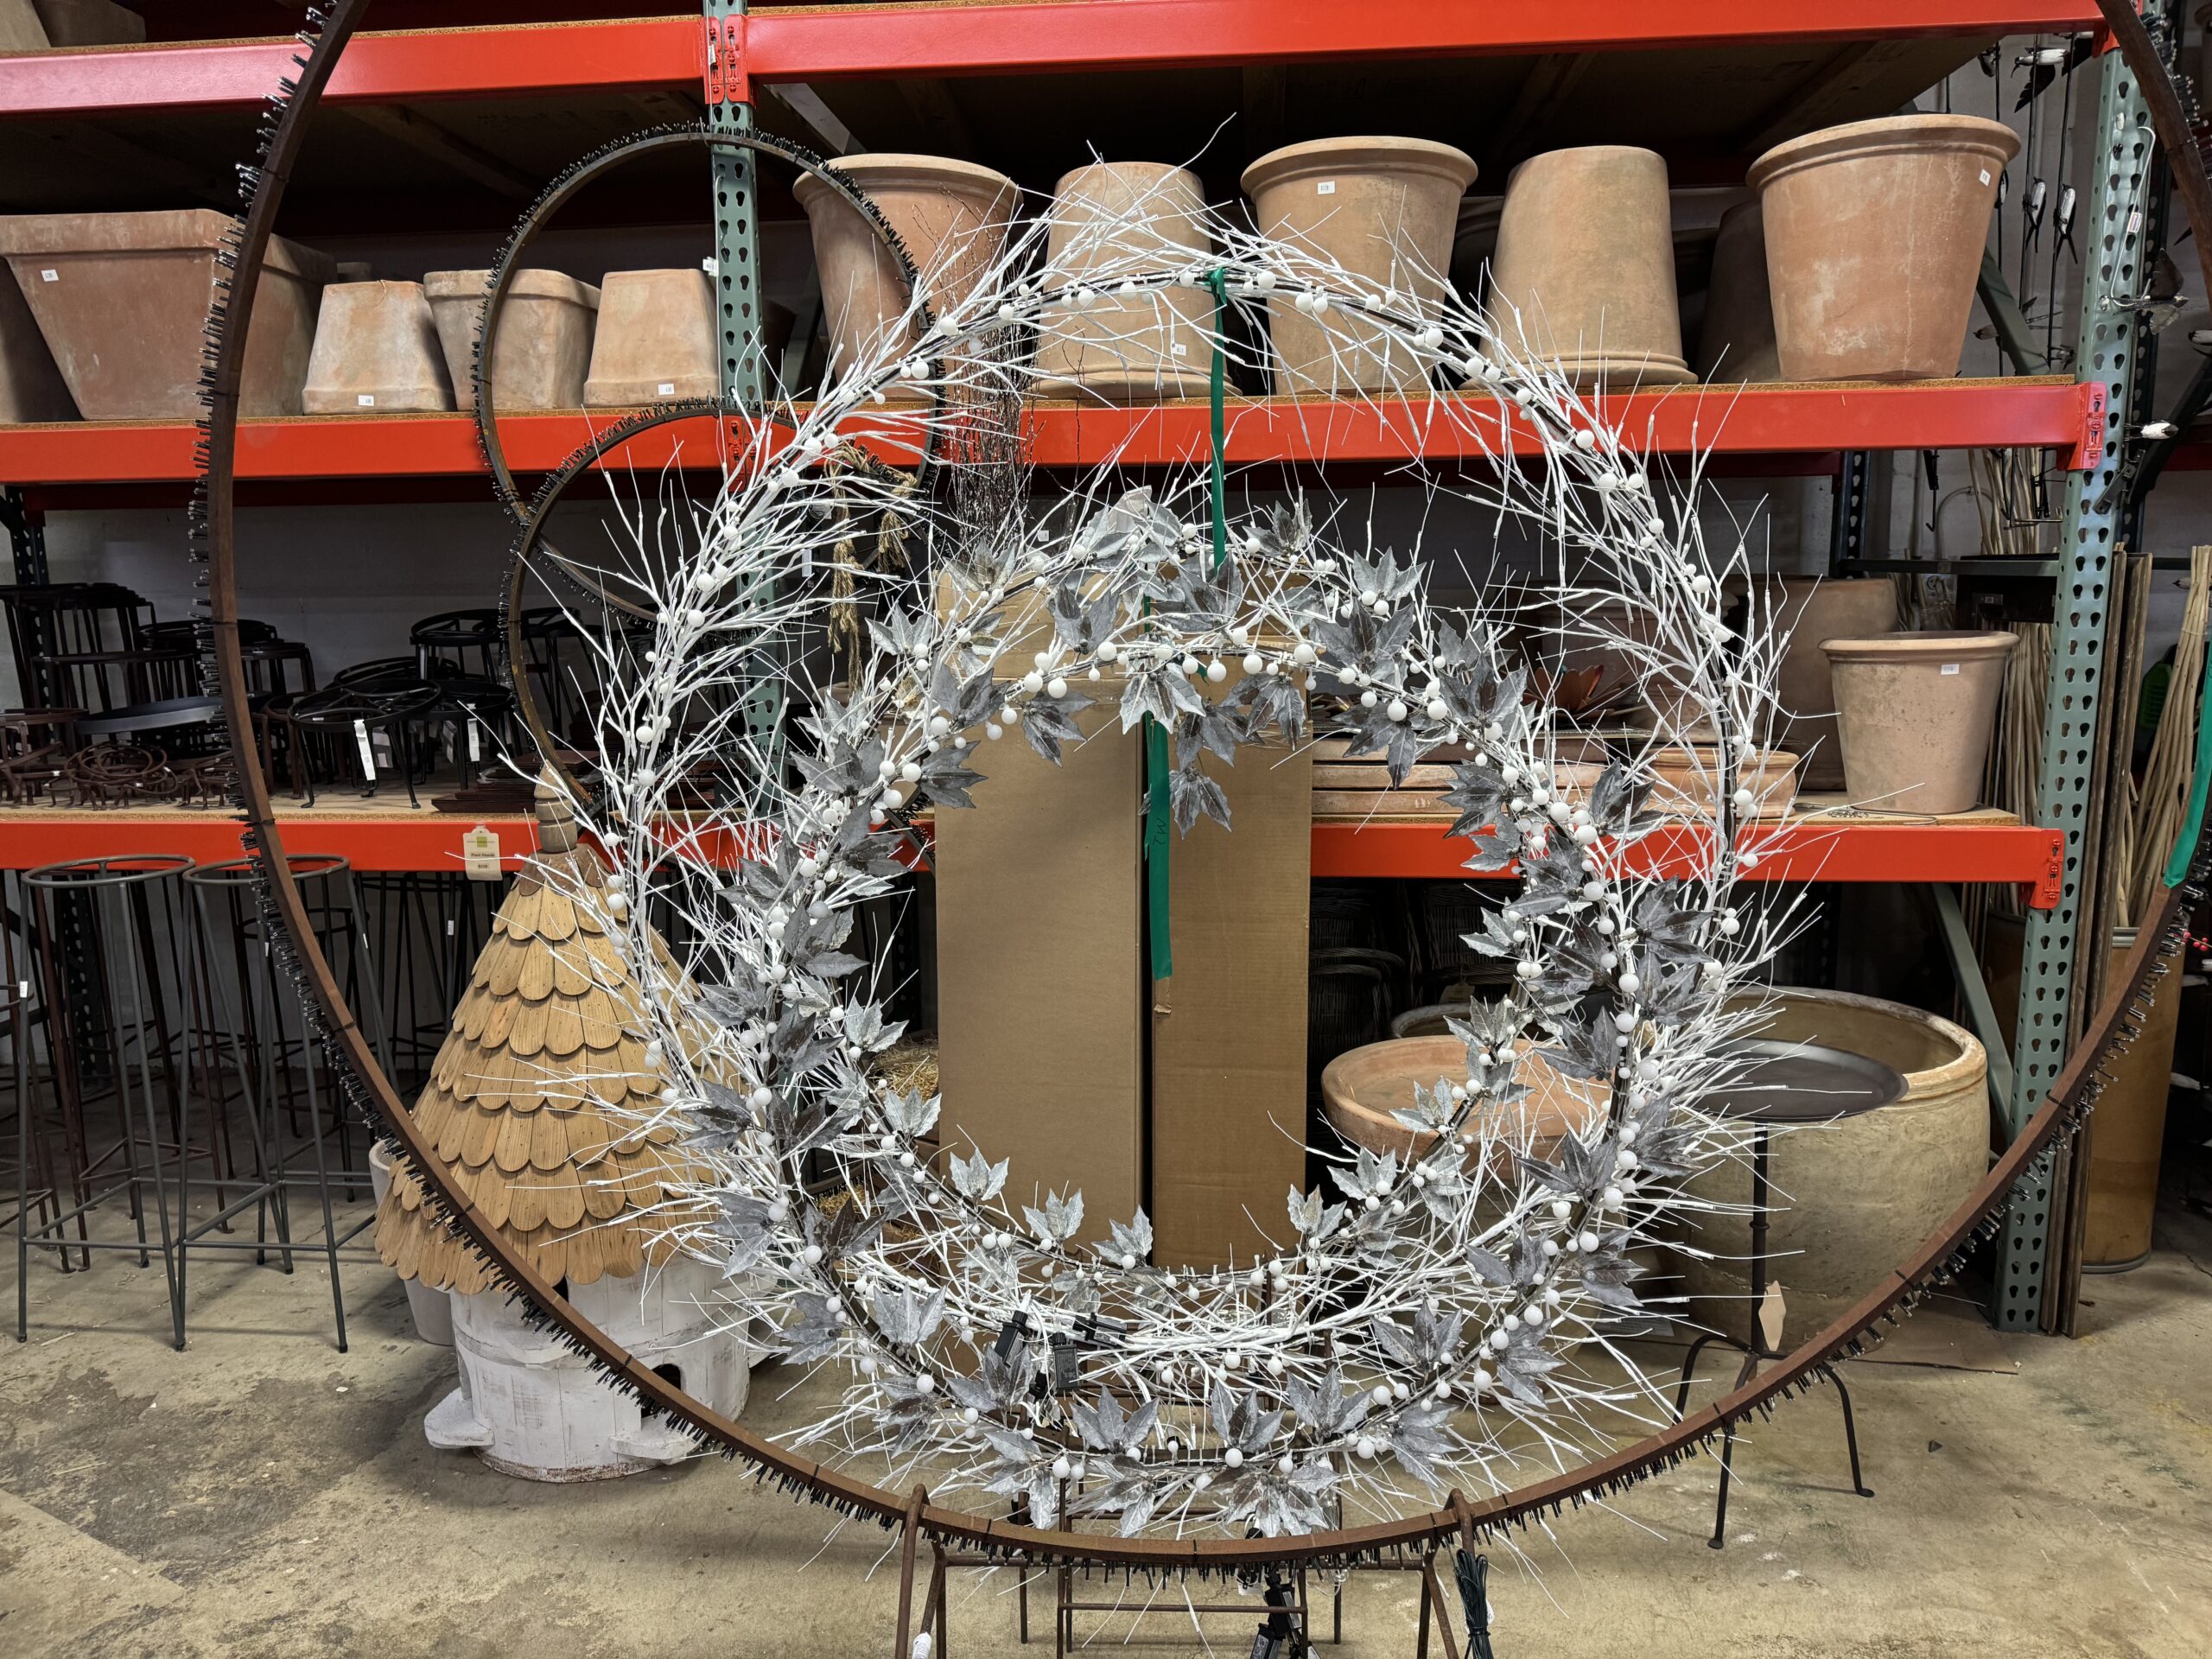
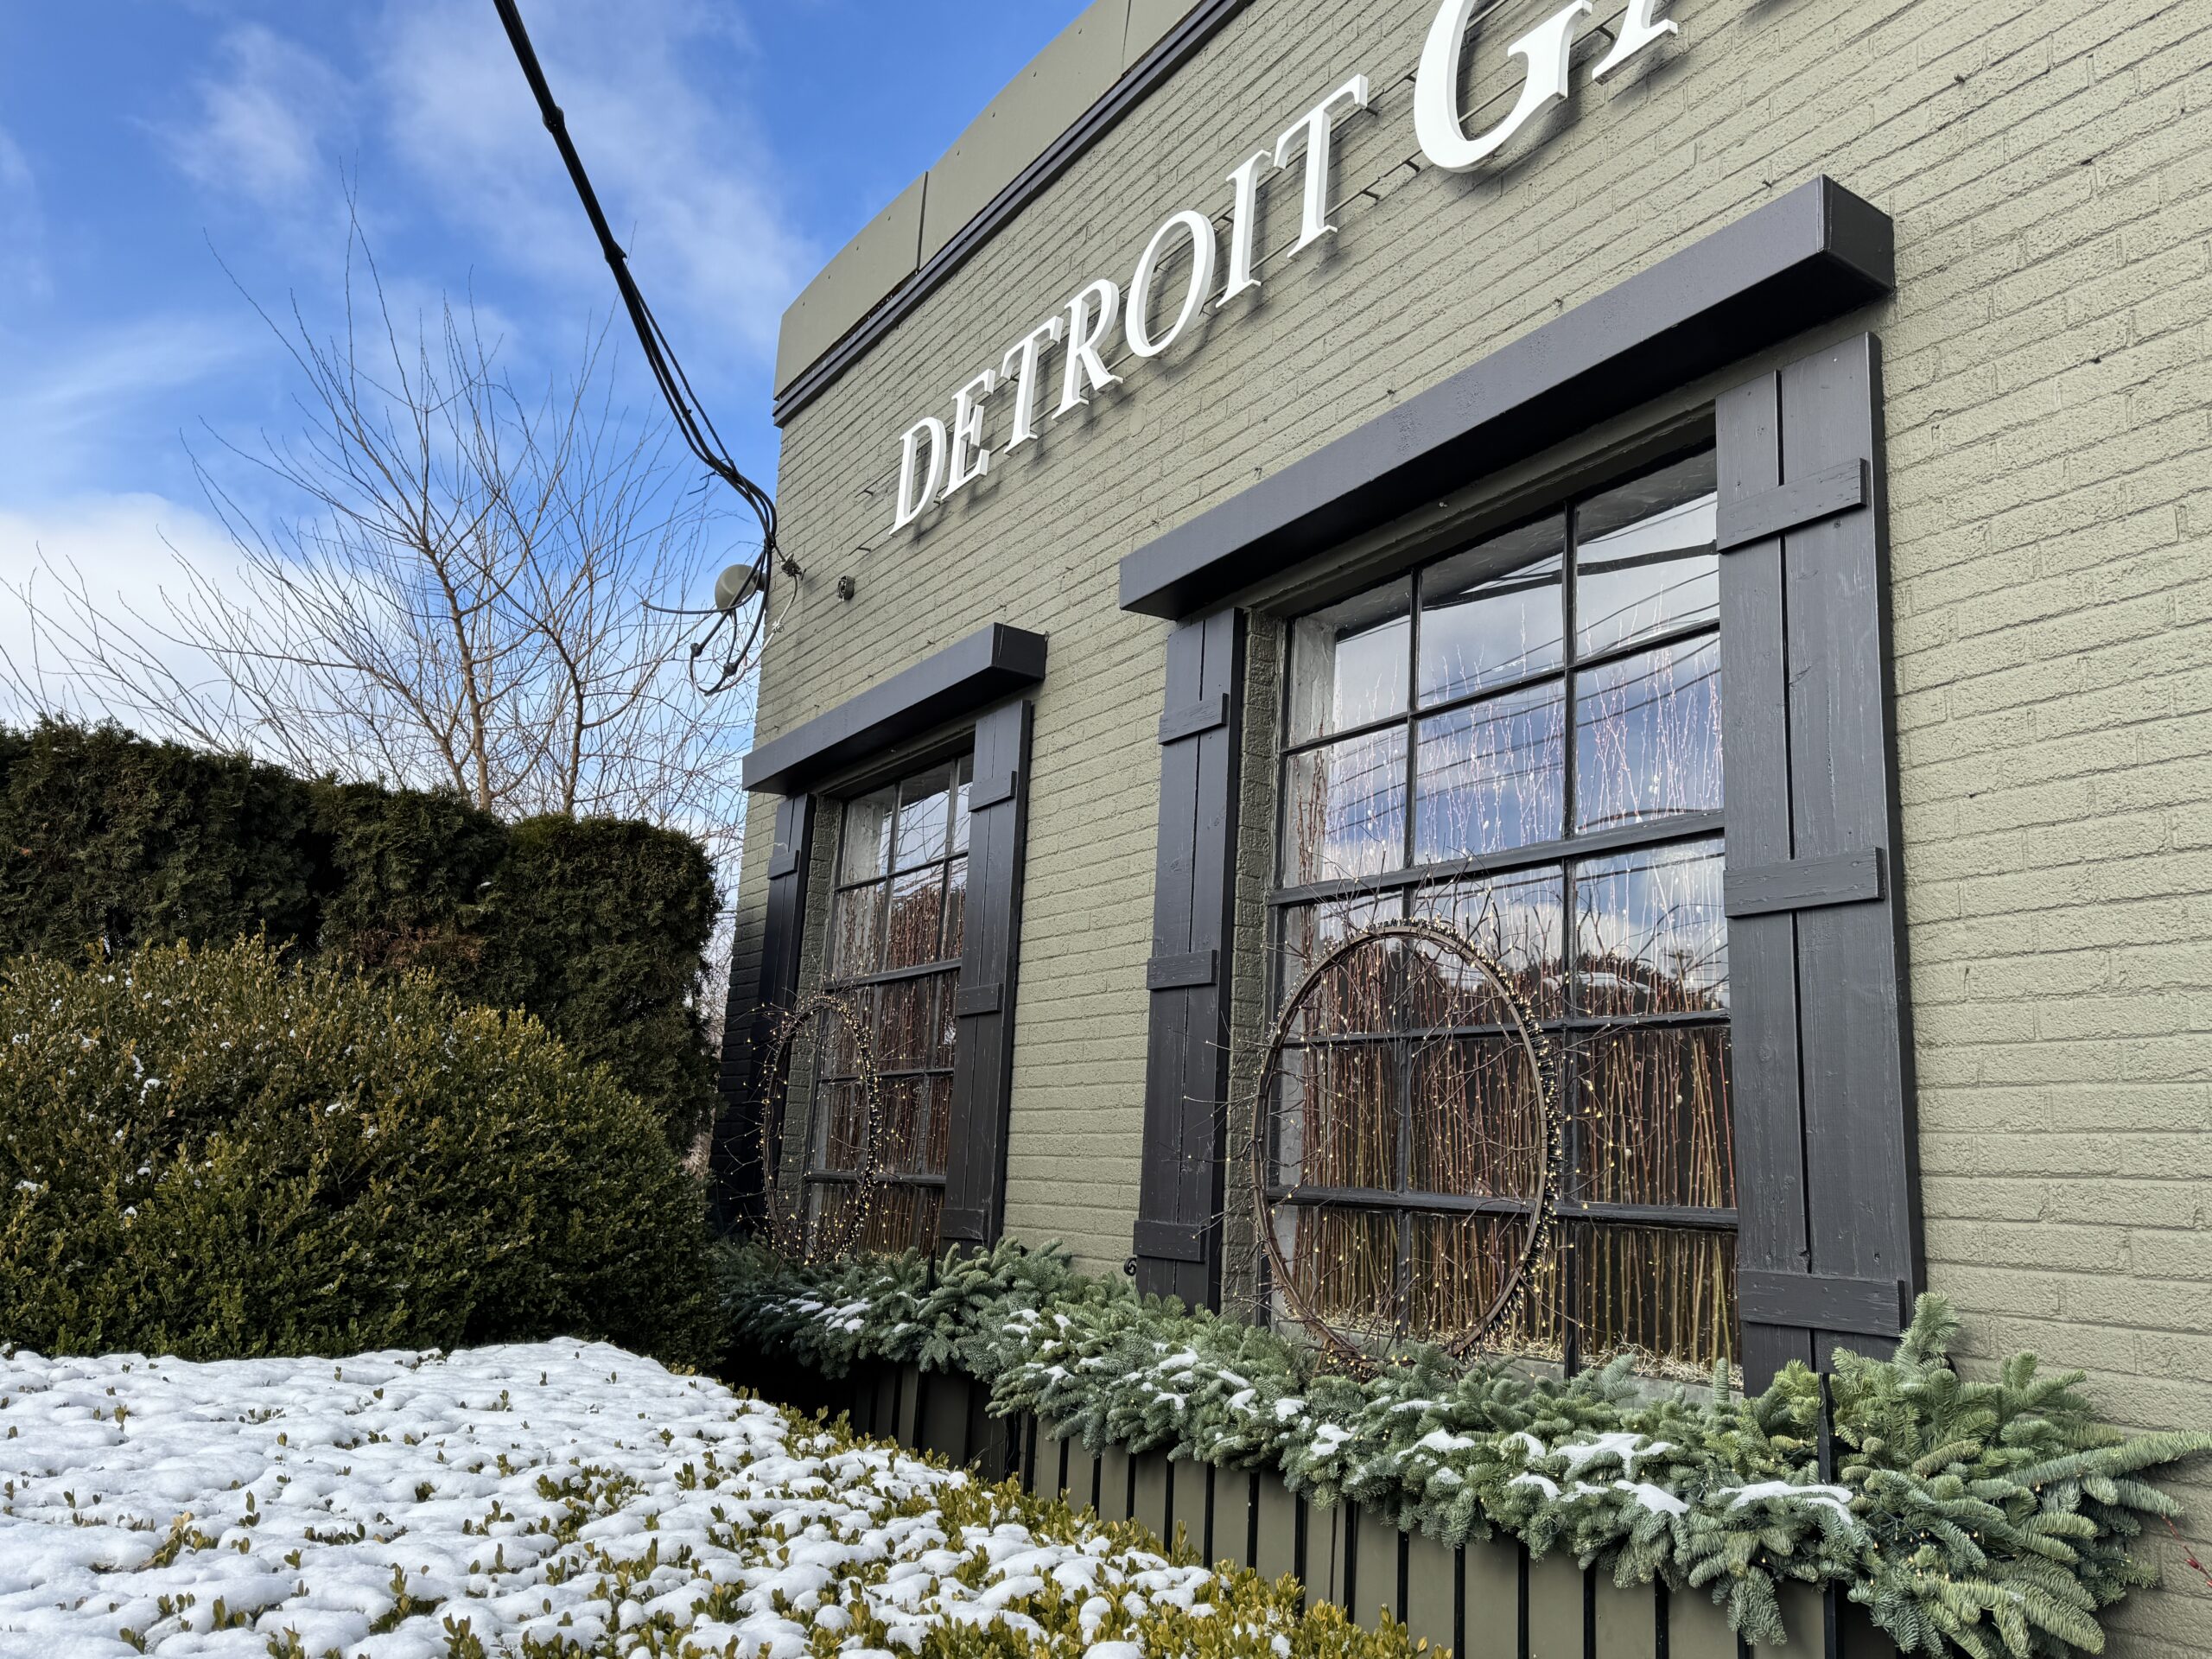
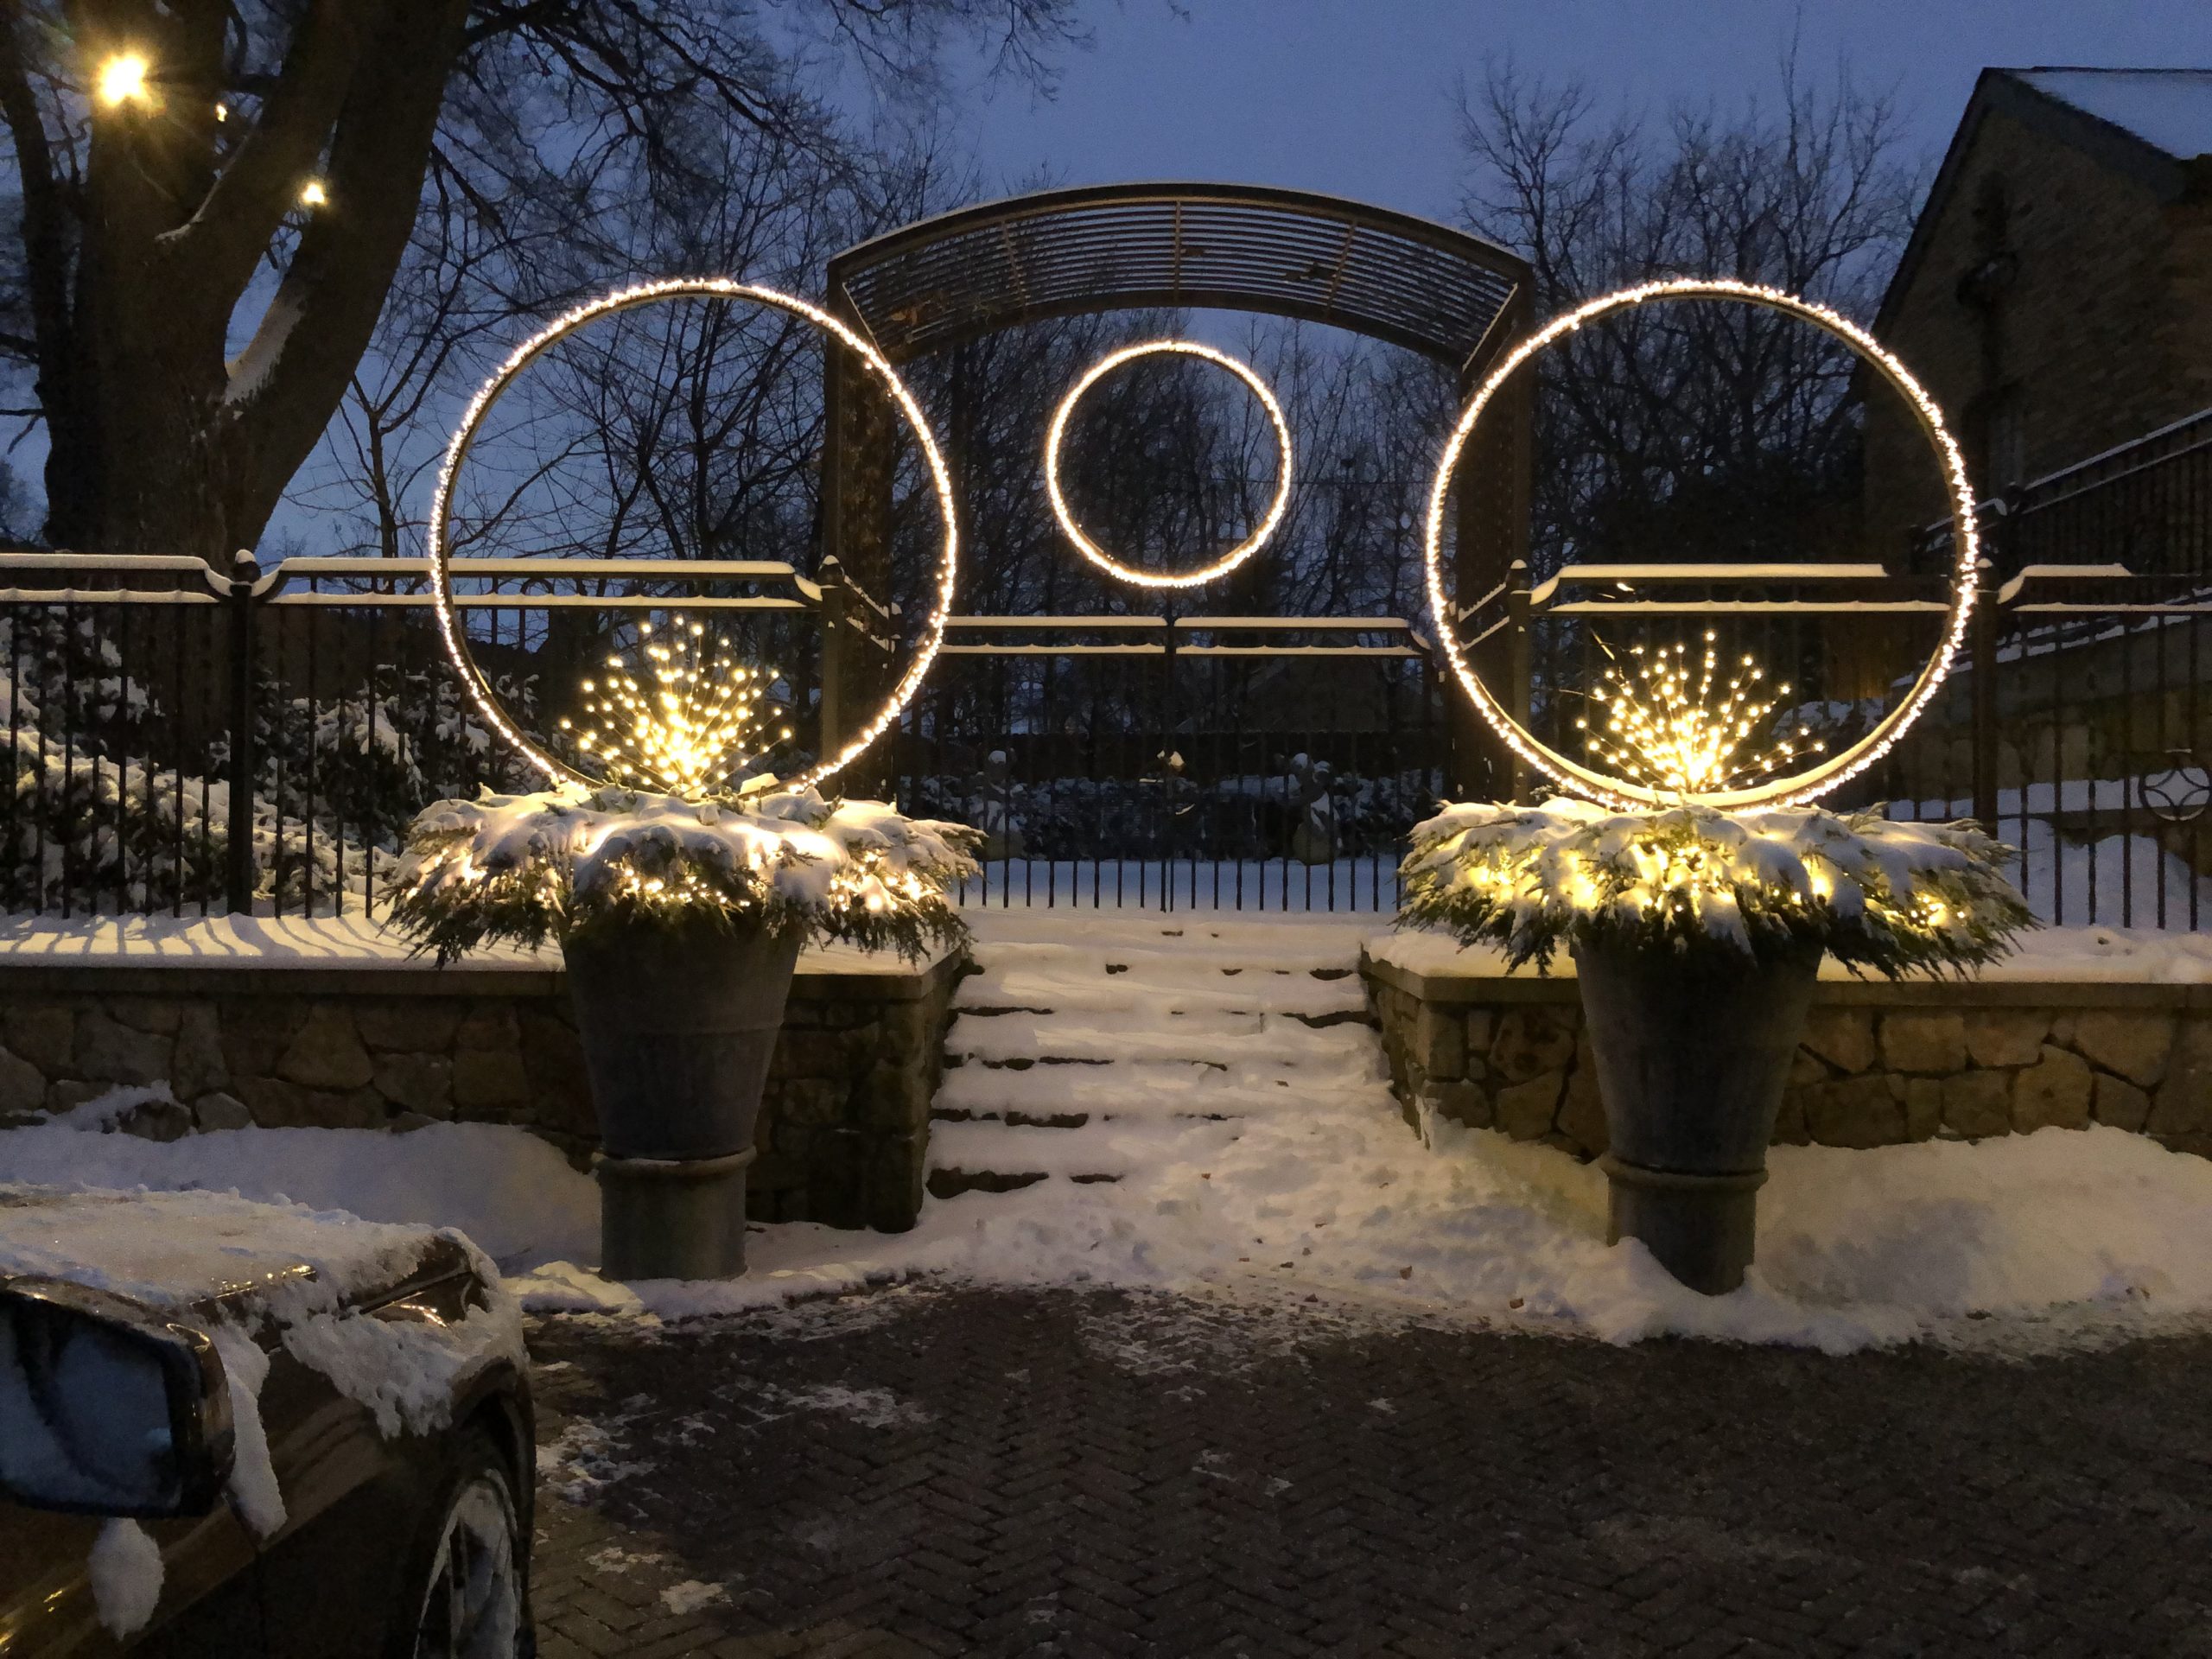
2′ and 3′ diameter light rings featuring cherry light strings and galvanized steel holly and berry garlands. The 5′ ring in the foreground is lighted with a Lumineo compact light set.

light ring in a thicket
2011
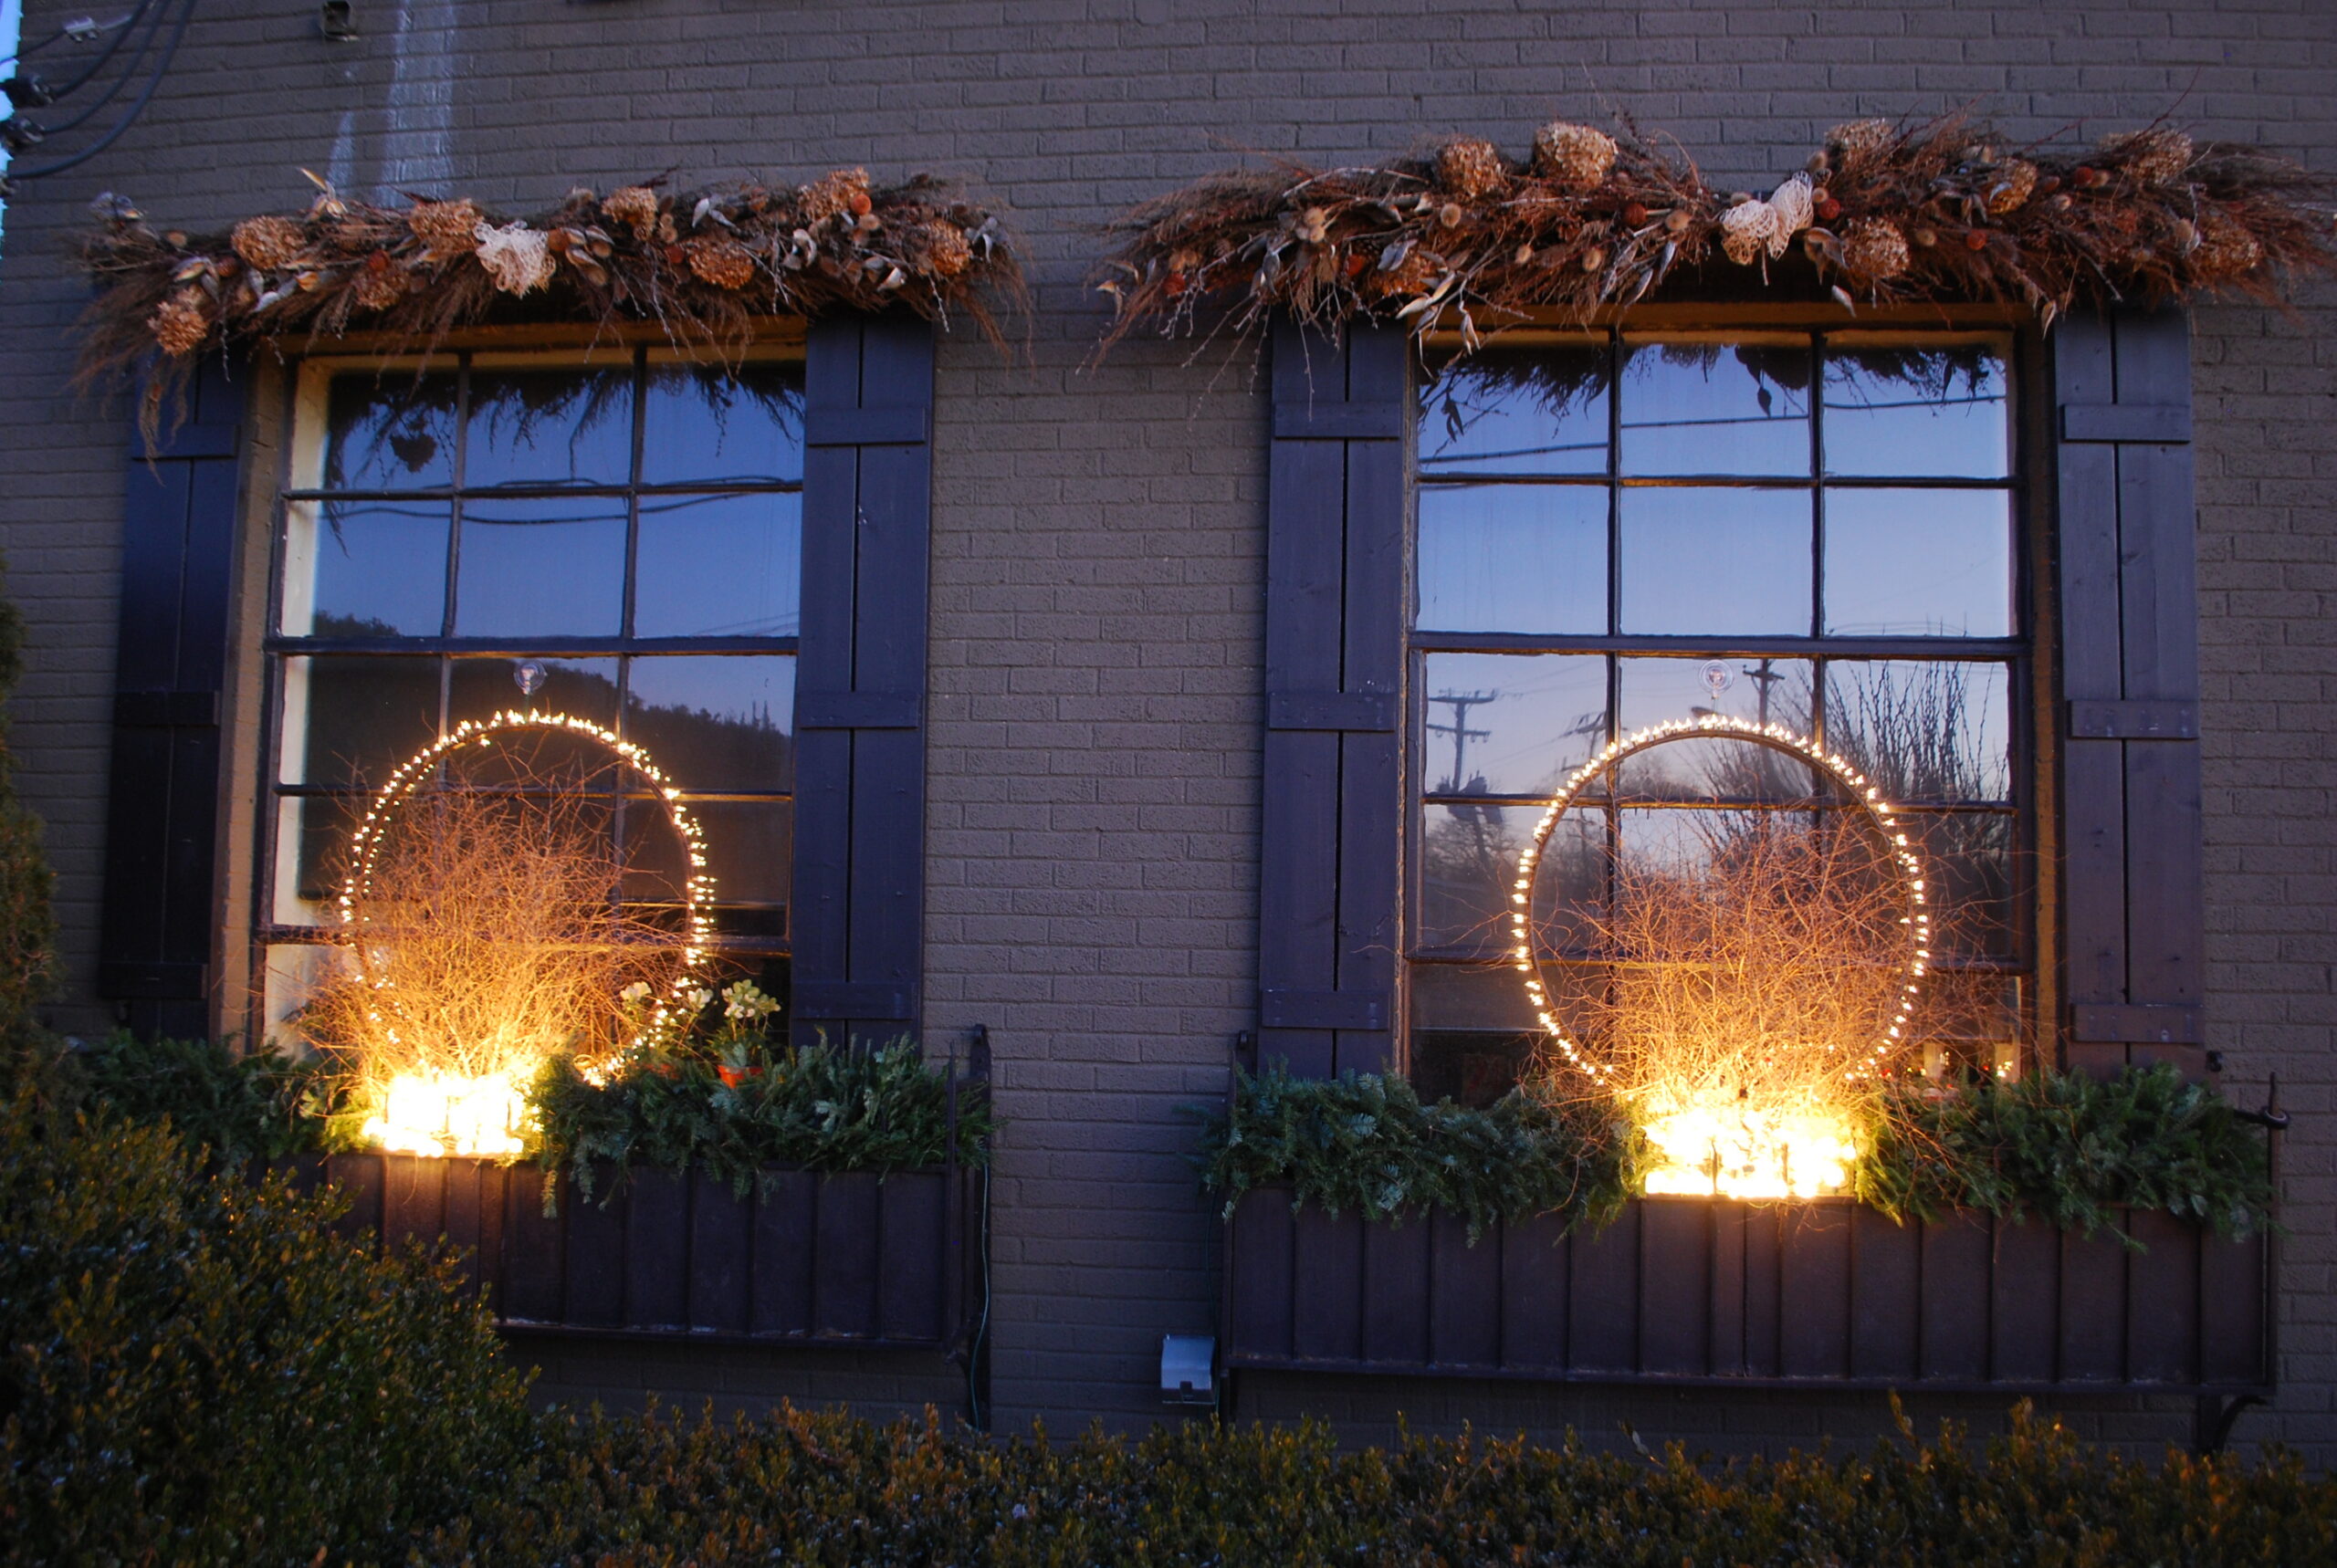
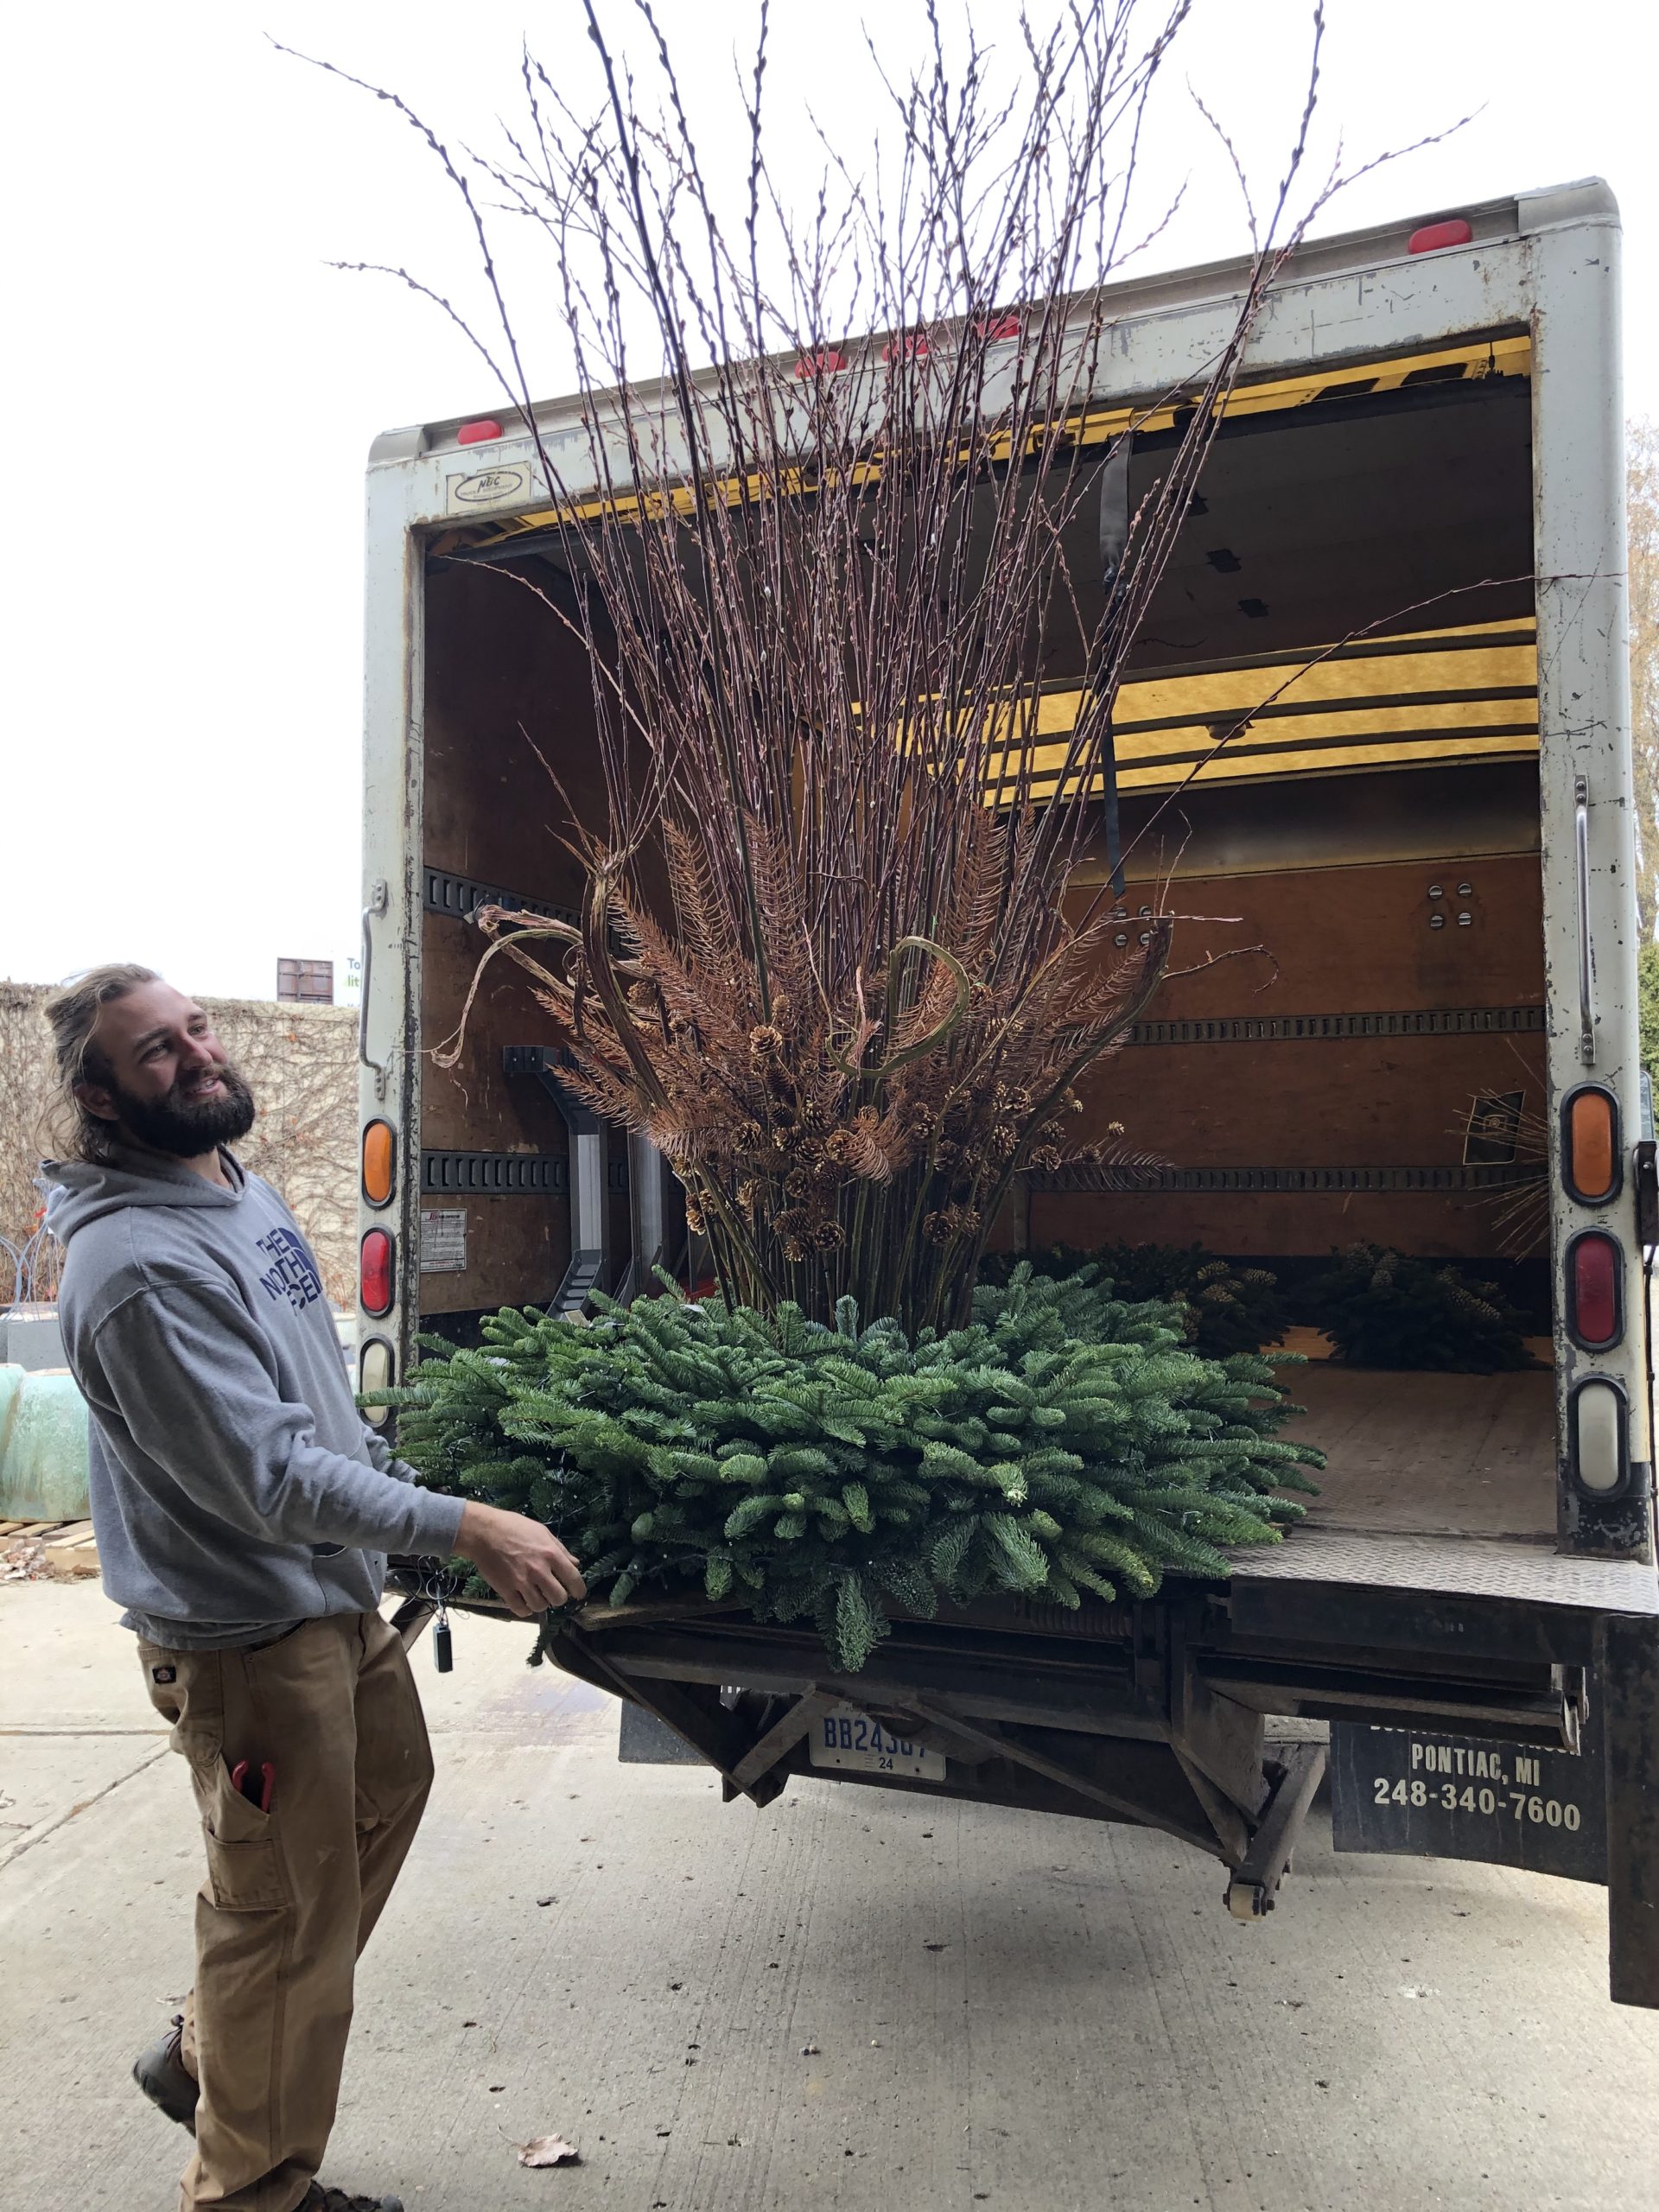
dried plants from the garden. The bright light in the foreground is a string of C7 incandescent lights piled up.
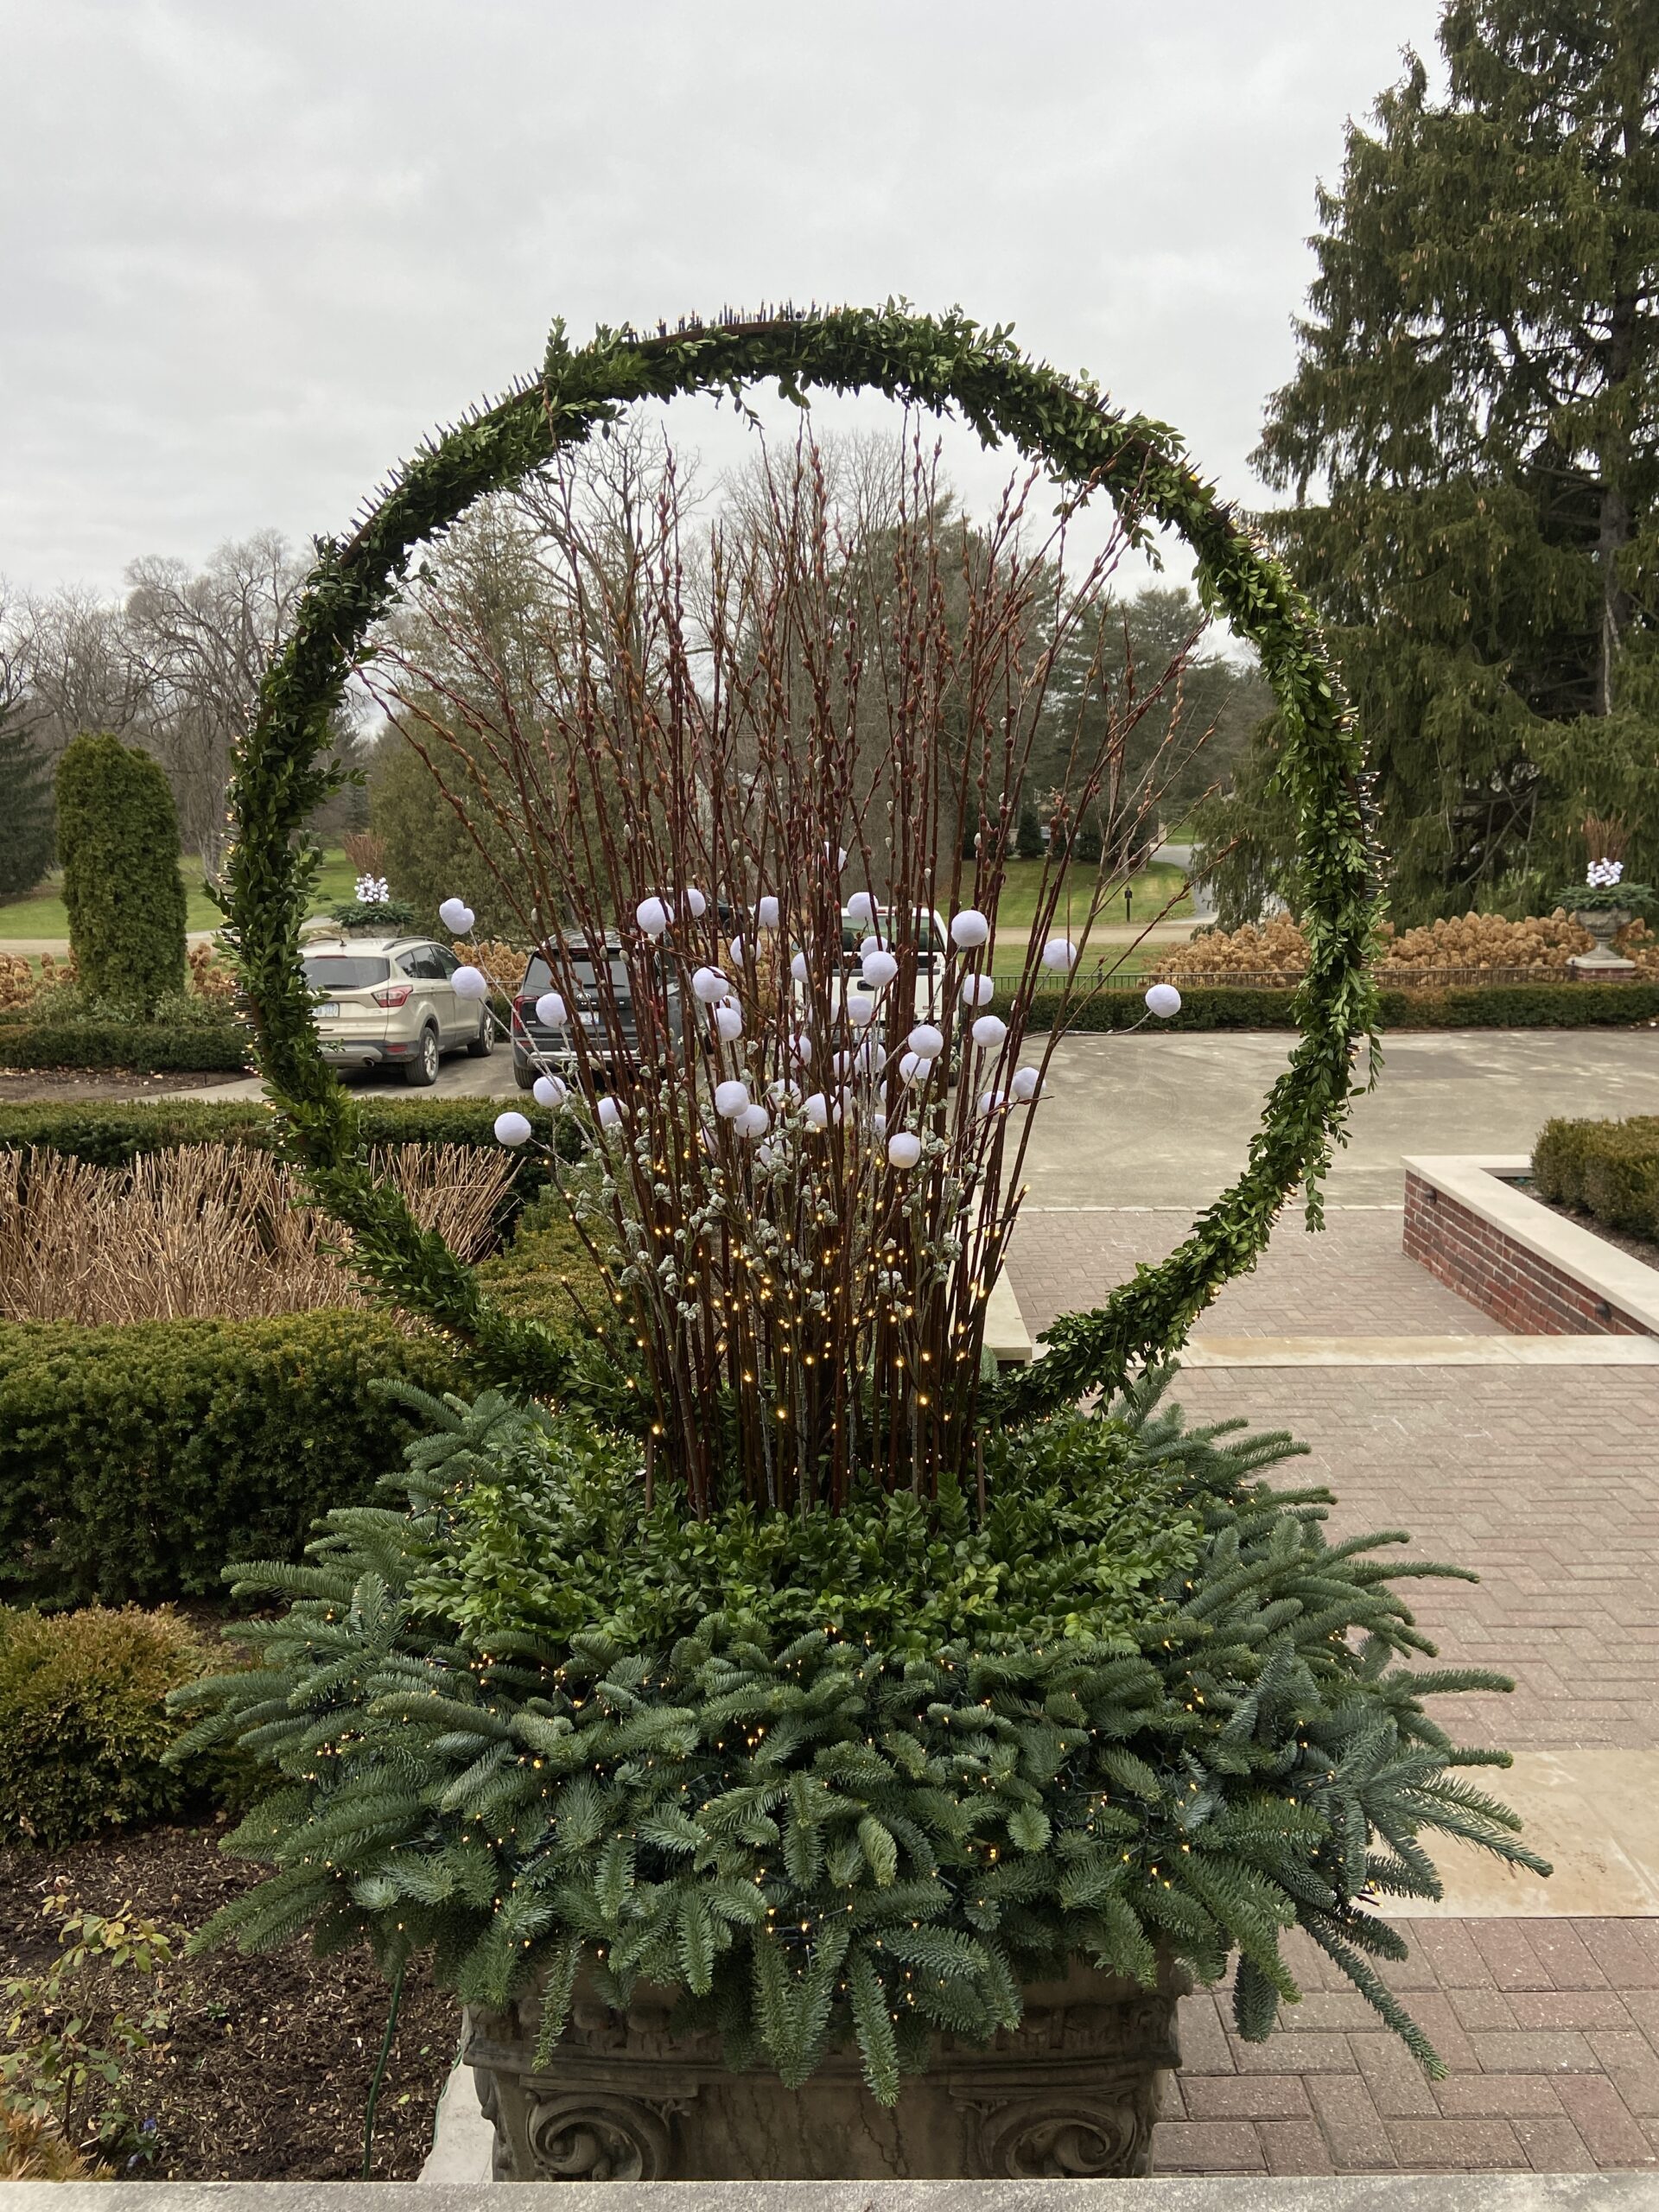
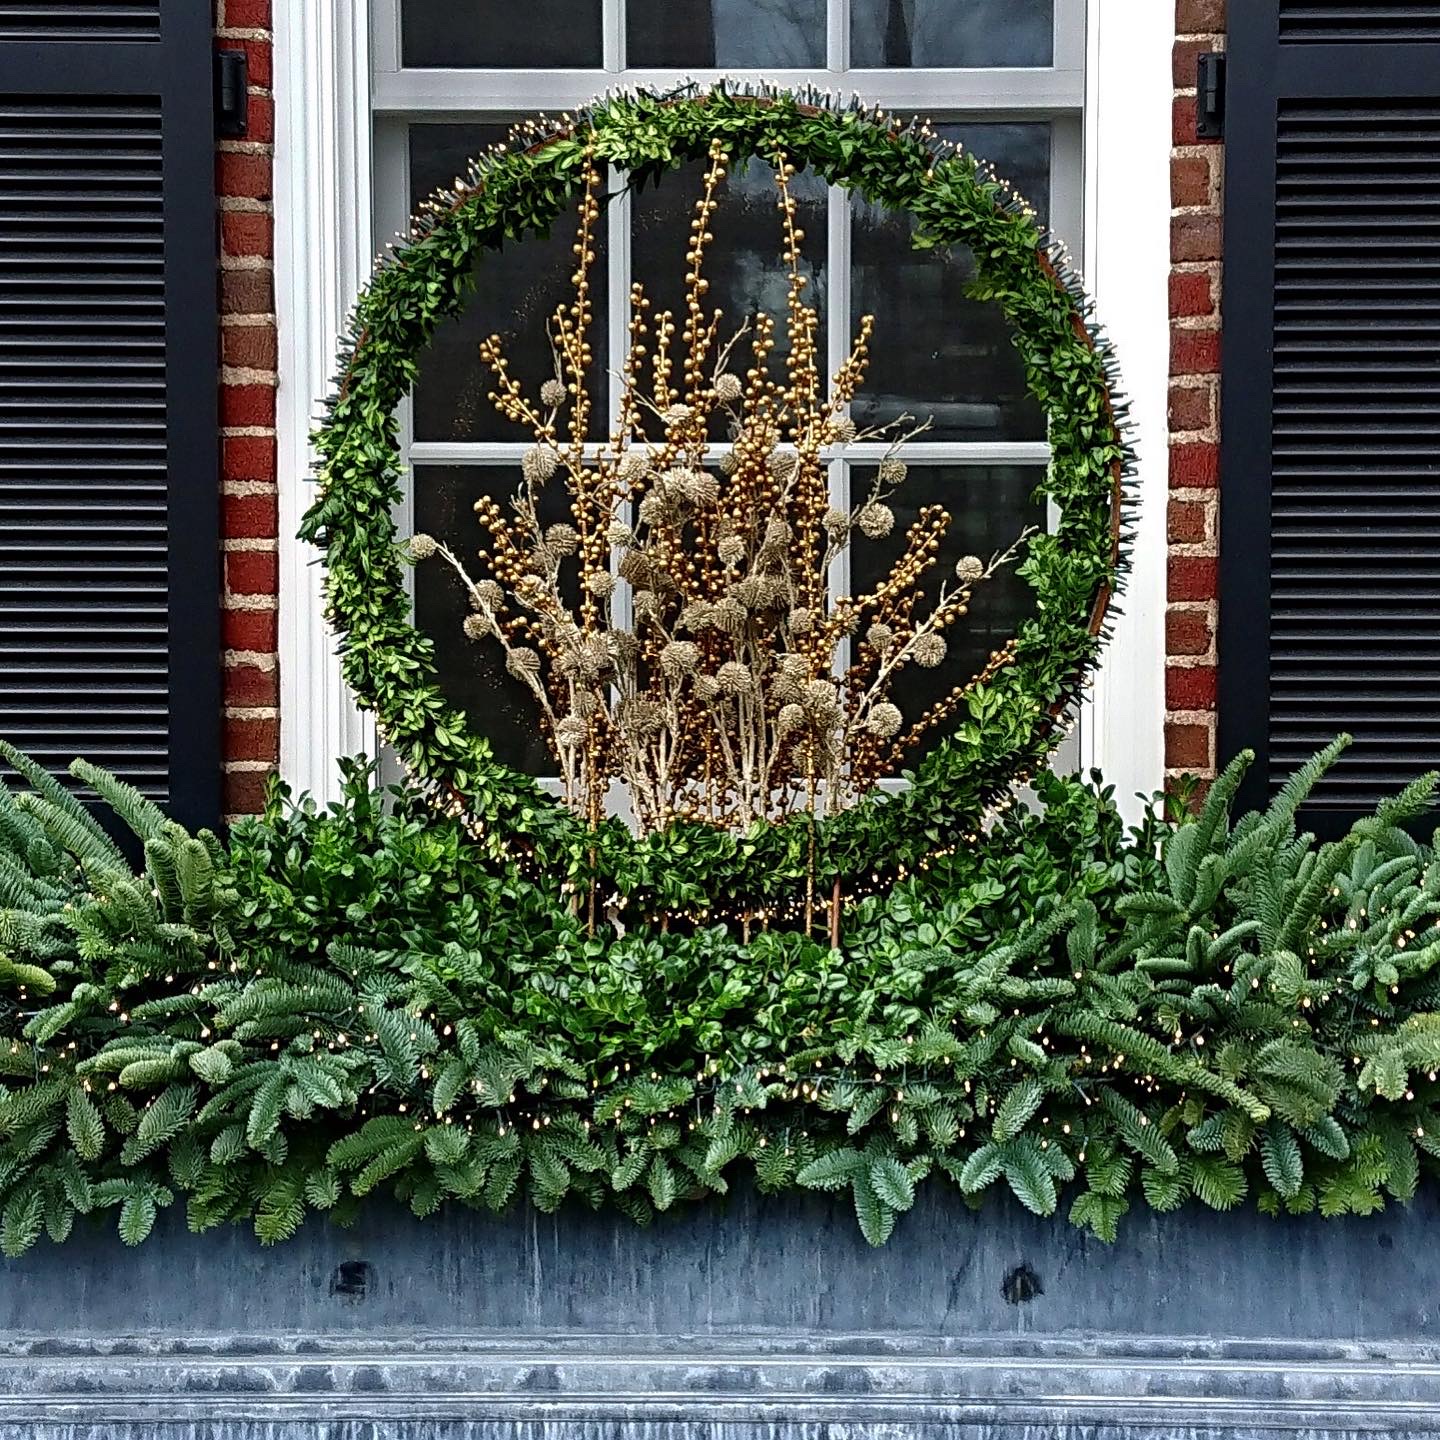
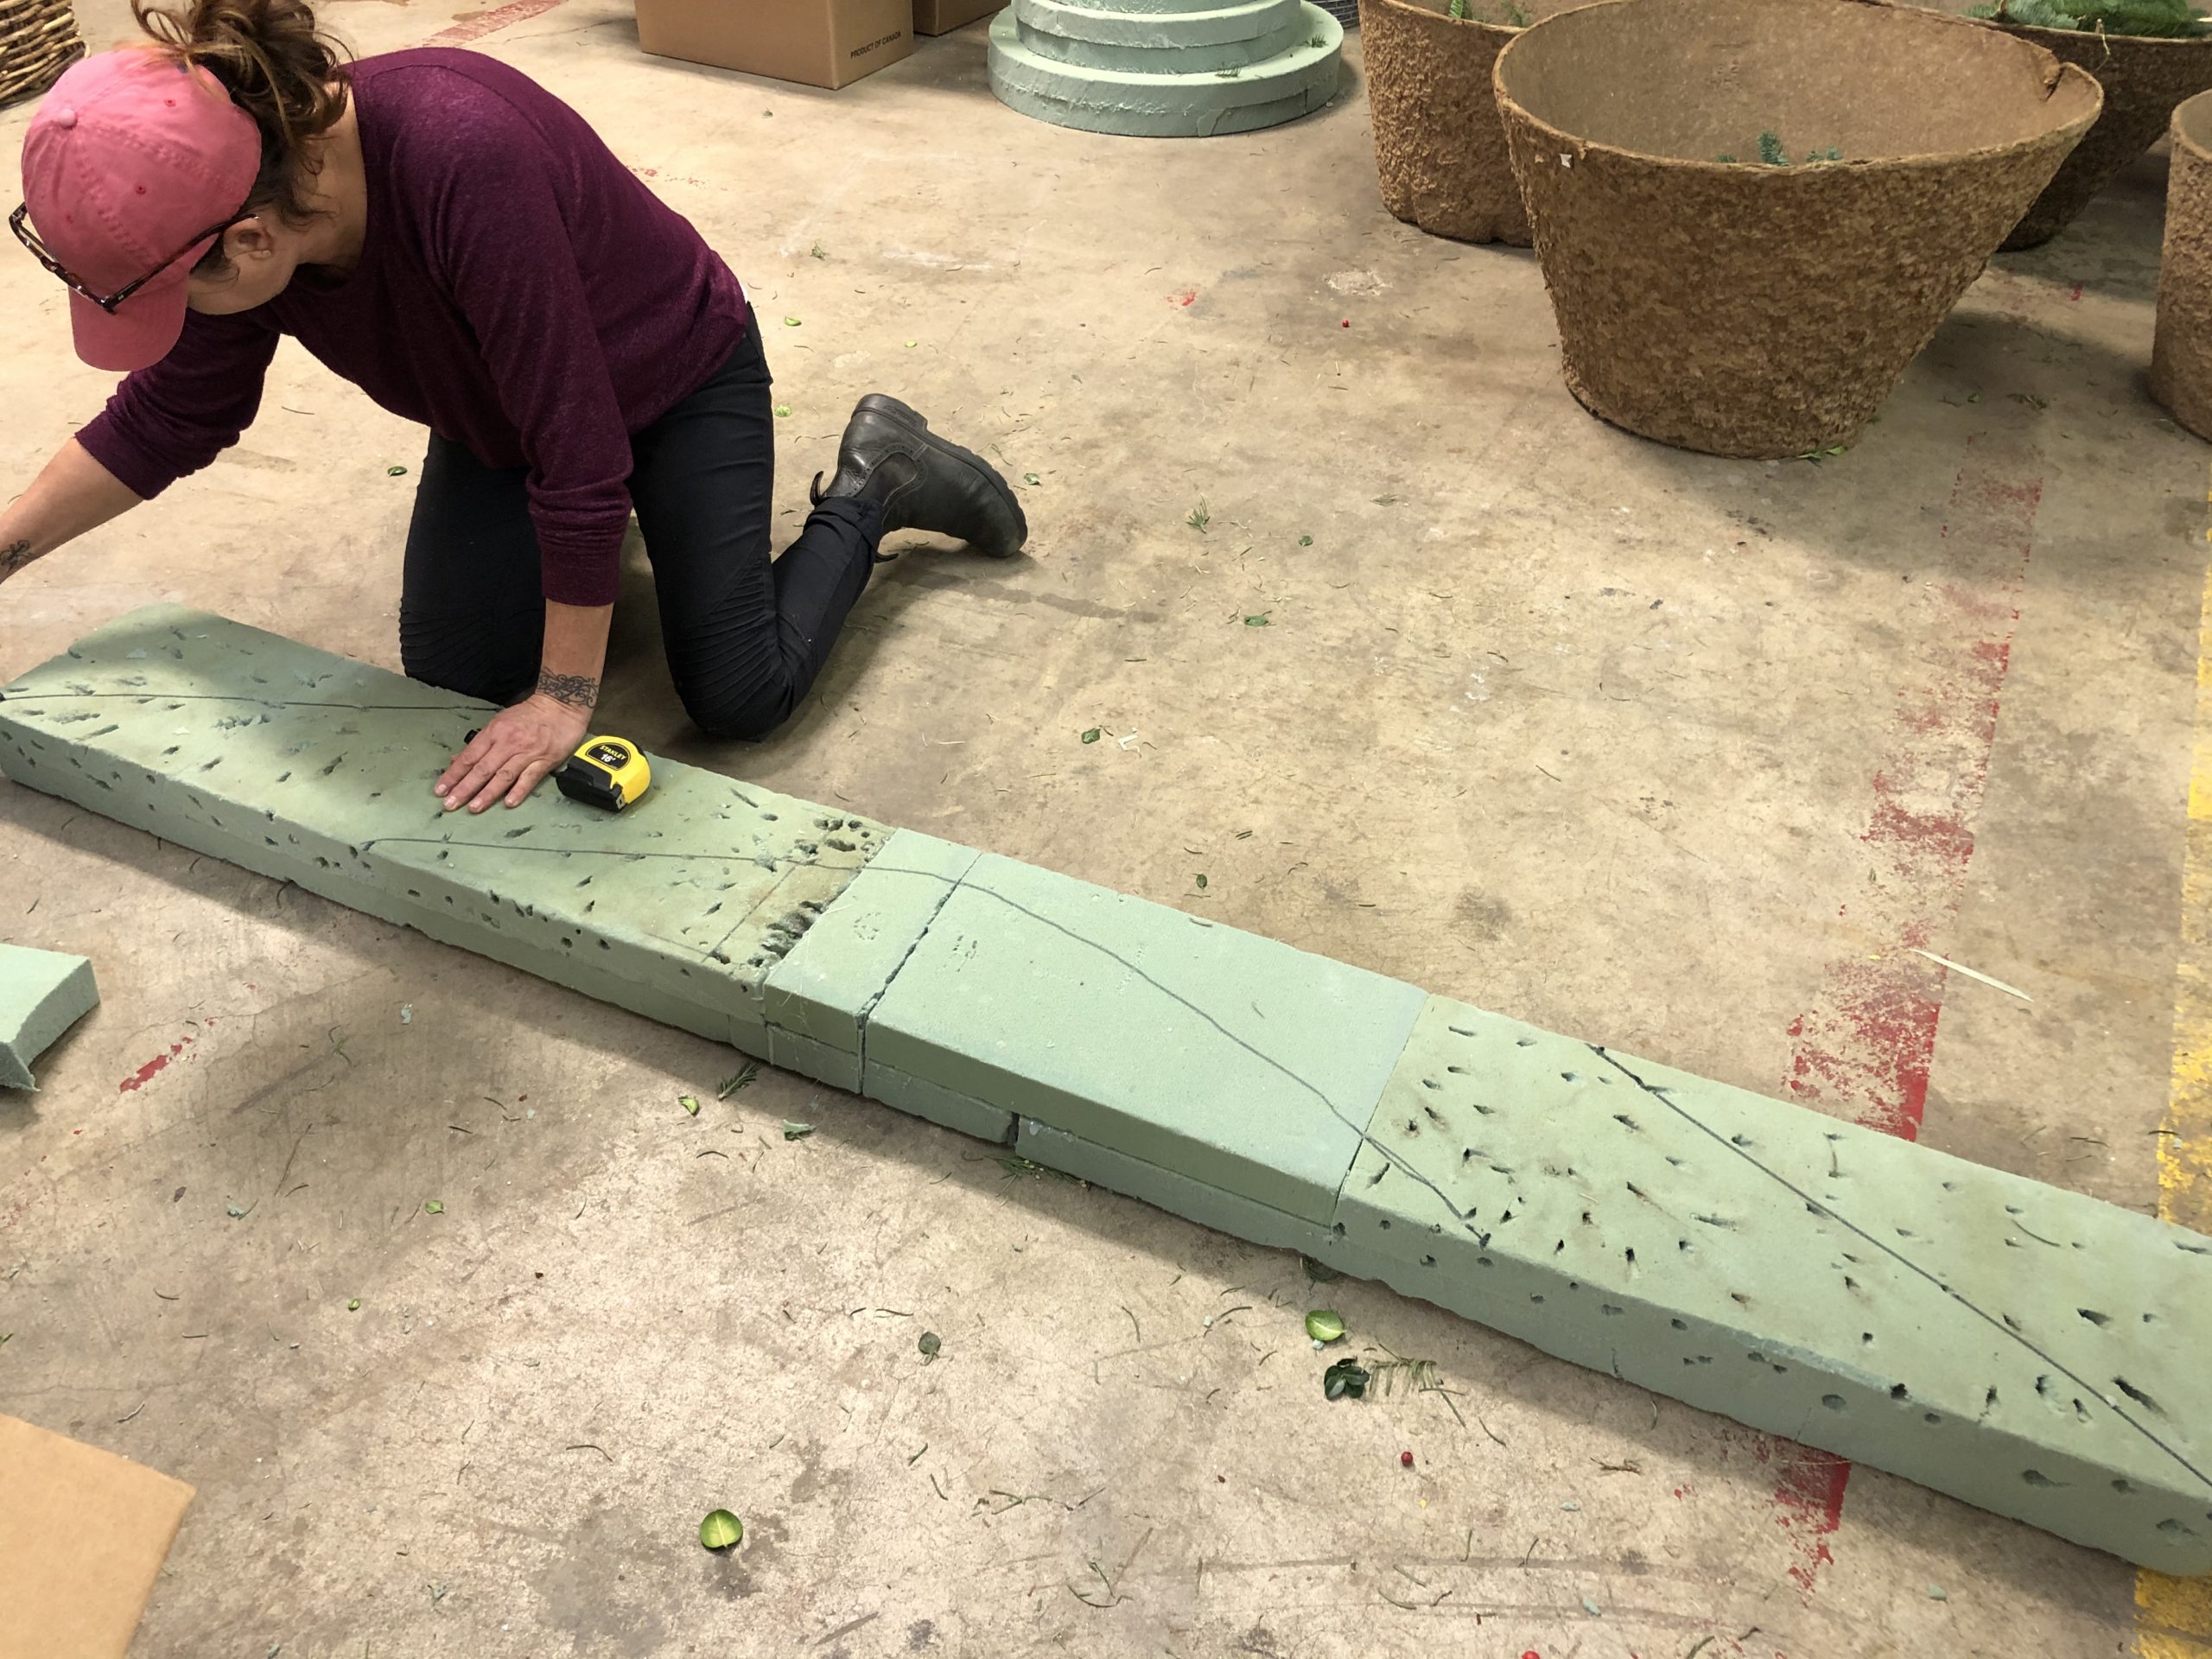
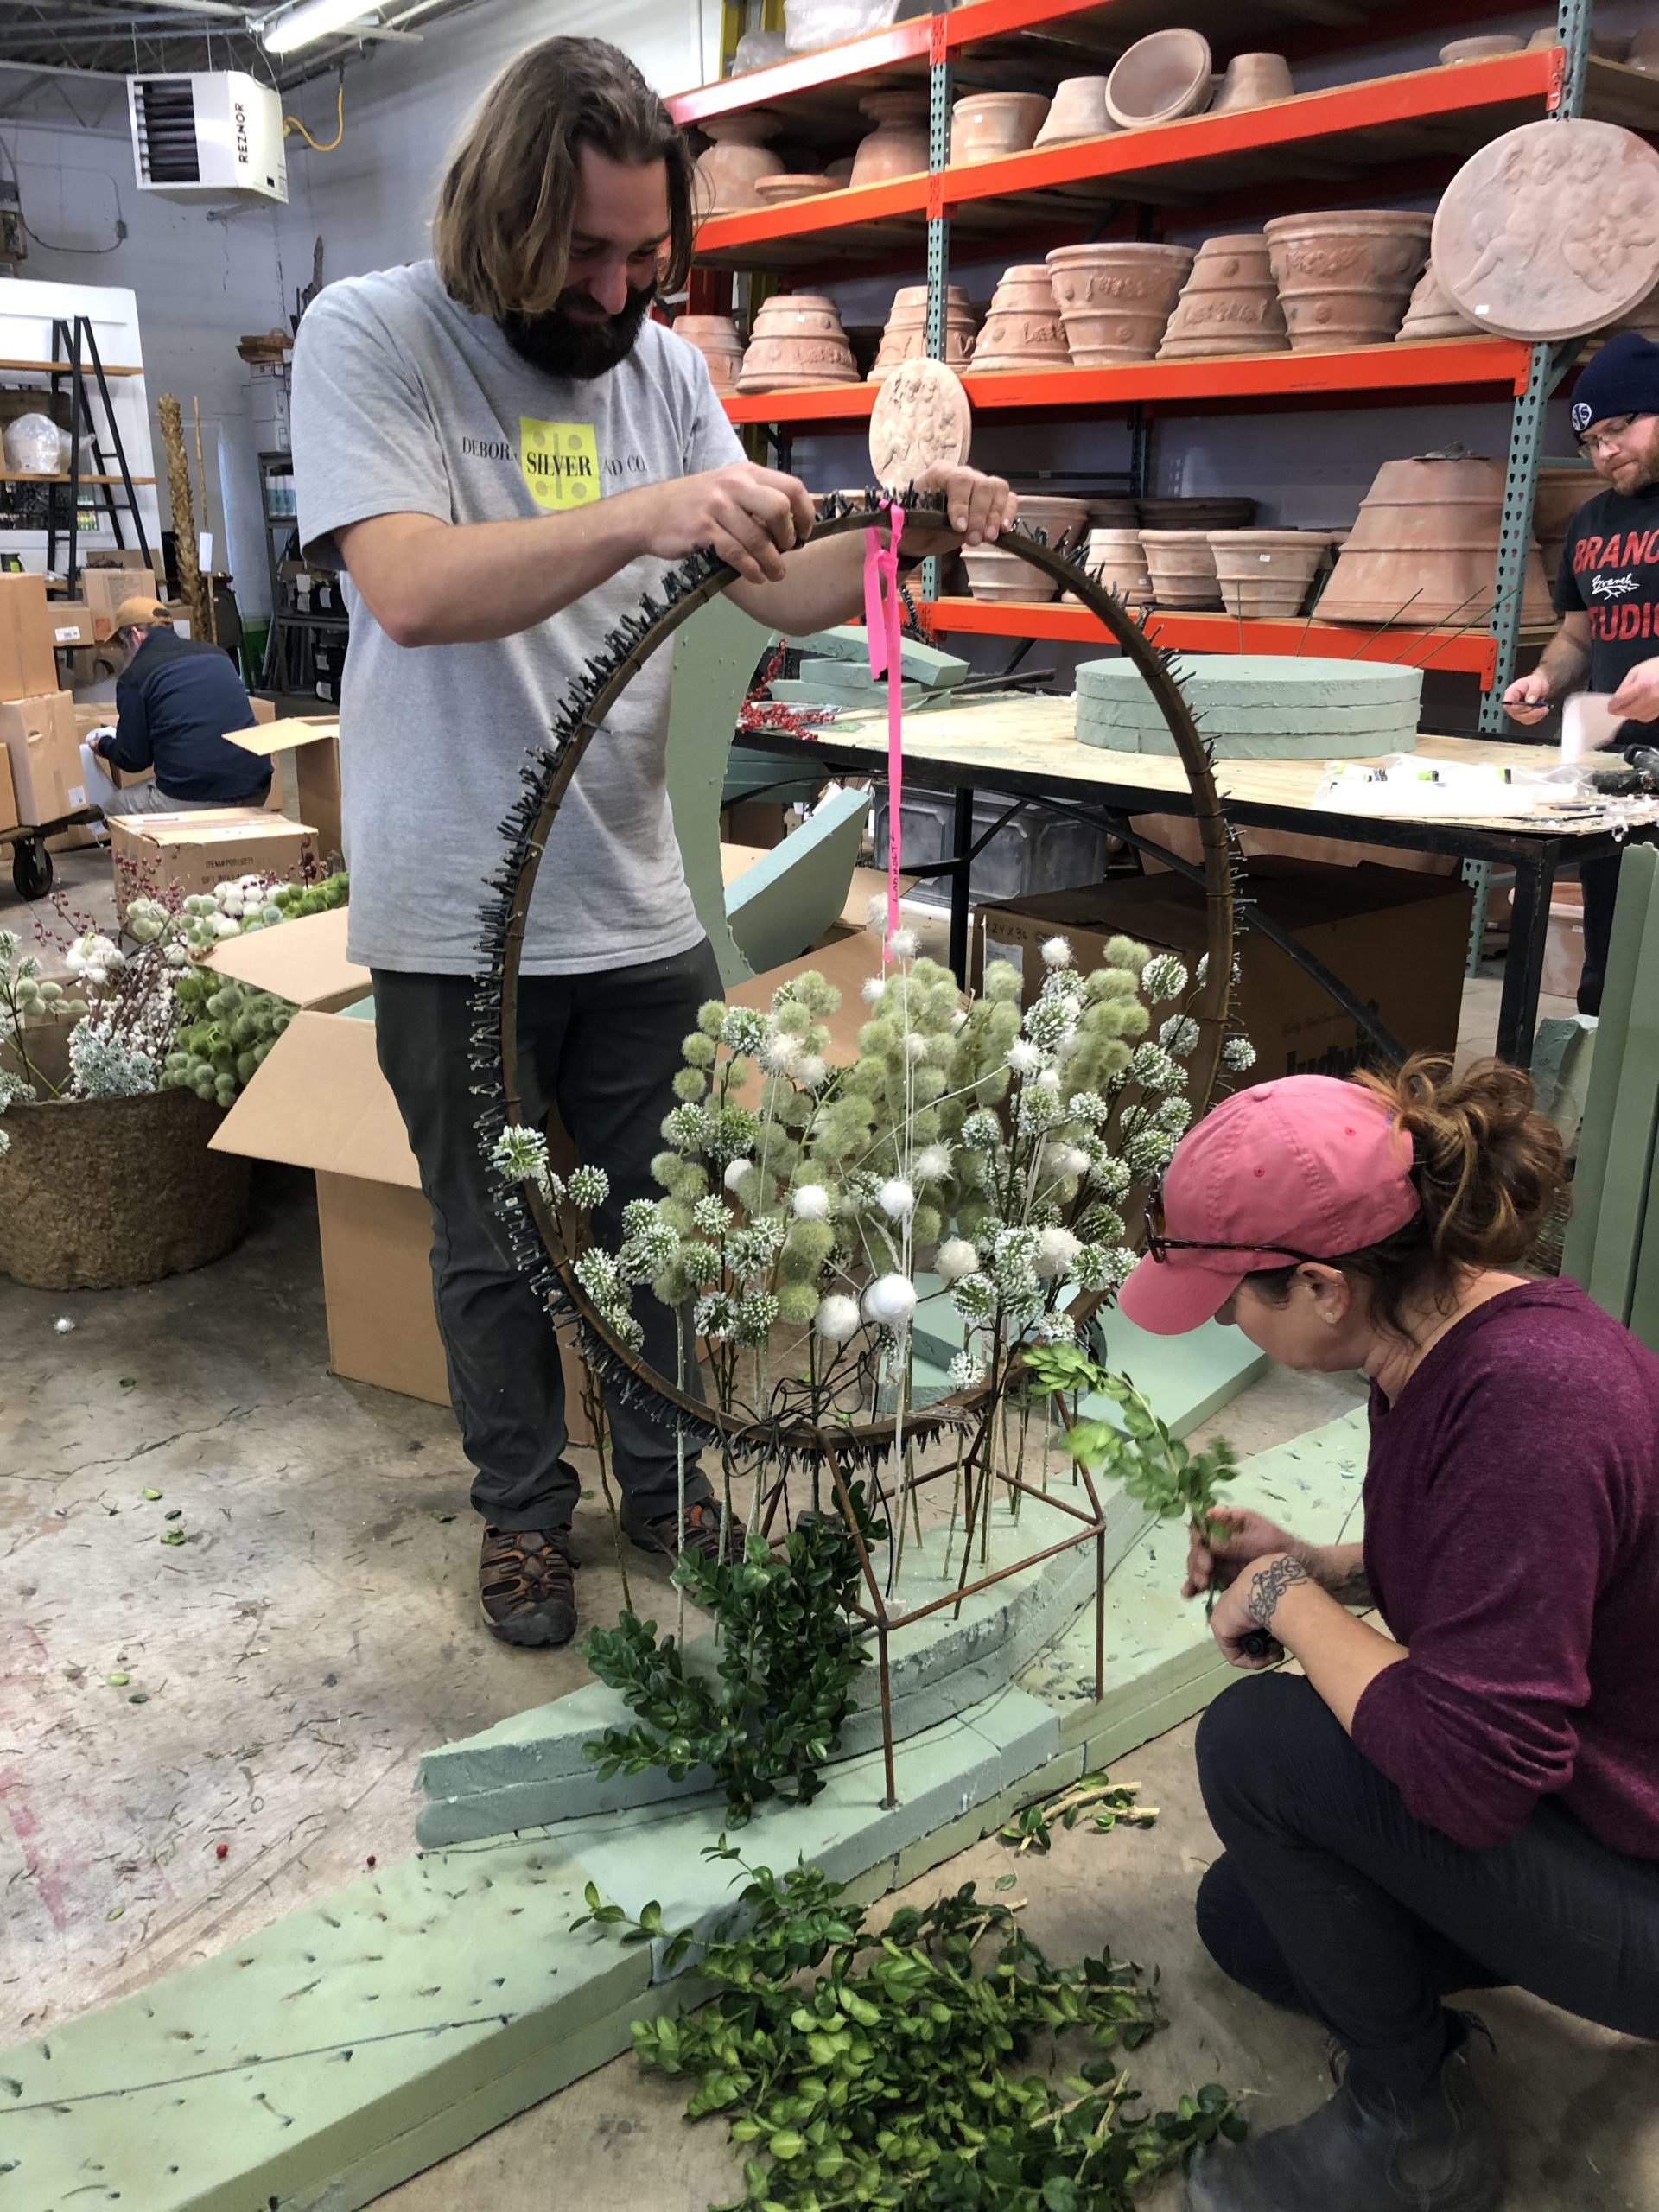
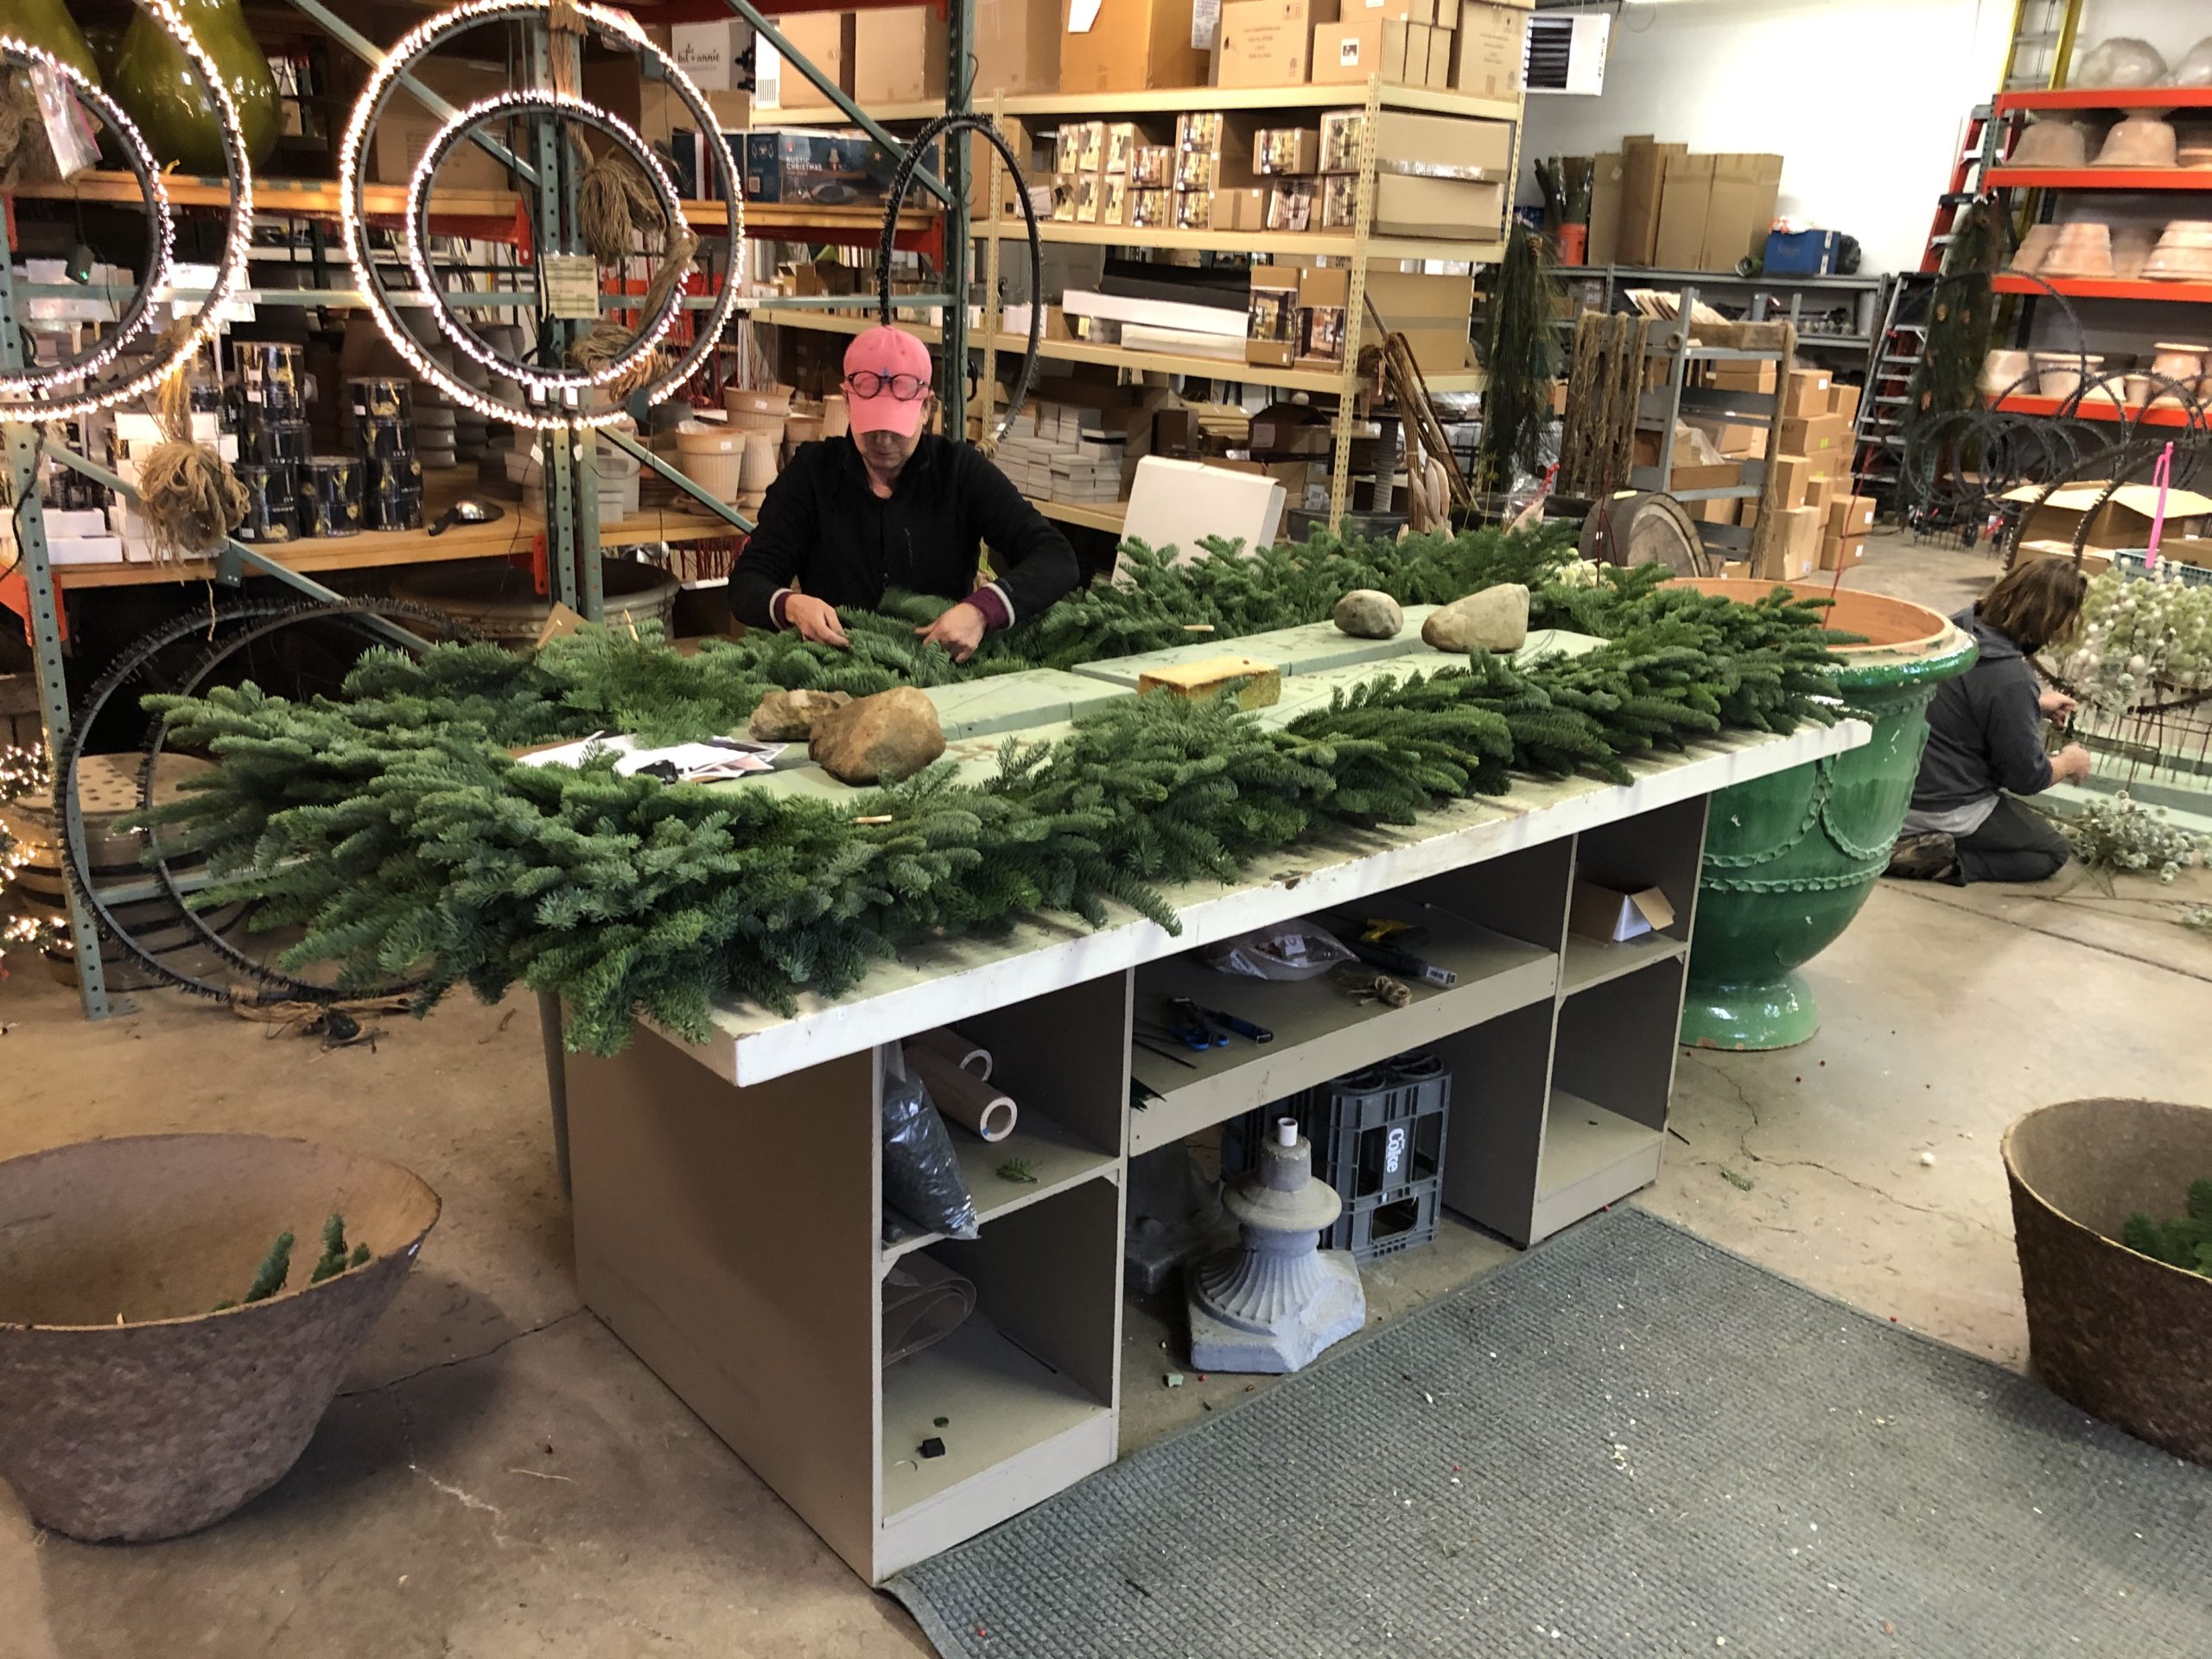
five foot ring lined with a boxwood garland
crisp and contemporary
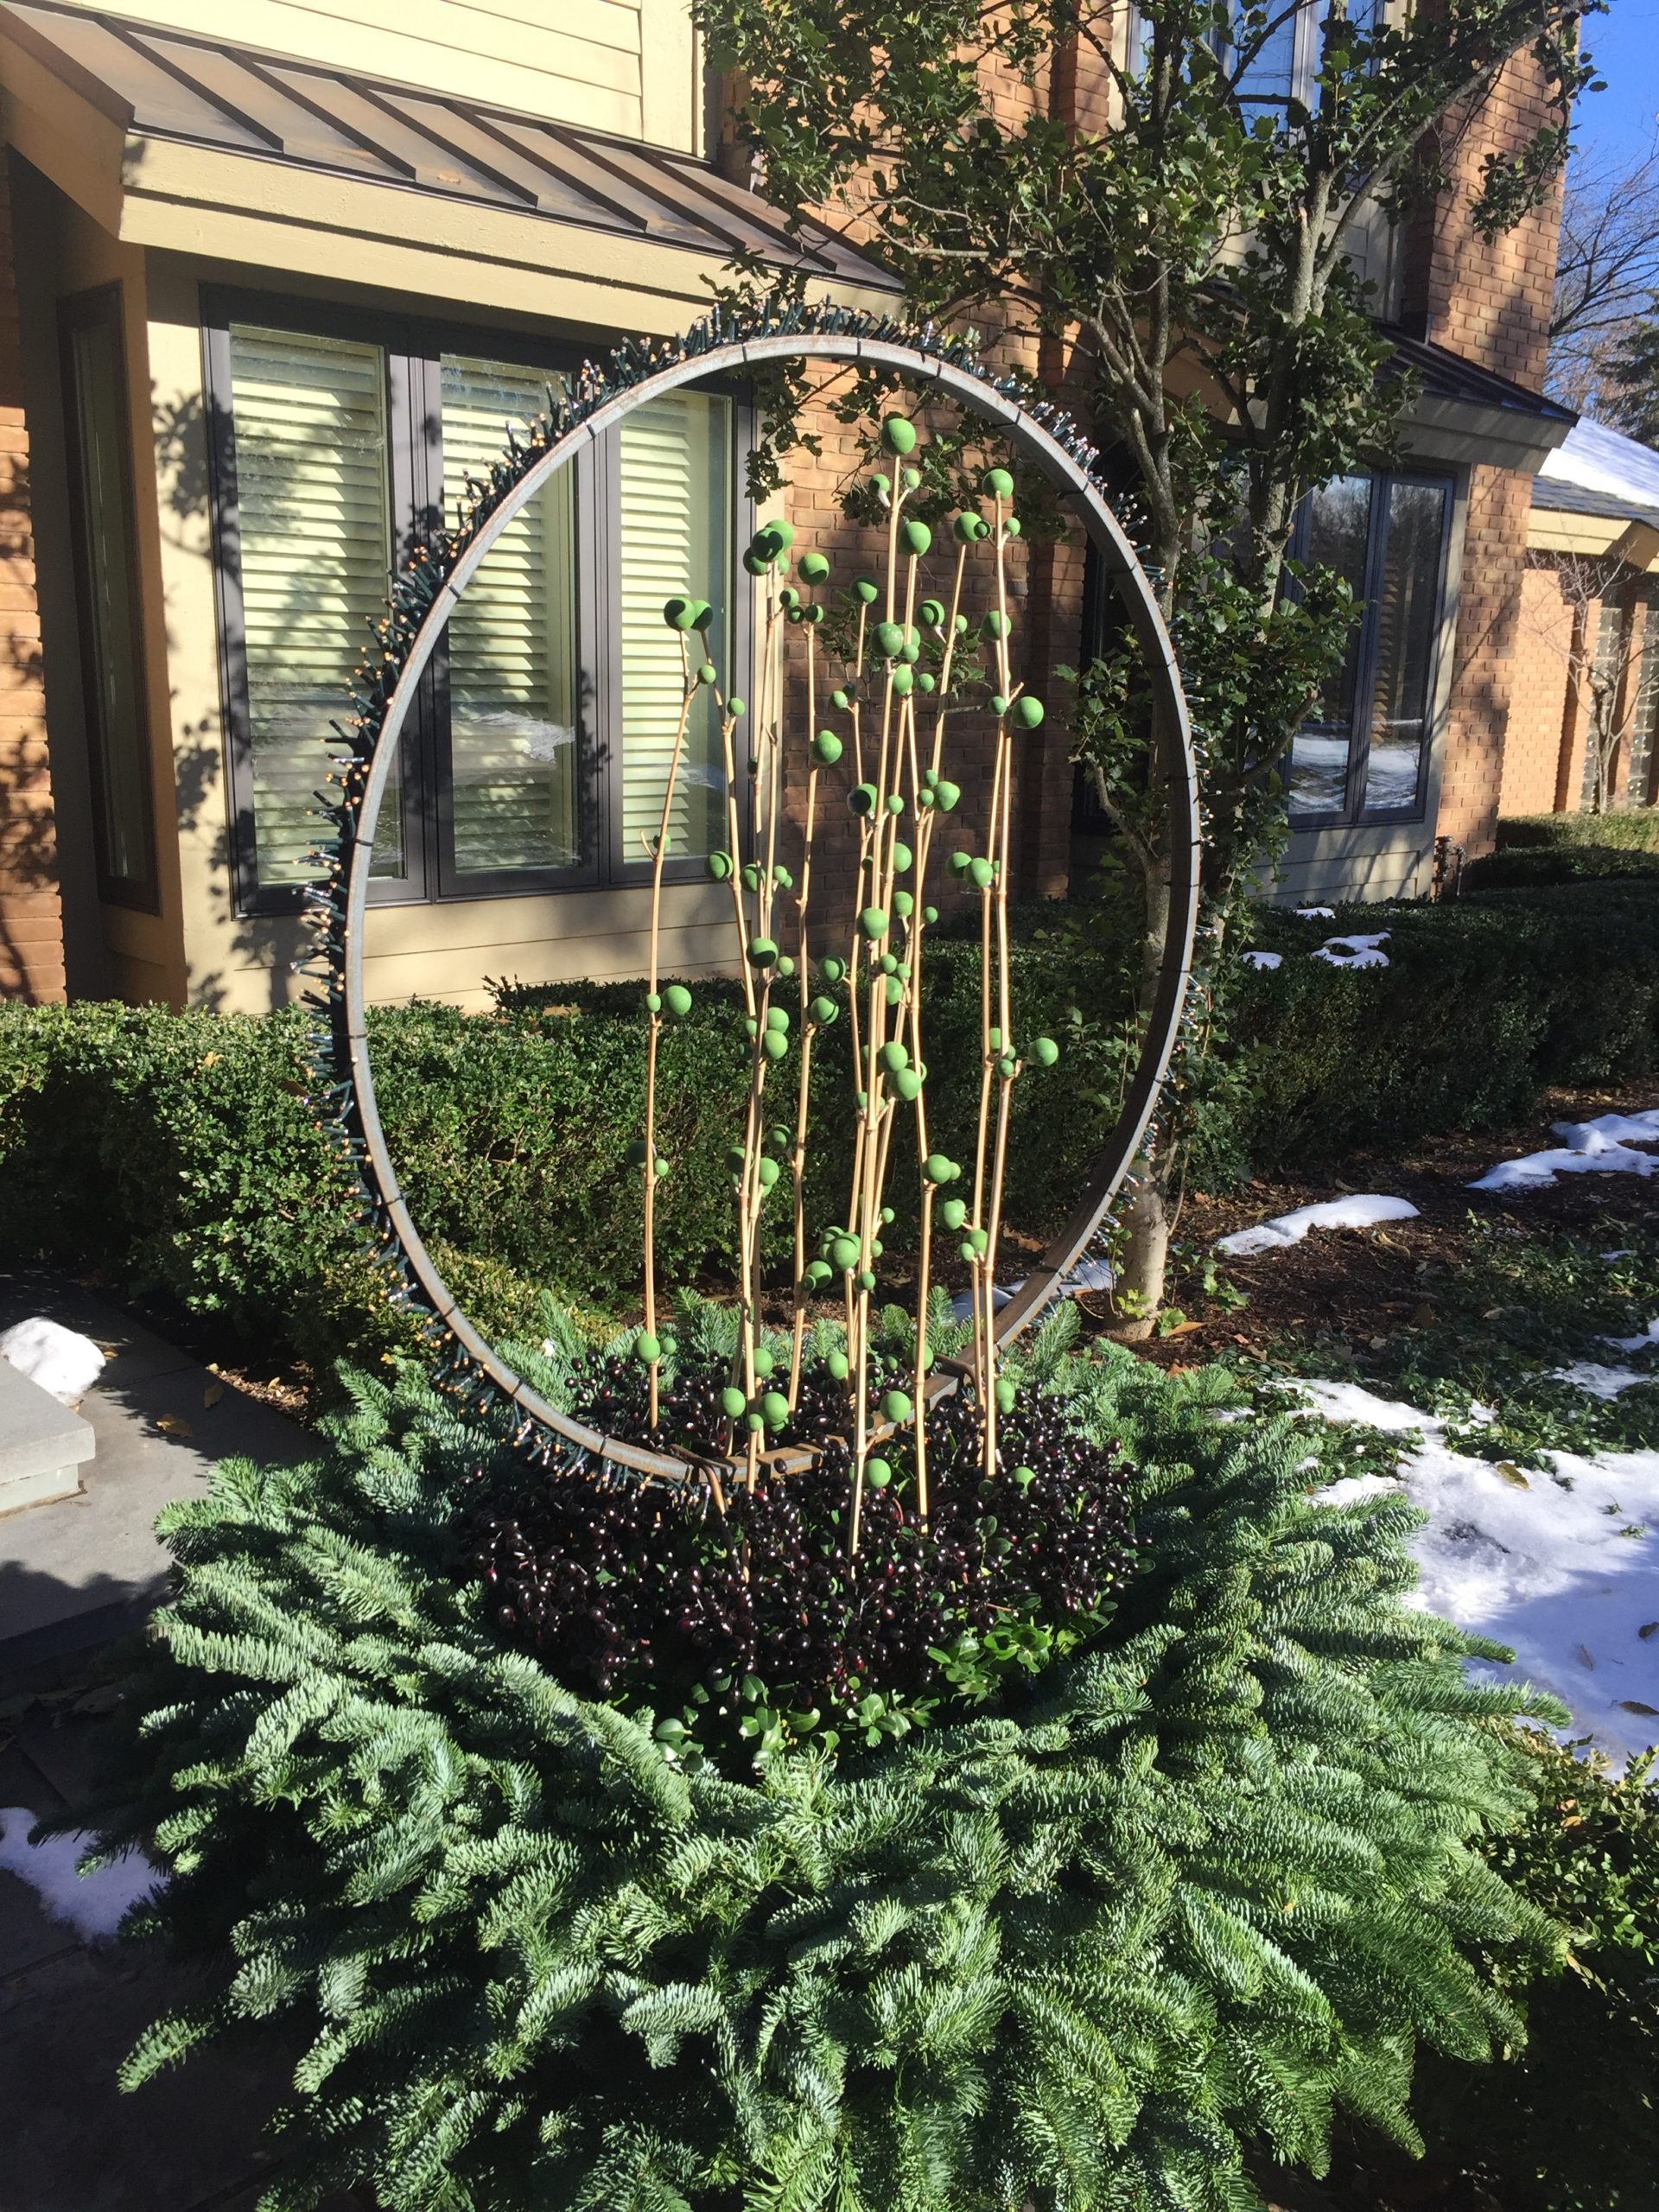
alder branches and silver plastic grass
holiday
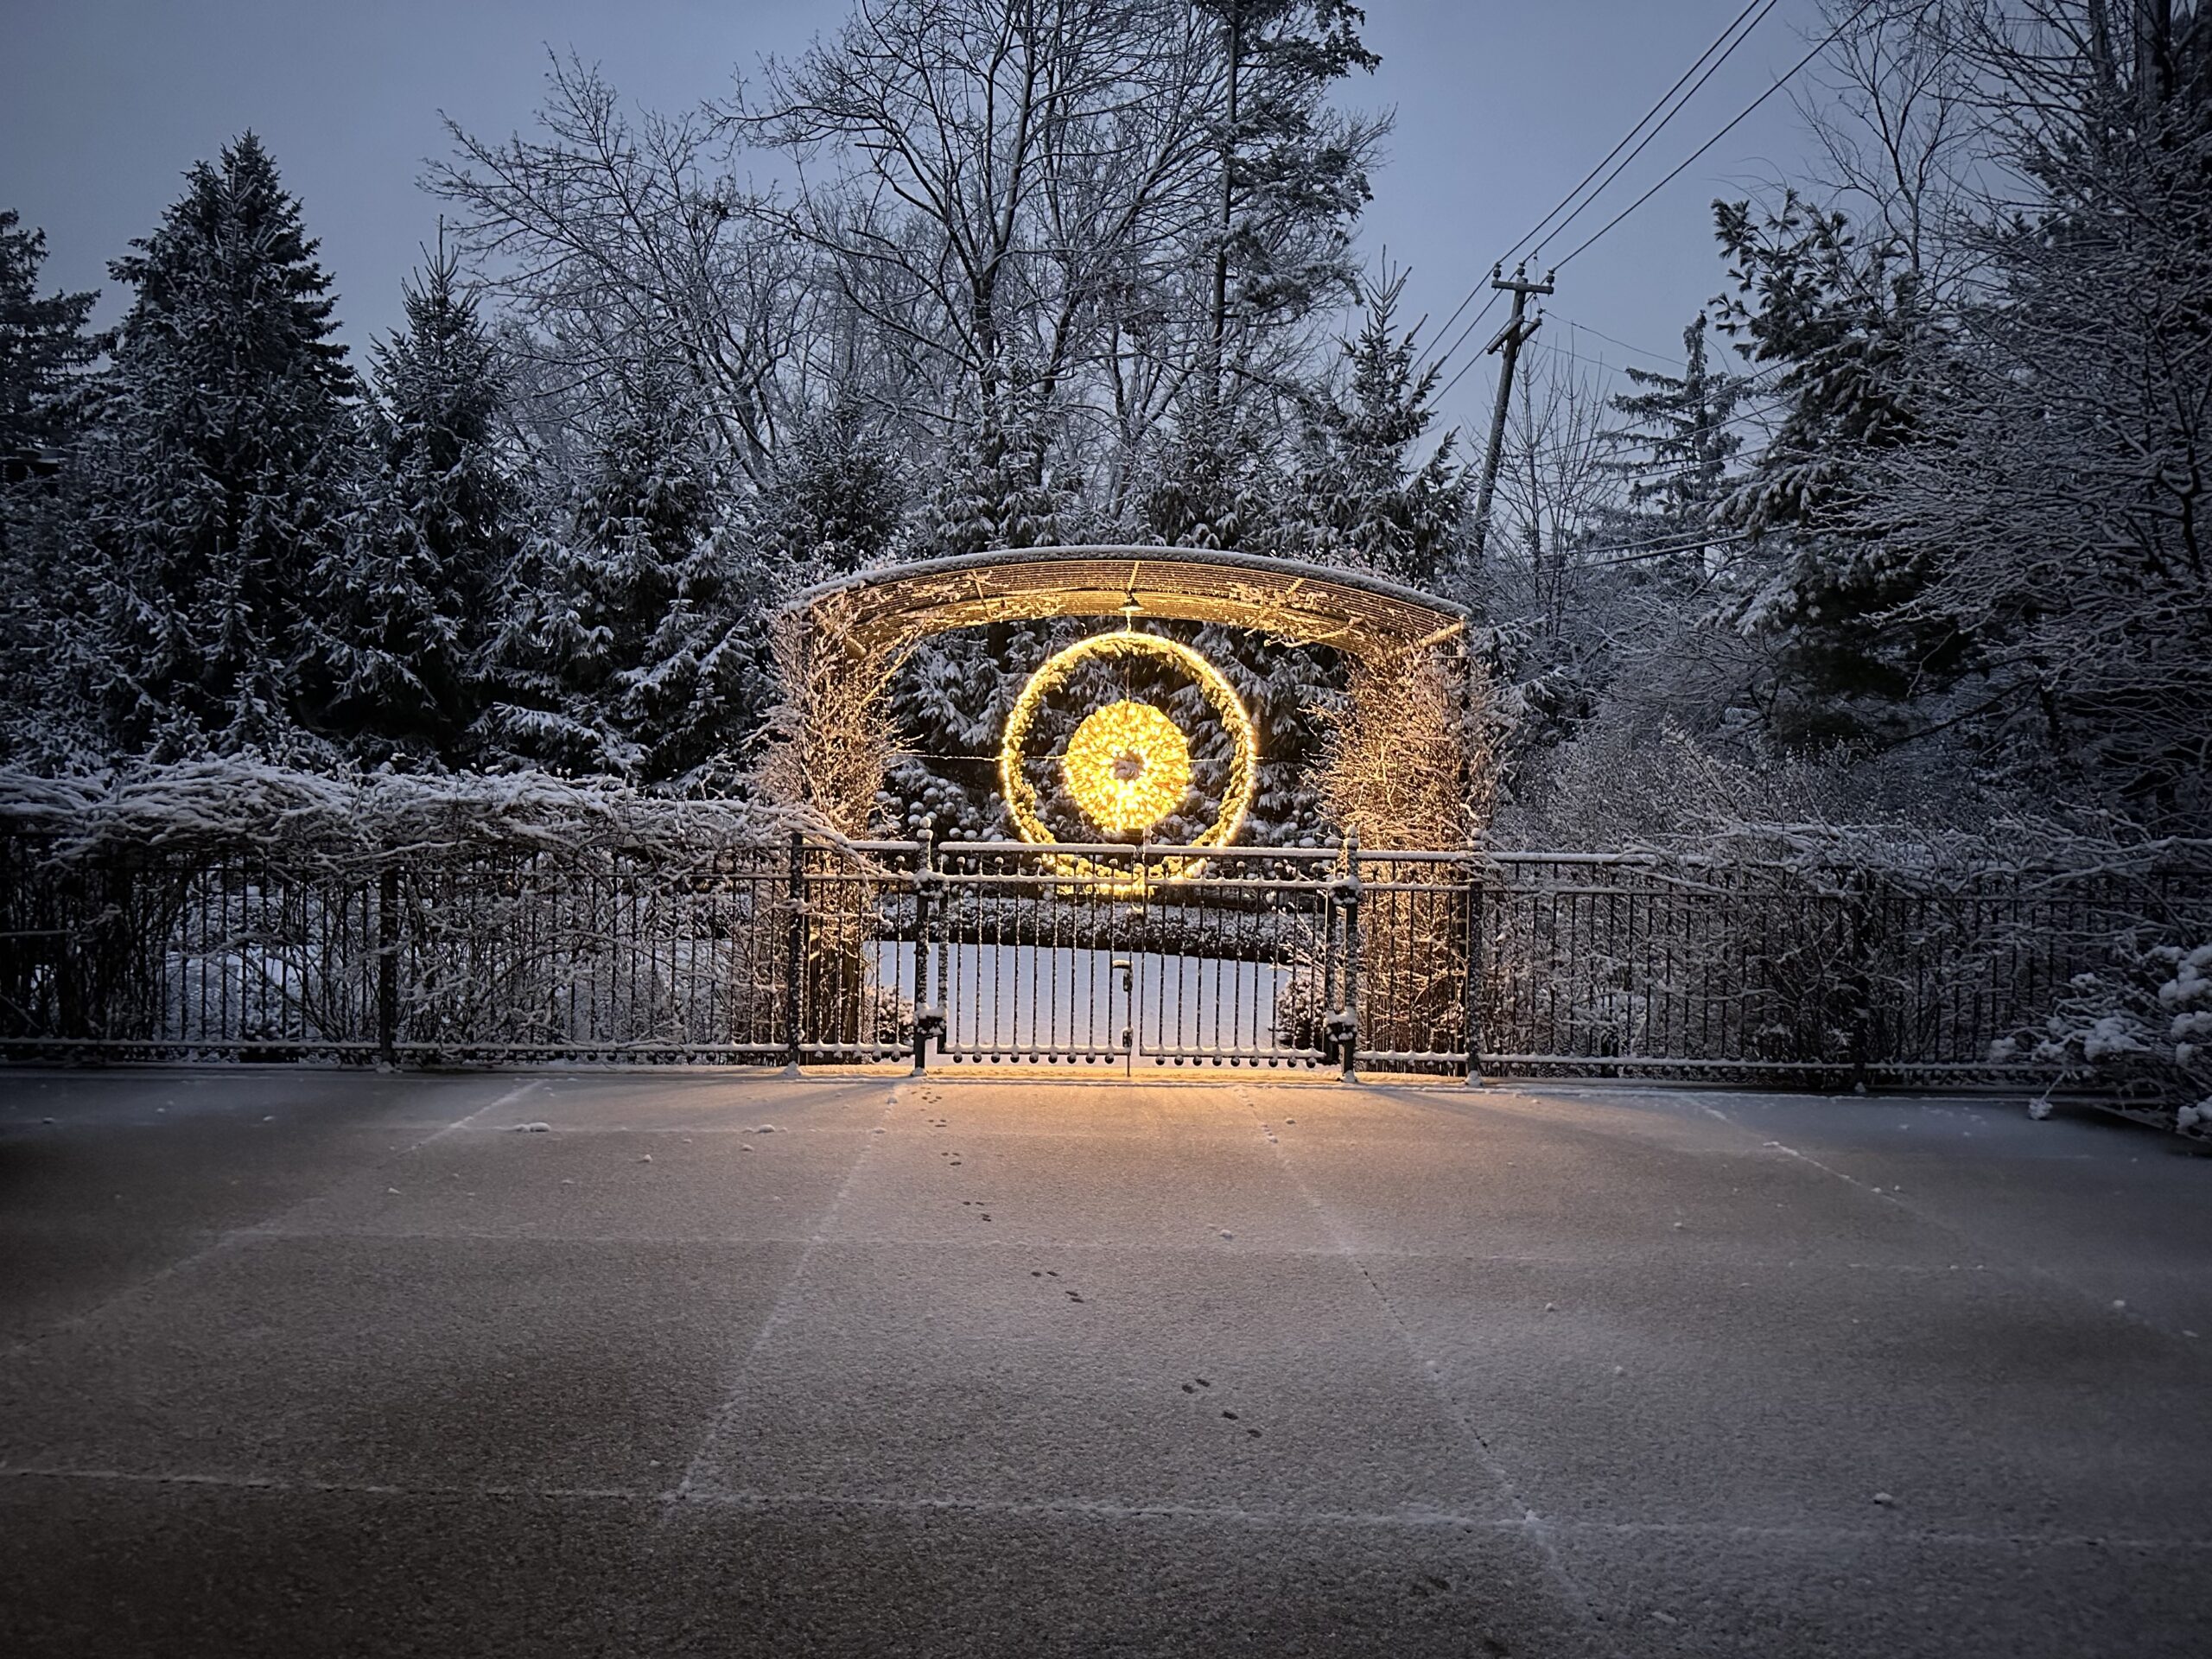
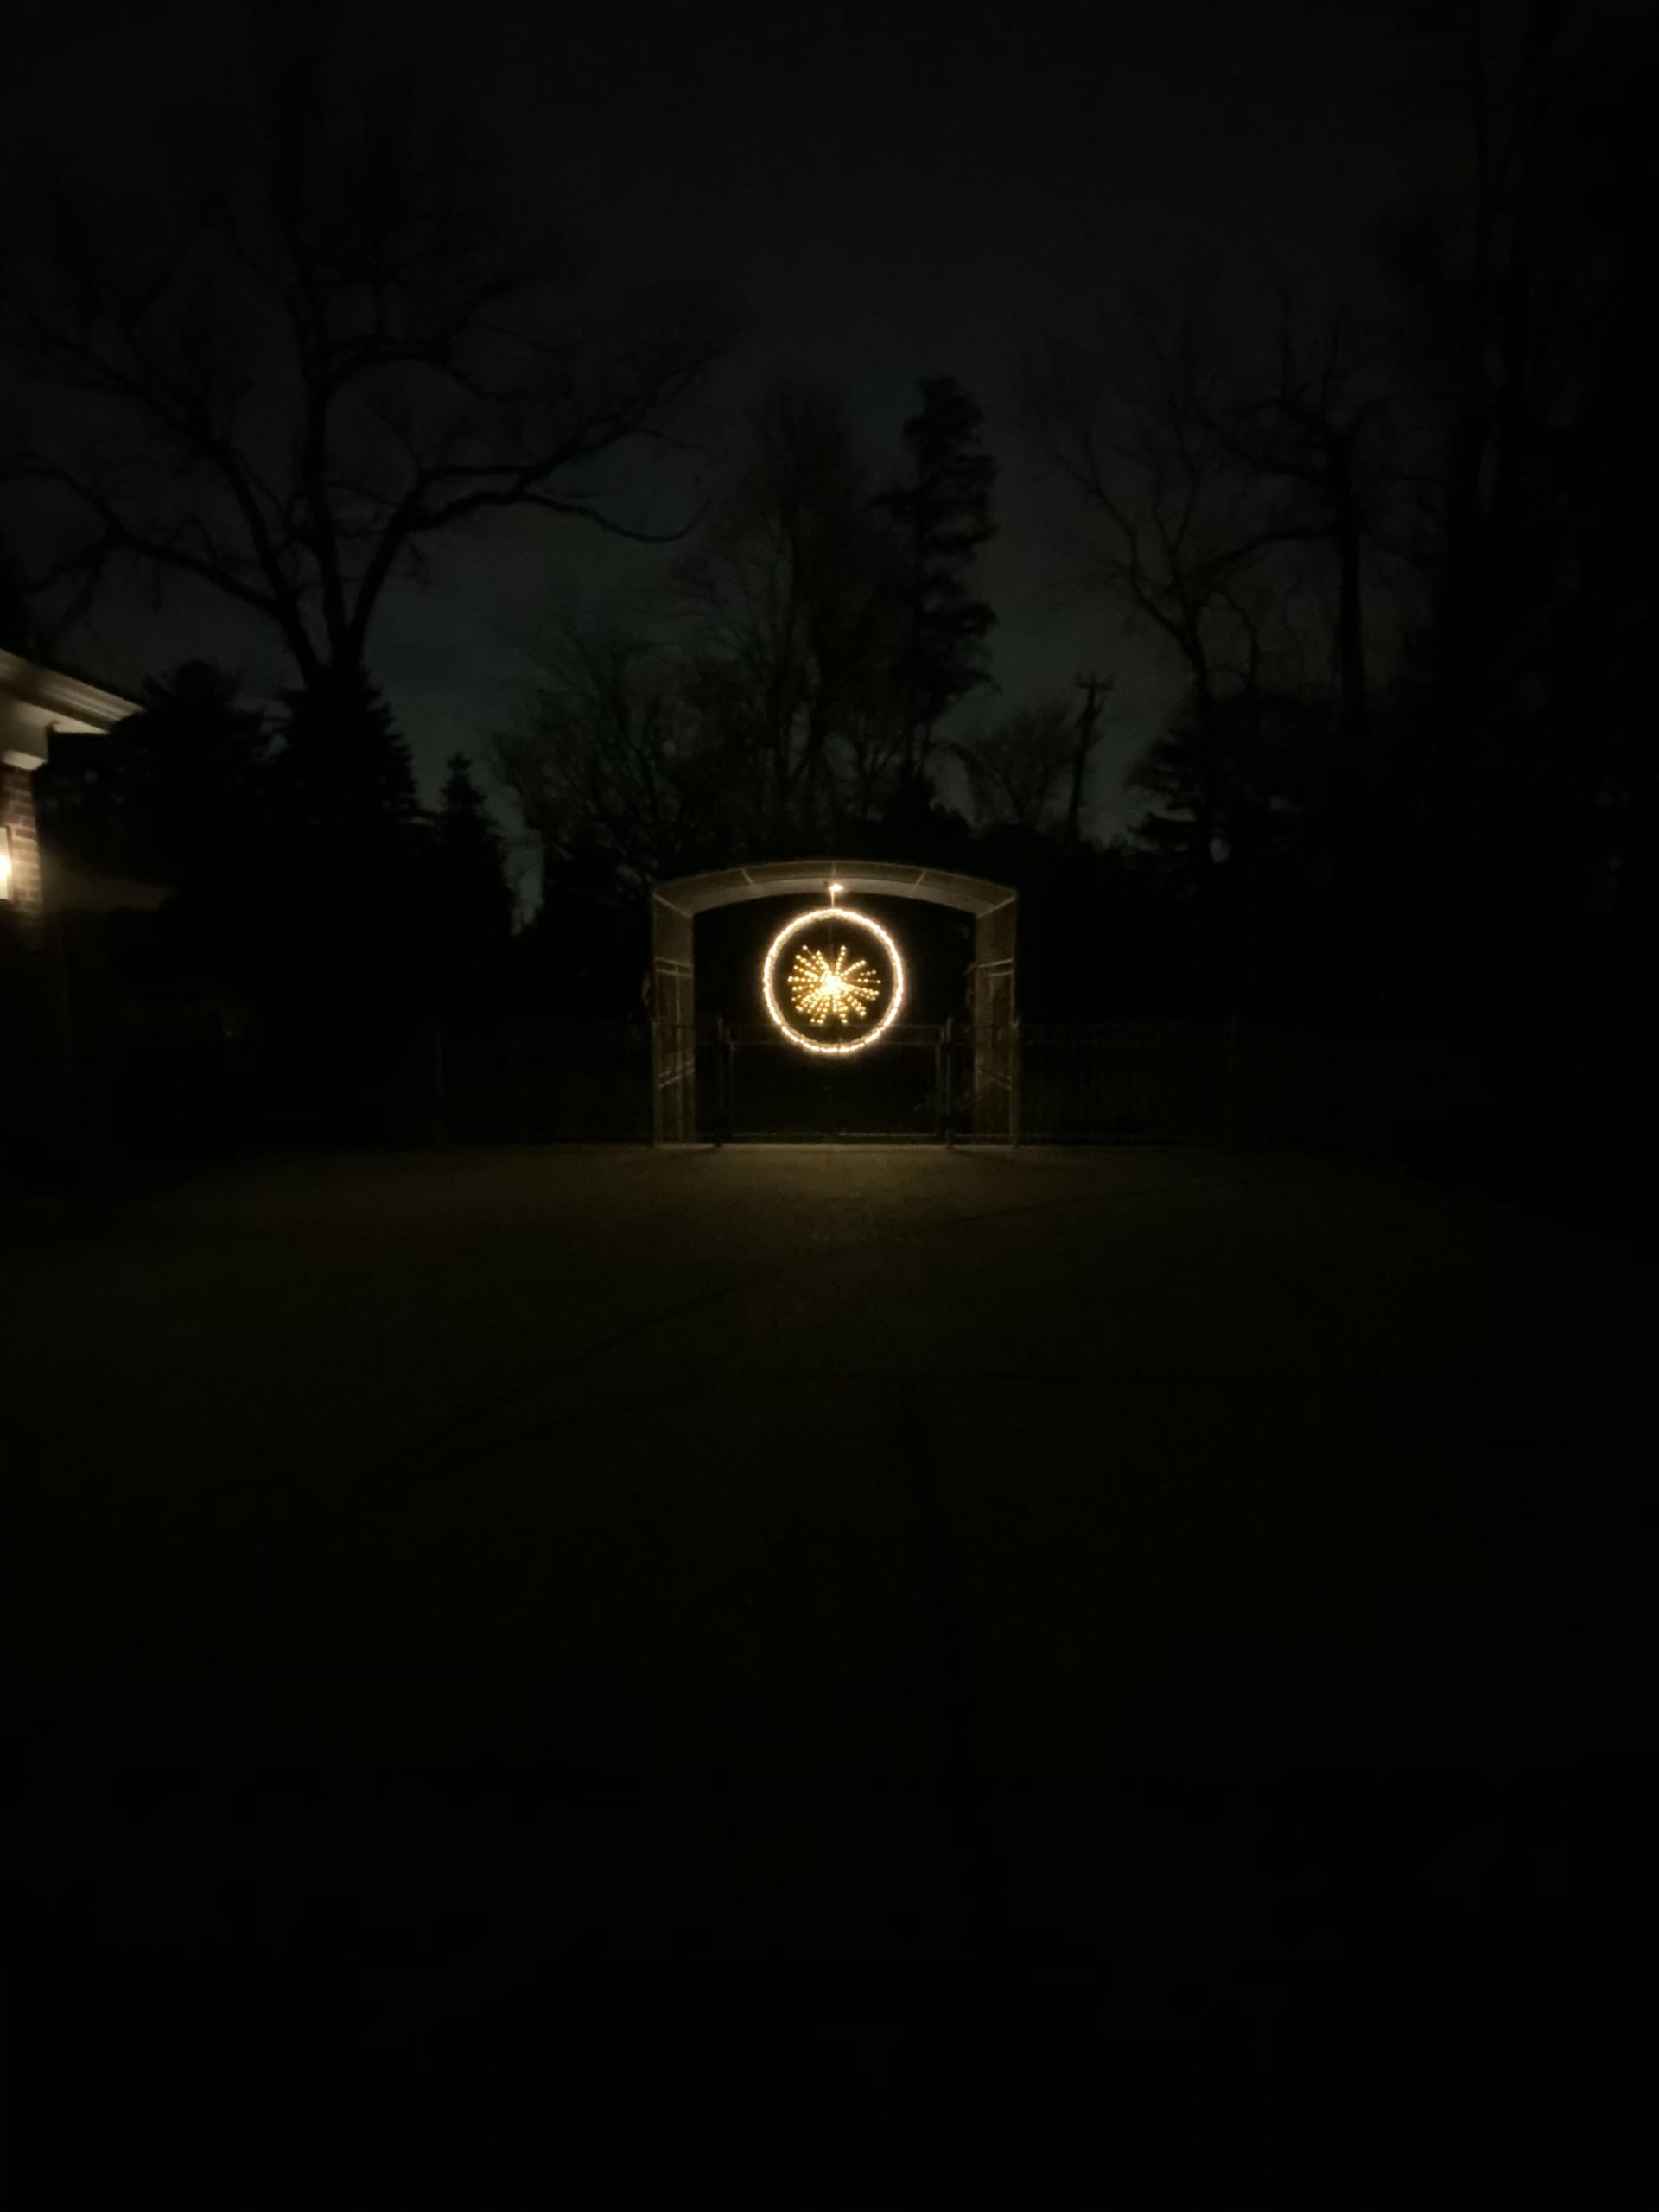
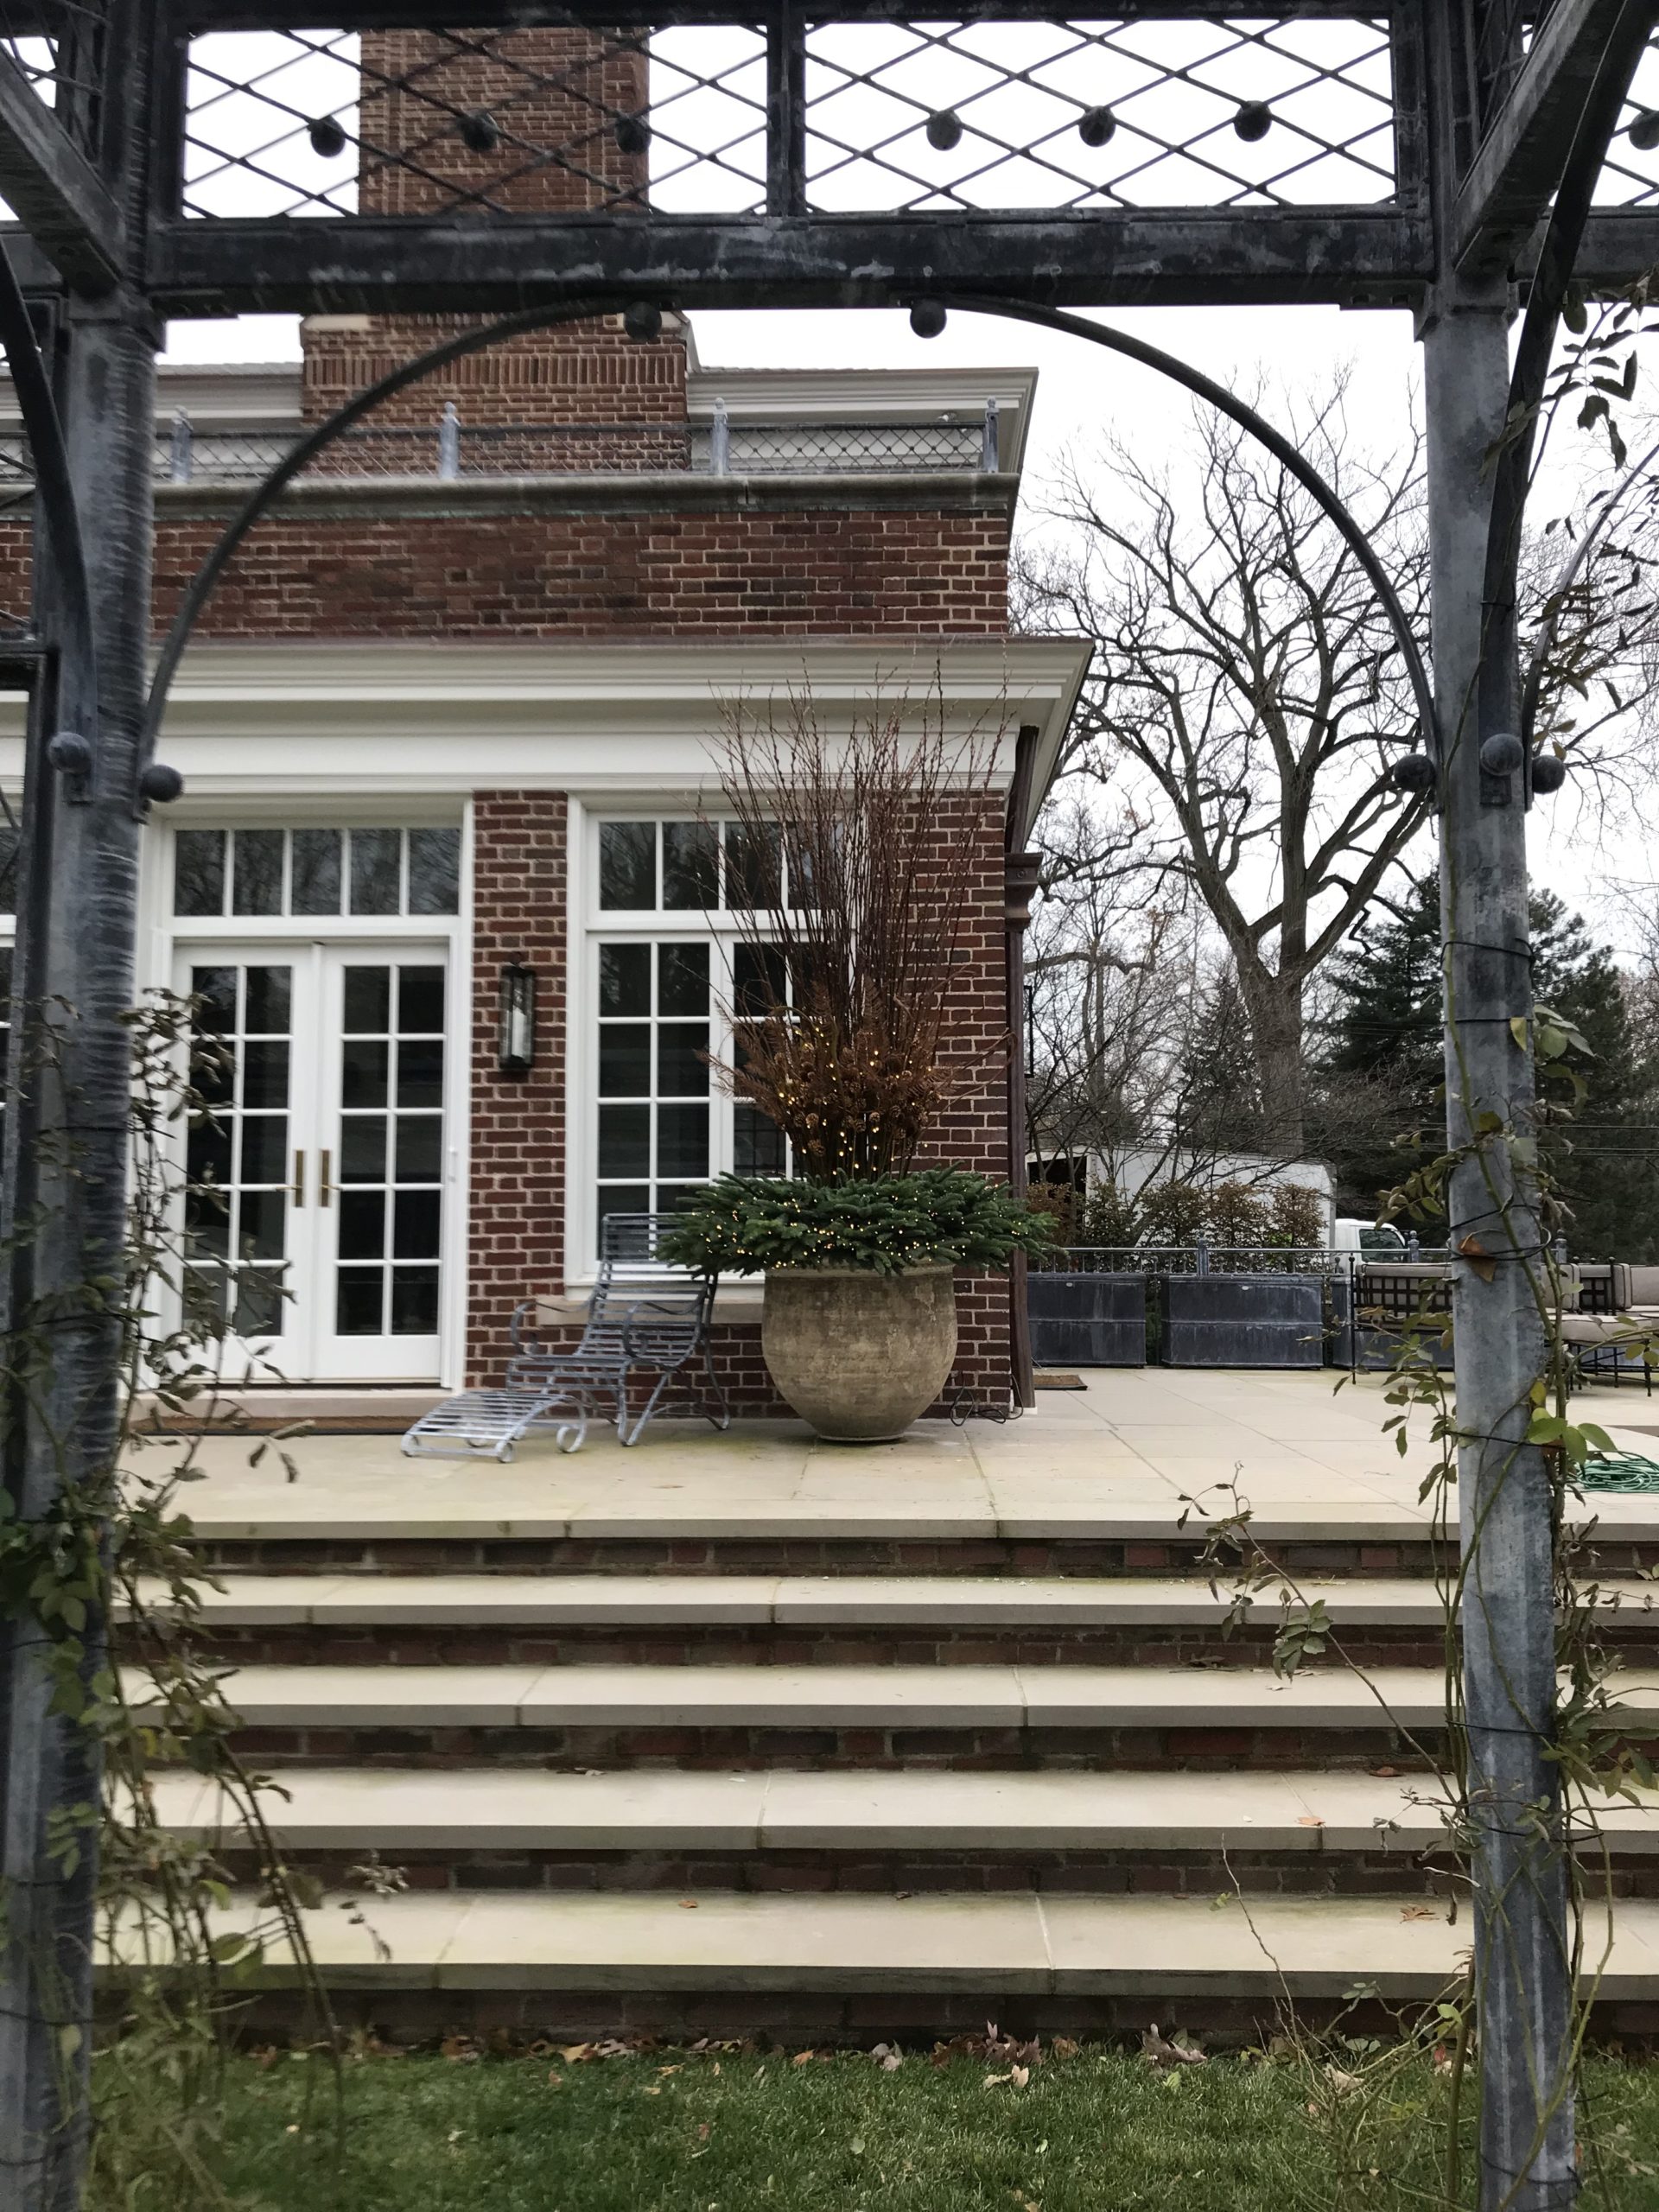
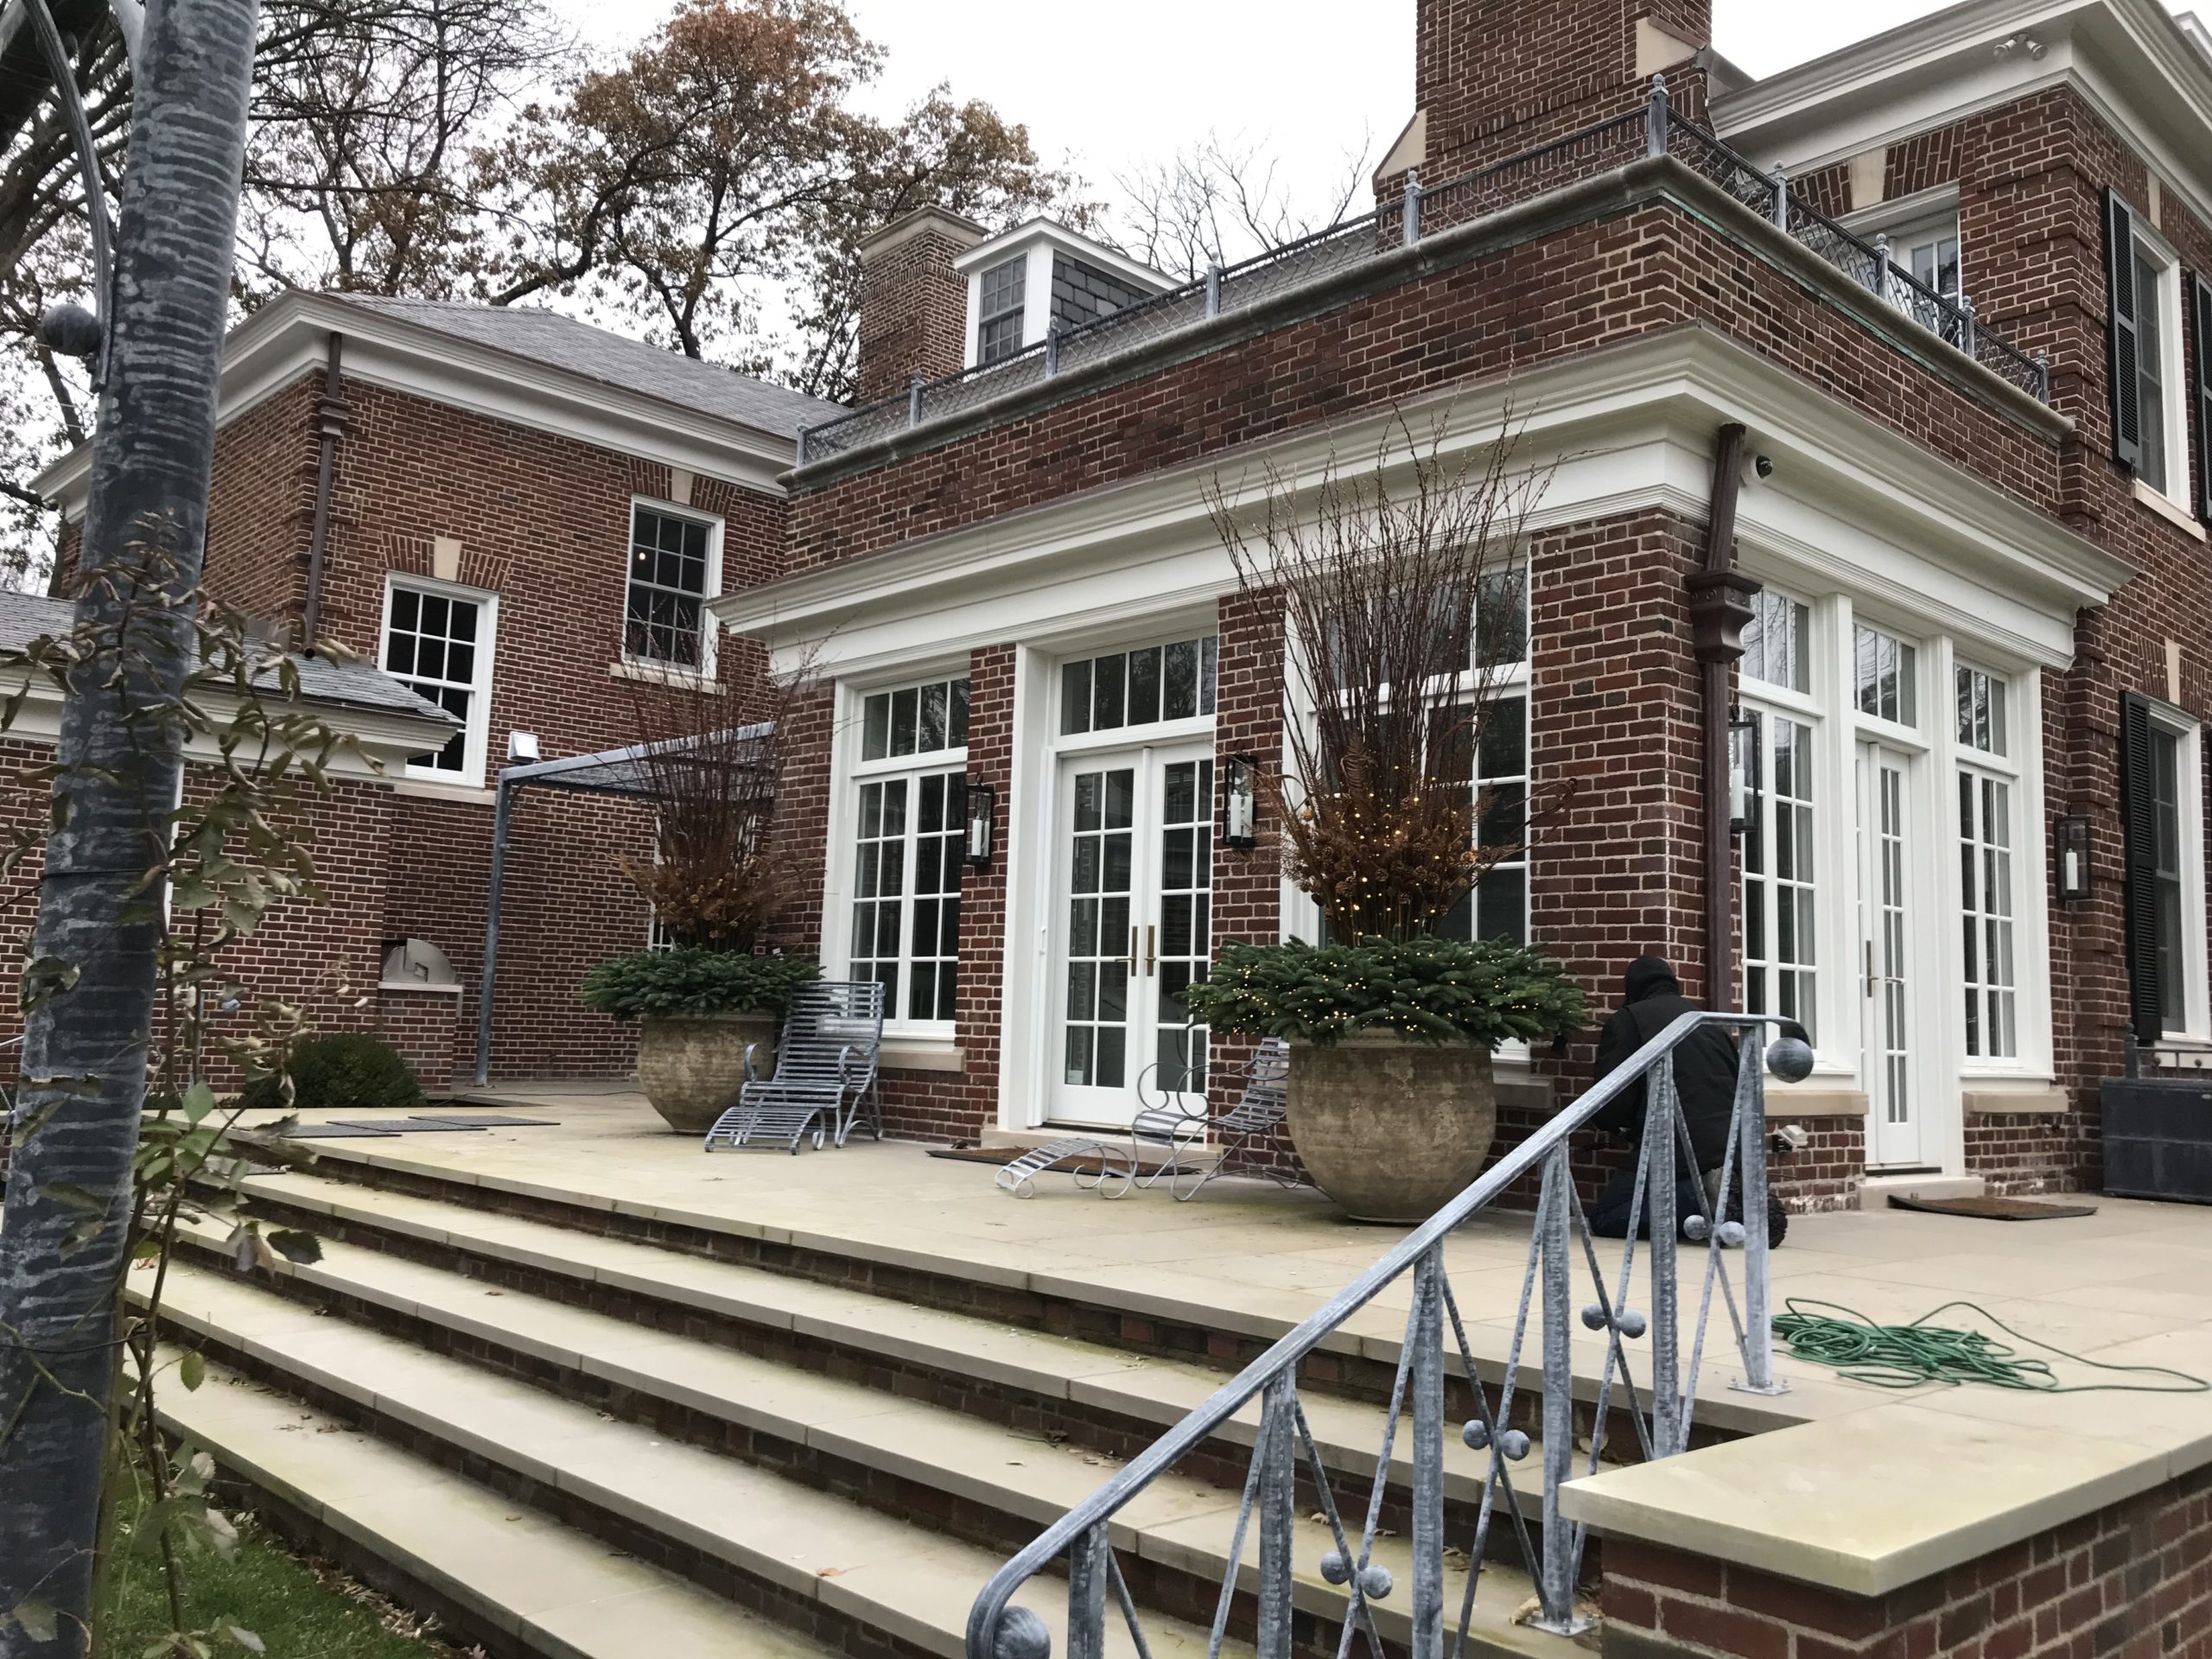
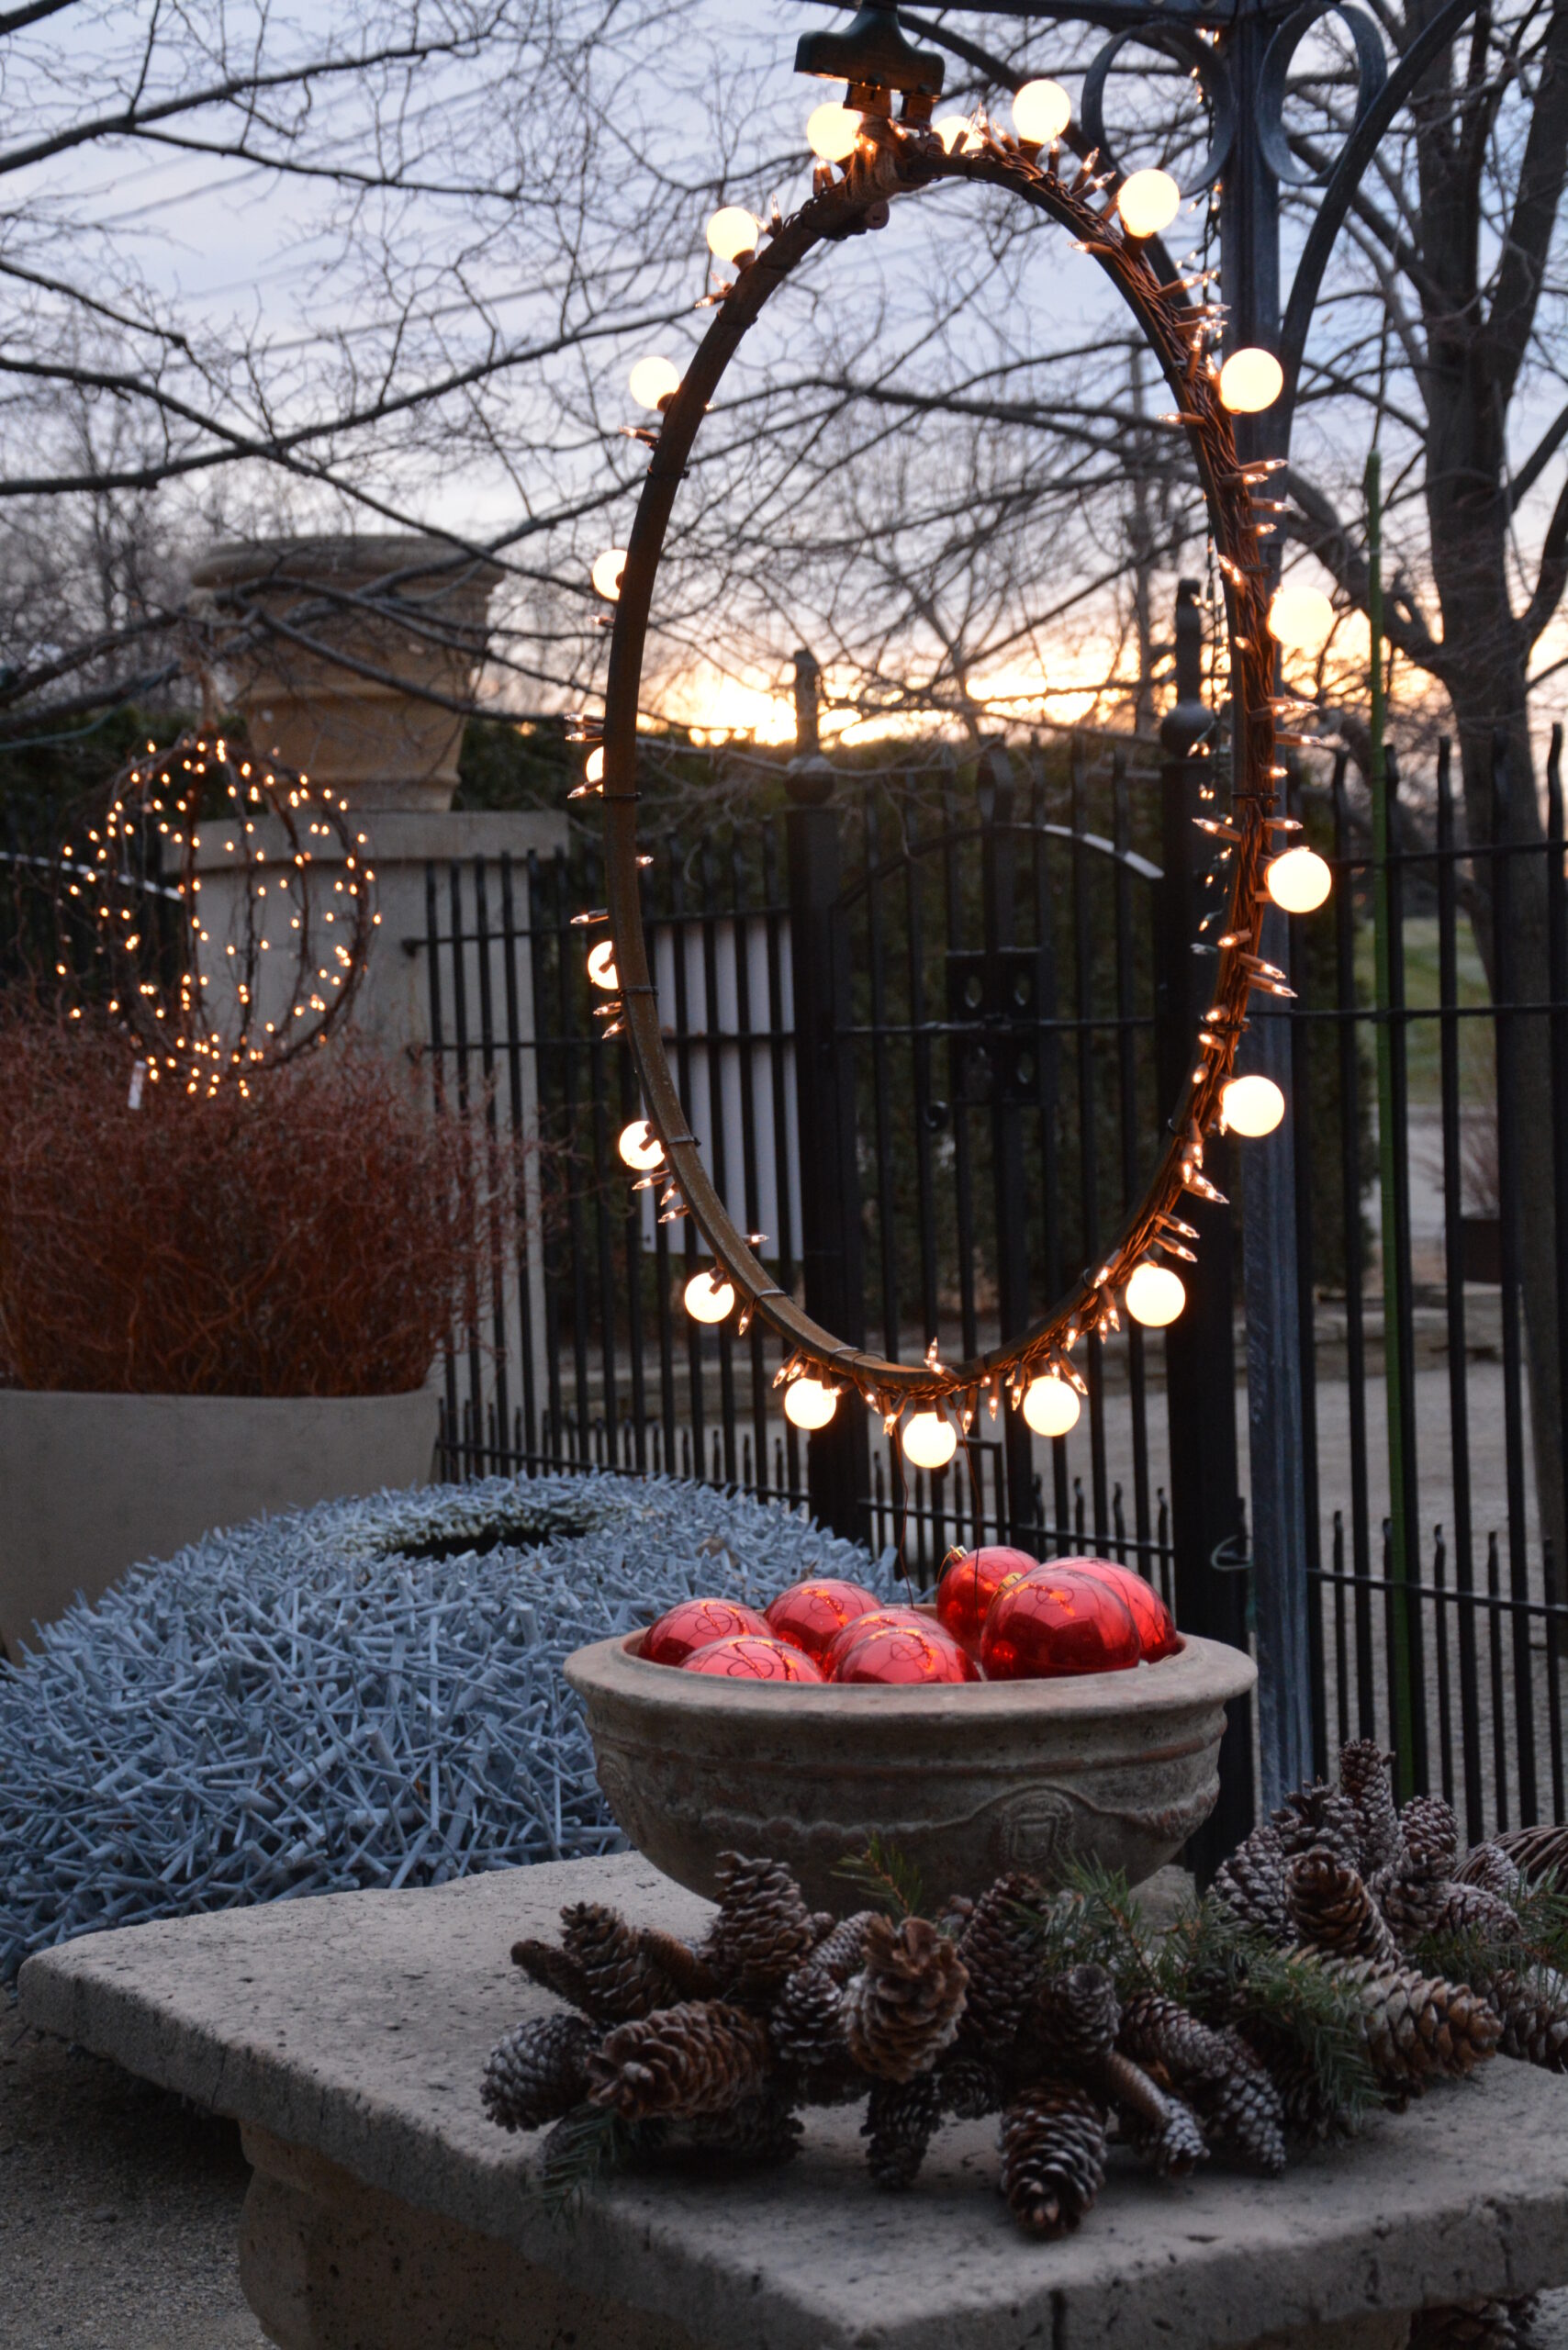
beaming in the rose arbor
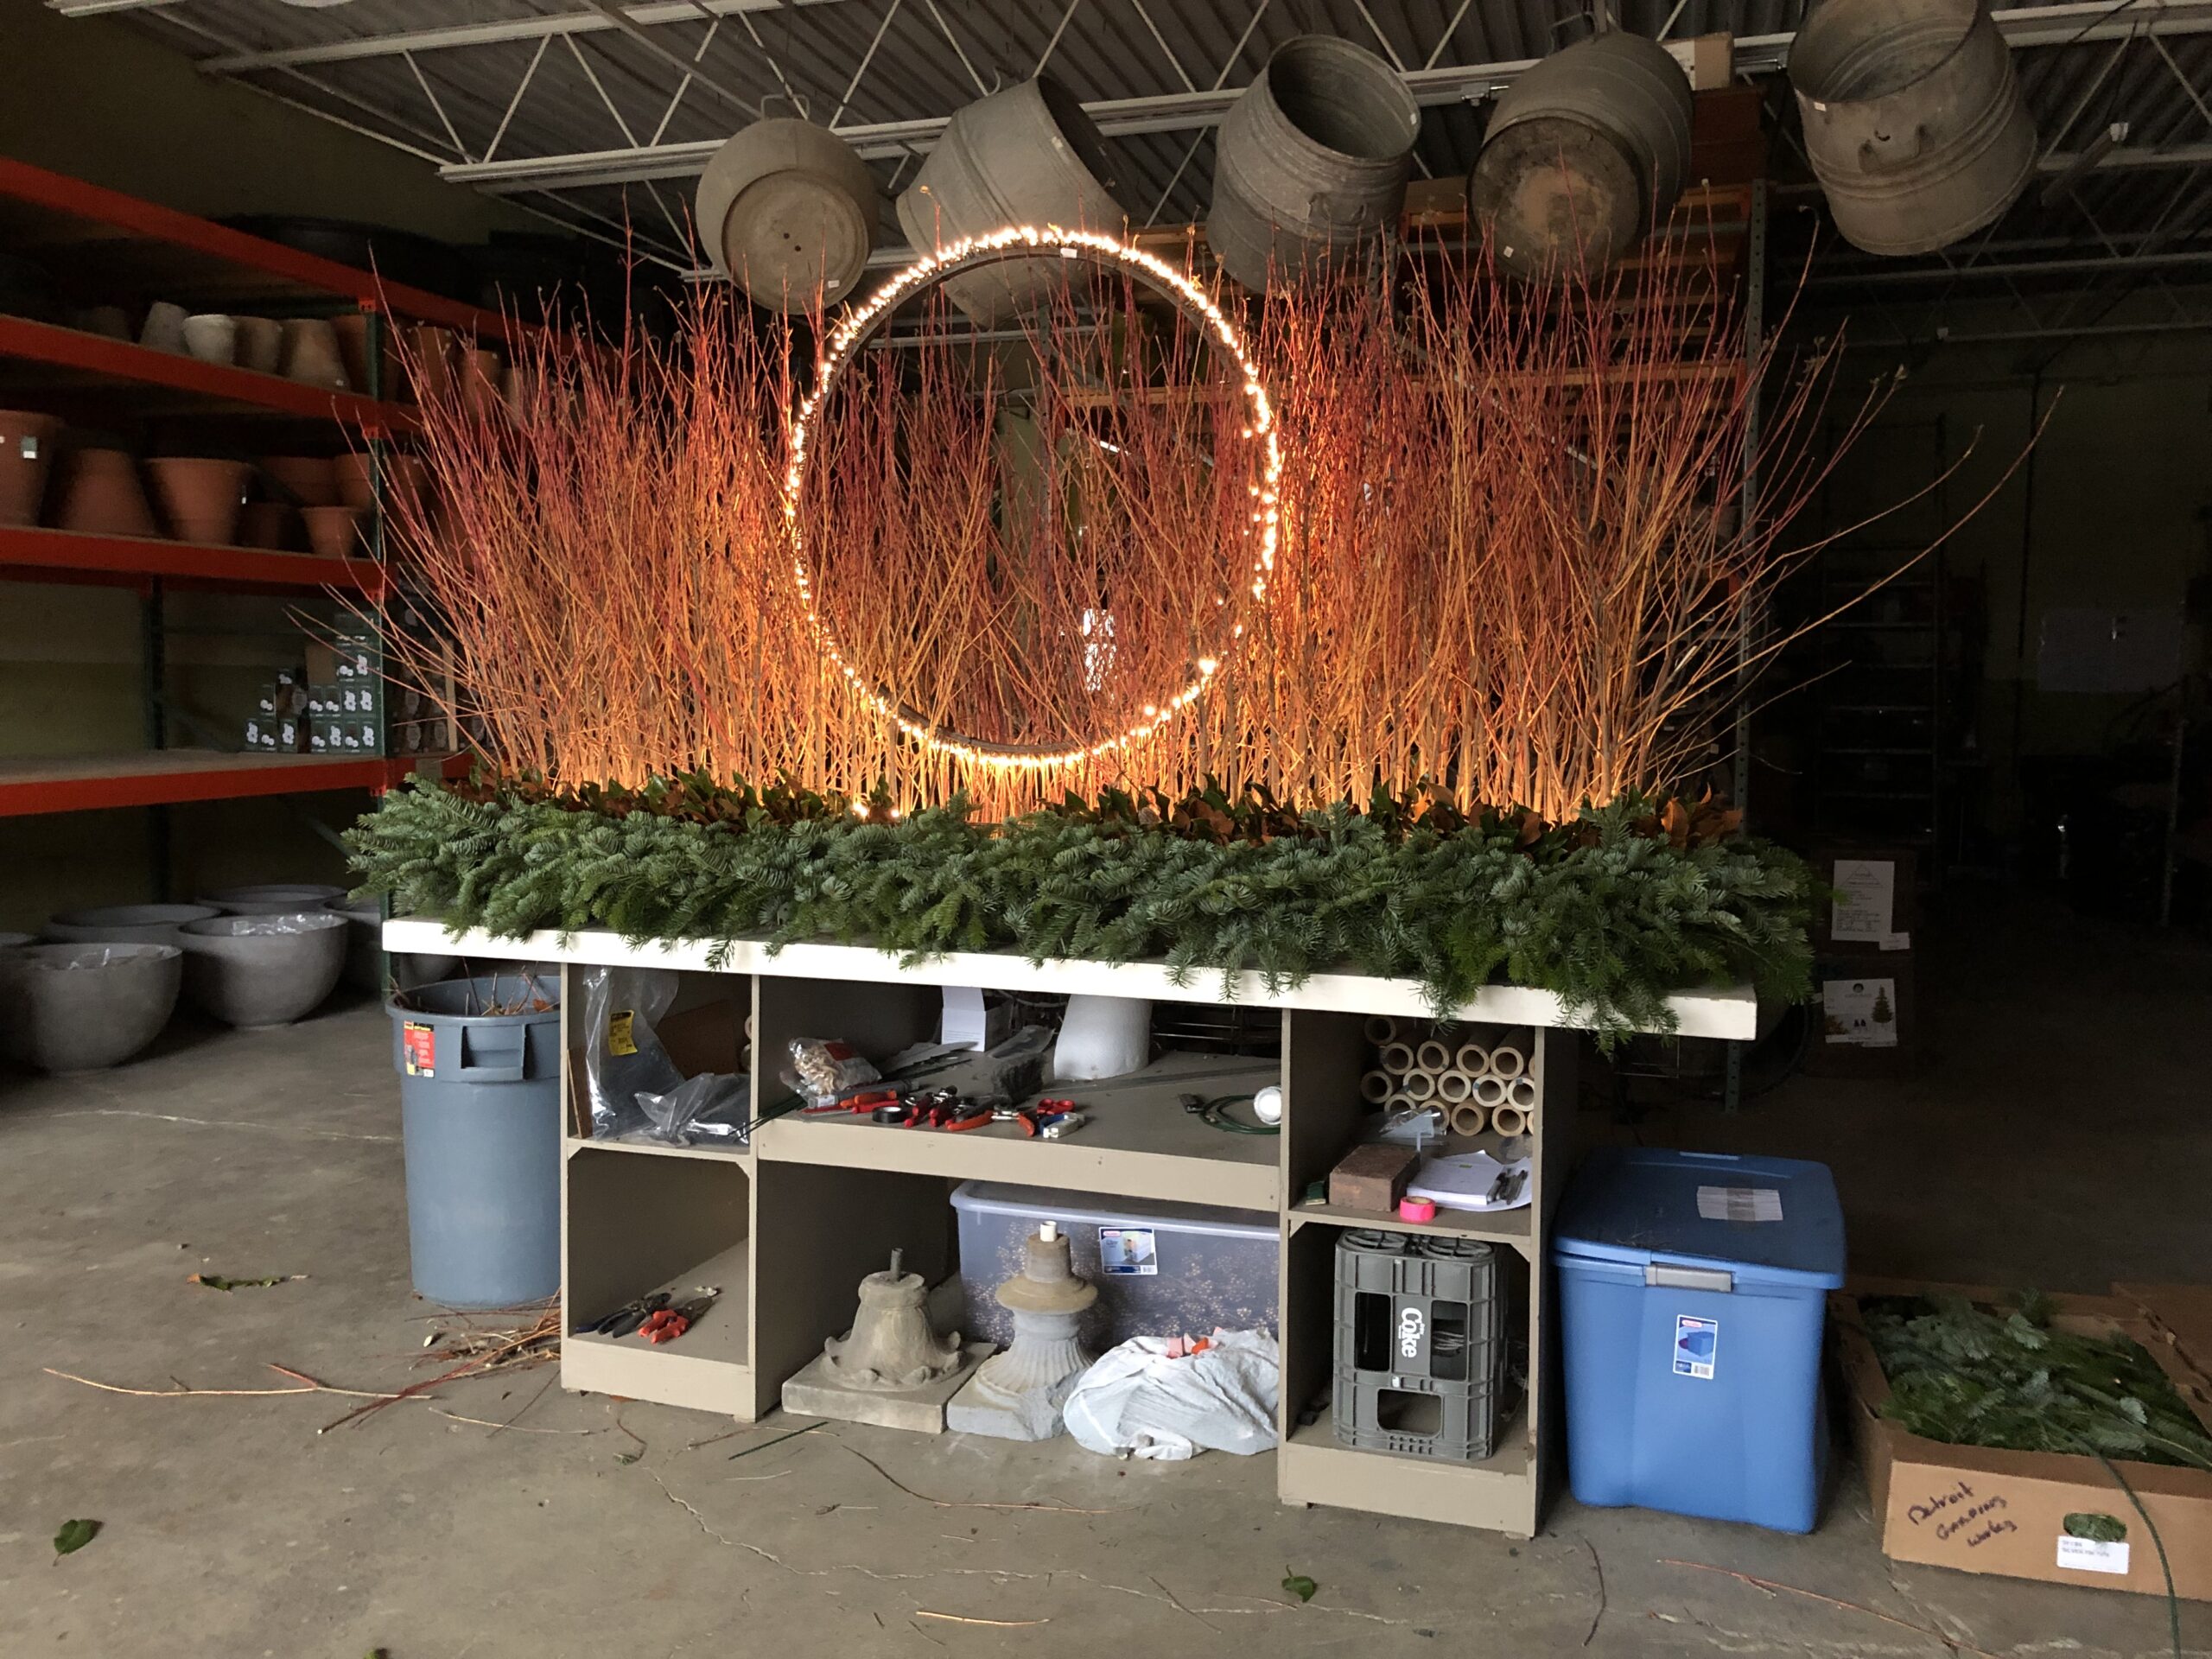
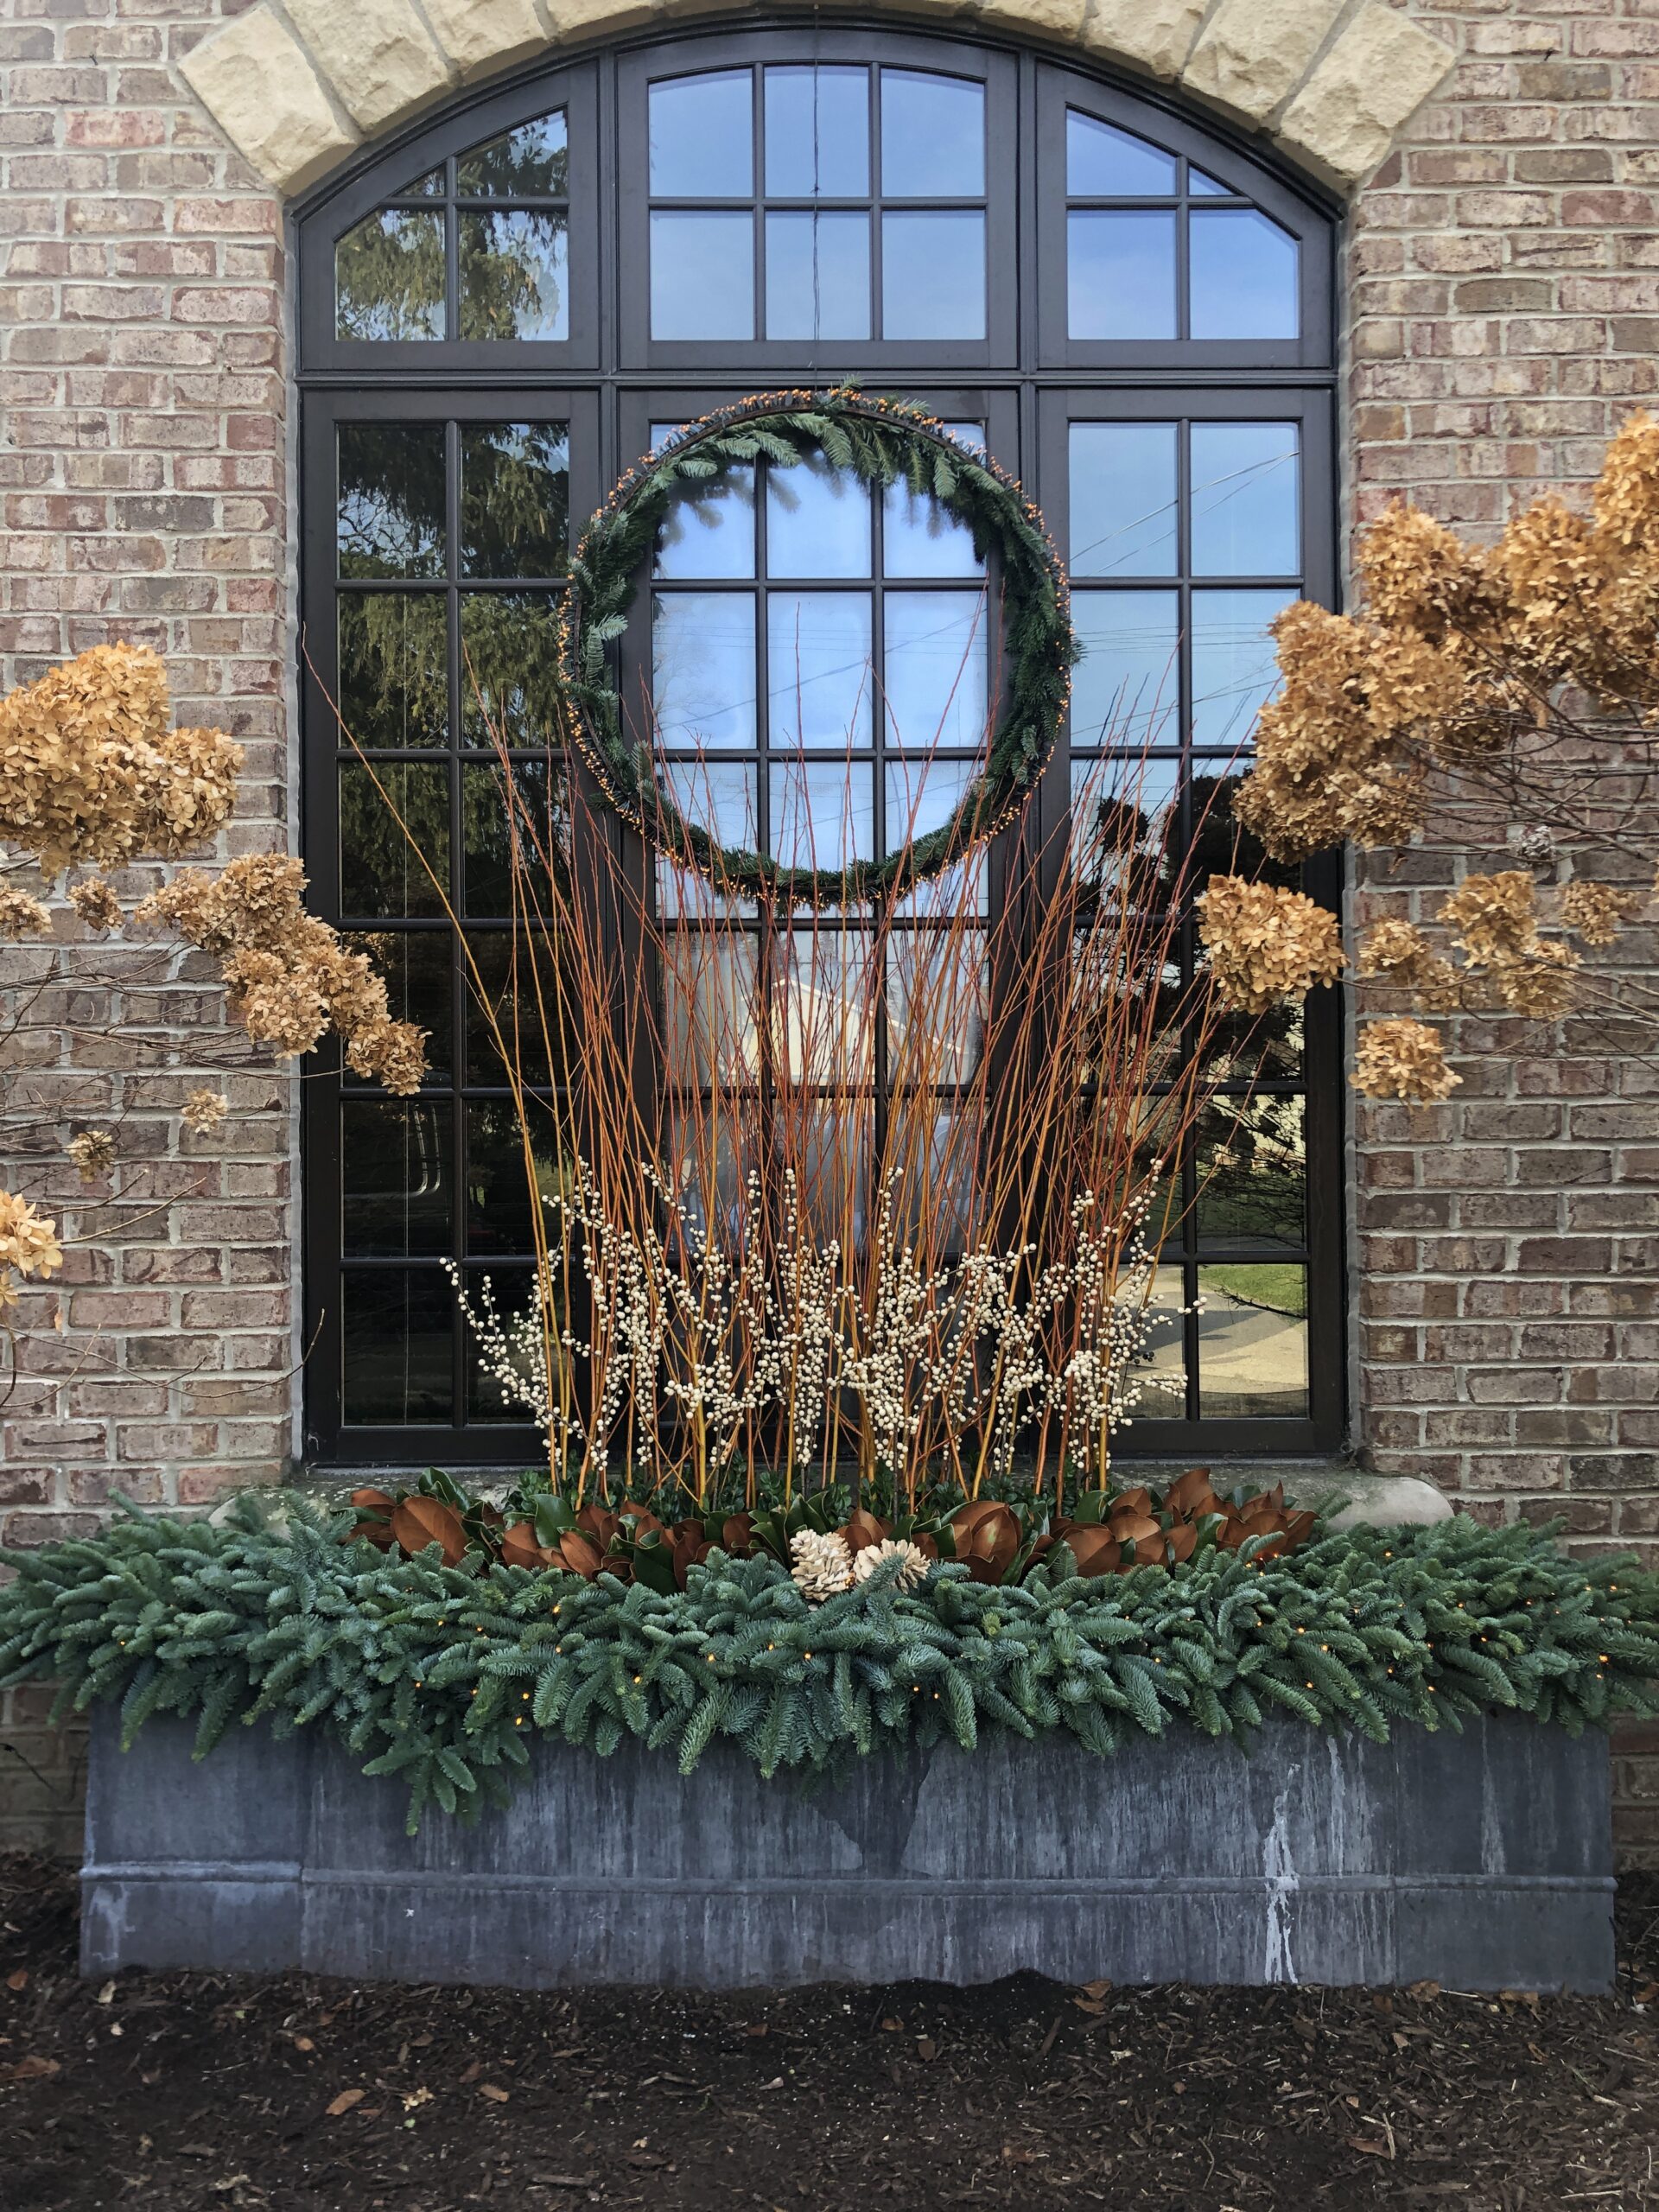
cornus “Midwinter Fire” branches, magnolia branches and fir

alder branches and faux berry picks
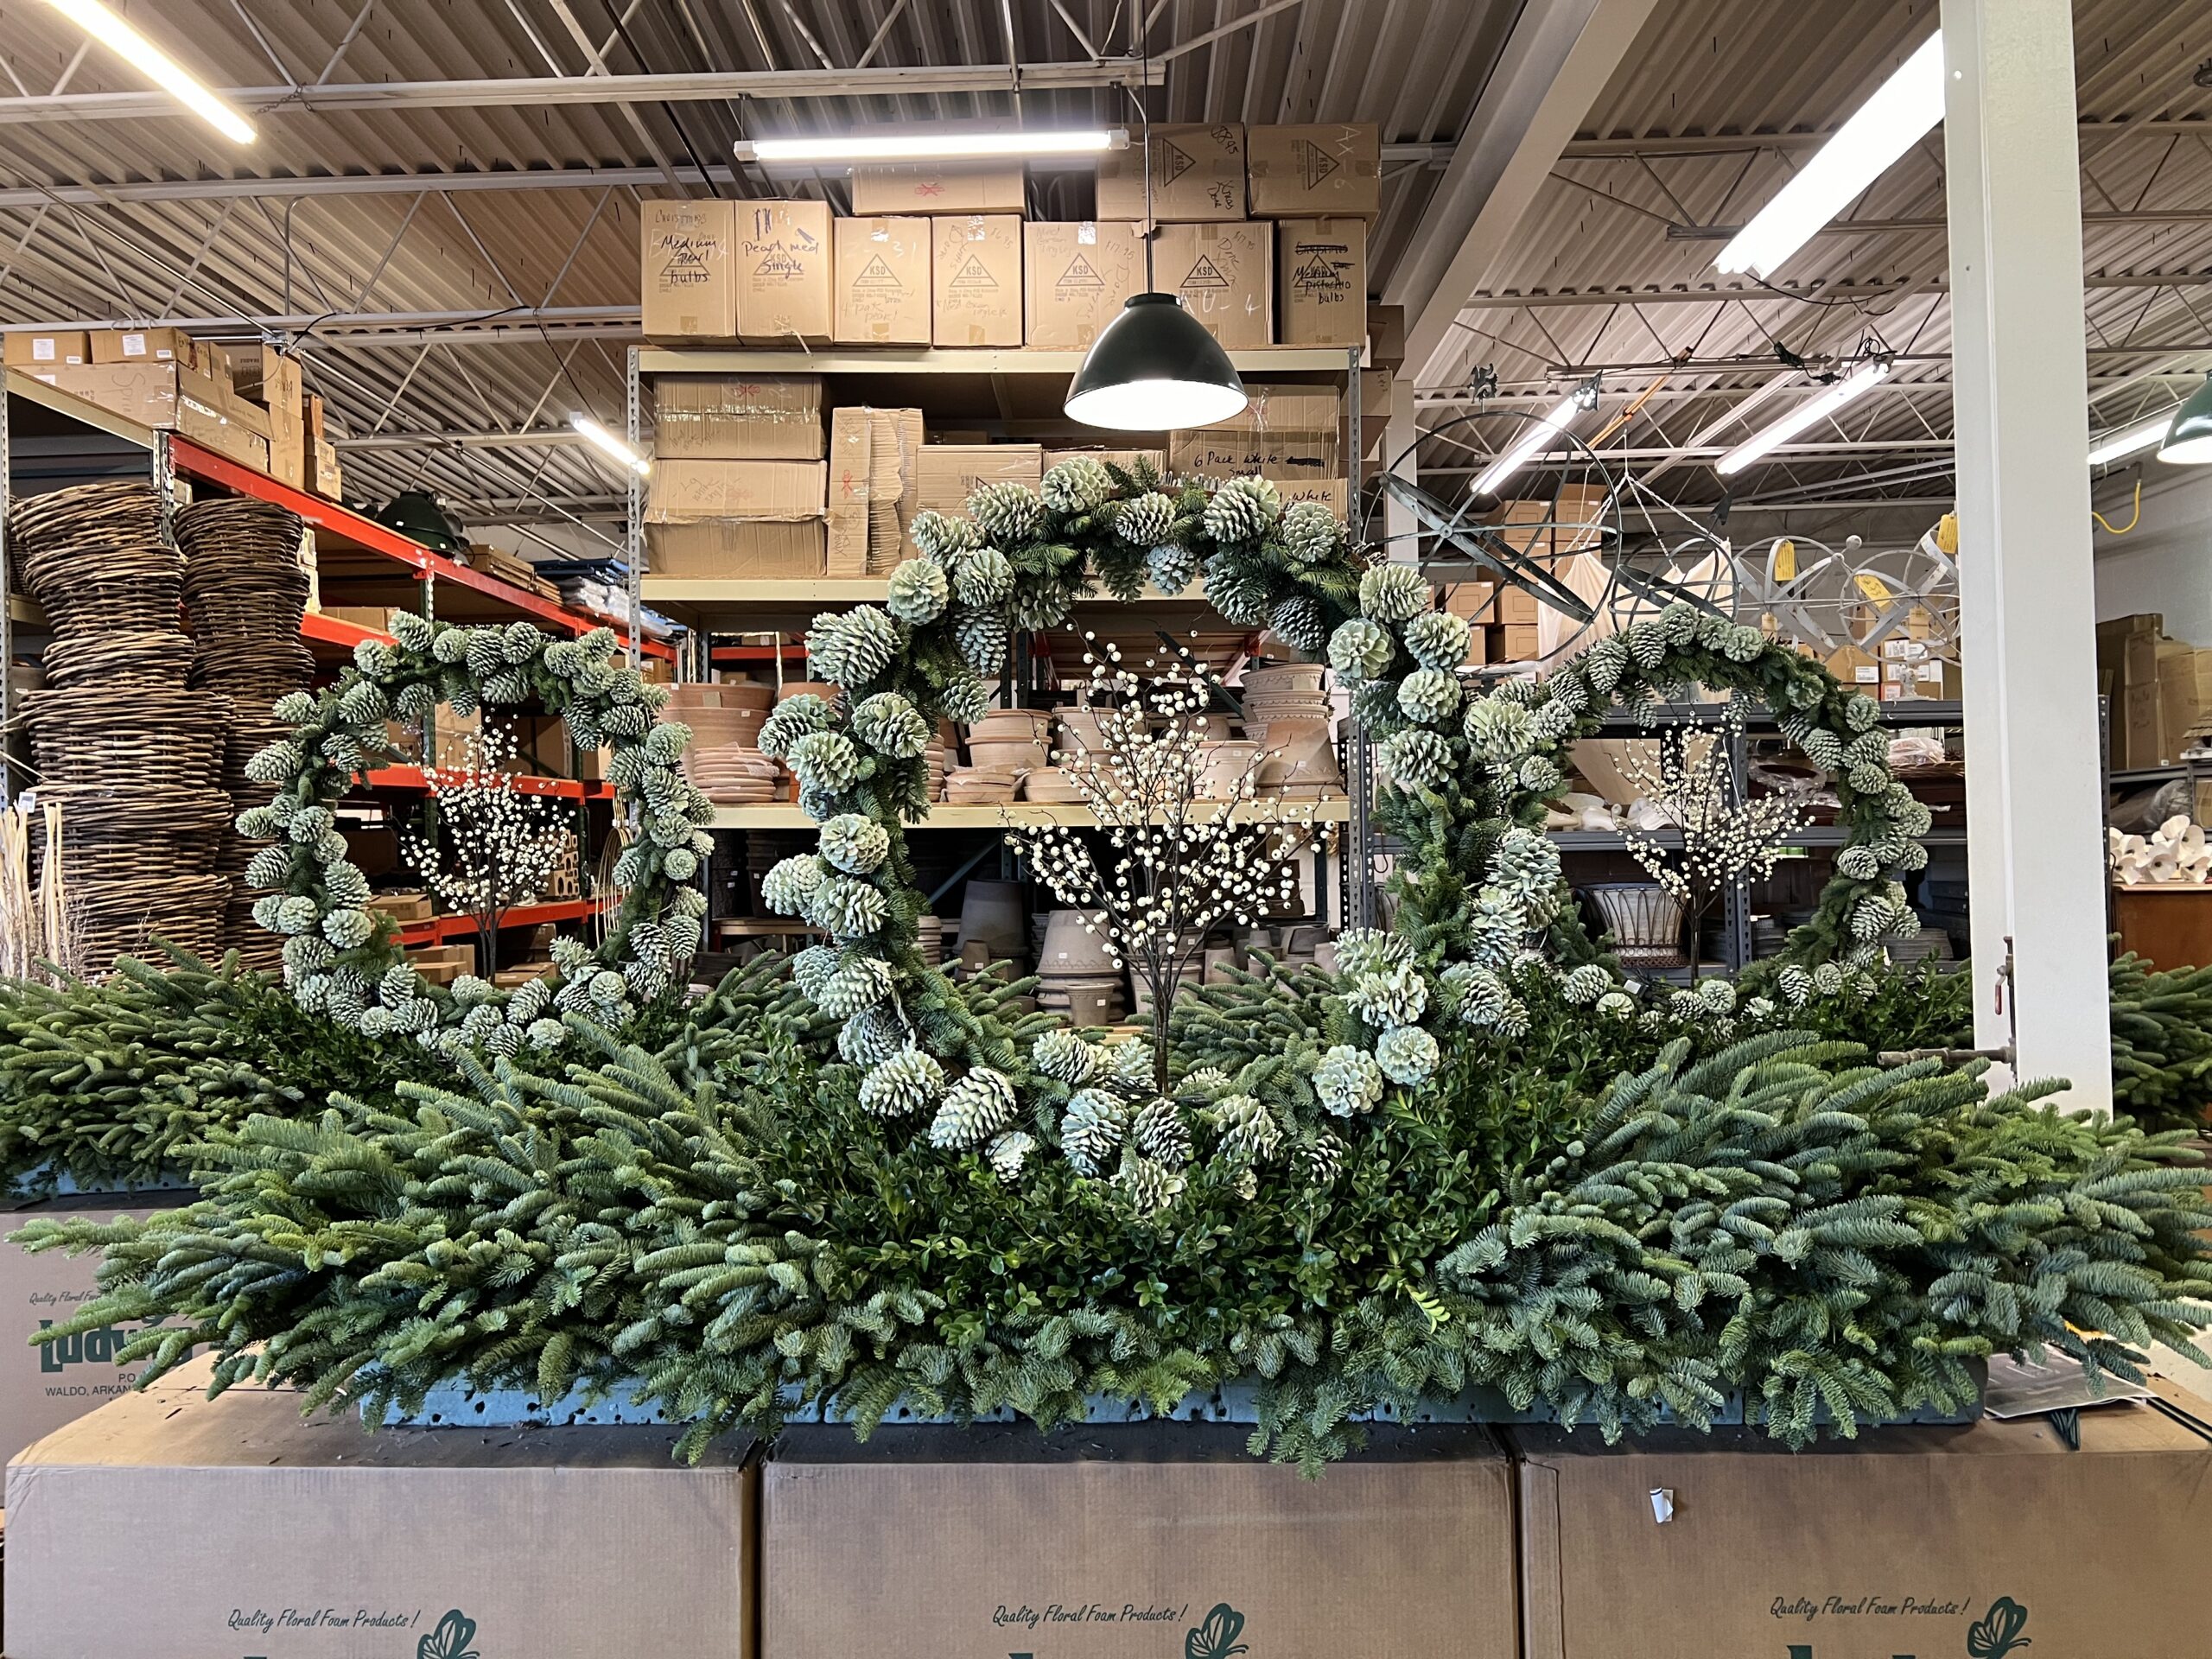
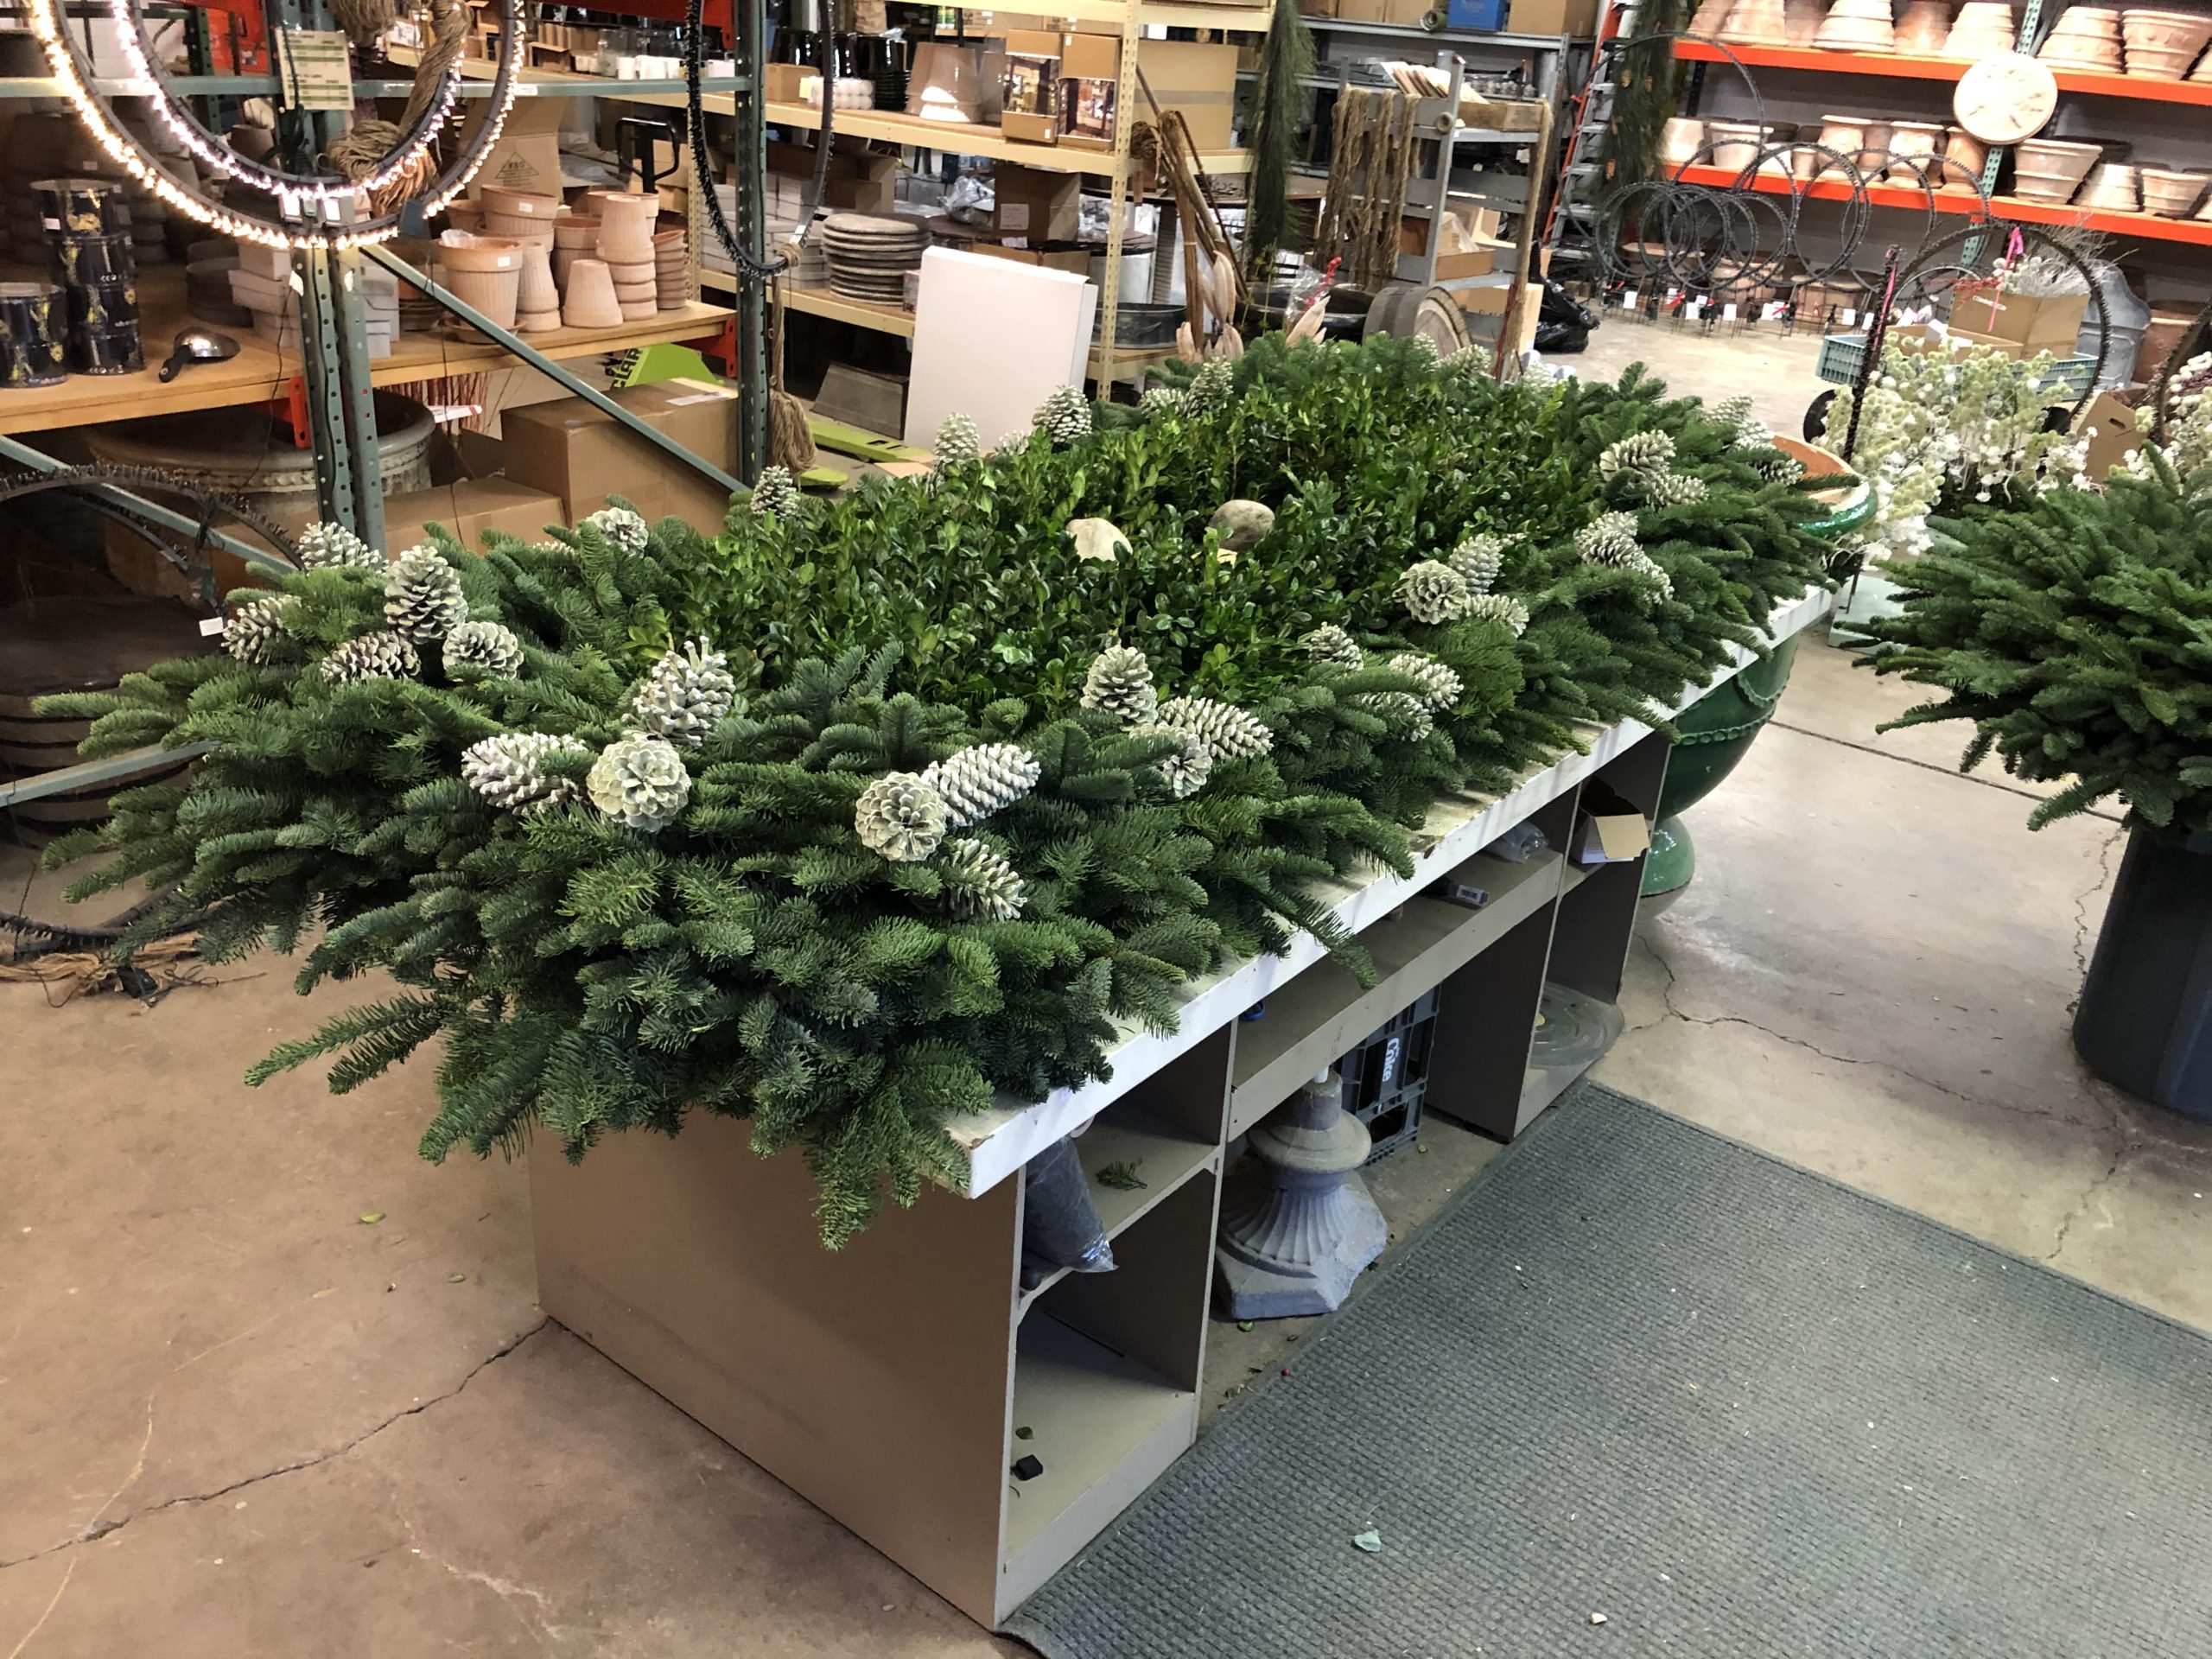
white tipped green pine cone garlands and fir added to the lighted rings
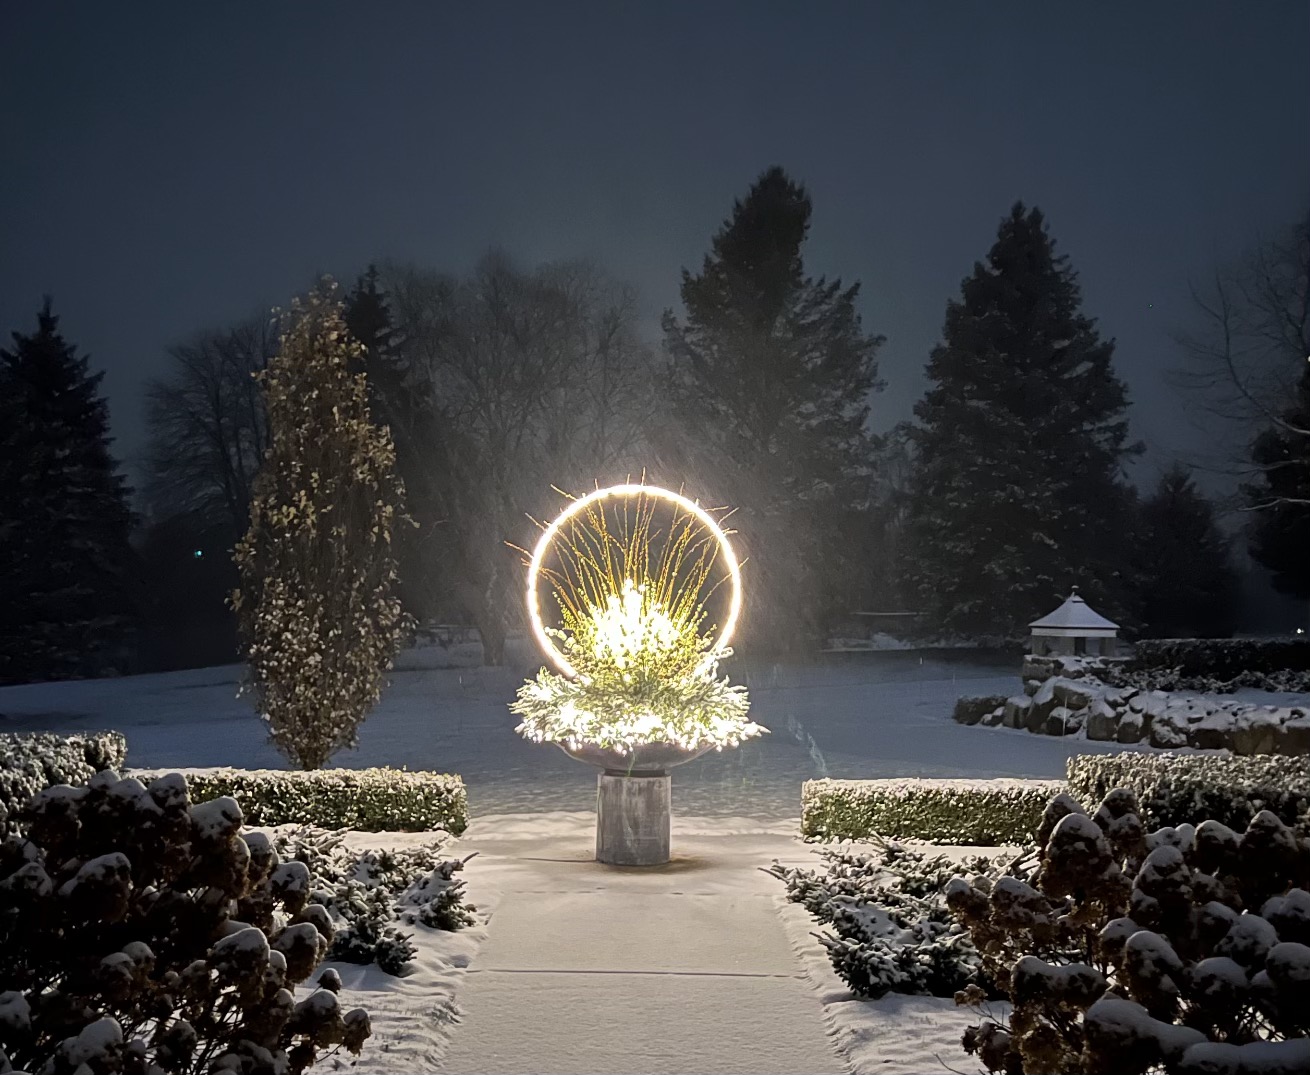
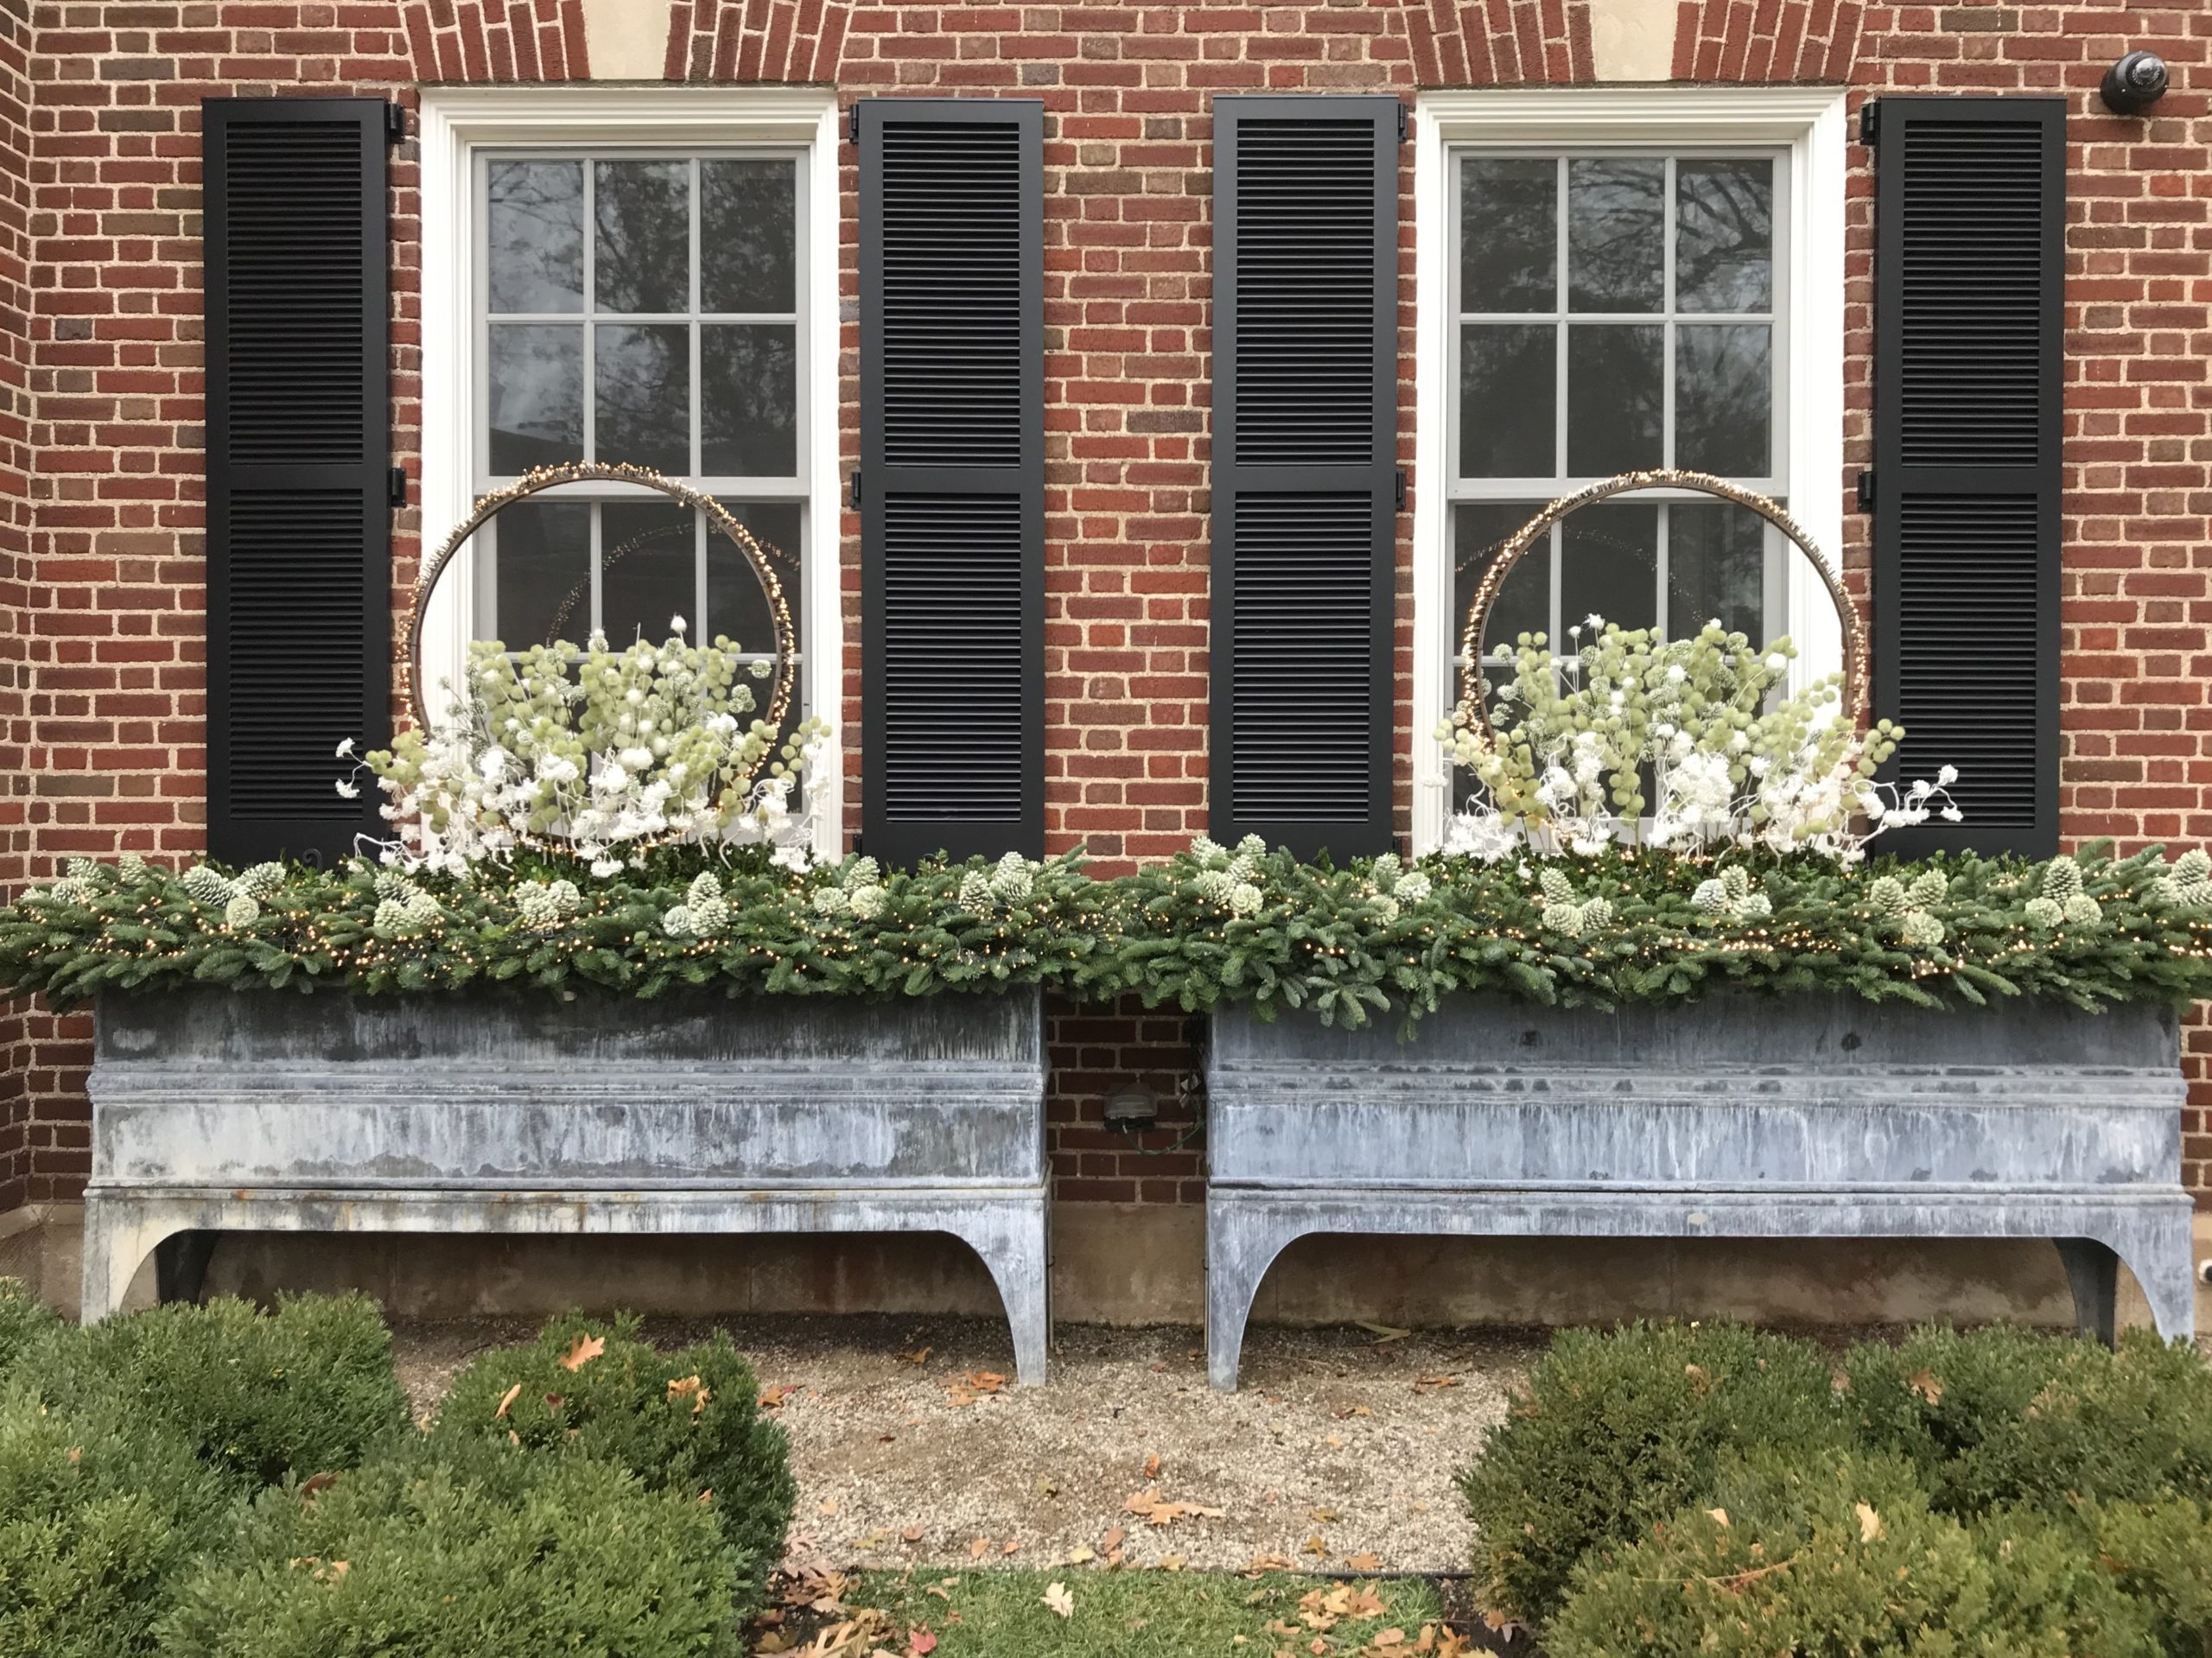
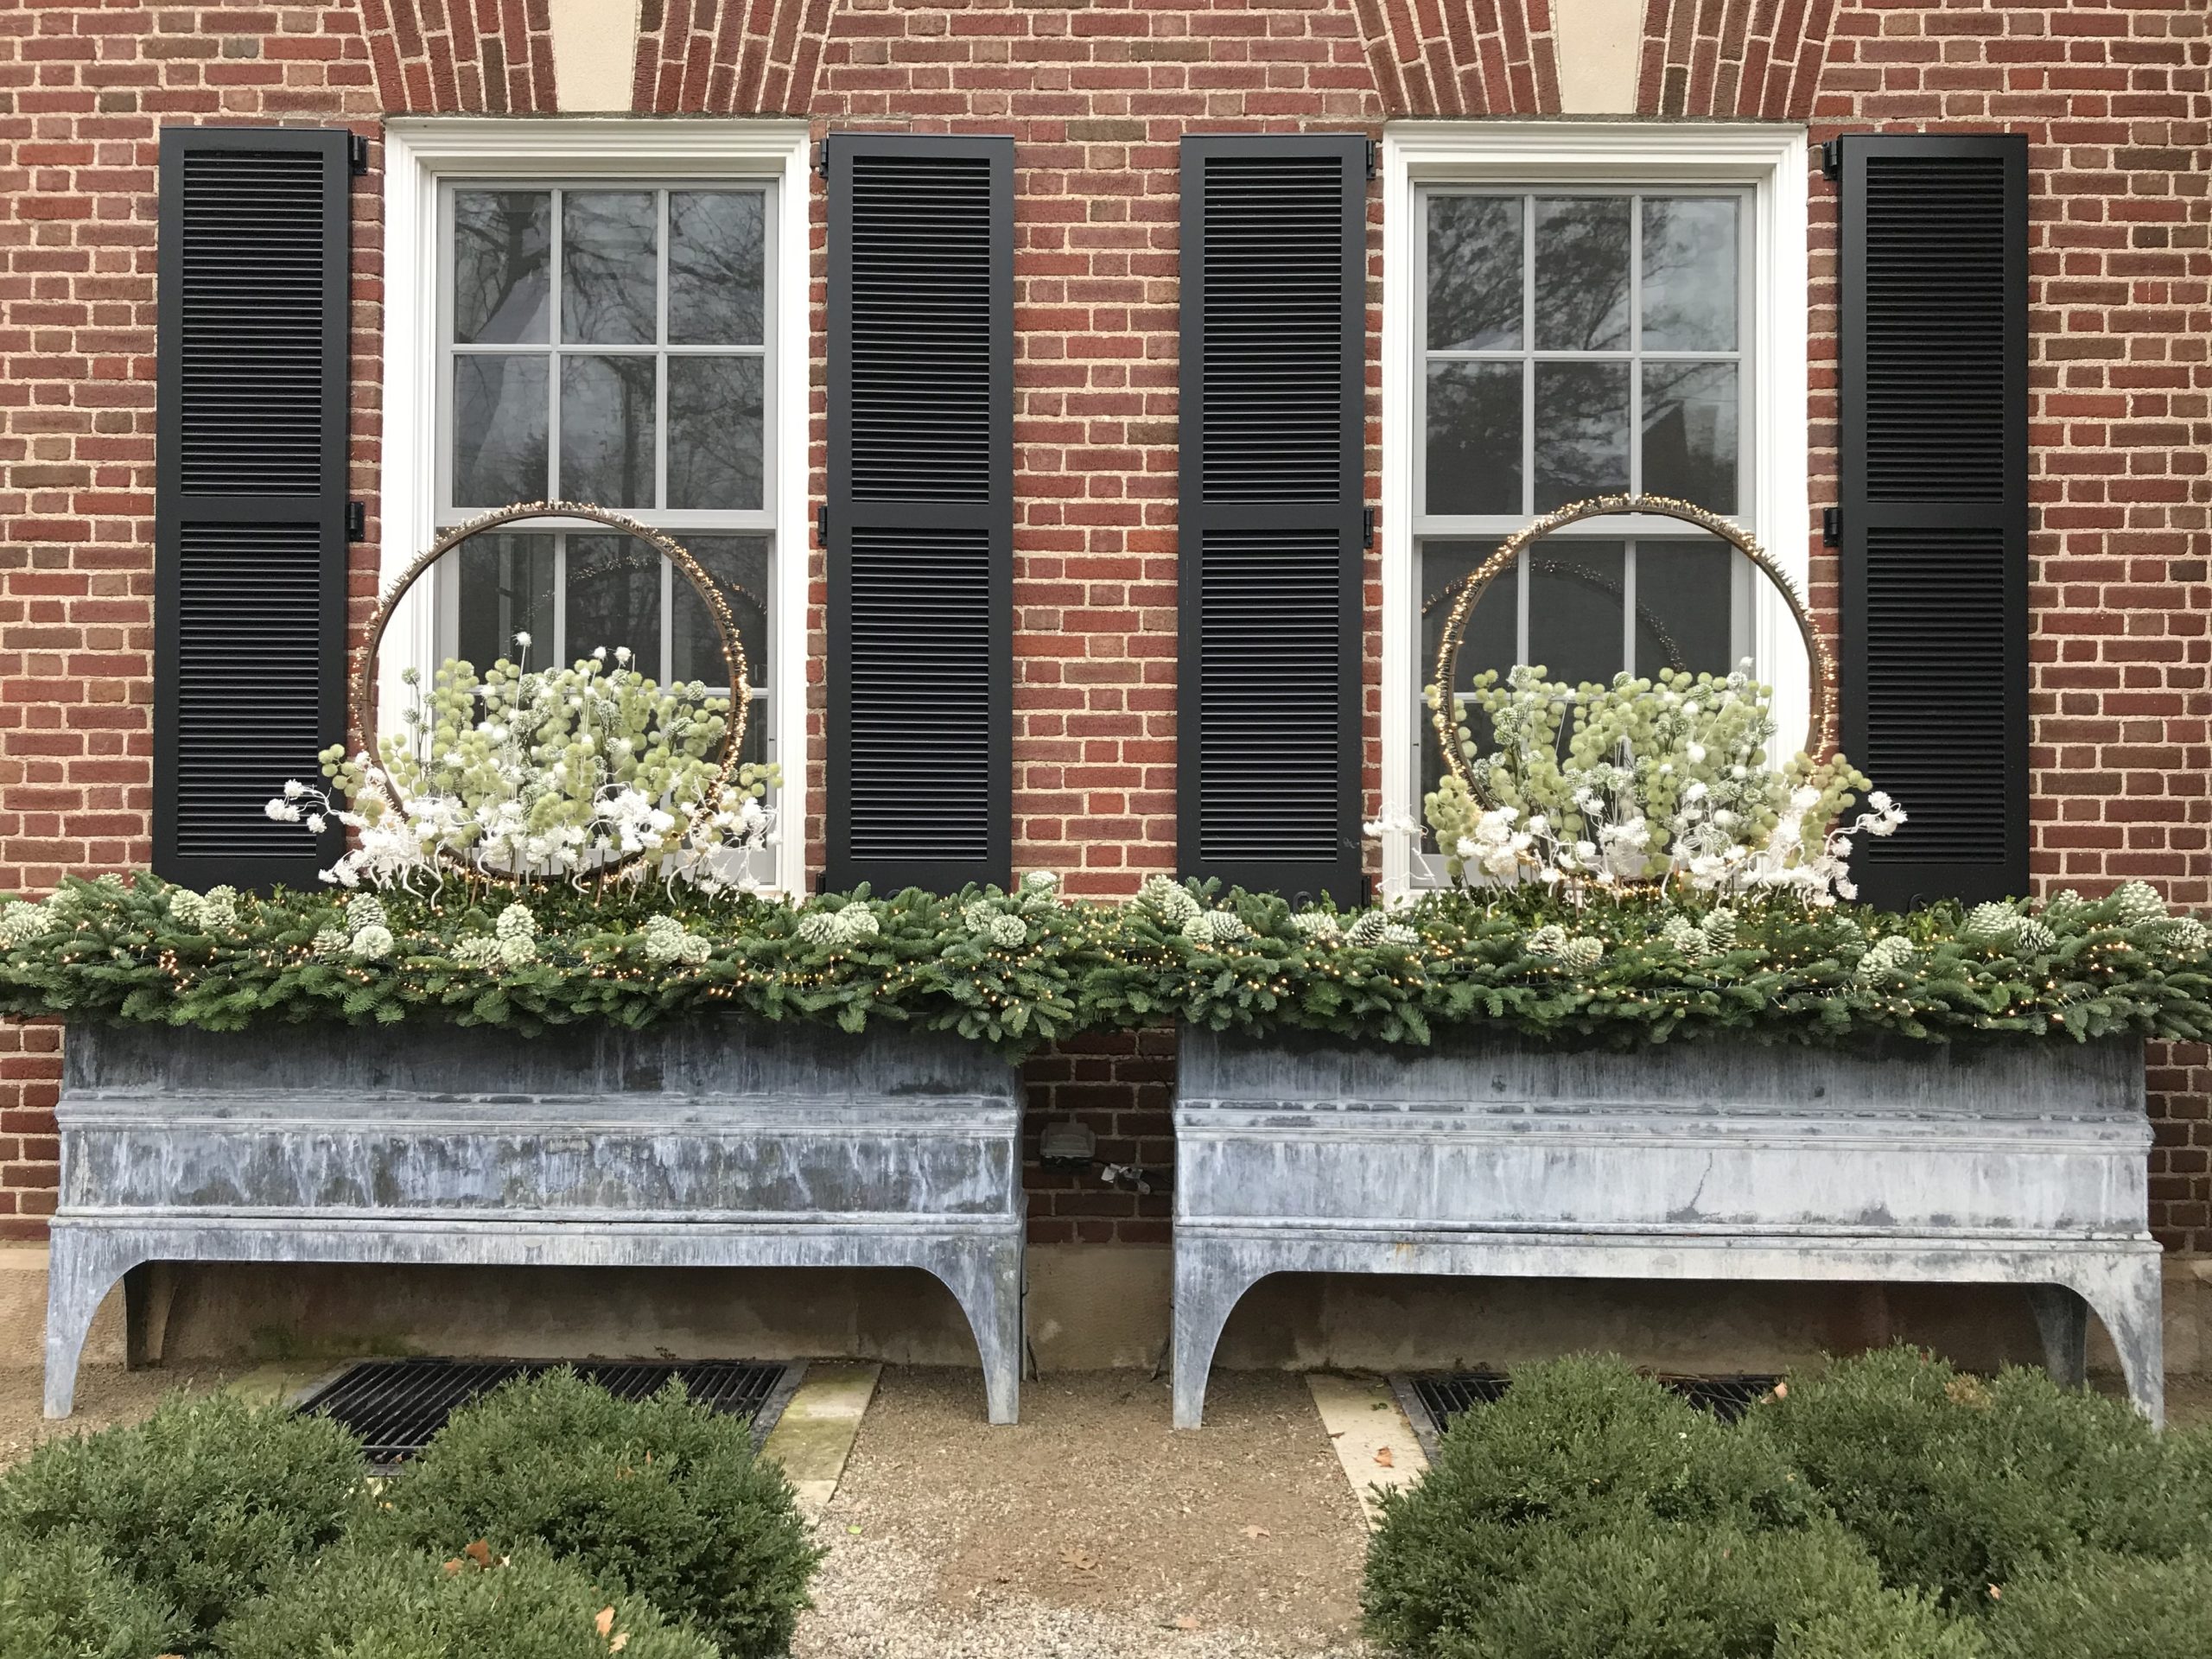
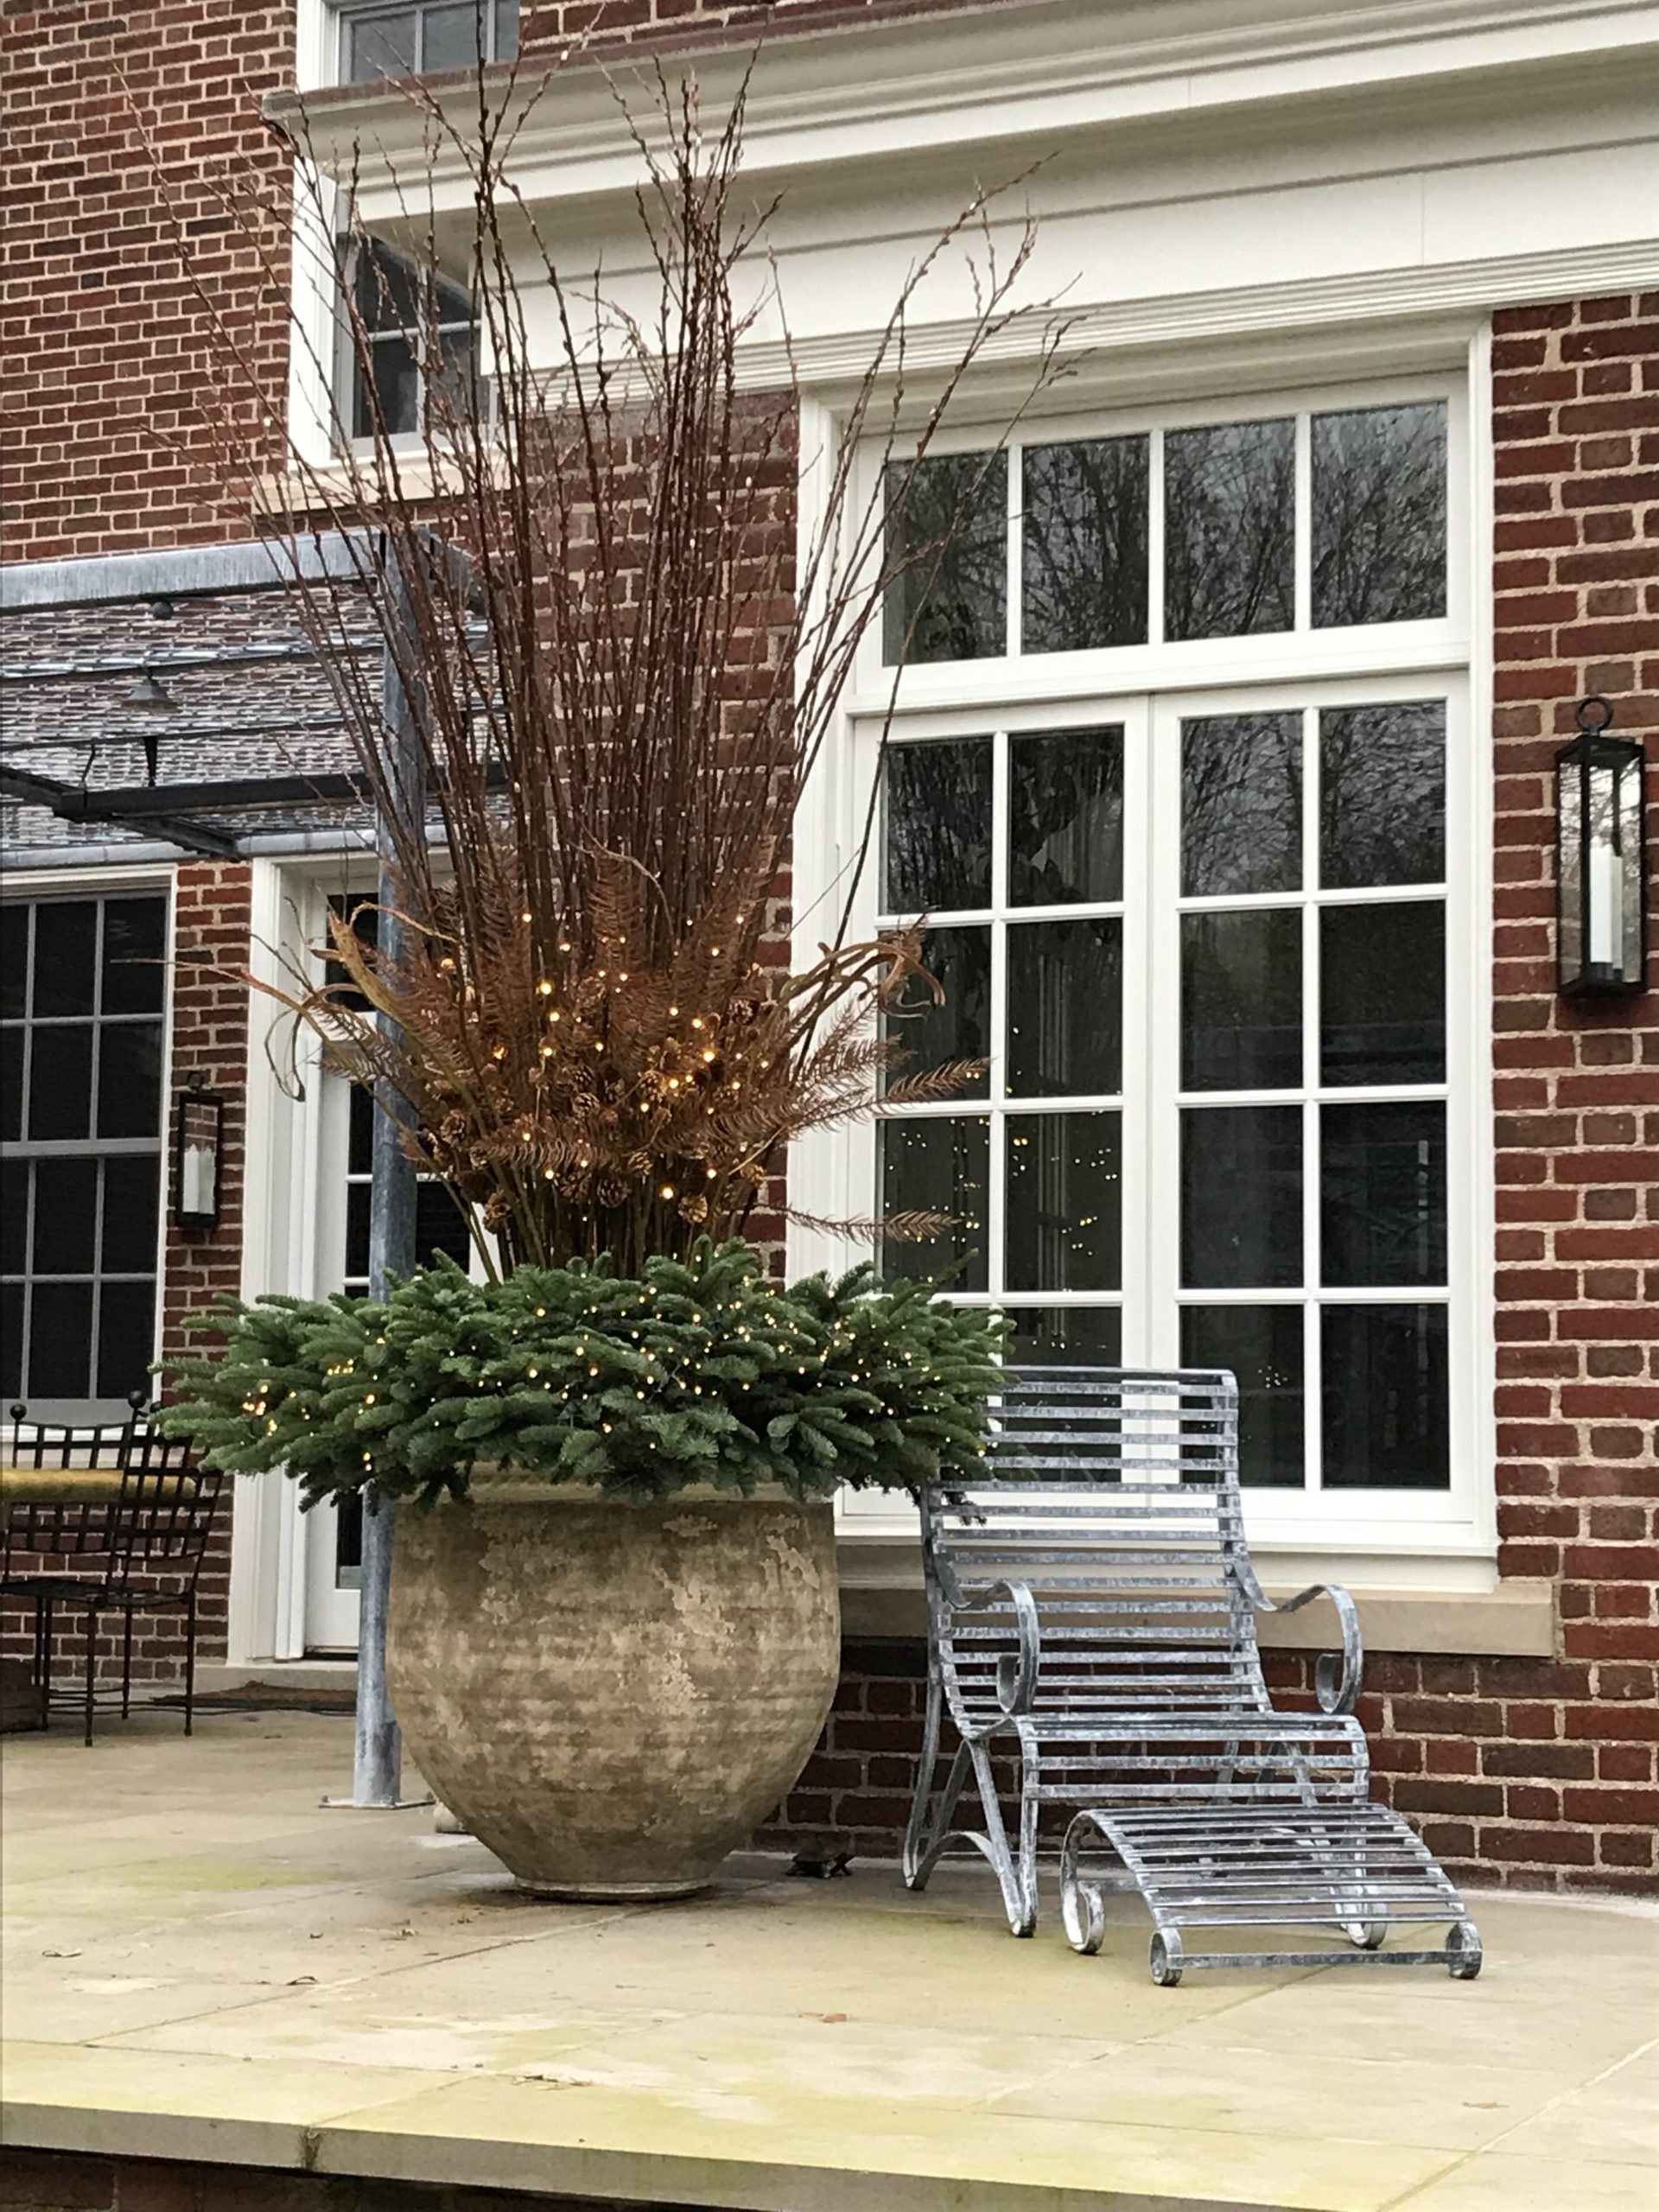
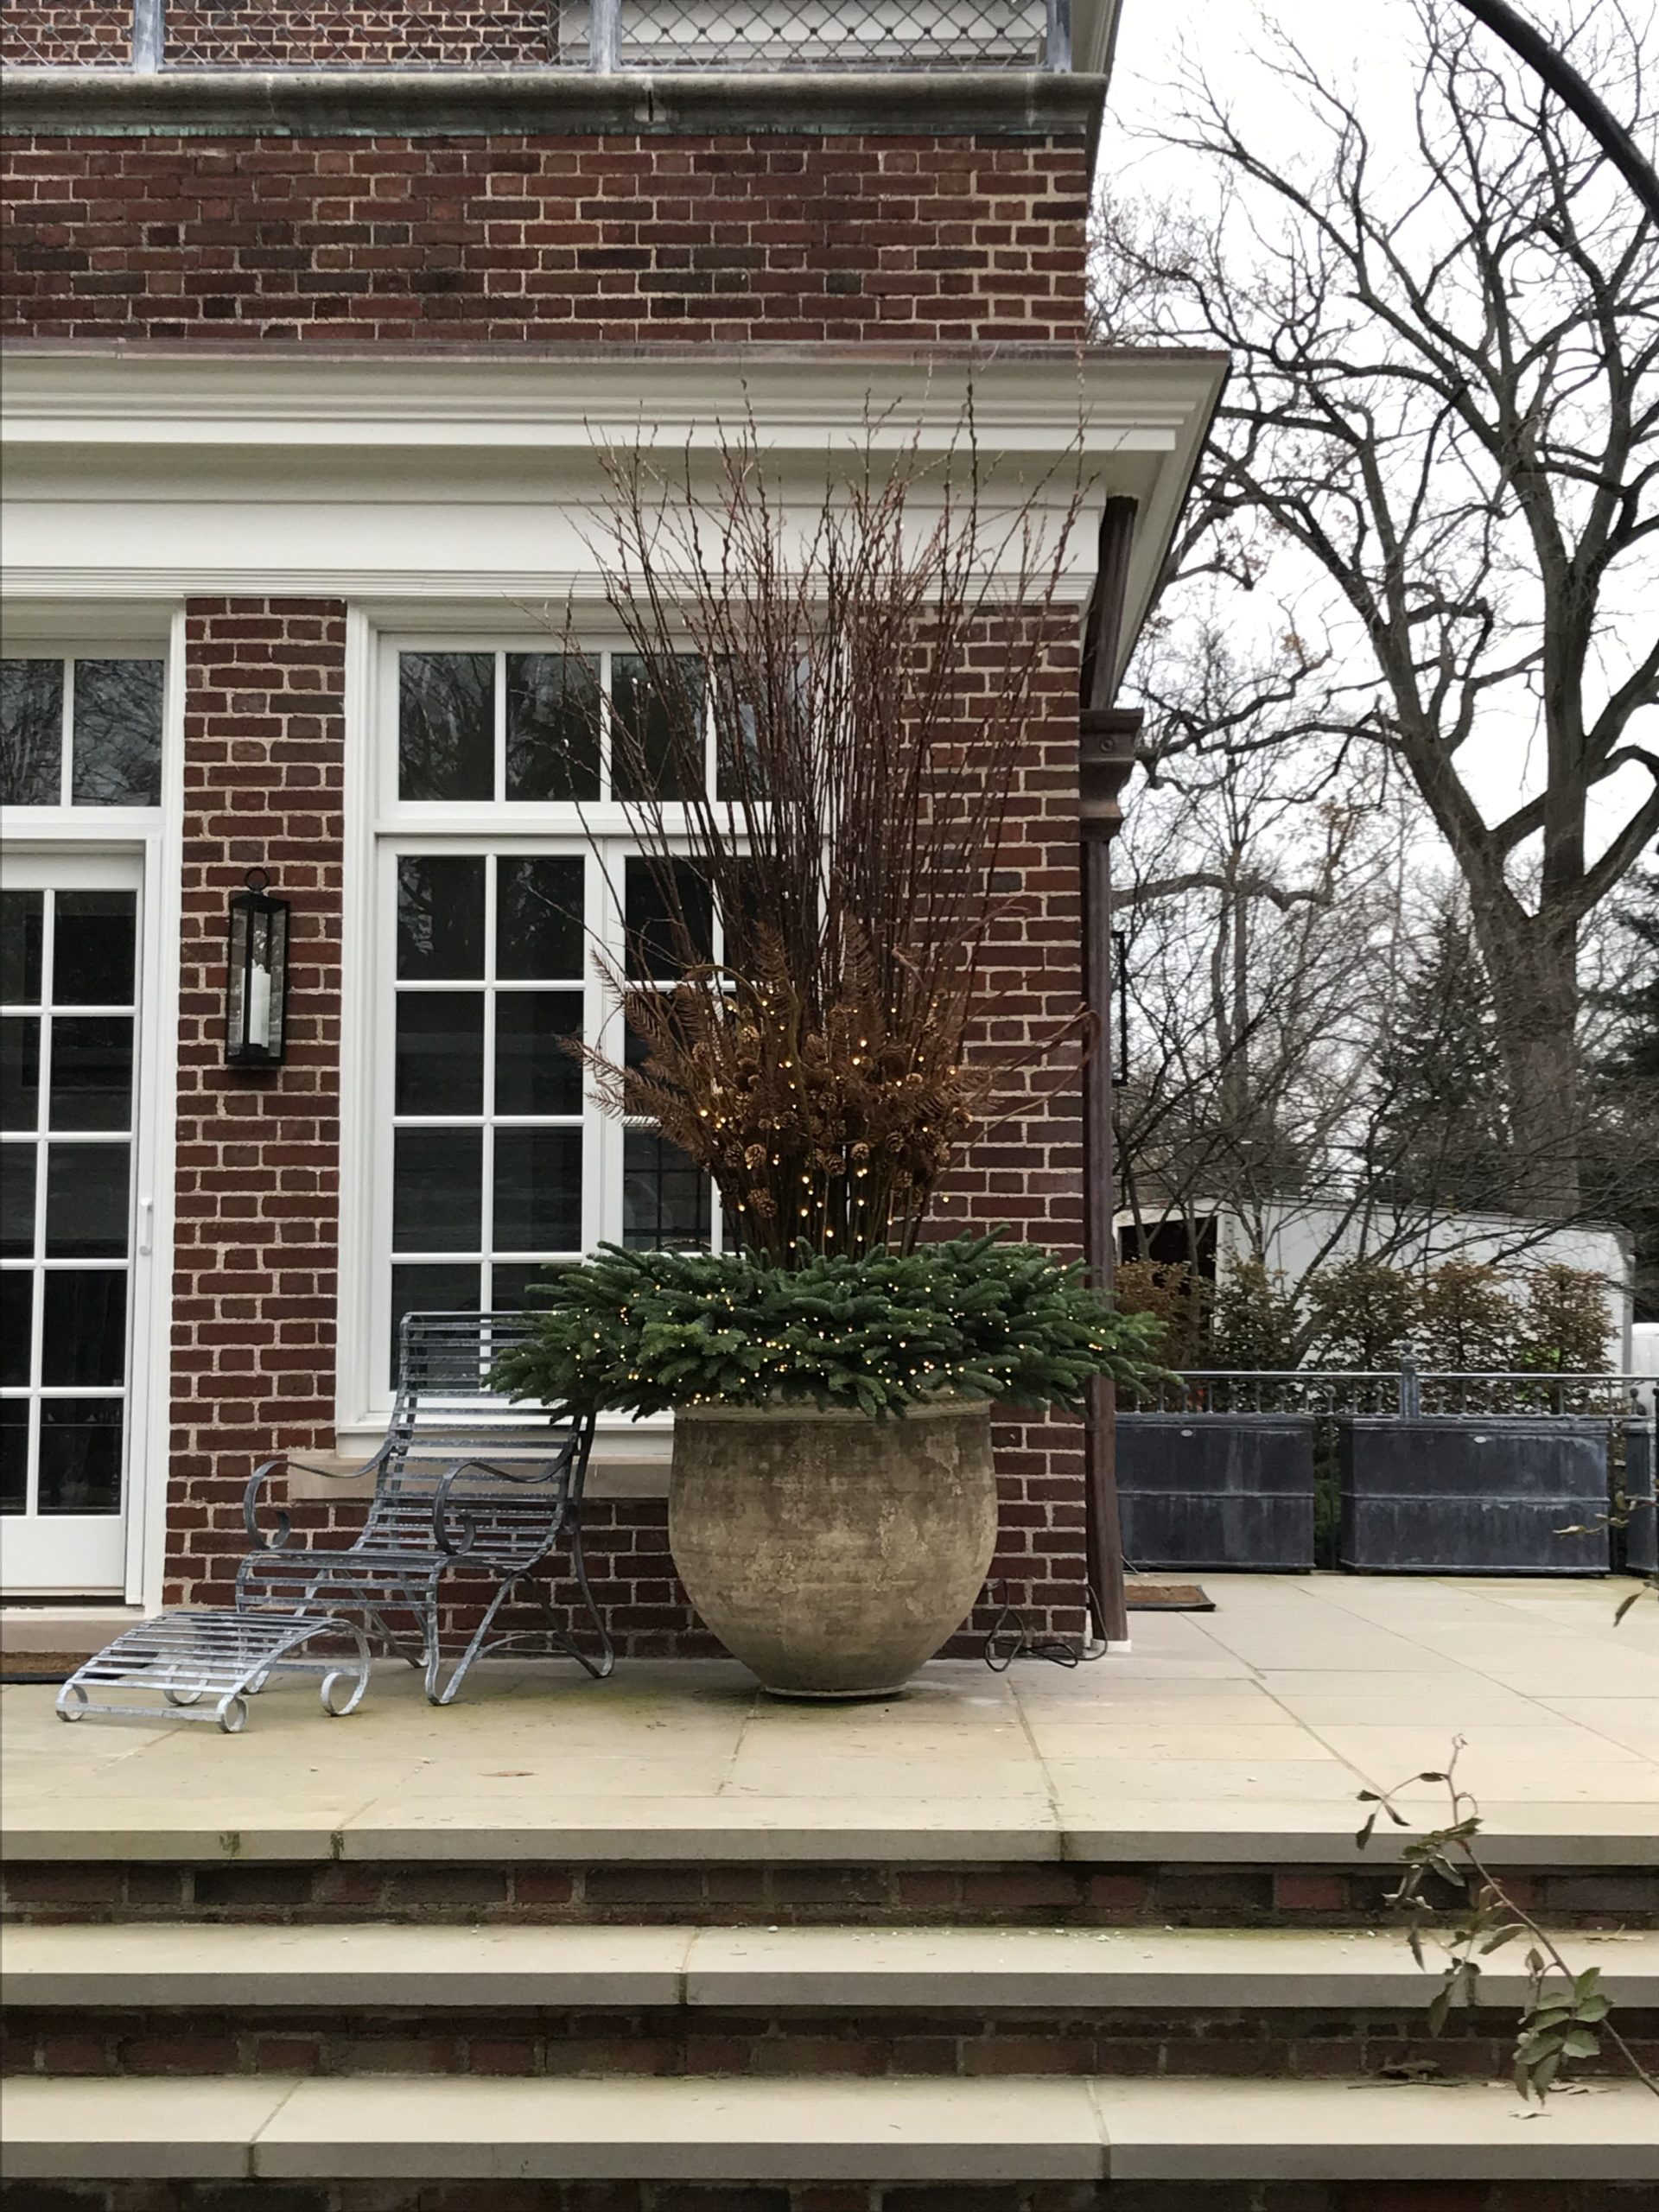
a client’s breath taking winter container featuring a five foot light ring
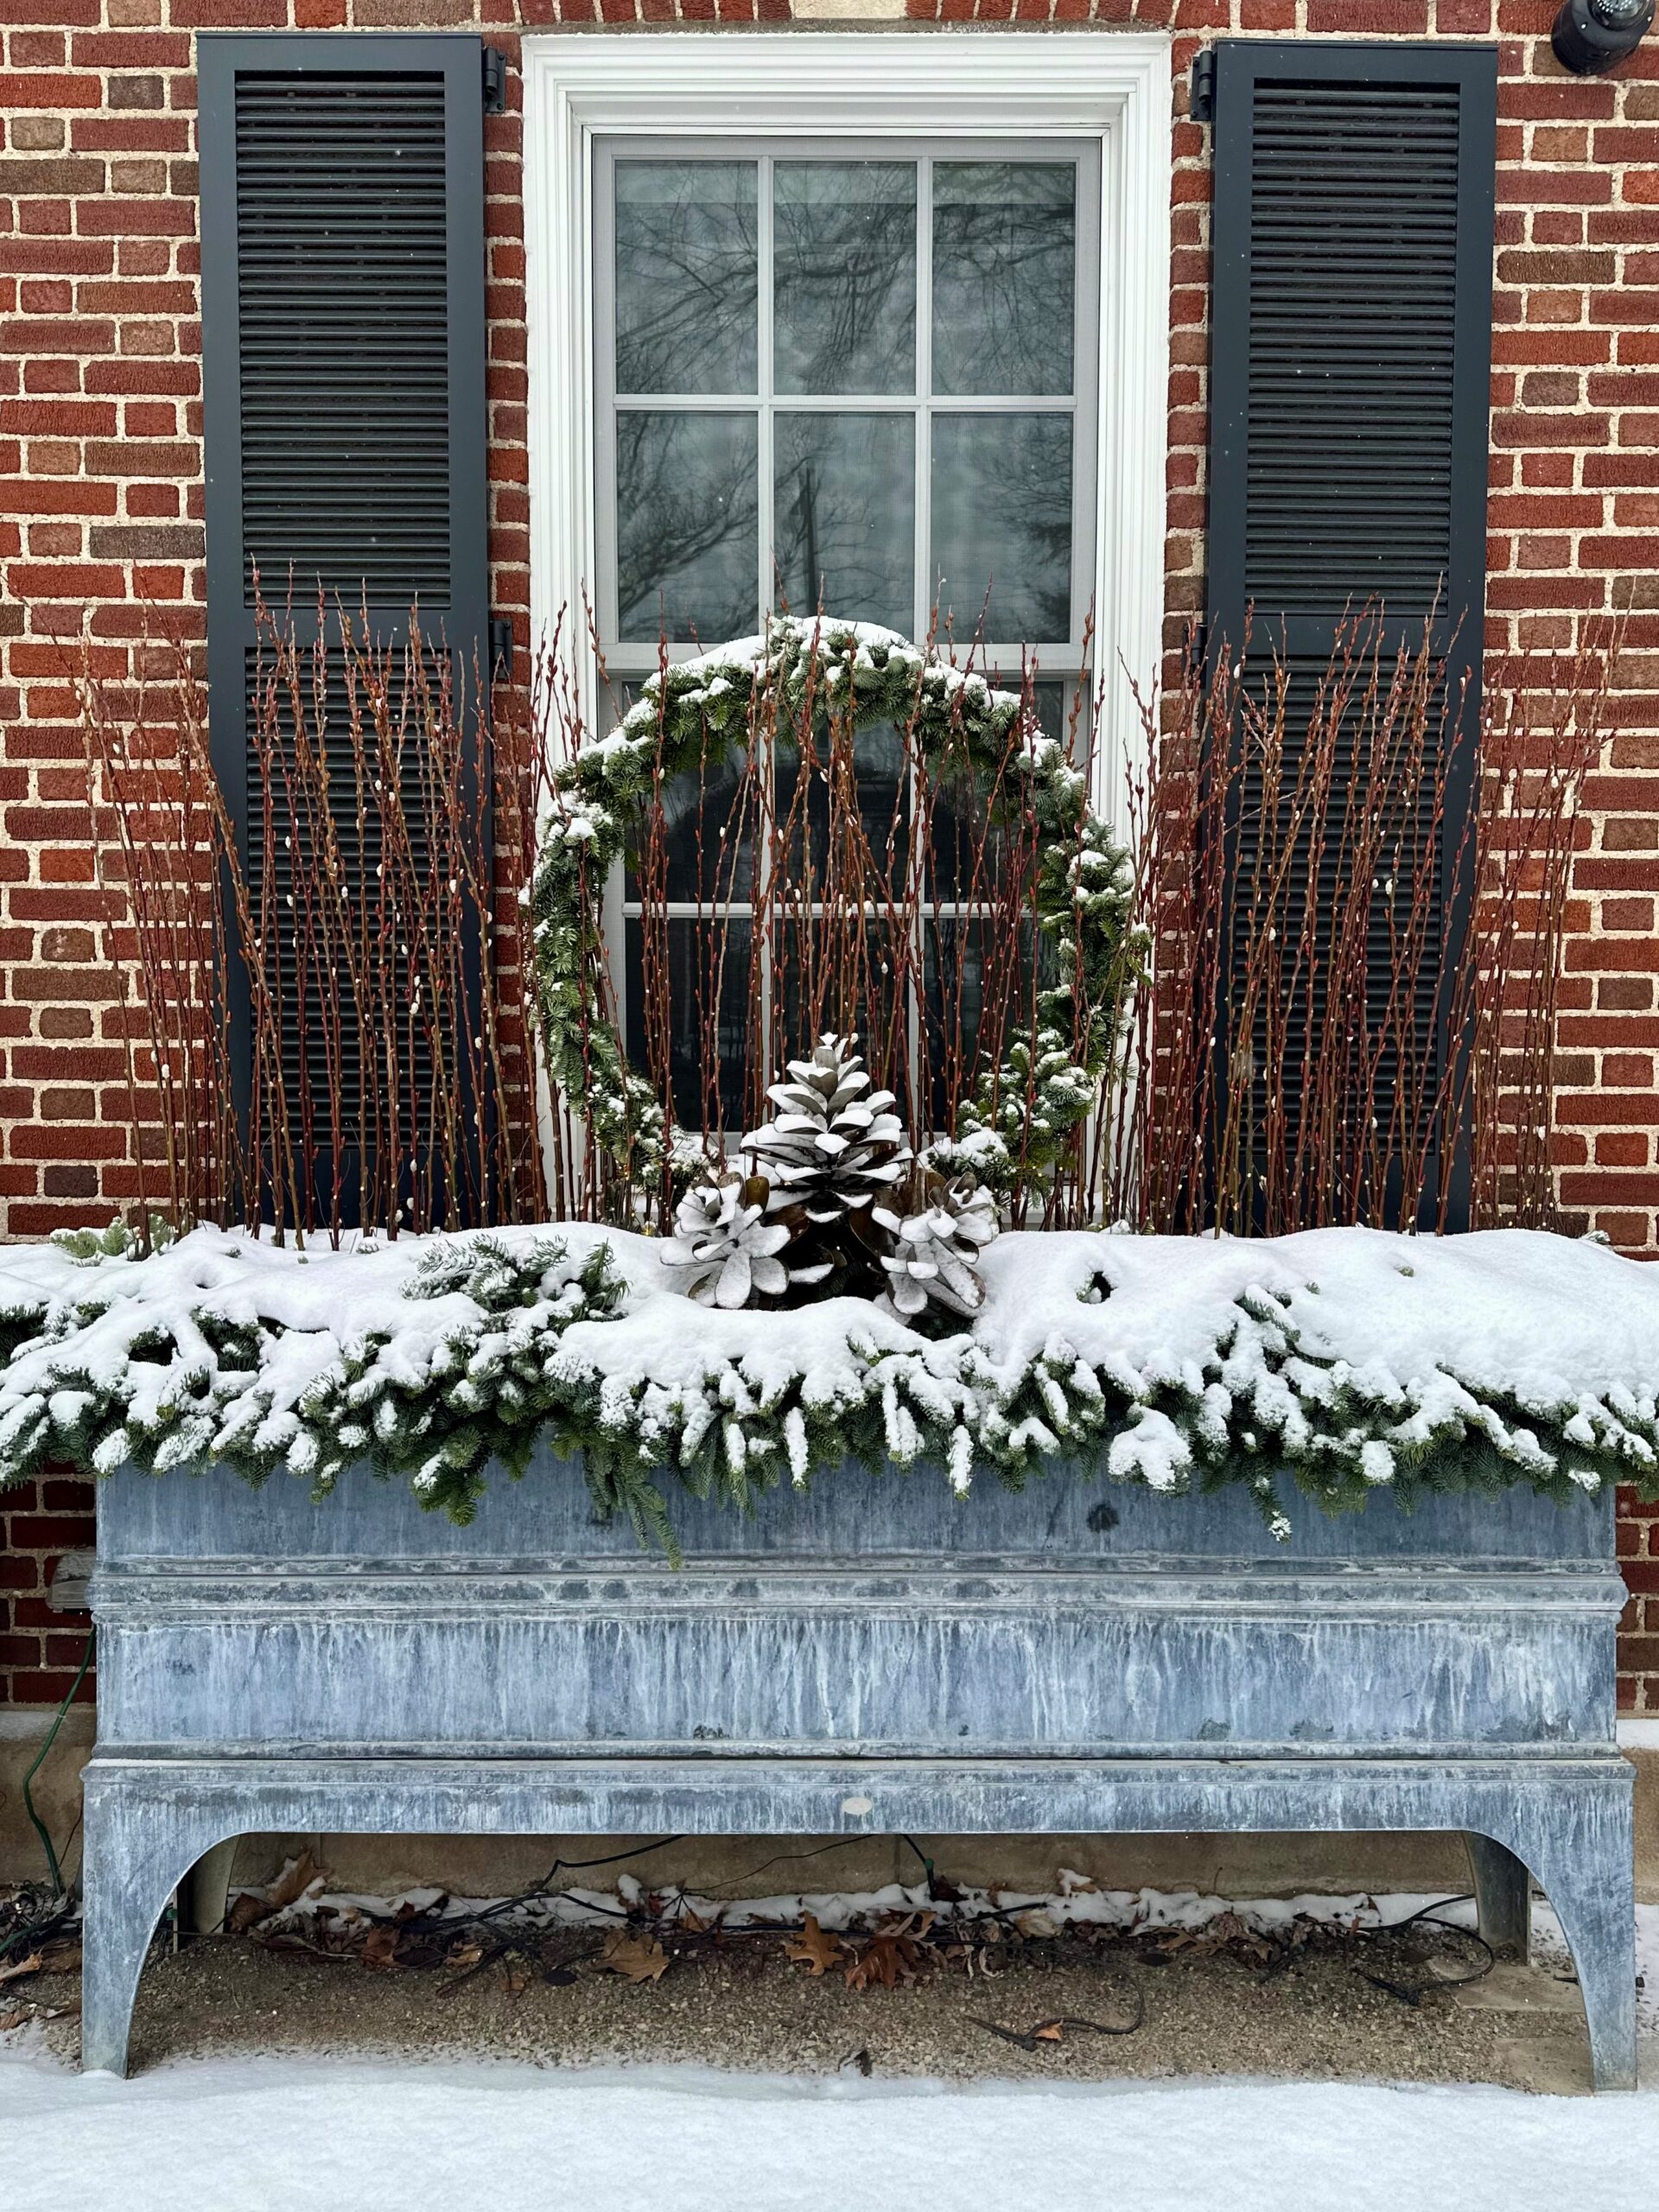
light ring wreathed in fir garland with a trio of oversized steel pine cones
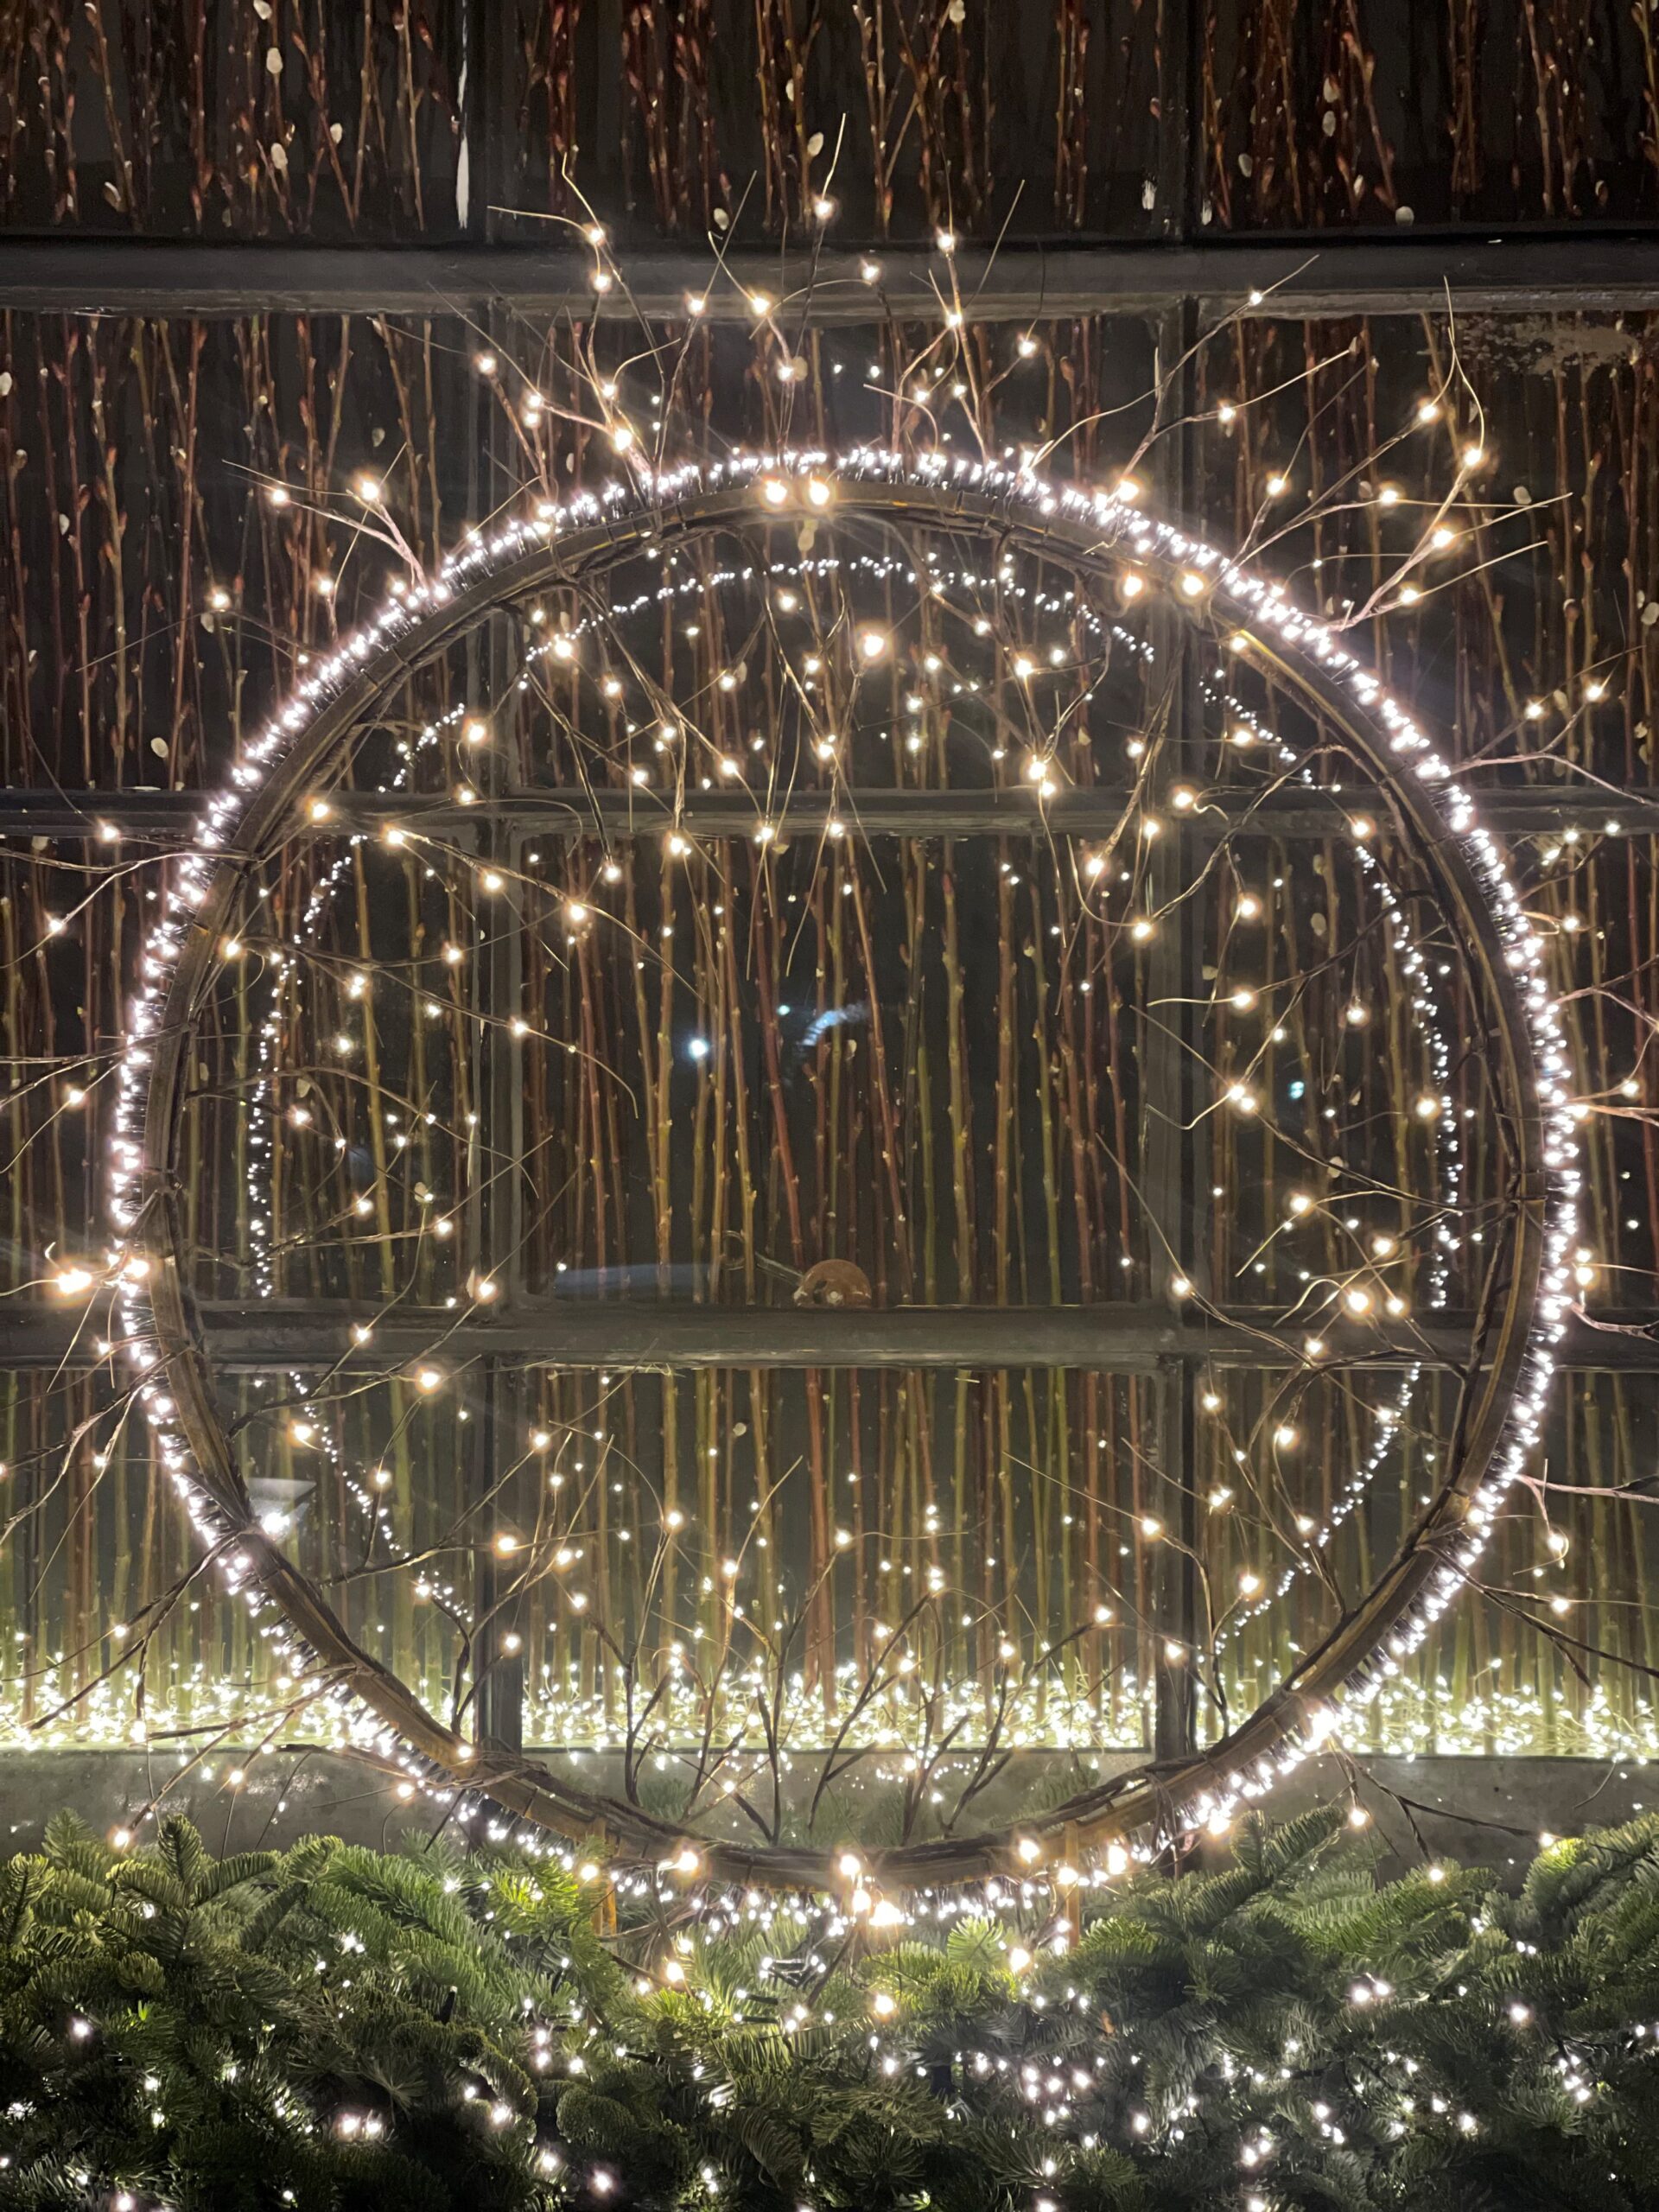
This three foot ring is additionally lighted with 2 strands of twig garland lights
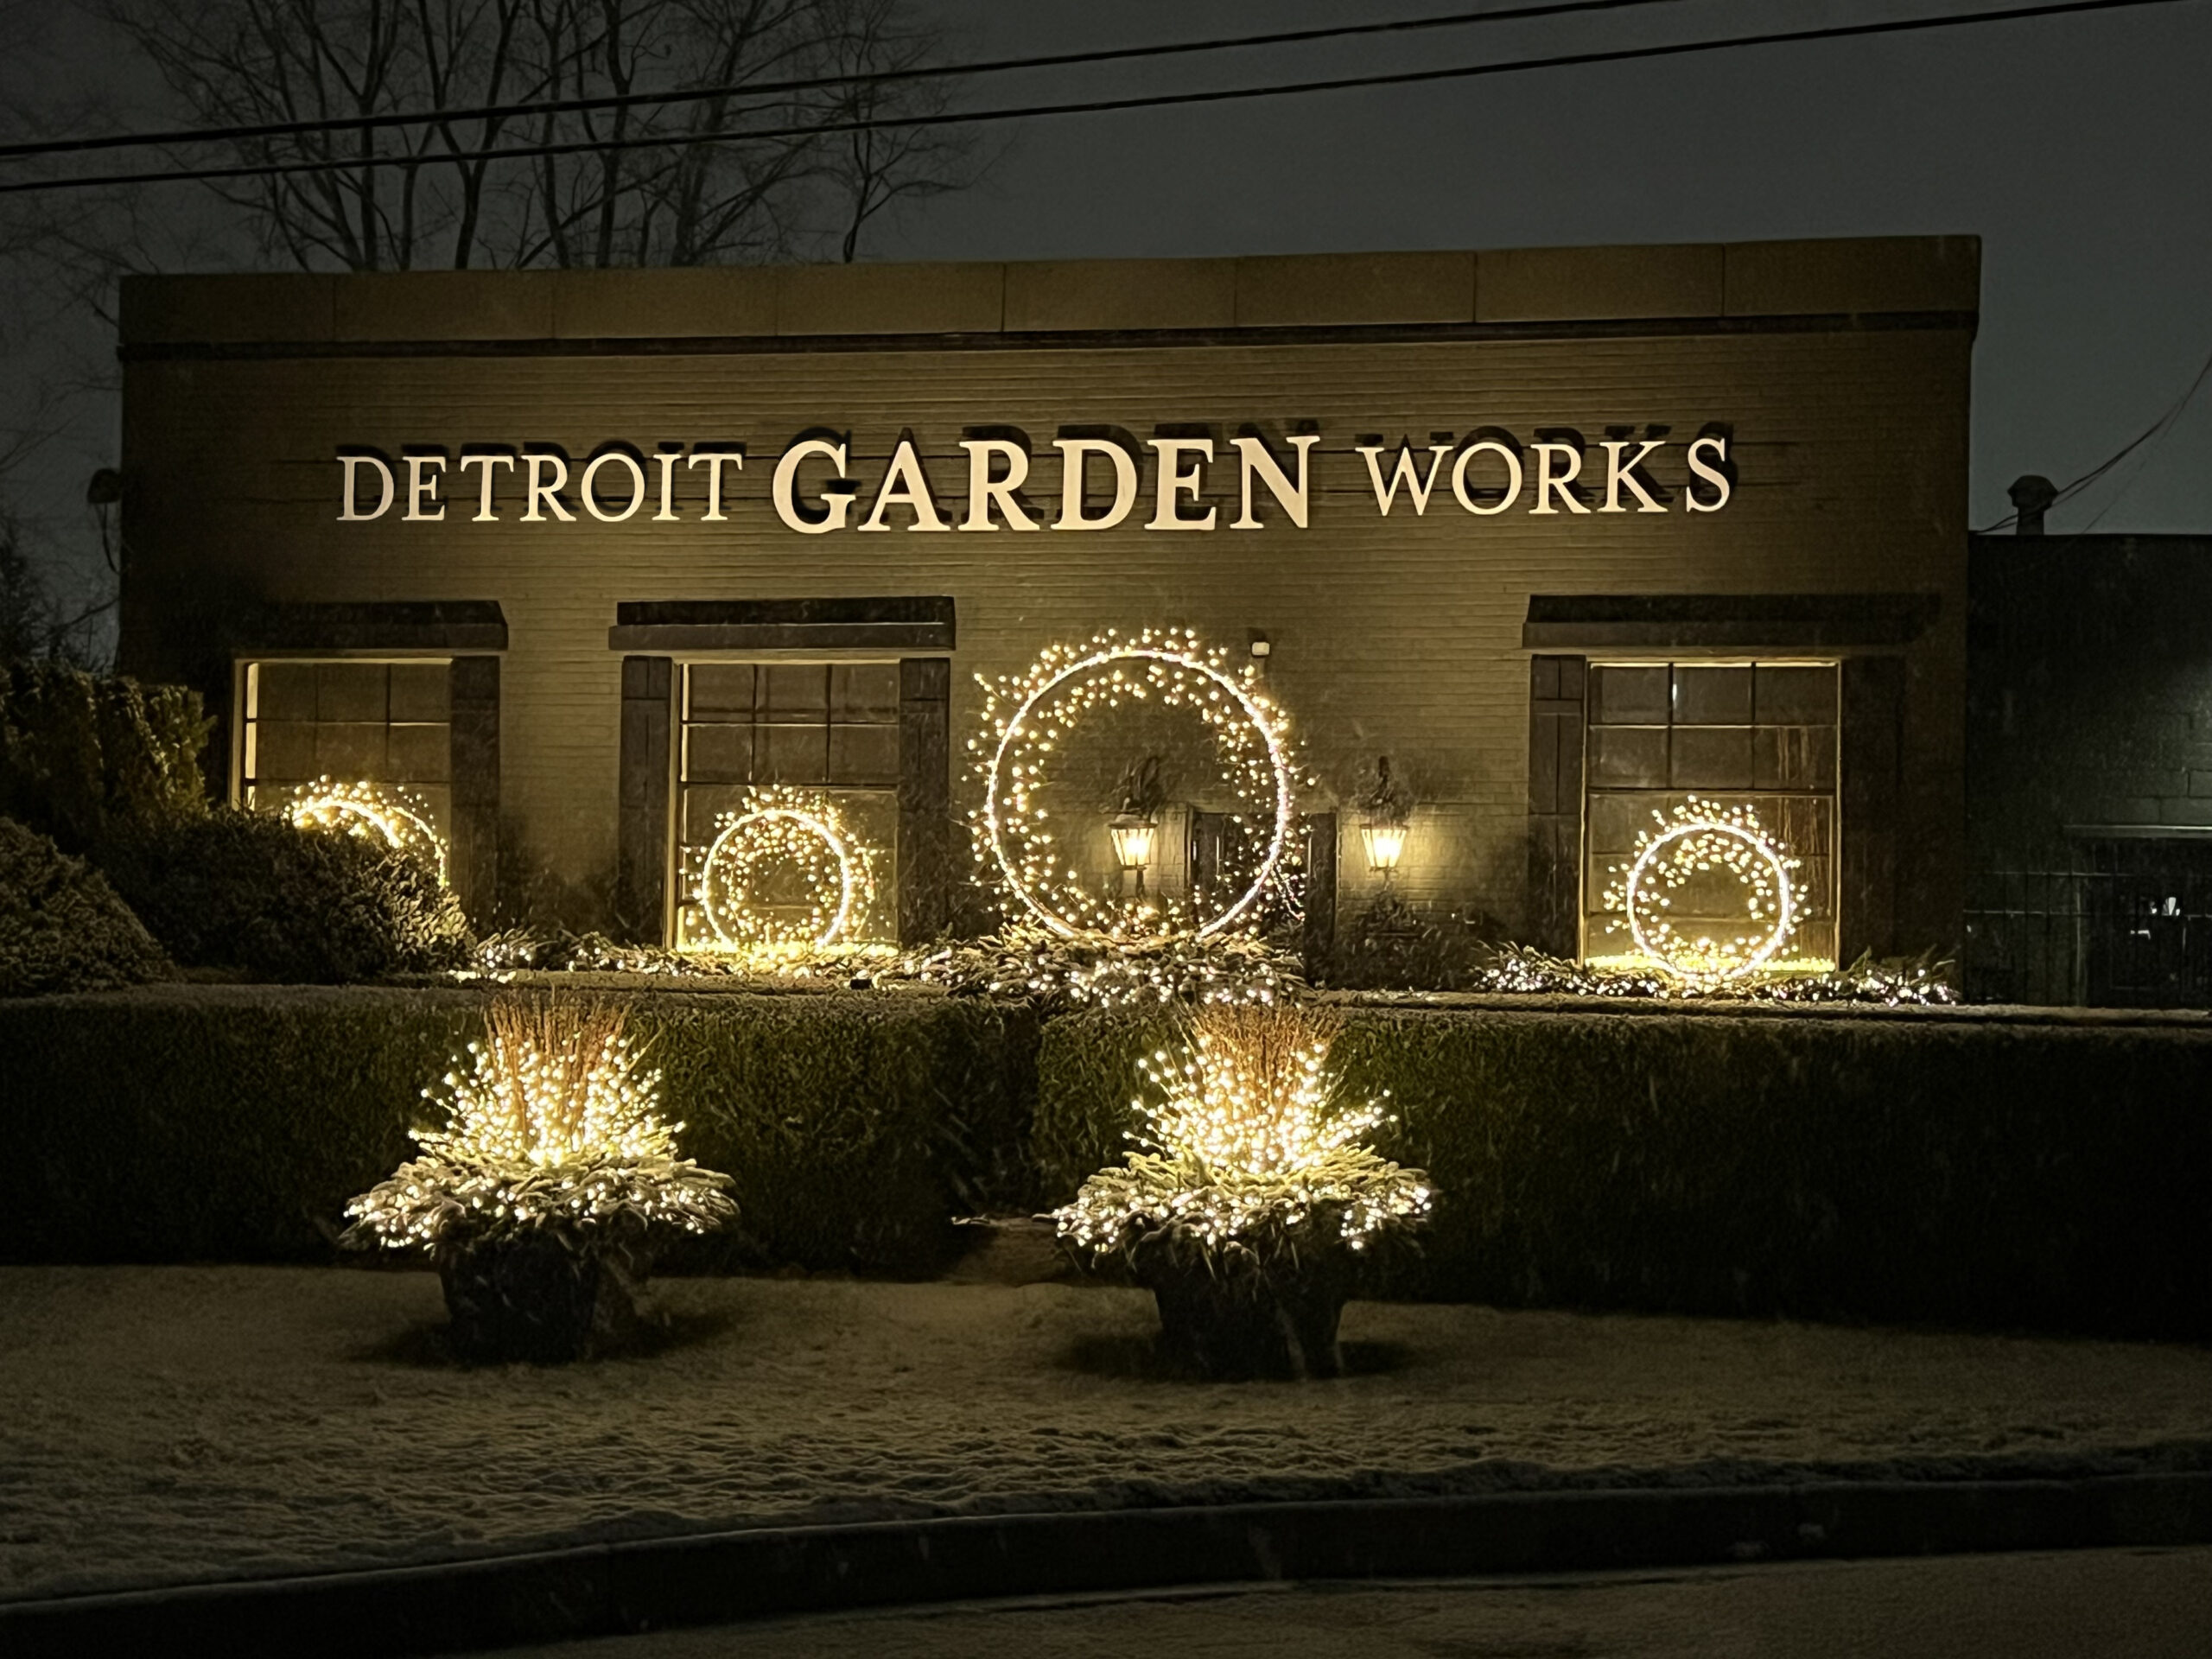
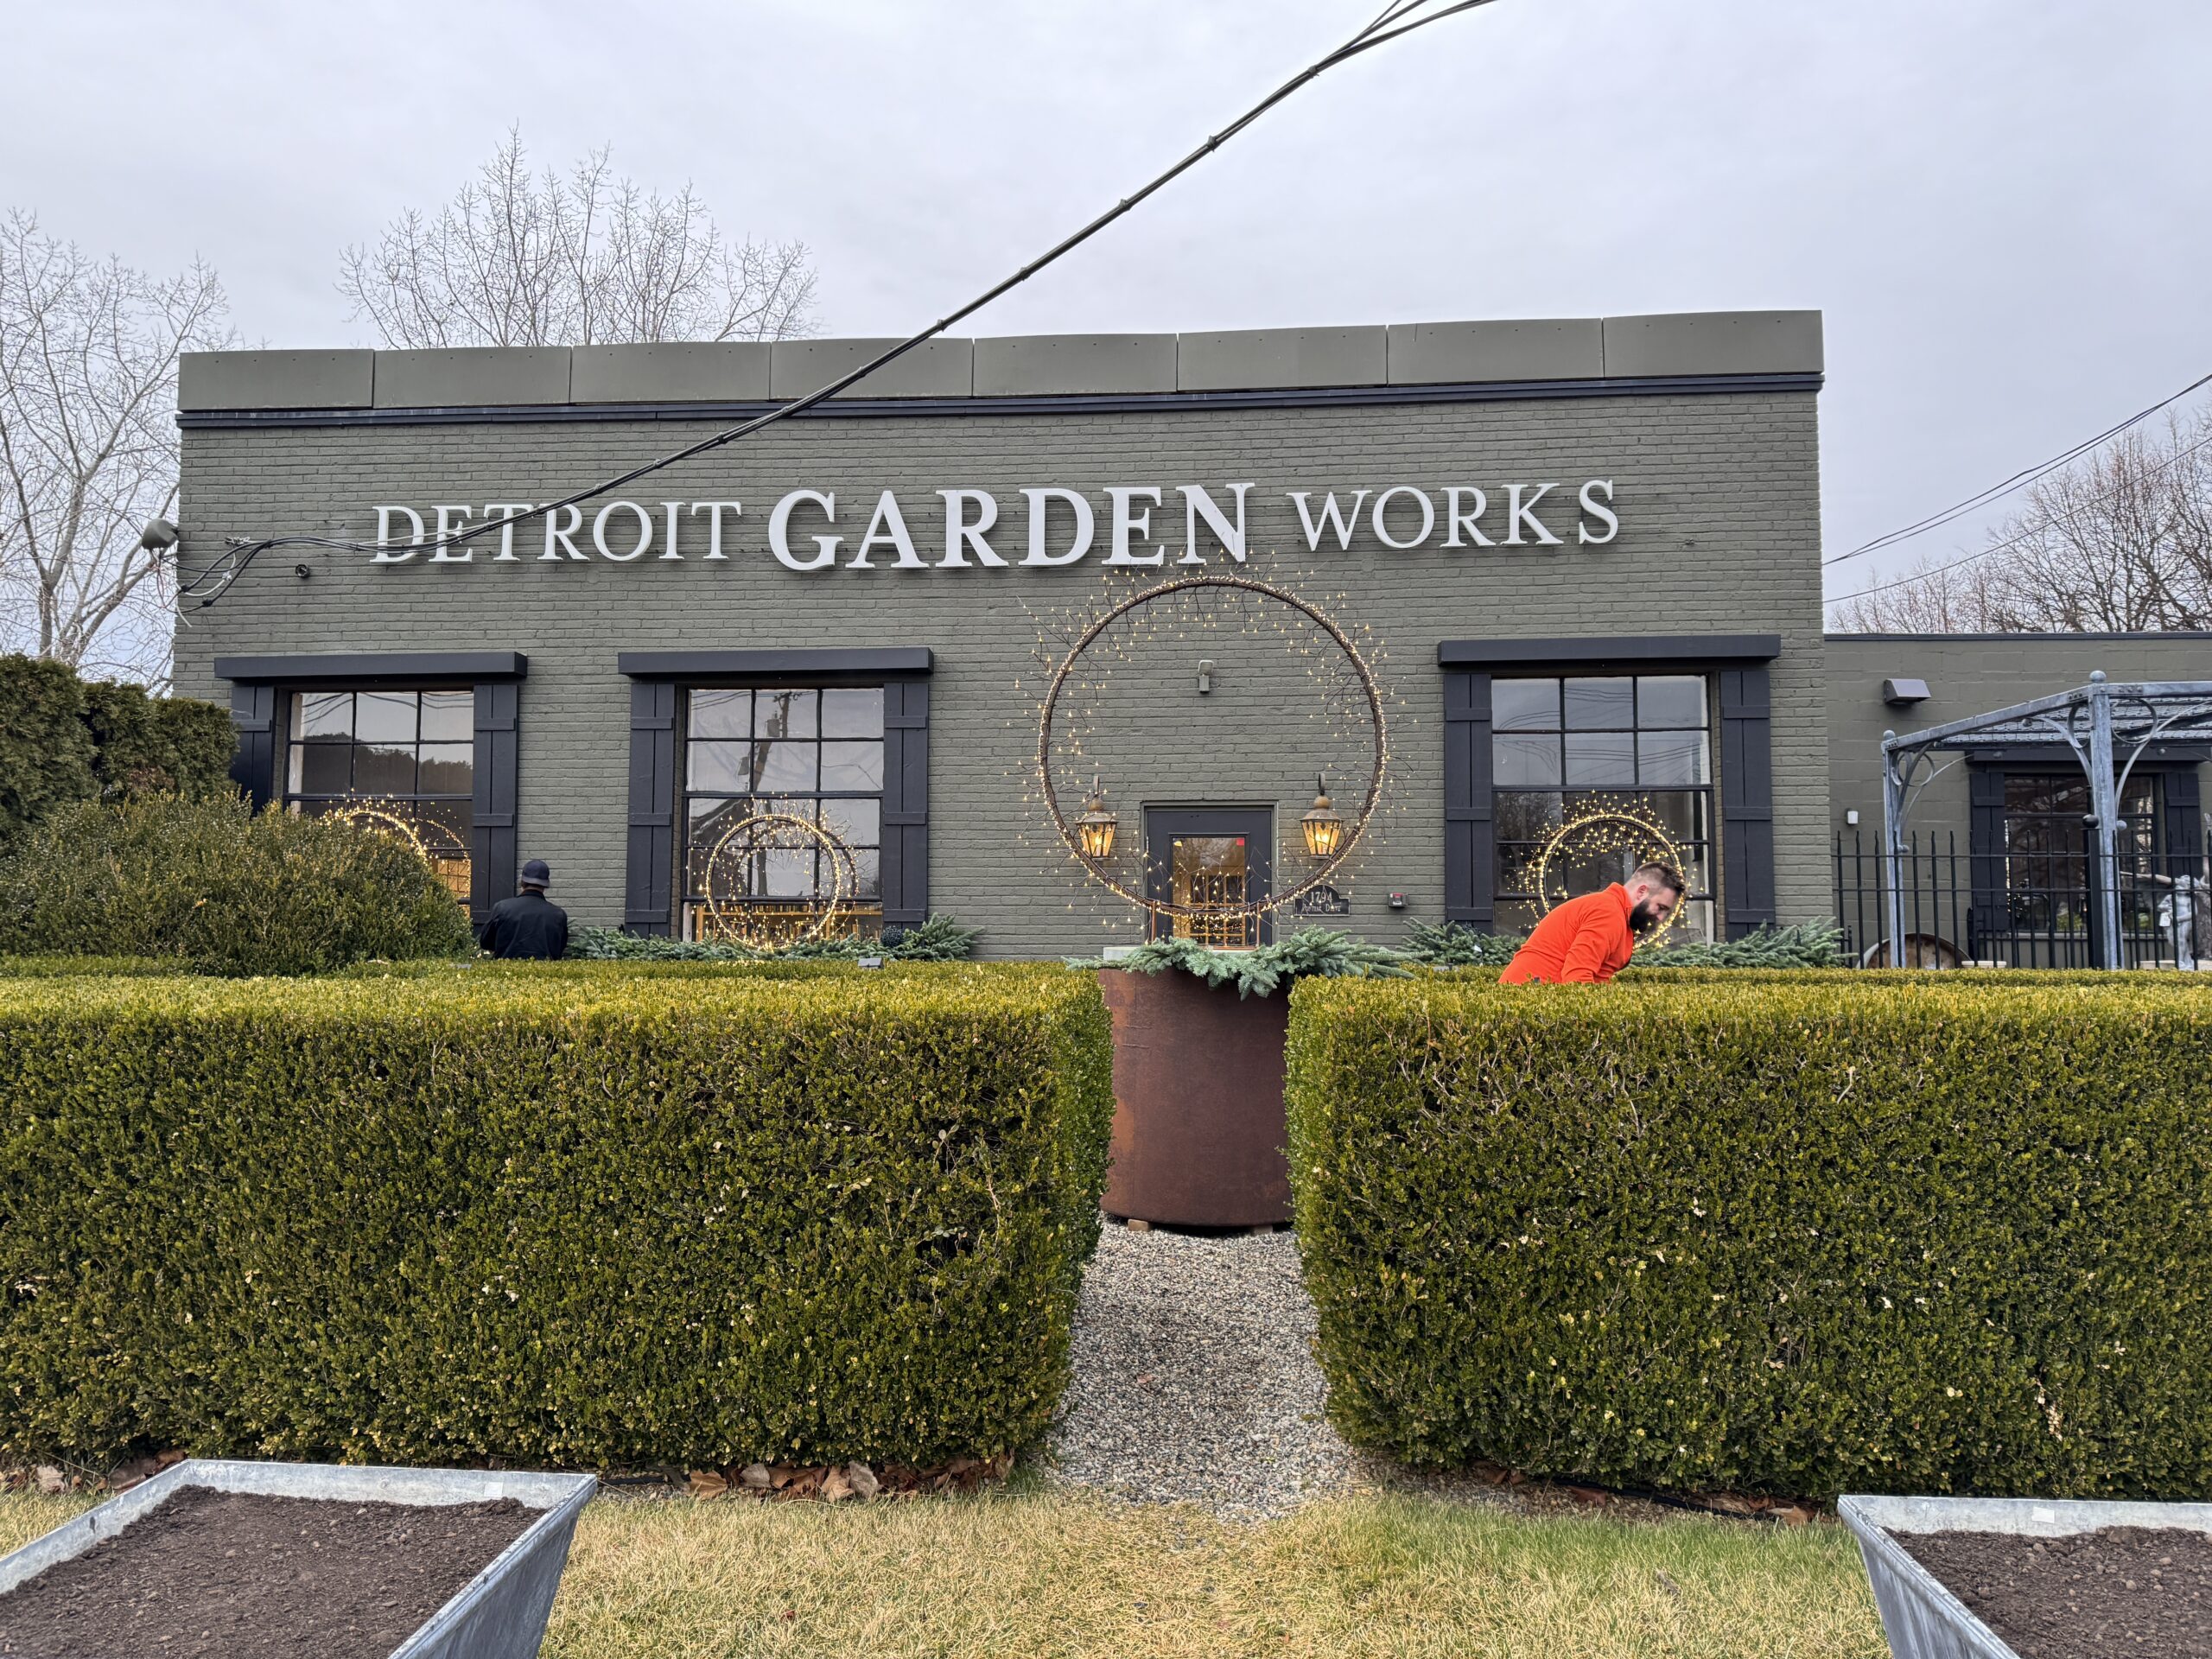
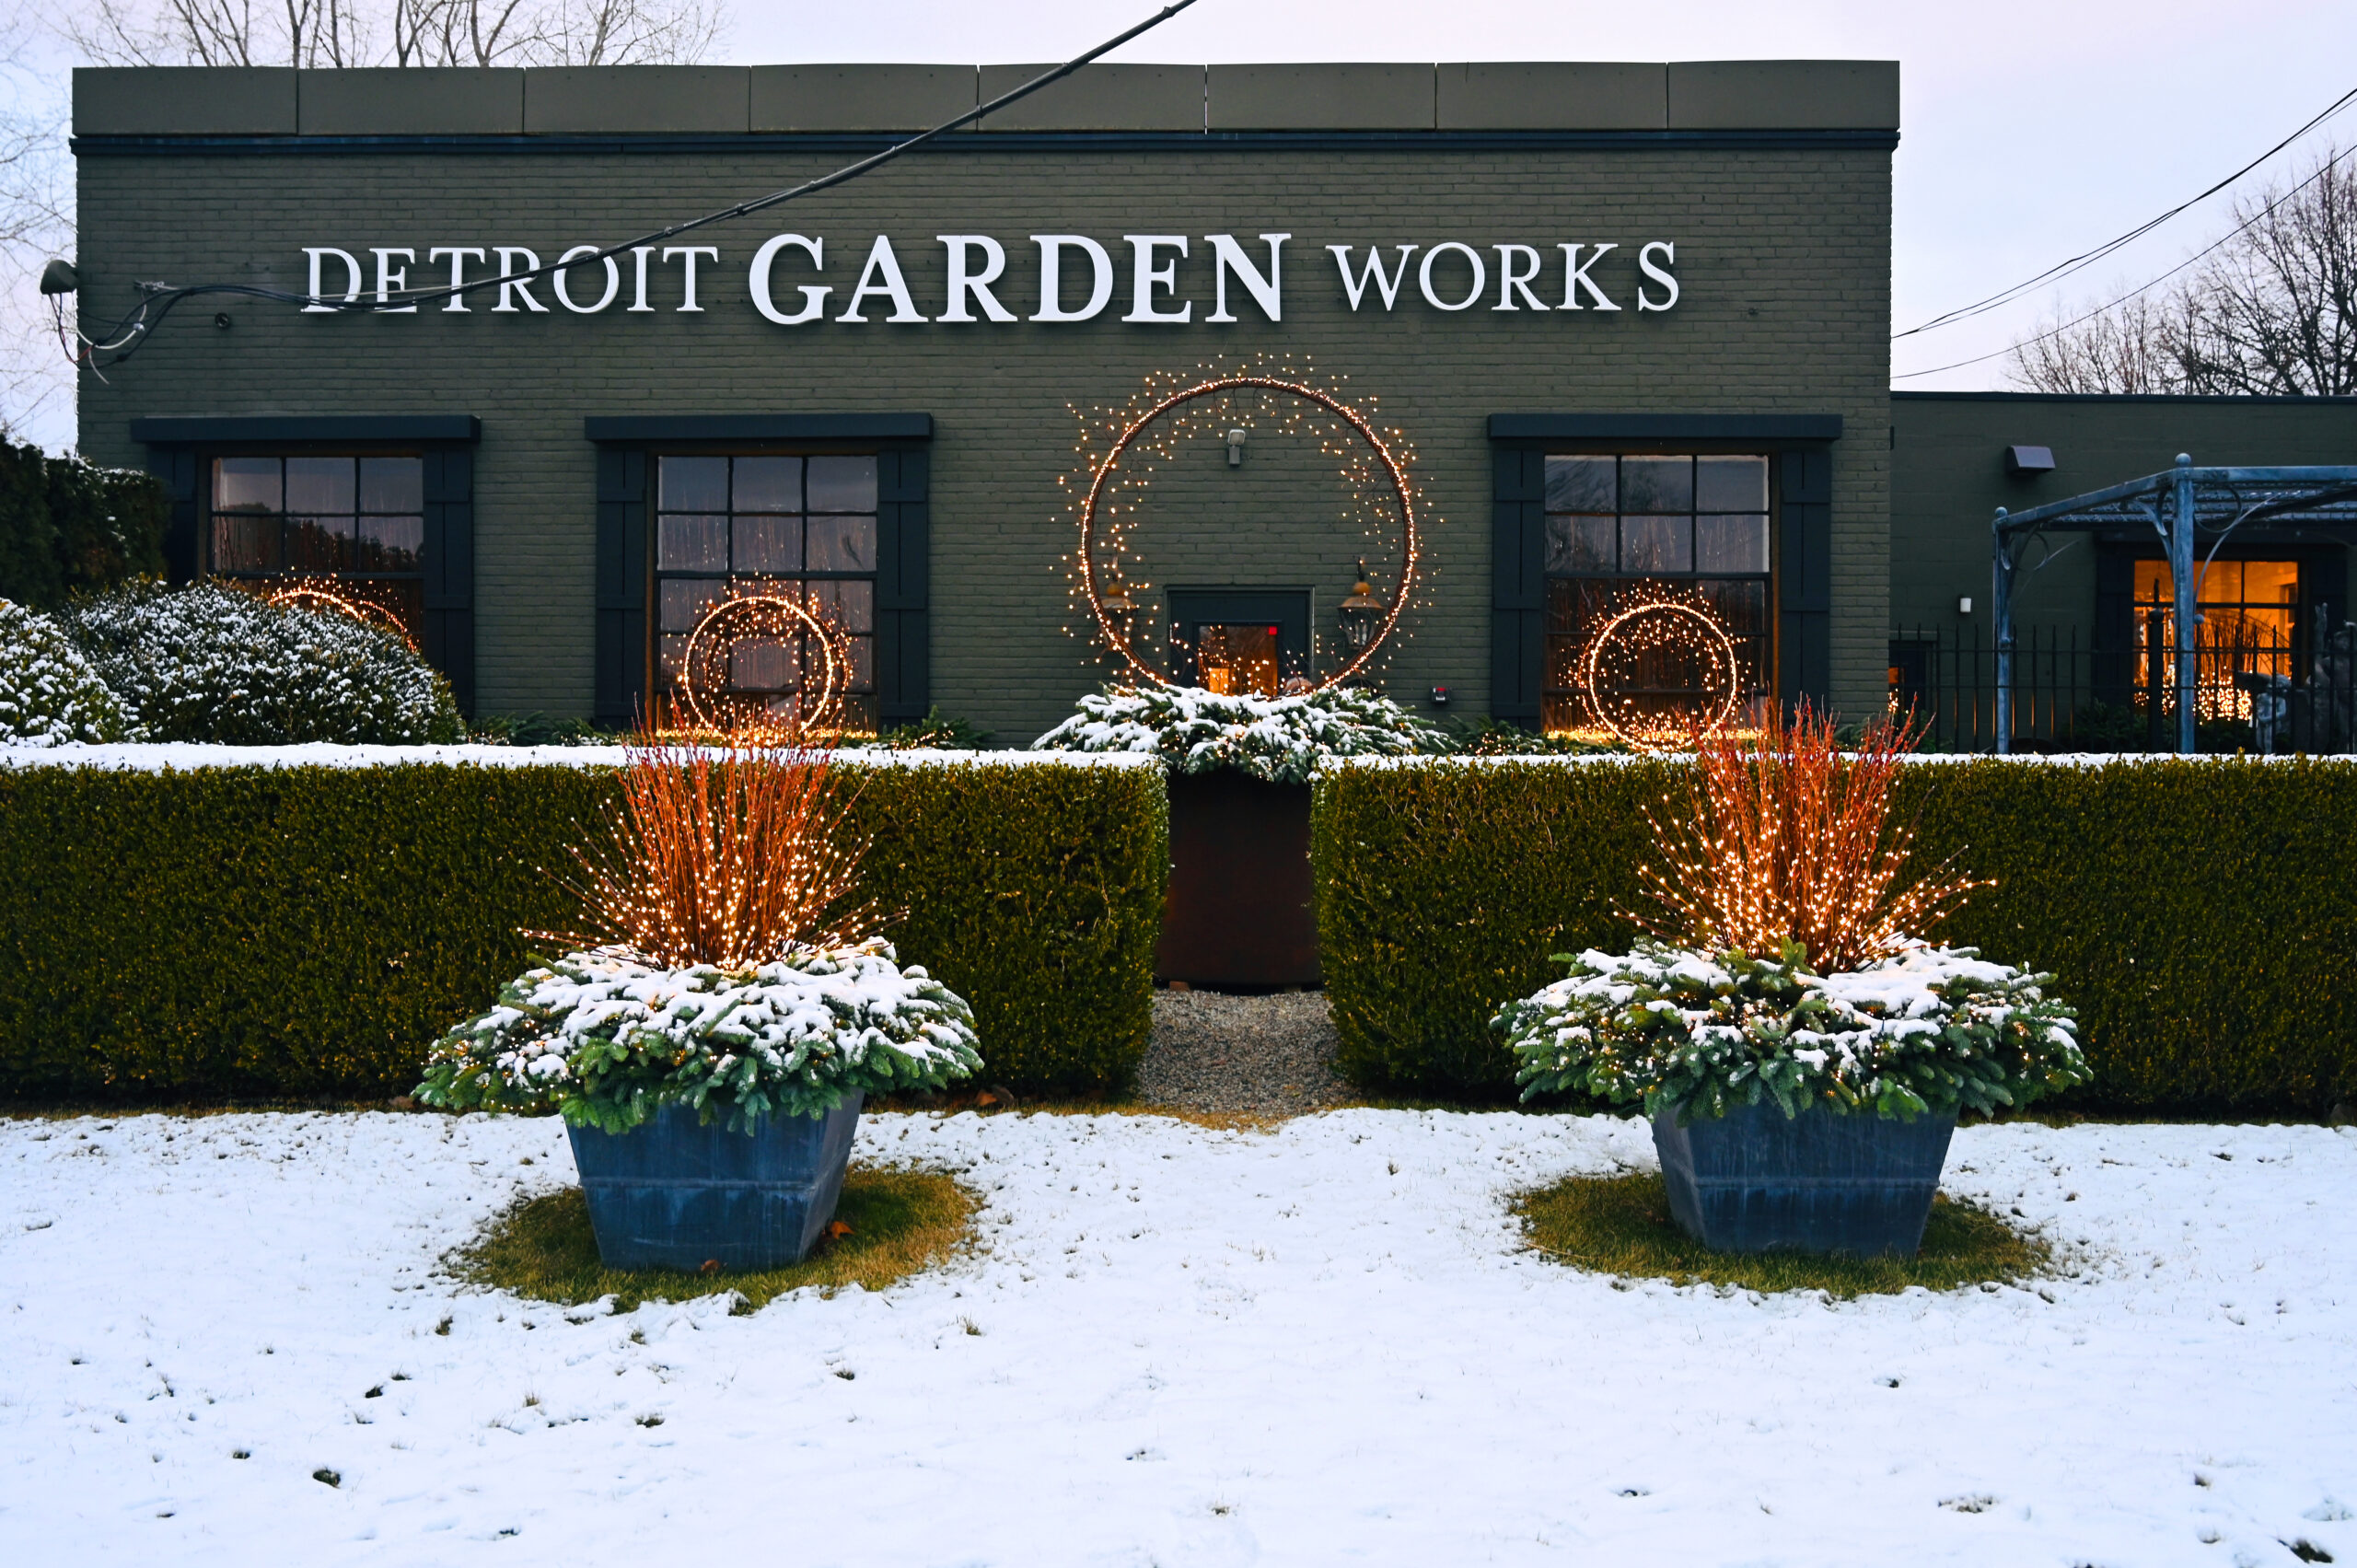
Detroit Garden Works winter 2025