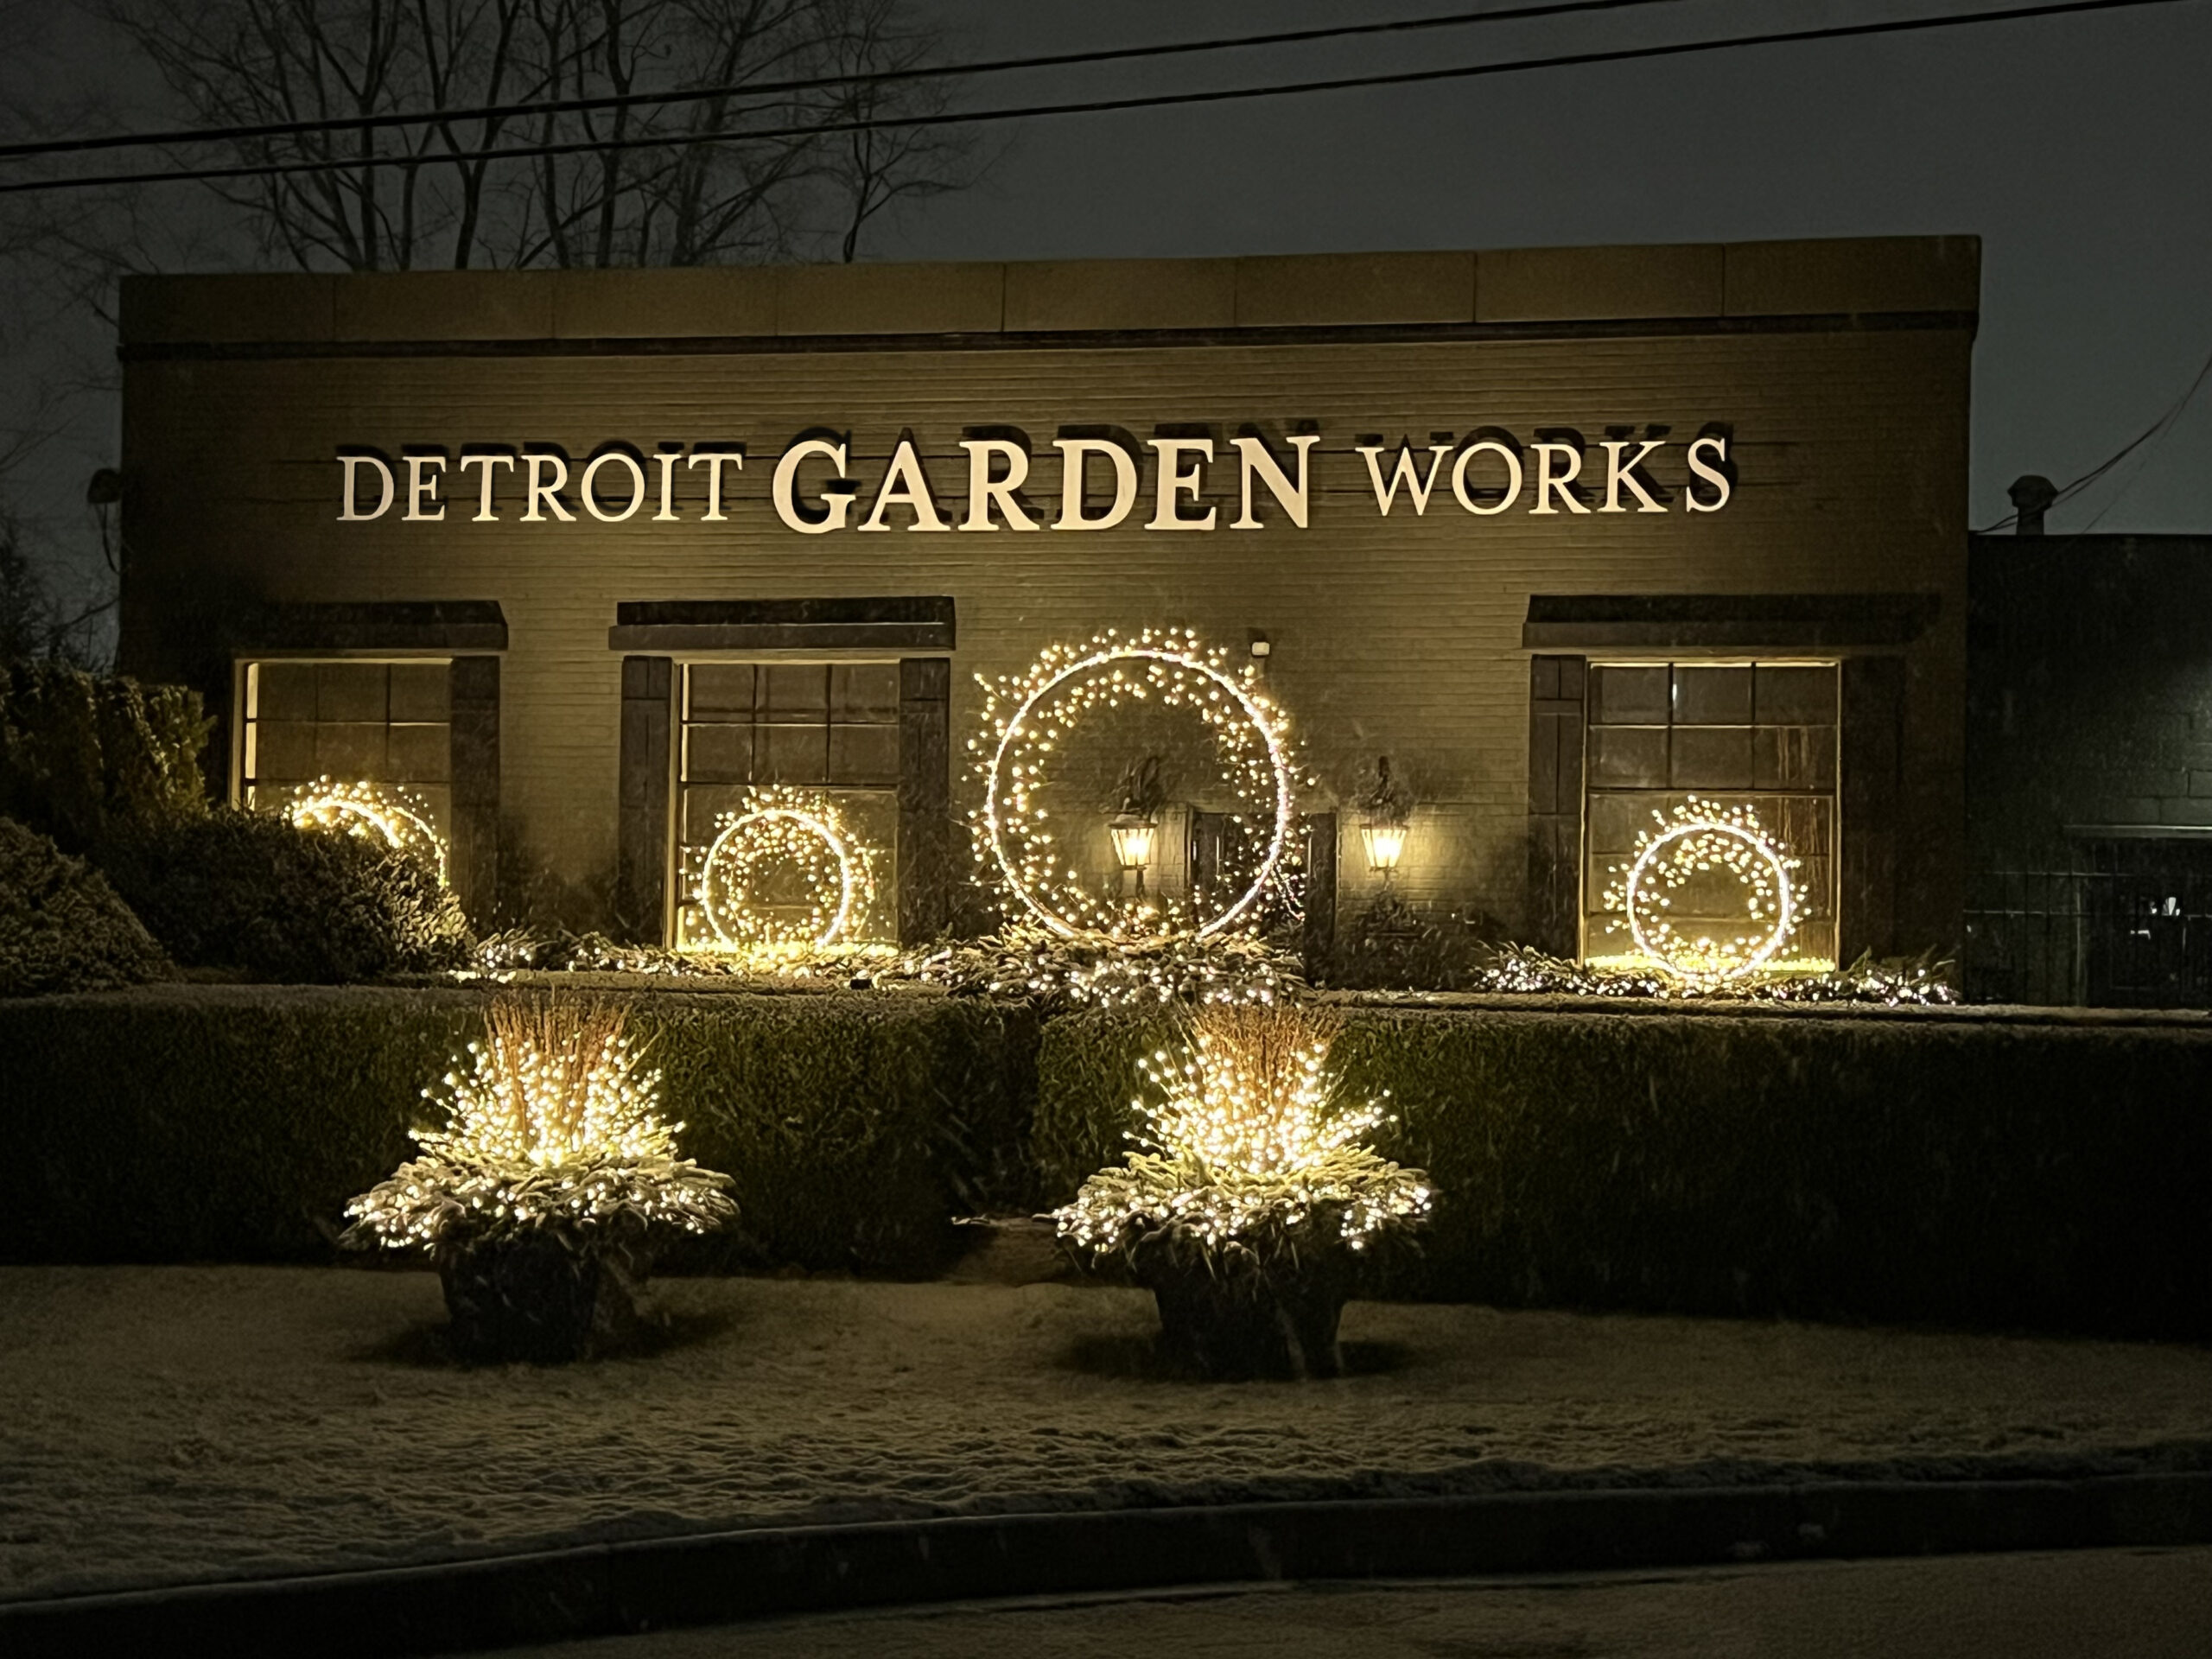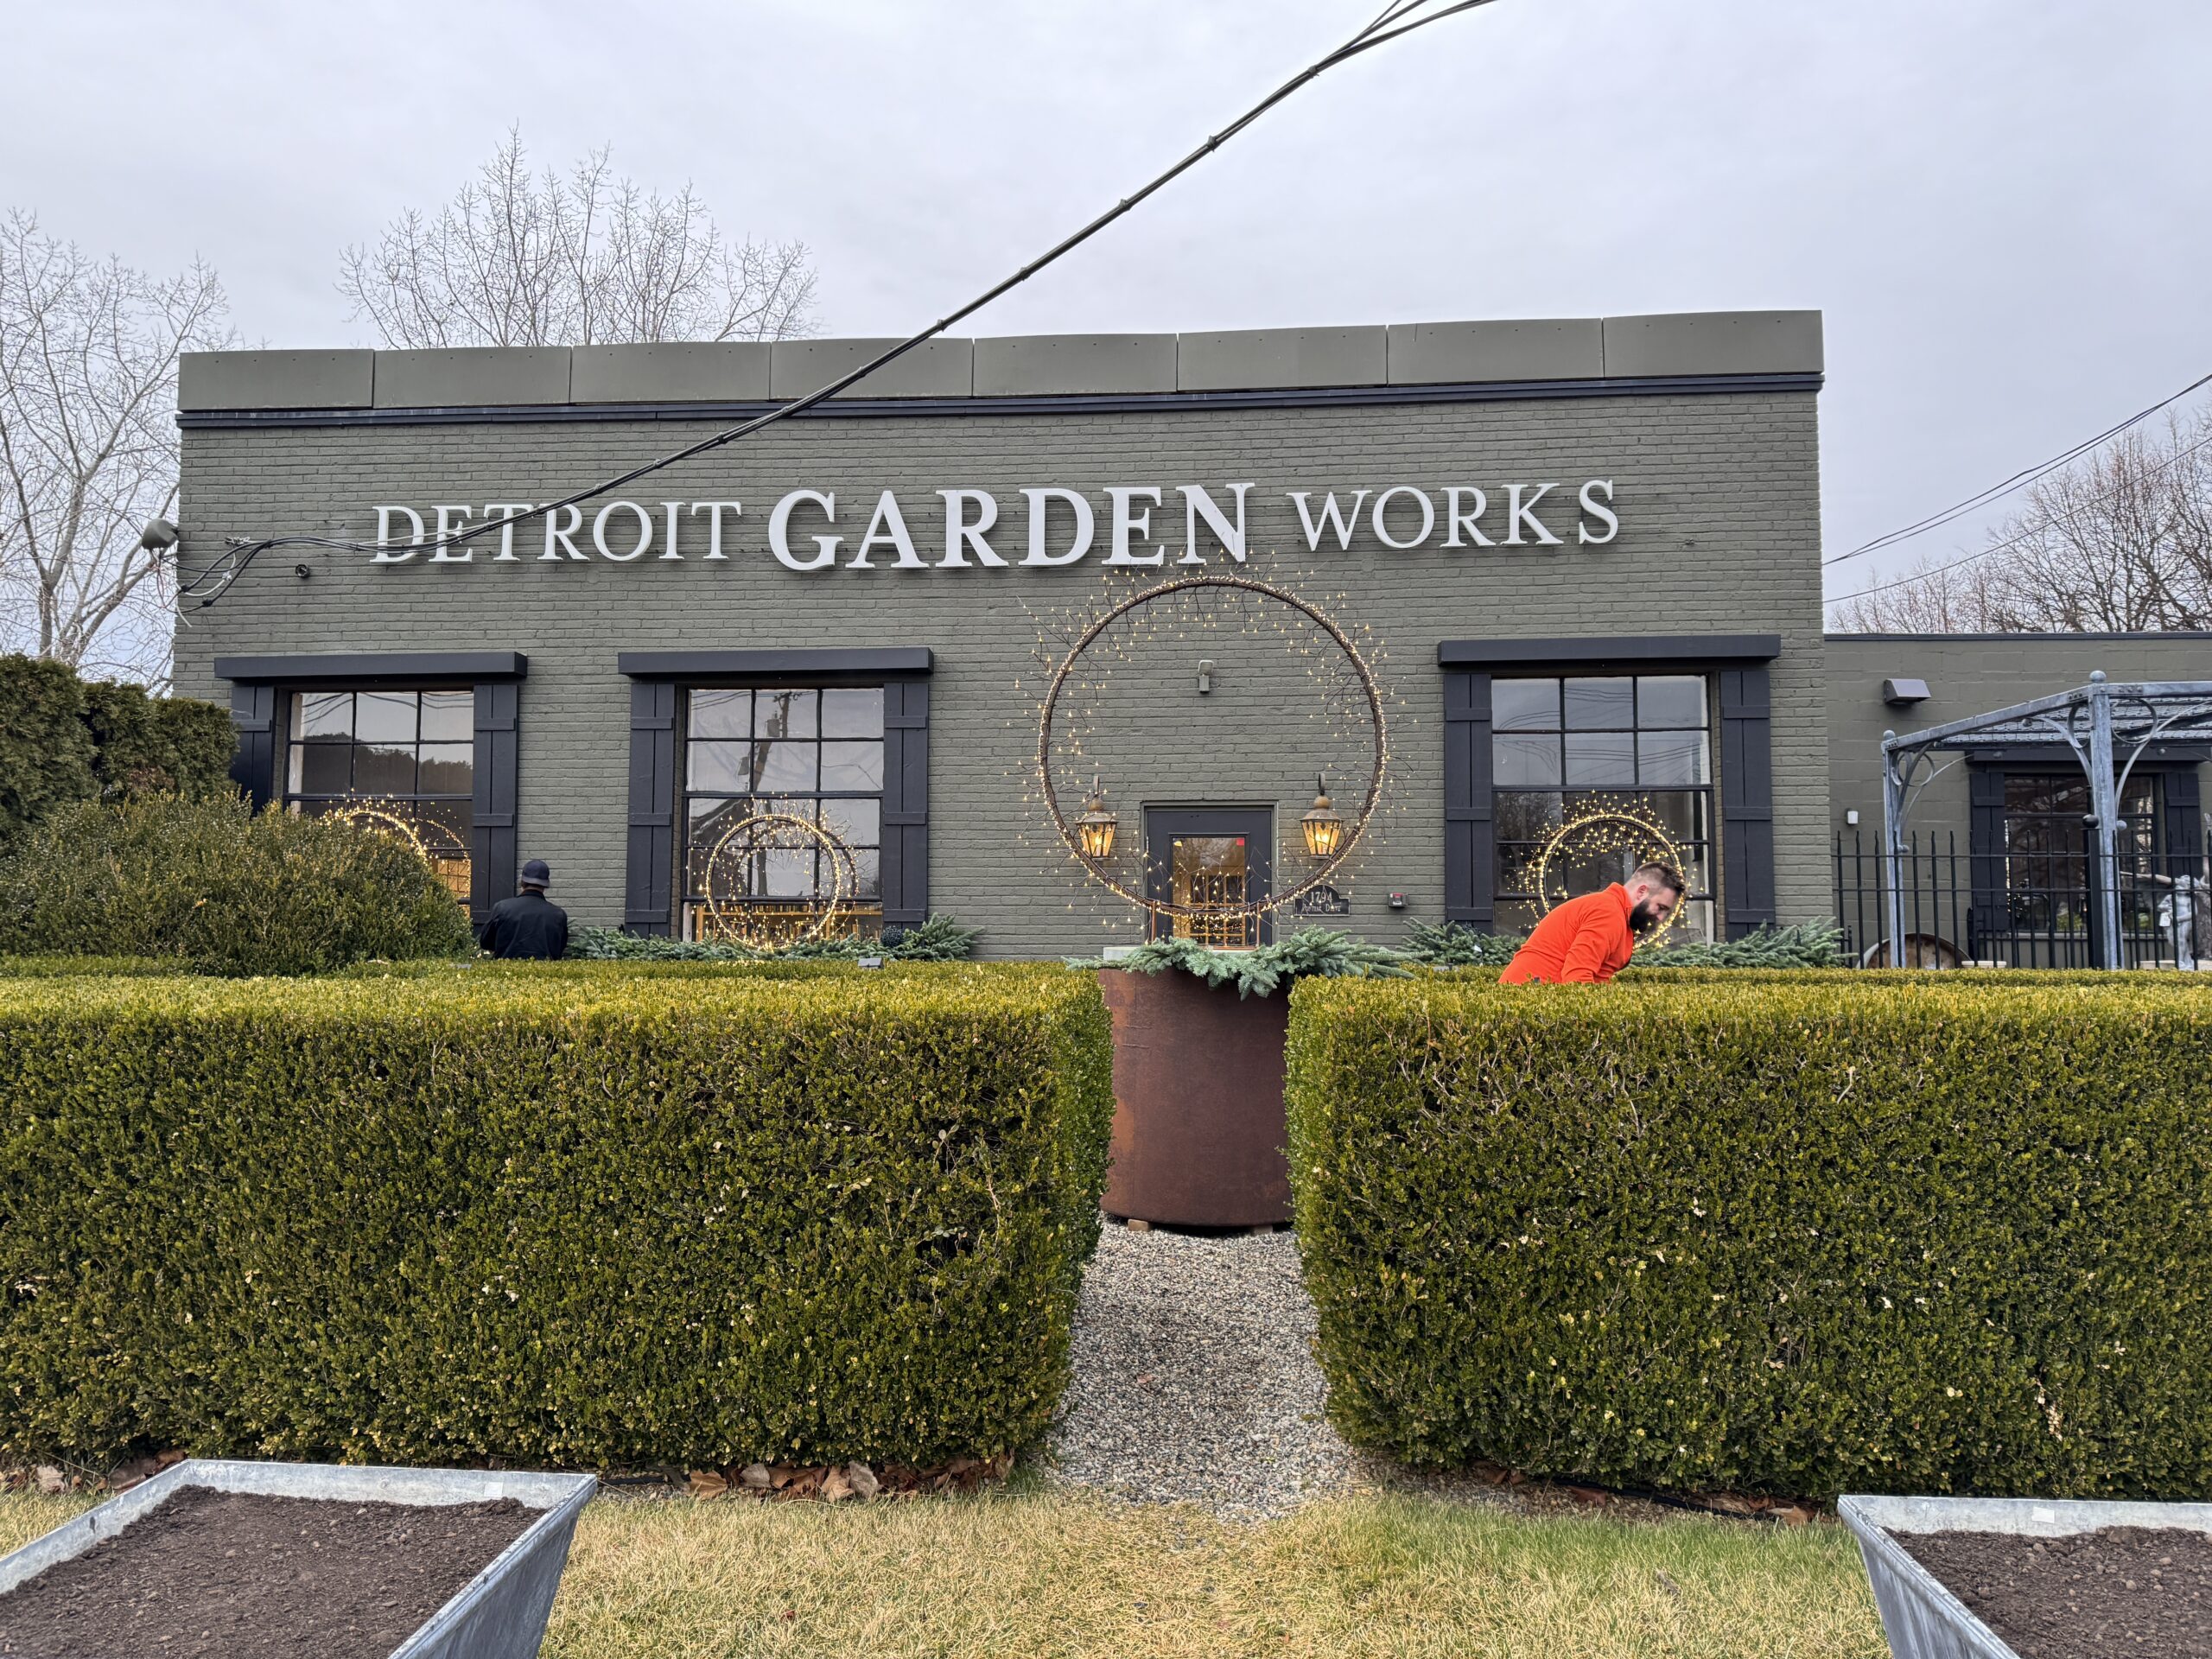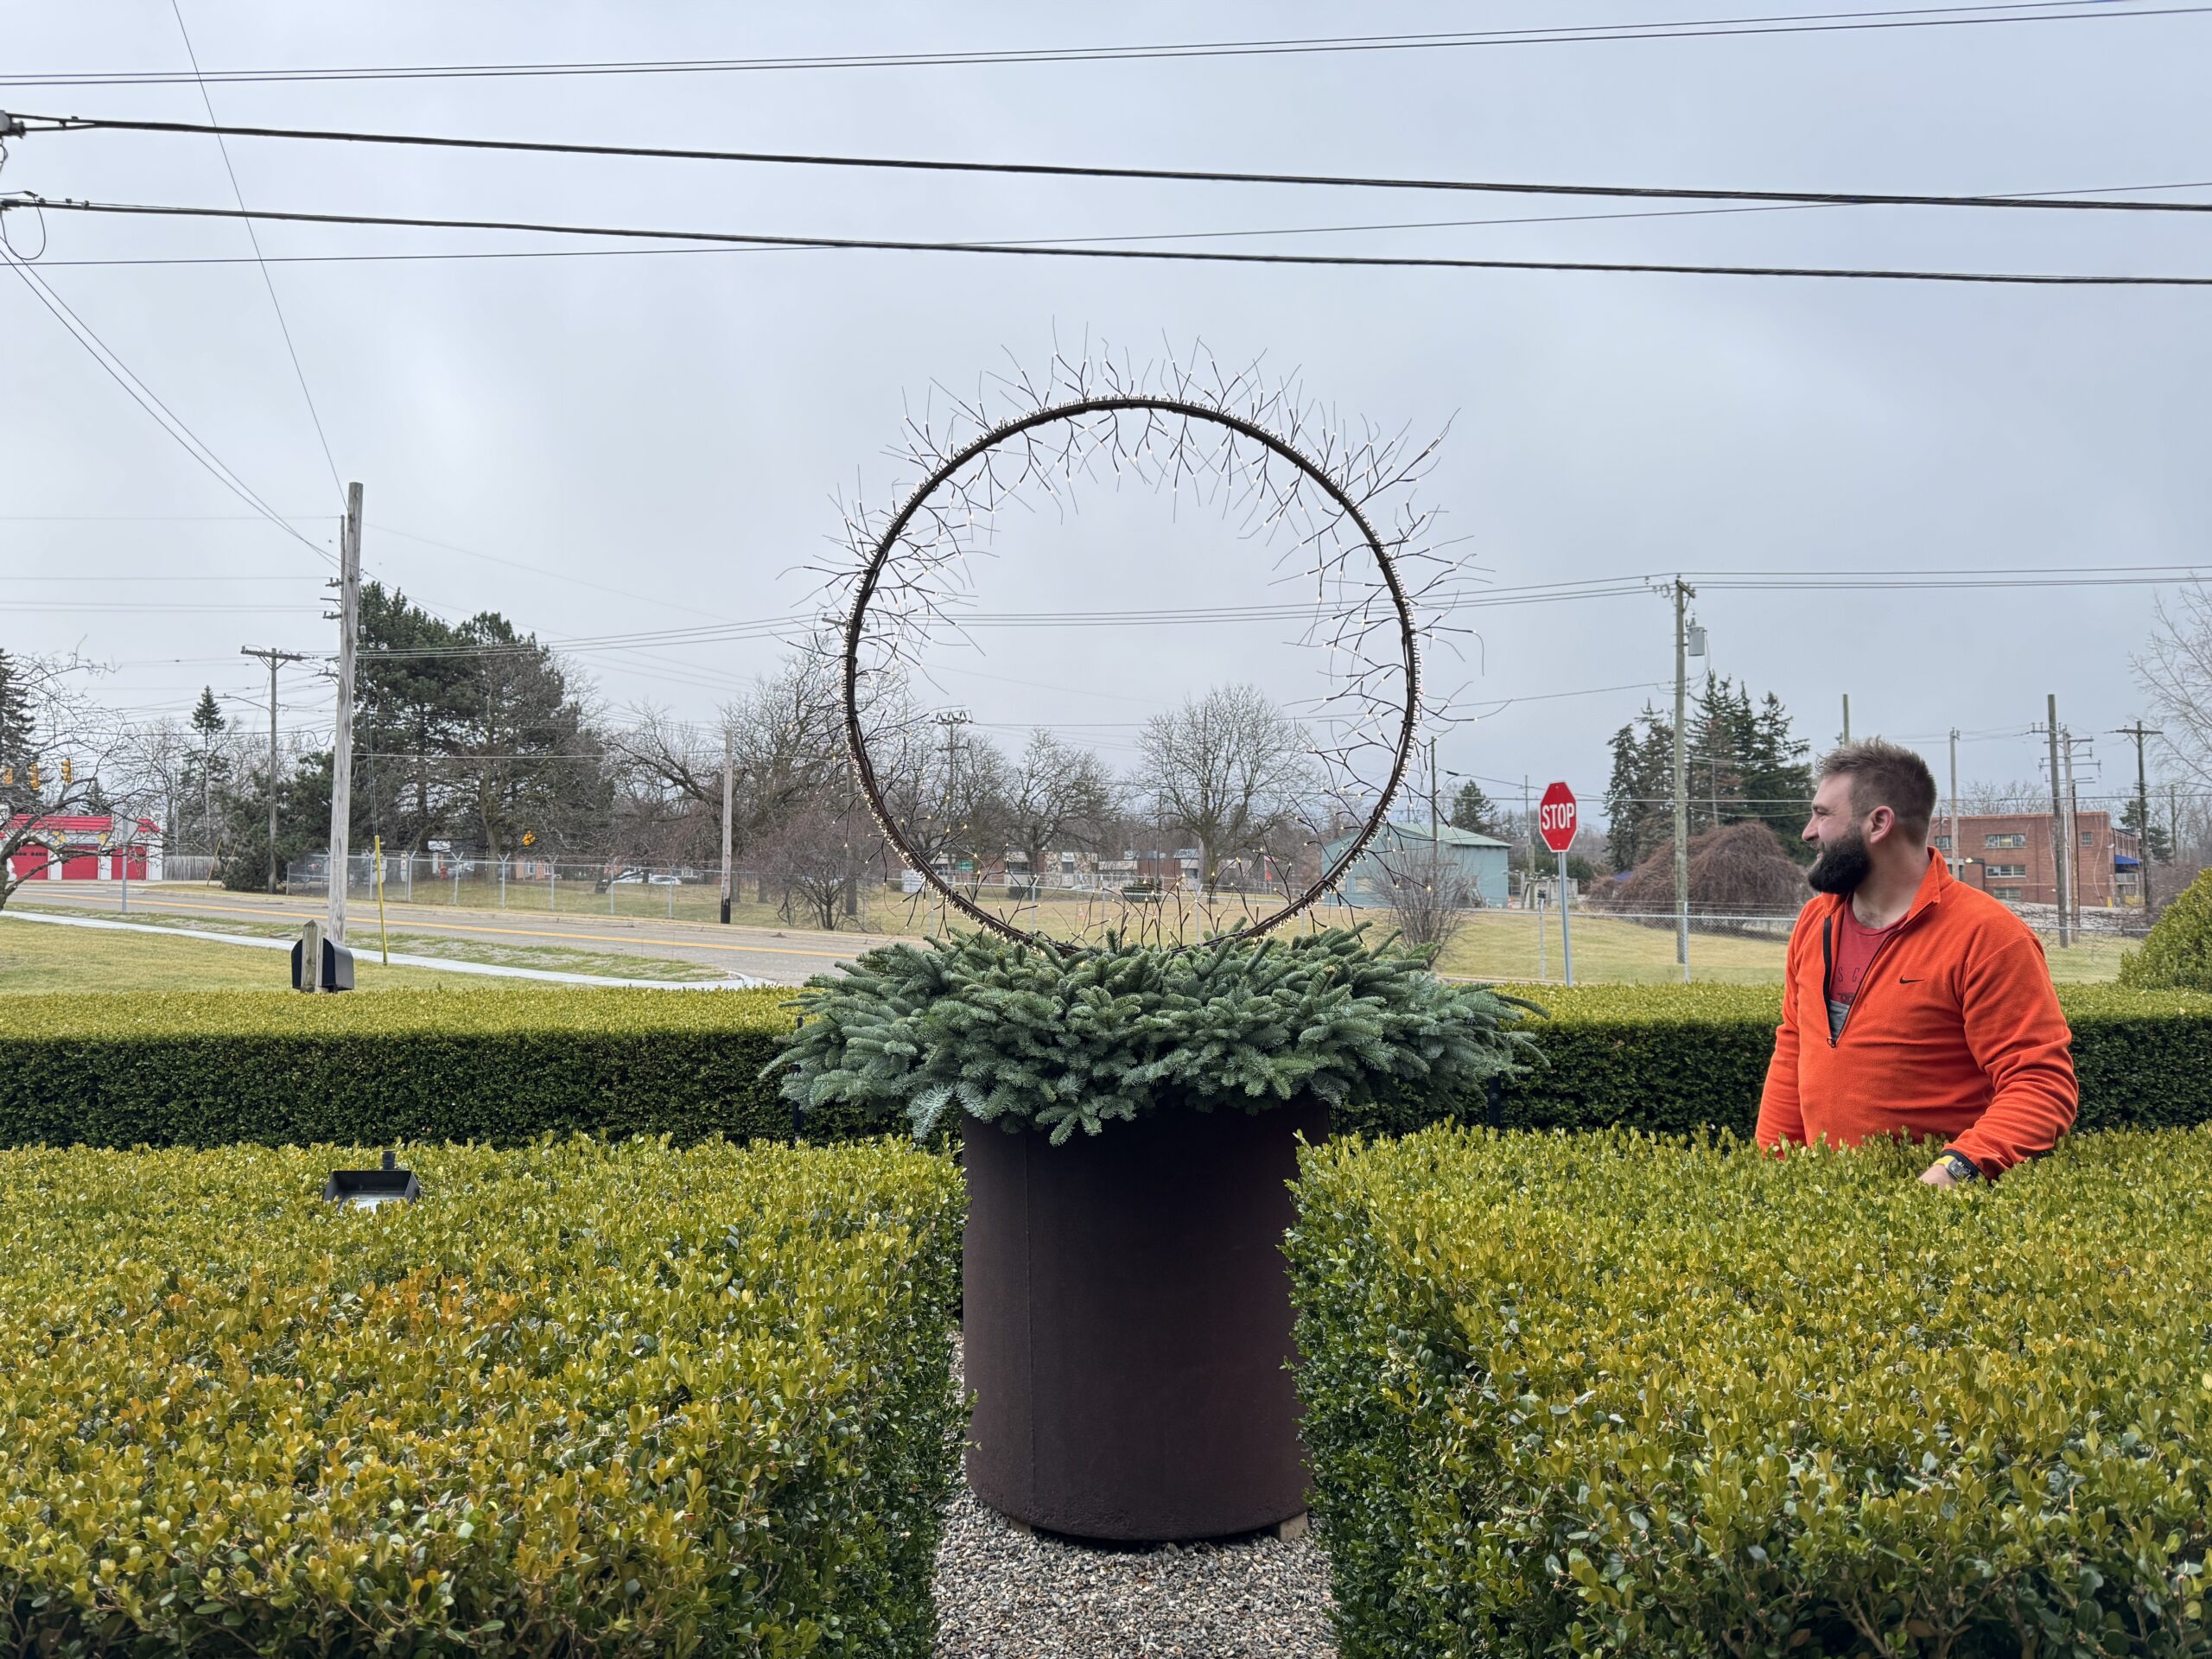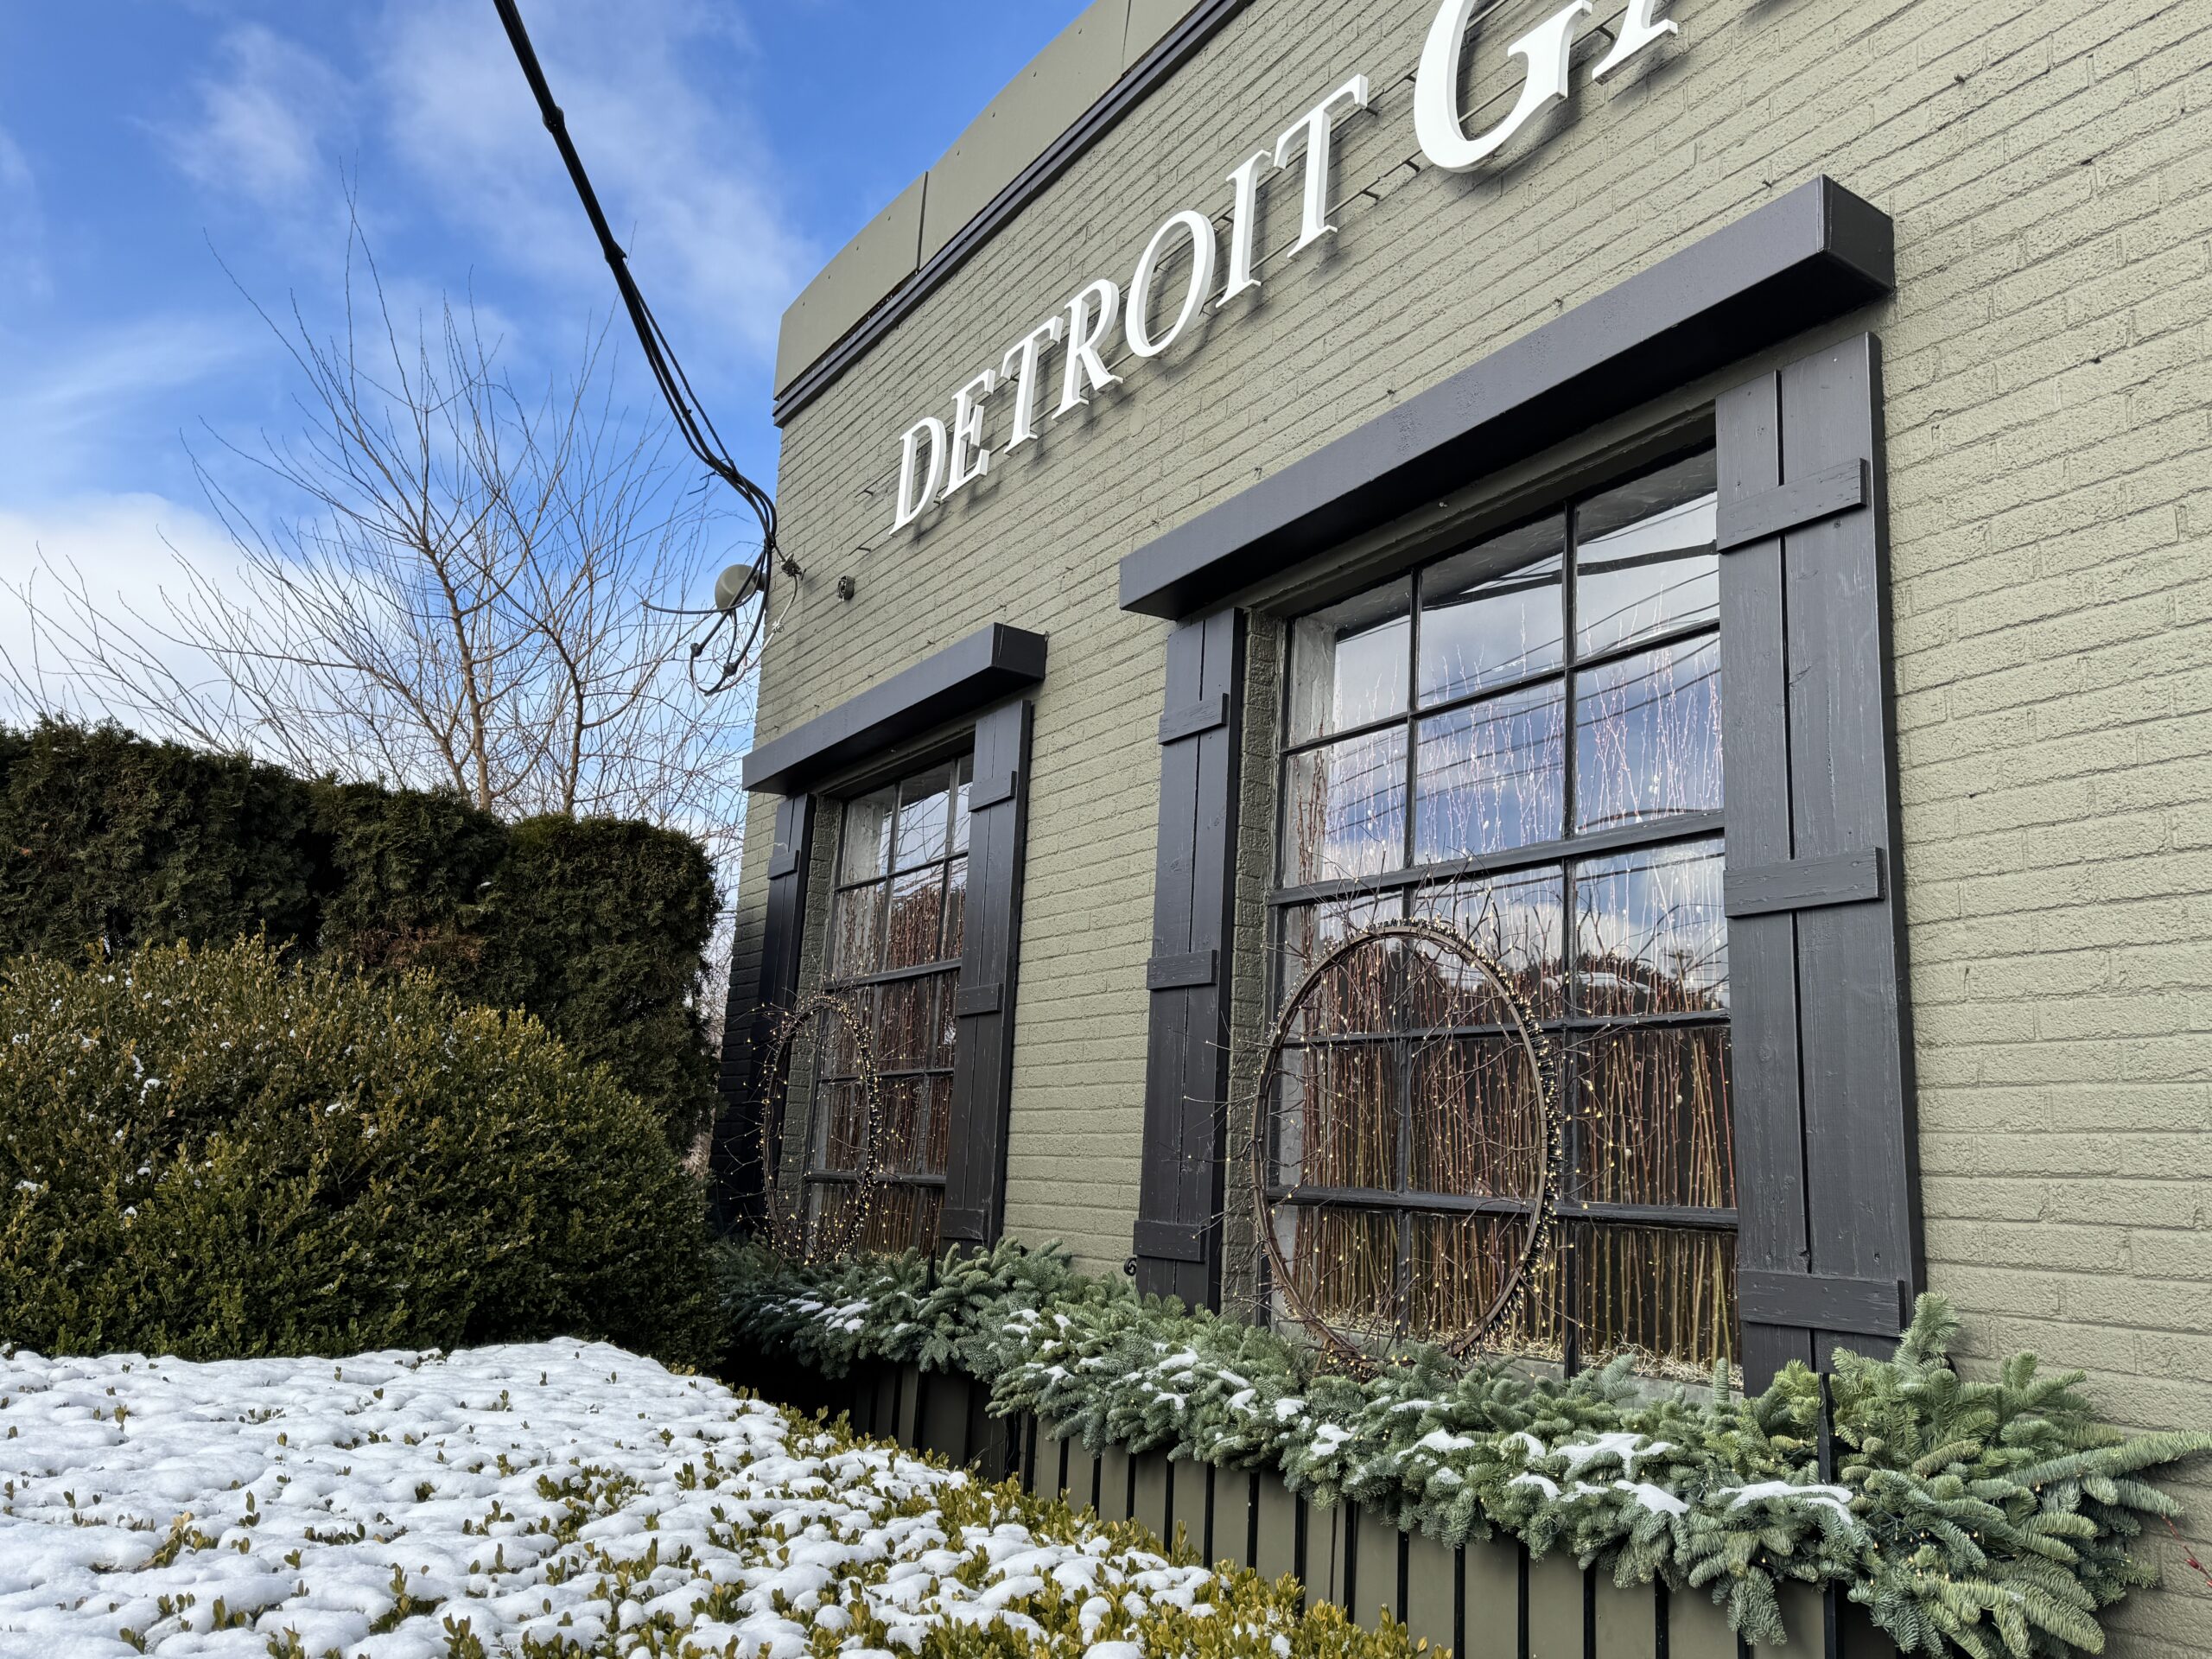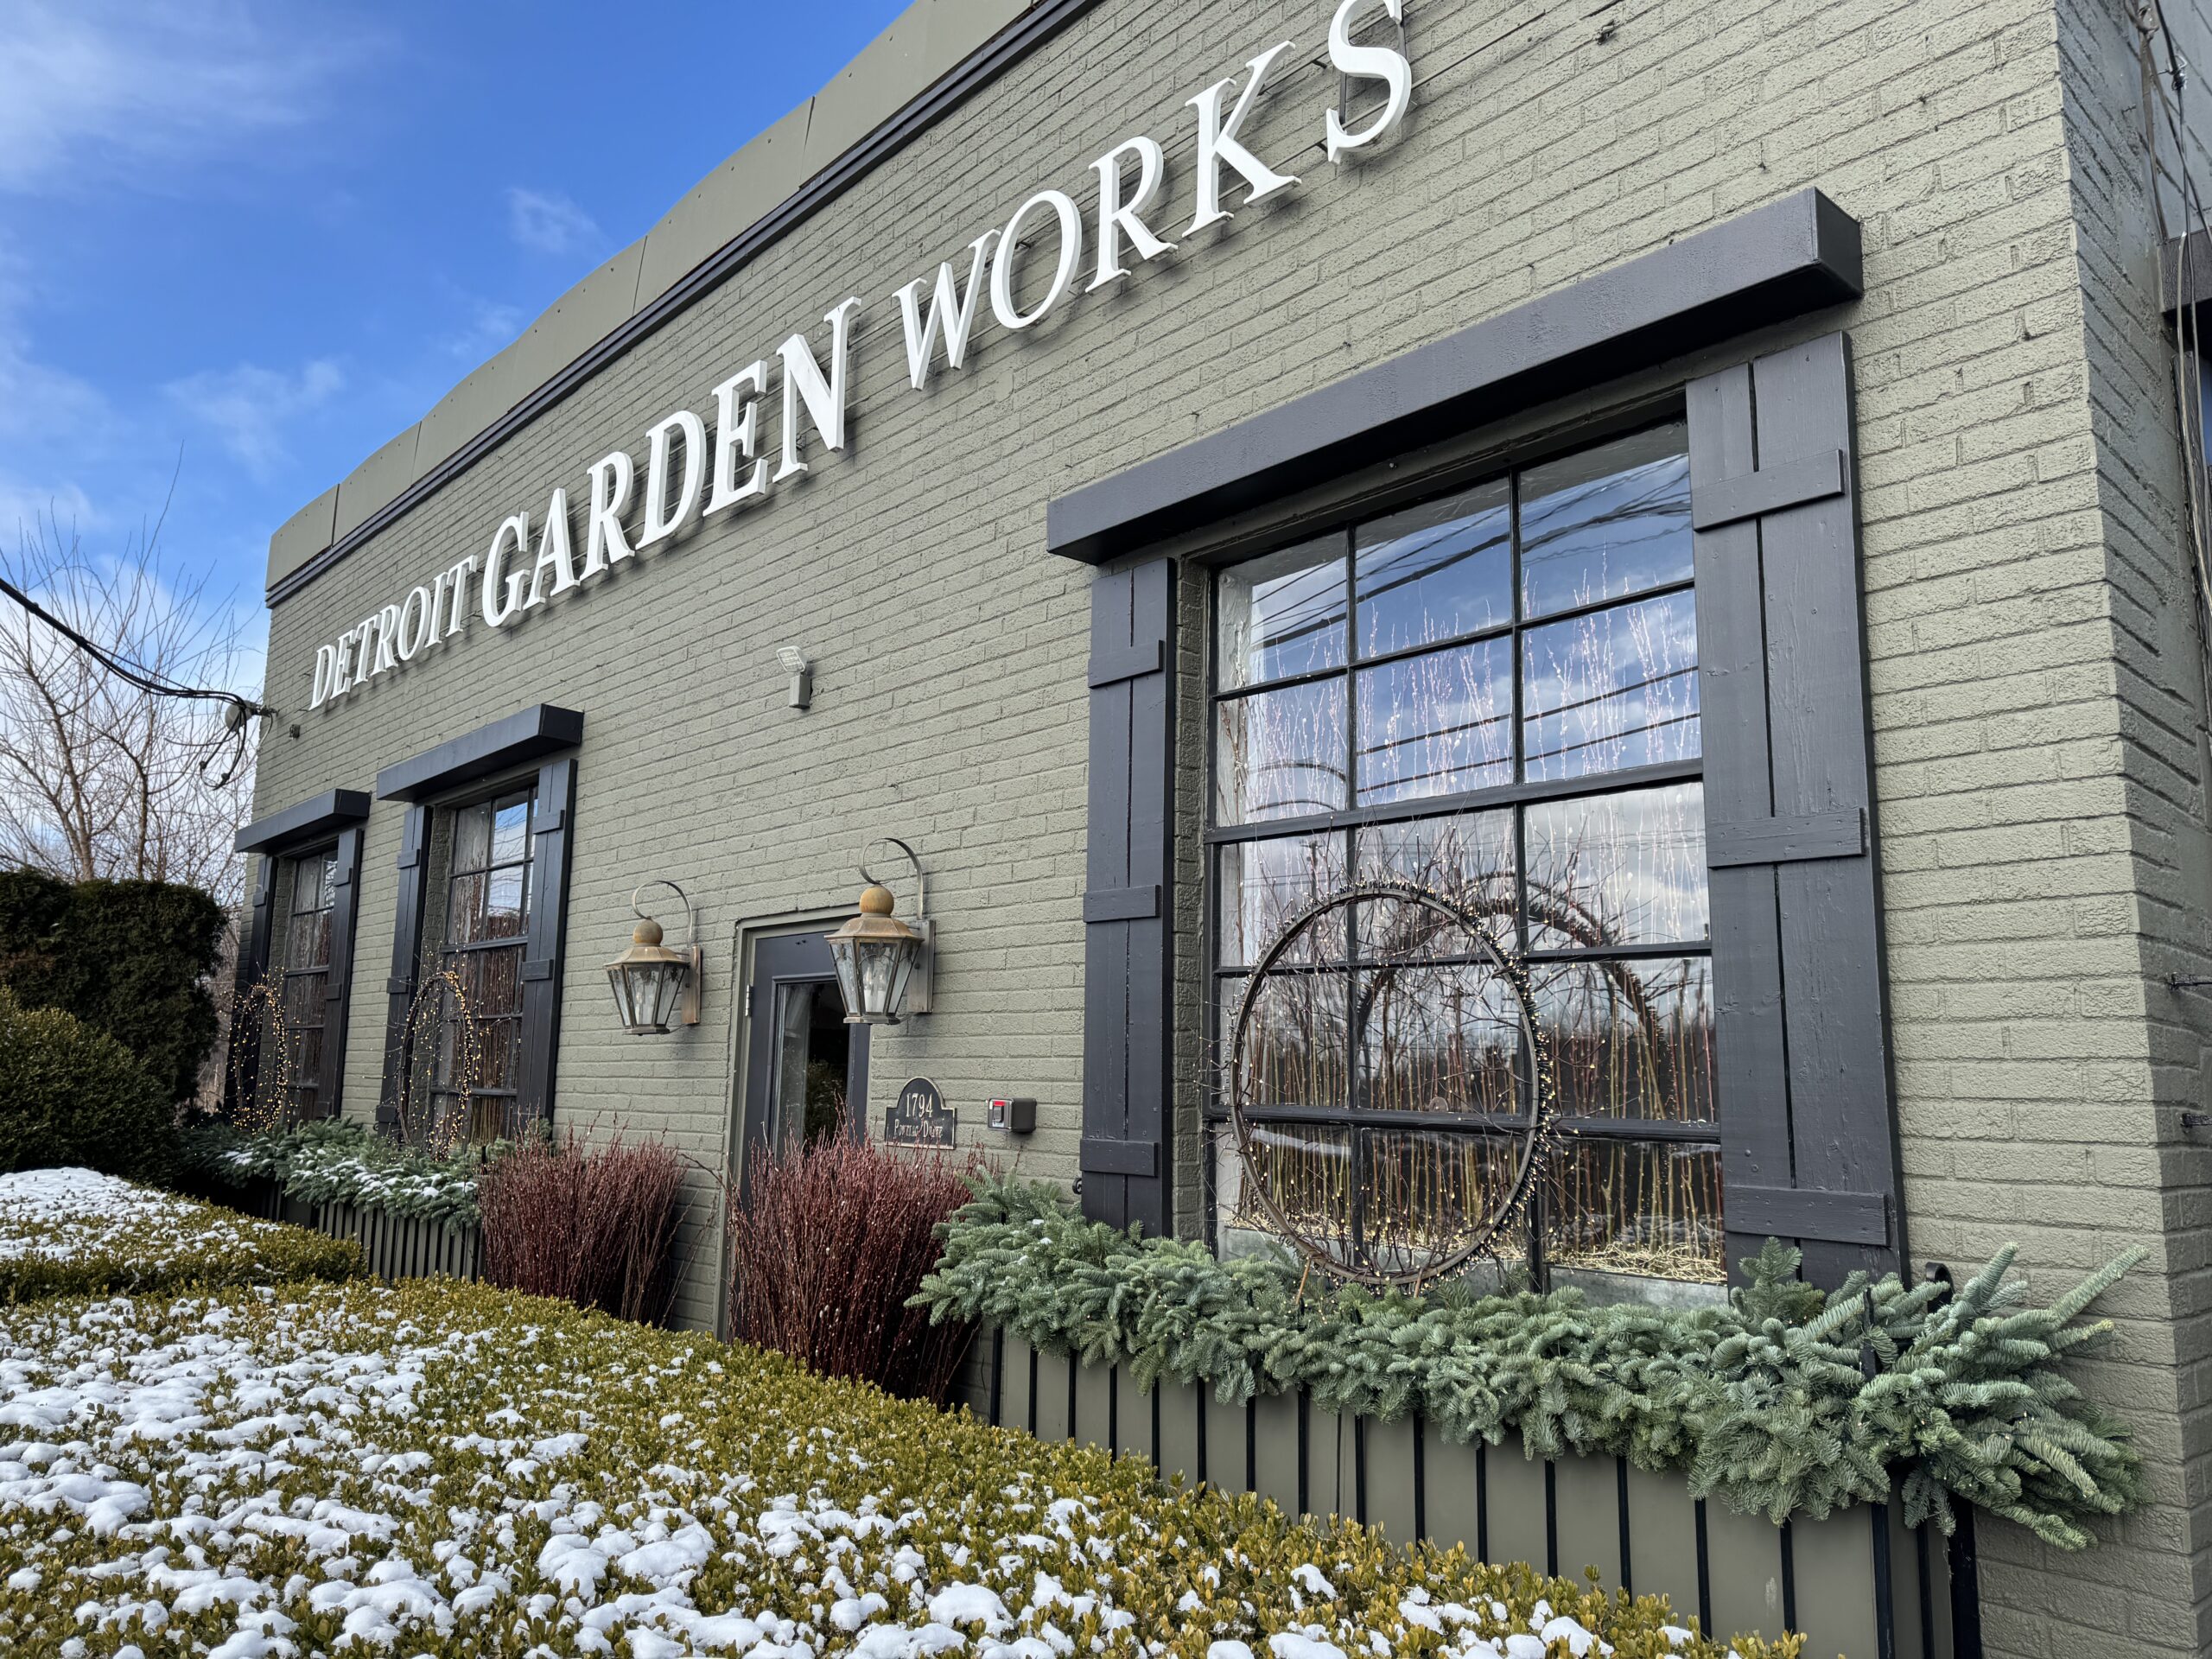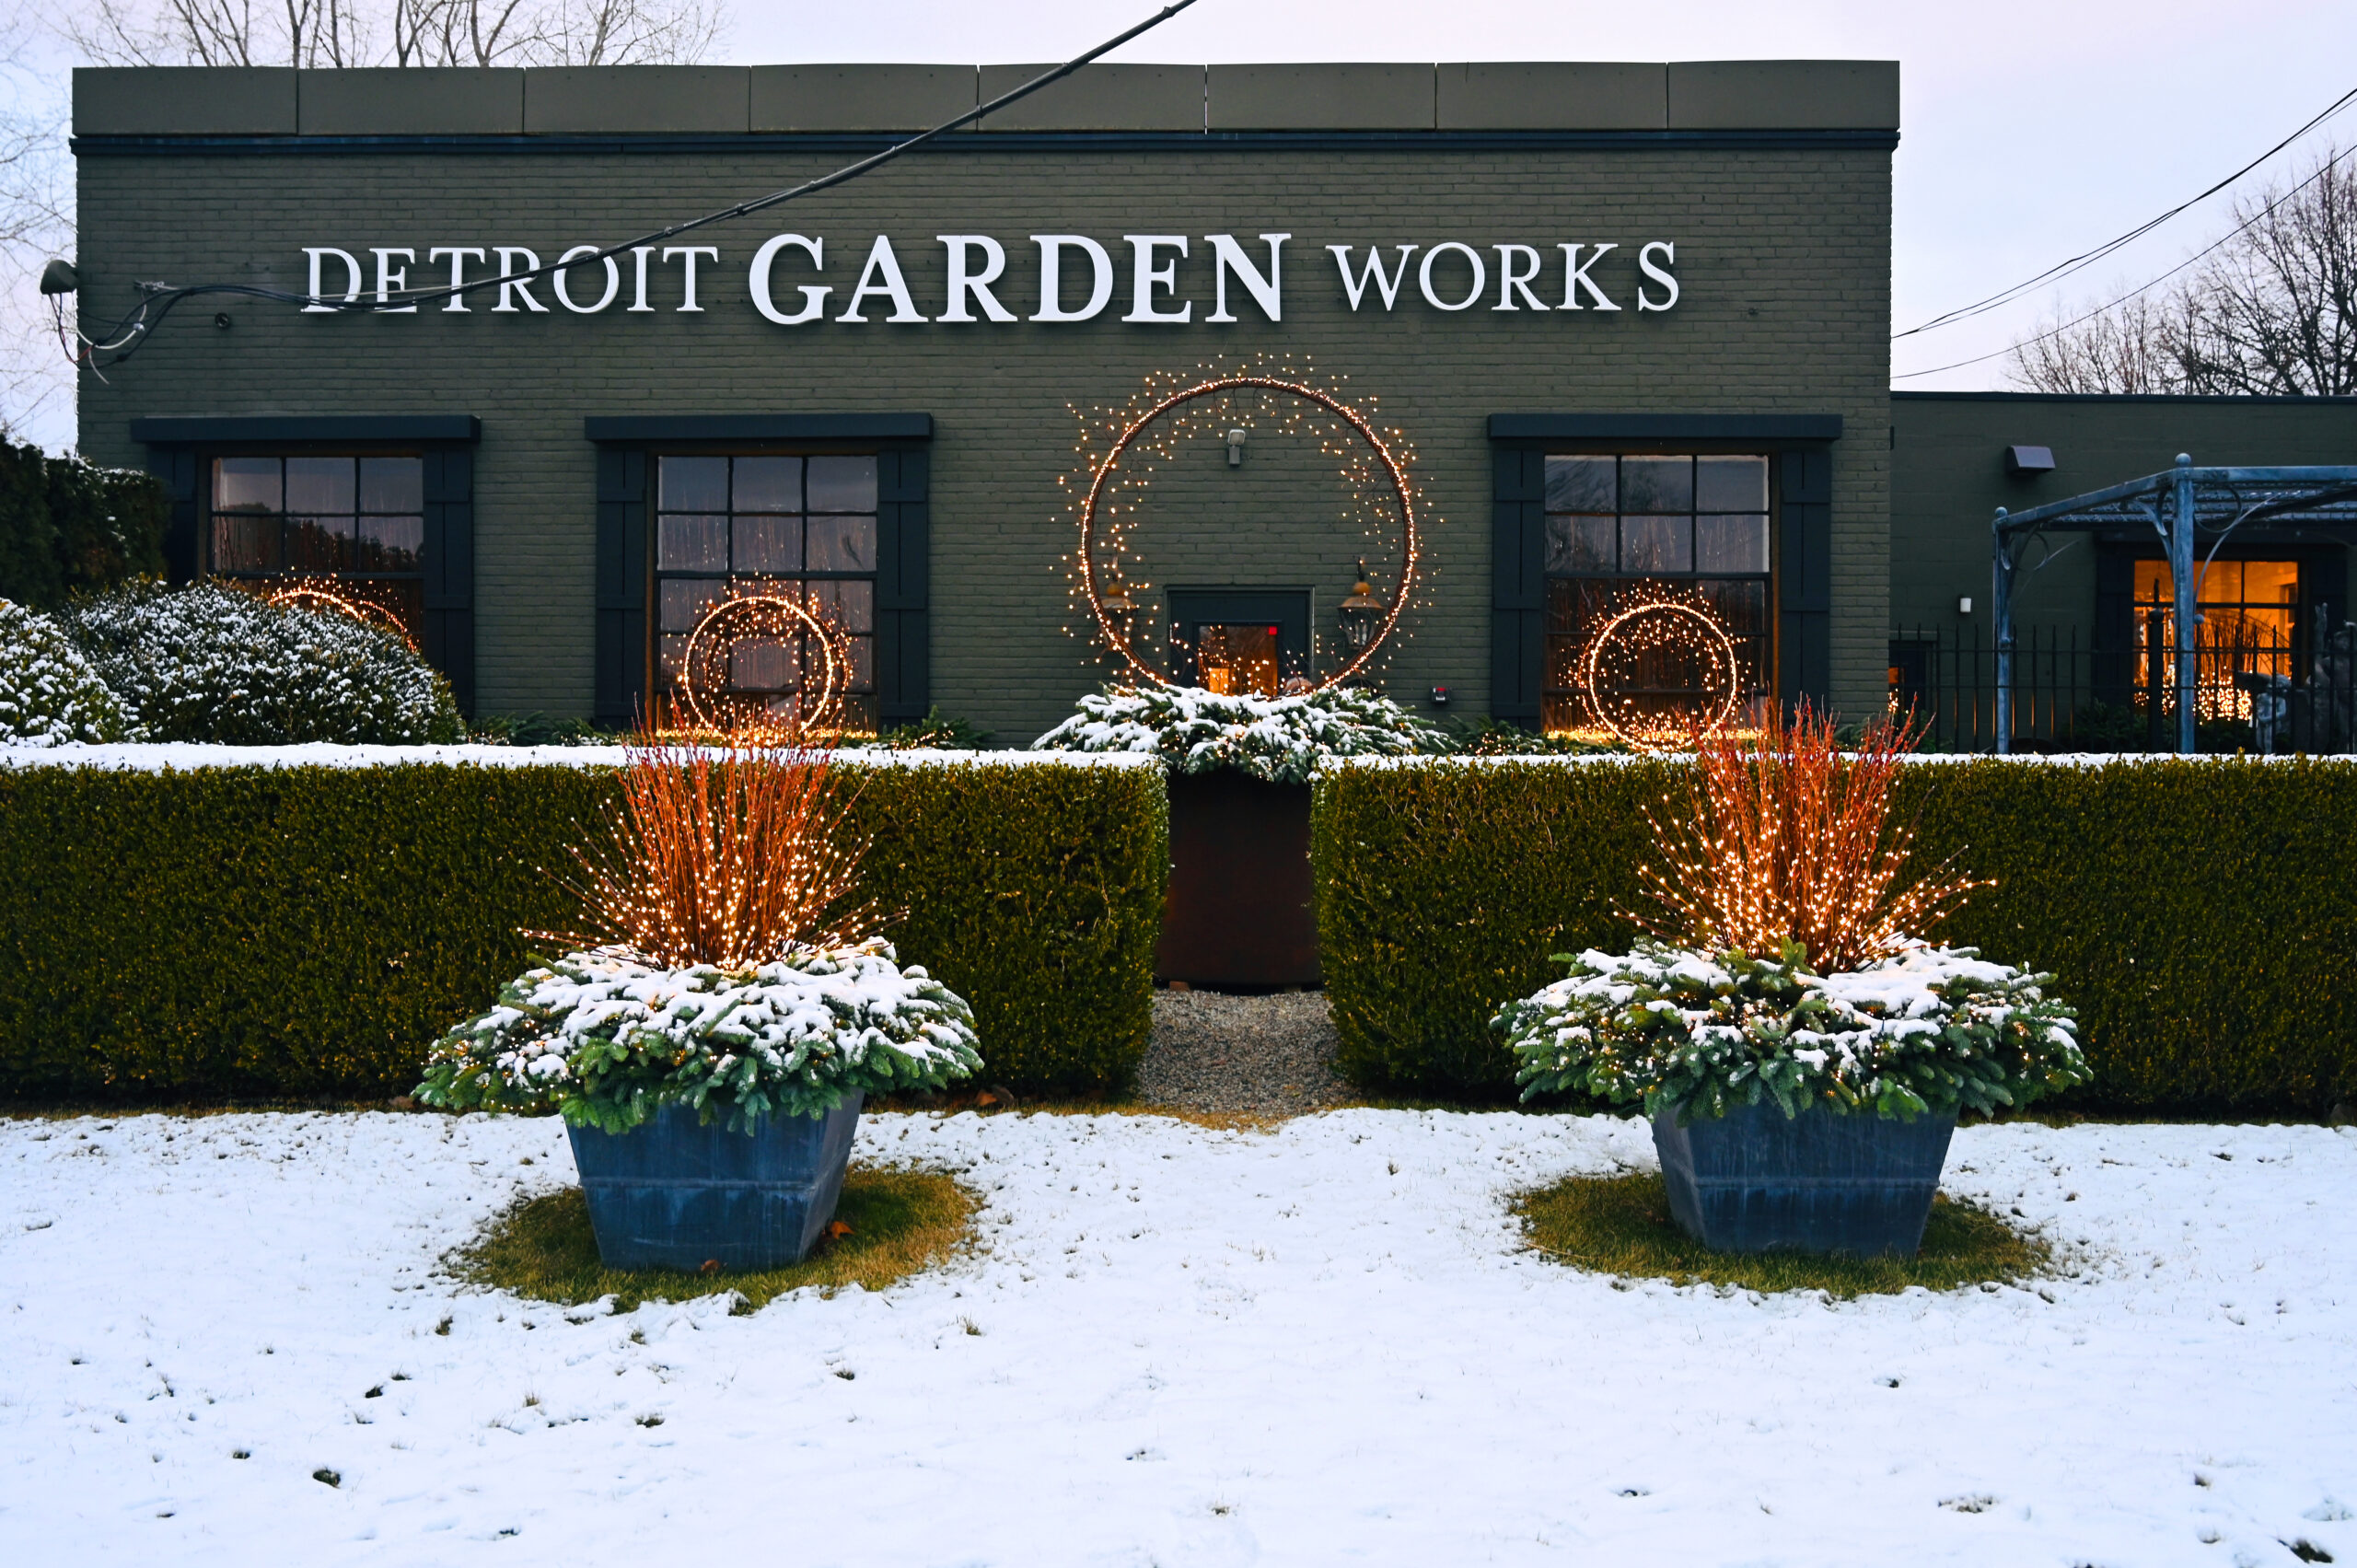
It was 30 years ago last night that Rob and I were hosting an opening preview celebration for Deborah Silver and Company’s new venture – Detroit Garden Works. This brand new company would make fine, whimsical, intriguing, memorable and shockingly beautiful ornament for the garden available to keen gardeners of all persuasions. Ha. It was a good thing we had ideas and determination, as it would take all of that and then some to make this wish come true. By “then some”, I mean the 10 years after the opening that it took to get the shop centered, fully off the ground, and firmly in the black. We fought for it. Sincerely.
My landscape design/build firm, Deborah Silver and Company, opened for business in 1986, a decade earlier. Though the vast majority of my landscape design work revolved around the instinct to sculpt ground and install beautifully designed landscapes and gardens to life on the surfaces of that sculpted ground, I felt like a certain element was missing. An interest in art and sculpture meant I had an interest in ornament for the garden. What do I mean by that? Any object which represents a significant memory or a point of view about what is beautiful or emotionally important can imbue a landscape with atmosphere. A landscape with atmosphere is all I have ever hoped to make. Though I was keen to include this ornamental layer in my landscape design and installation projects, precious little was available.
Rob joined the landscape company in 1992, after completing his degree in landscape architecture at Michigan State University. It became clear early on that his landscape design work was austere, complex, yet casually offhand. Years later, he knows how to make a subtle and gracefully constructed arrangement look as if he dashed it off in a moment. No matter how long he labors over and reworks anything he does, it will be perfectly convincing. He is a proponent and champion of a sparse look that always hovers just over and on the right side of weedy. That early mix of modernism and mess confounded me, and drove me crazy. No design project of his ever came to a definitive close. Clients wanting direction that had parameters in mind got his tinkering with no boundaries. How did we resolve those early years, co-designing ? He had a romance going on with the garden like no other person I had ever met. I reserved judgment. This is one of the better decisions I have ever made. I truly admired his point of view. A commitment to that took me a long way. The idea that we would open a shop devoted to fine quality ornament for the garden was an idea we came to share. That he would do all of the buying for the store is that one decision that keeps us here 30 years later.
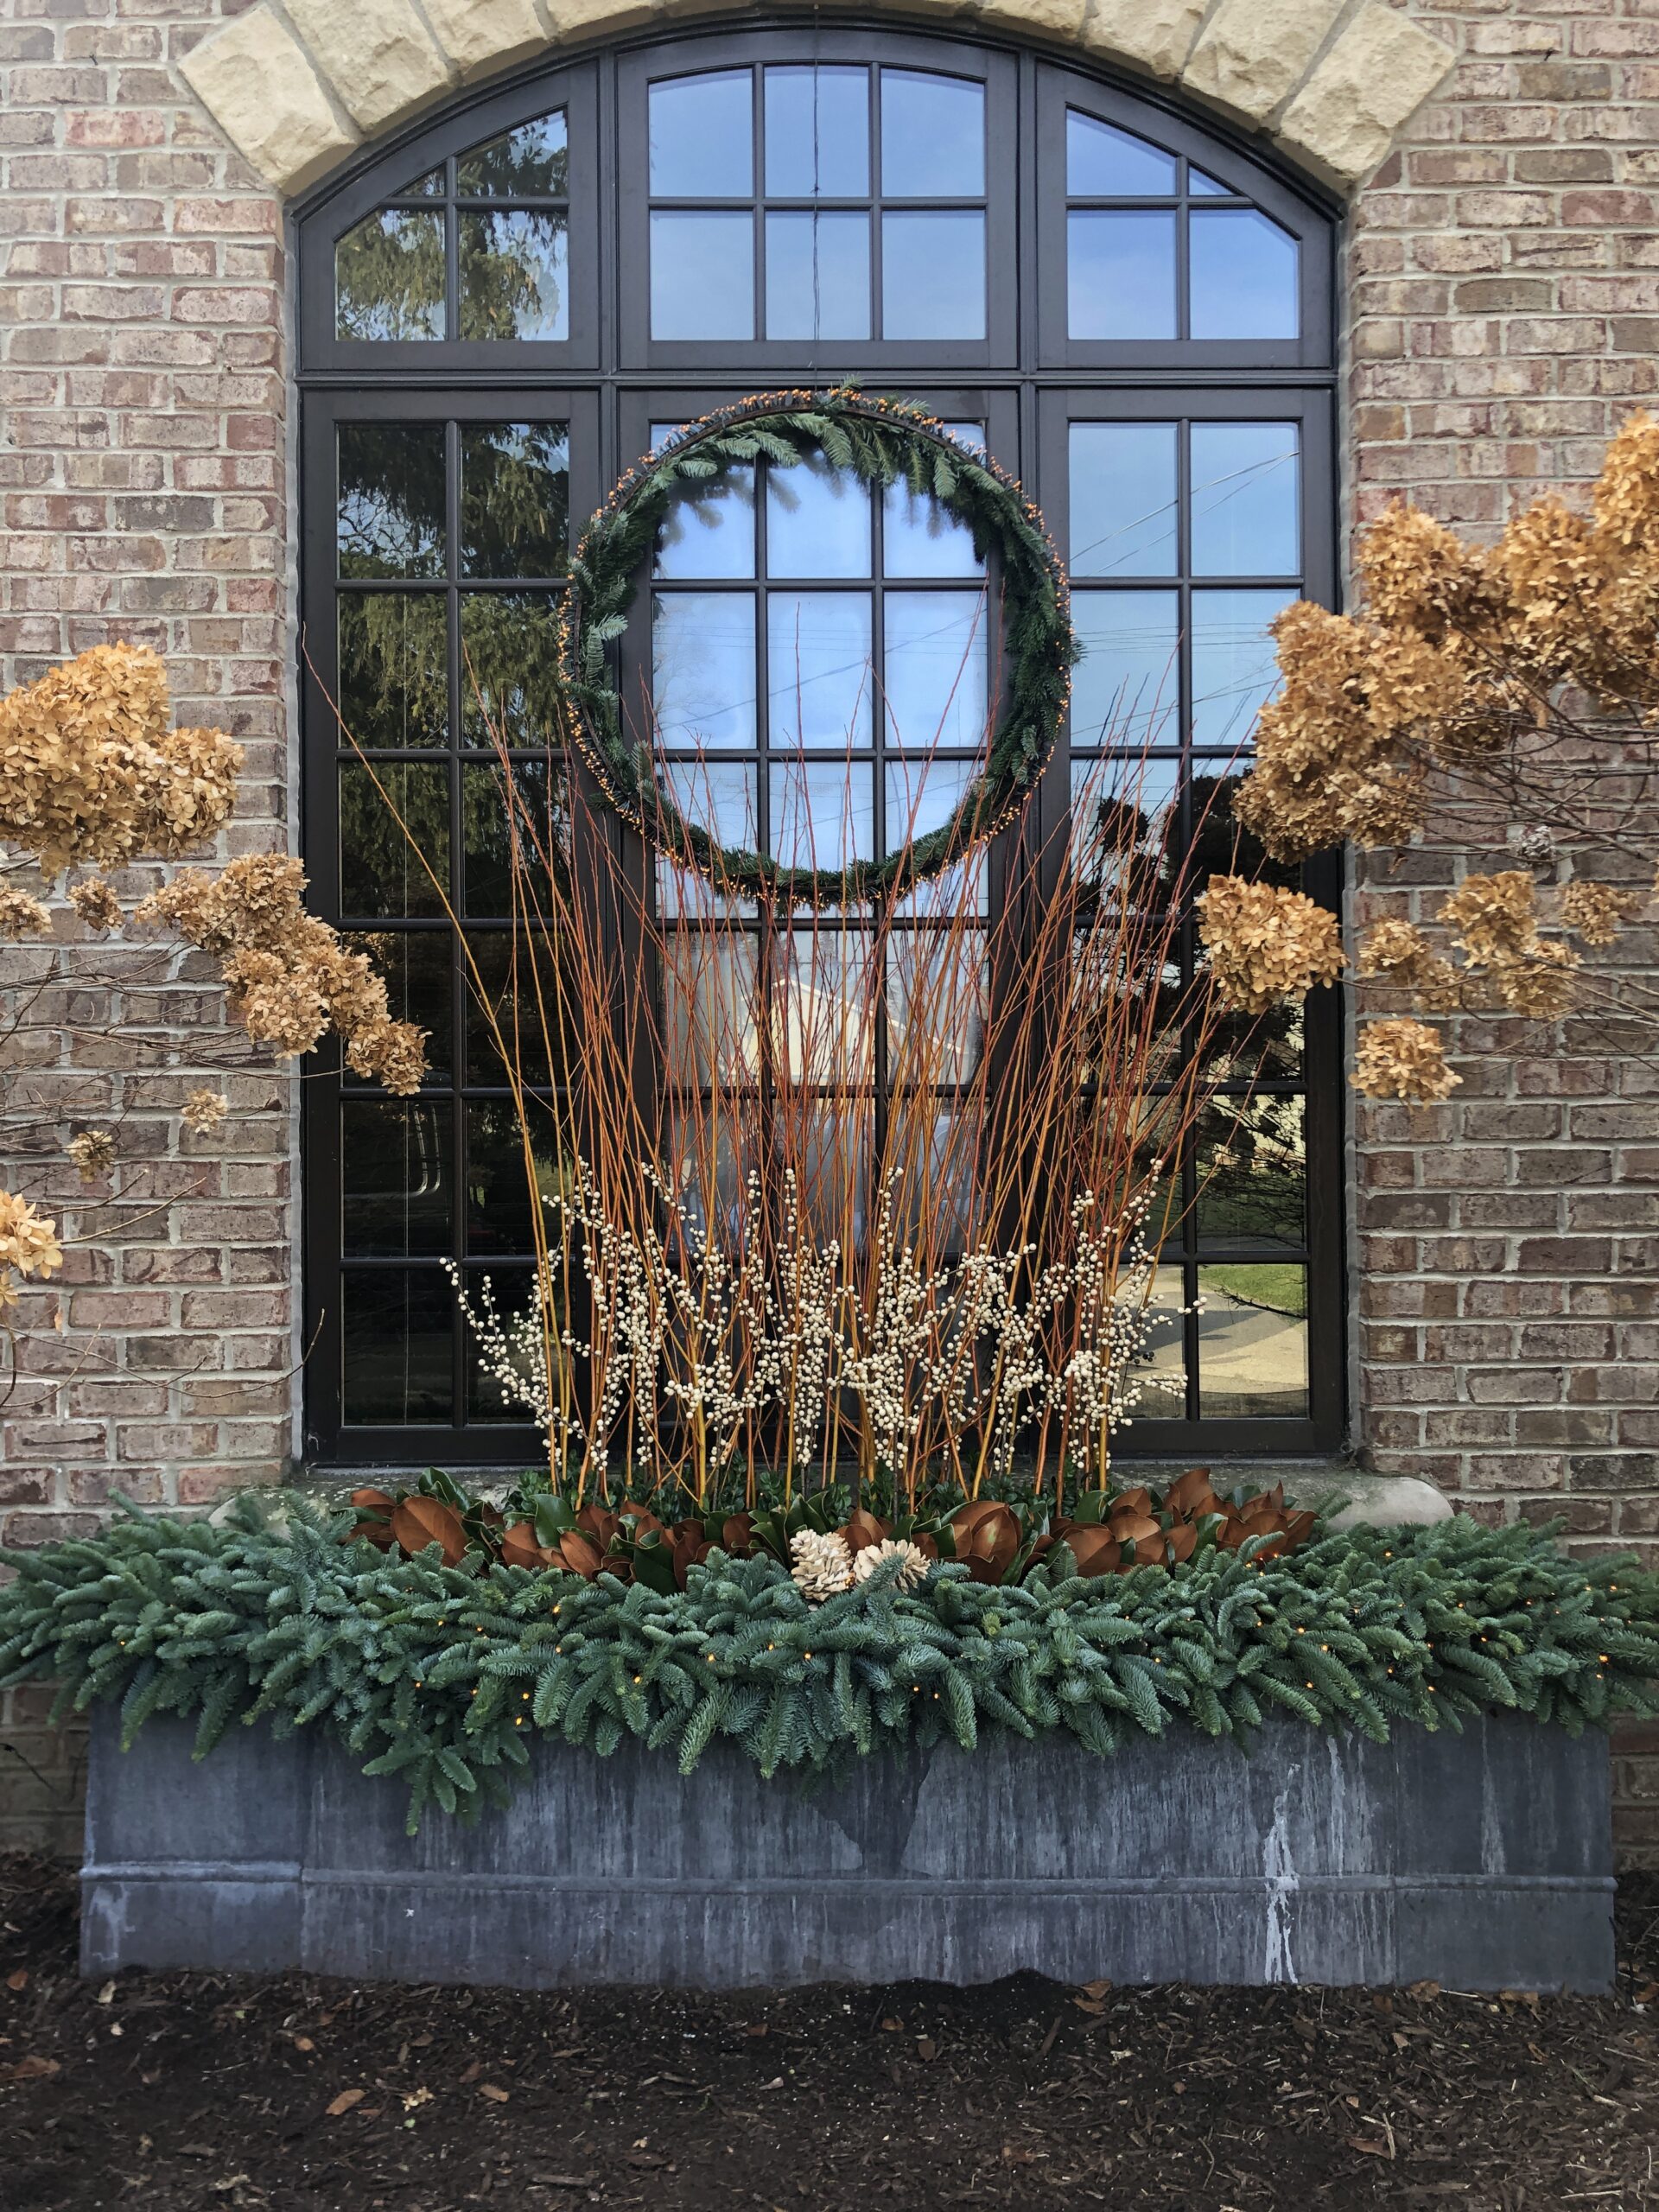
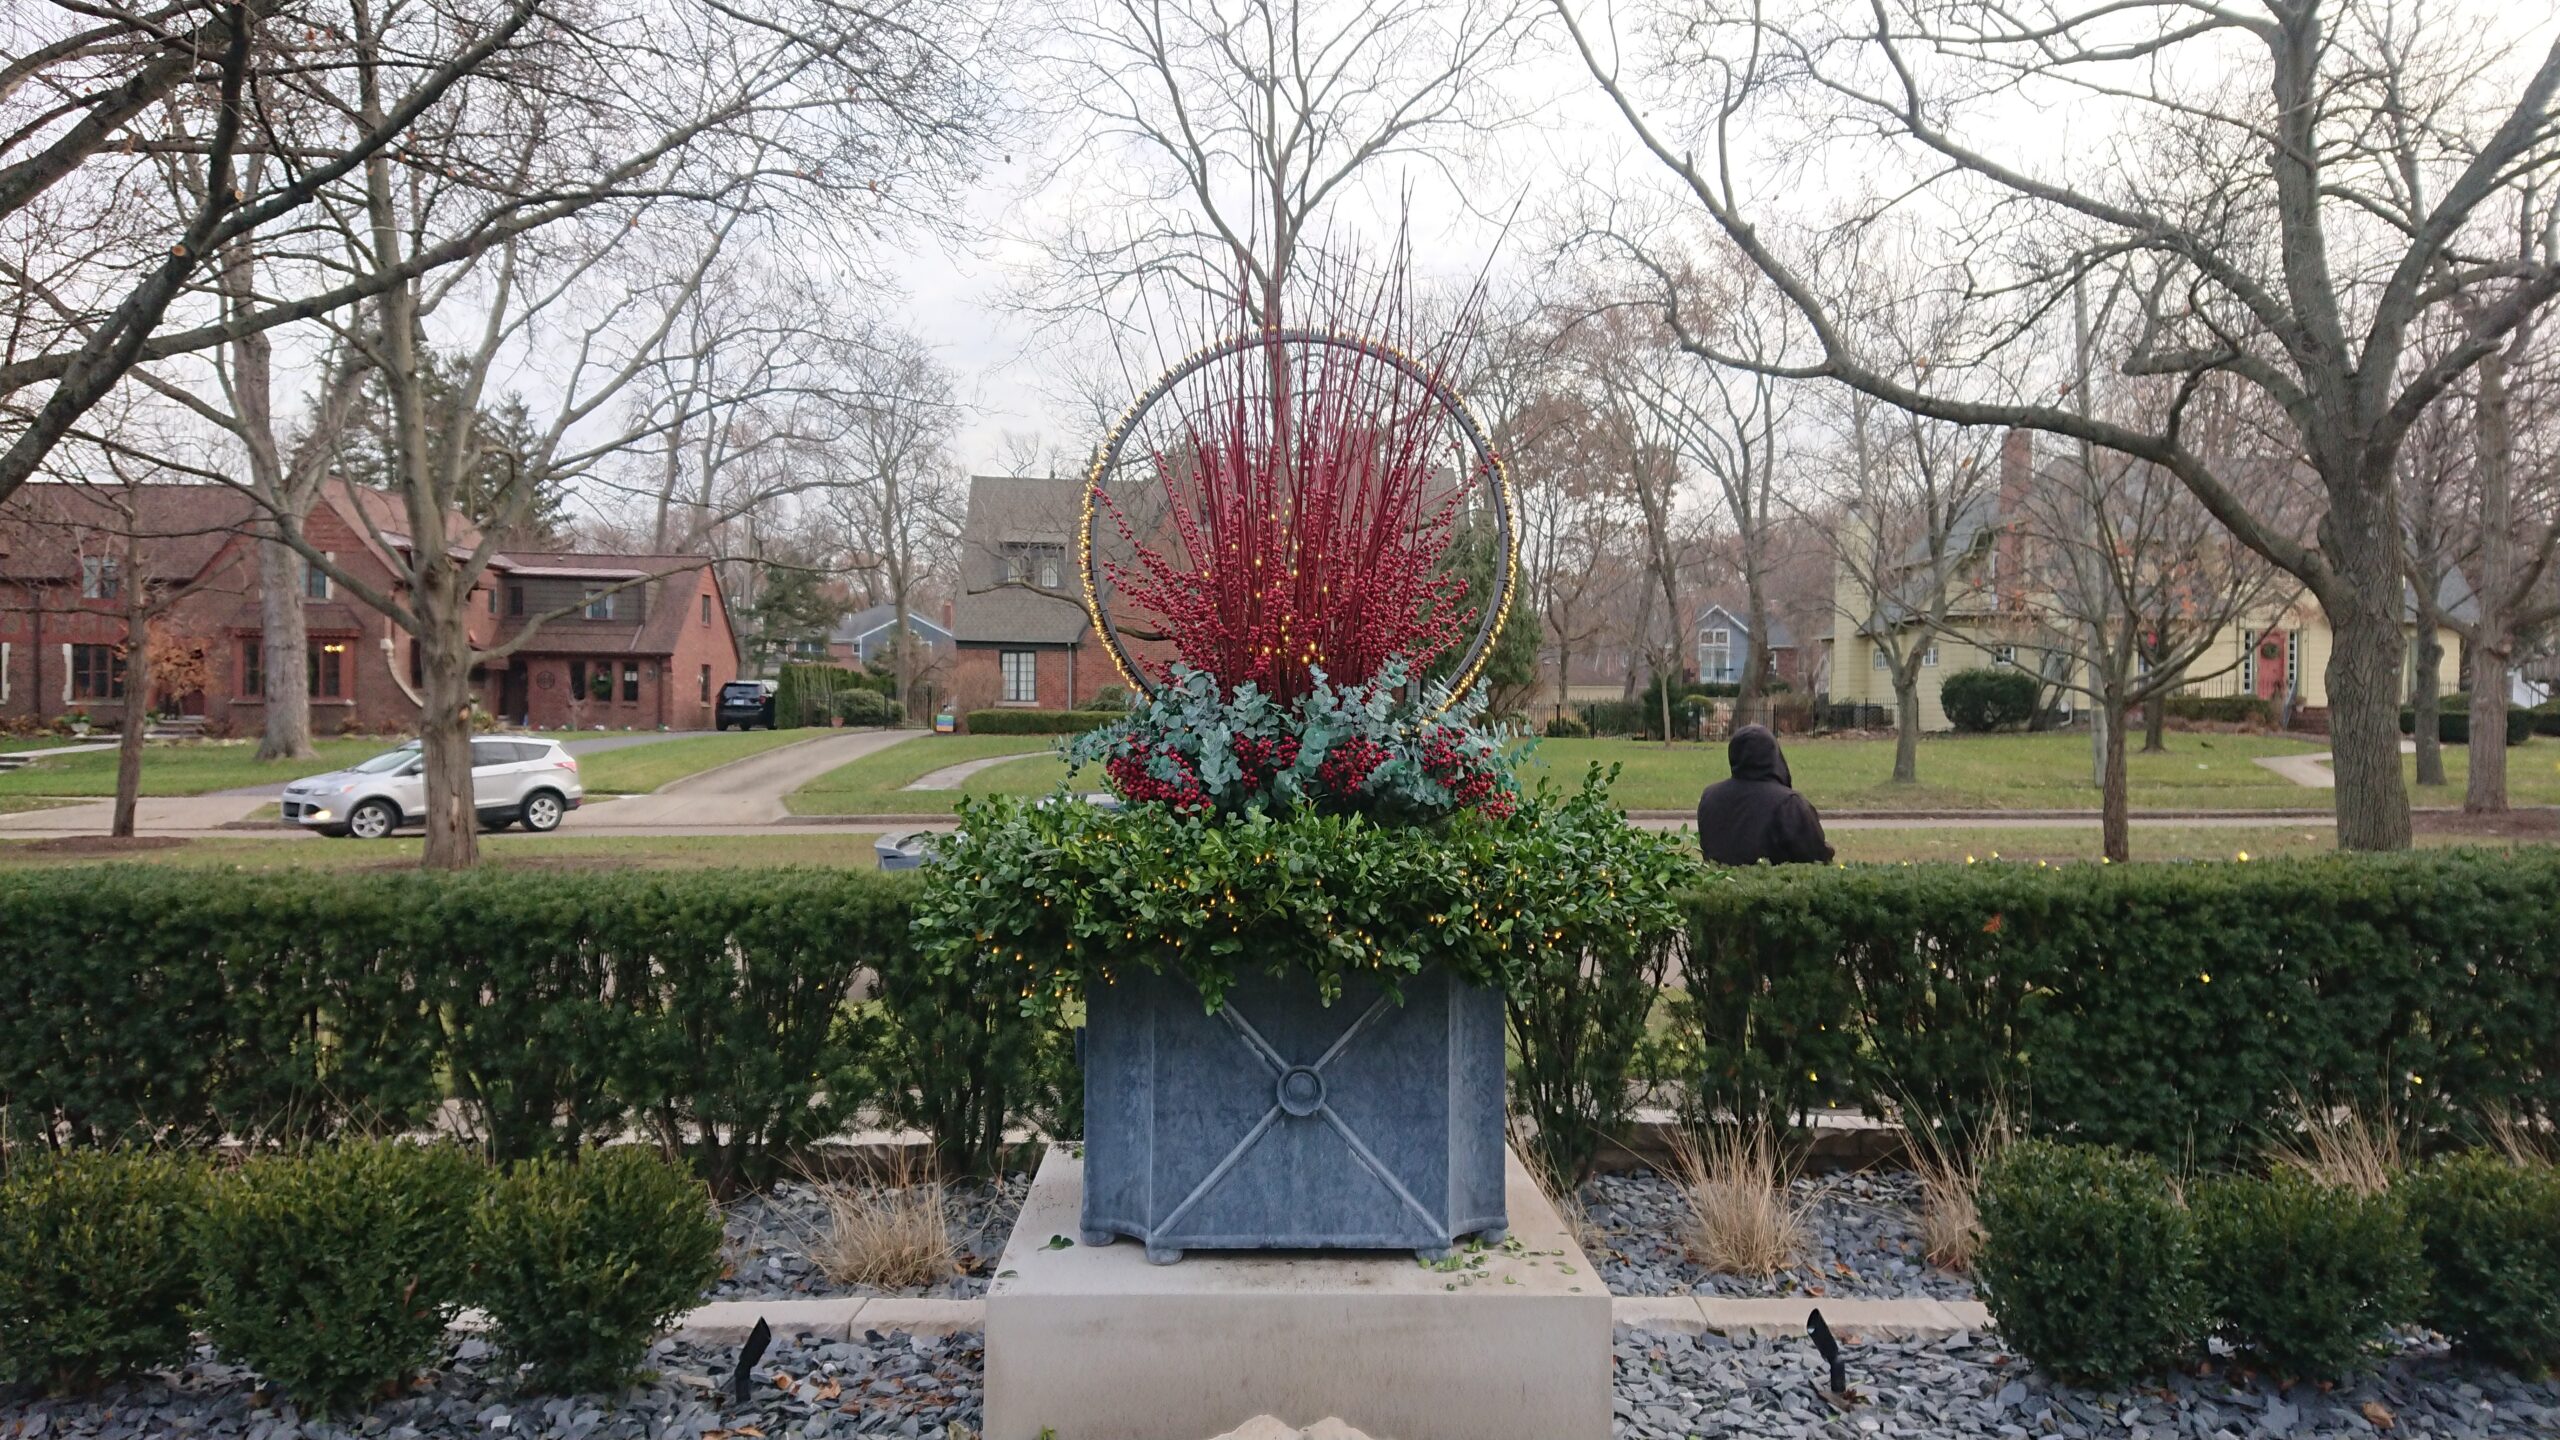
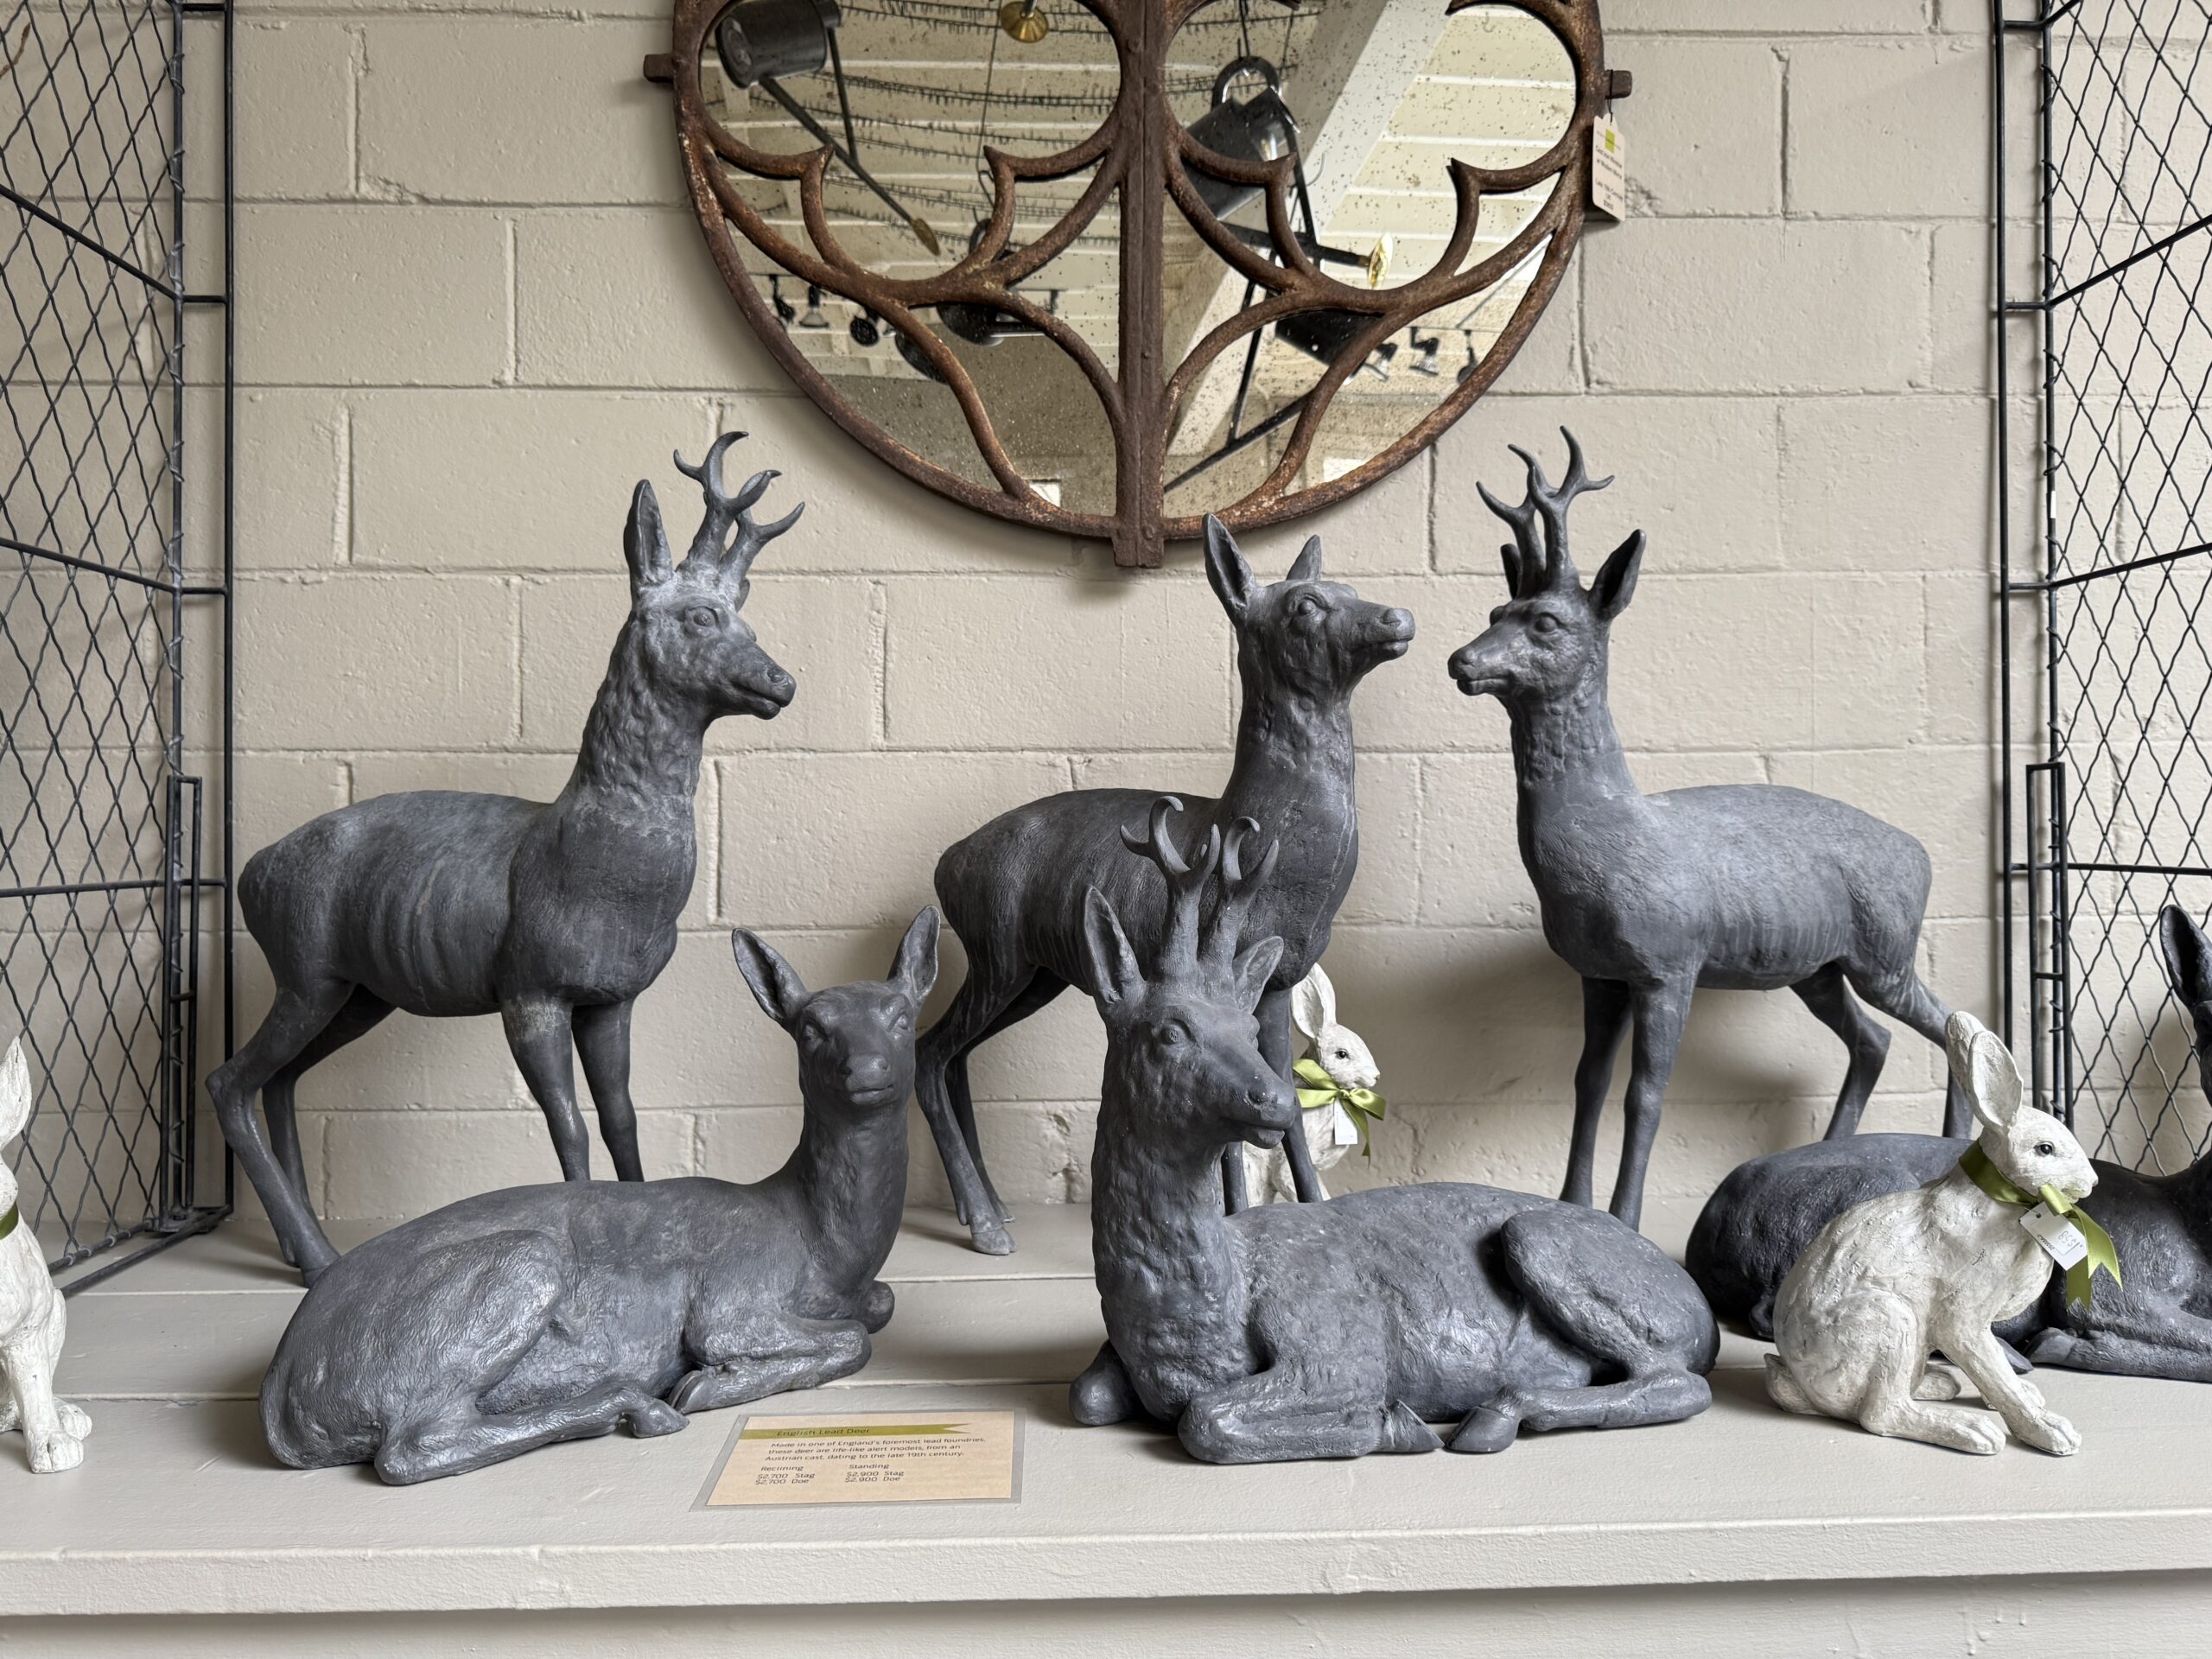
In the fall of 1992, Rob had a winter trip planned to Czechoslovakia to ski. I financed a side trip, a very casually weedy trip, to scout European ornament that might be of interest to us, and to our clients. 2 pallets representing the sum total of his shopping arrived months later. It was exhilarating. We knew the right collection of pots or sculpture could organize a landscape. An antique garden ornament saturates the immediate environment with a sense of another time and place – history. Vintage farm troughs recall that time when agriculture was so much a part of every life. Vintage ornament of an agricultural history satisfies that longing for connection to nature. Contemporary sculpture in the garden can evoke an appreciation of form, mass, and texture in a very direct and abstracted way. I wanted the perfect bench, the most striking container, and topiary forms that would work while they were being beautiful-for my landscapes. I knew that Rob would take this on.
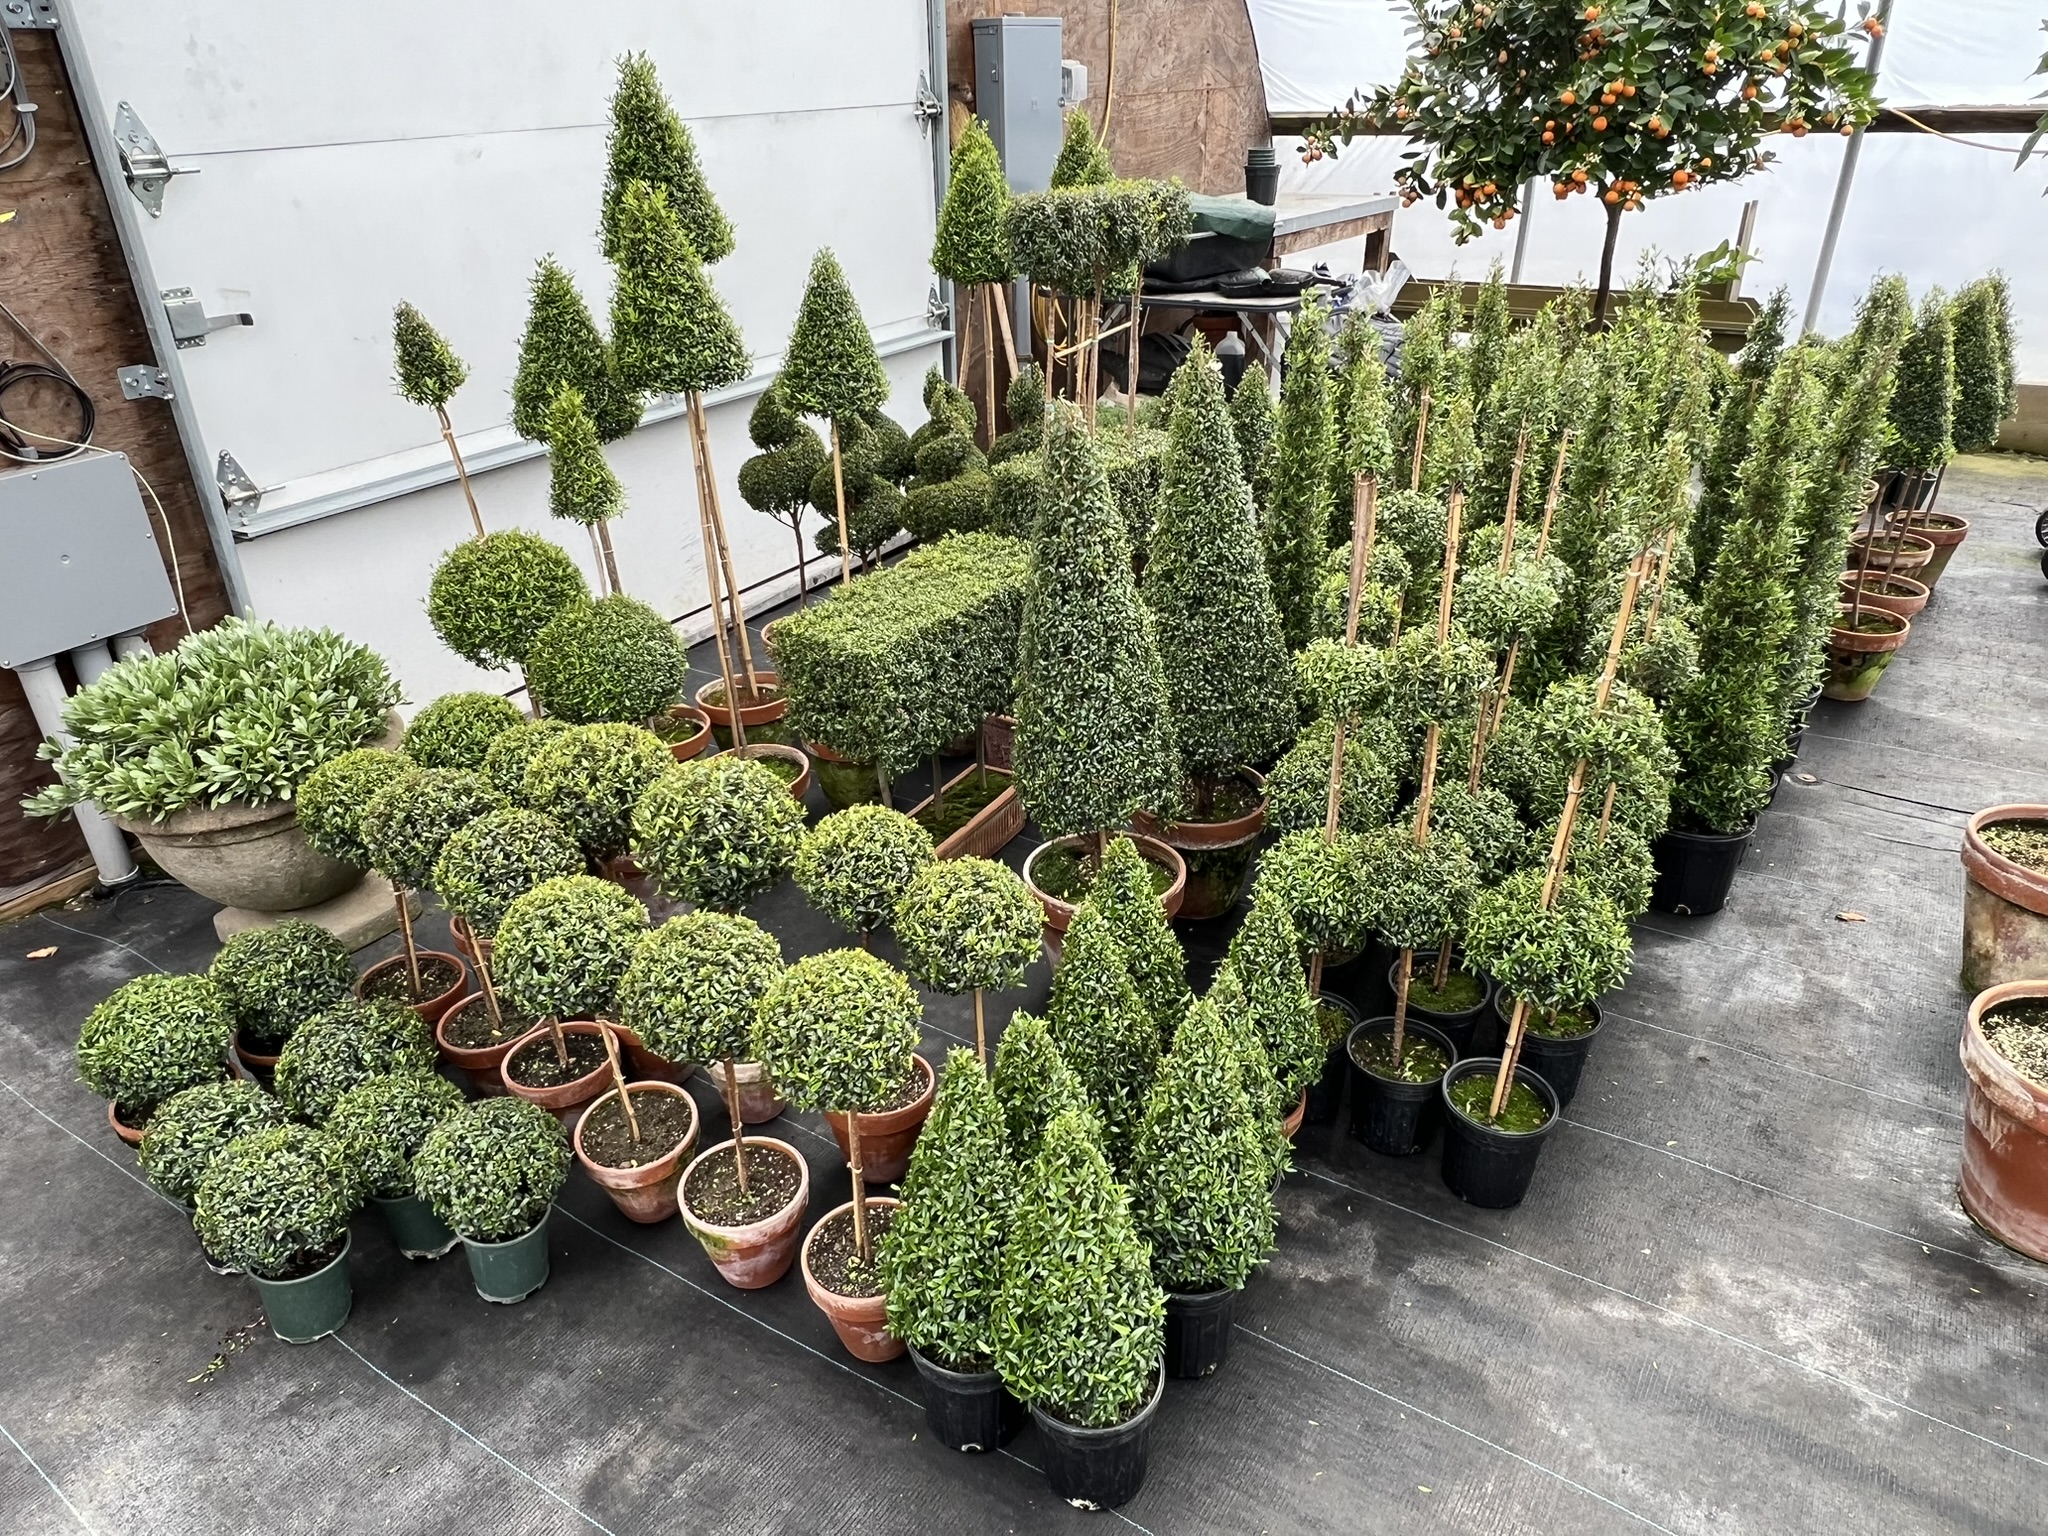
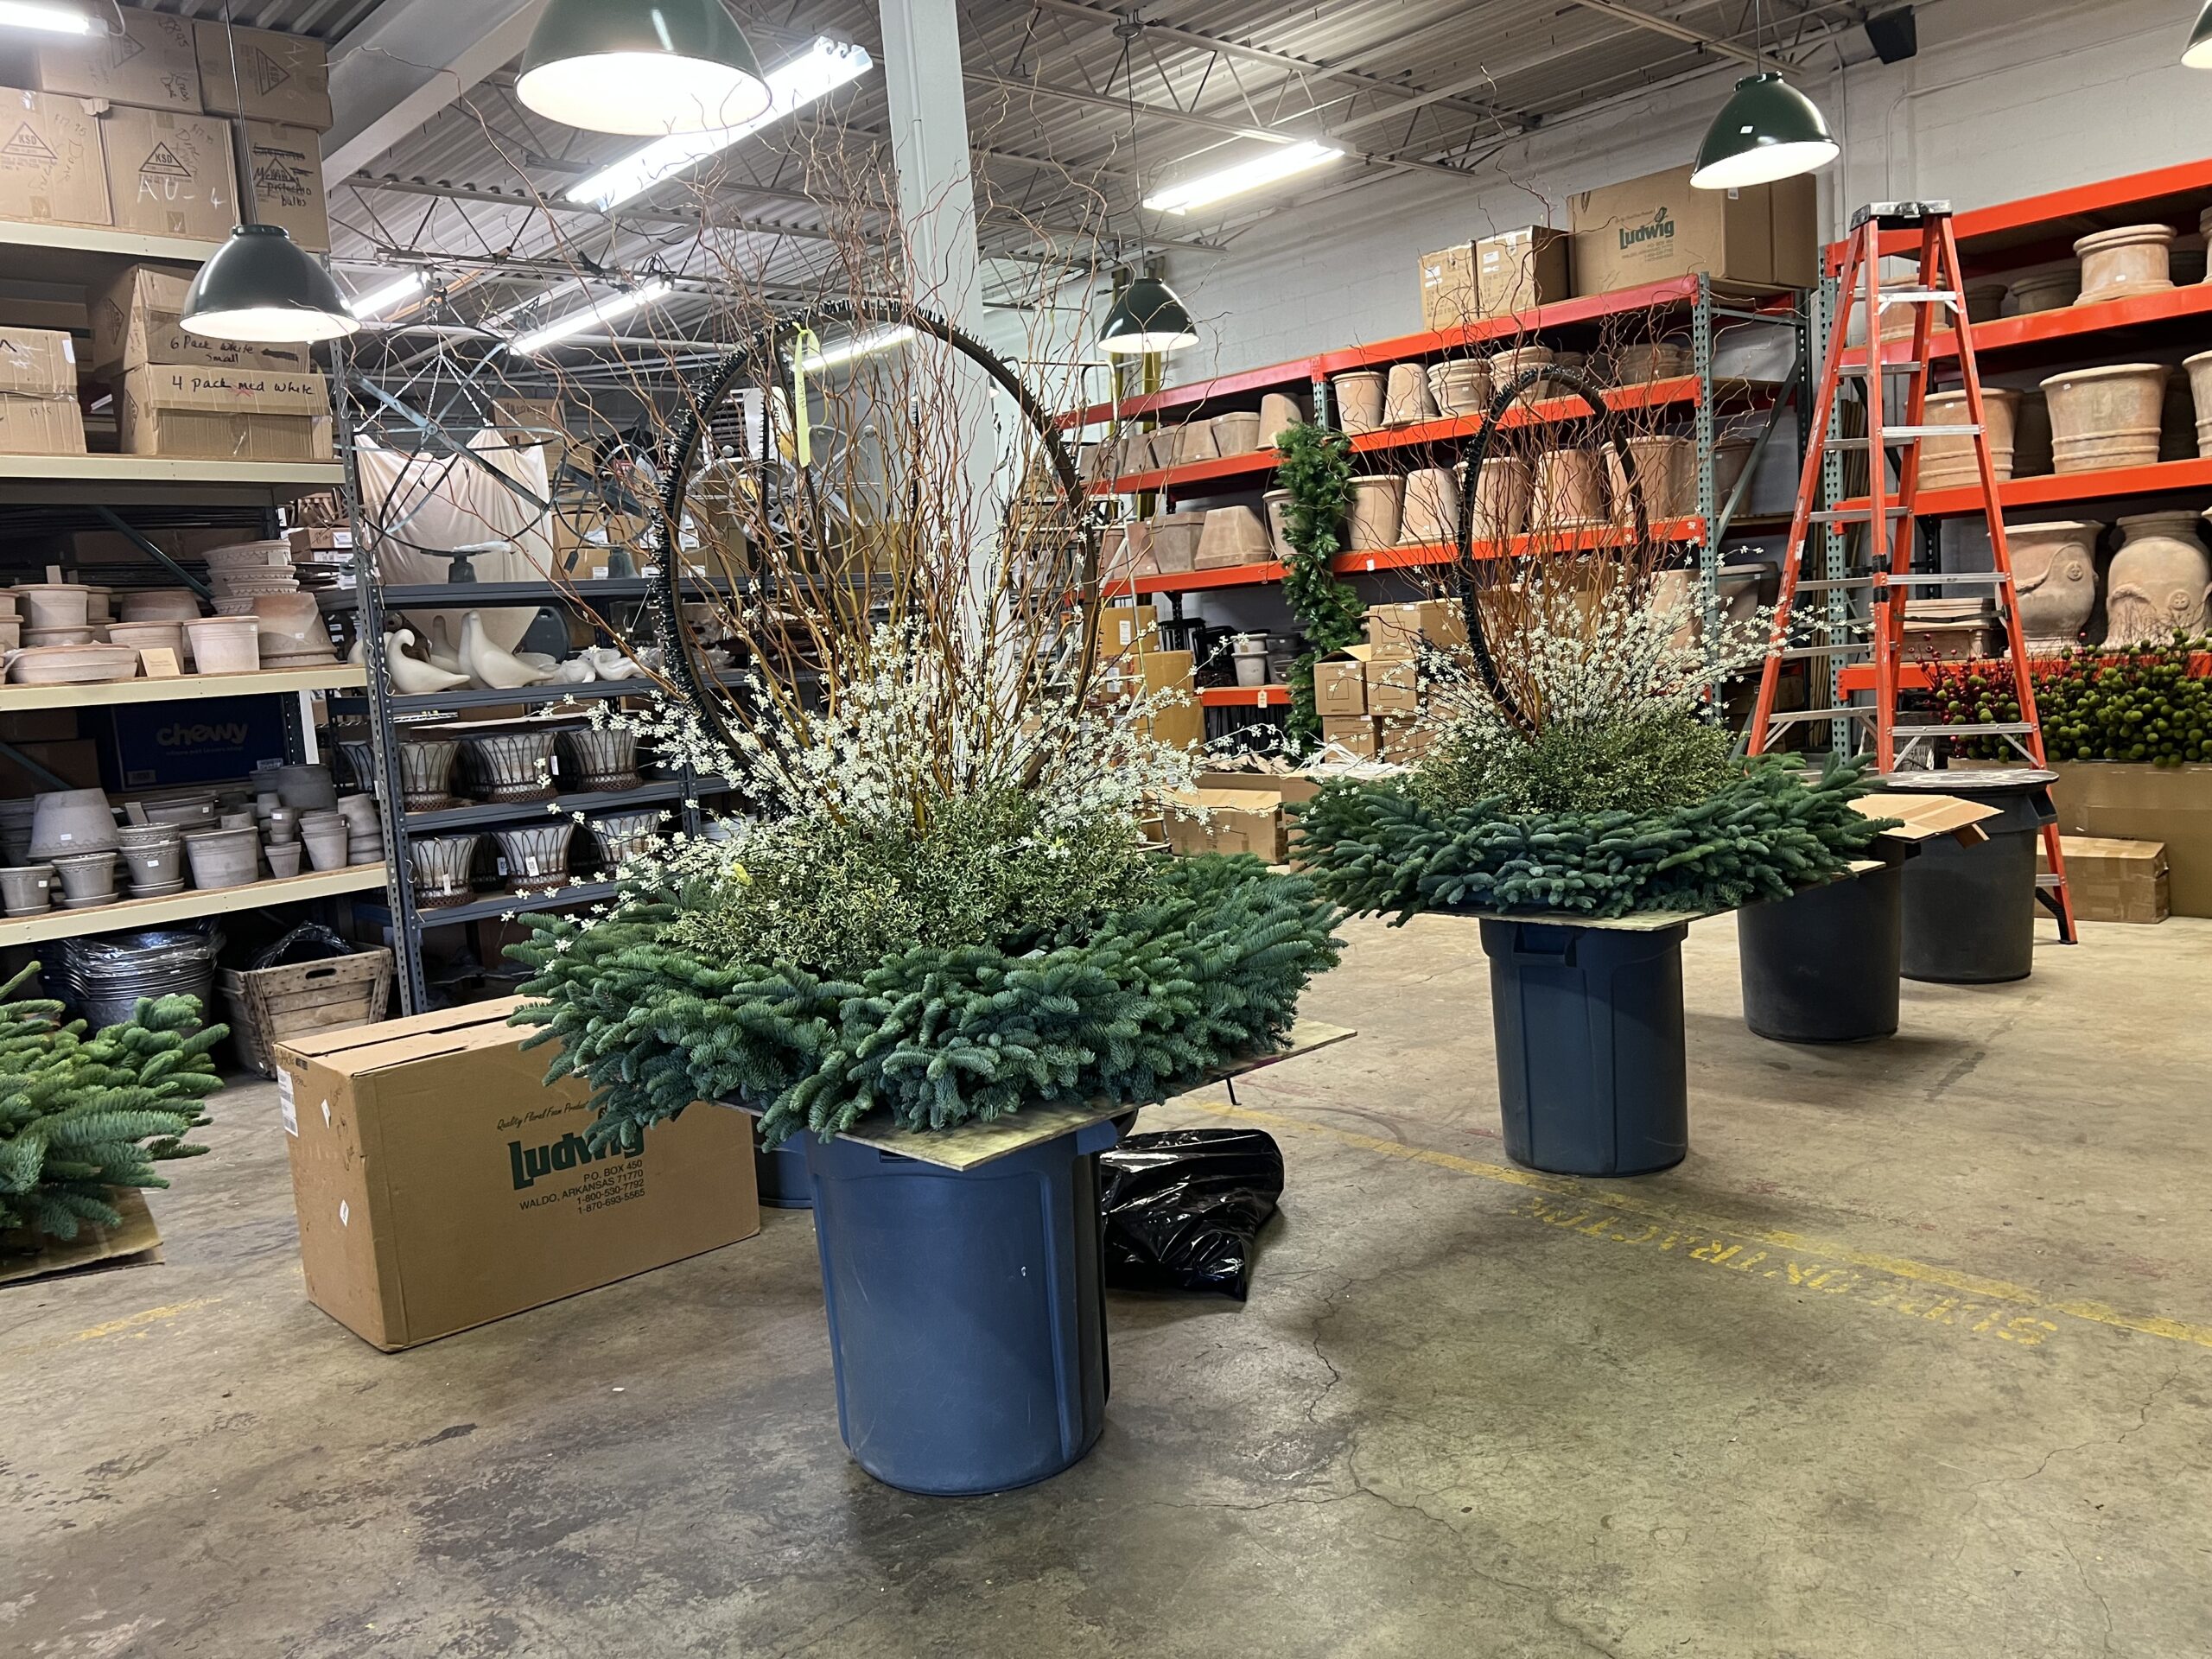
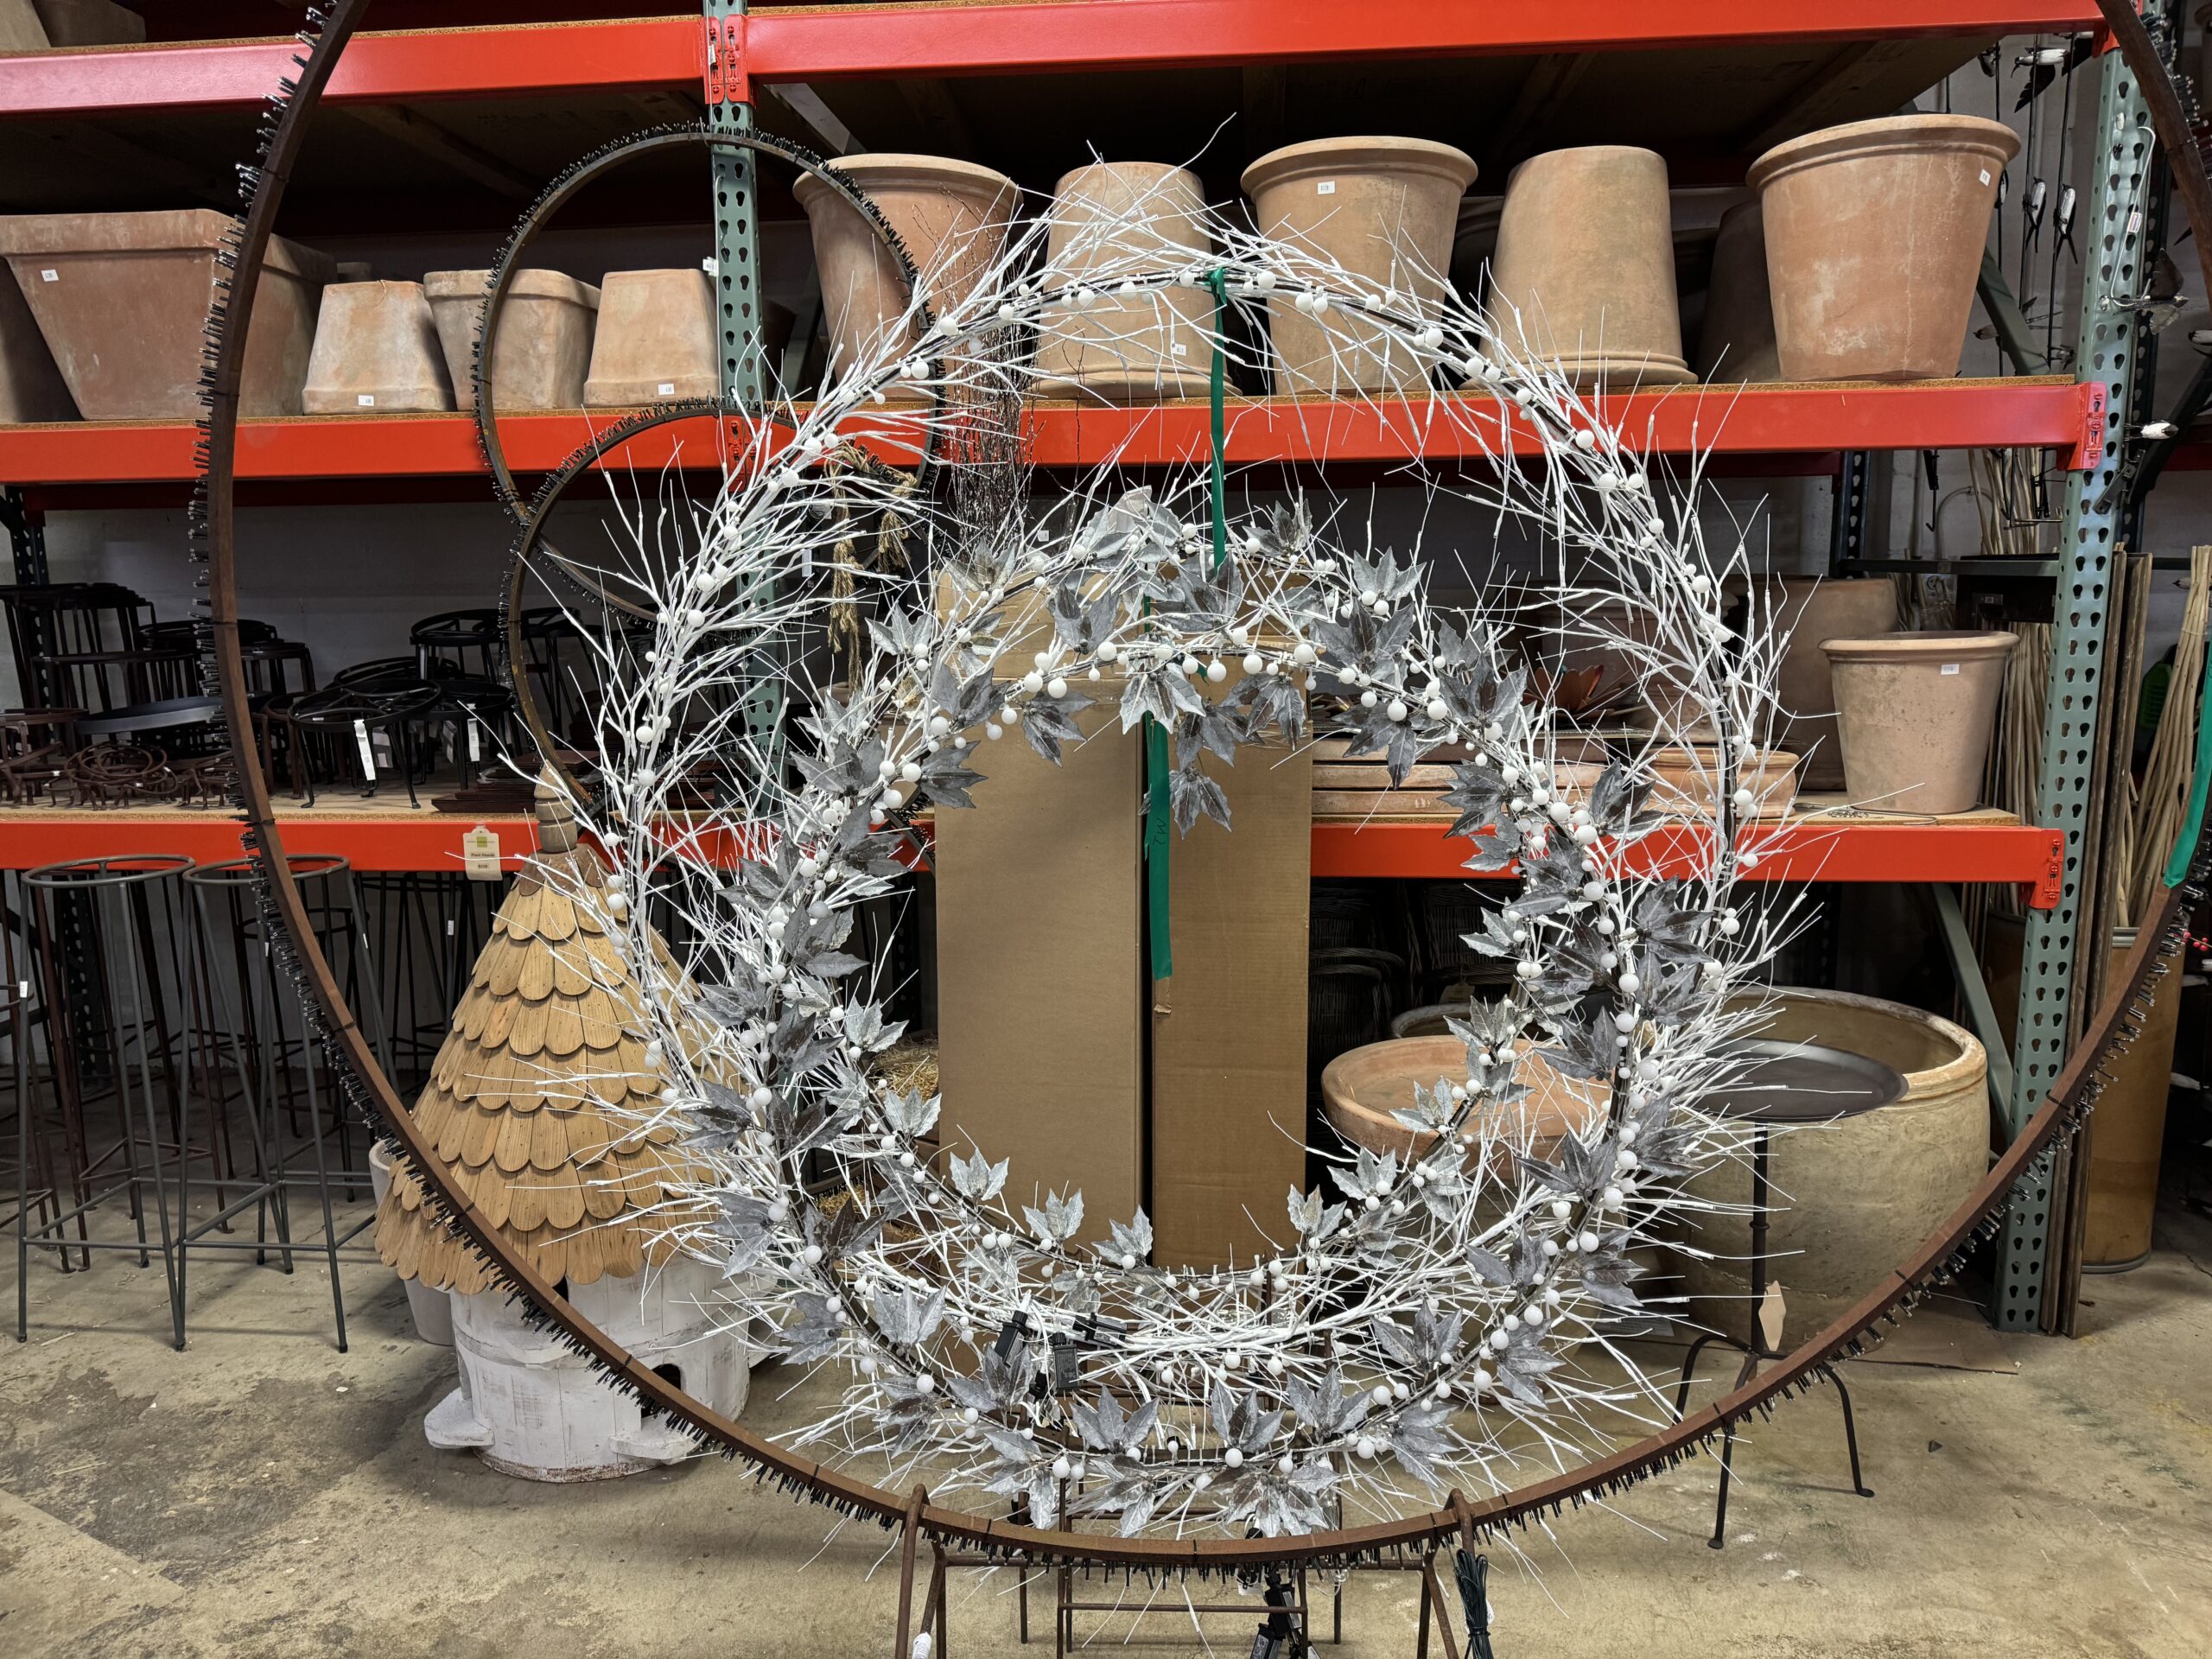
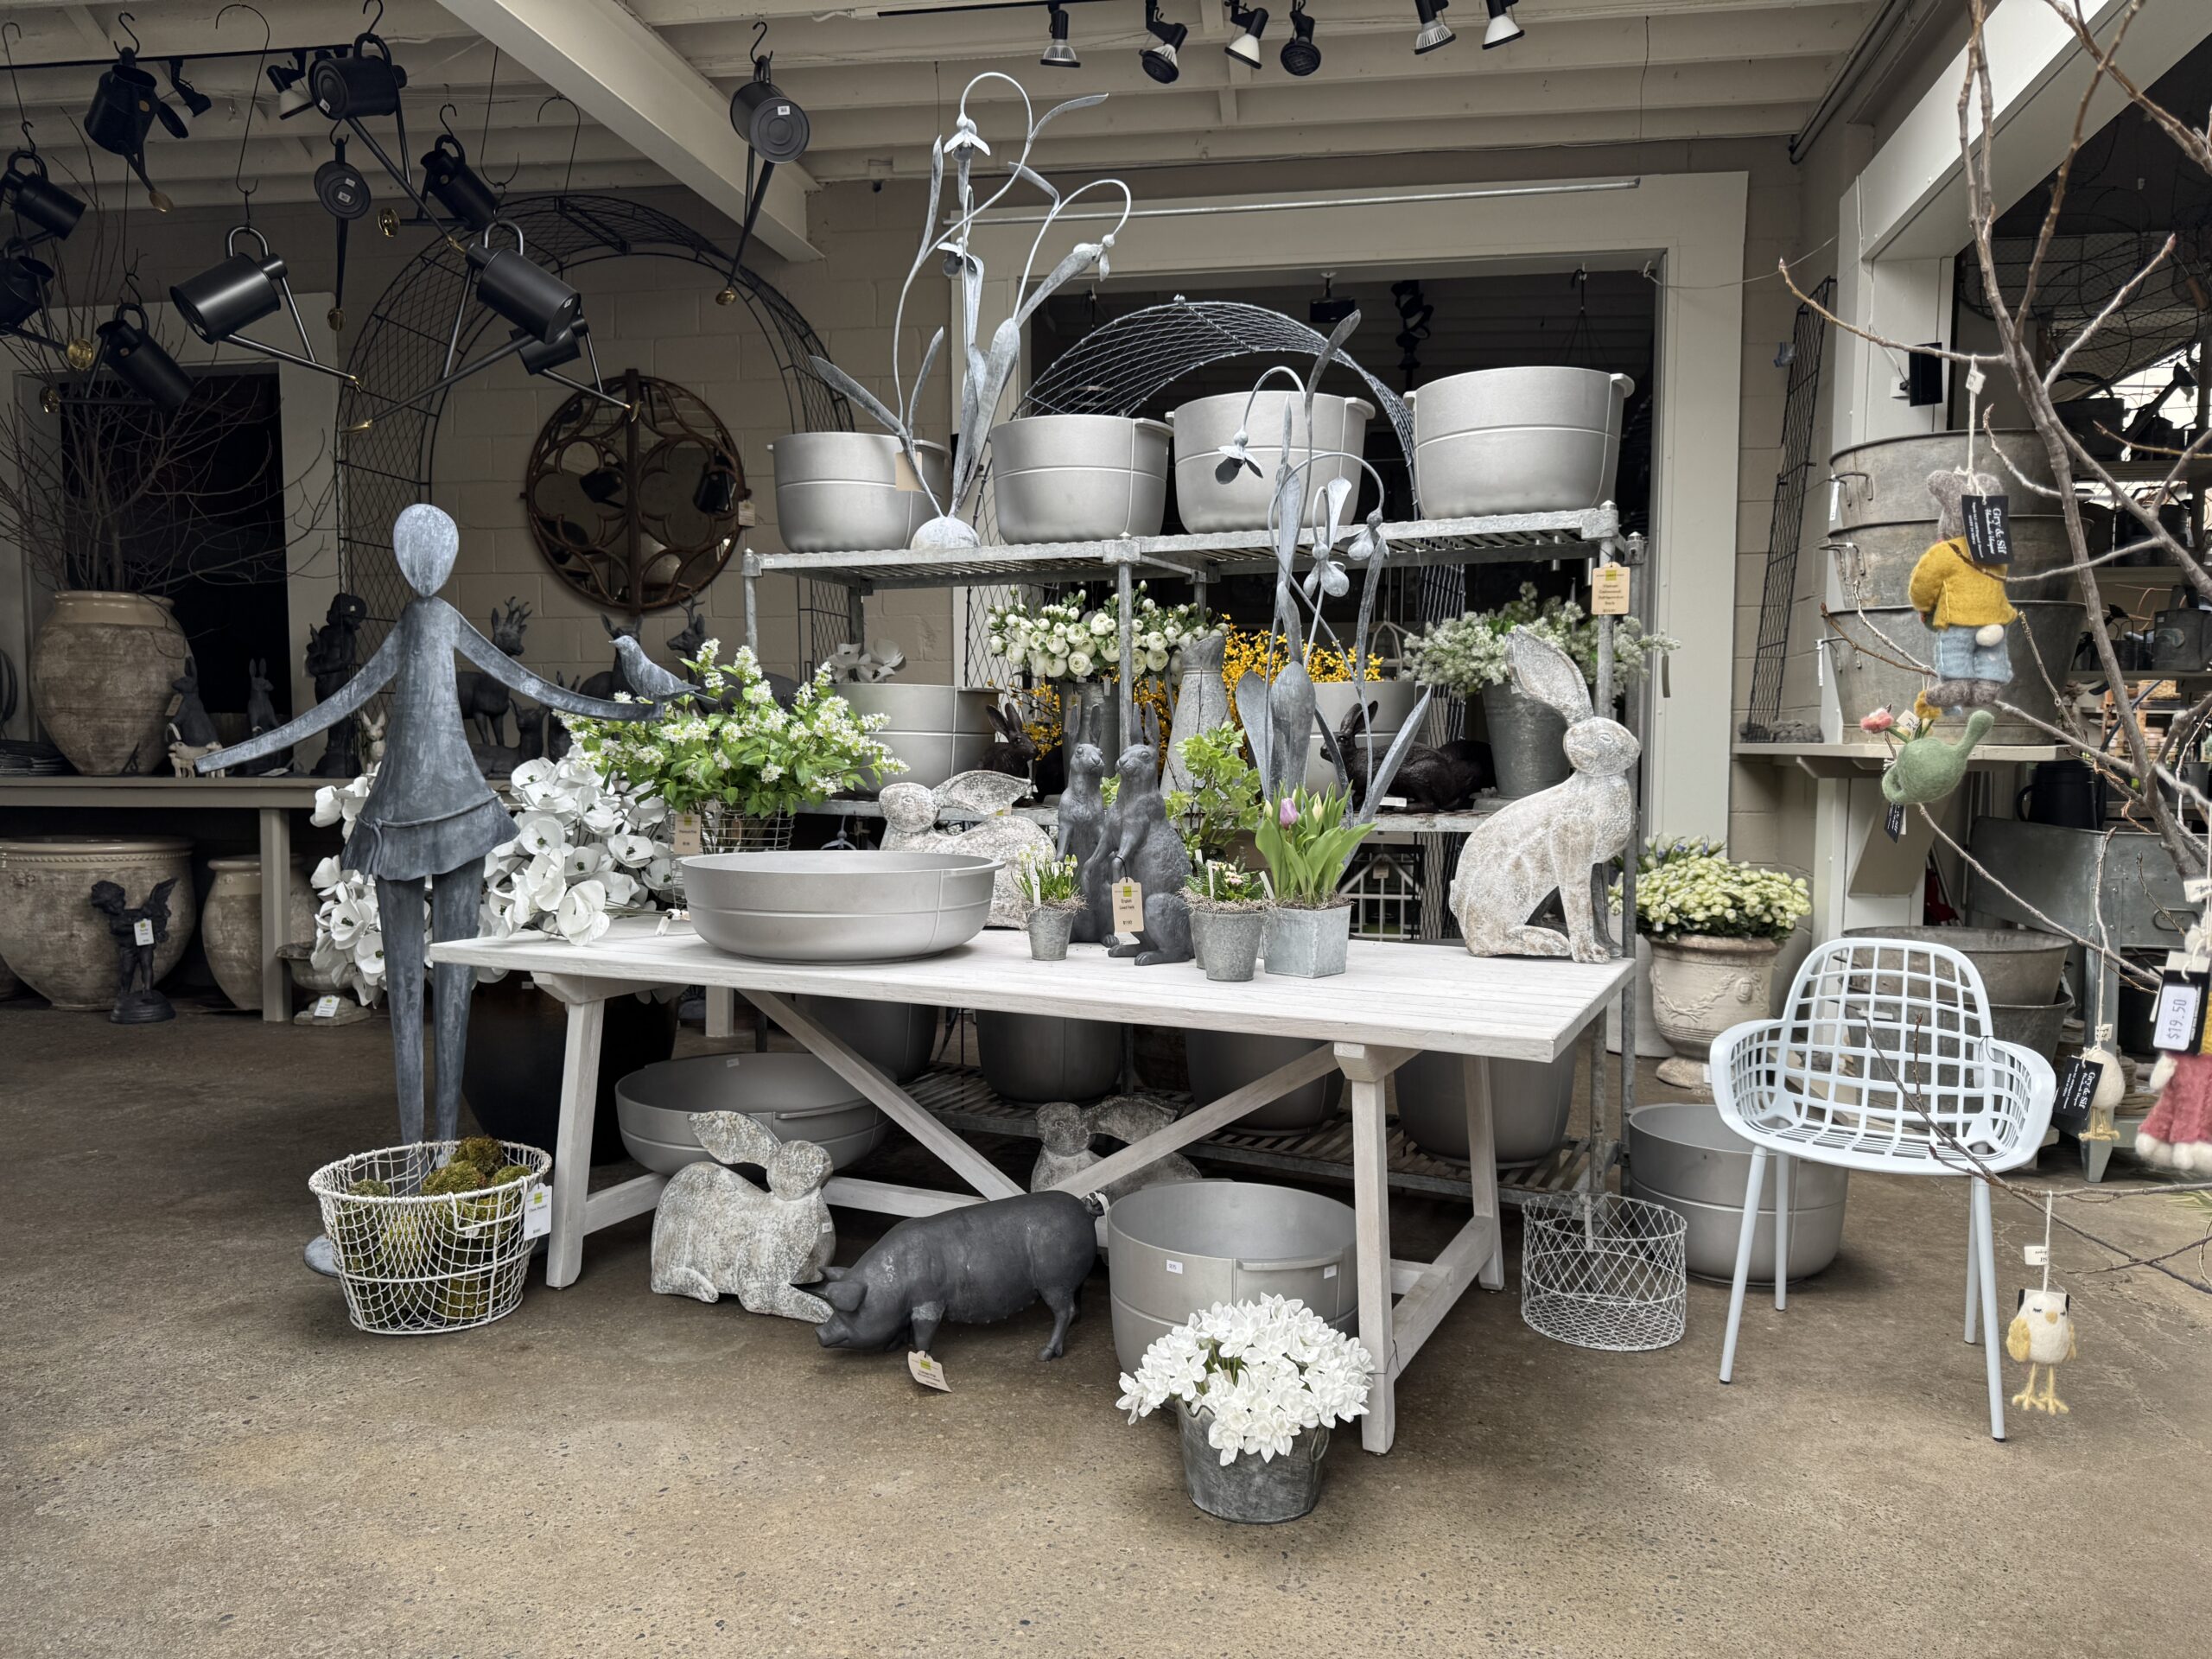
Now, Rob buys for Detroit Garden Works. He attends the flea markets, fairs and factories. He has relationships with garden antique dealers, both in the US and abroad. He makes a point of visiting nurseries and specialty growers everywhere he goes. He makes it a point to meet the people who make things for gardens. He gives them the time and space to speak to their craft. What eventually makes its way to Detroit Garden Works in the spring of each year is a very carefully curated collection that has been assembled with a discerning eye.
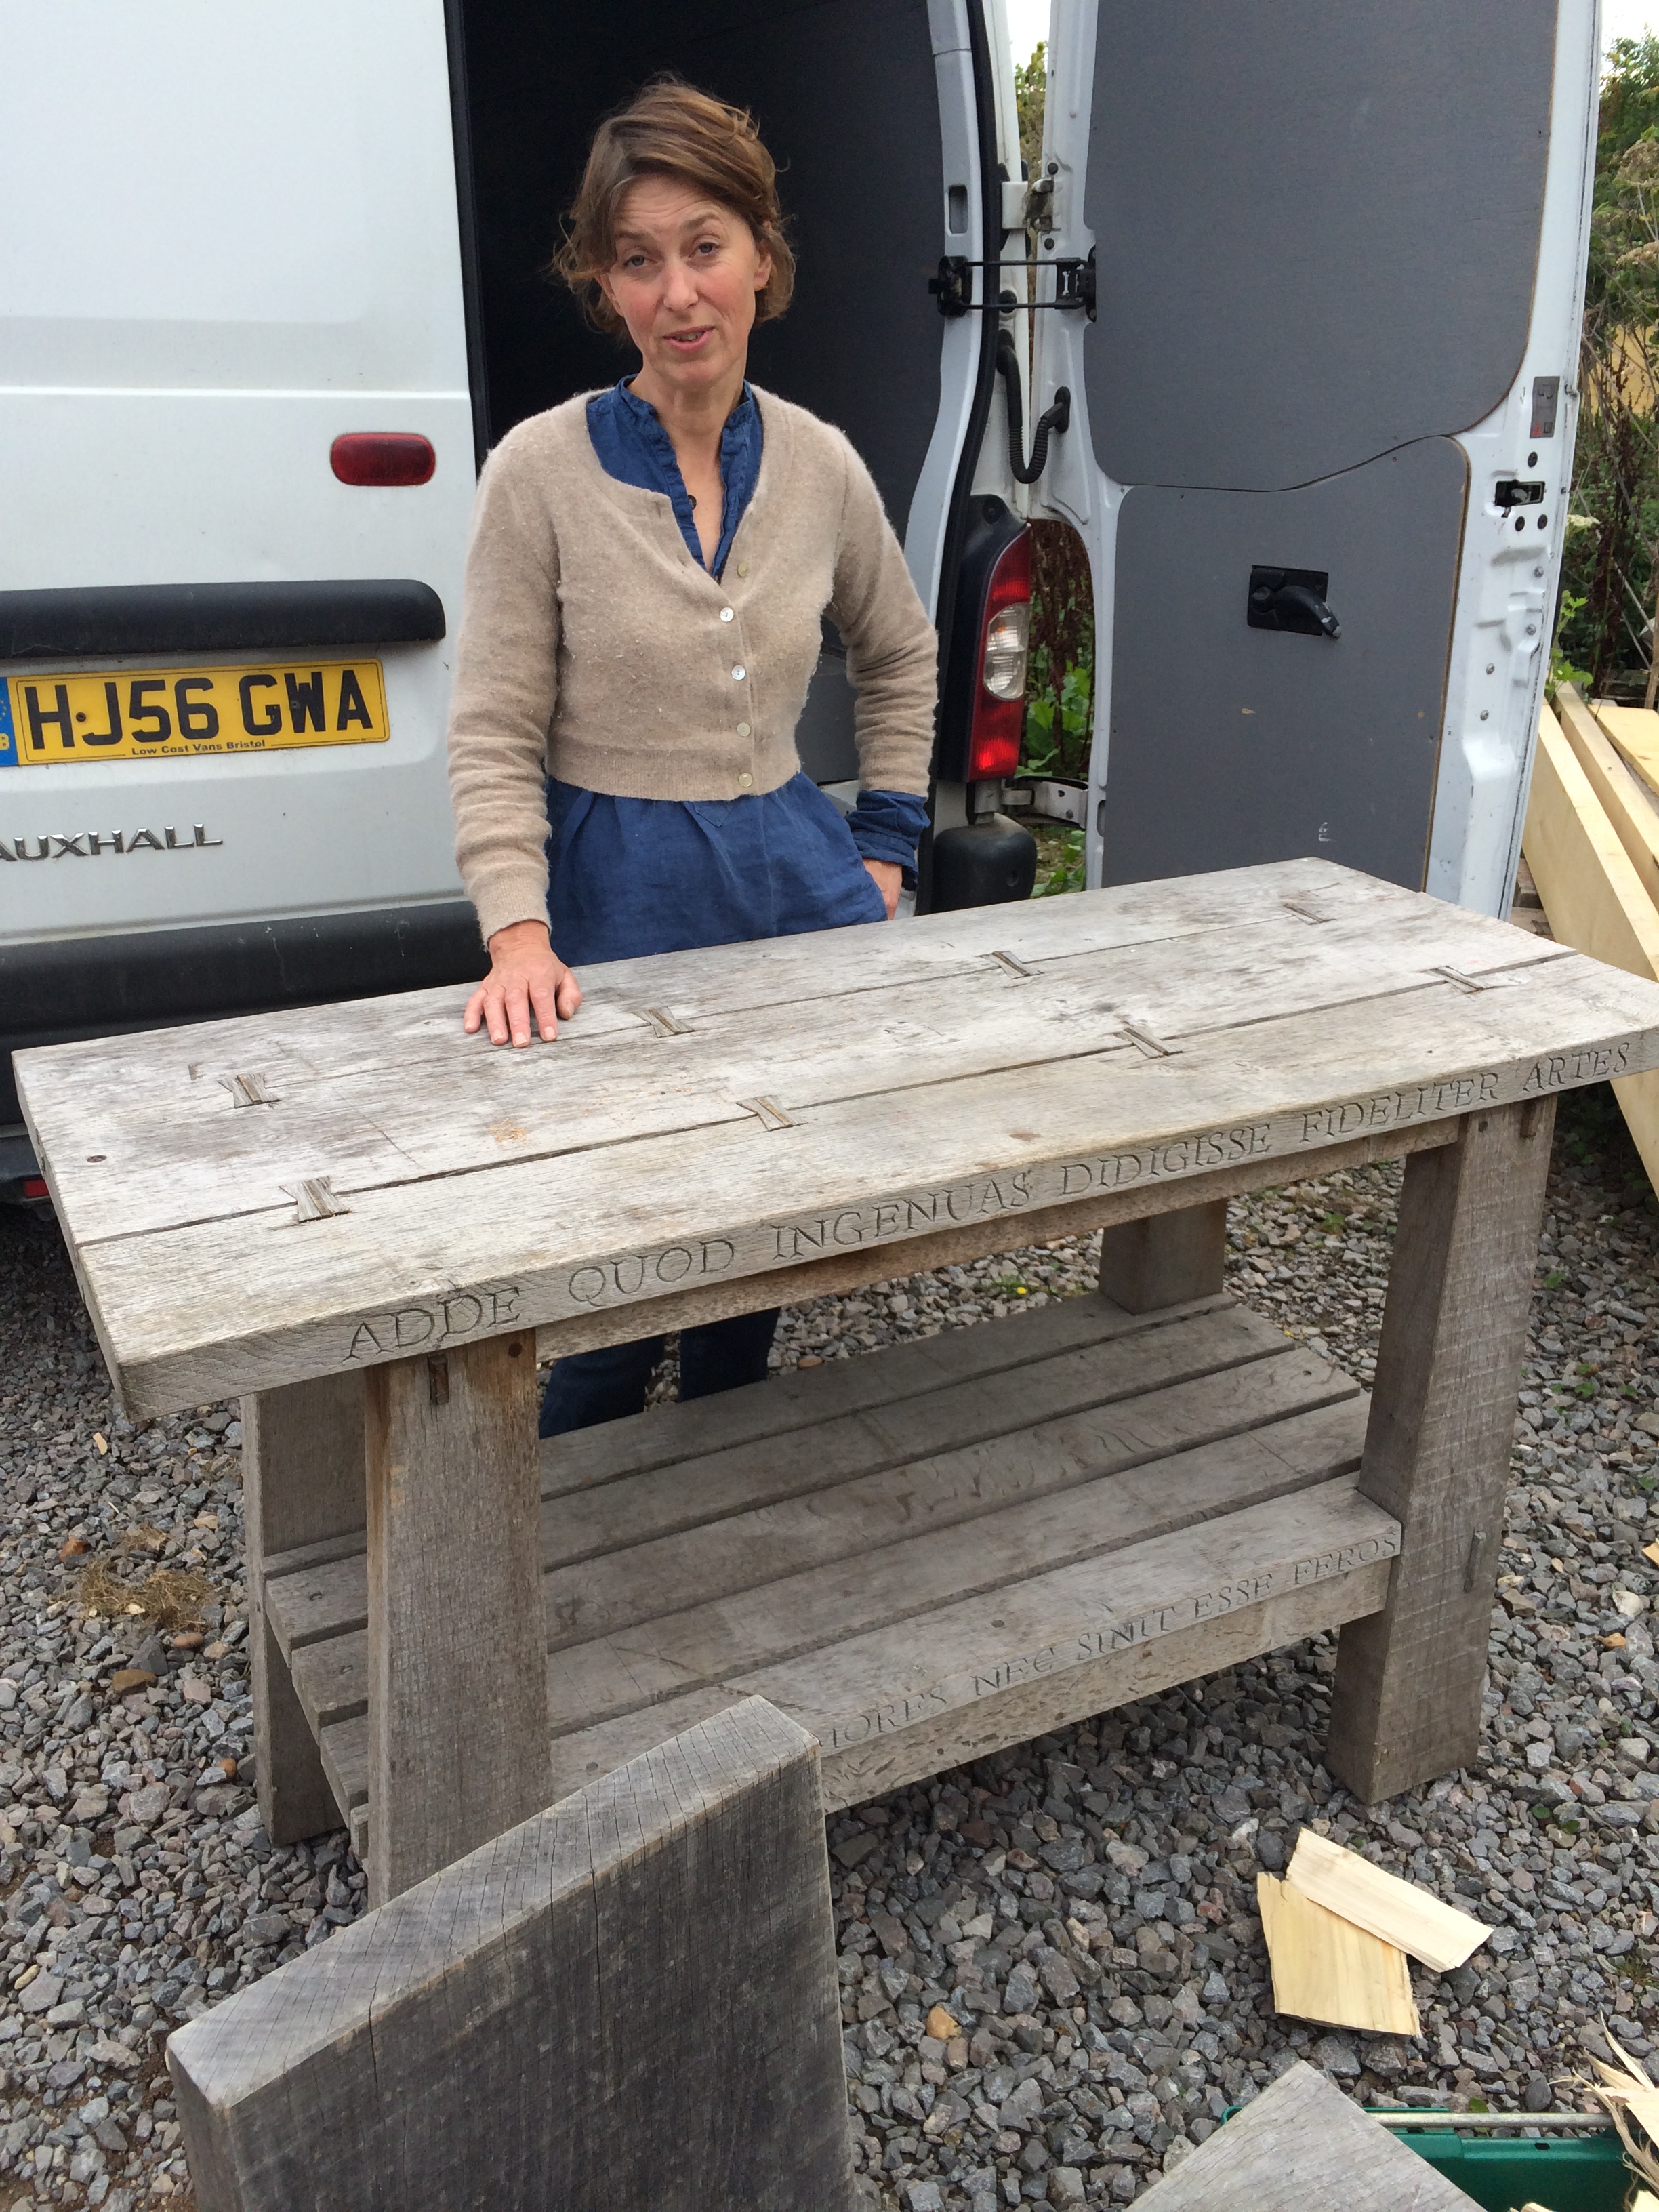
His shopping is always about the stories of the people. The antiques dealers with a long history of collecting. The person who carves words into the oak boards that comprise her garden furniture pieces. The people whose pottery is still making pots going on two hundred years later. The artisan who is creating their own special brand of ornament. The dealer who has taken the time to make very fine quality reproductions of classic garden ornament. The armillary sphere maker whose attention to the science, physics, and fabrication warrants a closer look. I greatly admire how he takes the buying to heart. That big heart of his has made Detroit Garden Works a destination for gardeners of every persuasion.
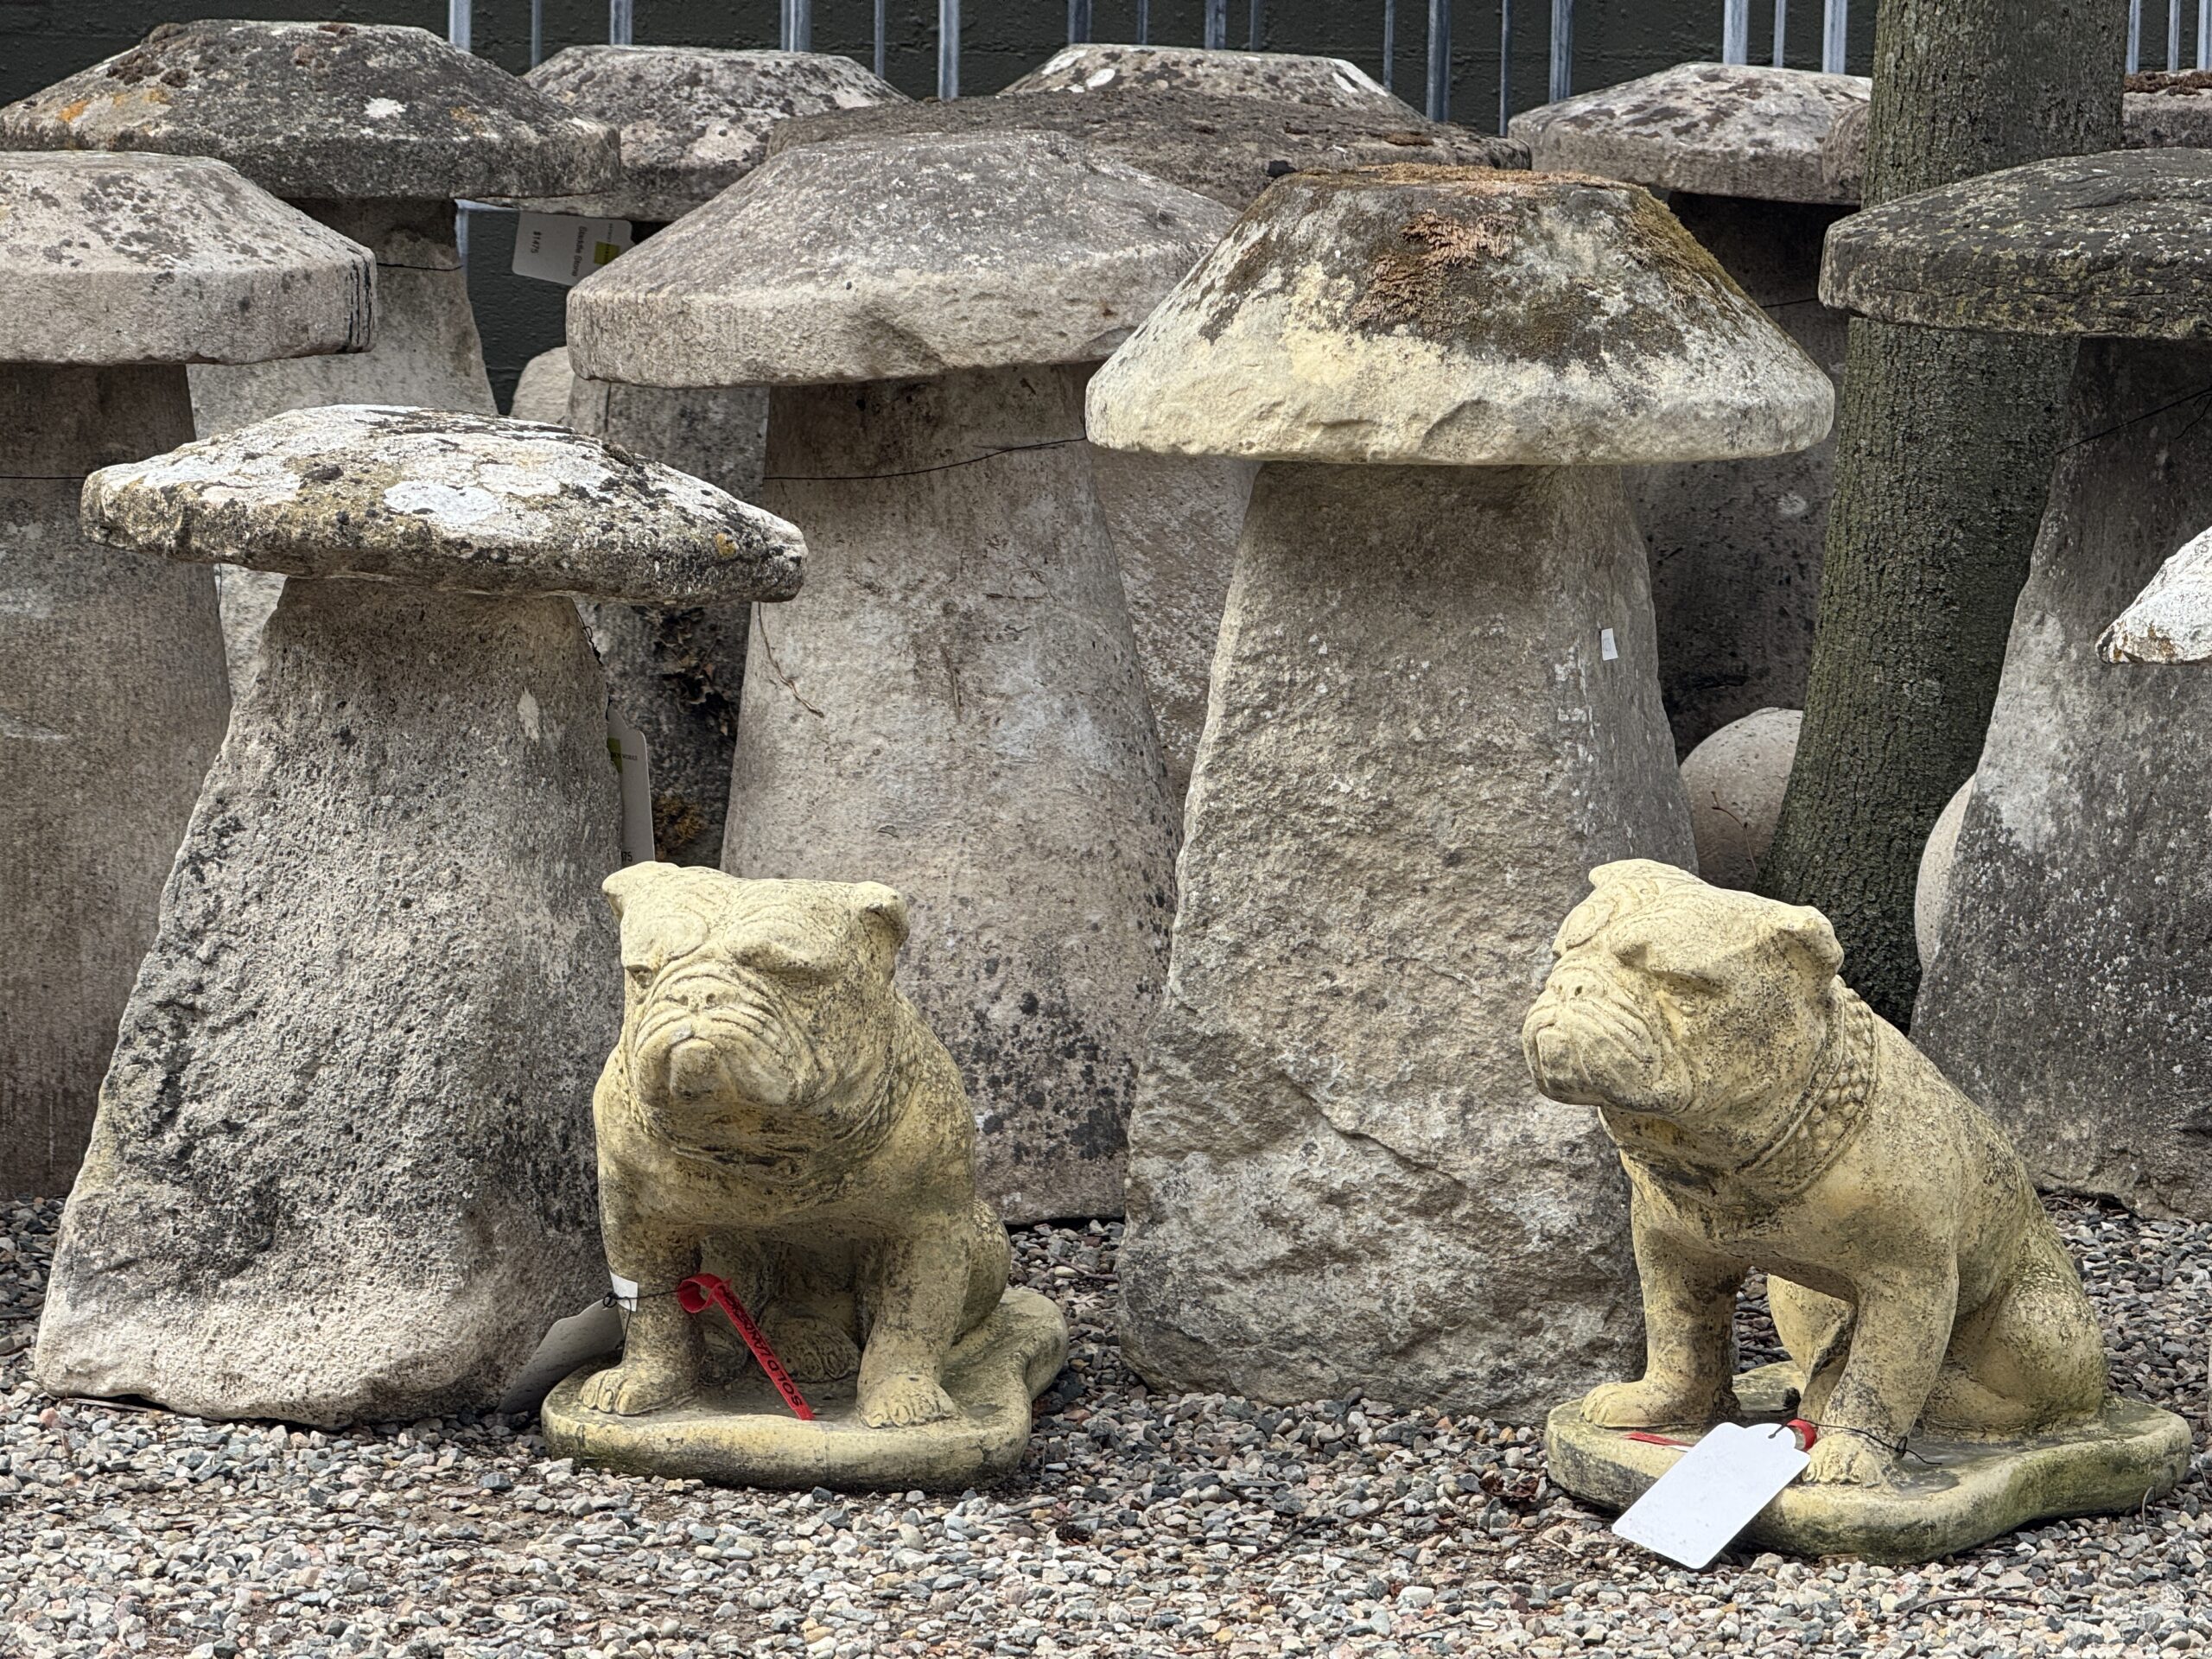
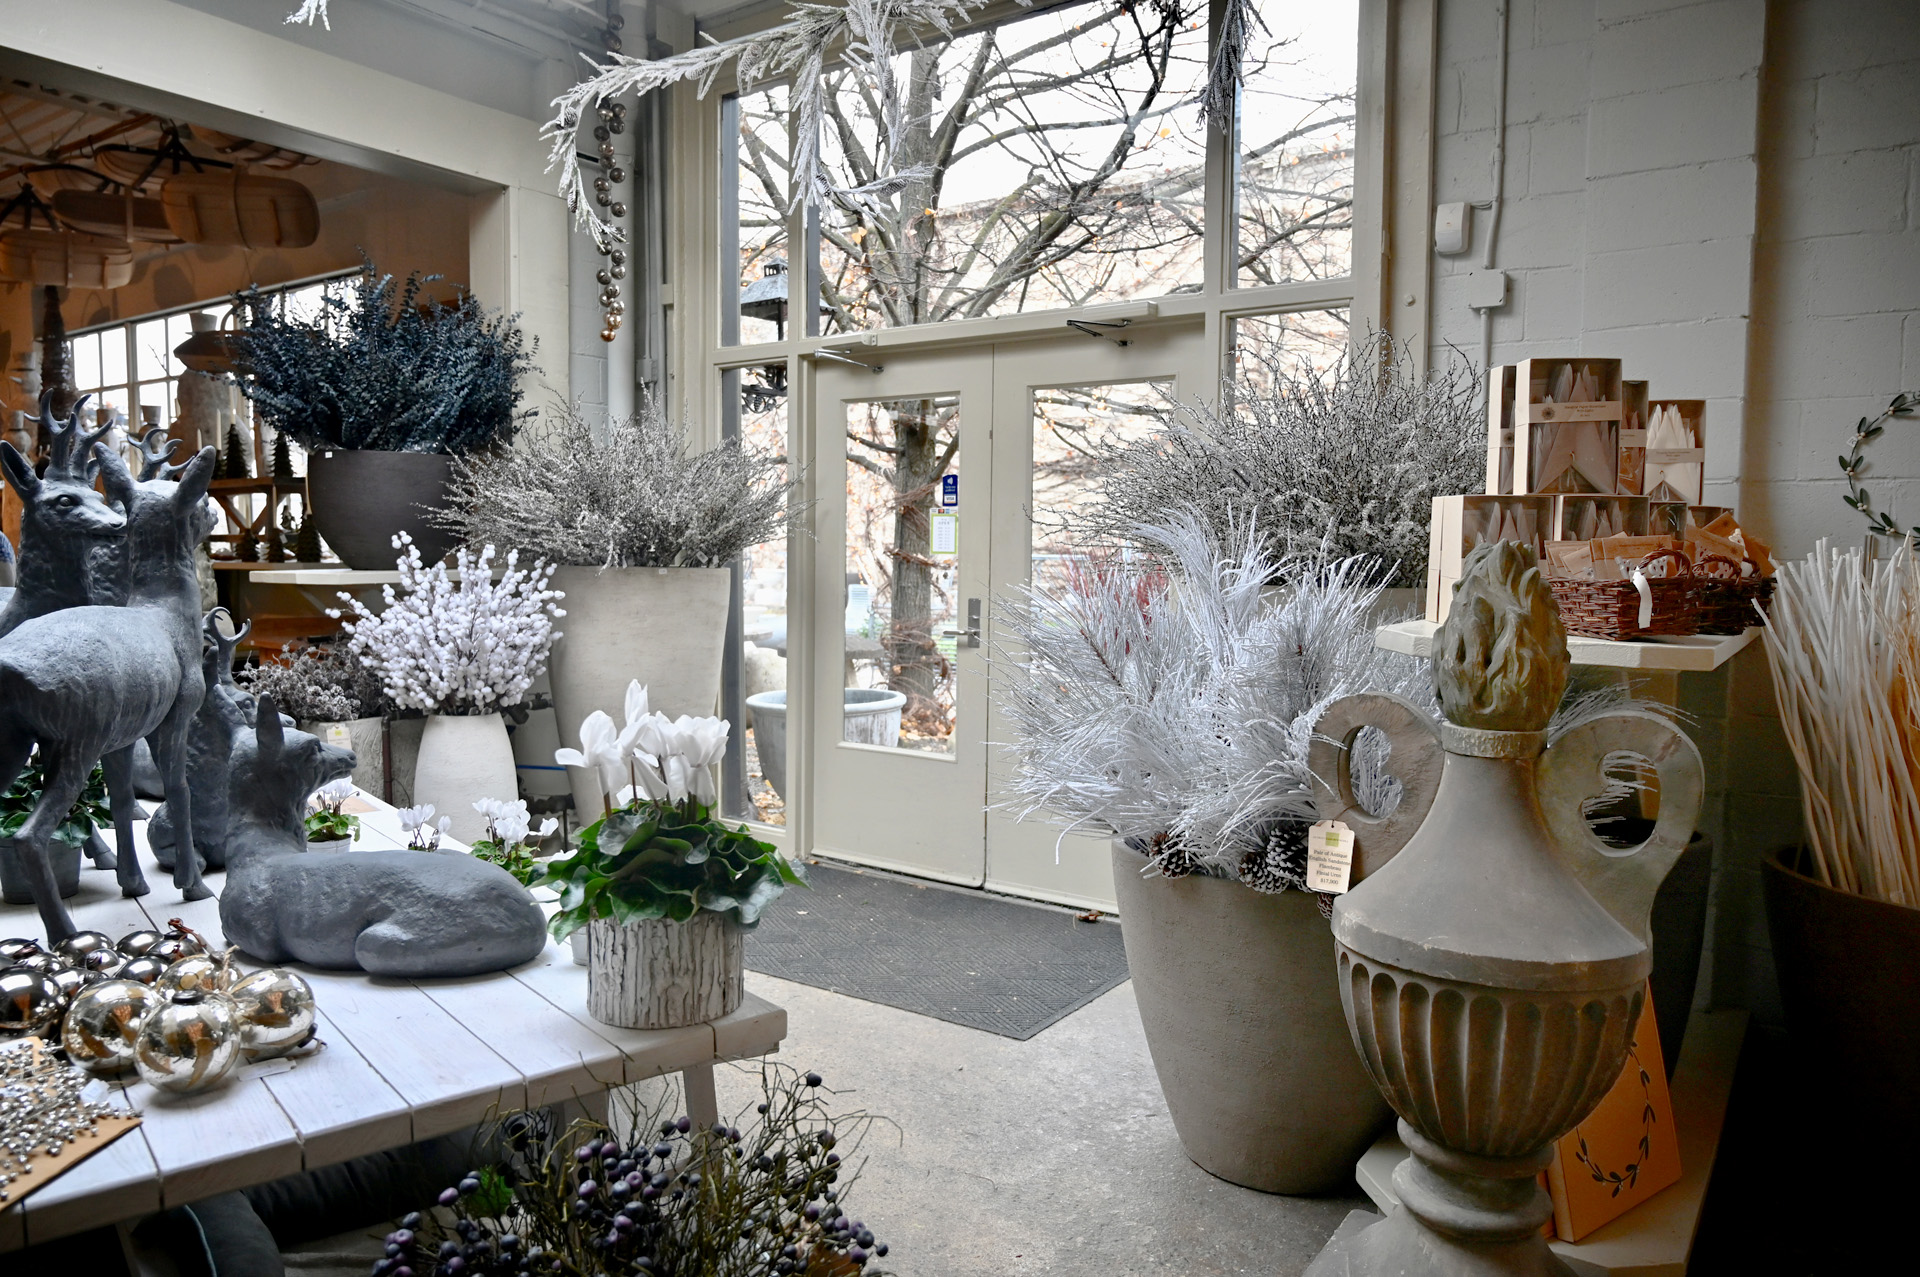
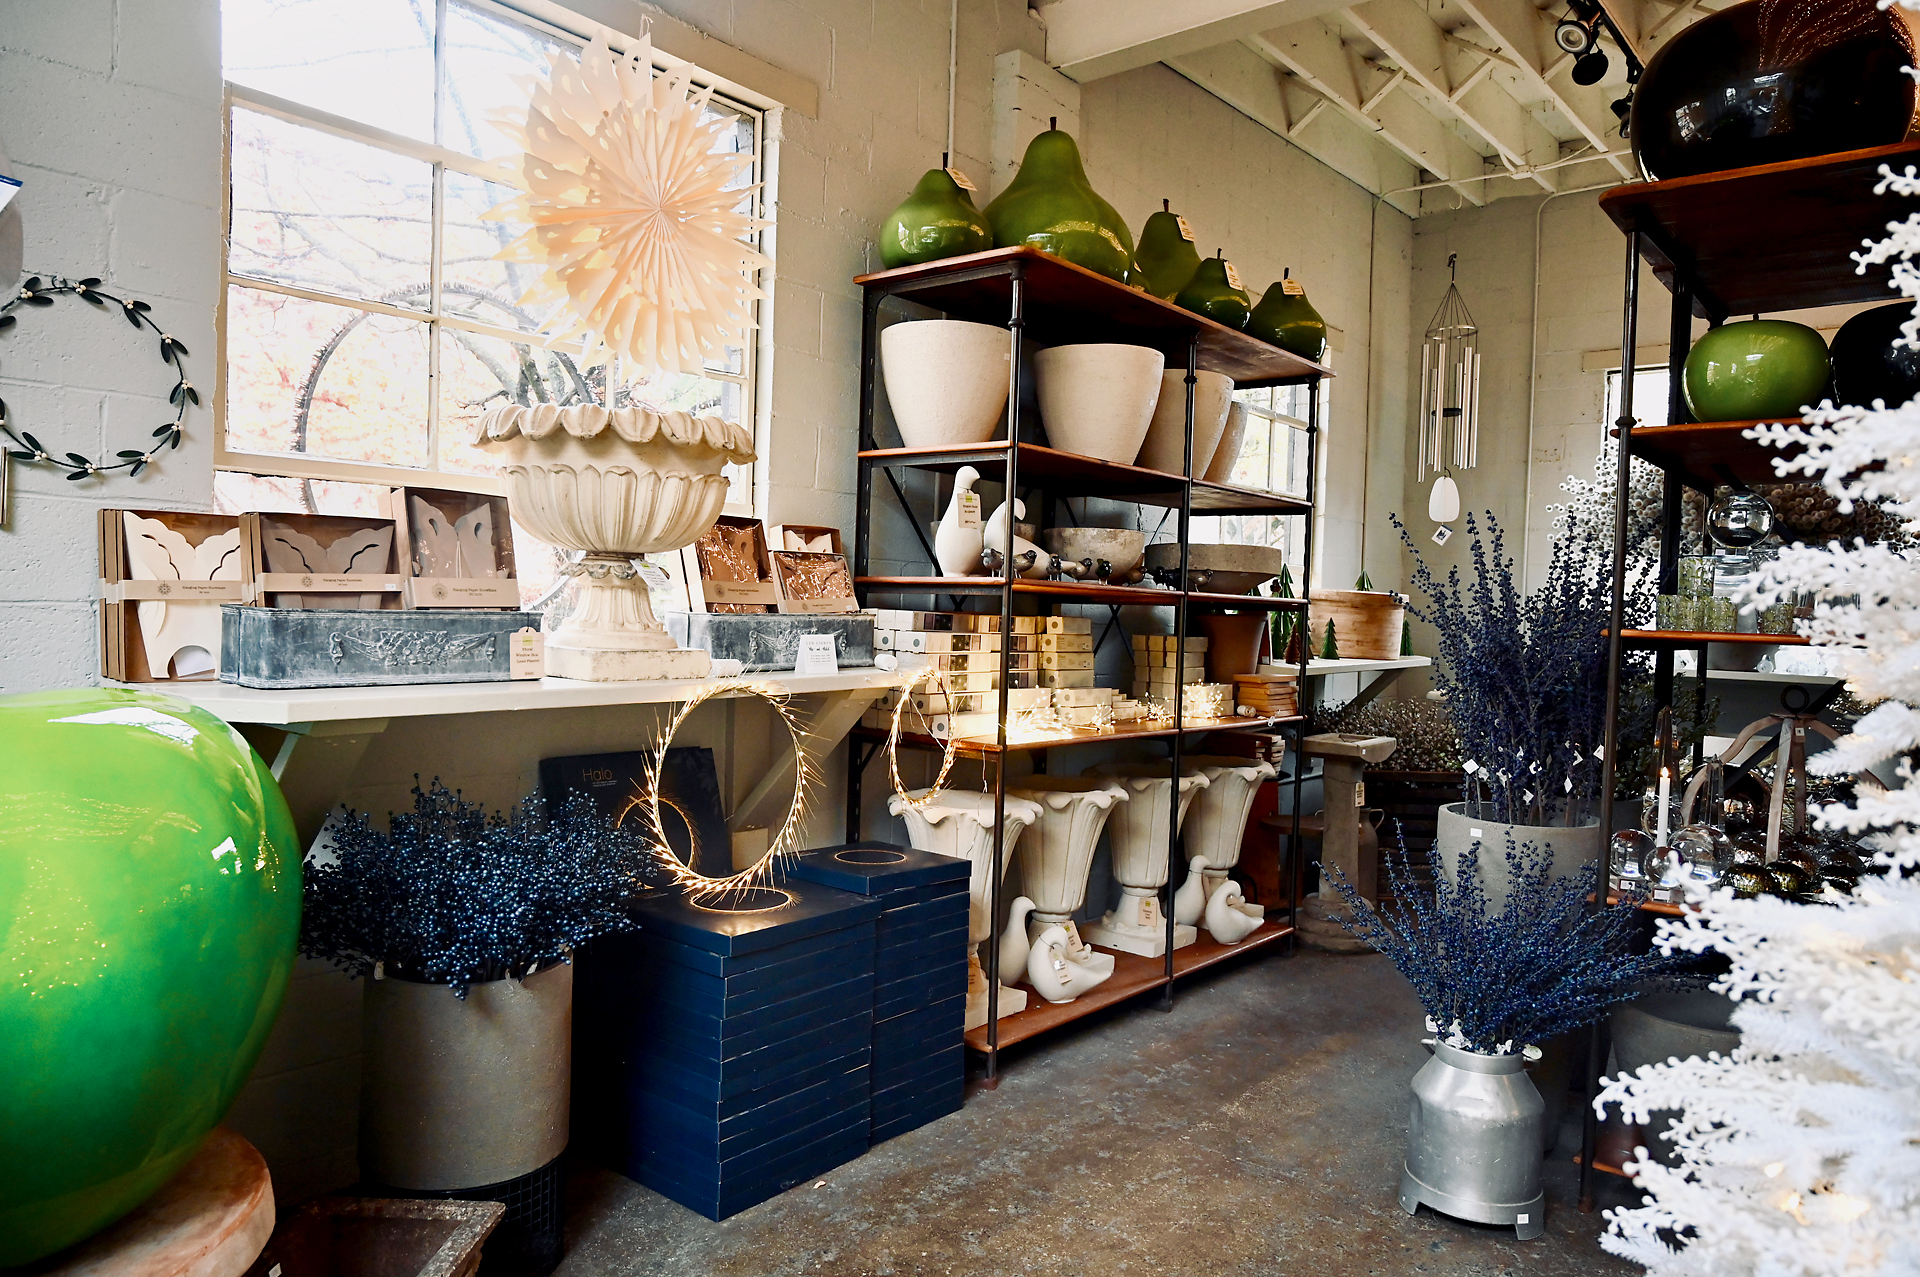
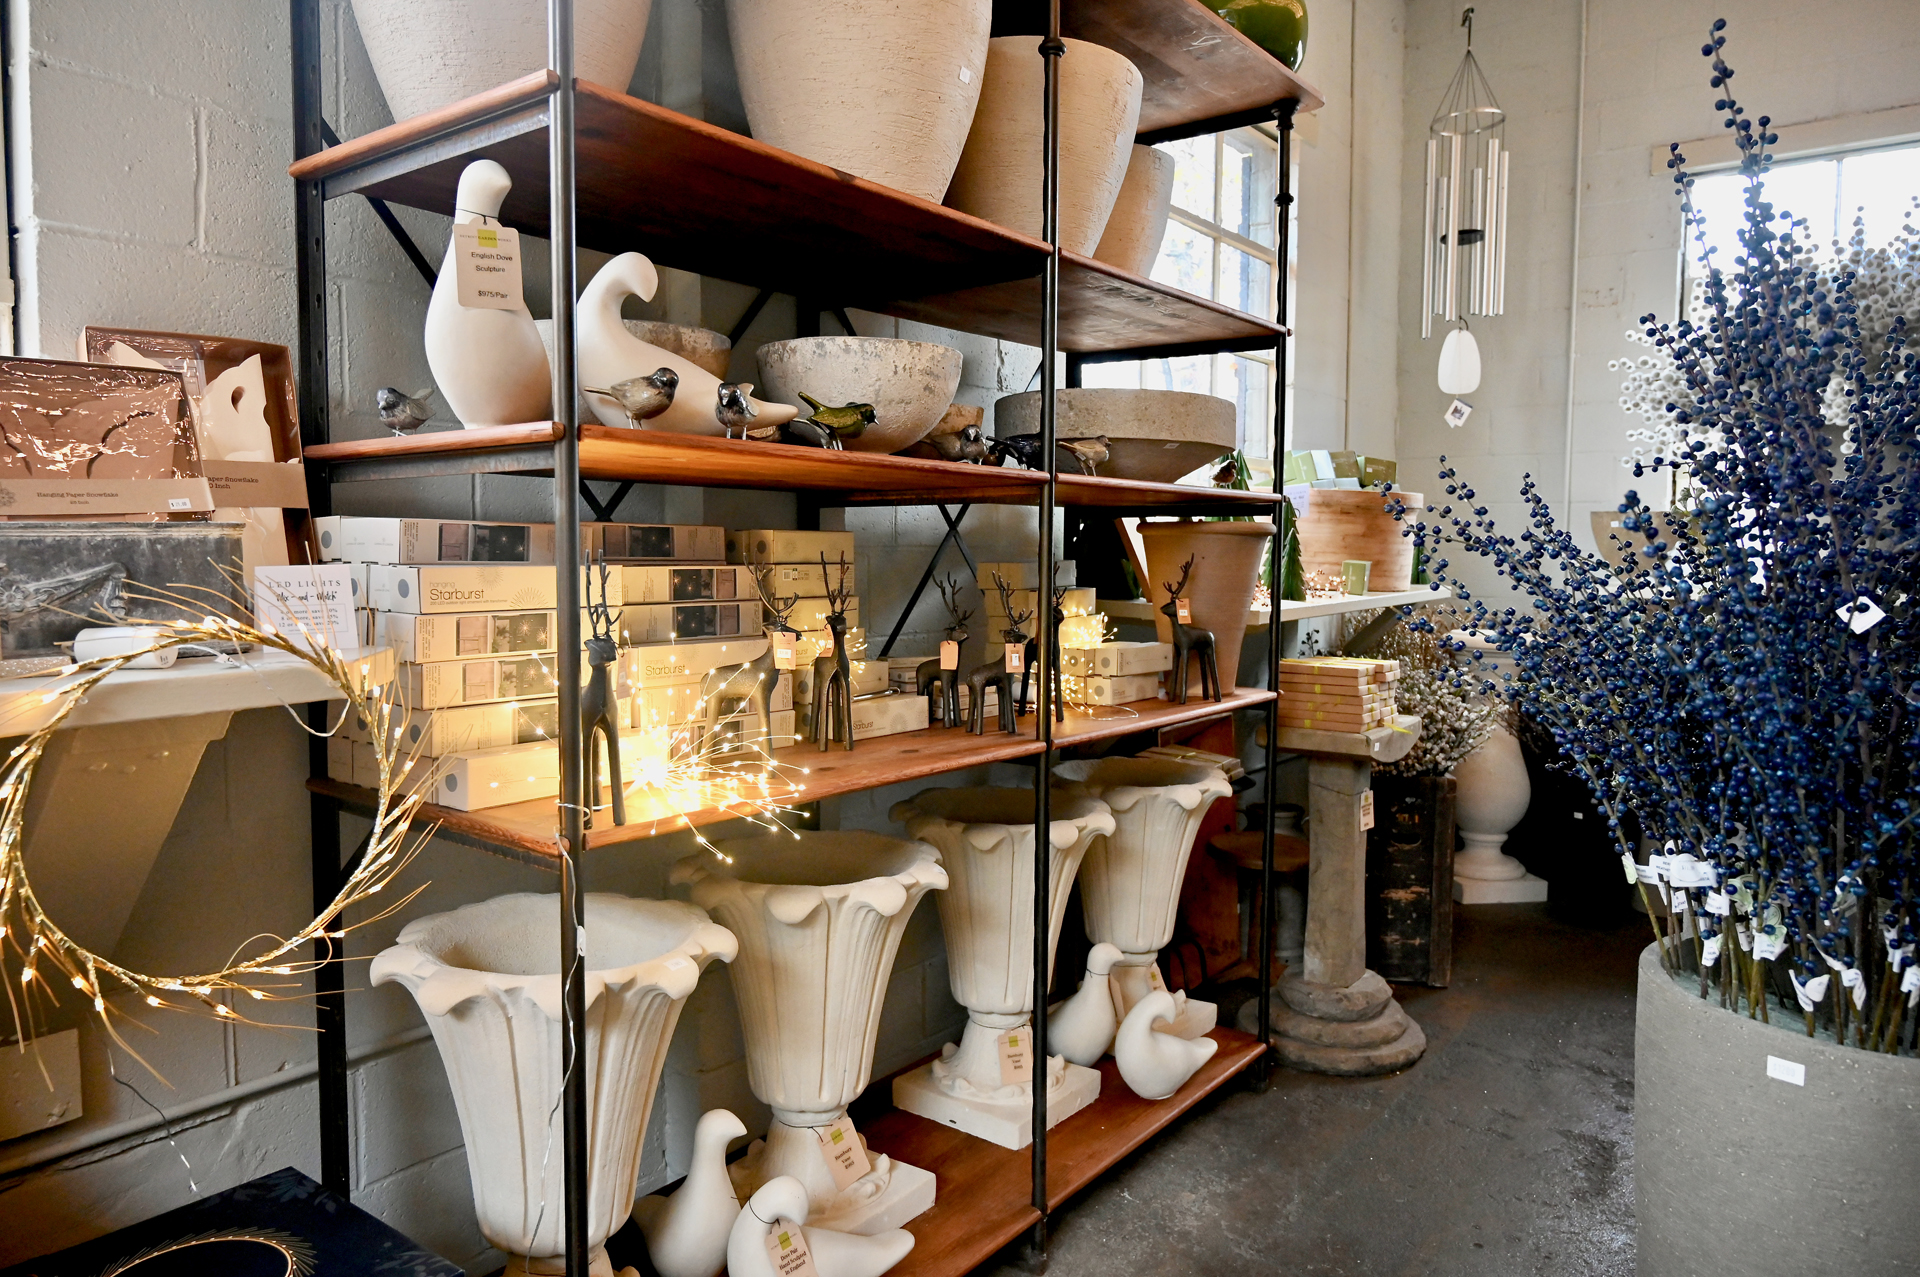
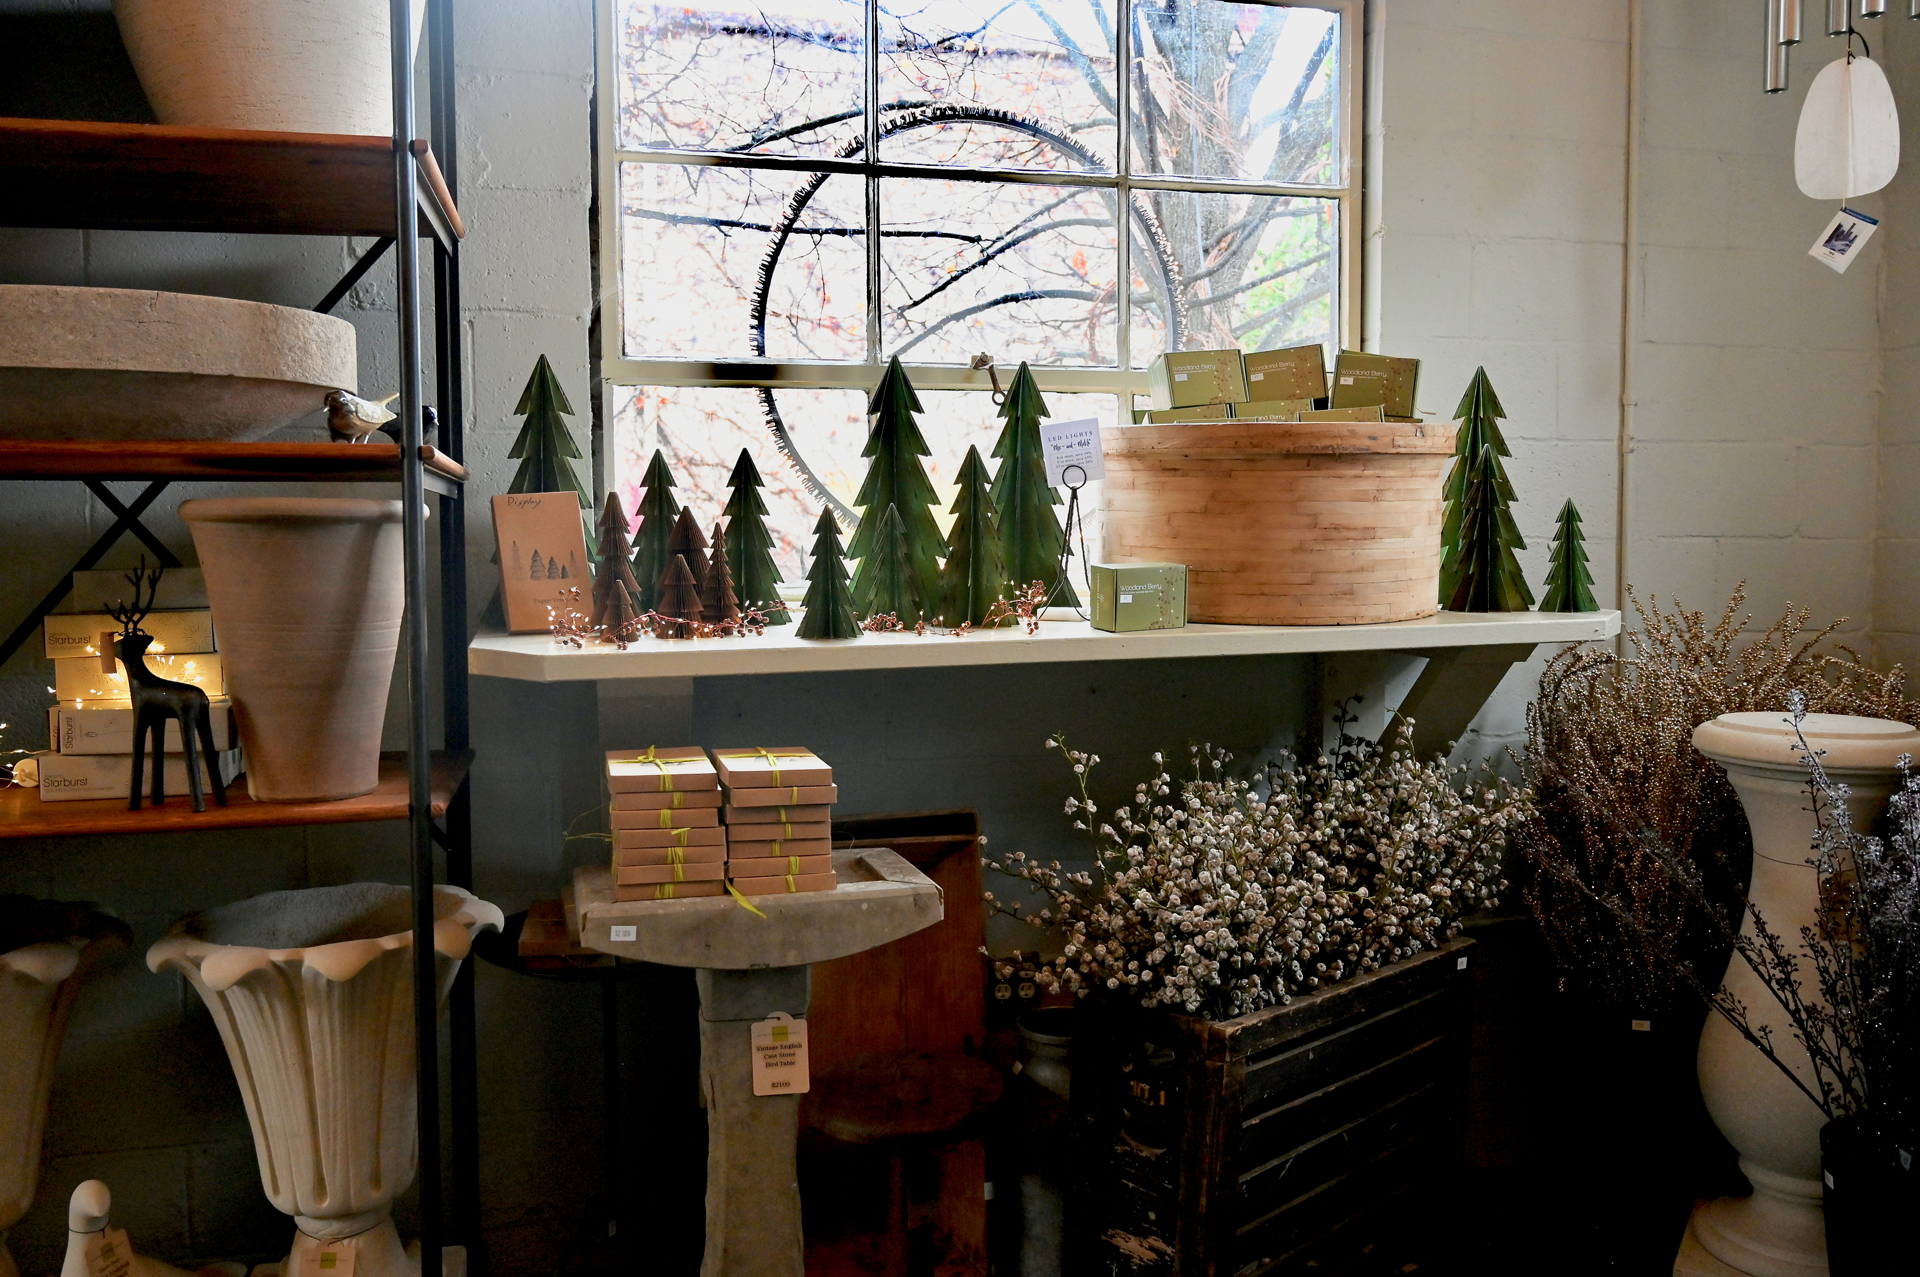
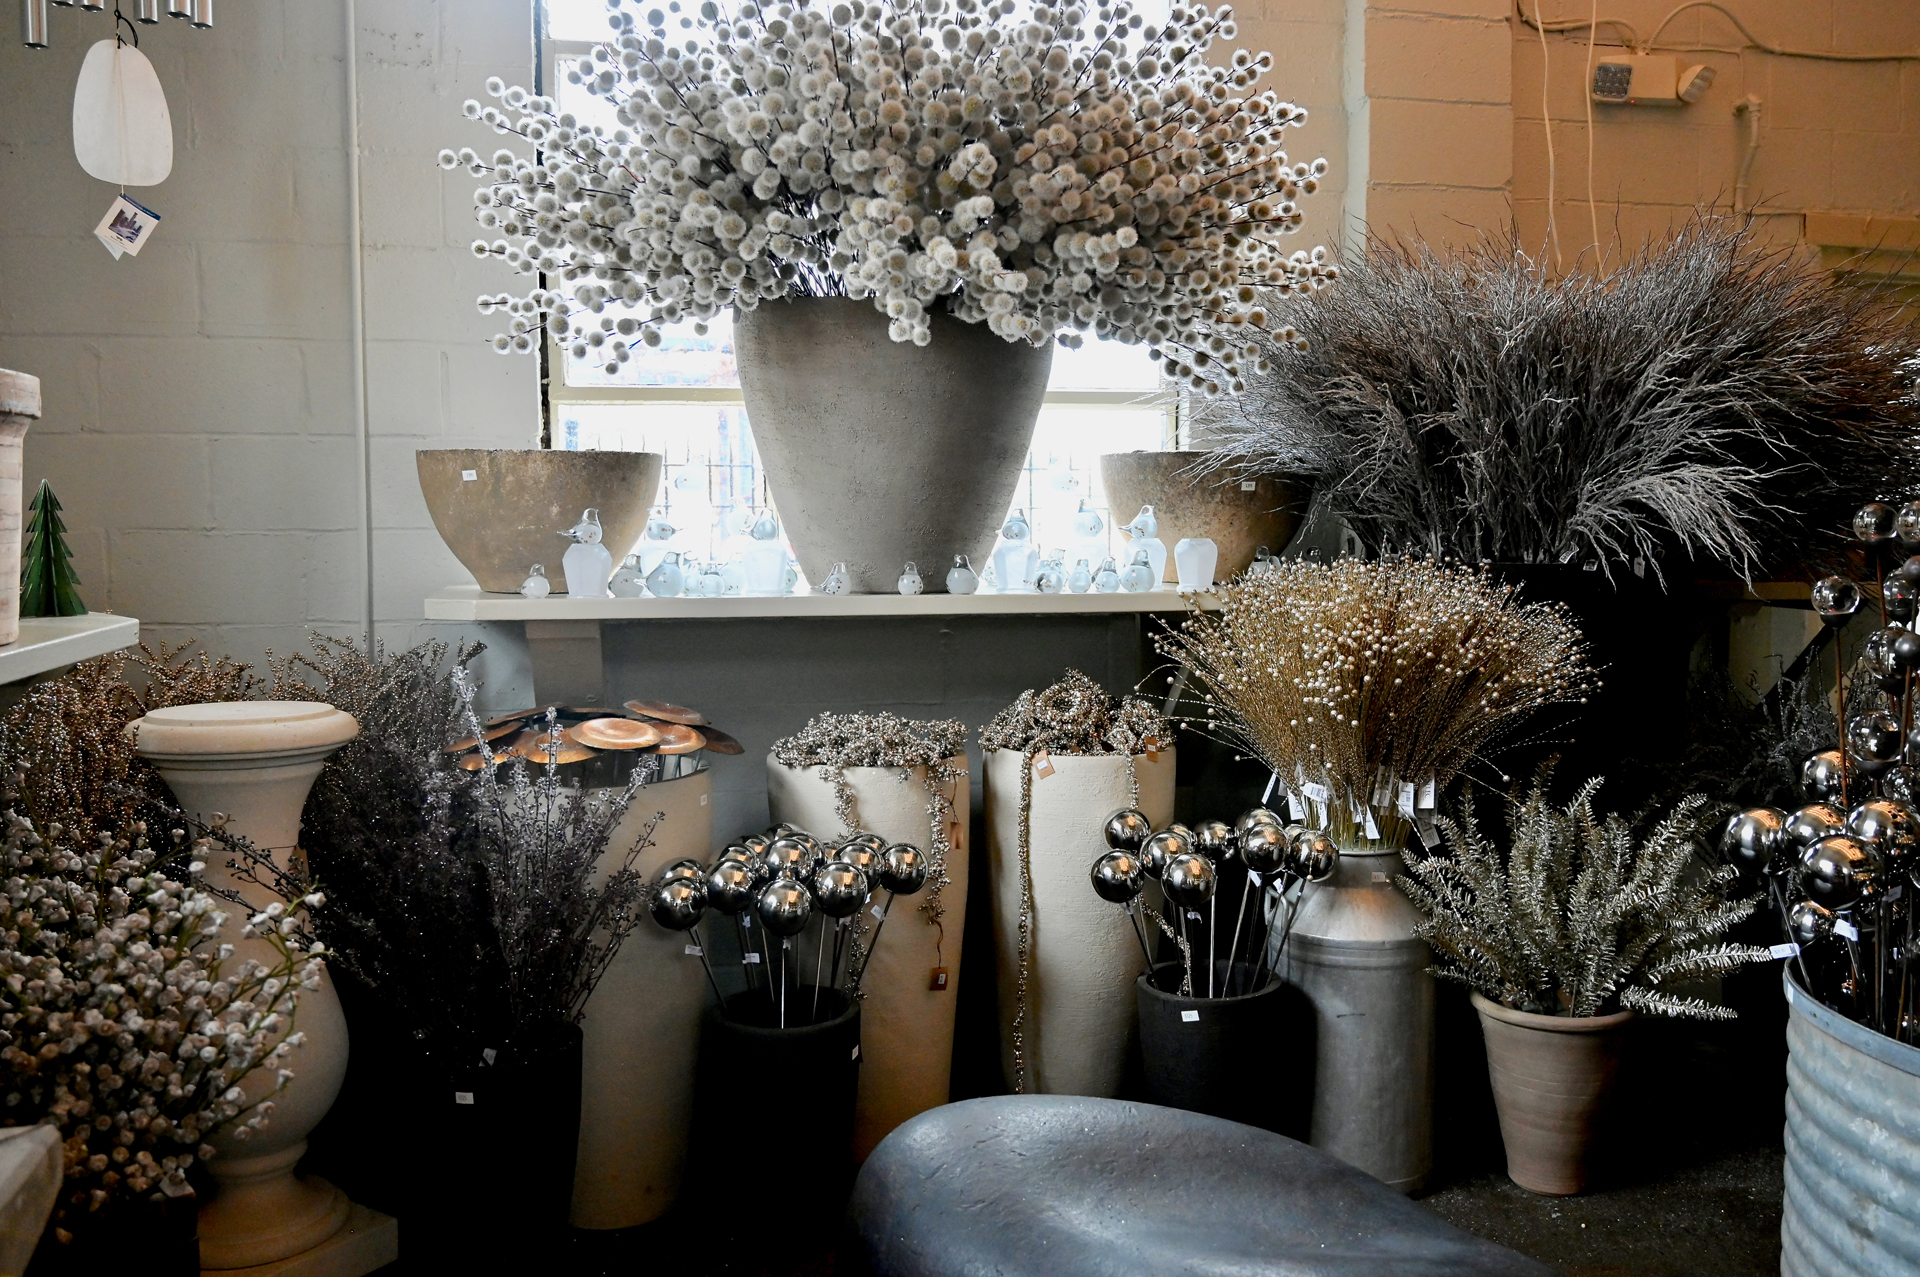
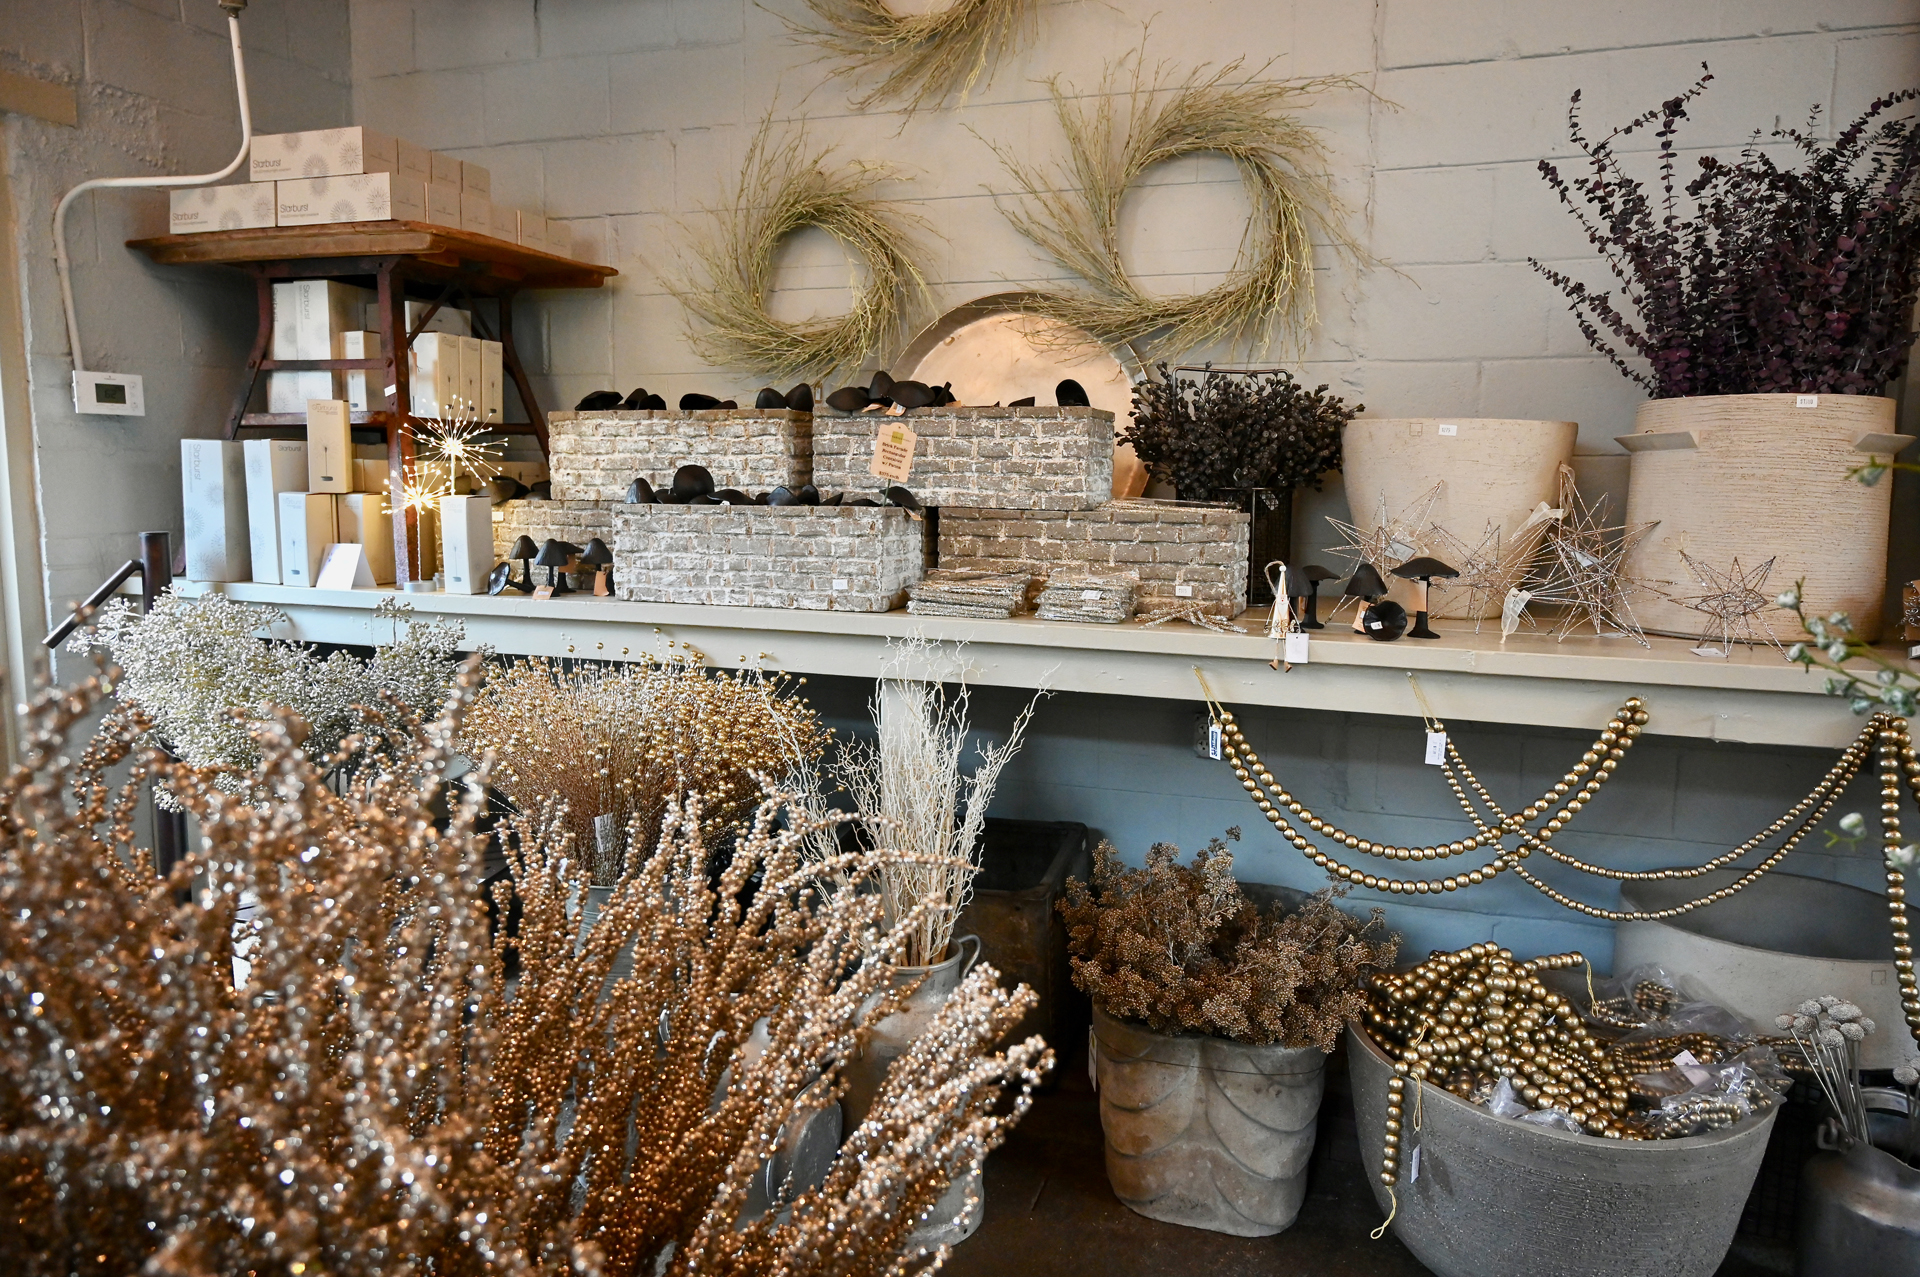
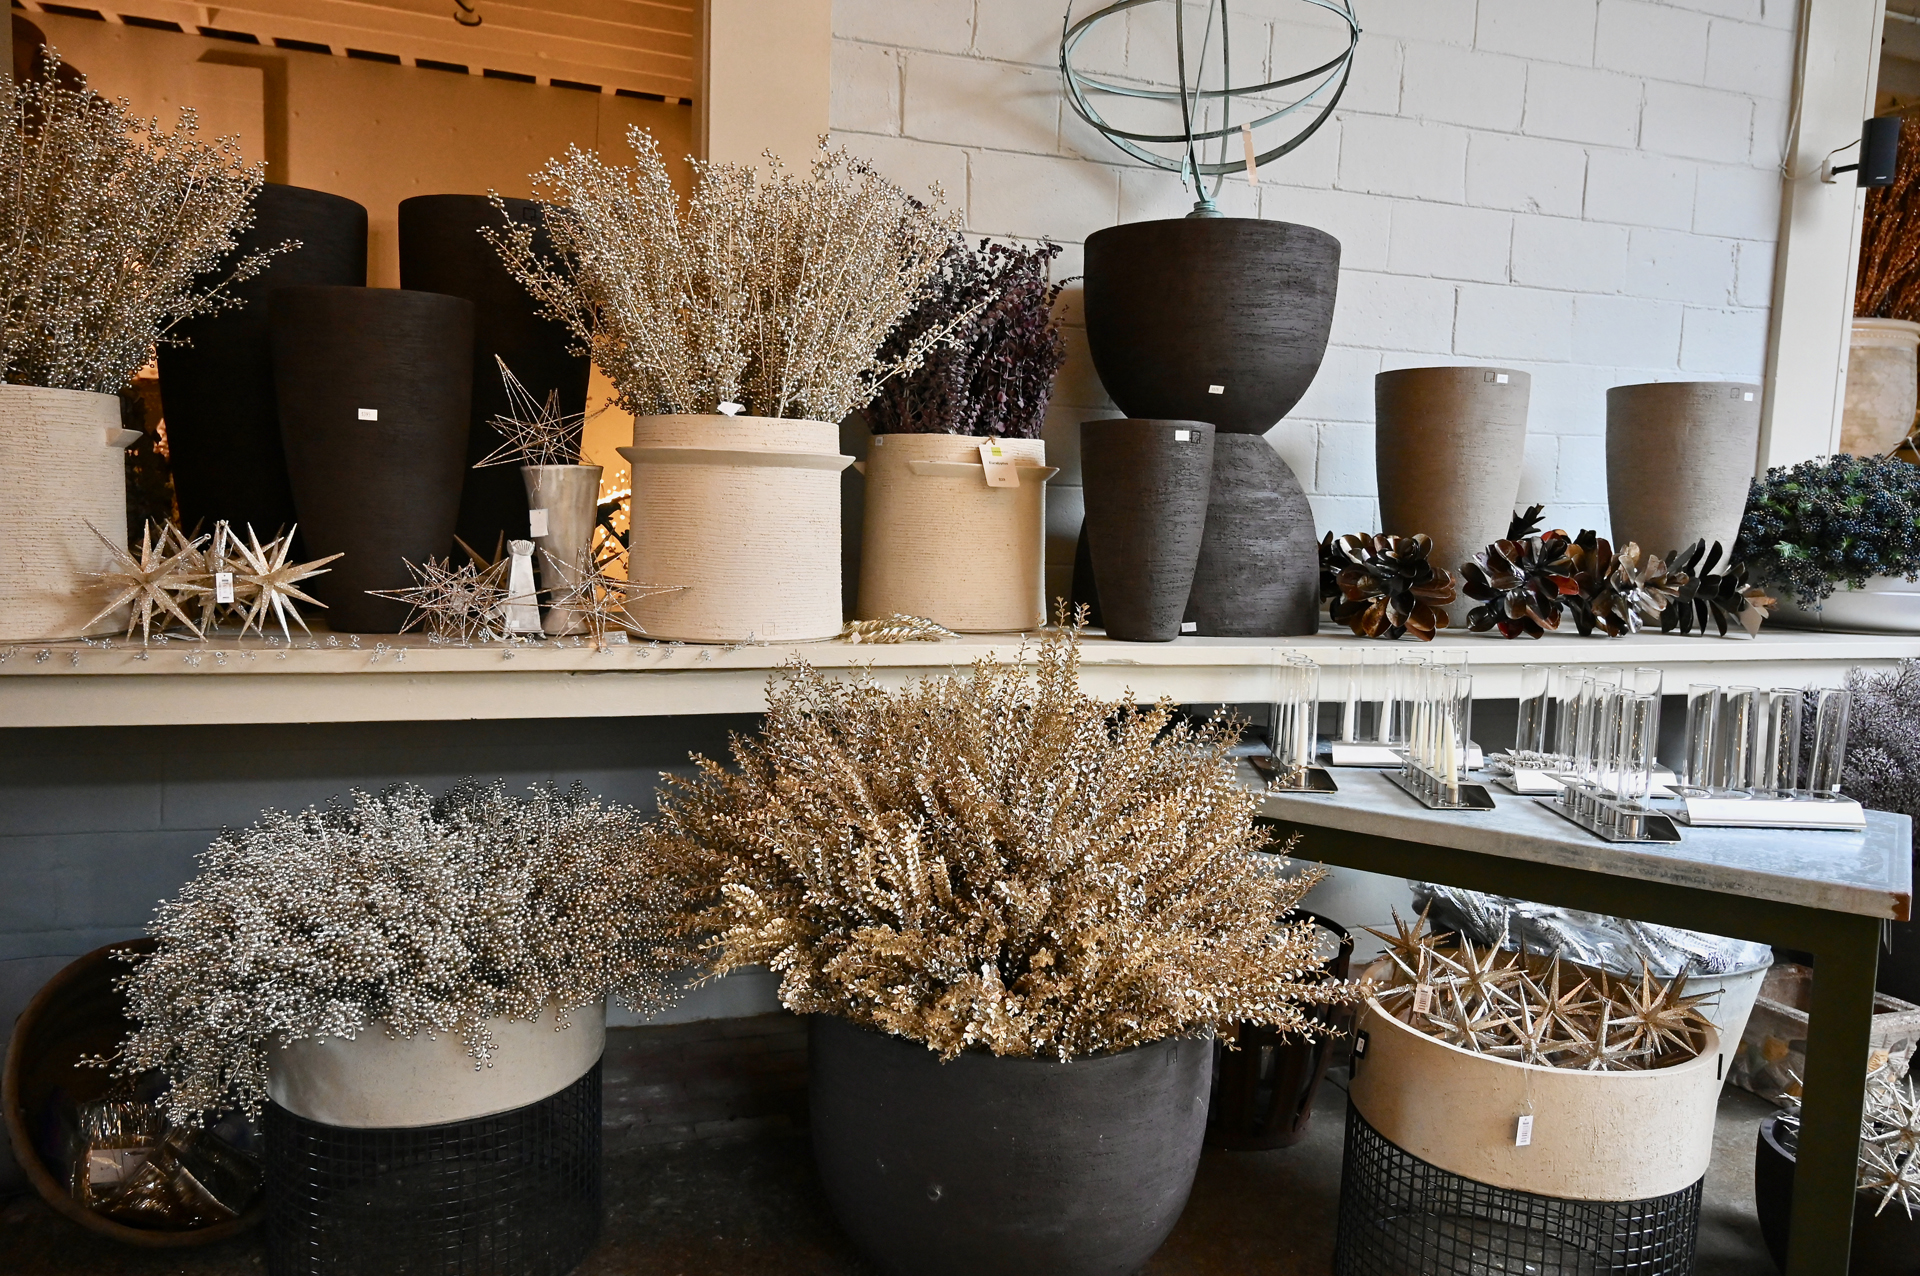
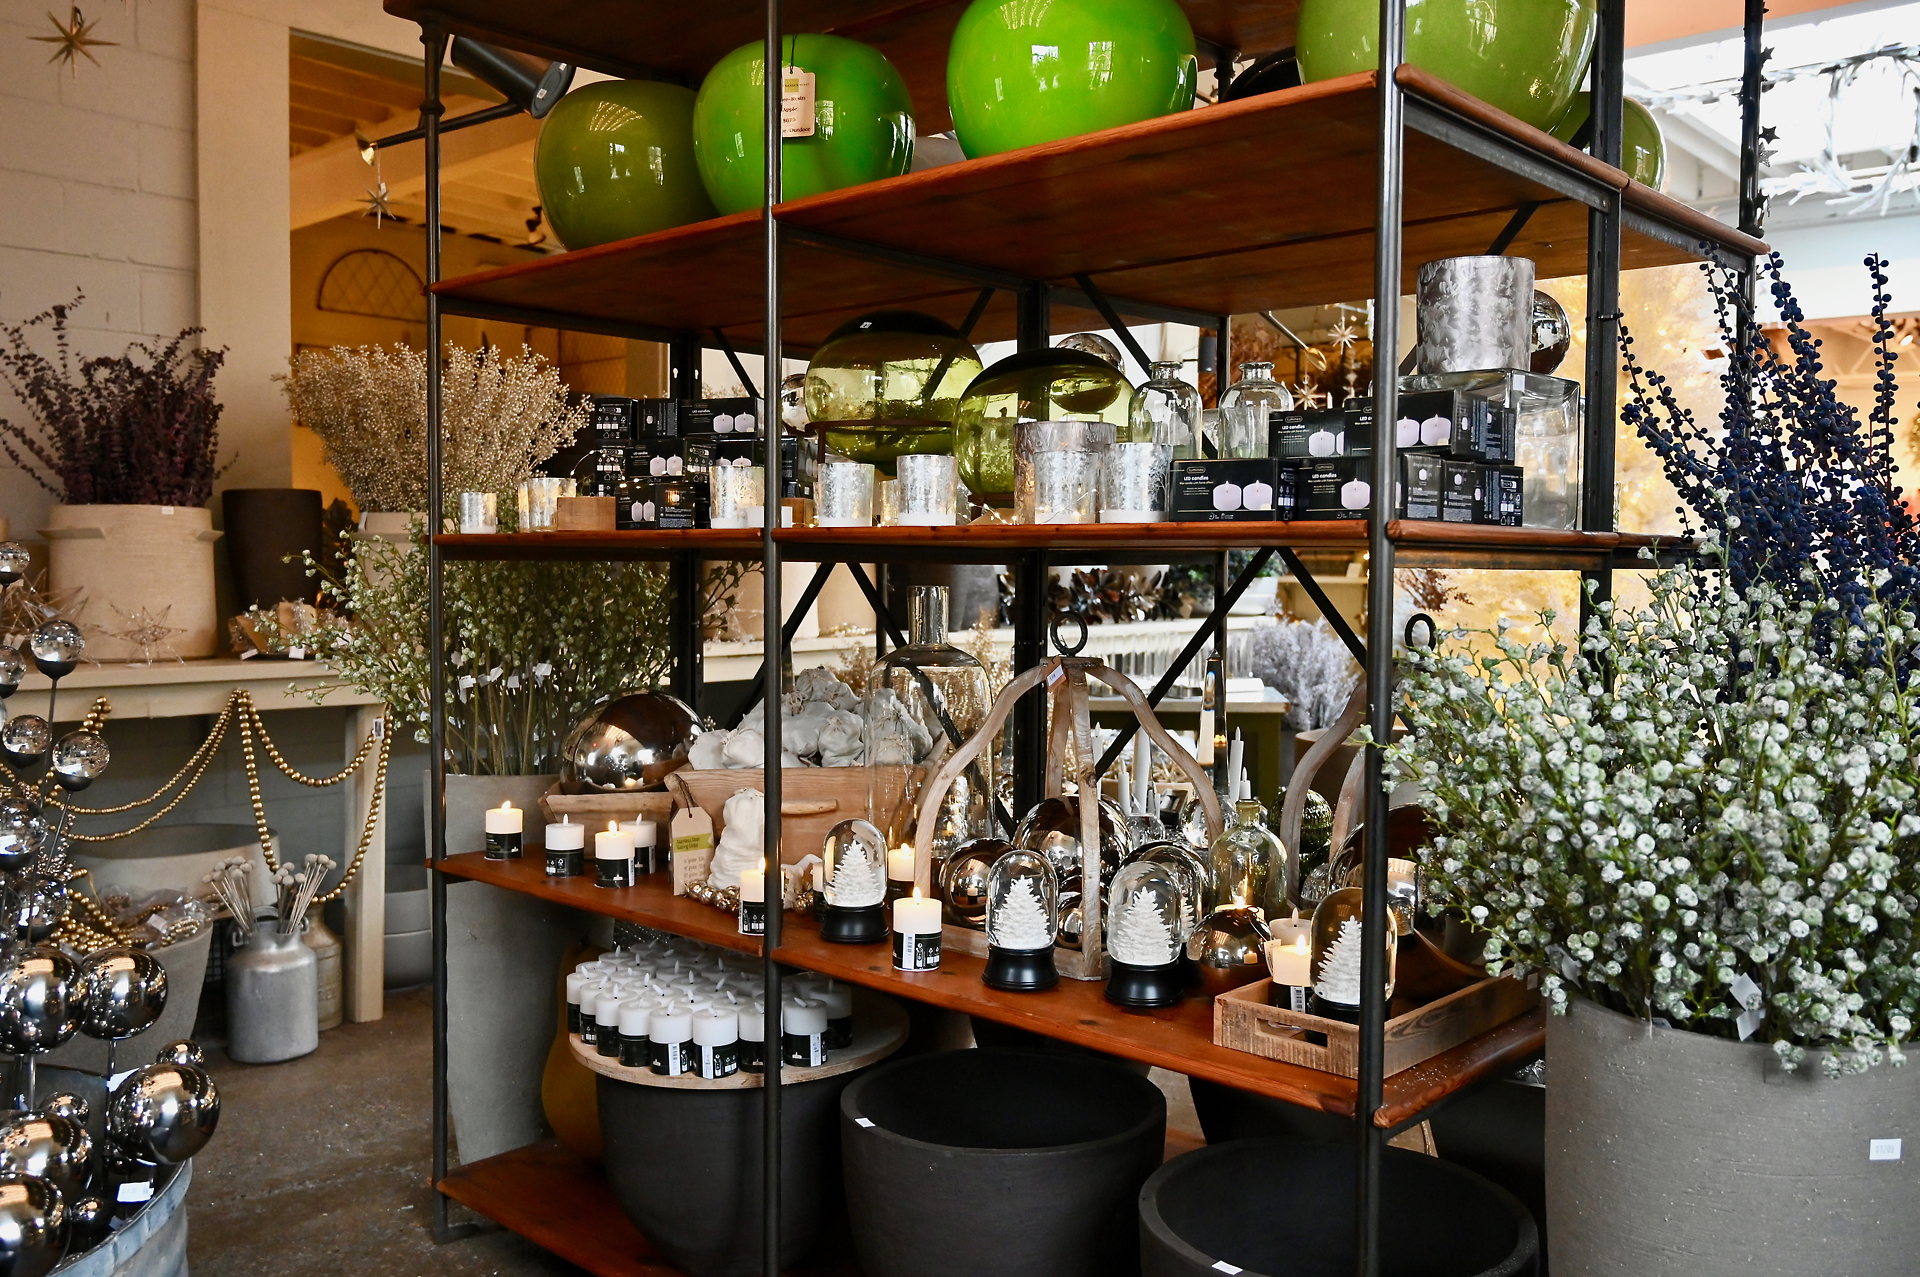
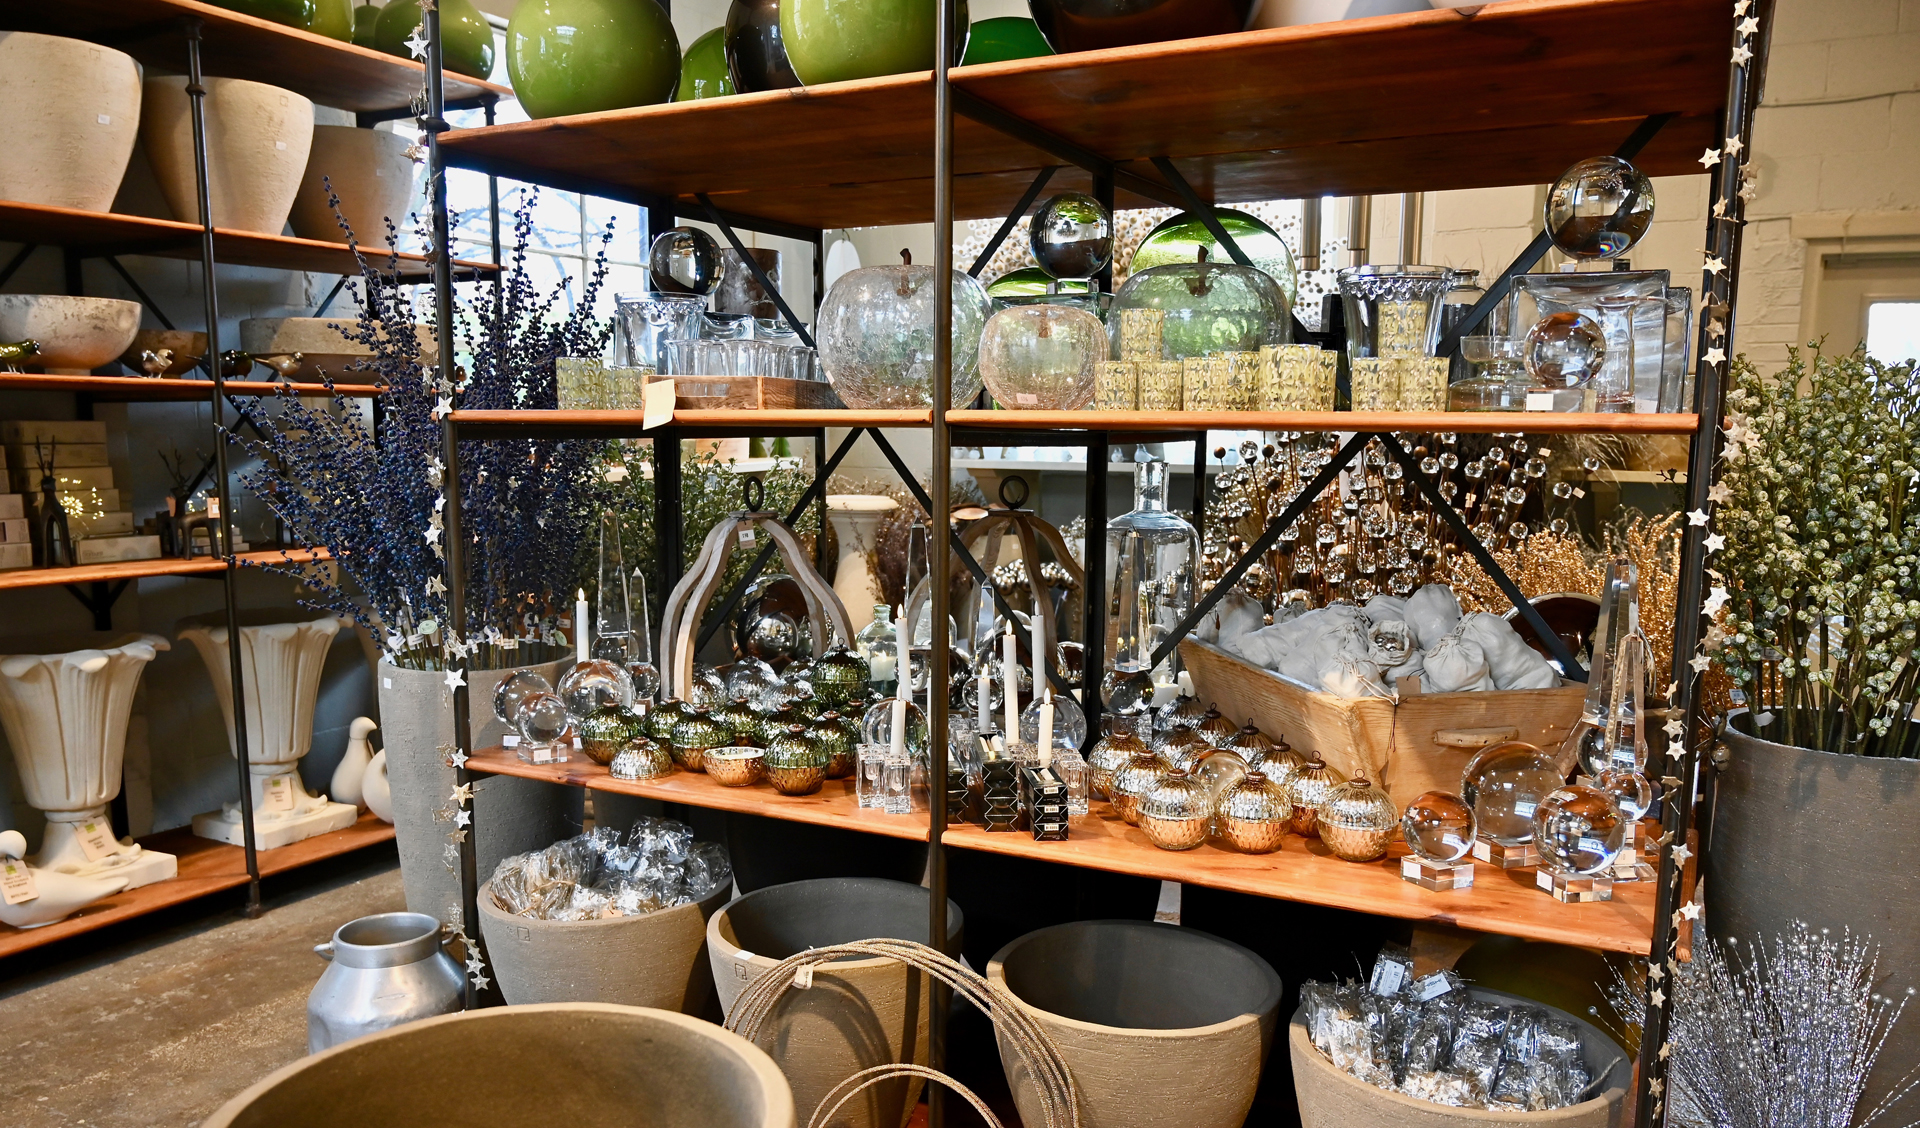
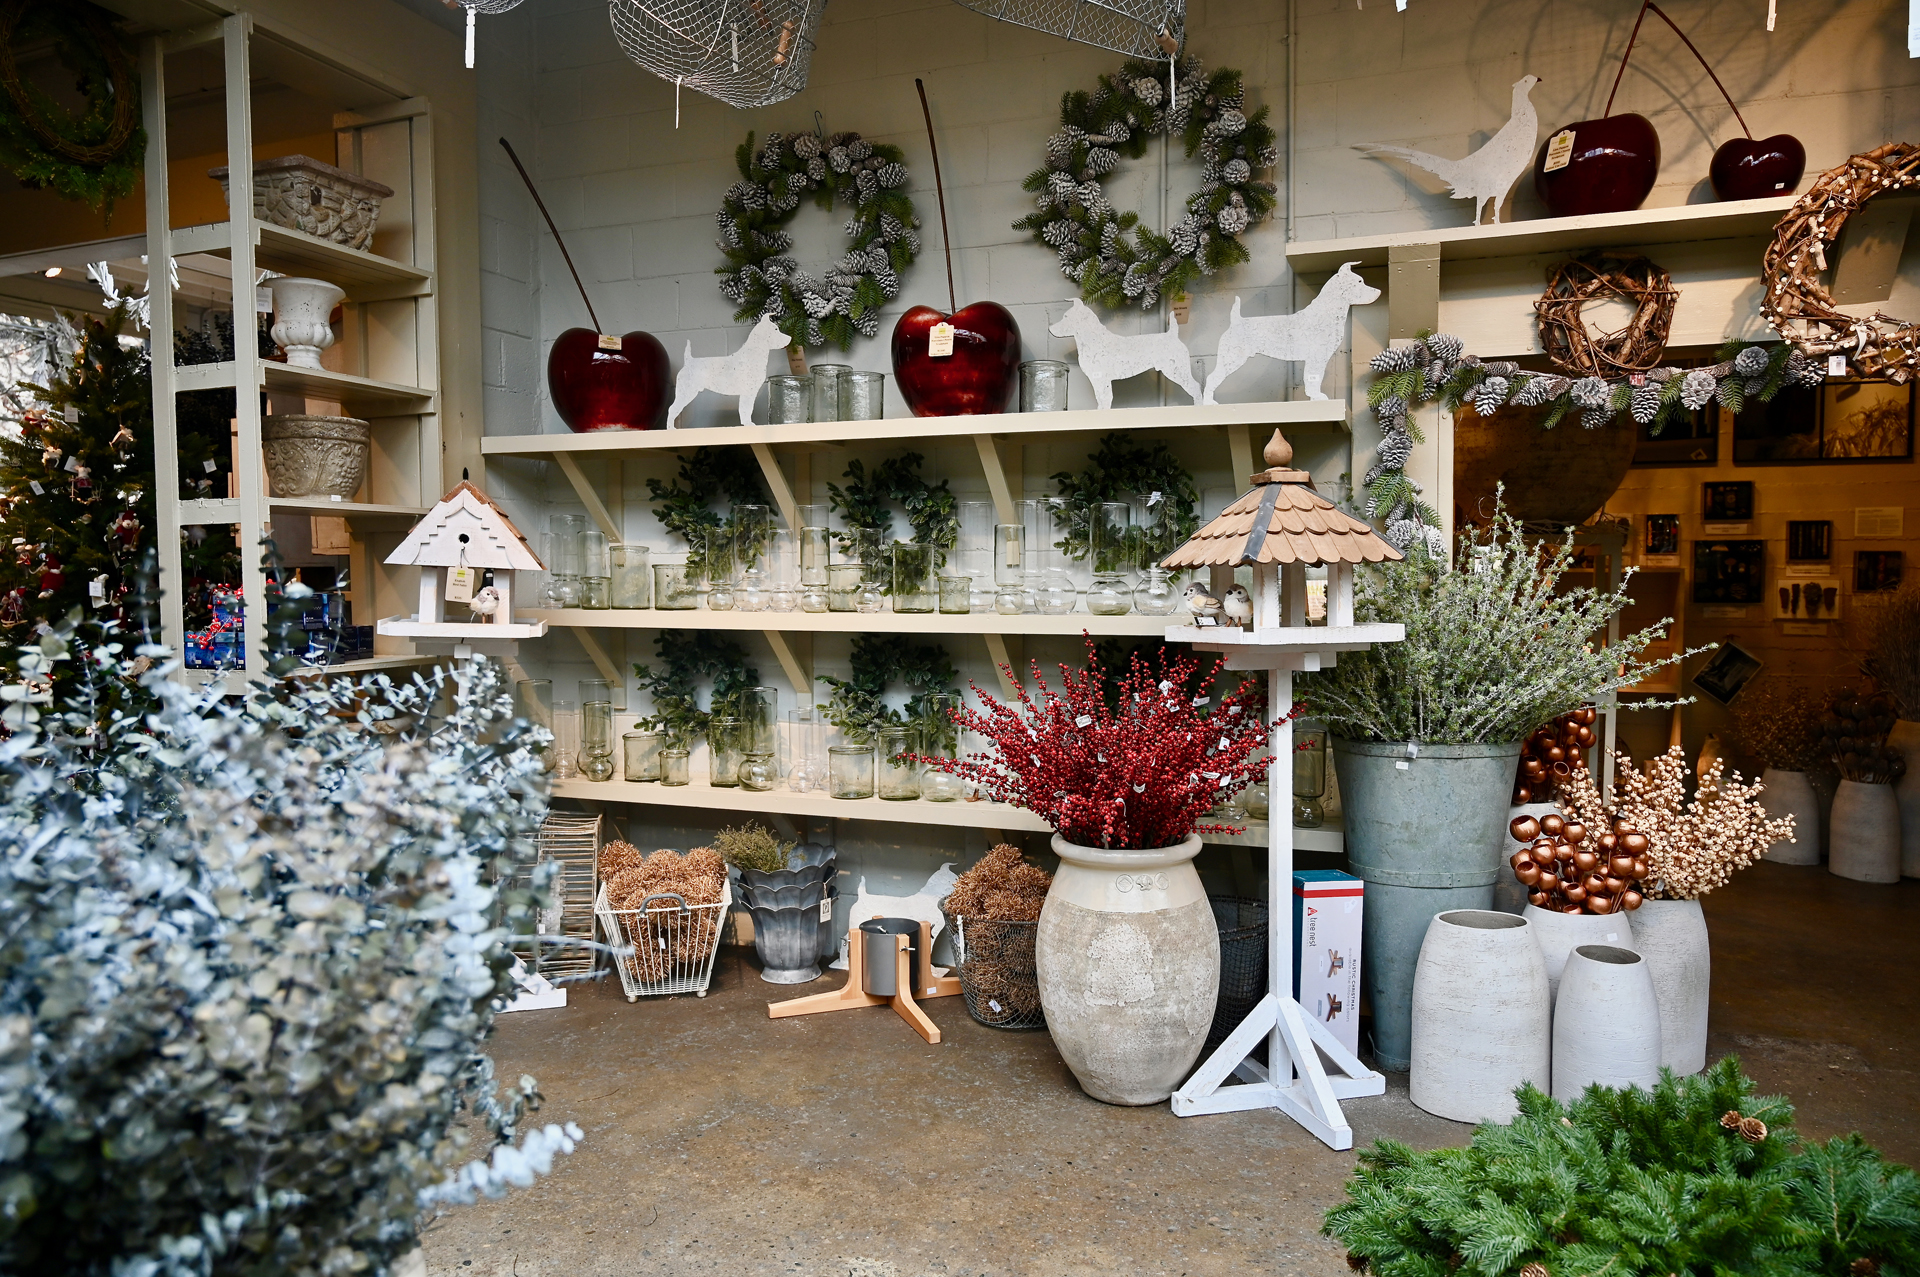
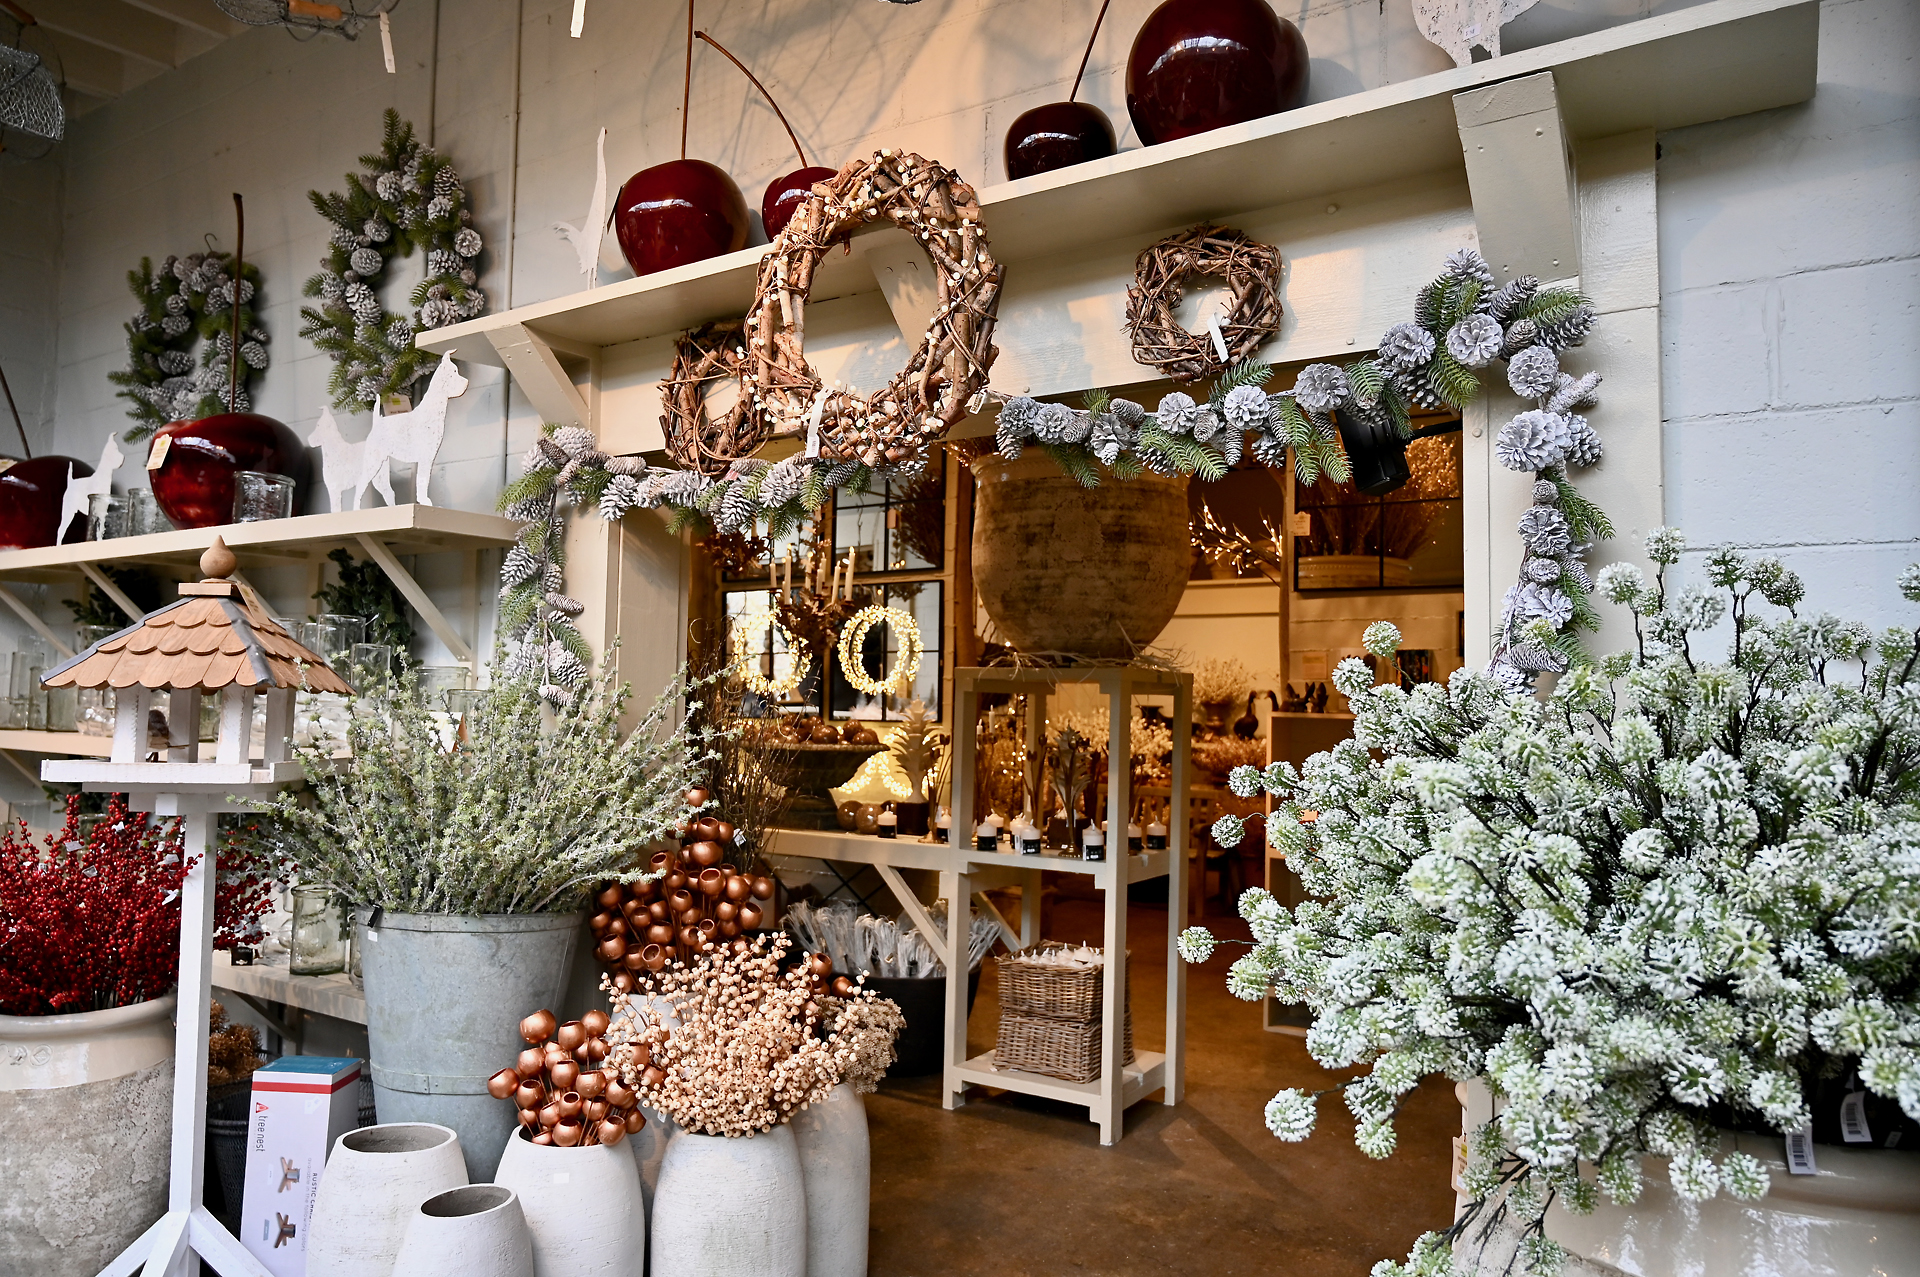
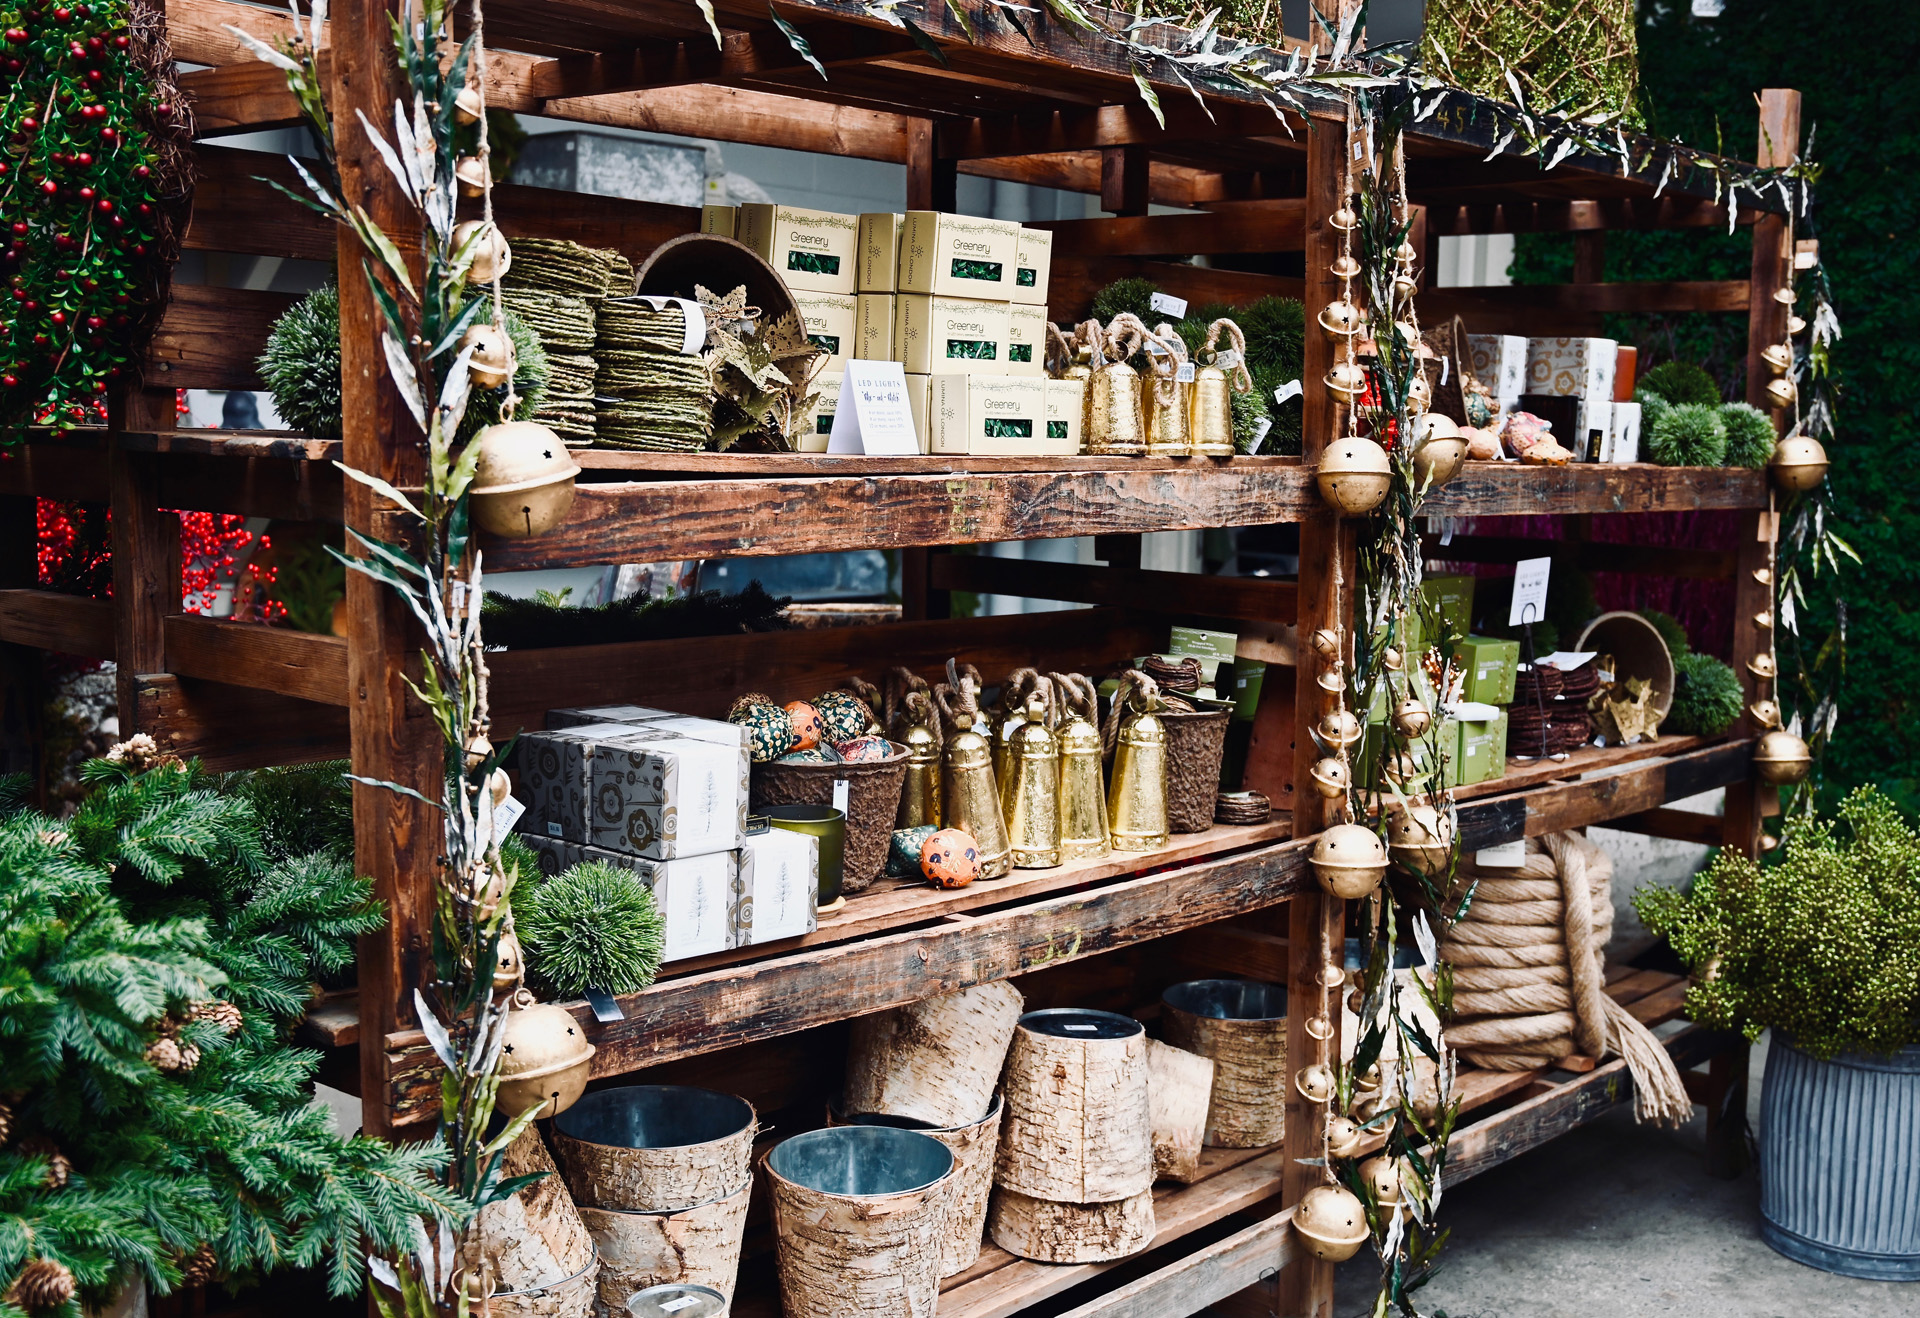
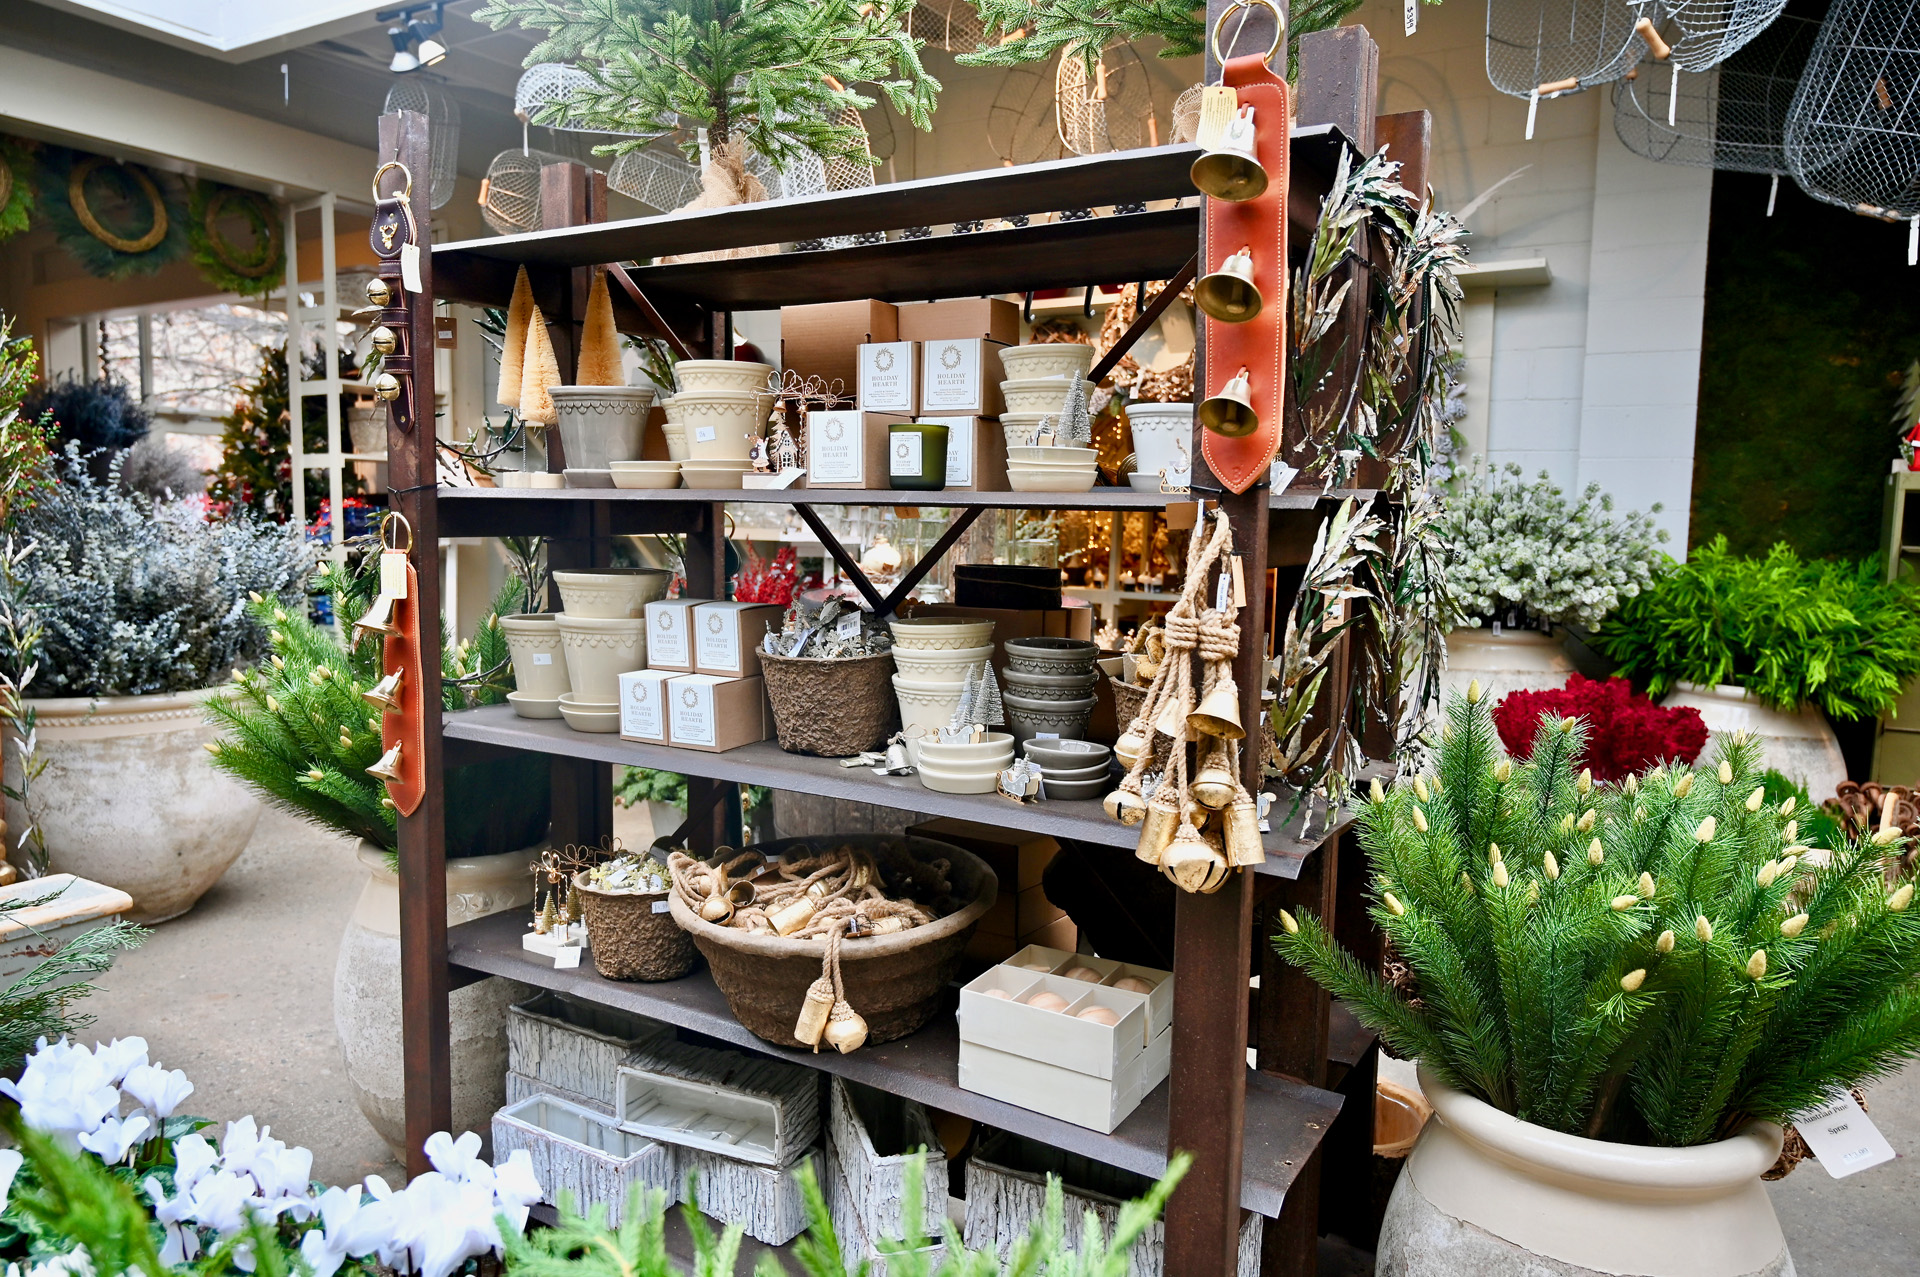
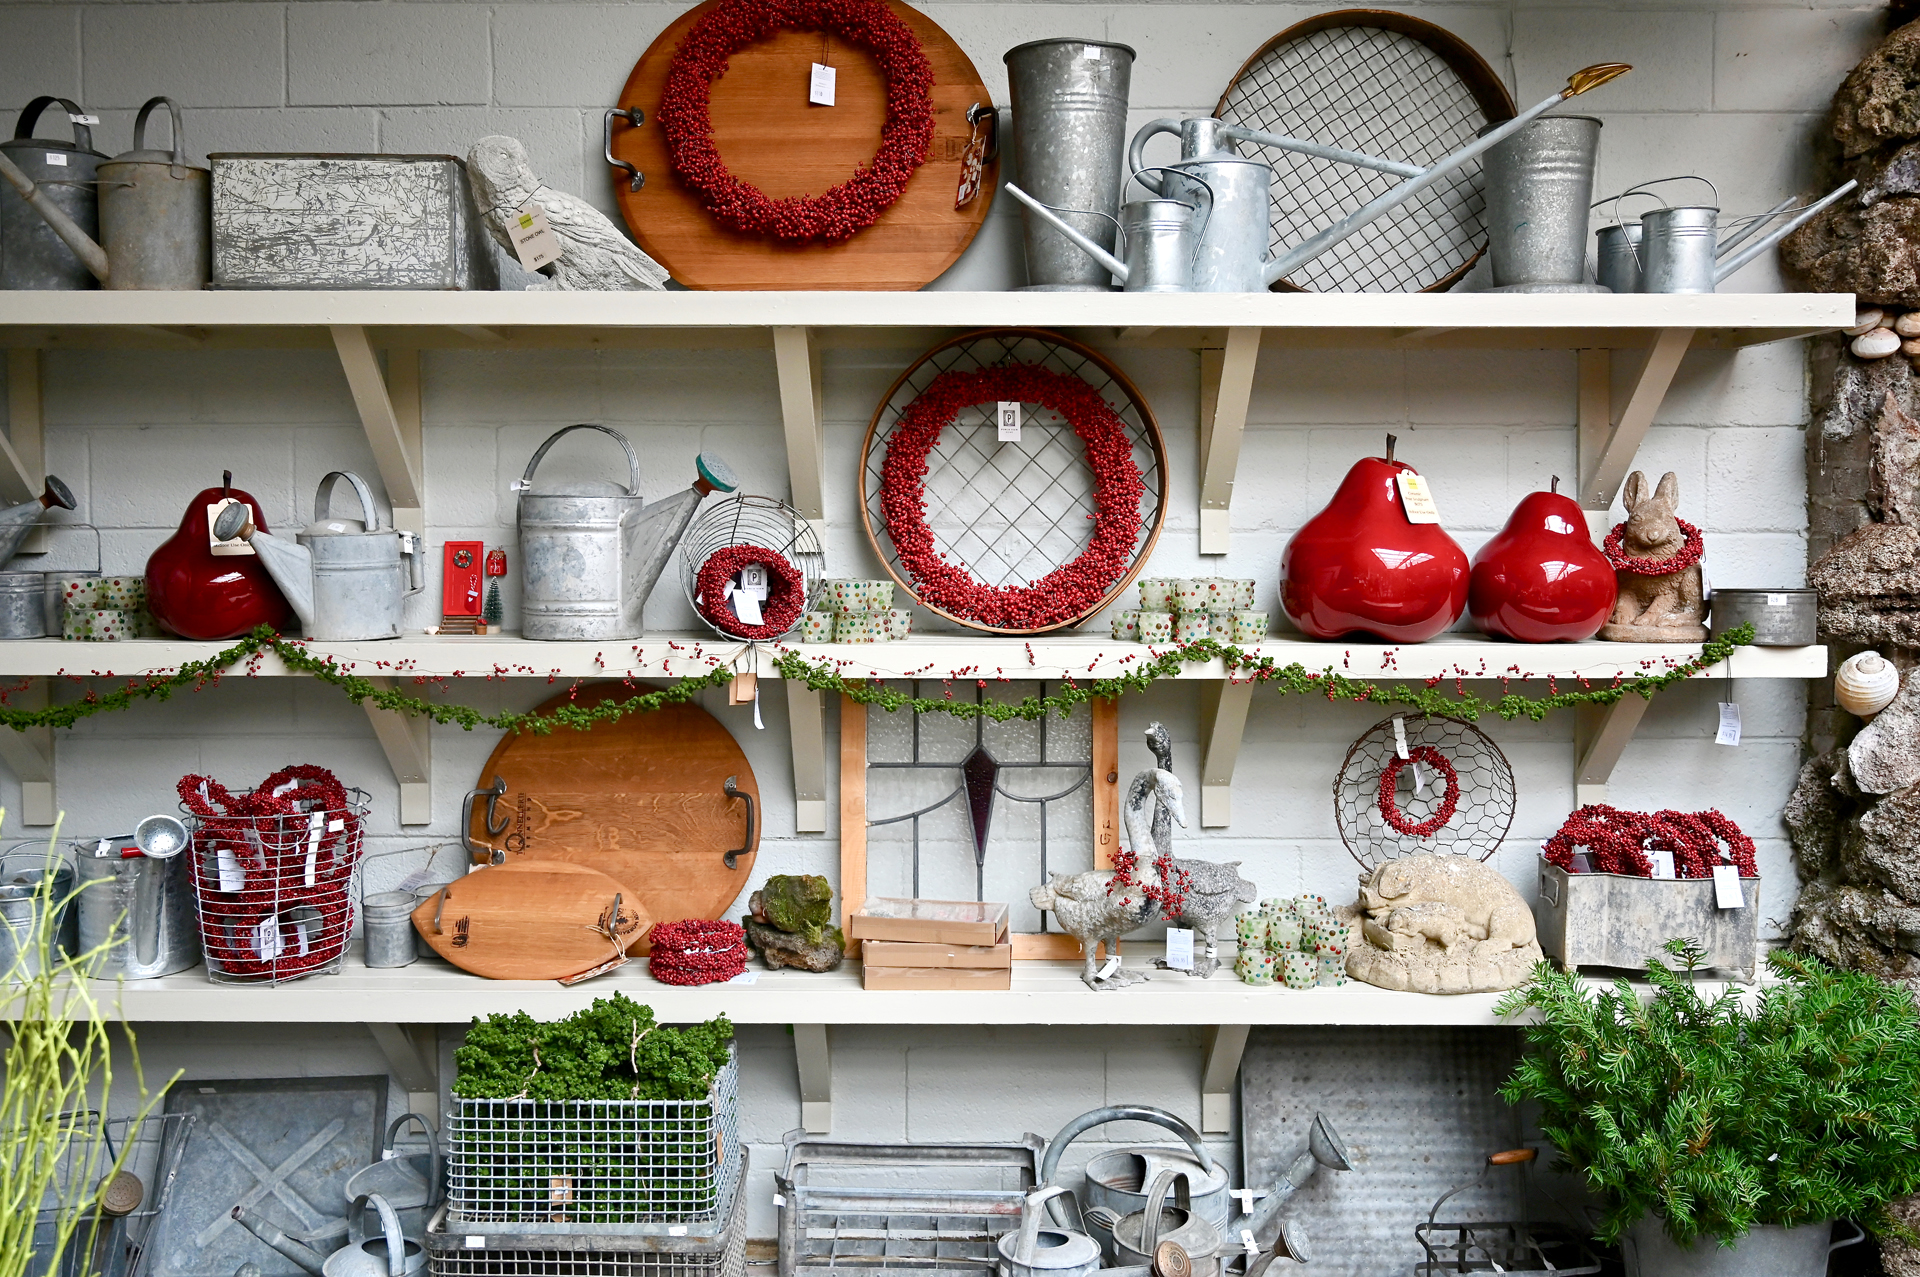
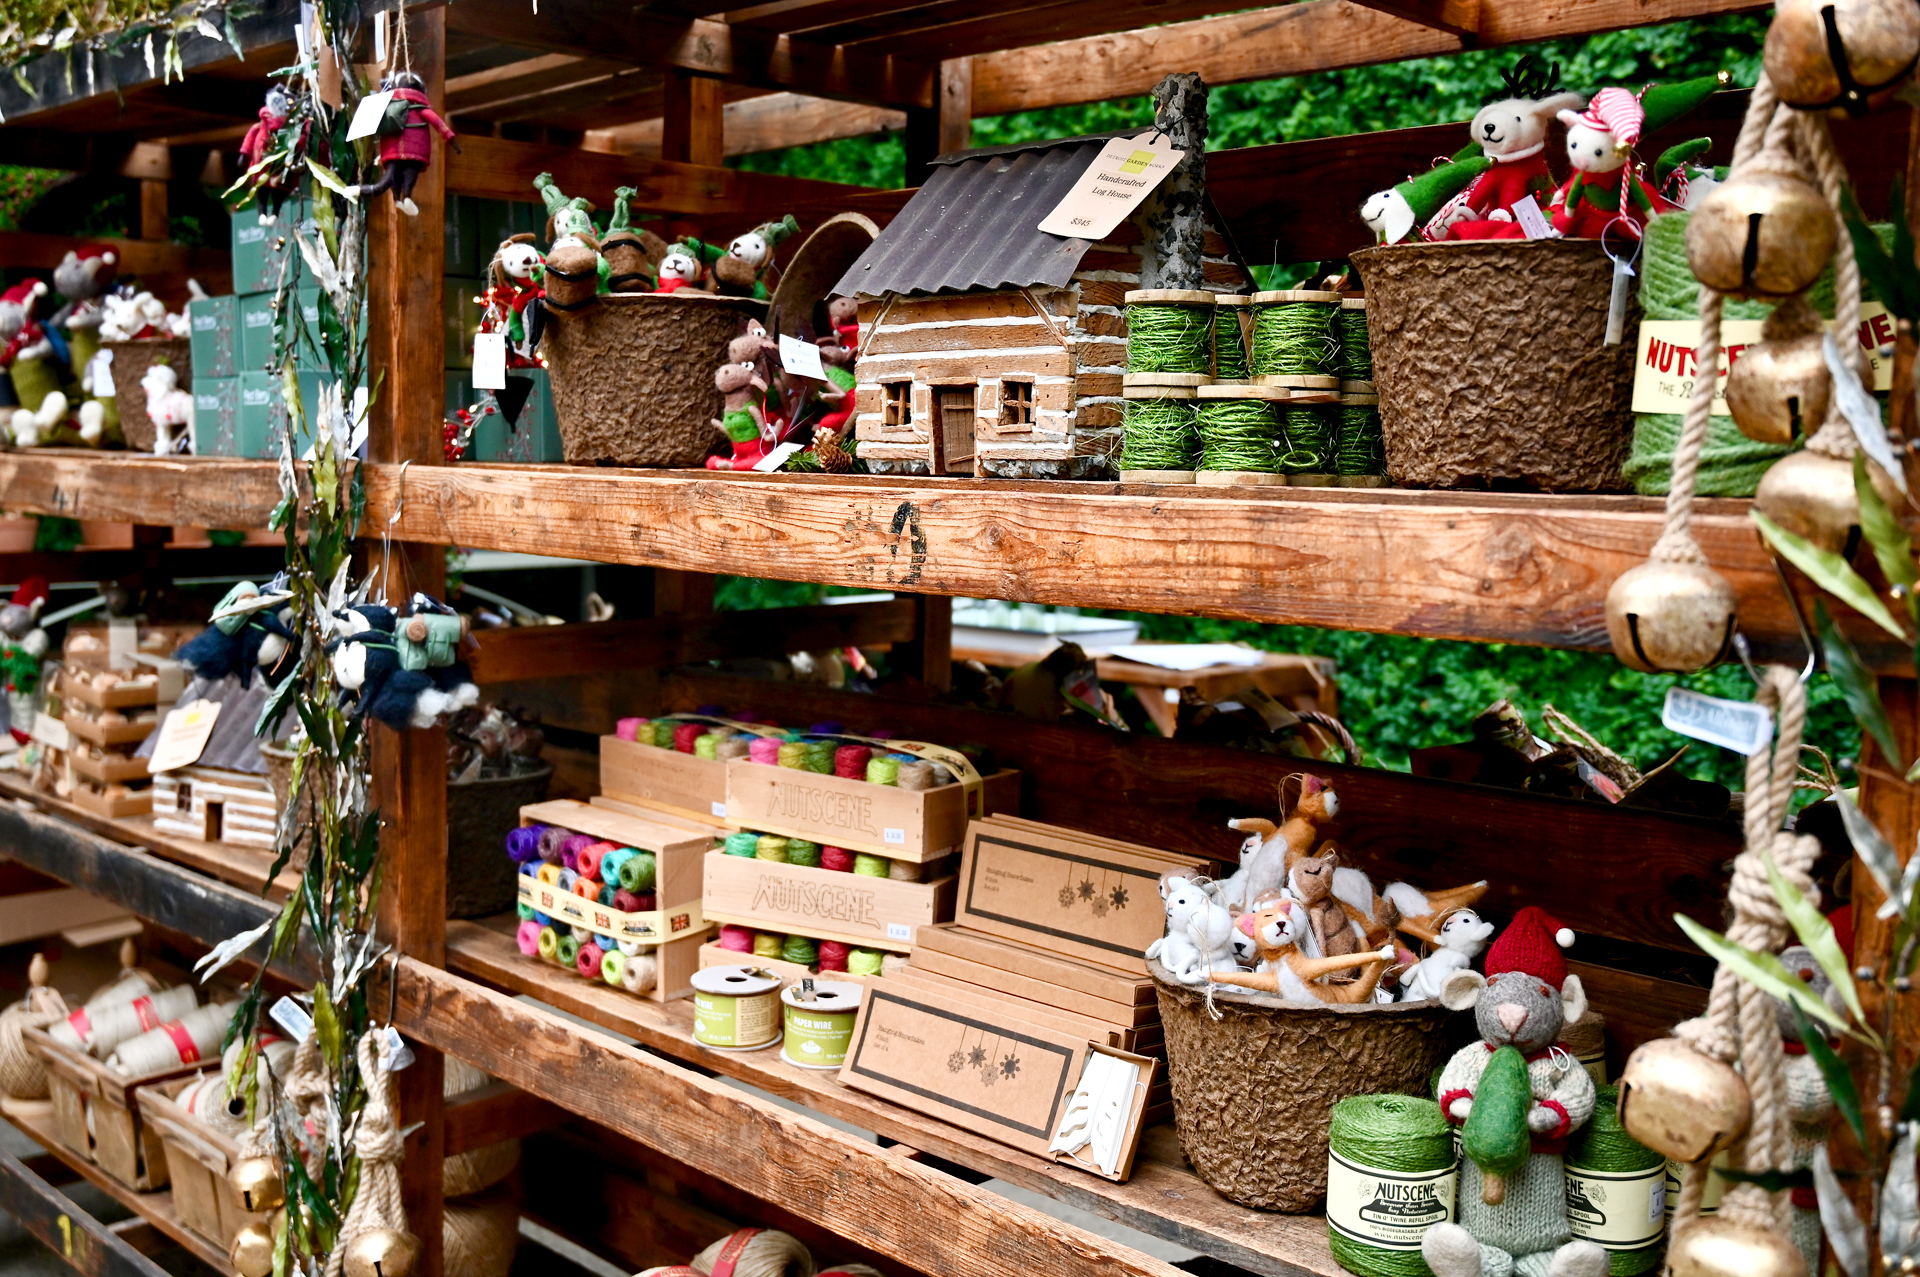
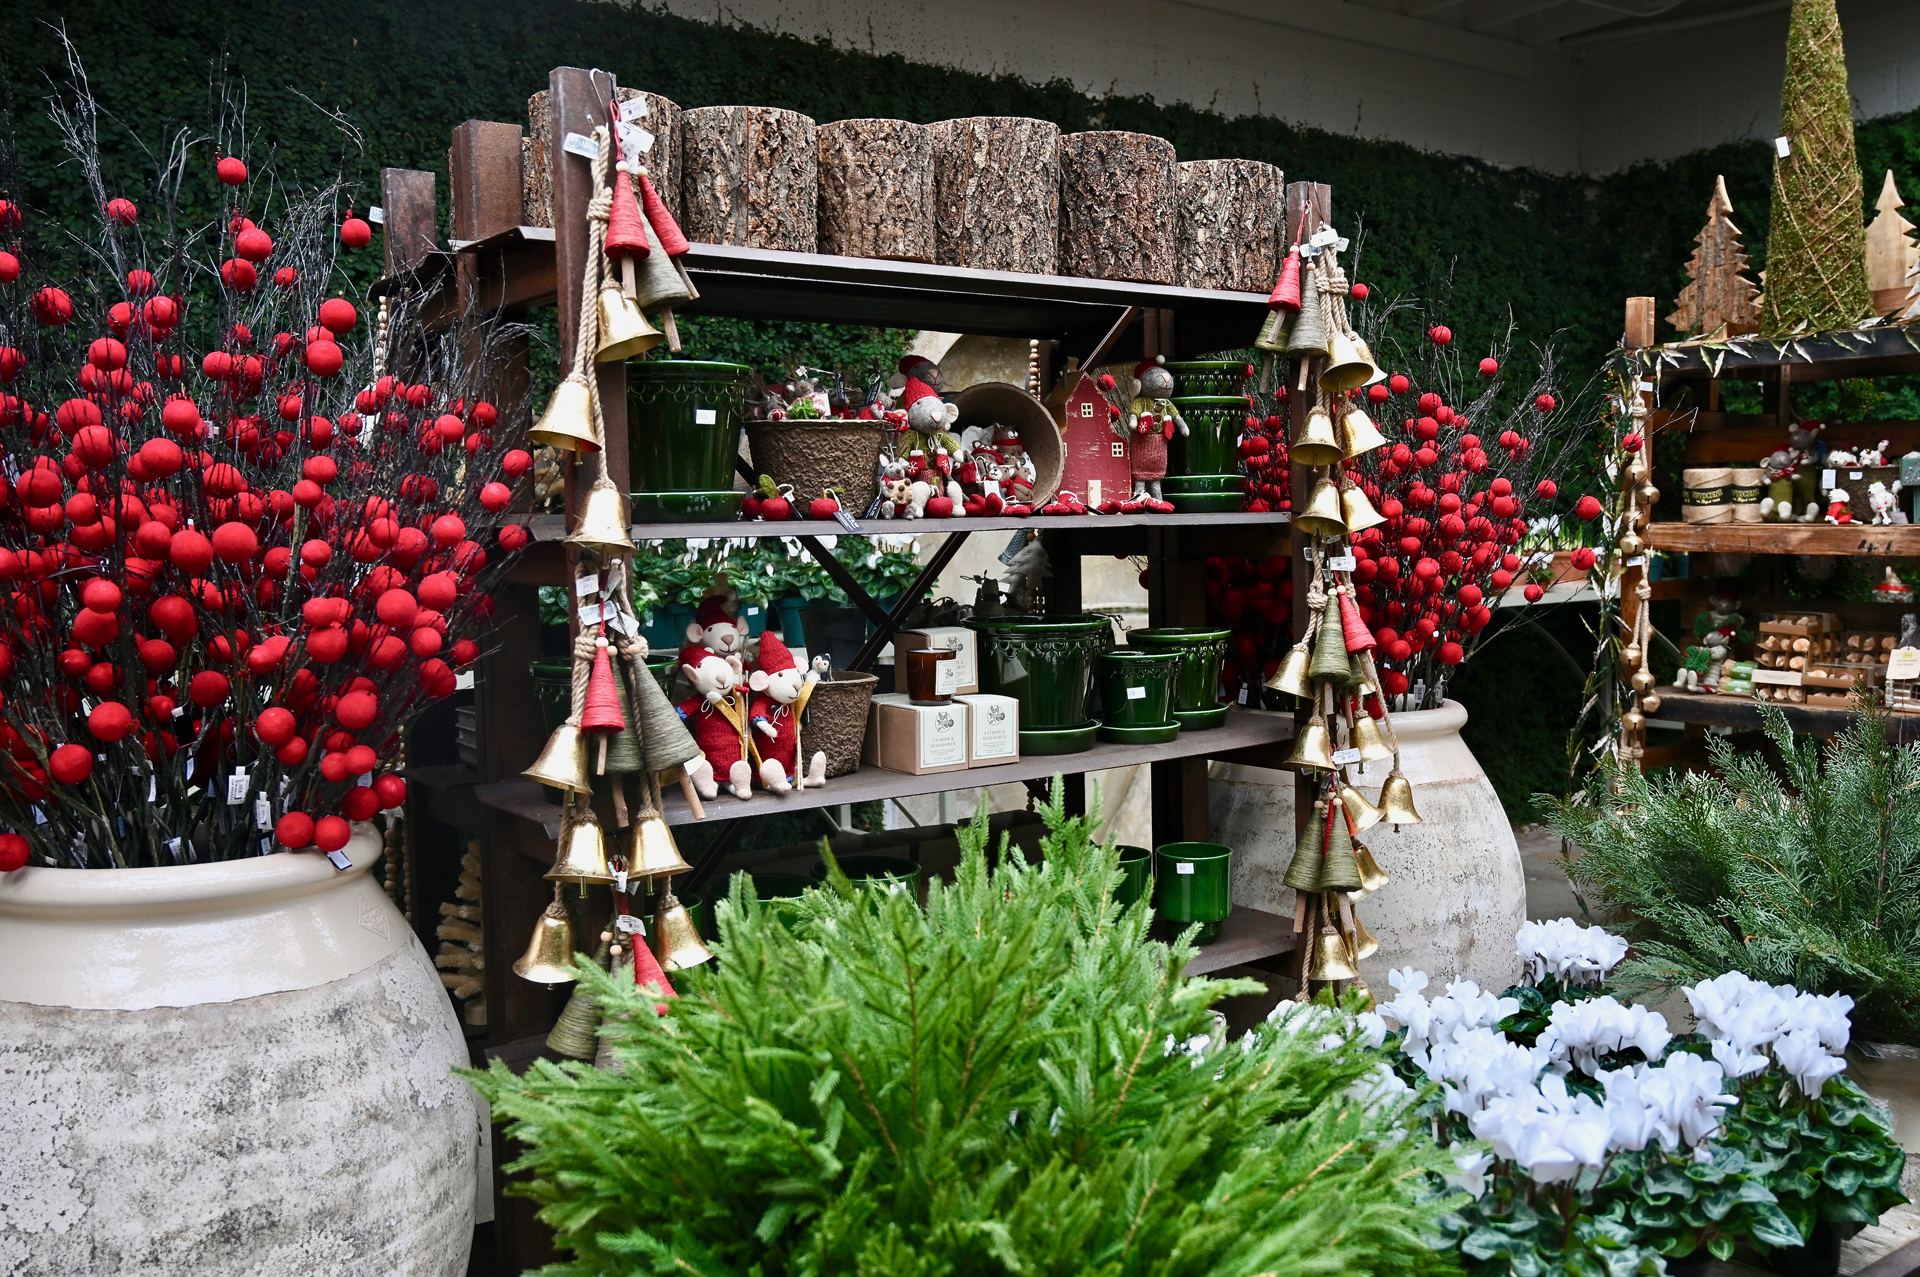
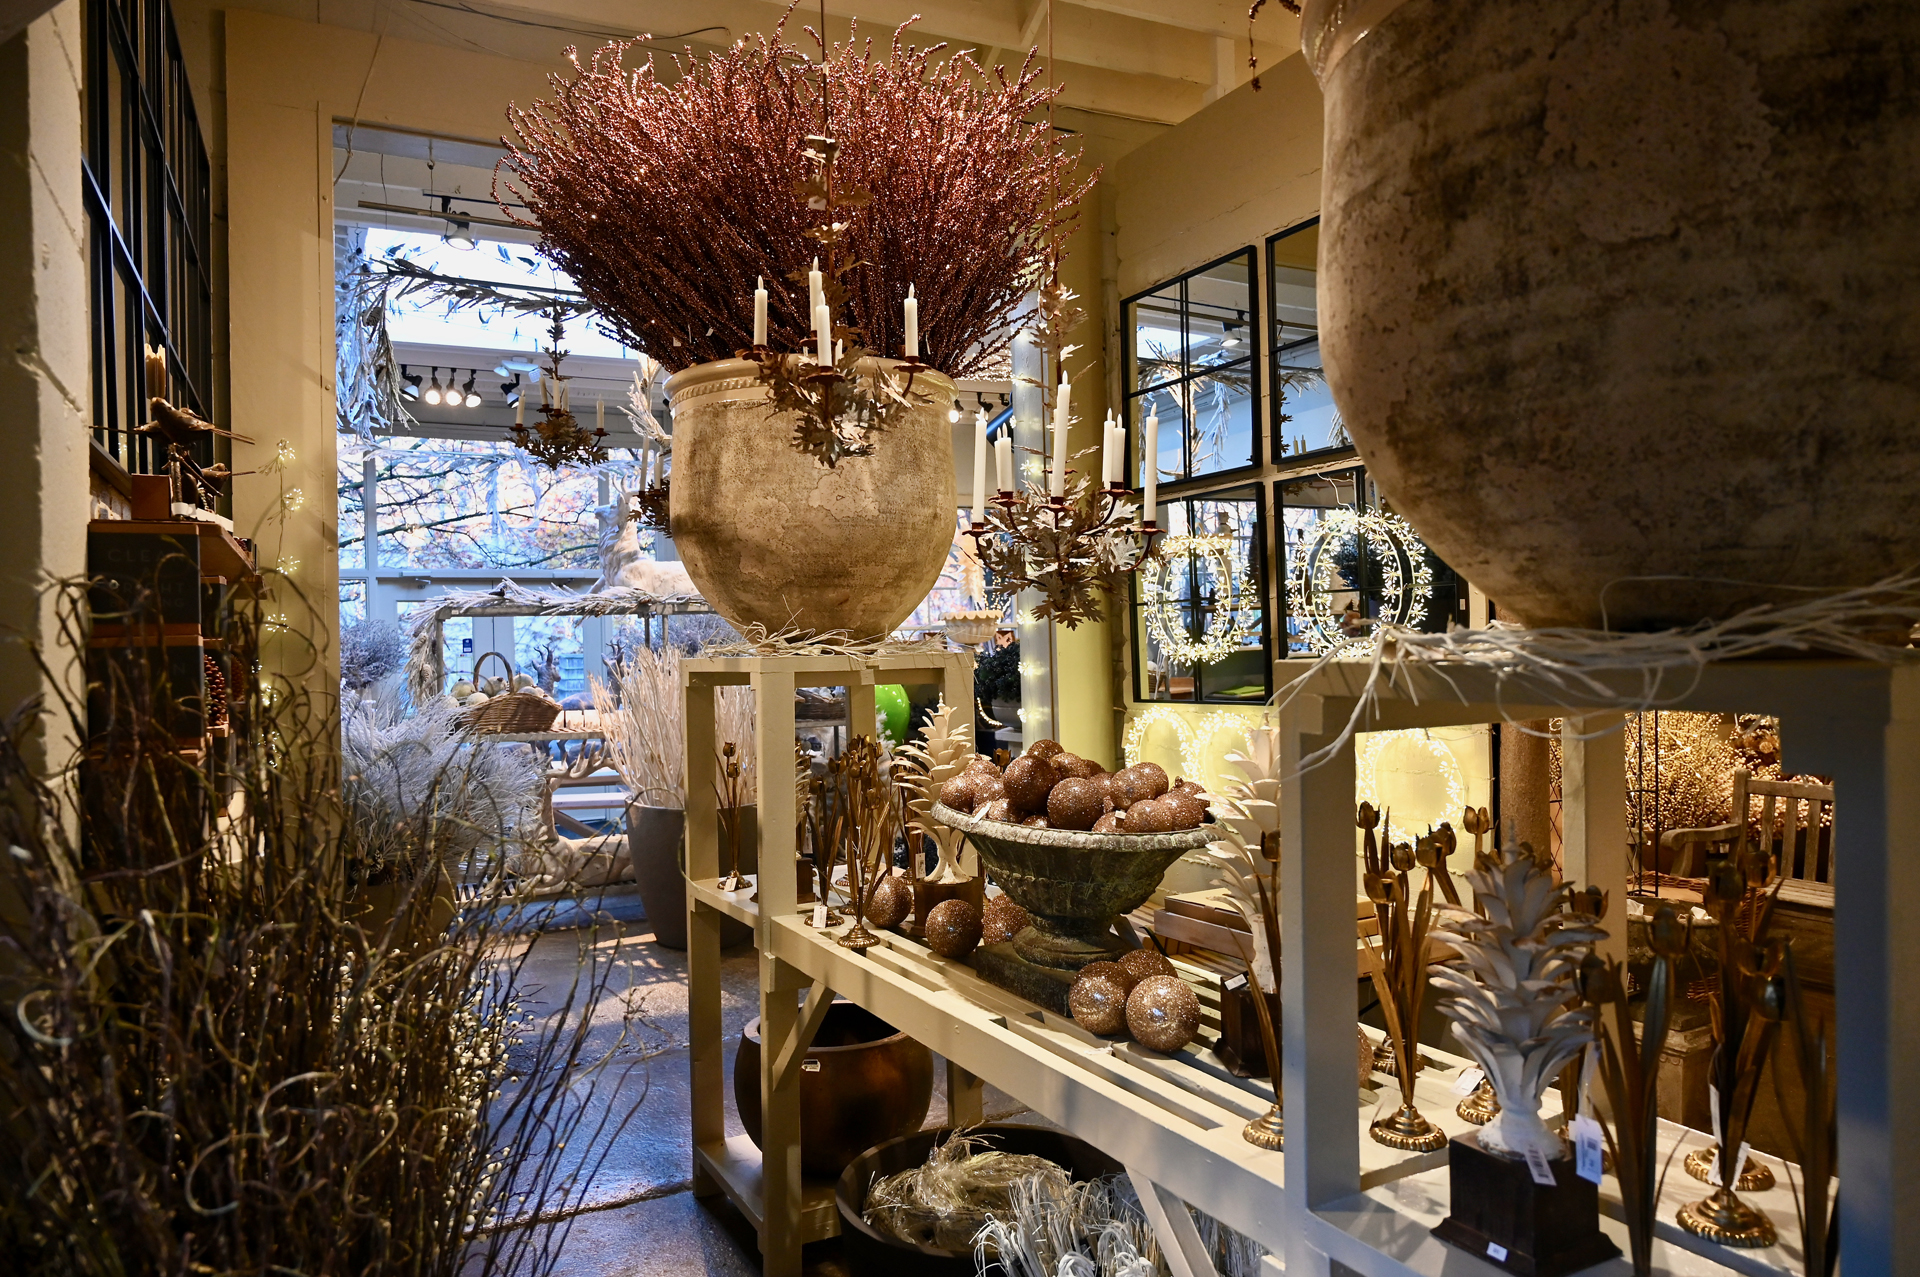
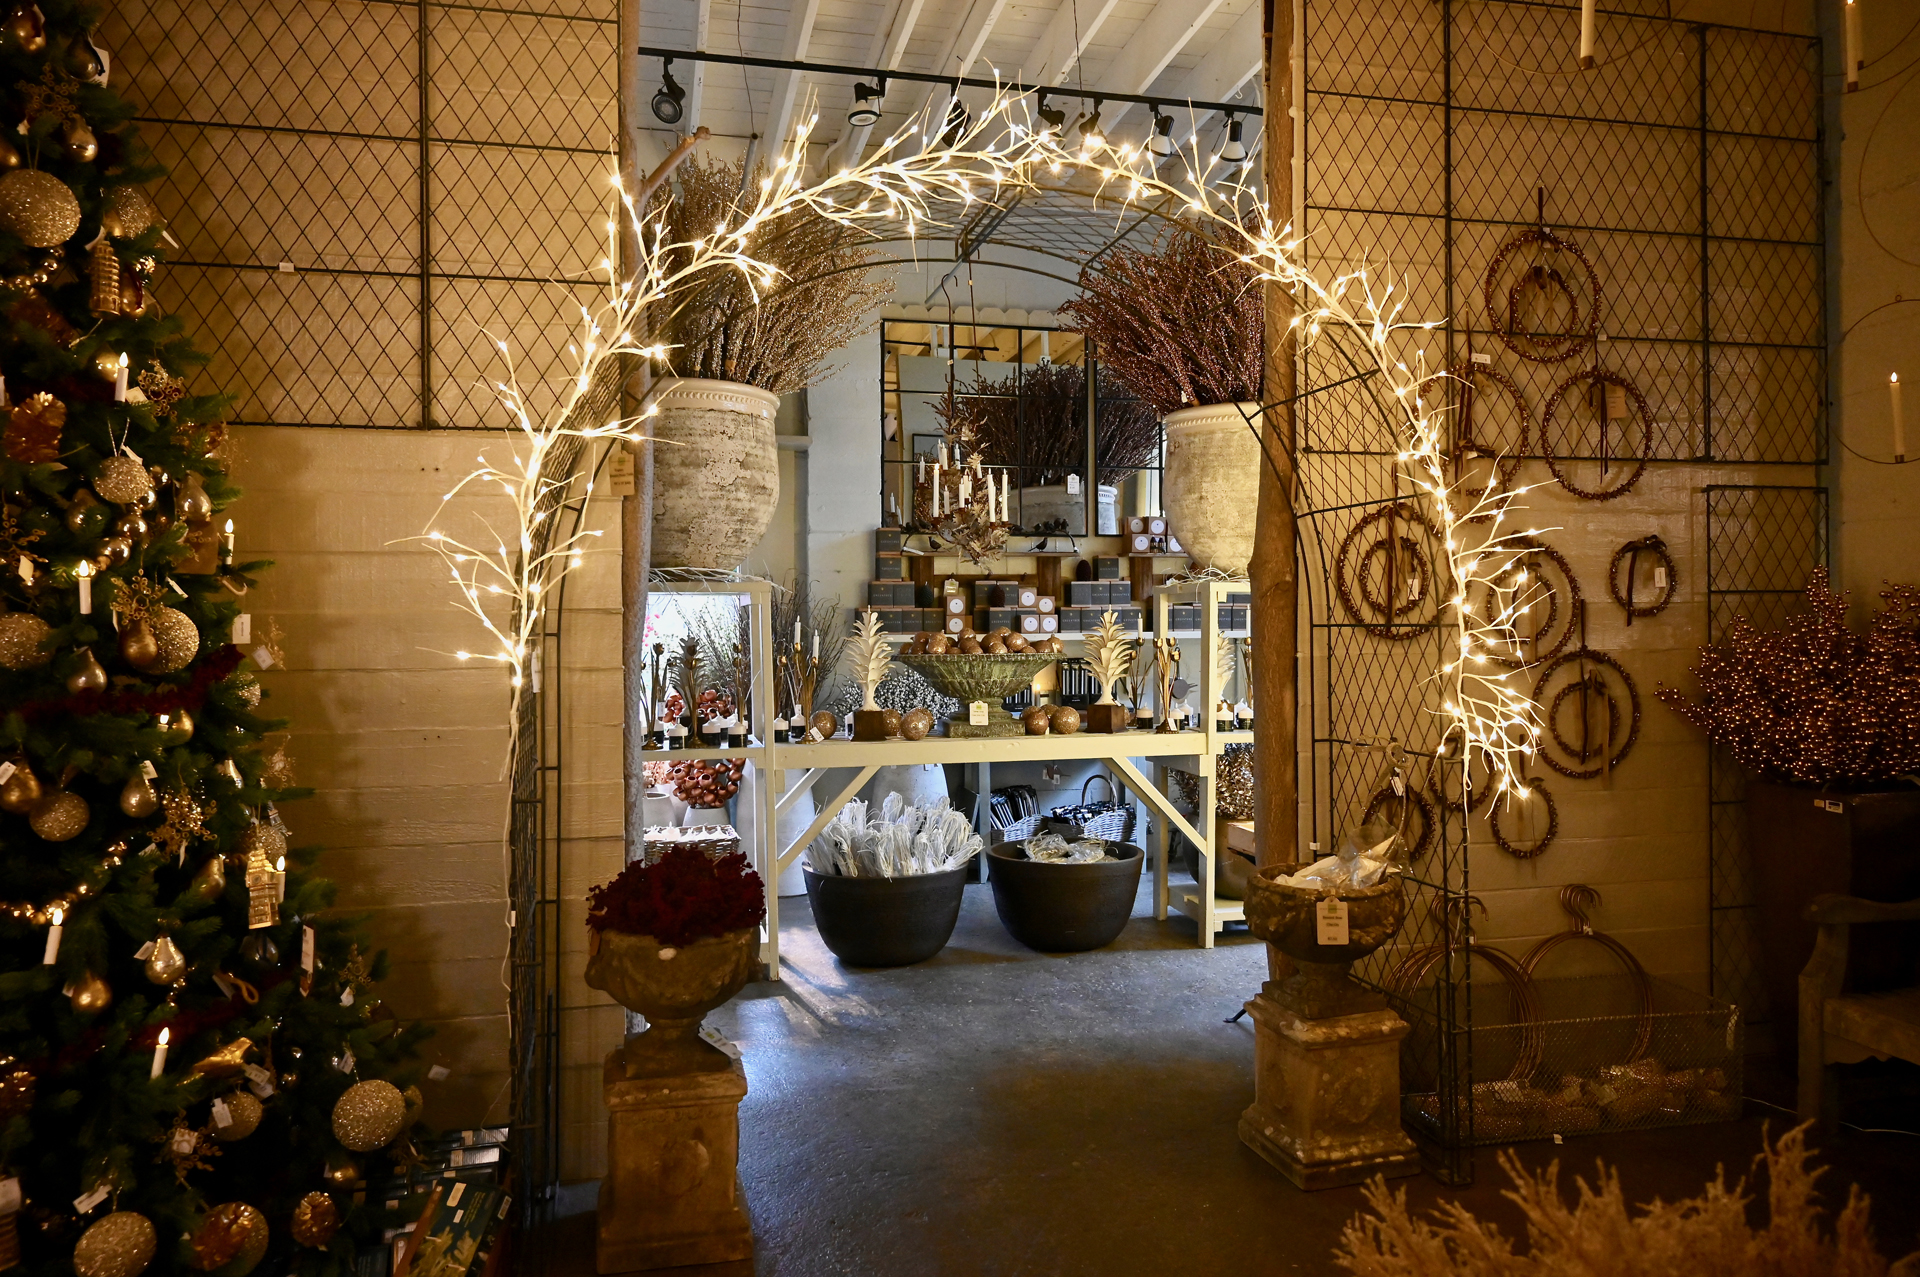
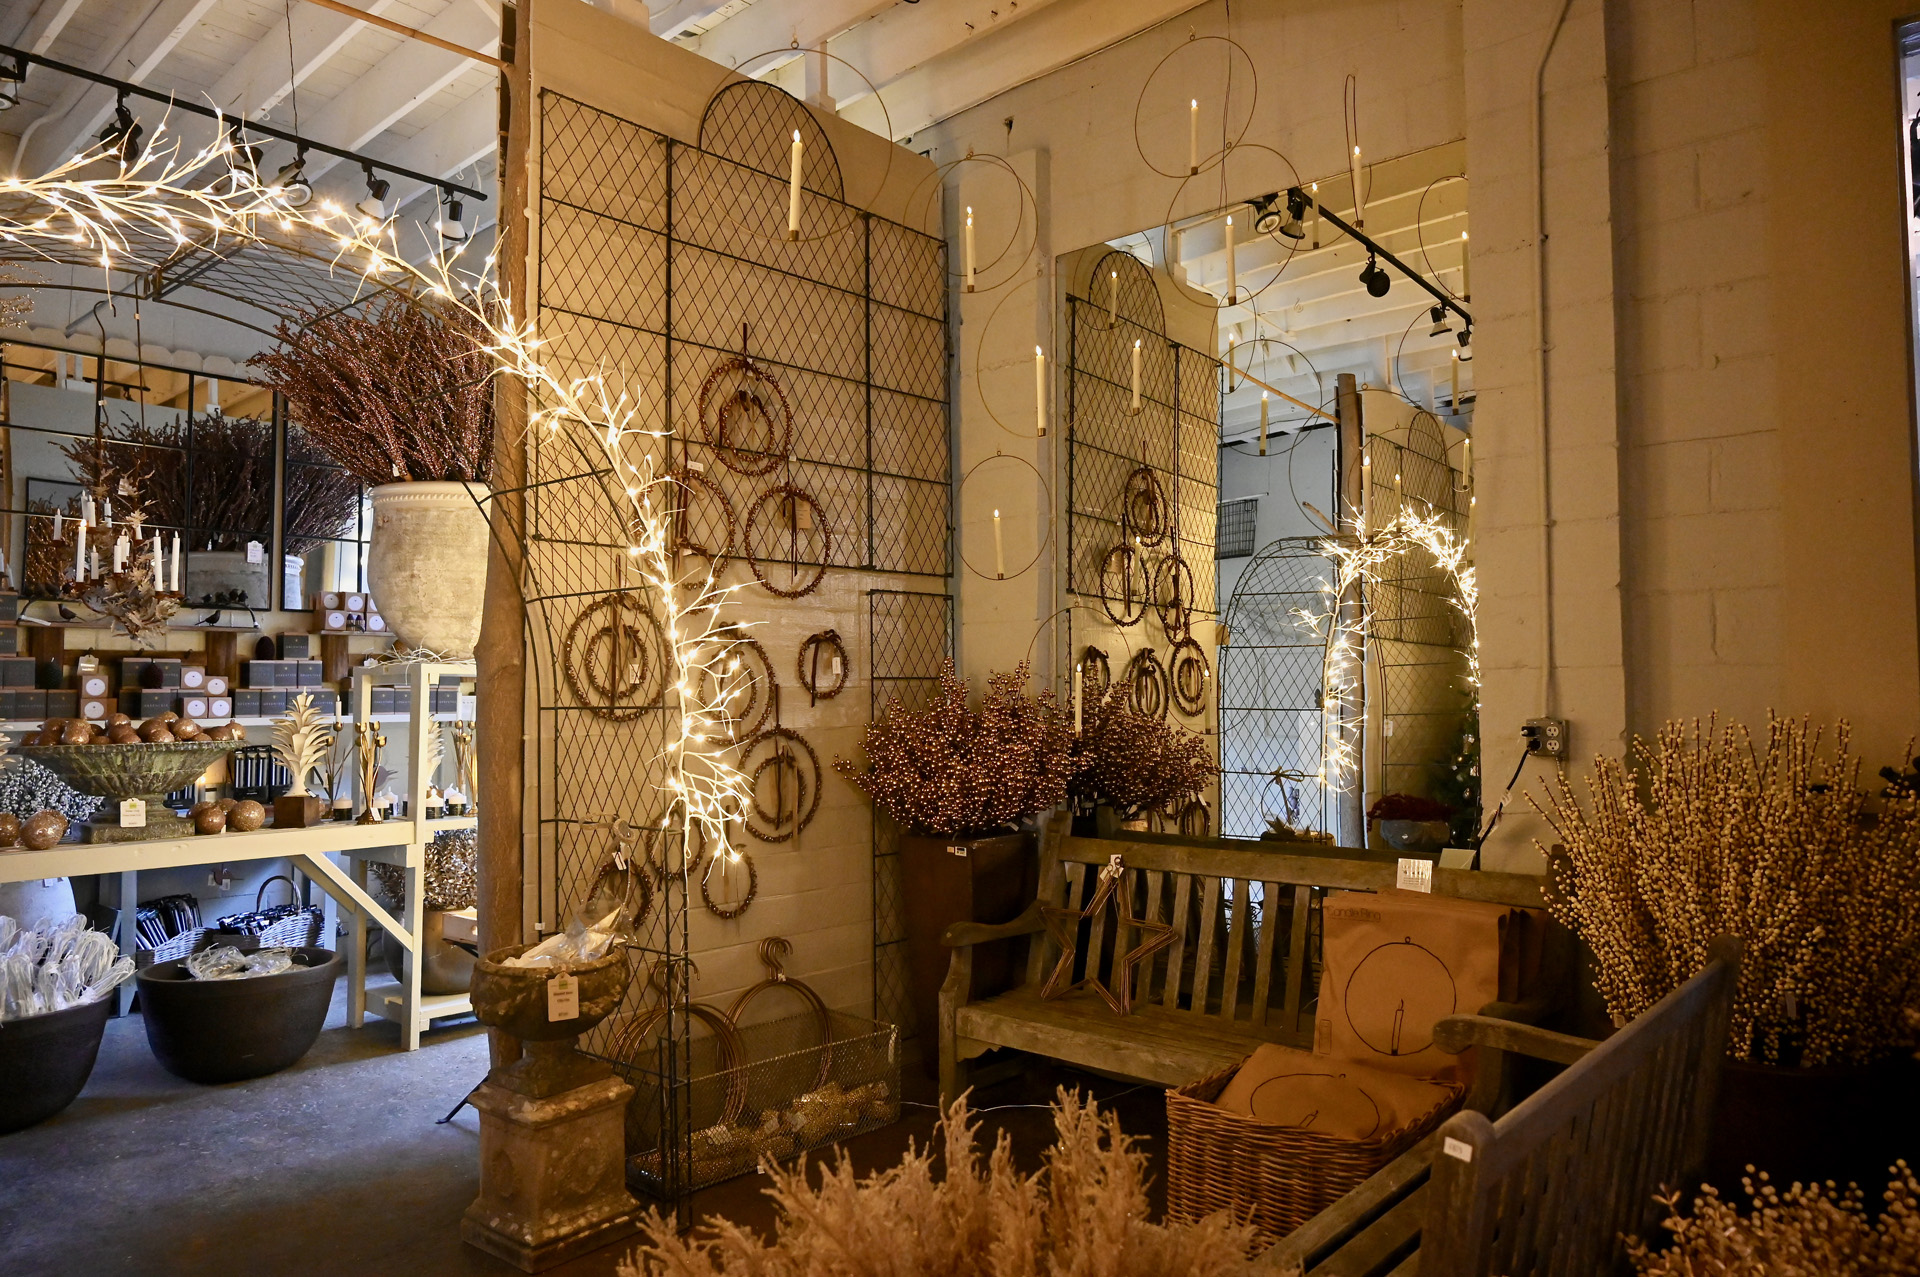
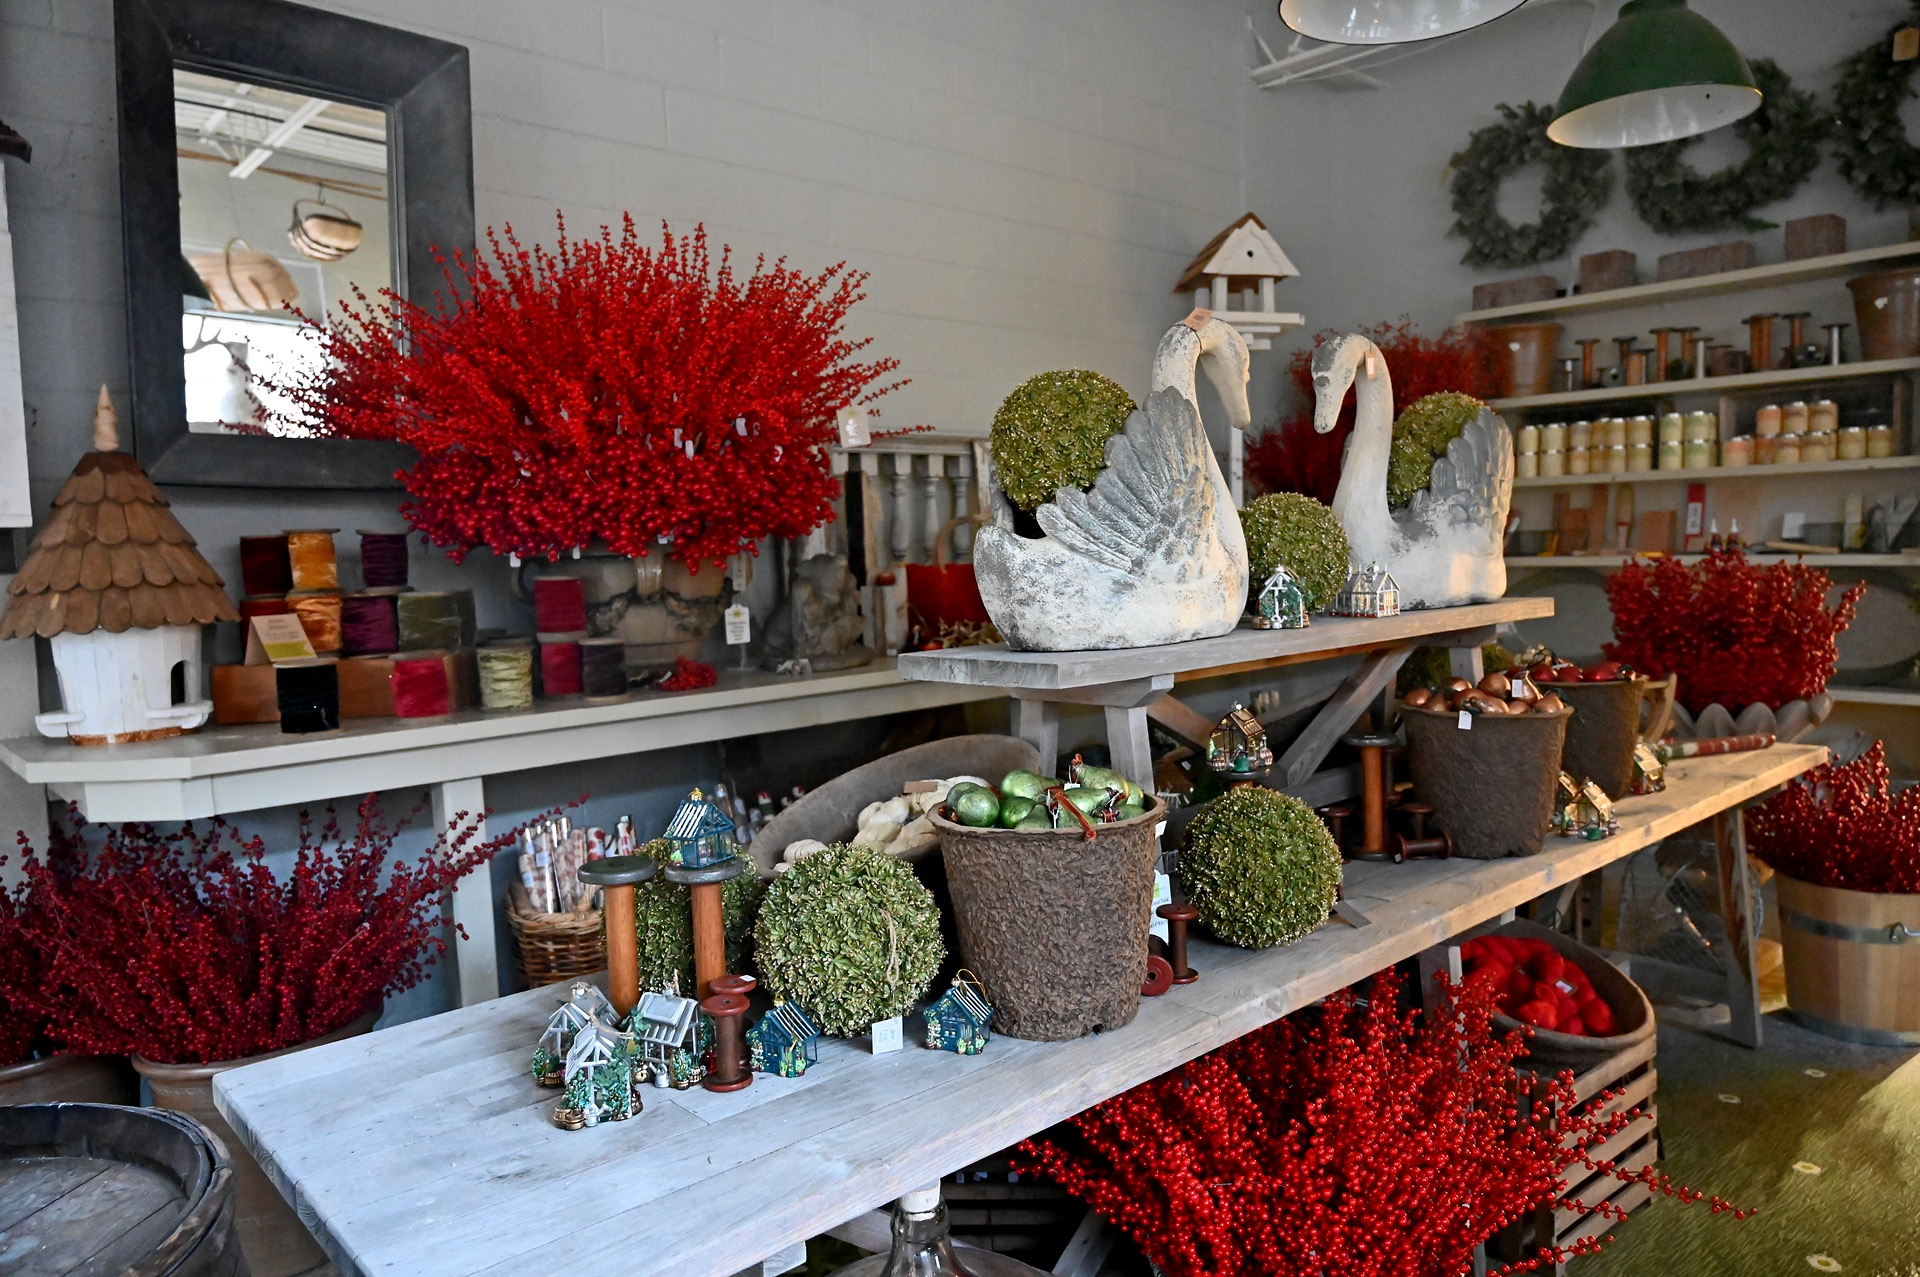
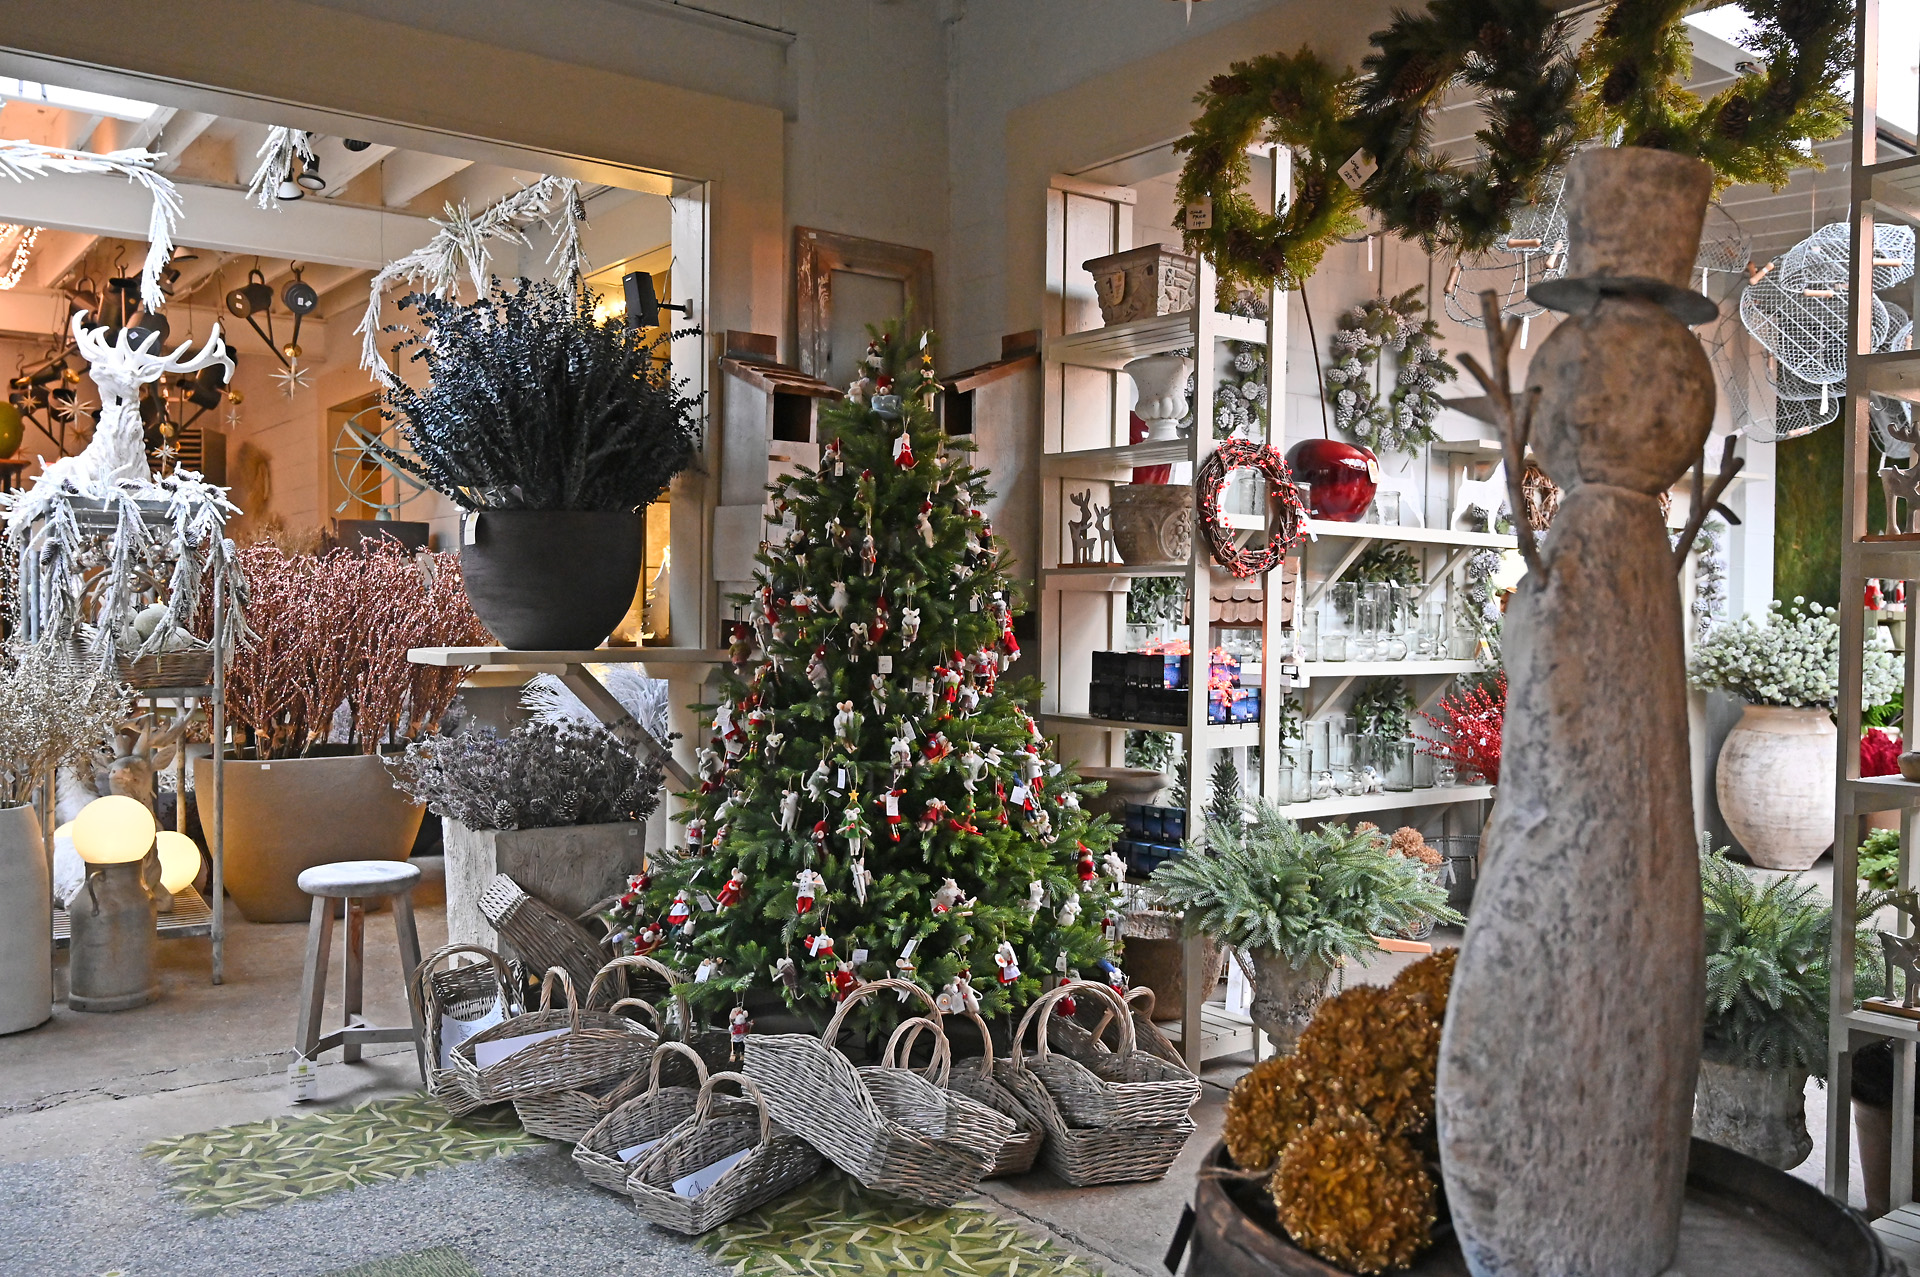
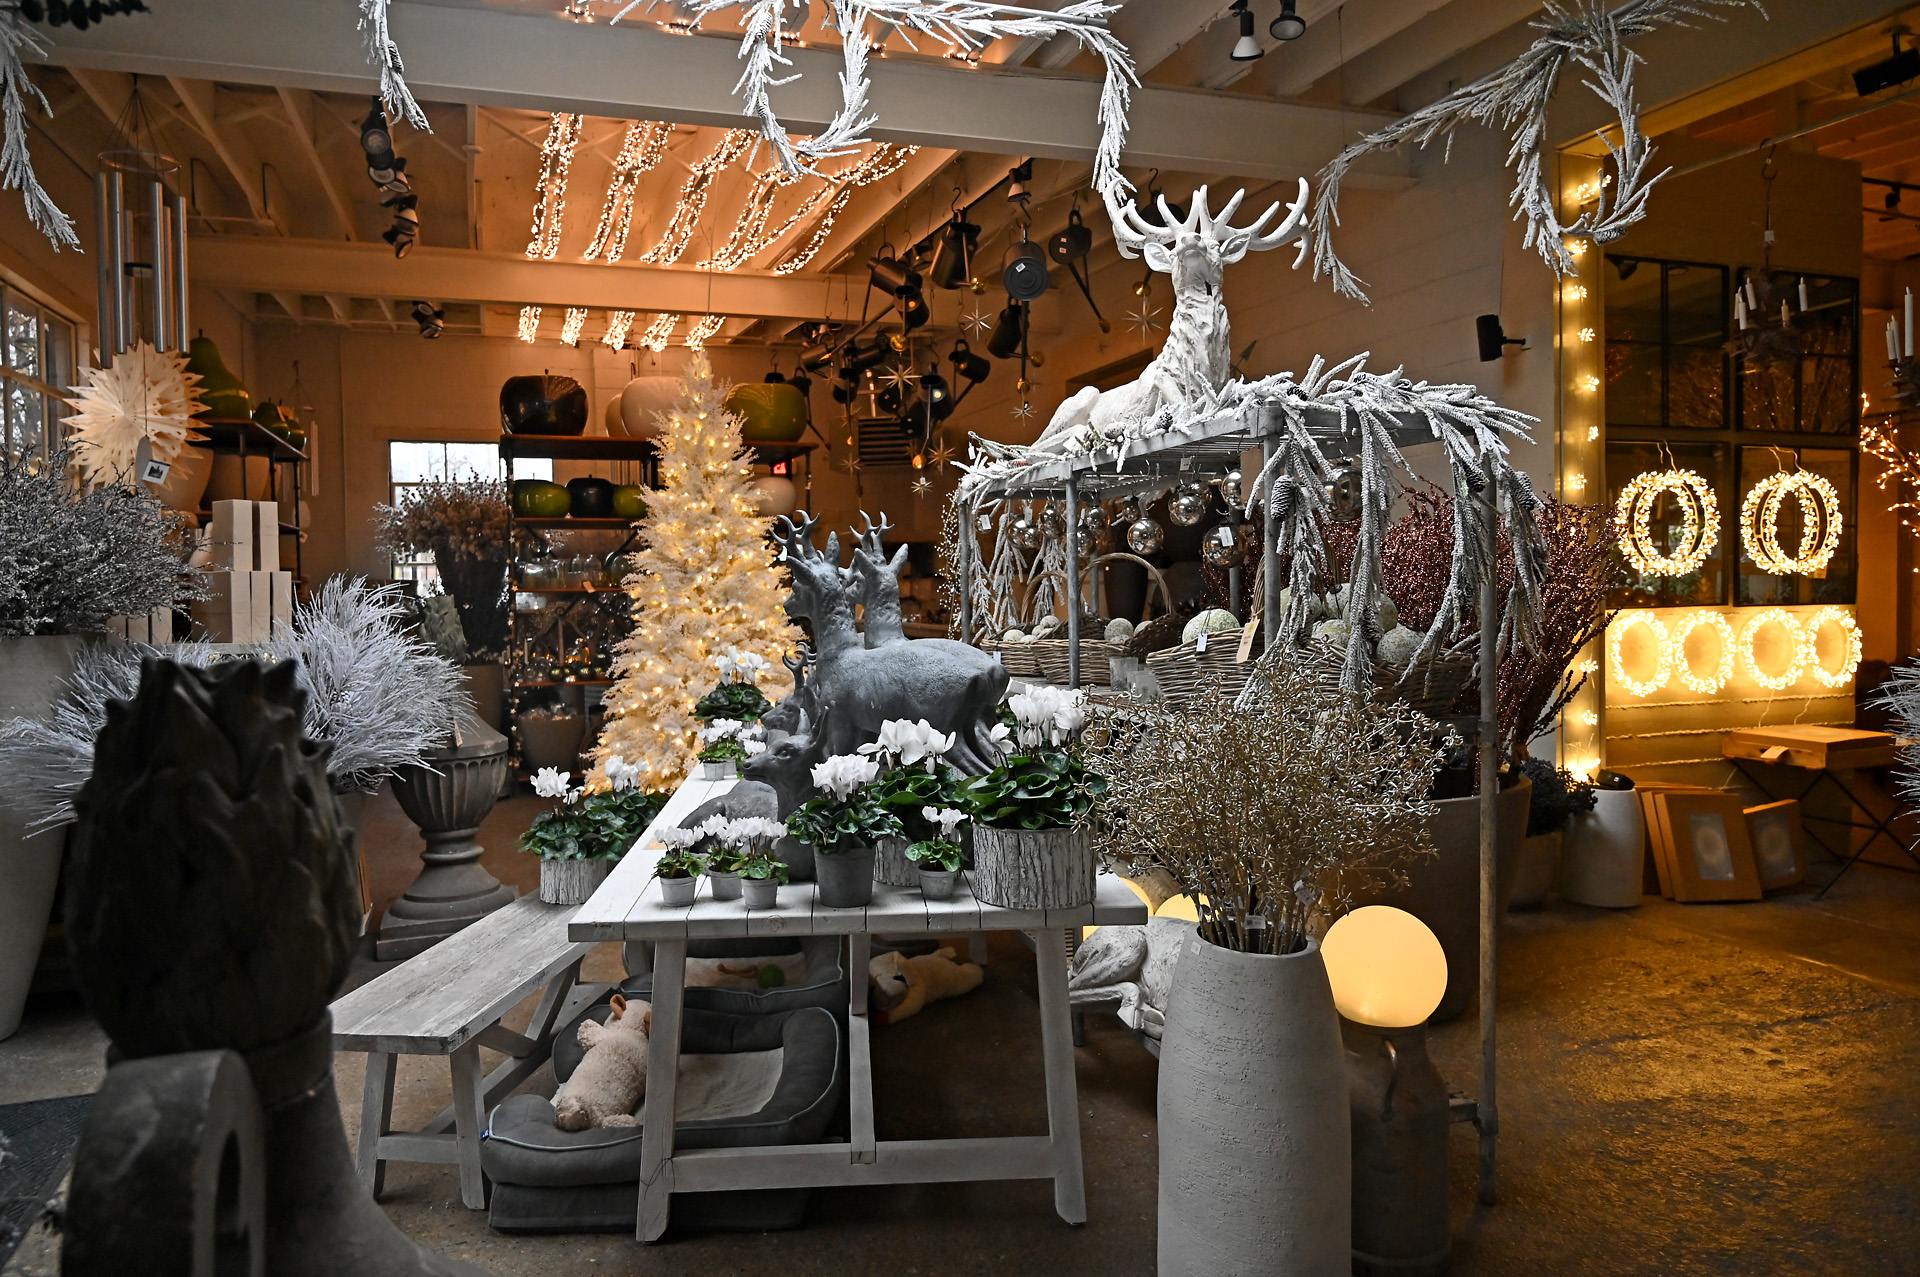
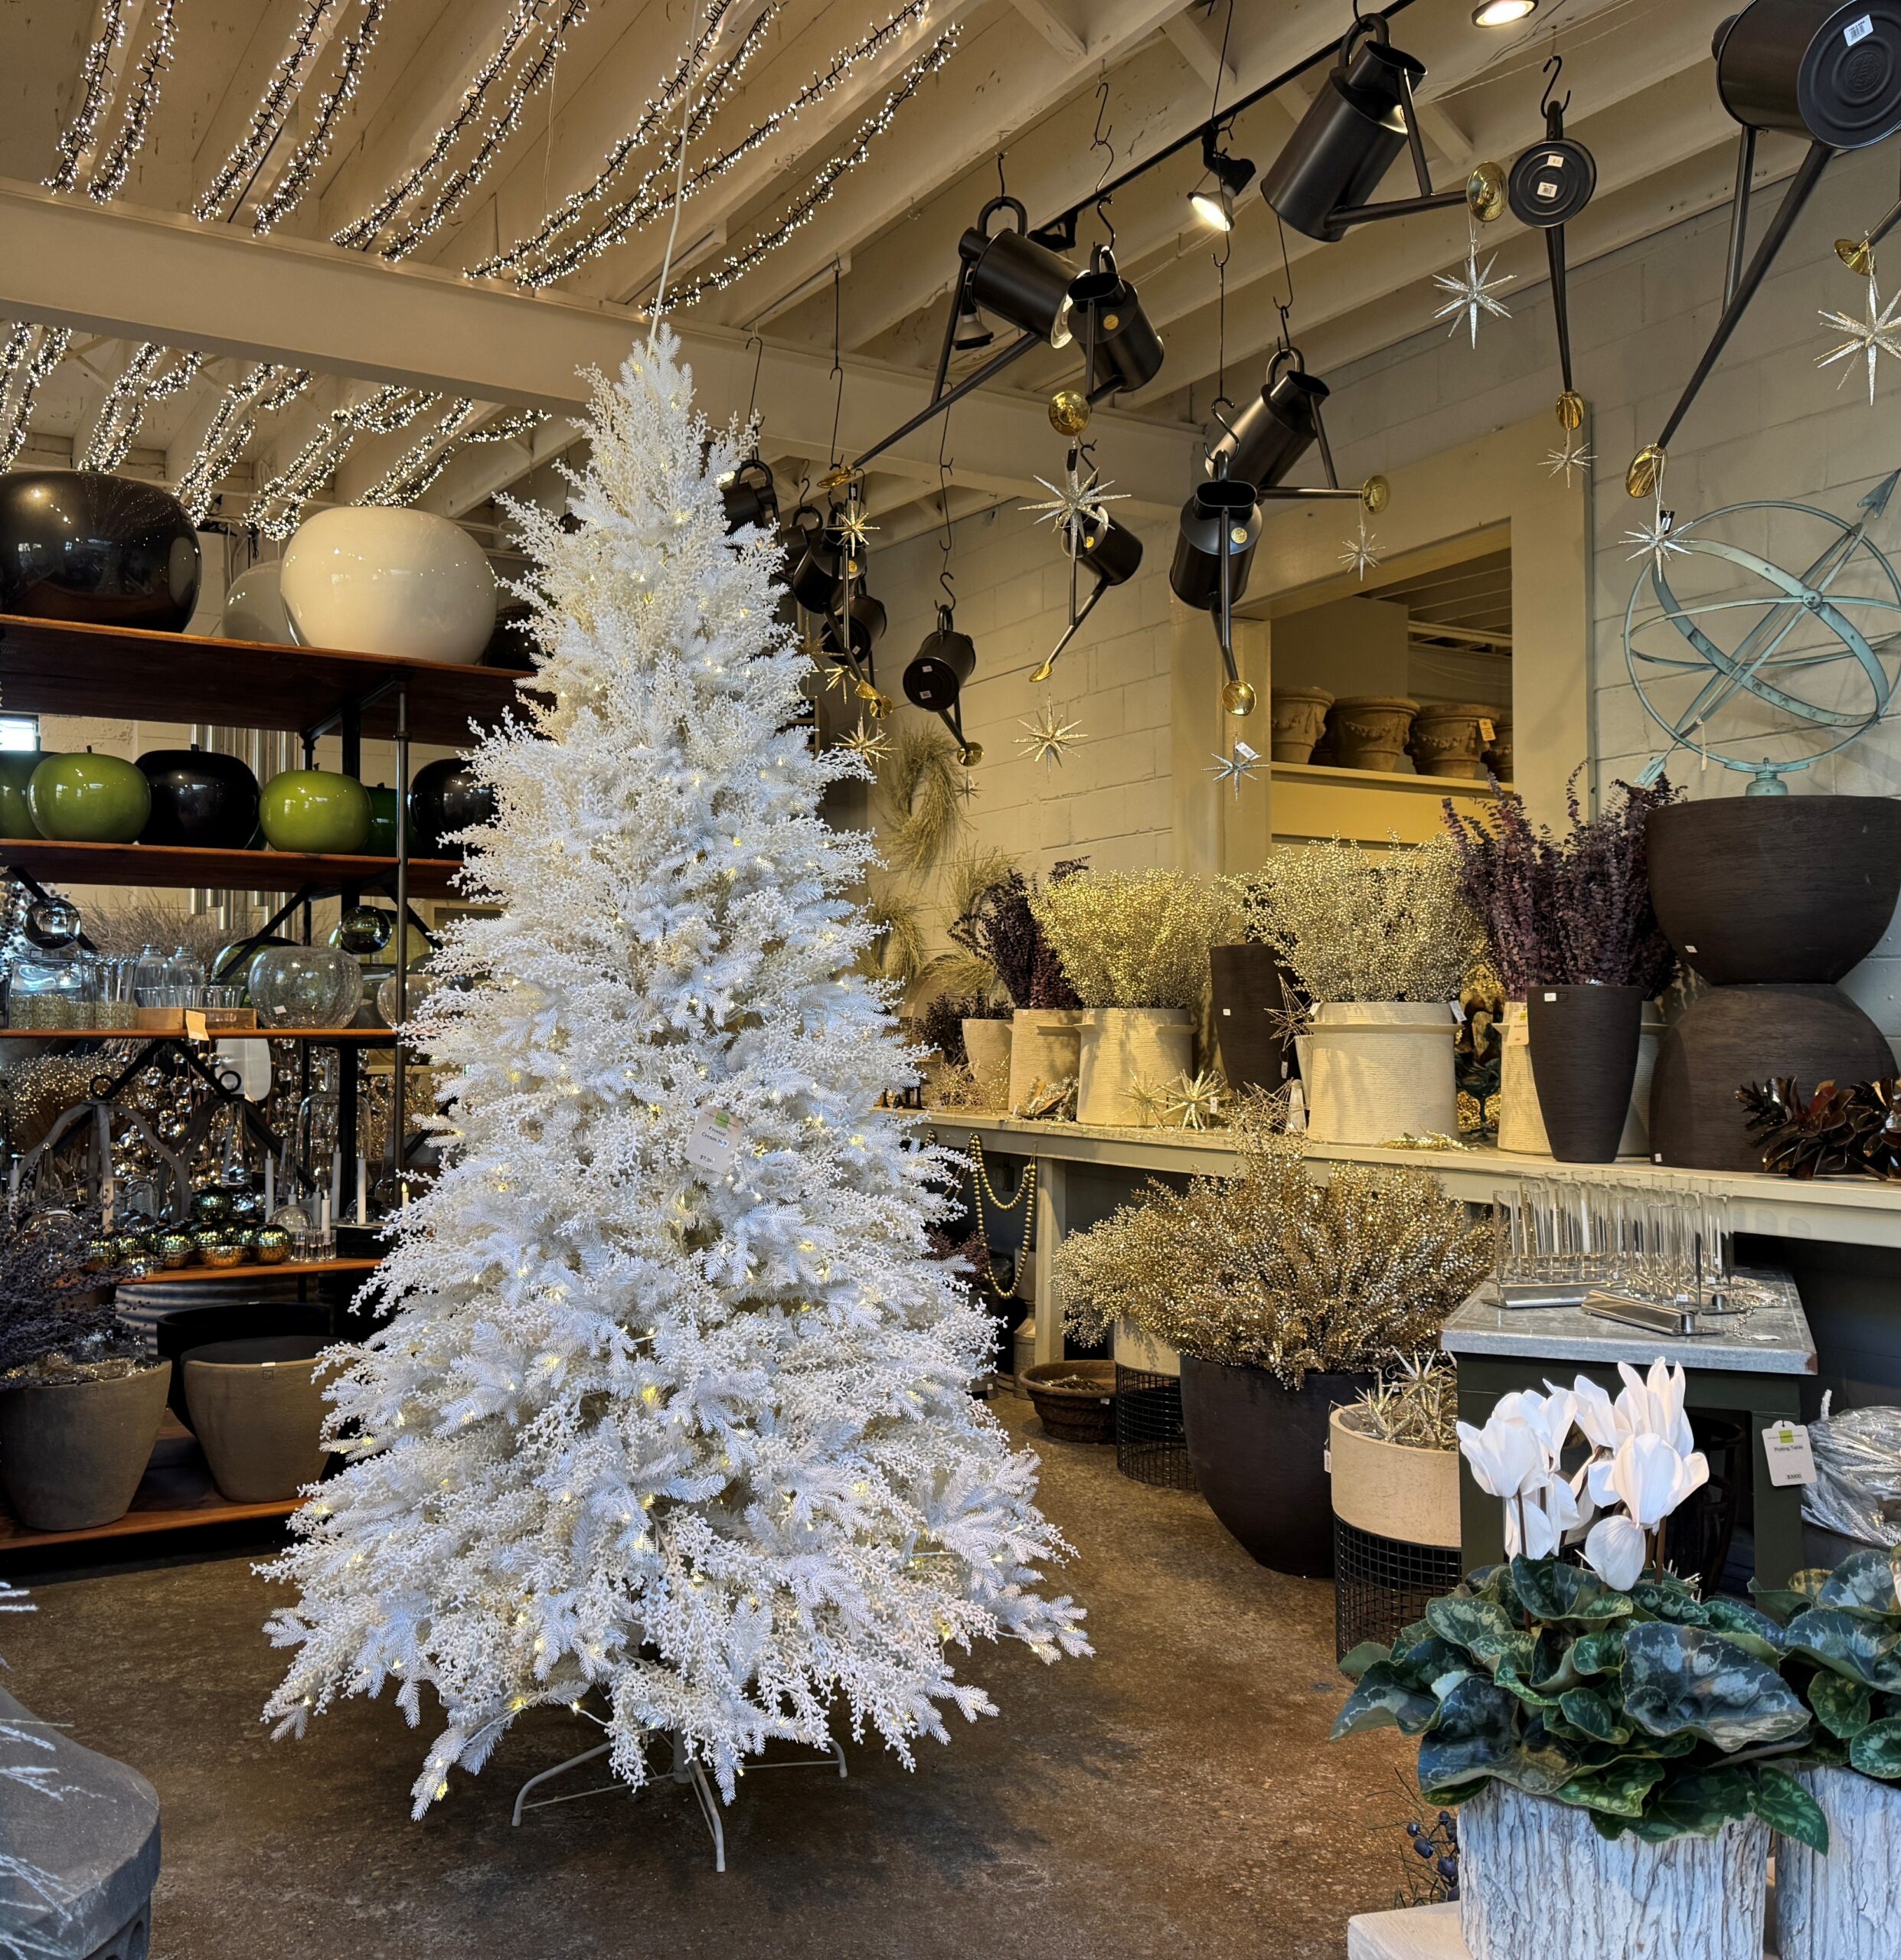
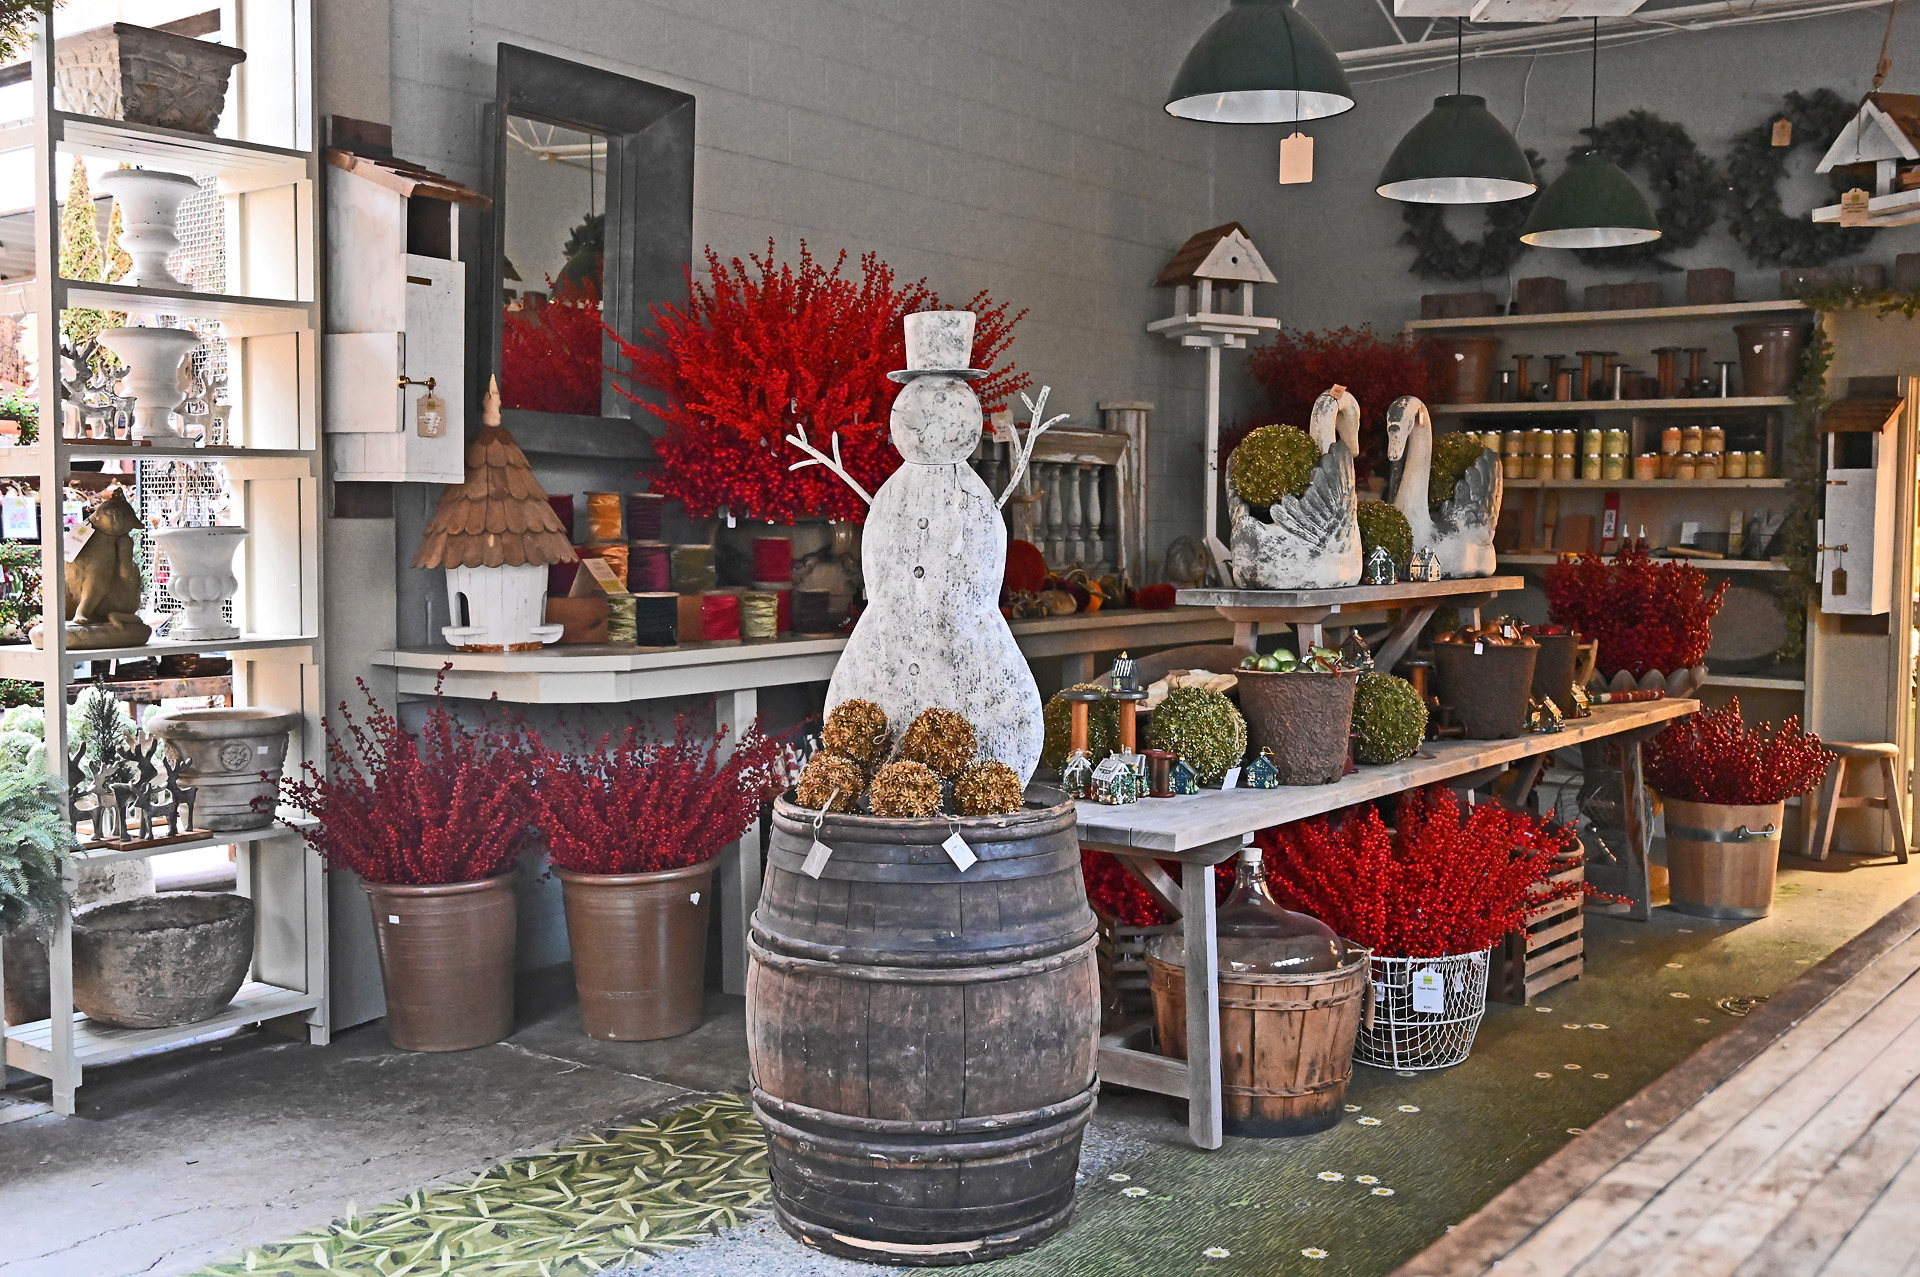
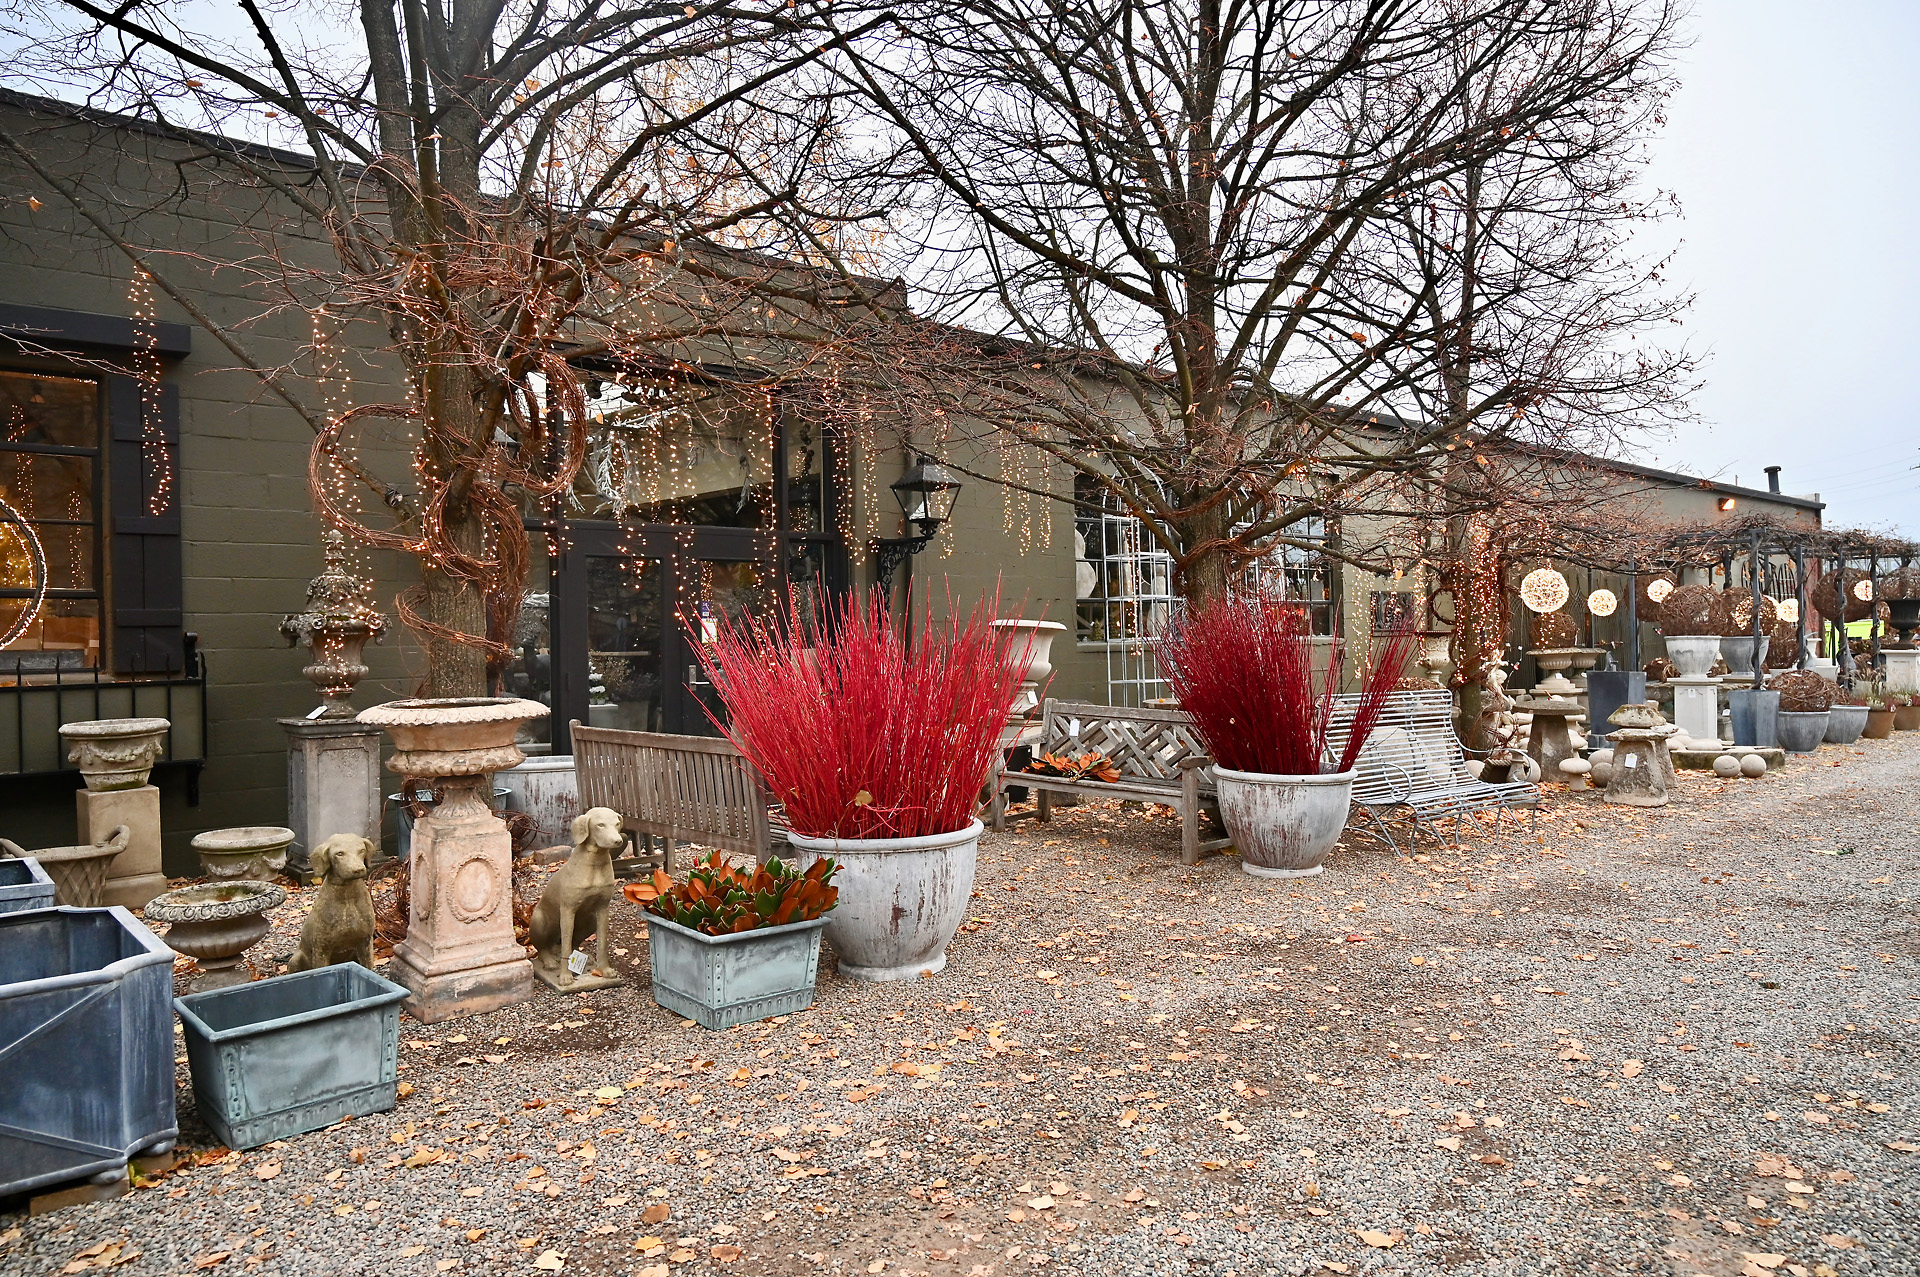
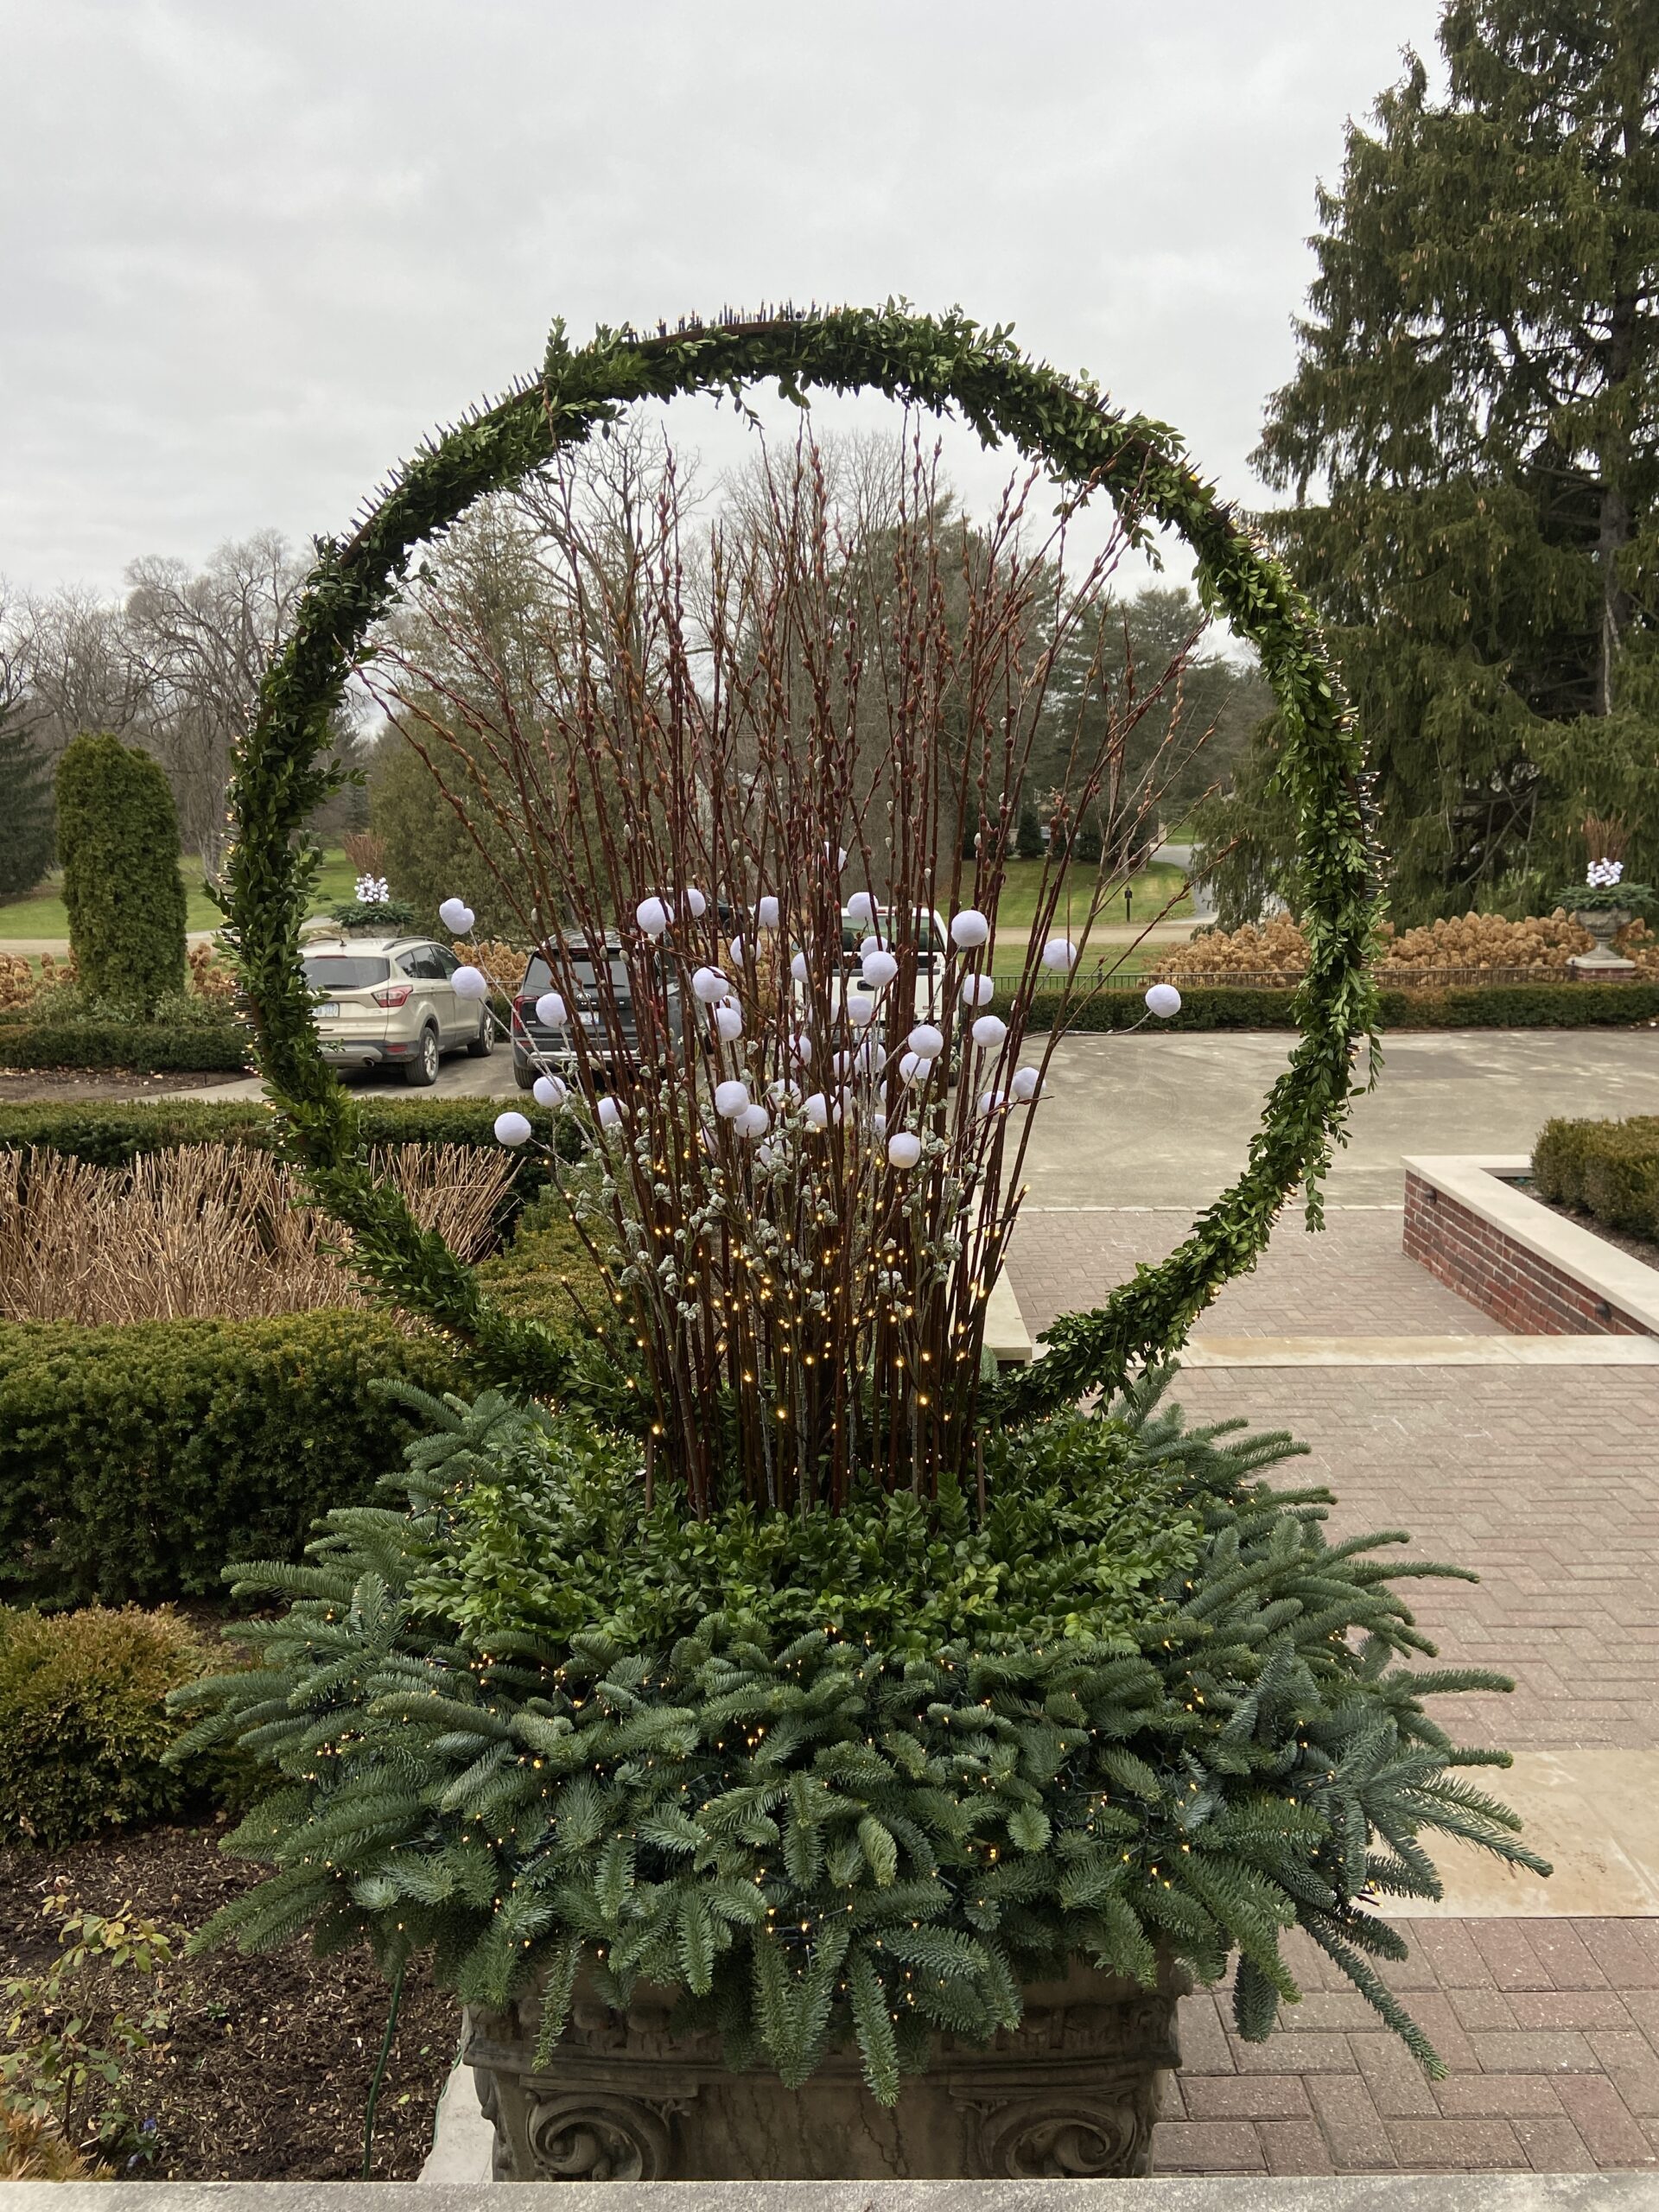
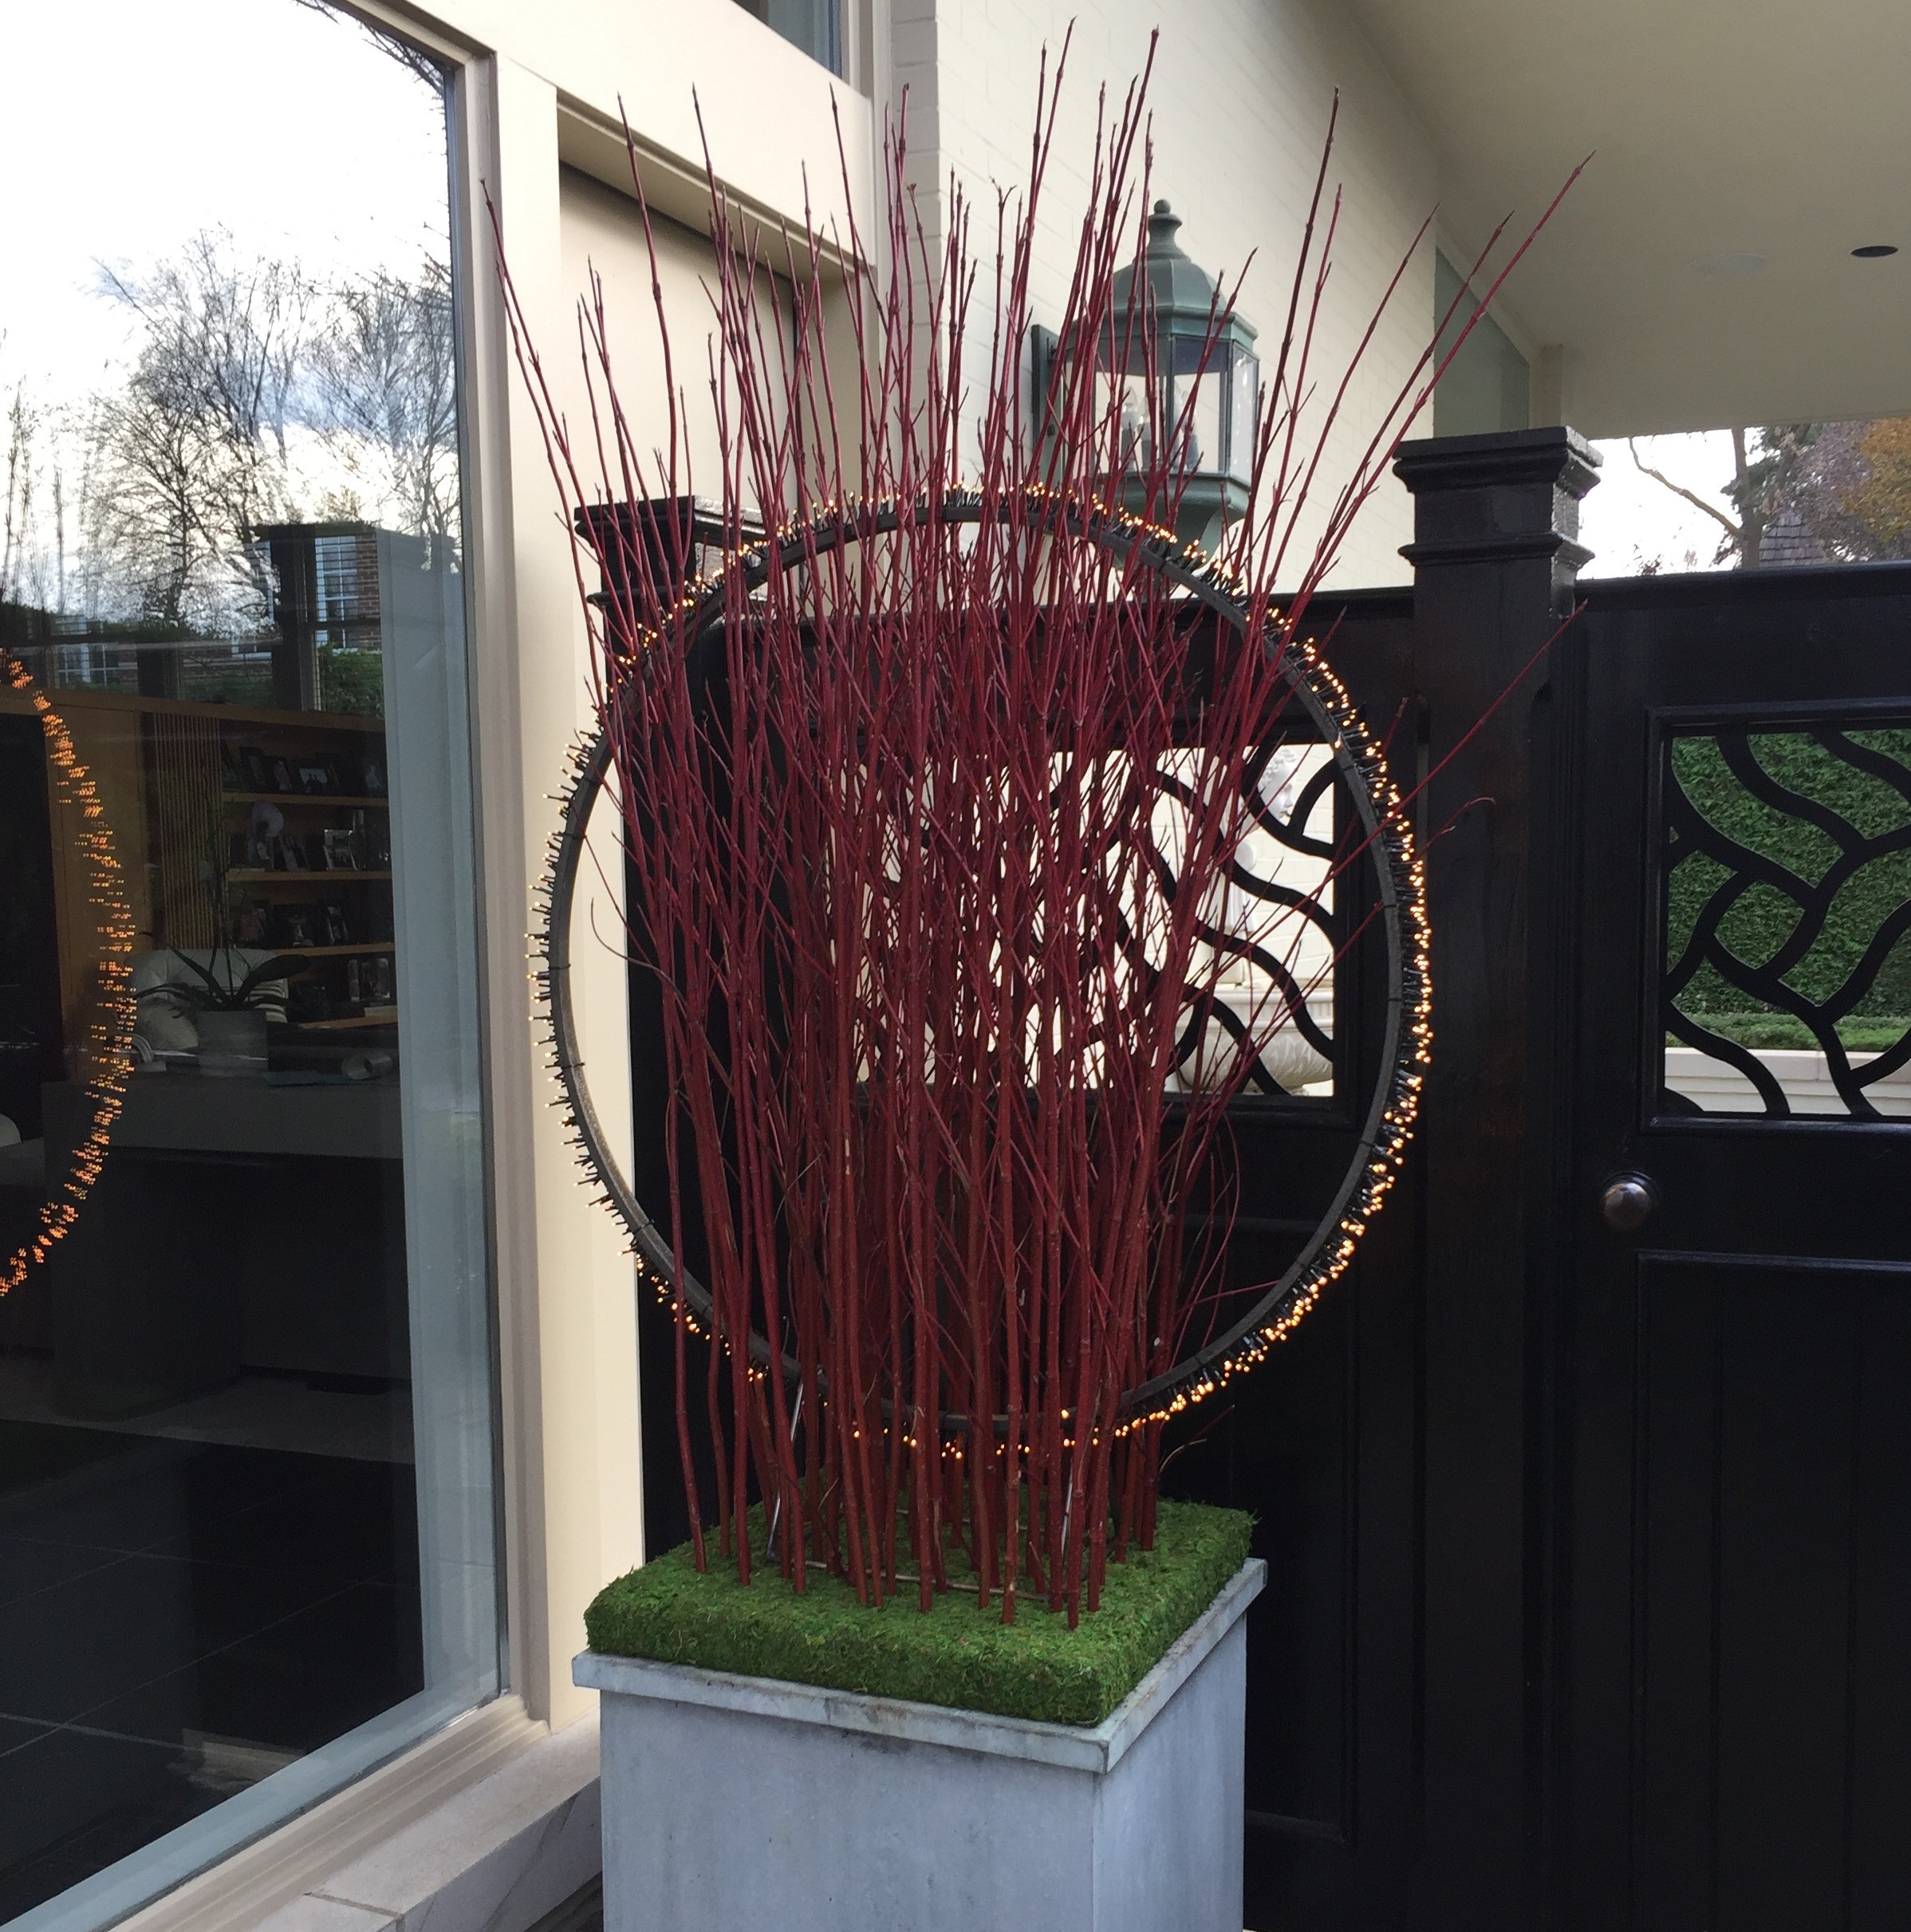
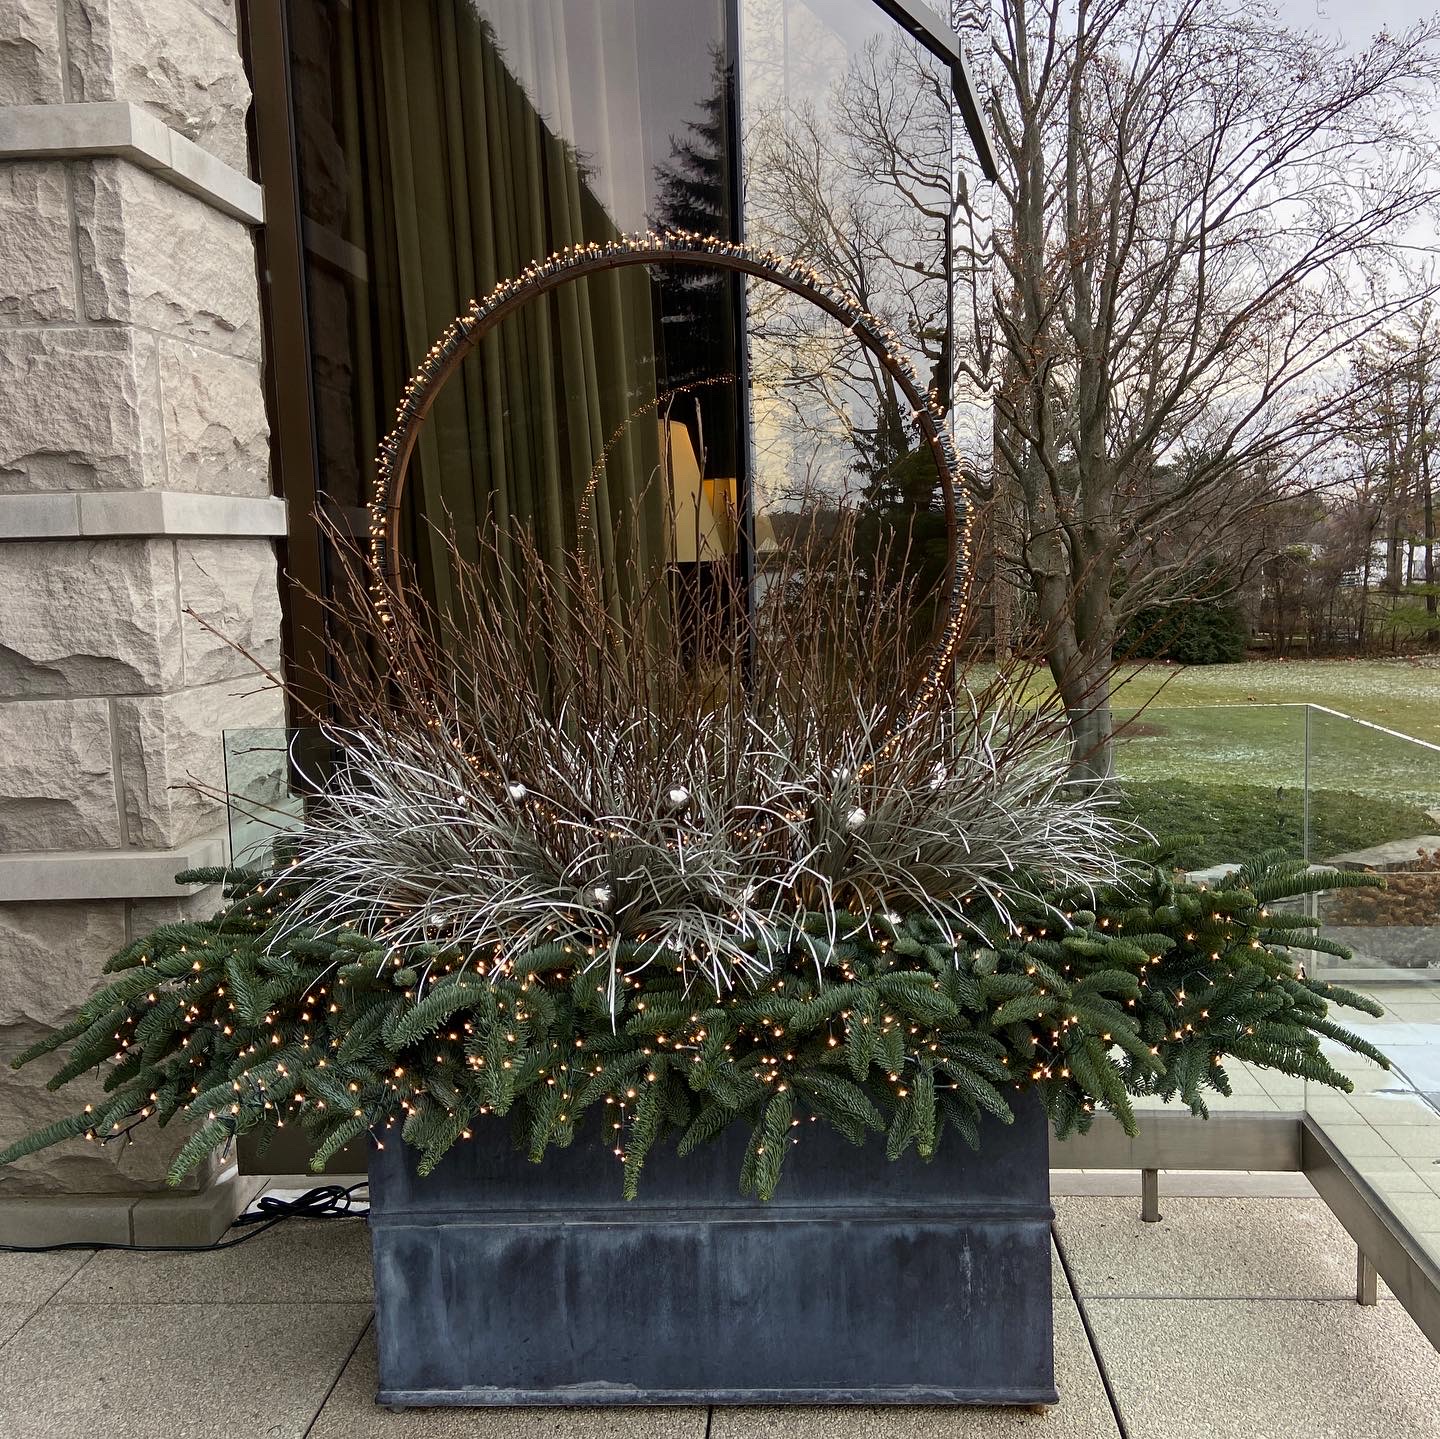
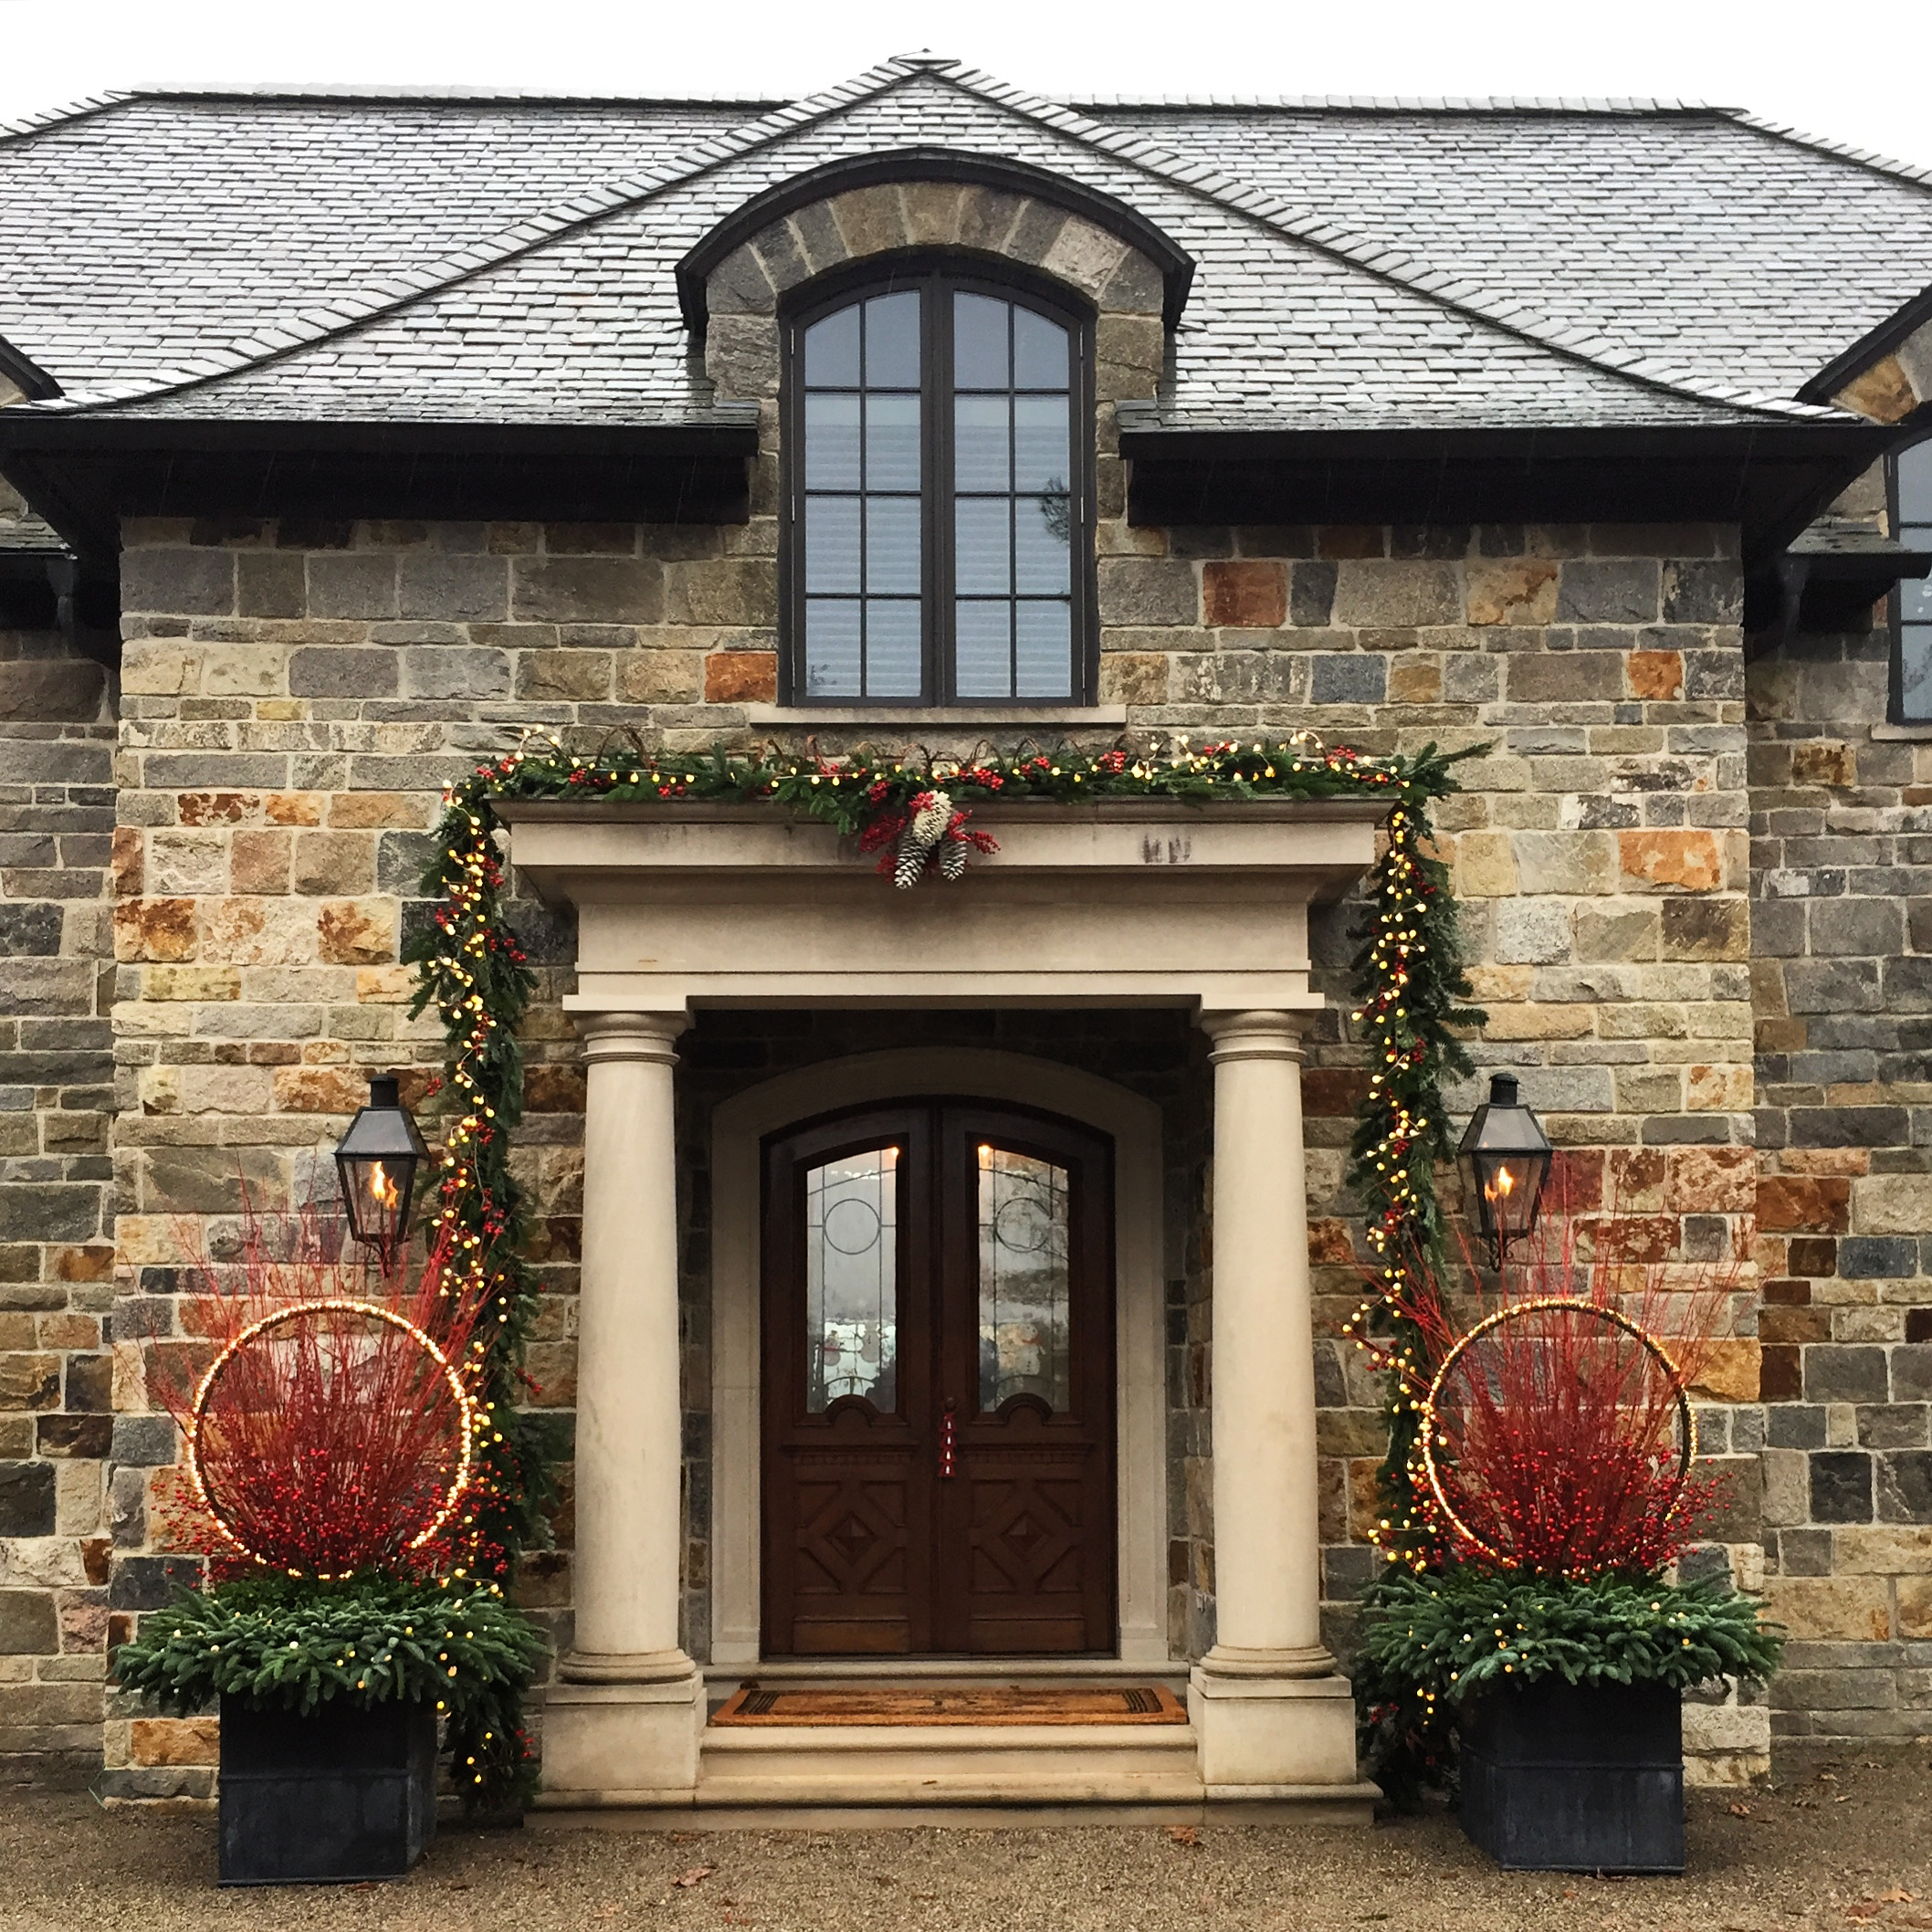
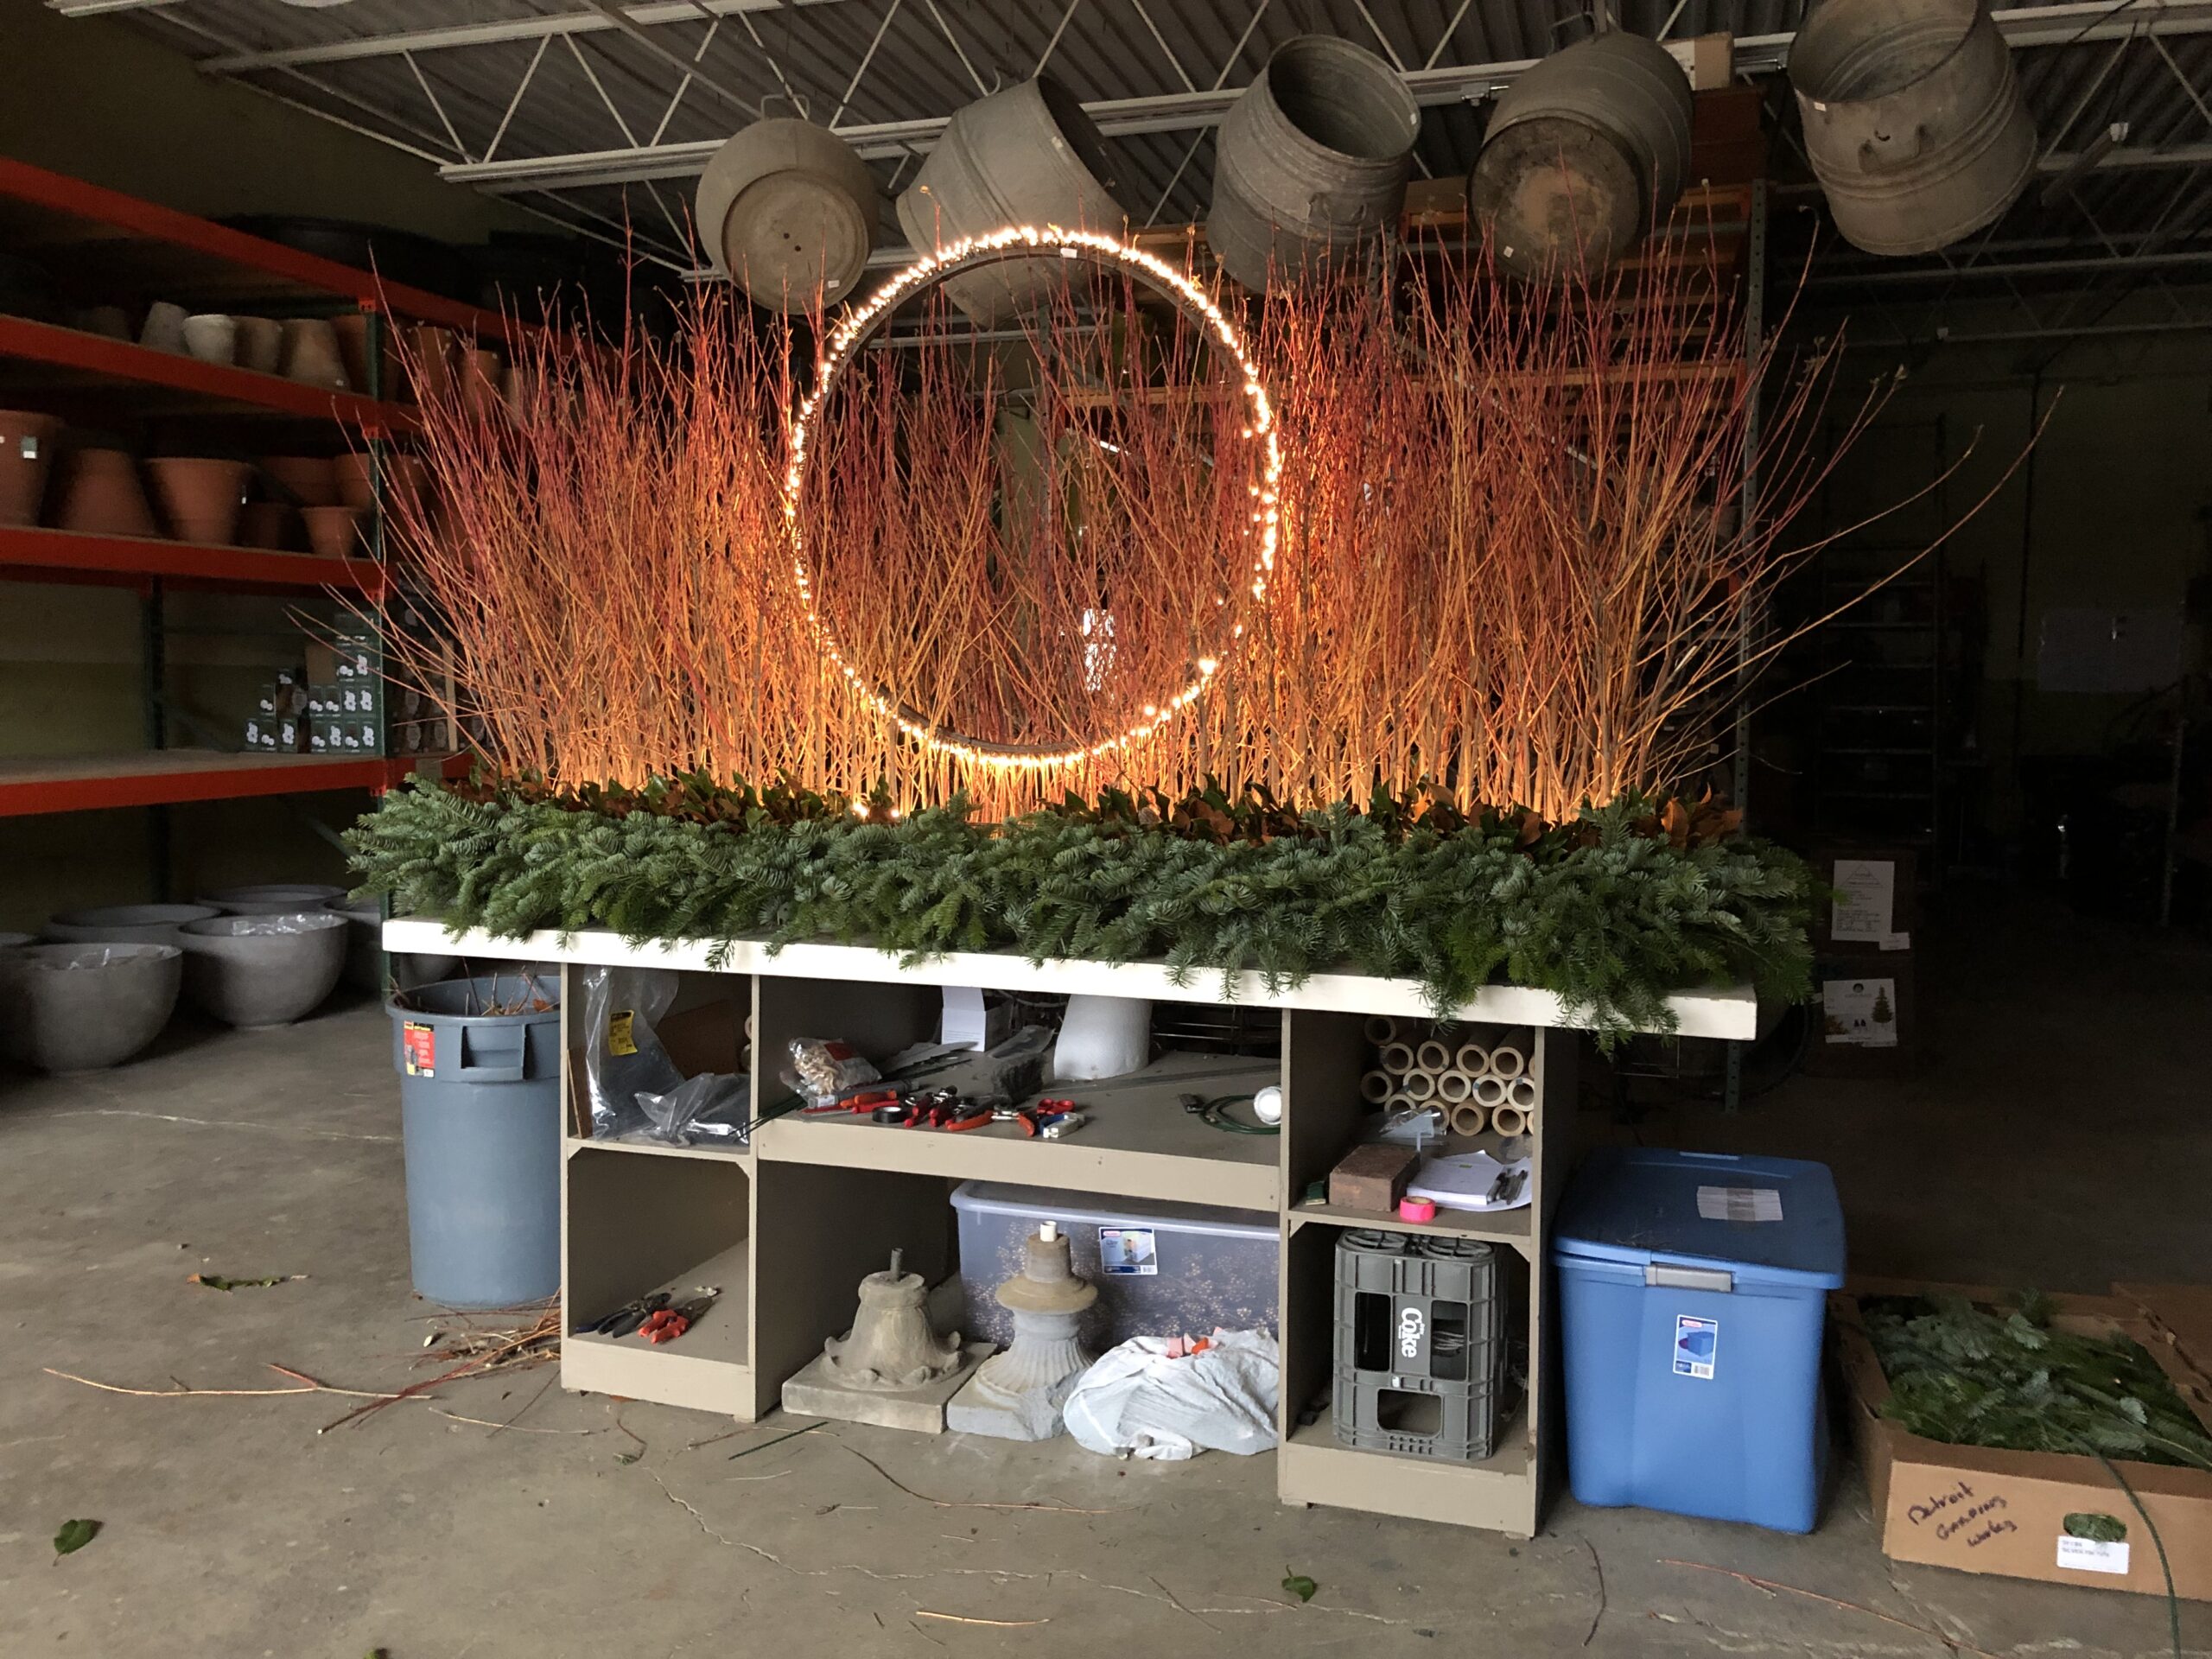
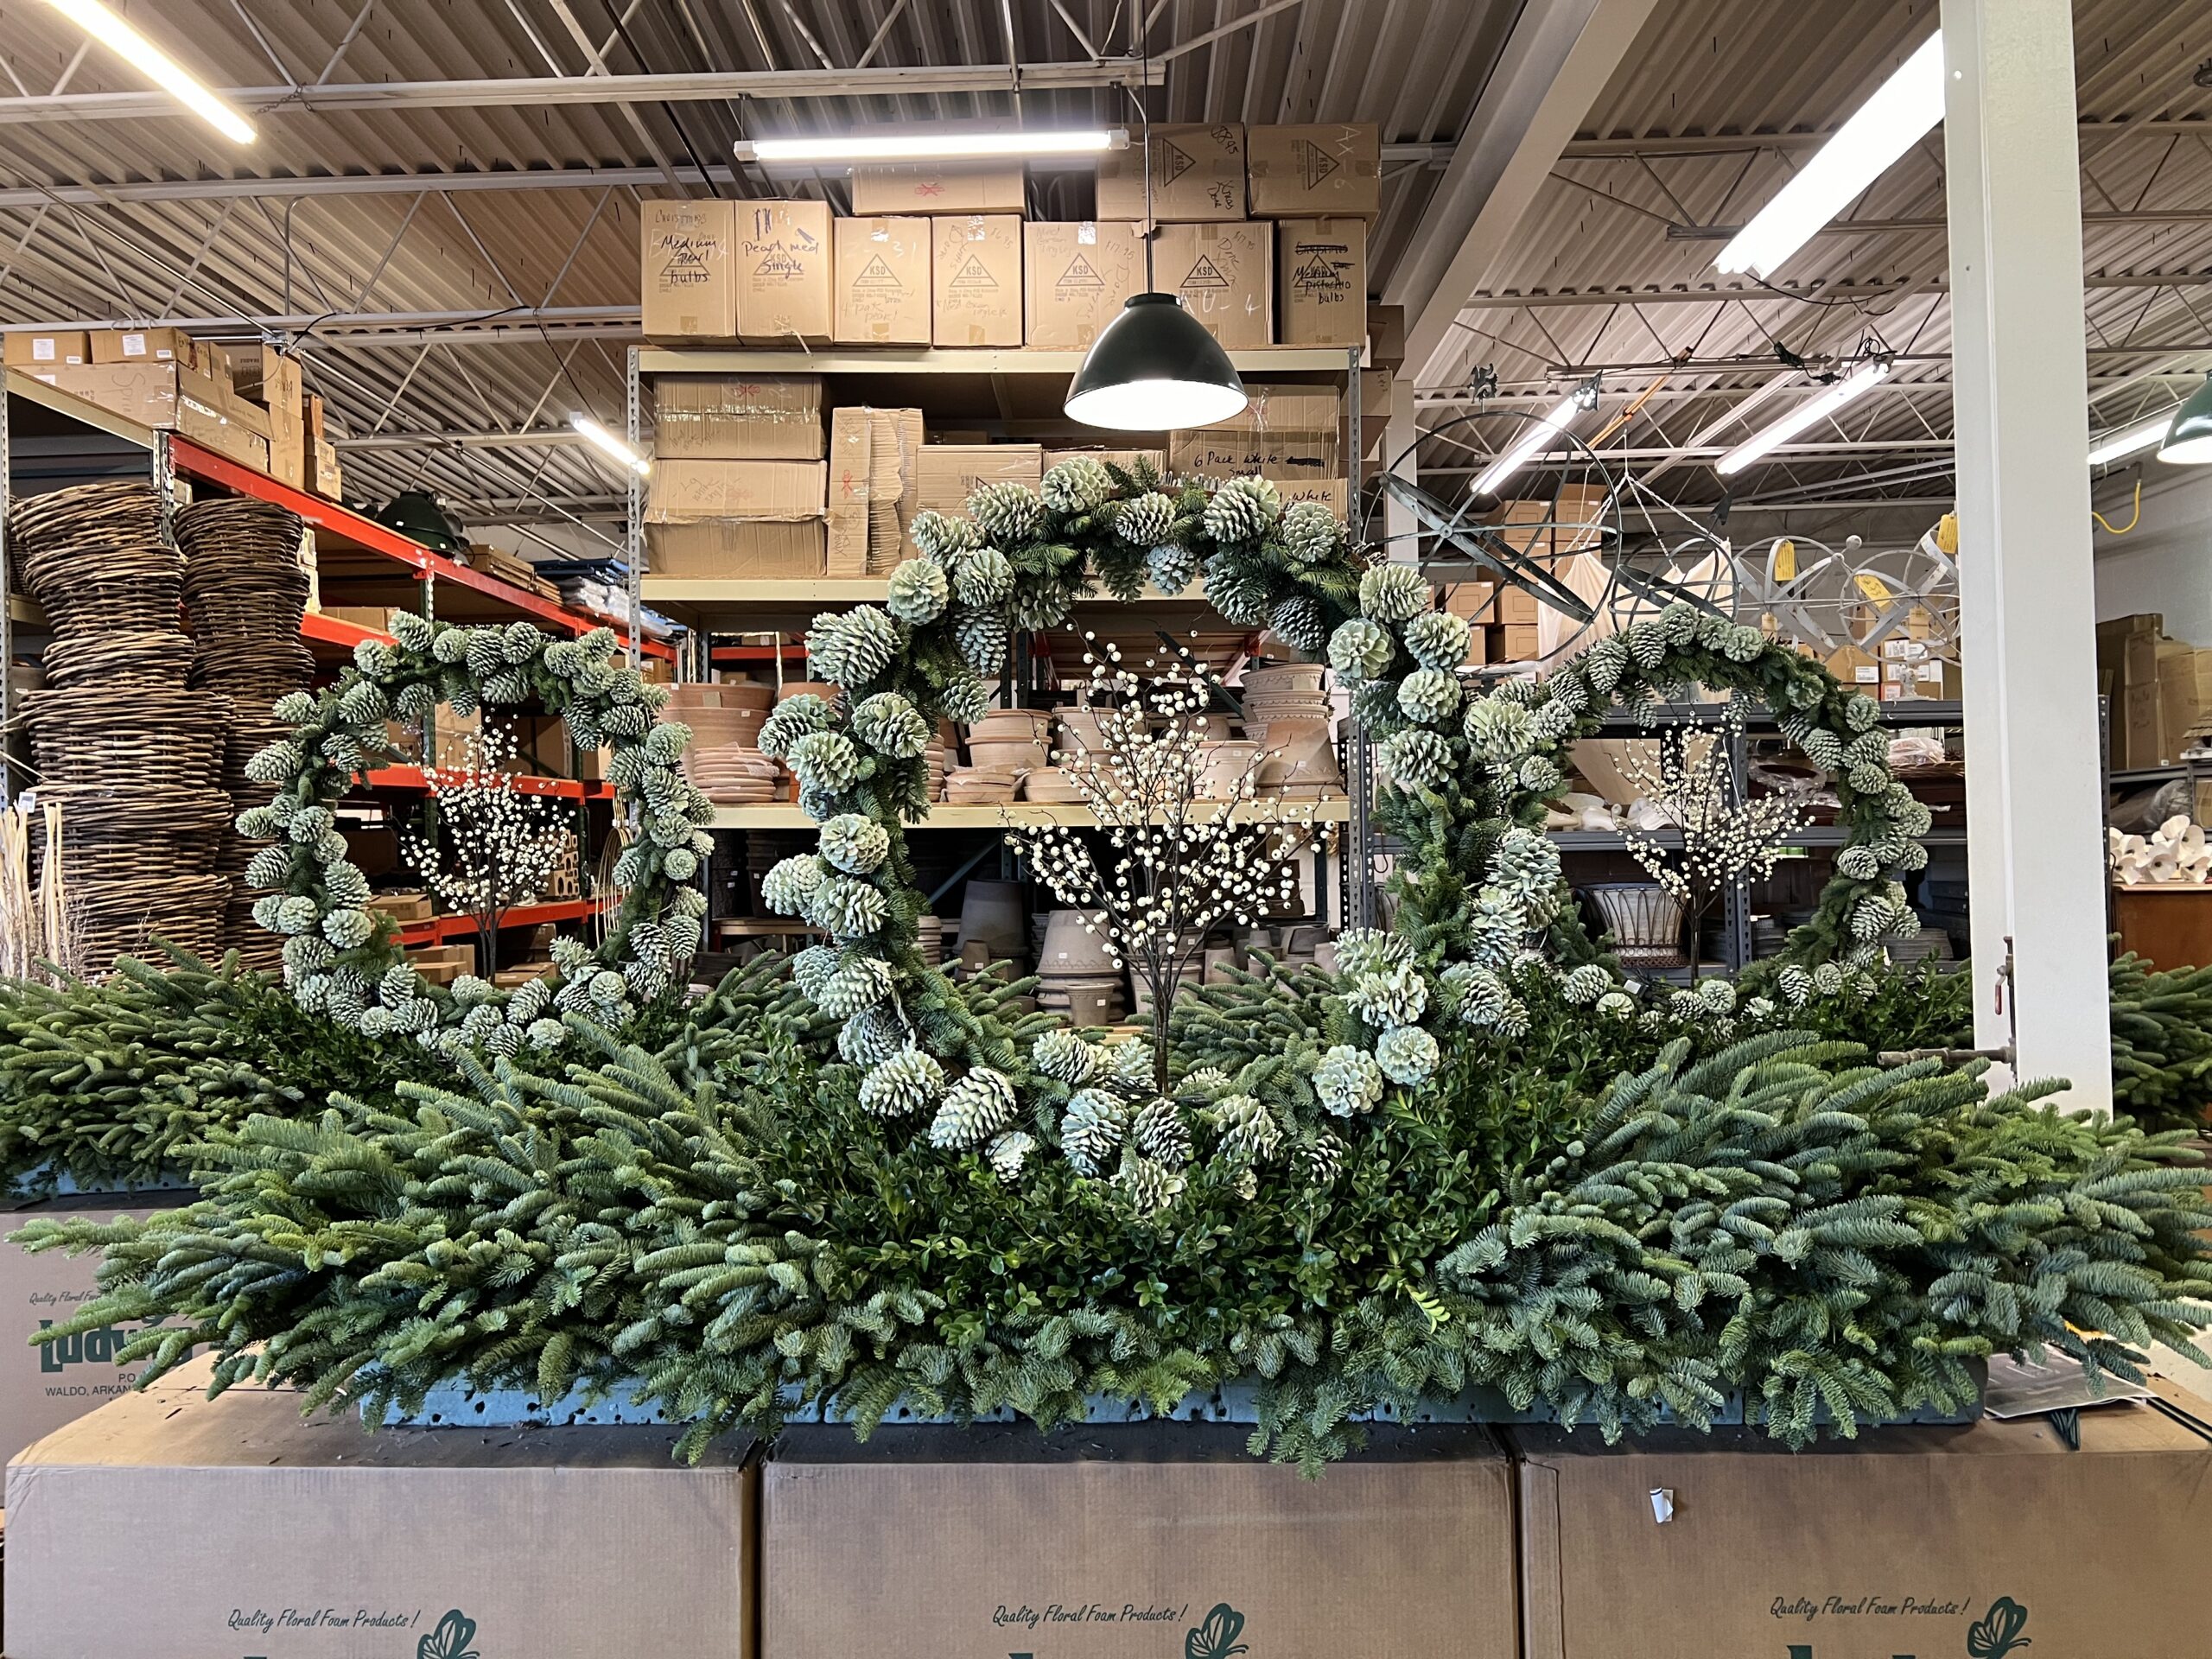
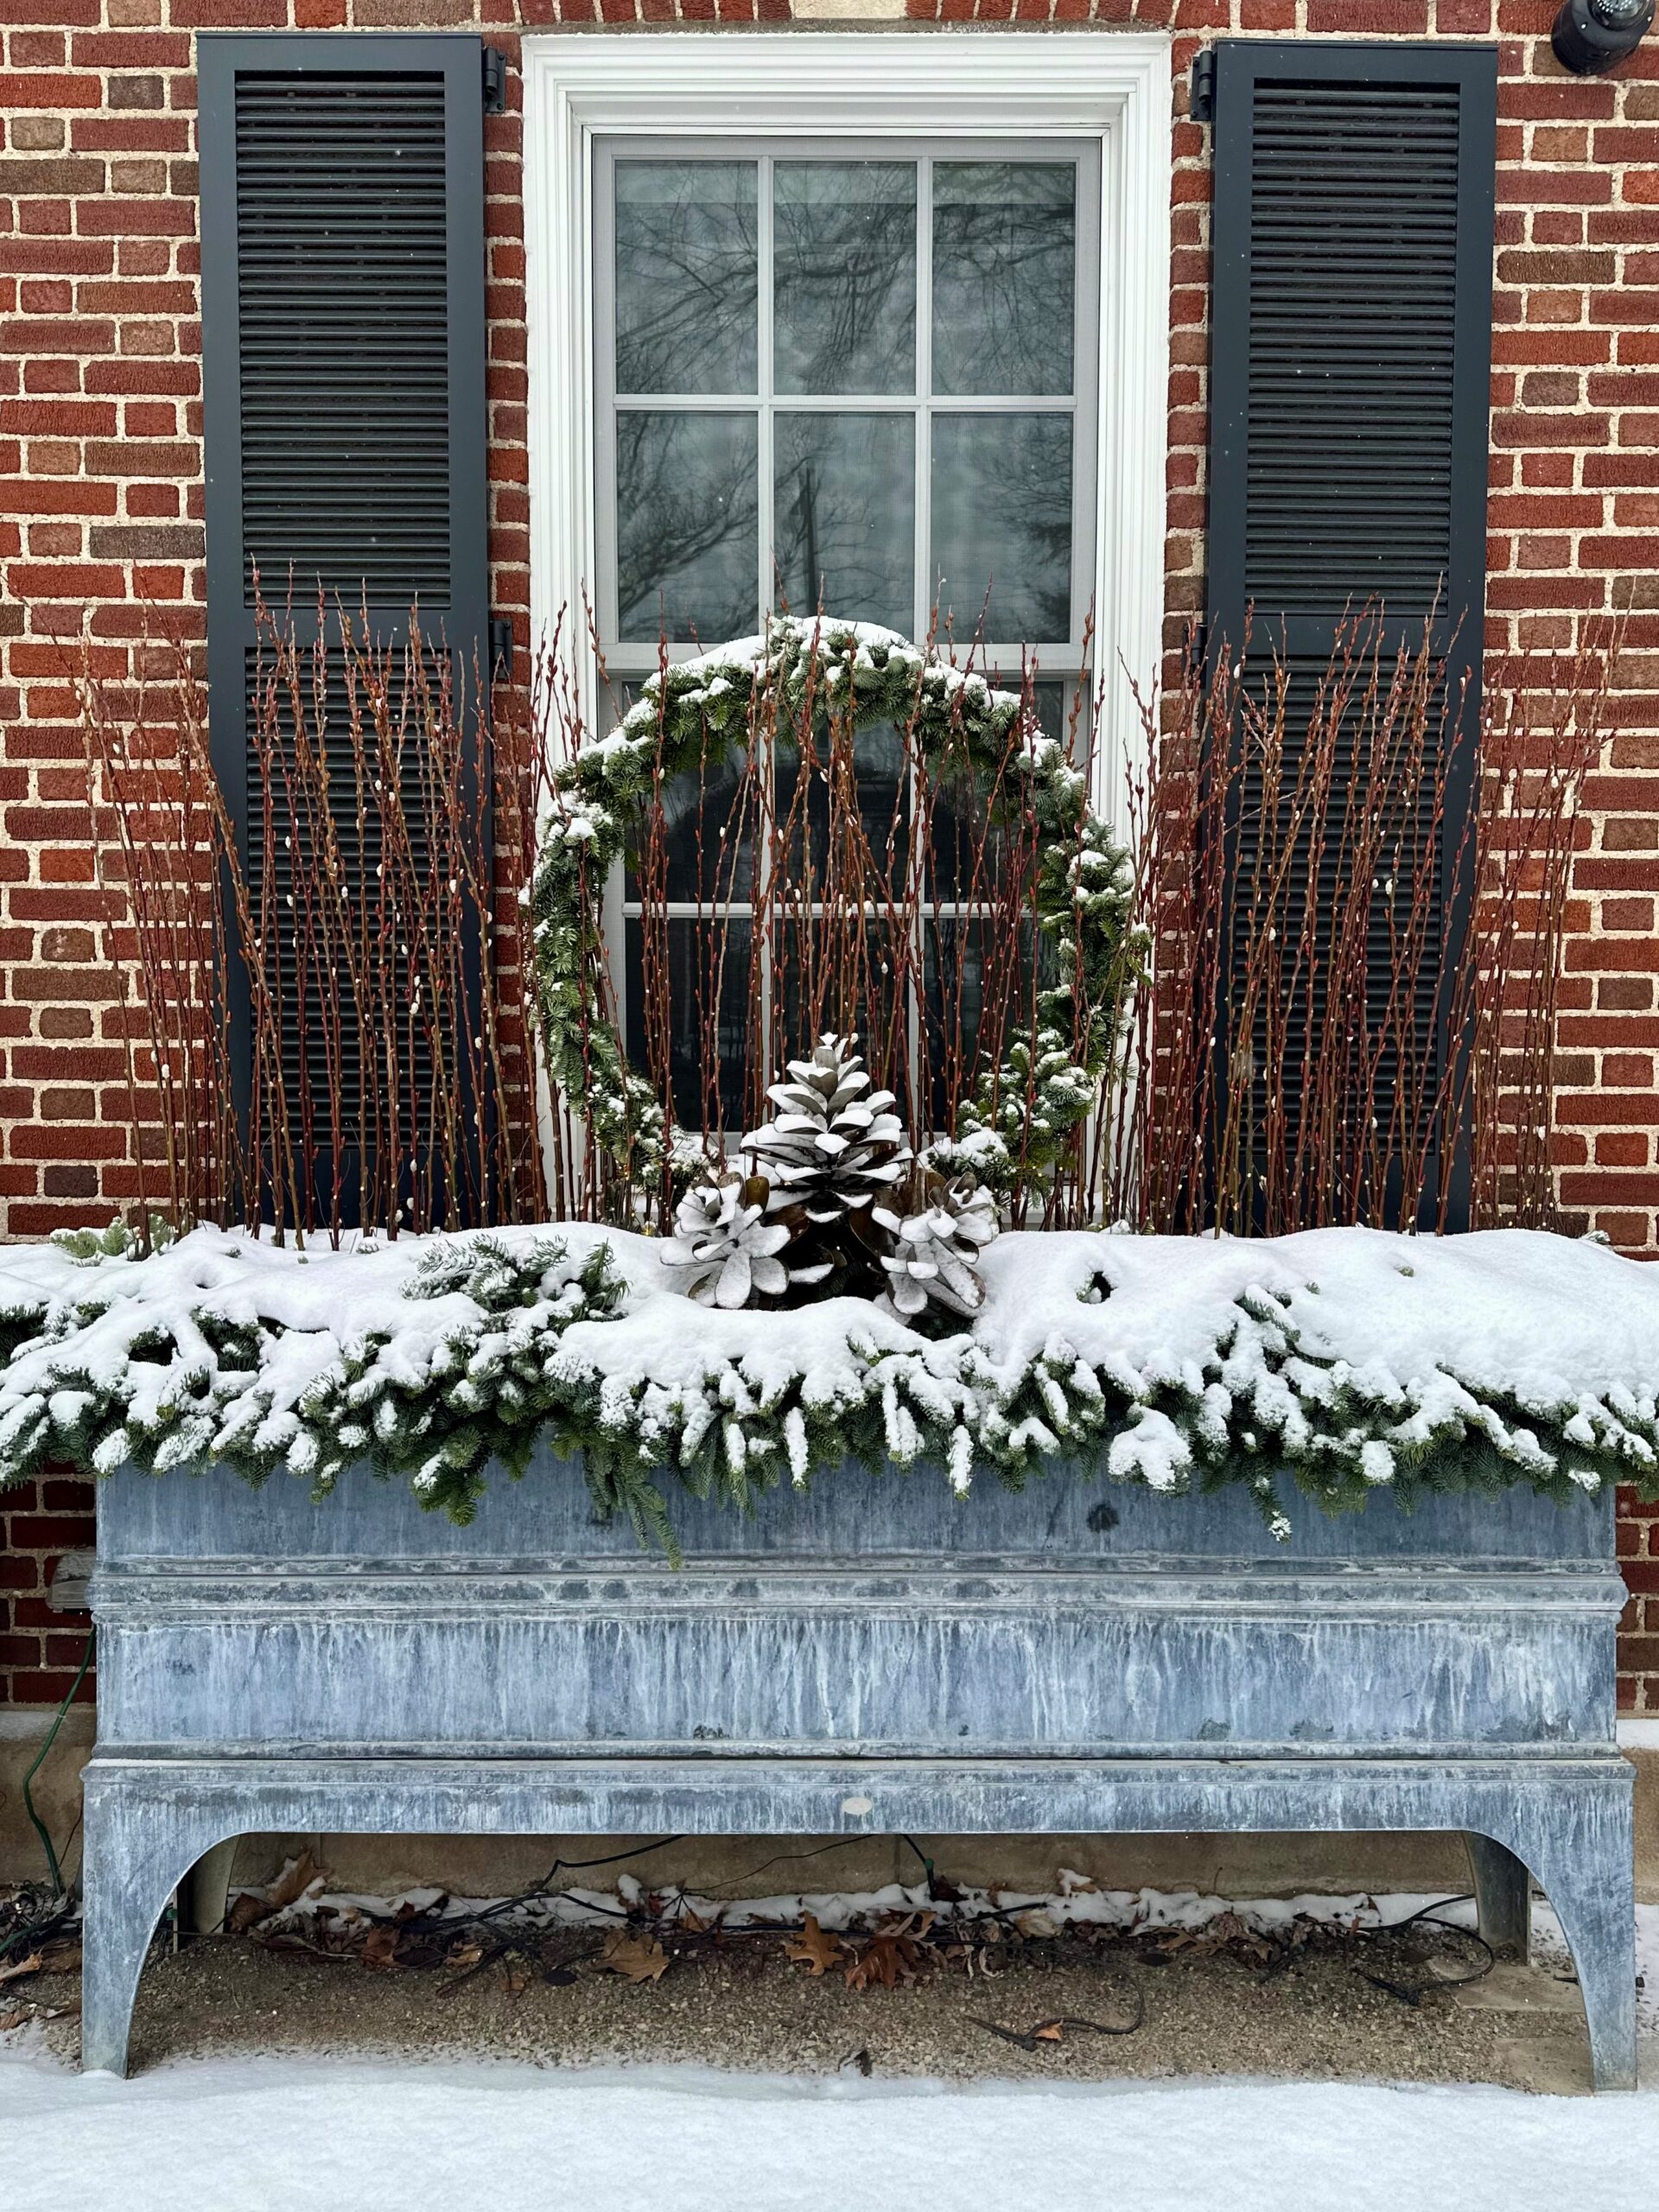
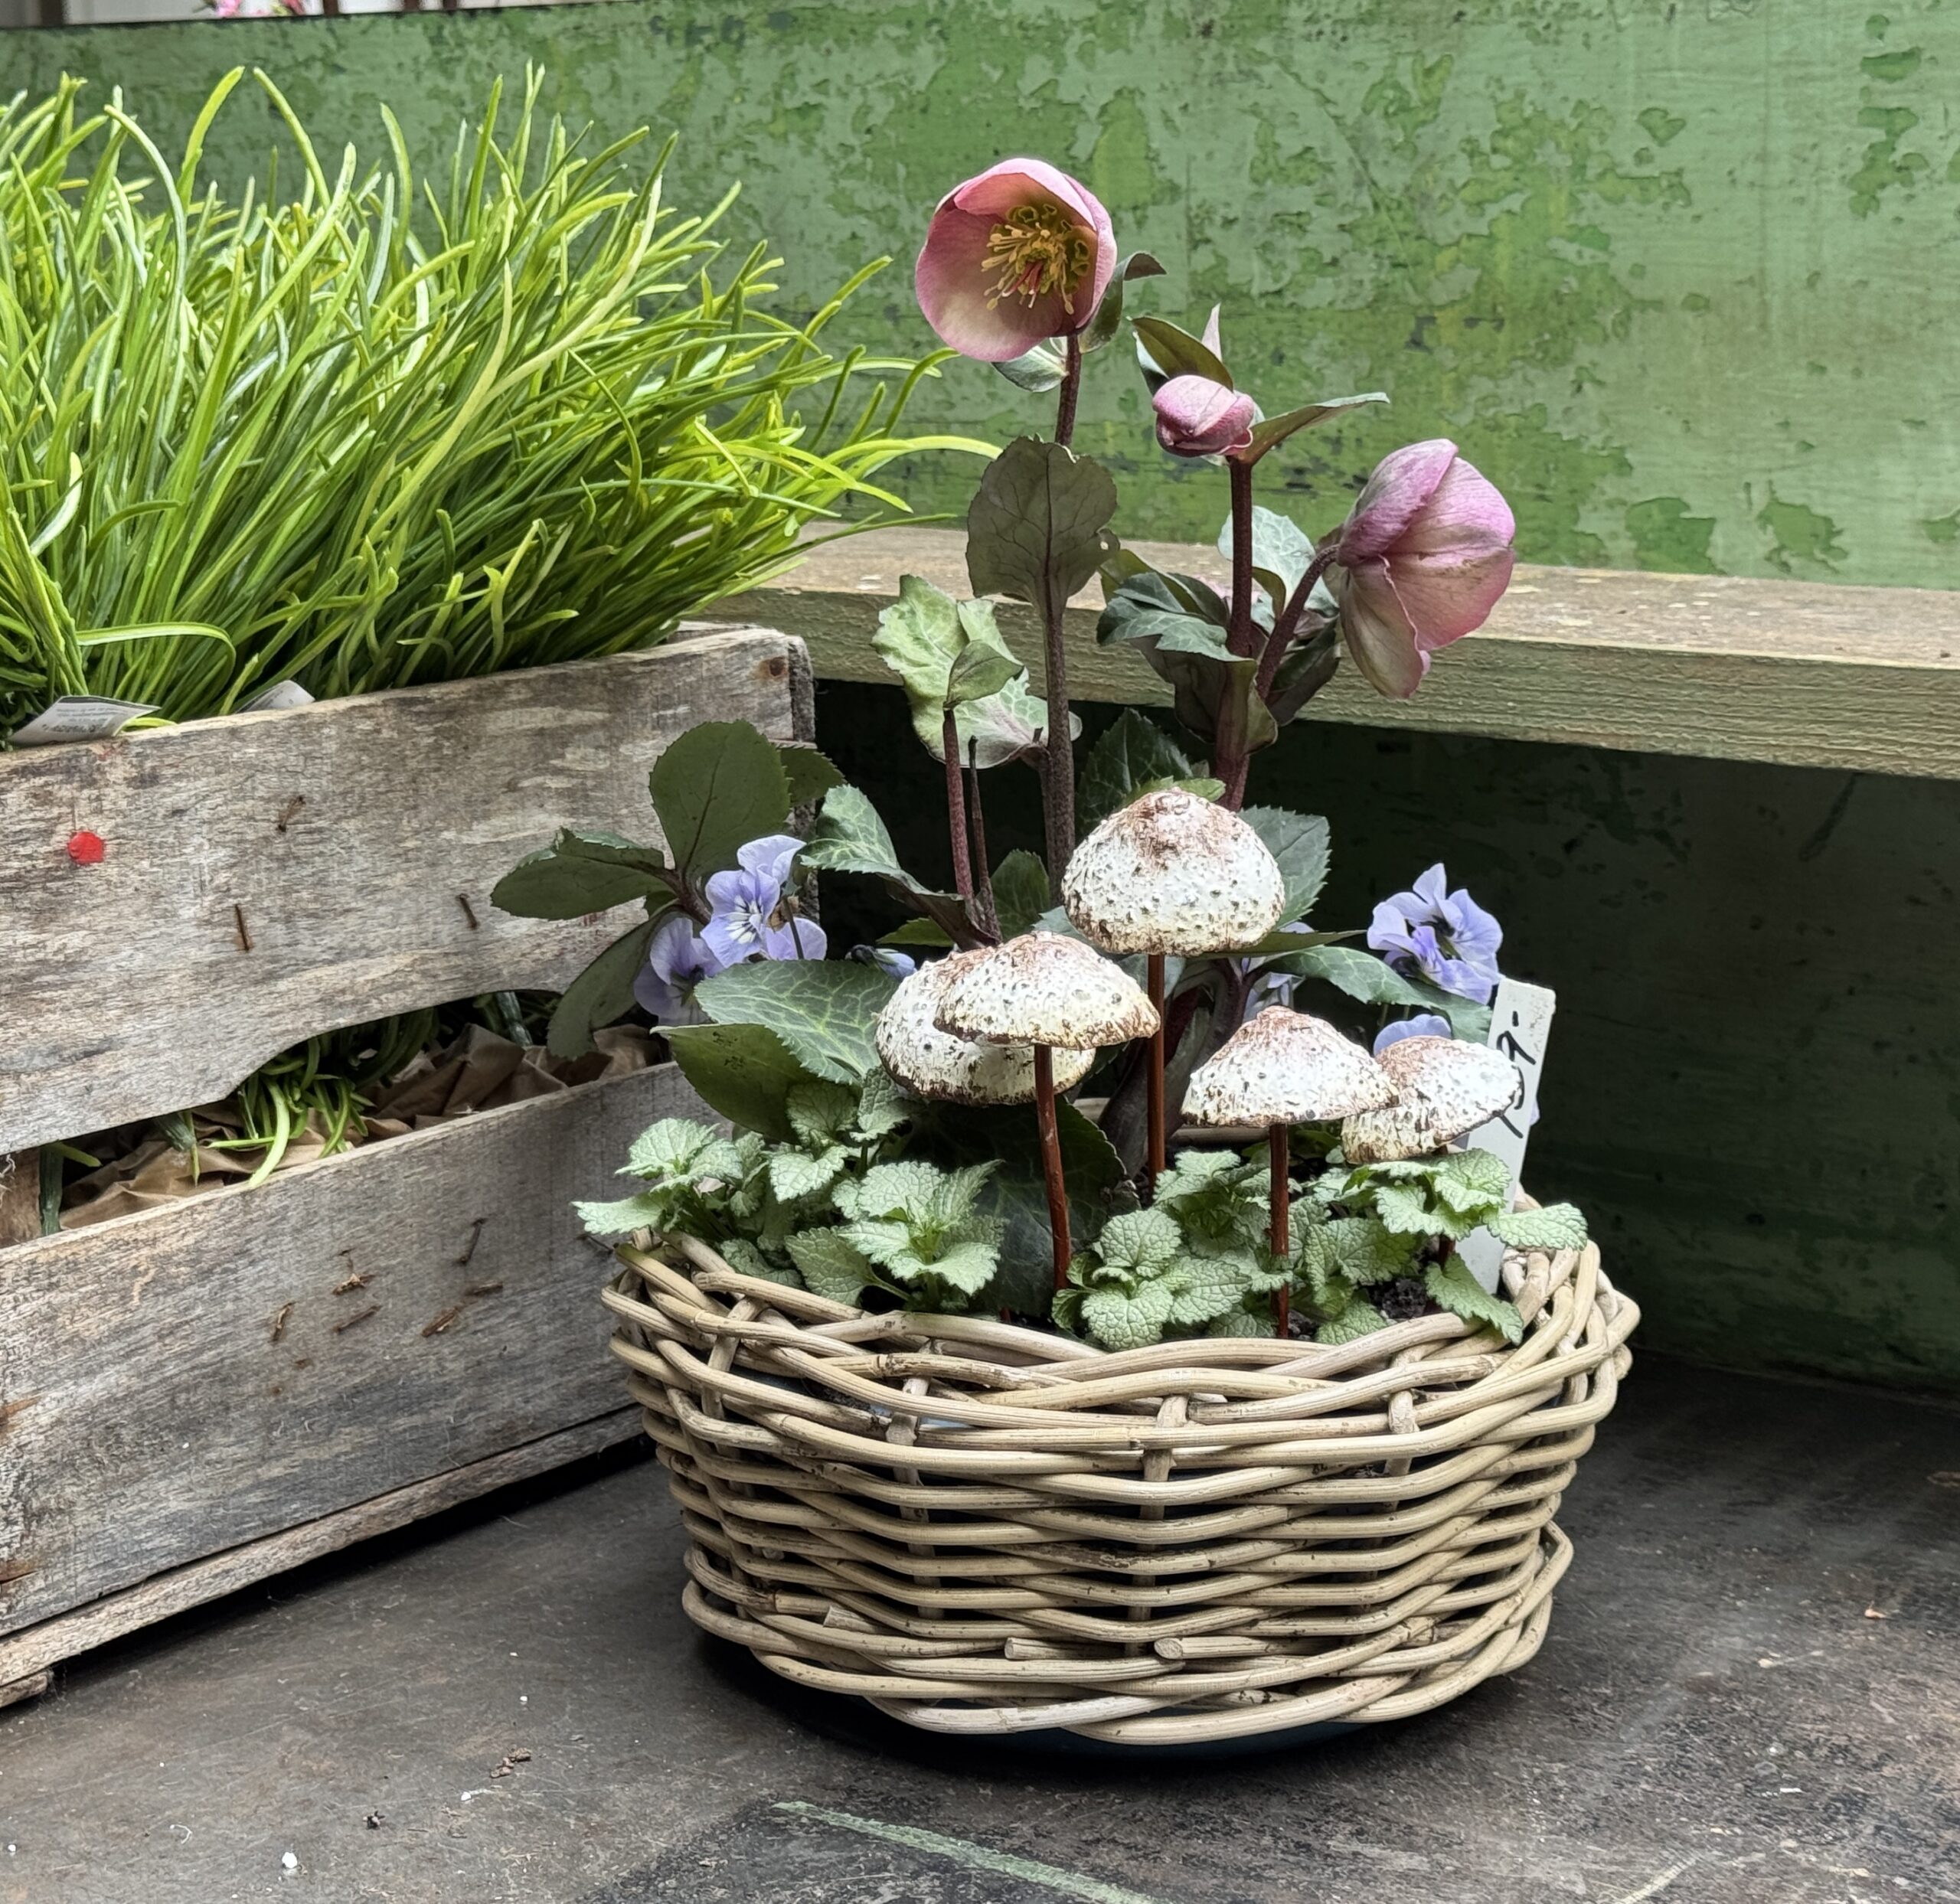
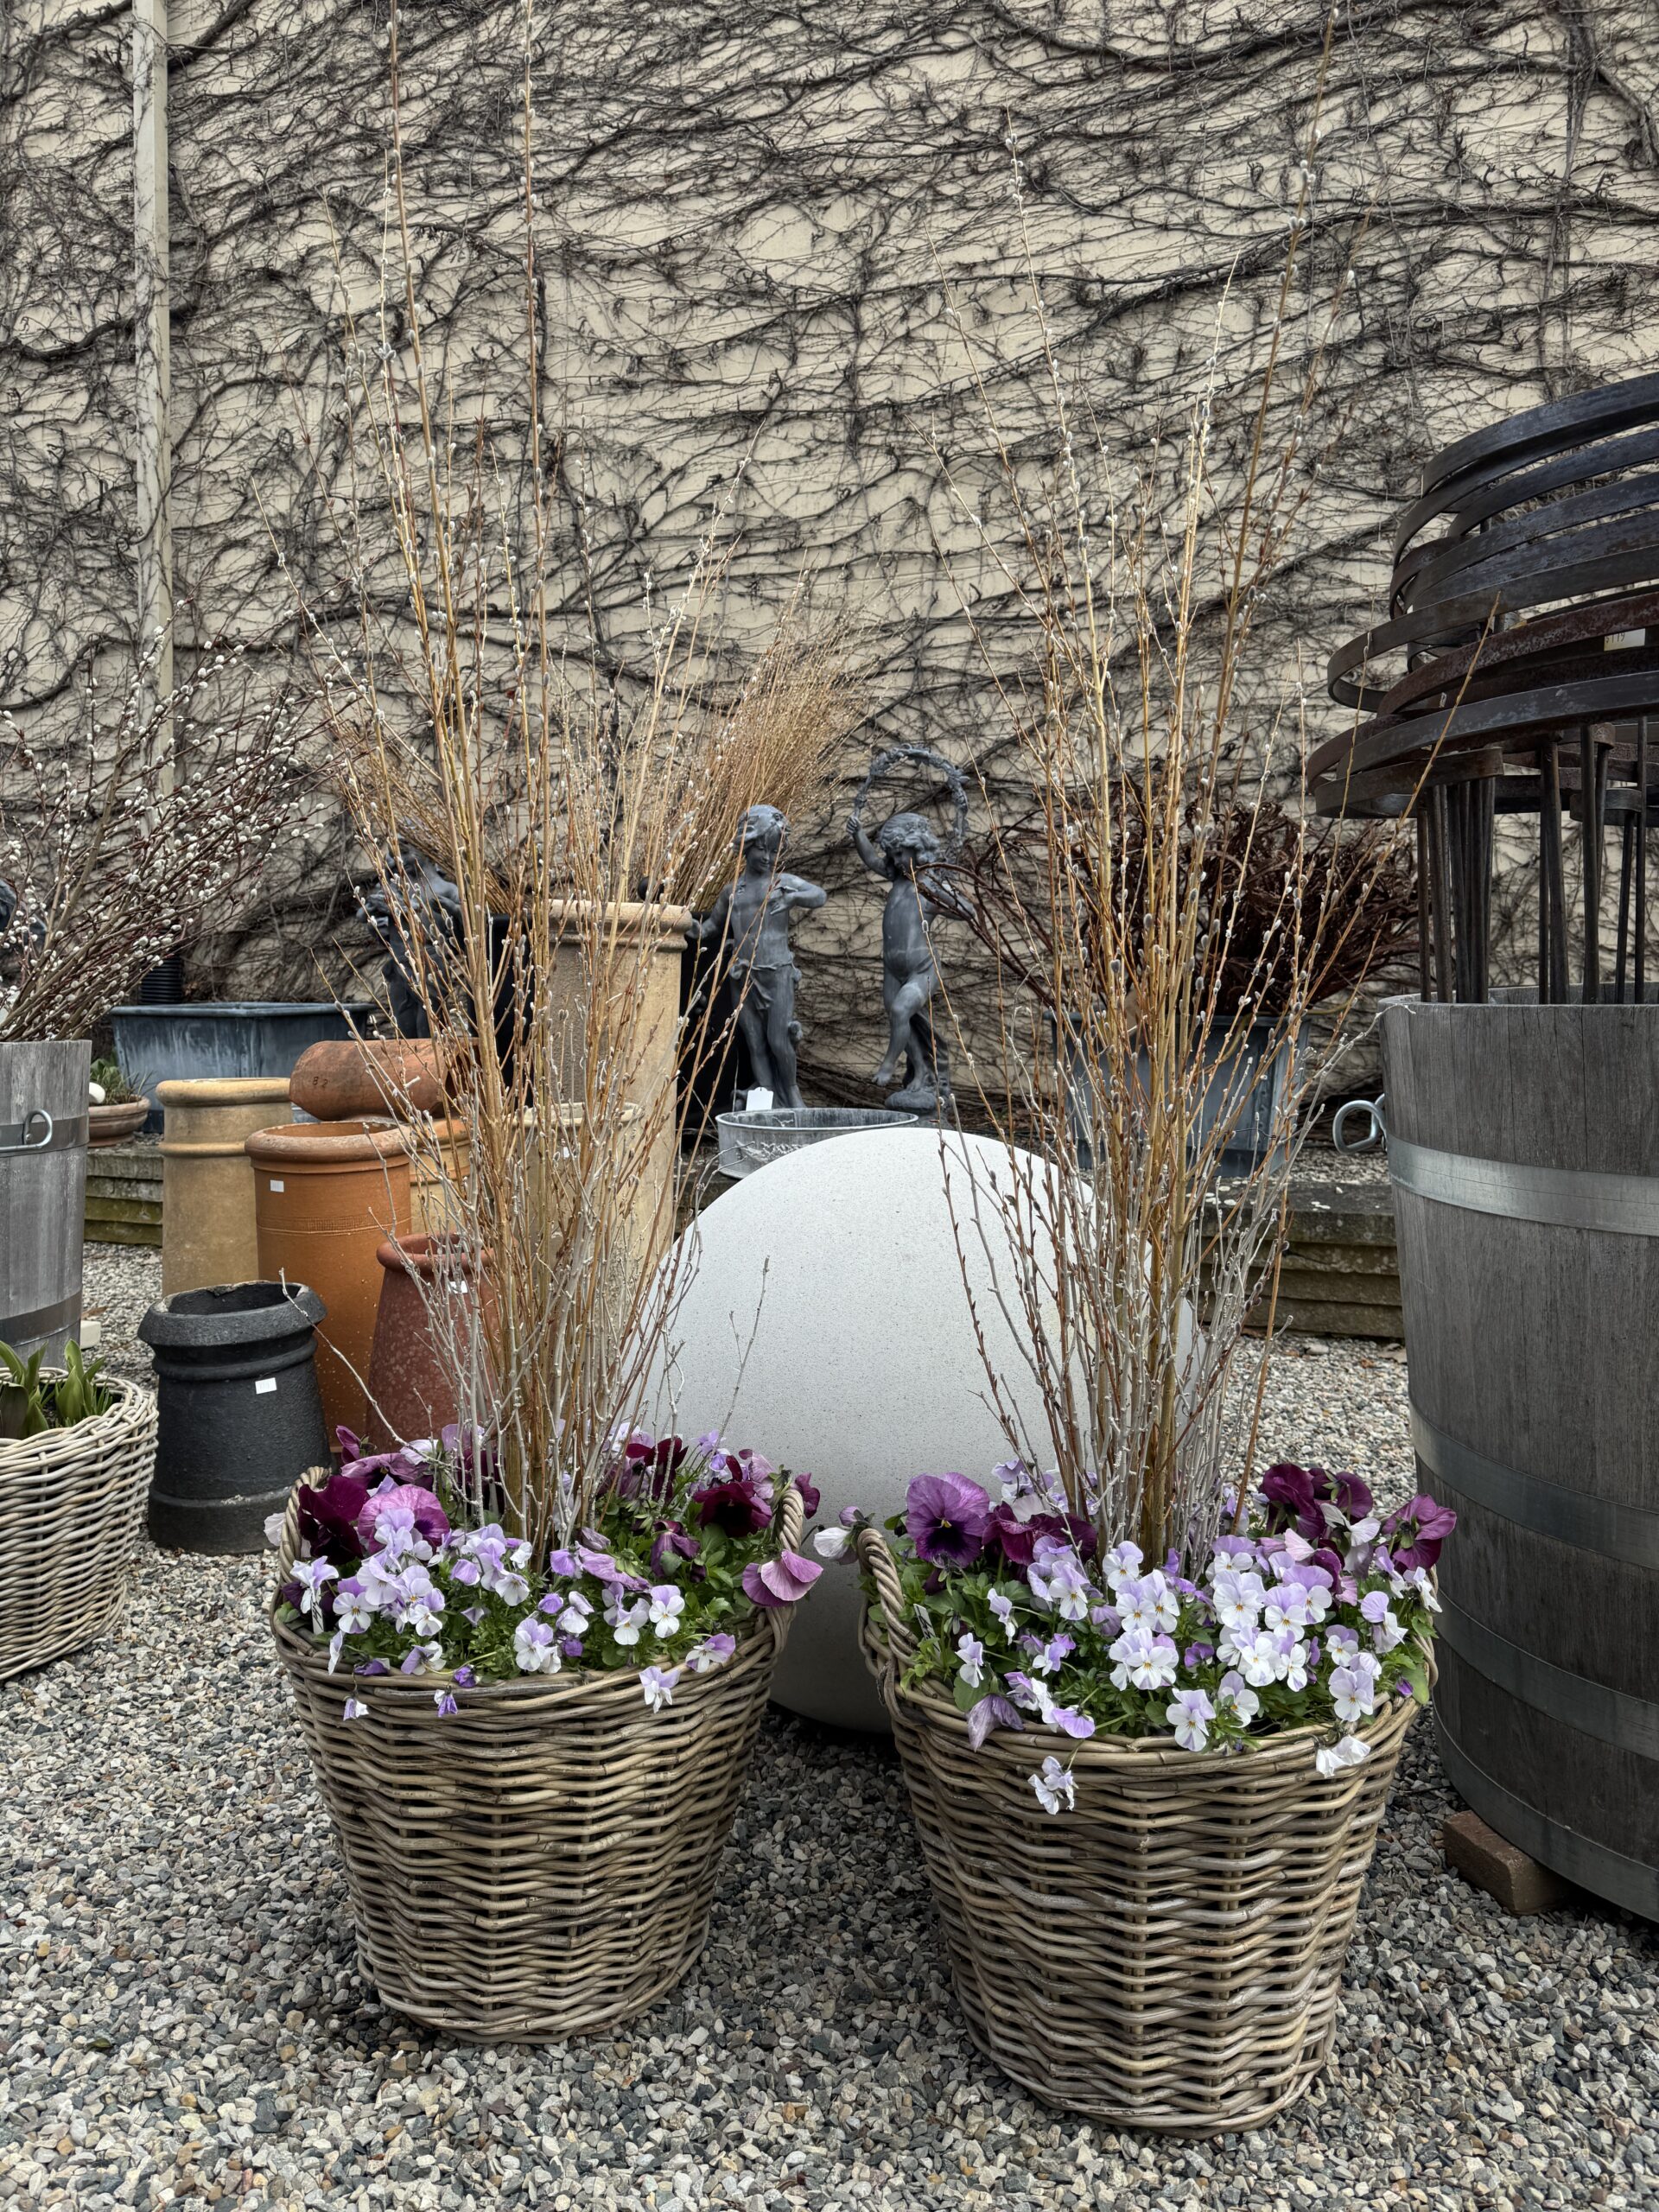
Detroit Garden Works is in the business of offering beautiful ornament for the garden. Still. It could be antique. It could be vintage, and funky vintage. It could be of a French, American or Italian flavor. It could be of English origin, through and through. It could be new, with a particular point of view. It could be fun or funny. It could be contemporary. It could be arts and crafts or mid century modern inspired. It could be Belgian in origin-old, vintage, or new. It could be none of the above, just sitting here waiting for that one particular gardening client to lay claim to it. When you come here, you’ll see.