A Pergola From Branch Studio


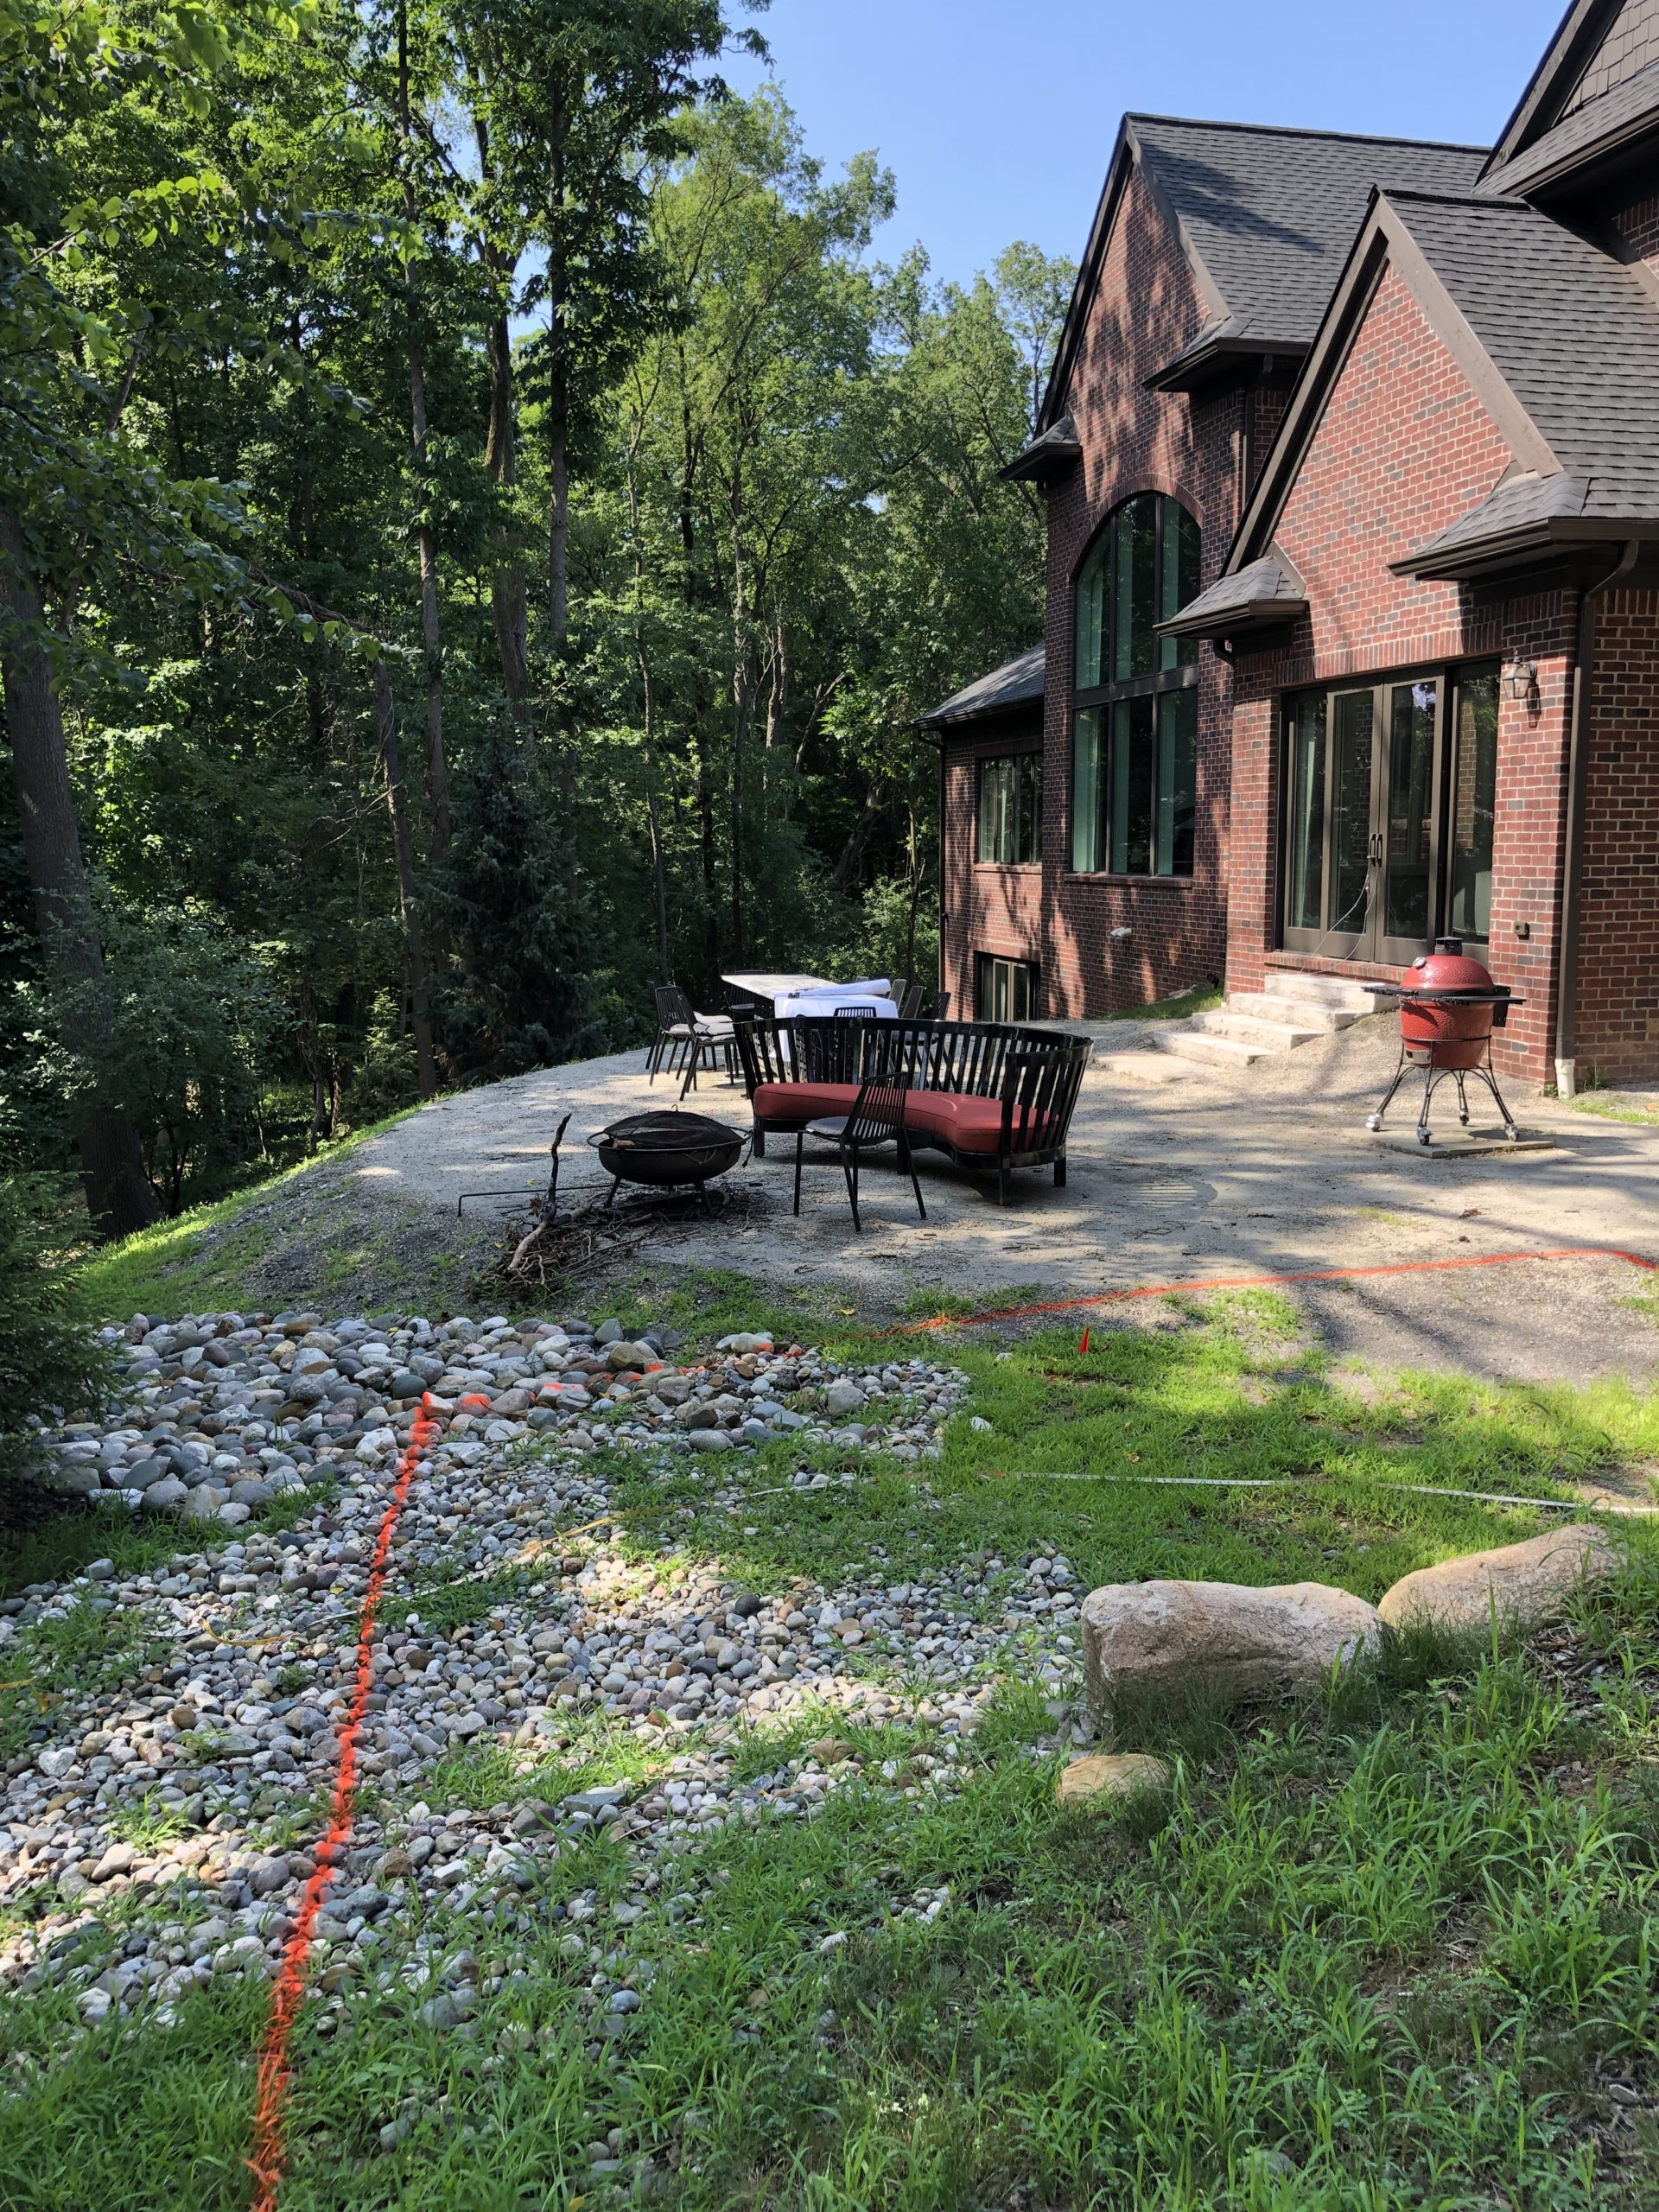
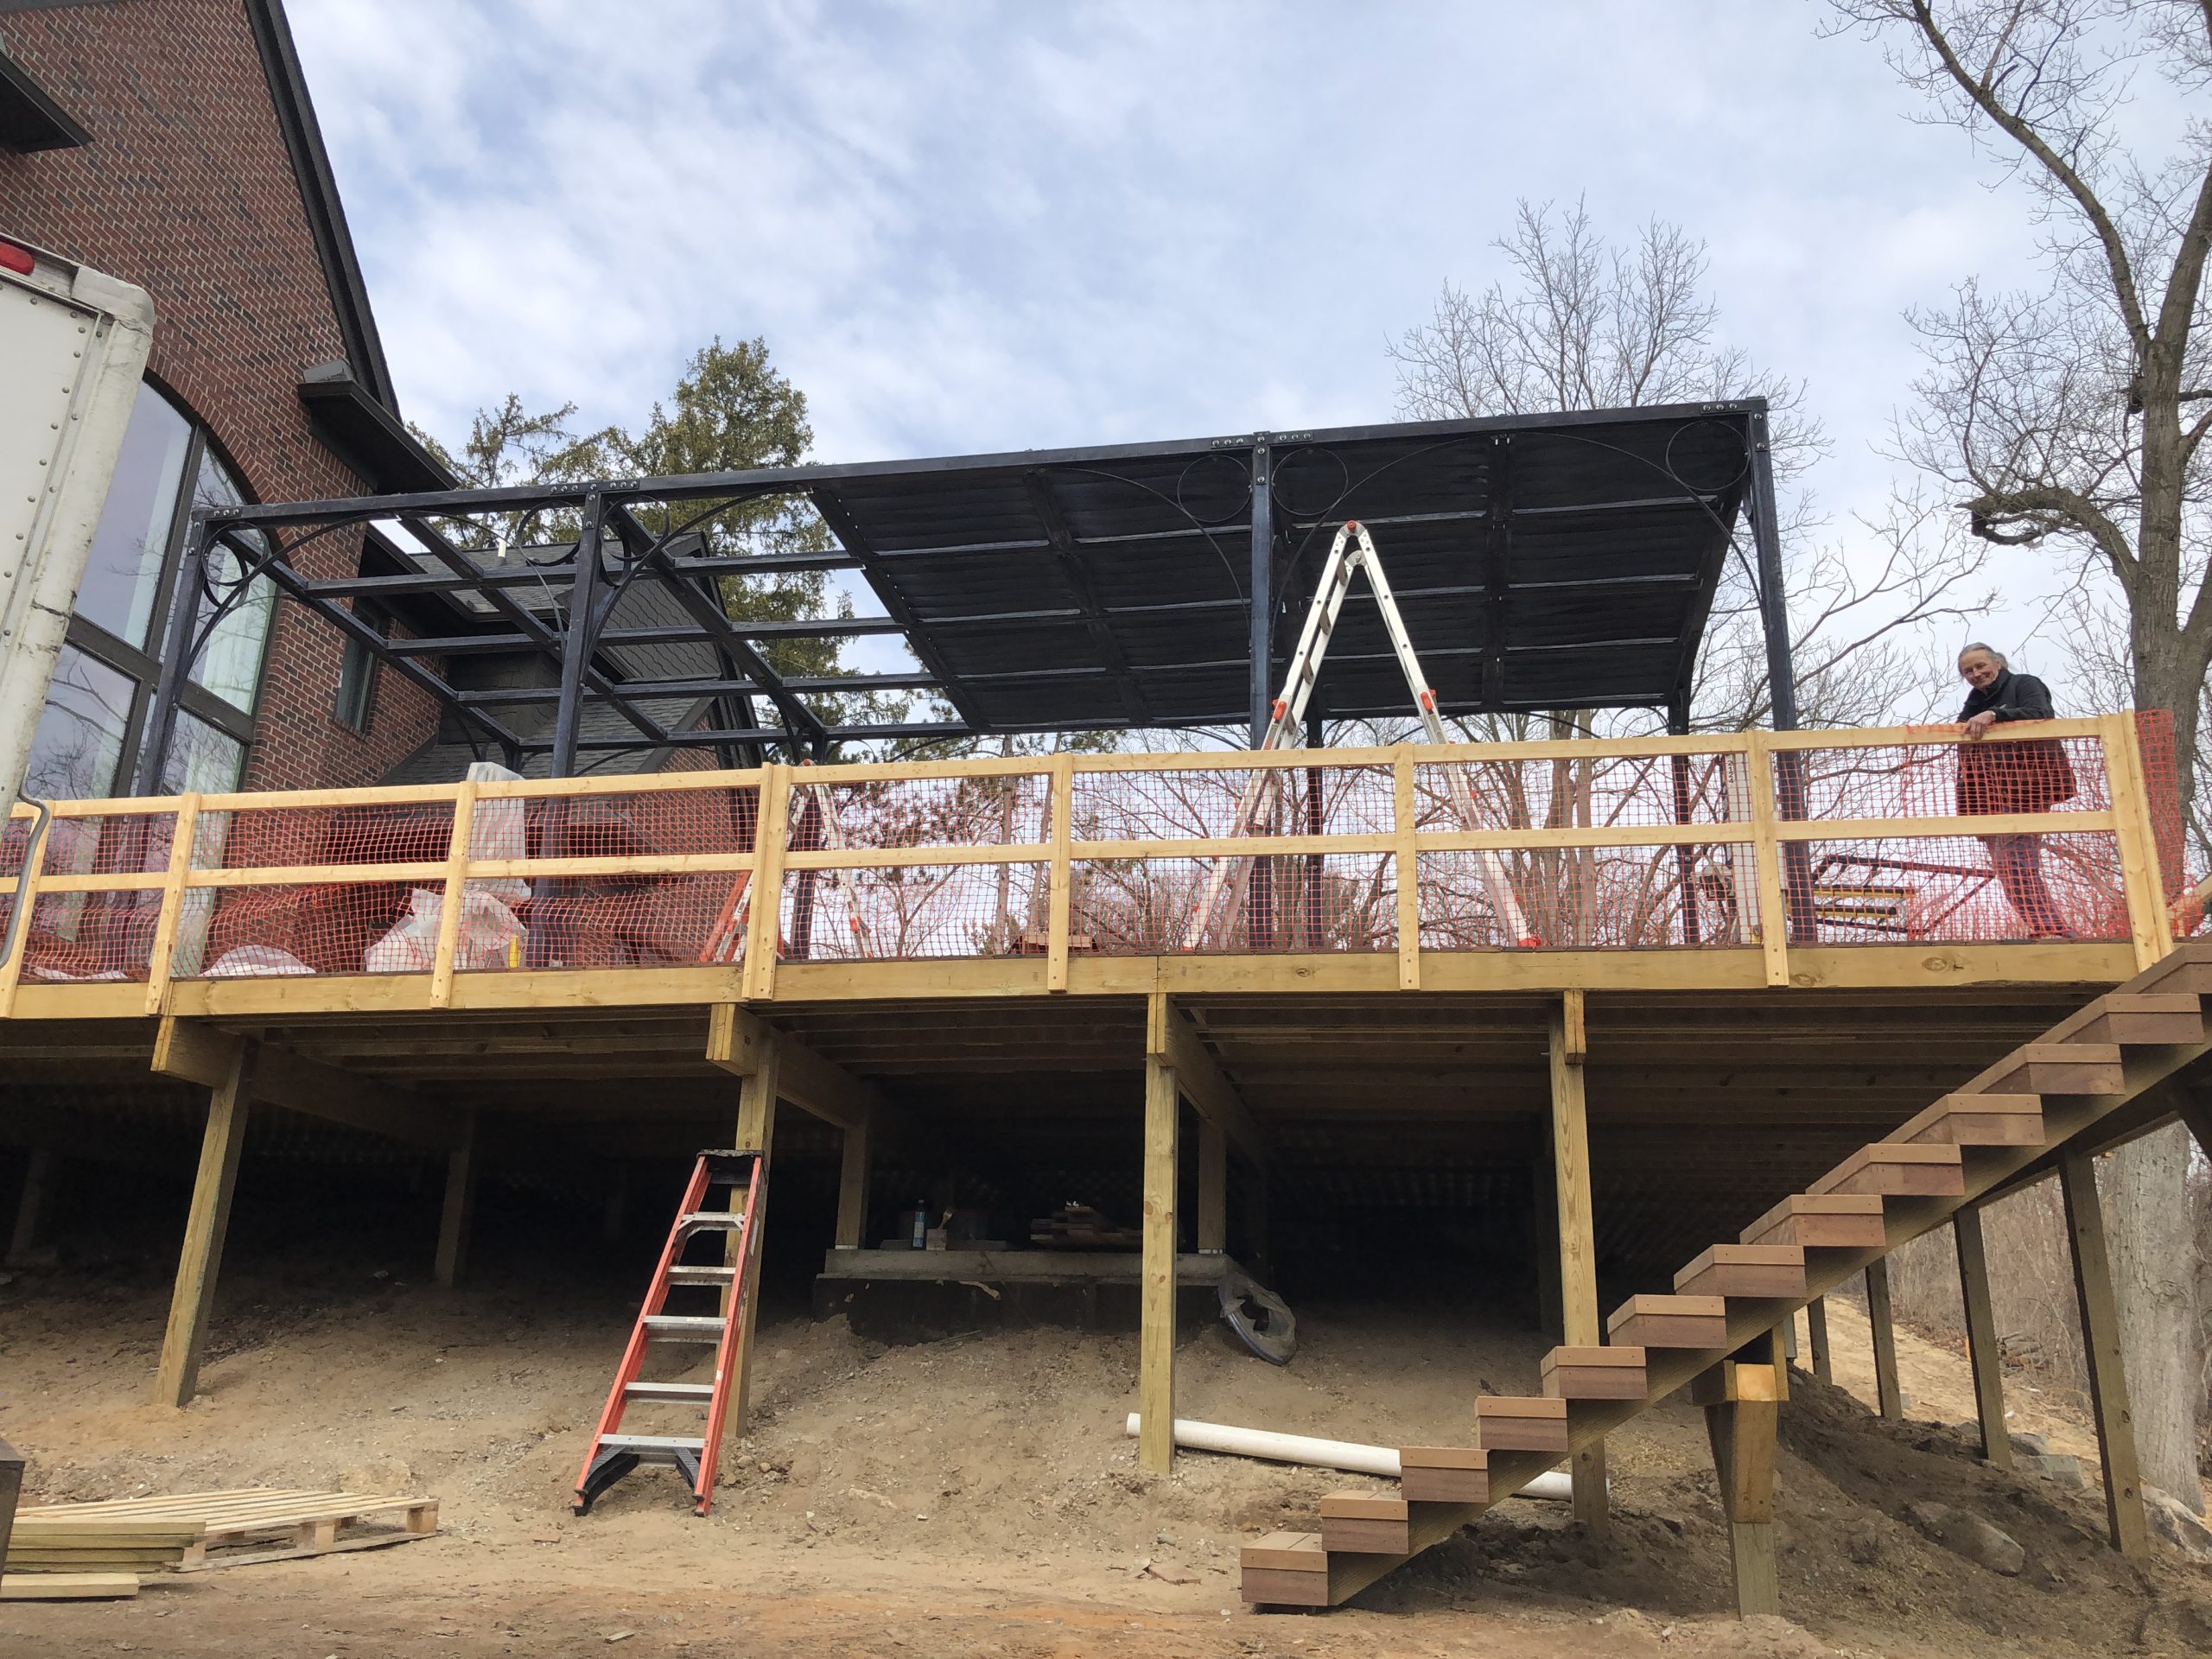
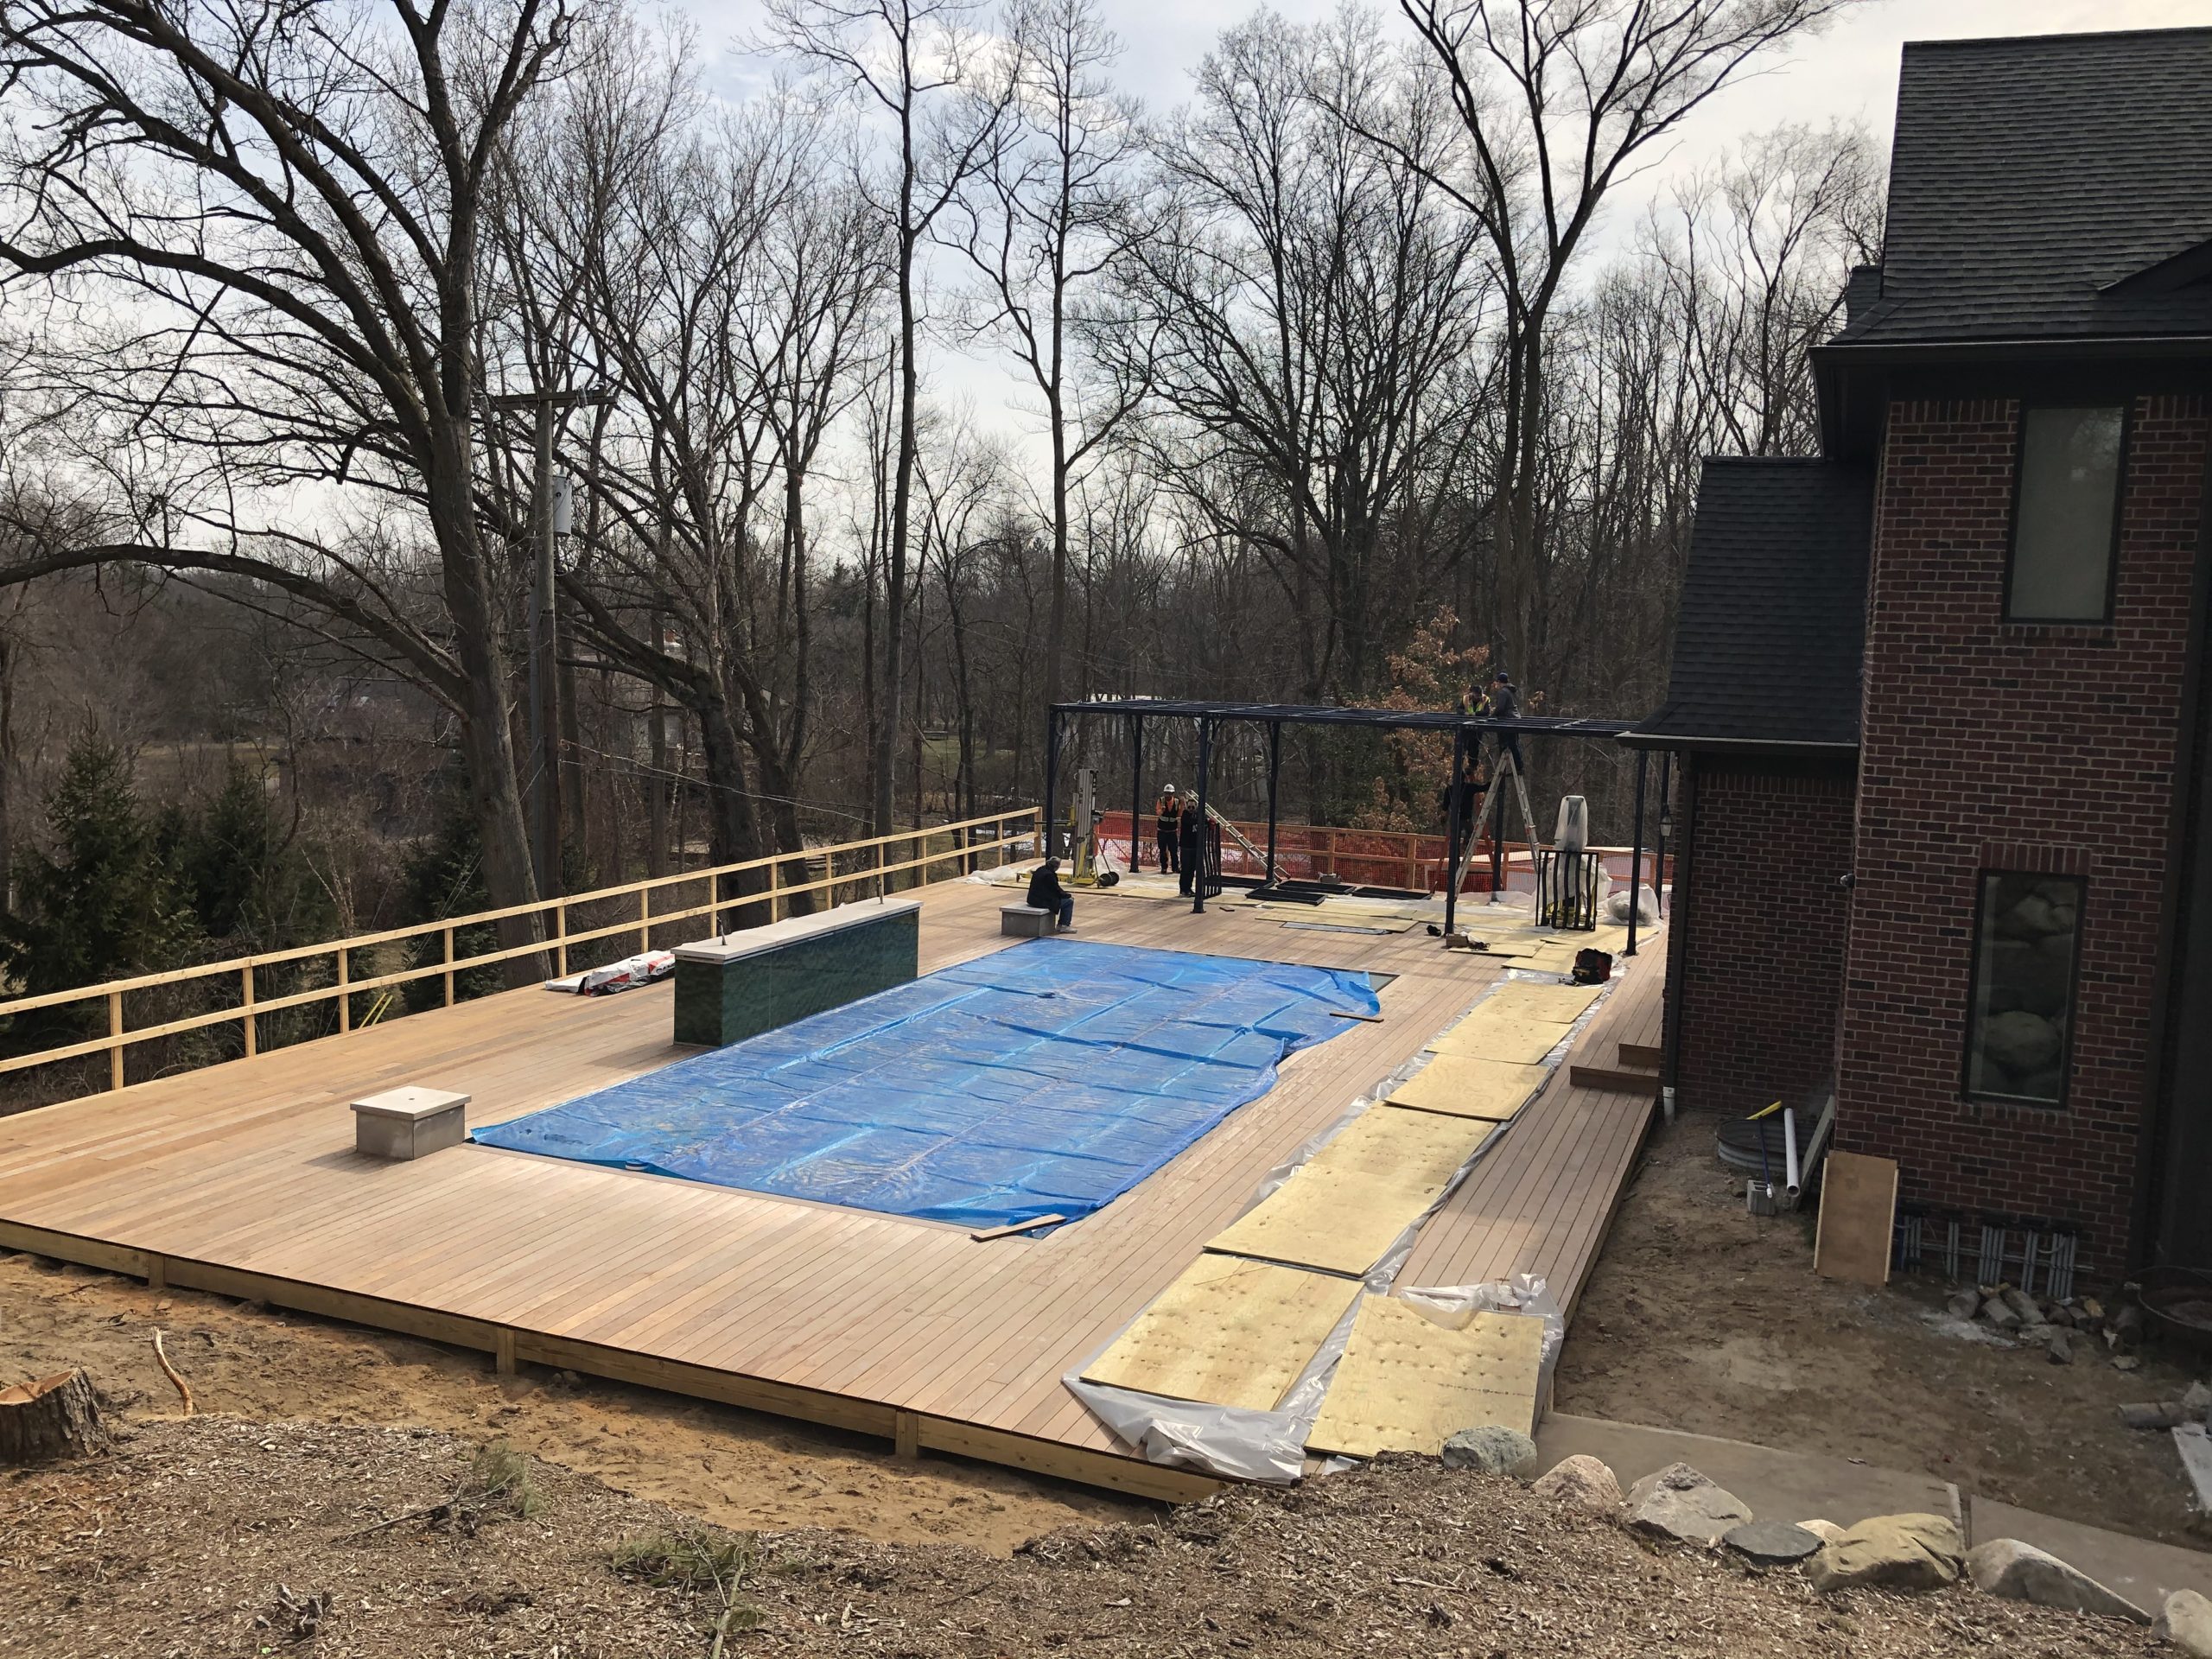
I am several years into a landscape project with great and ever so patient clients. In 2019 we removed their old dysfunctional driveway, regraded the entire front yard, and added back a new driveway and a landscape to go with. So far, so good. The back yard has been the subject of our efforts for better than a year. As the house is built on and into a steep hill, the rear yard had no flat usable space outdoors. Unless you count the 400 odd square feet pictured in the photo above. A large scale ipe deck with a swimming pool –  part of which is cantilevered over an 11 foot drop in grade –  has strongly addressed that problem. They like to entertain, and they are actively involved in supporting their greater community. They also like spending time out of doors. They were keen to create a place that would be beautiful and functional. The deck and pool were monumental undertakings, due to the sheer size, the difficulty accessing the site, and the extreme grade.  We are very near the end of that part, but for the glass rails that will surround the deck.  I am hoping the project will be entirely finished by the end of May, so they have the rest of this season ahead of them to enjoy it.
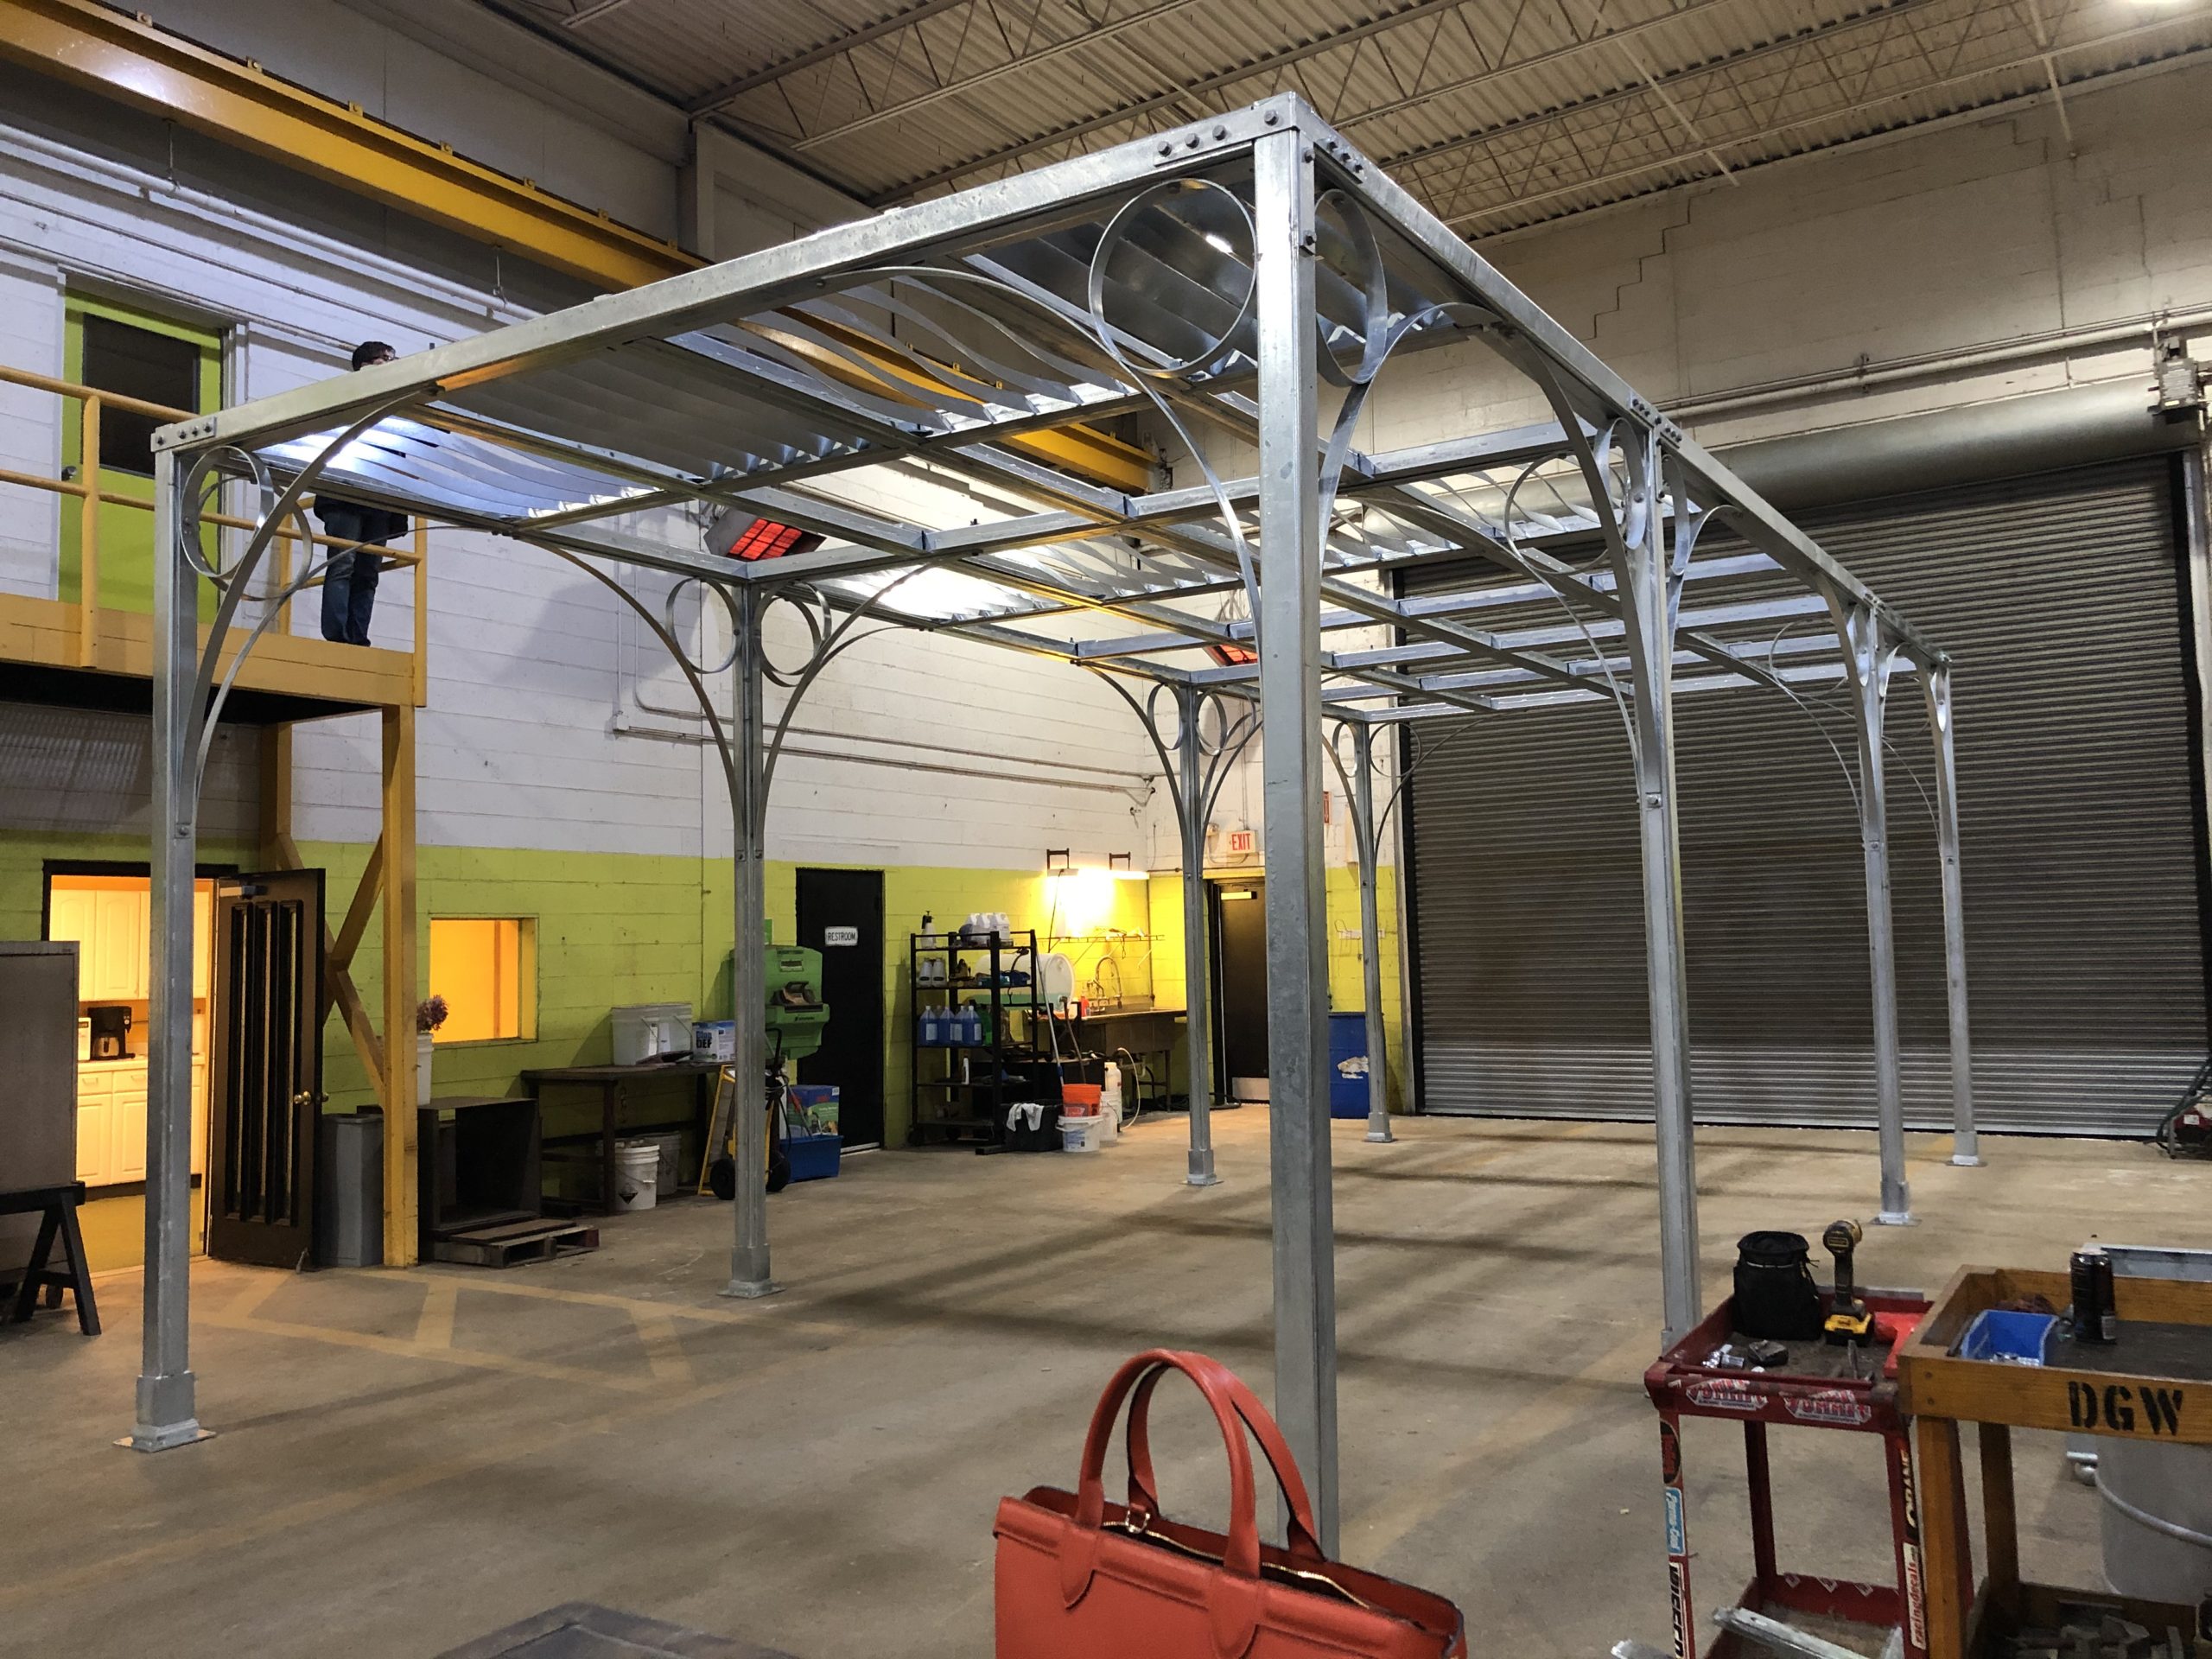
One component of that landscape was a pergola to be fabricated at Branch. Those of you who follow this blog know that I bought a 7 acre property with industrial buildings and large capacity bridge cranes in 2004, with the express idea of designing and fabricating heirloom quality objects for the garden in steel. We have been at exactly that over the ensuing years. The years have provided an opportunity to tune up fabrication protocols. And they have provided a framework for the evolution of design. Our original pergolas from years ago were designed primarily to provide large scale, organizing structure to a landscape. Seating areas under them naturally came to mind. They also could support large growing lax vines. Think climbing roses, climbing hydrangea, grapes and wisteria, or sweet autumn clematis. Both the strength of the steel and the permanent performance of the finish made them a great partner for vigorously growing vines that would put on weight, year after year. Those leafy plants that eventually grow over the roof would eventually provide shade.
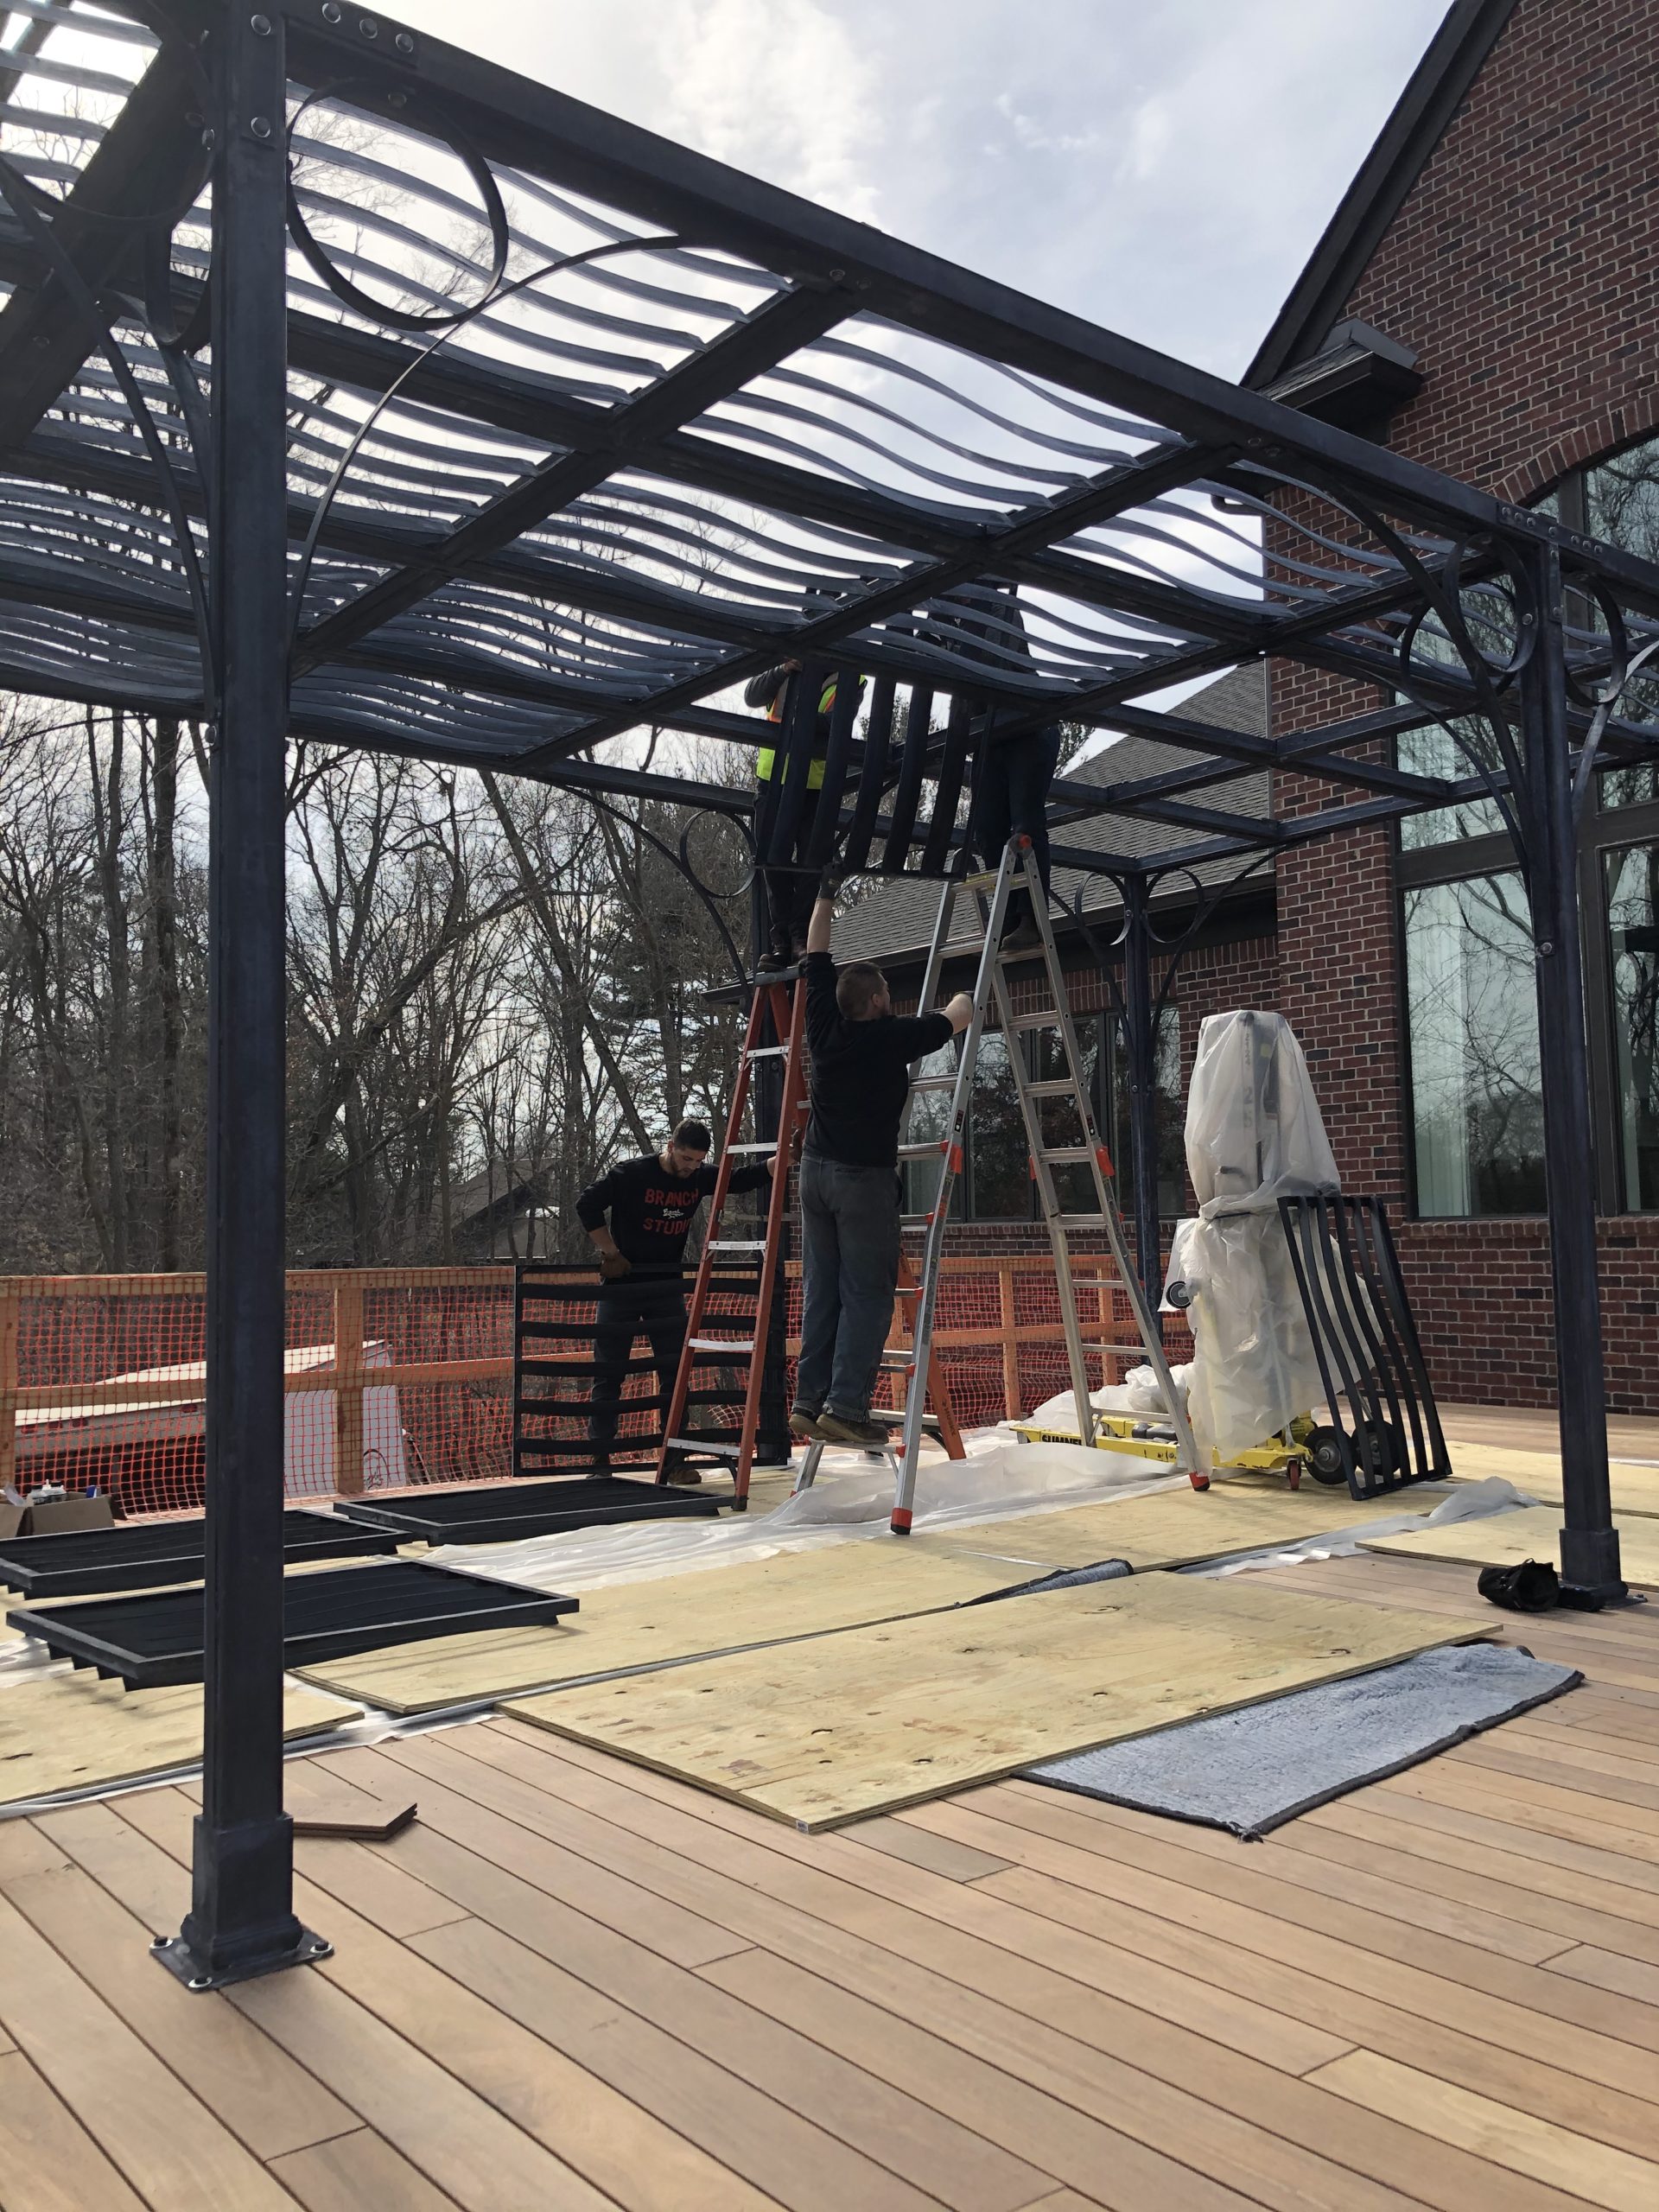
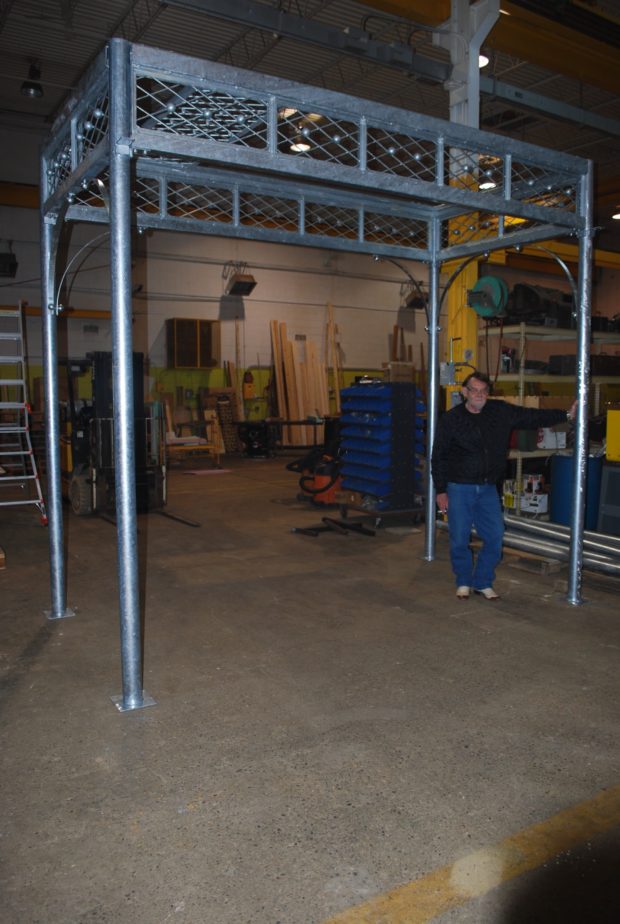
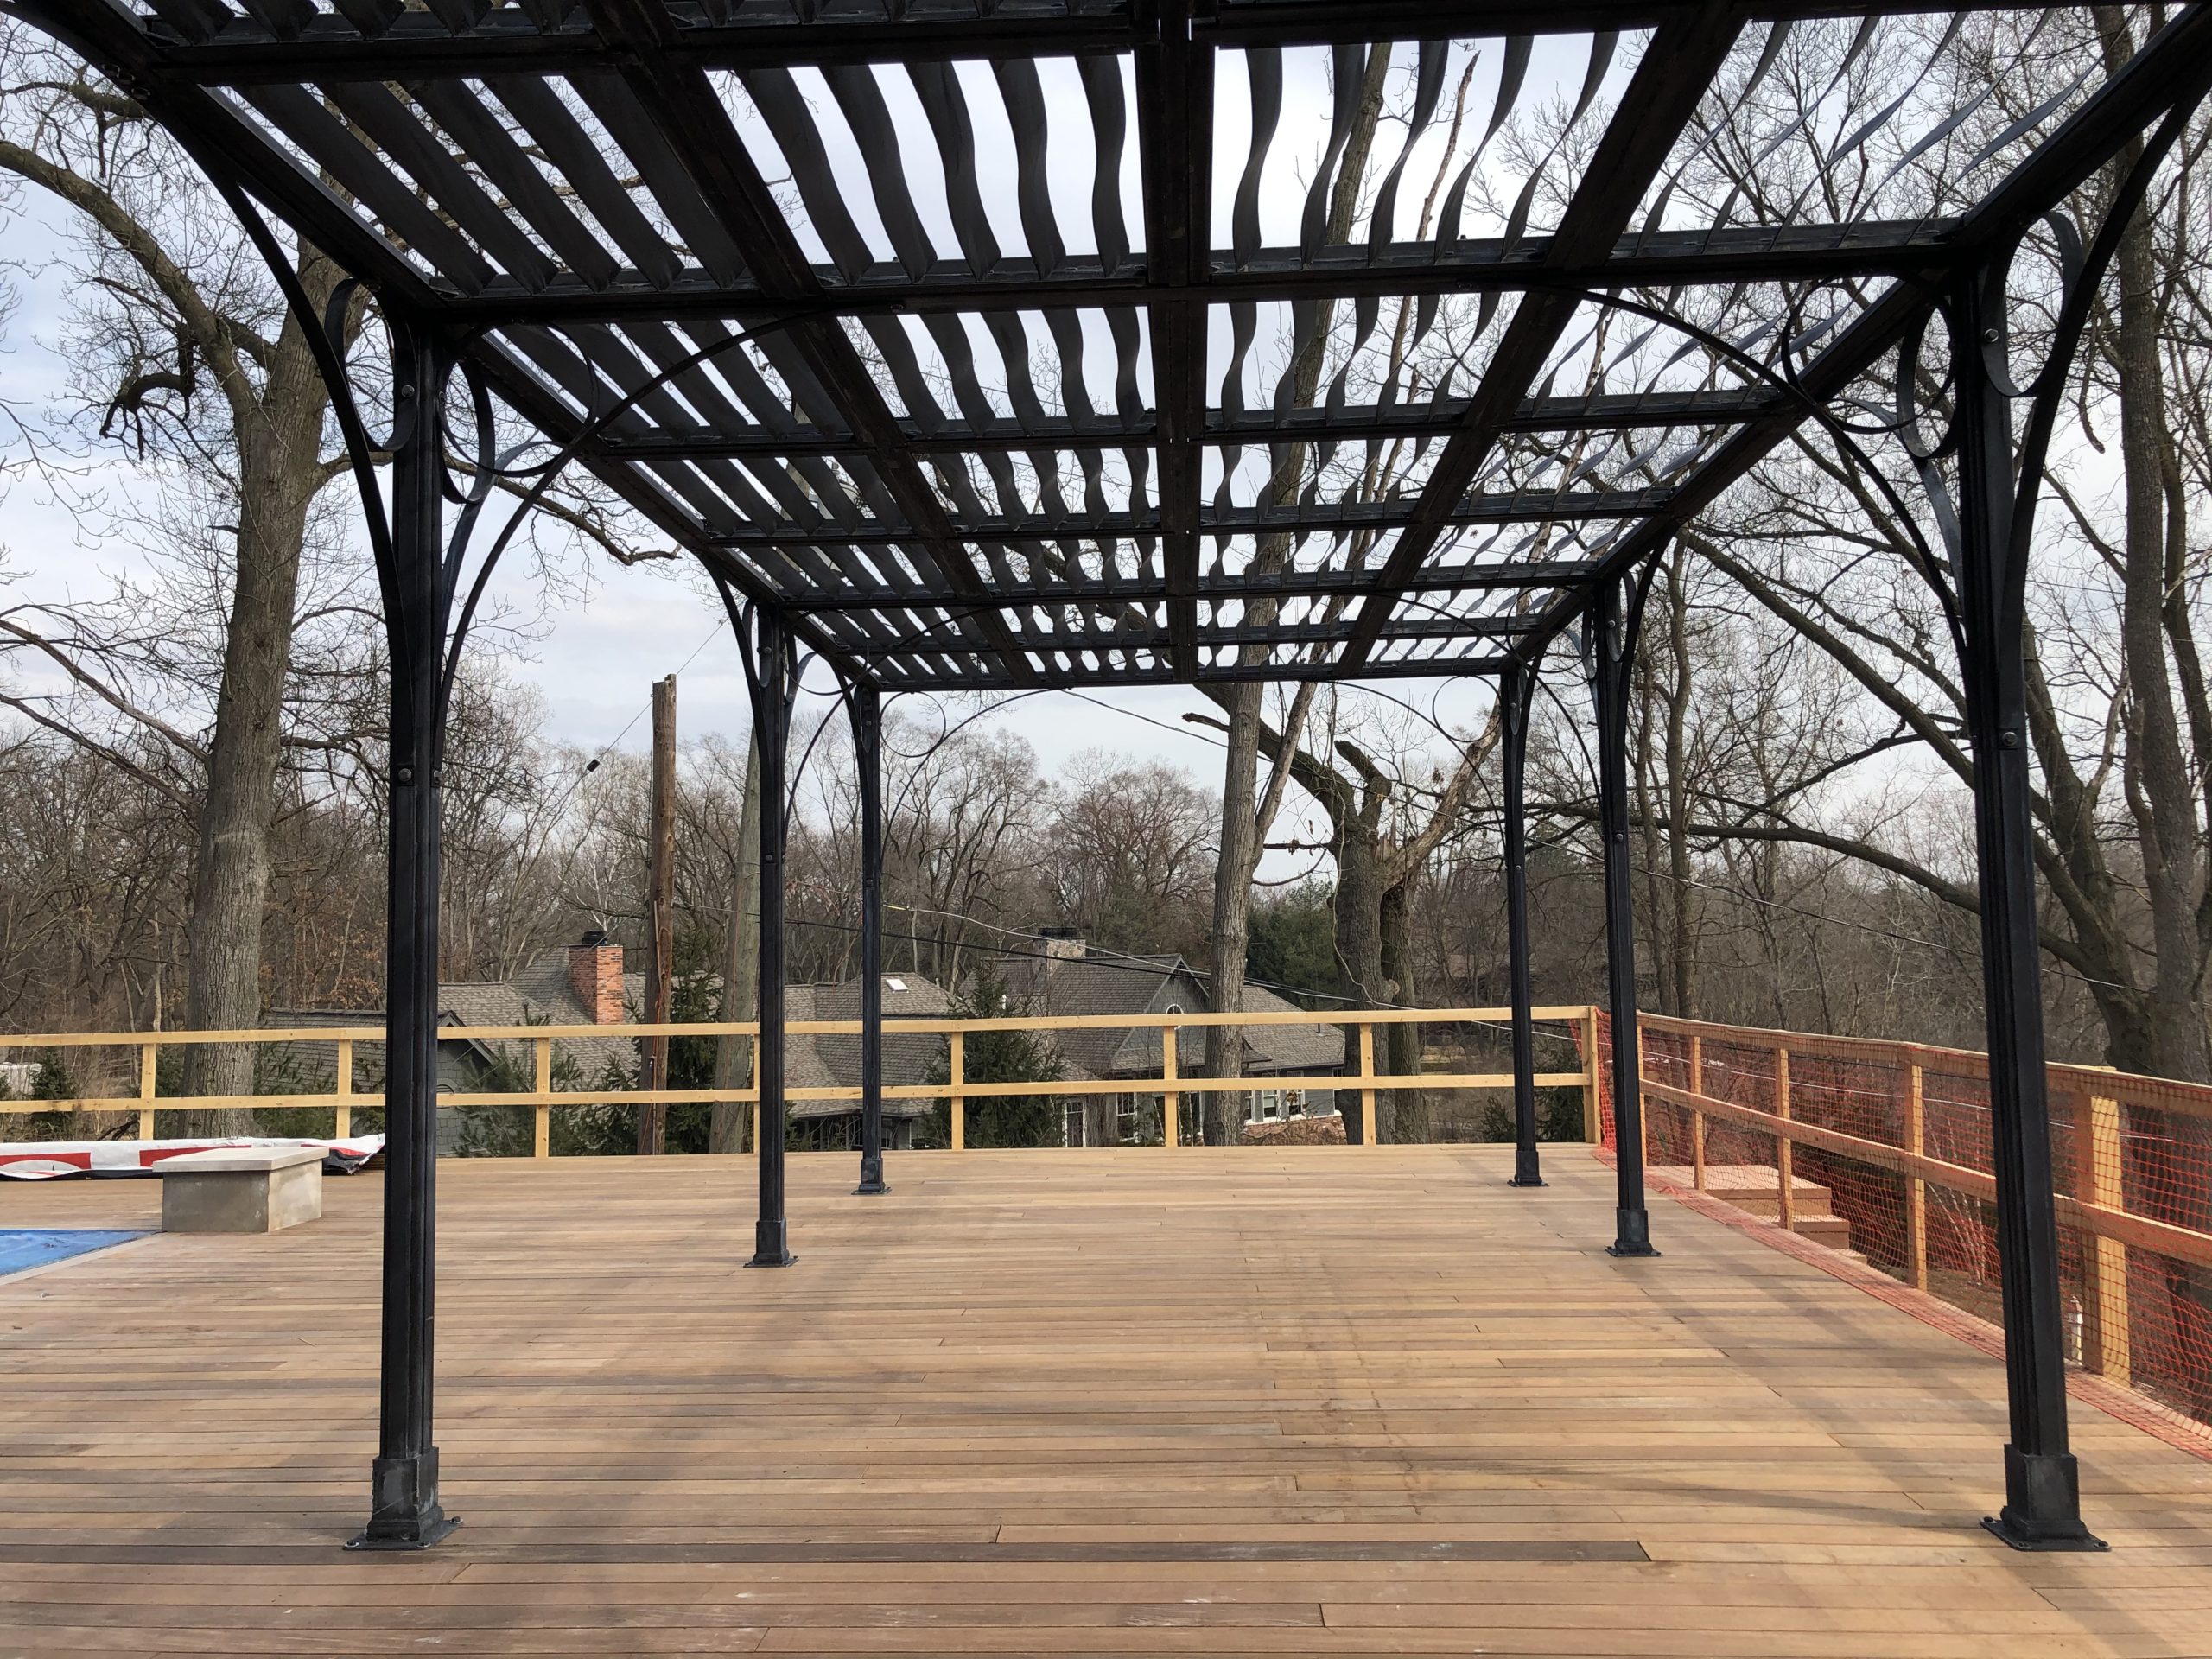
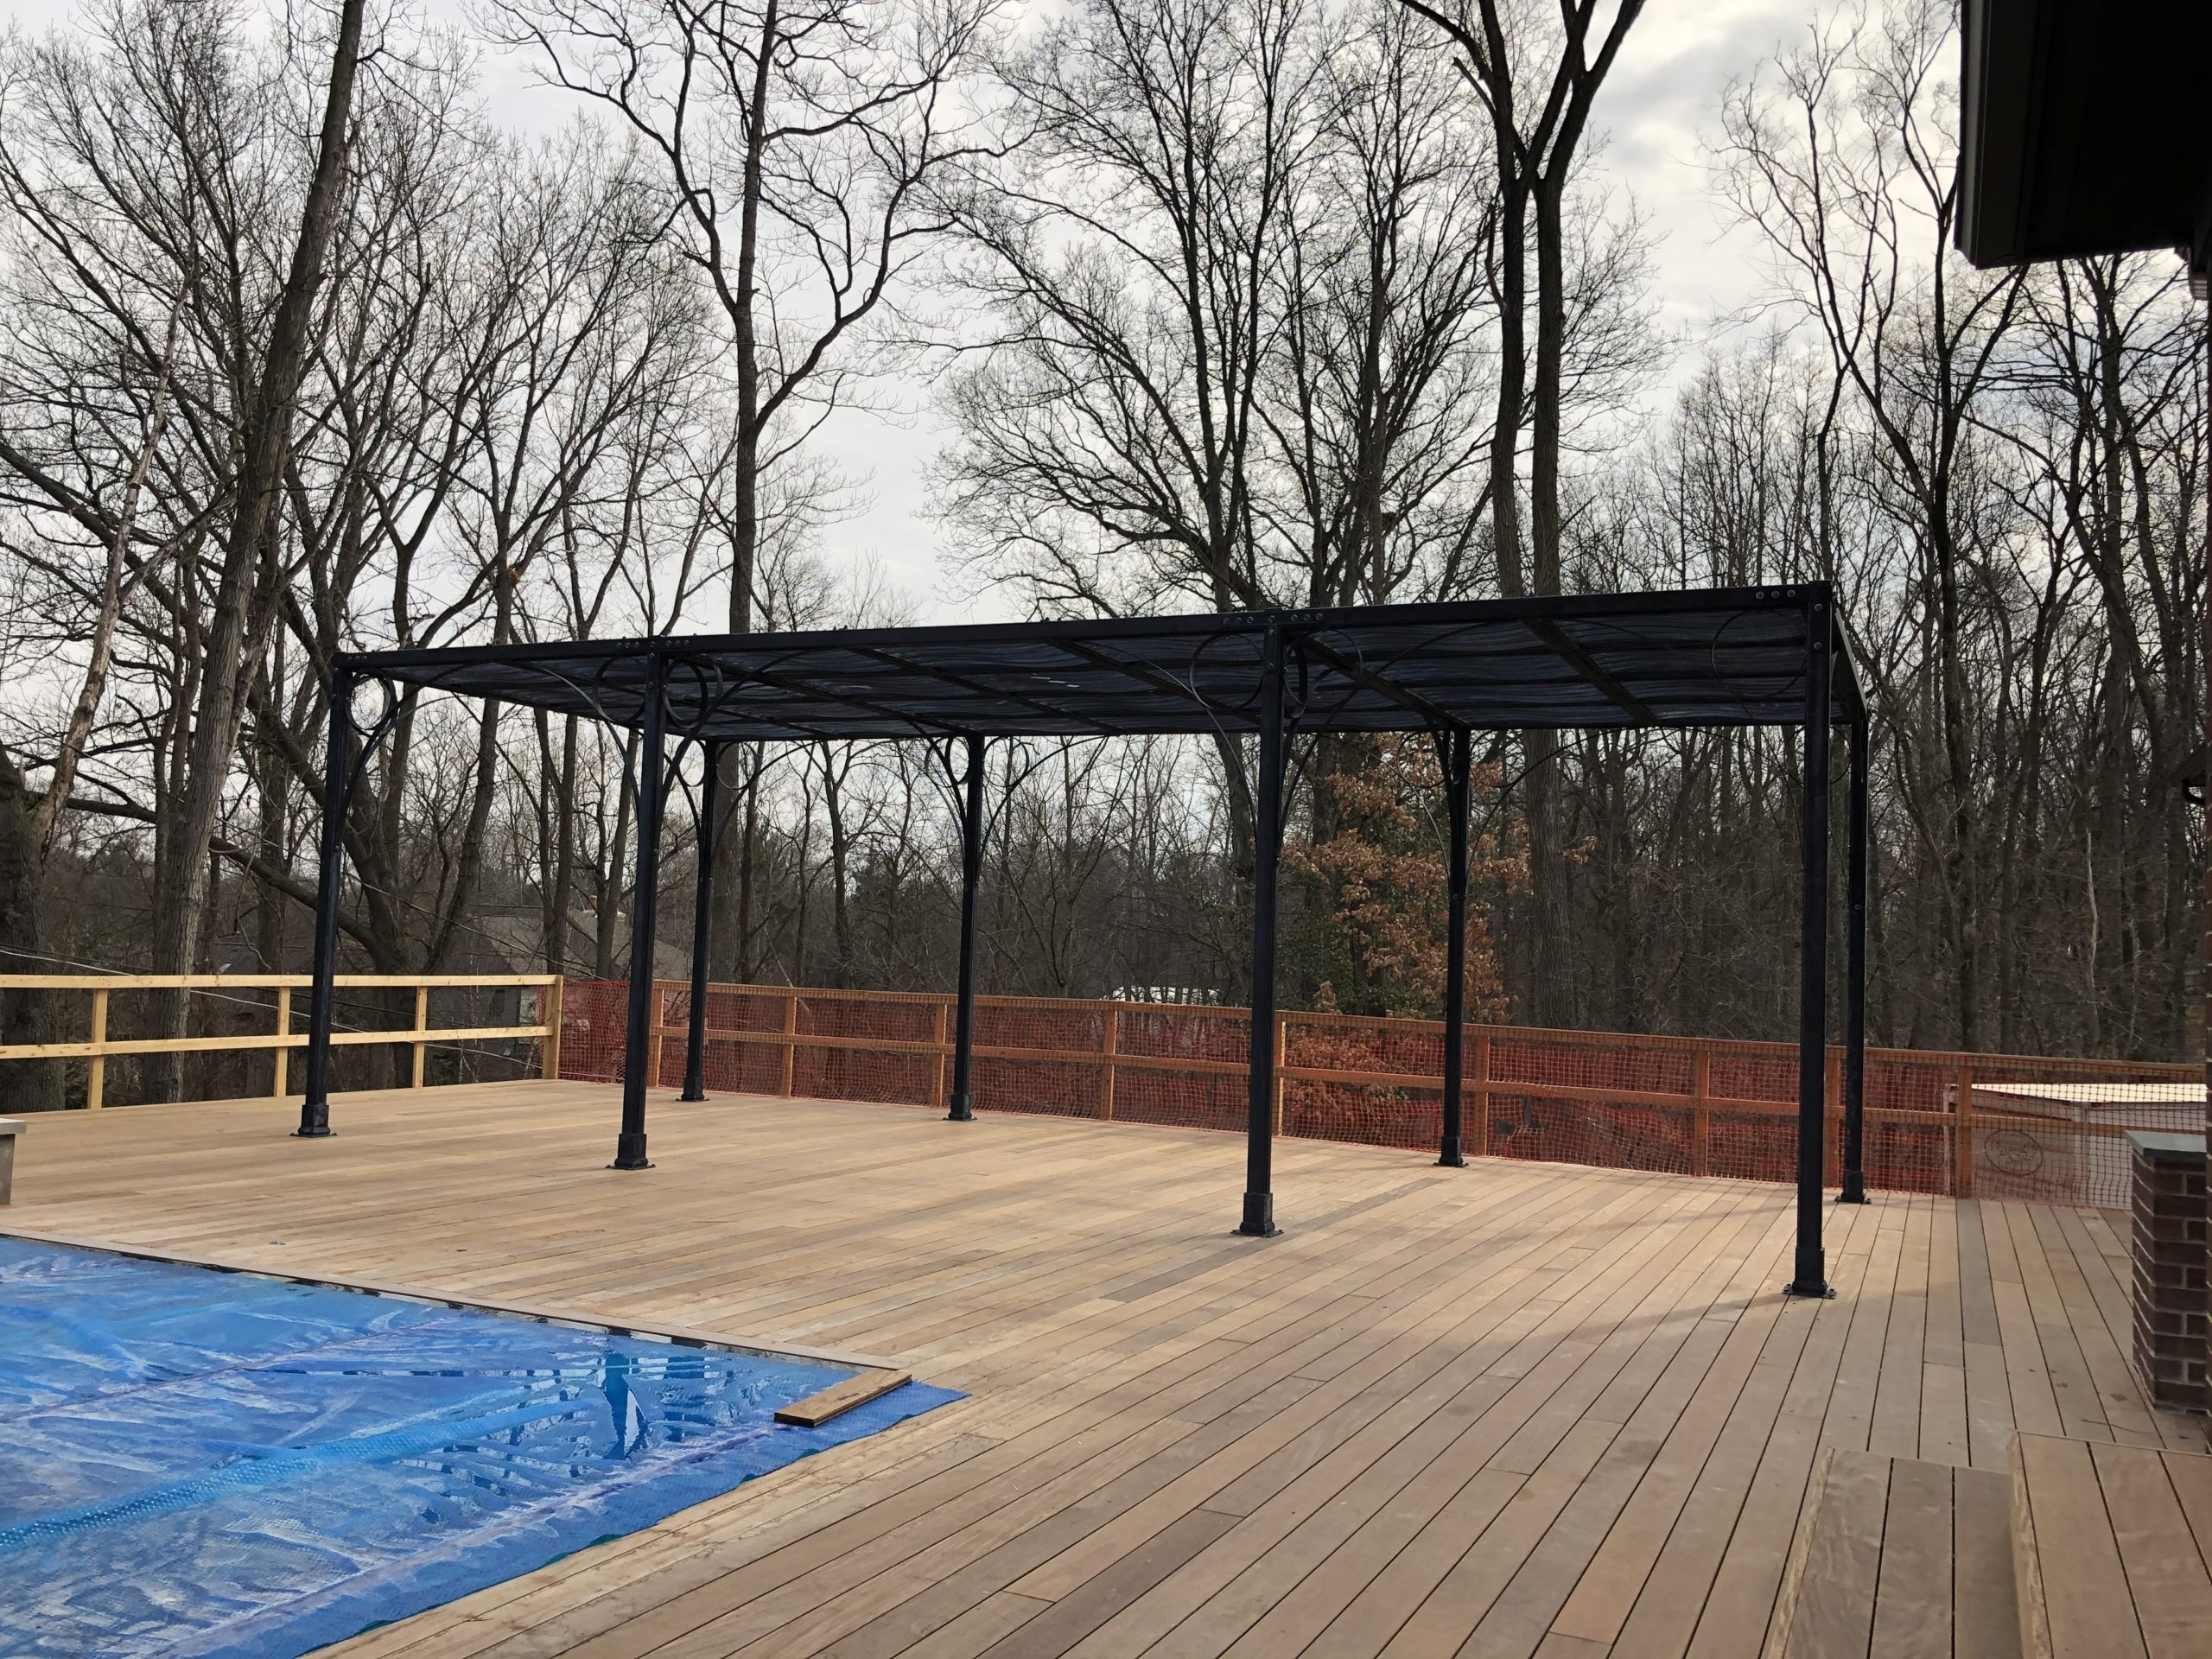
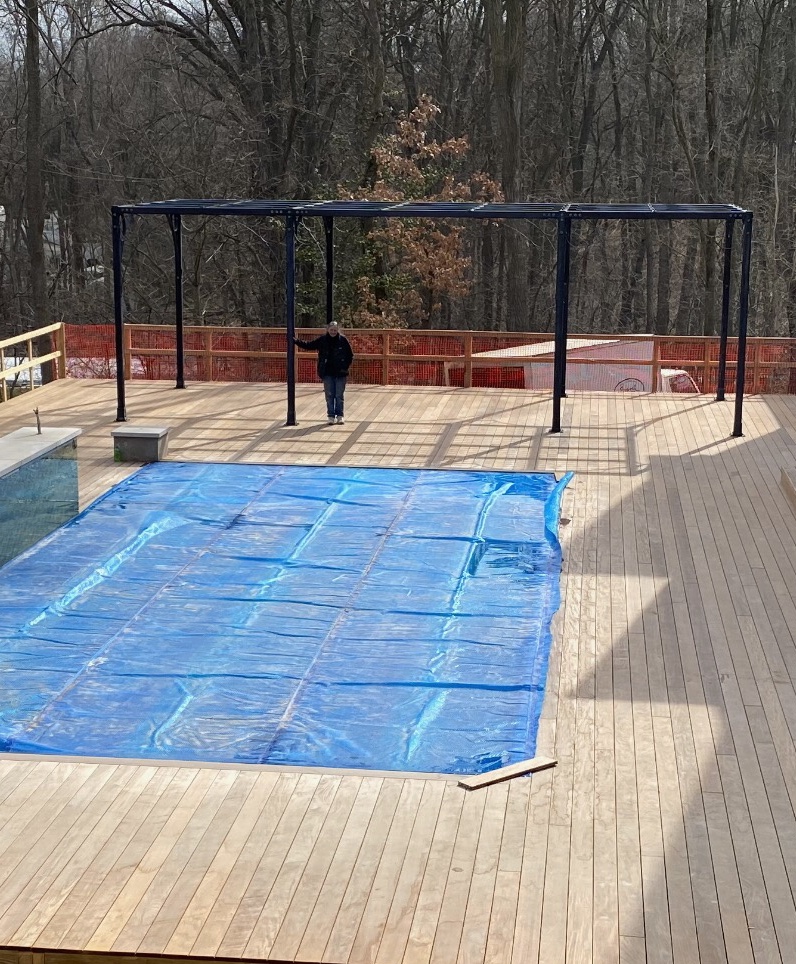
However, not every location for a pergola is accommodating to in ground plants.  The south end of this deck is long ways away from any soil, and the location is very sunny. We needed a structure with the intrinsic ability to provide shade. A pergola that could provide a shaded area for dining and seating would be a welcome addition to the deck furnishings. The curving louver design was inspired by the art glass sheathing a waterfall next to the pool. Engineering this roof took time. Eventually, 28 individual fixed louver steel roof panels that could be dropped into a framework built in to the roof were fabricated. The structure is 32 feet long, and 14′ deep. The 11′ height of the structure matches the height of a horizontal frame set in a series of 6 large windows on the facade of the house. The columns and corner brackets are beefy, as the roof is heavy.
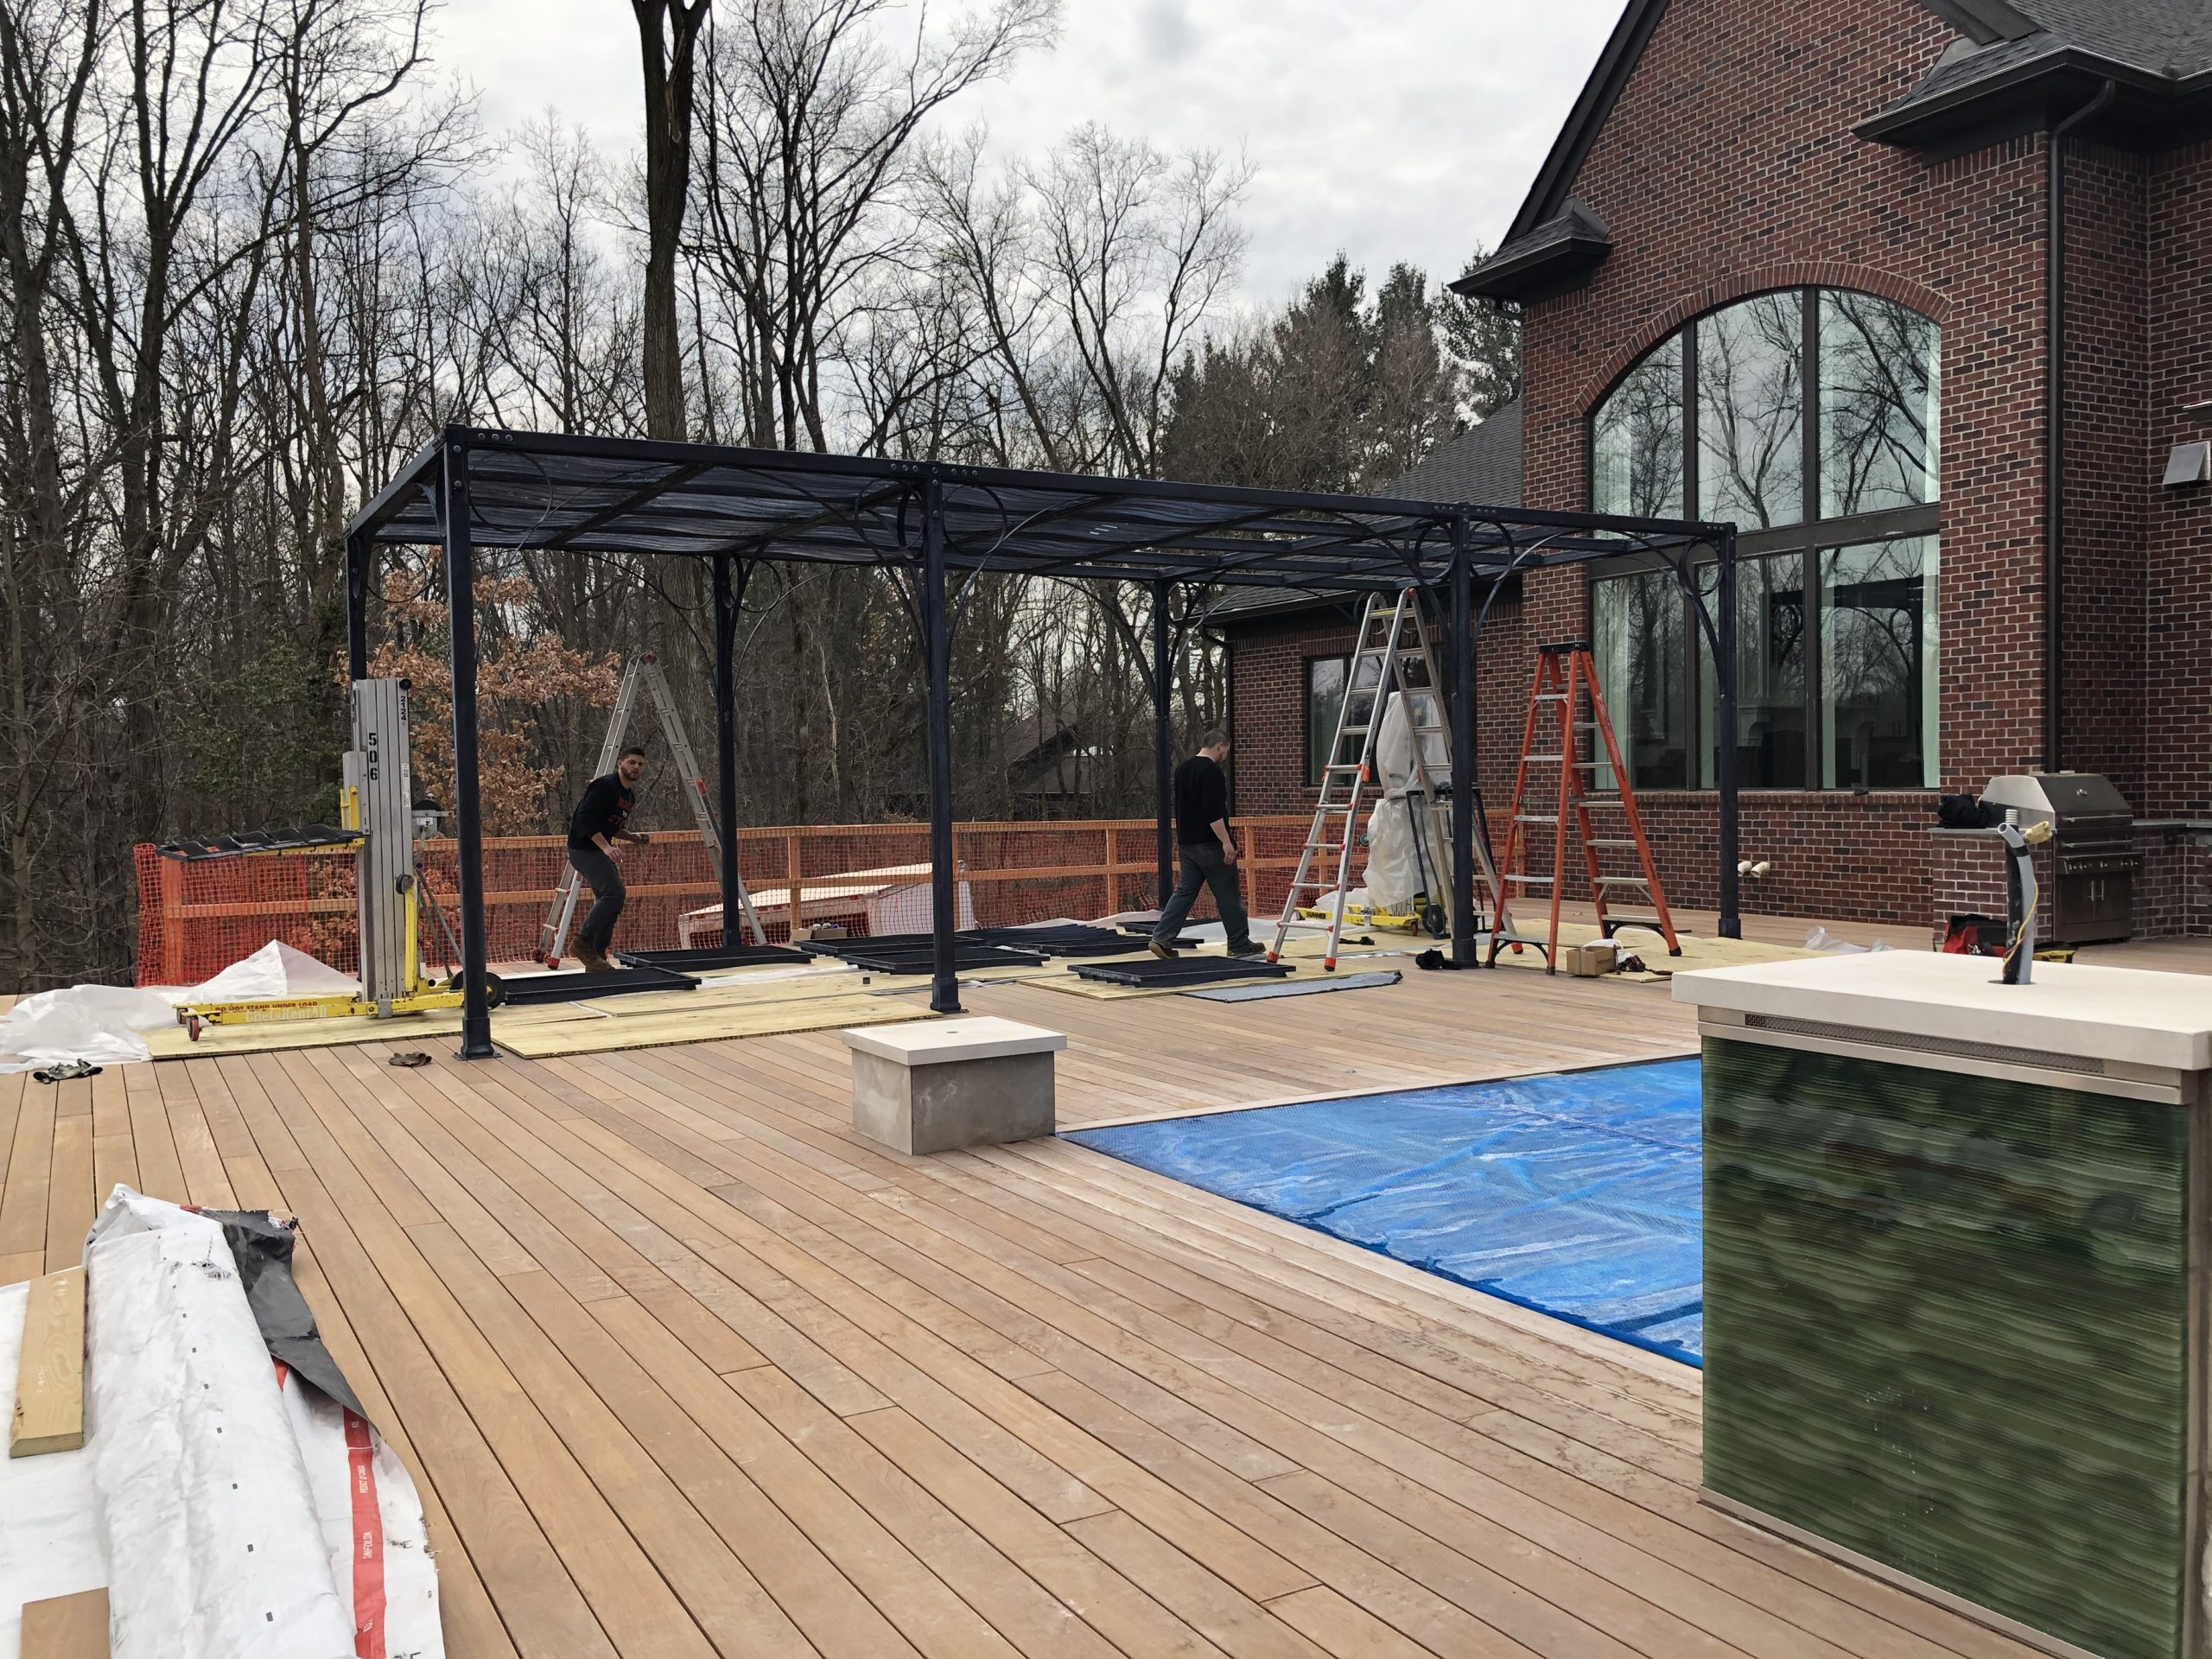
The pergola is tall enough that its roof does not interfere with the view out the picture windows. Nor does it restrict light coming in to those windows. It looks remarkably light and airy, considering it weighs 4500 pounds. The ipe deck is incredibly strong, but a pair of support beams traverse the underside of the deck to provide an additional level of support to the steel columns.
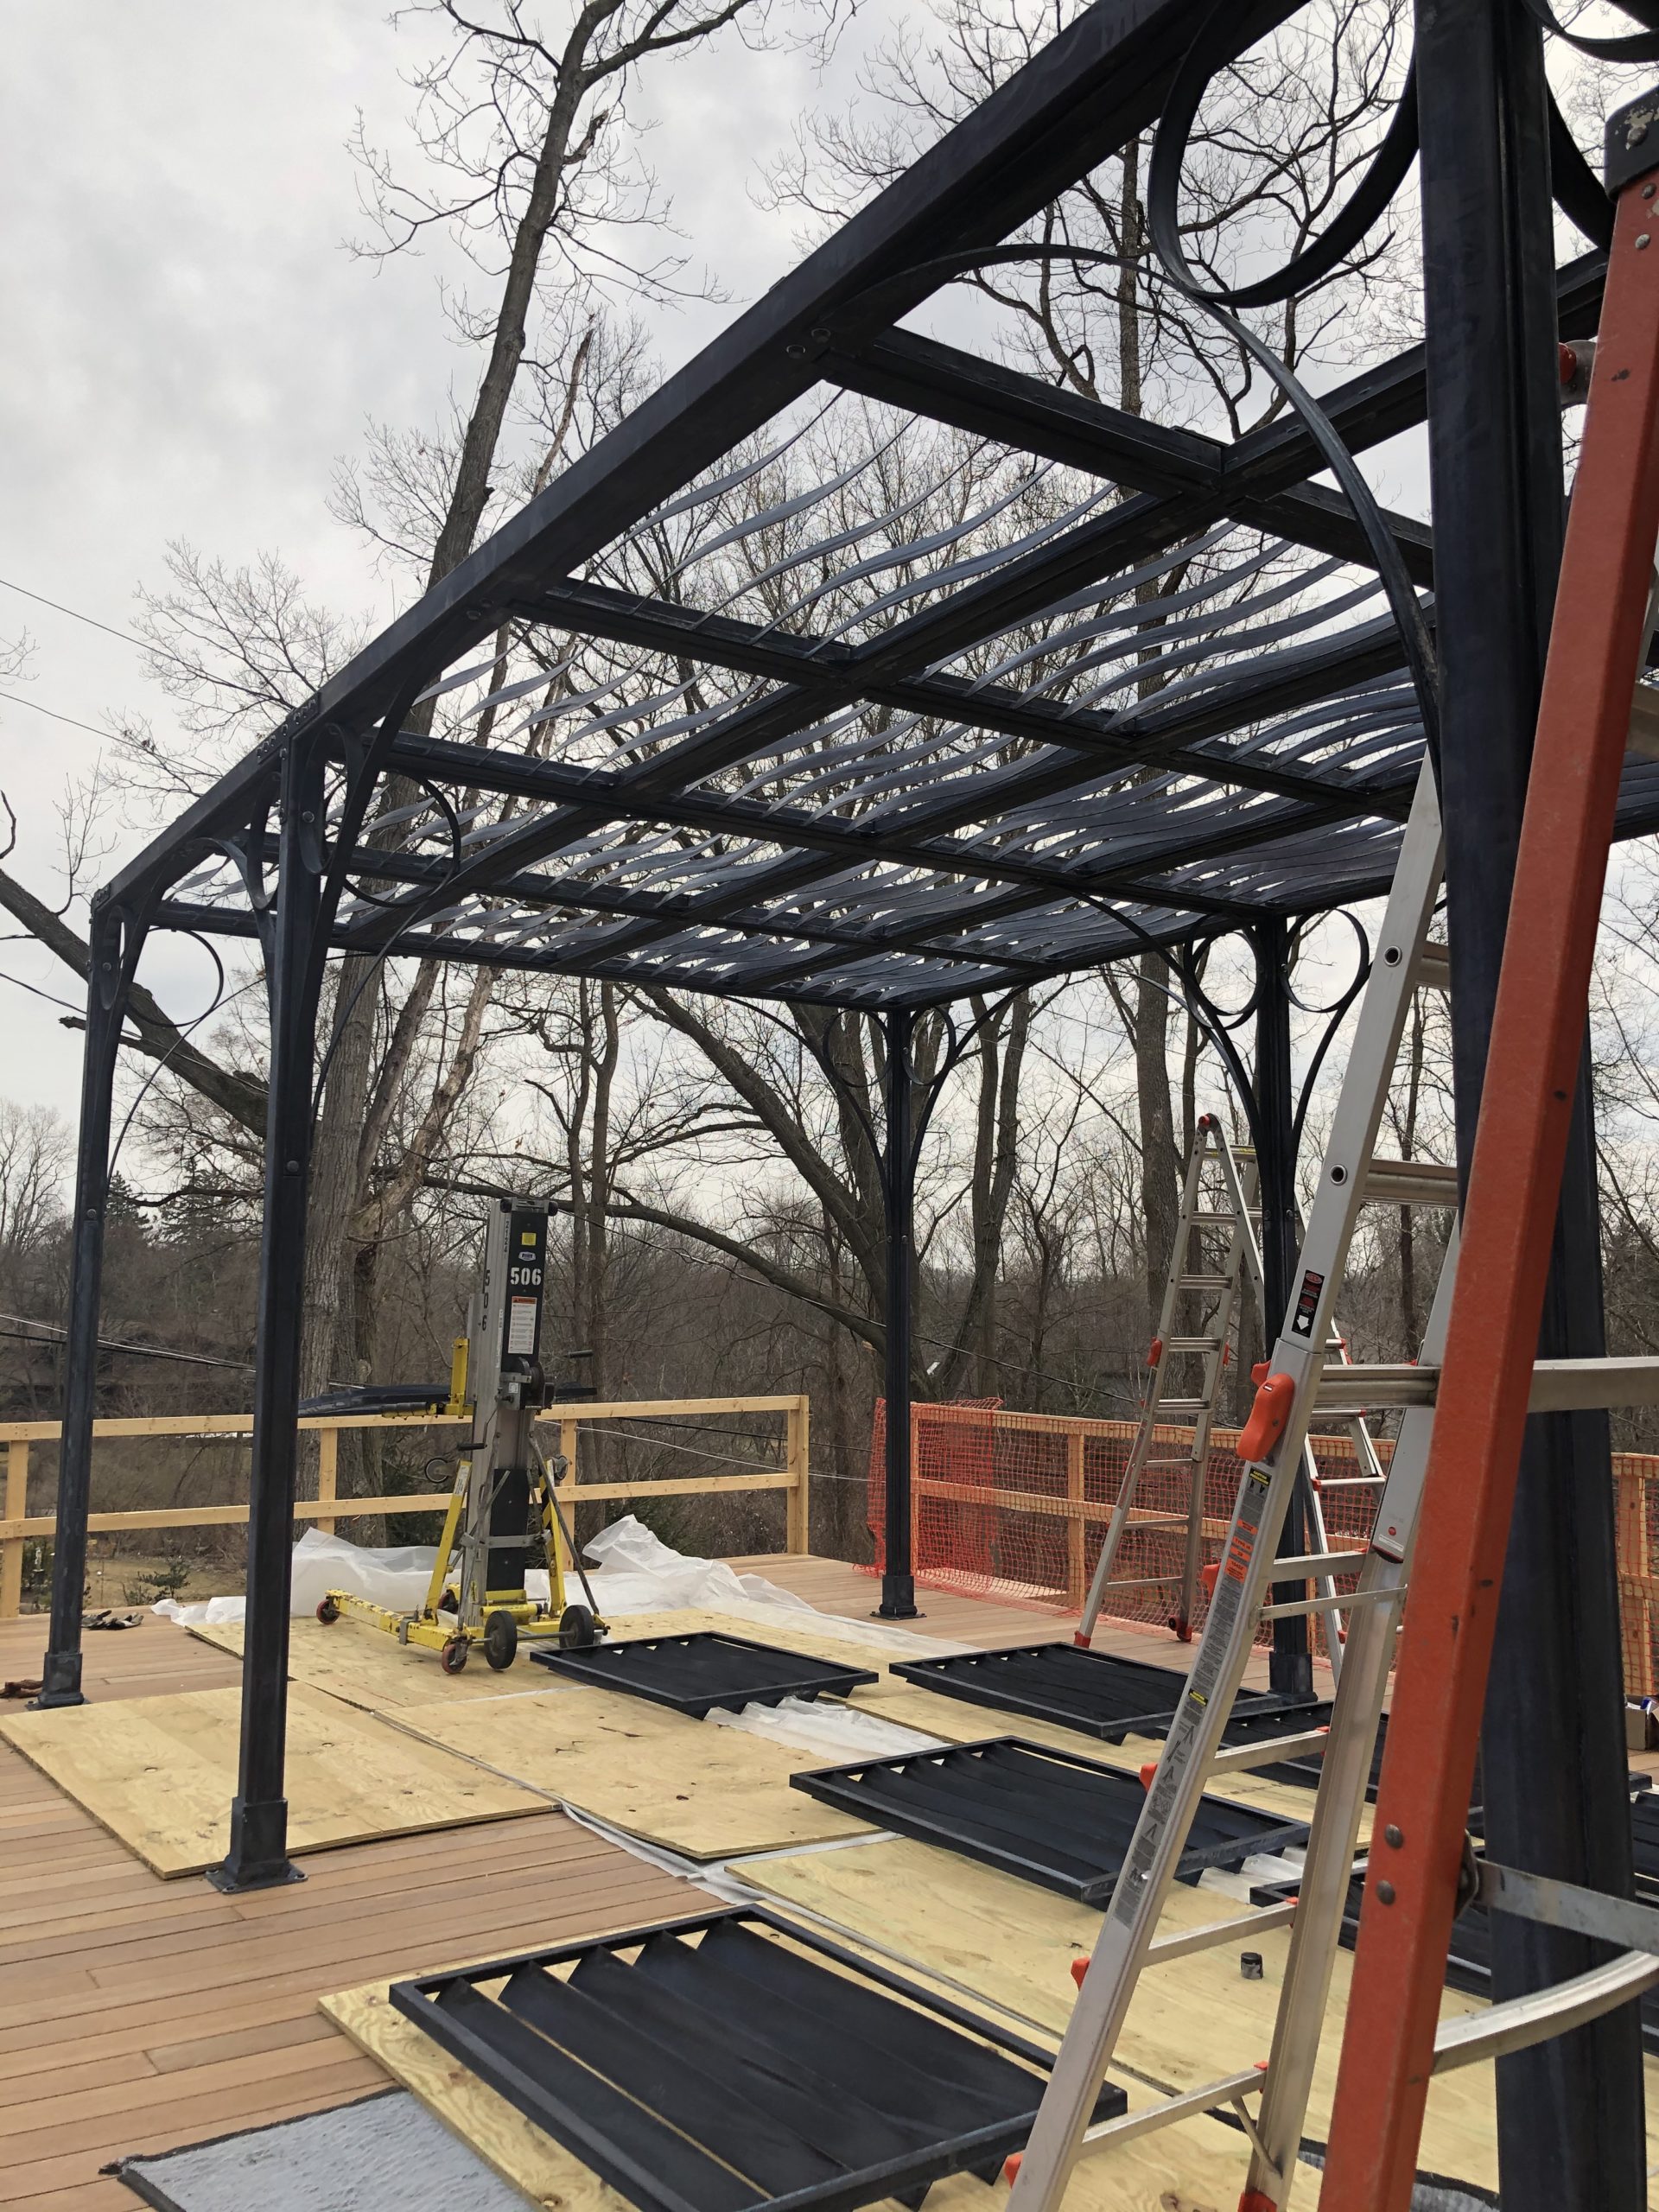
All of the roof panels are identical. But they cast different levels of shade depending on their orientation. Since the spring season is up next, and the intensity of sunlight at that time of year is subdued, the panels were placed to provide a more open shade from the south side. Being outdoors on a sunny spring day is one of the garden’s most memorable experiences.
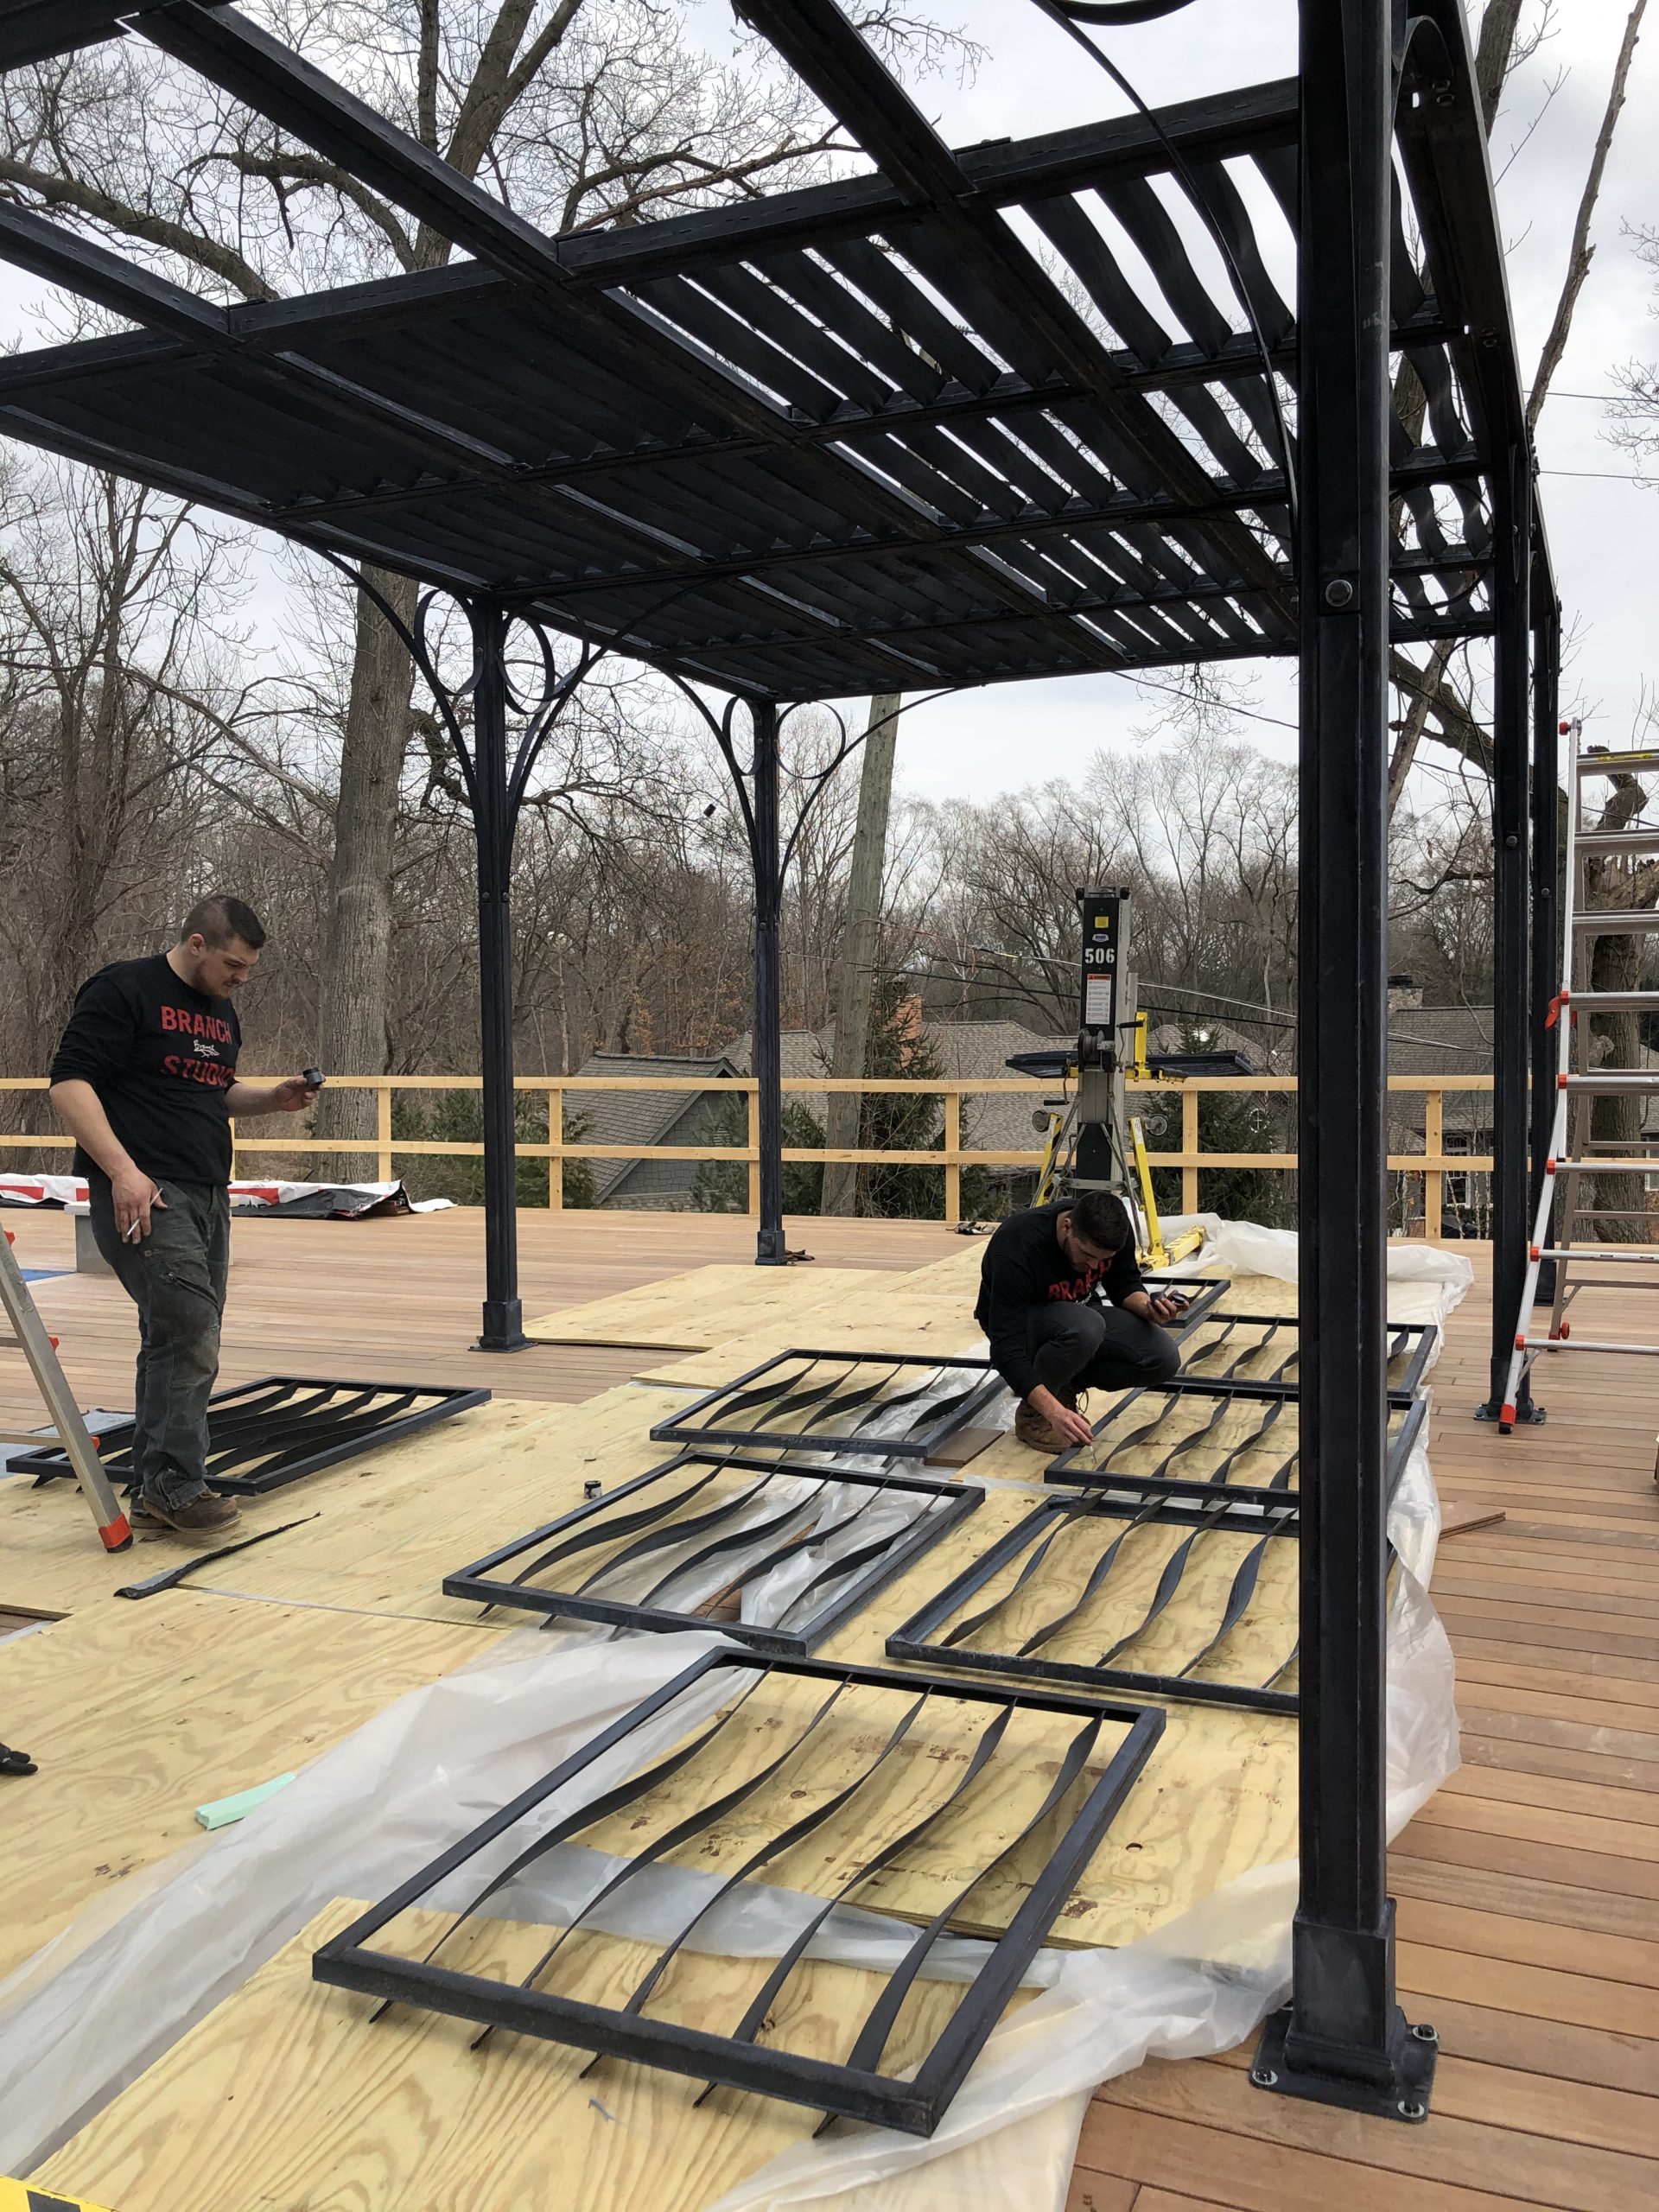
Viewed from the north side, the shade is more saturated. As the panels are dropped in, and held in place by the roof framing mechanism, the panels could be rotated to provide more shade from the south side later in the season. The panels could also be alternated one by one, or row by row, for other versions of shade. It would only take 2 people several hours to completely change the arrangement. The louver style means that warm air will be able to dissipate quickly.
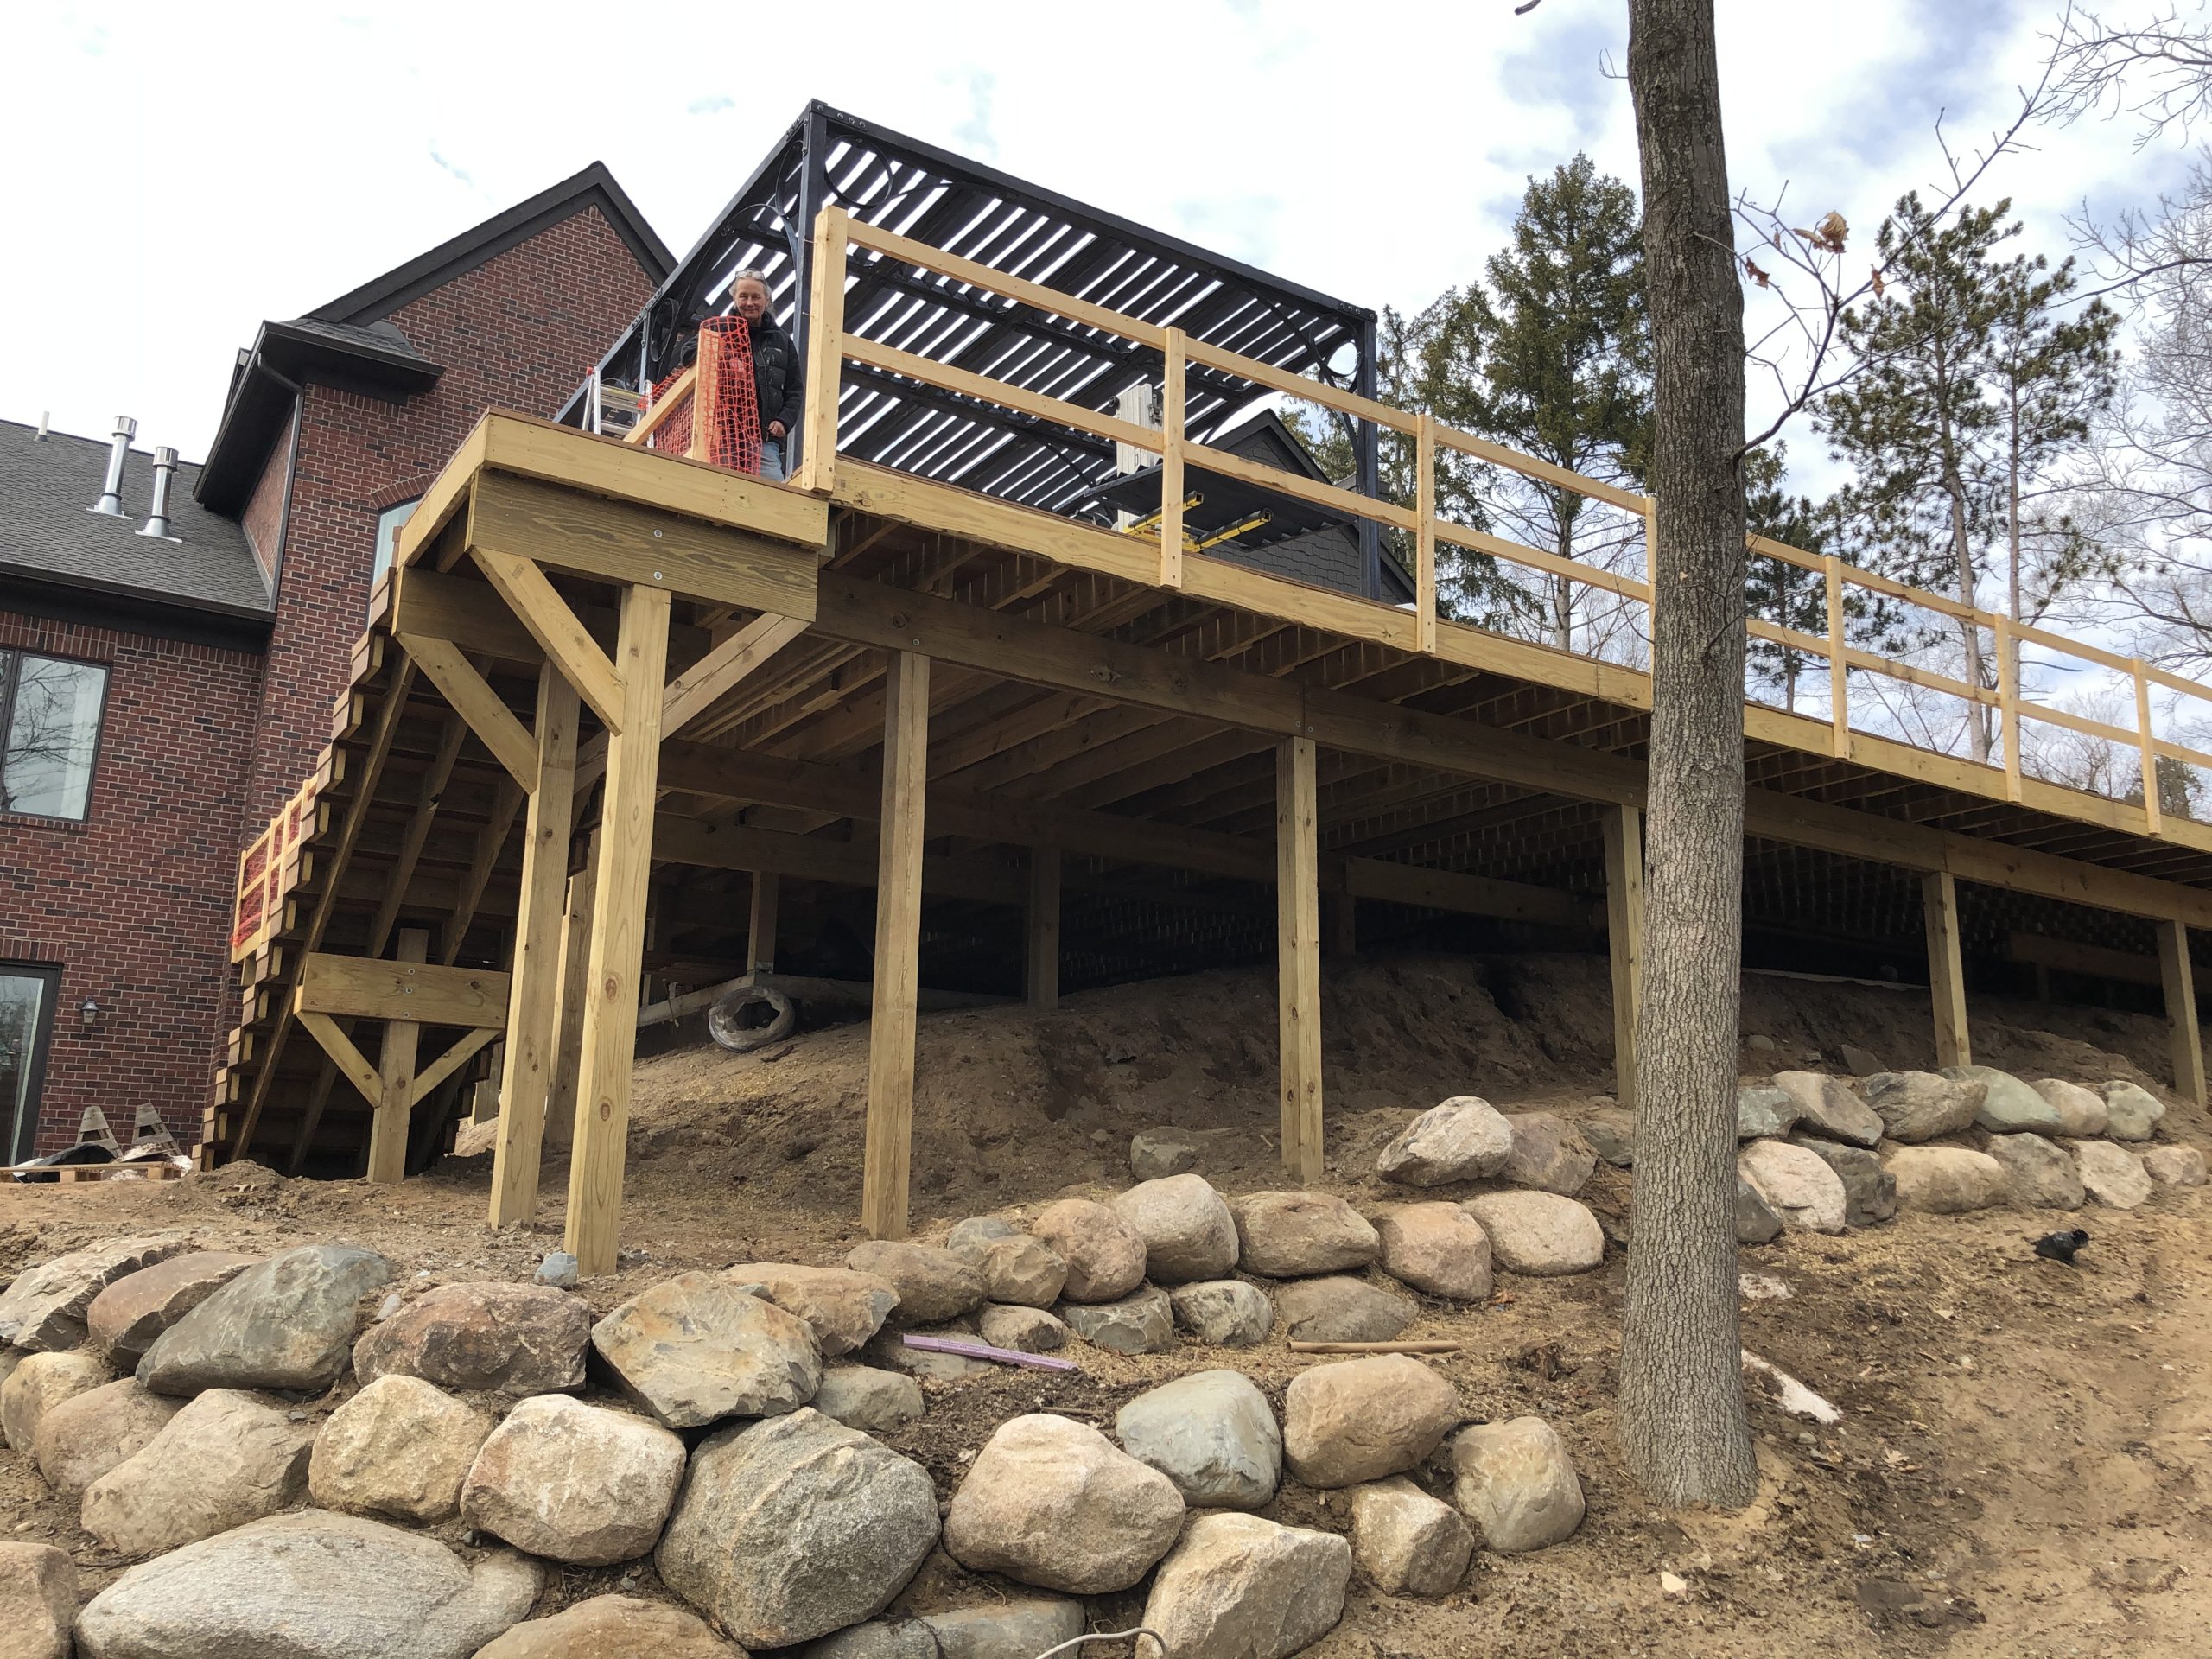
Viewed from the northeast, it appears that the  areas of sun and shade will be balanced.
From the north side, the shade cast will be much more pronounced. The sun is still low in the sky now, so it will be interesting to see what level of shade is provided once the sun is directly overhead. In any event, the pergola will go a long way towards providing a comfortable place to enjoy the outdoors.
Everyone’s interest and participation in the landscape is unique to them. I have come to have loads of respect for all forms that expression might take. On a practical level, it means trying to provide whatever direction it takes to get people outdoors. It also means cultivating empathy as an essential element of good design. What could happen next is not predictable, but I have had numerous instances over the years of a tentative interest in nature blossoming into a commitment to the health and well being of a piece of property. Or down the line a garden with which to teach their children how to grow vegetables and flowers. Or a new found love for spring flowering bulbs or fruit trees. It happens.
There is a special personal satisfaction in having taken the design of a structure for the landscape to another level. Our head of design and engineering, Dan Moore, and his fabrication group of 6 do a terrific job of manufacturing our stock line of boxes, pots, fountains and ornament. They do an equally great job of engineering and fabricating something they have never made before. I think they like making those forays into the unknown. All they needed from me was the concept.
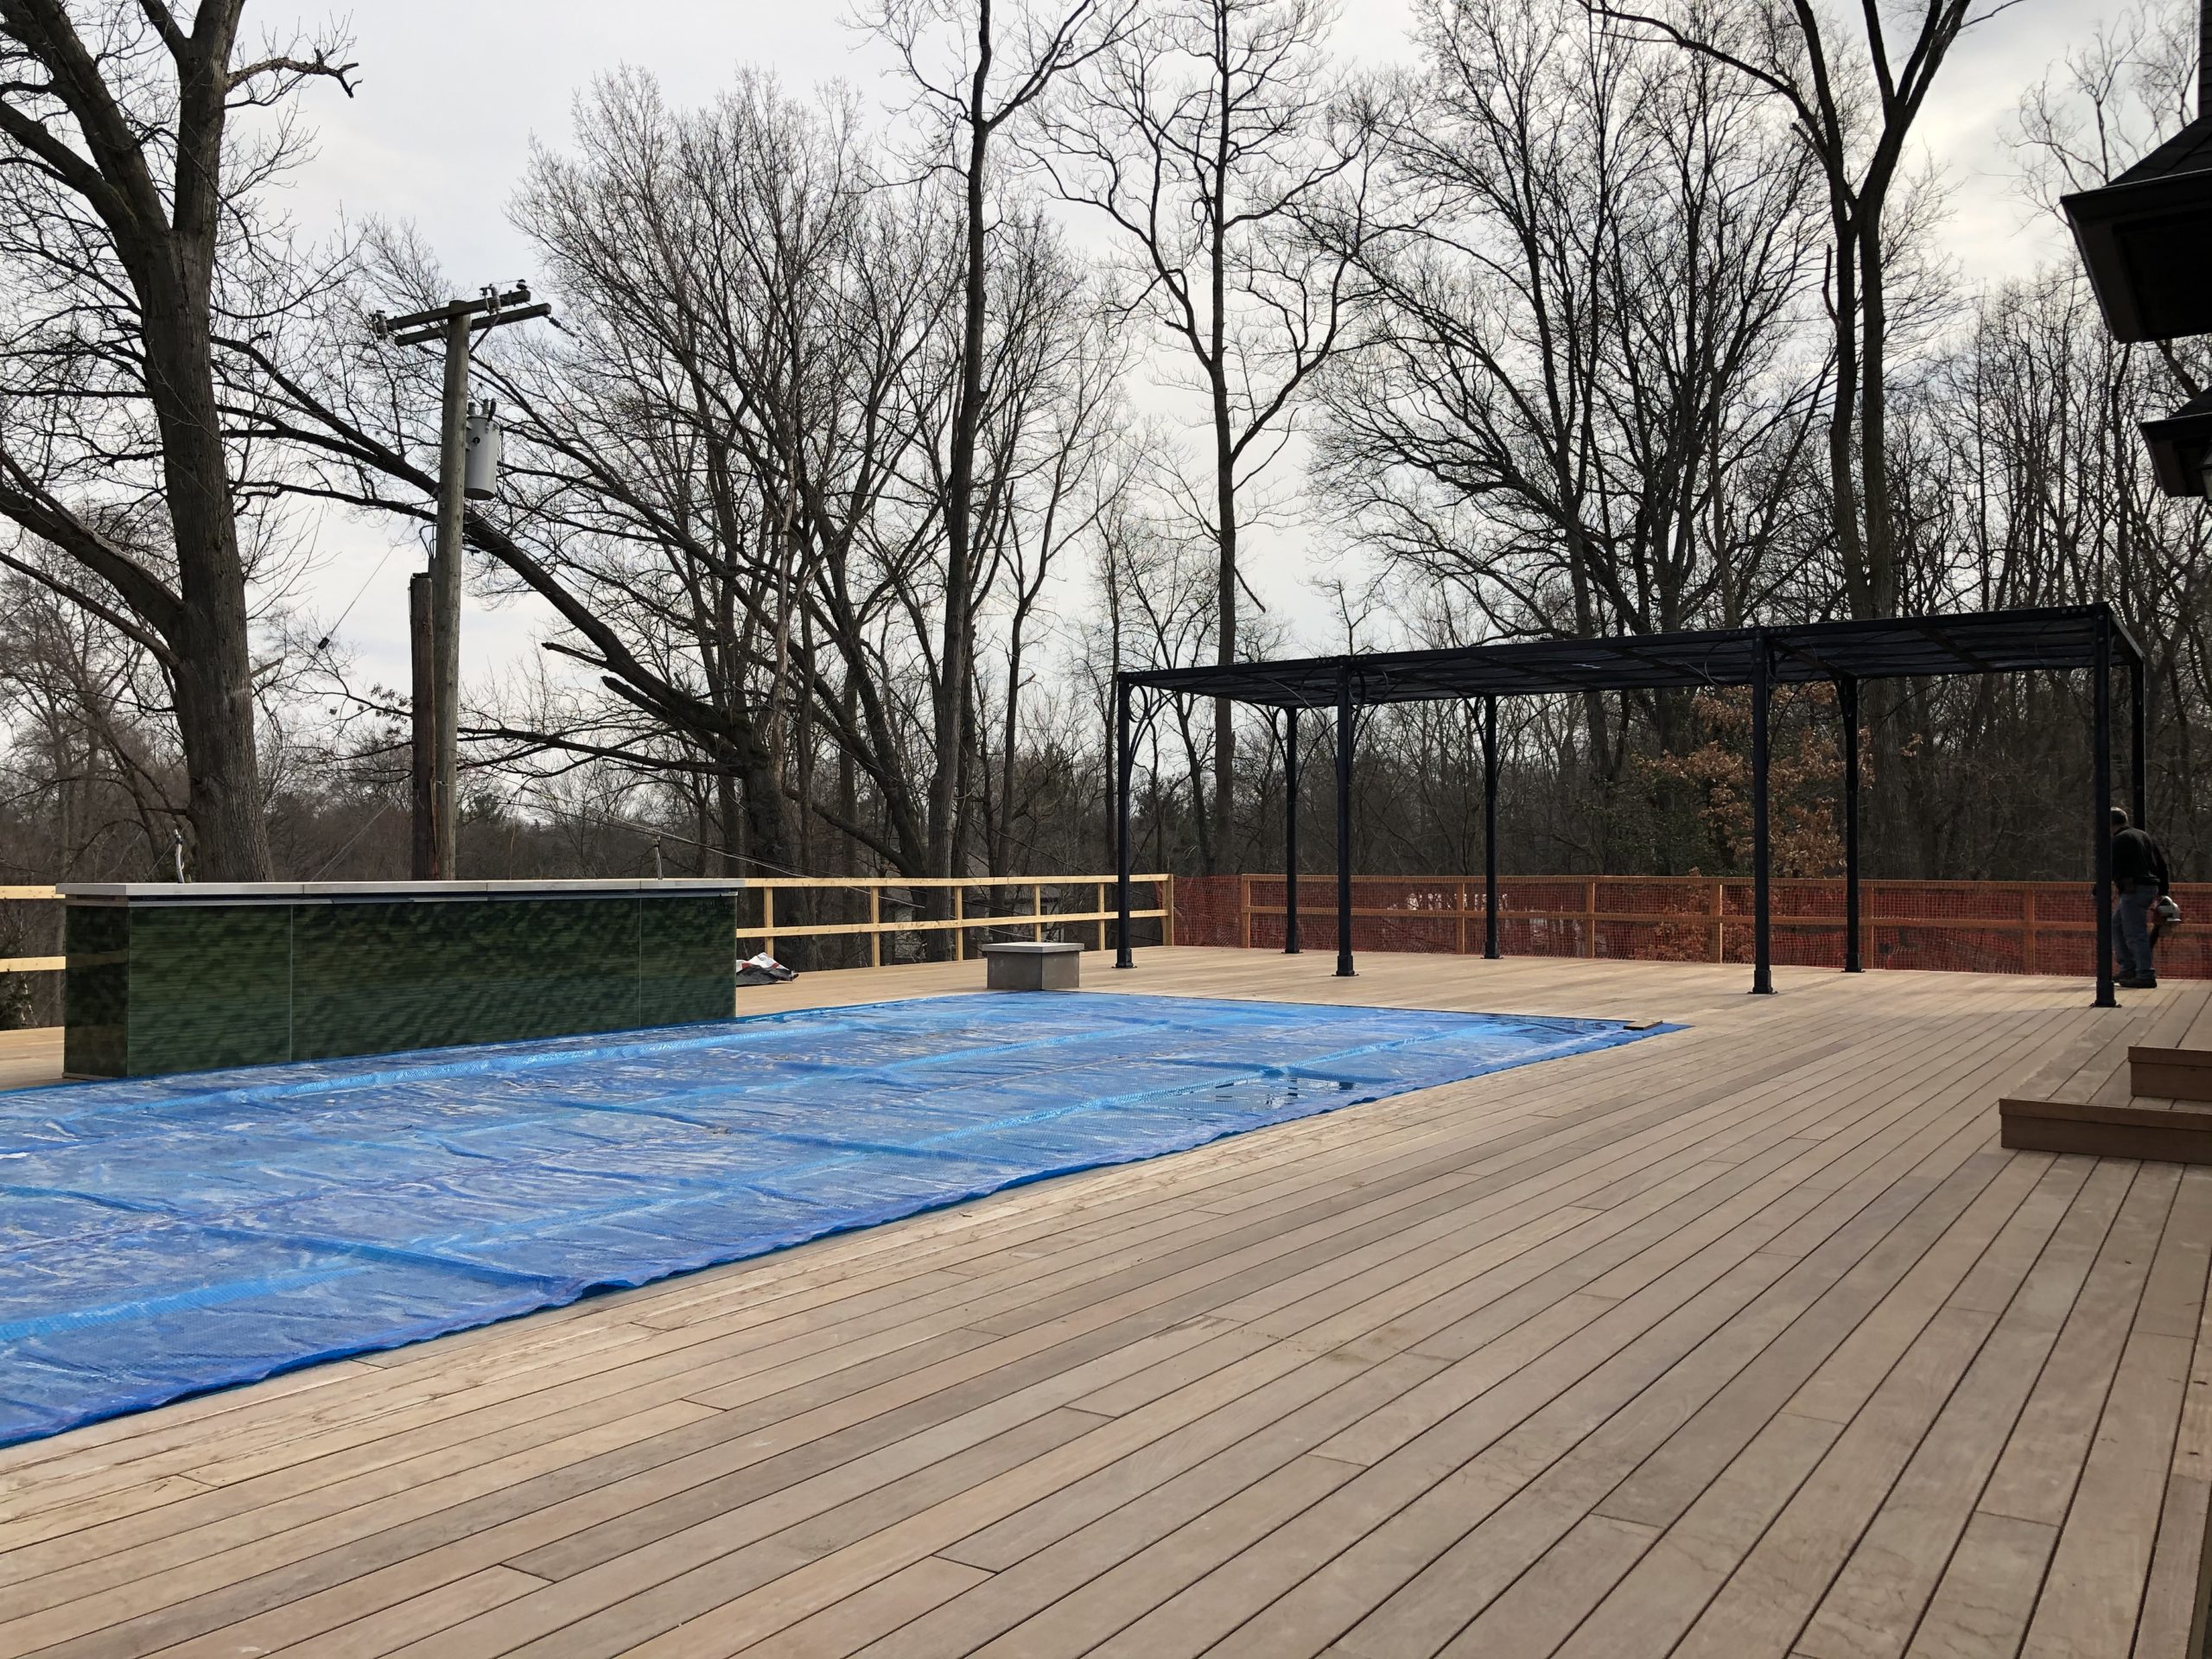
It will scarcely be another month or two before this space will be humming with activity. The waterfall will be running and the pool will be open to the sky.The glass rails should be installed by Memorial Day. The furniture has arrived, and is in place; the outdoor grill is hooked up. I can easily imagine this space full of people enjoying a summer evening.
The last part, as usual, will be the landscape. We will be ready to start that in a few weeks. Most of what we plant will be trees. A new generation tucked in to an existing old woodland.
Savoring this moment.
Part Three: The Pergola

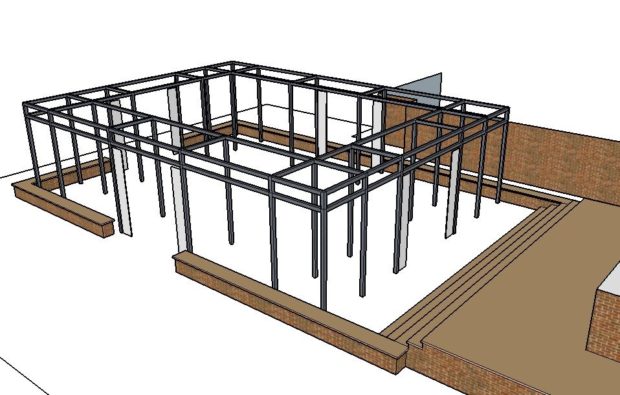
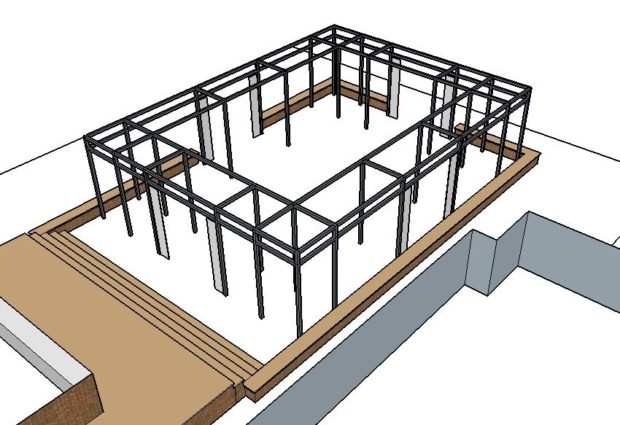
If you  have been reading this series of posts, you will recall that my landscape design called for a rectangular cloister style pergola to be built off my client’s sun porch and garage. That shape was dictated by an L shaped space established by the sun porch, and the long back side of the garage.  The center of that cloister would be a fountain pool. My drawing, pictured in the previous post, was schematic, meaning that drawing was a generic structure, just holding a place on the page.  Once she indicated an interest in a pergola surrounding the fountain, I went to work to actually design that structure.


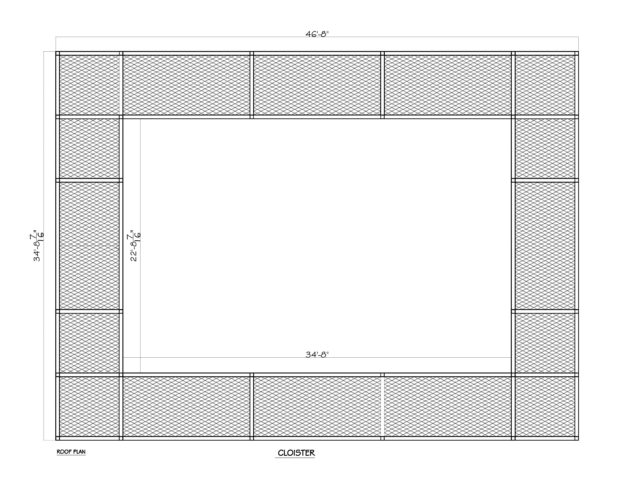
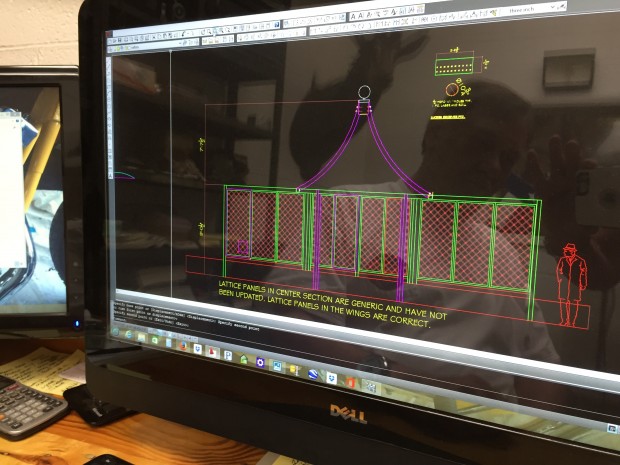
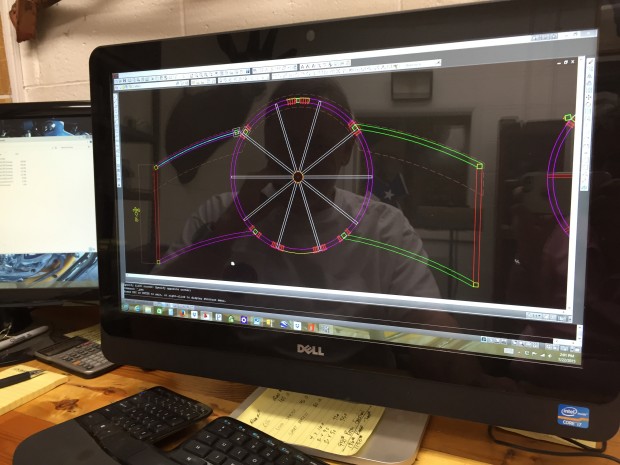
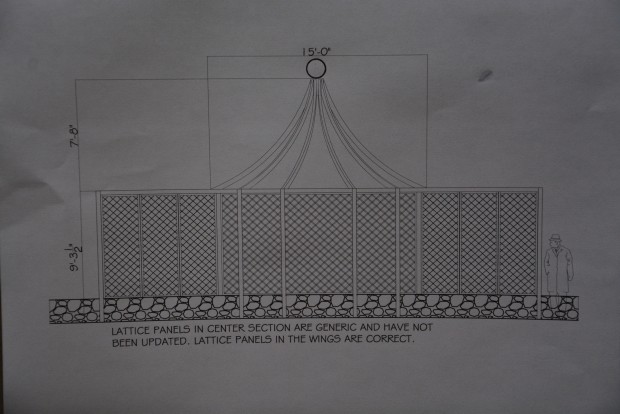
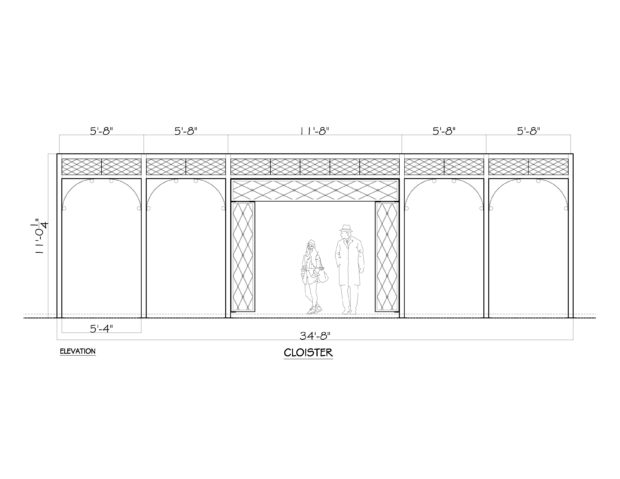
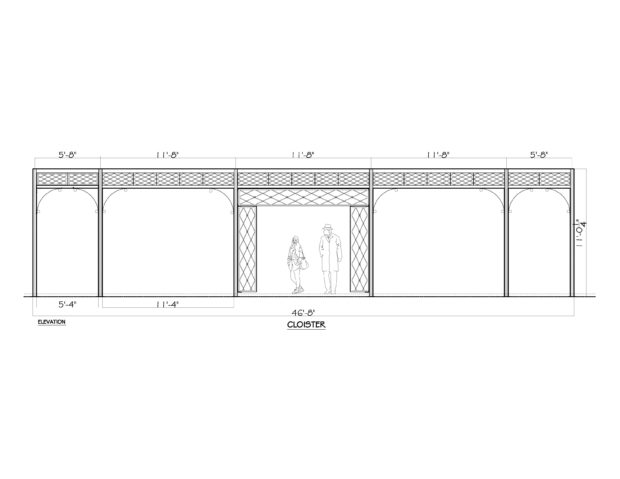
So what is a cloister?  A cloister is a covered walkway, frequently surrounded by a building or buildings on all four sides. Historically, it was an architectural feature common in monasteries and courtyard spaces in universities. The design for this pergola is predicated on a 6 foot wide covered walkway which would provide overhead structure to the fountain pool. The photo above shows Buck’s CAD drawing of the long side, which is almost 47 feet long. The design revolves around a series of elongated diamonds of different sizes, and steel spheres of 3 sizes. Buck added some figures to his drawing, so I could see what the relationship would be between person and structure. A good part of the reason it is 11 feet tall is its placement. Standing at the bottom of five steps from the sun porch grade, it was important that the roof did not appear too low from that vantage point. That height will also give it some presence from the upstairs windows, and the balcony which is on top of the sun porch roof.
This drawing of the roof panels makes clear the idea of a covered rectangular walkway. And that the interior space would be open to the sky. It was almost a year ago that we ordered the John Davis roses that would be planted on the pergola columns. I still have hopes of putting them in the ground yet this year, but if not, we can winter them over in our landscape building.

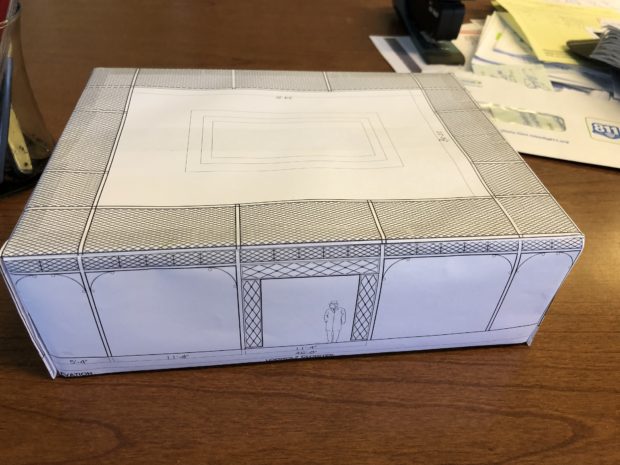
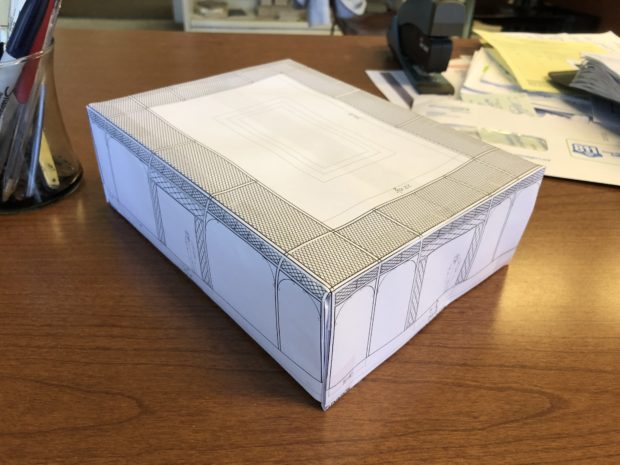
The drawings are useful to a designer, but maybe not so much to a client. Buck figured out how to scale the three drawings the same, and I built this model from sheets of copy paper. Buck drew the schematic for the pool on the roof plan. All of the white spaces on the paper will be open spaces.

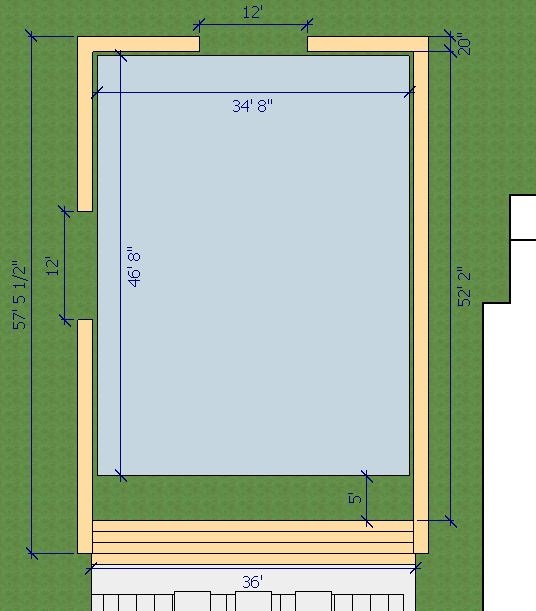
This model came months after the presentation of the original plan. Once my client approved it, there would be much more work to come. Not only were there engineering issues to sort out, all of the dimensions would have to be coordinated with Mike Newman, as his steps and walls were an integral part of the installation. The following drawings were passed back and forth between Buck and Mike, so all the the locations and dimensions could be mutually agreed upon before anything was built.

This plan view of he steps, walls, and pergola show the relationships between the various elements. The walls would have 2  12′ wide openings that would provide access to the back and side yards. Upon reaching the bottom of the stairs, there would be 5 feet of open space before reaching the pergola.

These drawings do the best job of illustrating the fact that there are pairs of columns that would hold up the roof. There are 32 in all. And the columns are round.  I designed as much of this pergola to feature round shapes, as opposed to square or rectangular. The round shapes seemed less industrial, and more fitting to the period of the house. Buck said this decision made the engineering much more difficult, but I think it will prove to be well worth the trouble.

view from above

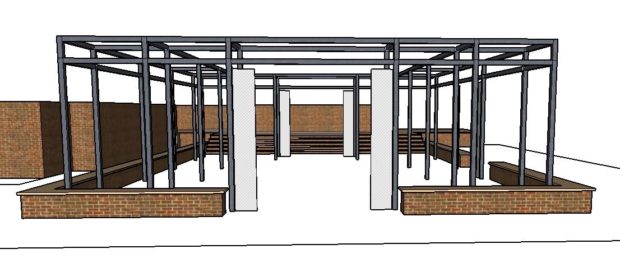
view from the far end

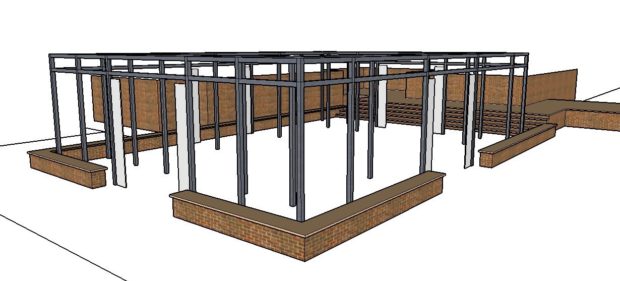
the view of both exits

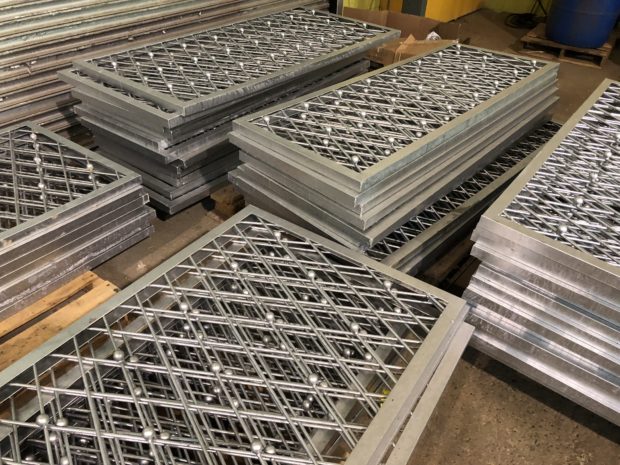
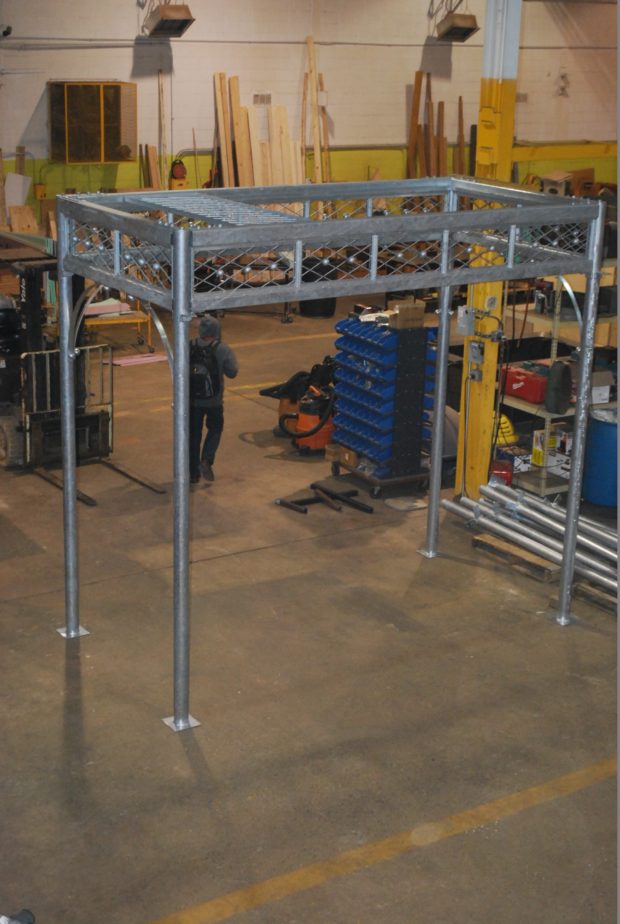
Pictured above is a group of the roof panels, after the galvanizing process. The round rods are captured in a square steel channel. The solid steel spheres, welded at the juncture of every other diamond, will face down. There are 2000 of them, in all.

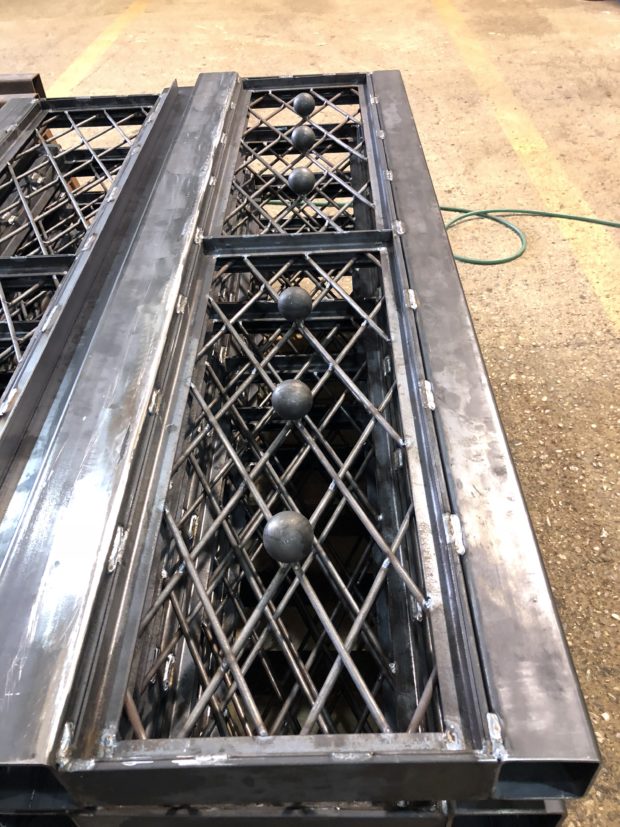
These fascia panels feature a larger gauge steel rod, and 2″ diameter solid steel spheres. These are finished panels in their raw steel state.

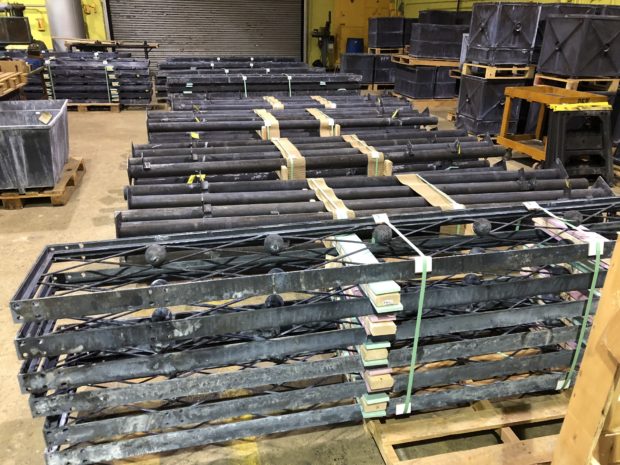
The pallet in the foreground is stacked with the pergola entrance panels. These have the largest diamonds, and 3″ diameter steel balls. In the background, pallets full of columns.

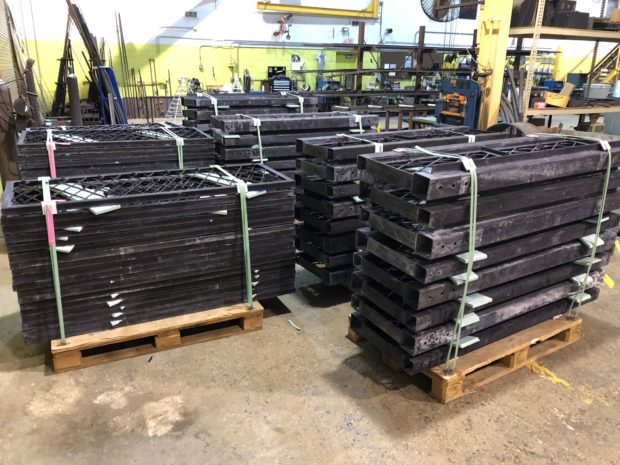
Branch limited the weight of every pallet so it would be easy to offload them at the site.

Prior to loading up the pallets, Buck had his guys pick random pieces from each stack of parts, and had them put together one 12′ by 6′ section. He wanted to be sure all of the parts would go together easily. Putting a pergola together in the field is a much different operation than putting it together in a warm dry shop, with a bridge crane overhead. The install will be lengthy, as it is a big structure. Maintaining the precision with which each piece was fabricated was a challenge. That precision is what will make the install go smoothly.

This view from the mezzanine at Branch shows a roof panel set in place.

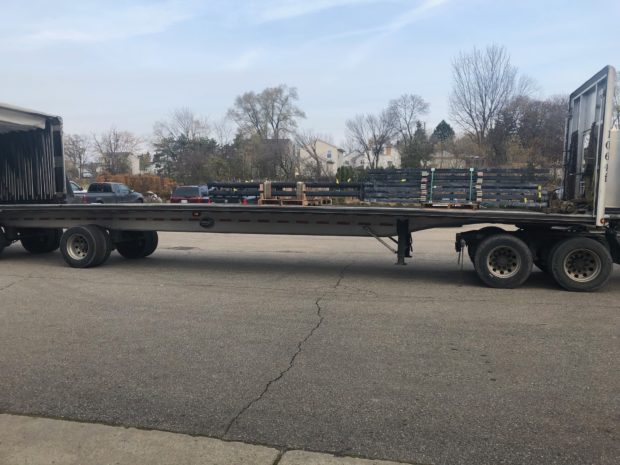
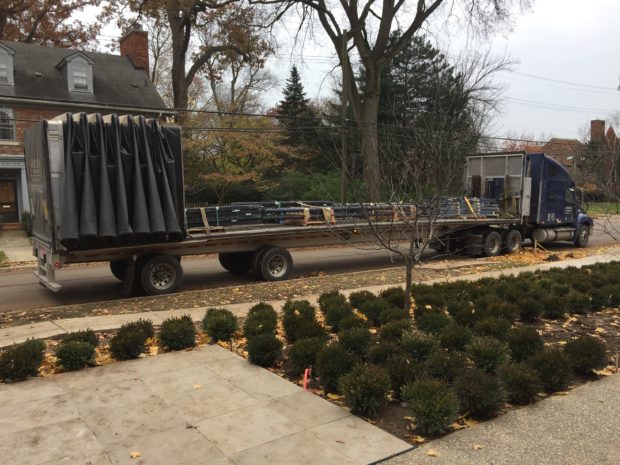
Jackie arranged for a dedicated flatbed truck to transport the pieces to the job. Even so, there were 6 pallets left over that my landscape crews loaded in their trucks. None of the pallets could be stacked.

We had our loader on site, so we could offload once the truck arrived.

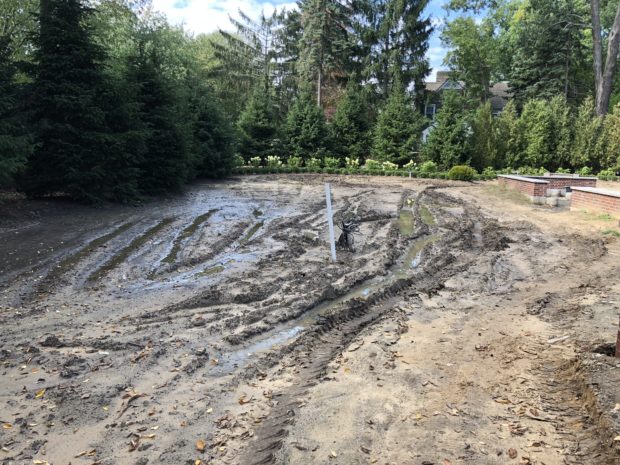
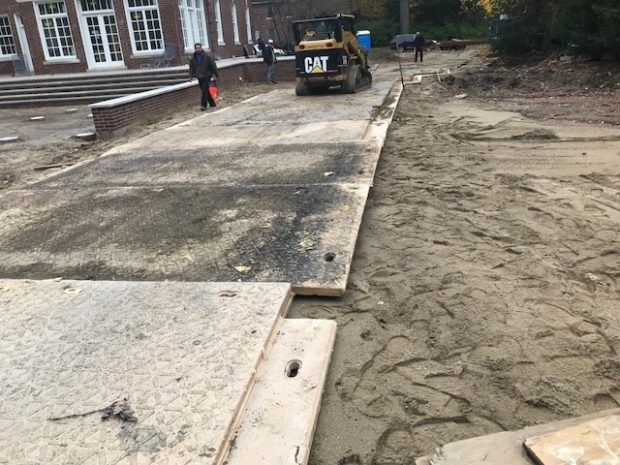
There was one part to the story we did not anticipate.  3.5 inches of rain fell in the area where the boom truck would be located, and those pallets would be staged.  We had not gotten to a finished grade in this side yard. The ground was very low here. Our original delivery and installation date came and went. I was not pleased with the prospect of having to waiting until the ground froze. I put in a call to my large tree contractor, and asked if there was anything he could do.
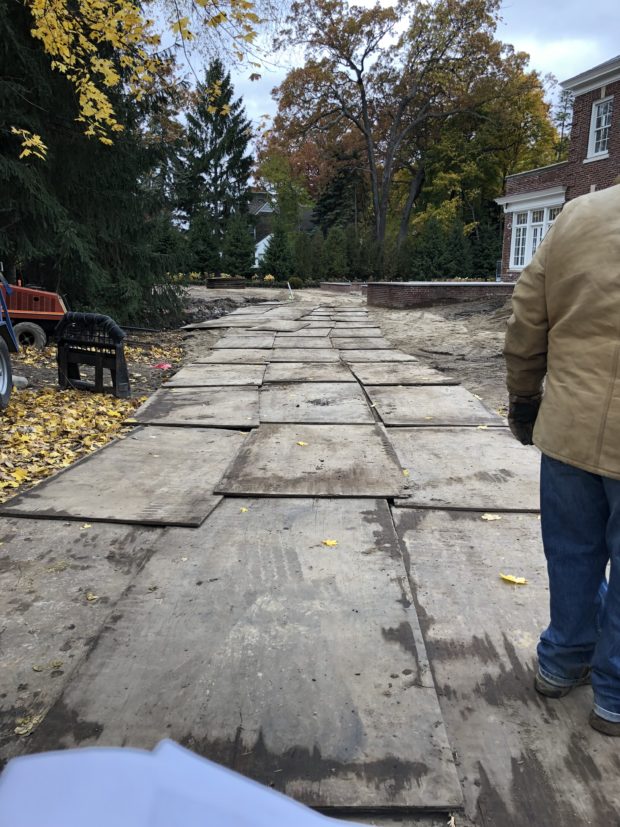
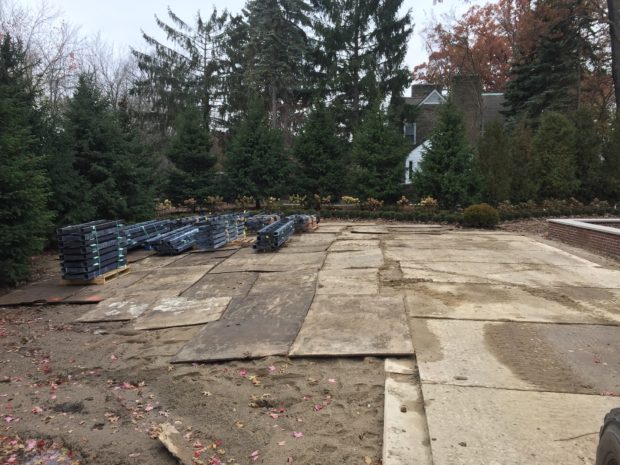
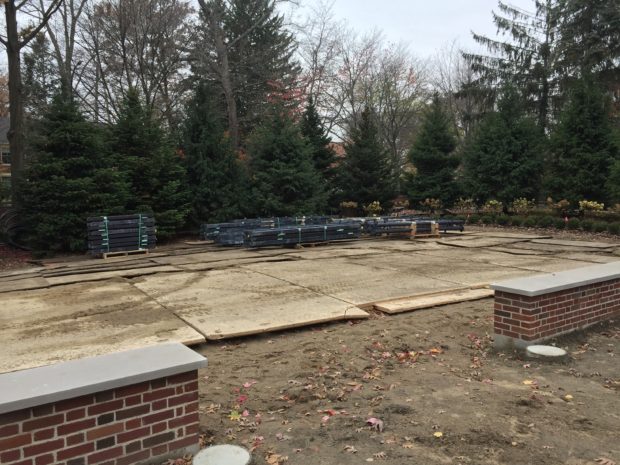
Ralph brought in 80 yards of sand, and 100 sheets of 3/4 inch thick plywood, with the intent of building up the grade such that we could access the site.

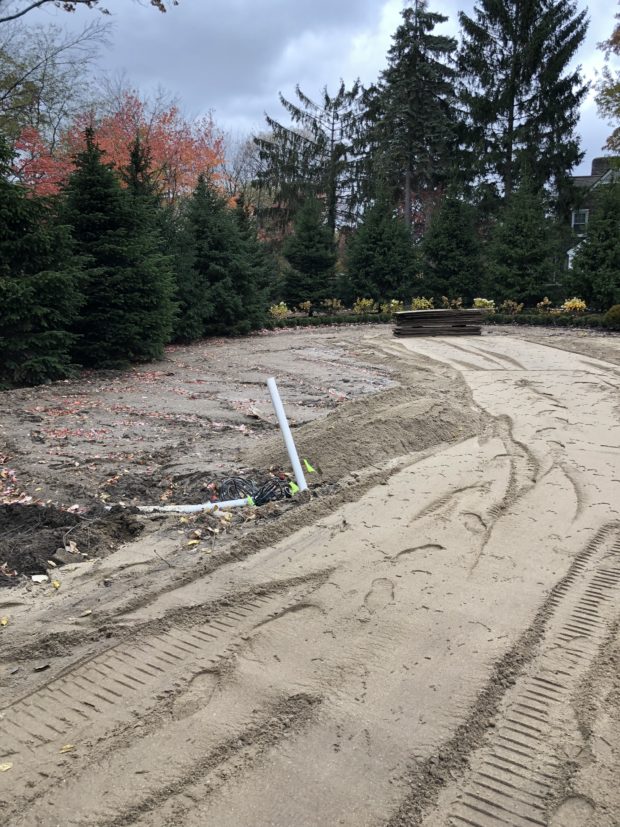
He built a road in that would be able to handle the weight of the pergola pieces, and trucks. Fortunately, this side yard is still so low, that all of that sand will eventually become part of the finished grade.  He is estimating he will need another 200 yards of soil to bring this space up to grade.

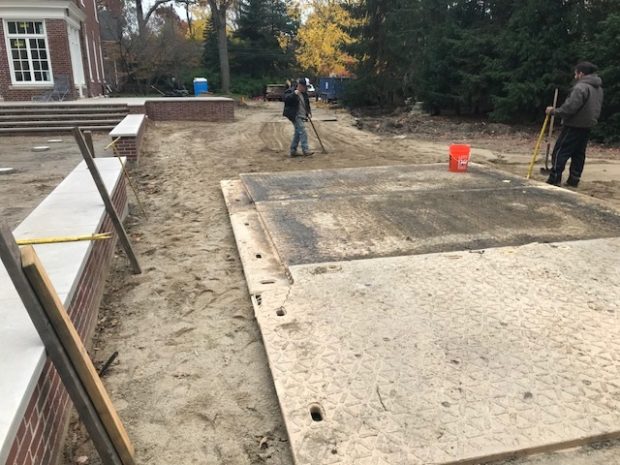
The boom truck is an incredibly heavy piece of equipment, featuring a large arm that will pick up each piece in the proper building order. That truck has huge steel arms that come out, and rest on the ground, to stabilize the truck.  Plywood and sand would not be enough to keep that truck stationary.  The construction mats you see in the above picture weigh 1000 pounds each. Ralph assured me that they would stabilize the ground for any truck we needed to get back there.

finishing up the road in

Sheets of plywood were all we needed to stash the various pallets.  The boom truck operator will be able to pick up any part he wants, when he needs it. It took 3 days to get the site ready. Templeton Building Company will do the actual installation. Buck will be there the first day, to advise.
Everything is ready. The boom truck is scheduled to arrive this afternoon. I hear the scaffolding is going up now. Each column will be bolted to the footings that Mike poured some time ago. The structure will be bolted together, one piece at a time. It could take a week, from start to finish. For now, I am just very happy to know we are in the home stretch.

Building The Lucerne Pergola

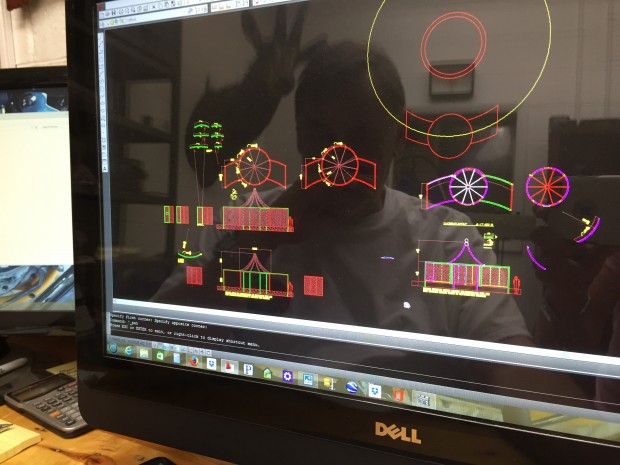
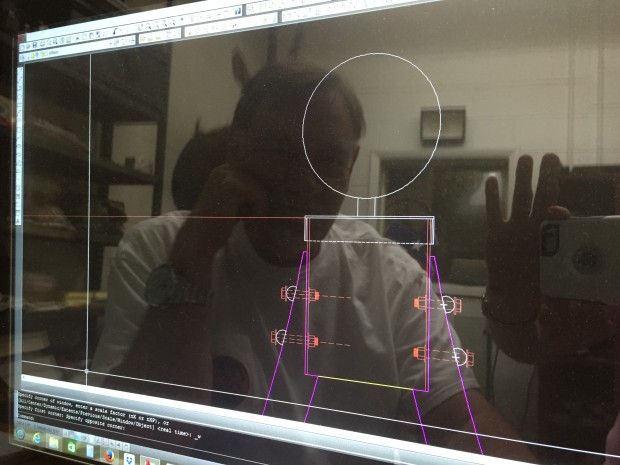
the Lucerne pergola (2)Phase 1:  Design, engineer, and build  Once Buck had my sketch for the pergola, there were a lot of drawings that would need to be done.  The CAD drawings would indicate the angles, the rolling radiuses, and the exact sizes of every piece of steel that would be necessary to fabricate the piece. Buck constructed the pergola full size – down to the last bolt hole – in the computer.

the Lucerne pergola (3)

the Lucerne pergola (4)

the Lucerne pergola (5)

the Lucerne pergola (6)

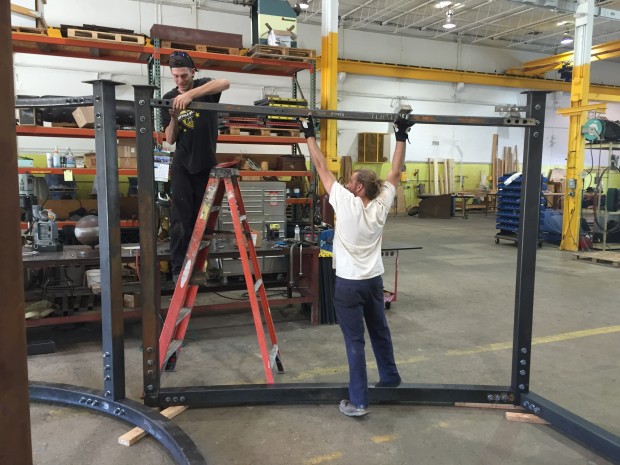
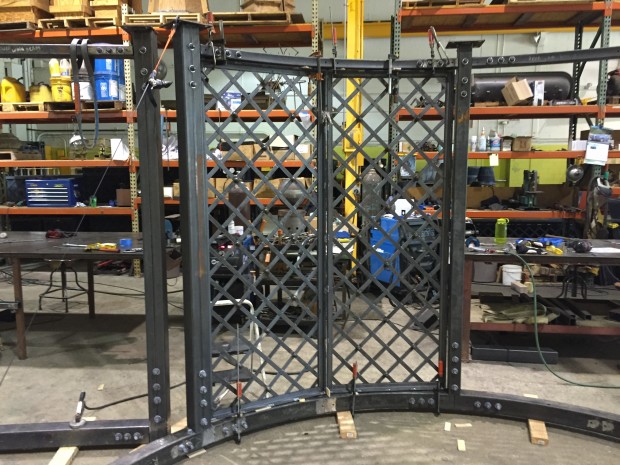
the Lucerne pergola (10)Buck’s crew put the base of the pergola together up side down, to be sure every piece fit together properly. Owen was the lead fabricator on the project, with help from Adam, Riley, Sal, LaBelle, and Buck.

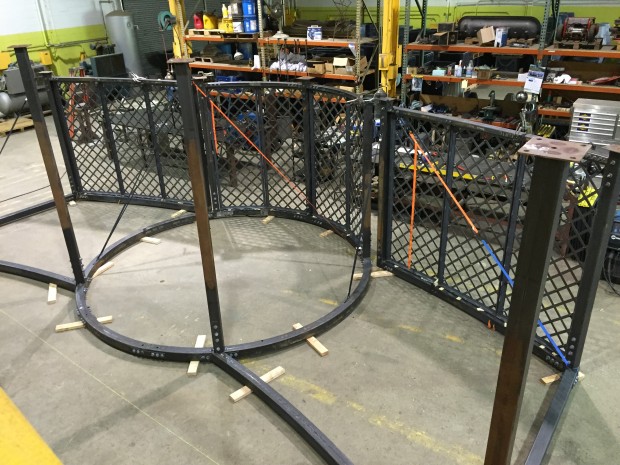
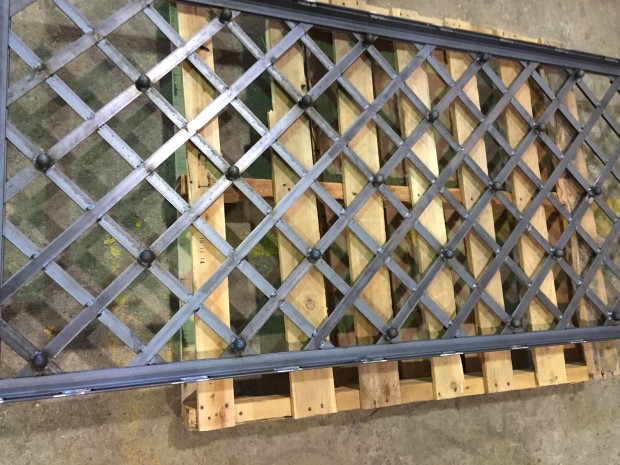
the Lucerne pergola (8)Lattice panels were designed and fabricated as an open wall for the back of the pergola, and feature a steel ball detail.

the Lucerne pergola (9) Each of nine panels were hand fabricated and fitted to each opening.

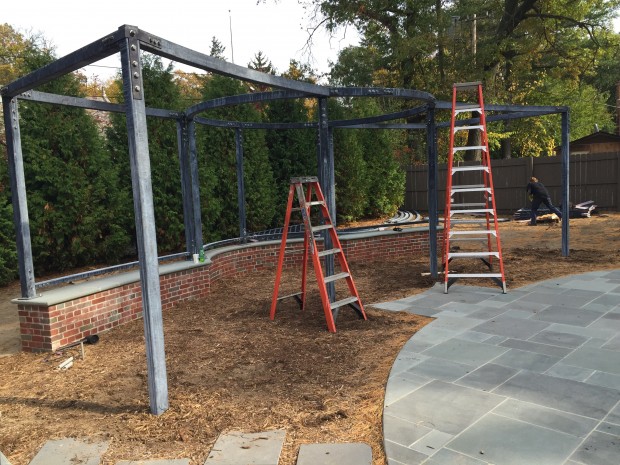
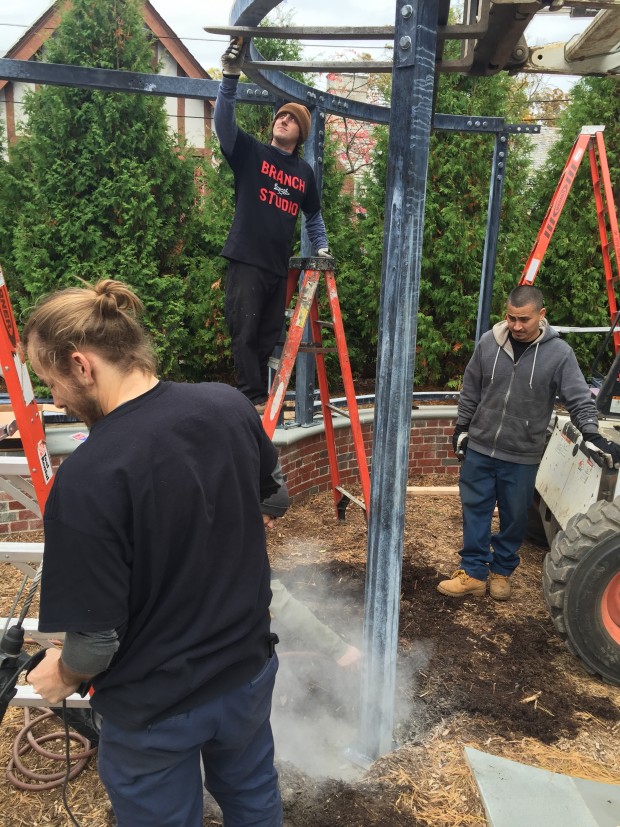
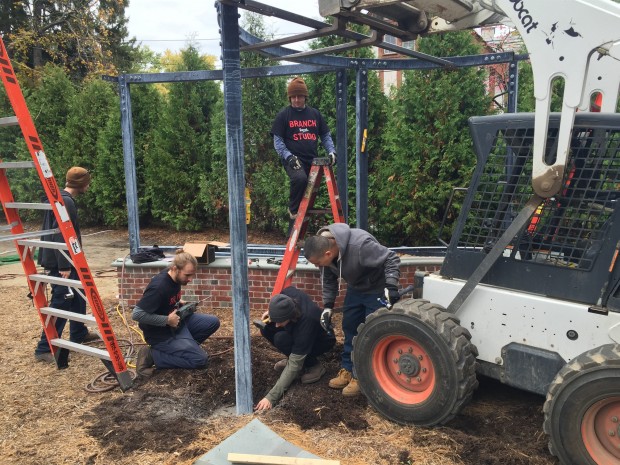
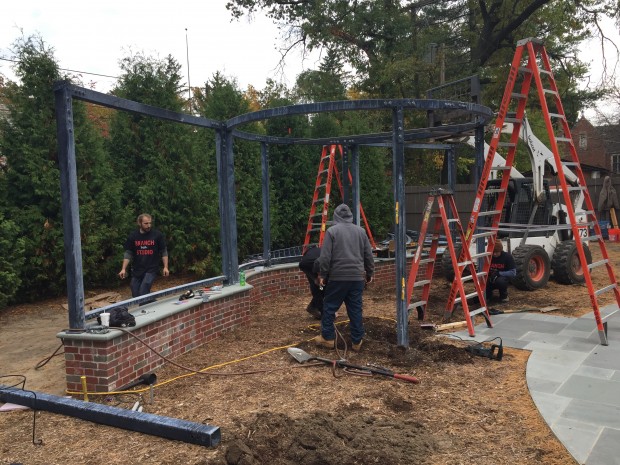
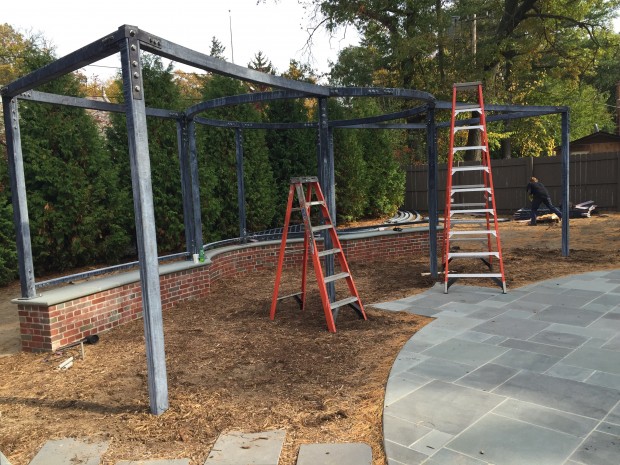
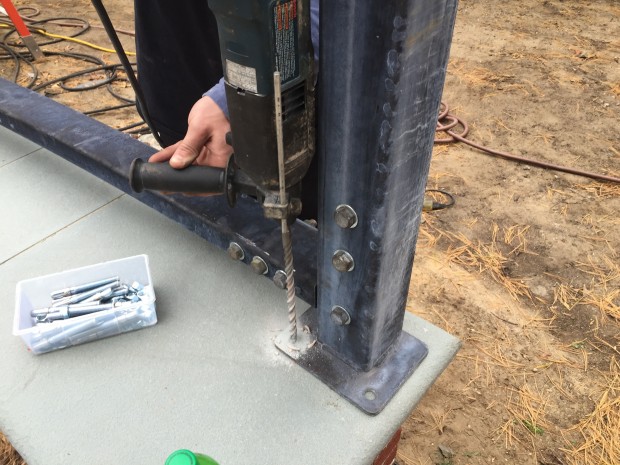
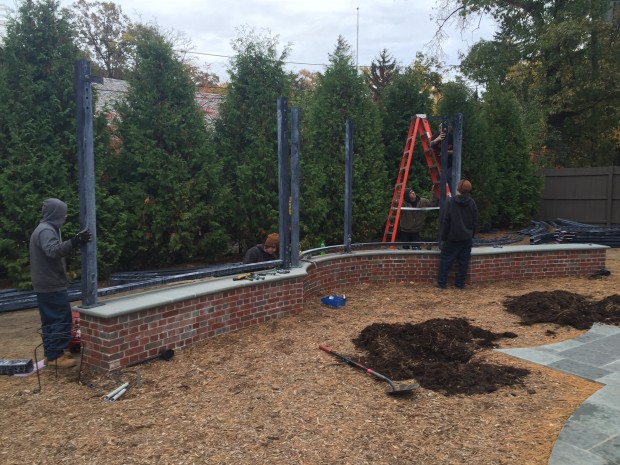
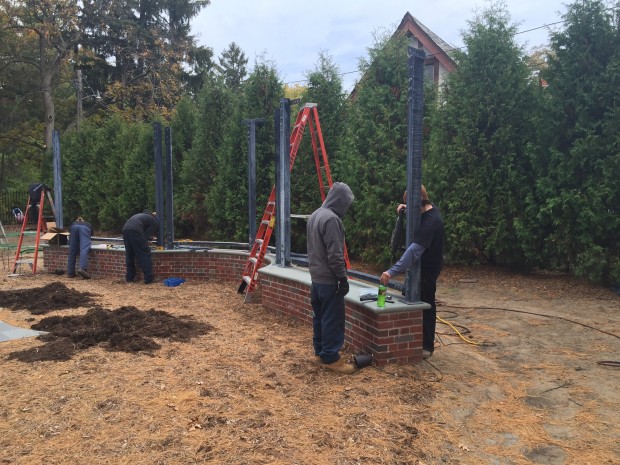
setting the structure (7)The installation: setting the structure.  The bottom of the pergola was bolted in the rear to a seat wall of brick, through the bull nosed blue stone coping.

setting the structure (5)

setting the structure (8)

setting the structure (6)The top of the brick wall is seat height, and width.

setting the structure (4)

setting the structure (3)

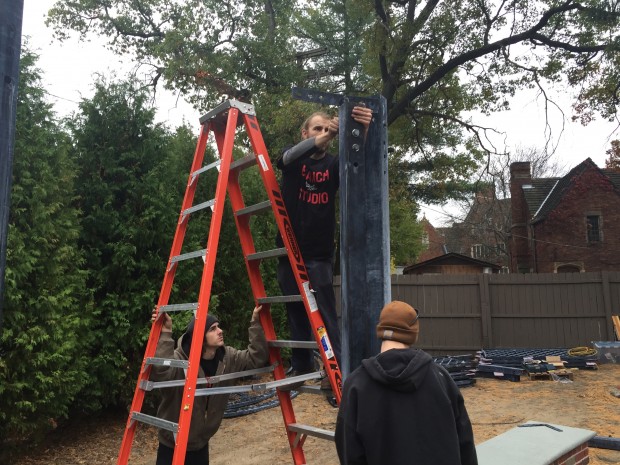
setting the structure 2The front post were anchored to 42″ deep concrete footings.

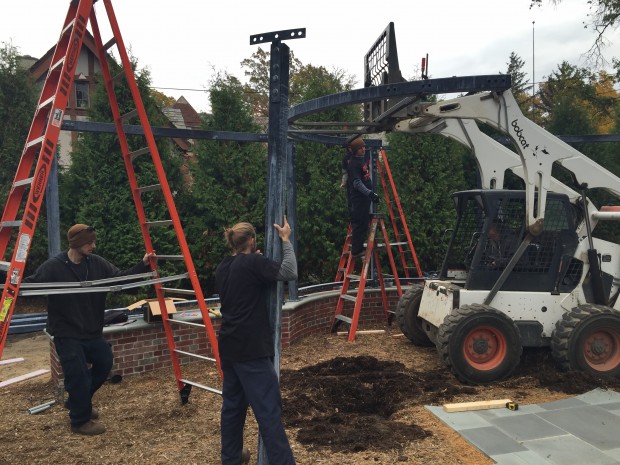
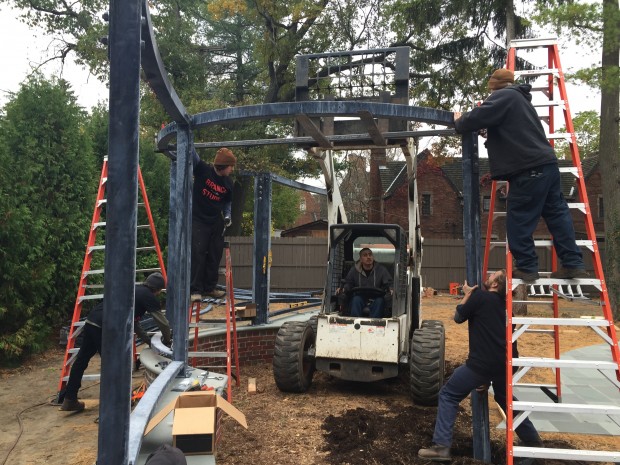
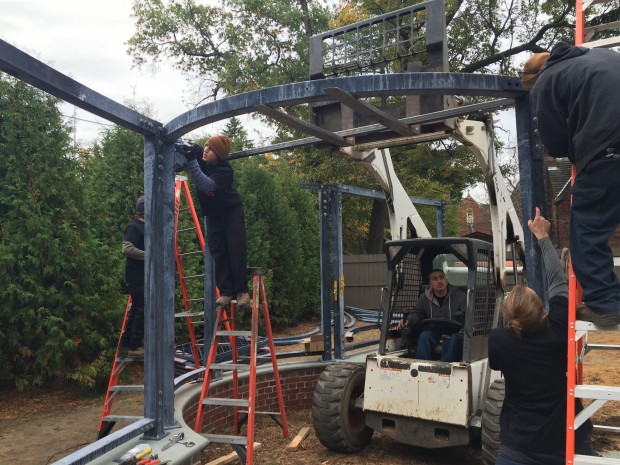
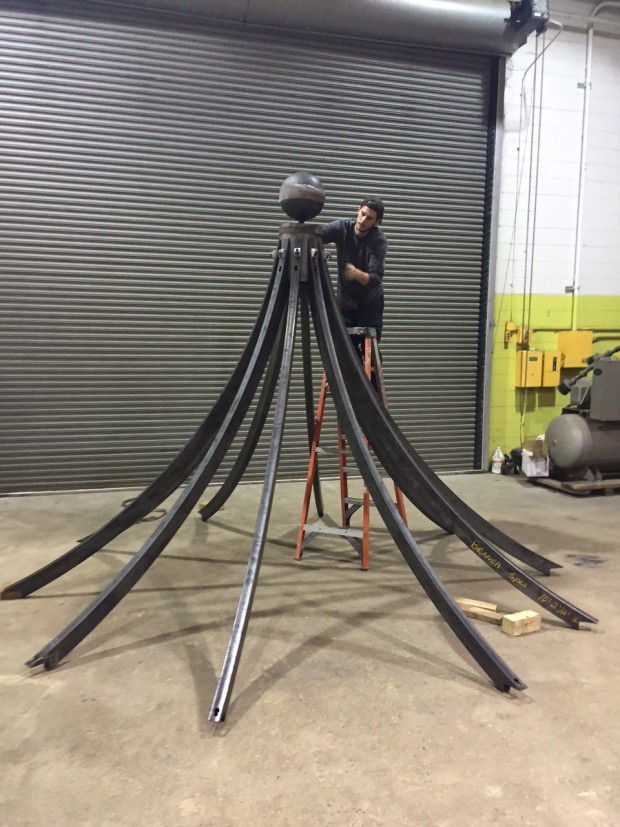
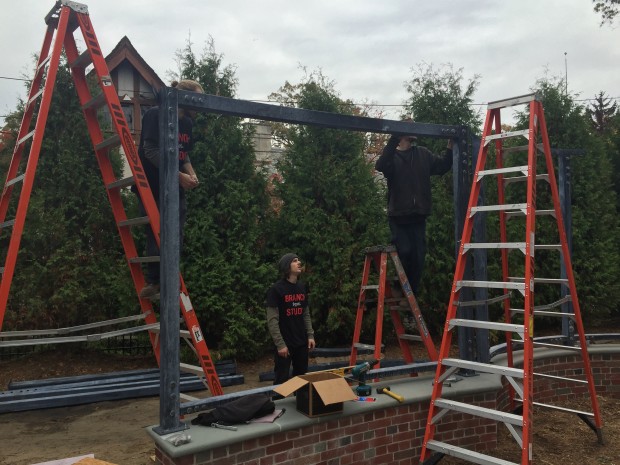
setting the roof beam (7)Setting the roof beams was the most difficult part of the job.  Each half-beam was 12 feet in diameter, and was incredibly heavy.  A support bar made especially to hold these beams, and a loader was necessary to get these pieces to the proper height for bolting on.

setting the roof beam (6)

setting the roof beam (4)

setting the roof beam (3)

setting the roof beam (2)

setting the roof beam (1)

setting the structure 2

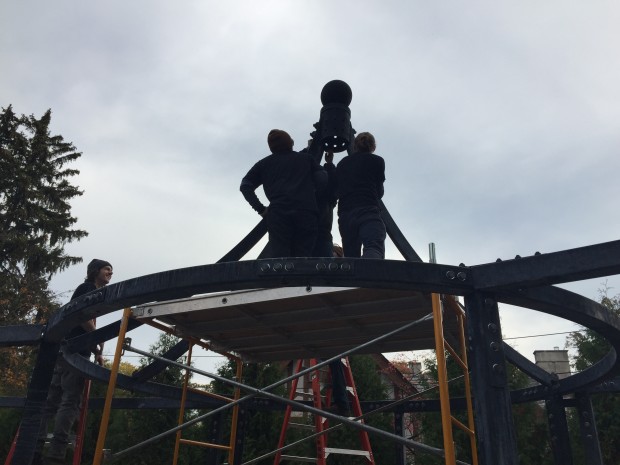
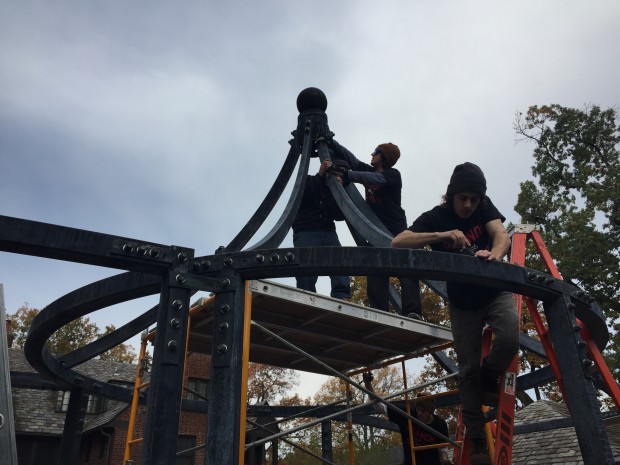
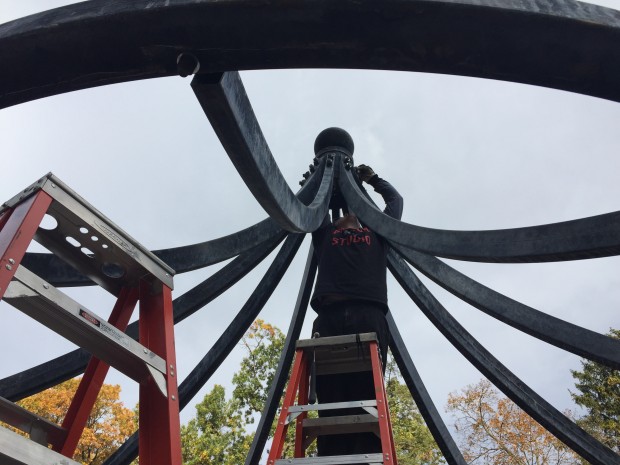
the roof (2)Setting the roof.  These pictures are not so swell, with all that sky behind the action.  The top of the finial is 17 feet off the ground.

the roof (3)

the roof (1)

the roof (4)

hanging the lattice panels (3)hanging the lattice panels

hanging the lattice panels (1)

hanging the lattice panels (4)

the finish (3)

Branch Studio pergolaThe finish

Branch Studio pergola (2)

Branch Studio pergola (3)

Branch Studio pergola (1)

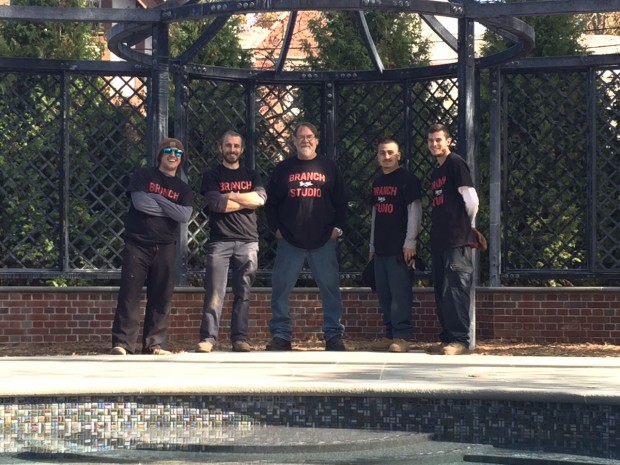
the finish (1)5 of the 6 Branch Studio dudes

the finish (2)The two day installation consumed 110 hours of work on the part of all 6 members of Branch. My clients had the great idea to do a time lapse video of the installation-what a treat this is to watch! If you are interested in watching, click on the link below.

the Lucerne Pergola installation


Landscape Under Construction

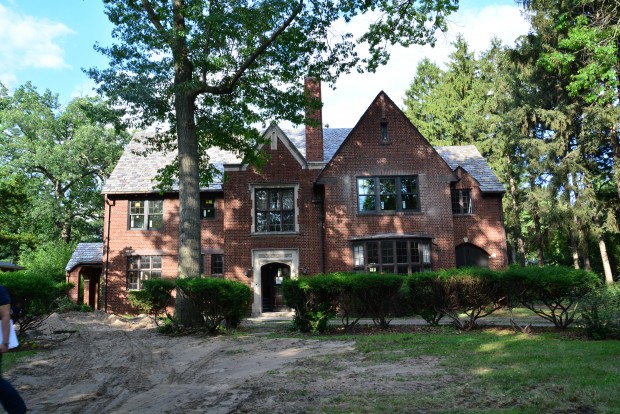
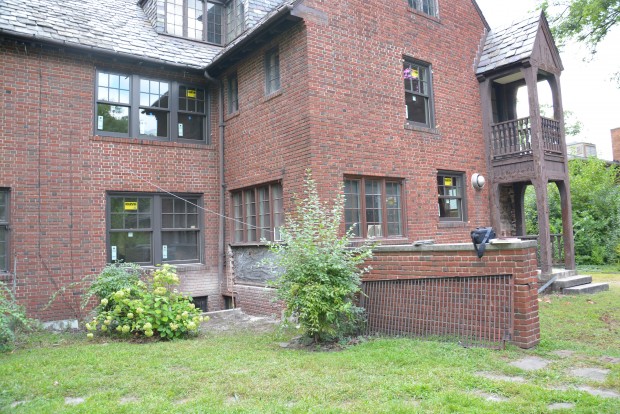
landscape under construction (8)A long time has passed since I first laid eyes on this lovely old home in Detroit. Dating back to the 1920’s, all of those beautiful details built in to homes of this era were intact.  The front door has a gorgeous hand carved limestone surround. The brickwork and slate roof are sensational. Gorgeous bones, everywhere. My clients were willing to put what it would take to restore and re imagine the interior to their taste. Every move they made paid great respect to everything original. As for the landscape, there was work to be done. They consulted me about the landscape early on. They both have a love, an appreciation, and a respect for all things green. They were interested in a landscape that would permit them to grow vegetables, a small conservatory in which to grow plants all winter, and a place to be outdoors as much as possible in the summer. Both are very busy professional people for whom a beautiful landscape and garden would be a sanctuary, a delight, and a place to grow plants, and to host friends and family.

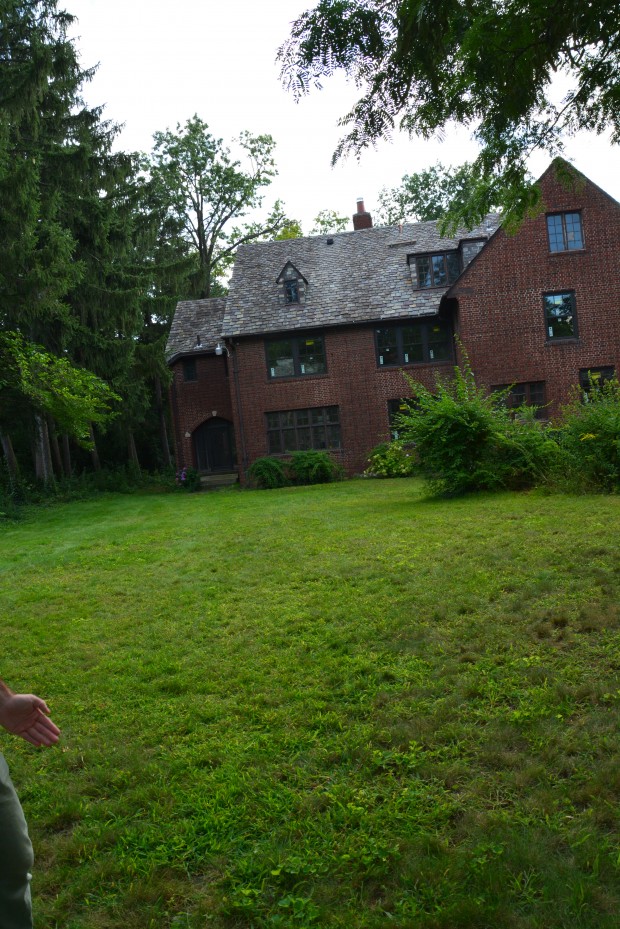
landscape under construction (5)The interior renovation took a long time.  This gave me plenty of time to consult with them about where they wanted to take the landscape.  It is obvious from these pictures that no one had cared for the property in a very long time.  The weeds were old, tall, and woody. Some tree seedlings were over six feet tall. There were dead trees, and trees in poor condition.  What shrubs had survived were unkempt. None of them were precious or unusual, but for a group of multi trunk yews in the front yard that were old enough to have attained tree status. They are breathtakingly beautiful, and thriving. The back yard needed some thoughtful design.

landscape under construction (6)Their interior designers, Arturo Sanchez and Barry Harrison from Art Harrison Design Studio made some great decisions early on.  The kitchen windows in the center of this photograph would become French doors.  This would make a trip from the kitchen to the barbecue convenient. There was a great interest in a terrace that would be friendly to dining and entertaining. The question about how to handle the rear terrace would be mine to explore. The other kitchen windows beyond the wall in this picture would be looking out onto the driveway. Driveway?  The drive outside this wall was gravel, and covered in a thick layer of compost and weeds. Once all of the construction was finished, the driveway would be redone. How would that view be handled?

landscape under construction (7)
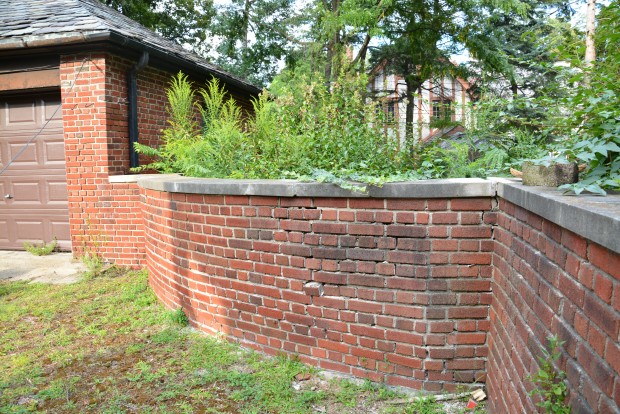
The wall which connected the house to the garage had been beautiful in its day.  It would need to be rebuilt.  And perhaps rebuilt in some other configuration. Designing the walls and hard surfaces would come first.  But there needed to be a concept established for how the entire space would work.  They wanted to cook and entertain outdoors.  They wanted a pool.  They wanted a spa they could use year round.  A conservatory was on the list. Perhaps the conservatory could be located behind this wall. This is an urban property with 3 neighbors.  How would we establish some privacy in the rear yard?  How could we maximize the the outdoor living spaces?

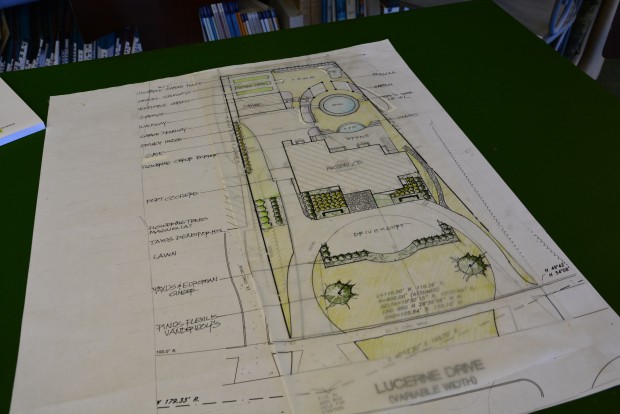
landscape planThis conceptual plan for the entire property evolved over a period of time.  The design for the rear yard is at the top of this picture.  The rear terrace would span the space from the new kitchen doors to the entry to screened porch at the opposite side.  Given a terrace of this size, there would be two sets of steps down into the back yard. The spa would be situated just below that terrace.  The pool would be round.  The rear yard is not that large.  A round pool would fit the space with ease, and be conducive to entertaining. As the grade of the rear yard rose the further one was away from the house, the pool was designed to have its front half out of the ground, with a coping set a seat height.  The rear half of the pool would be set at grade.  Beyond this round pool would be a pergola-the design to be determined. Once my clients were convinced that the round pool, and the terrace with a curved front and dual stairs was to their liking, the discussion turned to all of the details.


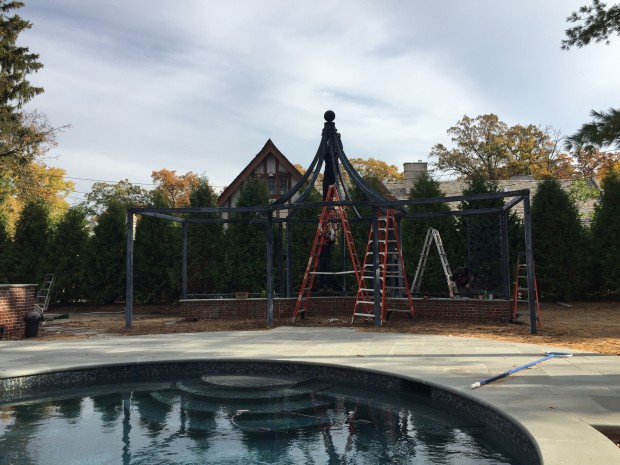
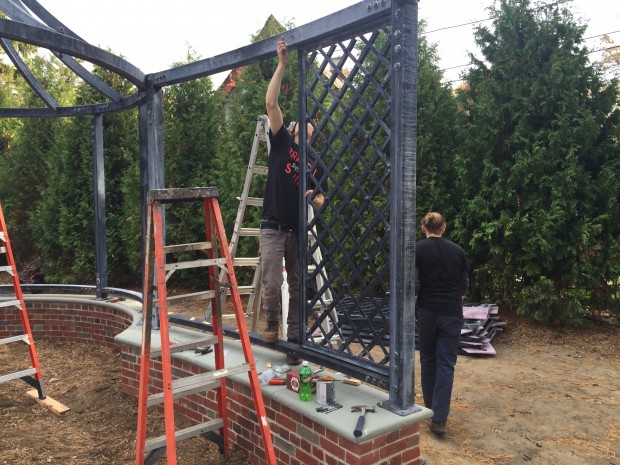
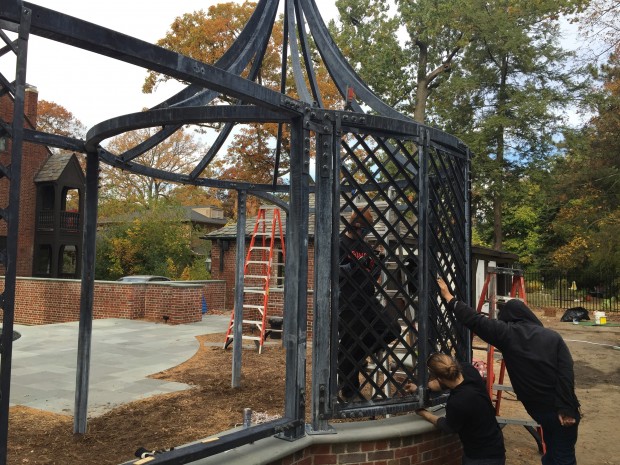
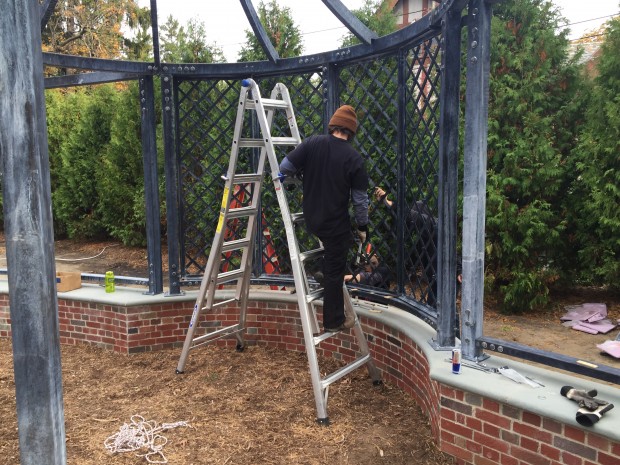
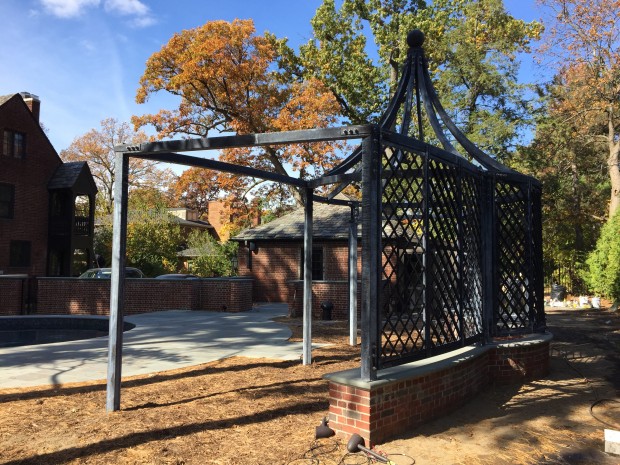
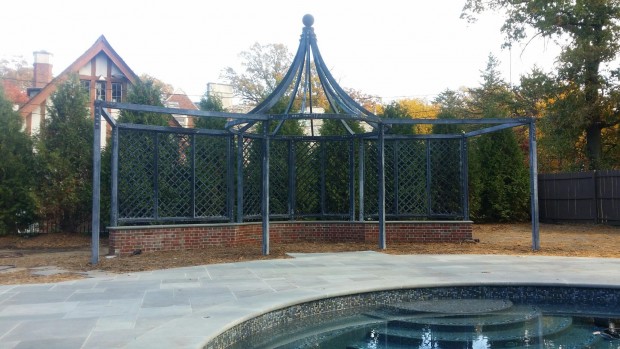
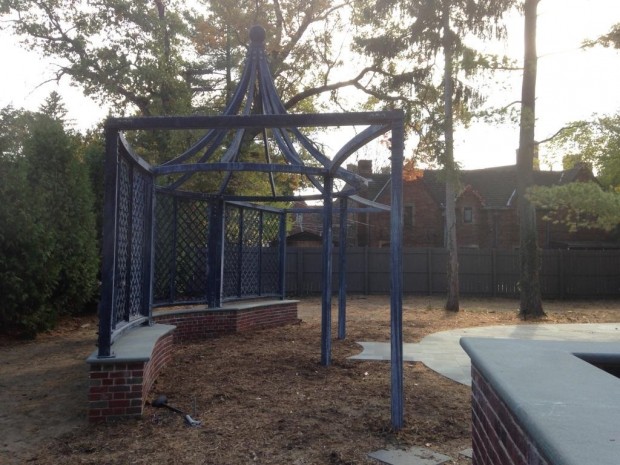
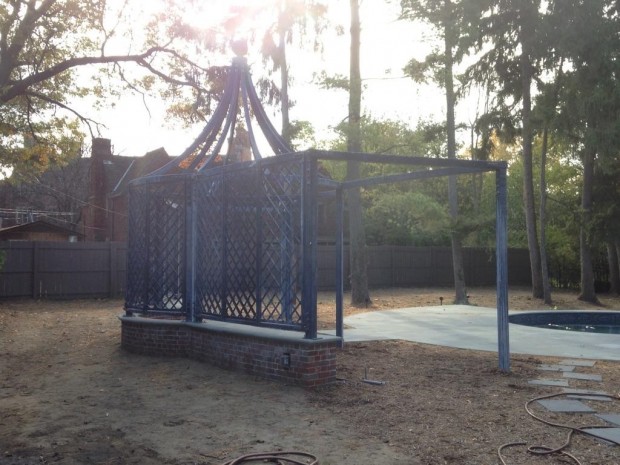
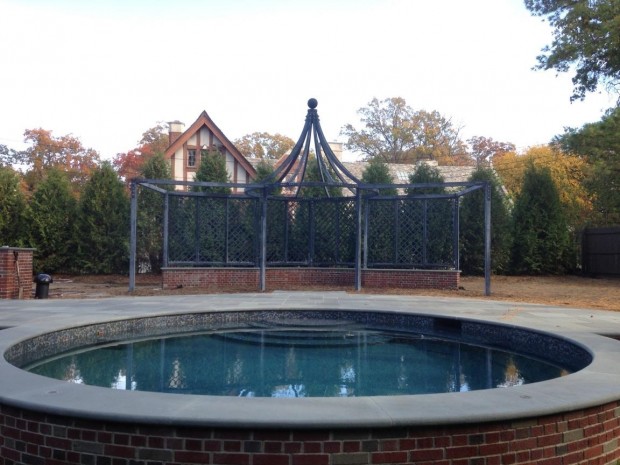
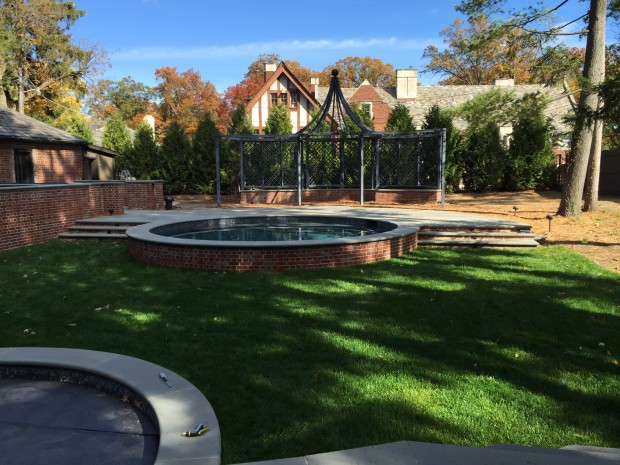
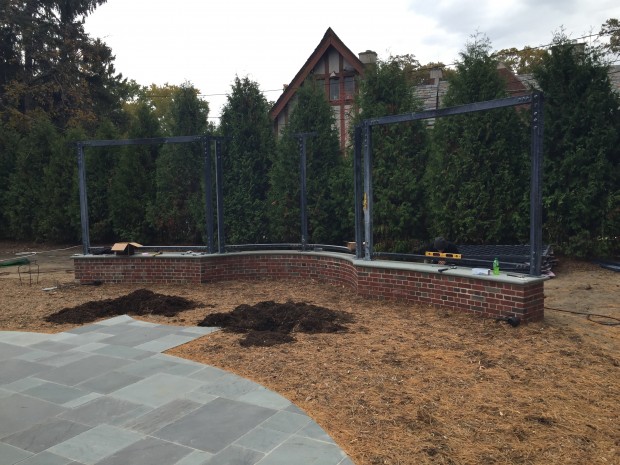
Branch pergola (3)A good bit of time was devoted to the design of the pergola. Eventually it was decided that the pergola would have curved wings that would follow the radius of the pool. The center section would be round, and have an open roof. The posts at the back would rest on a brick wall at seat height. The back of the pergola would be finished with lattice panels, for privacy.  The poles in front would sit at grade.  In the center, a round pavilion with a curved roof. This center section would provide ample space for a large dining table and chairs. The Branch Studio would manufacture the pergola.

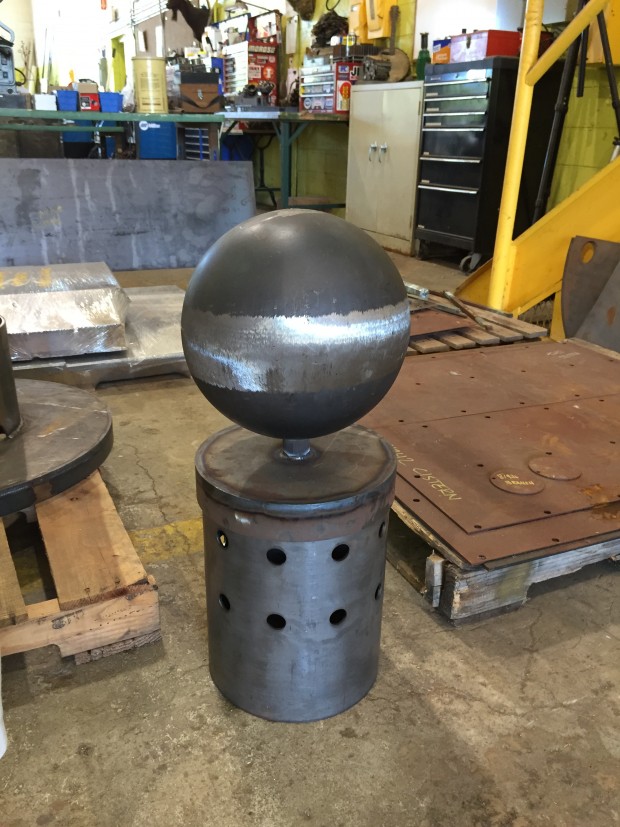
Branch pergola (2)This picture of the finial to go on top of the finished pergola gives an idea of the size of the finished structure.  There will be lots of space to entertain.  A swimming pool can be a beautiful and welcome feature in a landscape.  That feature asks for a place to be, pool side.

Branch pergola (1)Each piece of the pergola will be fitted together prior to the galvanizing process, to be sure everything fits. The body of the pergola can be installed by the landscape crews, and the Branch crew put together, but the roof will have to be set by a crane. If all goes well, that pergola should be ready for installation in less than a month. landscape under construction (4)The terrace, pool, and spa were well underway by time winter arrived last year.  The pool terrace, and the new wall separating the back yard from the driveway would have to wait until this spring.

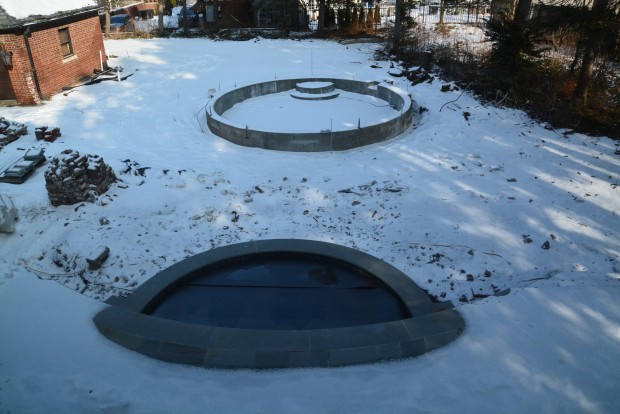
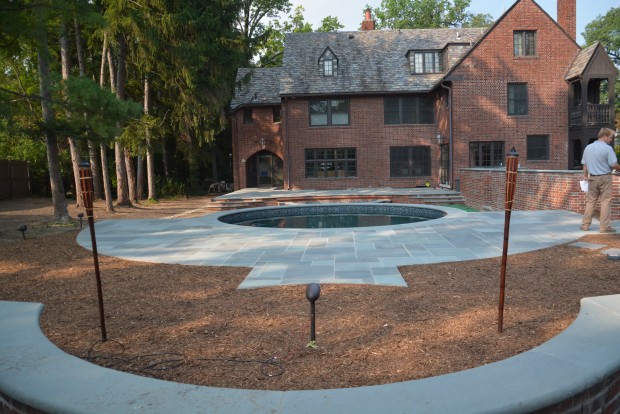
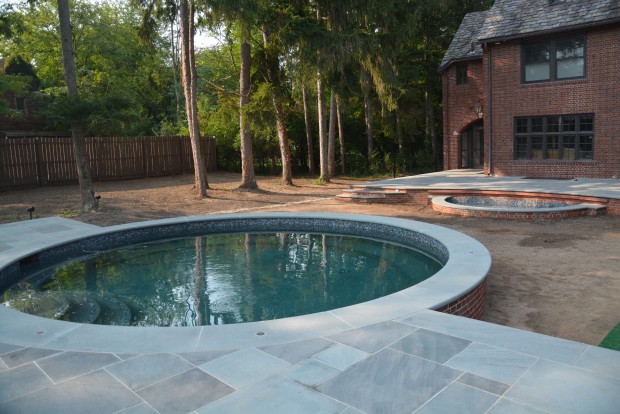
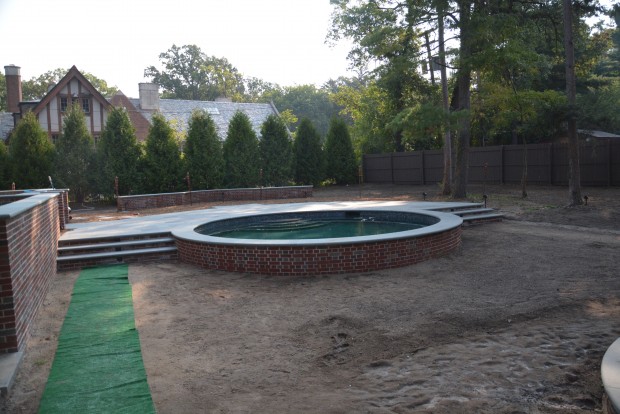
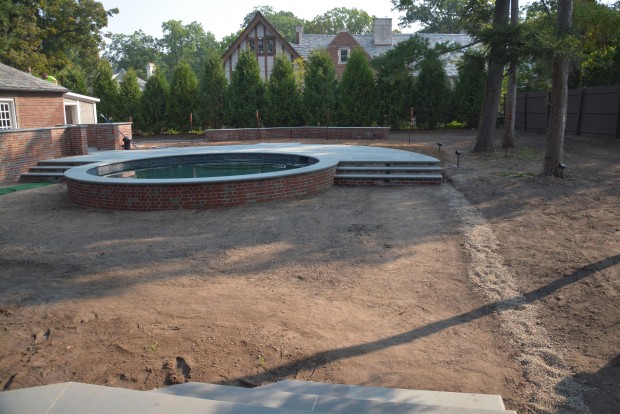
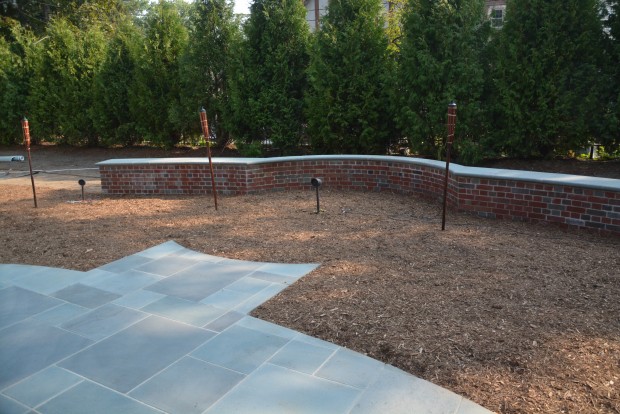
landscape under construction (14)It has taken more than 5 months to complete all of the stone and brickwork, and the pool.  The area in the foreground which will be occupied by the pergola has been barked, to keep the dirt and dust down.  This area will be graveled with decomposed granite, to provide a hard yet water permeable surface.  The back of the pool sitting at grade is accompanied by a generously sized terrace perfect for lounges and containers.  The back wall of the pergola features posts which will be set into a brick seat height wall with blue stone coping in the immediate foreground.

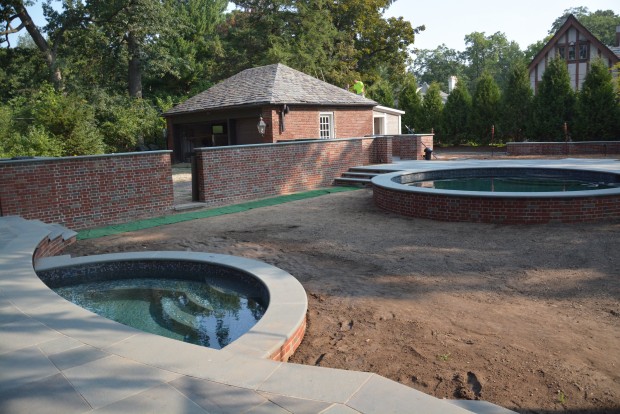
landscape under construction (13)The spa sits just below the house terrace, making it convenient for winter use.  The ground between the spa and the pool will be lawn.  On the left side, a wild flower and shade garden loaded with spring flowering bulbs will feature hemlocks and dogwoods.

landscape under construction (10)On the rear lot line, a hedge of recently planted American arborvitae provides loads of instant privacy to the yard. The shade garden will curve around and blend into this hedge.

landscape under construction (12)A dressing room is in the process of being built off the back of the garage.  And the conservatory?  it will be built on top of the brick wall off the side of the garage.

landscape under construction (11)The new brick wall dividing the garage and driveway from the back yard is soon to get an iron gate. On the backside of these walls, we will plant gardens.  The driveway garden is always an important garden. Everyone visits that garden at least several times a day, all year round. Now that the hard surfaces are done, I can revisit the landscape plan, and see if anything needs to be changed.  It is always a good idea to let the space speak back to you before you plant.

Sept 2, 2015 (10)Once the pergola is installed, I will better be able to judge where any additional trees and shrubs should be planted. The shade garden down the side of the yard needs to be integrated into the hard surfaces and spaces.  Will I plant on the pergola?  If course.