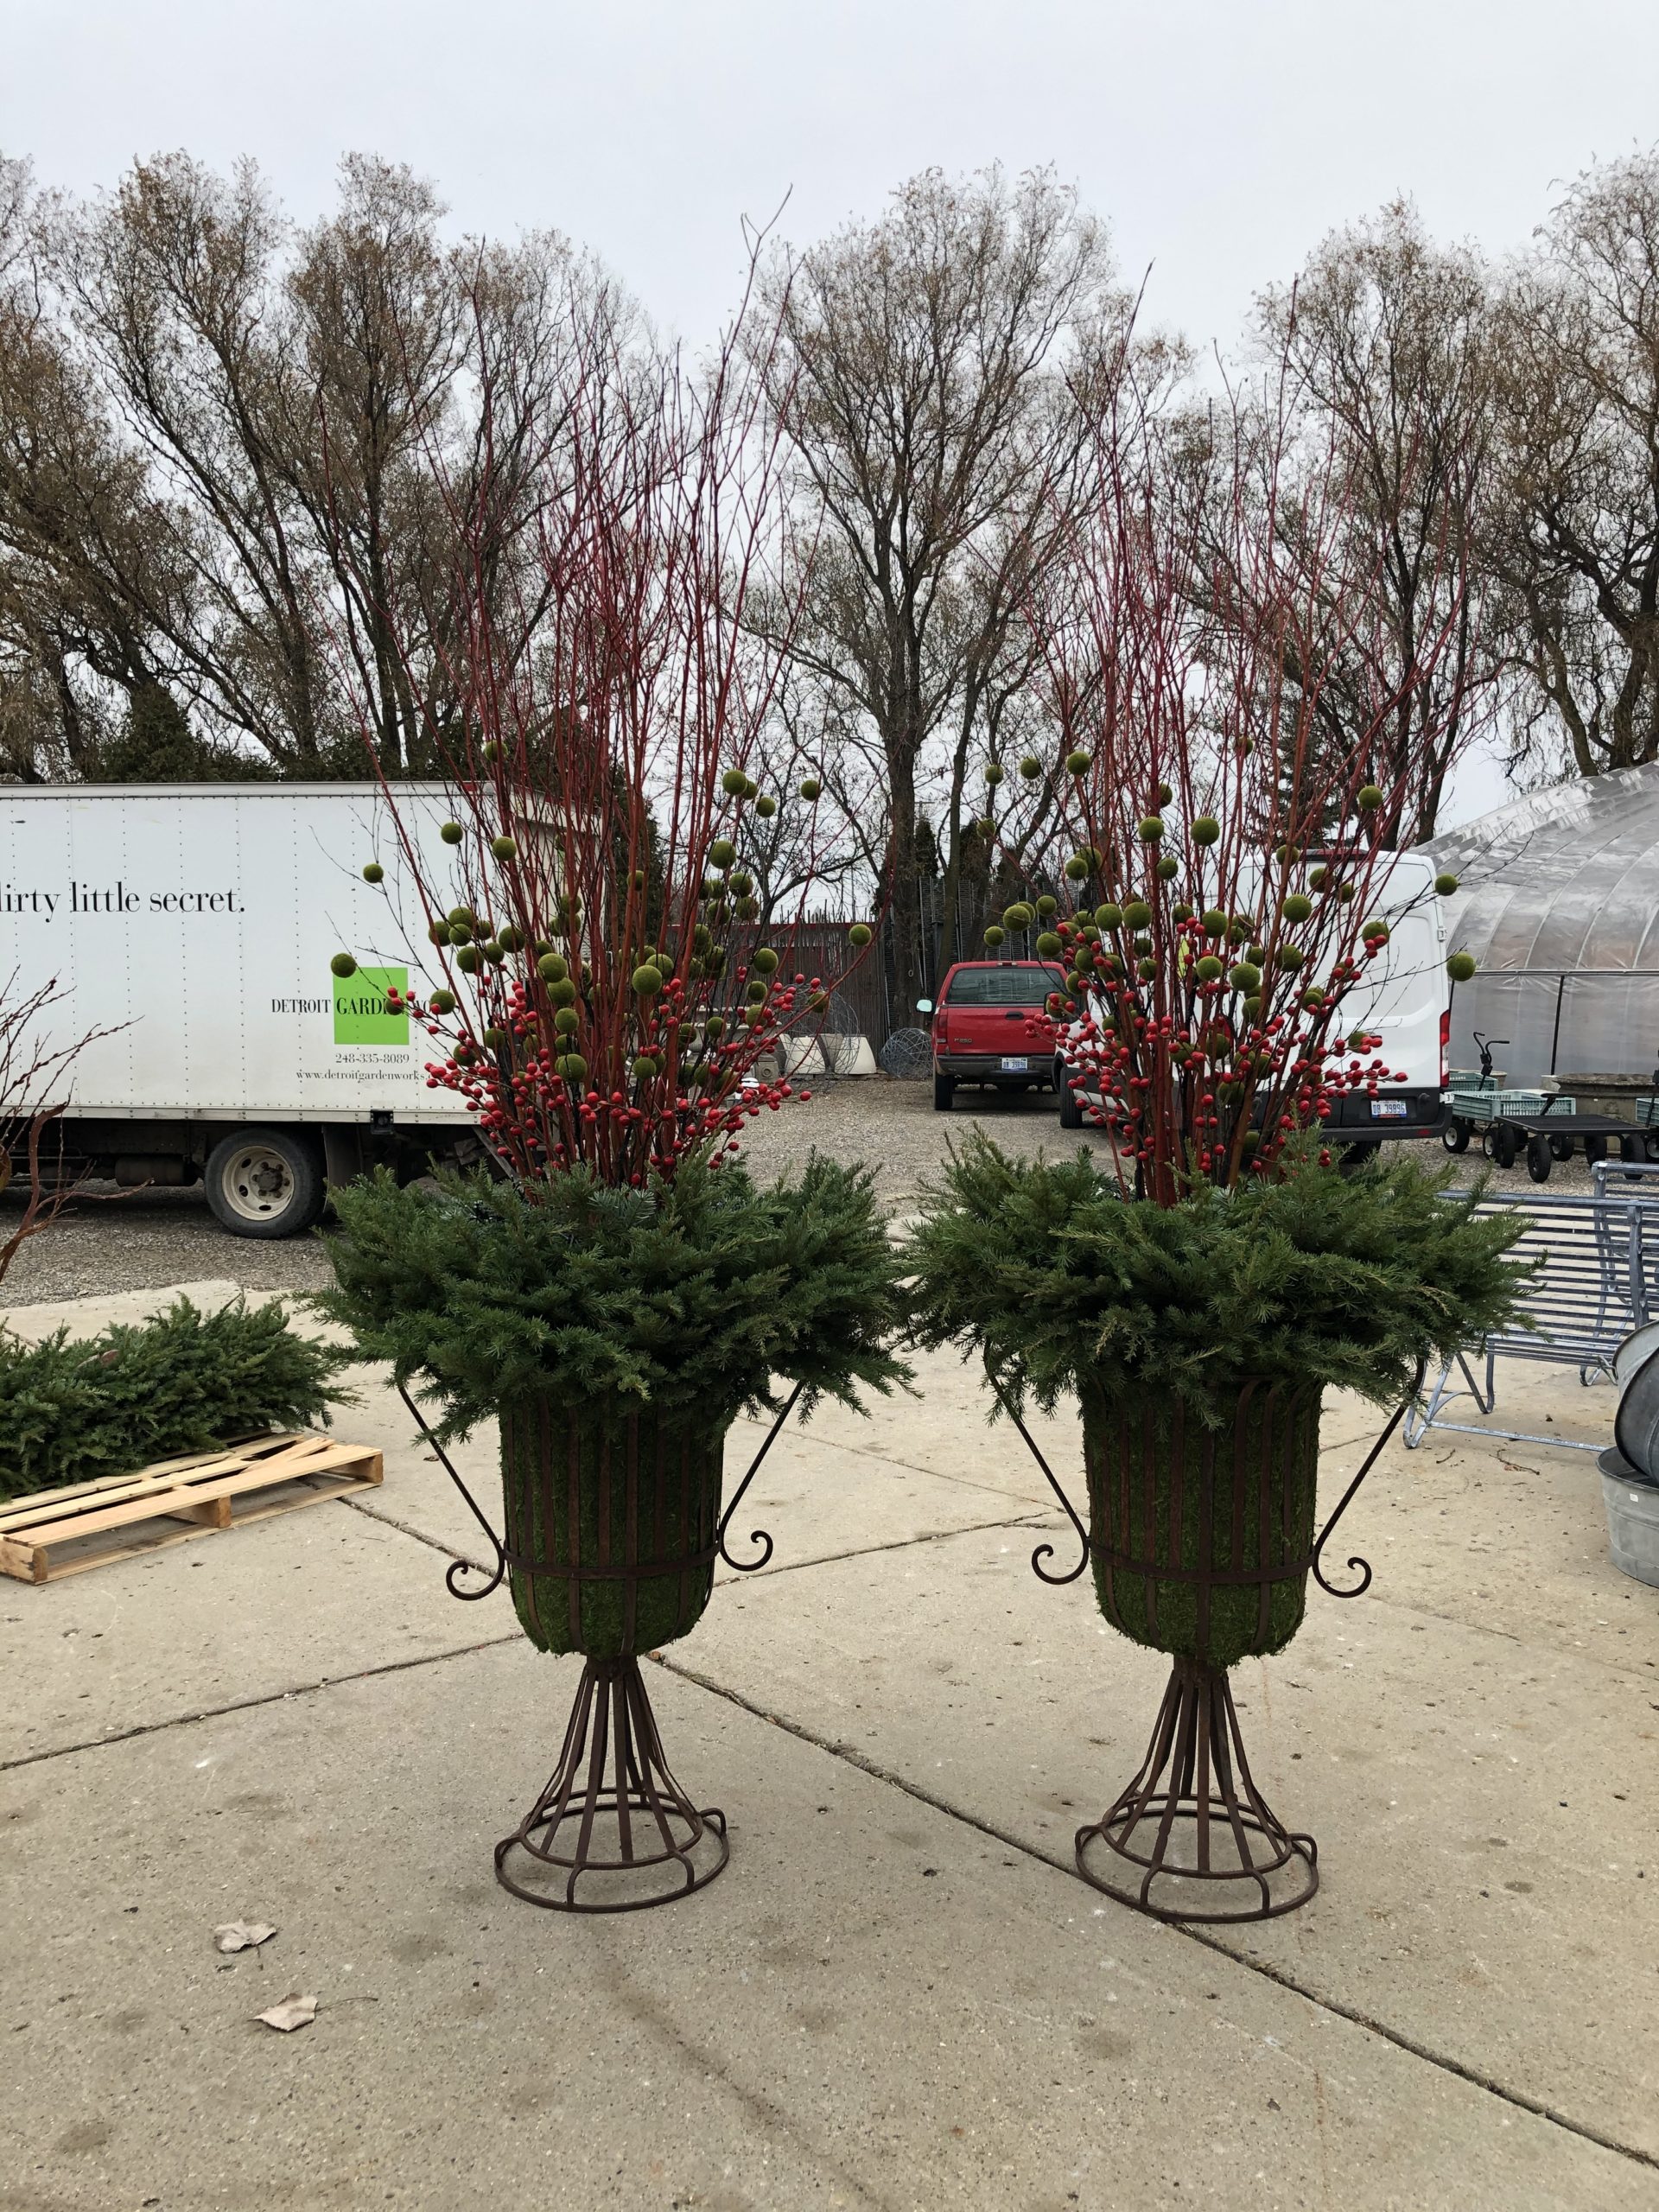
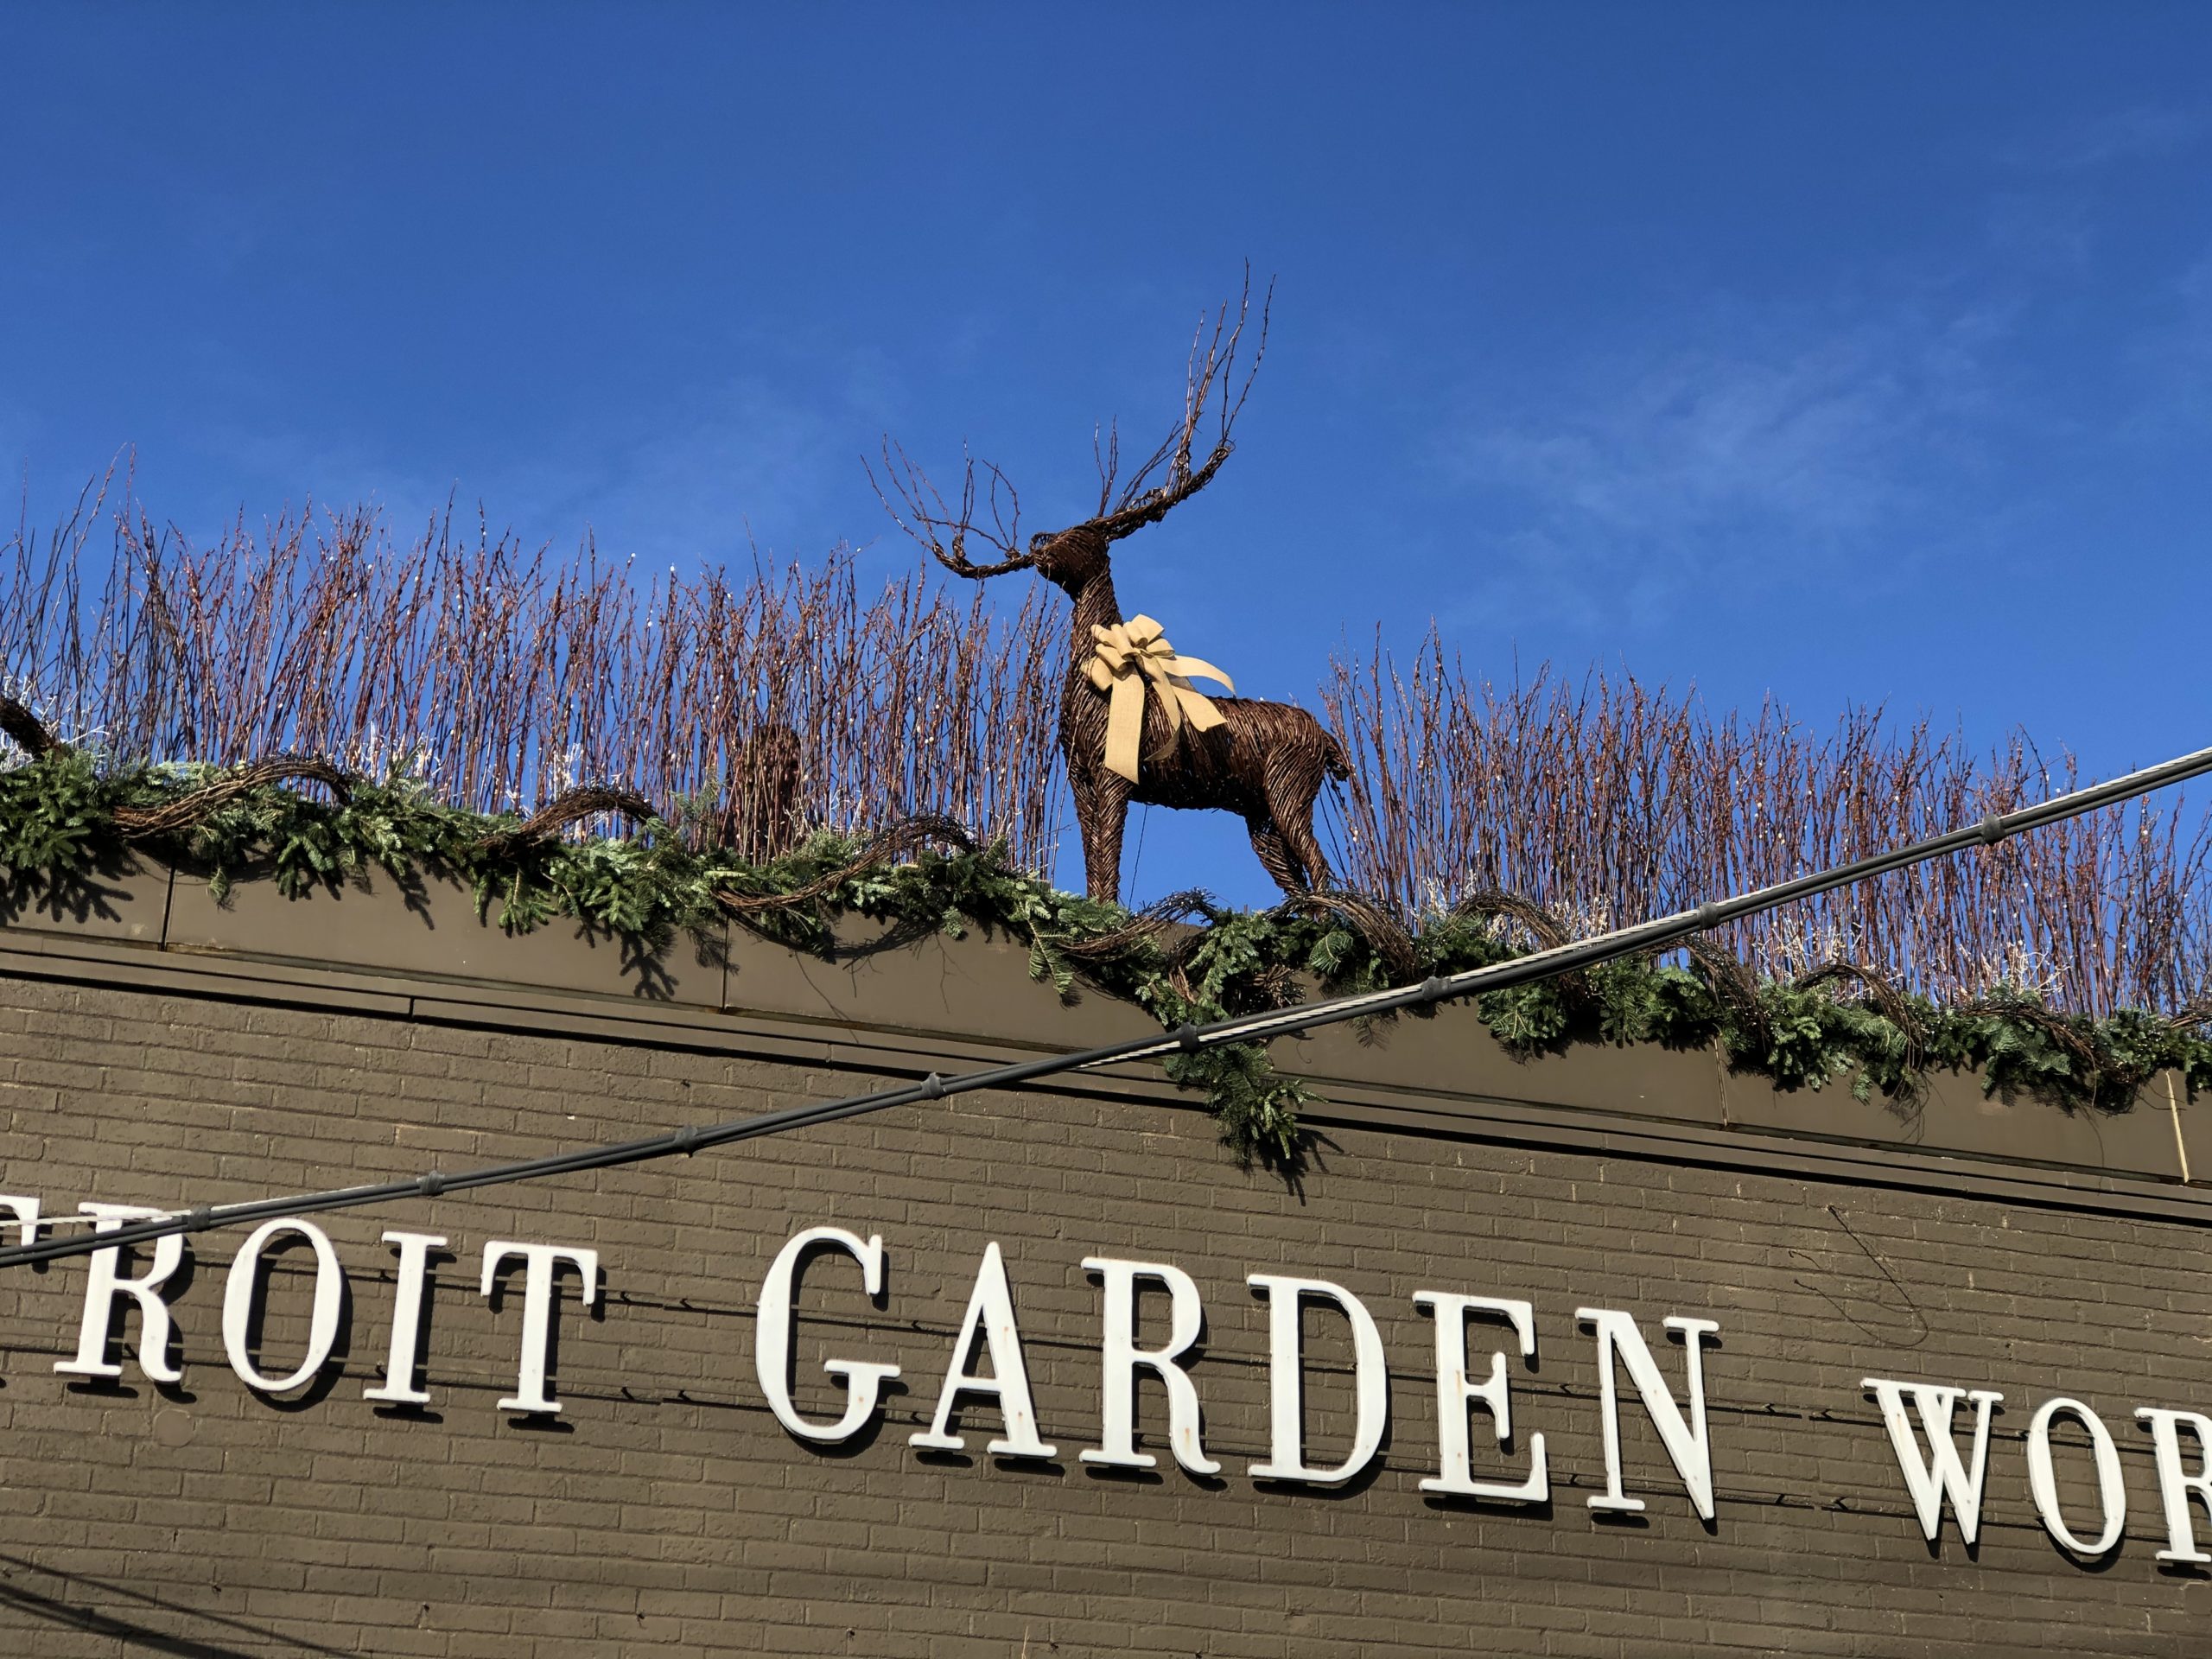
 Deer in the garden is a sore subject for those gardeners who are plagued by the destruction they wreak on every plant shrub and tree in the landscape. What they don’t eat, they trample. They even rub the bark off of trees when they are rutting, for Pete’s sake. Preventing deer from demolishing the garden is the subject of page after page of essays on Google, and countless books and videos. But the grapevine deer sculptures that Detroit Garden Works has stocked for a number of years have their fans. The life size bucks and does come in standing, grazing, and seated poses, just like the fawns. They look terrific in any spot in the garden asking for a representational sculpture fashioned from a natural material. The grapevine is wound around a substantial steel armature, and should survive outdoors for many years, providing they get a yearly application of a penetrating oil based sealer.
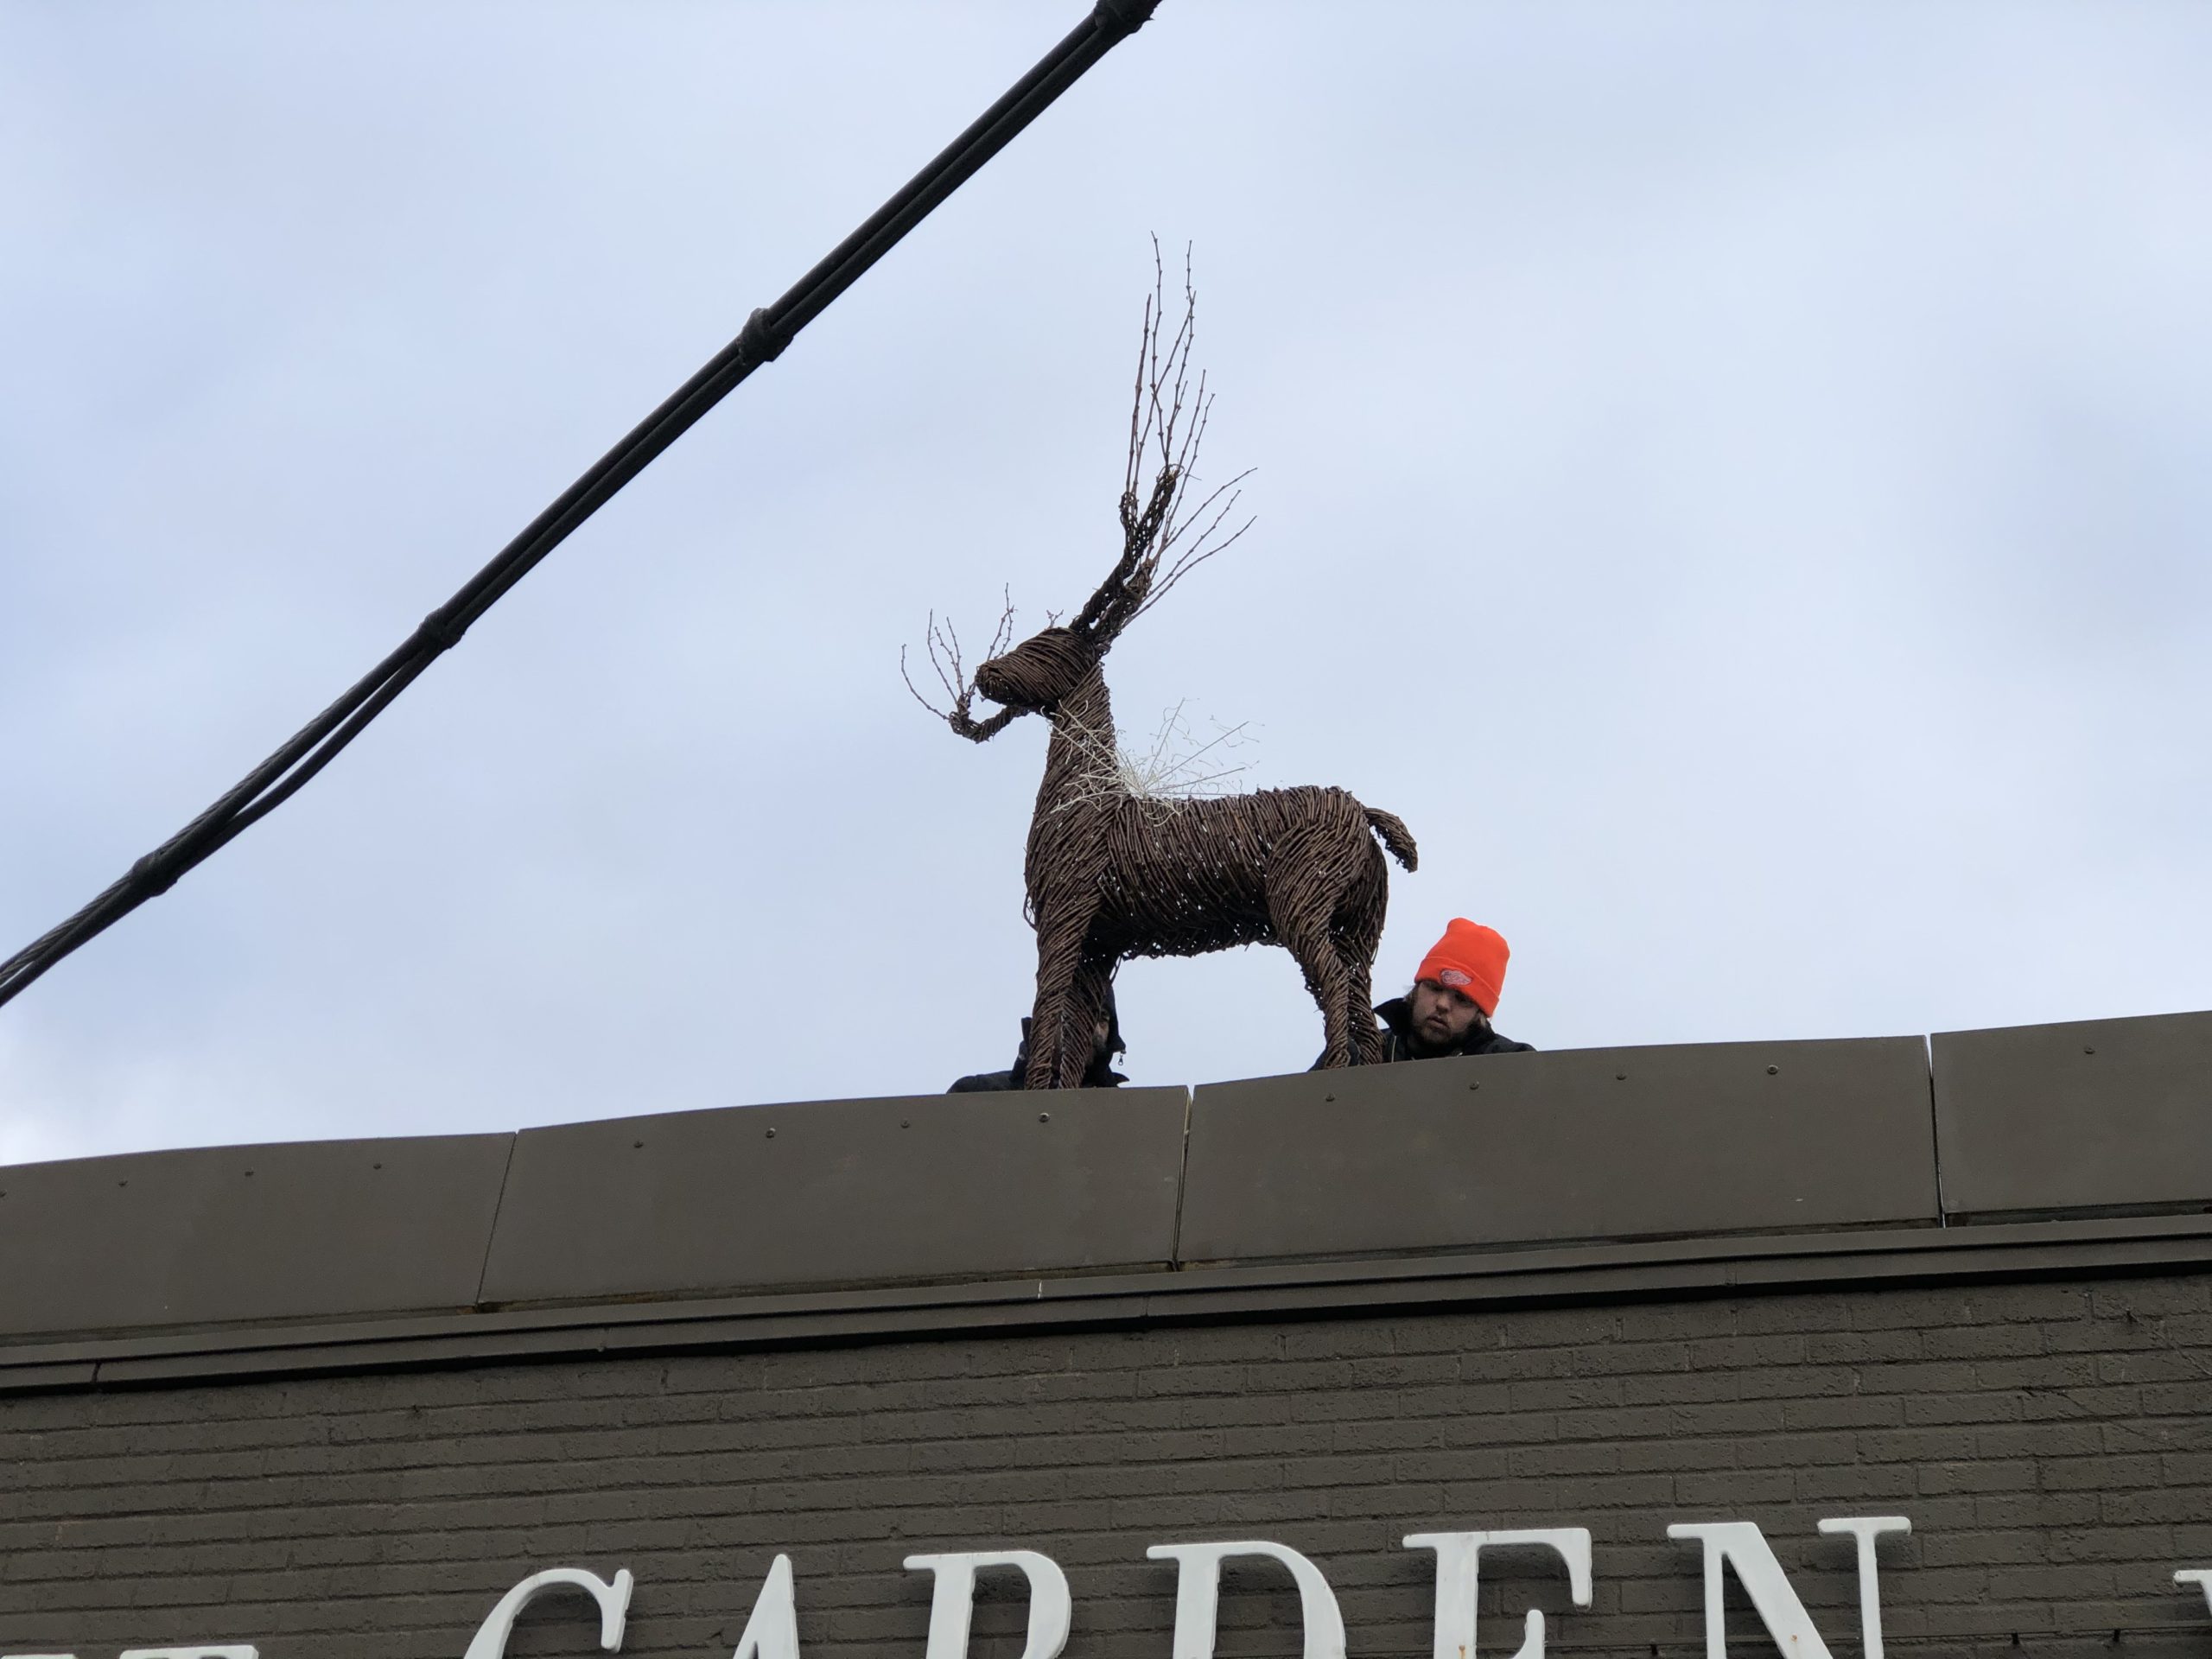
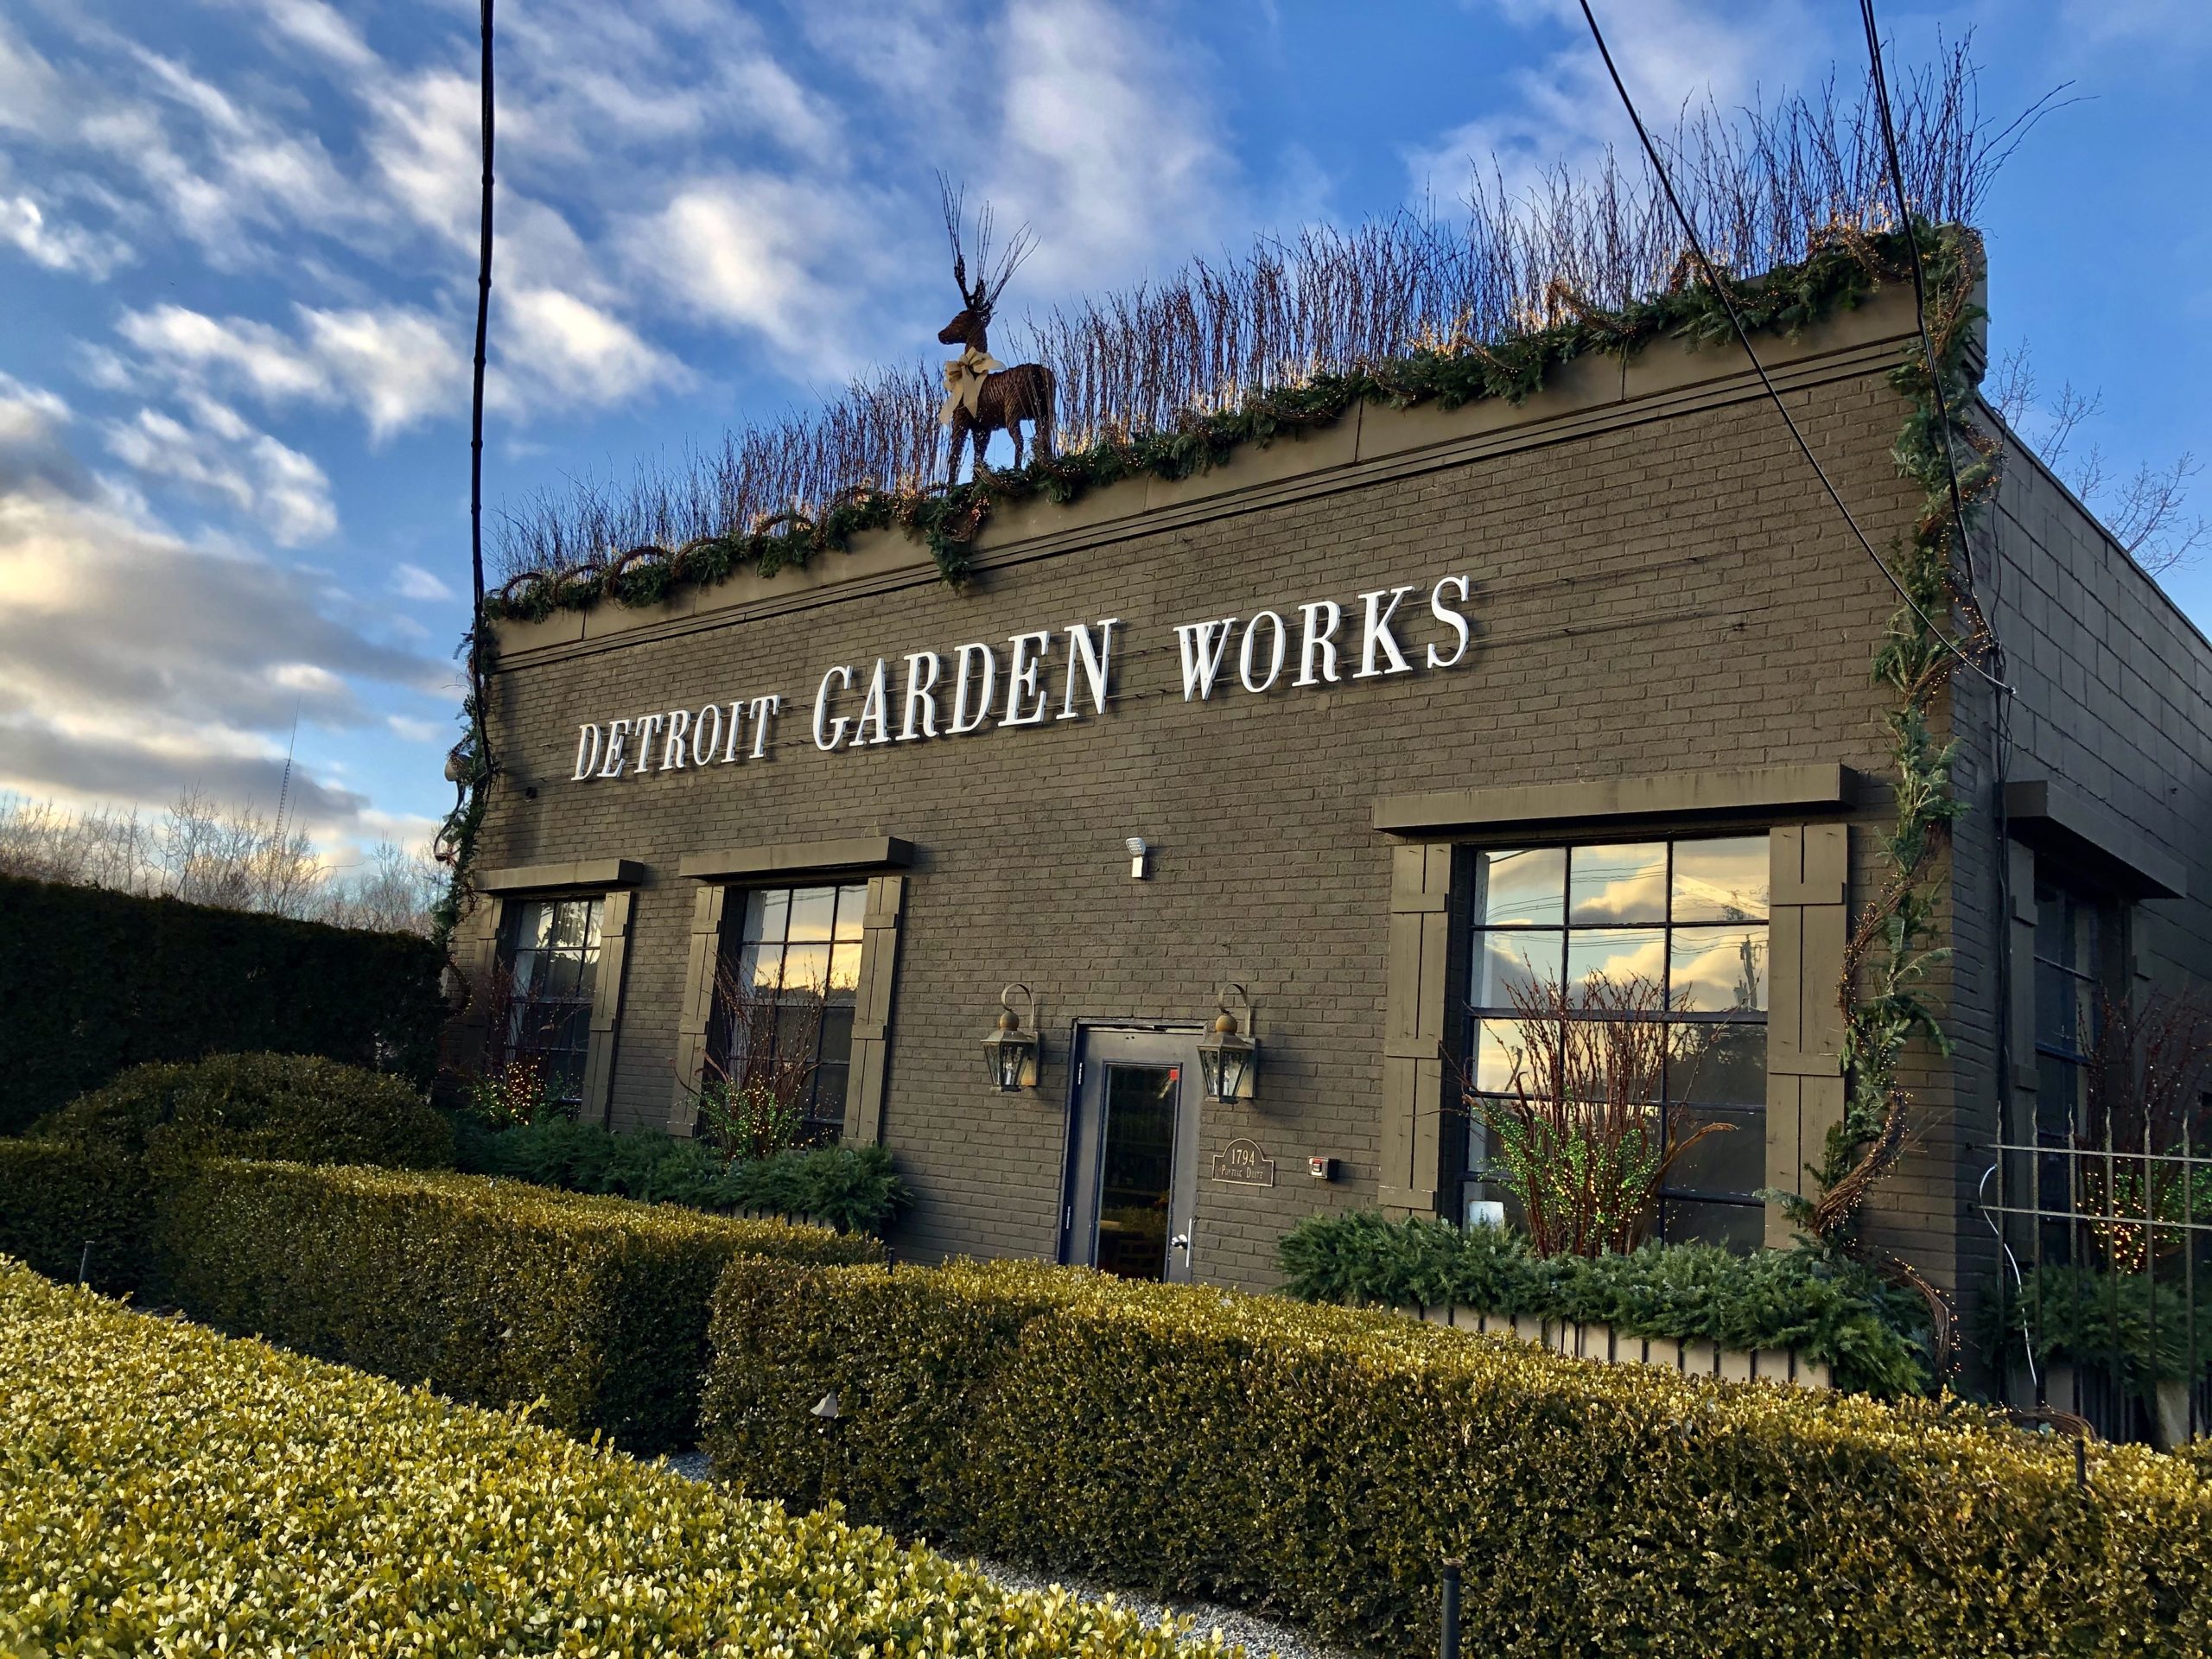
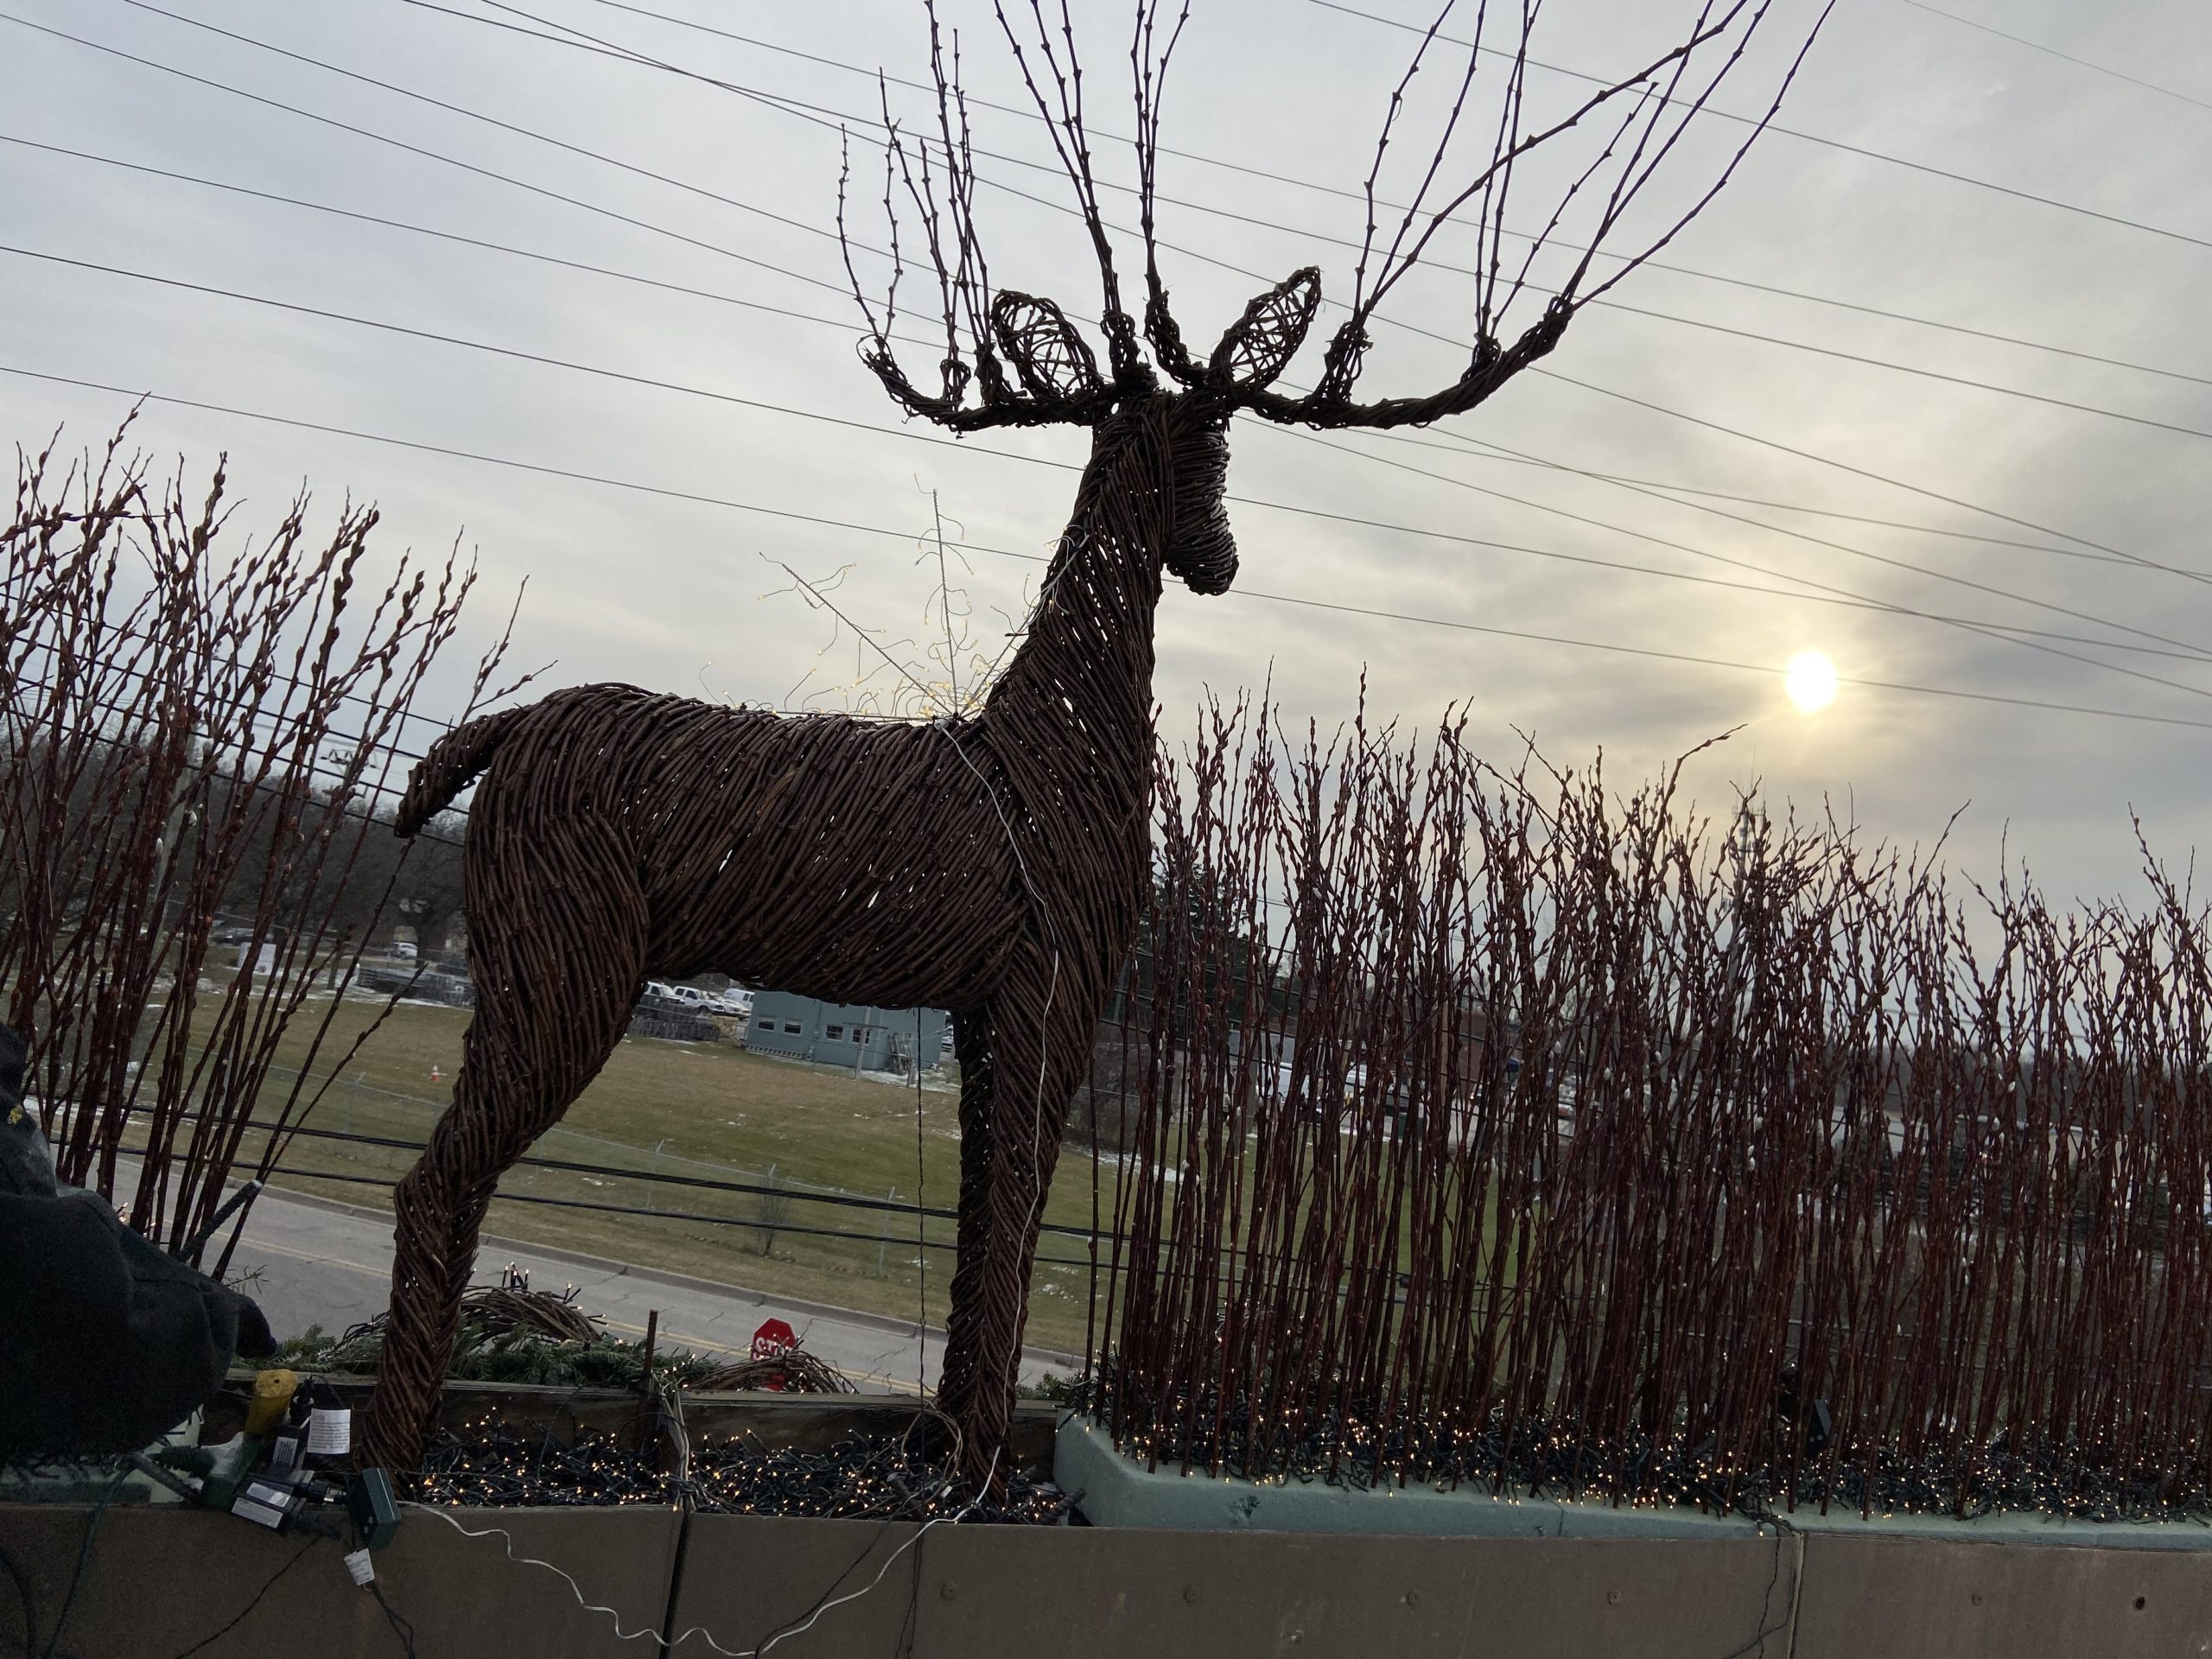 Who knows what possessed me to put a deer on the roof, but there is a certain Buck that has been near and dear to me for many years. That personal association aside, Christmas folklore is full of references to a certain St Nicholas circumnavigating the globe in a reindeer drawn sleigh, bringing gifts to children world wide on Christmas Eve. It is a story that delighted me as a child. Apparently I can still be enchanted by it. Winter and holiday containers and displays bring an element of delight to the landscape that has gone dormant, and quiet. It was not so far fetched to cast the grapevine deer as a grapevine reindeer. A holiday diorama in the making, if you will.
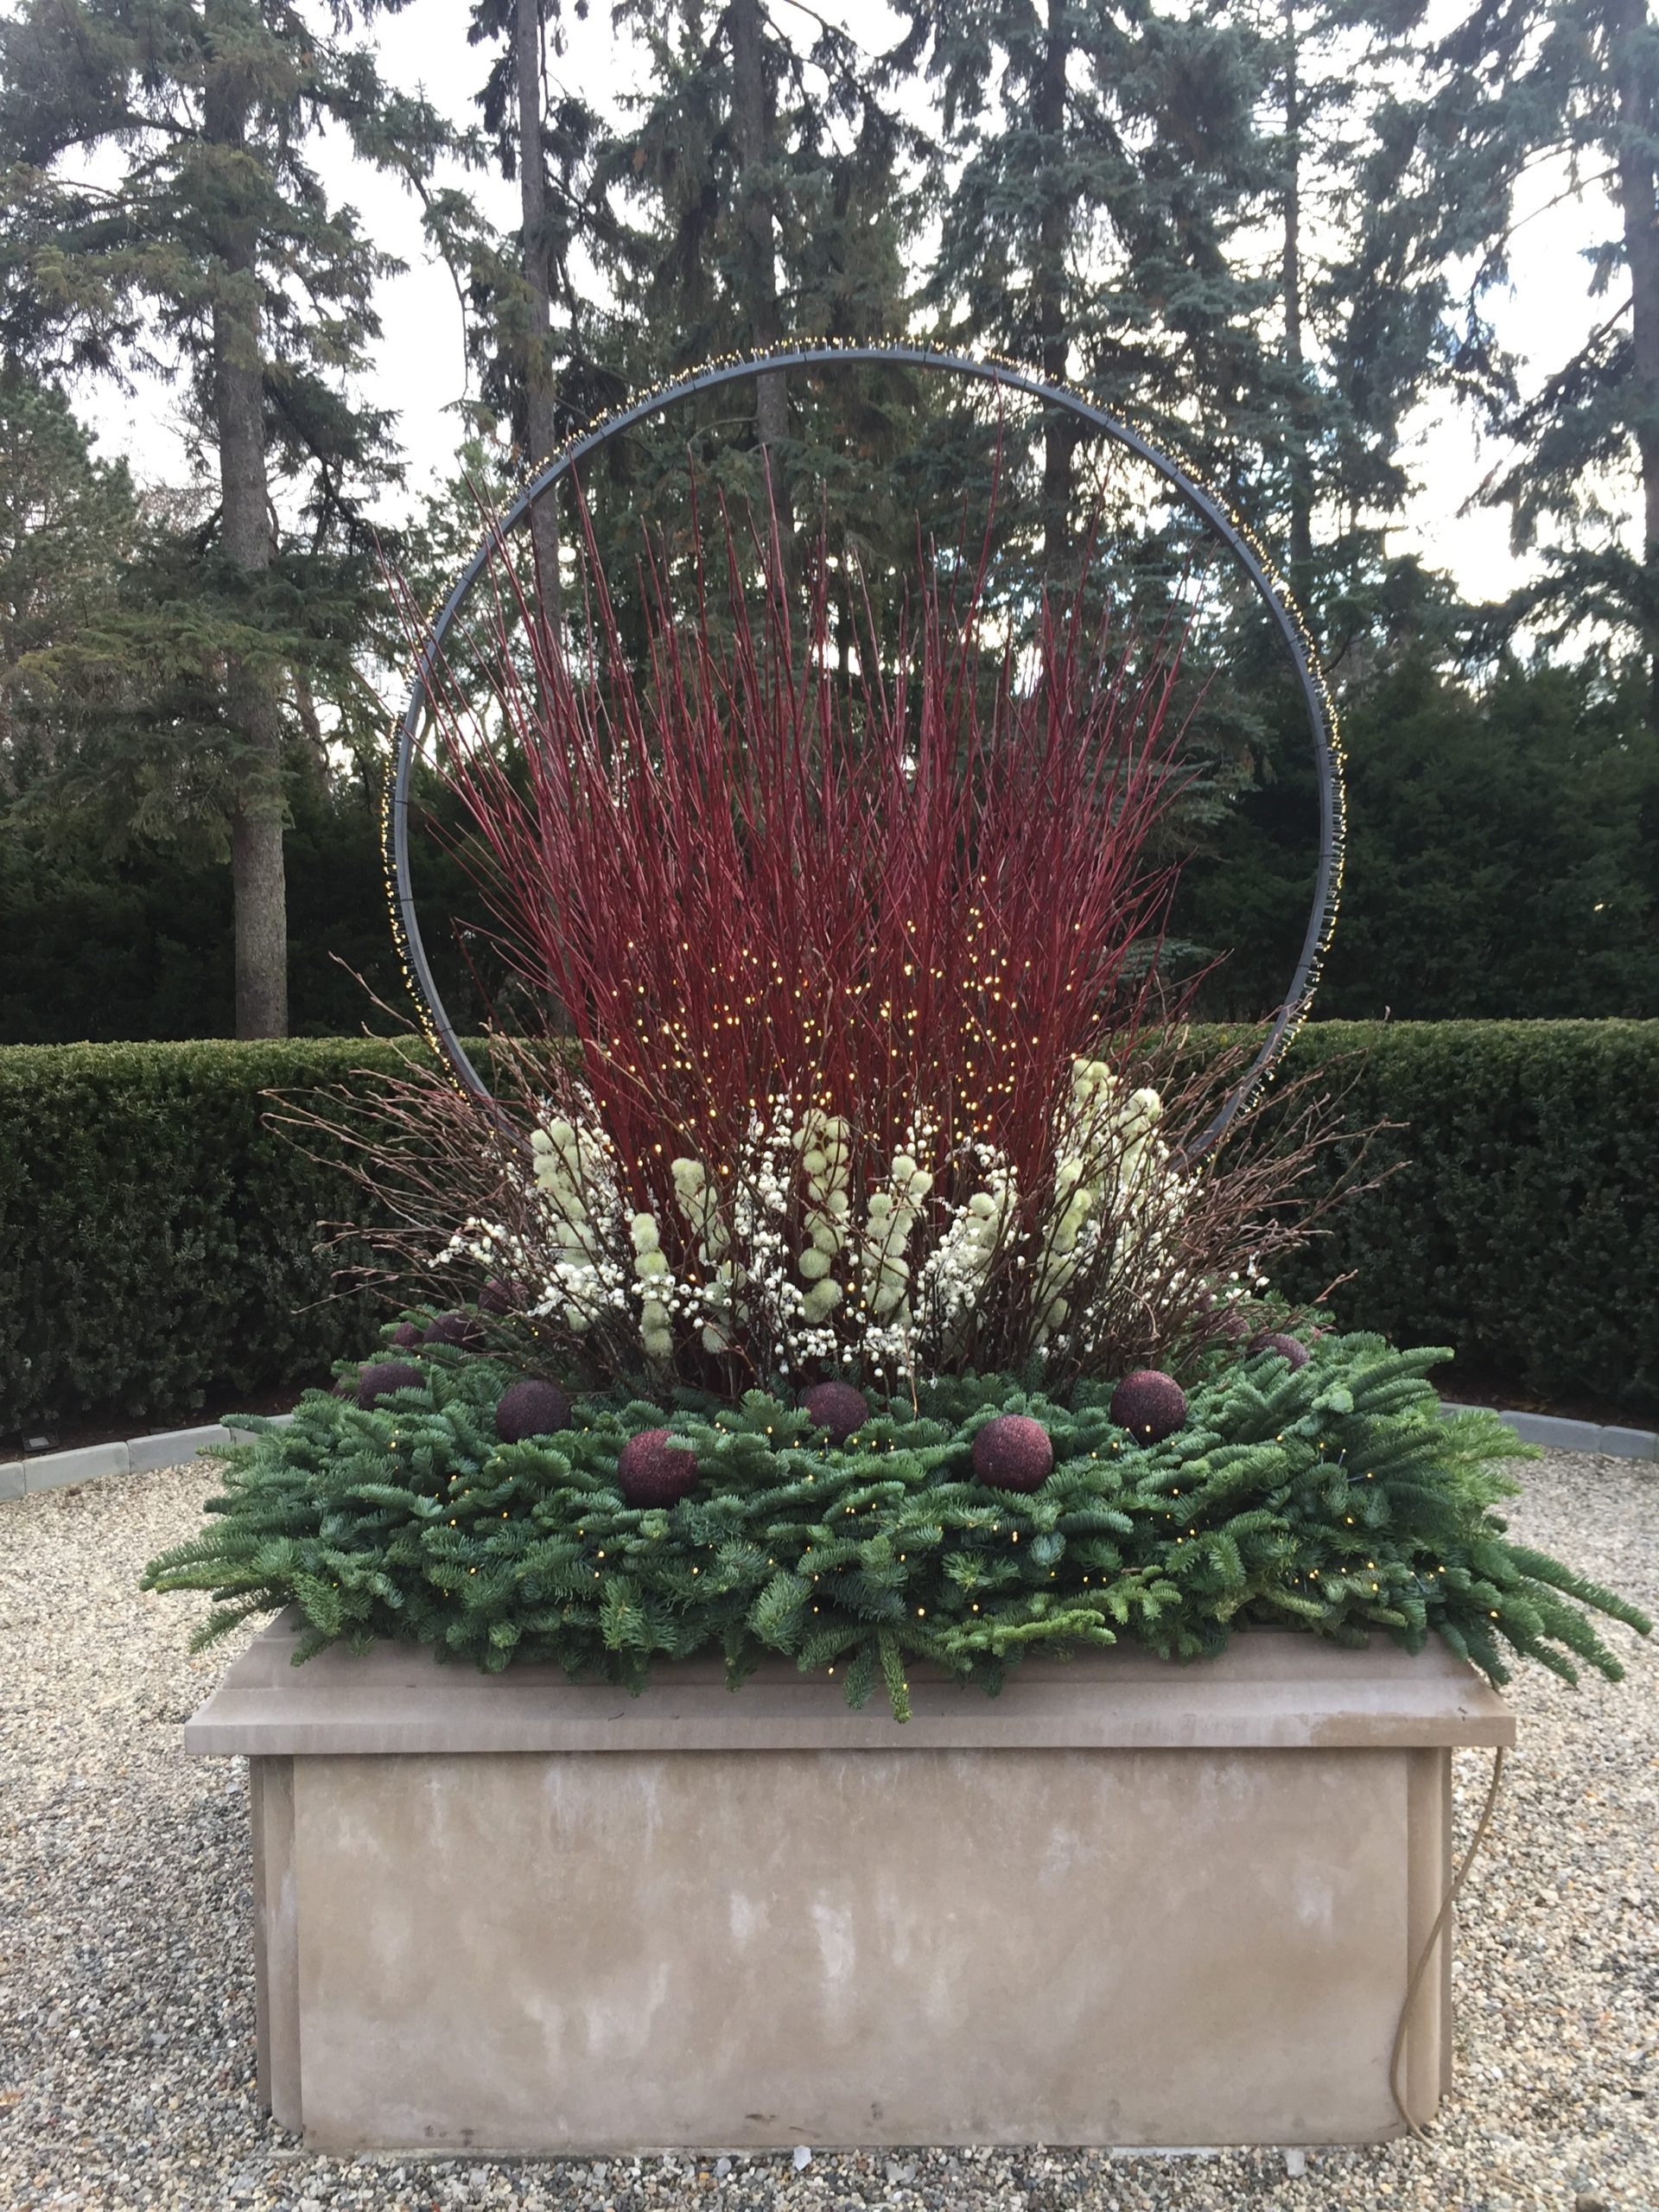
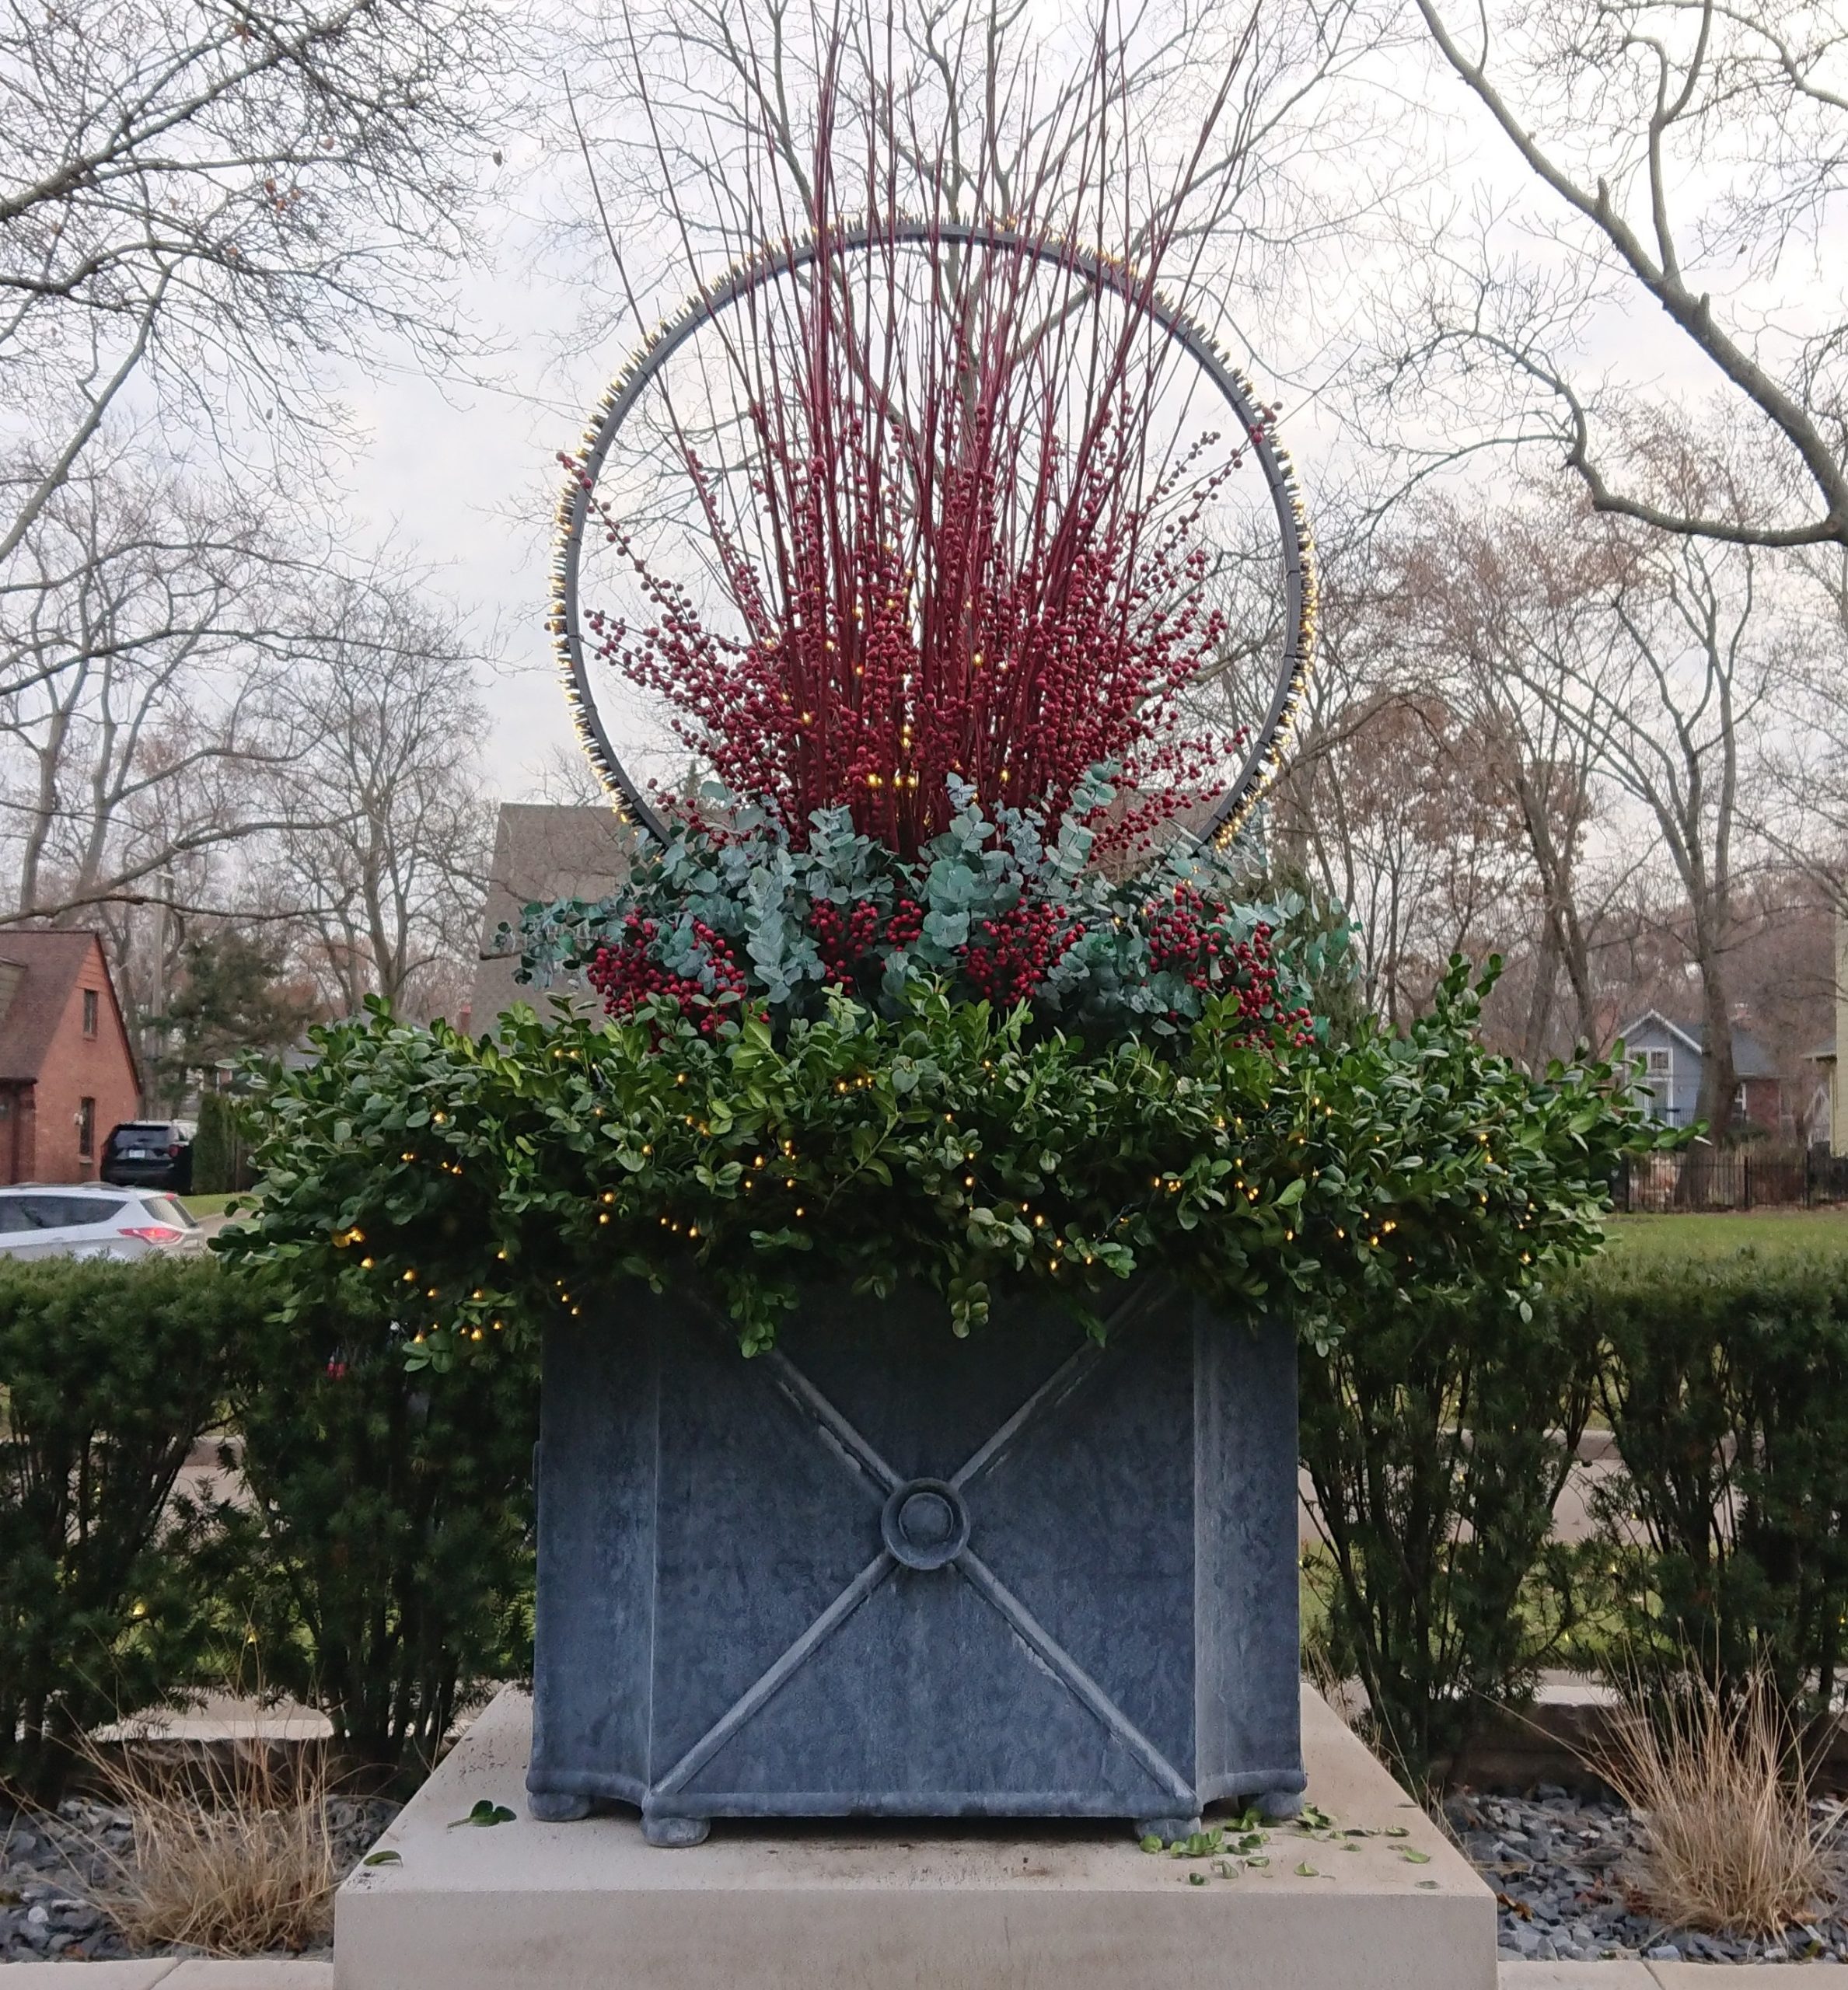
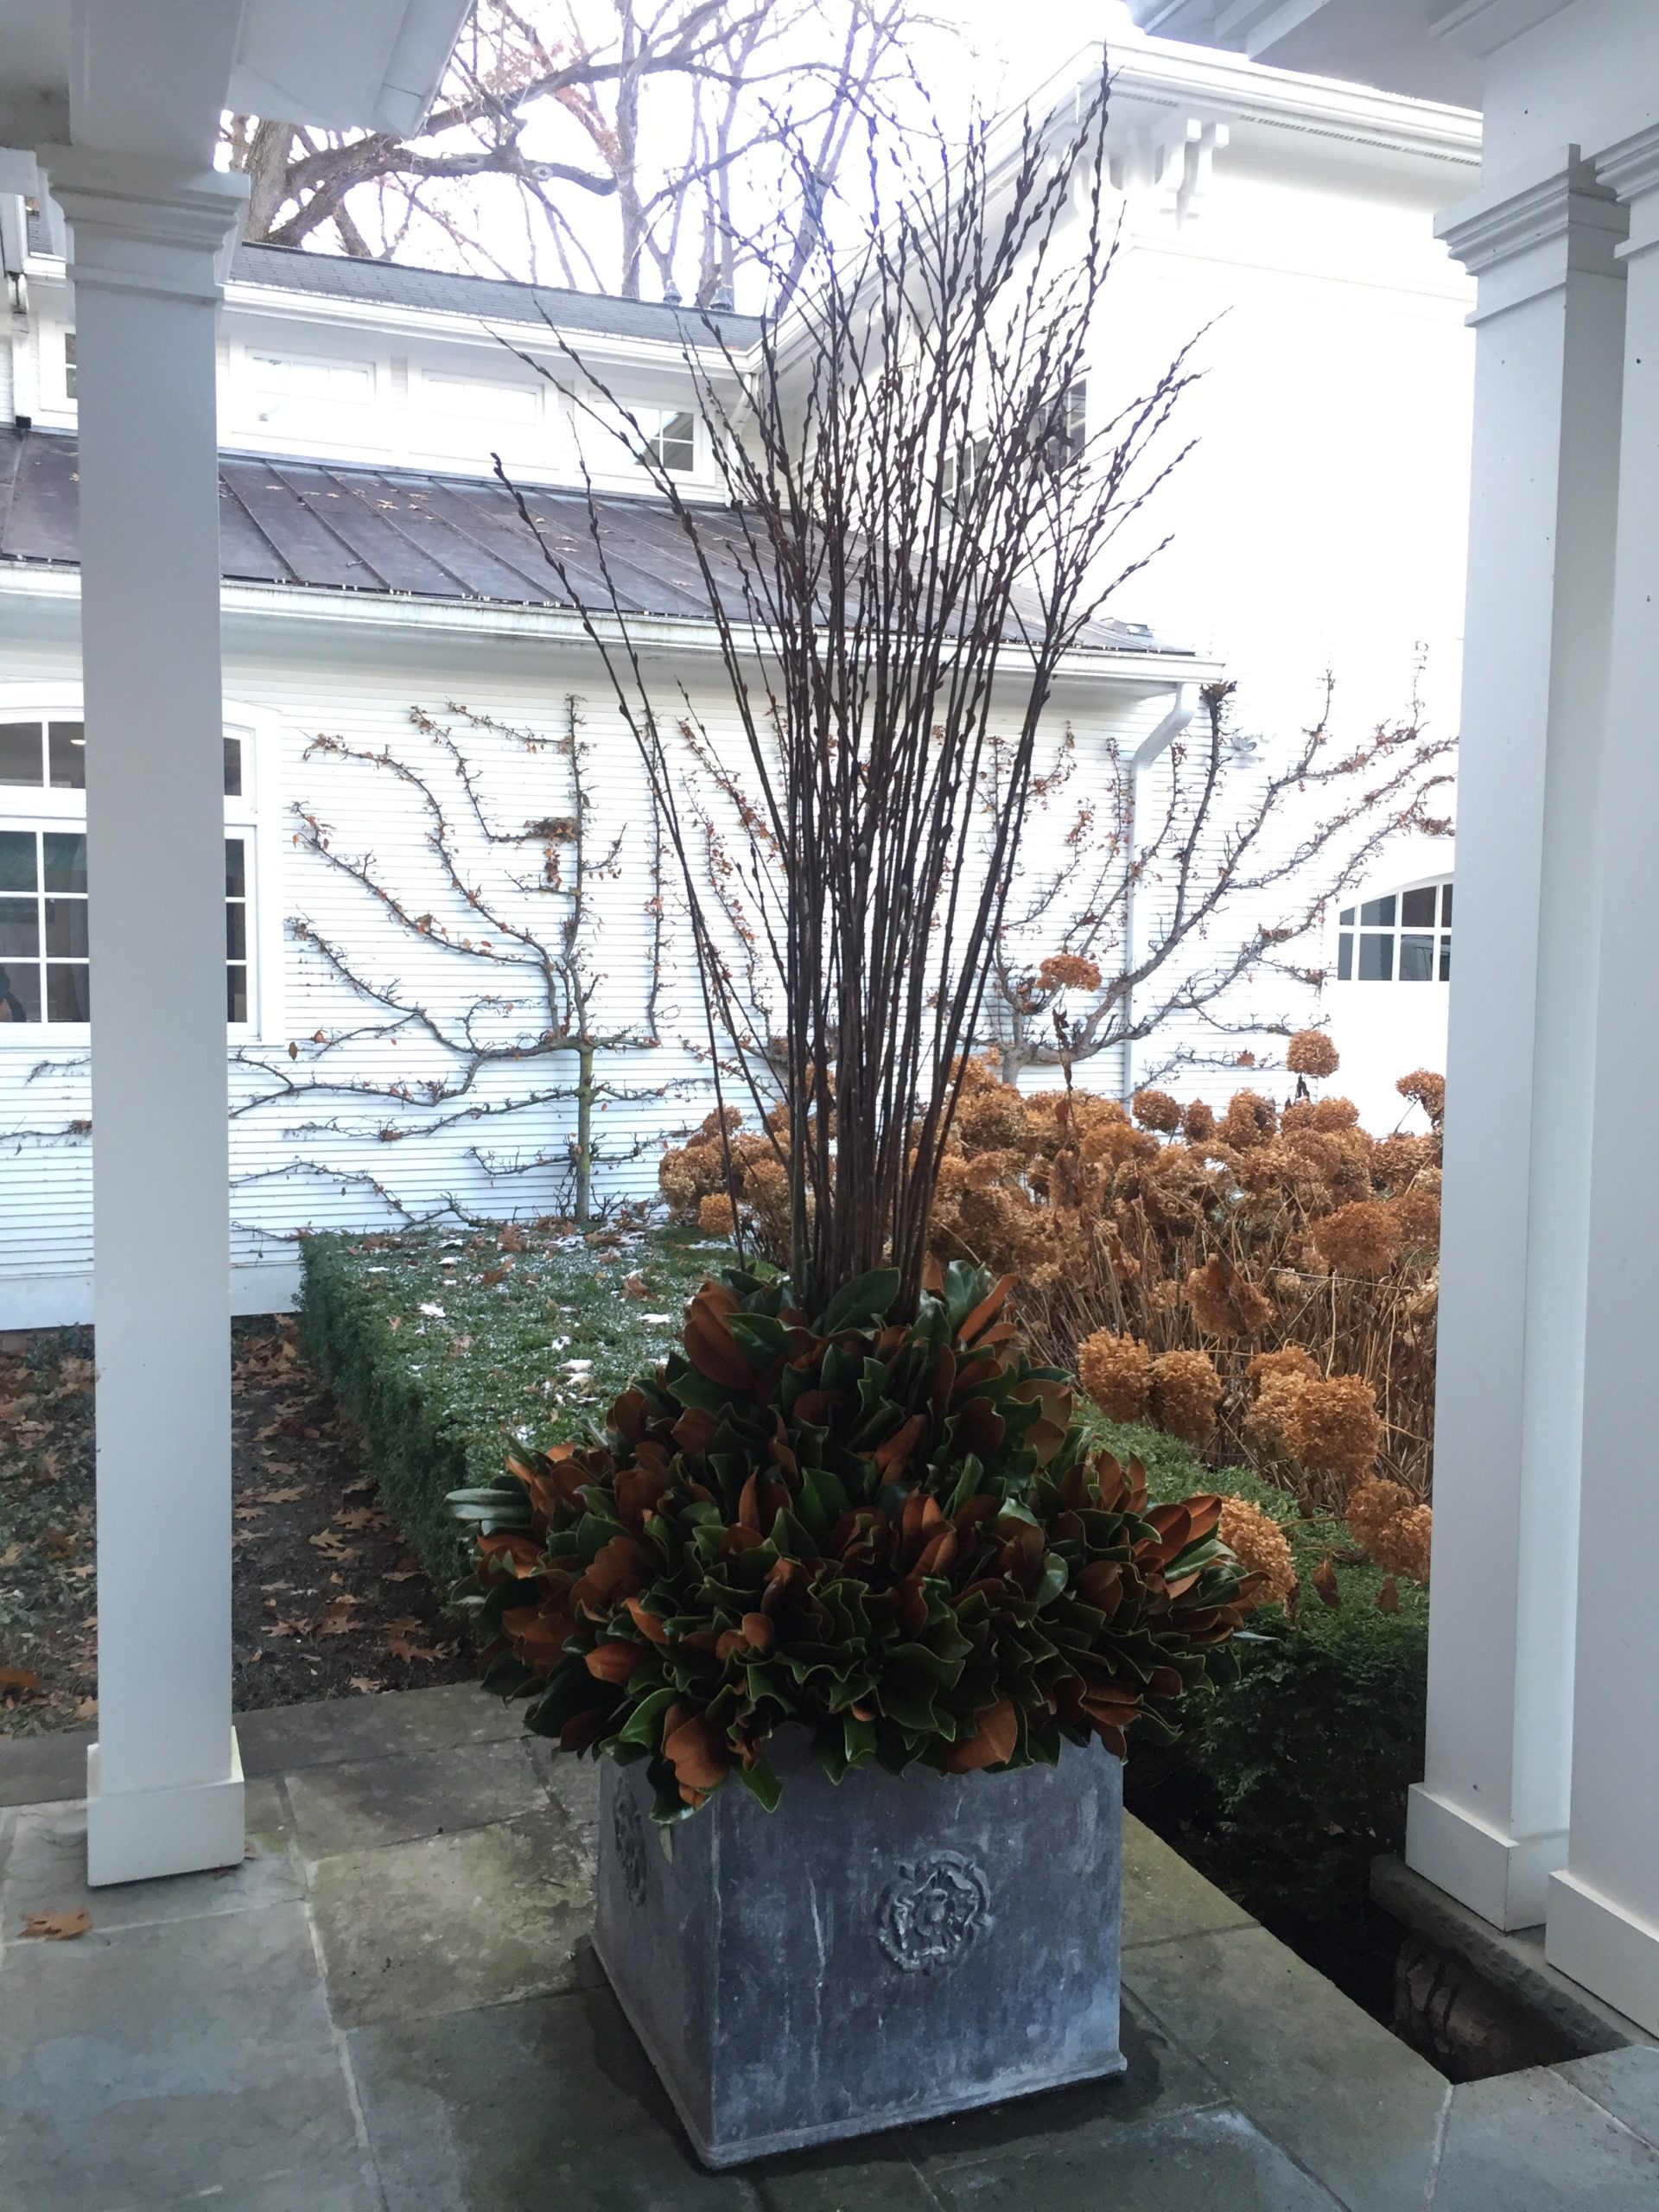
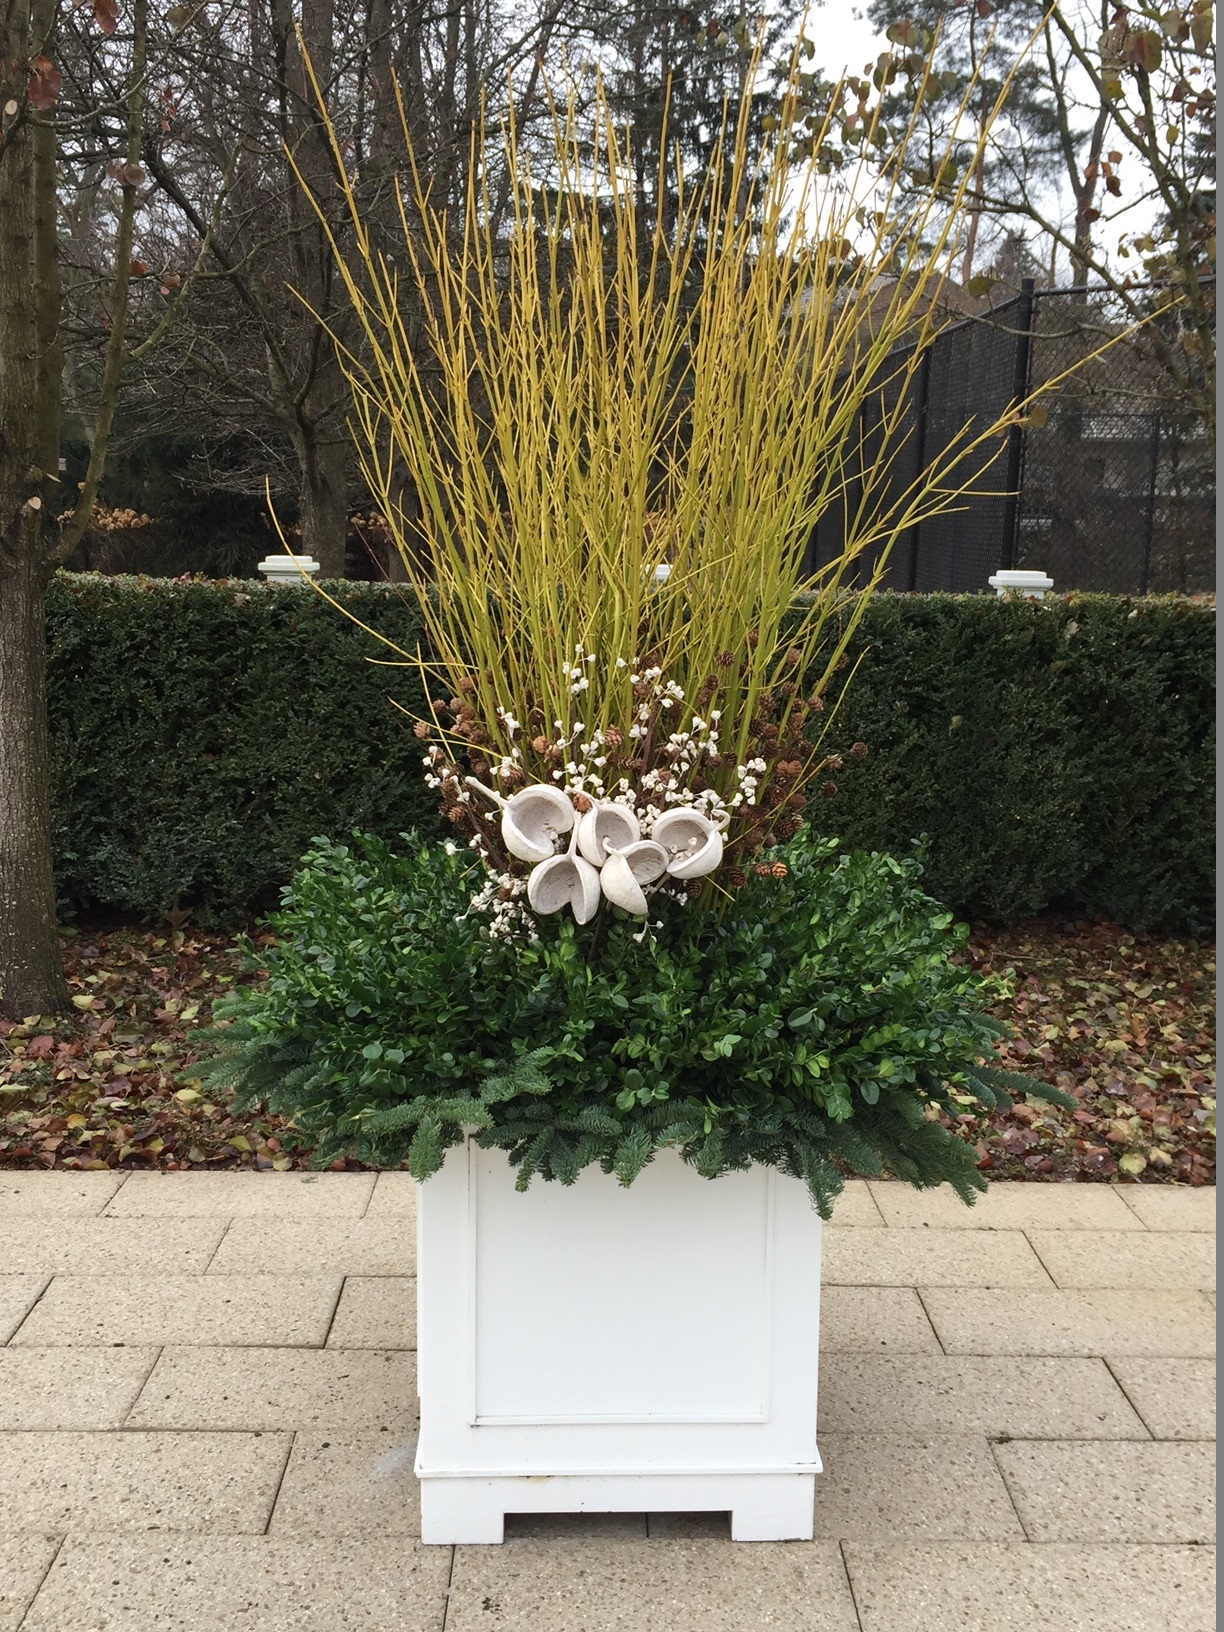
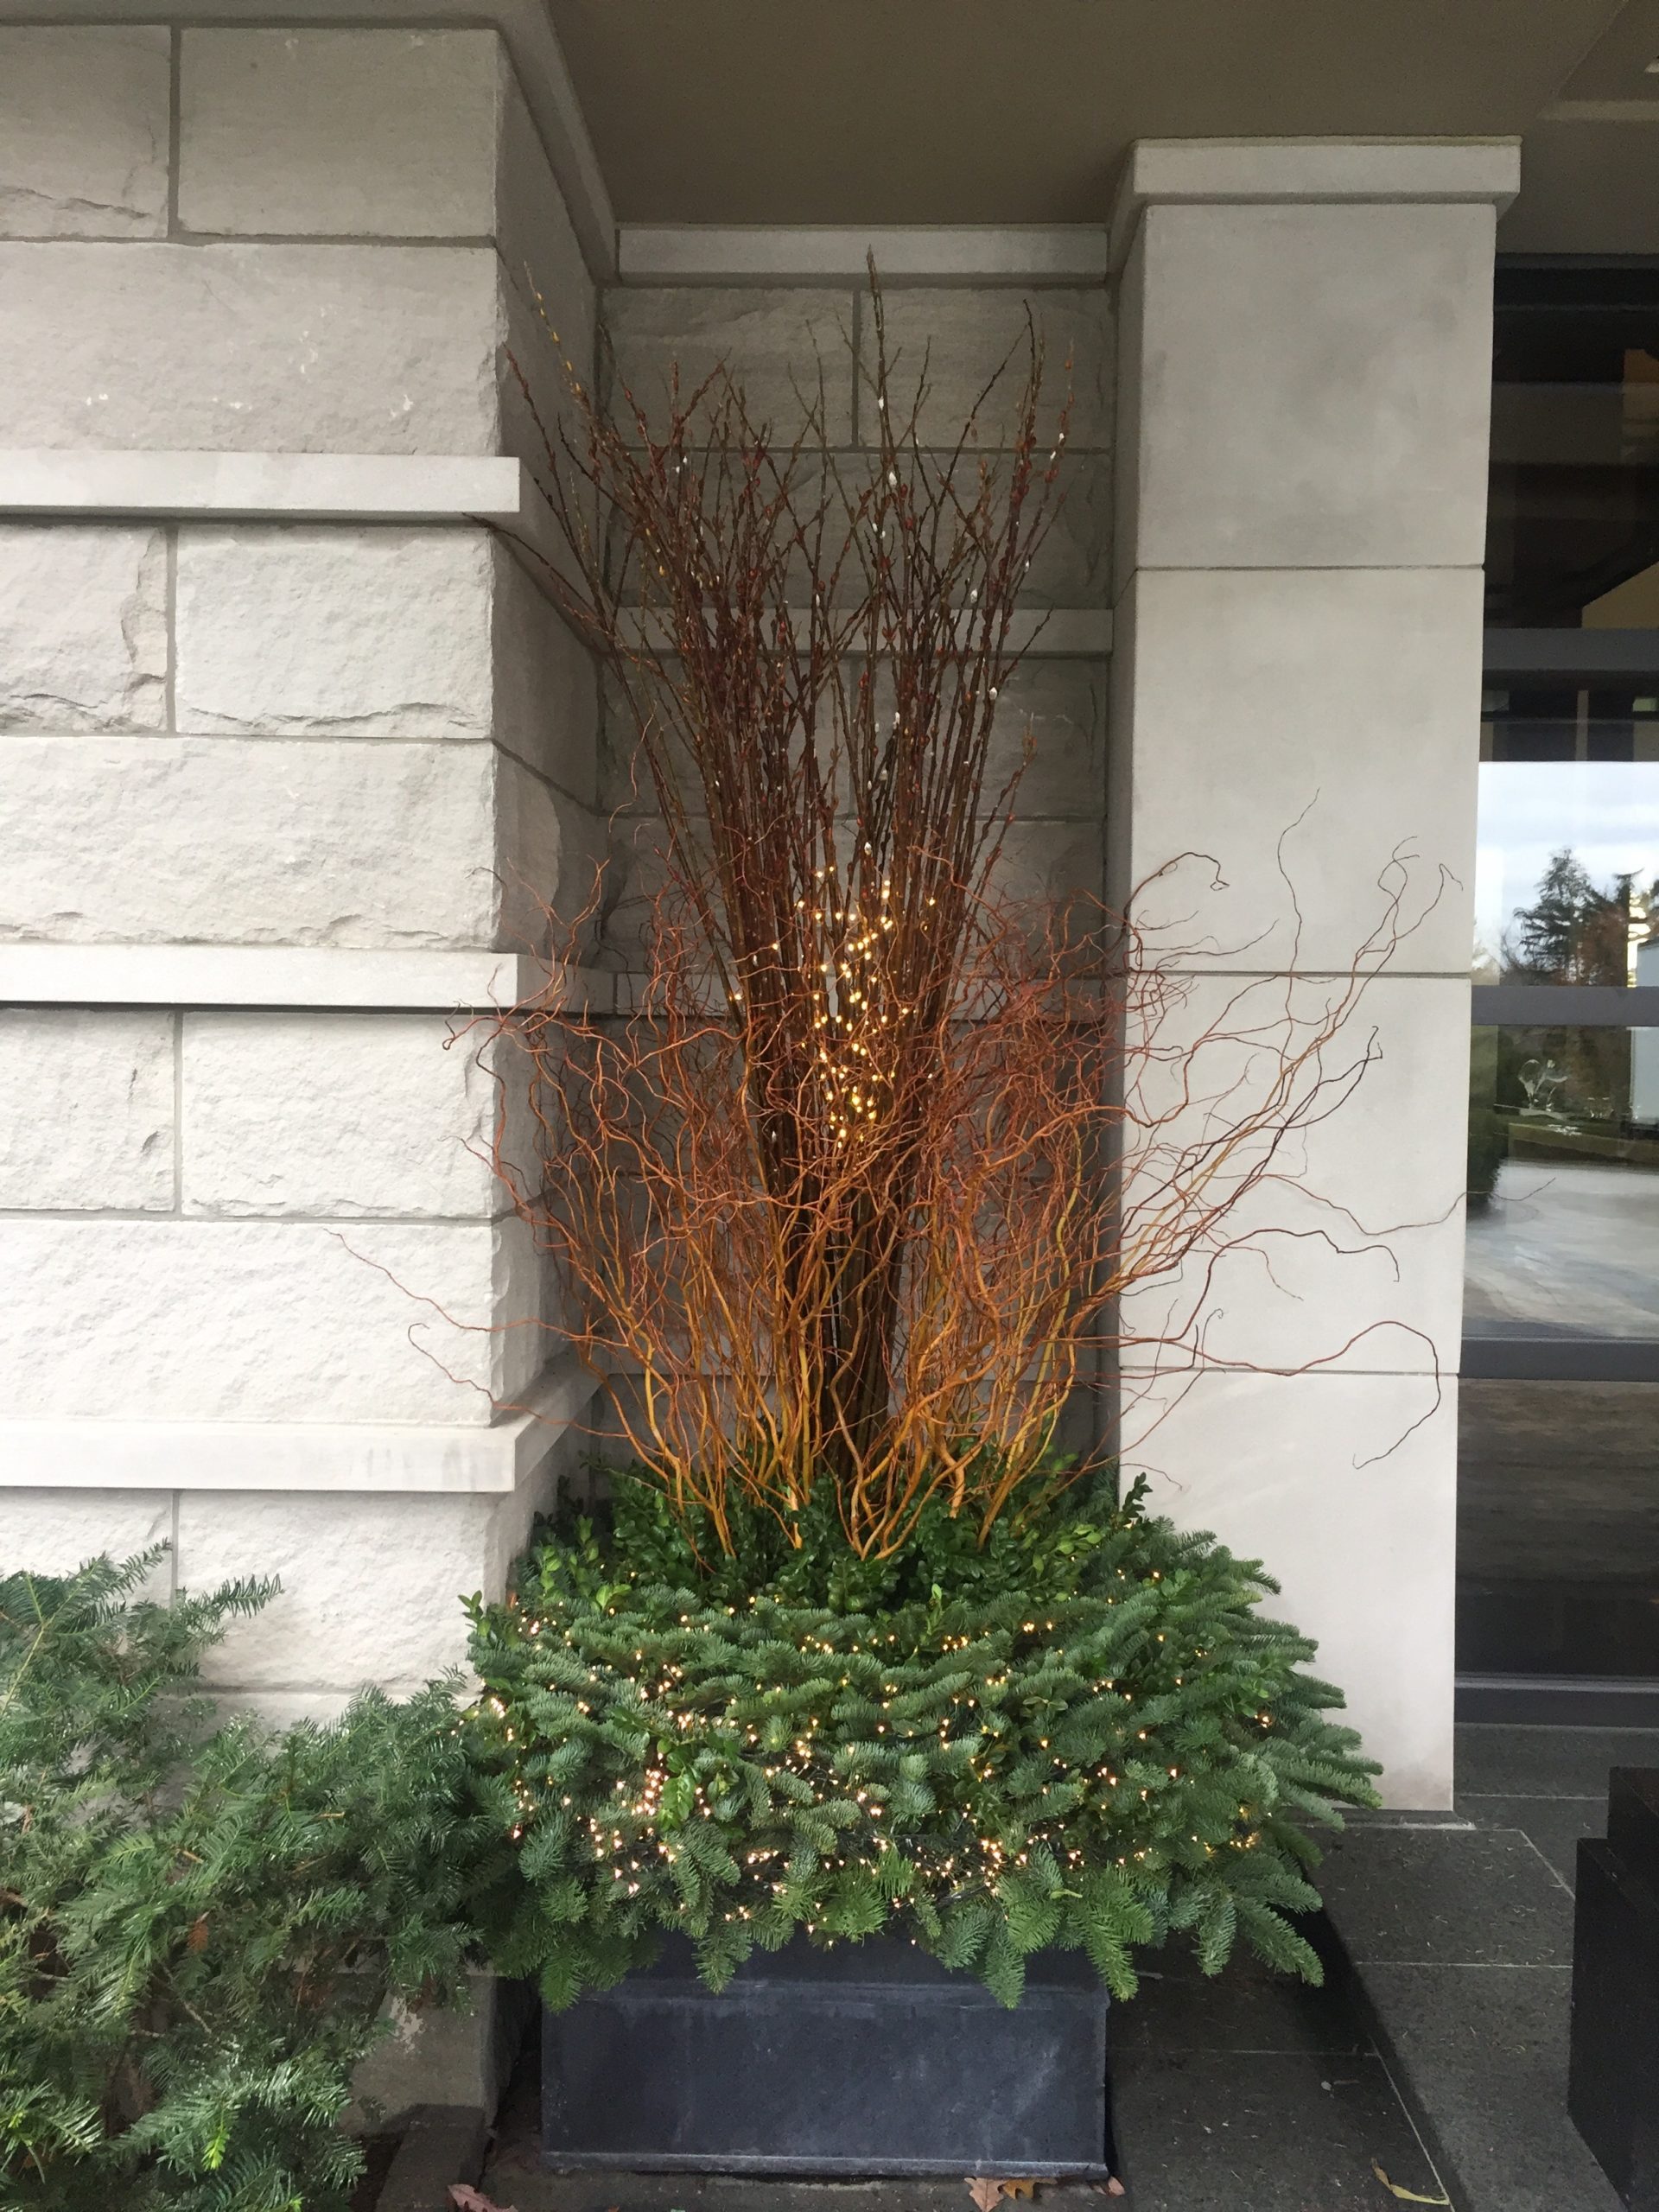
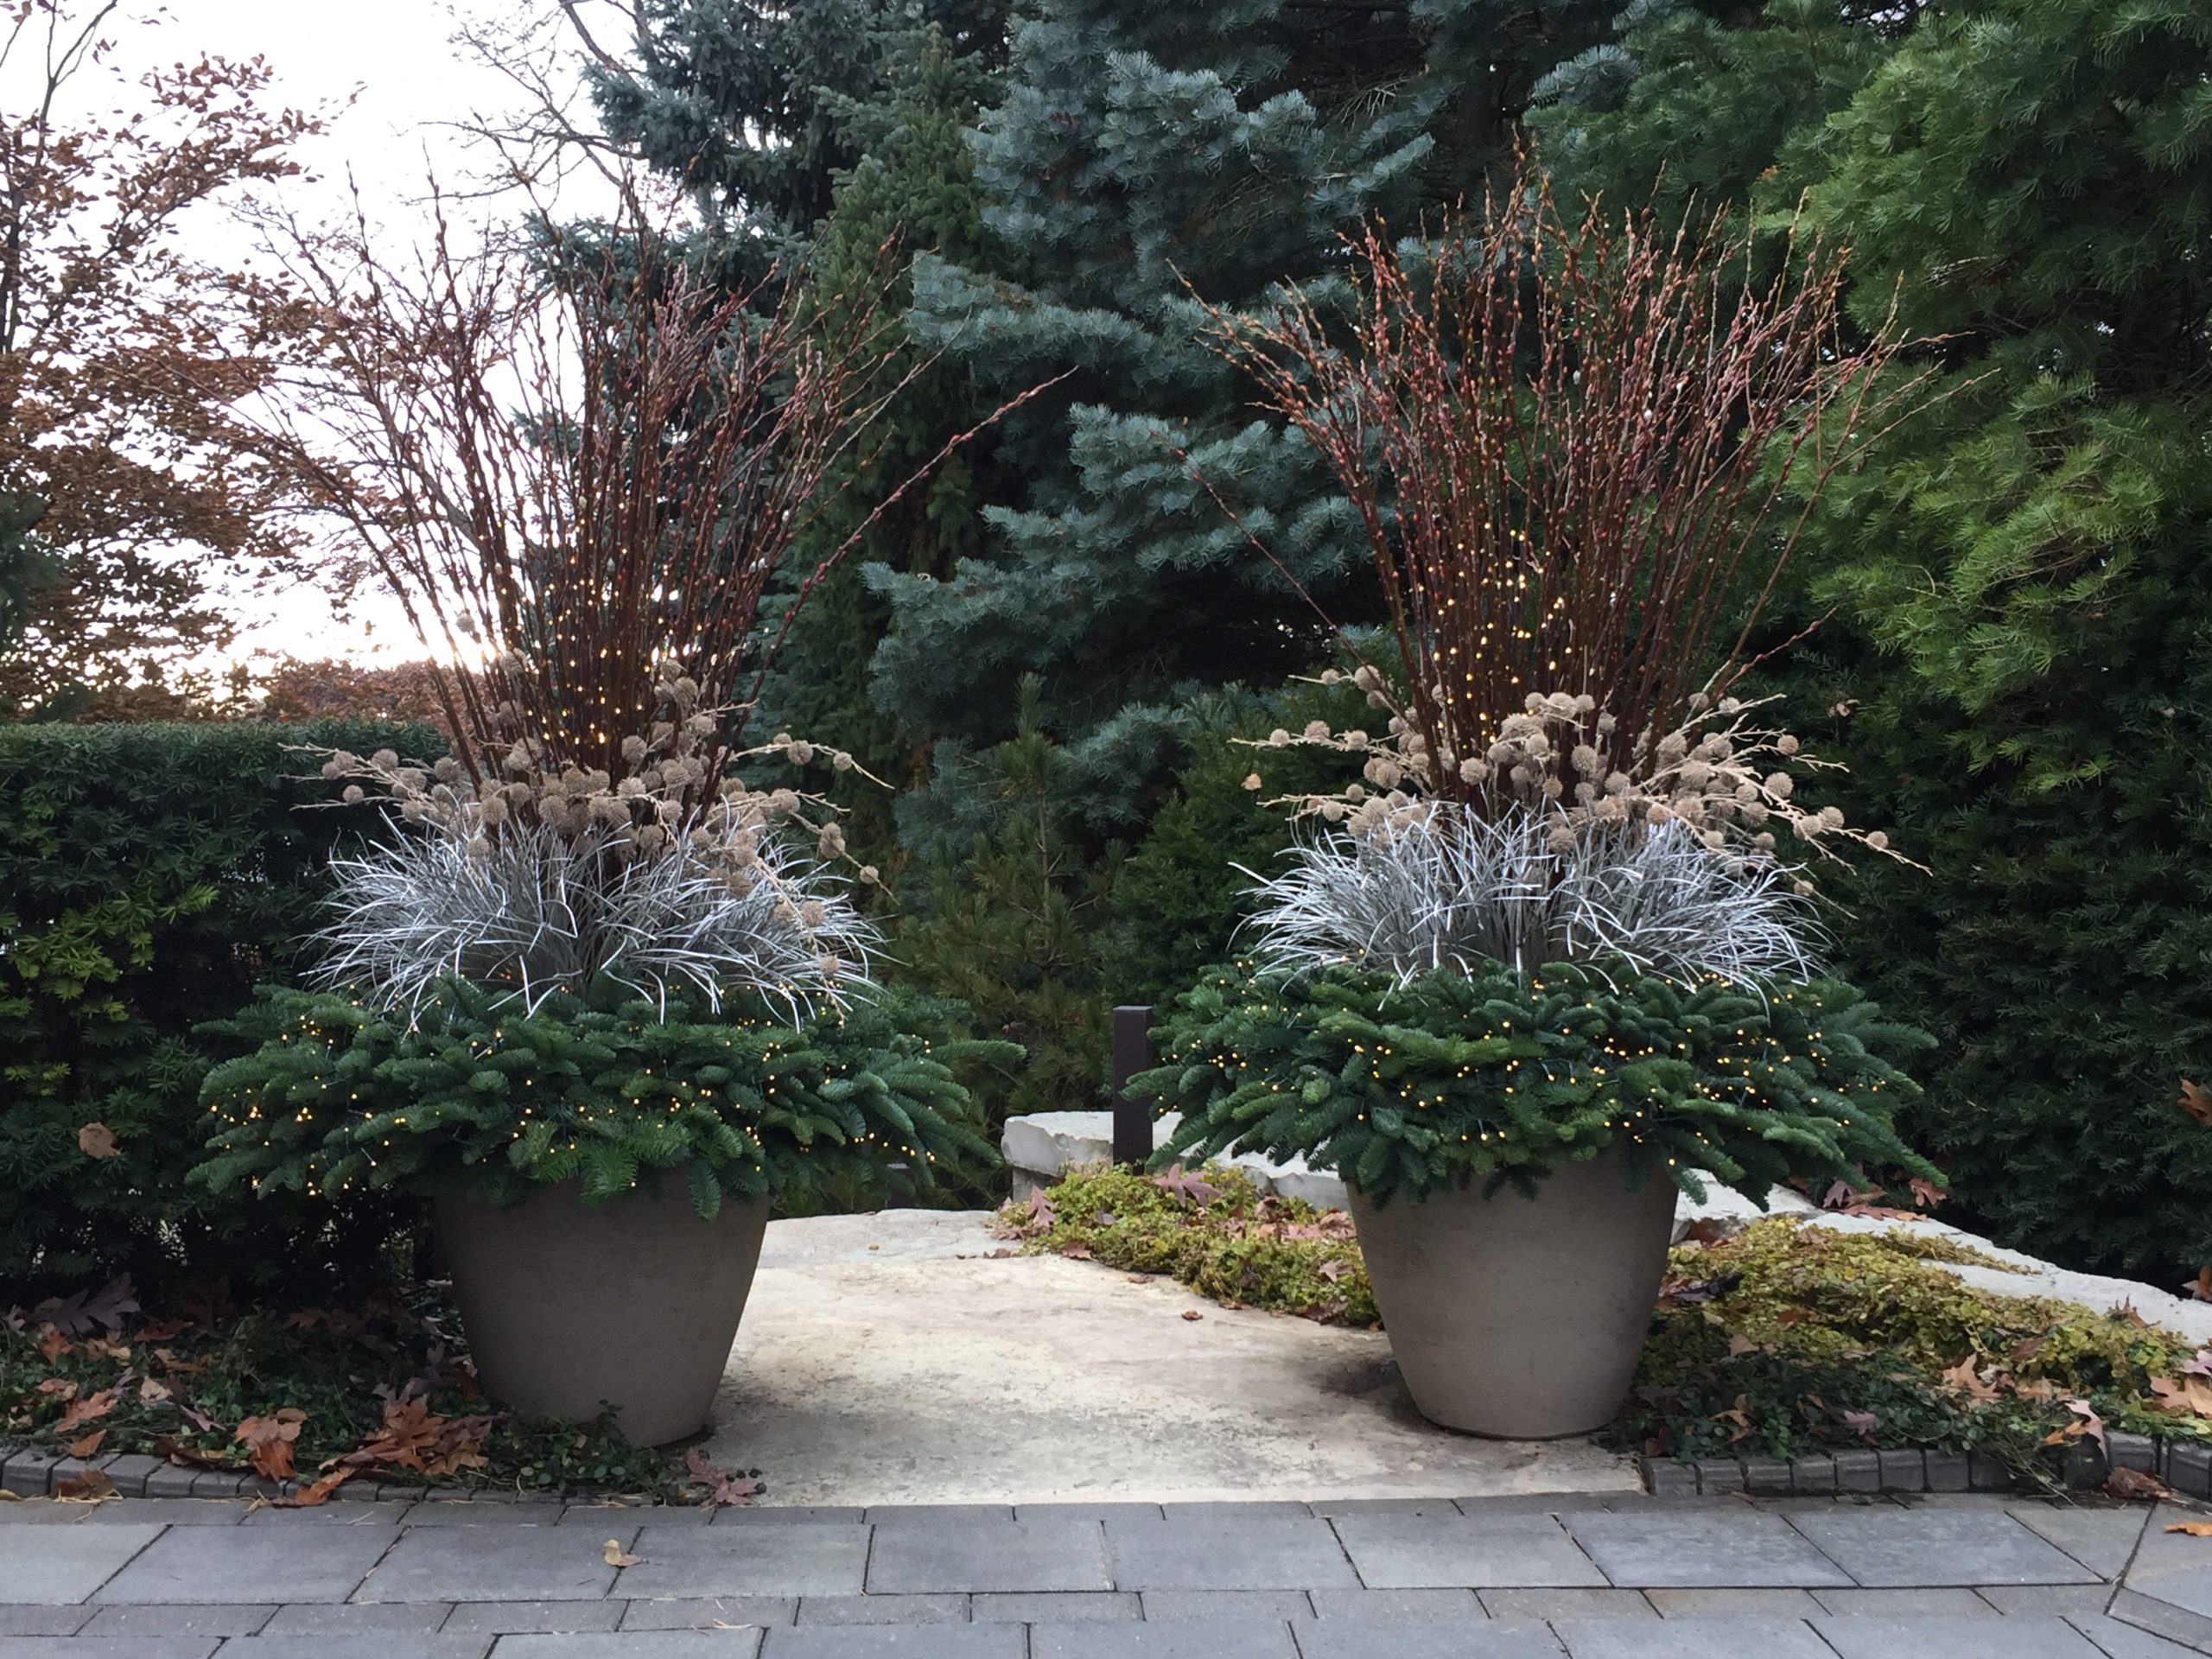
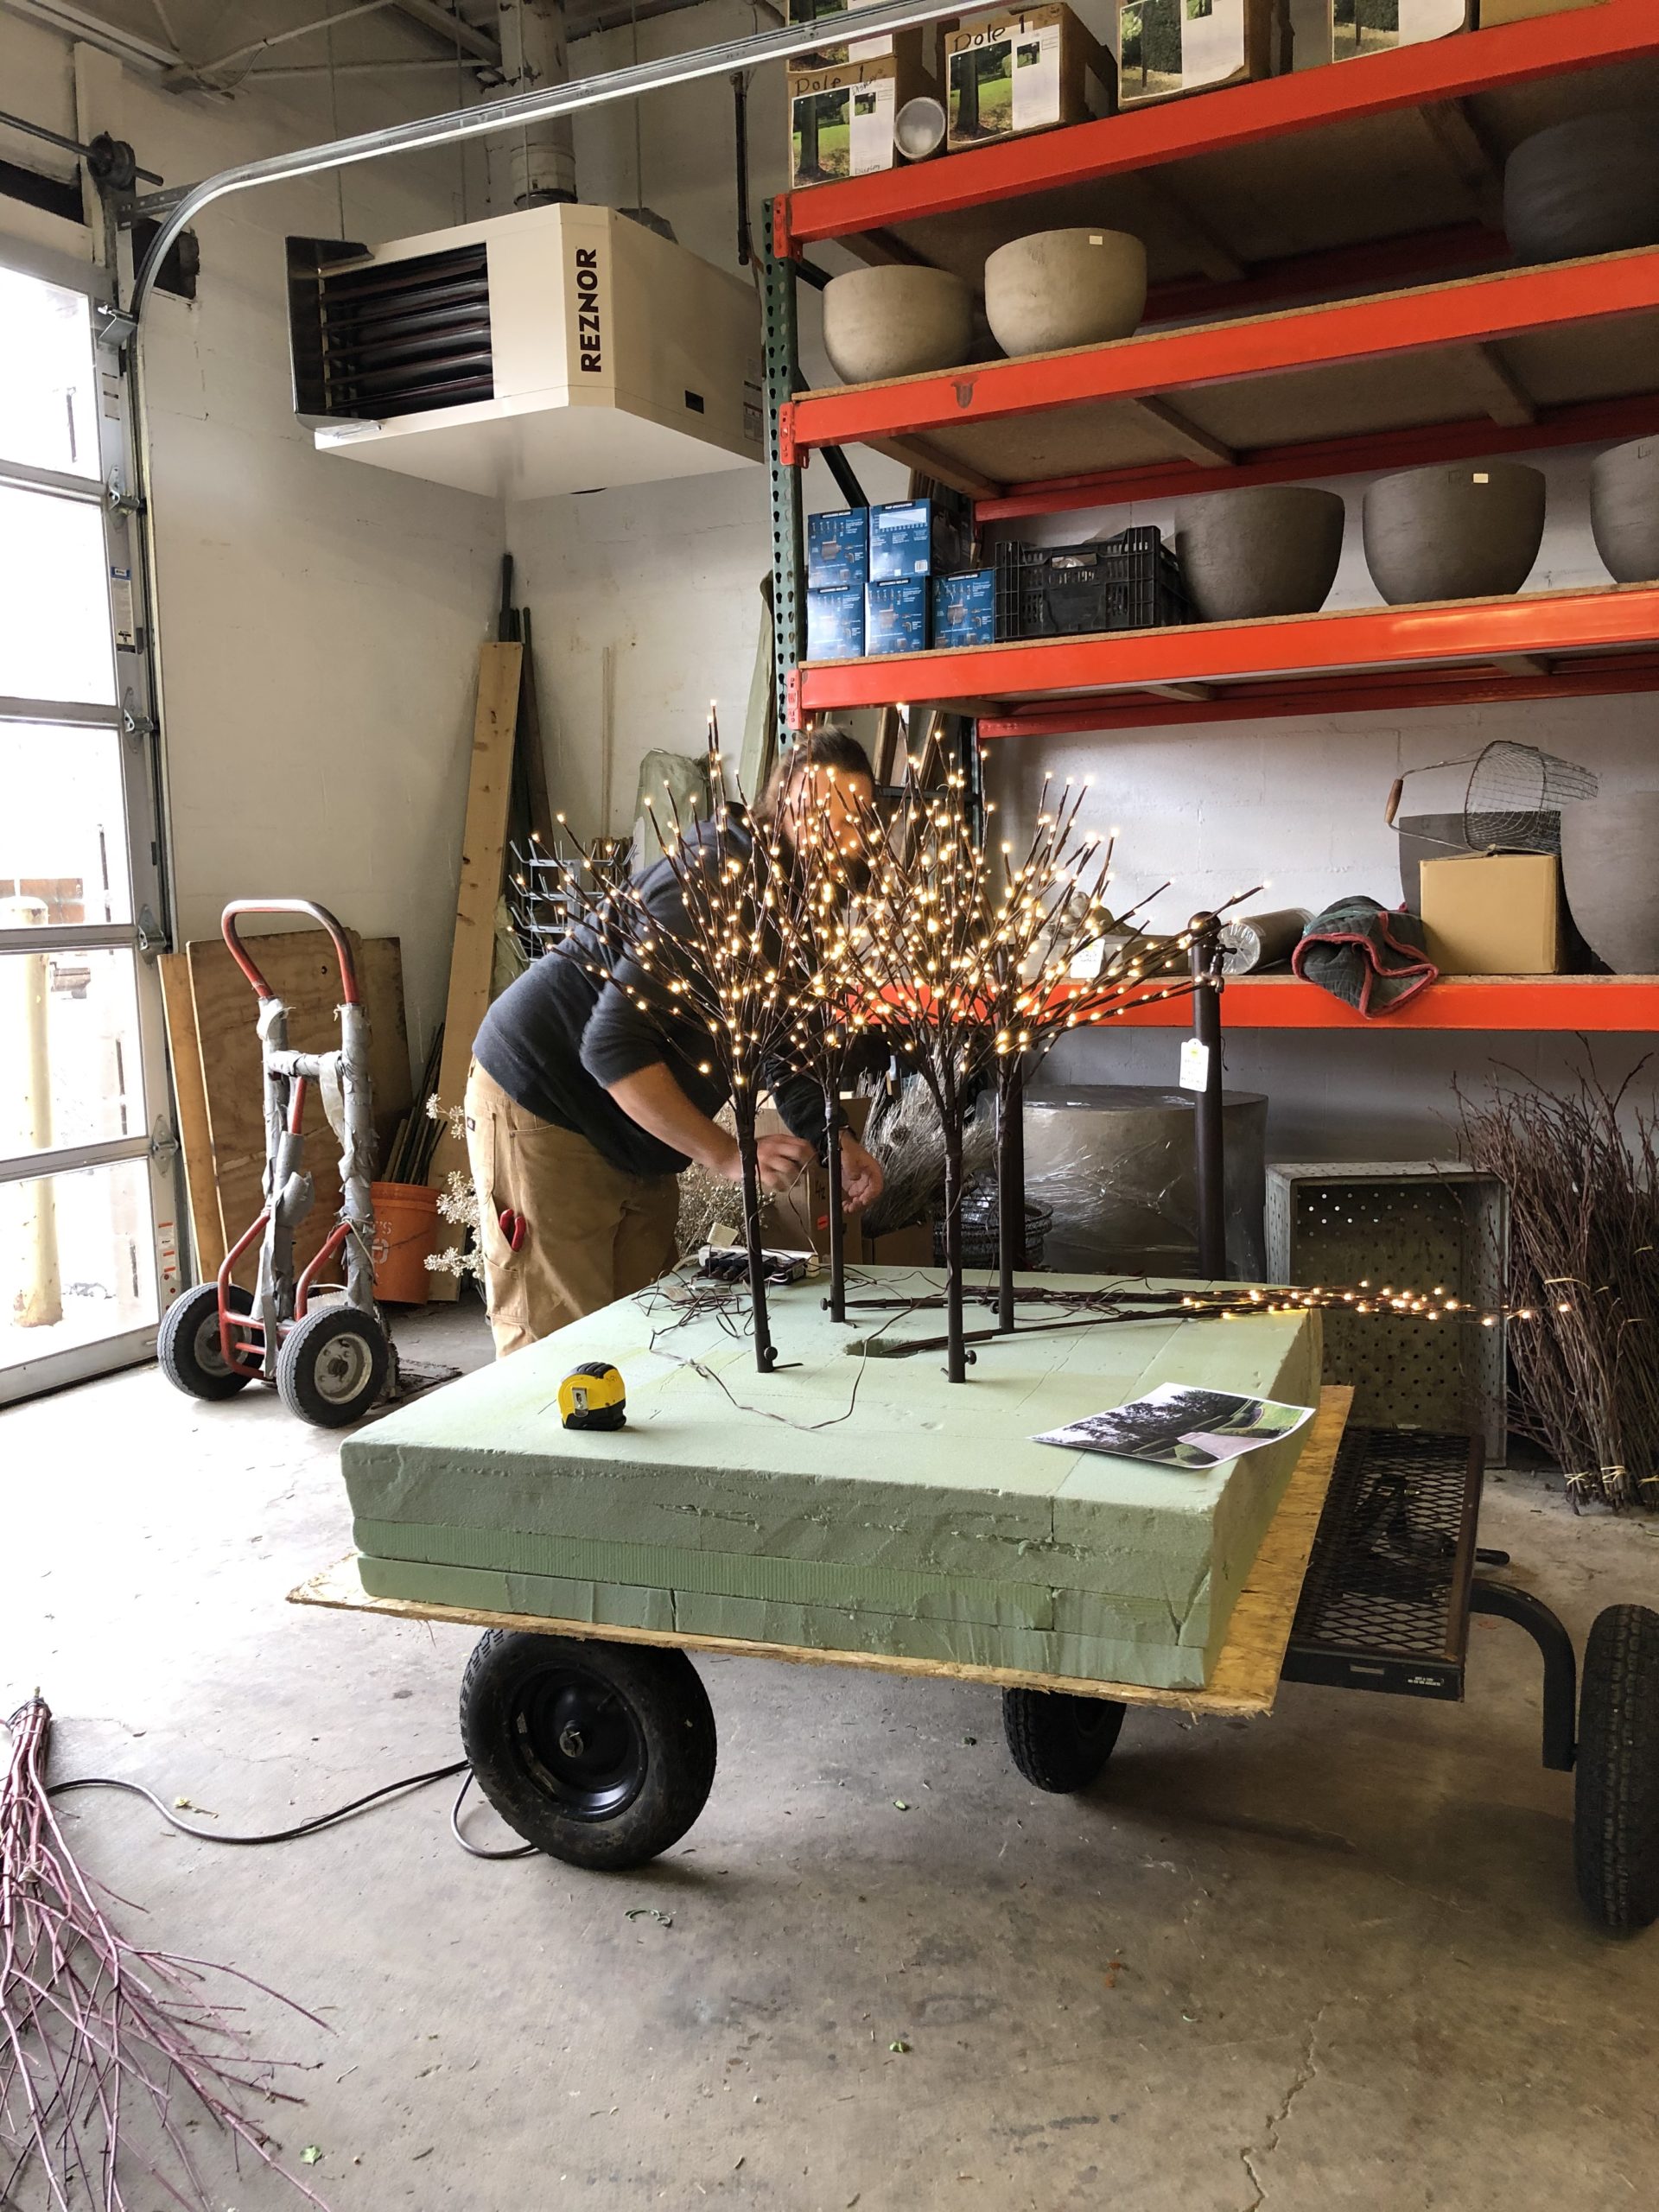
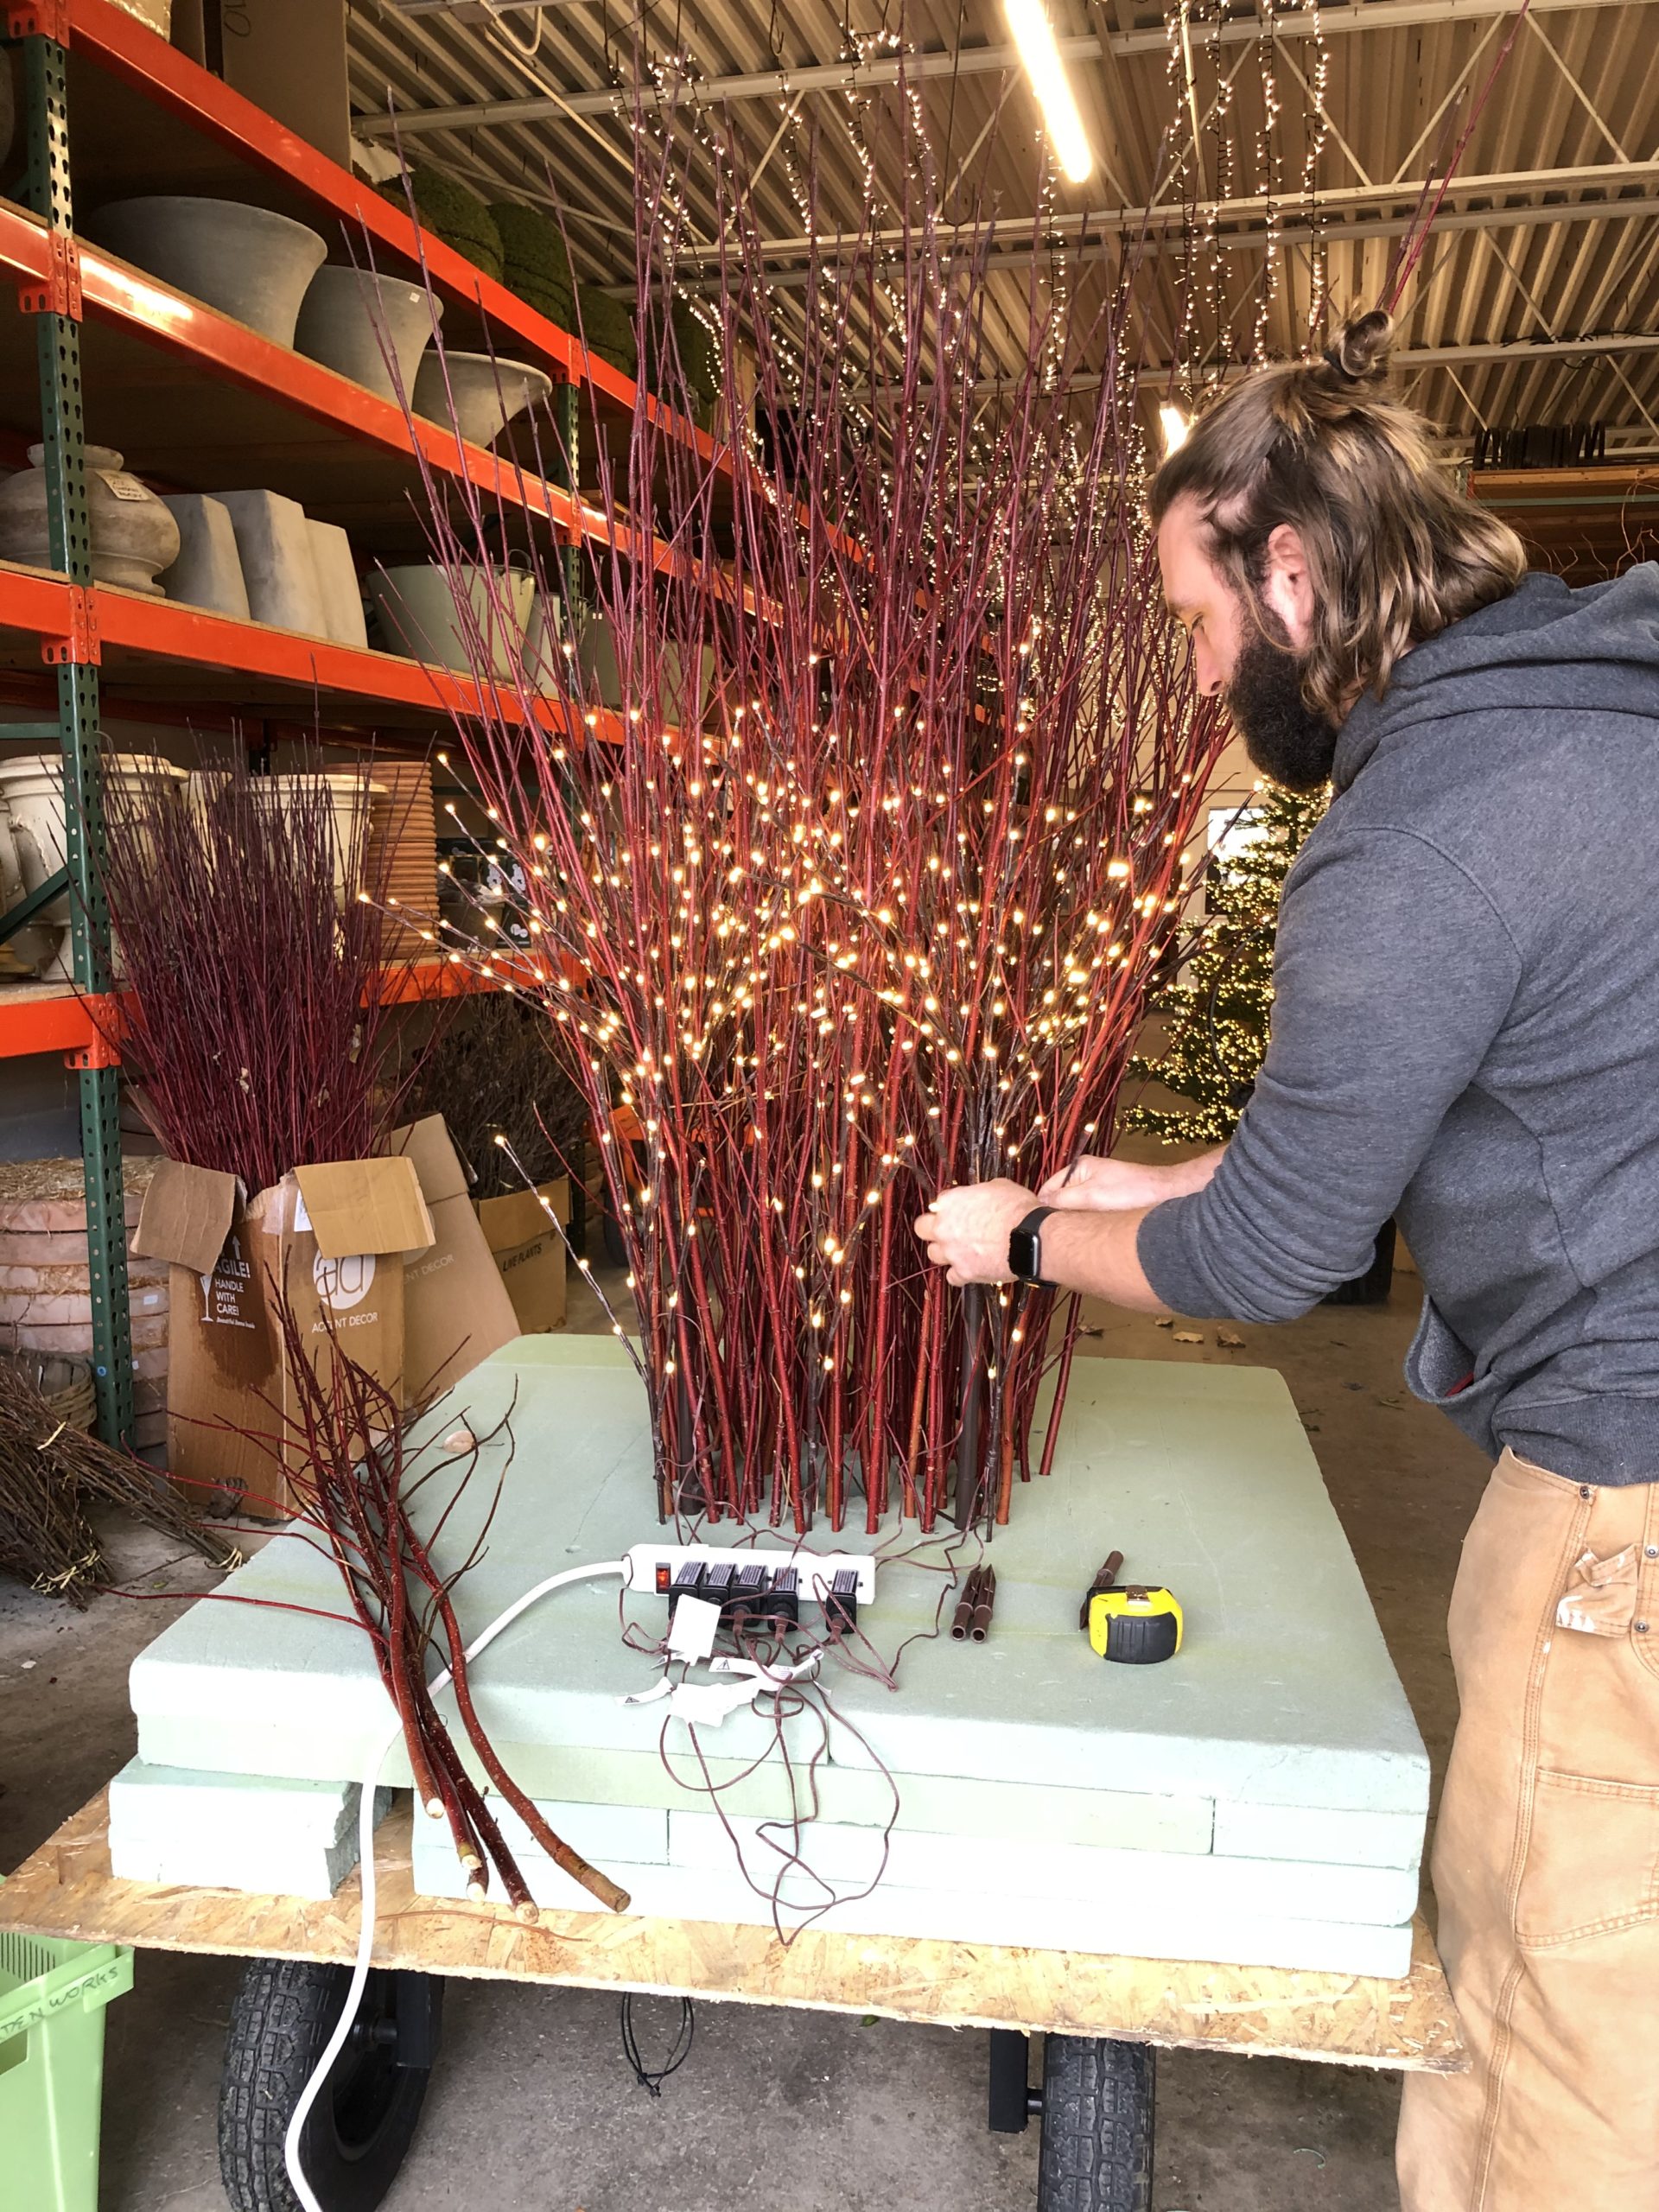
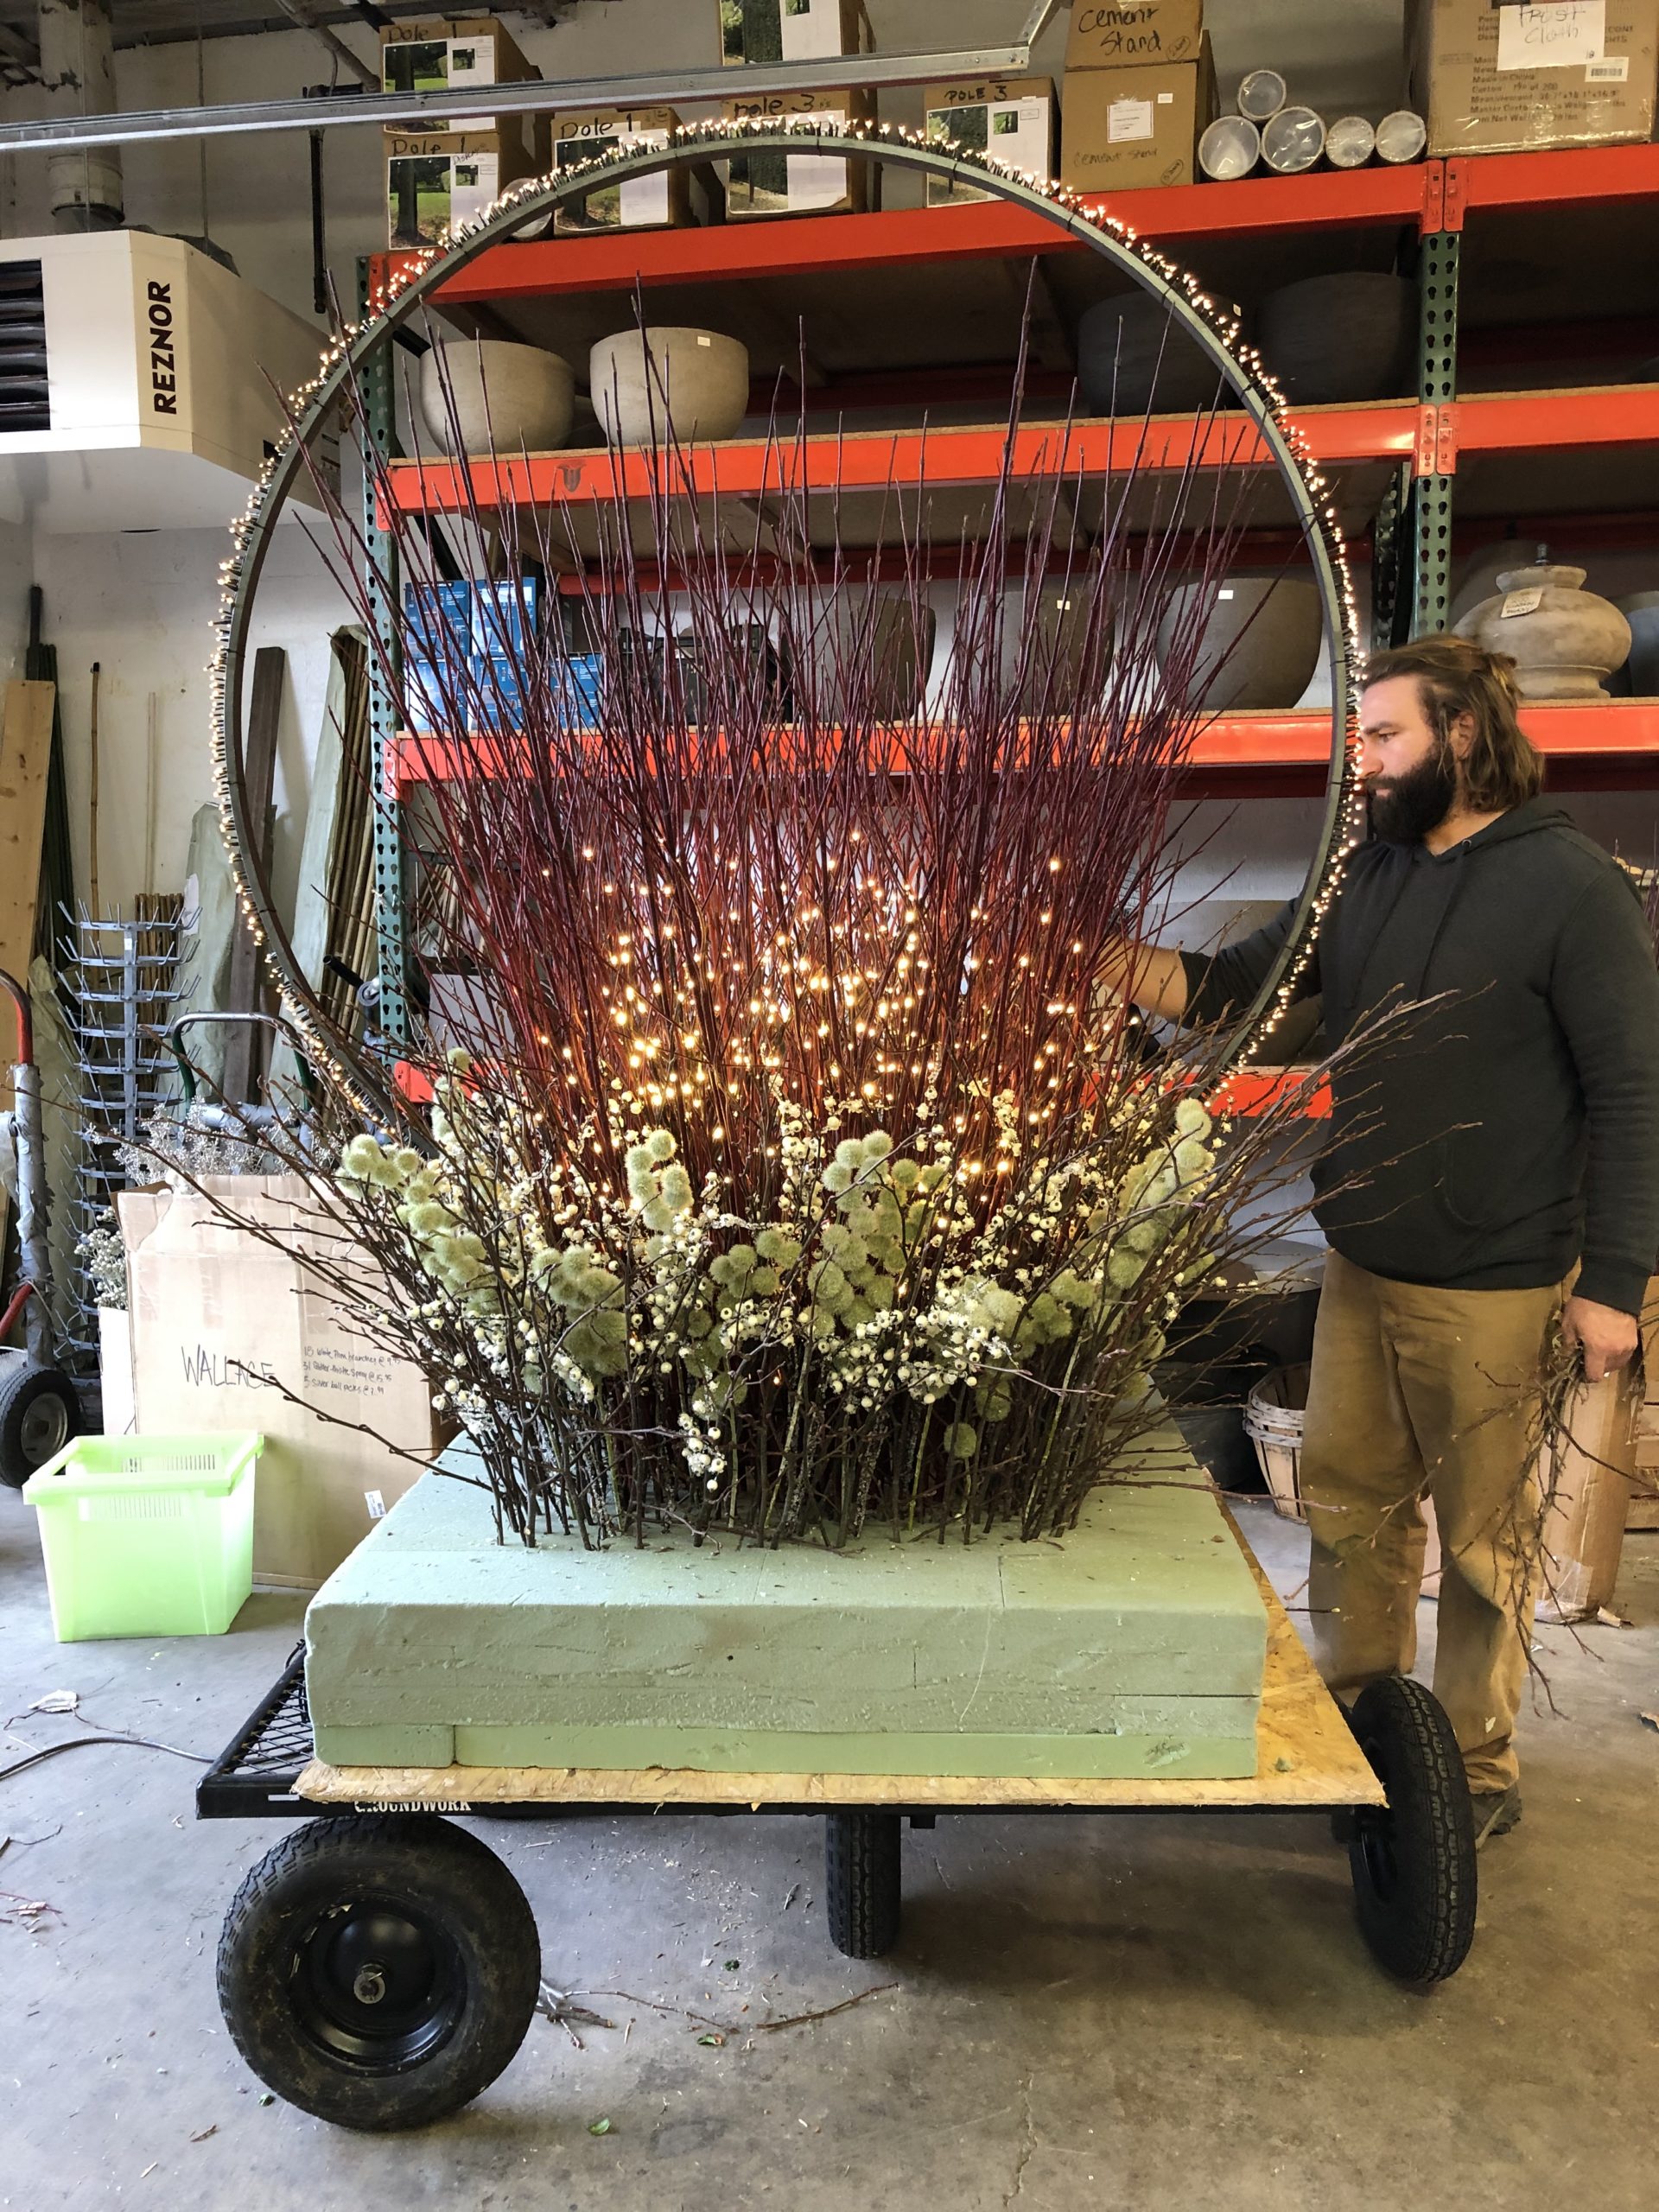
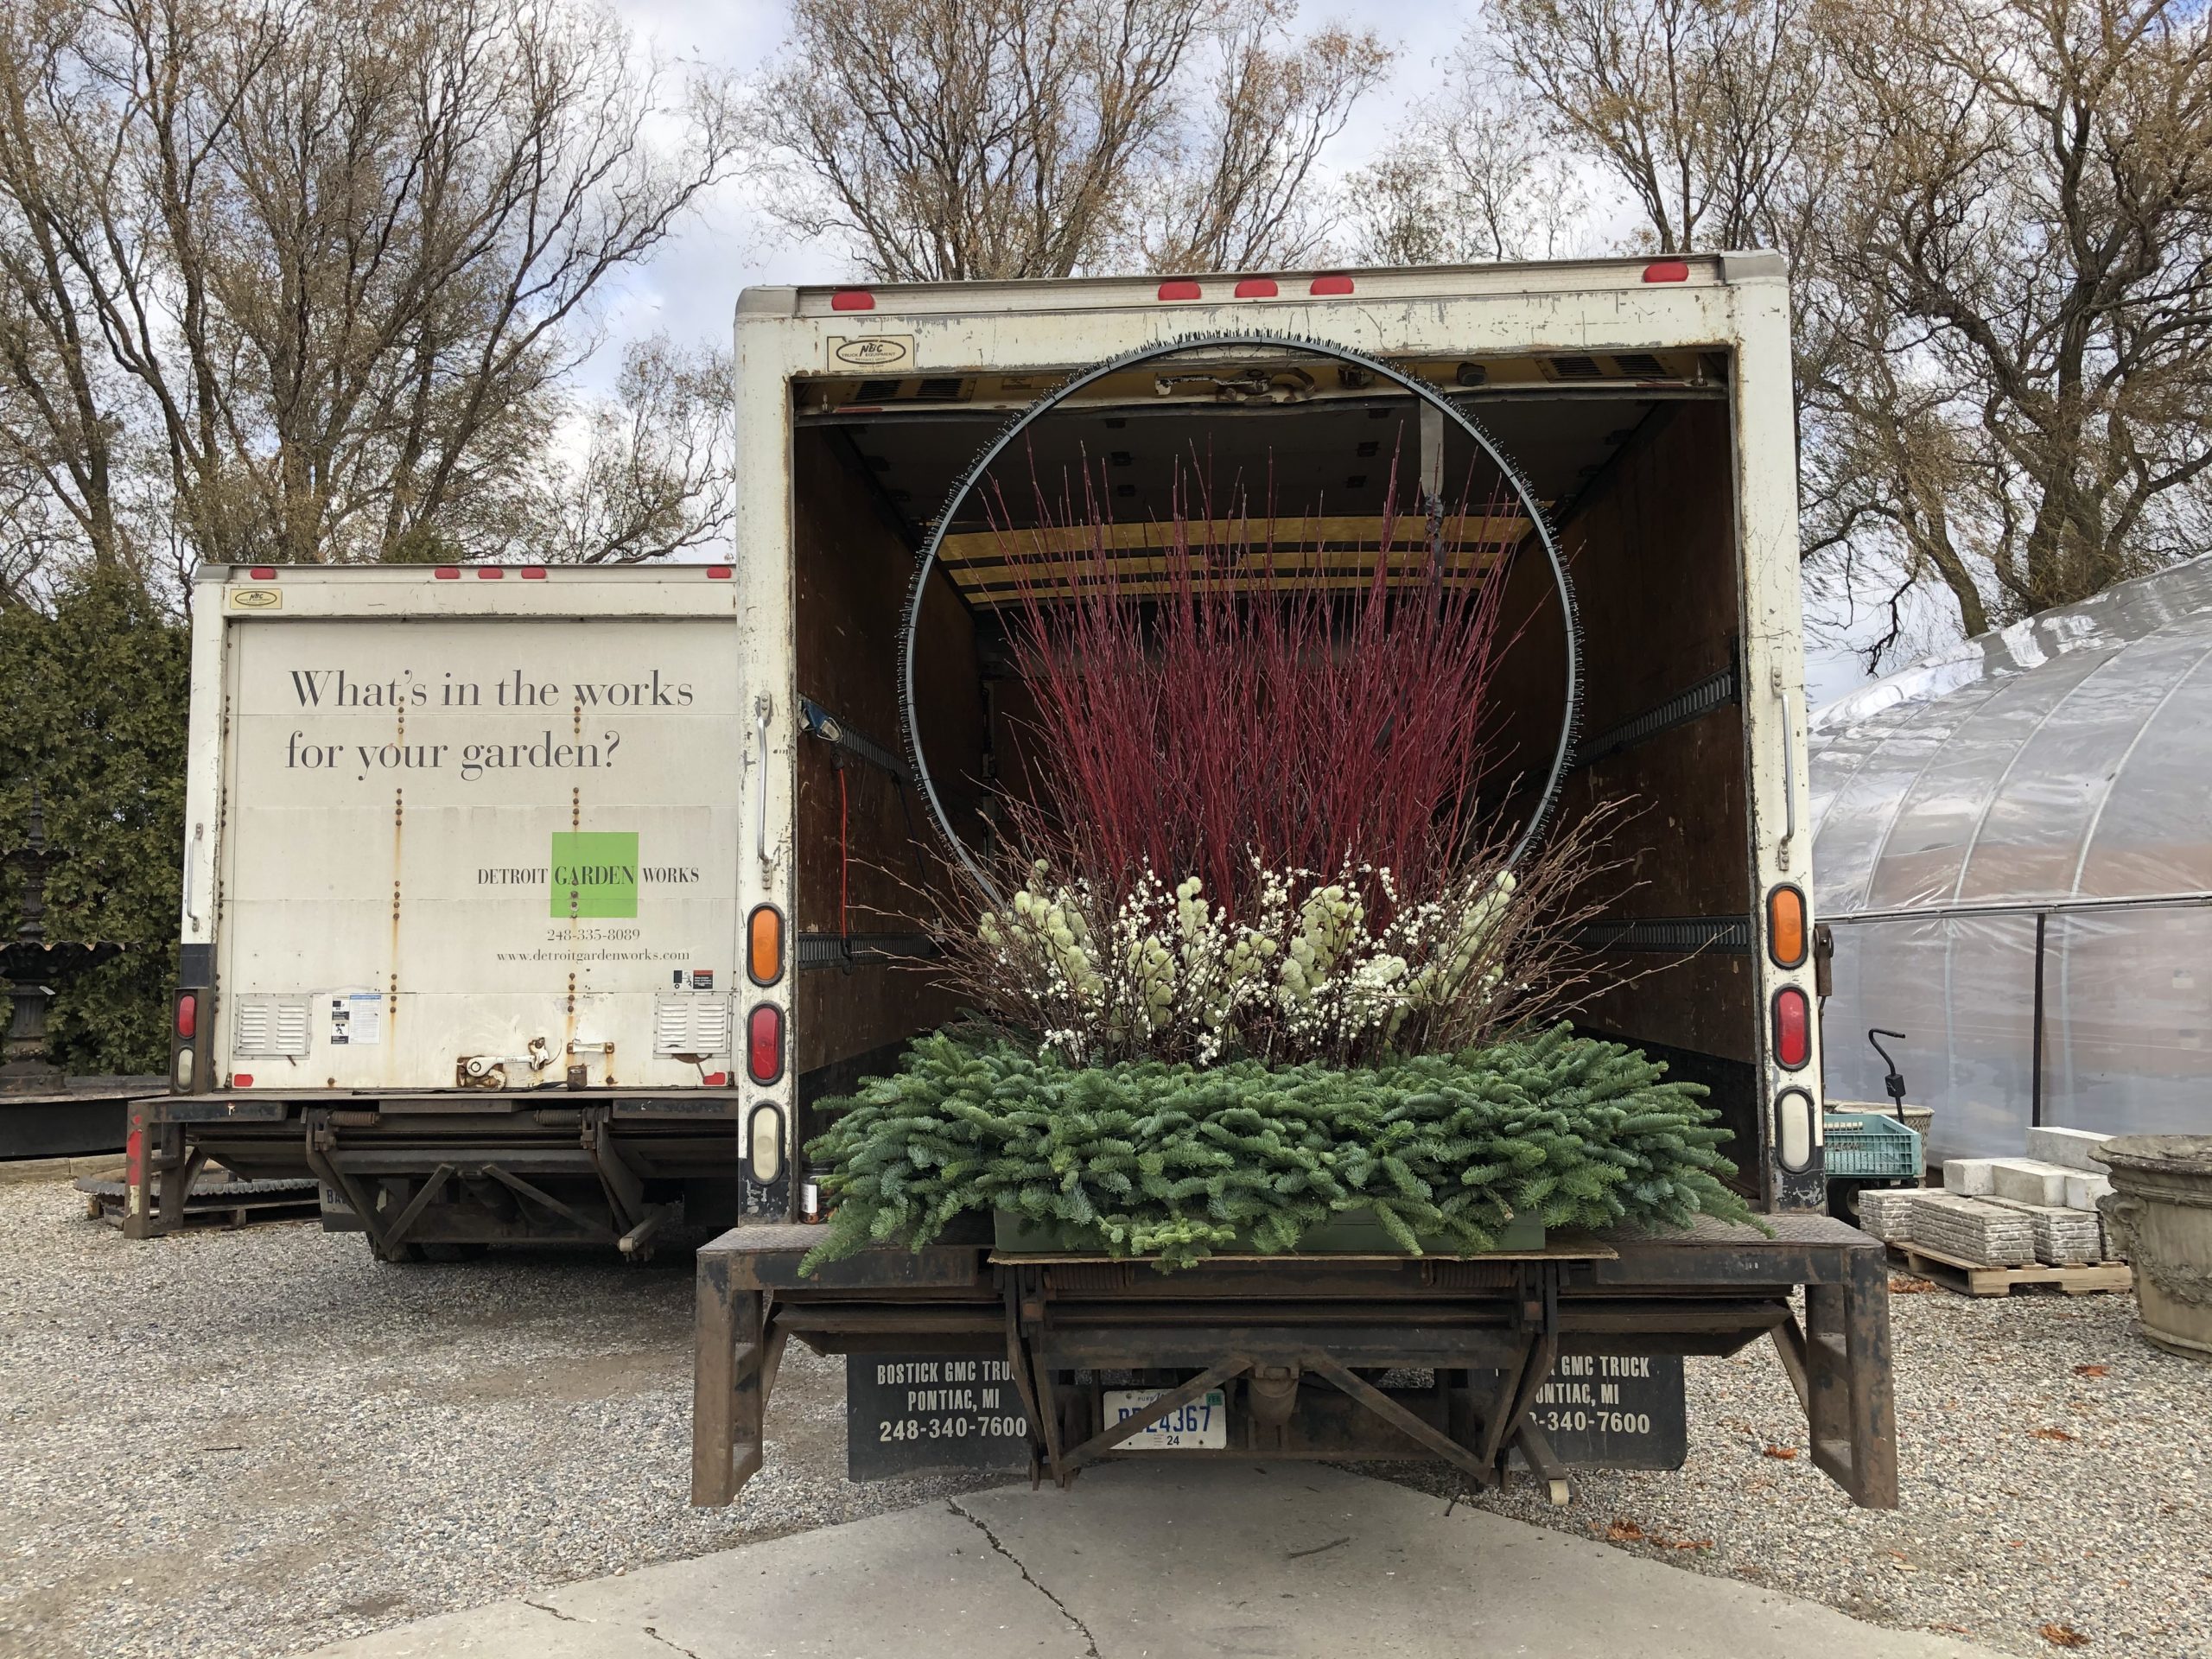
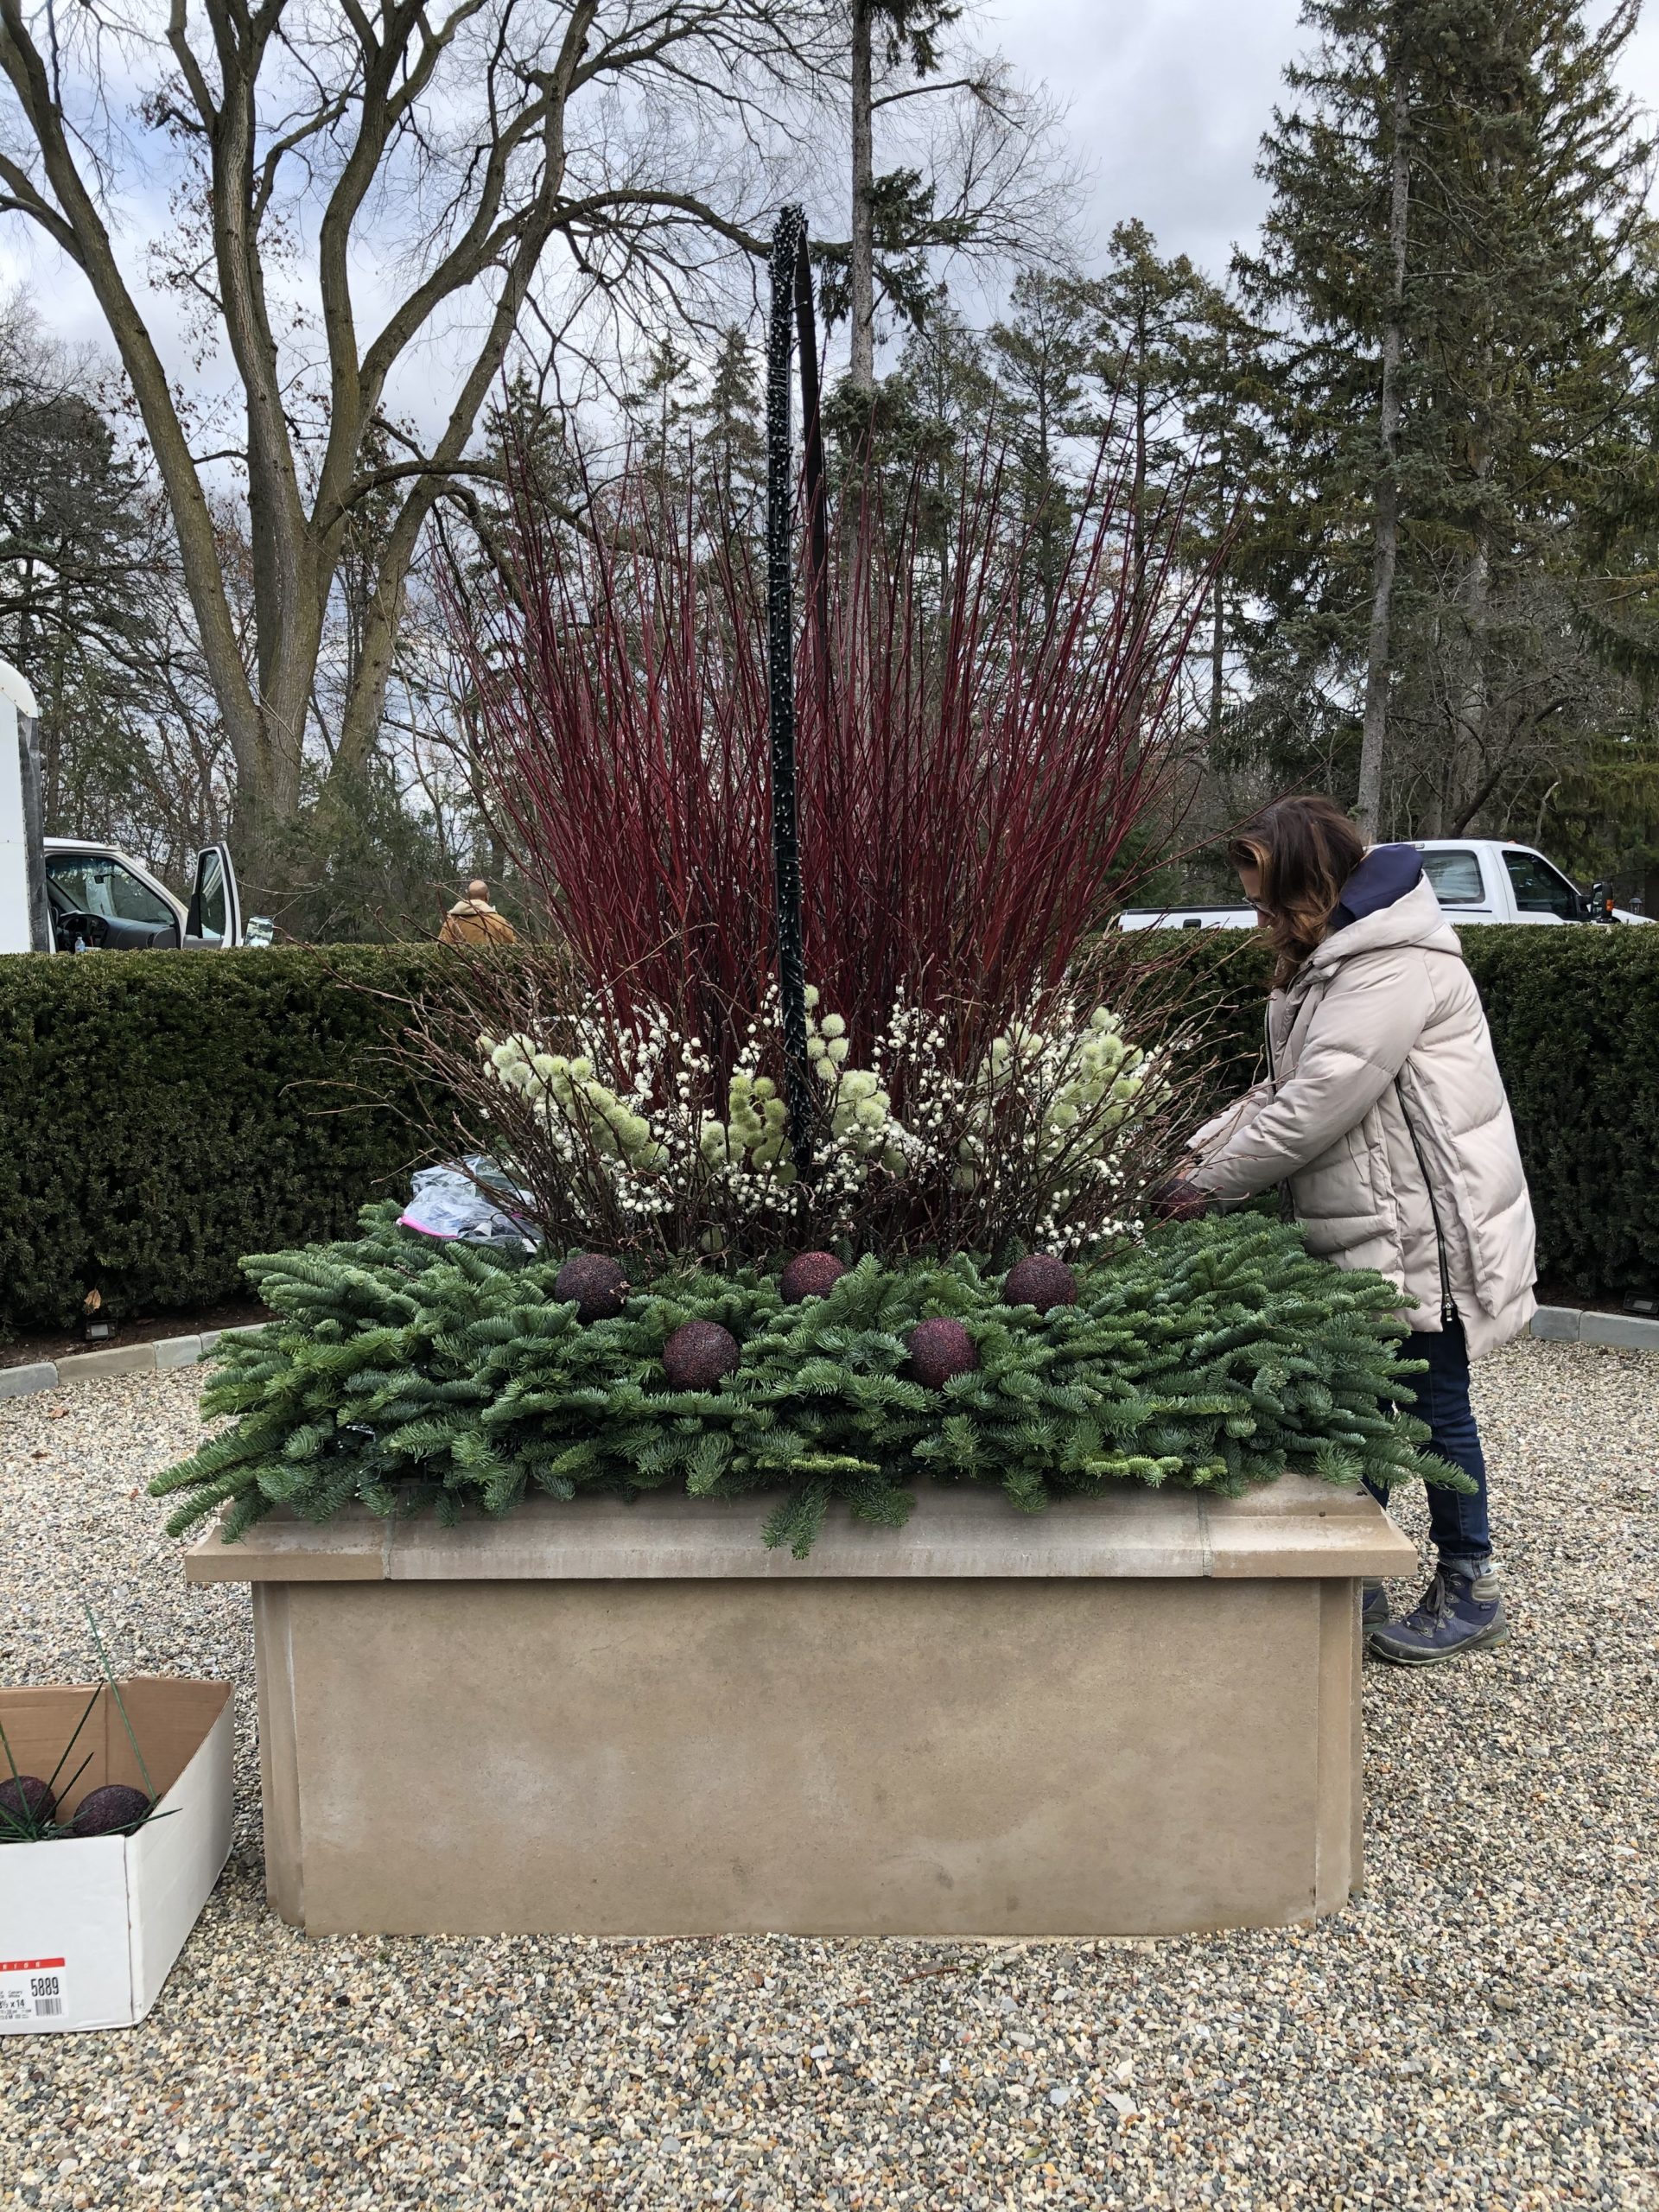
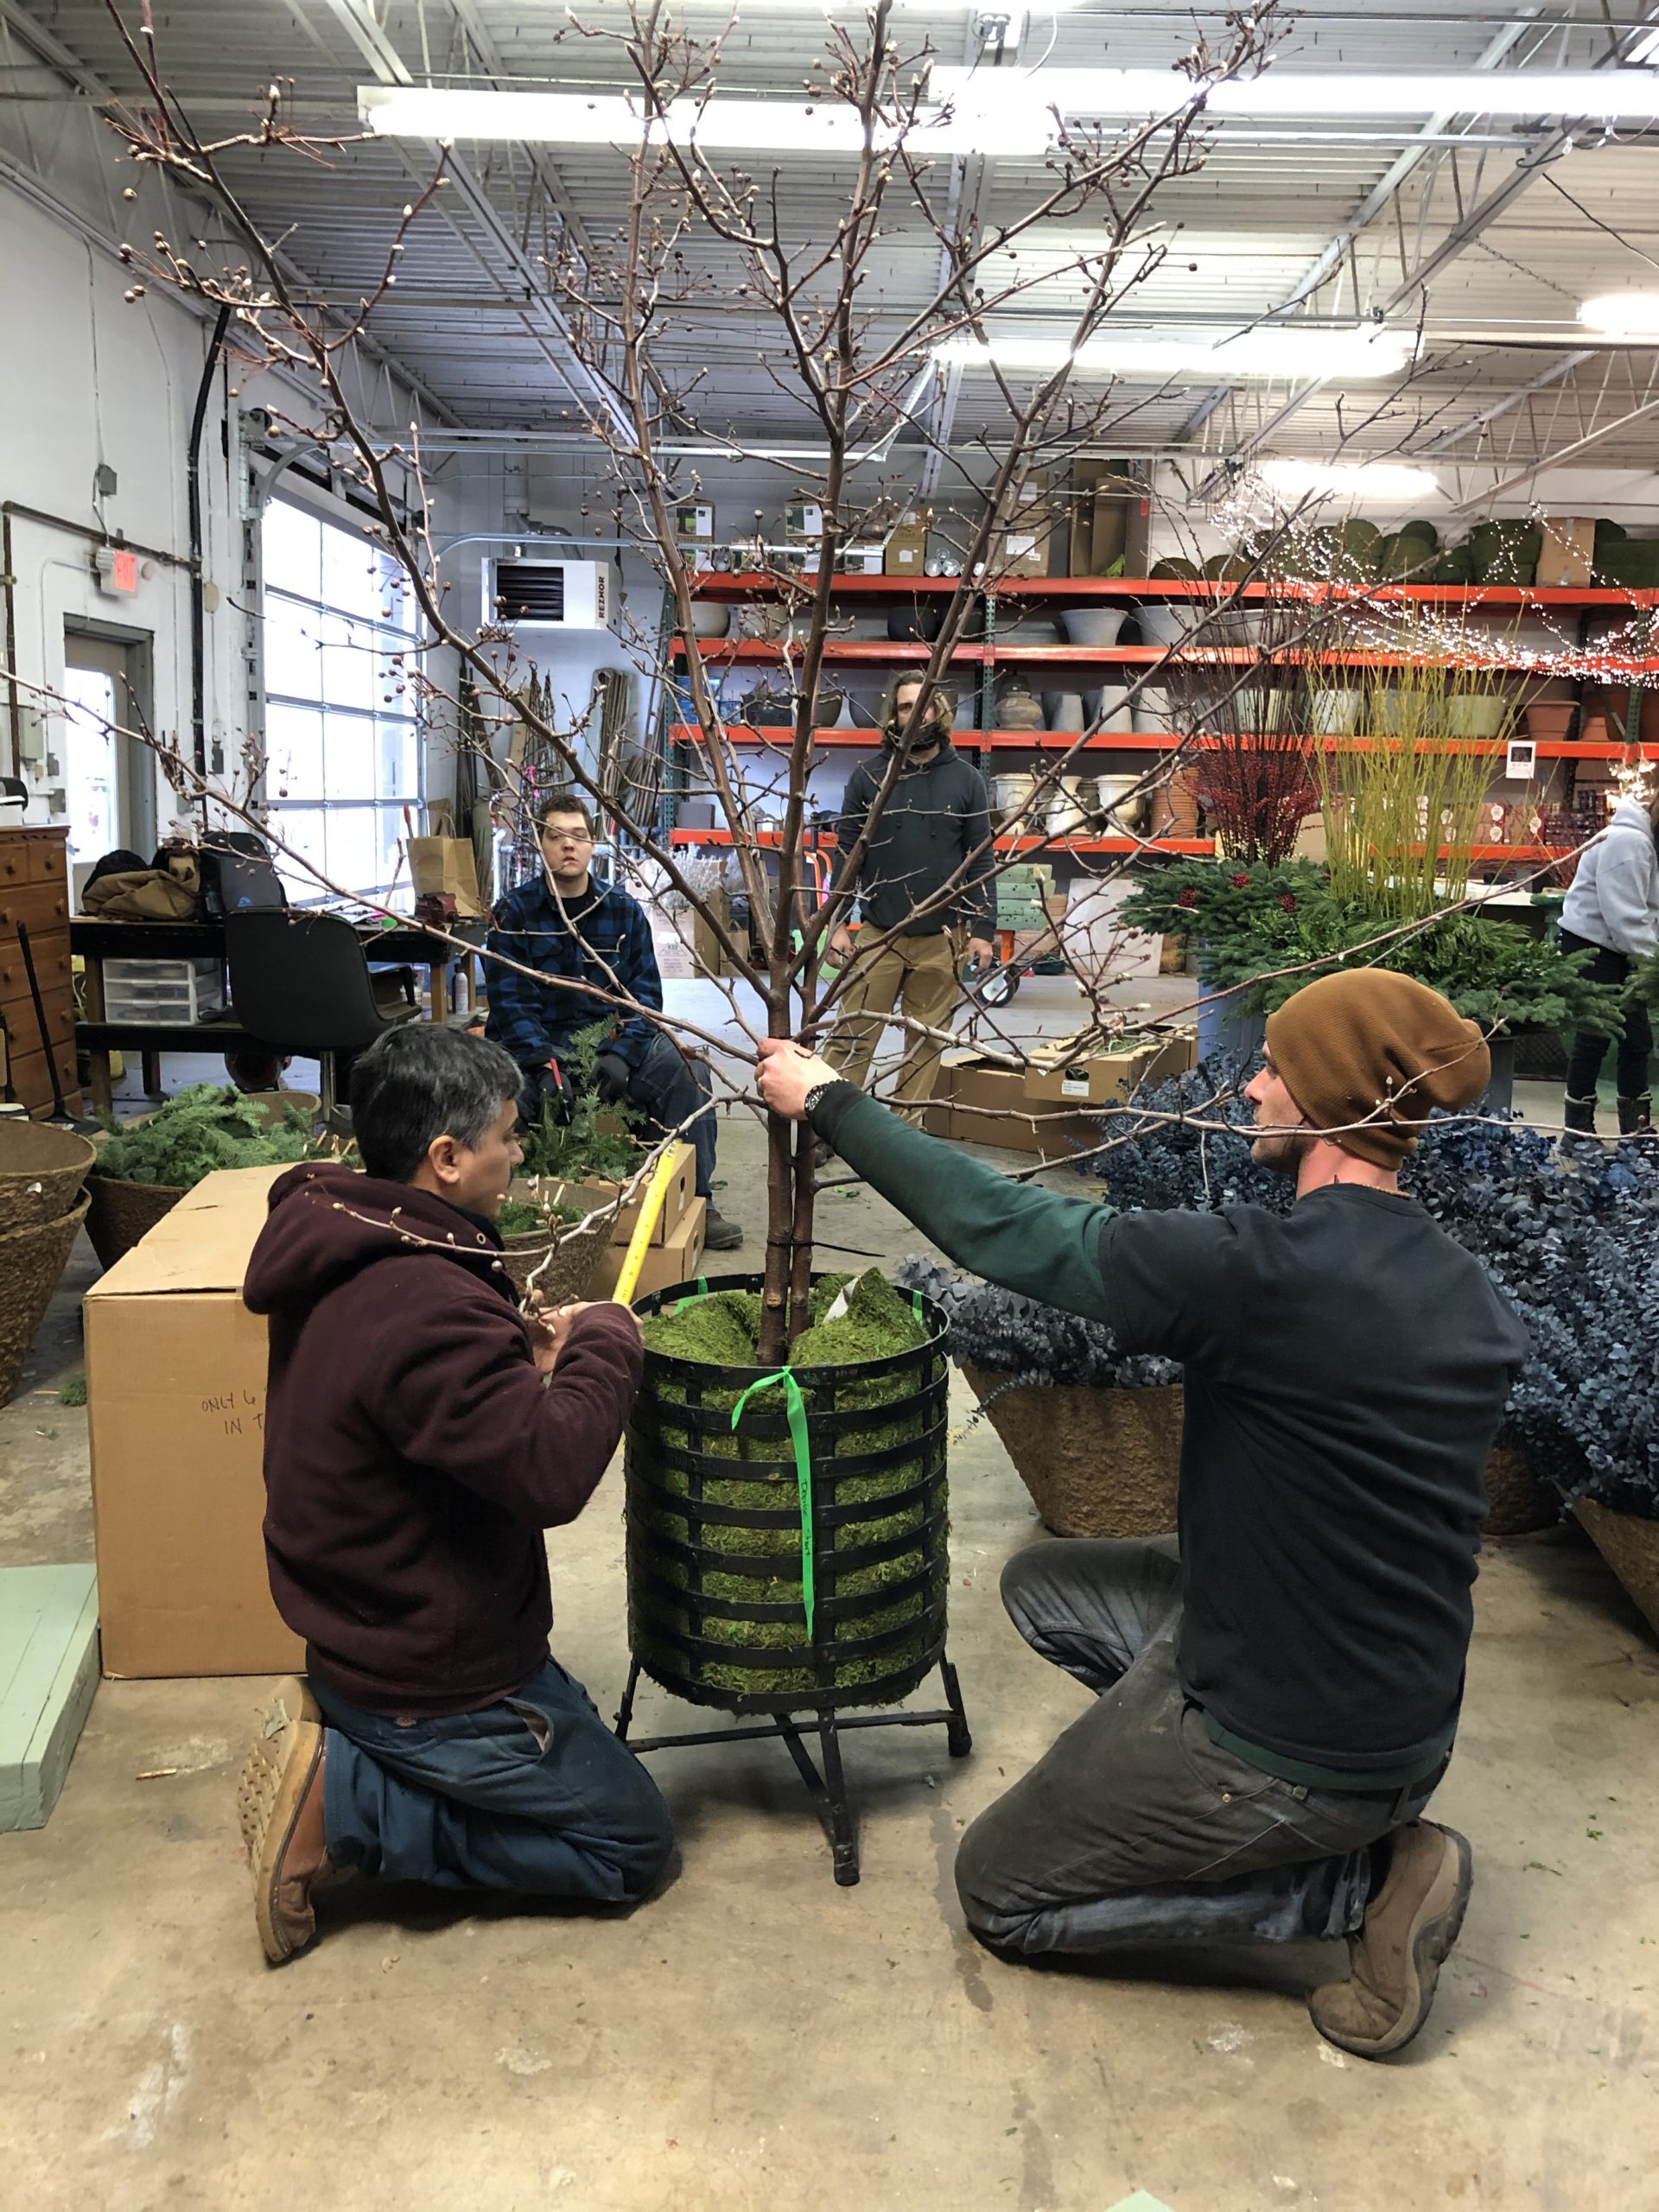
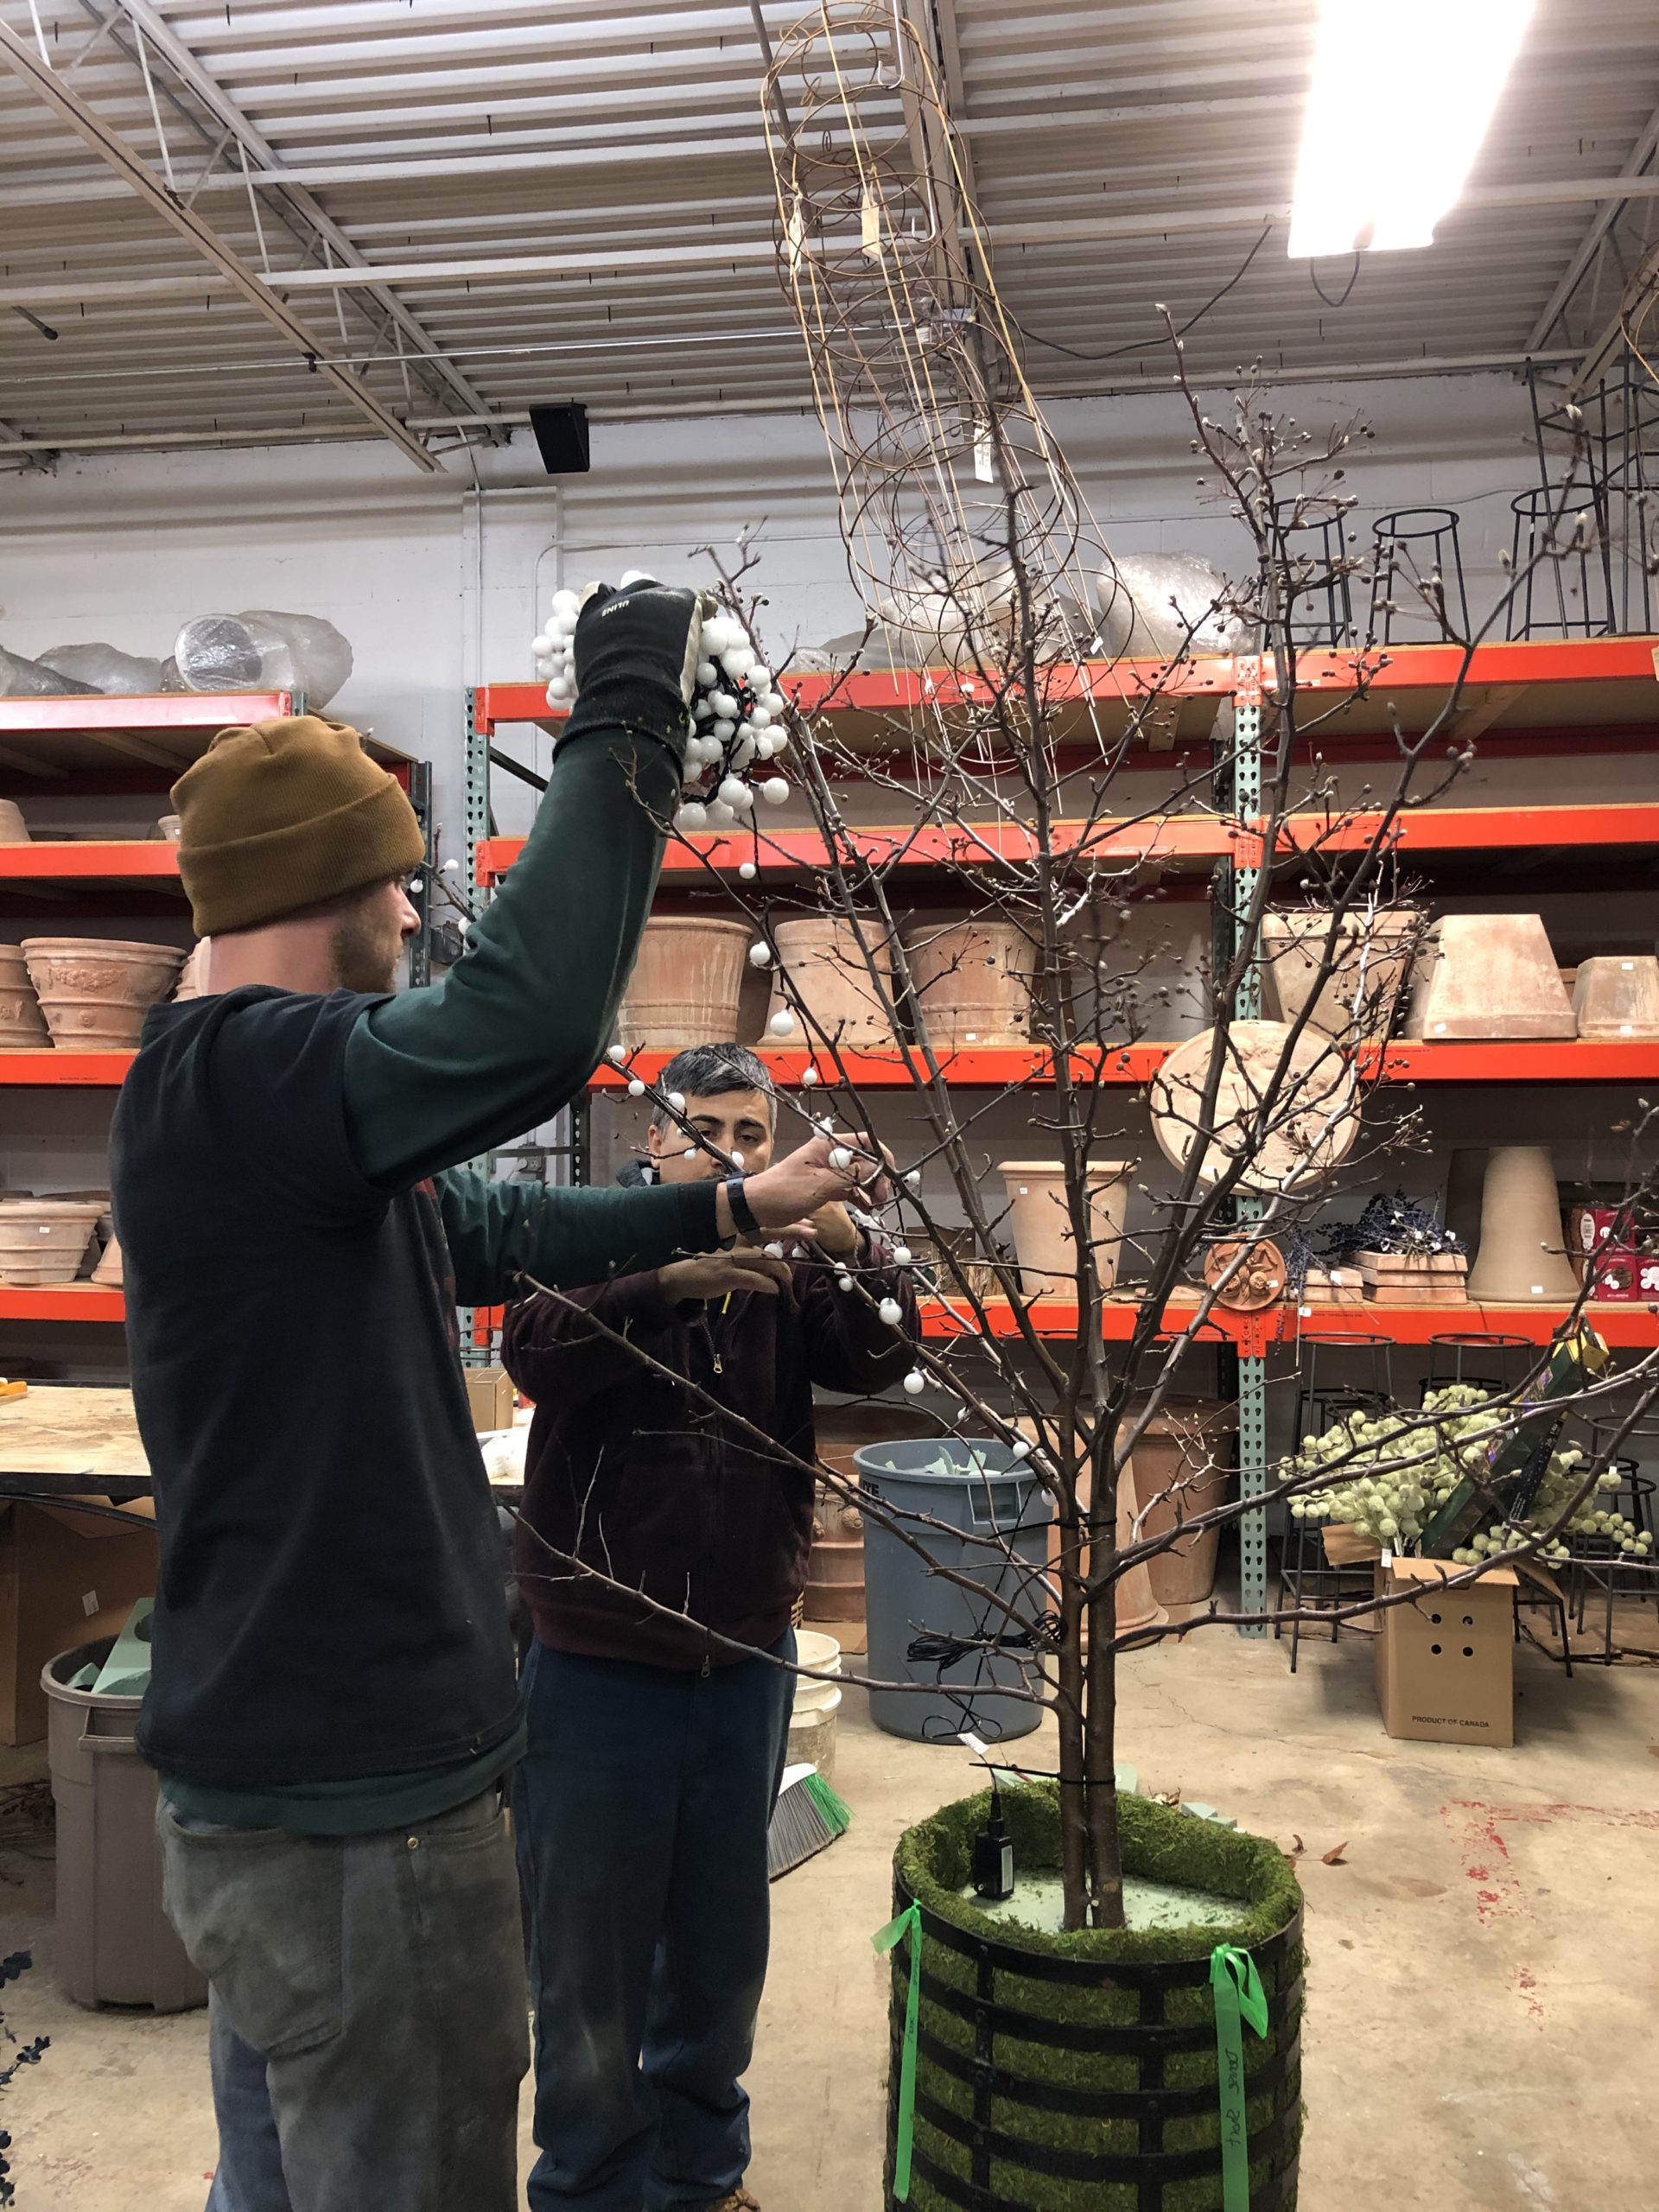
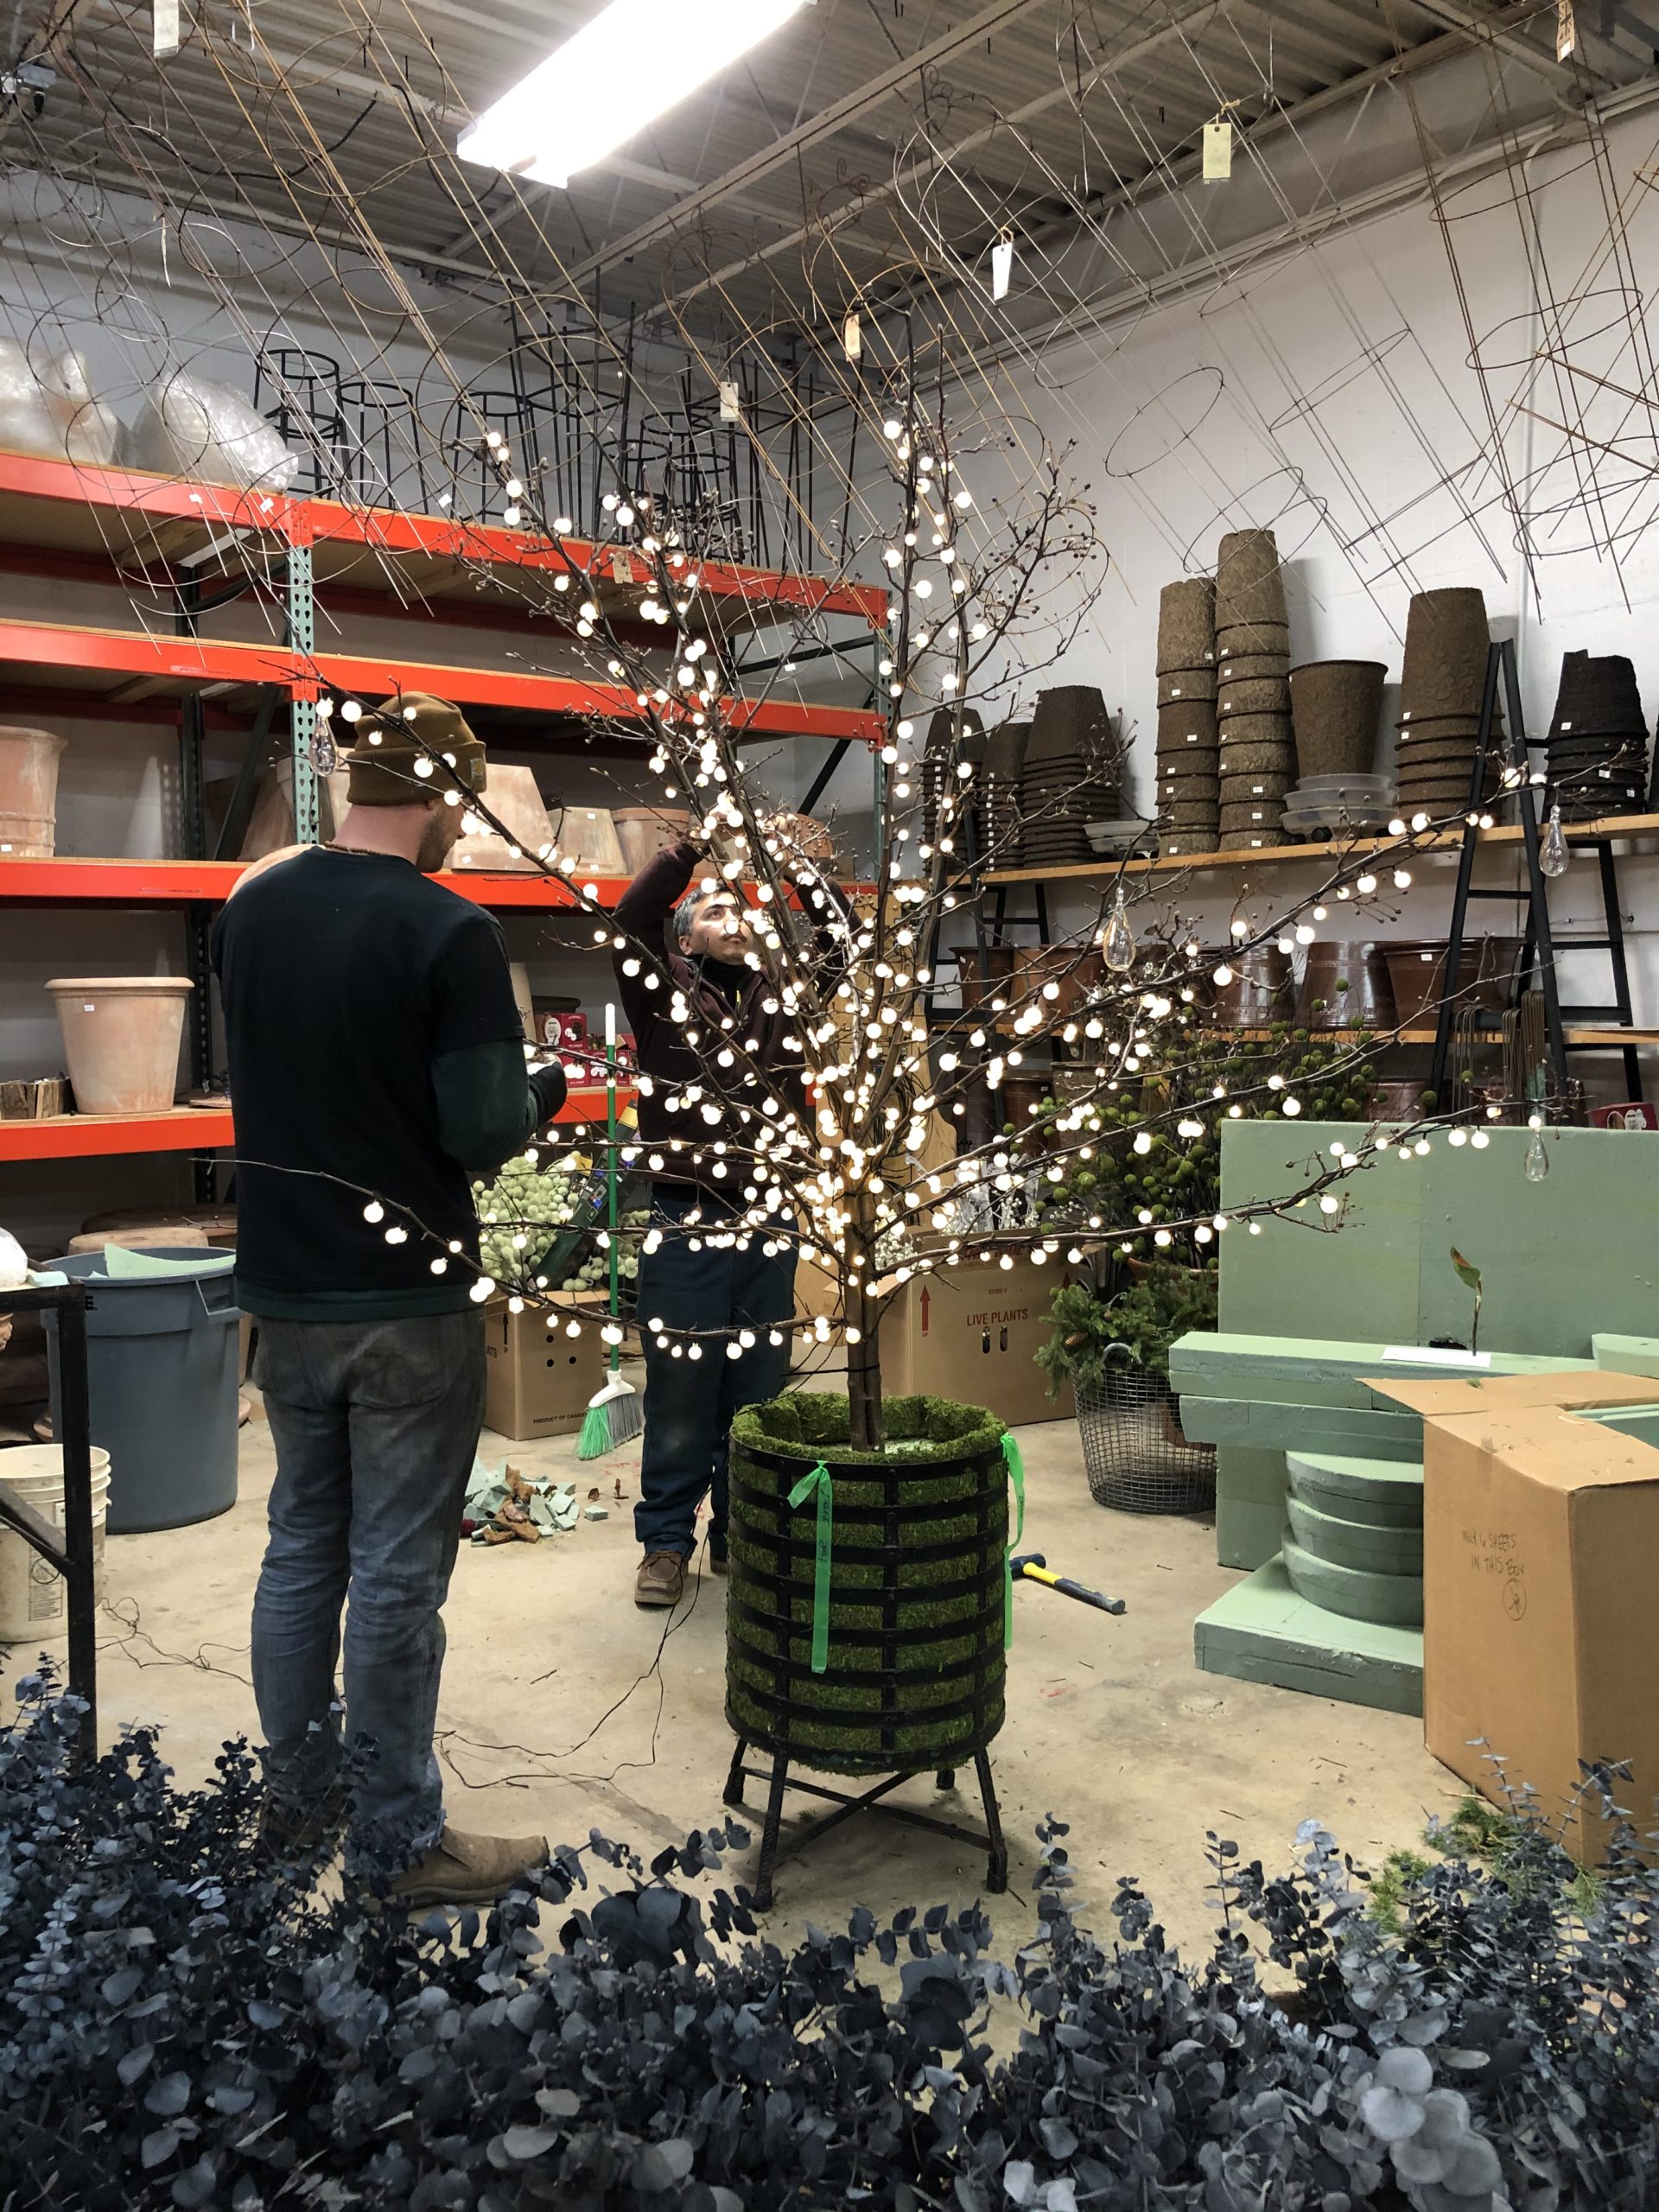
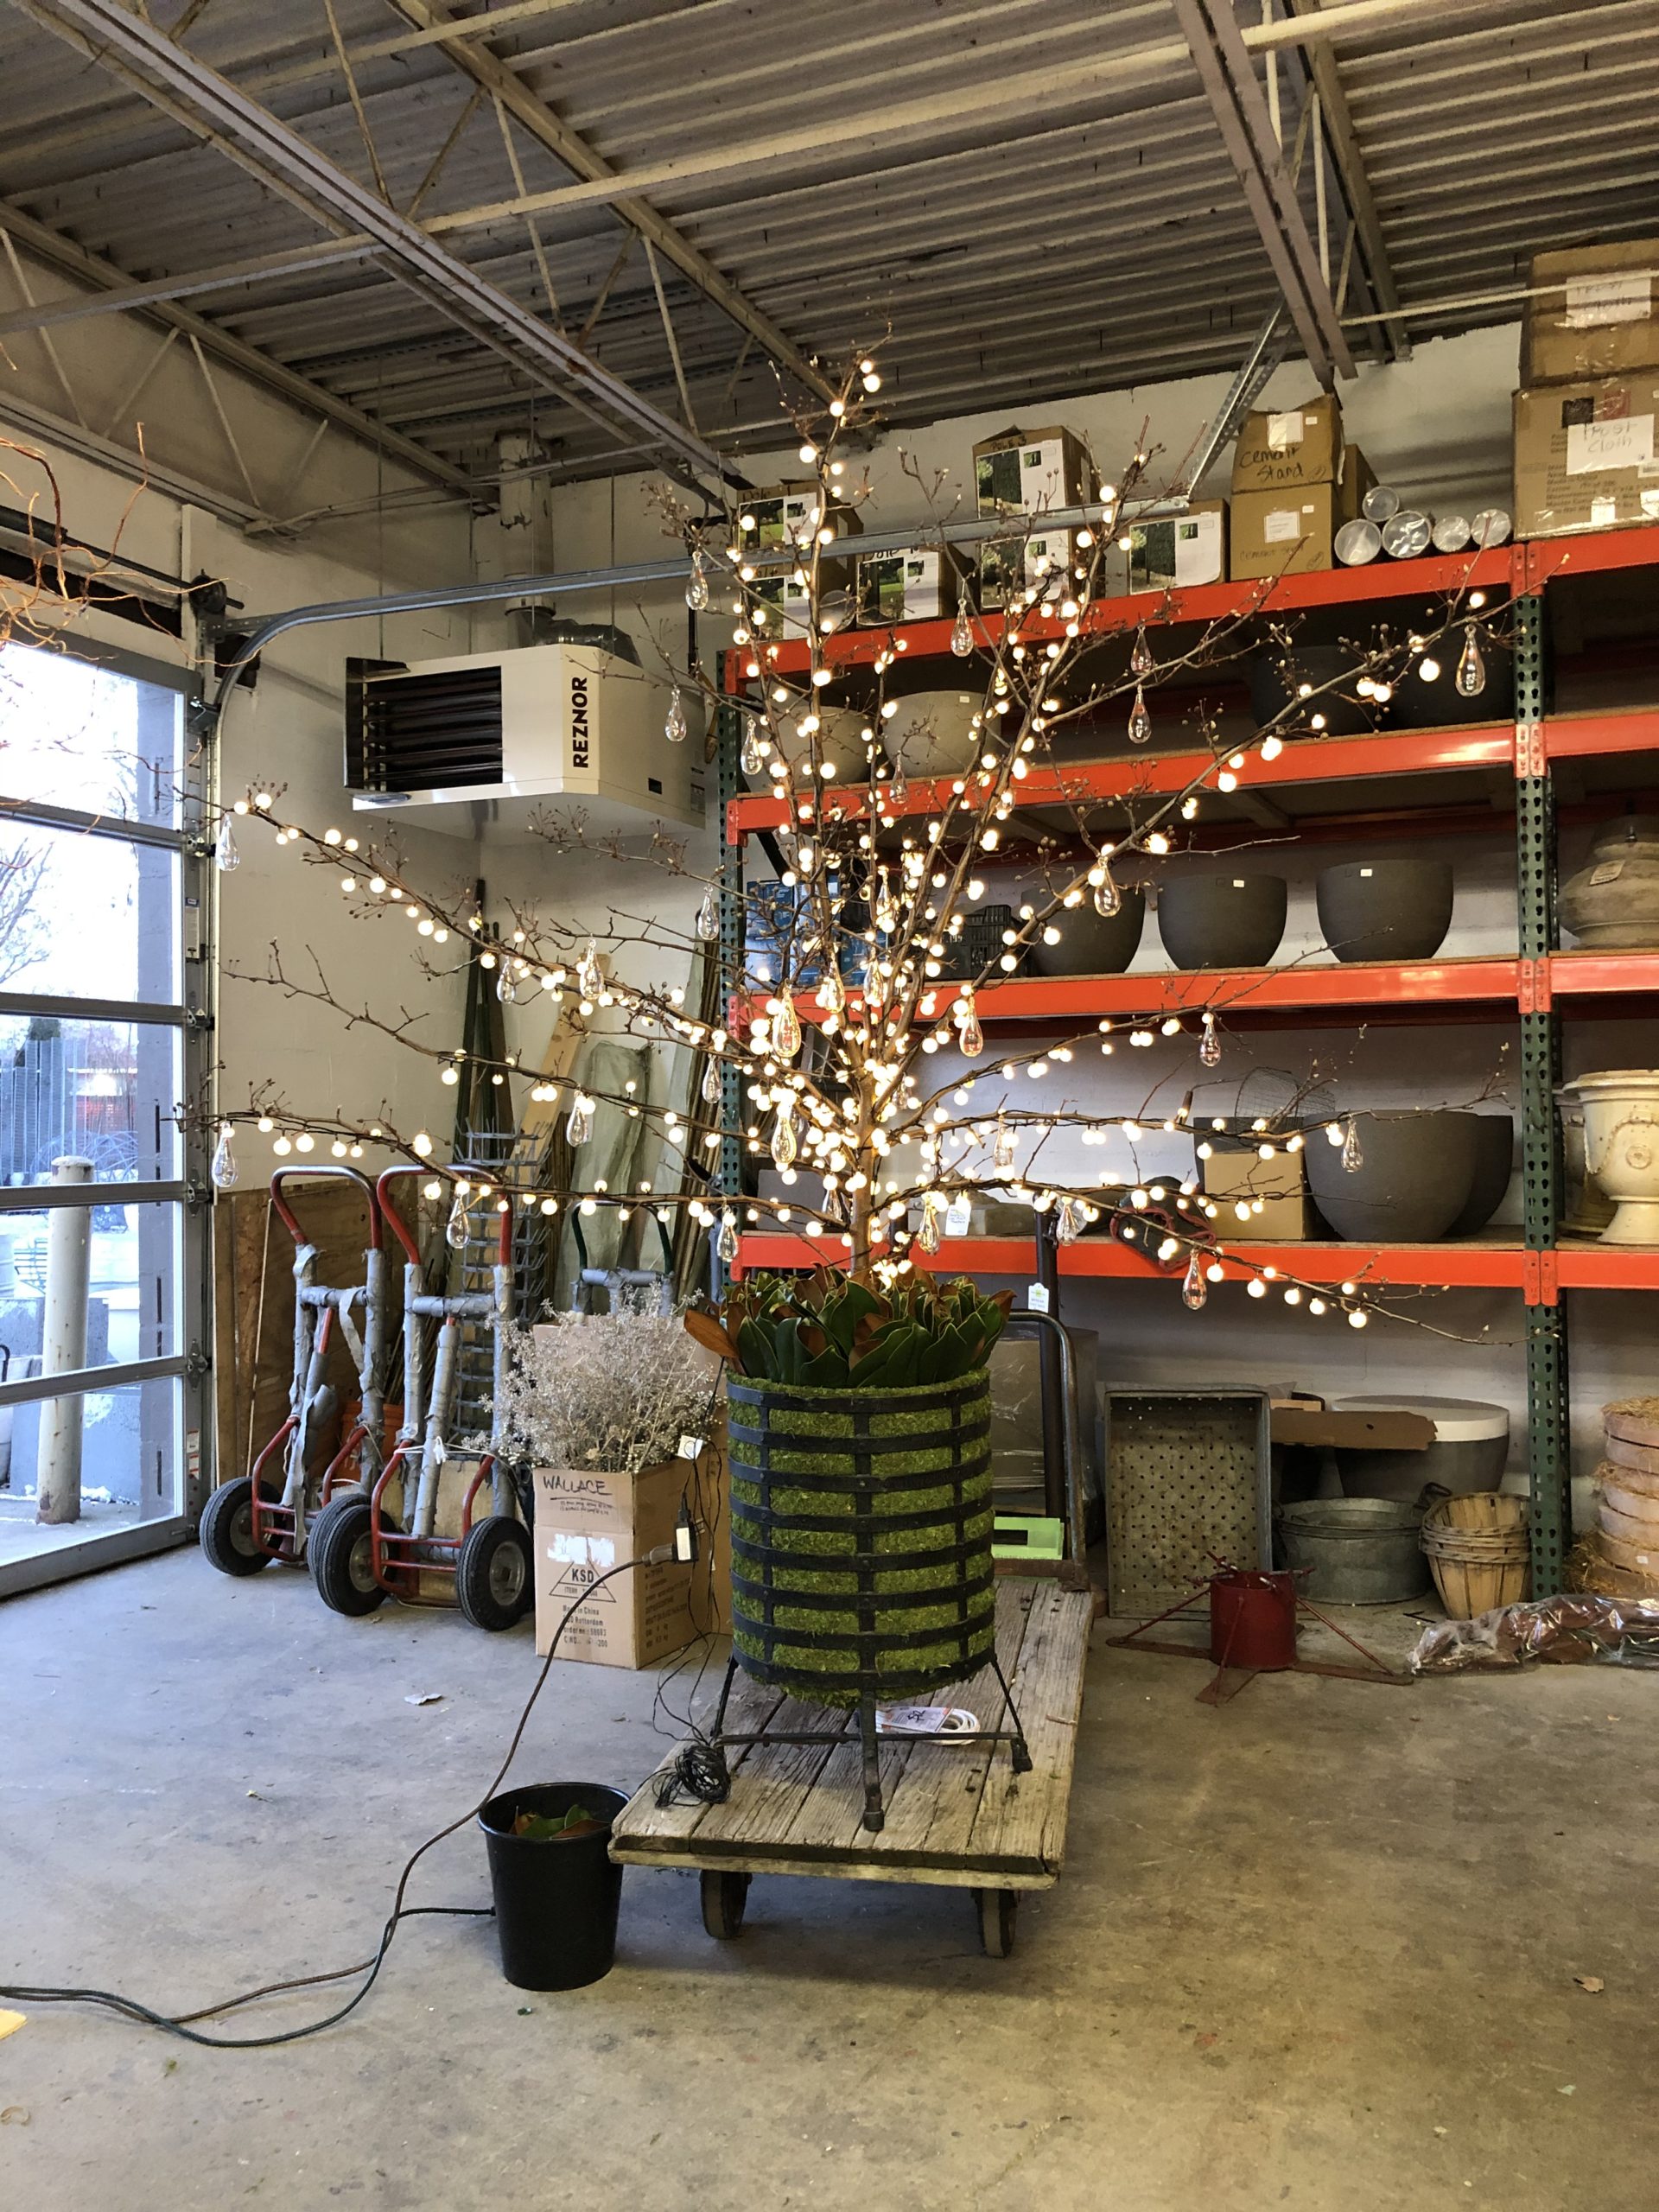
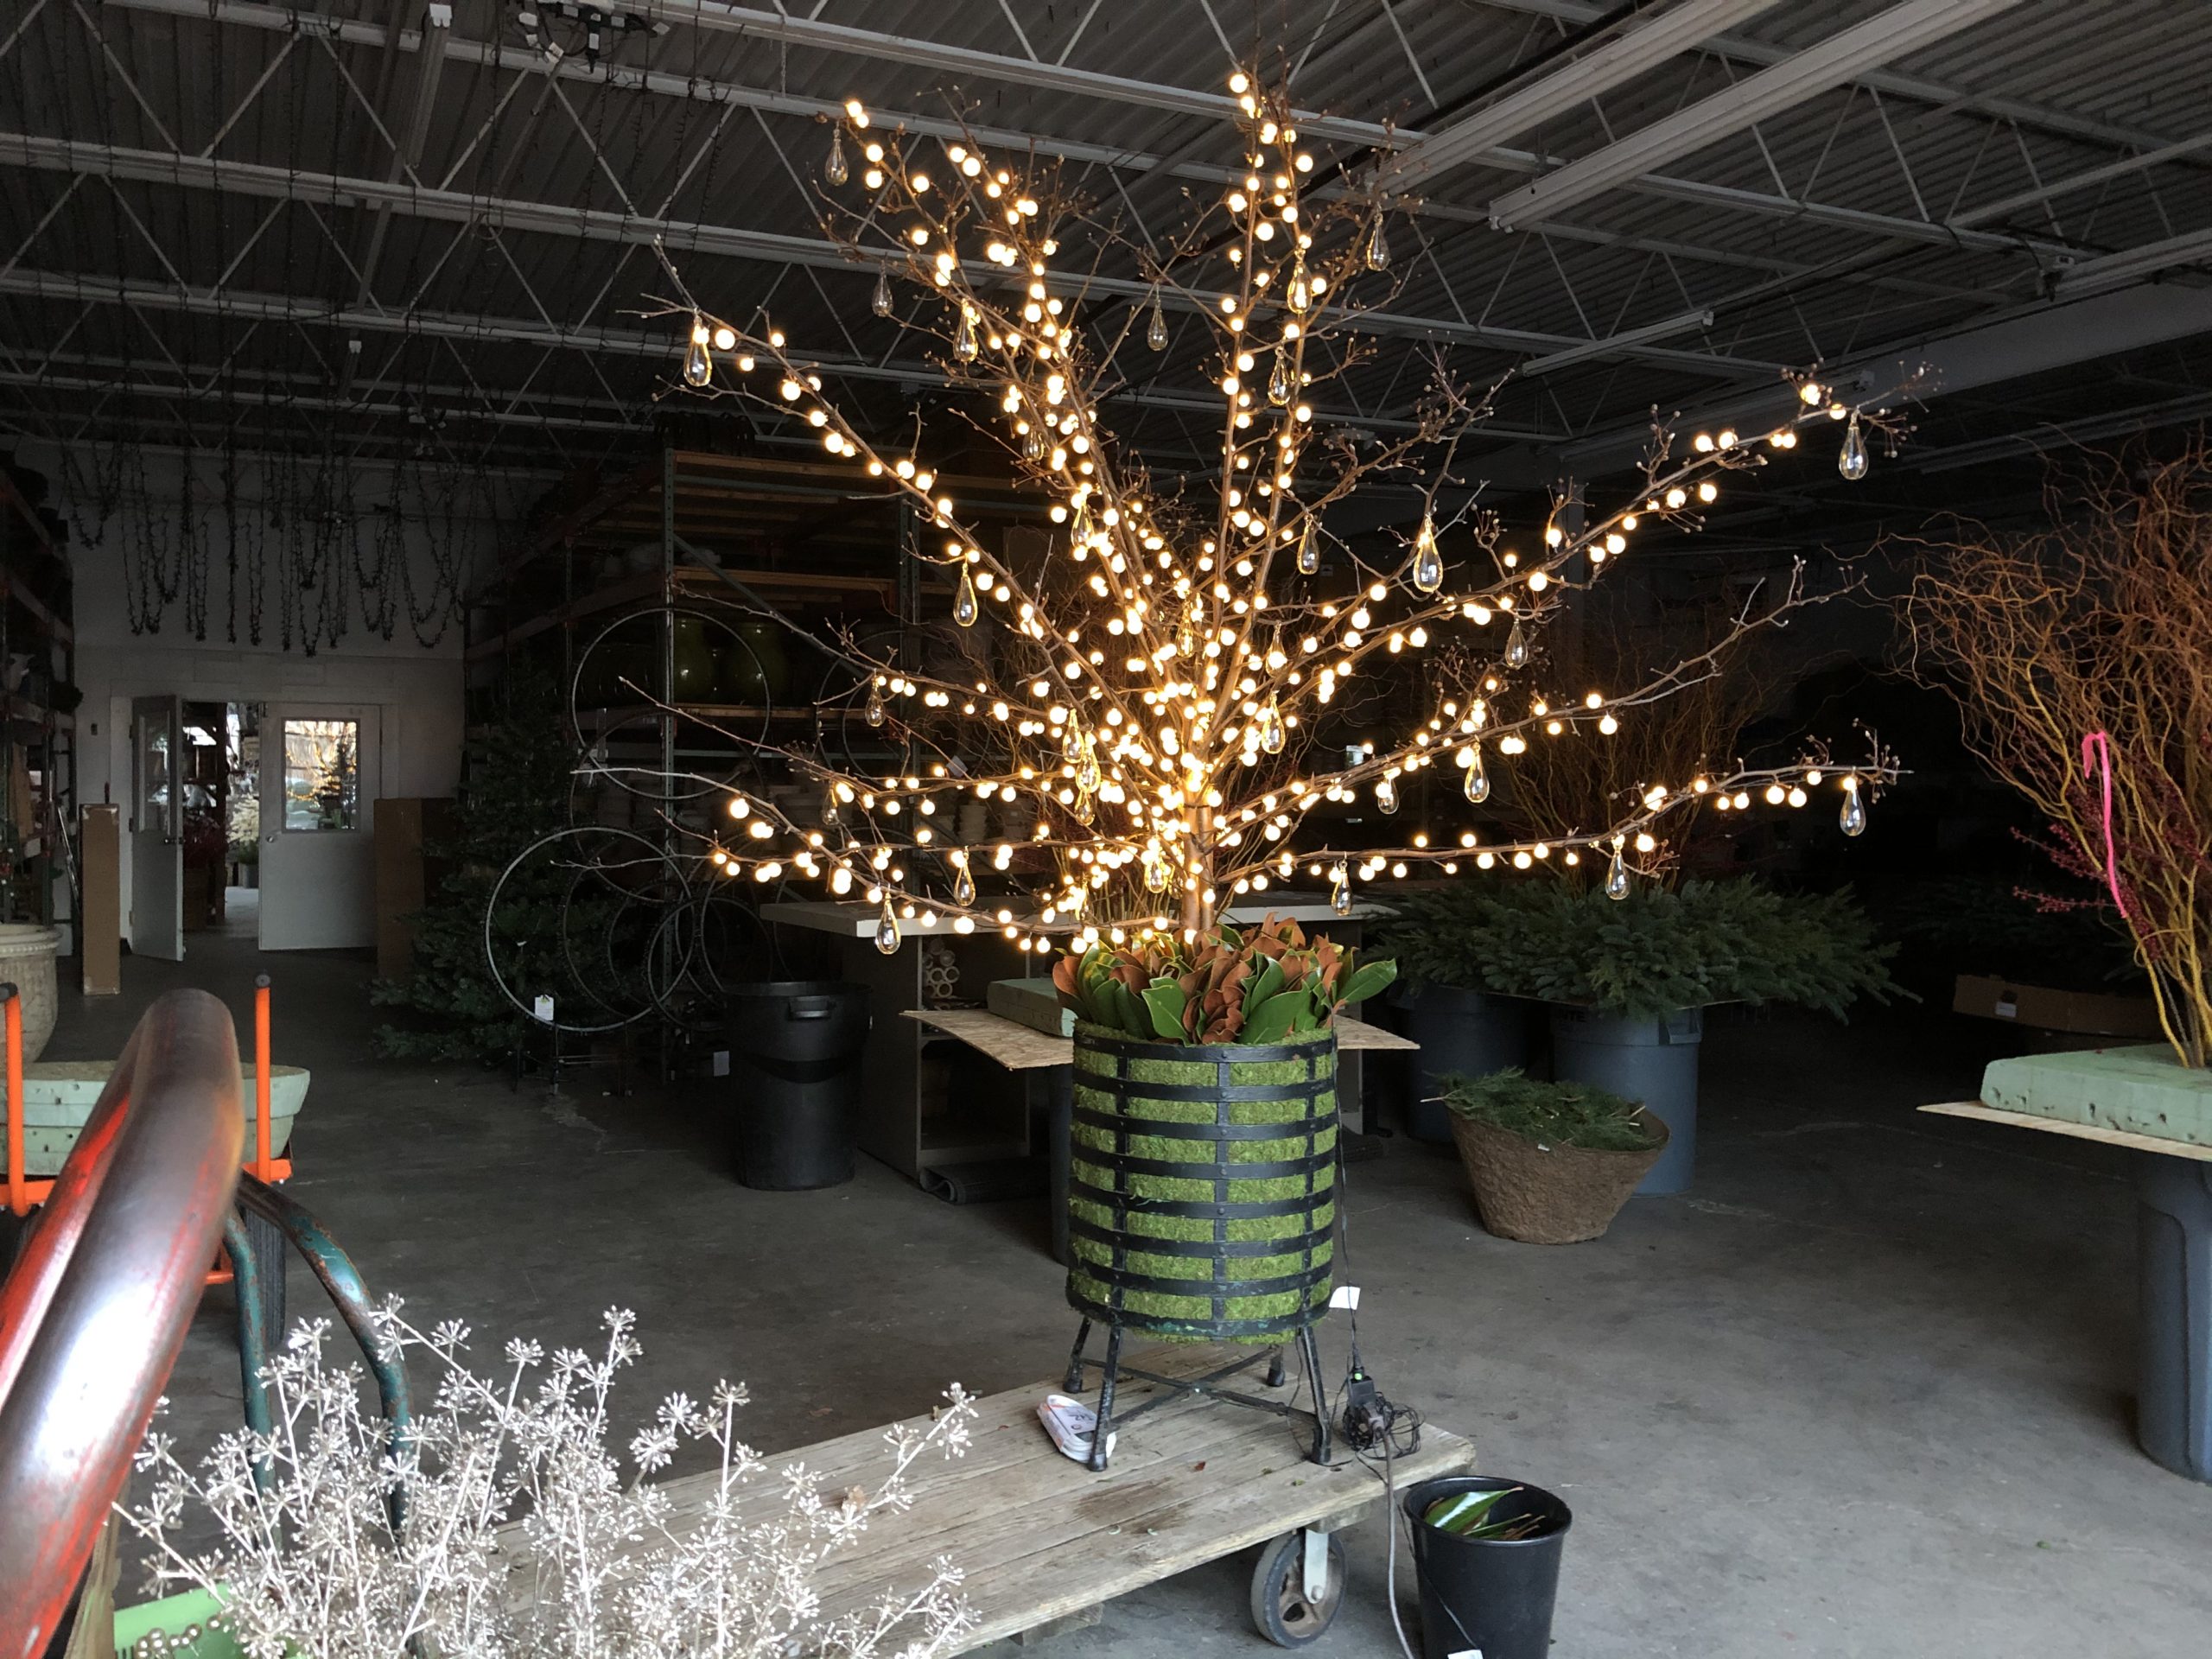
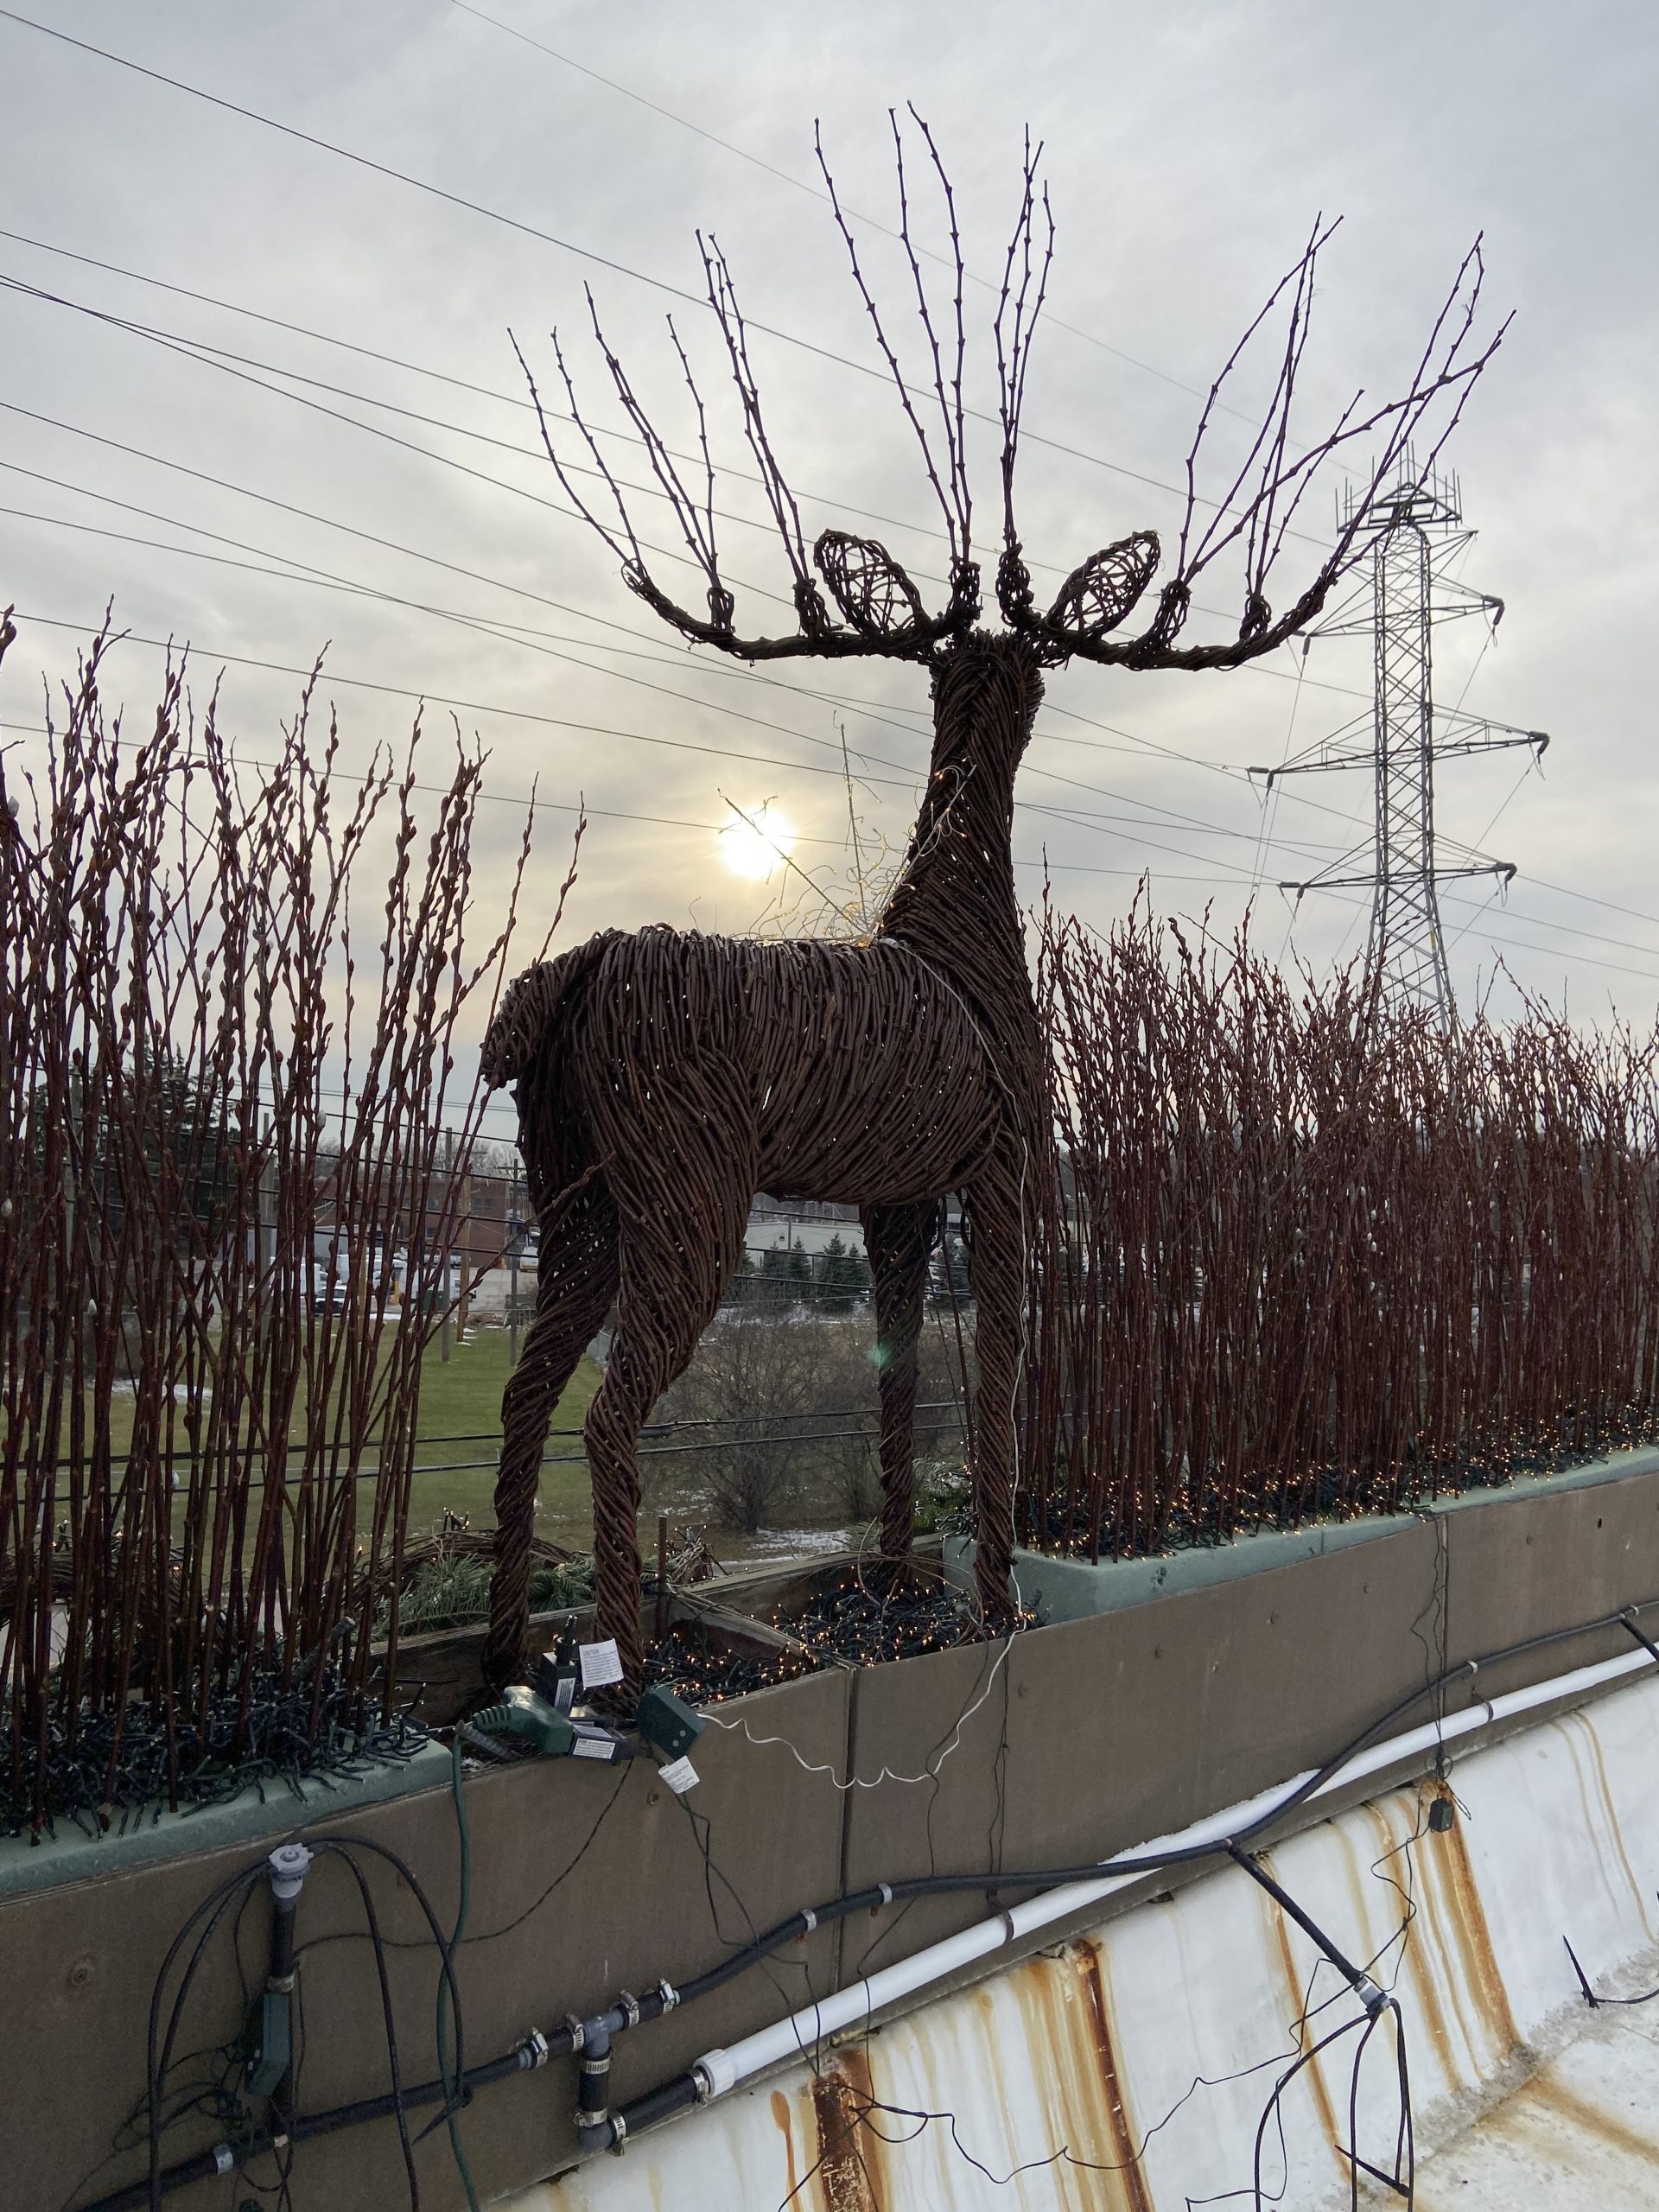 The roof at Detroit Garden Works is home to eight planter boxes, each of which are five feet long. They were fabricated from heavy duty sheet metal – there is not one thing fancy about them. These painted metal hold soil, plants, and an irrigation system. The magic is what gets grown in them over the summer. We intended to bring a little magic to the winter season that is at hand. Our reindeer was secured in the center via steel rebar pounded in at an angle. On an angle? A gusty wind could pull steel rods set vertically out of the soil in a matter of moments. The steel set on a steep angle is weighted down with a thick layer of saturated and frozen soil. A wind strong enough to uproot that buck would be a rare wind indeed, and most likely would take the box as well. We took every precaution to keep that reindeer in place. Of course we needed lots of lights. And a thicket of twigs. As the soil was frozen solid, we made foam forms, buttered them with lights, and stuck them with medium height pussy willow. Each one of these forms was additionally secured with angled steel rebar and concrete wire. Suffice it to say there is a lot of rebar on the roof right now.
 All of the irrigation tubes and emitters were pitched over the sides of the boxes. There was plenty of additional work involved in making it possible to flip the switch on the lights.
 A simple evergreen garland, wound round with garland light studded grapevine was attached to the leading edge of the boxes, and down the sides of the building.
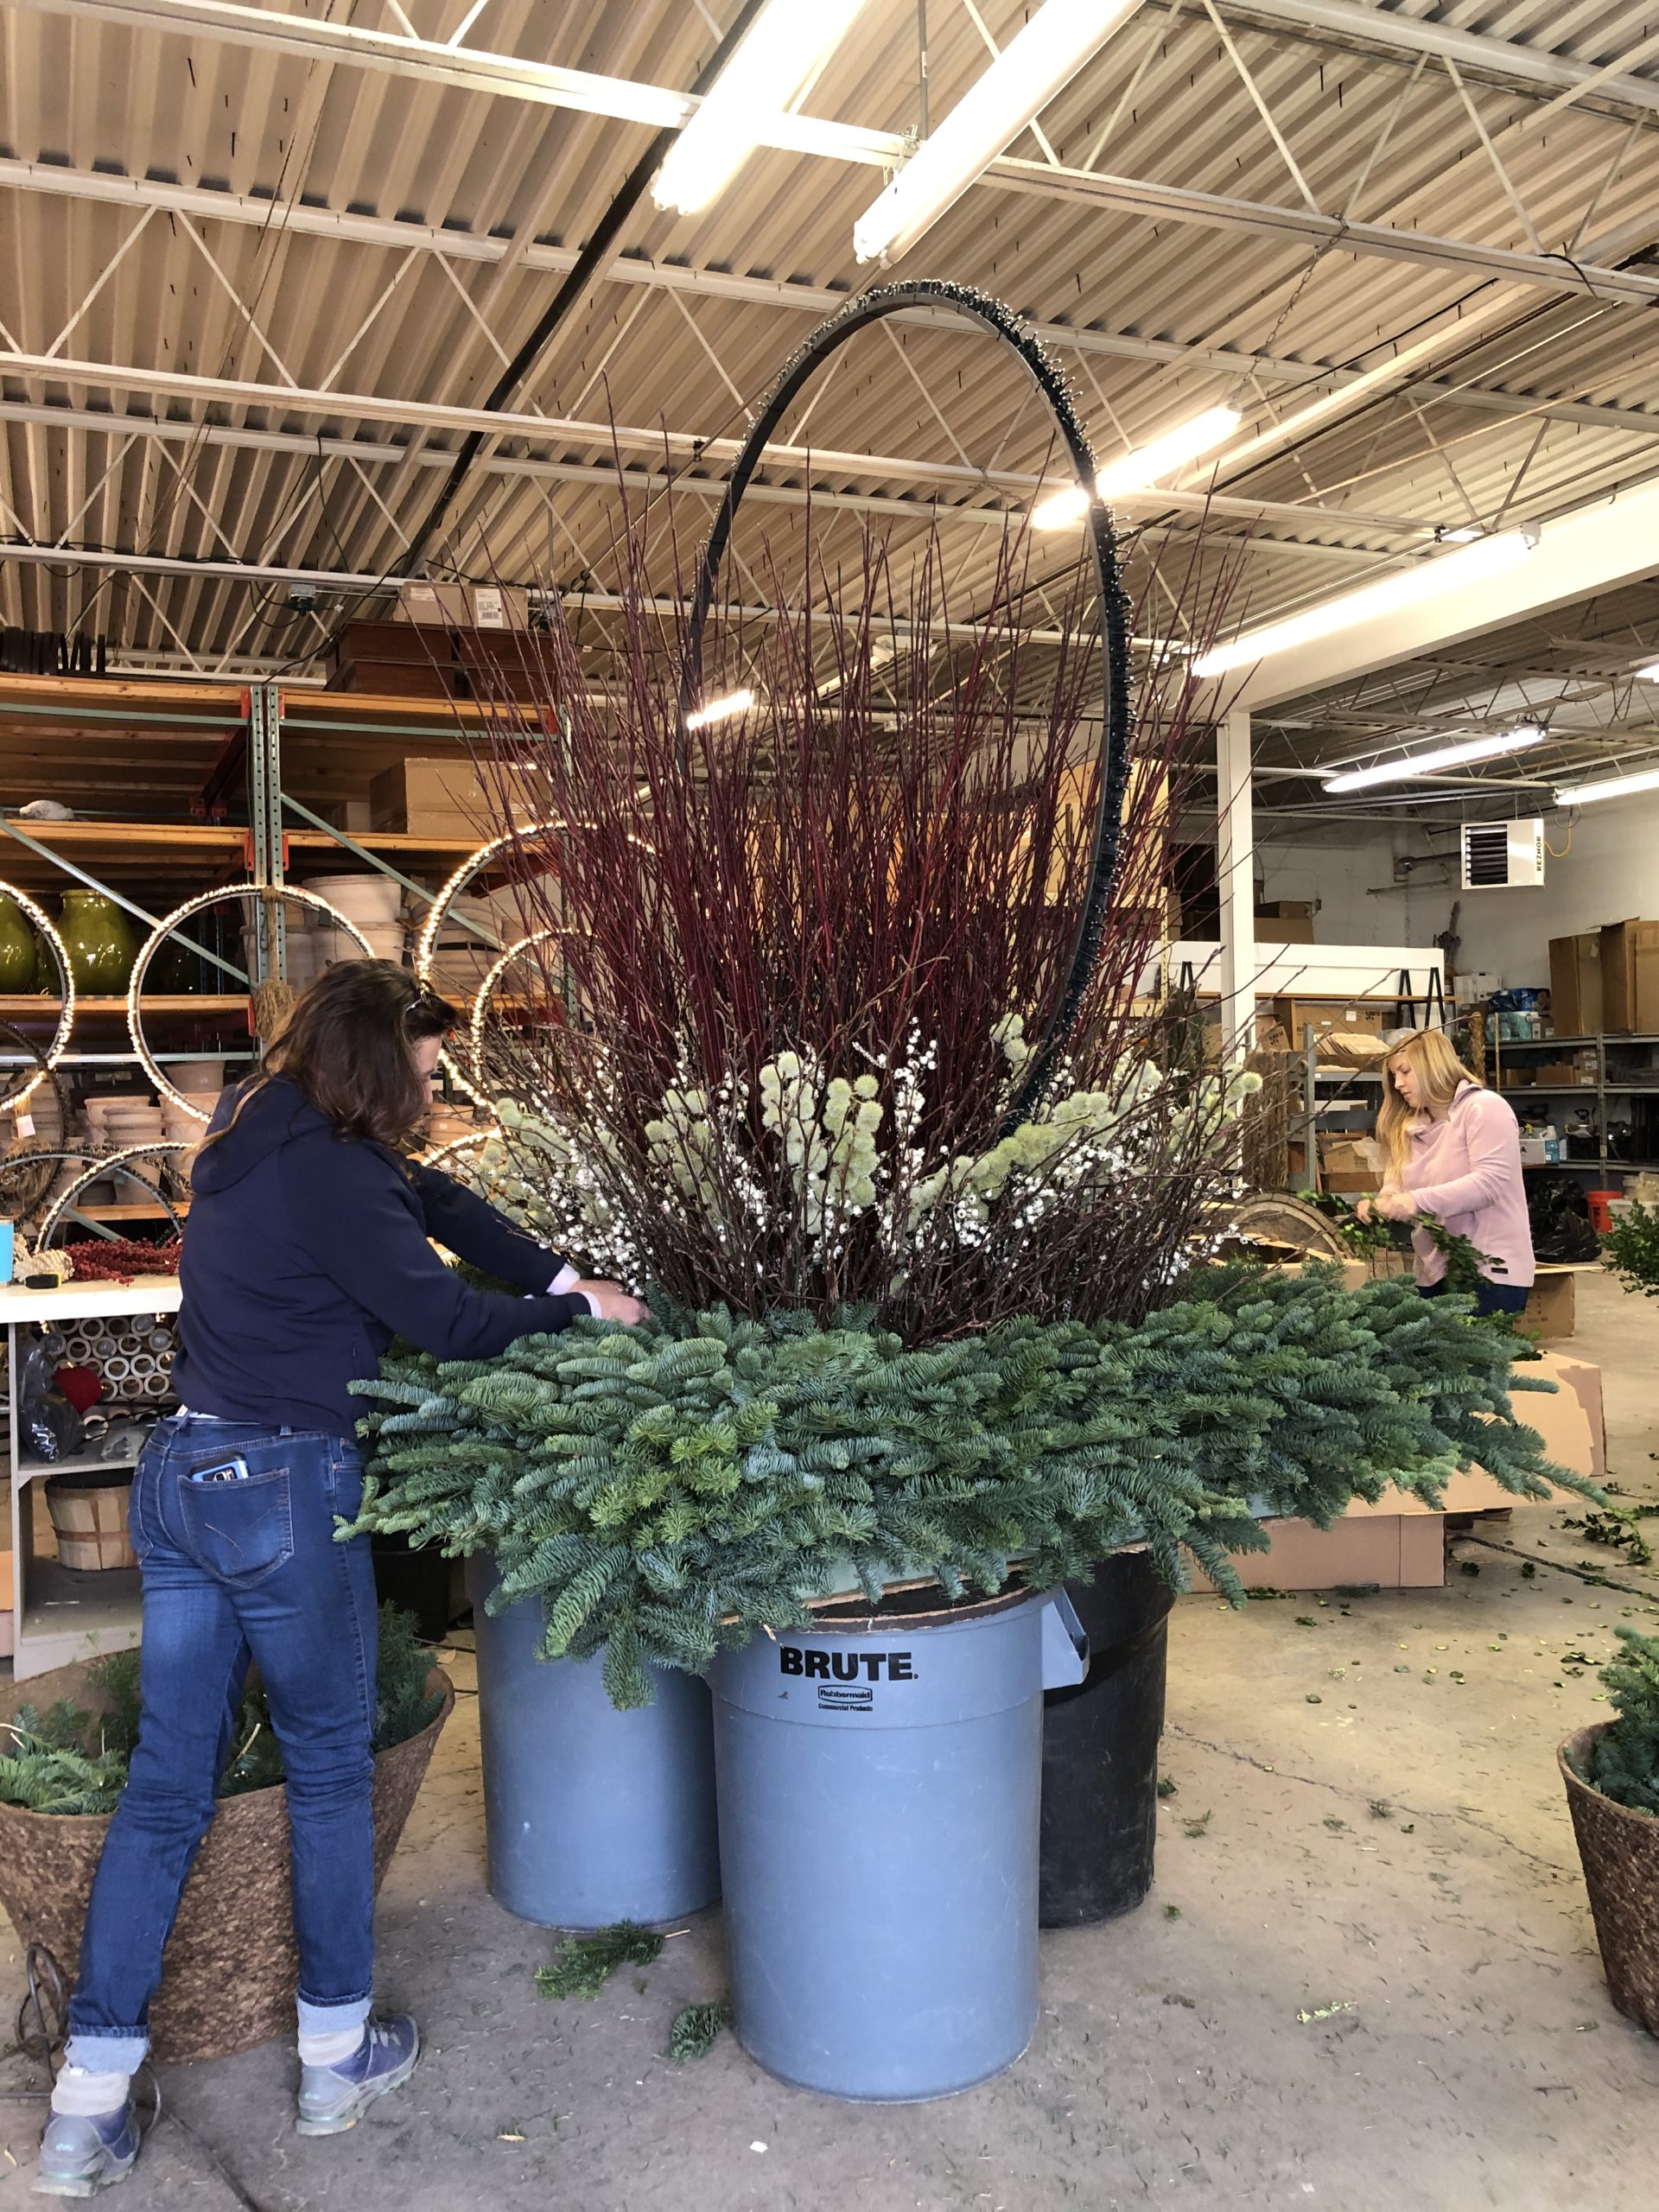
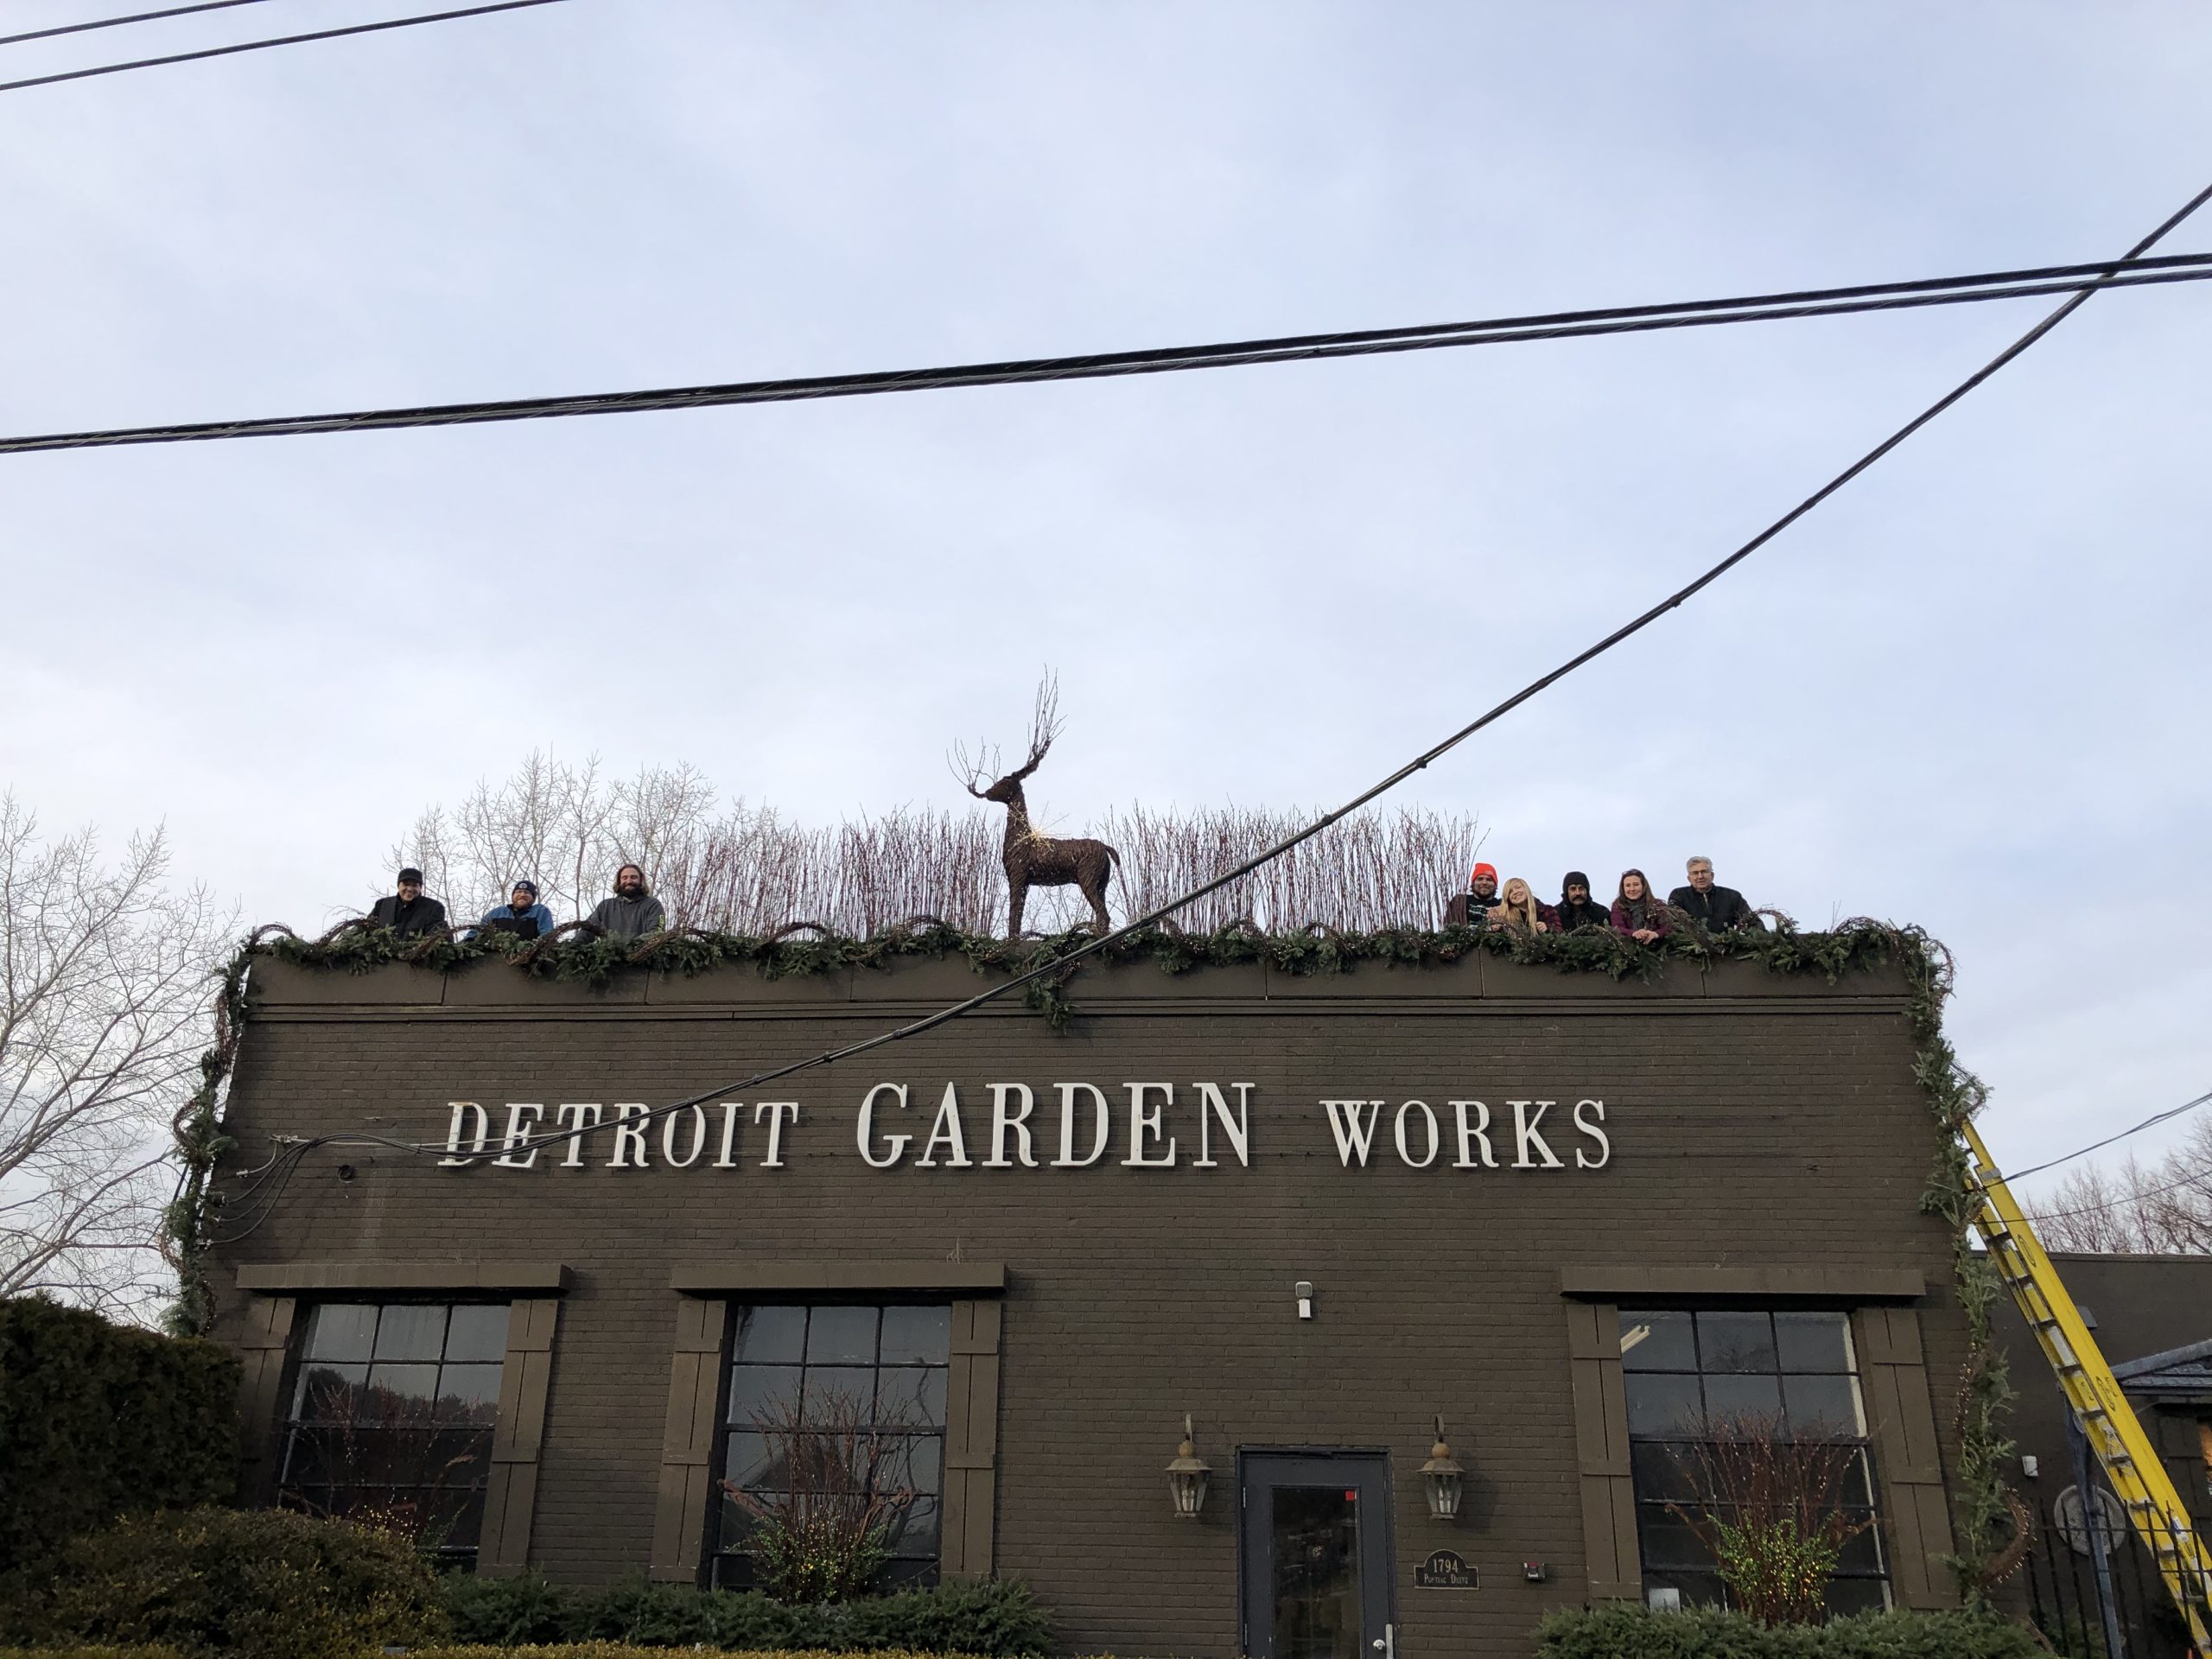 My crew was keen for a group portrait. Why not? These pictures do not really reveal all of the work that went in to moving this project along to this point. They were caught up in the fun of it, and committed to seeing it through.
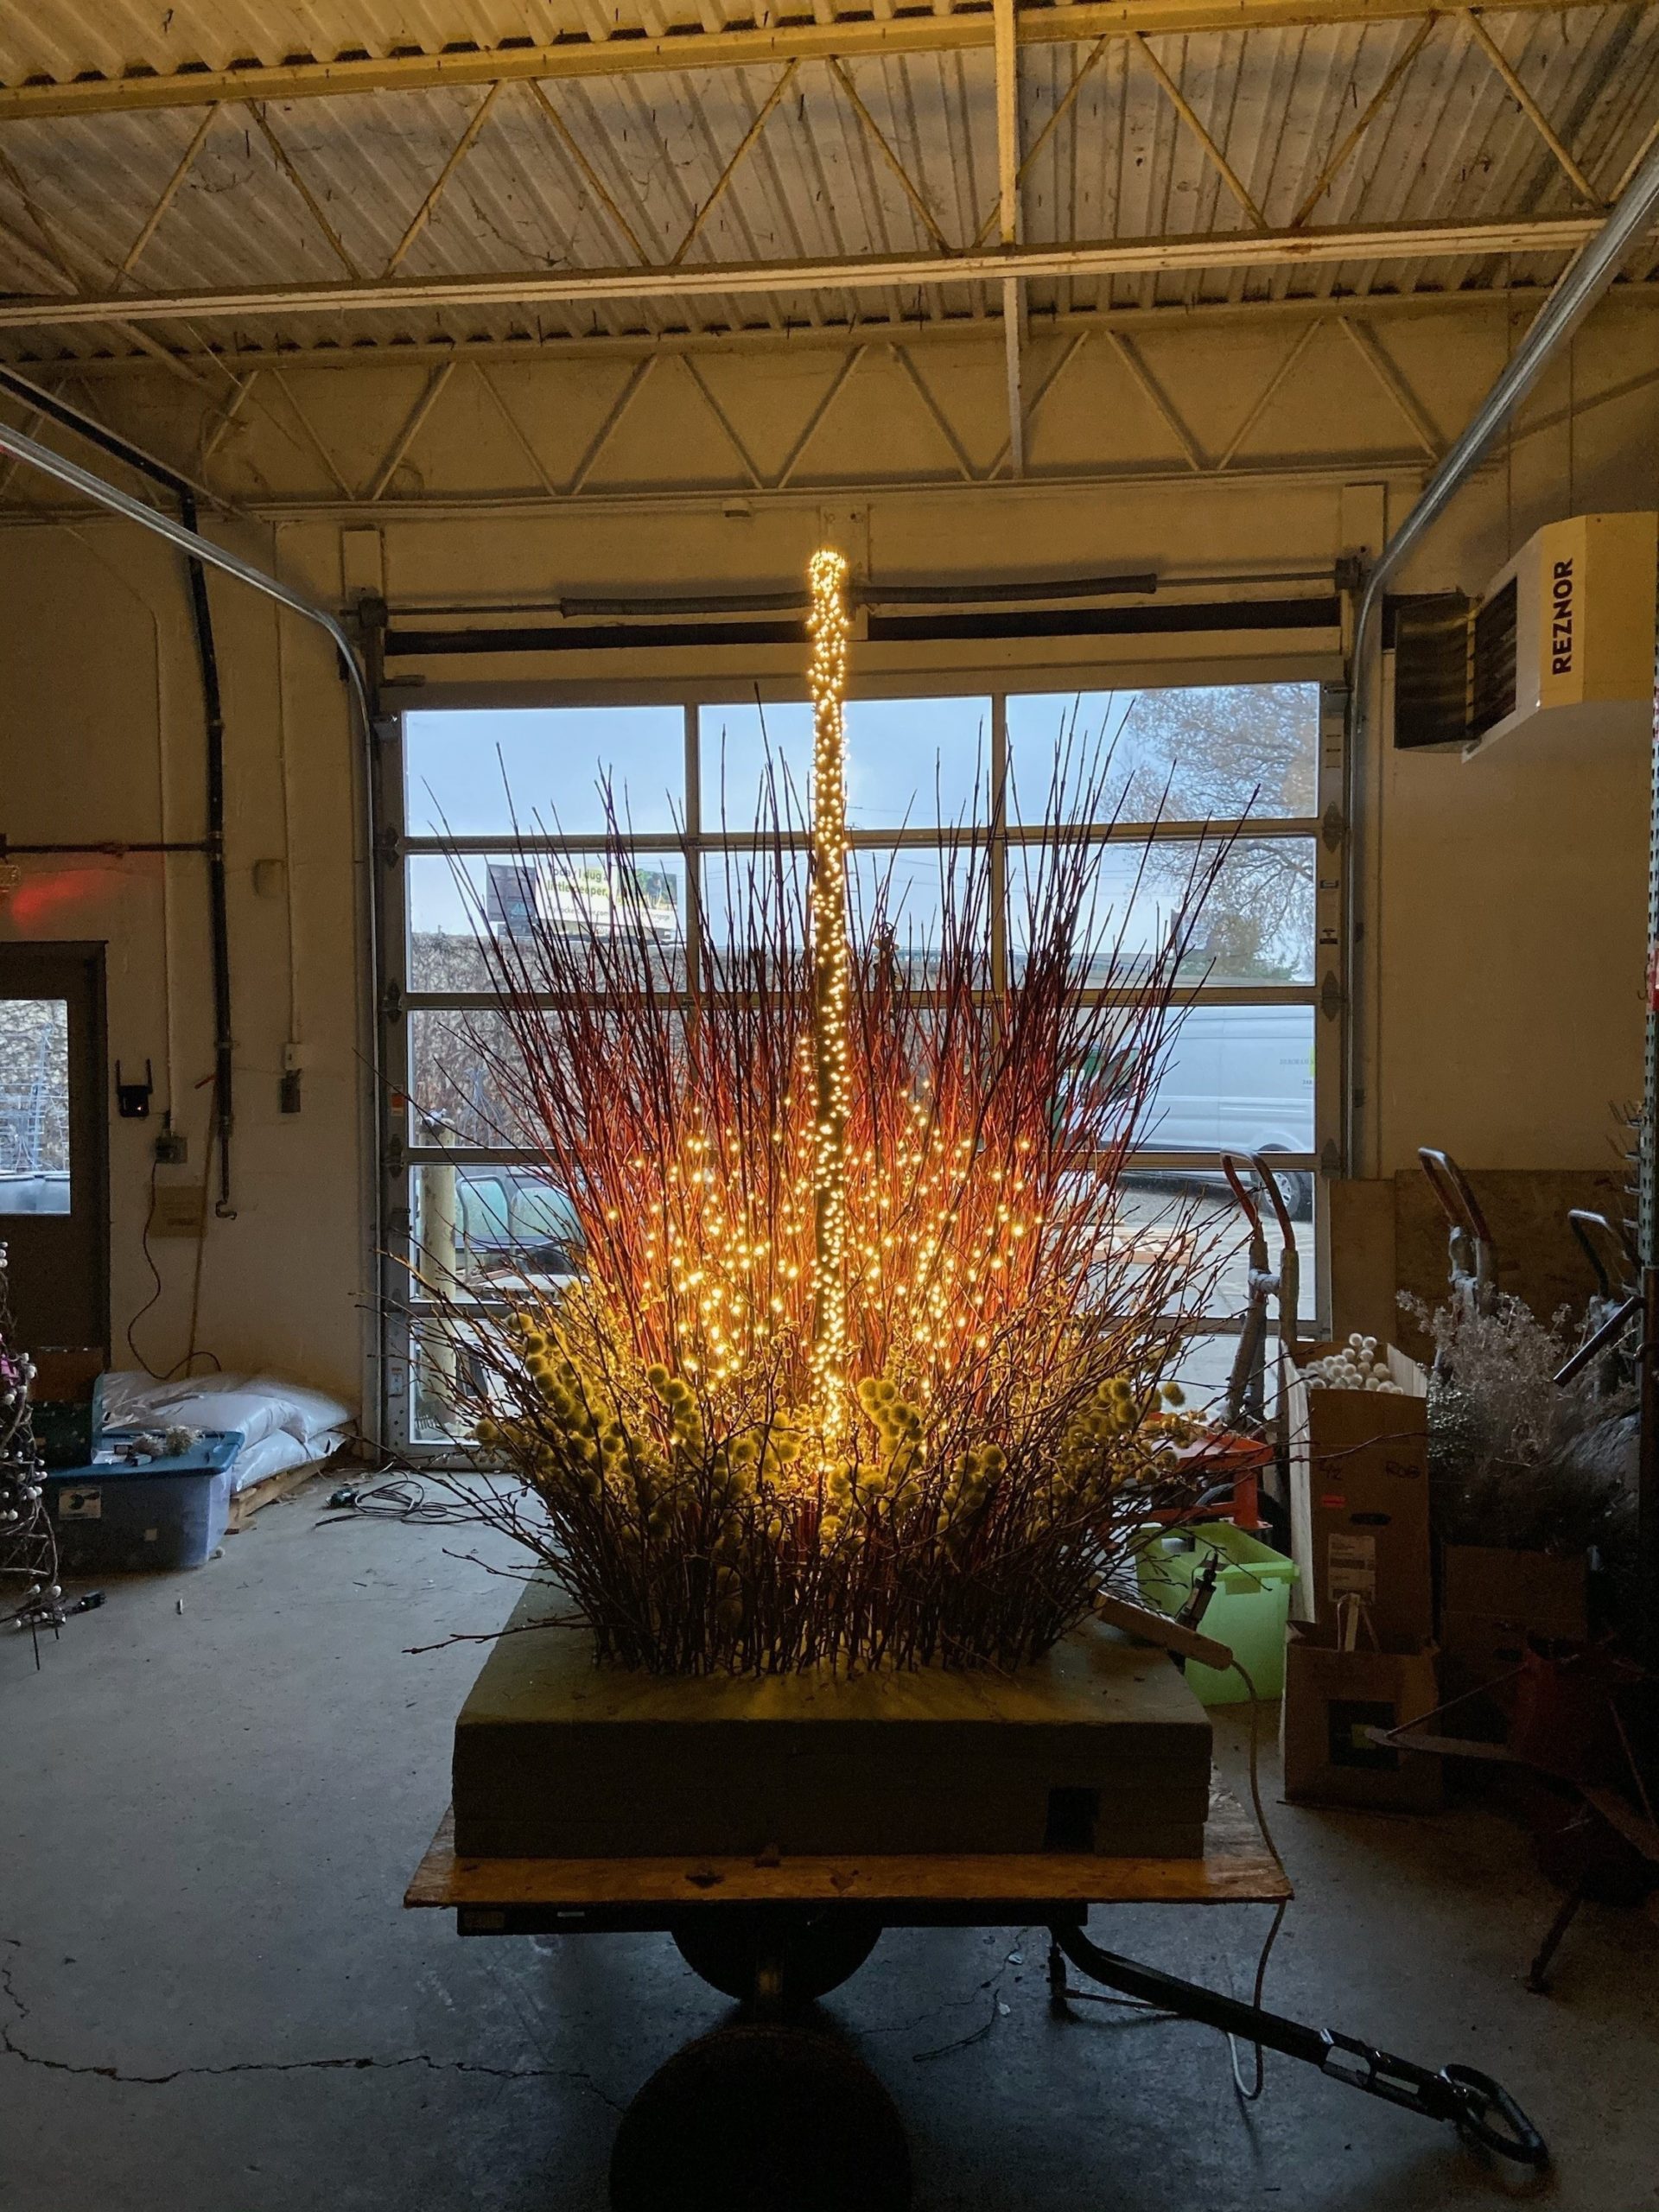
 The view at dusk made it clear we needed to do more. The thicket of twigs needed to describe the entire width of the building. We had run out of pussy willow, so what now?
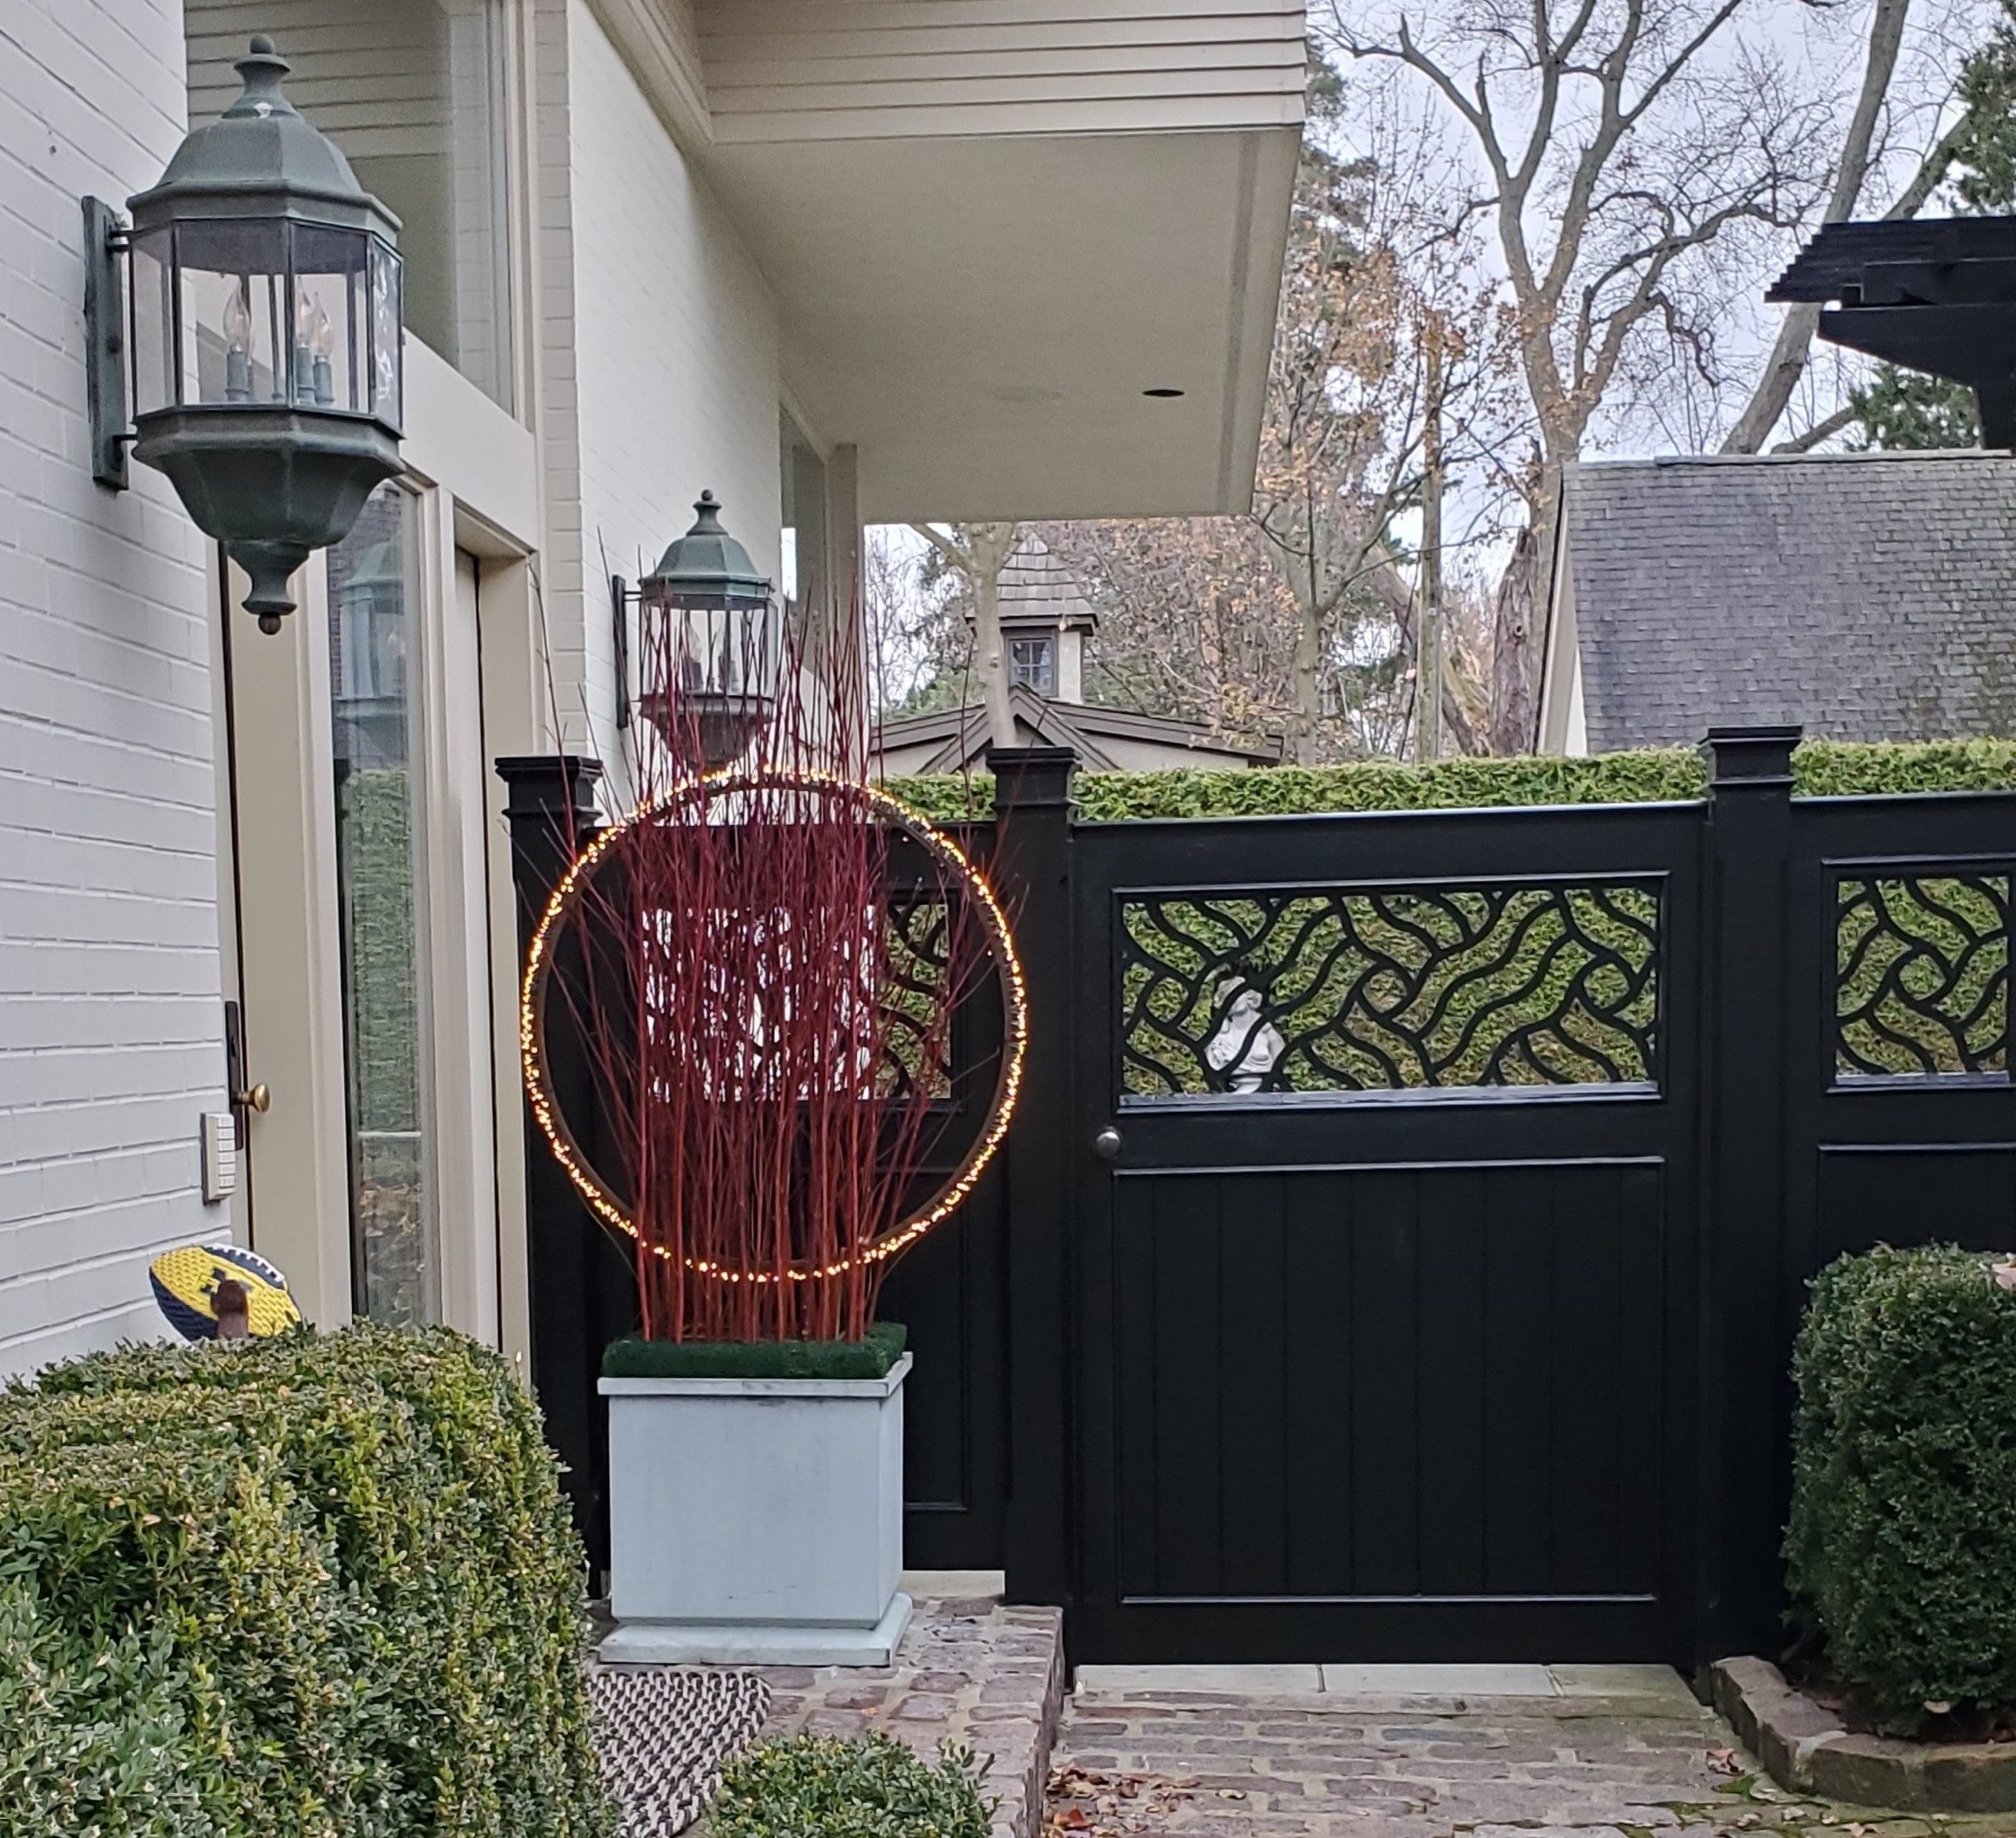
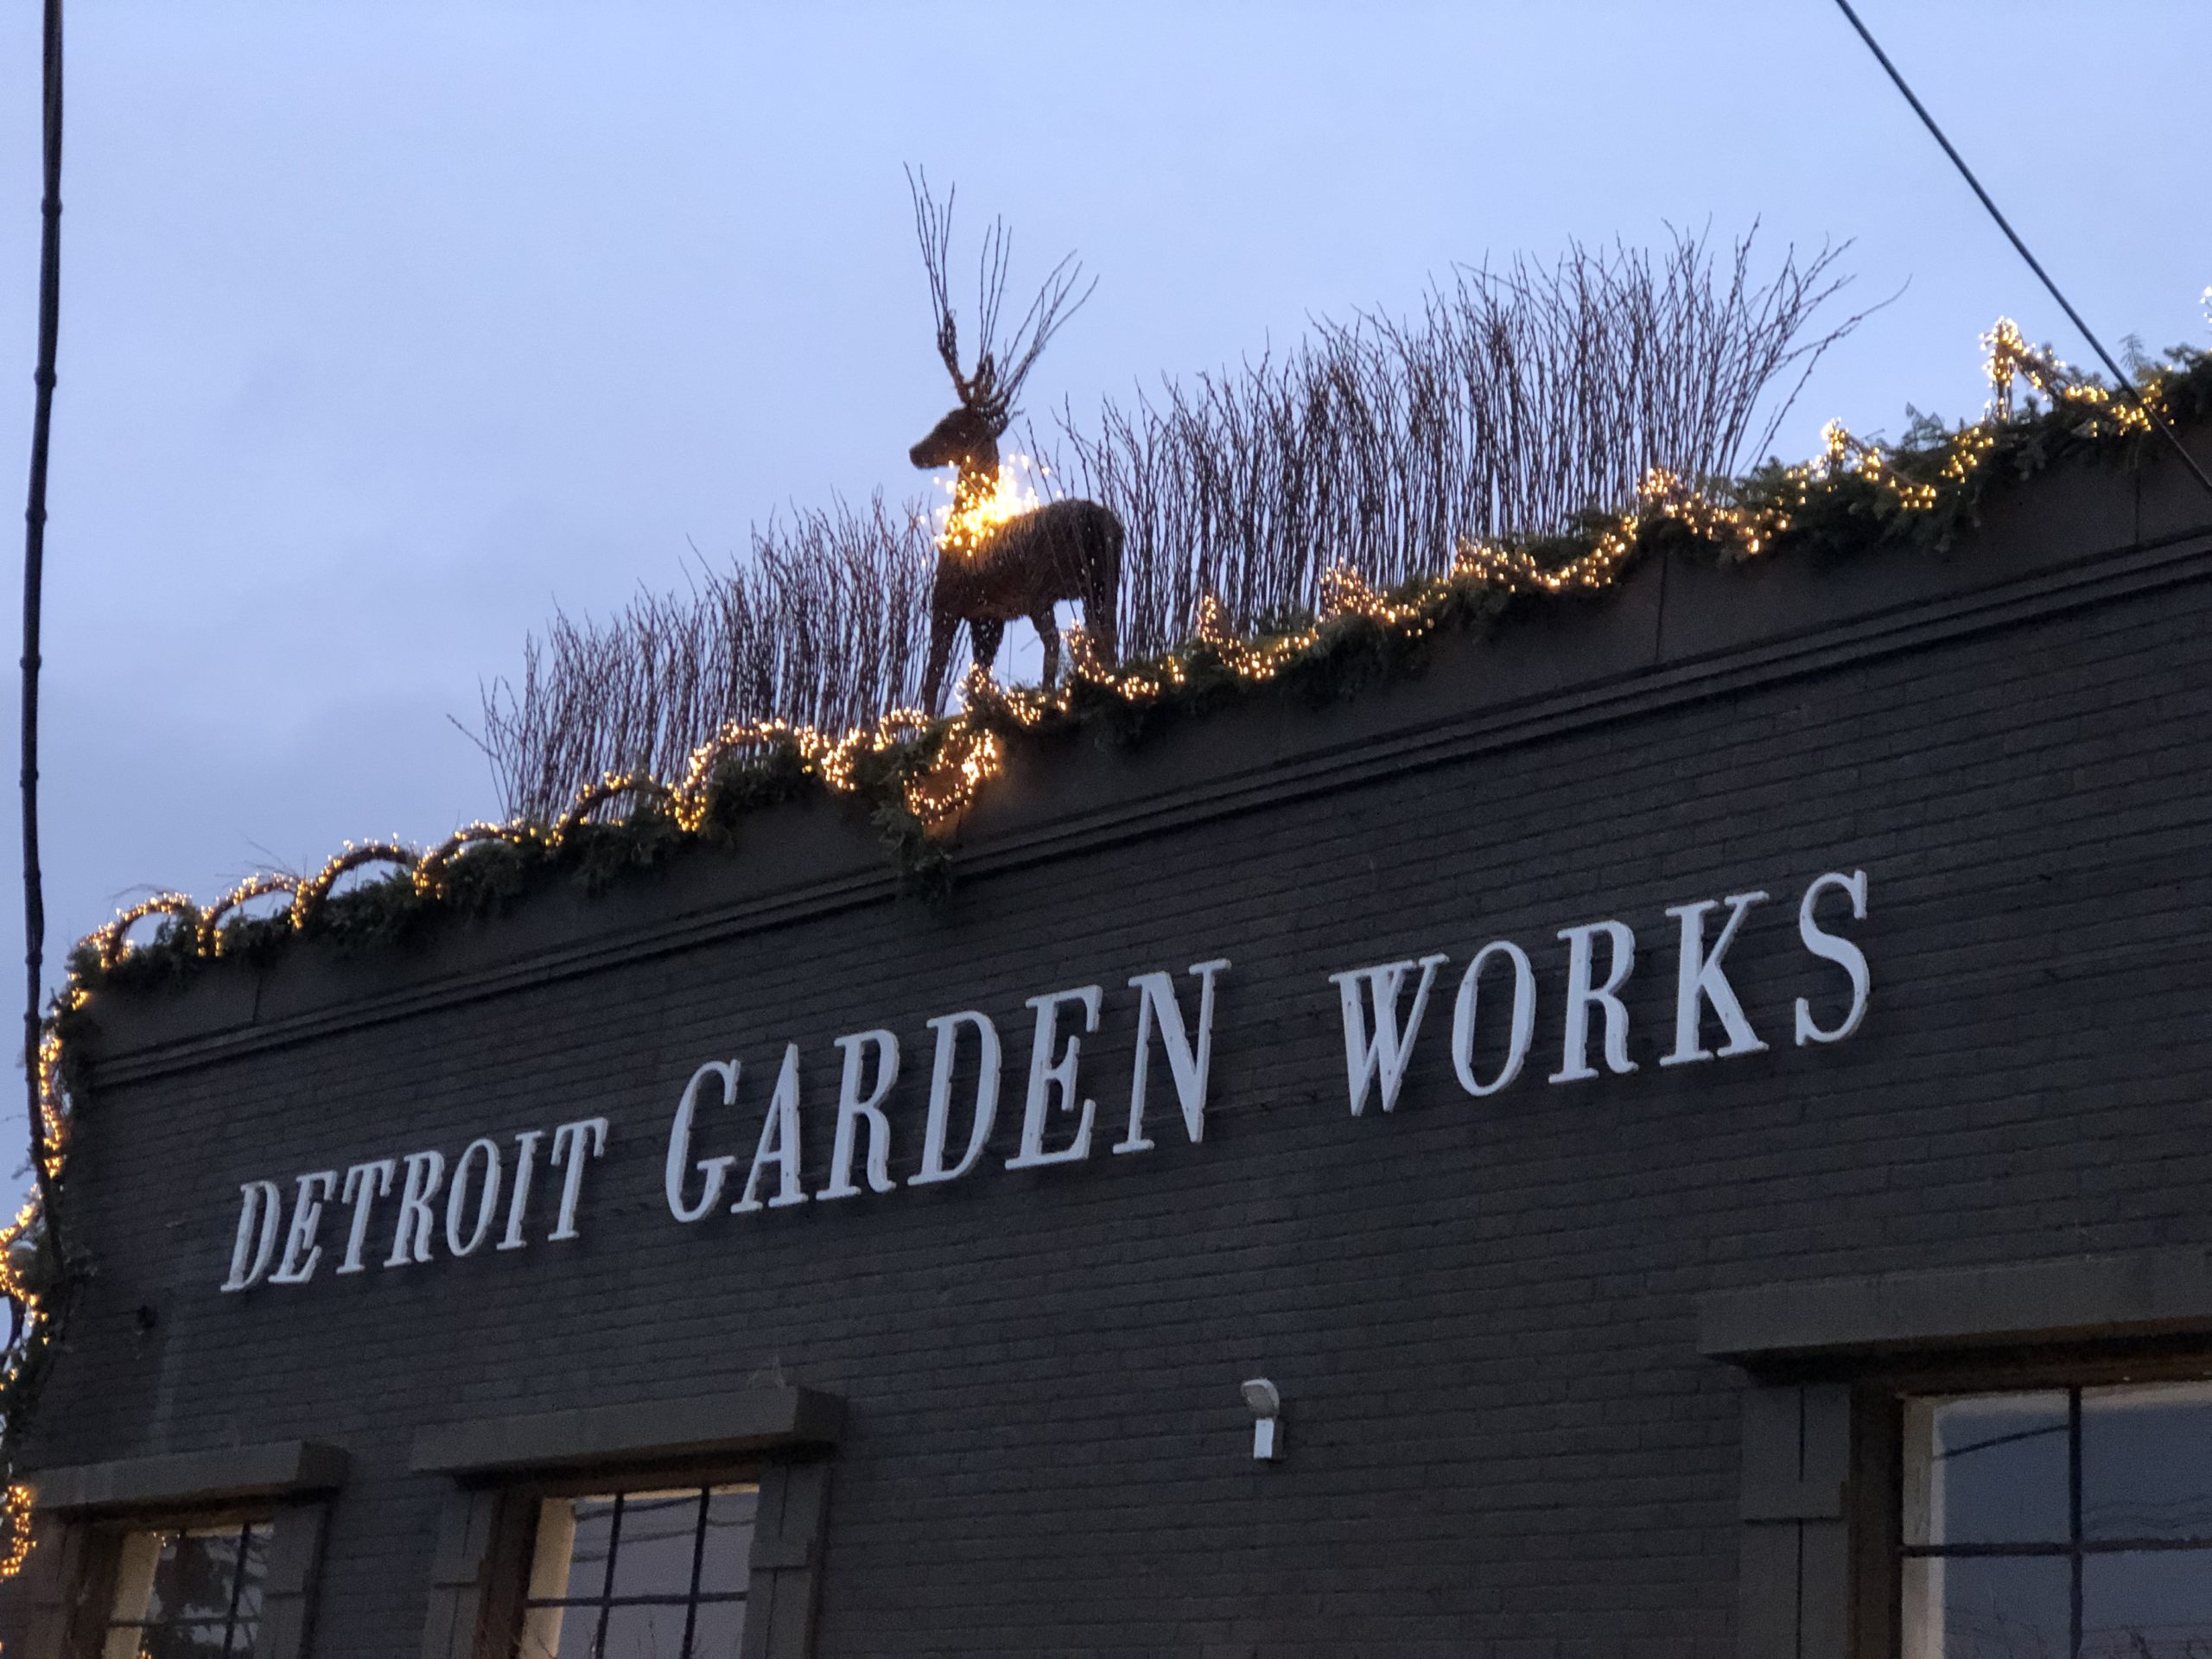 The light burst collar on the deer did not illuminate the sculpture. It spot-lit the neck. The twigs were in silhouette at dusk, and invisible come dark. We regrouped.
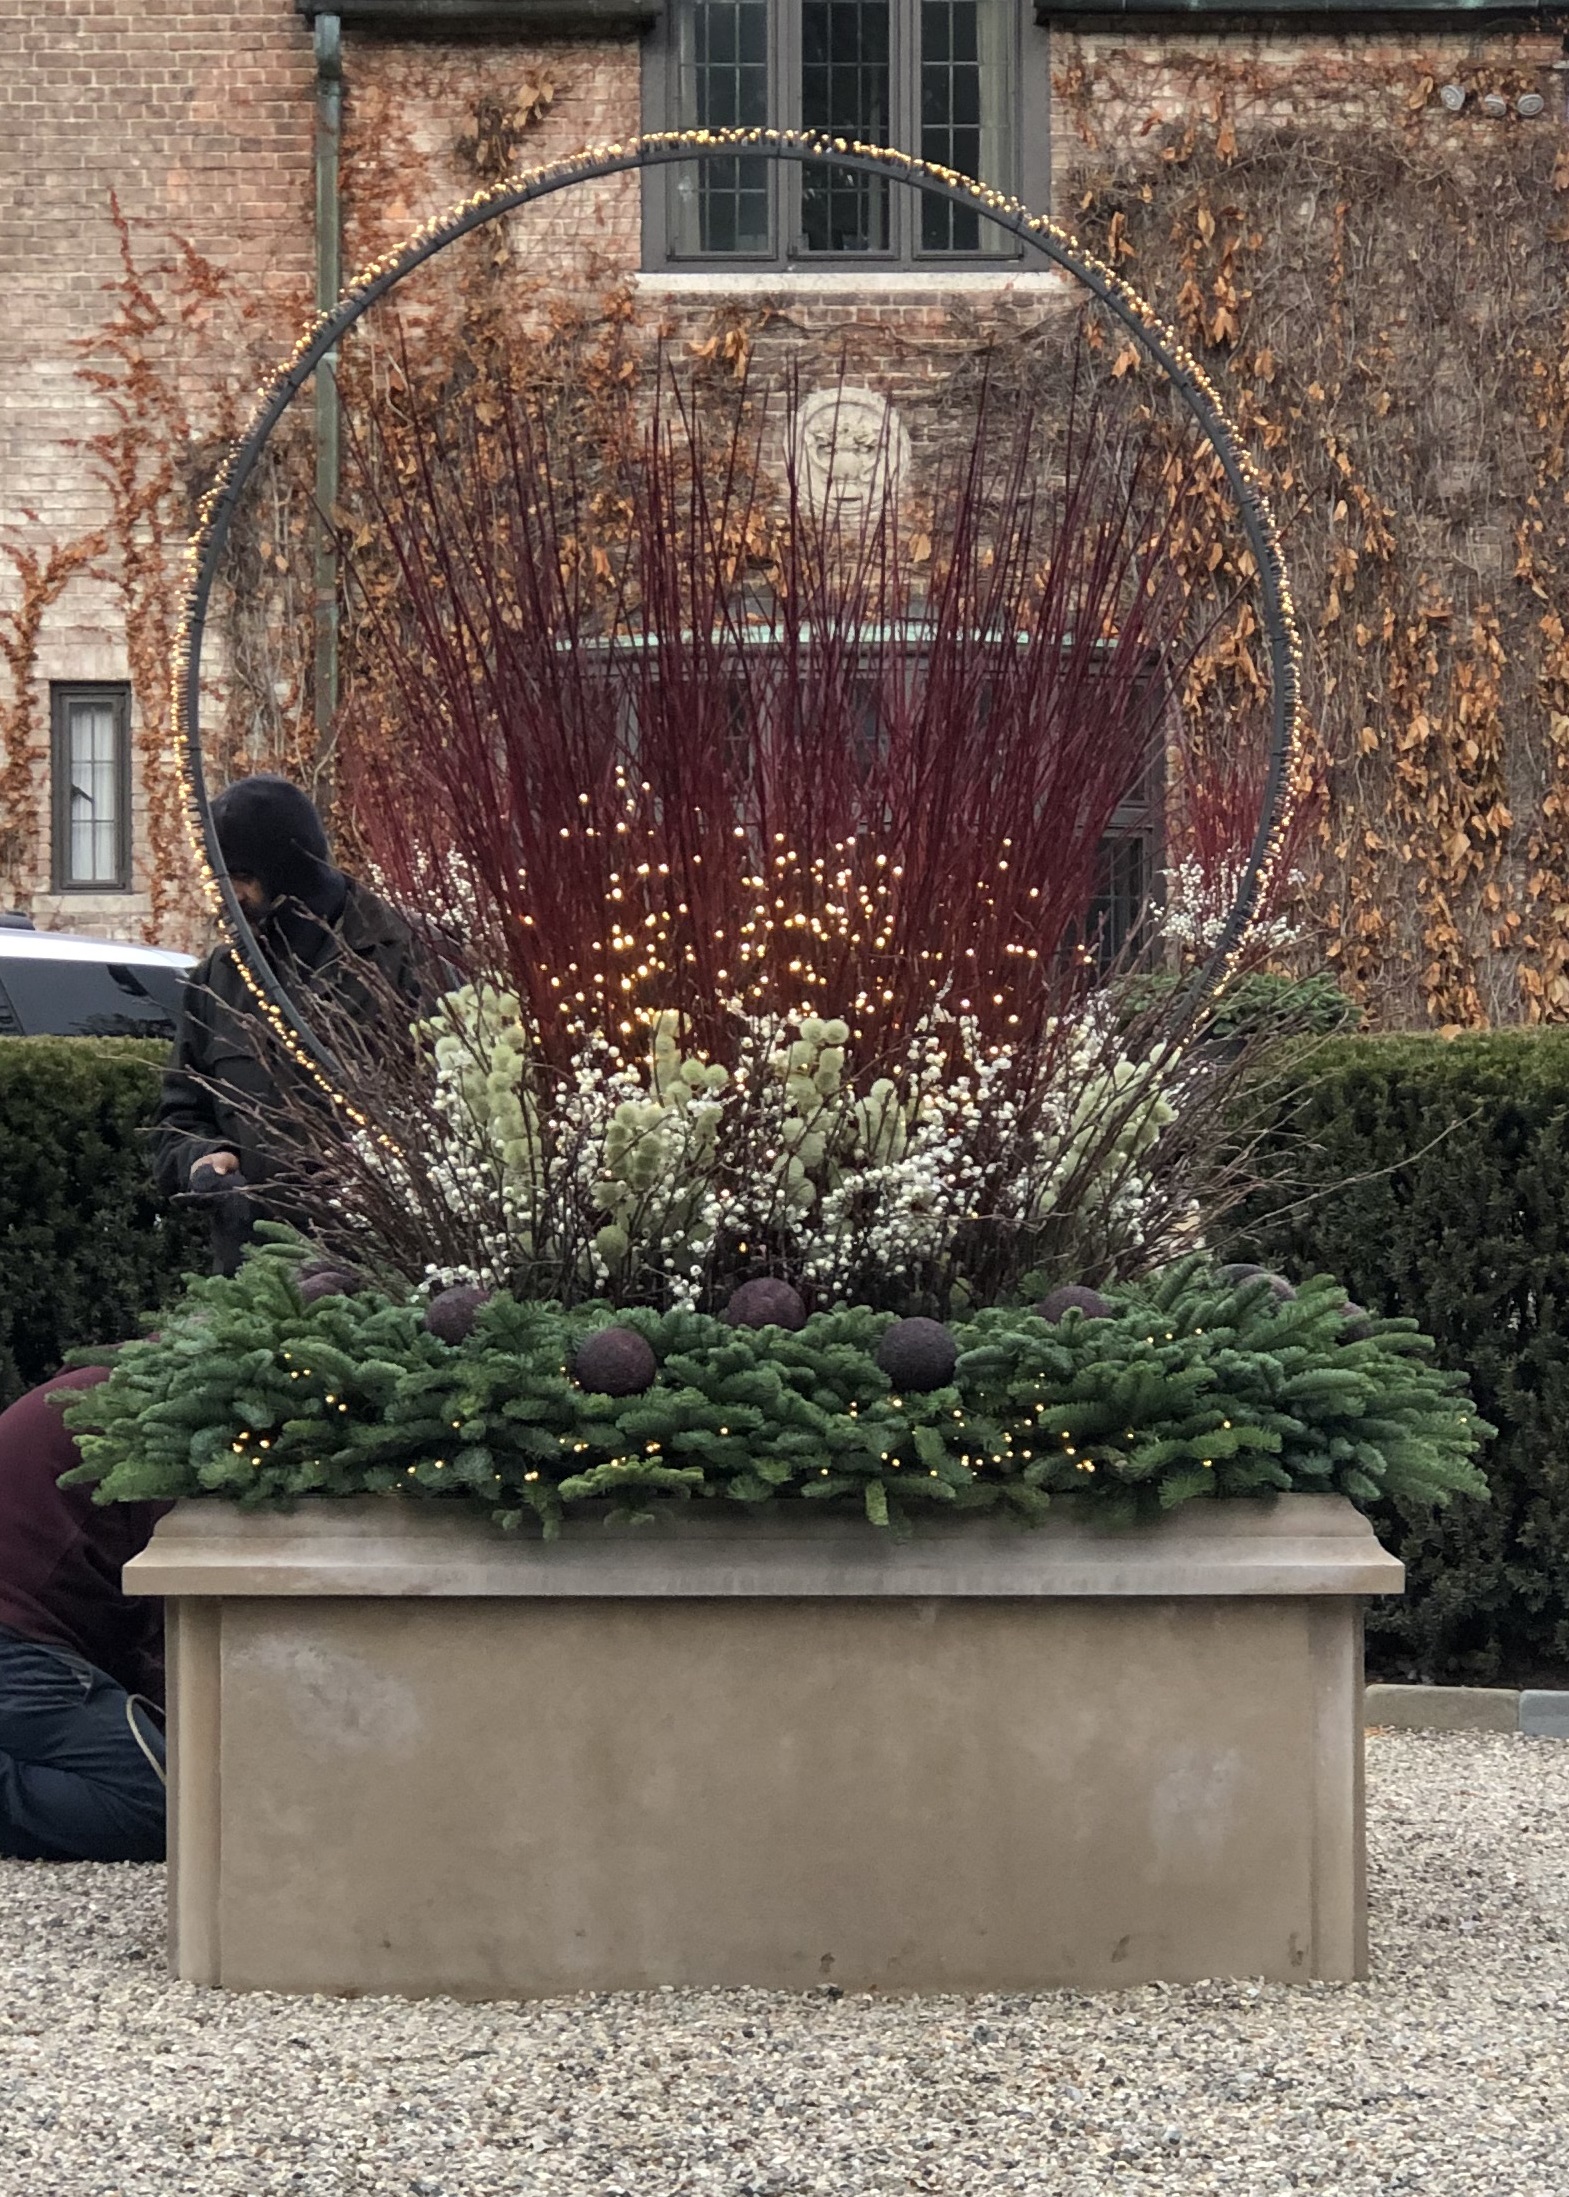
 Phase two of the fabrication and installation asked for a burlap ribbon collar. The light collar did not read during the day, and was a too strong blob of light at night. Karen obliged with the fabrication, and Joe got the collar attached in just the right spot, and at the right angle. We had to rethink the lighting.
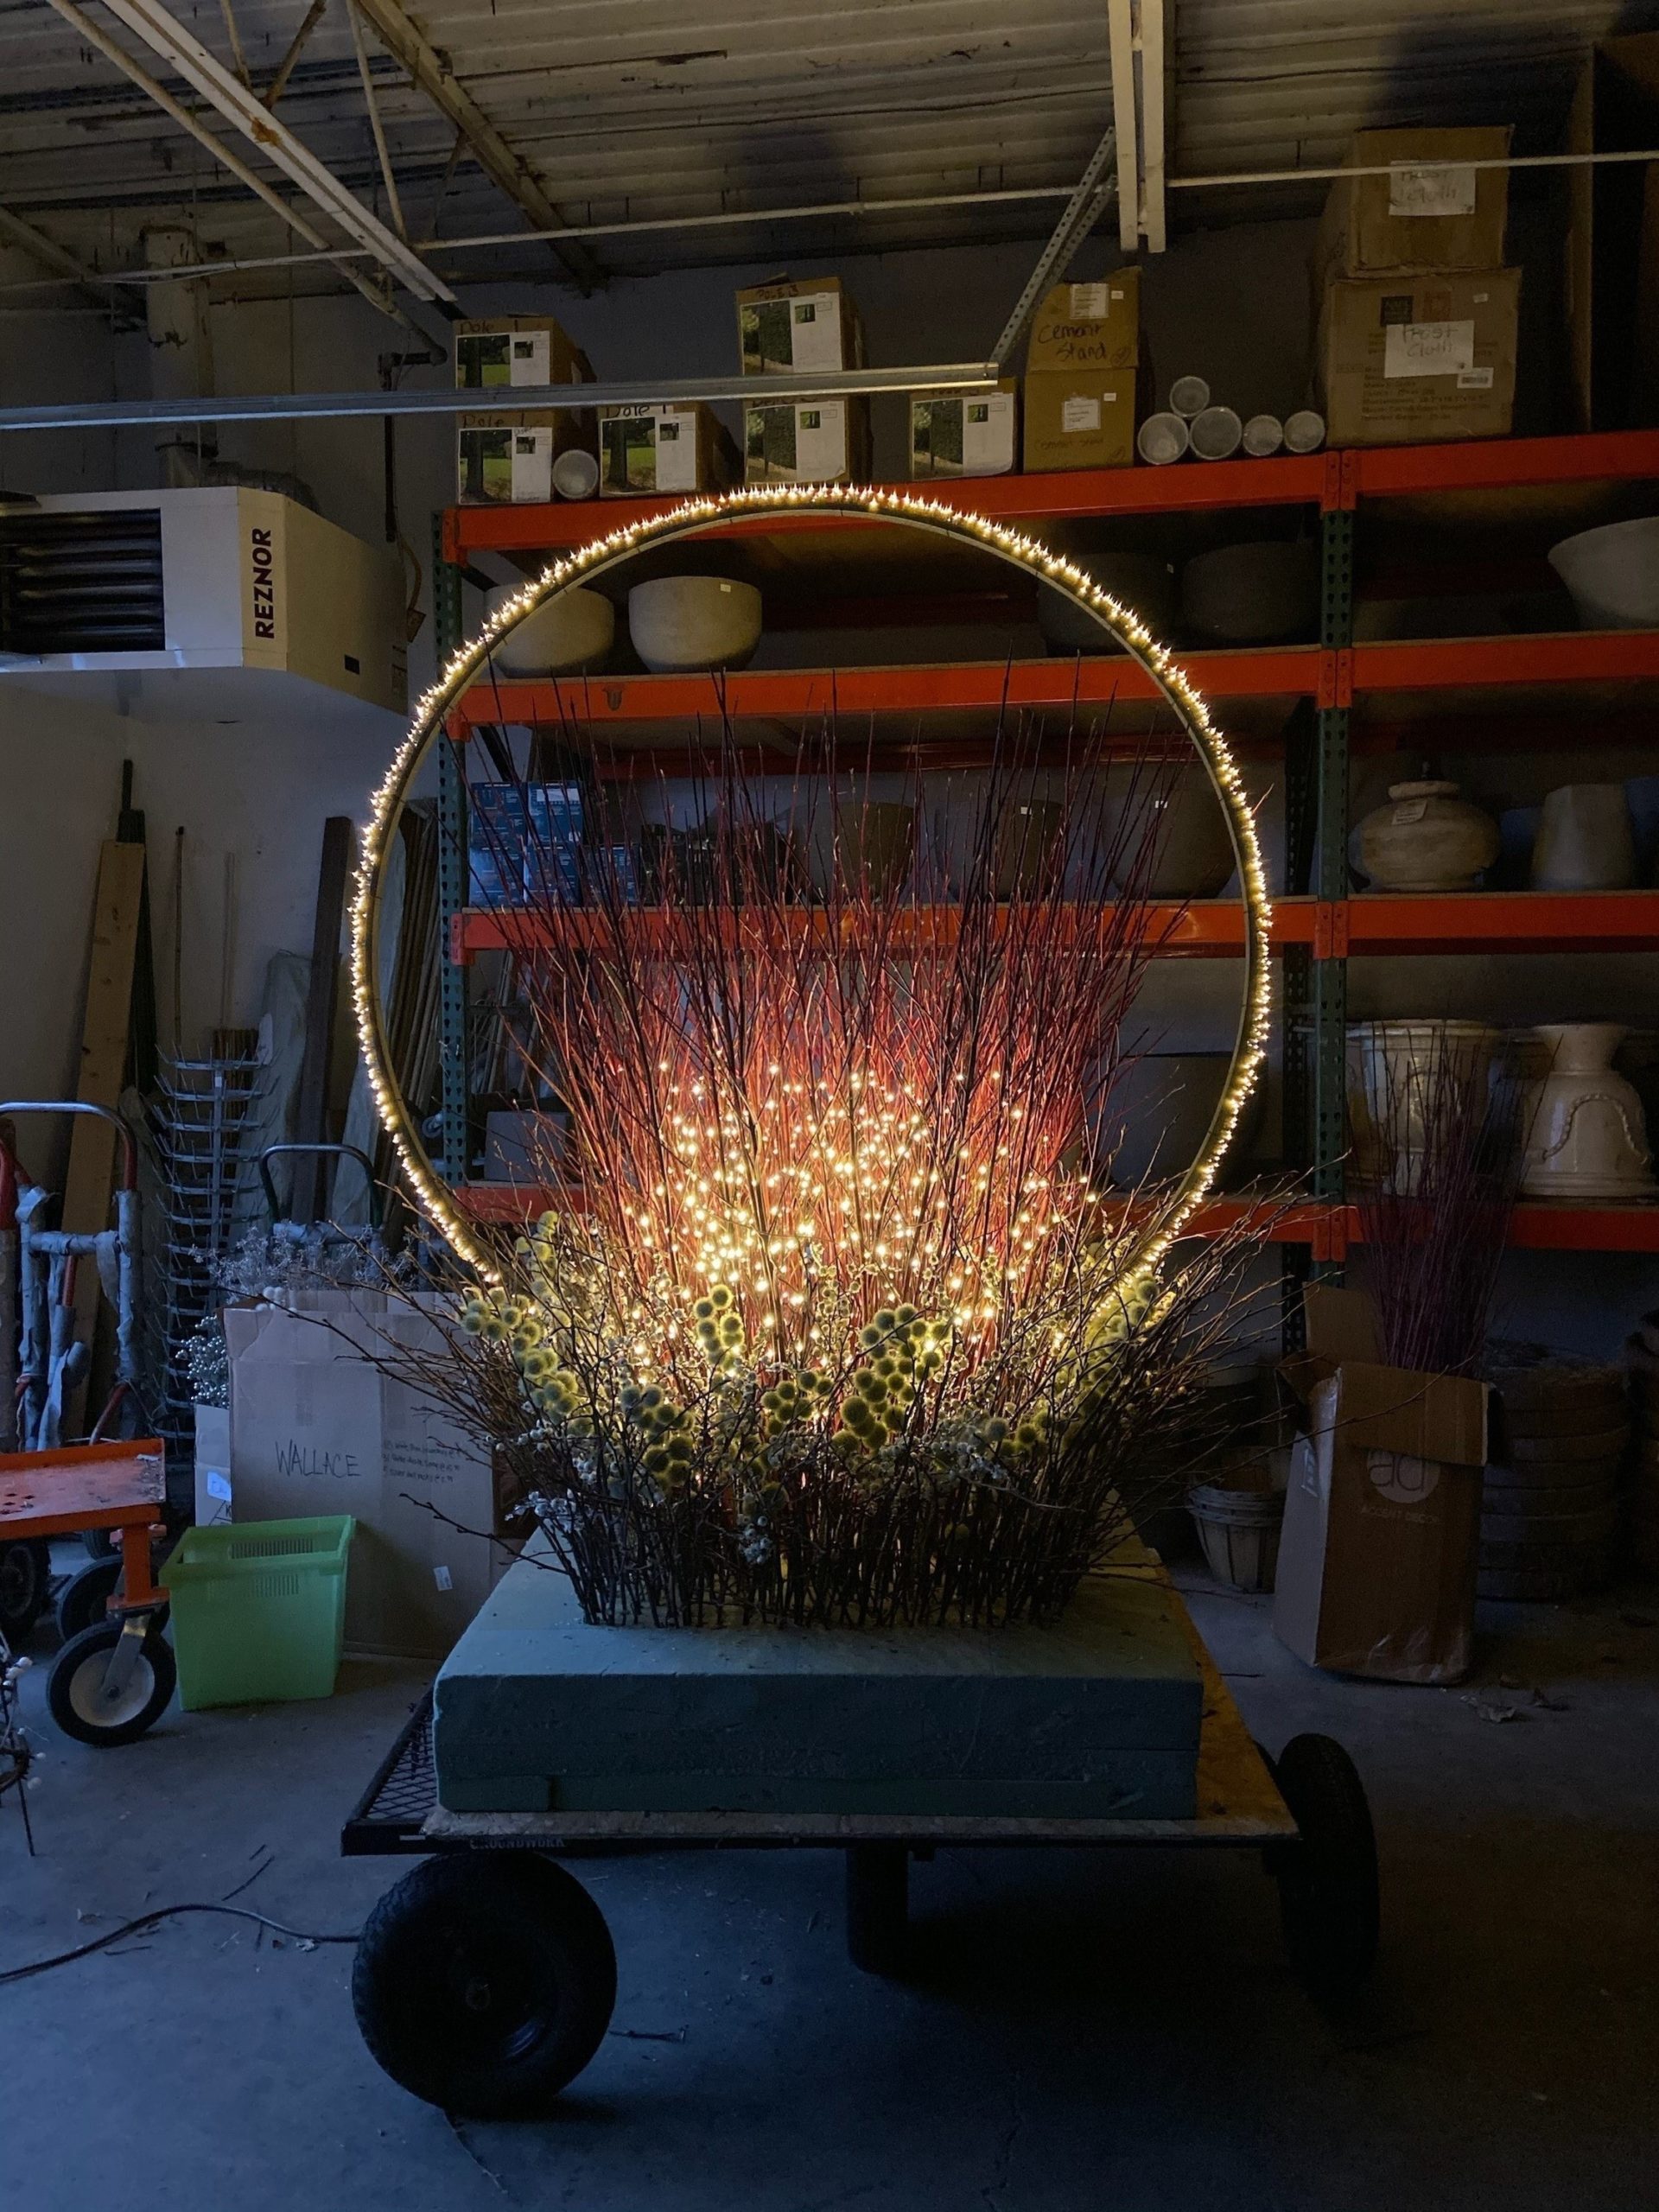
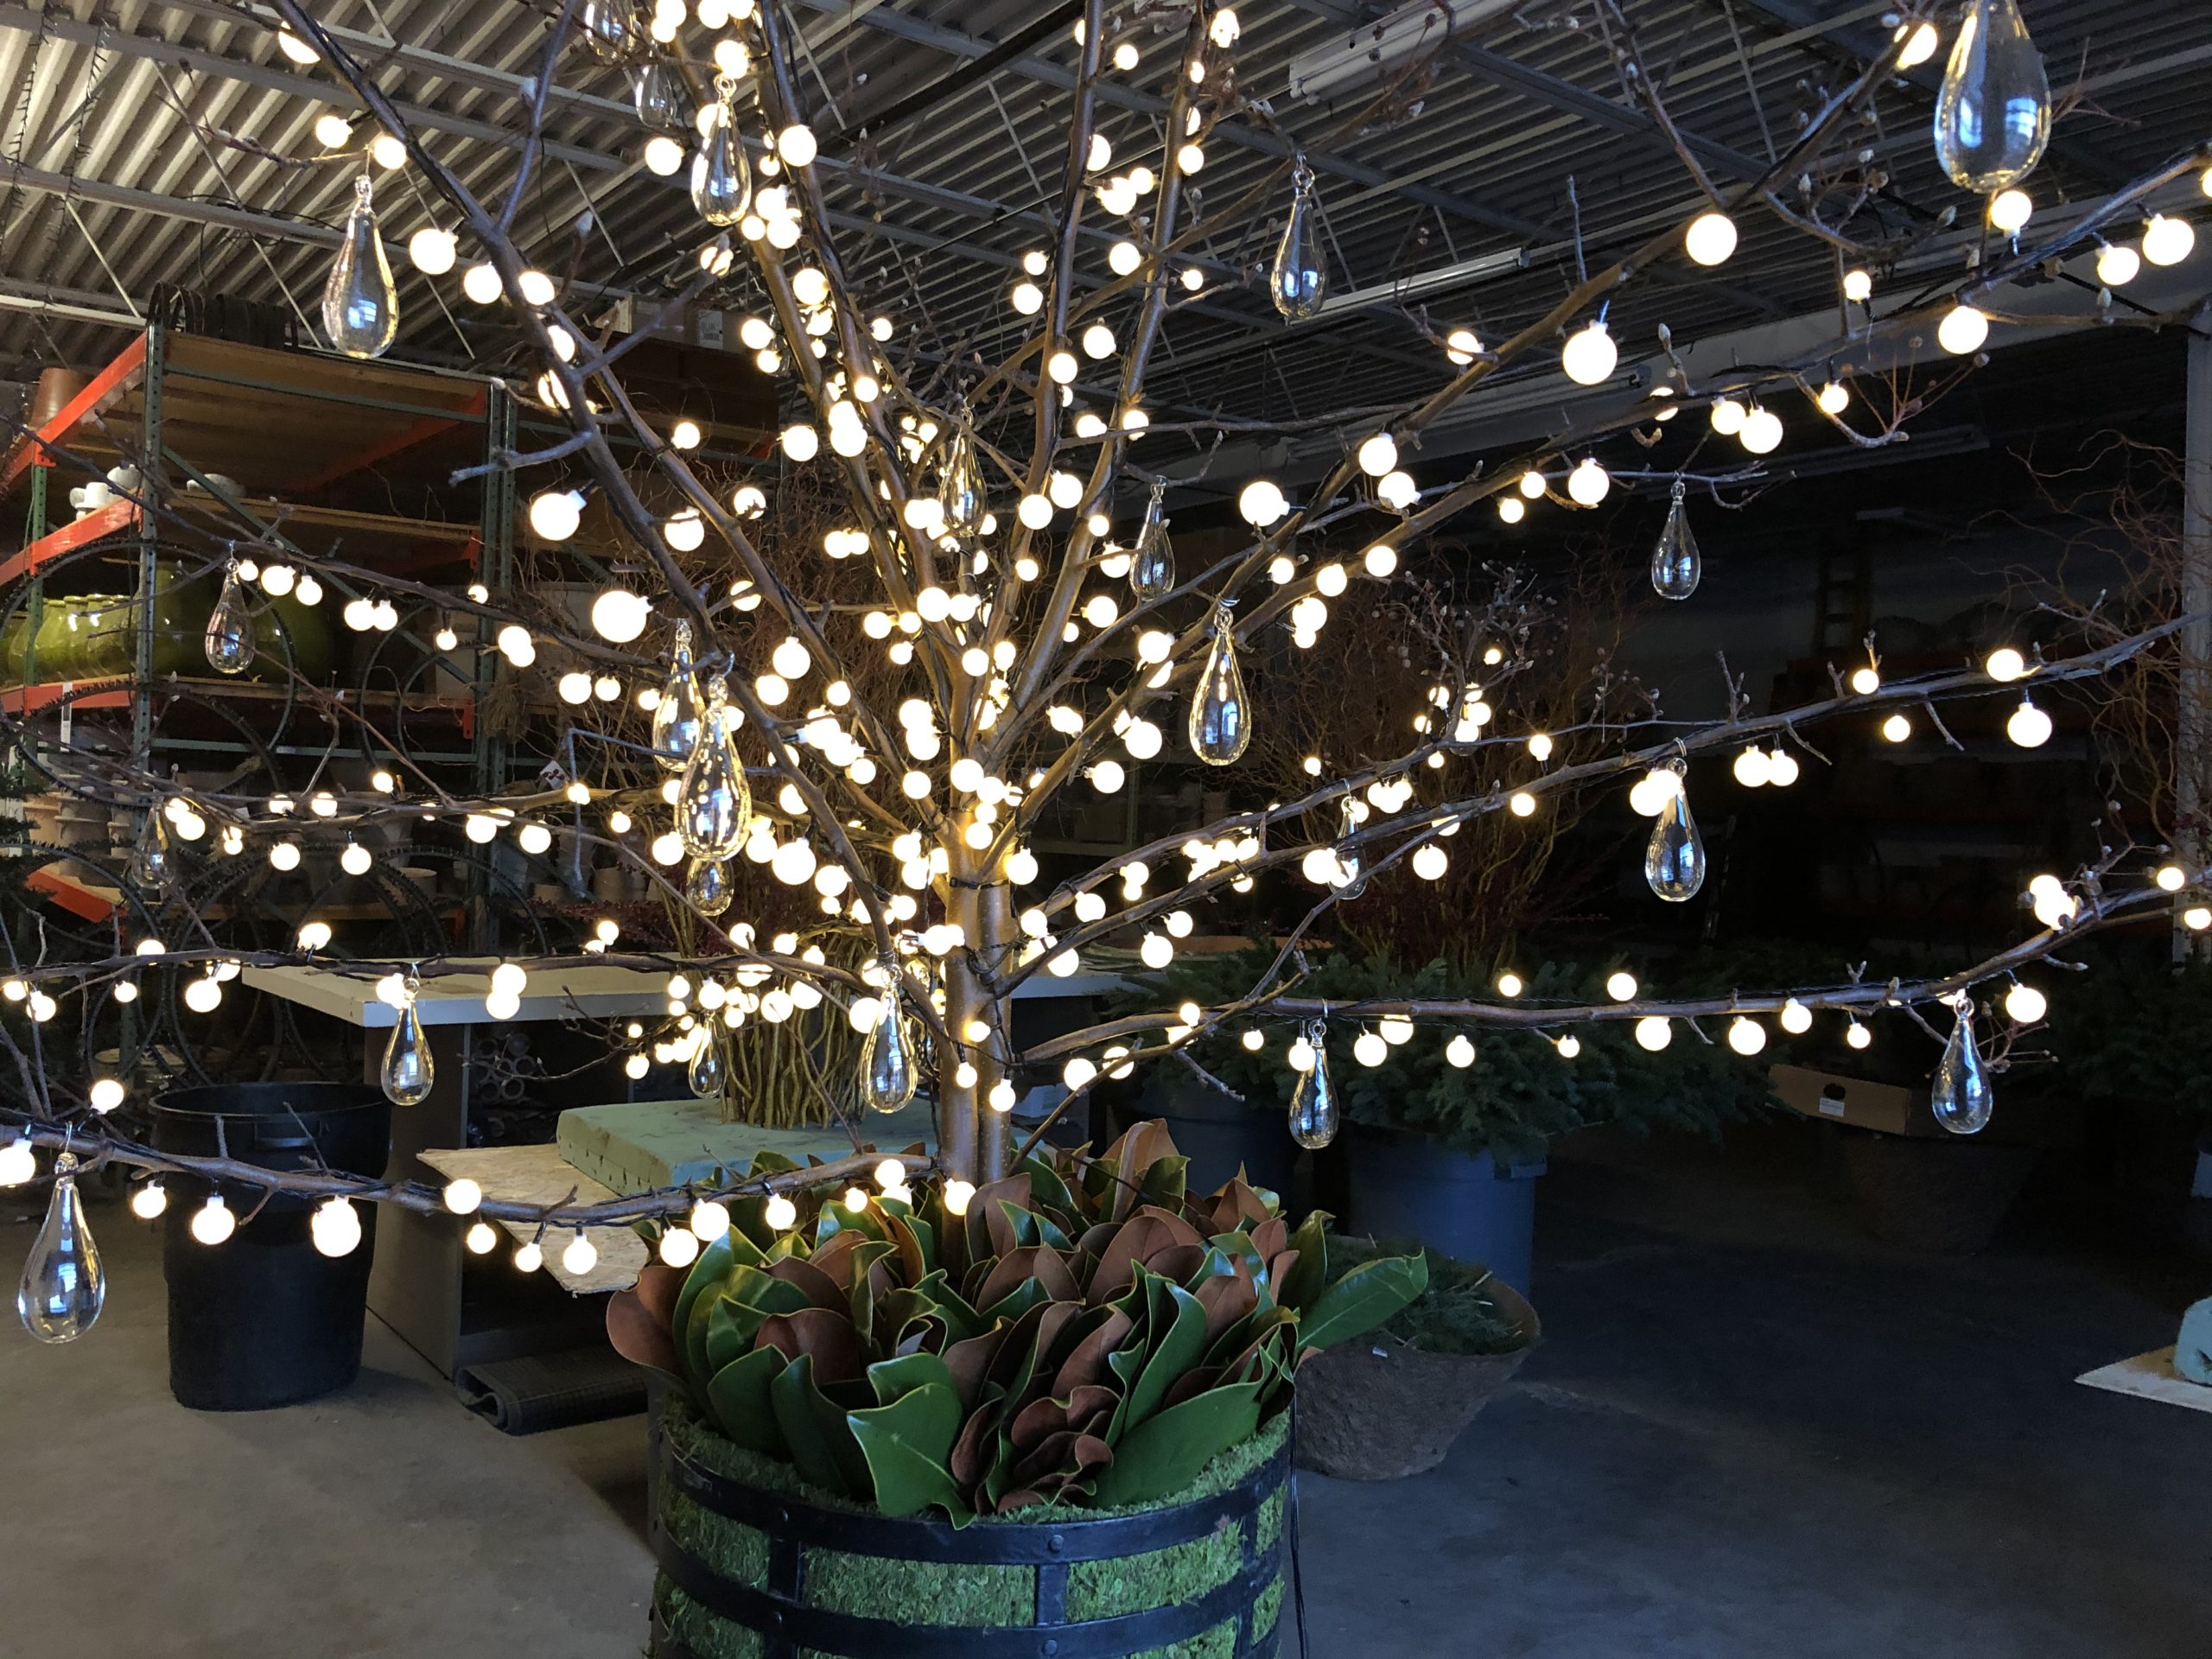
 Attaching multiple light bursts to the front edge of the twigs might do a better job of illuminating the thicket at night. It was certainly worth a try.
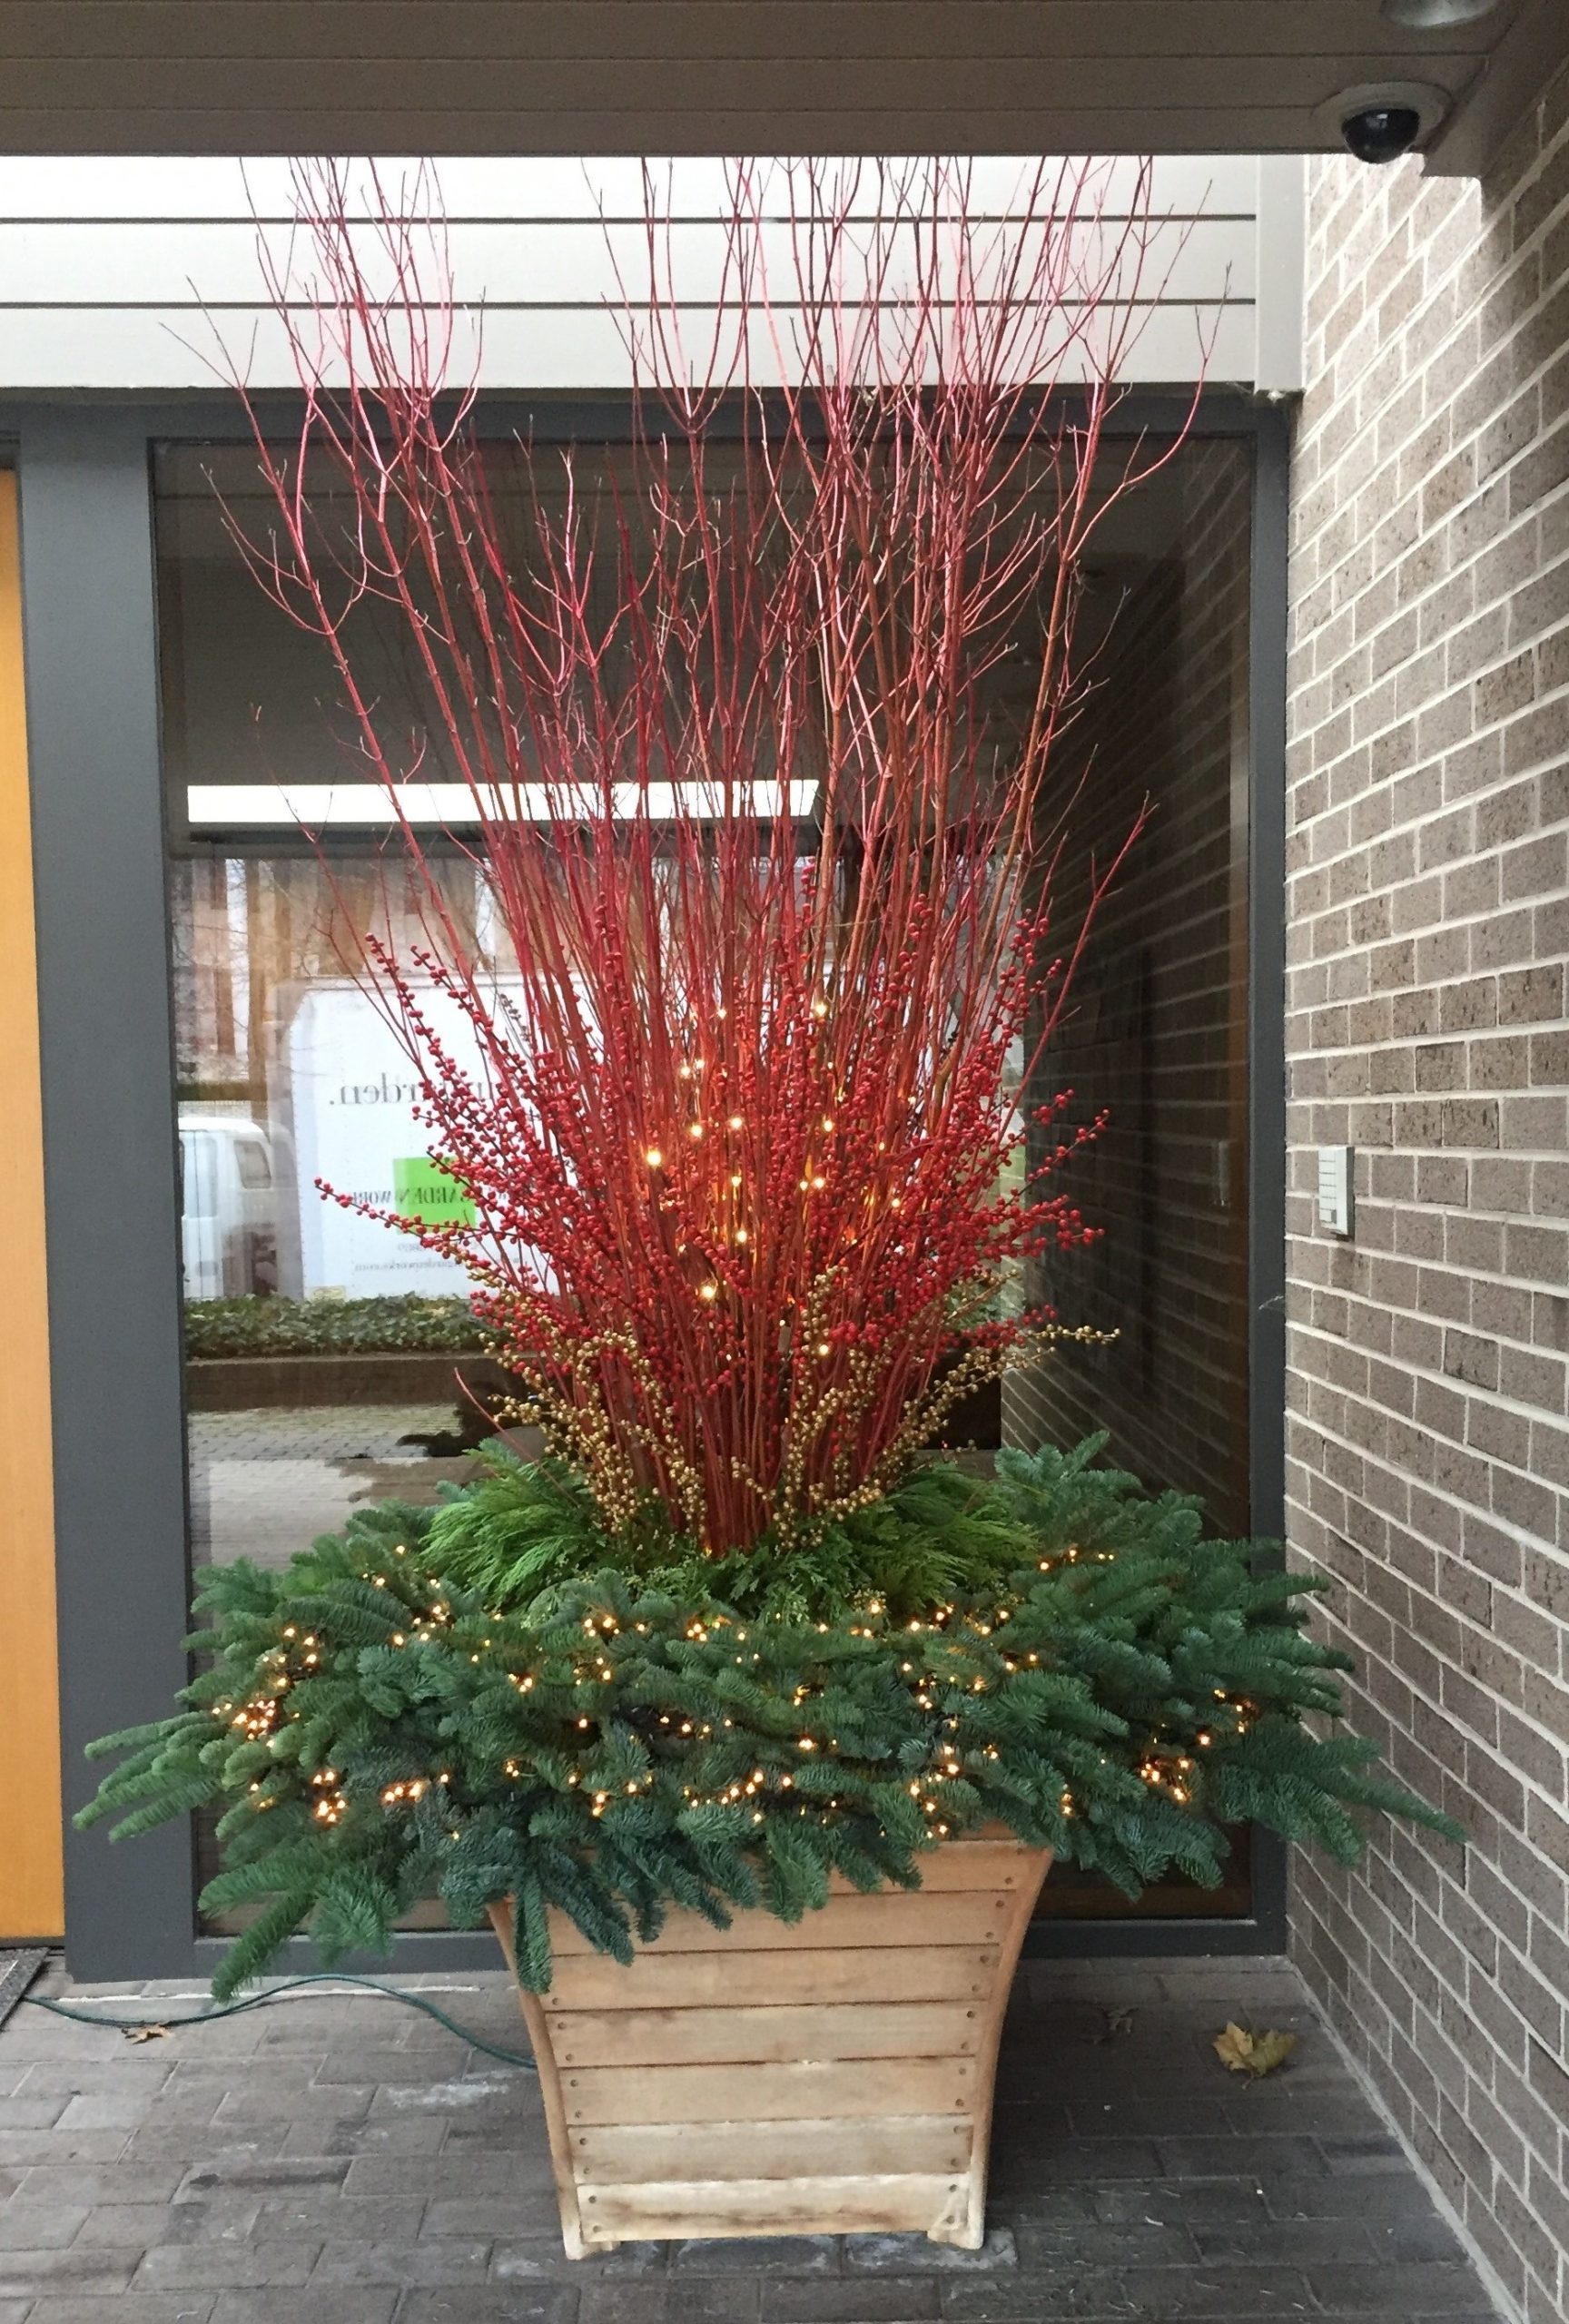
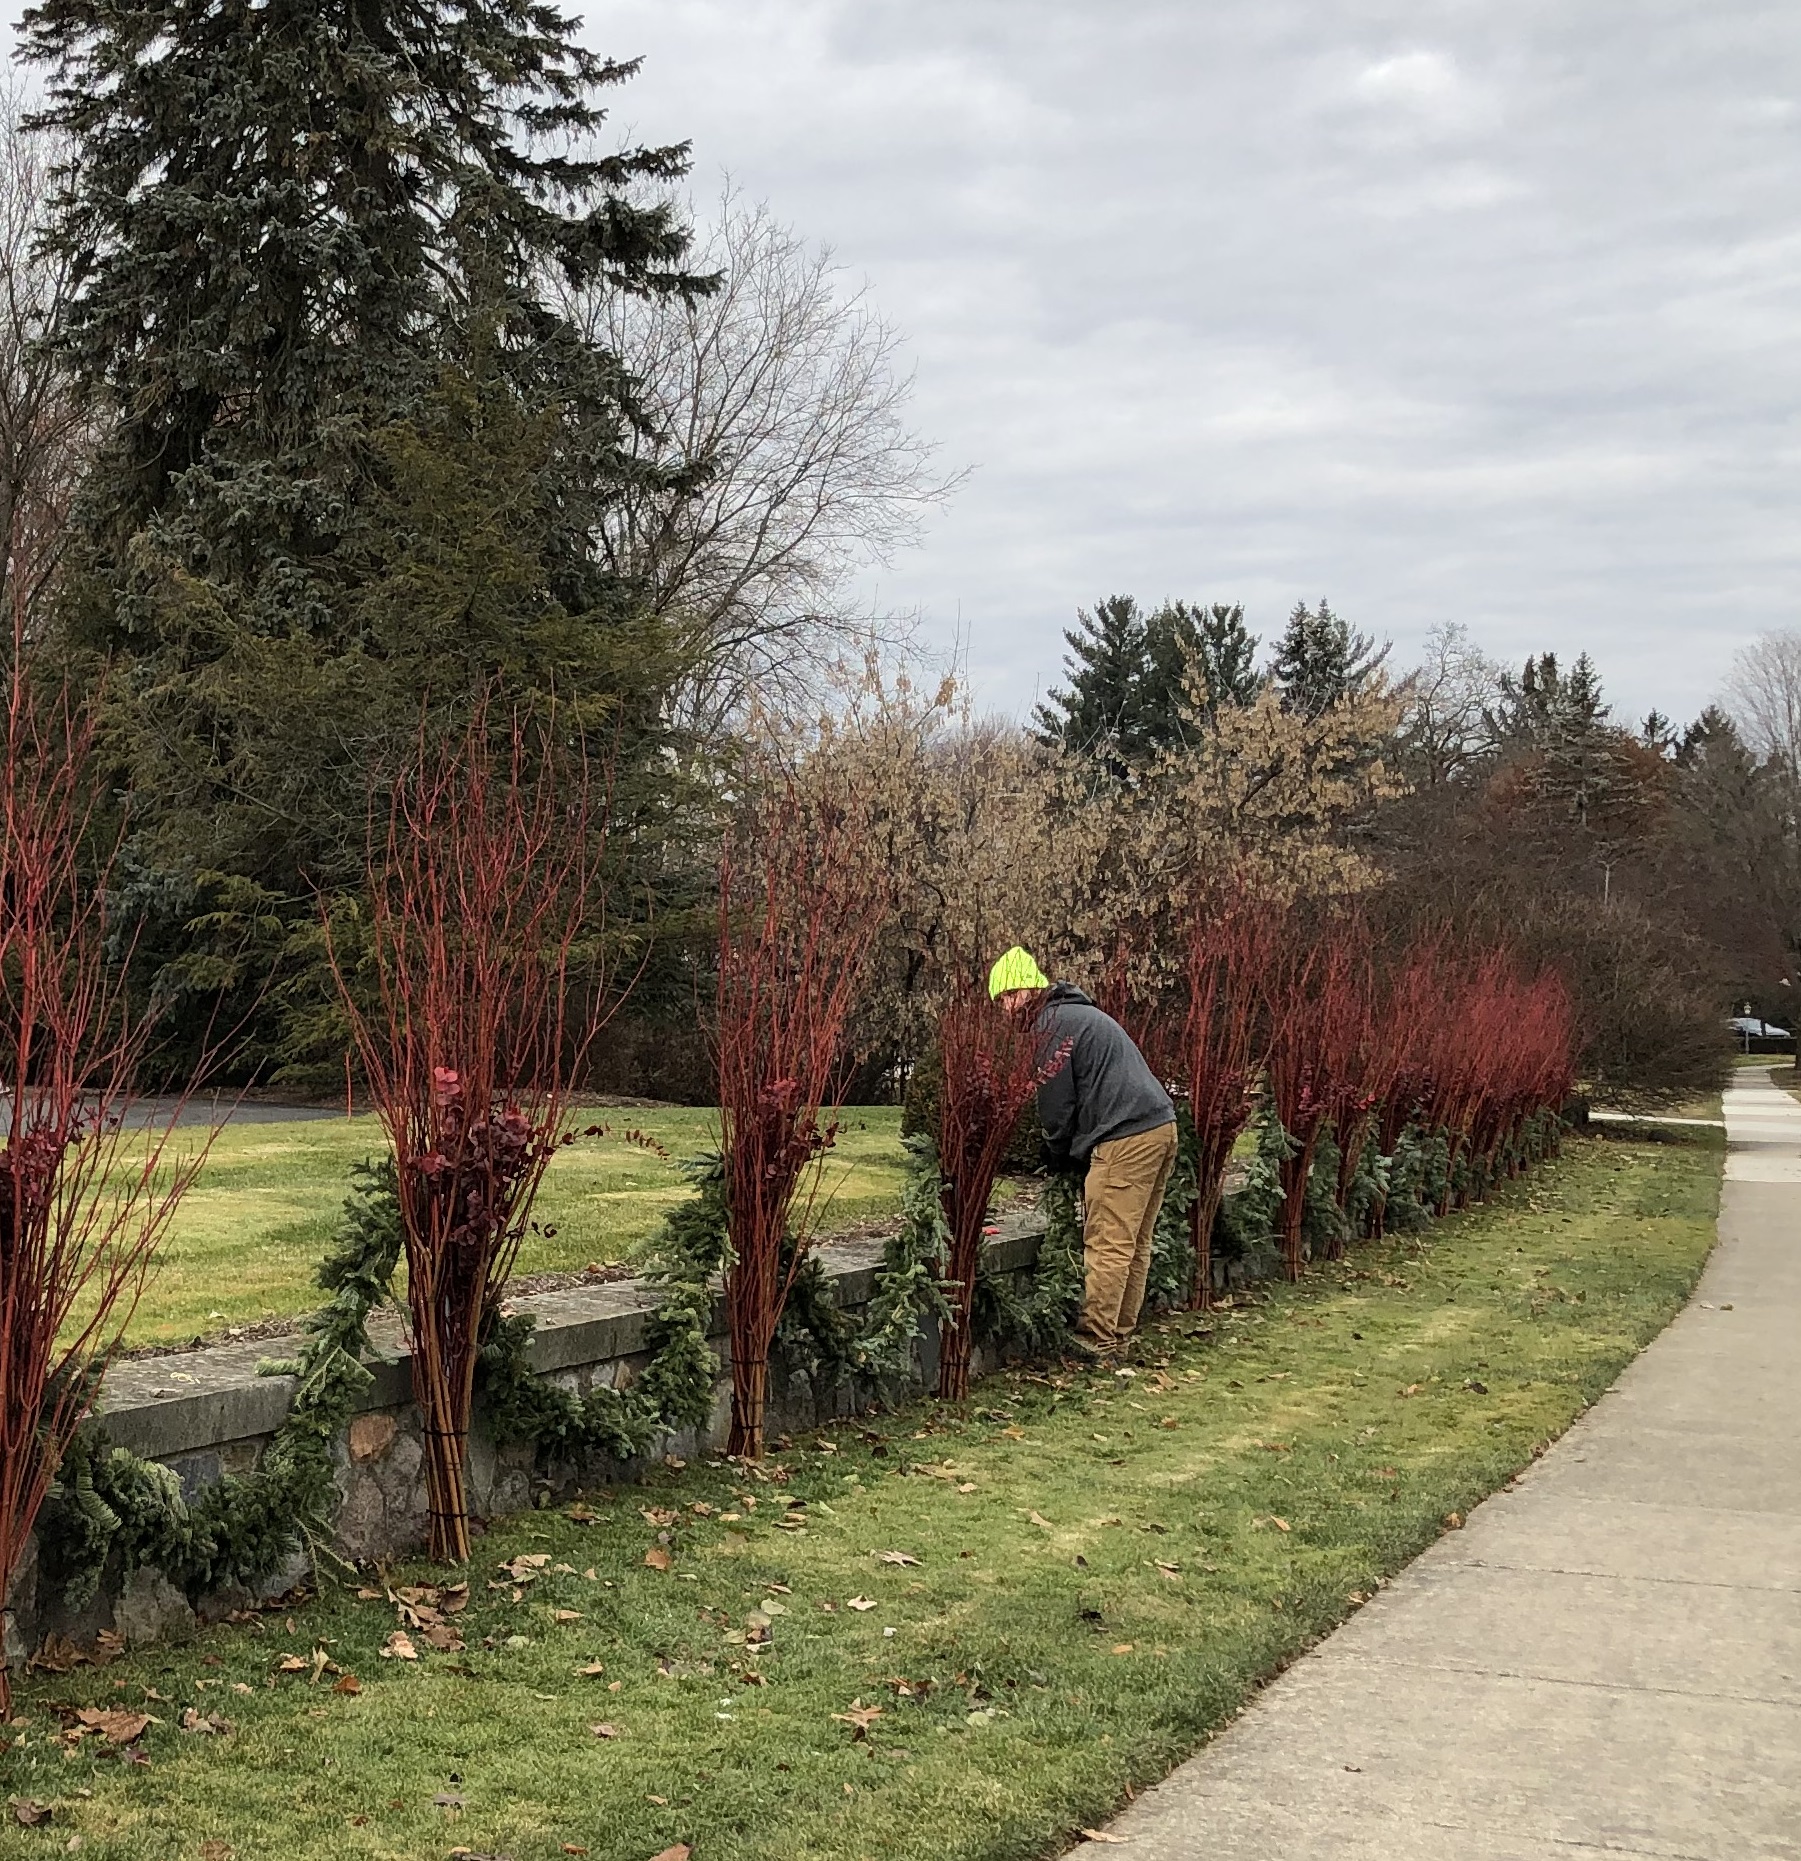
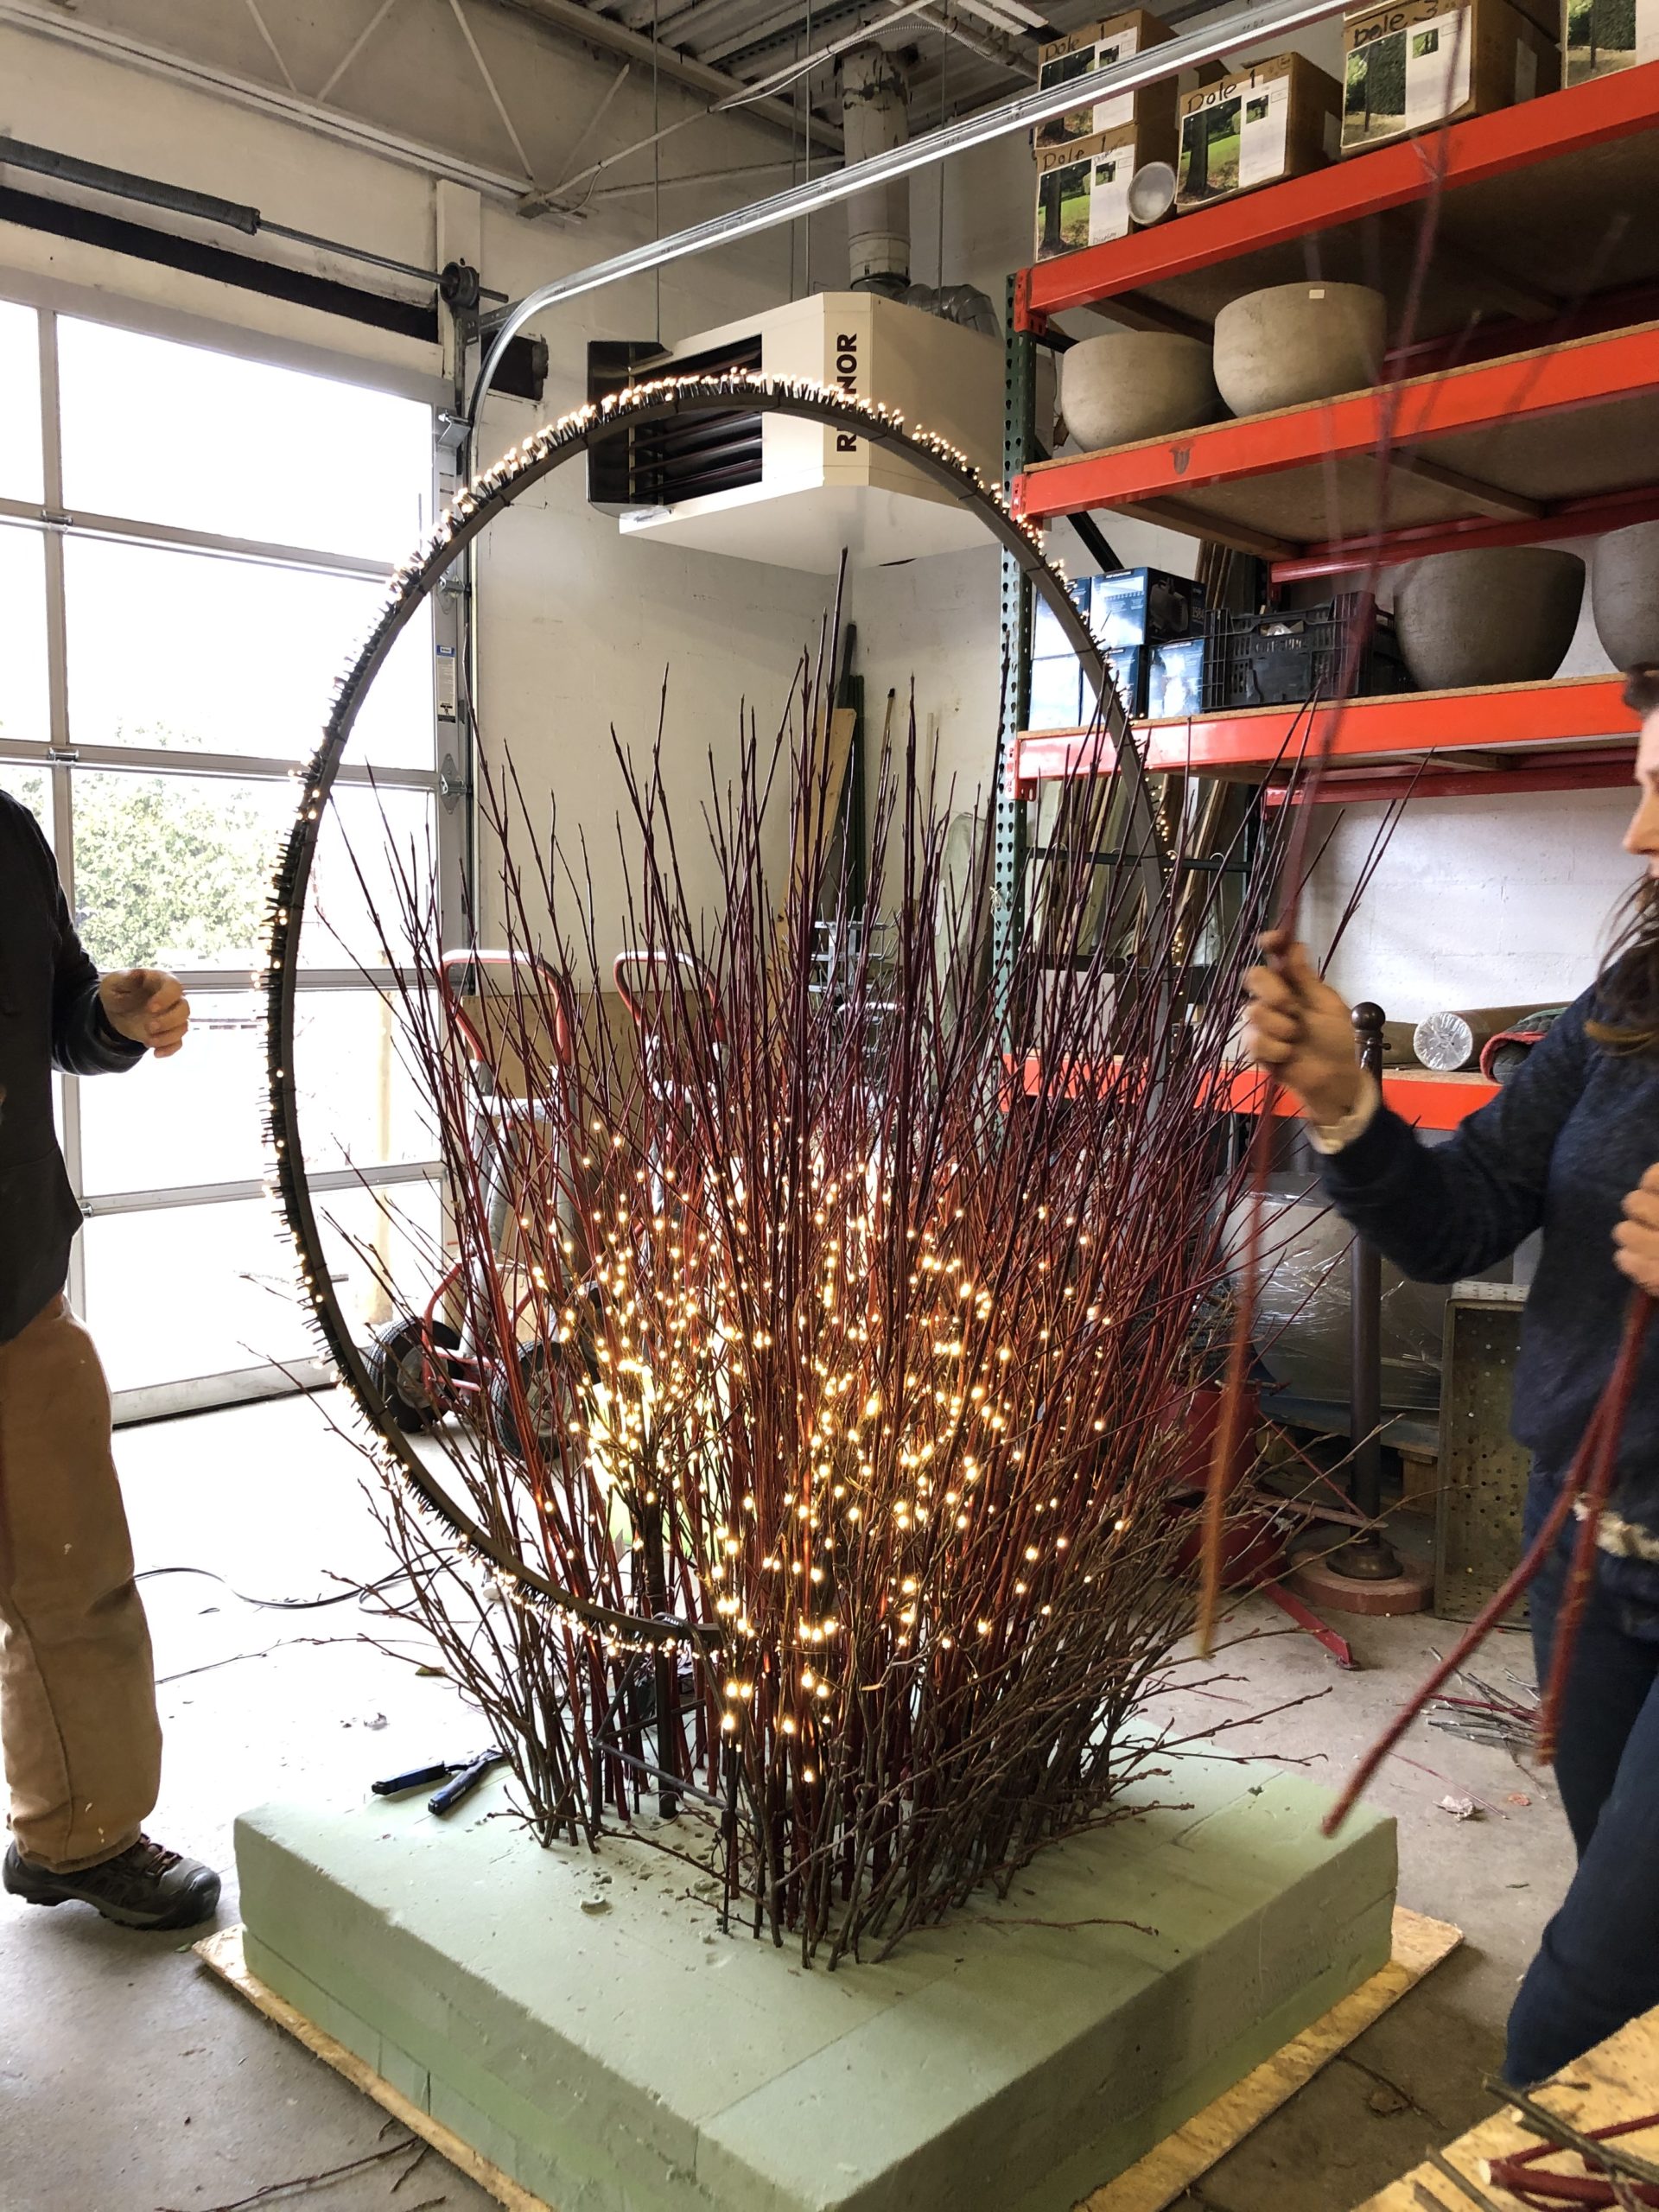
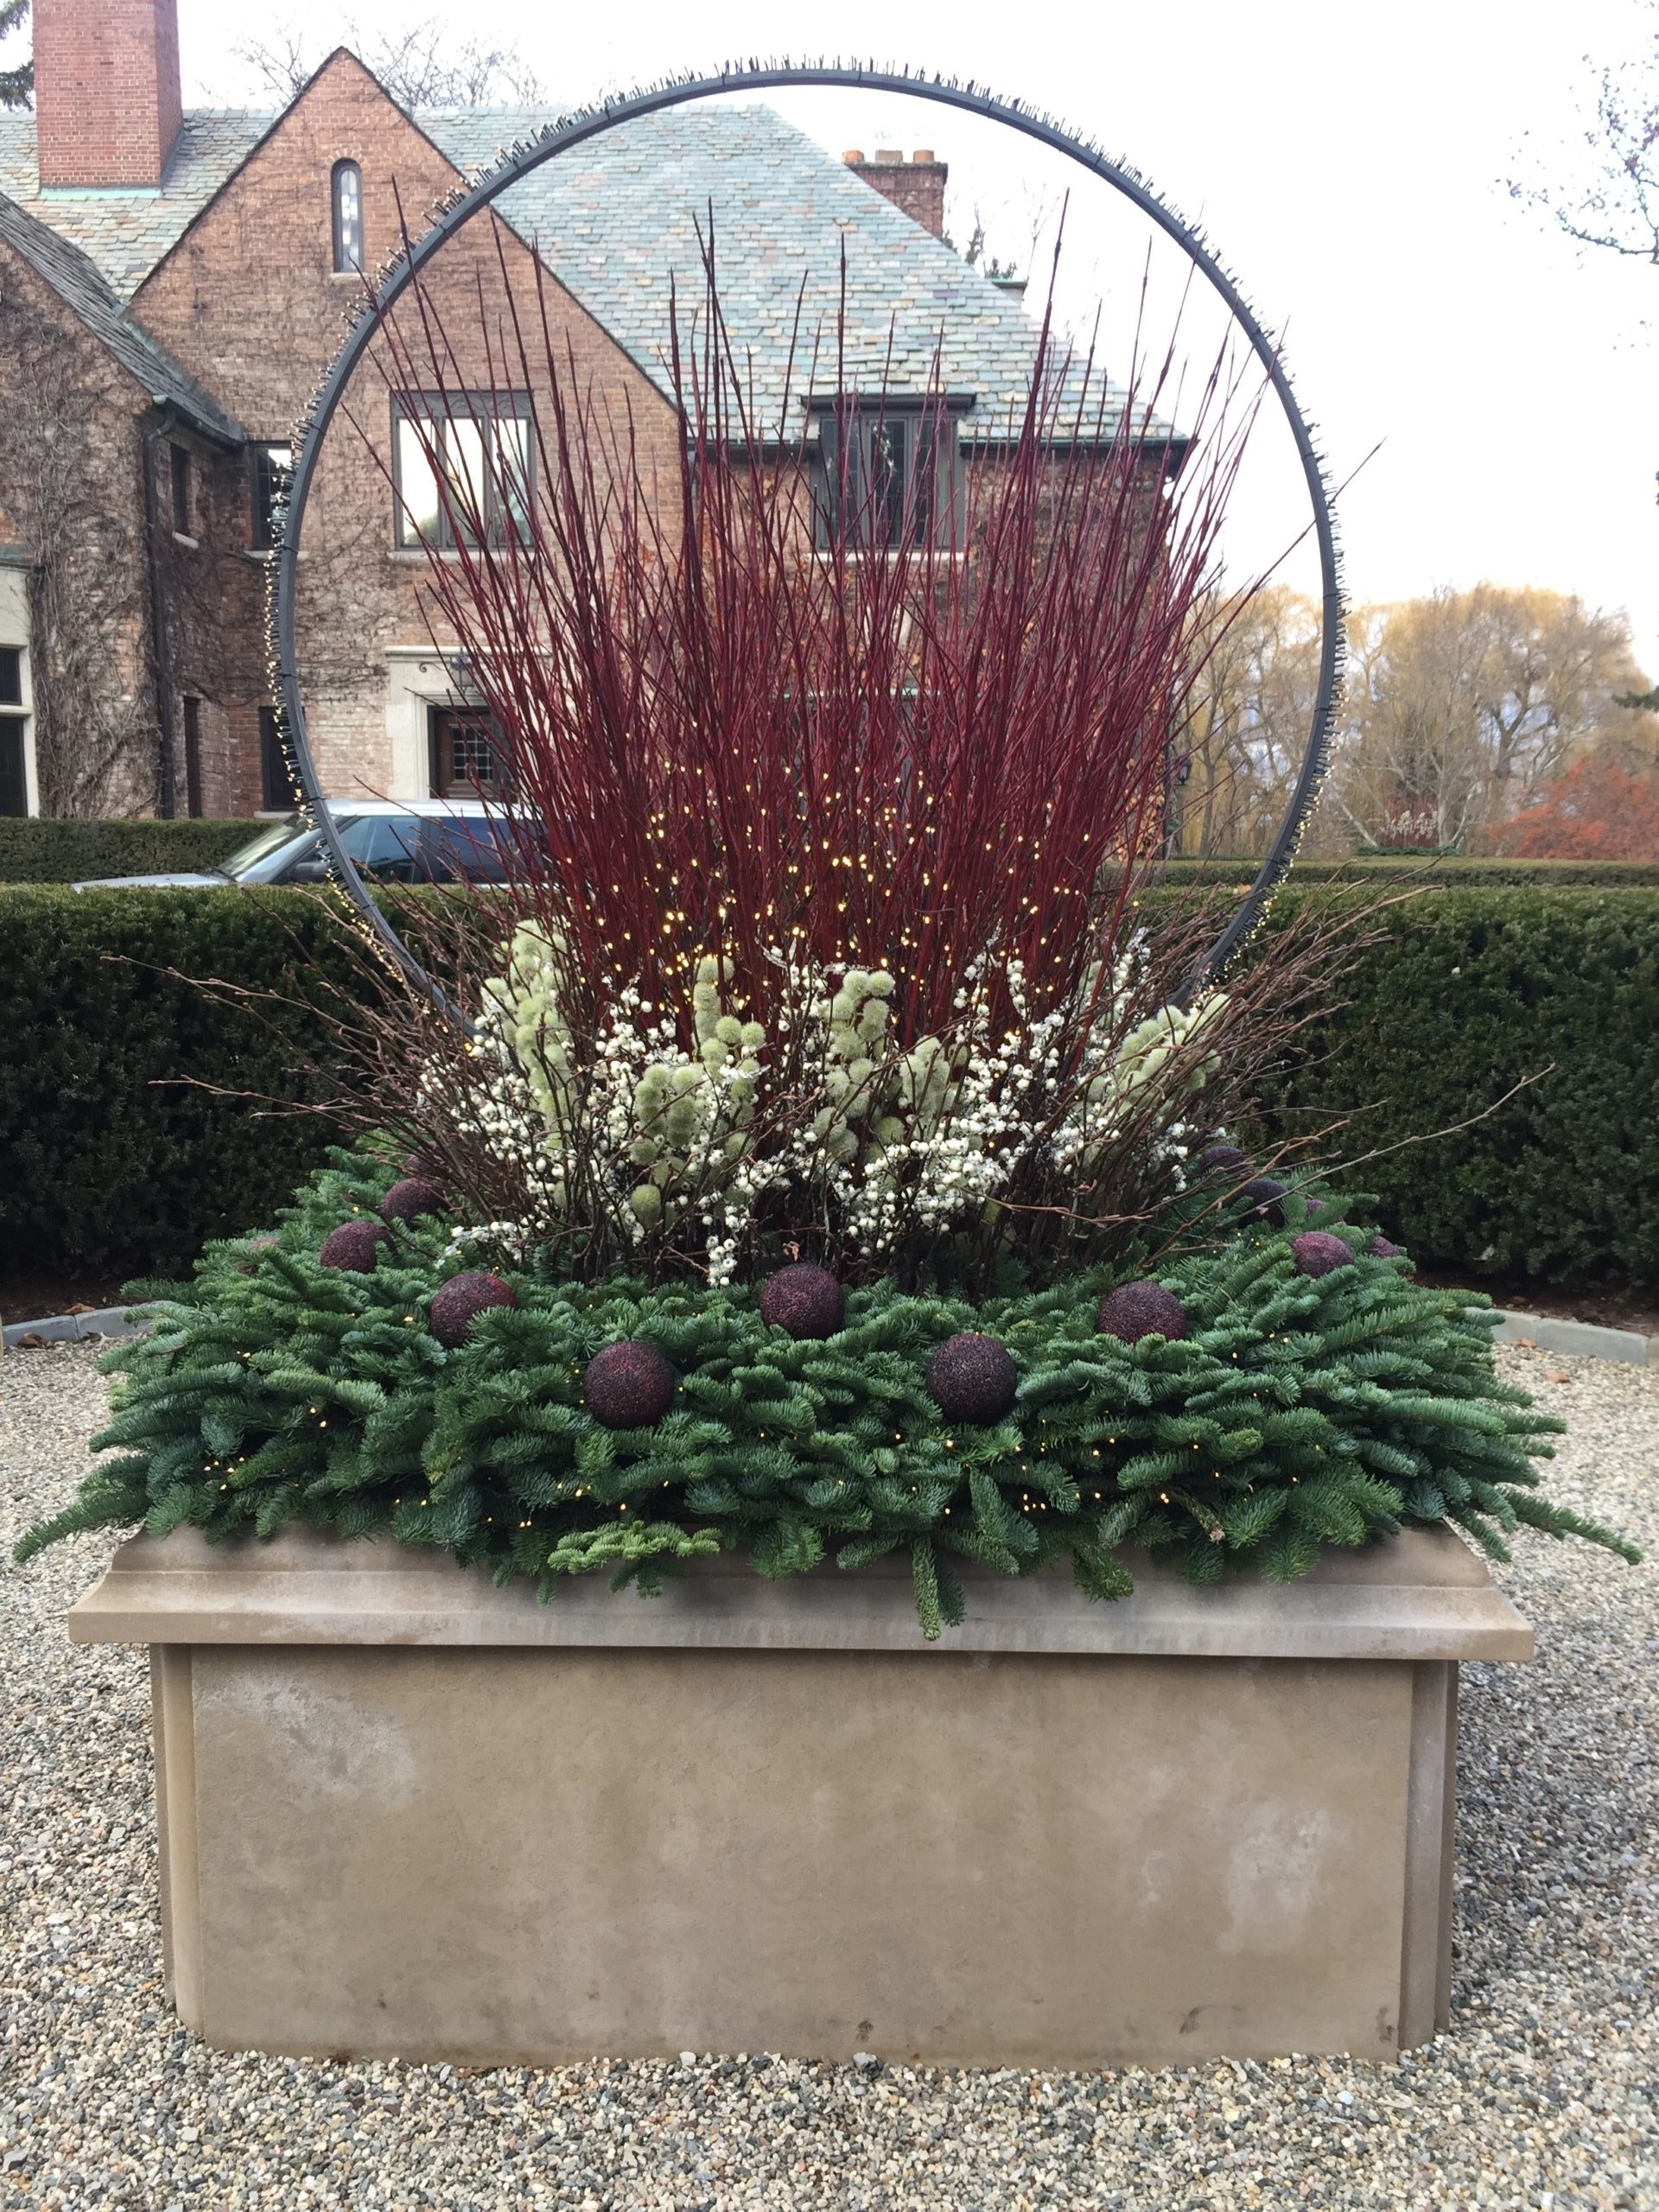
 Lengthening the twig thicket proved to be easy. The last few bunches of black dogwood, mixed with lots of alder branches made a believable transition from the more formal and vertical pussy willow stems to a more wild and natural look. A thicket spanning the entire width of the roof seemed more deliberate and finished.
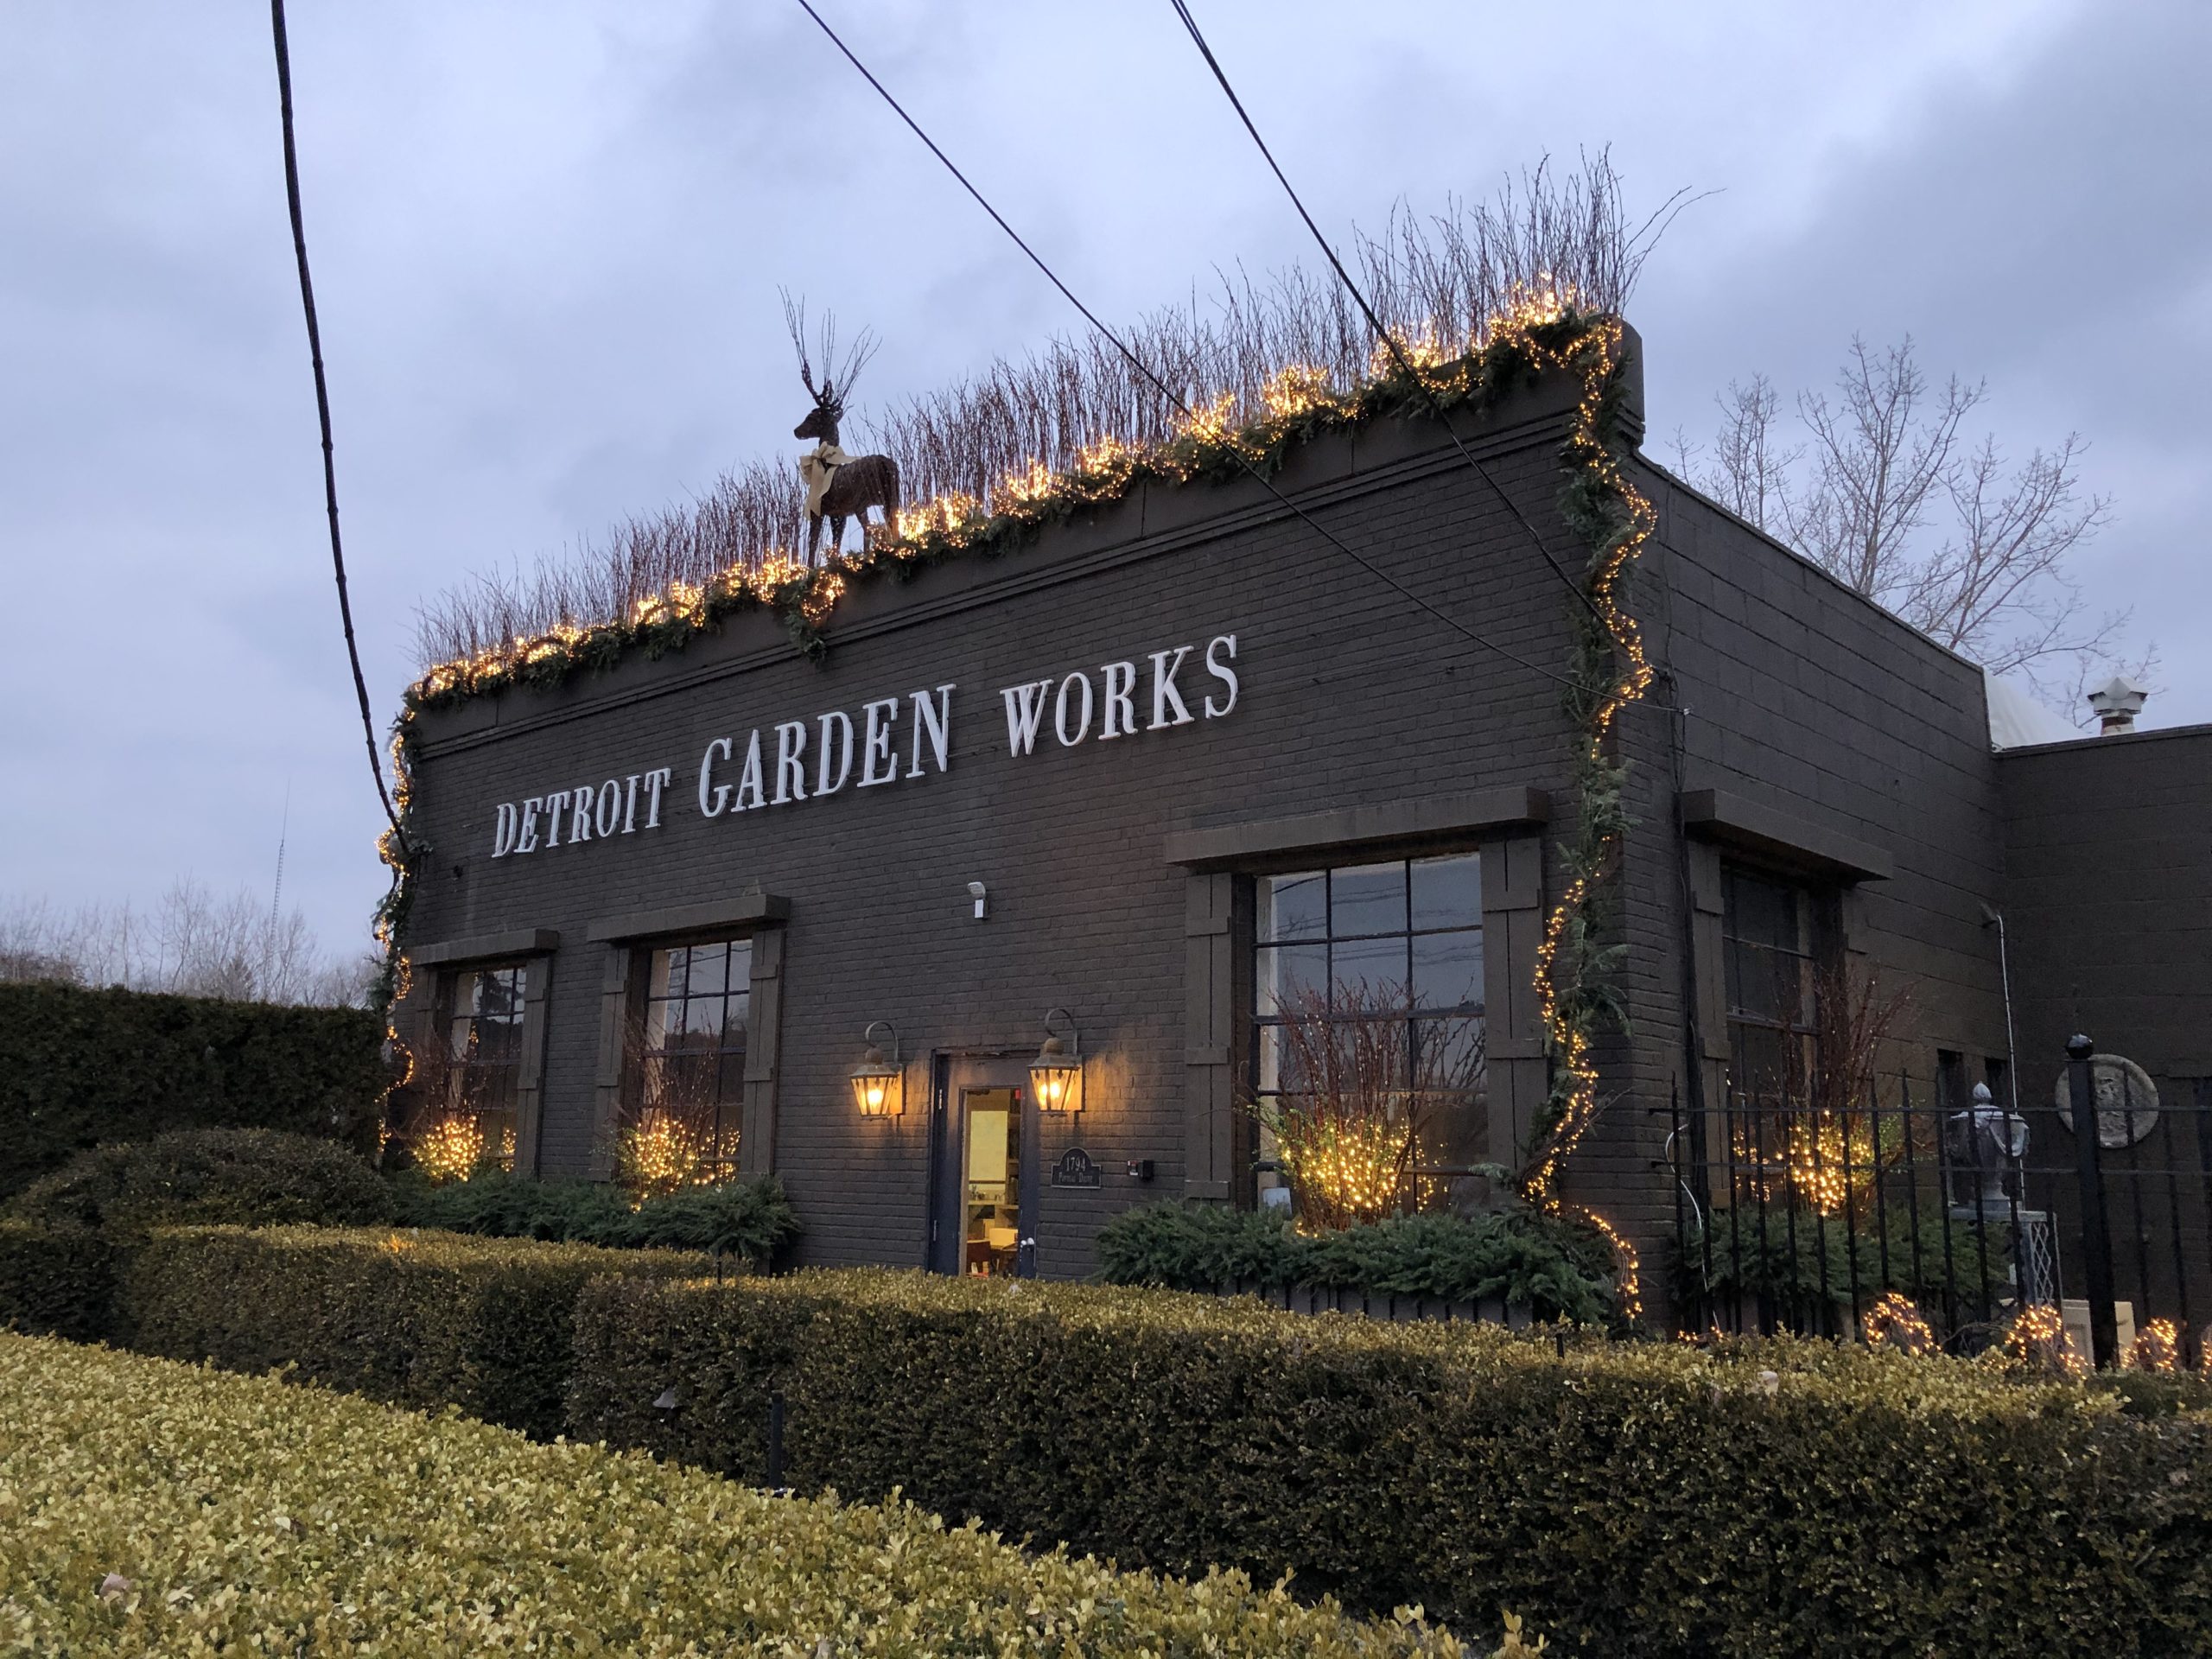 The multiple light bursts did a great job of illuminated the face of the branches at dusk.
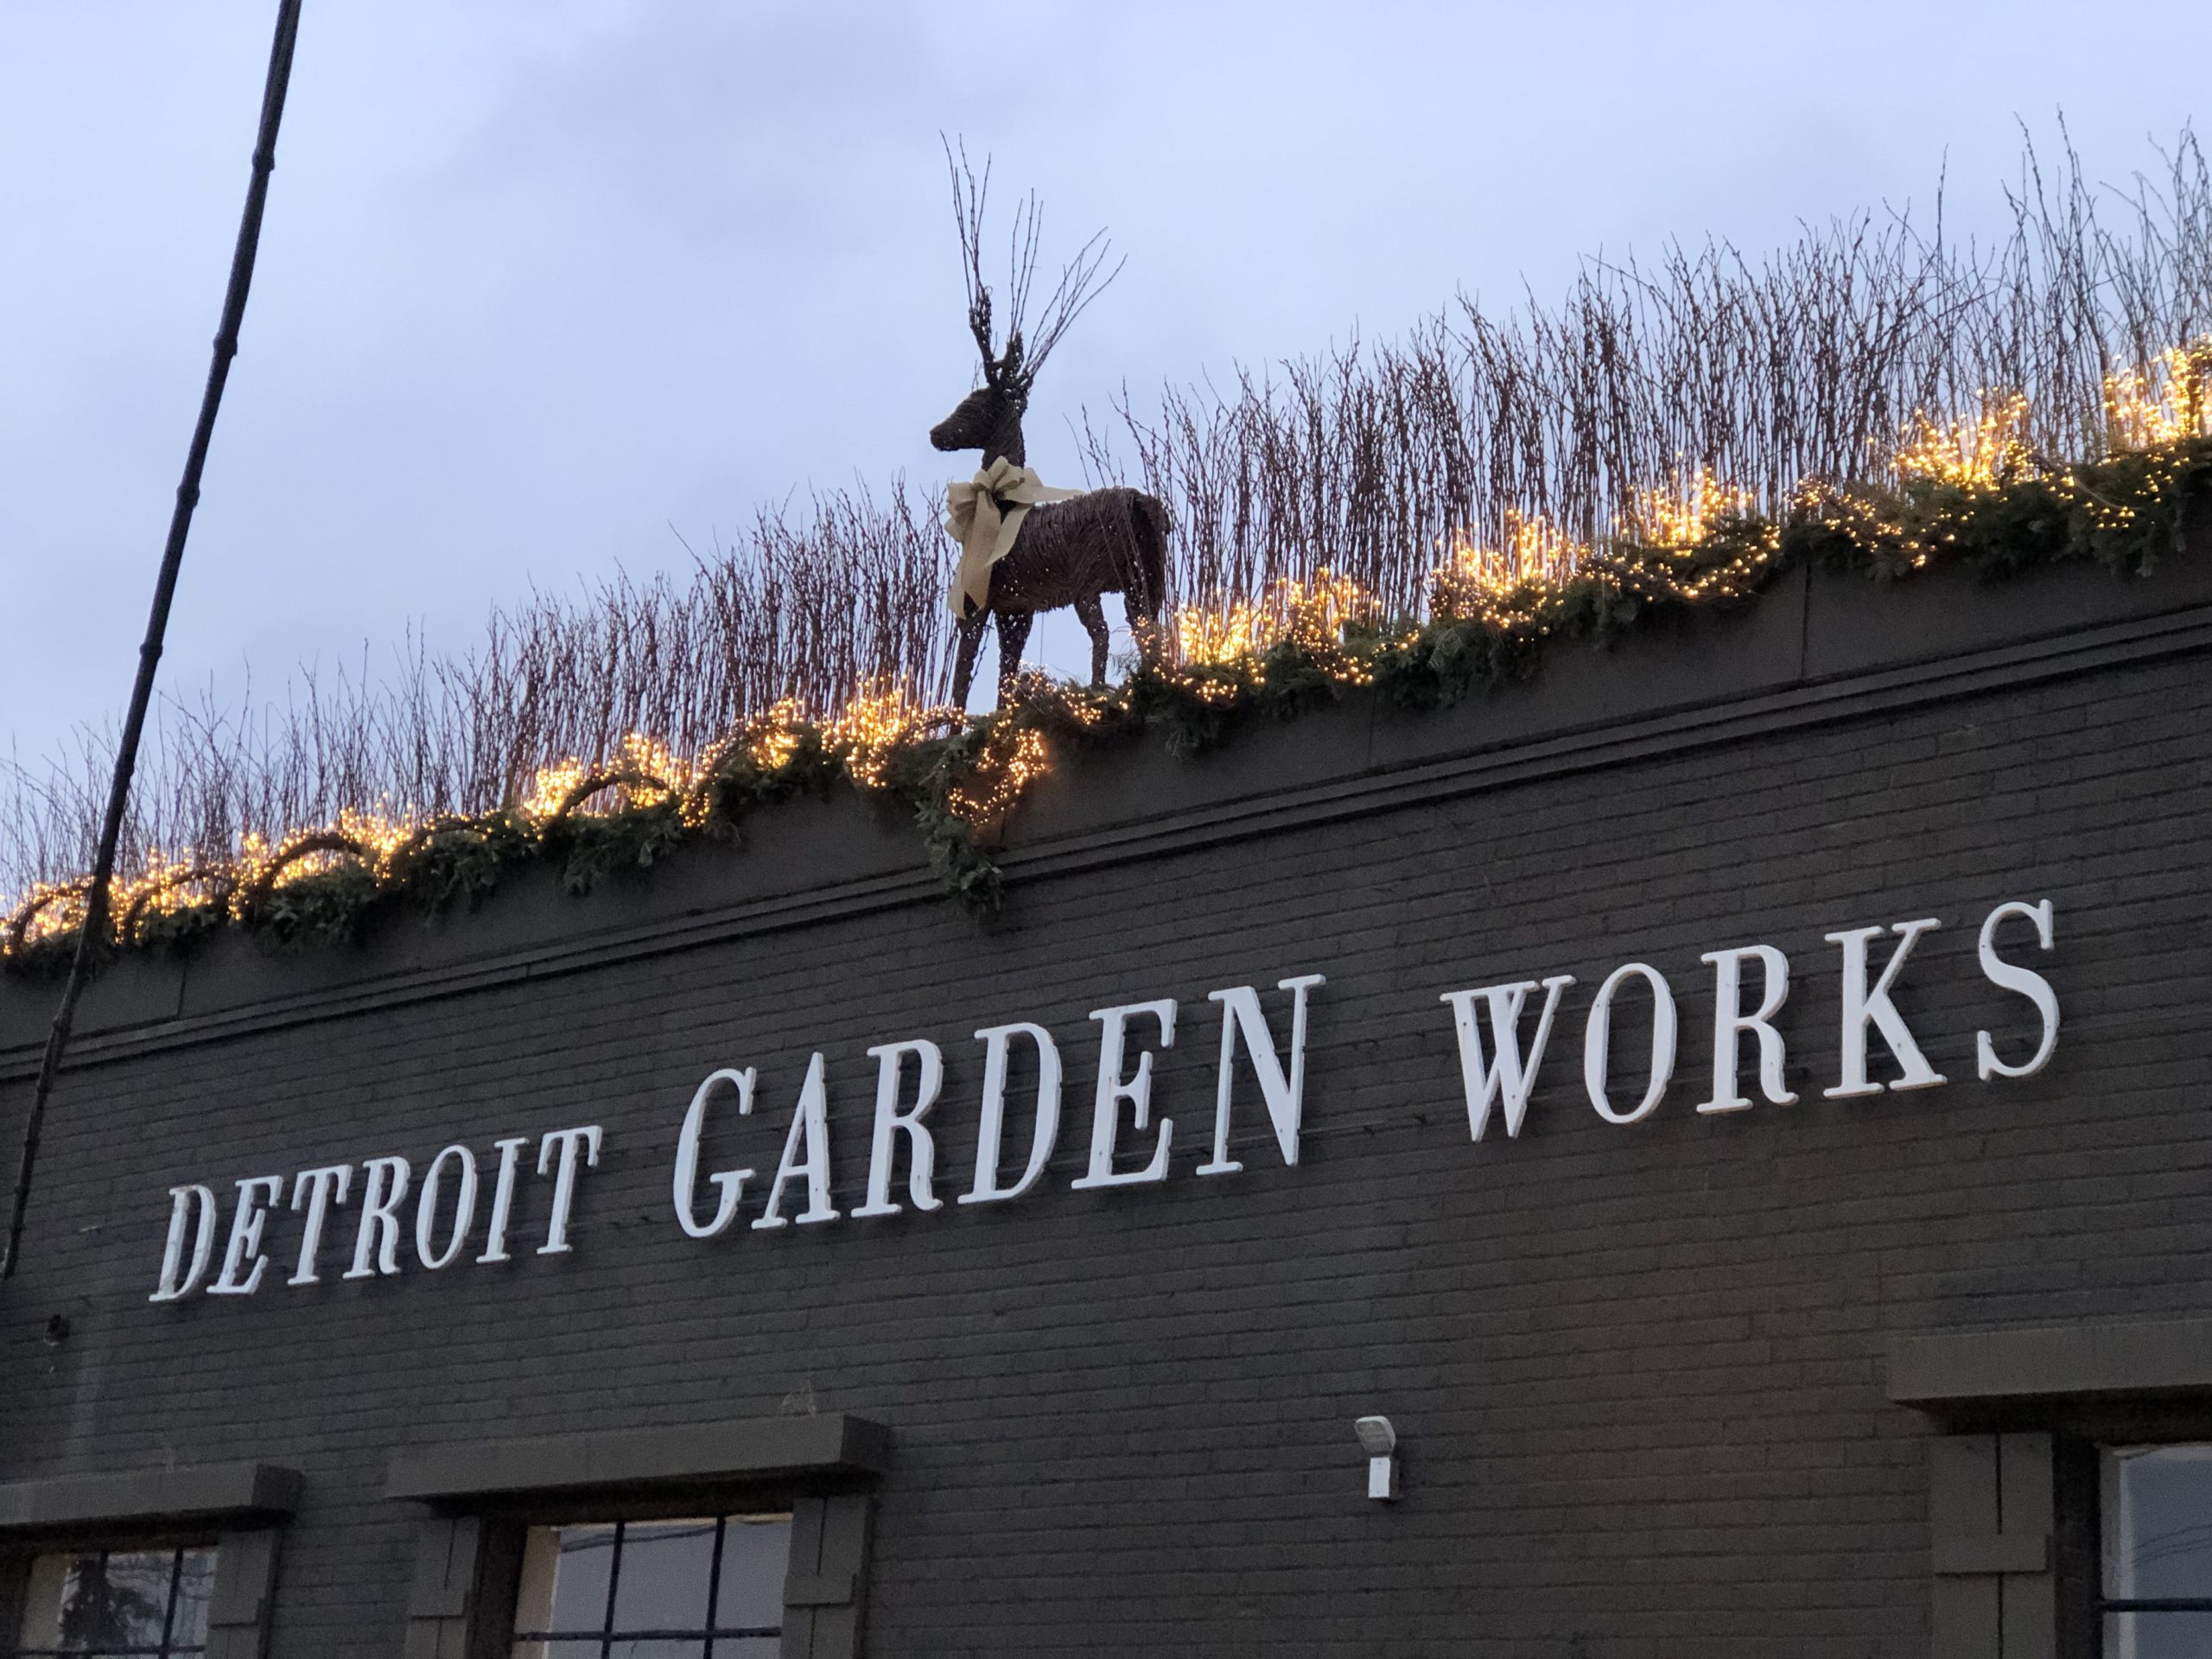 The burlap ribbon collar on our reindeer read plainly and properly, both day and night.
 much better, this.
 I know if Rob is photographing something, he likes it.
 Who knows if St Nicholas will require the last minute services of our reindeer buck tonight, but I am sure he will have no problem spotting him from space. The Works is ready.