Planting Fall Containers

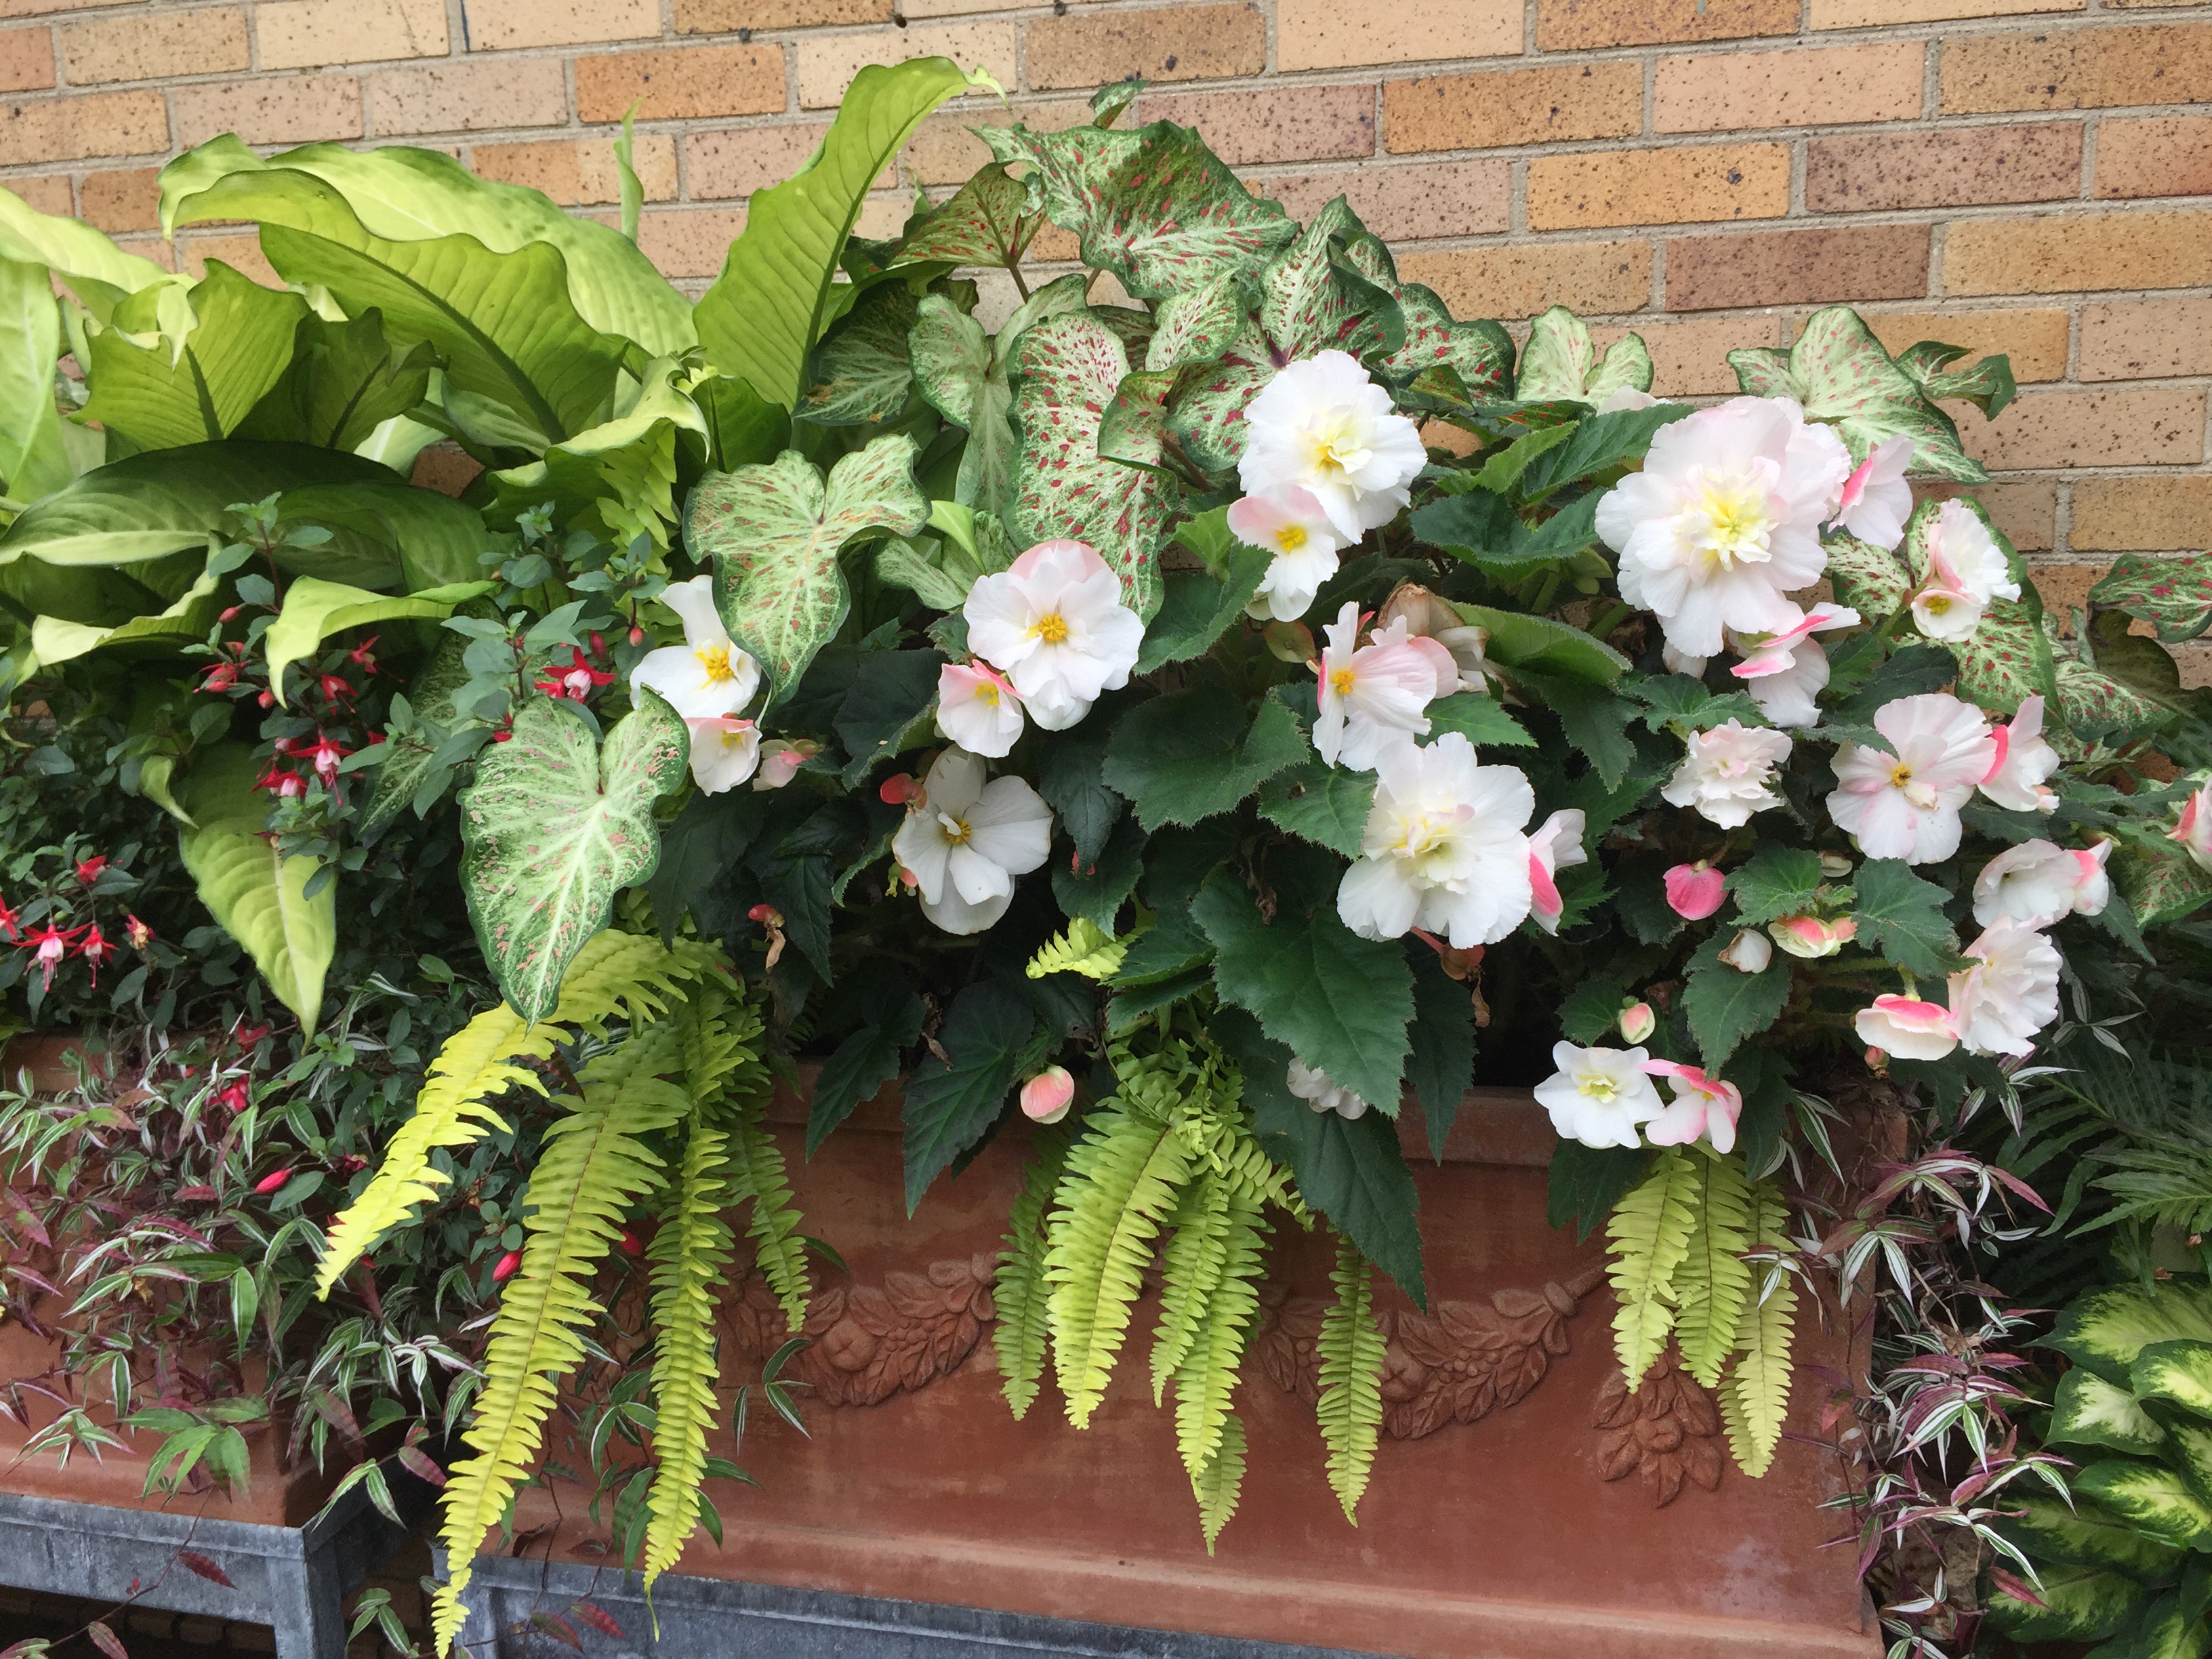
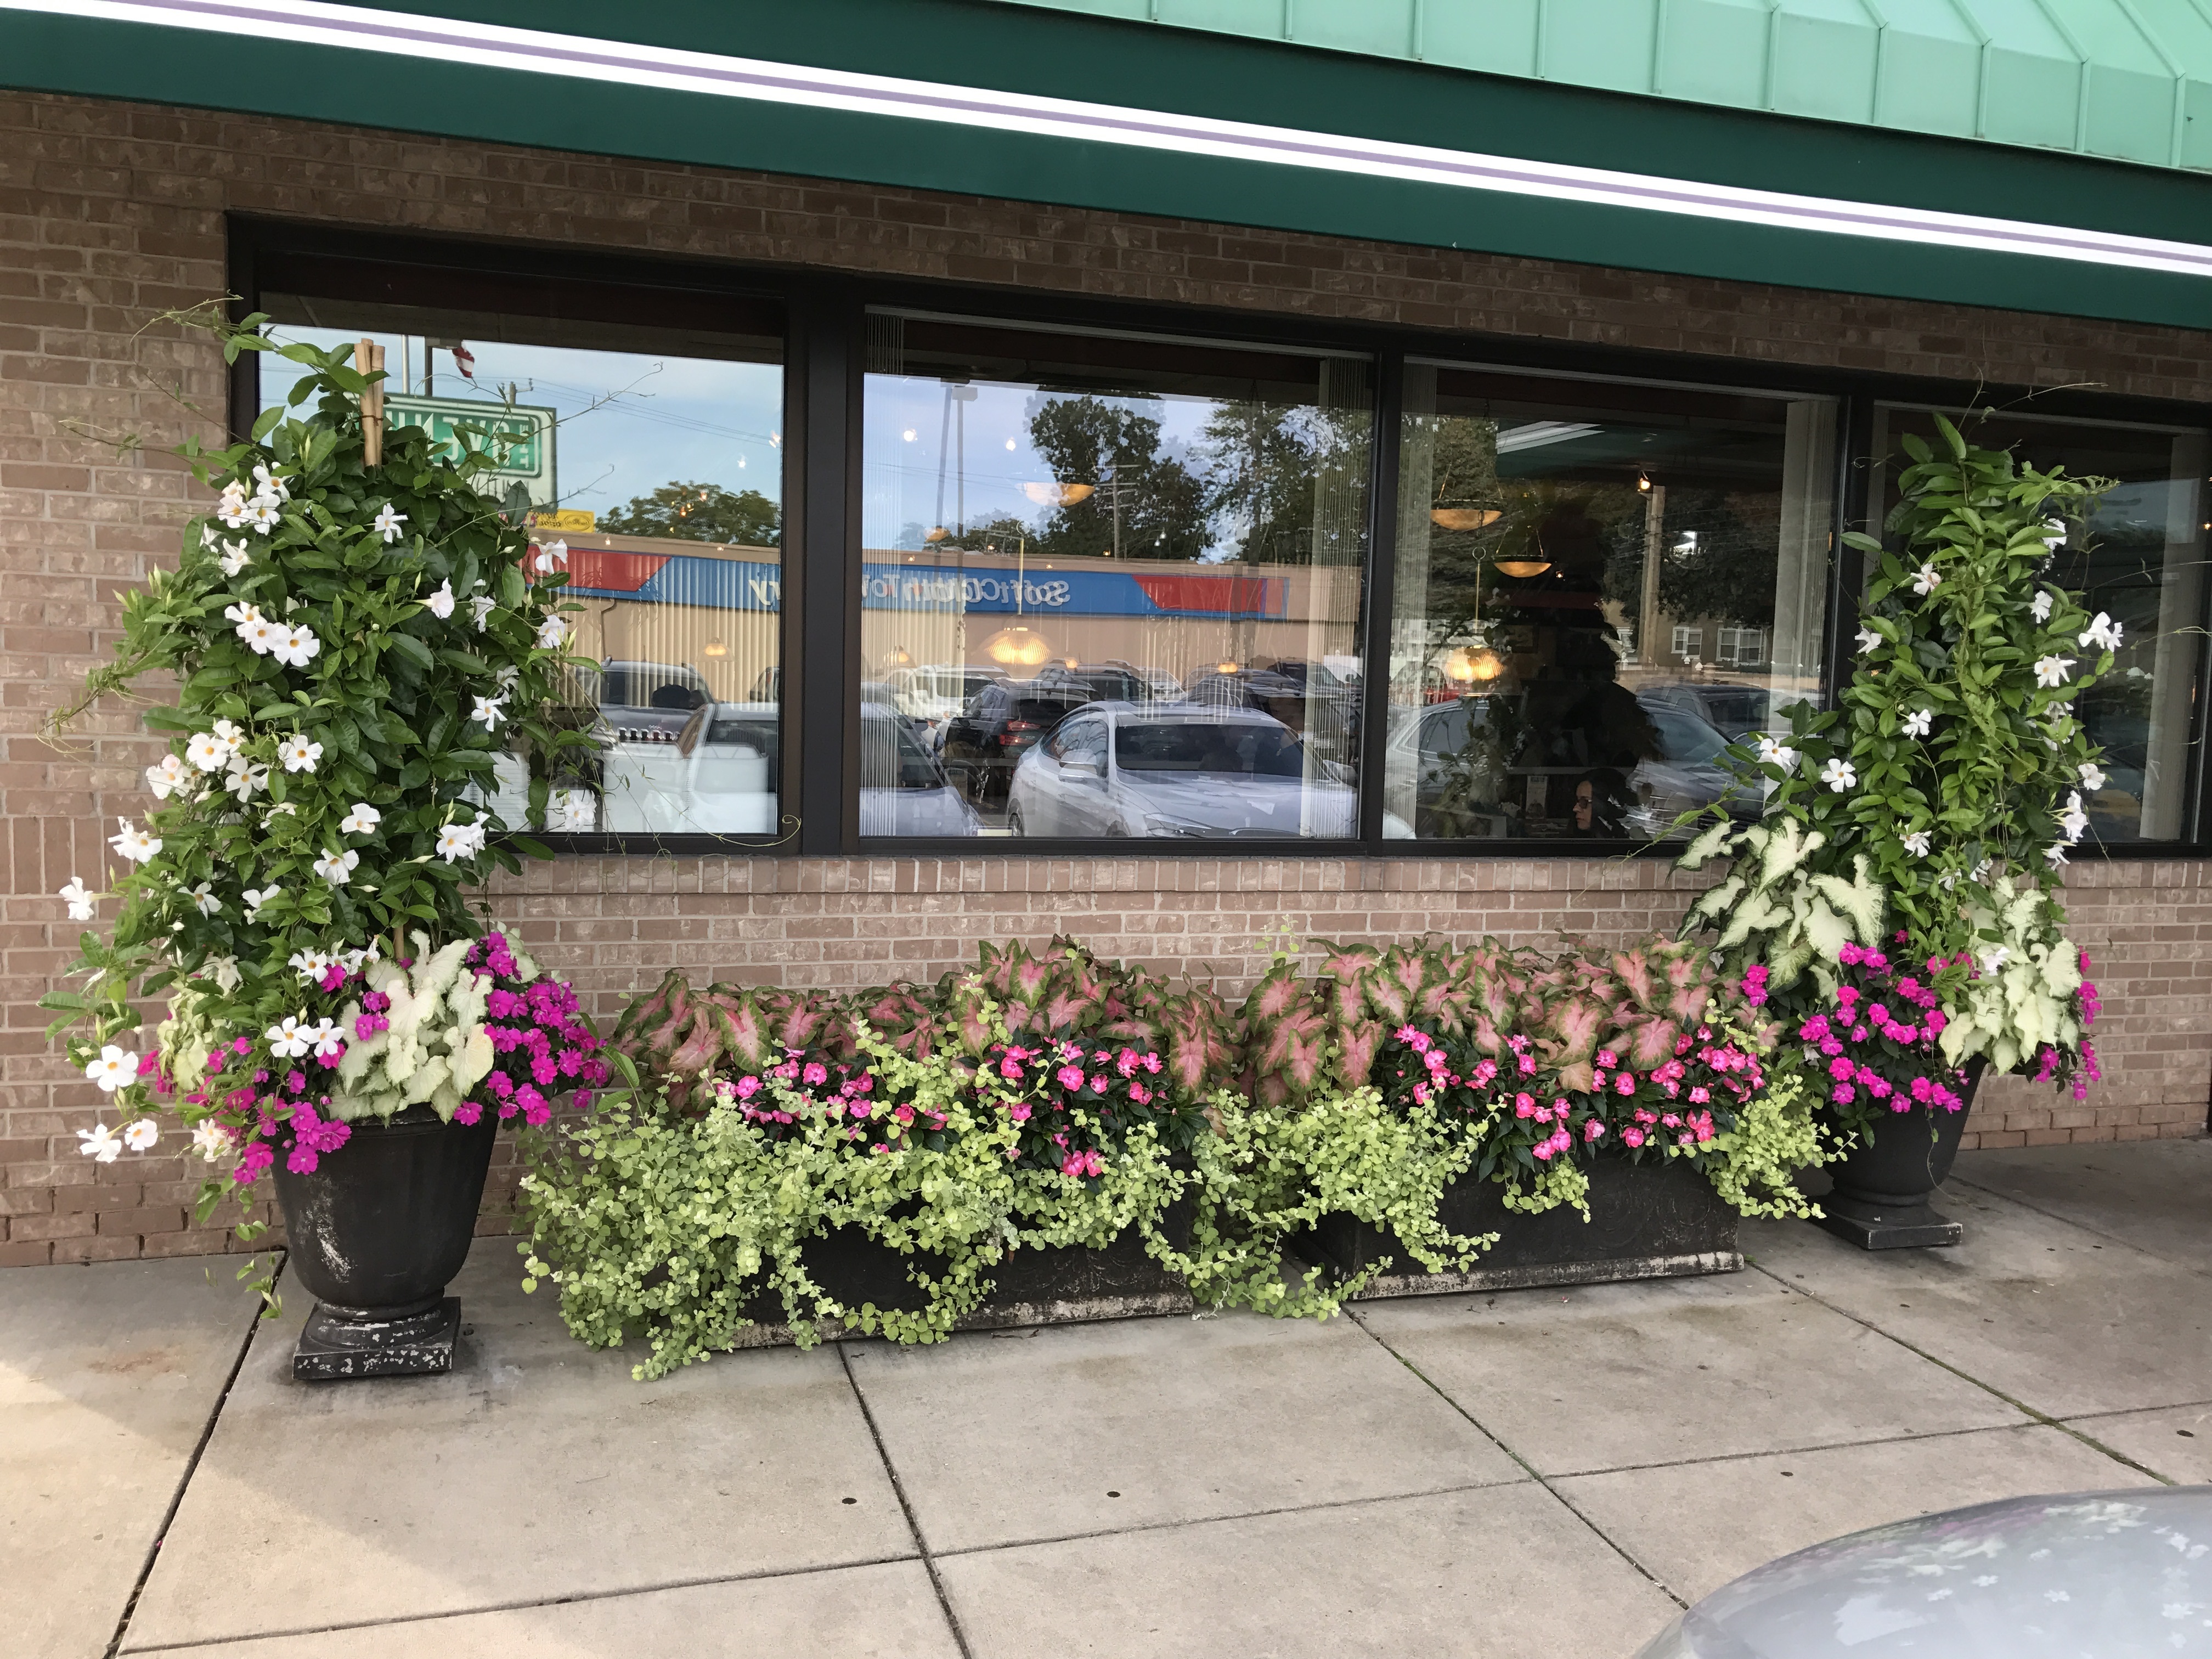
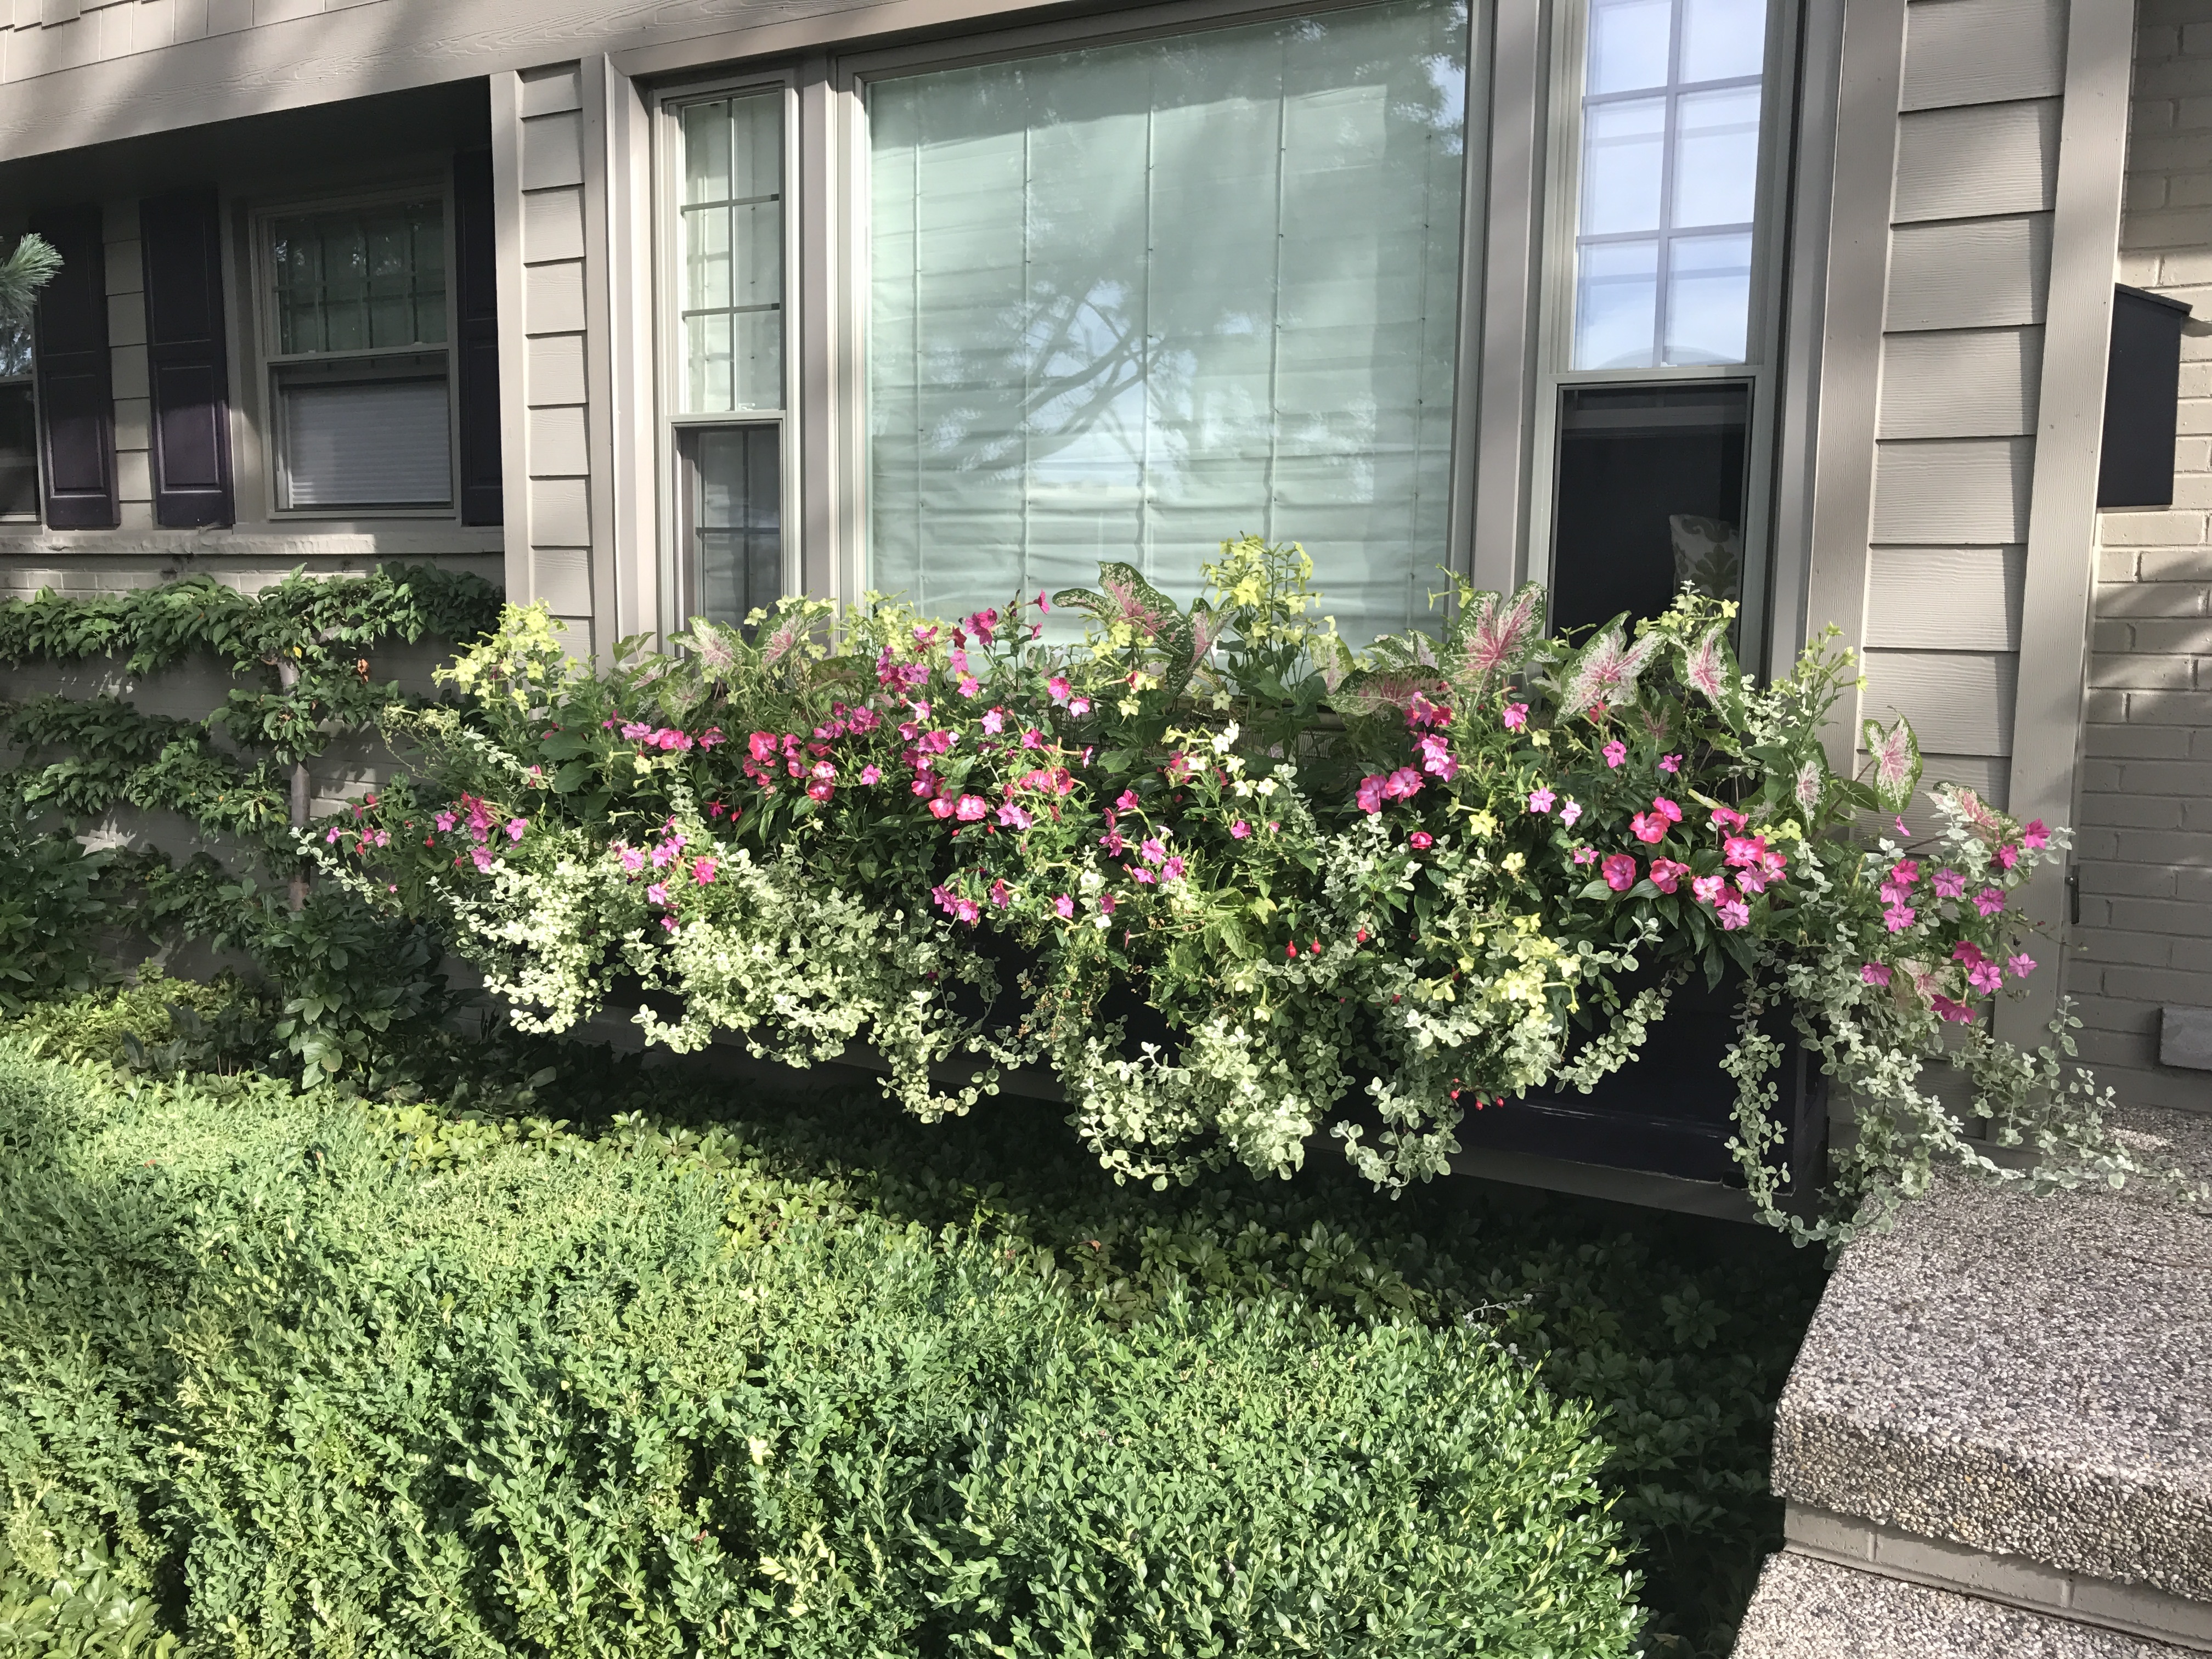
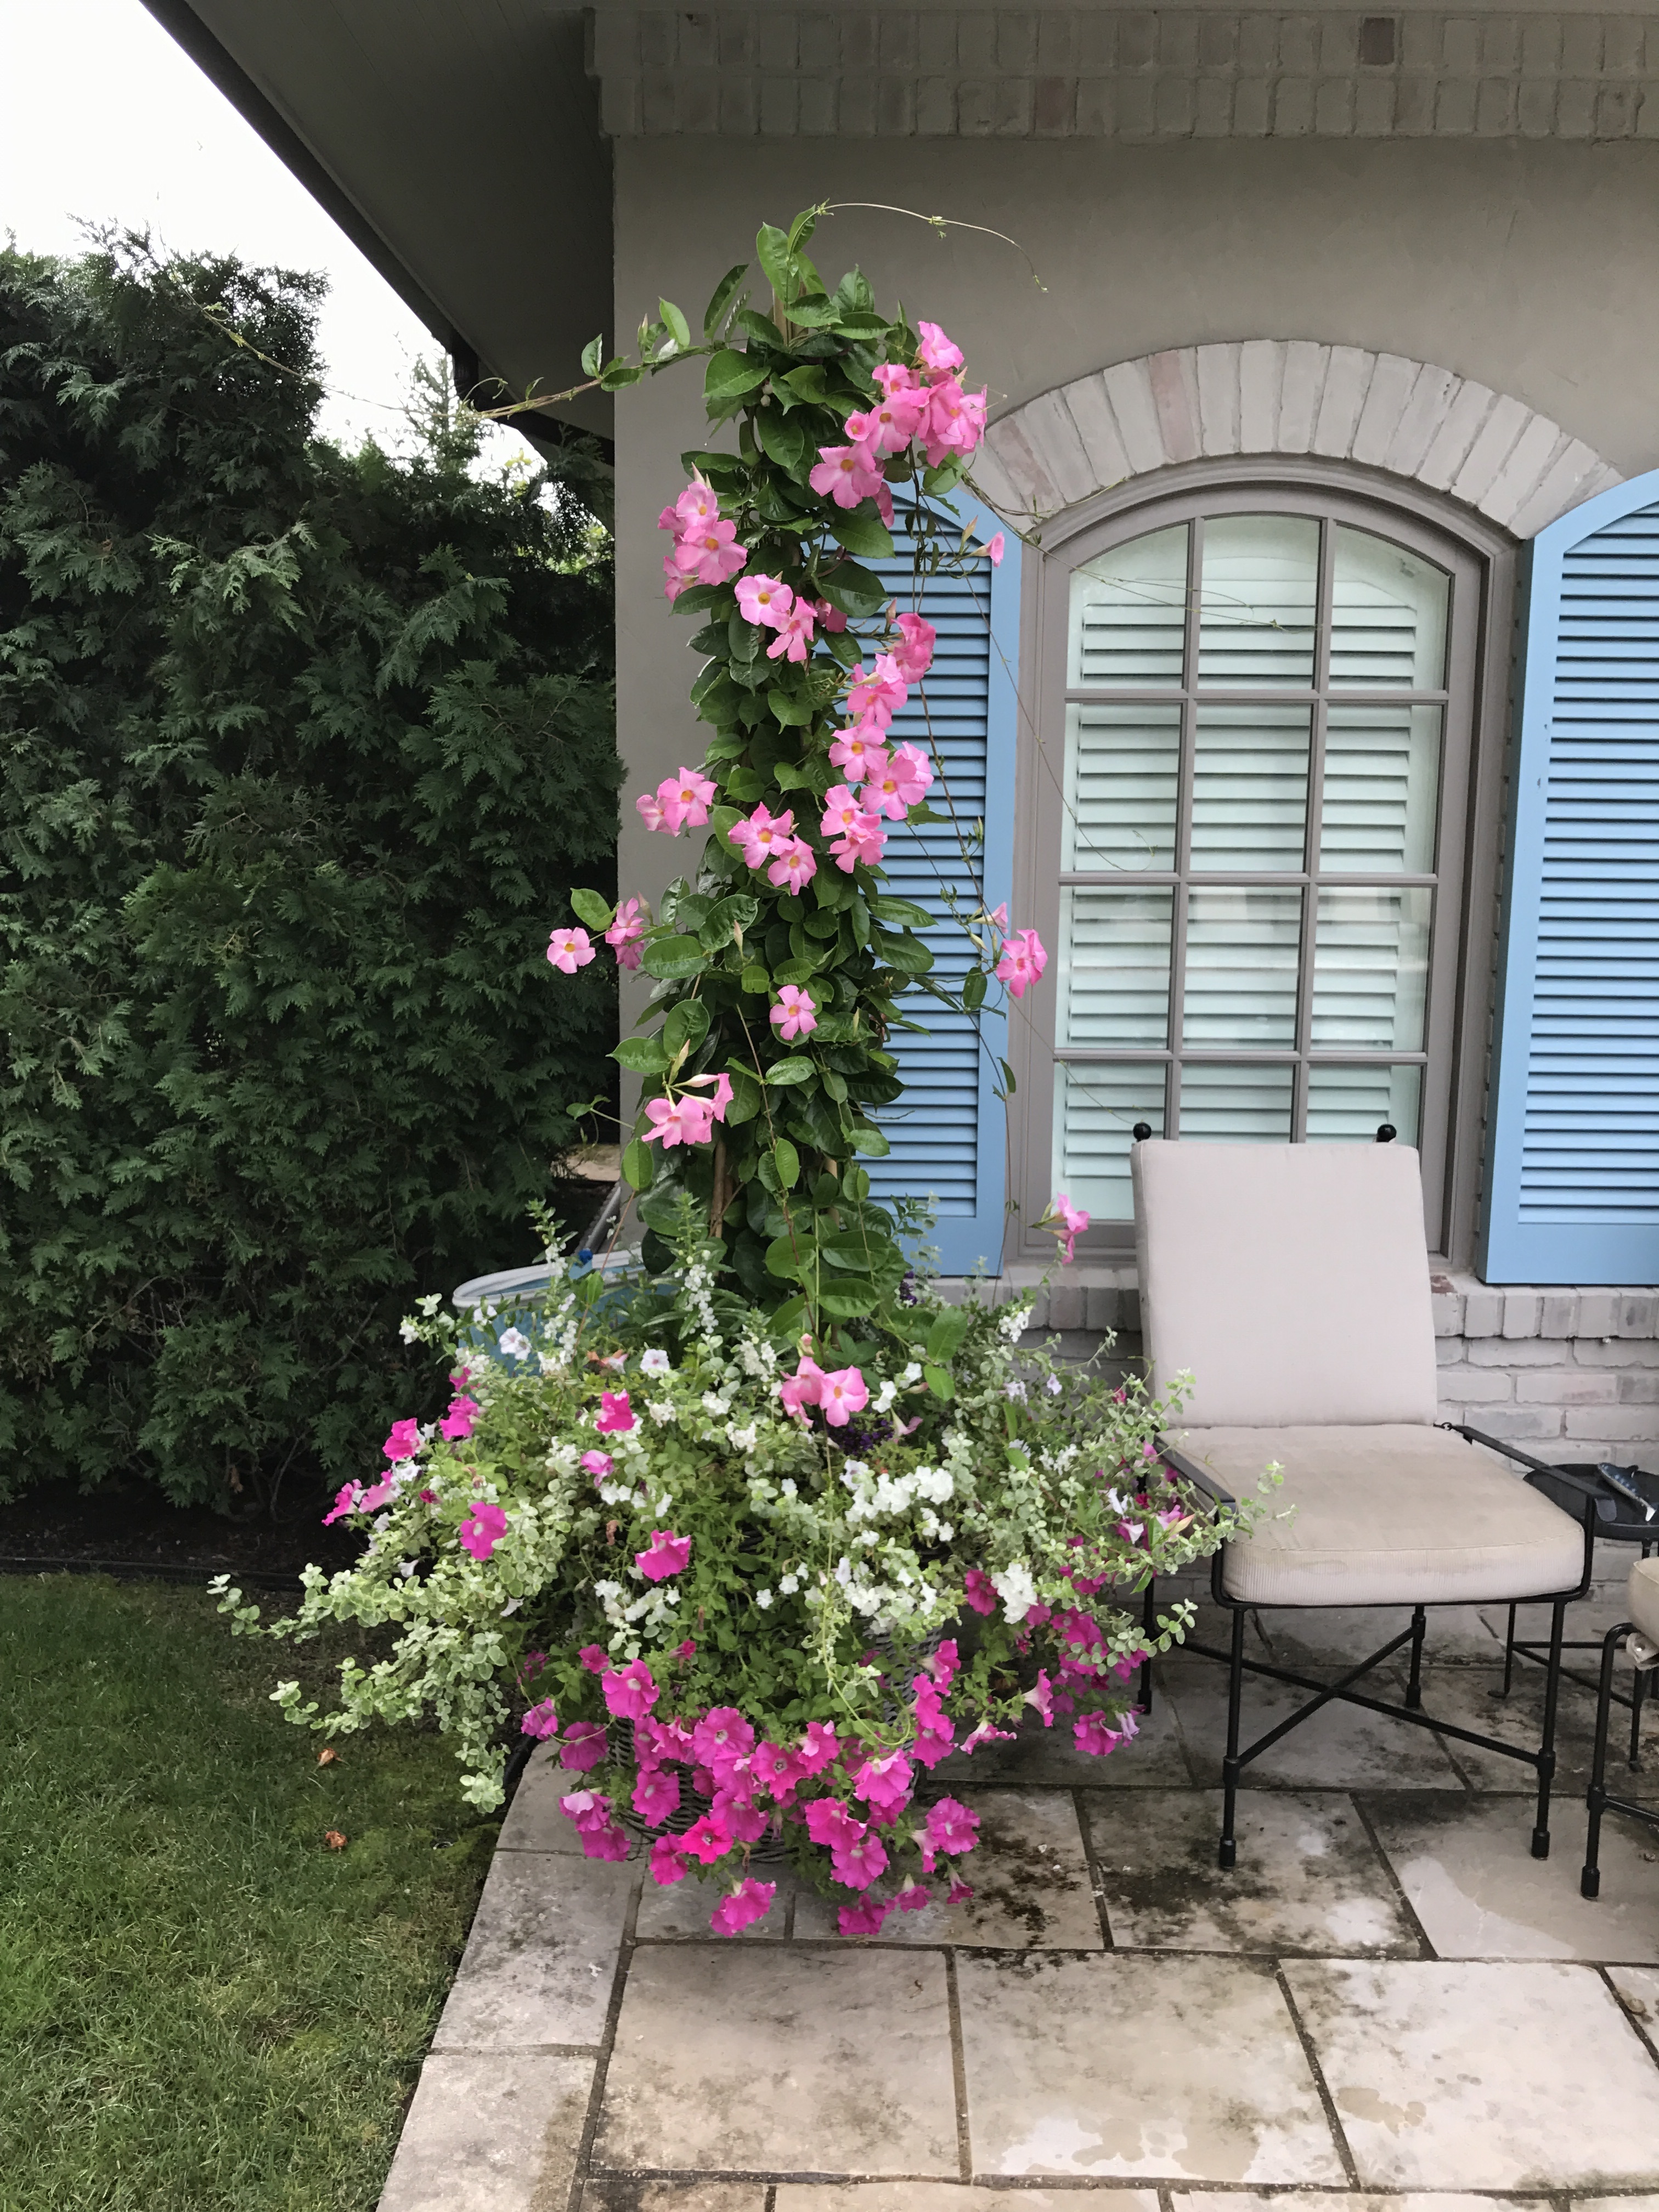
Our summer gardening season begins to wind down in September. Come Labor Day, change in the air. That change is refreshing and energizing. Towards the end of the month, the watering on the summer containers becomes a full time job. All of the soil in the containers is shot through and thoroughly congested with roots. Those abundant roots can absorb water as fast as it can be supplied. They invariably want more. A gardener has to have a big love for their summer containers to keep them thriving throughout September. By the time that fall sees fit to arrive, this gardener is ready.

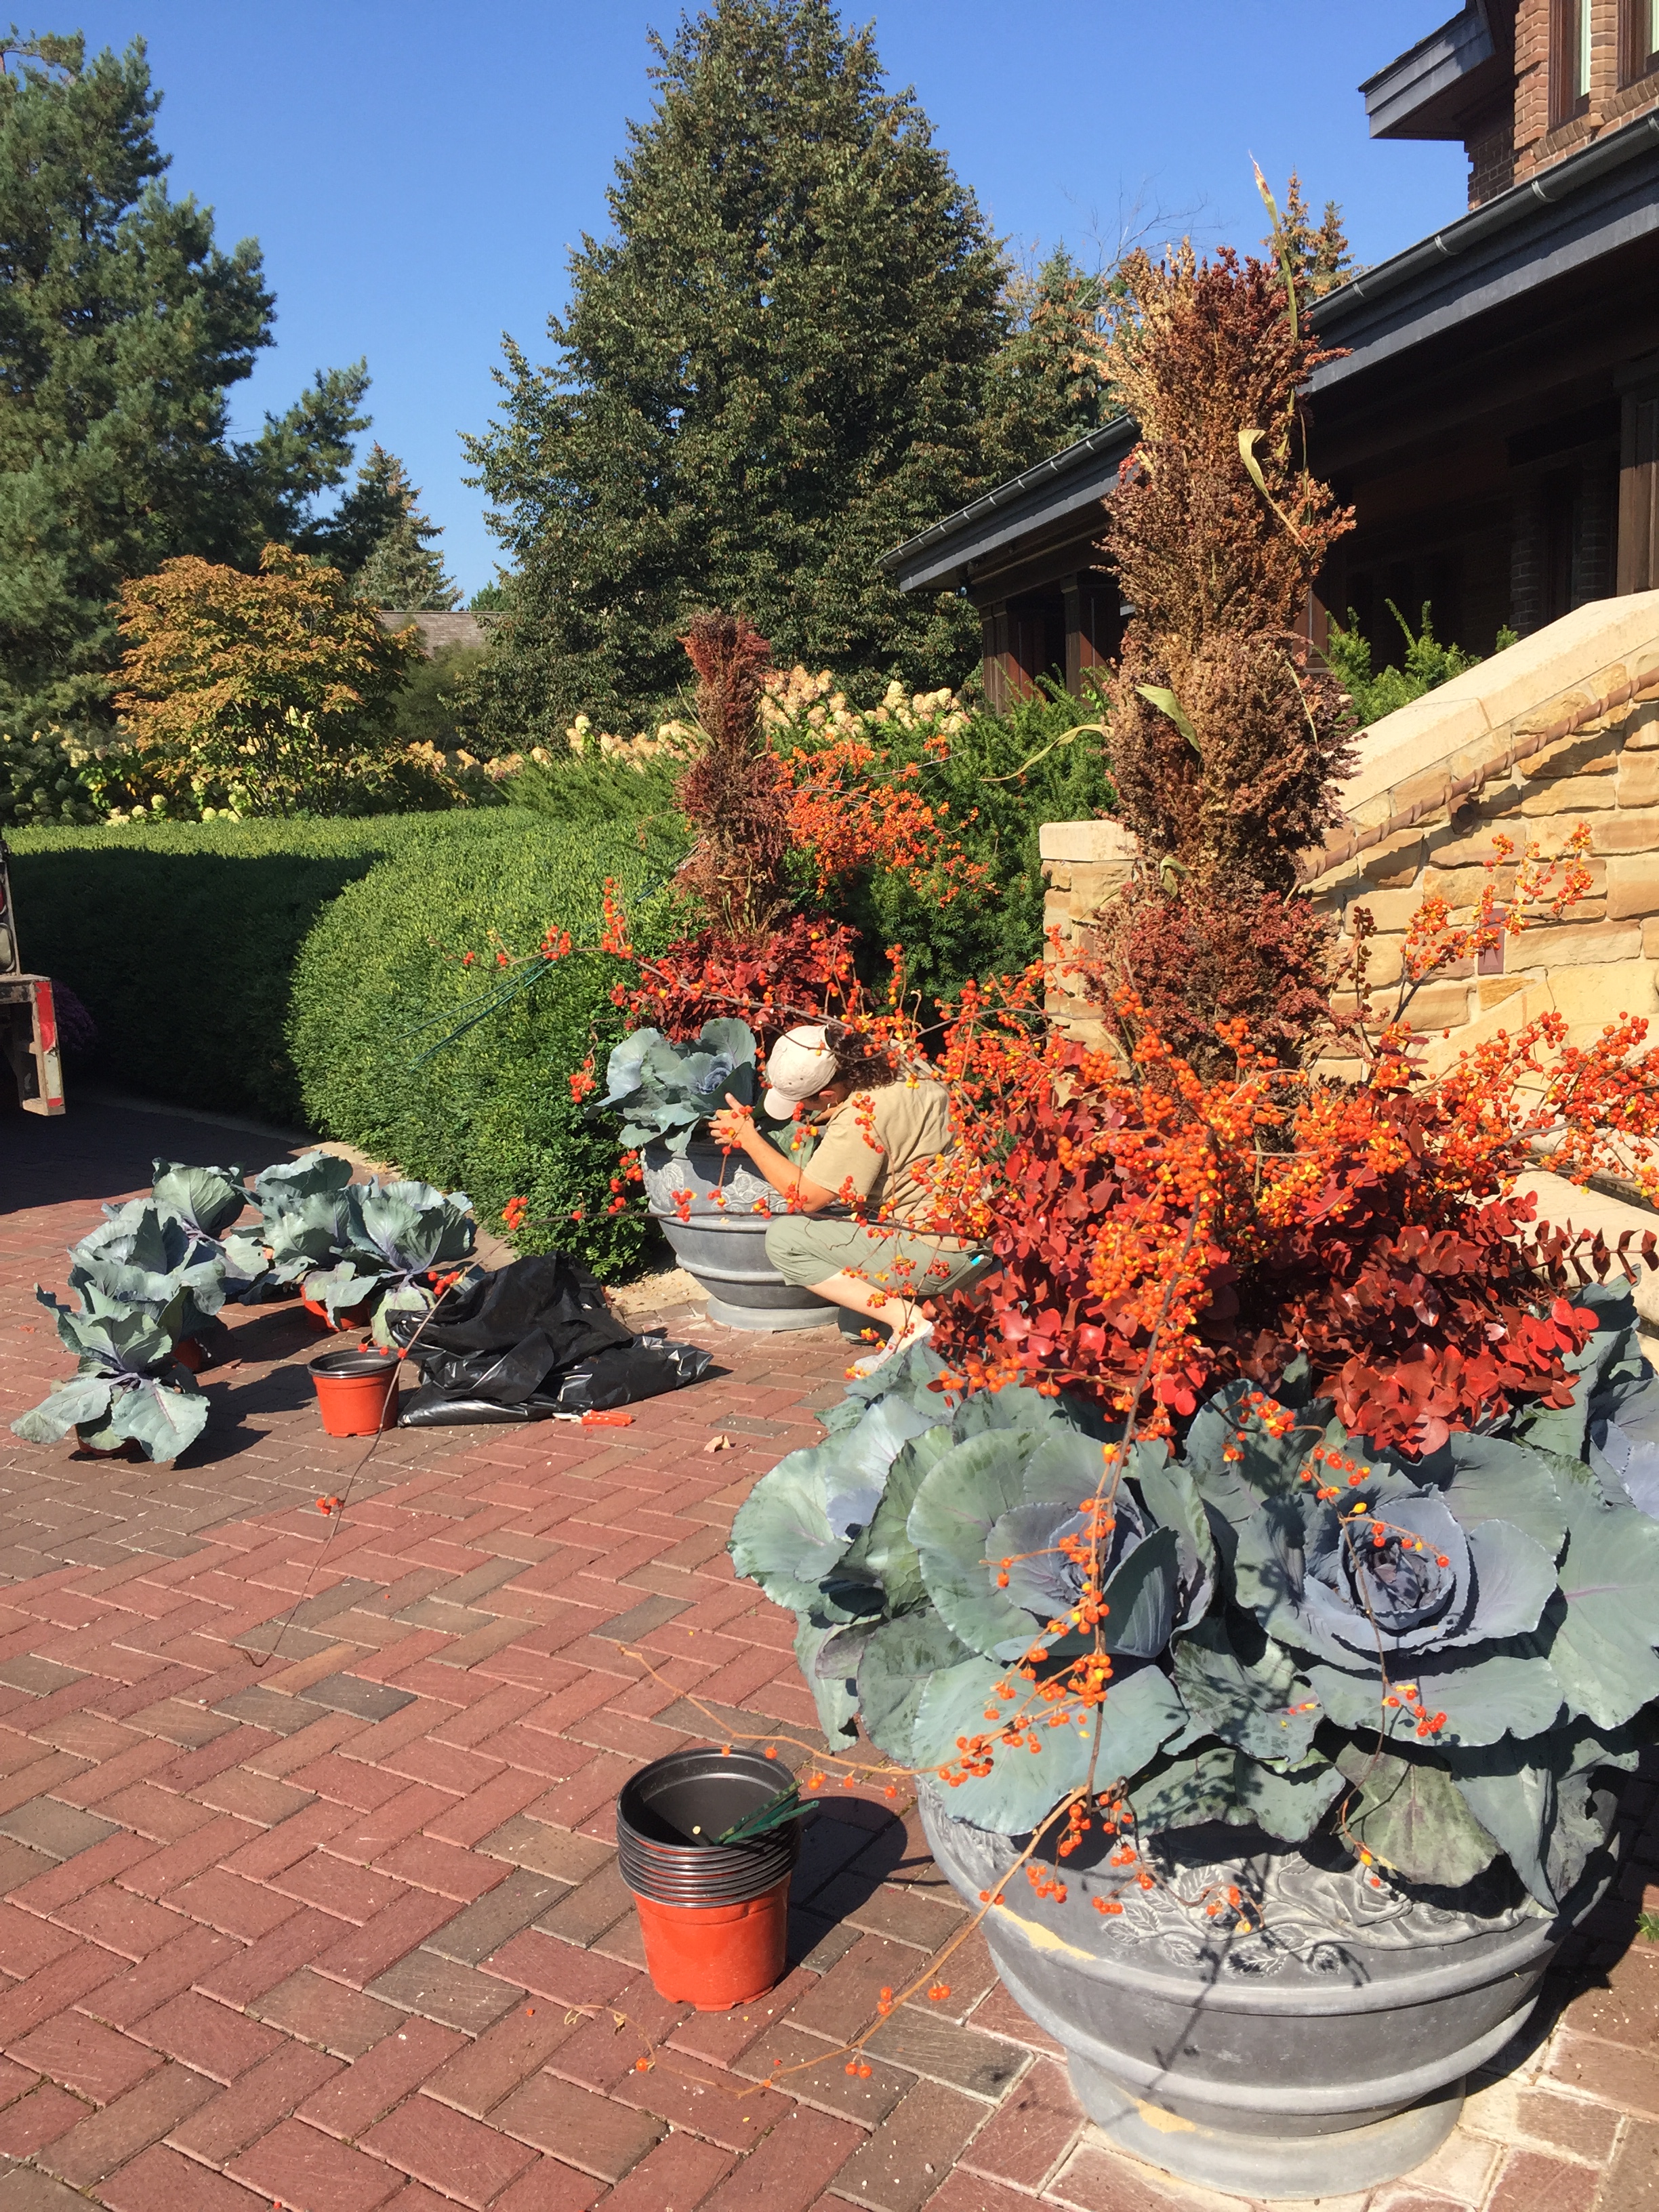
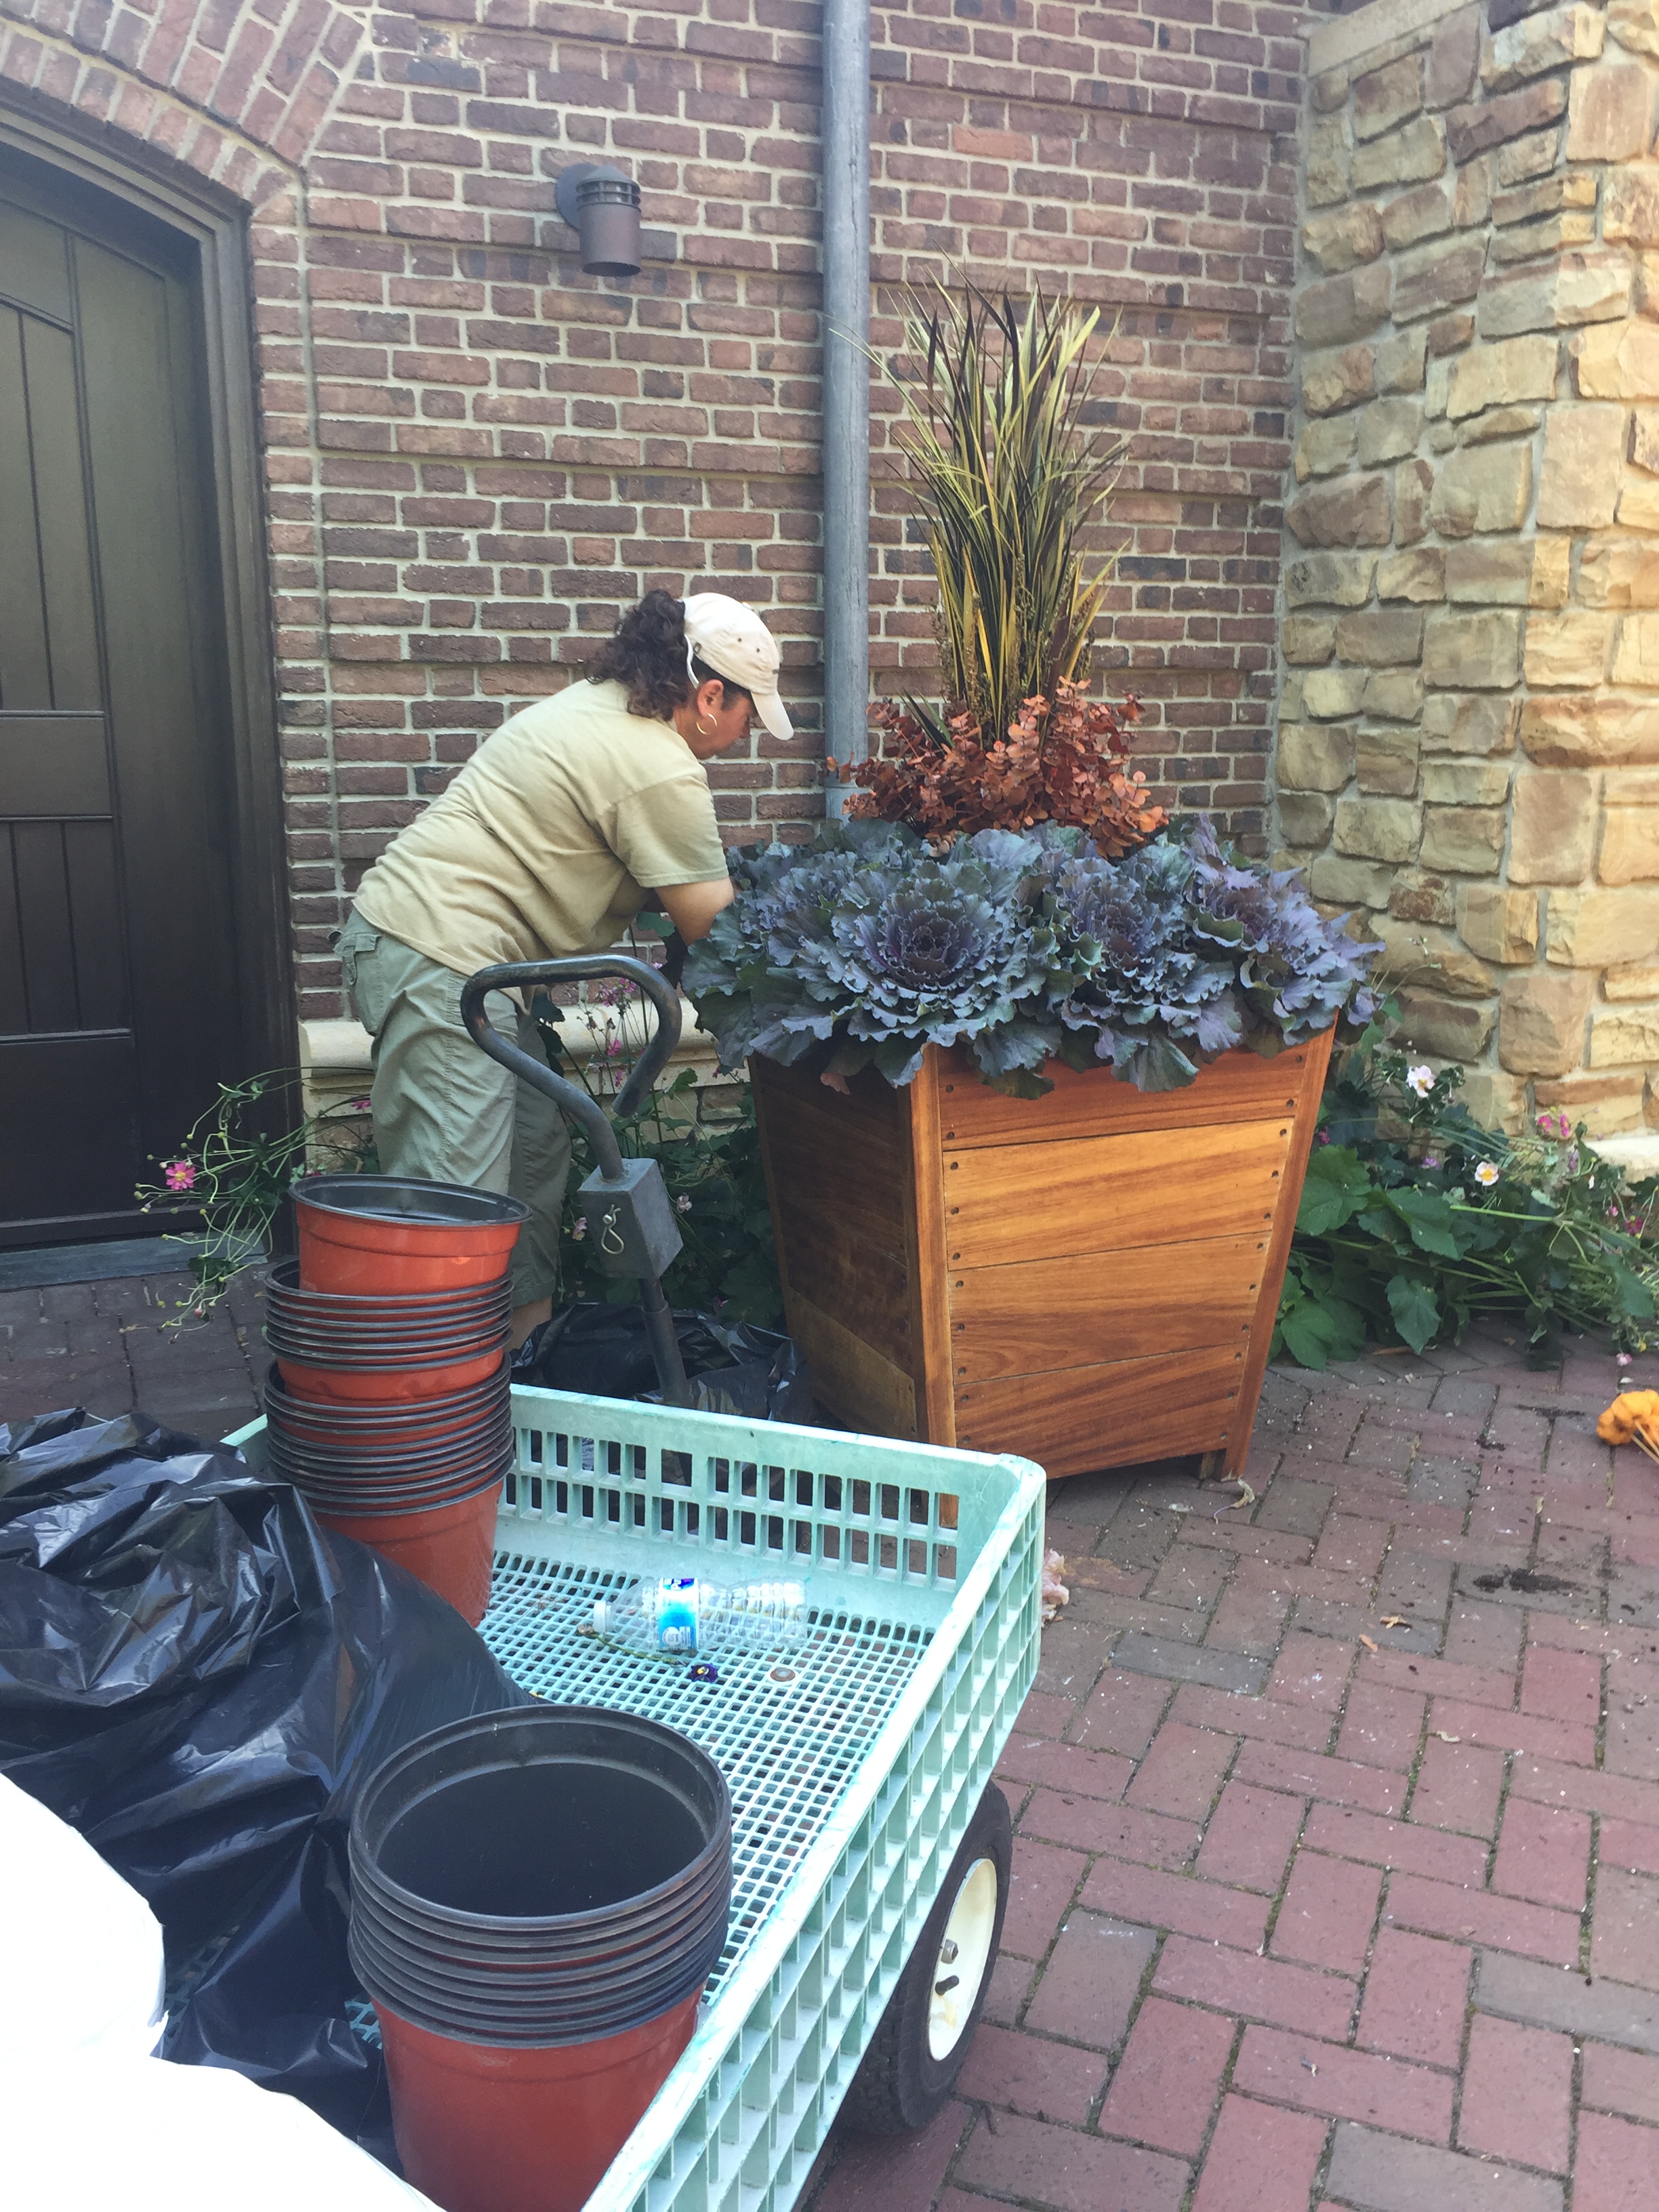
Last week and the first of this was remarkable for its blistering and record setting heat. All the more effort was required to keep the summer pots going. Added to that, the care of first plants for the fall kept us really busy. Keeping up with the watering on our first shipments of fall cabbages, kales, pansies, lavender, thyme, lemon cypress and other fall friendly plants was not easy.  It was 92 degrees, the first day we planted a collection of containers for fall. Fortunately for me, my crews are utterly professional and focused. They came to work with coolers filled with bottles of water that had spent the previous night in the freezer. They soaked every plant before it was loaded. They were dressed for the occasion. They sweated it out with aplomb. We had set a date to plant containers for fall for this client, and we honored that commitment. All of the pots had been emptied of the summer plants, and the fall centerpieces constructed the day before.

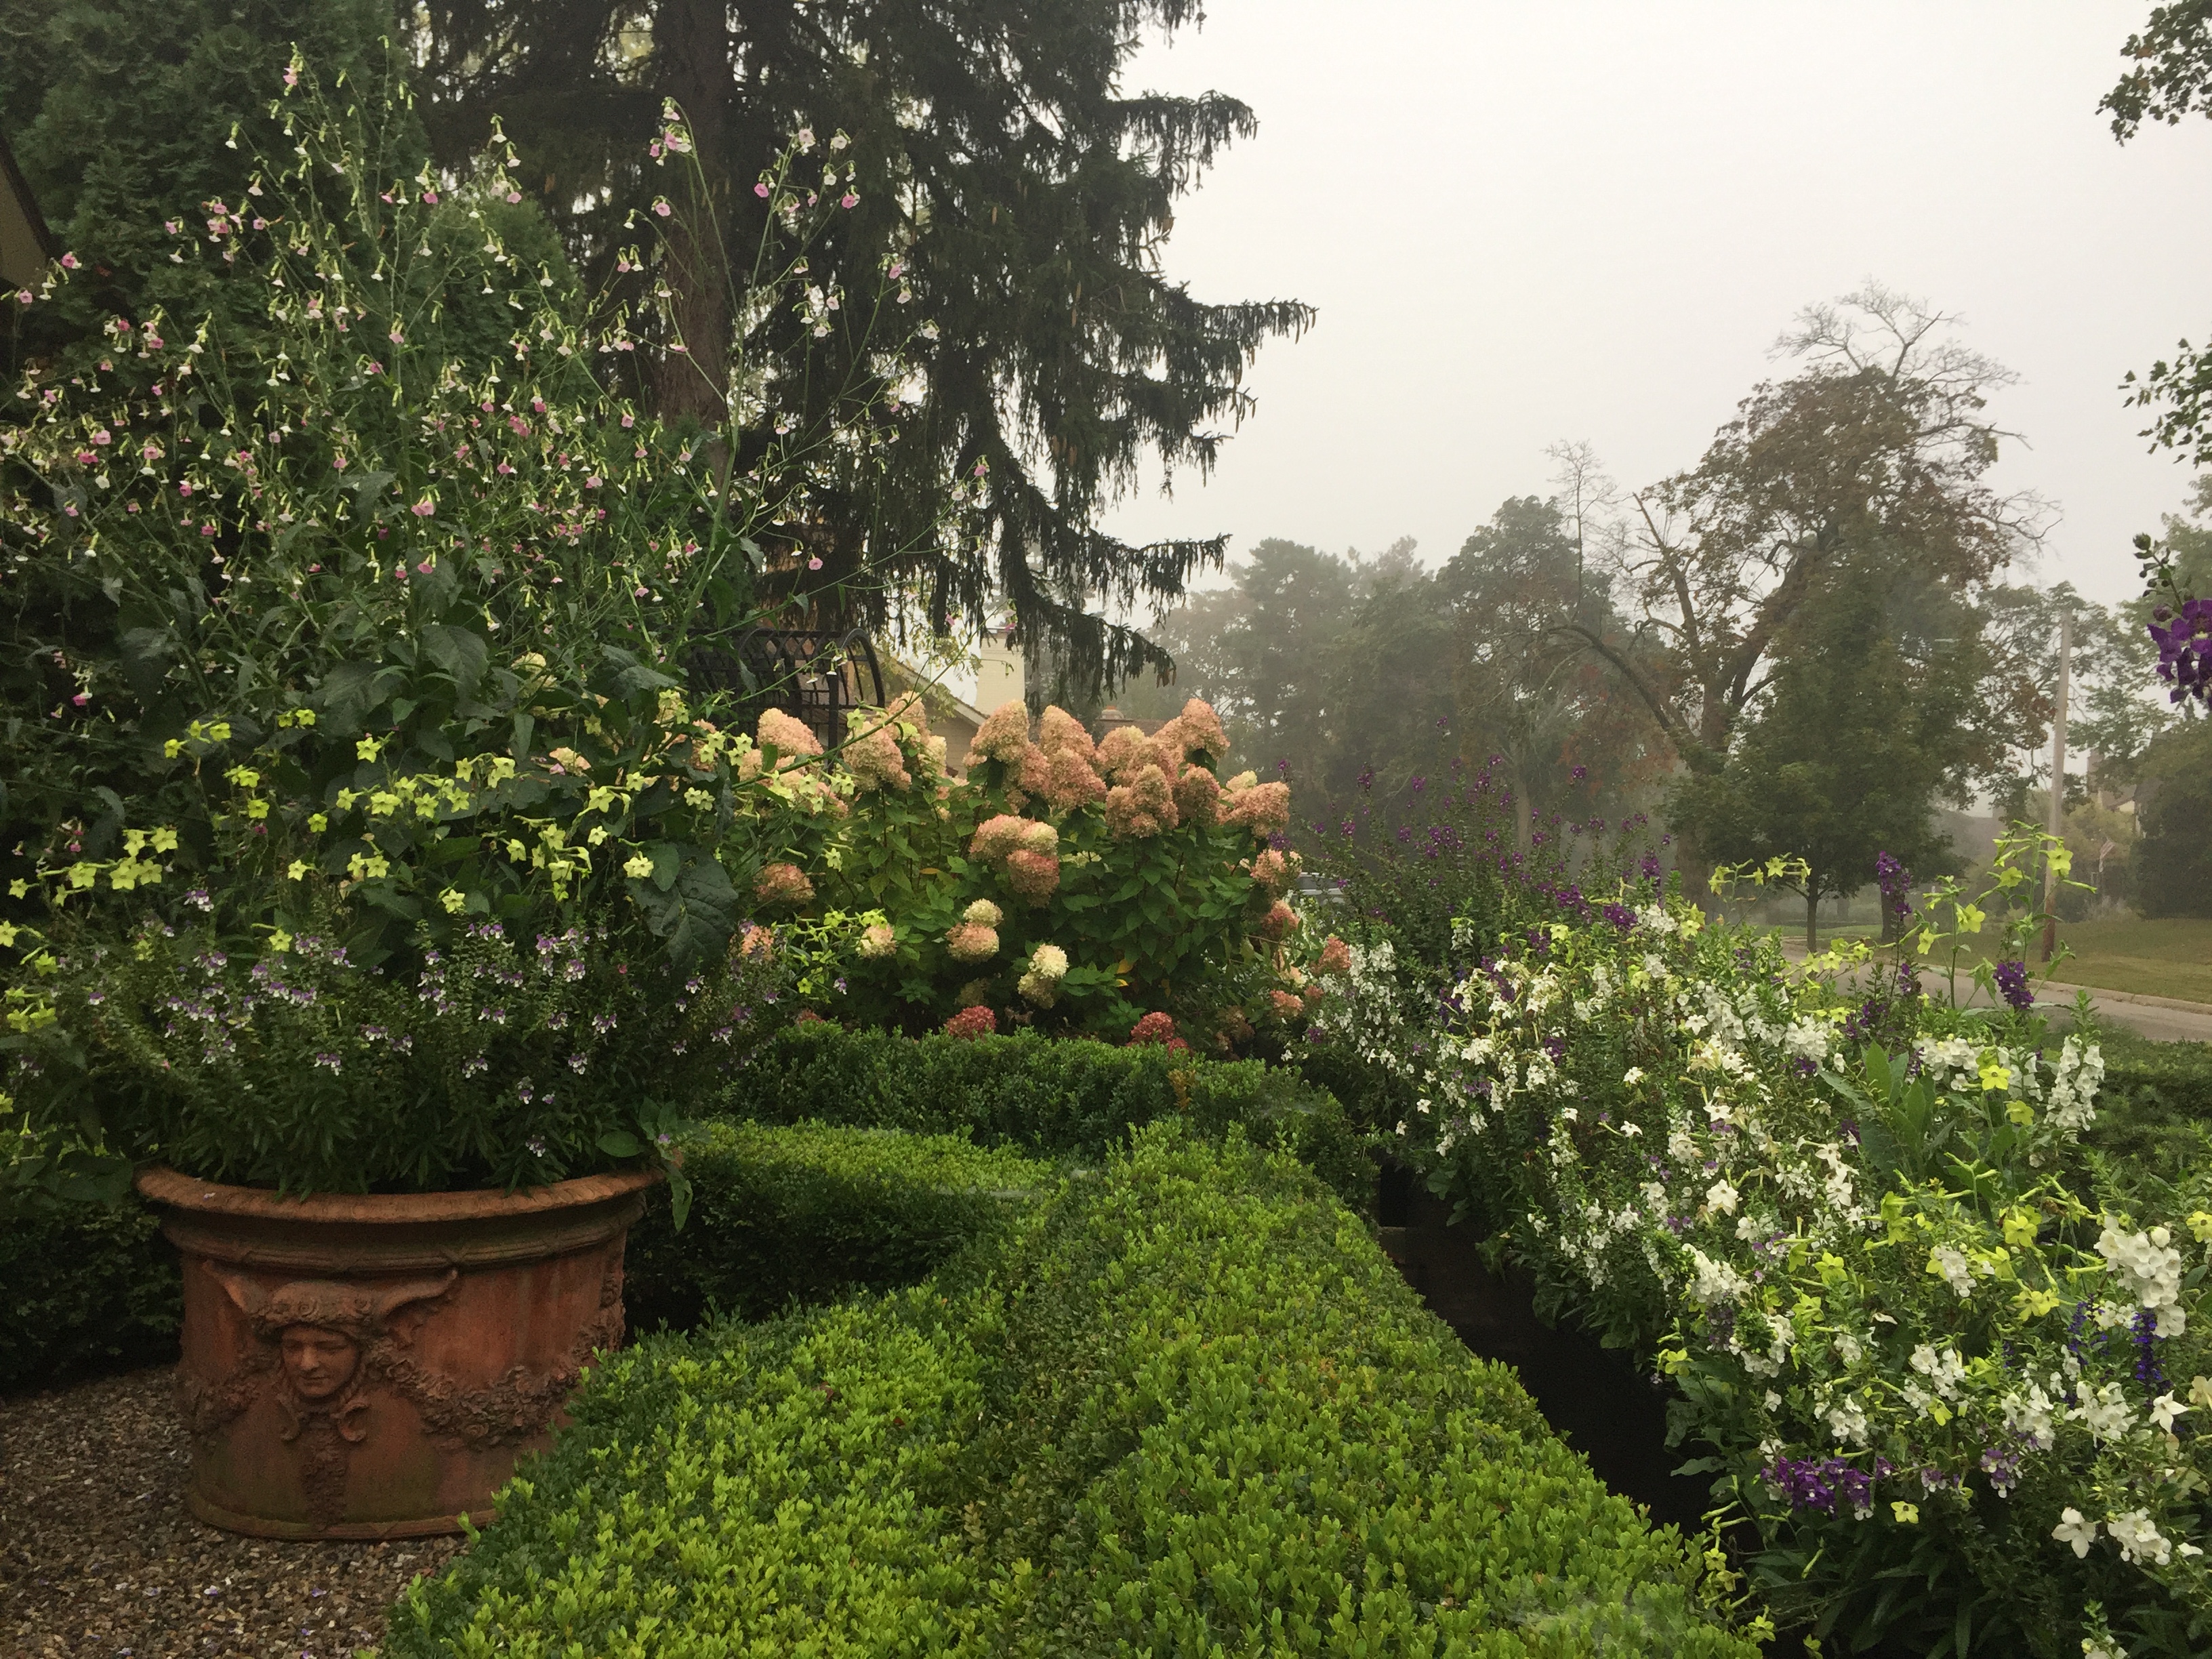
I have a special affection for pots planted for the fall season. Even when my first taste of fall is hot as blazes. The summer is that time when every gardener has the opportunity to enjoy the work they put in place in the spring. The fall brings all of those efforts to fruition, and then to a close. Fall pots stuffed with the moments and memory of the harvest are enchanting. The colors, textures and shapes are specific to the season. The low in the sky slanting light saturates everything it strikes, producing what we know as “fall color”.

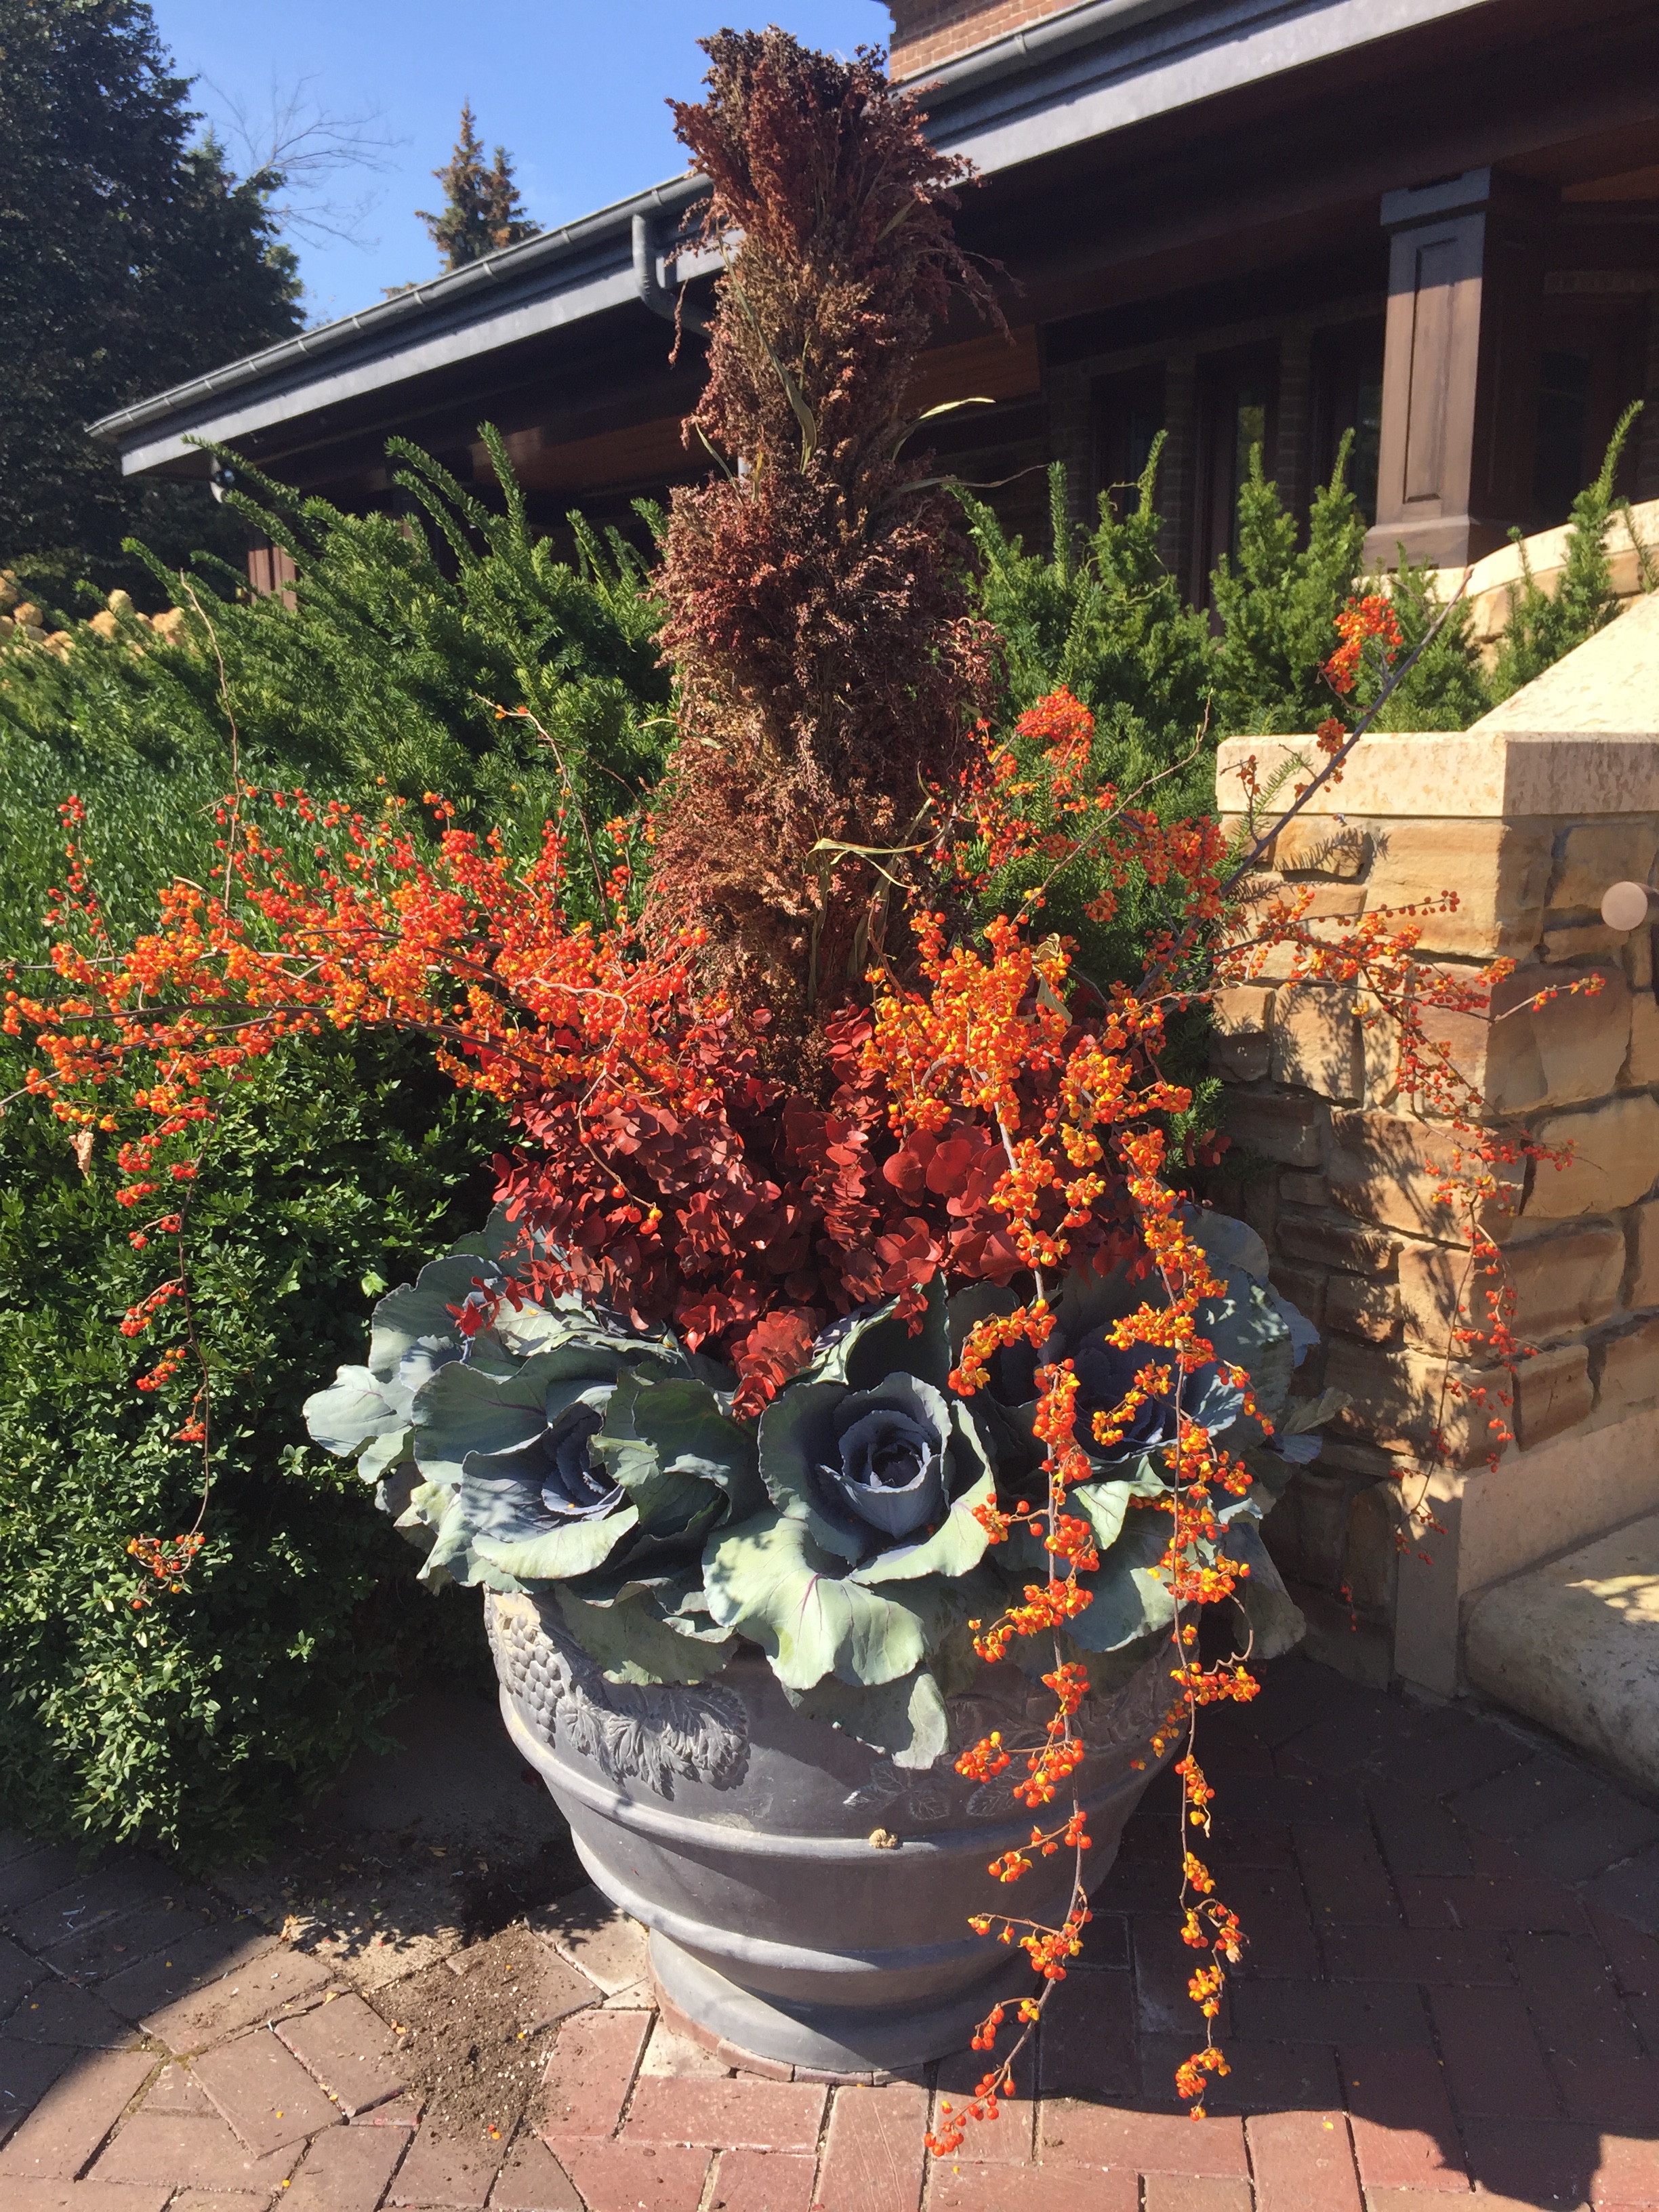
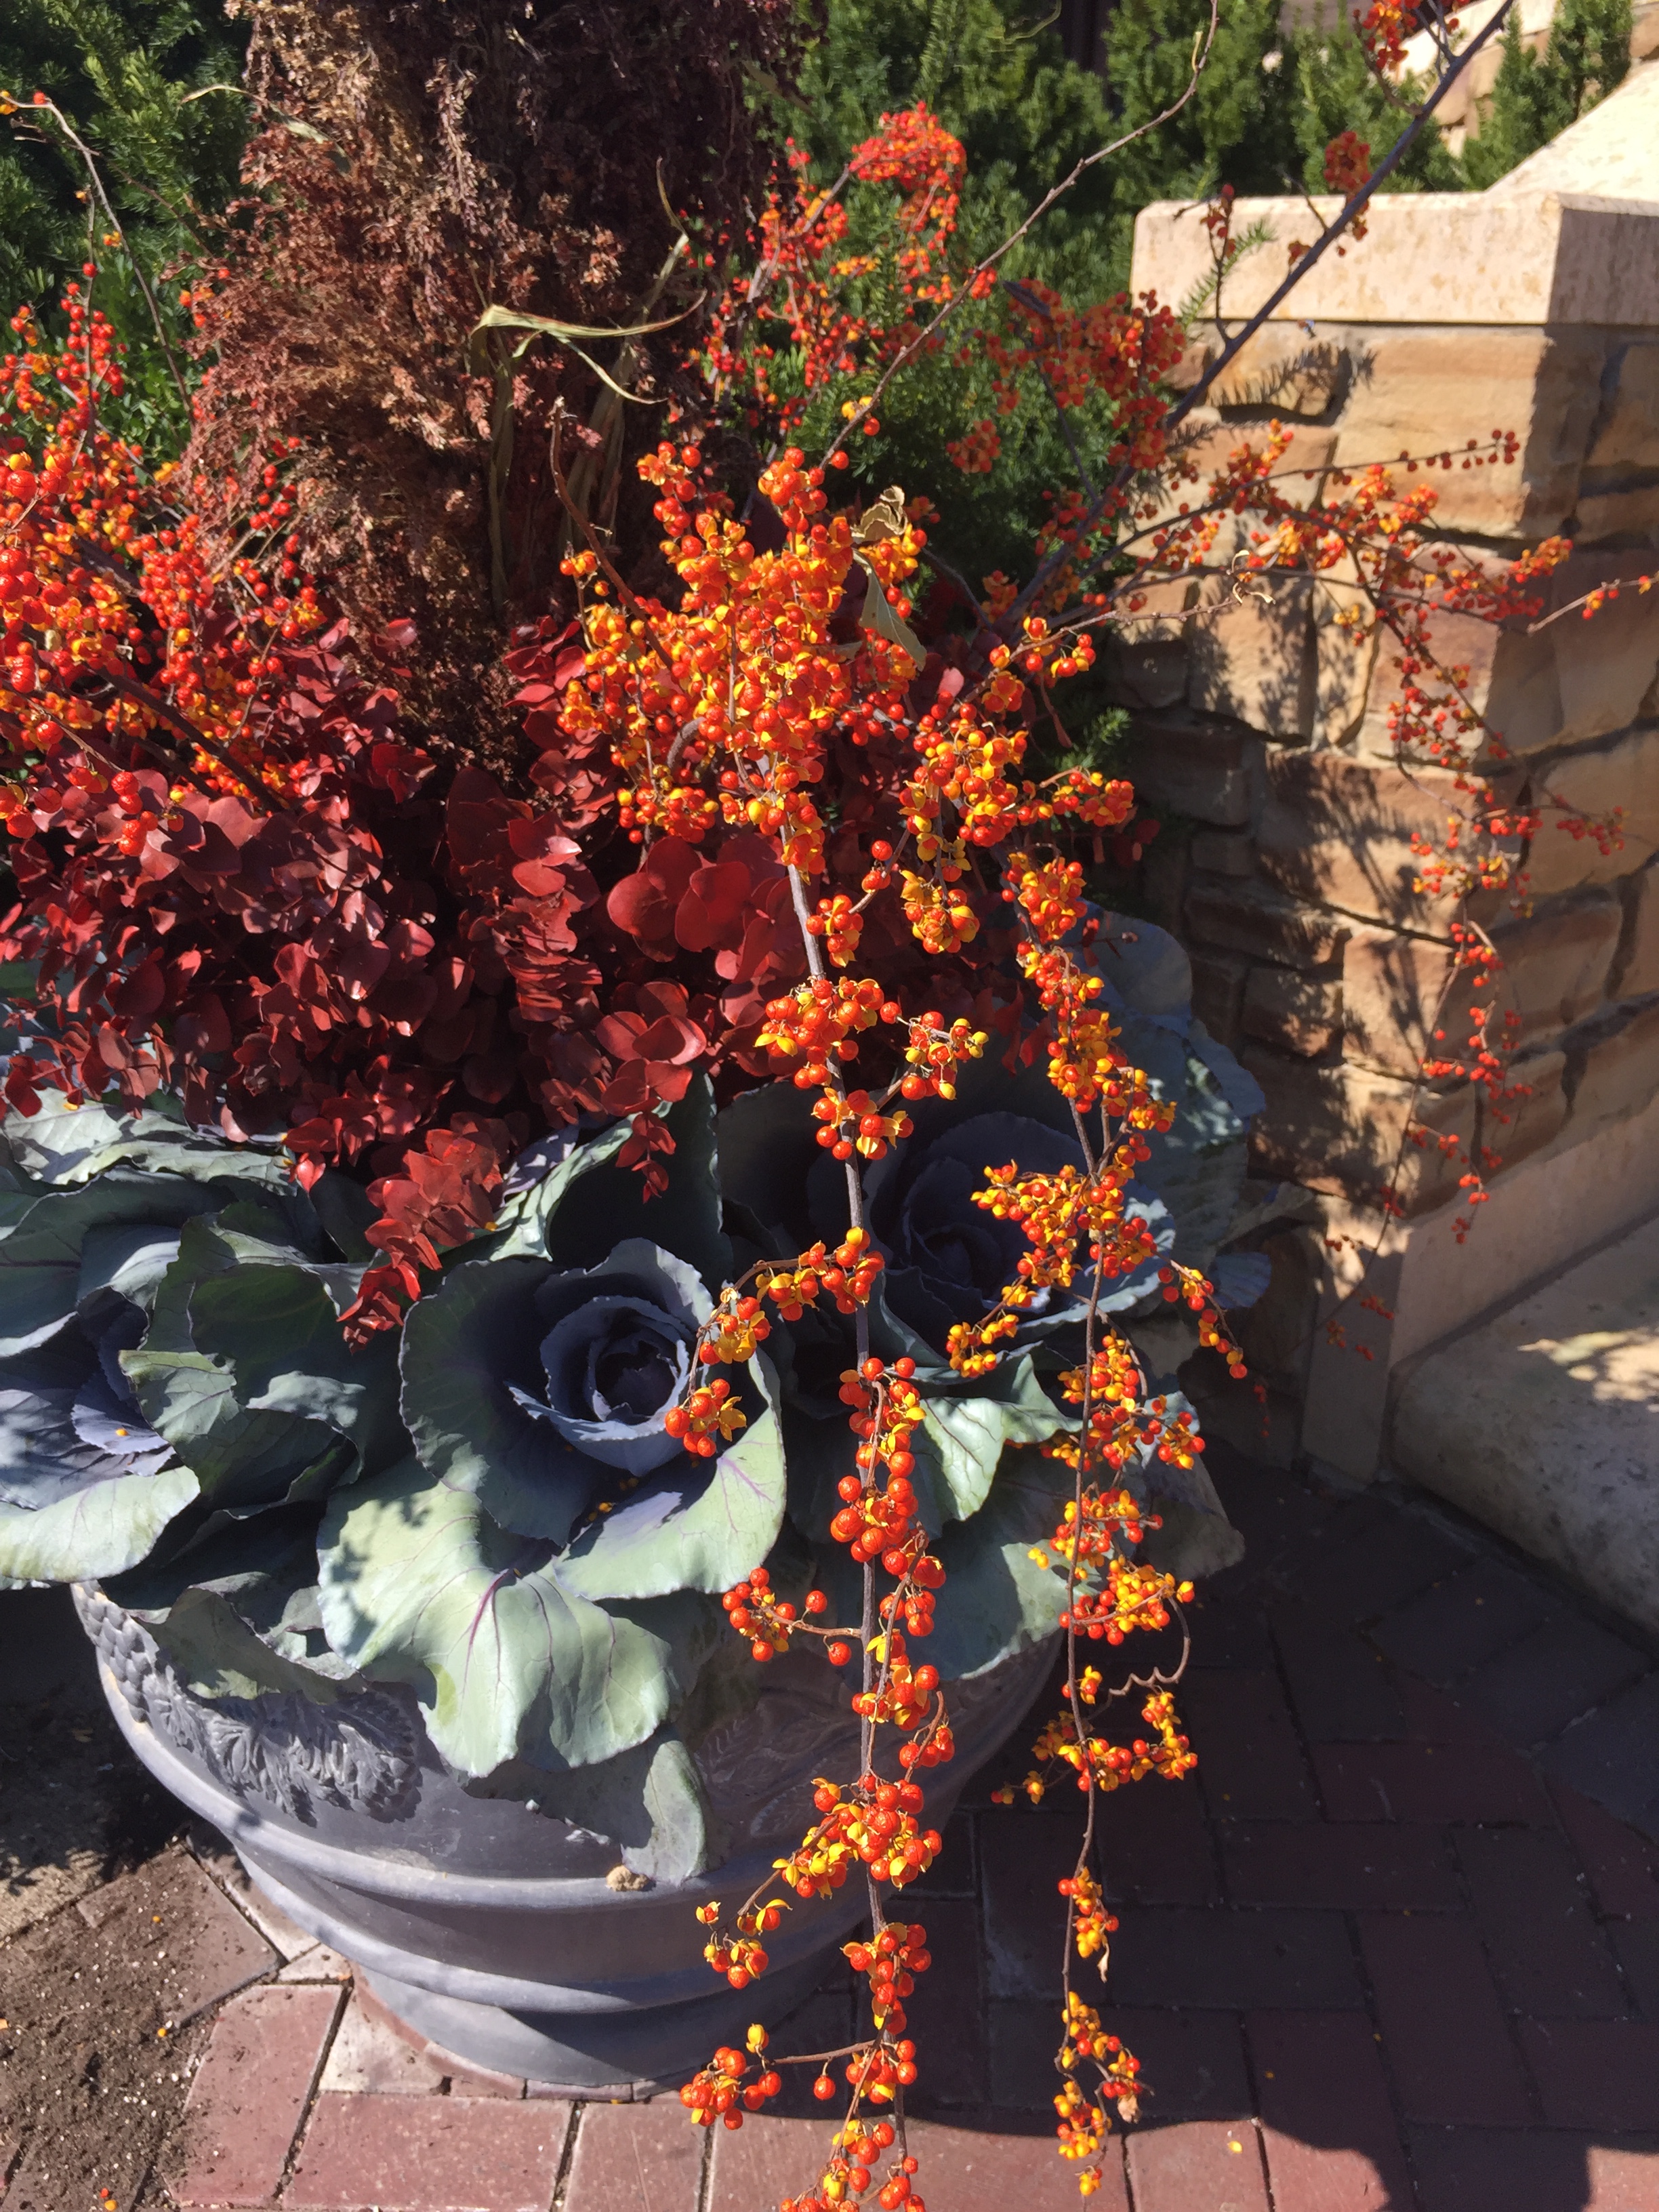
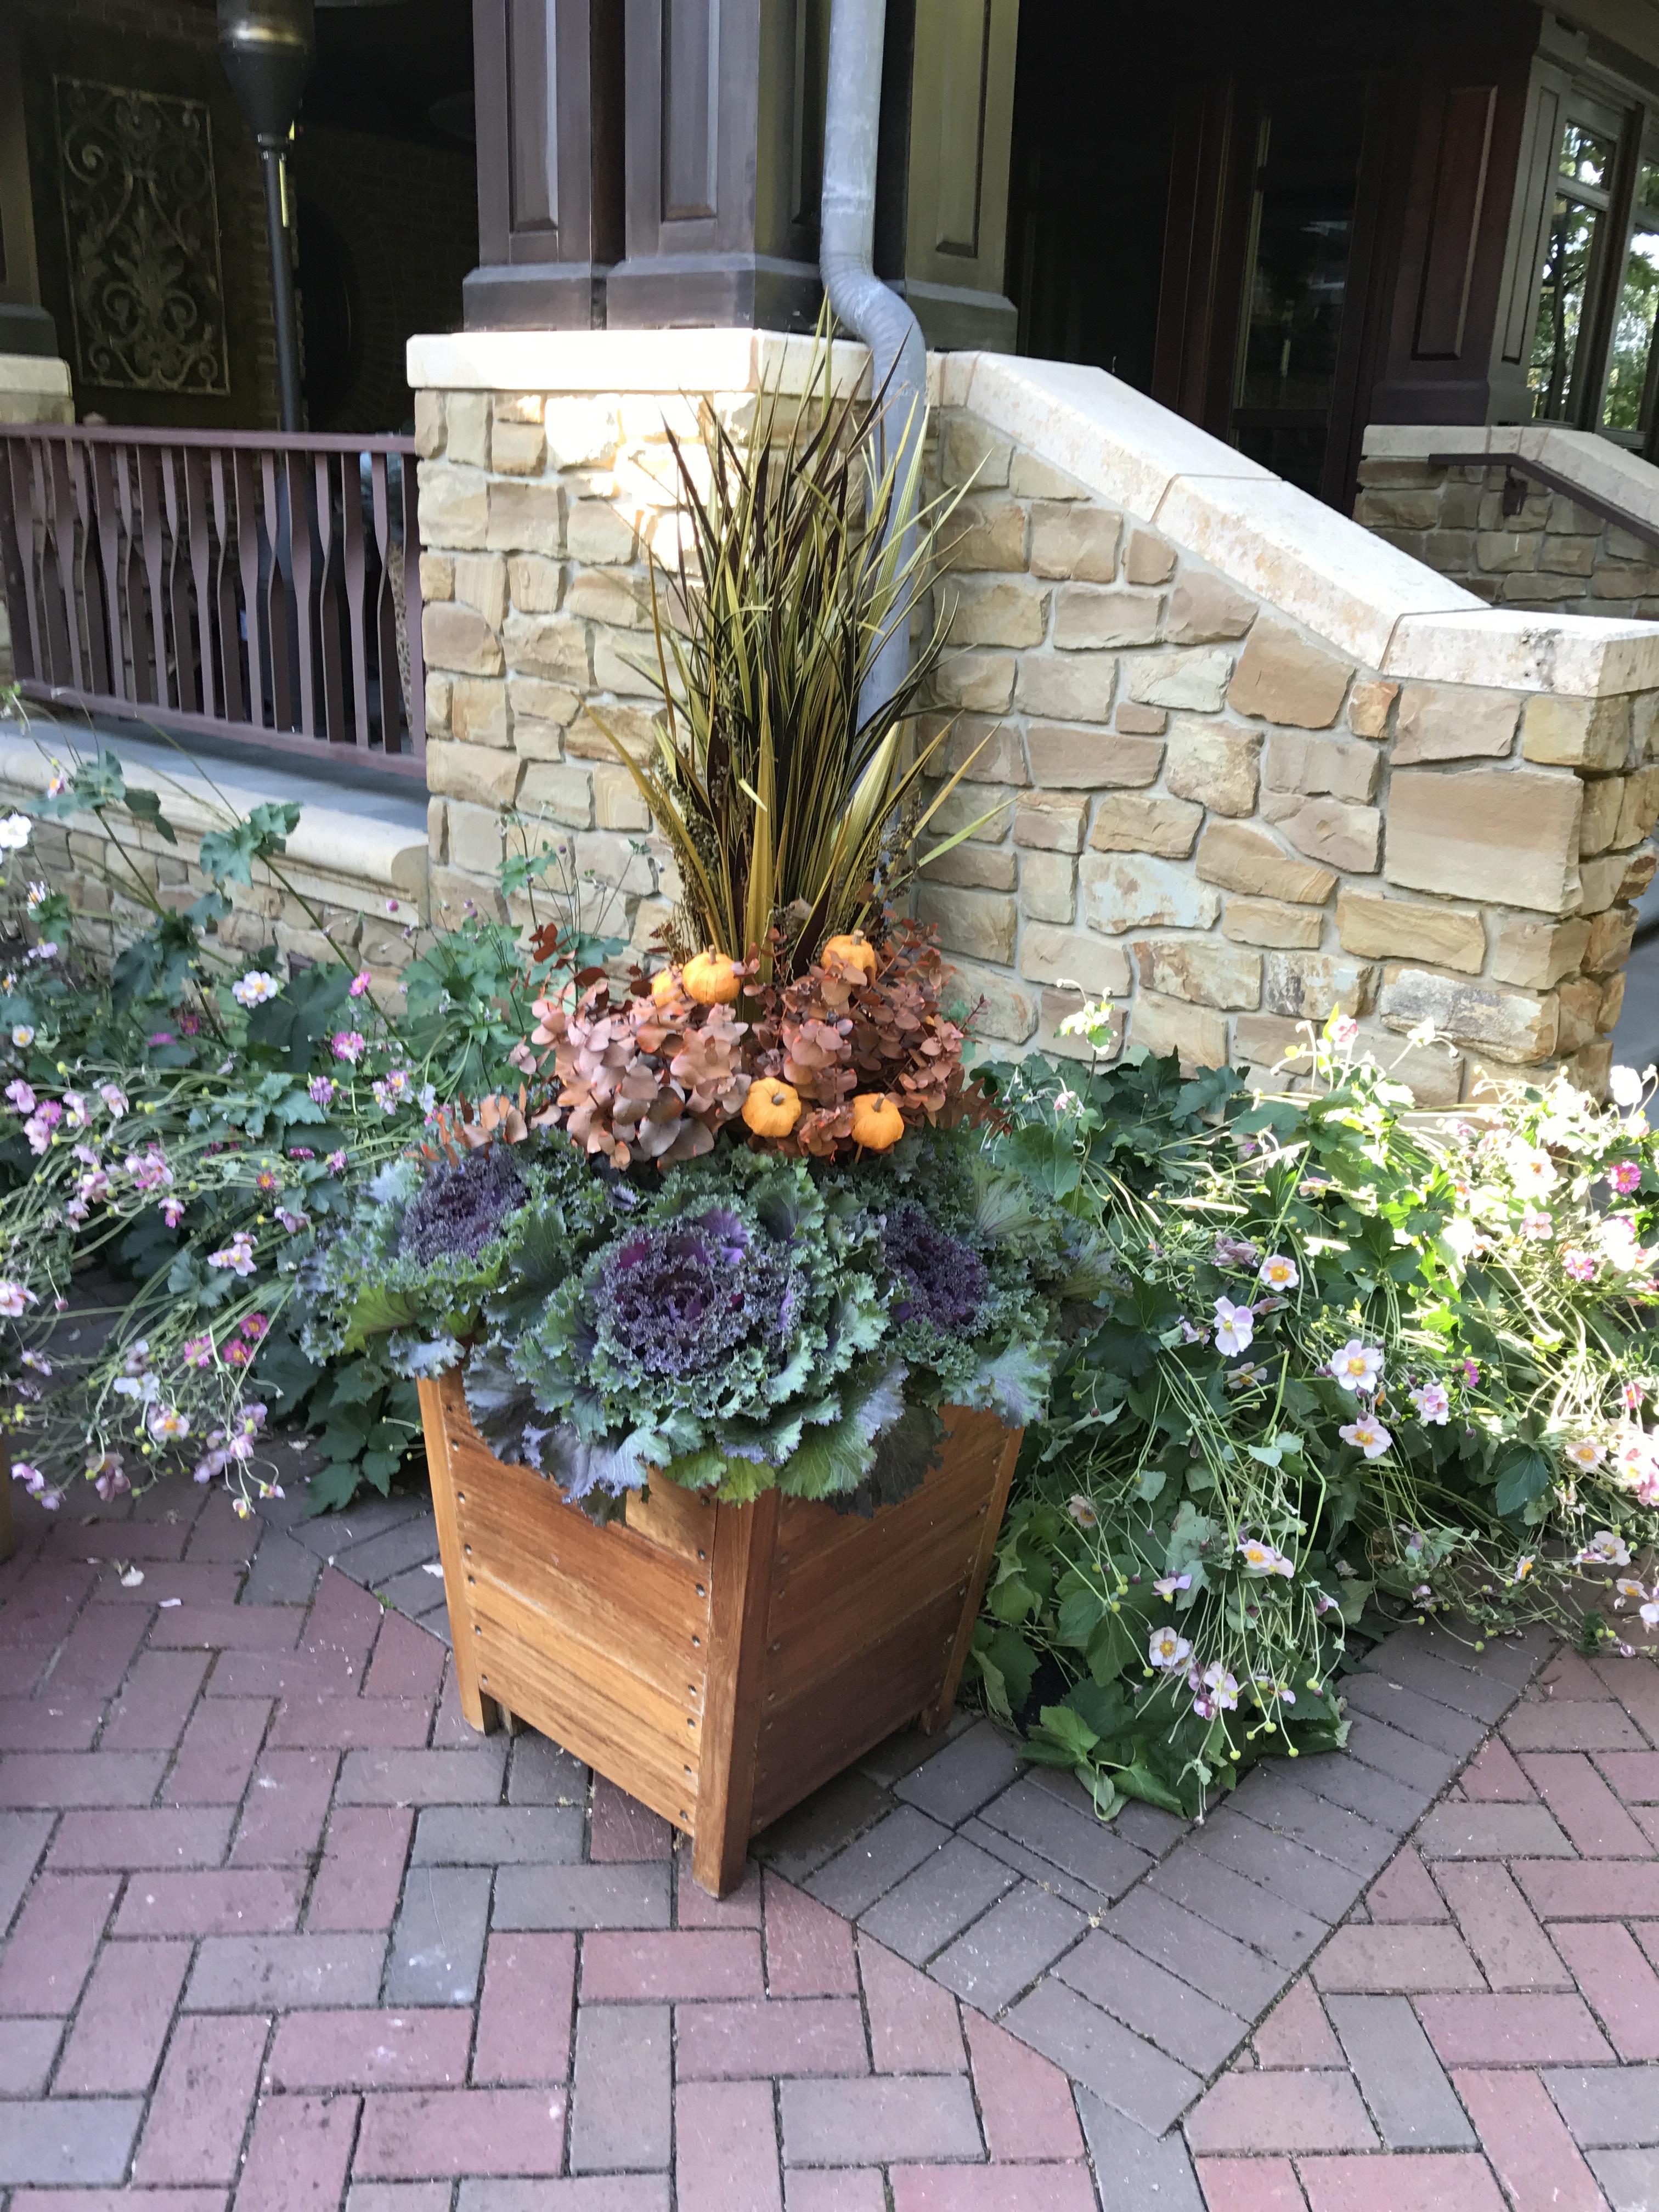
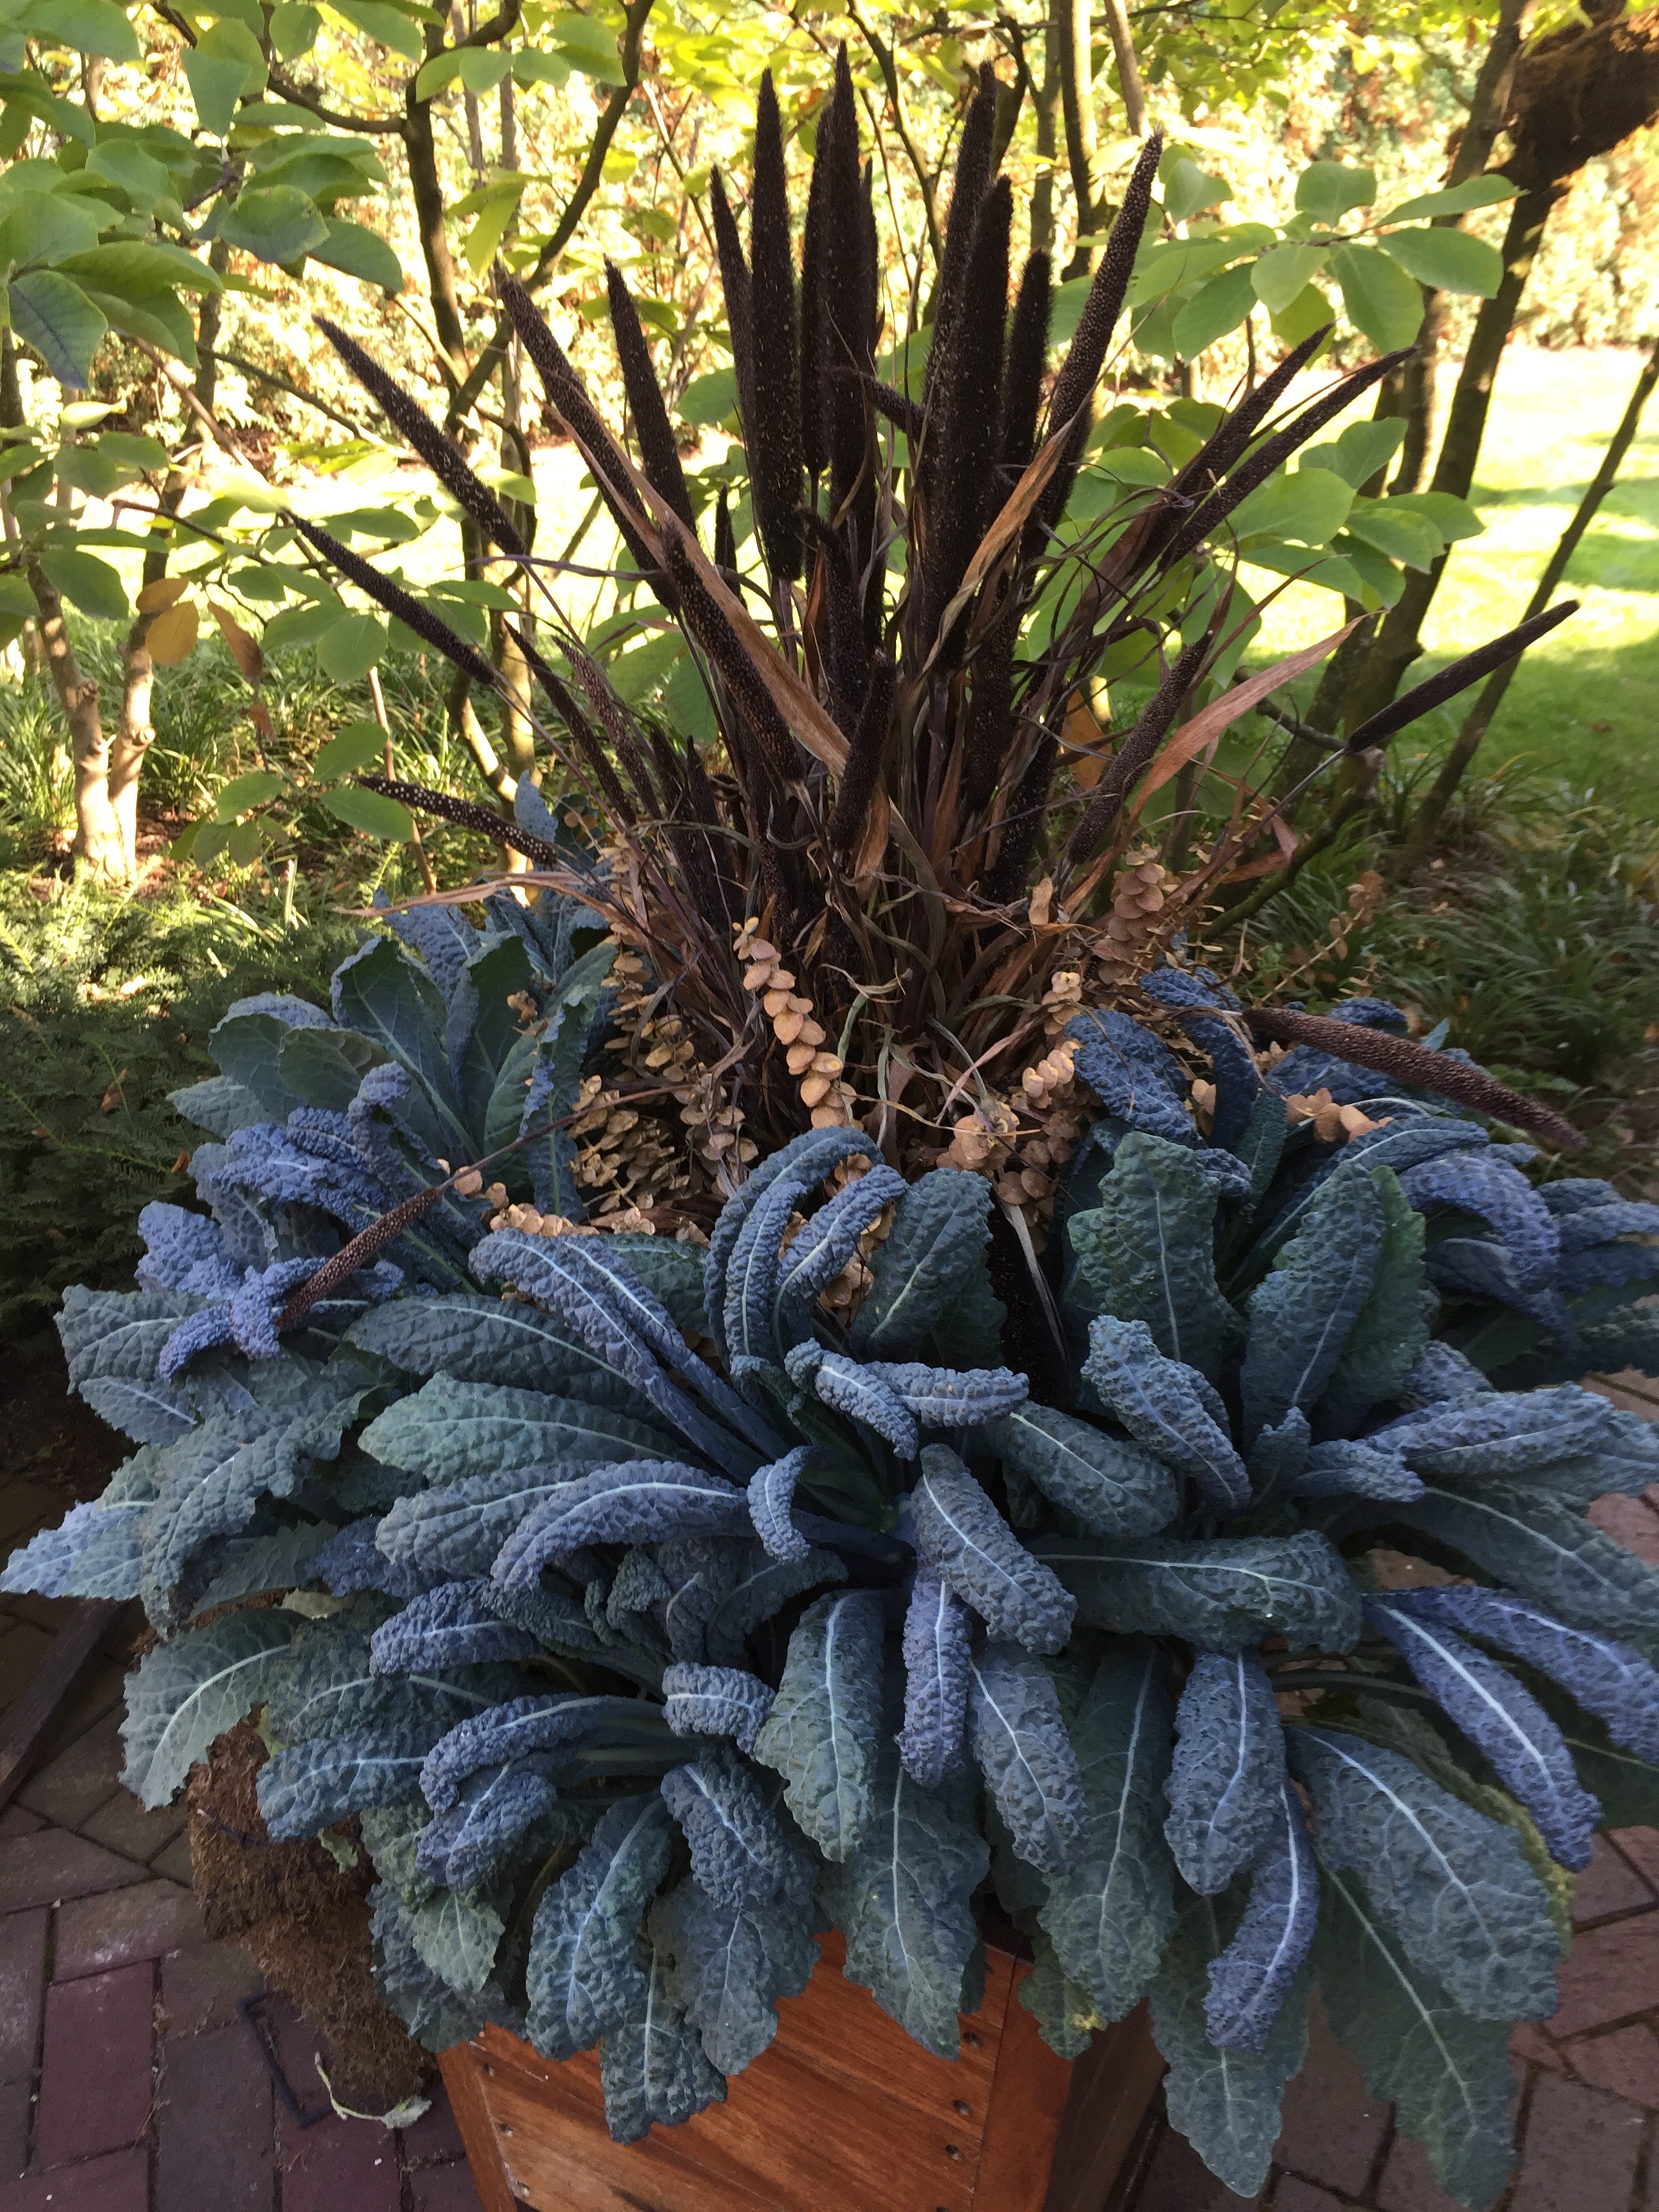
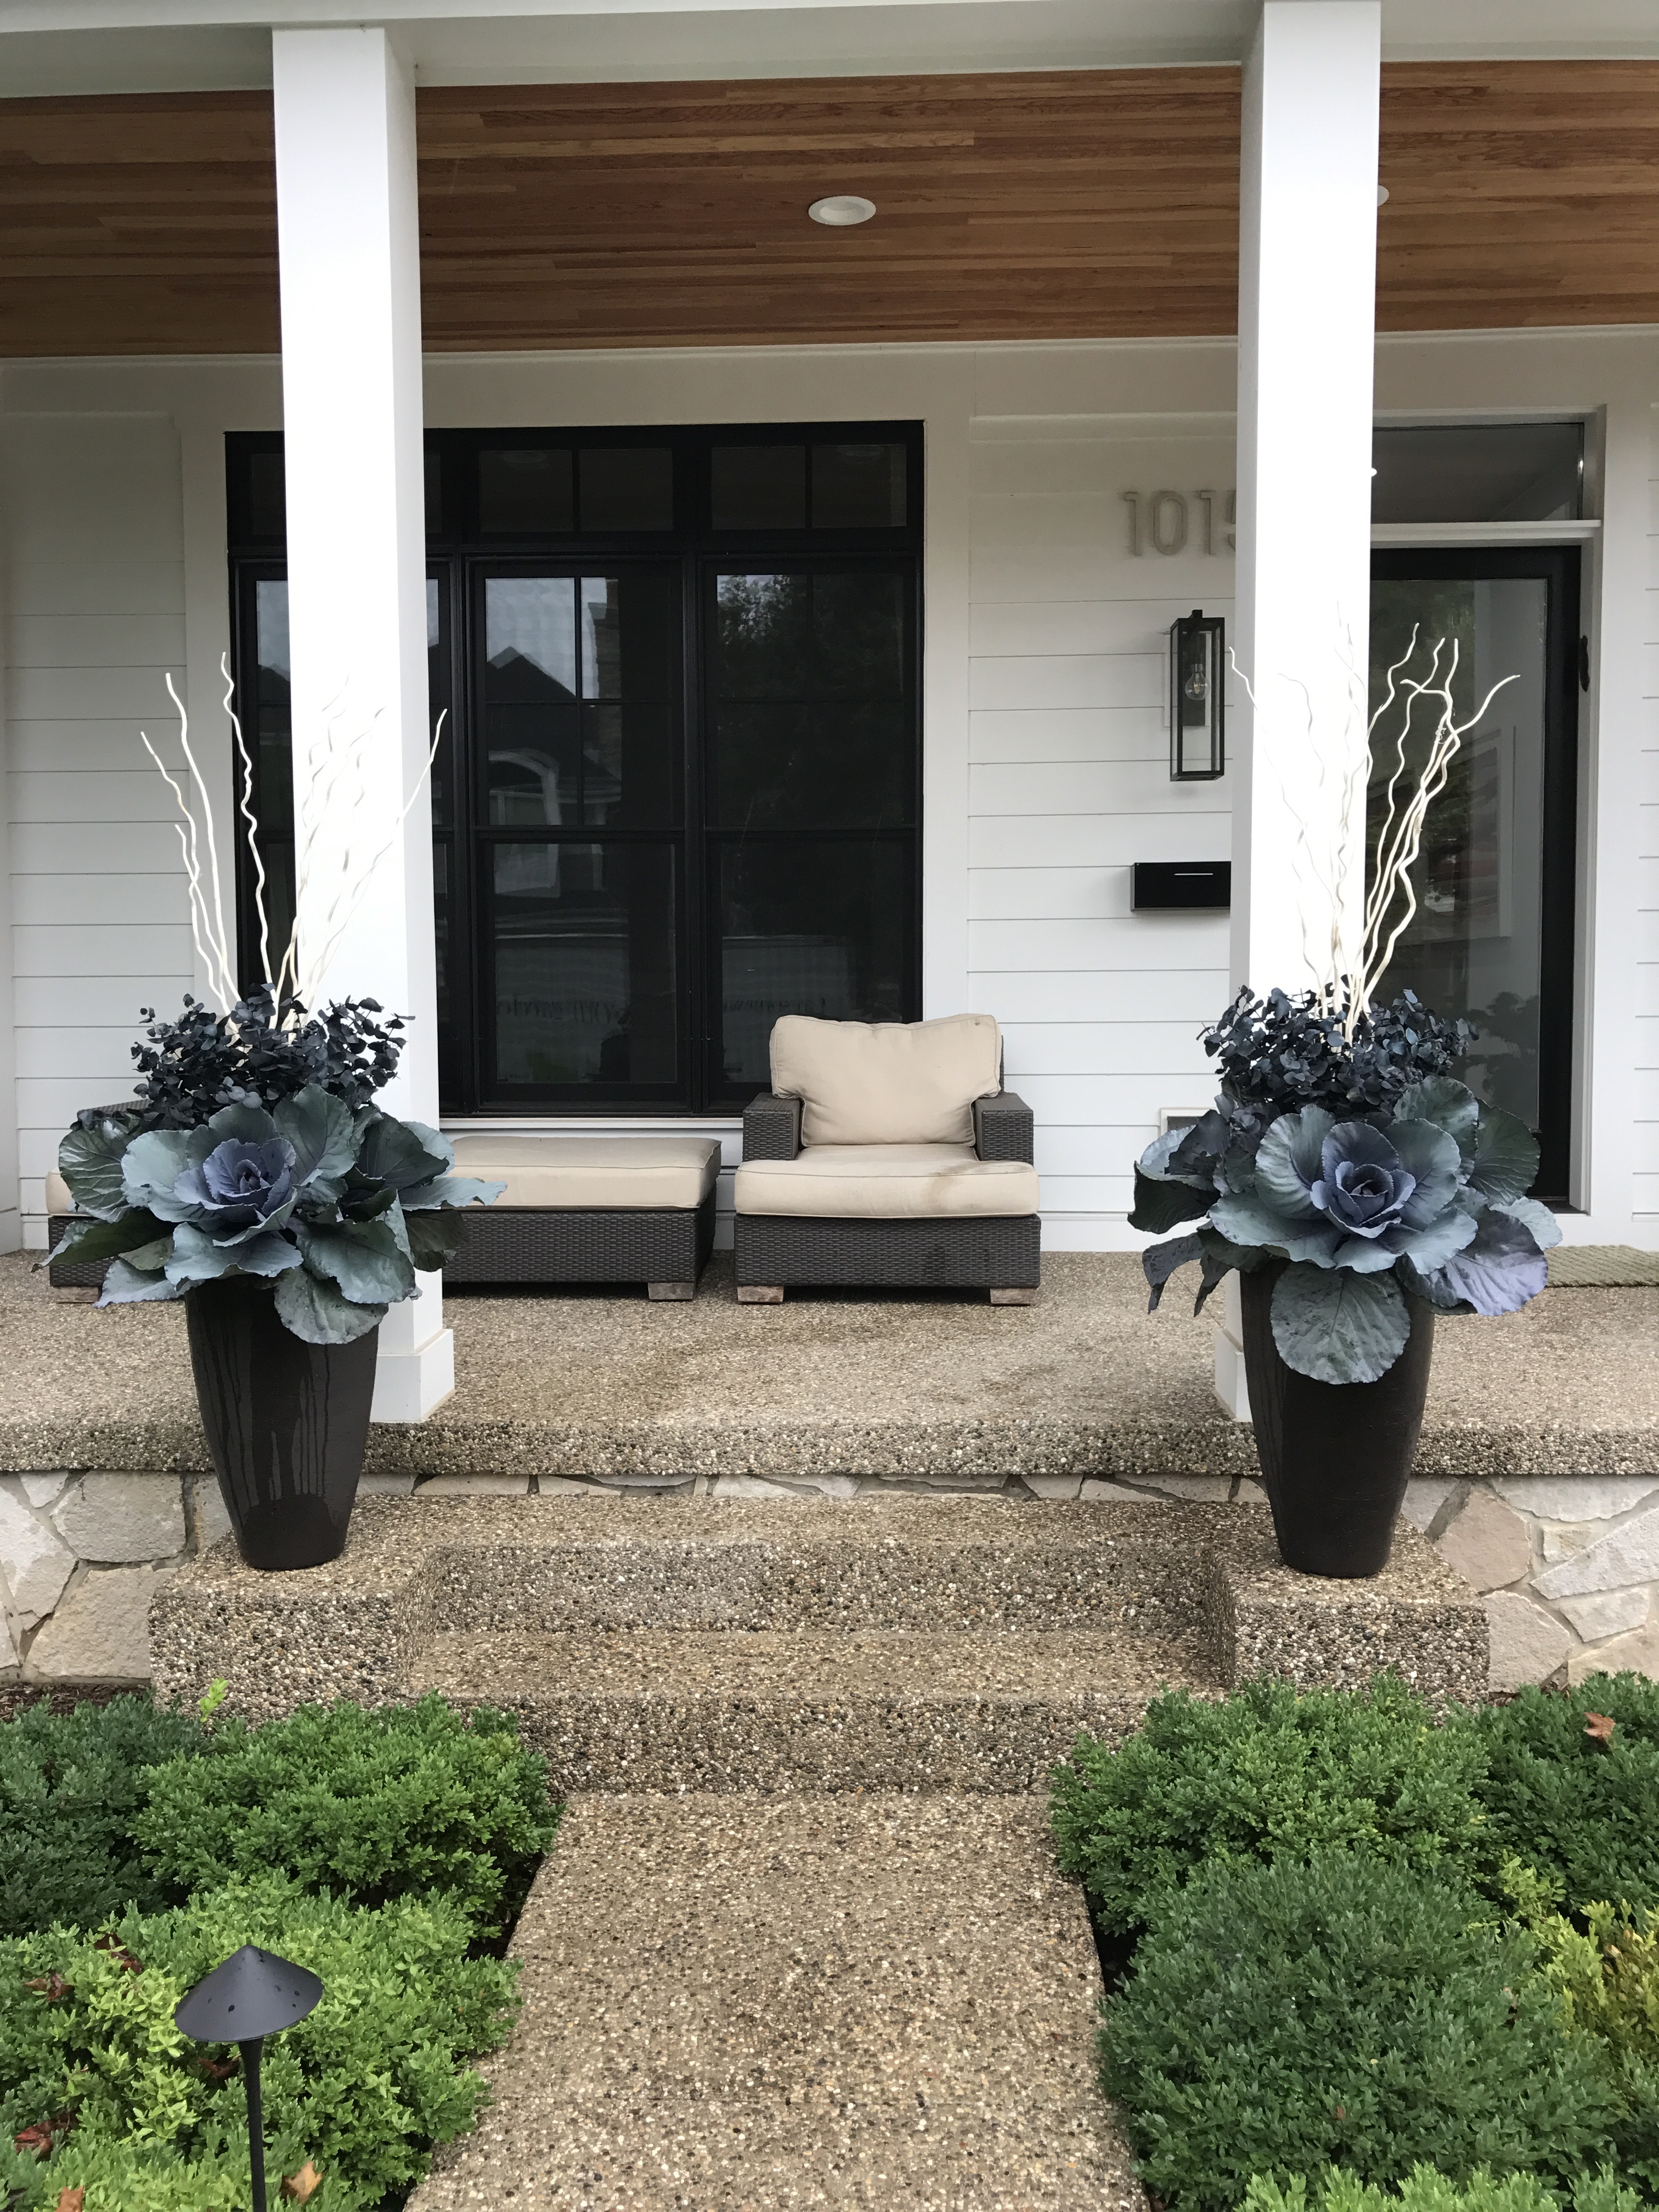
Tall elements for fall containers can come from a lot of places. Ornamental grasses come immediately to mind. Rob makes sure we have plenty of natural dried sticks, stems, and seed pods available. I am fortunate to have preserved and dyed eucalyptus in every color imaginable to place in fall pots. The cut stems of eucalyptus are able to absorb preservative and color up through the stems and into the leaves. As the color is absorbed and not applied, the stems are color fast outdoors, and are remarkably resistant to degradation from sun and rain.

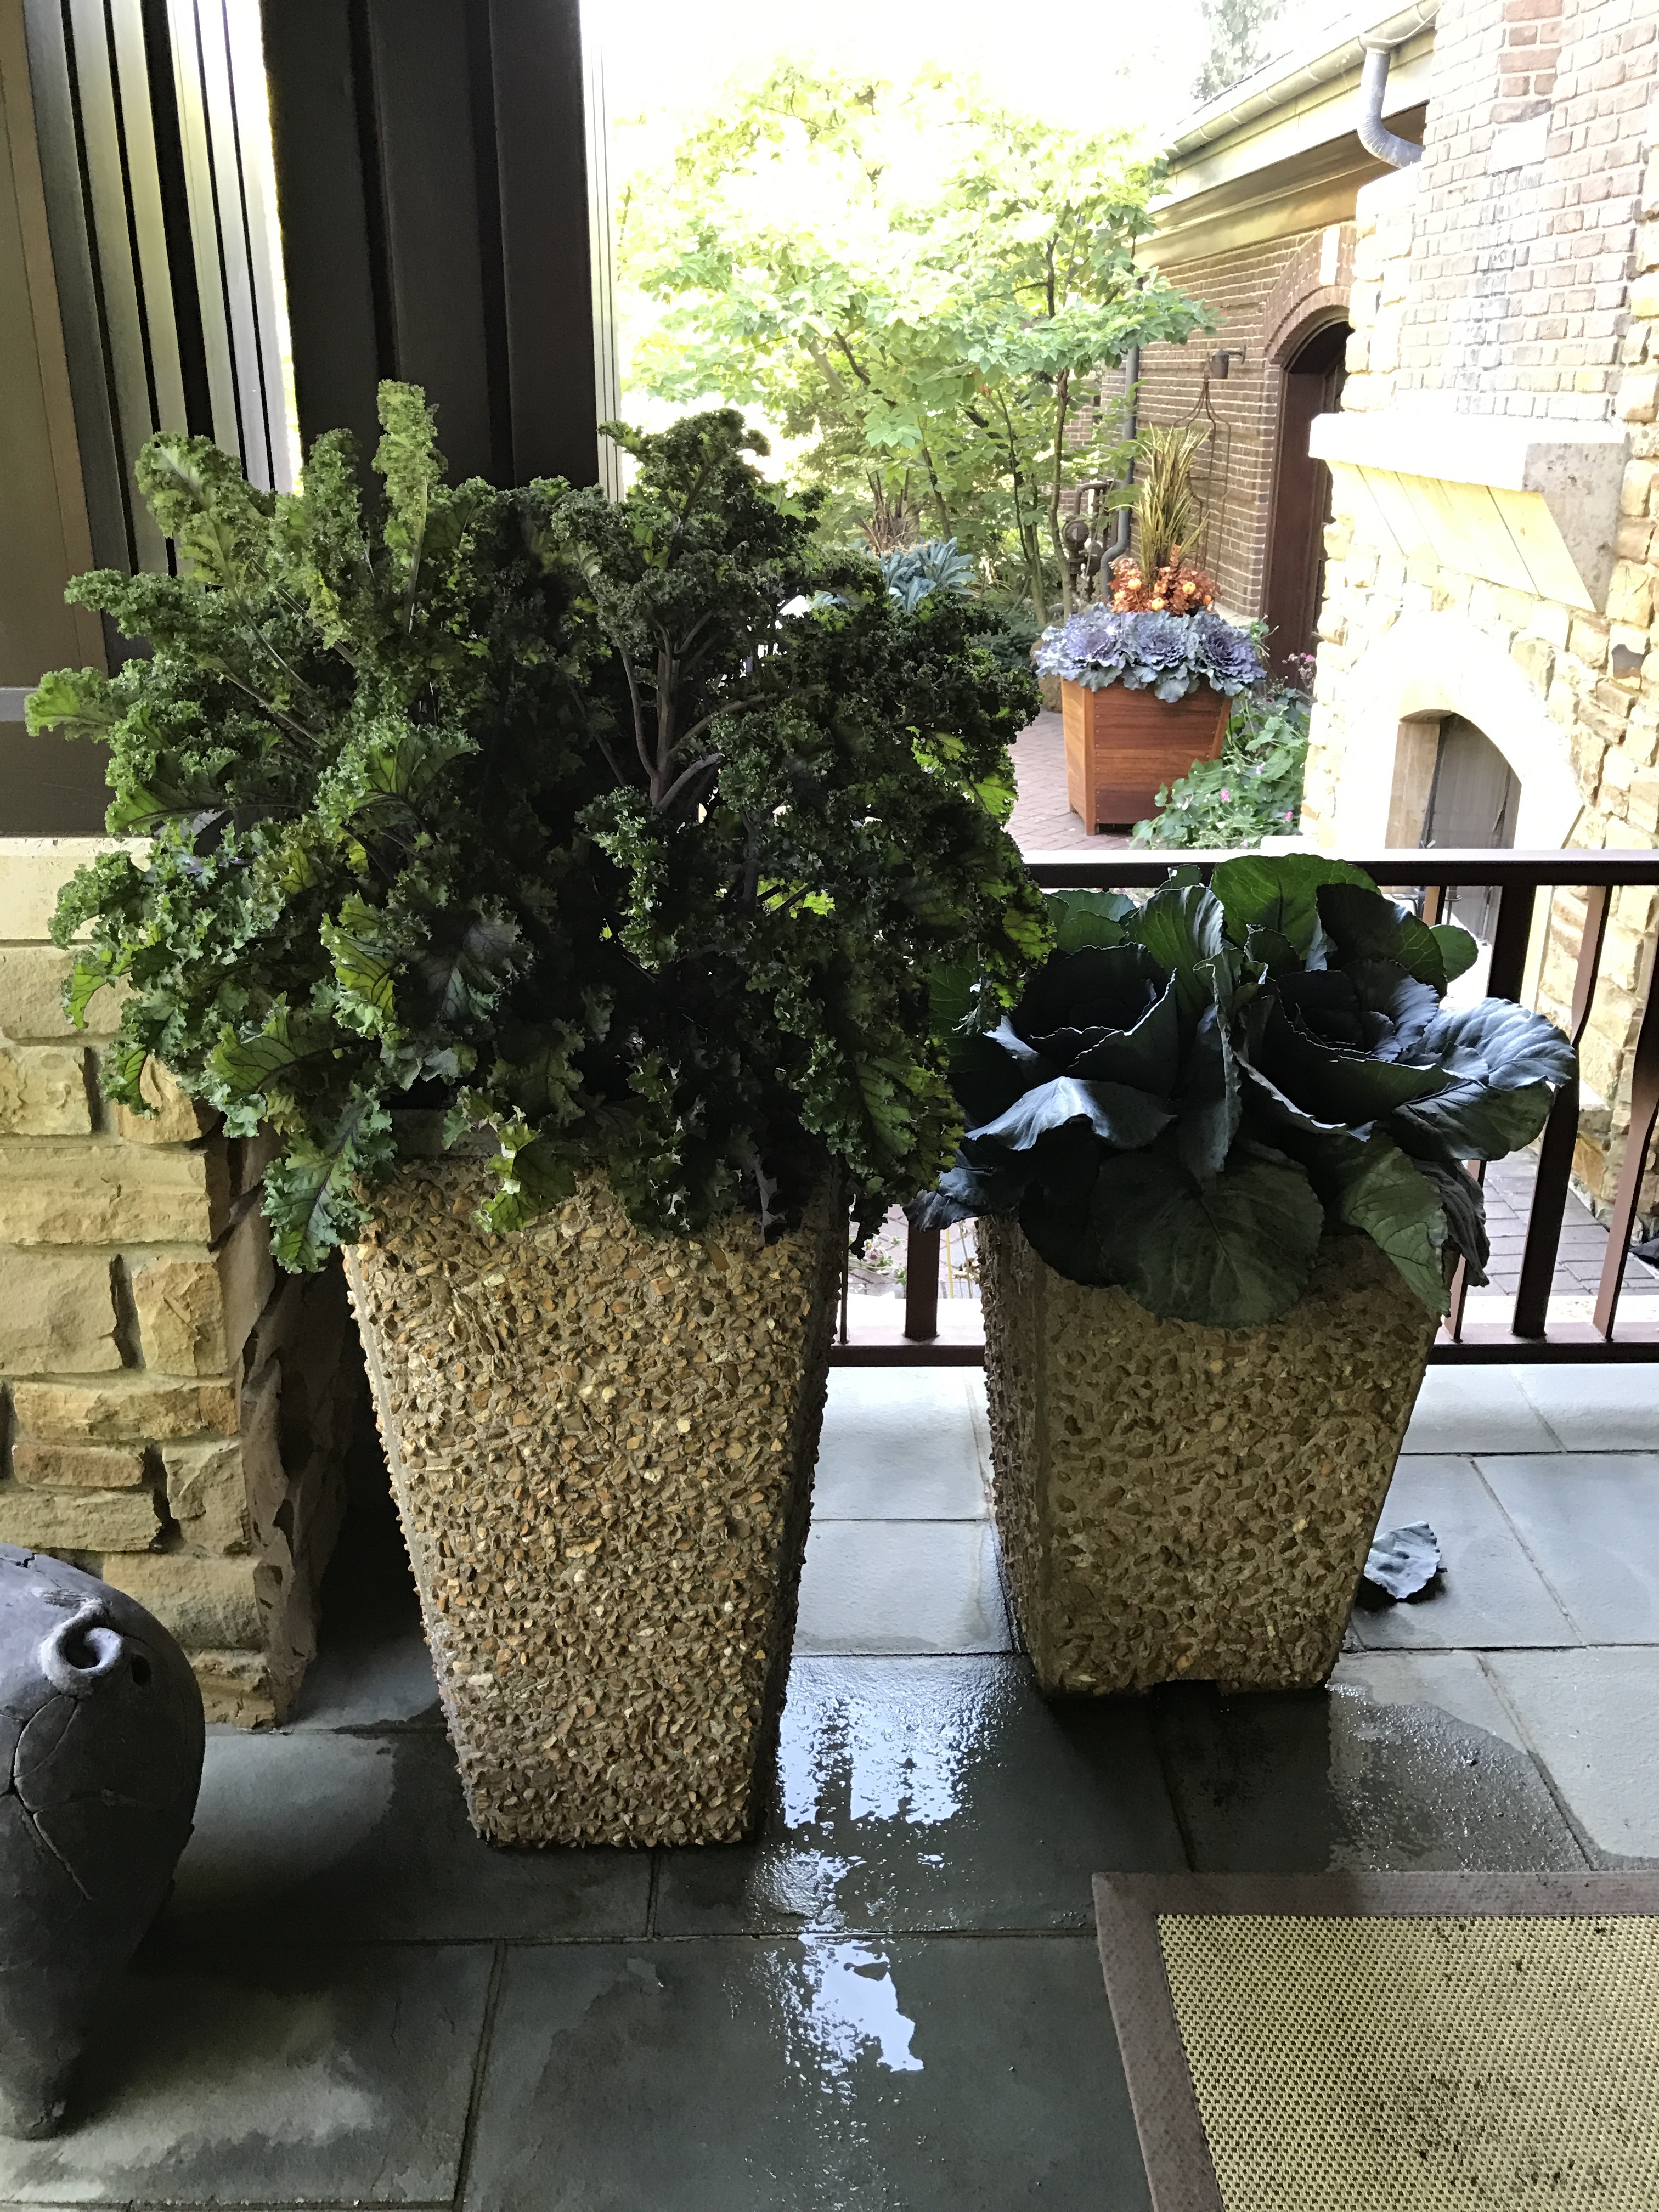
But no material is as important as the plants. This year’s crop of custom grown kale and cabbage are the best it has ever been my pleasure to plant. The container above on the left is planted with redbor kale grown to an astonishing size. The companion planter features 3 Purple Queen cabbage, an edible red cabbage. It did not take many plants to create a fall container scene that will last well into November.

Coral Queen ornamental cabbage leaves are a beautiful shade of bluish green.  The centers of the plants will color up a deep magenta purple as the temperatures drop.

Tuscan kale, also known as dinosaur kale, has large, strappy and highly textured leaves. The nutritional value of kale is legendary, but it is also beautiful to look at.  Individual leaves may grow to 3 feet long.

fall container with Tuscan kale

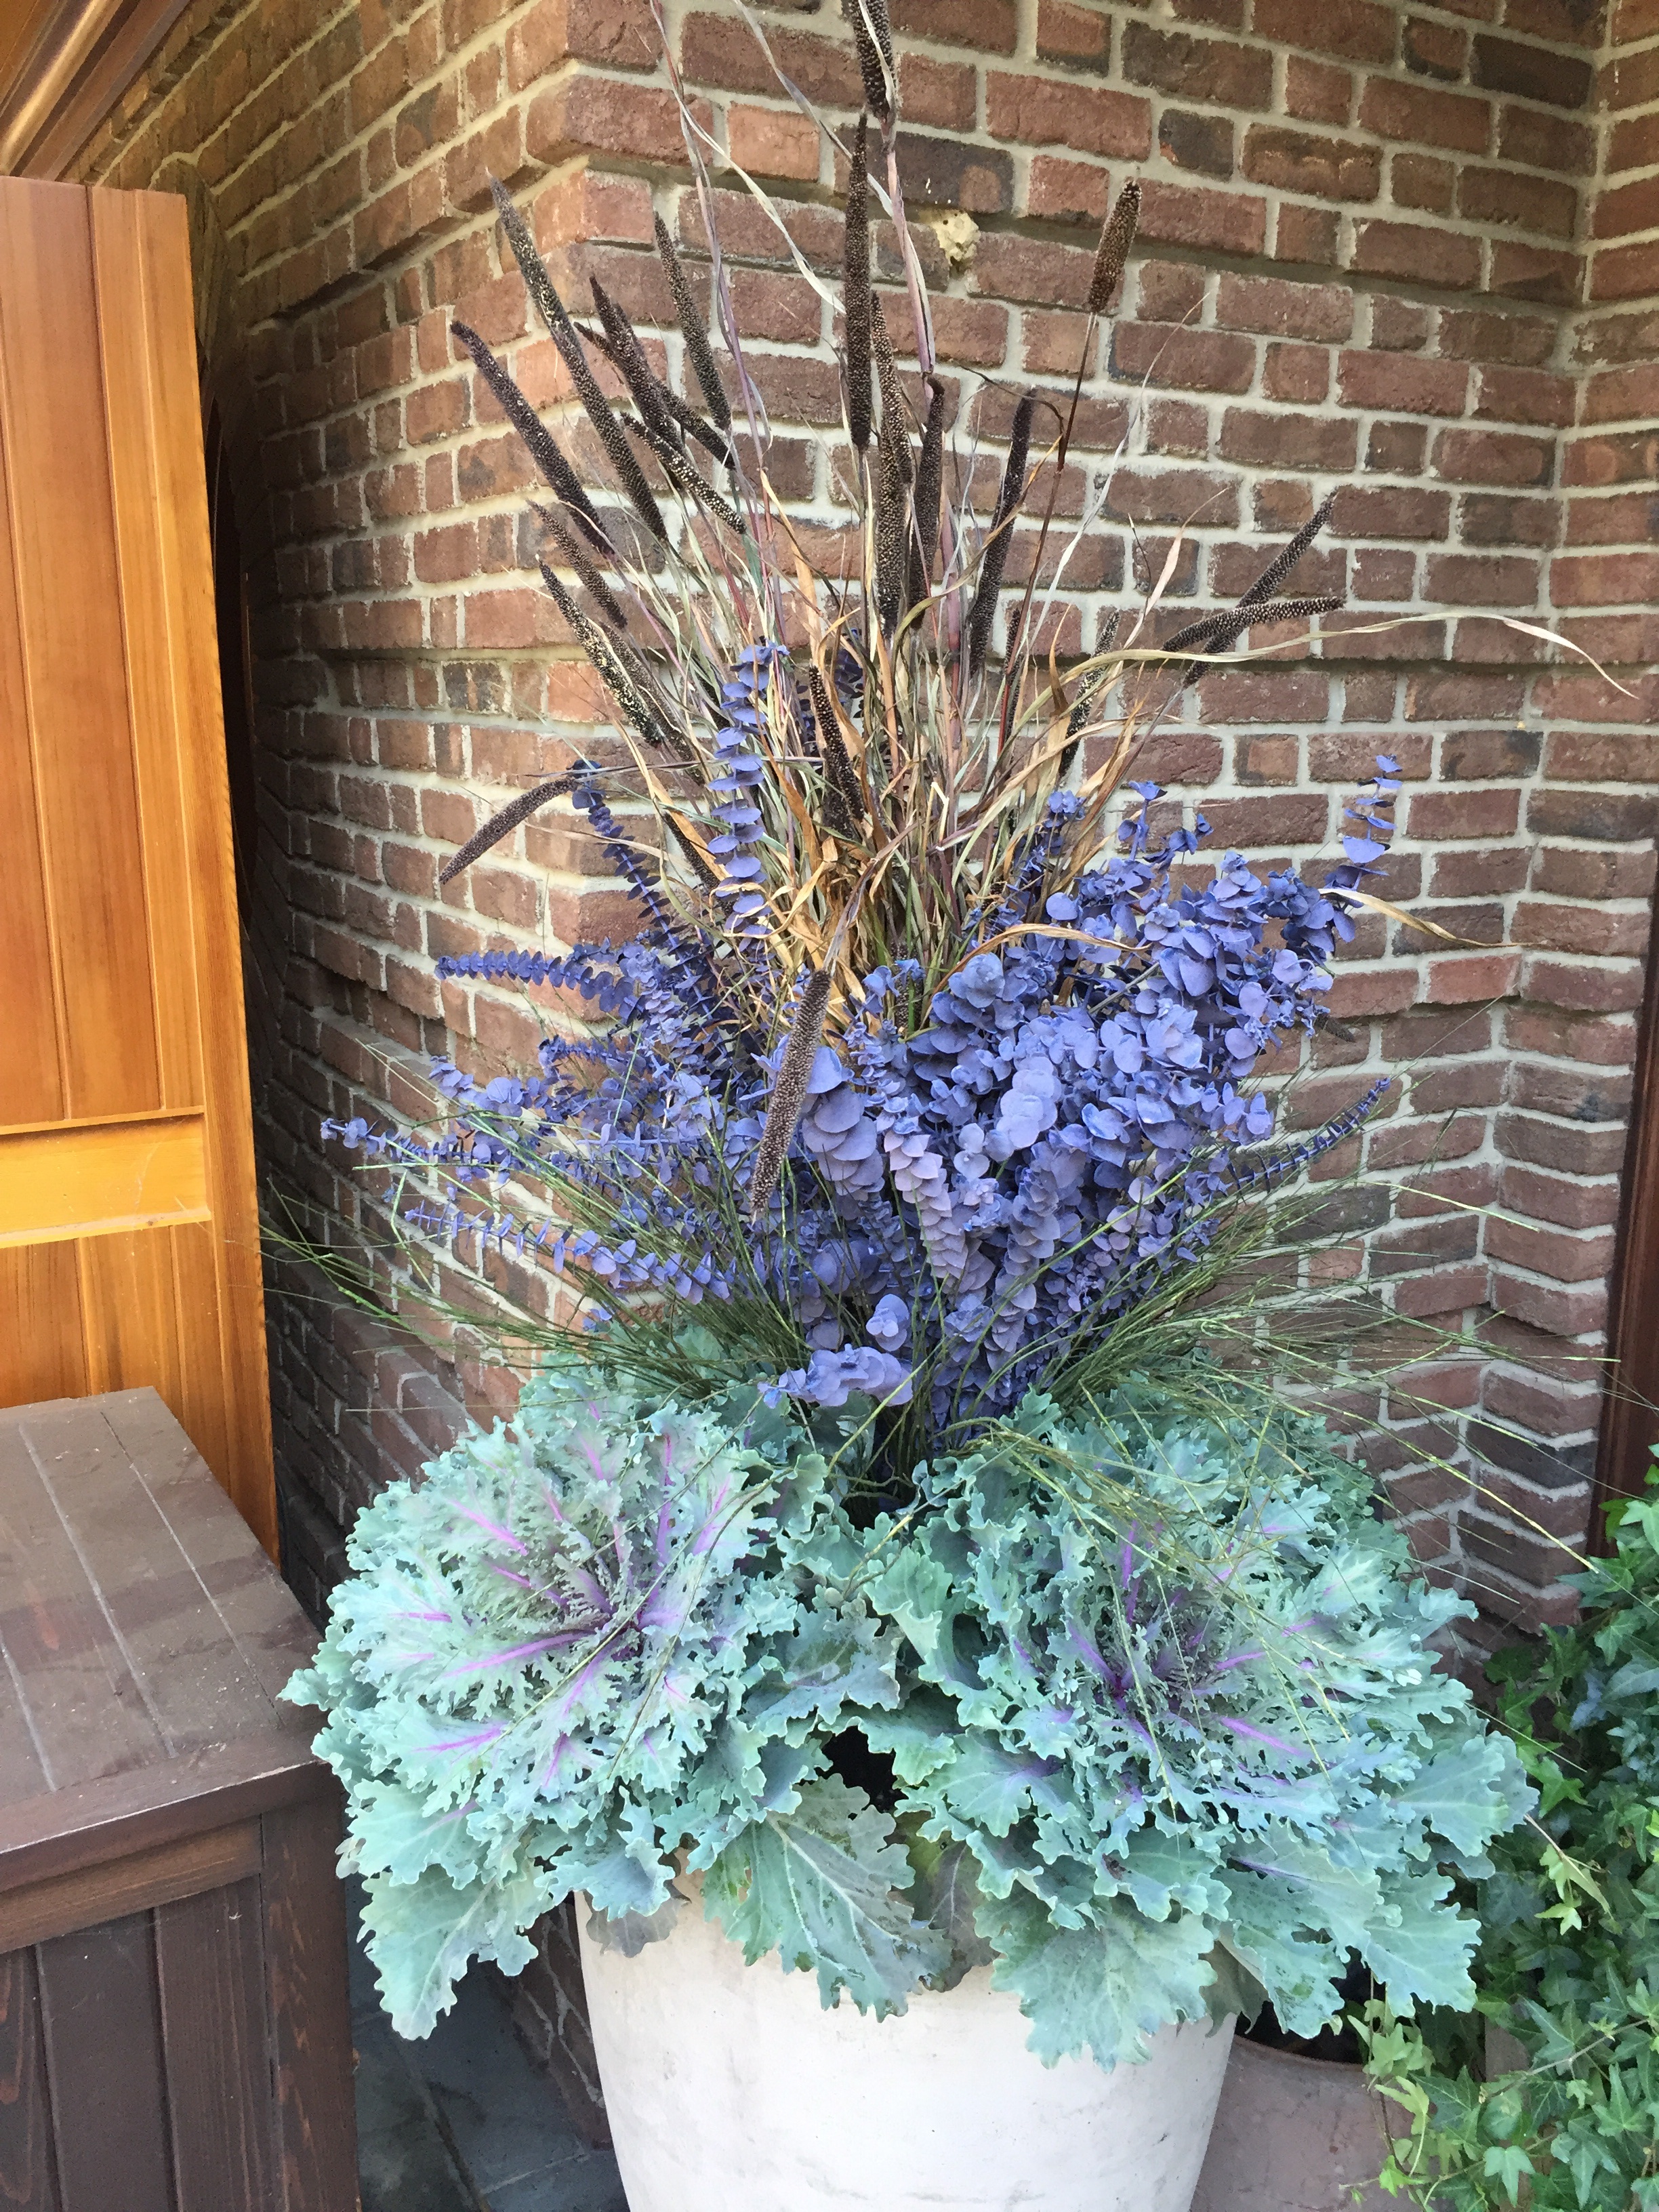
fall container with millet and lavender eucalyptus

containers with Ruby Queen cabbage

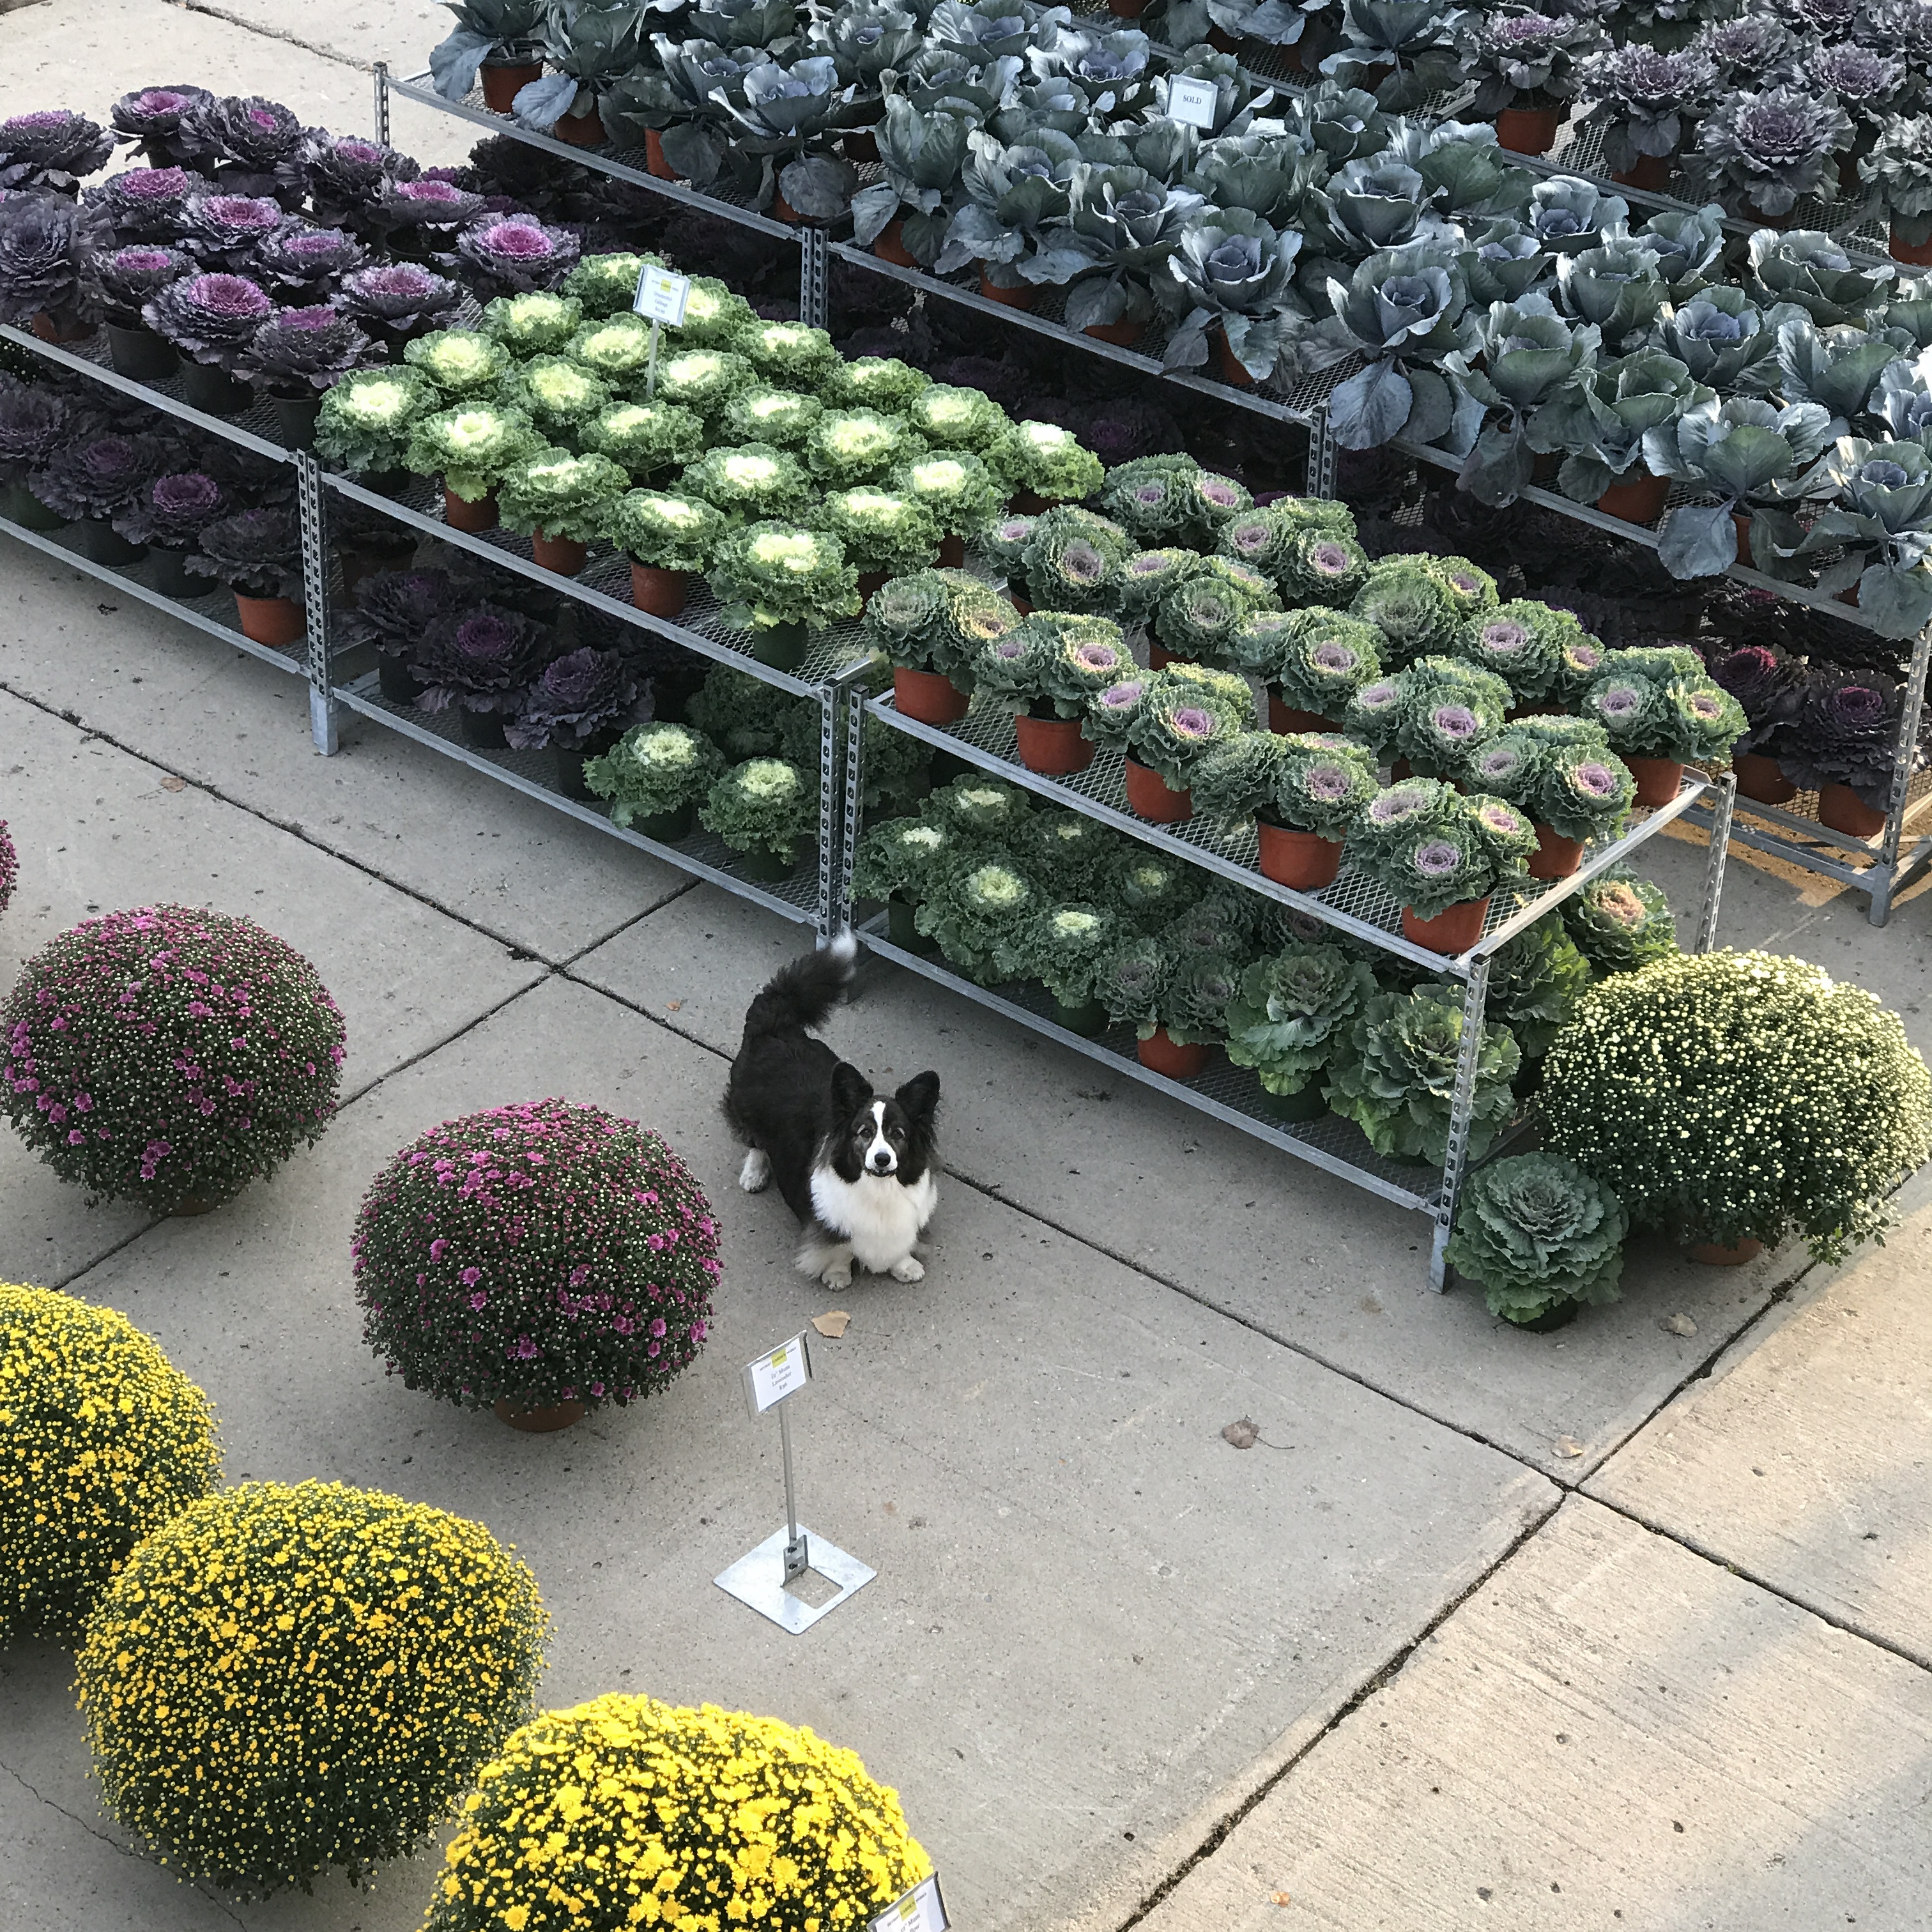
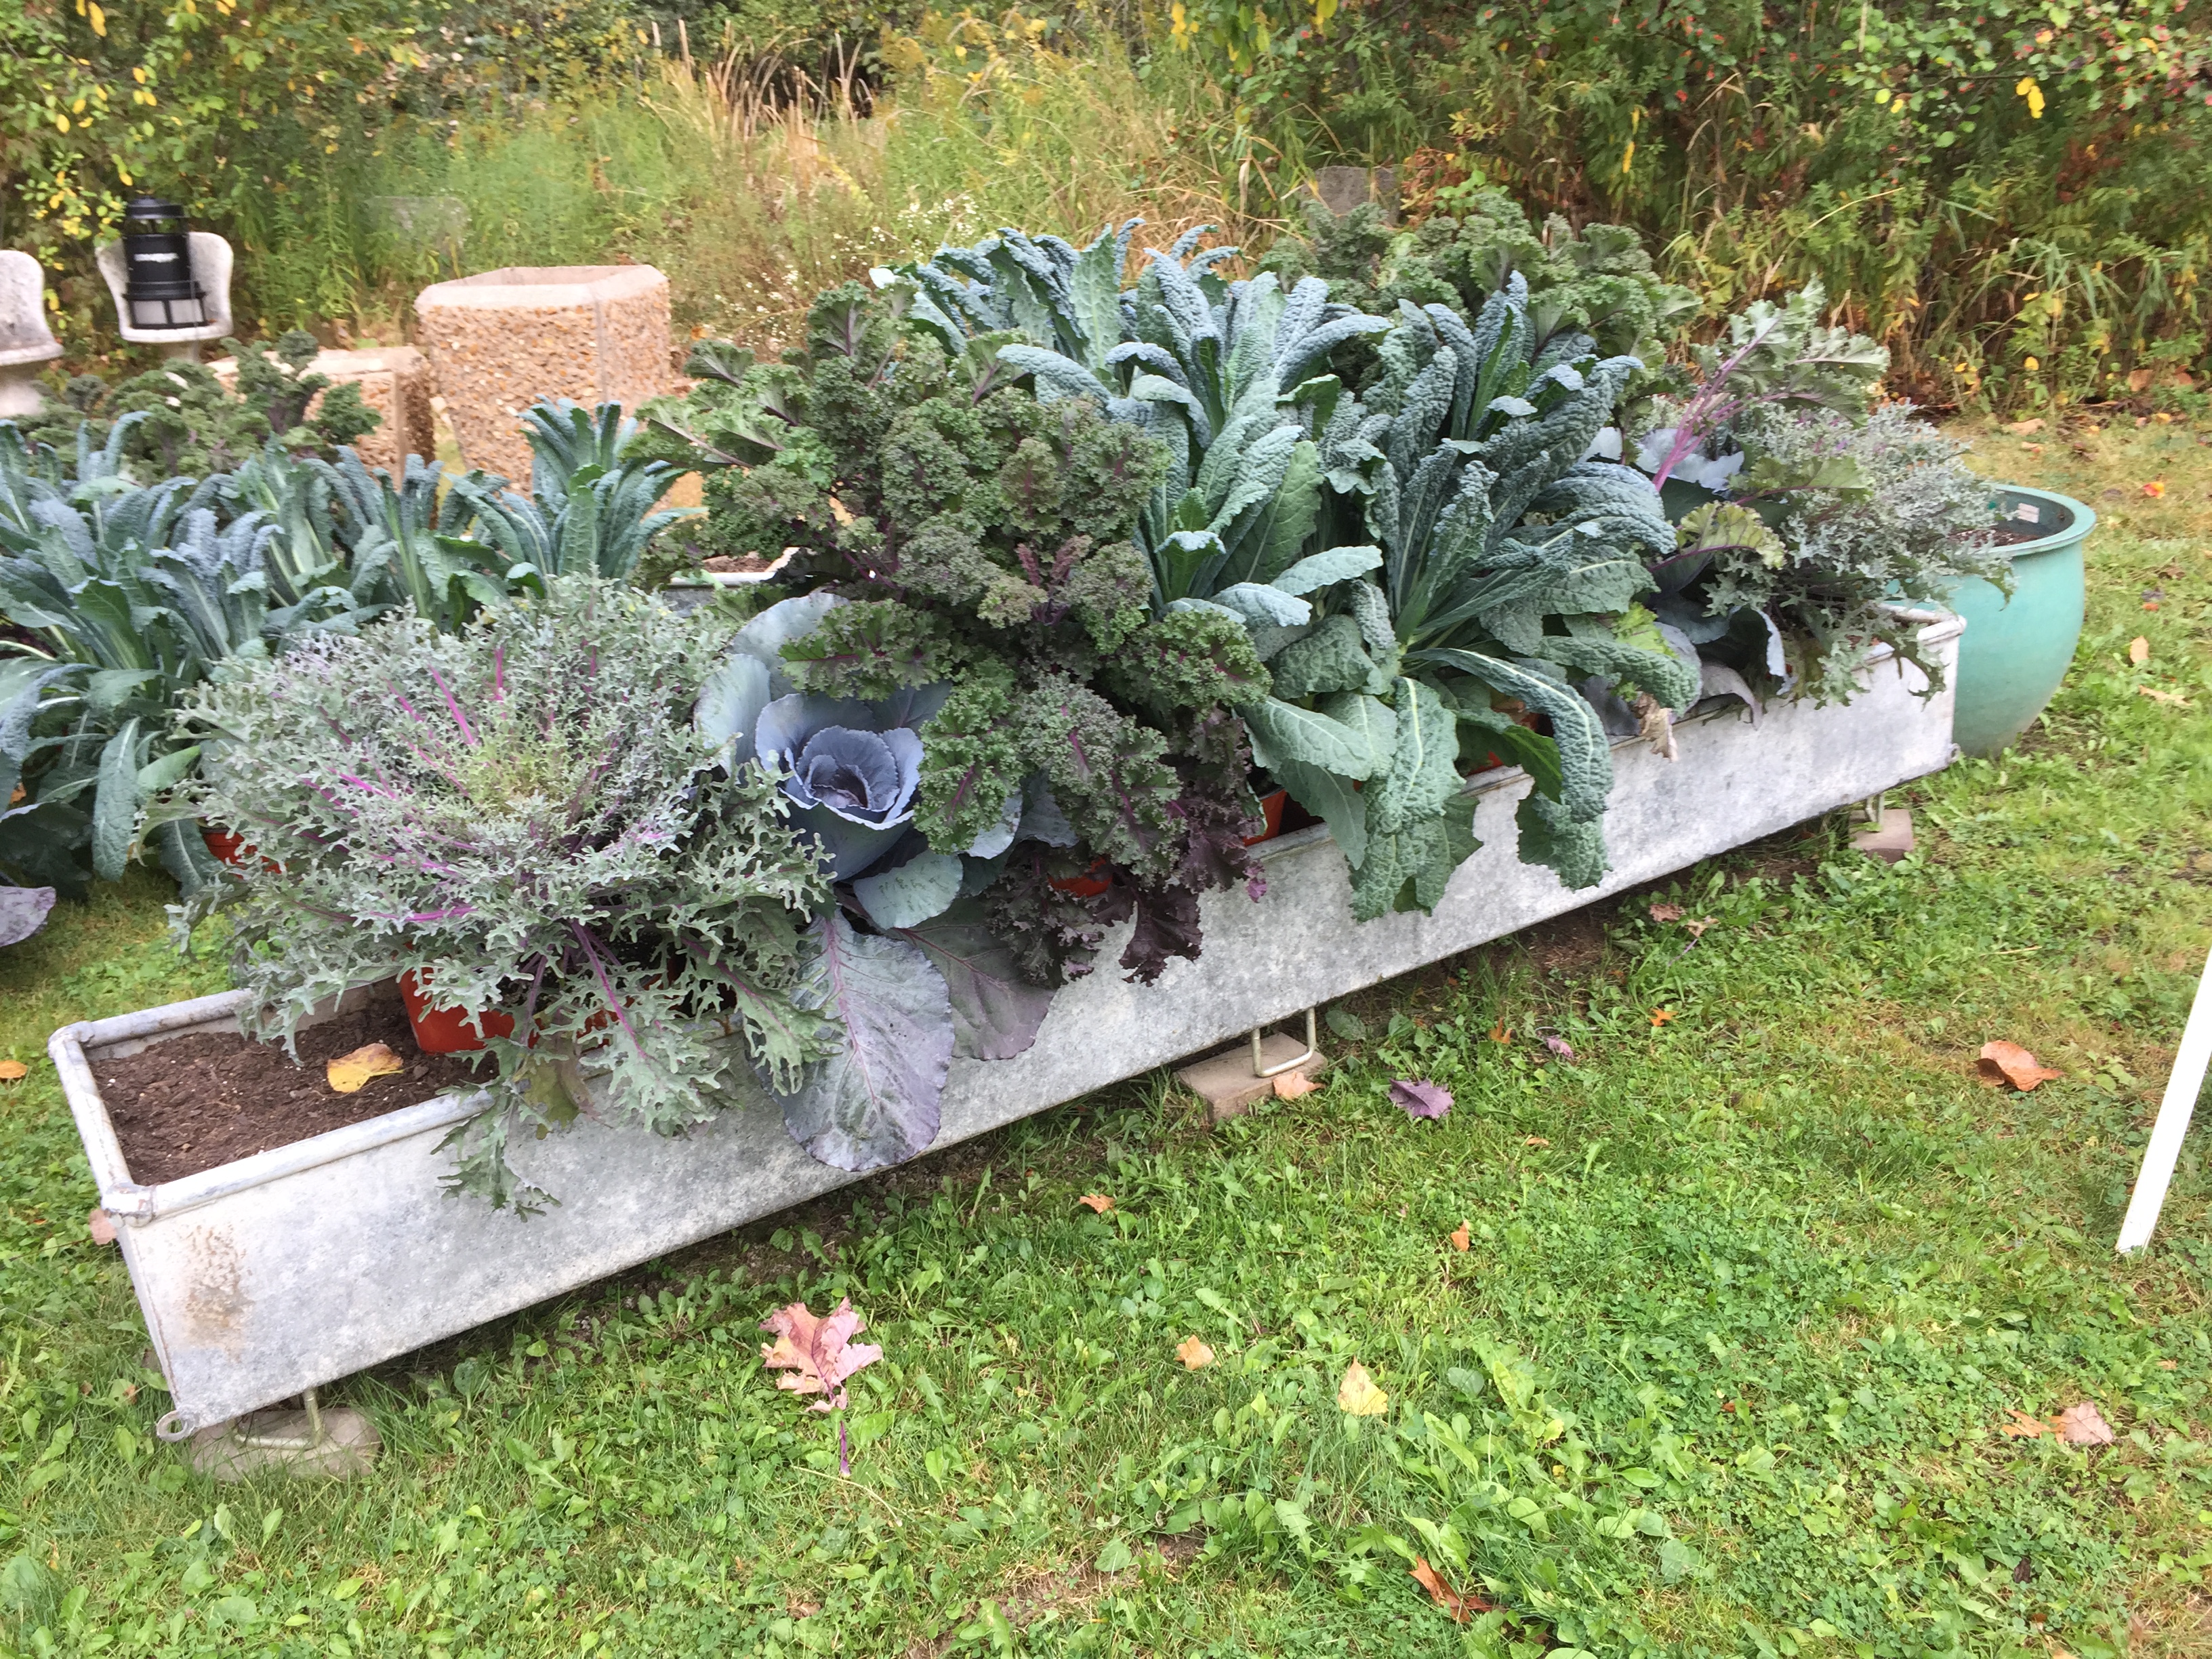
kale and cabbage crop

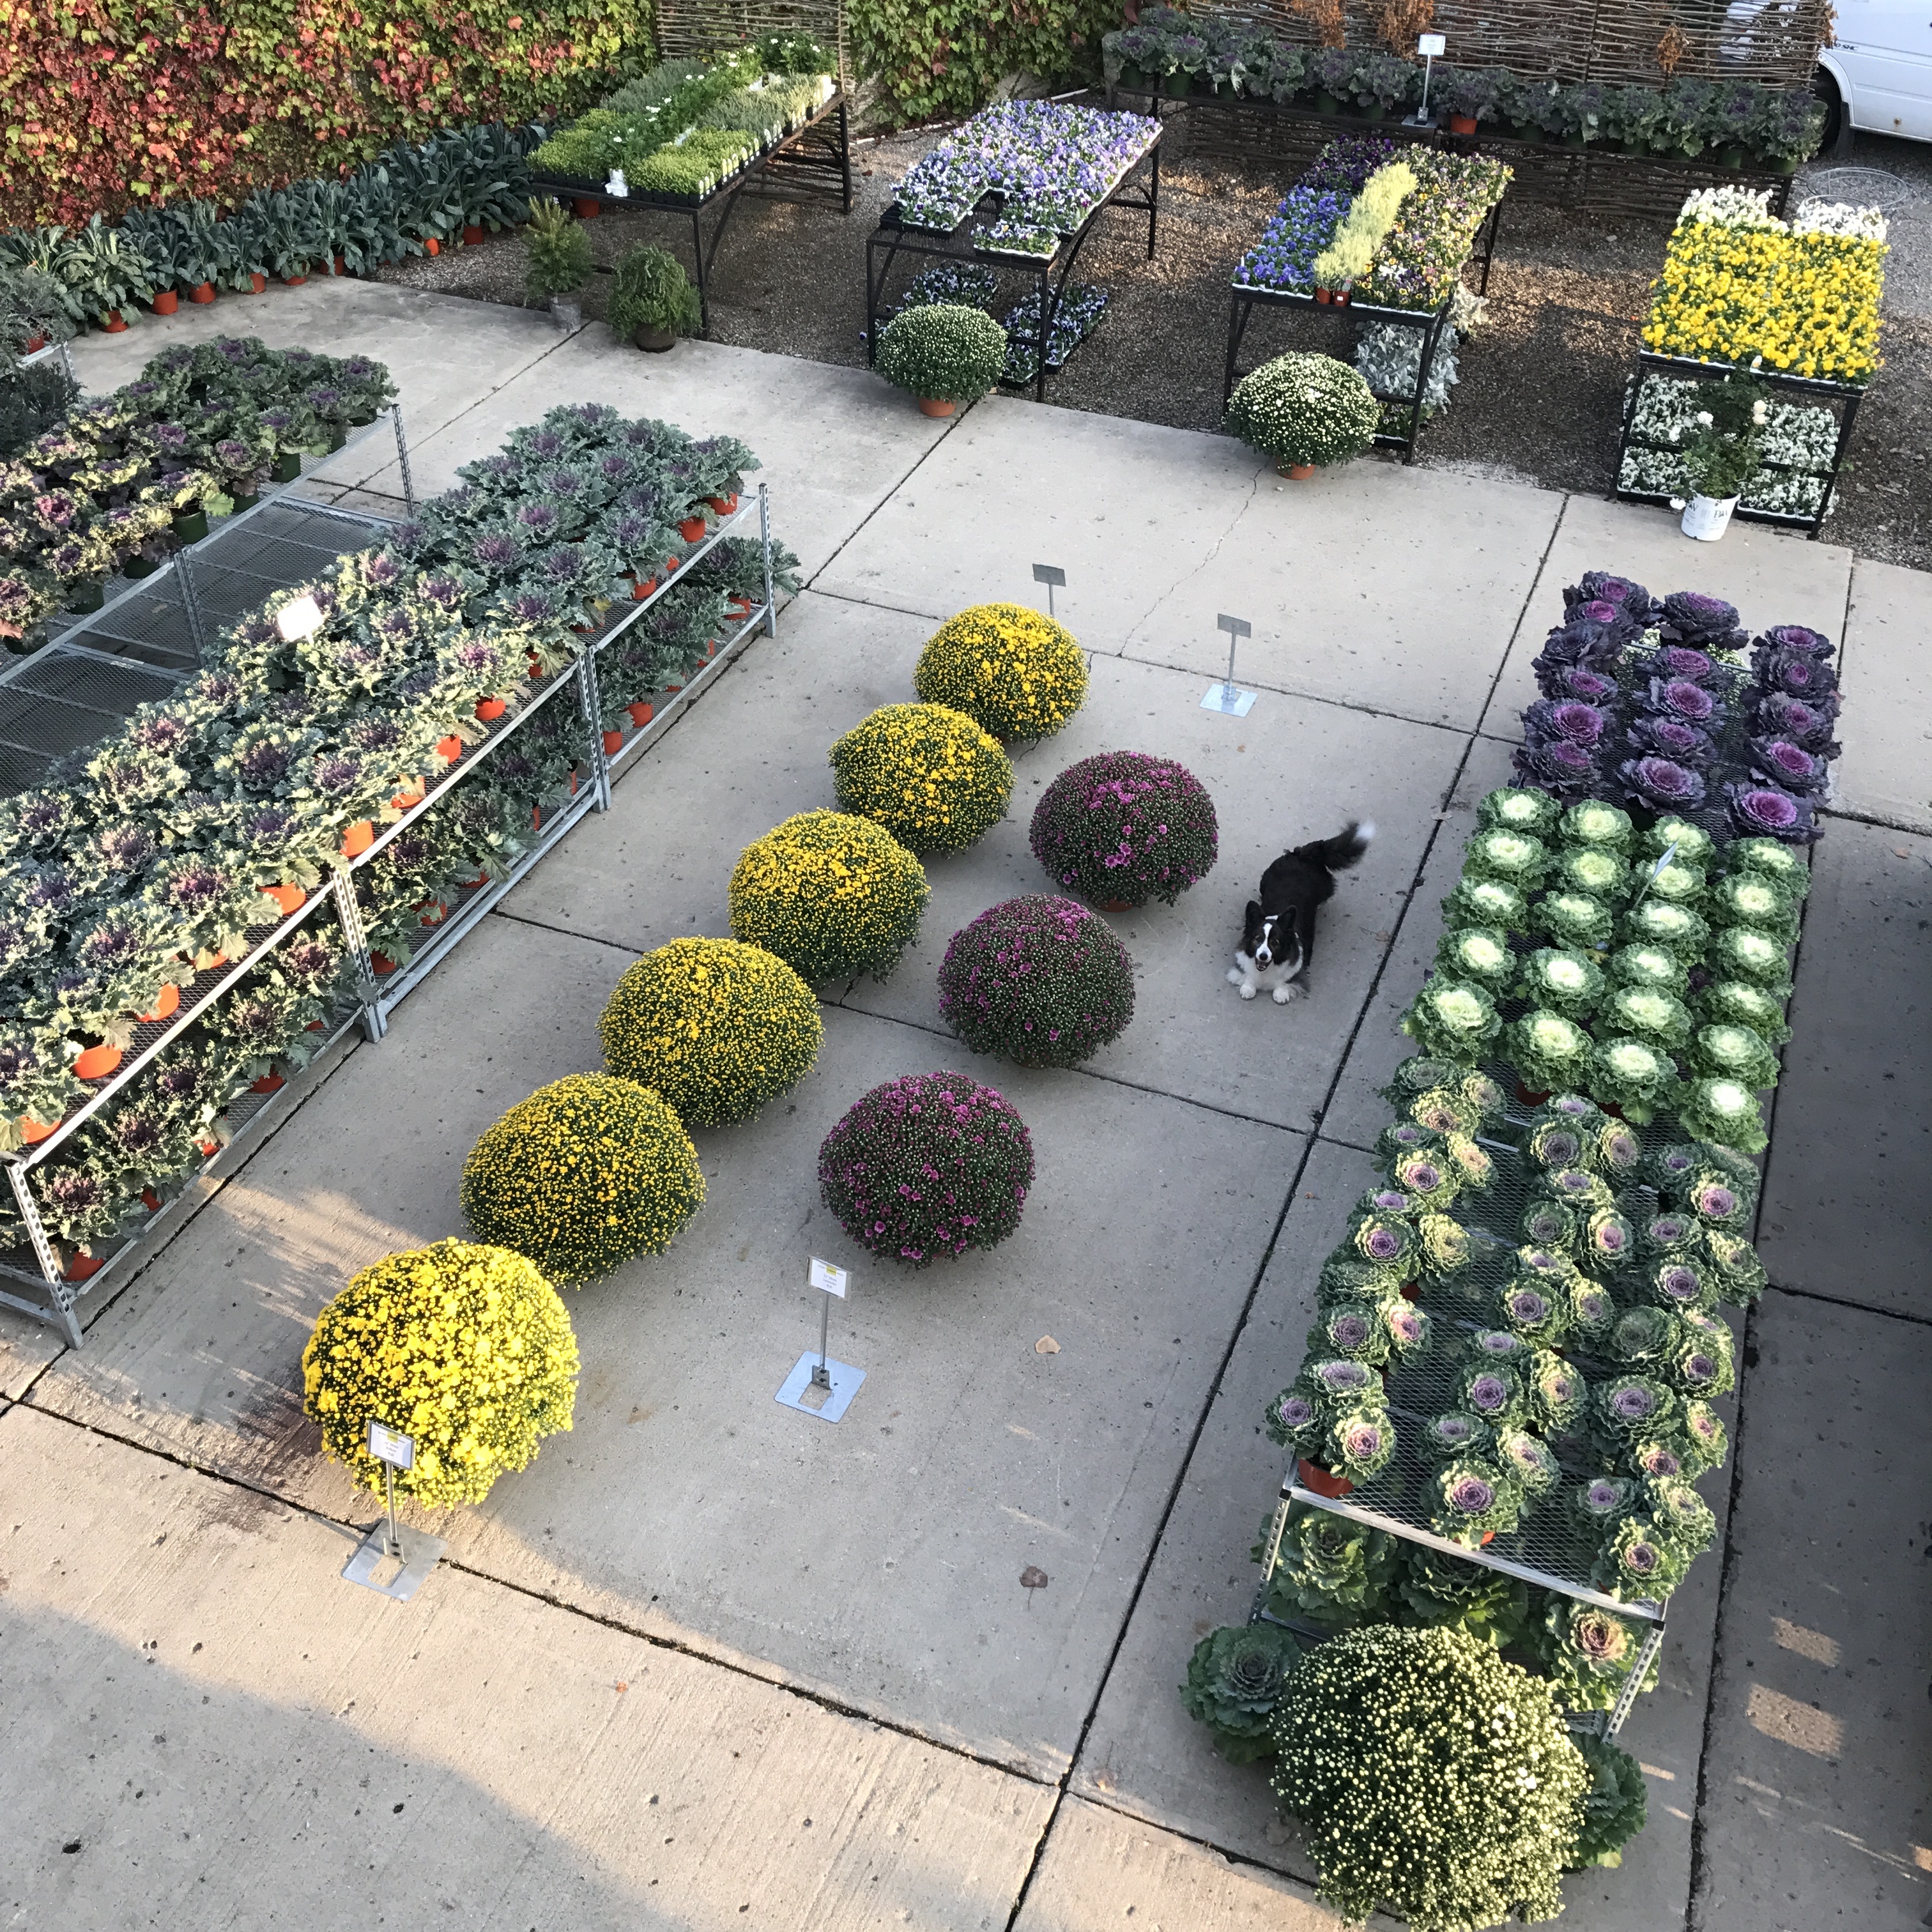
the kale and cabbage from the roof

Let the festivities begin.

Save

Save

Save

Save

Save

Save

Save

Save

The Best Of The Last

I am most pleased to report that a good many of the clients for whom I plant containers in all four seasons are telling me they are in no hurry for fall pots. I am sure our late summer heatwave plays no small part in this. Nonetheless, when I see summer containers continuing to thrive late into the last week of September, all is well. The successful and beautiful overlap between the seasons is a moment to be treasured. I am watering my root bound containers just about every day now. They have that wild end of summer look that is what I call the super nova stage. In another week, our temperatures are forecast to drop rather dramatically. The fall is soon to catch up with all of those sun and heat loving seasonal plants. The seasonal plants will decline with cooler weather. The time to enjoy that best of the last is right now.

I know the fall is close. But for now, I am enjoying those plants that have been growing steadily all summer long.

Alocasia and caladiums at summers end

A season’s worth of growth on the petunias

A shady window box in late September

Lemon grass, and black and blue salvia, late in the season

Angelonia in late September

Hydrangeas

tree ferns and white caladiums in late summer

pink mandevillea and company

summer container planting hitting its stride

willow box

willow box 2

planting in late summer

foggy morning in late September

Sometimes I think the very late summer garden gets passed over too quickly. You decide.

Save

Save

Save

Save

Save

Save

Save

Save

Welcome Home, Boxwood

My last two posts about this project might make you suspect that my primary interest in this landscape has to do with hard structures. Not so. The hard structures just need to be installed first, as they set the grade and determine the location of all of the plantings to come. I can move a tree or shrub-but not a swimming pool. Every landscape project is governed by those immutable issues. A driveway, a fire hydrant, a house, a city sidewalk, an electrical pole, a stone terrace – these landscape elements are fixed, for better or for worse. Every landscape contractor on a new house or extensive renovation project would prefer to have the immutable elements established up front. A landscape installation of this size requires an order of events. Hard structures, first. Once the new dock, retaining walls, pool and pool terrace were done, it was our turn. GP Enterprises plants all of my big trees for me. They have an installation of trees going on in the front yard of this project which I will get to later. Once it was time to transport 420 36″ diameter Green Gem boxwood from my yard to a project over an hour away from our yard, GP stepped up and sent two trucks, 2 trailers, and 4 of his people to give me a hand. It took 8 people, 4 trucks, and two days to bring the boxwood due to be installed in the back yard to the site.  My client texted me late that day, “Welcome home, boxwood”.  Loved that from her.

She knew the back story. Though we had procured the plants, and were ready to plant last fall, a fall planting proved to be out of the question. A new dock installation was beset with problems and significant delays. The stonework on the retaining walls took weeks and more weeks. It looked as though the entire back yard was filled with big trucks, and pallets of stone. Bad weather helped to seal the deal. Late last fall, all 420 of these boxwood were moved inside my landscape building, and set on top of 6″ of mulch spread over the concrete floor, for the winter.  Why the mulch layer over the concrete floor?  Concrete can absorb and draw the moisture out of a root ball. A dry plant coming out of winter storage would most surely be a dead plant. The effort was worth it. These 420 strong survived the winter indoors without any problem, but a very cold and relentlessly rainy spring pushed our installation date back much further than I ever imagined. Once the middle of May arrived, I knew this installation would need to be pushed into July. The day I finally had those boxwood on site was a day many months in the making. Dan and his crew measured and set the dig lines. We only needed to make one small change. 10 inches to the south. The walls and stairs had been built very close to the measurements called out on the plan. We went over and over the lines. It took less than 2 hours for me to sign off on the layout.

Once every line was set and checked, the planting would be underway. This is a very formal and geometric landscape. The precision of the layout took a good bit of time, as it should. Insuring that they would be planted in the right place involved a lot of stakes and lines, and twice as many measurements. Once a boxwood went in to the ground, I would be very unhappy at the prospect of having to move it. My crew would be even more unhappy.  Each root ball weighs 235 pounds. Sliding a 235 pound root ball into place is vastly less work than lifting 235 pounds out of the ground.

It was not my idea to dig individual holes for each boxwood. Oh no. We dug overscales trenches with an excavator that would allow us to place and level each double row of boxwood.  Our 420 boxwood were graded at 36″ tall, by 36″ wide. But that grading is a loose business. Some were taller, and shorter. Others were flatter, or more ball shaped. Some were decidedly lopsided. Of course we would sort through and select the plants that would be neighborly in shape and height. The oversized trenches would permit moving the boxwood this way and that, up and down, in service of the precision asked for by the design. A planting of this scale and scope asks for some mechanical help. We use our front end loader frequently, but I rarely have a need for an excavator. Dan decided to rent that machine for a month. That proved to be an excellent decision. We were able to spend more time on the plant selection, placement, and planting, and less time hand digging.

The contrast between the boxwood and bare dirt was extraordinary. I was so pleased to see these gorgeous plants going in to the ground. Welcome home boxwood, indeed.

Once Dan had a day under his belt, he was able to establish an approach to the work that would make the best use of everyone’s time, and move the project forward in the most efficient way possible. He would plant the entire south side, before moving to the north.

The plan calls for three gardens. I find that woody plant material is much more easy going regarding conditions than perennials. I have planted countless shrubs and trees and seen them readily adapt to their home.  Perennials are much more sensitive to poor living conditions.  Dan saw fit to provide 18″ of good soil, and install drainage for good measure.

I suppose it is time to discuss the design for this part of the property. This lower terrace is the mid ground space from the house looking out to the river. Dan took this picture from the upper pool terrace level. It is clear that the landscape not only needed to be proportional to the size of the property, and the walls and stairs, it needed to read from a distance. The second floor of the house is slated for a large terrace situated on the roof of the rear porch. The view from that upper level balcony is an important view. An every day view. It will be a beautiful view, no matter the season or the weather. These boxwood are massive, and the shapes designed are simple and on an appropriately large scale. Their formal arrangement is in beautiful contrast to the amorphous quality of the water, and the wild landscape in the distance.  As a mid ground feature, it introduces and enhances the views out. The views from the river towards the house would be equally dramatic. A 14 foot long gas firepit whose flames will be enclosed by glass will provide a place for my clients and their friends to gather and relax. The bluestone coping is set at seat height.  Glass enclosing the flames?  This is a very windy location.  My clients expressed an interest in the classical and formal landscape. They were interested in gardens, and the seating to go with. They went so far as to tell me that the landscape part of their renovation to their home and property would be their favorite. They were interested in places they could view from afar, and places they could be. They wanted to live outdoors exuberantly, and entertain privately.

These pictures taken from the upper level do not express the enclosure and intimacy created on the ground floor by the boxwood.  Once my clients and their company are seated in this lakeside garden, they will have a quiet and private place to be. Given the many conversations I have had with them, I understand that they want strong and beautiful views from afar, and intimacy and enclosure up close. The design is my response to that request.

This view from the south towards the north does not describe the gardens to come. But it does do a good job of describing the structure of the landscape.

I do believe that the first step with any landscape design is to establish some structure. I have the idea that my relationship with these clients is a long term relationship. What we have done here is a giant first step. But a first step, nonetheless. I am certain I will hear more from them, as the landscape progresses. Who knows where we will be in 5 years. I do favor an initial landscape design that is all about creating some structure.  Any client that wants to go beyond establishing that initial structure will let me know. To follow are drone pictures taken by my clients from last week.

As Mary Keen says, “Nostalgia in gardening often surfaces as a longing for that older, deeper relationship between person and place that we rarely achieve in modern life.”

Save

Save

Save

Save

Save

Save

Save

Save

Save

Save

Save

Save

Save

Save

Save

Save

Save

Save

The Stonework

Once the pool construction detailed in my last post was in a reasonably finished state, a substantial amount of stonework would be required to finish terracing this steeply sloping yard. The drop from the pool terrace to the lower terrace is about 5.5 feet, meaning stairs would be necessary to access the lower level. A pair of 10′ wide stone staircases flanking the pool would permit easy access and flow from the upper to the lower terrace. Mike Newman, stone contractor extraordinnaire, and owner of Mountain Paver Construction Co, sent numerous drawings of these stairs to me over a period of a few weeks, until every detail was worked out.

Though the plan I had drawn was to scale, it was necessary to produce specialized drawings of these stairs. The pool was a given whose dimensions could not be changed. Everything to come would have to be adjusted to meet those “as built” dimensions. Producing a precise drawing can help mitigate problems later. He would have to order stone cut to specific dimensions. Surprises can be great, but not so much for a stone structure that would take months to build. My drawings of the stairs were place holders, and nothing more. The stairs would be built from his drawings.

Mike and I did research and send for a number of stone samples. Pictured above is what was eventually presented to my clients for the wall stone veneer, the pool deck and stairs stone, and the bluestone dots. Veneer stone is available in many different color mixes.  It was eventually decided to use 25% of one mix, and 75% of another. Once stone is chosen, it takes time to get an order processed and shipped.  The stone for the pool deck was special ordered in 2′ square pieces that are 2 1/4″ thick The pool deck stone was mortared to a concrete substrate.  The stone for the stairs was custom cut for this particular project.To follow are pictures that detail the work on the walls and stairs that took the better part of 7 months to complete.  Every piece of stone that went on the wall had to be cut so they would fit together smoothly without any mortar joints. This was an aesthetic decision, not a construction decision. My clients liked the look without.

The concrete for the north and south staircases were poured adjacent to the lower pool. All foundations and stonework that was part of the pool and the lower pool were done by the pool contractor.

I had hopes of beginning the rear yard landscape last fall, but that was not to be. The trucks and equipment necessary to complete the stone work occupied a a lot of the back yard space.  An earth ramp had to be built so equipment and vehicles could be driven to the rear yard.  Building anything is a big messy business. All of those vehicles and pallets of stone made me wince-the compaction of the soil would be an issue we would have to deal with later.

The dark stones you see in the wall above are from the second mix. That darker color would add some interest to these big walls. A table full of stone enabled Mike to pick and choose the shapes and colors as he saw fit.

fall 2016

late November, 2016

Eventually it became necessary to tent and heat the area around the construction of the final staircase and retaining wall, so the work could continue. Continue it did, all winter long.


veneer stone being applied to wall

valders stone treads and risers in place

The return on the final and bottom step of the staircase was a complex shape, so Mike built a template so I could see what it would look like. Sometimes a drawing is not enough information. That piece of stone would be radiused and bull nosed at the stone yard.

By spring, the south retaining wall was done.

staircase done but for the curved lower step returns

finished staircase

Just a few weeks ago, we were finally able to begin laying out the landscape for the lower level. The concrete block structure in the middle foreground is a firepit under construction. Once that foundation and block work was done, it was time for some green. My superintendent Dan thinks a good bit of this lower level landscape will be finished in a few days. Needless to say, I have pictures.

Save

Save

Save

Save

Save

Save

Save

Save