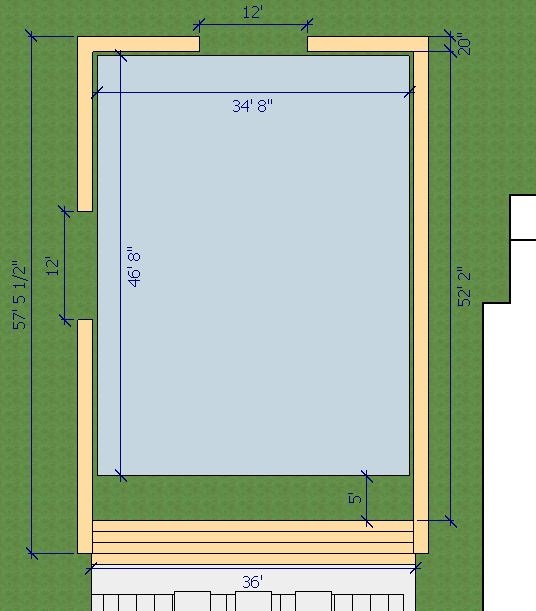
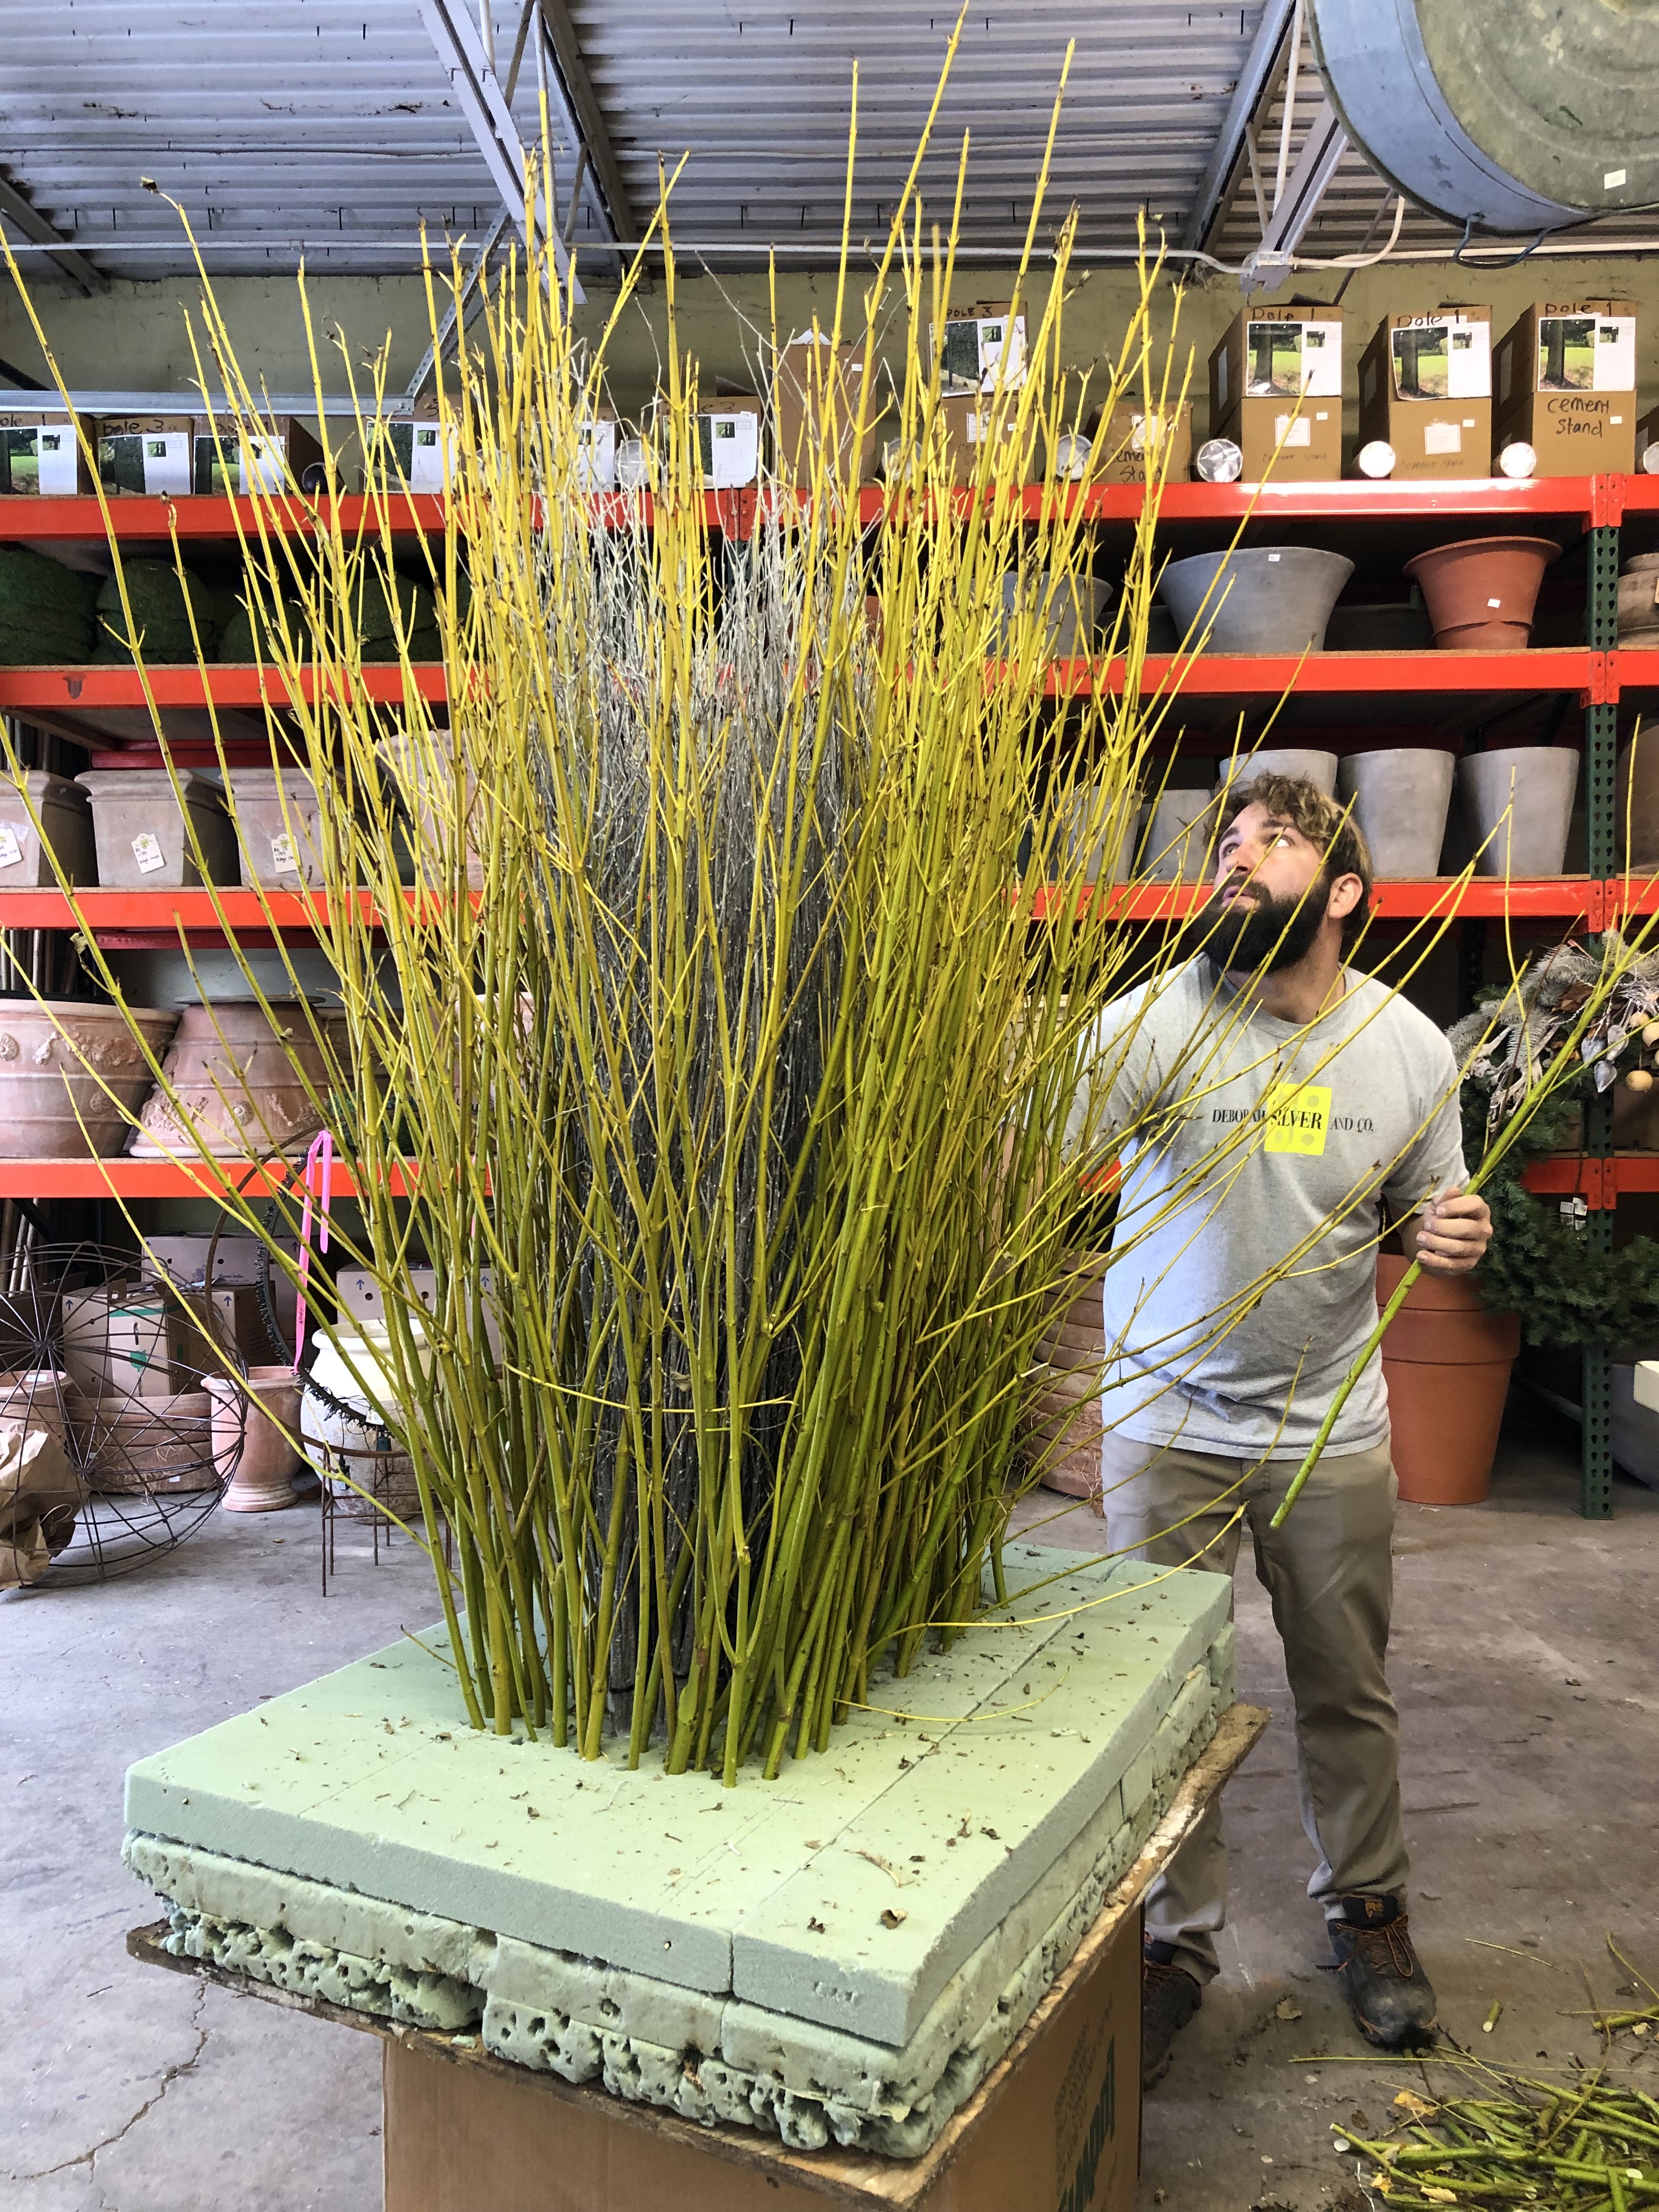
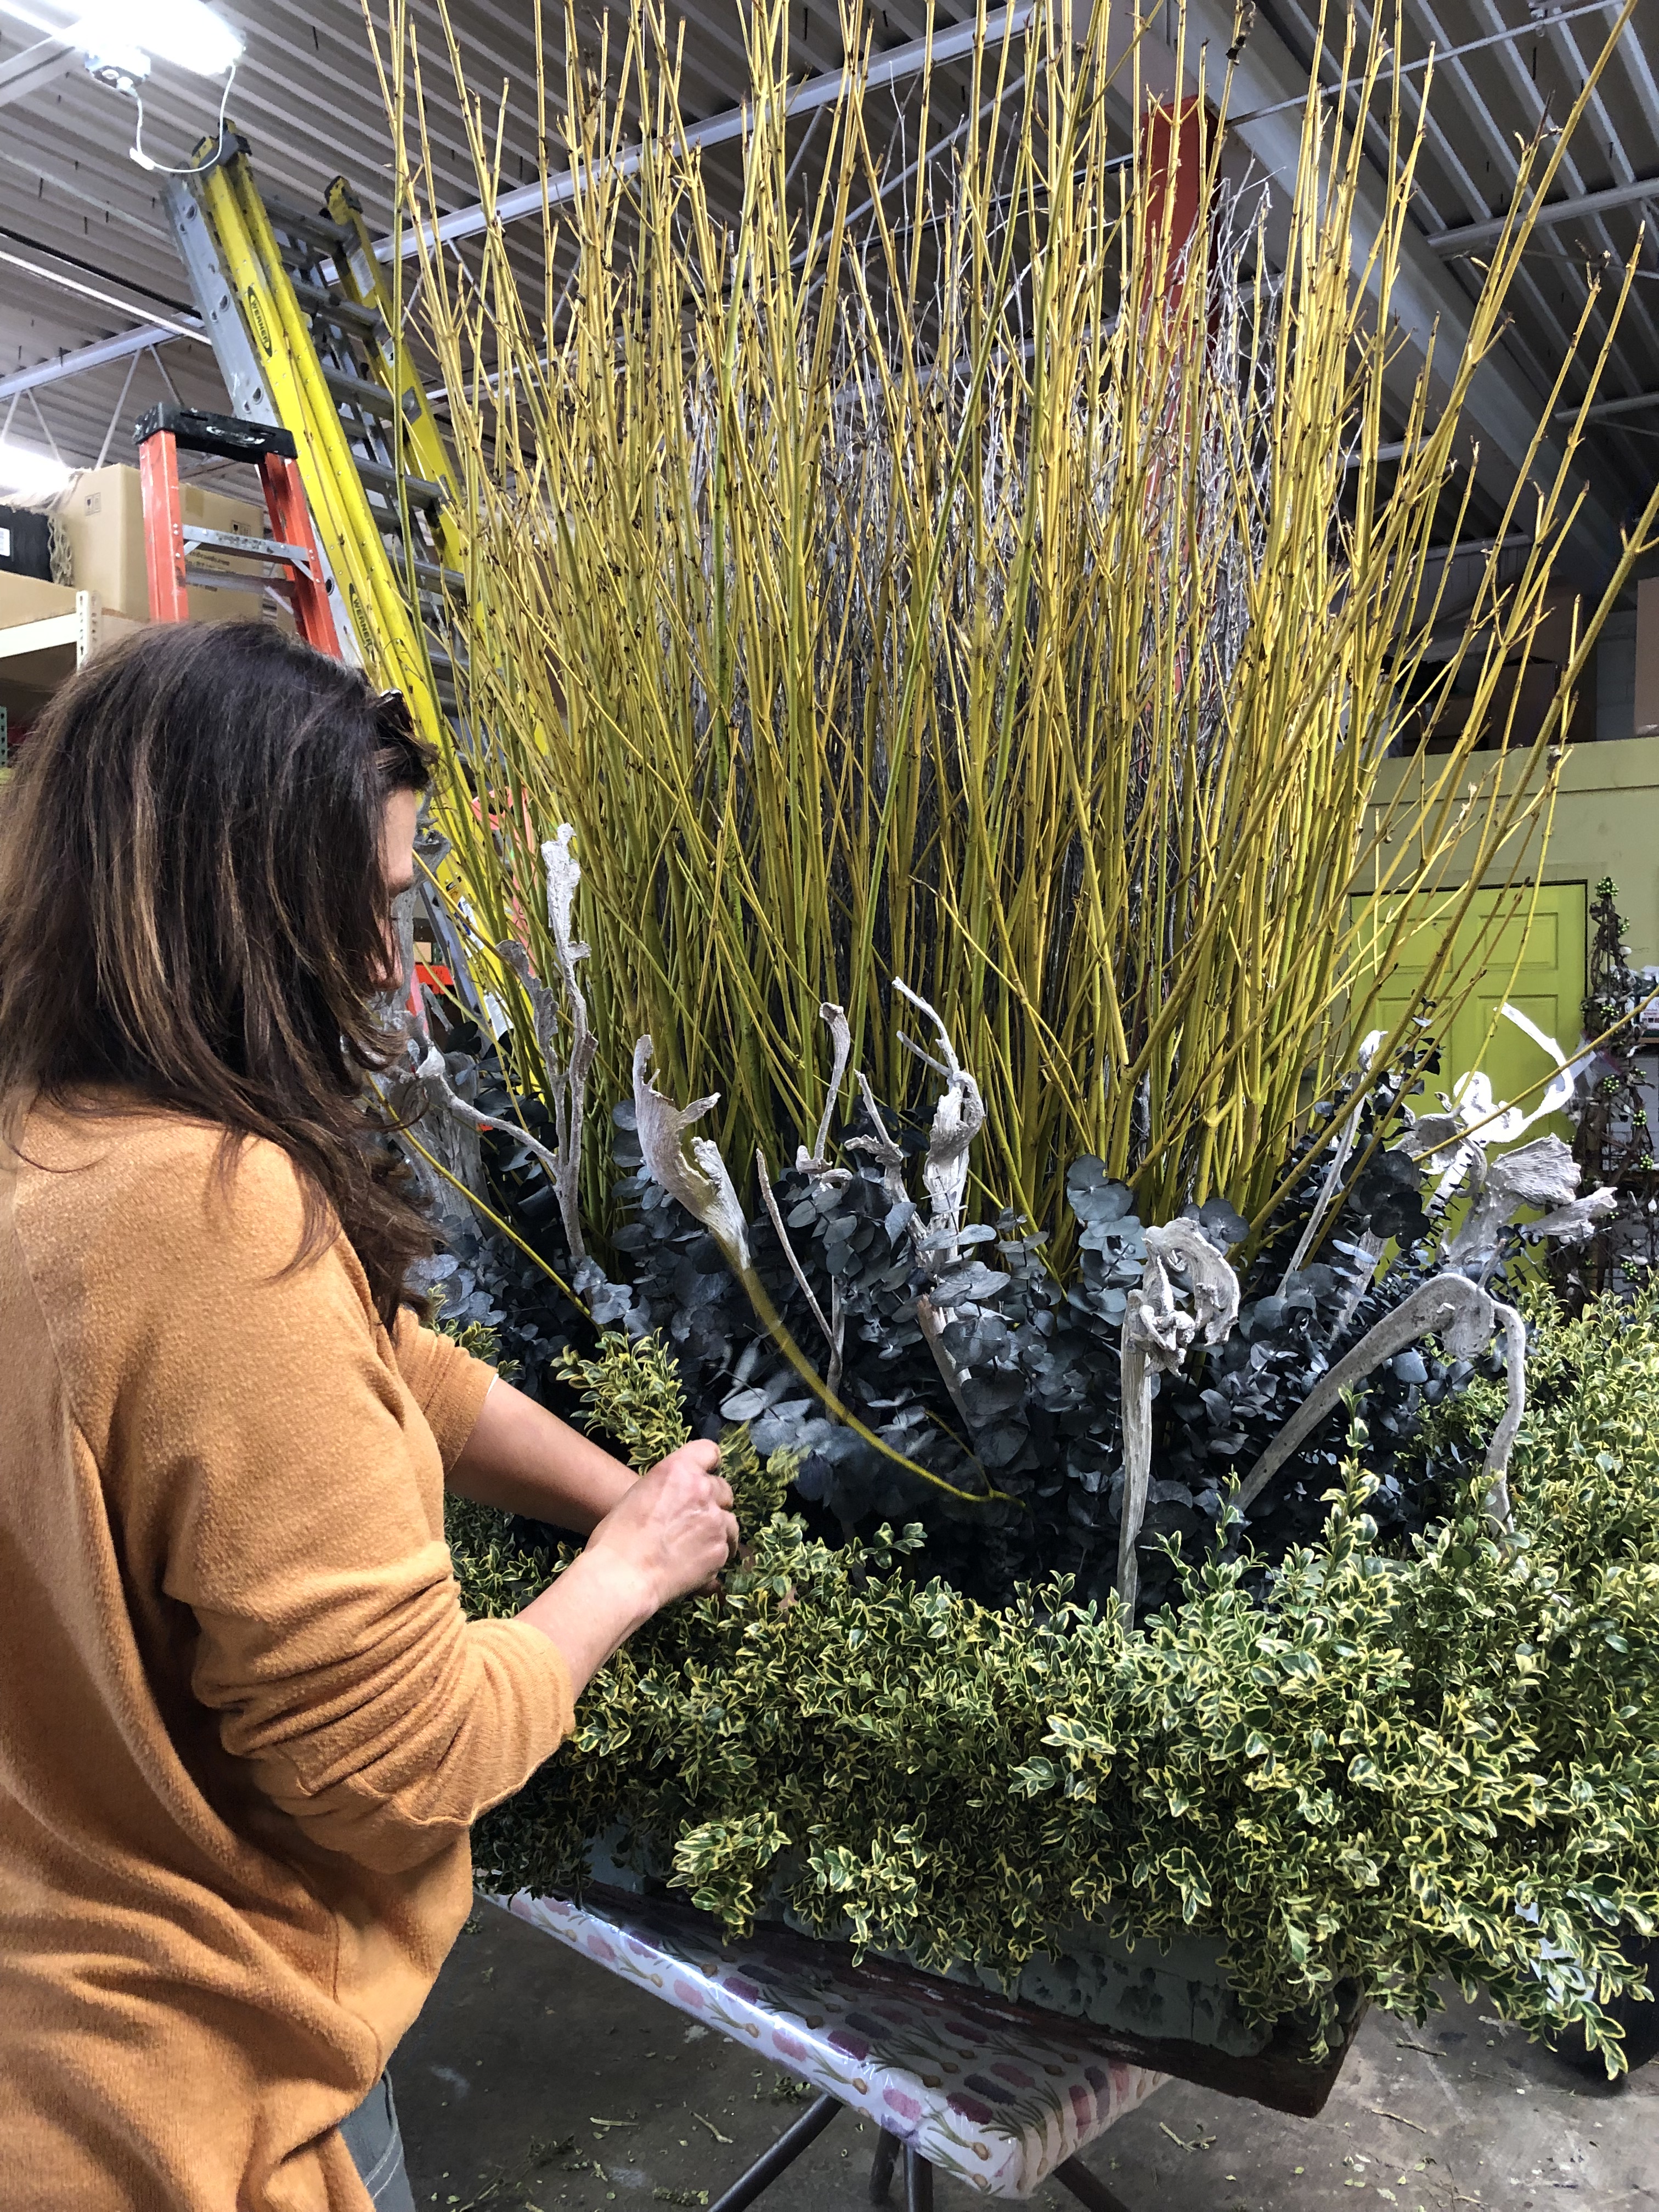
 It is indeed that time again. This past Friday we swept out the garage at Detroit Garden Works, and set up our fabrication shop. The most useful and best part of the shop is its heat. Warm space to work makes for good and thoughtful work. So does good materials. Rob works his heart out to be sure we have a huge selection of materials for our winter and holiday installations. His fresh cut twigs are the best I have ever seem. Farmed twigs, grown on great soil, mean all the dogwood and willow cut branches we have to offer have superior color and form. Every bunch features unblemished stems typical of the current years growth. Ron snapped up some very tall second year growth red twig which is equally as spectacular. Those glossy colorfully barked stems makes our winter container work easy. We construct forms that fit tight into the intended containers from large sheets of dry floral foam, layered up via hot melt glue. One layer of foam goes below the surface. The upper layer gets stuck with greens, and whatever else we have in mind. At exactly the angle we like. Of course we save client’s forms from year to year. The above form is for a very large planter box. Note the exterior grade plywood at the bottom. That plywood enables us to transport this arrangement safely. As last year’s form had been reused for the past three years, we added a new layer of fresh foam to the top. The degraded foam goes to the bottom, into the pot. The new foam gets top billing. This client has a decidedly contemporary view. Their winter container arrangements will follow suit. The center of this form was filled in with dark gray birch branches. More on that decision later. David stuck every stem of fresh yellow twig dogwood, one stem at a time. I managed to capture him in the act. He is an accomplished fabricator. He knows to look to the airspace to tell him where he needs a branch. Once he claims a visual space for his branch overhead, he inserts that branch in that spot in the foam that puts his branch where he wants it. Does he ever look down at that branch is going into the foam? No. He is always looking at the overall shape from above.
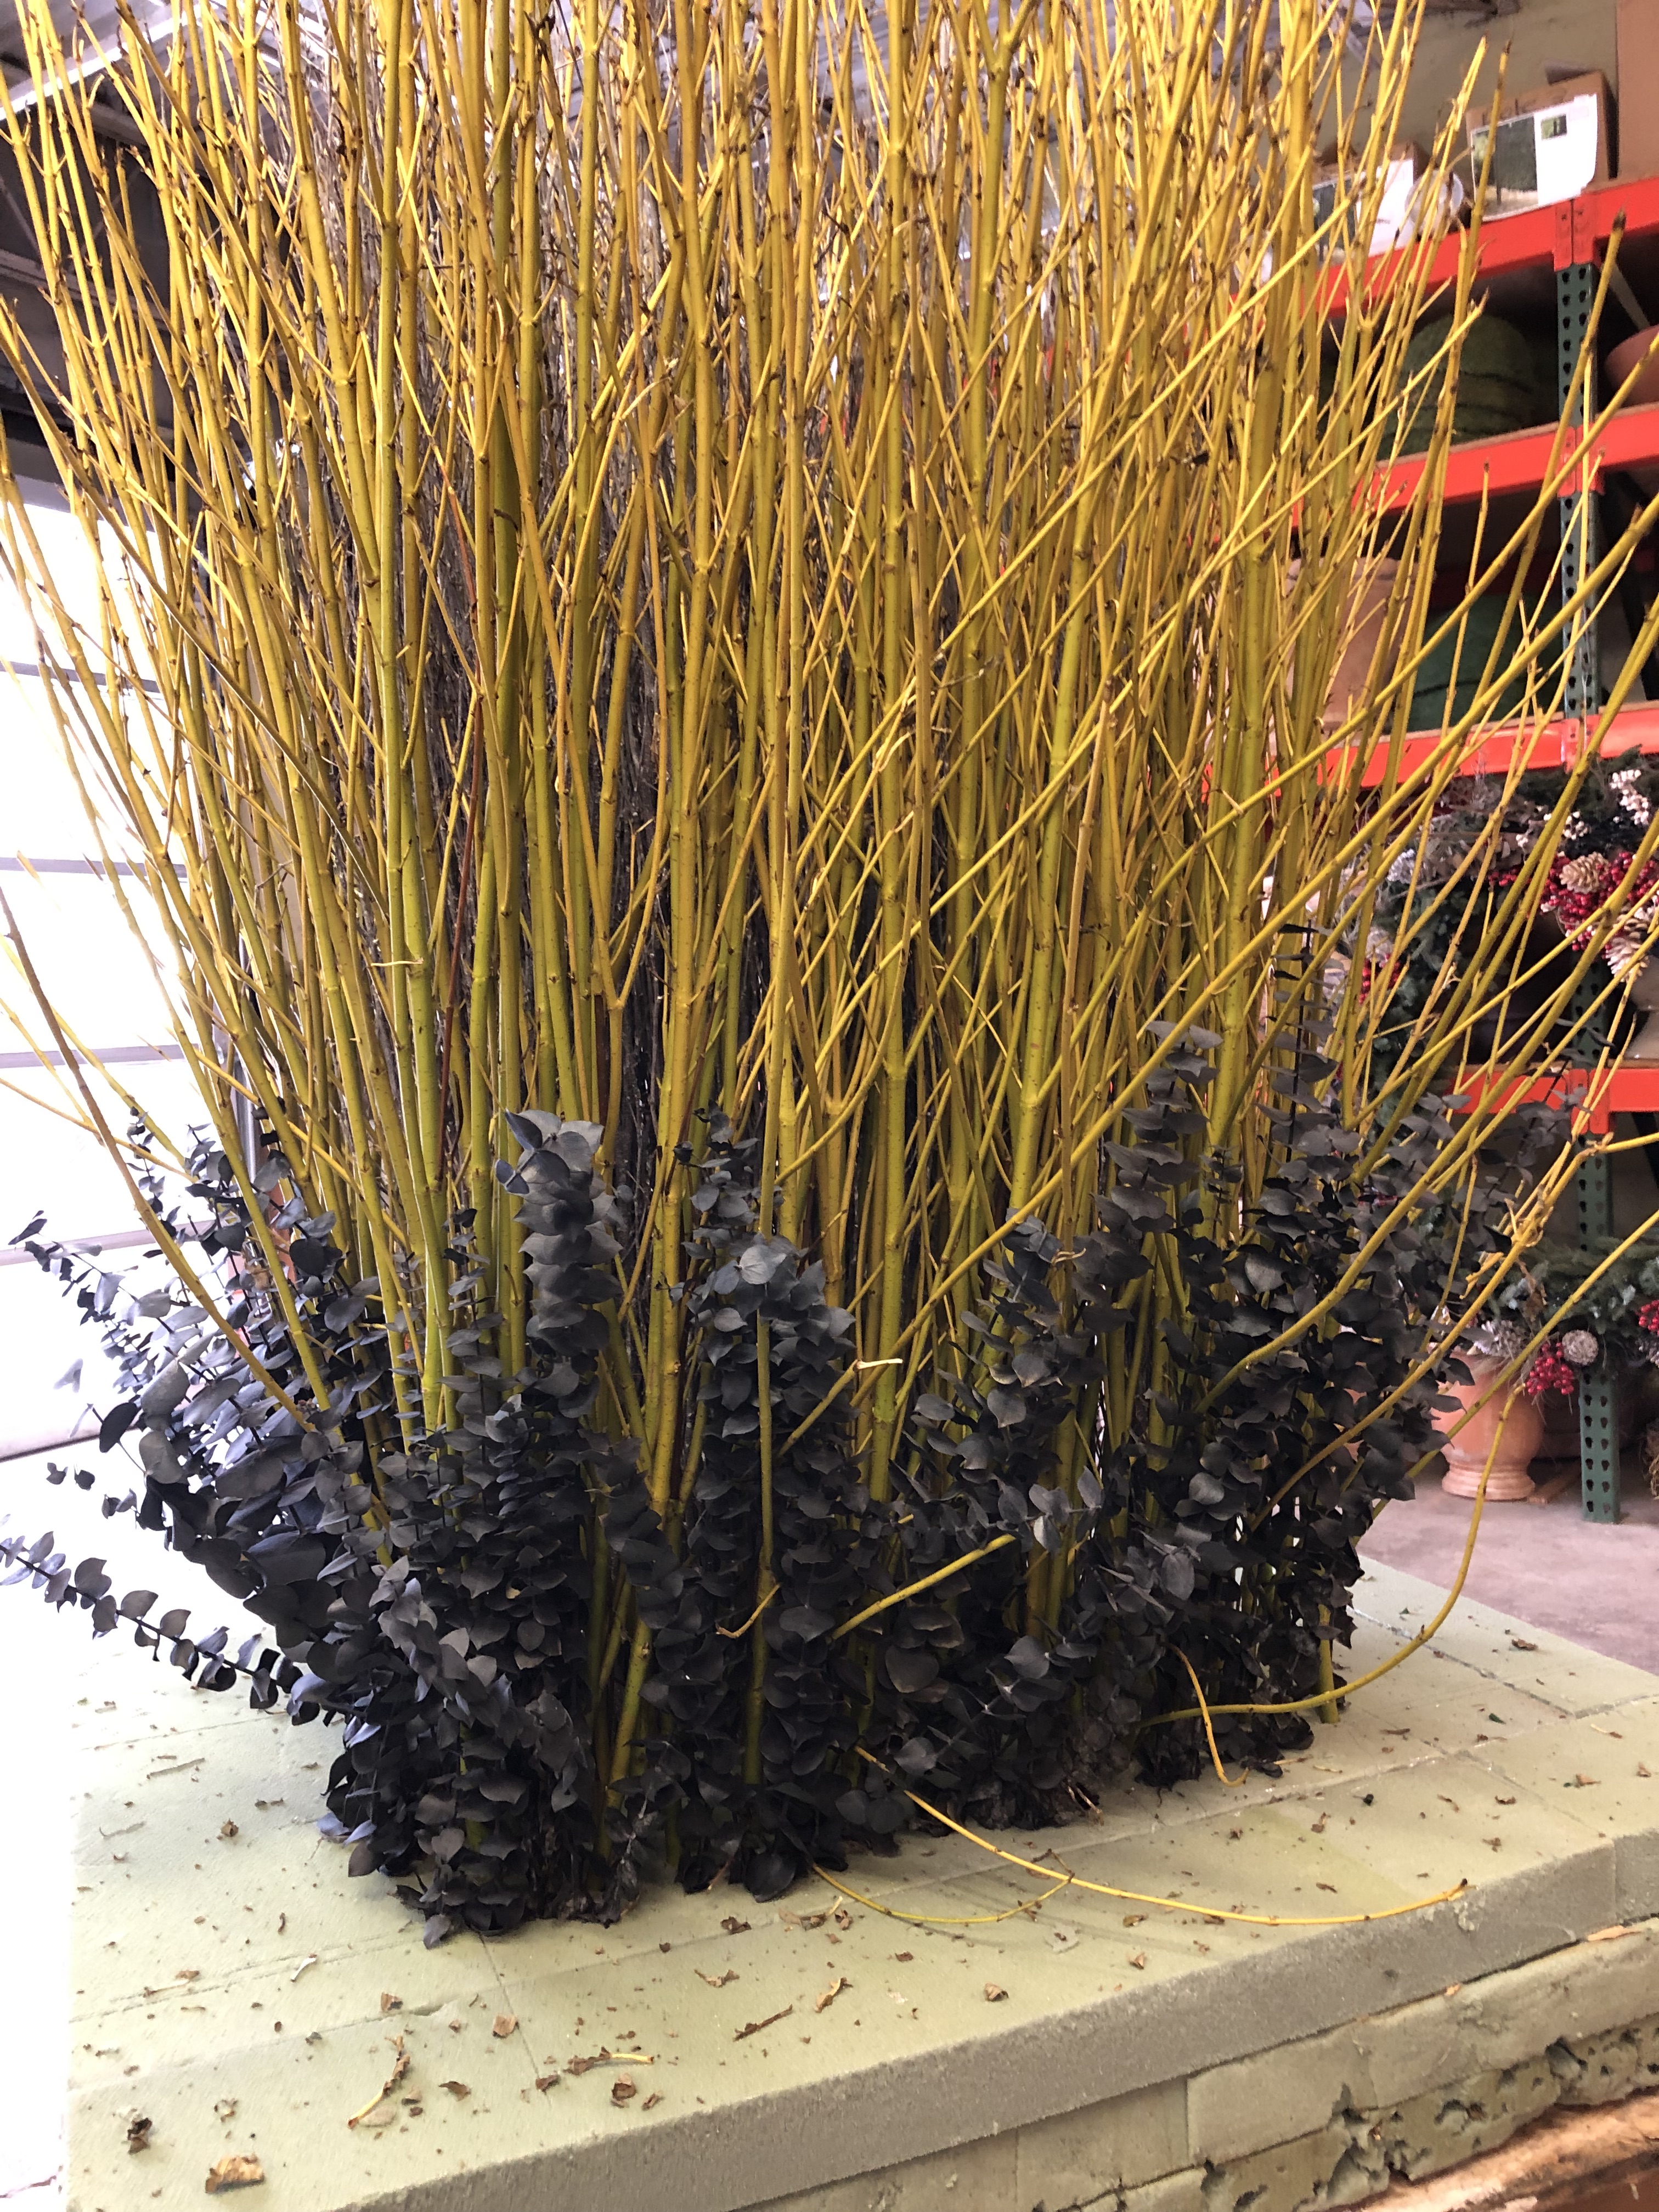
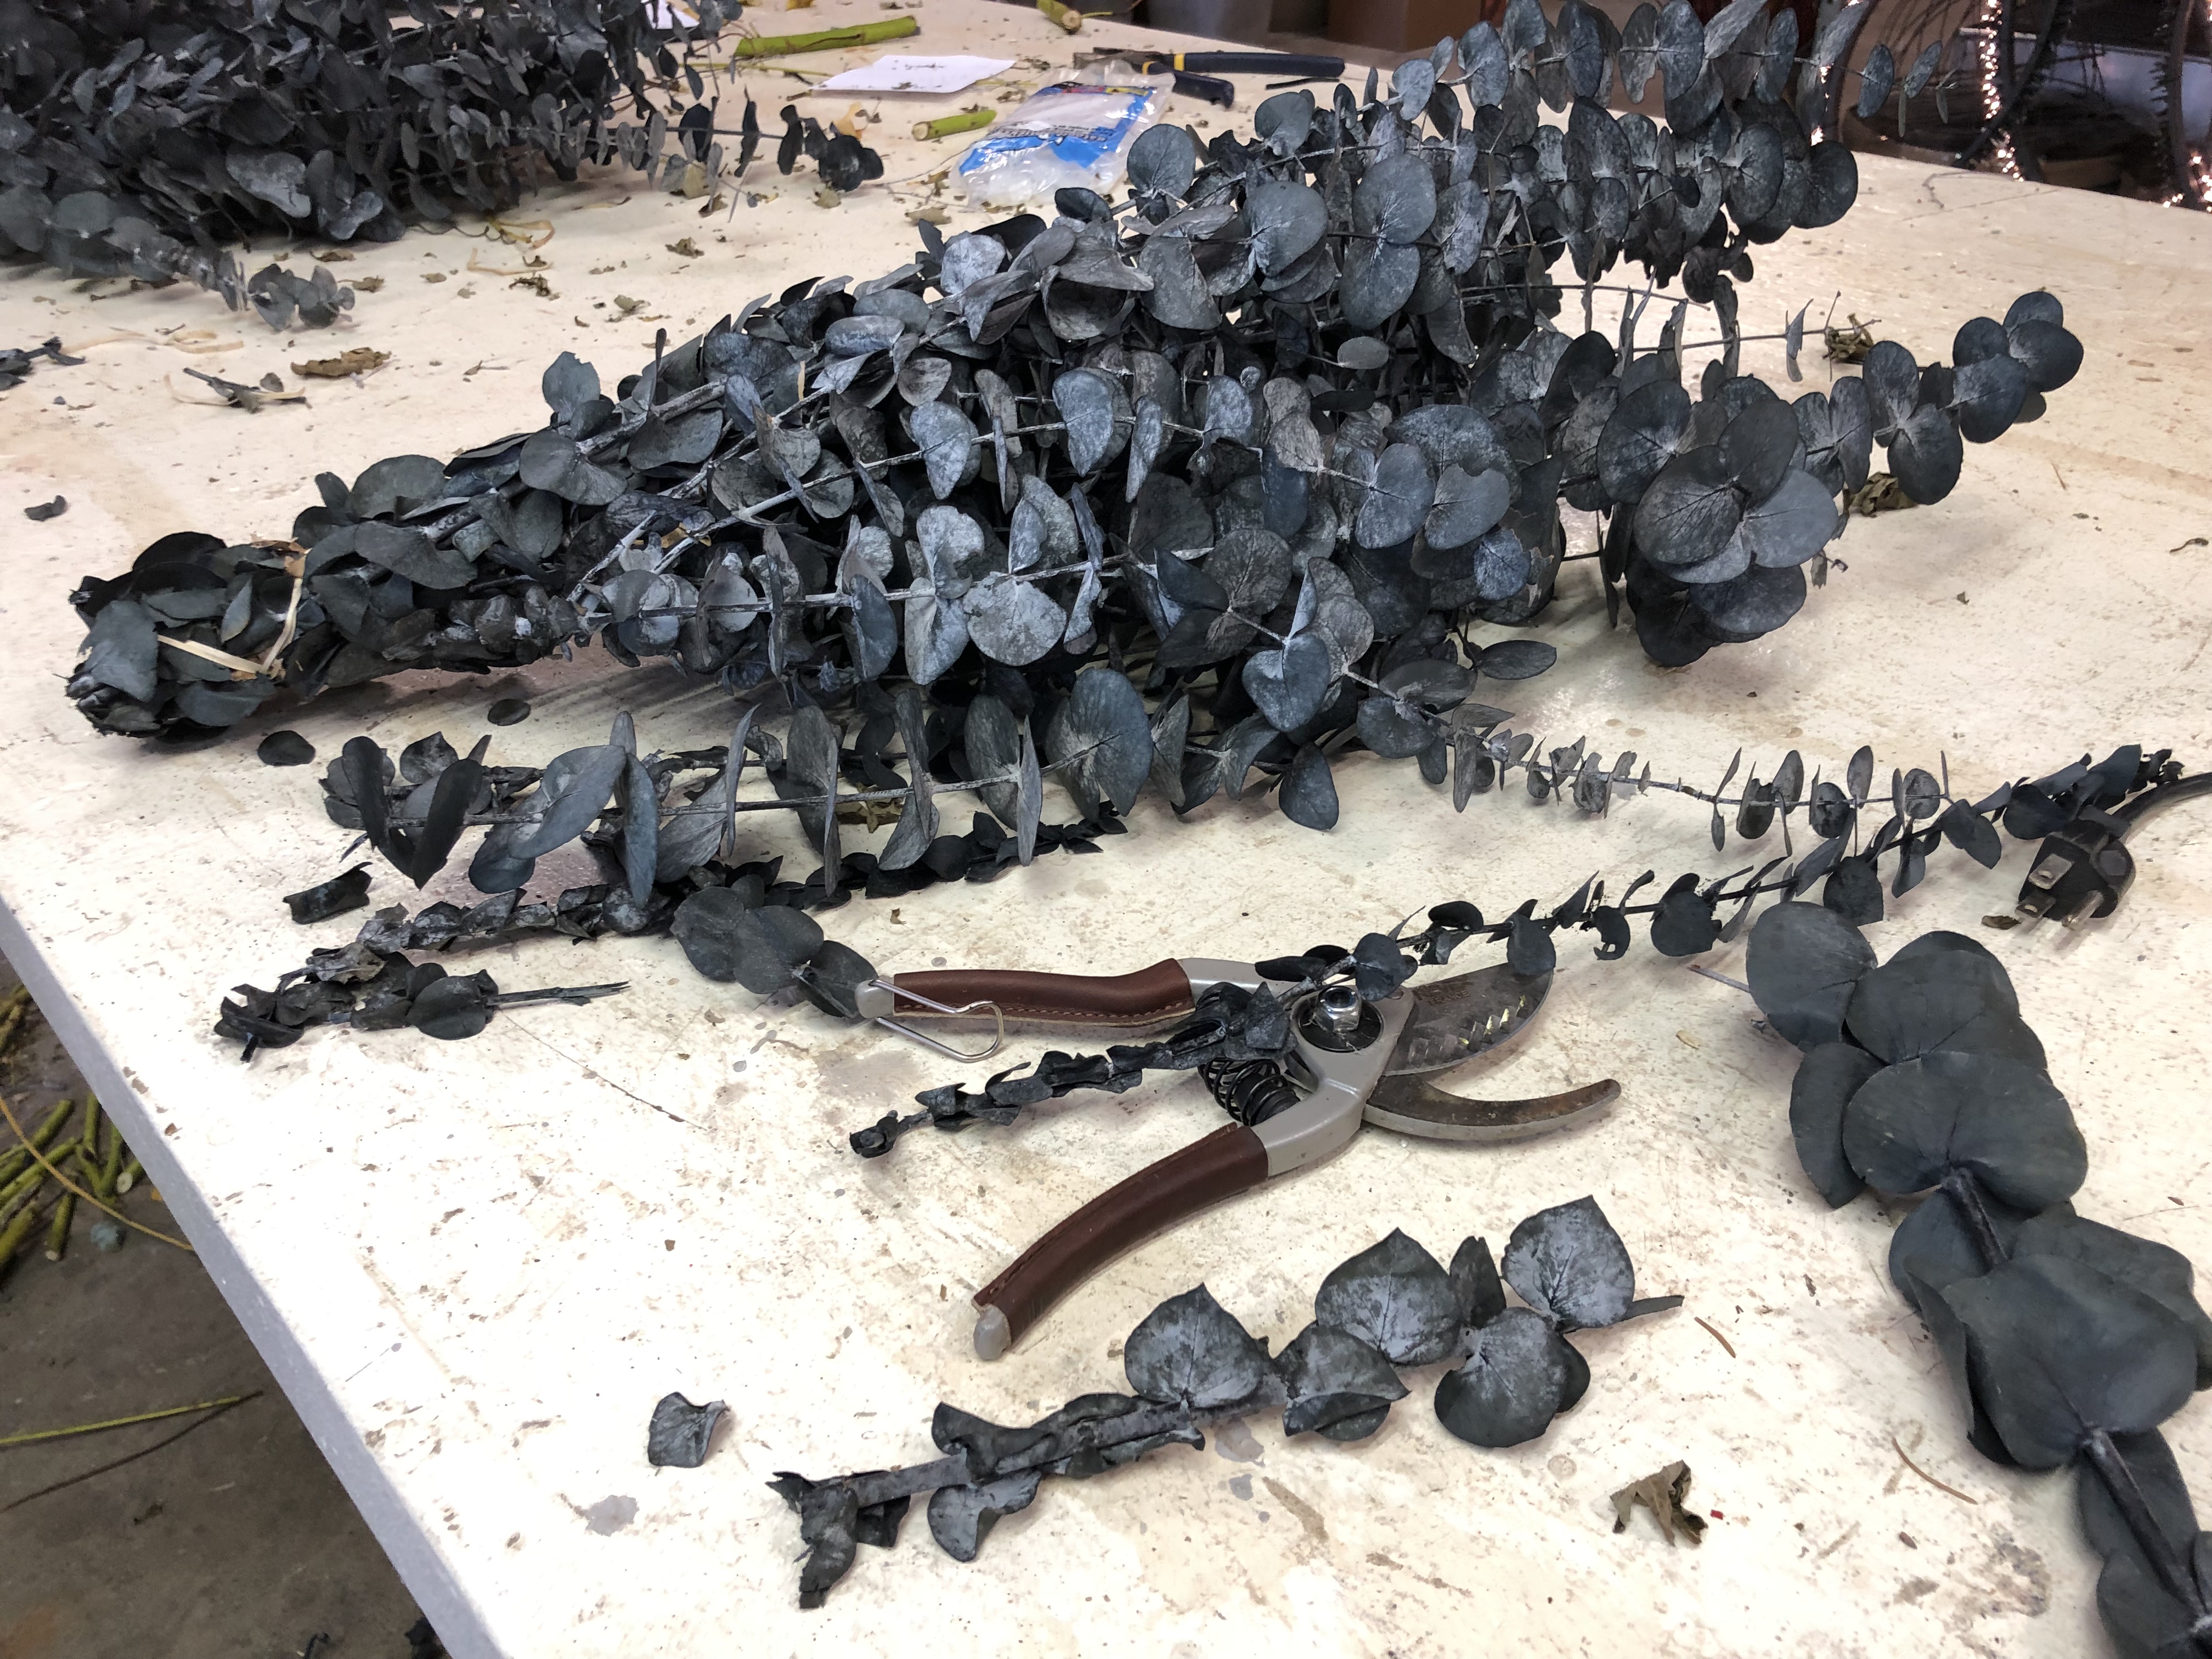 I regret to say that our supplier of preserved and dyed eucalyptus has closed up shop. We bought out every bunch he had available, once we knew he was closing up. We did have a few barrels of the color “Rain” available. I liked the idea of those yellow twig branches faced down by this dark blue gray eucalyptus.
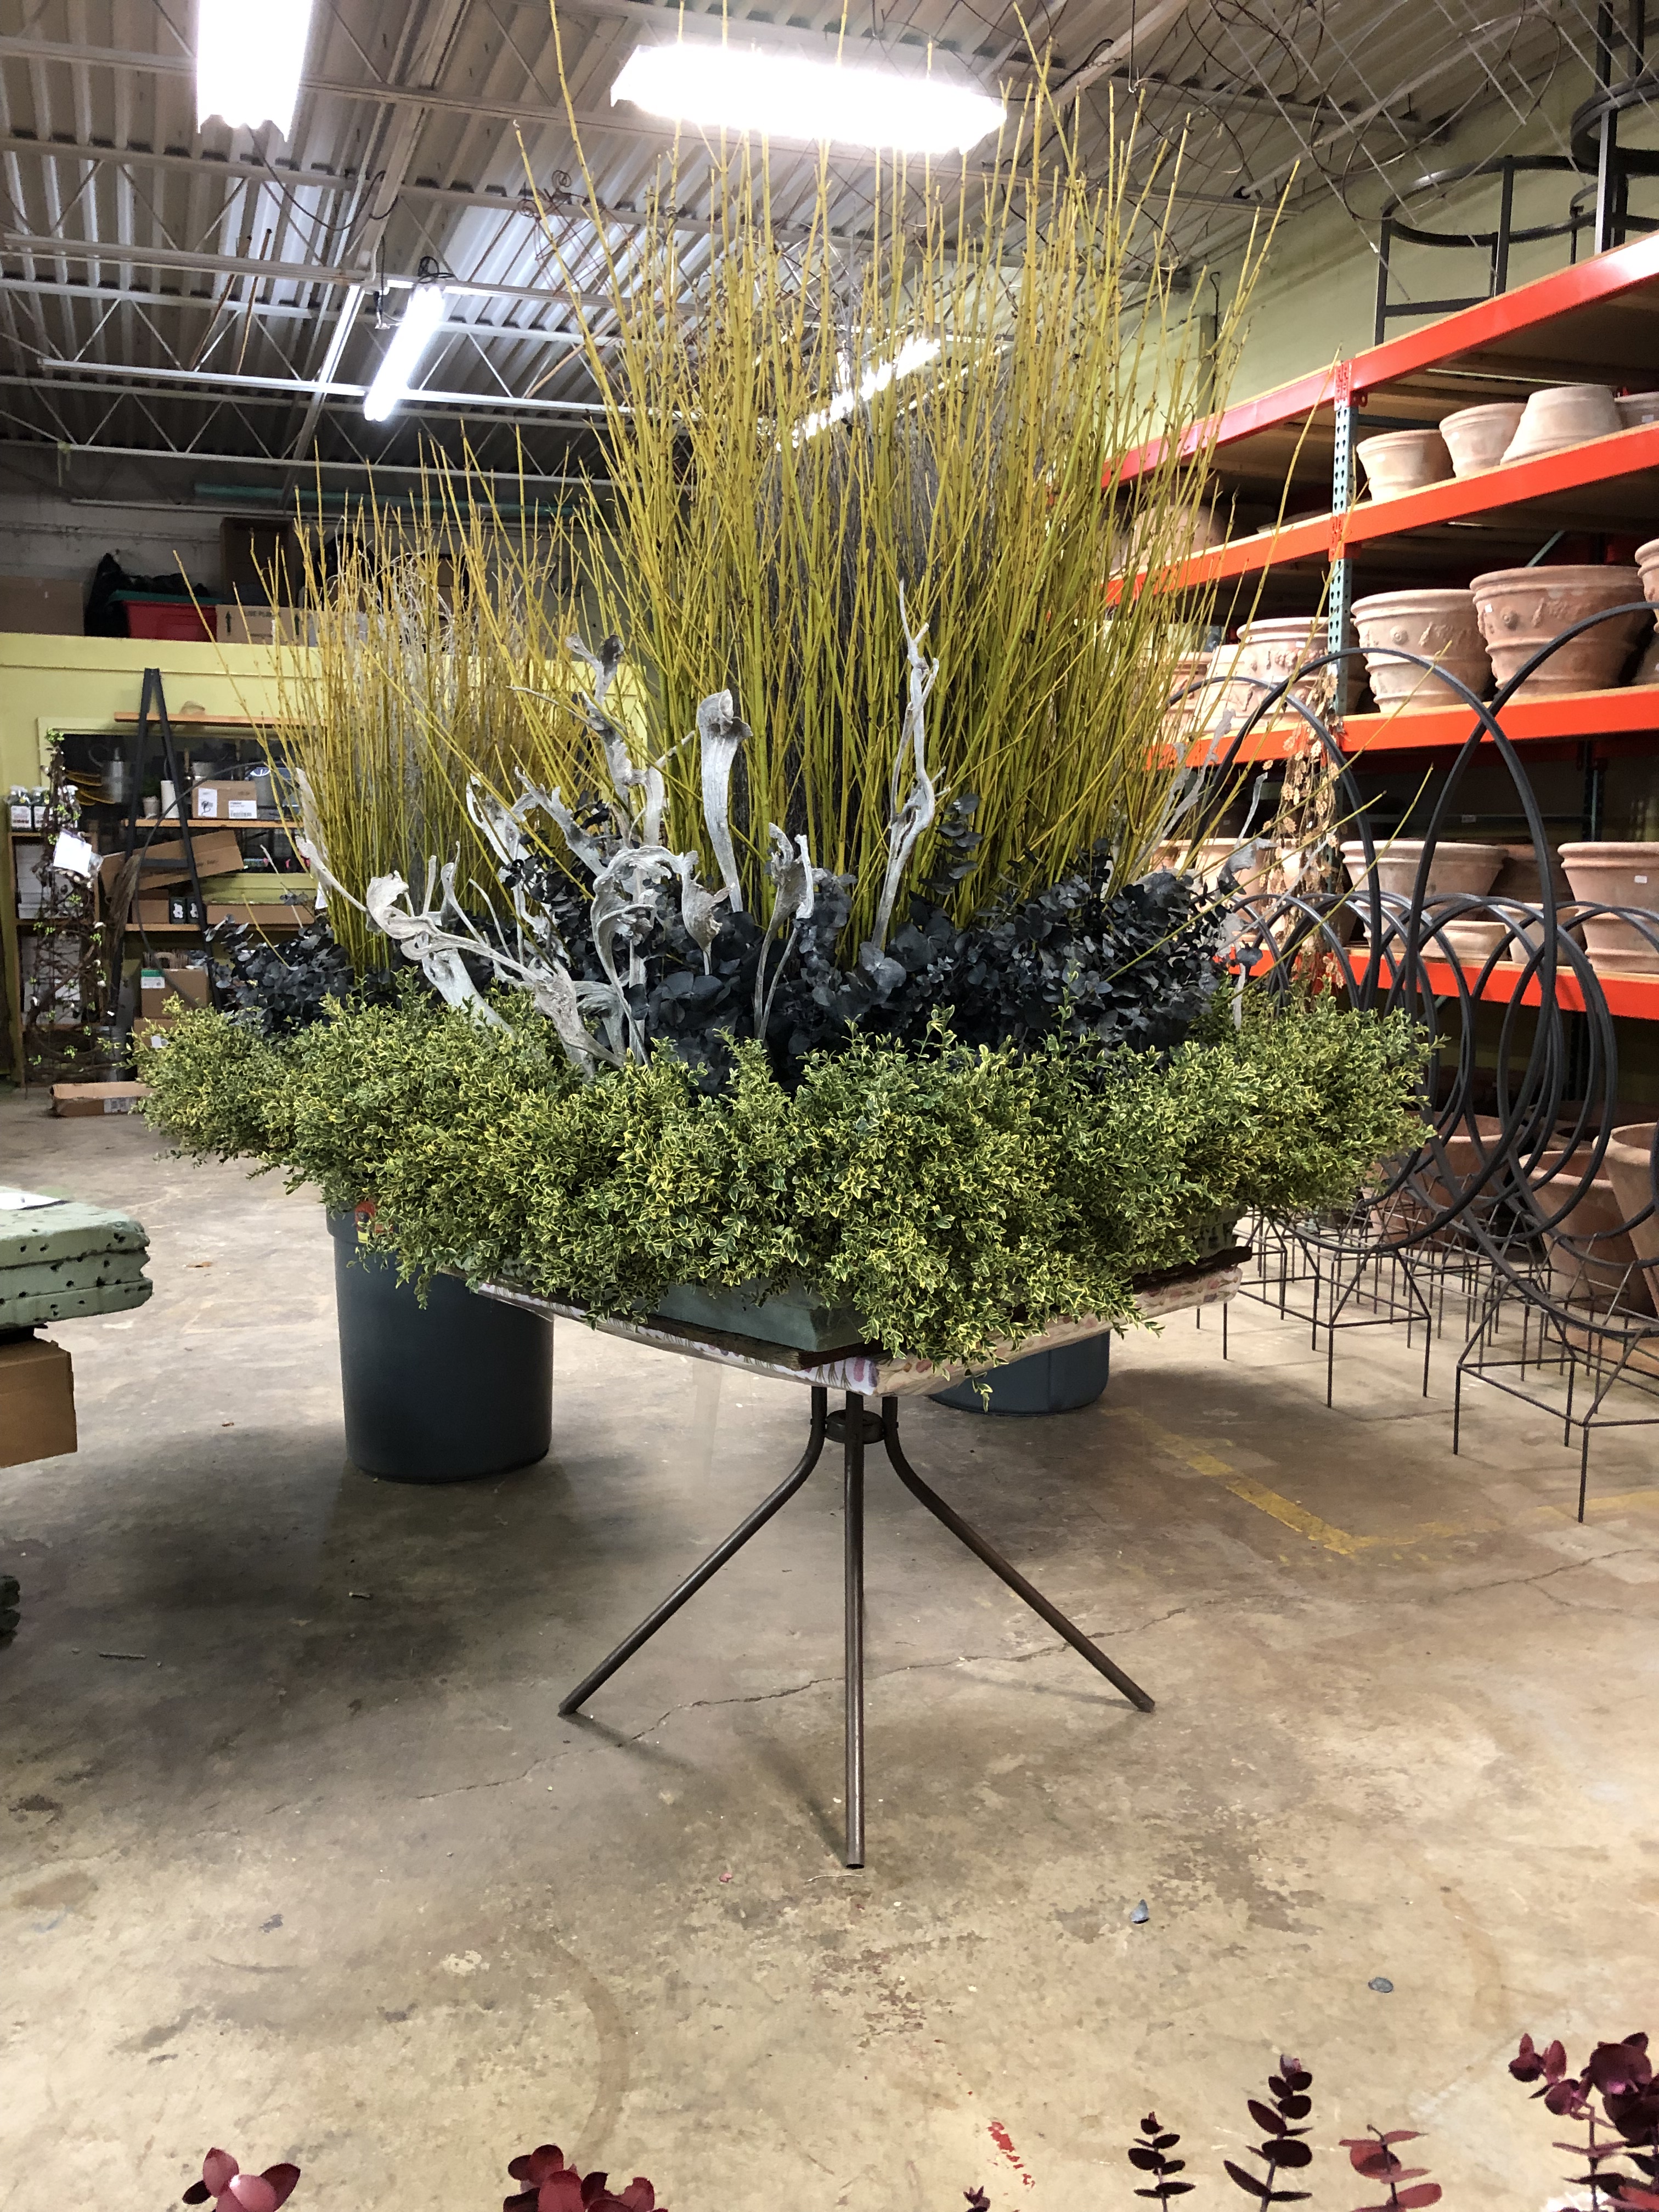
 I decided to use the materials in a less formal way this year than last. This is a color palette I know my client will like, but changing up the style can make the most familiar materials look fresh and different. Winter arrangements with a simple and sculptural quality look great in all kinds of weather. In addition, this volume of branches will help to shed the snow, or at least keep it from damaging the overall arrangement. This is by way of saying that designing winter arrangements that can withstand snow is a good idea in zones that can rack up the inches in the winter. We will not dismantle this arrangment until mid March, so it has to be winter weatherproof.
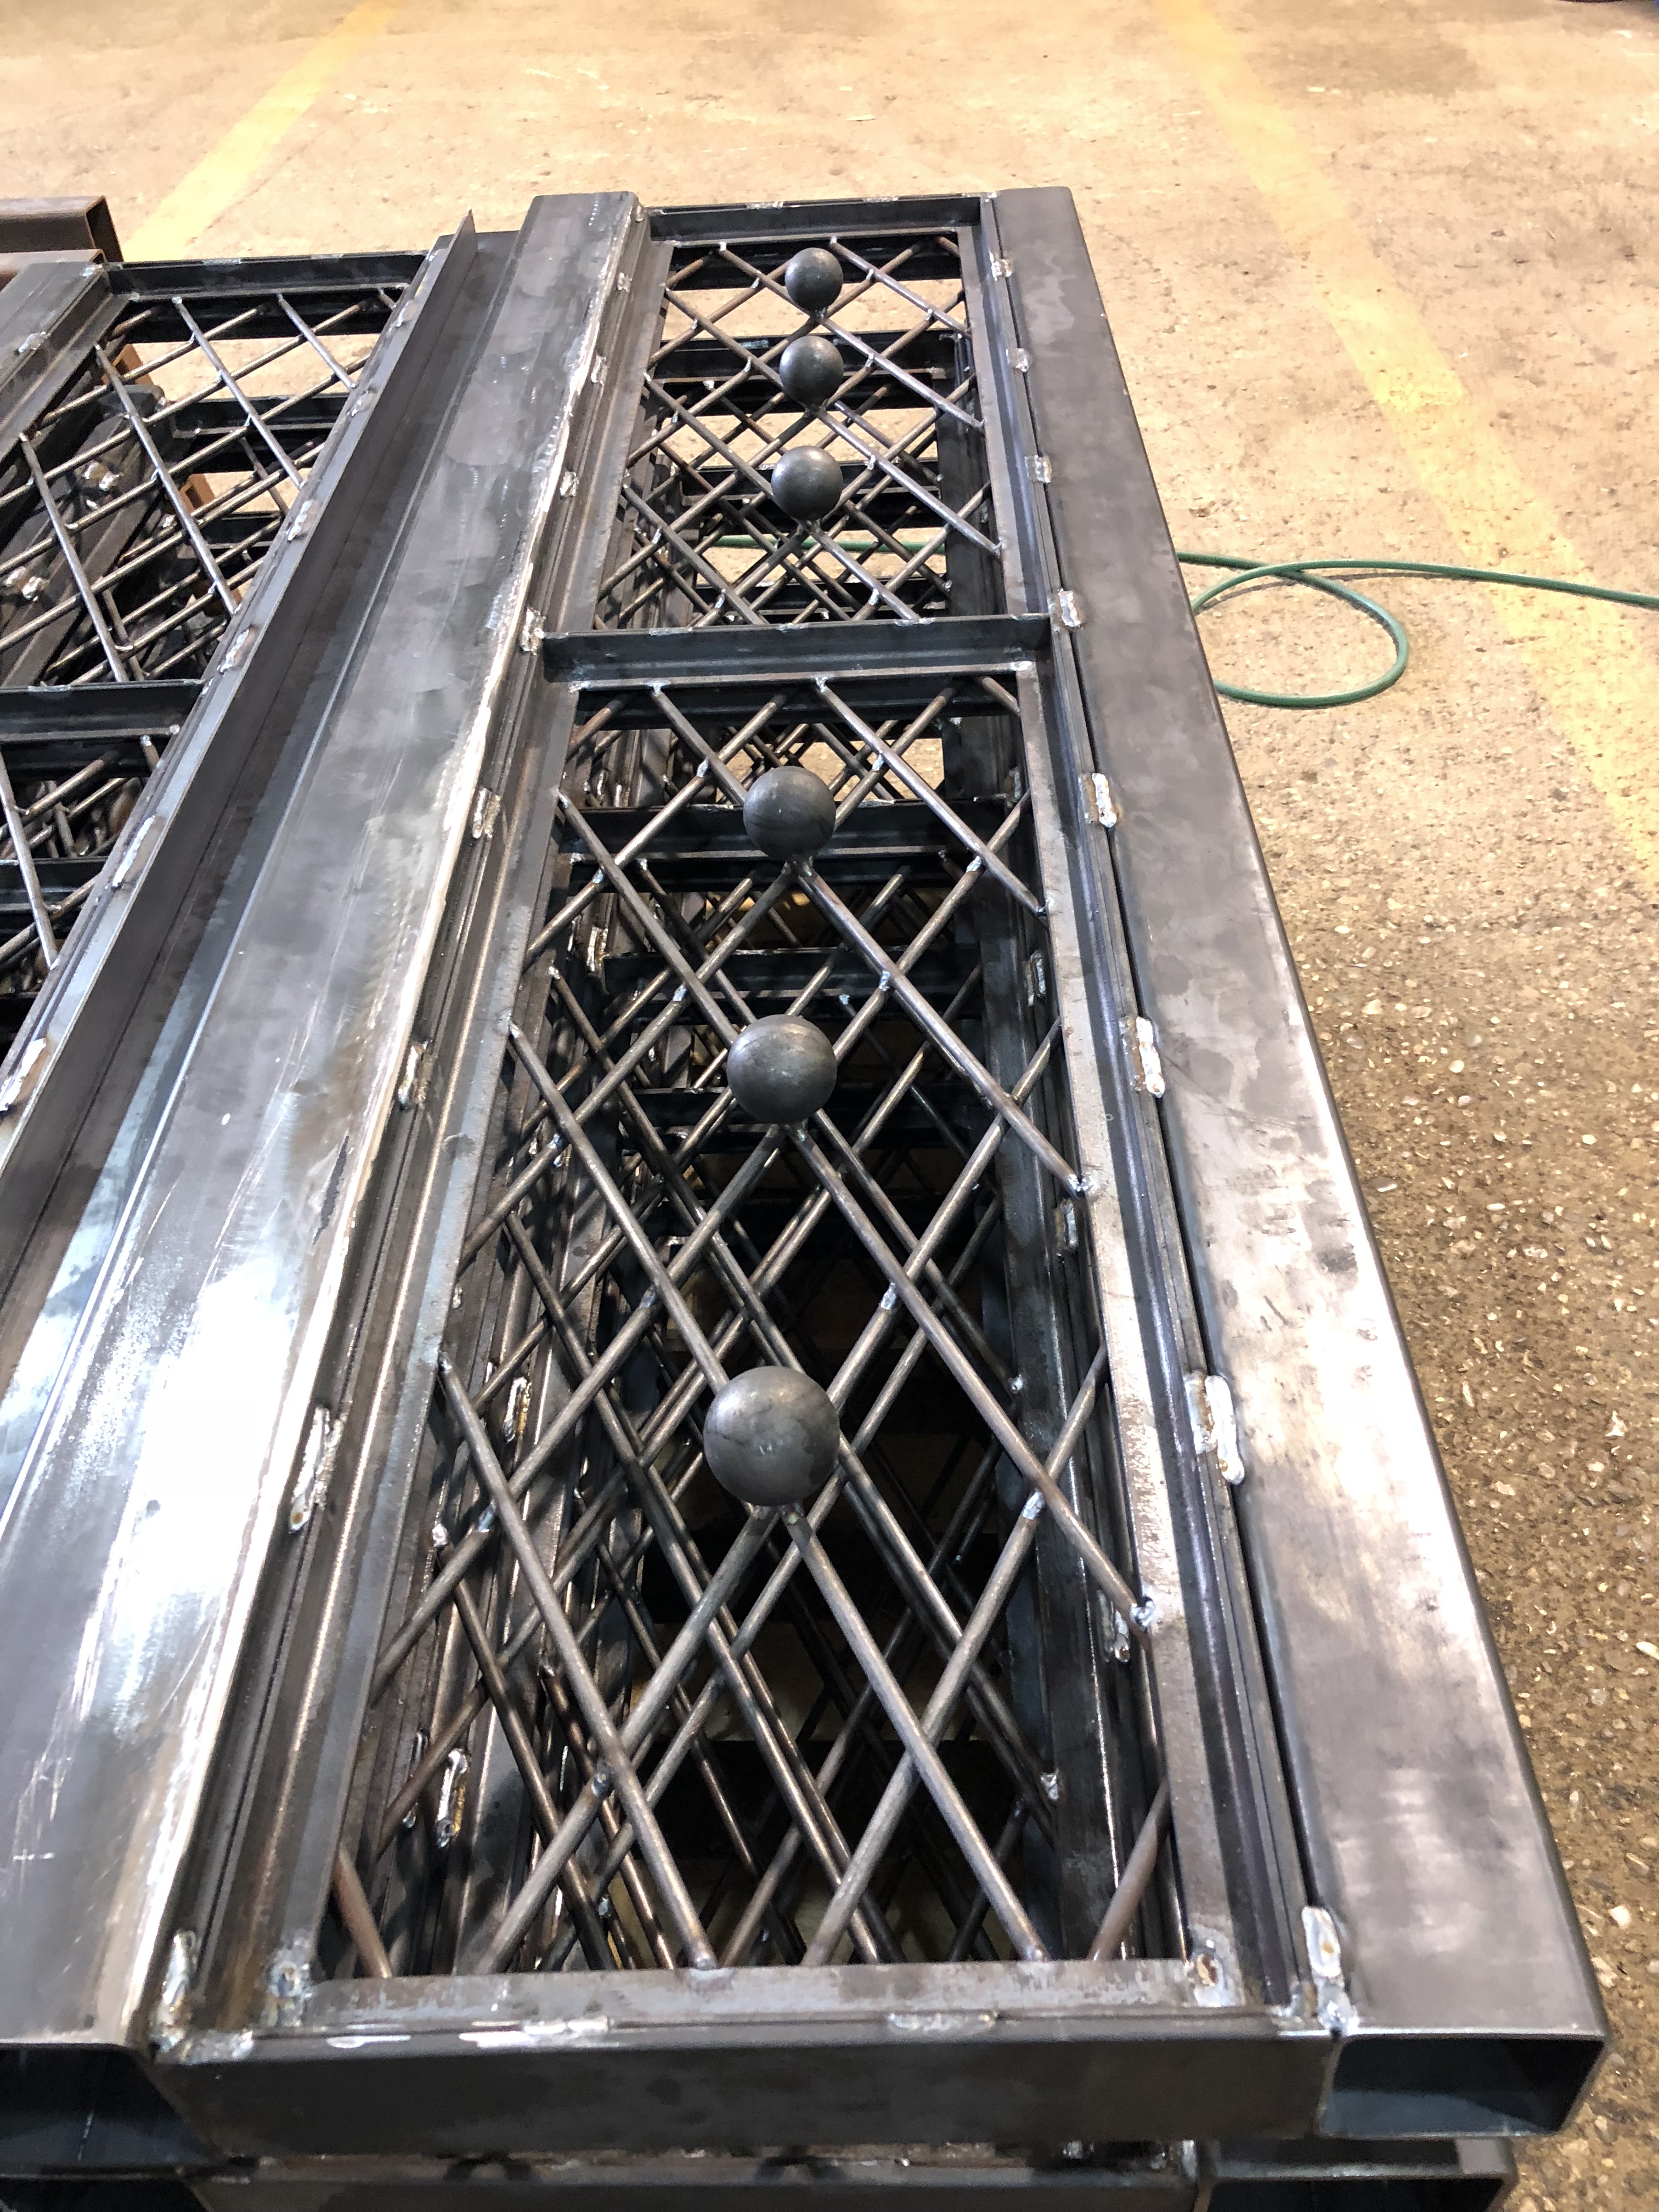
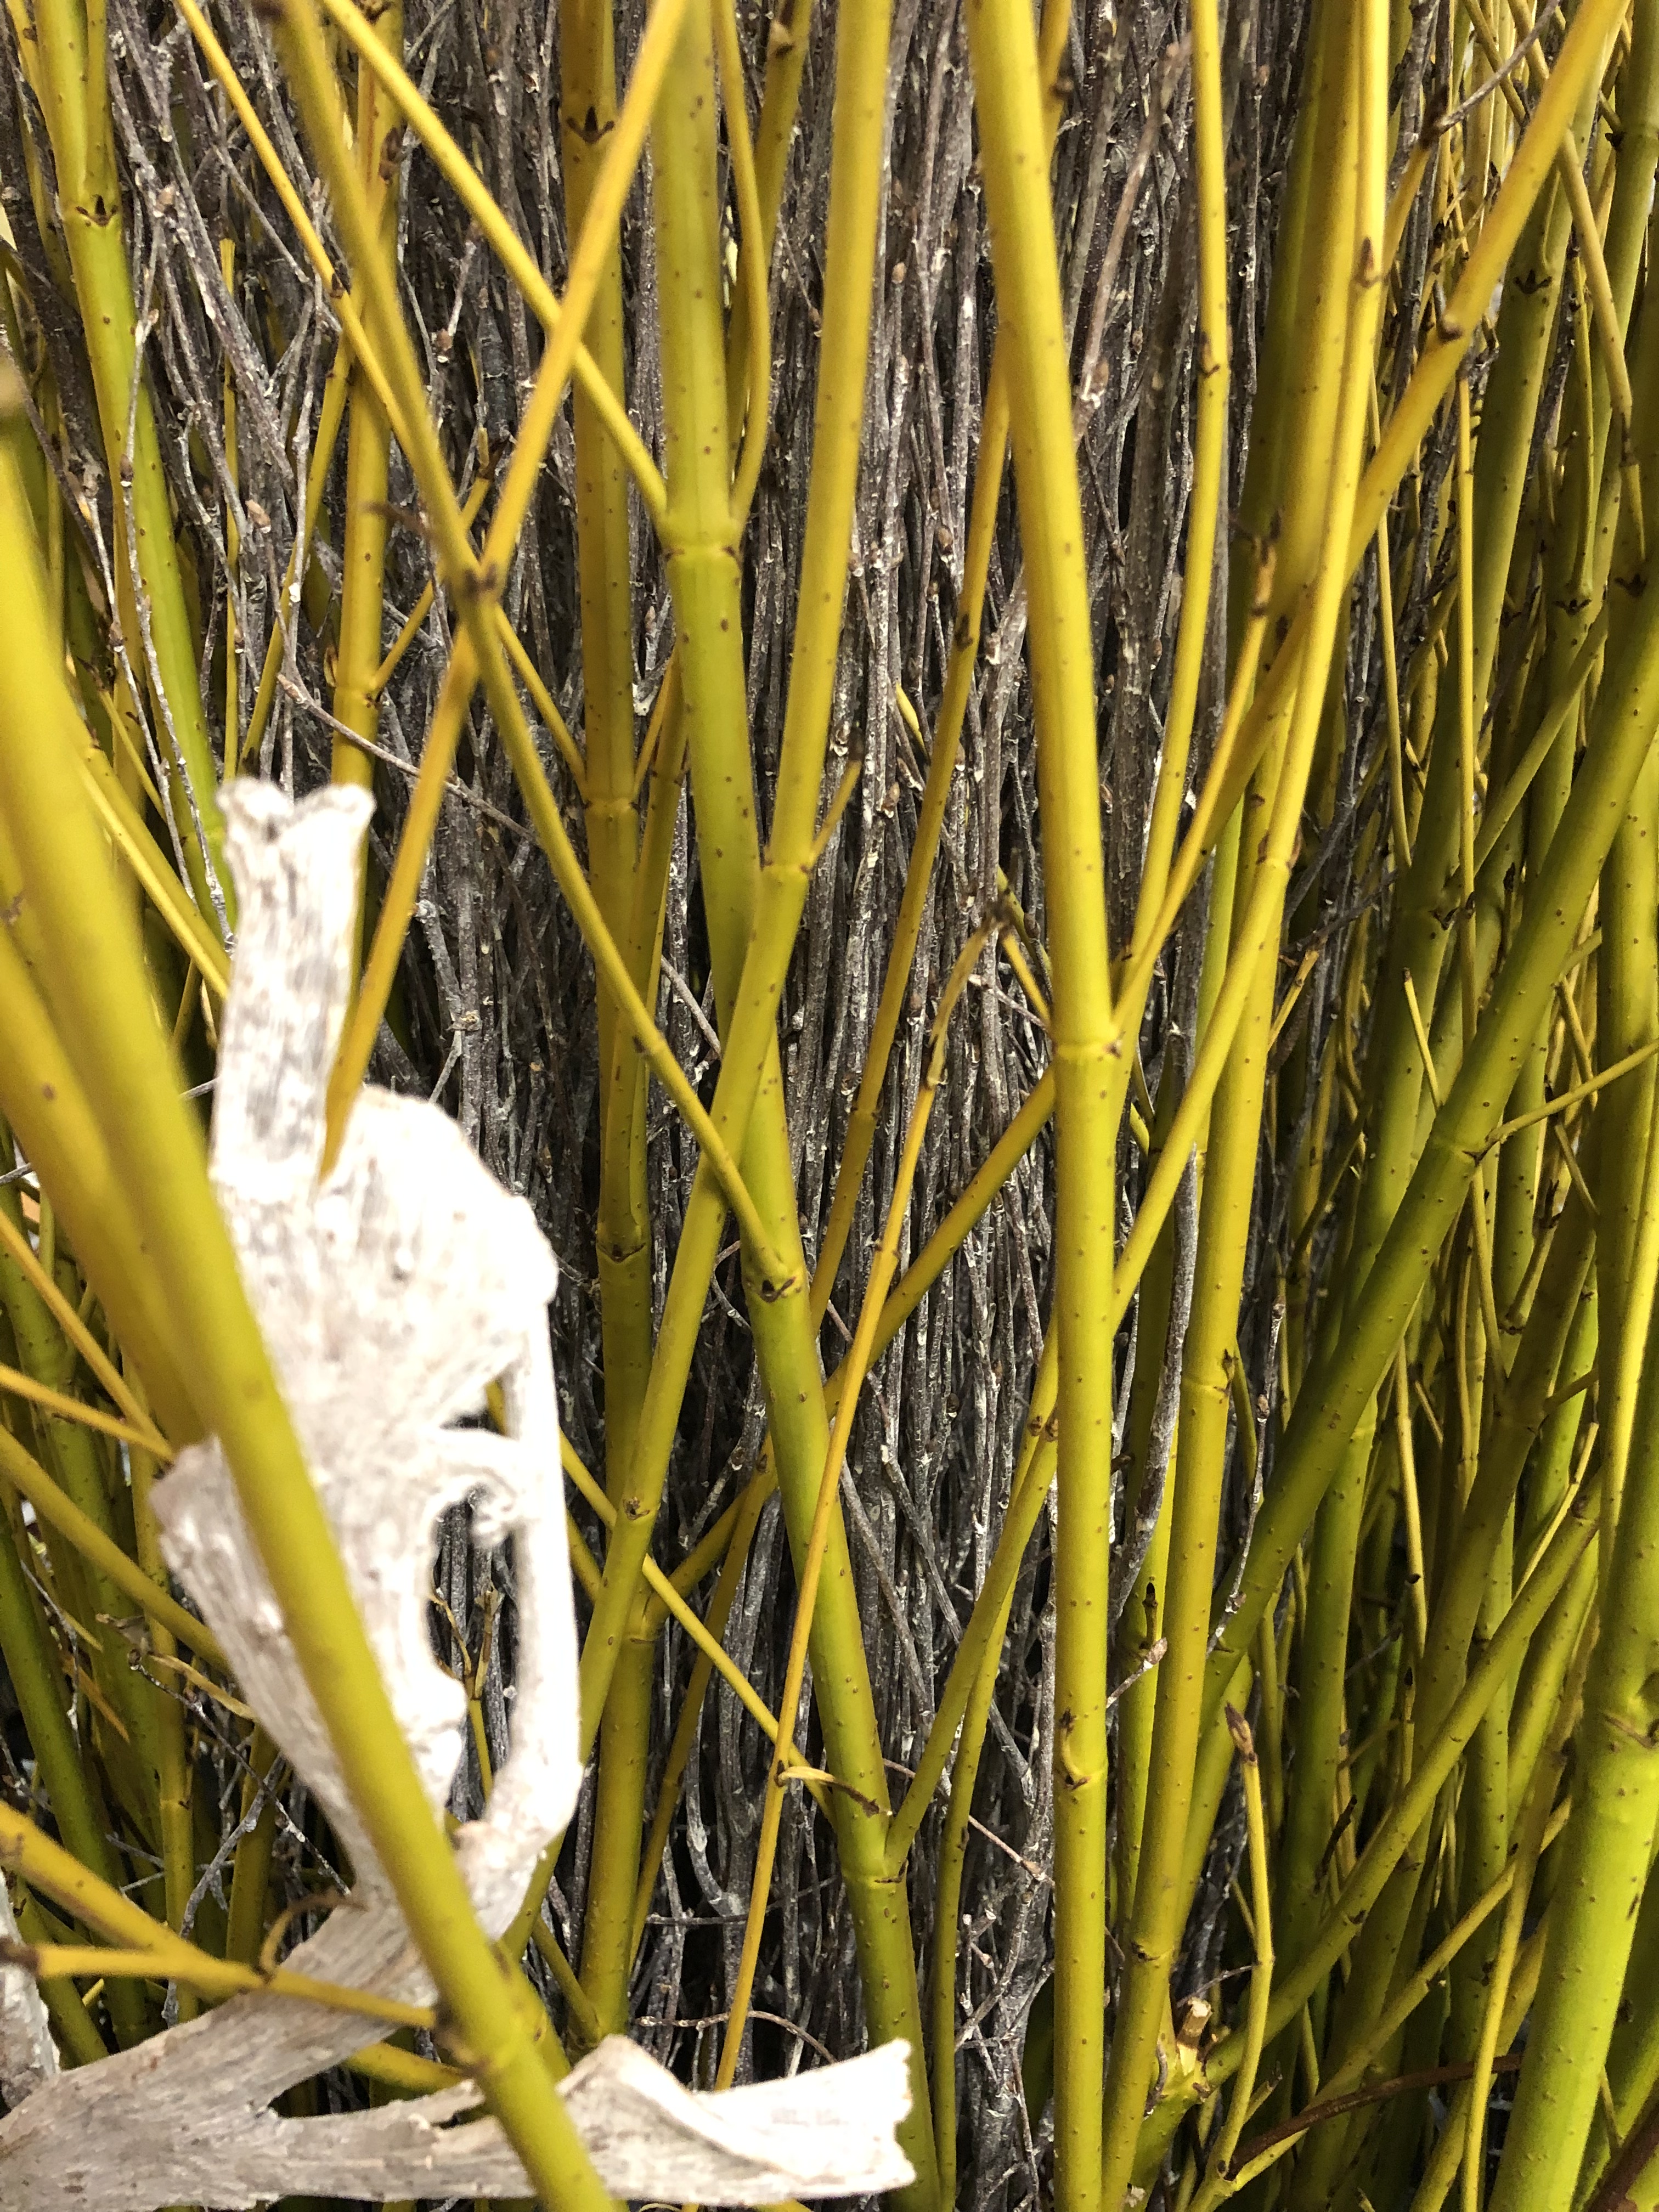 This close up of the yellow twig set against the dark gray brown birch bunches on the interior illustrates how the effect of the color can be intensified by way of a contrasting backing. The addition of branches on the interior create the illusion that the form is tightly packed with yellow twig stems. The reality is quite different; there are just 2 rows of them. The matte birch stems also help make the yellow twig bark appear all the more glossy. A third reason for that dark interior? In a subtle way, their darker color provide a transition from the dark of the blue gray eucalyptus, to the bright of the yellow twig.
 A pair of round pots are further from the road, and nearer the house. I want the arrangements in the pots to appear brighter than the planter box. The interior branches in this case are whitewashed birch.
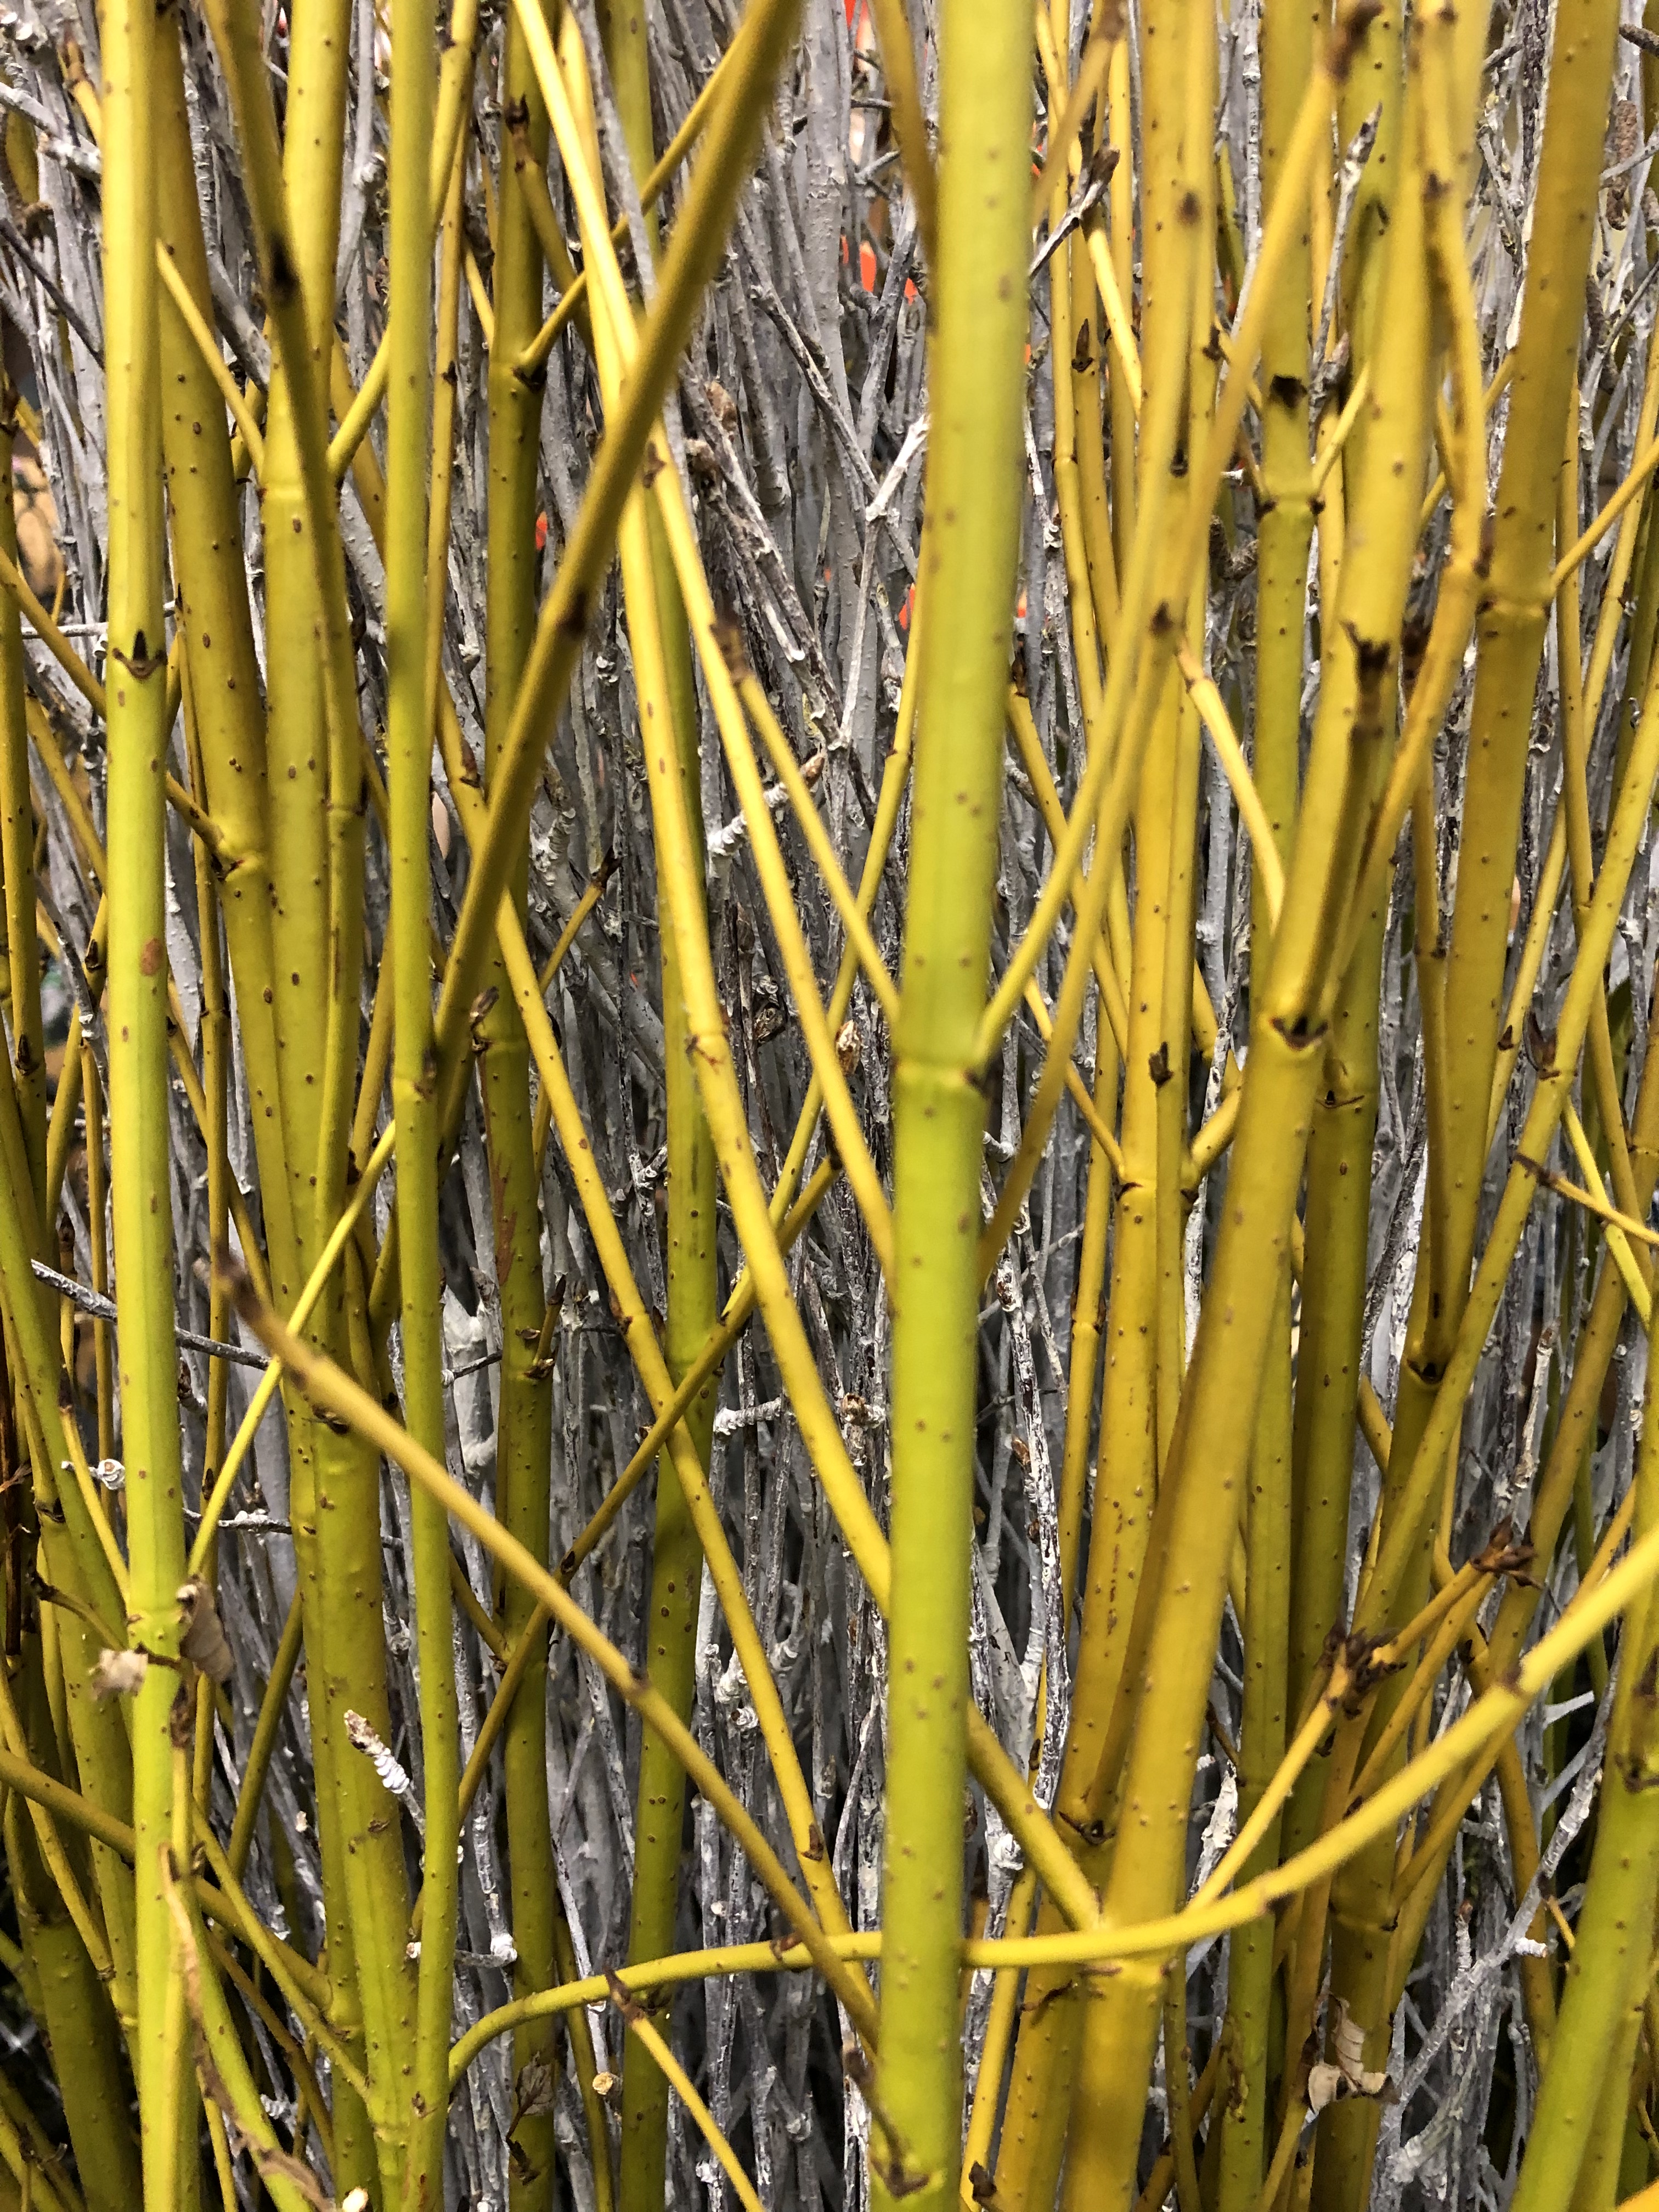 This yellow twig looks brighter yellow to my eye. That brightness will be compounded, once the arrangements are placed in the pots.
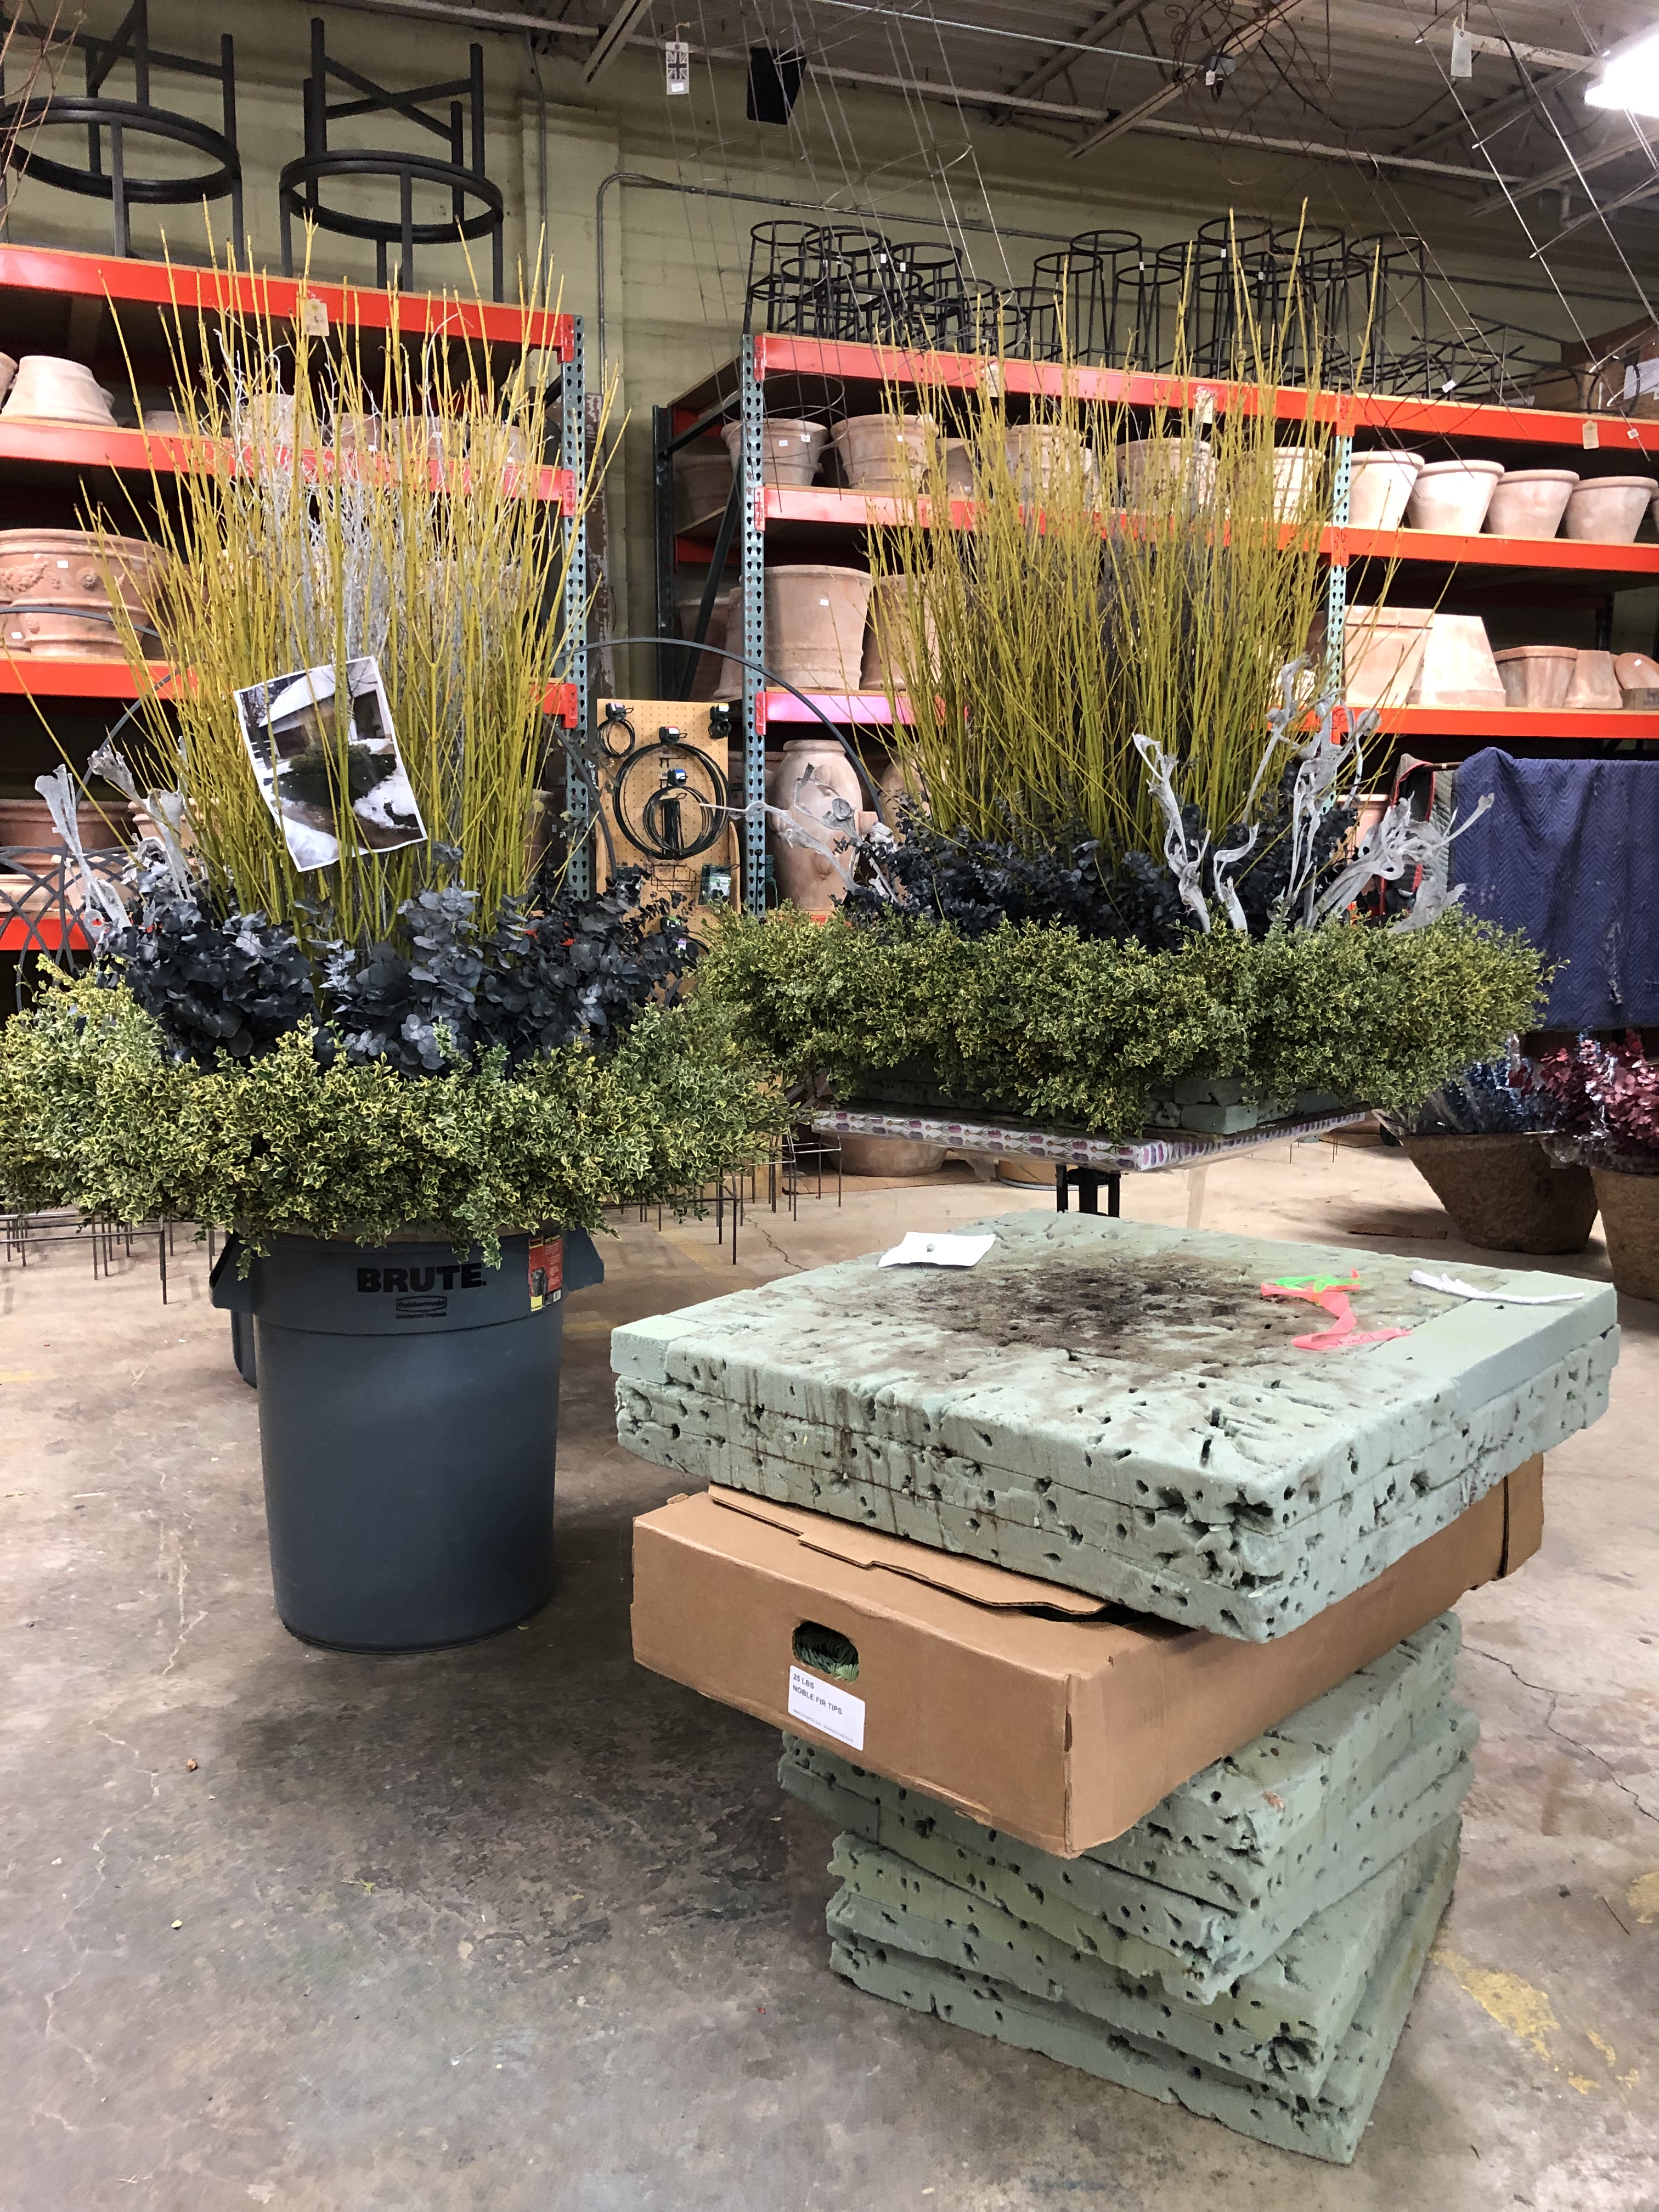
 It made sense to stuff the rest of the form with variegated boxwood. This green comes to us in 40 pound boxes. The branches are long and densely twiggy. All of our greens are premium grade, like this. It means there is great scale, size and volume to every branch, and almost no waste. Greens intended for interior winter and holiday arrangements are generally small, and do not translate so well to use in pots. We try to keep each stem intact, rather than cutting it up into smaller pieces. For a less formal arrangement, we let the natural grown branch be what it is.
 The light gray branches are called natrag. That is the sum total of what I know about them, except that they have a very sculptural and exotic appearance.
 The natrag was introduced into the arrangement only on the front and back. They are so strong visually that more of them would dilute their overall effect.
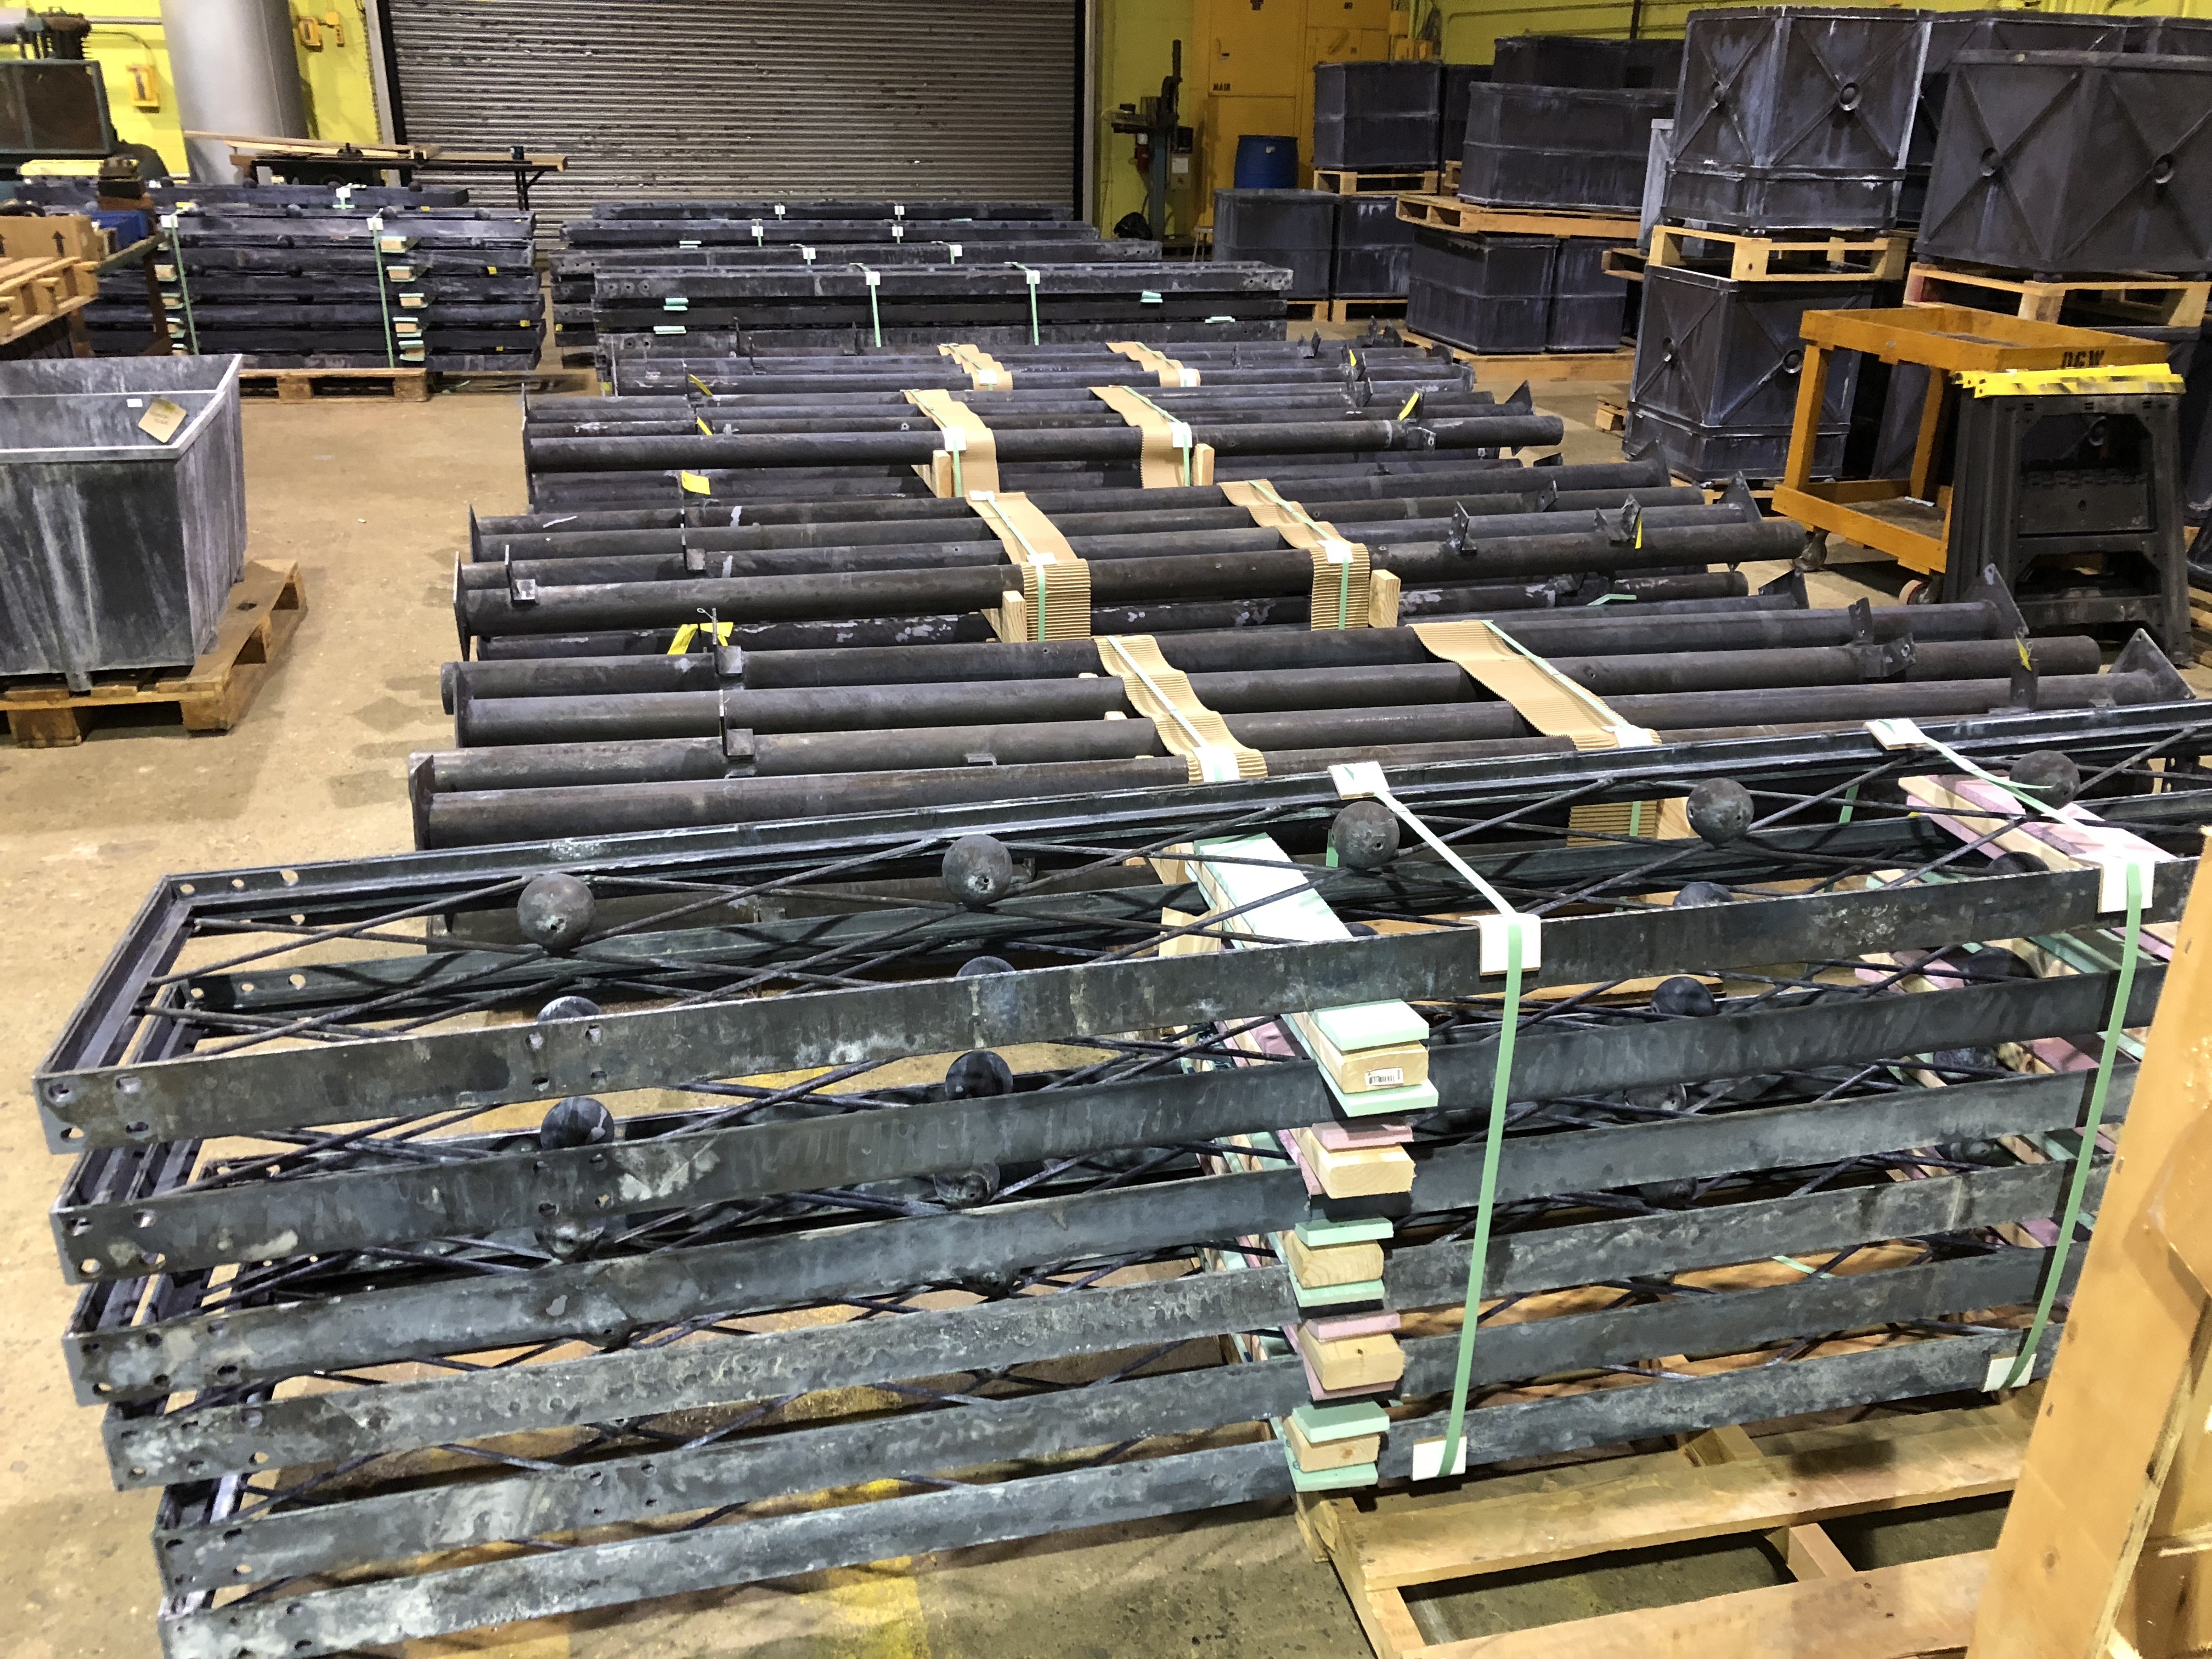
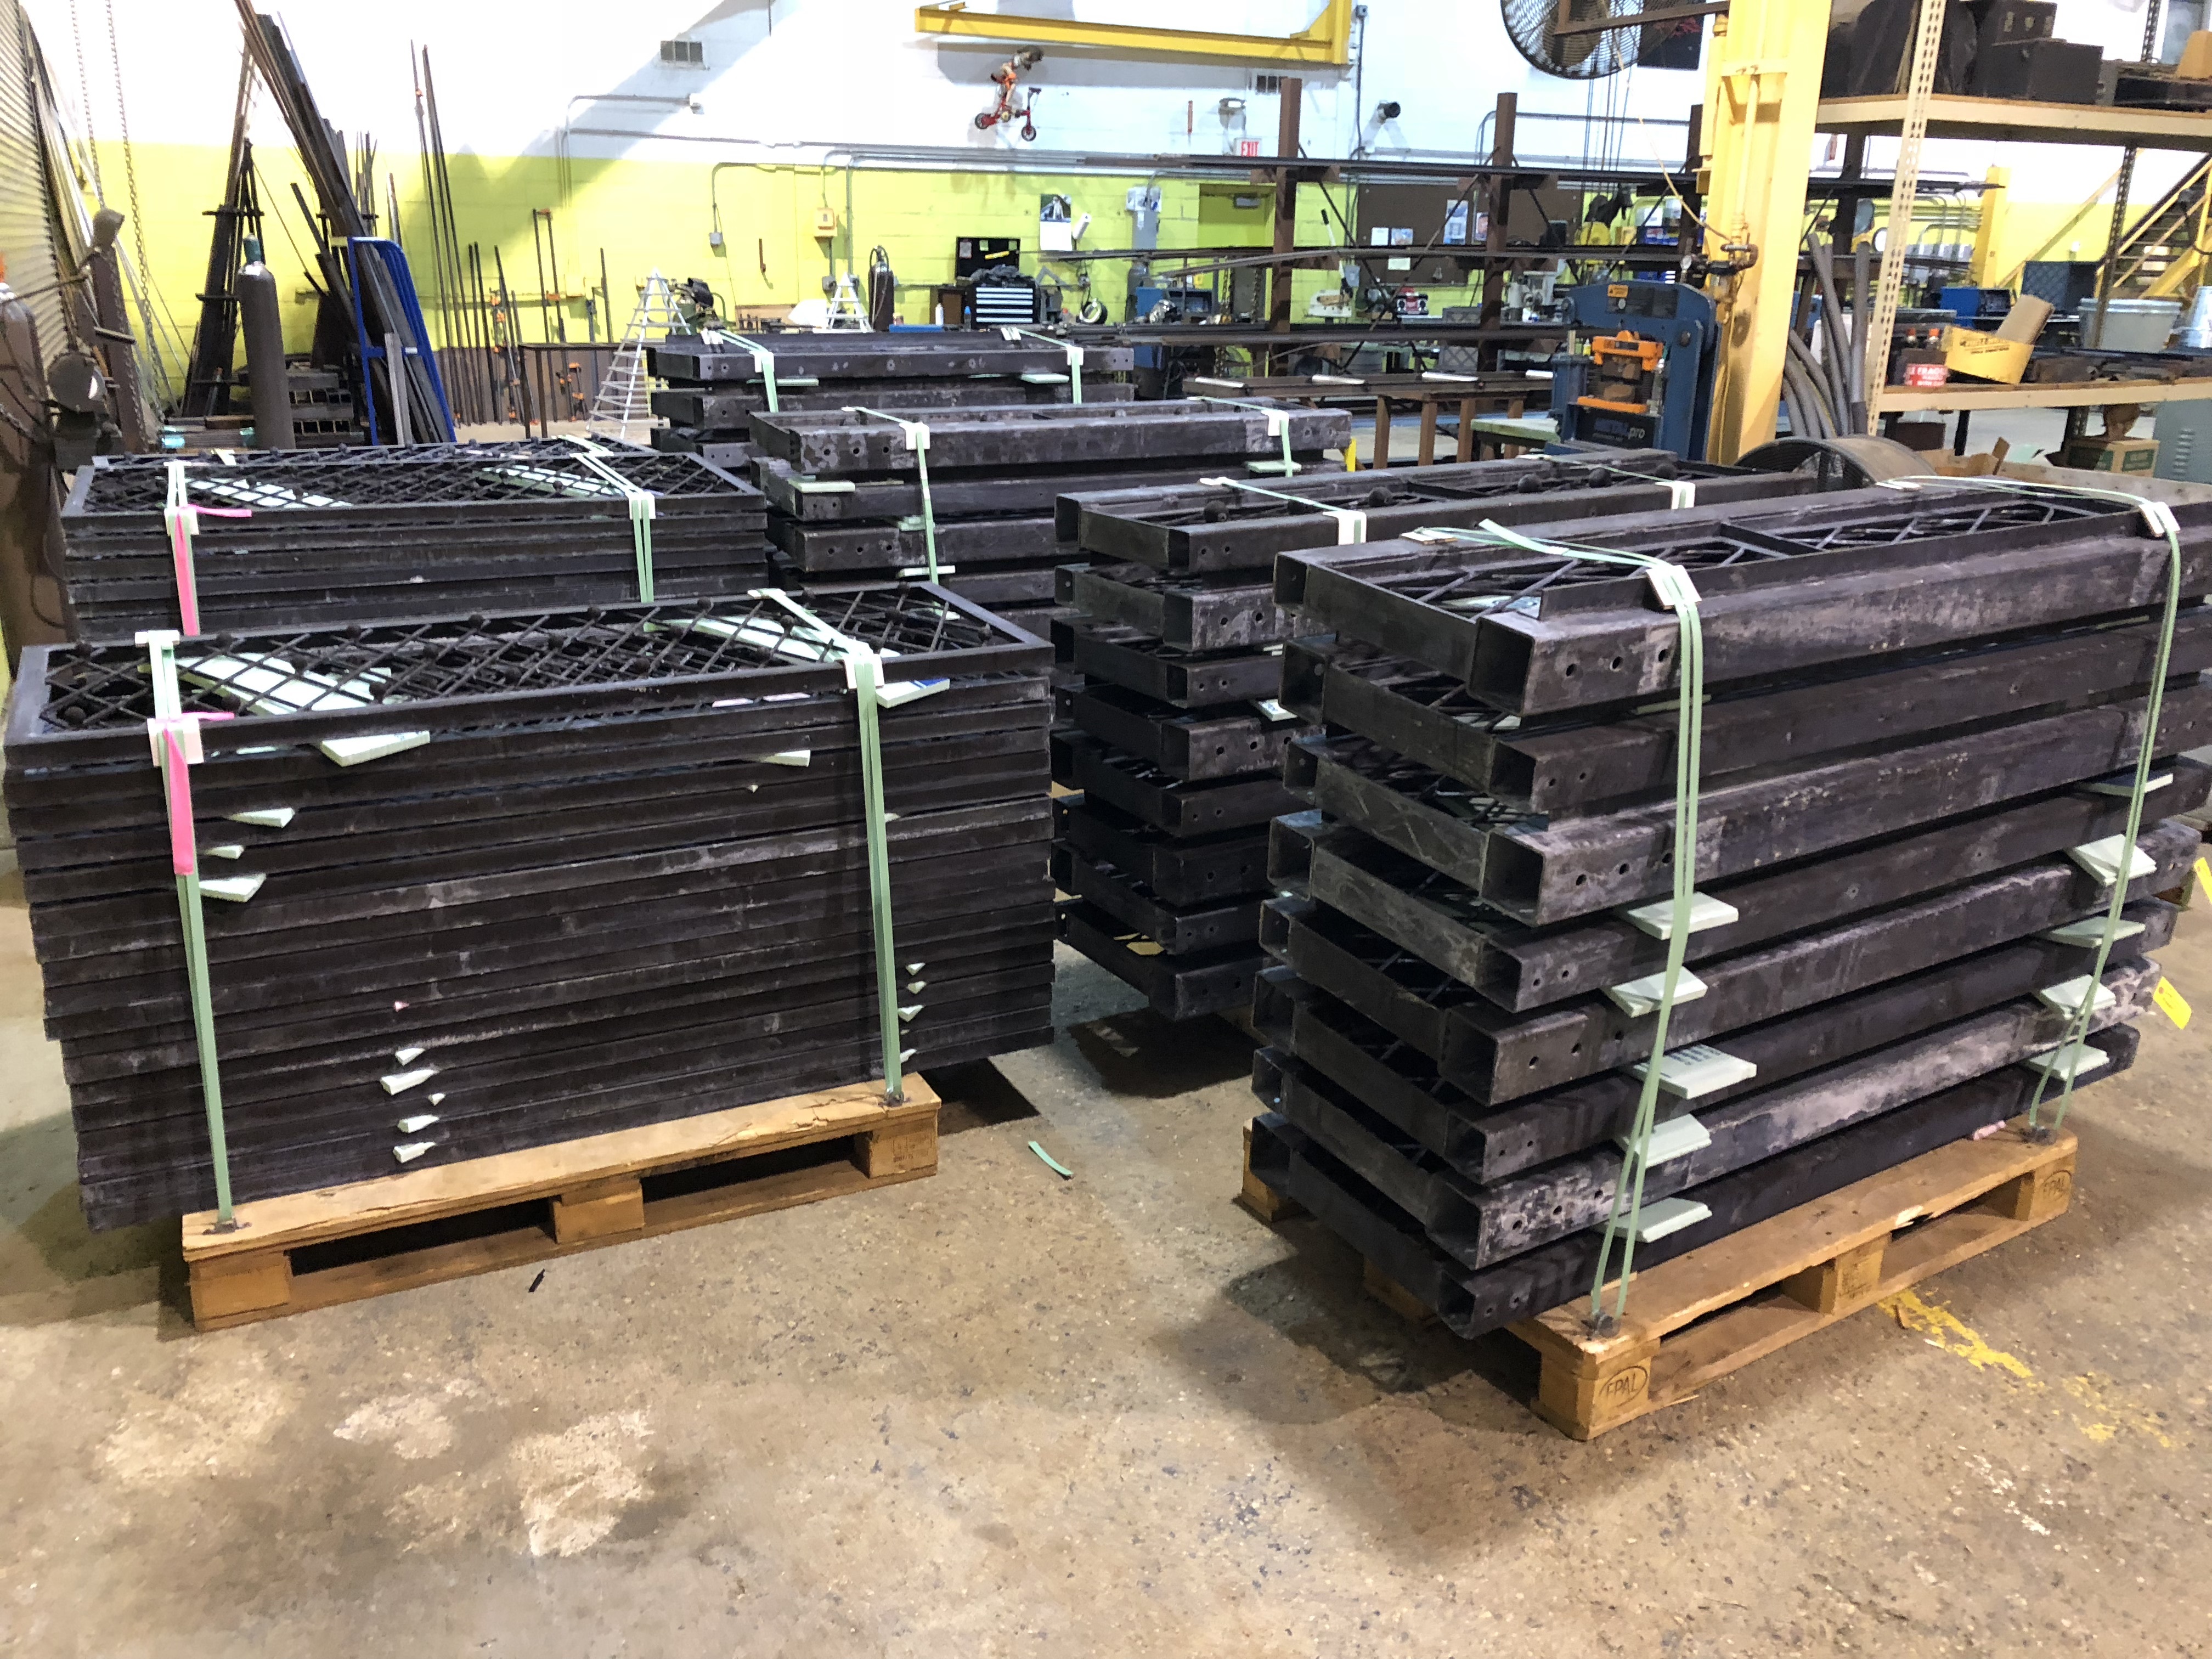
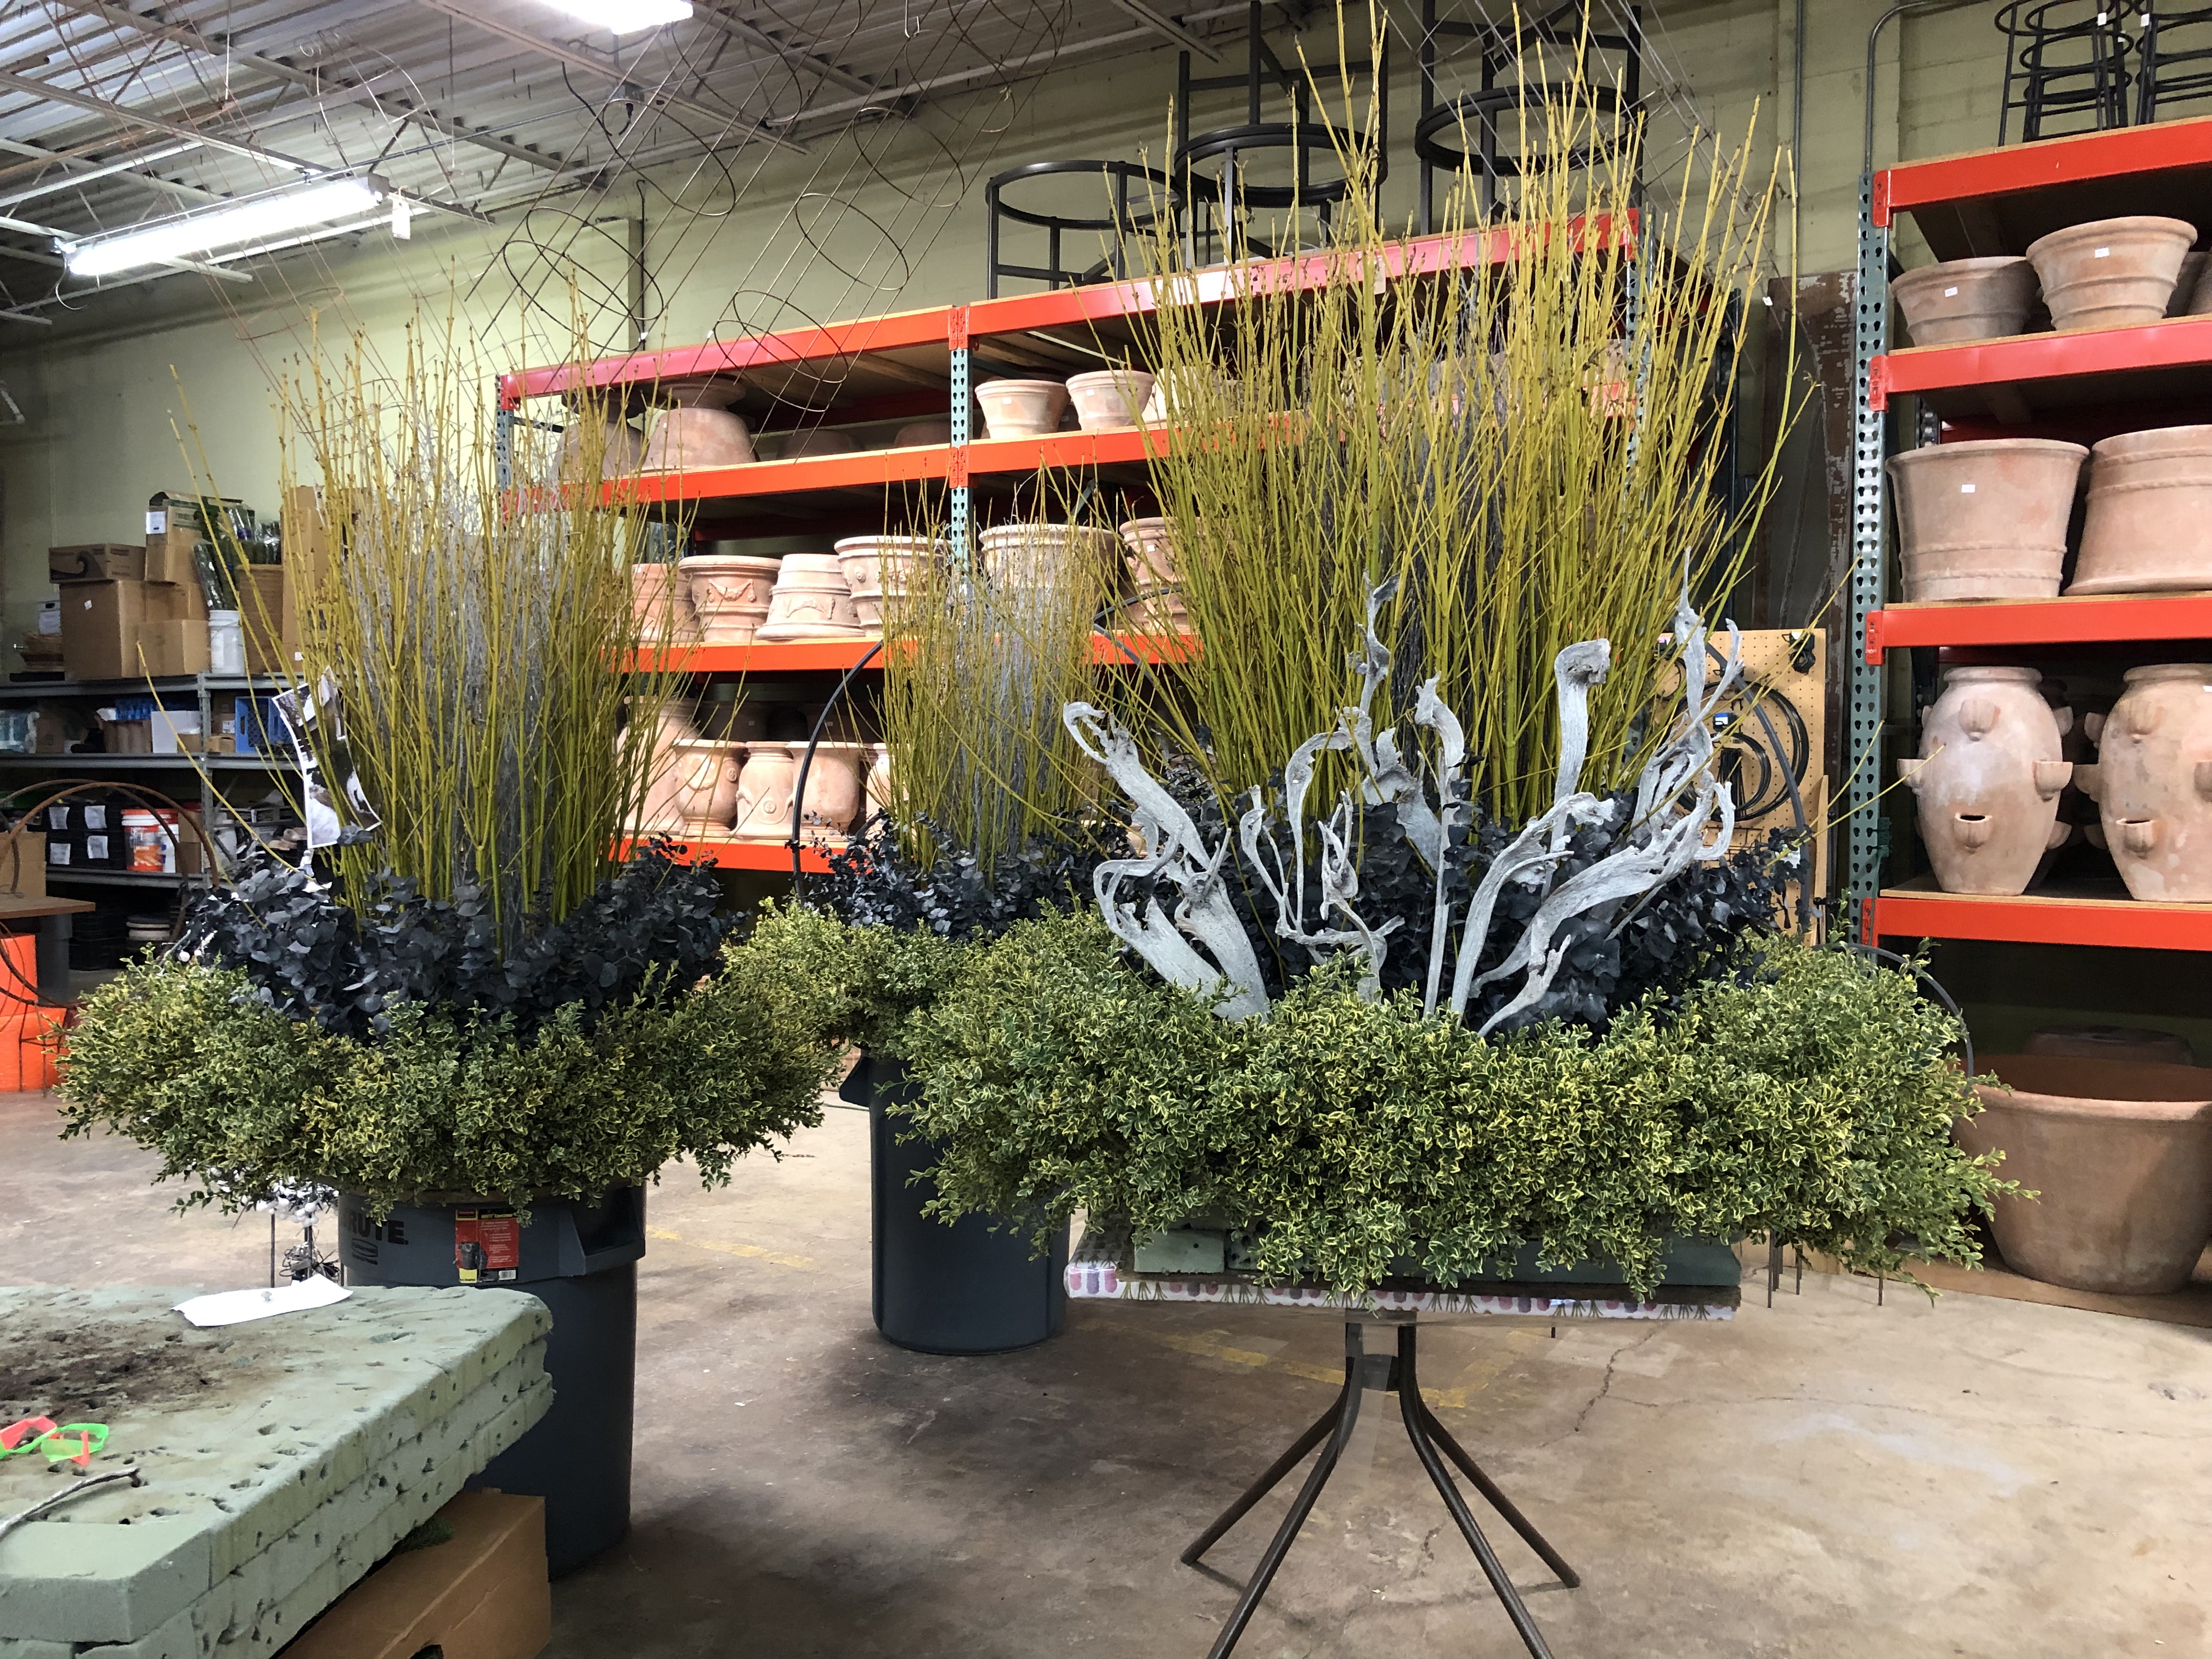
 The arrangements were done and ready to be installed this morning. In the foreground, the forms for our next project. My landscape crew generally handles the installation. They have a great eye for positioning plants in the landscape. This skill translates into installing these arrangements so they look like live plant material. If you look at the larger arrangement in the above picture, you can see that the blue gray eucalyptus looks almost black at the base. Part of the design was to deliberately create a shadow, and a sense of depth between the boxwood and the eucalyptus.
 How we do this is very difficult to photograph, so suffice it to say that there is a 4″ wide band of incense cedar that is installed flat to the base of the form. An incense cedar moat, if you will. That space is what creates the shadow.
 The eucalyptus and boxwood are both fairly tall. The cedar is inserted into the form on a horizontal angle, so it is barely an inch tall. I will post pictures of the finished installation tomorrow. For anyone who is new to our work, or has questions about the construction, I have posted many times over the past 9 years about them. You can click on and read my November posts from past years, if you are so inclined.