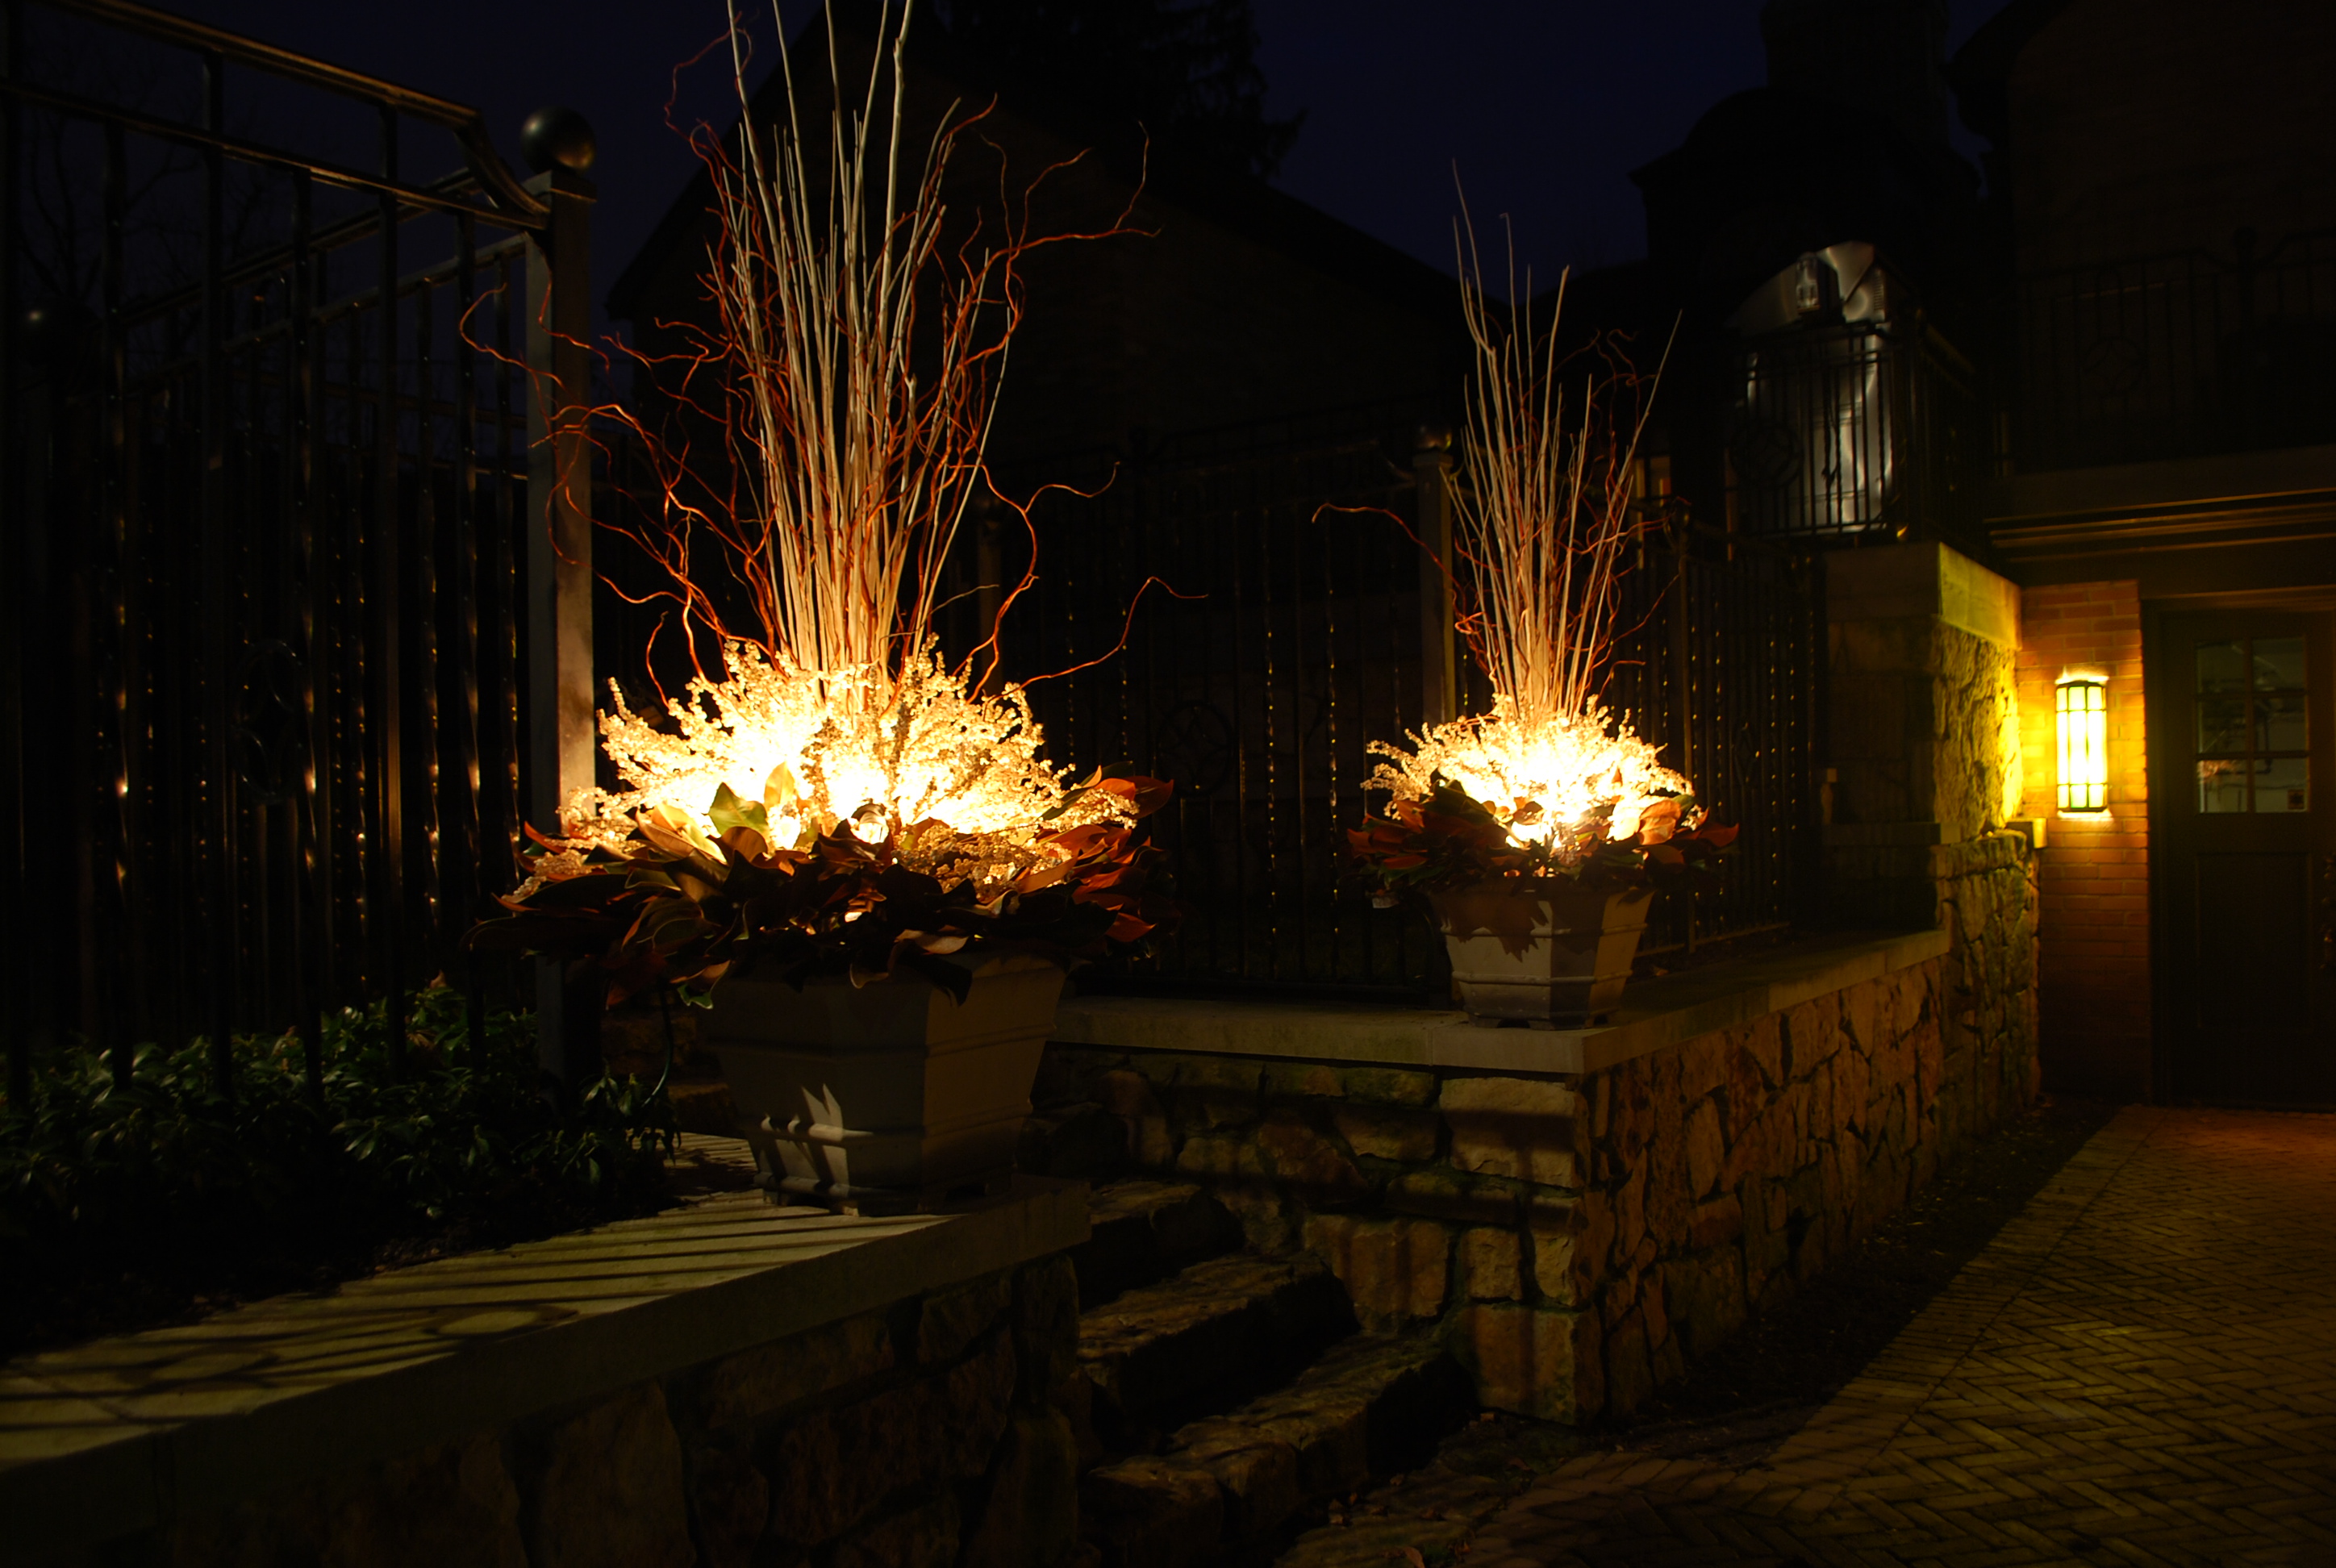
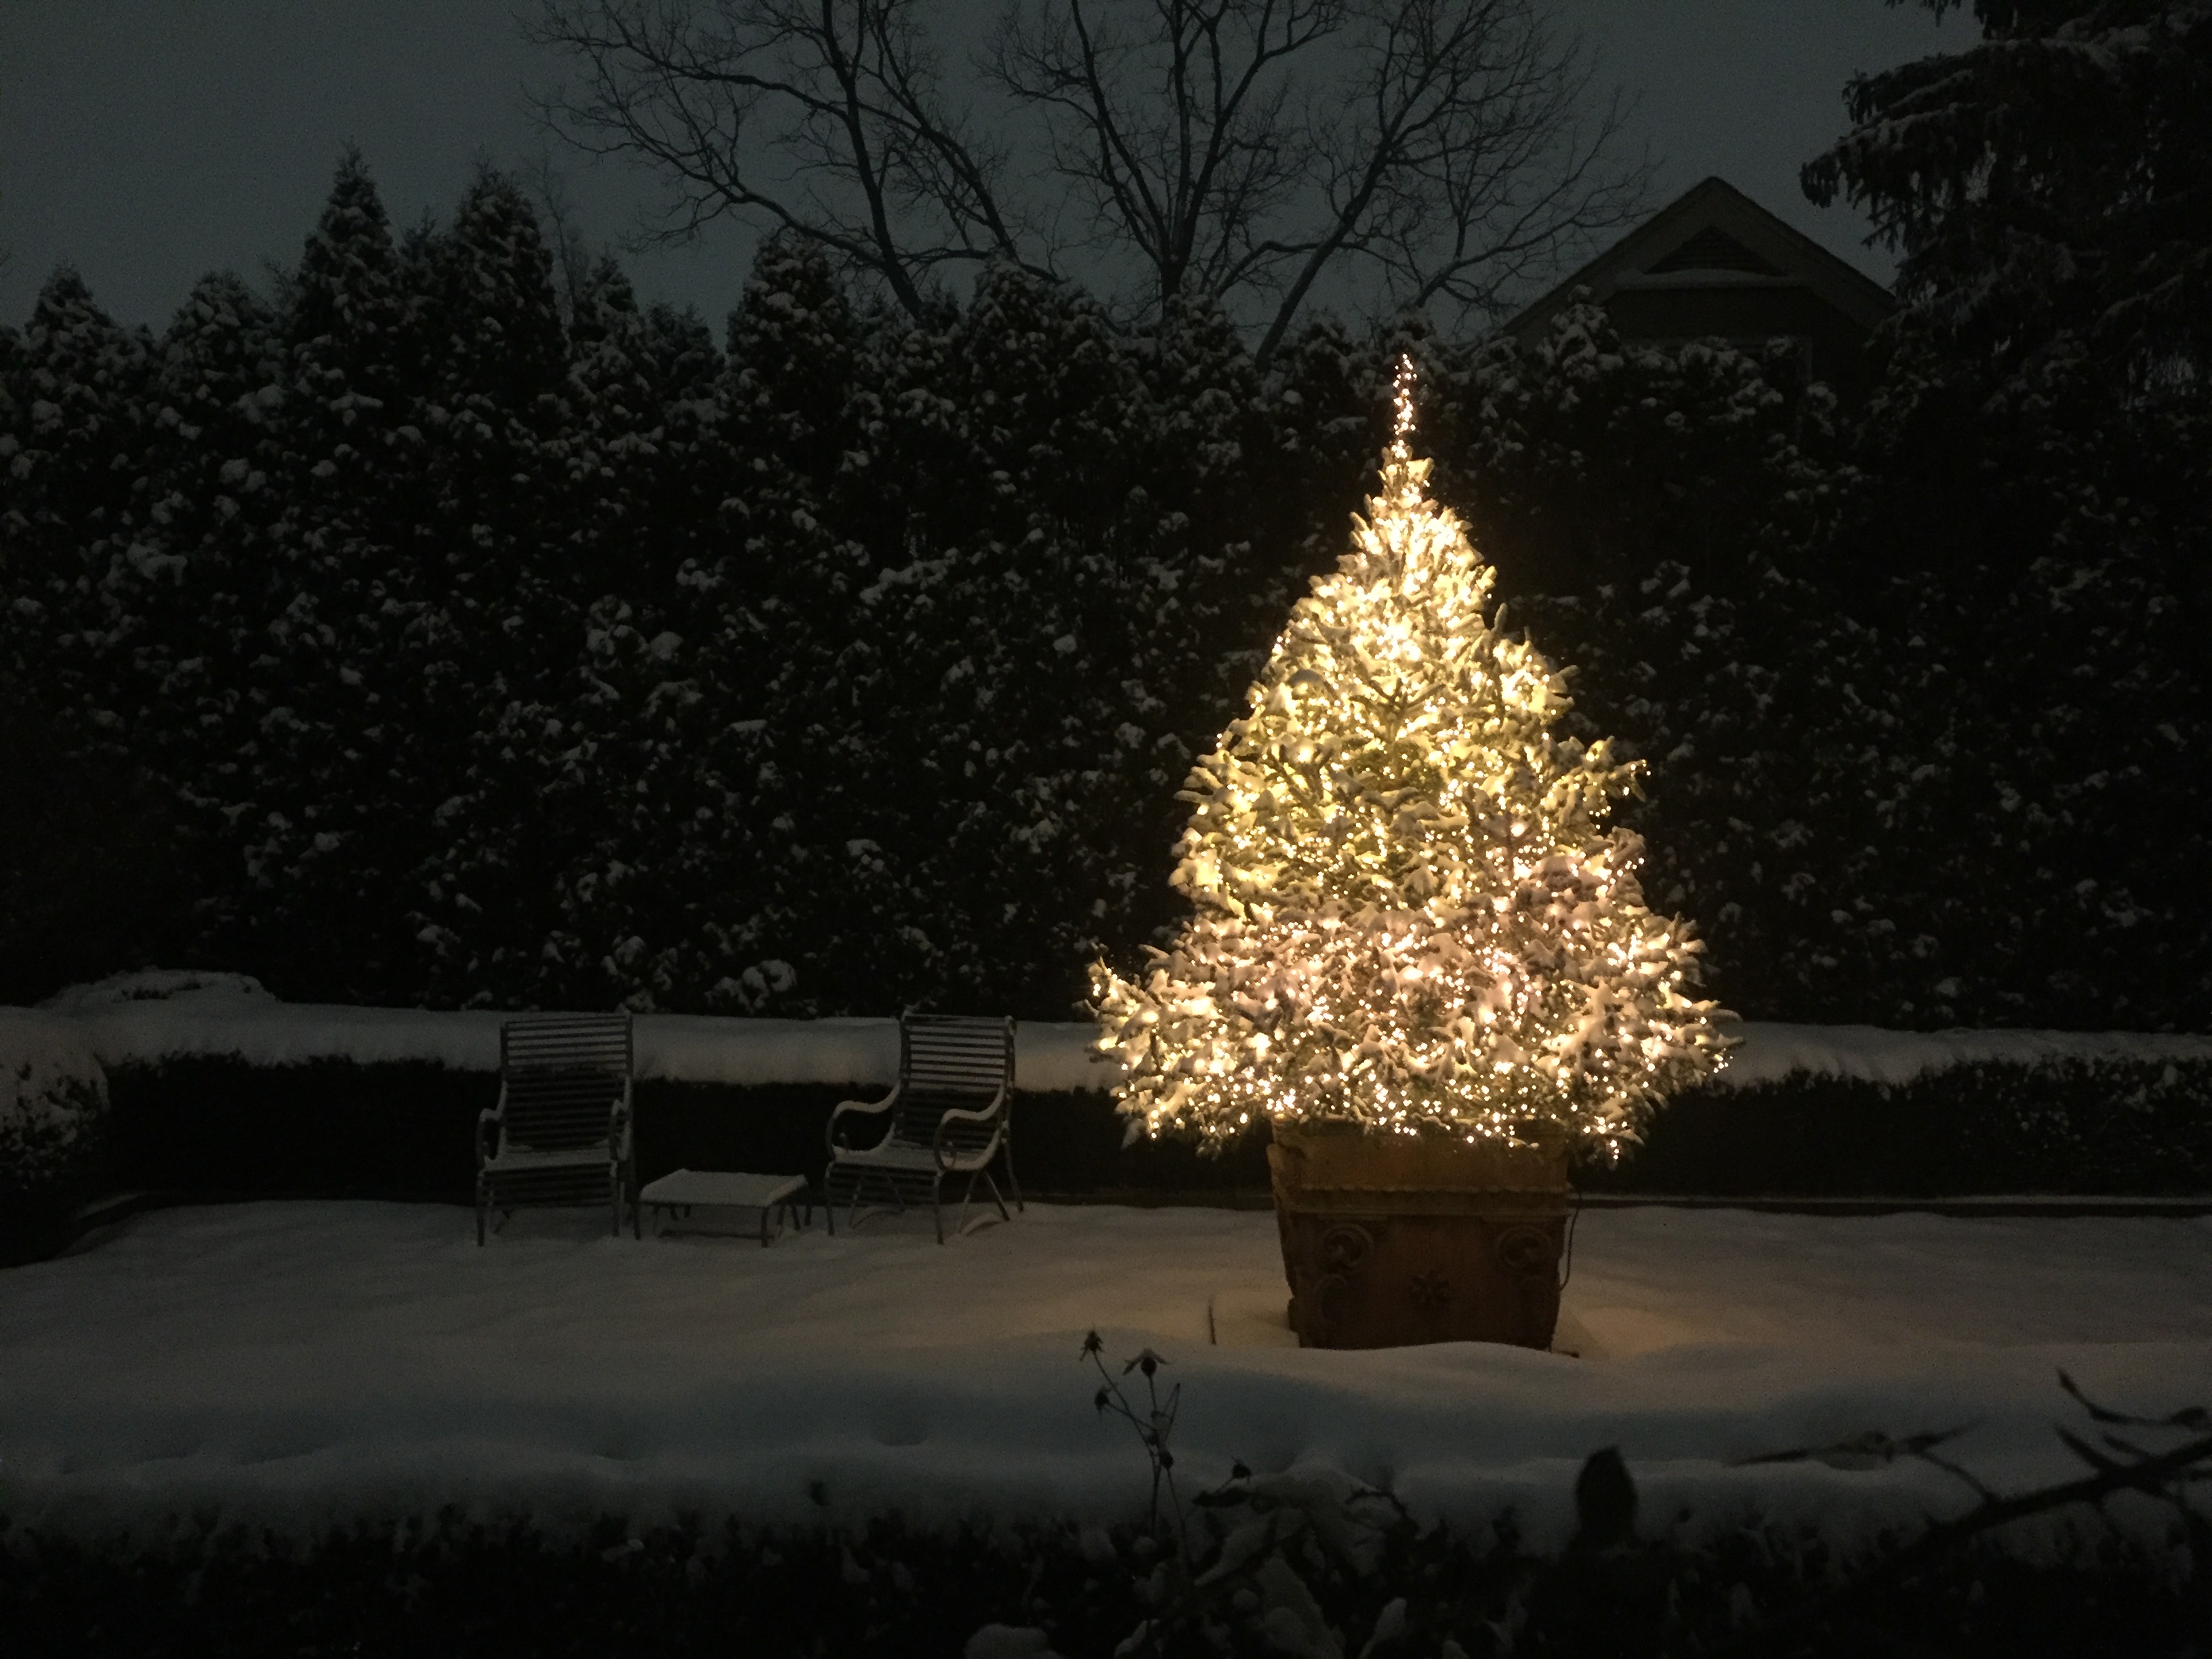
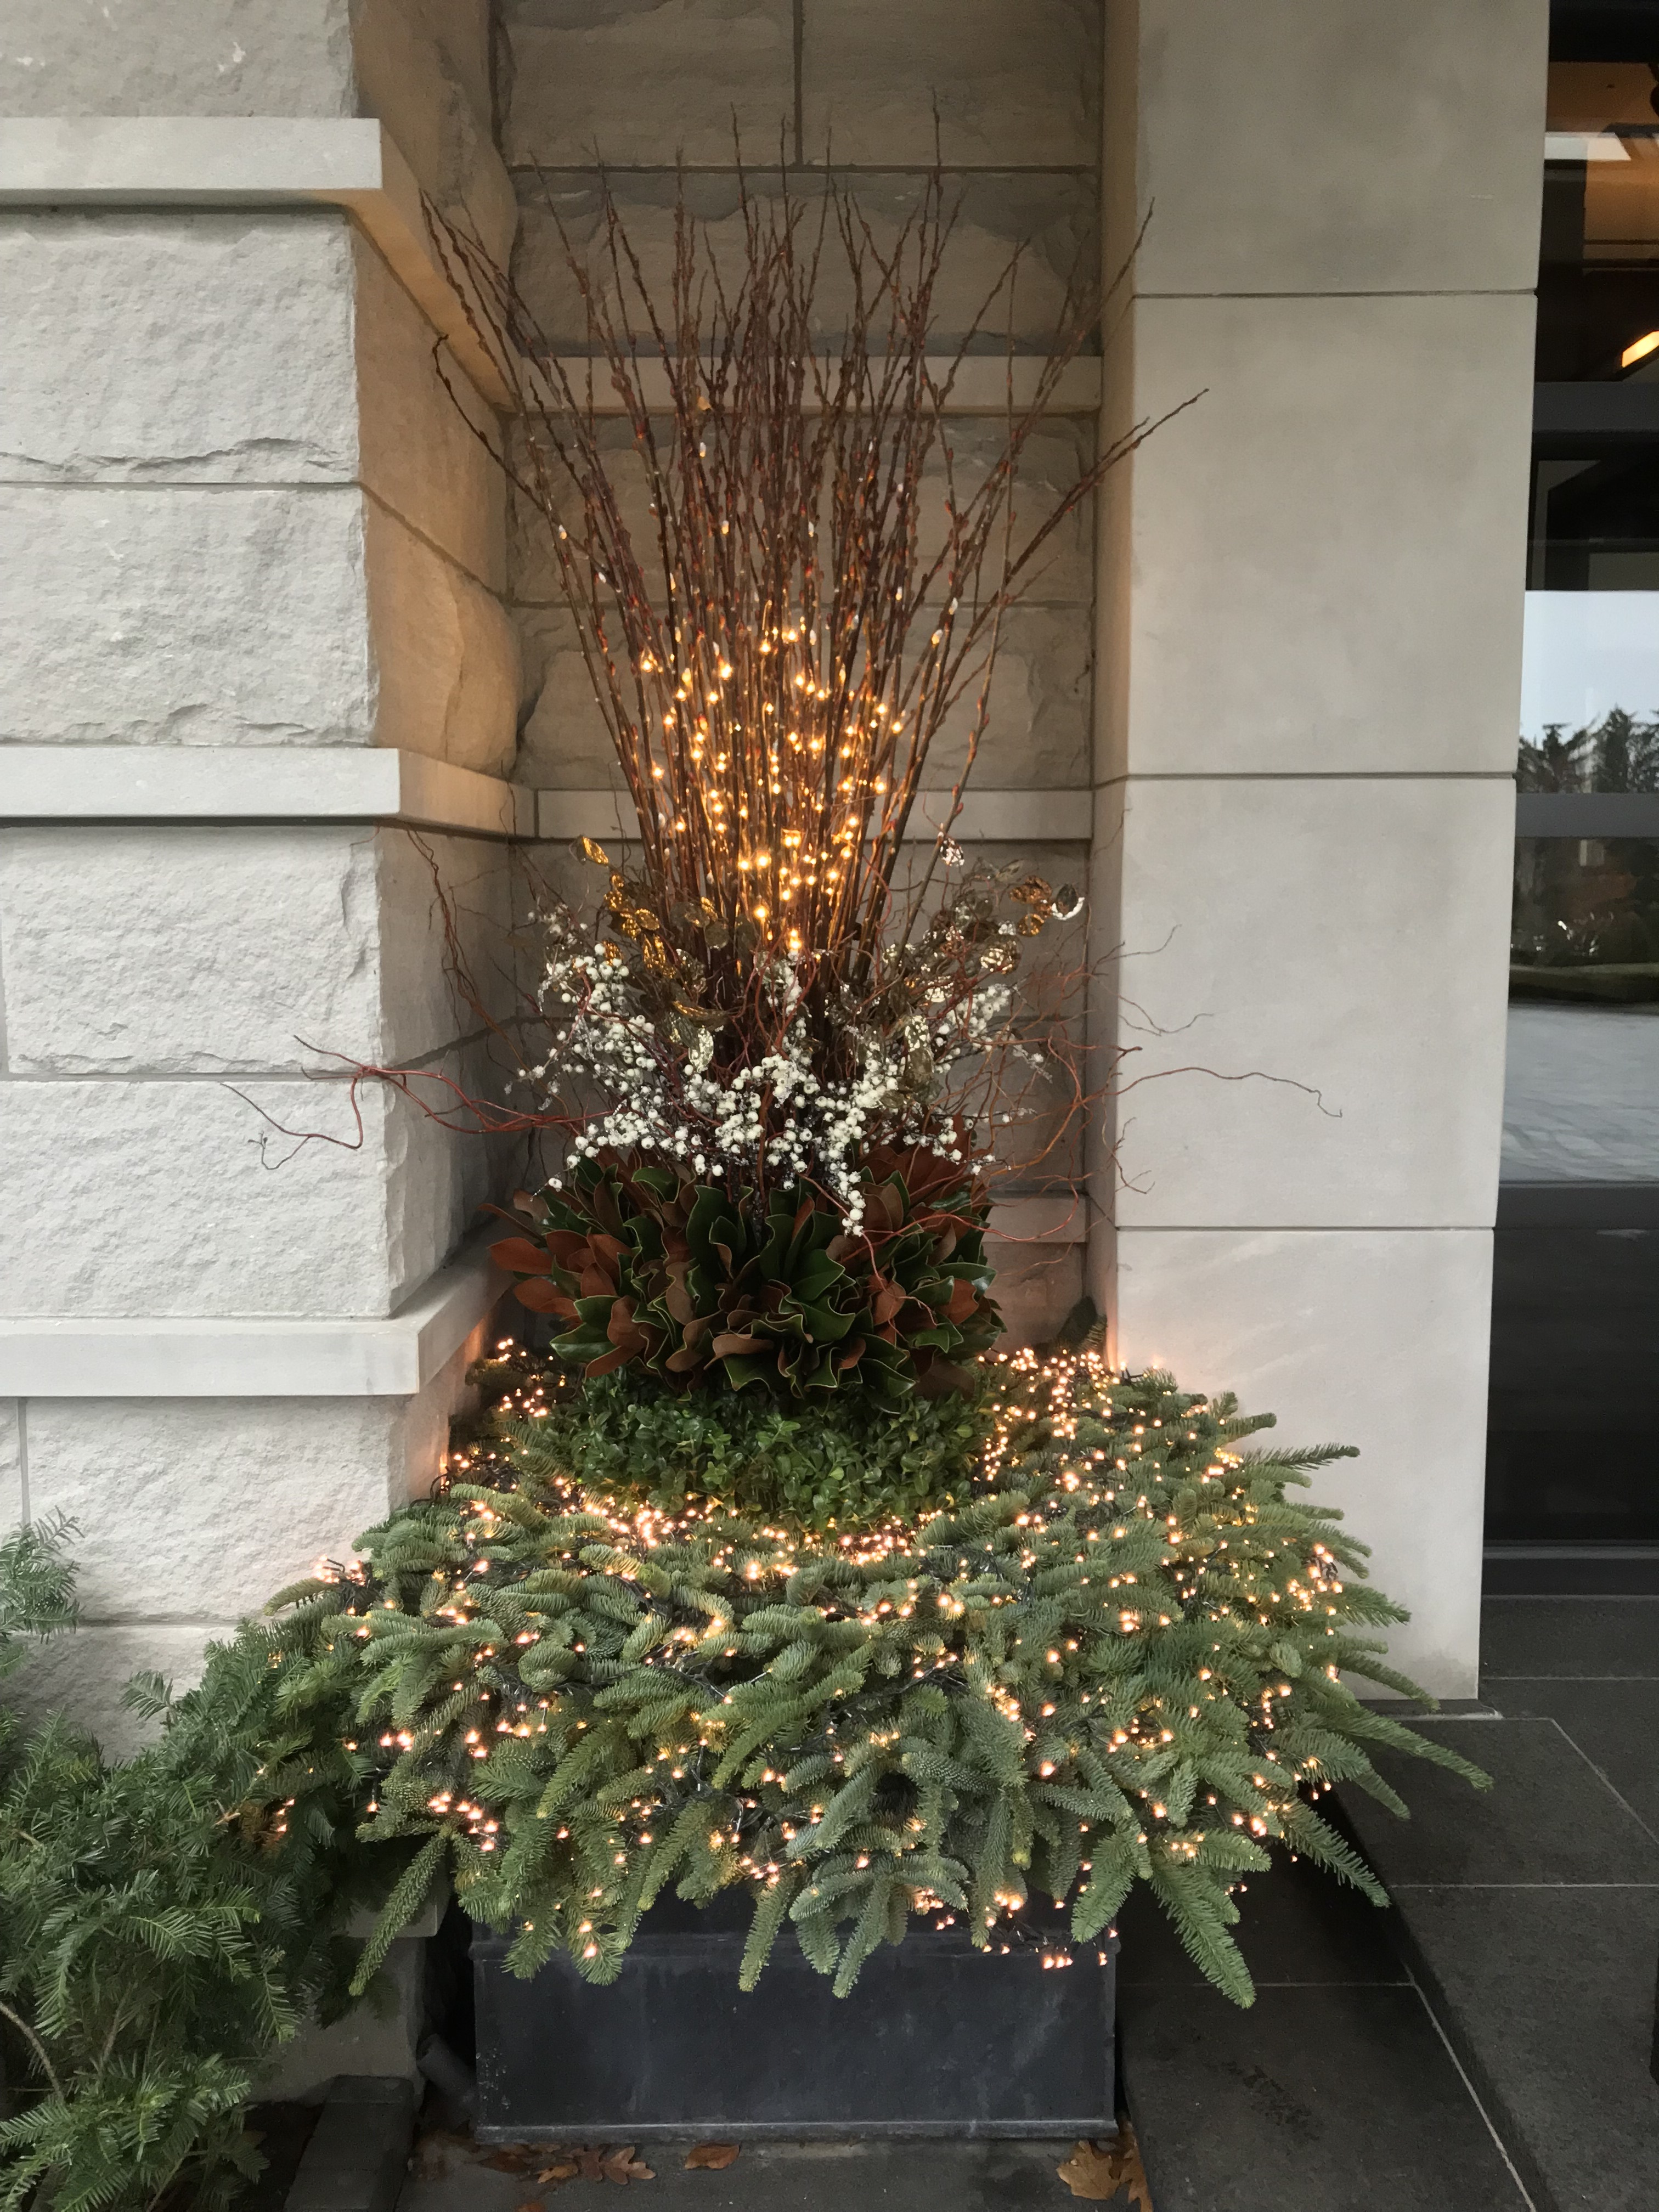
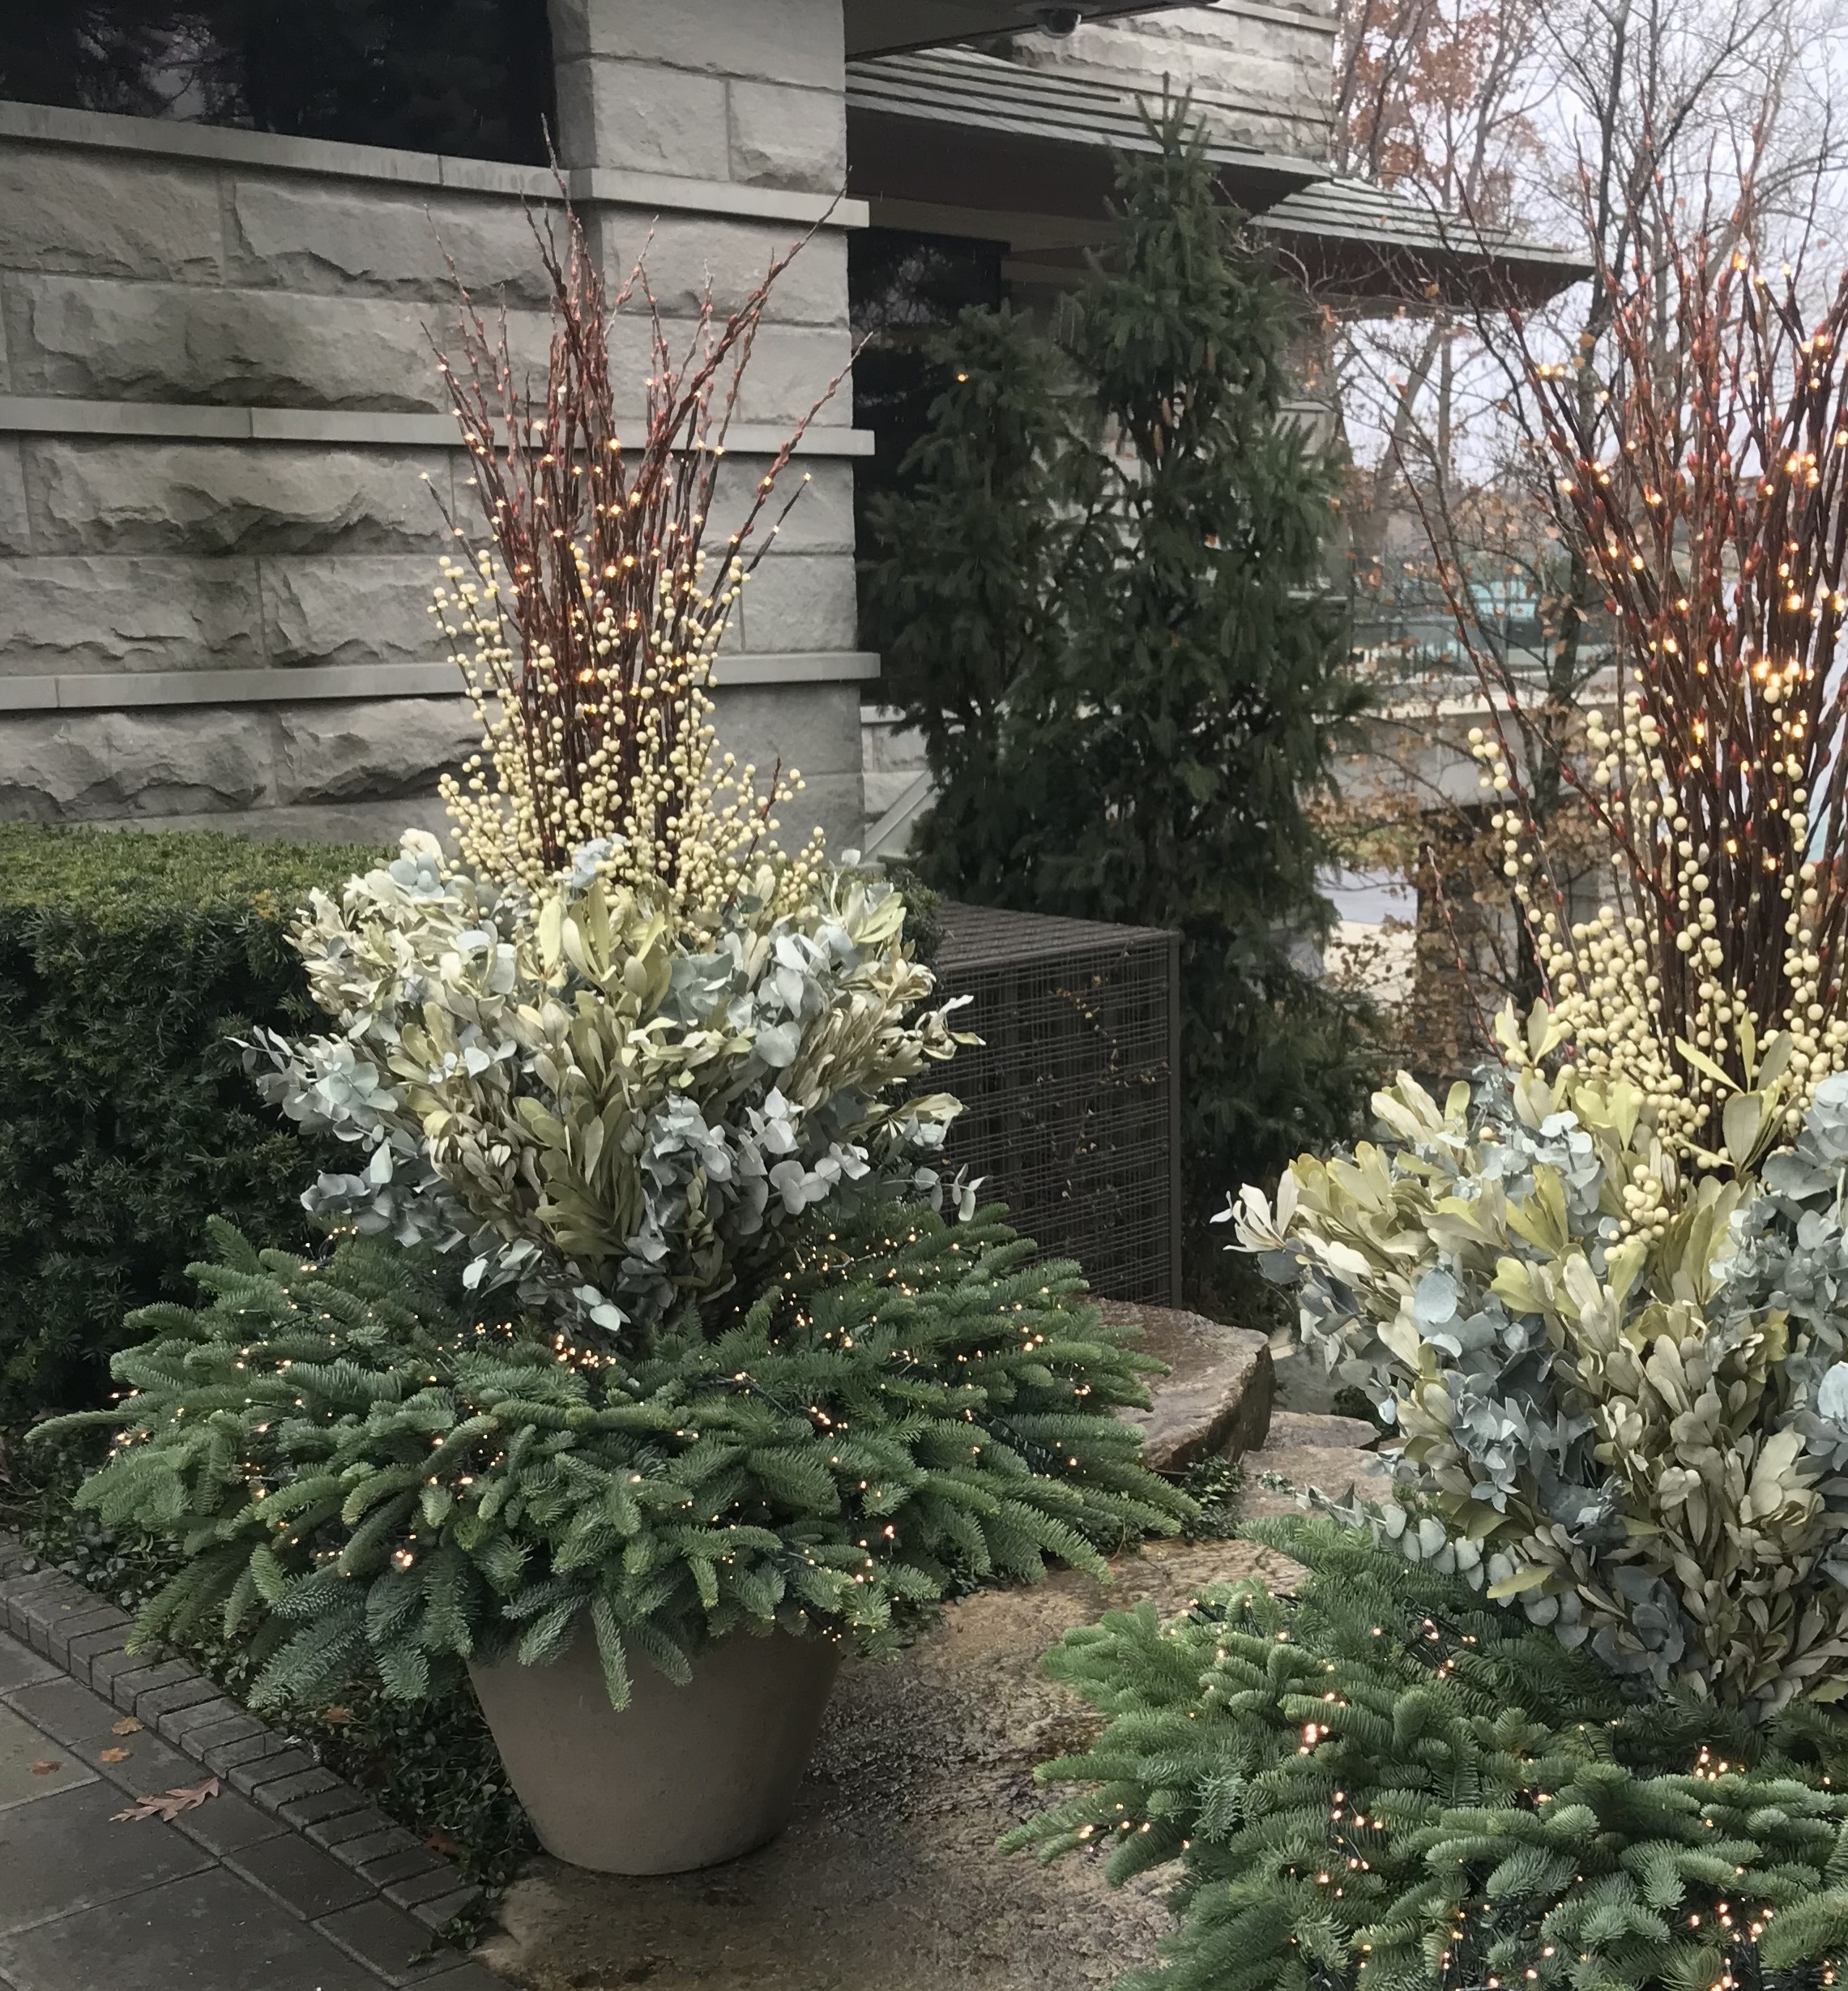
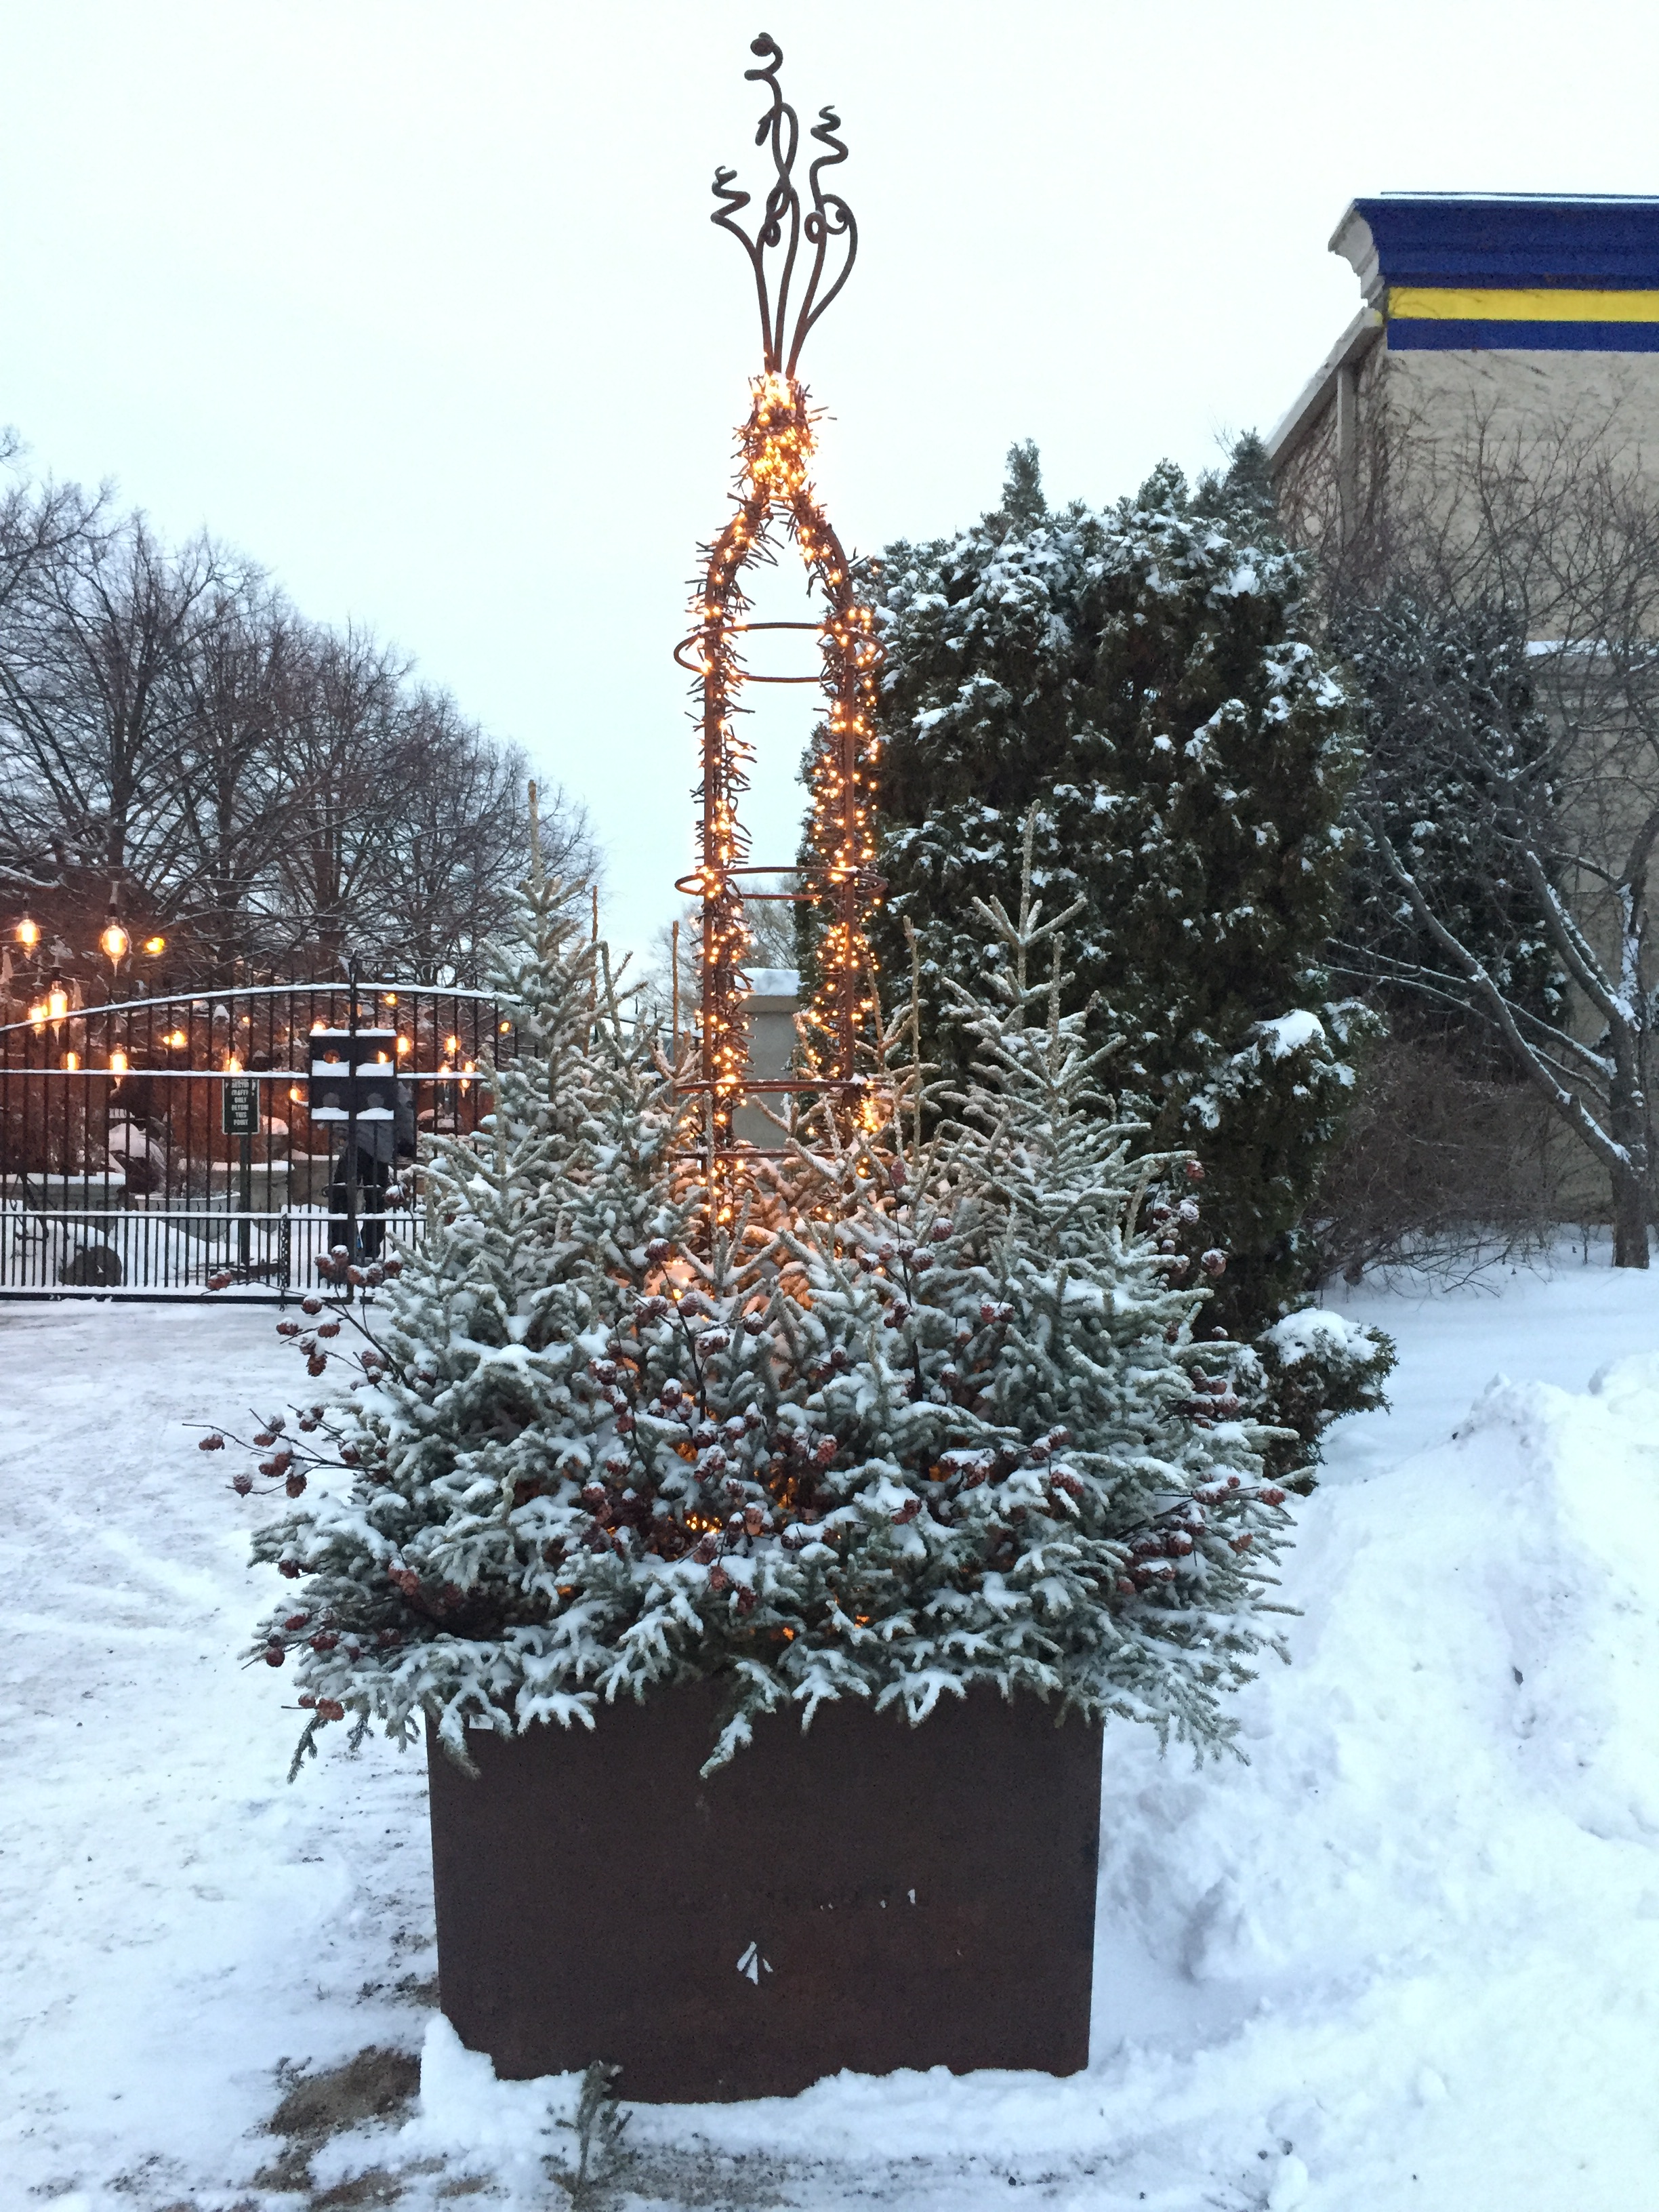
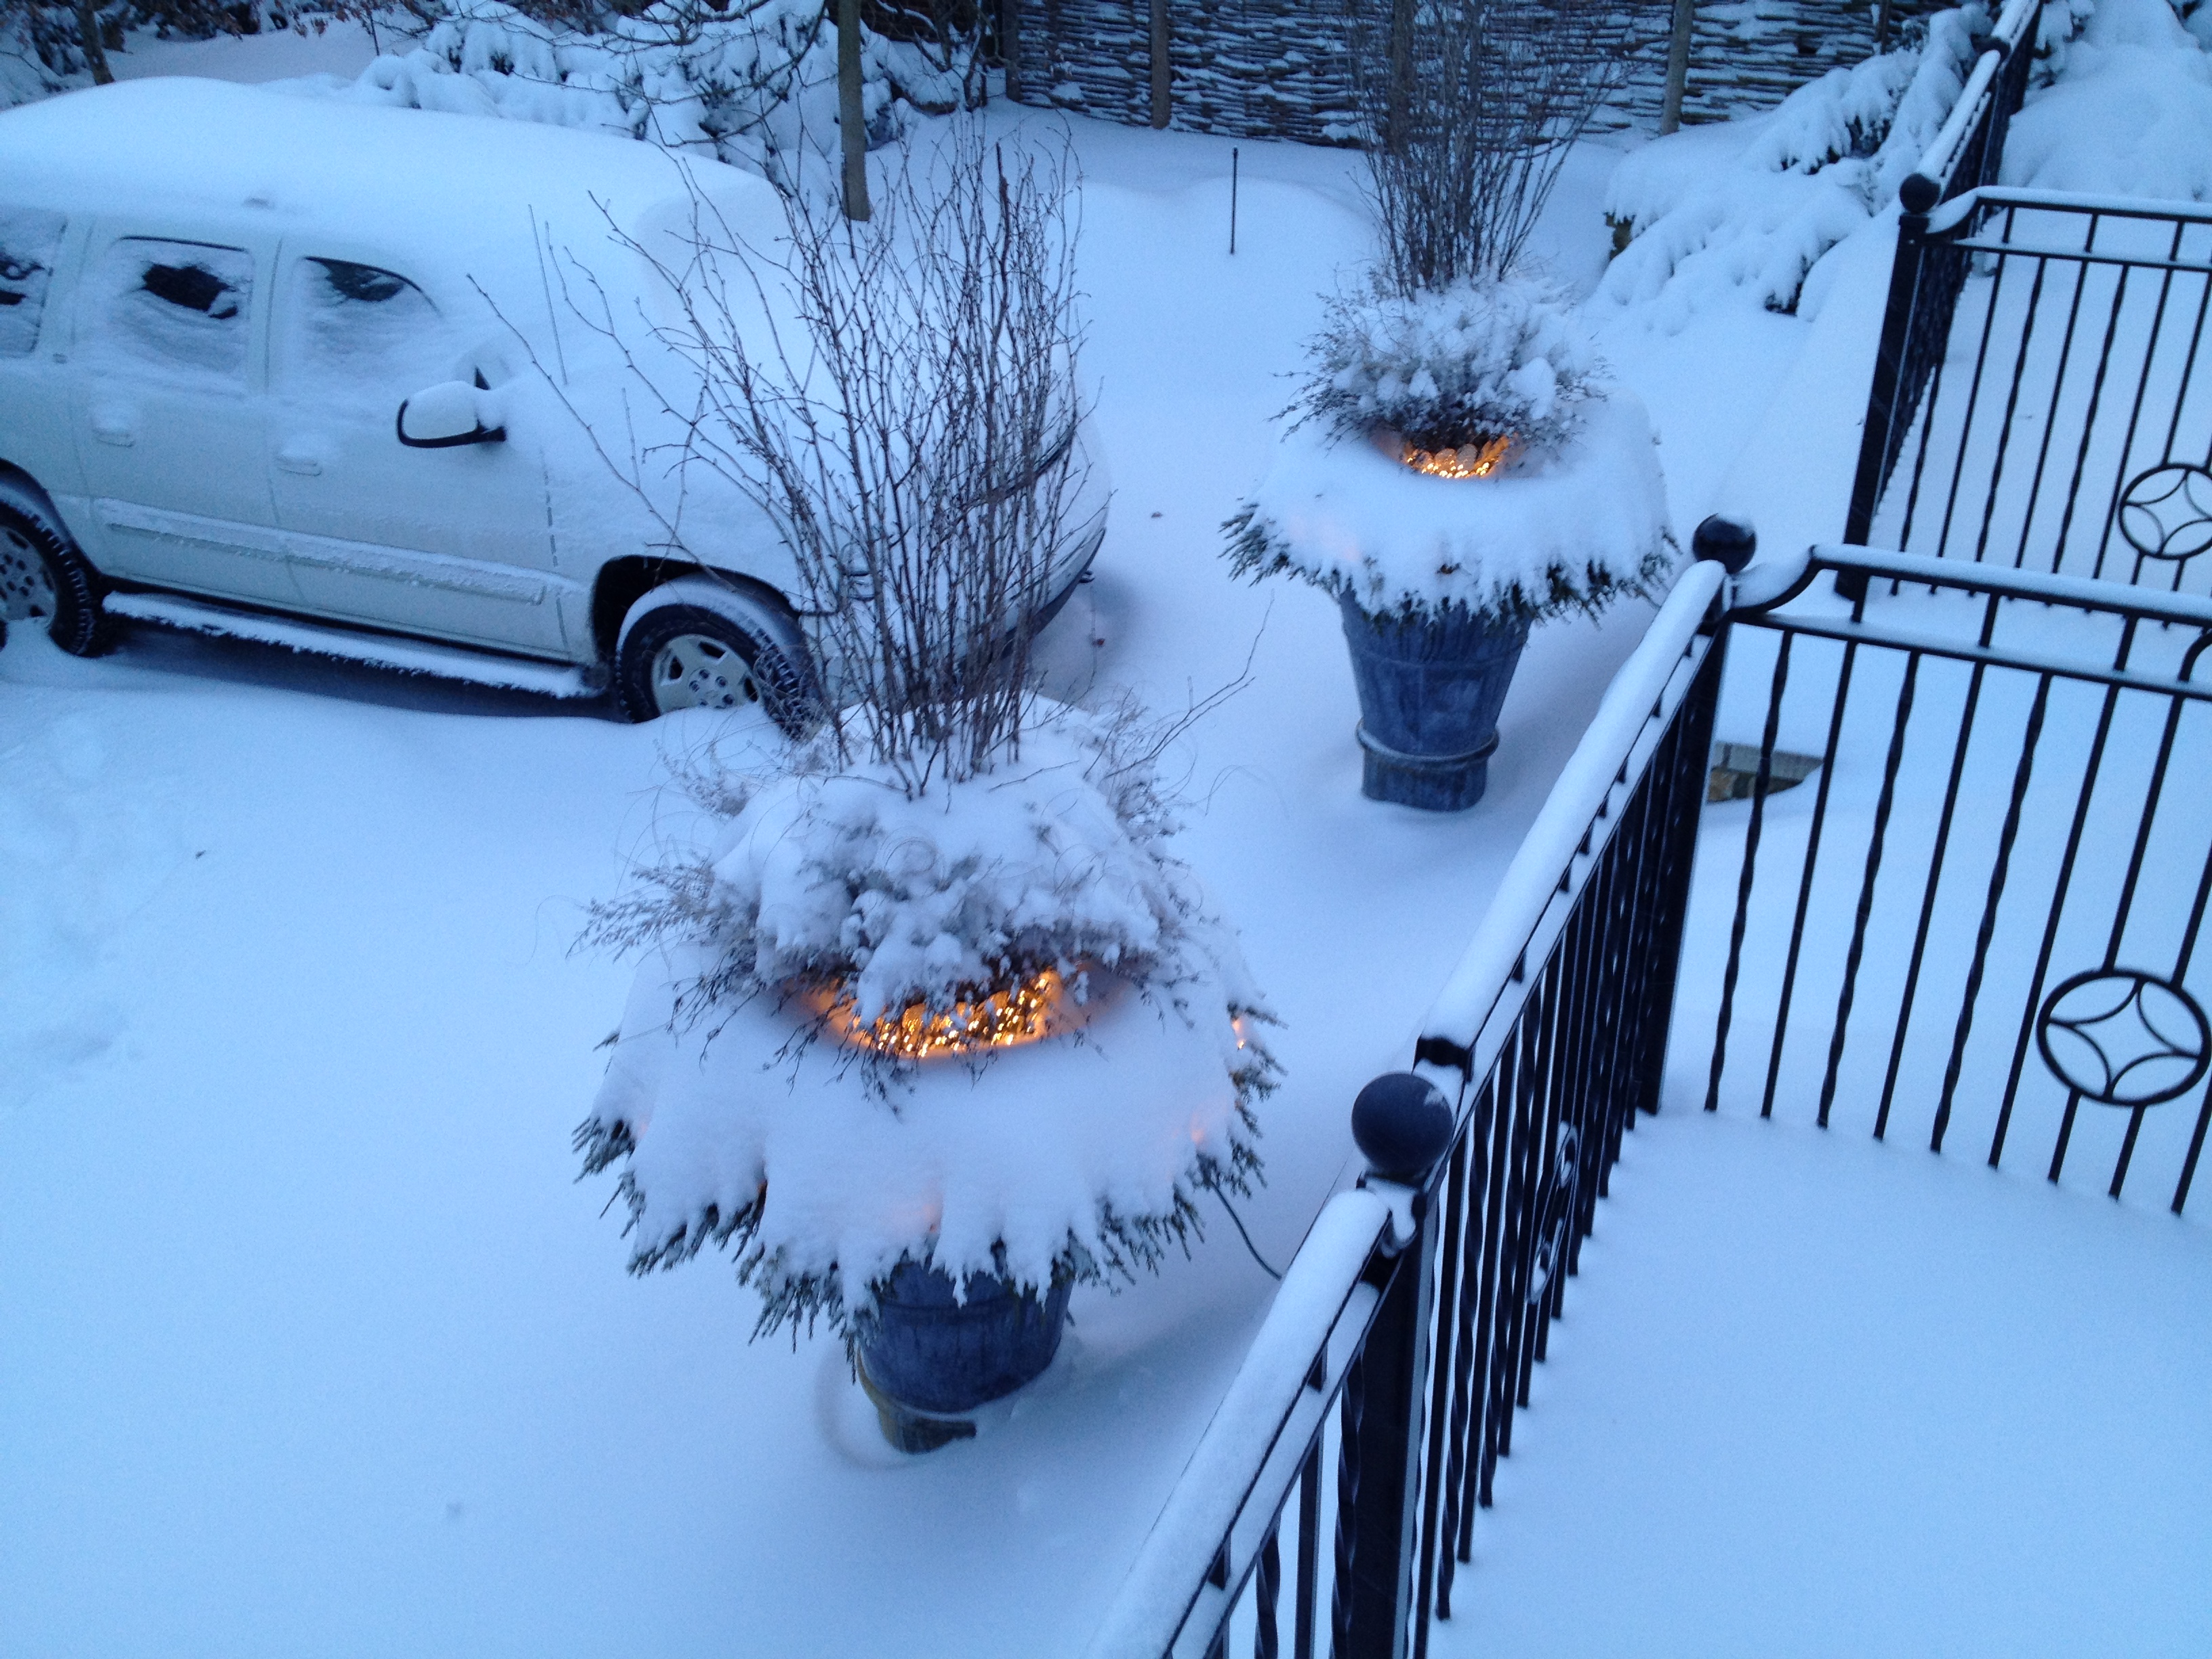
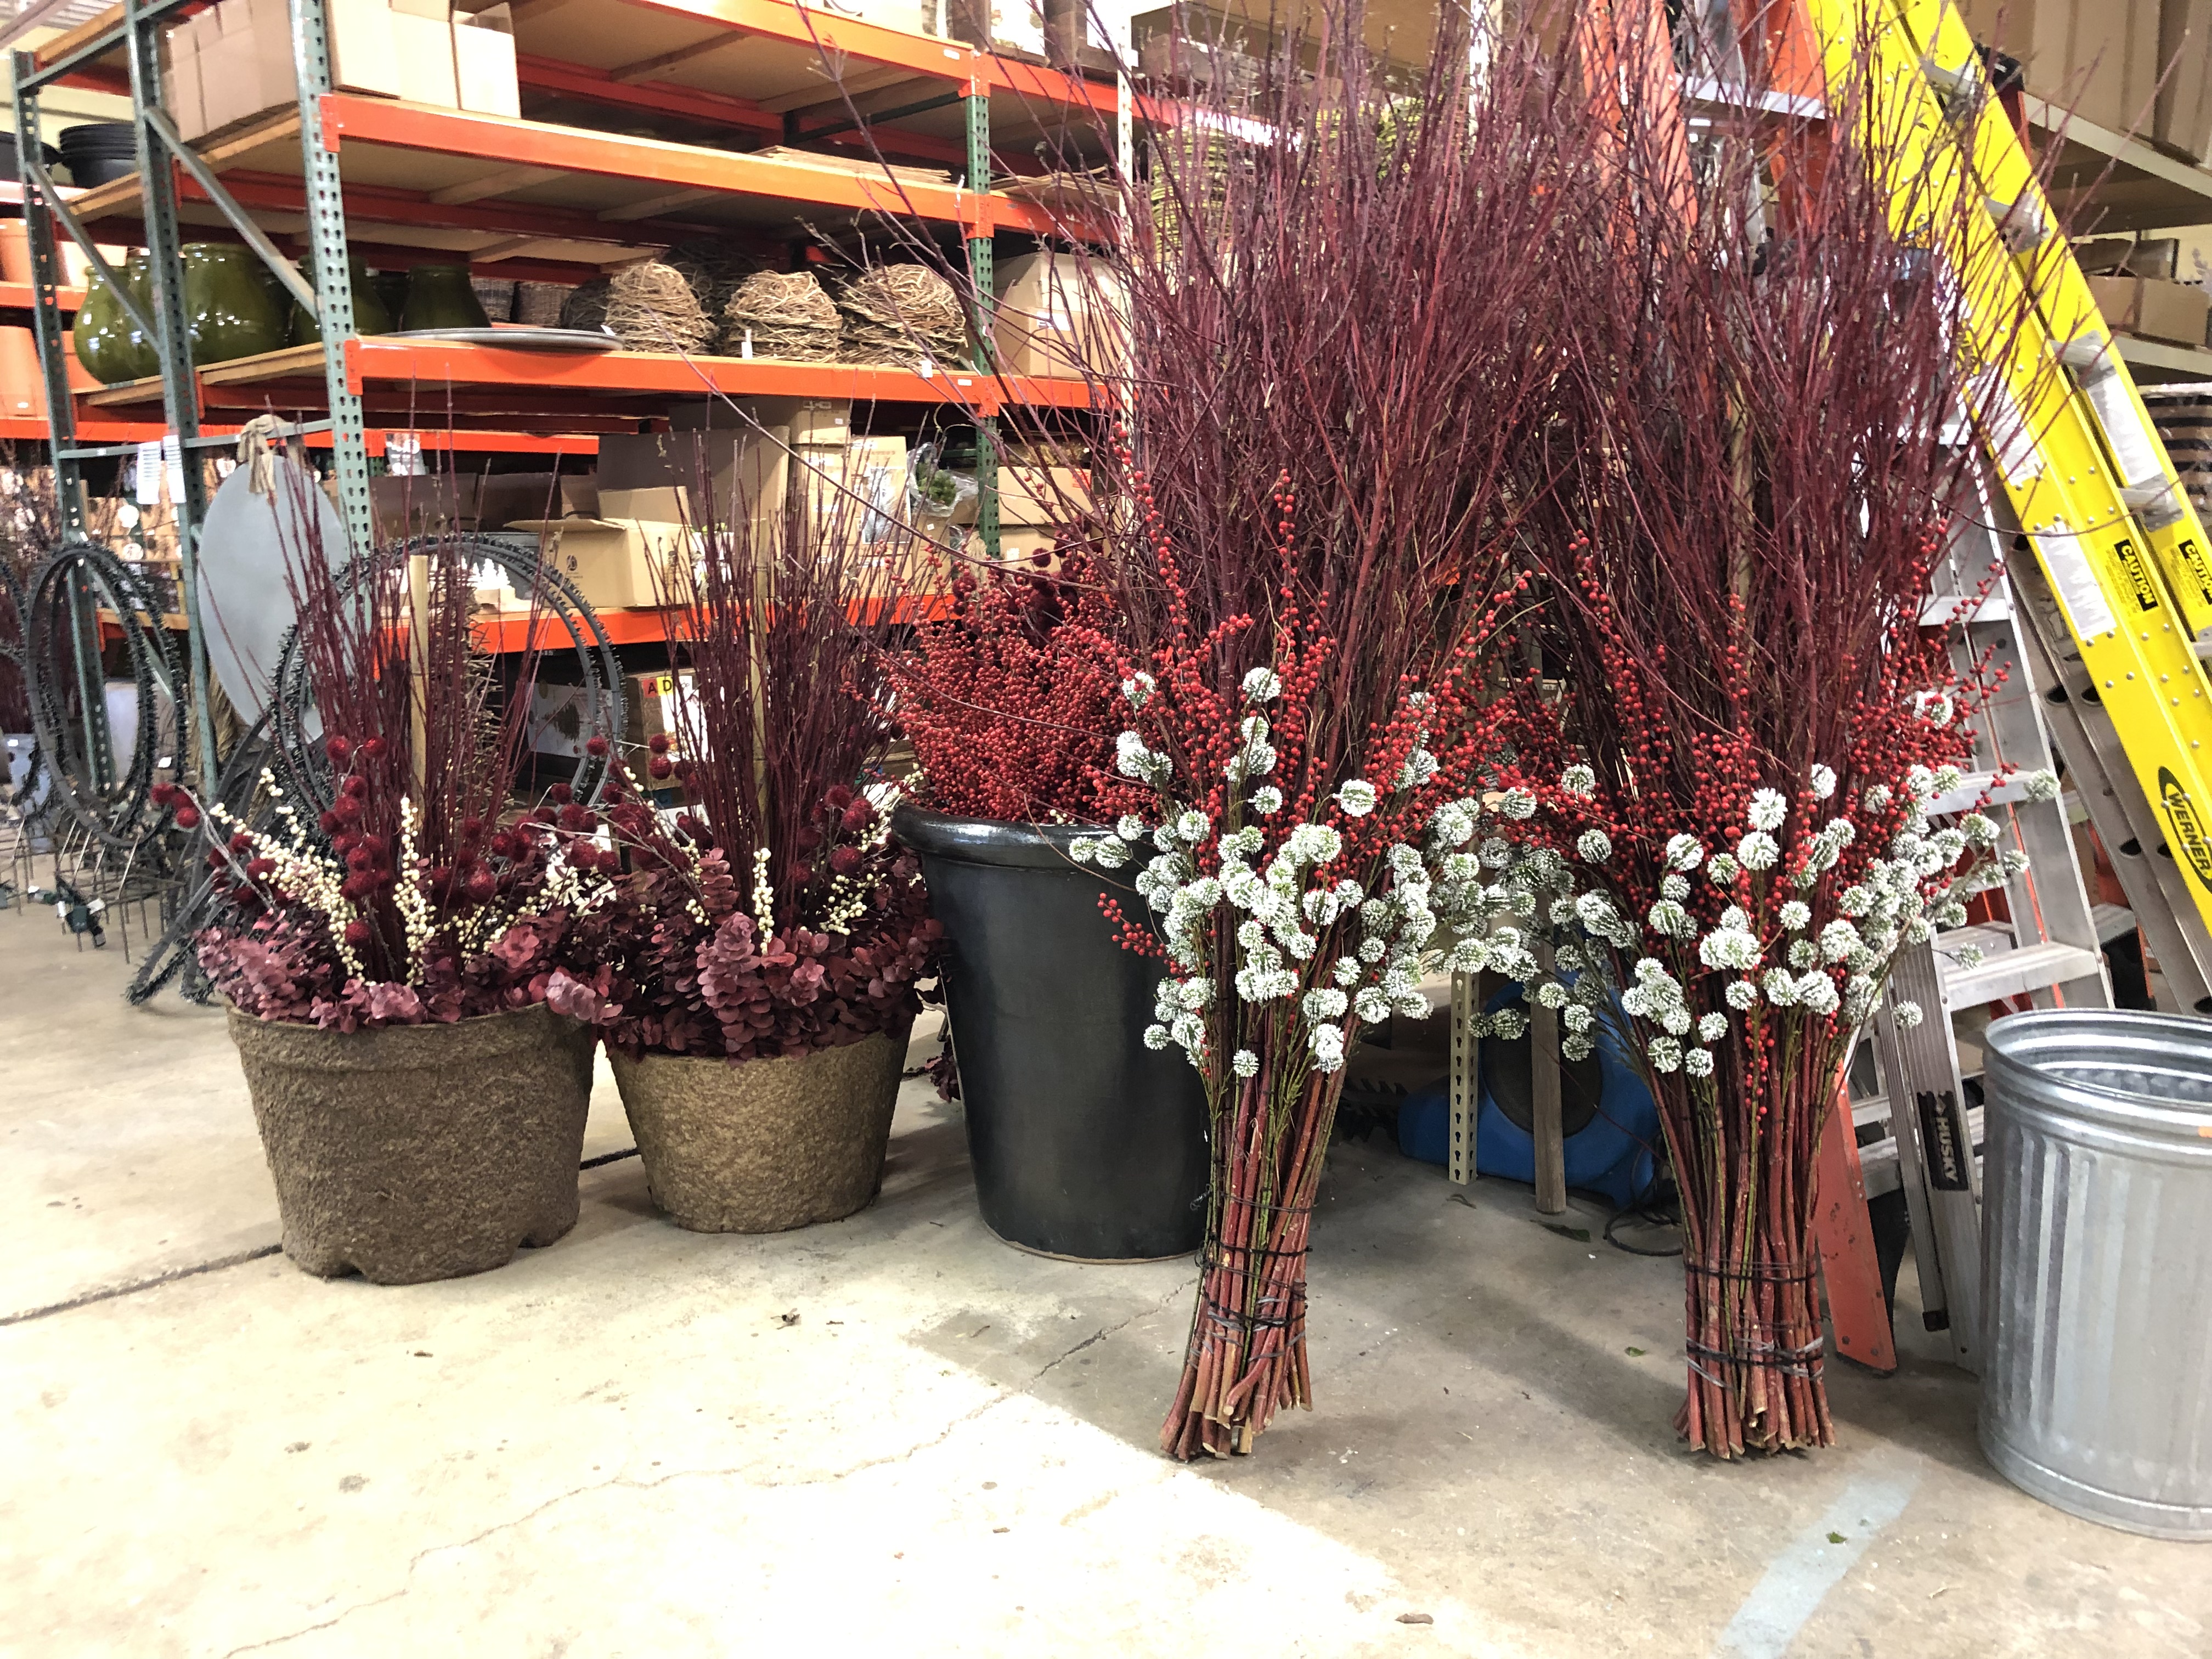
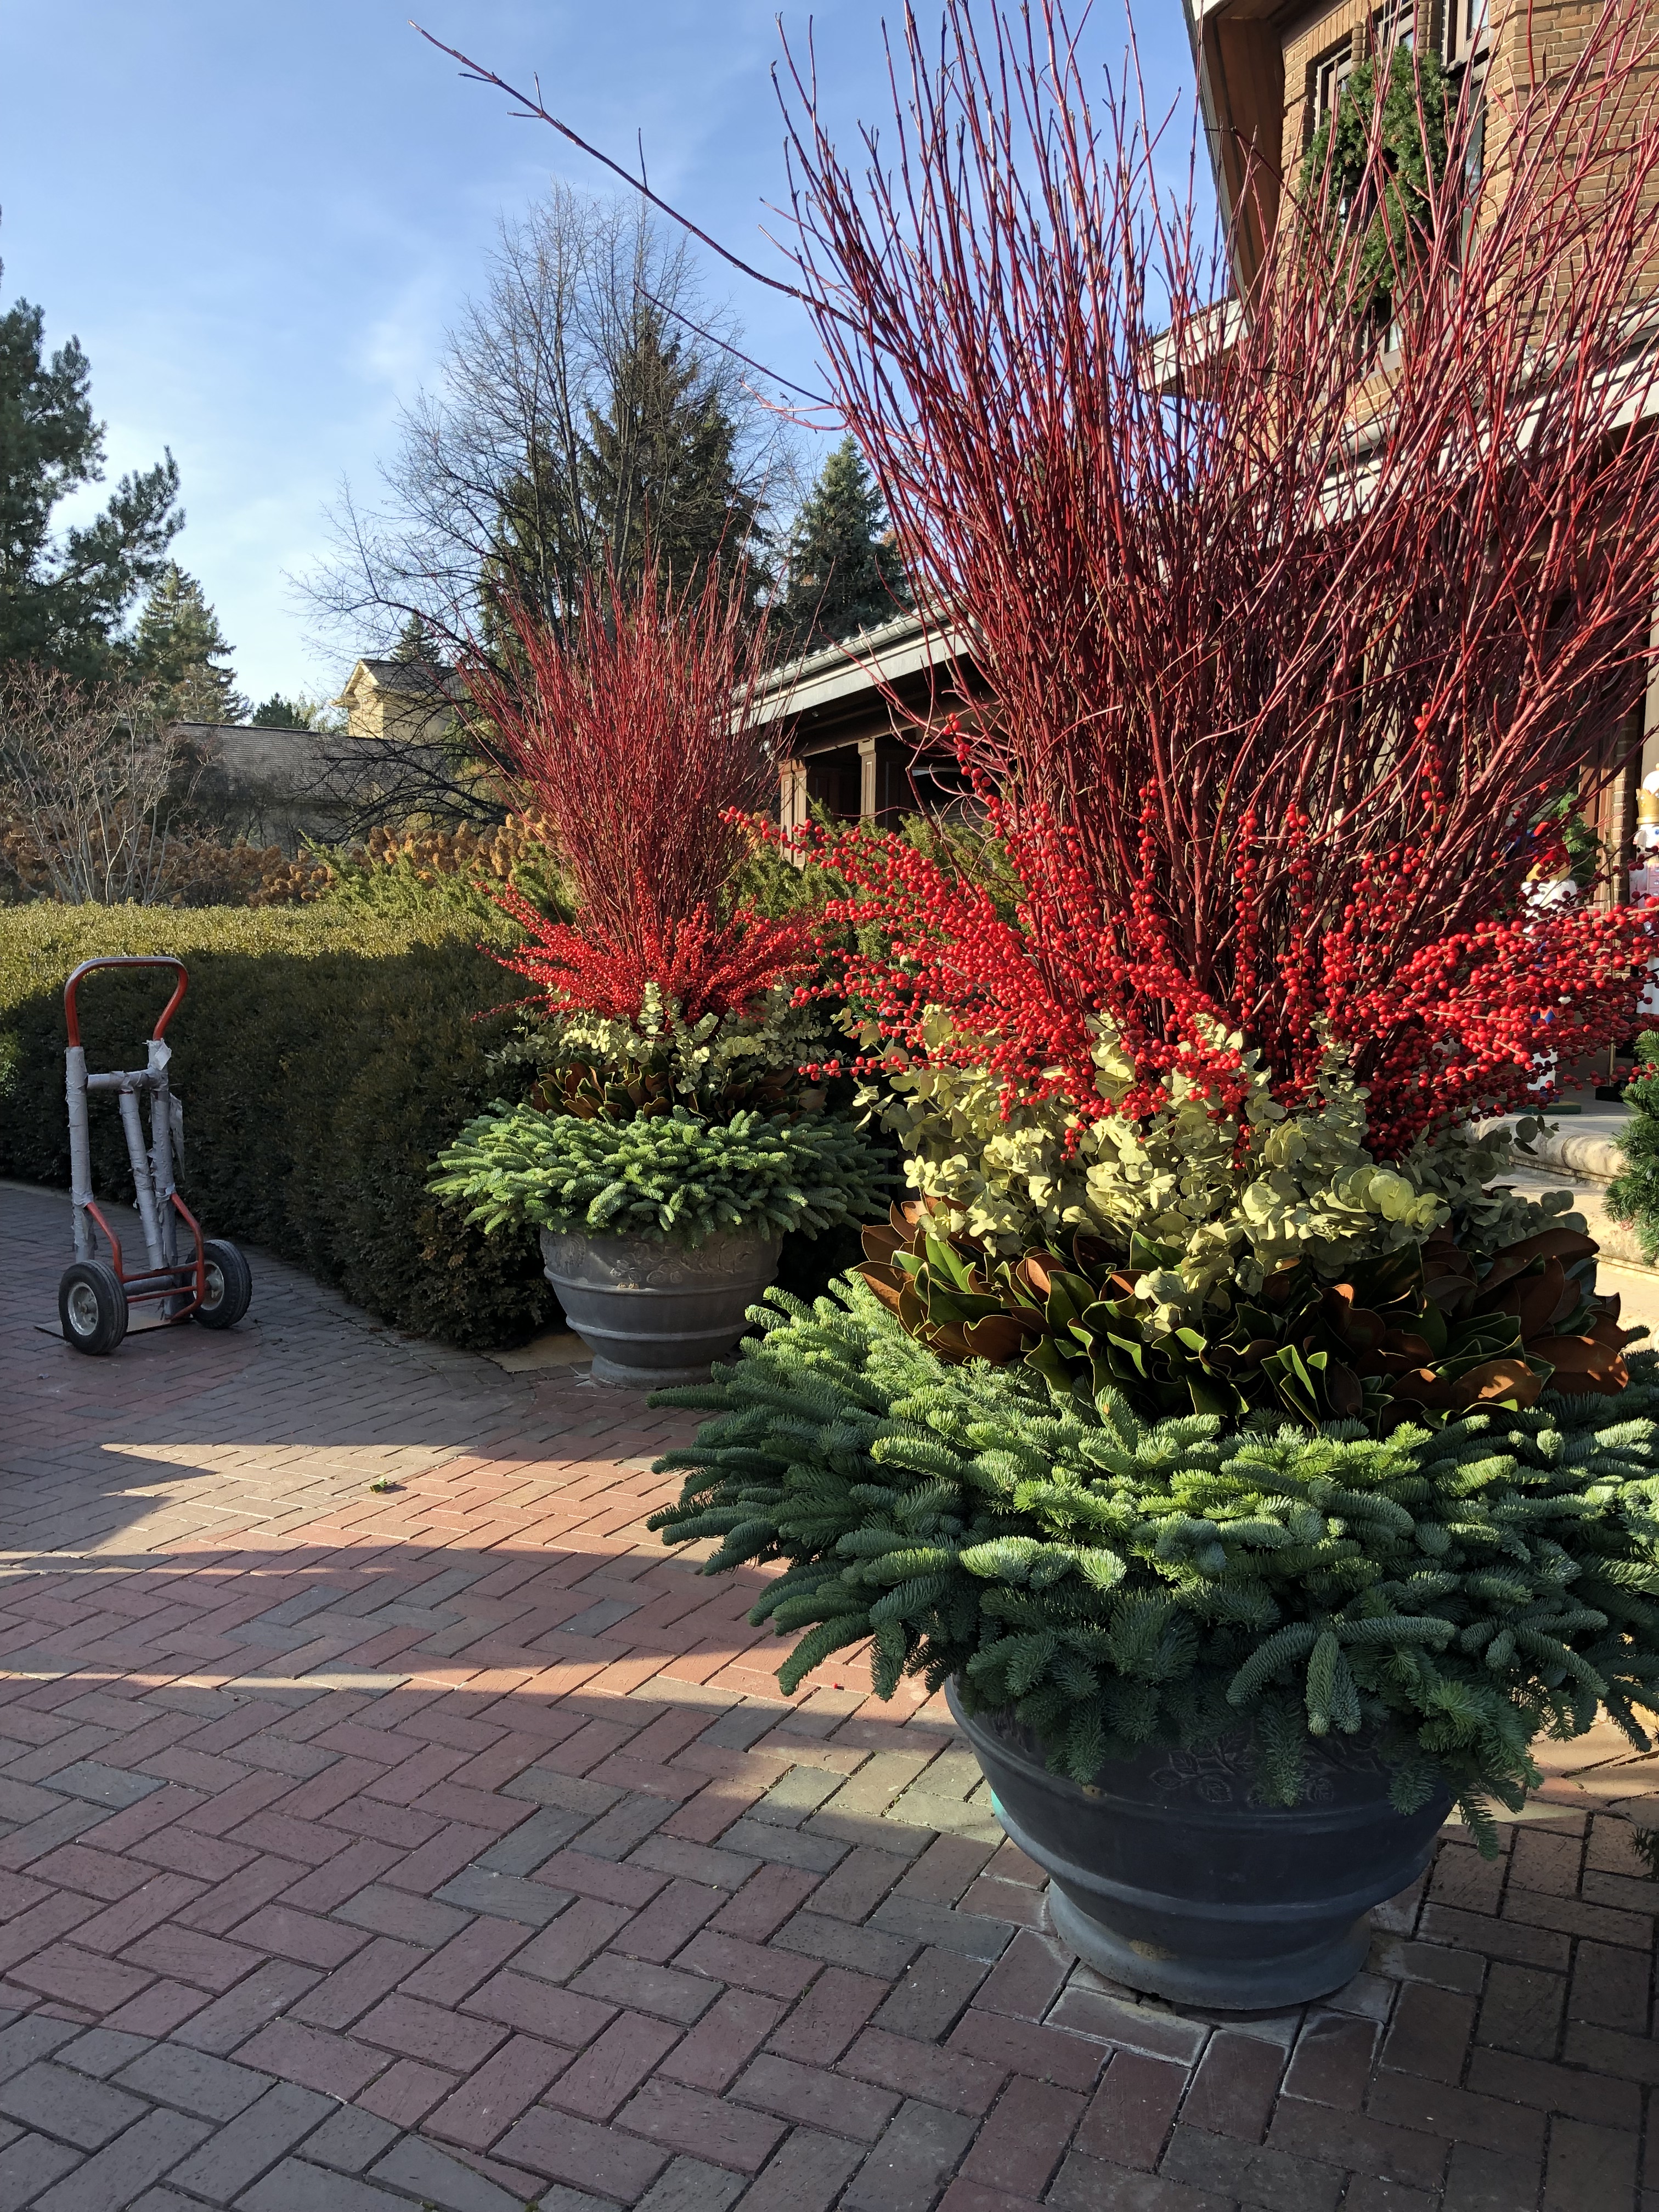
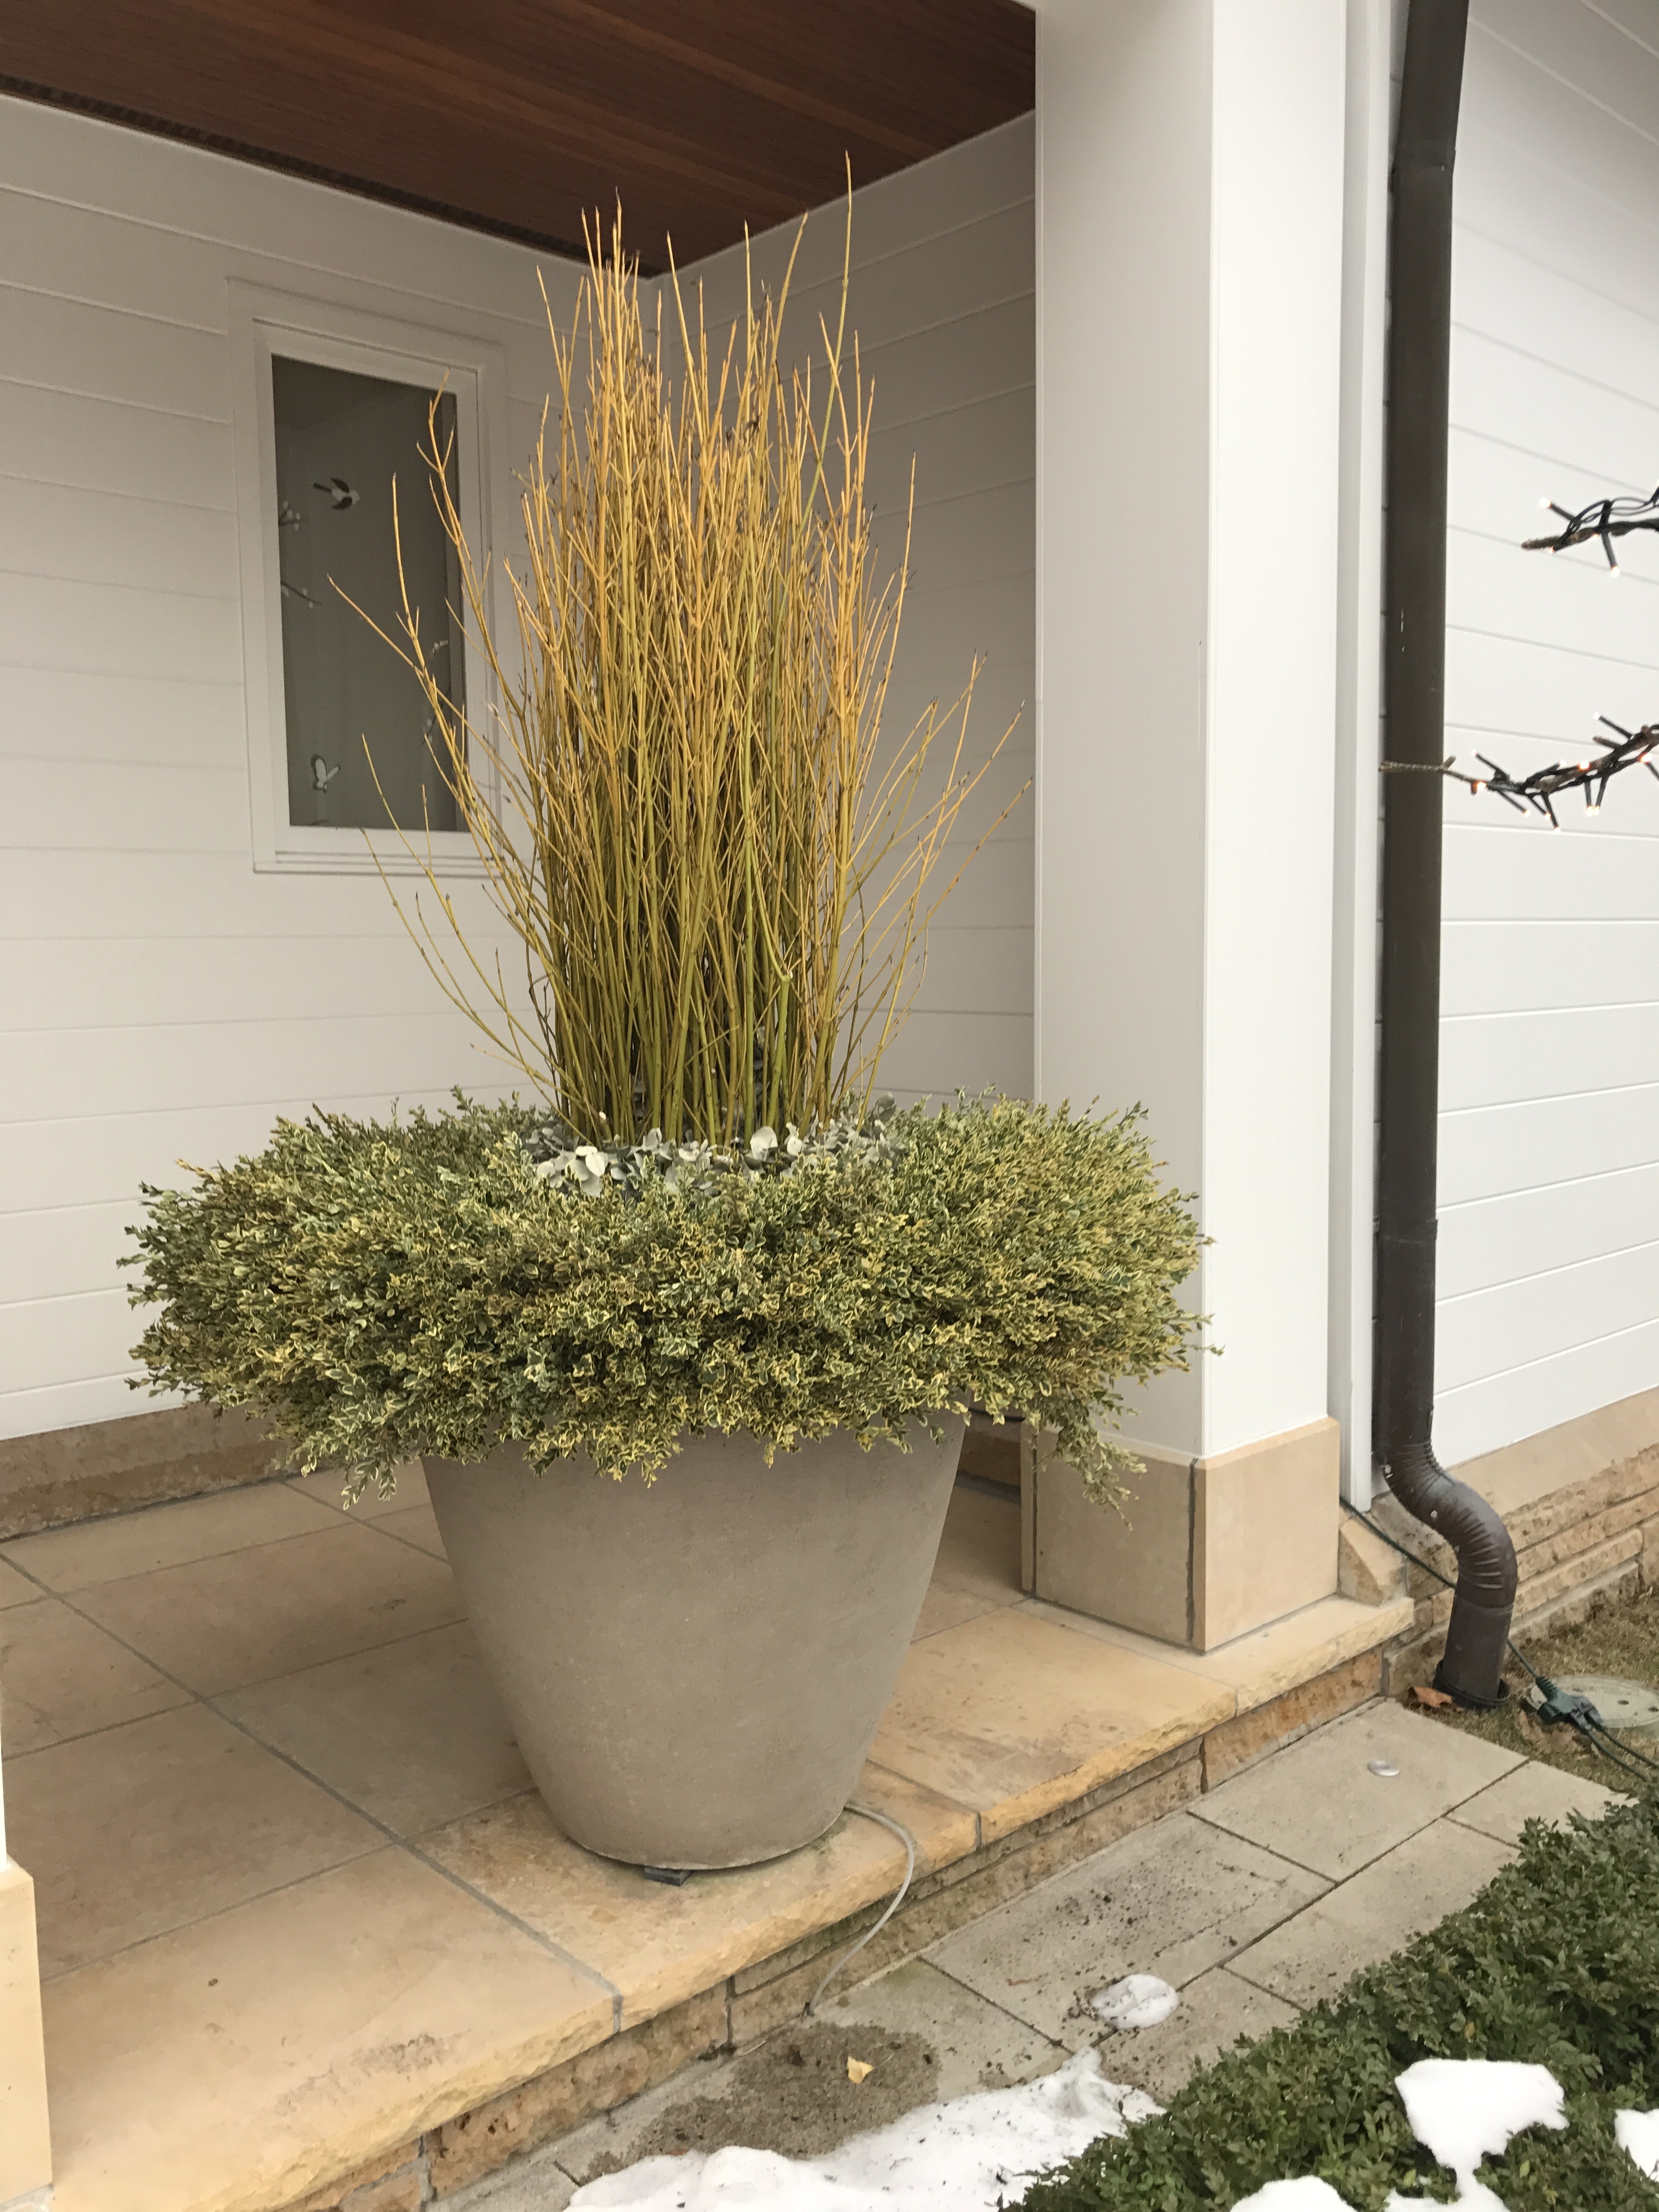
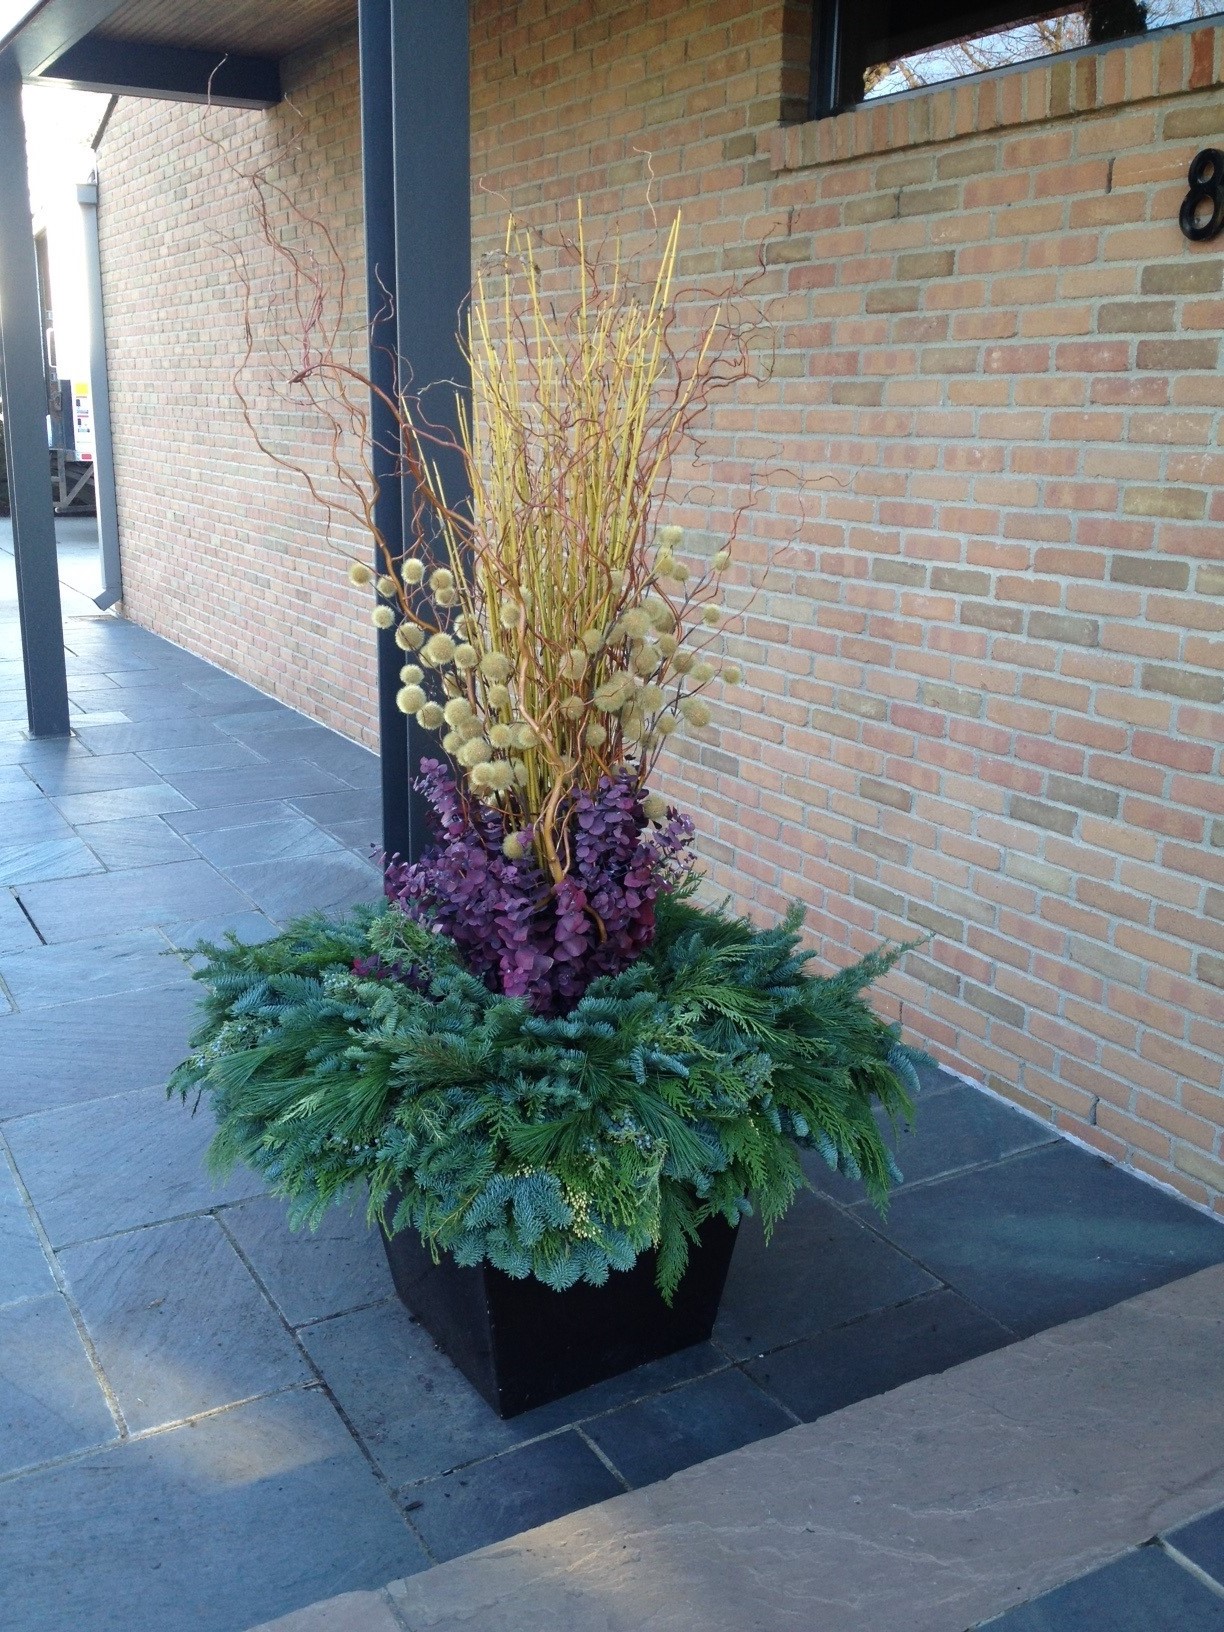
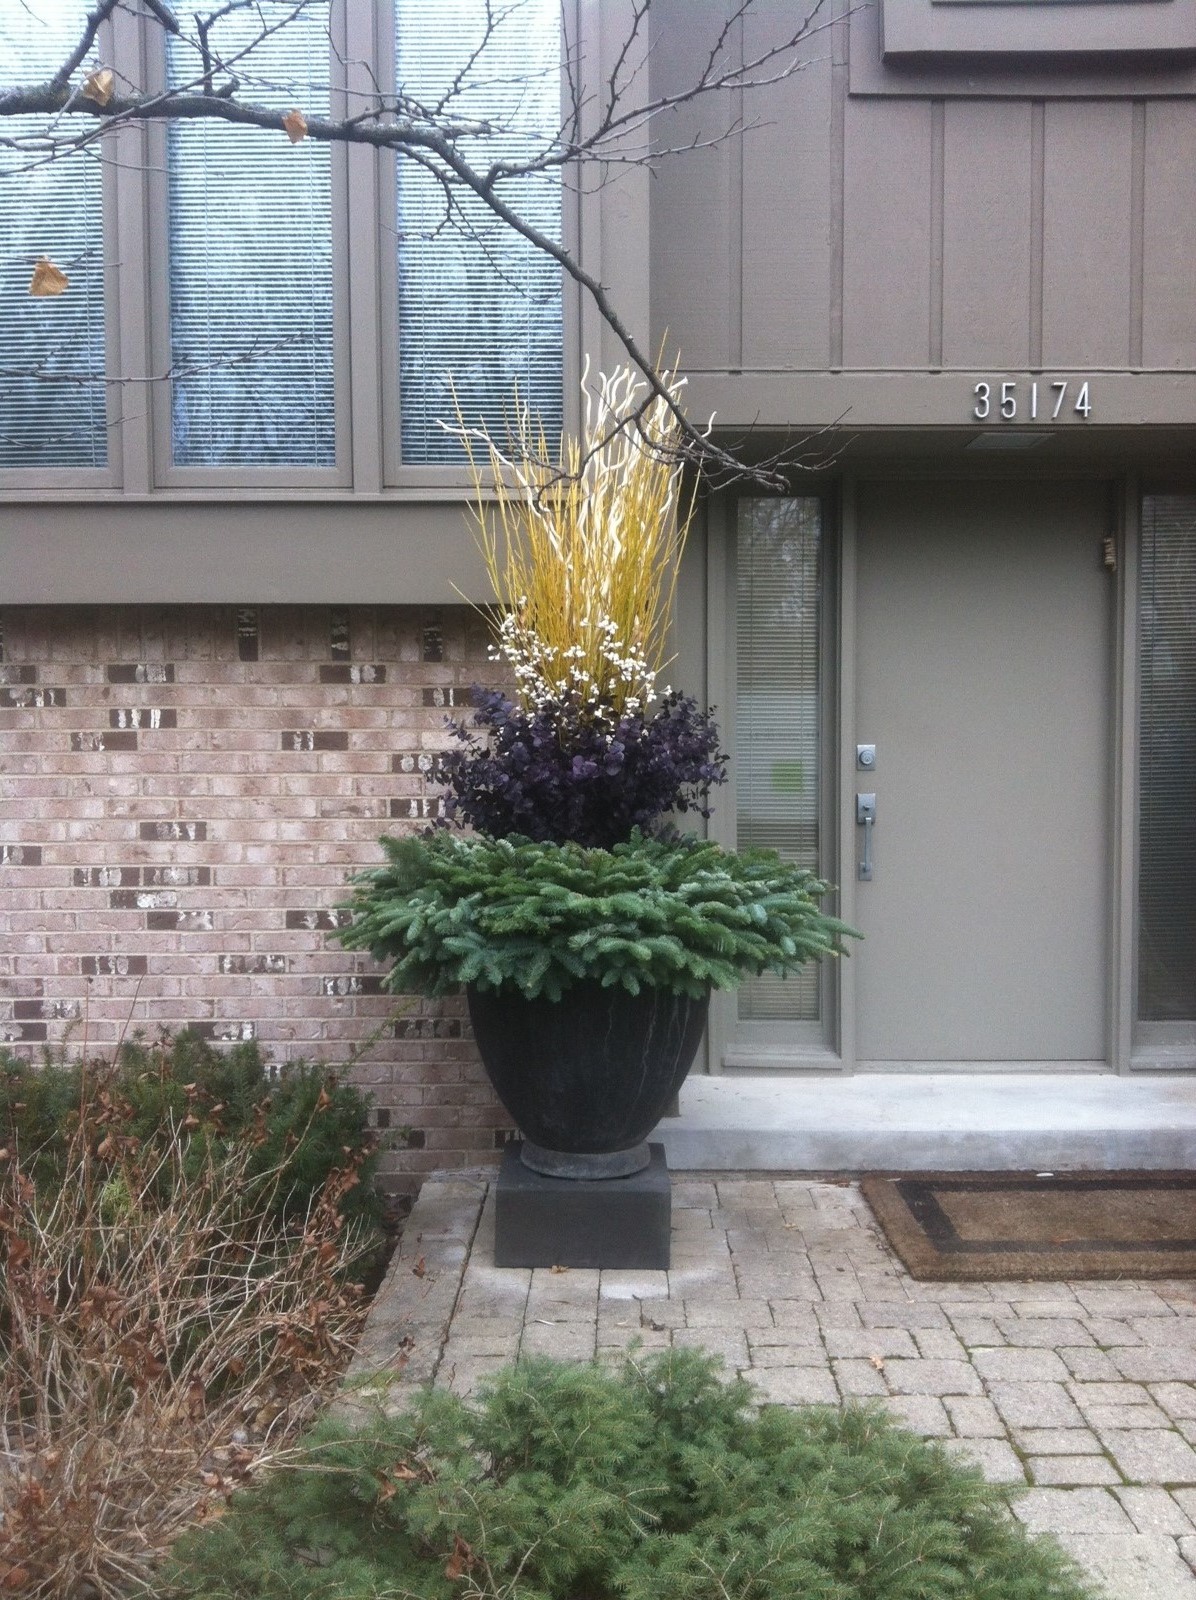
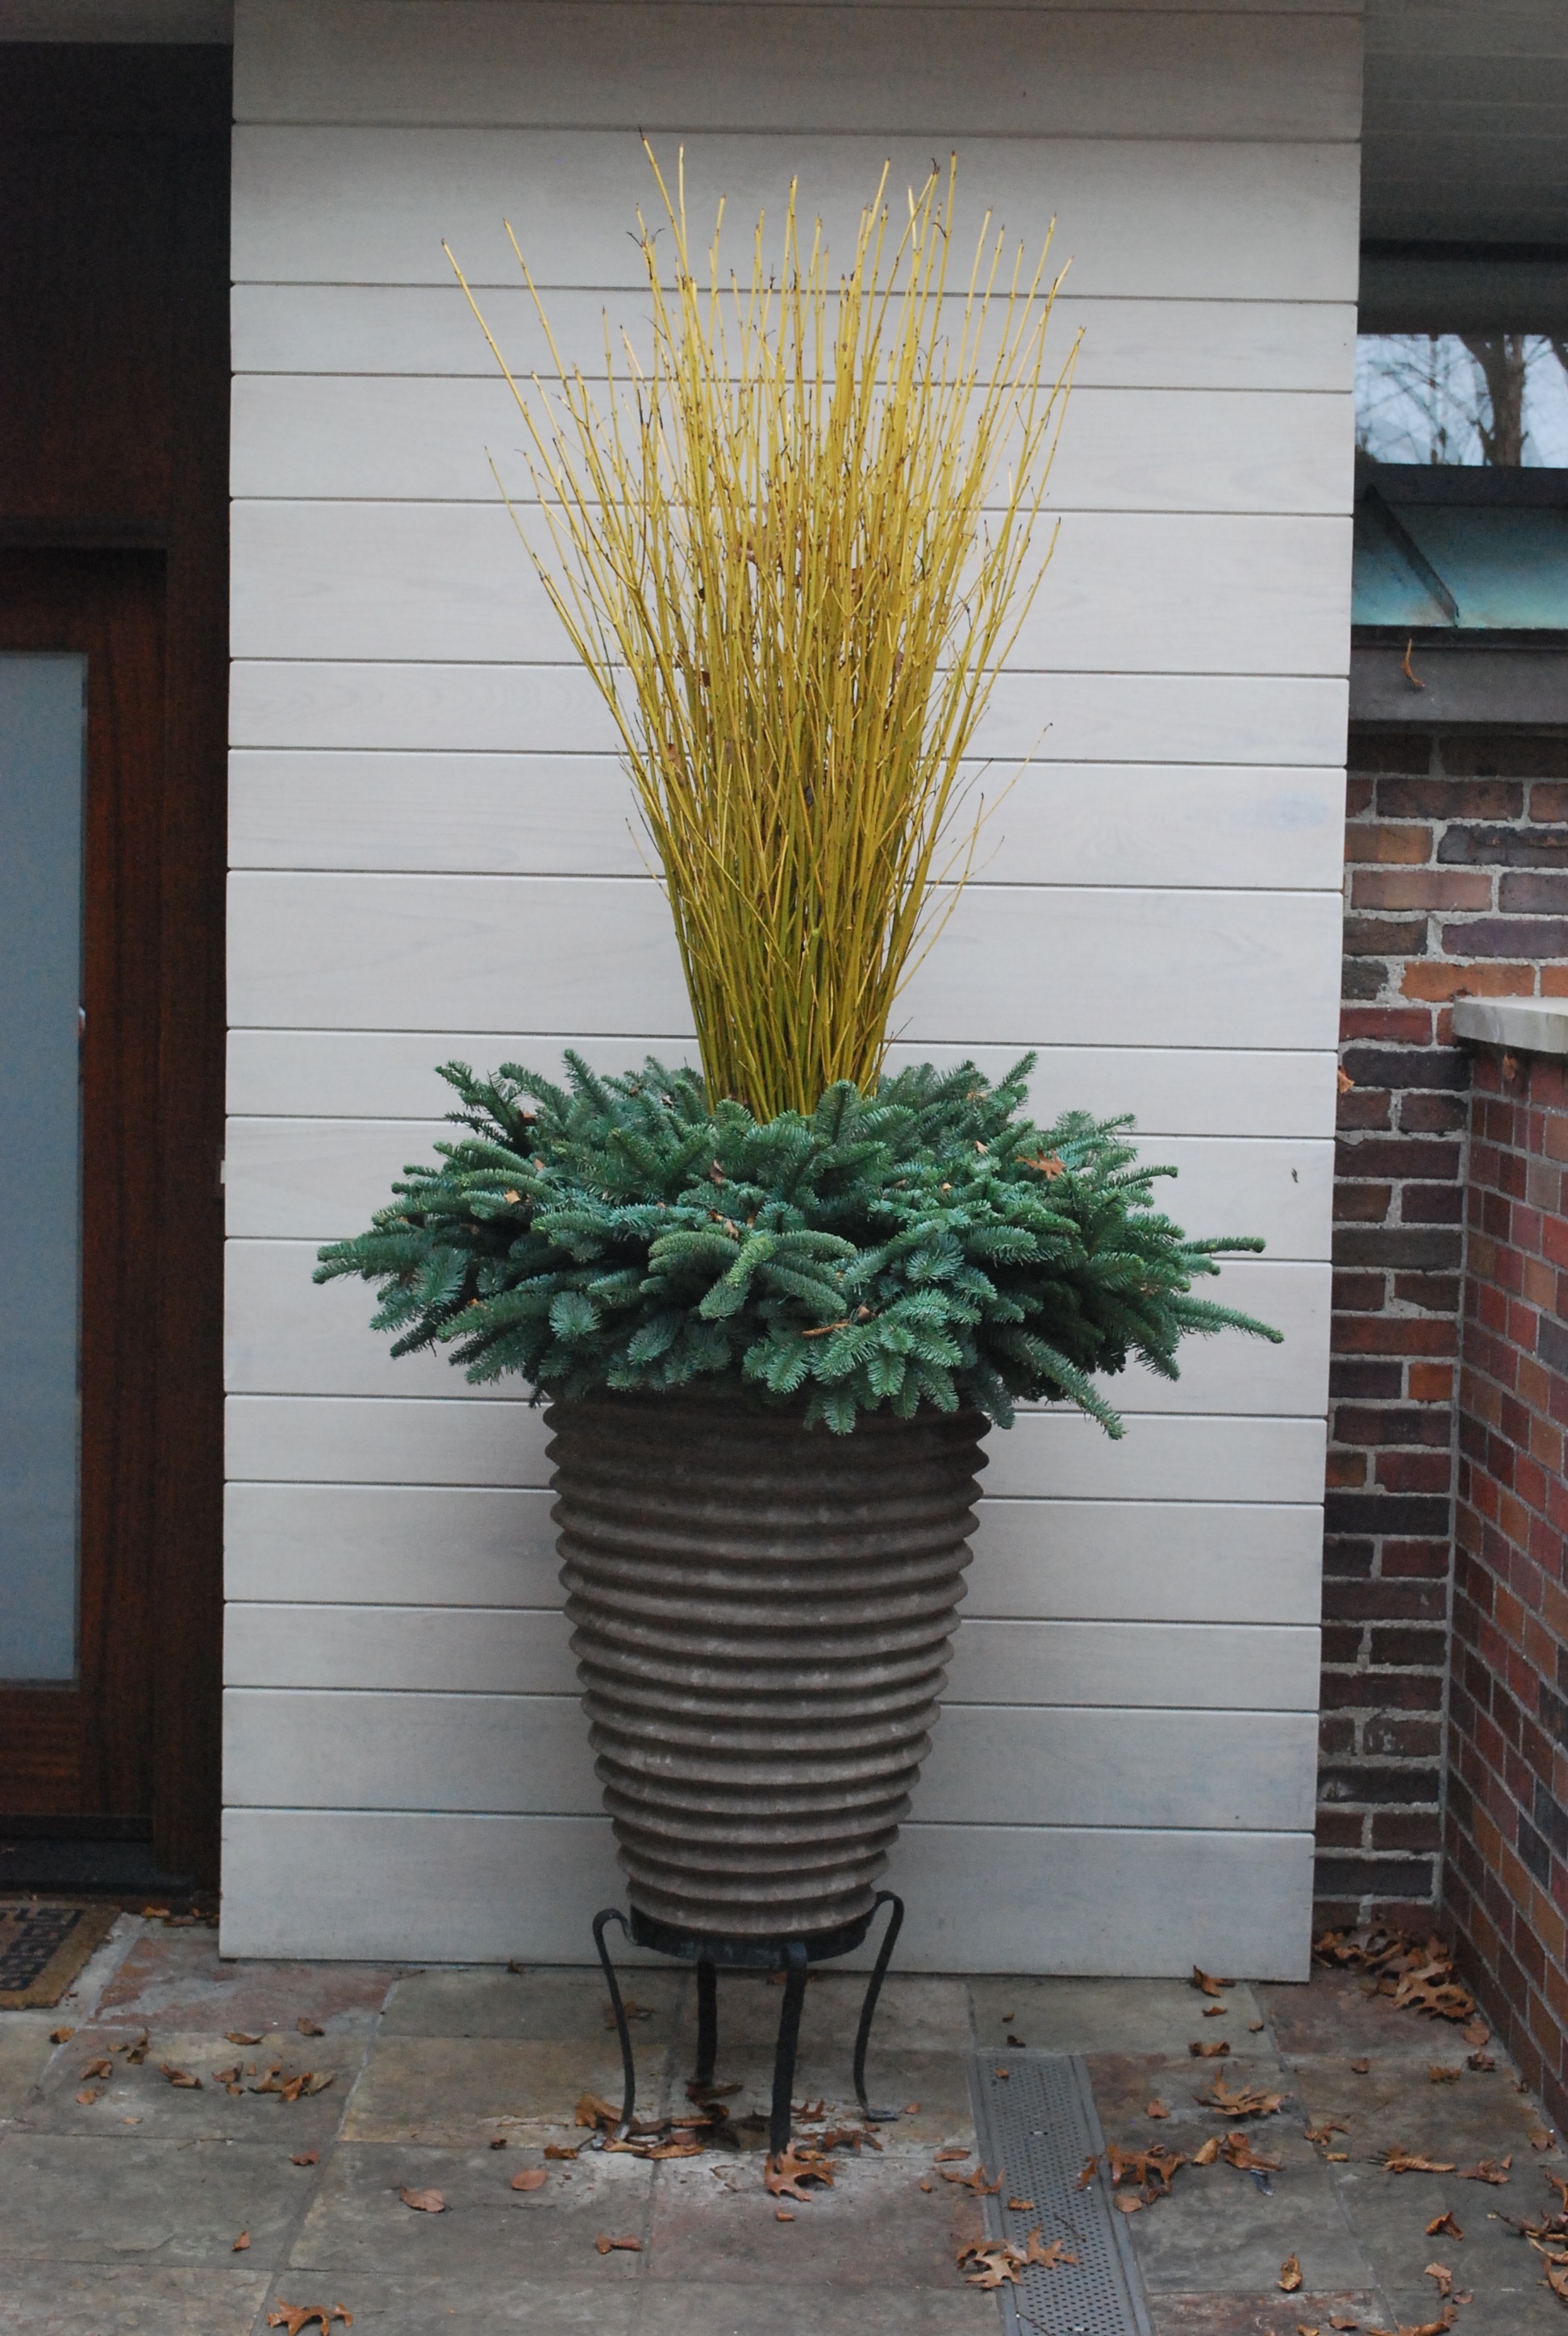
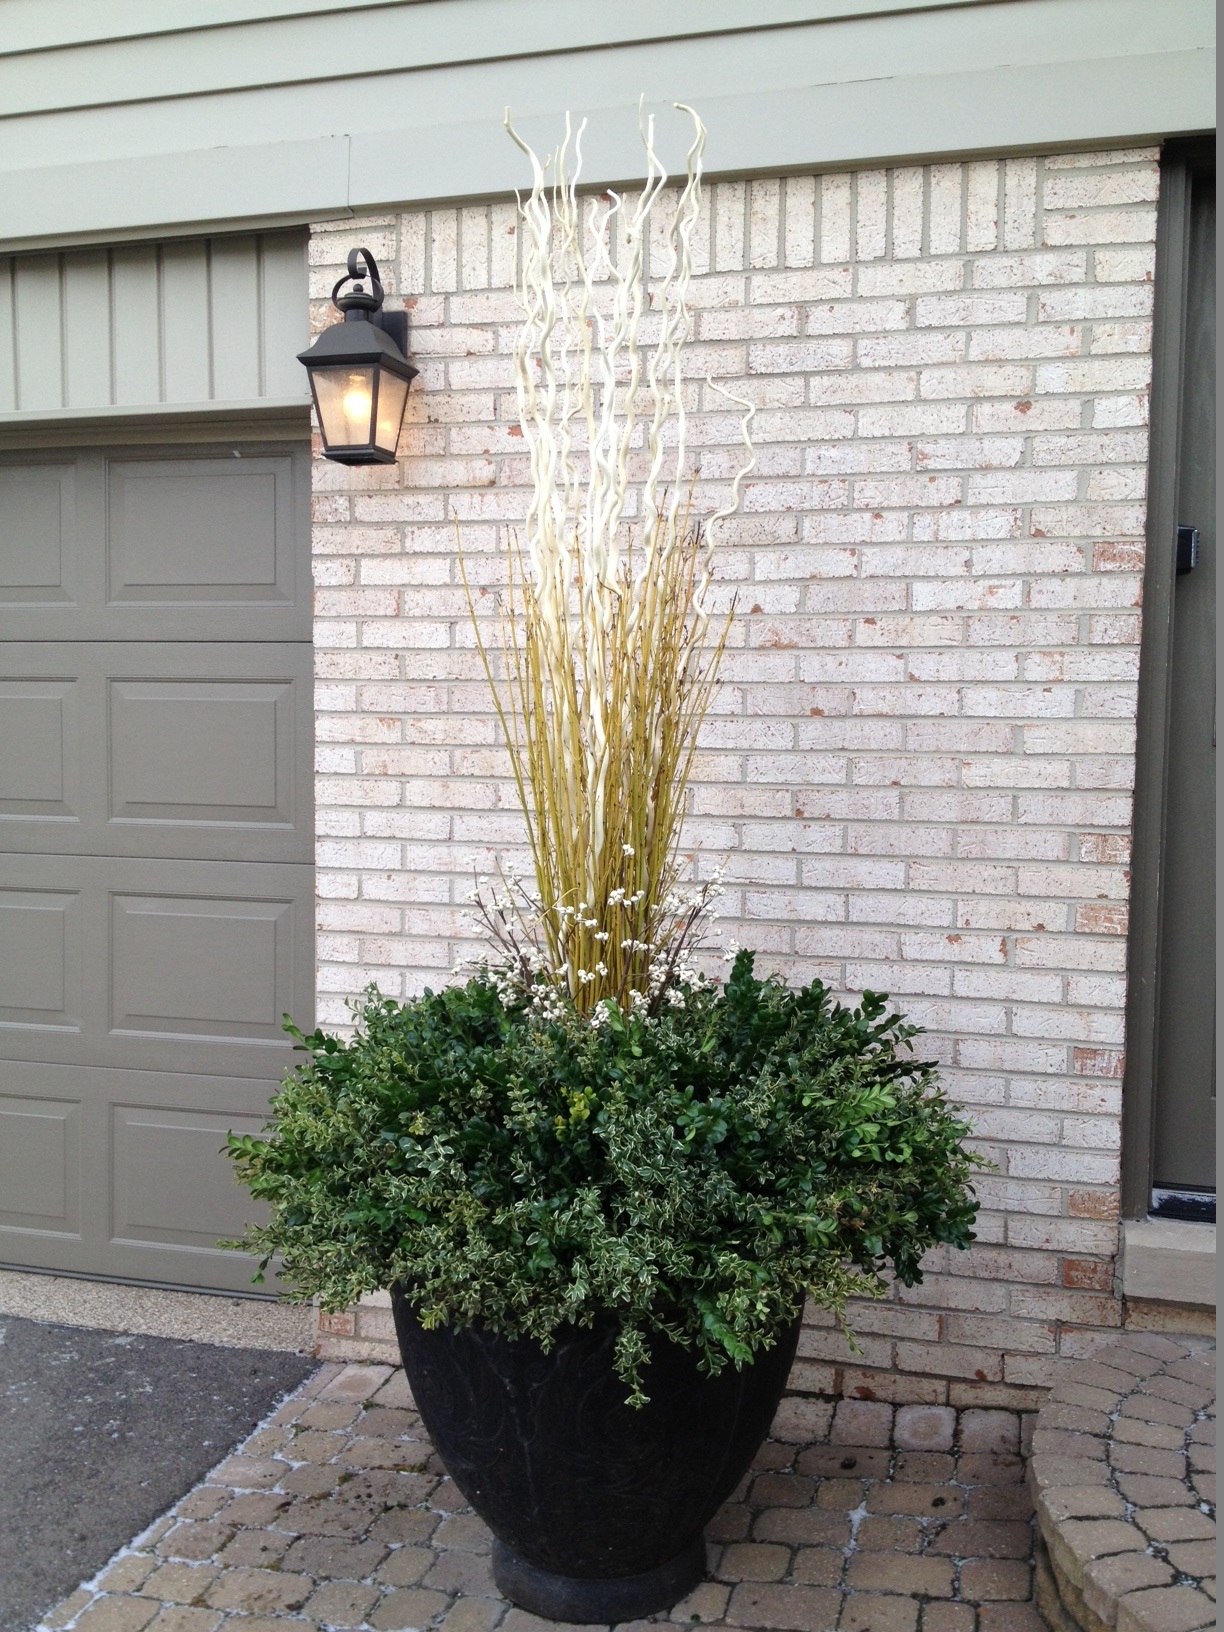
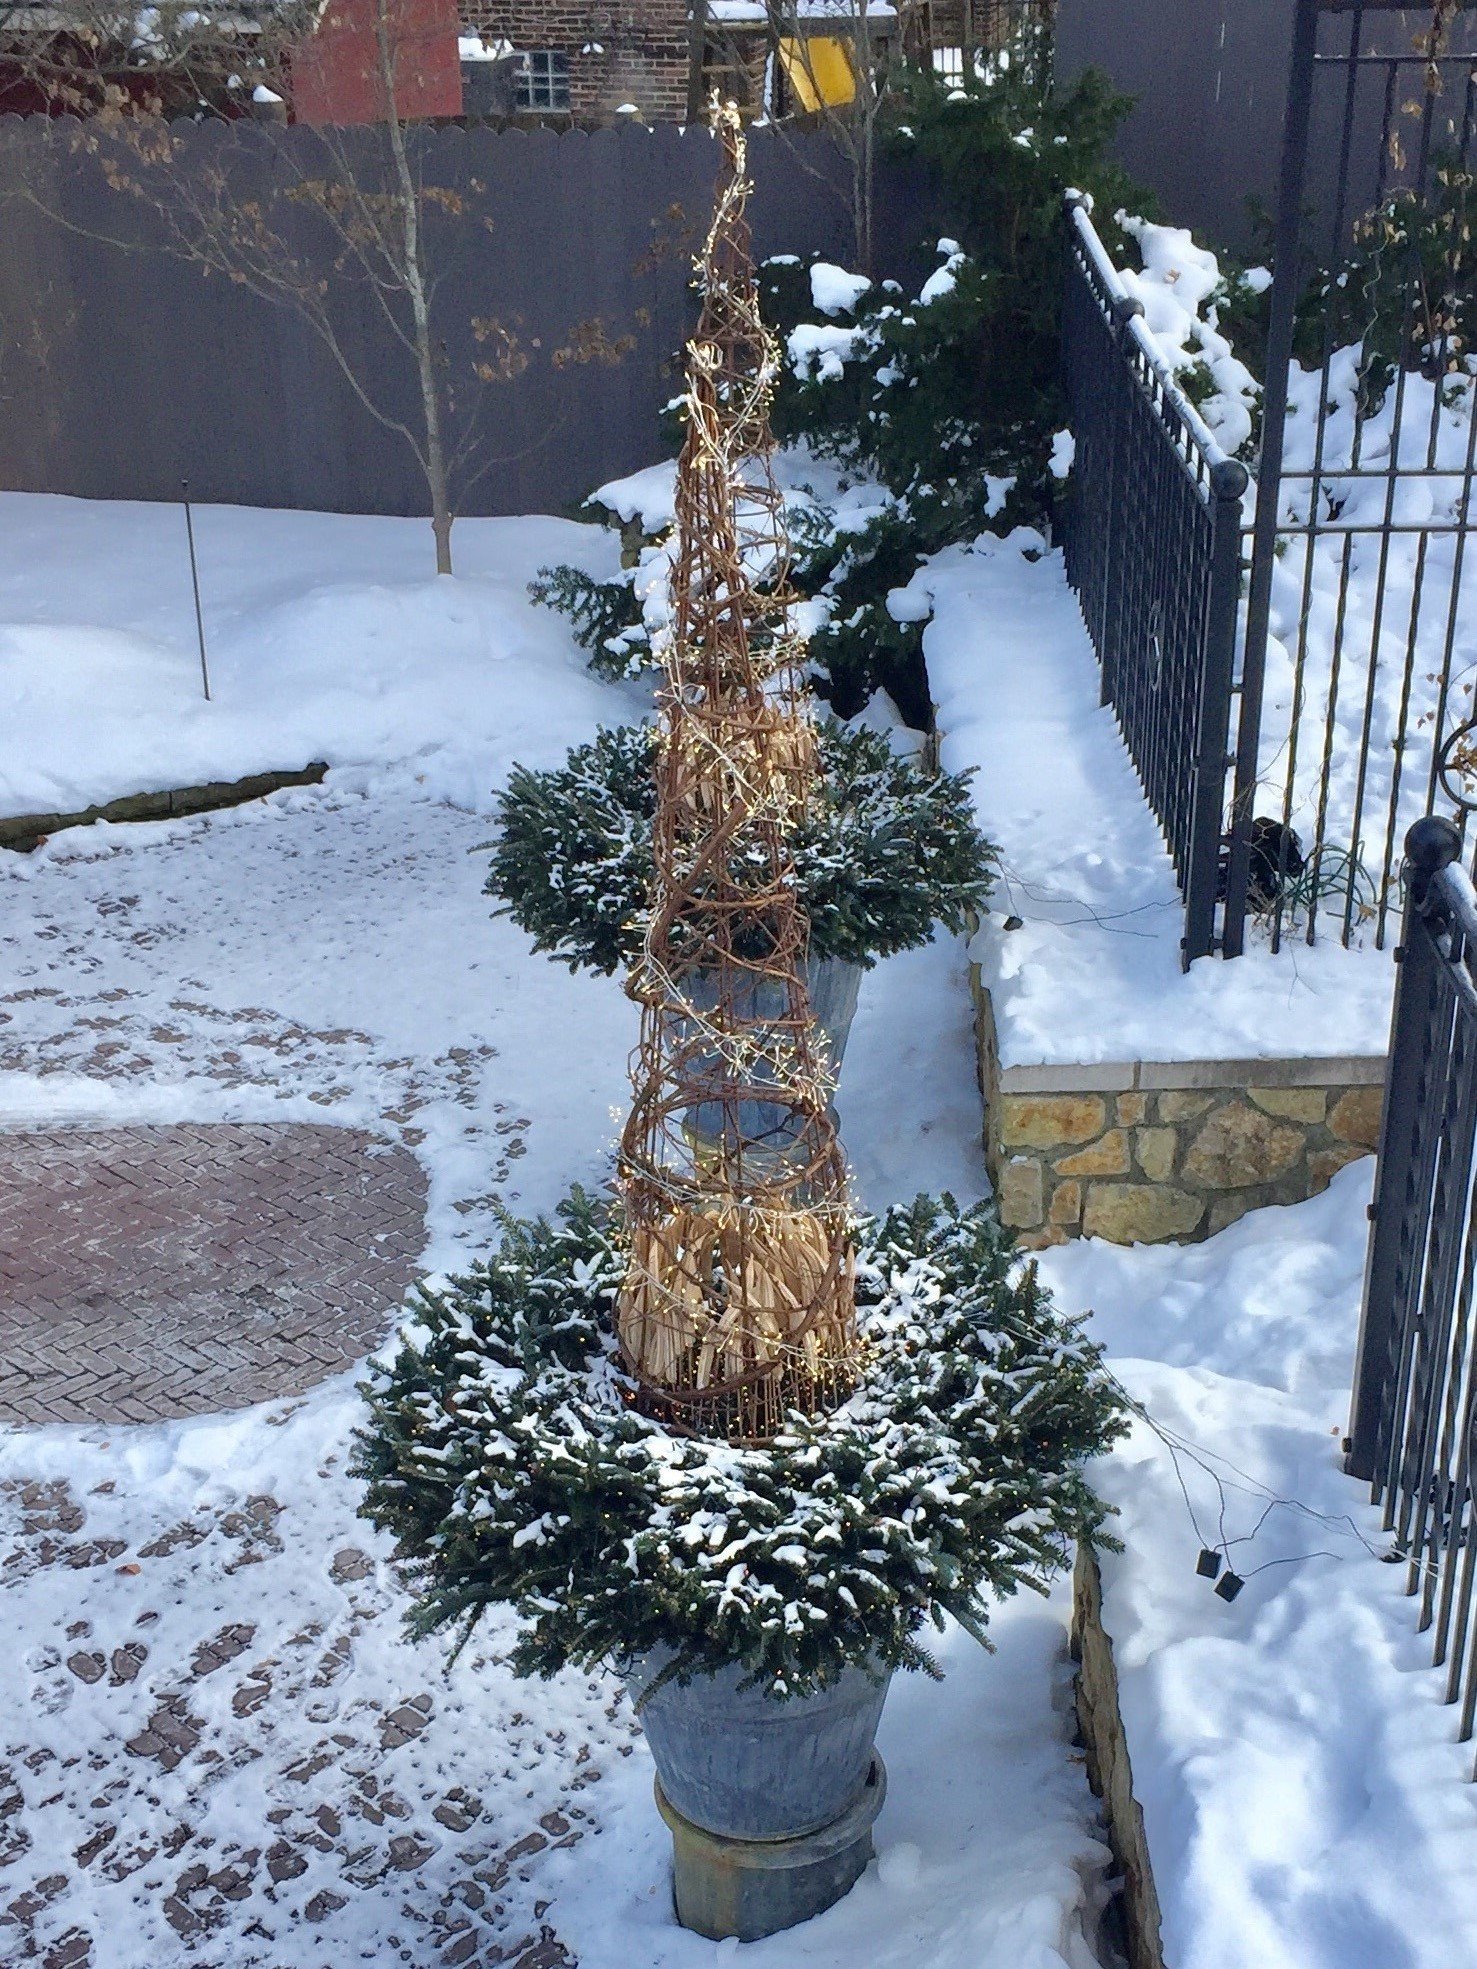
 A pair of simply wrought steel cone forms can provide a sturdy armature for no end of garden projects. That precise form is orderly and pleasing set in a garden where chaos usually reigns. Any lax growing perennial or annual vine would appreciate its stability and strong shoulders. Another summer version features planting at the base, and the form presiding over all as sculpture. Topiary forms in winter containers supply instant height and presence. One year, my 6′ tall steel cone form served as a Christmas tree. Would round with grapevine and lights, I added glass berry clusters and birds. How I loved bringing the garden indoors for the holidays. Last year, this pair of mine, wound with its grapevine intact, and lights, were the focal point of the winter pots on my driveway. They made a big statement from the deck above. What to do with them this year that is different and interesting? So much of the work we do begins with an idea. What comes next is a plan for construction.
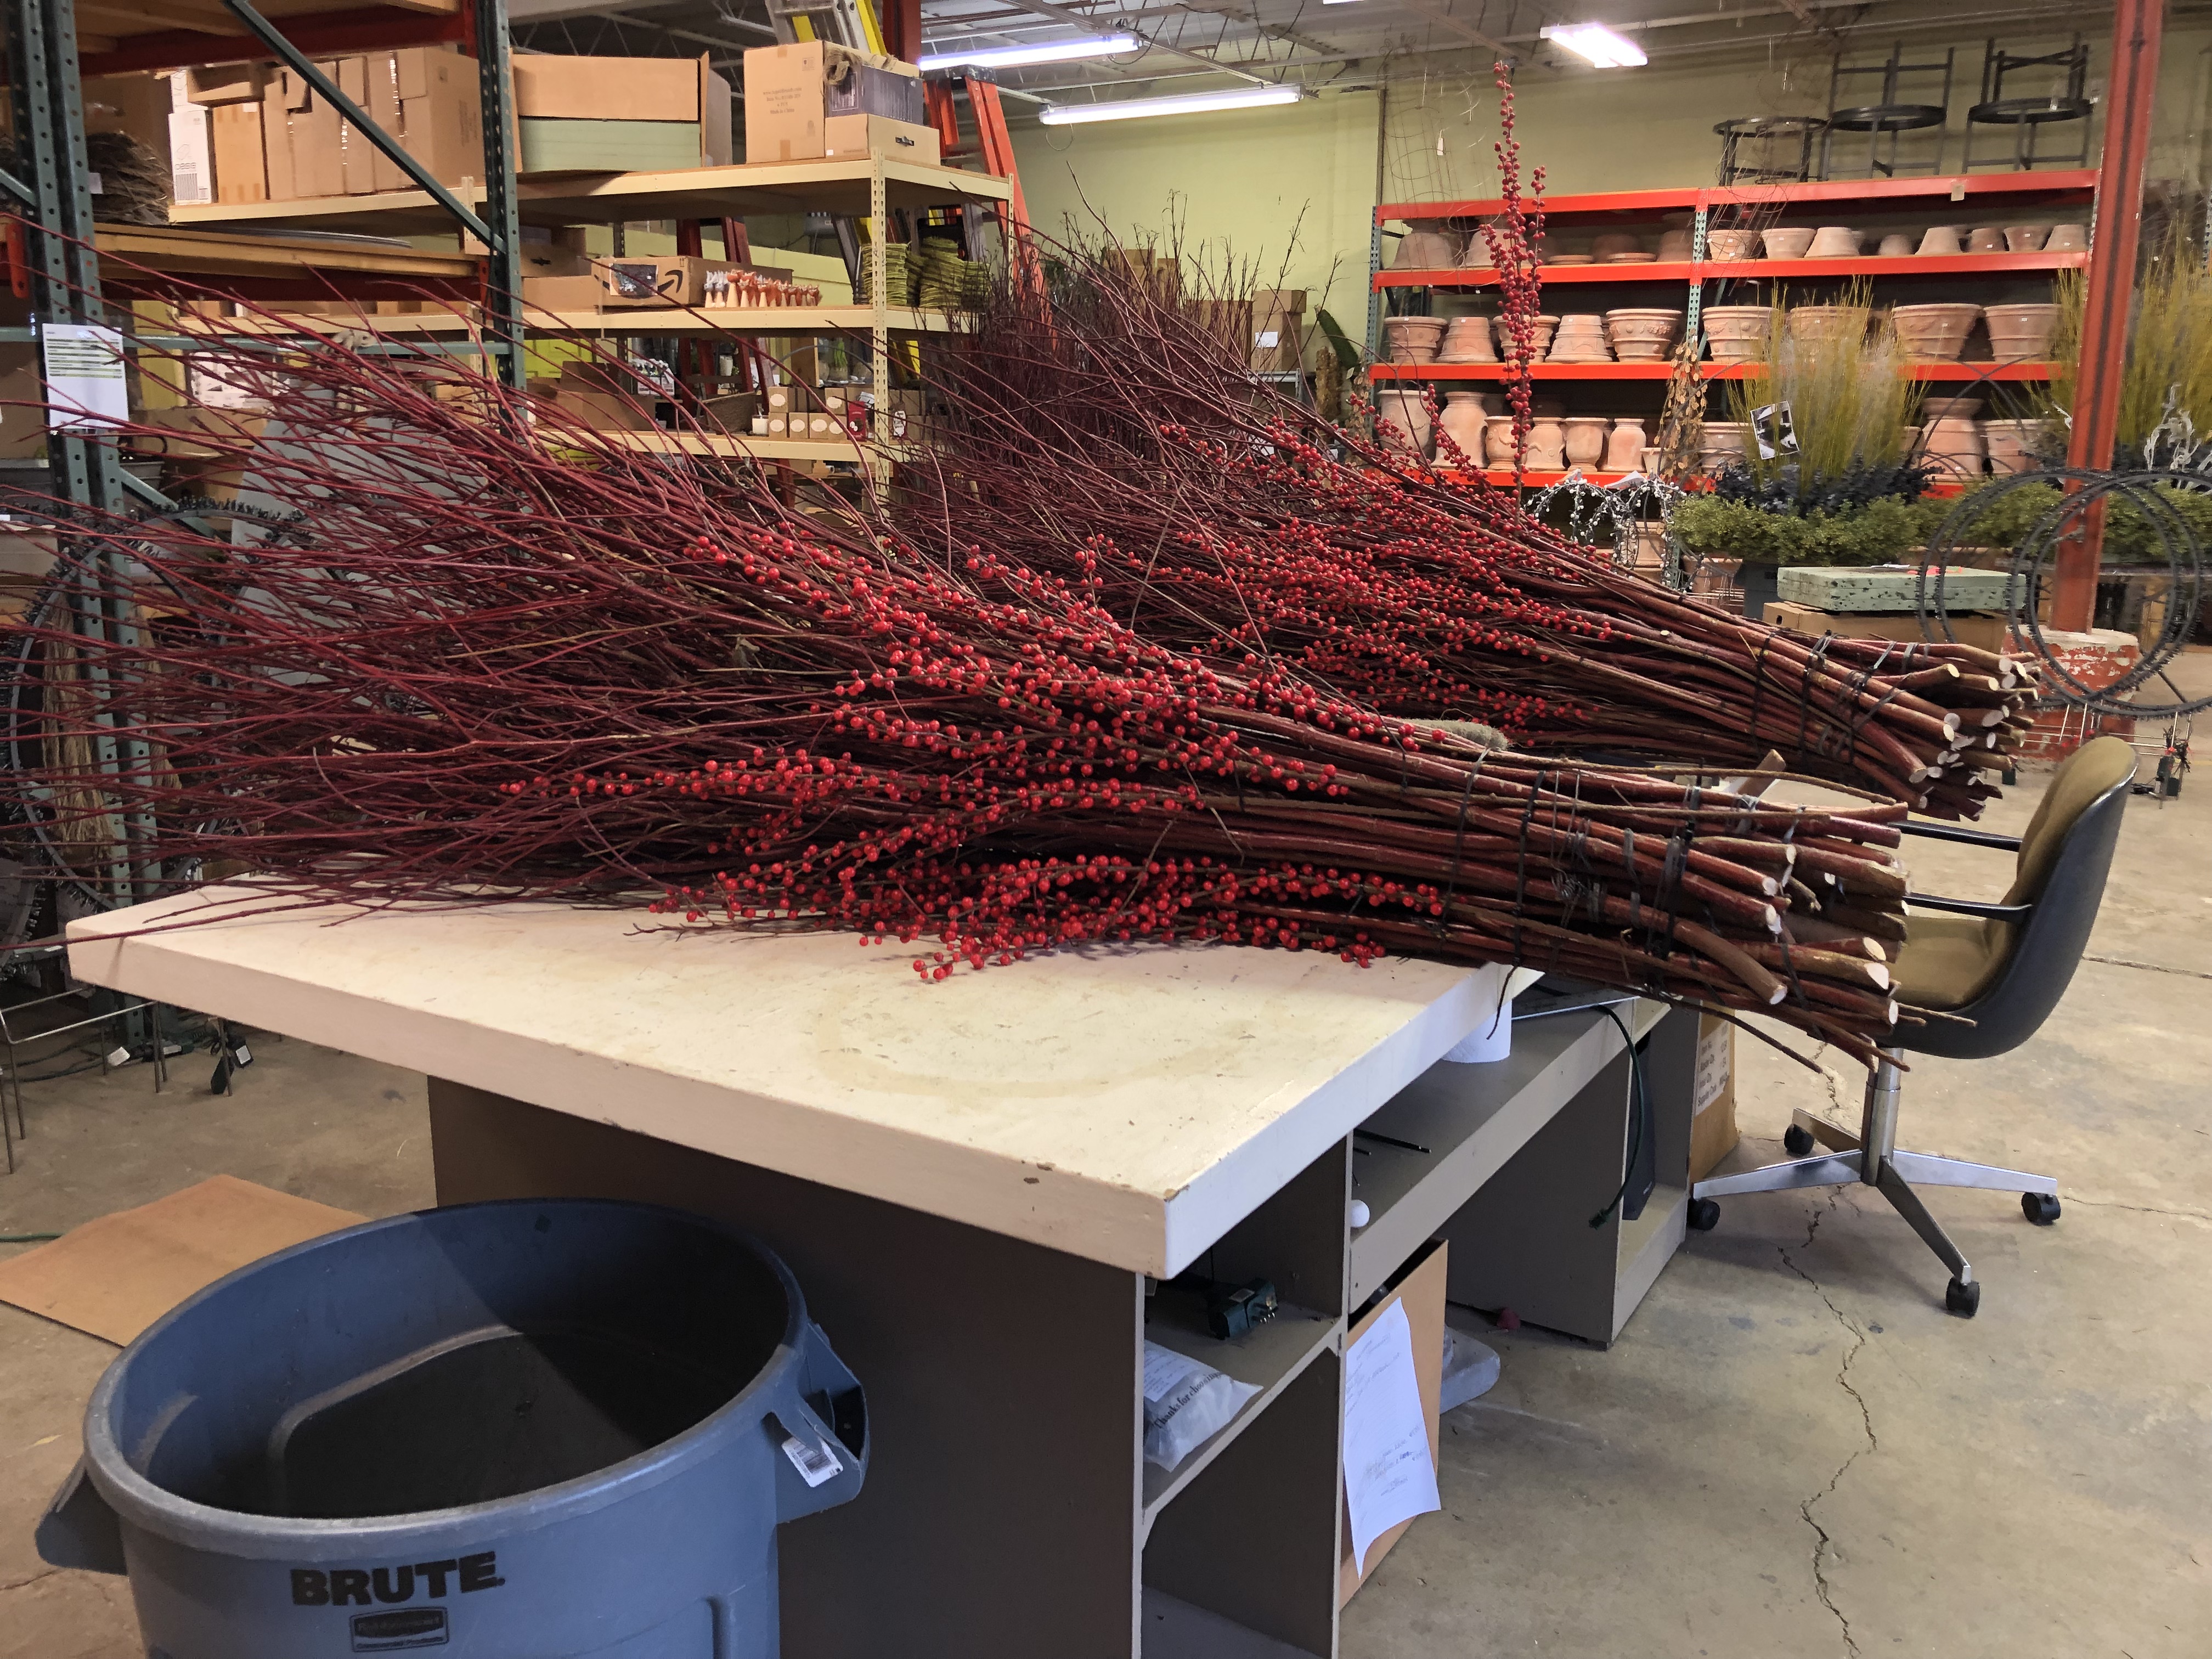
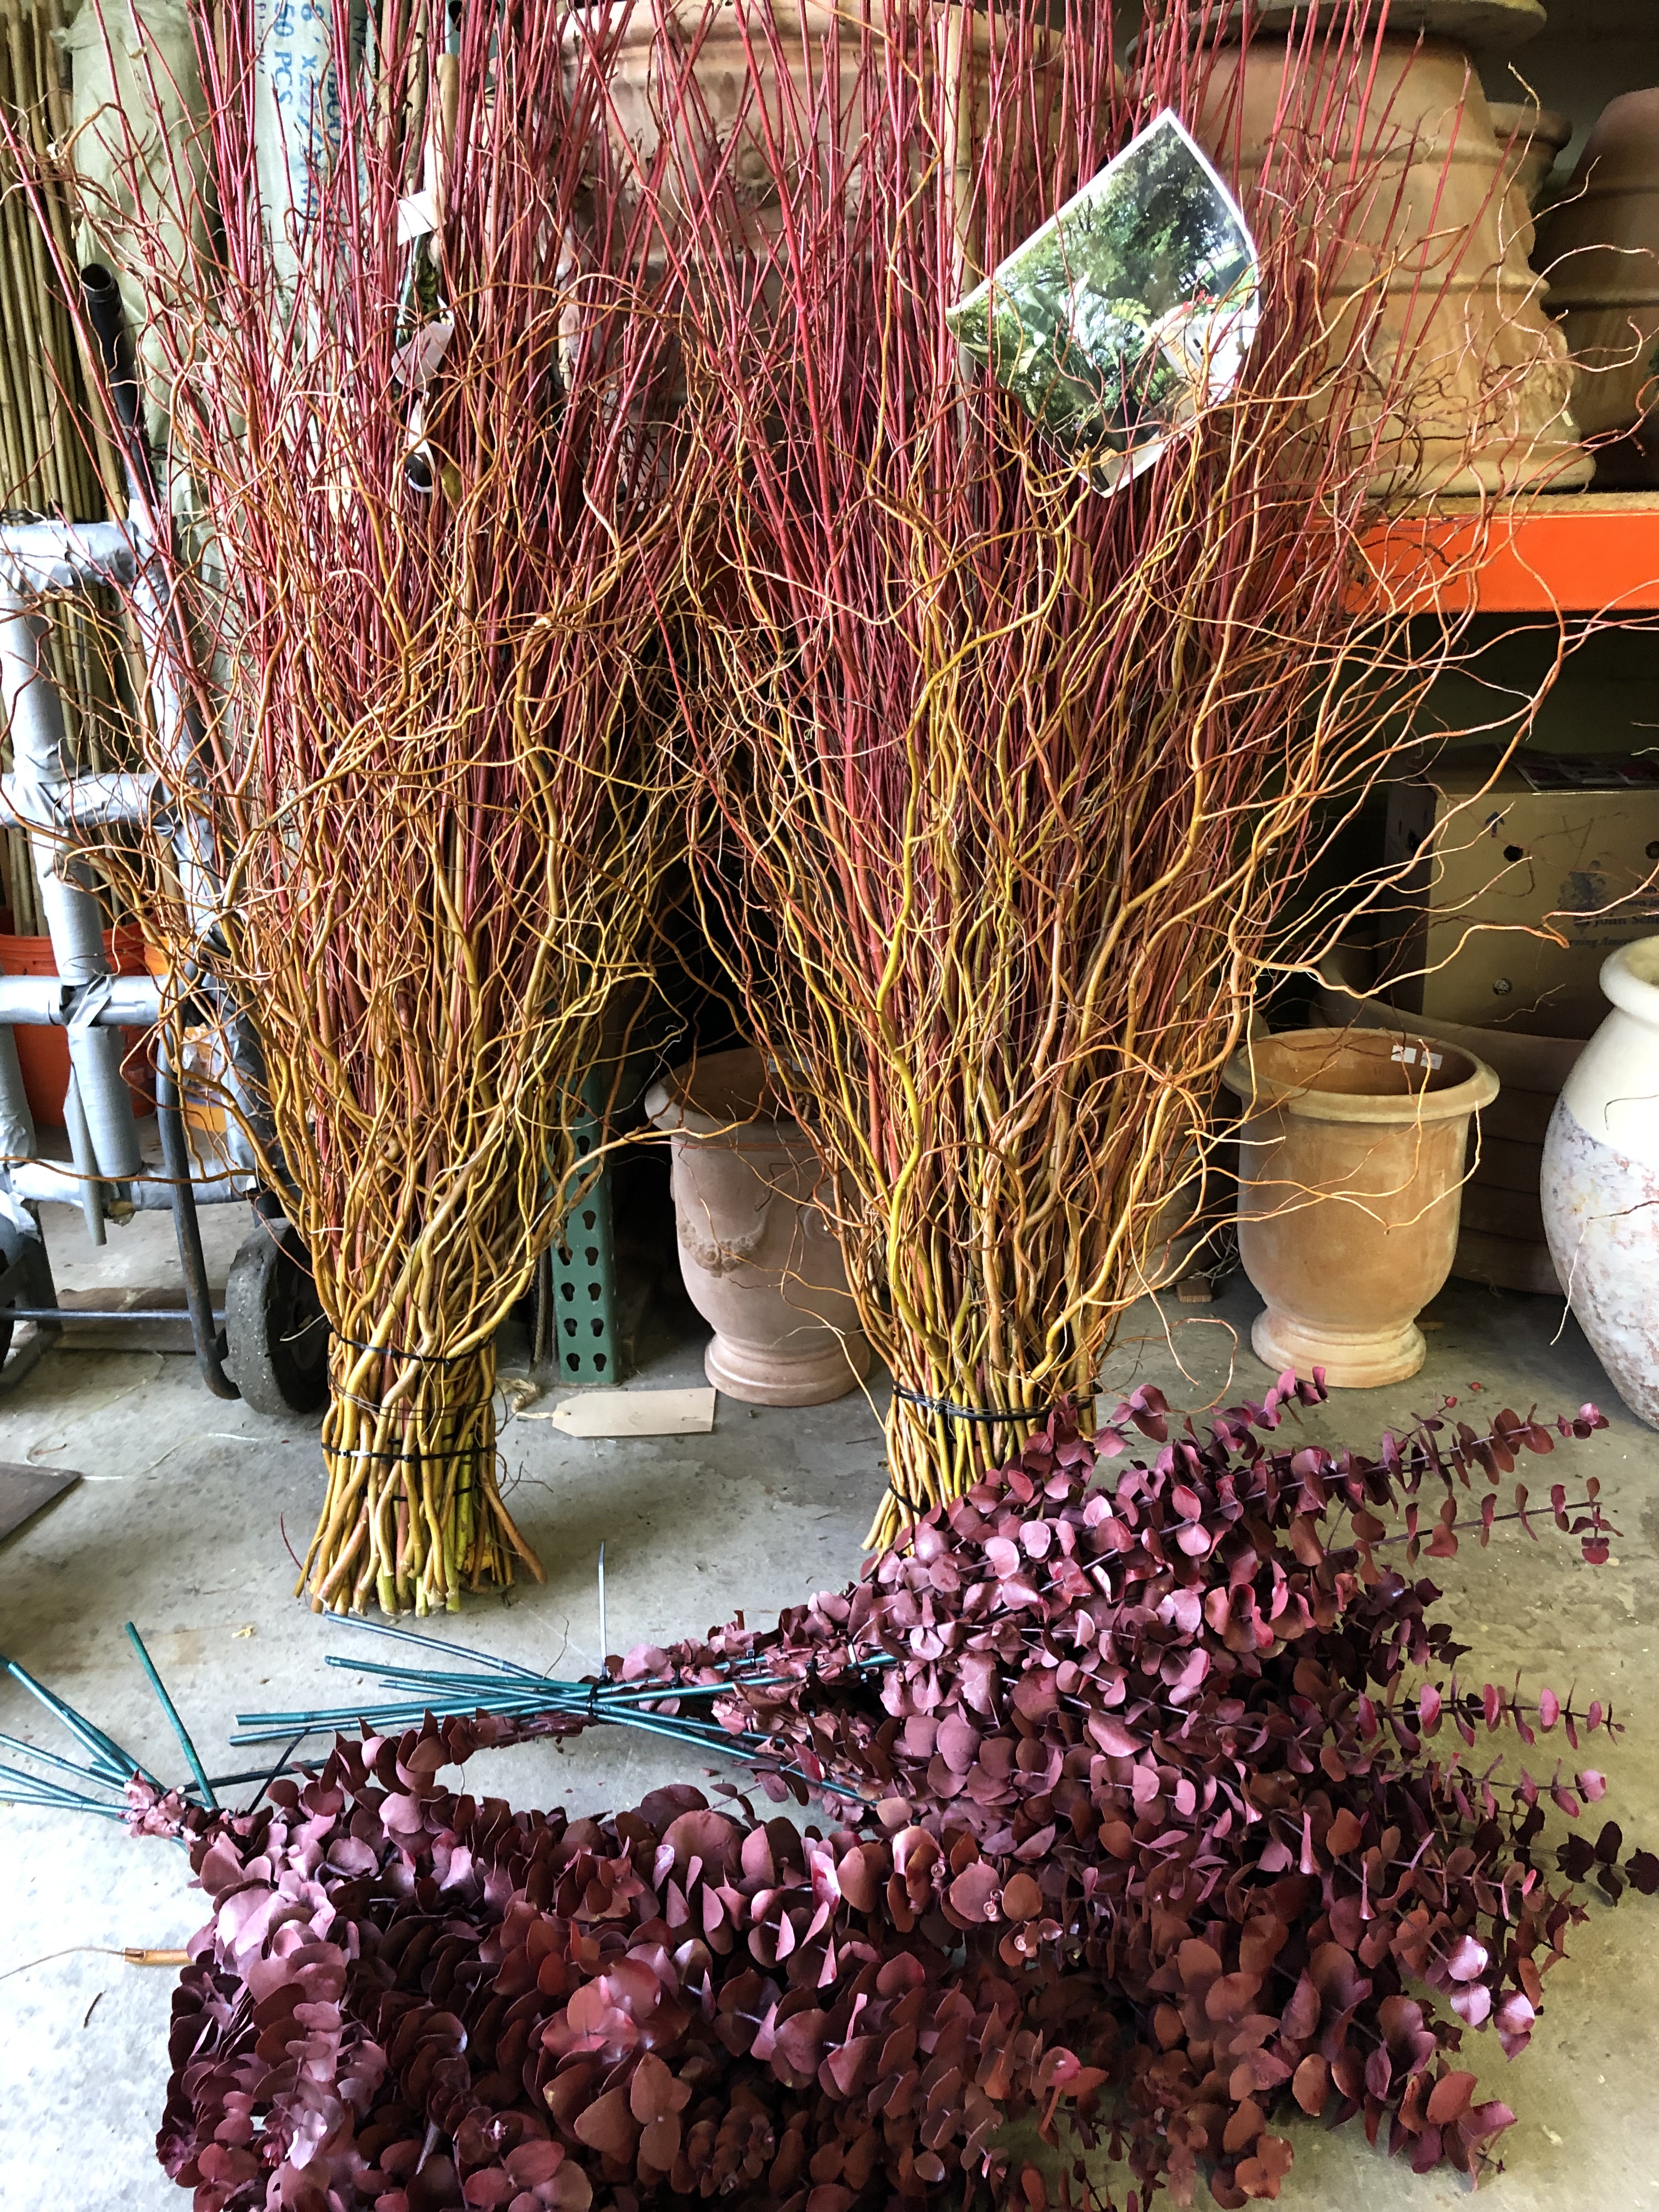
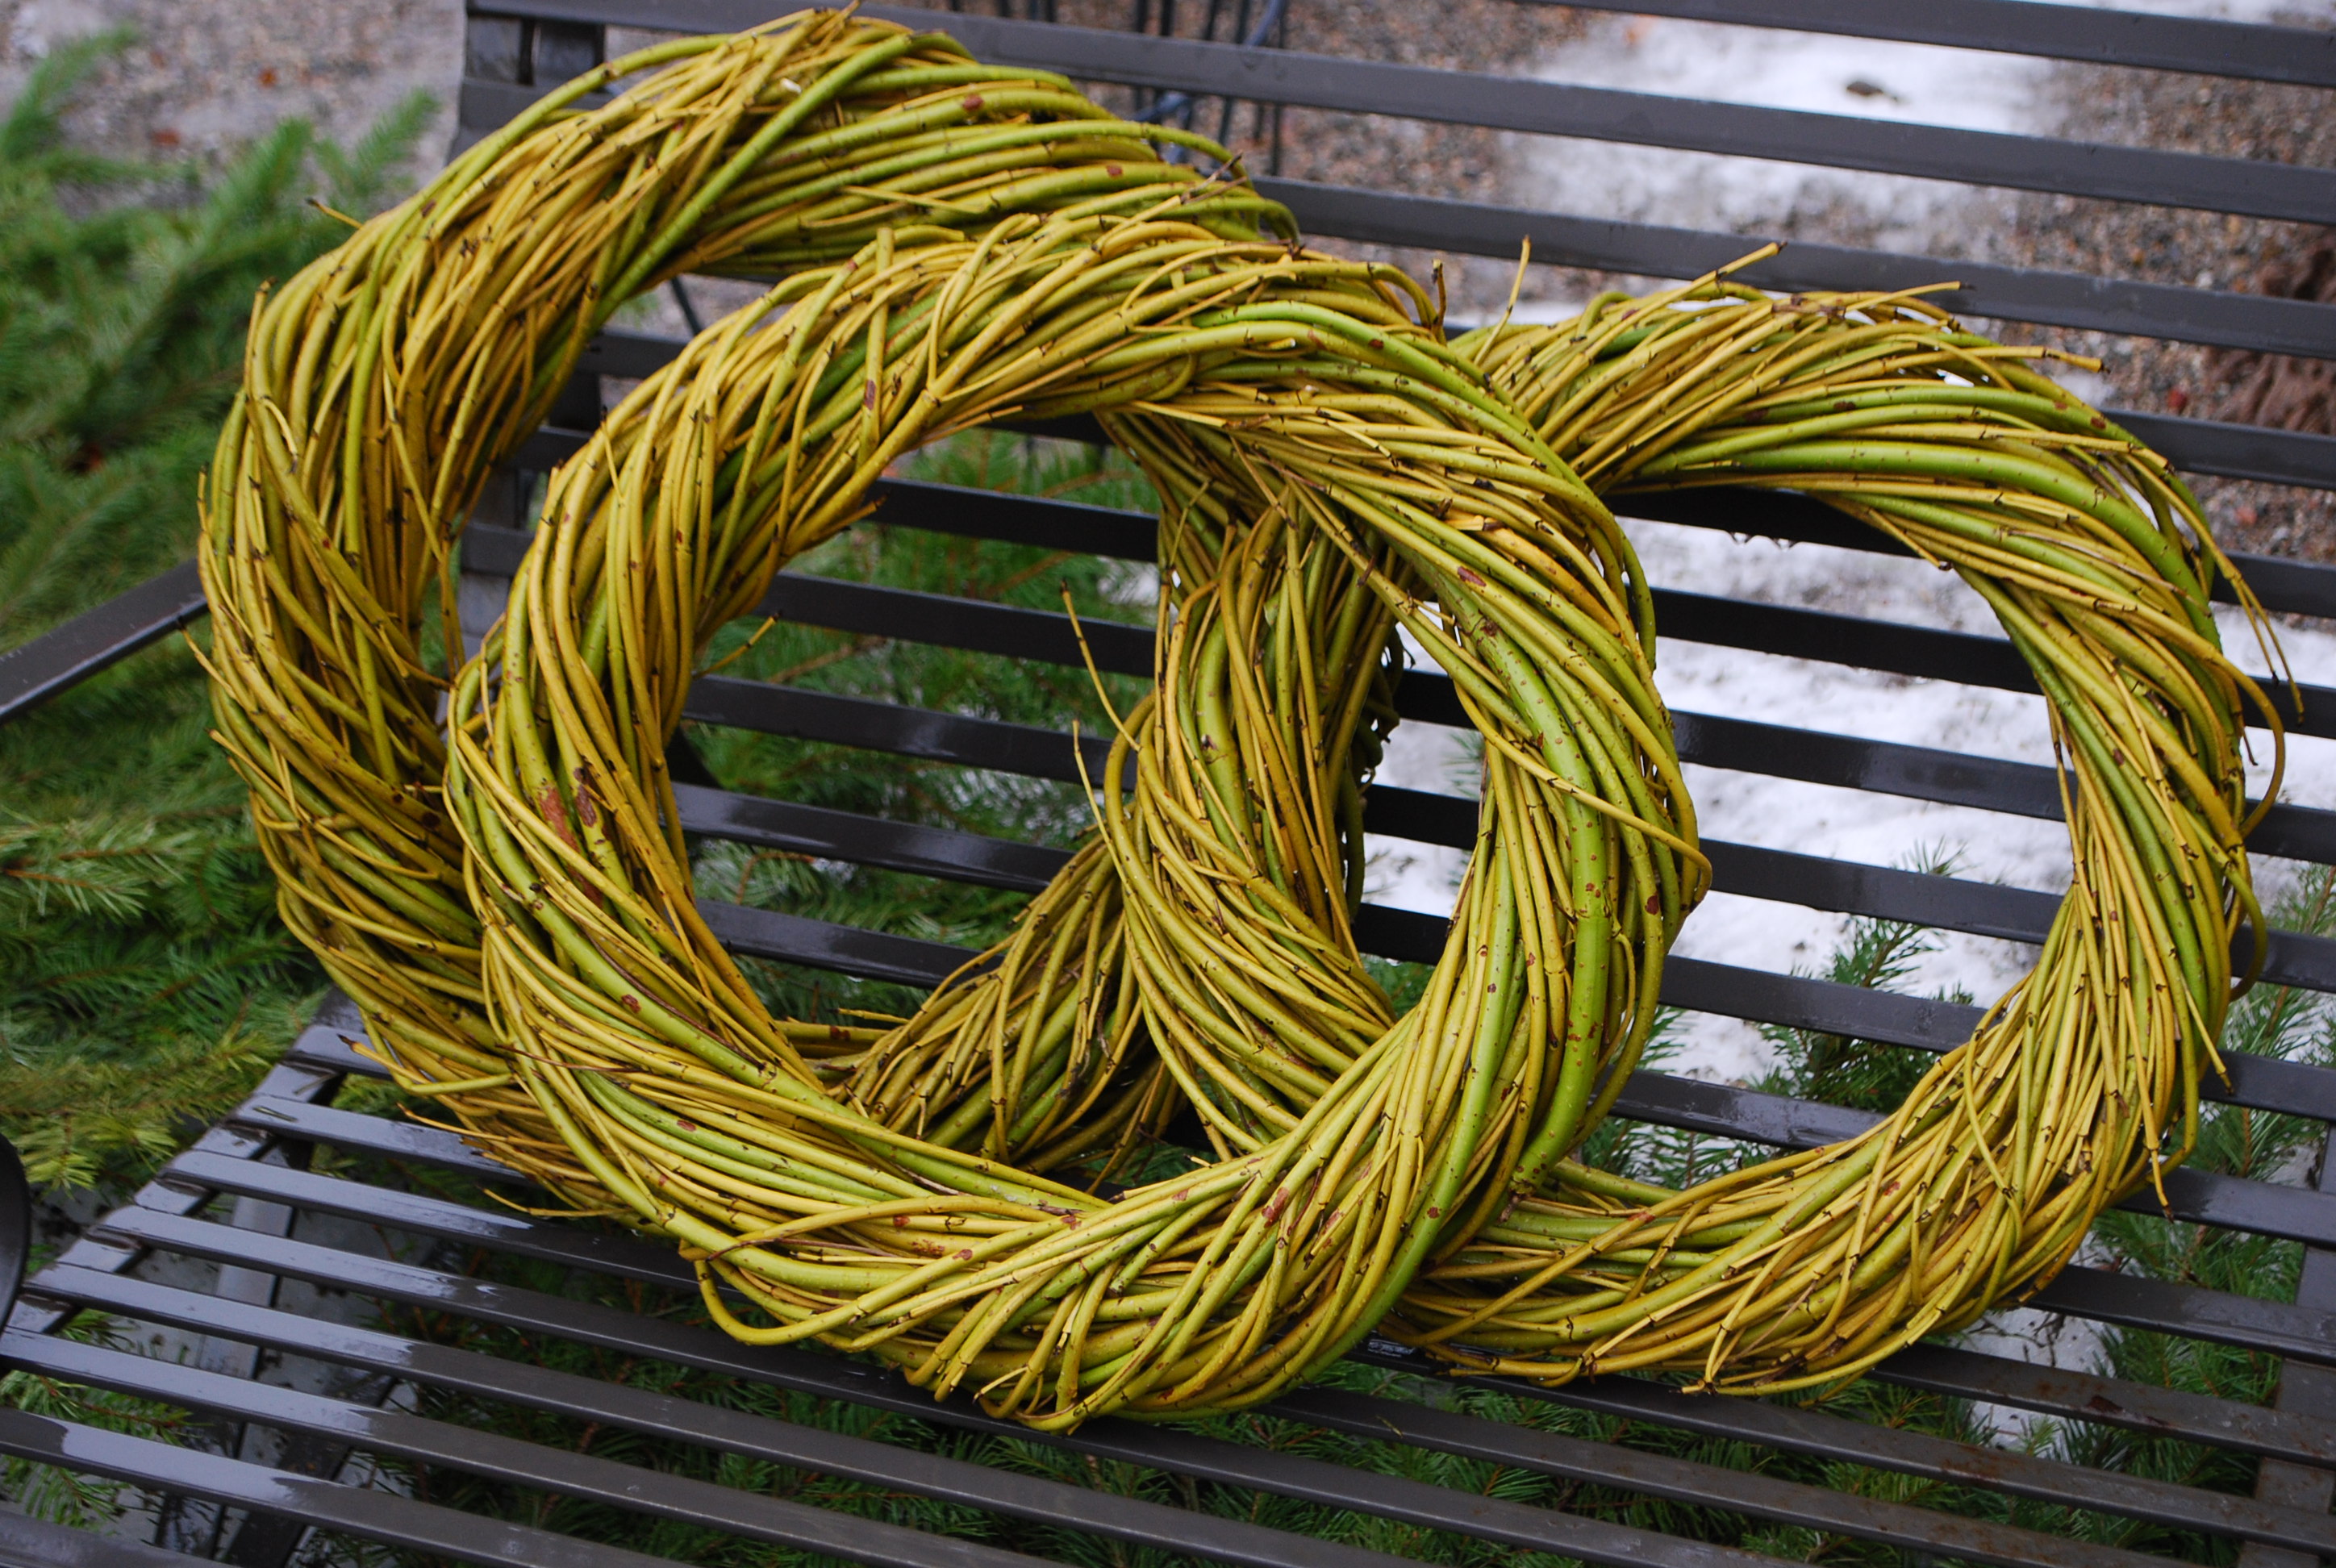
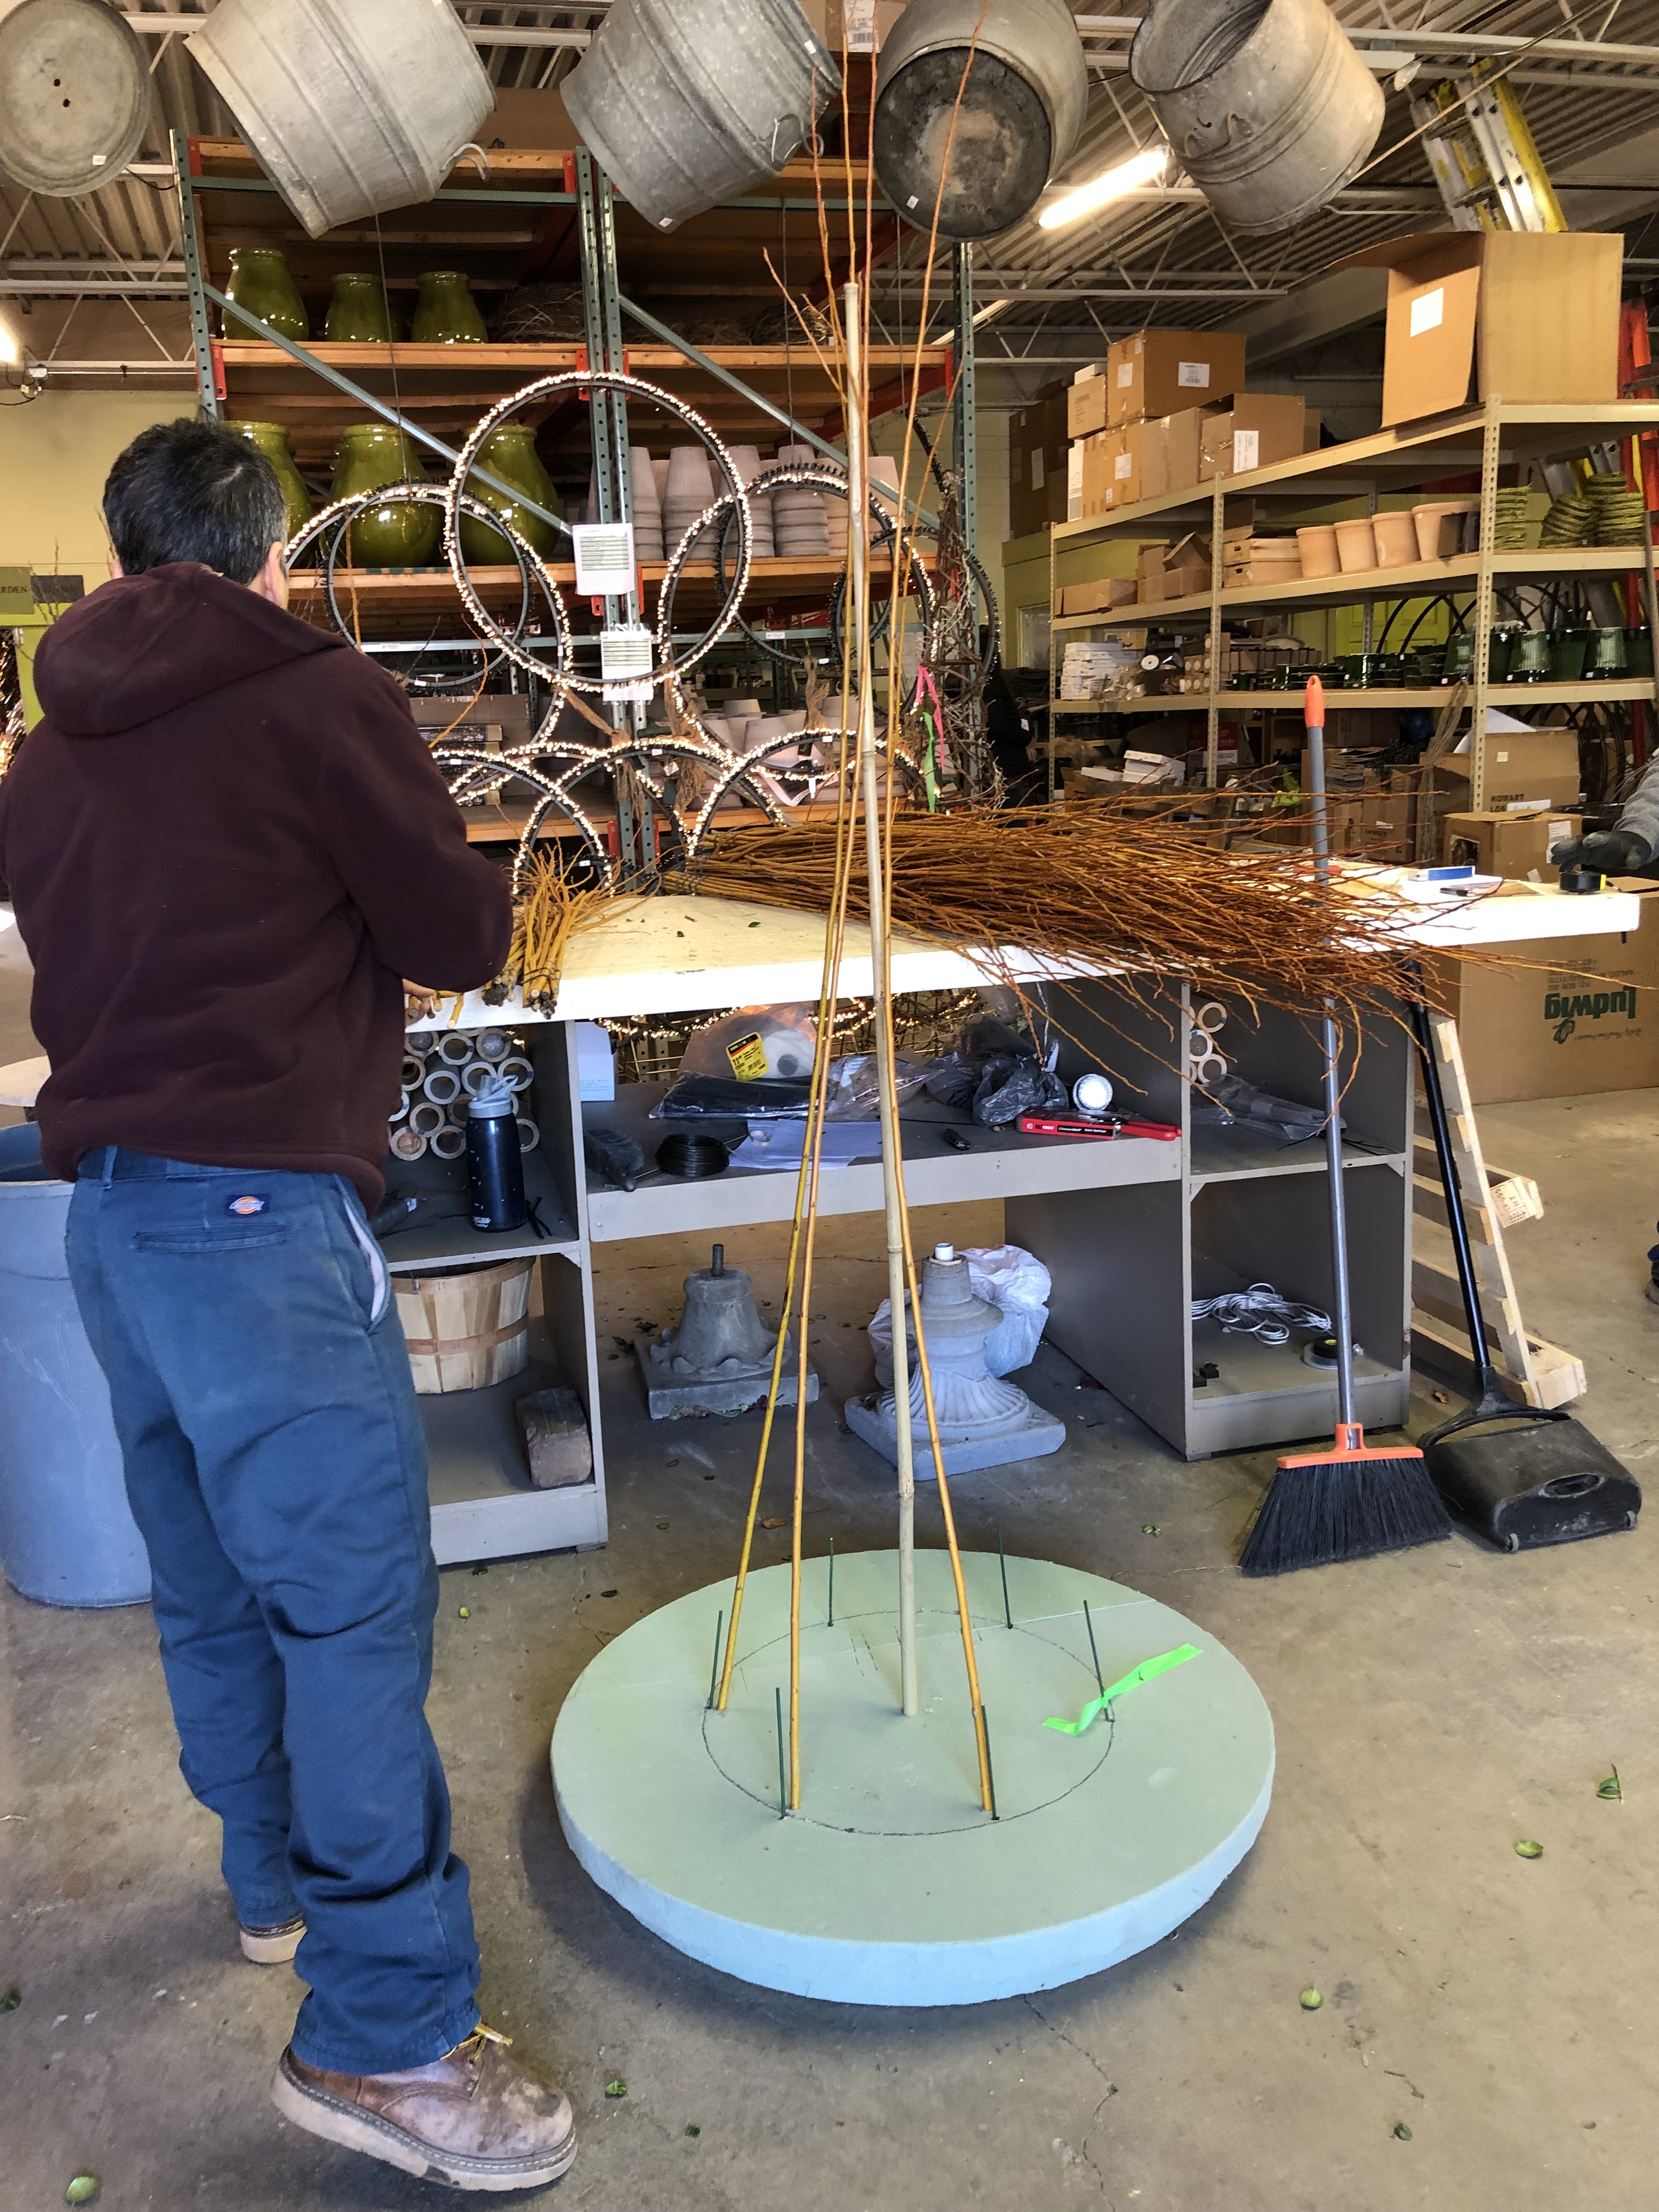 It seemed like an idea worth pursuing to line the interior of those steel forms with flame willow. Those straight copper colored stems lining the form would greatly change the look of it. It is my pleasure to have the fabricators at the Branch Studio give me a hand for our holiday and winter installations. Sal has constructed with incredible precision no end of garden boxes, gates, pergolas and sculpture in steel as the senior fabricator at Branch. He was the perfect person with whom to discuss a construction plan. If you read my essays routinely, you know we begin the construction of a winter arrangement with a dry floral foam form constructed to fit the pot in question. After marking where the legs of the topiary form would go through the form, Sal inserted a tall bamboo stake in the center. The bamboo was a marker, indicating the location of the top of the steel form.
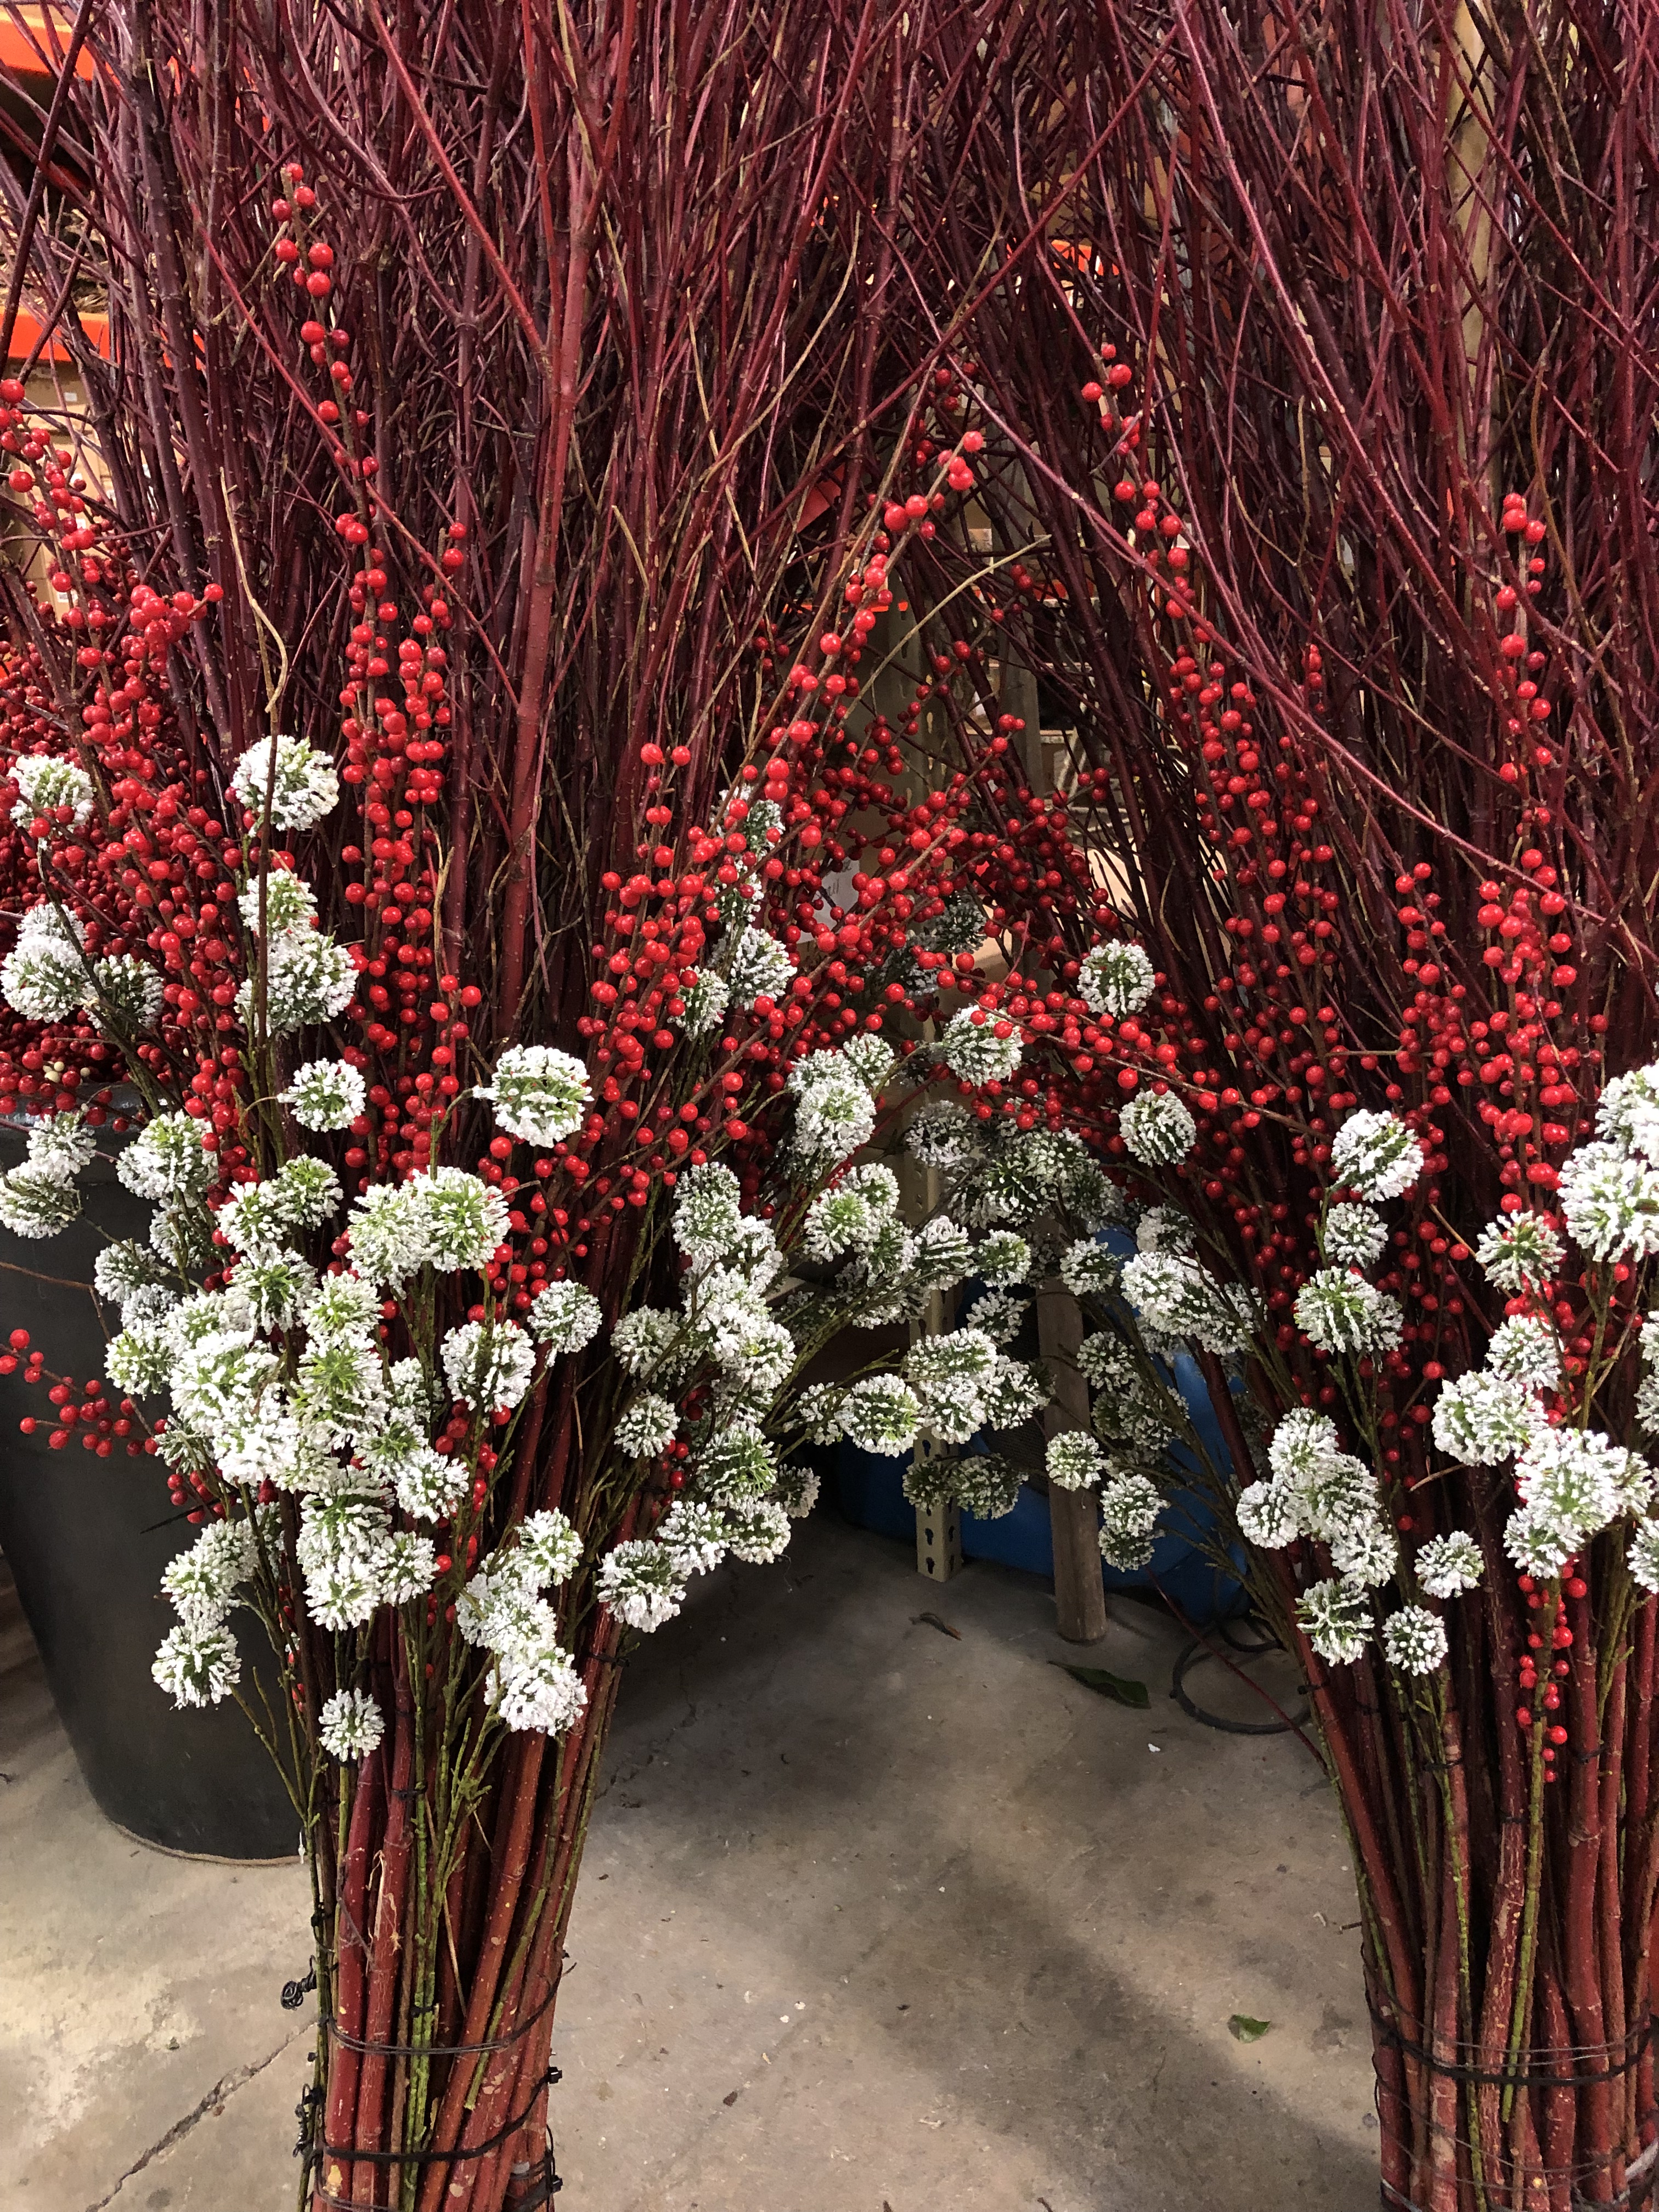
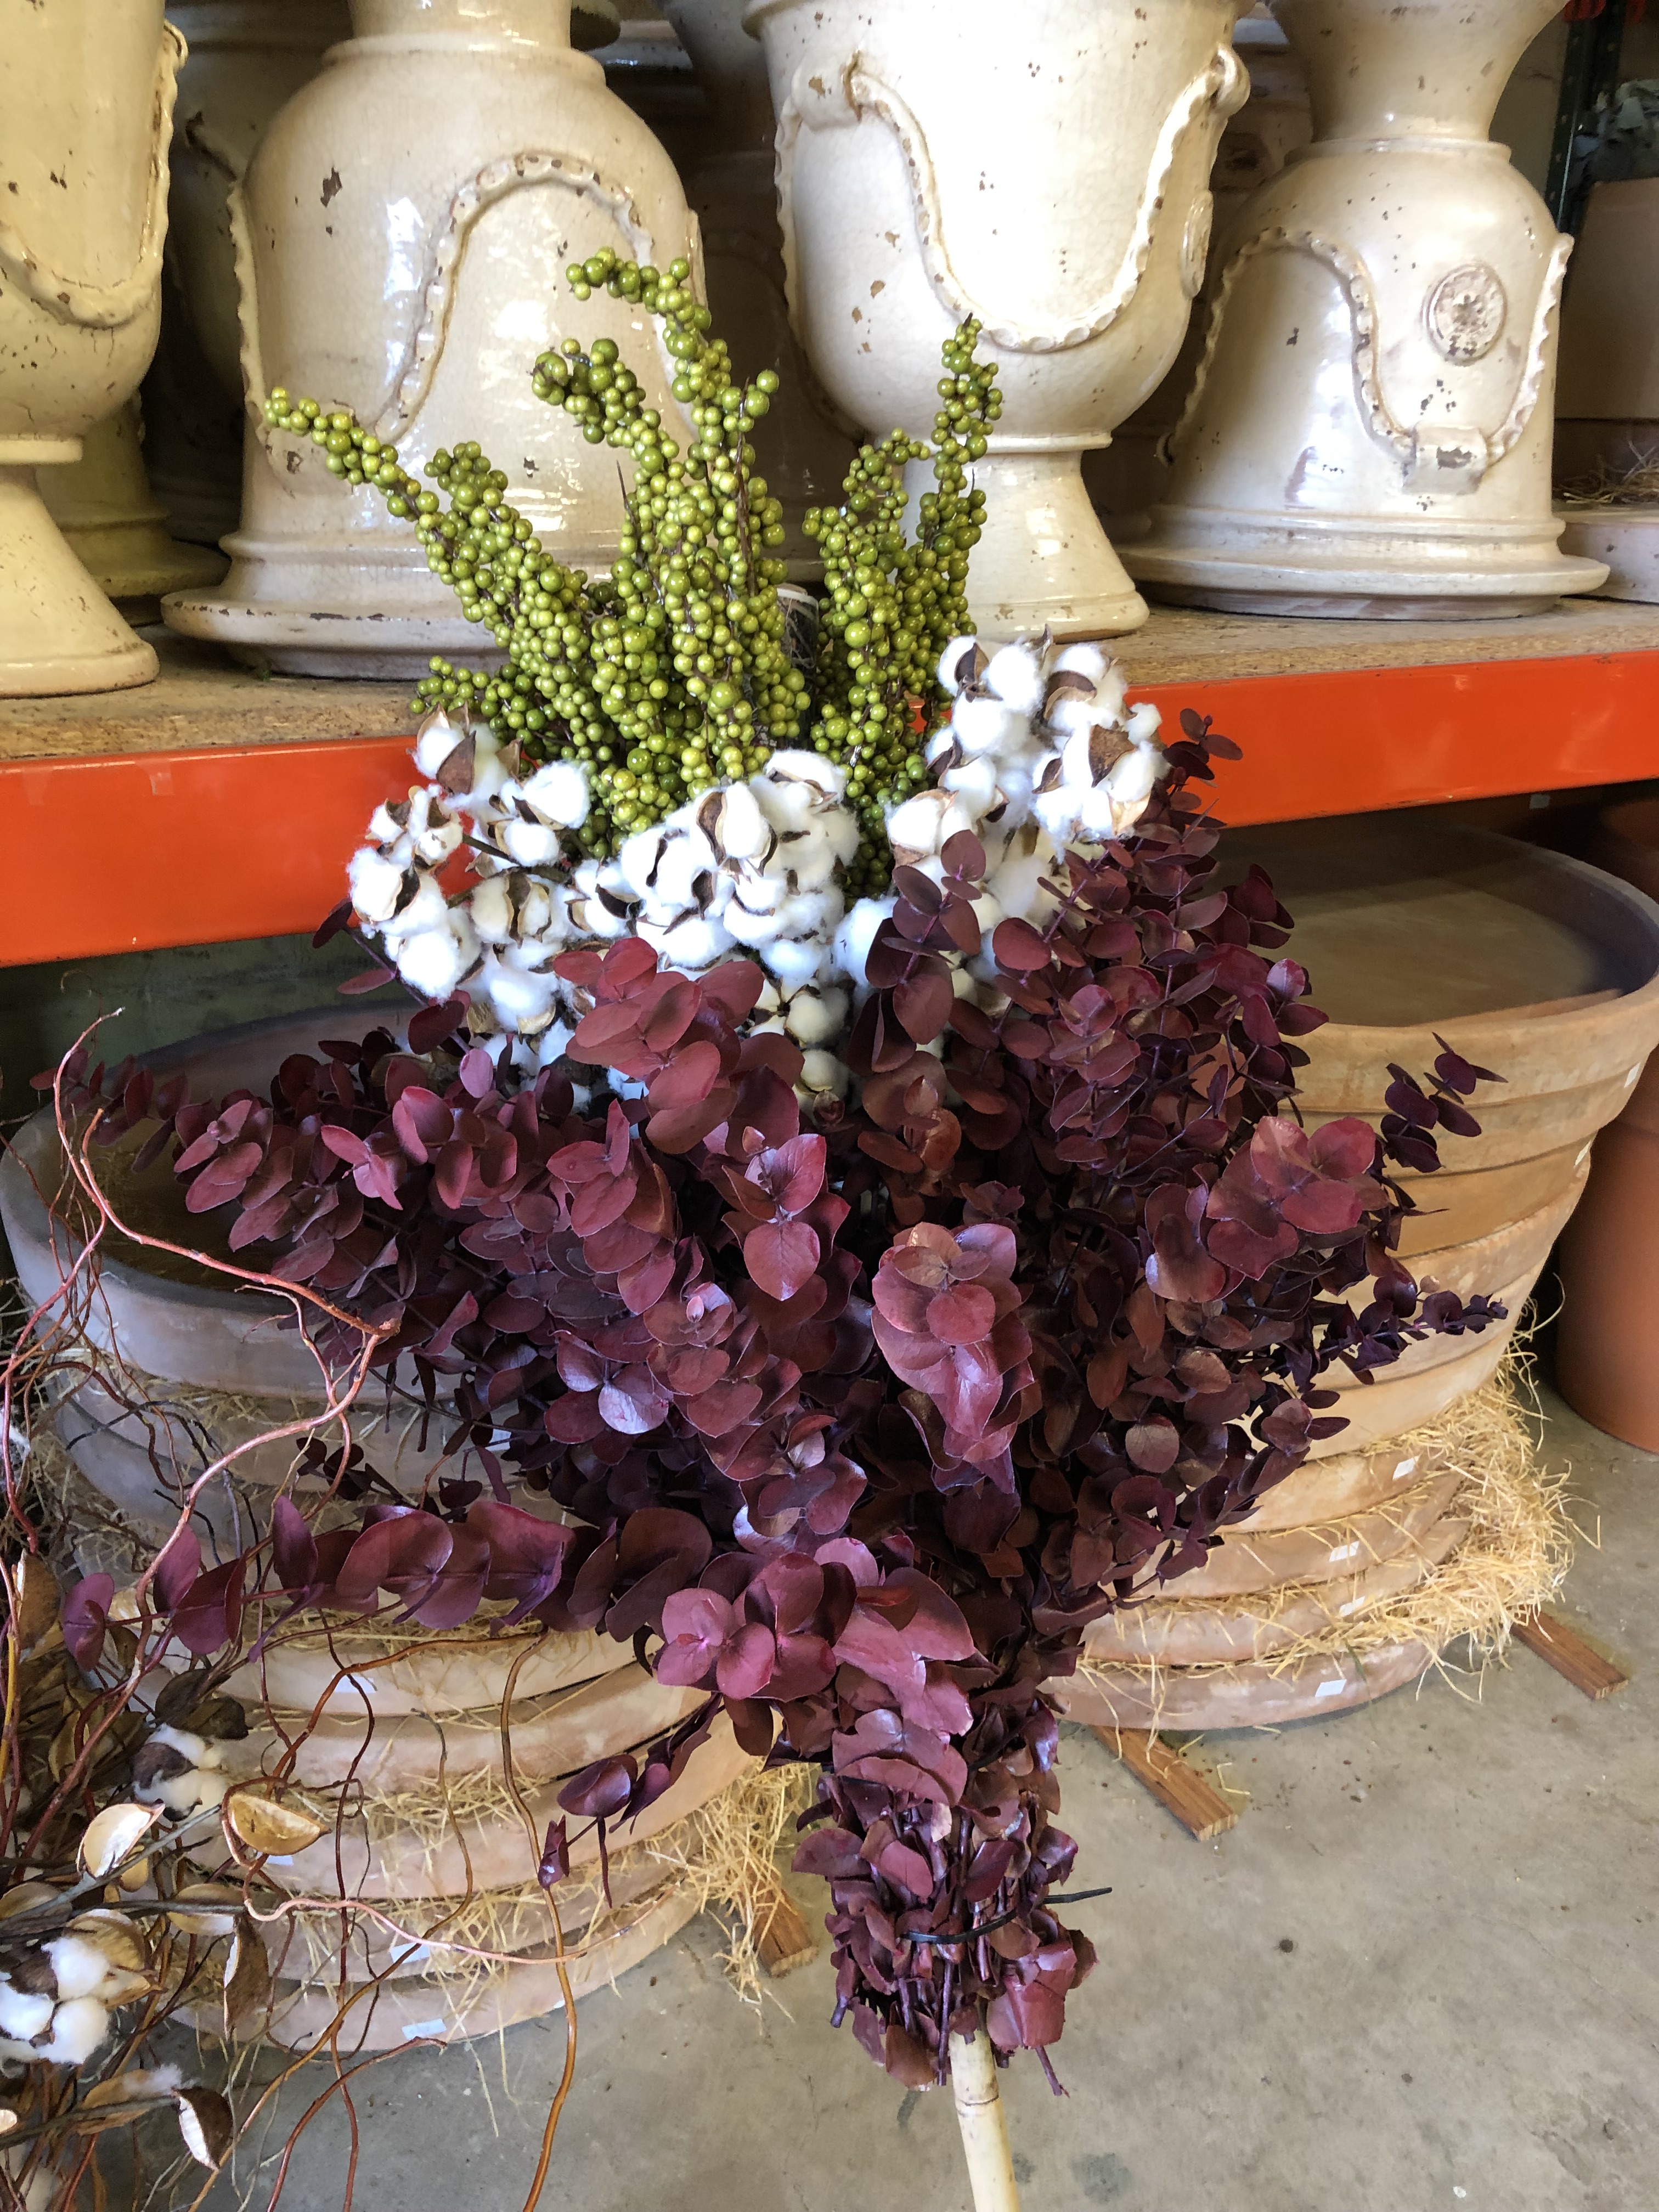
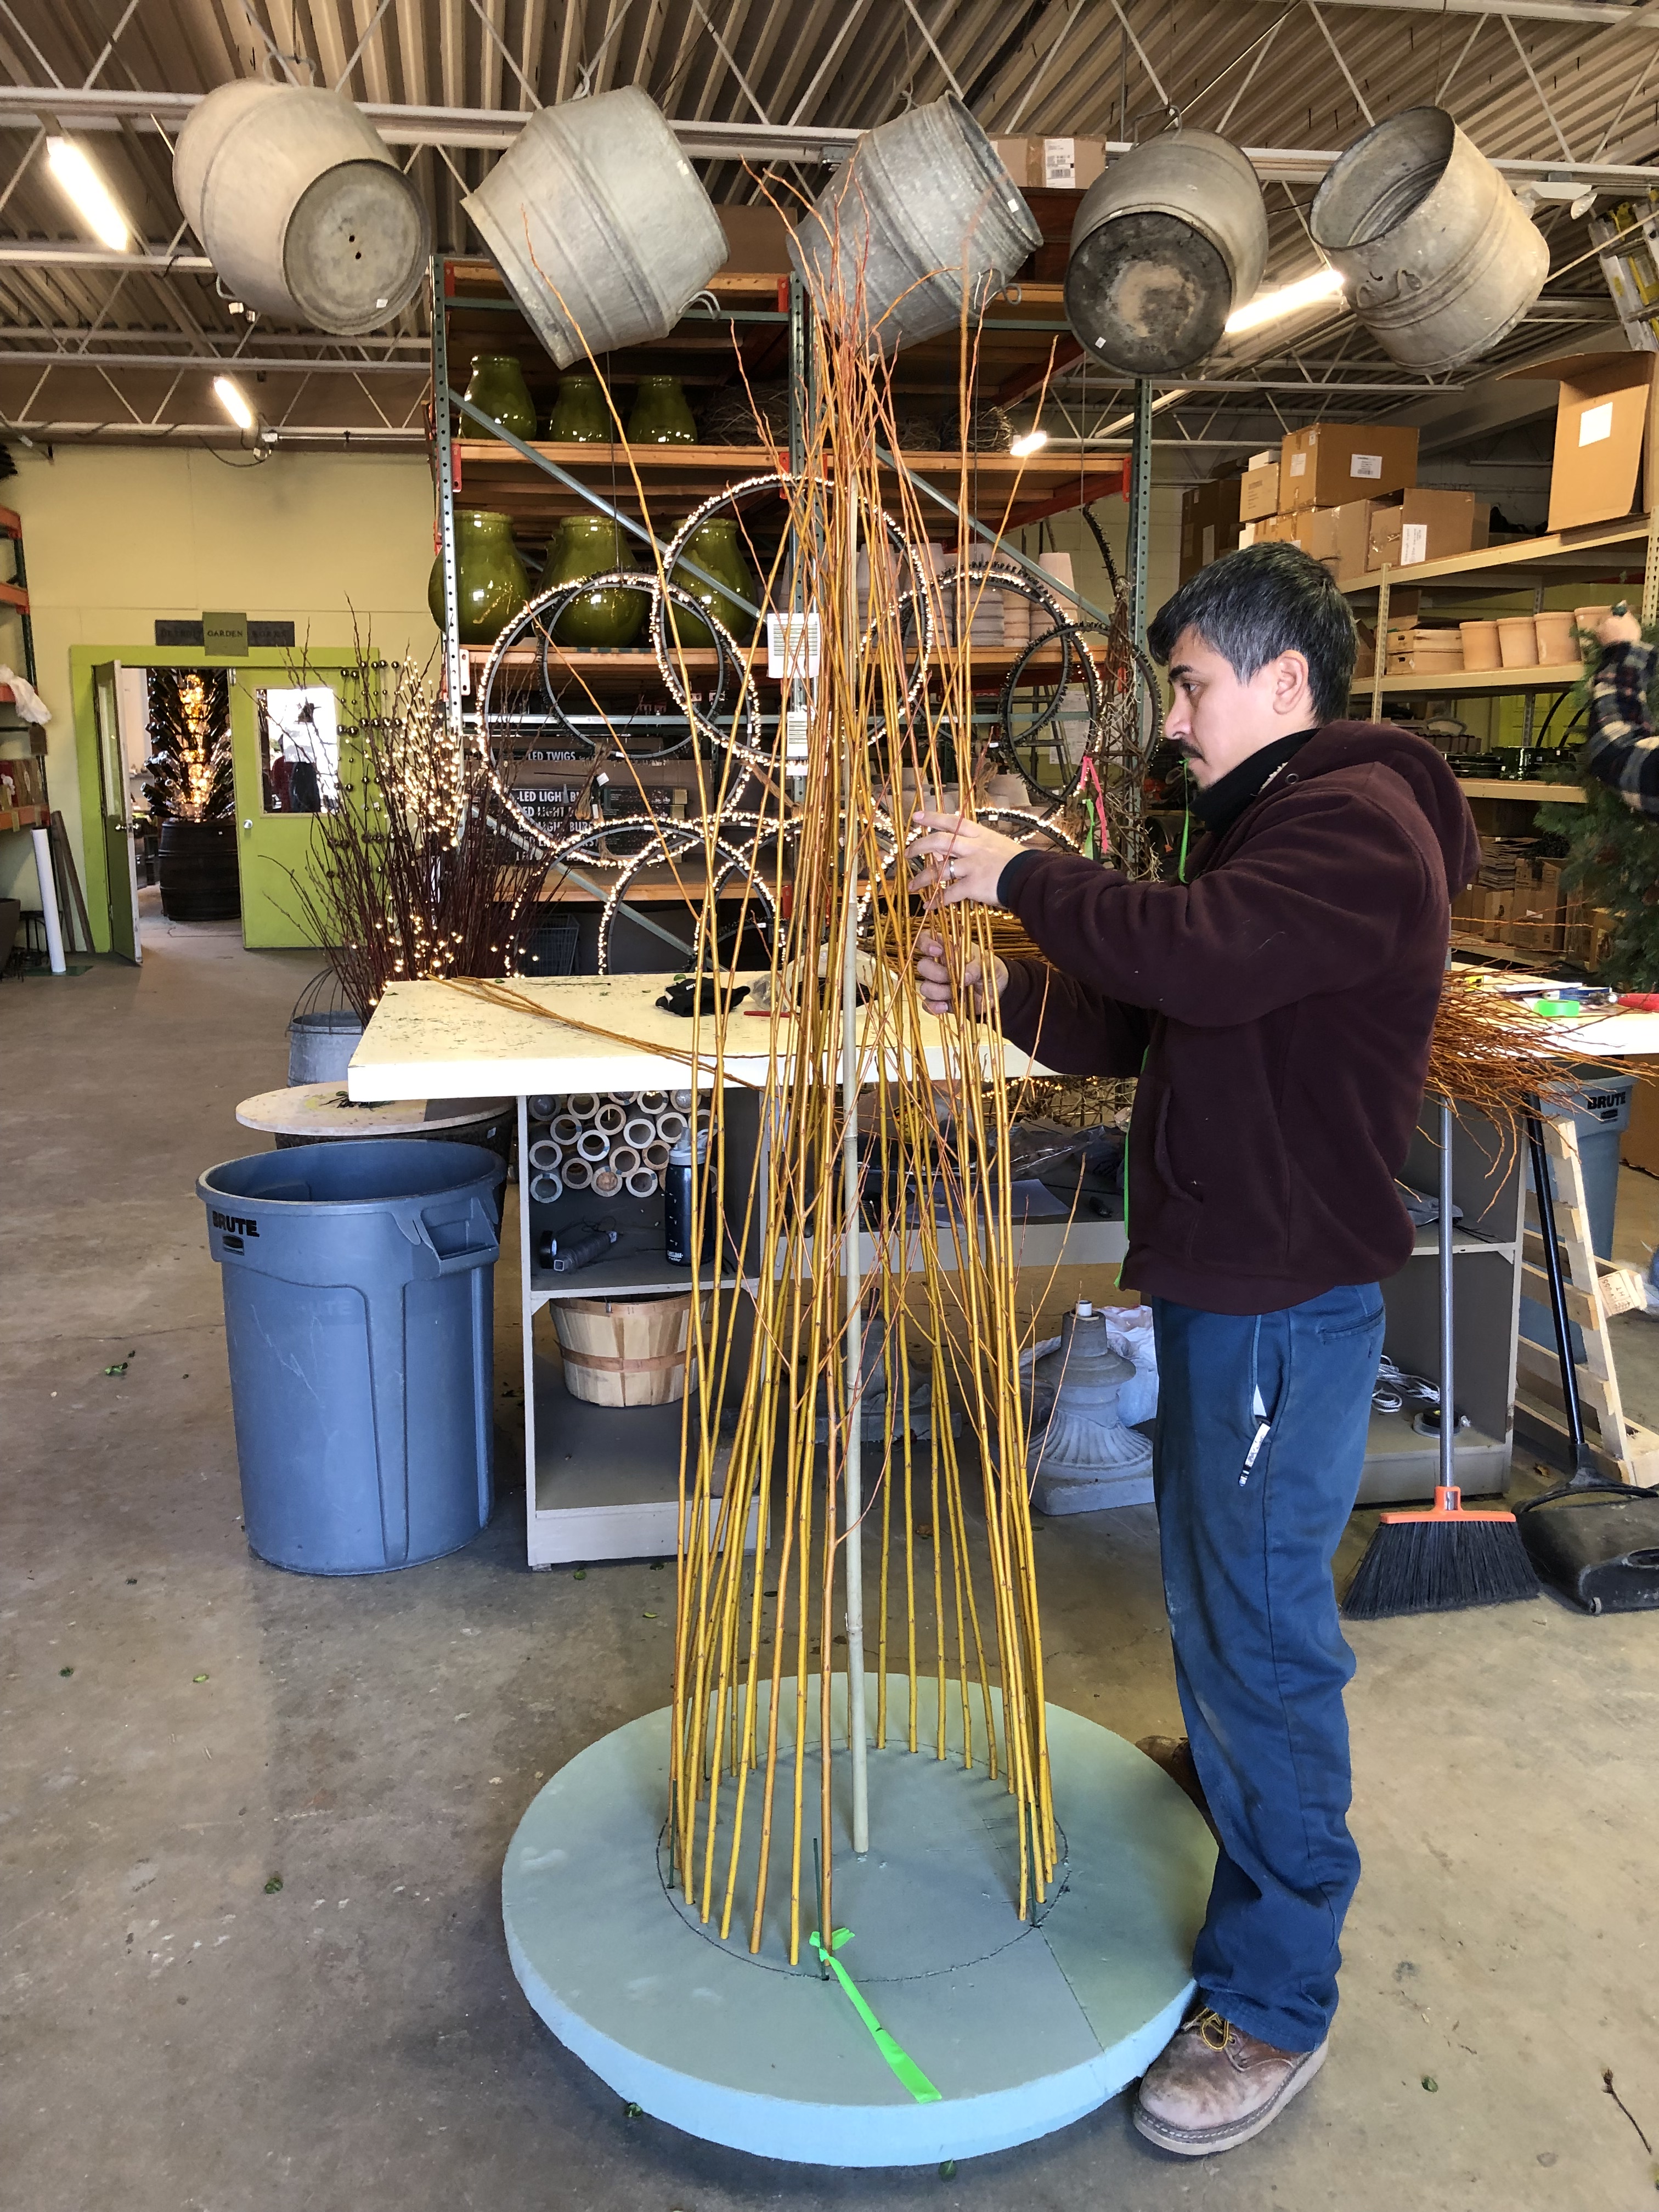 Our initial thought to insert each stem inside the form and attach it with zip ties seemed awkward and too time consuming. Creating an interior willow form that the steel form would slip over made more sense. Sal was able to determine the sticking angle by making sure the top of each branch would touch the center bamboo stake. As no two objects are ever exactly the same, we tagged which steel form would partner with this specific willow form. Why the gap in the above picture? Sal left an opening, so he could stuff the interior with boxwood. Once the boxwood layer was finished, he would add the last of the flame willow. Such is the order of events. One of the most important aspects of a construction plan for winter container arrangements is figuring out the most comfortable way to do the work. The most comfortable way is invariably the most efficient way to move a project along. We don’t build rocket ships, we built winter container arrangements. Sal determined the spacing and angle for each stem by eye, not by measurement. The work doesn’t need to be perfect, it needs to be believable and delightful.
 The tall dark green cylinder capped in red on the layout table proved to be key to the next step. It is an oversized roll of thin self sticking plastic wrap. We use it to wrap fragile items in the shop for shipping. Sal tightly wrapped the top half of the willow tower before lowering the steel tower over the top of it. Typical of his construction, the willow tower was a tight fit inside the steel.
 The plastic was easy to remove, and each of the freed willow stems was re positioned. The tops of the branches are very pliable, as they are fresh cut. The top of each stem was pulled out of the steel form. That branchy finial surrounds the topknot of lights.
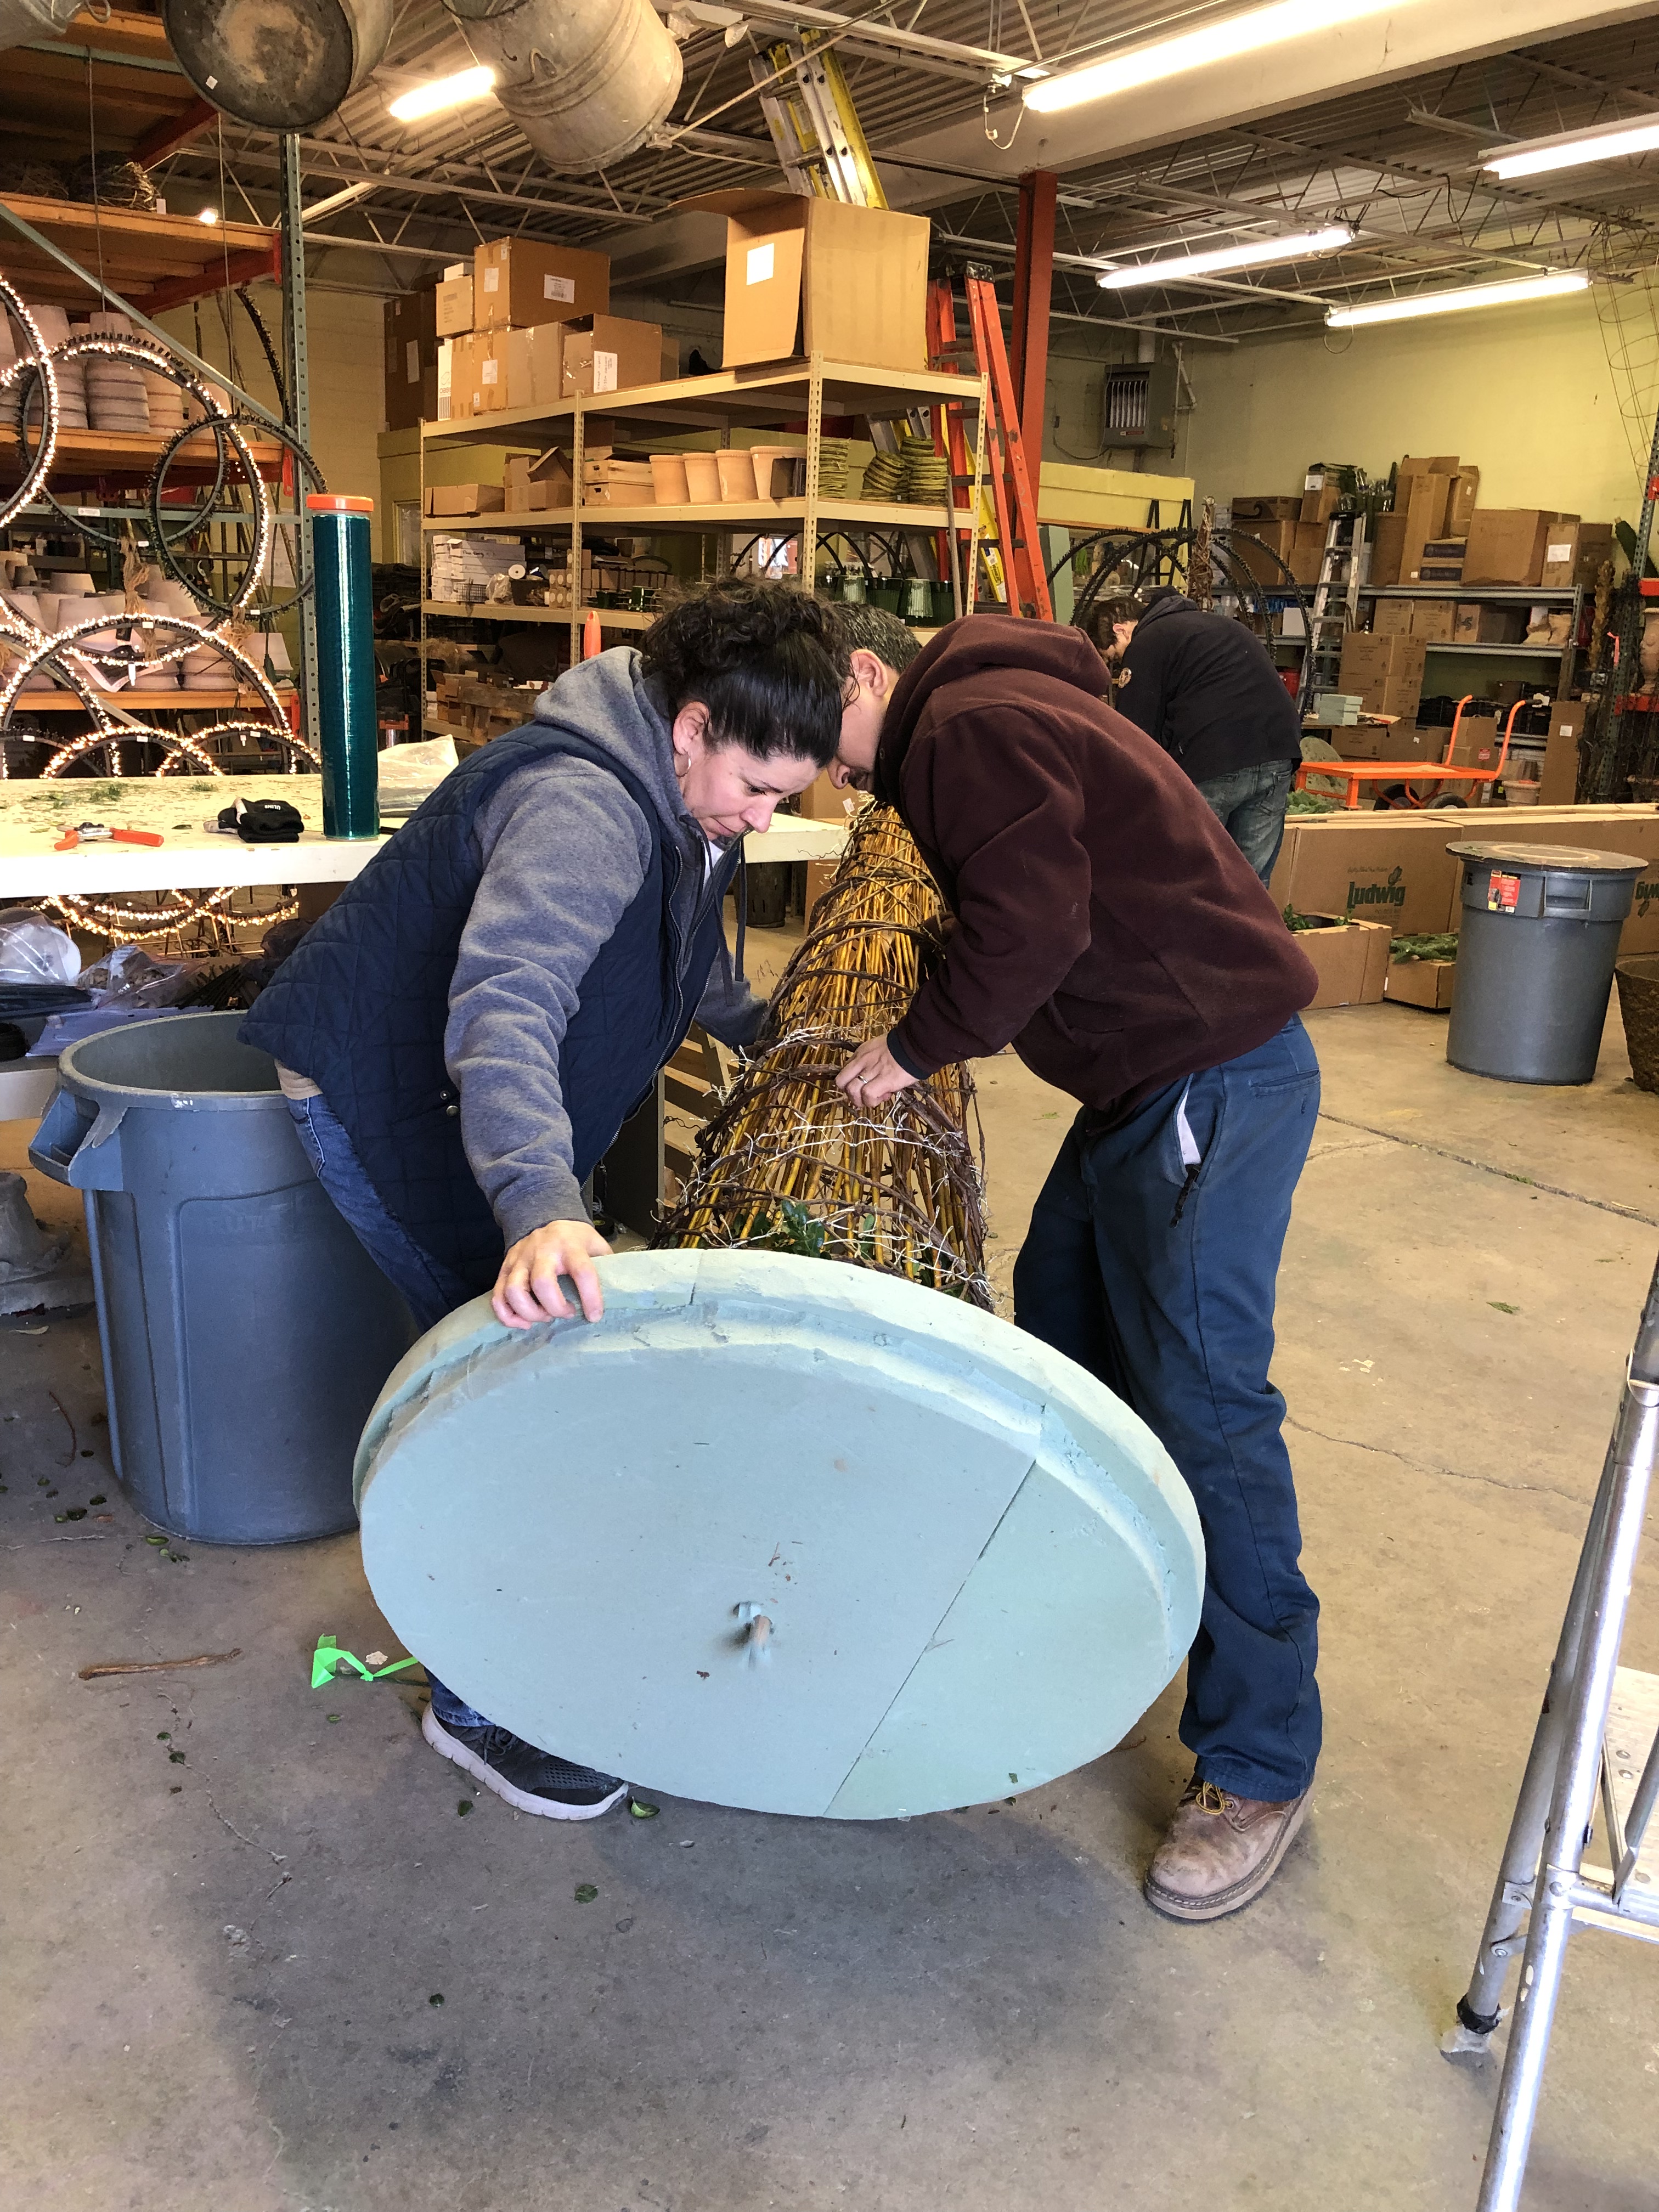 Leave it to Marzela to figure out the last construction detail. How would we remove the bamboo stake from the center of the willow form? I did not think ahead to that moment. Push it through the bottom of the foam form, of course. As our foam is manufactured in 2″ thick sheets, 24″ by 36″, we have to piece a form for very large pots. This the seam in the above picture. We hot melt glue 2 layers of the foam together to make a 4″ thick form. The lower layer of foam will go into the pot, the top layer of soil having been removed. The top layer of foam permits greens to be inserted horizontally. For very large pots, we make the upper foam larger than the lower. The foam sitting on the rim of the pots provides extra strength and stability to the form.
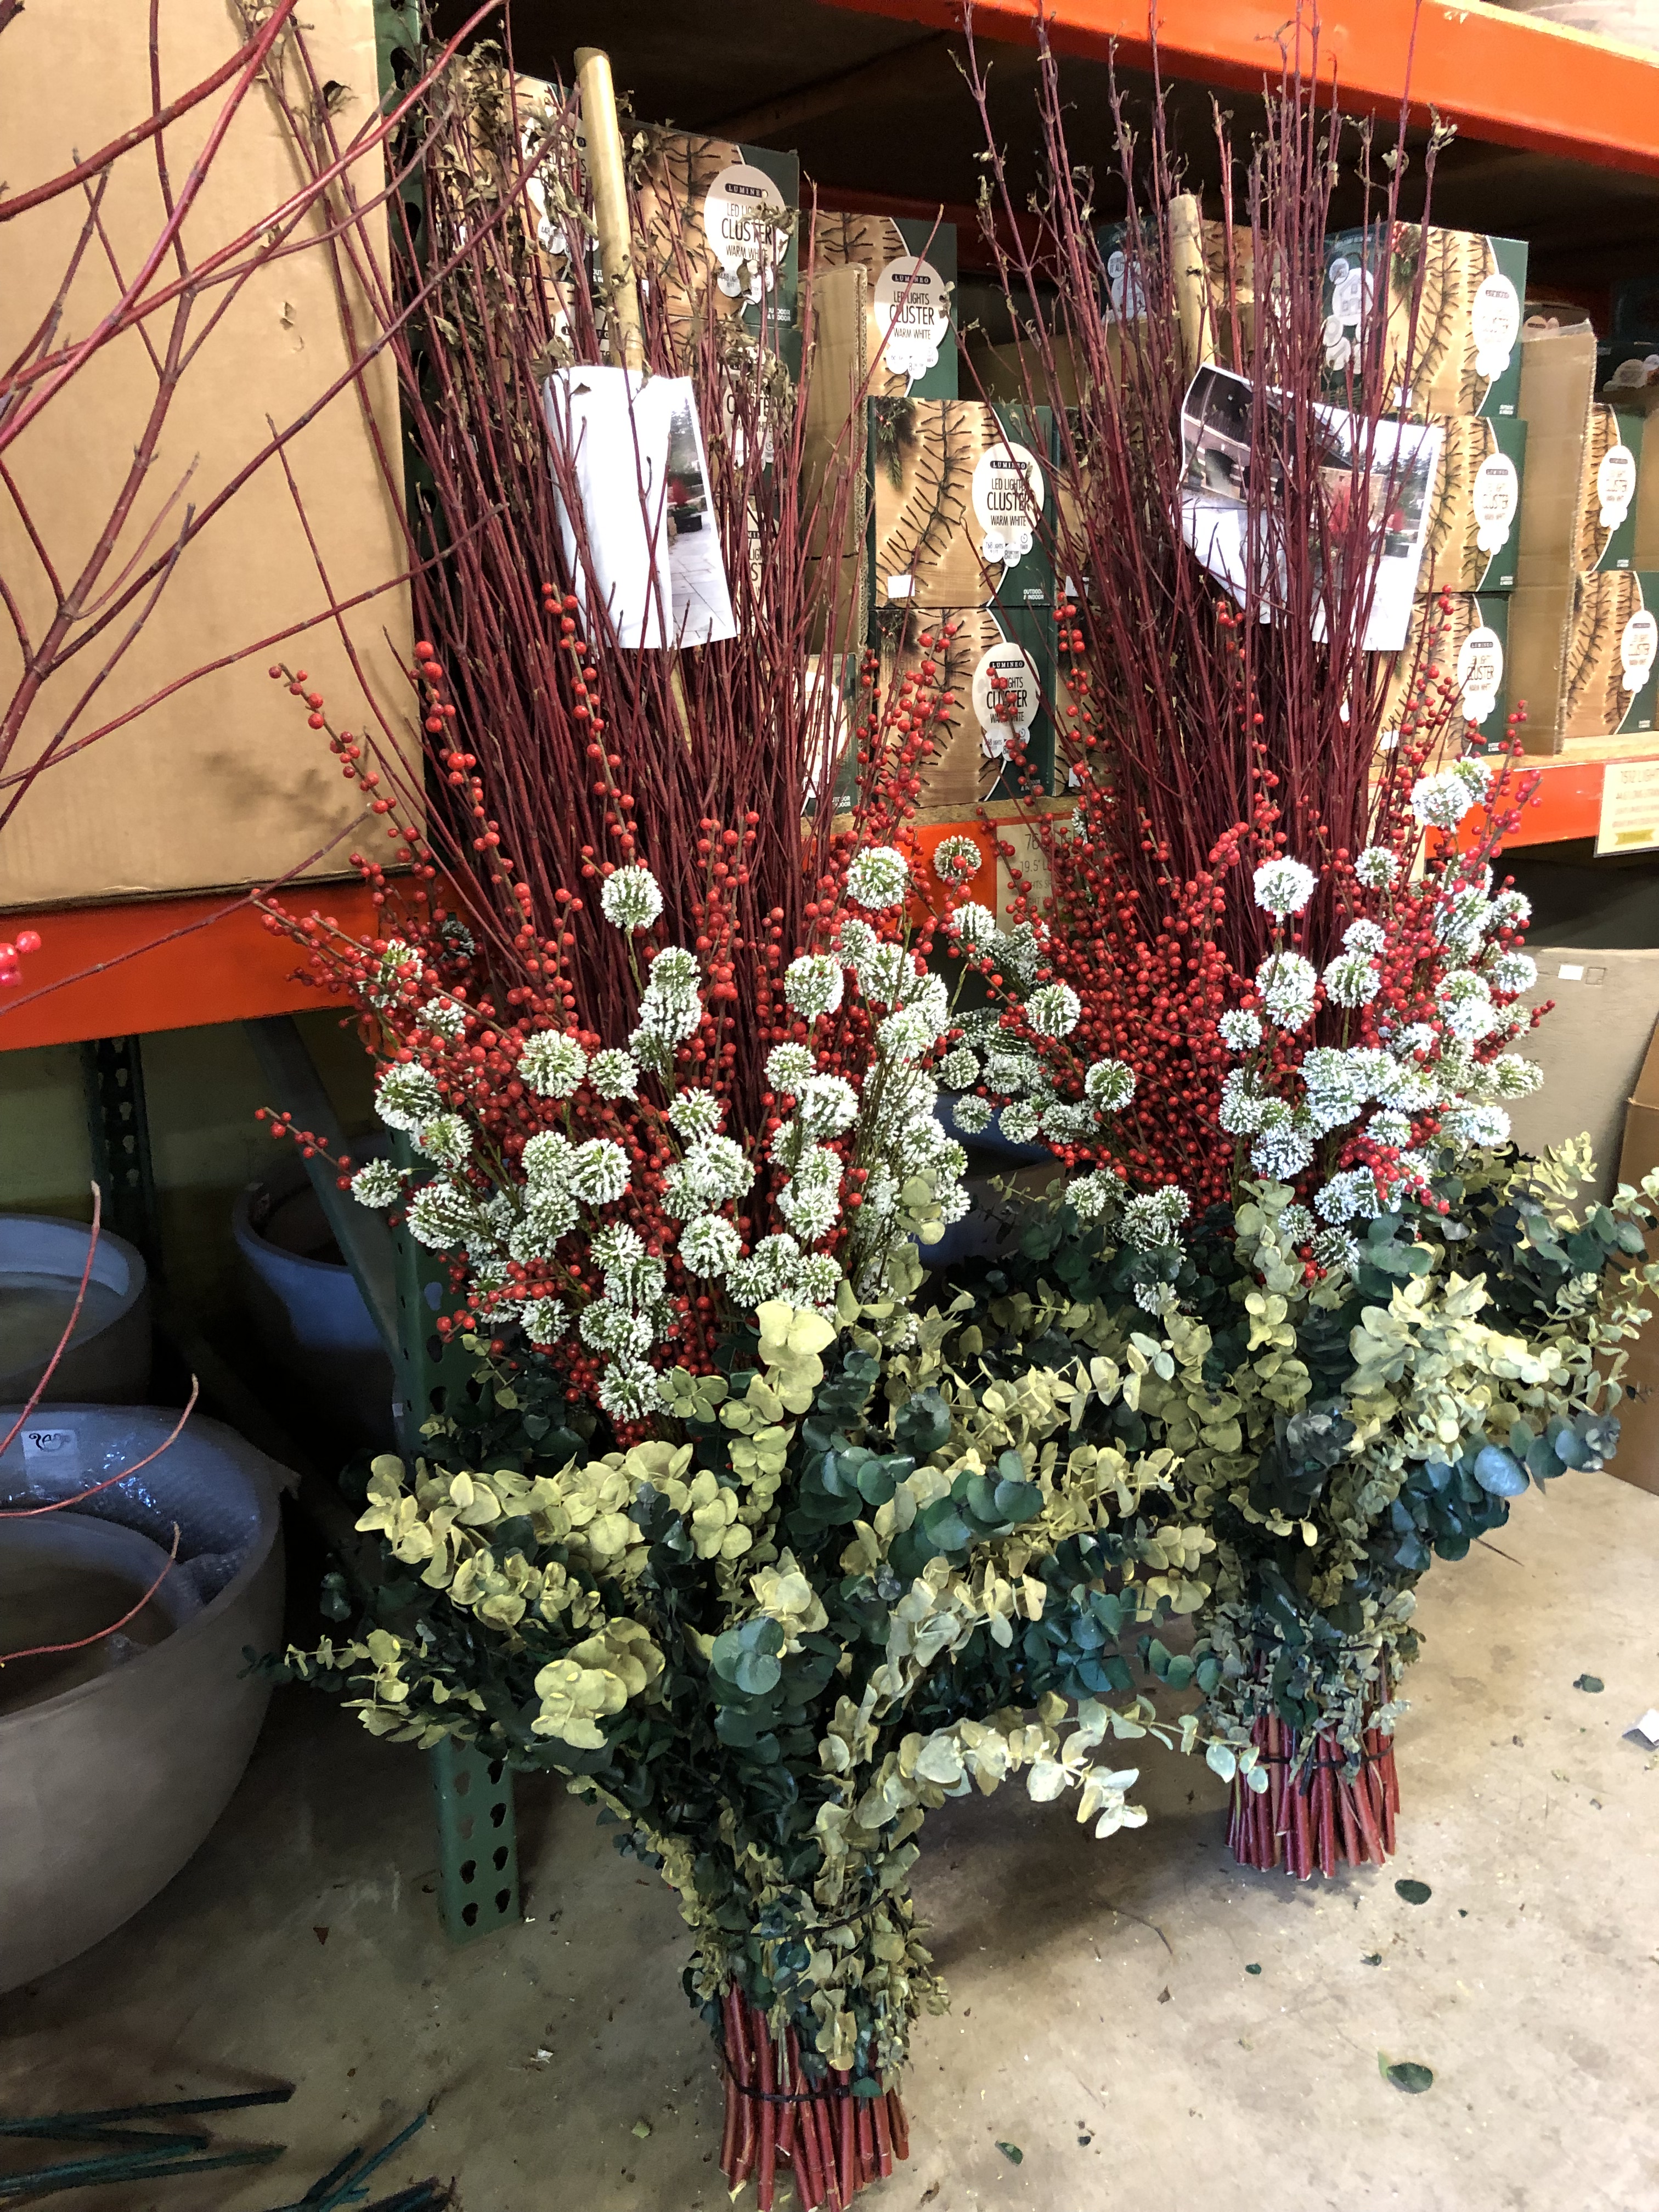
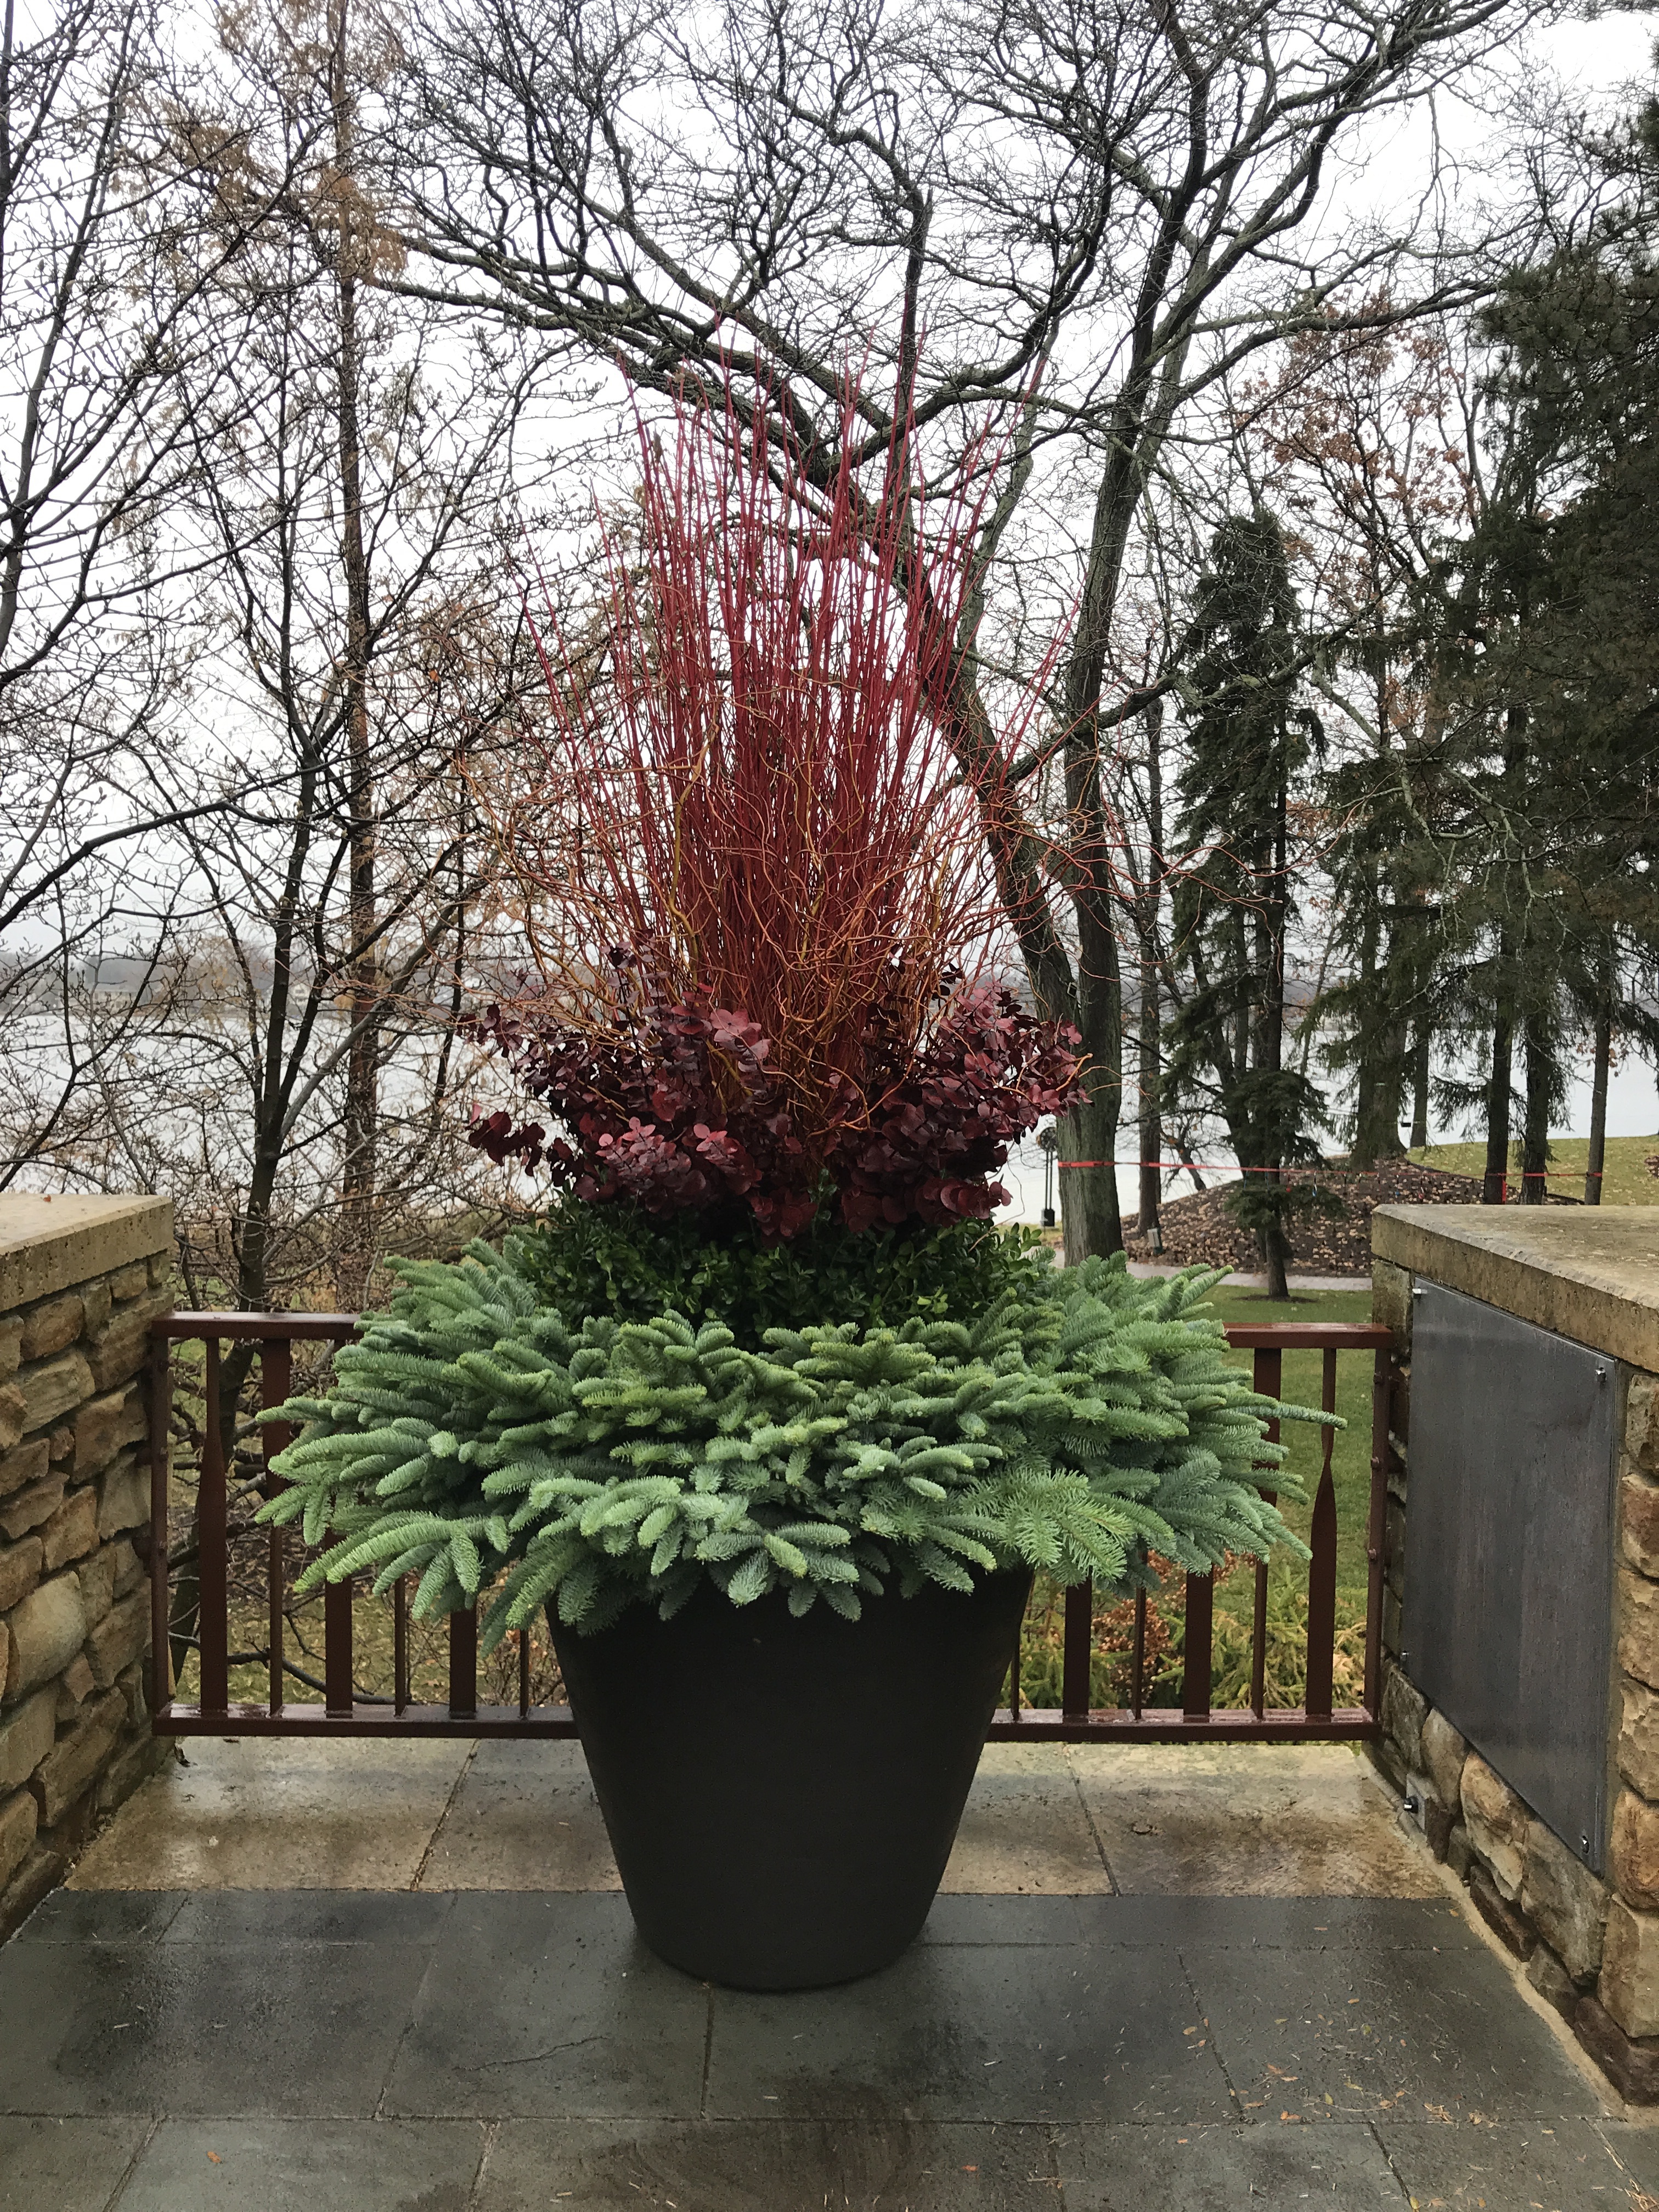
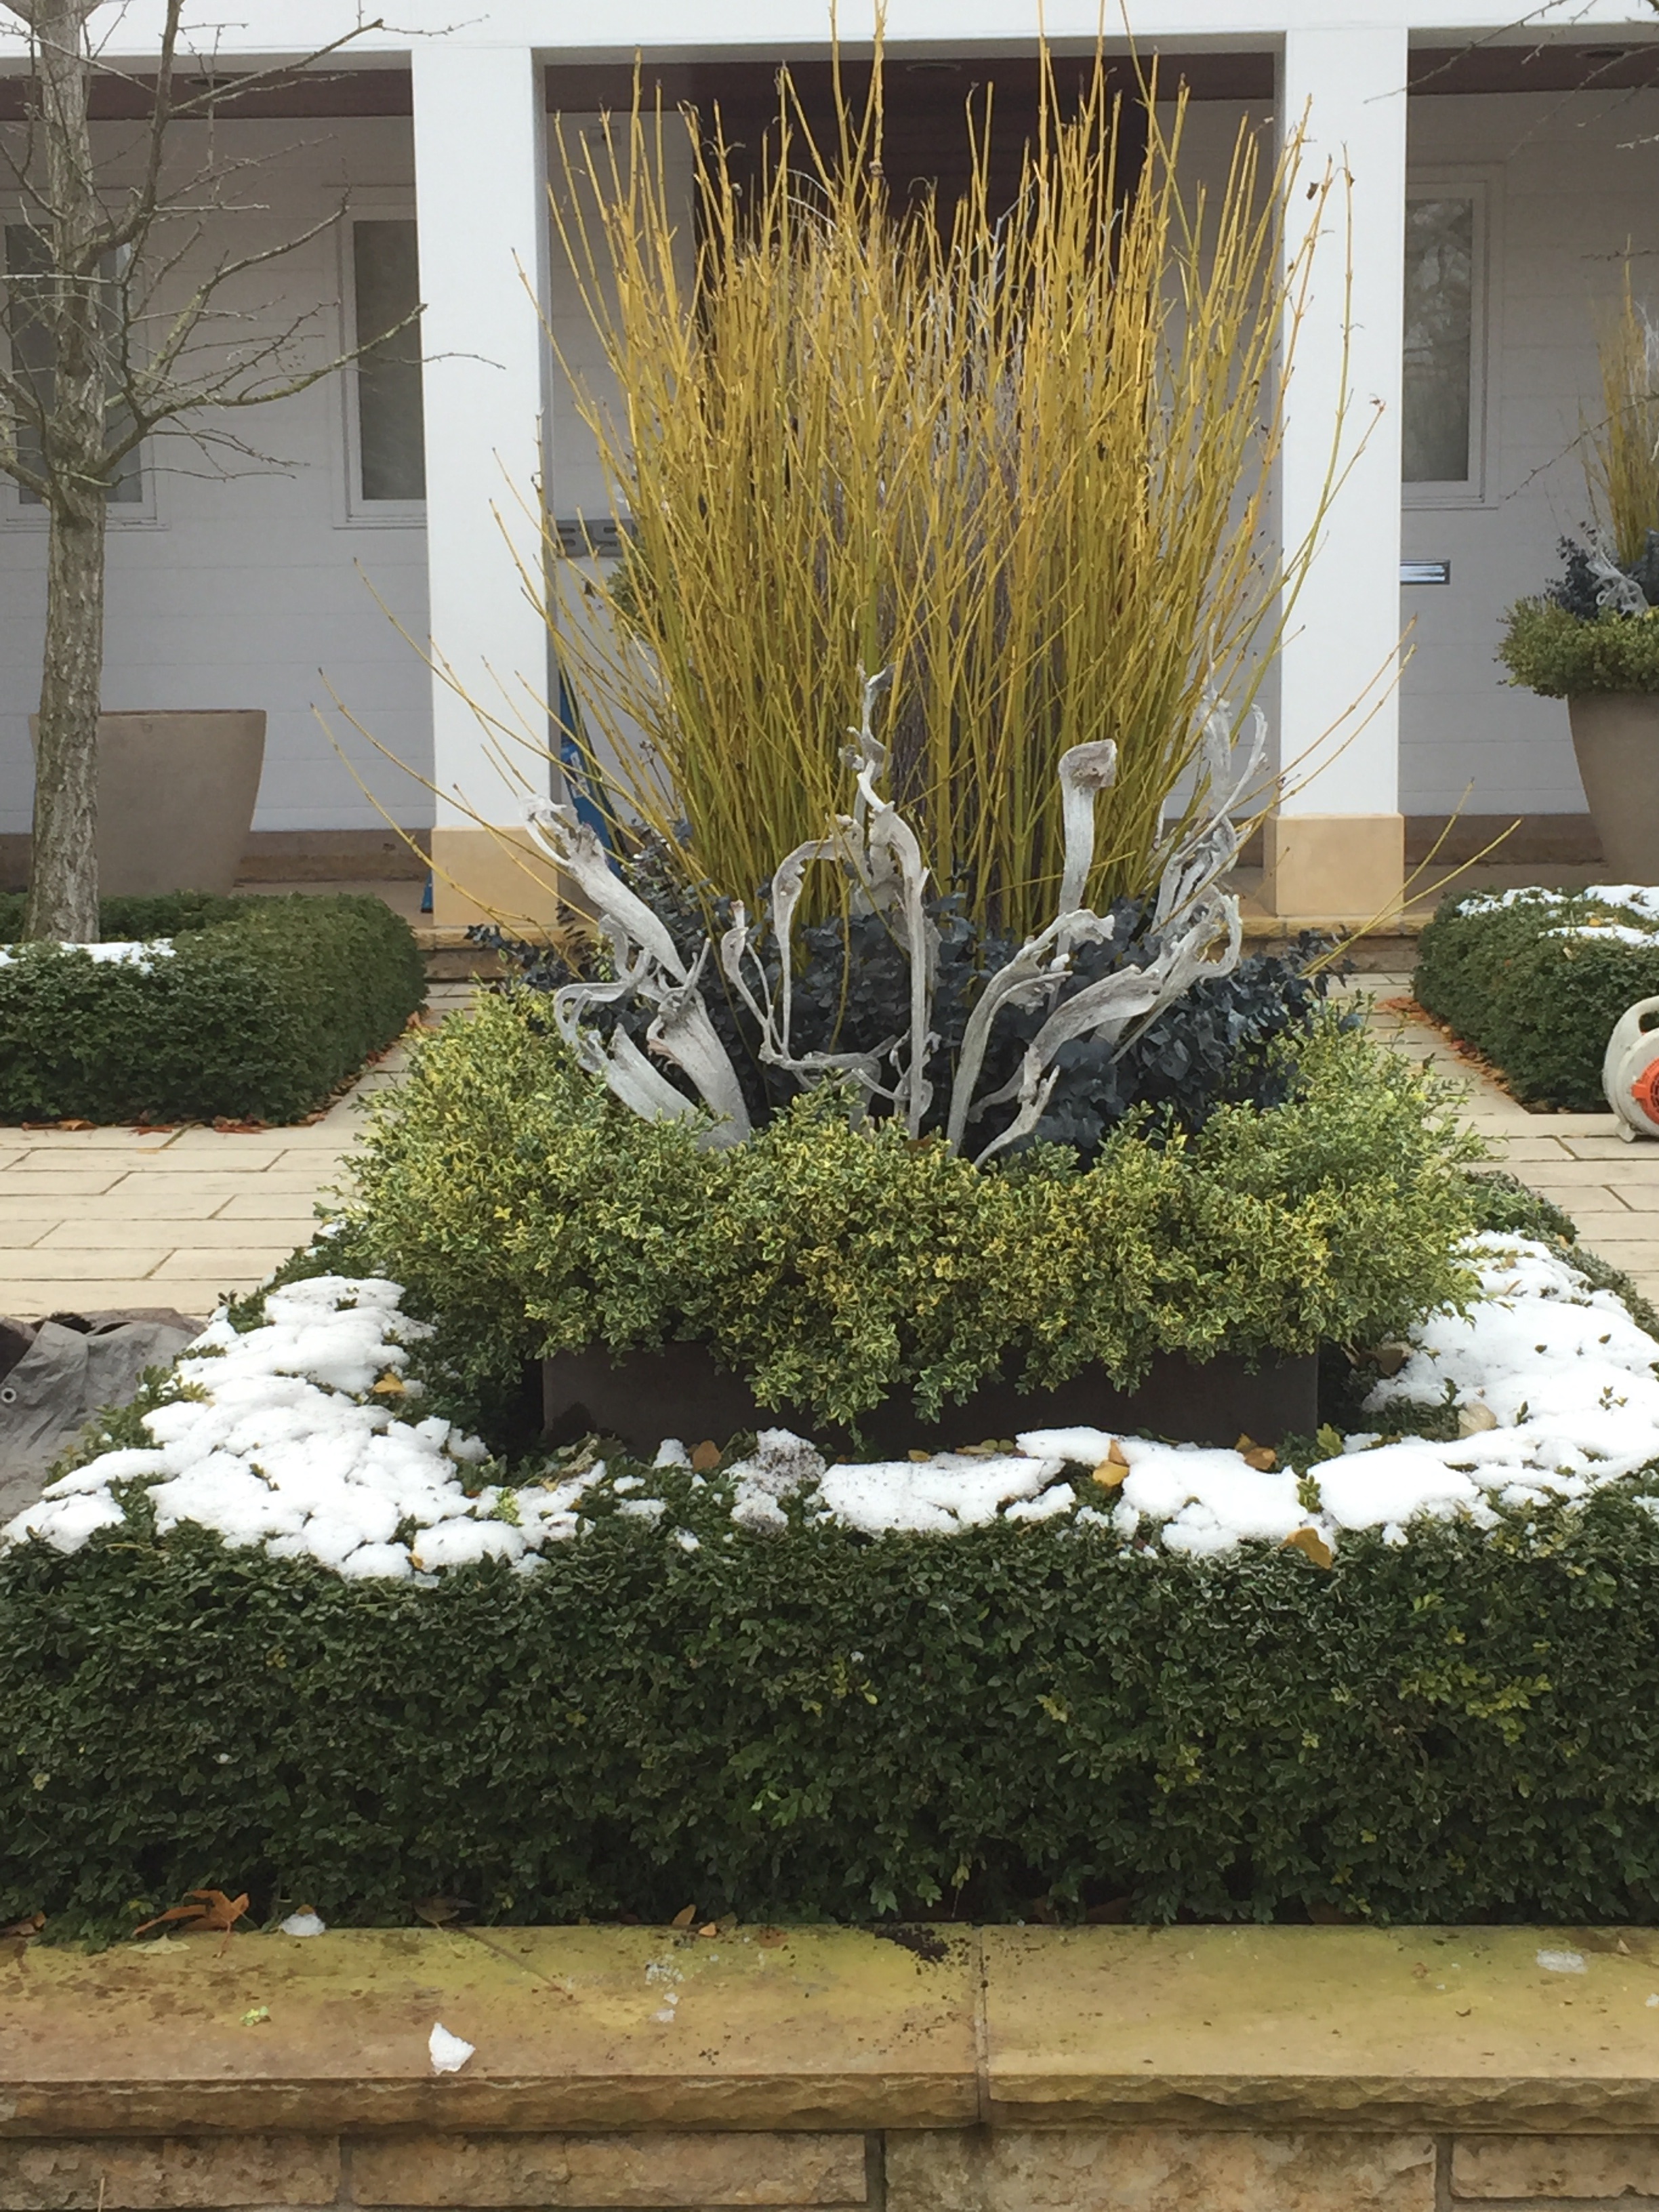
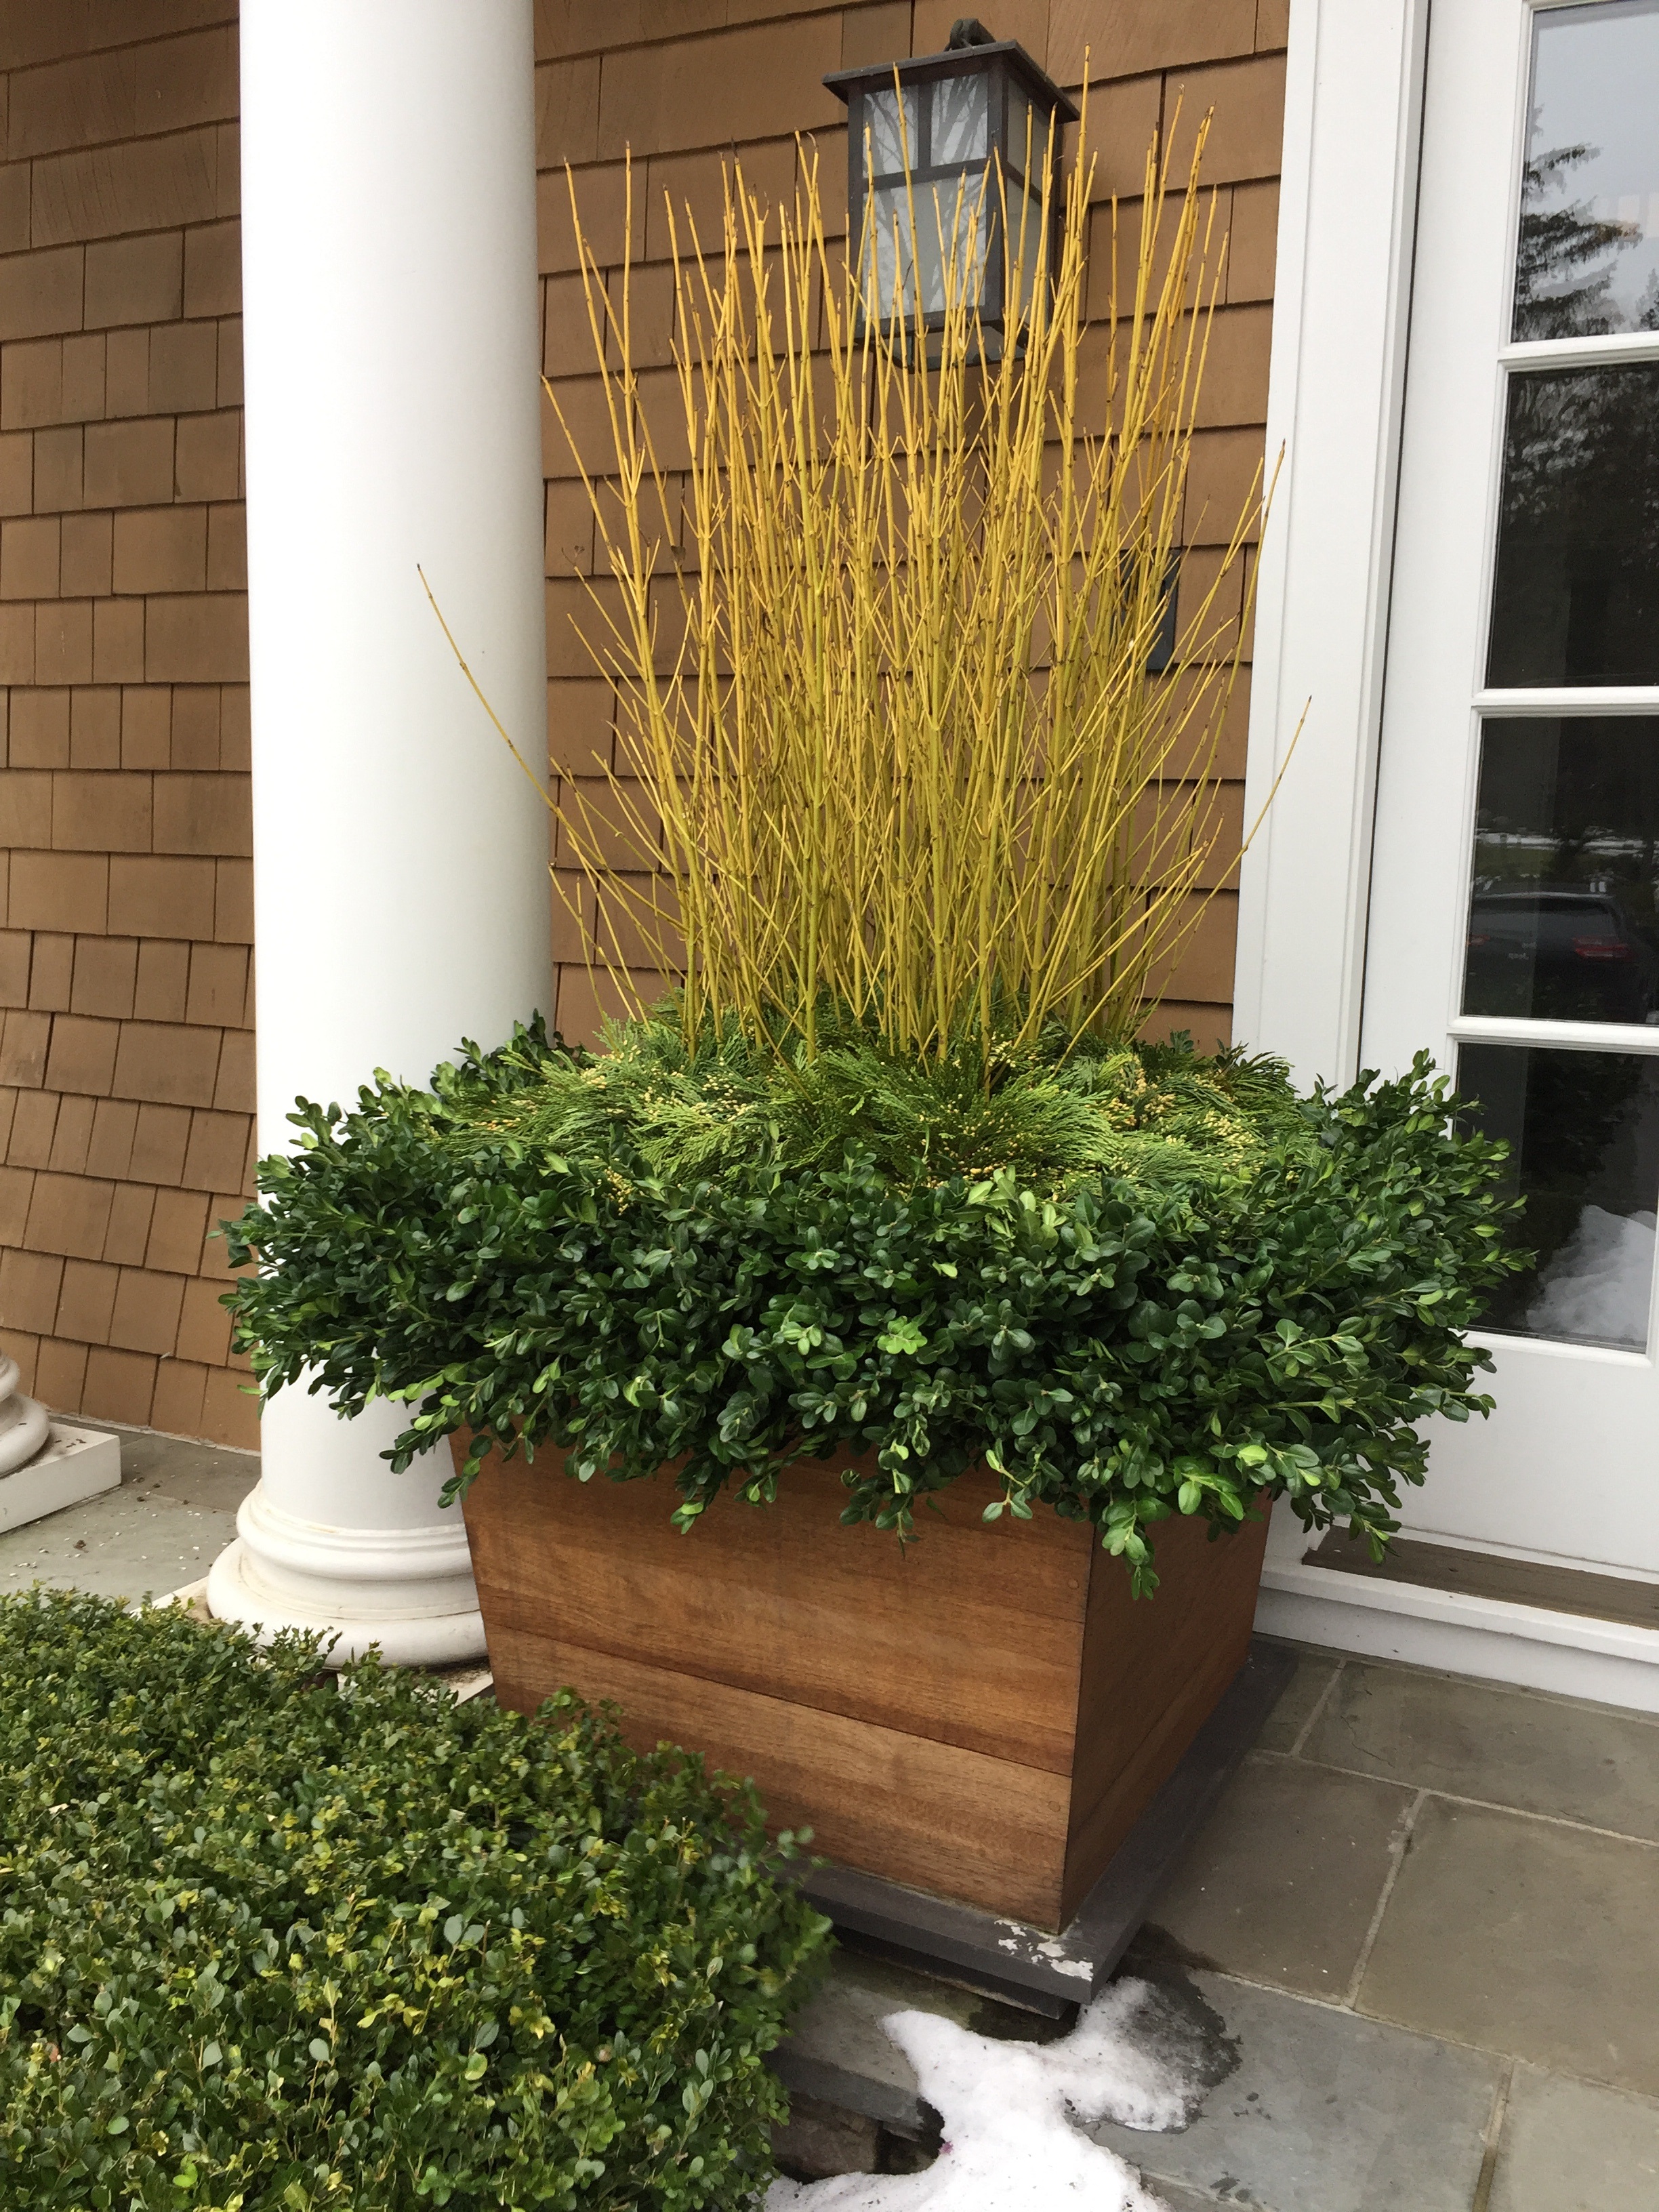
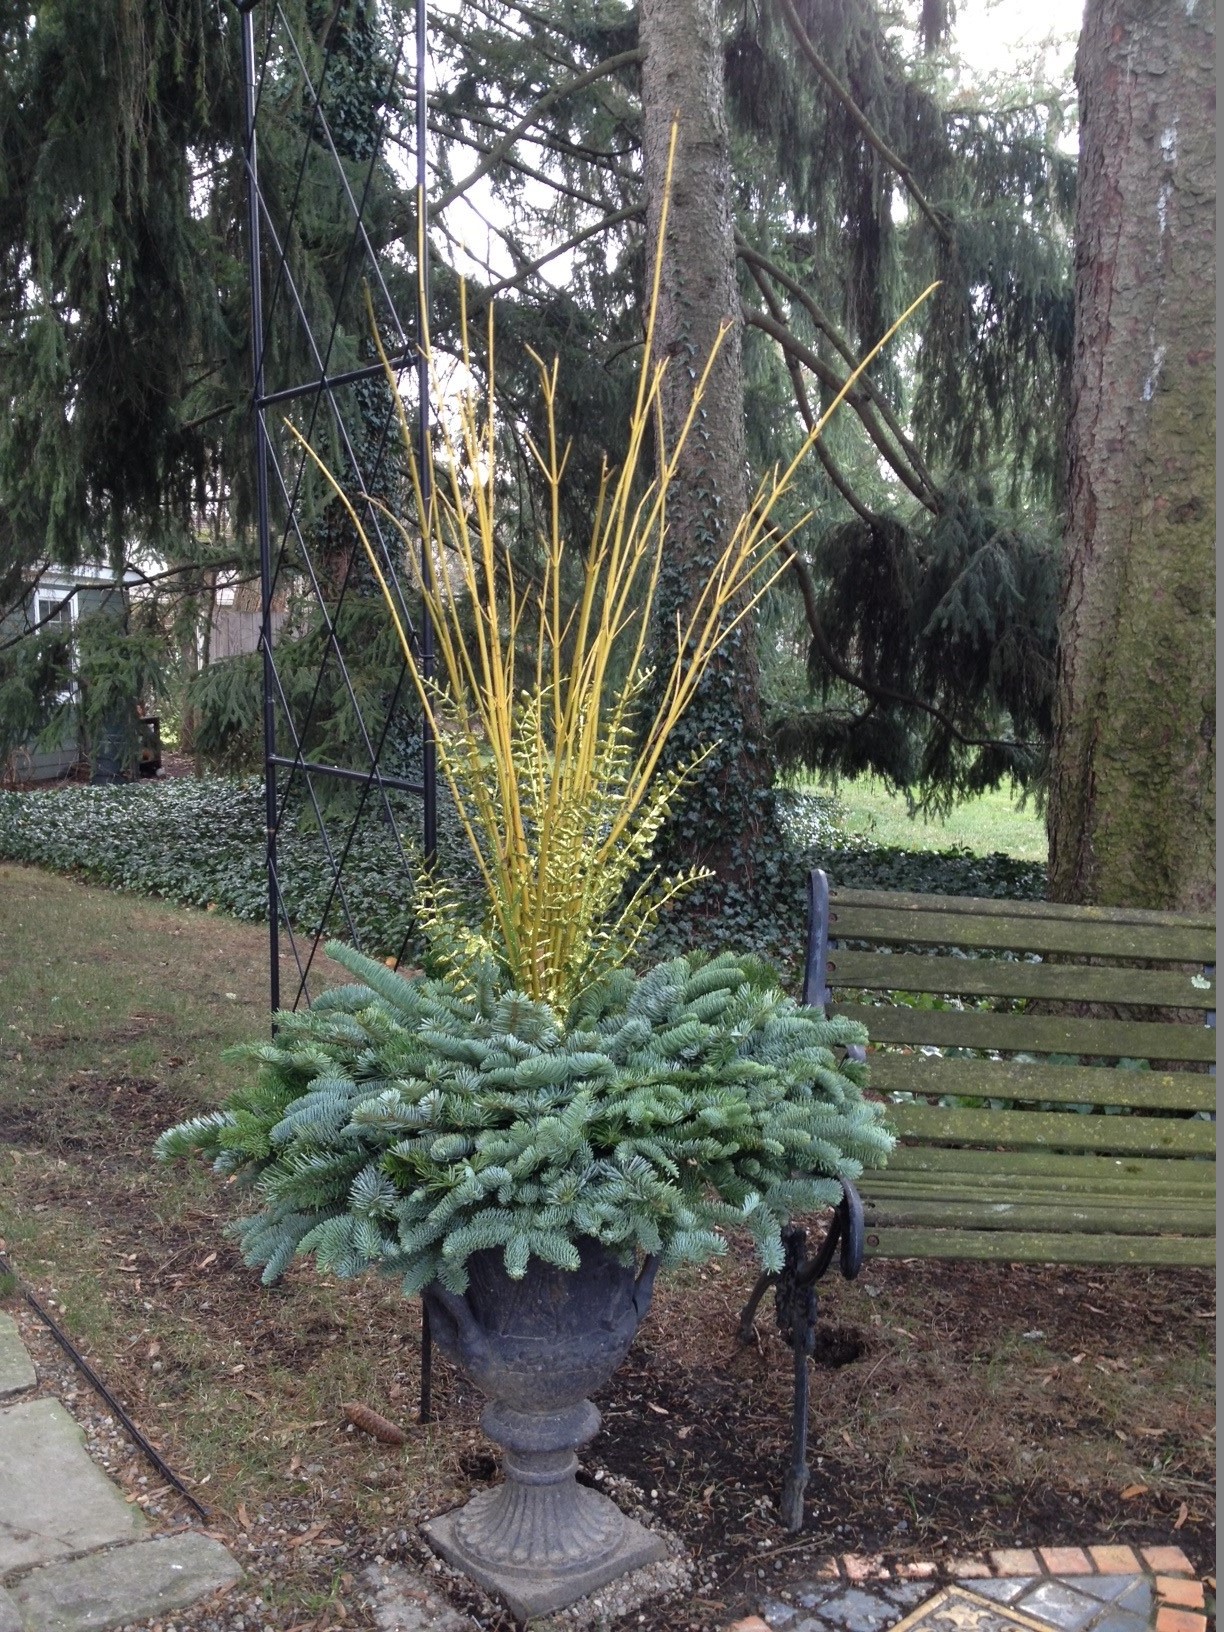
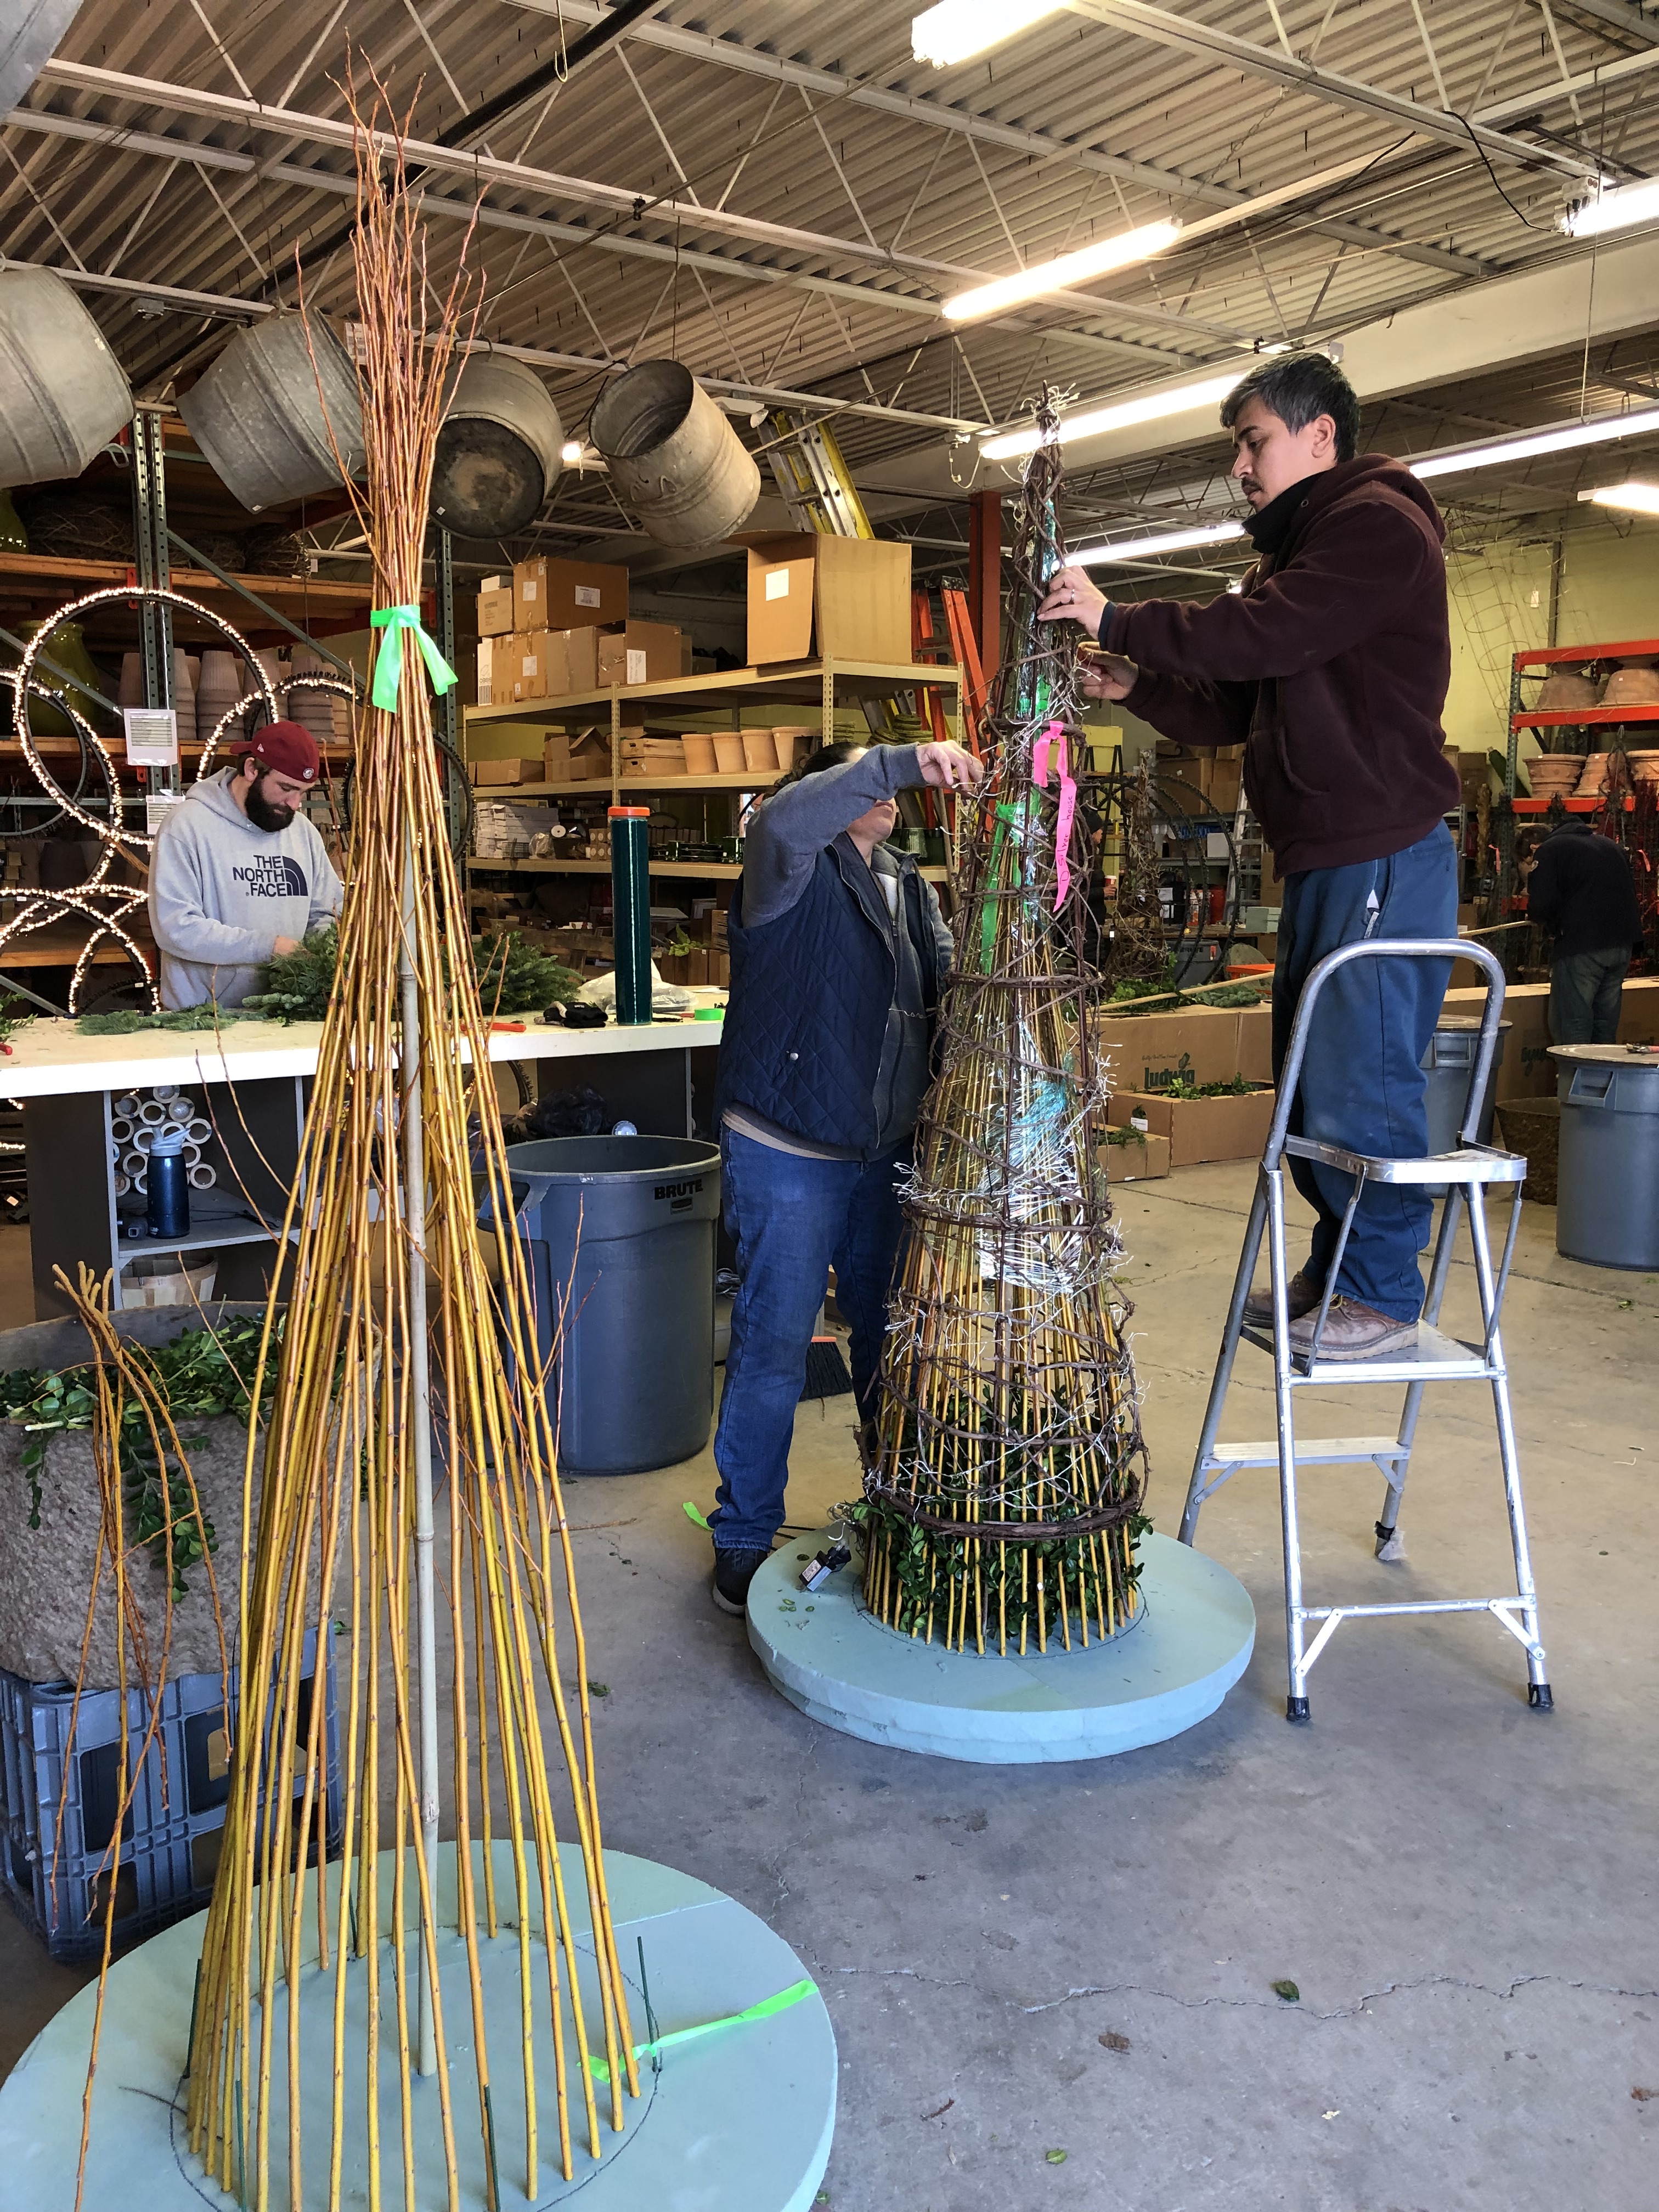
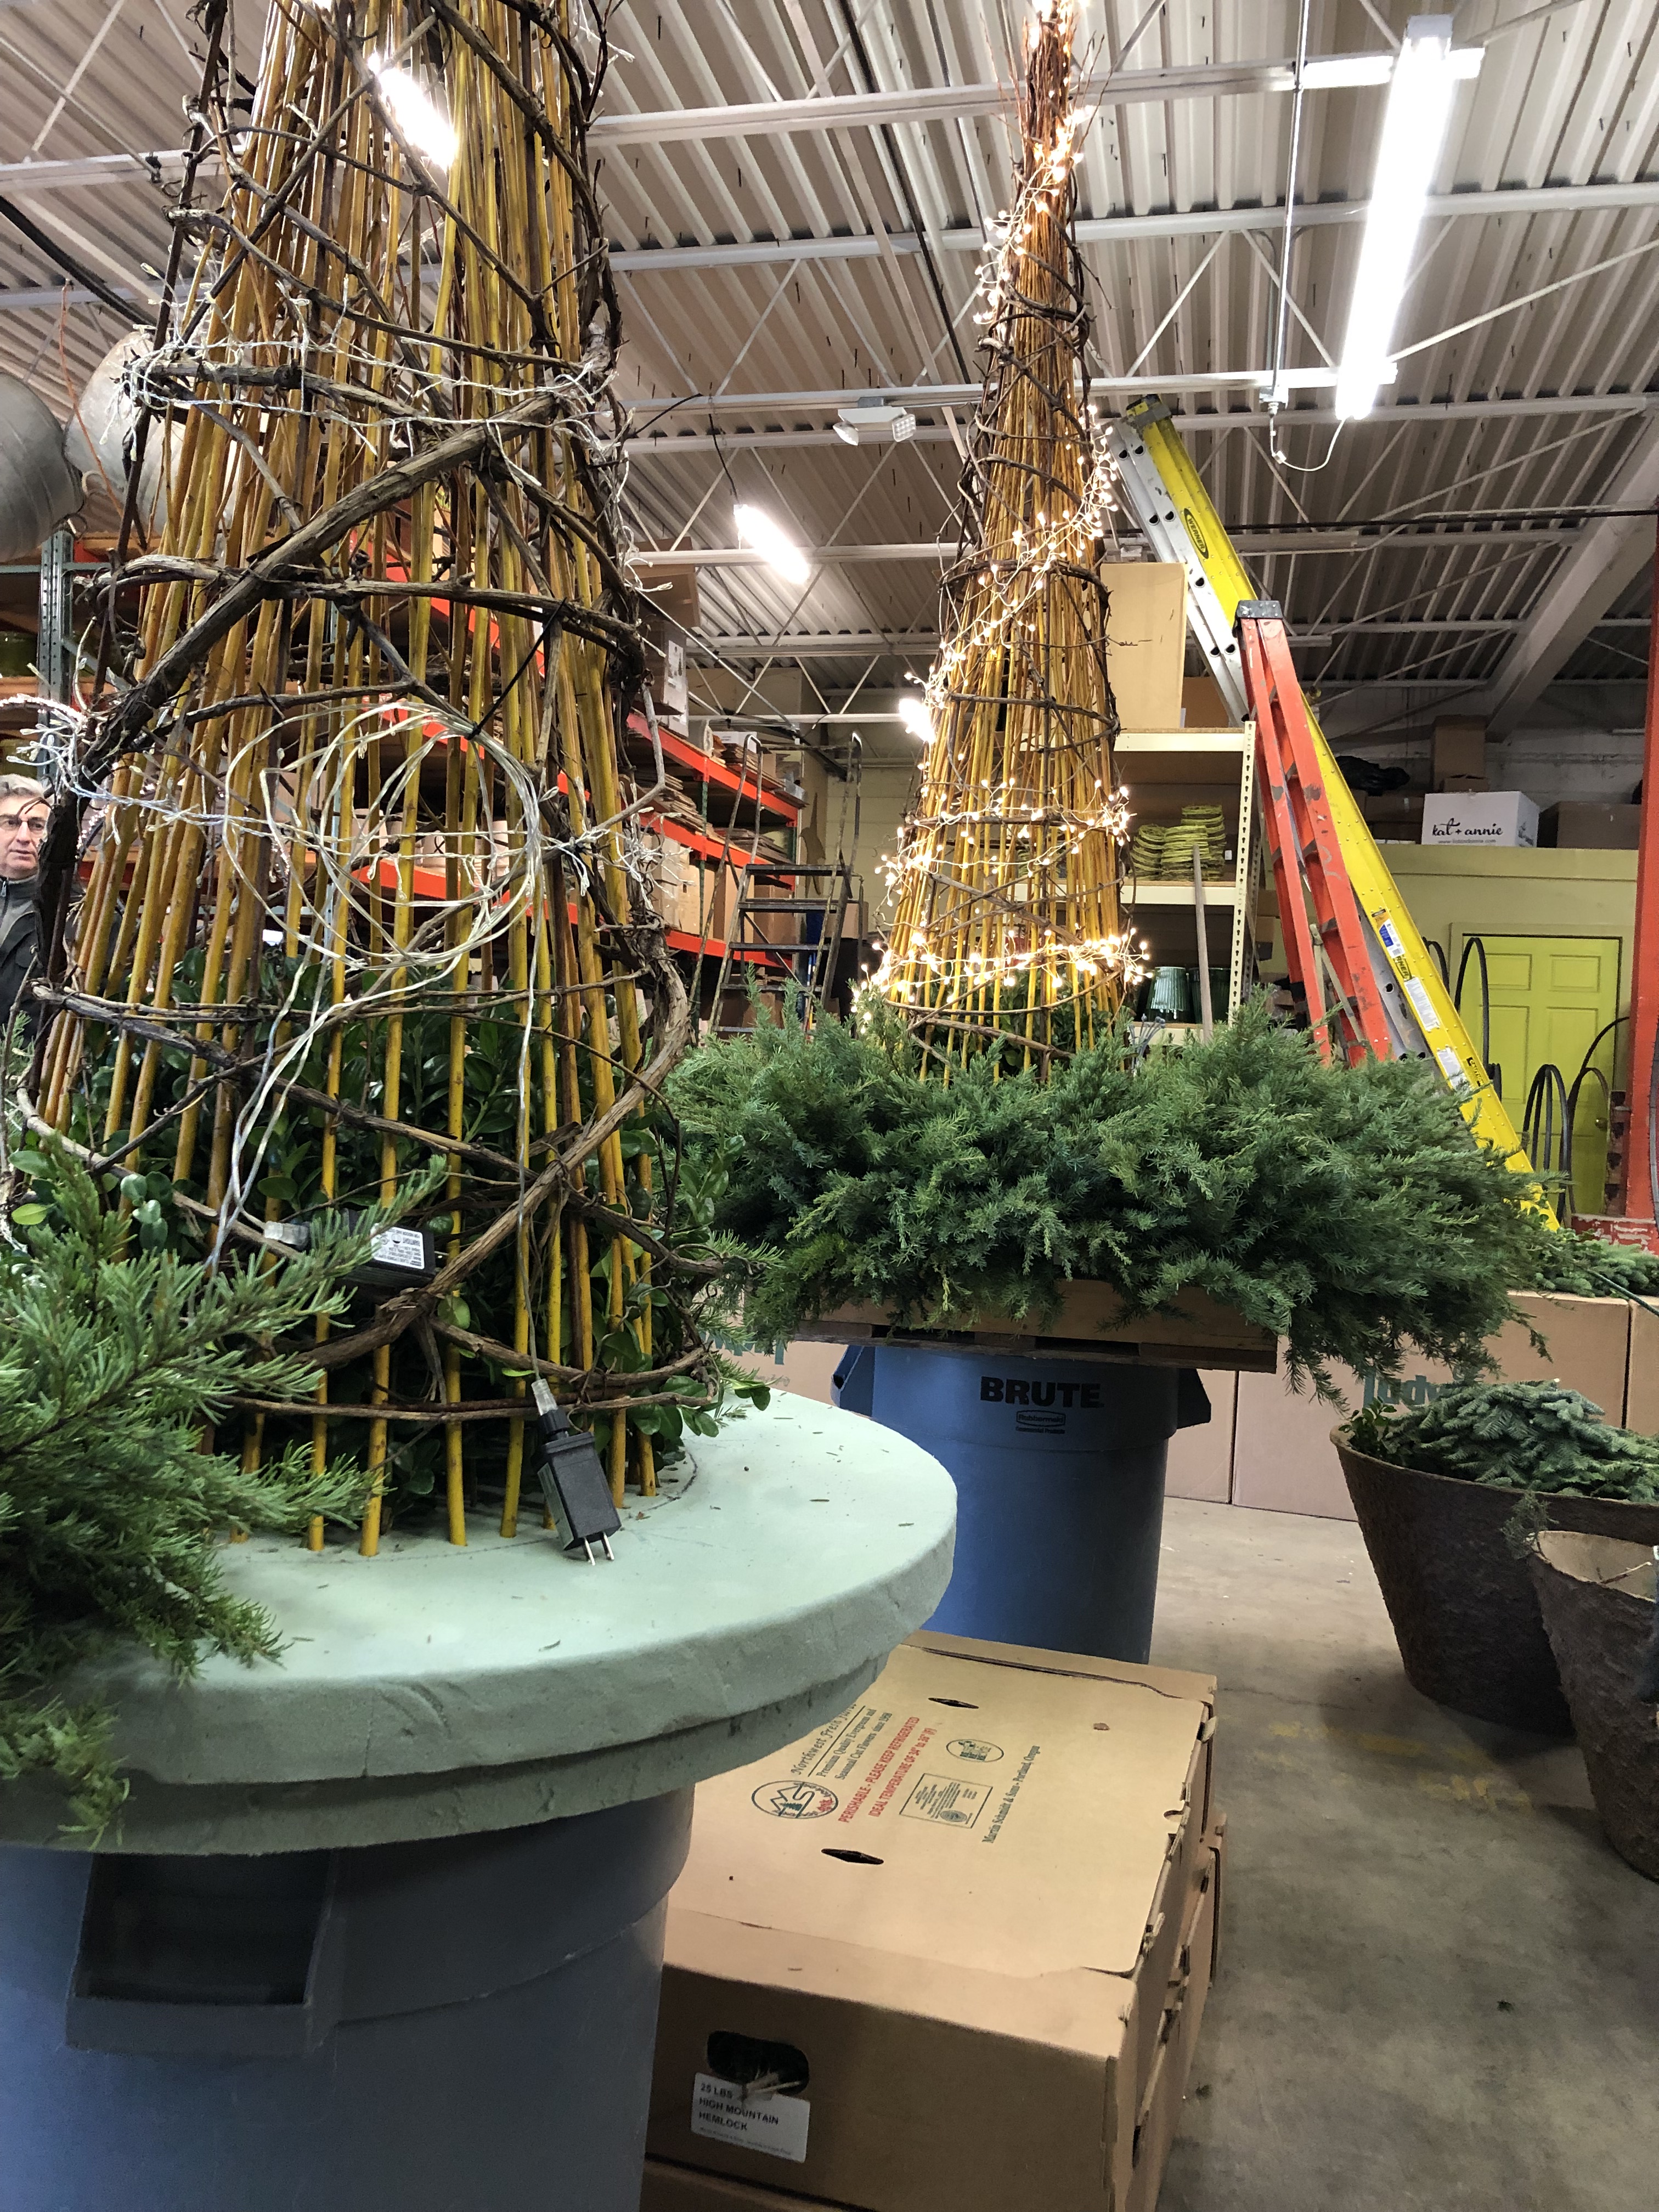
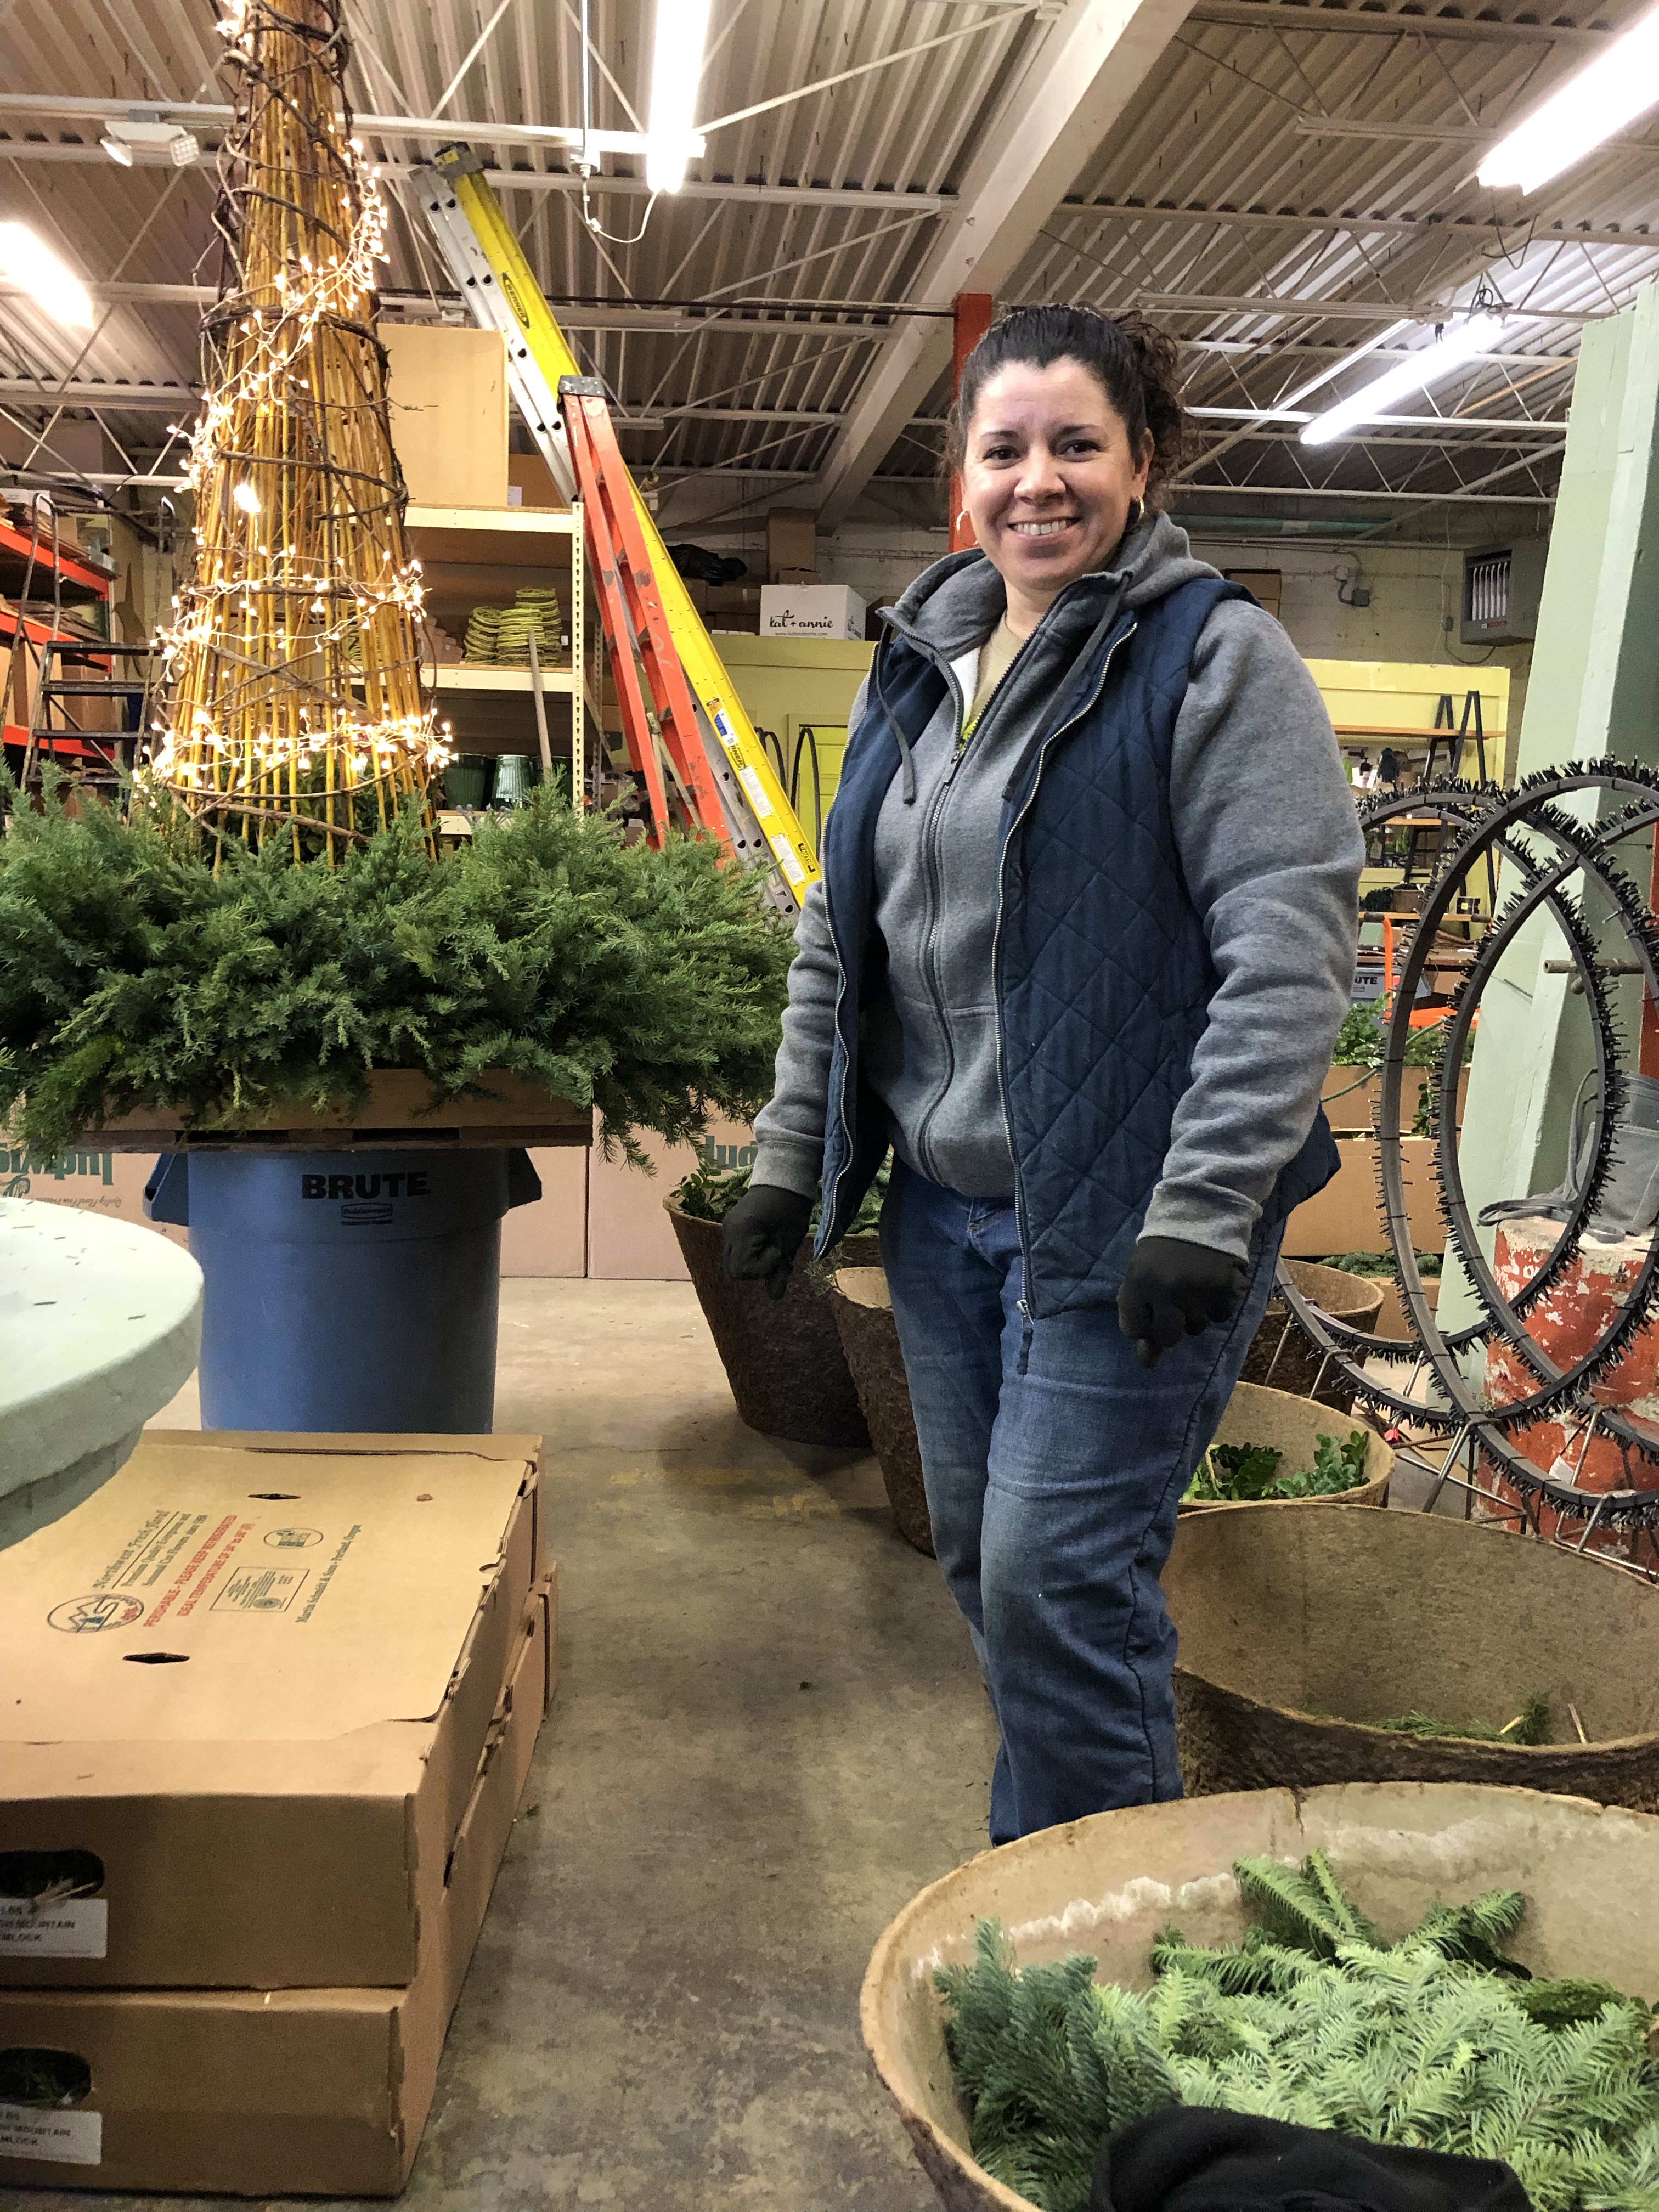 Marzela is our chief greens person. She has a gift for stuffing the forms with greens in a volumetric and convincing way. These forms have been filled with mountain hemlock. It is the most durable of all of the cut greens. Though these cut branches will take the full brunt of the western winter sun and weather for months, they will be just as green in March as they are in the above picture.
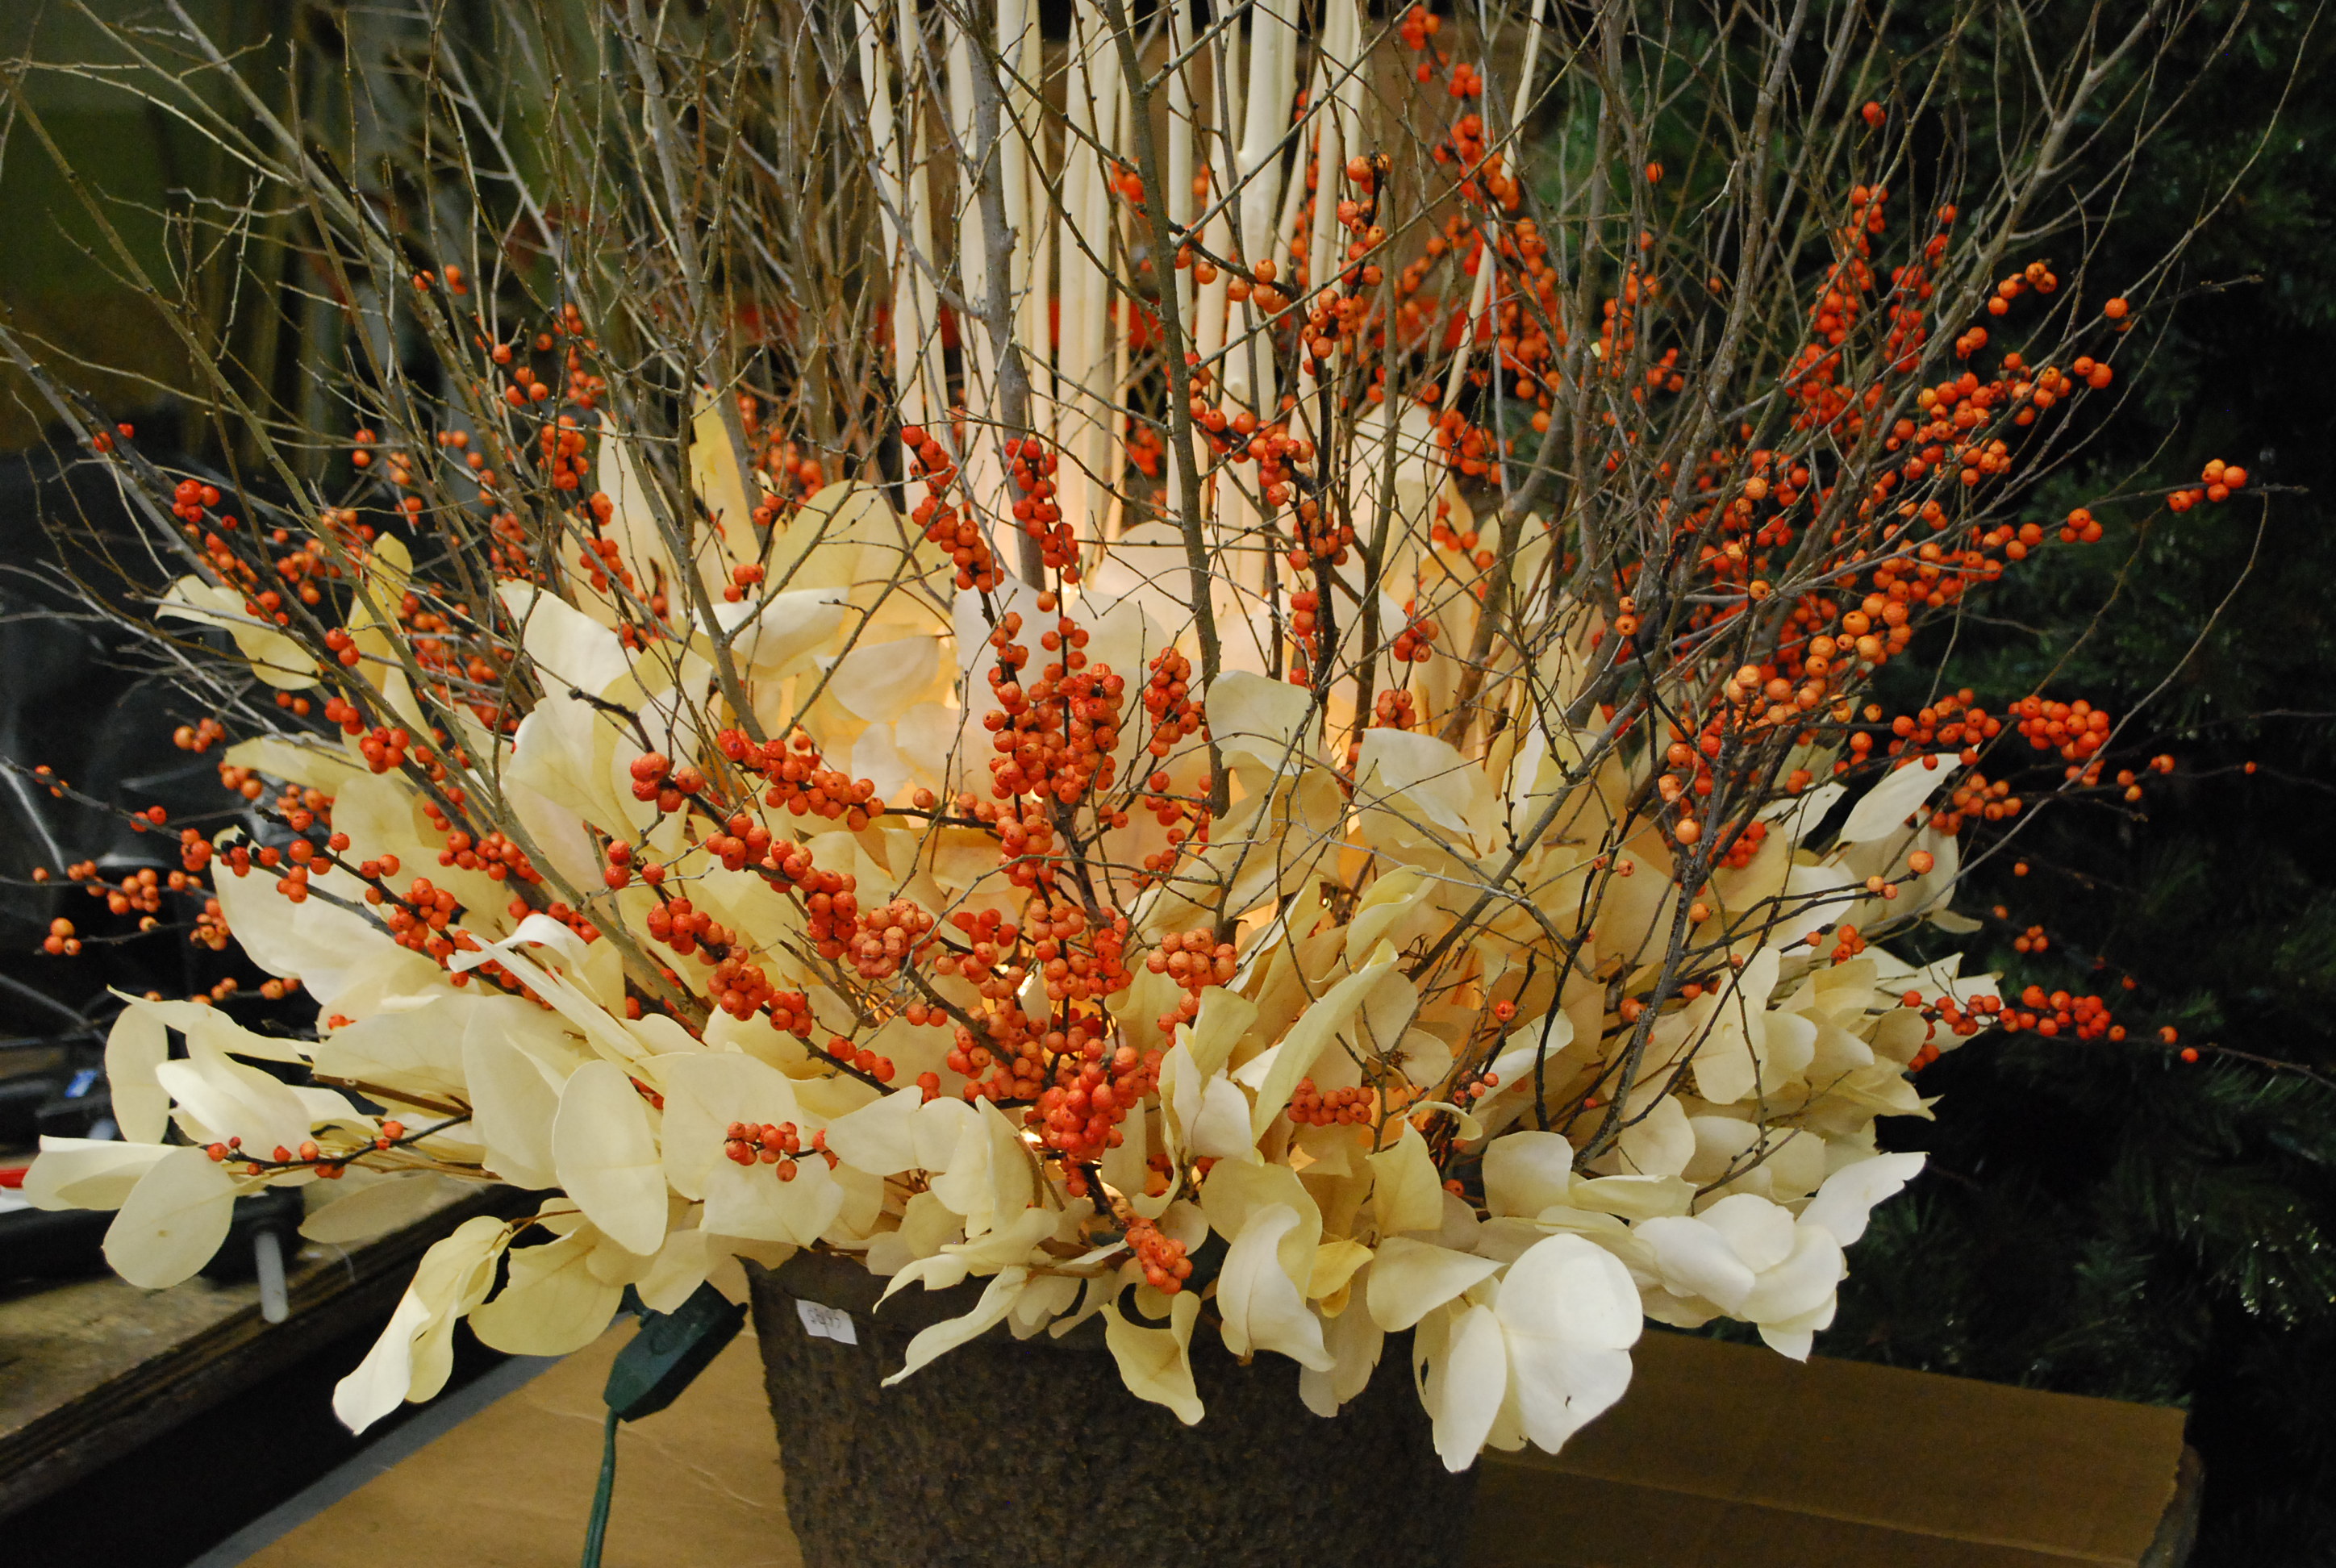
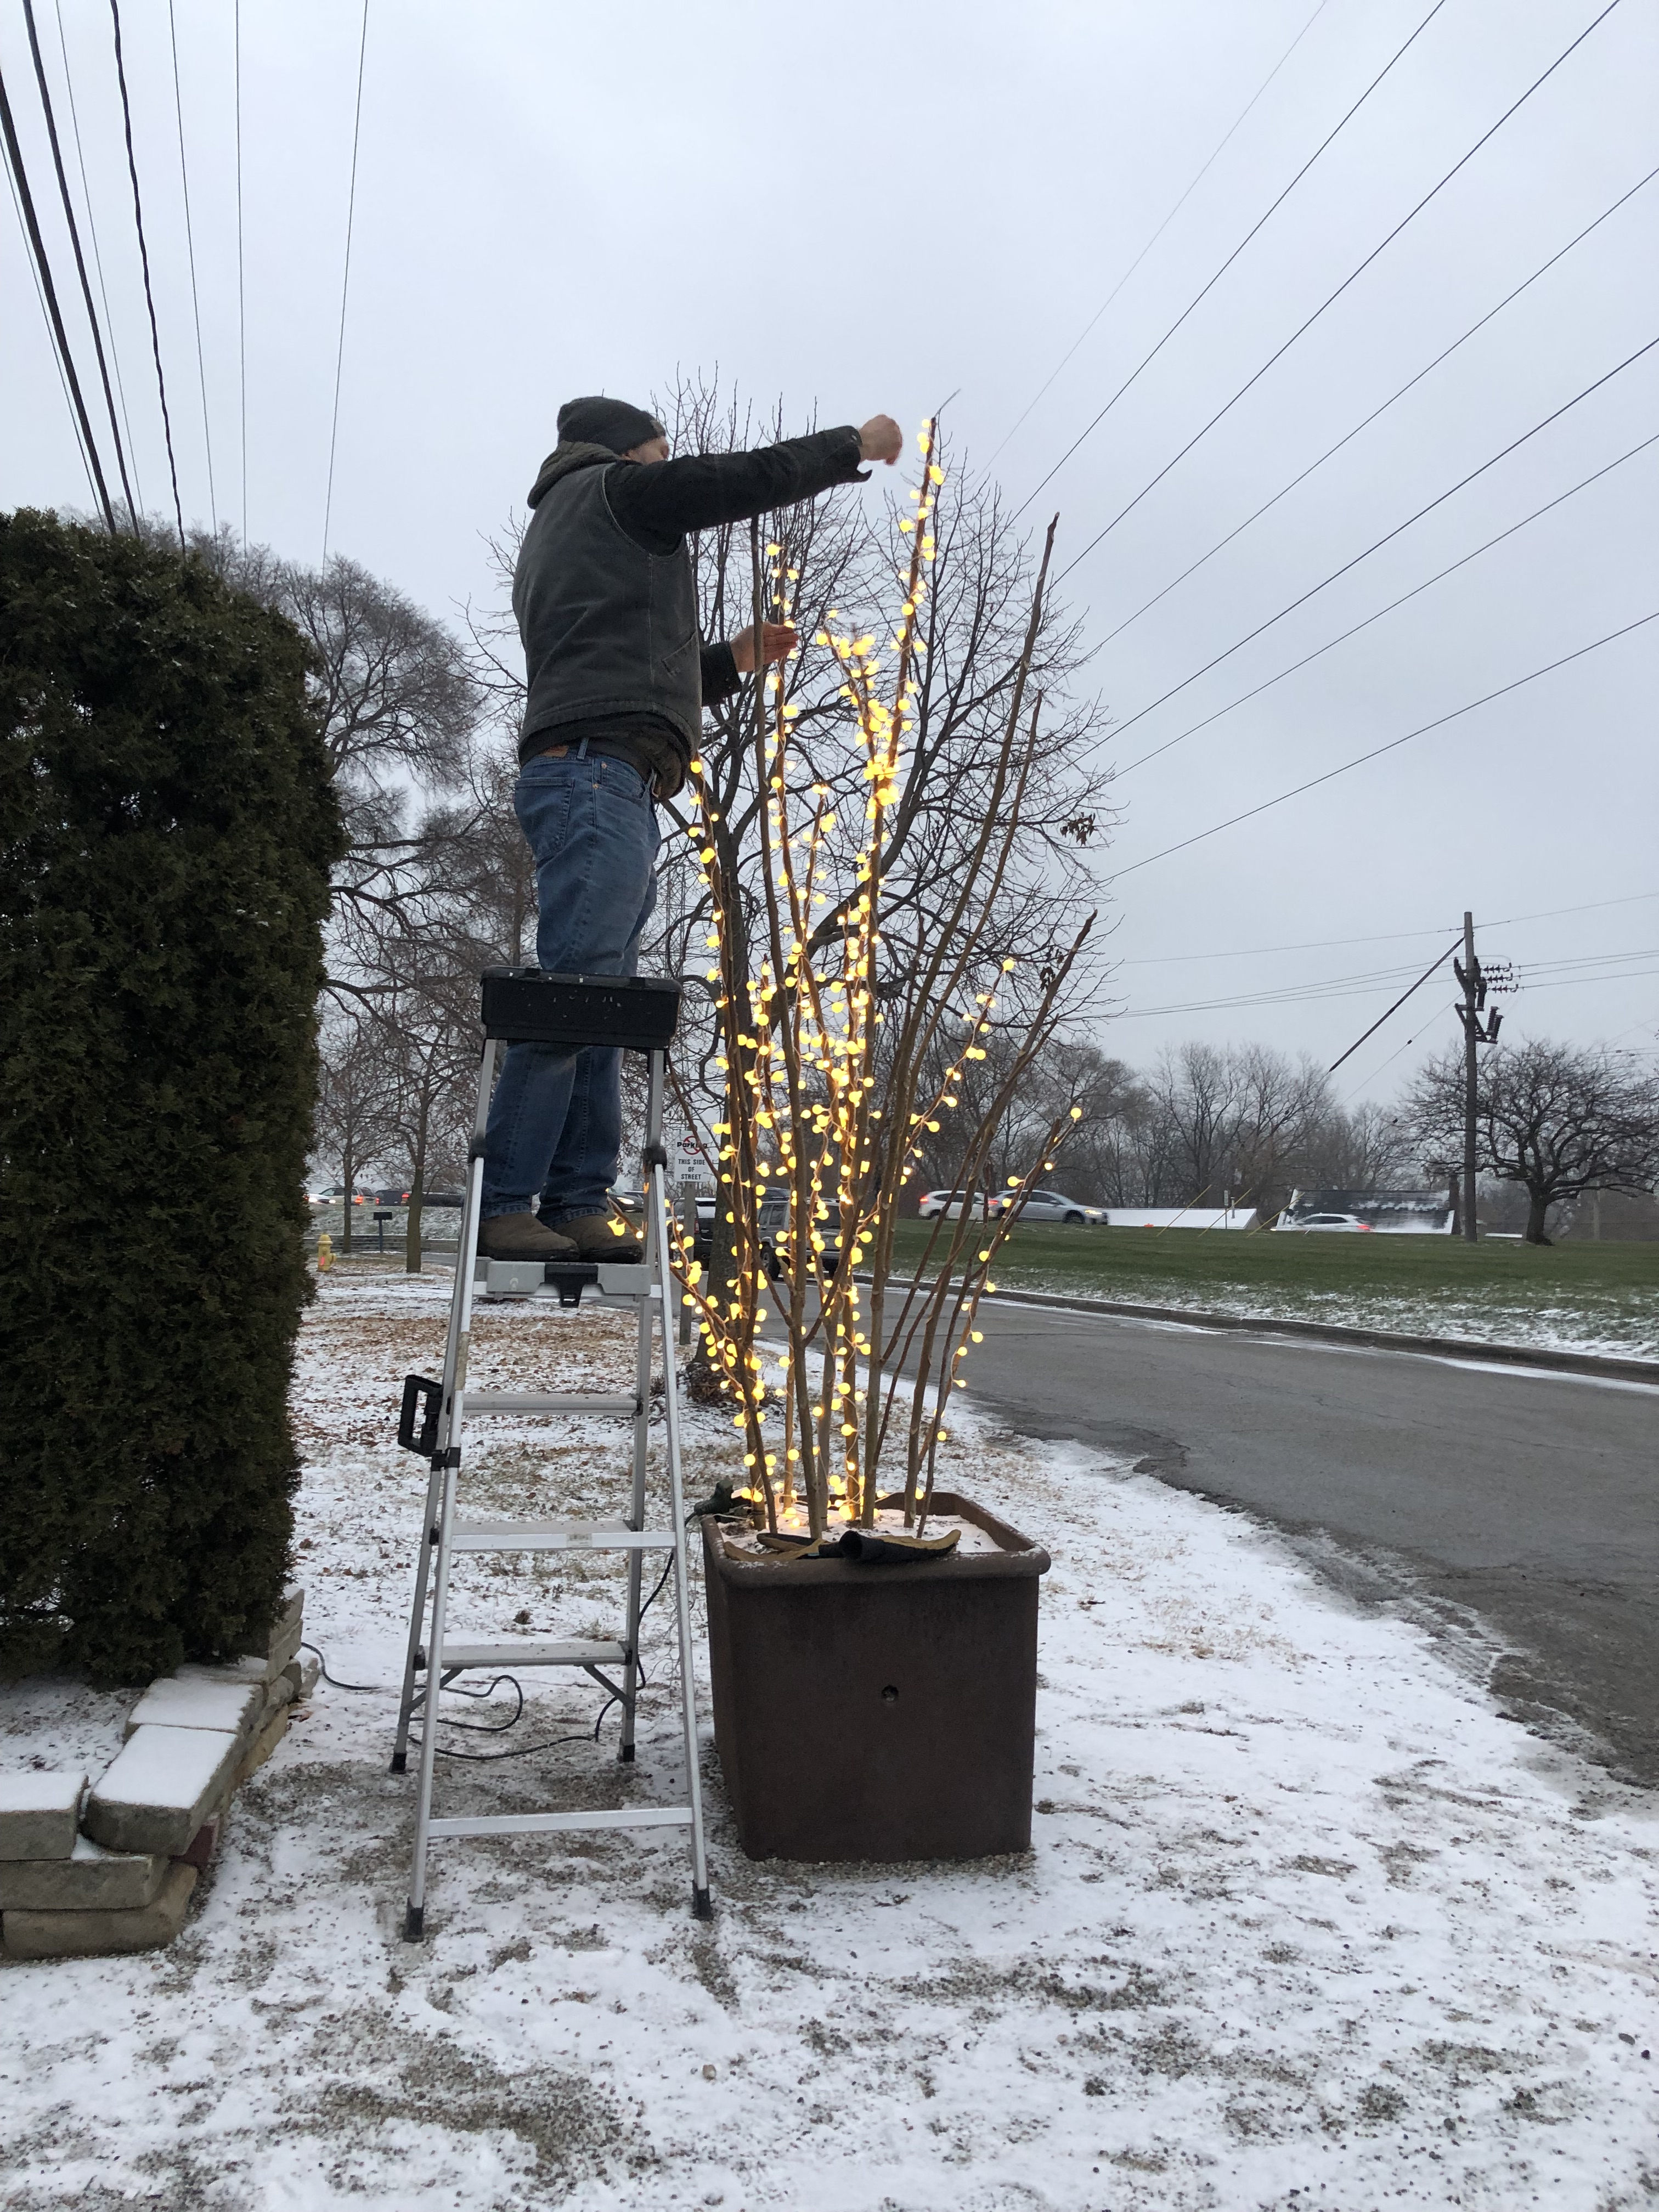
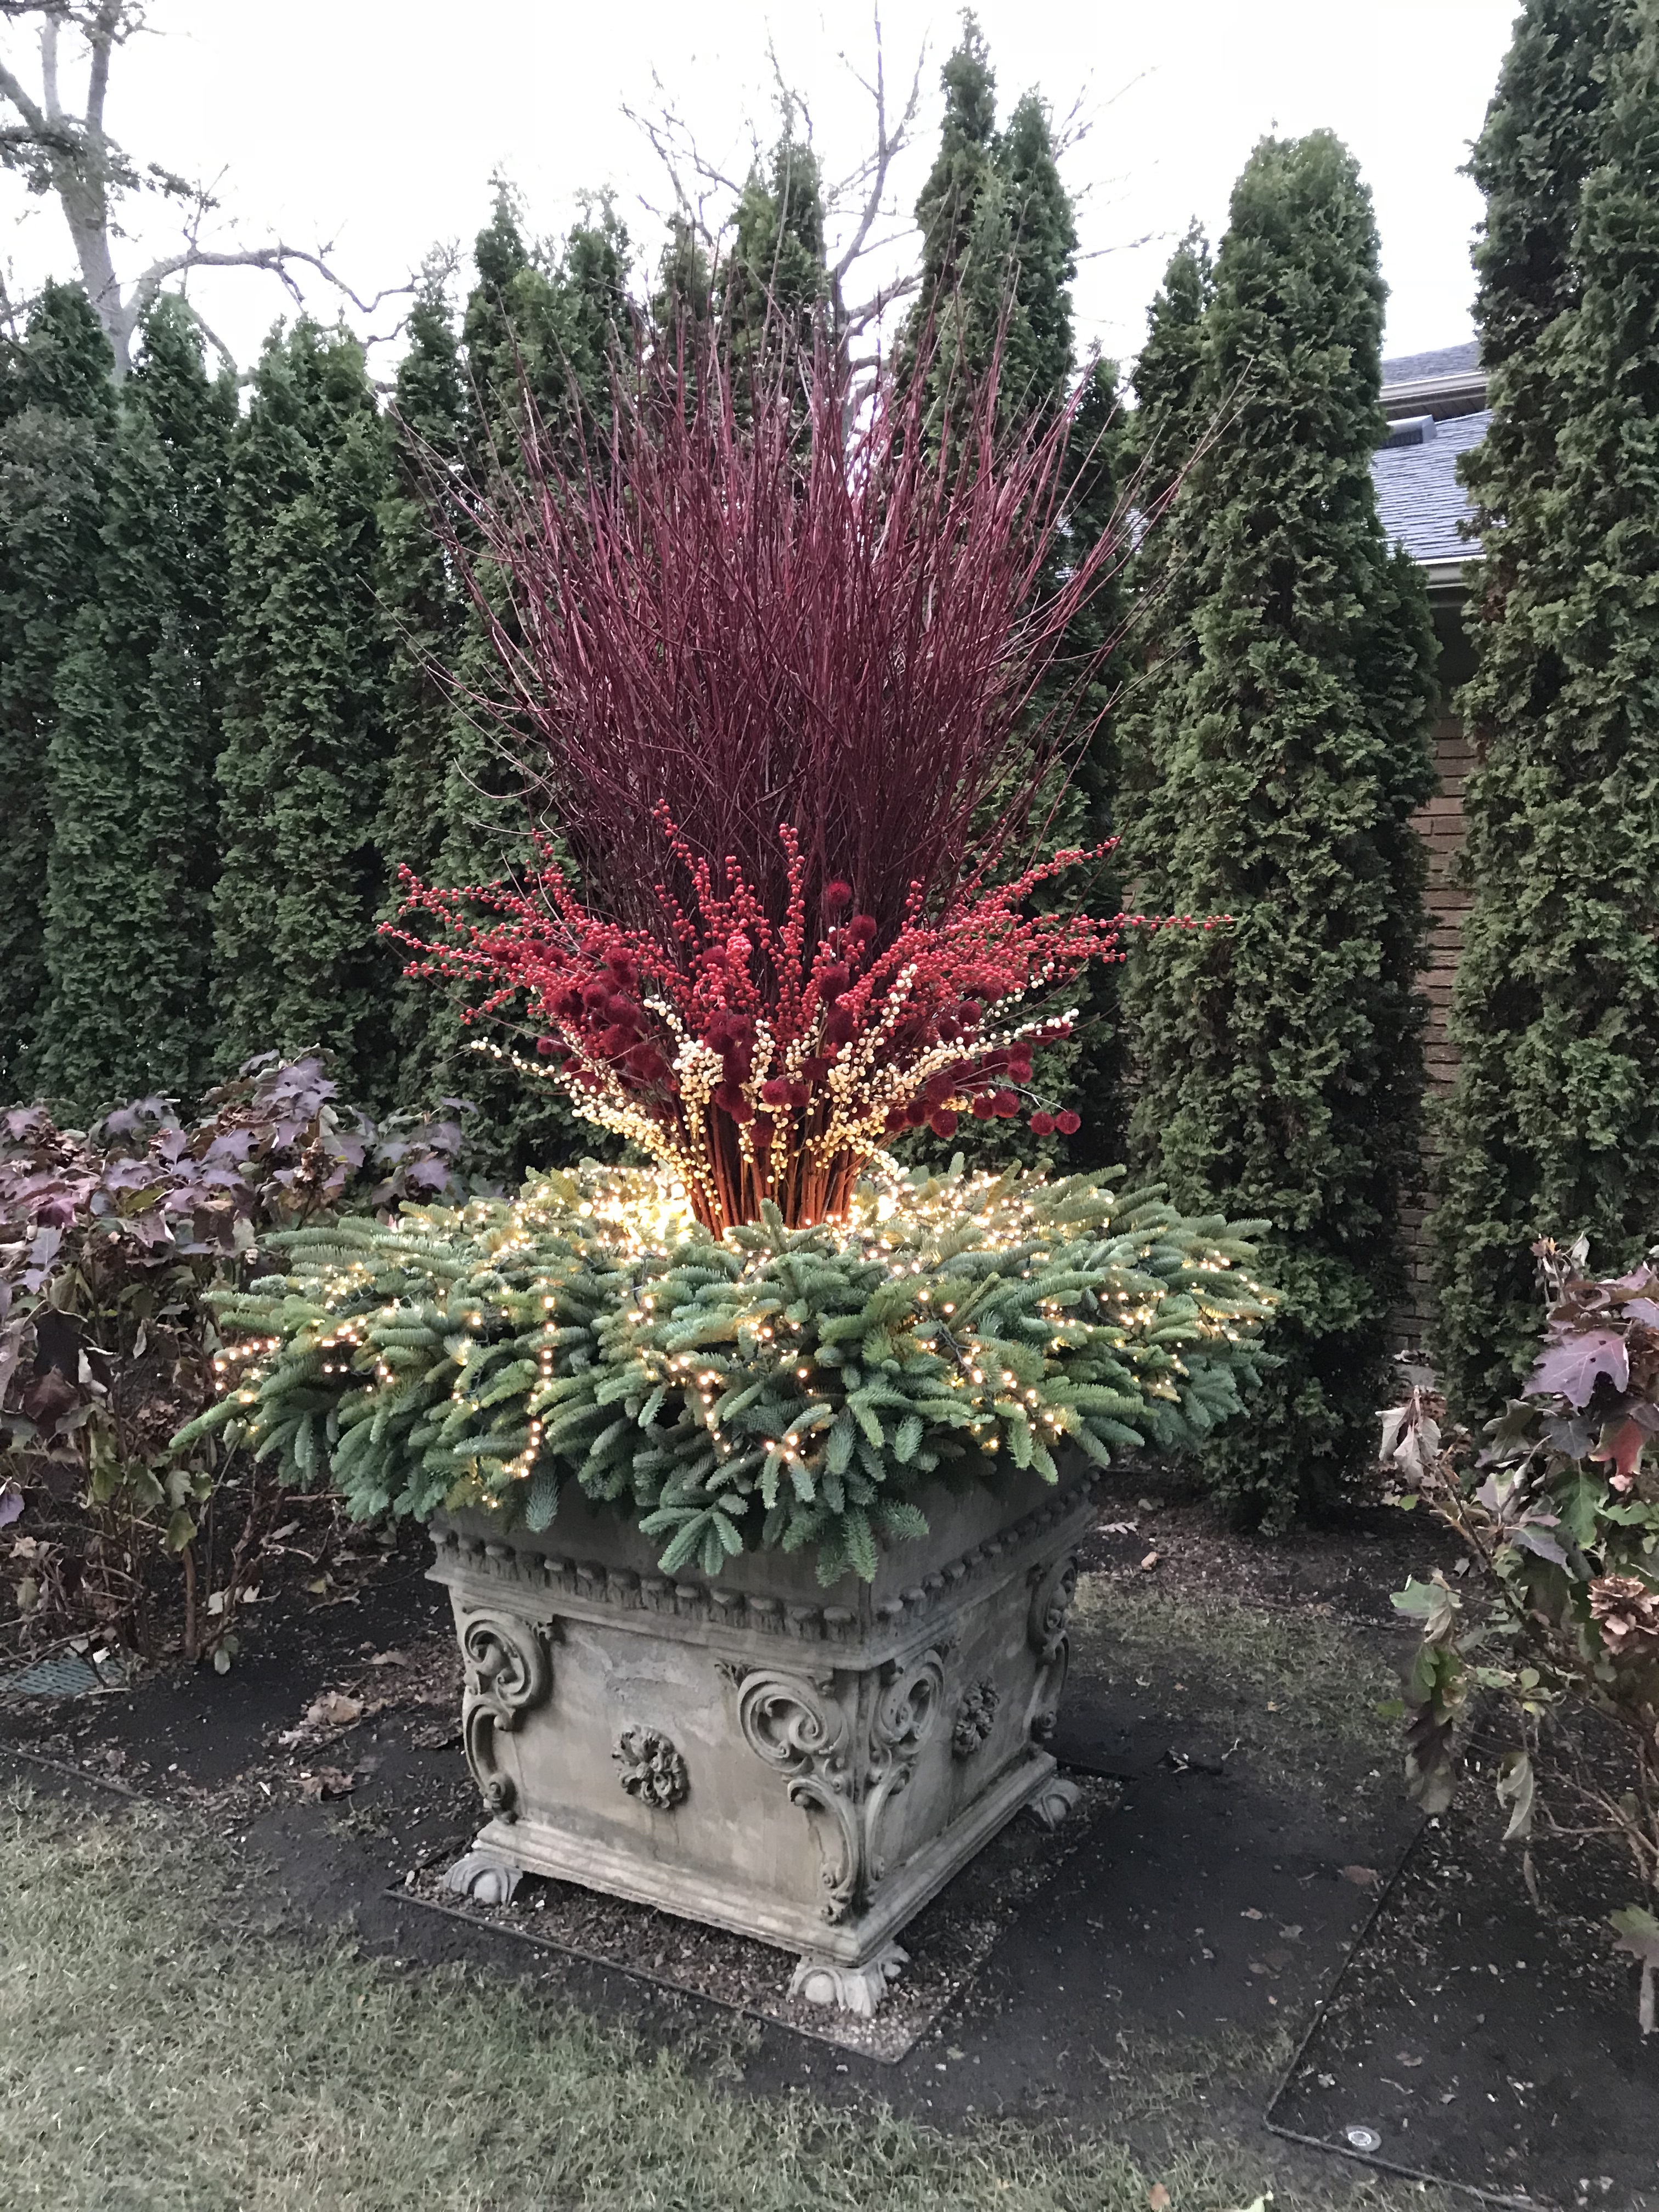
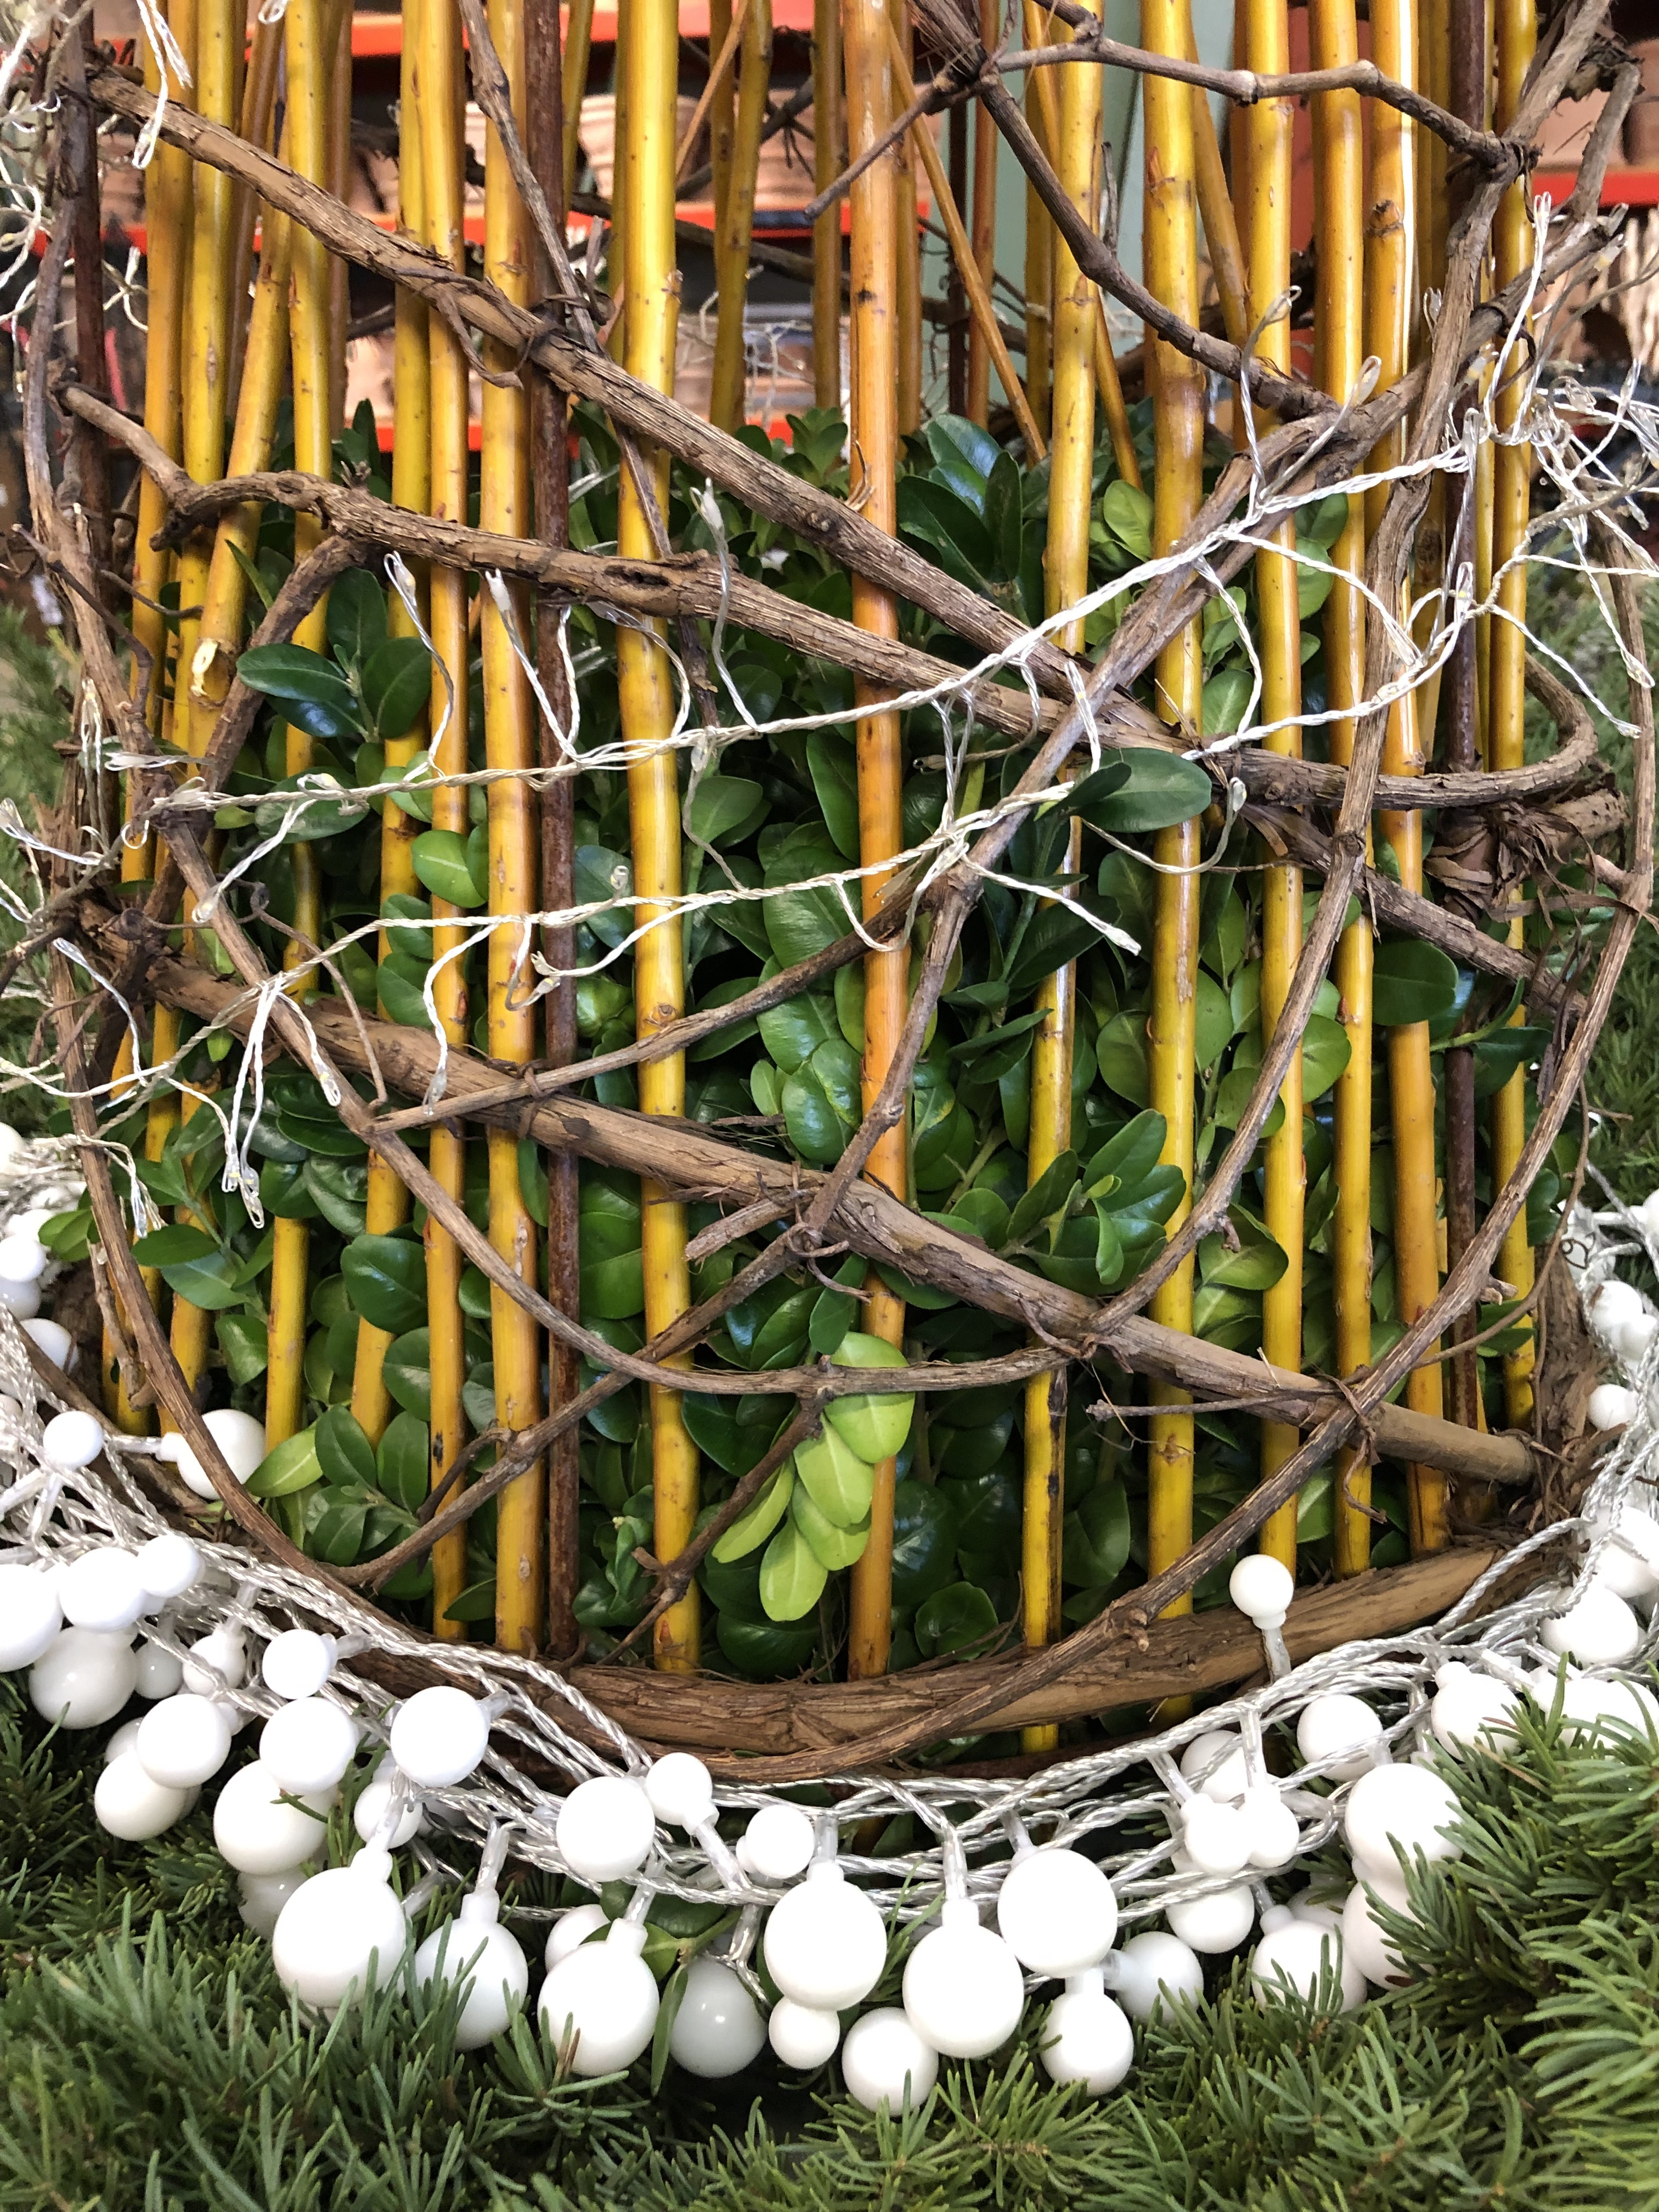
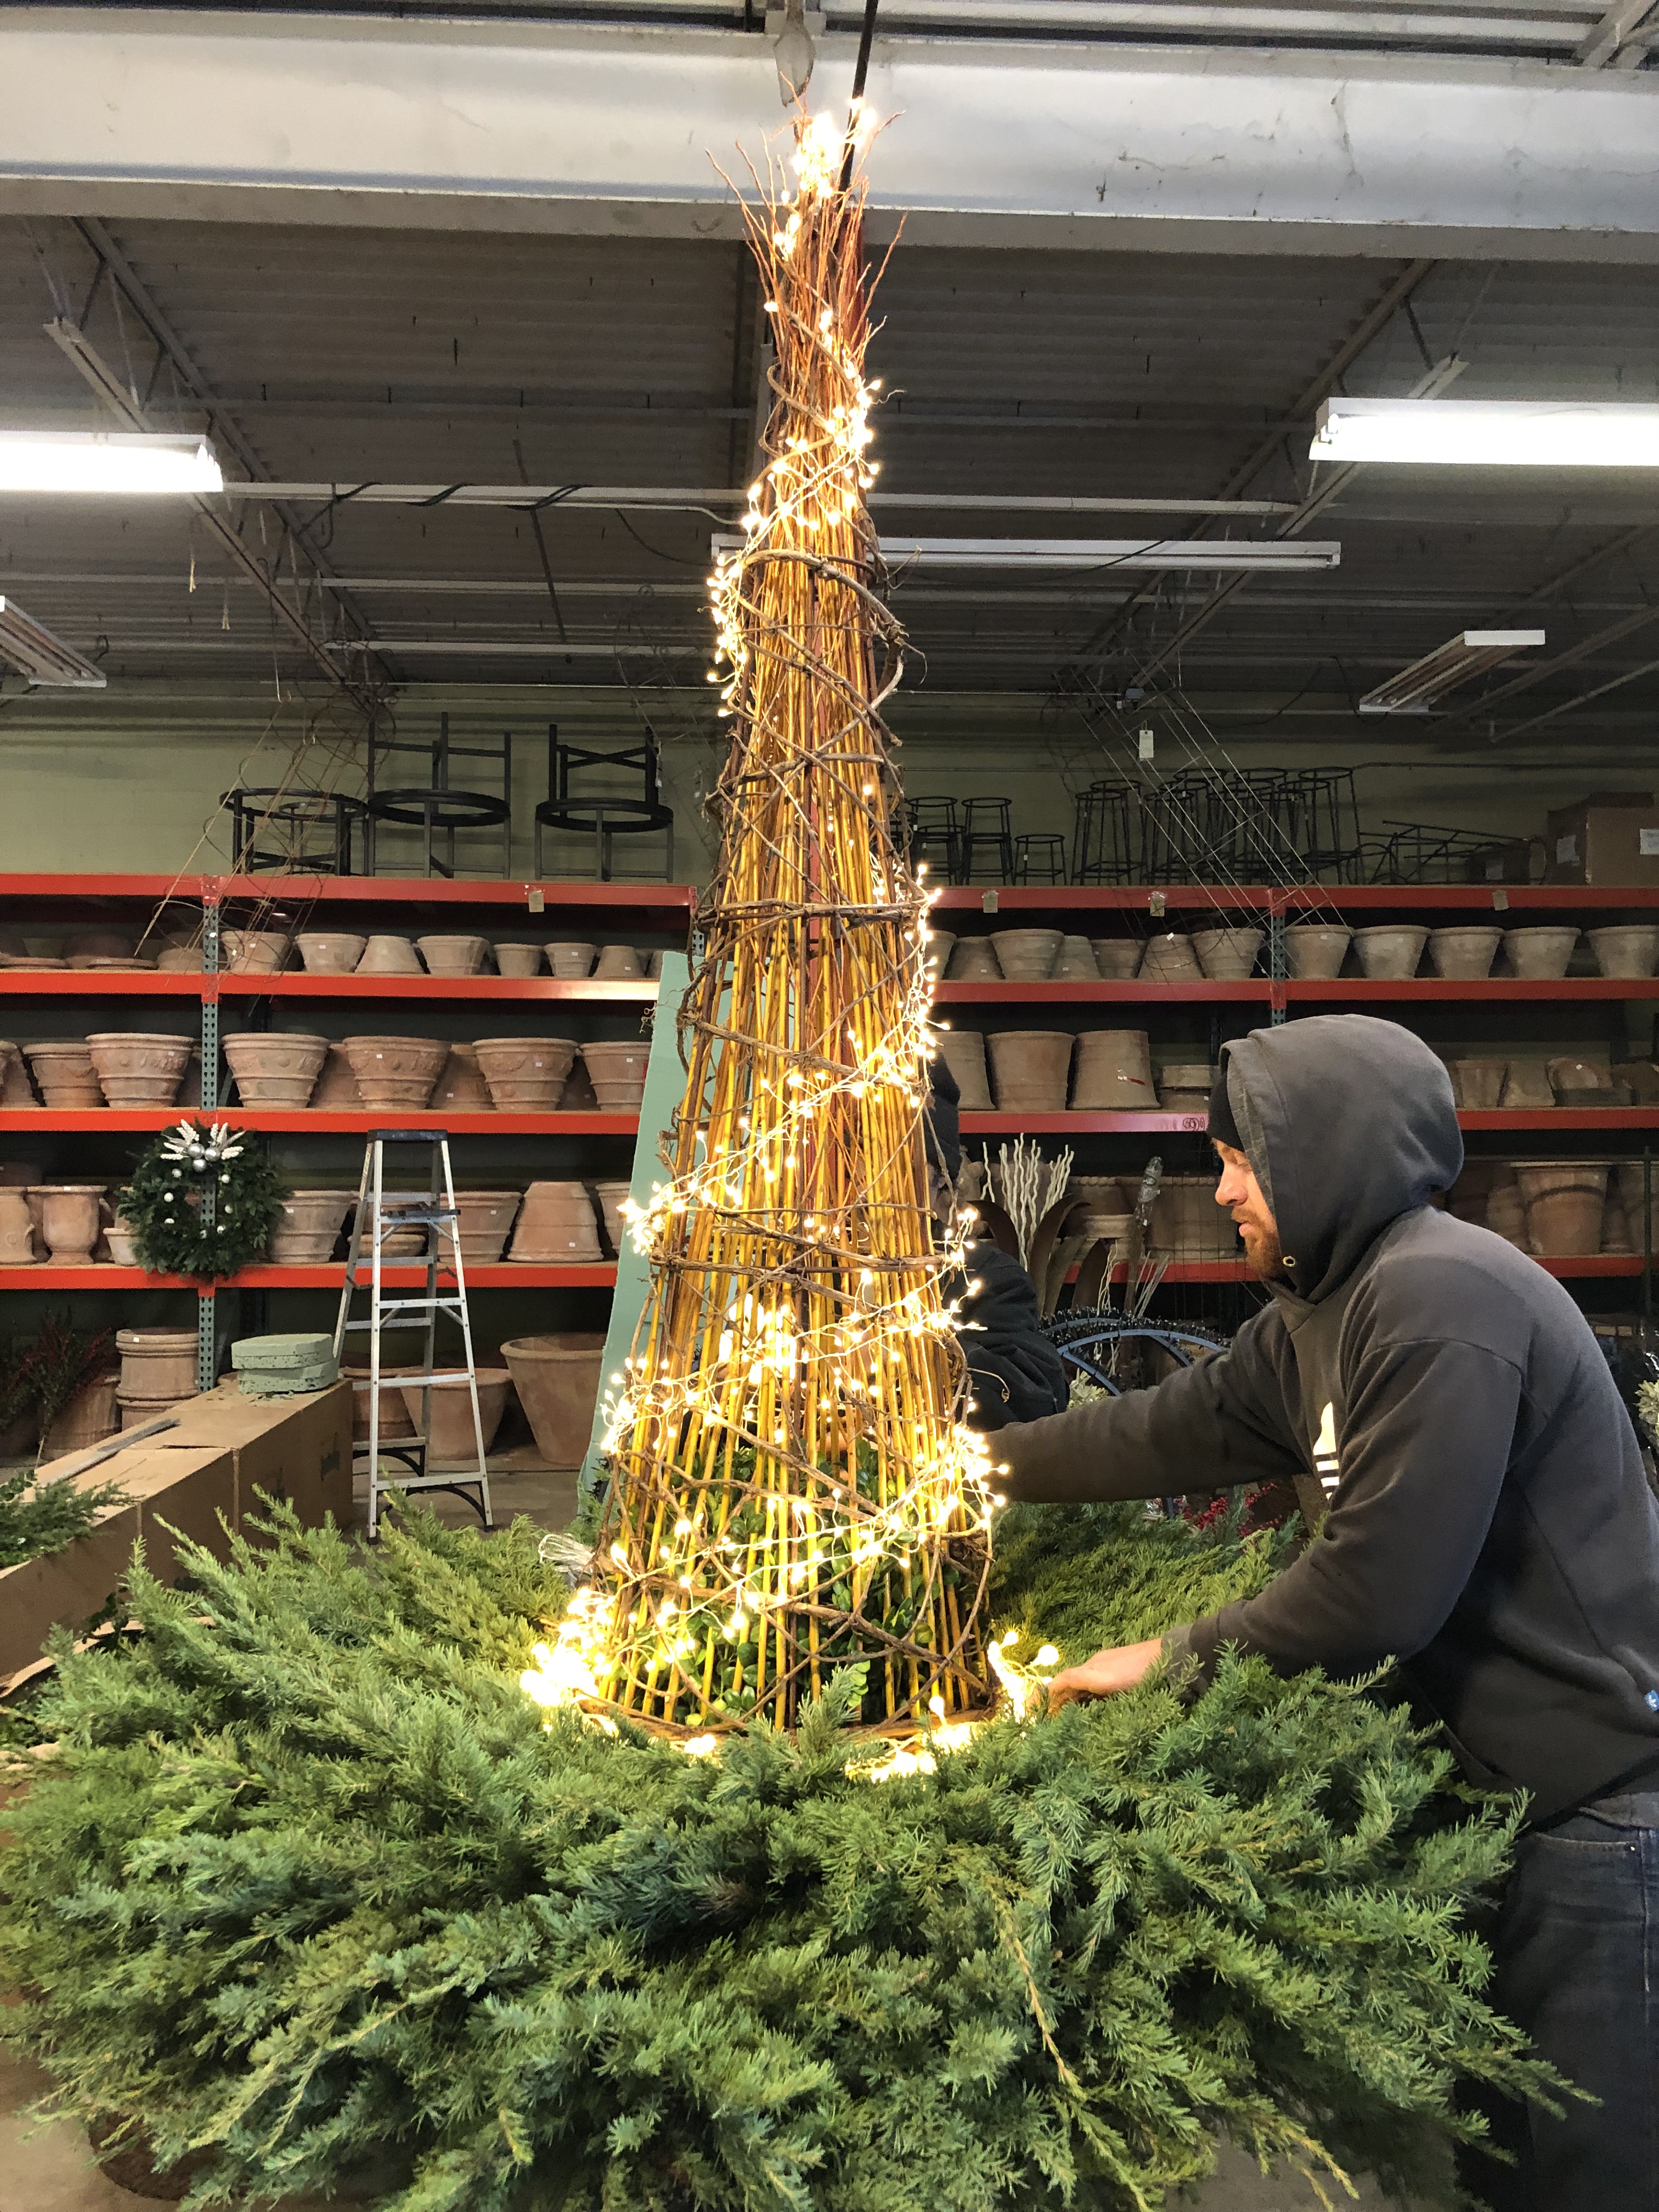 At the last, Colin checks the LED lights on the form. They still work fine, going into their third year of service. The tiny bulbs emit an astonishing amount of light. They will do a great job of illuminating the form at night. He is also adding a string of mixed berry lights – new to us this year. Translucent globes of varying sizes emit a soft glow.
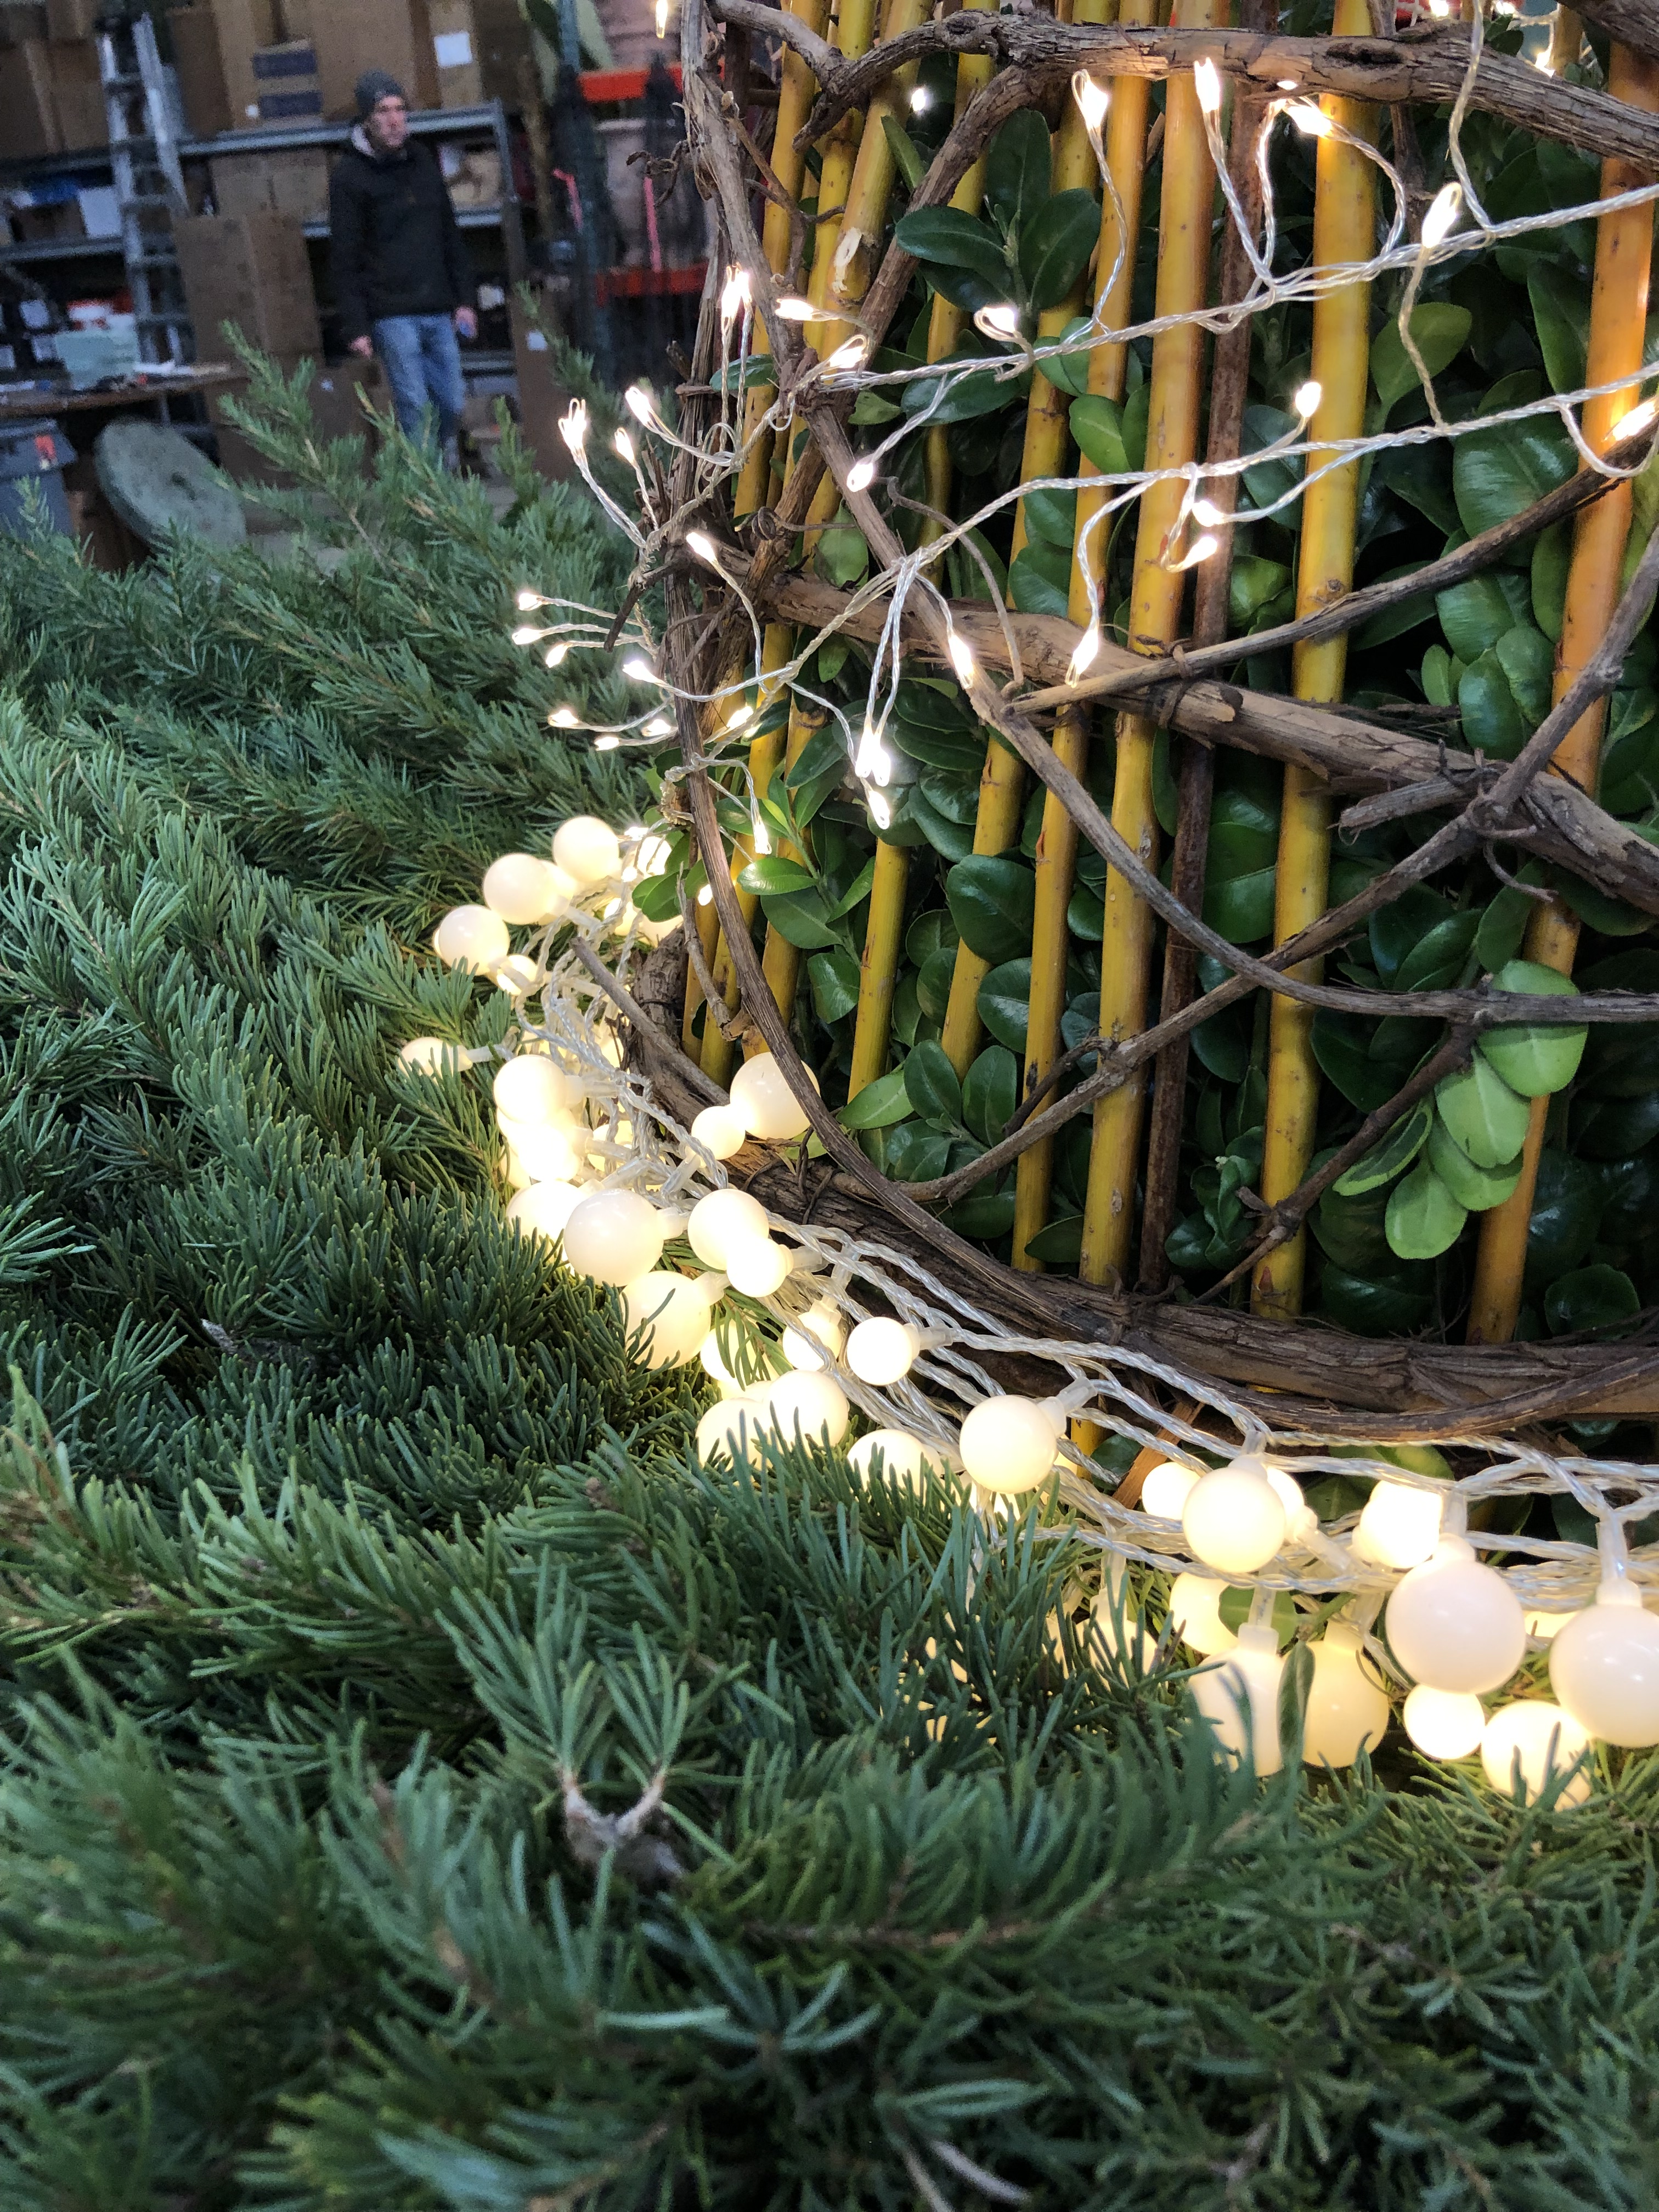 A generously long string of them will emit a glow strong enough to define the form at the bottom. I suspect that at night, neither the globes nor the wires will be visible. Just the light.
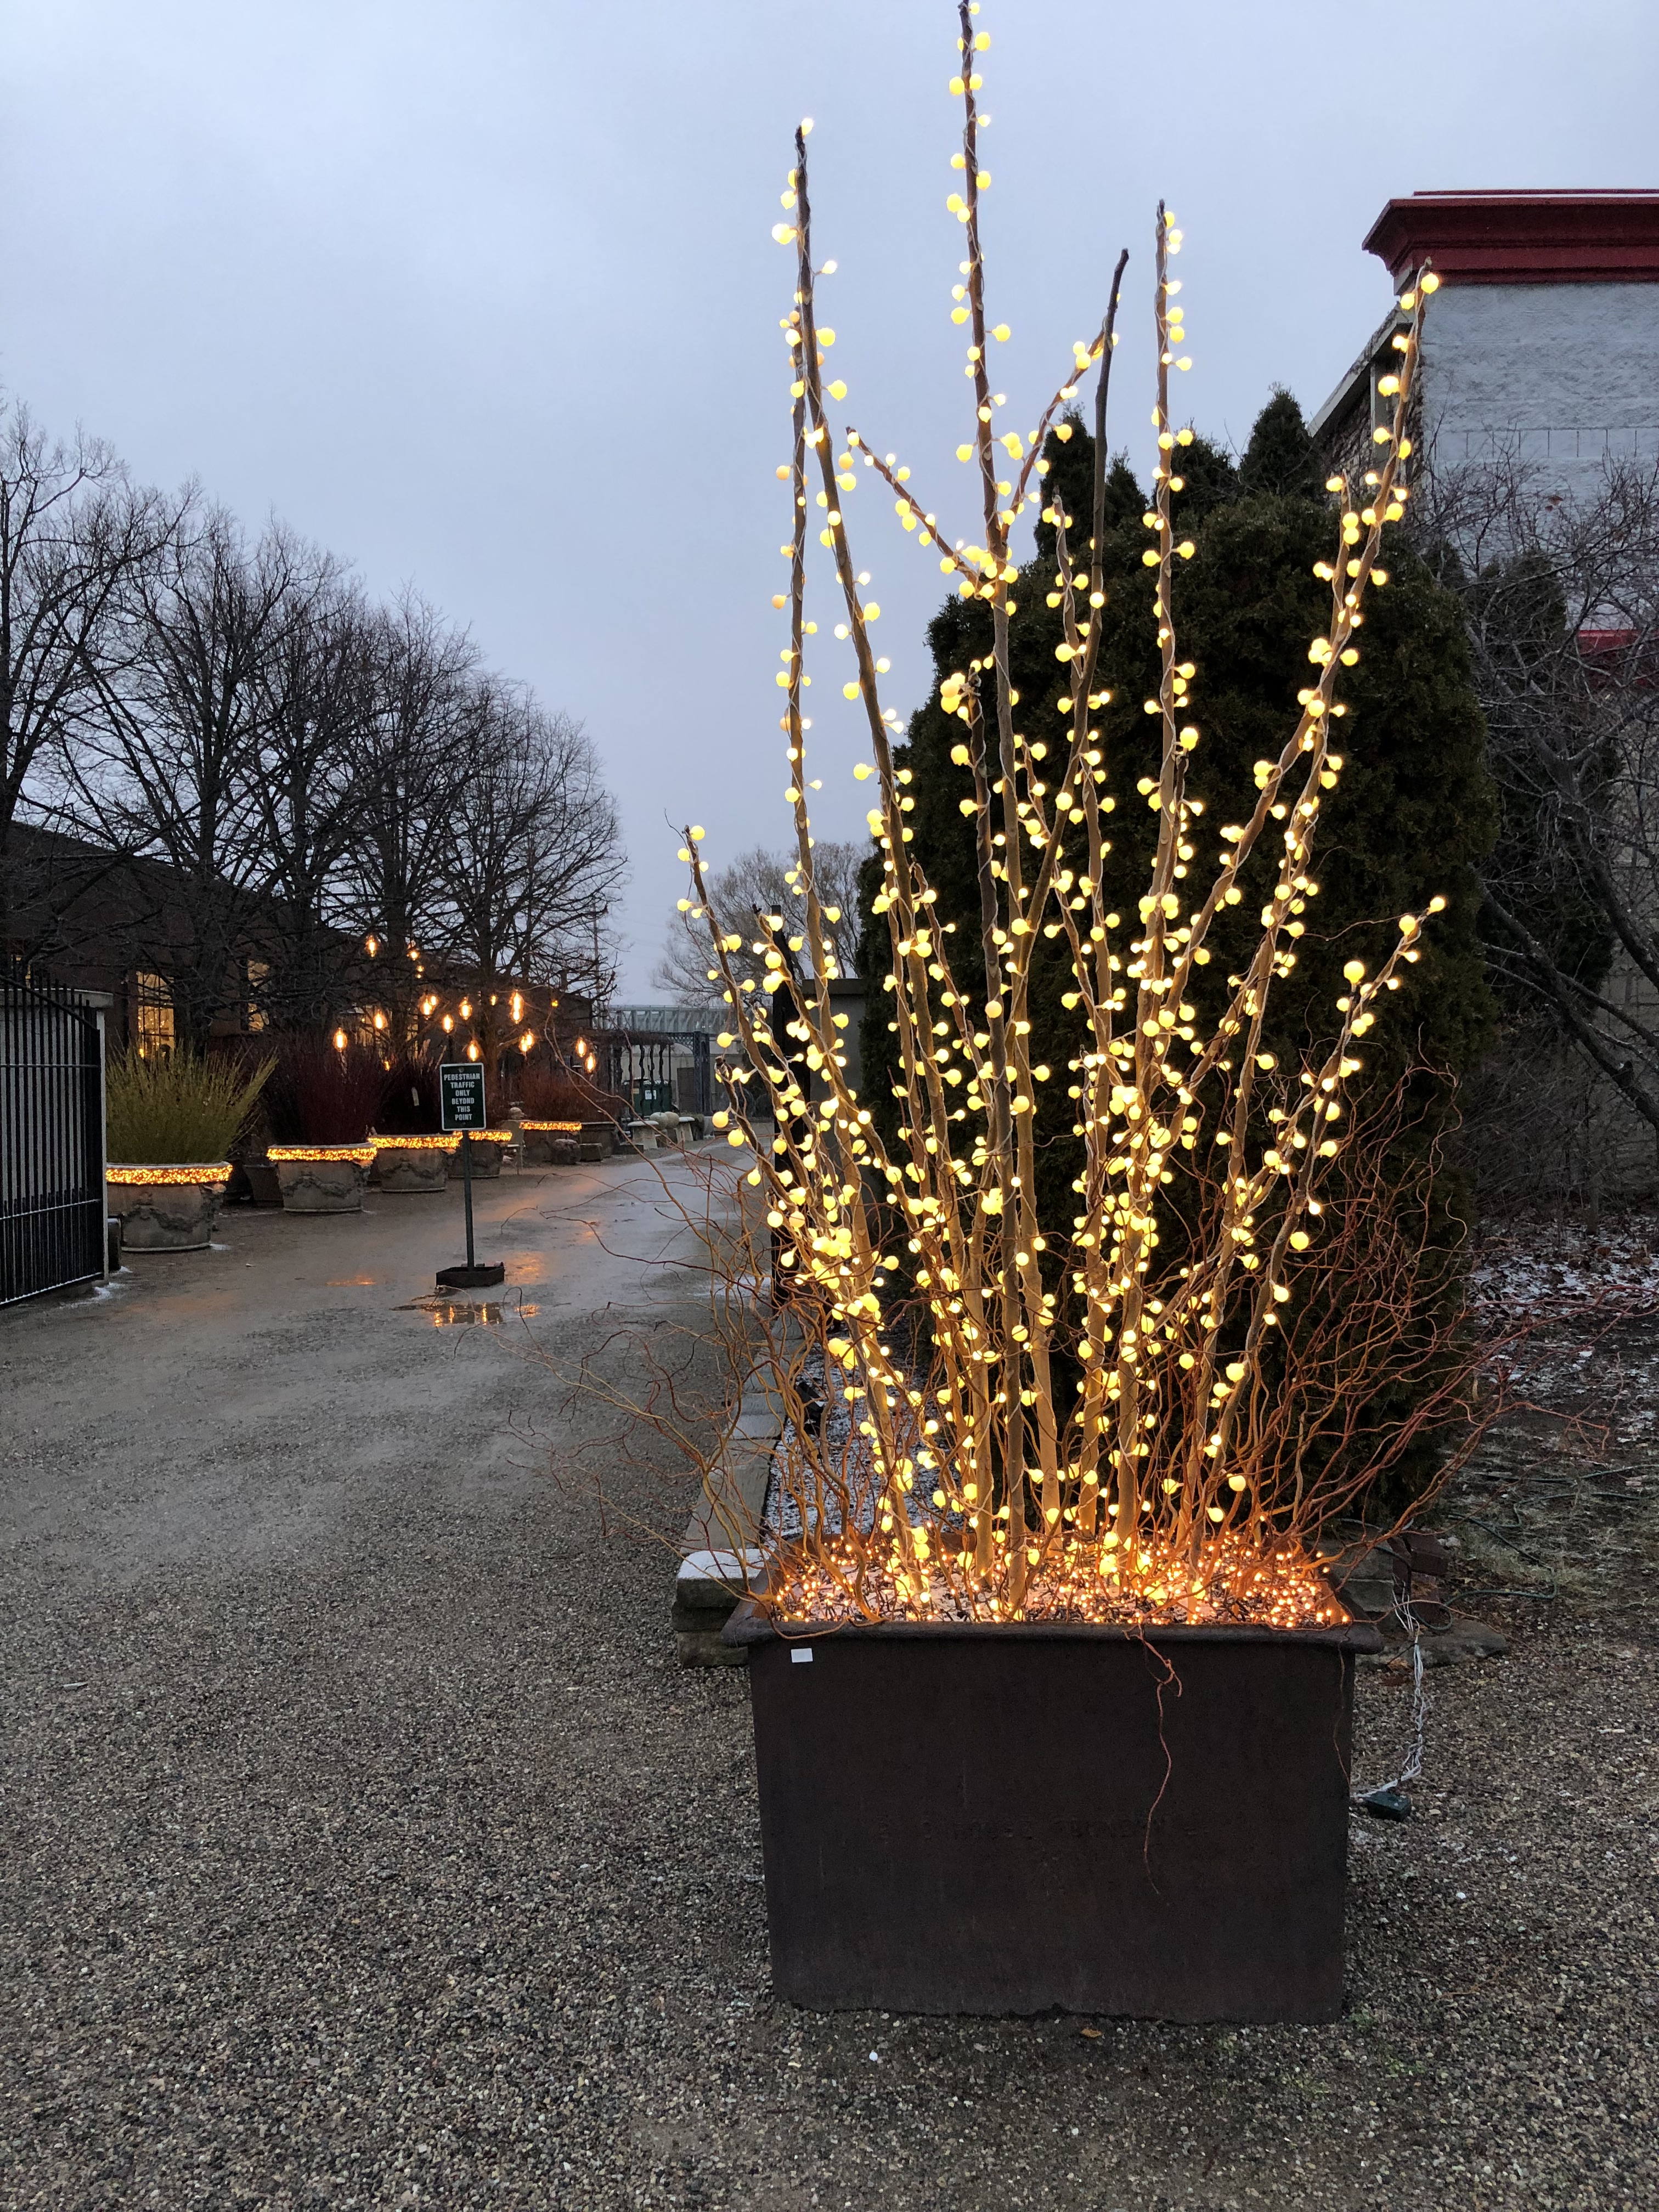
 The daytime look is not that bad. The silver wires on the light strings are glaringly obvious, but the main view of the pots will be from afar.
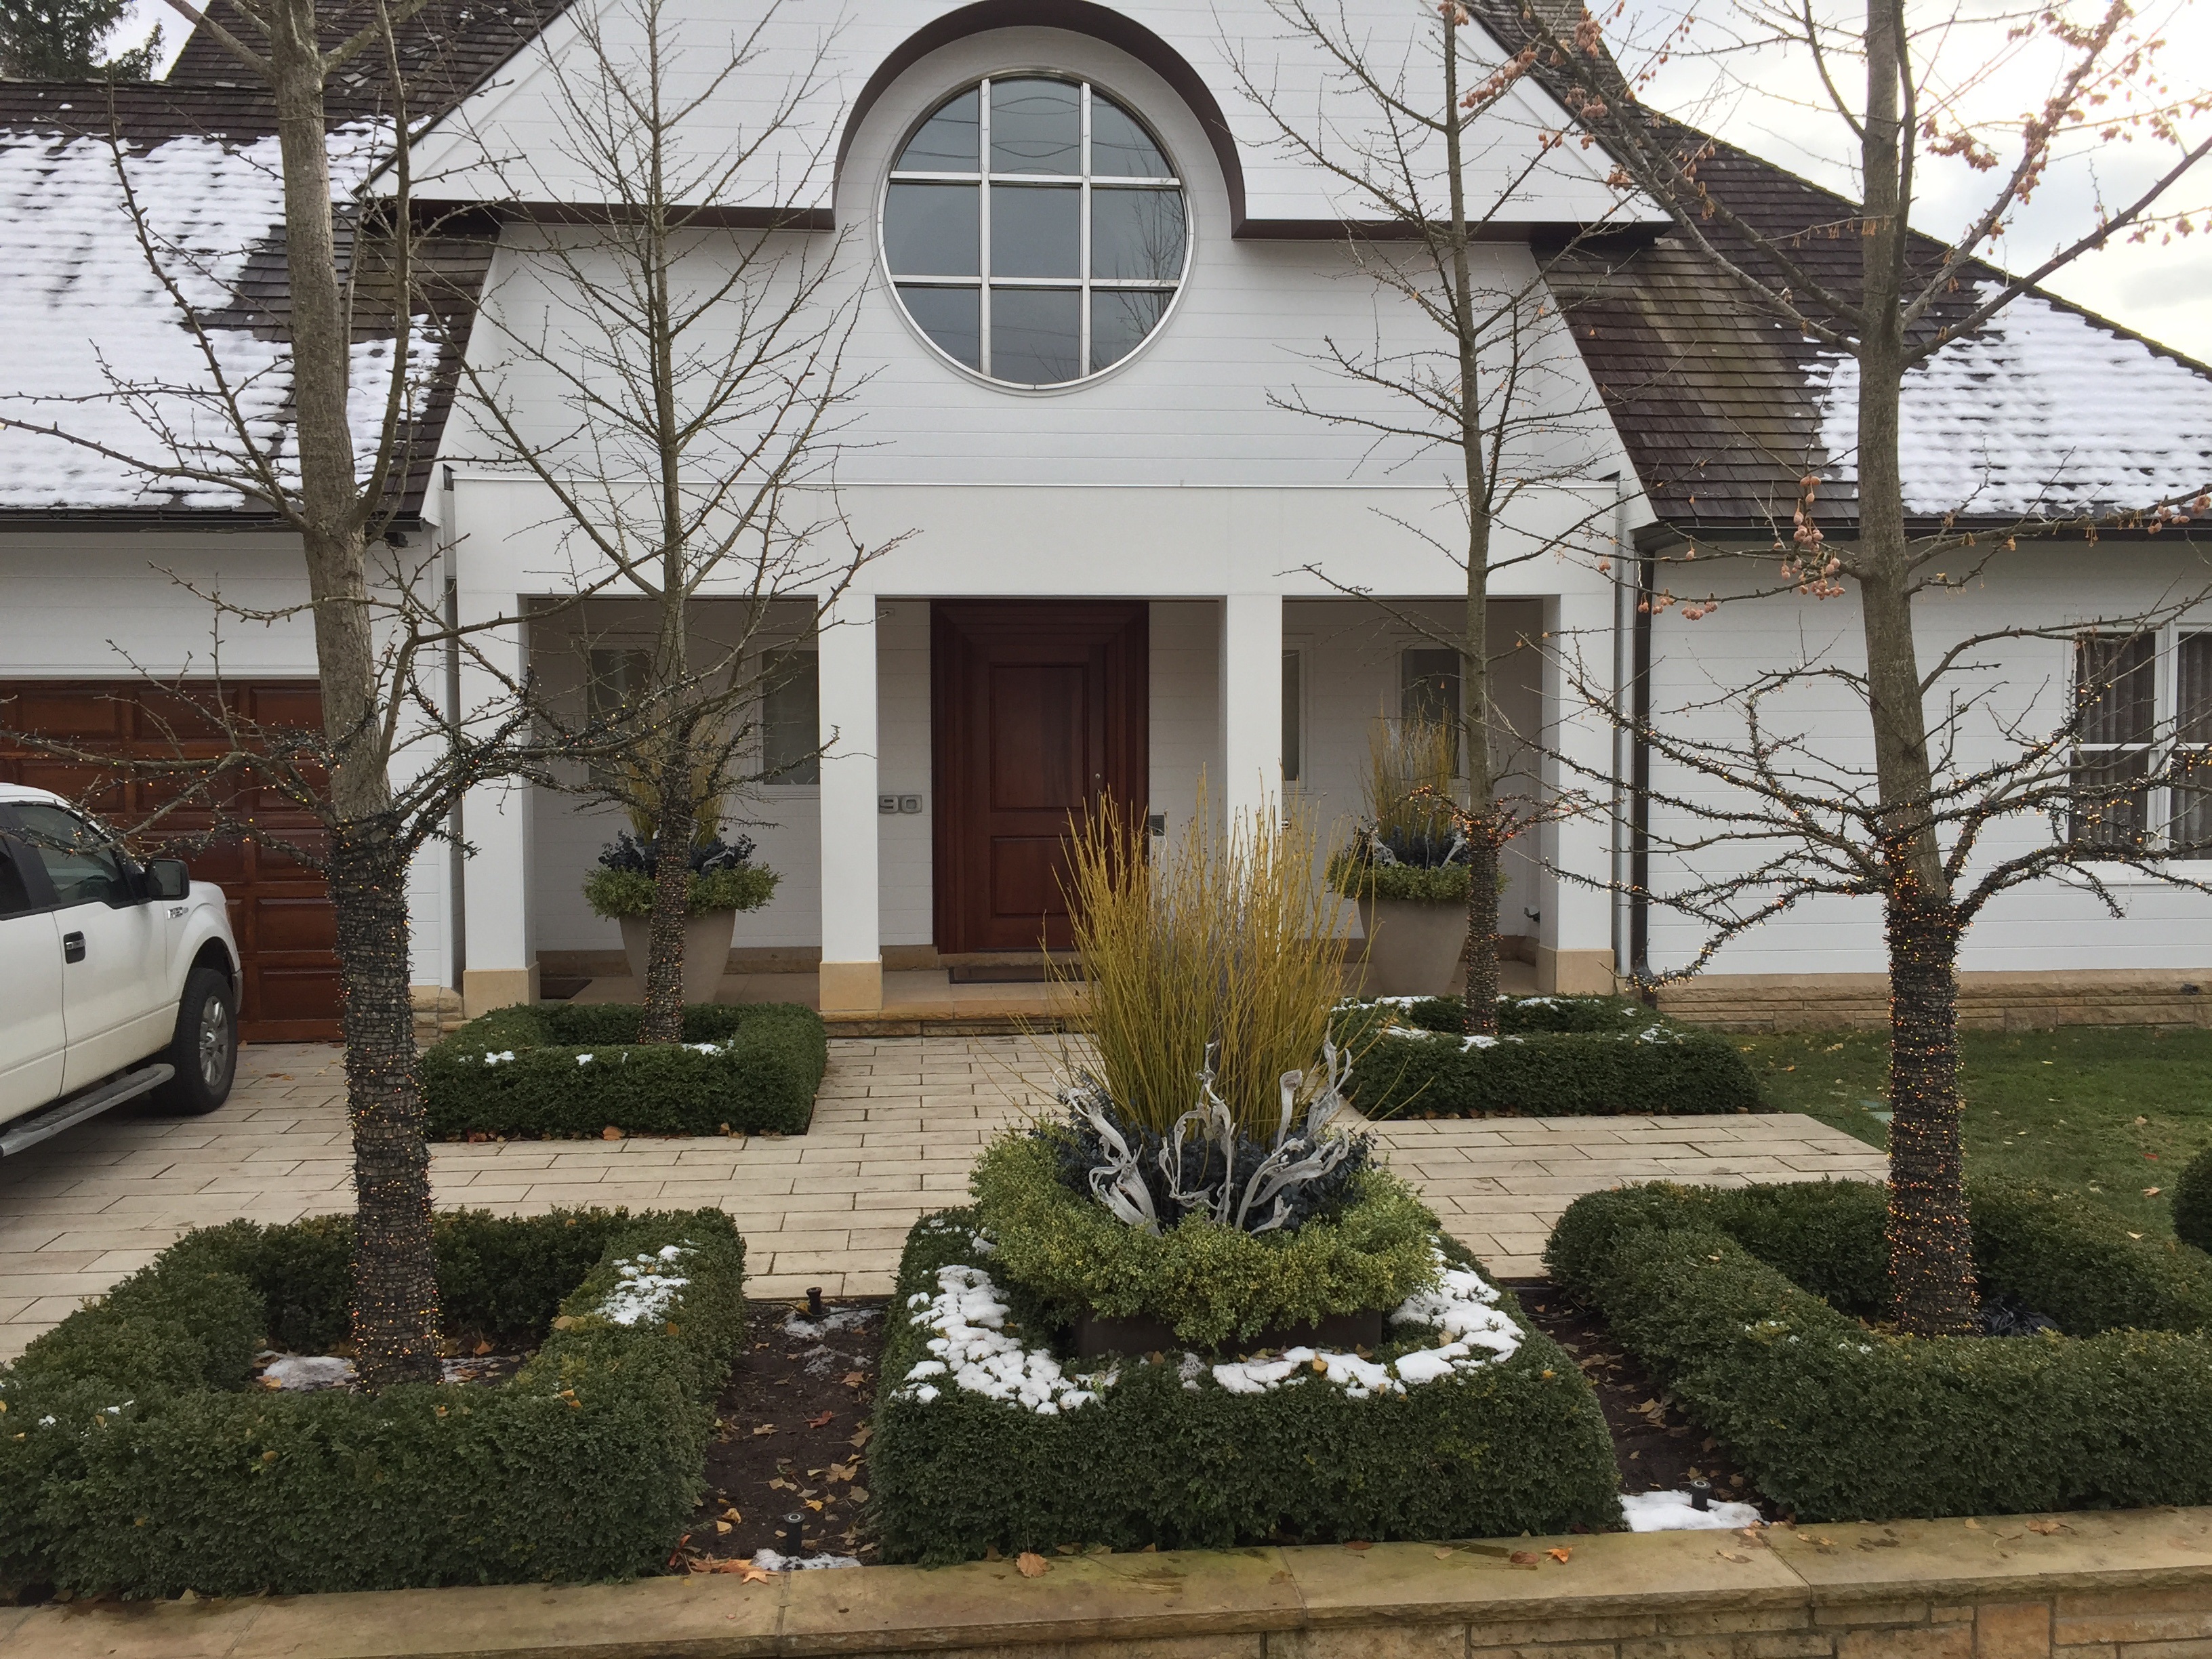
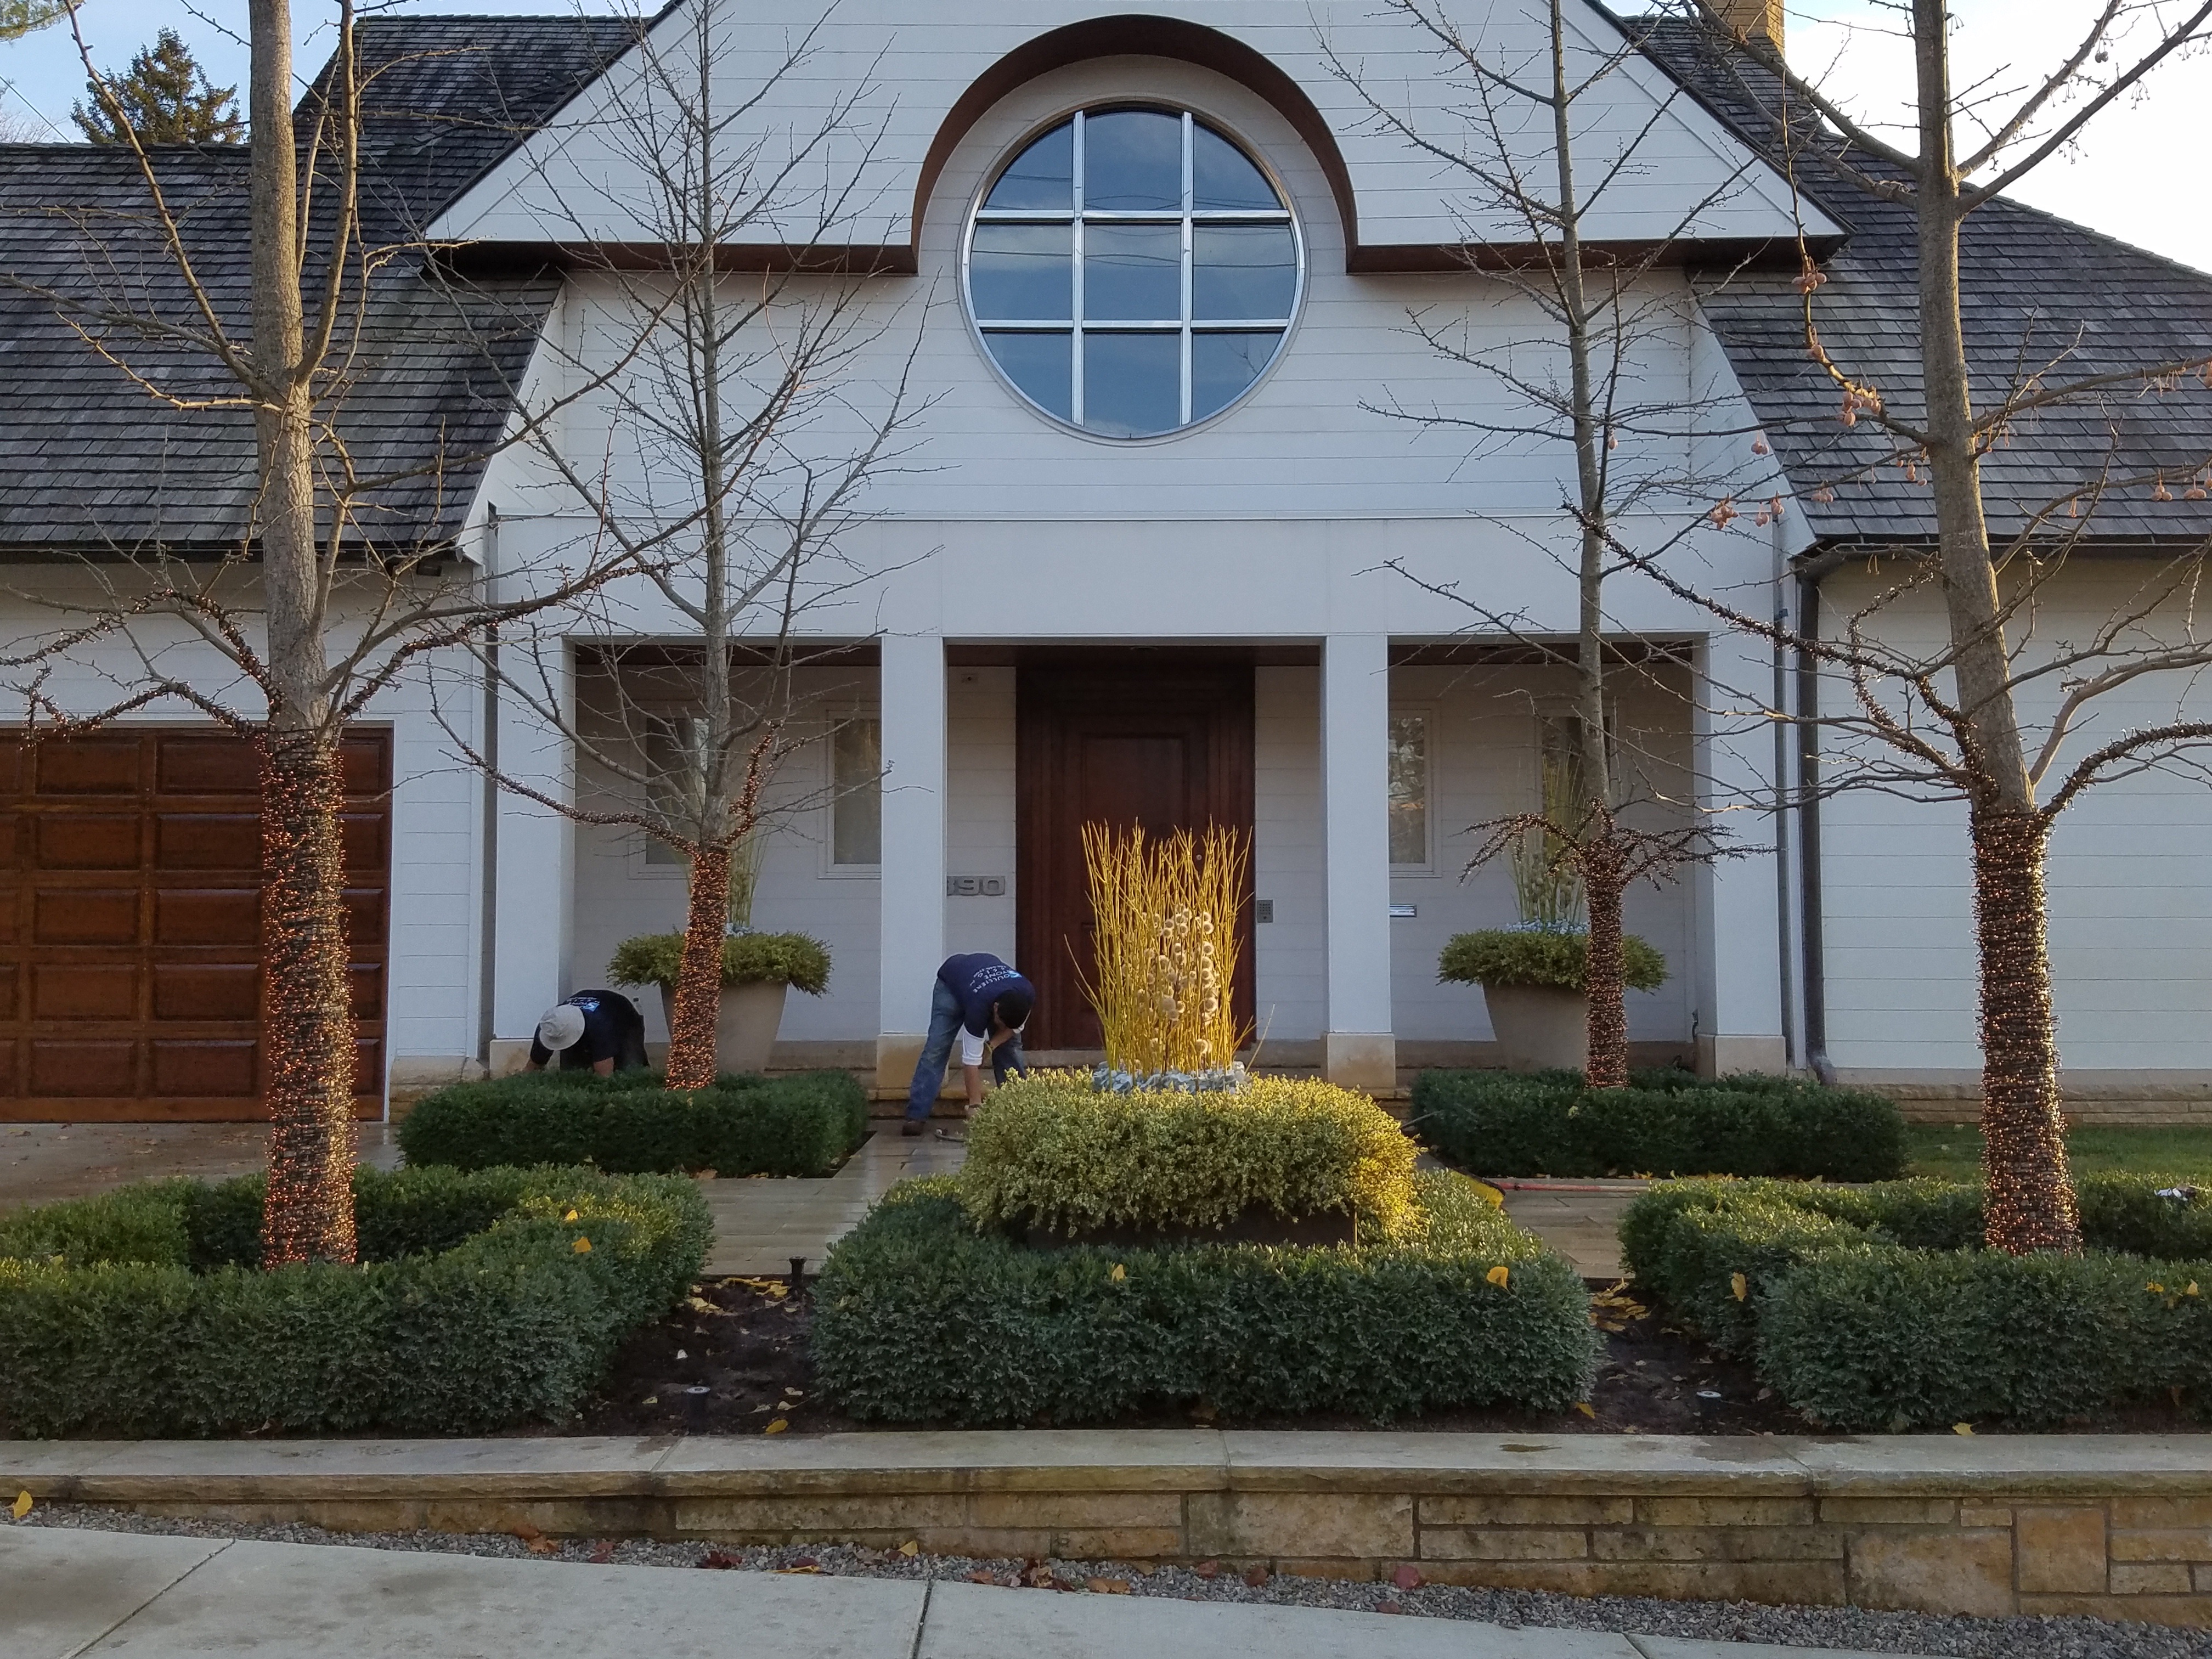
 A project like this is possible given the many pairs of skilled hands that contributed their part to the end result. And there is satisfaction in having made something that works as a group. Marzela will get the rest of the greens done in short order this morning. I think we will be able to install them today.