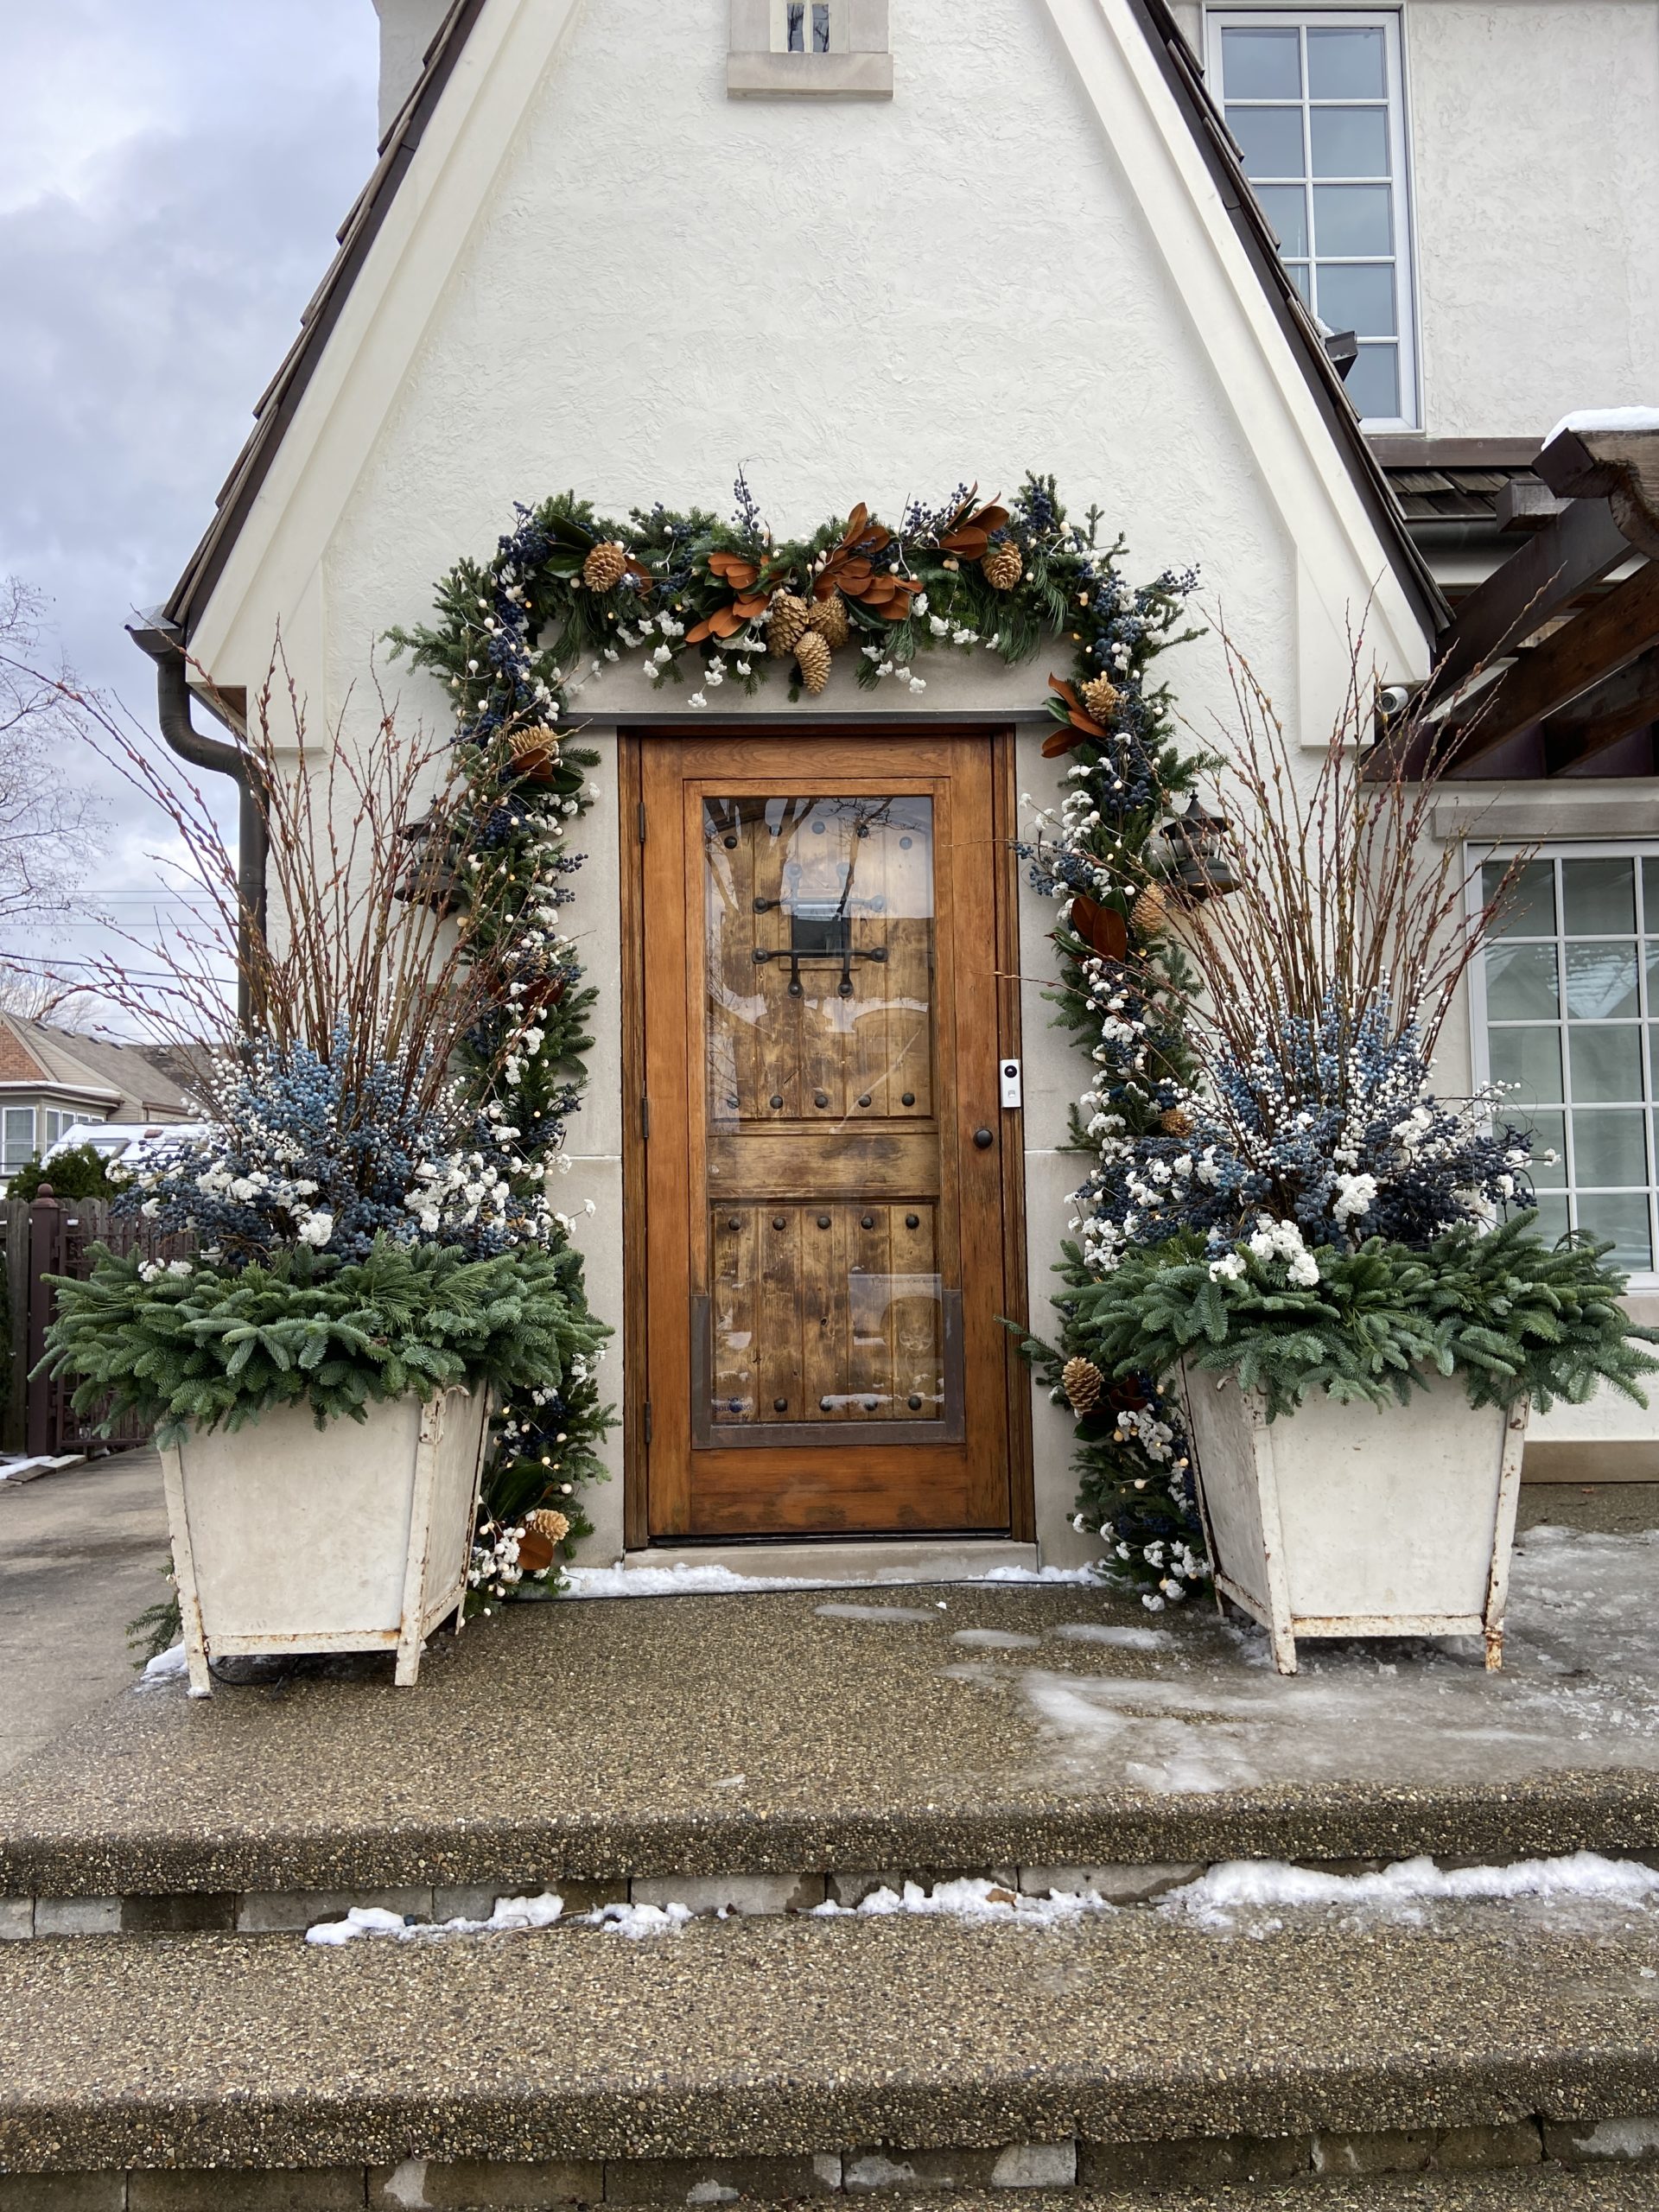
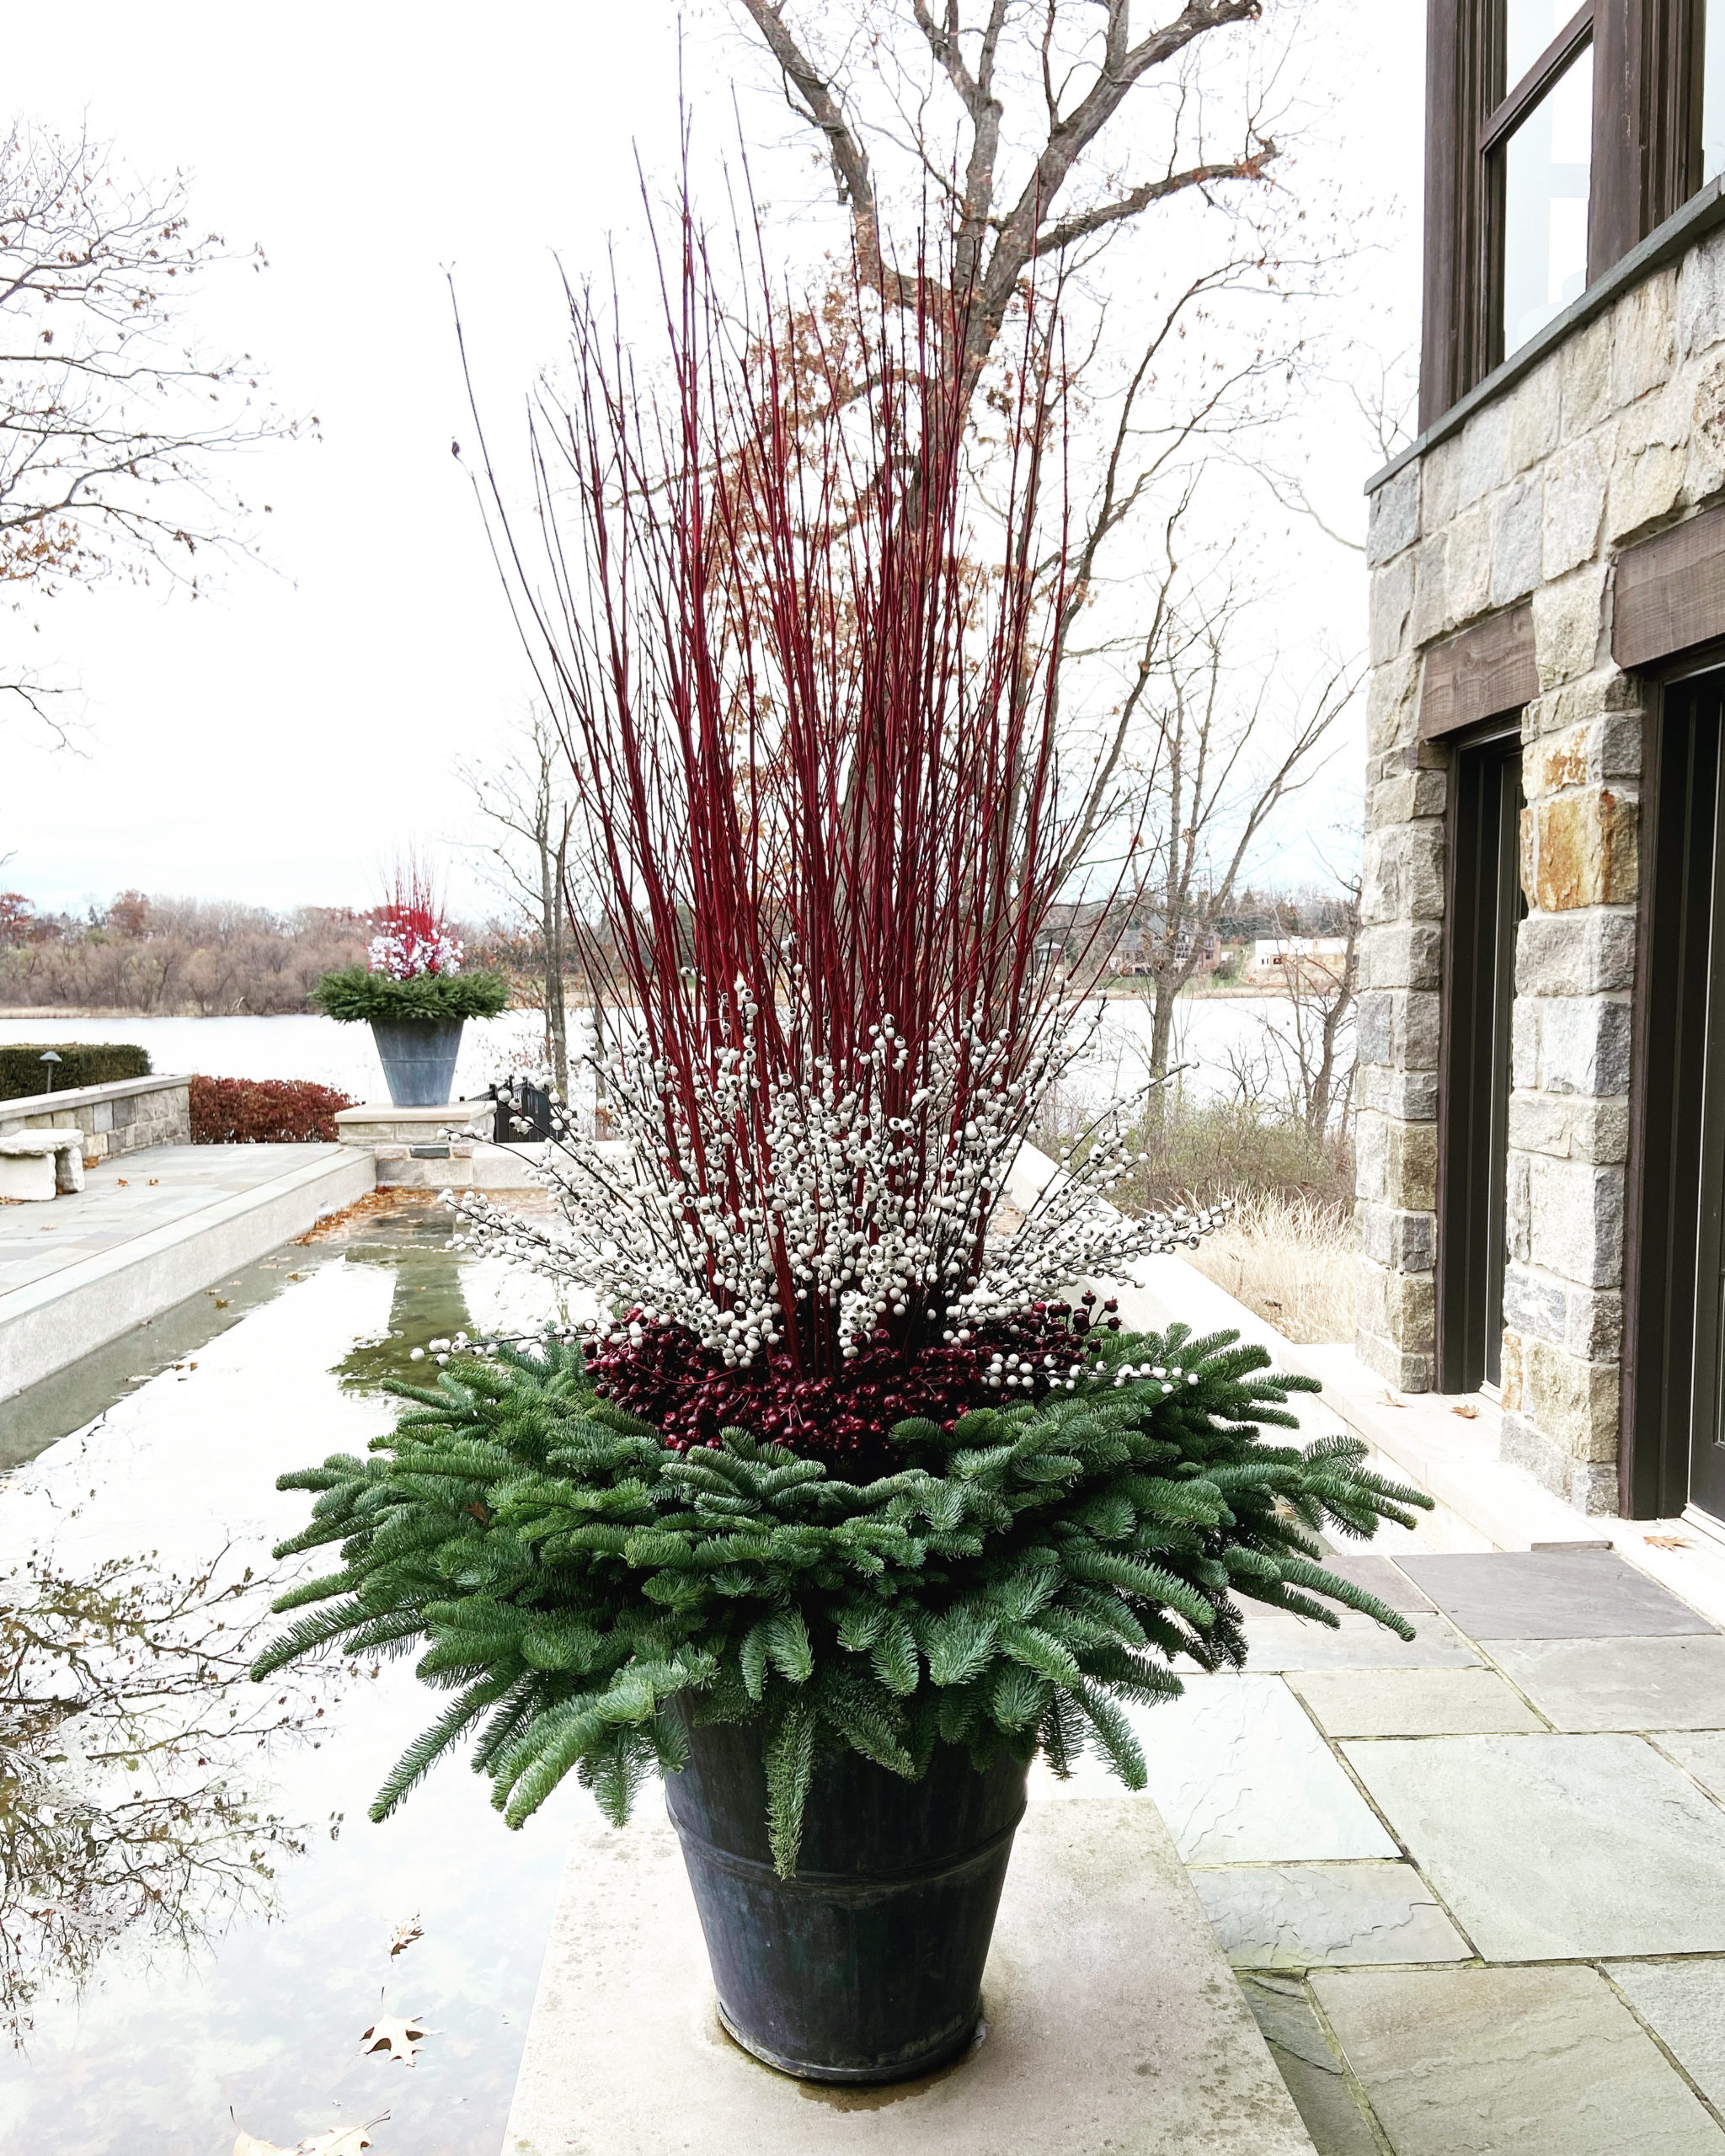
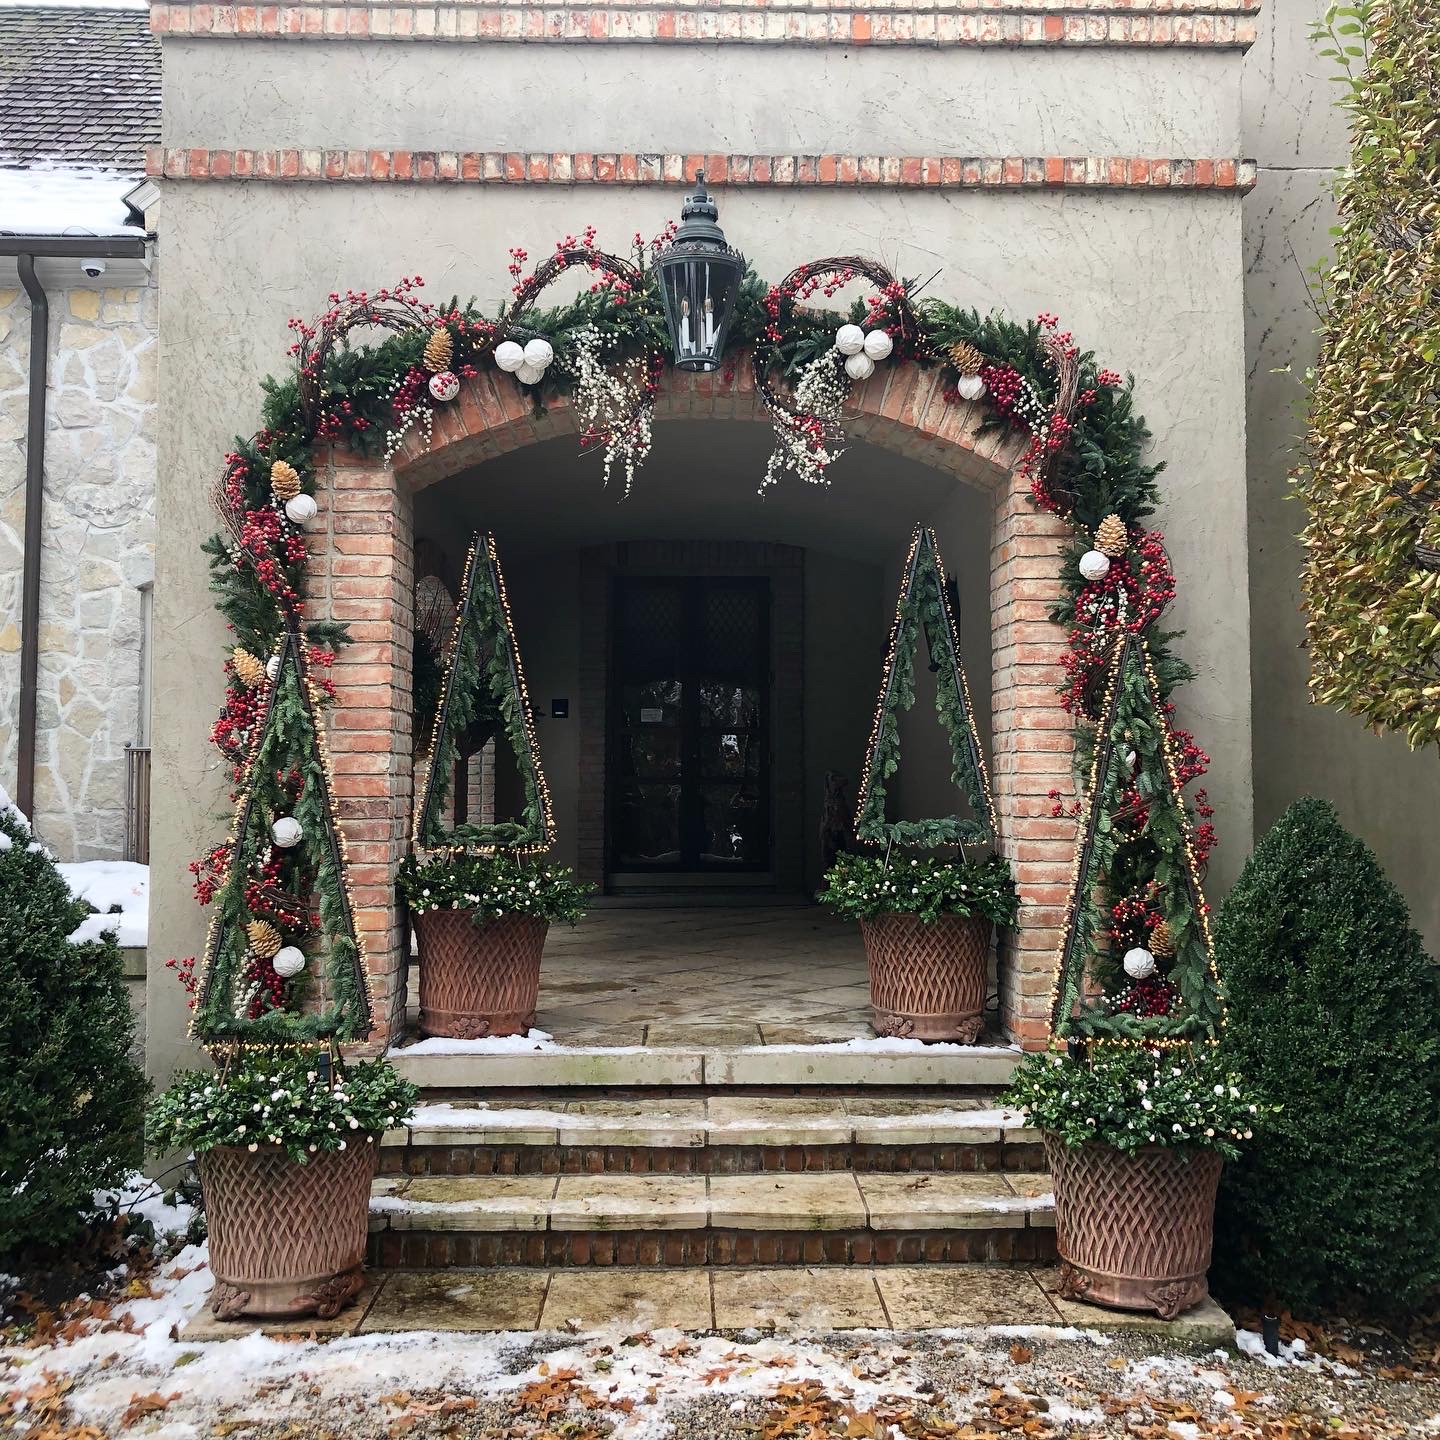
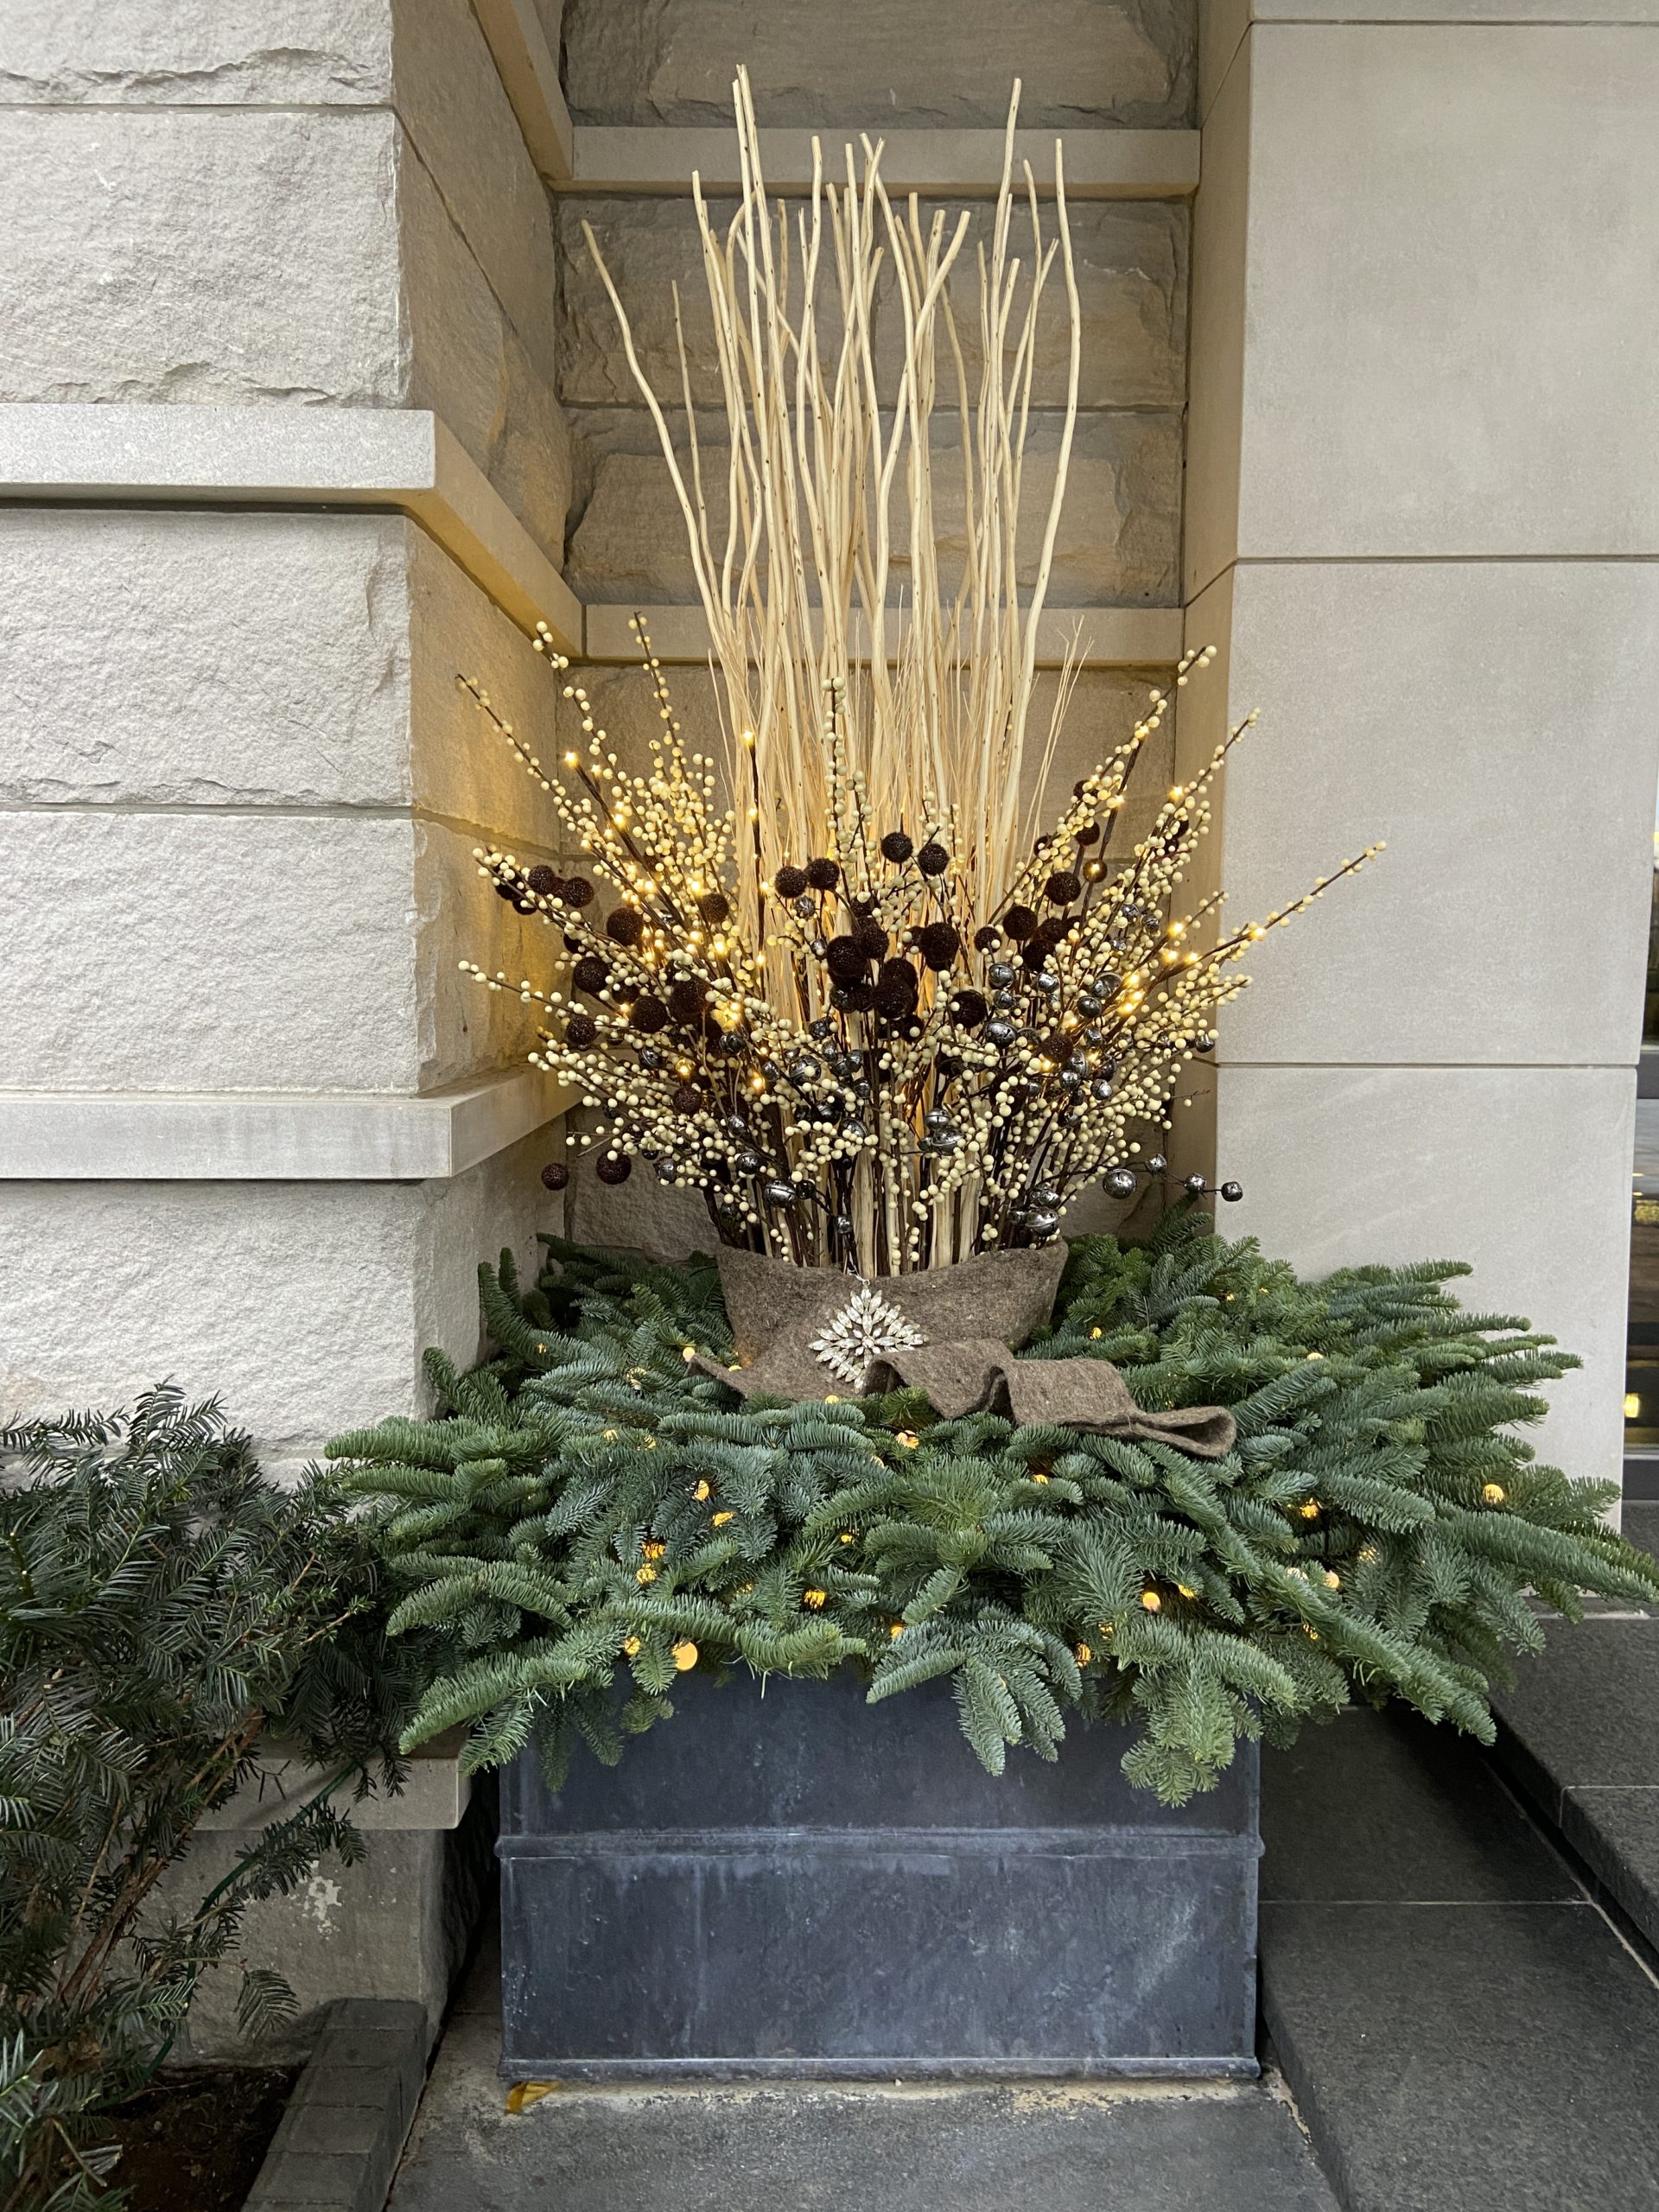
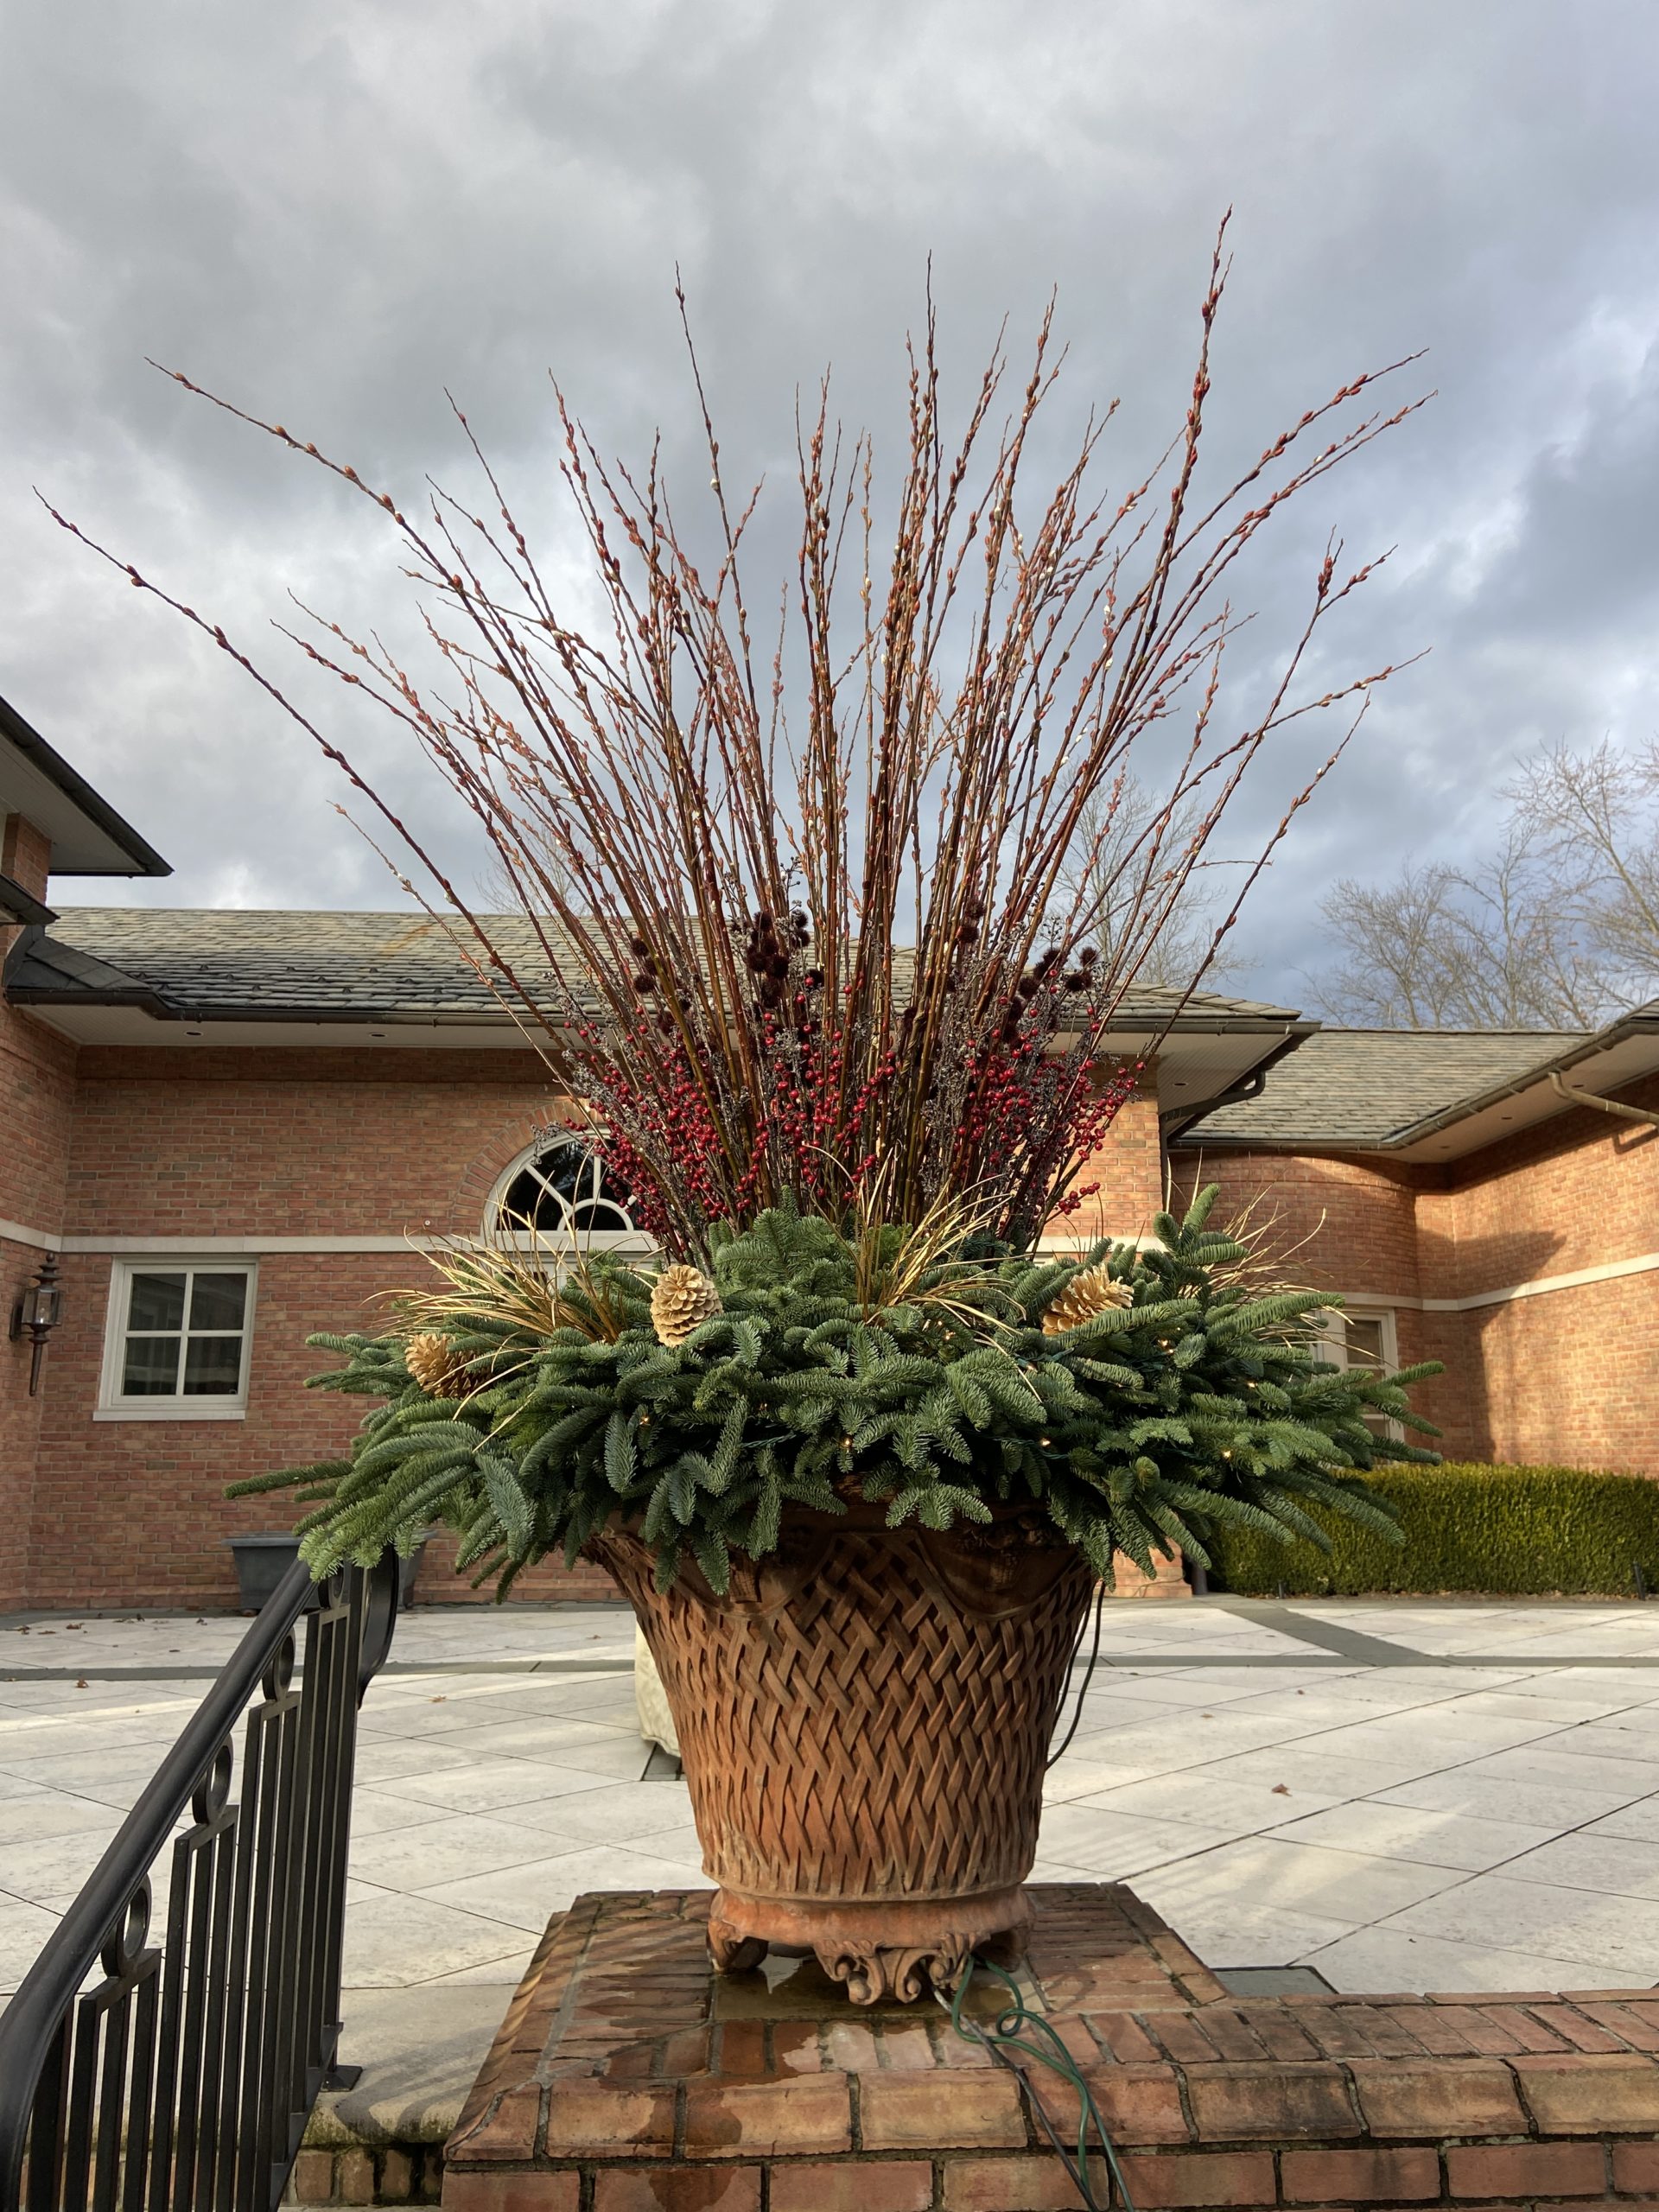
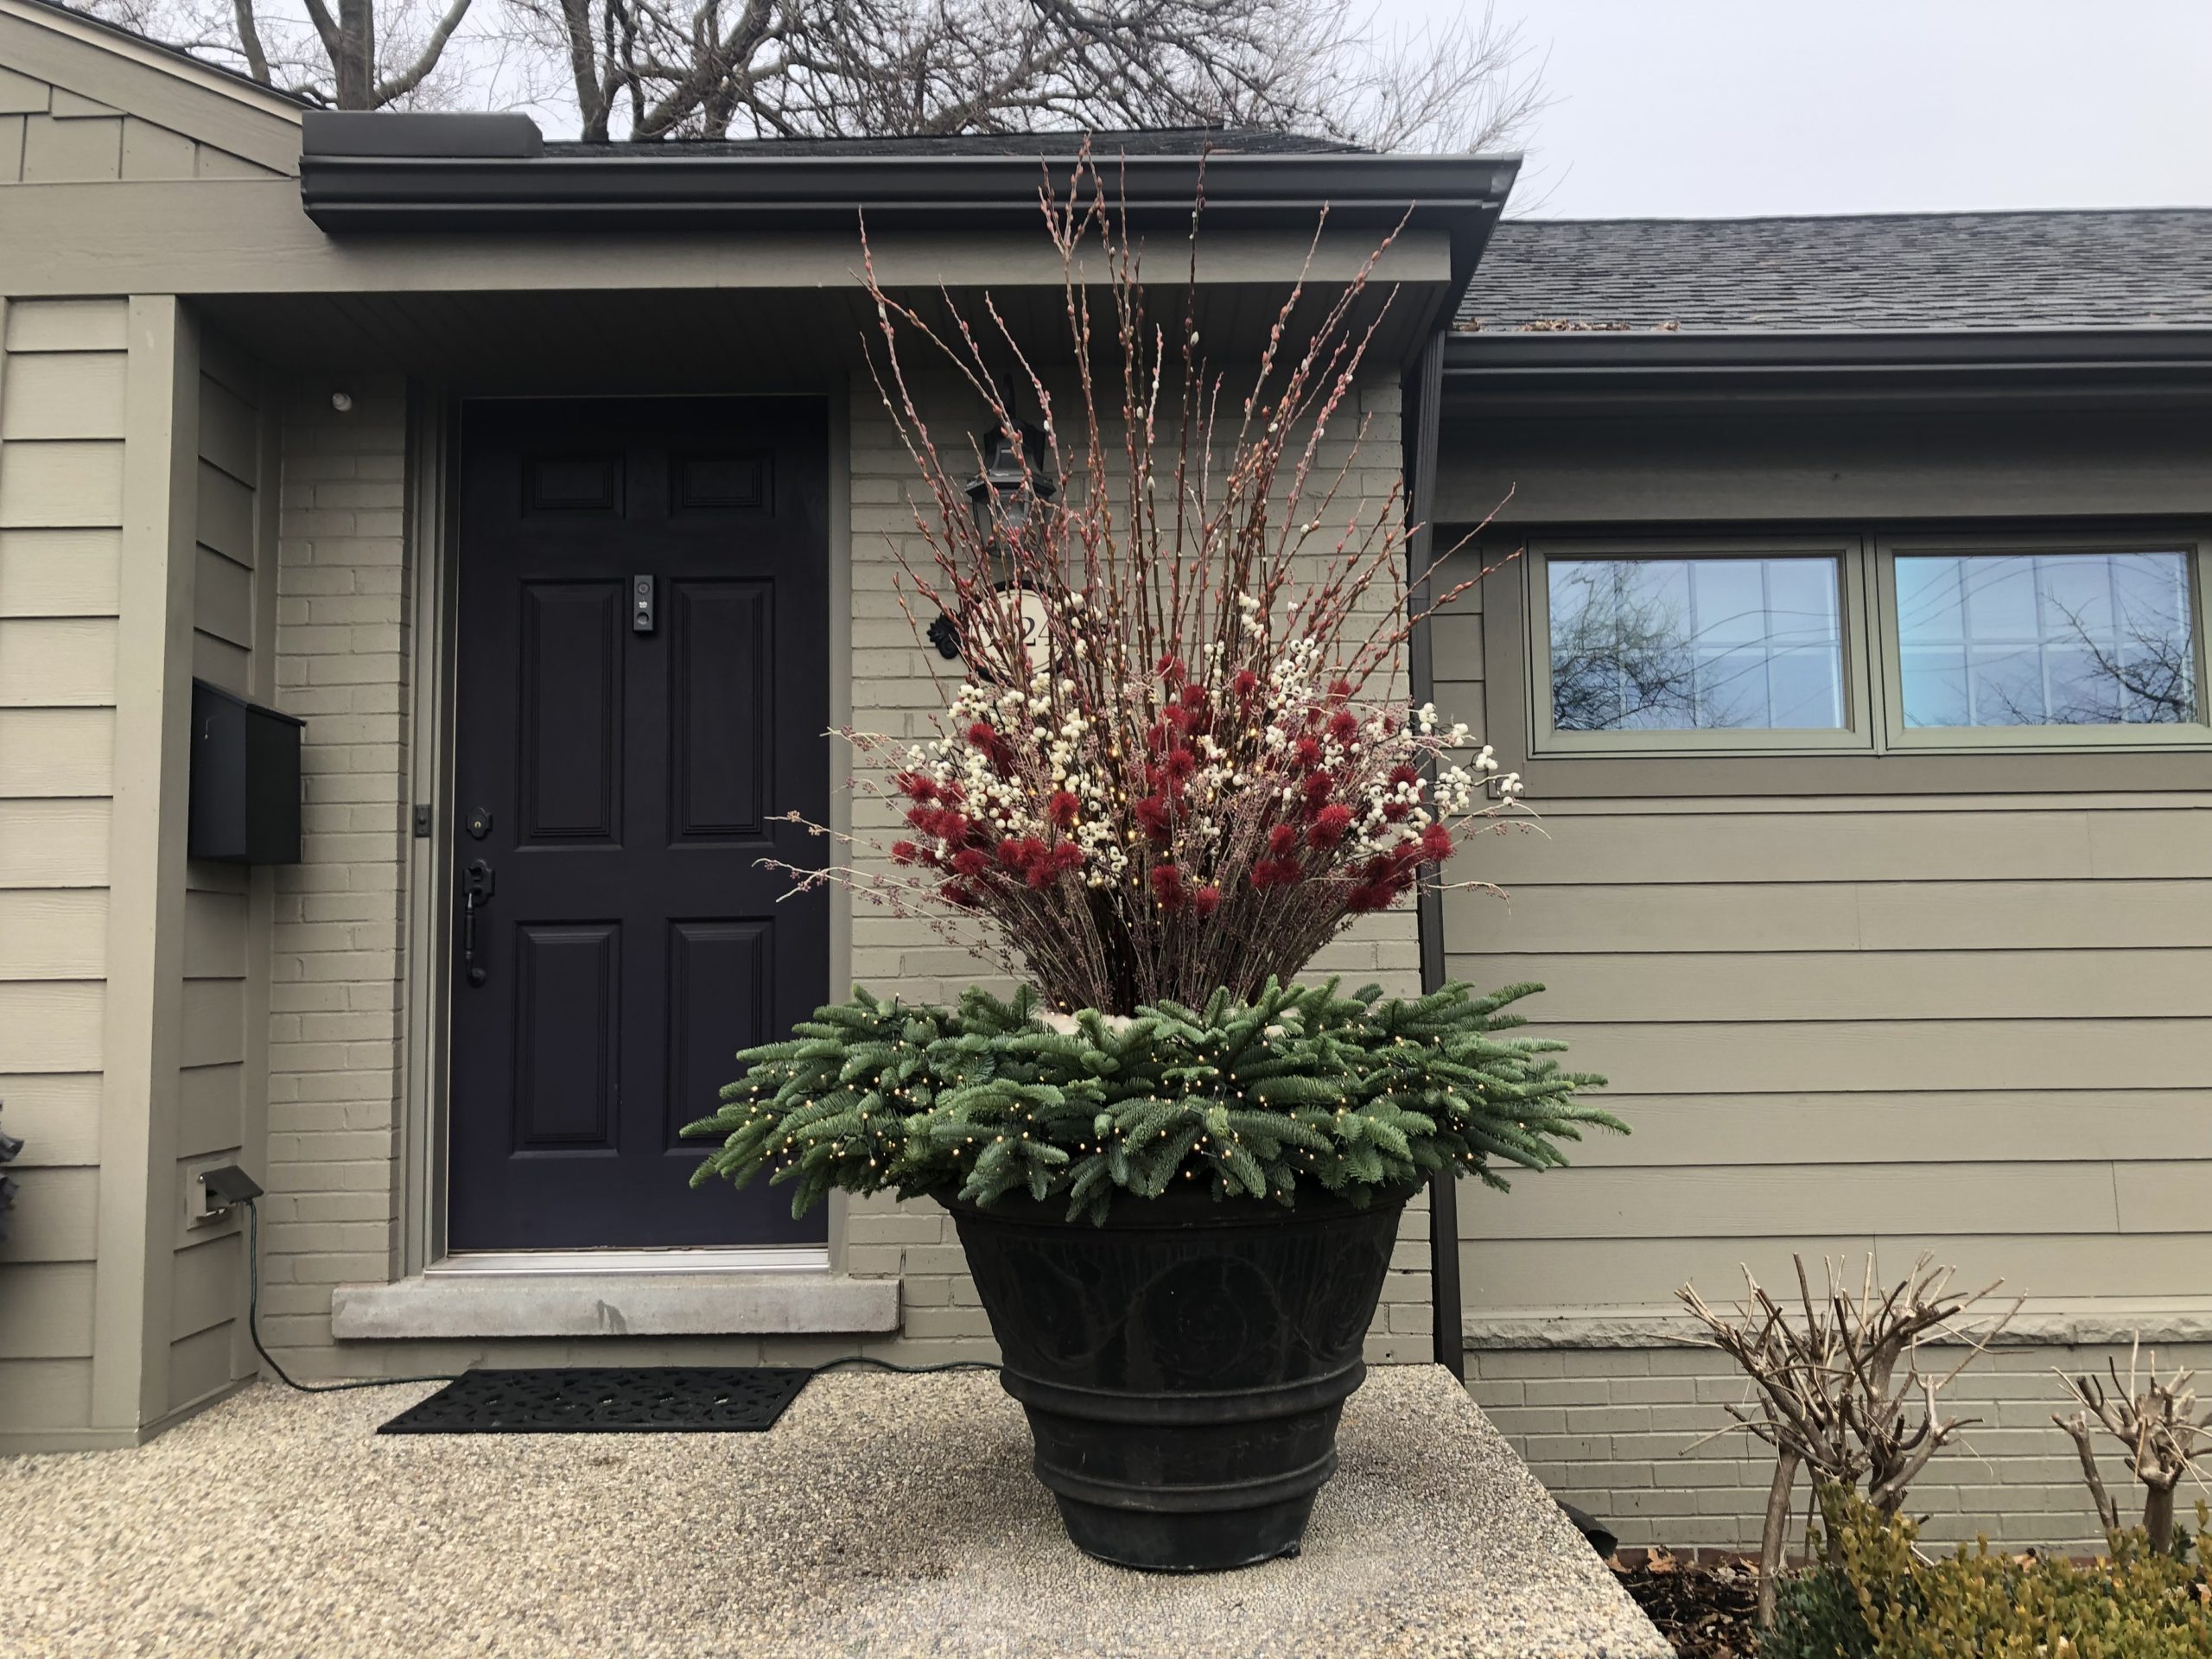
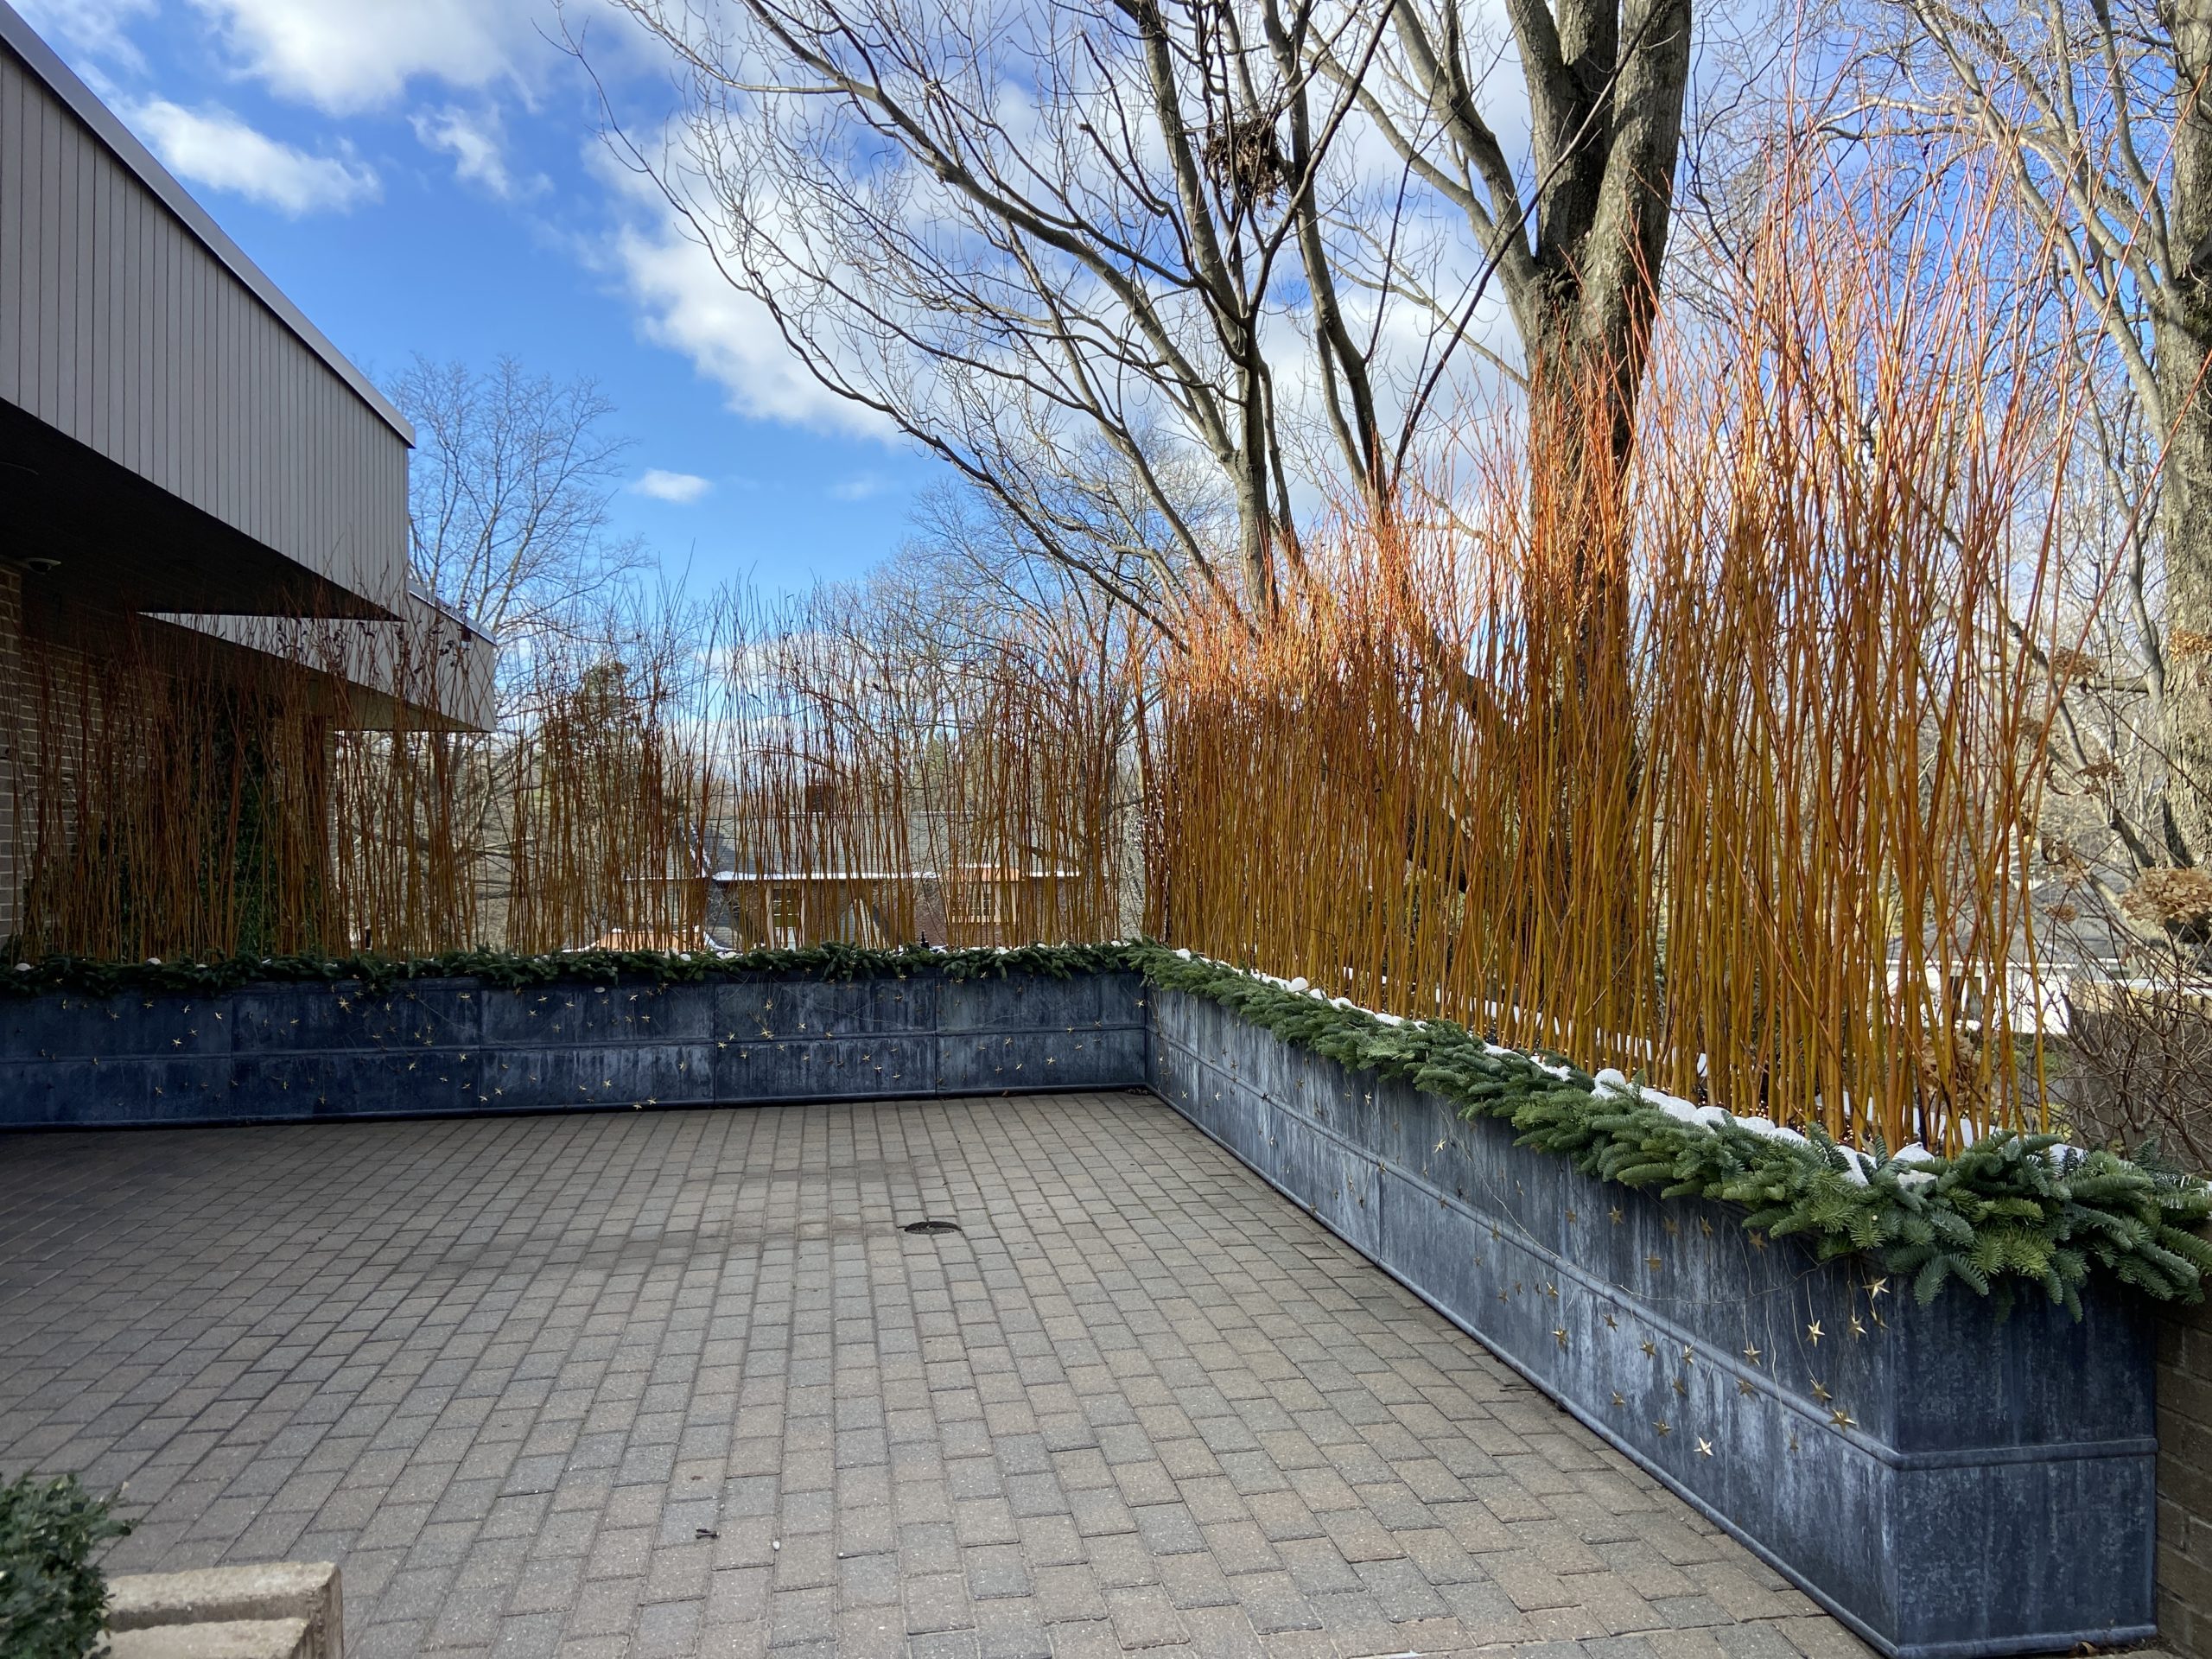
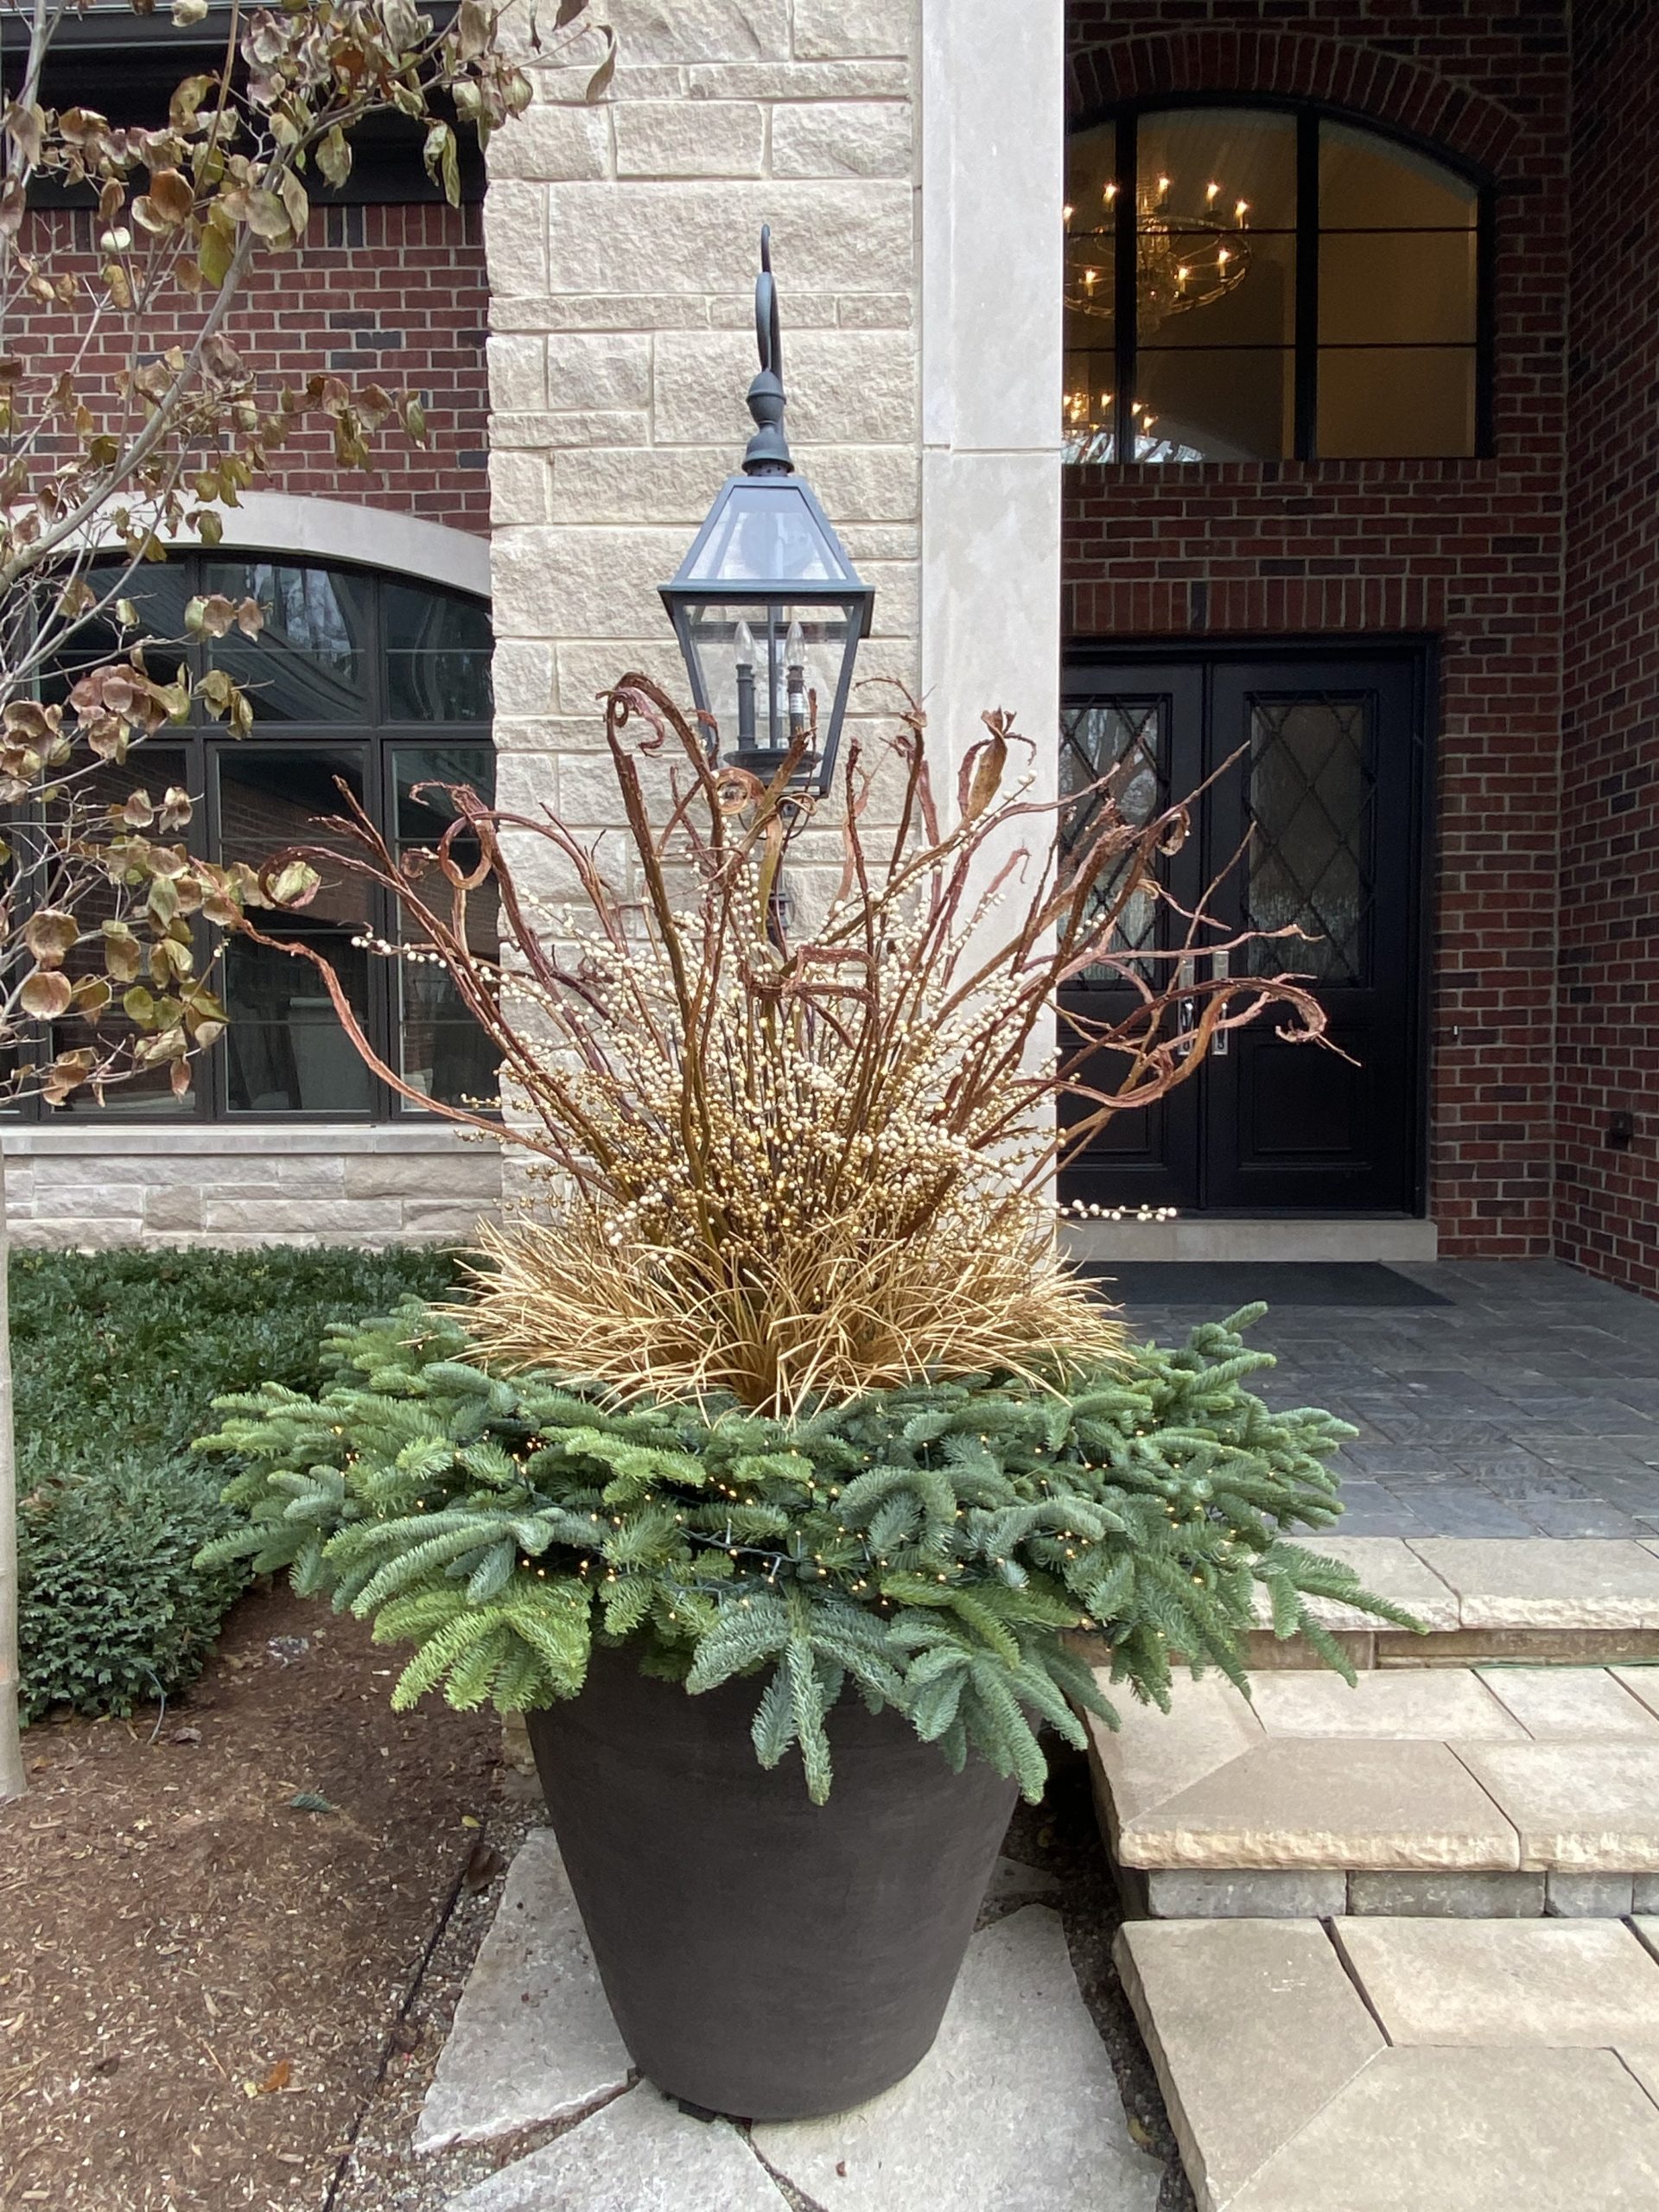
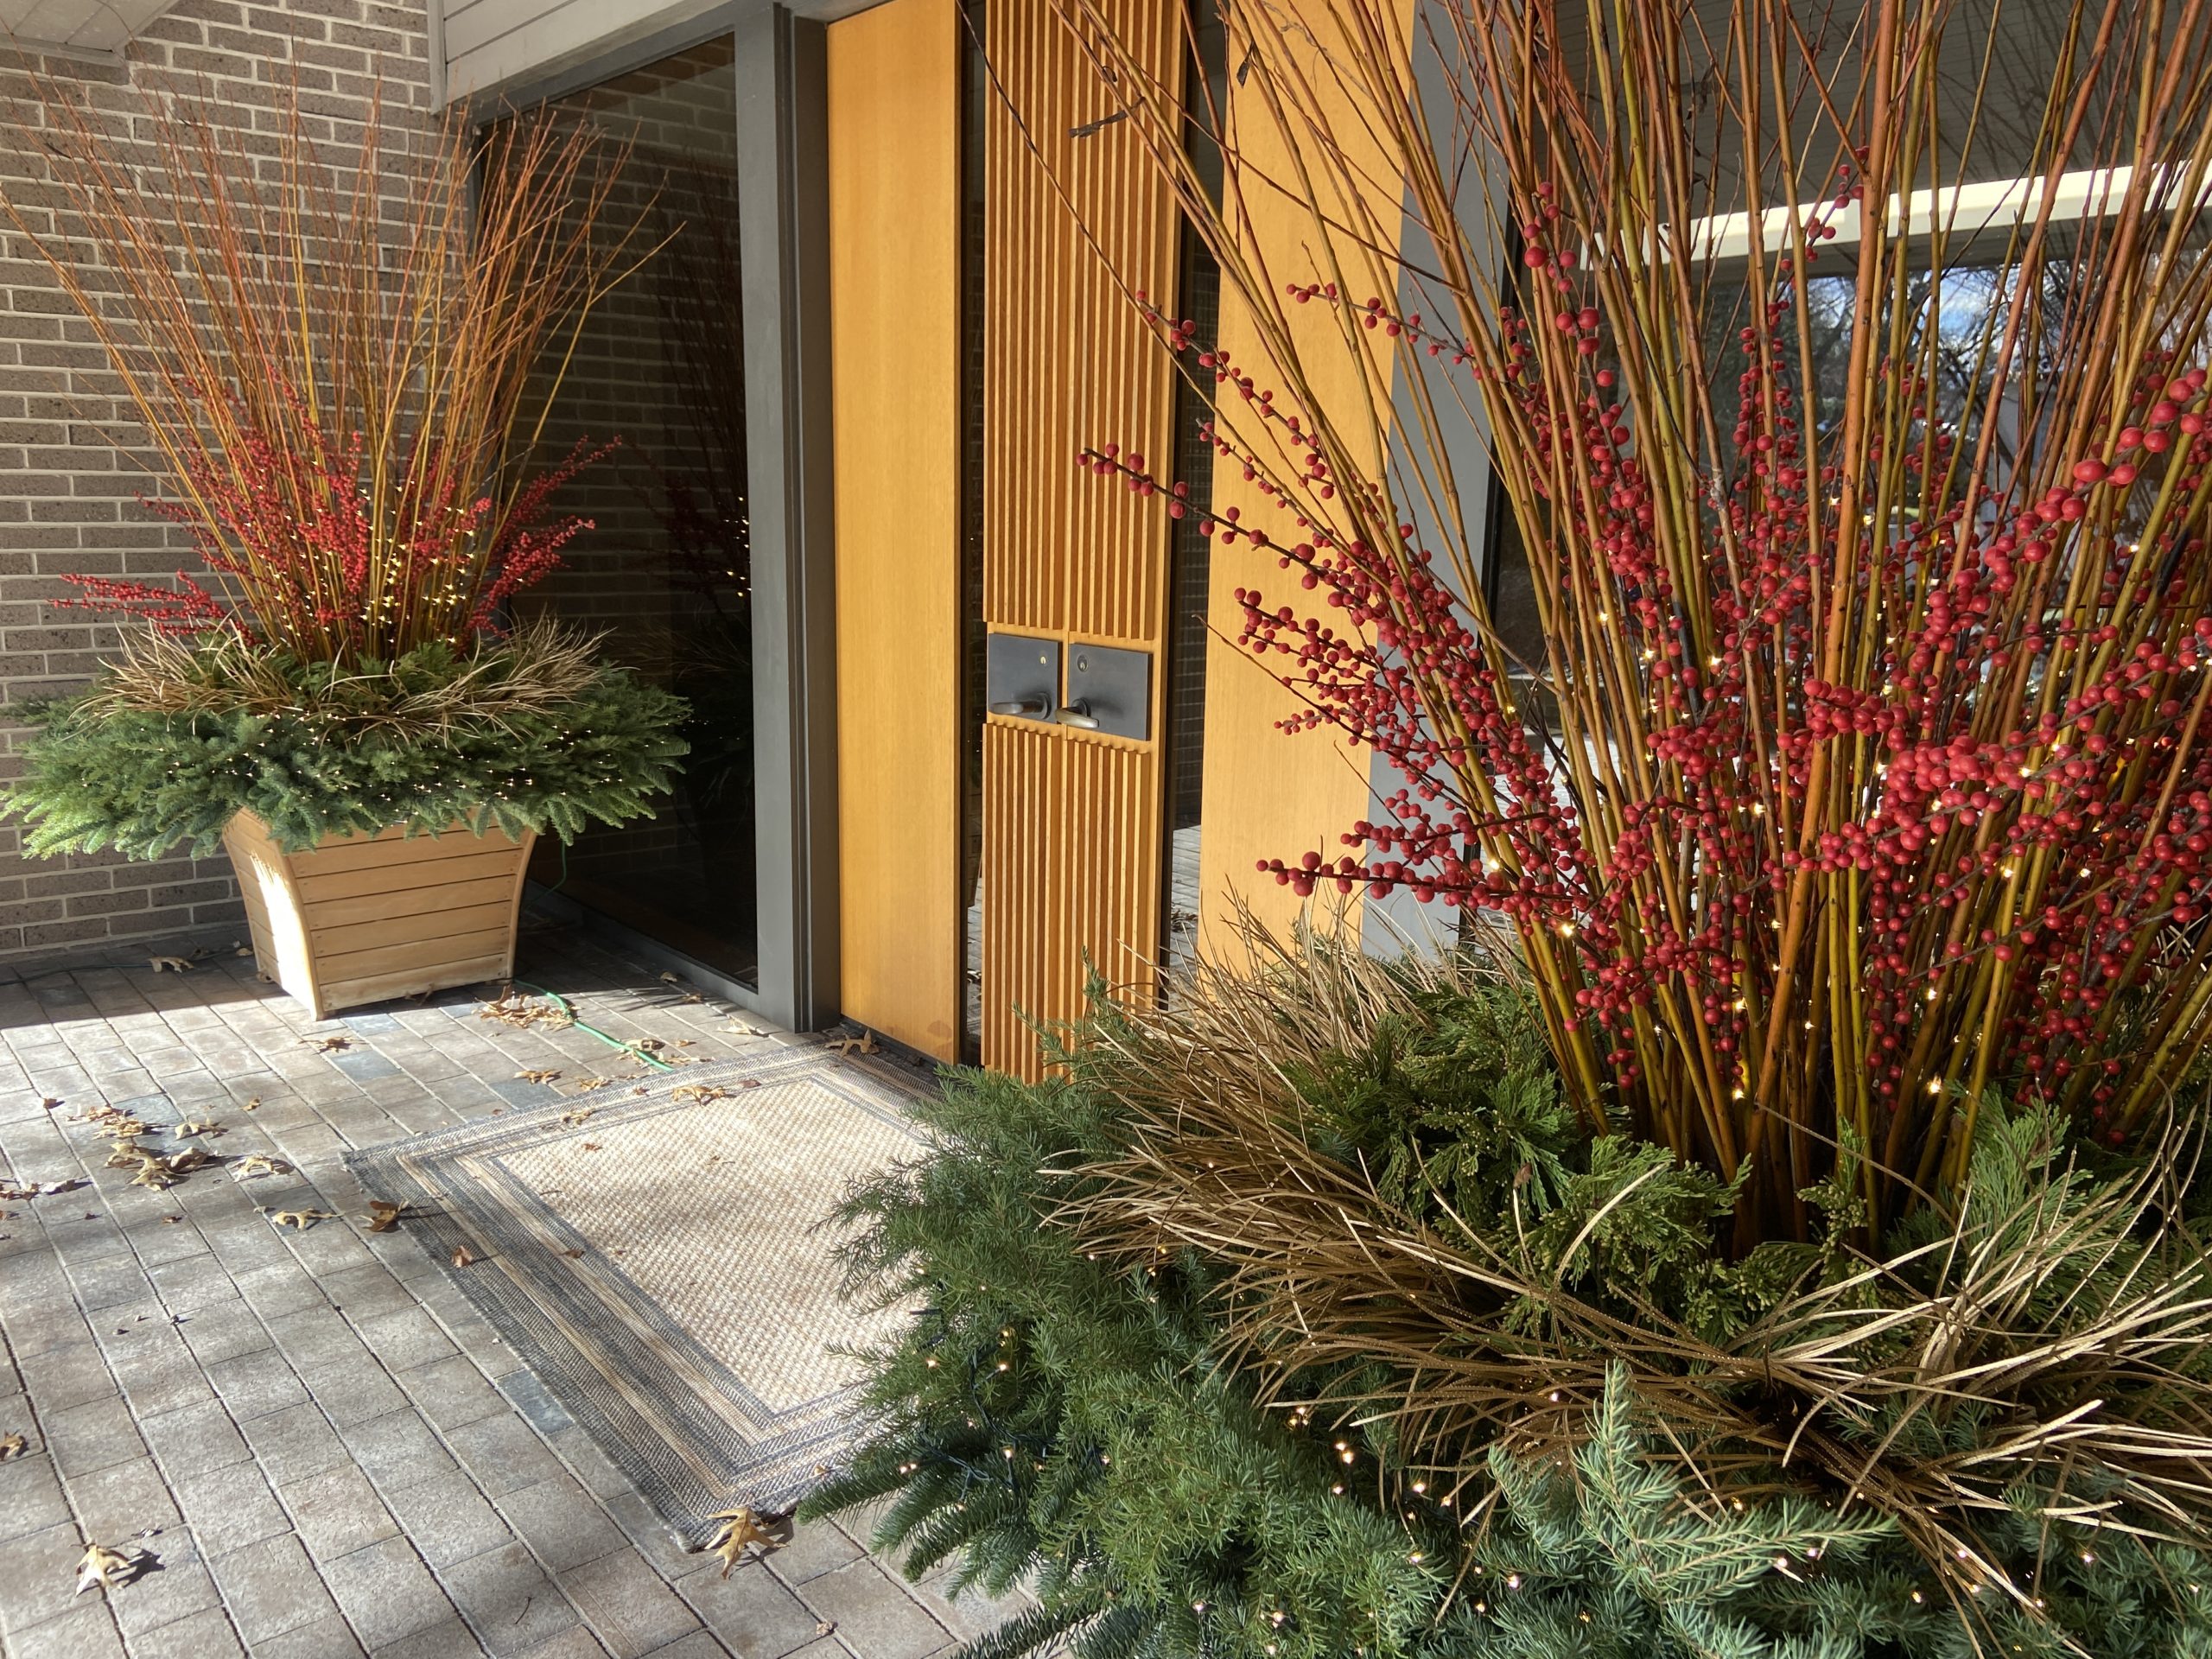
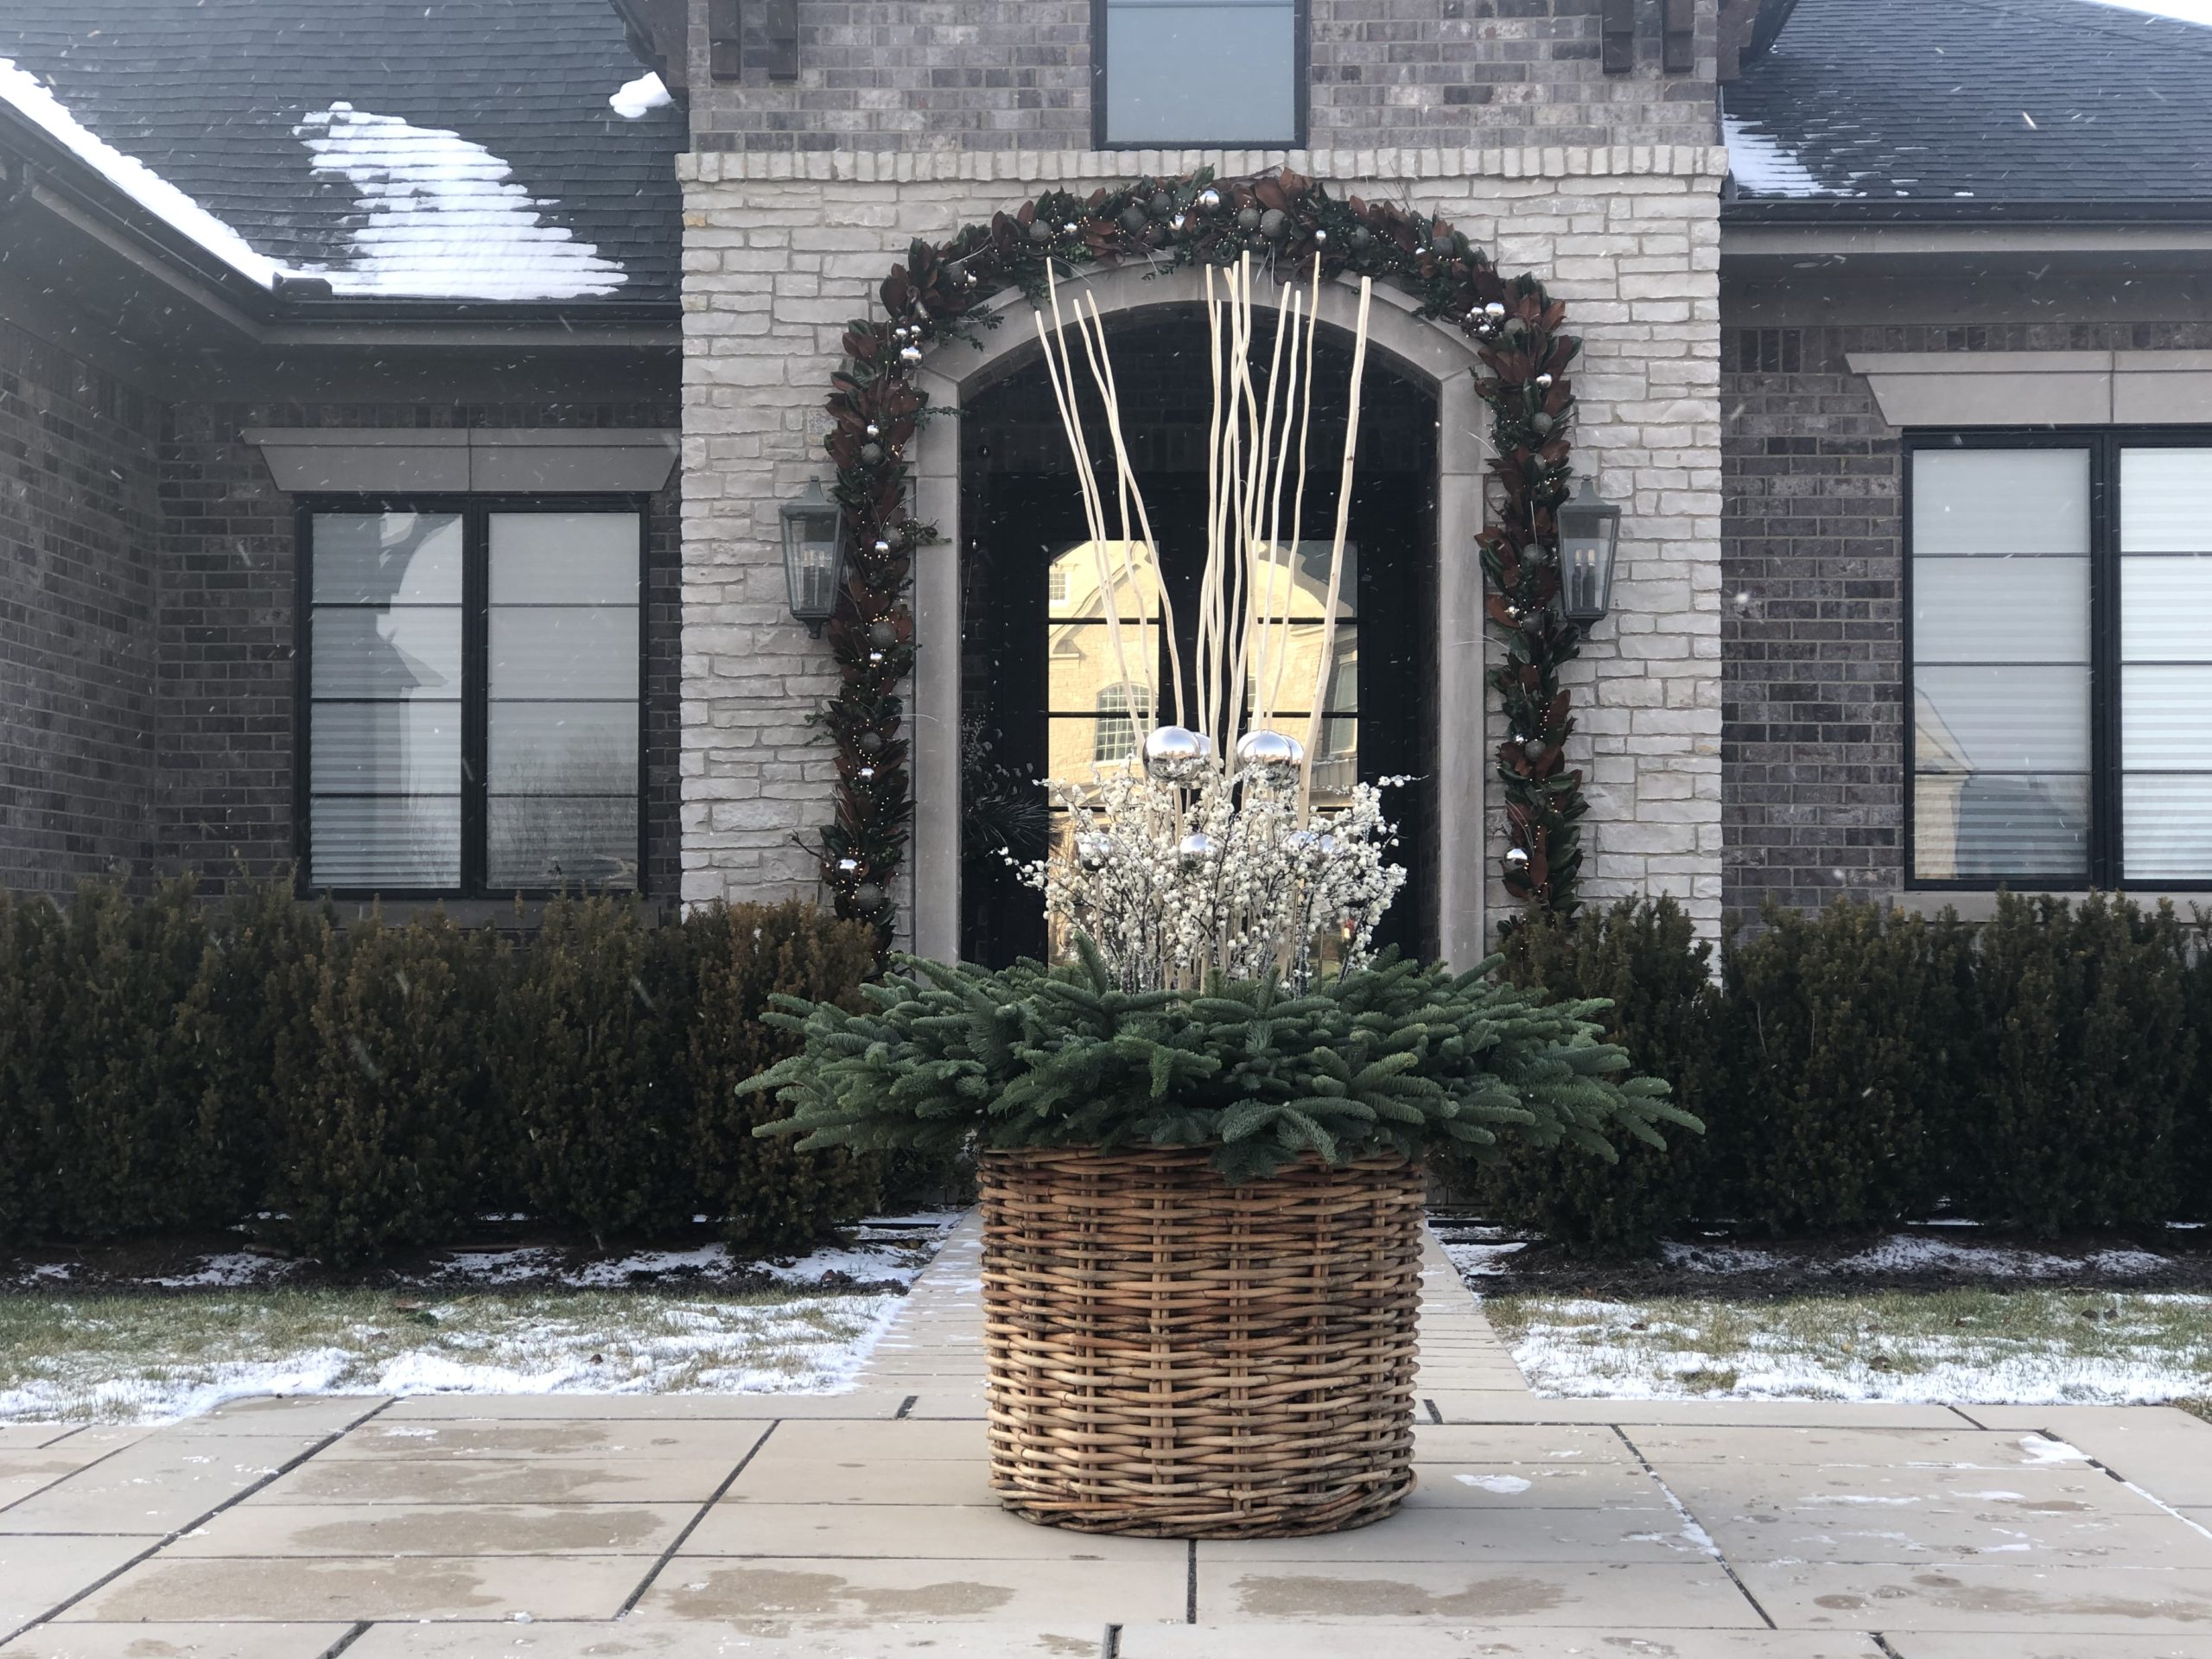
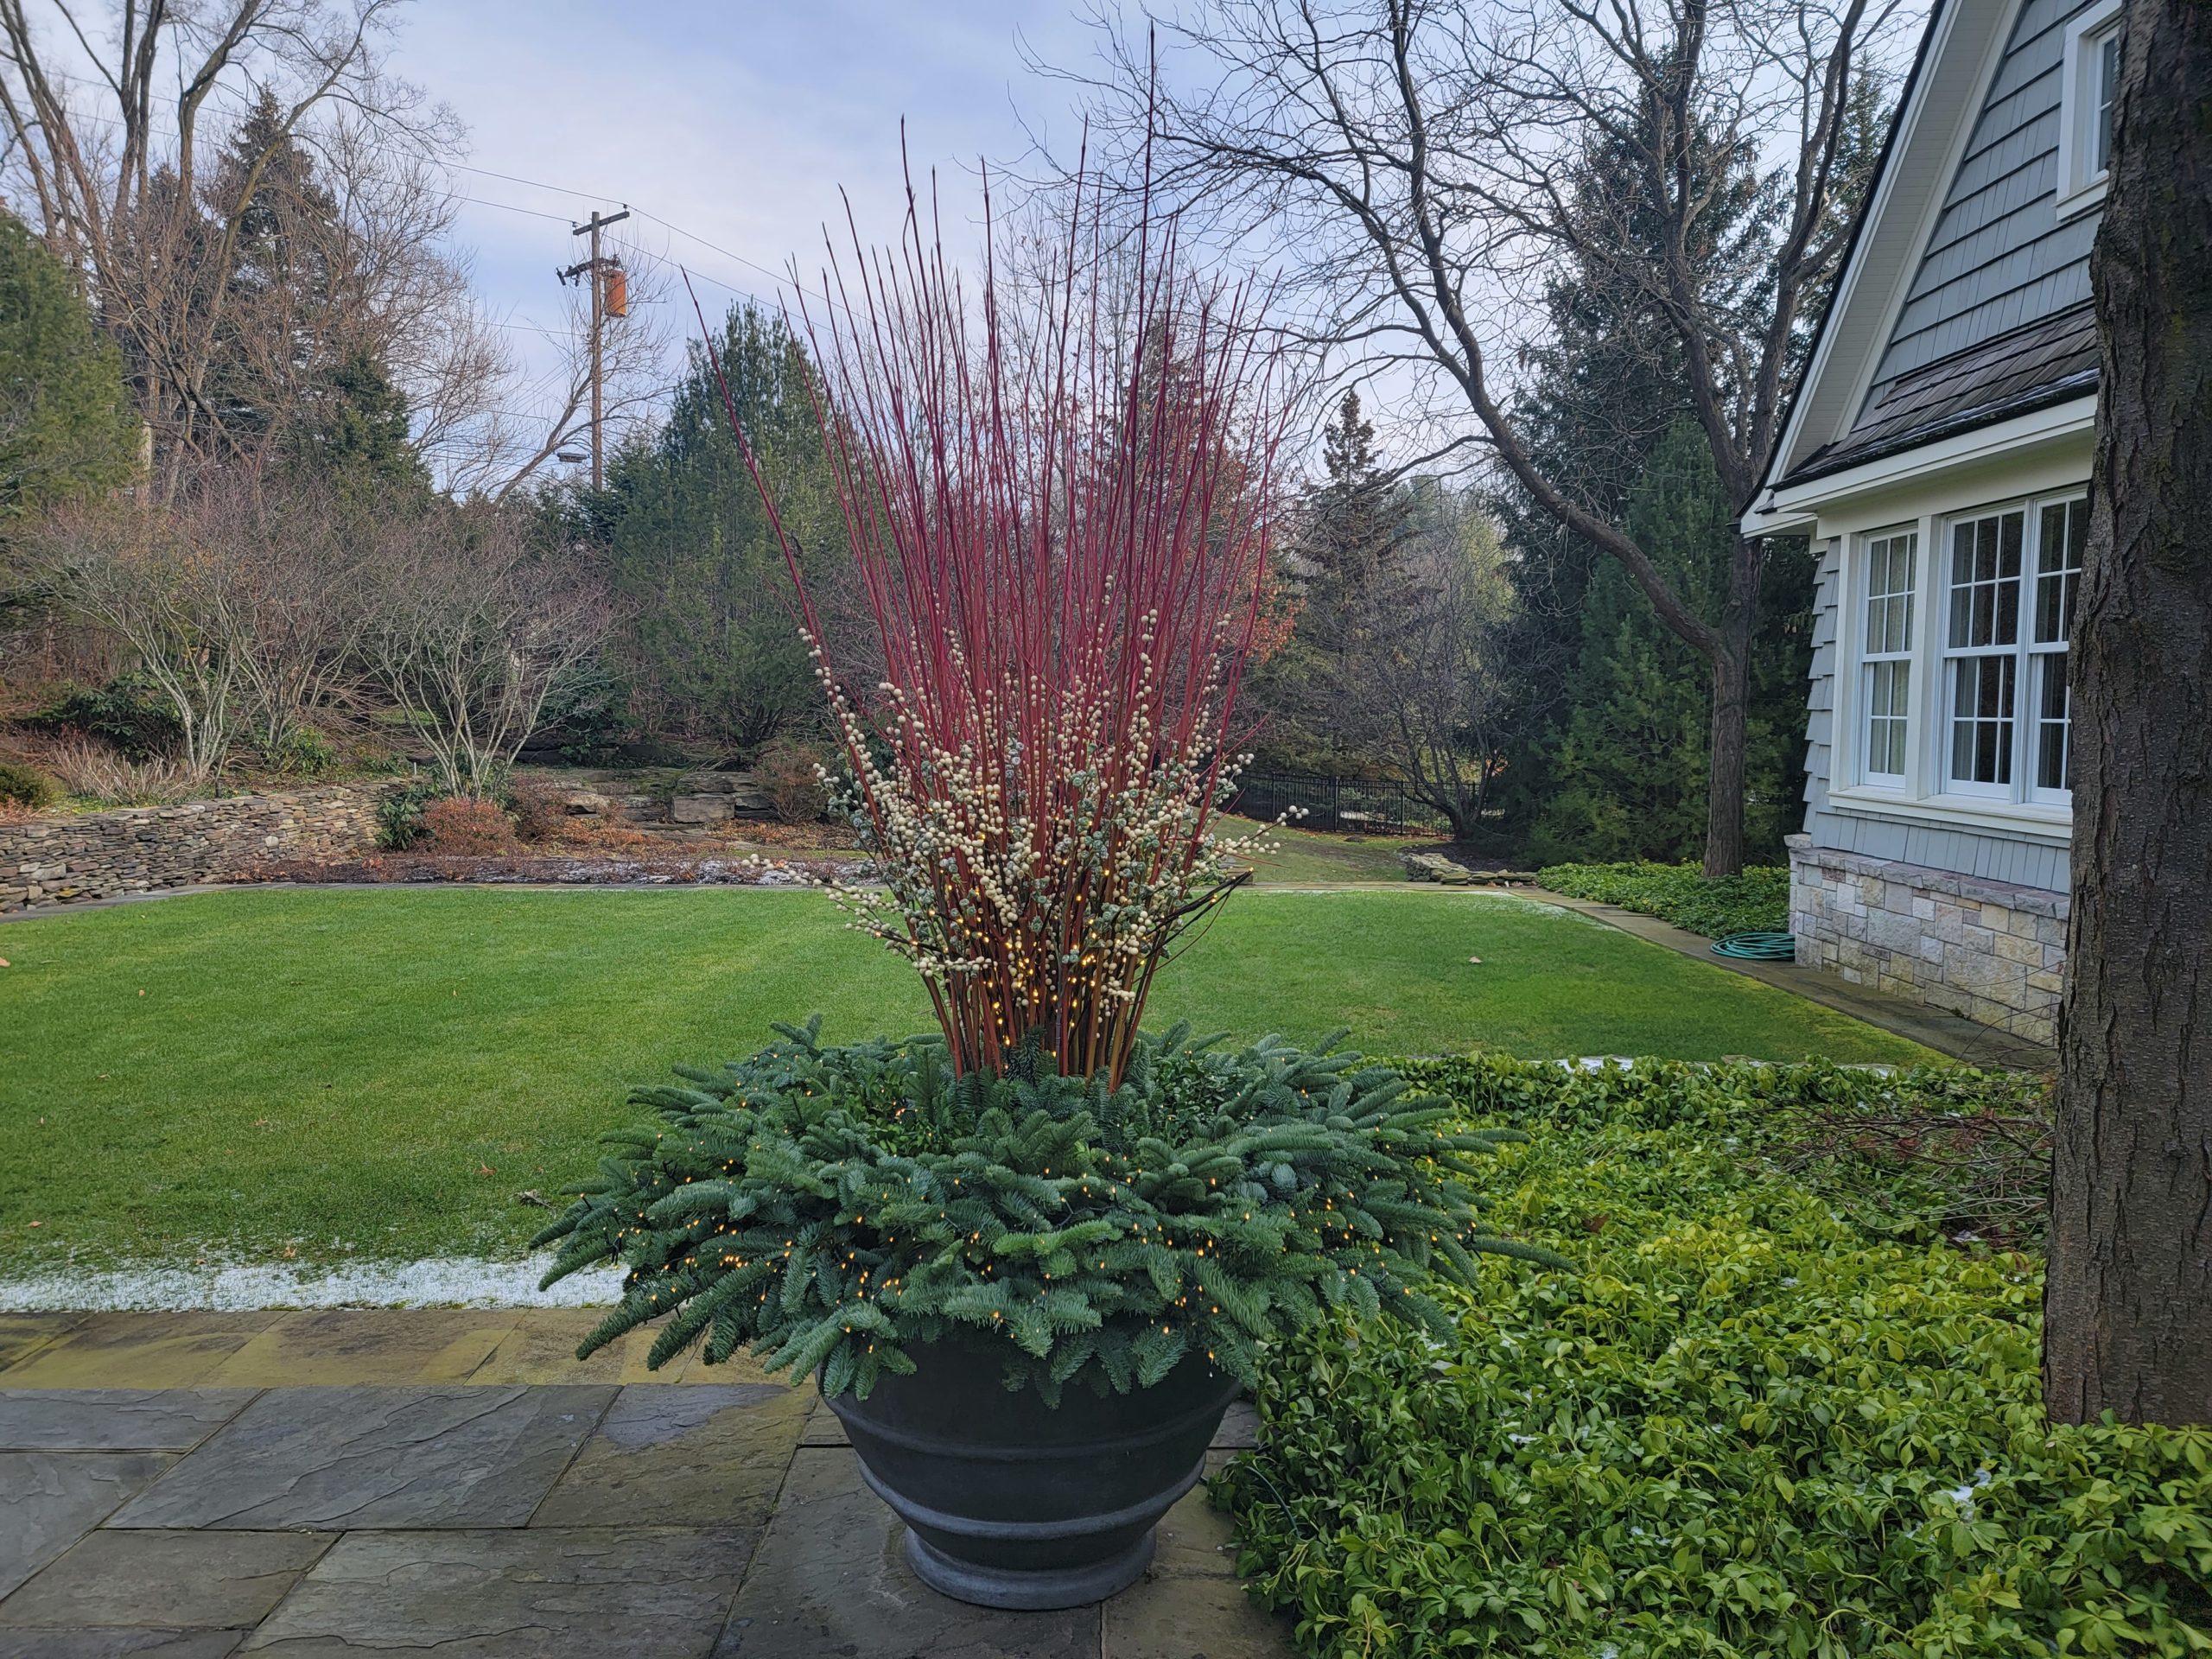
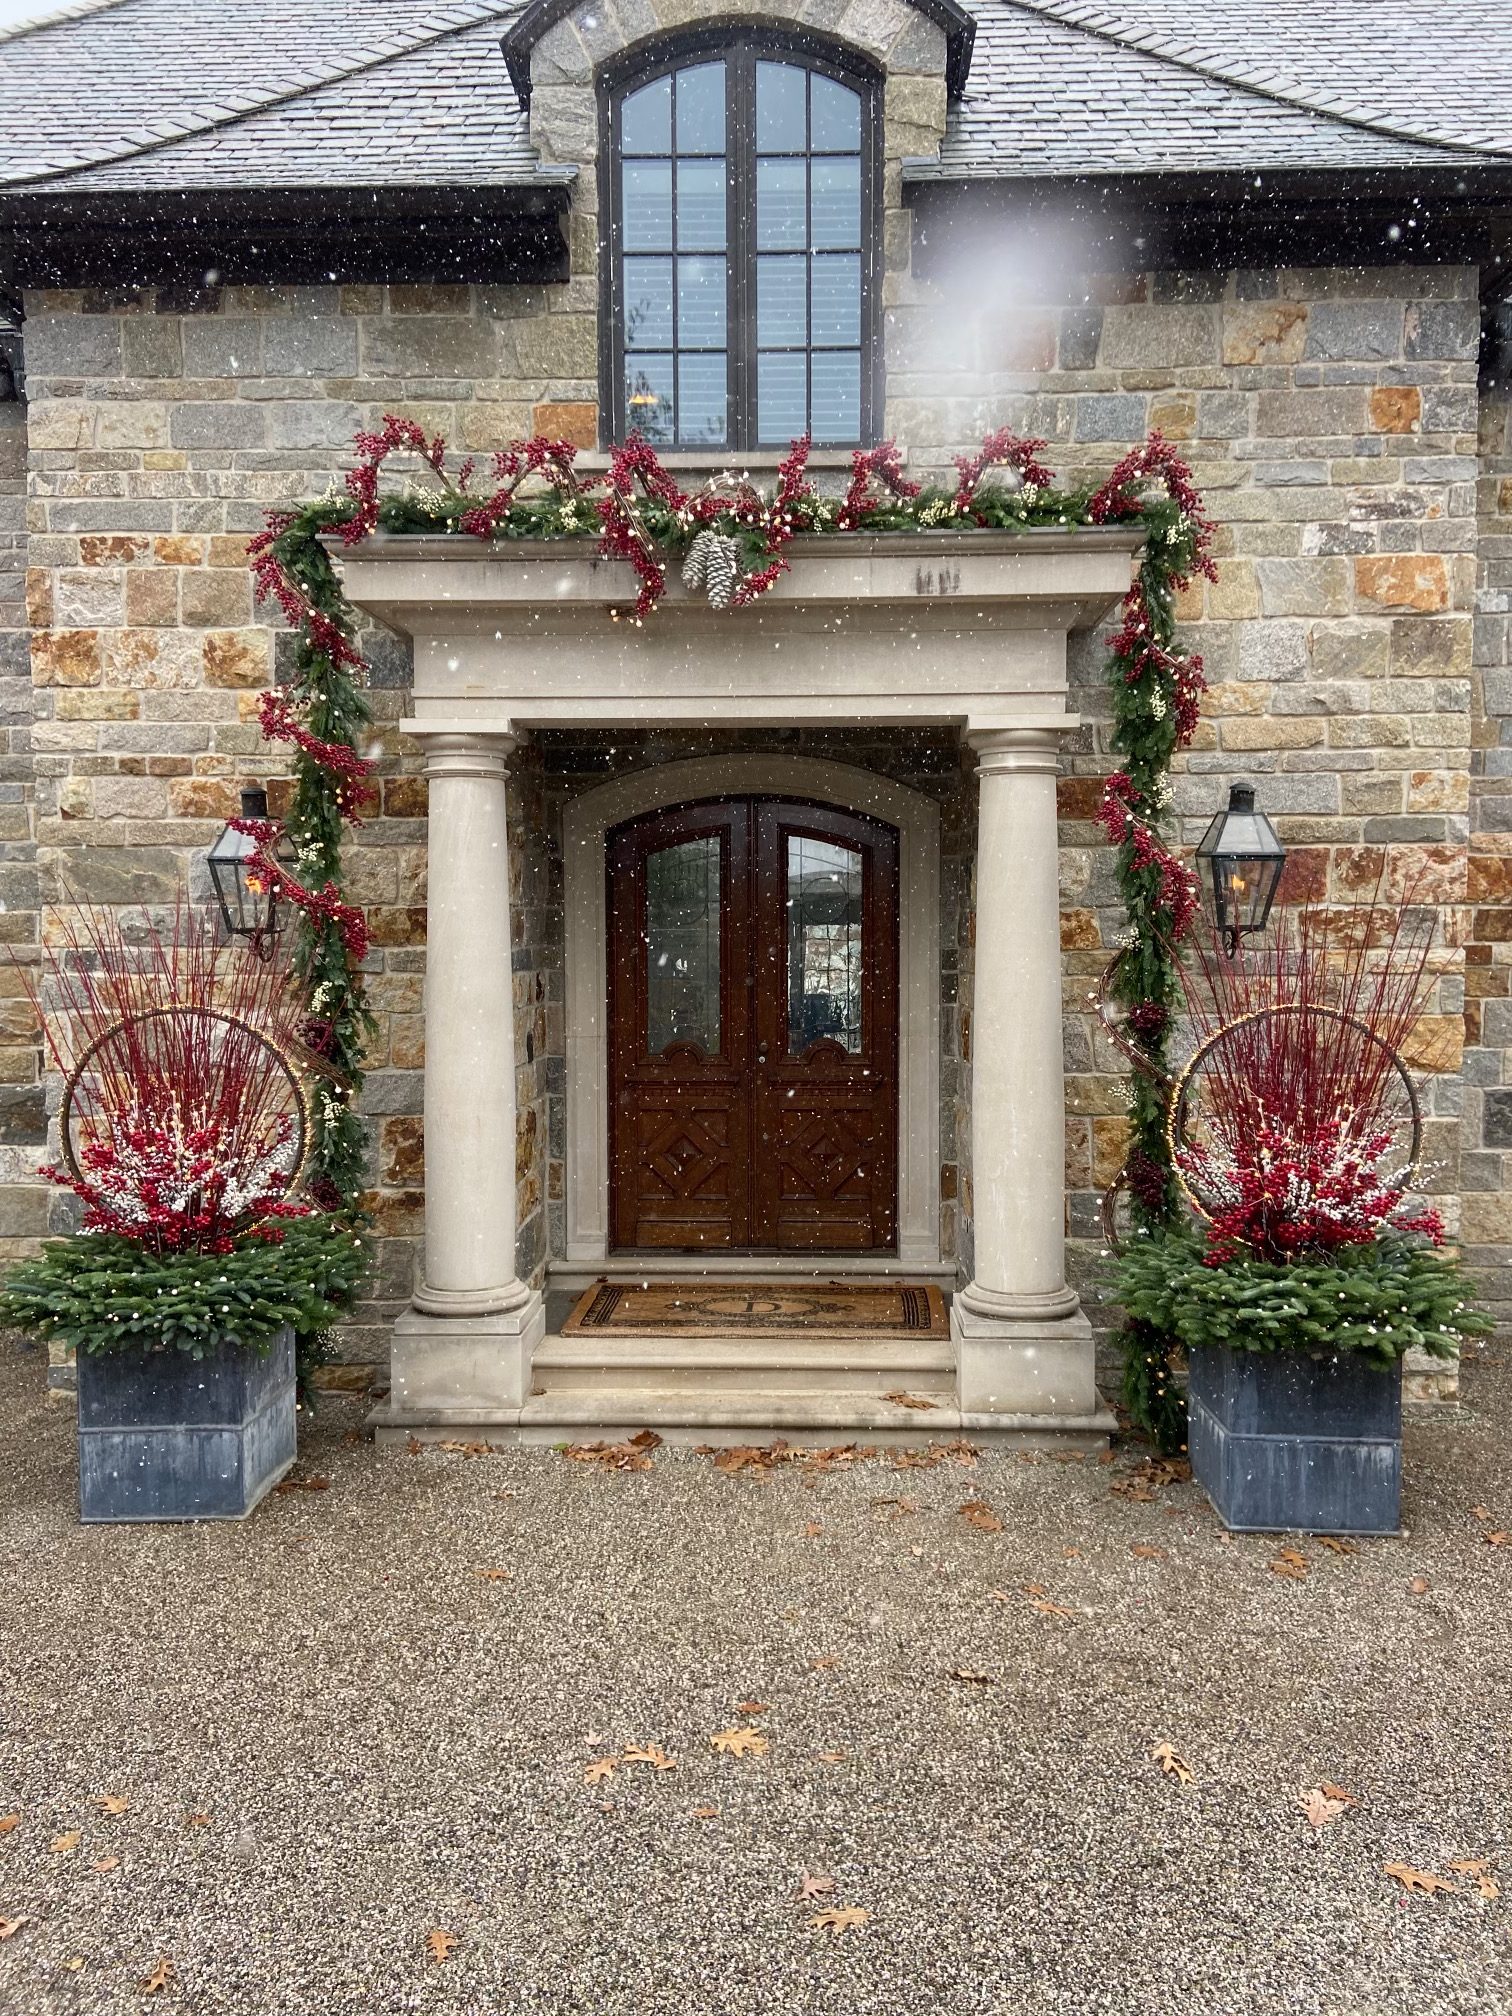
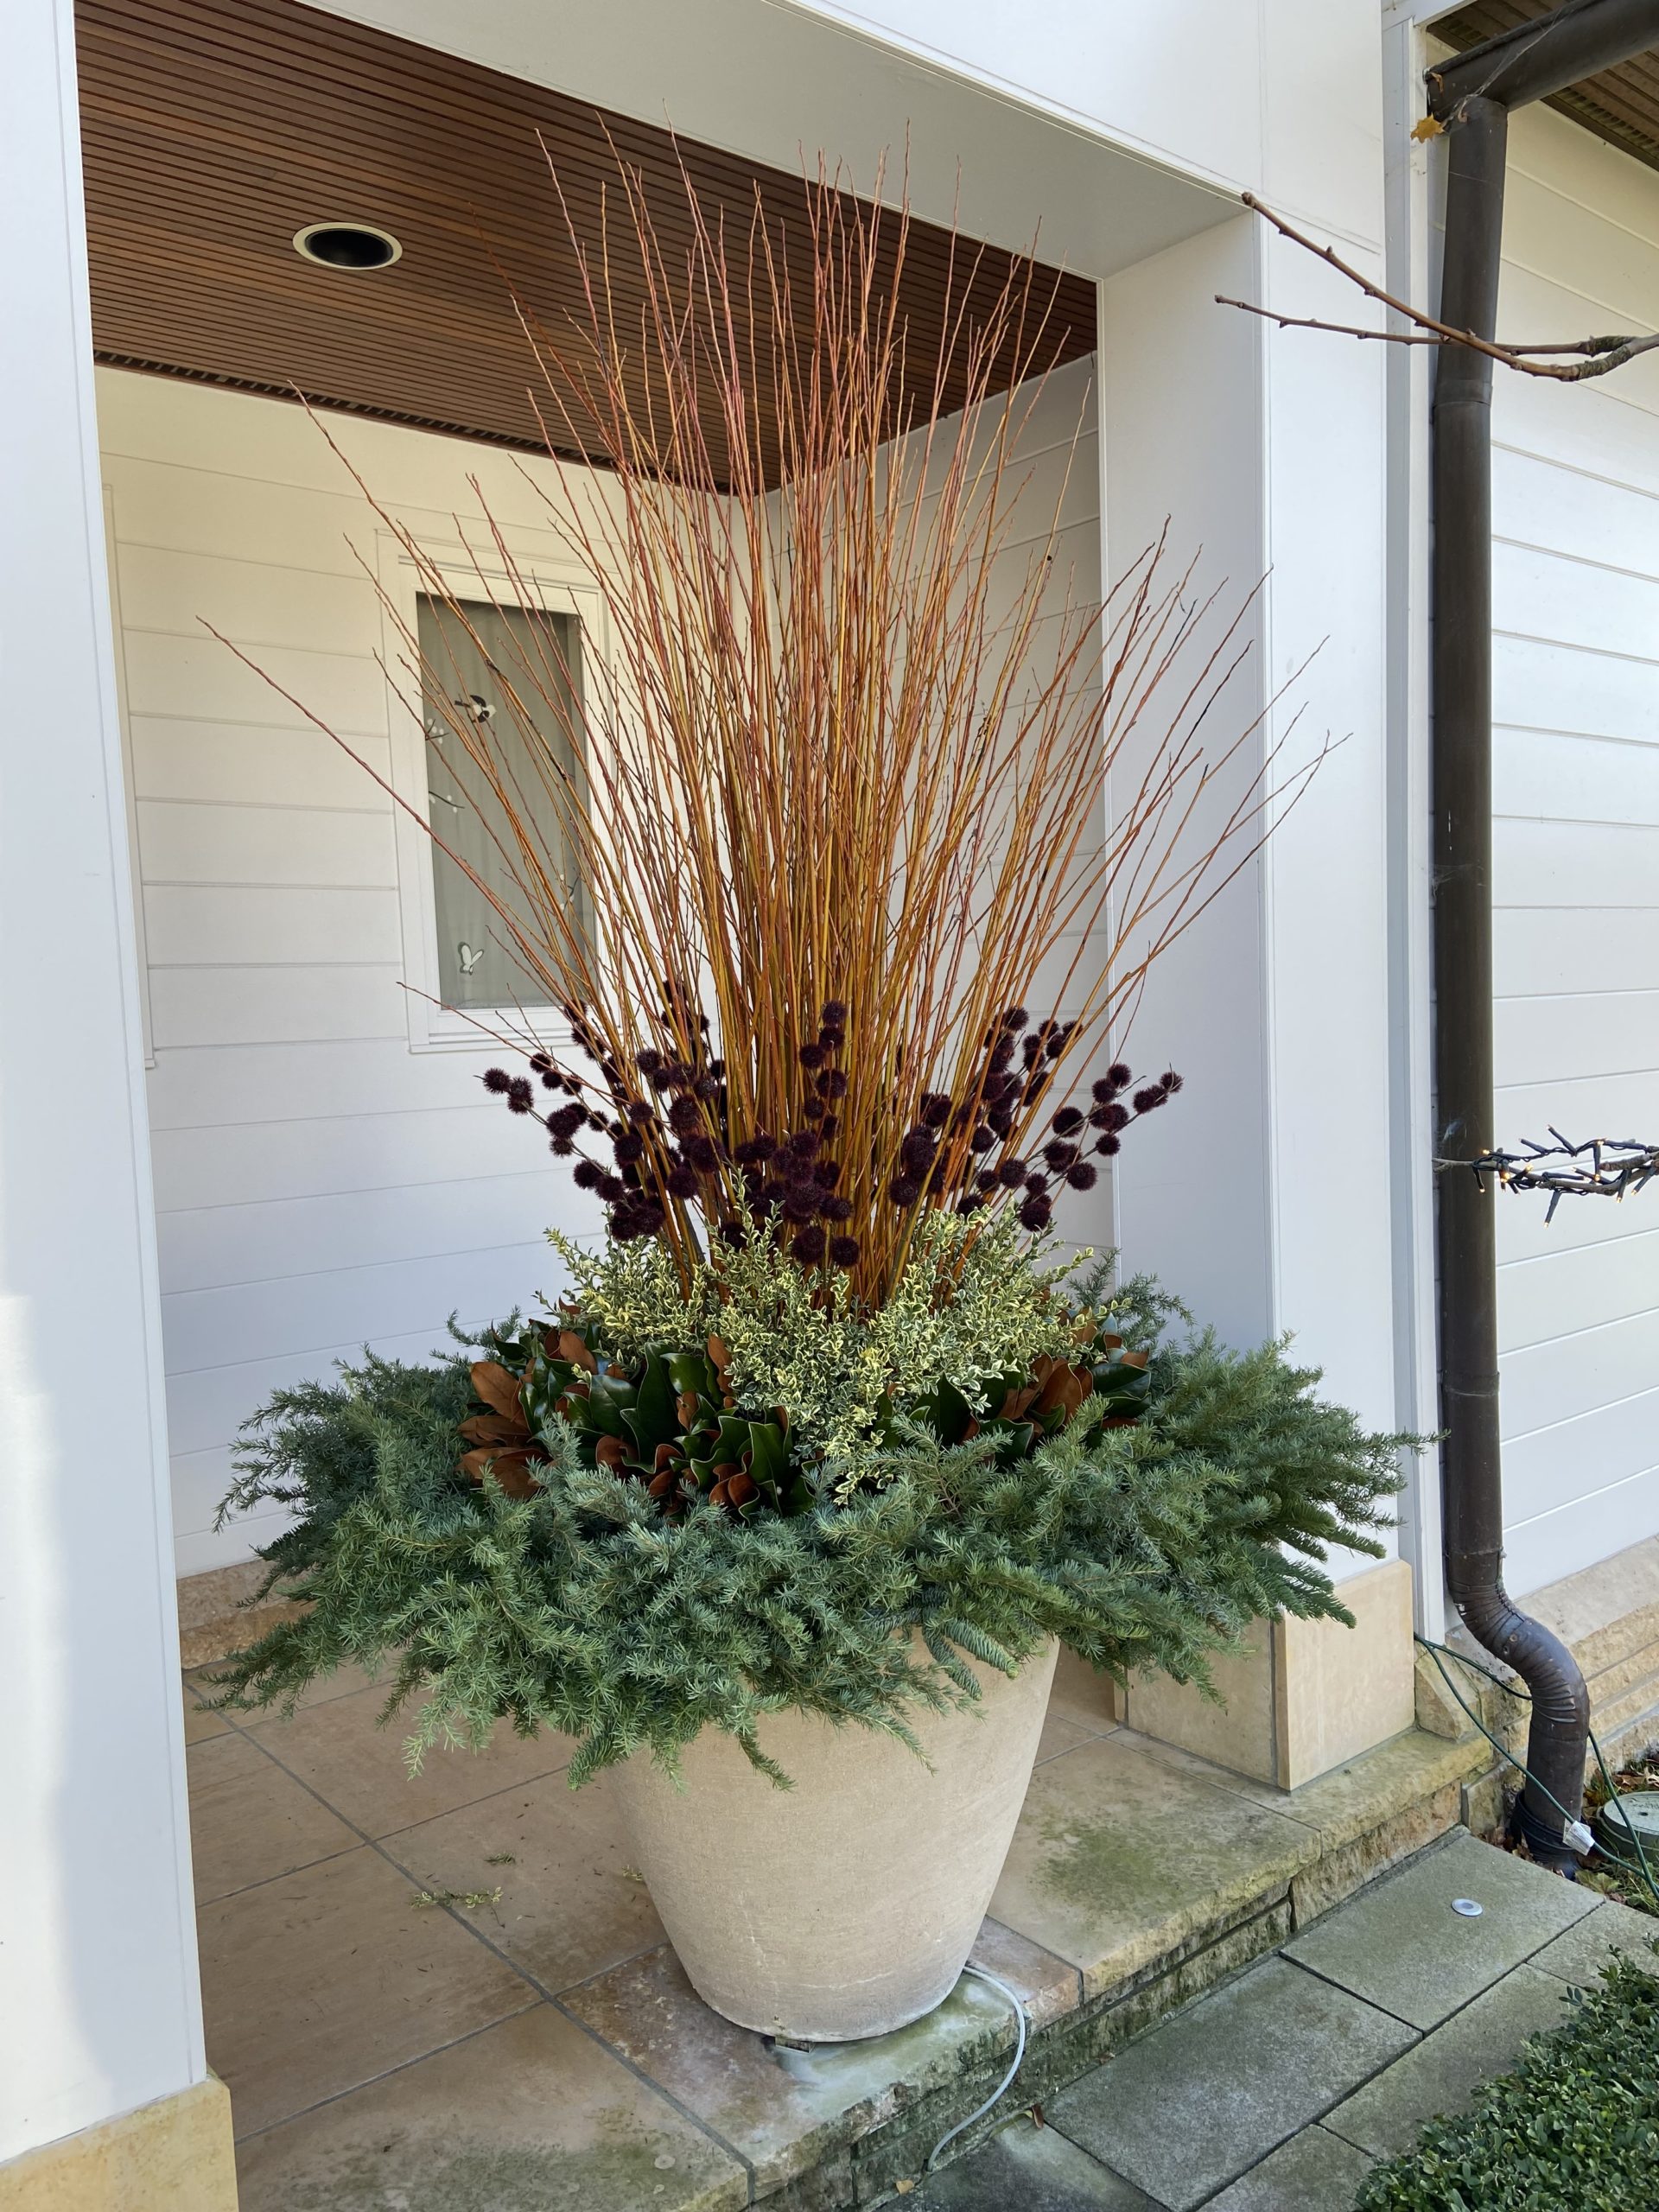
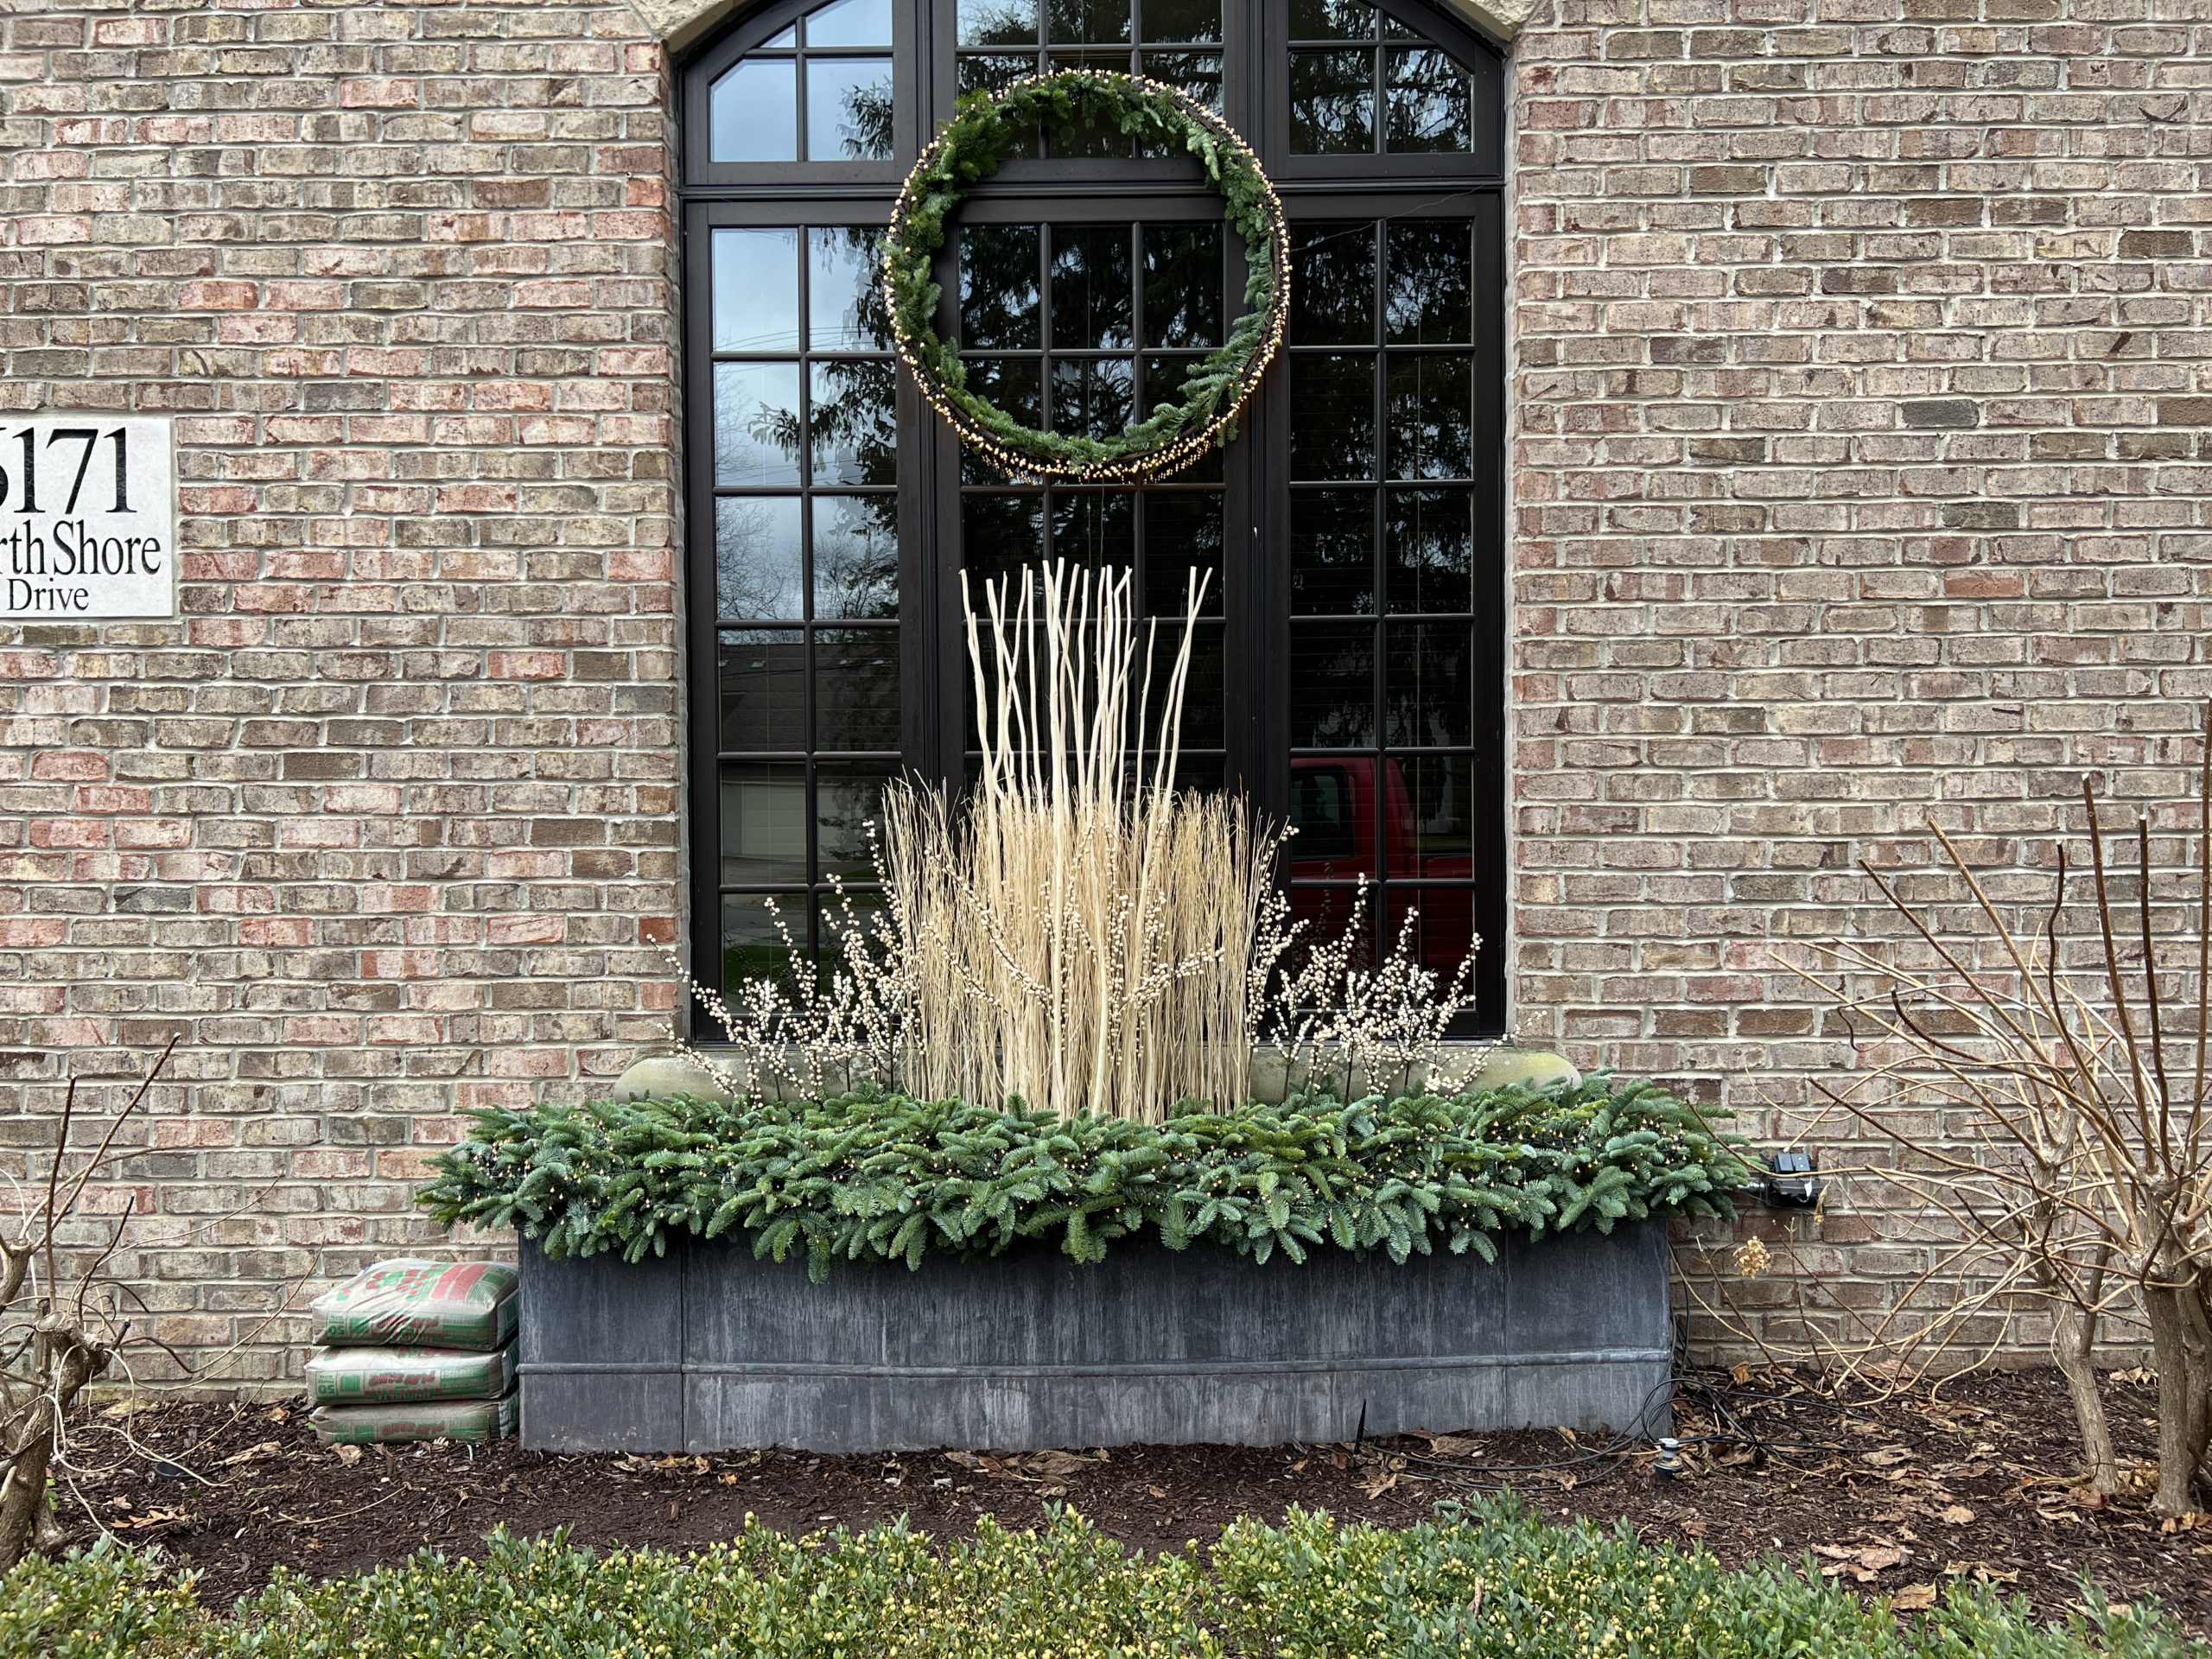
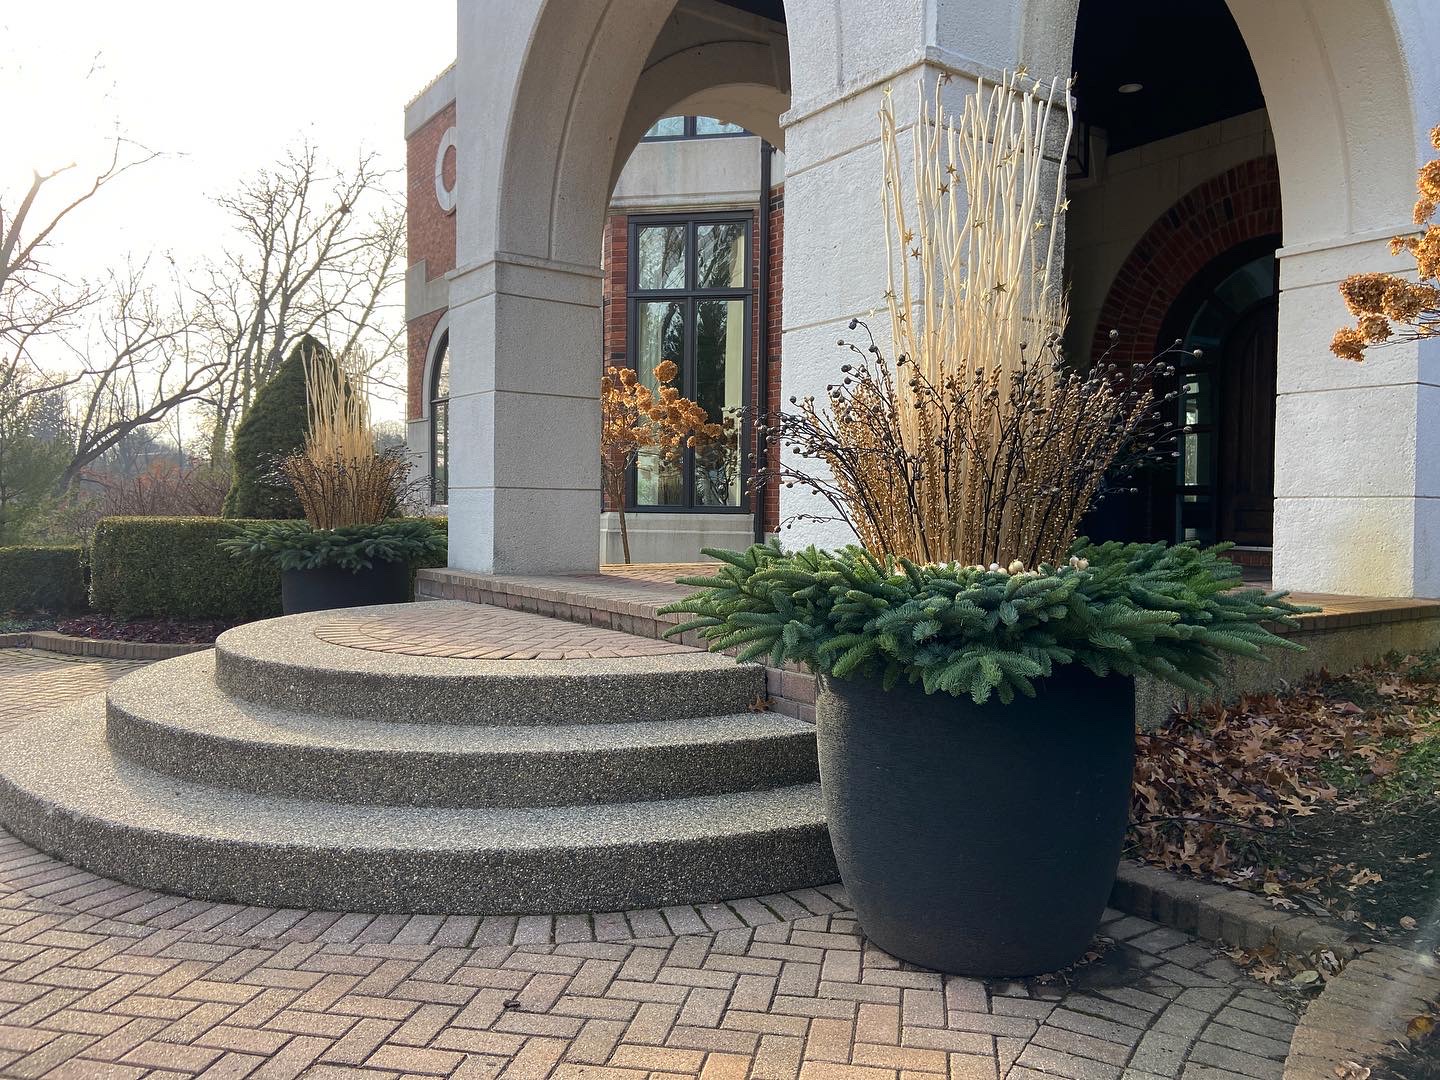
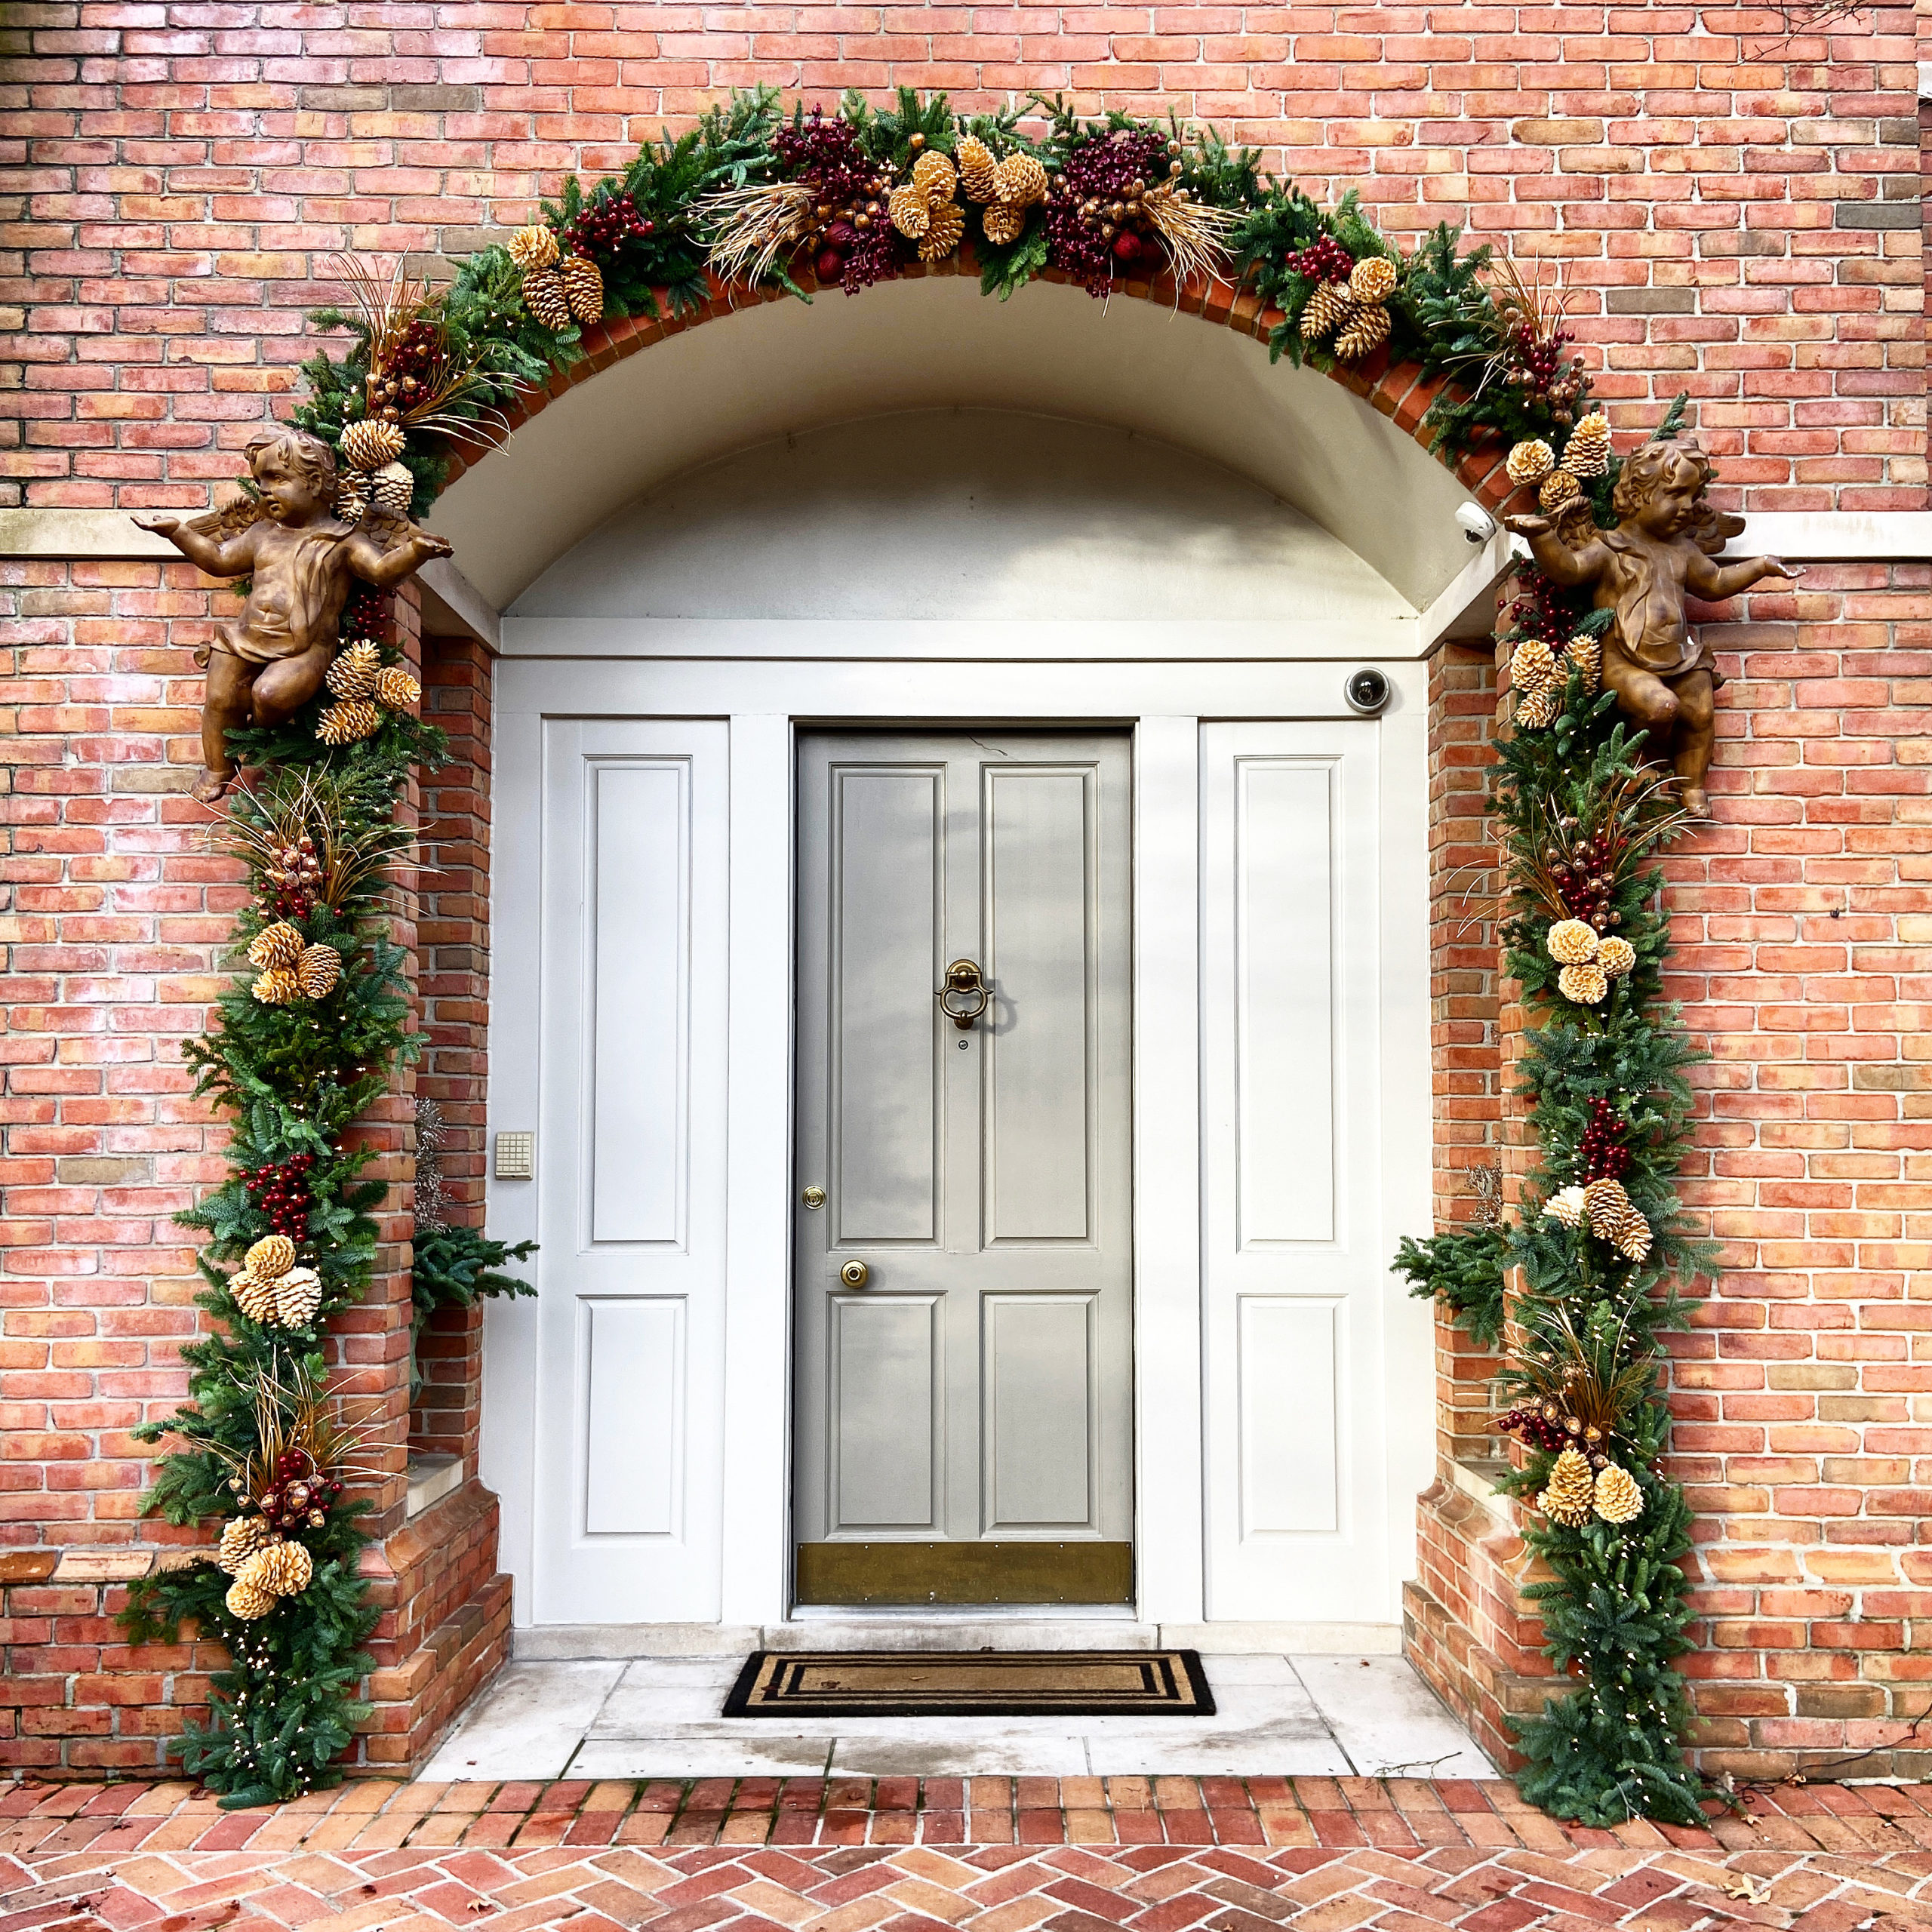
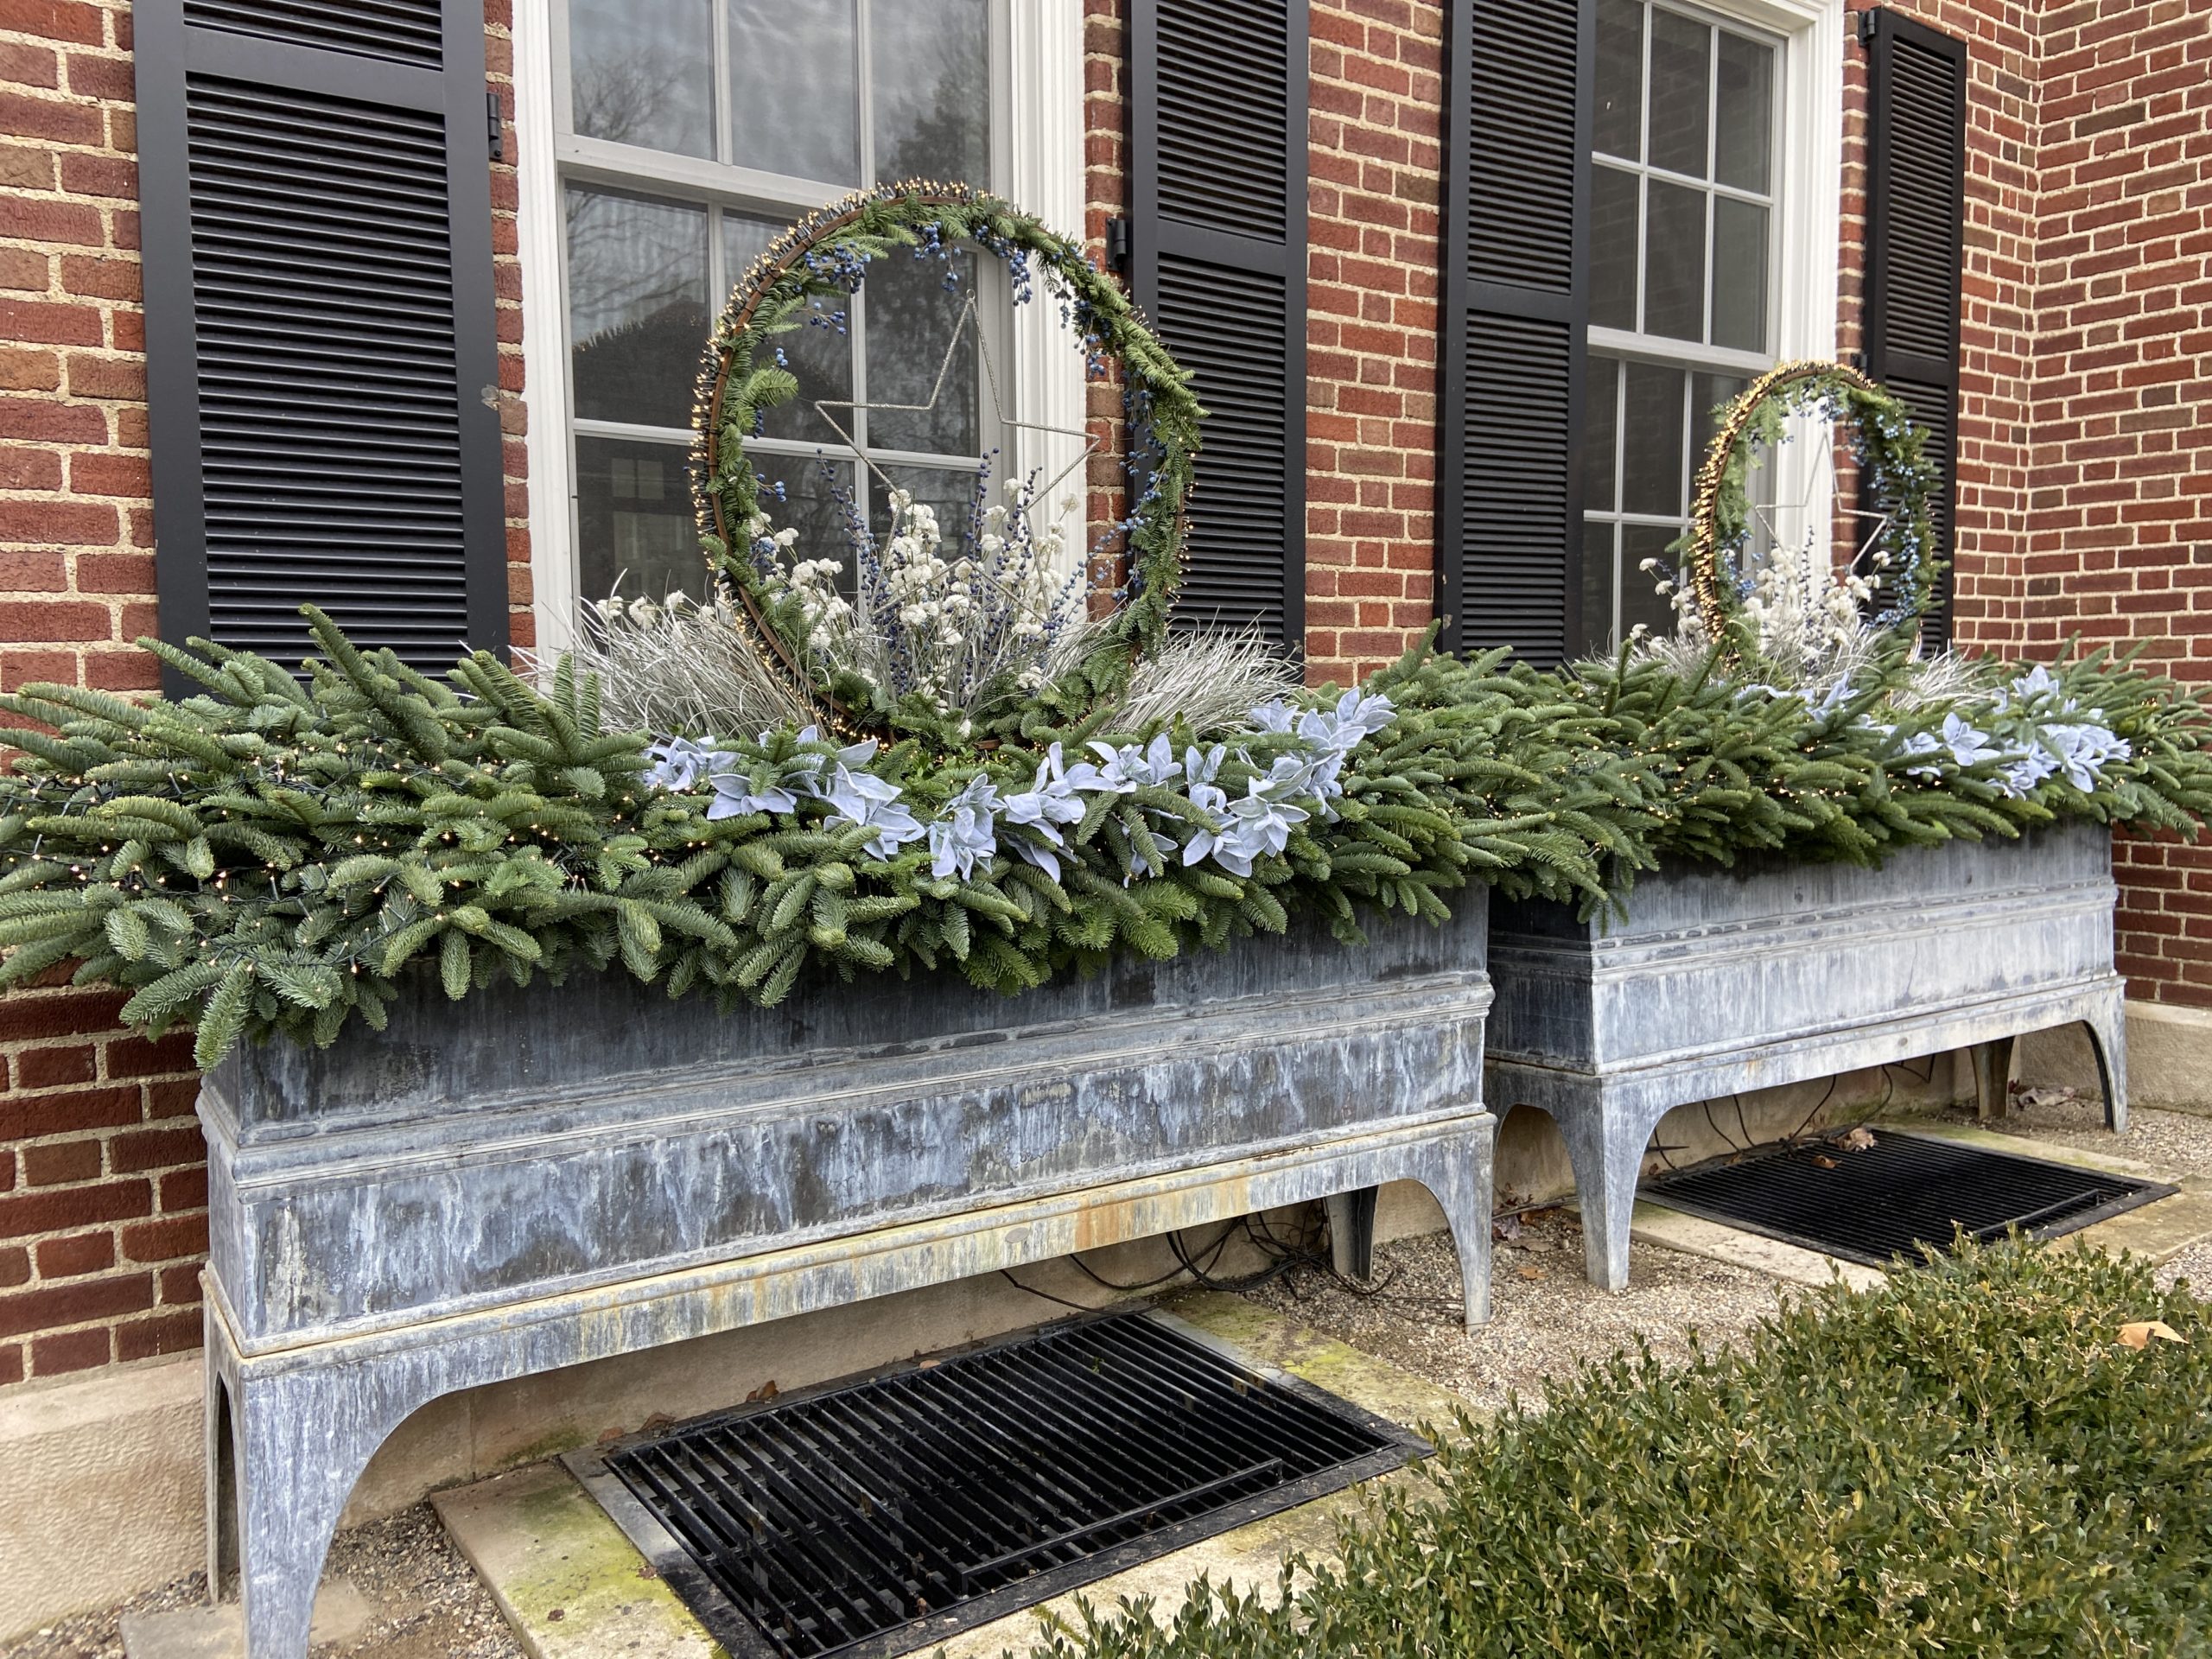
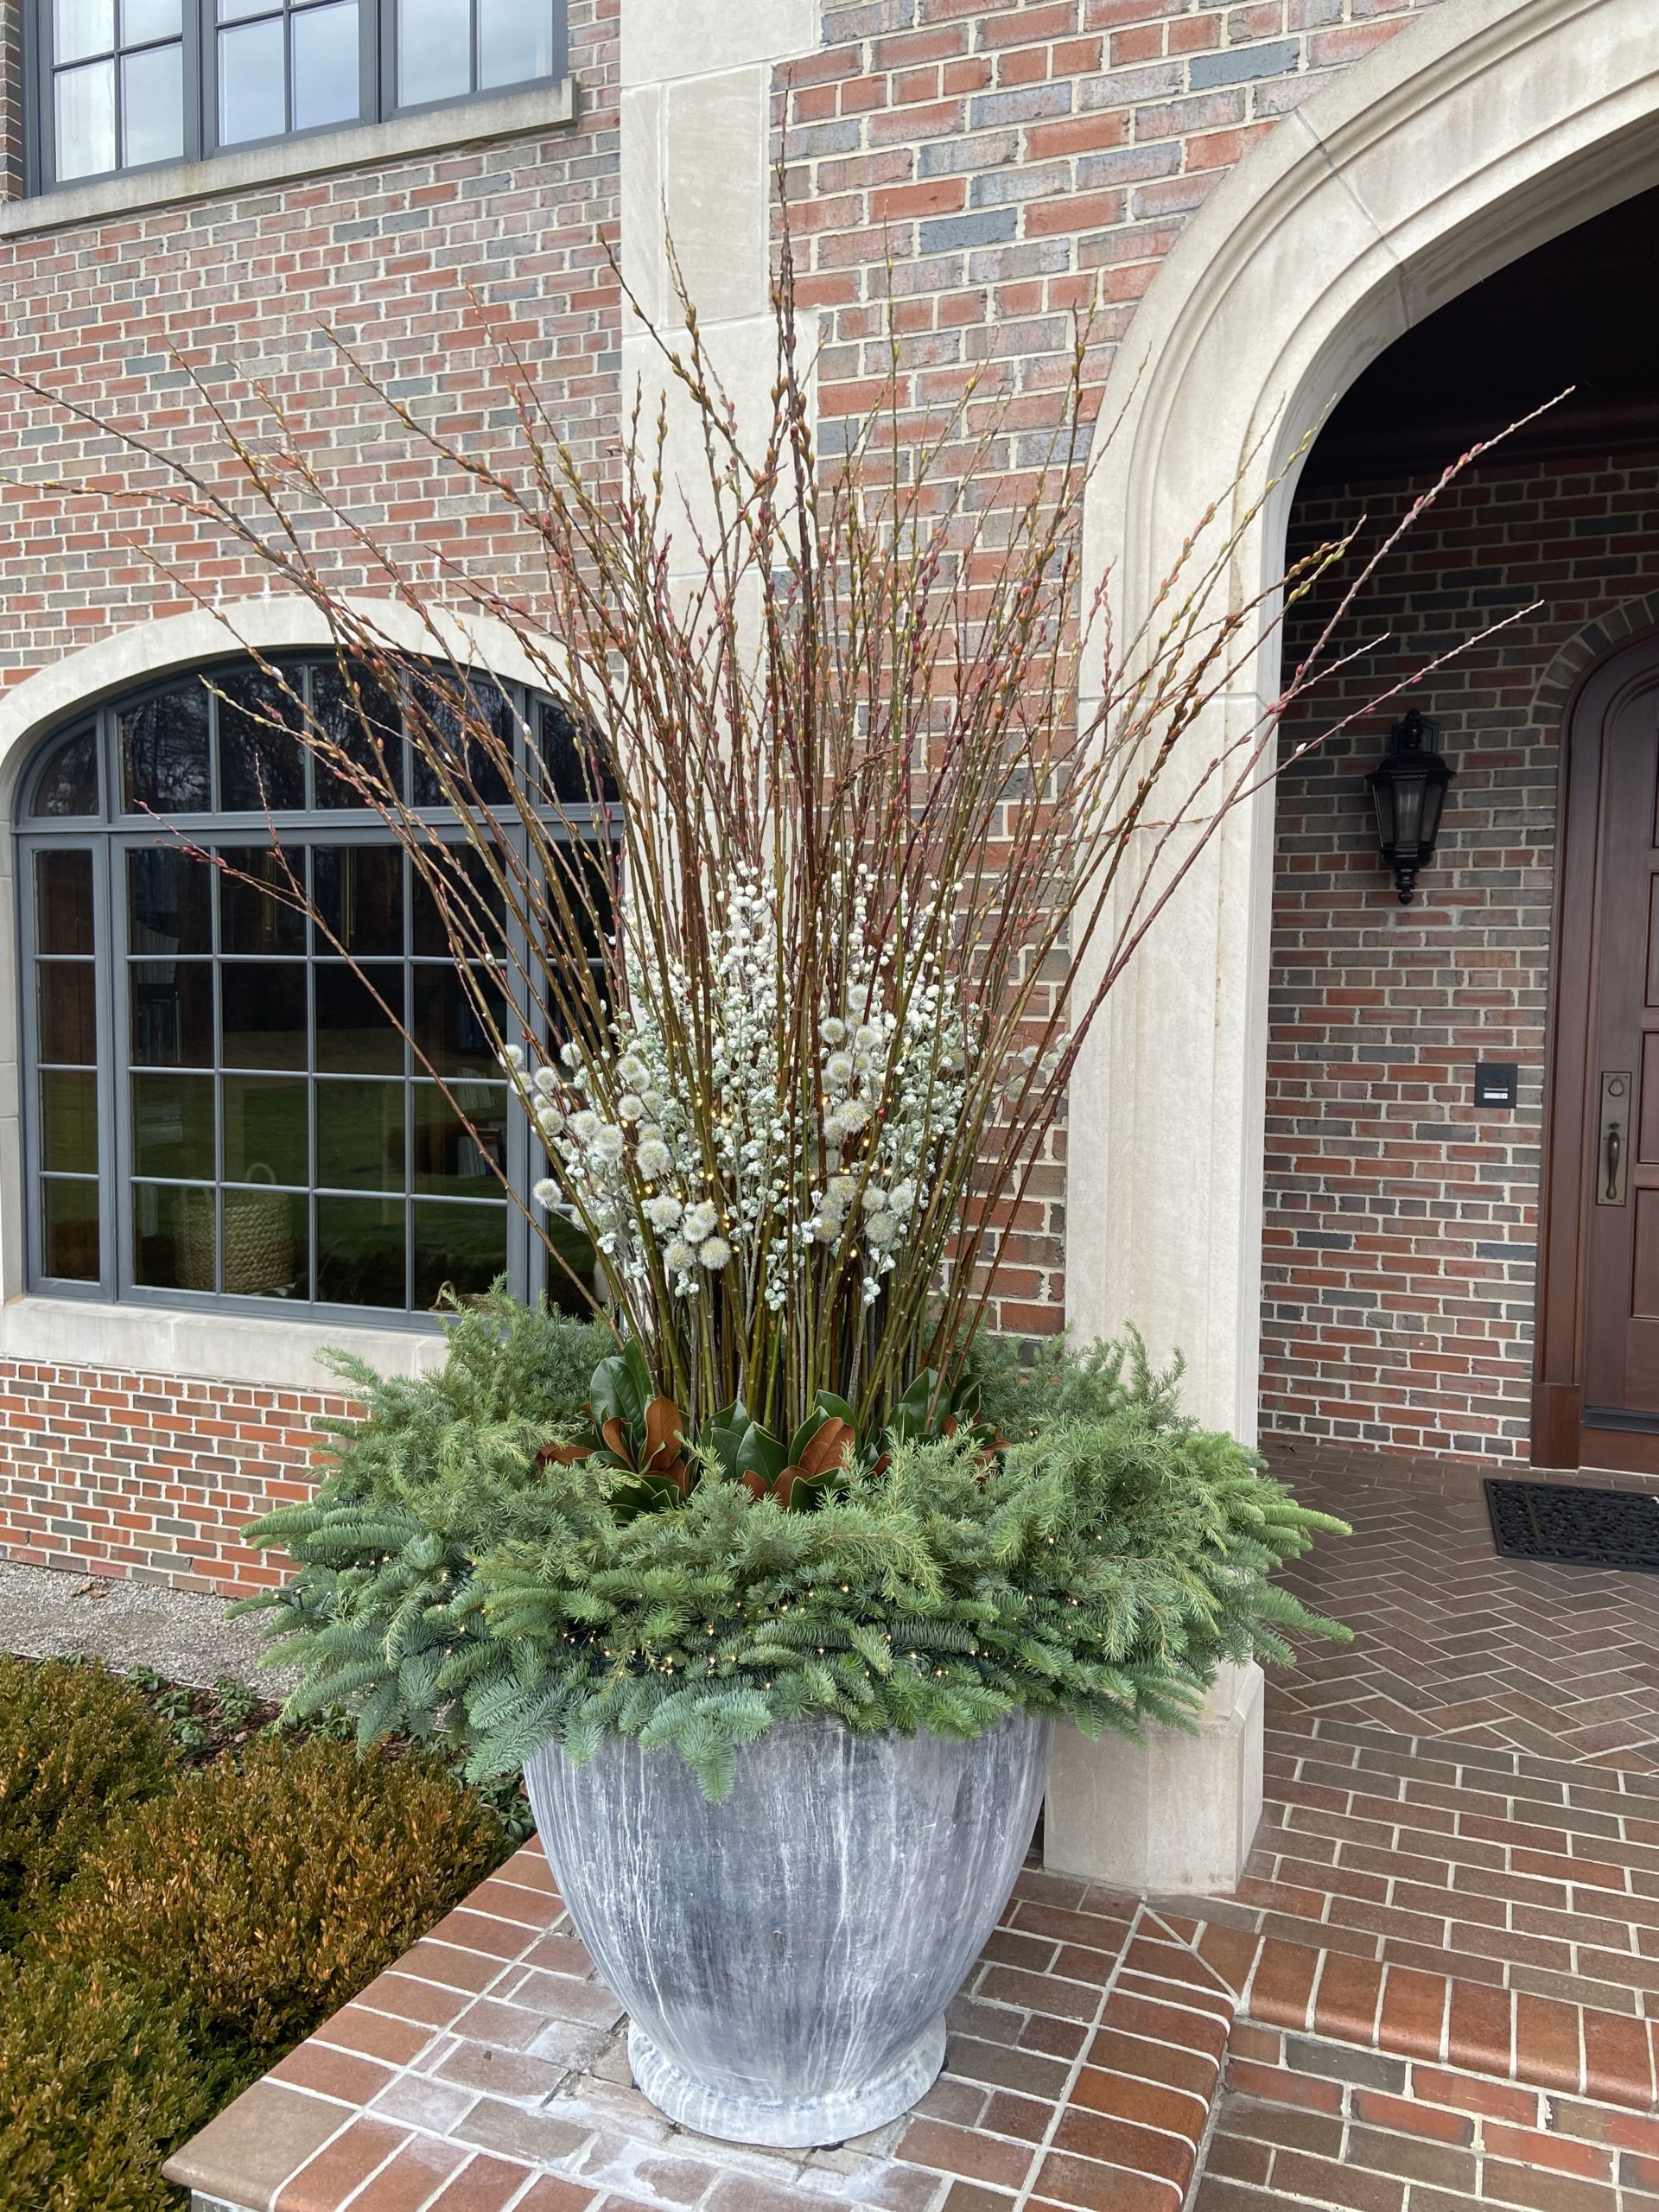
What is to follow does by no means represent all of the winter and holiday container work that was done this season, but it’s a start. It will take a few more posts to talk about them all. But I could not be happier for the incredible, thoughtful and memorable work of staff from Deborah Silver and Co, The Branch Studio, and Detroit Garden Works. They make it all happen, and I watch their process and their production with great respect and awe. There is a whomping lot of pictures to follow, all in celebration of the 2021 winter season in the garden.

ll
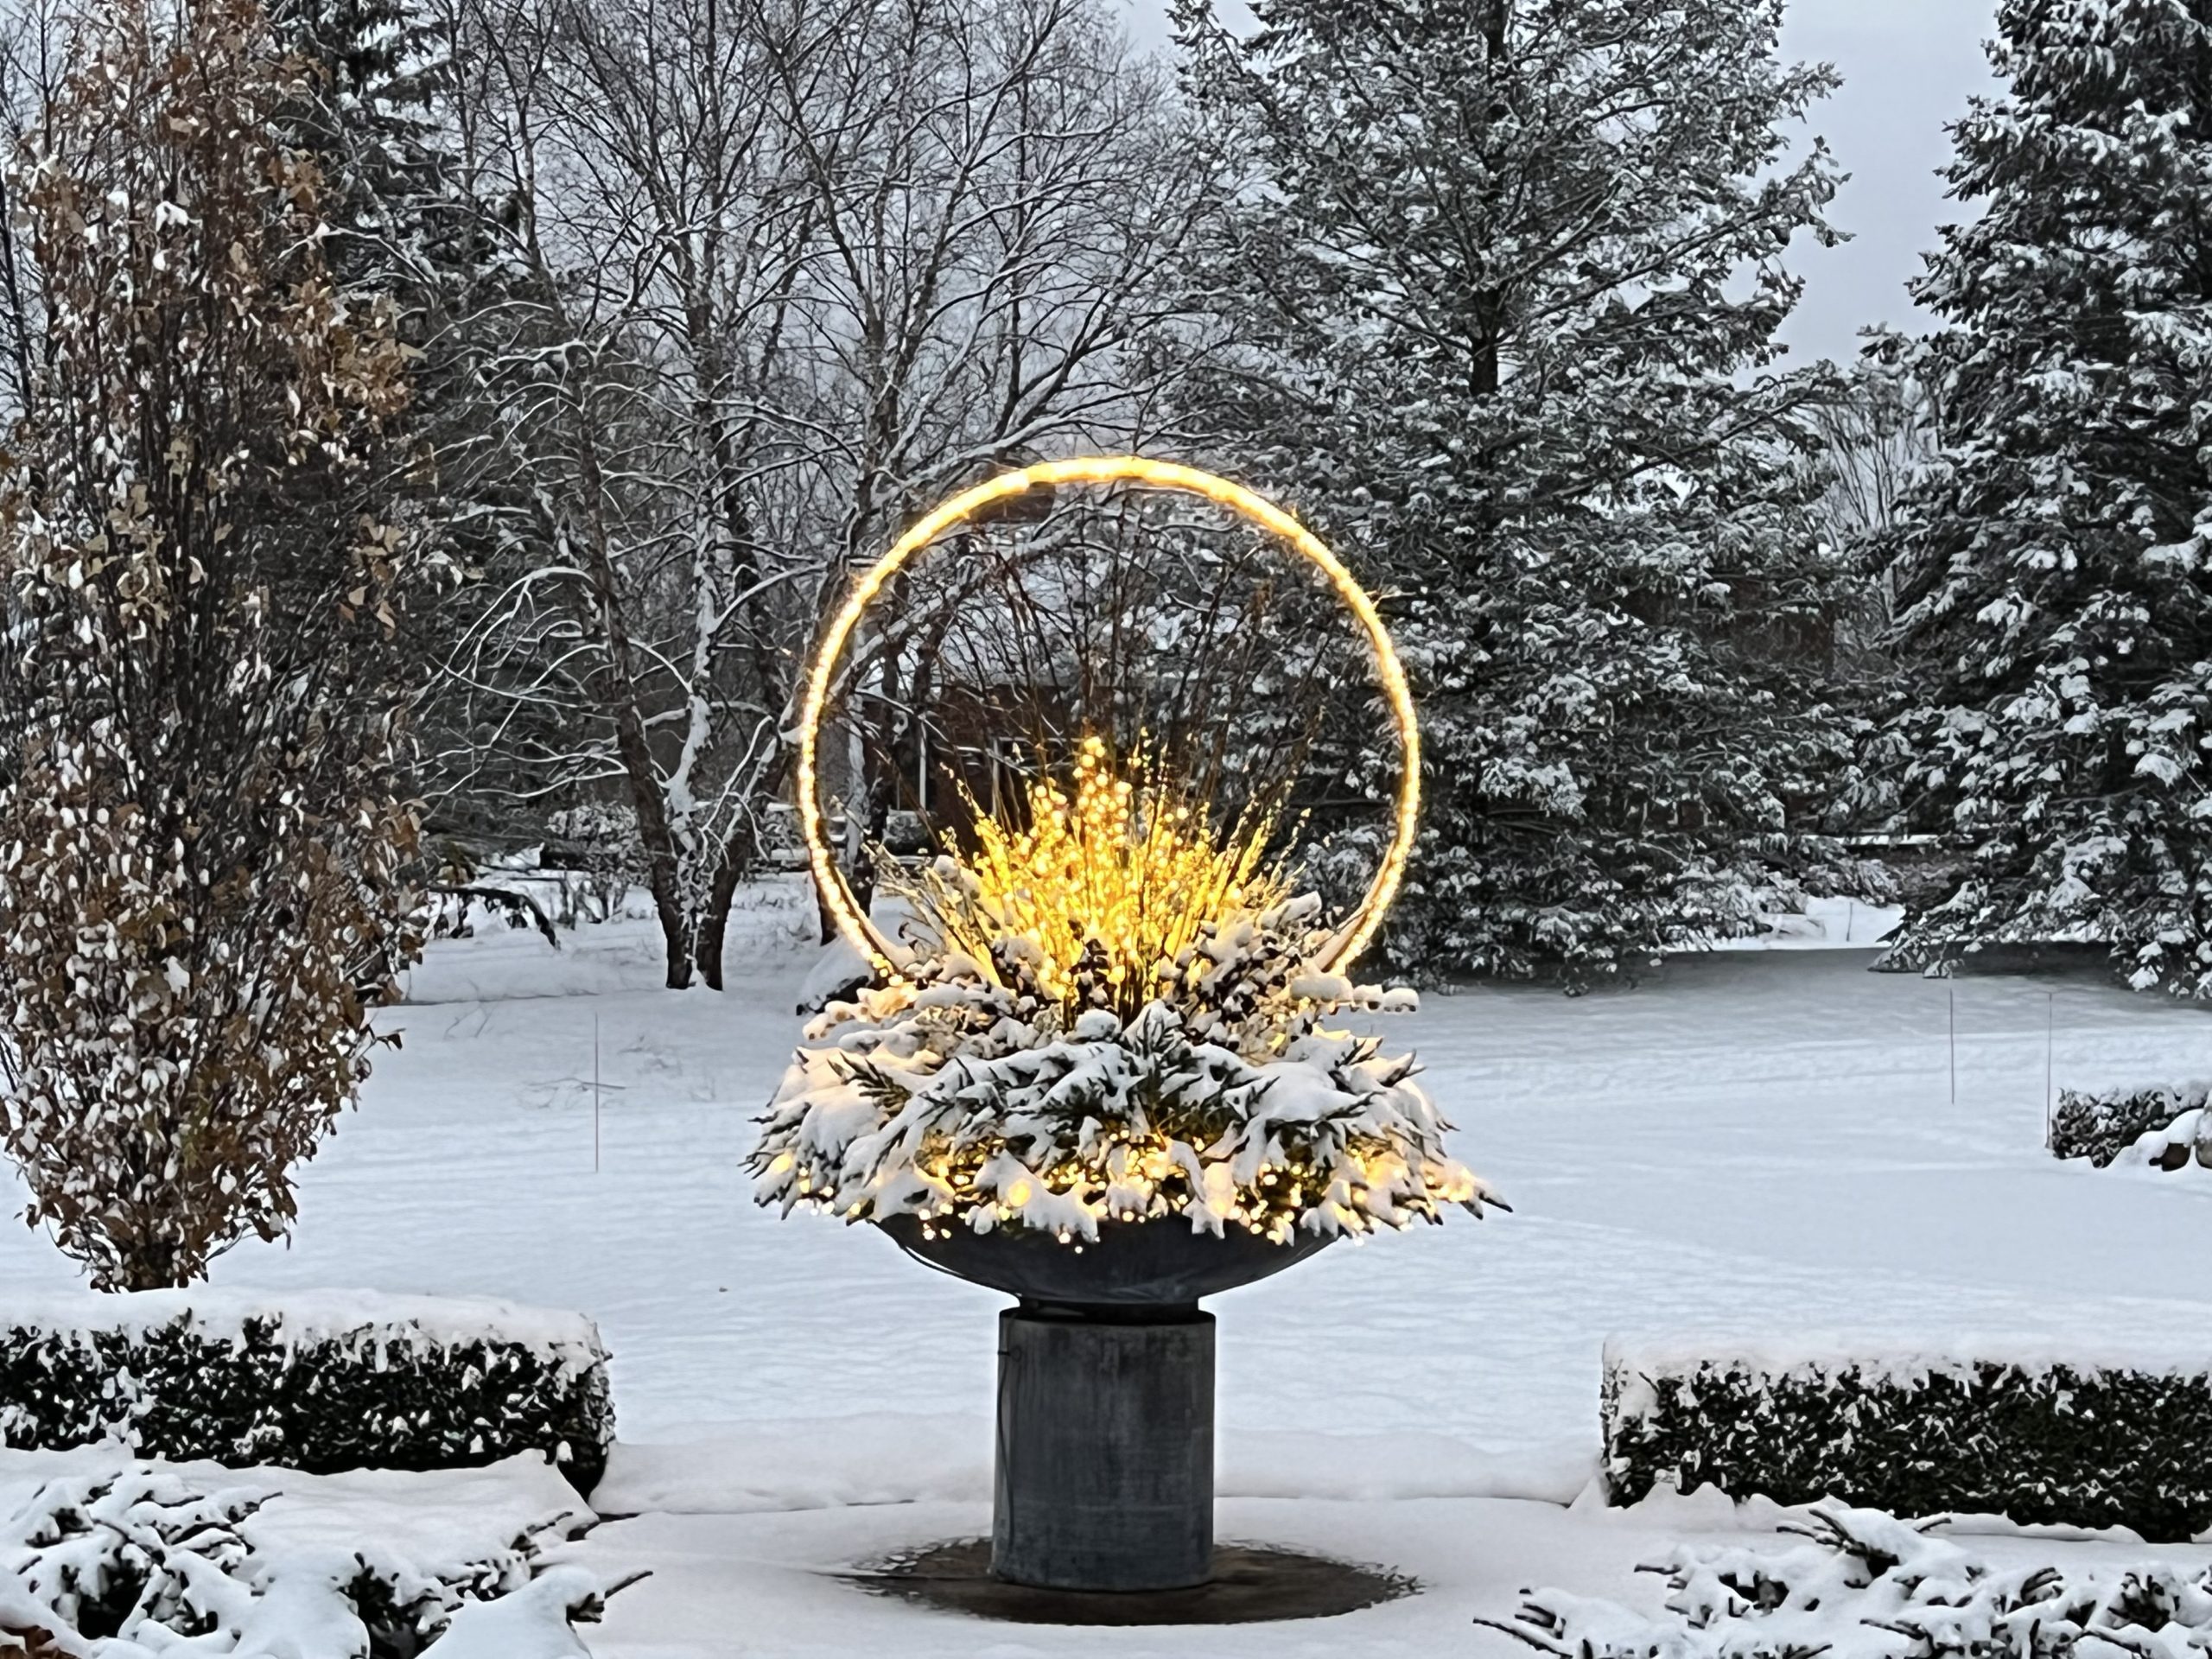
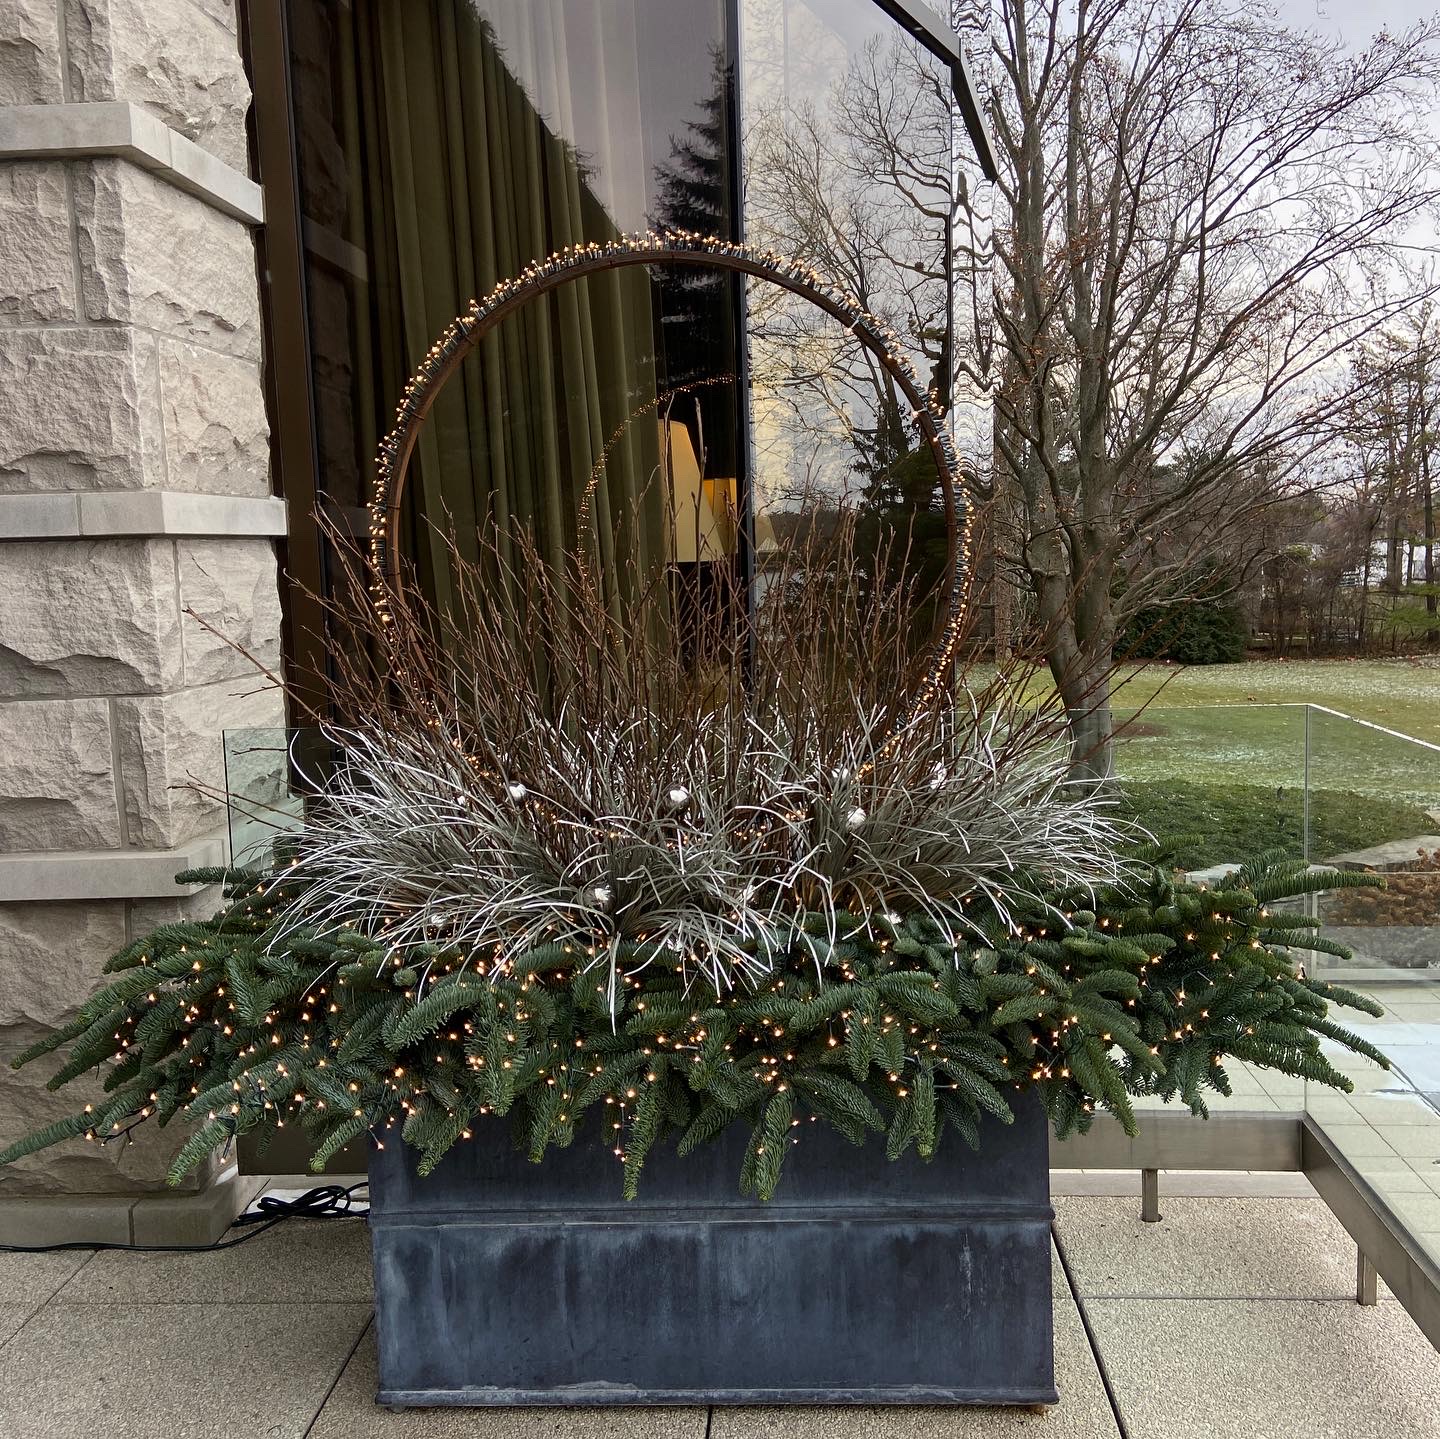
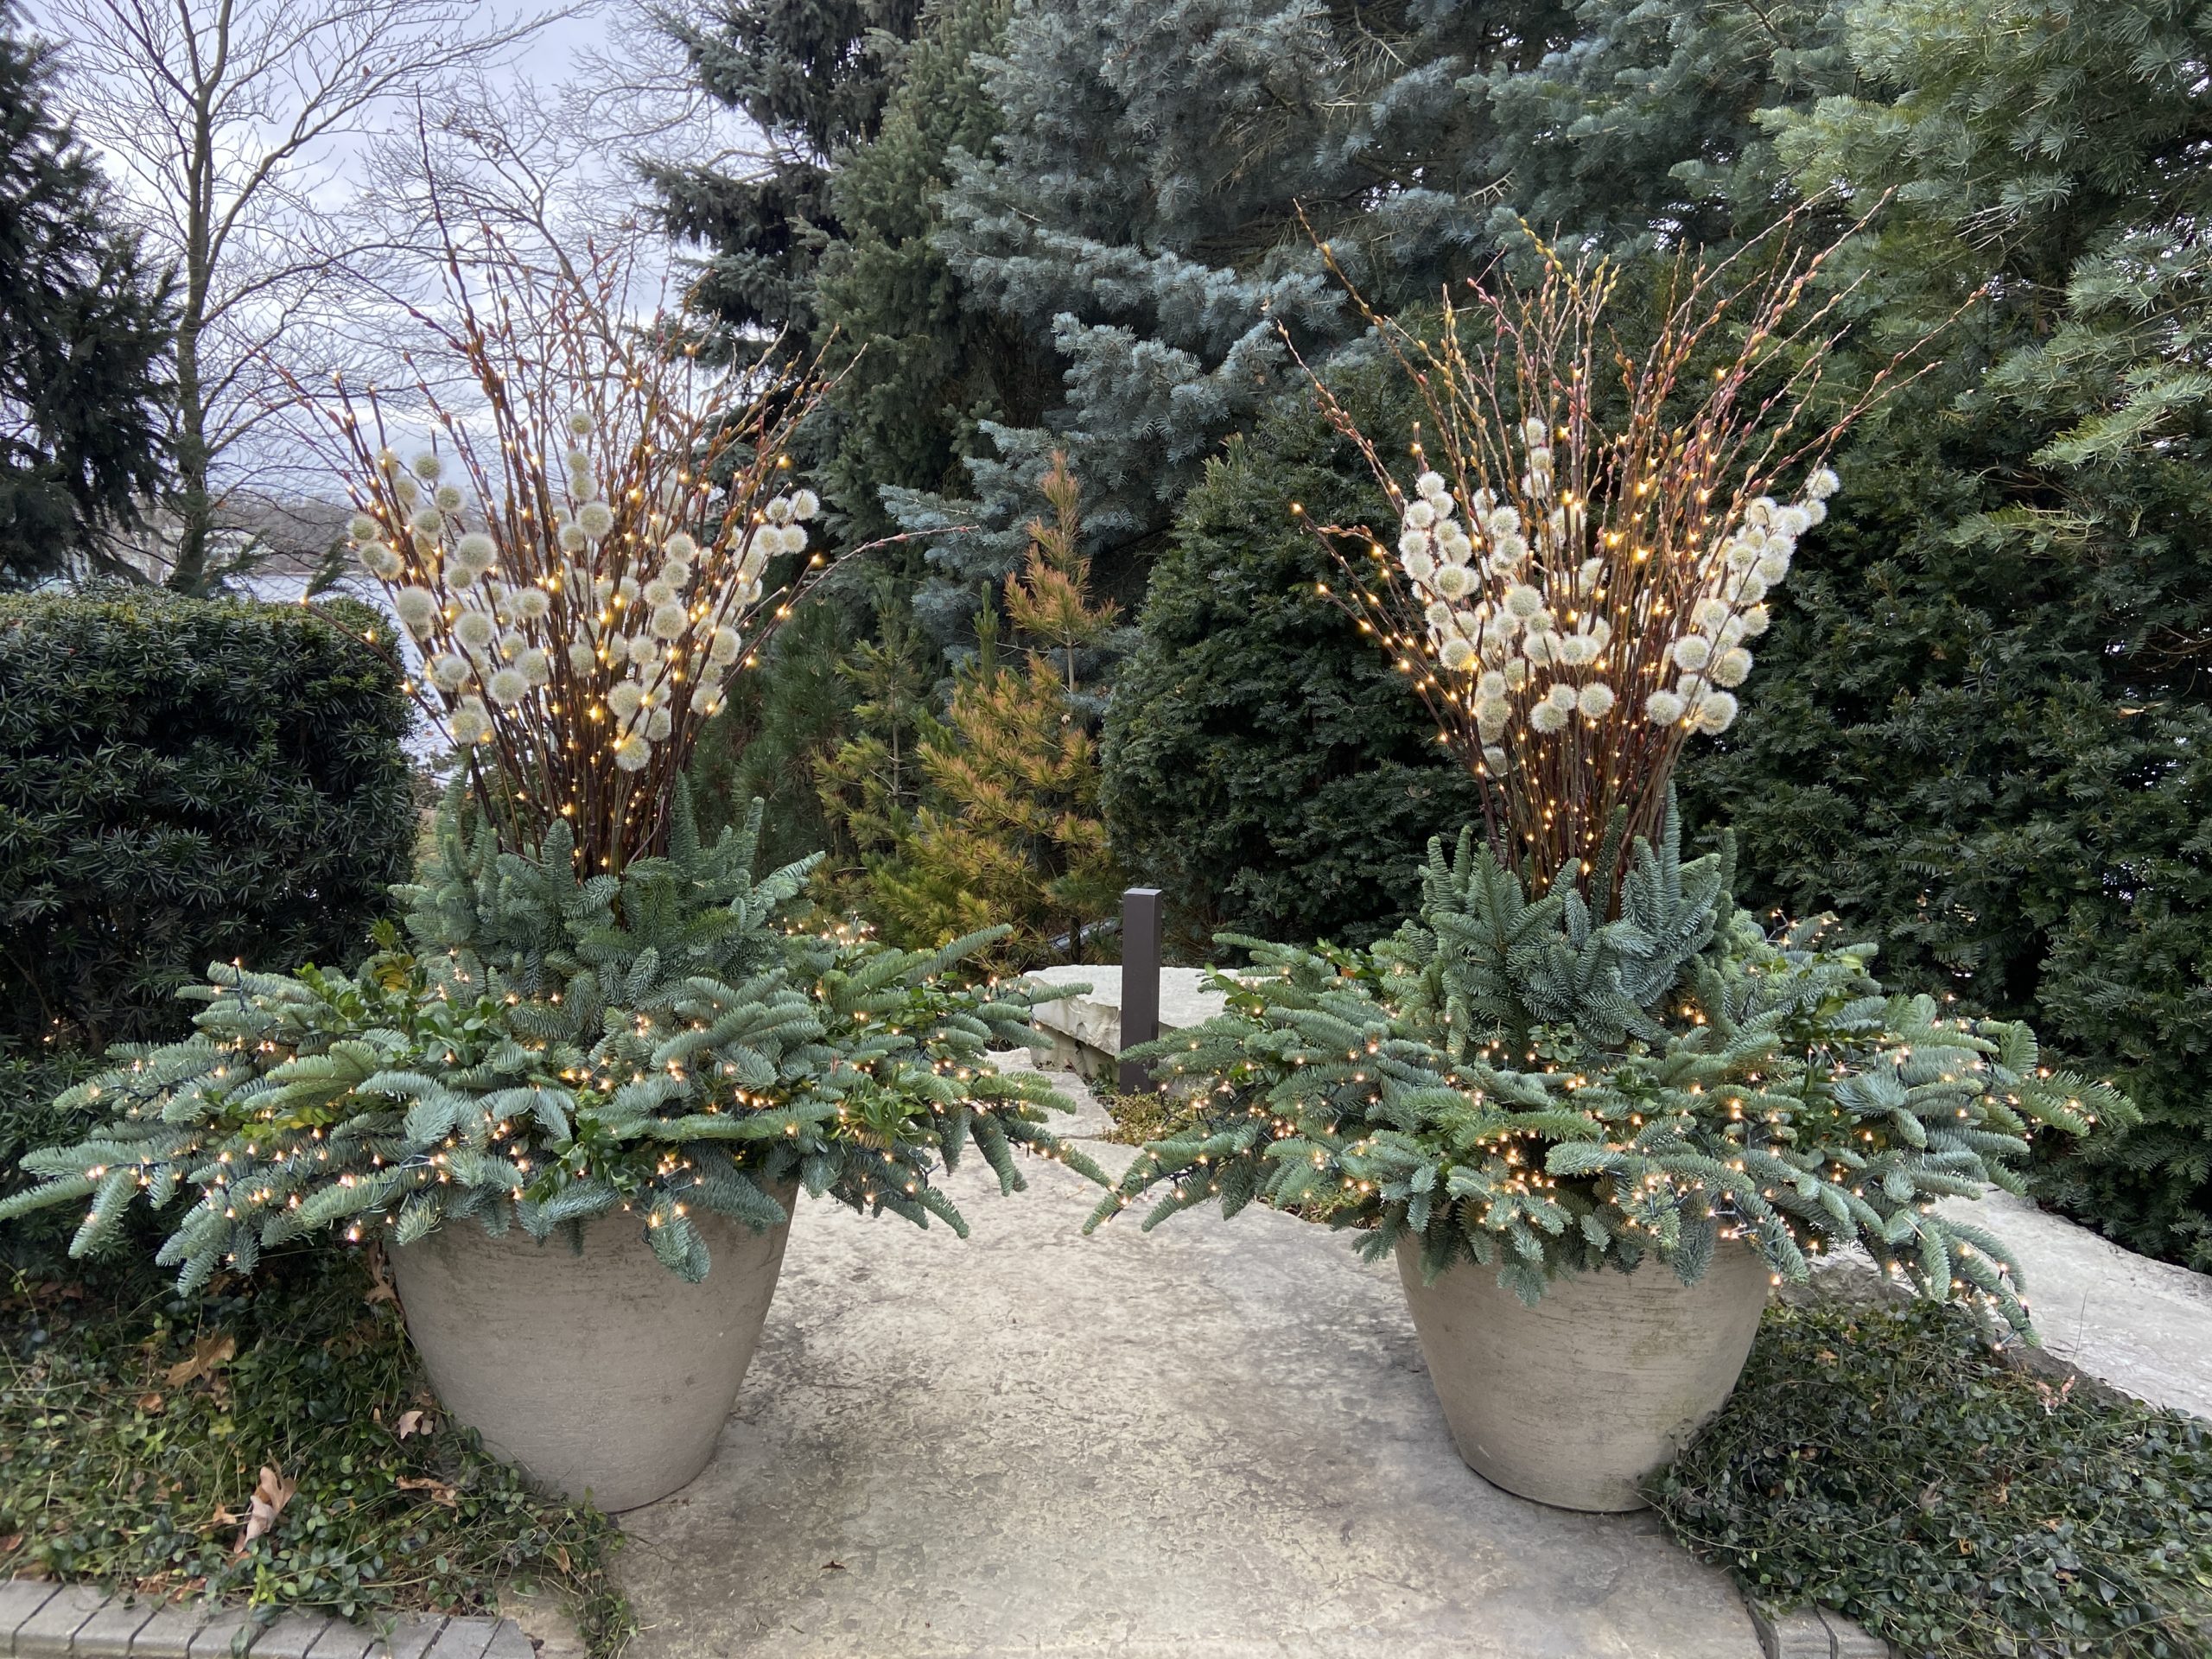
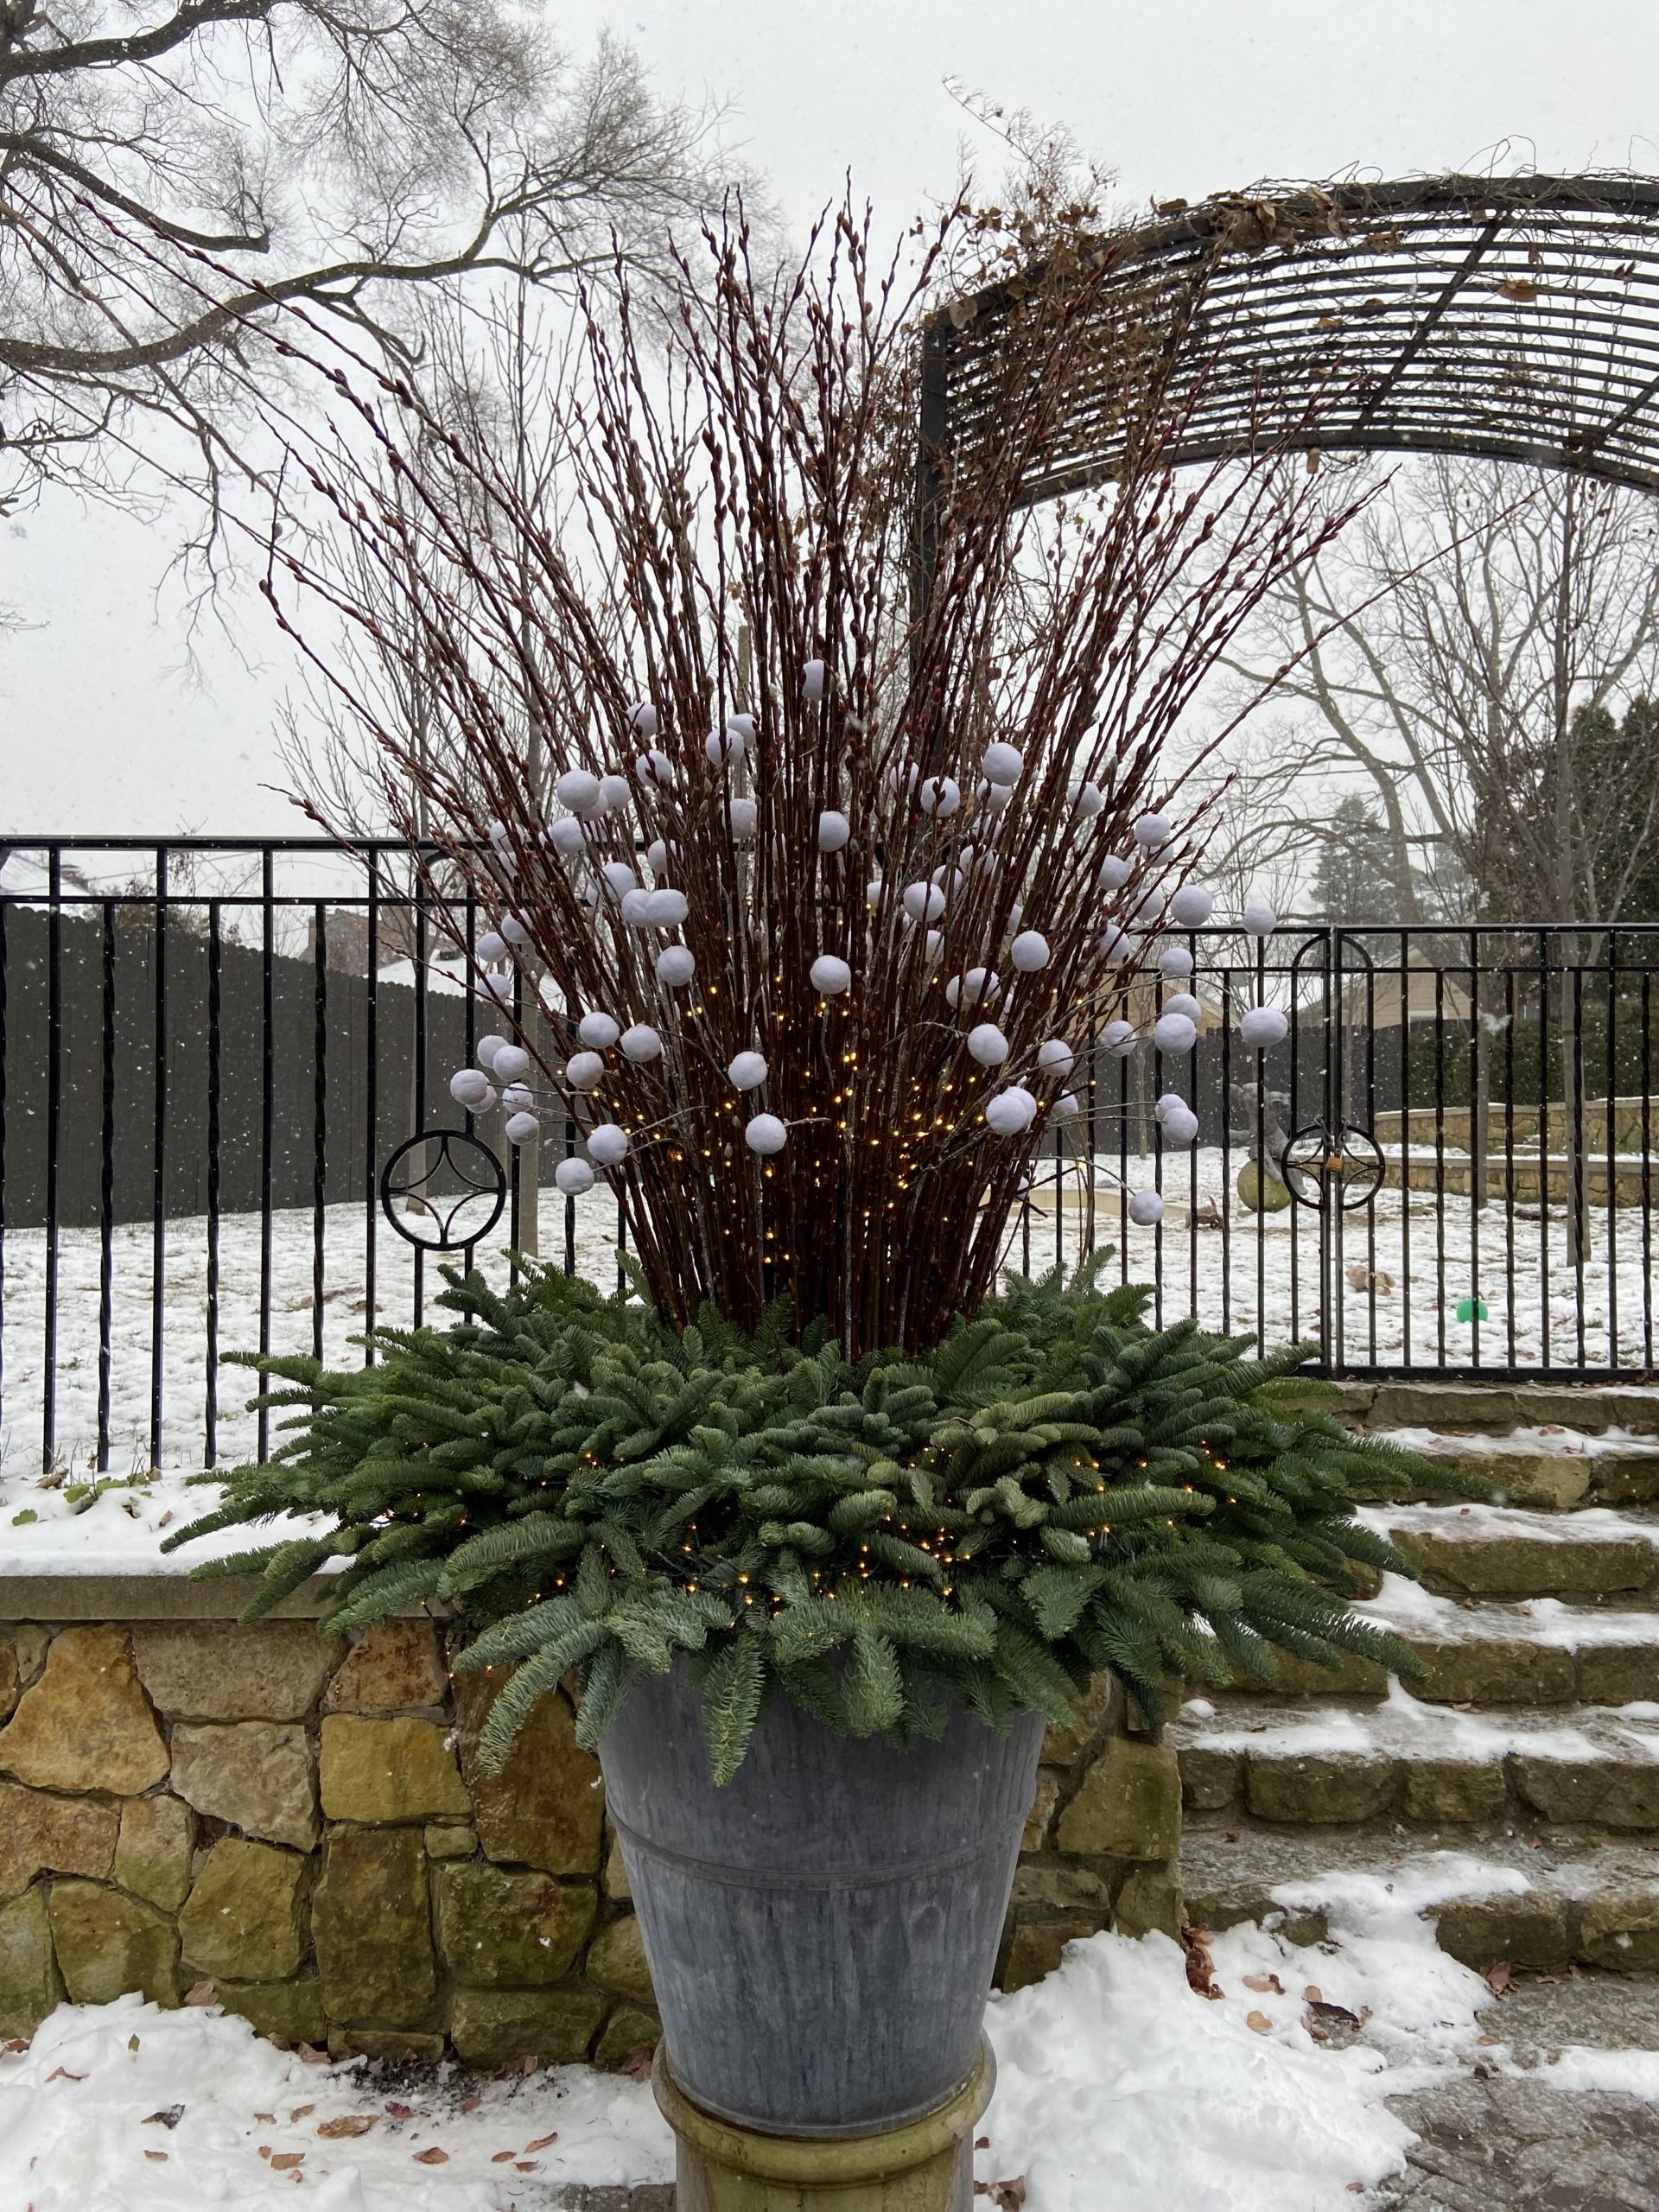
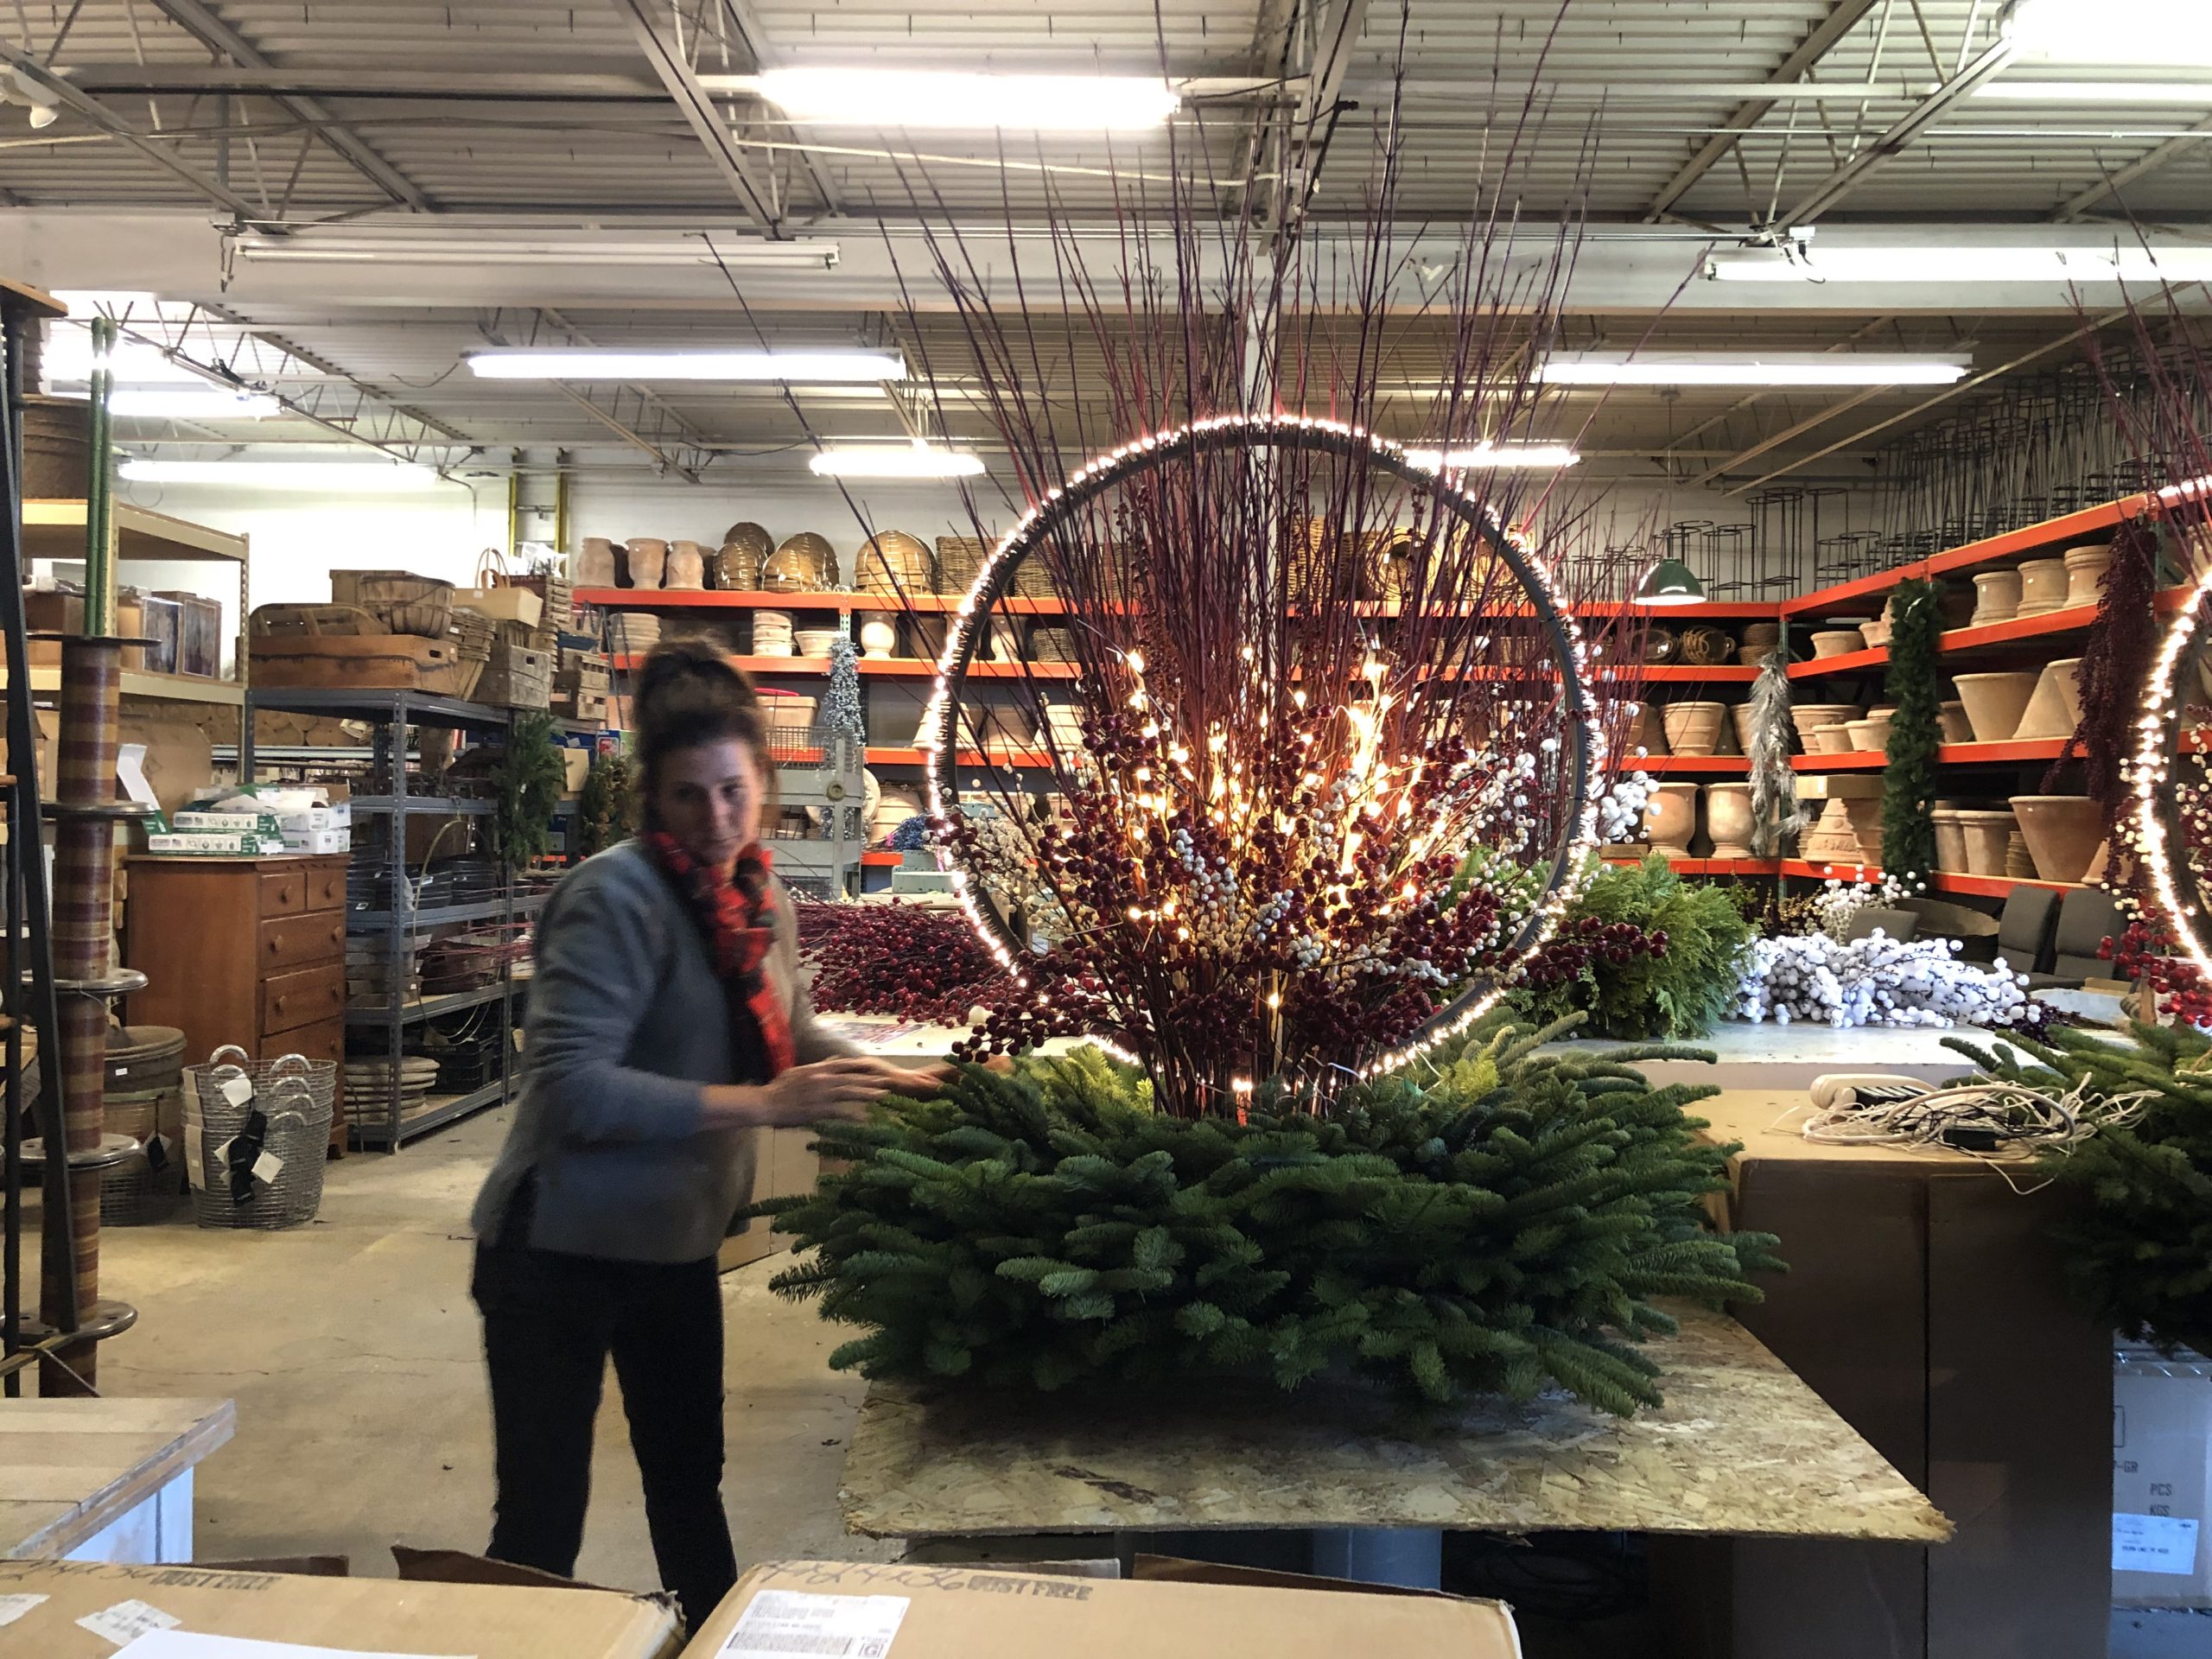
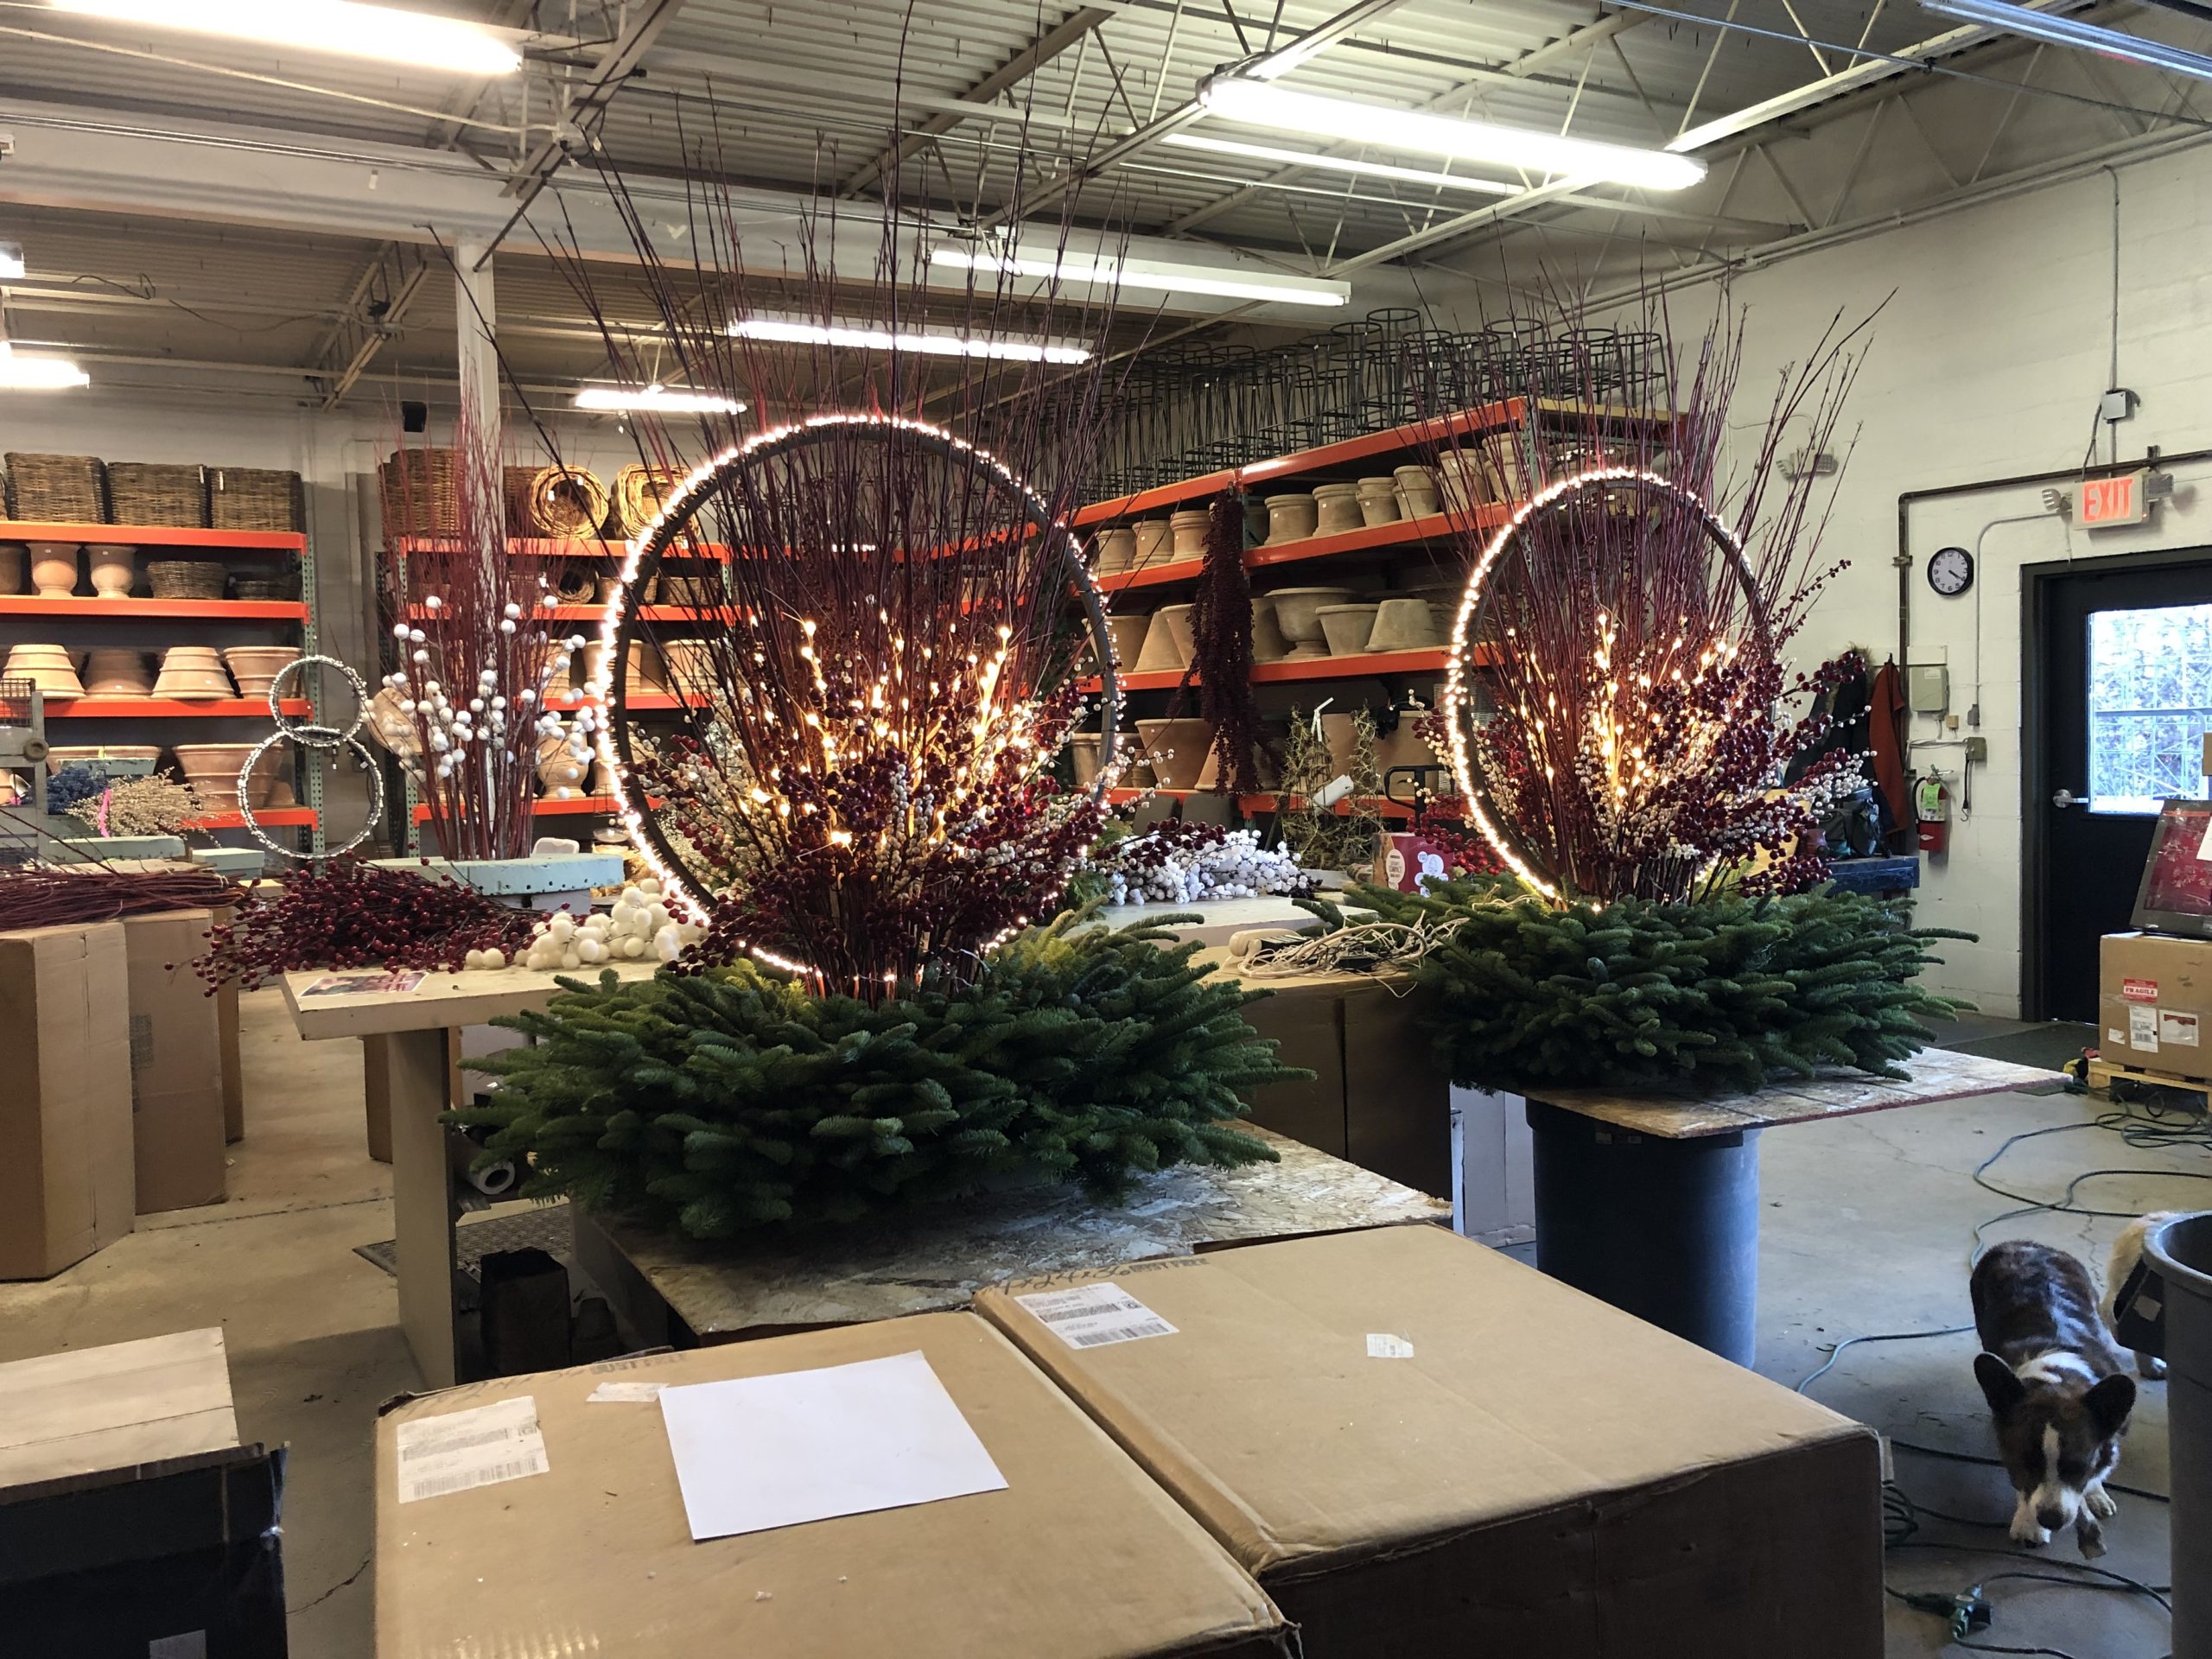
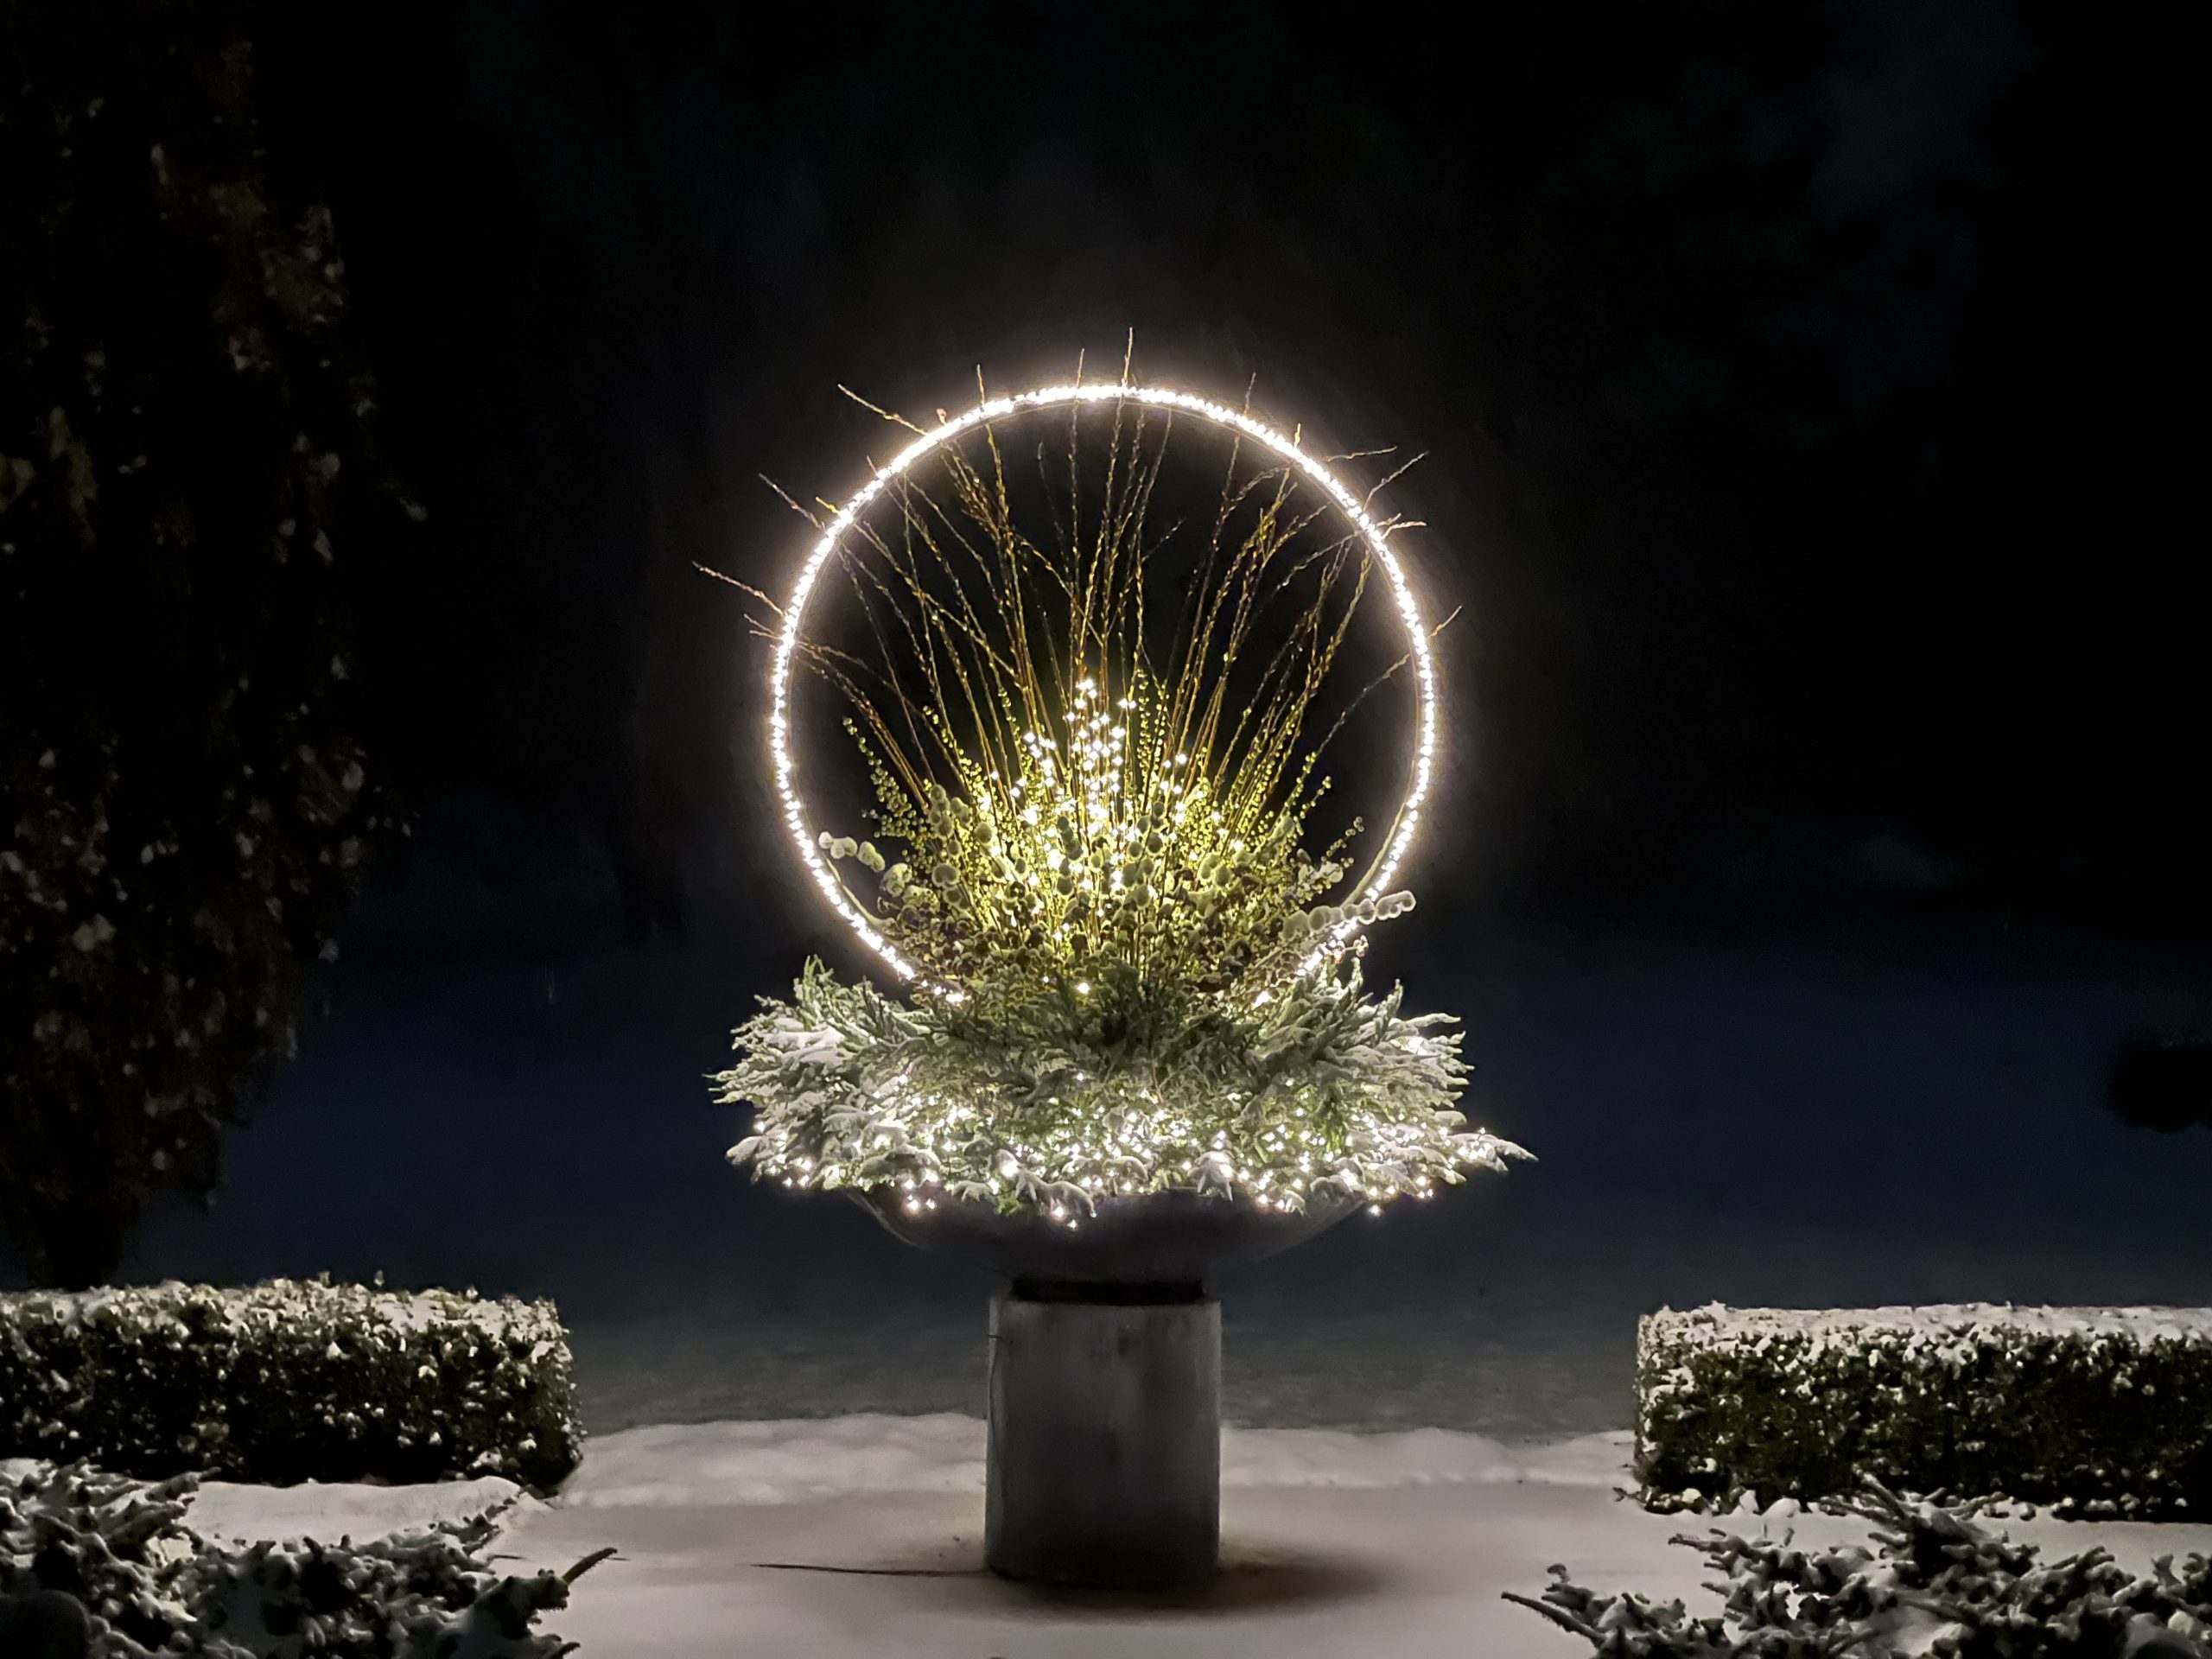
 This picture reveals the look of the light ring from the side. We frequently make a separate foam form for the light ring, which will sit on top of the form that holds the greens. This makes for an easy installation of the light ring. Barely visible at the bottom is the triangular steel armature for the ring. This form is incredibly strong and stable.
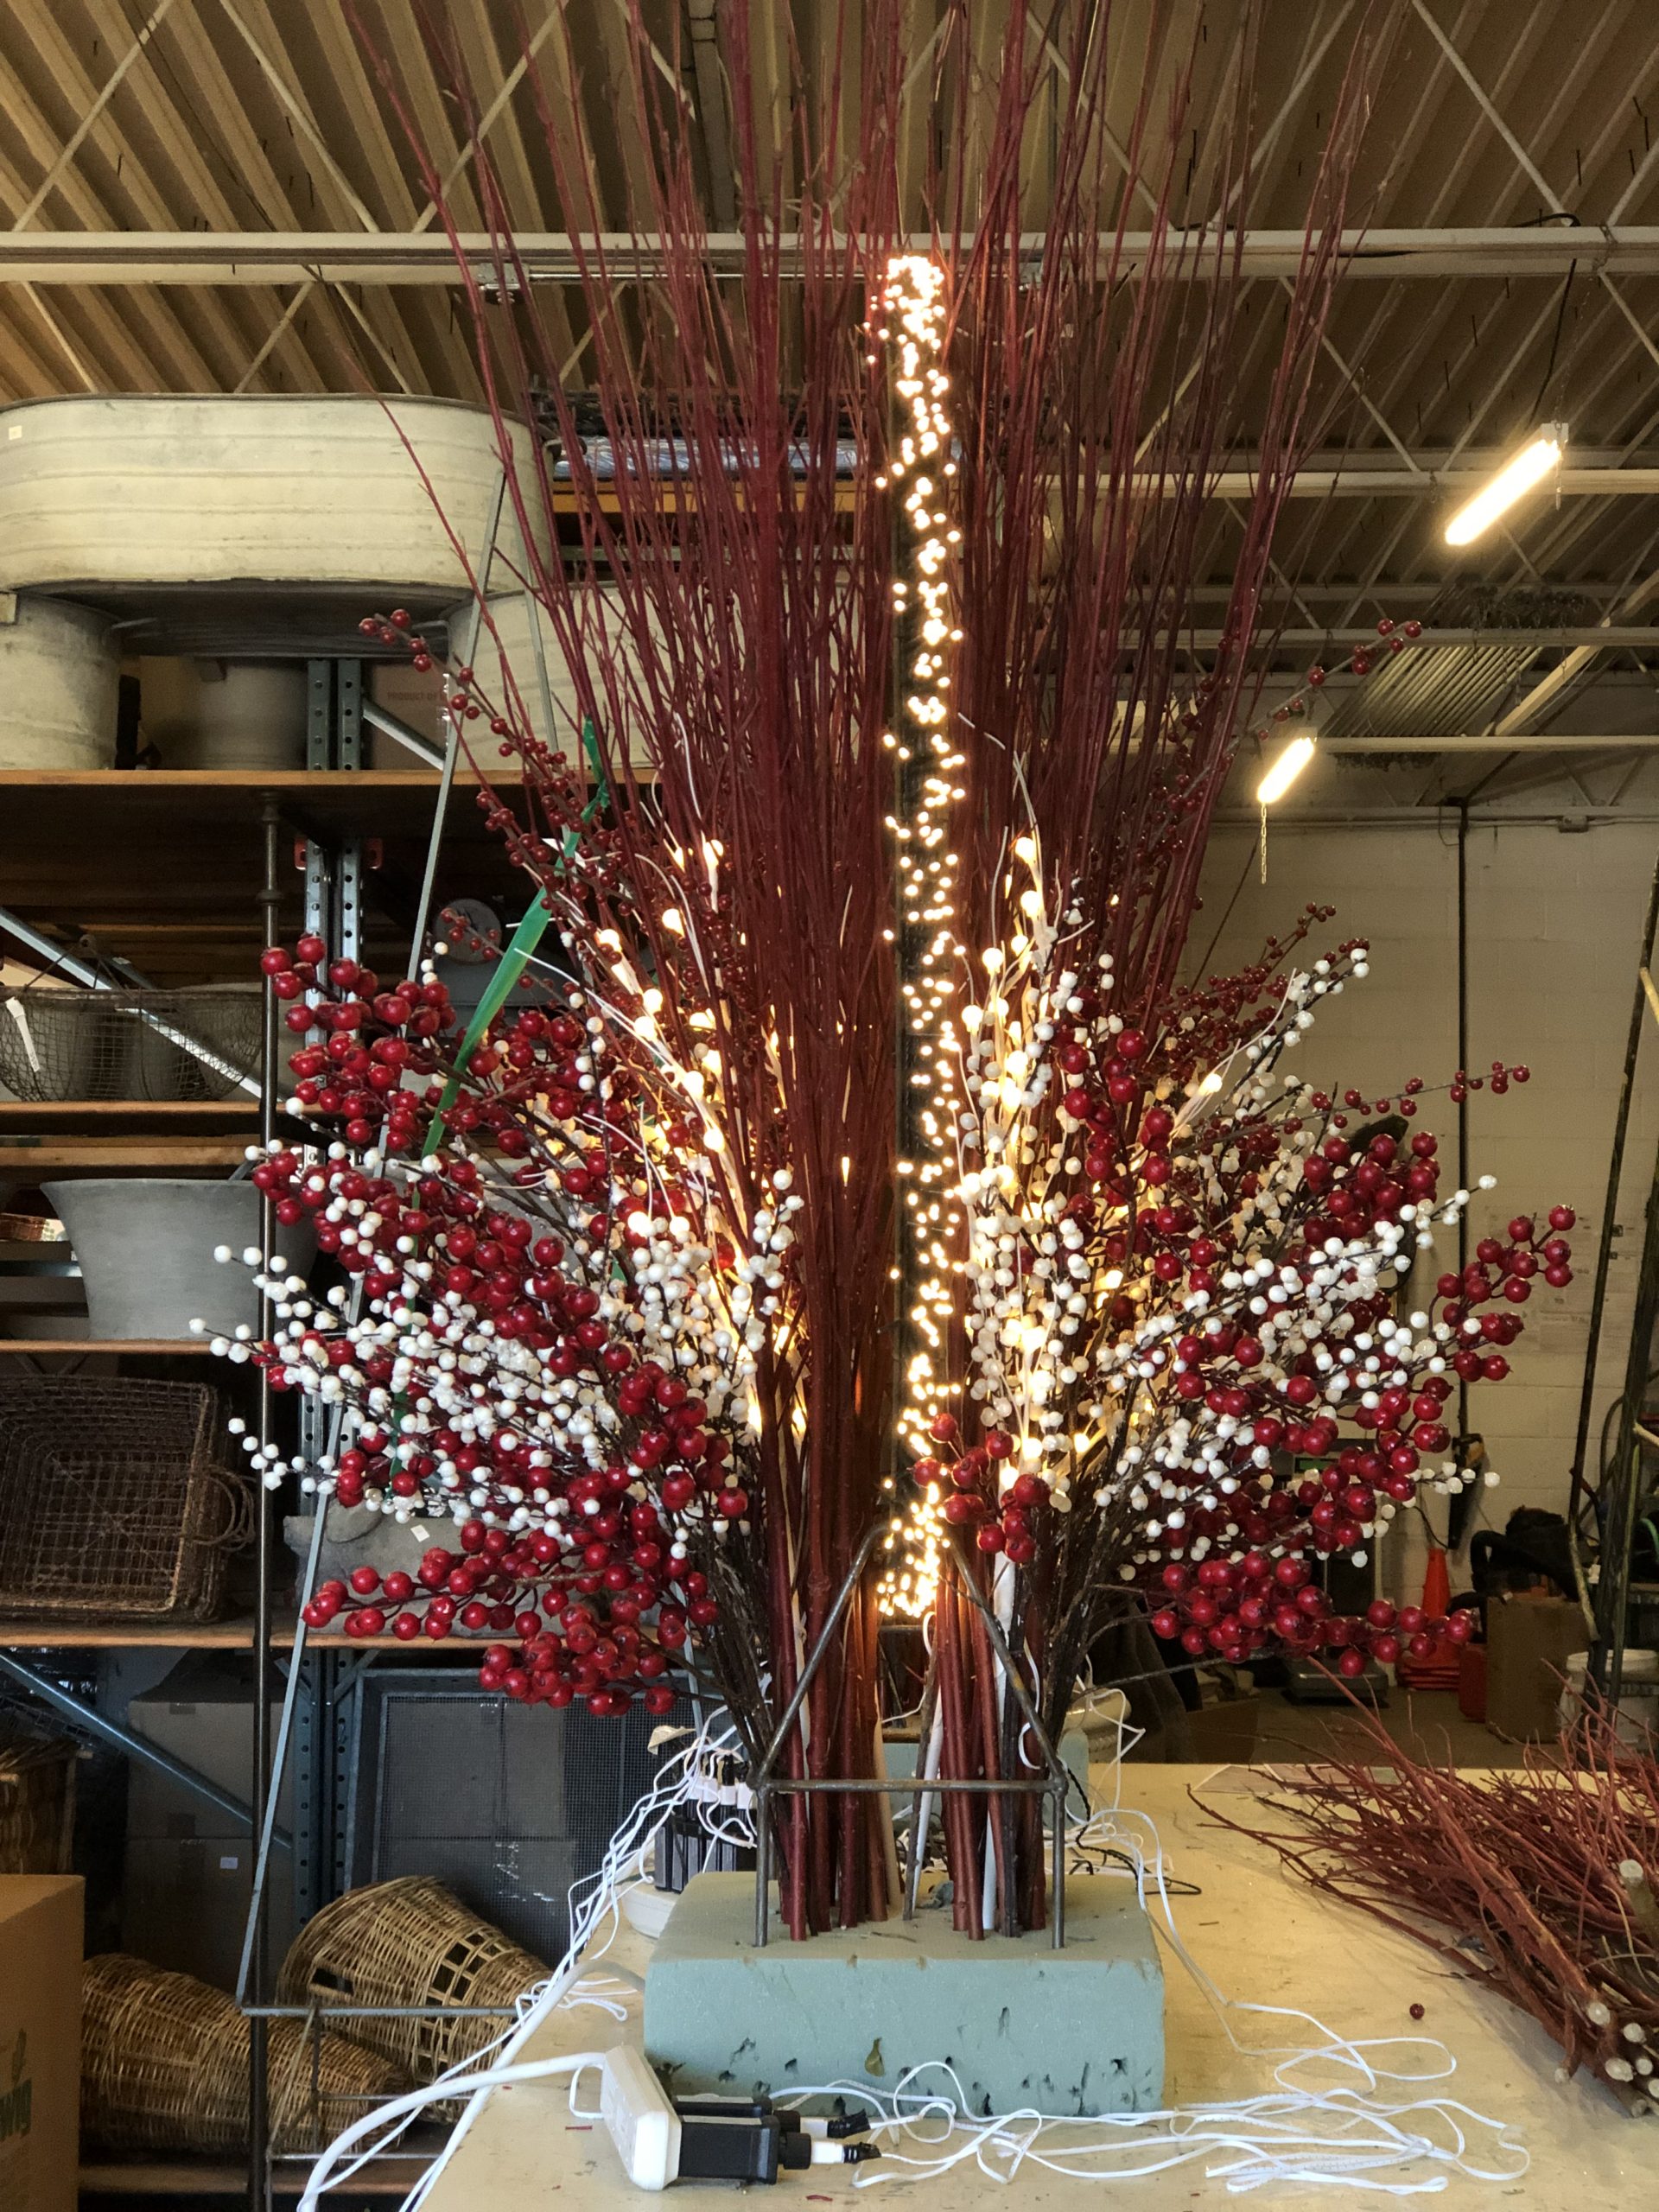
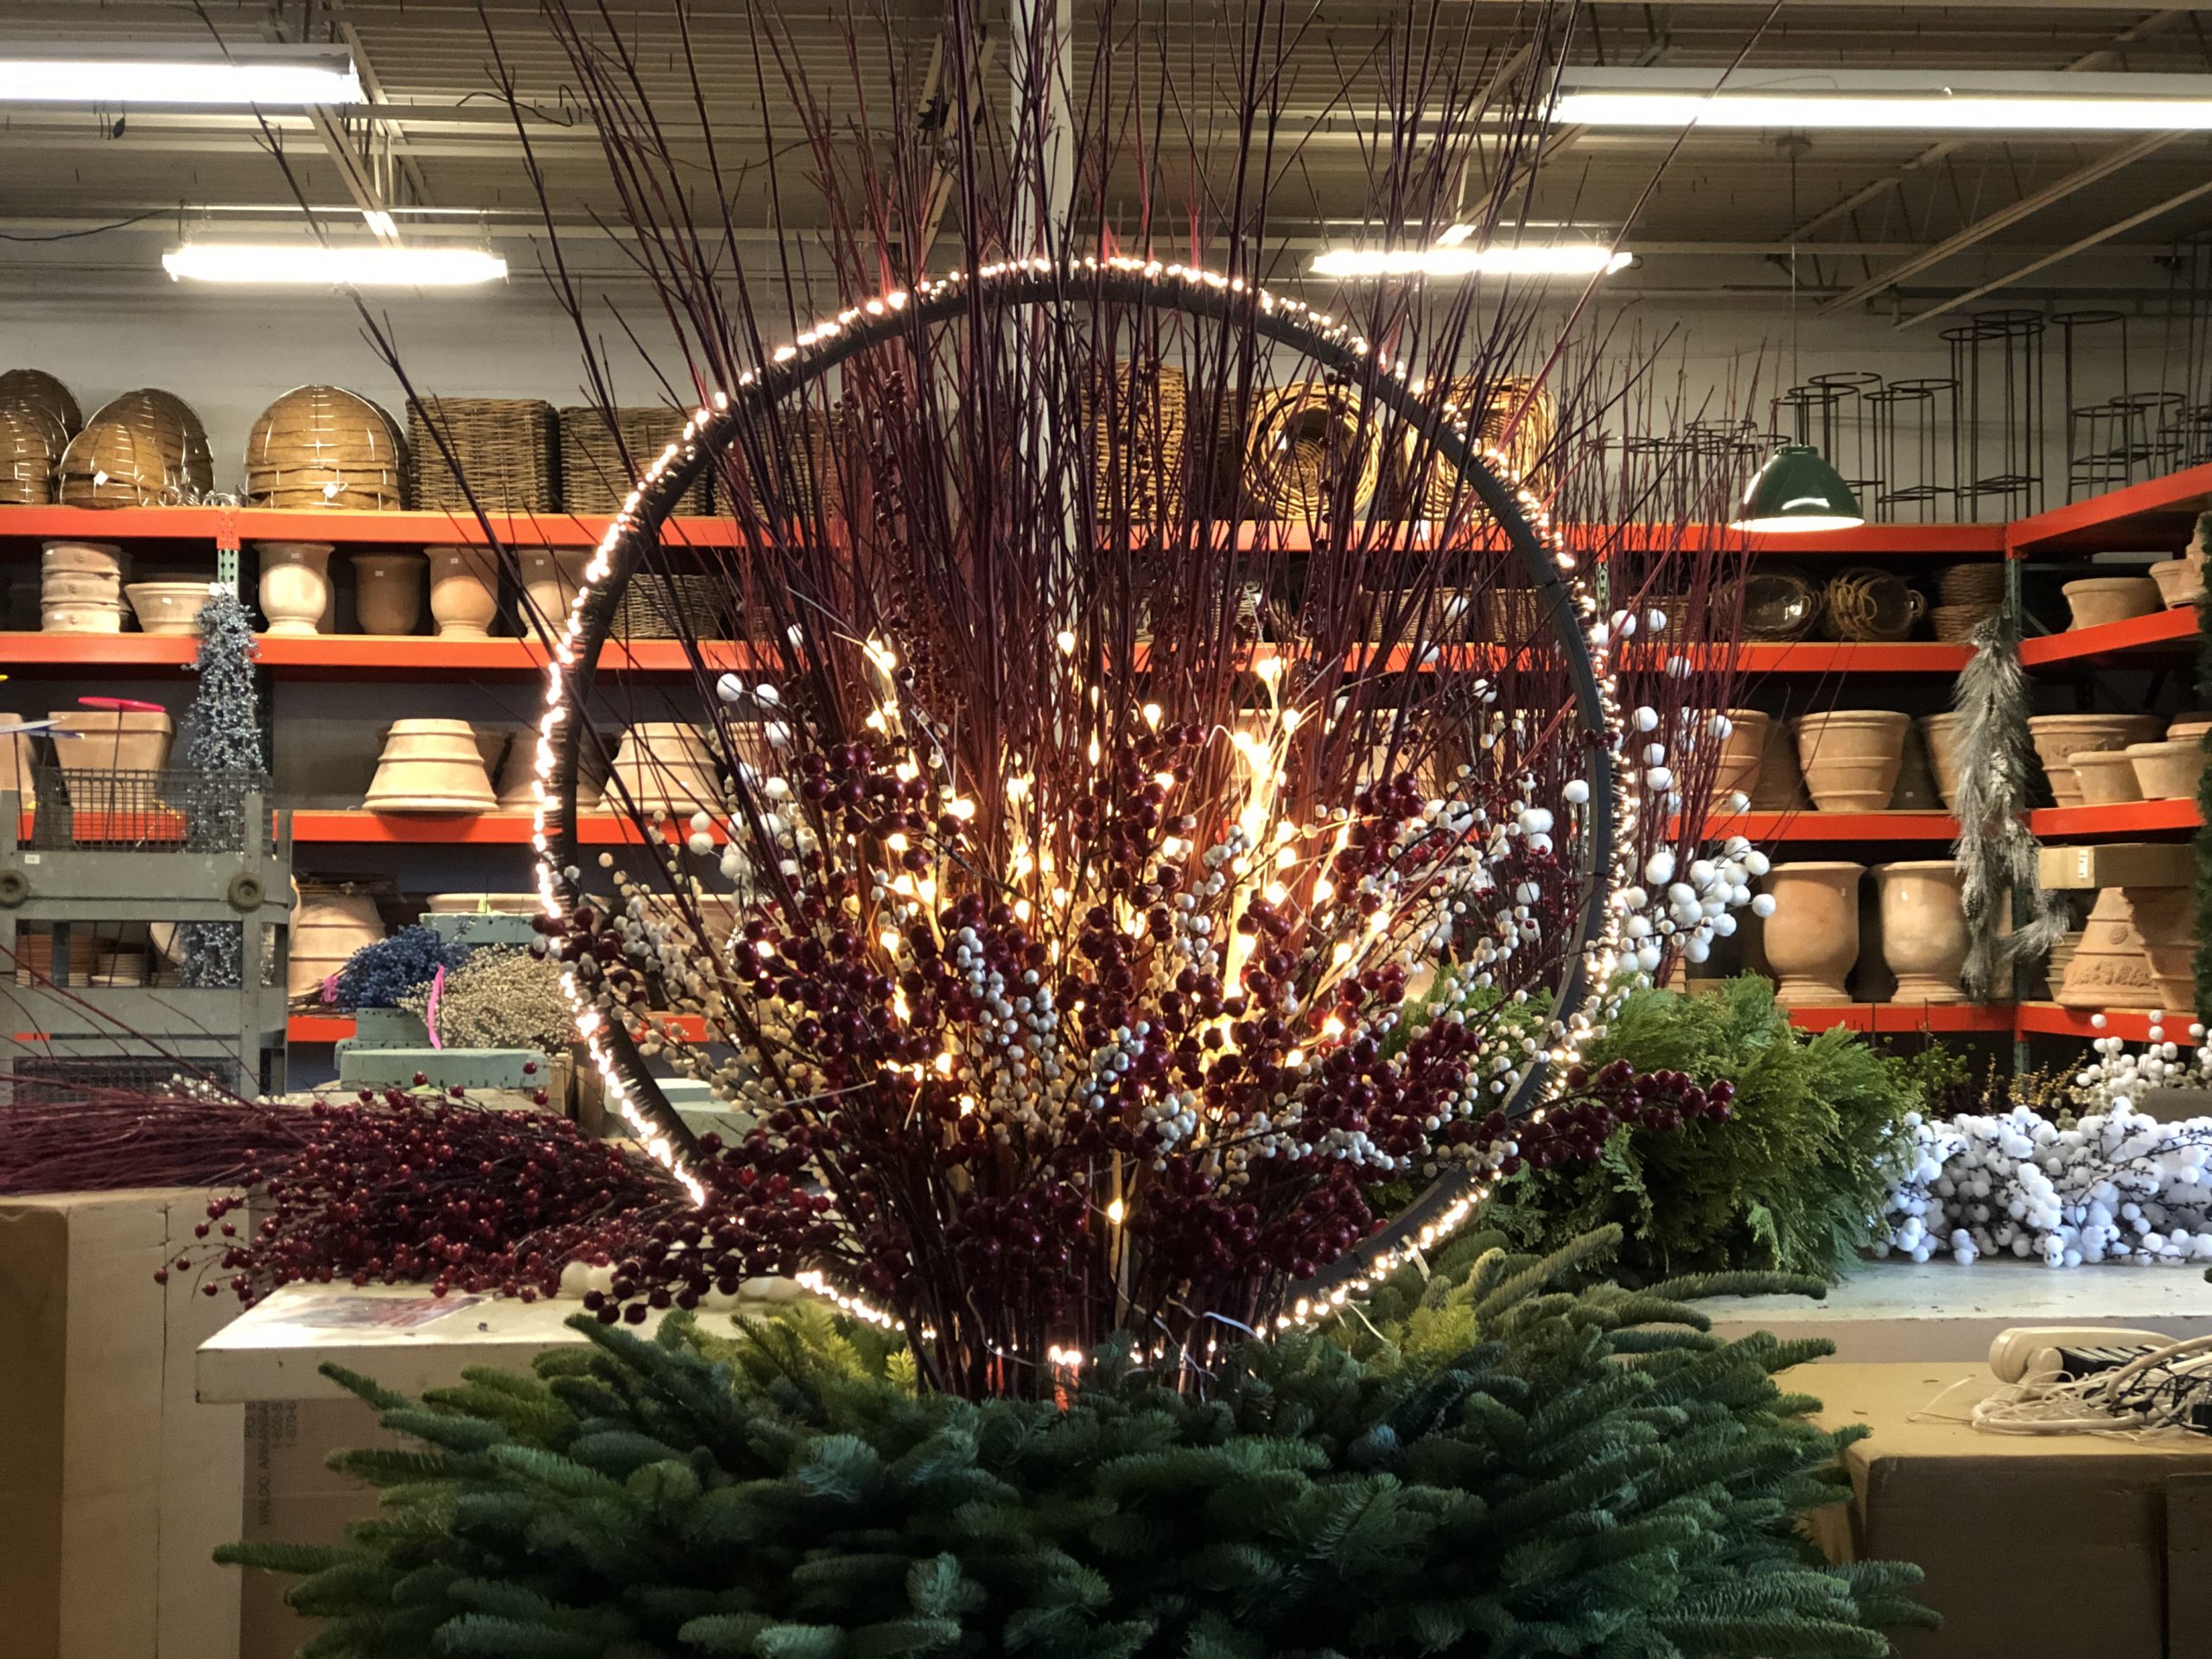
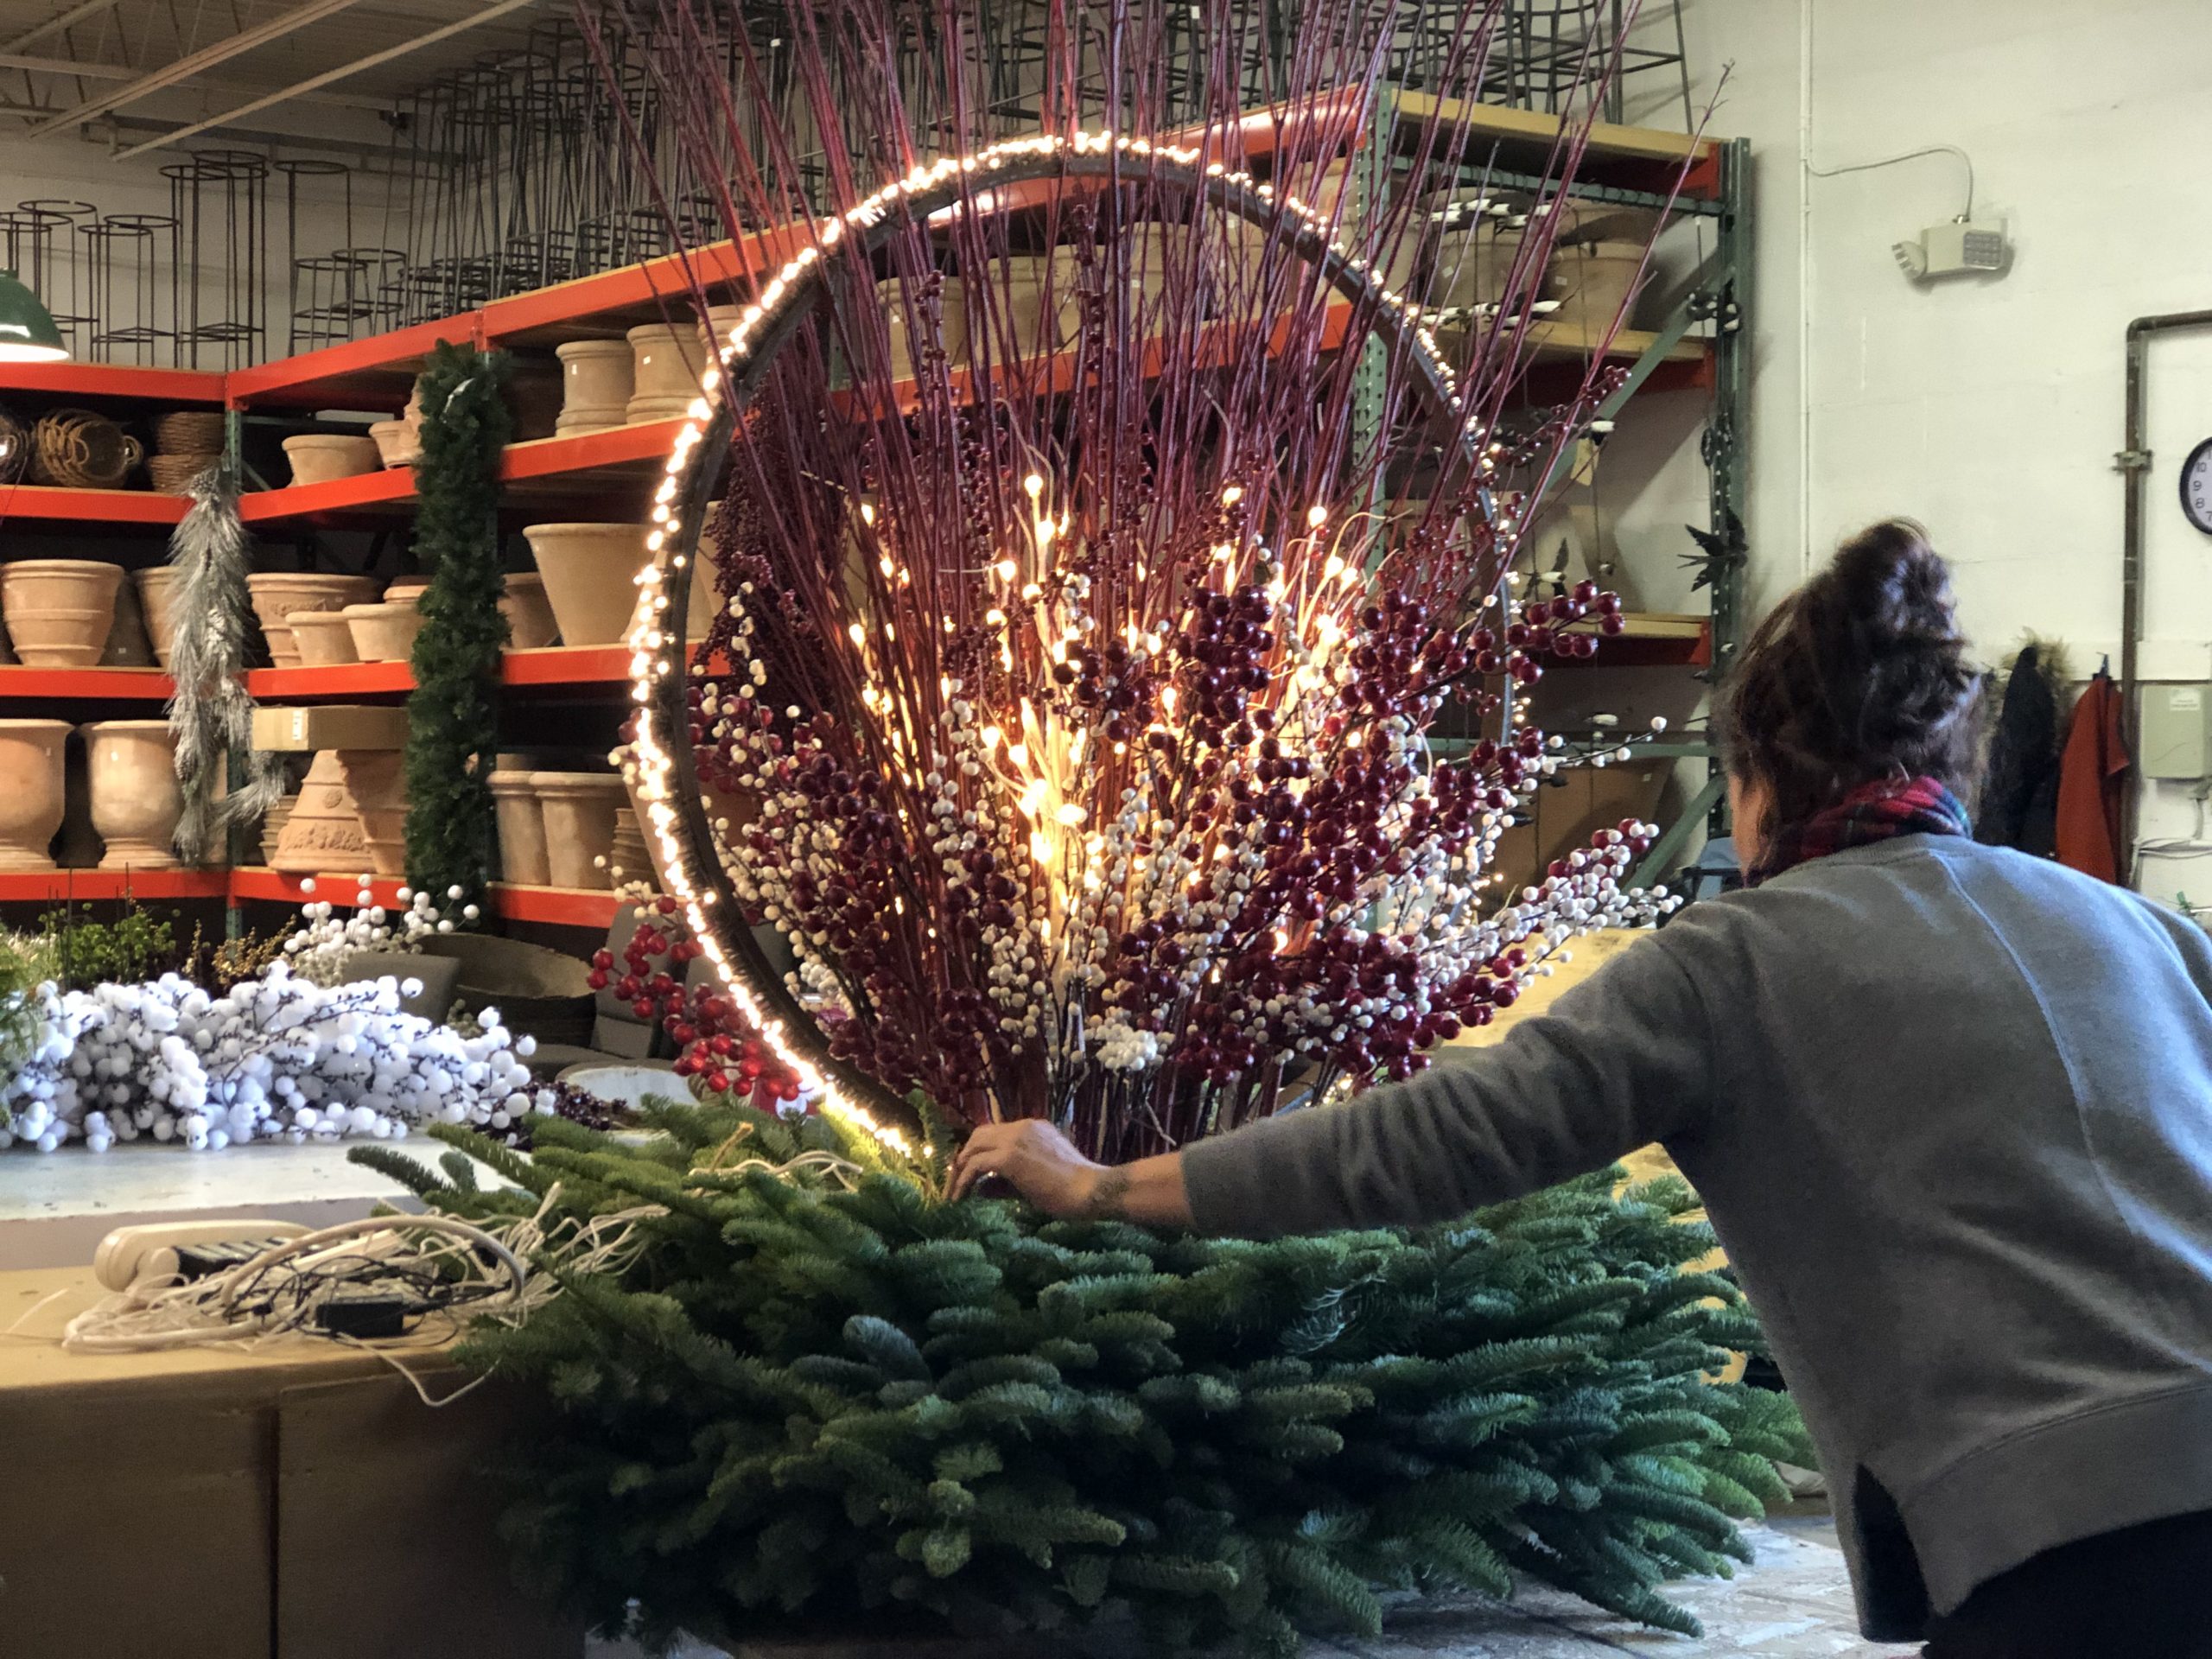
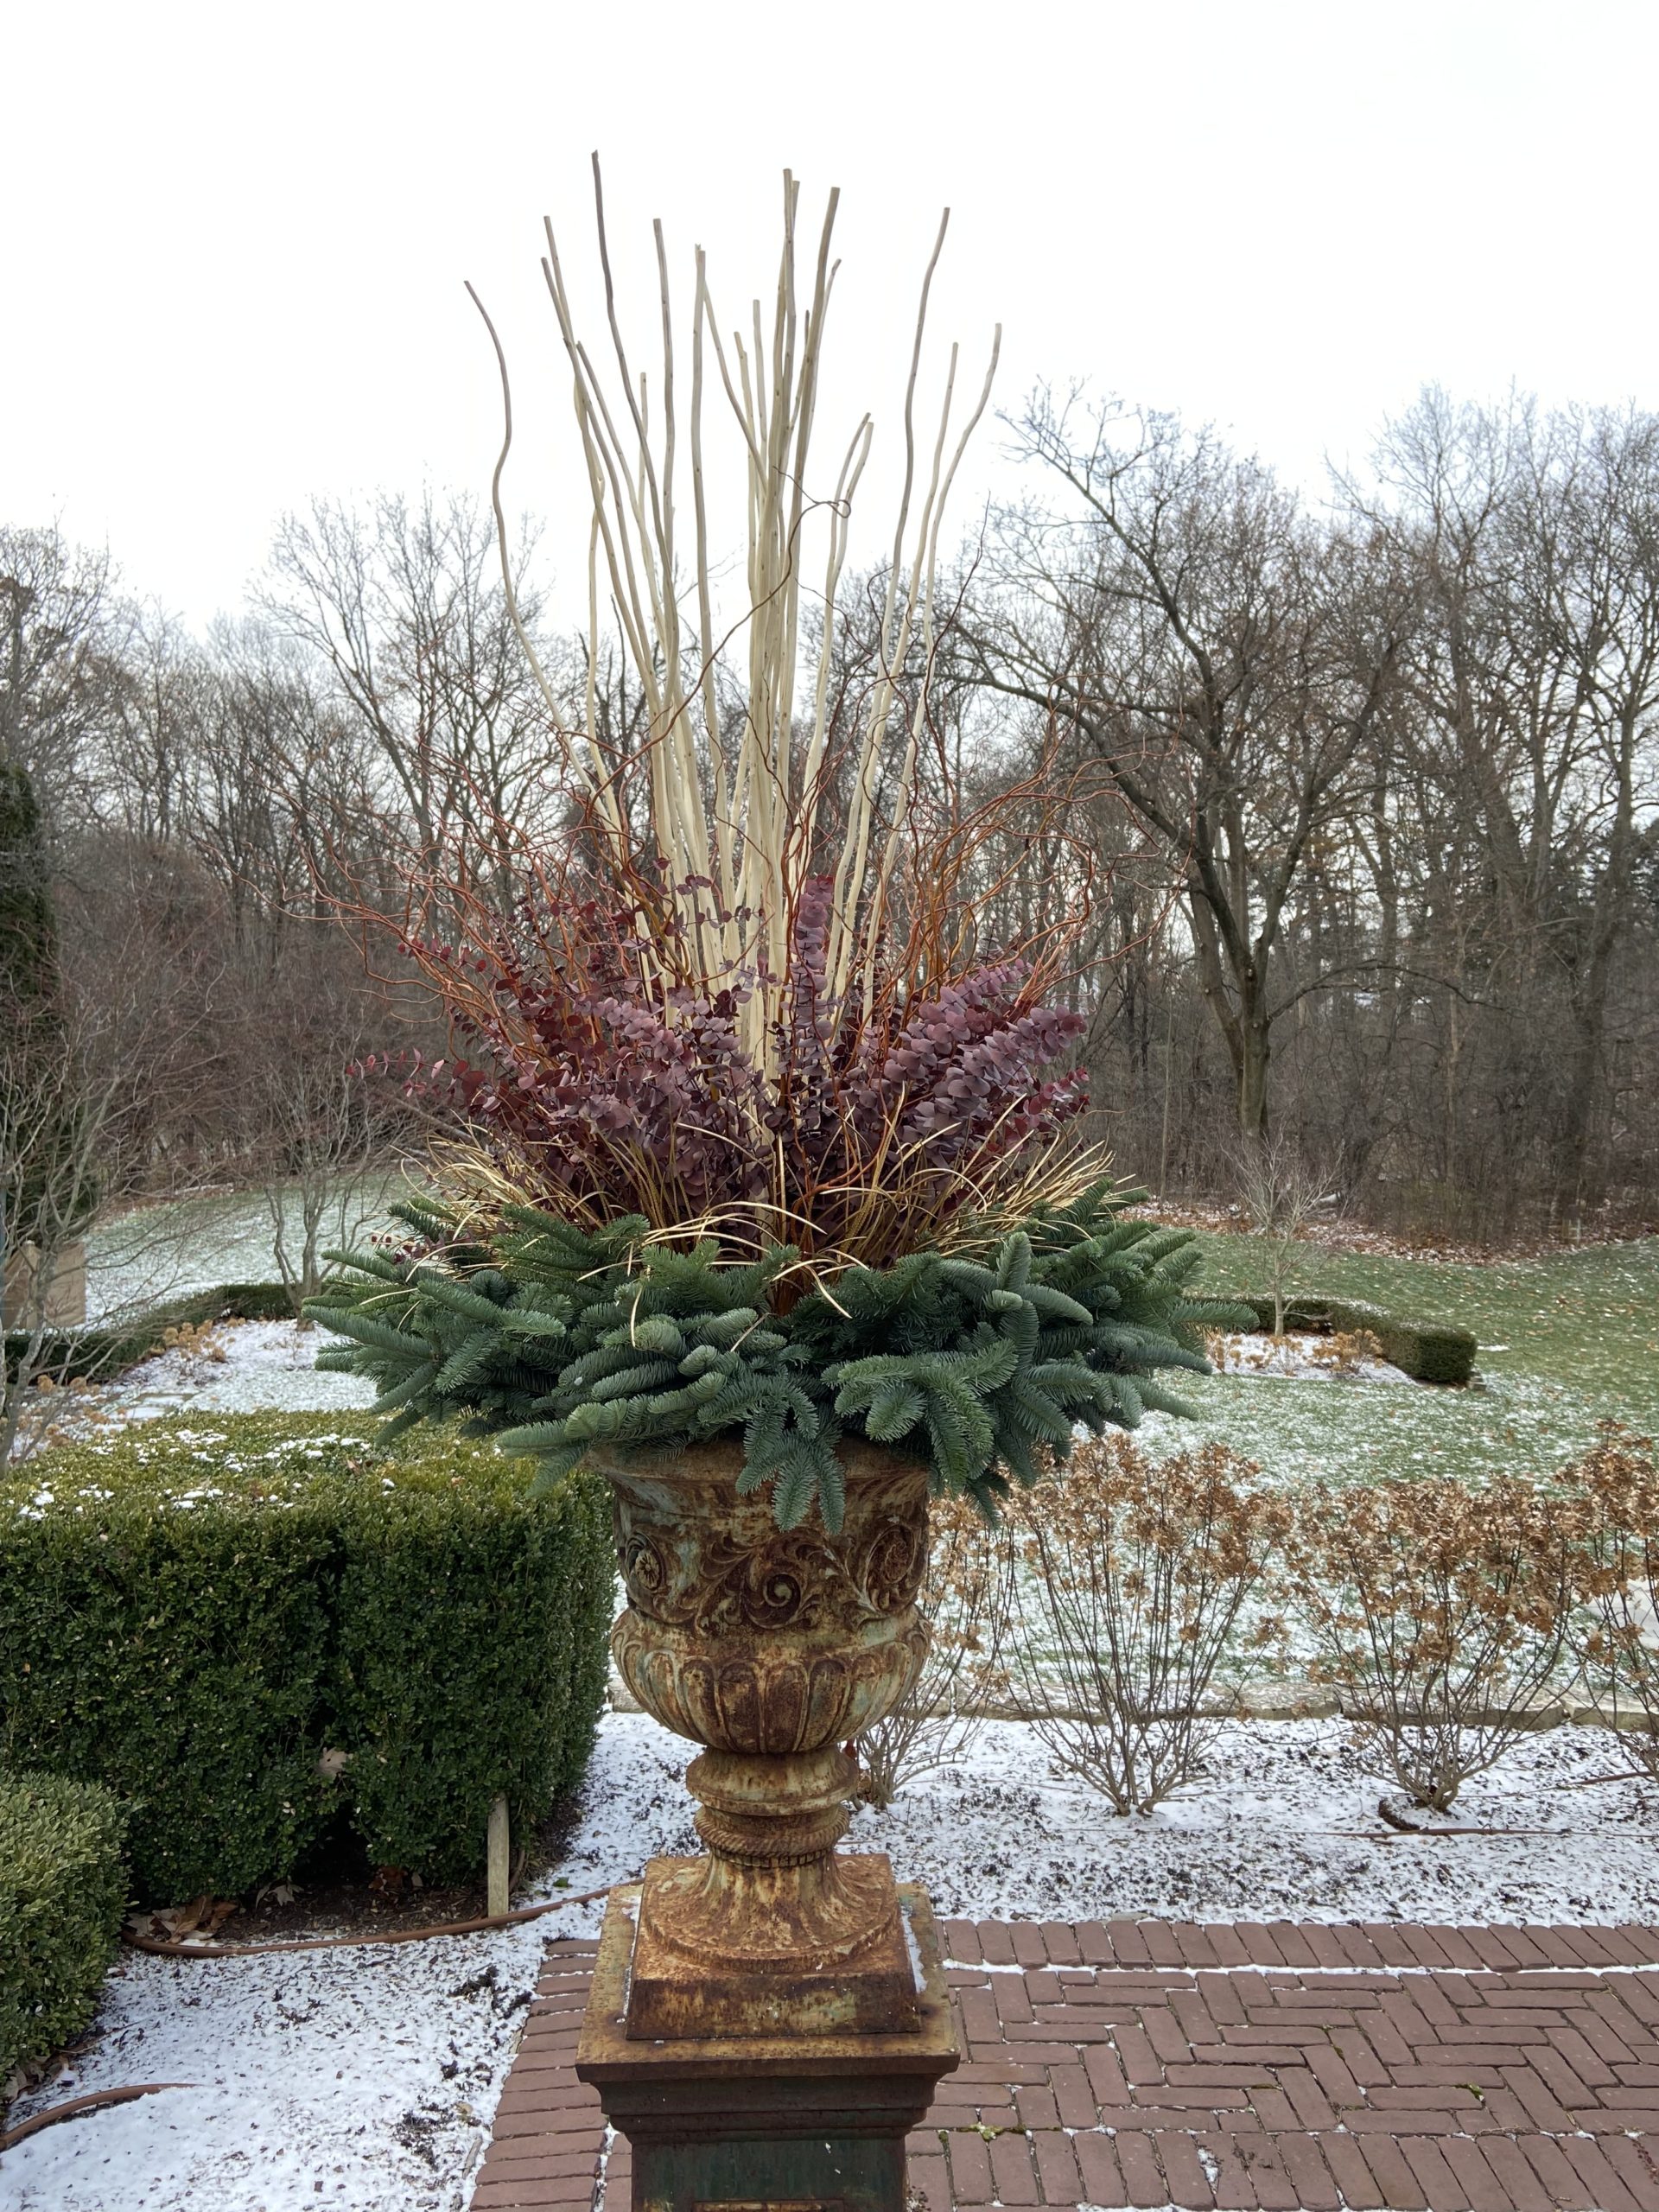
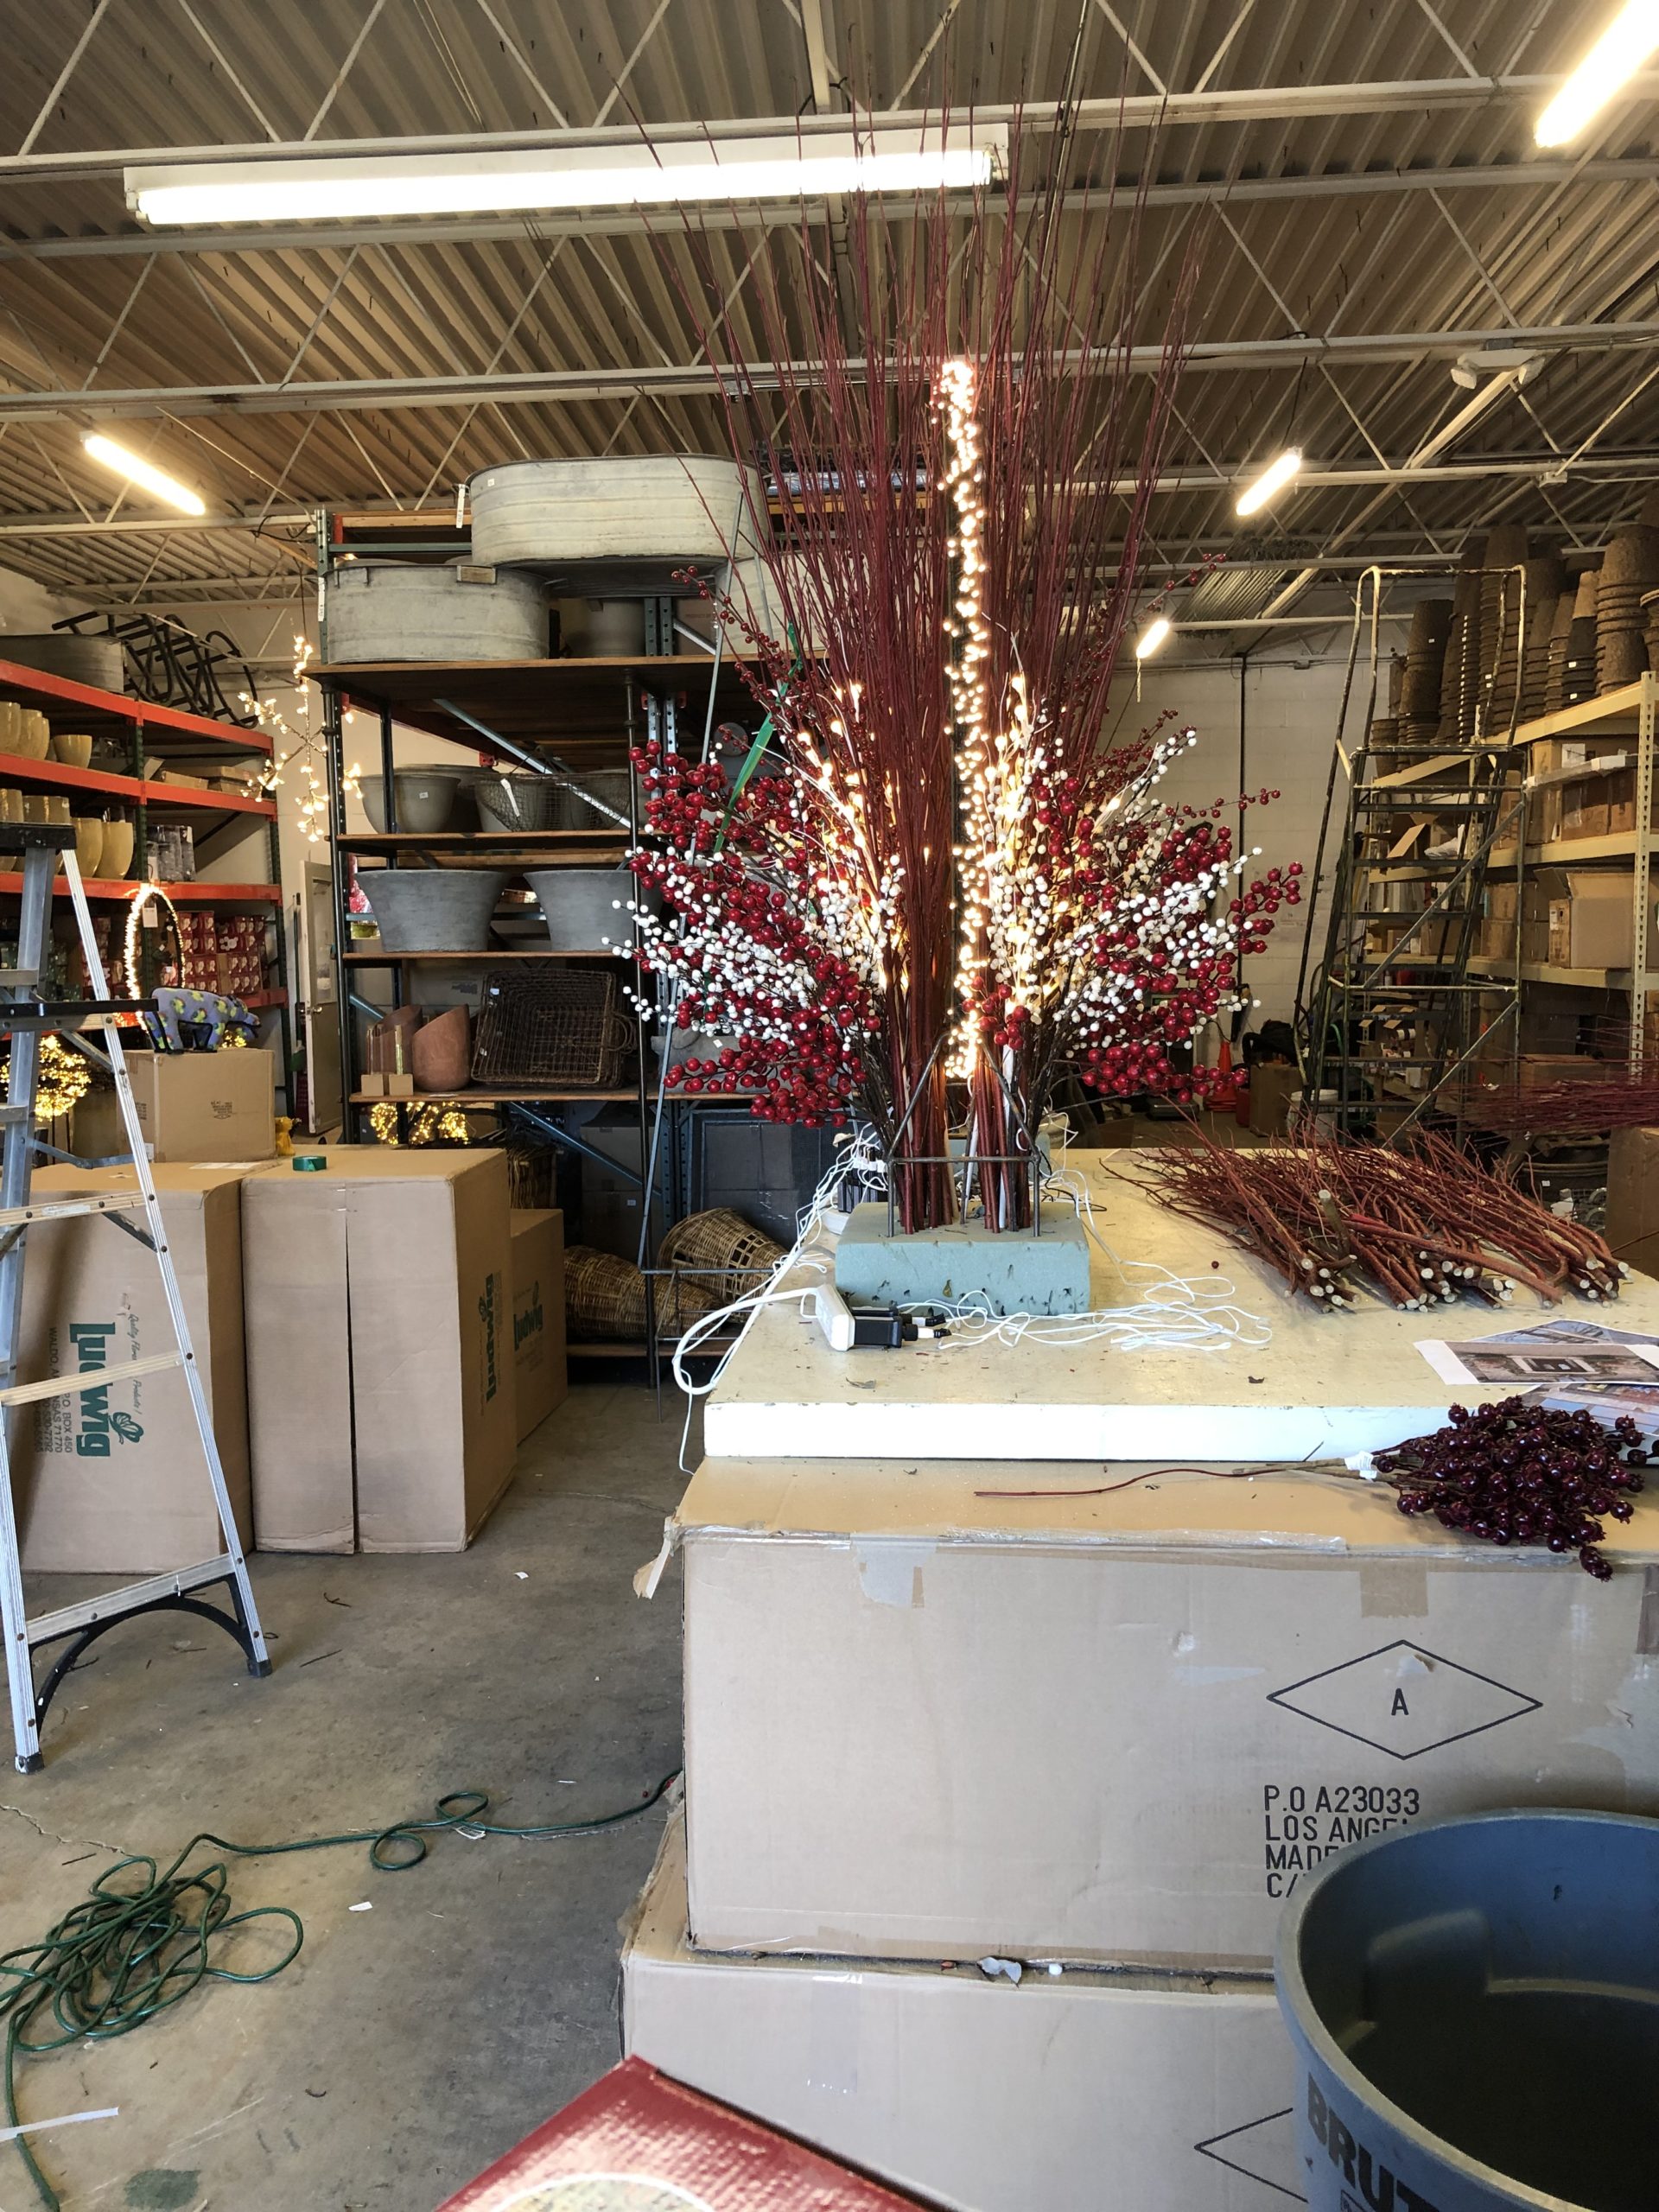
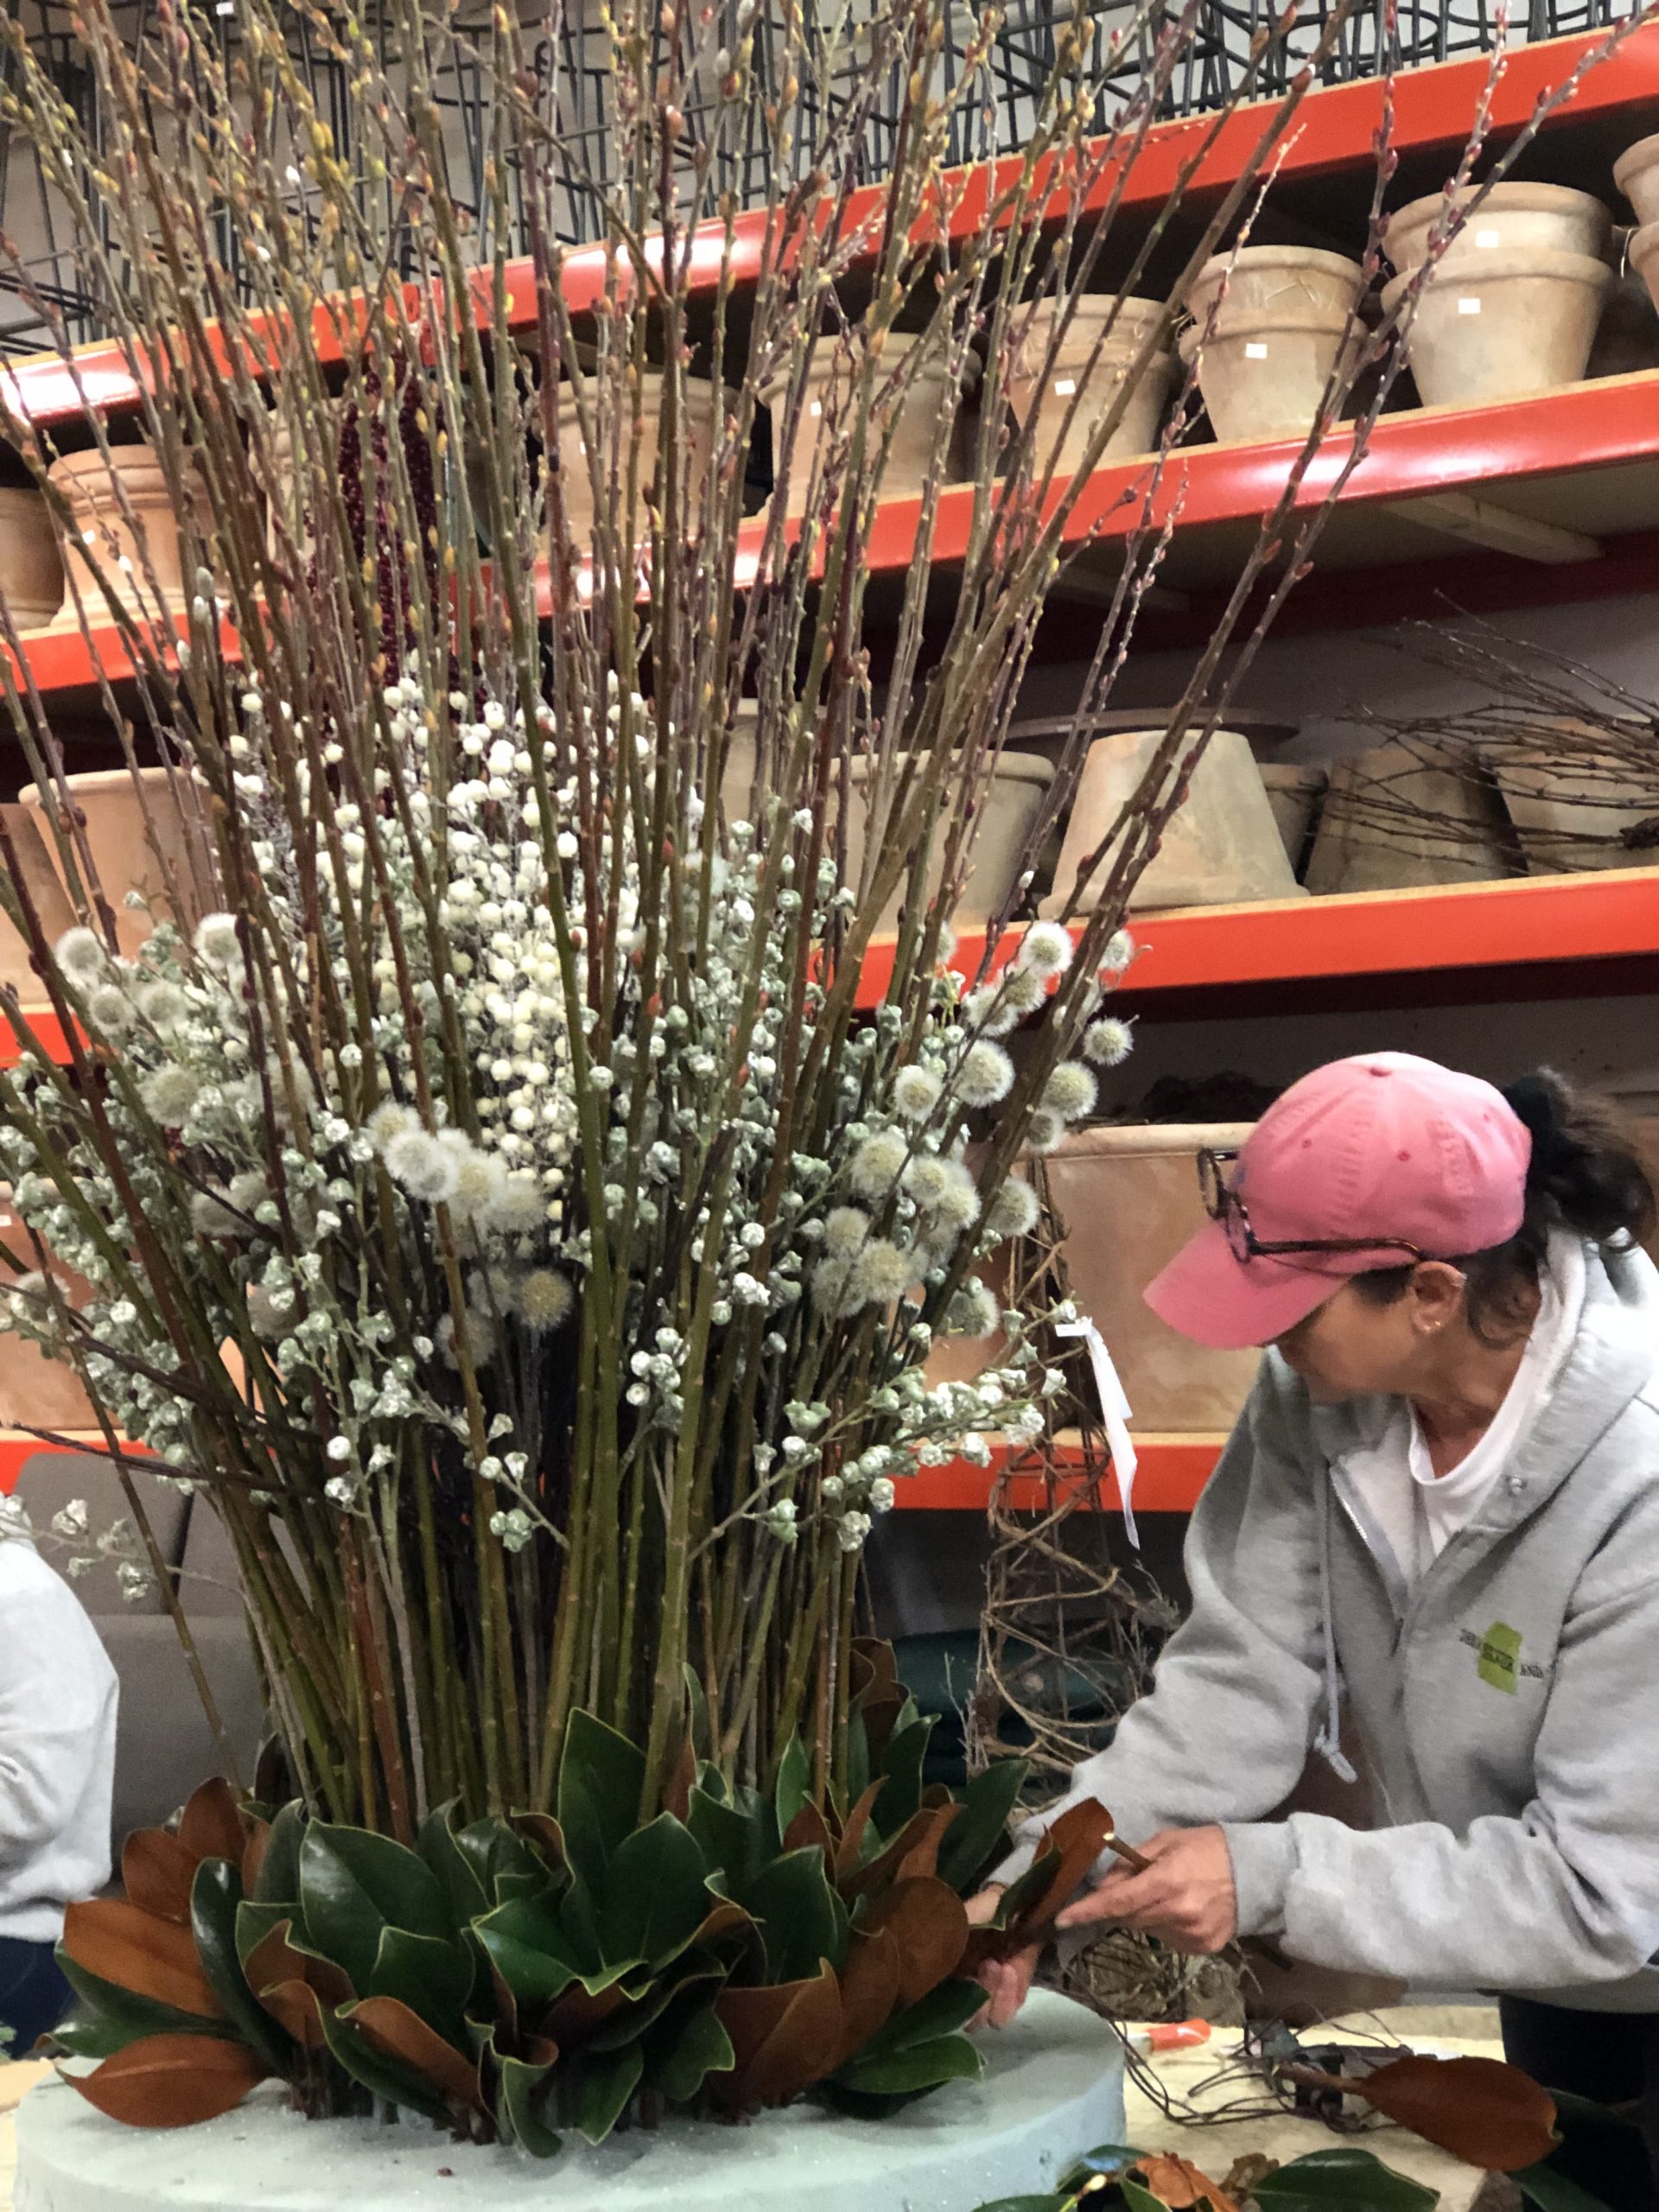
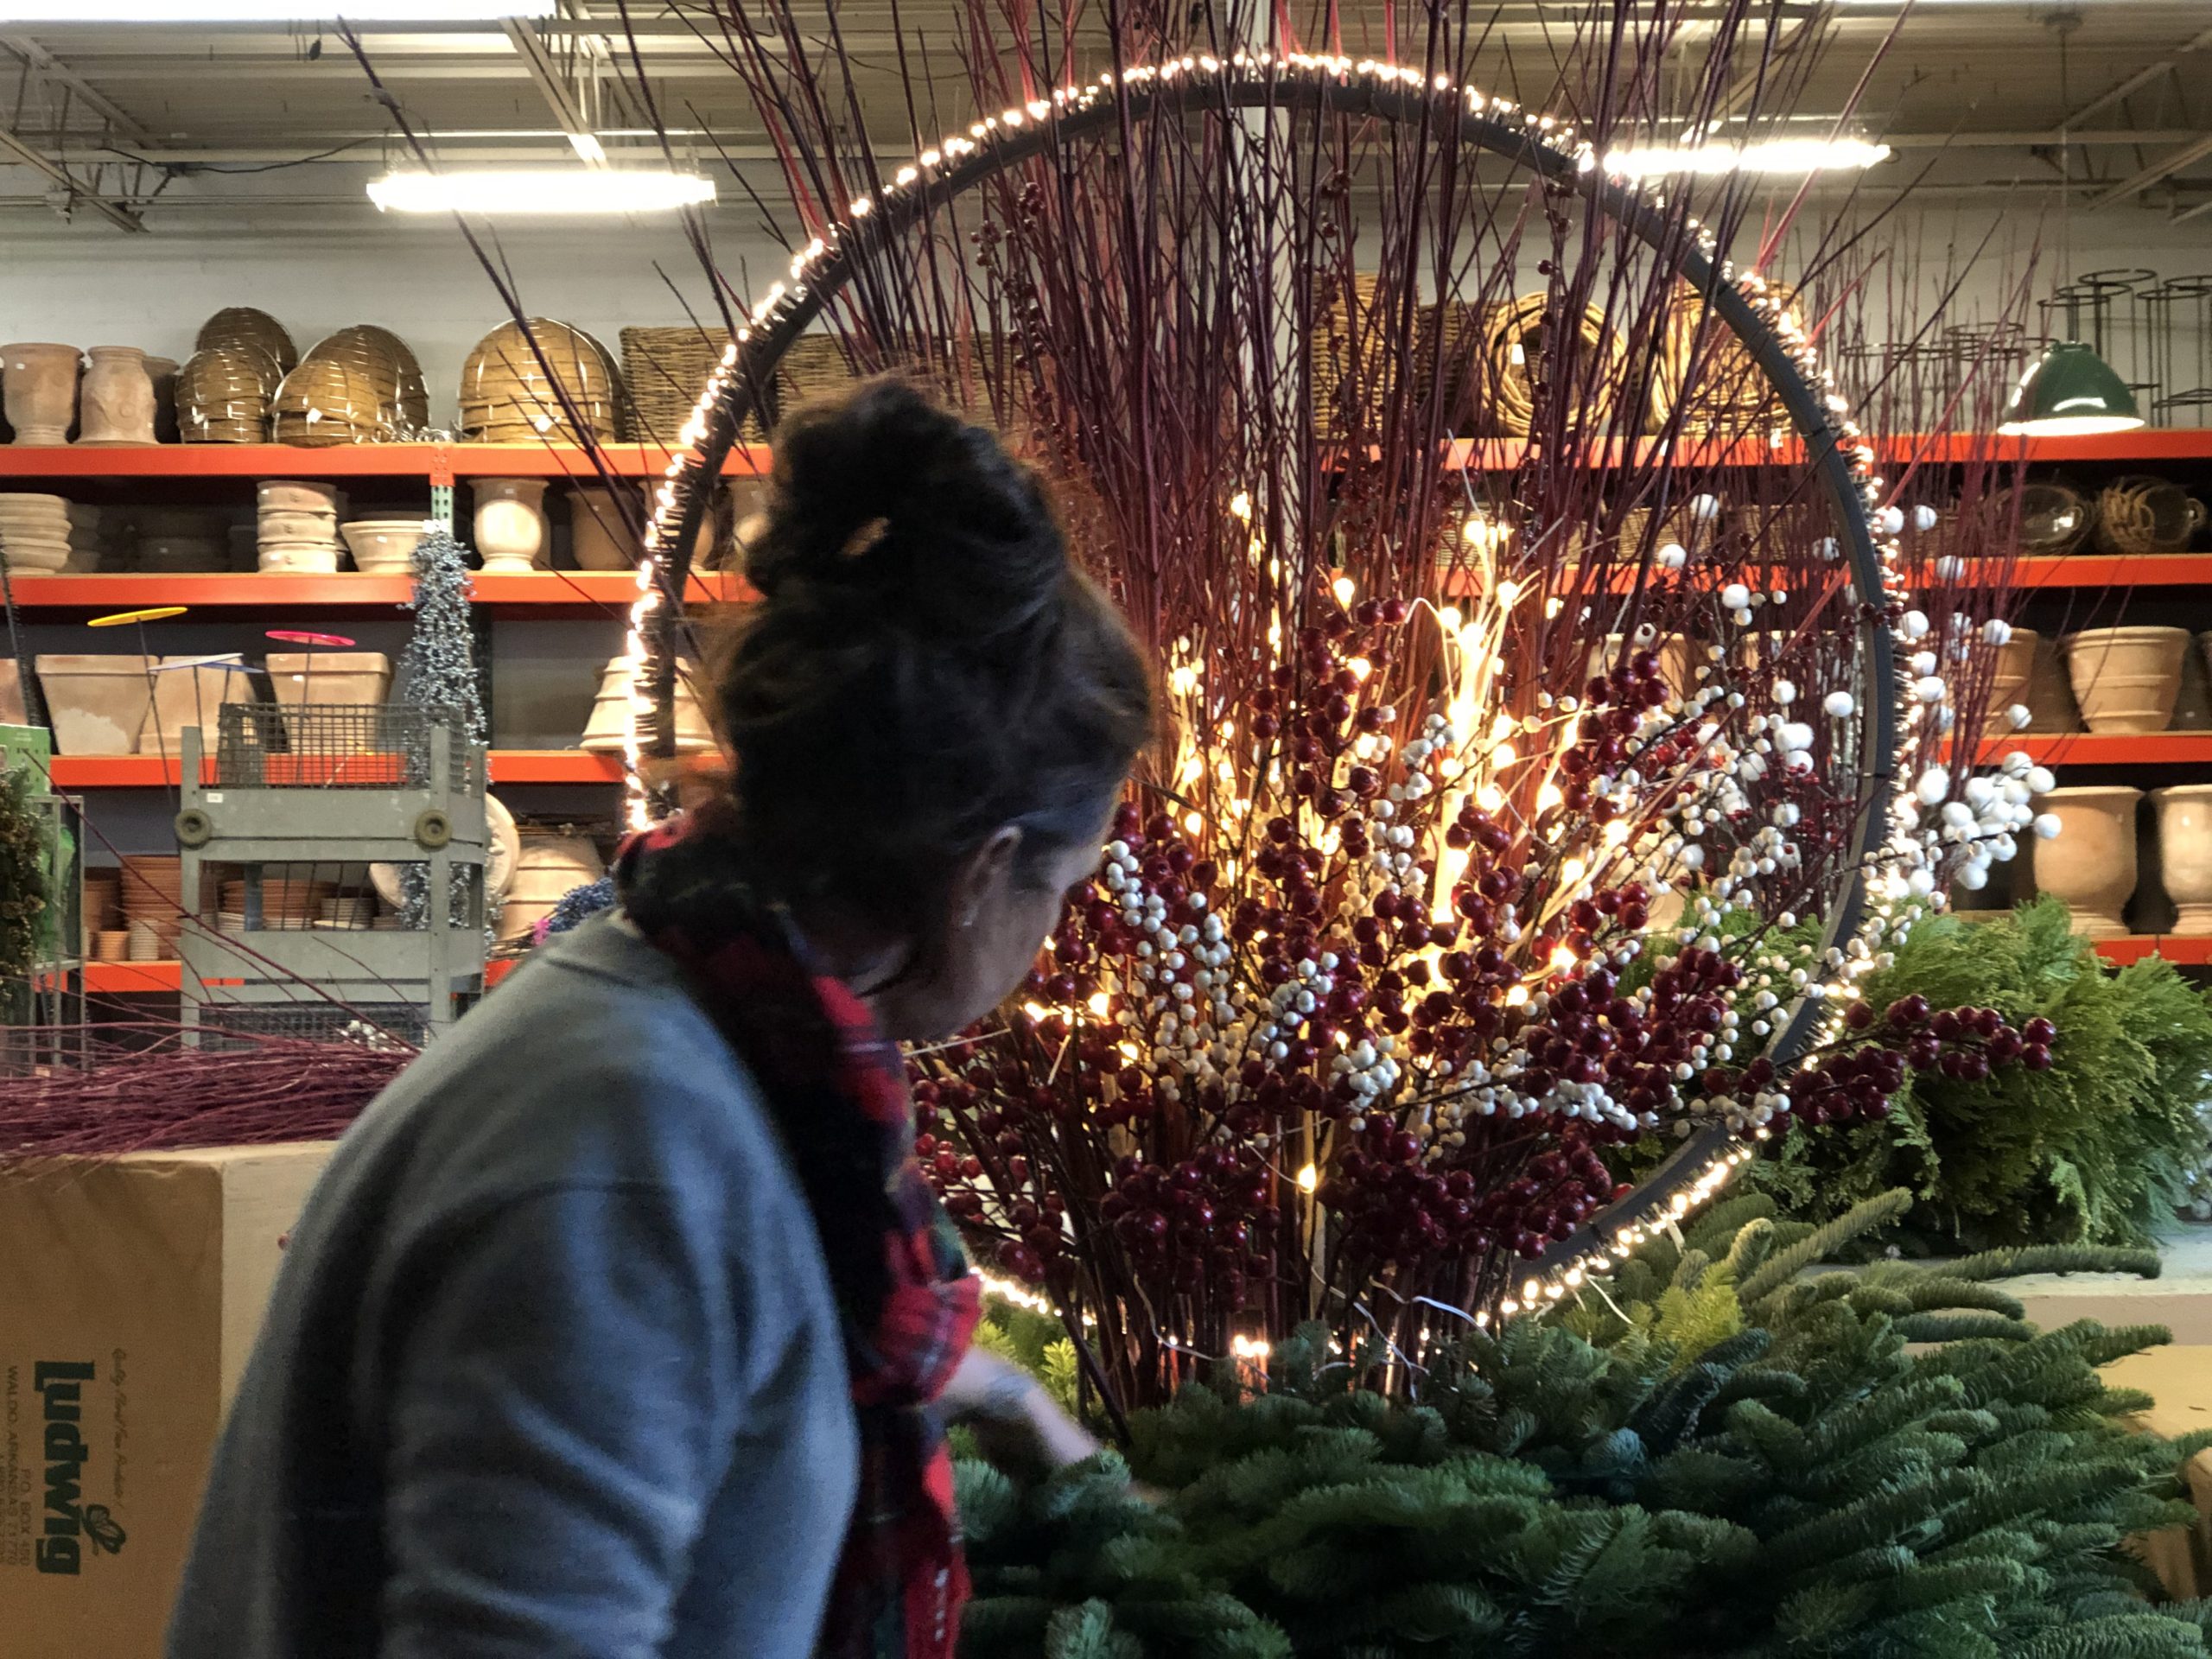 Though the twigs, picks light sticks look wonderfully chaotic, the process of assembling them so all the elements are evenly and brightly lit asks for a focused hand.
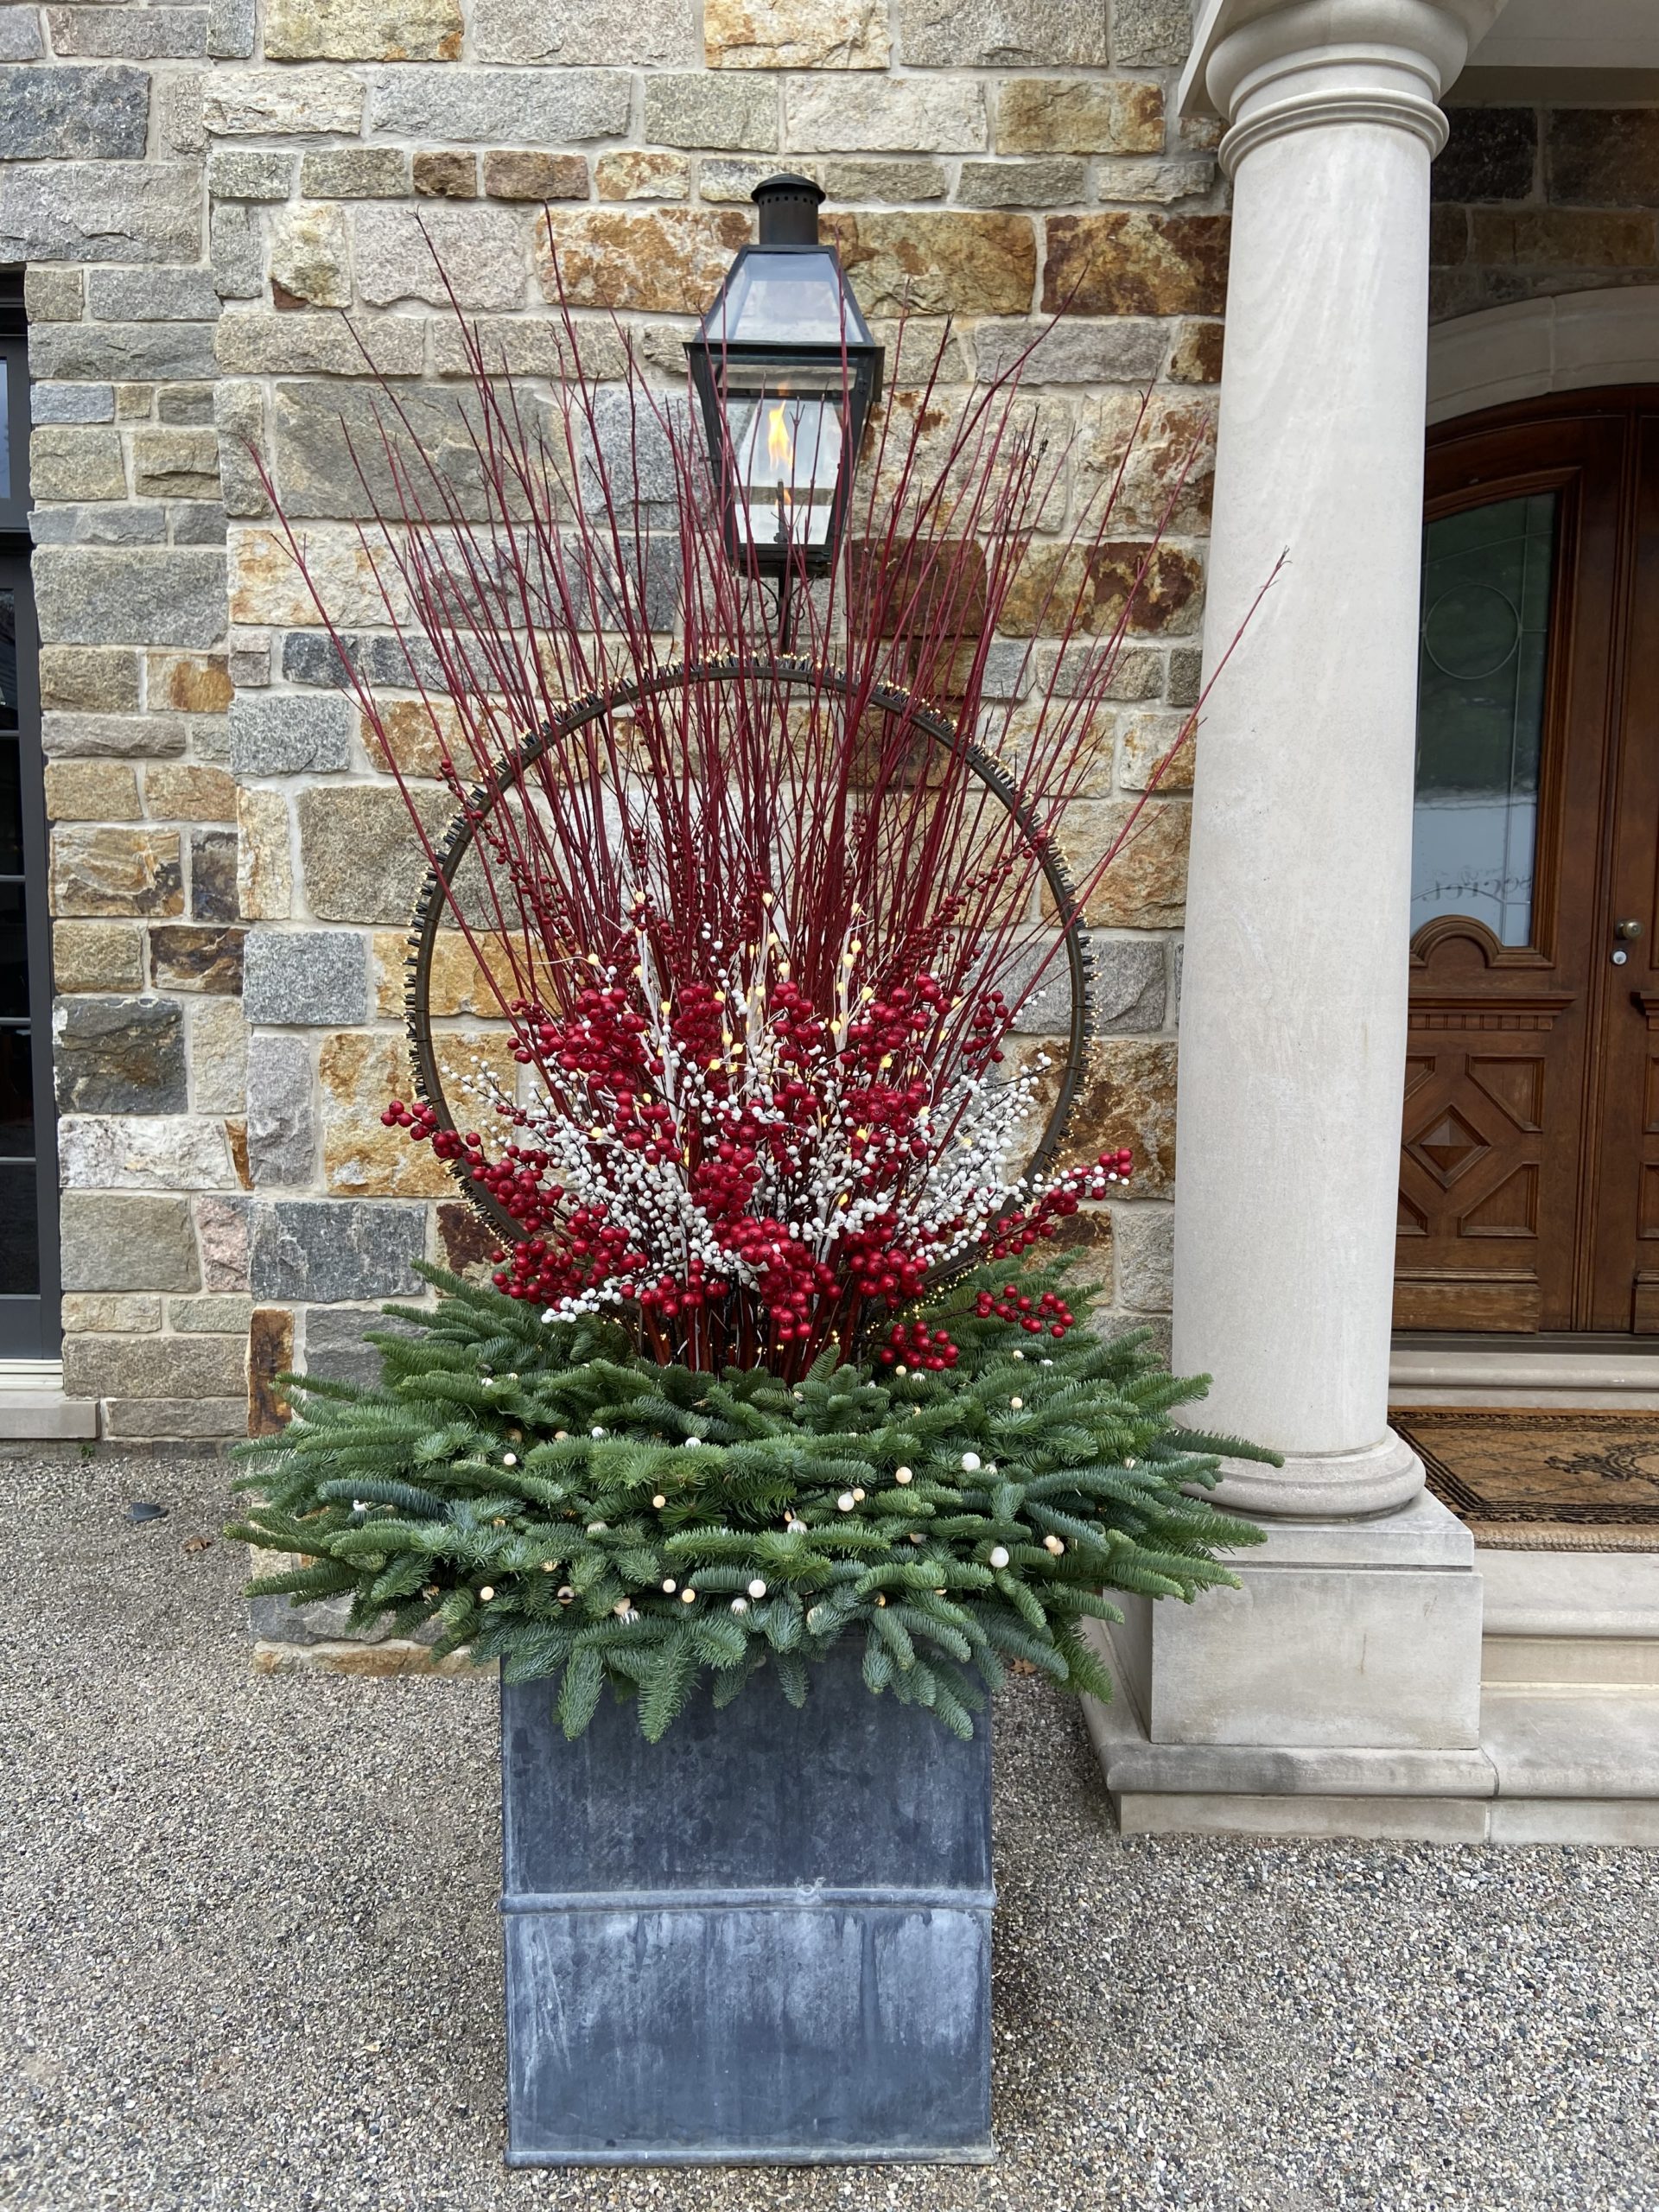
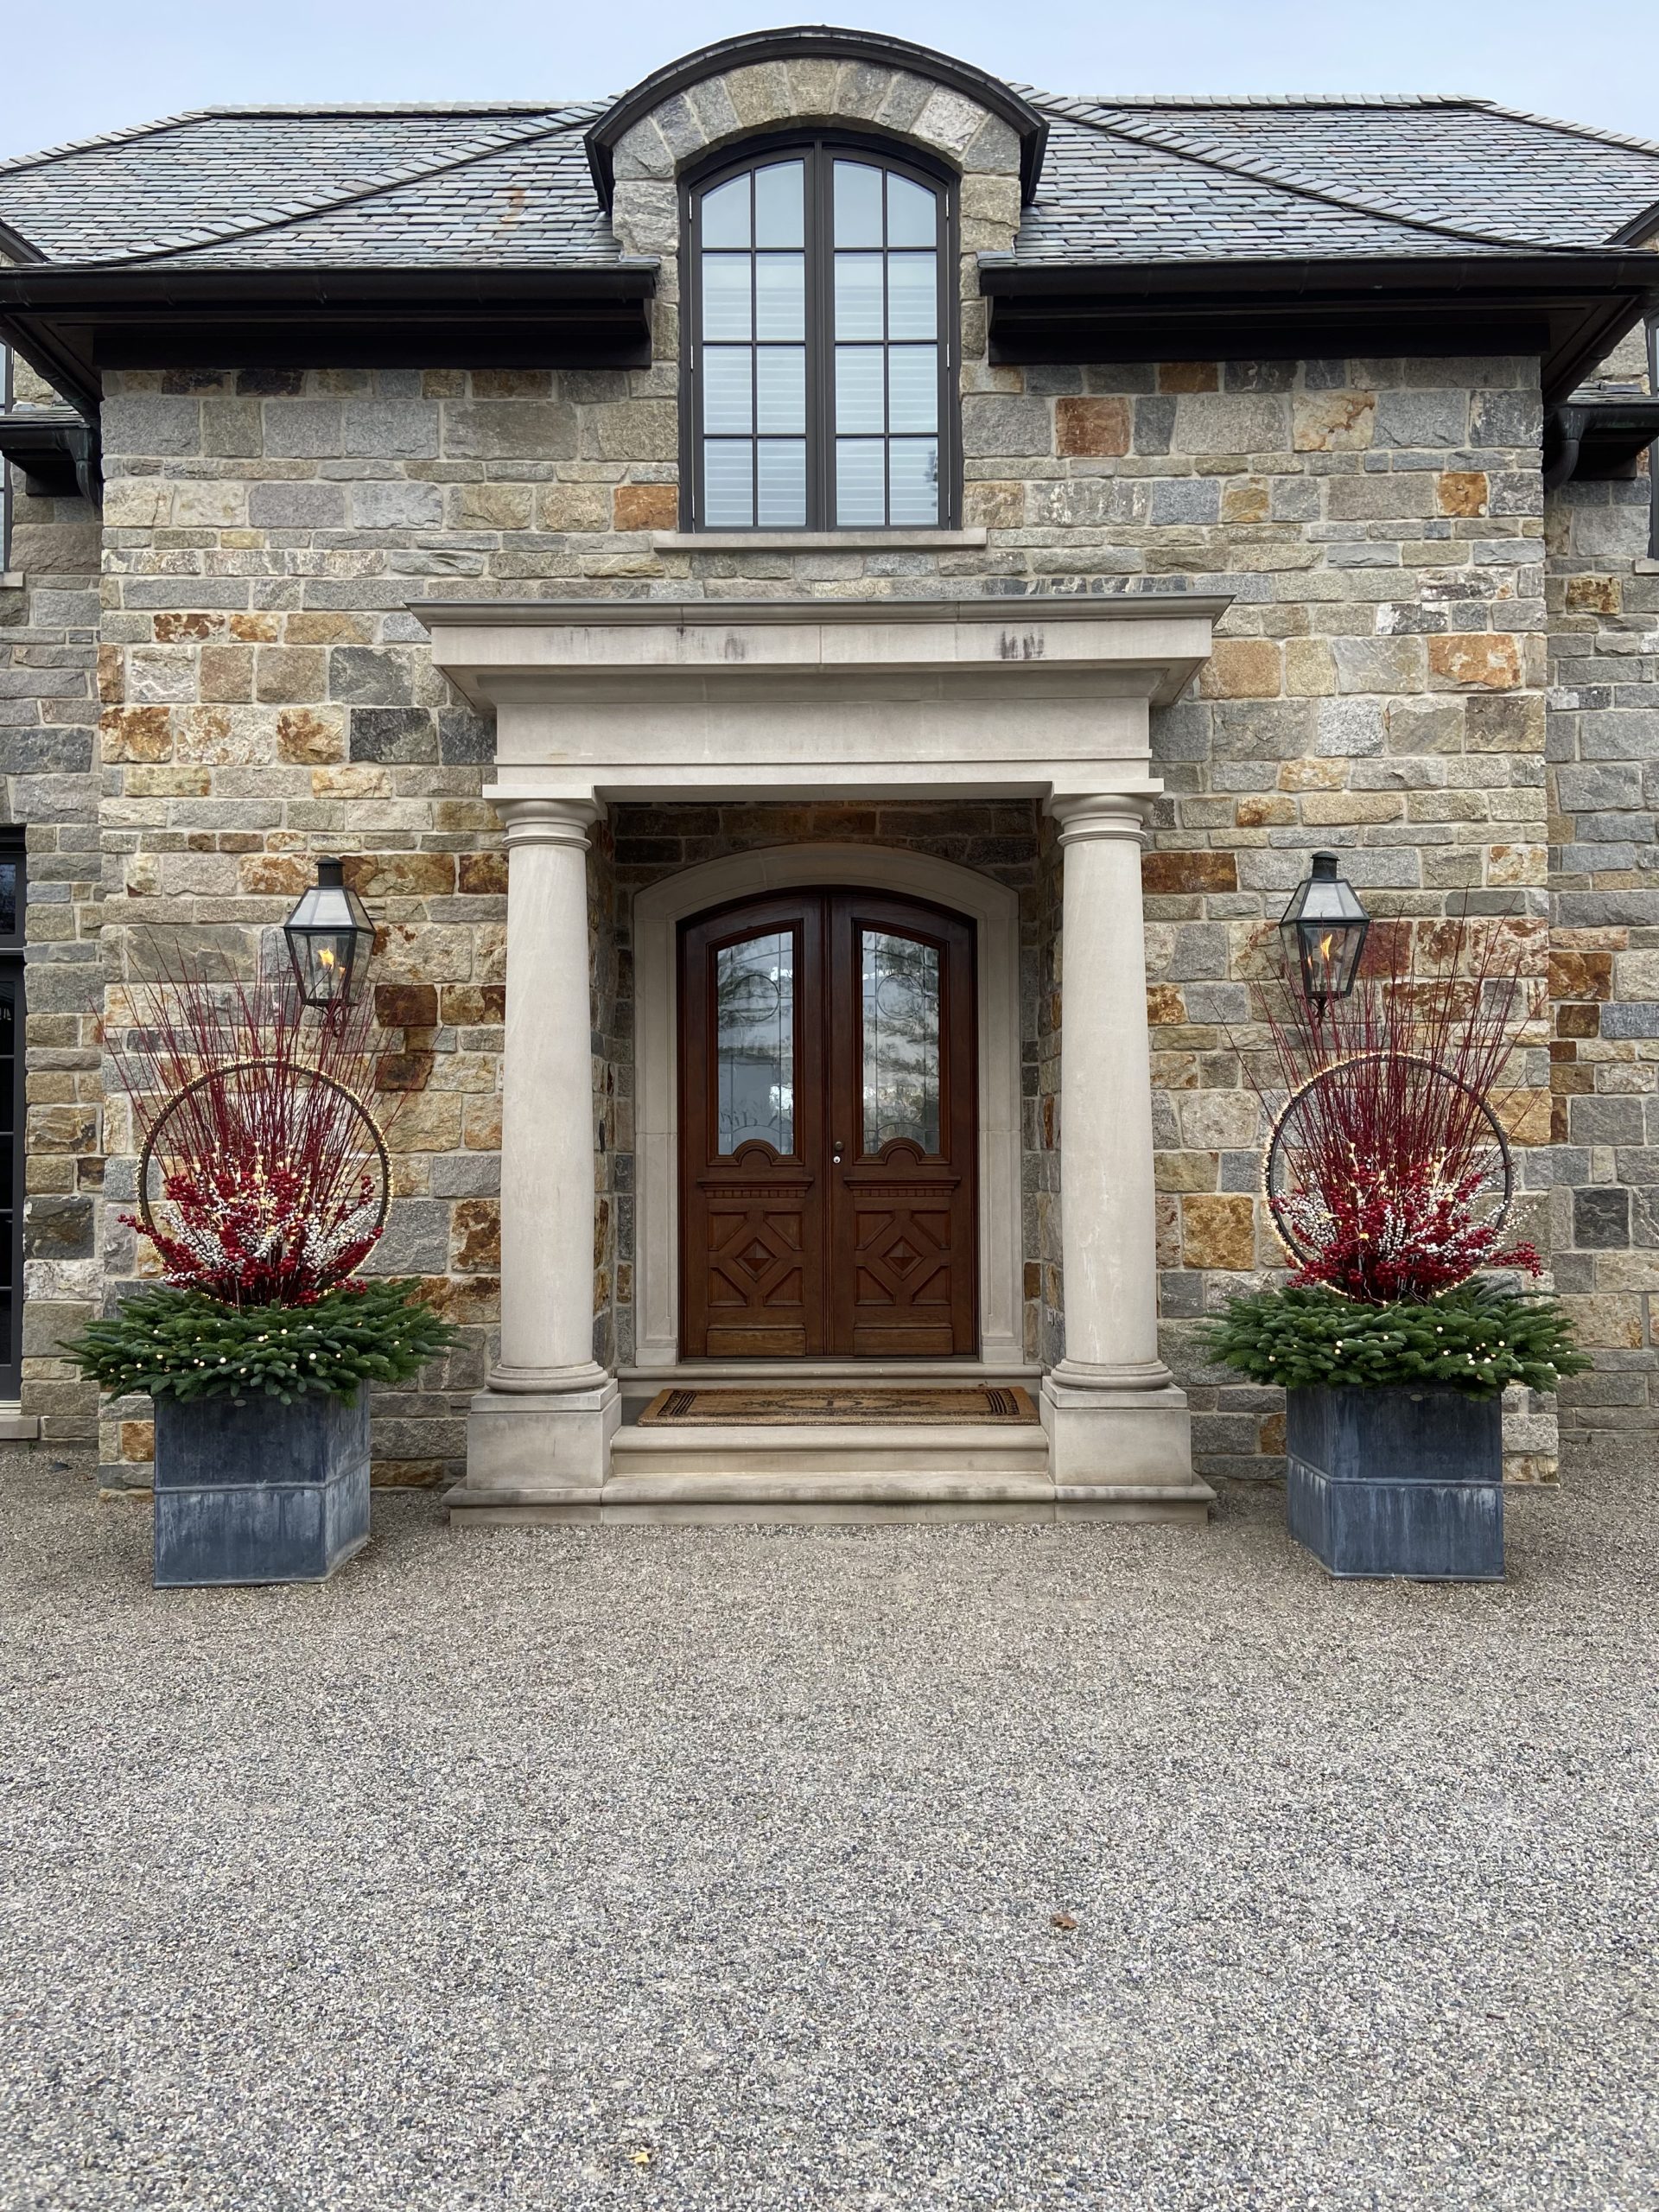
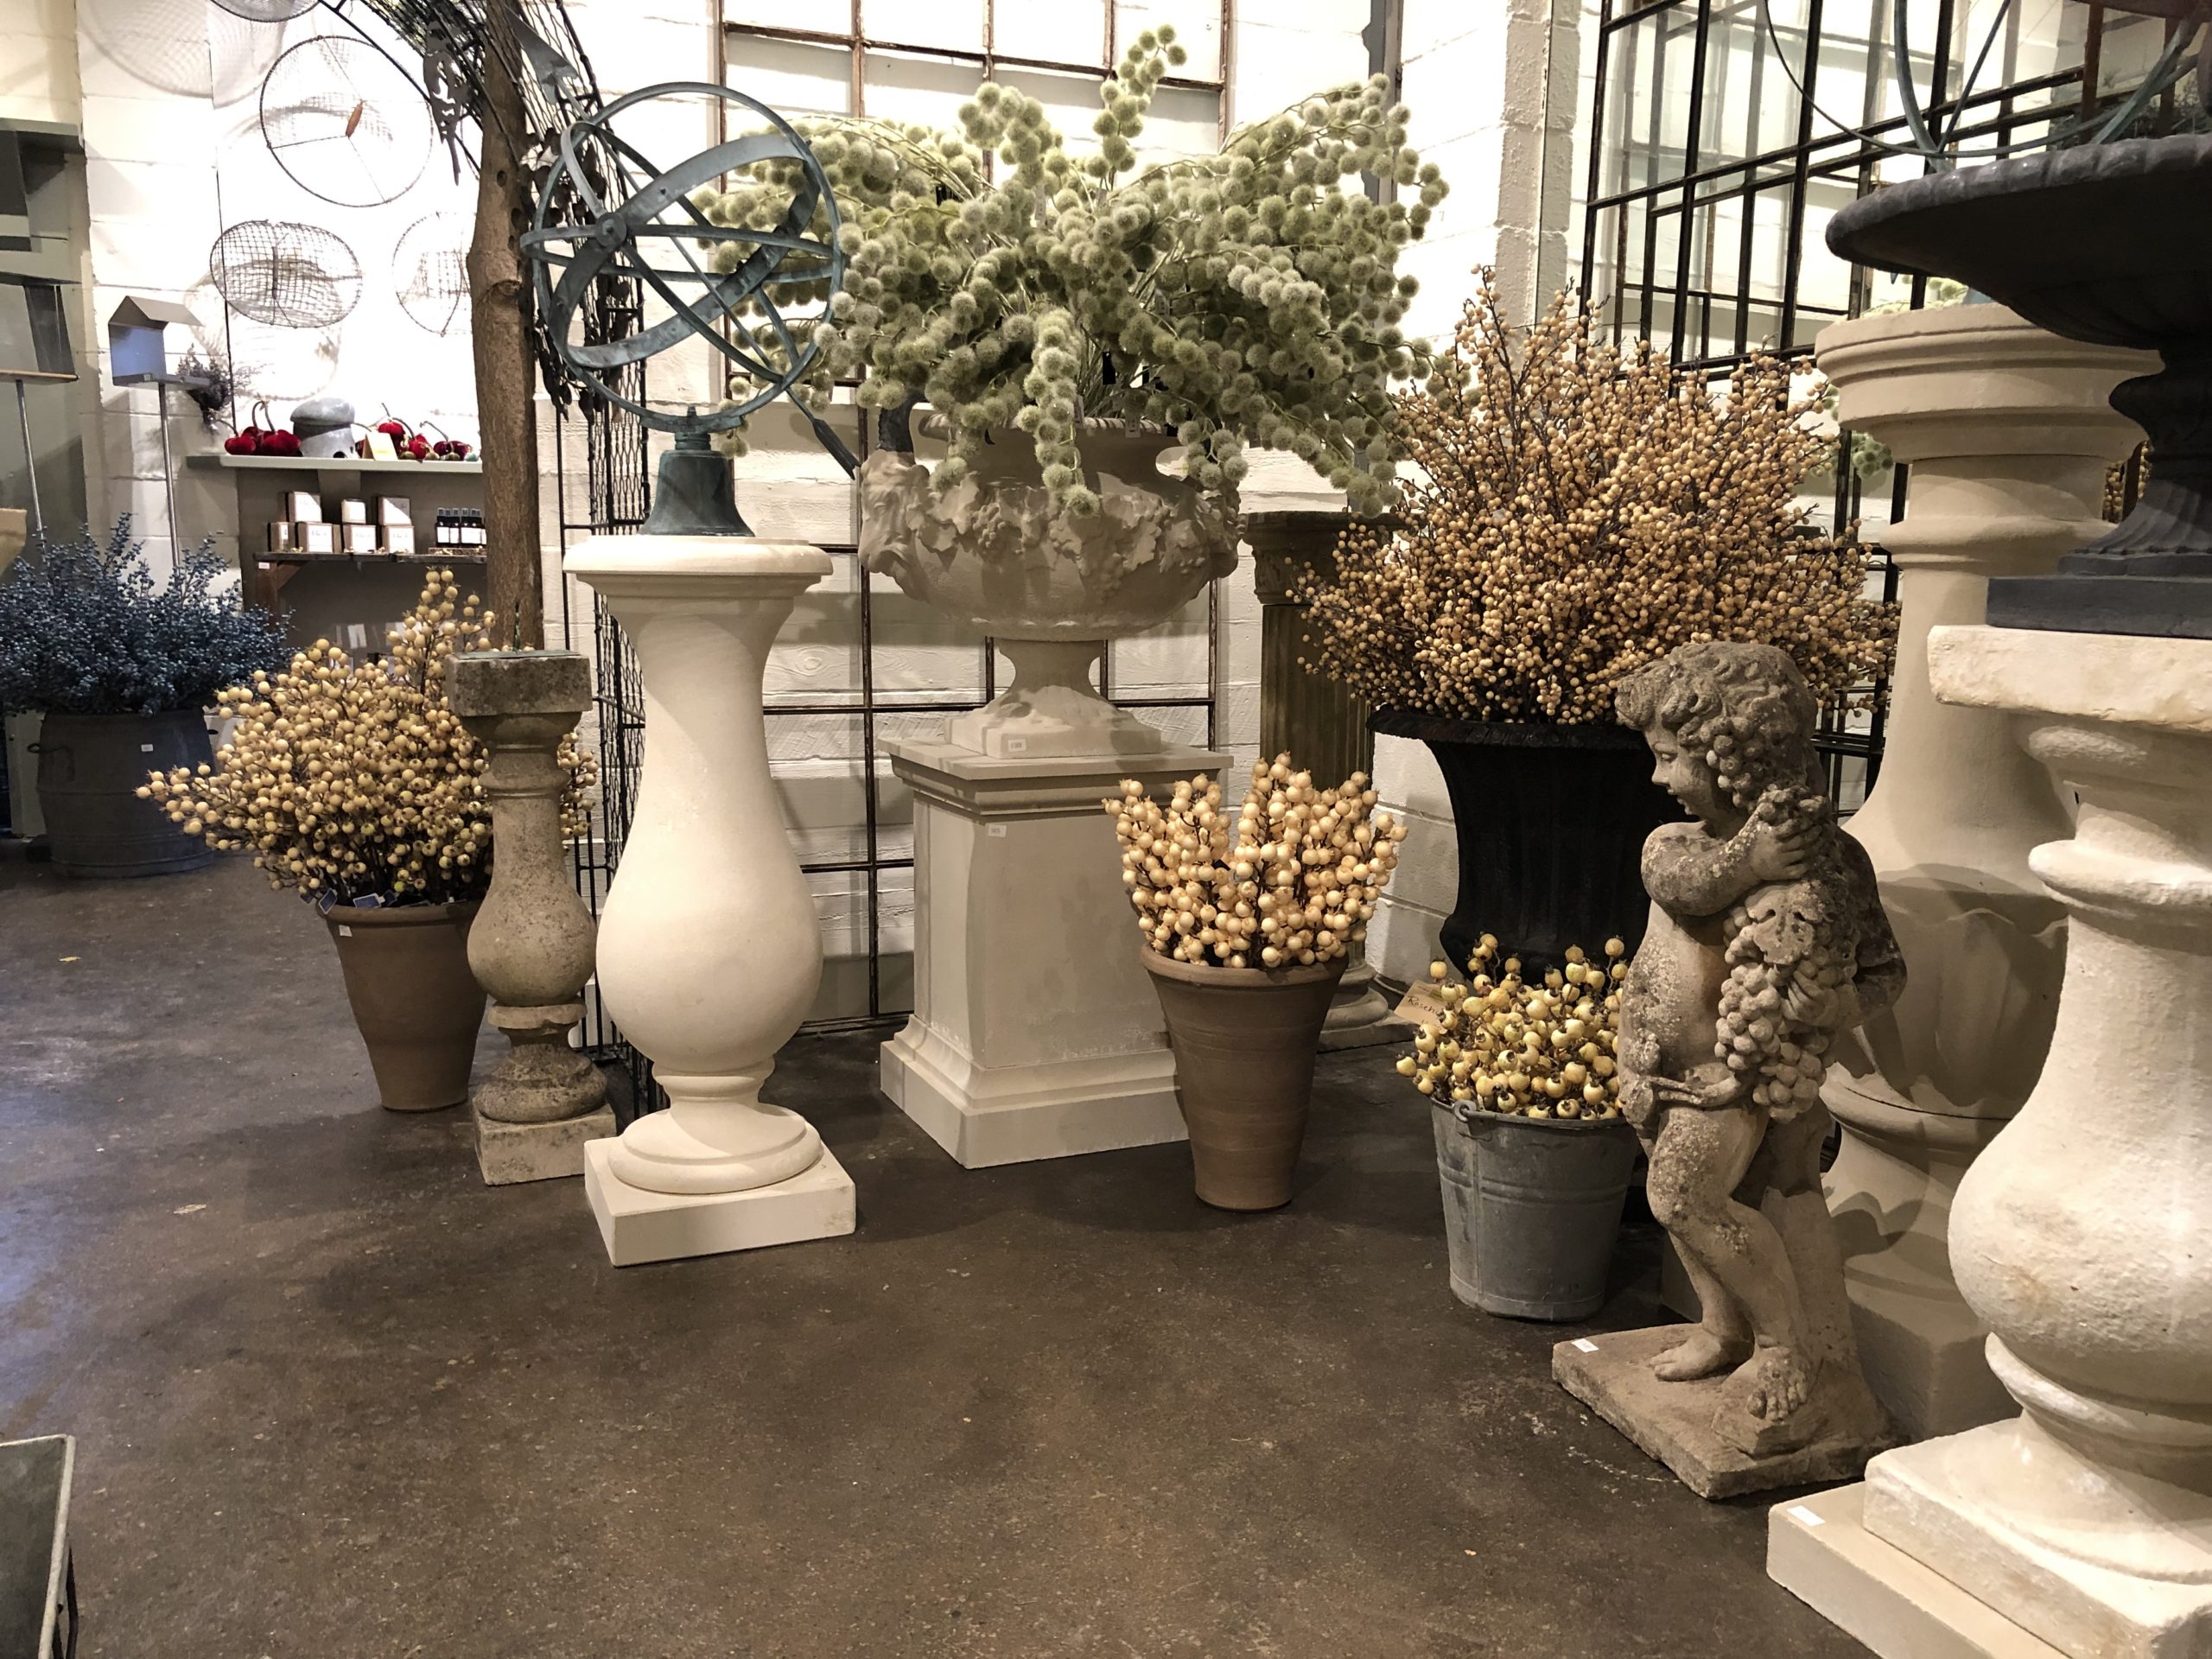
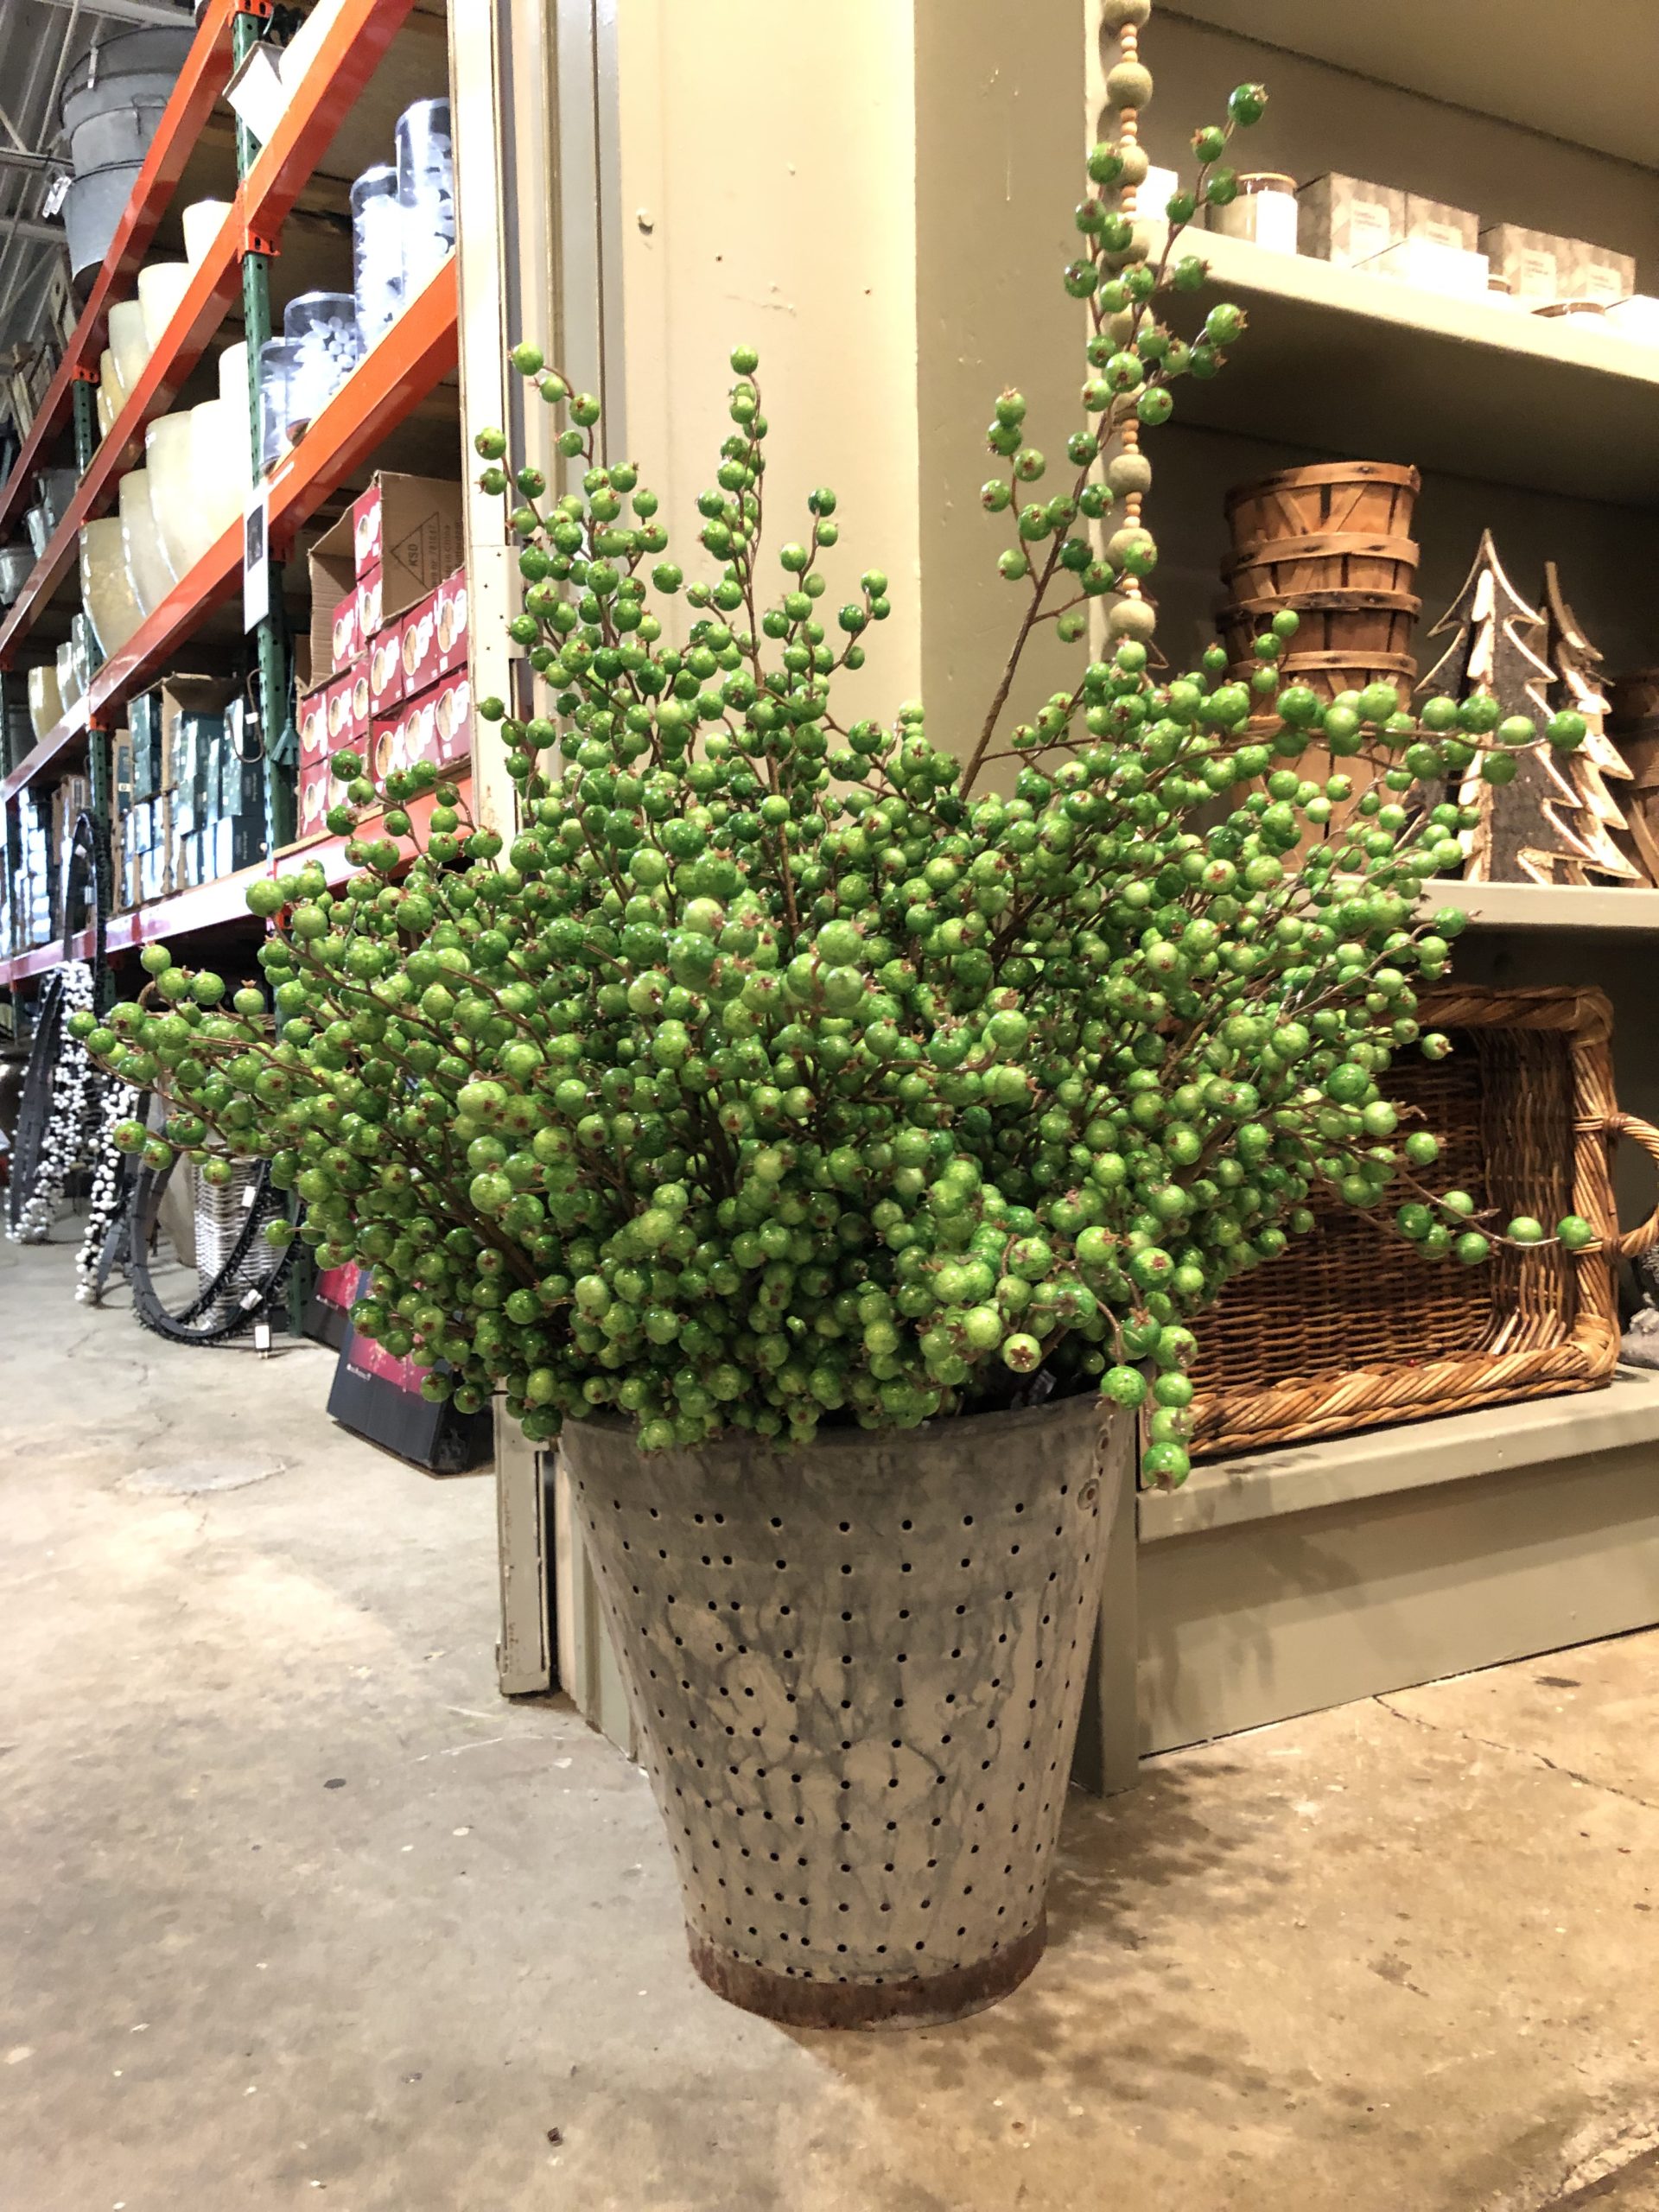
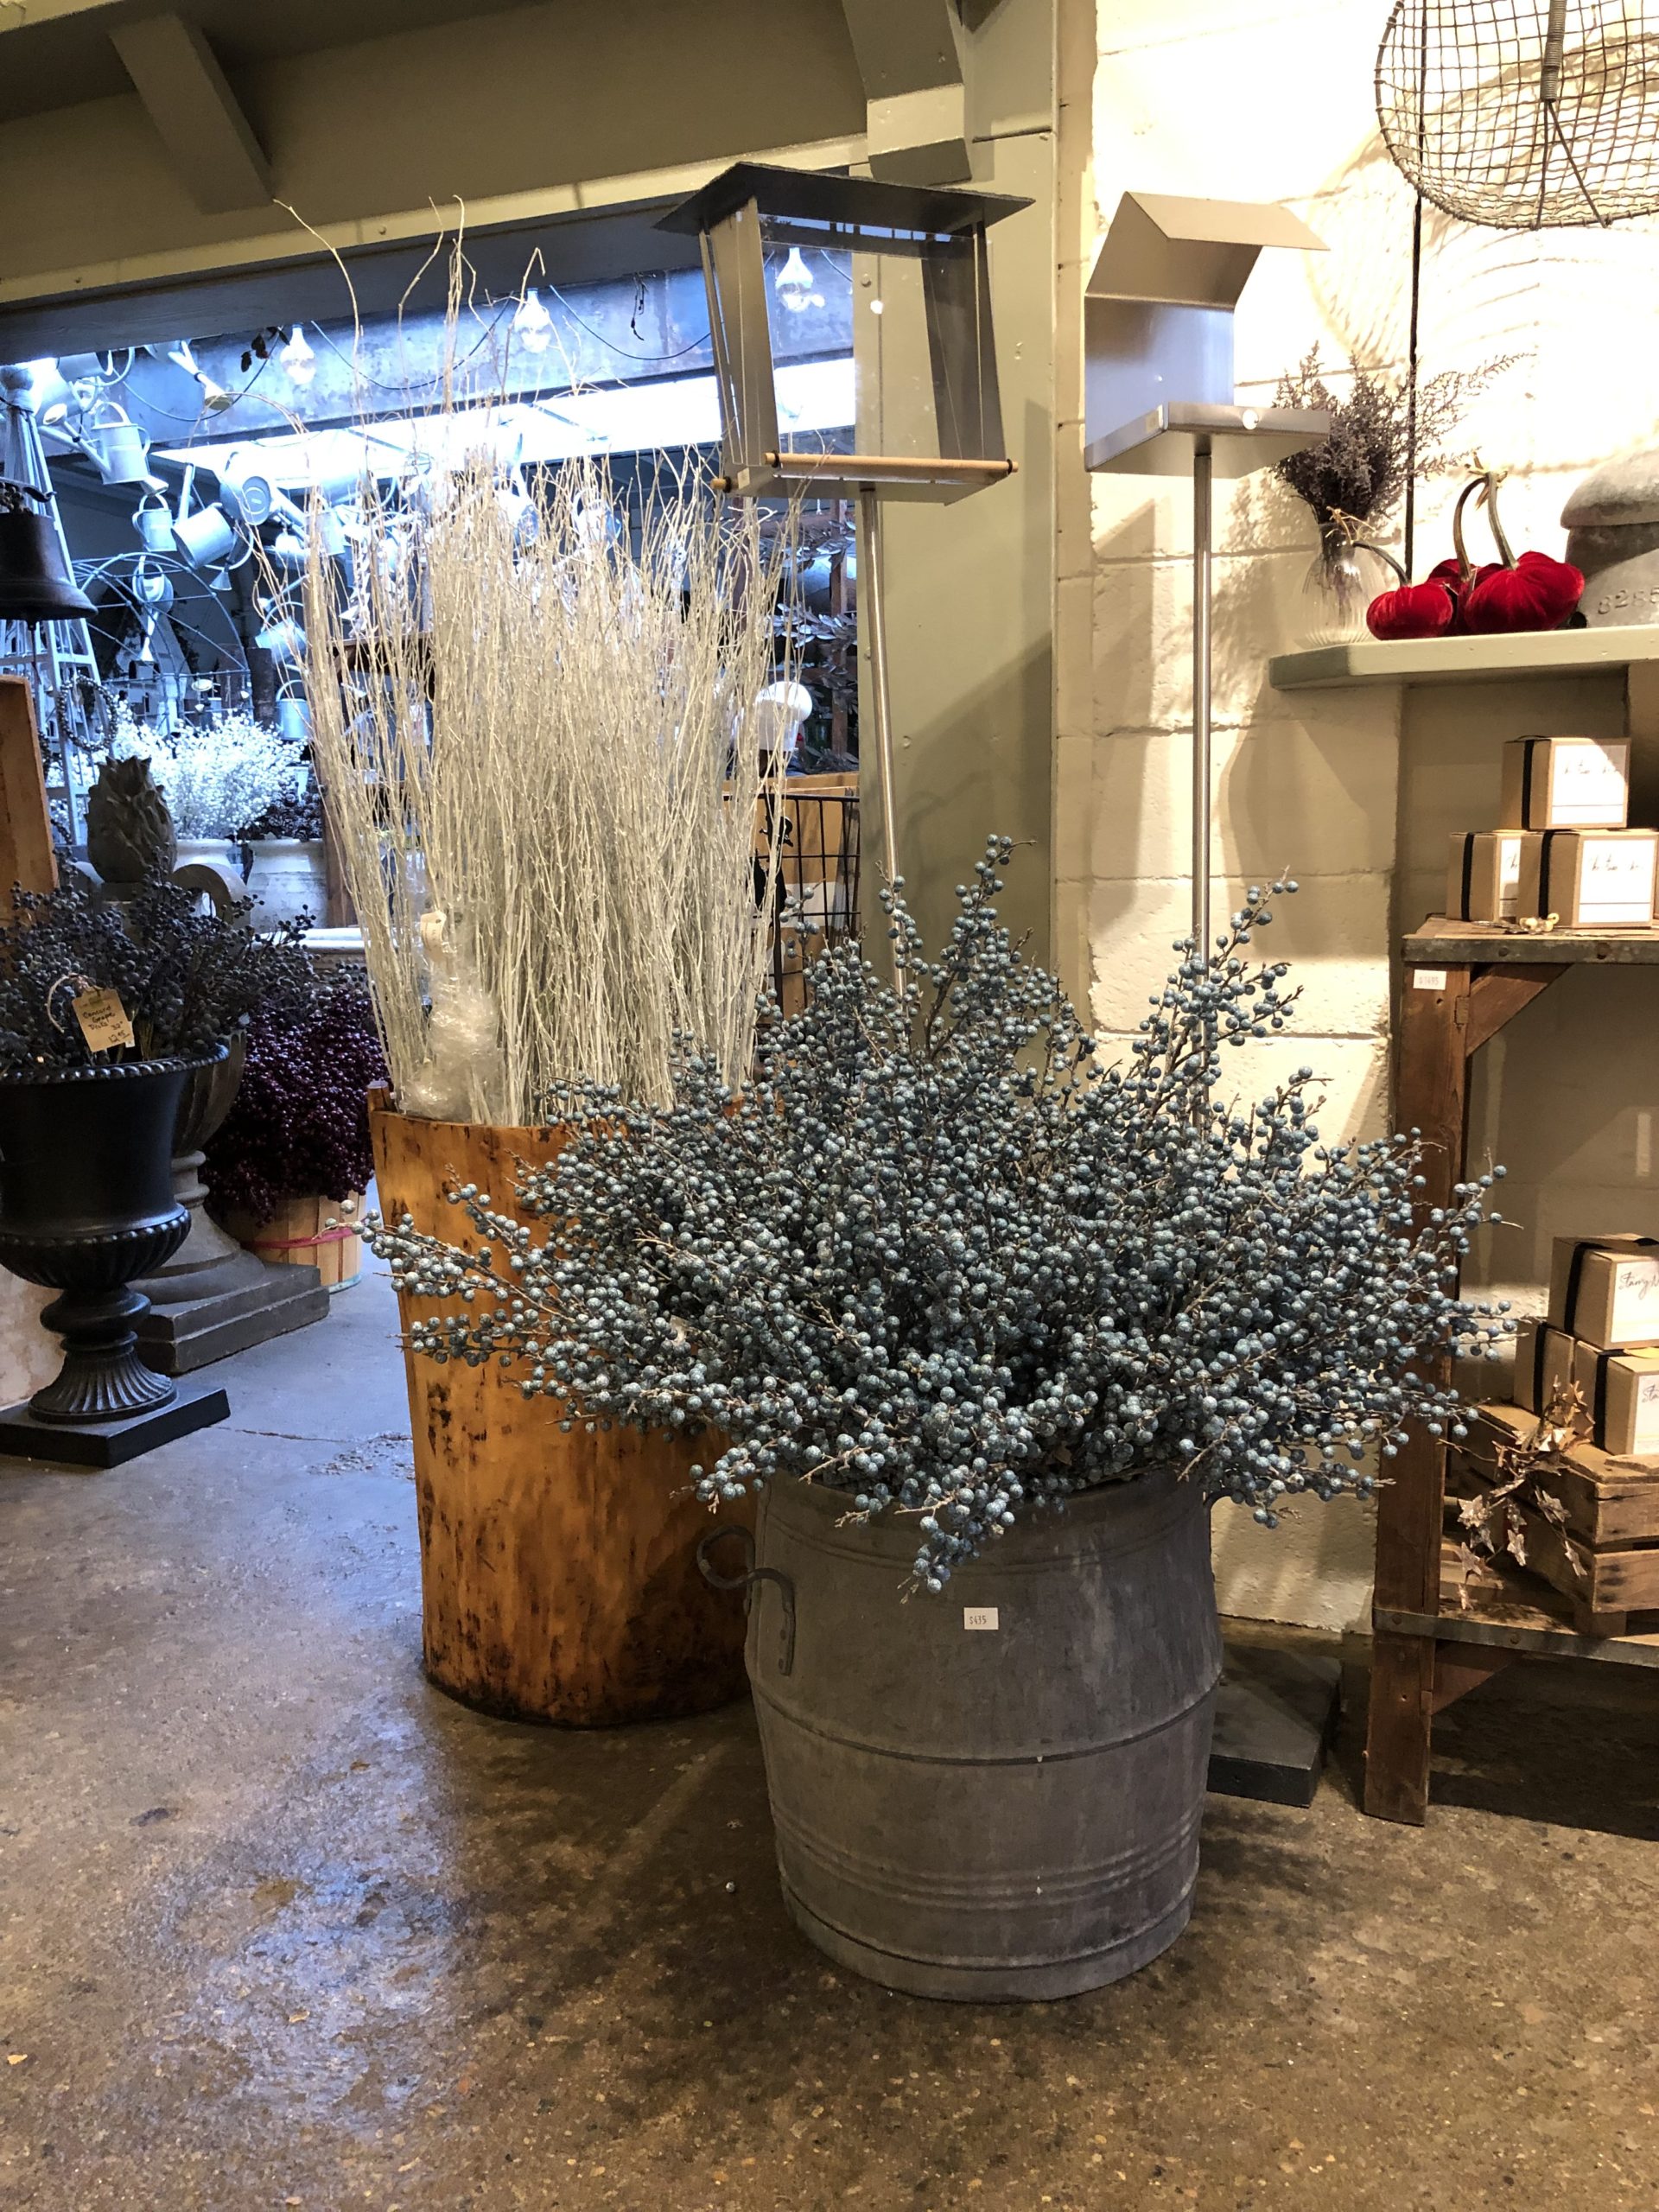
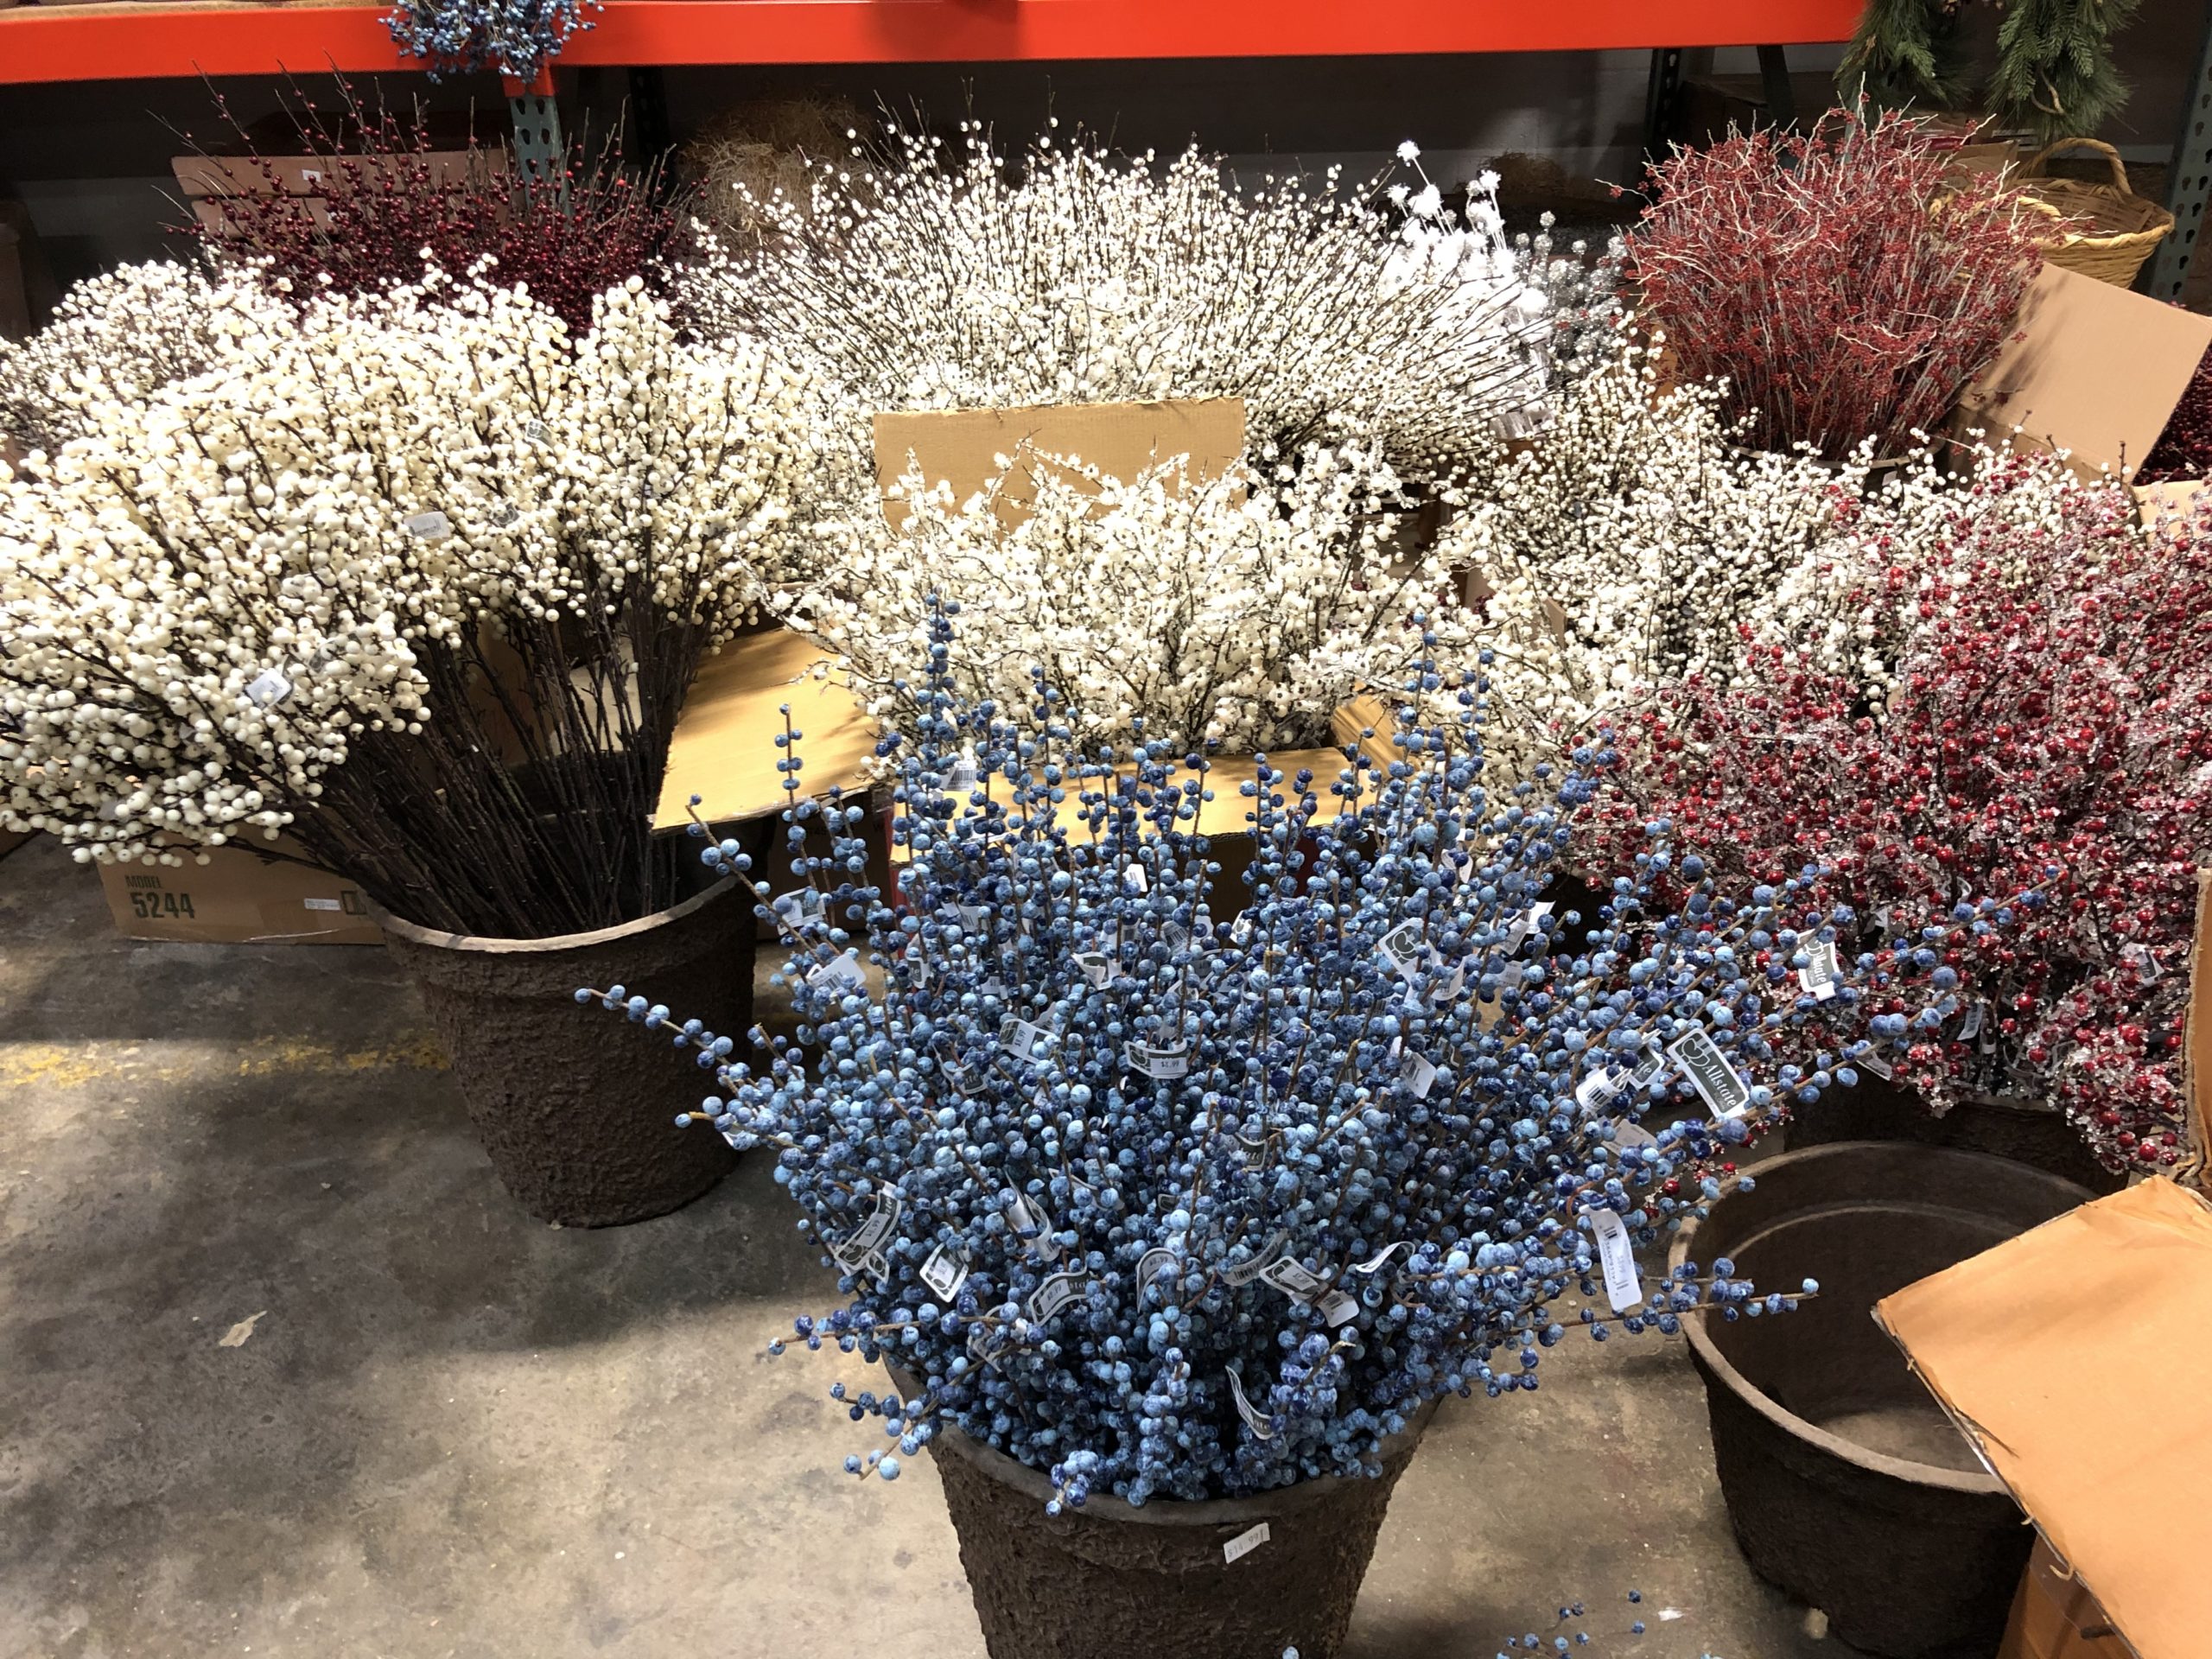
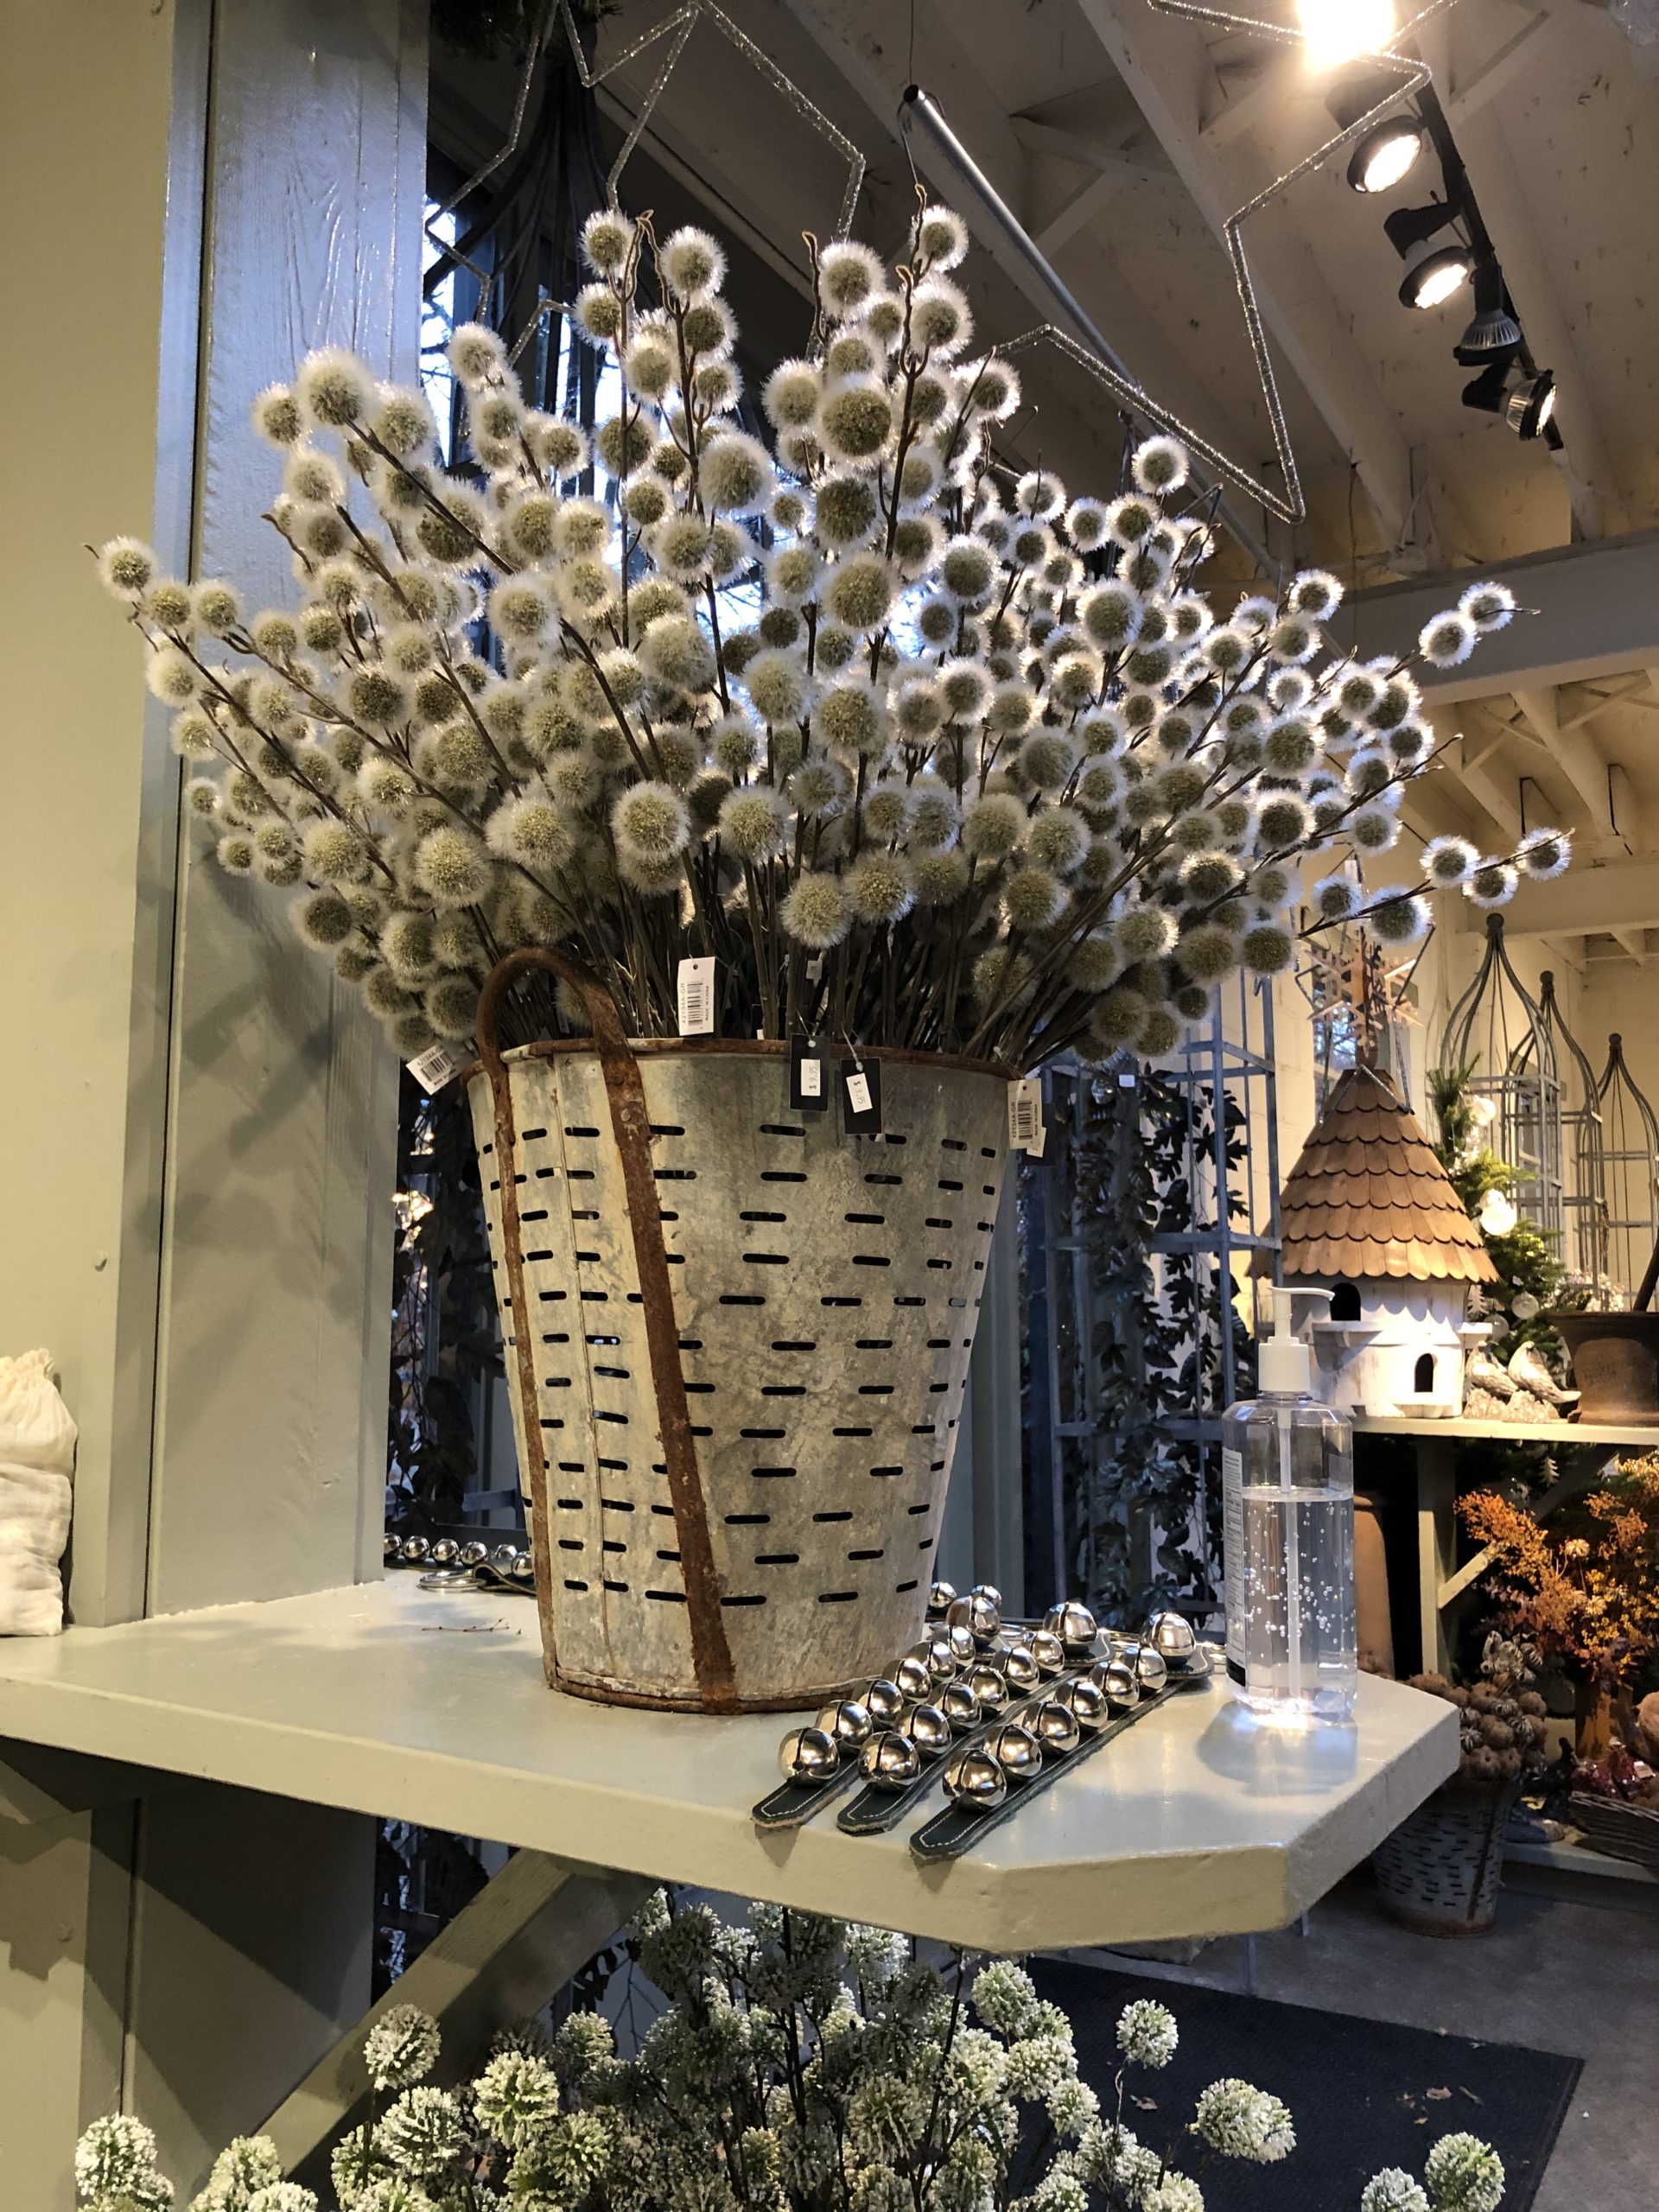
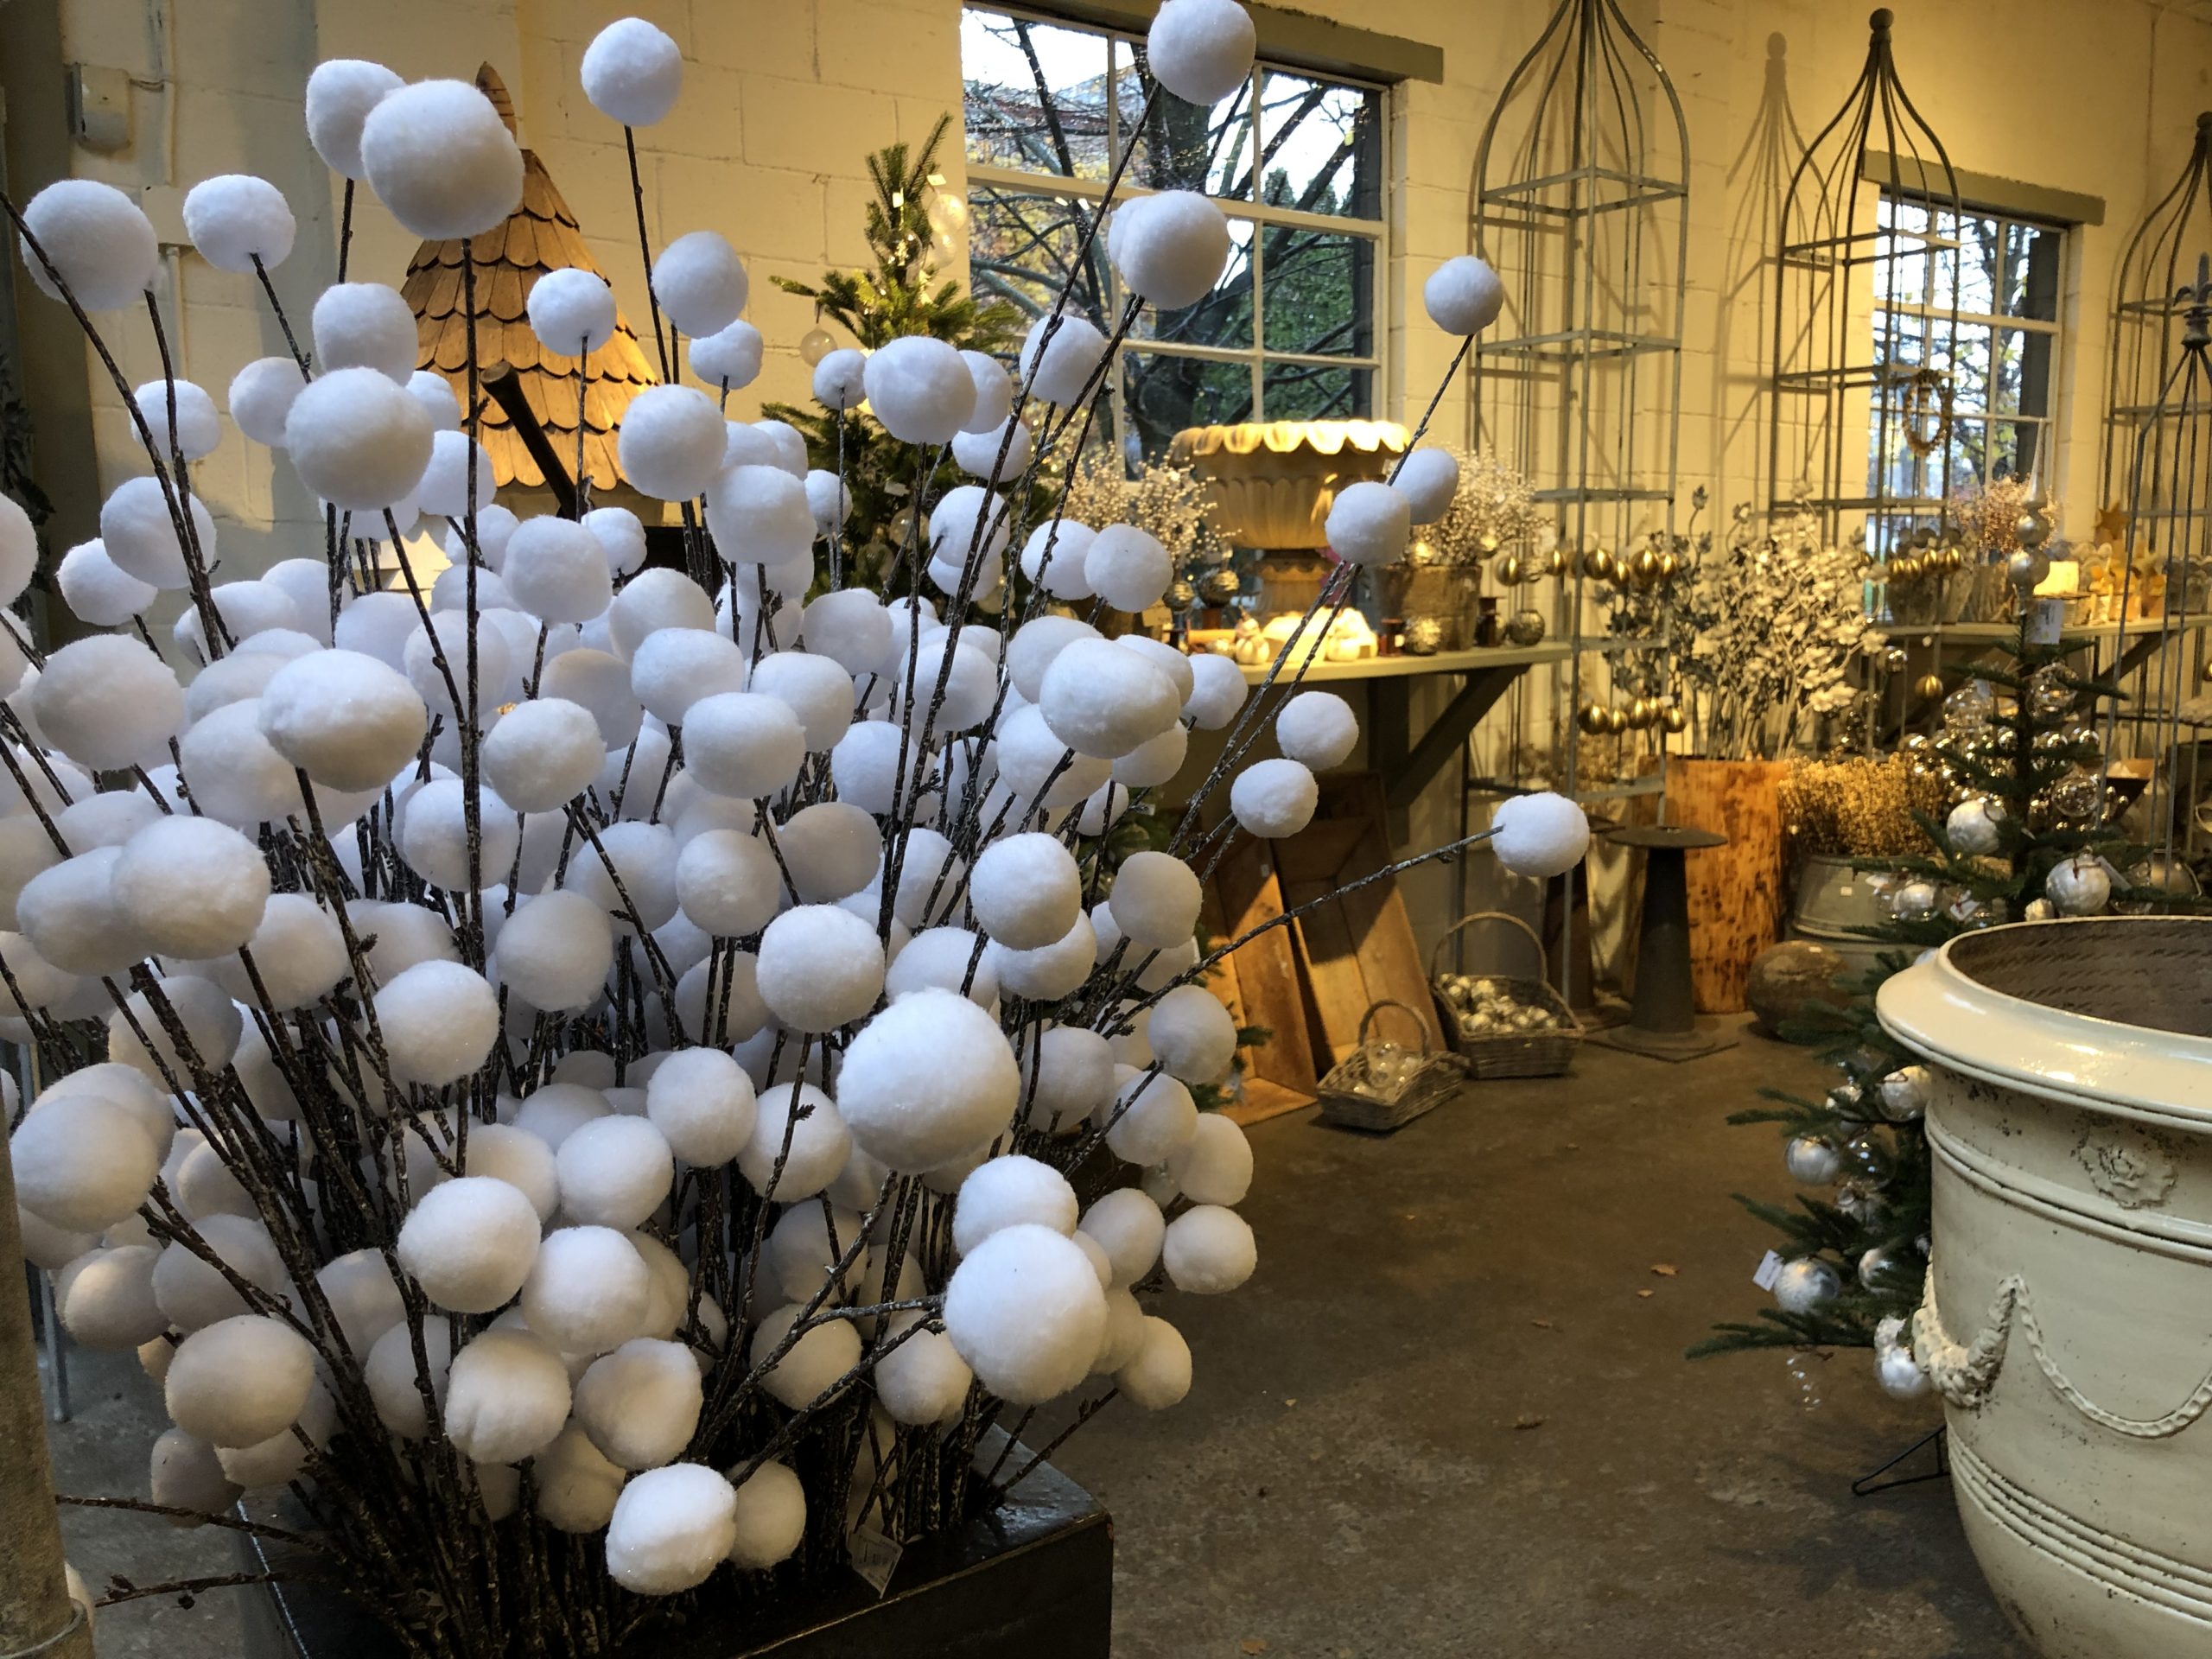 Ordering materials for containers on line or from a print catalogue is incredibly difficult. I have tried it, and I have had plenty of materials delivered that were not great. As in, did I buy this, no kidding??? I have tried to avoid shopping on line. I shopped the holiday and winter materials in person with Rob for 5 or 6 years. I liked being able to hold a pick in my hand. I could see the color. I could assess what its durability would be in a container. I could see the finished height-and the width. I could see how it would read. I could see how the shape, mass, and color would work with other elements under consideration. I could see what picks would be investment caliber, and which would be a one season fling. My shopping days are over now. I am happy to turn over the shopping for the winter season materials to Rob and Sunne. I have confidence that their choices will work for a wide range of my projects. And I respect and am intrigued by what materials they chooses from their own individual aesthetic. It is up to me to put what they buy together in such a way that my clients feel their taste is represented. If you are thinking that my design for holiday and winter container arrangements is fueled by beautiful materials- you are right.
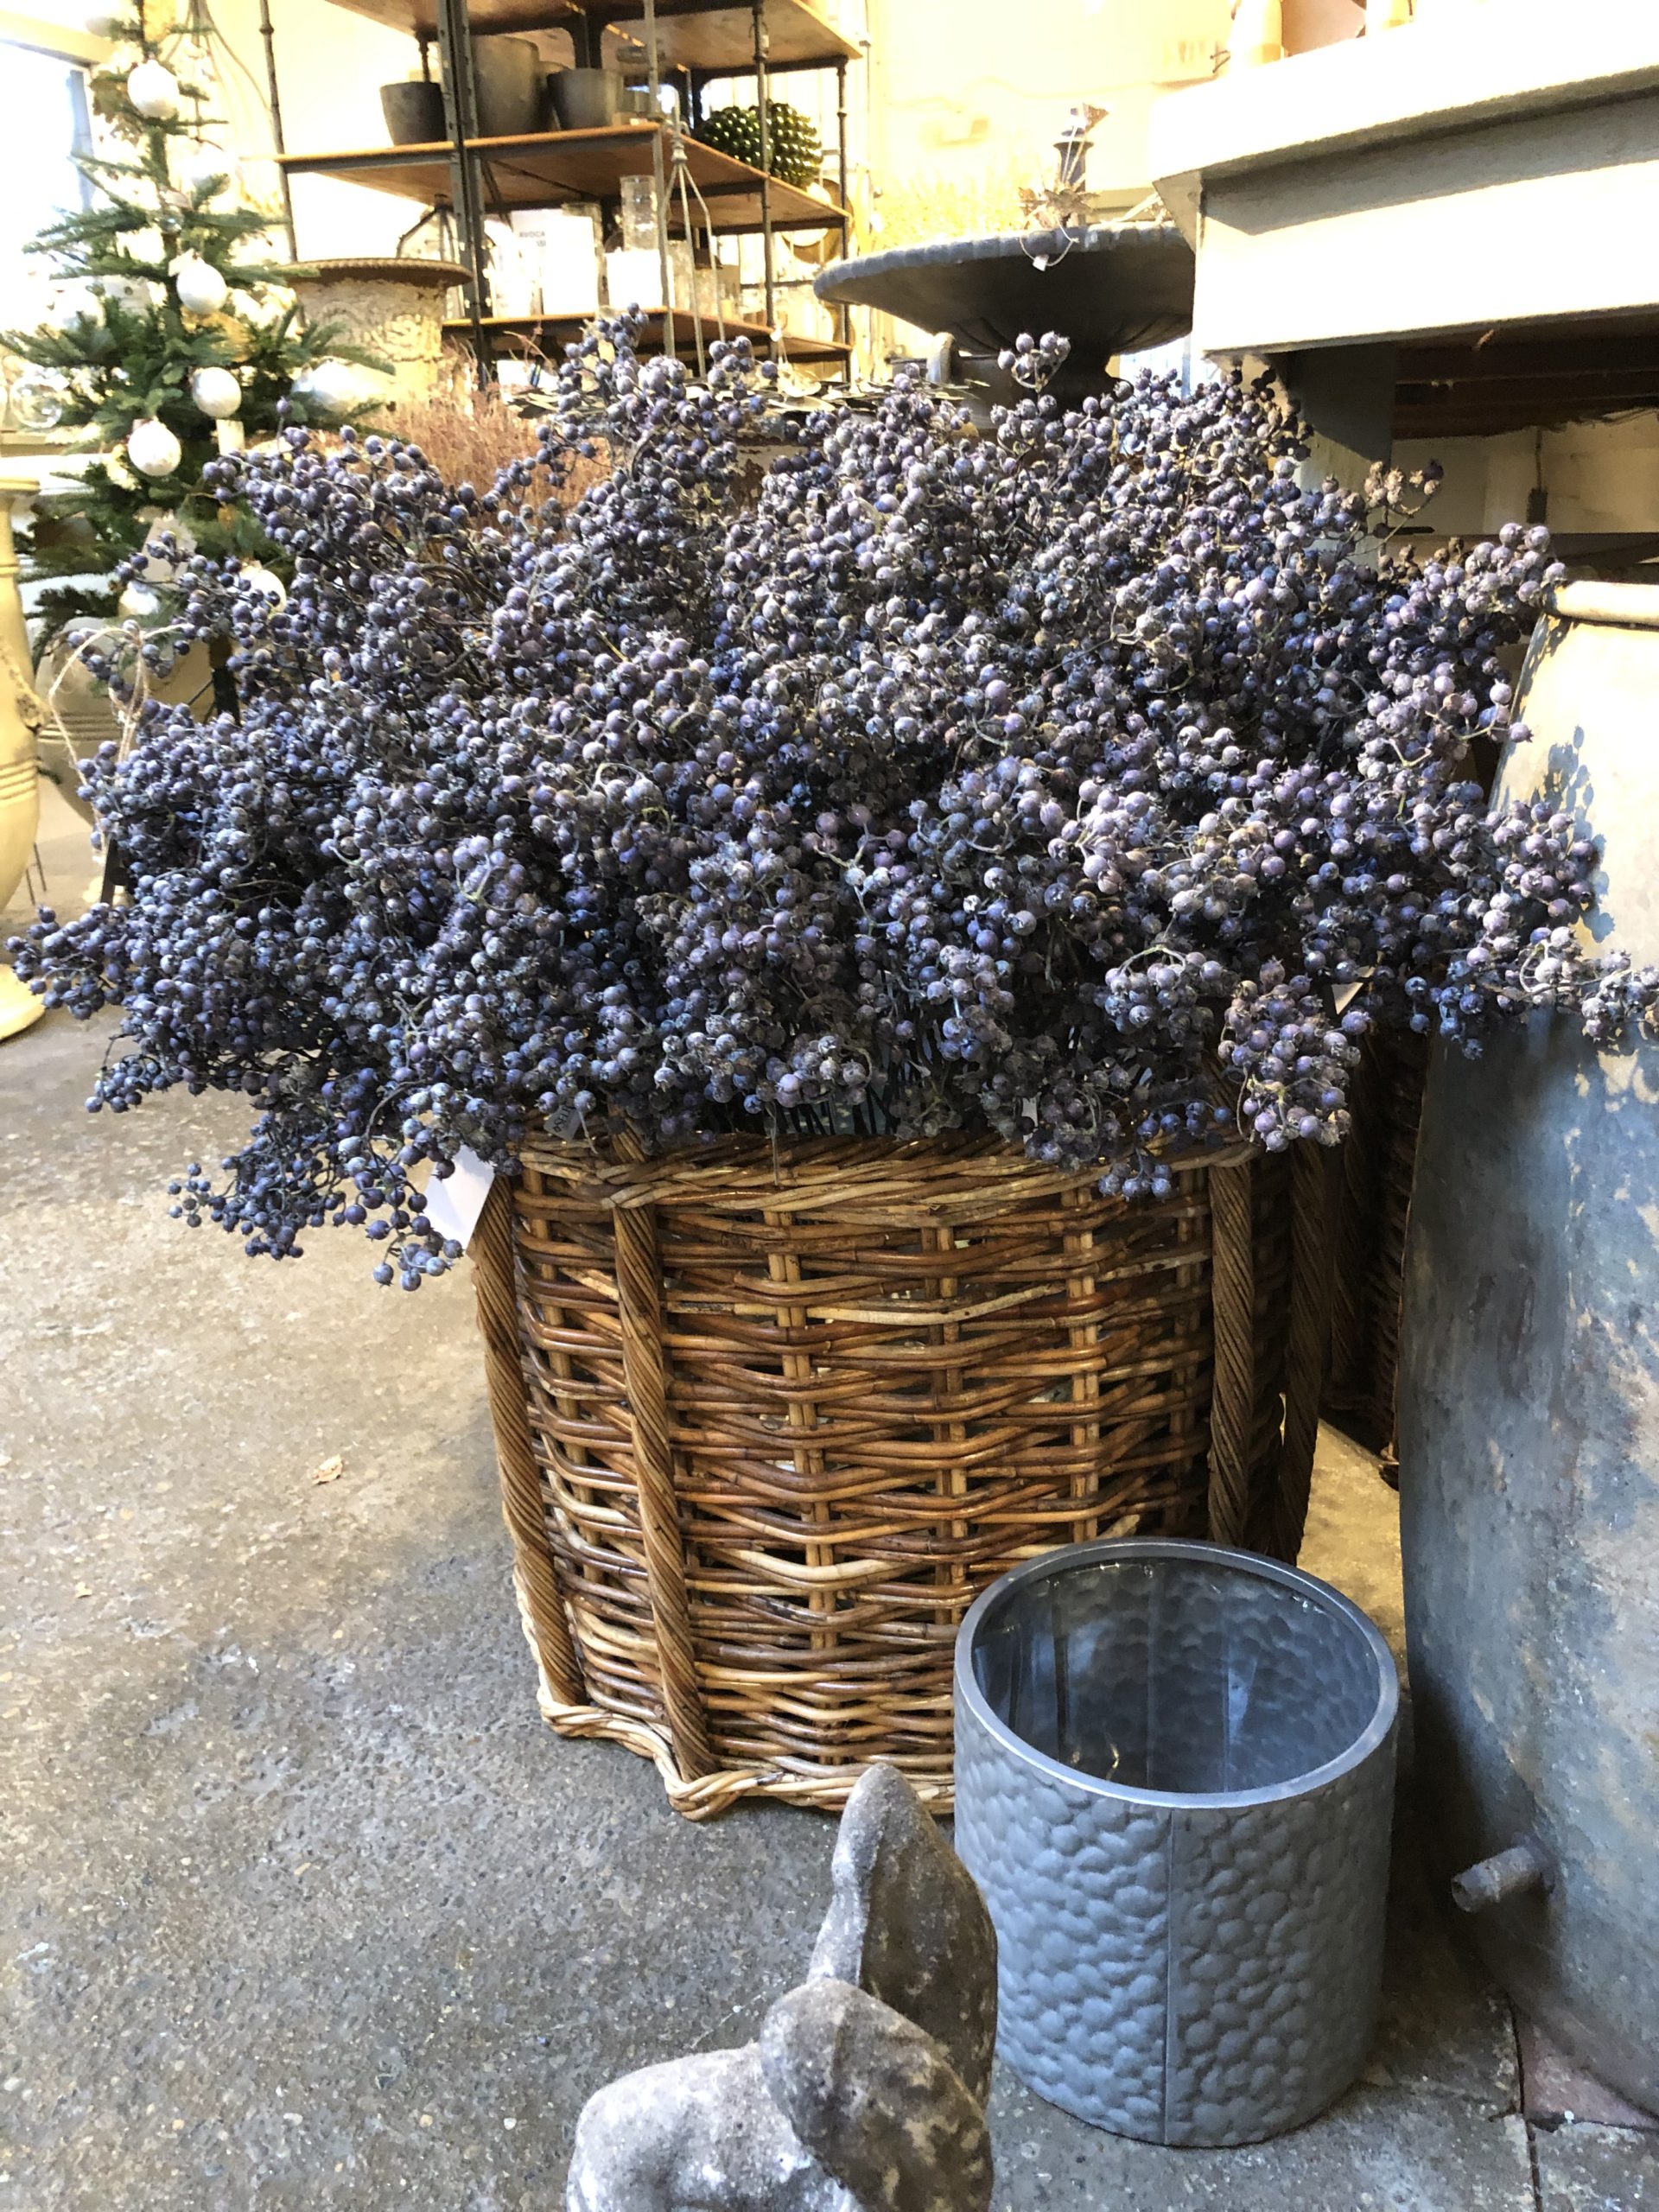
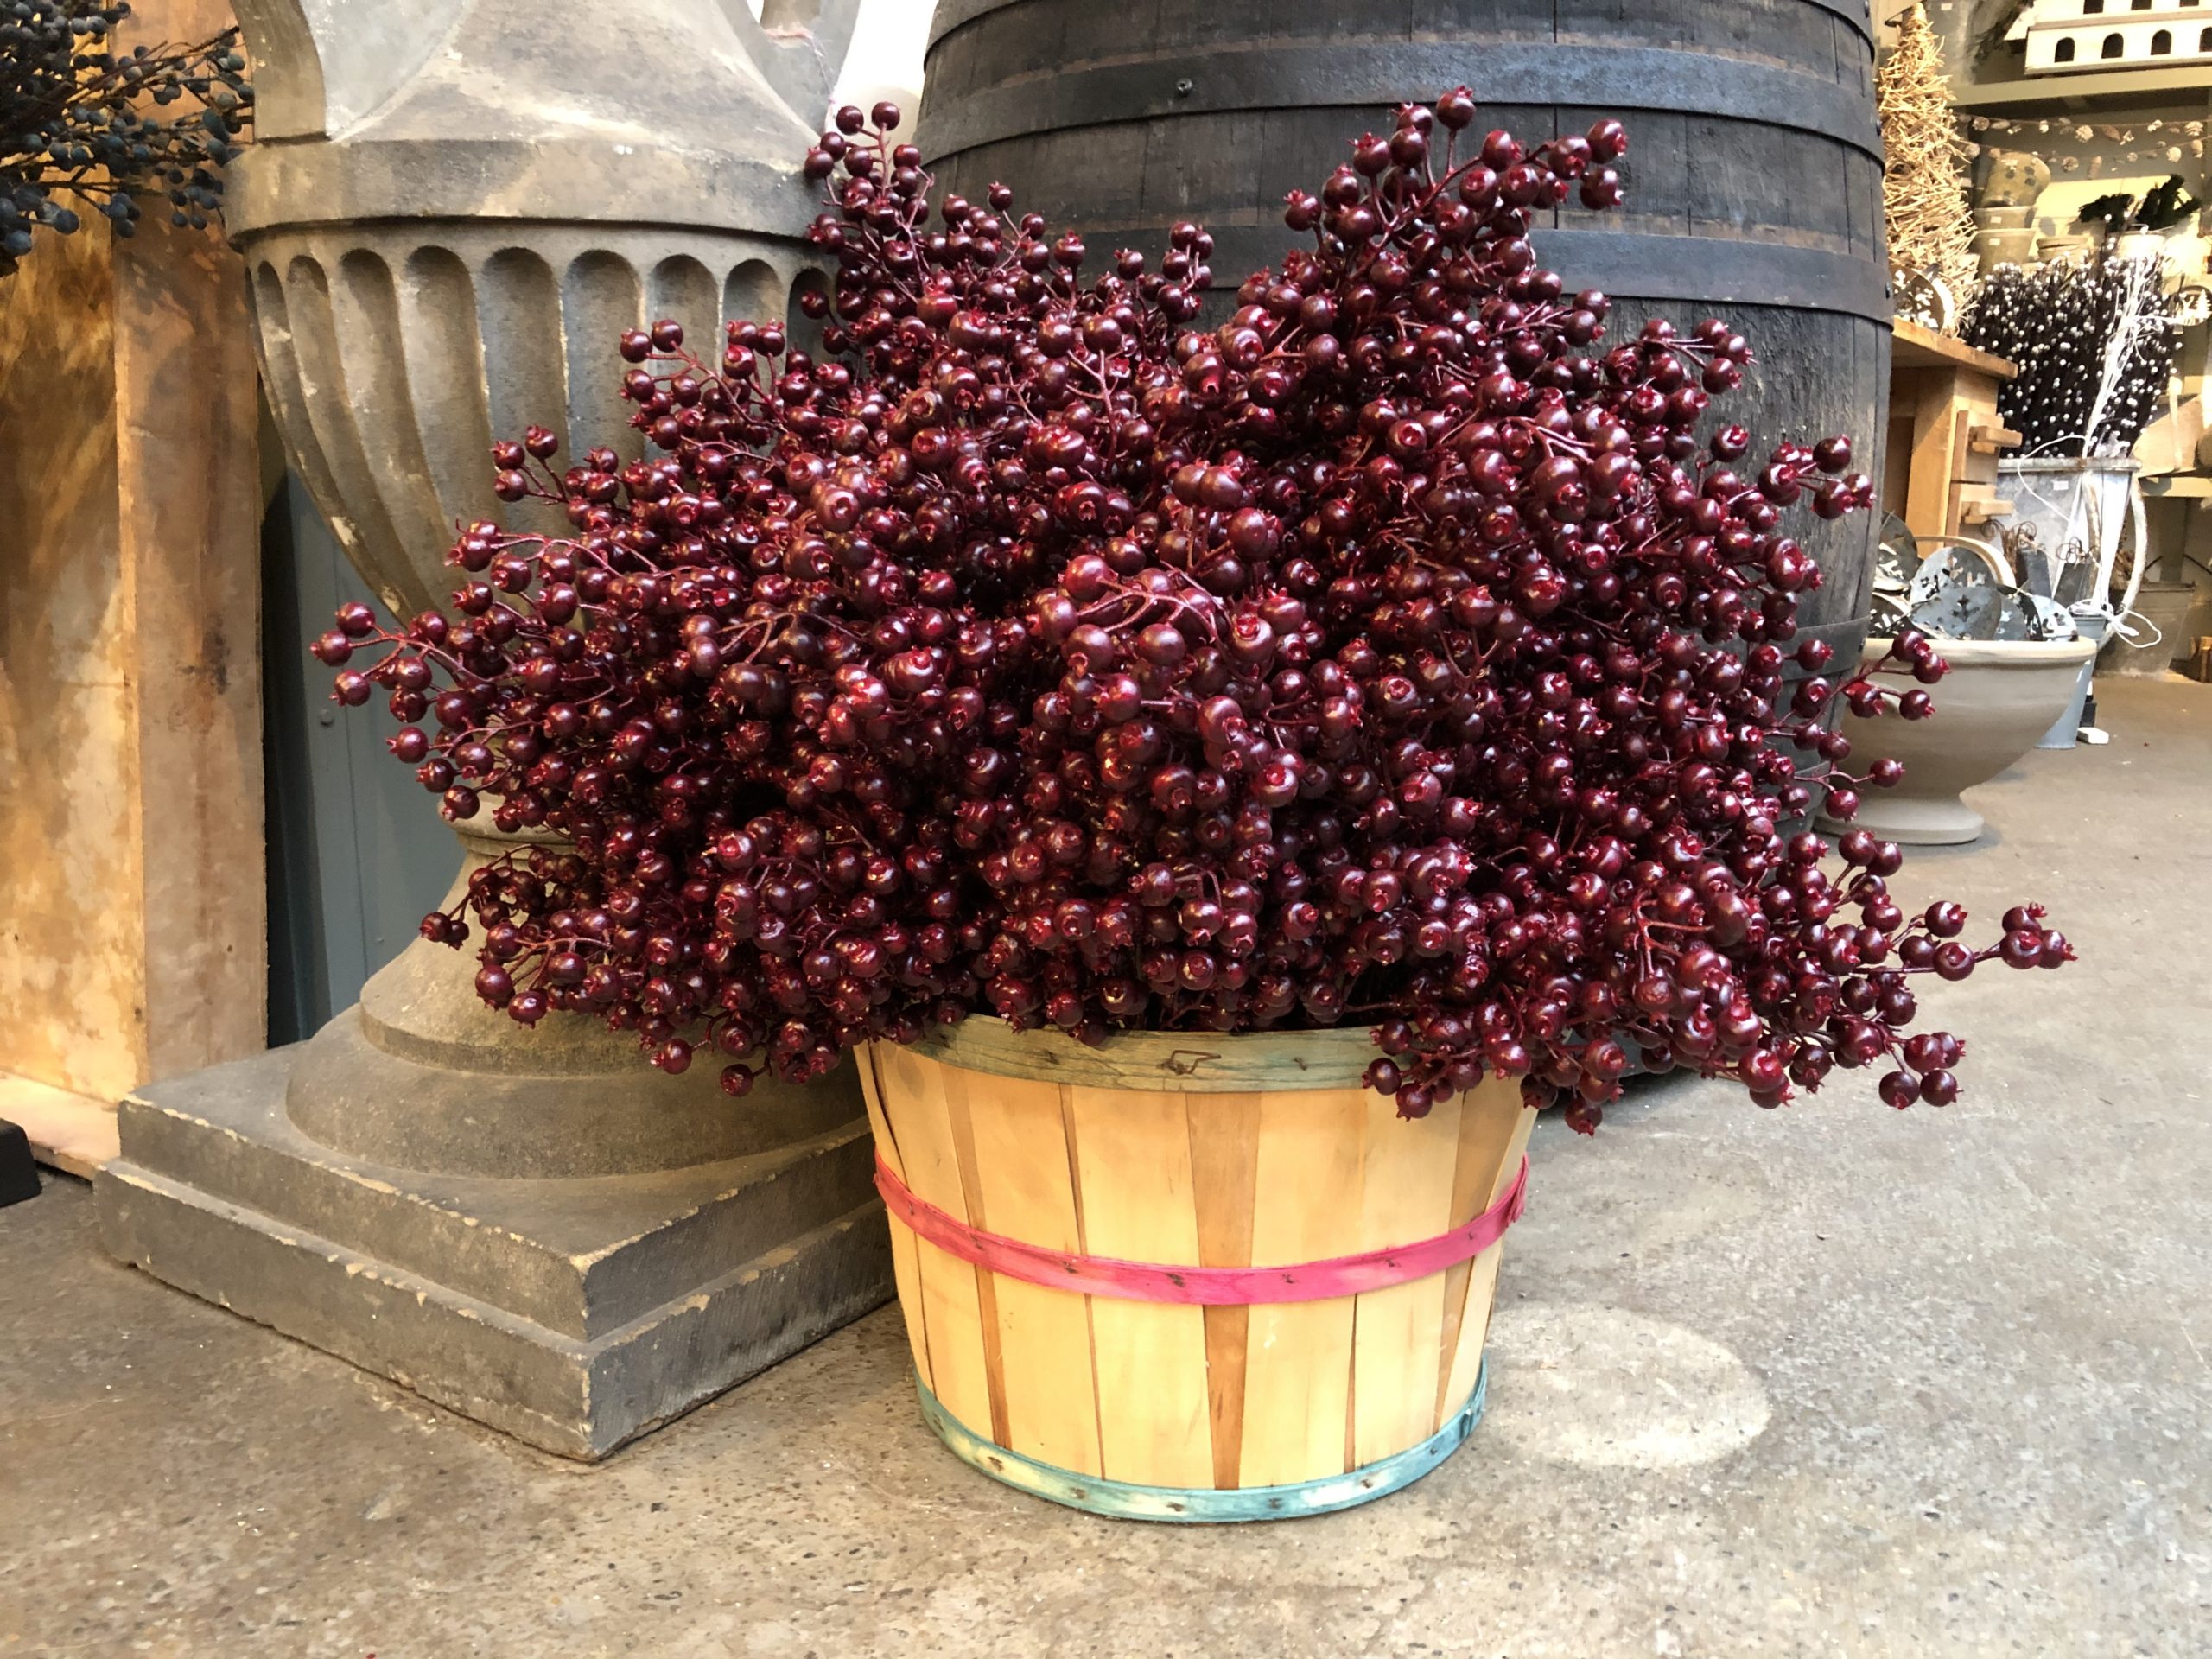
 A client came in last week wearing a tee shirt that had the word BEAUTY printed across it. A few days later her Mom came in, wearing the same shirt. I have no idea as to the origin, intent or meaning of that word having been printed on that shirt. I did not ask. But it did set me to thinking about beauty. And how the pursuit and appreciation of it has been a life’s work, and the source of so much pleasure and satisfaction. Like many others, I came to be a gardener from an intense interest and fascination with the natural world. The visual drama of an emerging leaf, the impossibly intense blue color of a delphinium flower, the fragrance of a mock orange in bloom, the shape of an ancient beech tree-everything about the life of plants provides vigorous exercise and engagement to all of the senses. It is not at all unusual to know of a gardener swooning over this or that flower. So normal in my circle and probably yours. The beauty of nature provides a profound pleasure for the heart, hand, and soul, if you will.
 A definitive explanation of what constitutes beauty is next to impossible, as it does not exist in a vacuum. A beauty designation is entirely arbitrary and fiercely personal. There is a unique relationship between the observer and the observed. What is seen and what is there to be seen. There are those gardeners who adore green flowers or spring ephemera, and those who wax poetic about hot pink peonies, yellow dahlias and red hibiscus. There are others that would be hard pressed to name a plant they don’t like, just as there are those who think that a beautiful landscape would by definition be confined to hellebores and beech trees. Zinnias are most beautiful to me in large part as they remind me of my Mom. Everyone has their own closely held ideas about what is beautiful.
 What constitutes beauty in a garden is a topic of endless discussion. Gardeners and designers of gardens fiercely debate the fine points, and acknowledge their common ground. I admire some gardens and landscapes more than others, as some are more beautiful to me than others. Whether it be plants, houses, landscapes, art, books, music, bridges or… garden pots, a need for beauty has always been an integral part of the human experience. It is as simple and as complex as that.
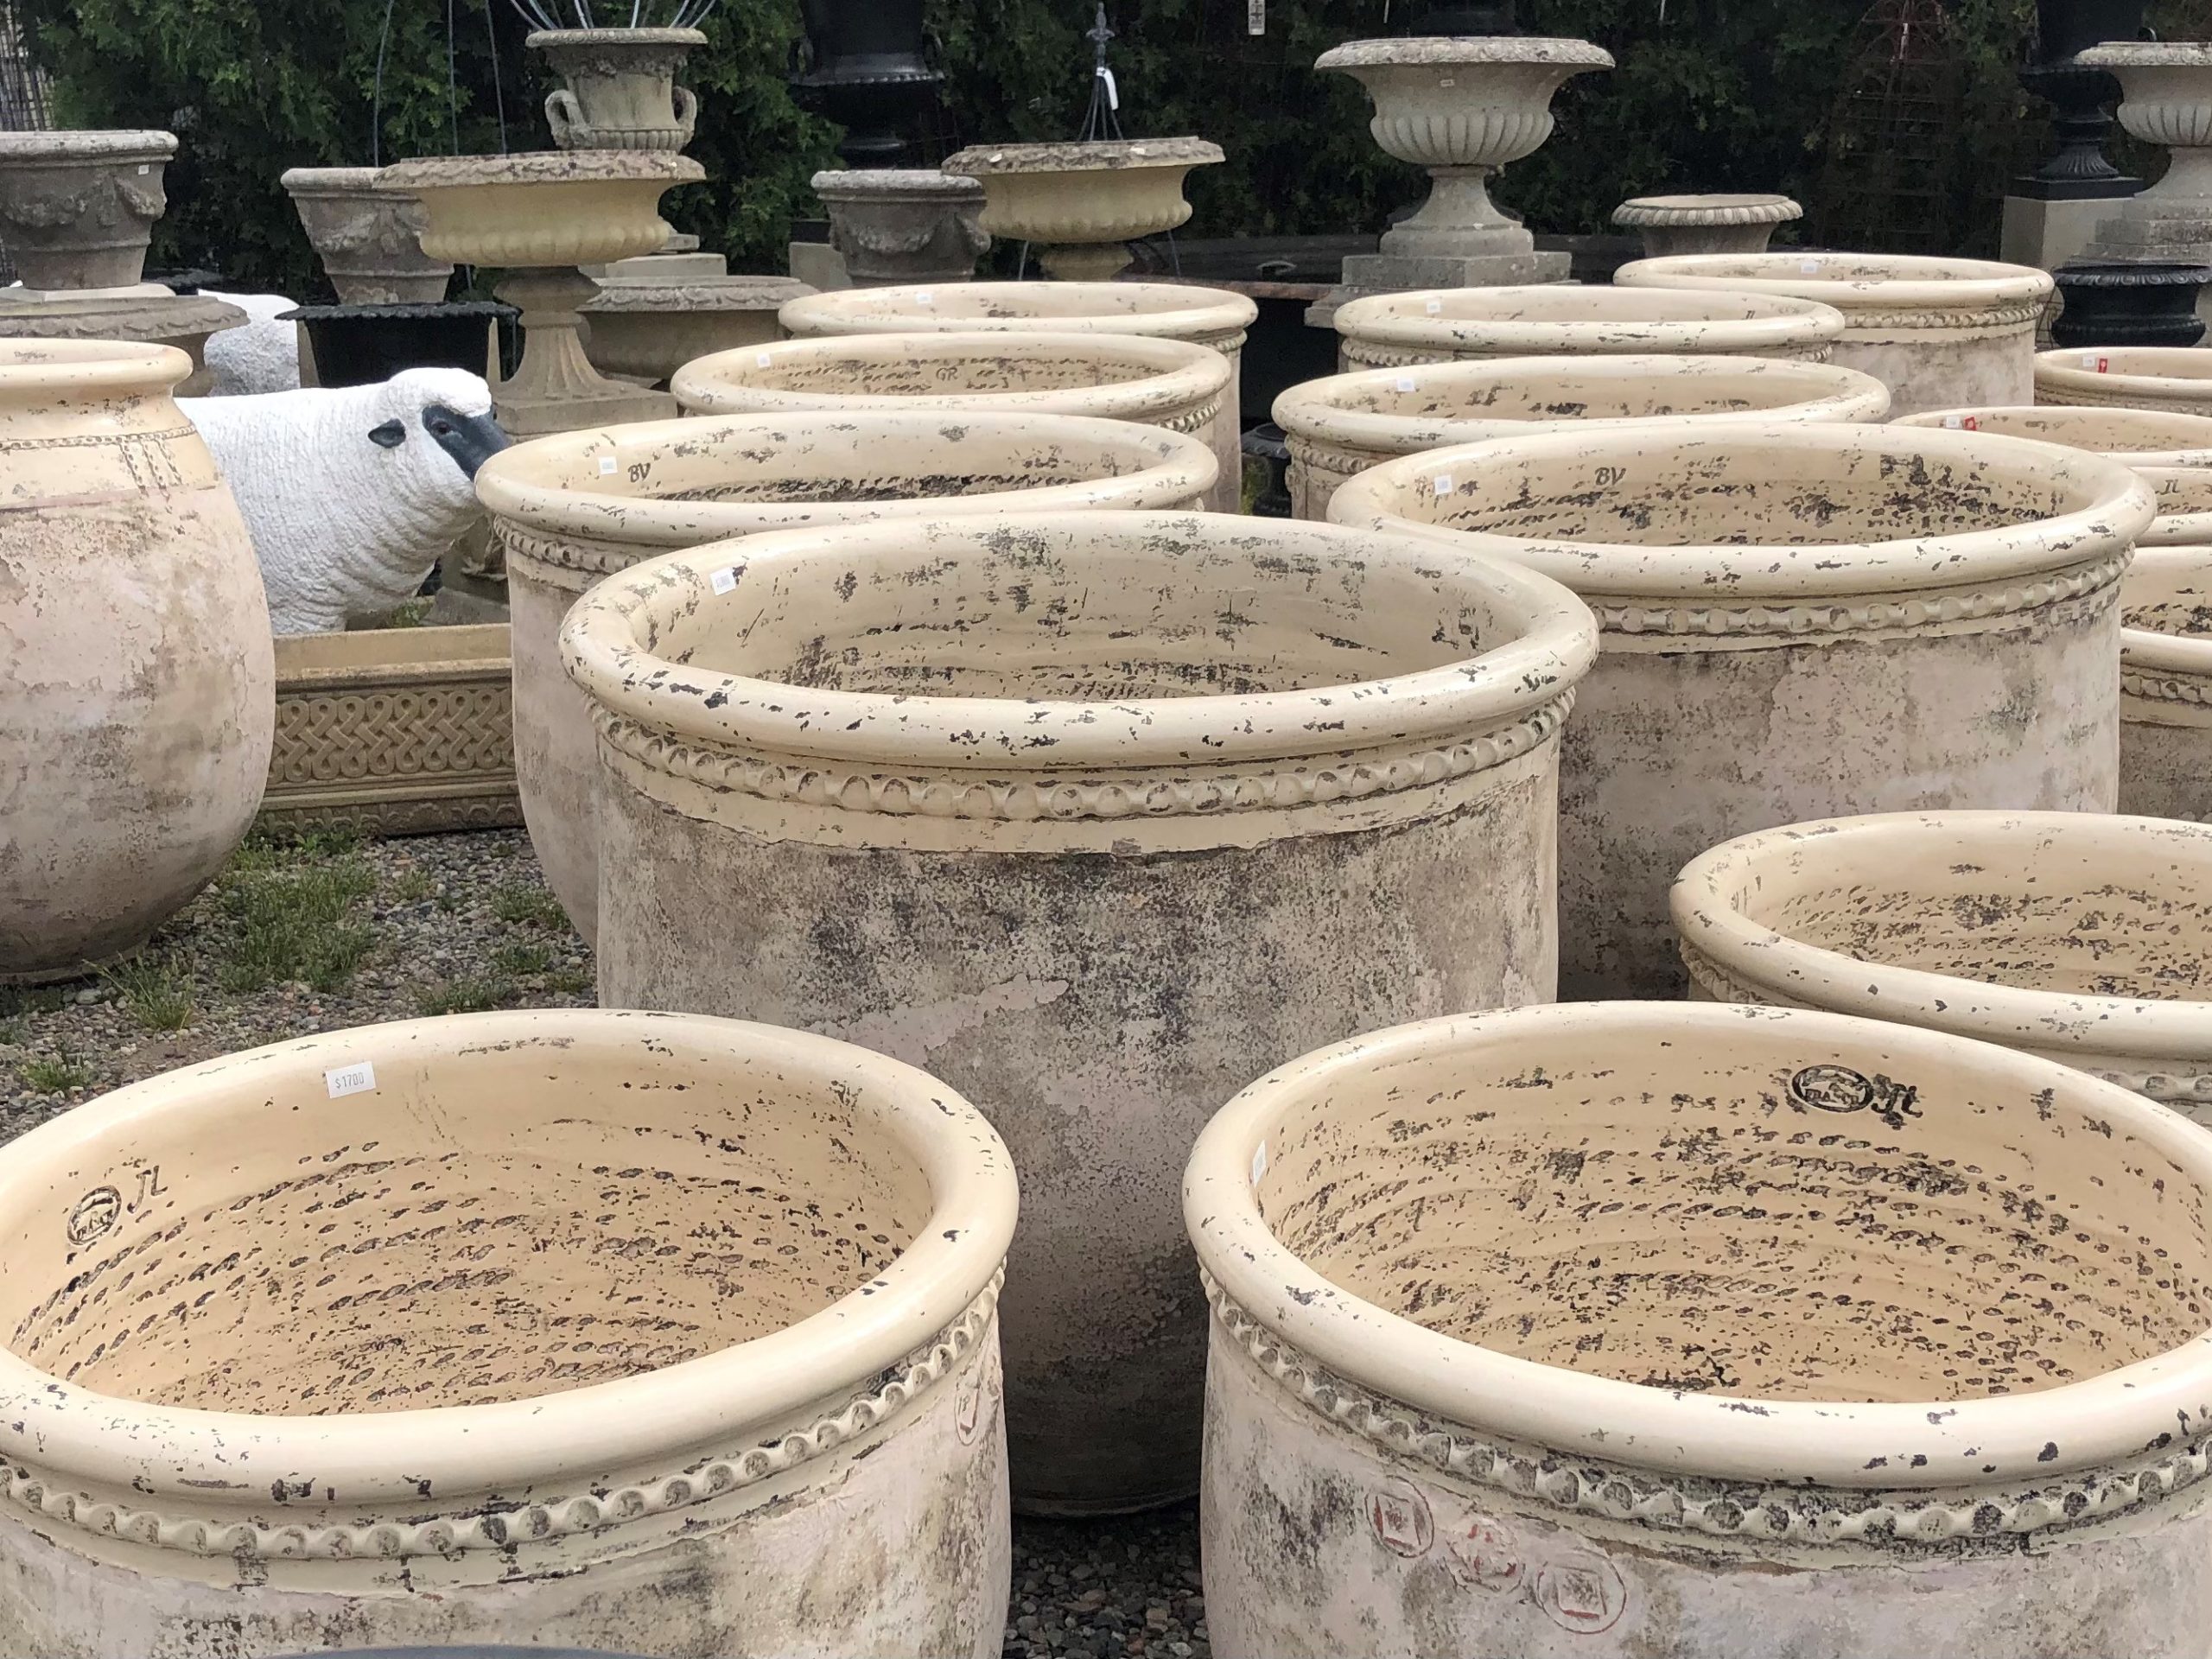 It has been my good fortune over the years to come in contact with ornament for the garden of great beauty. I owe most of that exposure to Rob, who has been shopping and buying for Detroit Garden Works since before it opened in 1996. It is our 25th year in business this year. I find it remarkable that a modestly sized garden shop in the Midwest has not only survived for that long, it has prospered – buying and selling objects and plants of beauty for the garden. That beauty designation by Rob might include something smart and forward thinking. Some other item might be redolent of the earthy odor of history, sassy and off center, or strongly evocative of a farm garden. His is a very discerning eye, and his range of expertise in his field has been amassed over a long period of time. Opening the shop all those years ago was about wanting to share that aesthetic with other gardeners, and make beautiful garden ornament available to others. That is what we do – celebrate the beauty of the garden.
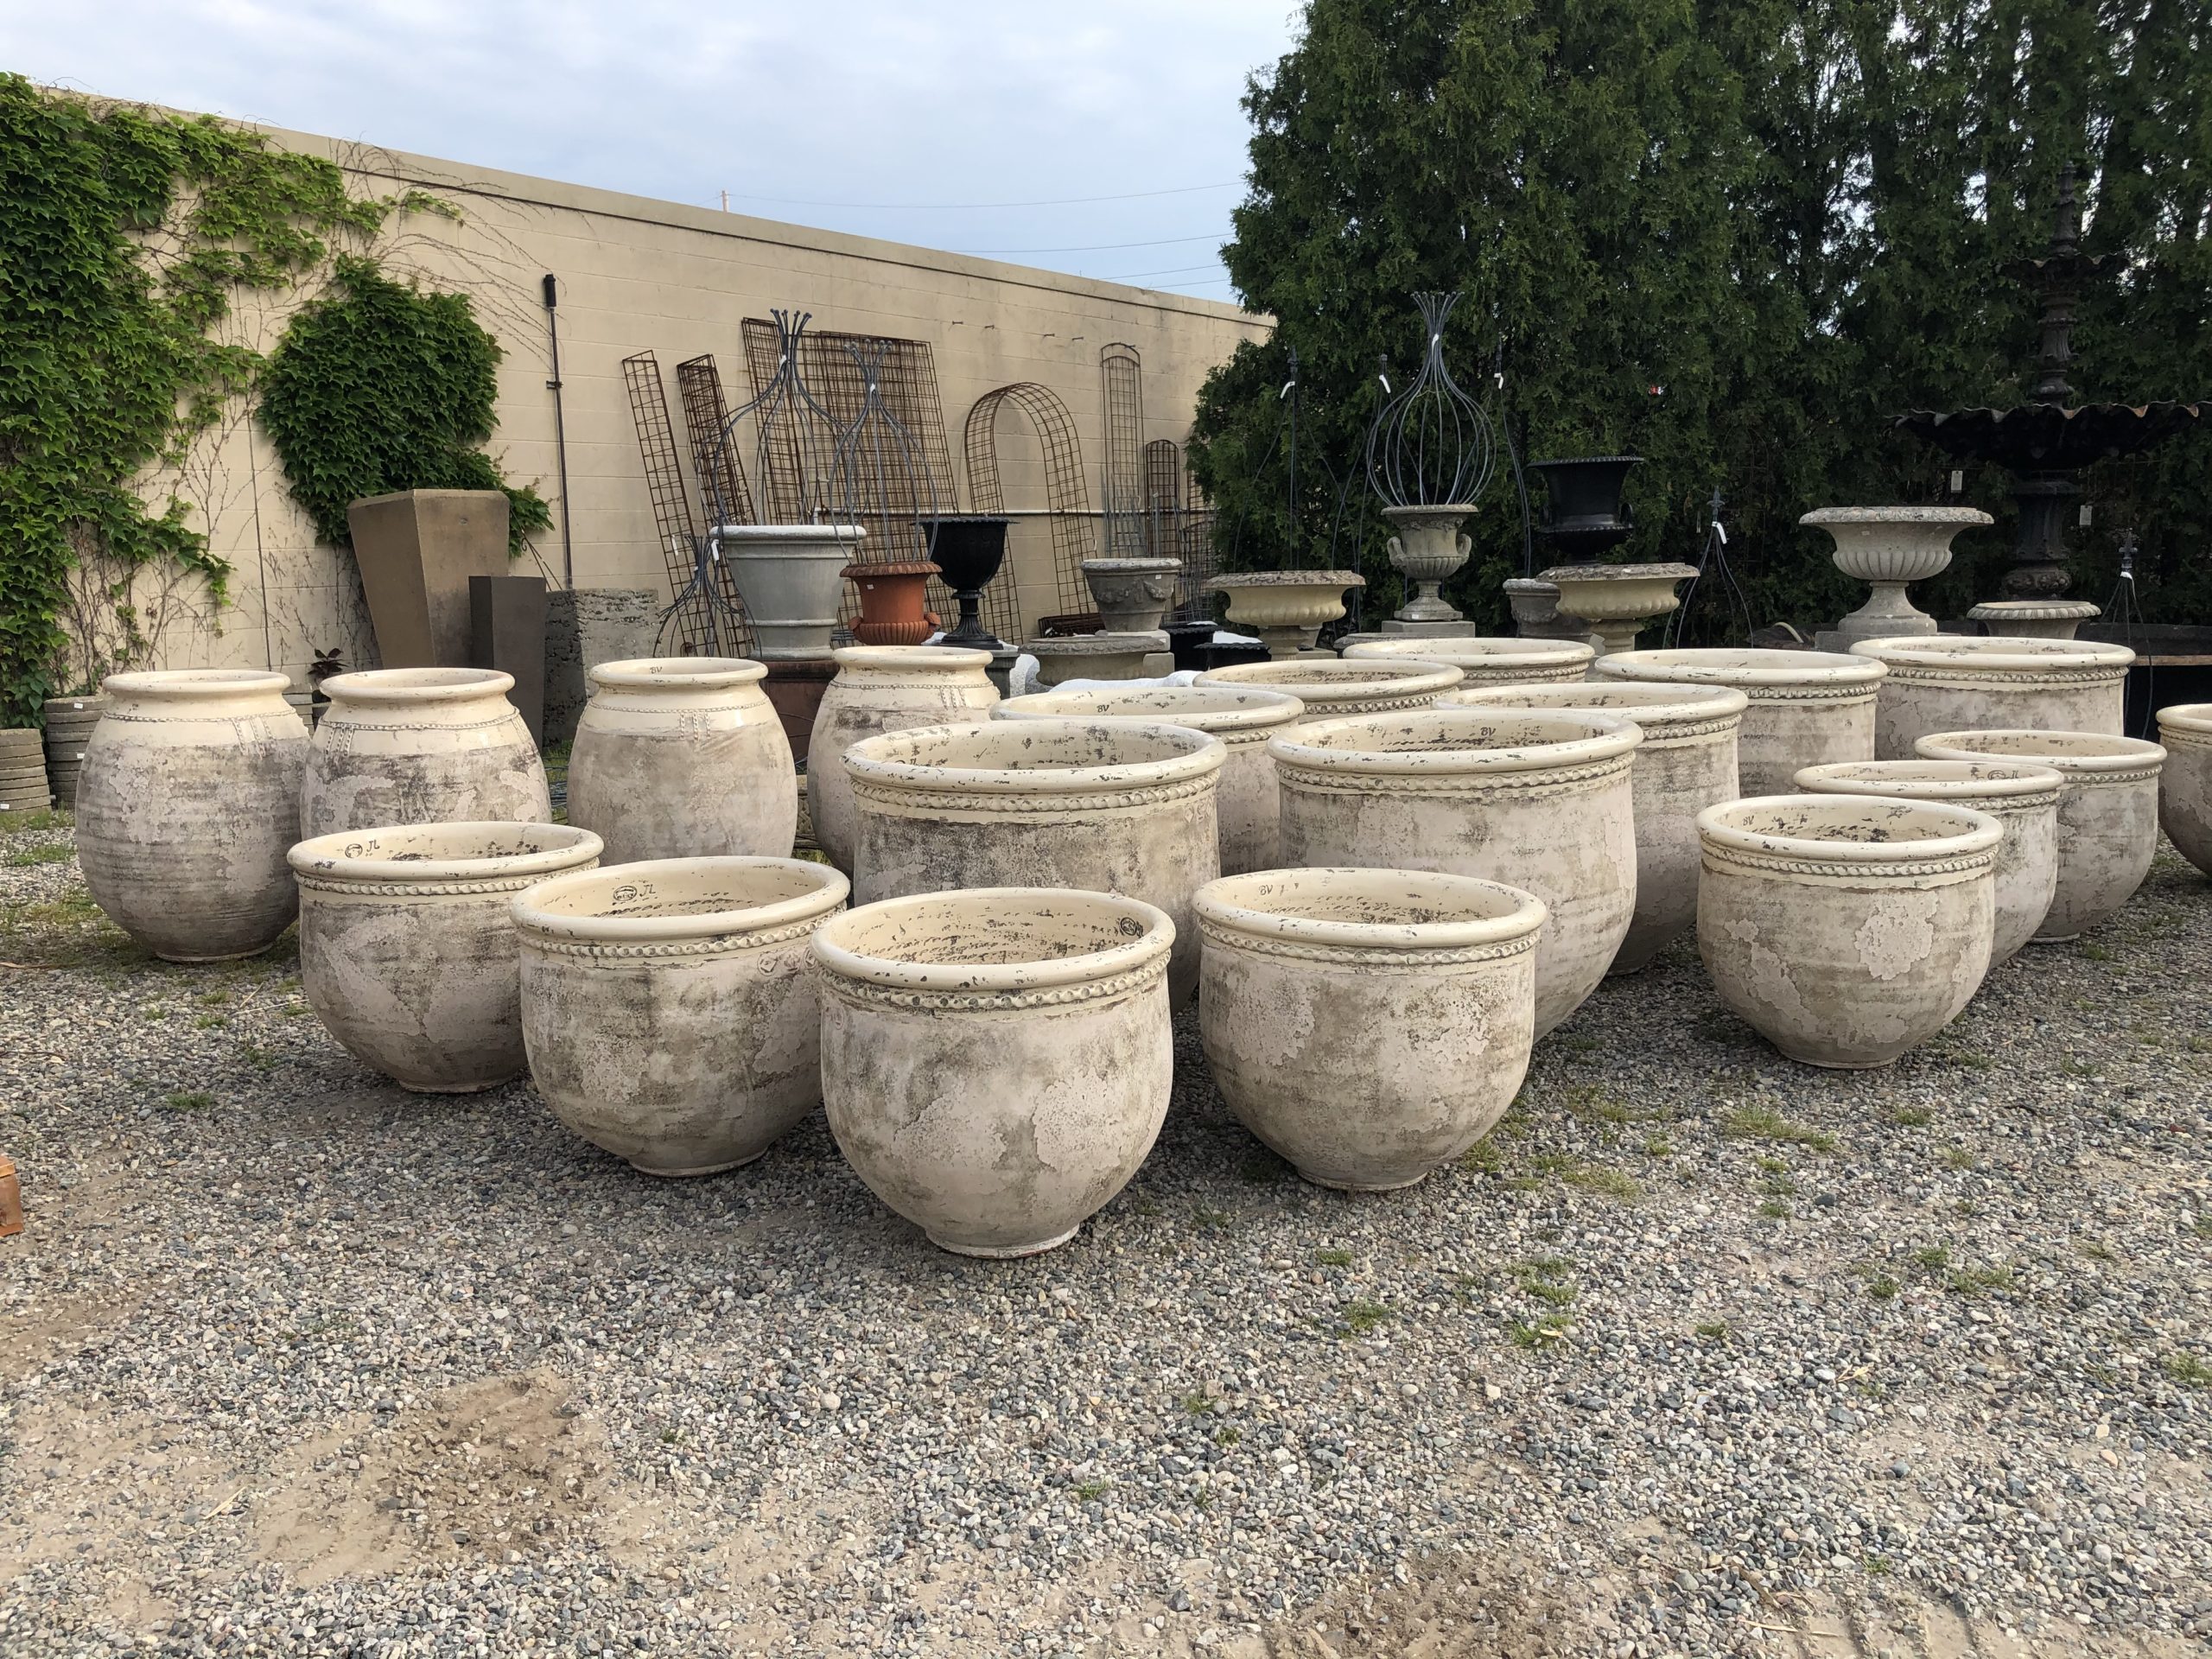
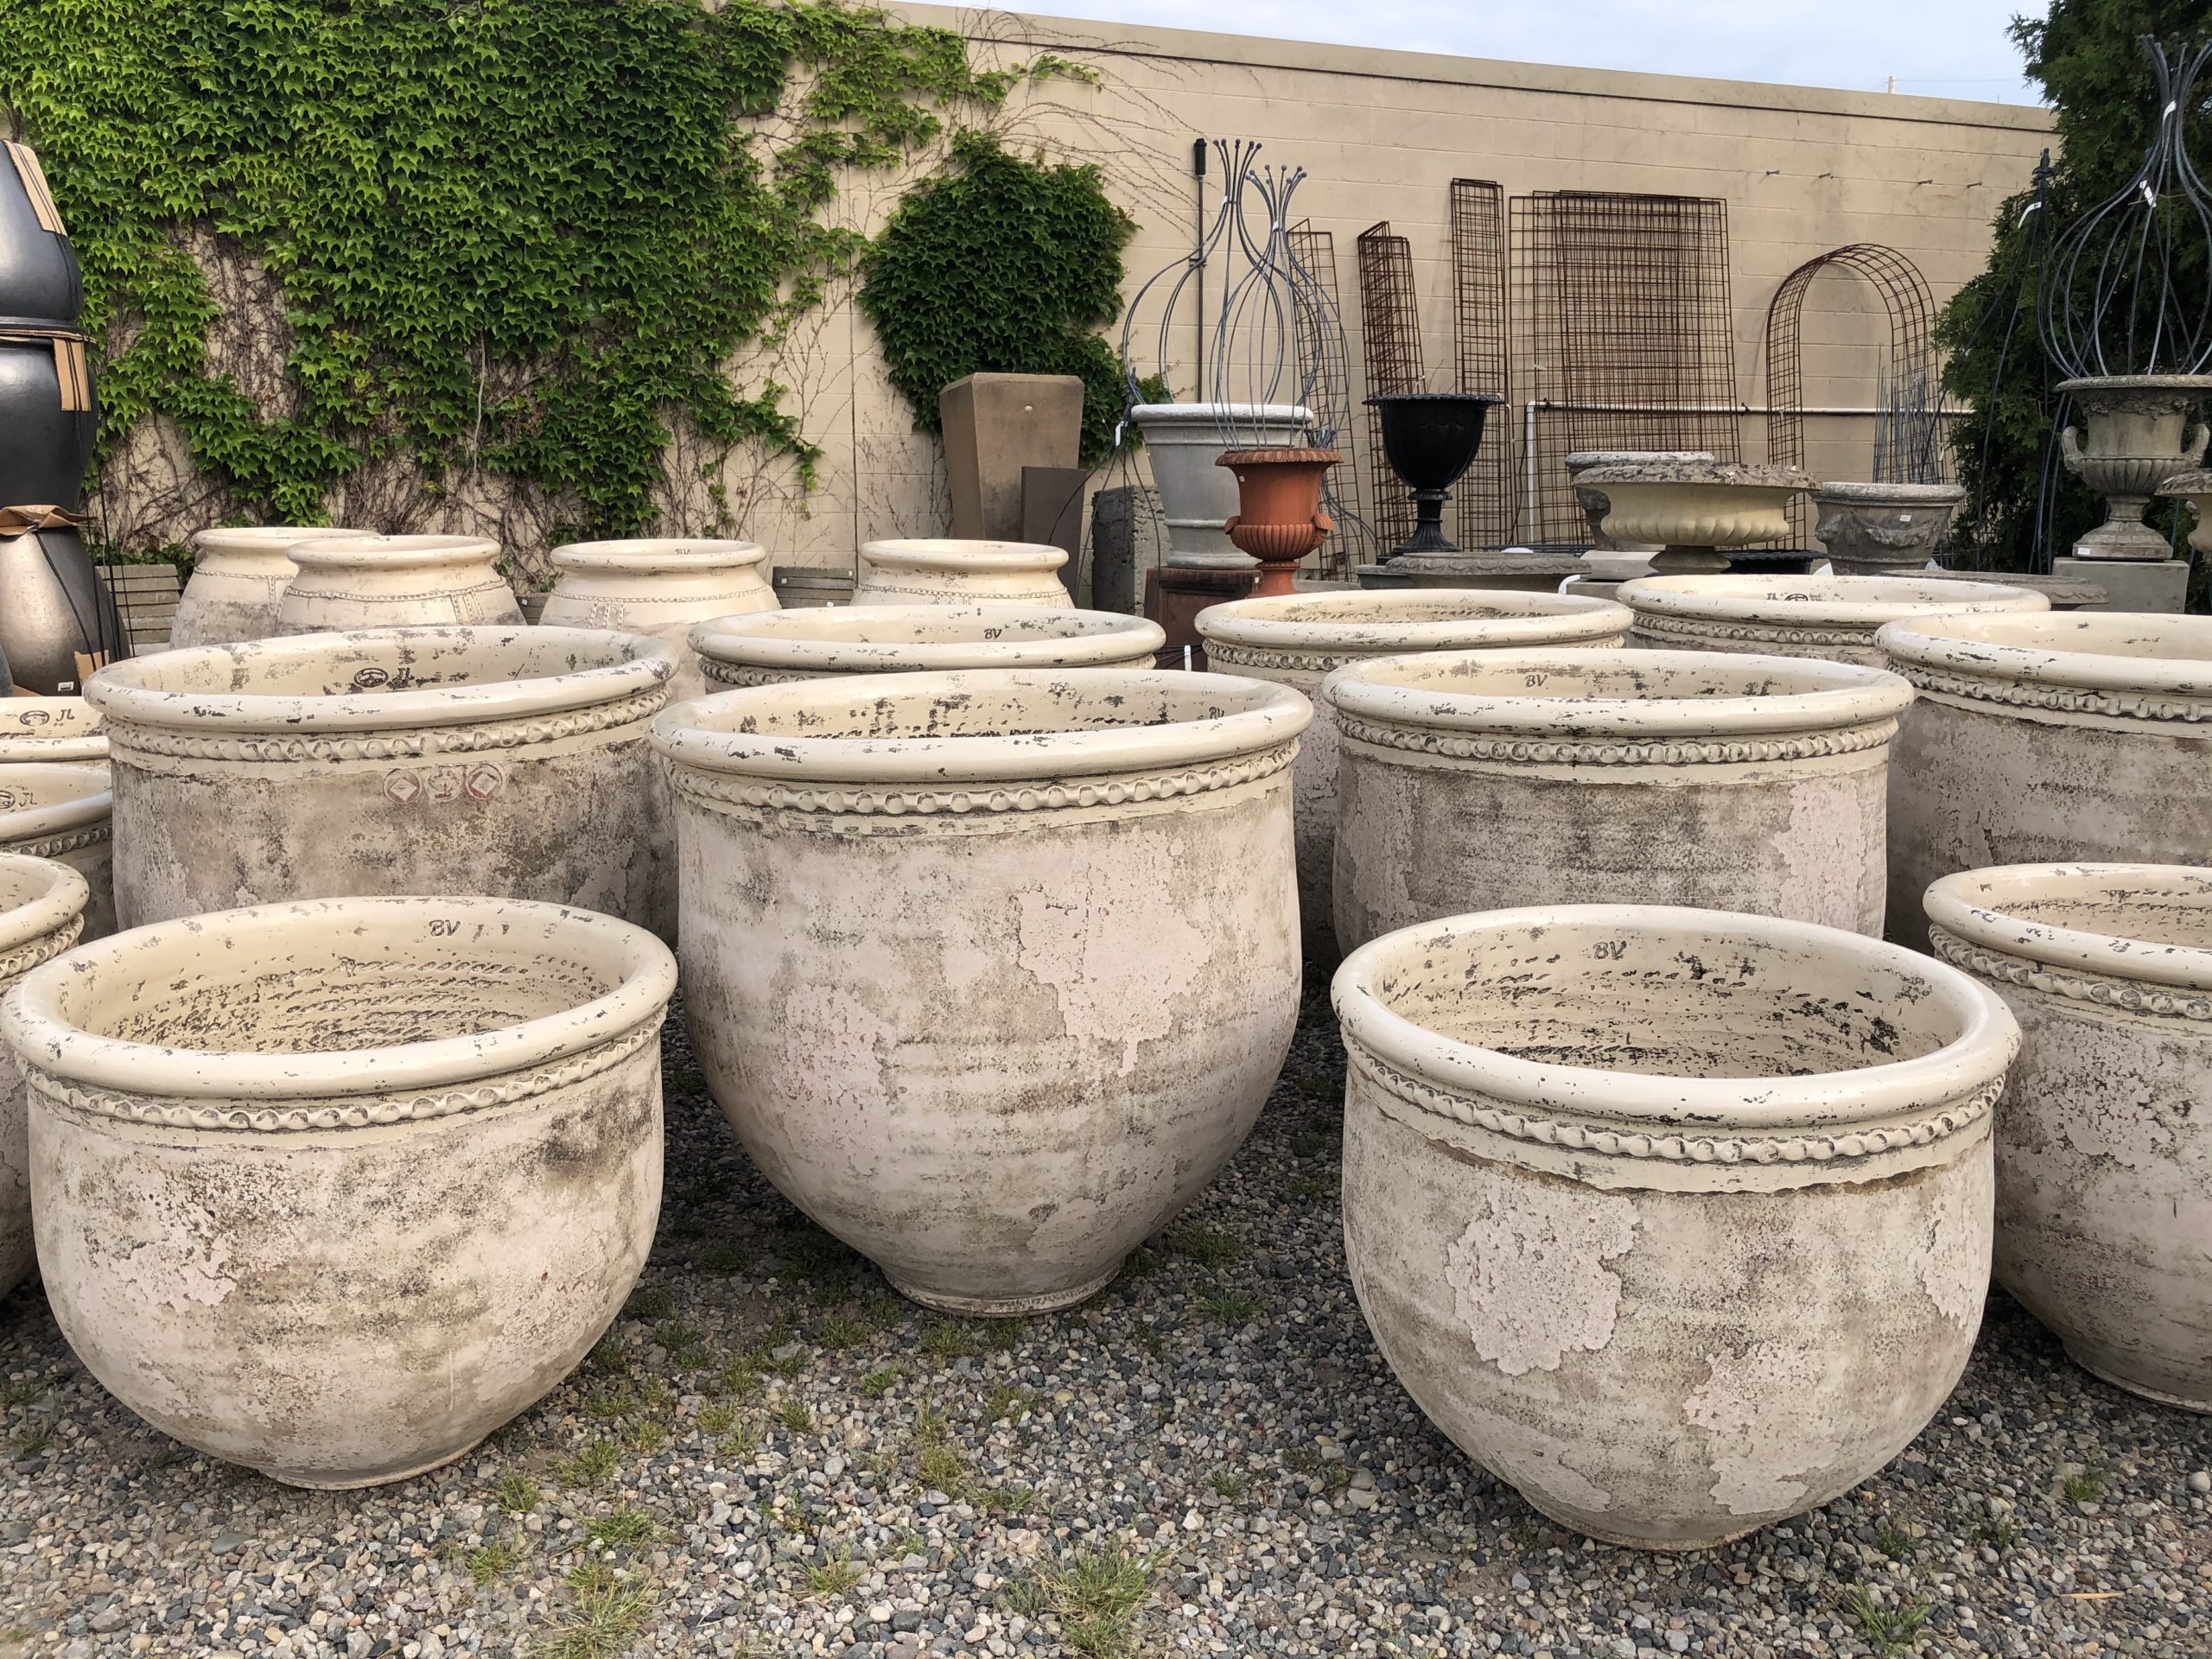
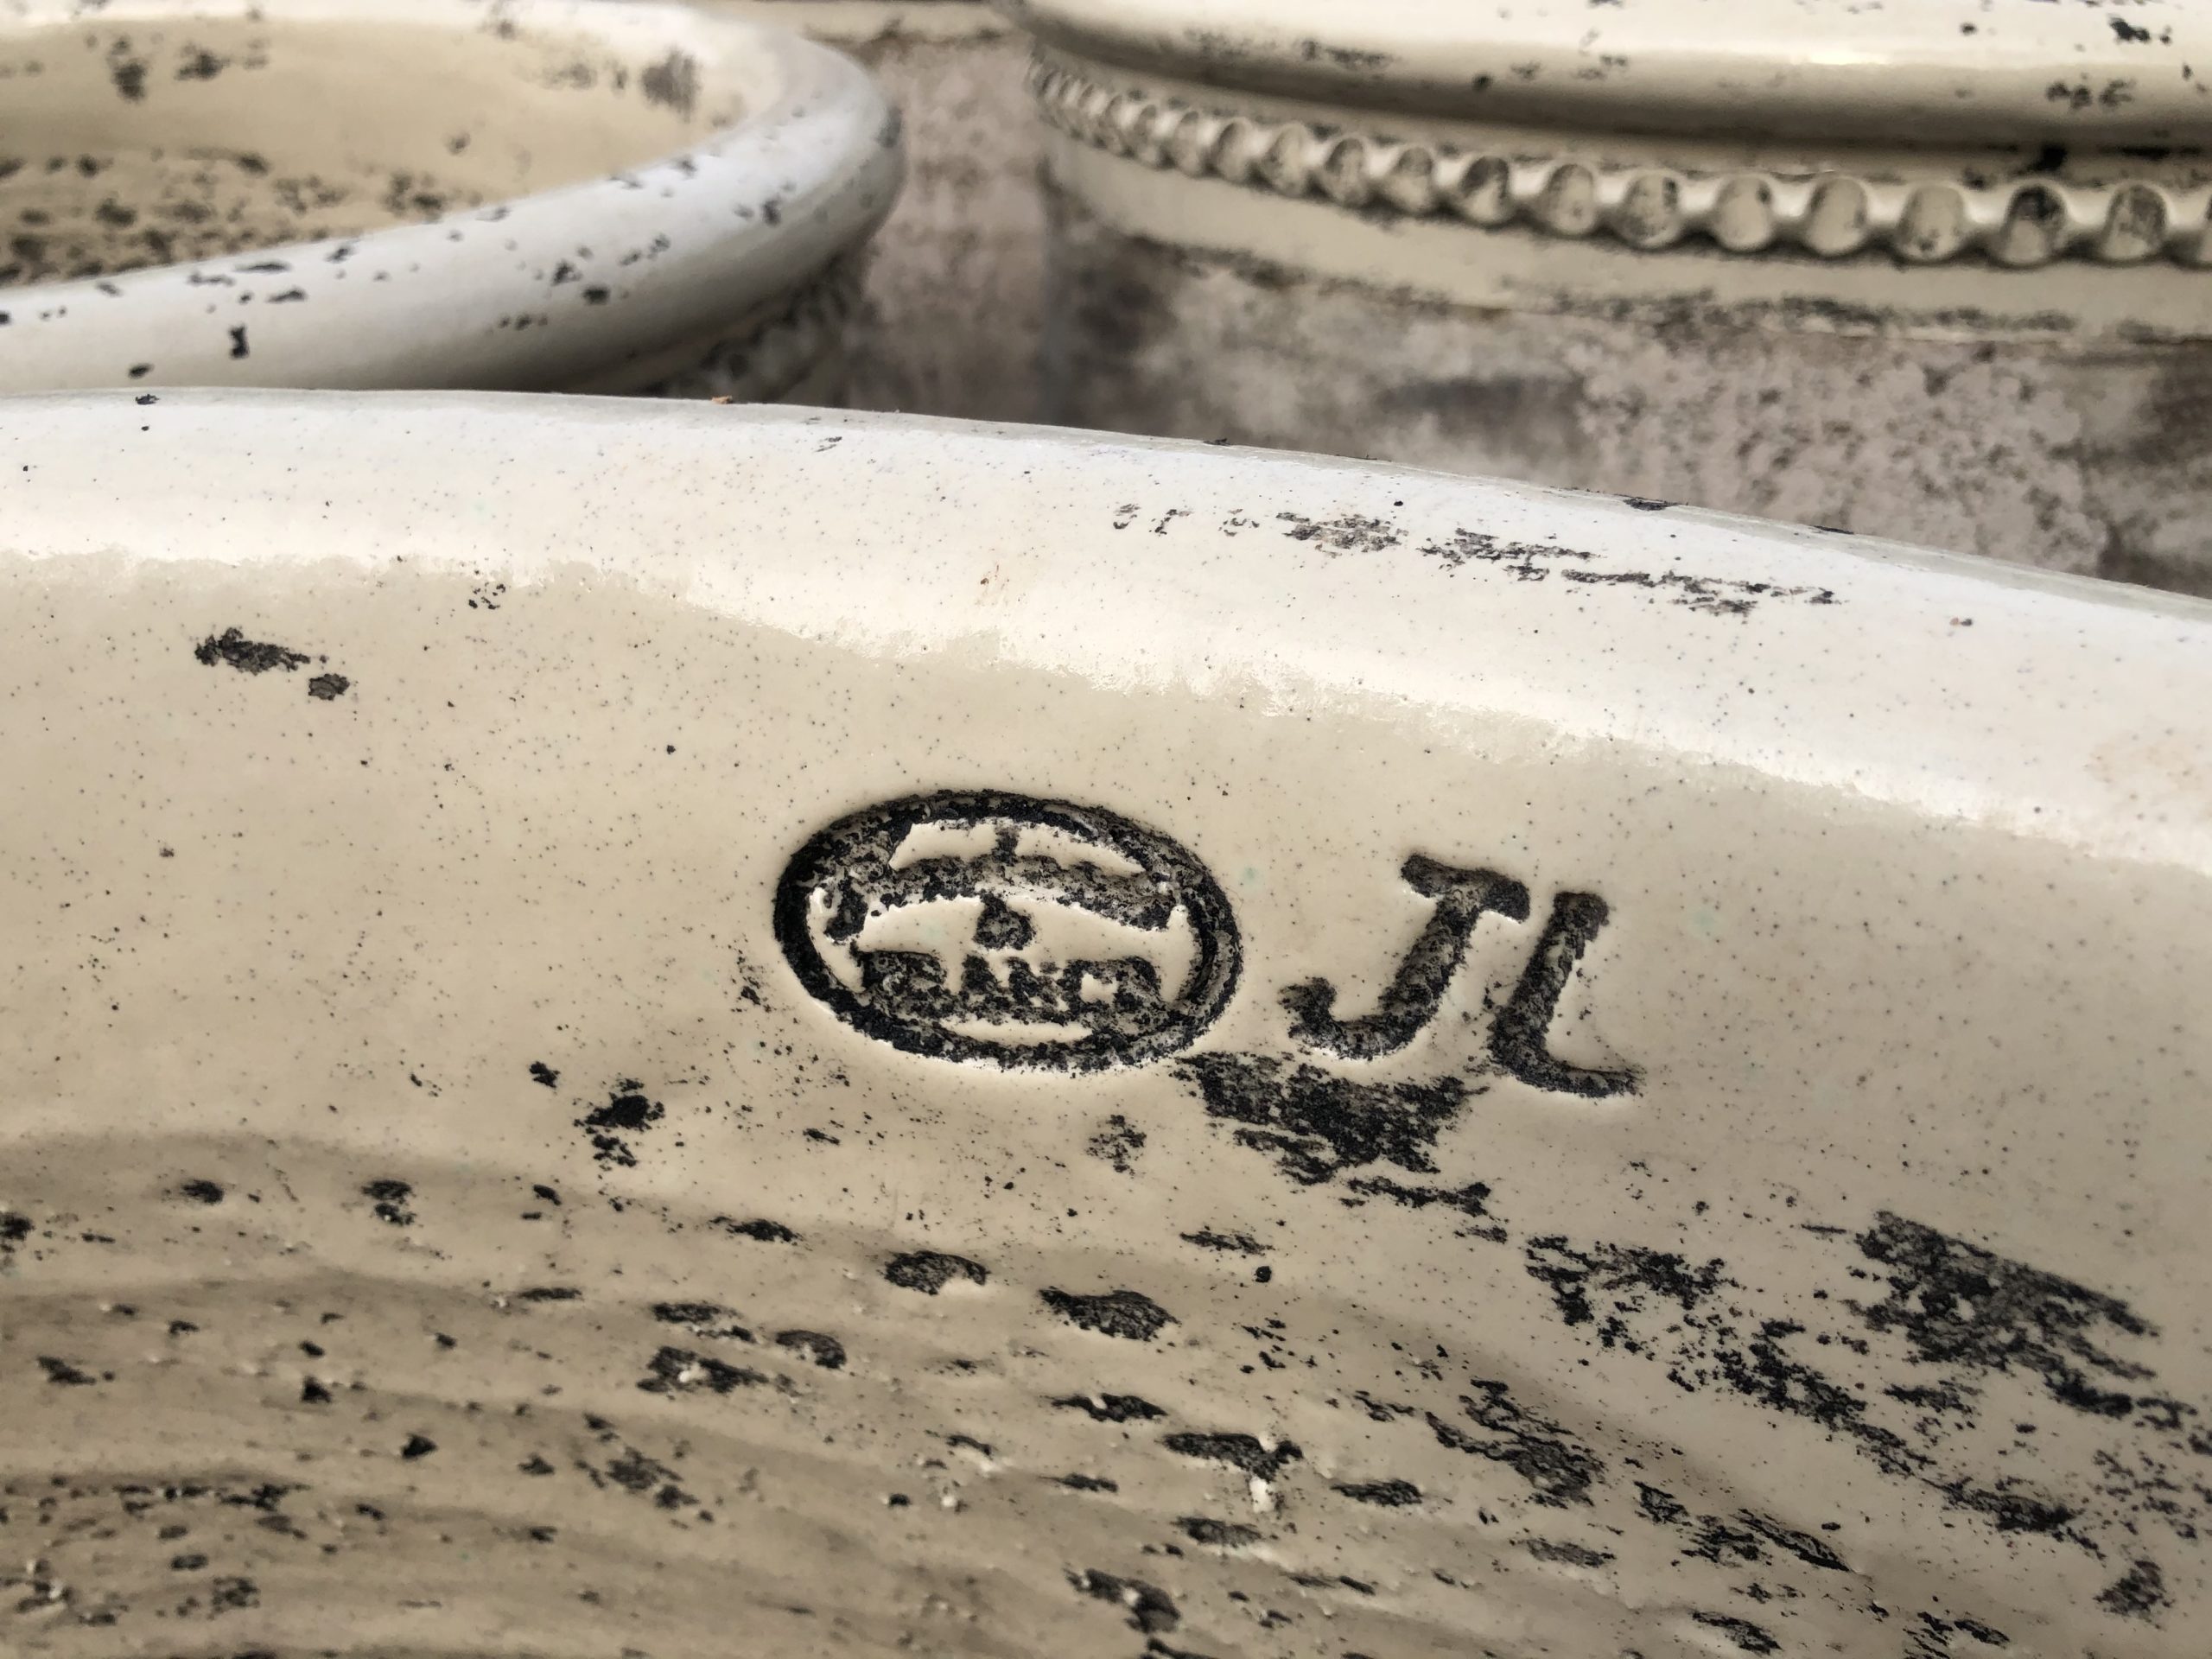
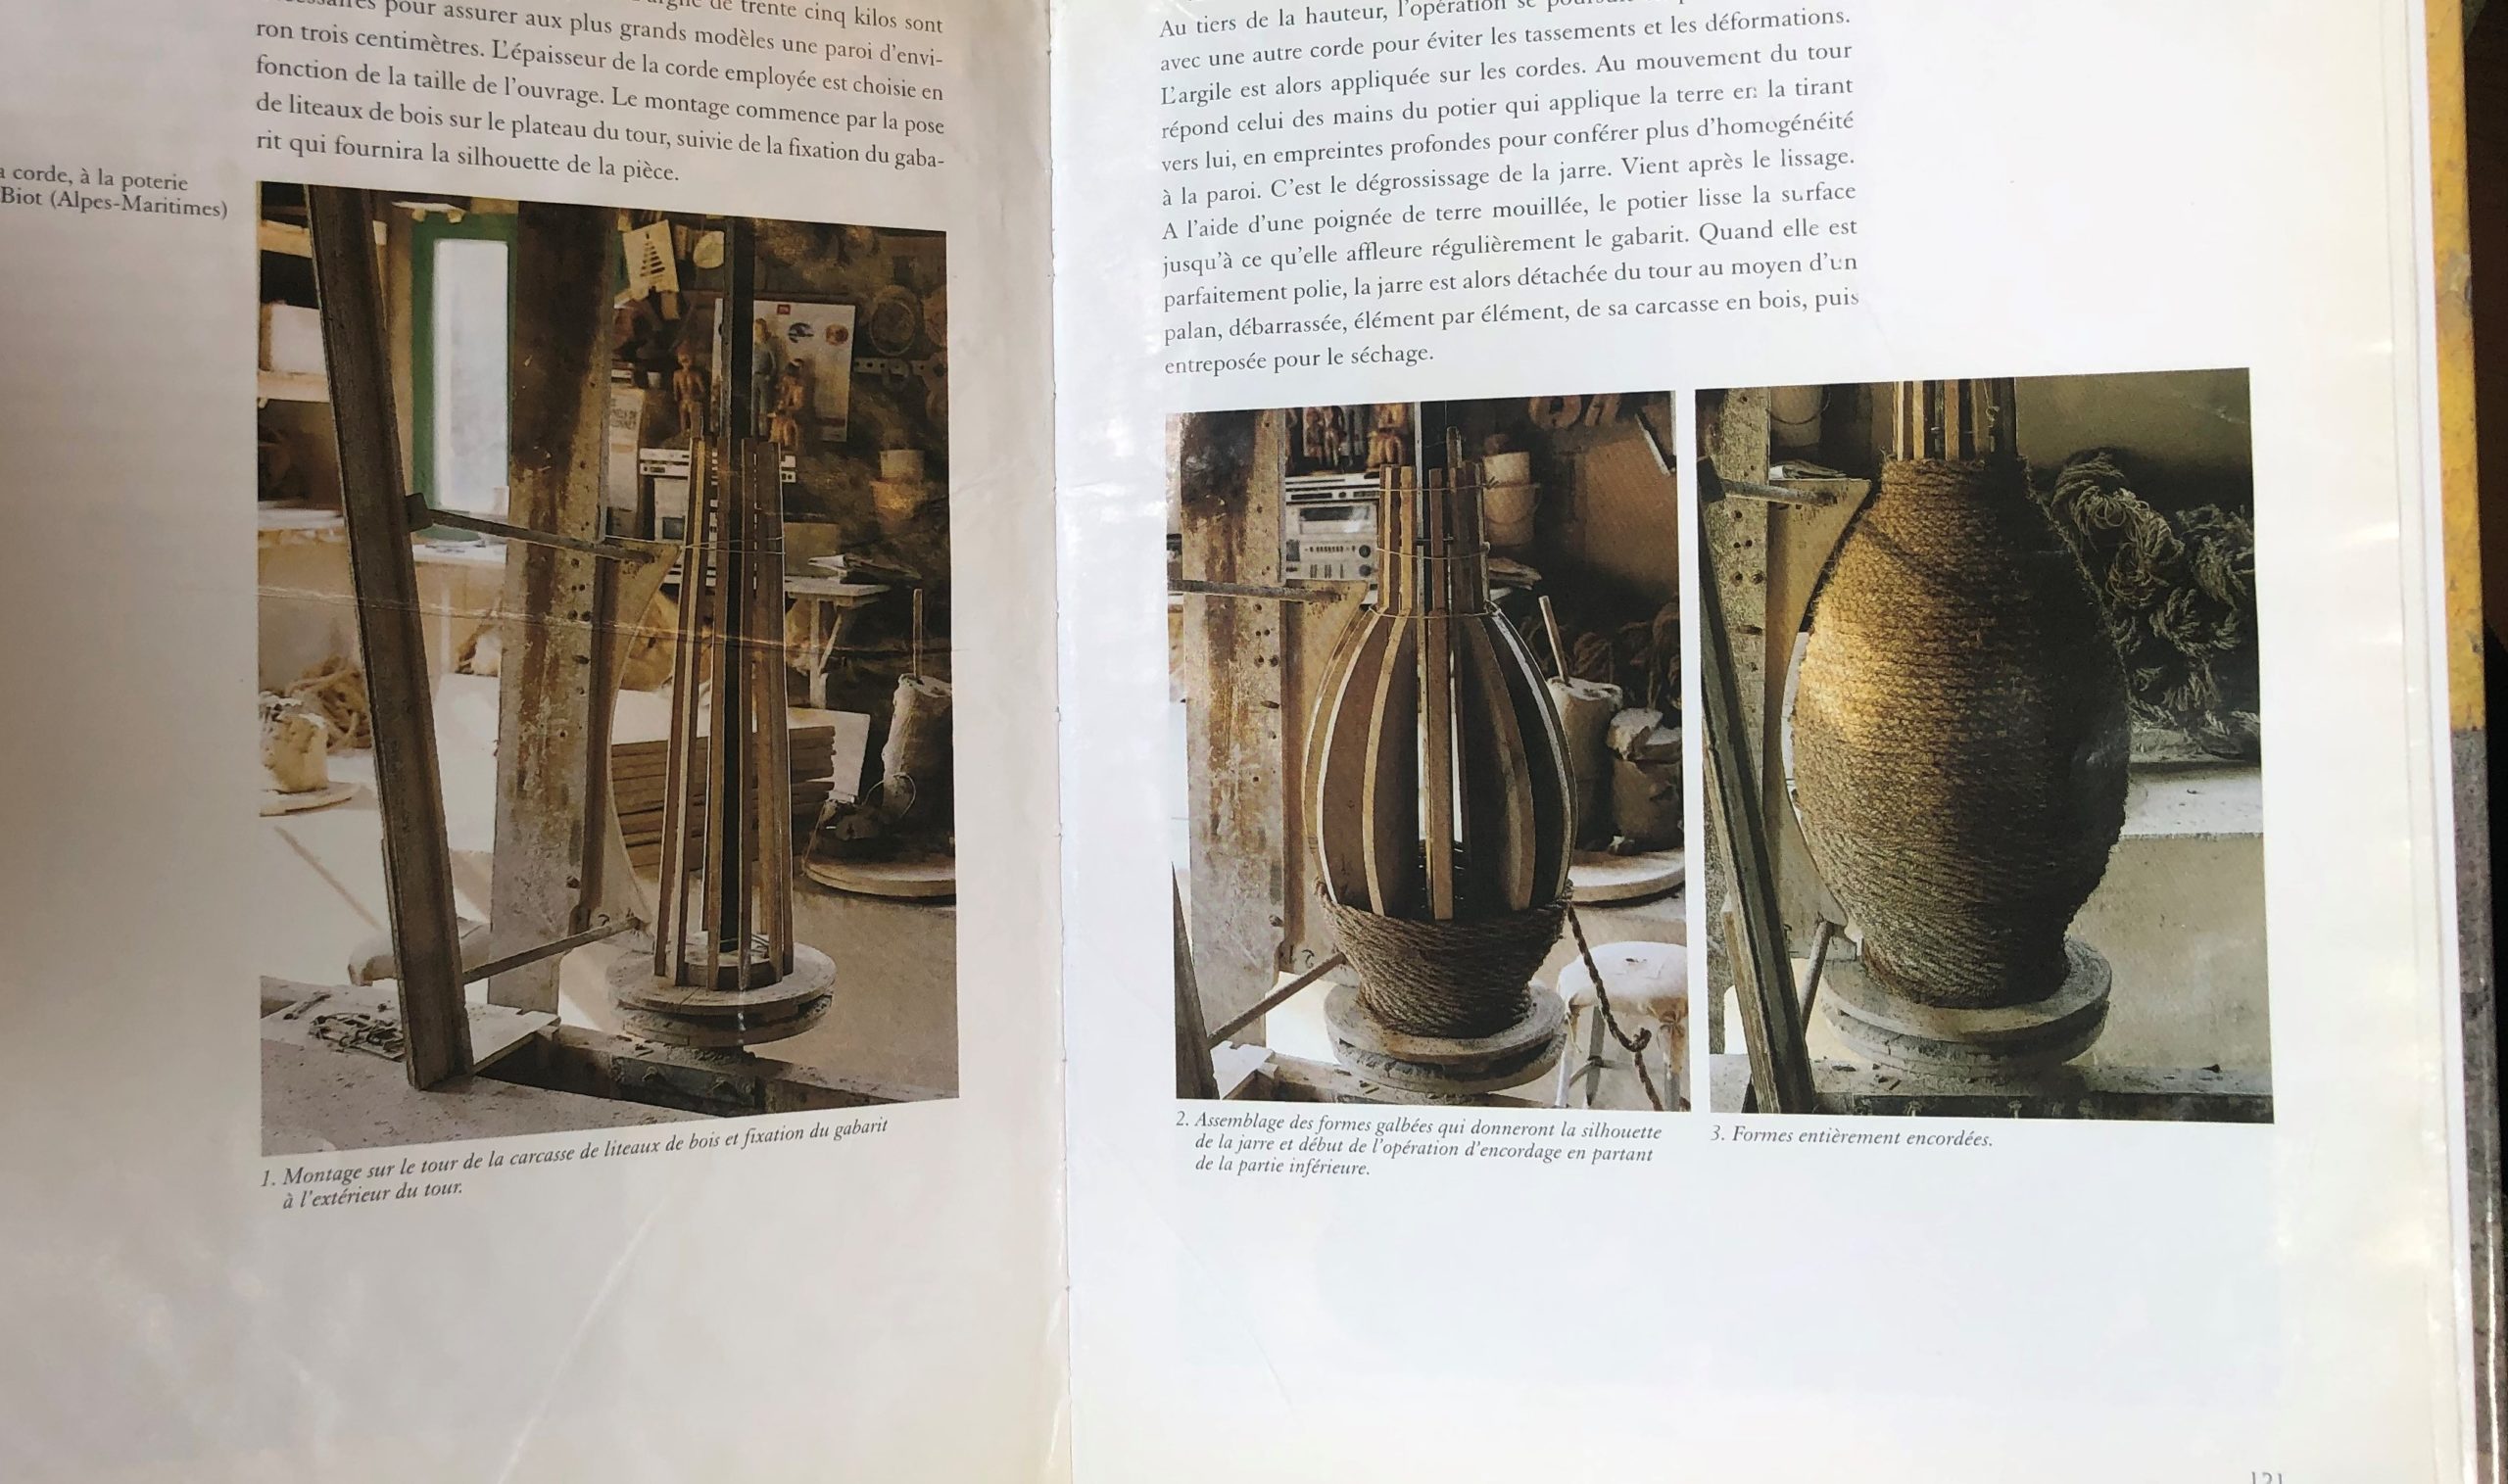
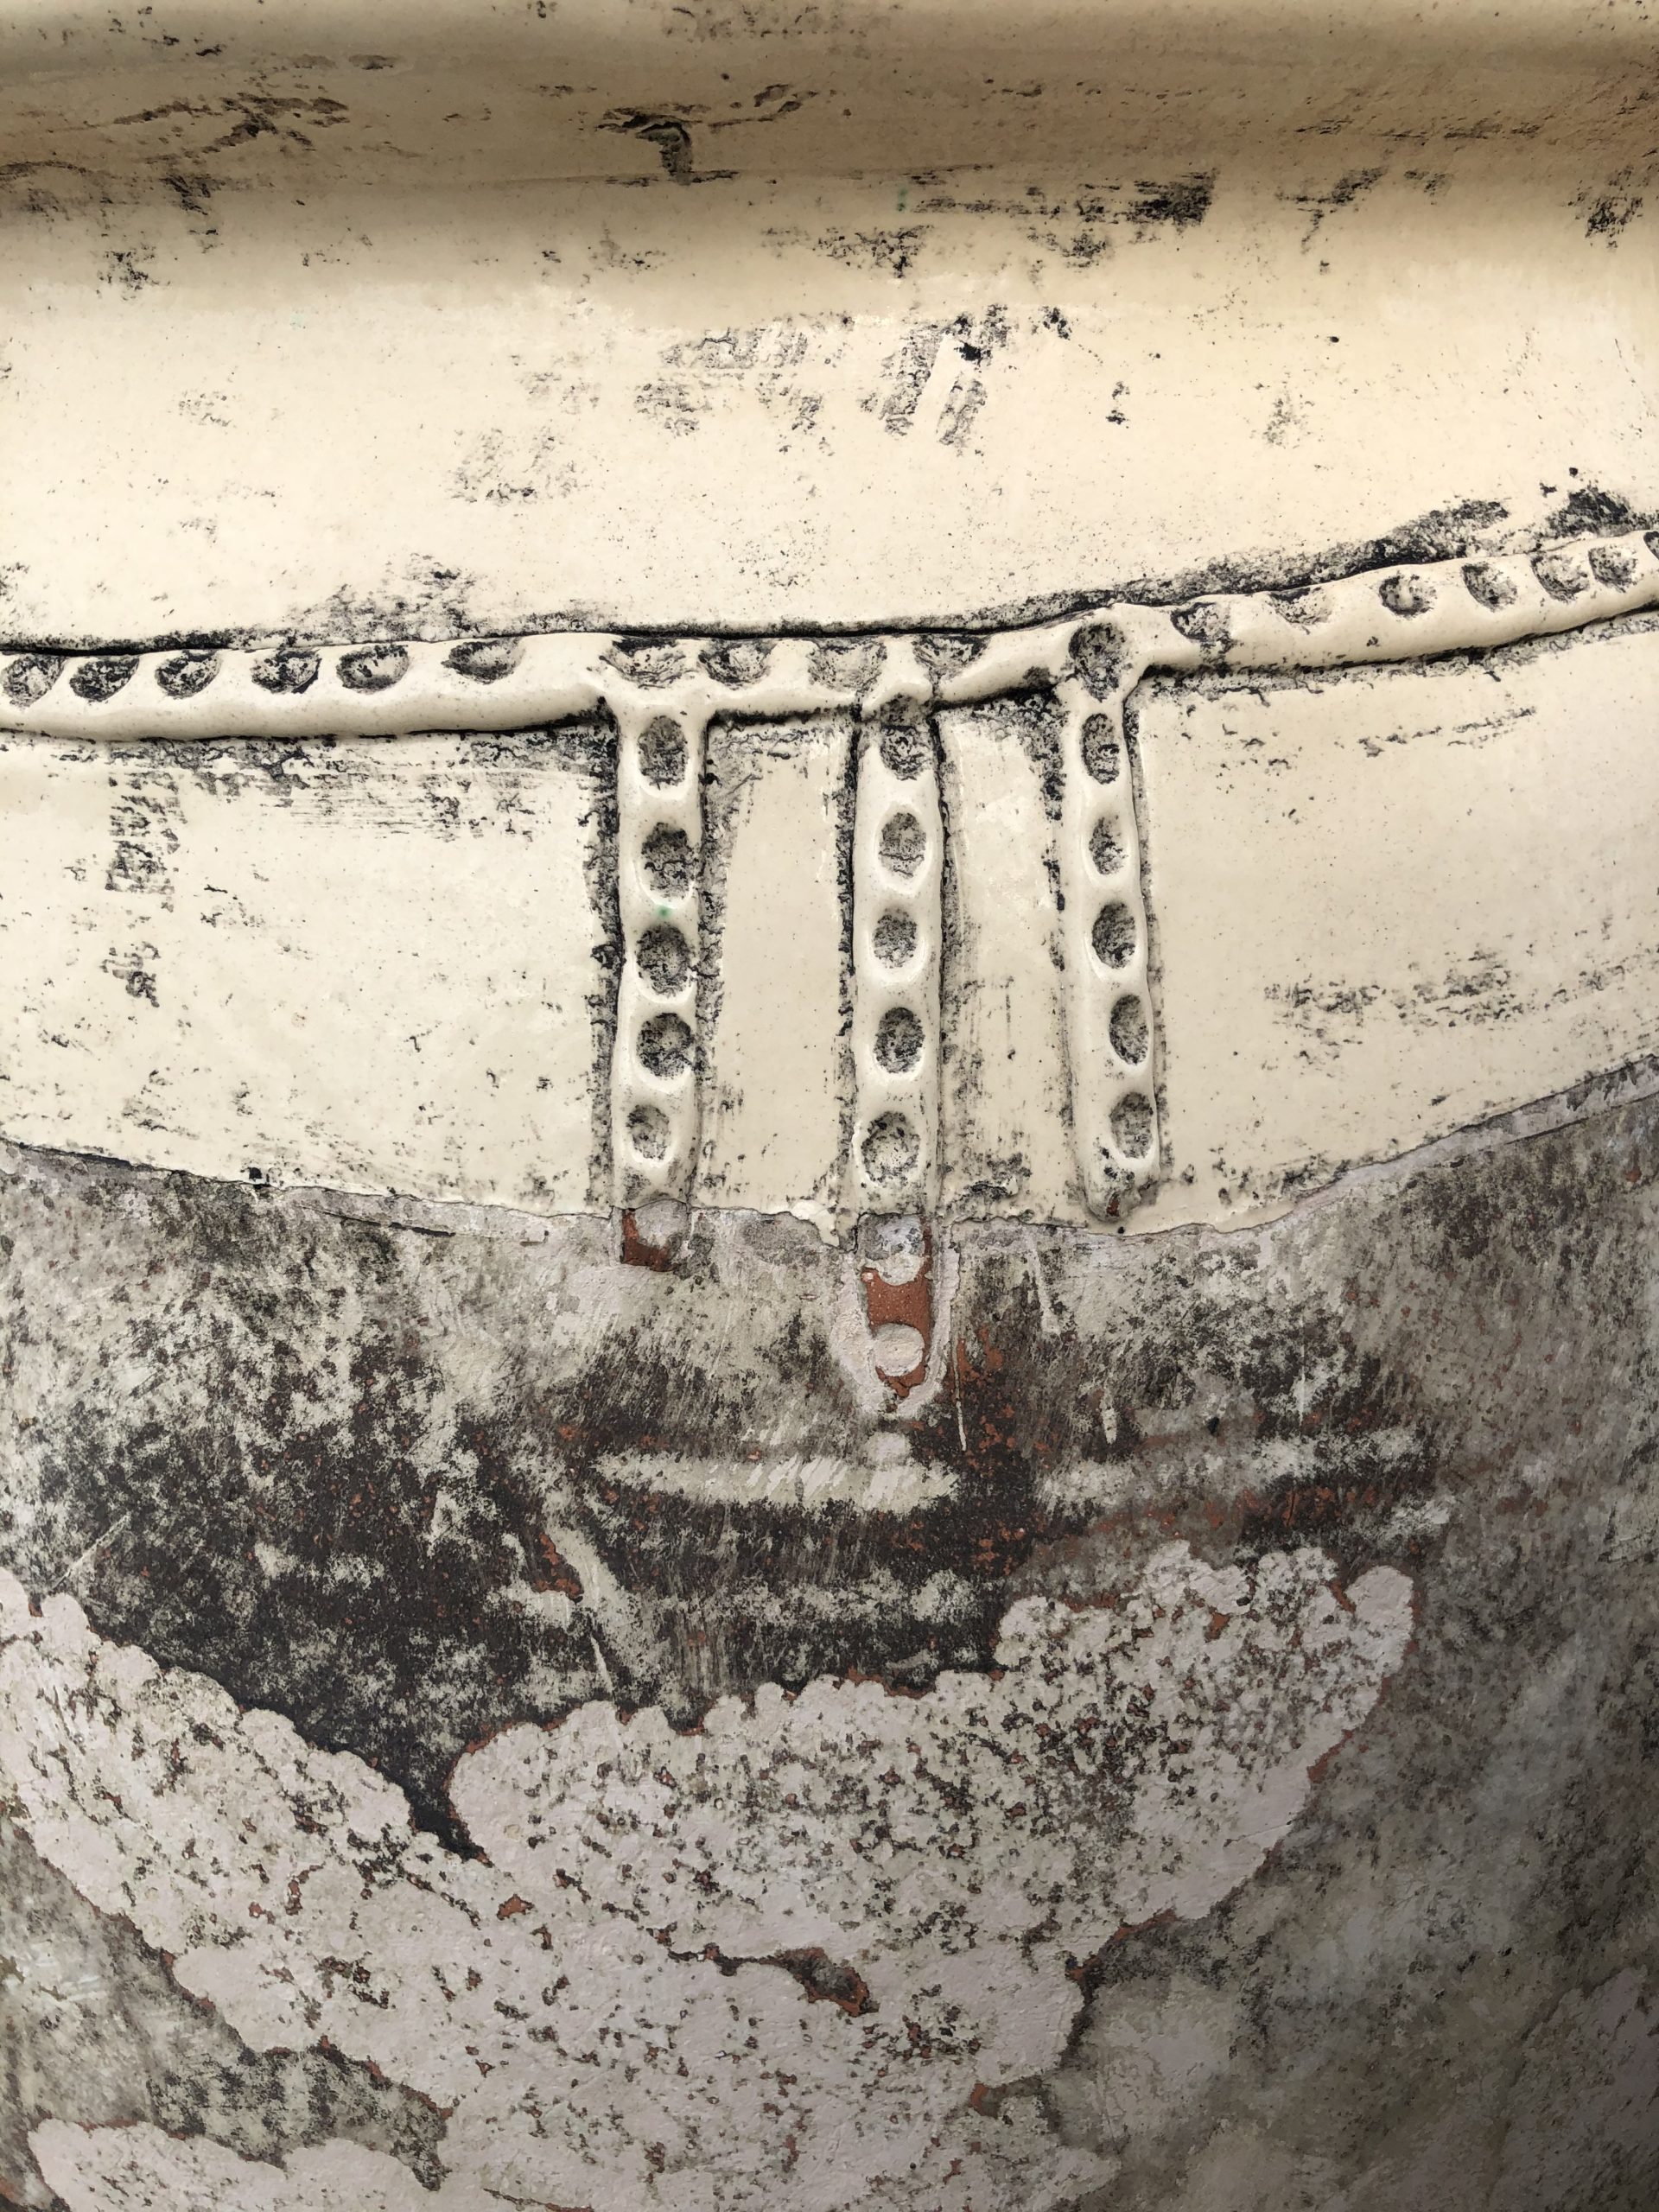
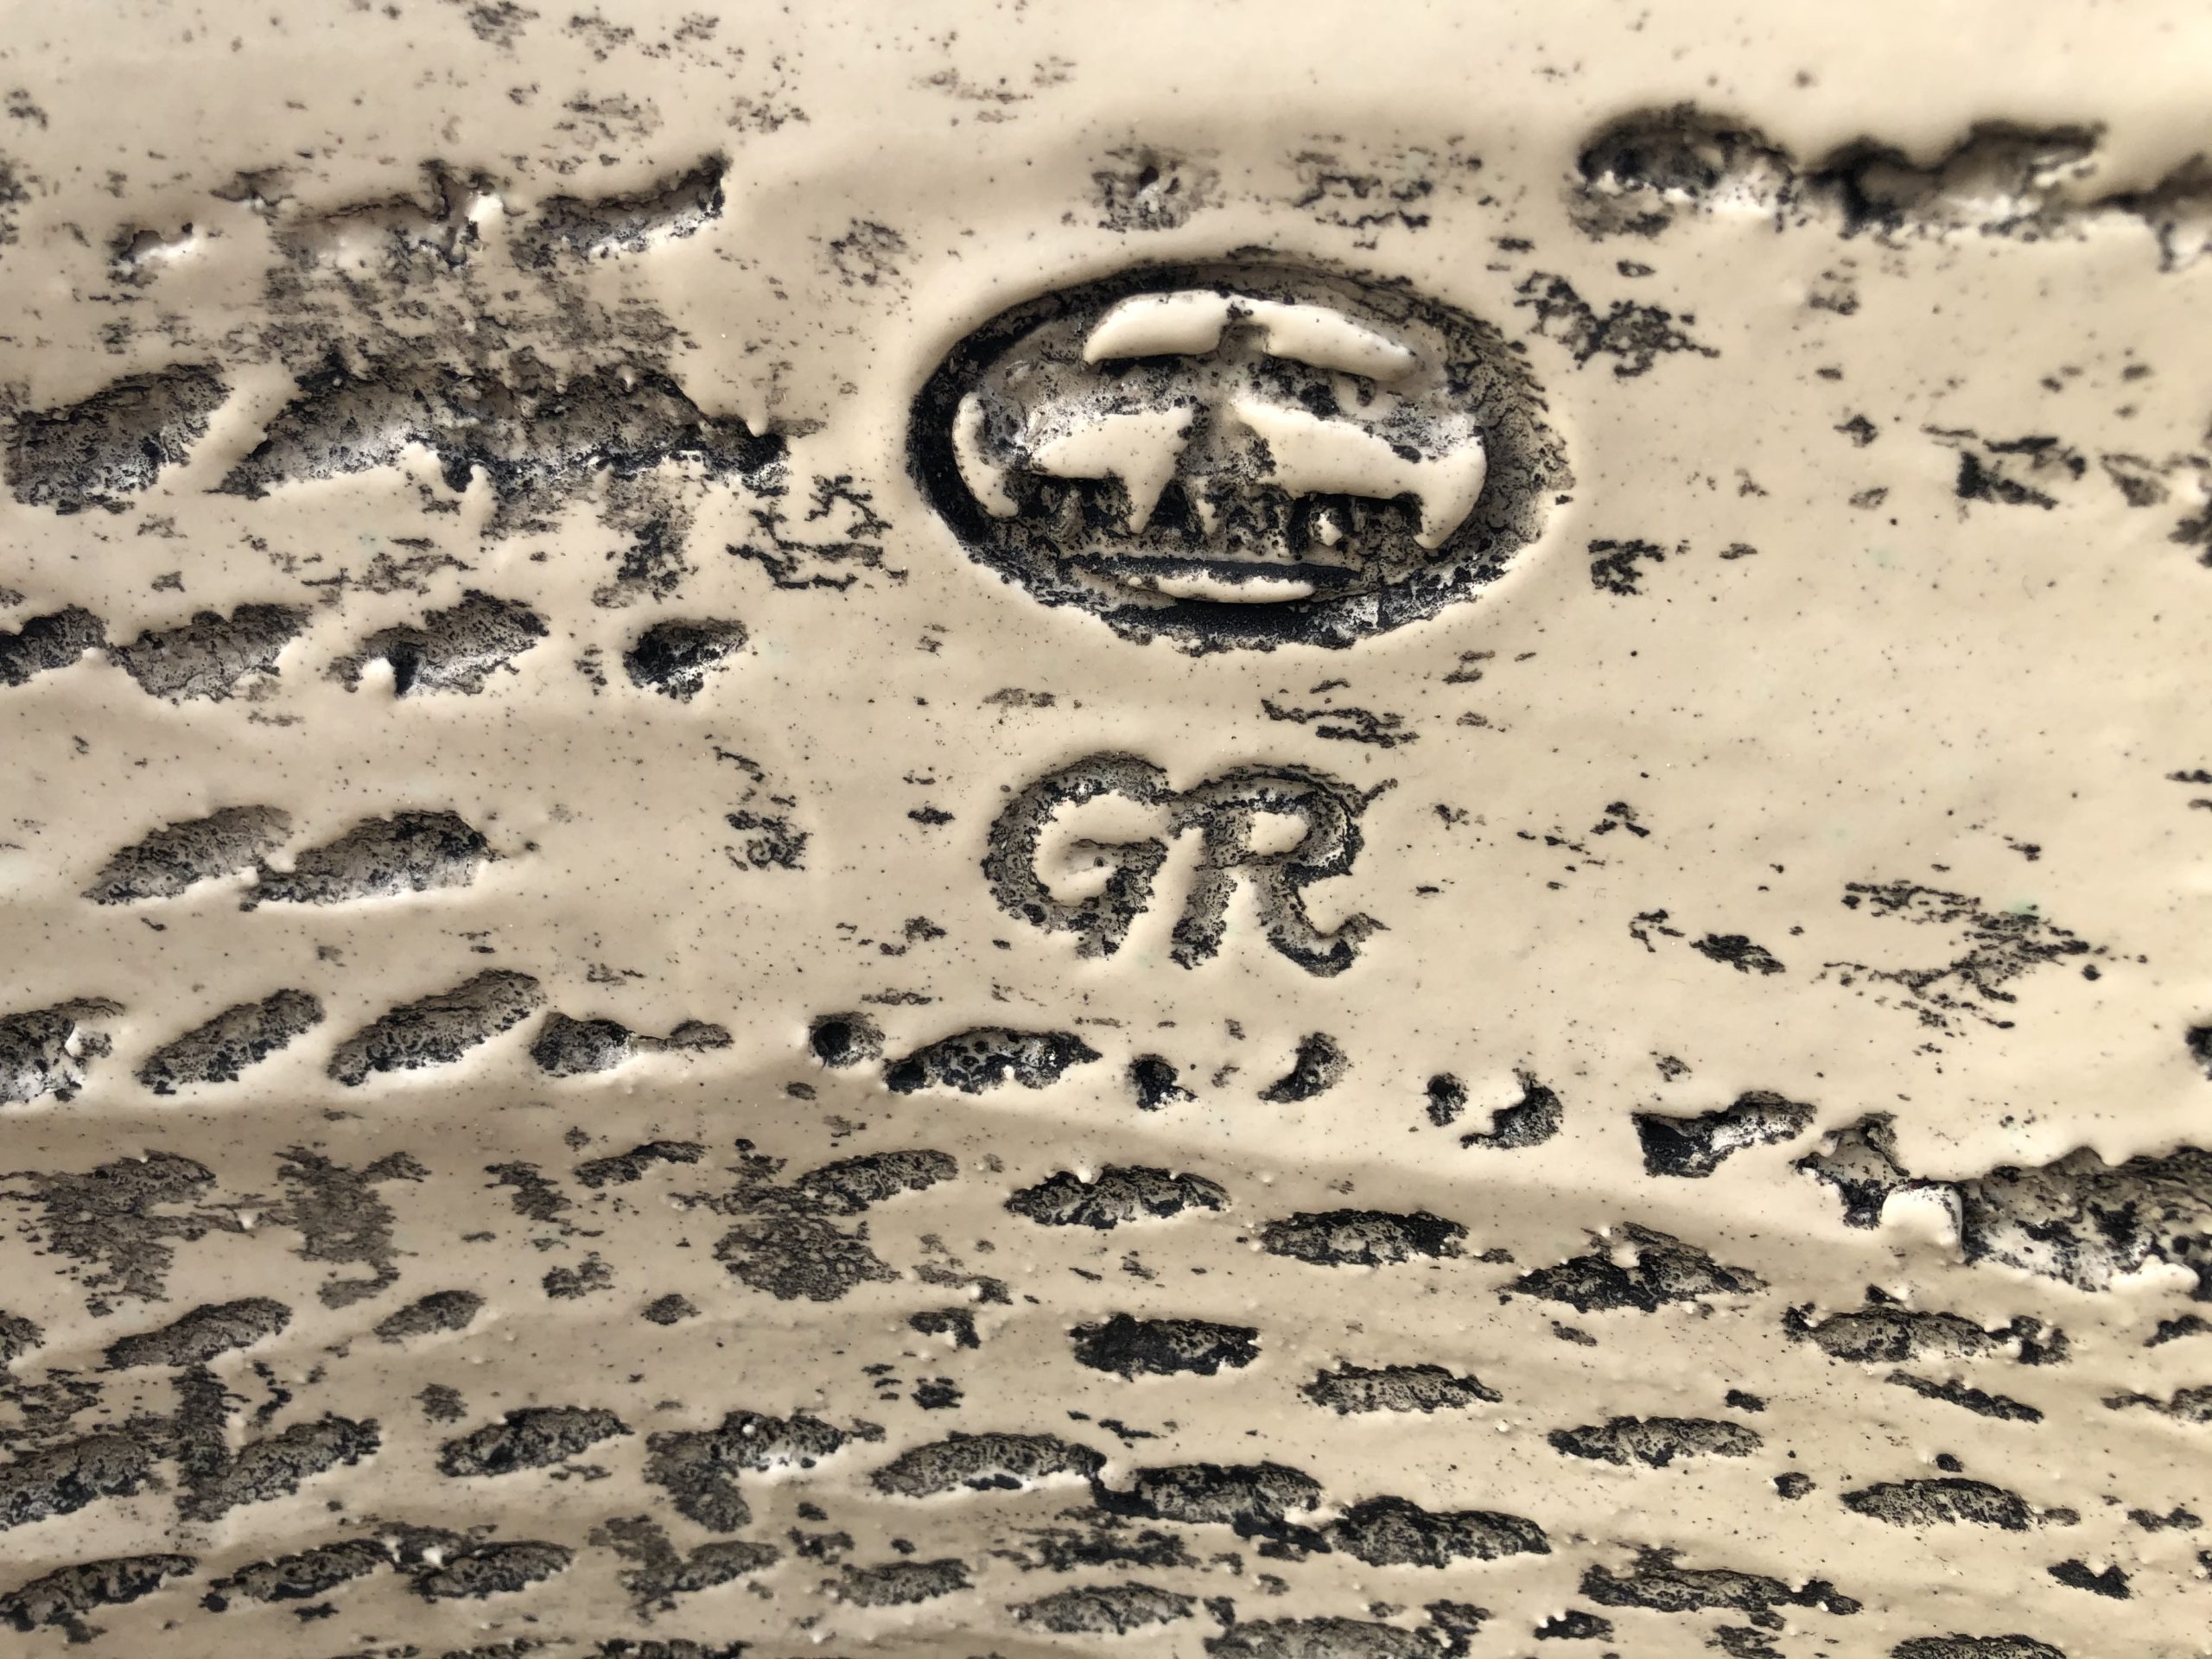 Which brings me to a discussion of these pots. They are of French manufacture. A poterie that has been in business since the late nineteenth century has evolved from a company making terra cotta roof and drain tiles to a fine art studio creating pots of great beauty for the garden. The poterie was built but 300 meters from their clay quarry. There is precious little about them that is not to like. The sculptural shapes are classically French. The designs date back centuries. Each pot is hand made, and signed by the artisan who made it.
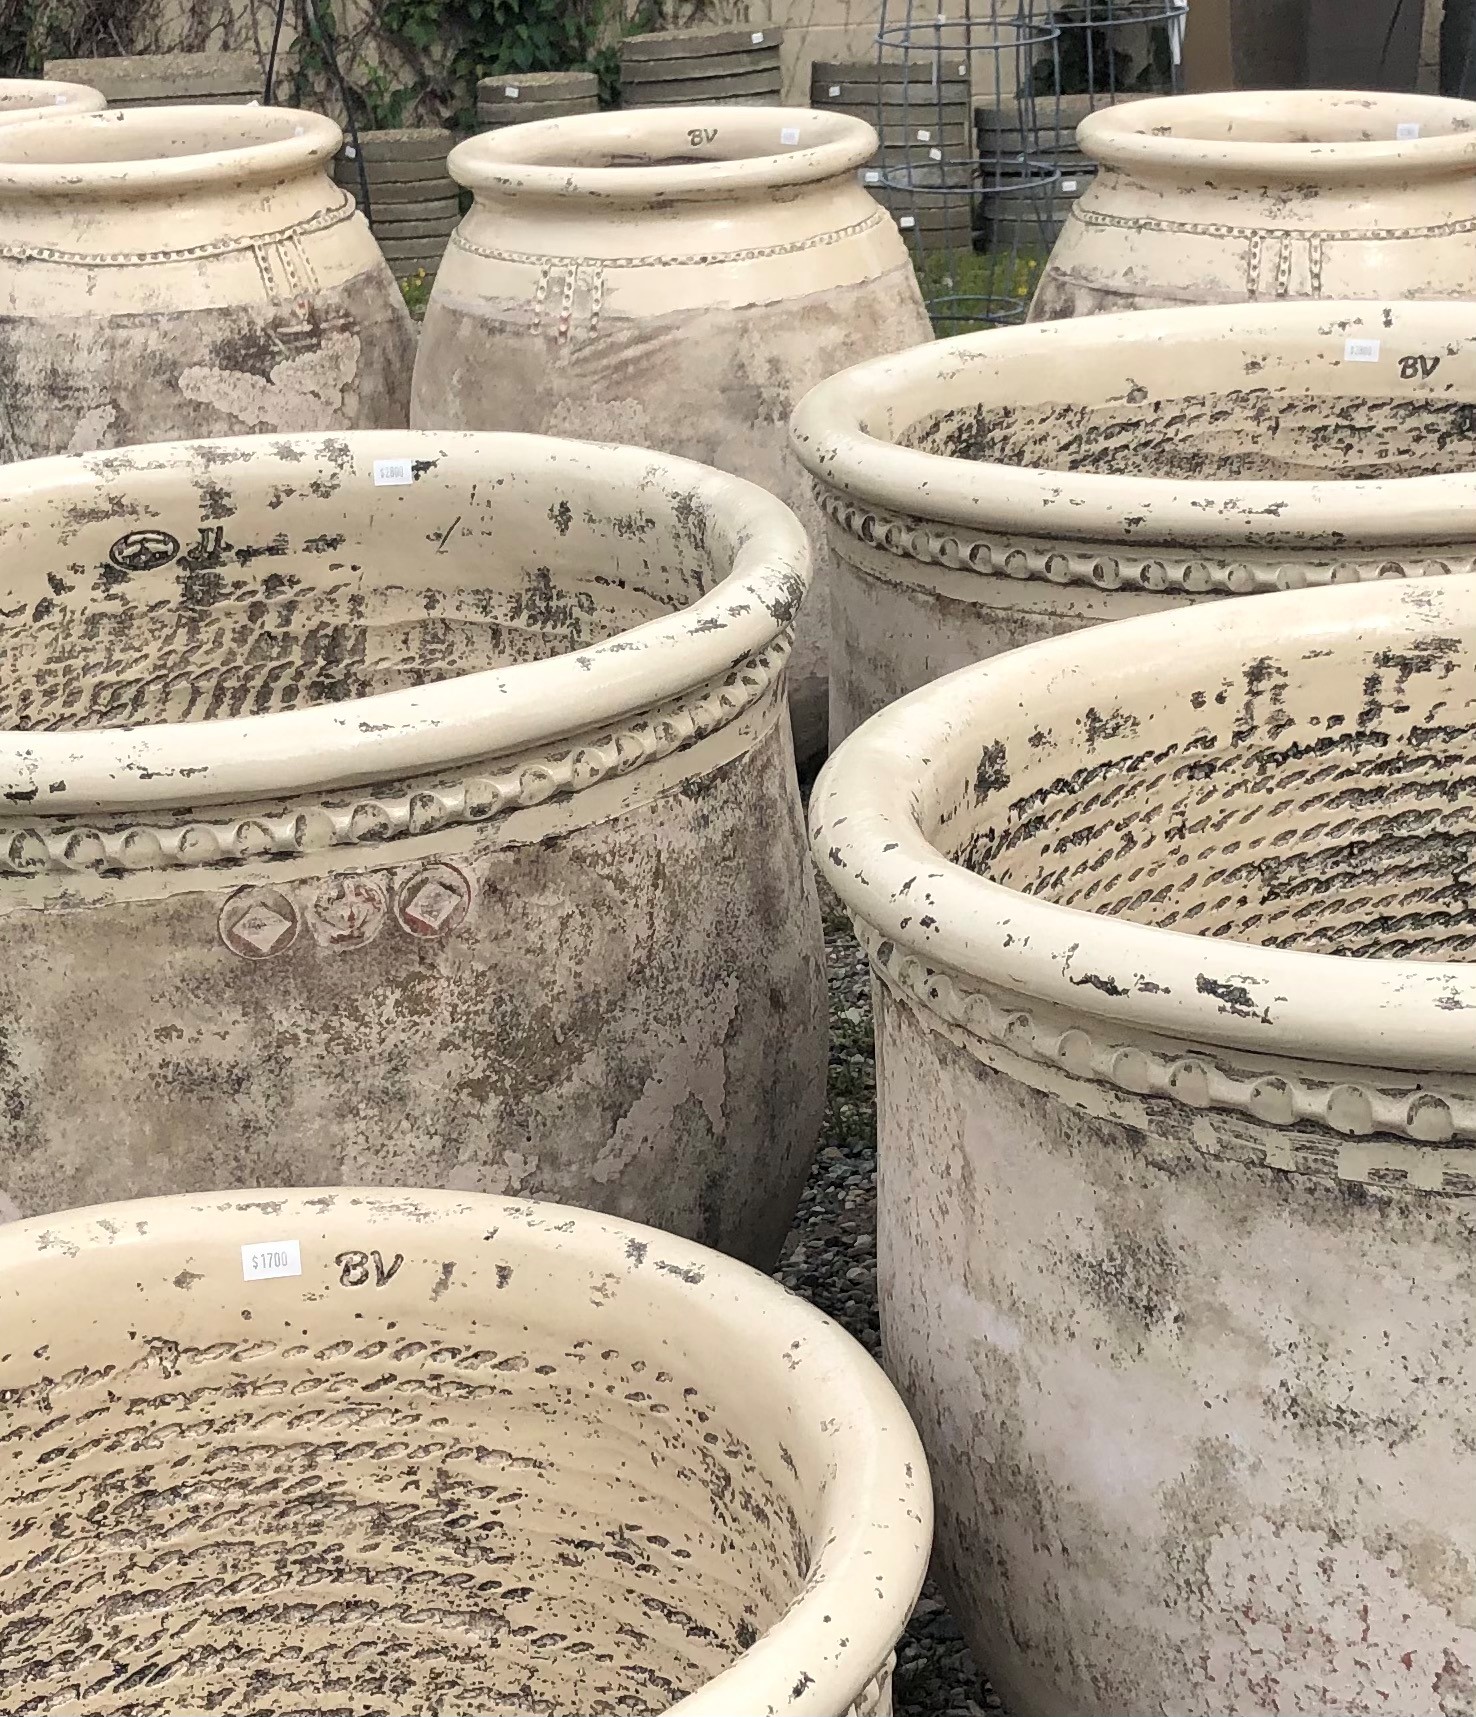
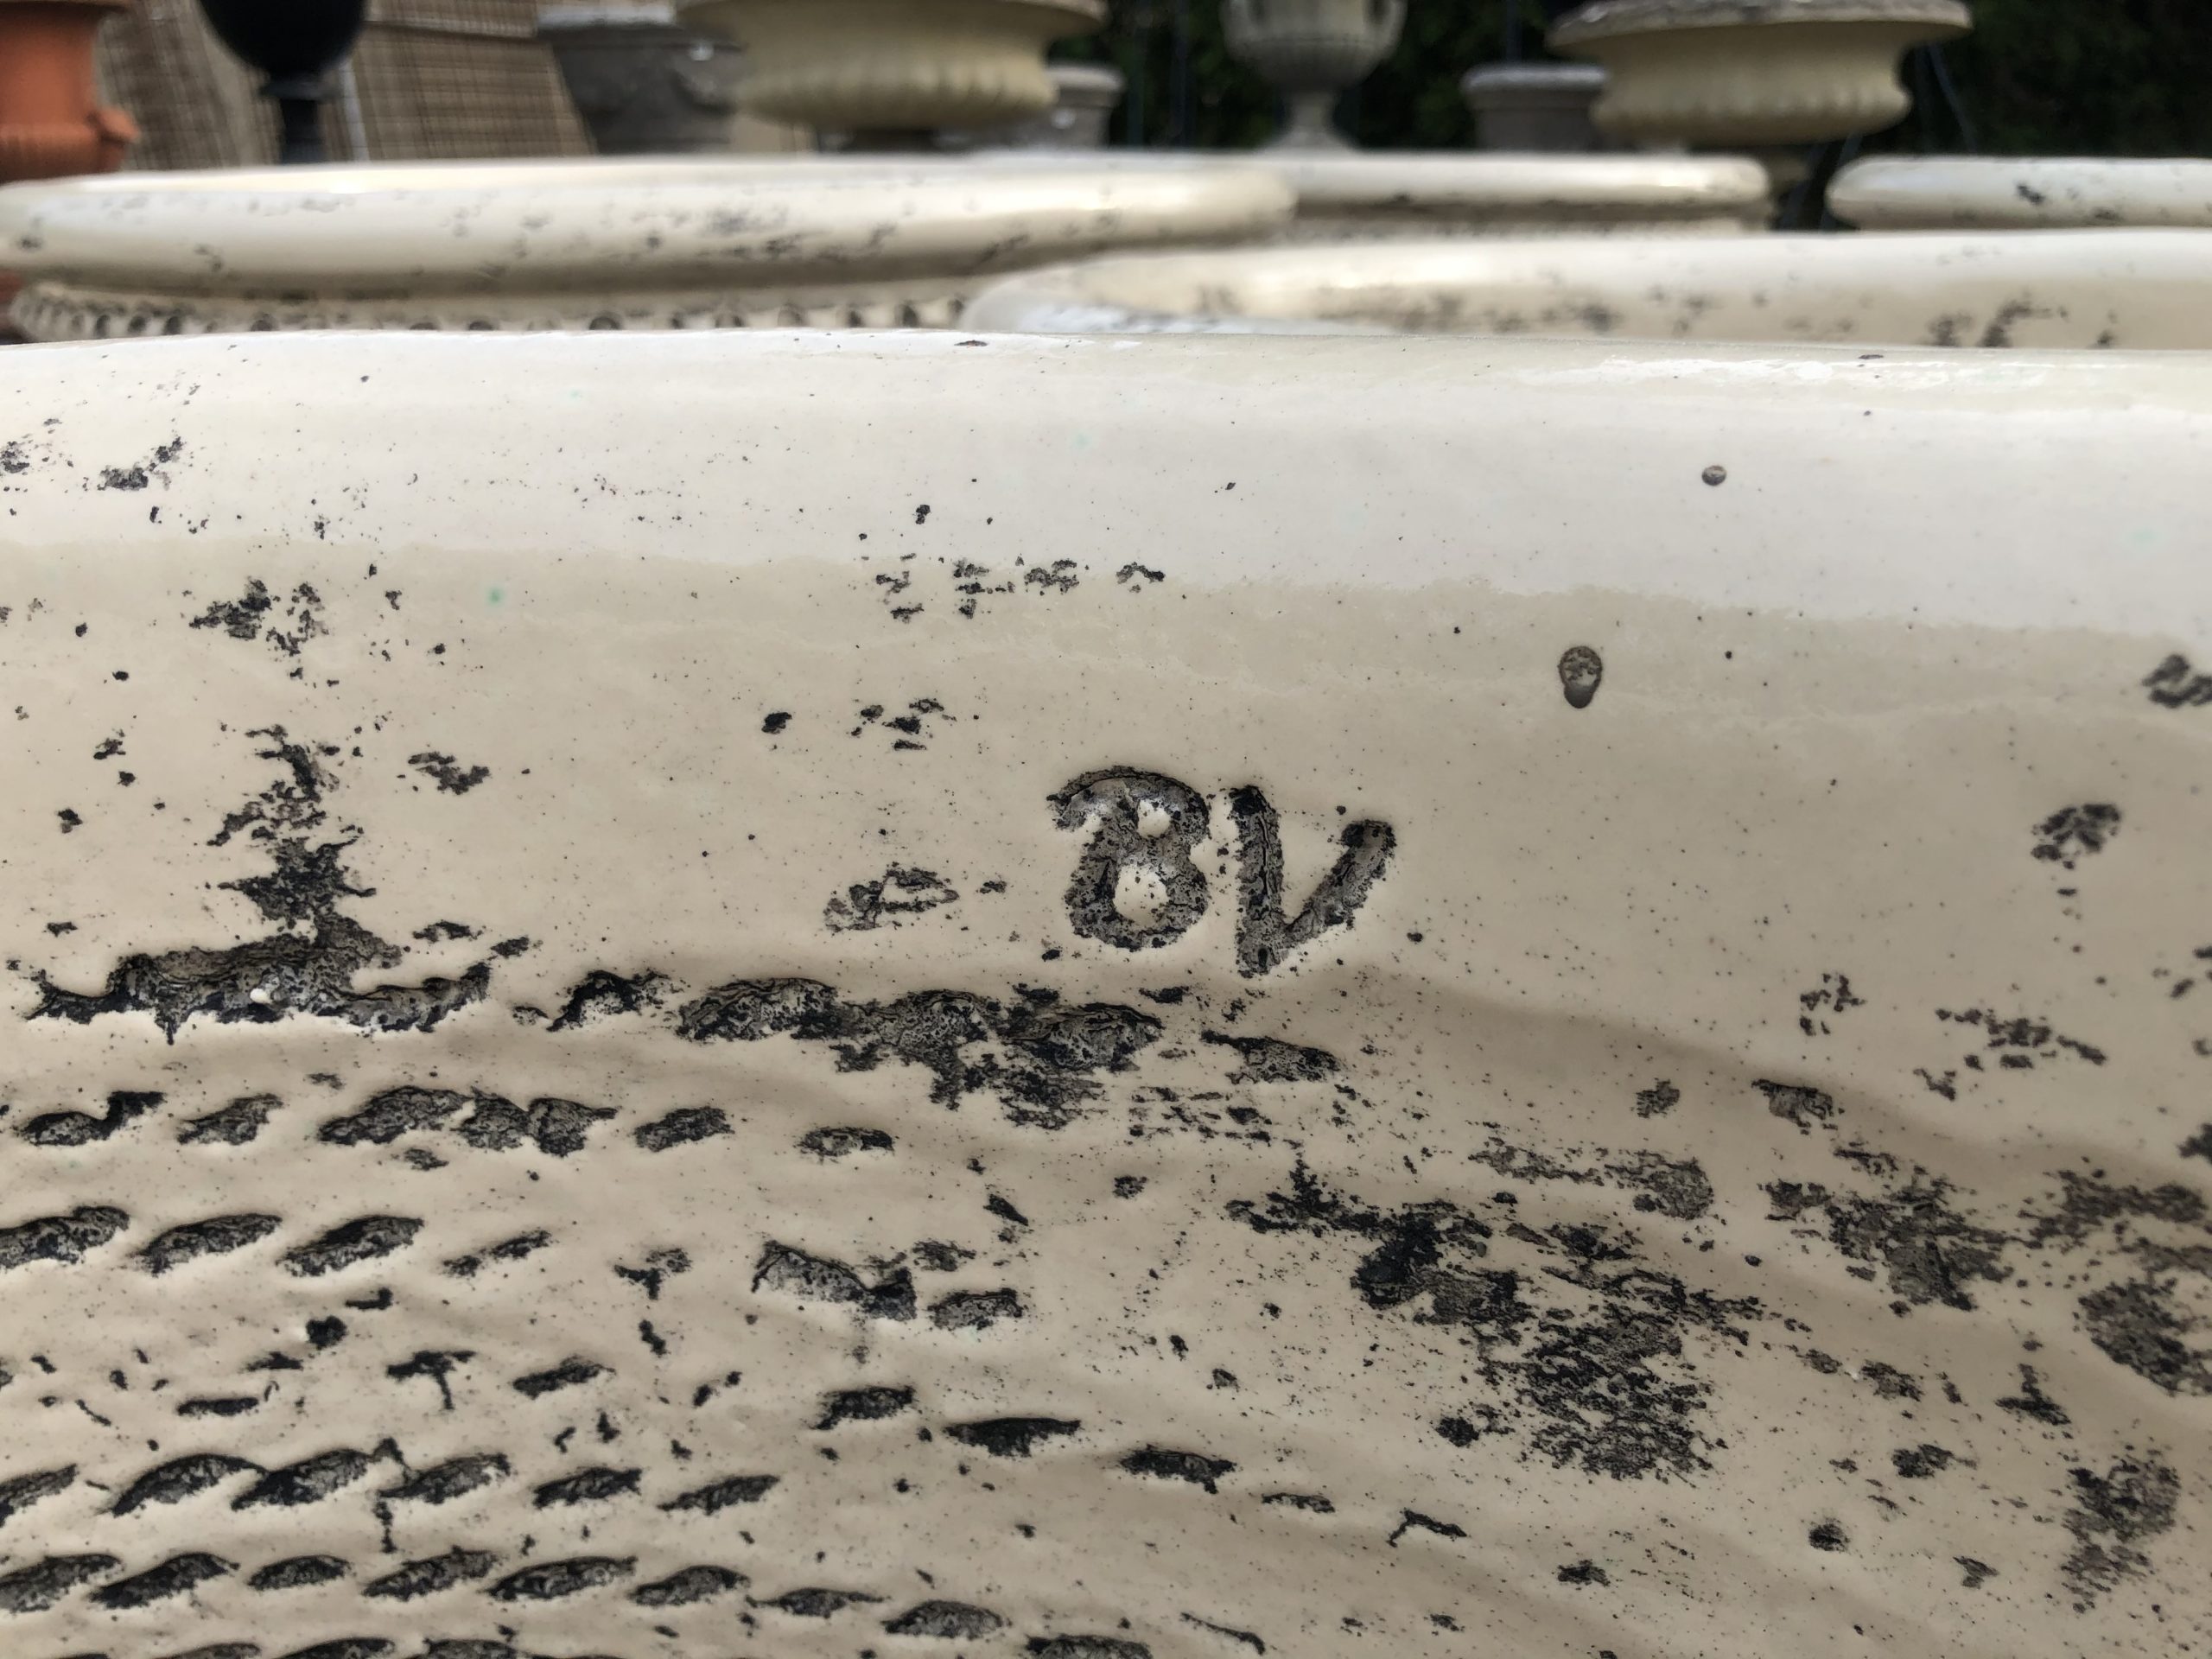 The contrasting surfaces are as appealing to the touch as they are to the eye.
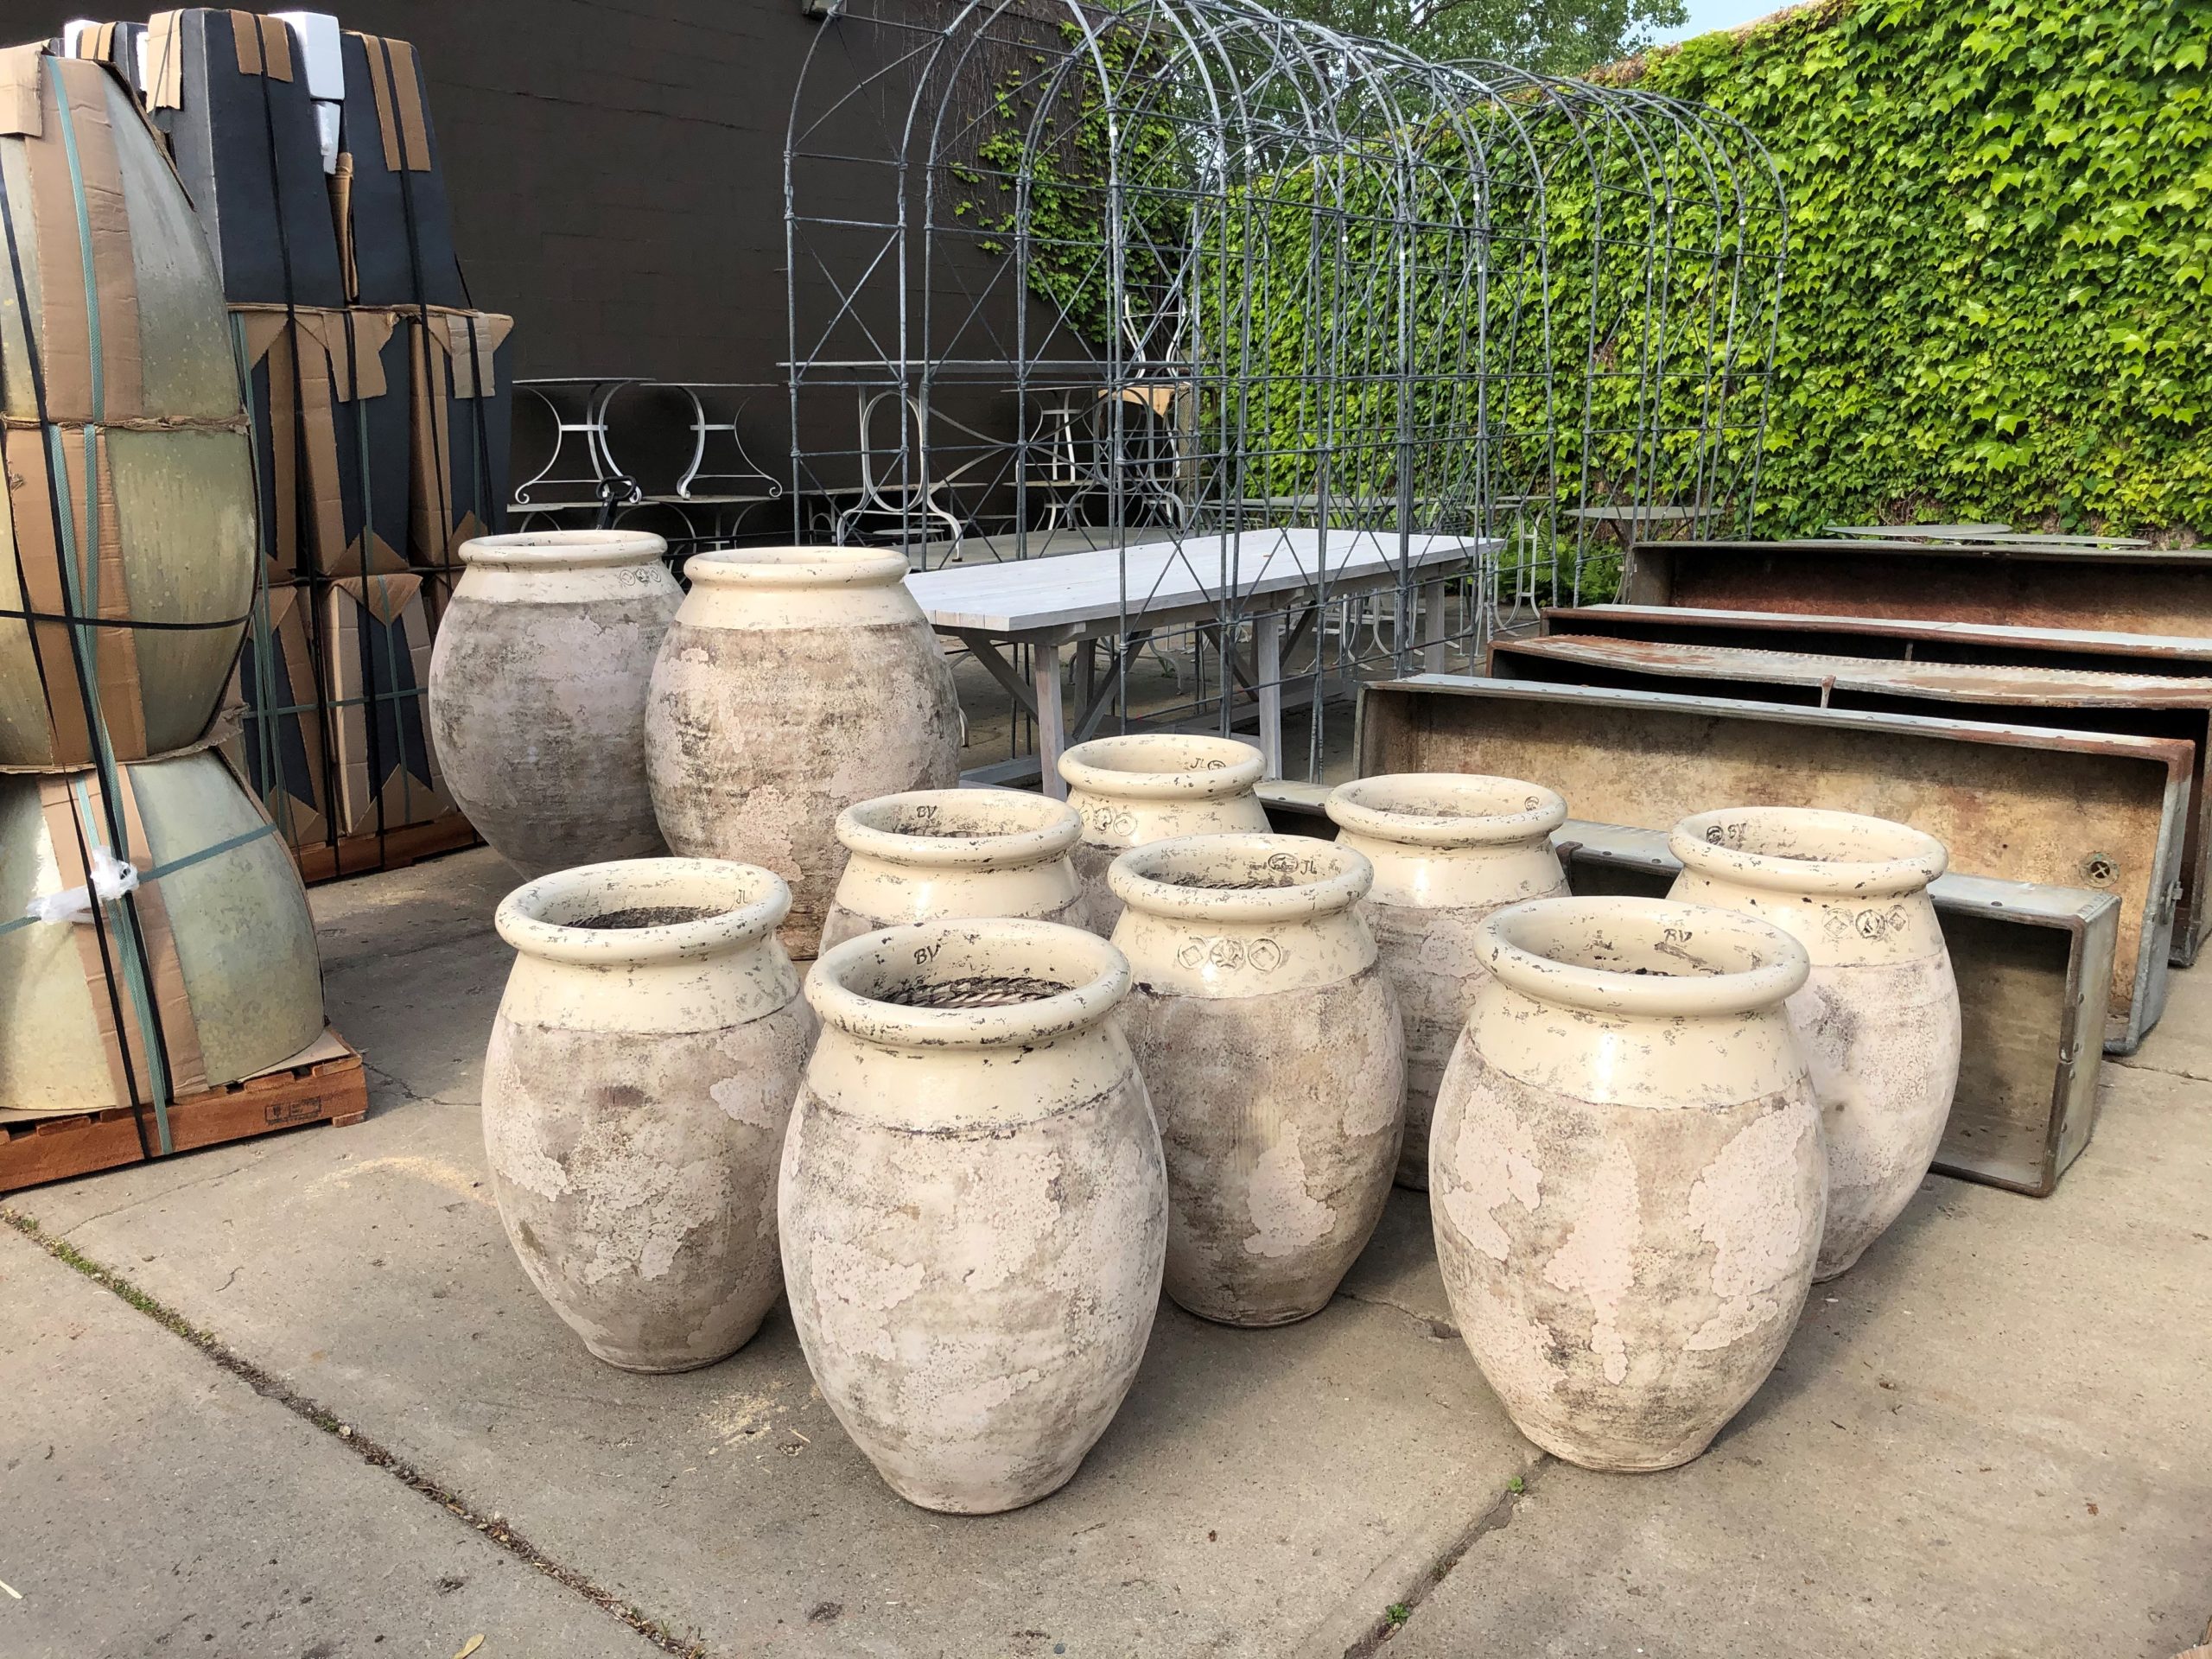 This picture makes it clear that each pot is hand made. Each one of these olive jars is subtly different in shape and size than its neighbor.
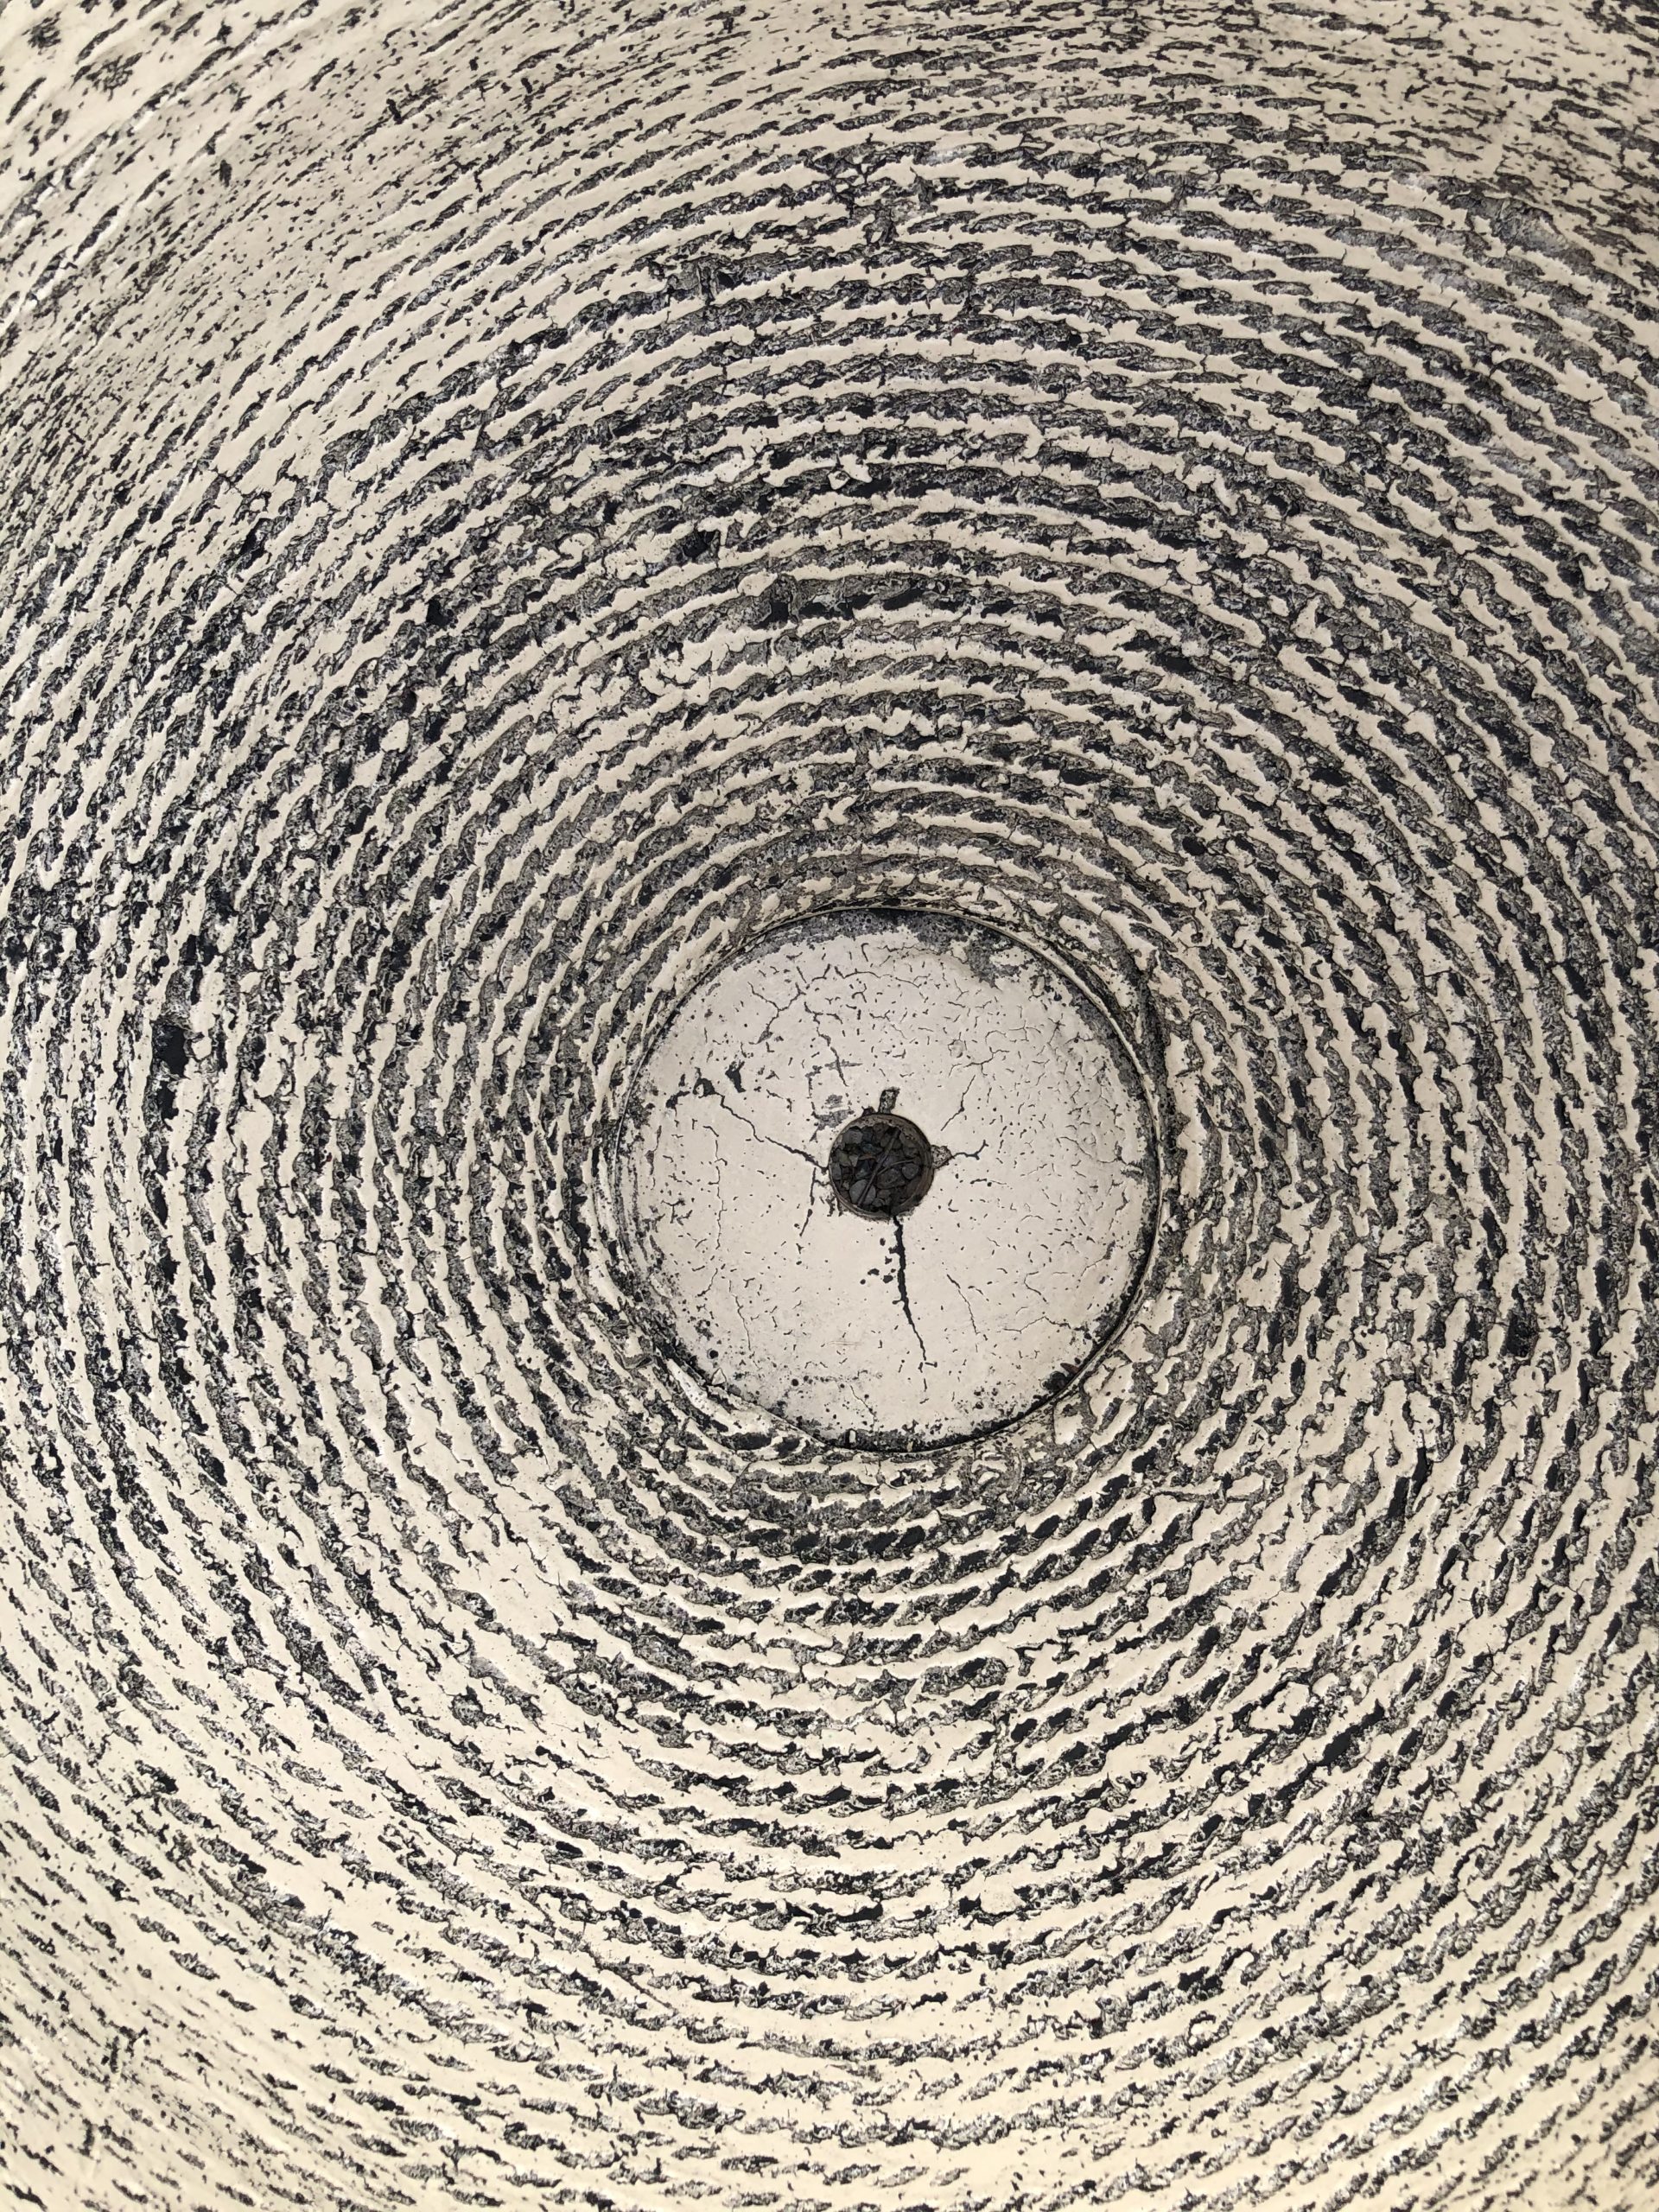 The pattern of the rope inside survives the glazing and firing process.
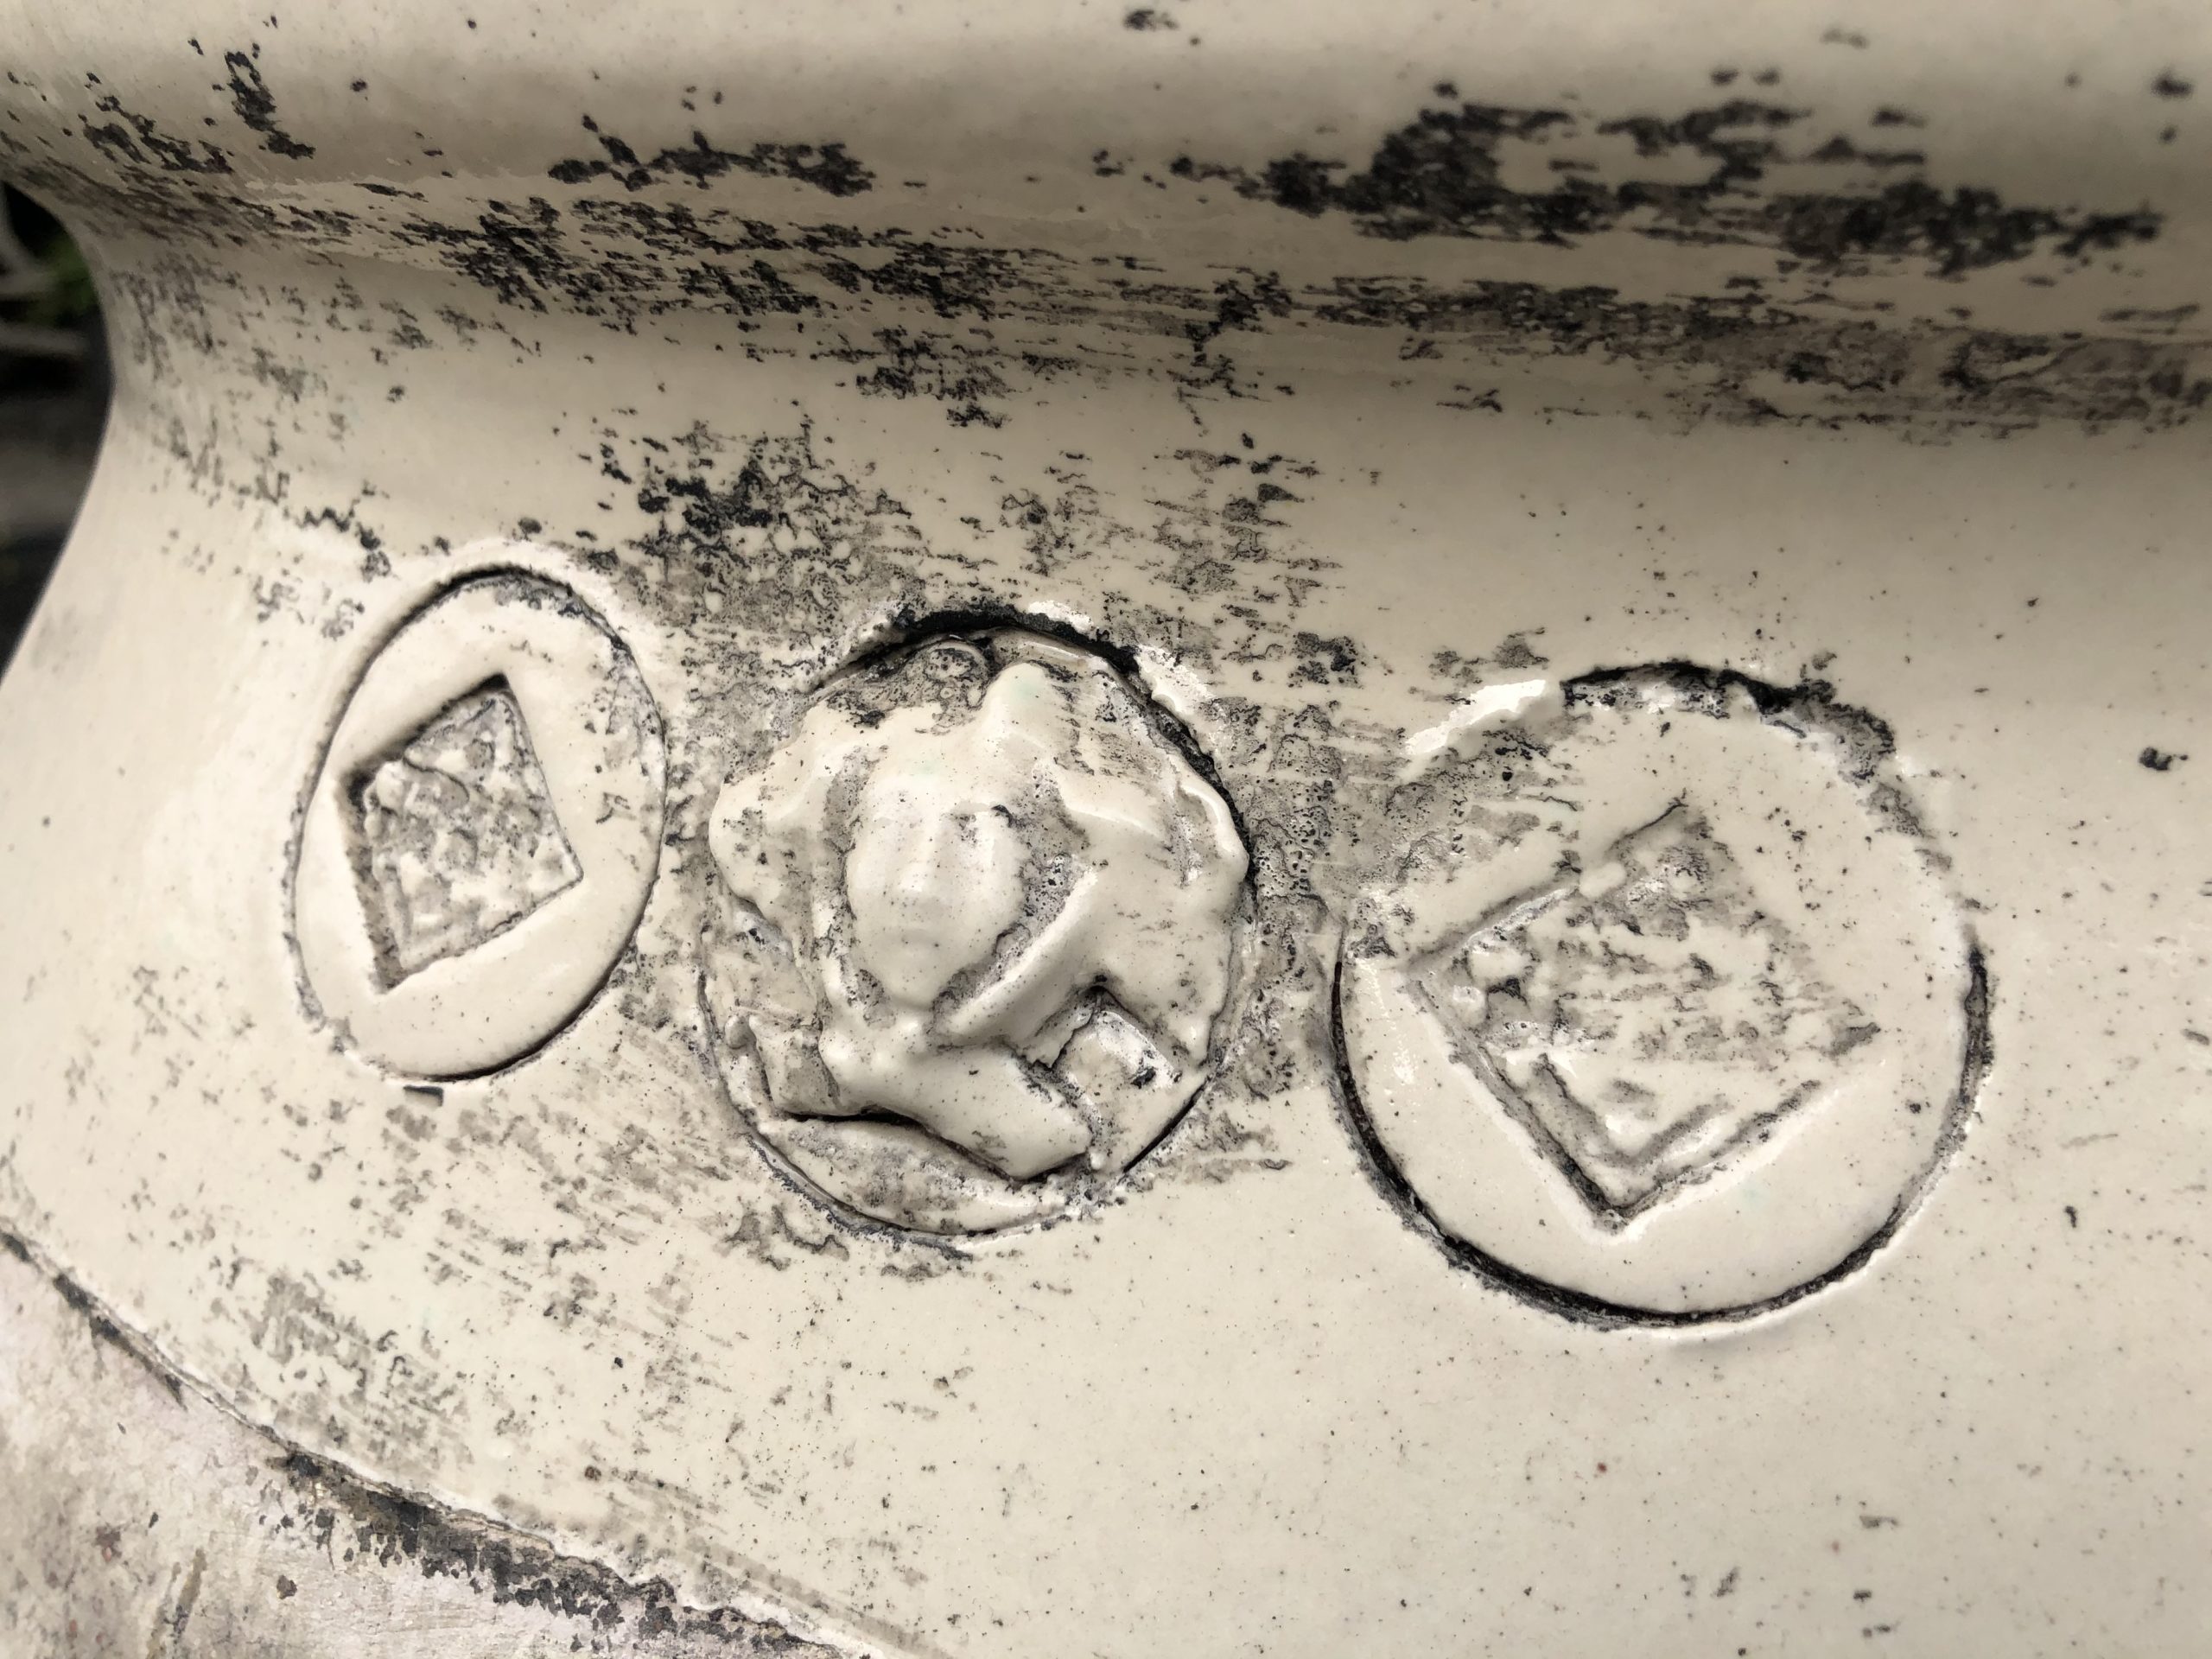 The stamps
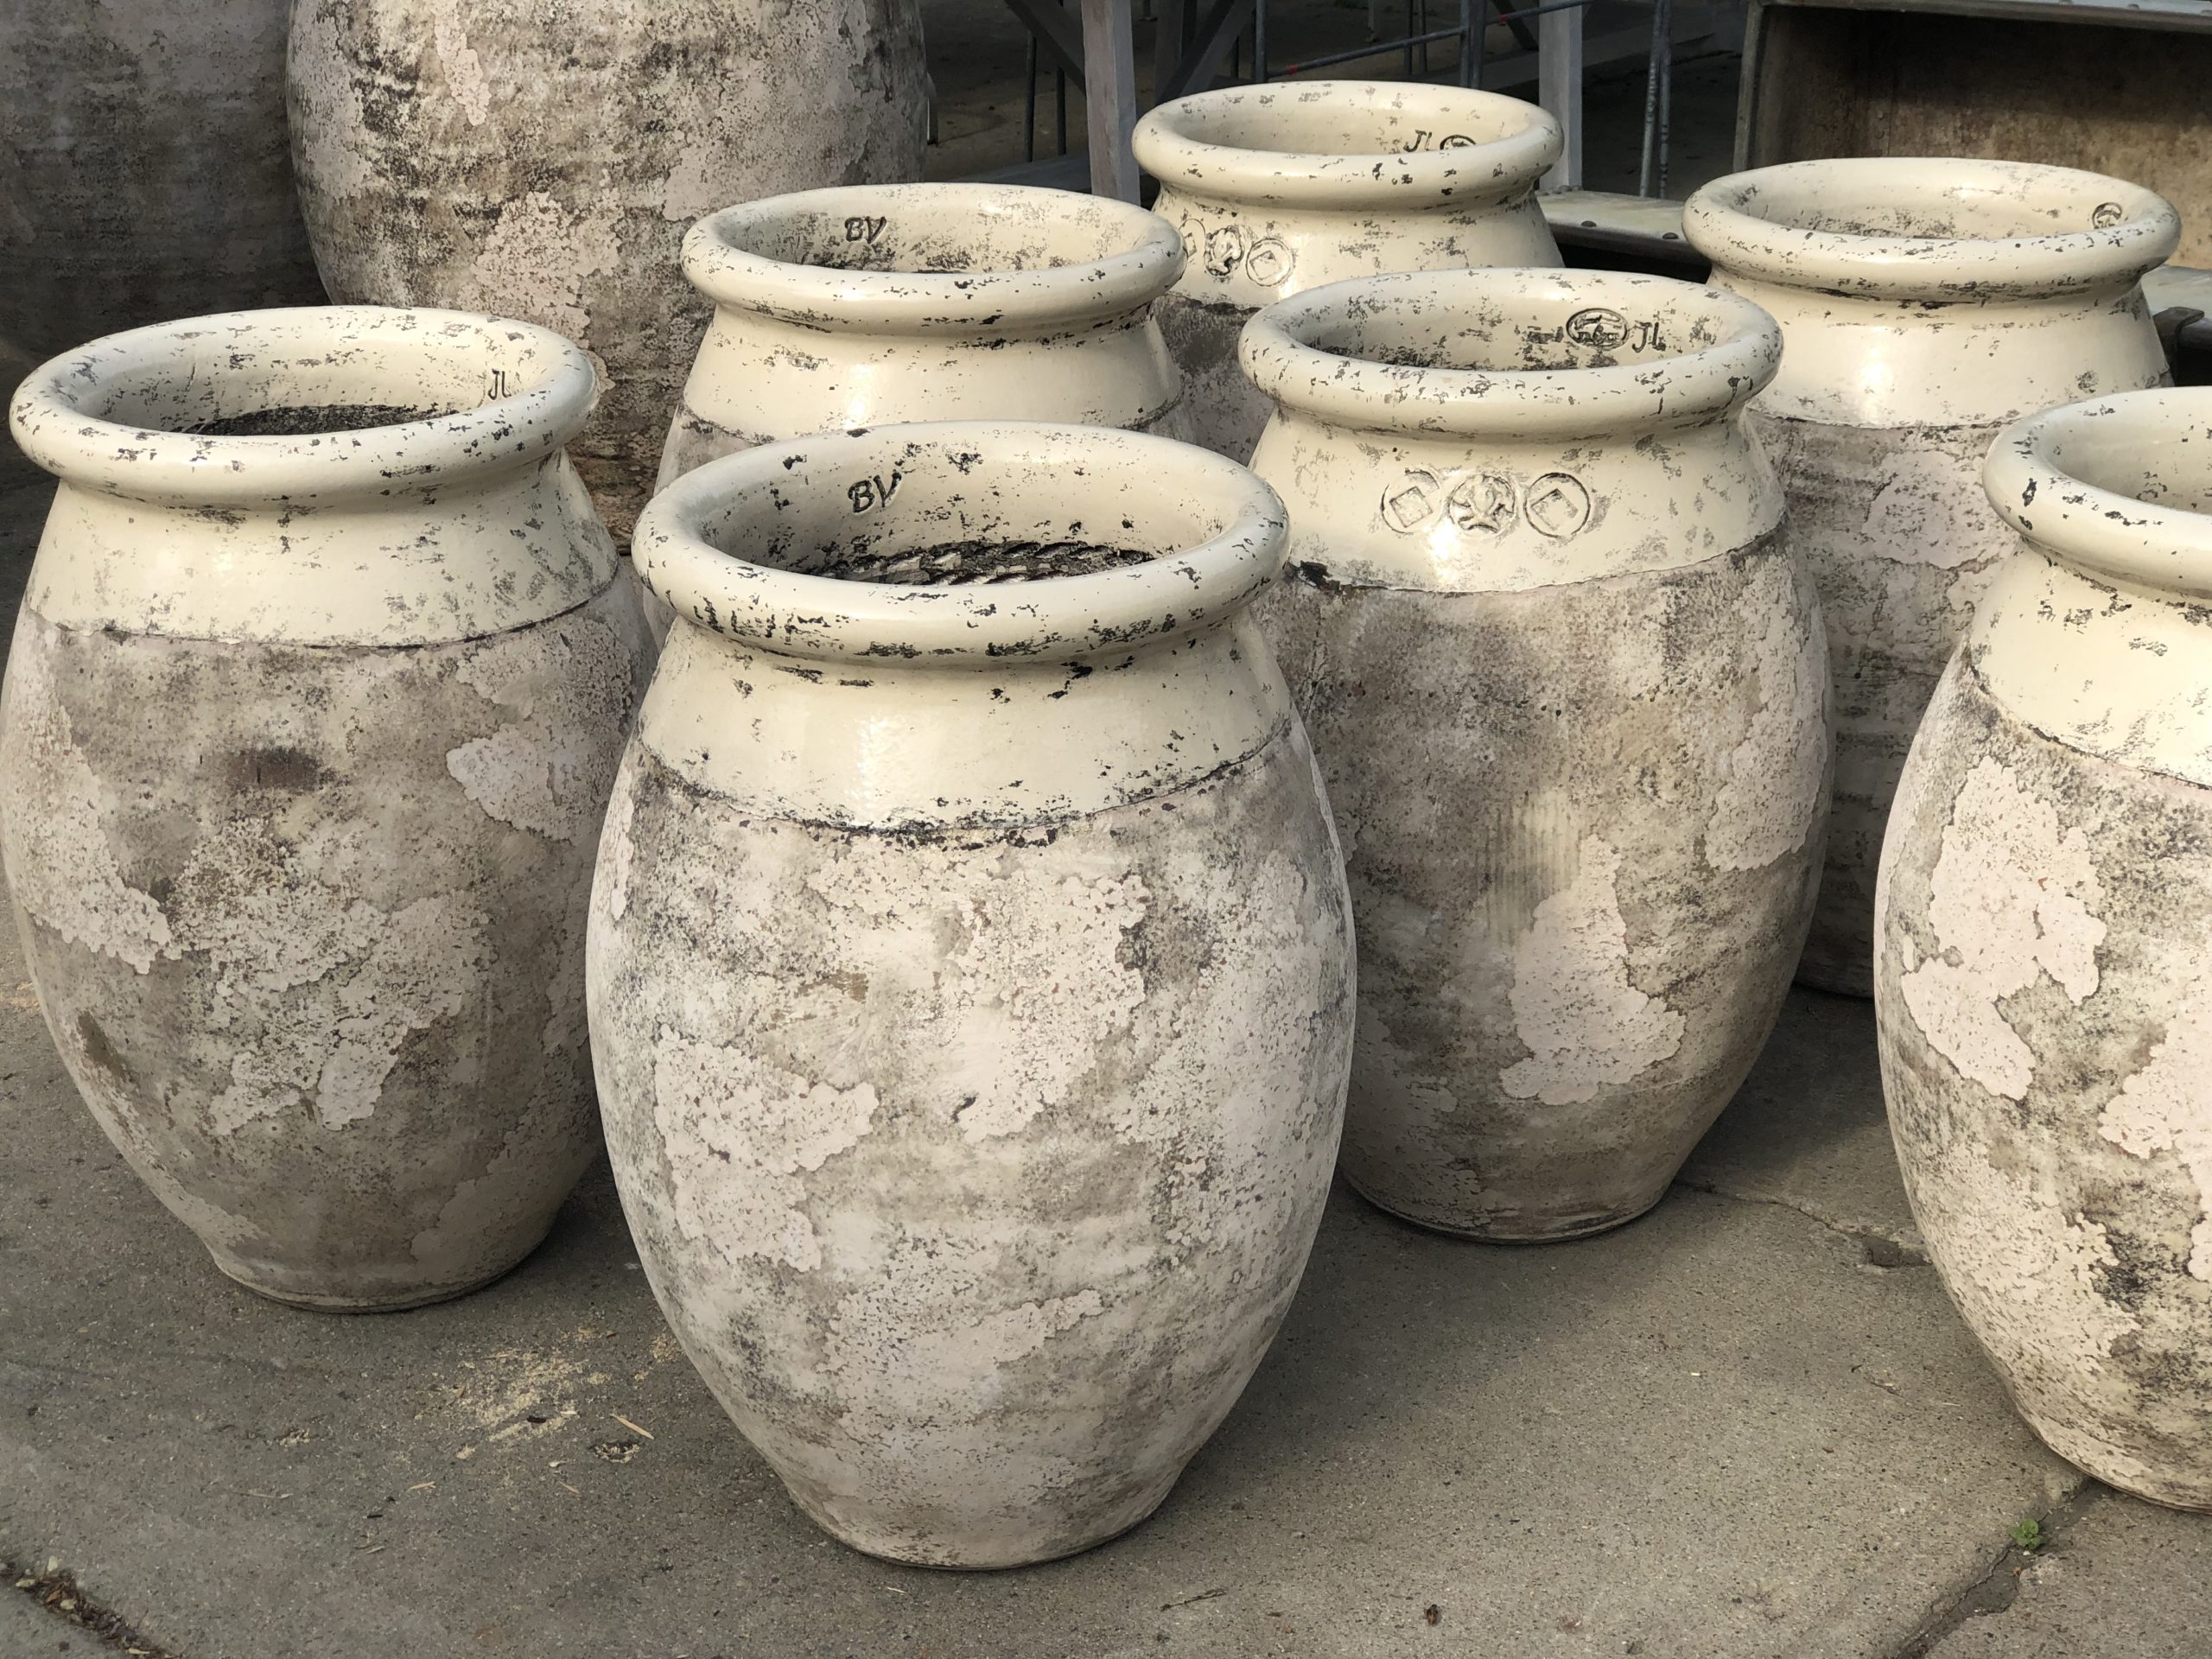 The collection of medium olive jars
 This is indeed an extraordinarily unusual and beautiful collection of pots.