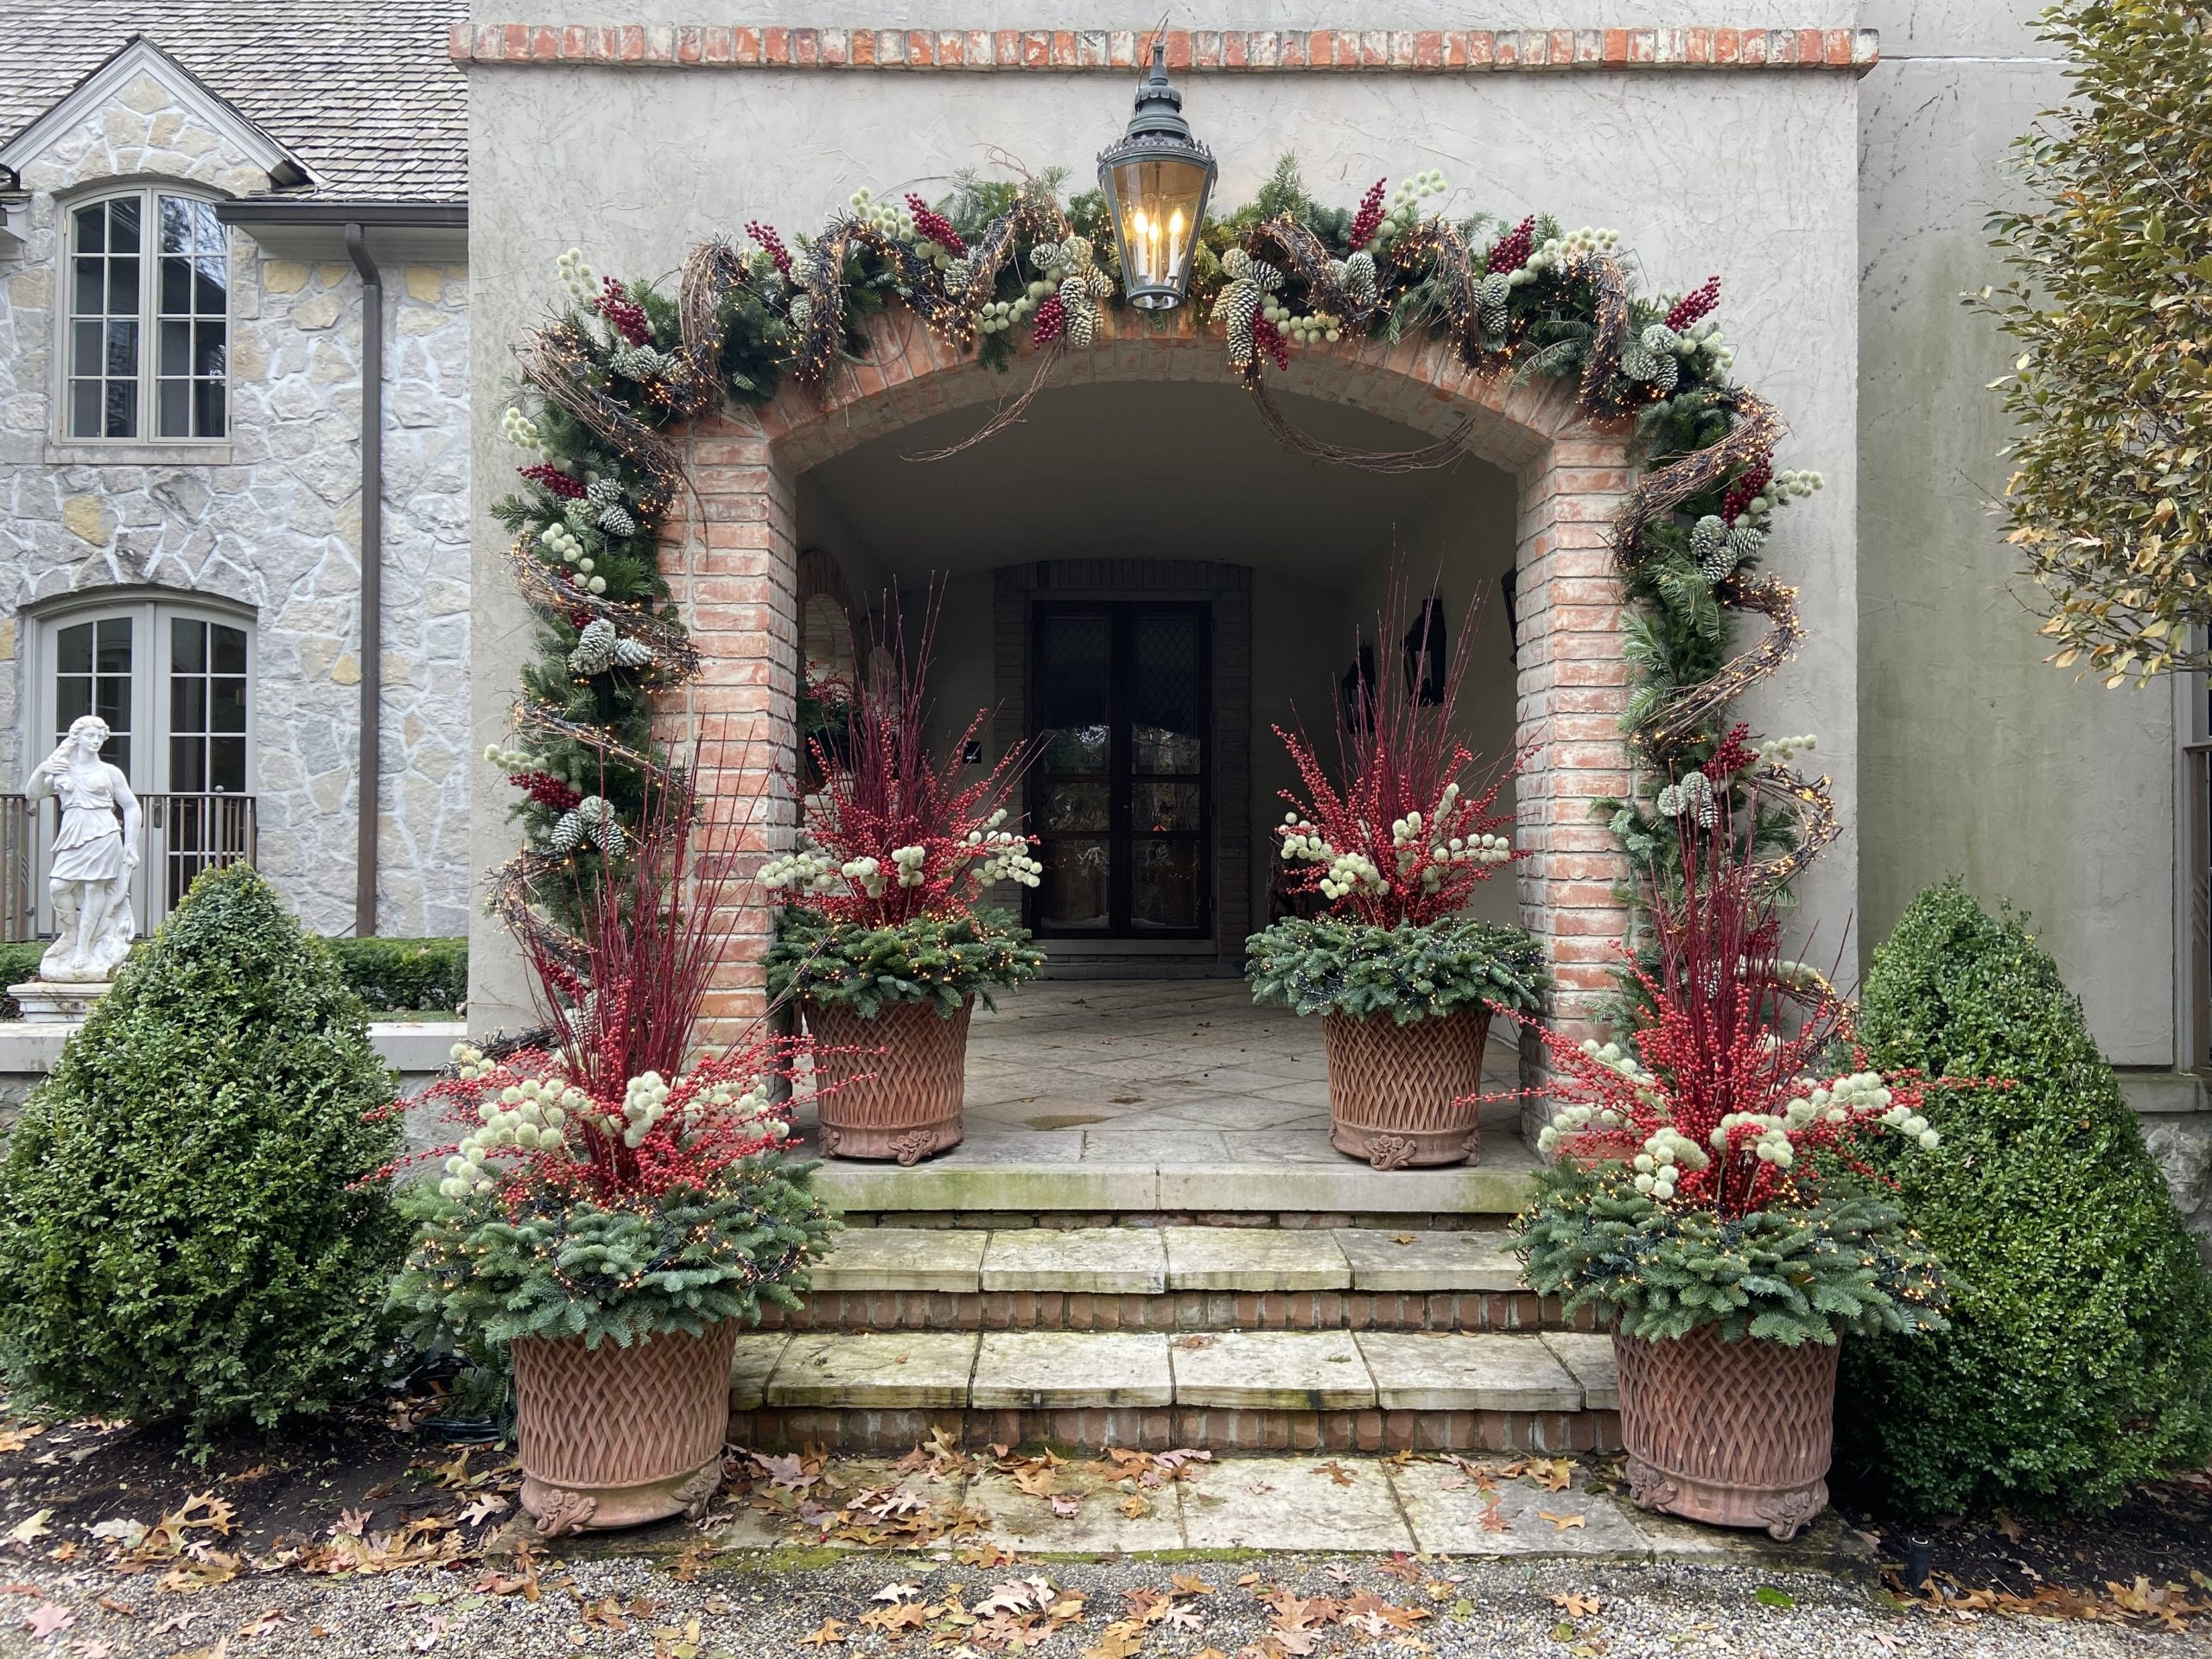
 A holiday garland over the front door or mantel is undoubtedly a special yet familiar expression of the joy marking the turning of the season from fall to winter. Representing equal parts pageantry, goodwill, and a love of nature and natural materials, a garland is a hand worked expression of the garden appropriate to display for the winter season. I will leave mine up all winter, and be all the happier for having it to look at. Friends and family who view and pass under that garland have been invited to celebrate the beauty of nature and what that adds to everyone’s life before they step inside the door. I find this activity is satisfying for the gardener in me who has had to put their gardening ways away for the winter. These ideas are what energize the design and fabrication of every garland I make.
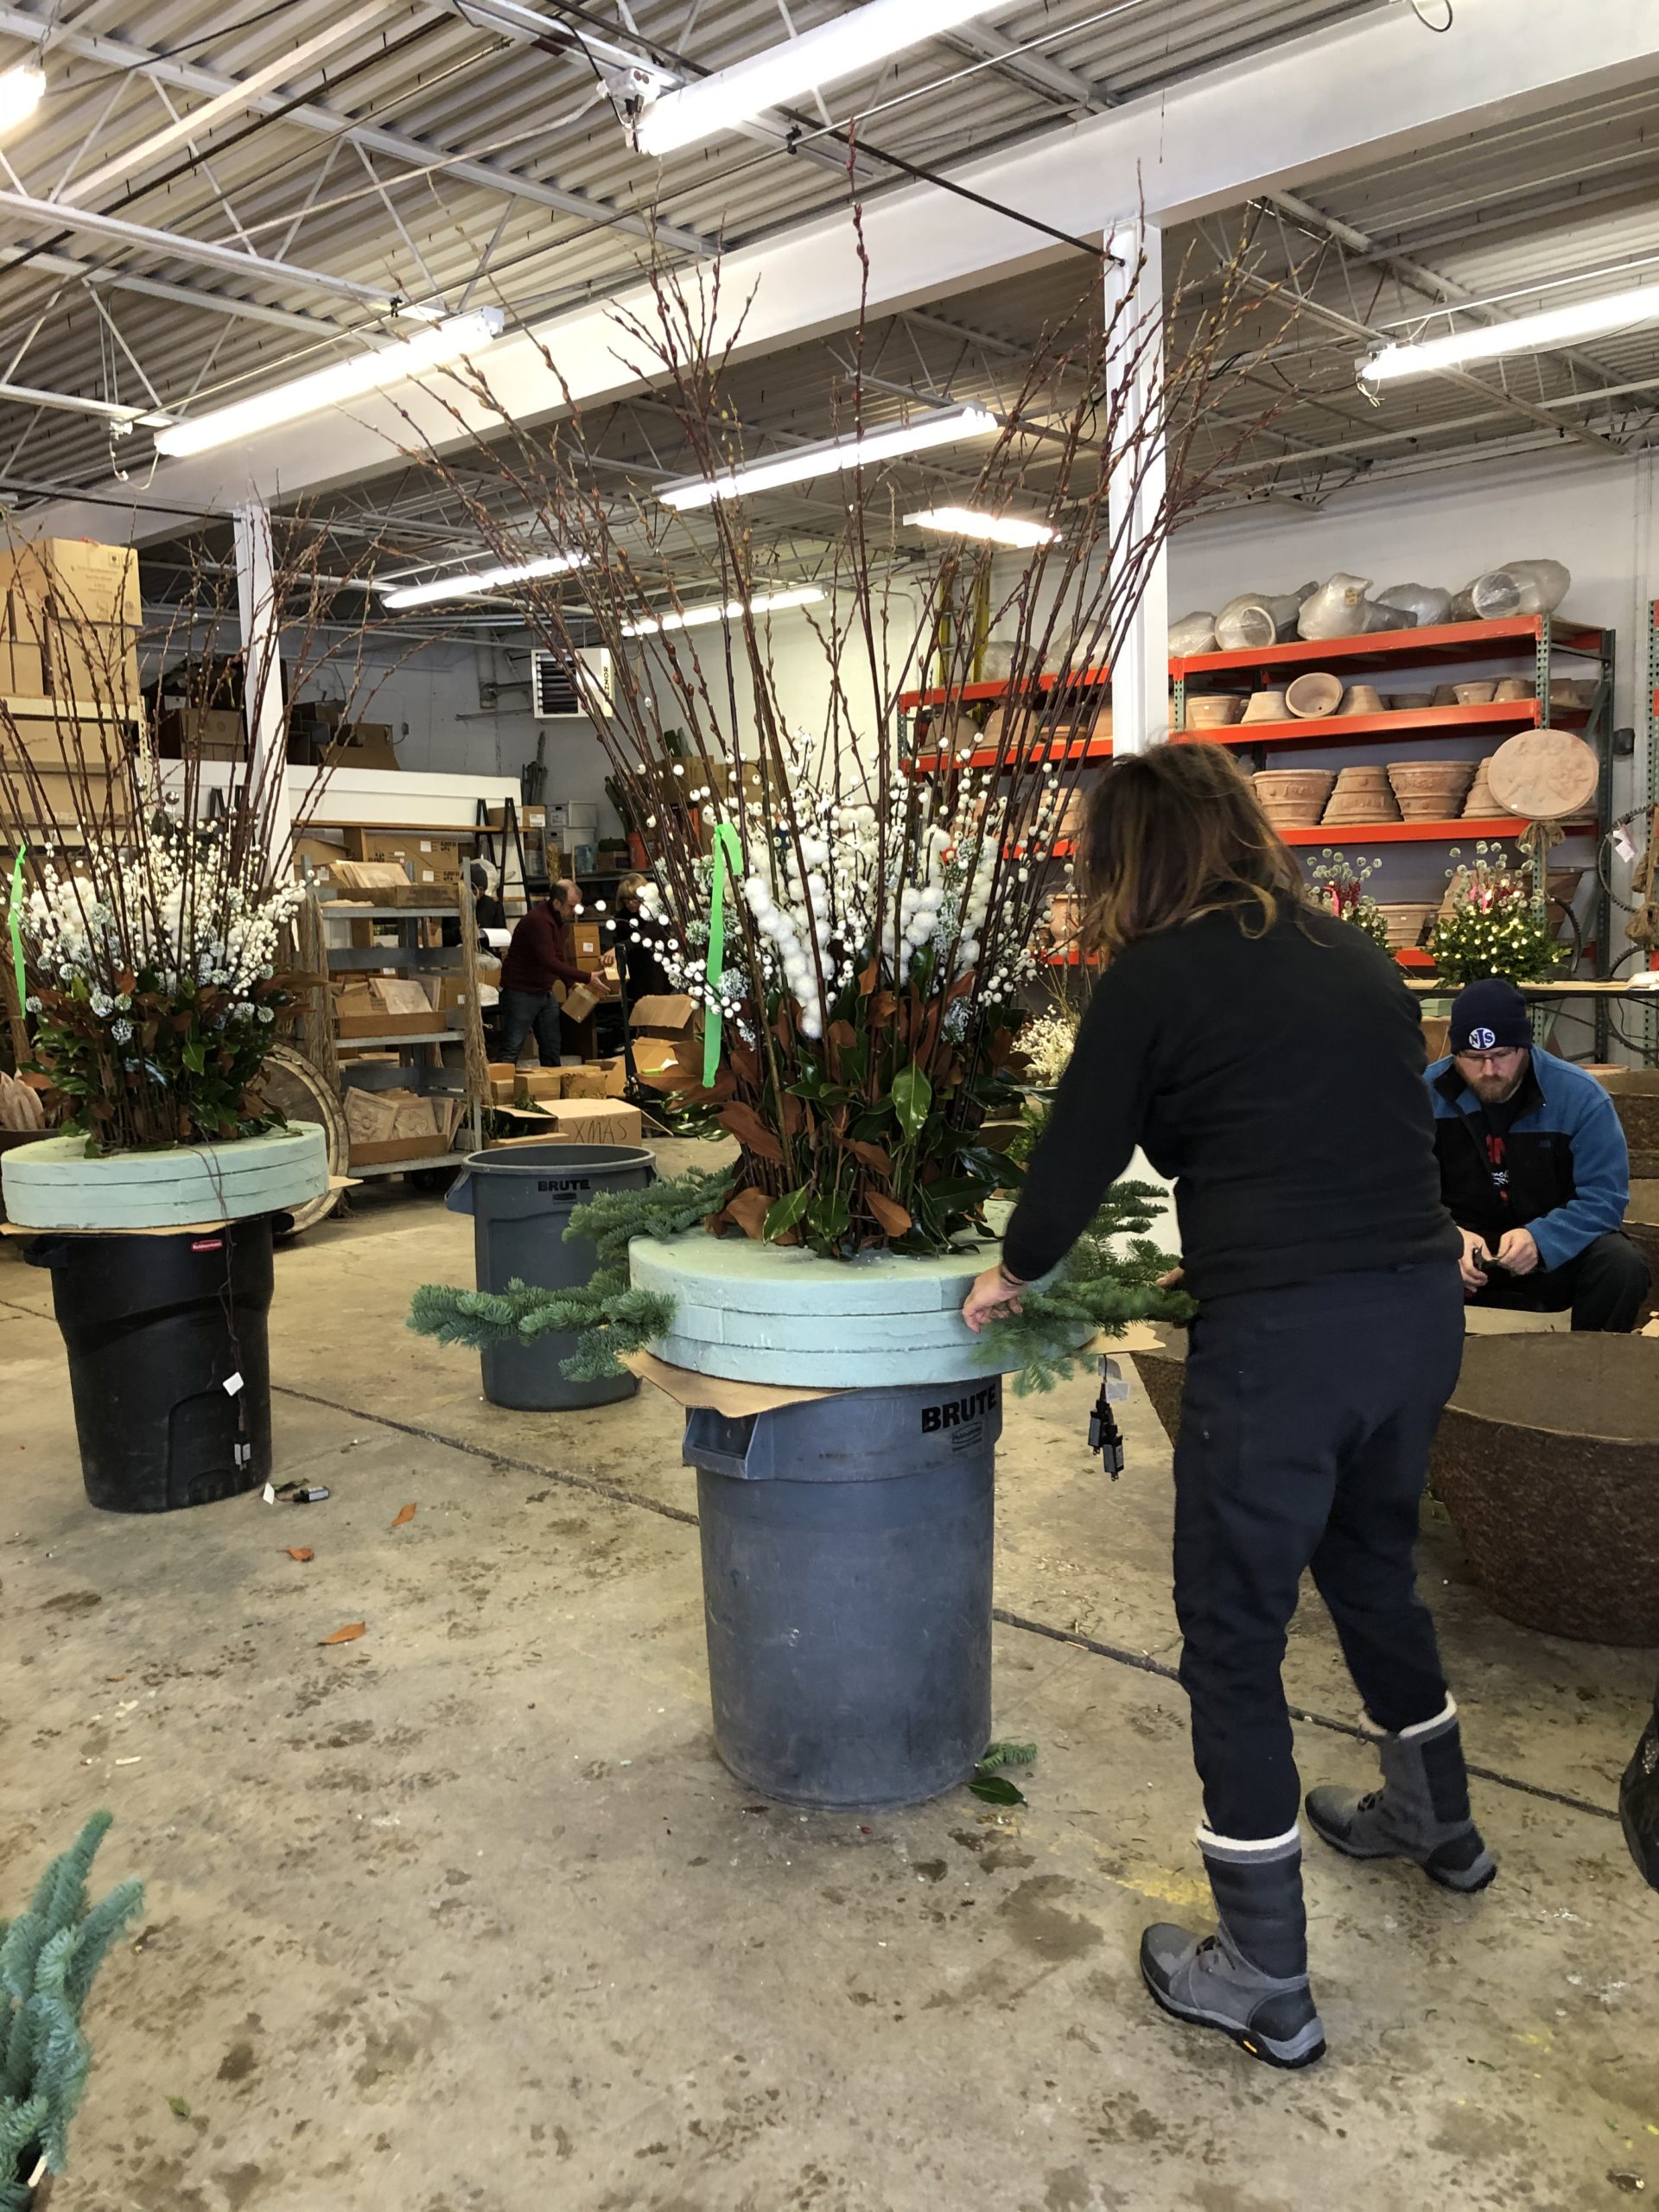
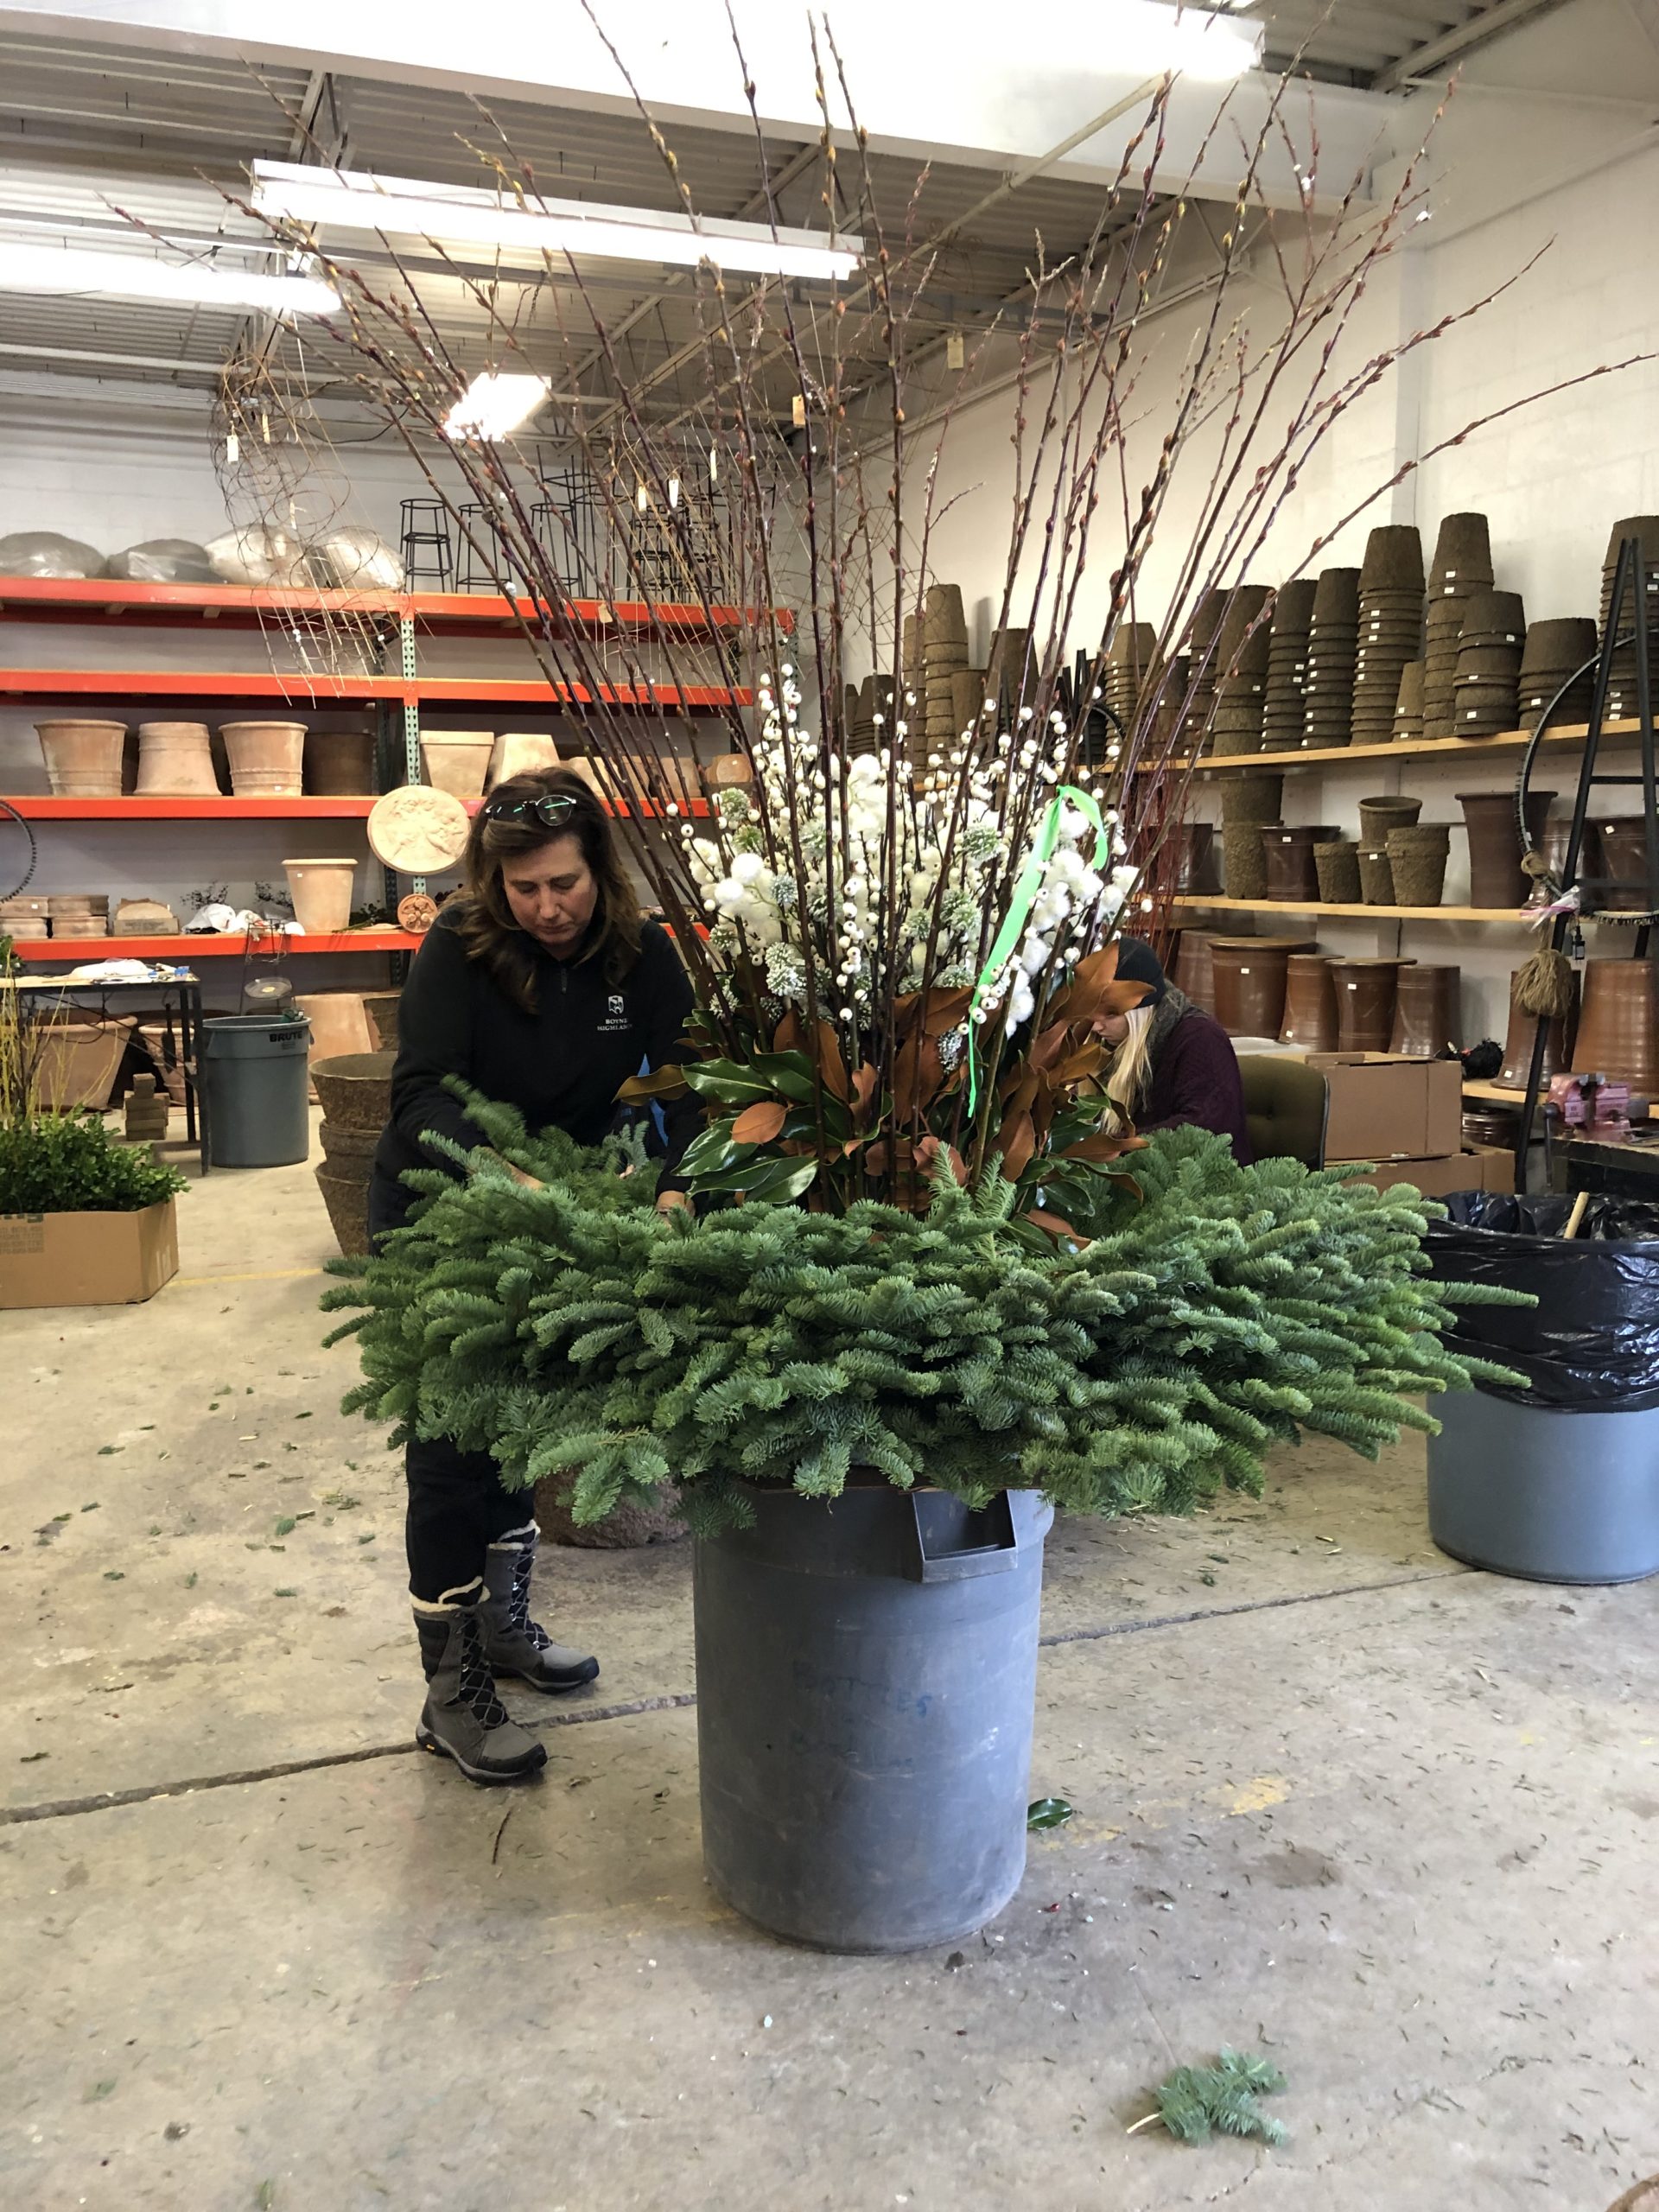
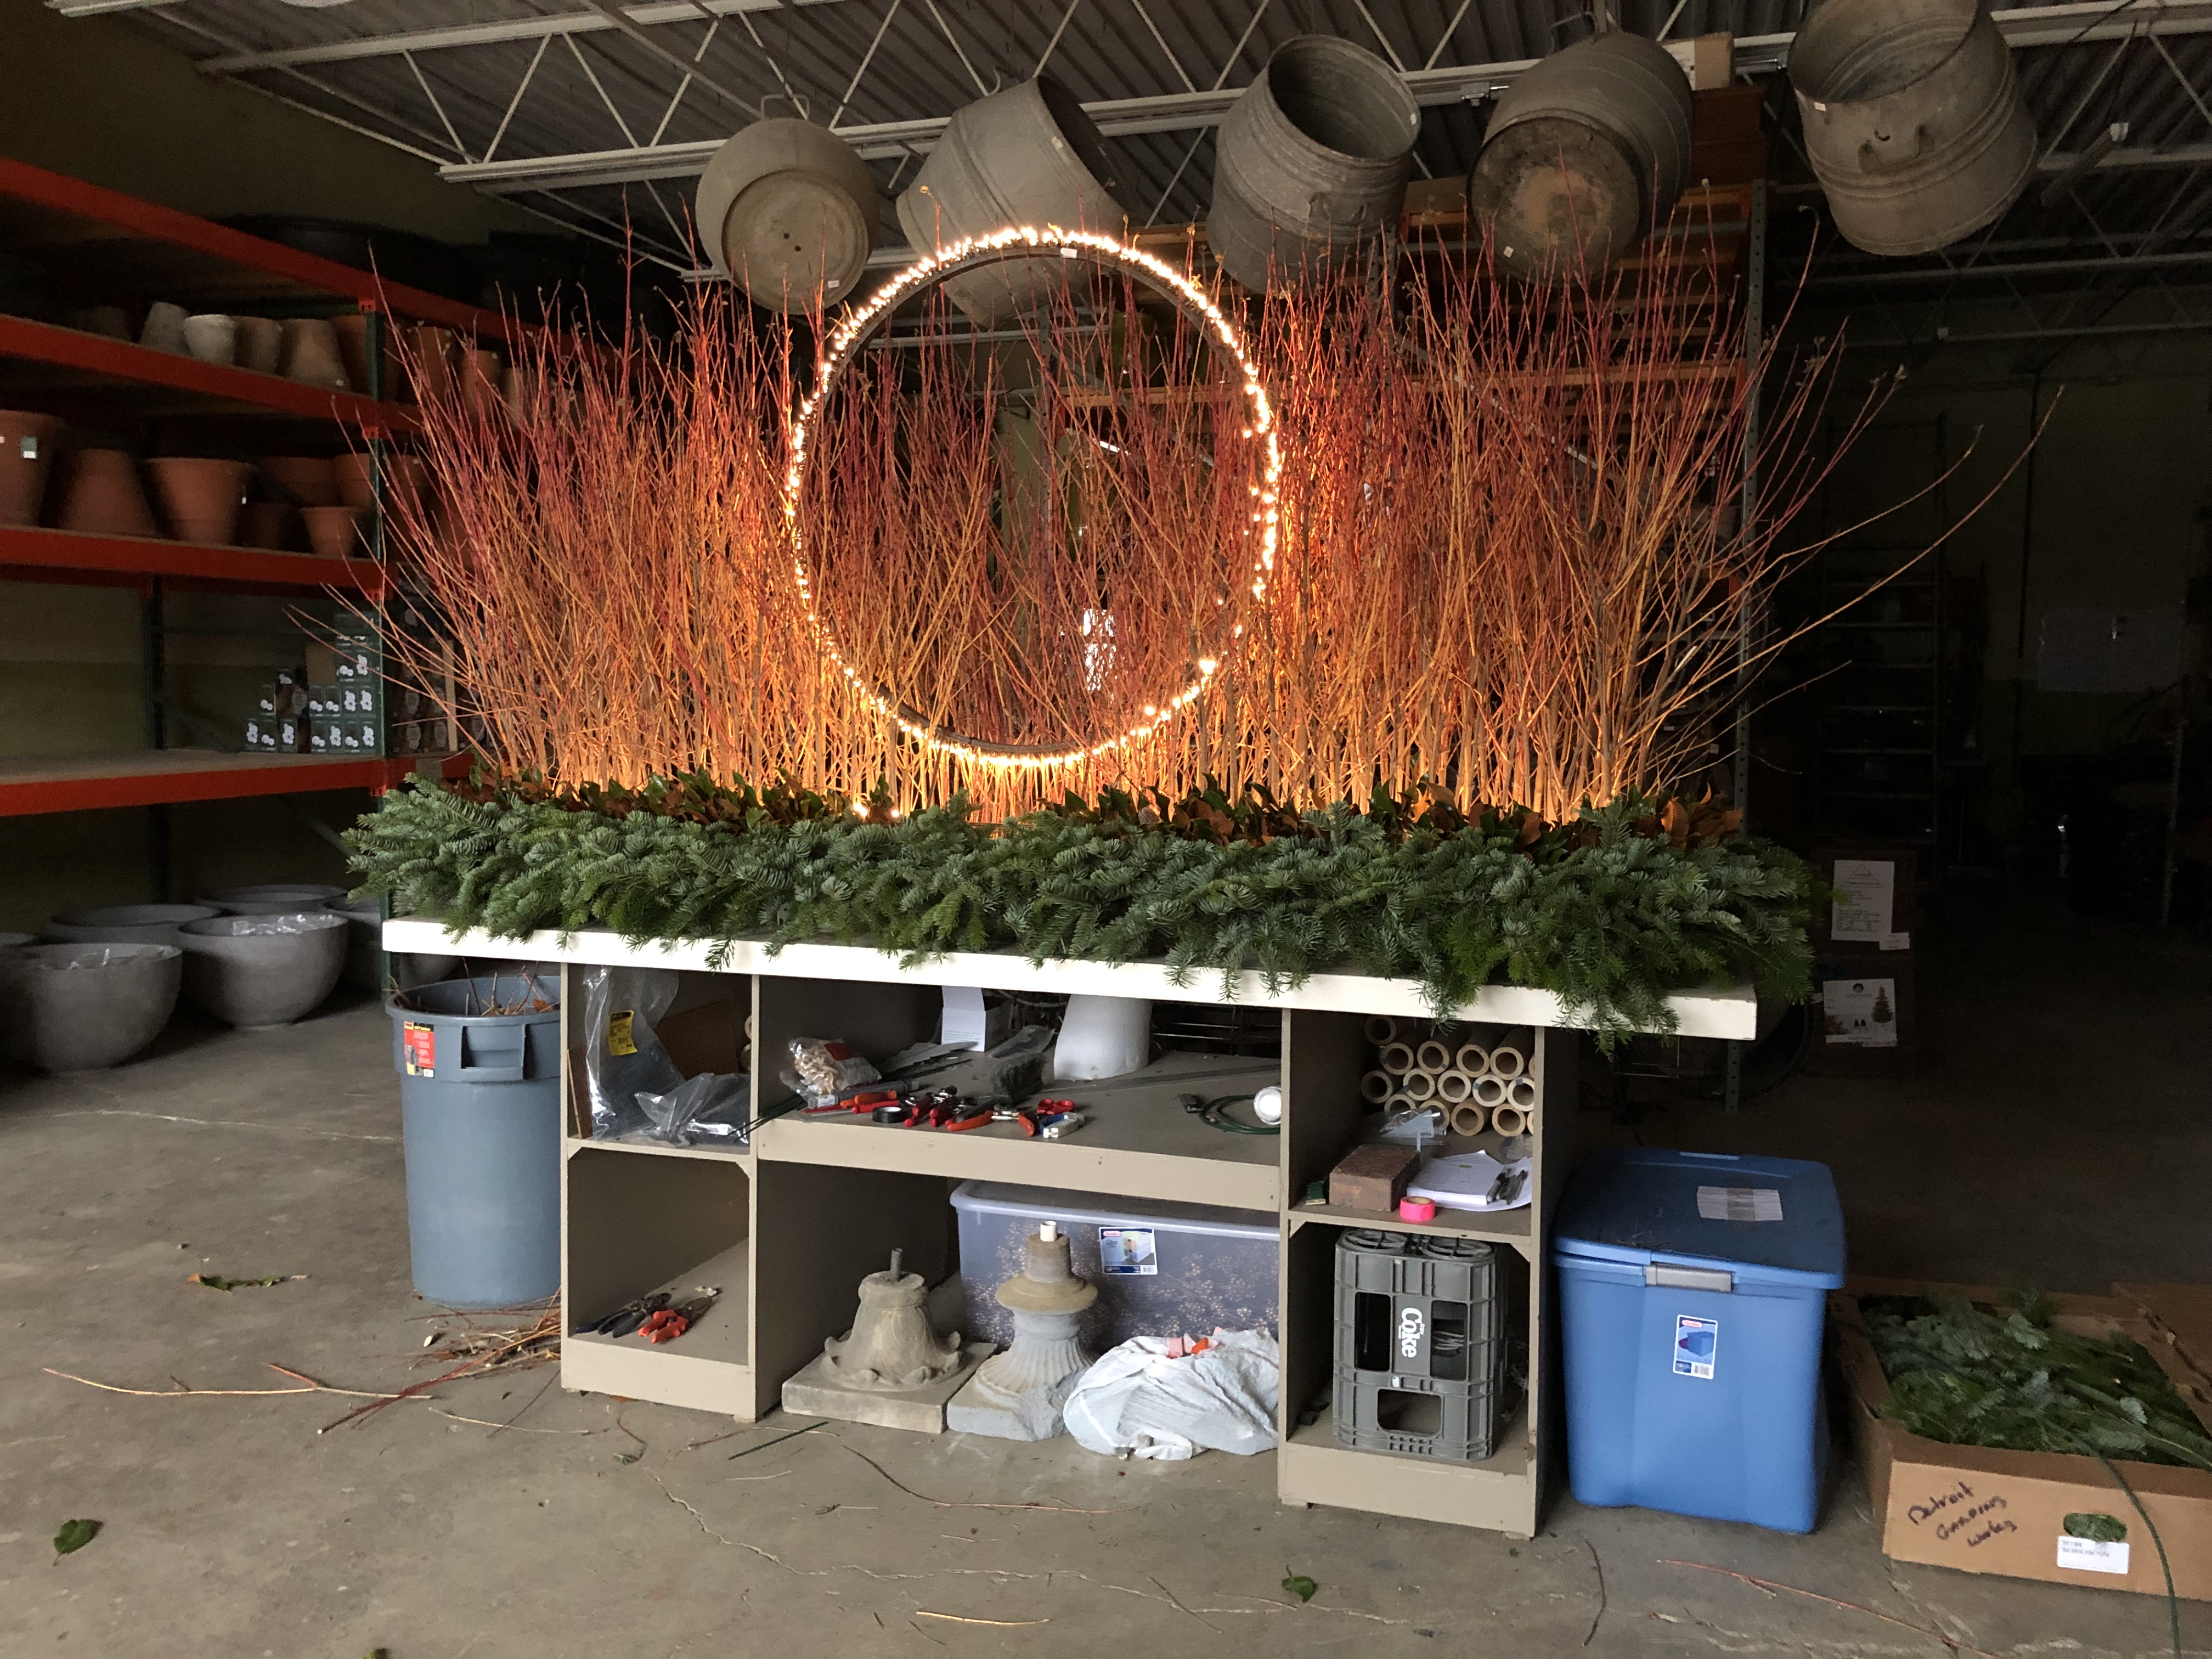
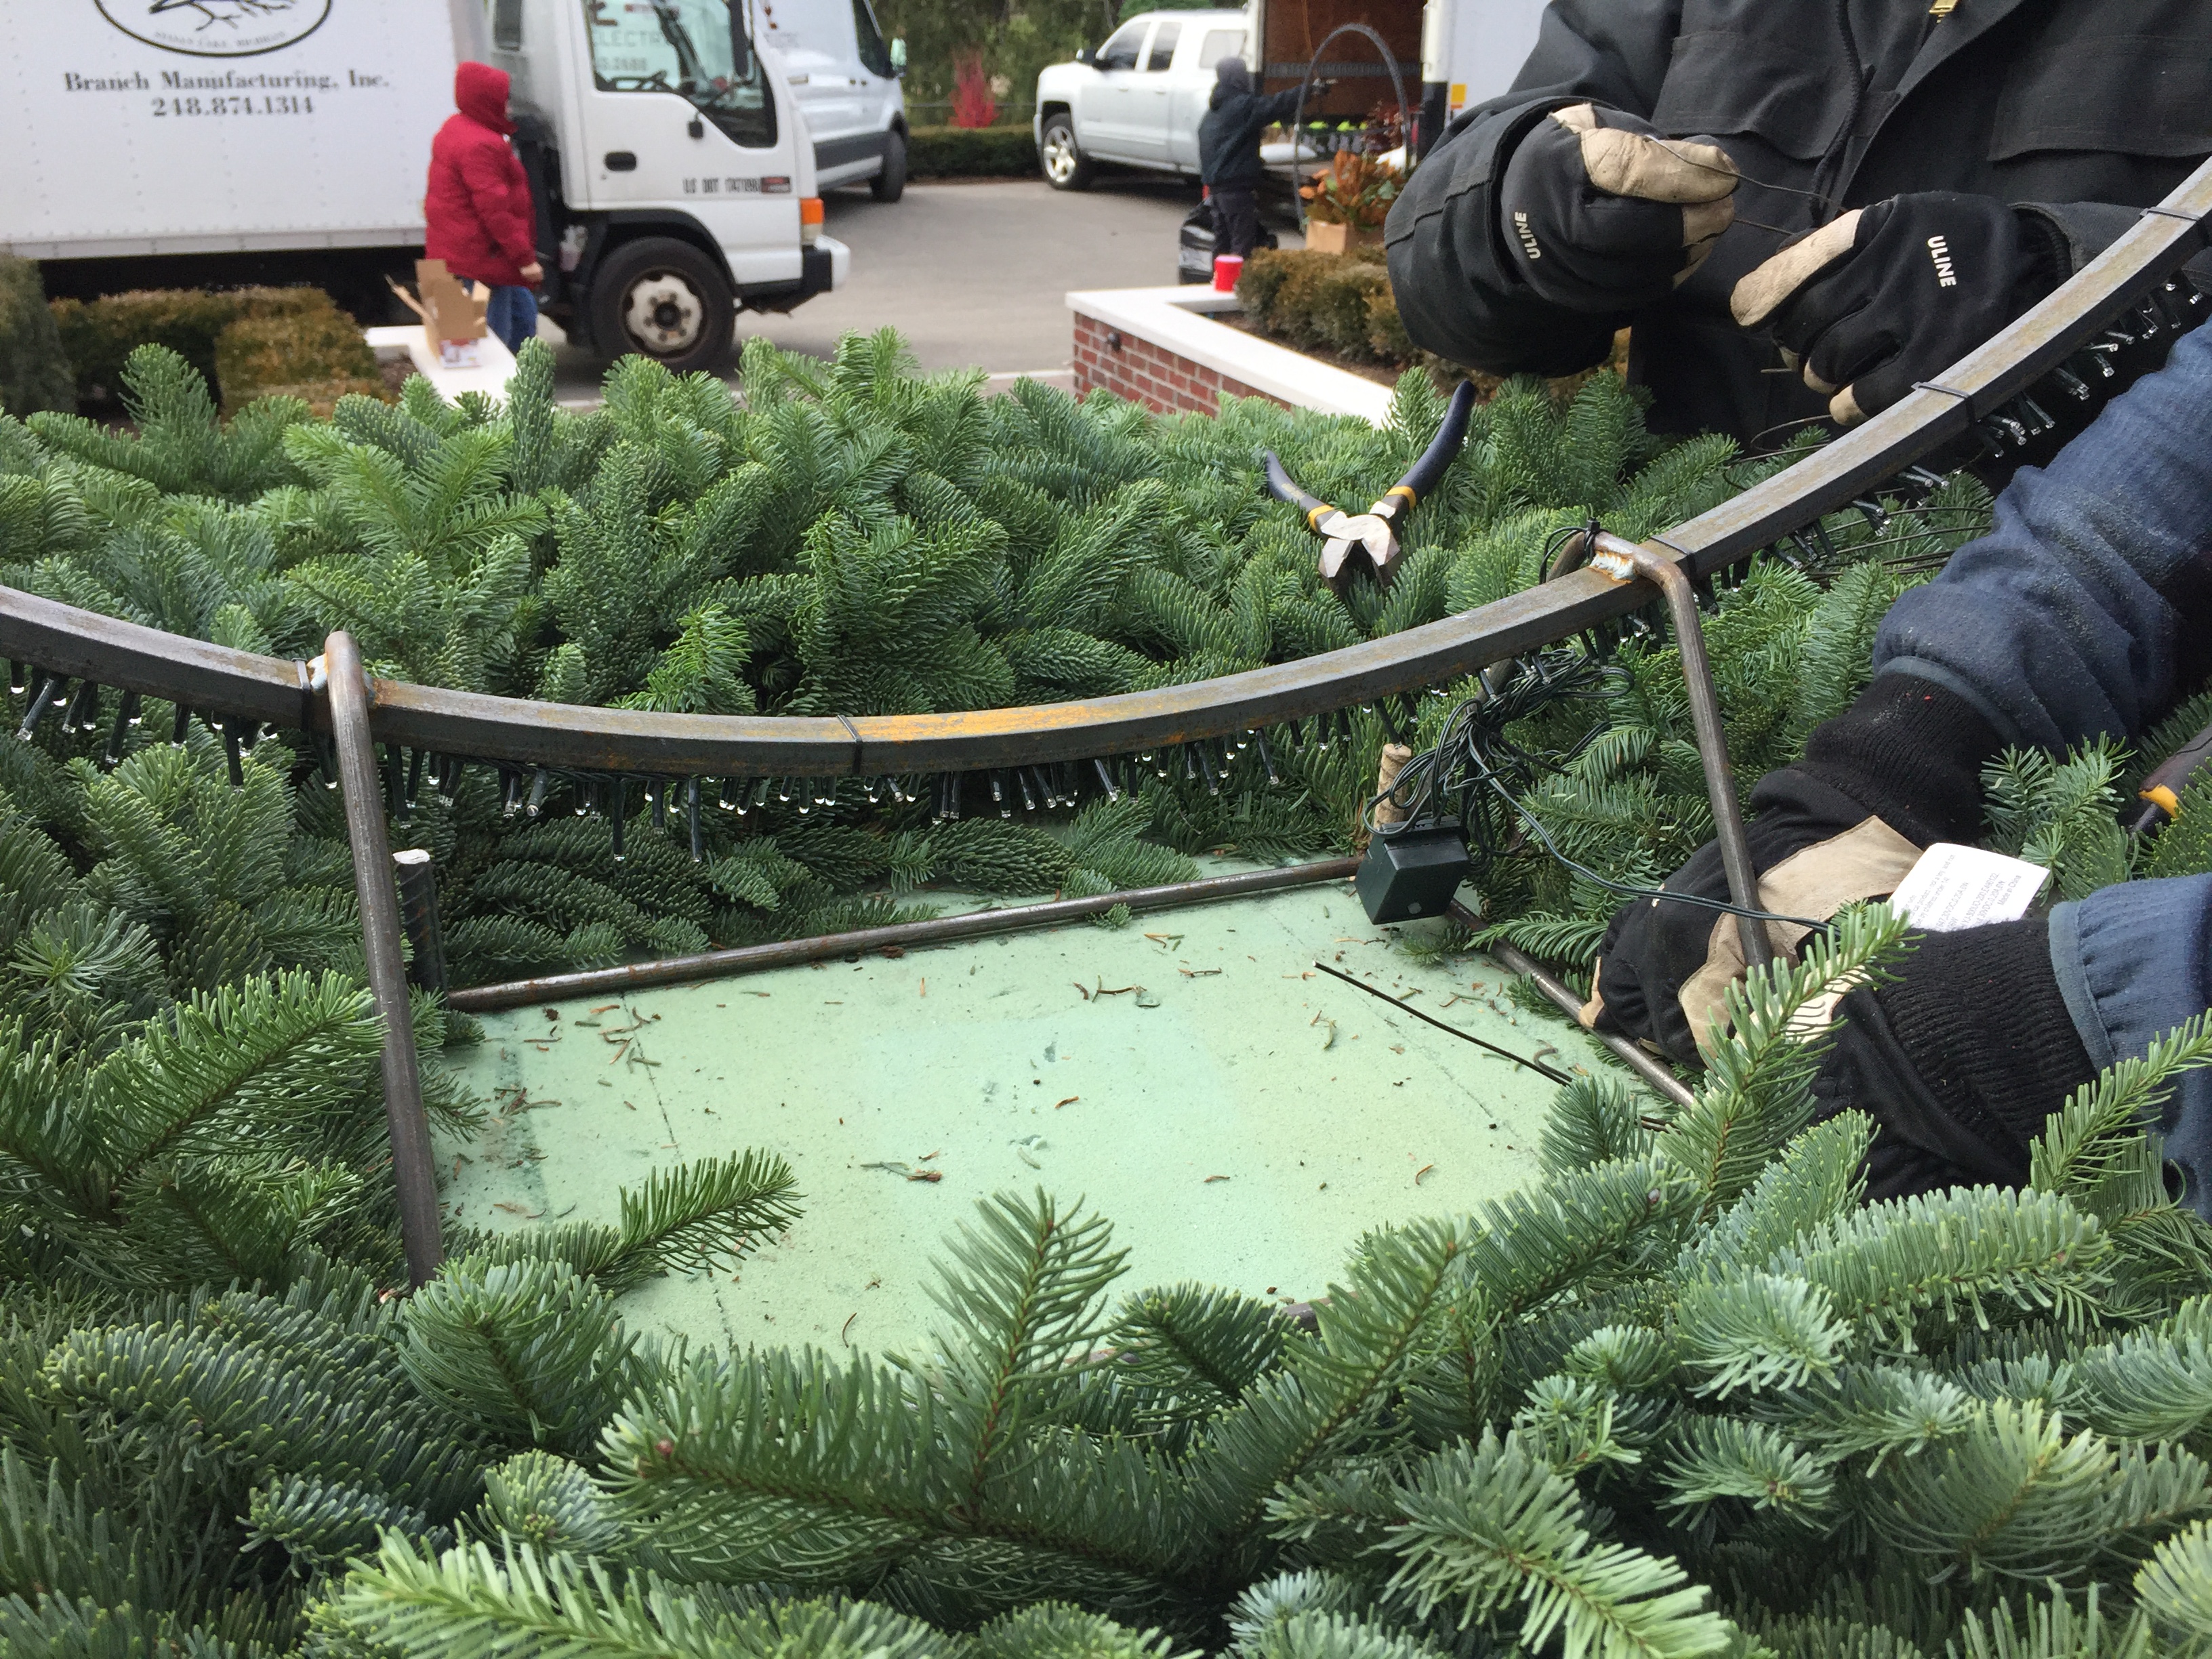
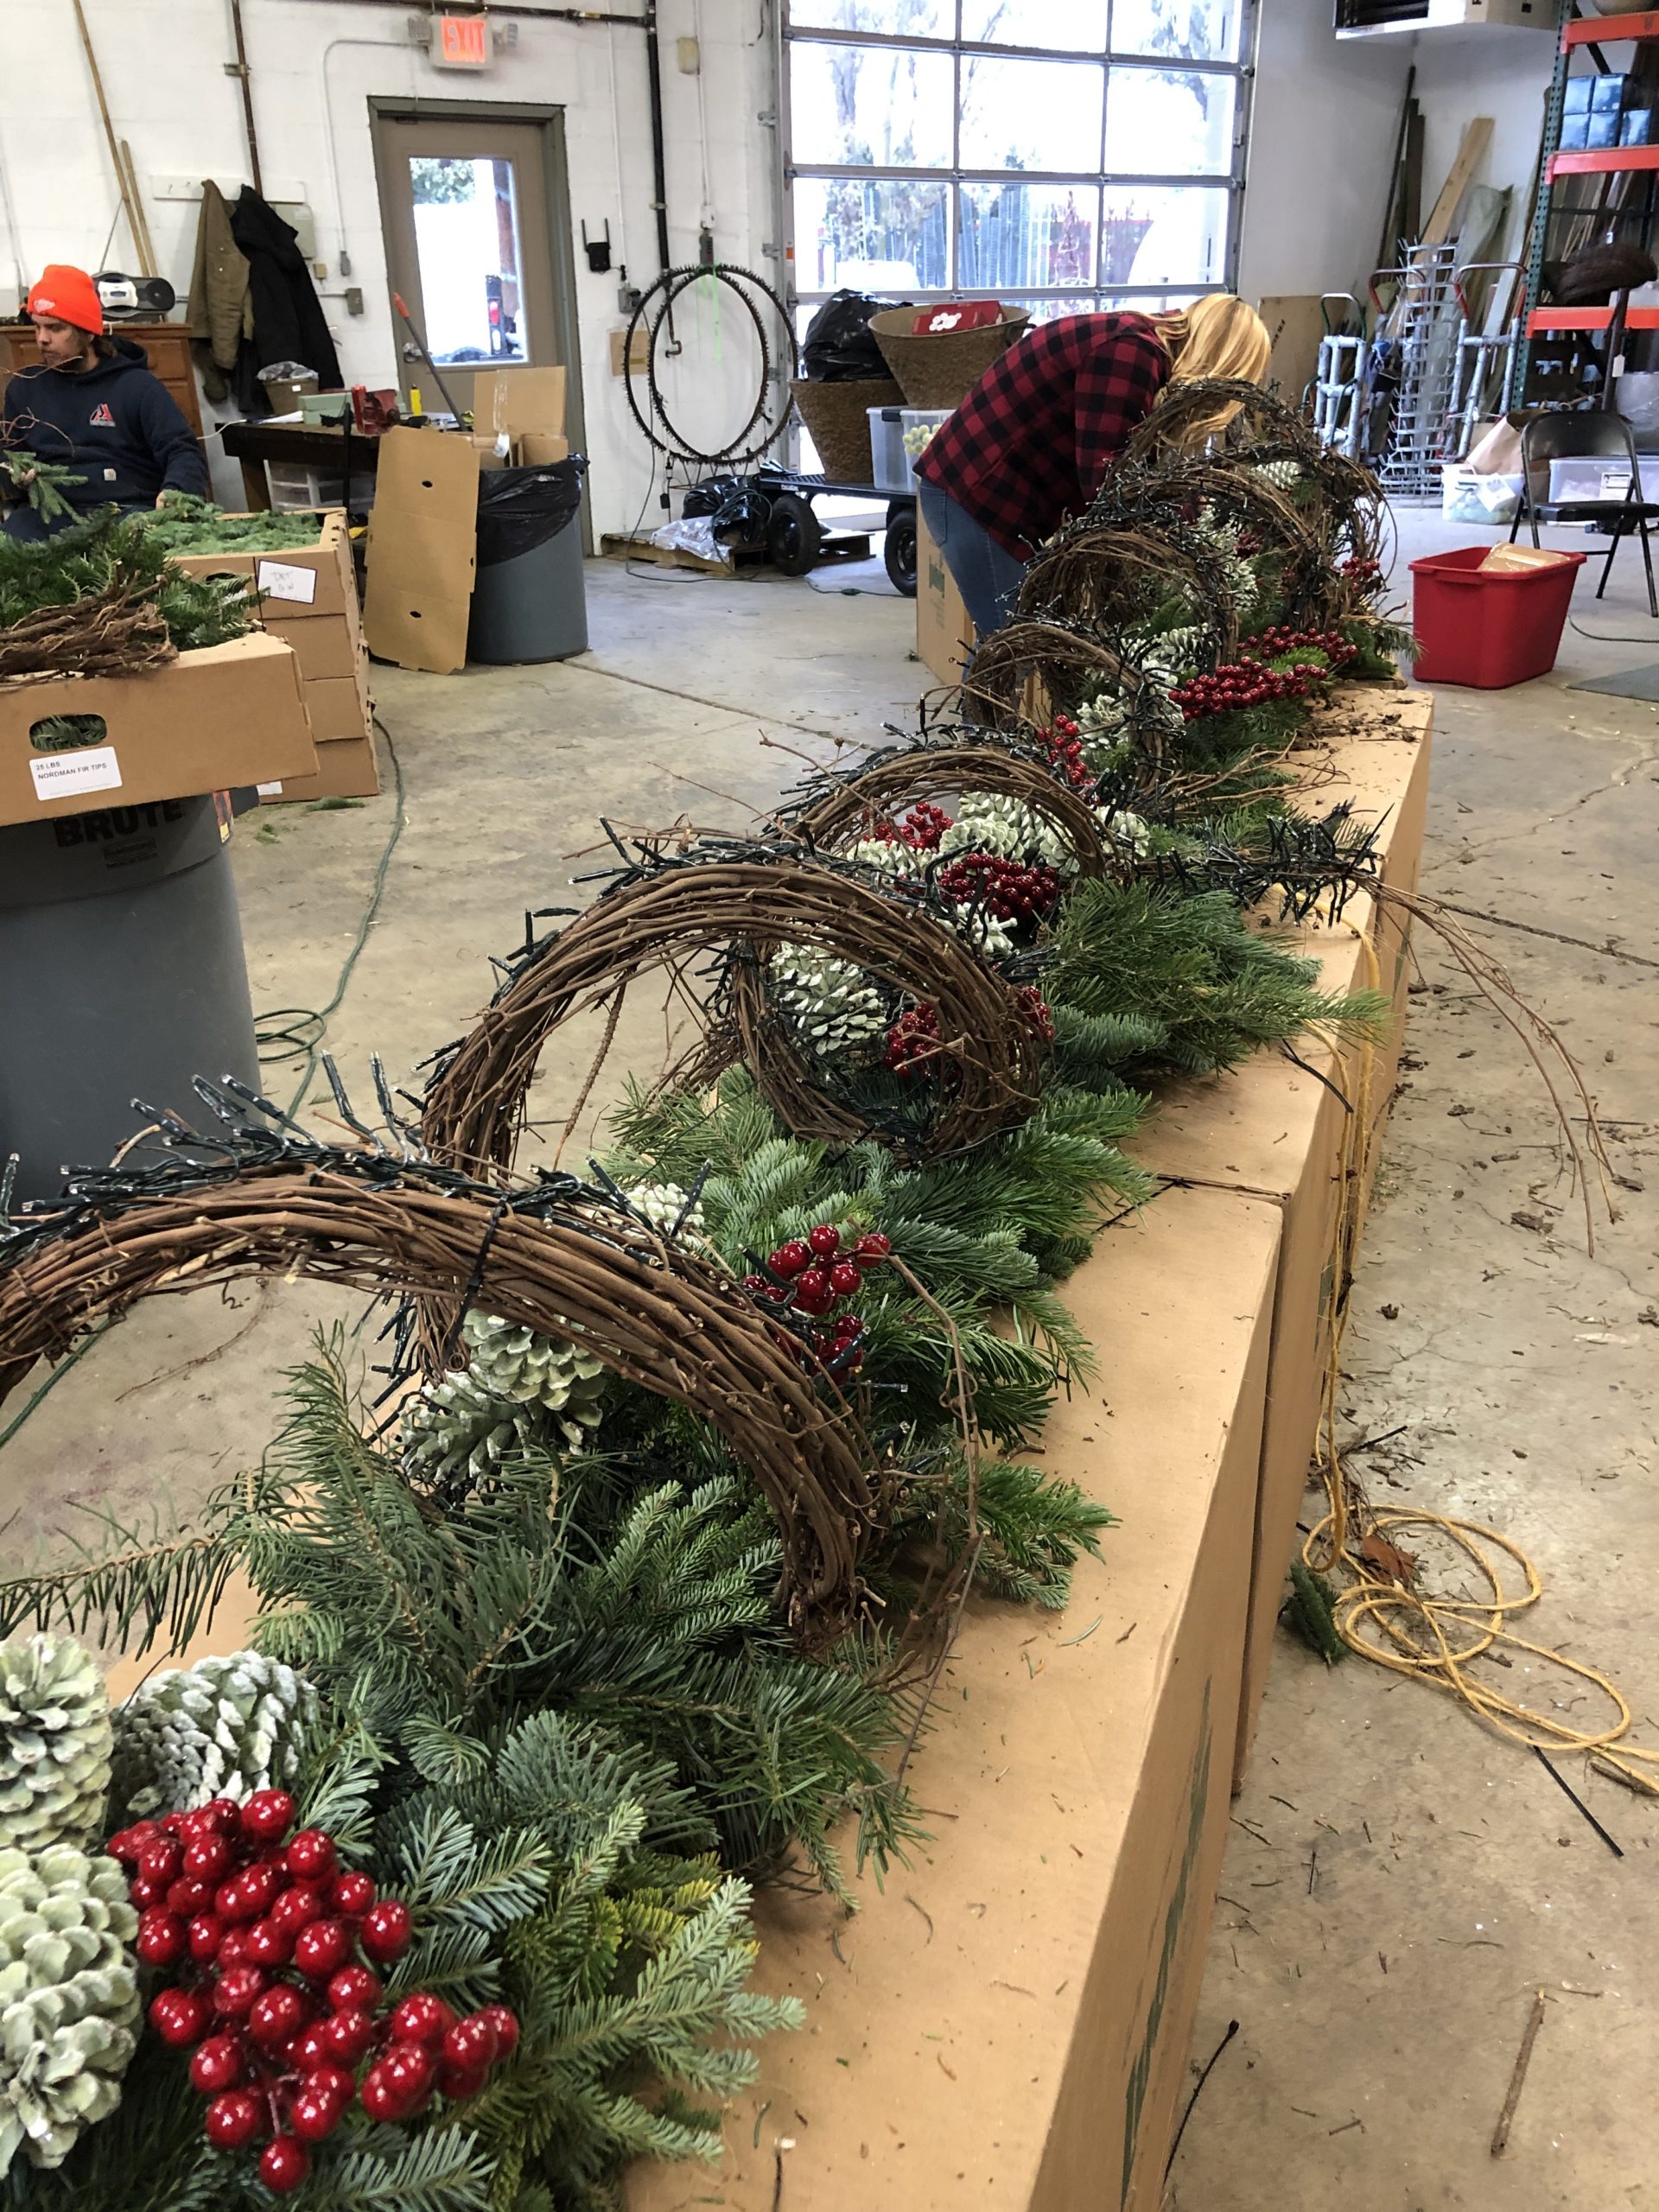
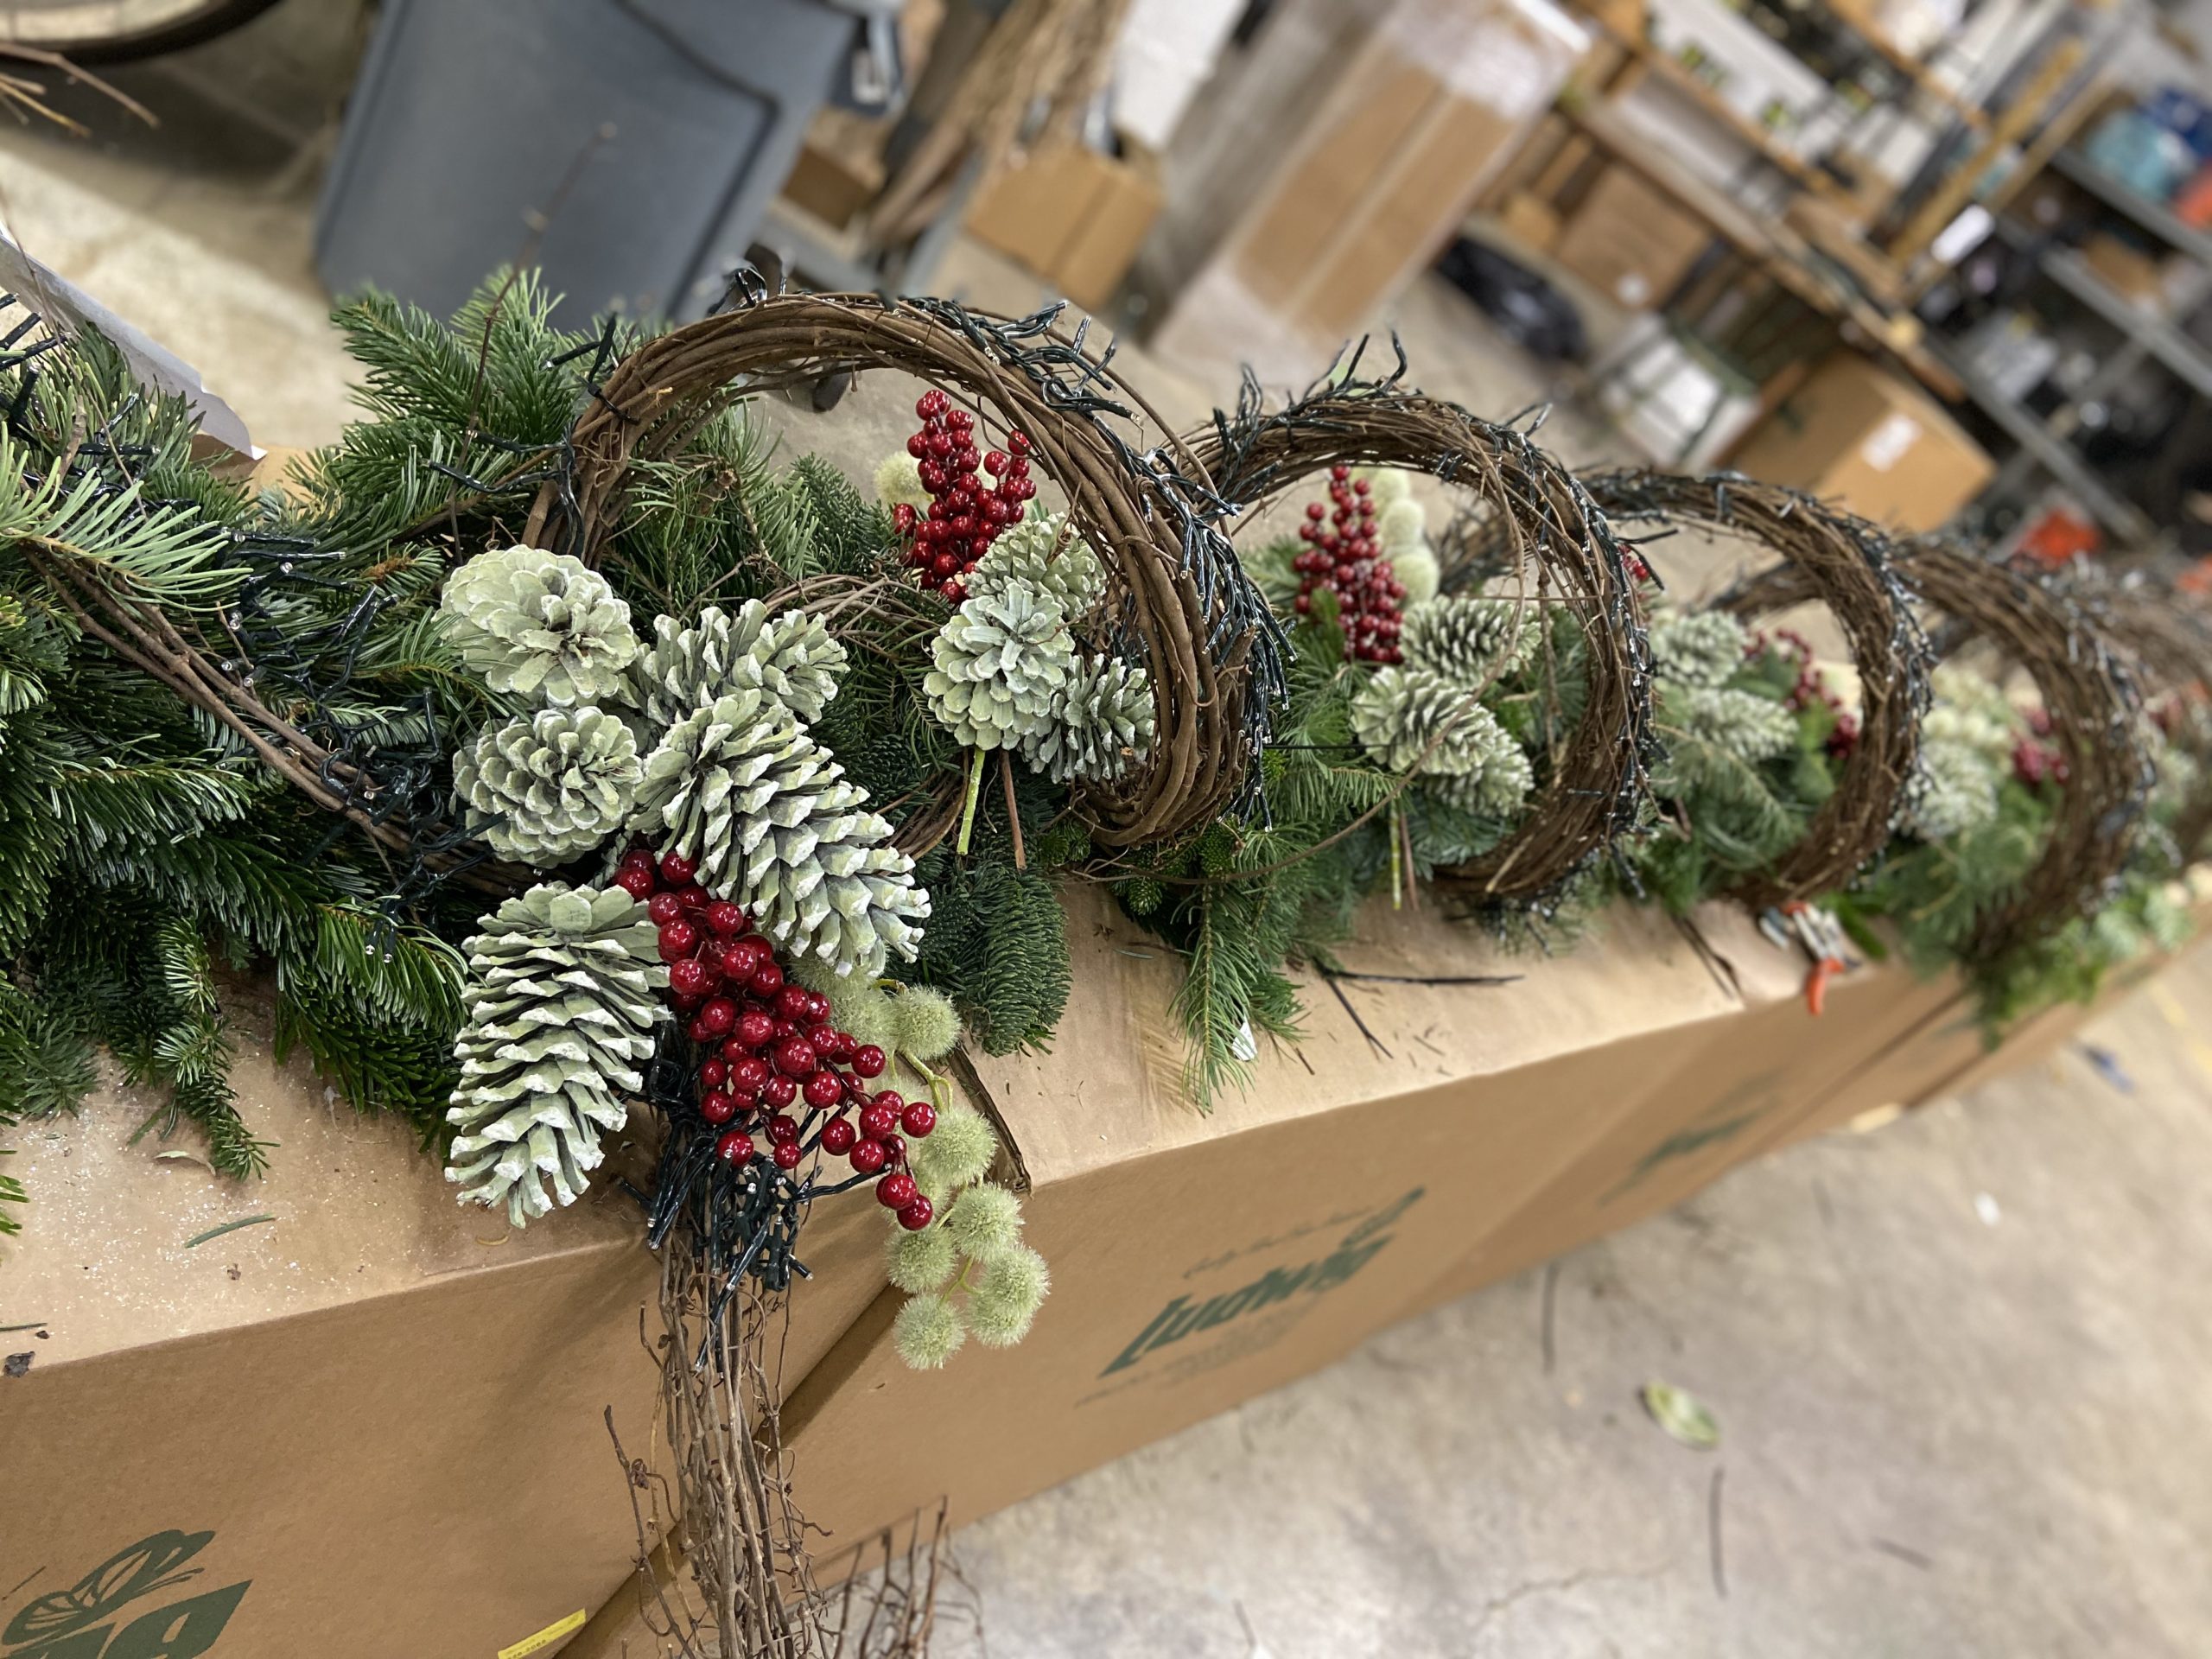
 Our garland always begin with a collection of evergreen boughs that have been wired together in a long flexible length. I have also seen garlands made from boughs attached one after another to a stout rope. We hand make the garland if it is fairly short and manageable, but I usually purchase them premade from a mix of fir boughs at my local farmer’s market. Concolor fir, Douglas fir, Nordmann fir, noble fir and fraser fir will maintain their fresh appearance inside and out for a long time. Magnolia garlands have a sumptuous look that dries beautifully if used indoors. The first order of business is to determine the direction of the boughs. We arrange the boughs in an upward position from the bottom left, and up and over to the top/center. In a traditional garland, the right hand overhead portion and drop needs to mirror the left hand side. A traditional garland is bilaterally symmetrical. If the garland purchased is a long one, it will need to be cut in the center, and flipped end to end, and reattached at the top/center. For this reason, I order my garlands in 15′ lengths. A pair of this shorter length garlands can be easily be attached at the center point with the boughs running in opposite directions. I always run the boughs upwards, so gravity fans them out as the branches dry. Branches hung in a downward position close up and shrink in width as they dry. 15 footers are easy to handle, and any excess greens can be cut off the bottoms. The 30′ foot garland under construction was perfect for 2 15′ garlands overlapped and attached in the middle. We usually add more of our cut greens over the top of the garlands we buy, so the garland is thick and substantial.
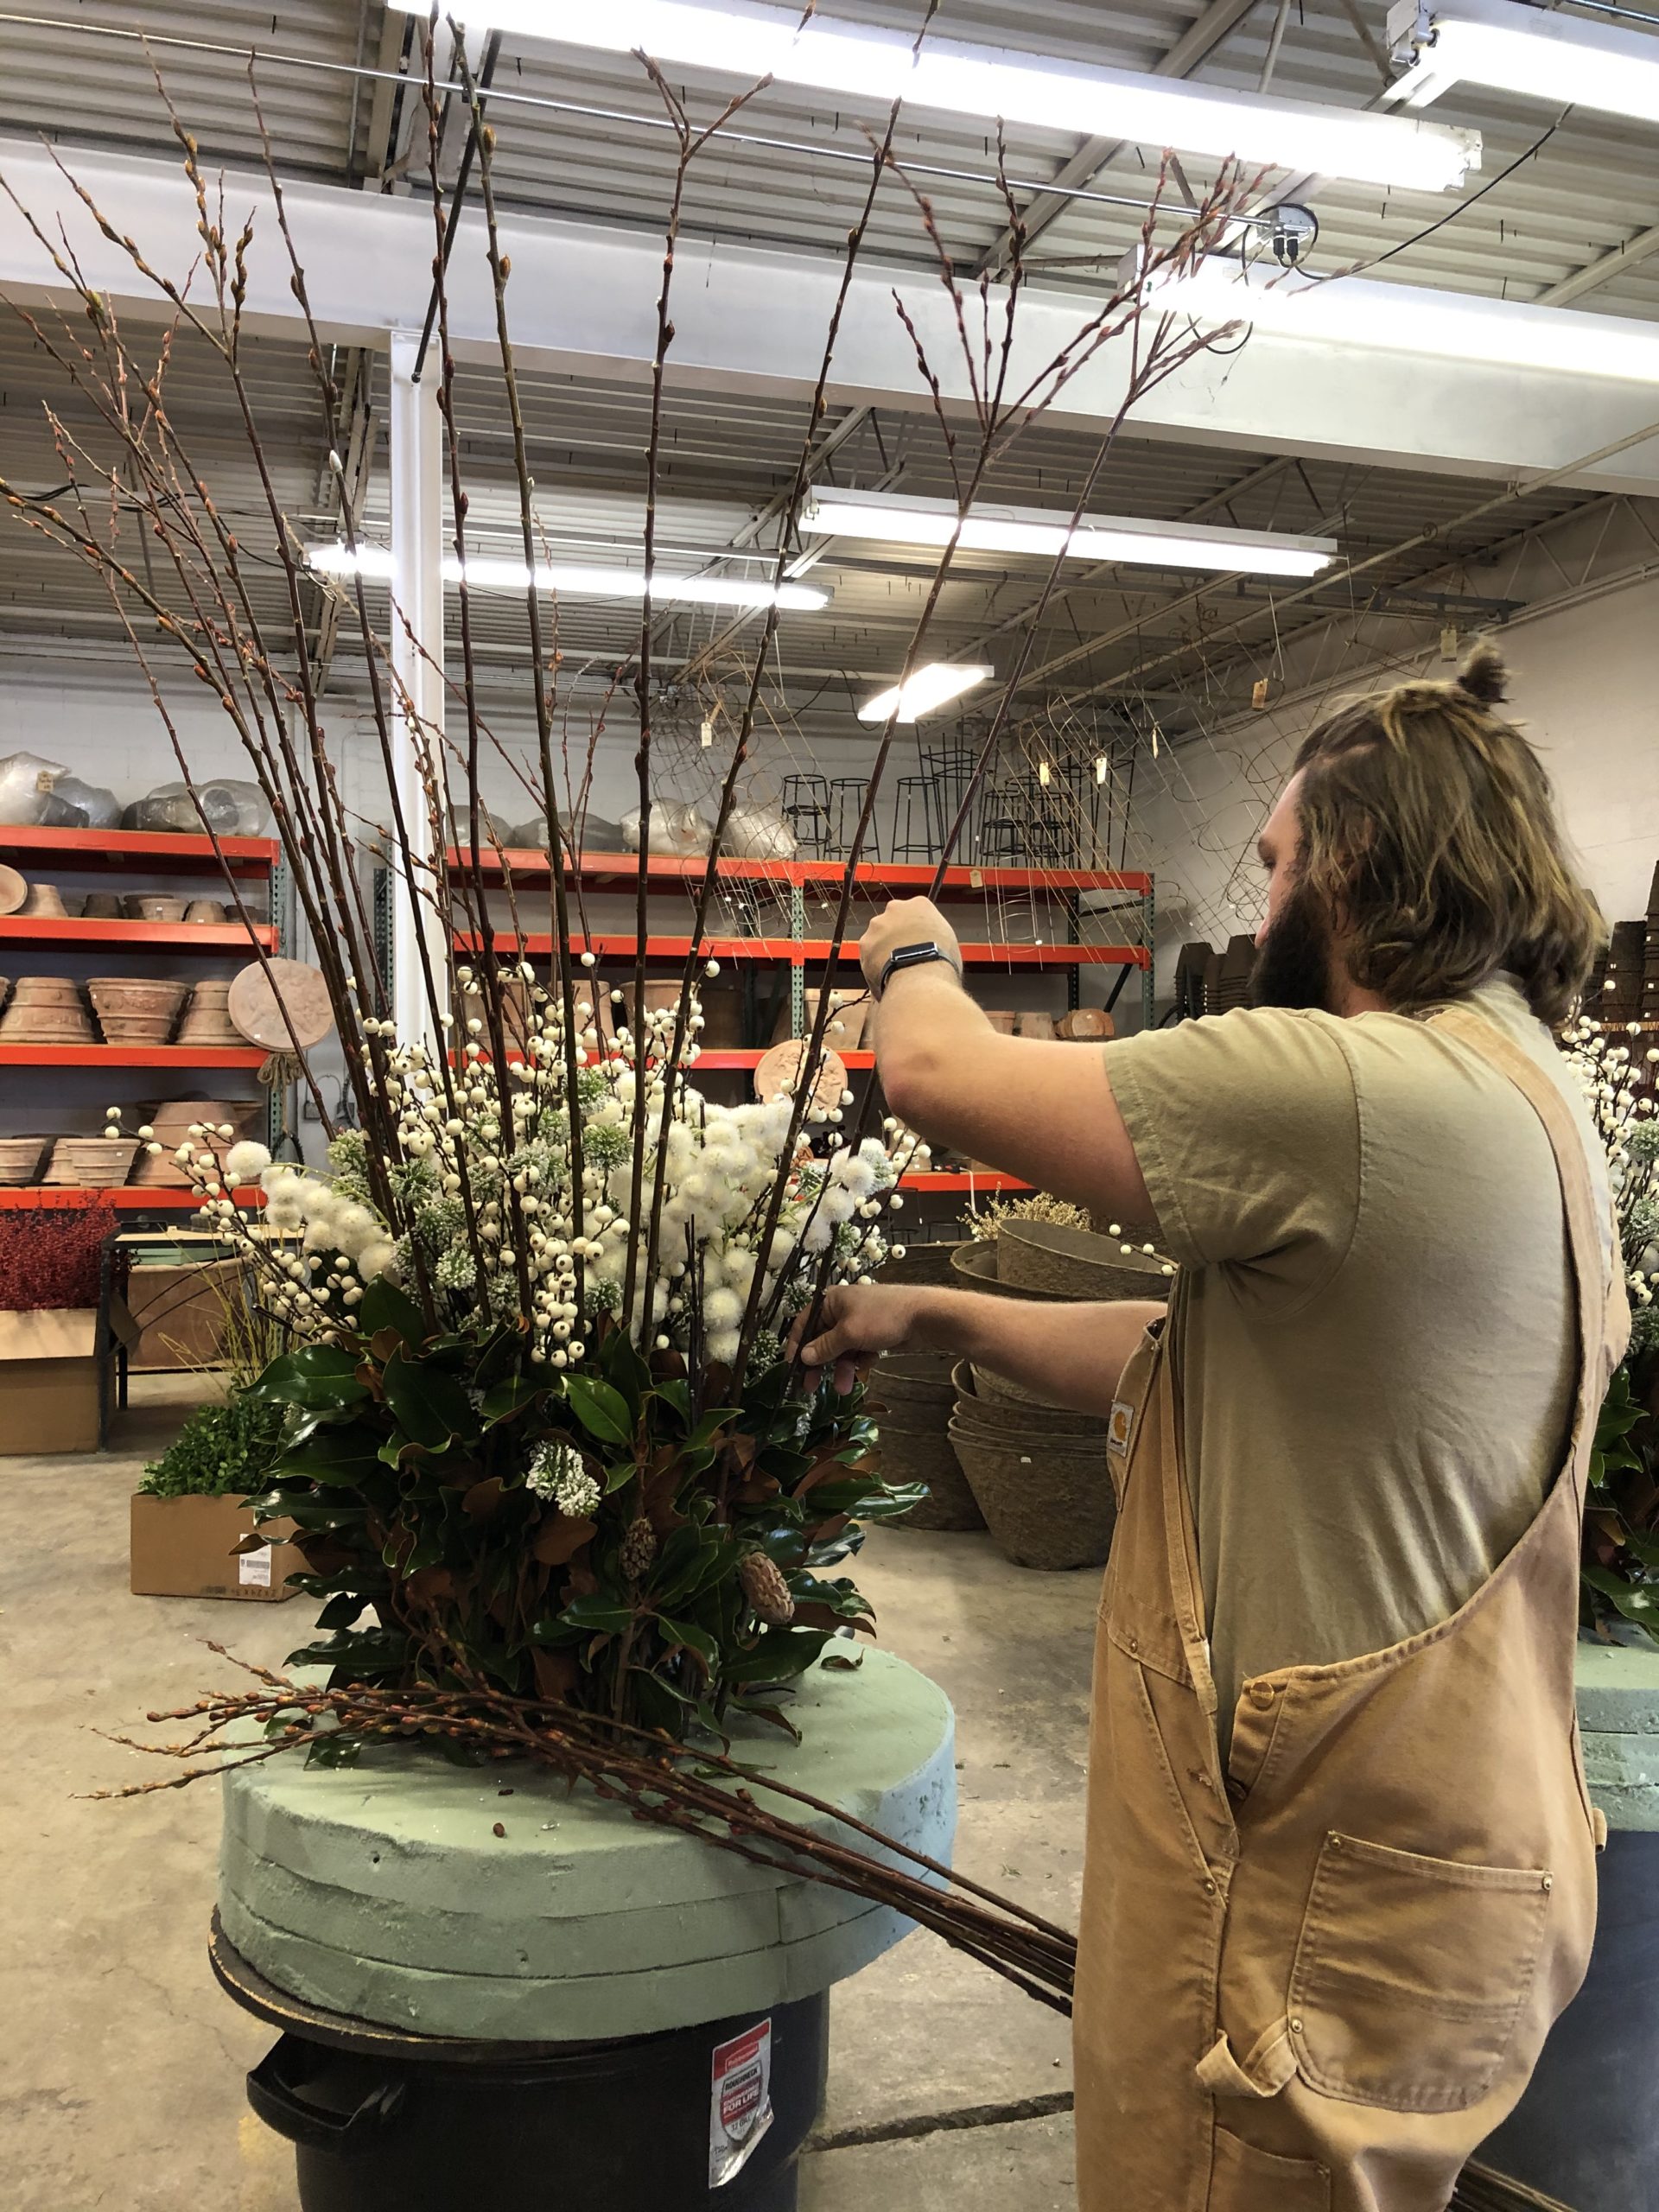
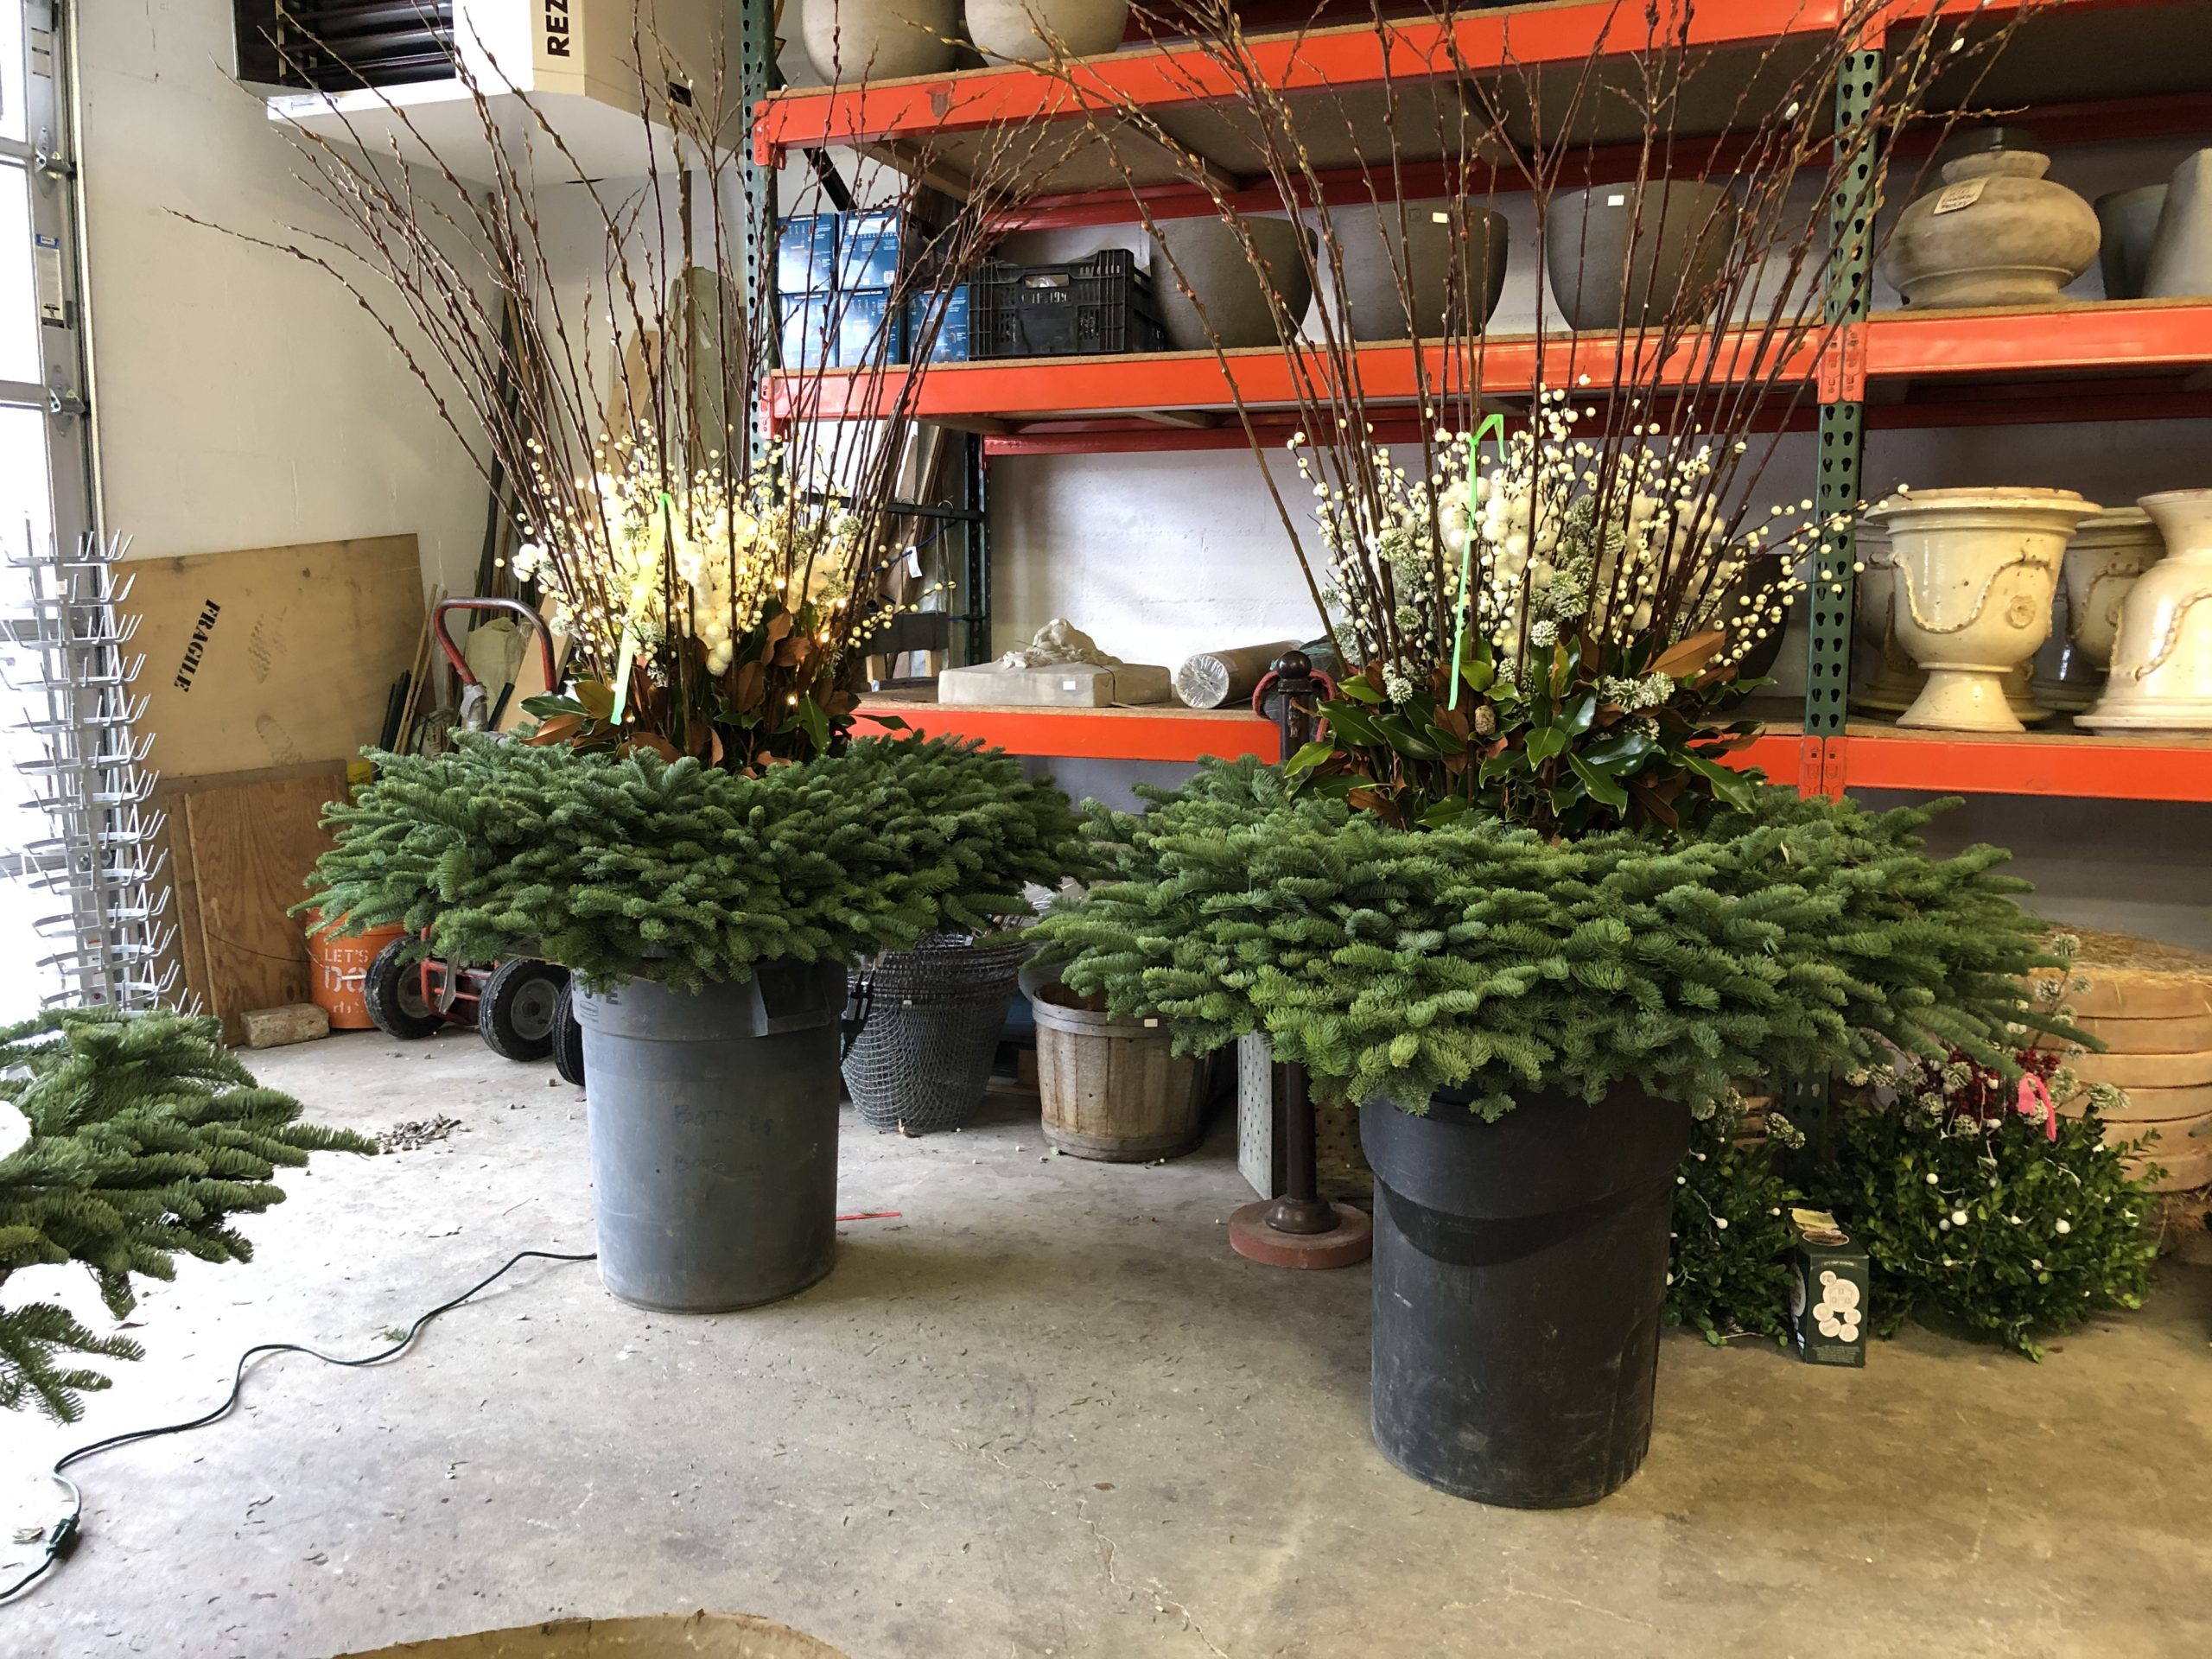
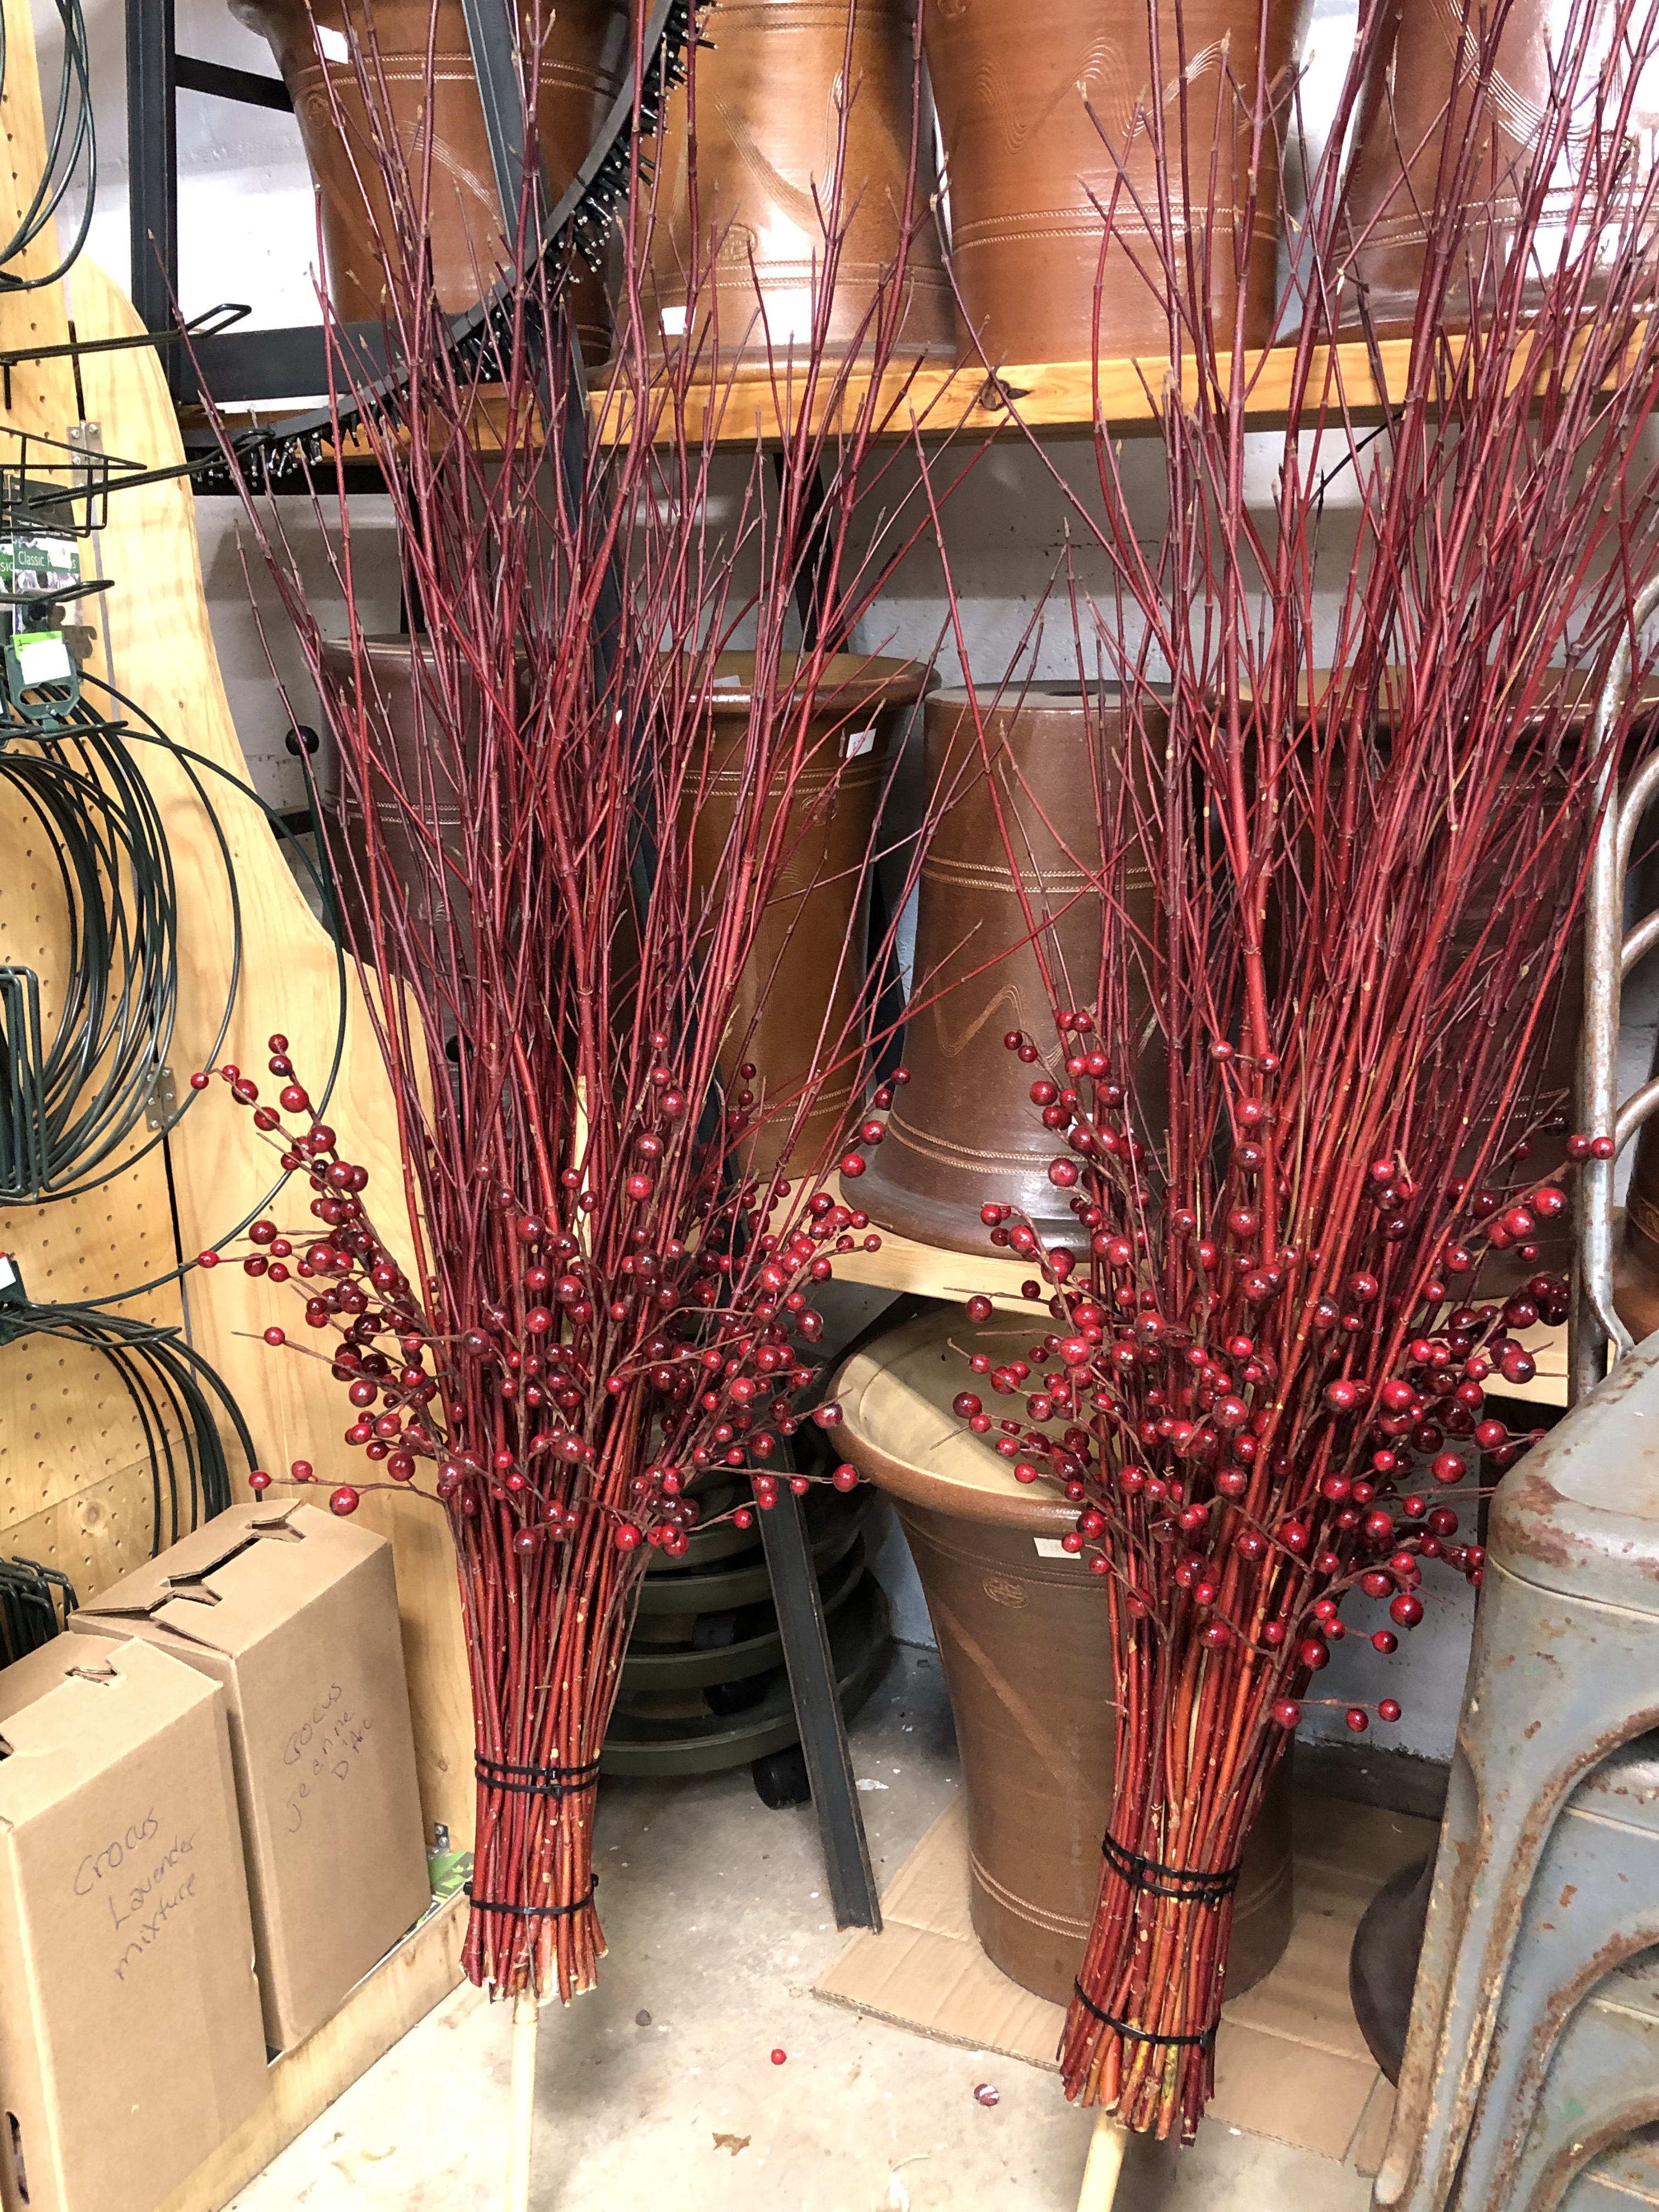
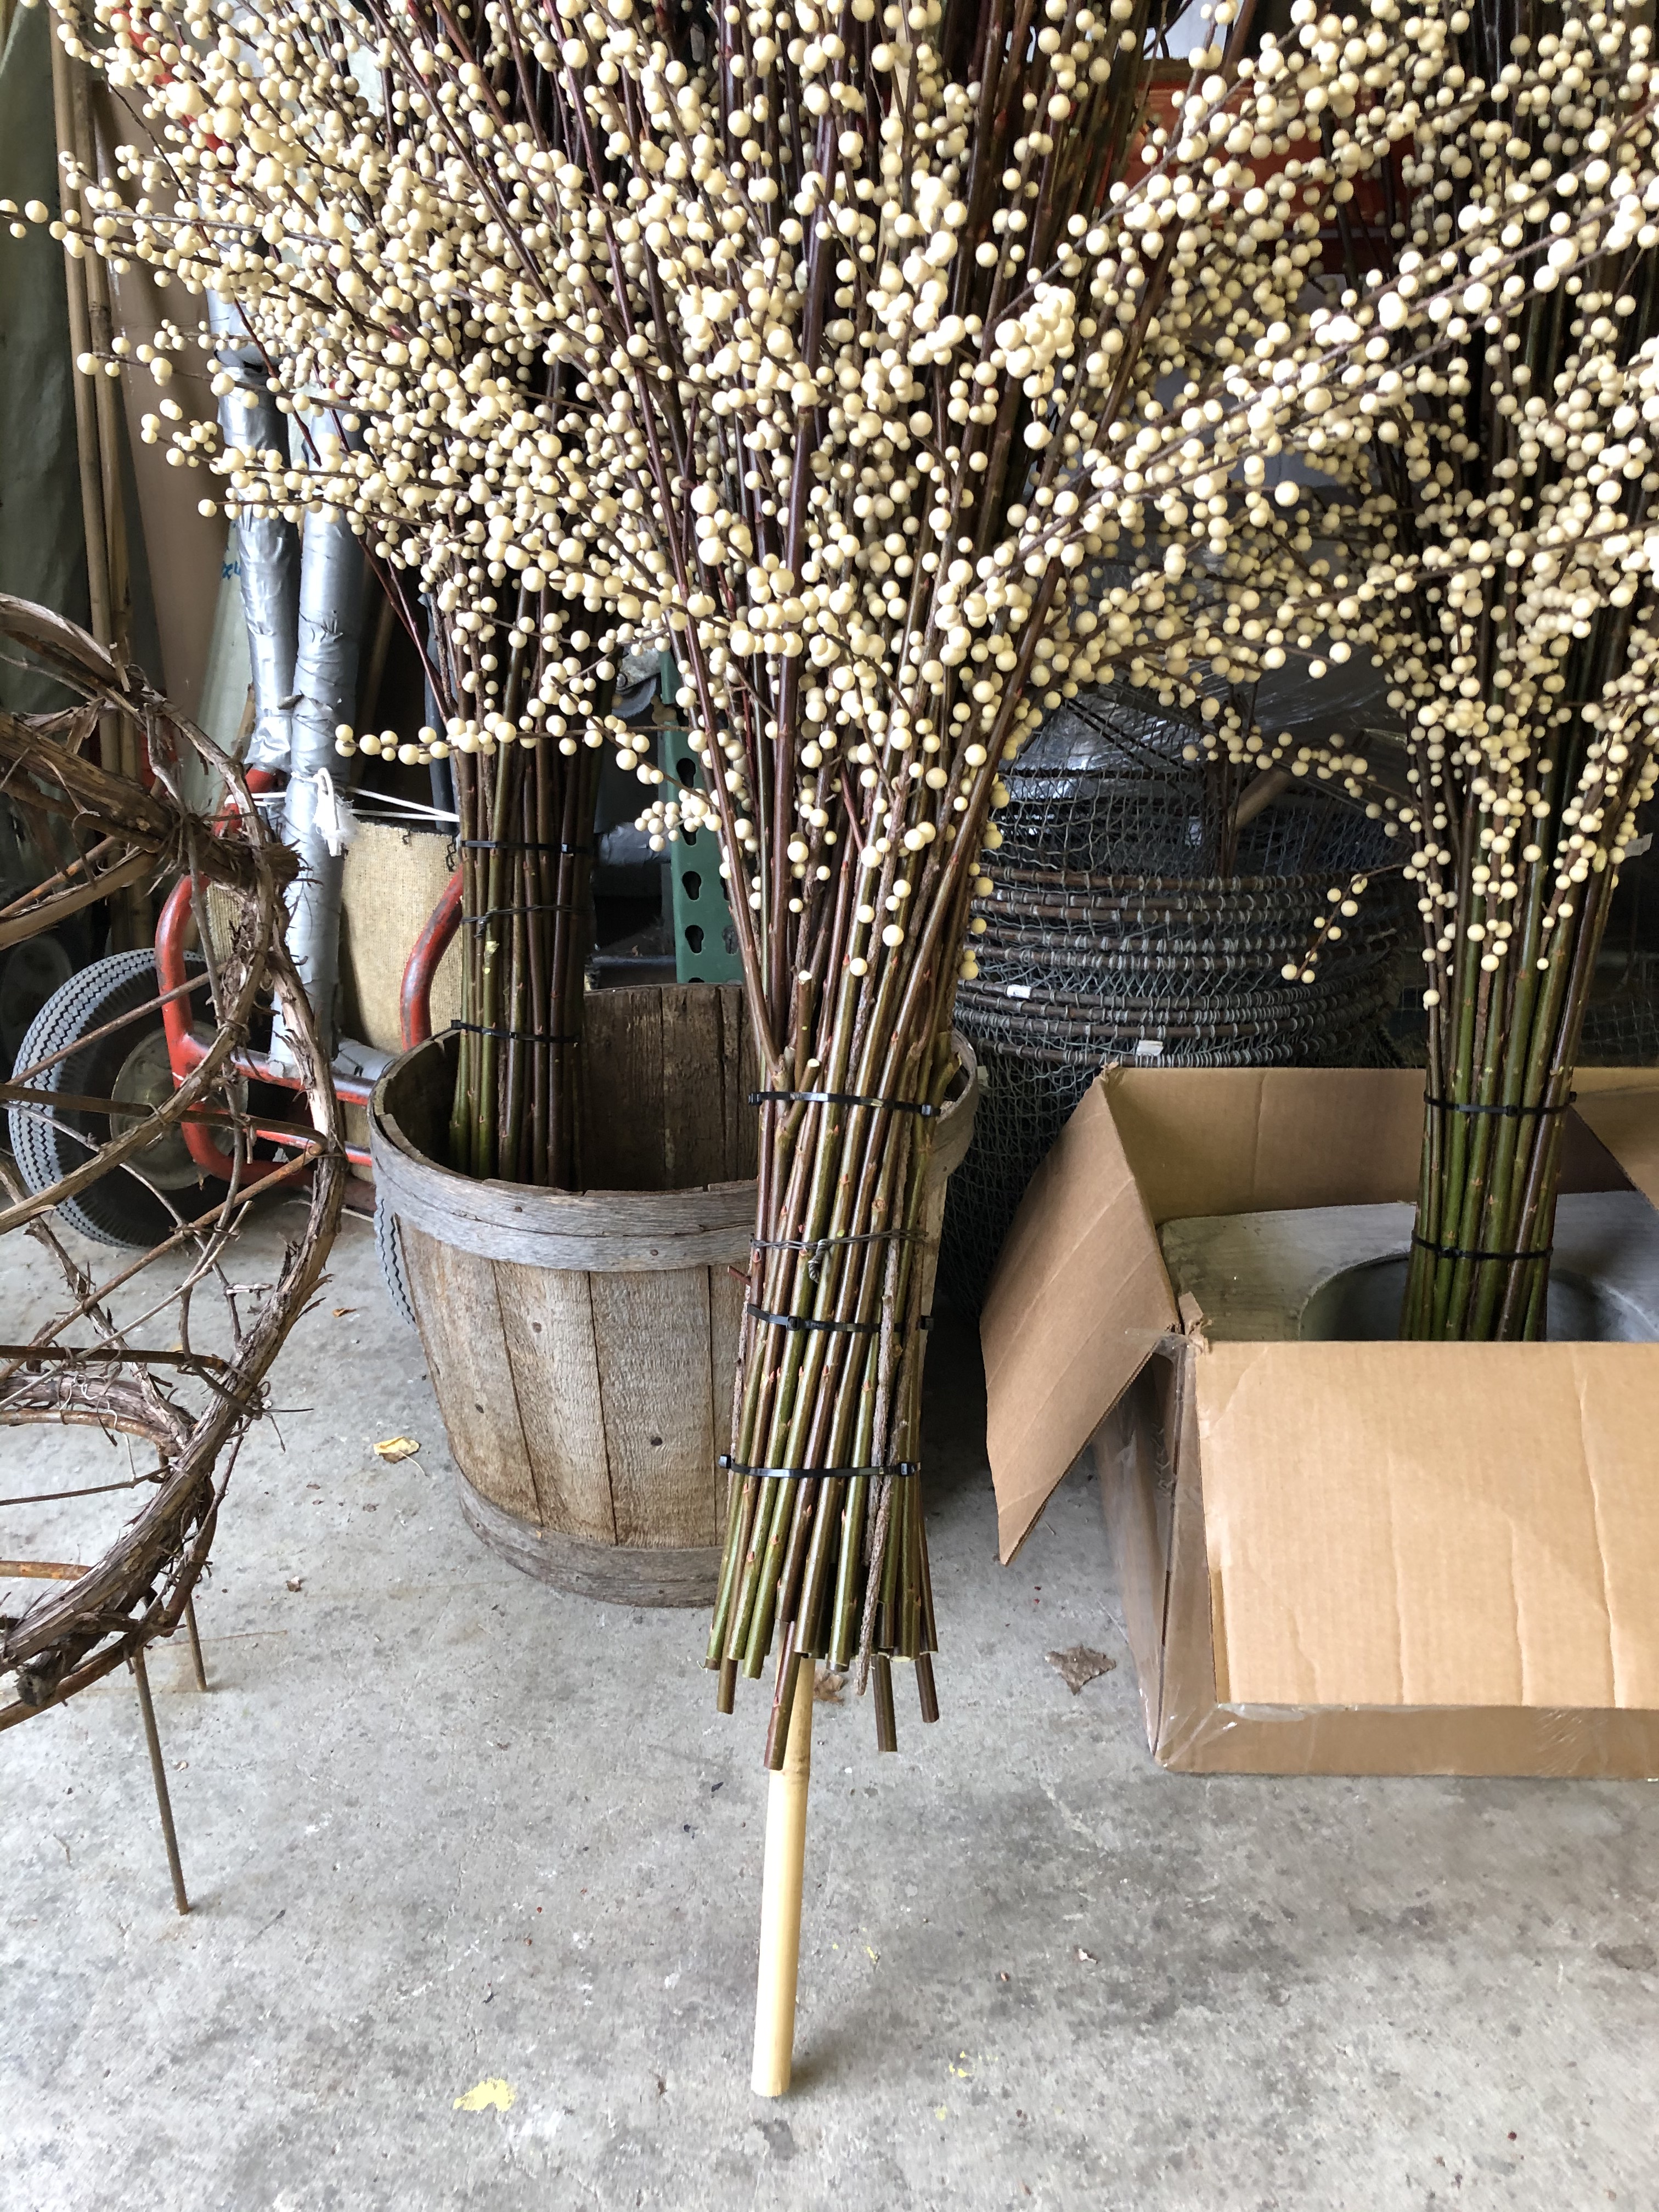
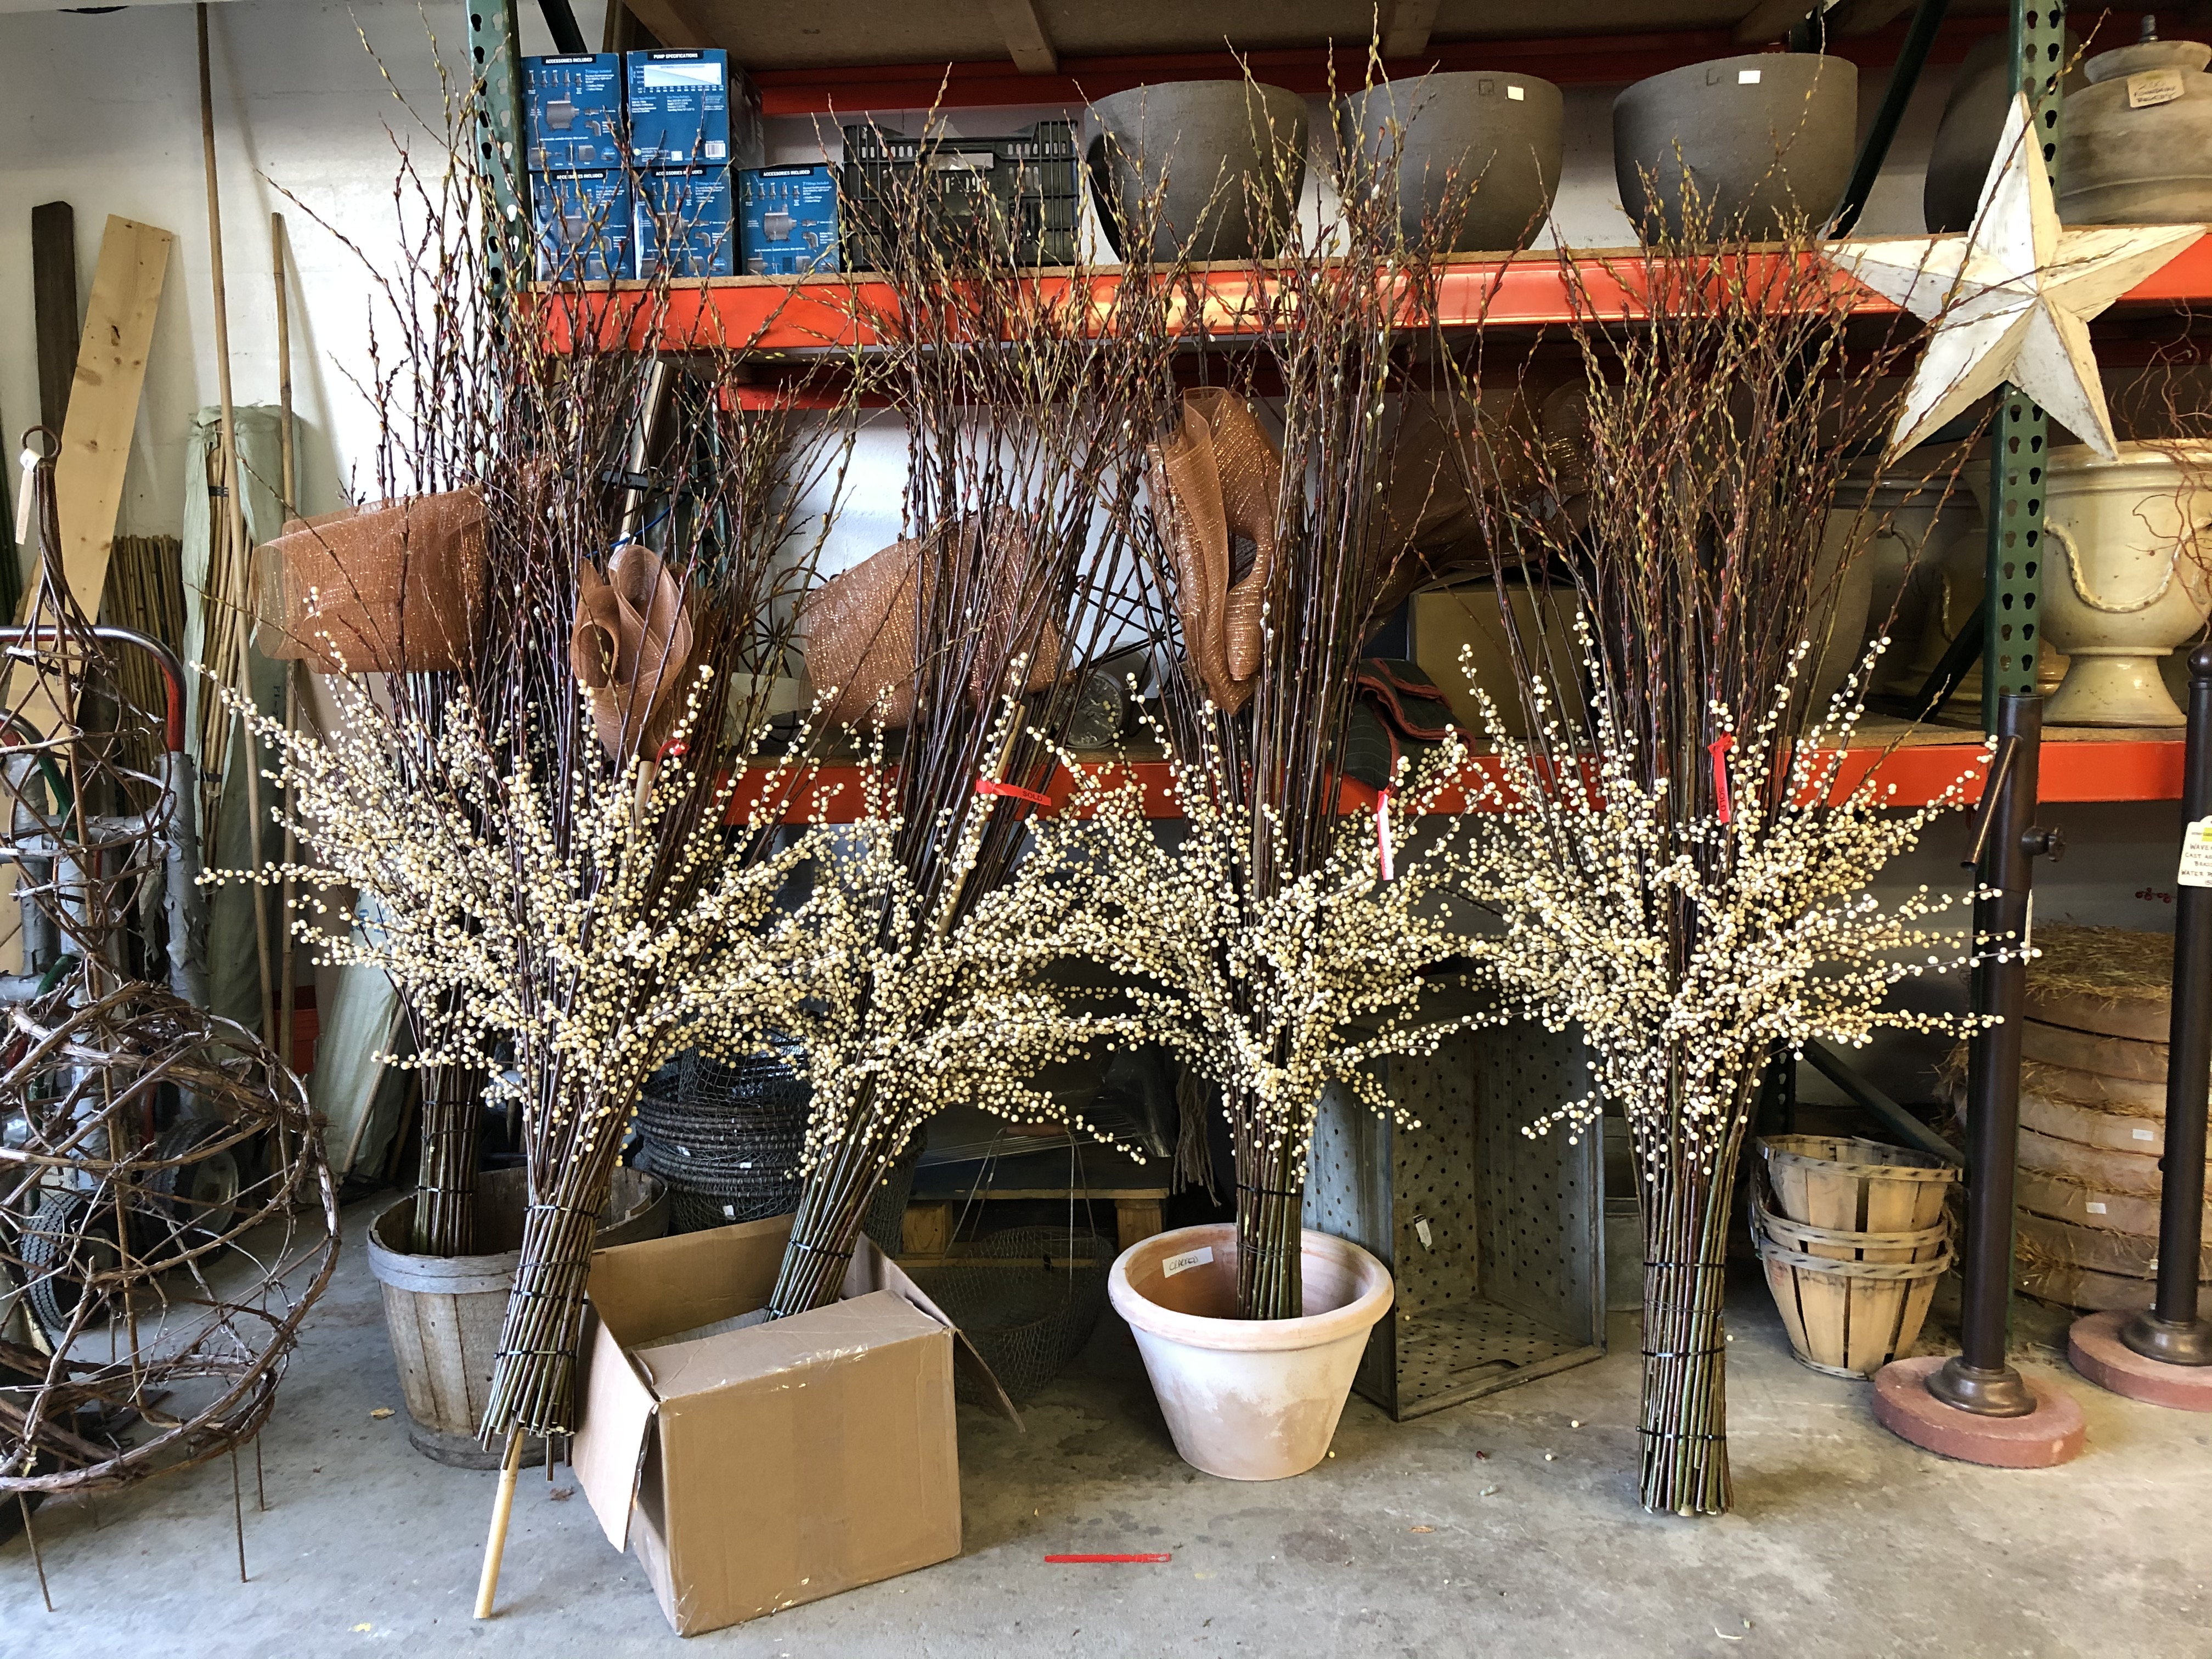
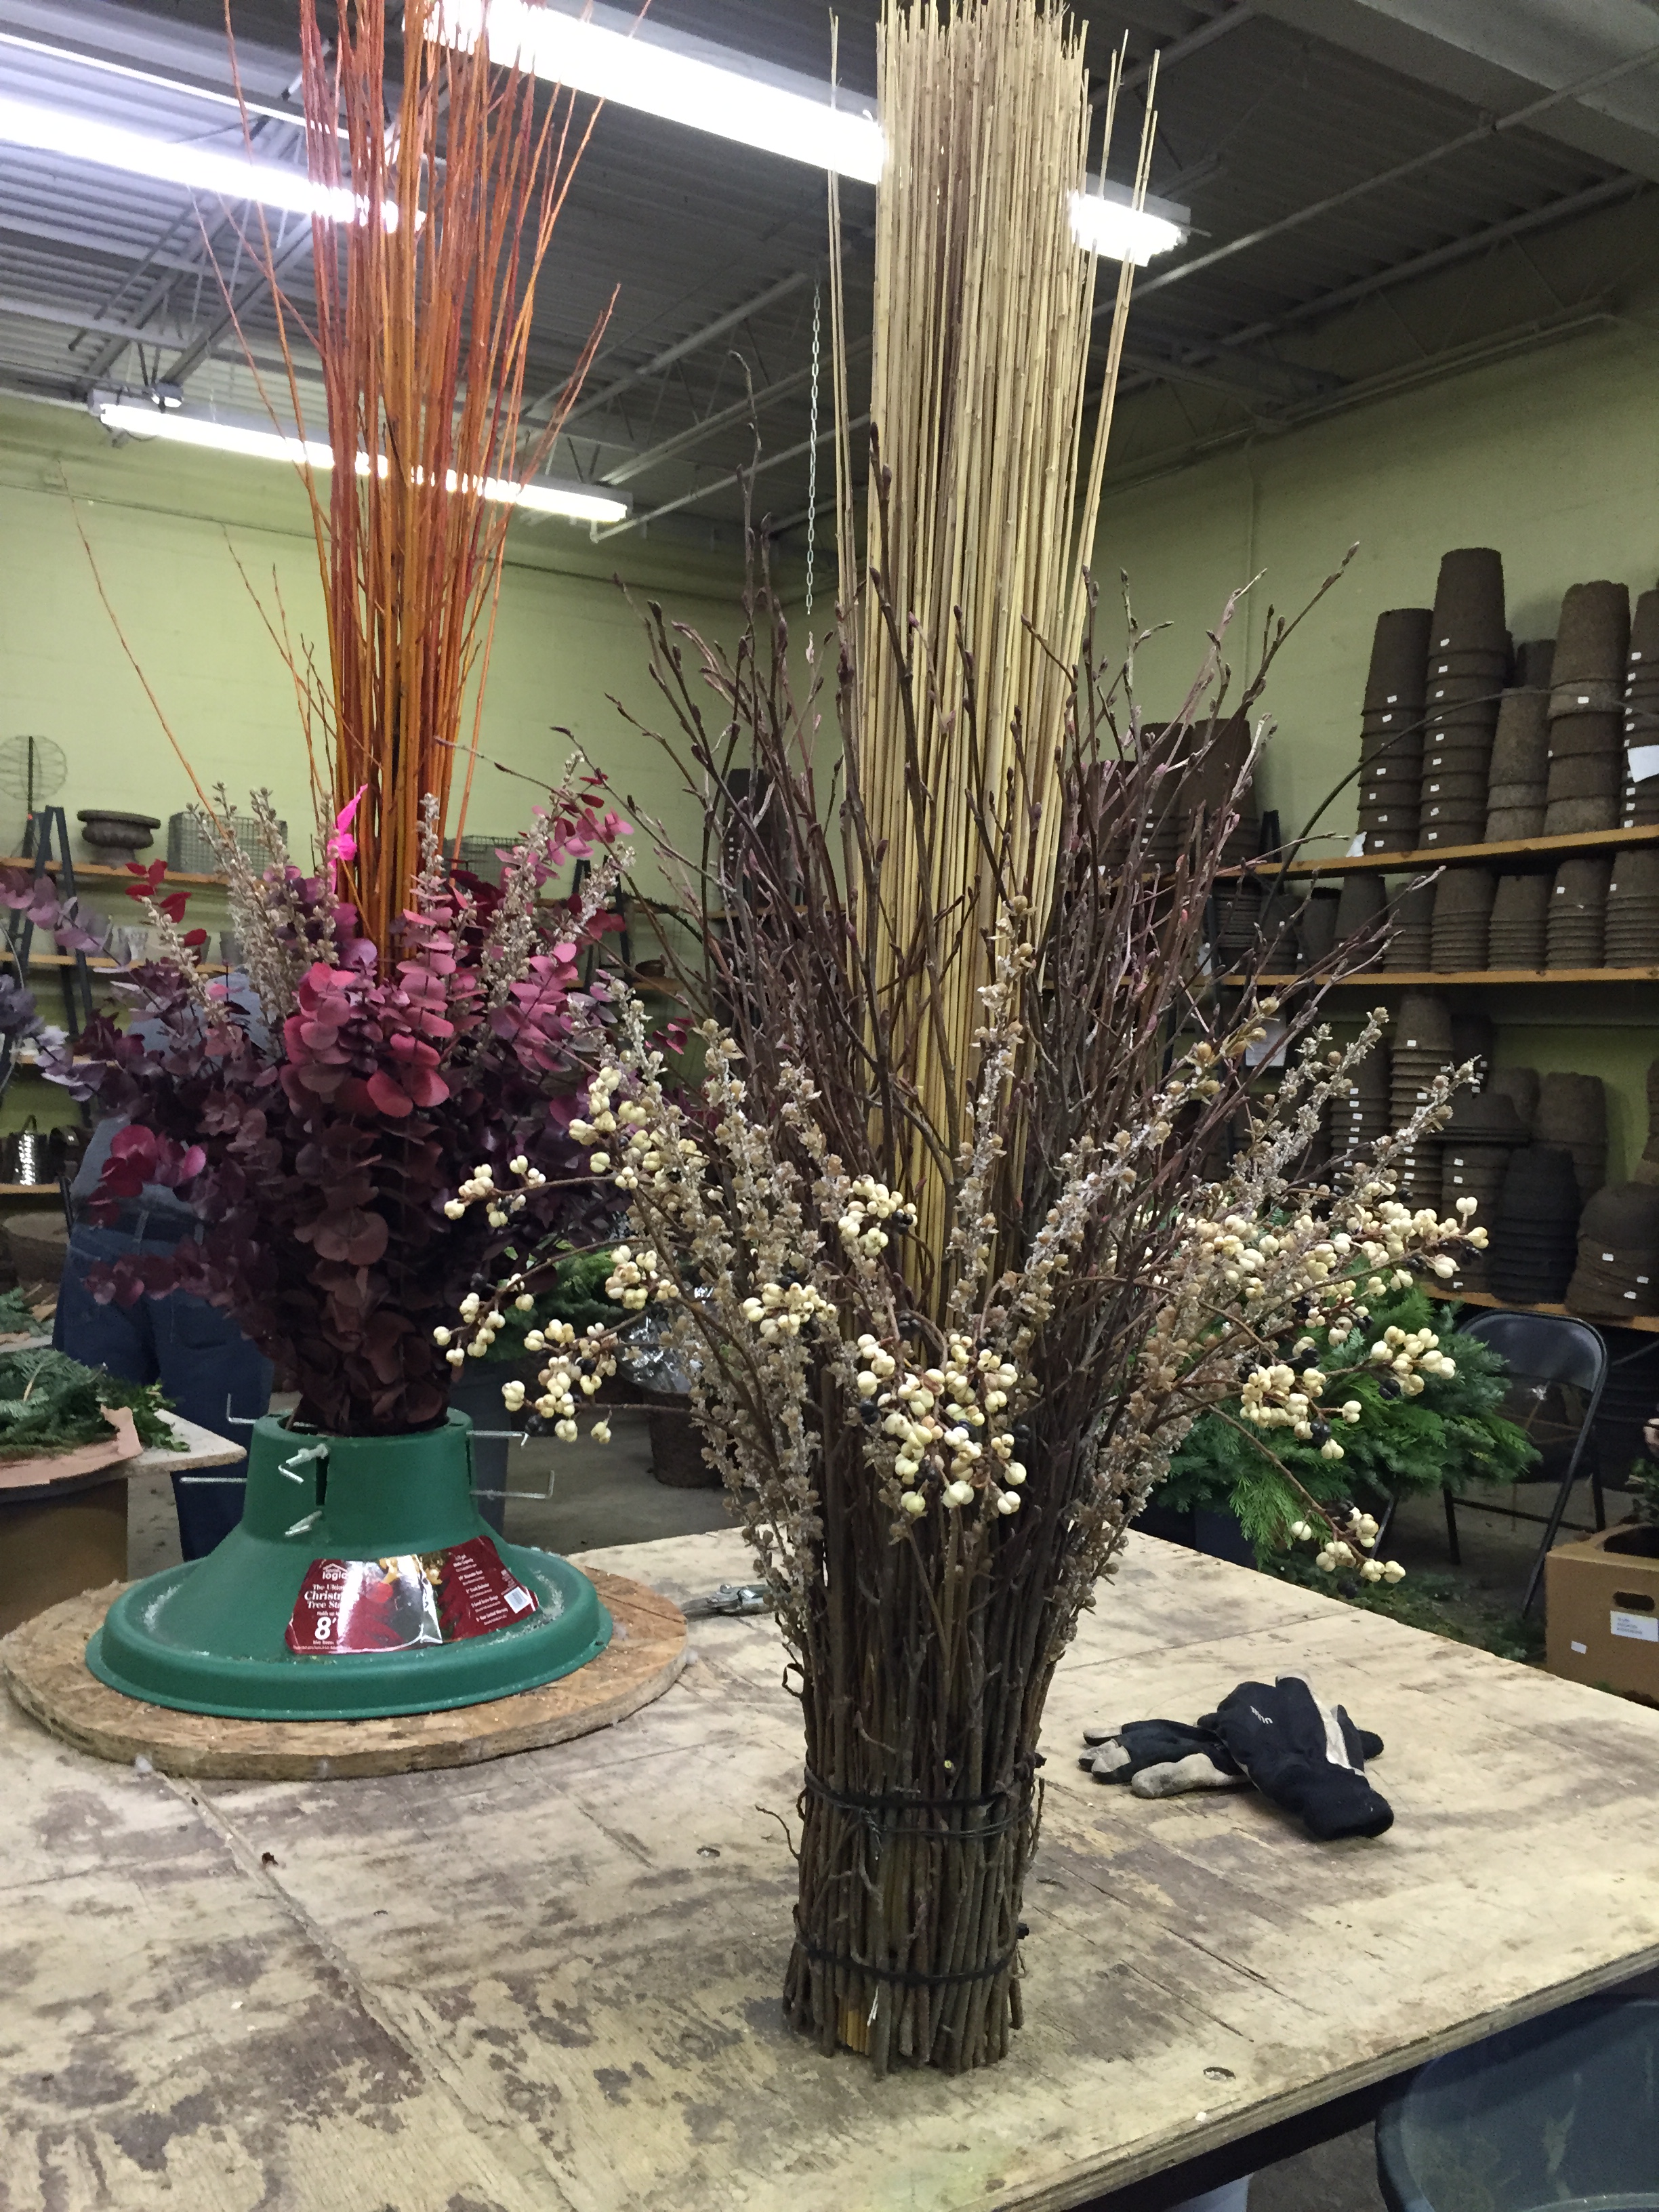
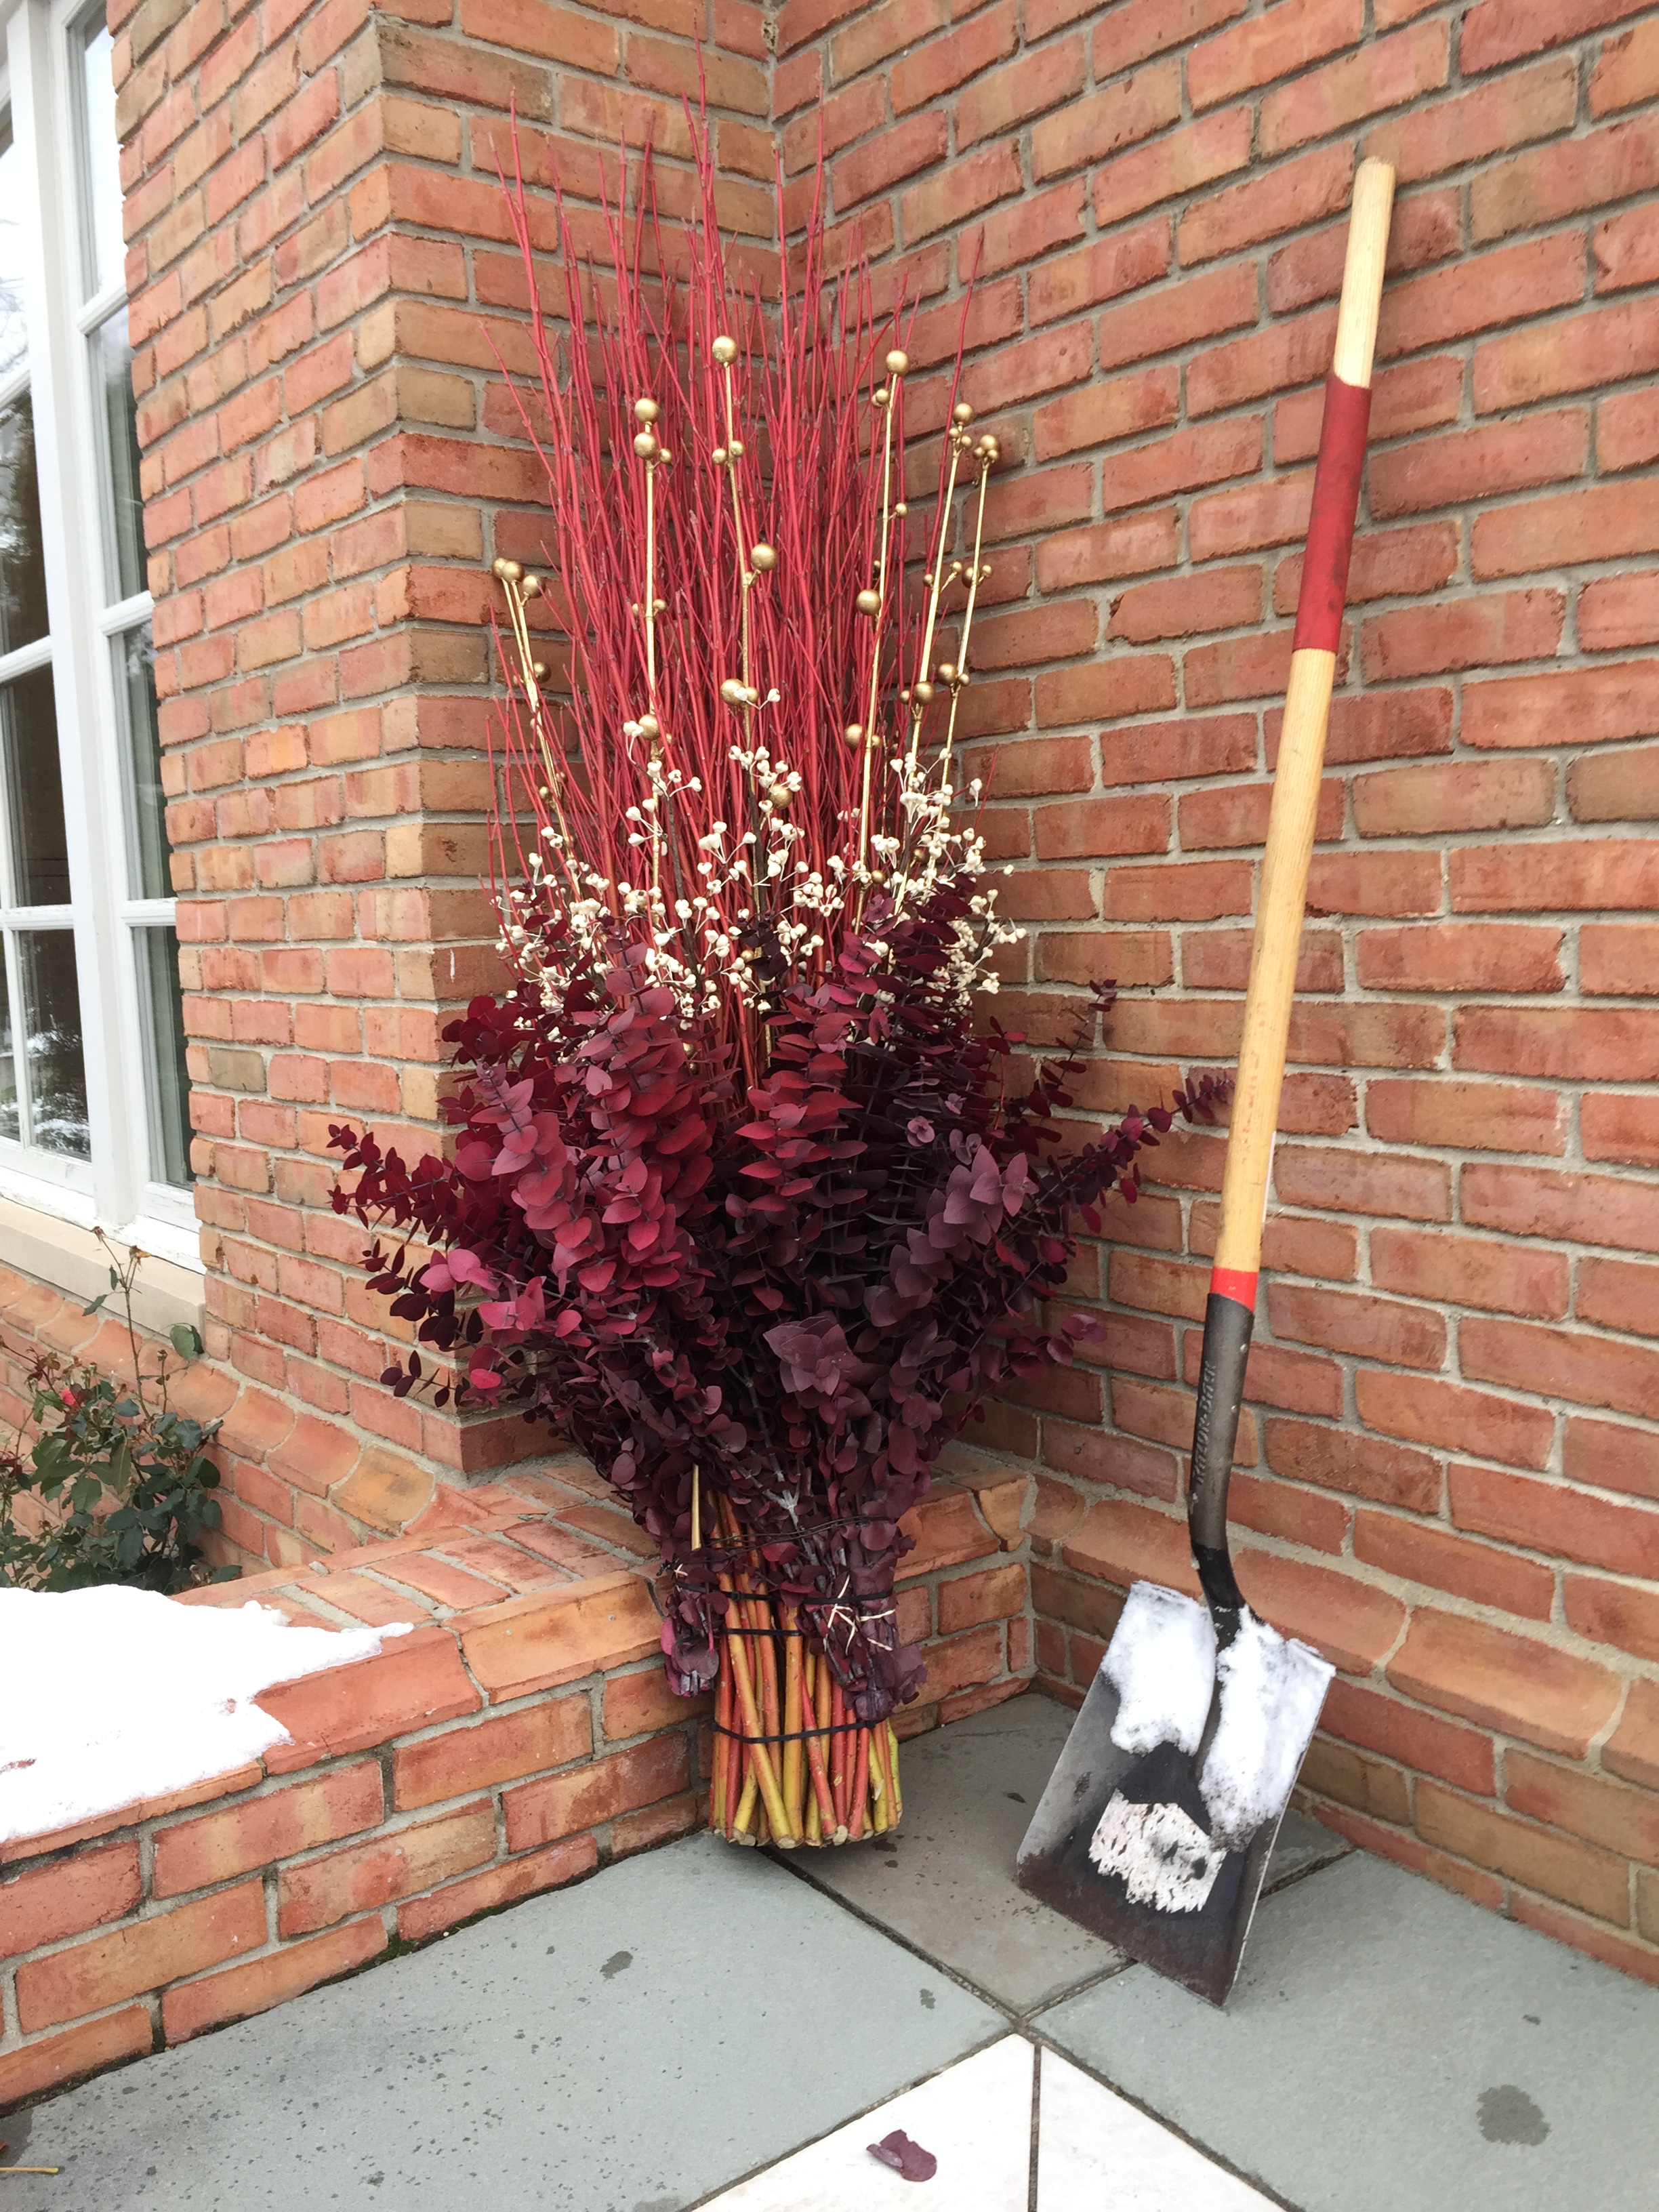
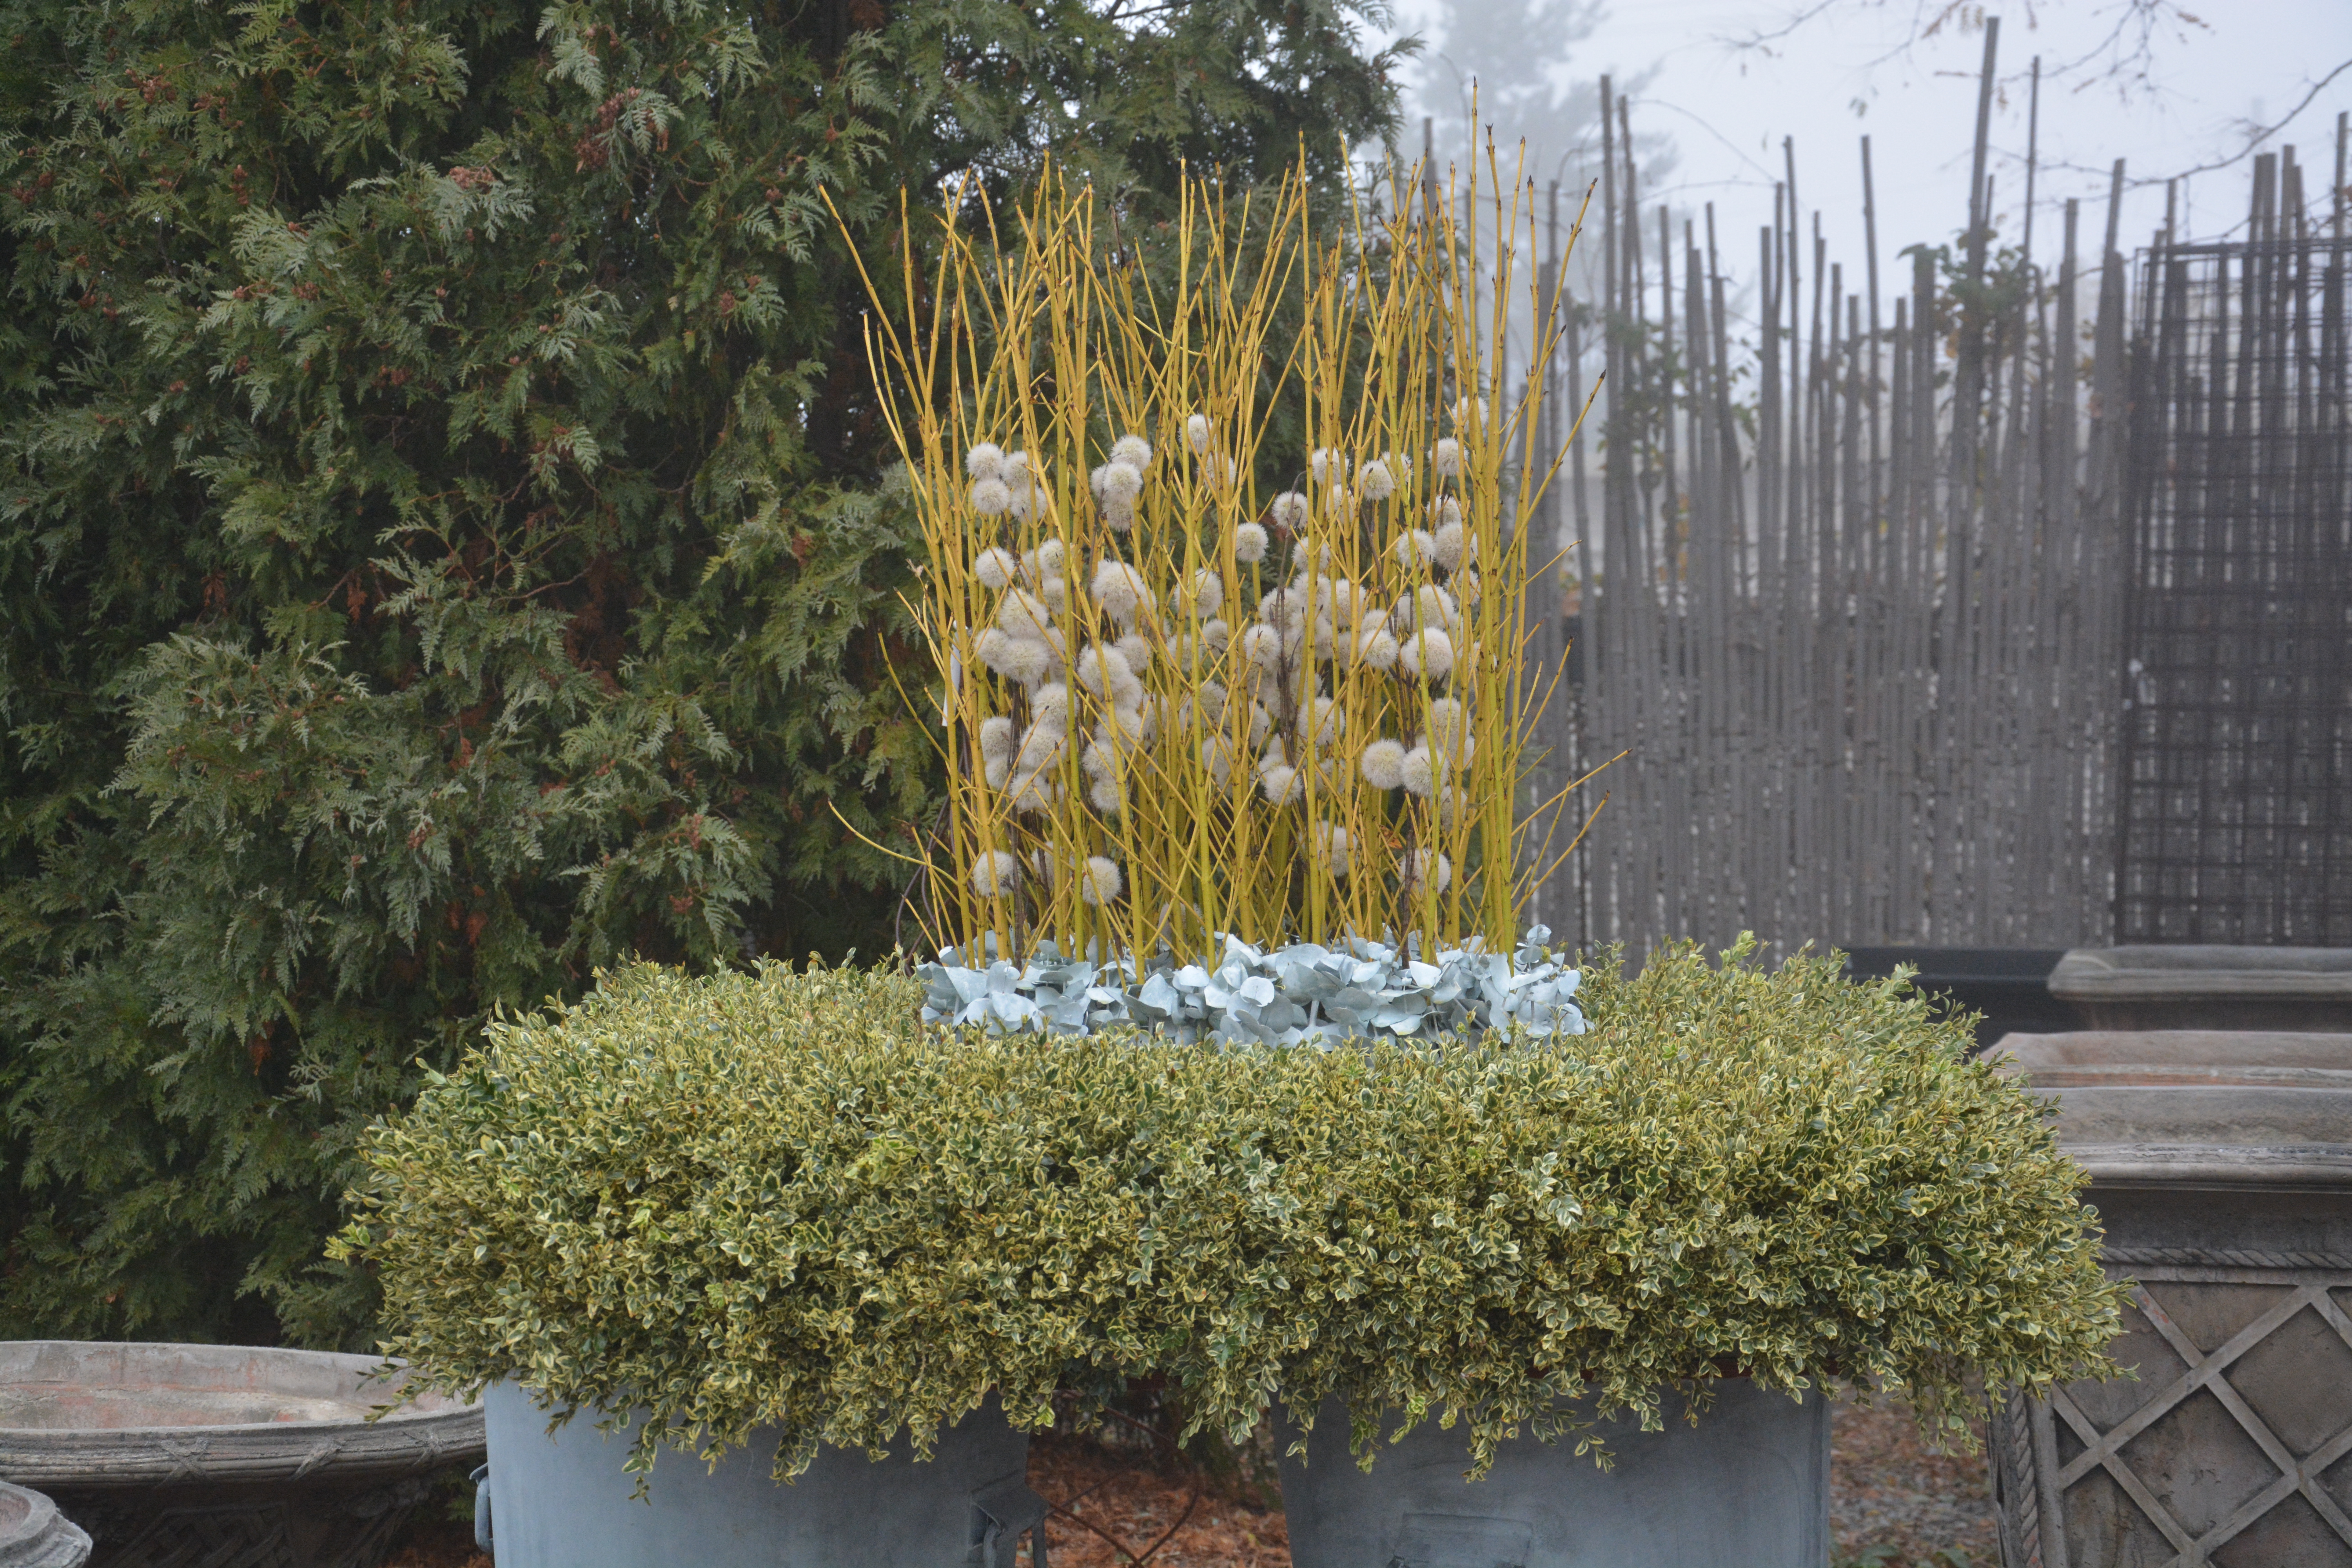
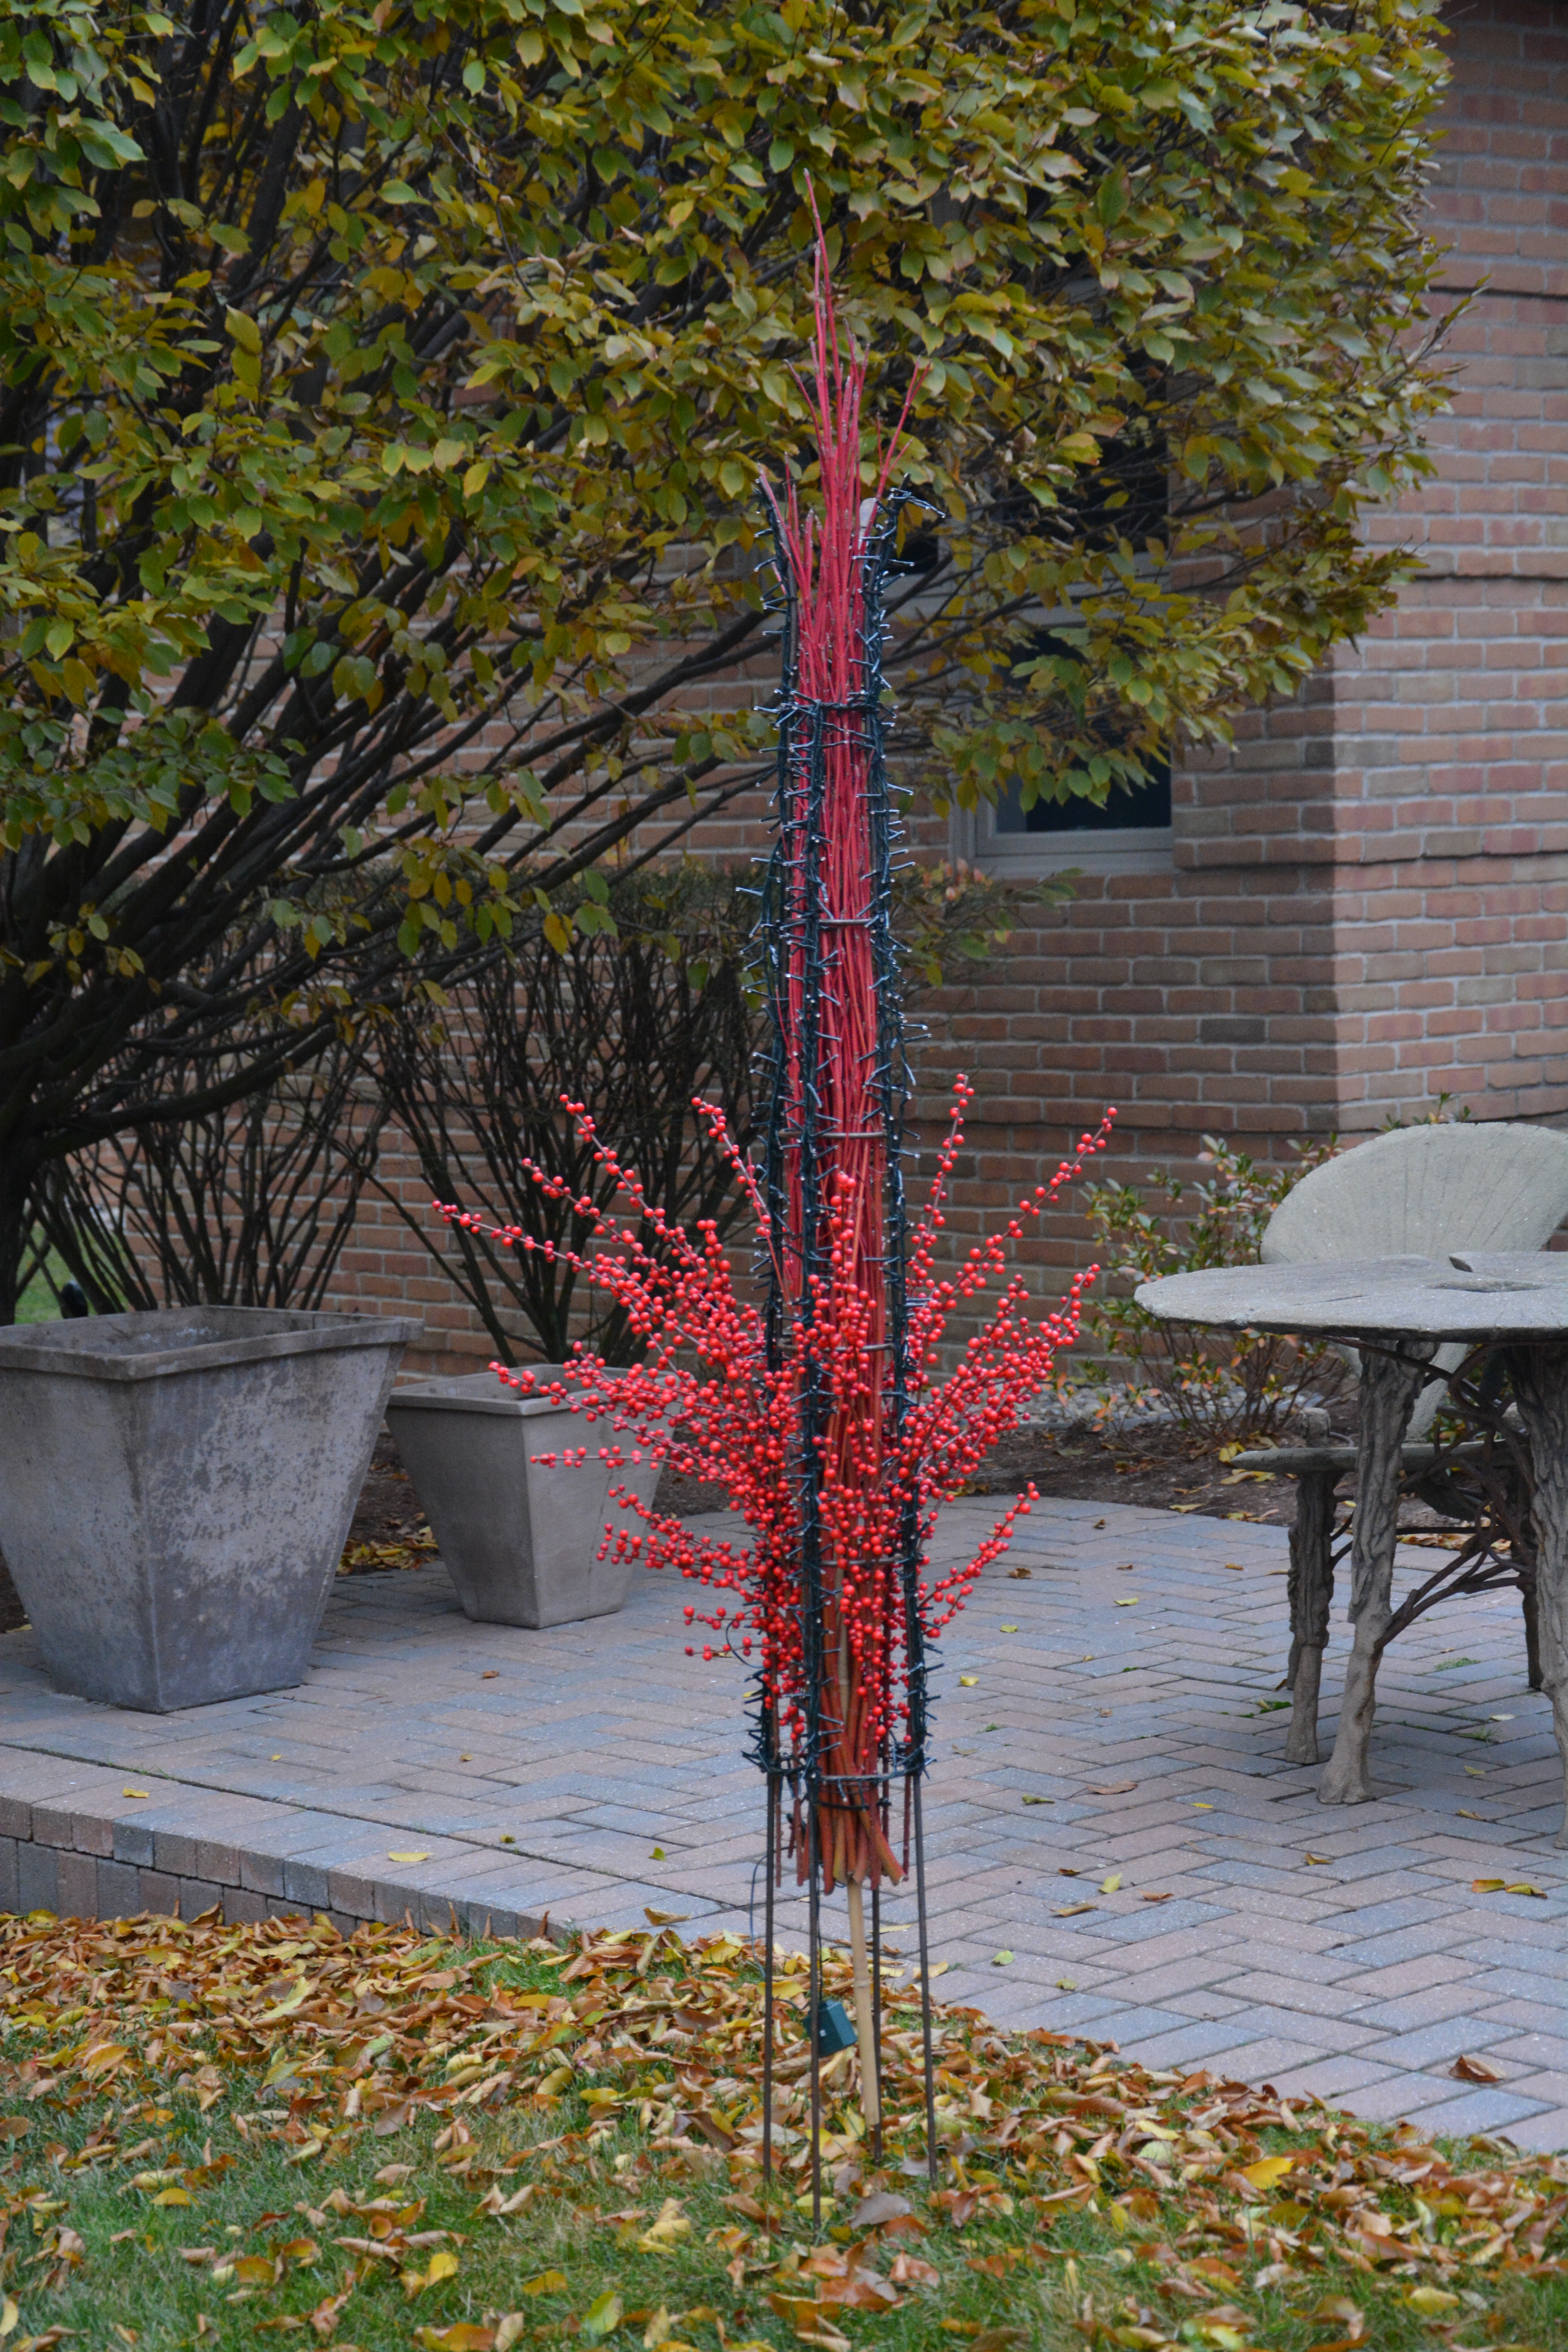
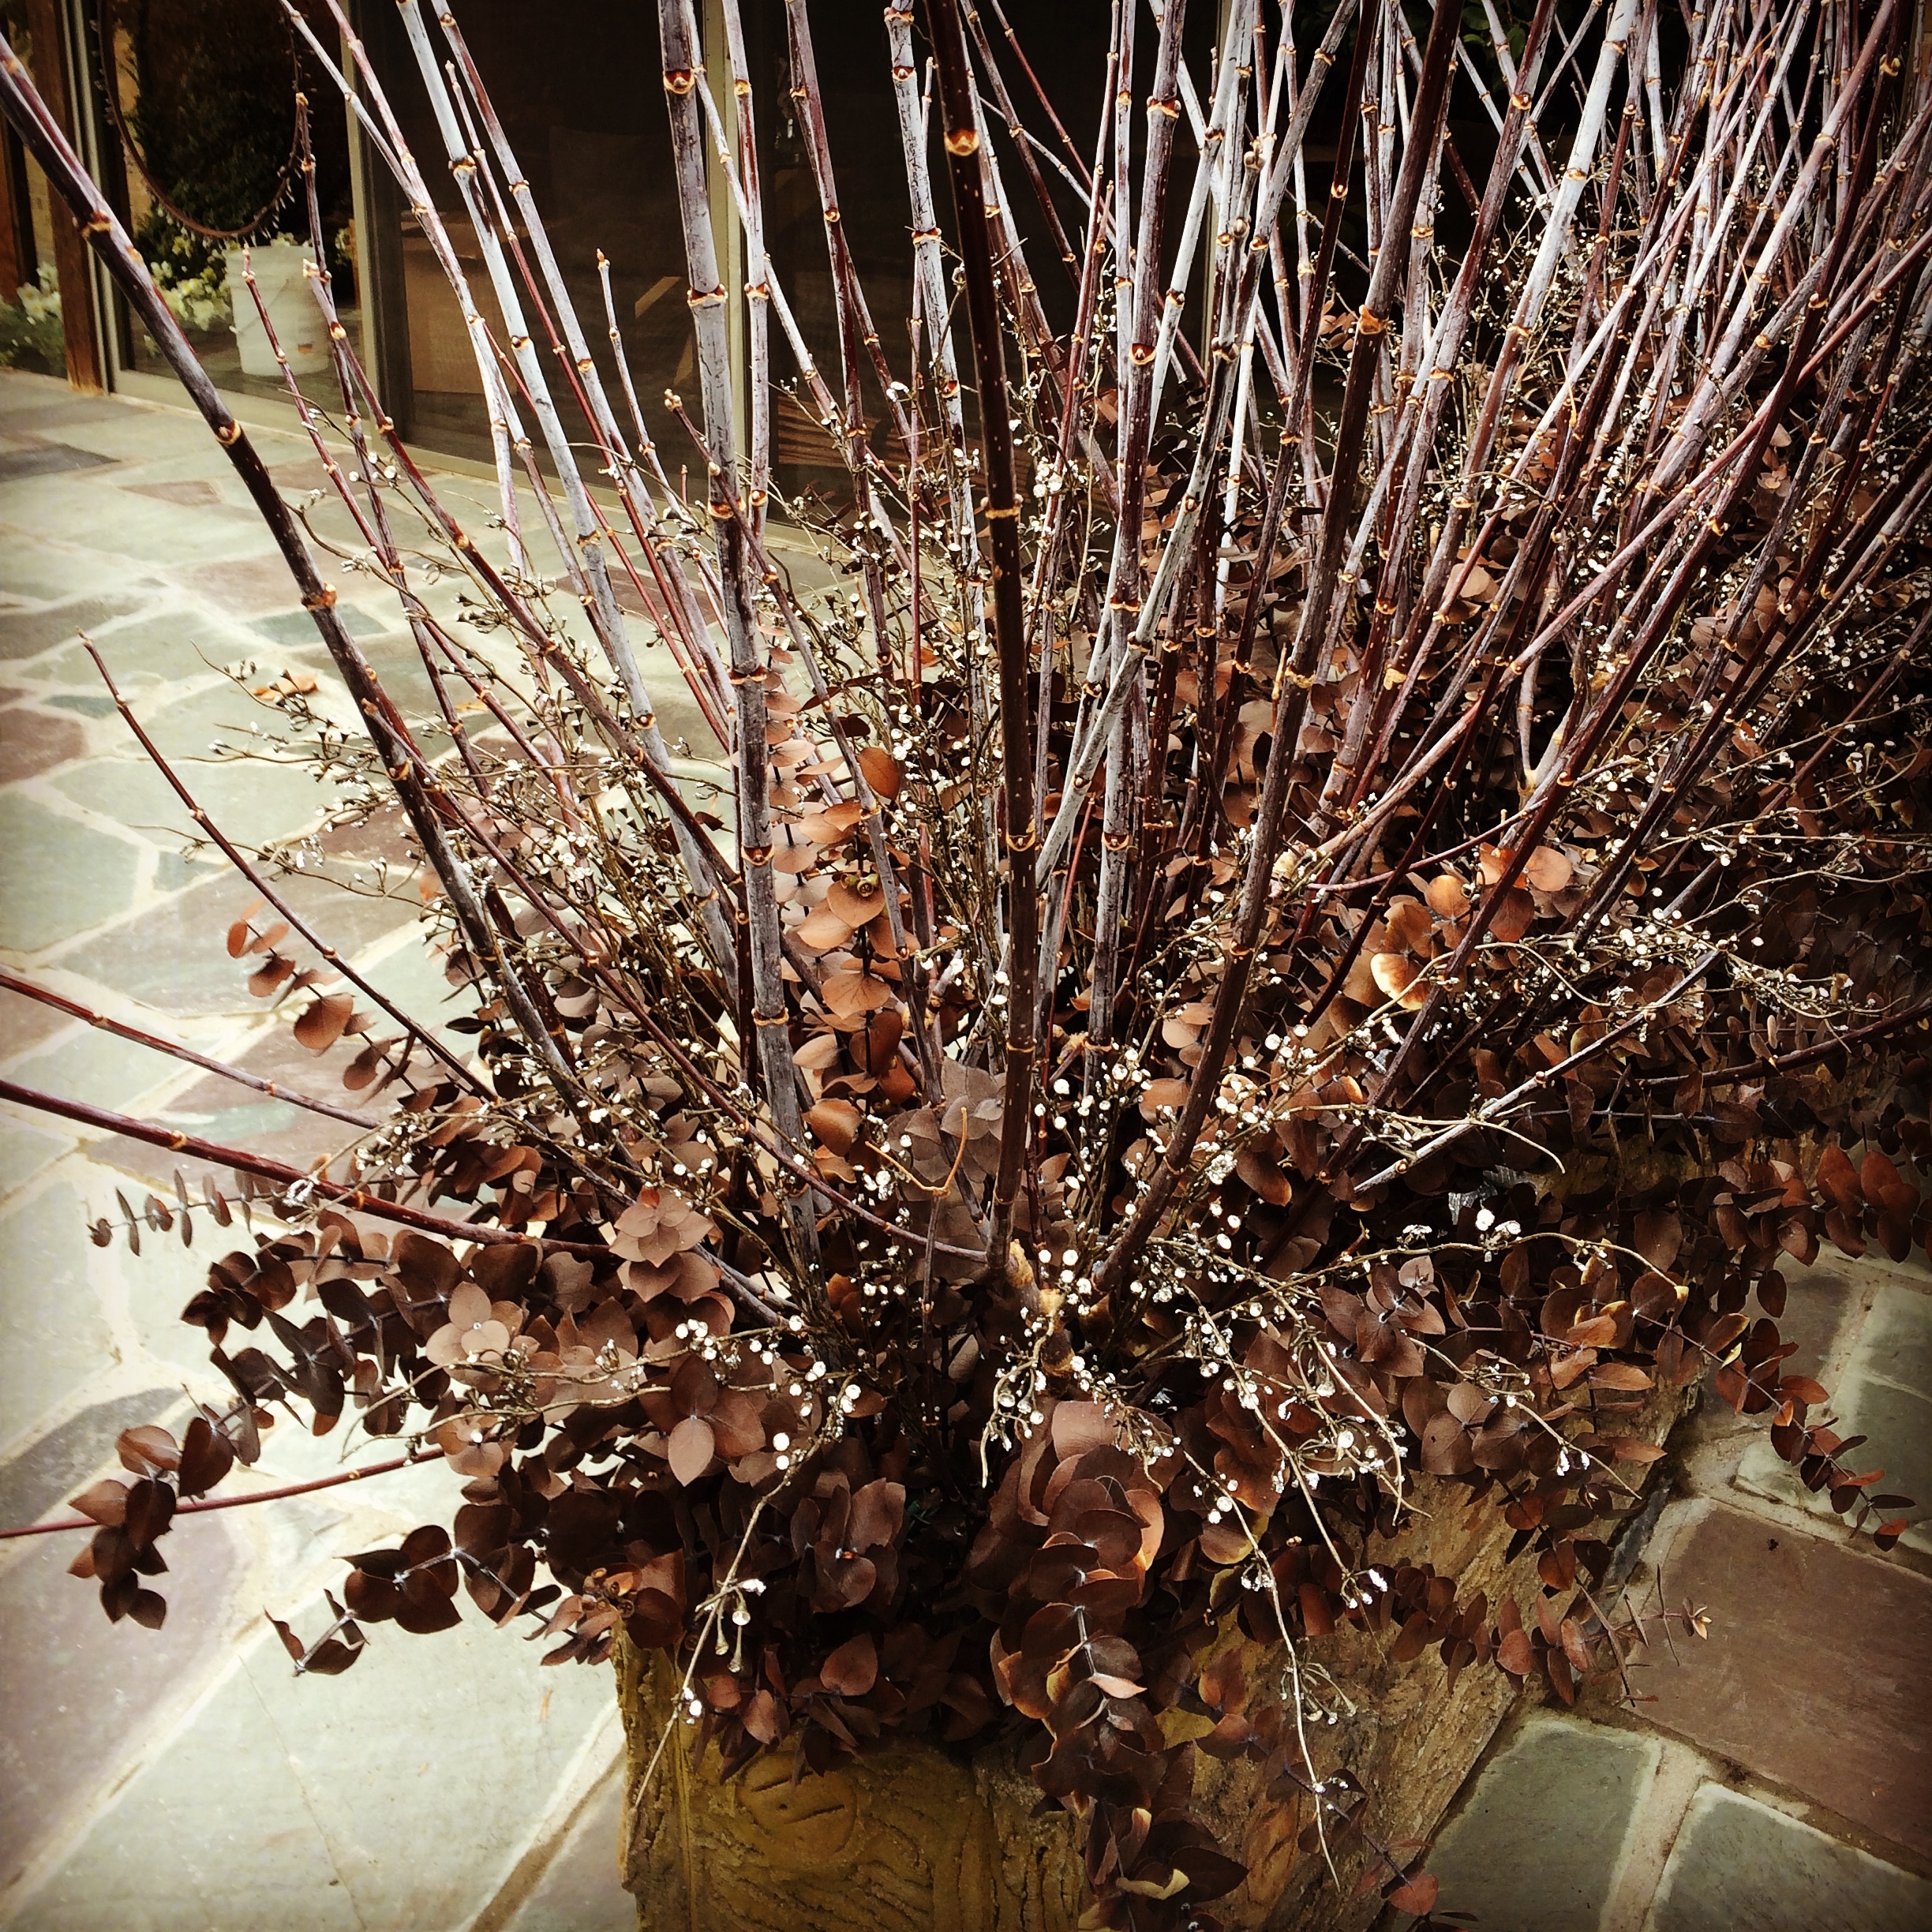
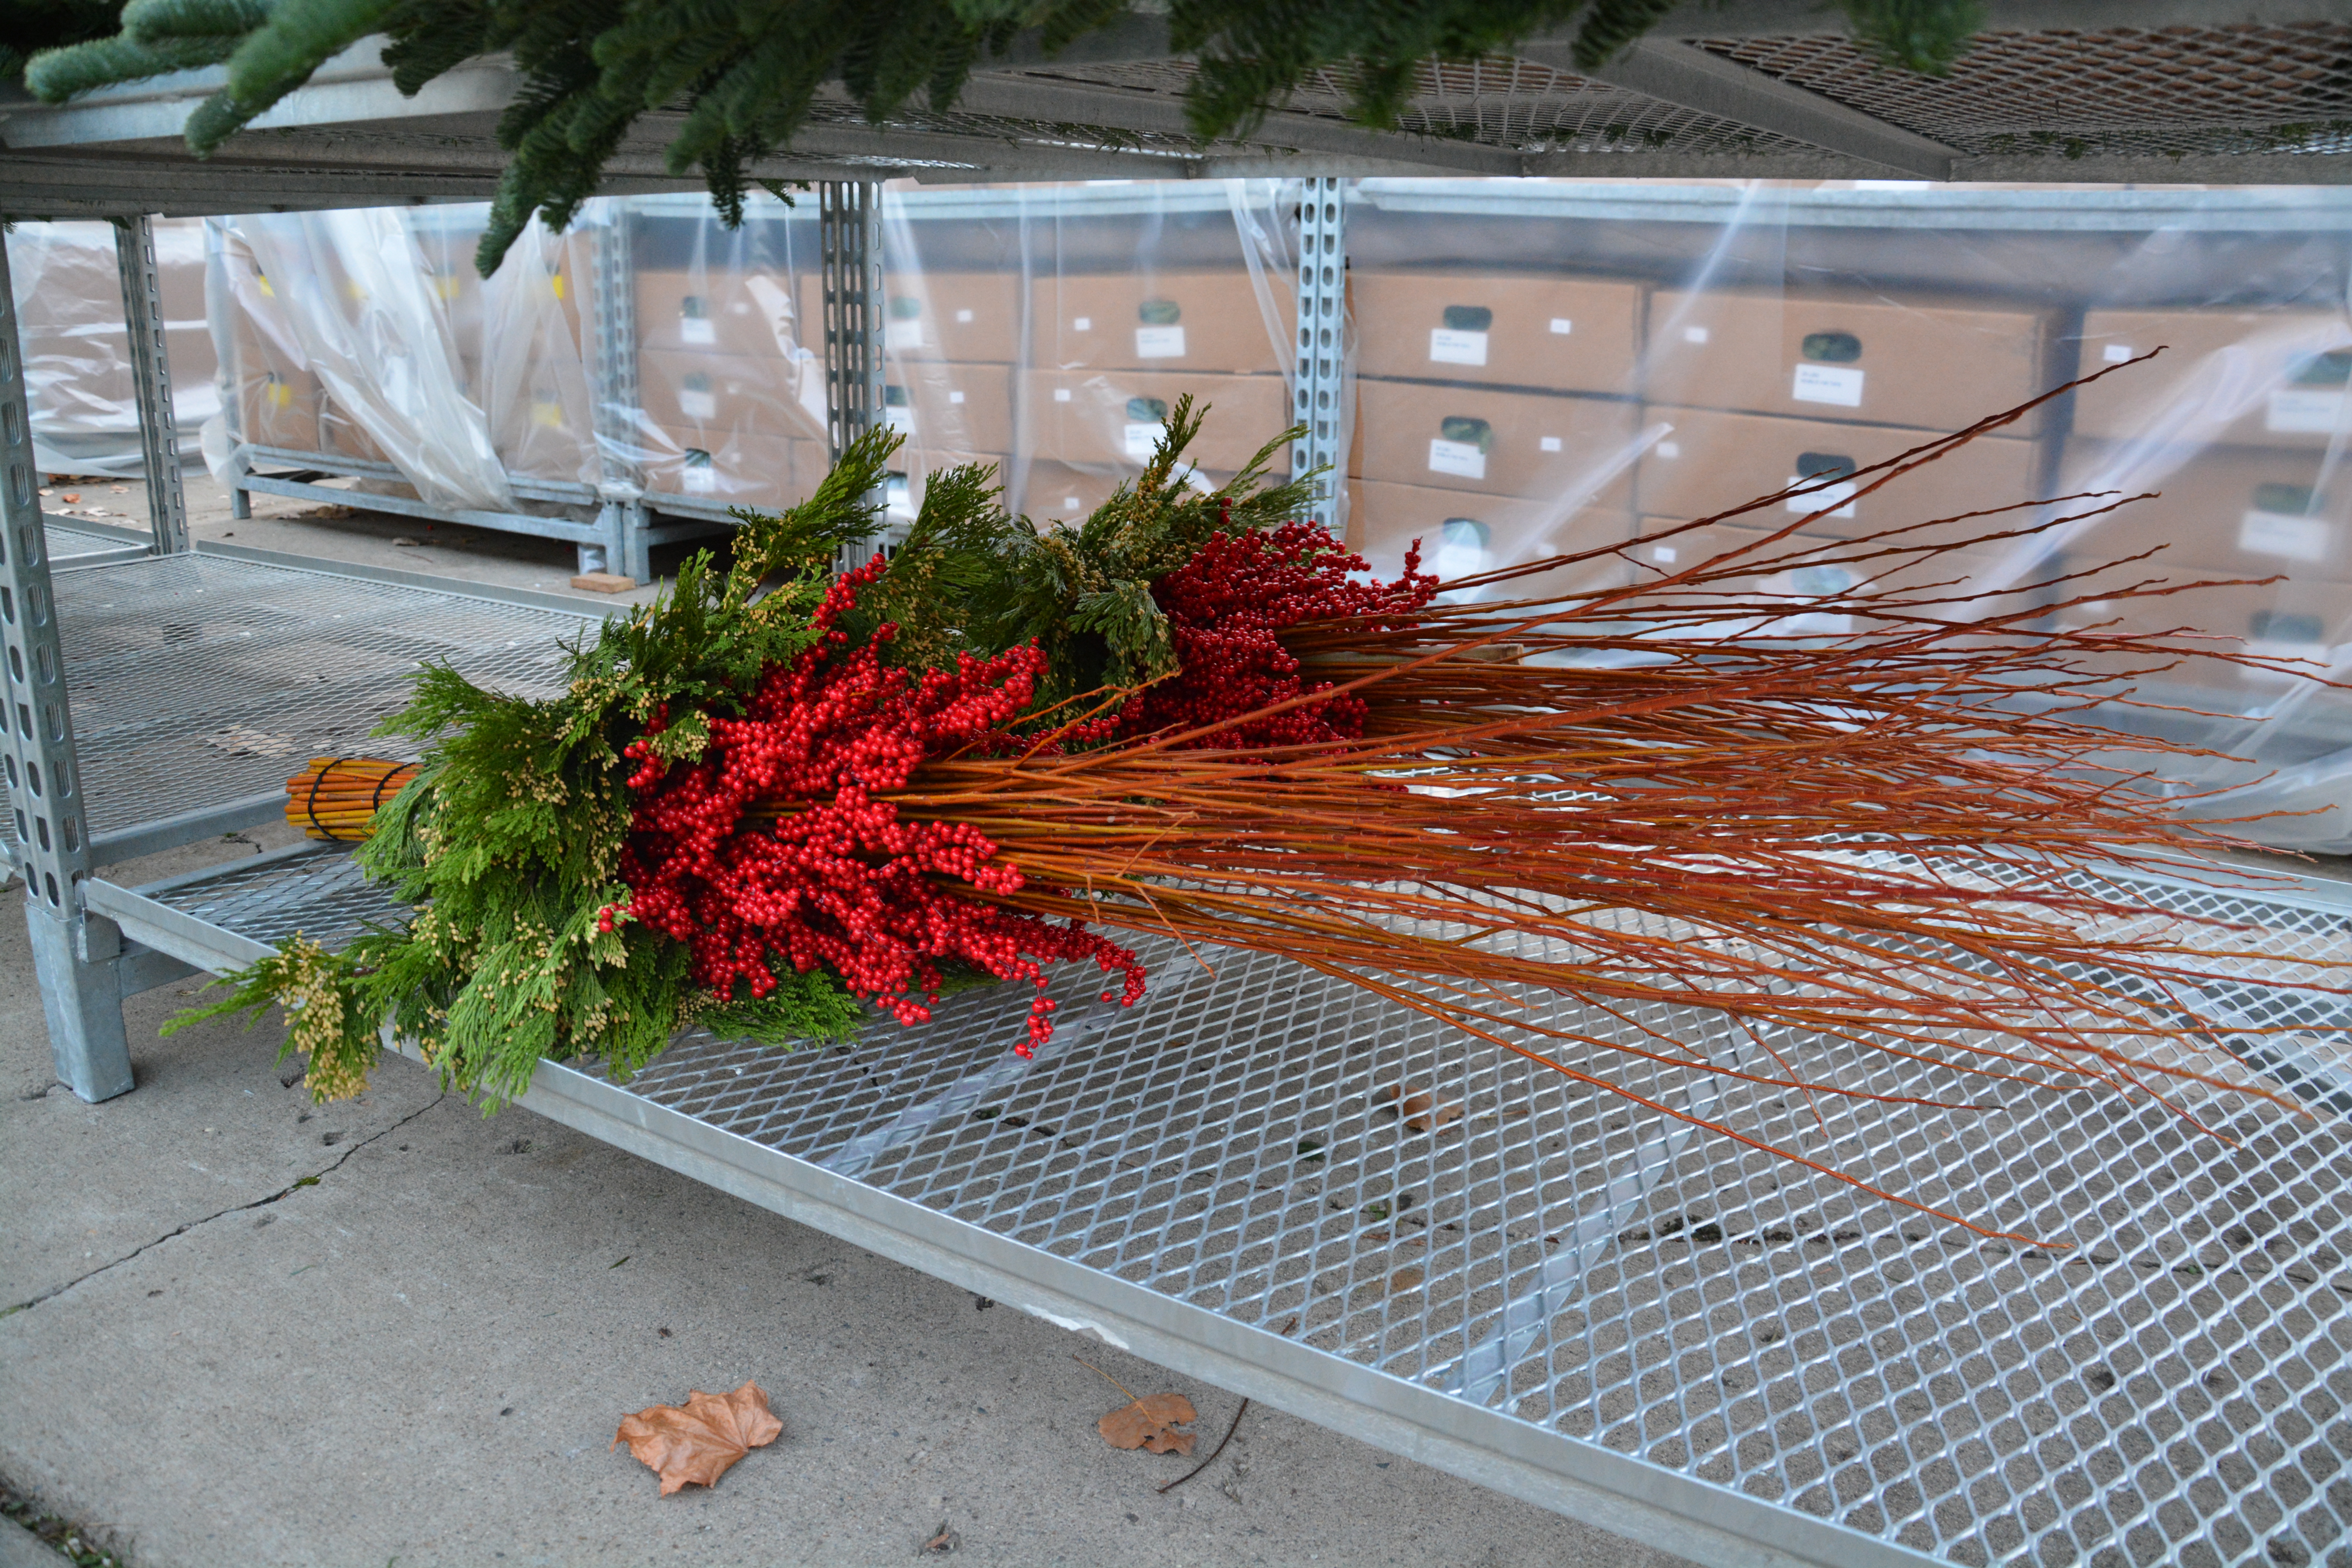
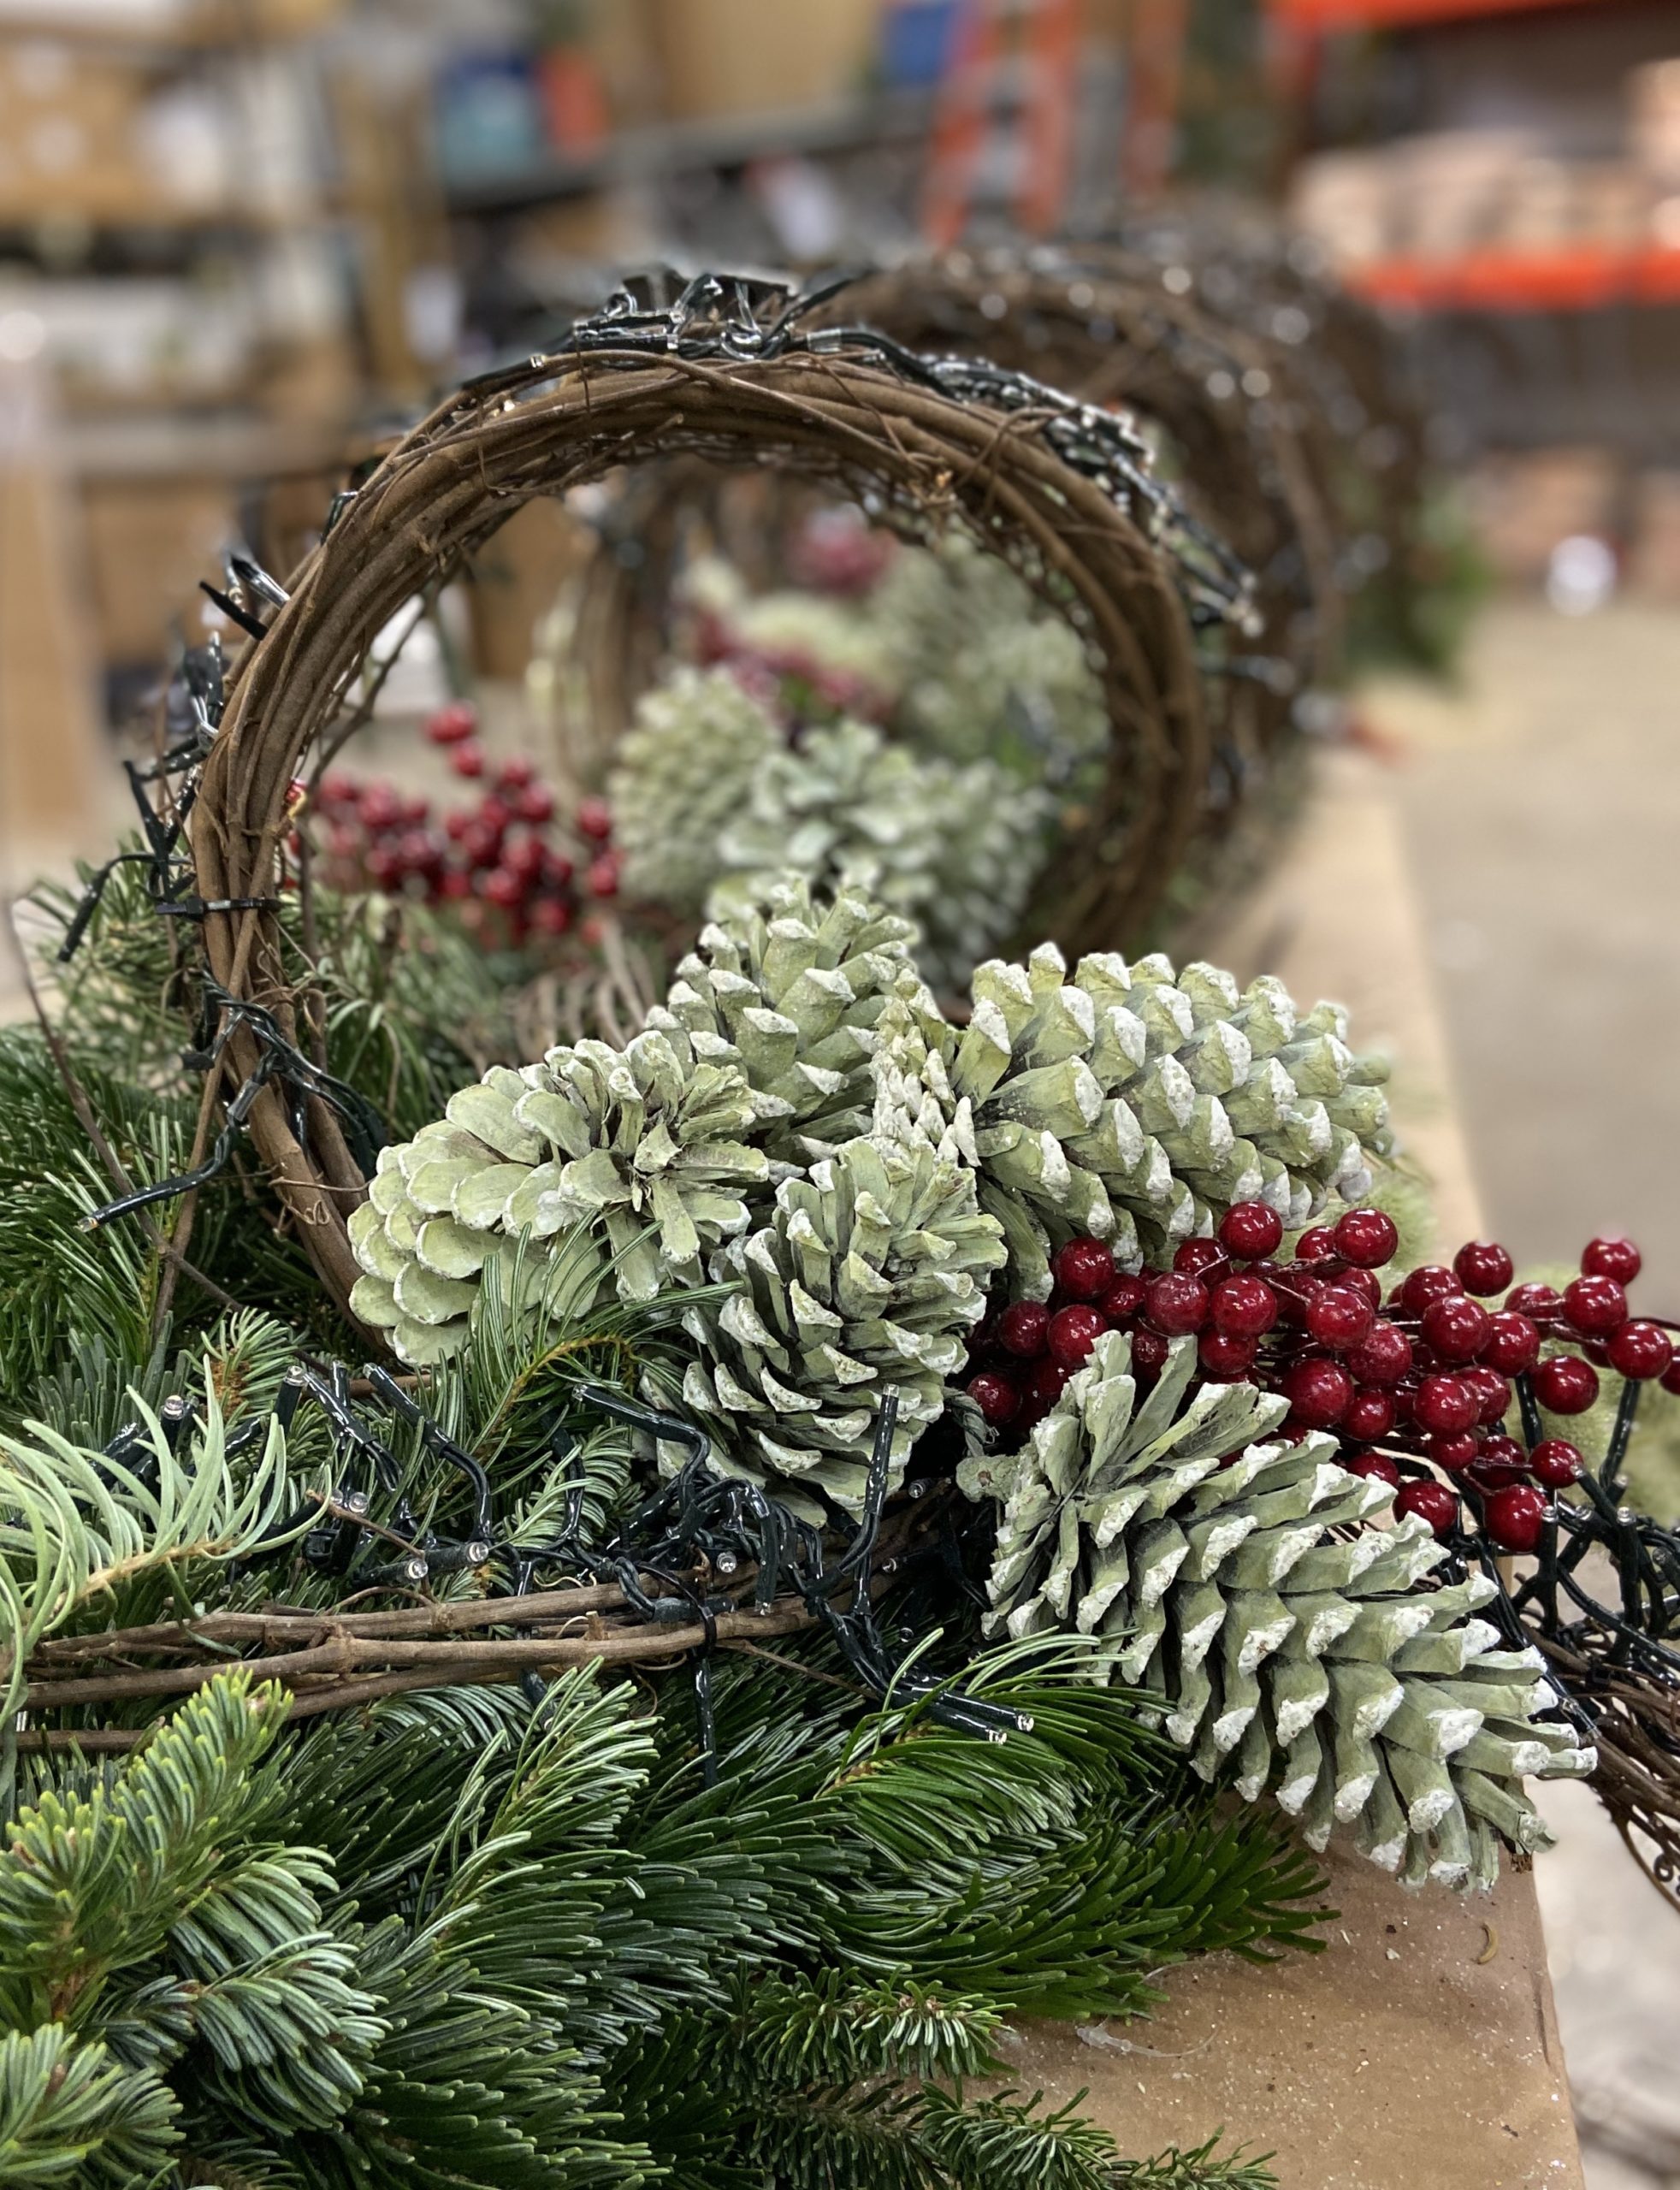
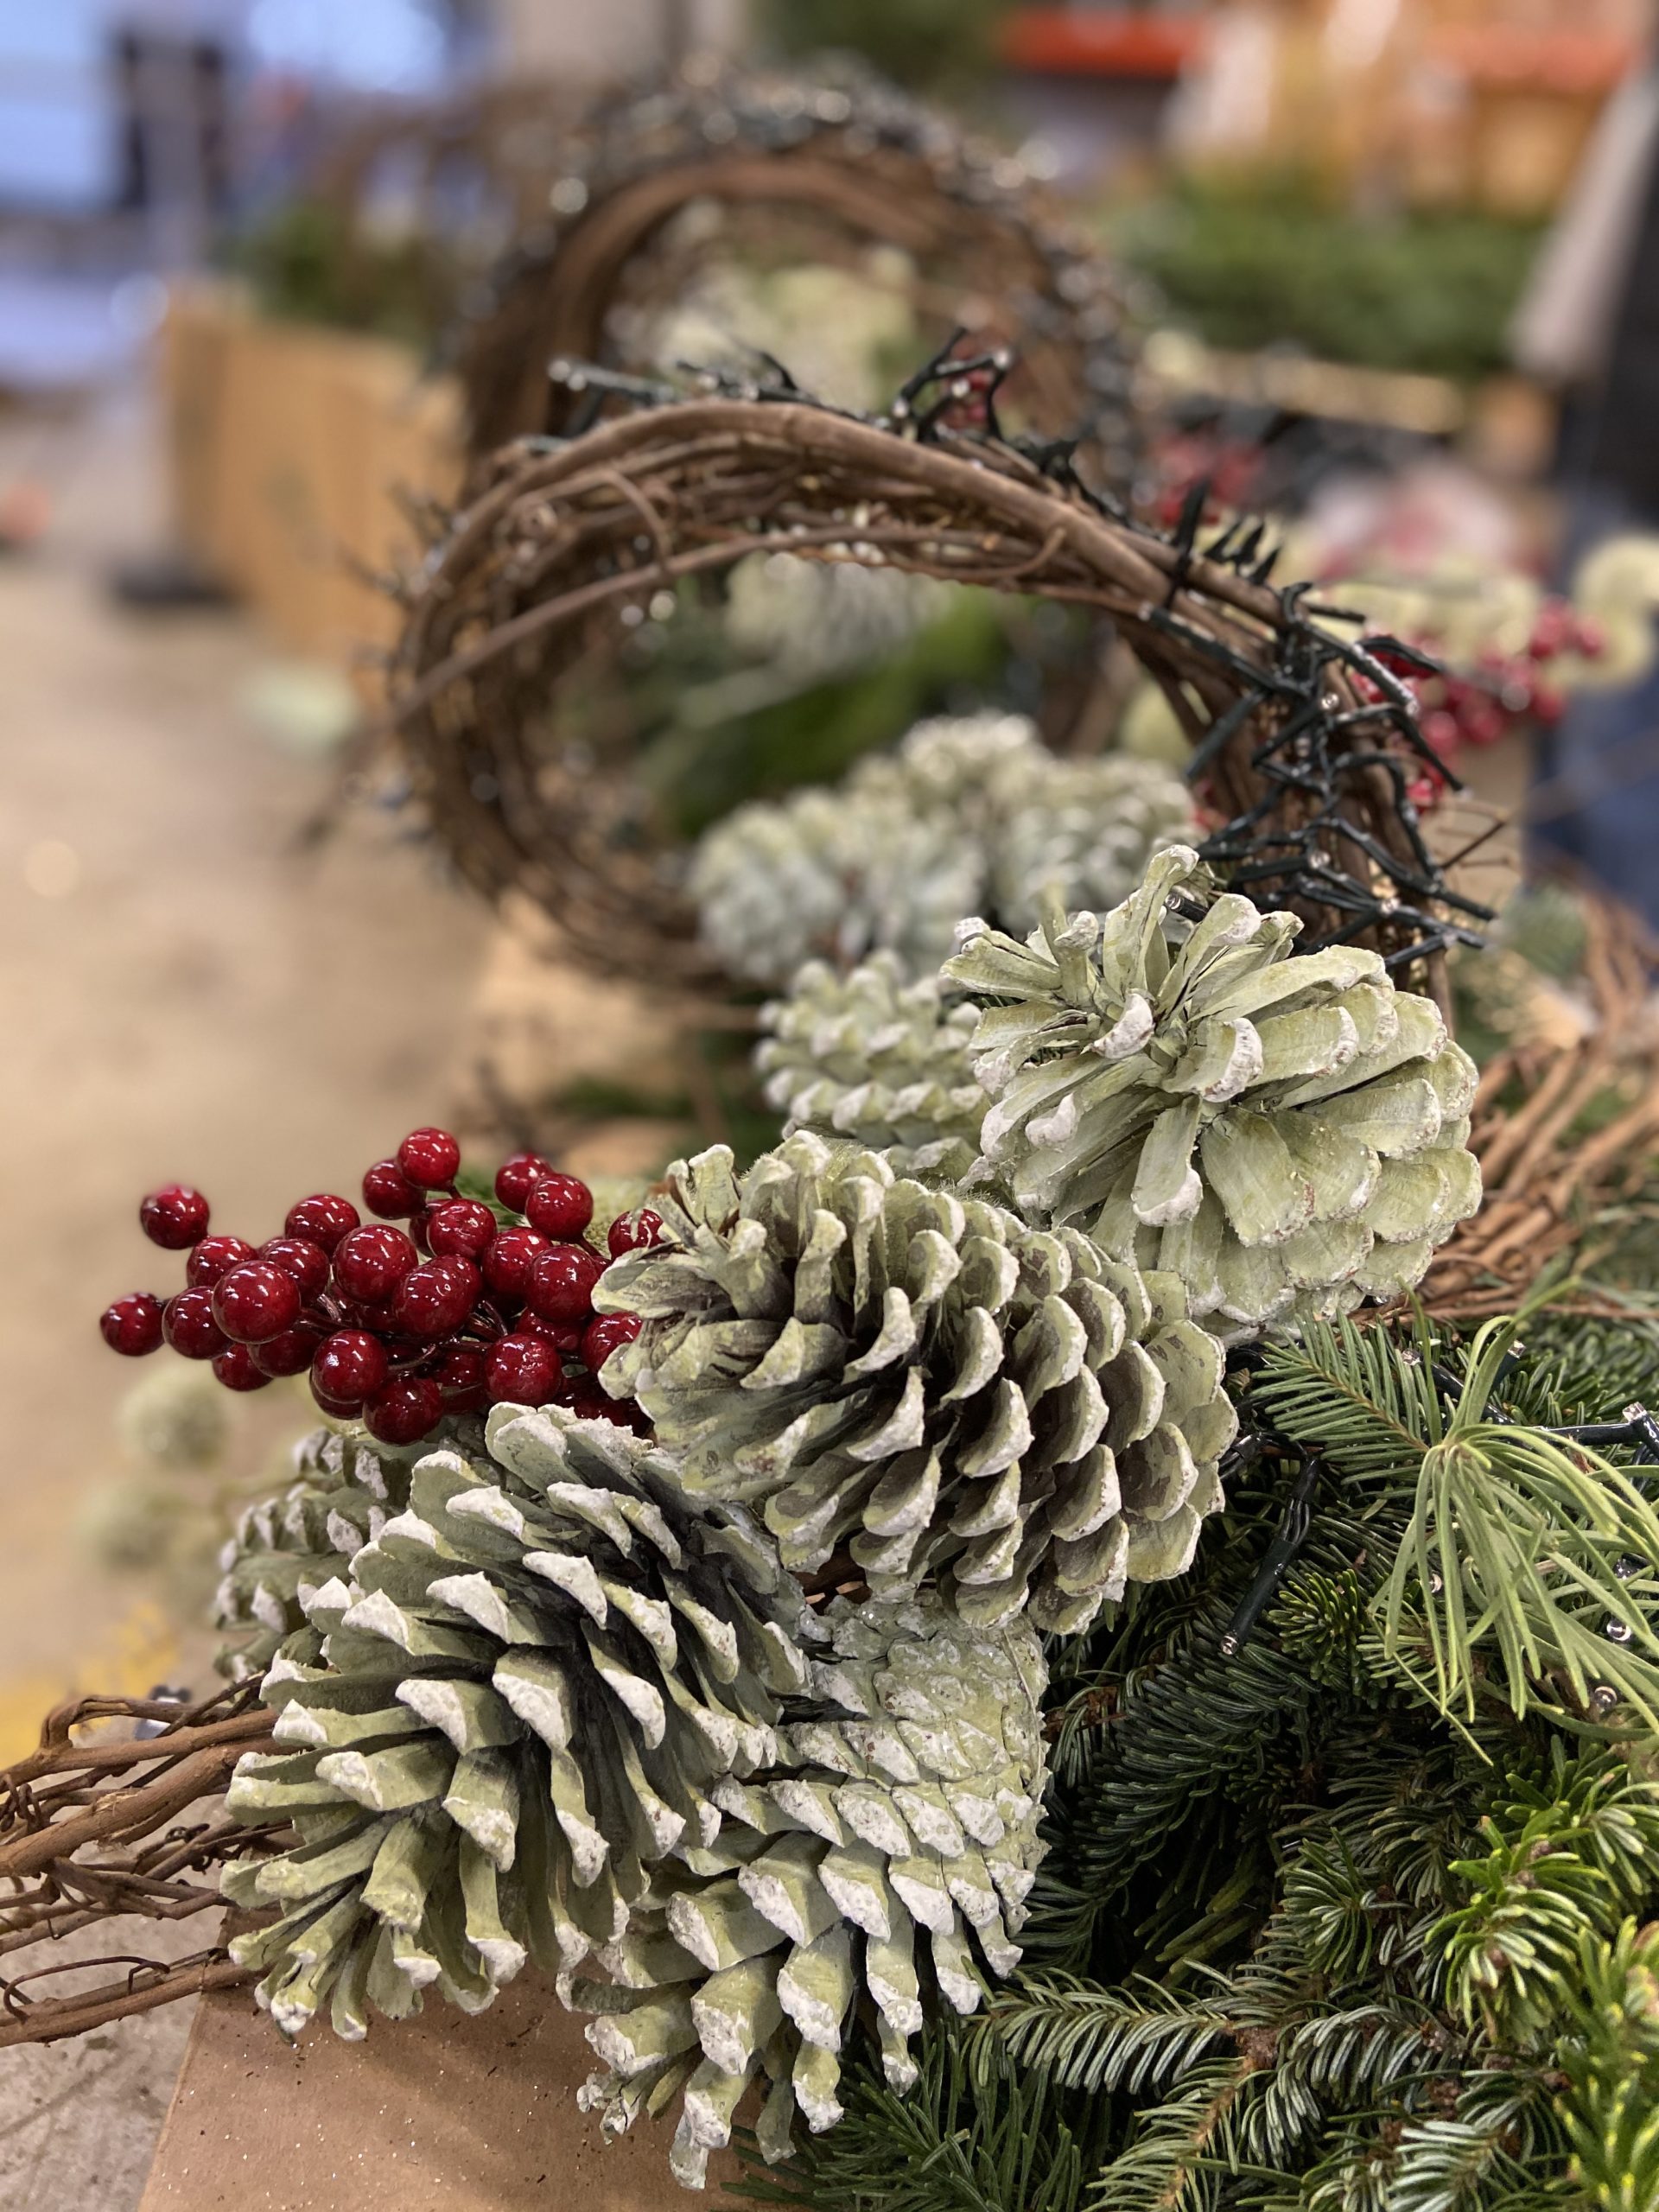
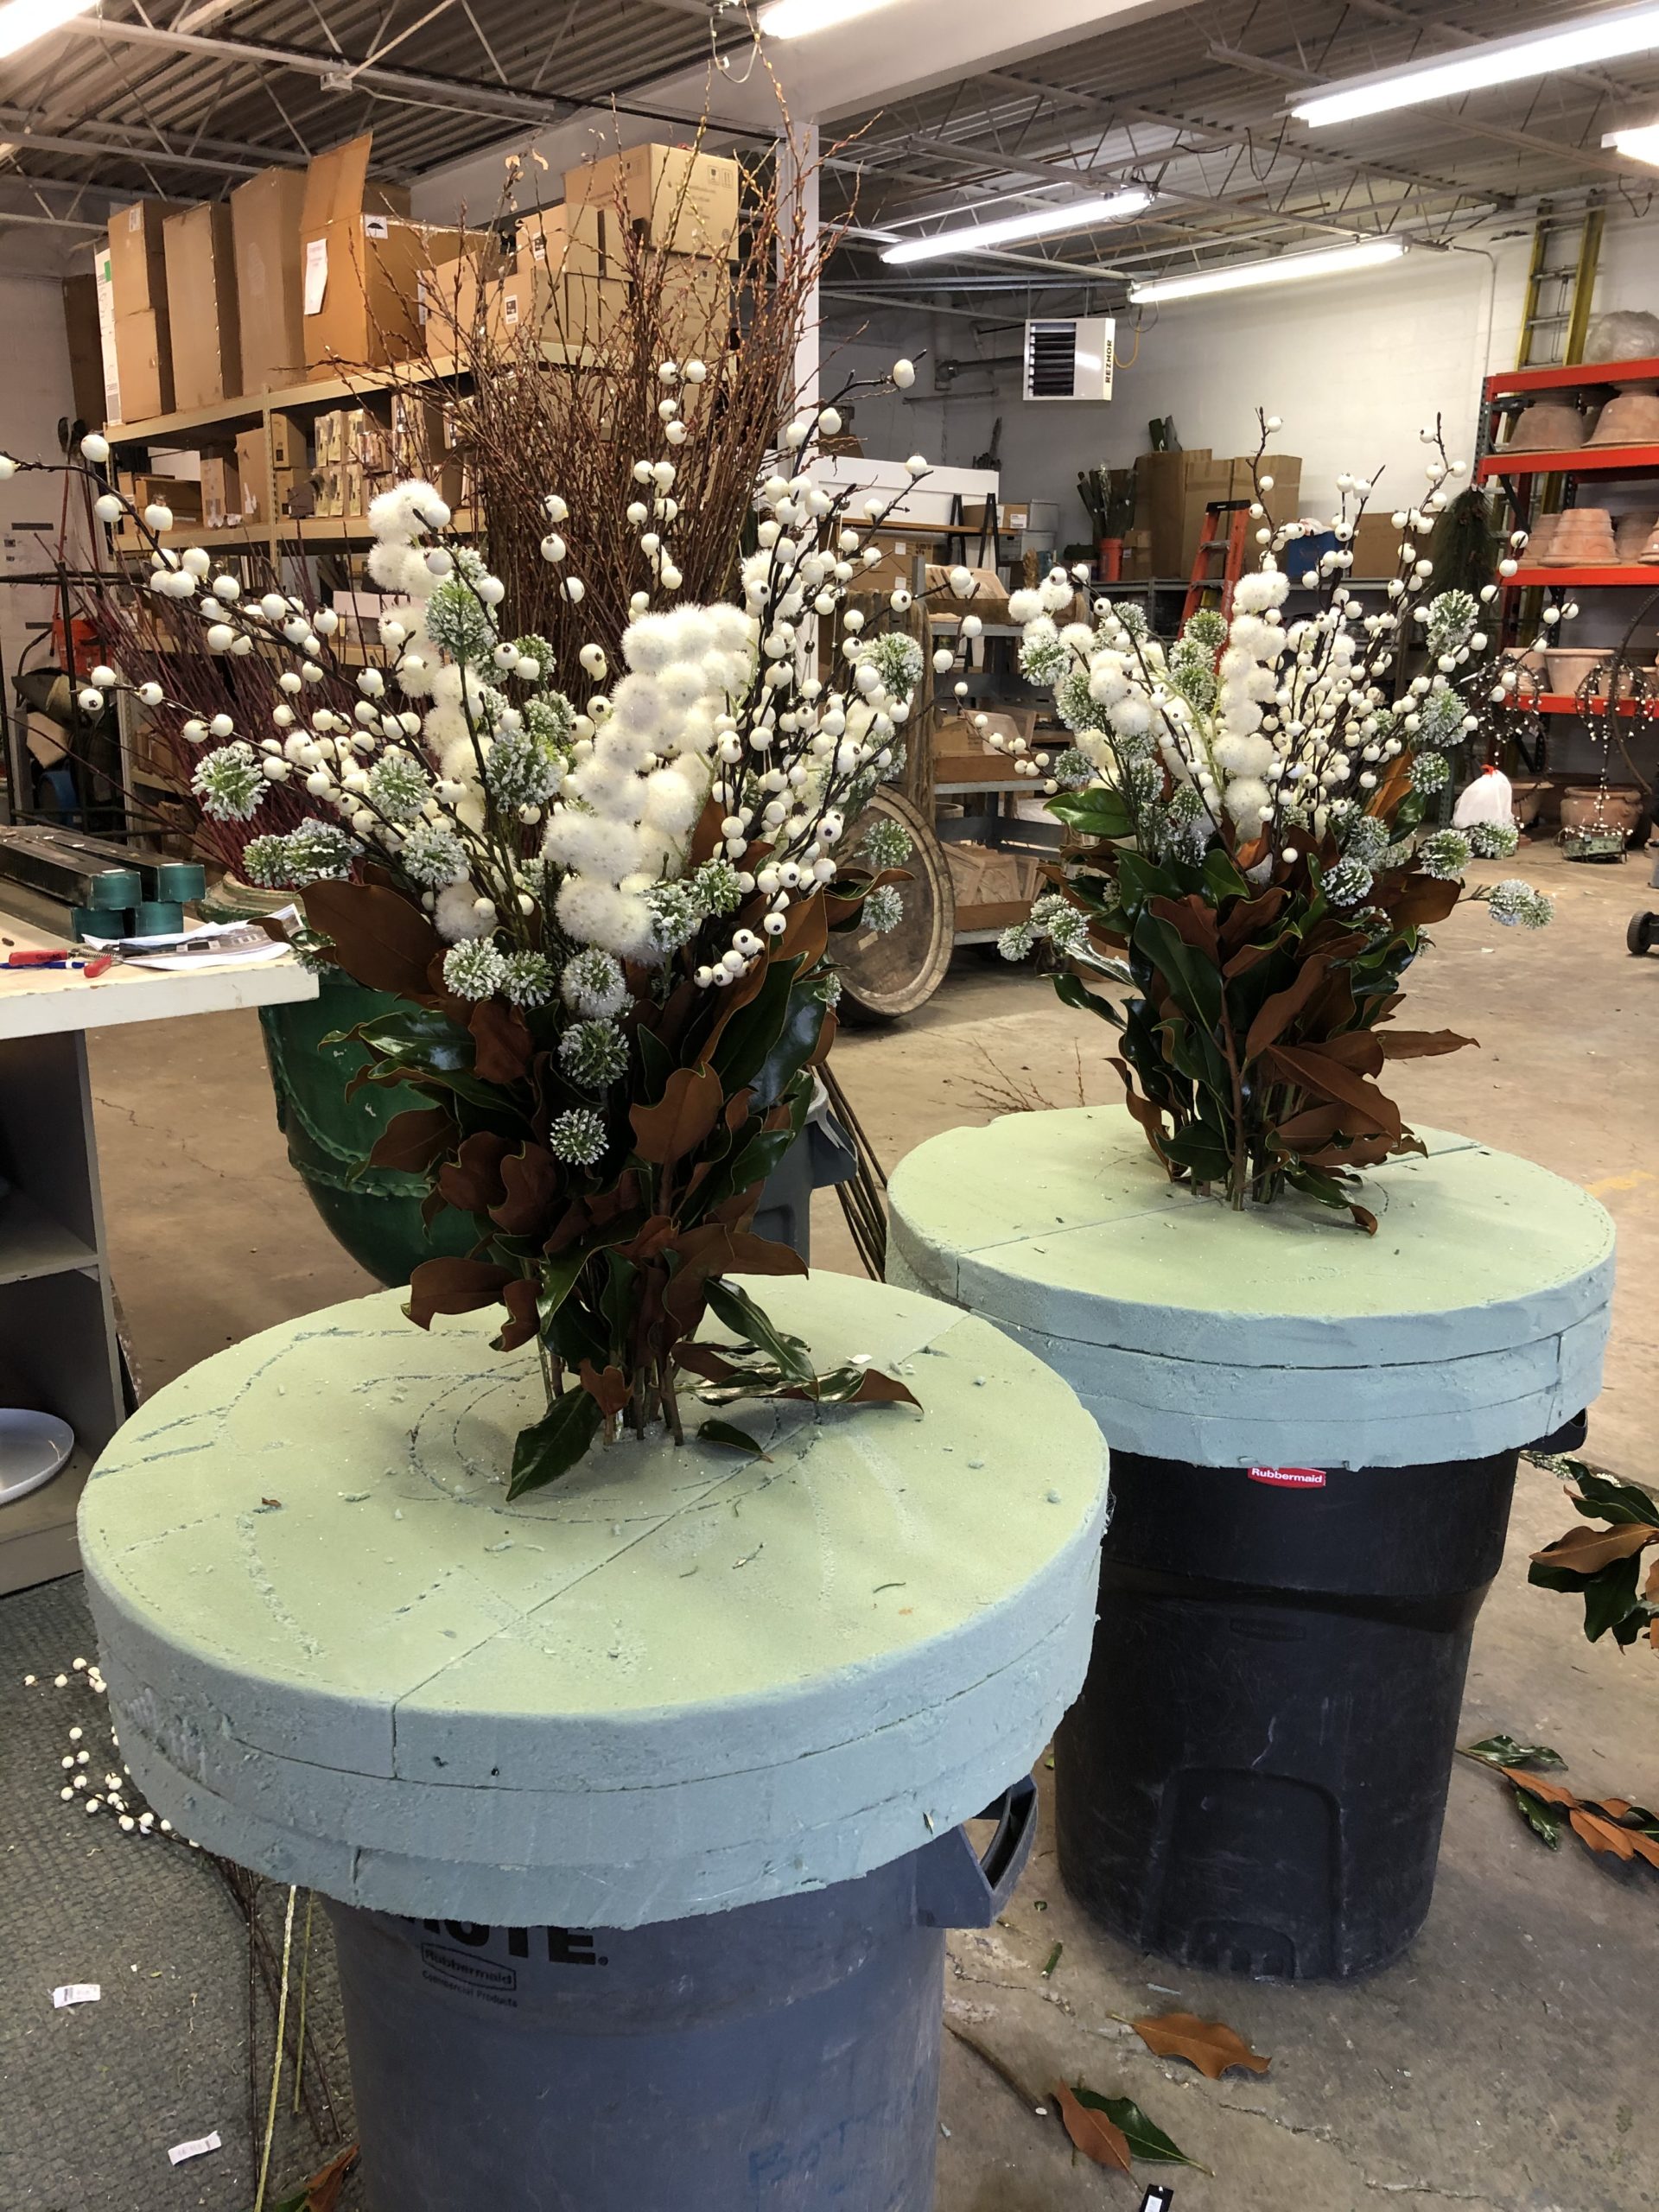
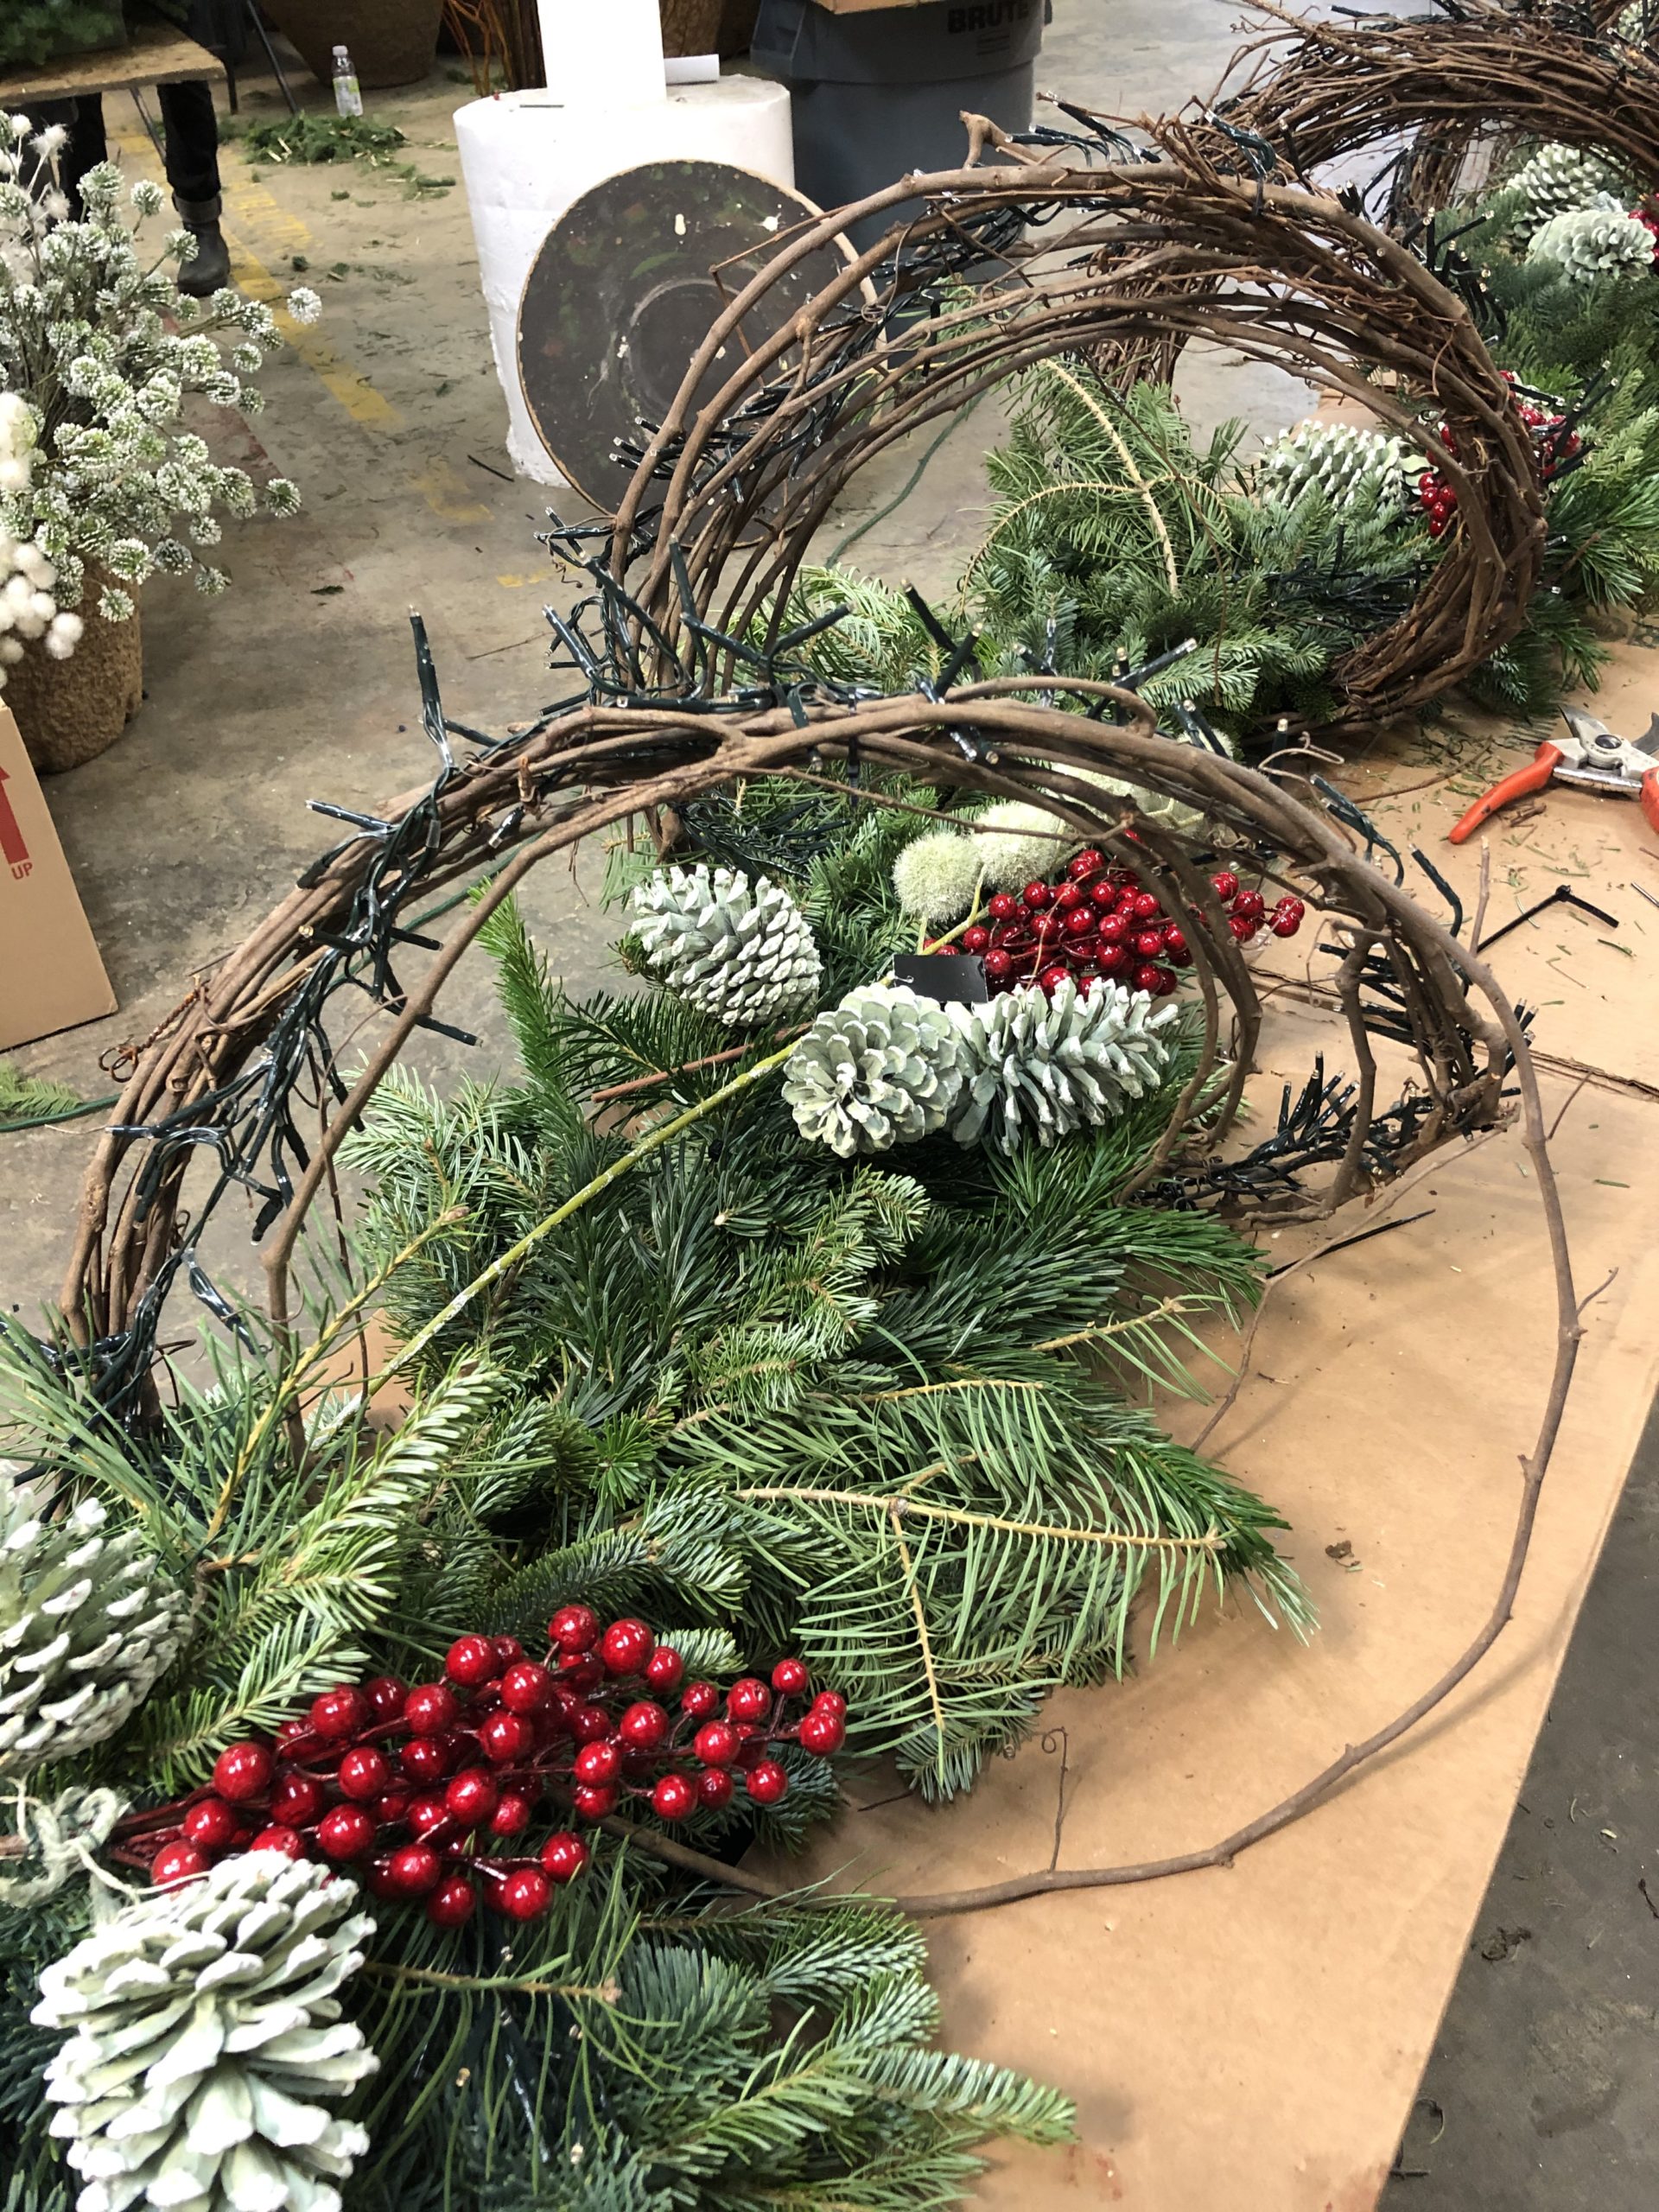 What gets added to that branchy base is a matter of personal preference. Dried and preserved natural bits, branches and seed heads look great attached to a garland. Dry hydrangea flowers shrug off winter in a way that surprises me. Faux berries and picks can provide both color and drama. I do not value one material over the other, nor do I value one style over another. What is of great value is the process of creating and making. There are so many things that contribute to that moment when a thought or idea takes on a life, and the making begins. That transition from an idea to the making is a perfect moment. My advice? Make something.
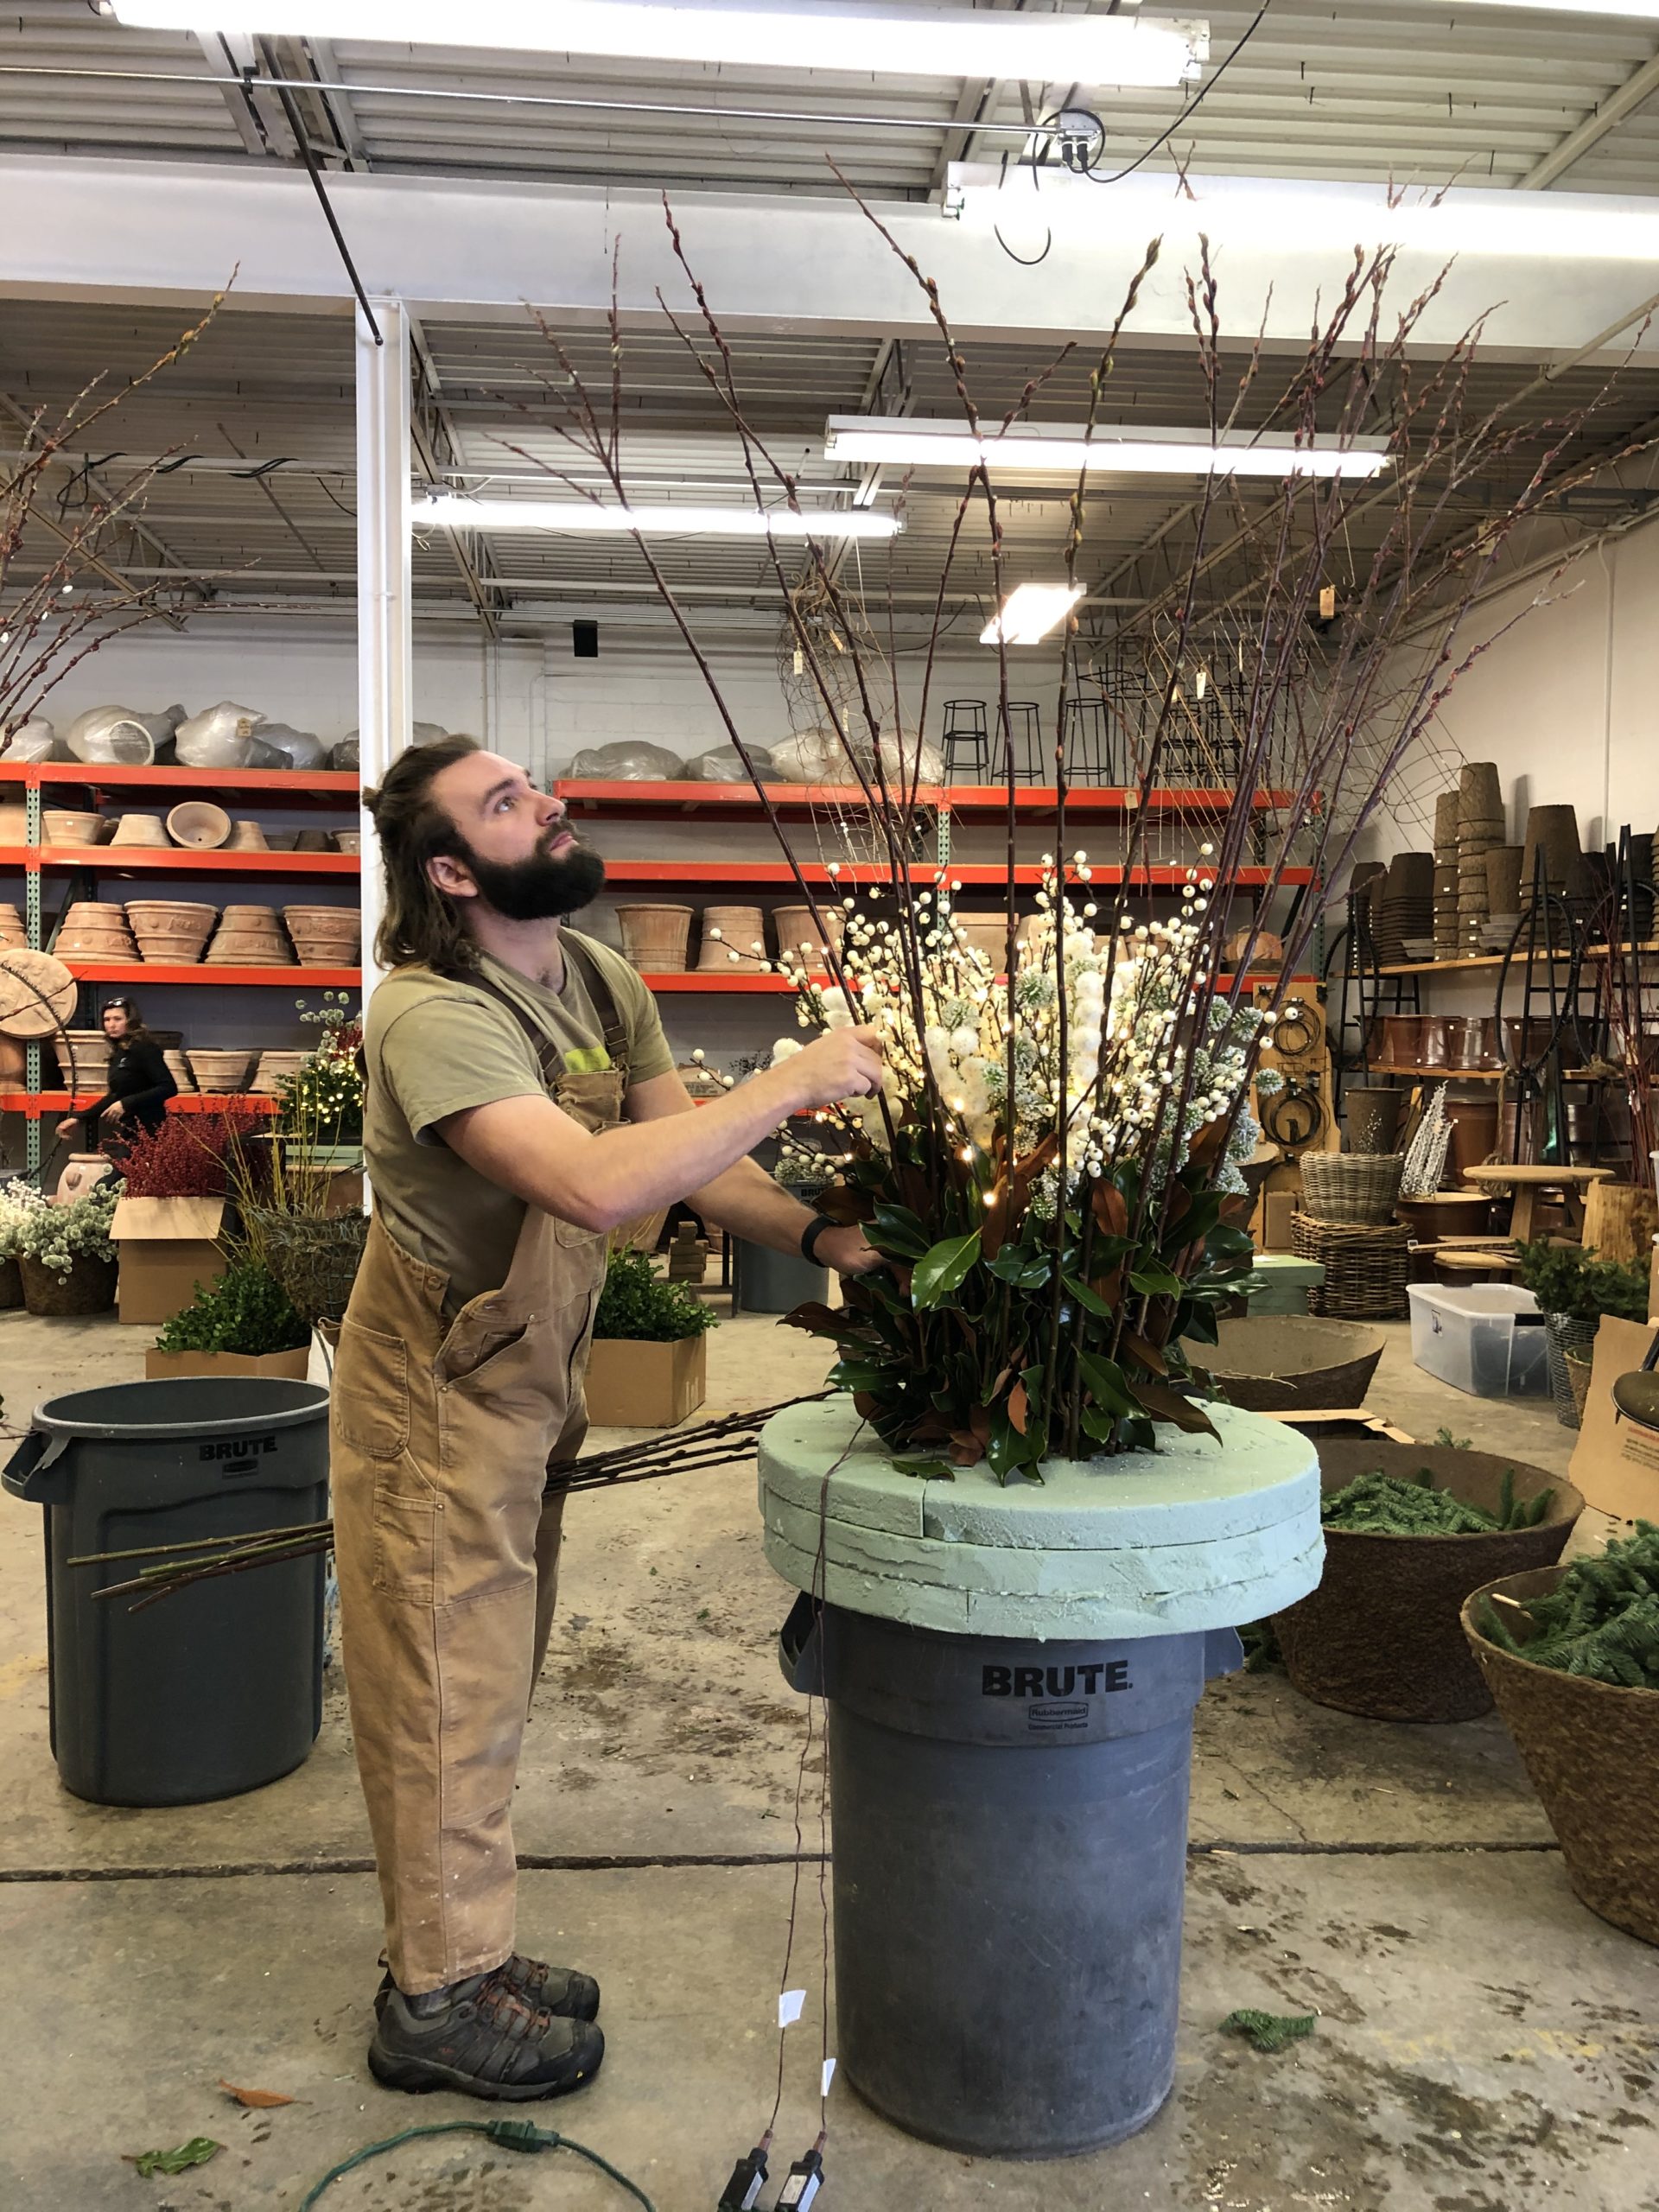
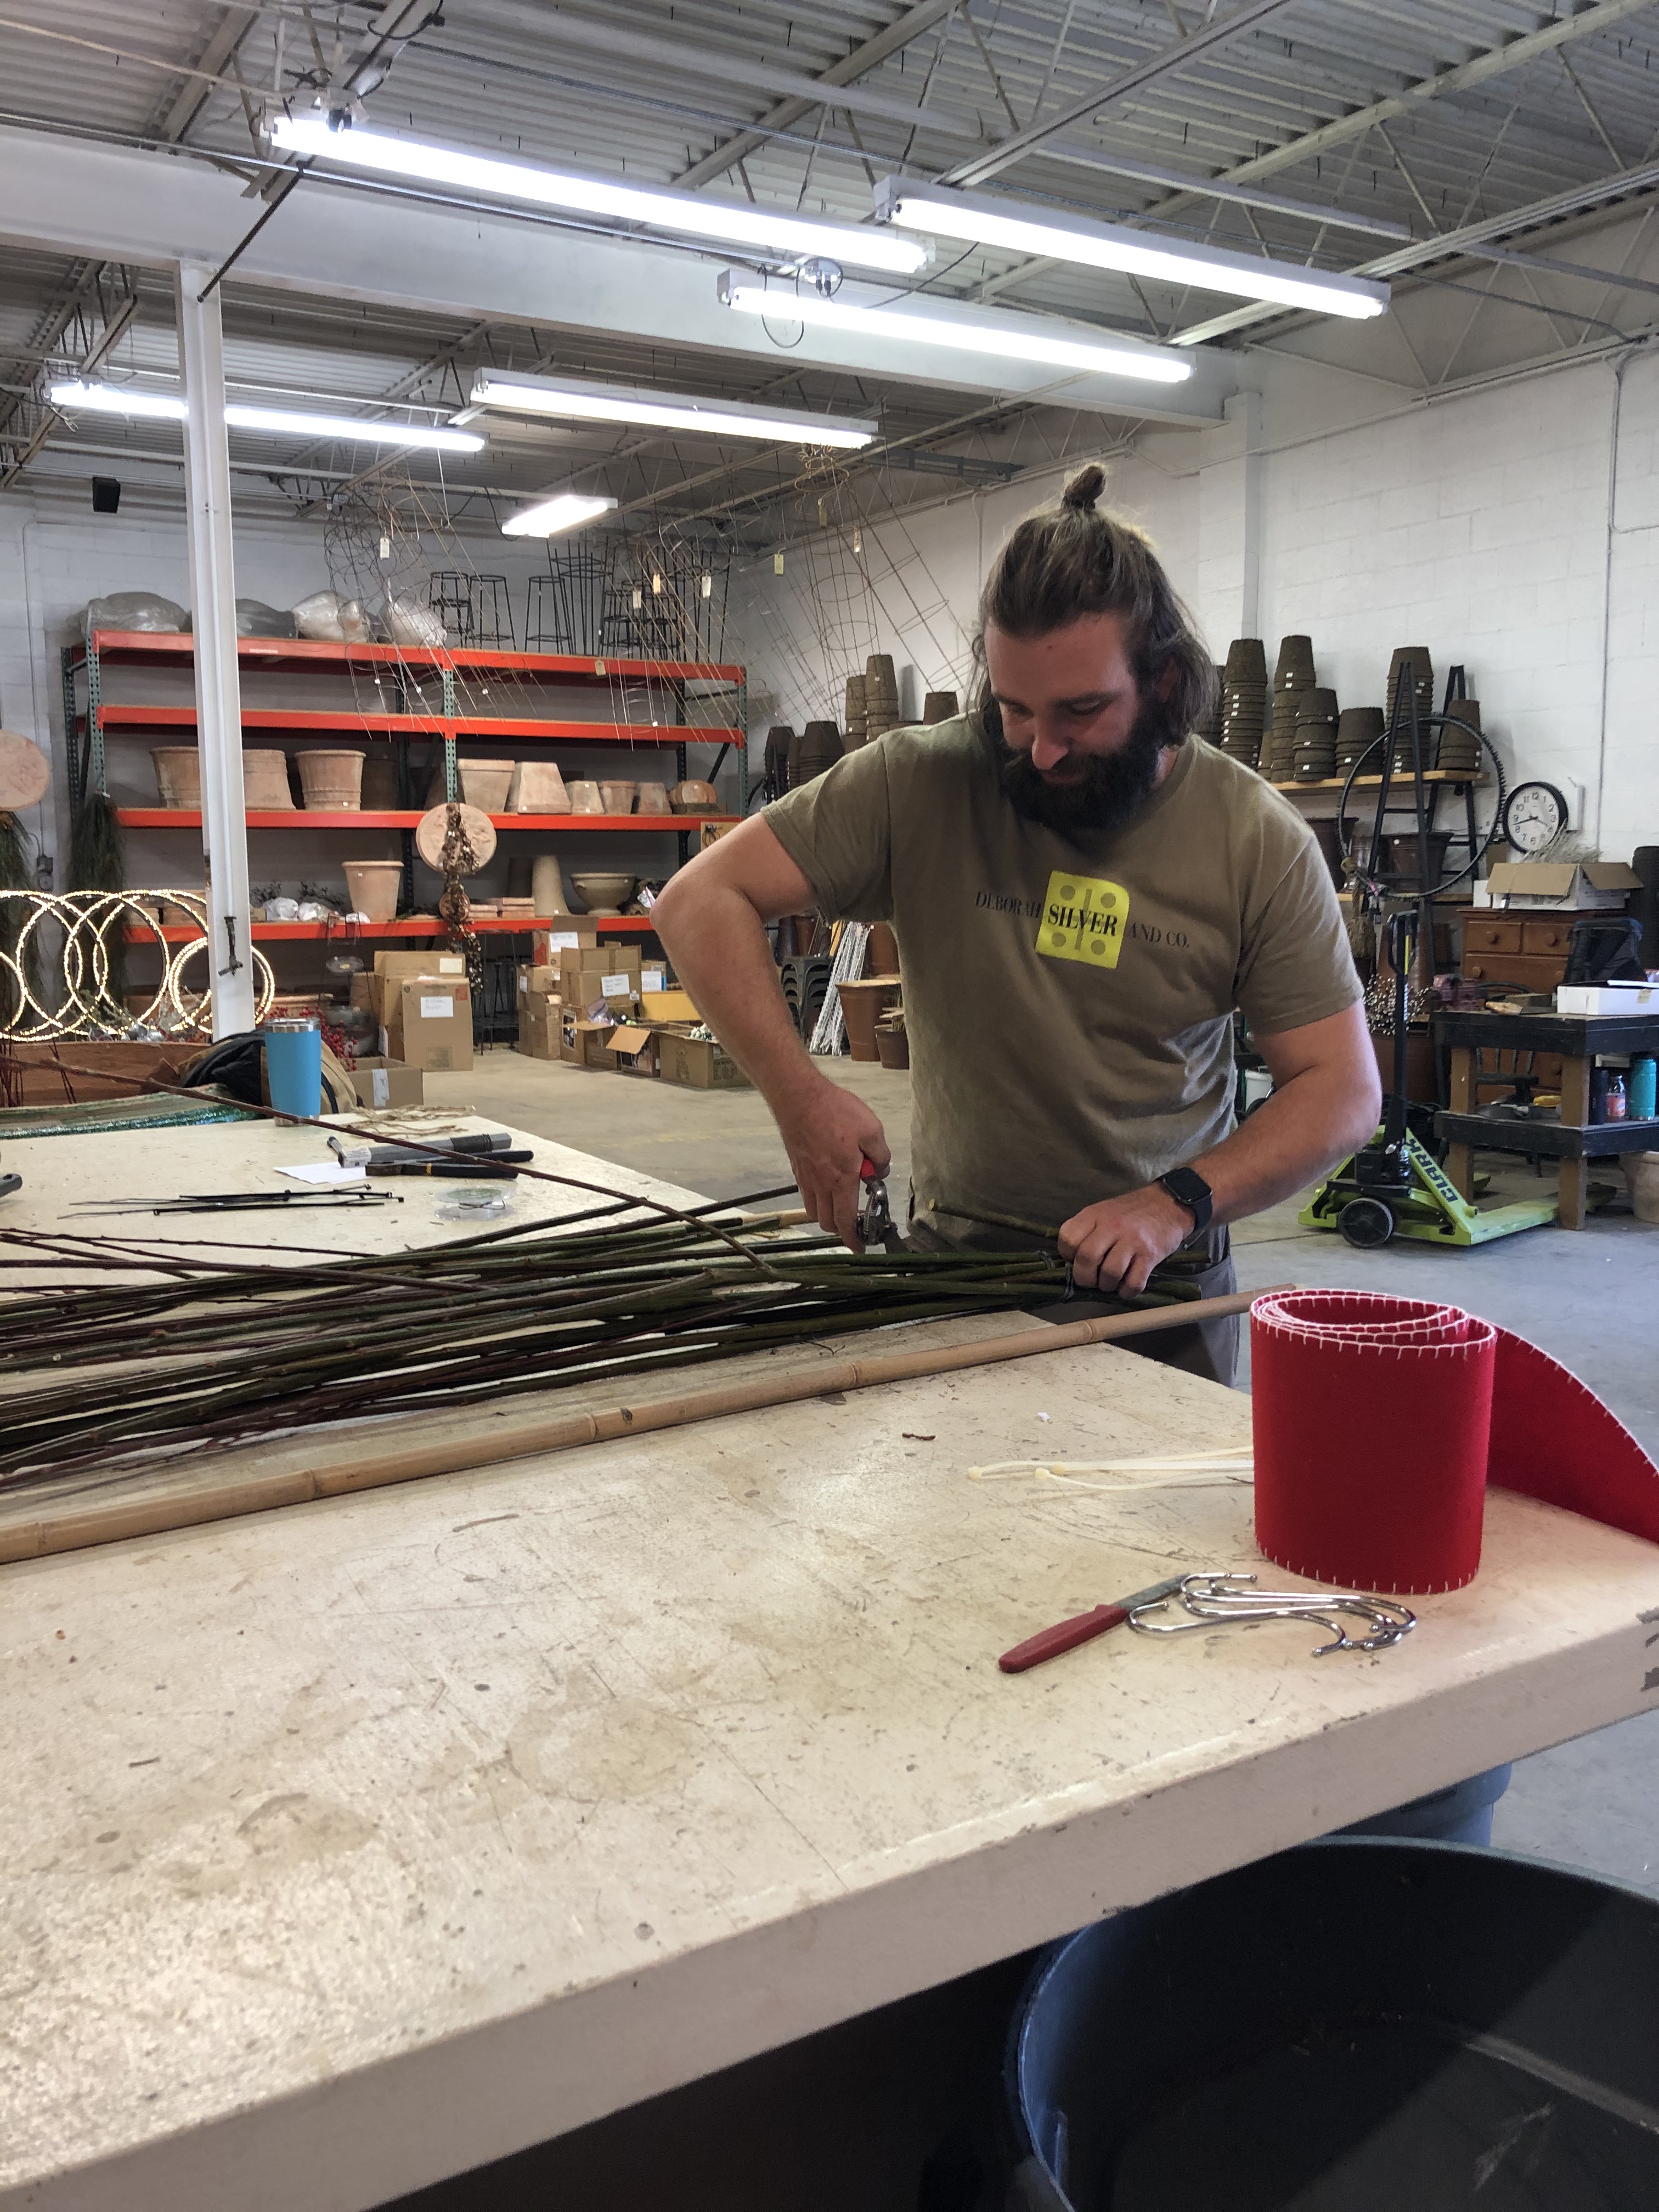
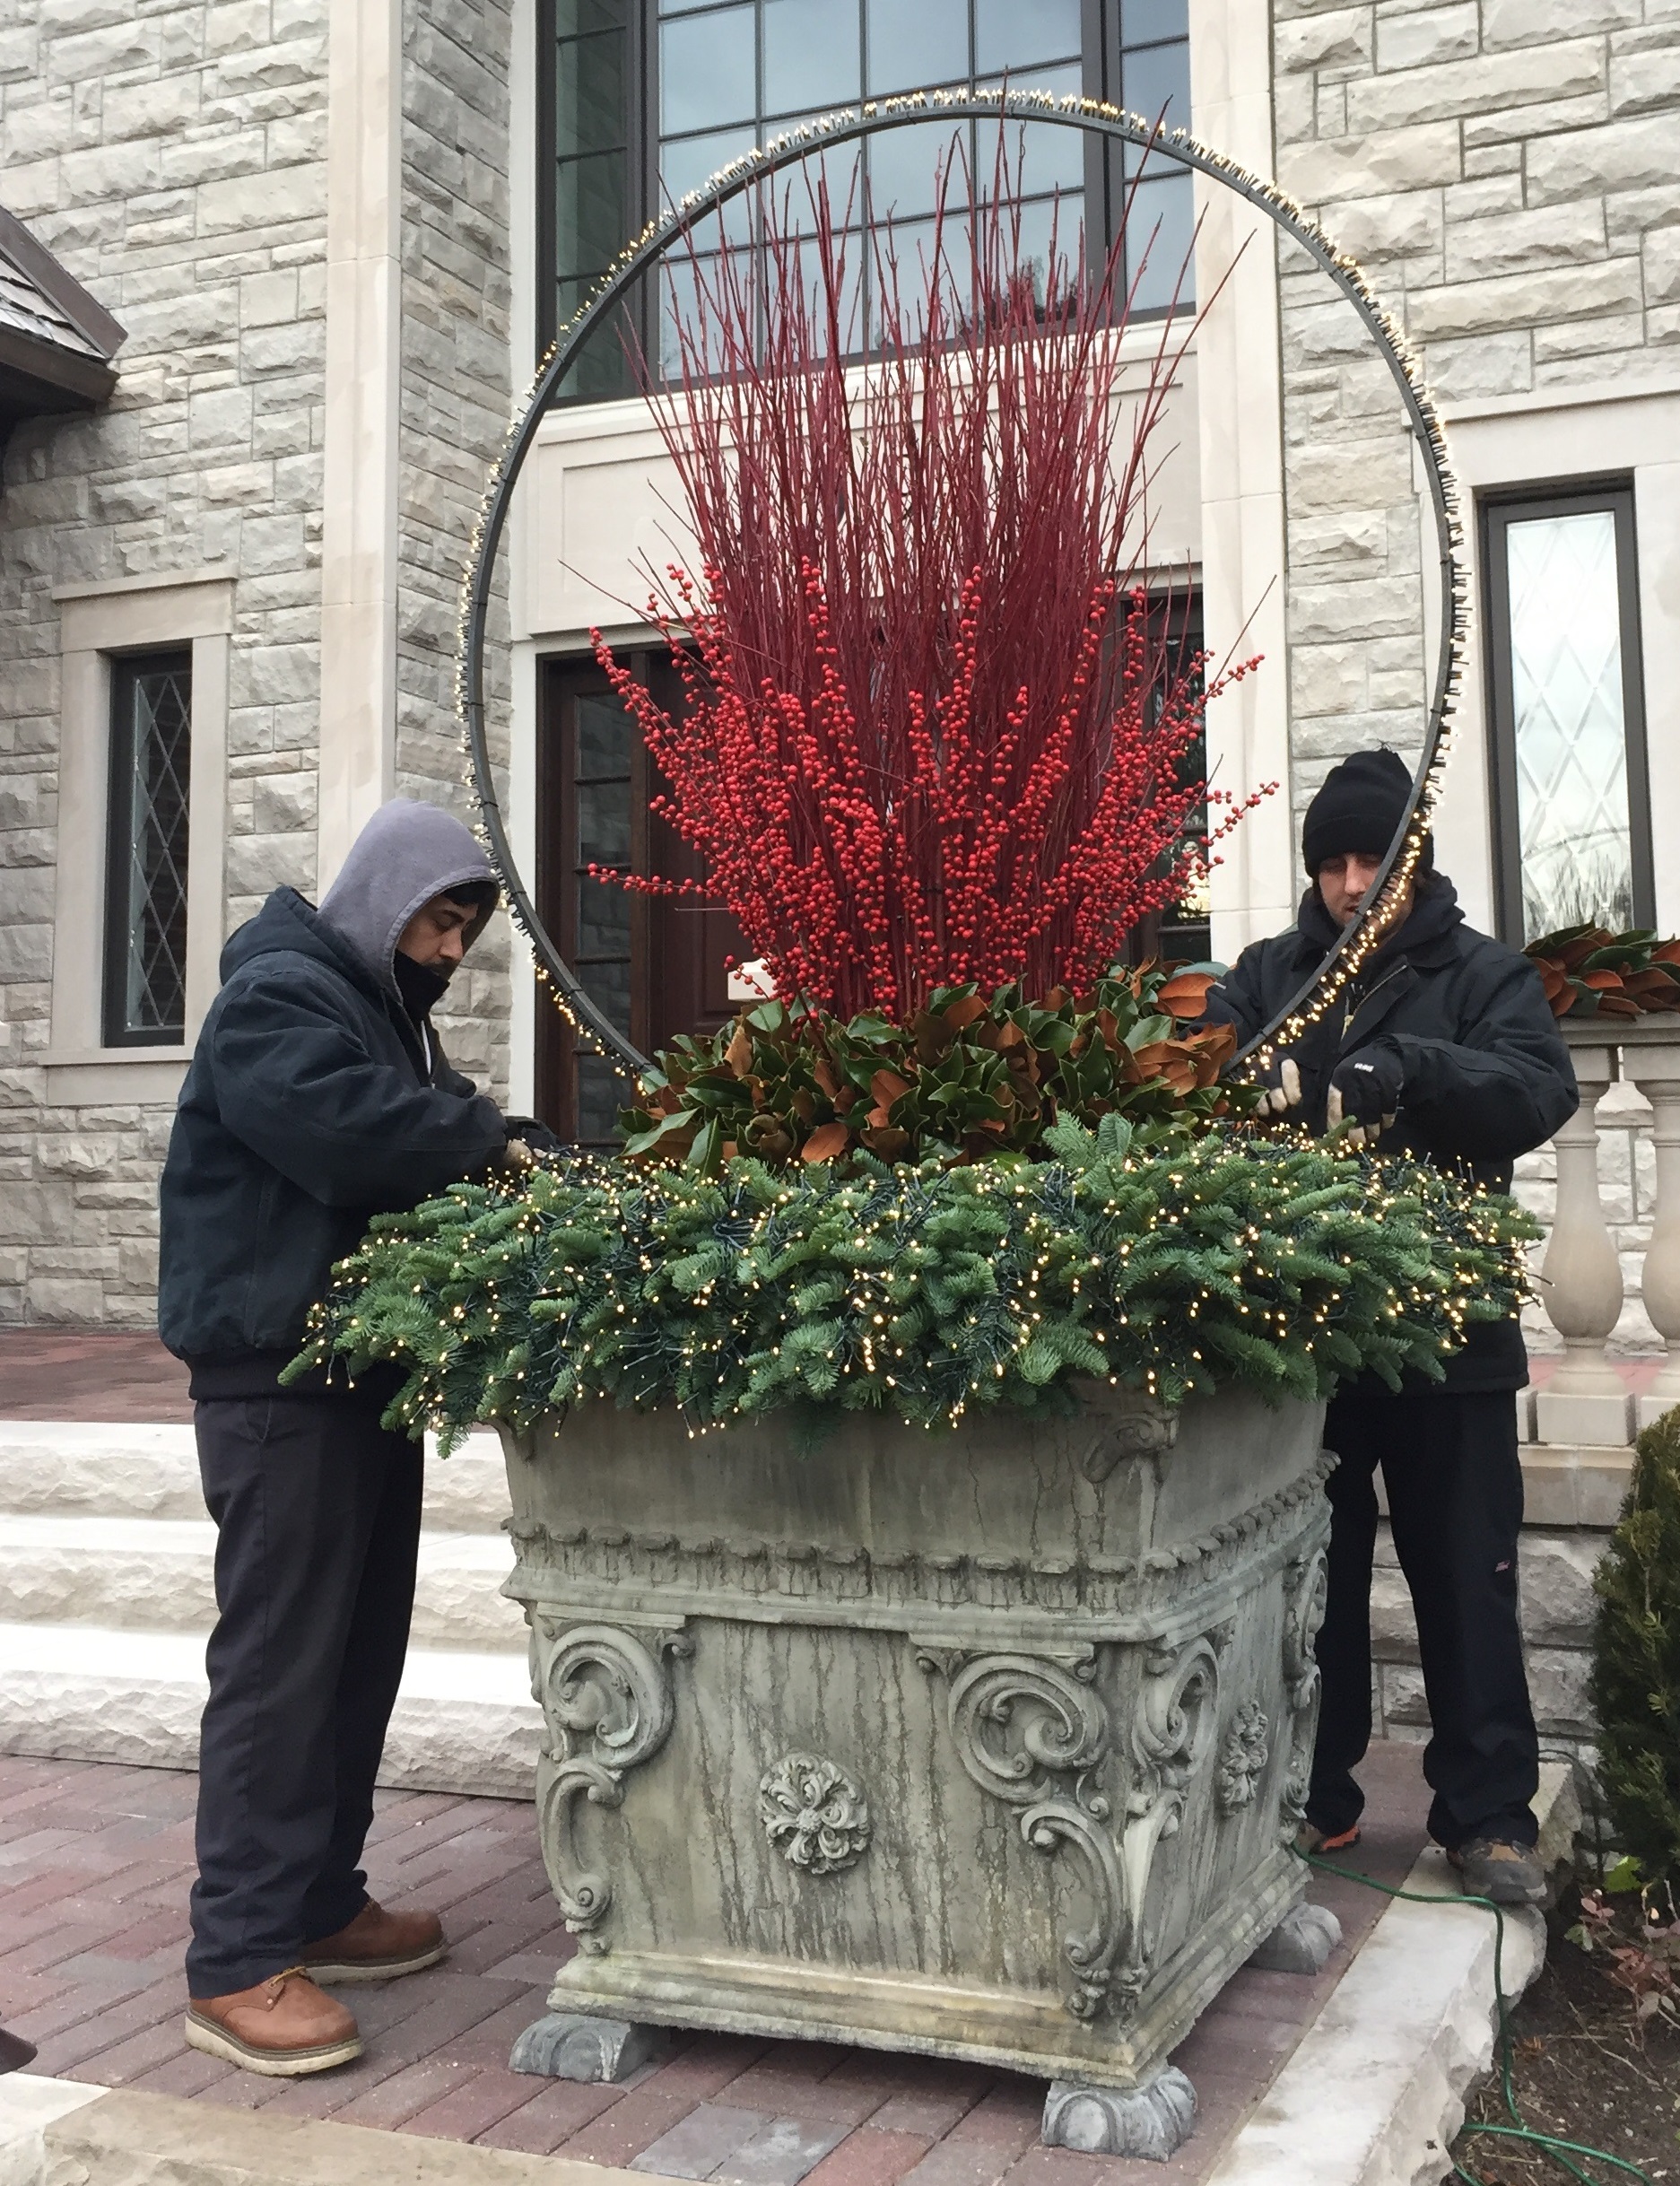
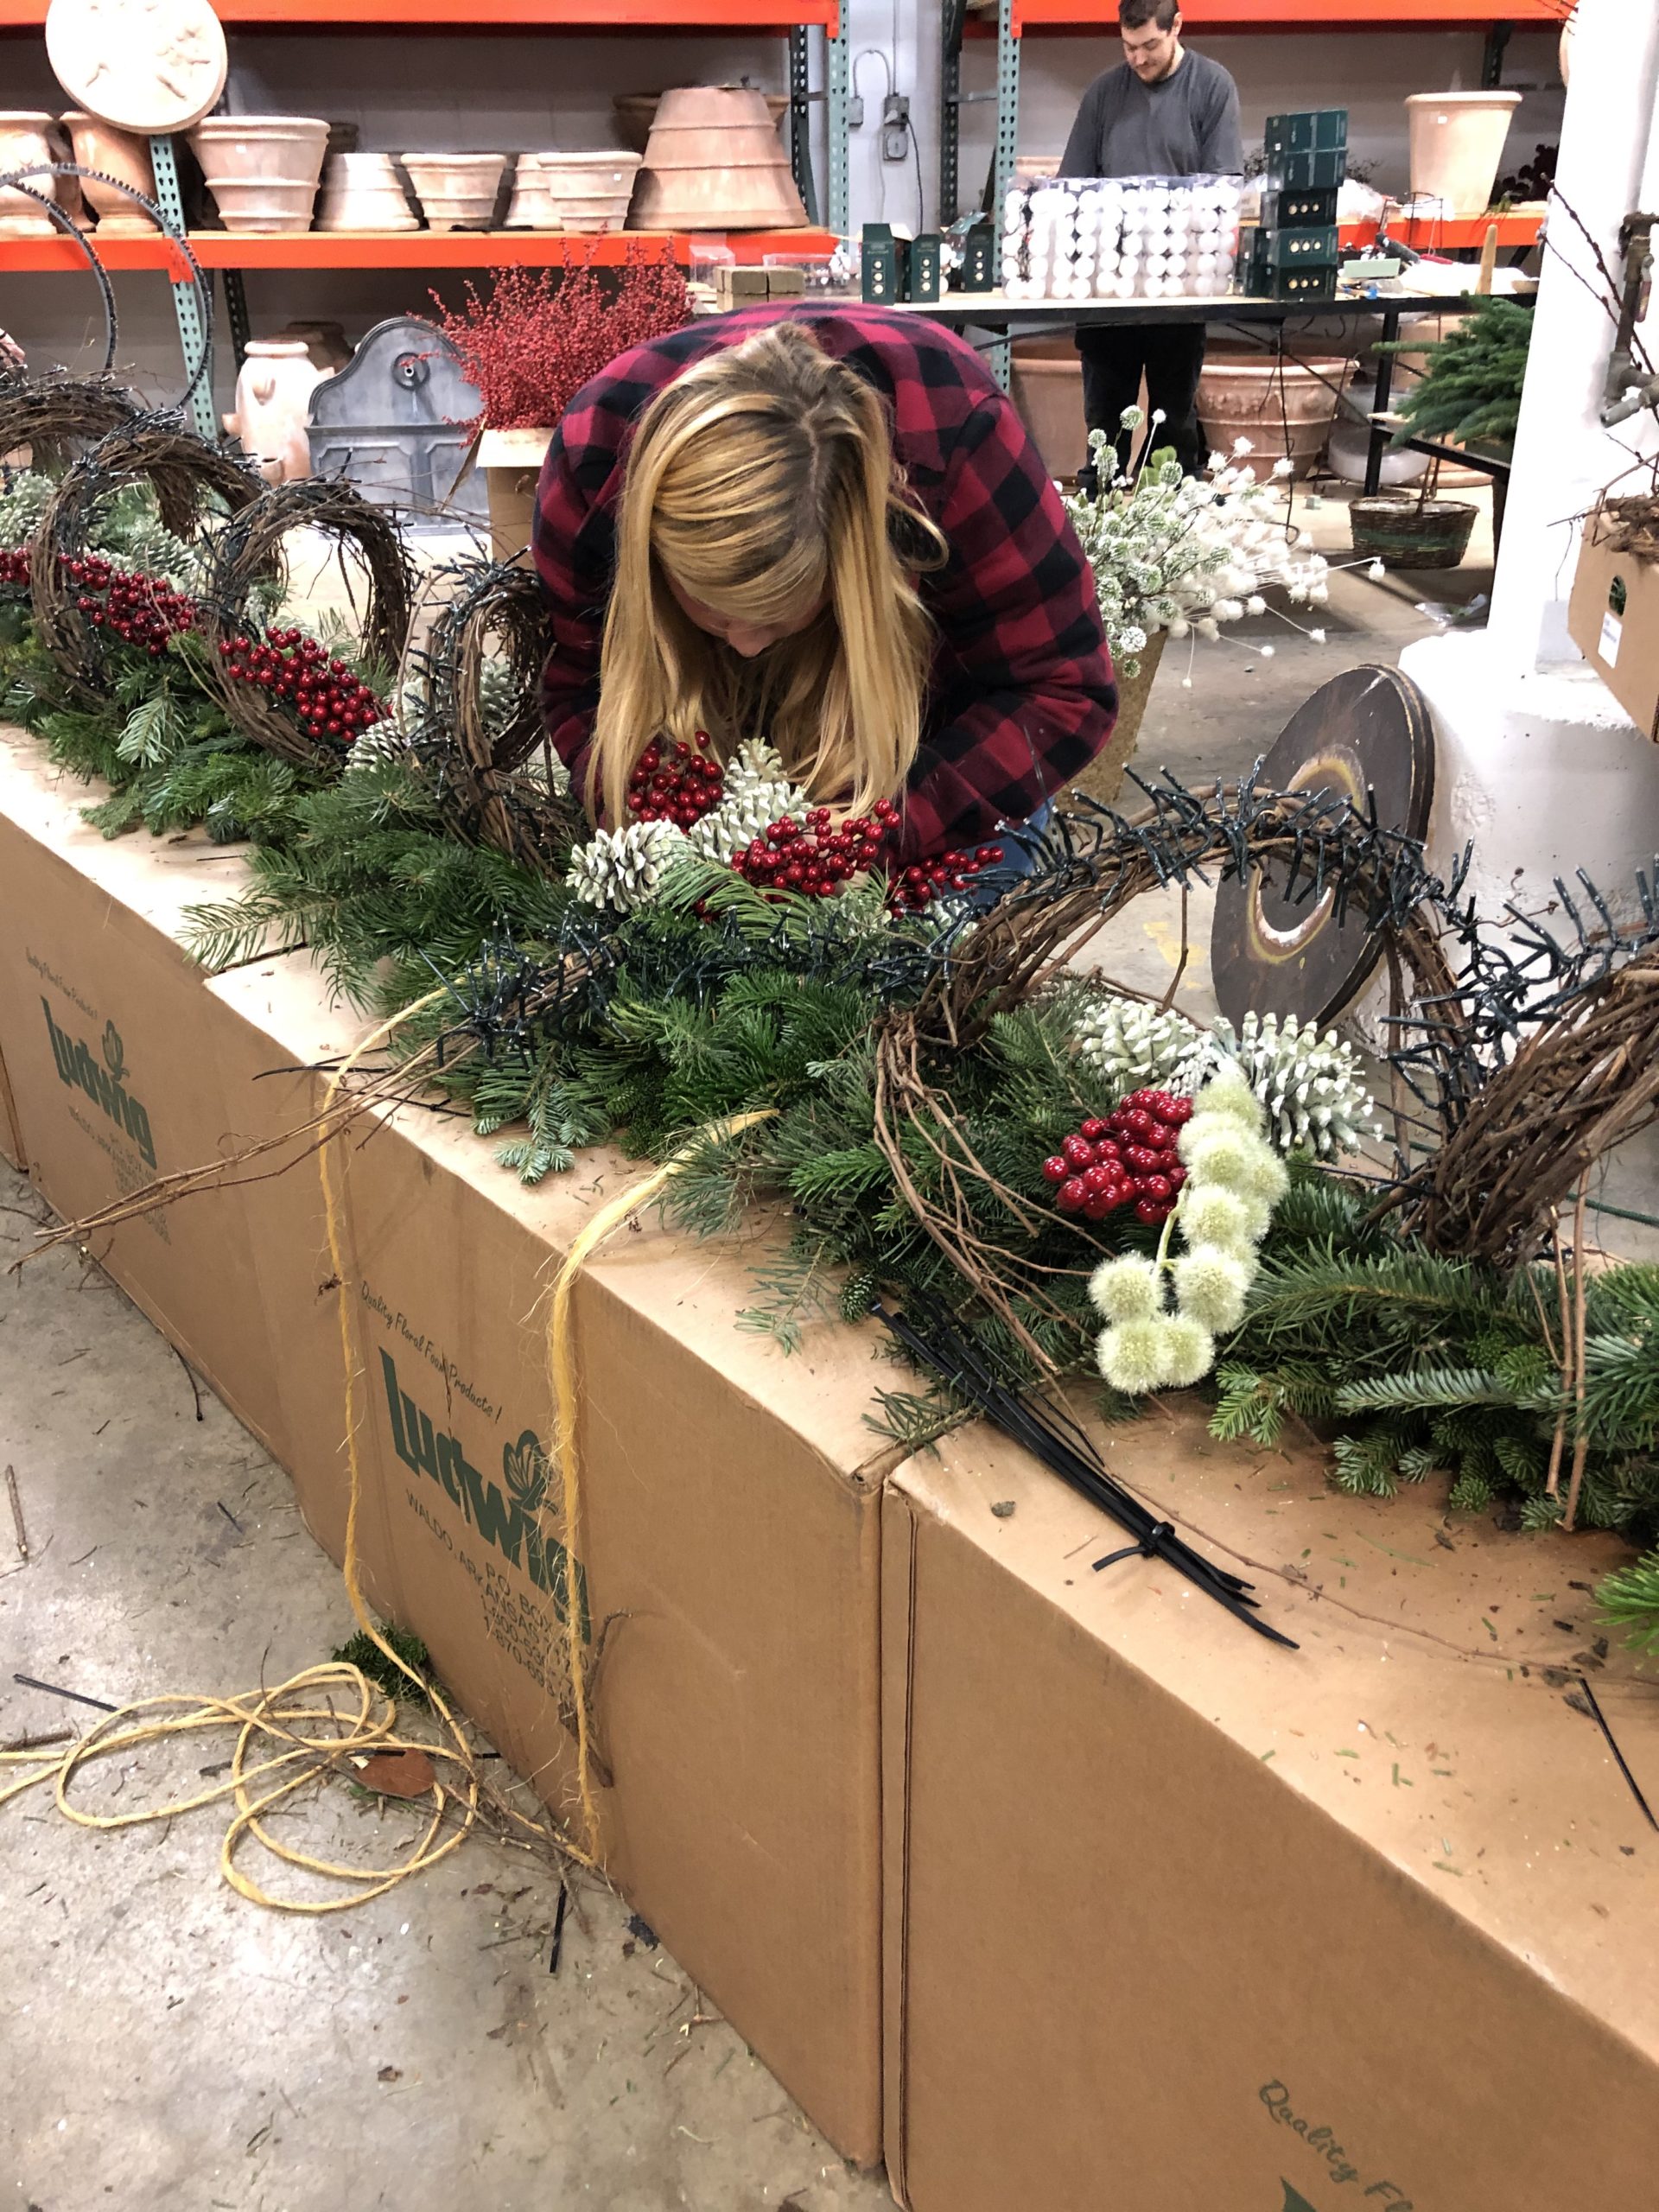
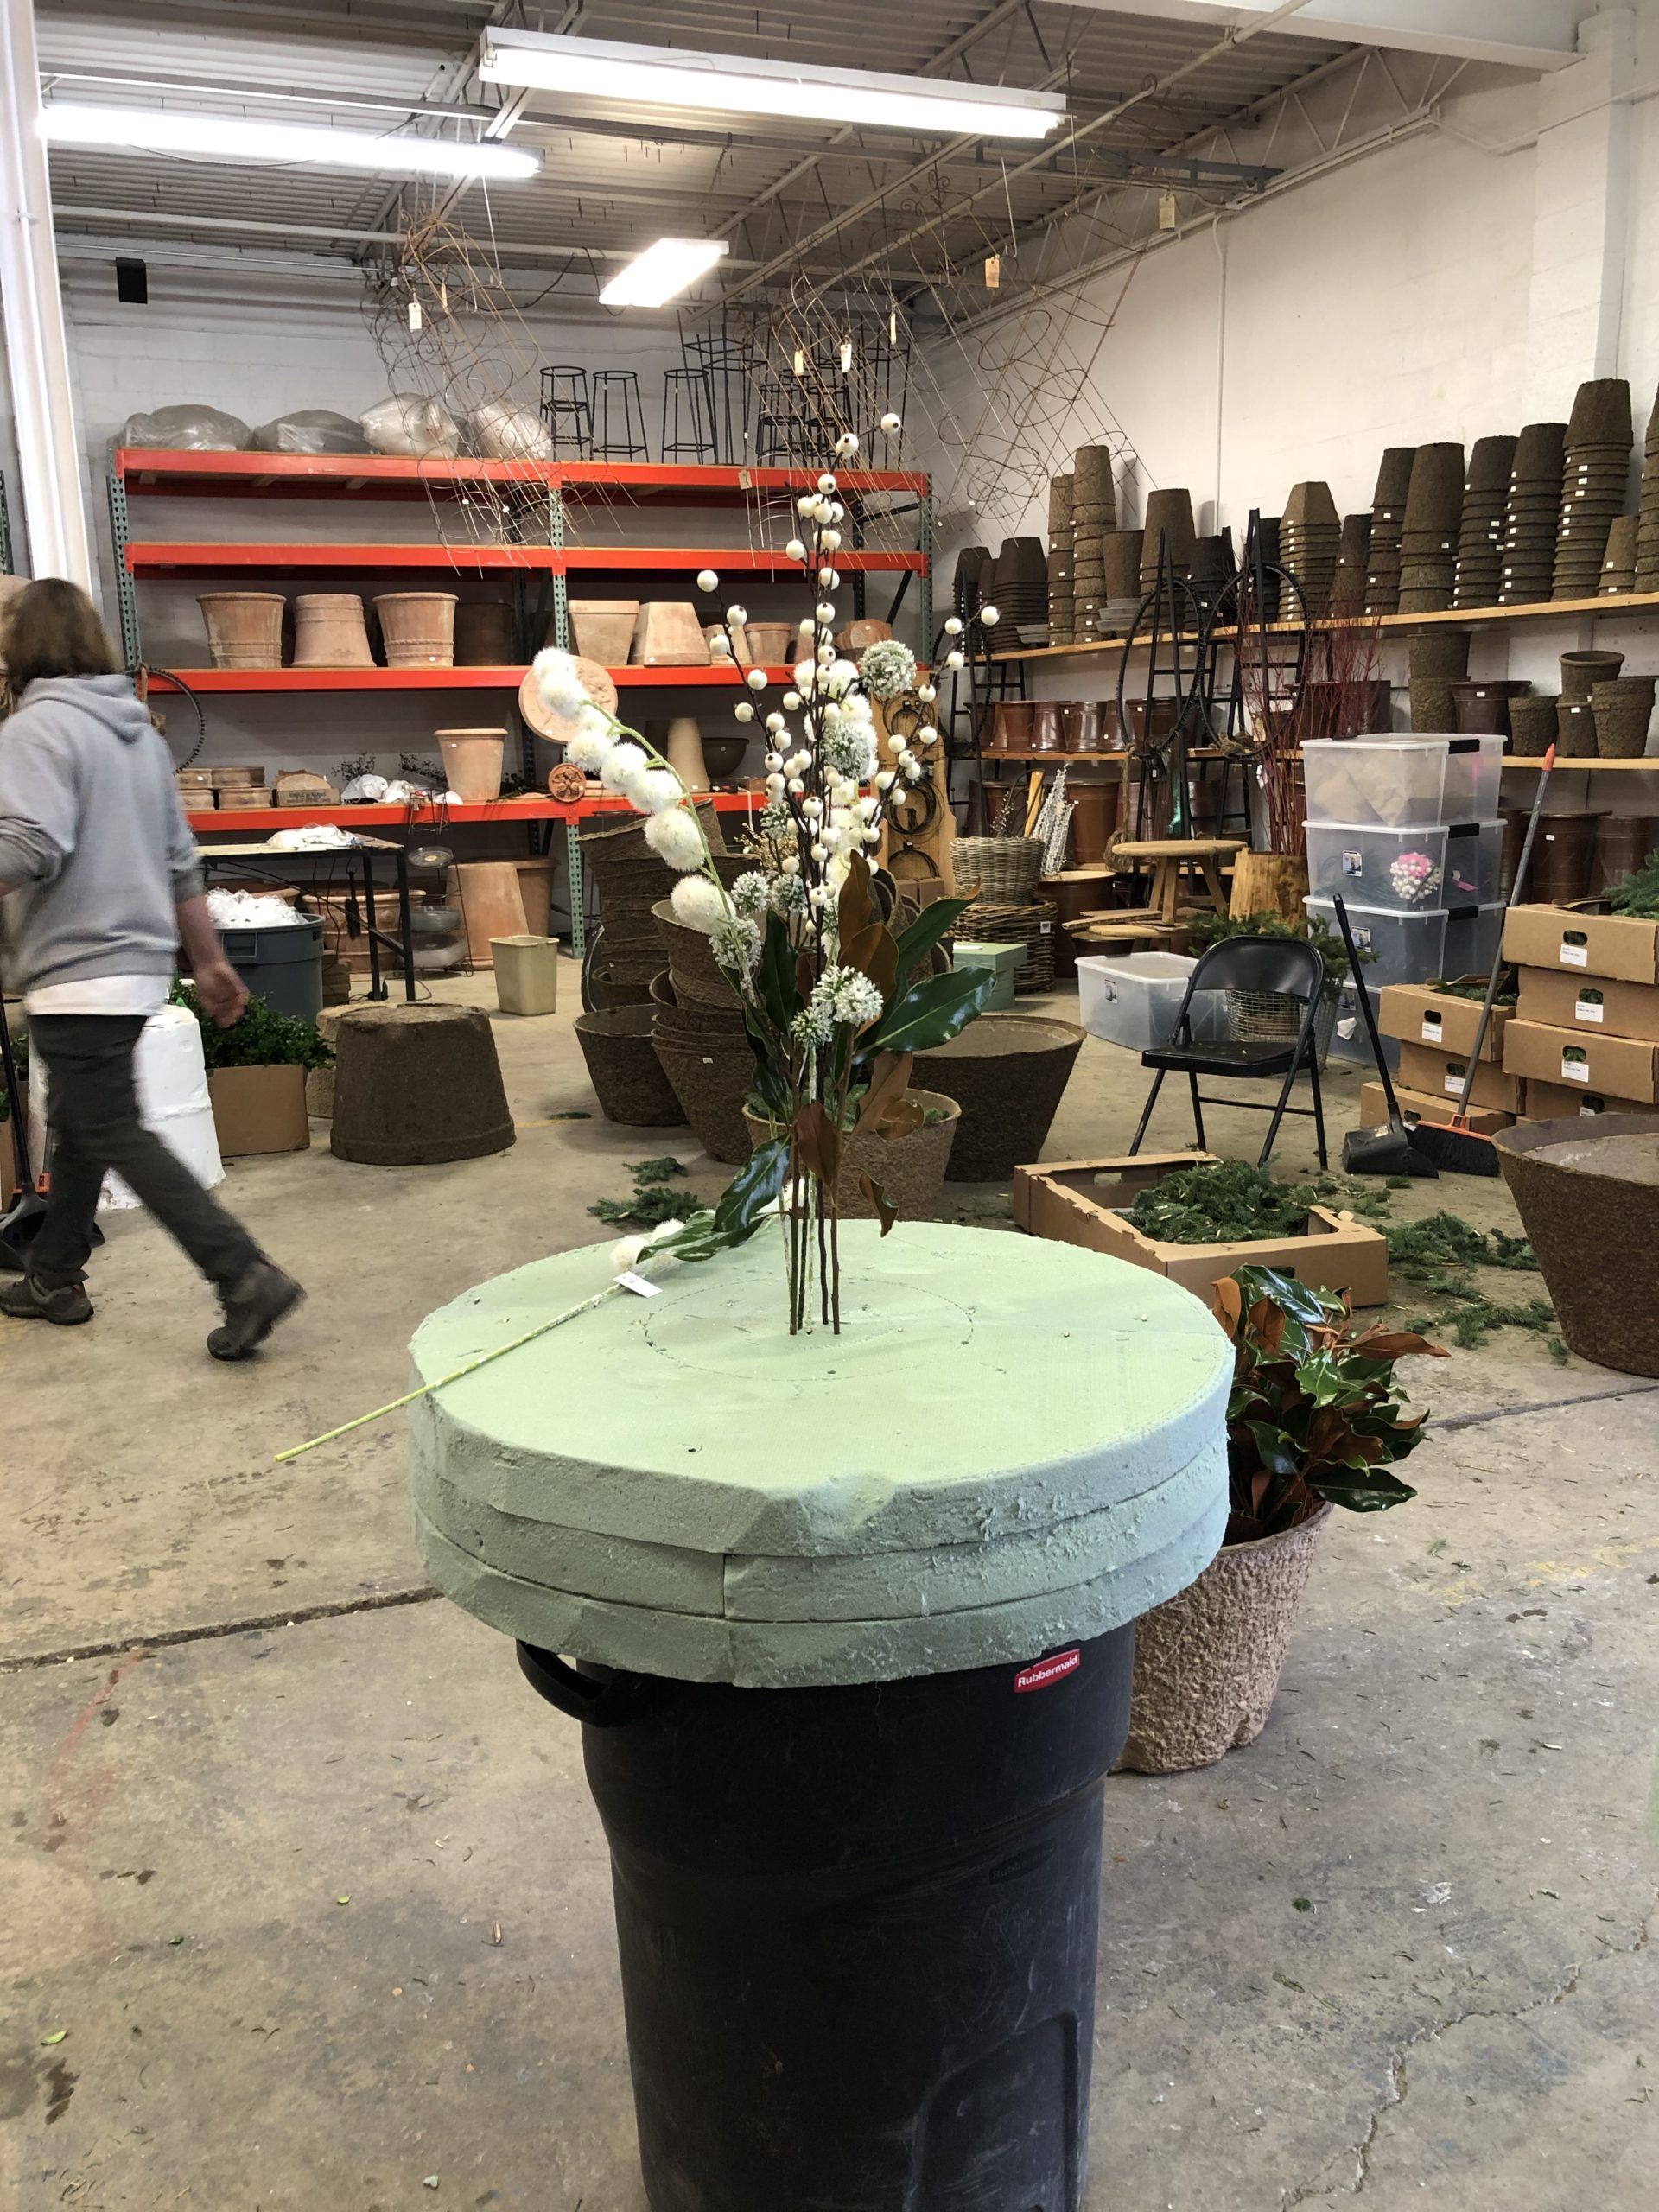
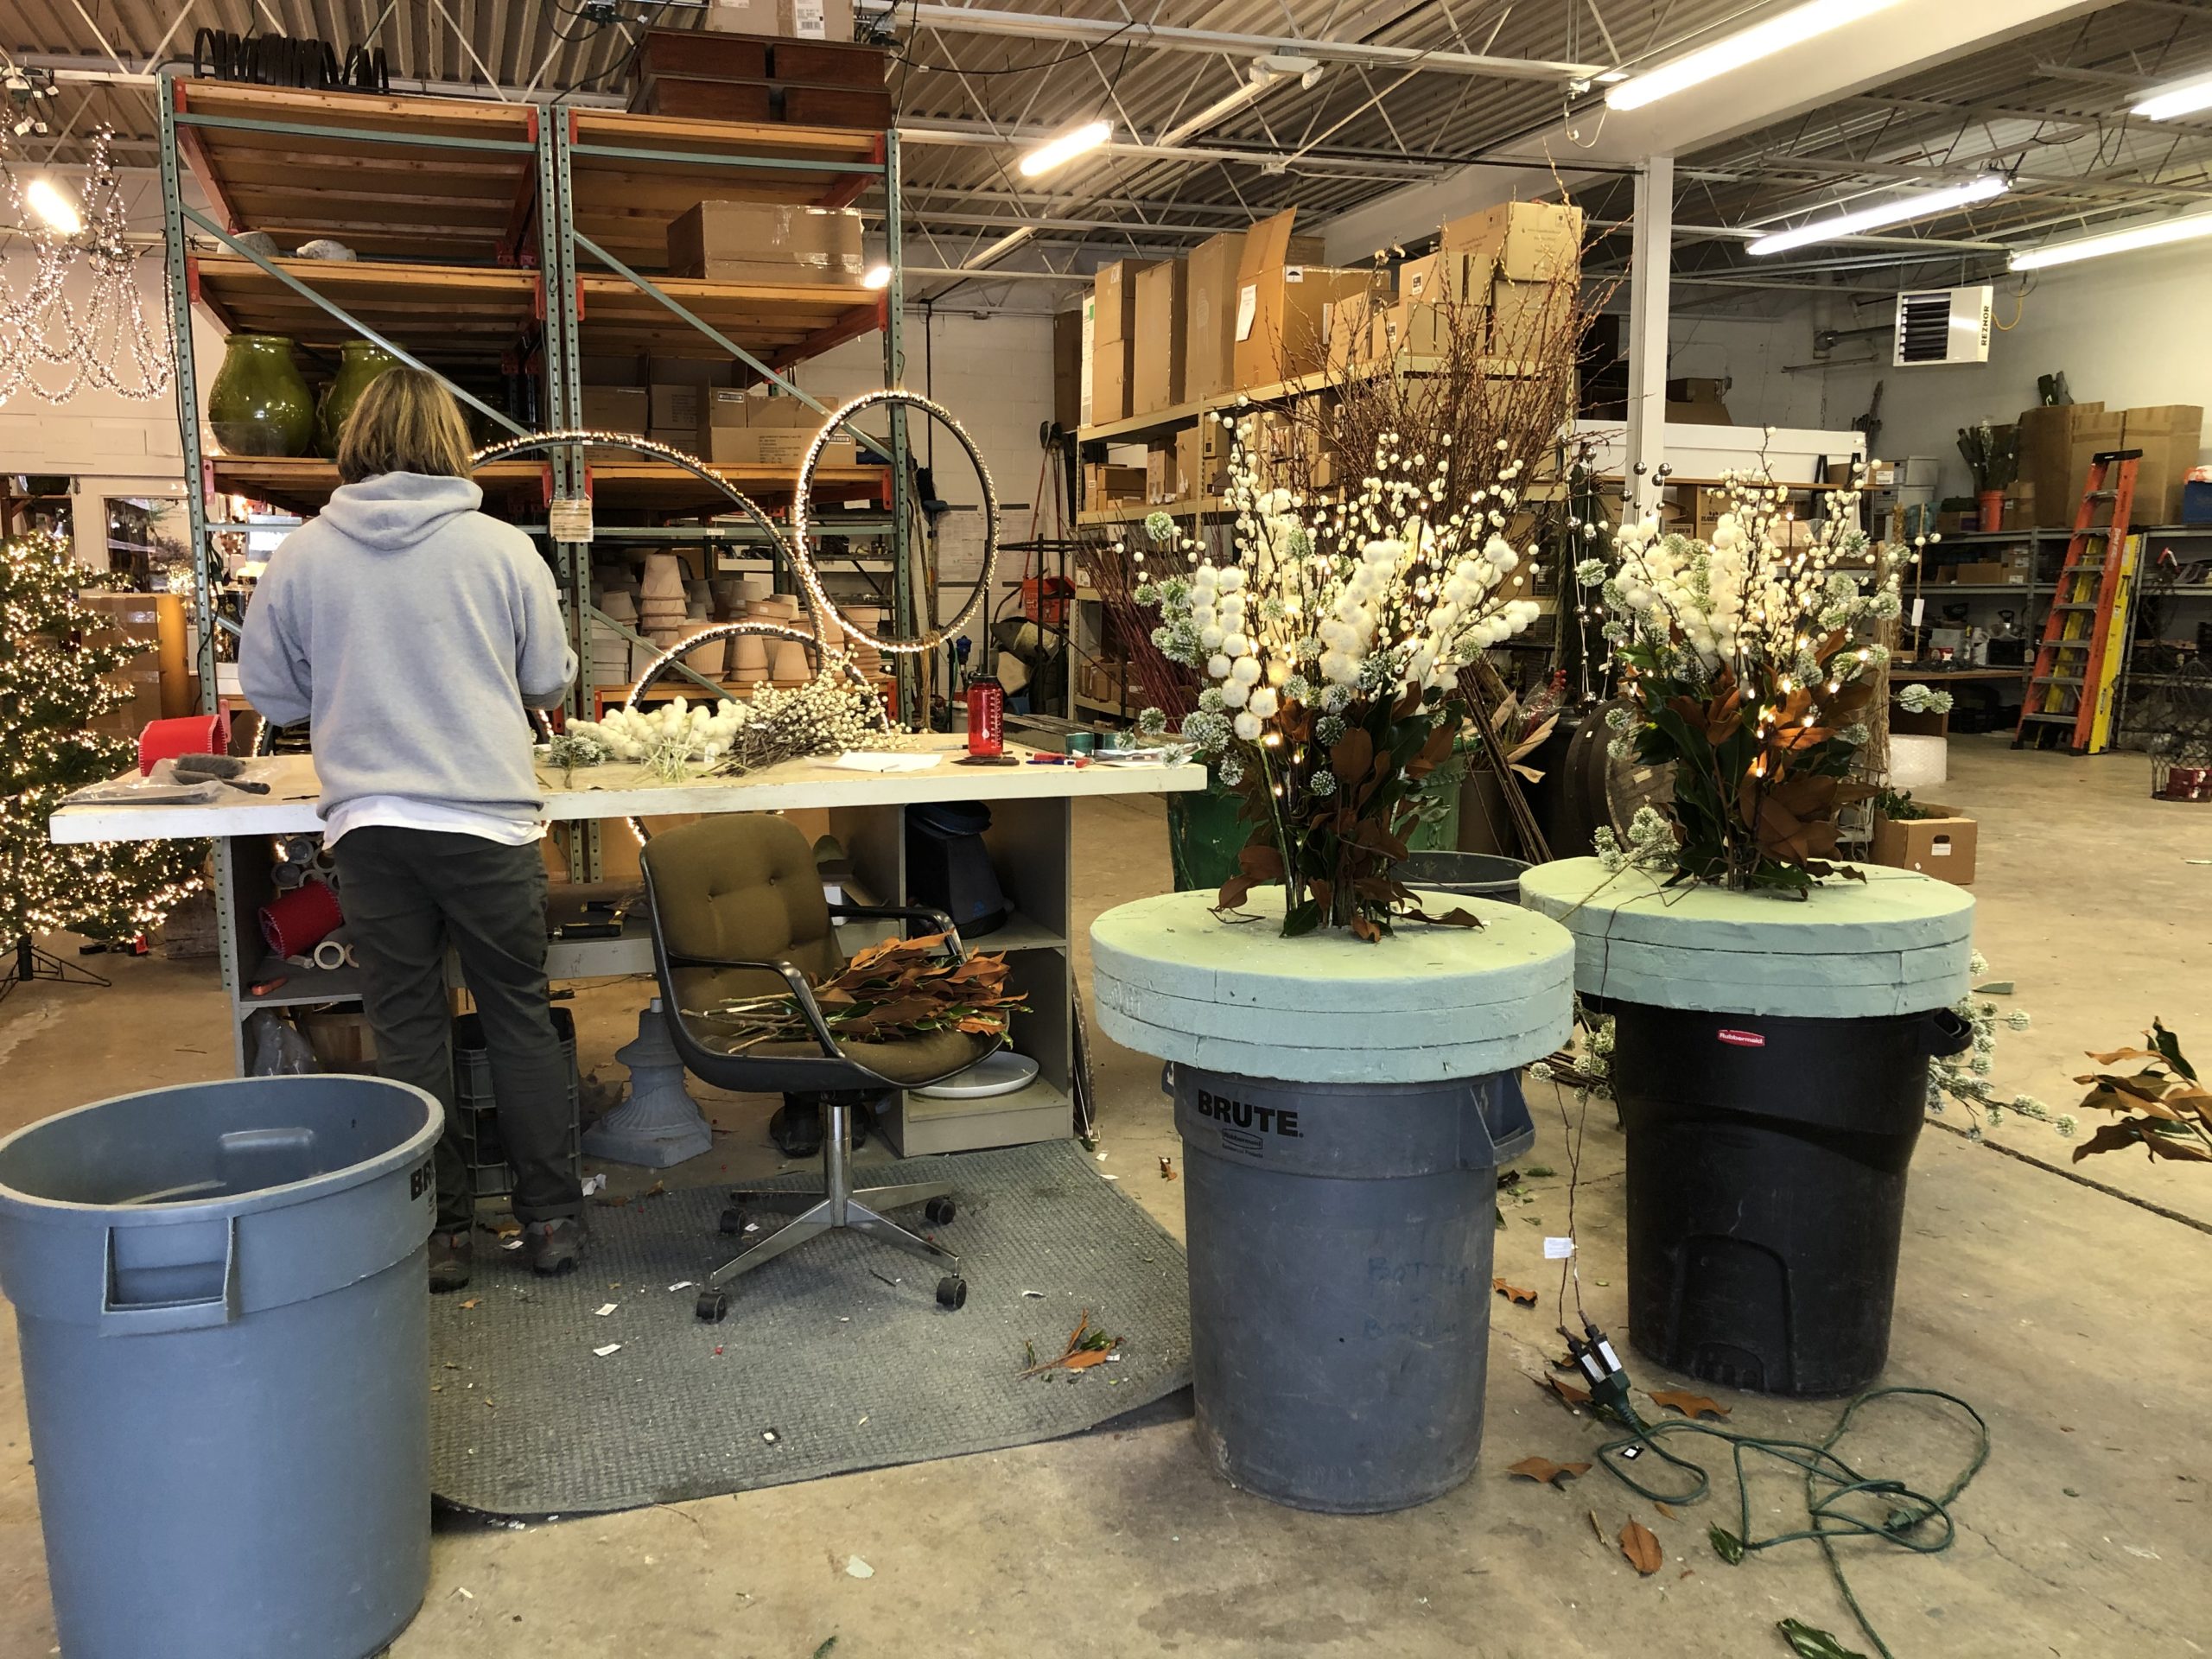
Positioning the work to make it convenient to work on is crucially important. We set this garland on a collection of cardboard boxes set end to end. They are not really tall enough for me, although Natasha did not seem to mind hovering over the work. Her back is 50 years younger than mine, so there you have it. If I work on a garland, an old office chair on casters puts me at exactly the right height to work. I can roll from one end to the other. The box tops holds all of the necessary tools and materials. It supports the work in a way that makes it easy to work.
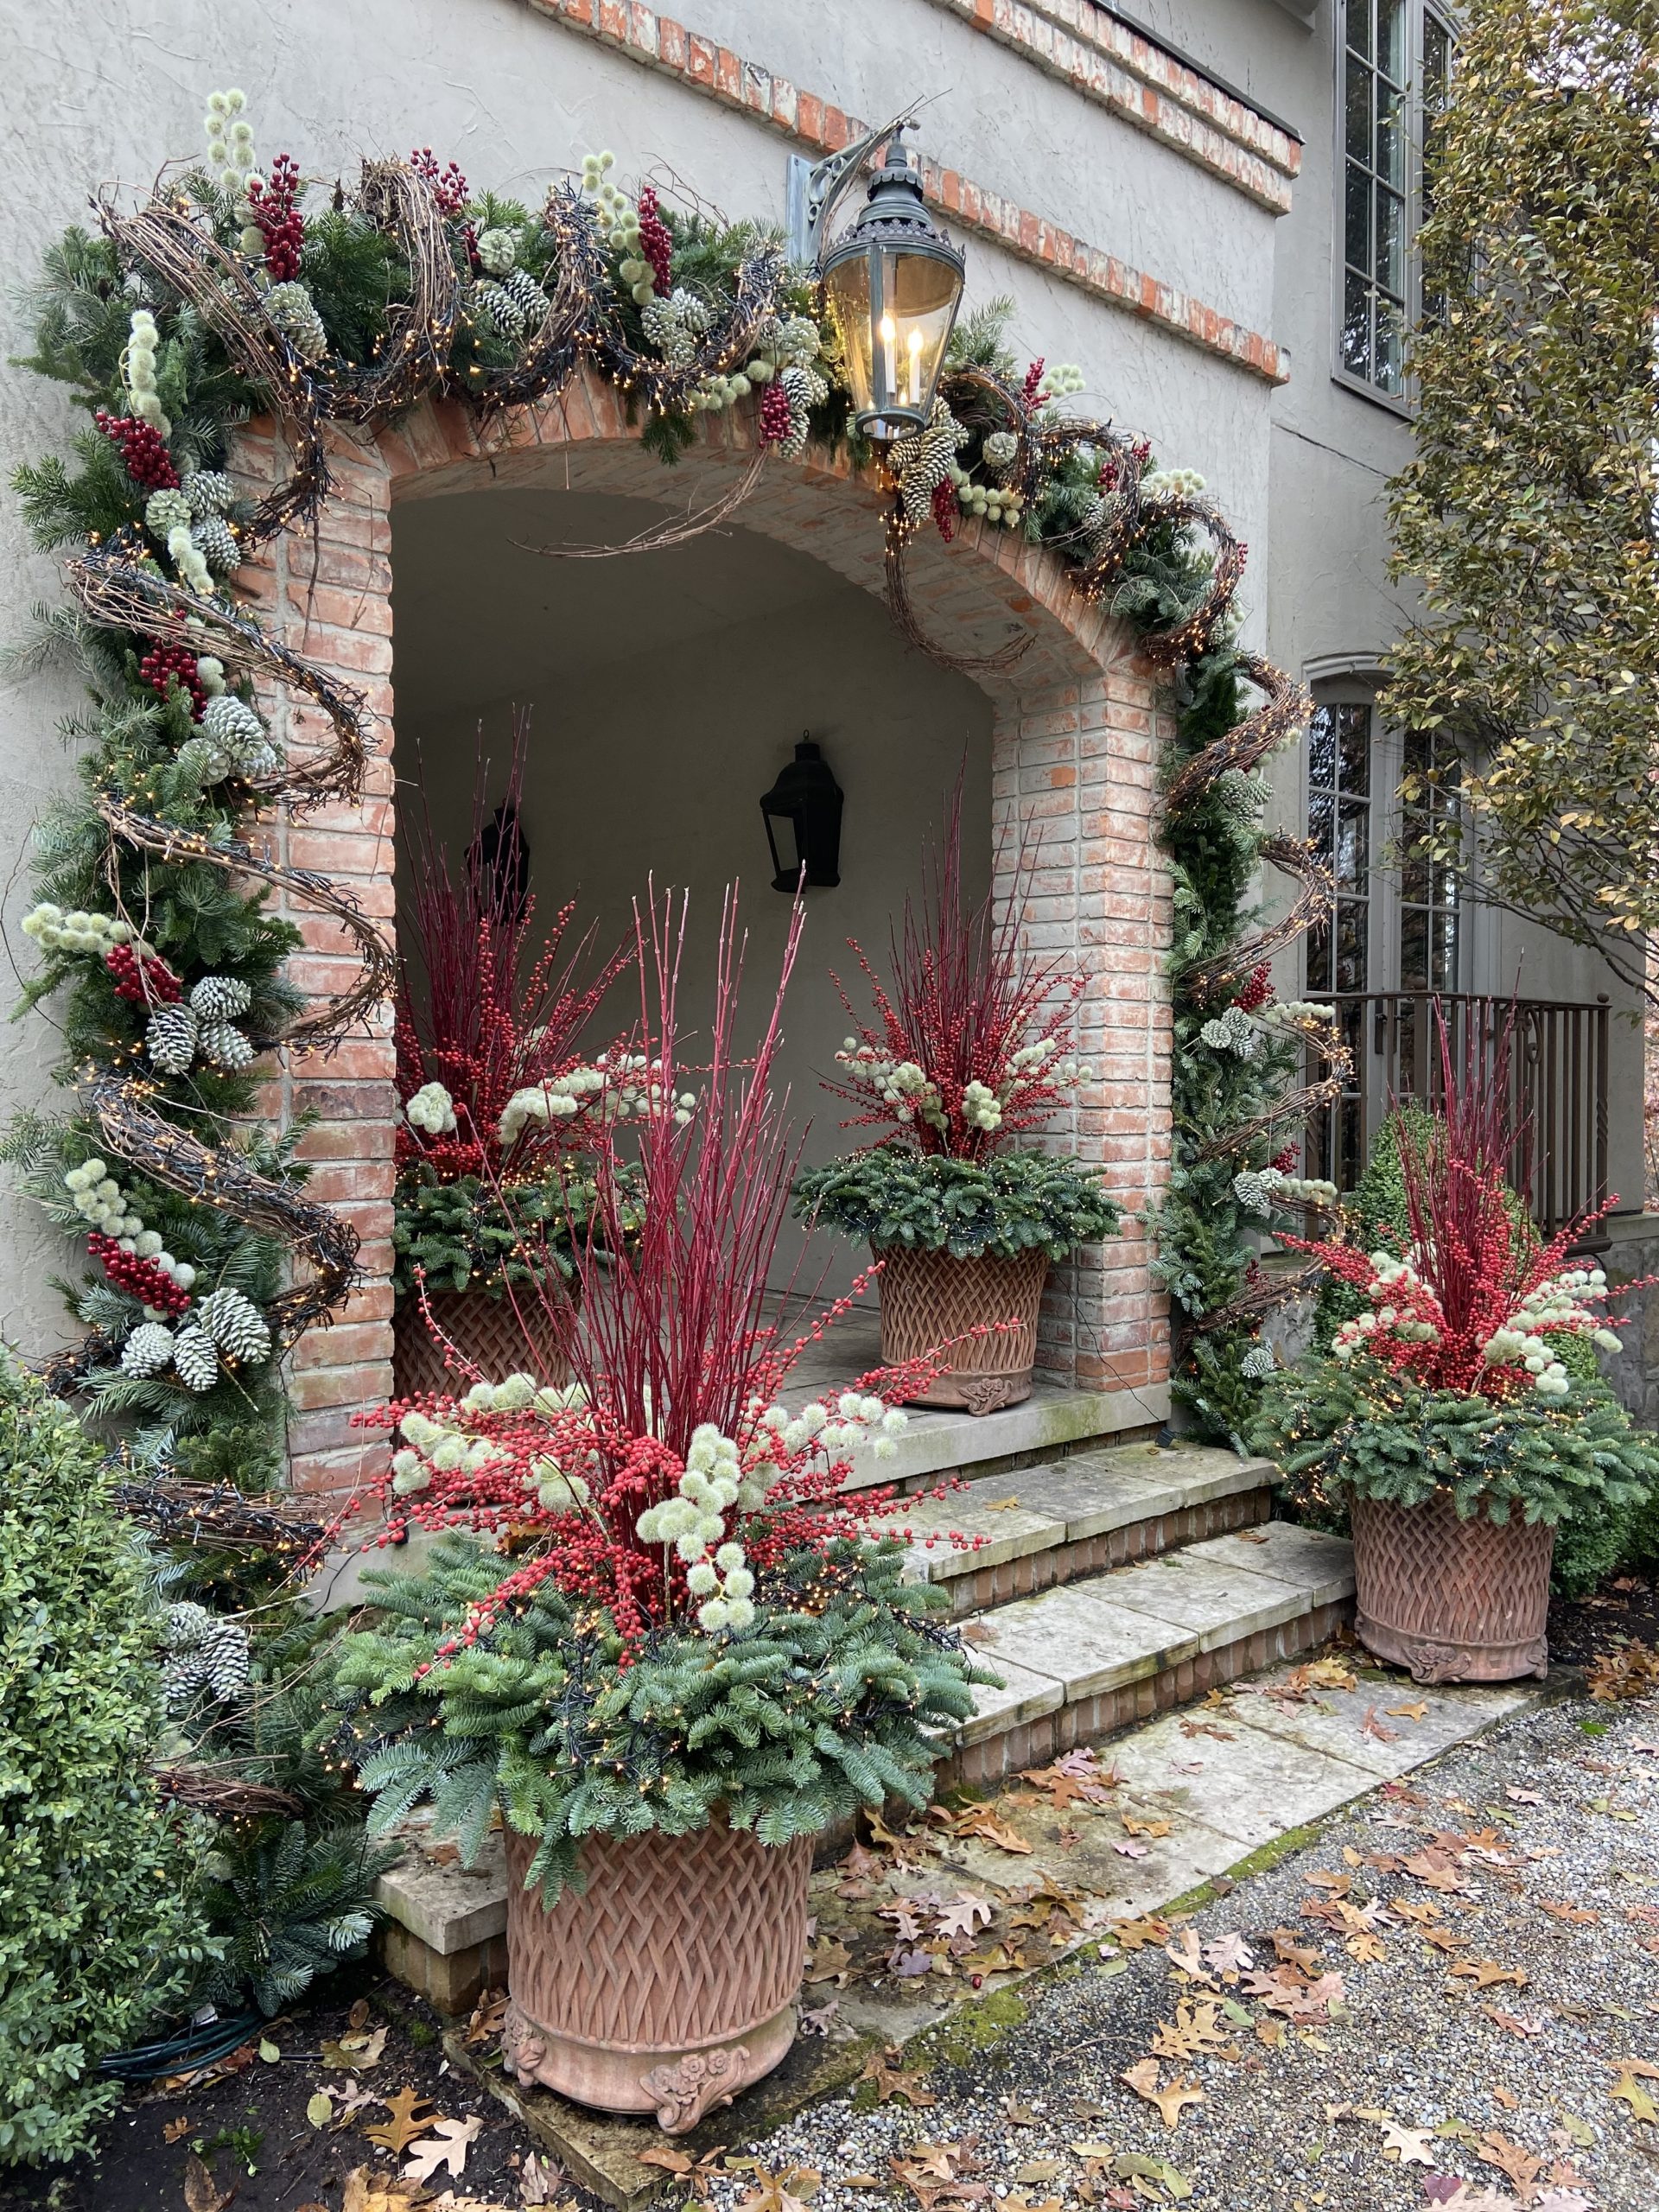
 This particular garland is traditional in its materials, so it features a secondary garland of grapevine. We buy grapevine garland in rolls 35′ long. Grapevine garlands are notoriously hard to handle, but properly arranged and secured around the evergreen garland, they add a reference to nature as much as they add volume and air.
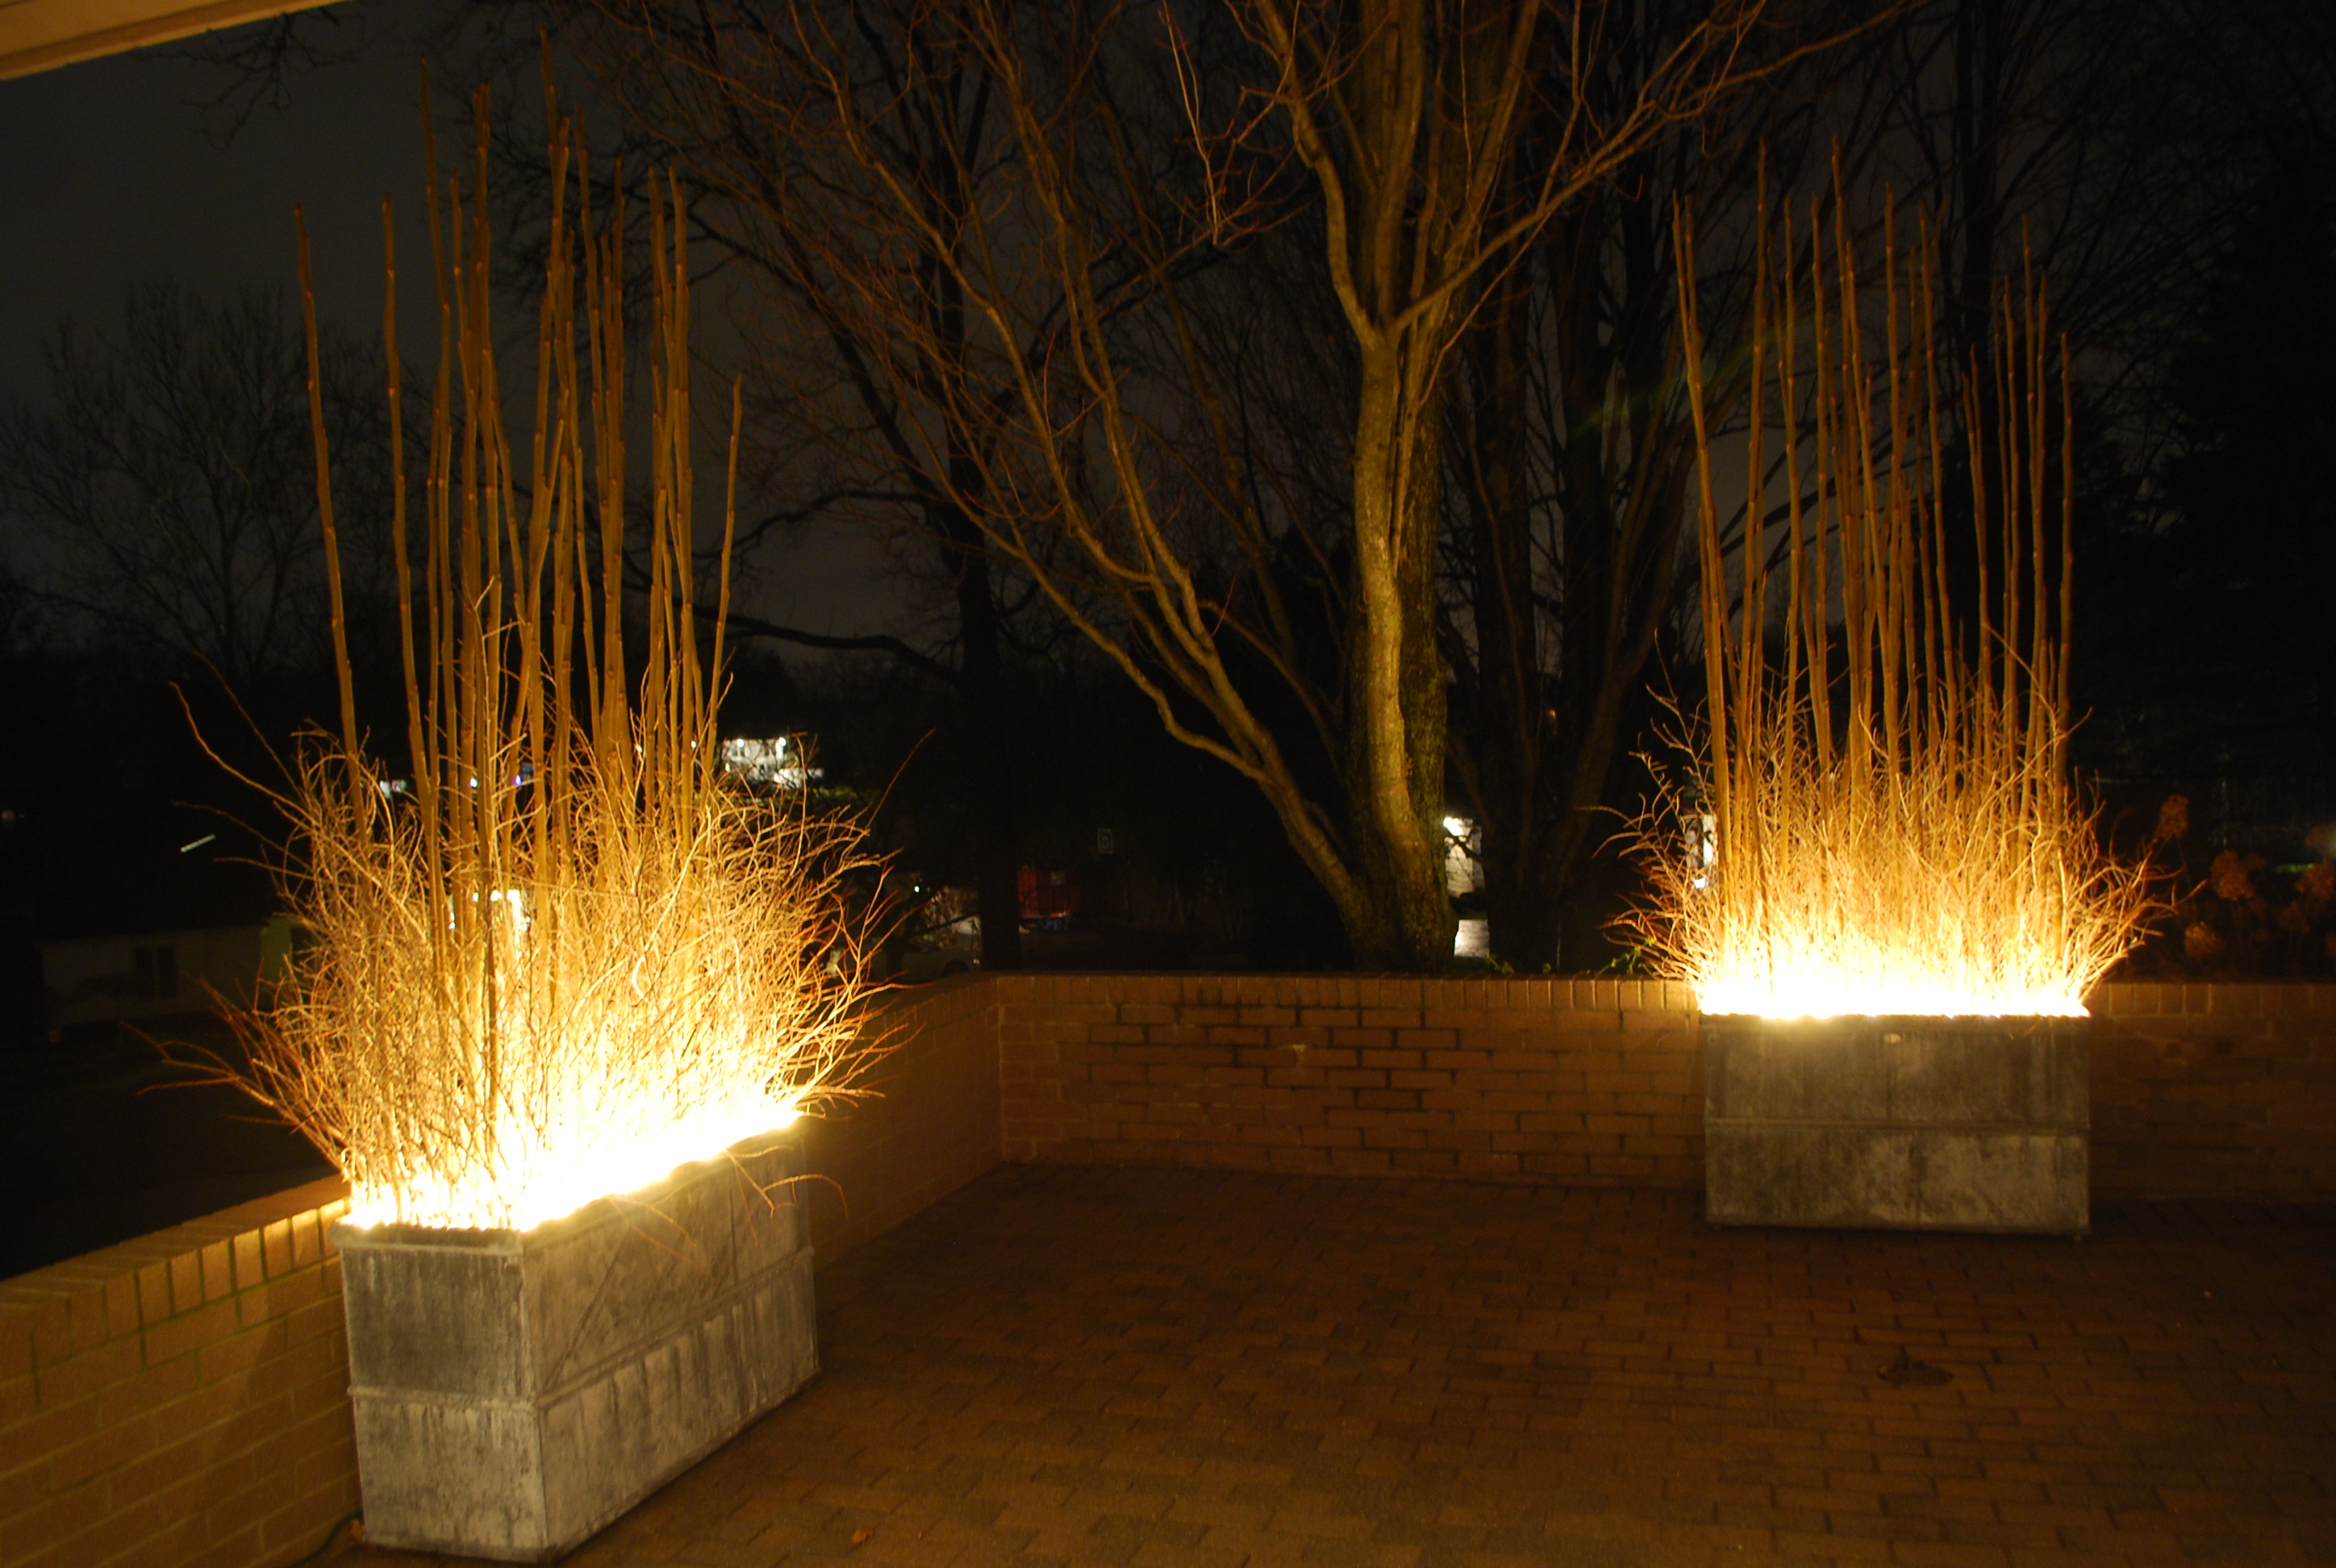
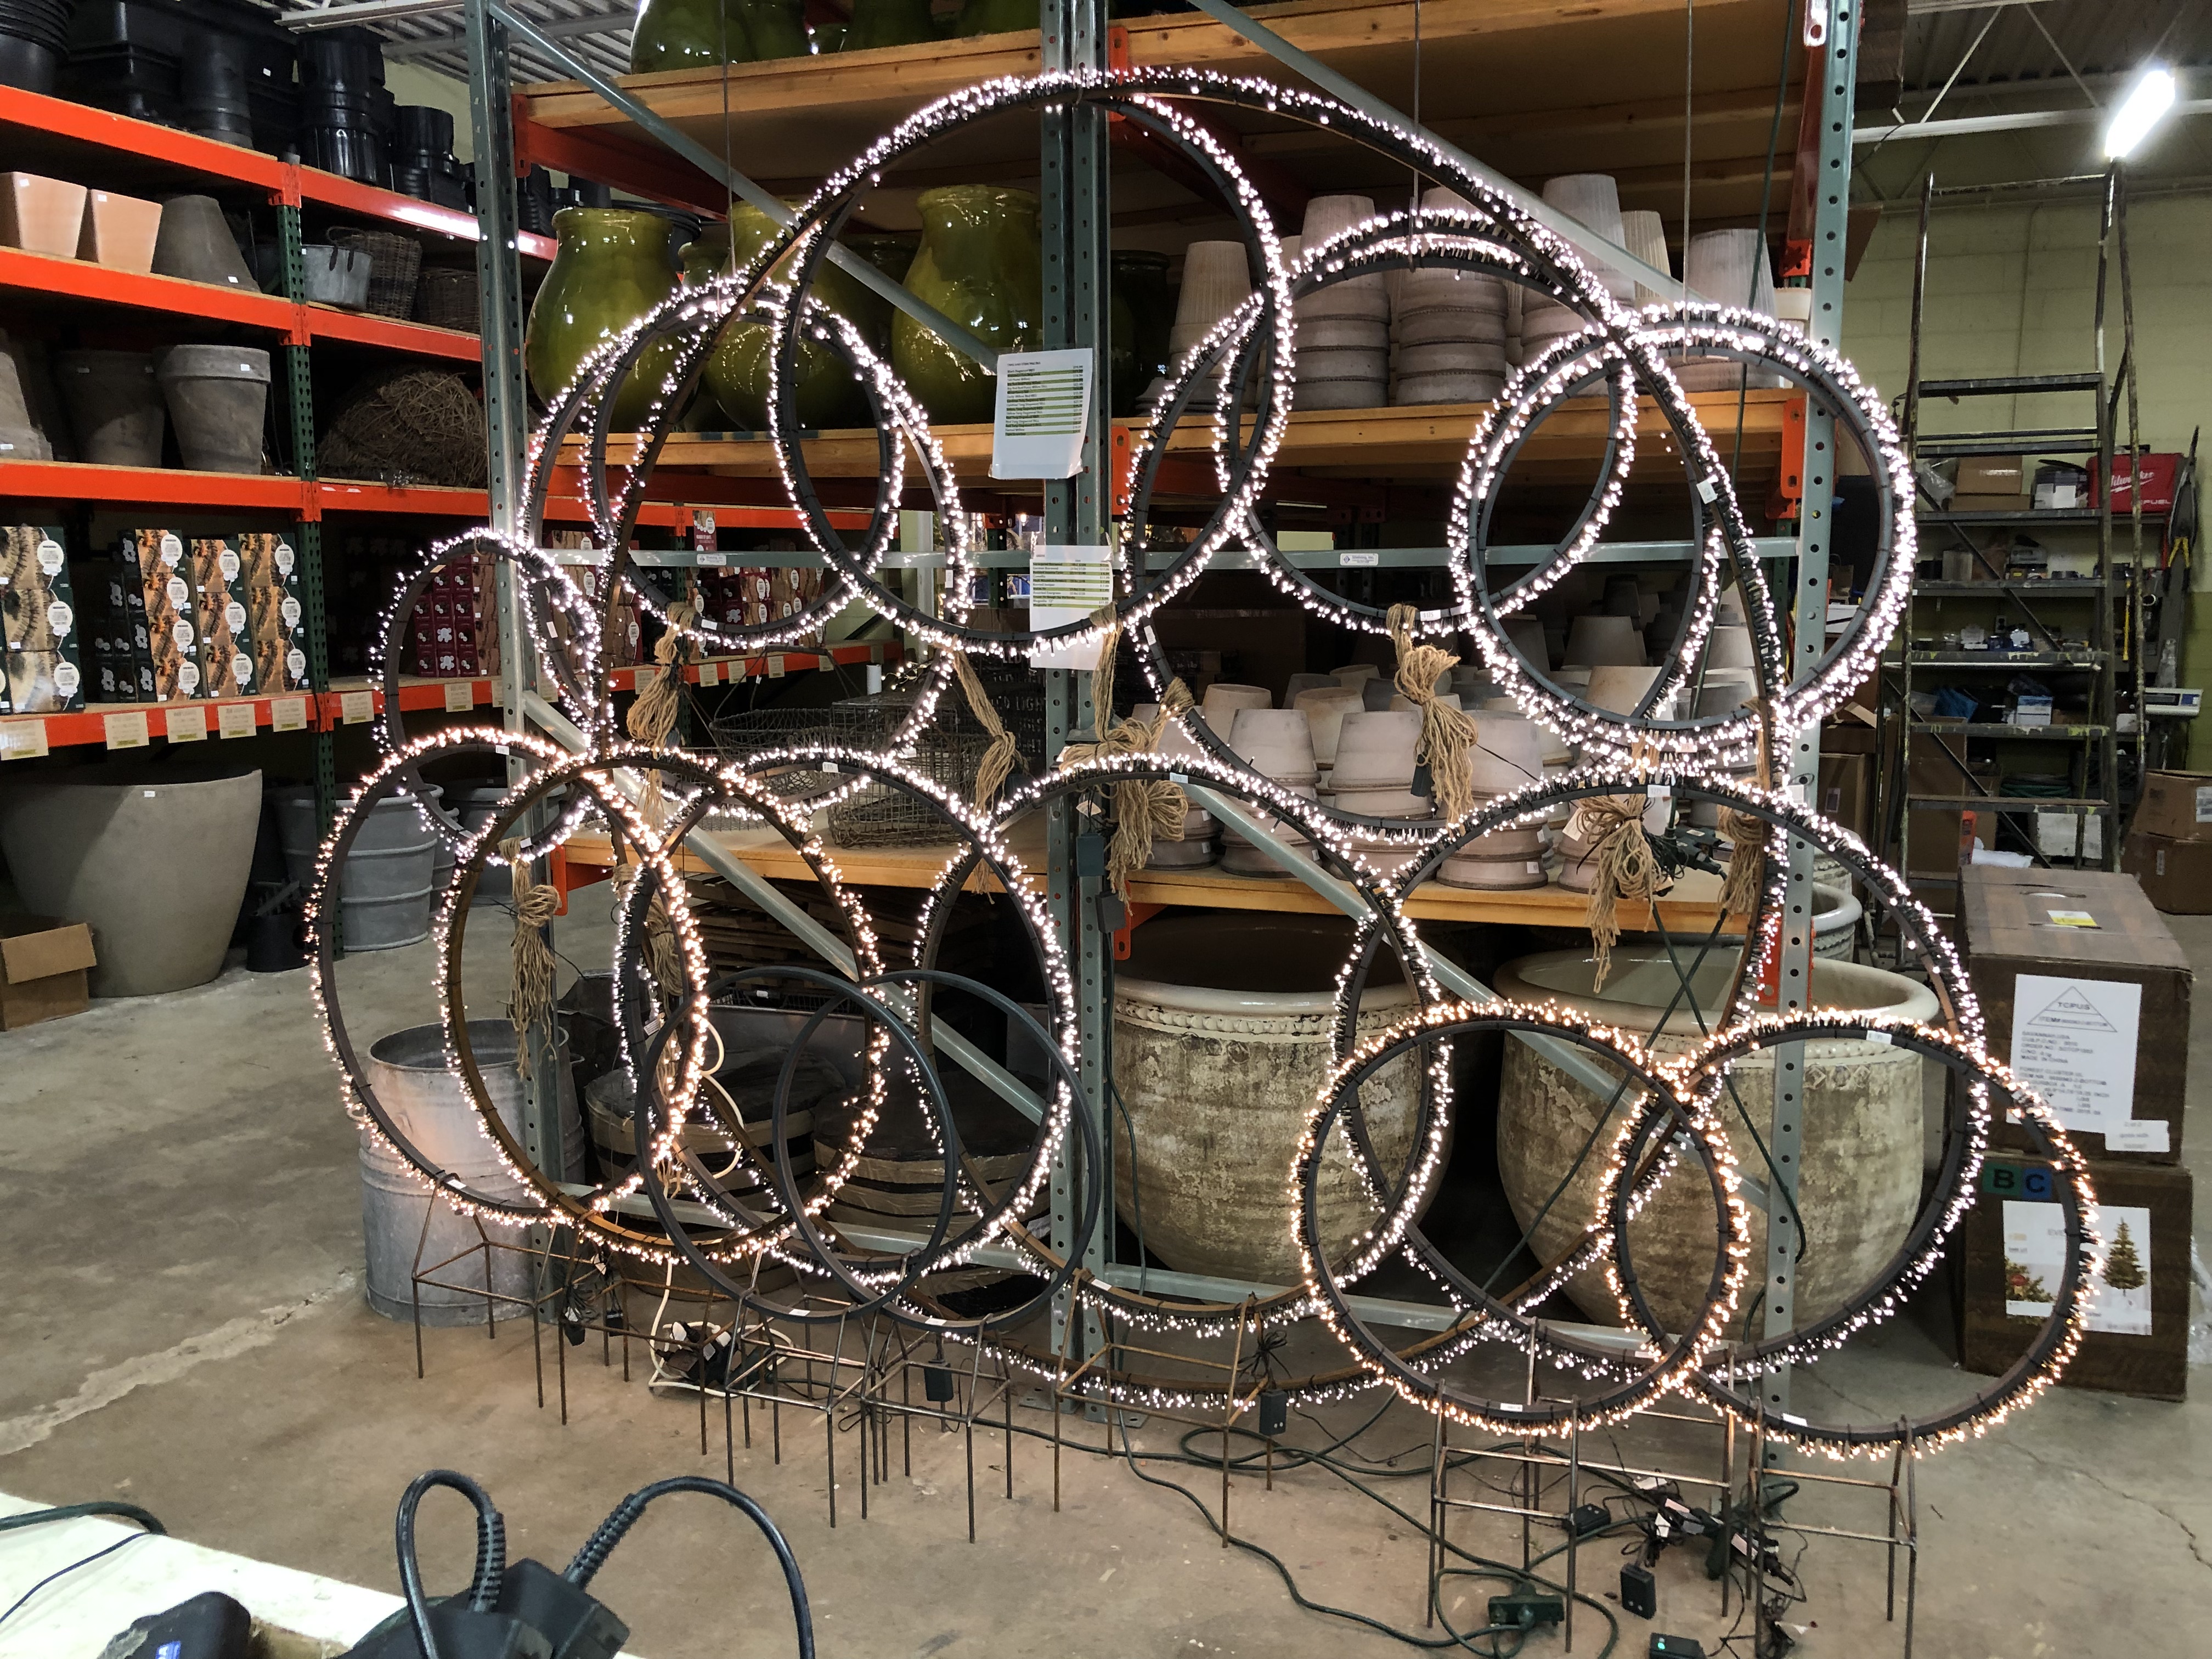
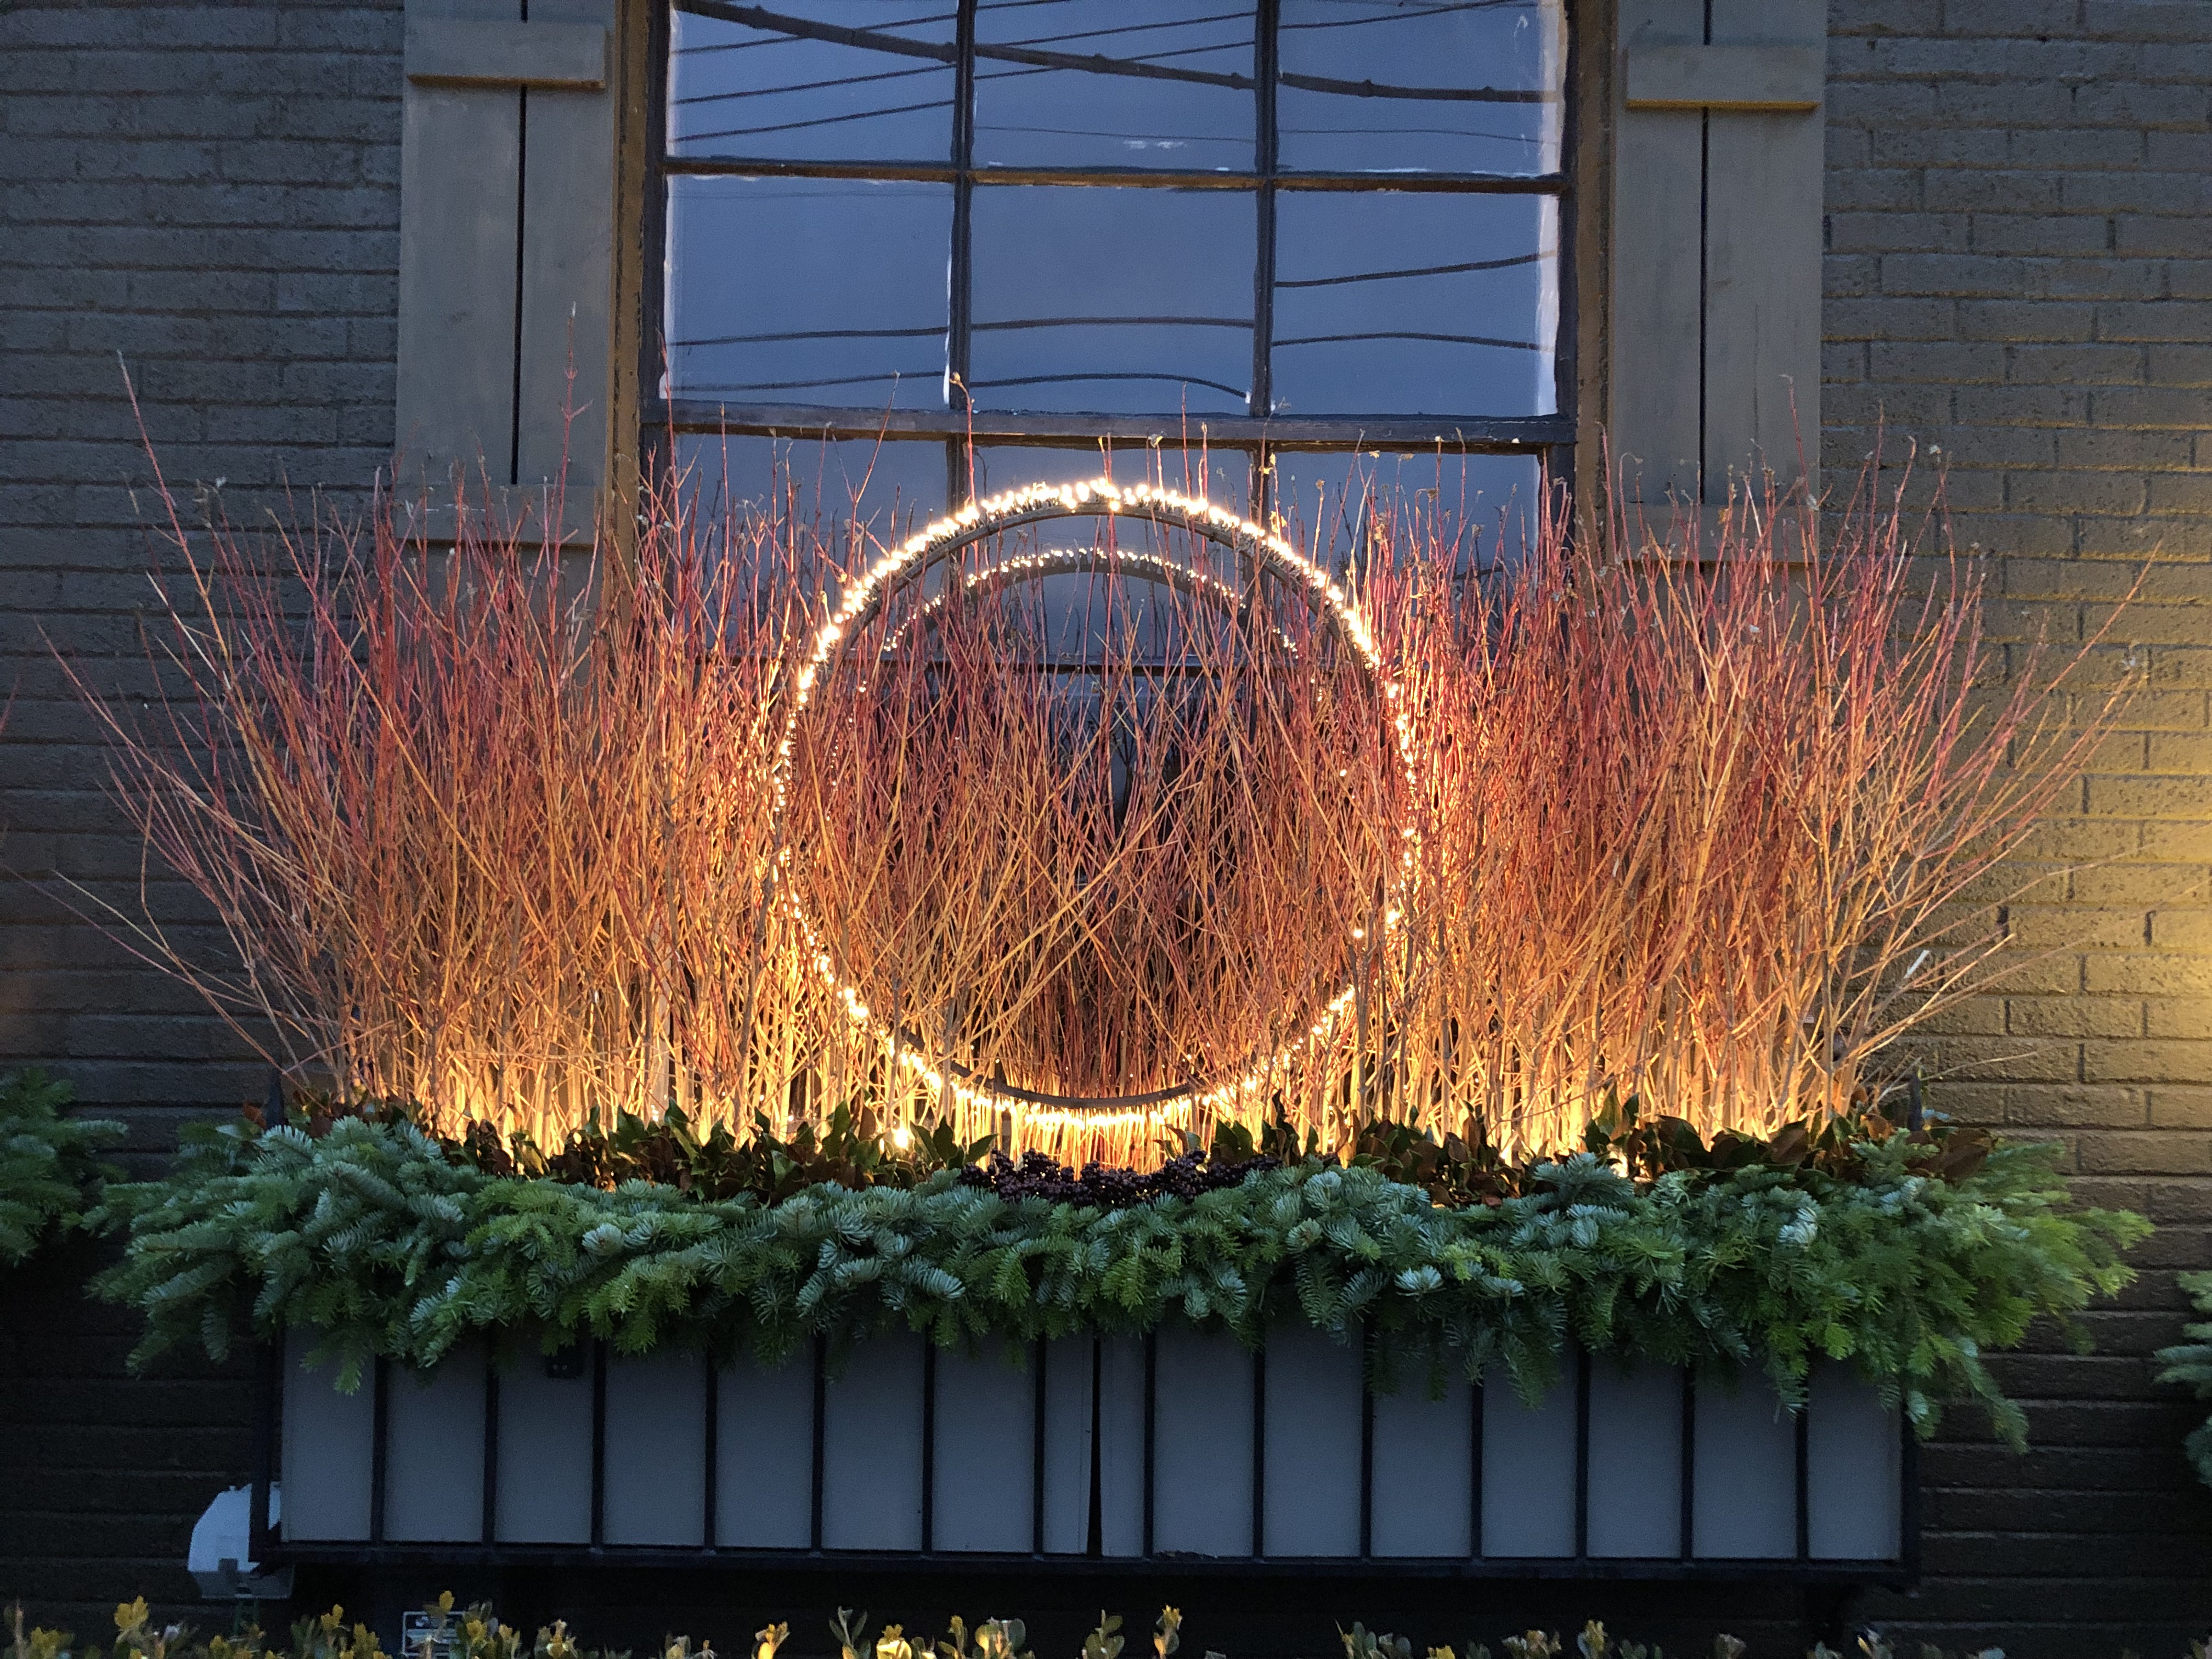
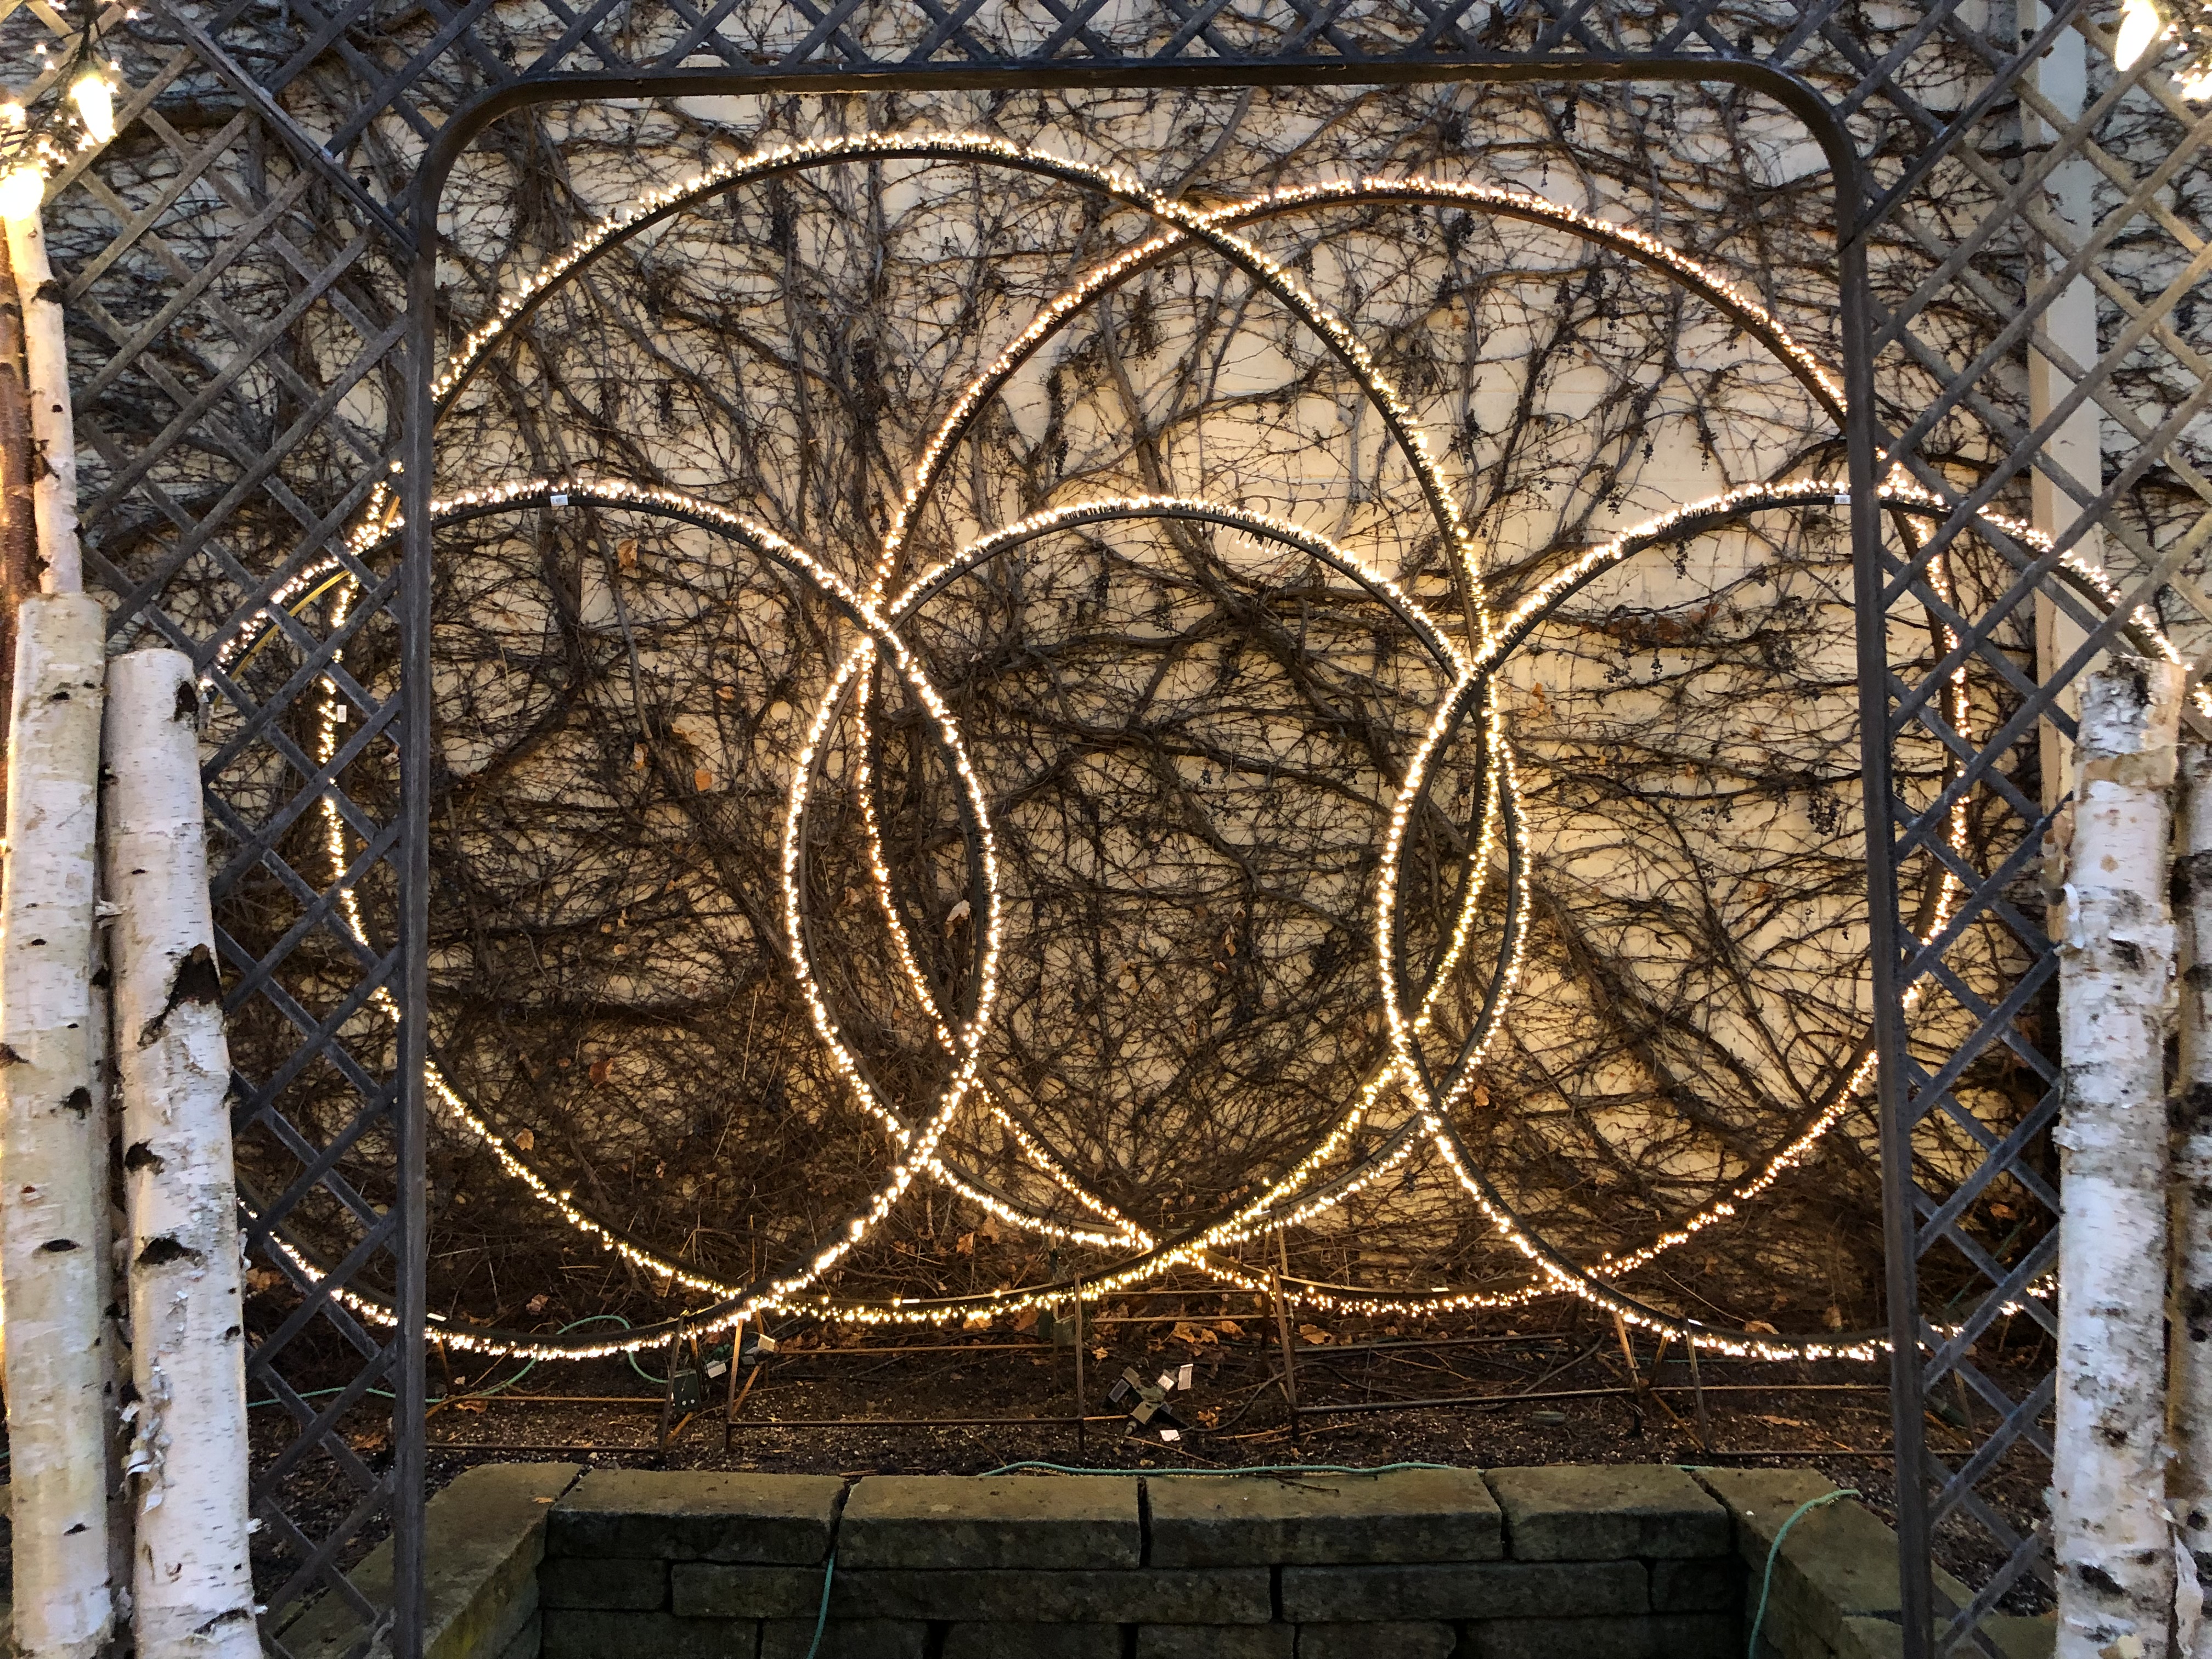
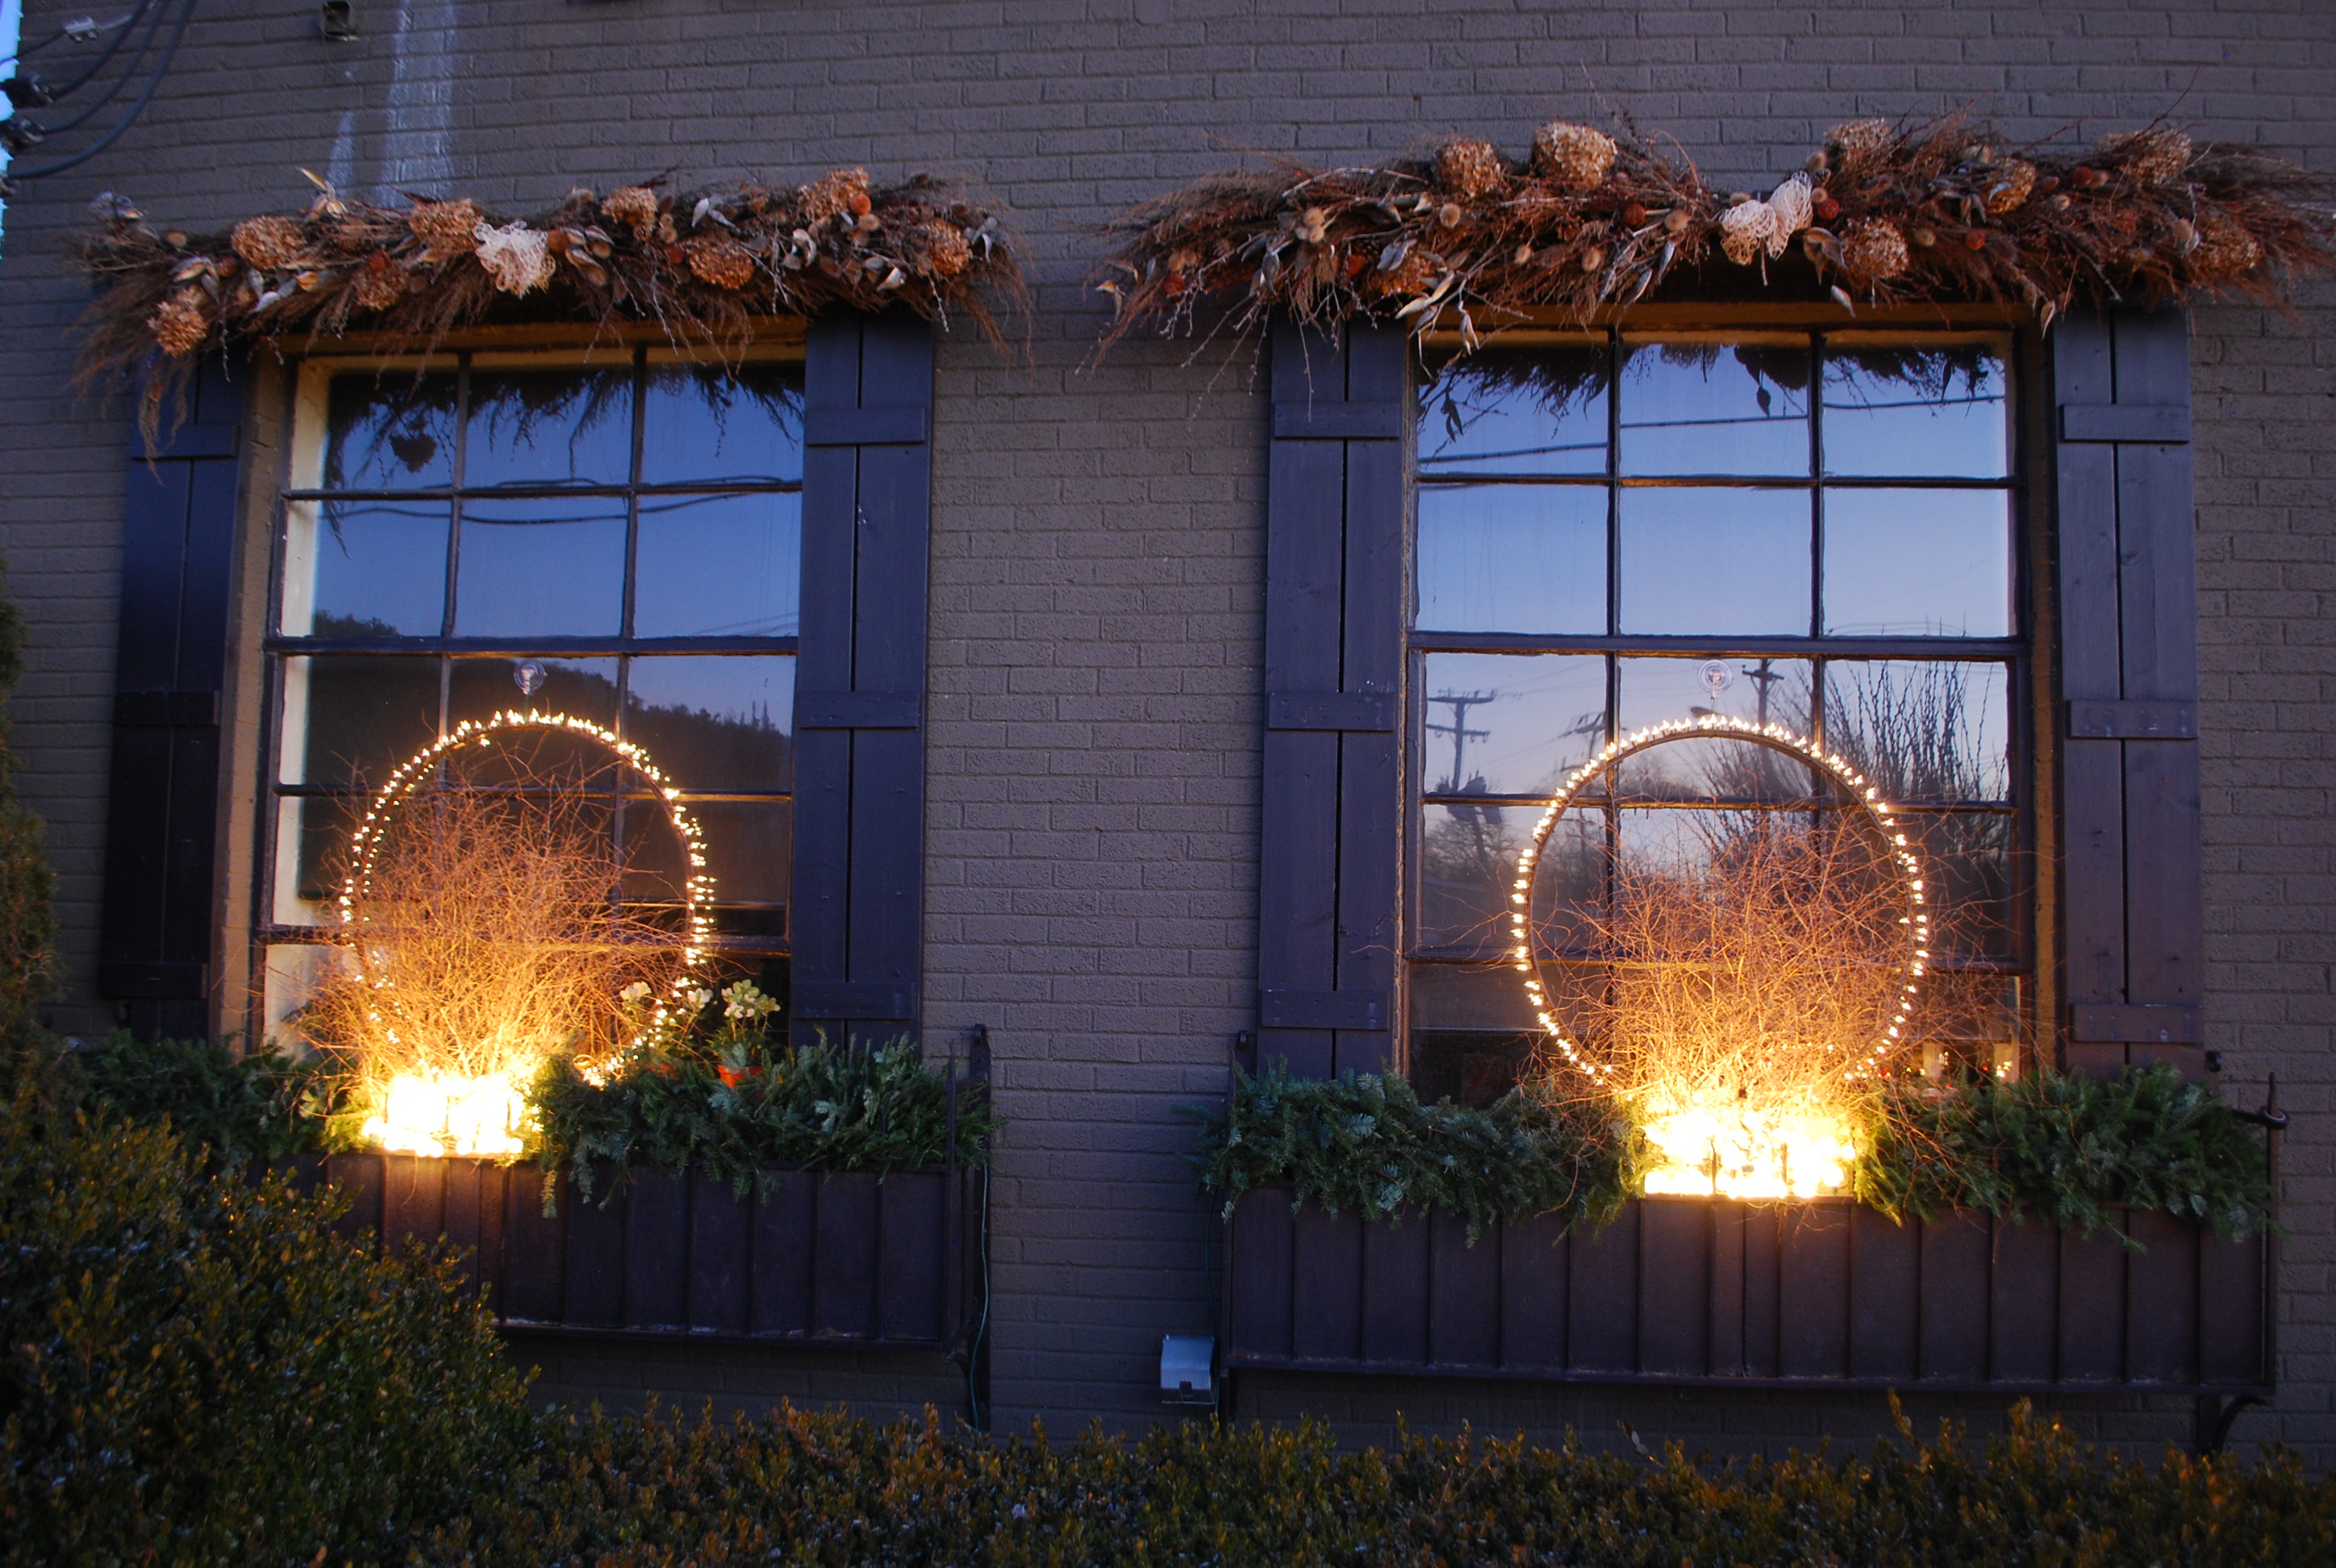
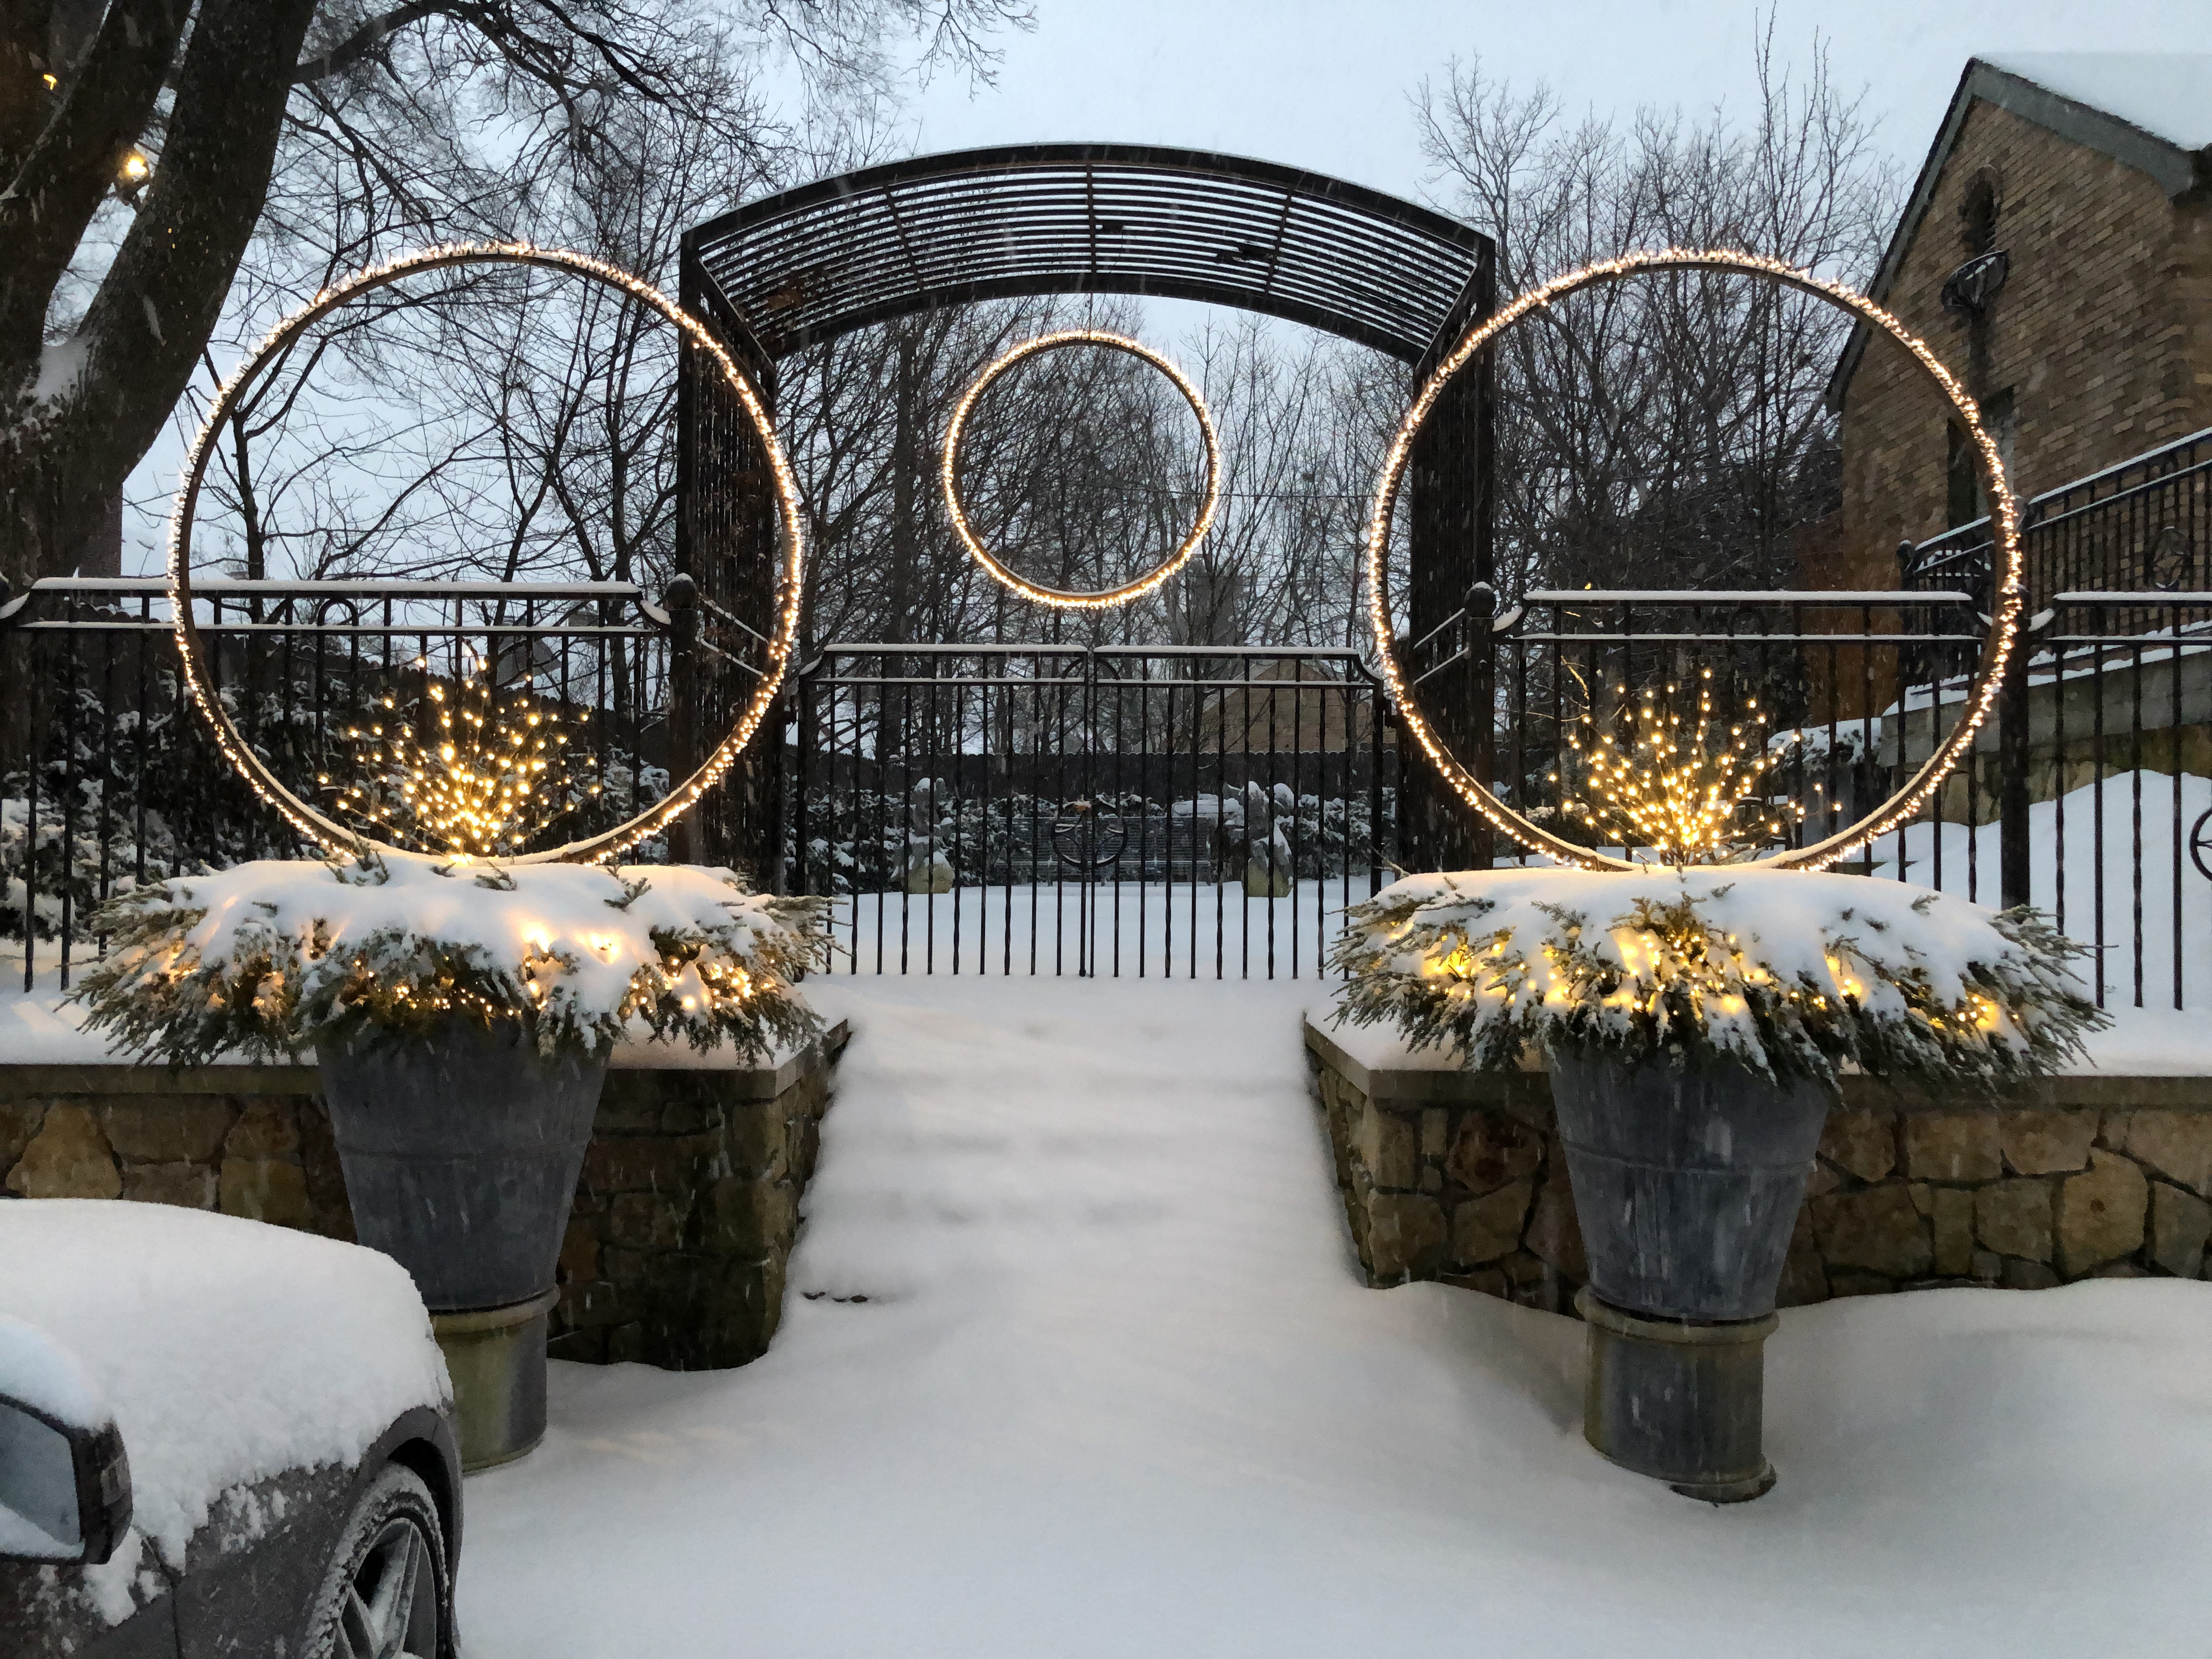
 I would be remiss if I did not say that winding a grapevine garland around an evergreen garland is hard. It takes at least two people to handle the under and over. In the aftermath, my hands look like I have scrubbed them with a cheese grater. Ha. The work of it is worth it. We attach the lighting for the garland to the grapevine. That light that stands proud of that evergreen garland will endow it’s night view with a warm glow. Of course we light our garlands.
 My treasured staffer Natasha took the lead on the construction of this garland. She did a great job of insuring a solid construction. She went on to make sure that every gesture she made was beautiful. I was so pleased to see her taking ownership, and seeing both the art and the construction through to the finish. She has great hands, a great heart, and a will to be that I admire.
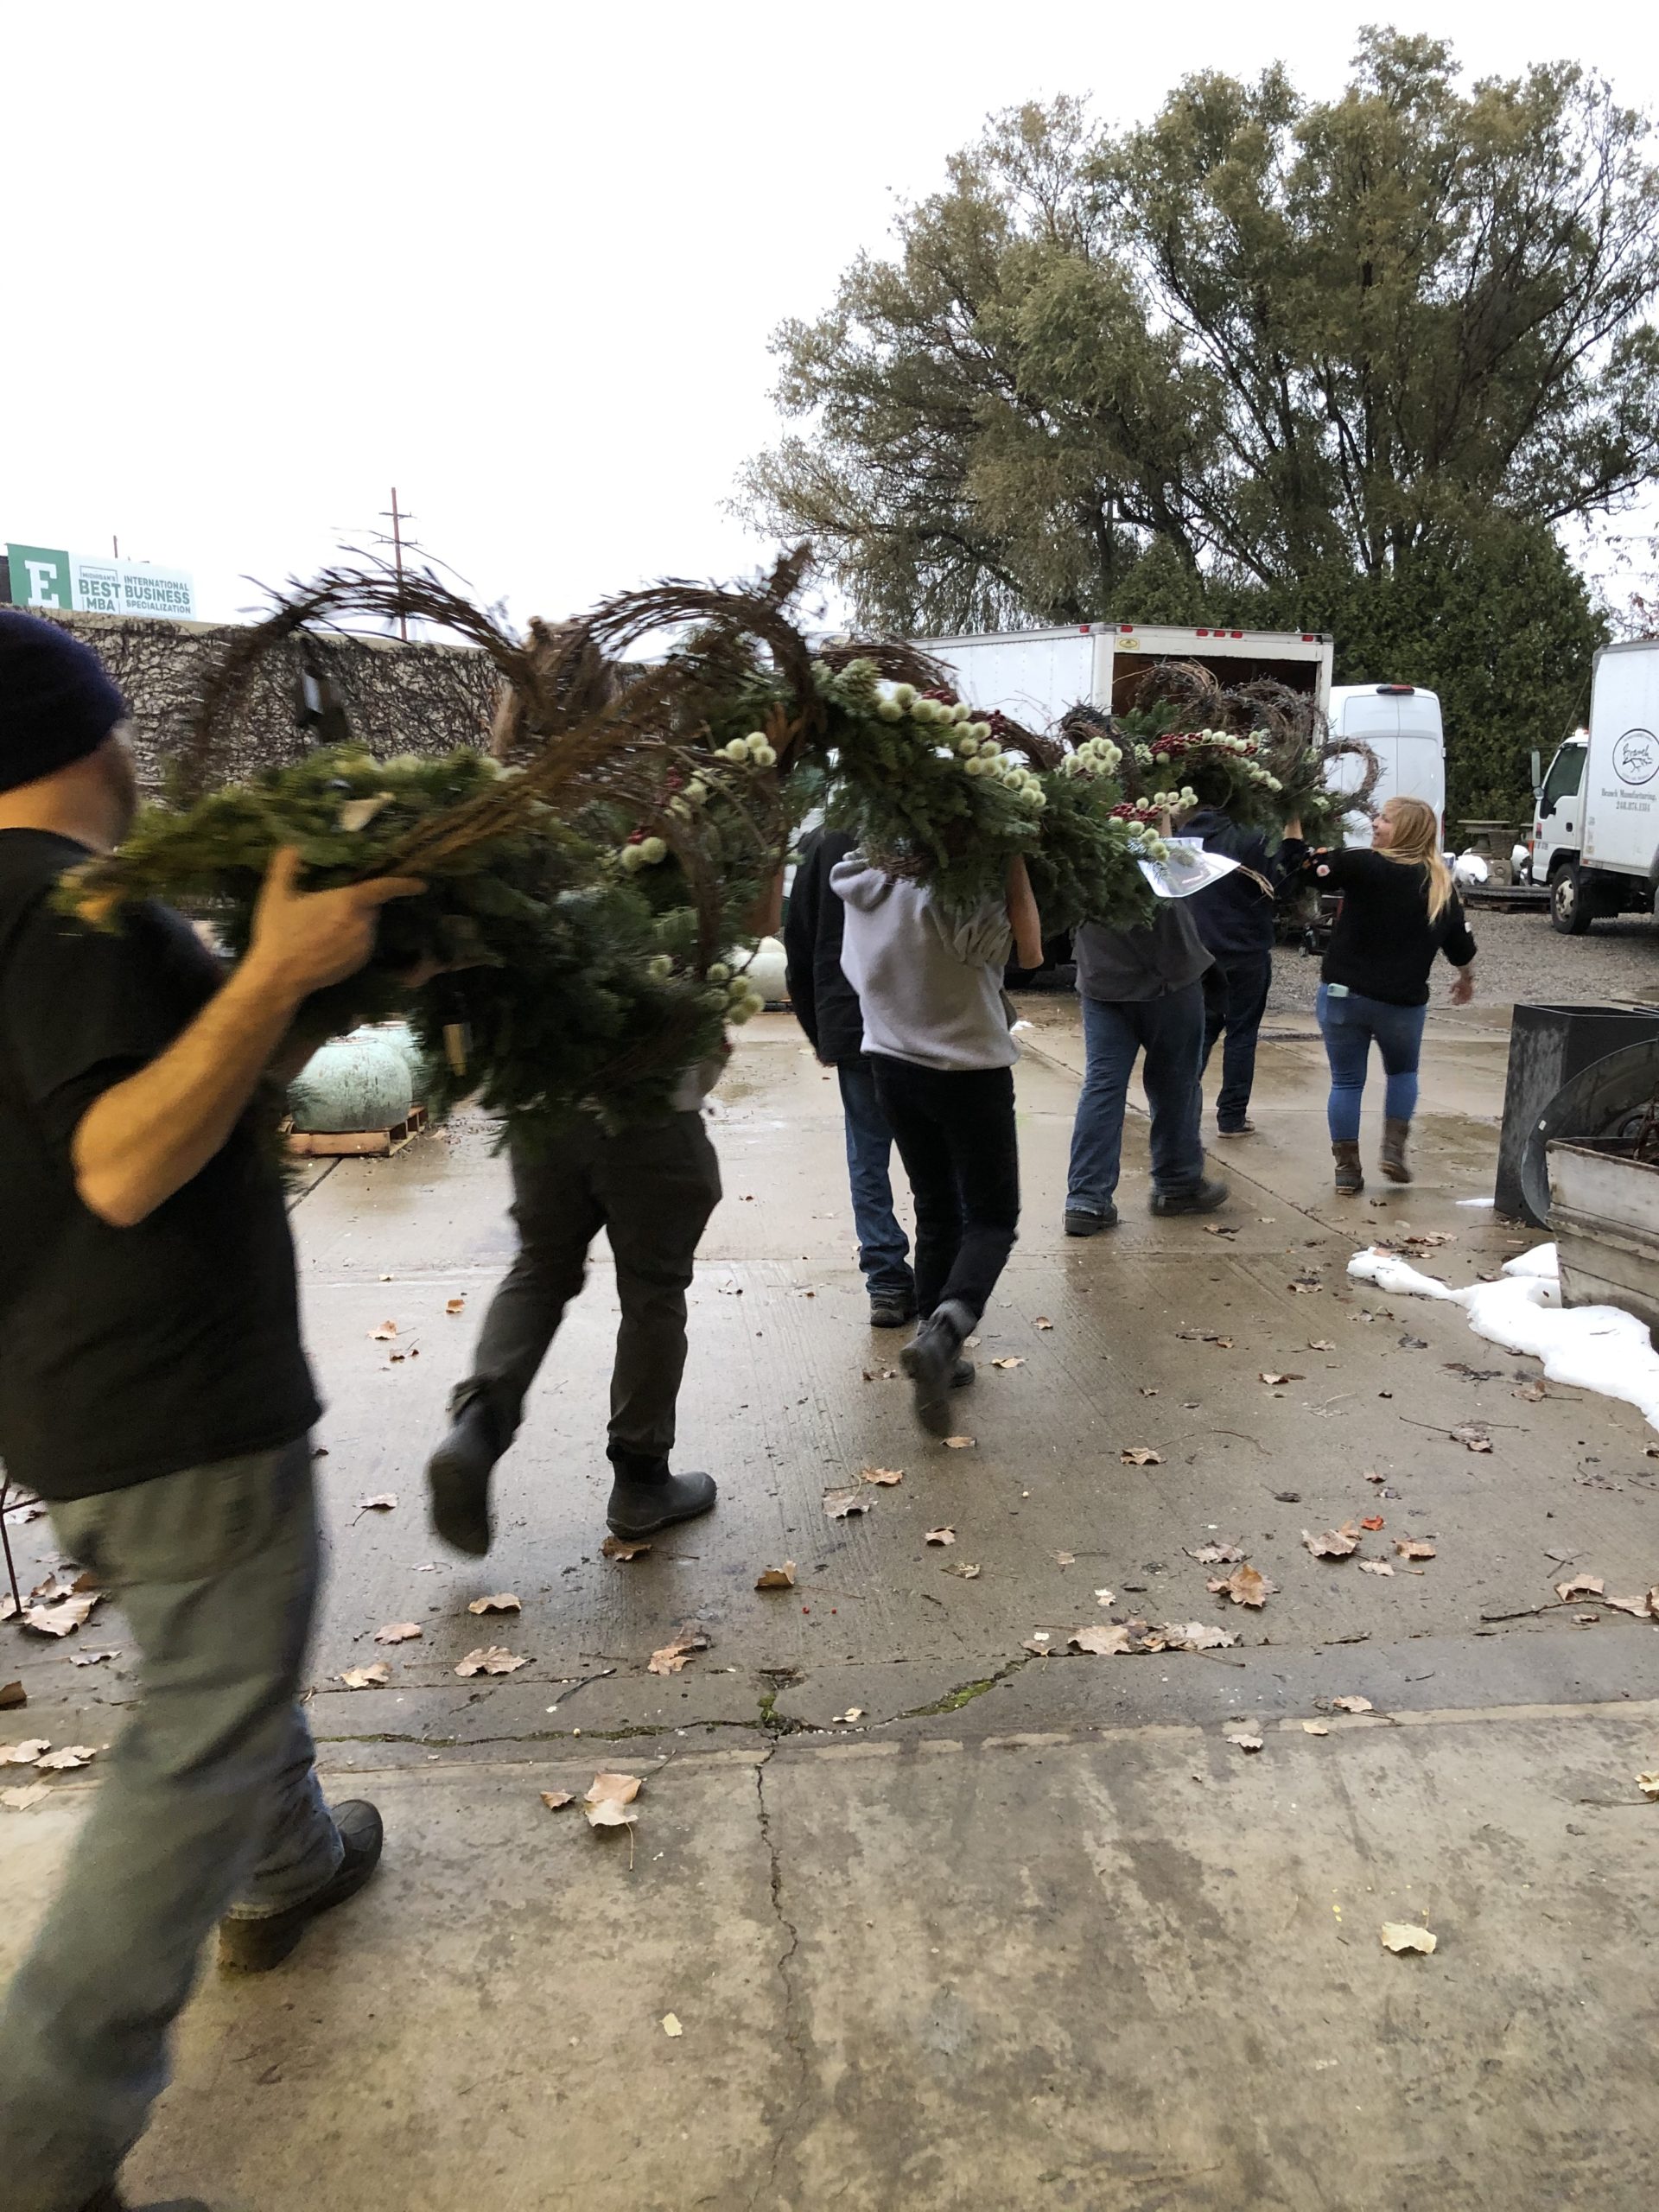 loading the garland
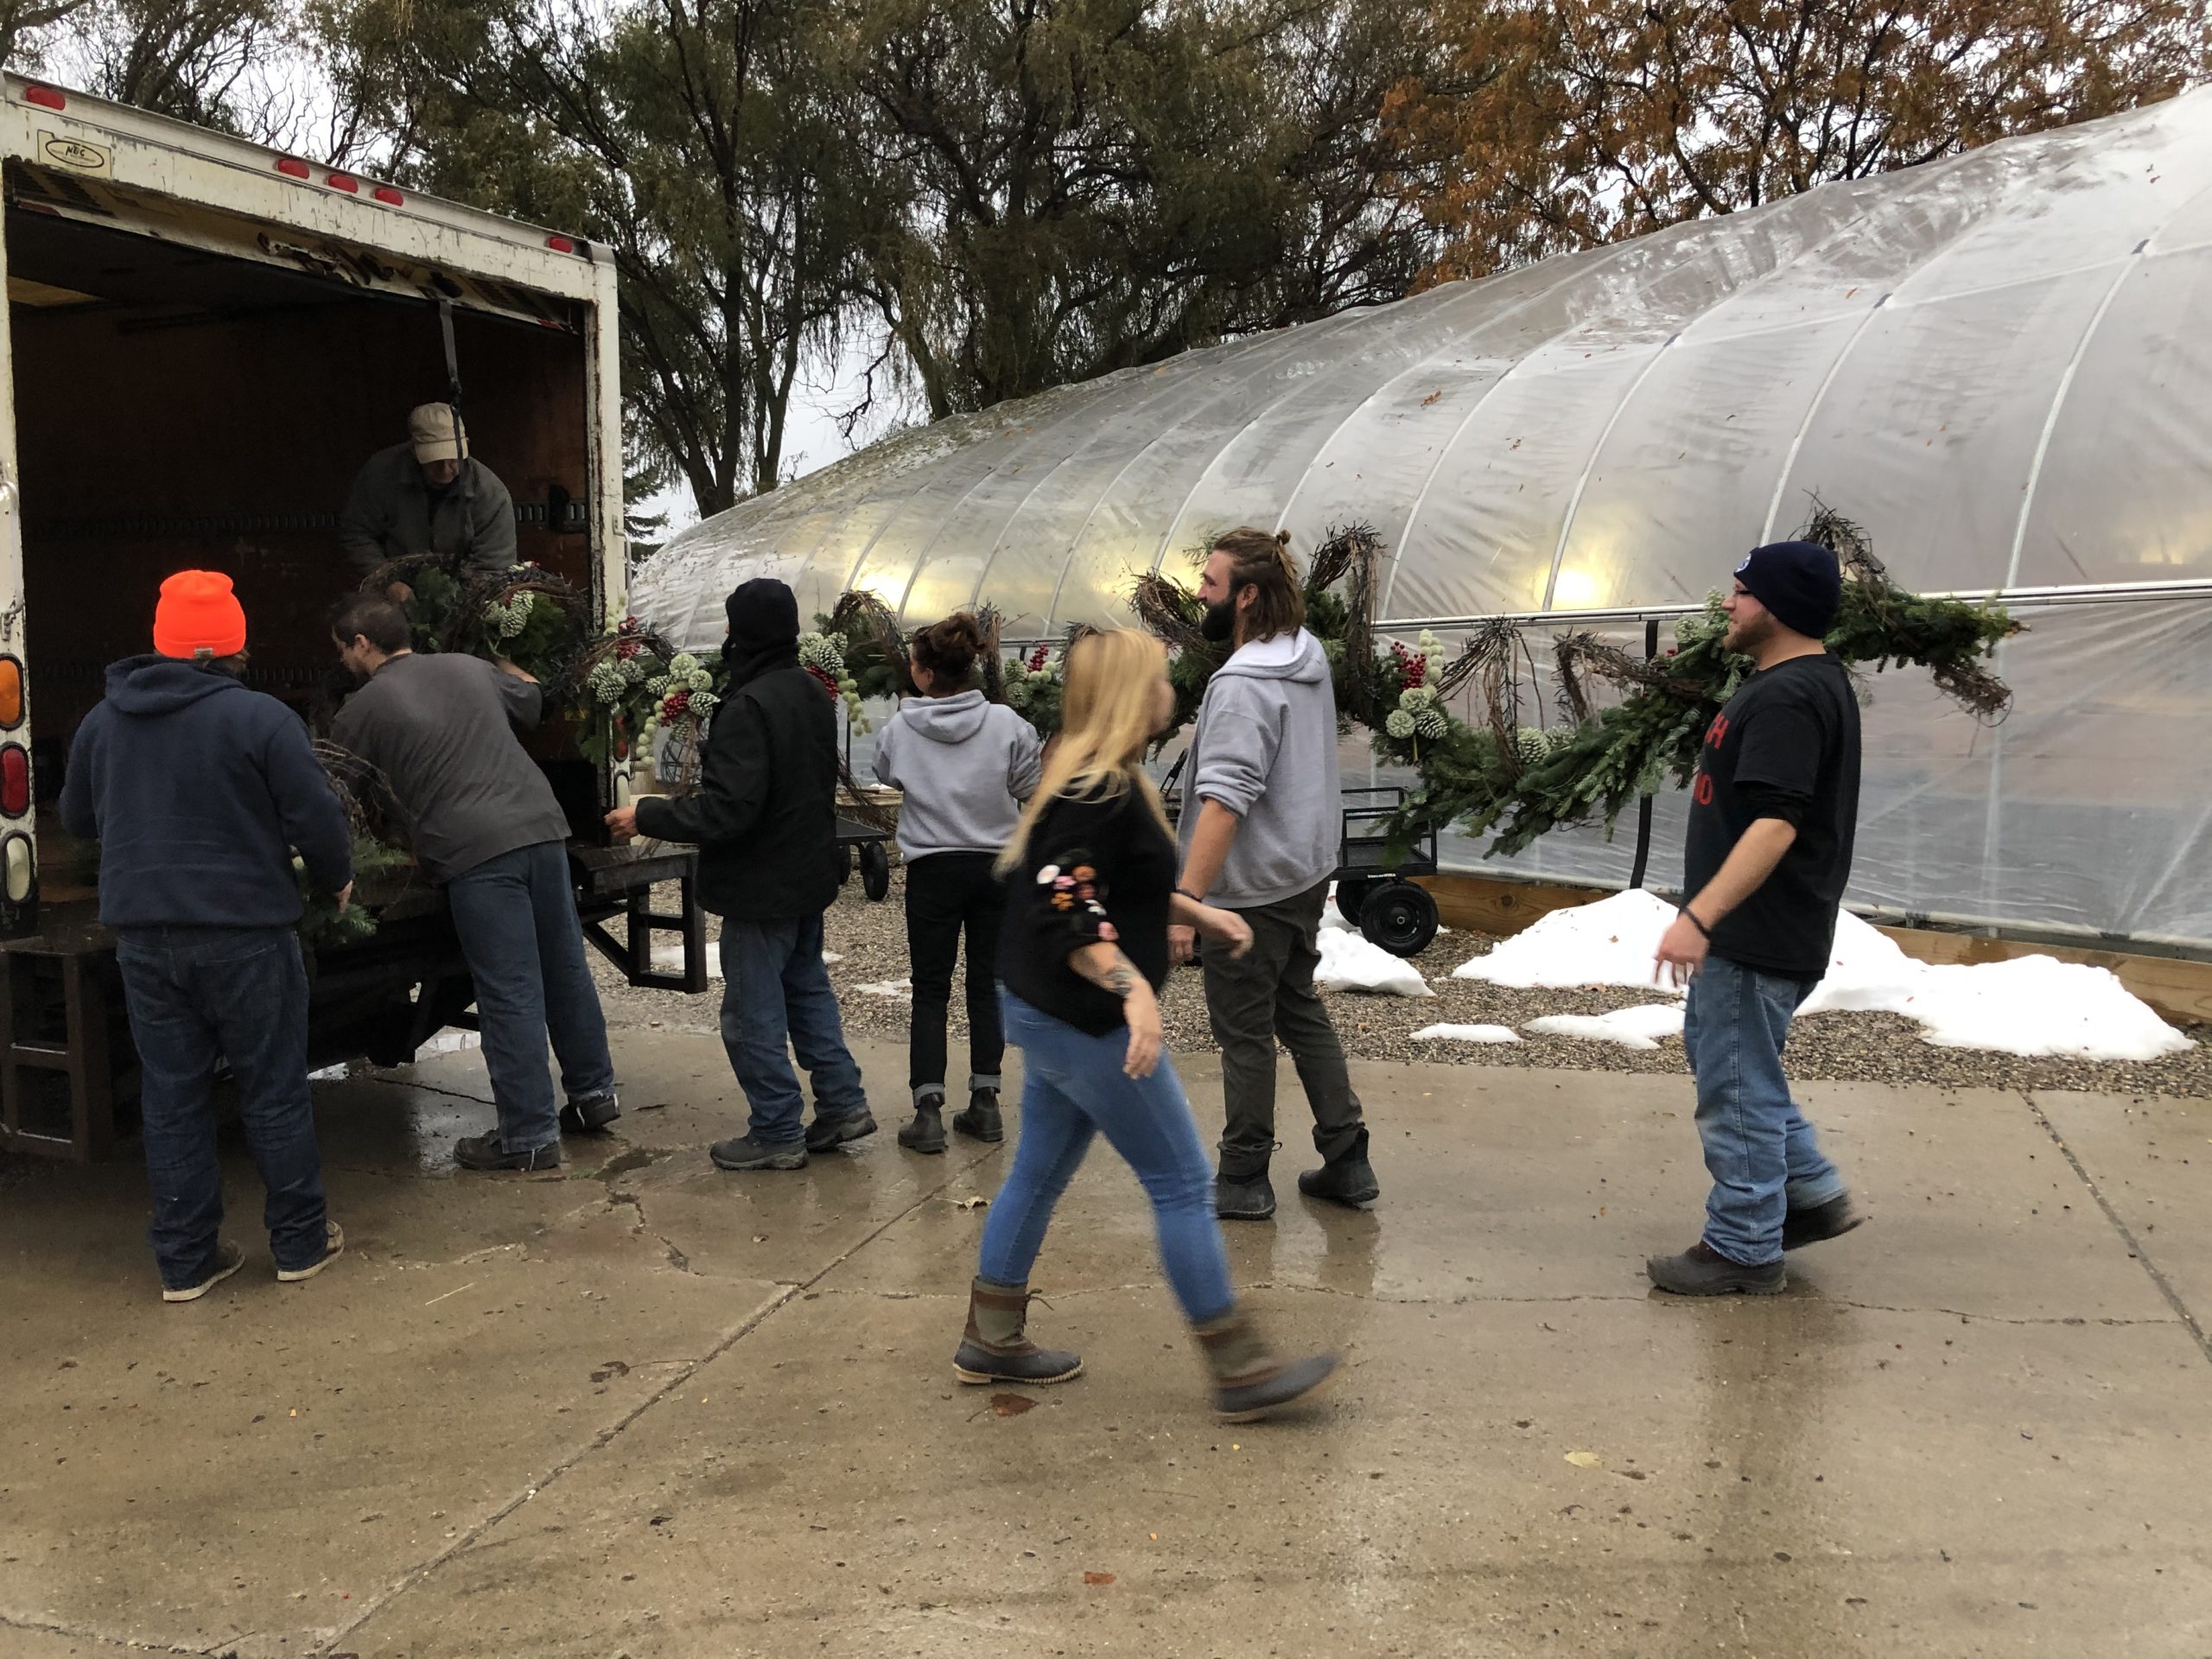 loading the garland 2
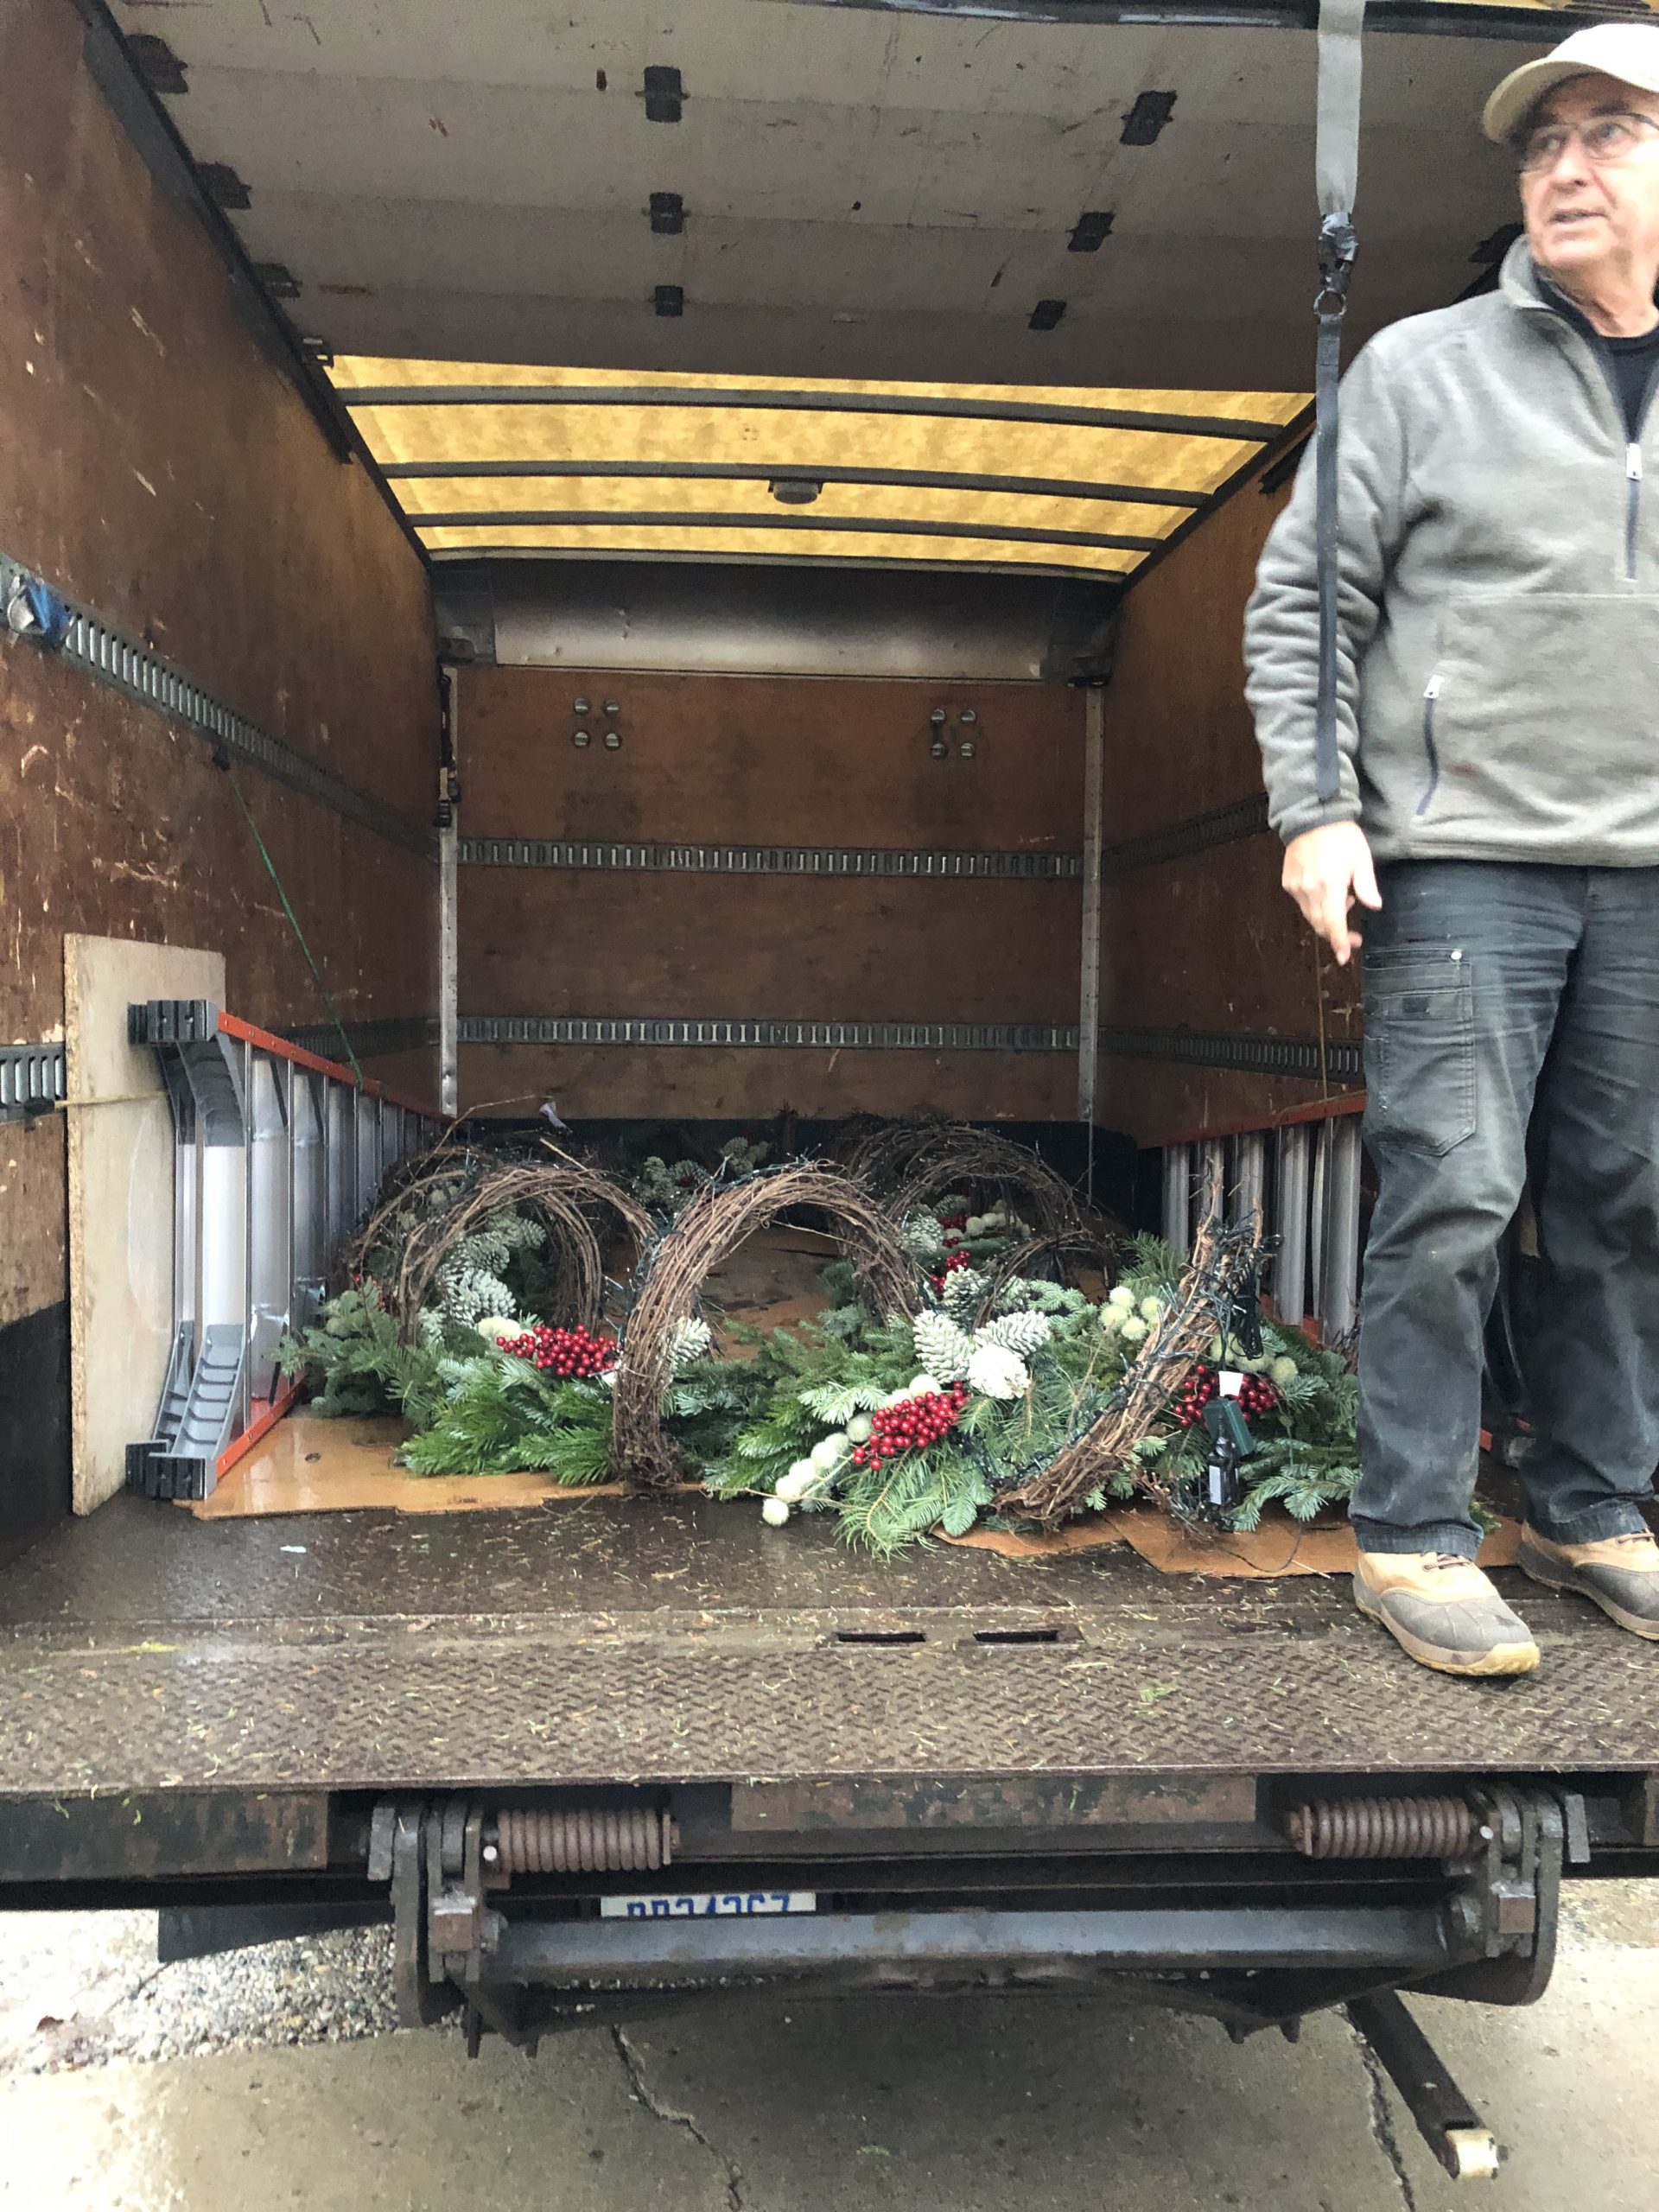 loaded up
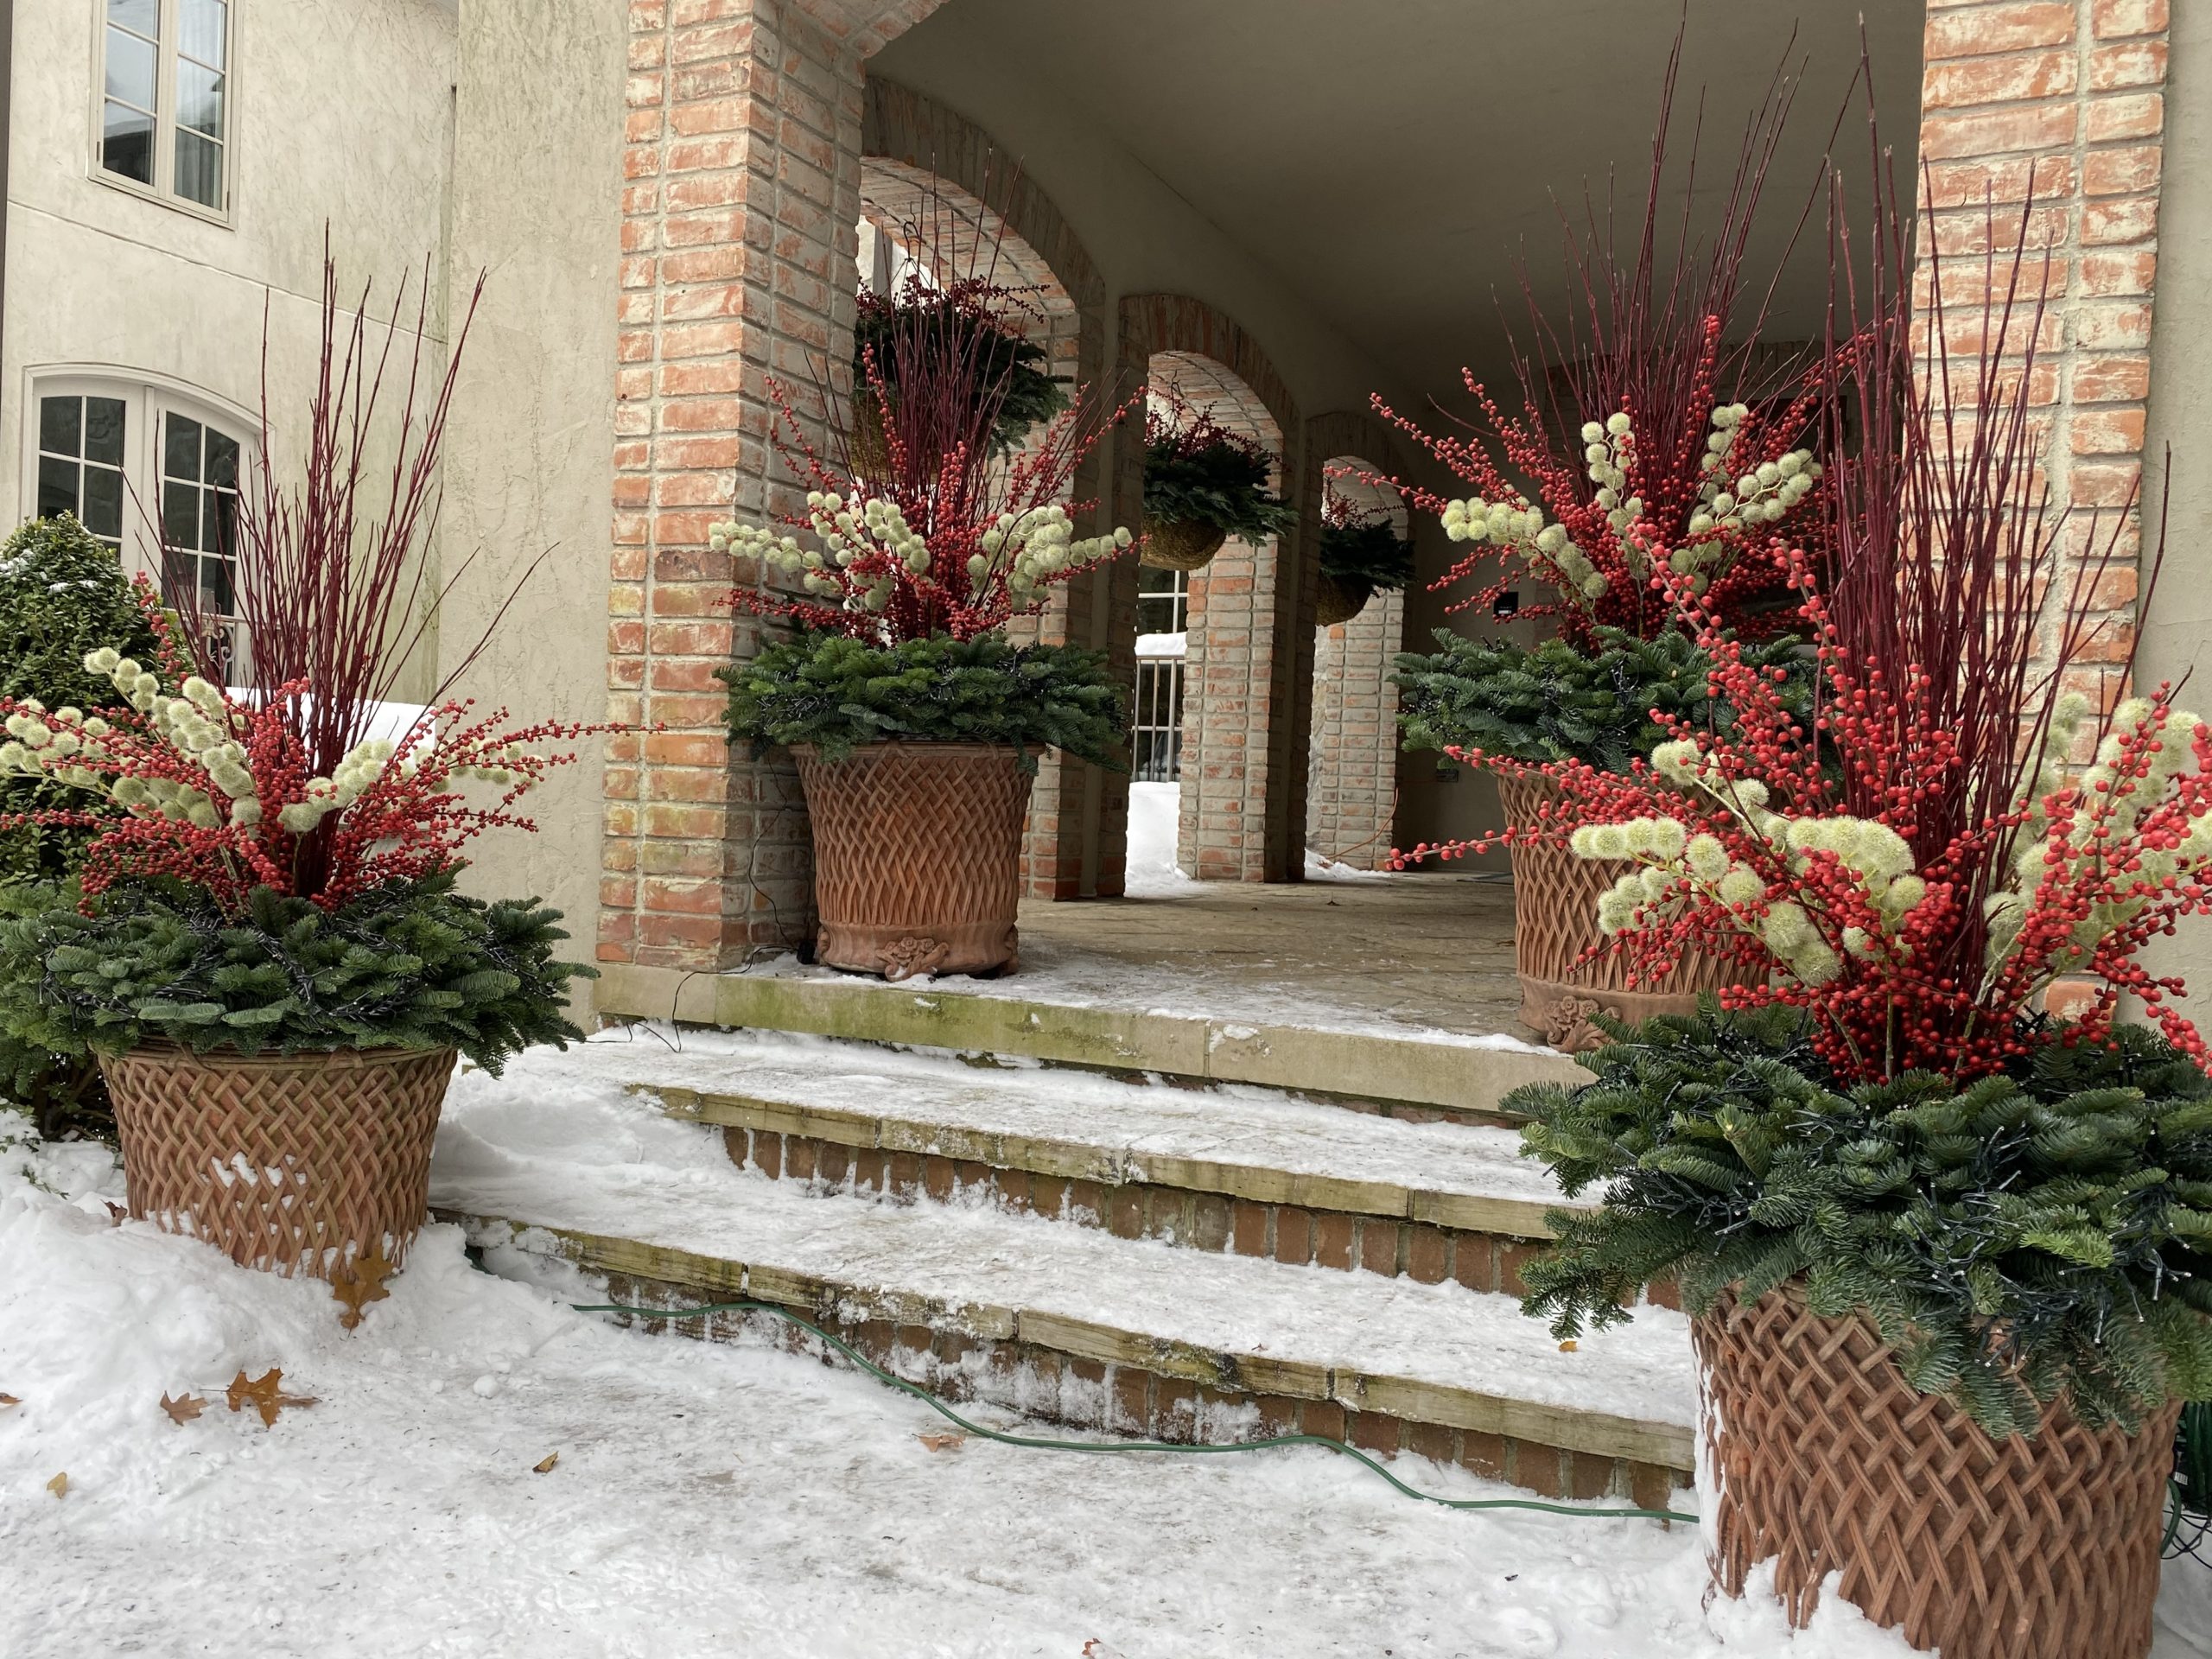
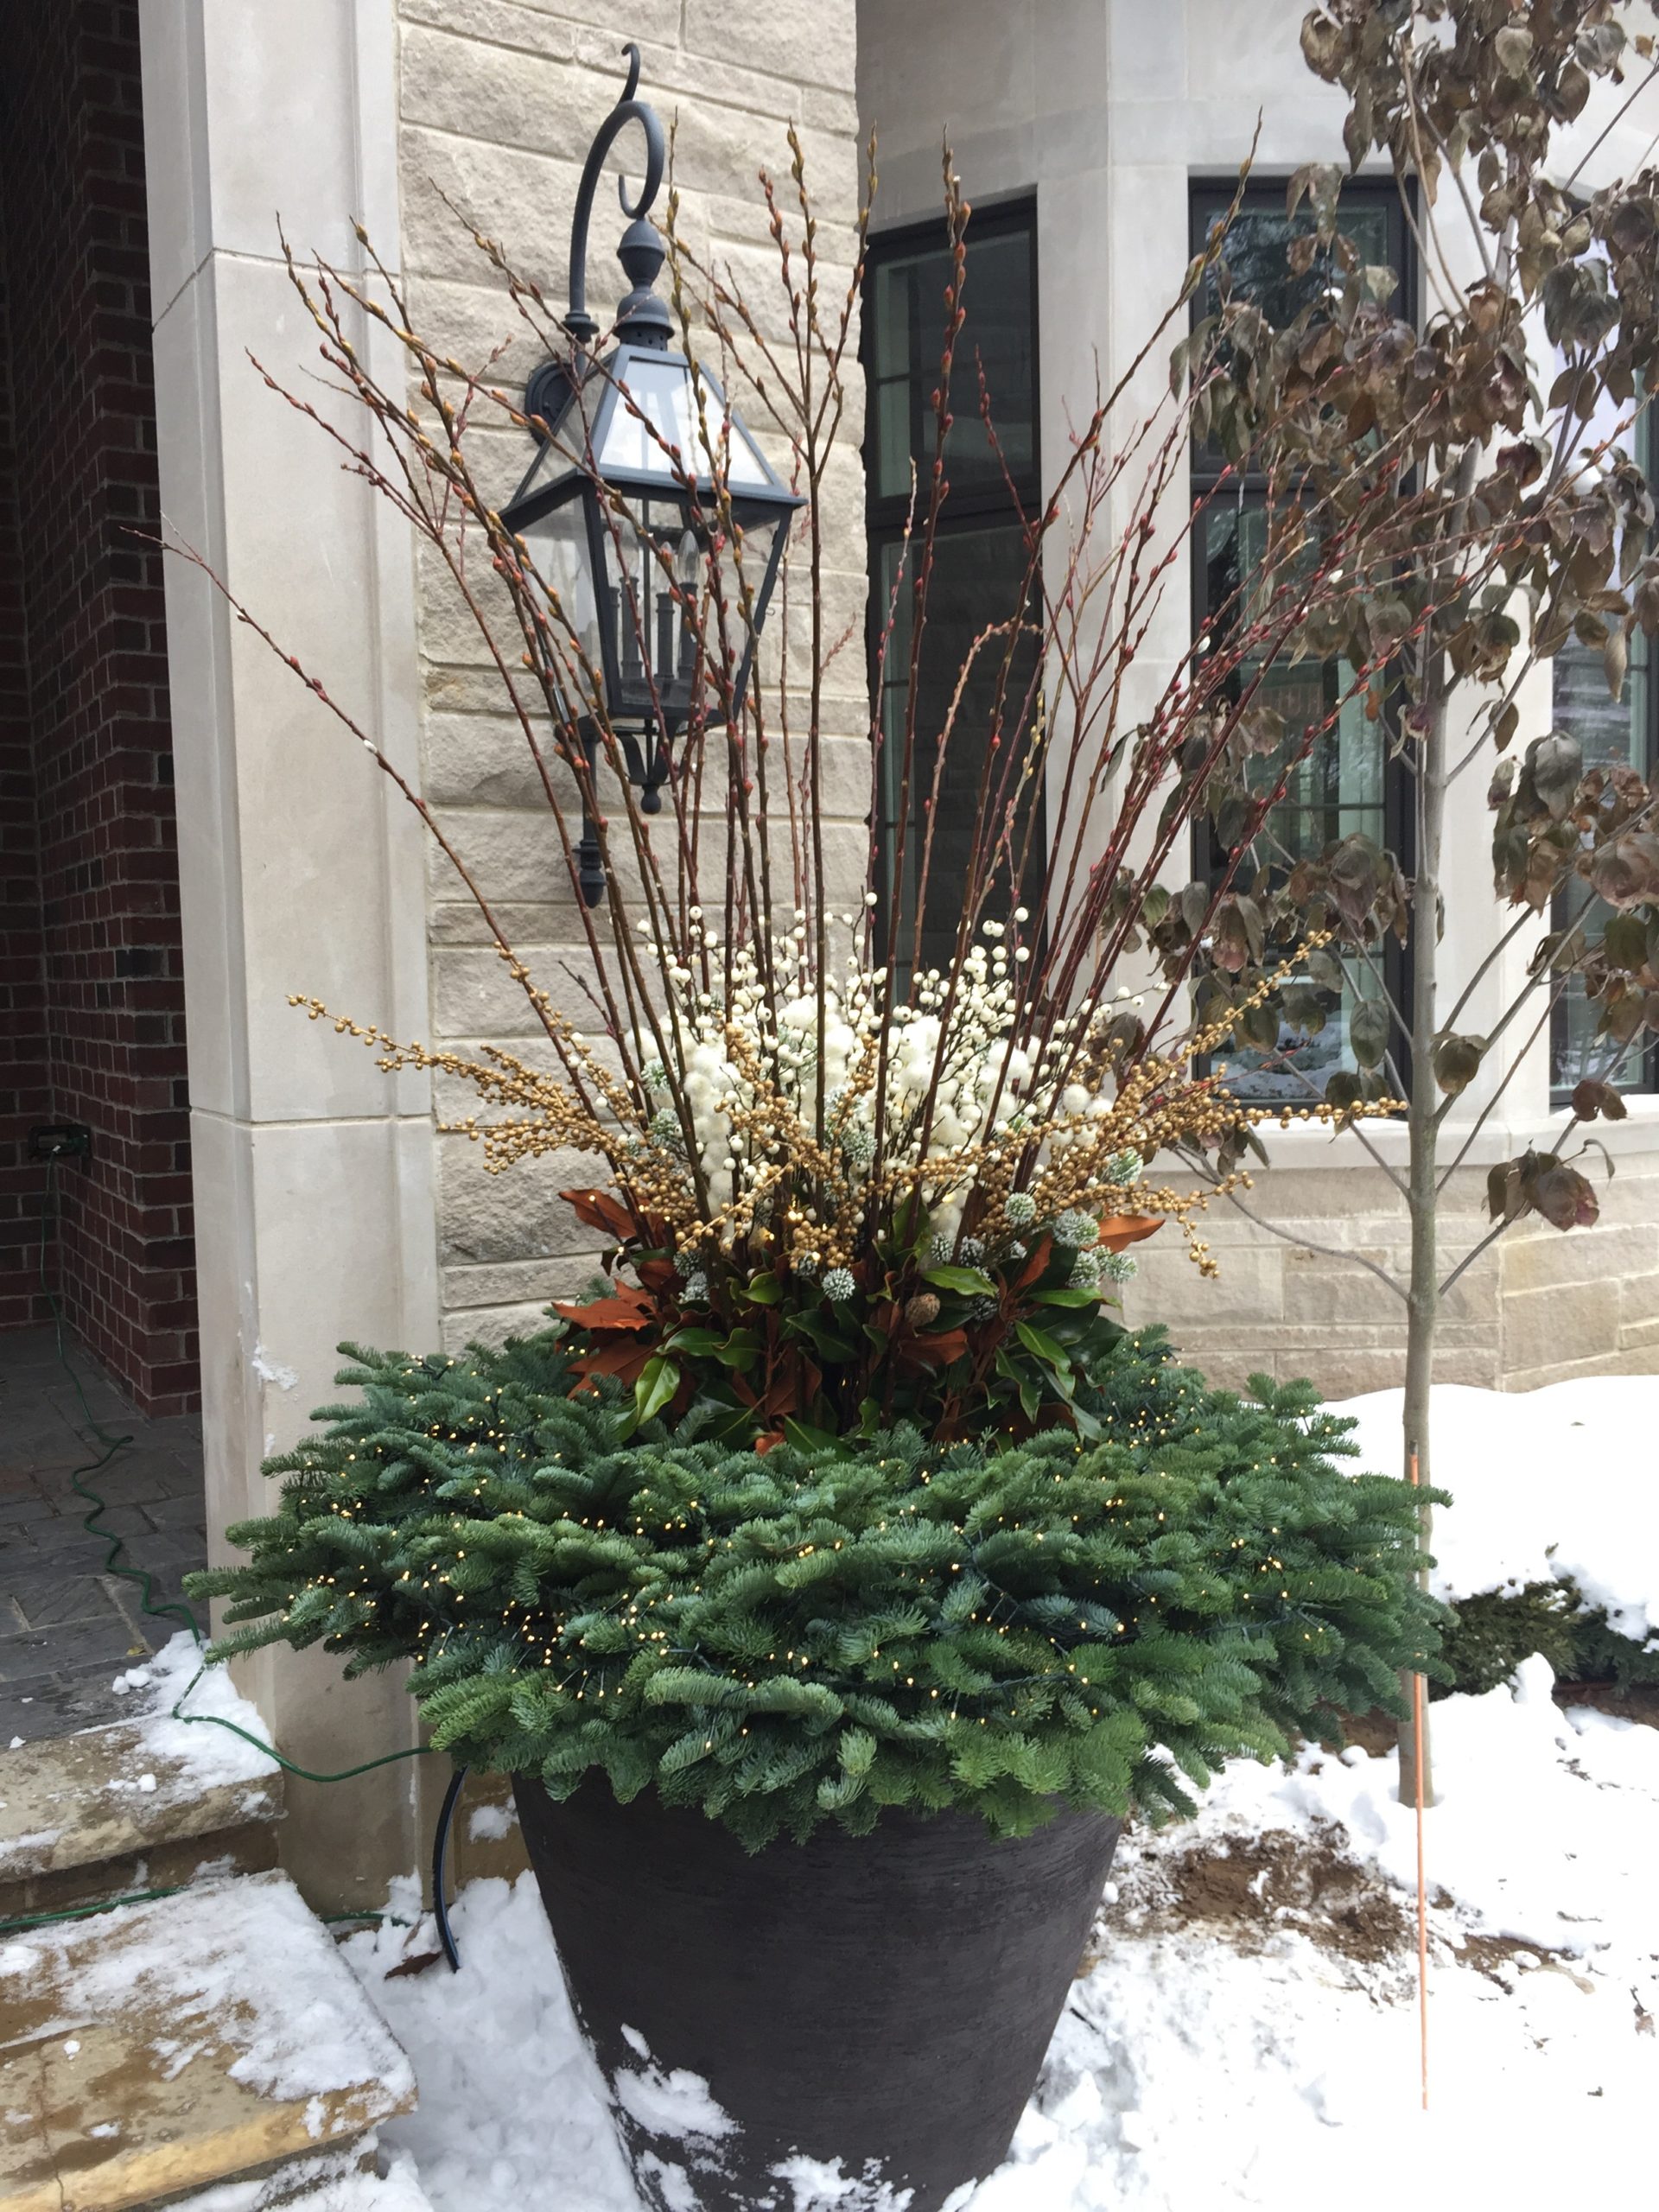
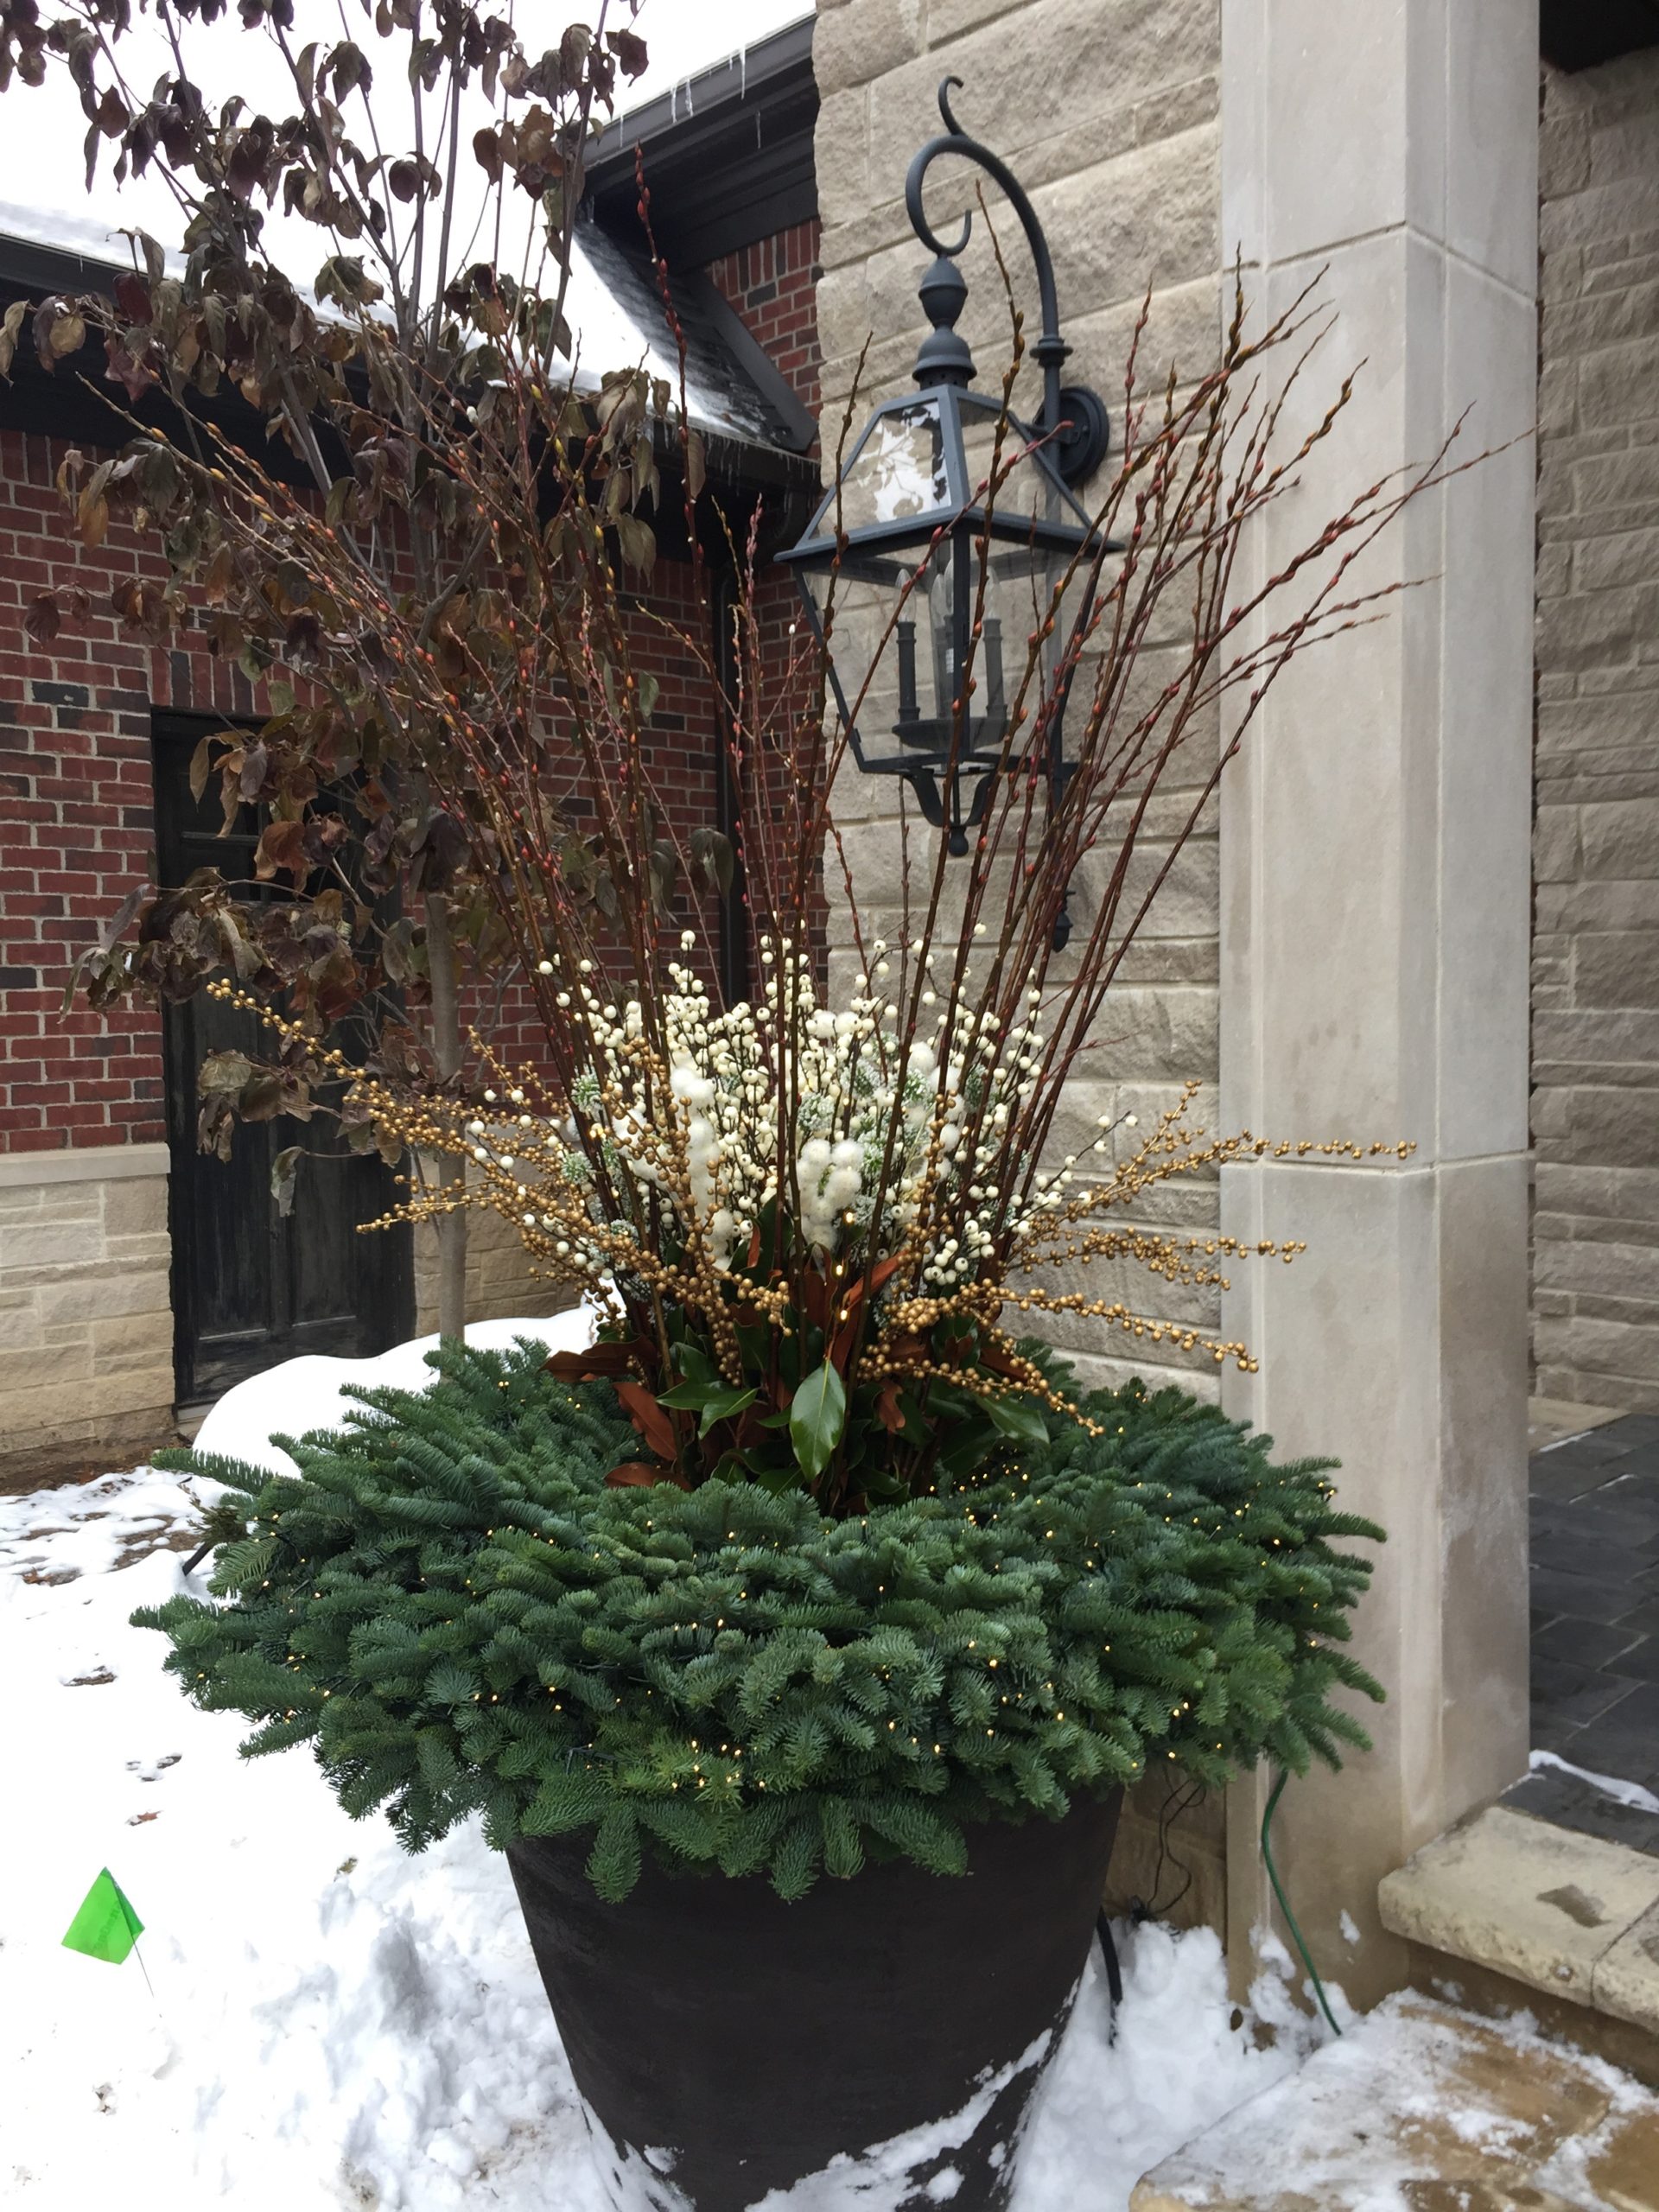
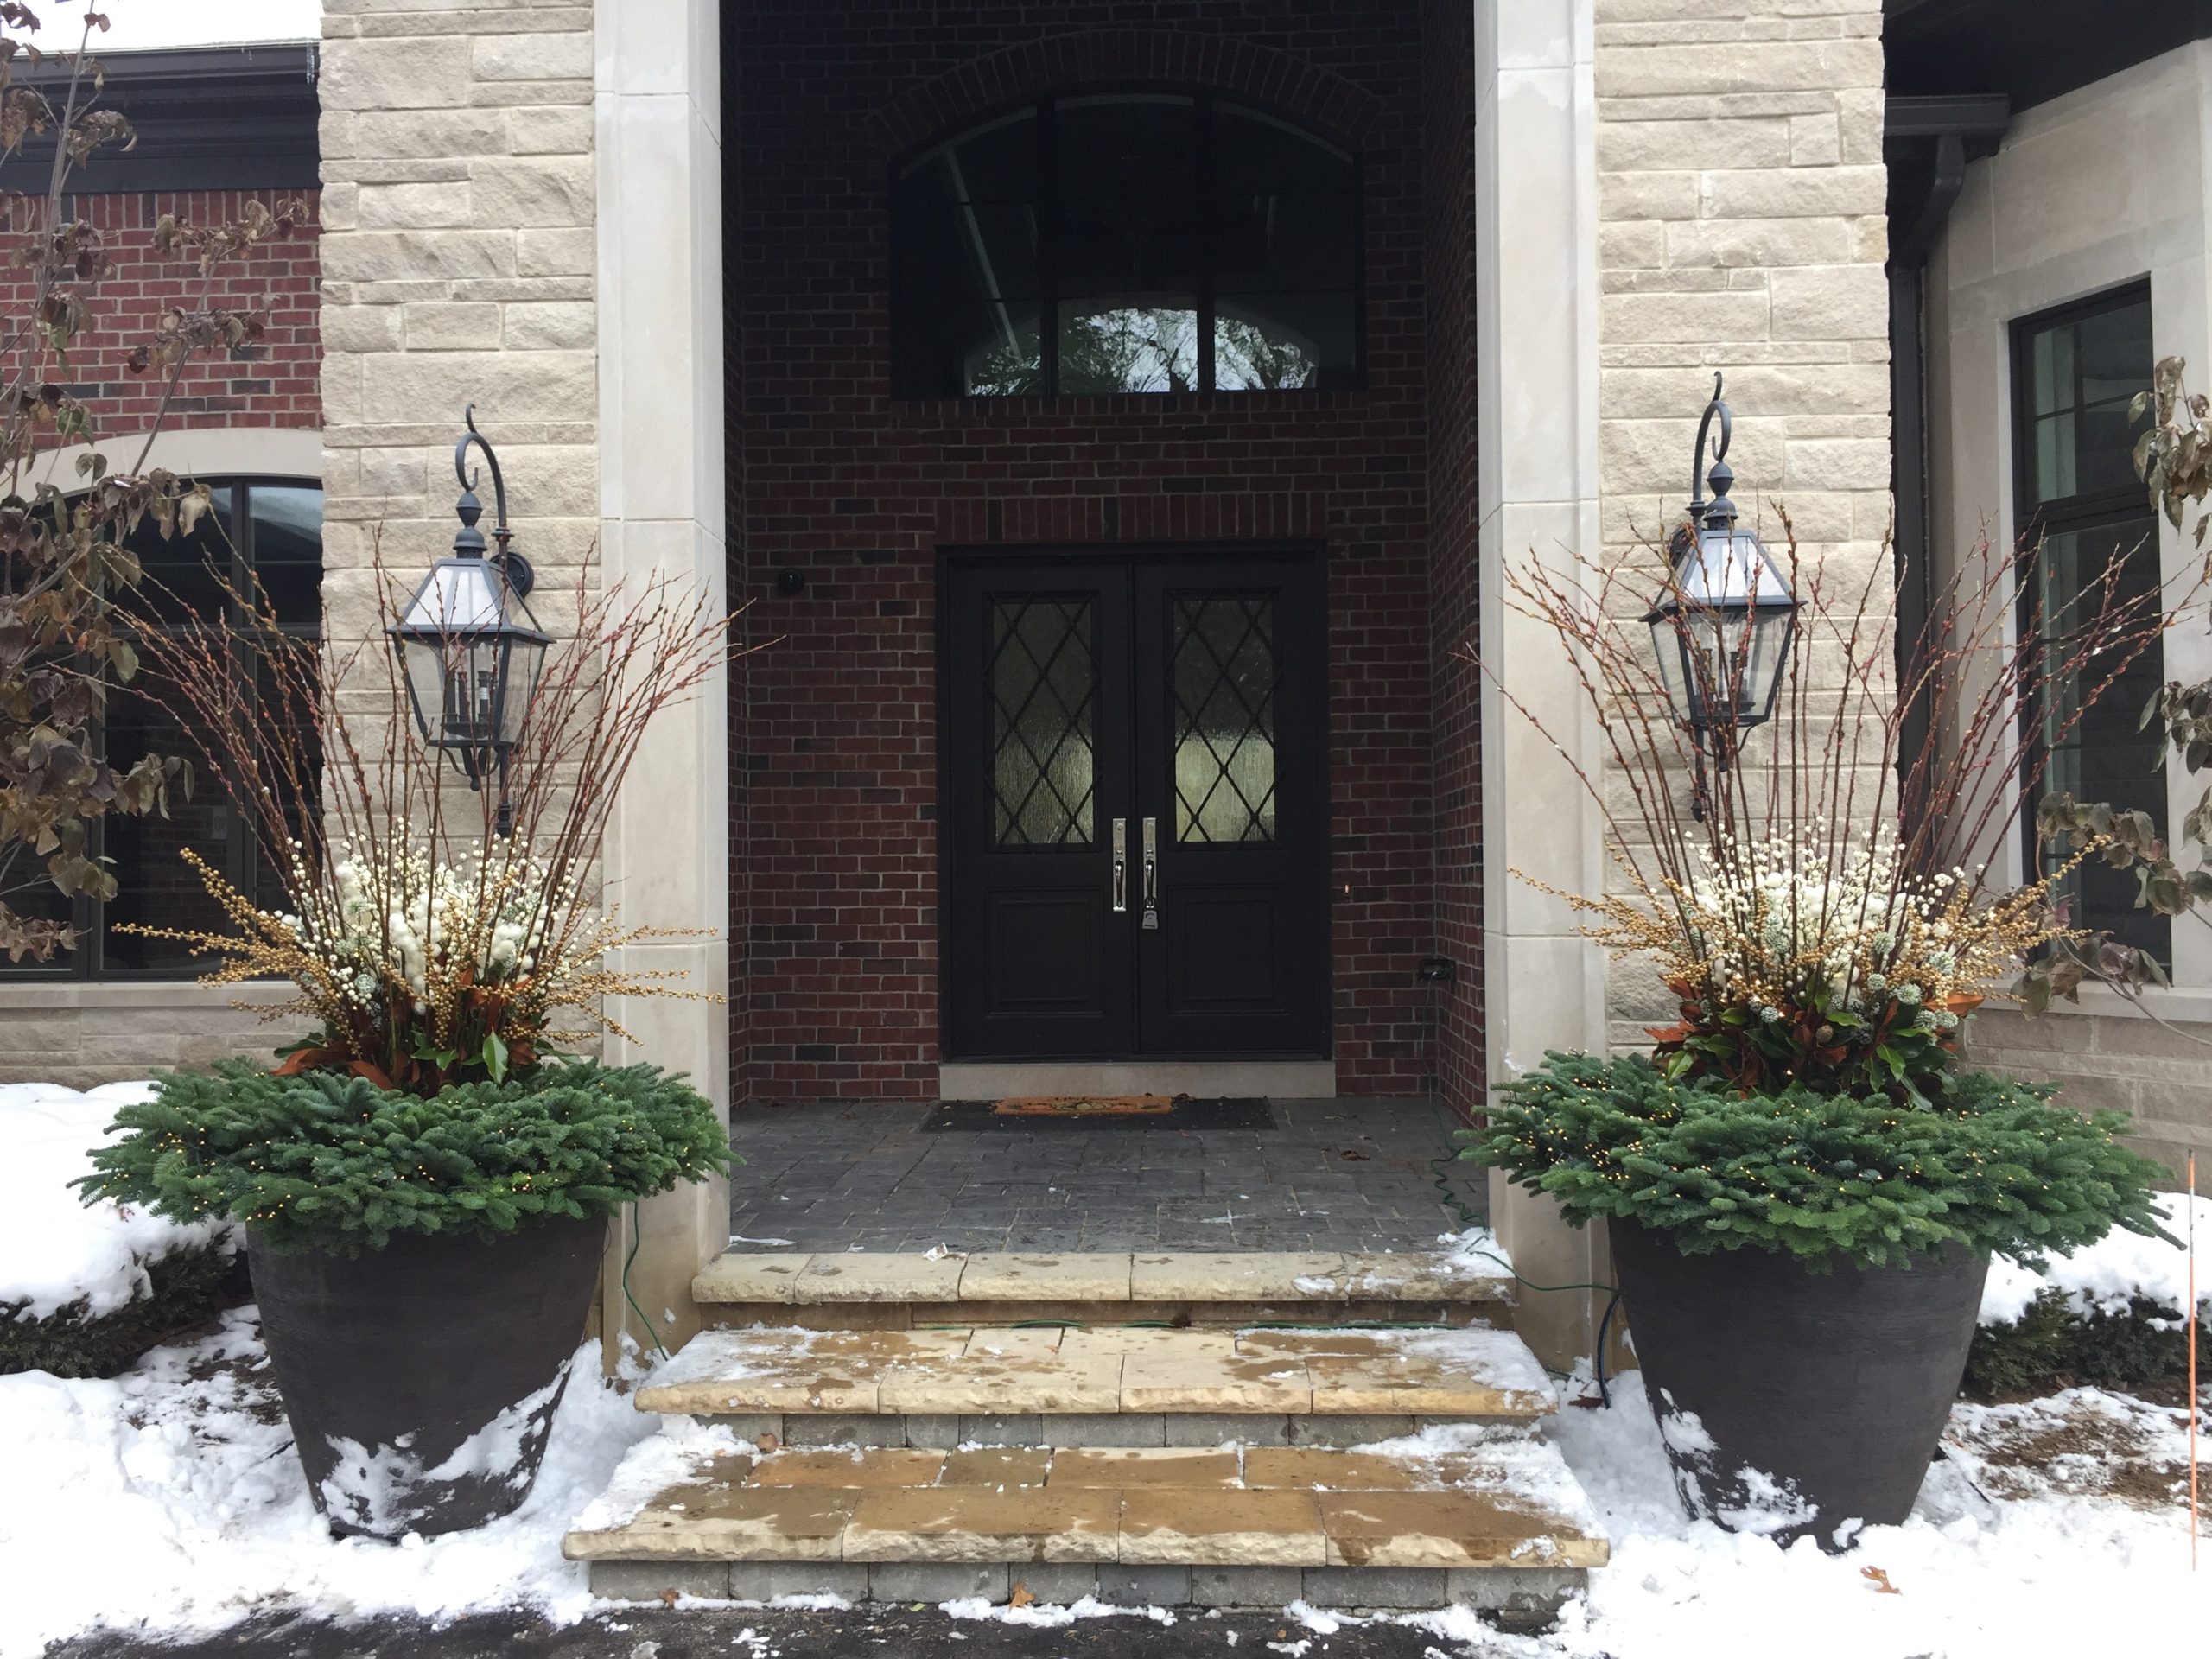
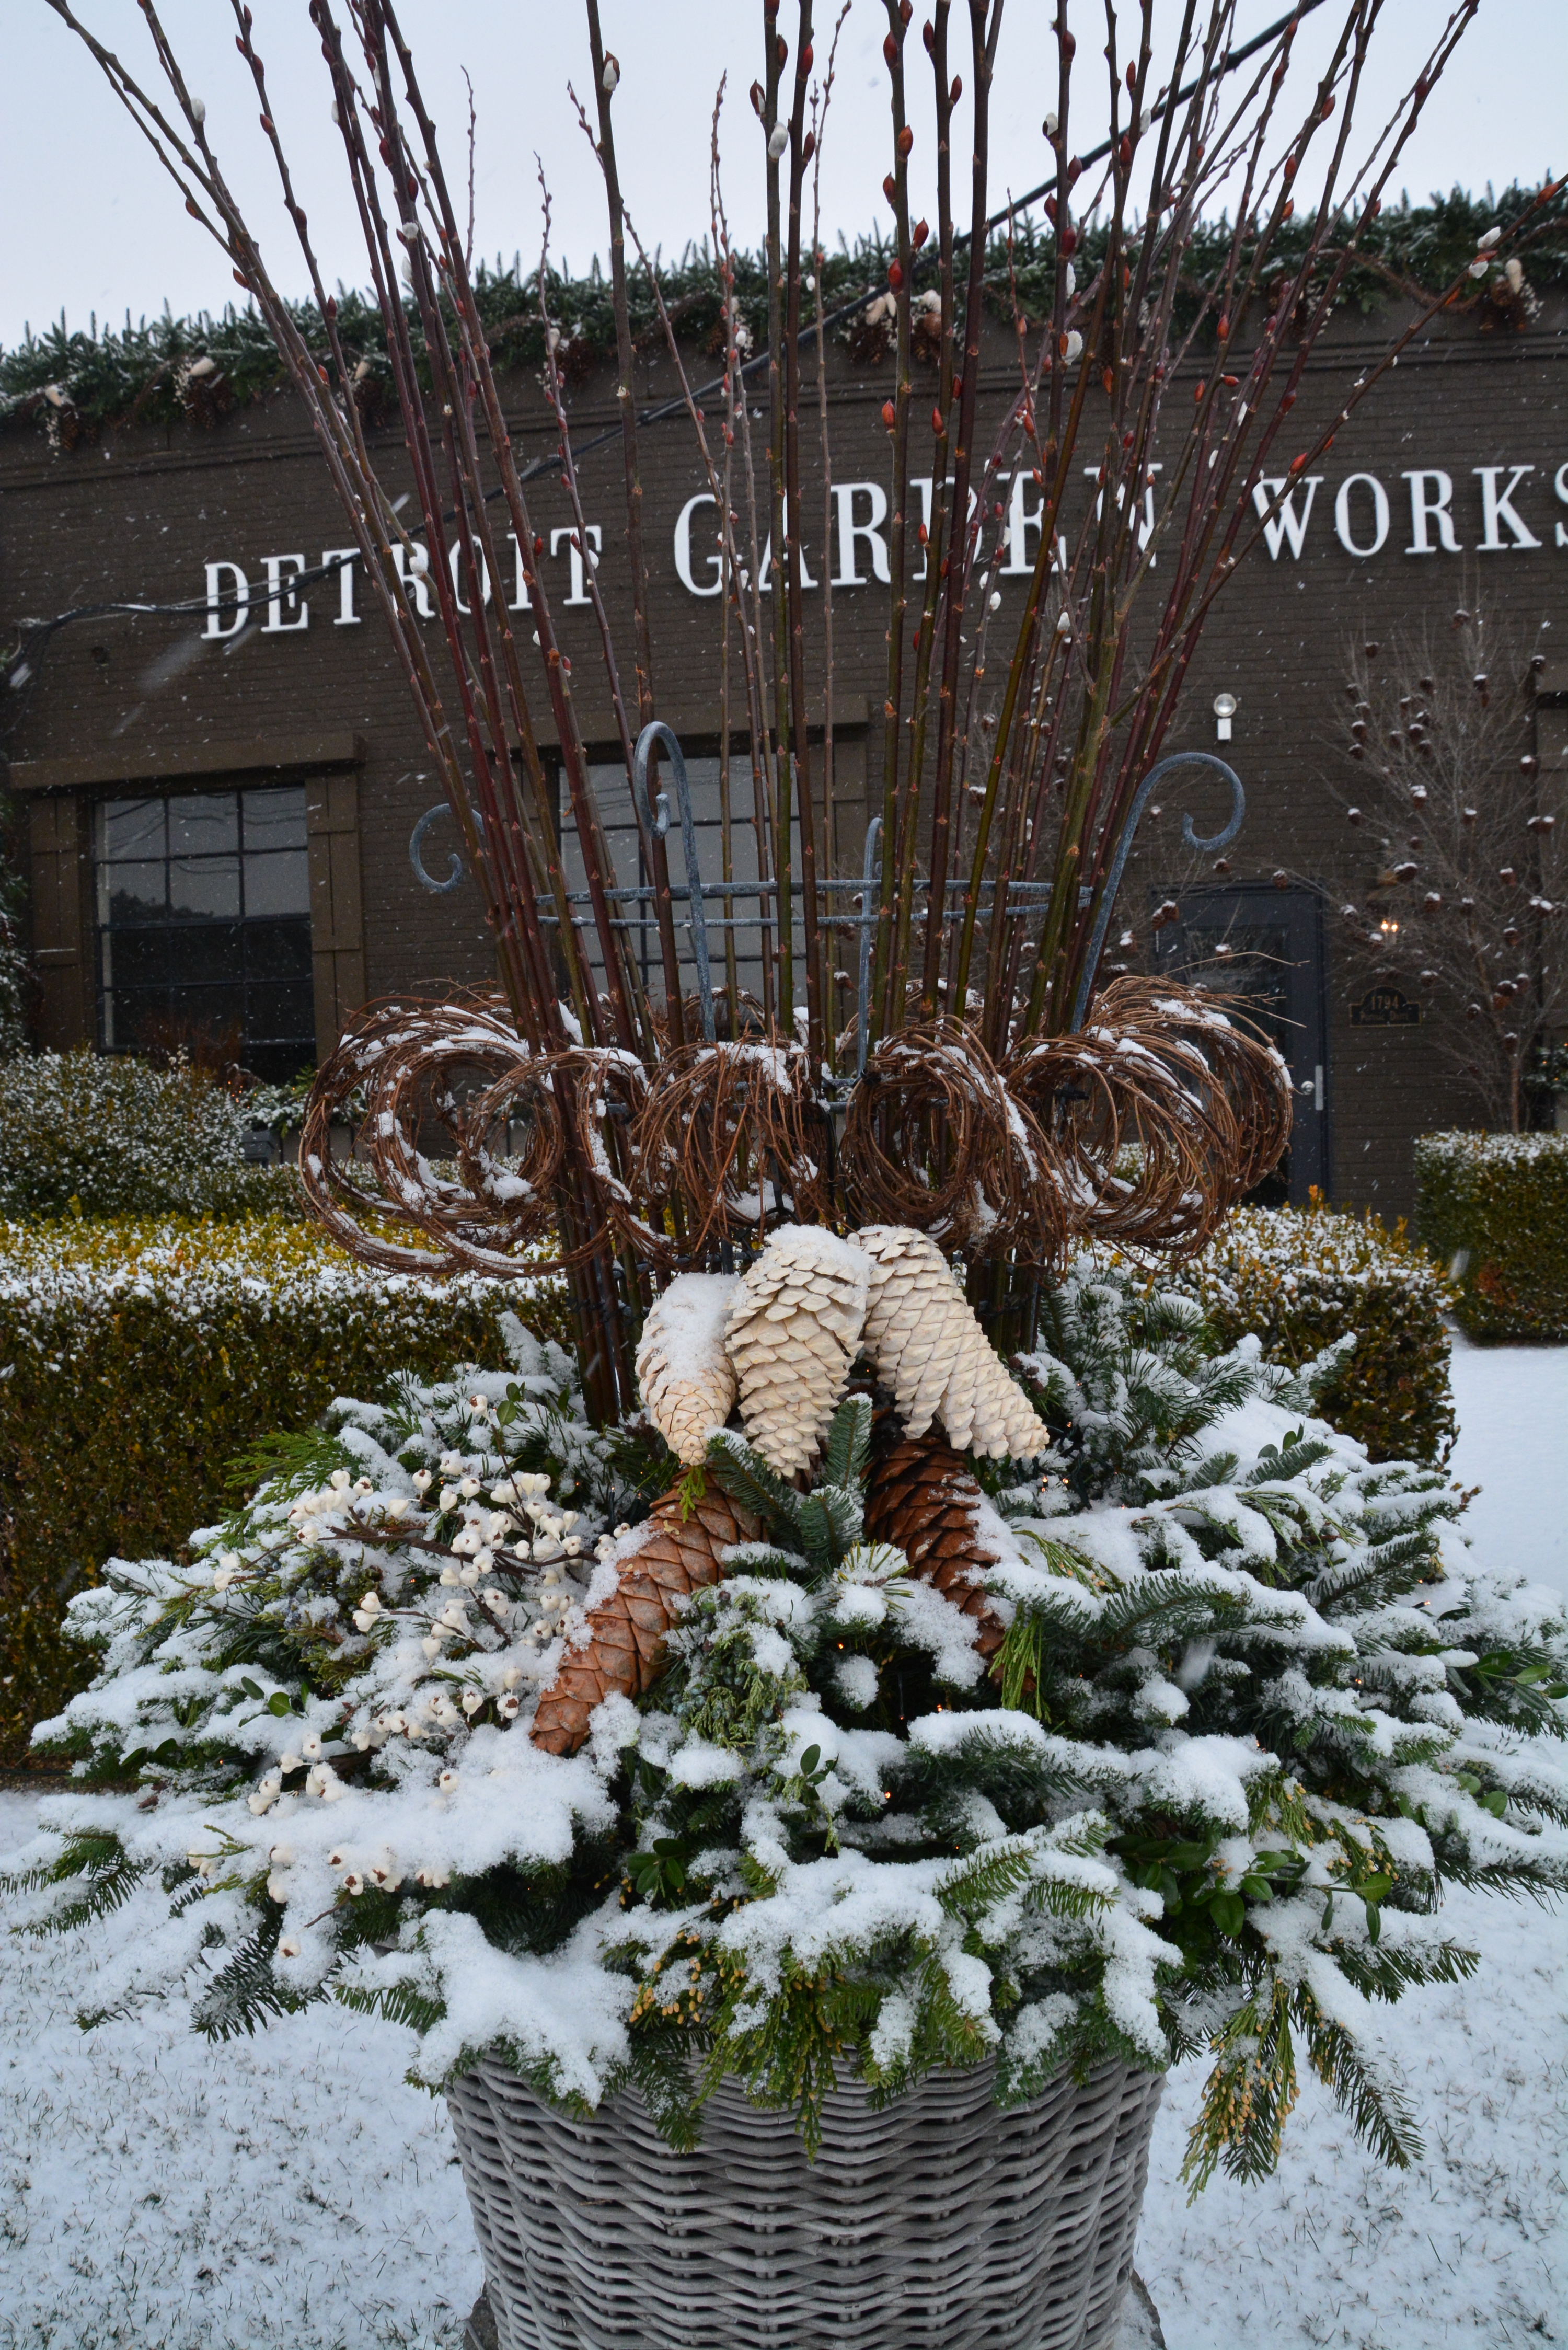
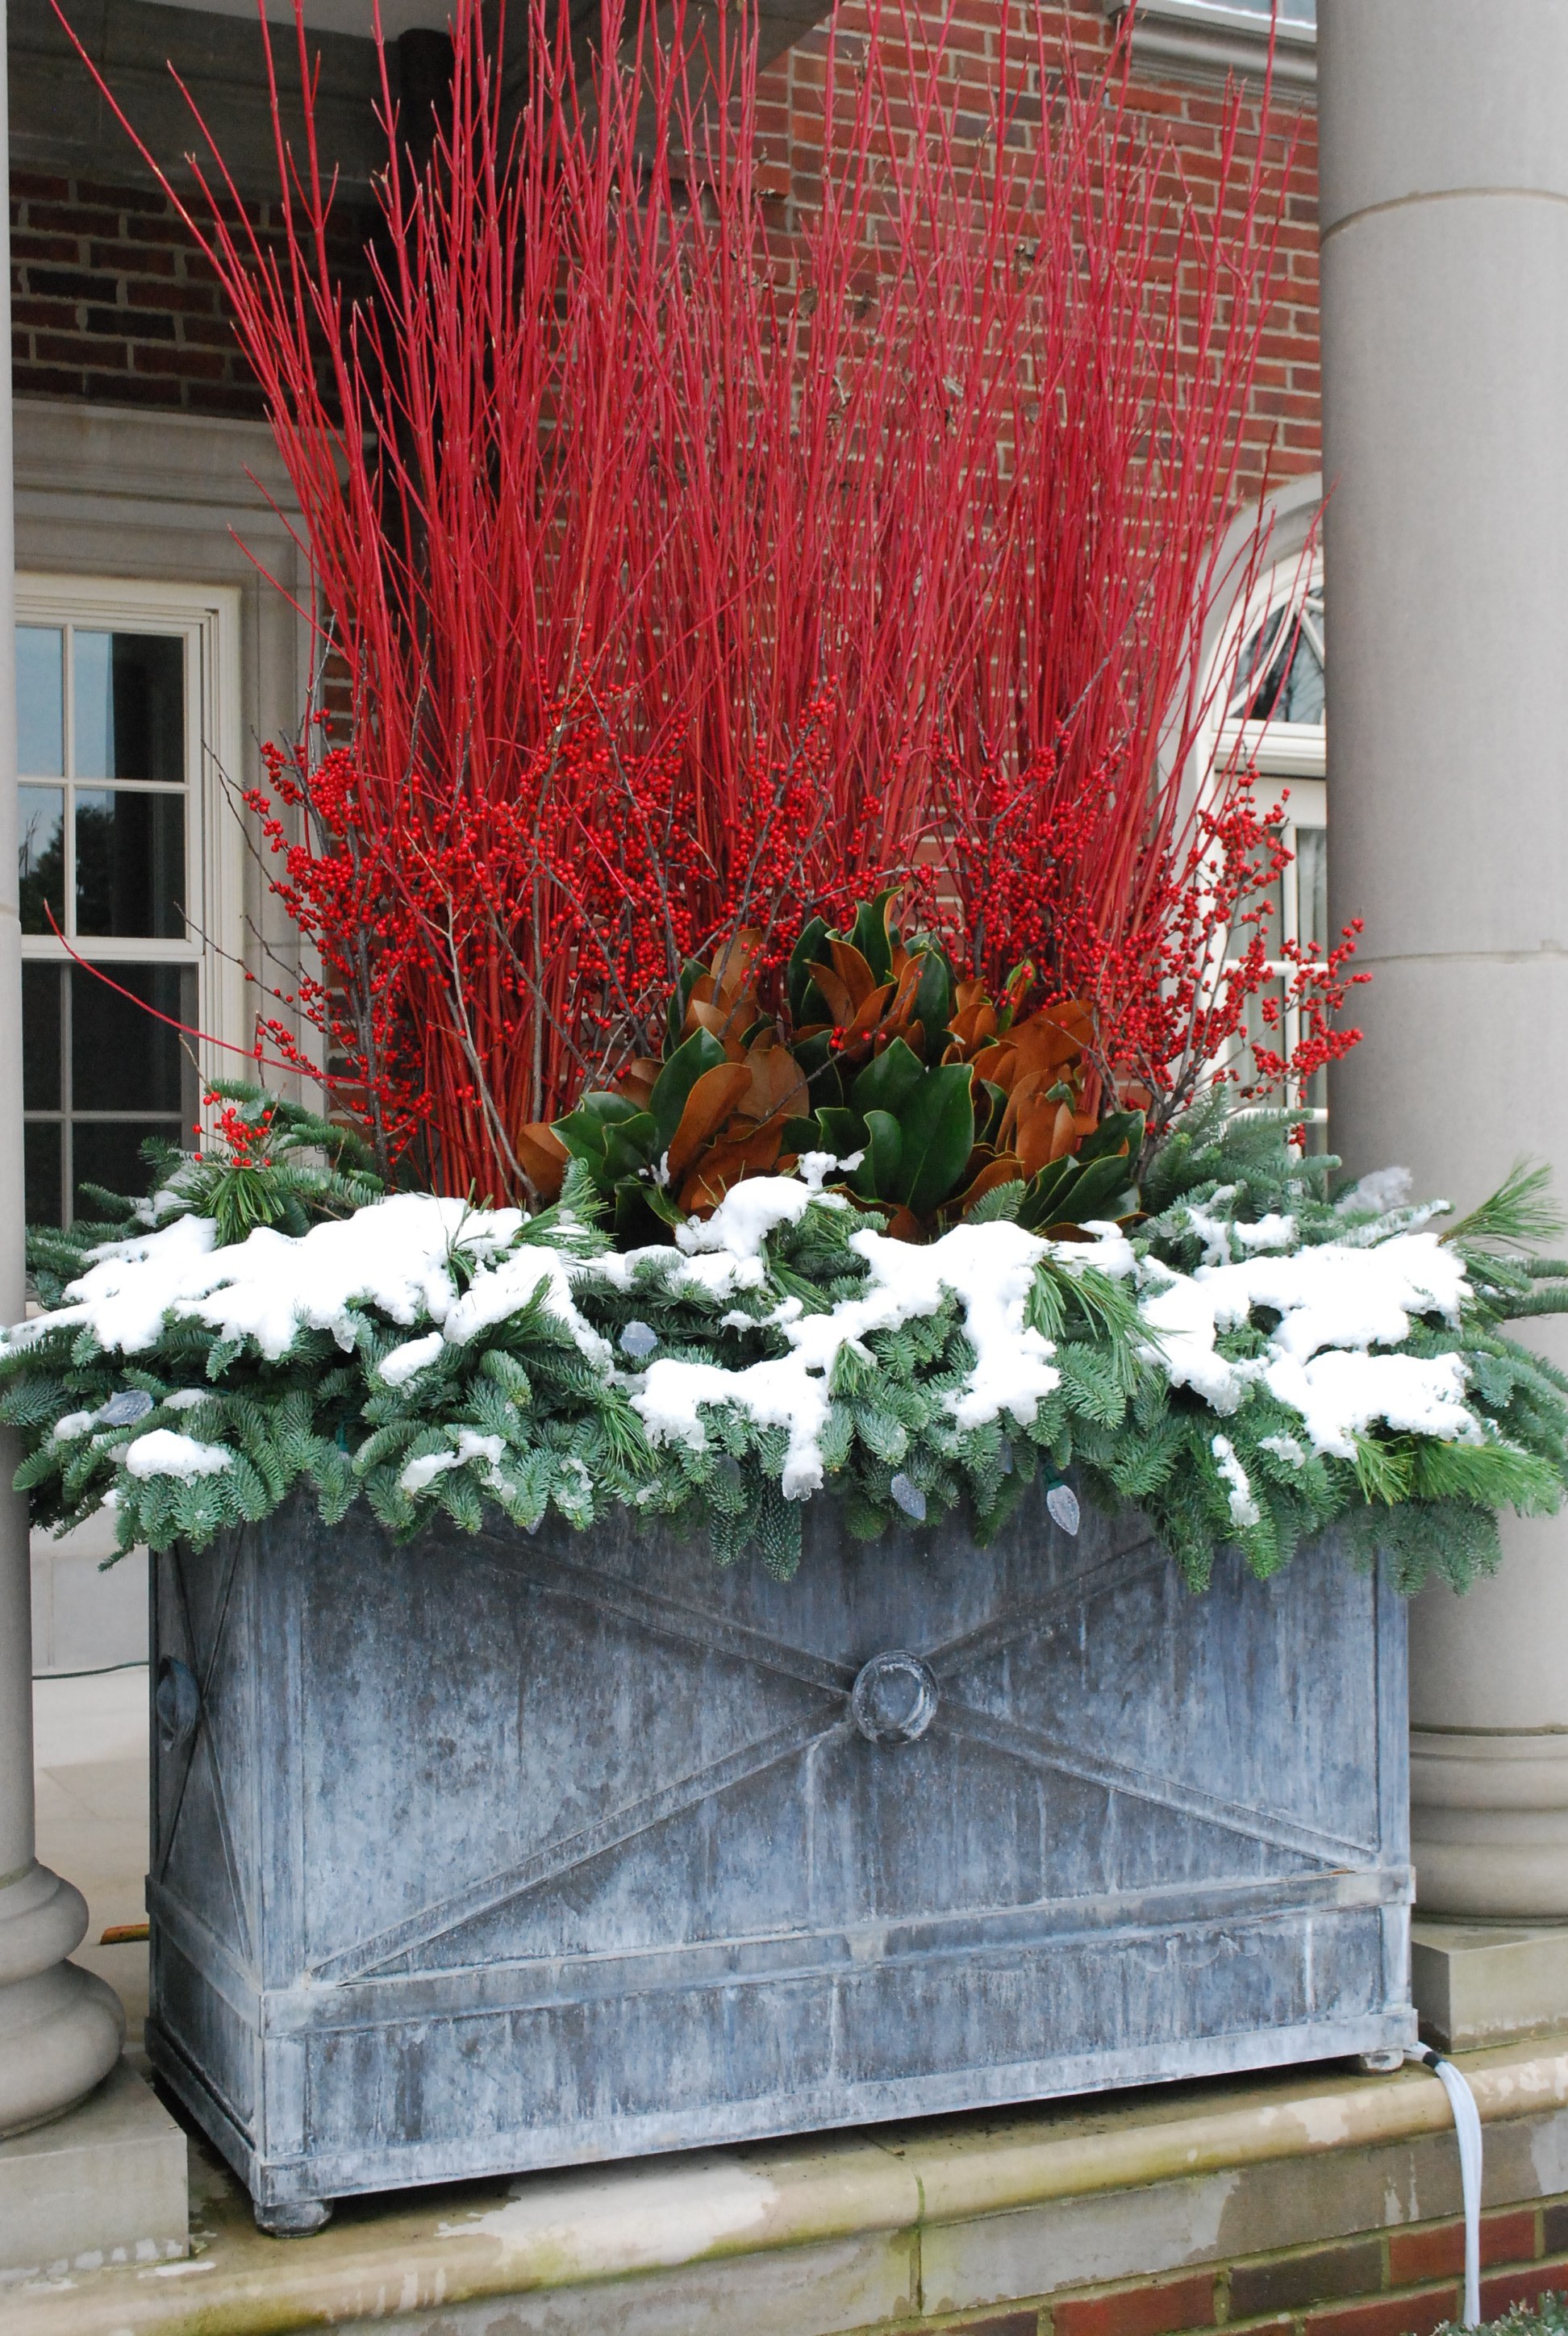
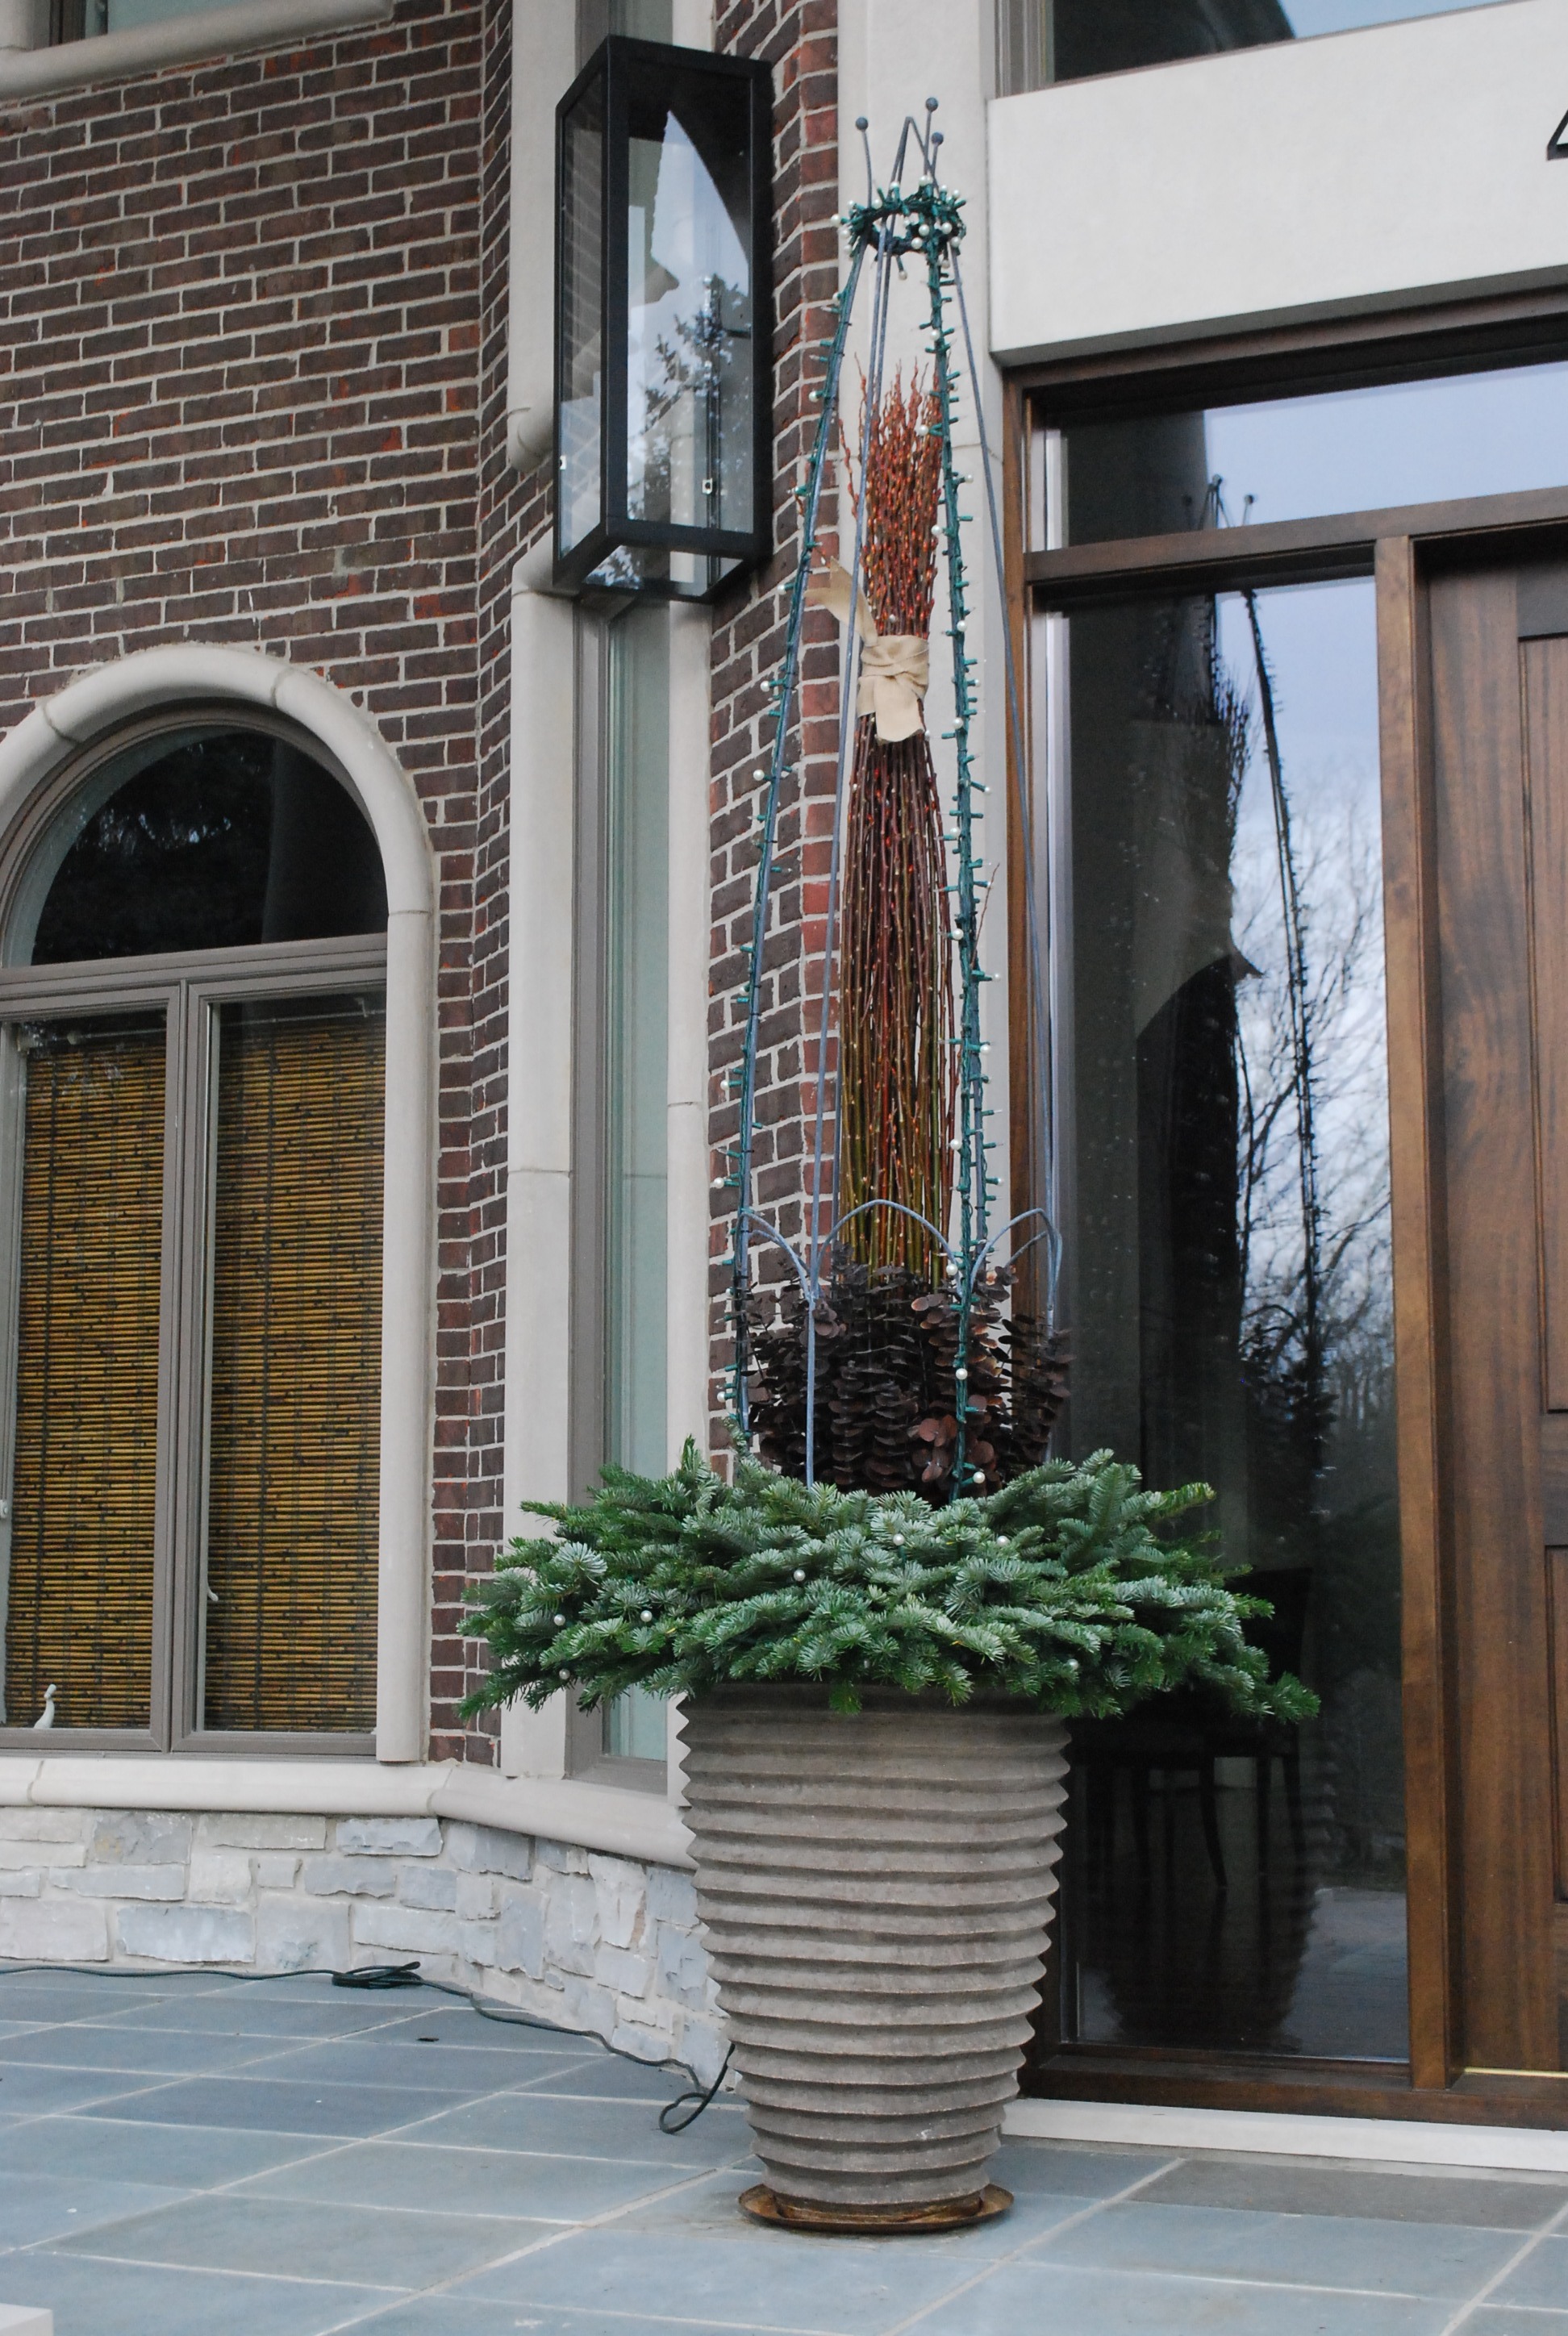
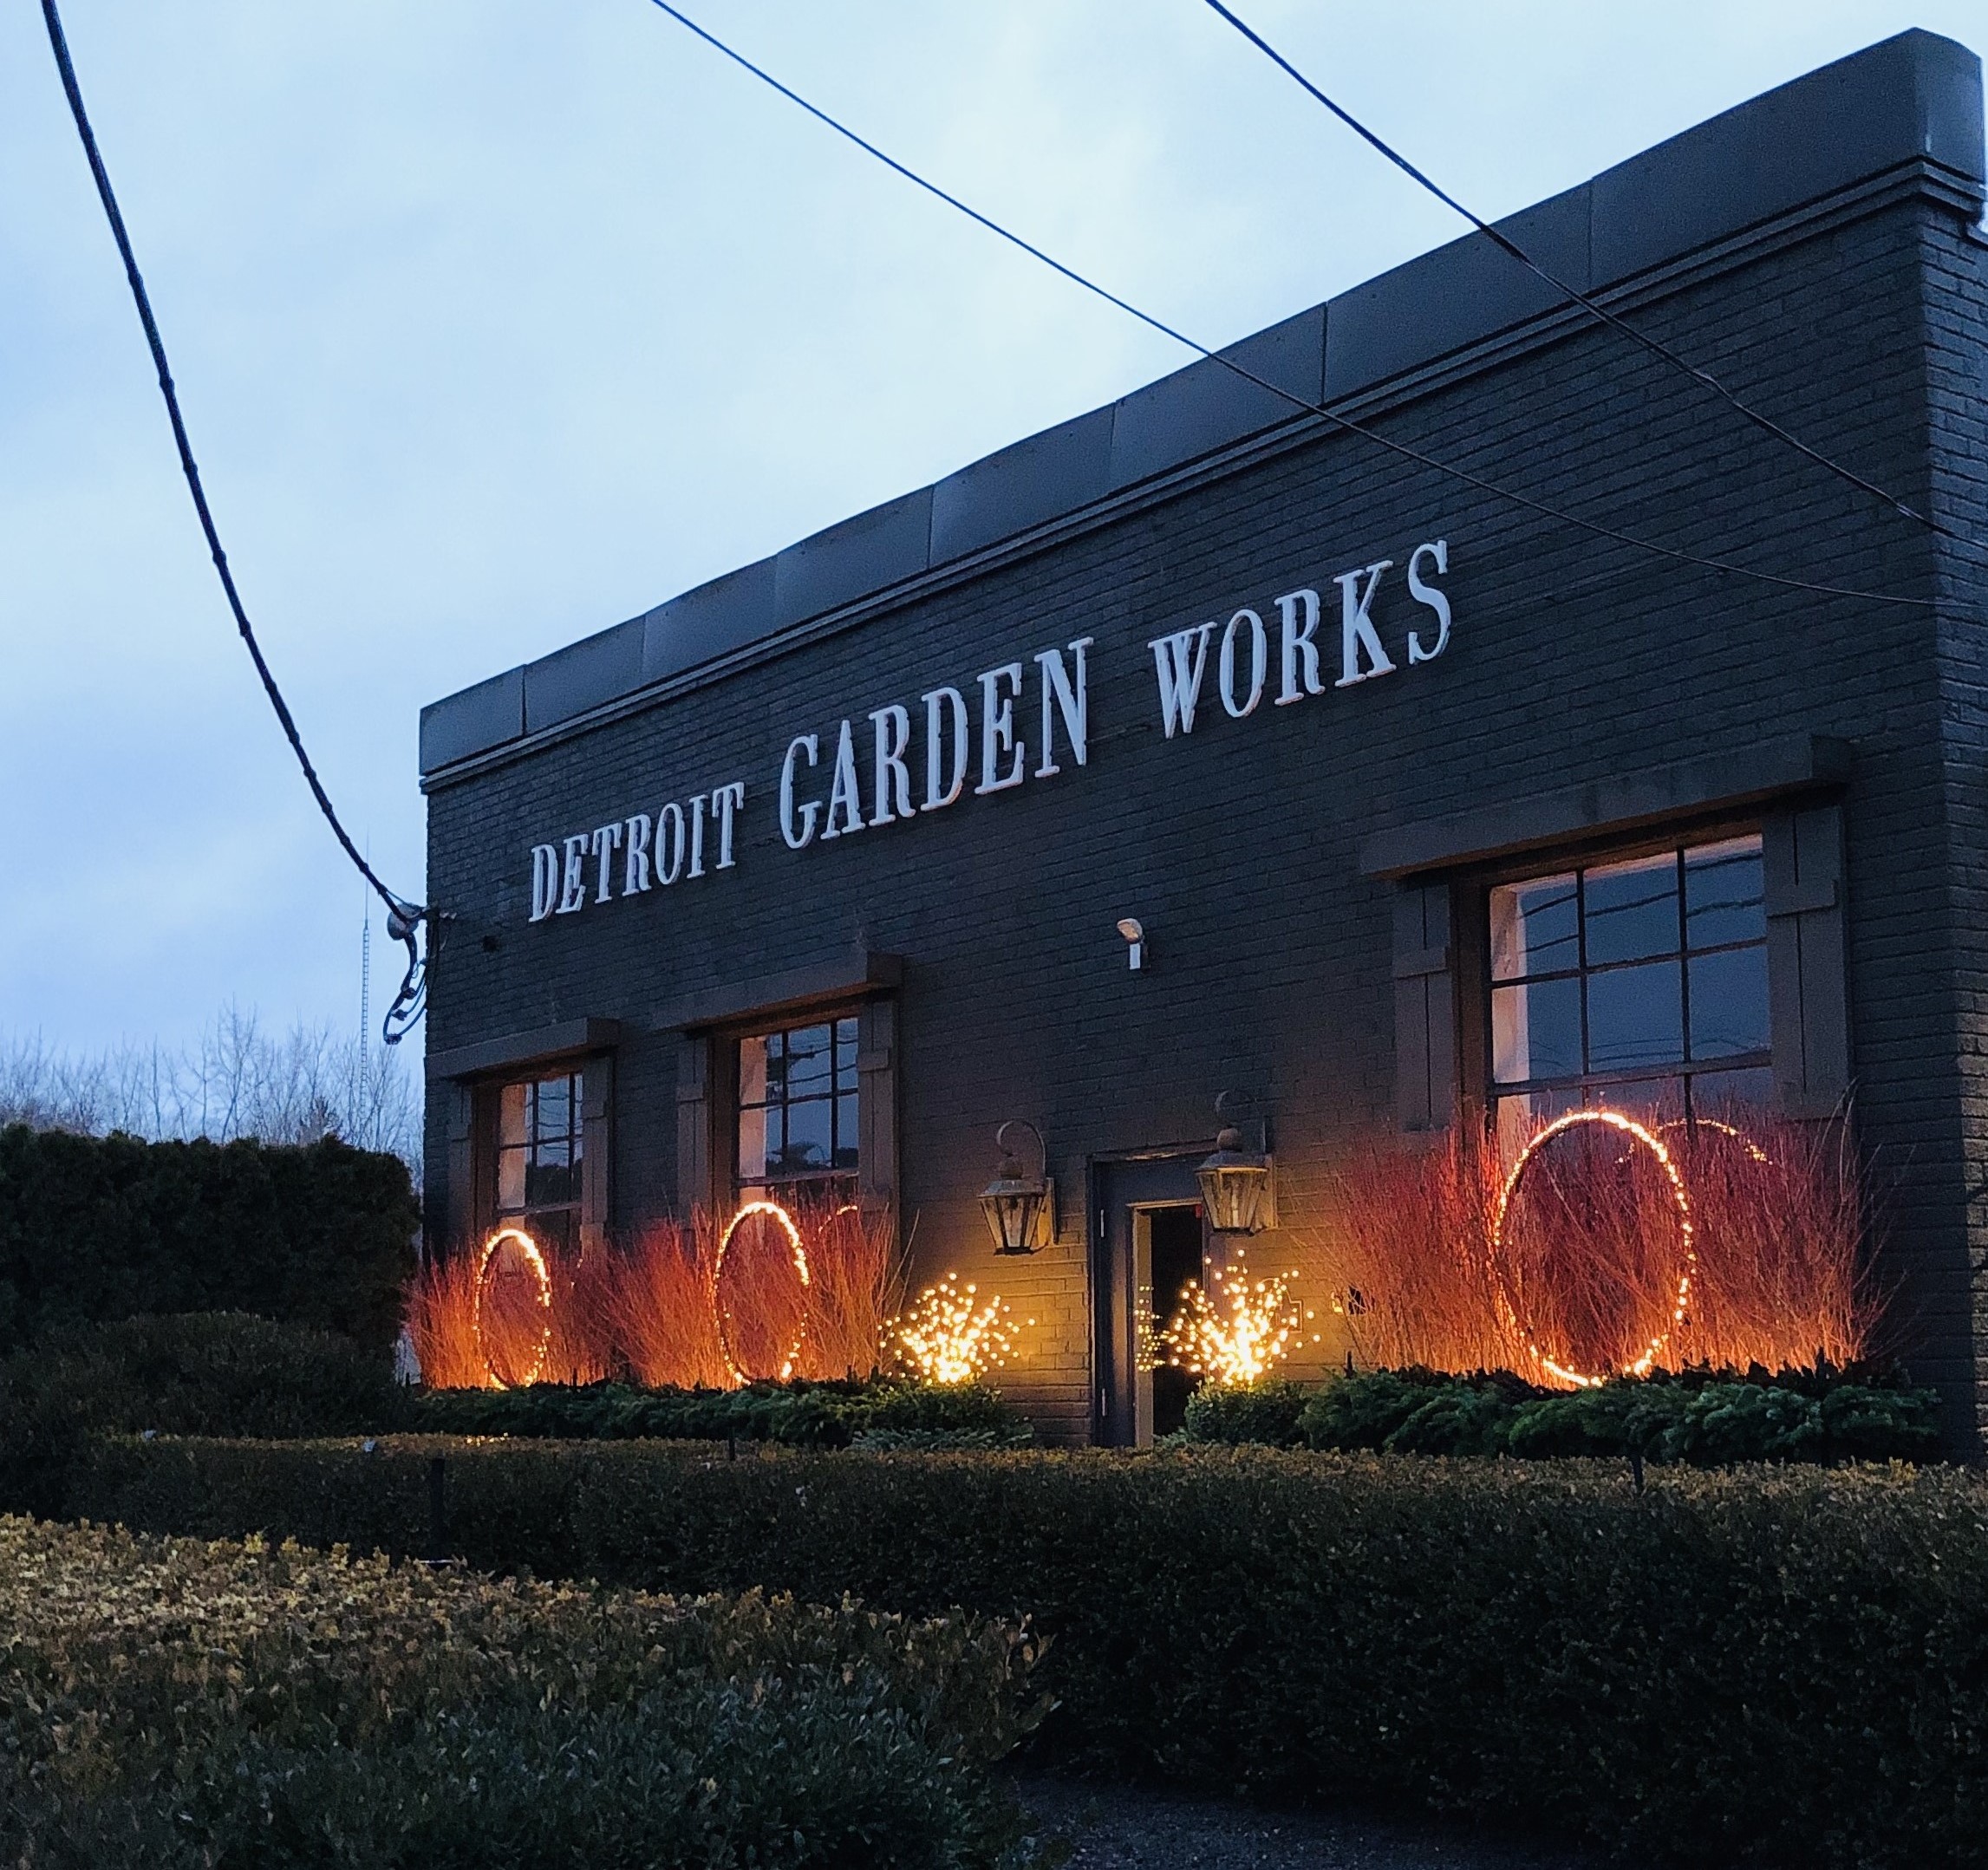
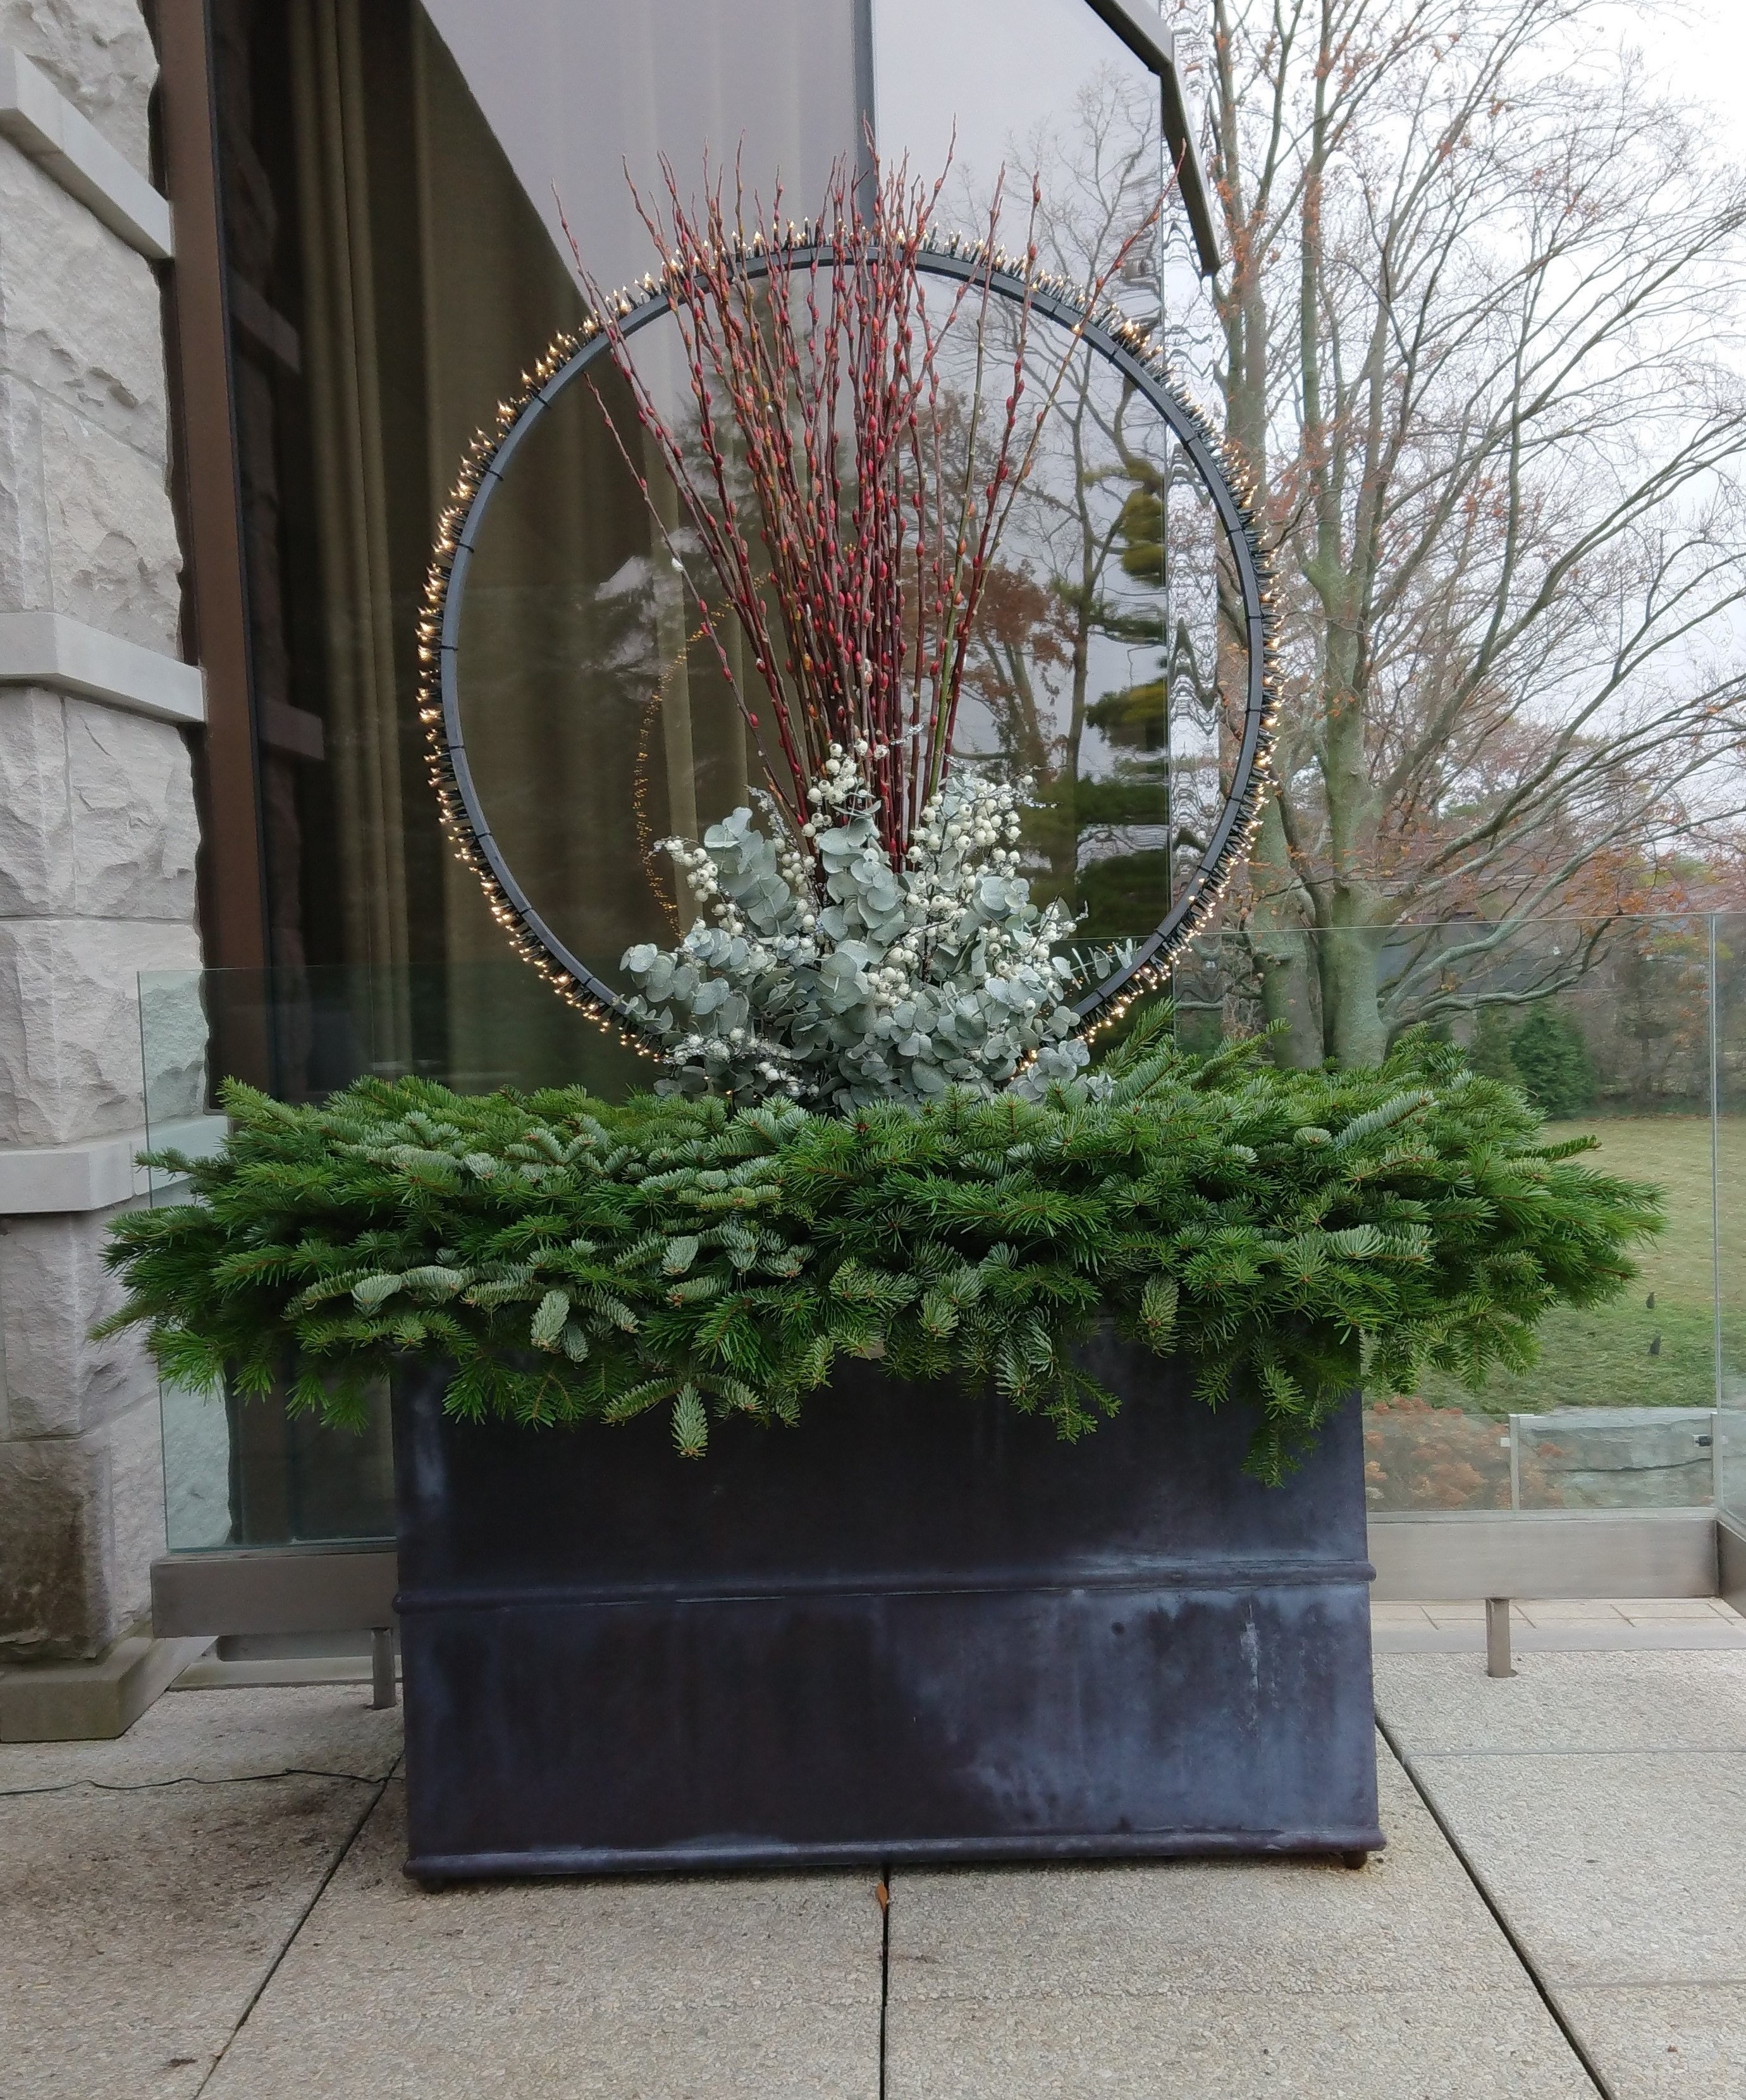
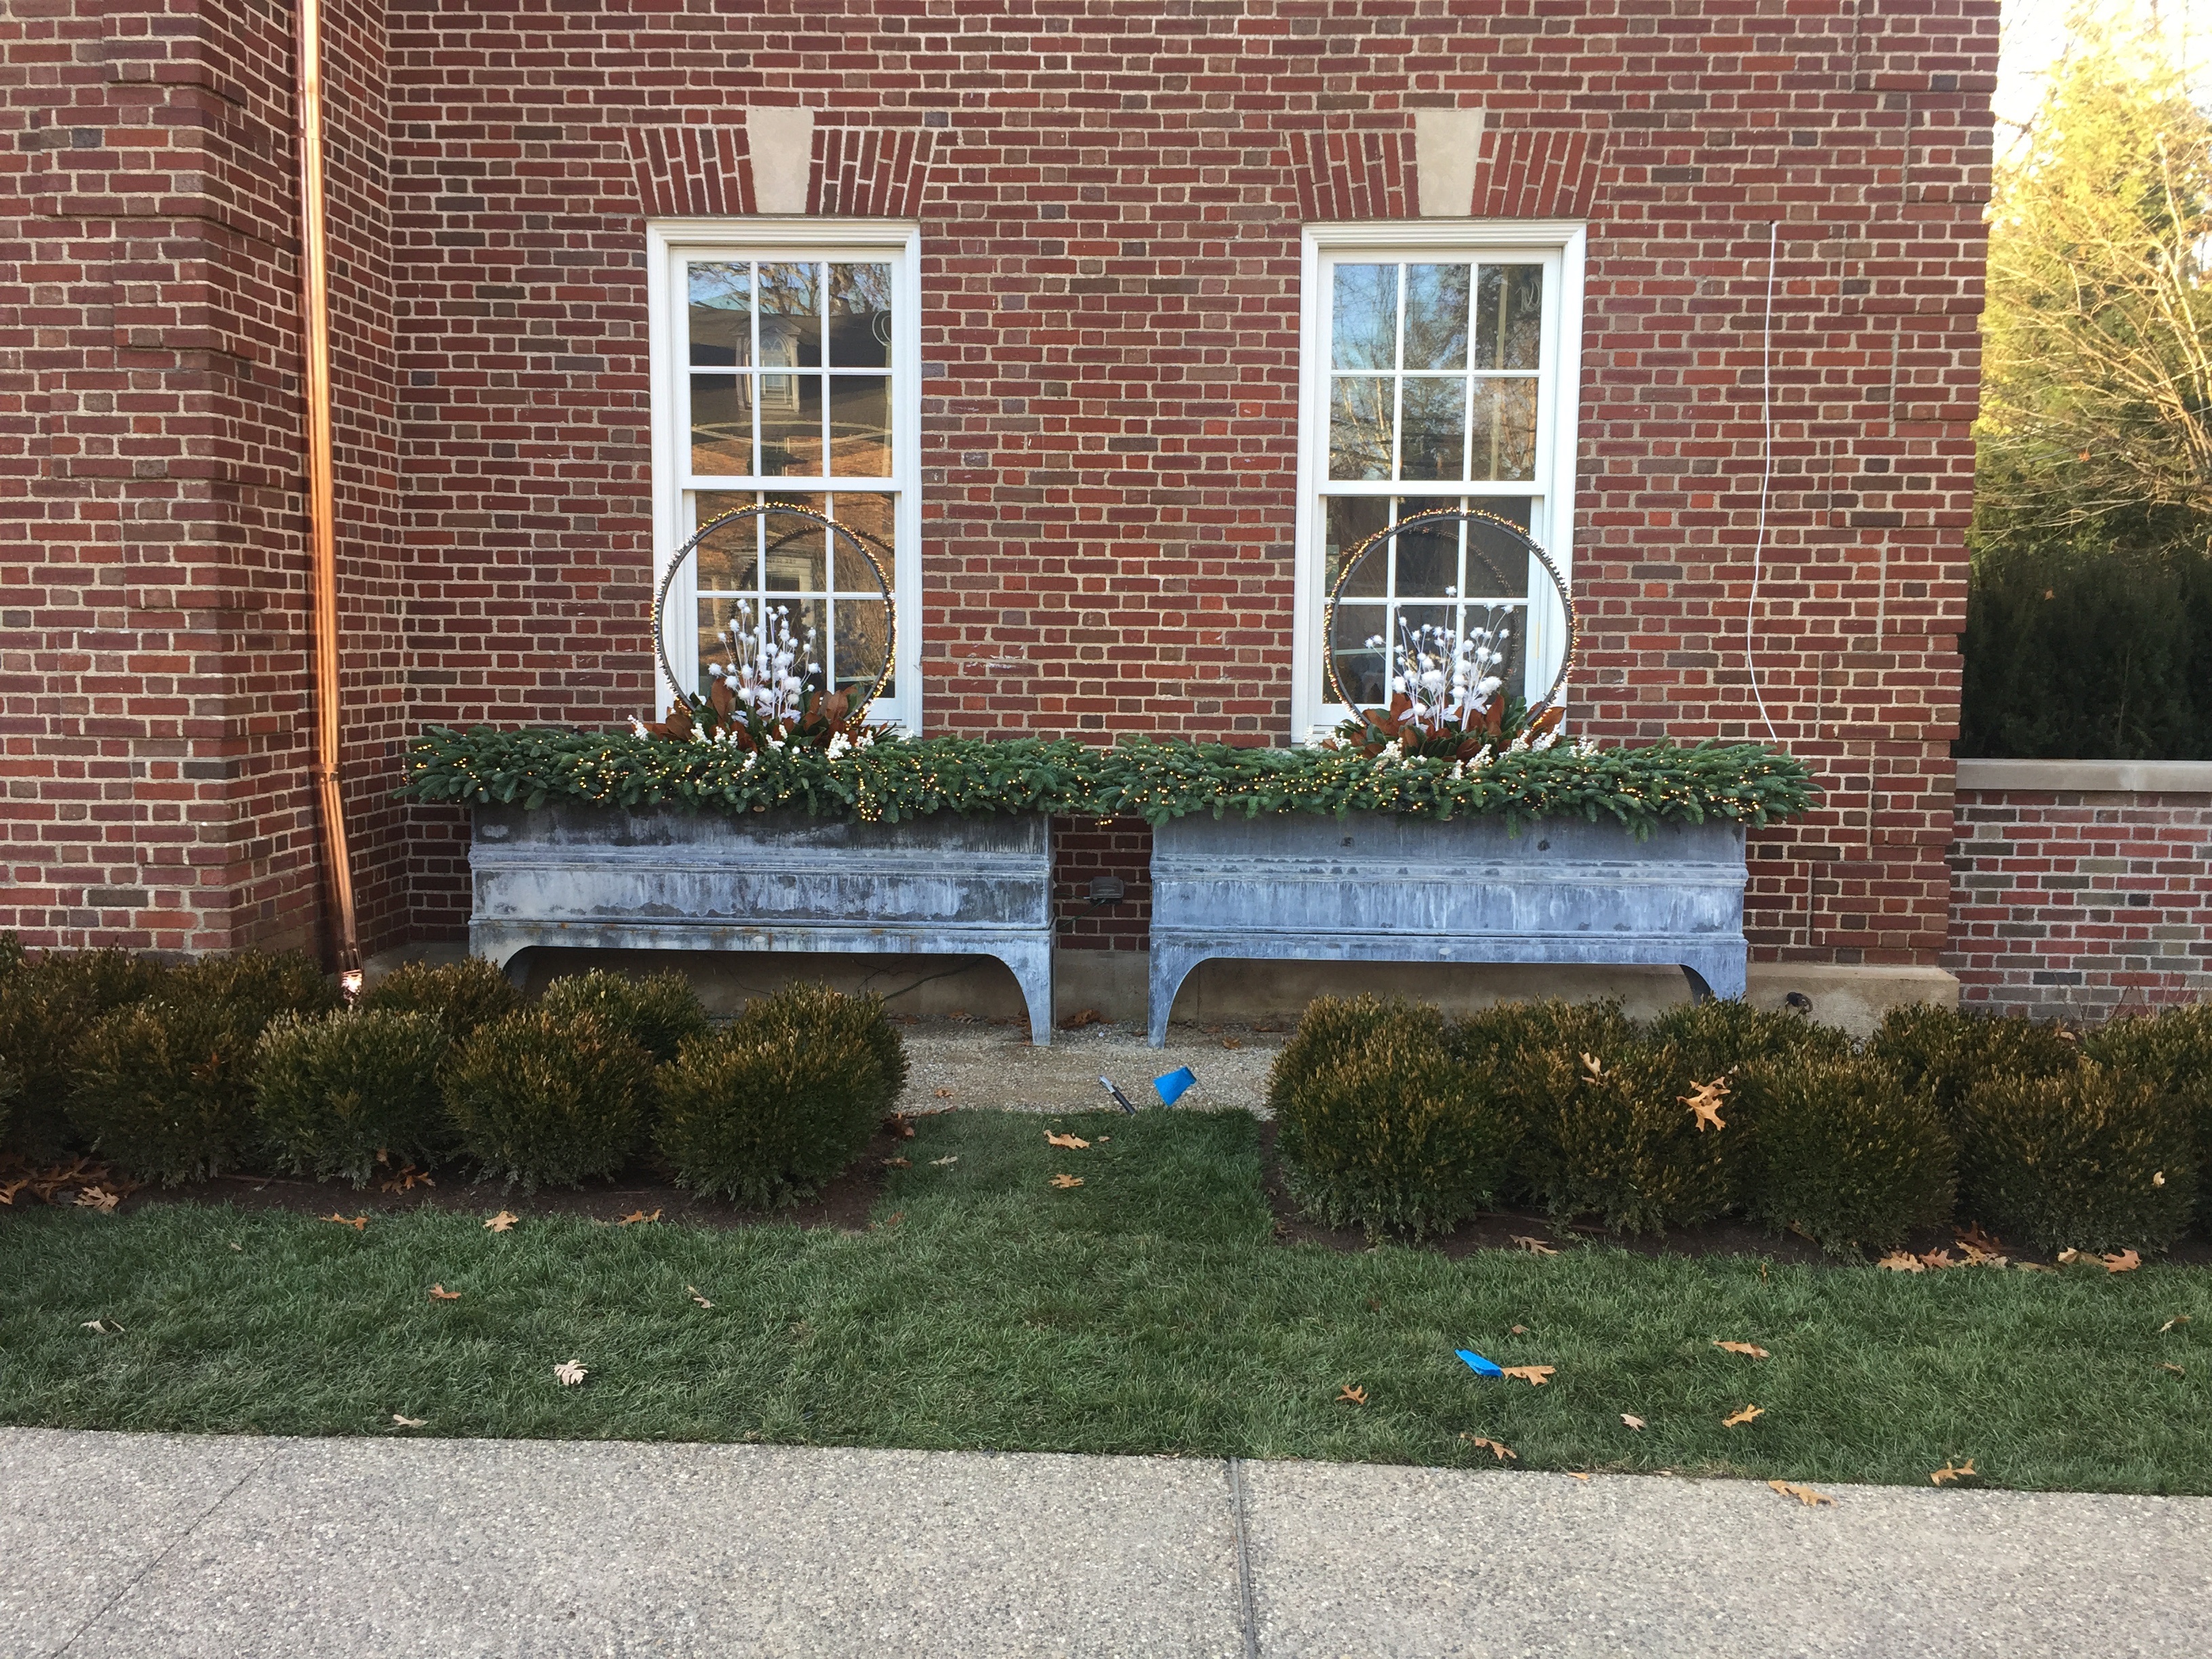
We had already installed the holiday container arrangements. The garland would be a roof over all.
 My membership in that group that nature organizes over the the garden and landscape means I have plenty of perfect moments. This was one of them.
 A perfect moment in the garden may come at any time. And not necessarily when we expect it.
 Beautiful, this. Best regards, Natasha.

 T
T