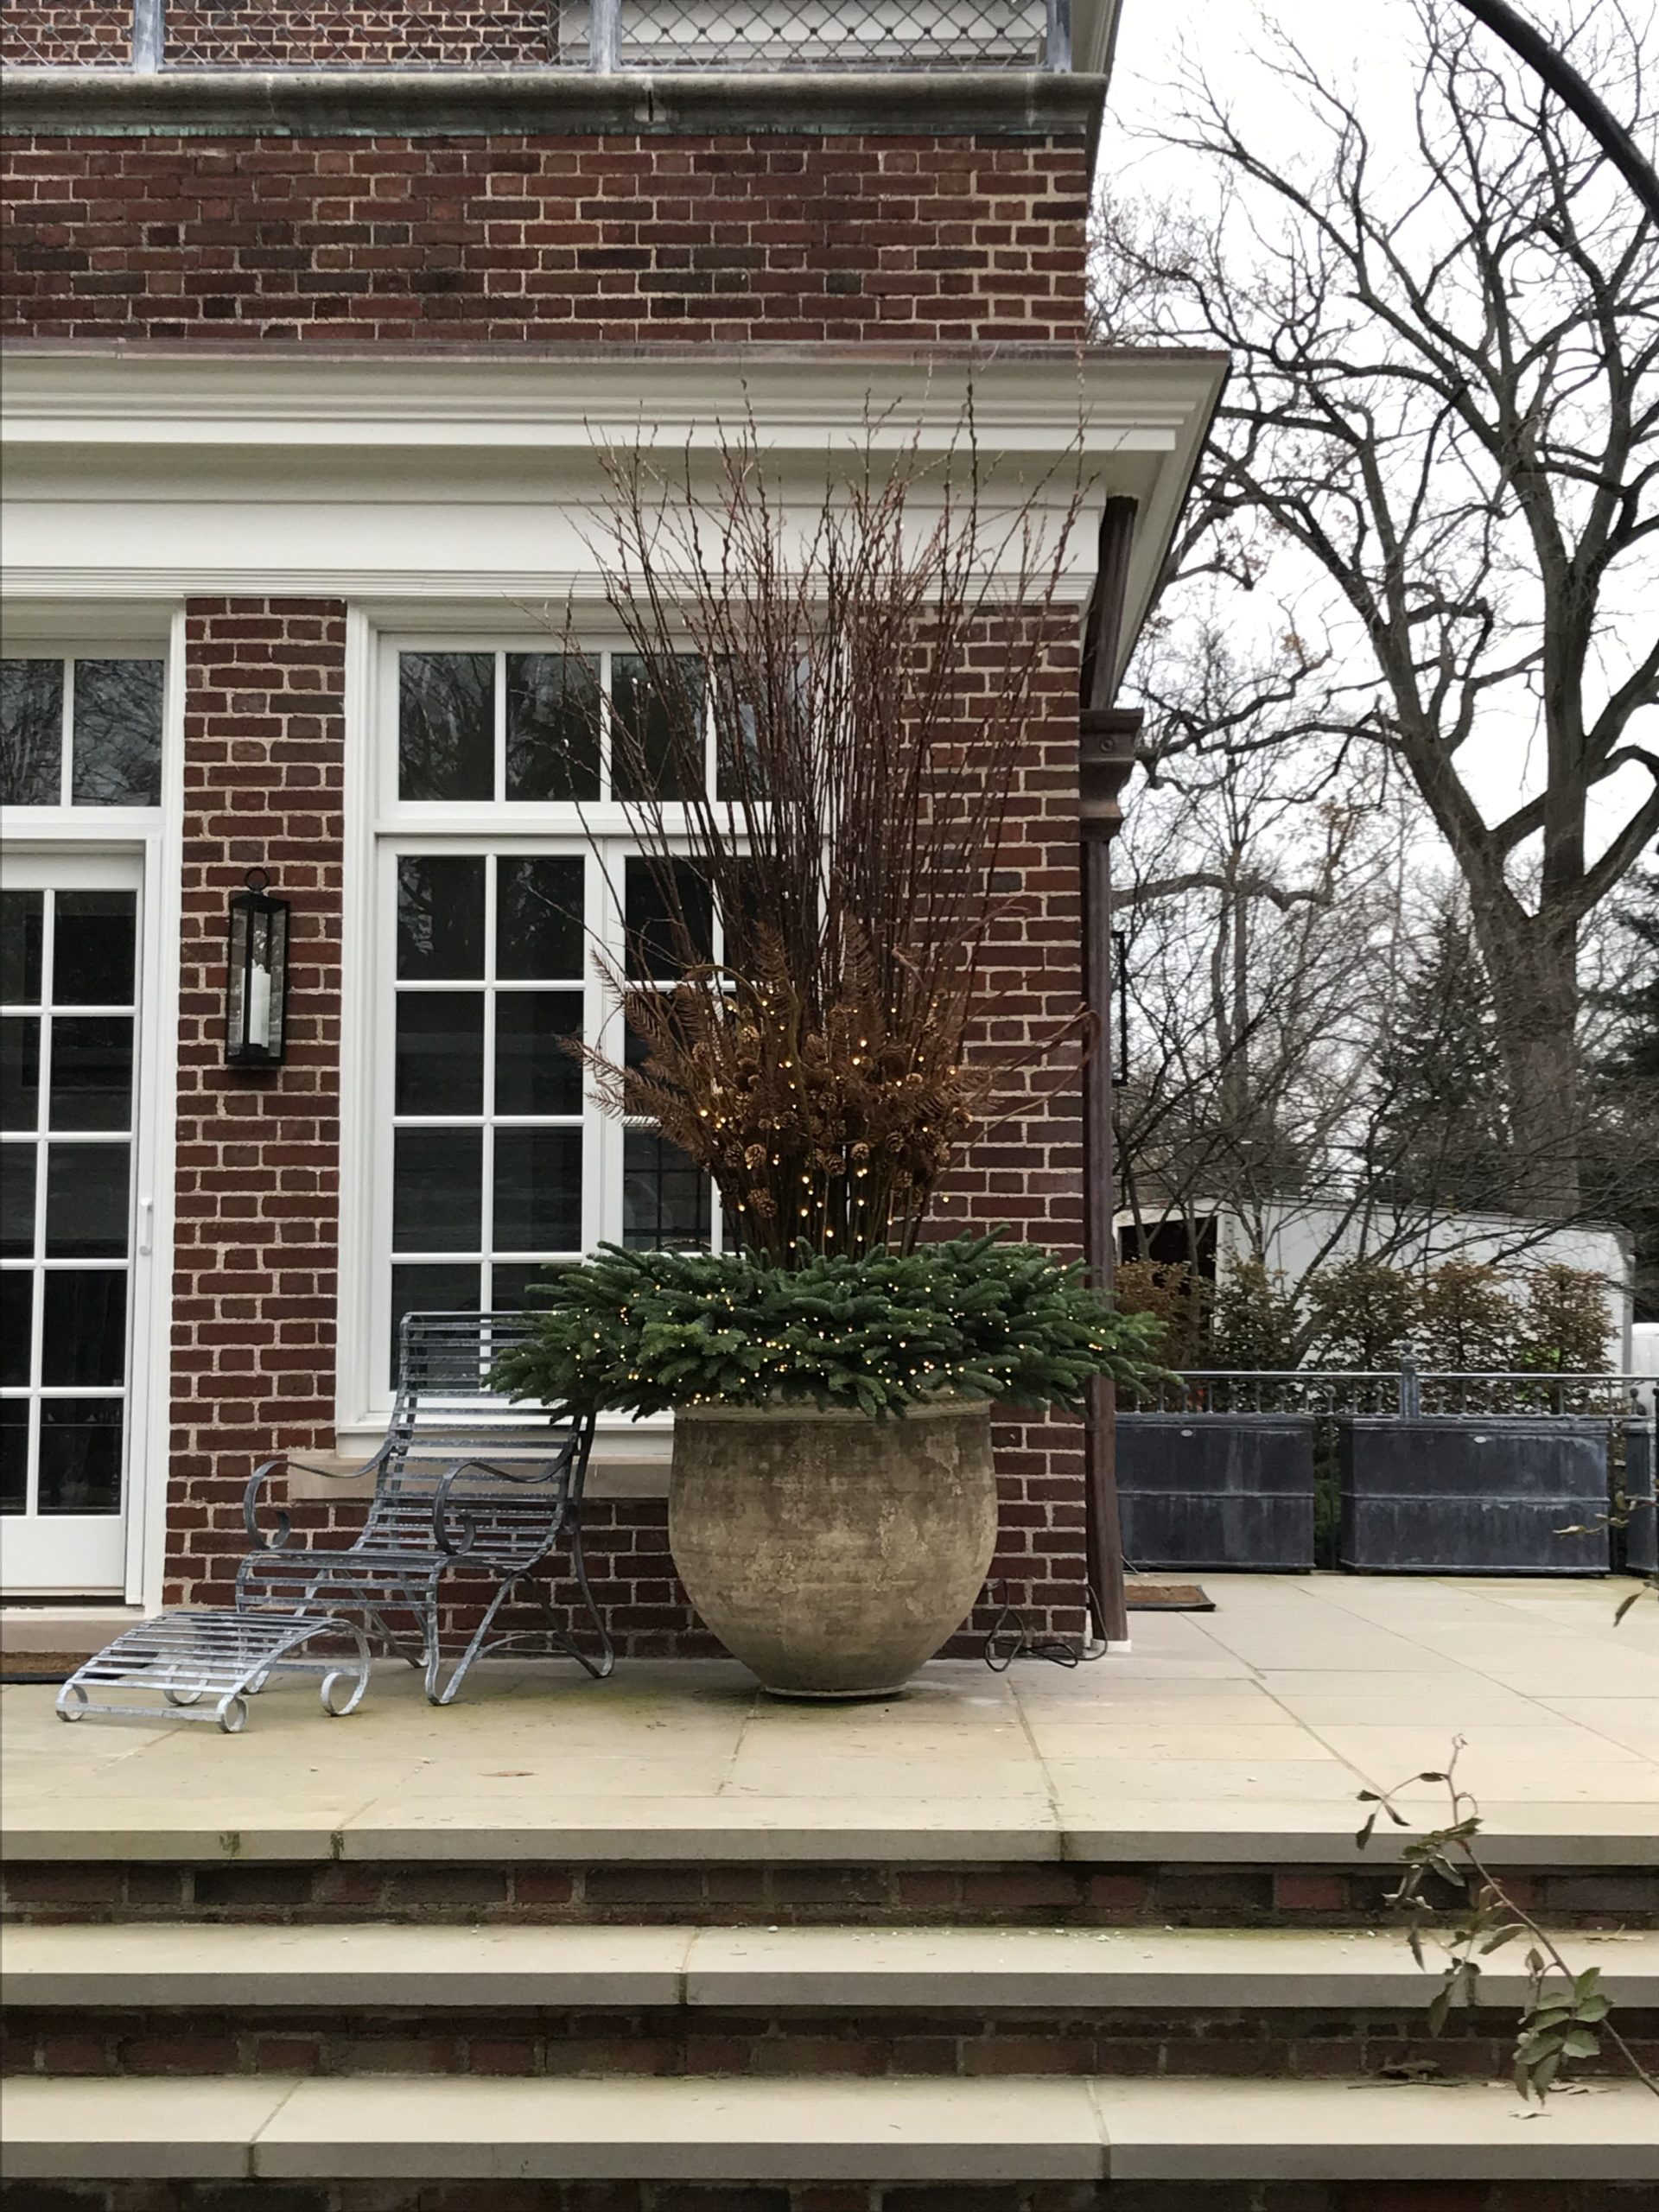
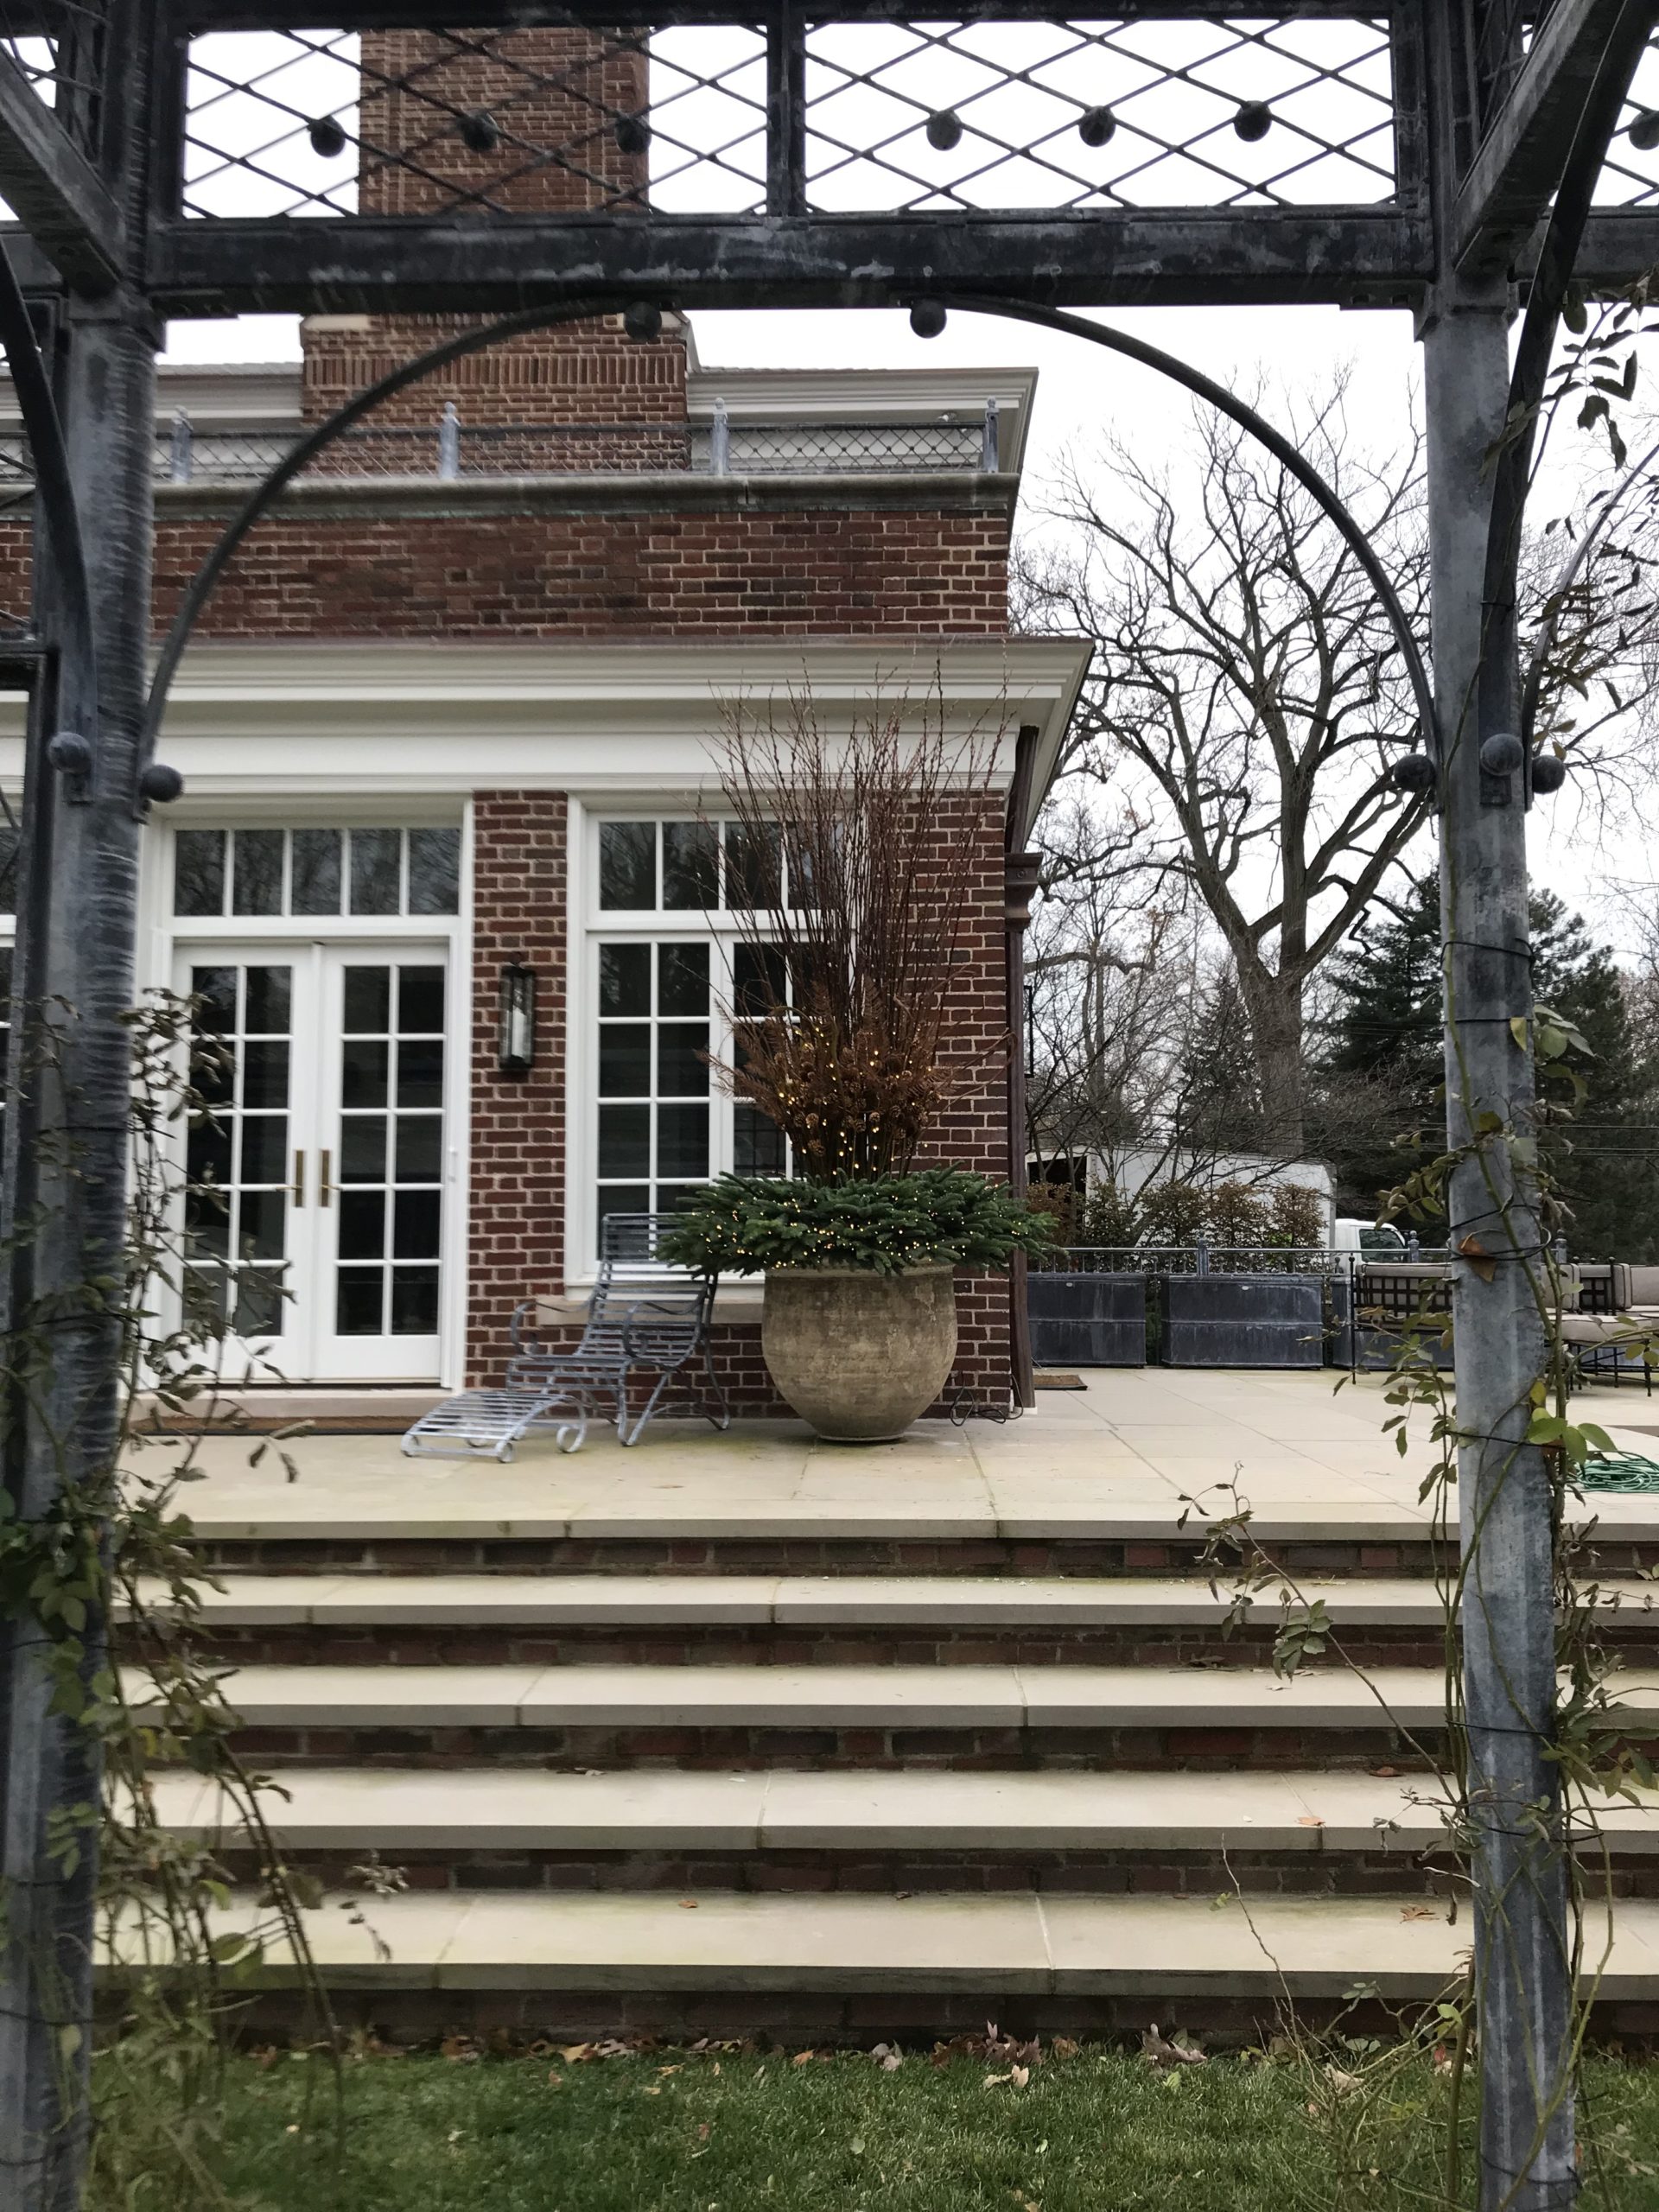
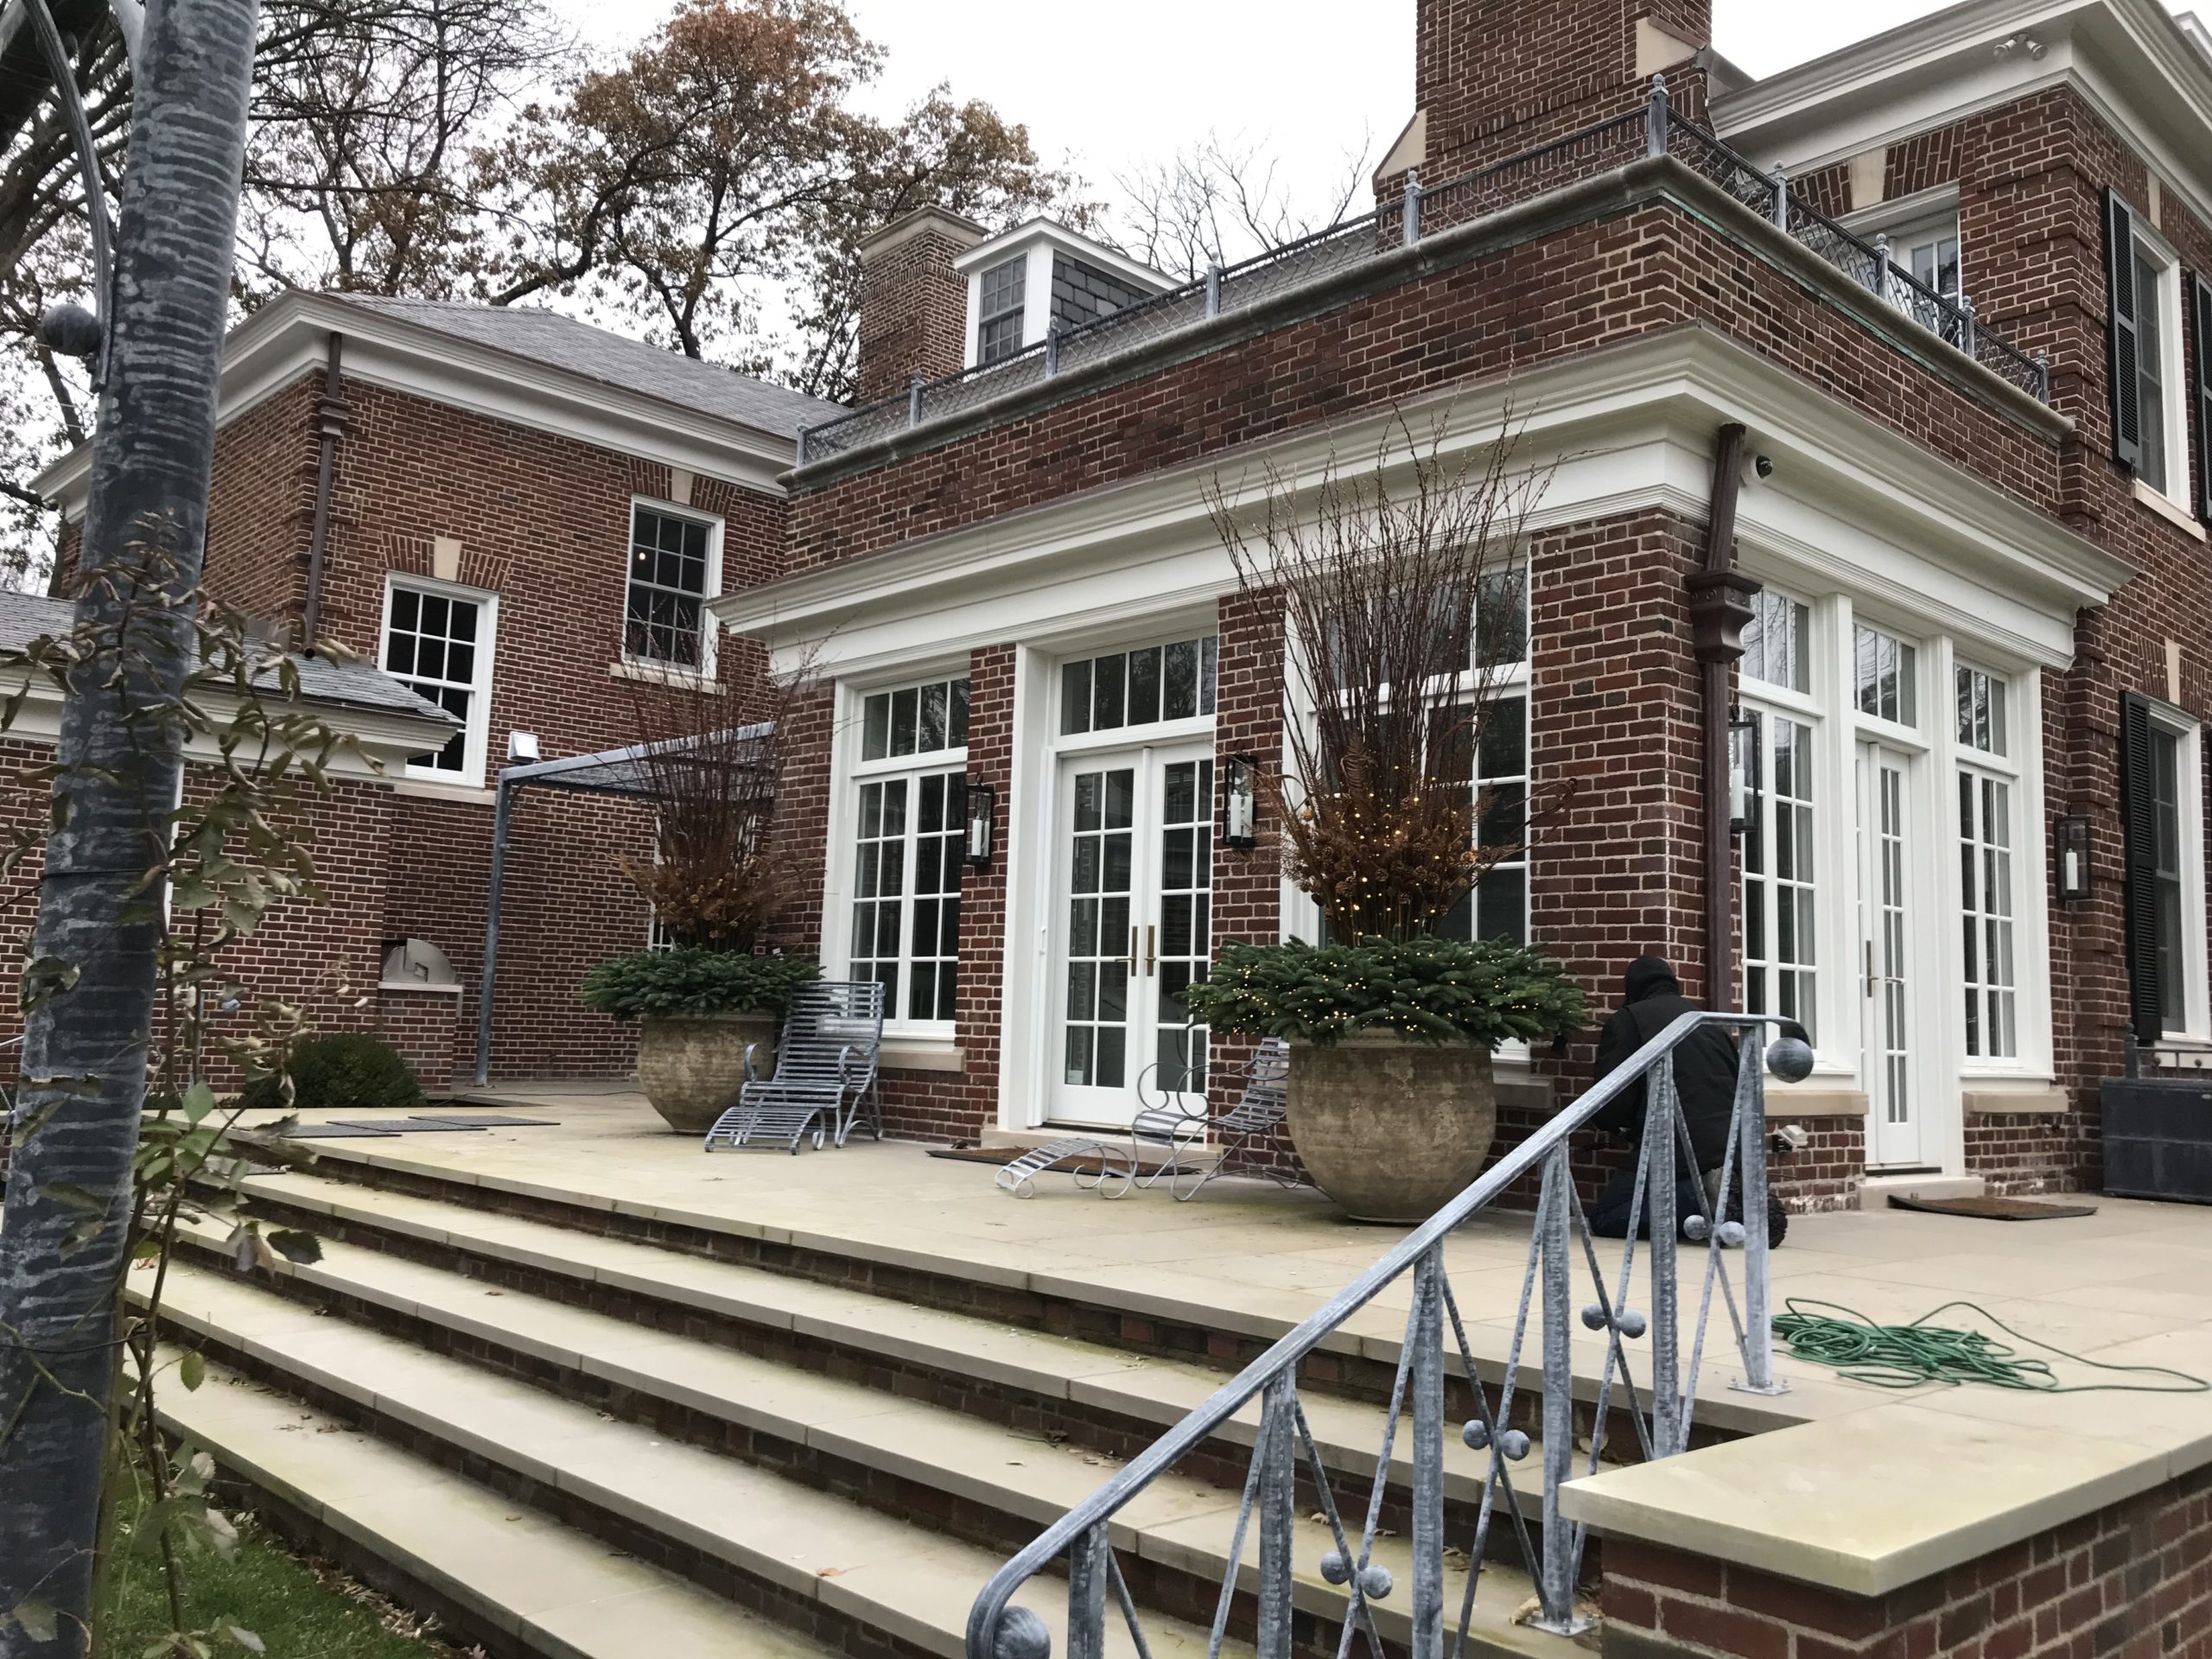
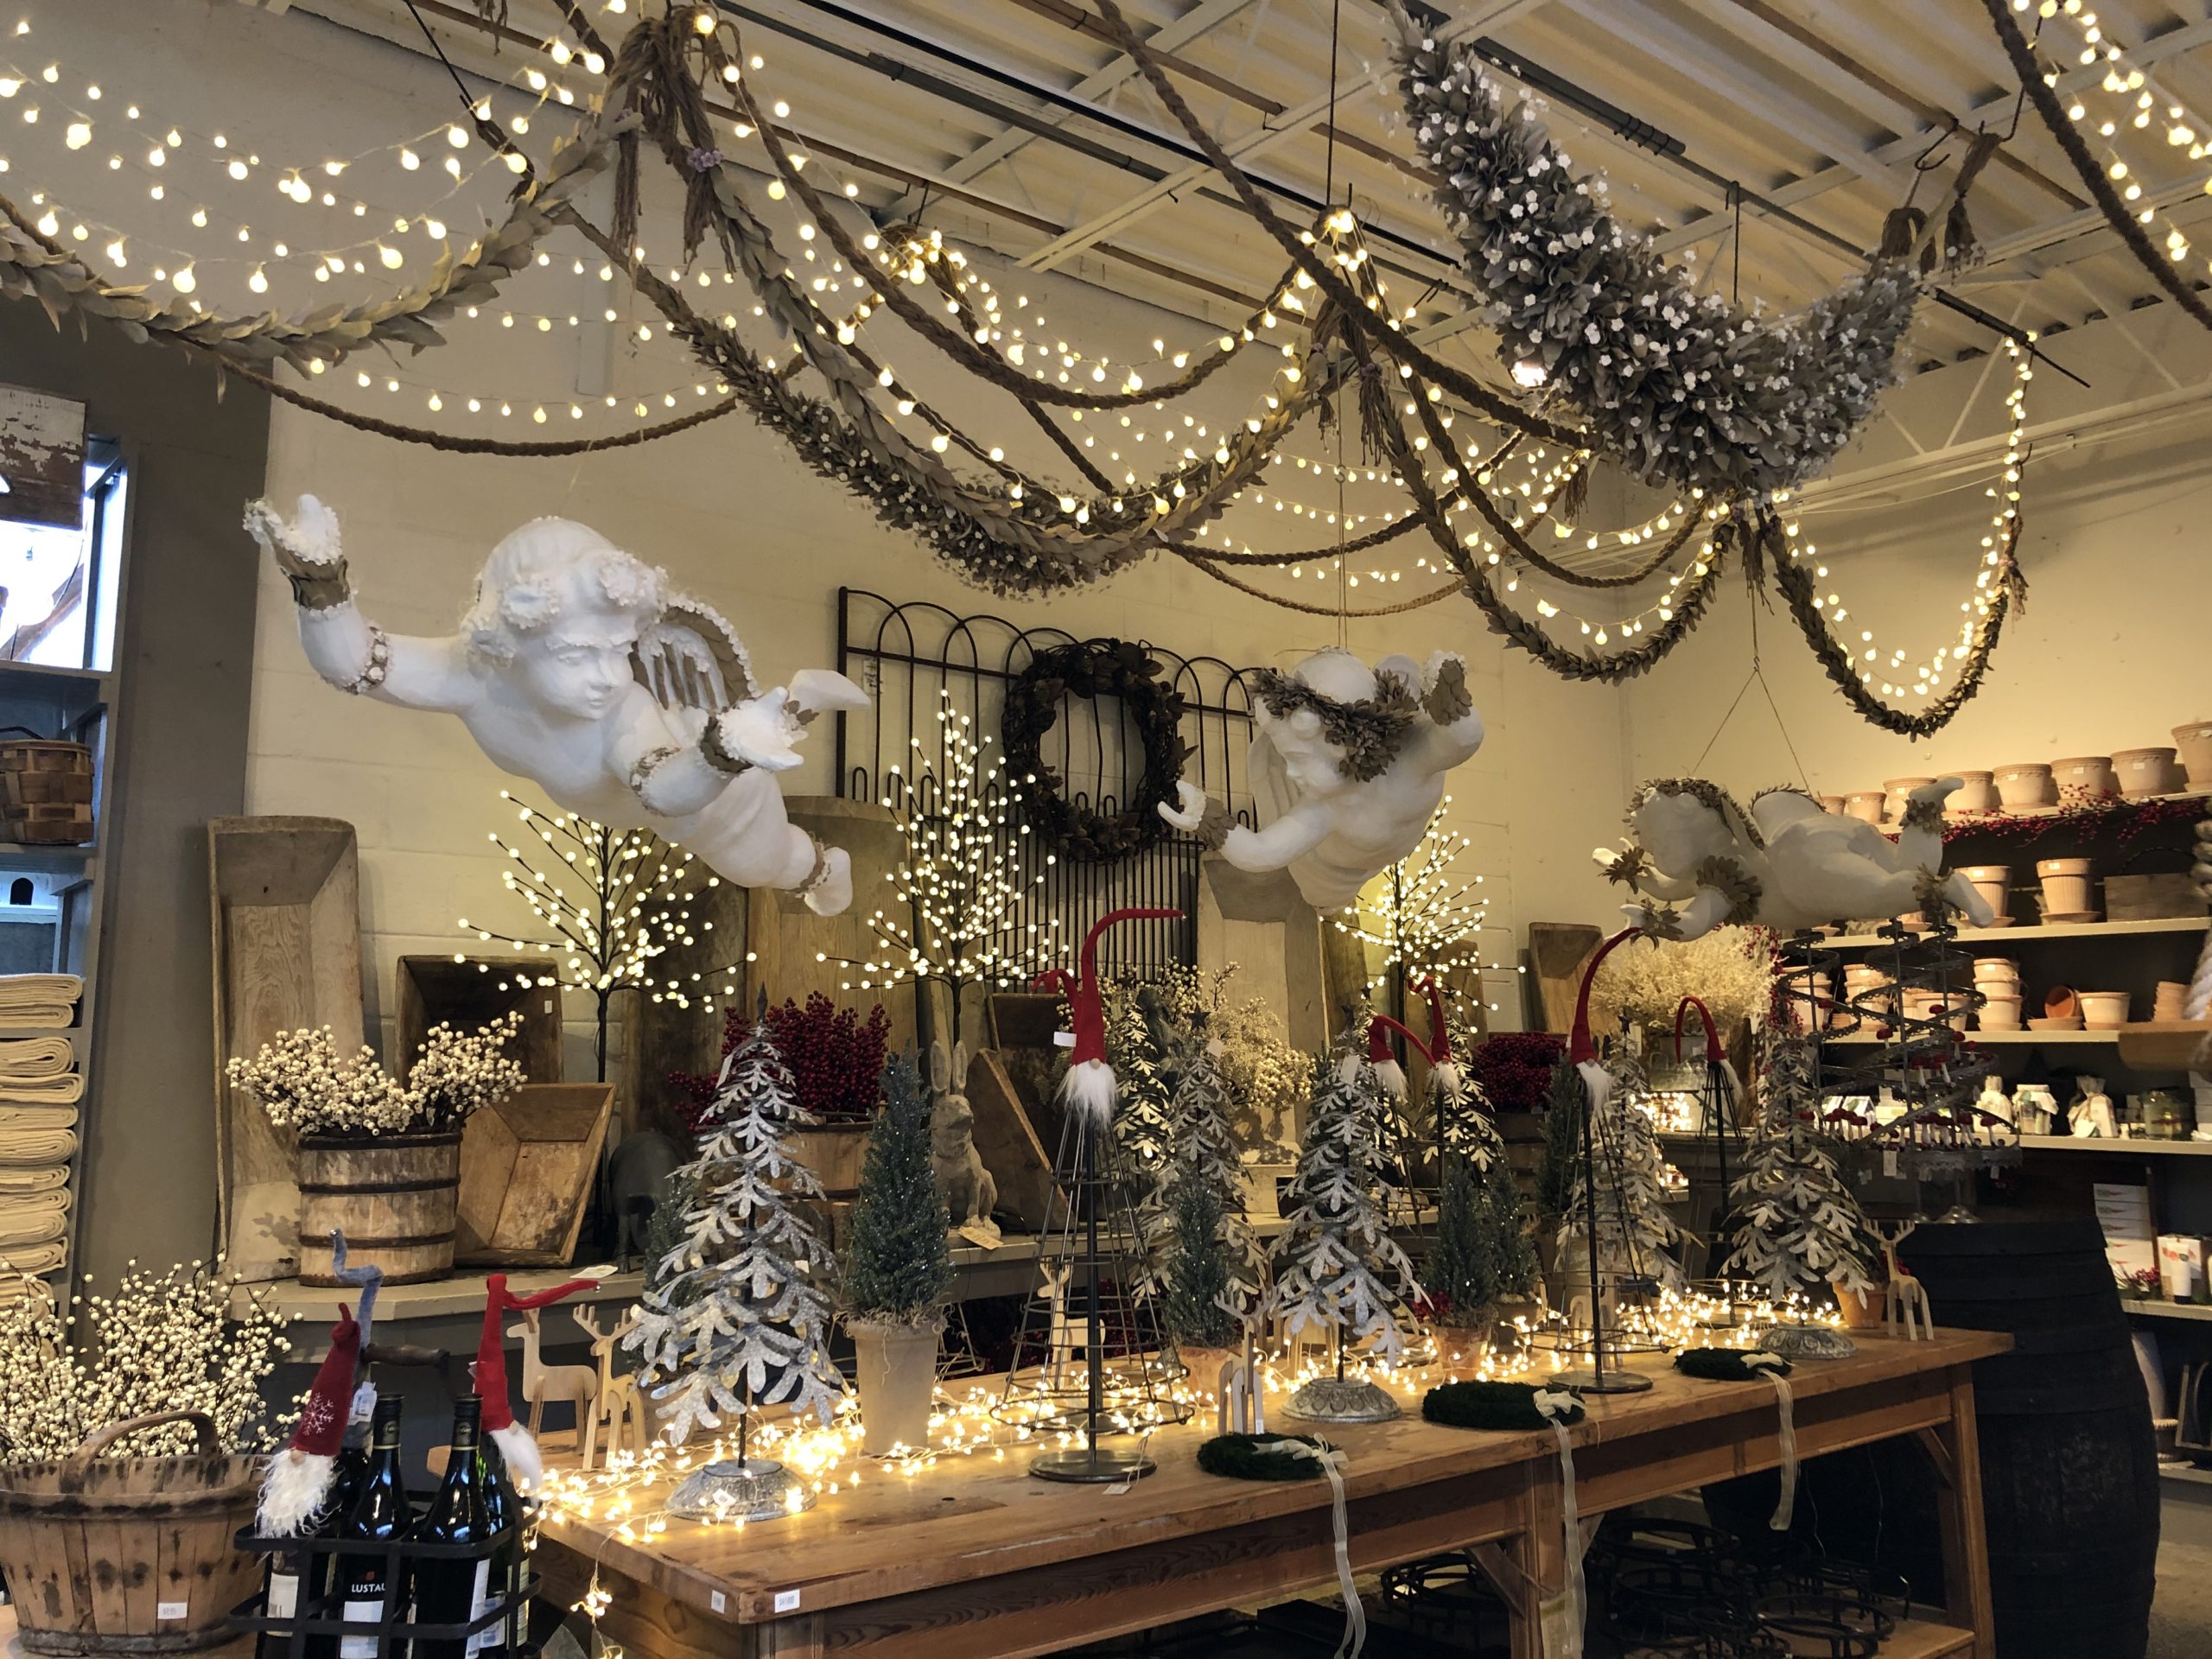
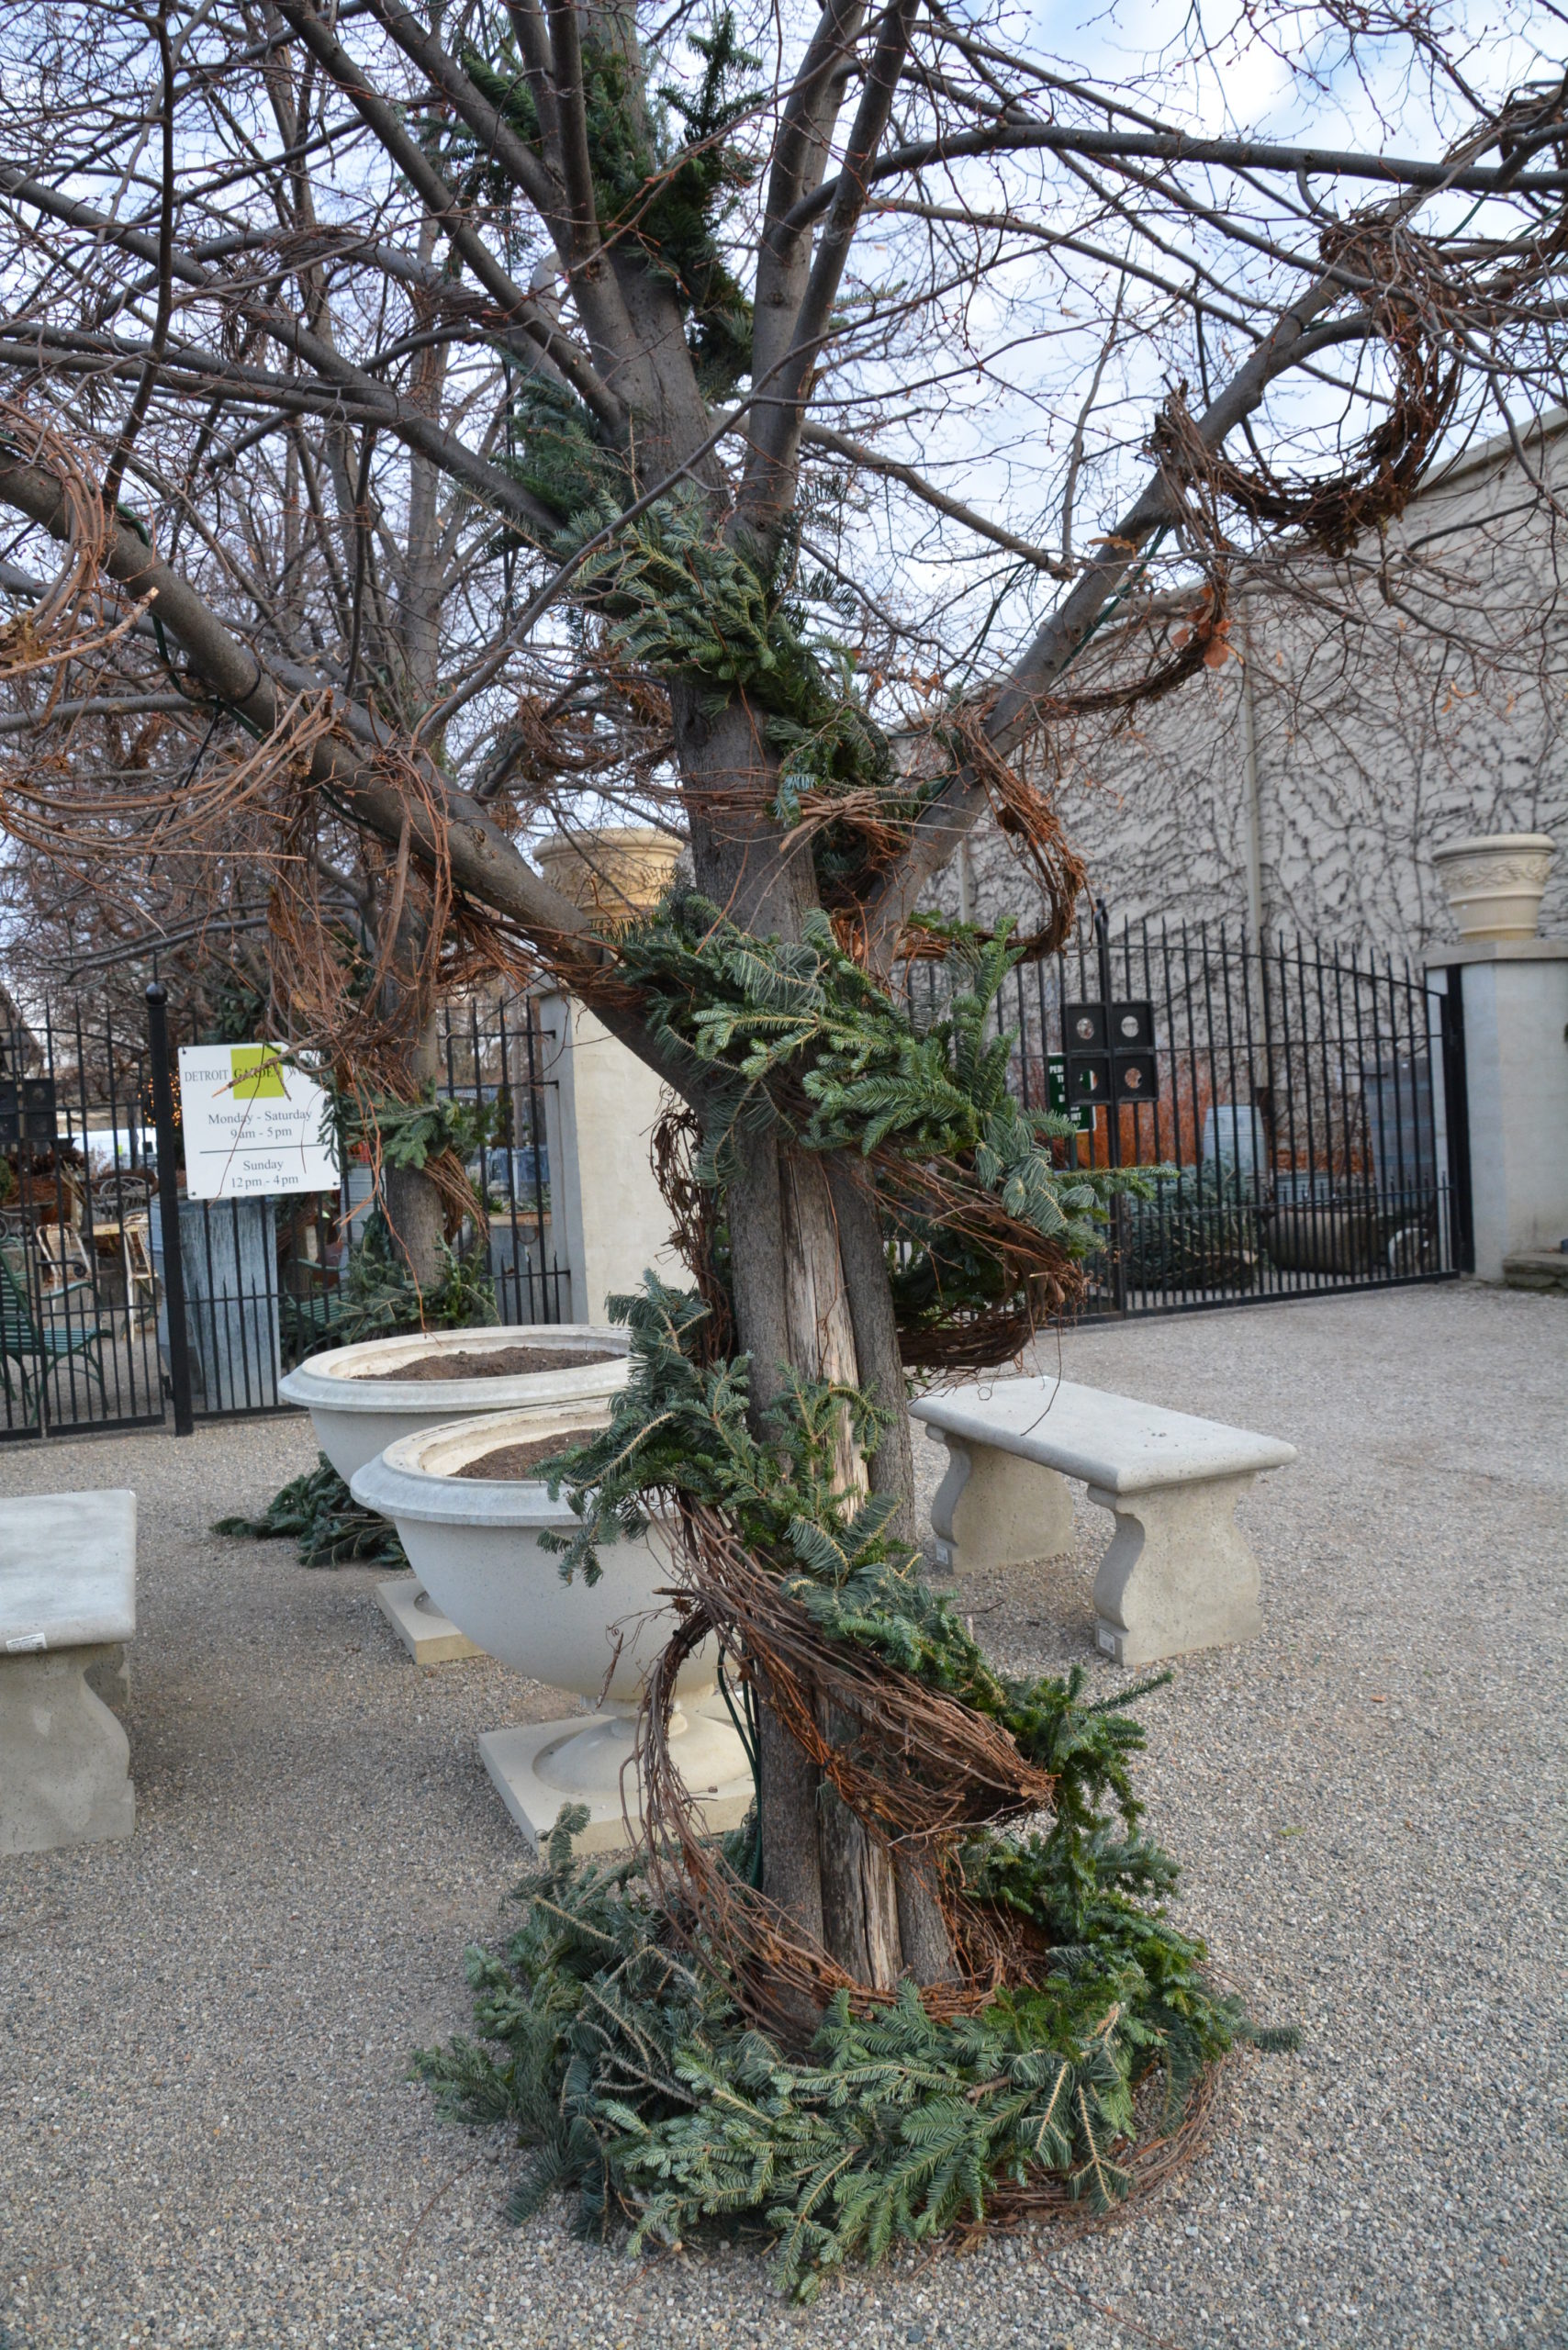
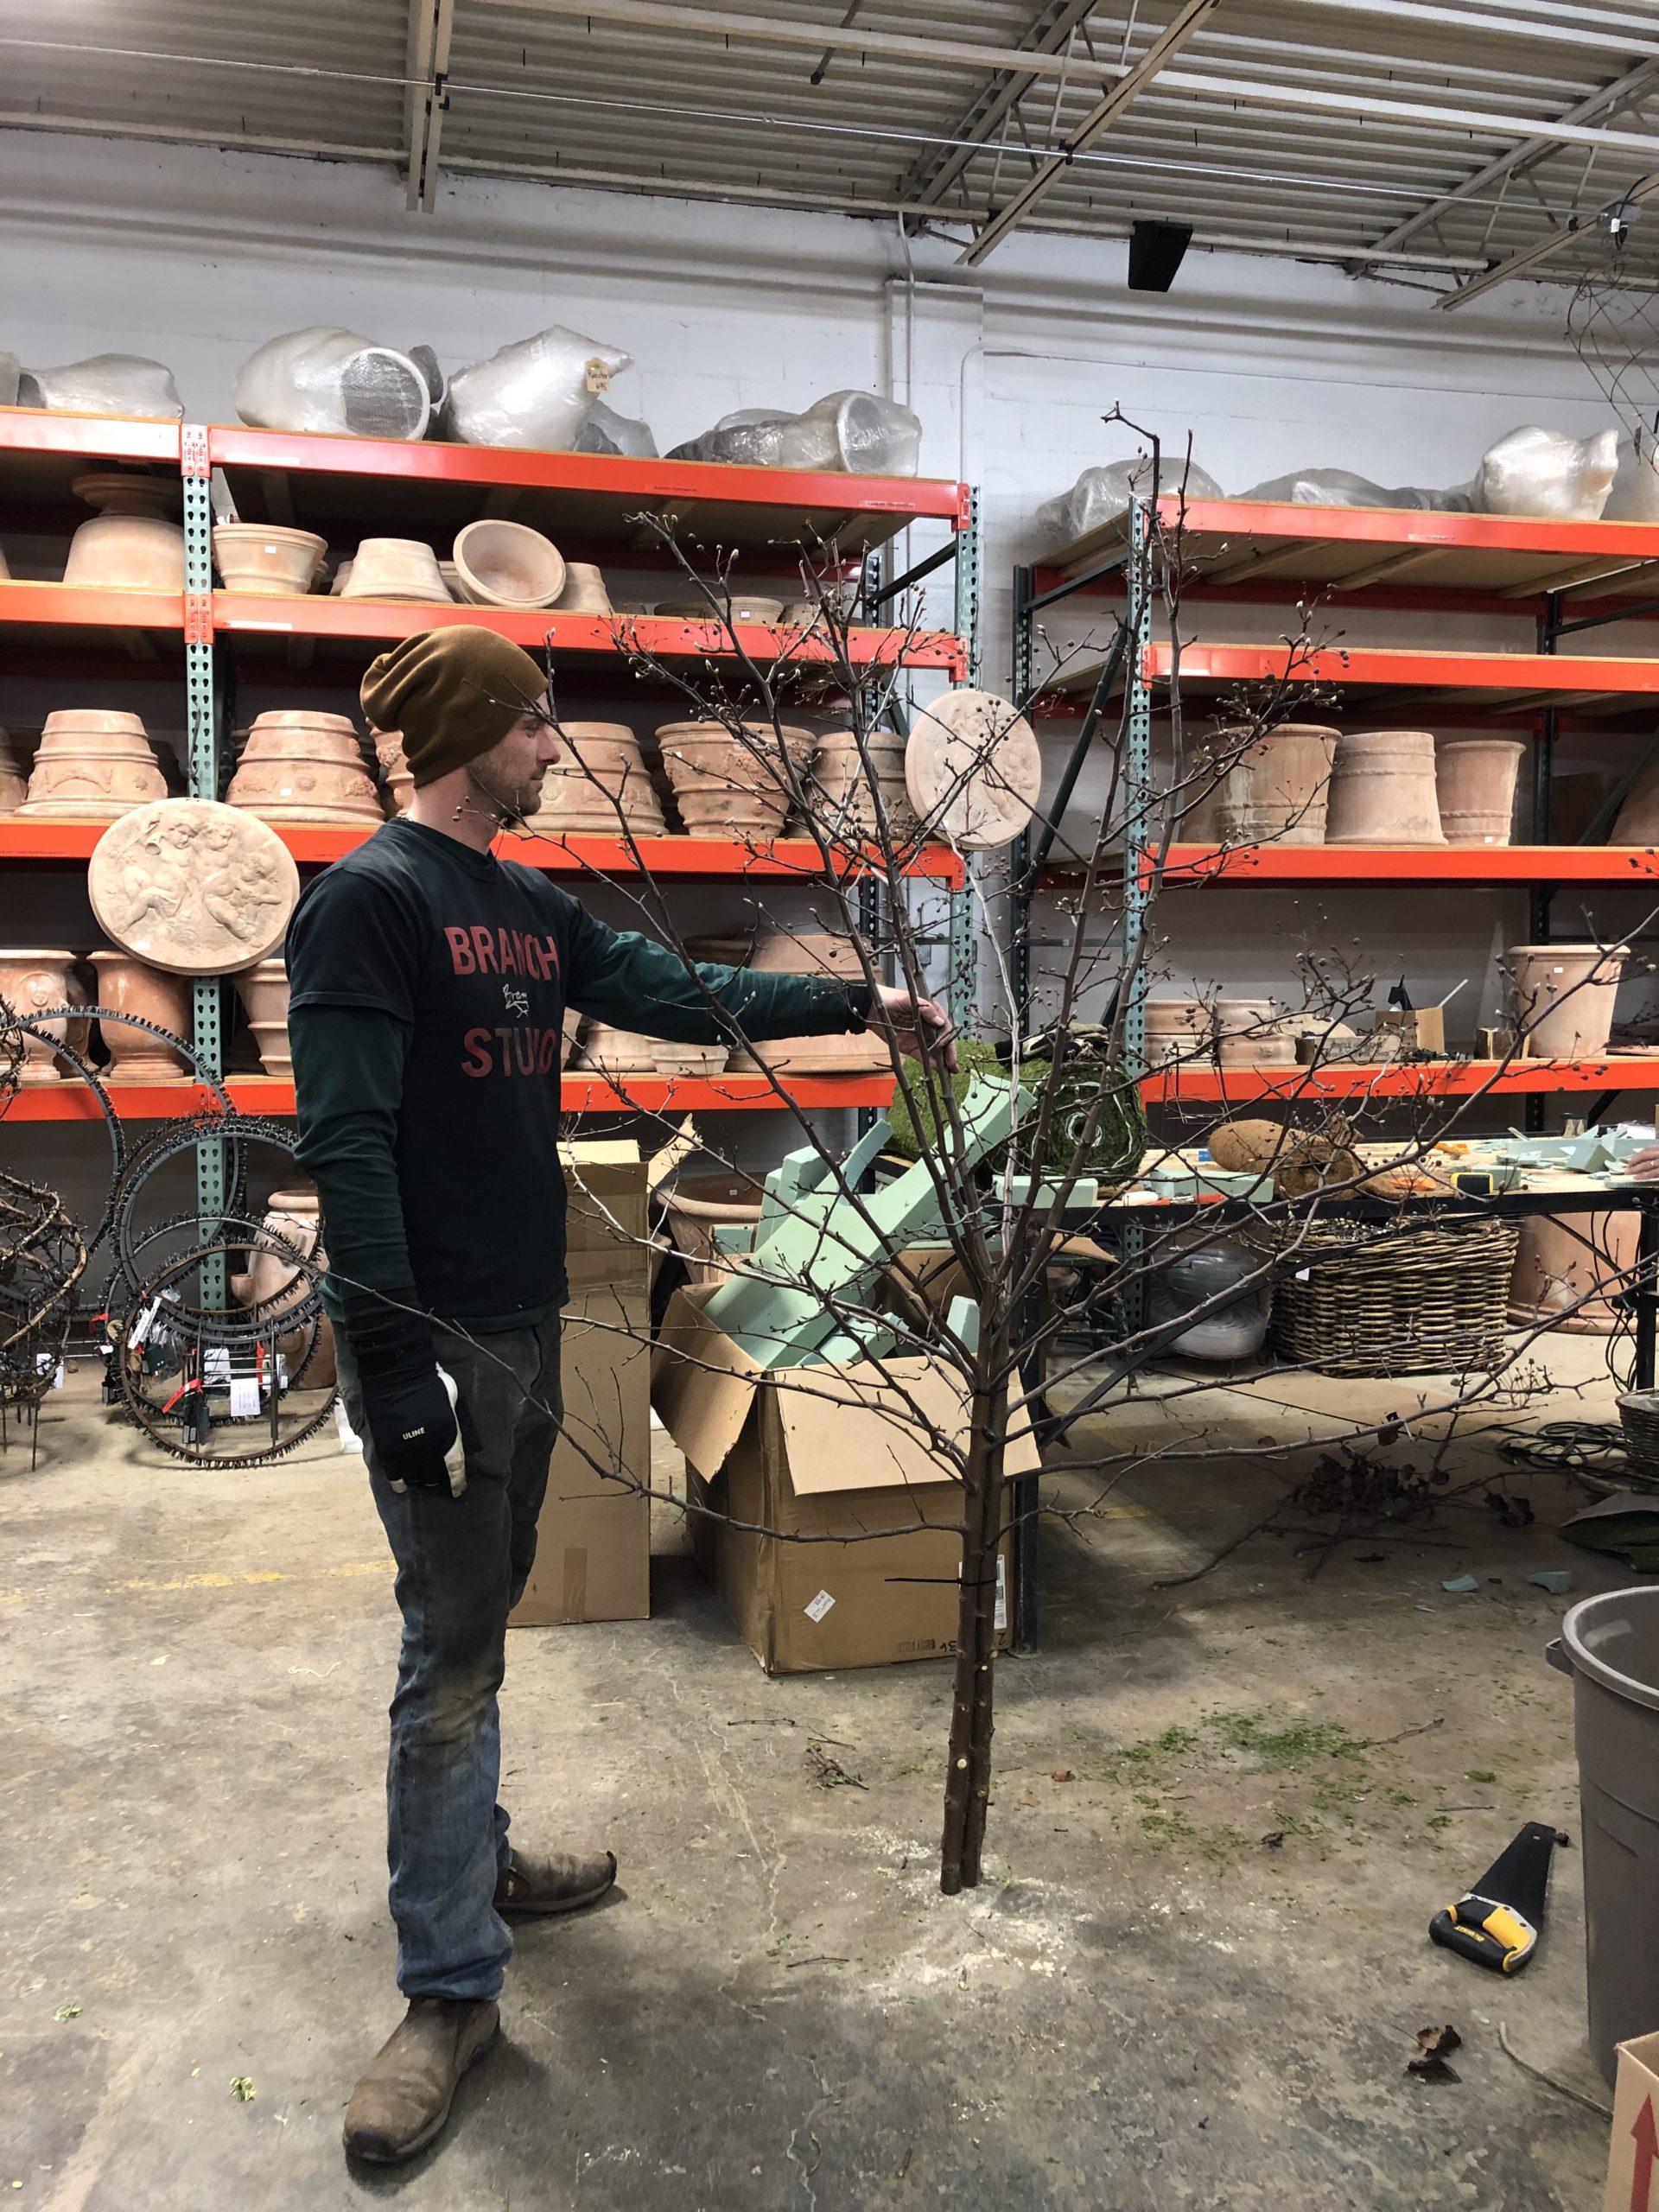
 Not every holiday tree necessarily needs to sport needles, and have a cone like shape, does it? We did have a request from a client for an alternative and more sculptural version of the traditional lighted tree. I was happy to oblige, given that senior Branch Studio fabricators Sal and James indicated they were willing to give me a hand. The three of us were able to find a pair of young and one sided Bradford pear branches that fit the bill. Once they were zip tied together, I was sure they would provide a holiday twig tree of distinction. What is James doing here? He is holding the tree assembly, waiting for Sal to get our client’s container ready to hold that tree. I call this holding the flashlight. When two or more people join forces to get a project underway, some hands are active, and some hands are on standby, waiting to participate in the next step. A project like this takes more than one pair of hands.
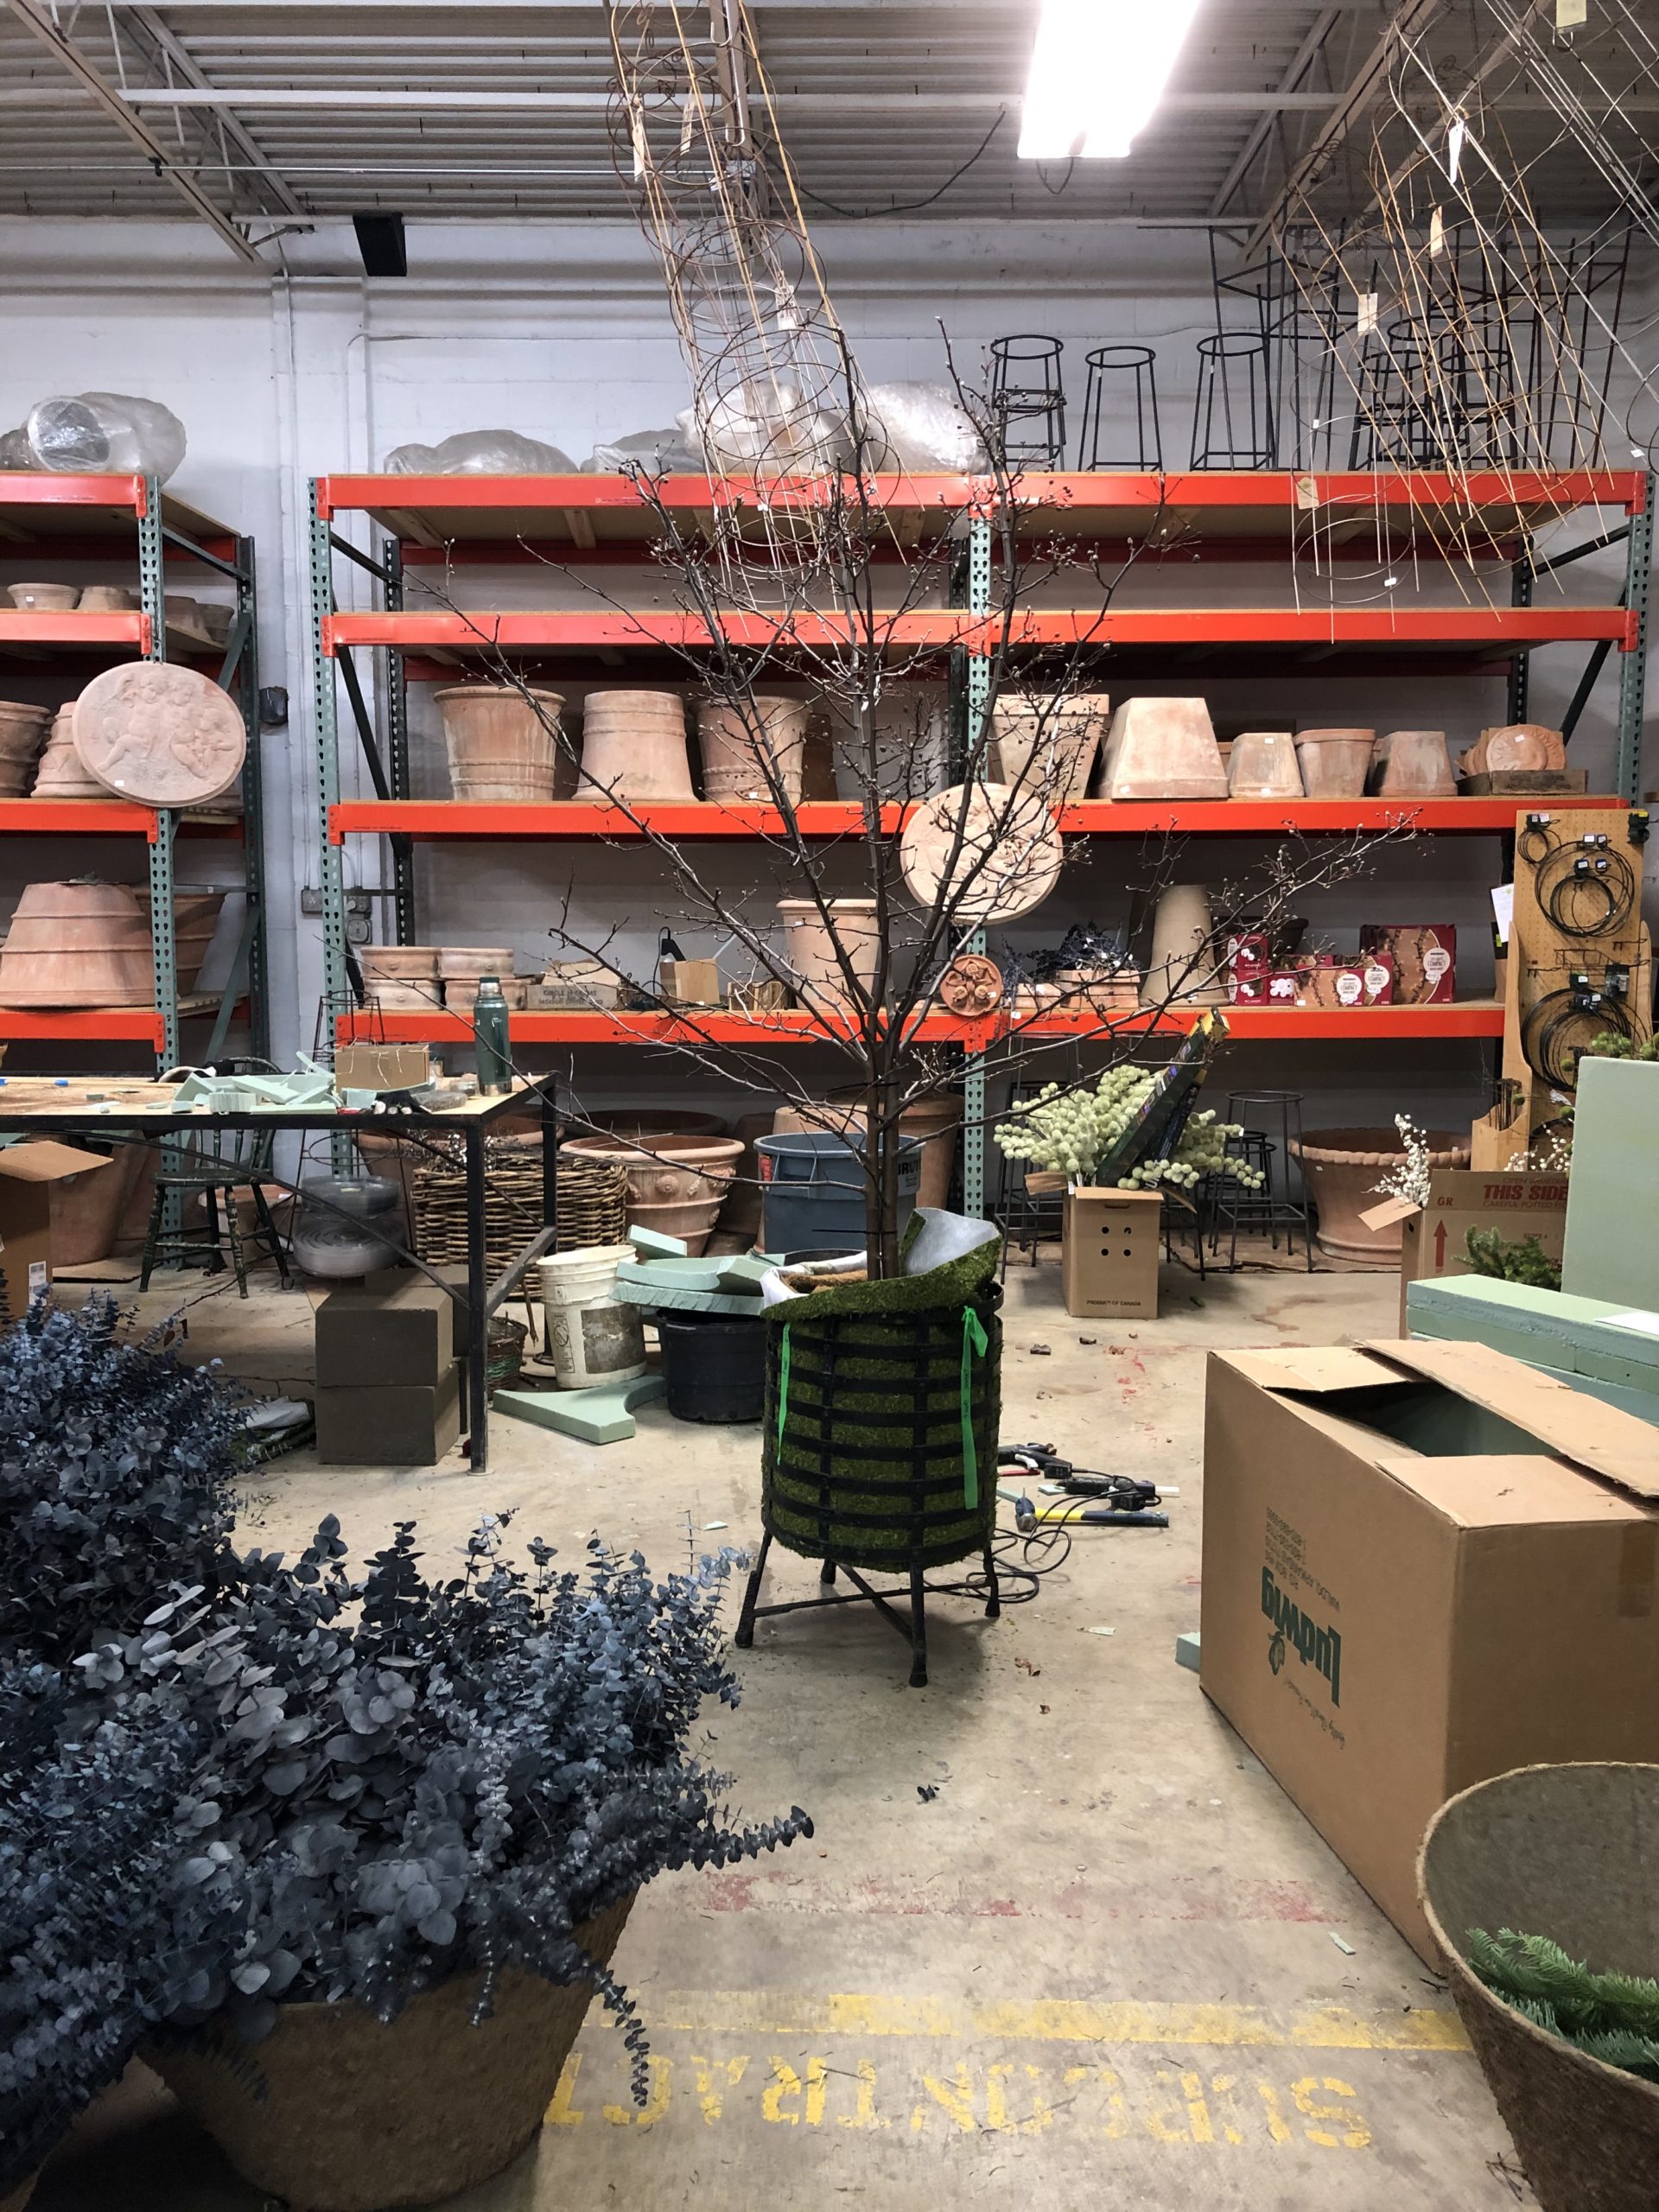 Our client’s cast iron container on legs was astonishing beautiful. But the open steel ribs needed a liner. Of a mossy type. We do stock moss mat that is perfect for lining pots. But this pot, as heavy and sturdy as it is, was not road ready for a moss liner, much less a fresh cut tree. Sal and I talked over a plan to get the moss mat to sit tight against the pot at great length. In the end, I left it up to him, as well I should.
 That liner needed to fit smooth and tight, without any wrinkles. Often what looks effortless and natural takes lots of time and effort to achieve. Sal and James cut the moss mat, and draped it in as best they could – to follow the contour of the container. They went on to add a layer to the sides and bottom an interior liner of coir mat that we buy on large rolls. The coir is fairly rigid and thick. It would provide some stiffening to the moss mat that would be visible on the outside. The green landscape tape on the outside? Written on it is the clients name. We have a busy studio this time of year. A mix up would not do. We have the notes from the client’s visit to Detroit Garden Works. David visited her residence, and took pictures of the location for this tree. Those pictures were always in view during the fabrication. Making sculpture in the studio for a specific space has inherent problems. Every maker has to keep the installation site in mind. We tag, flag, and review the pictures many times over the course of the making.
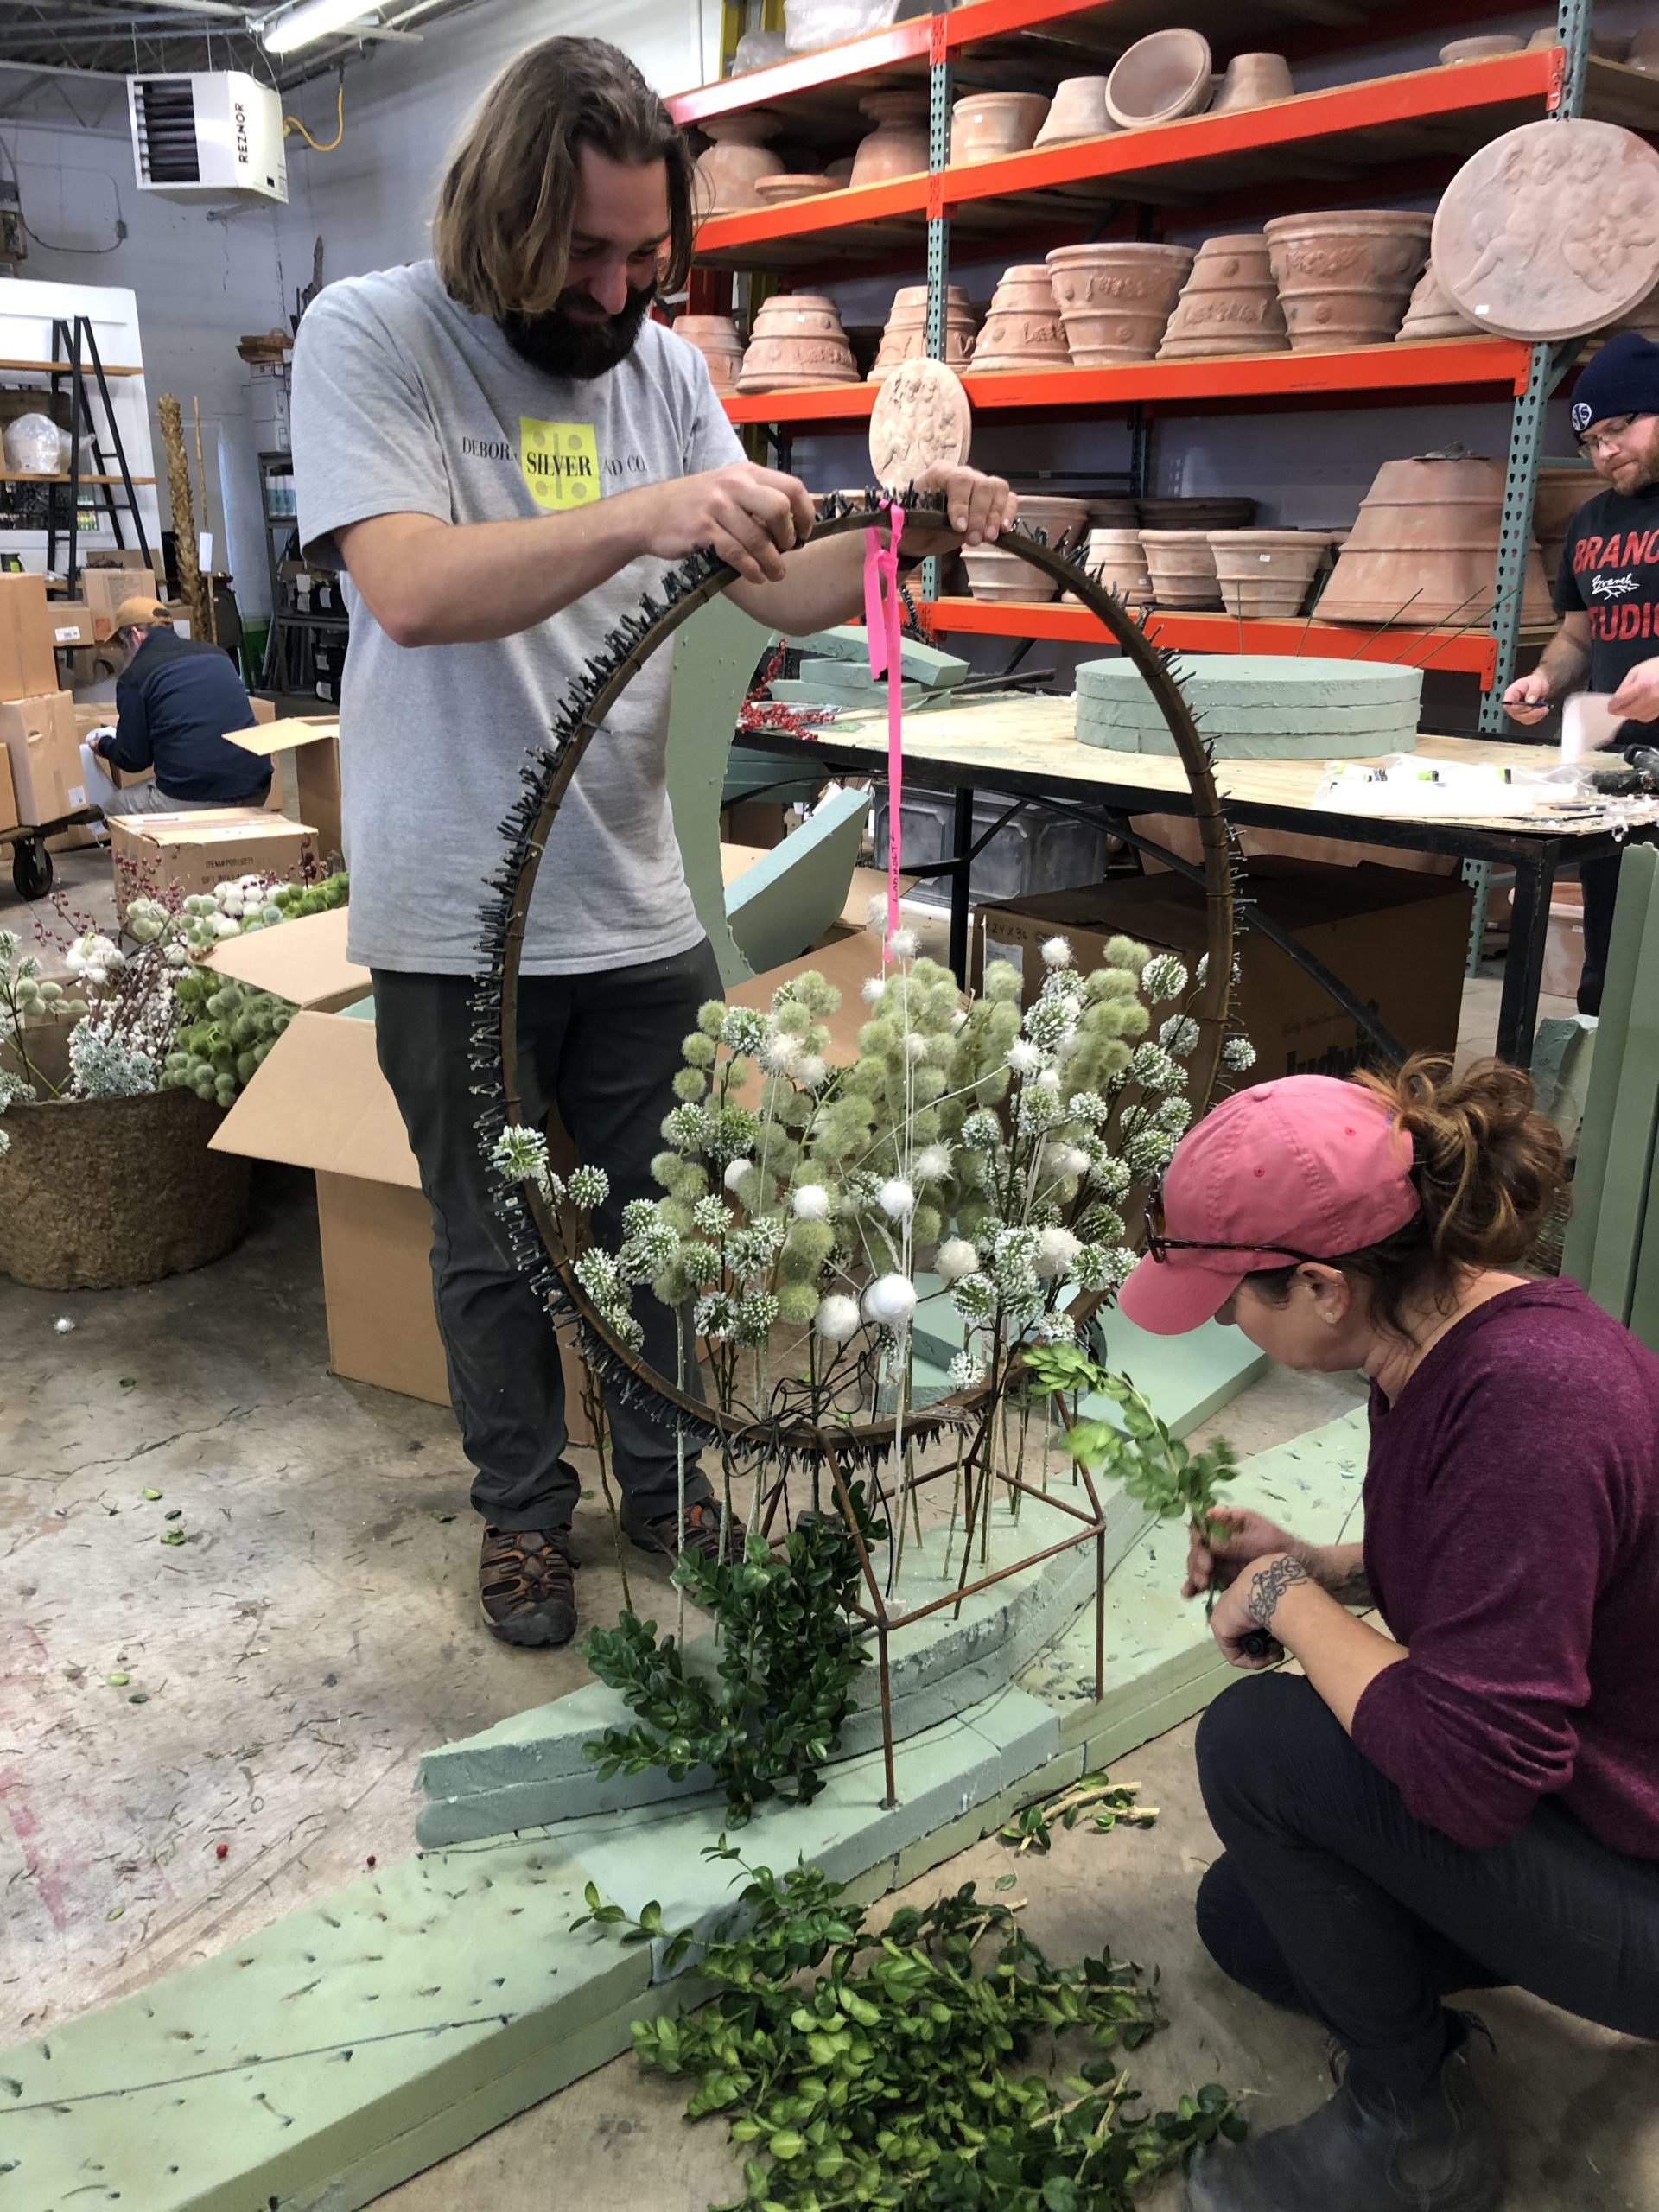
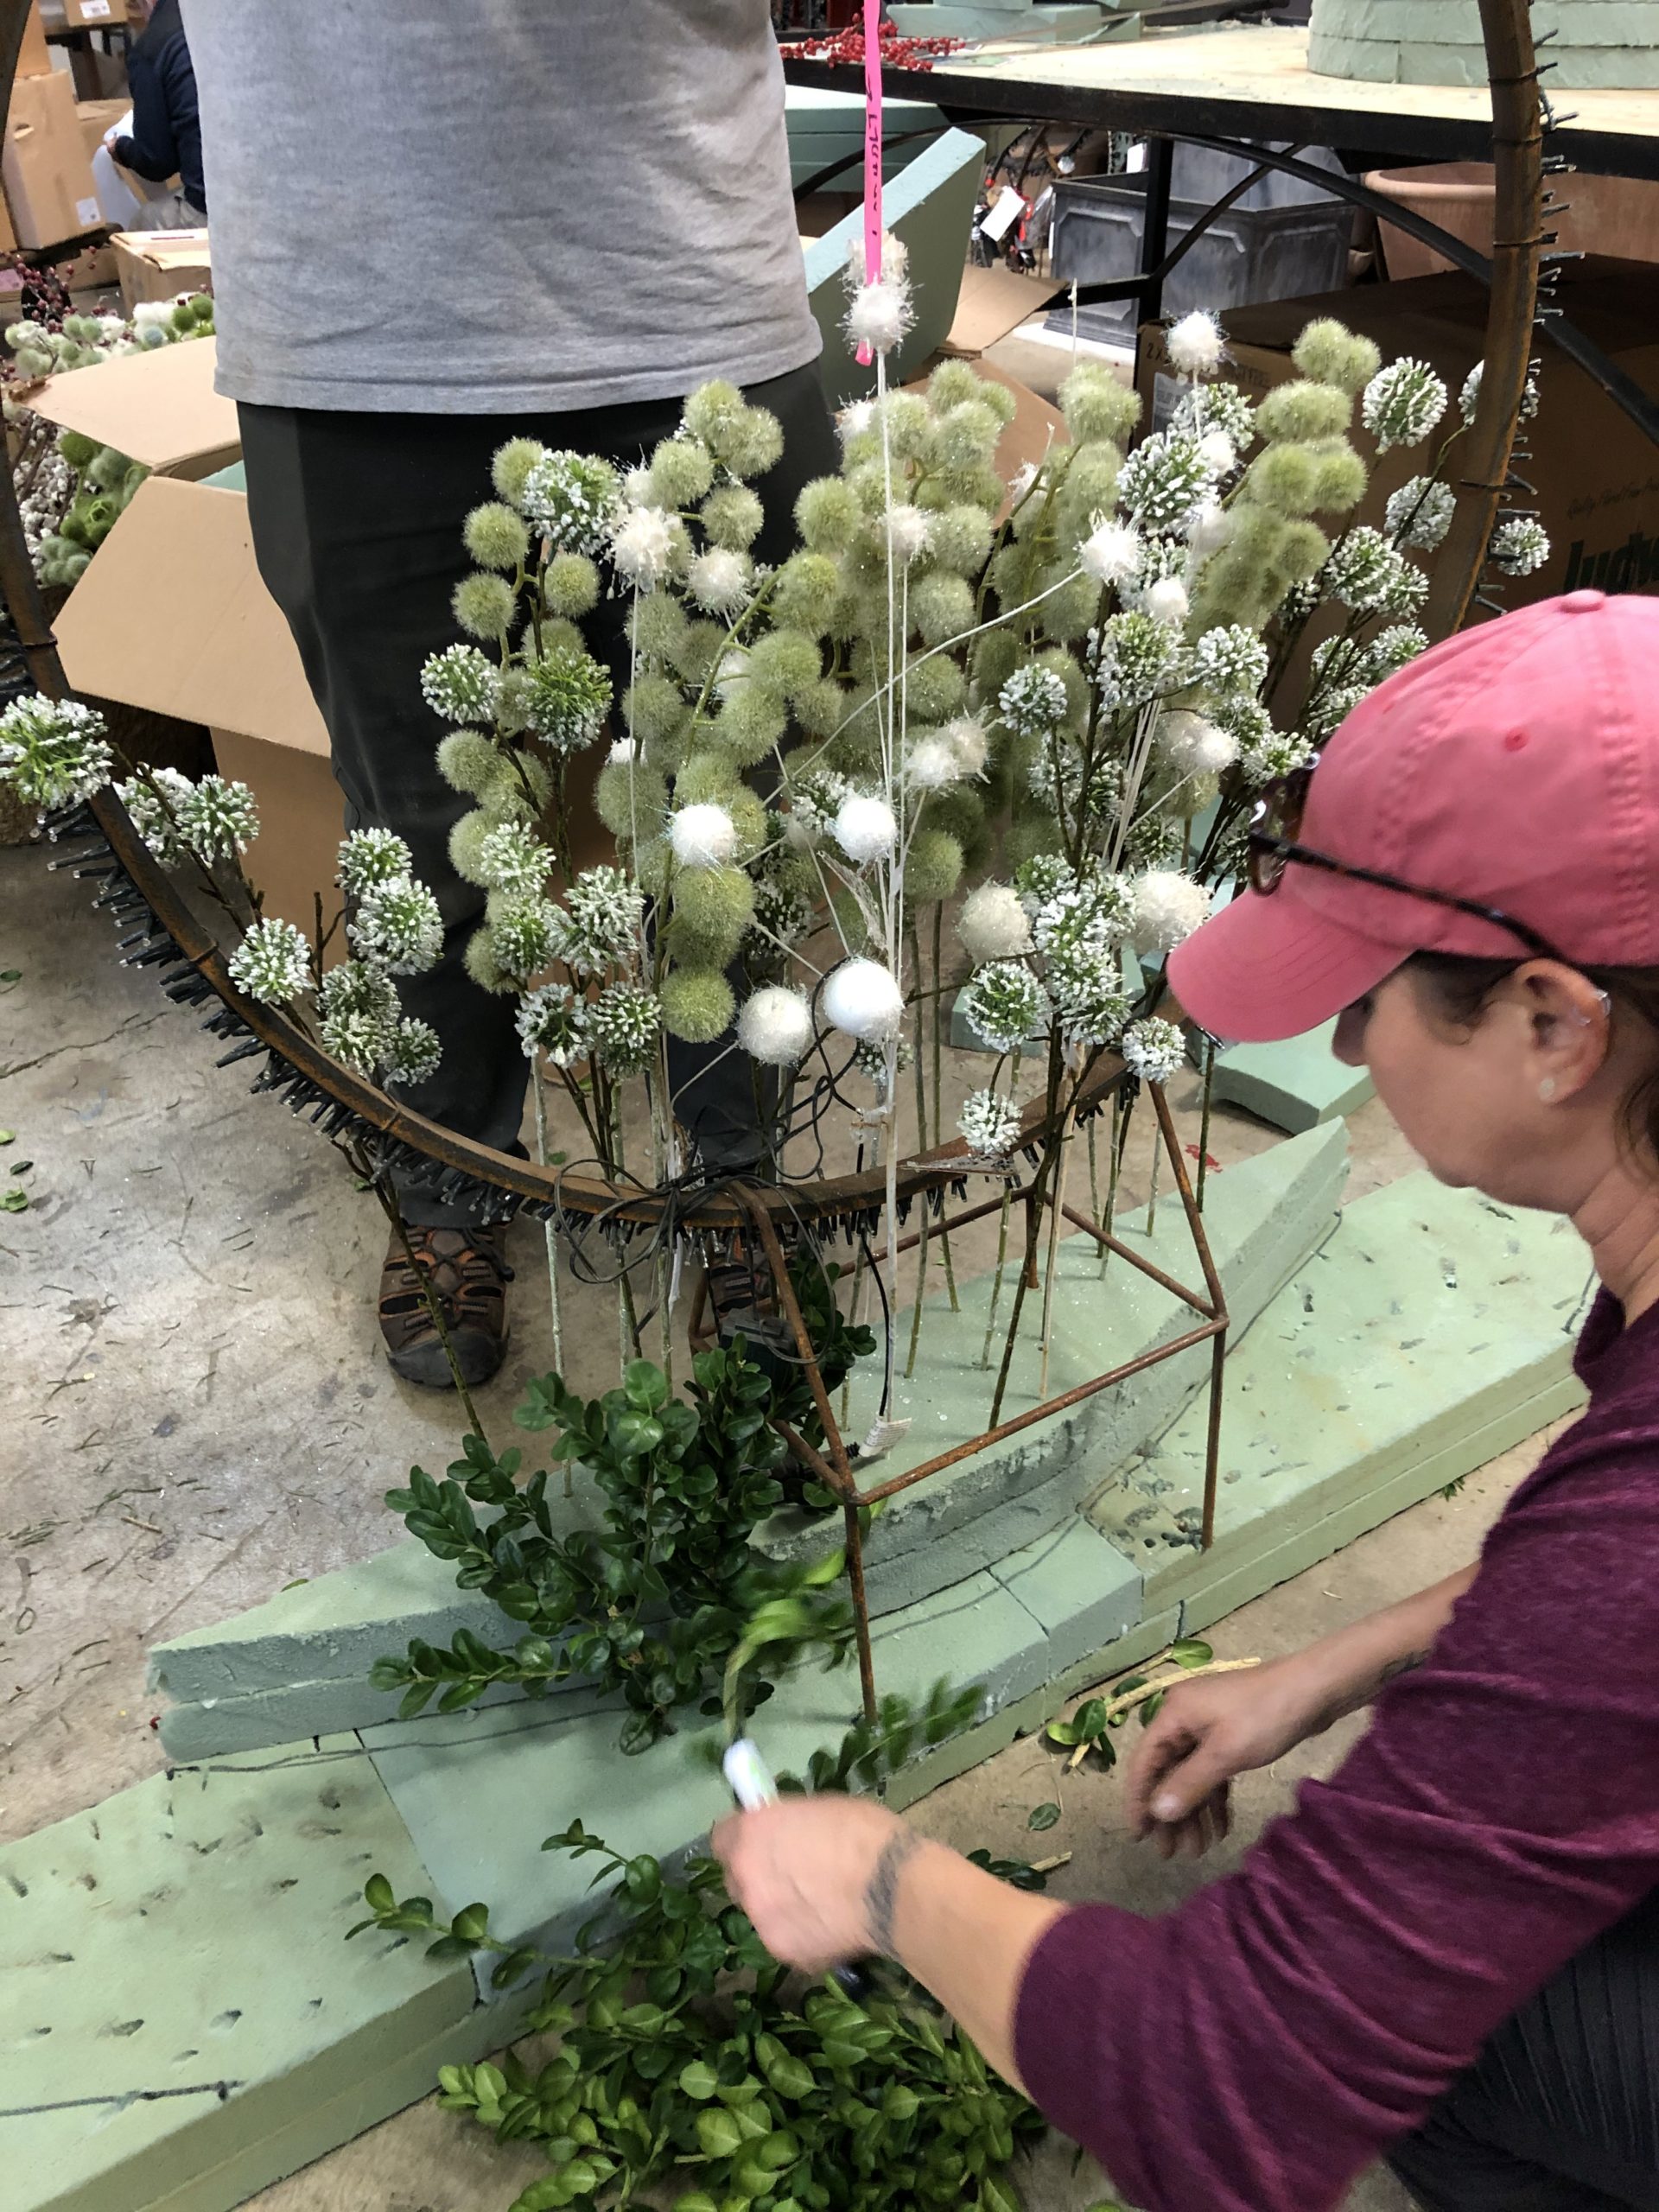
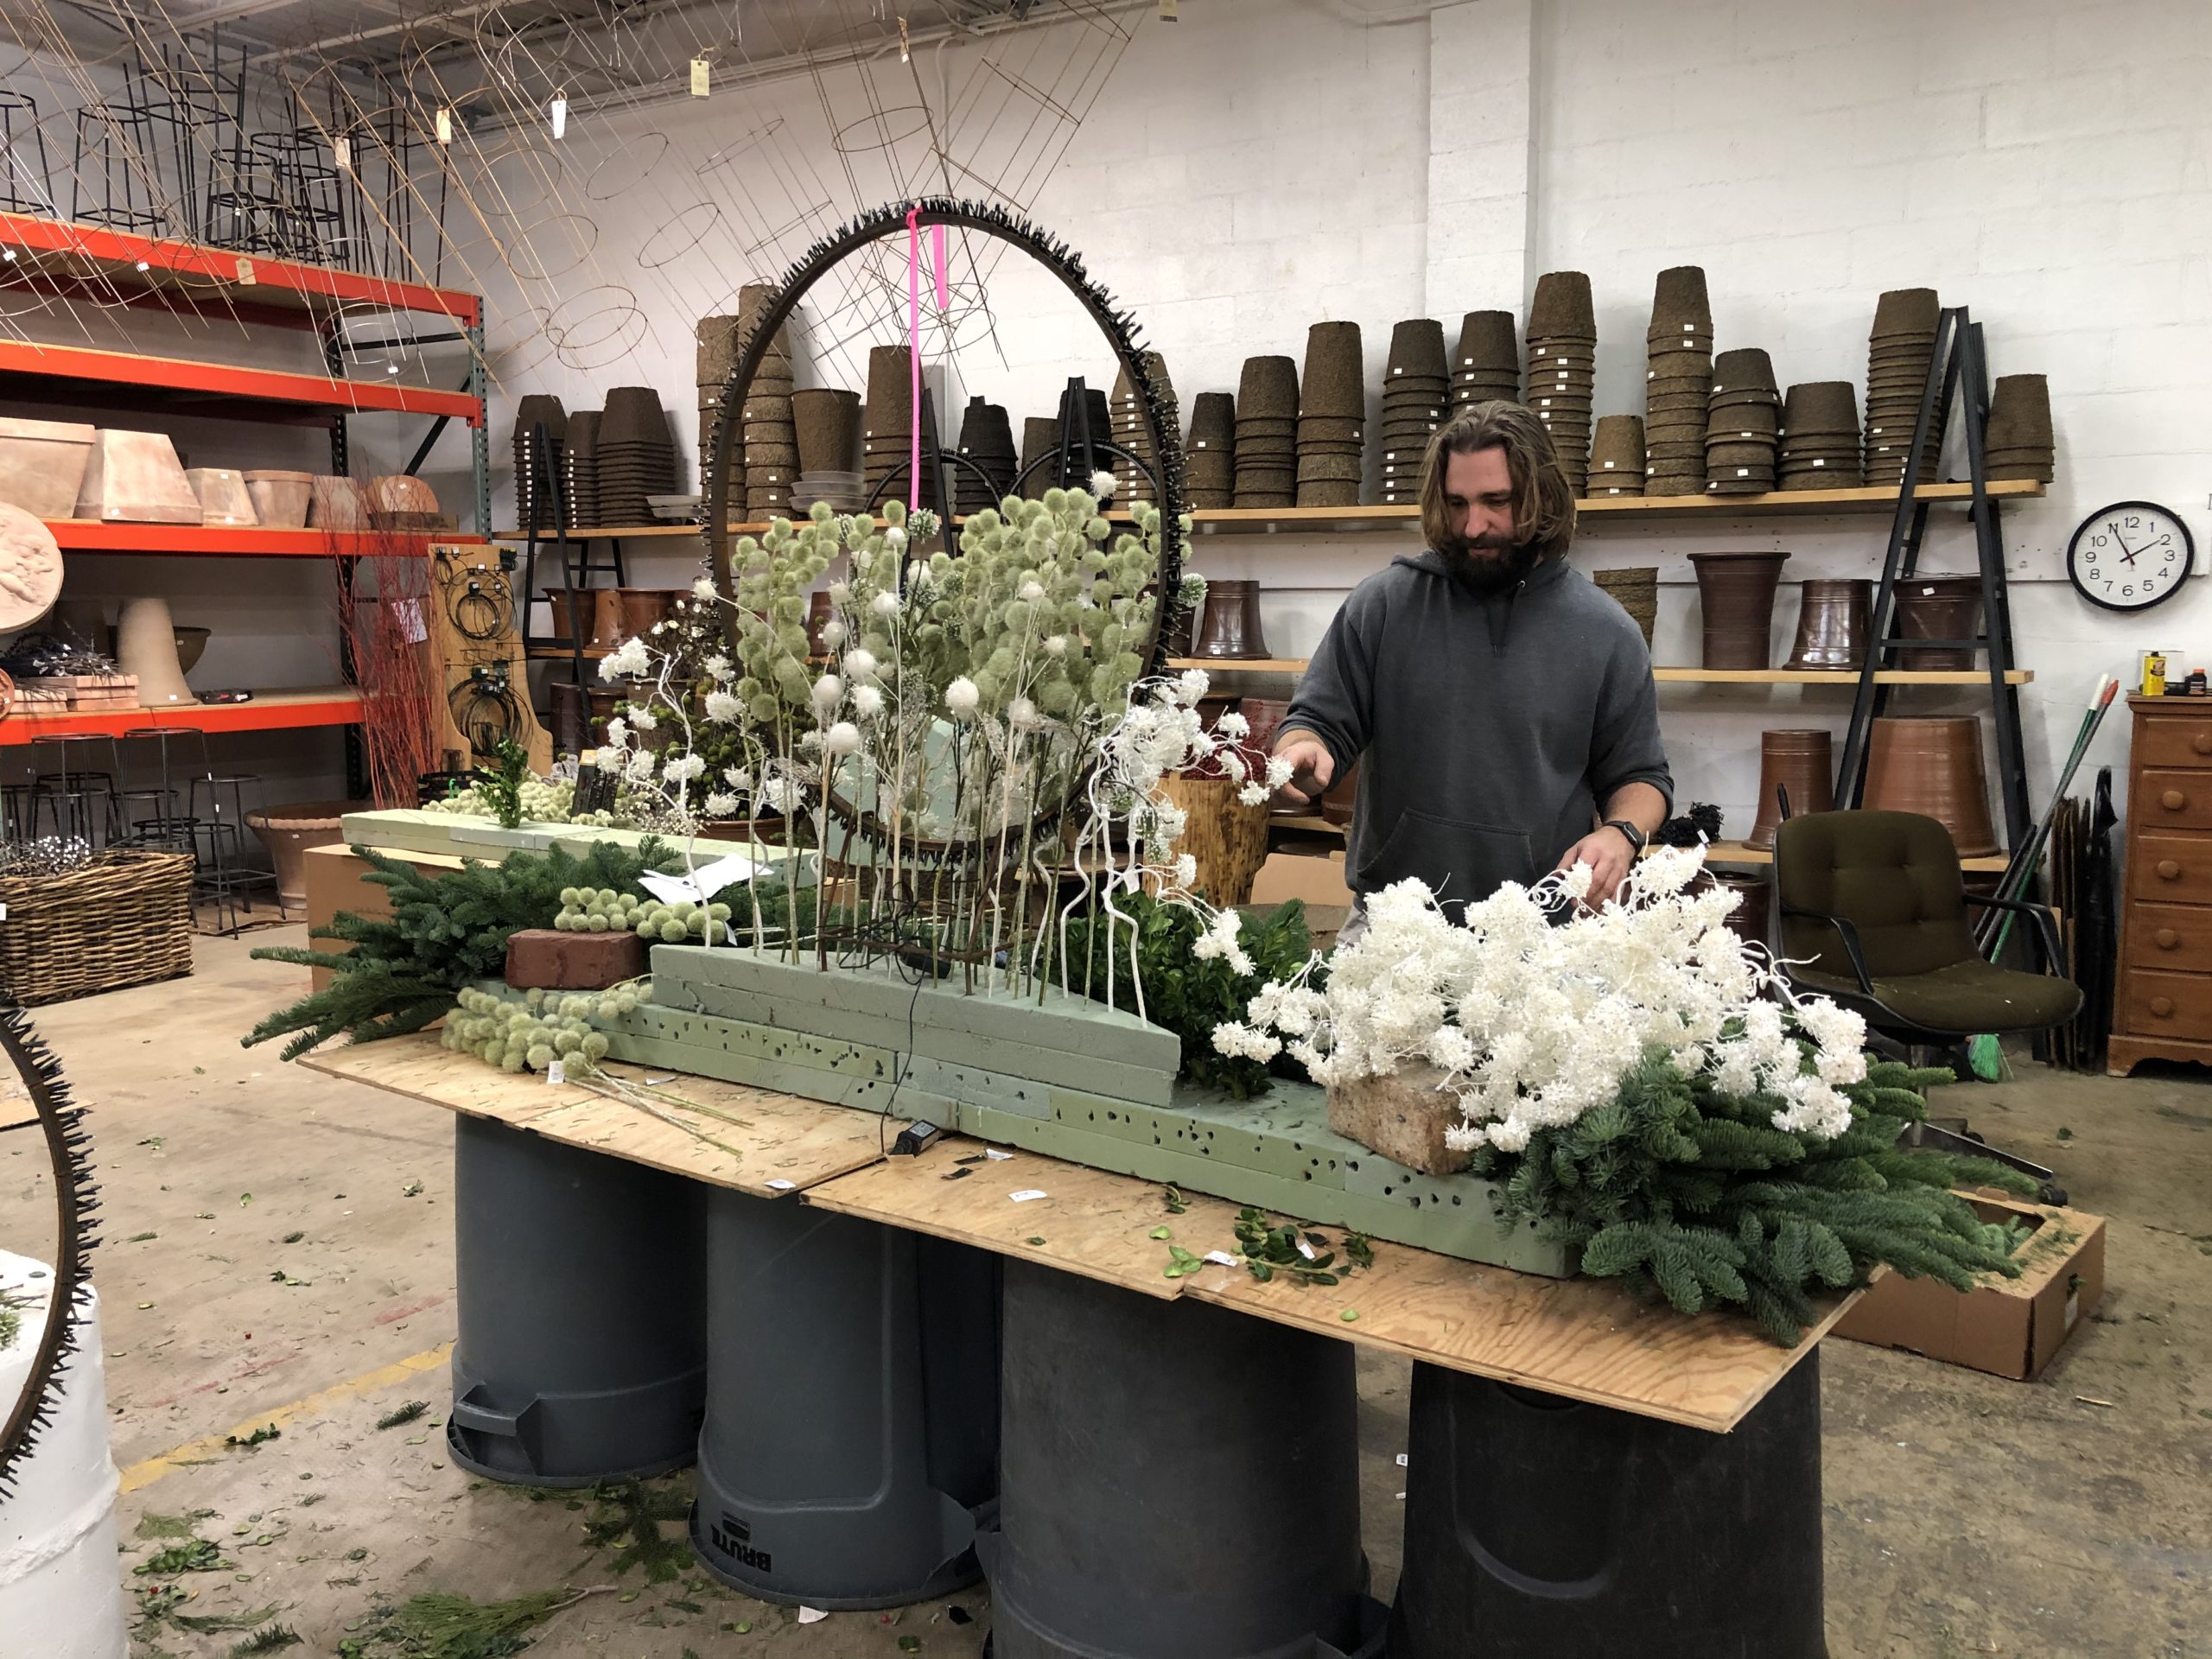
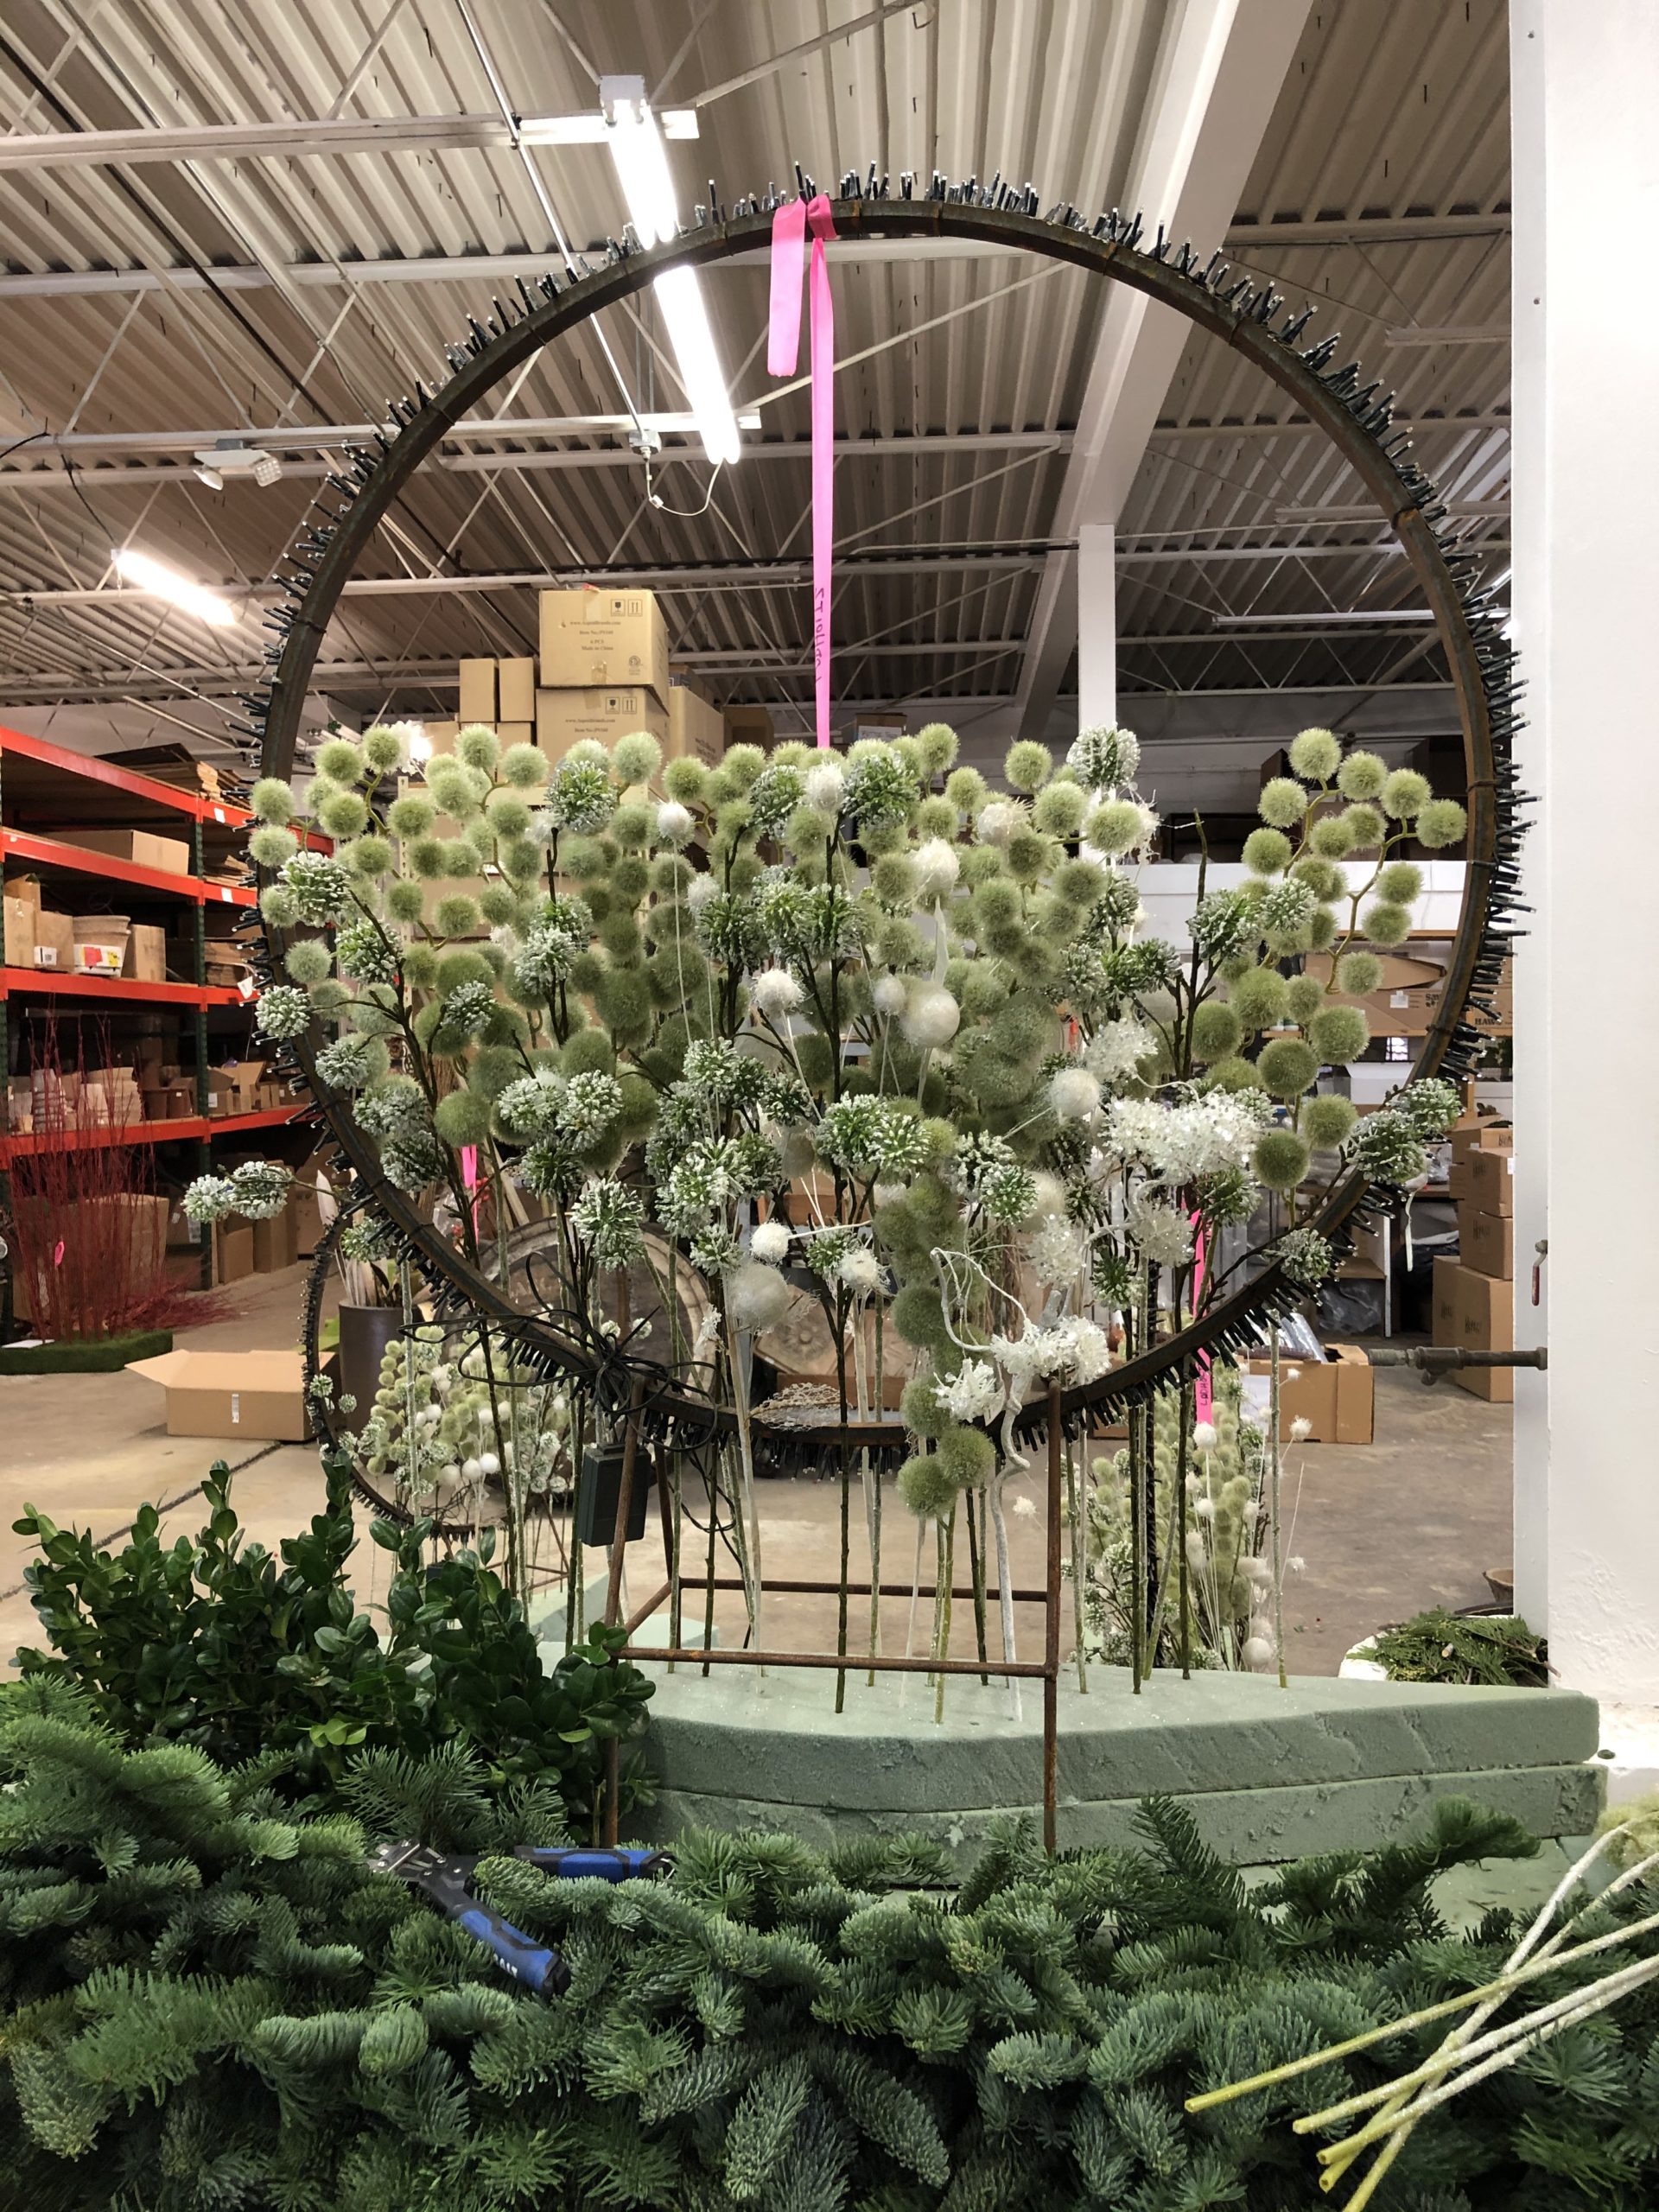
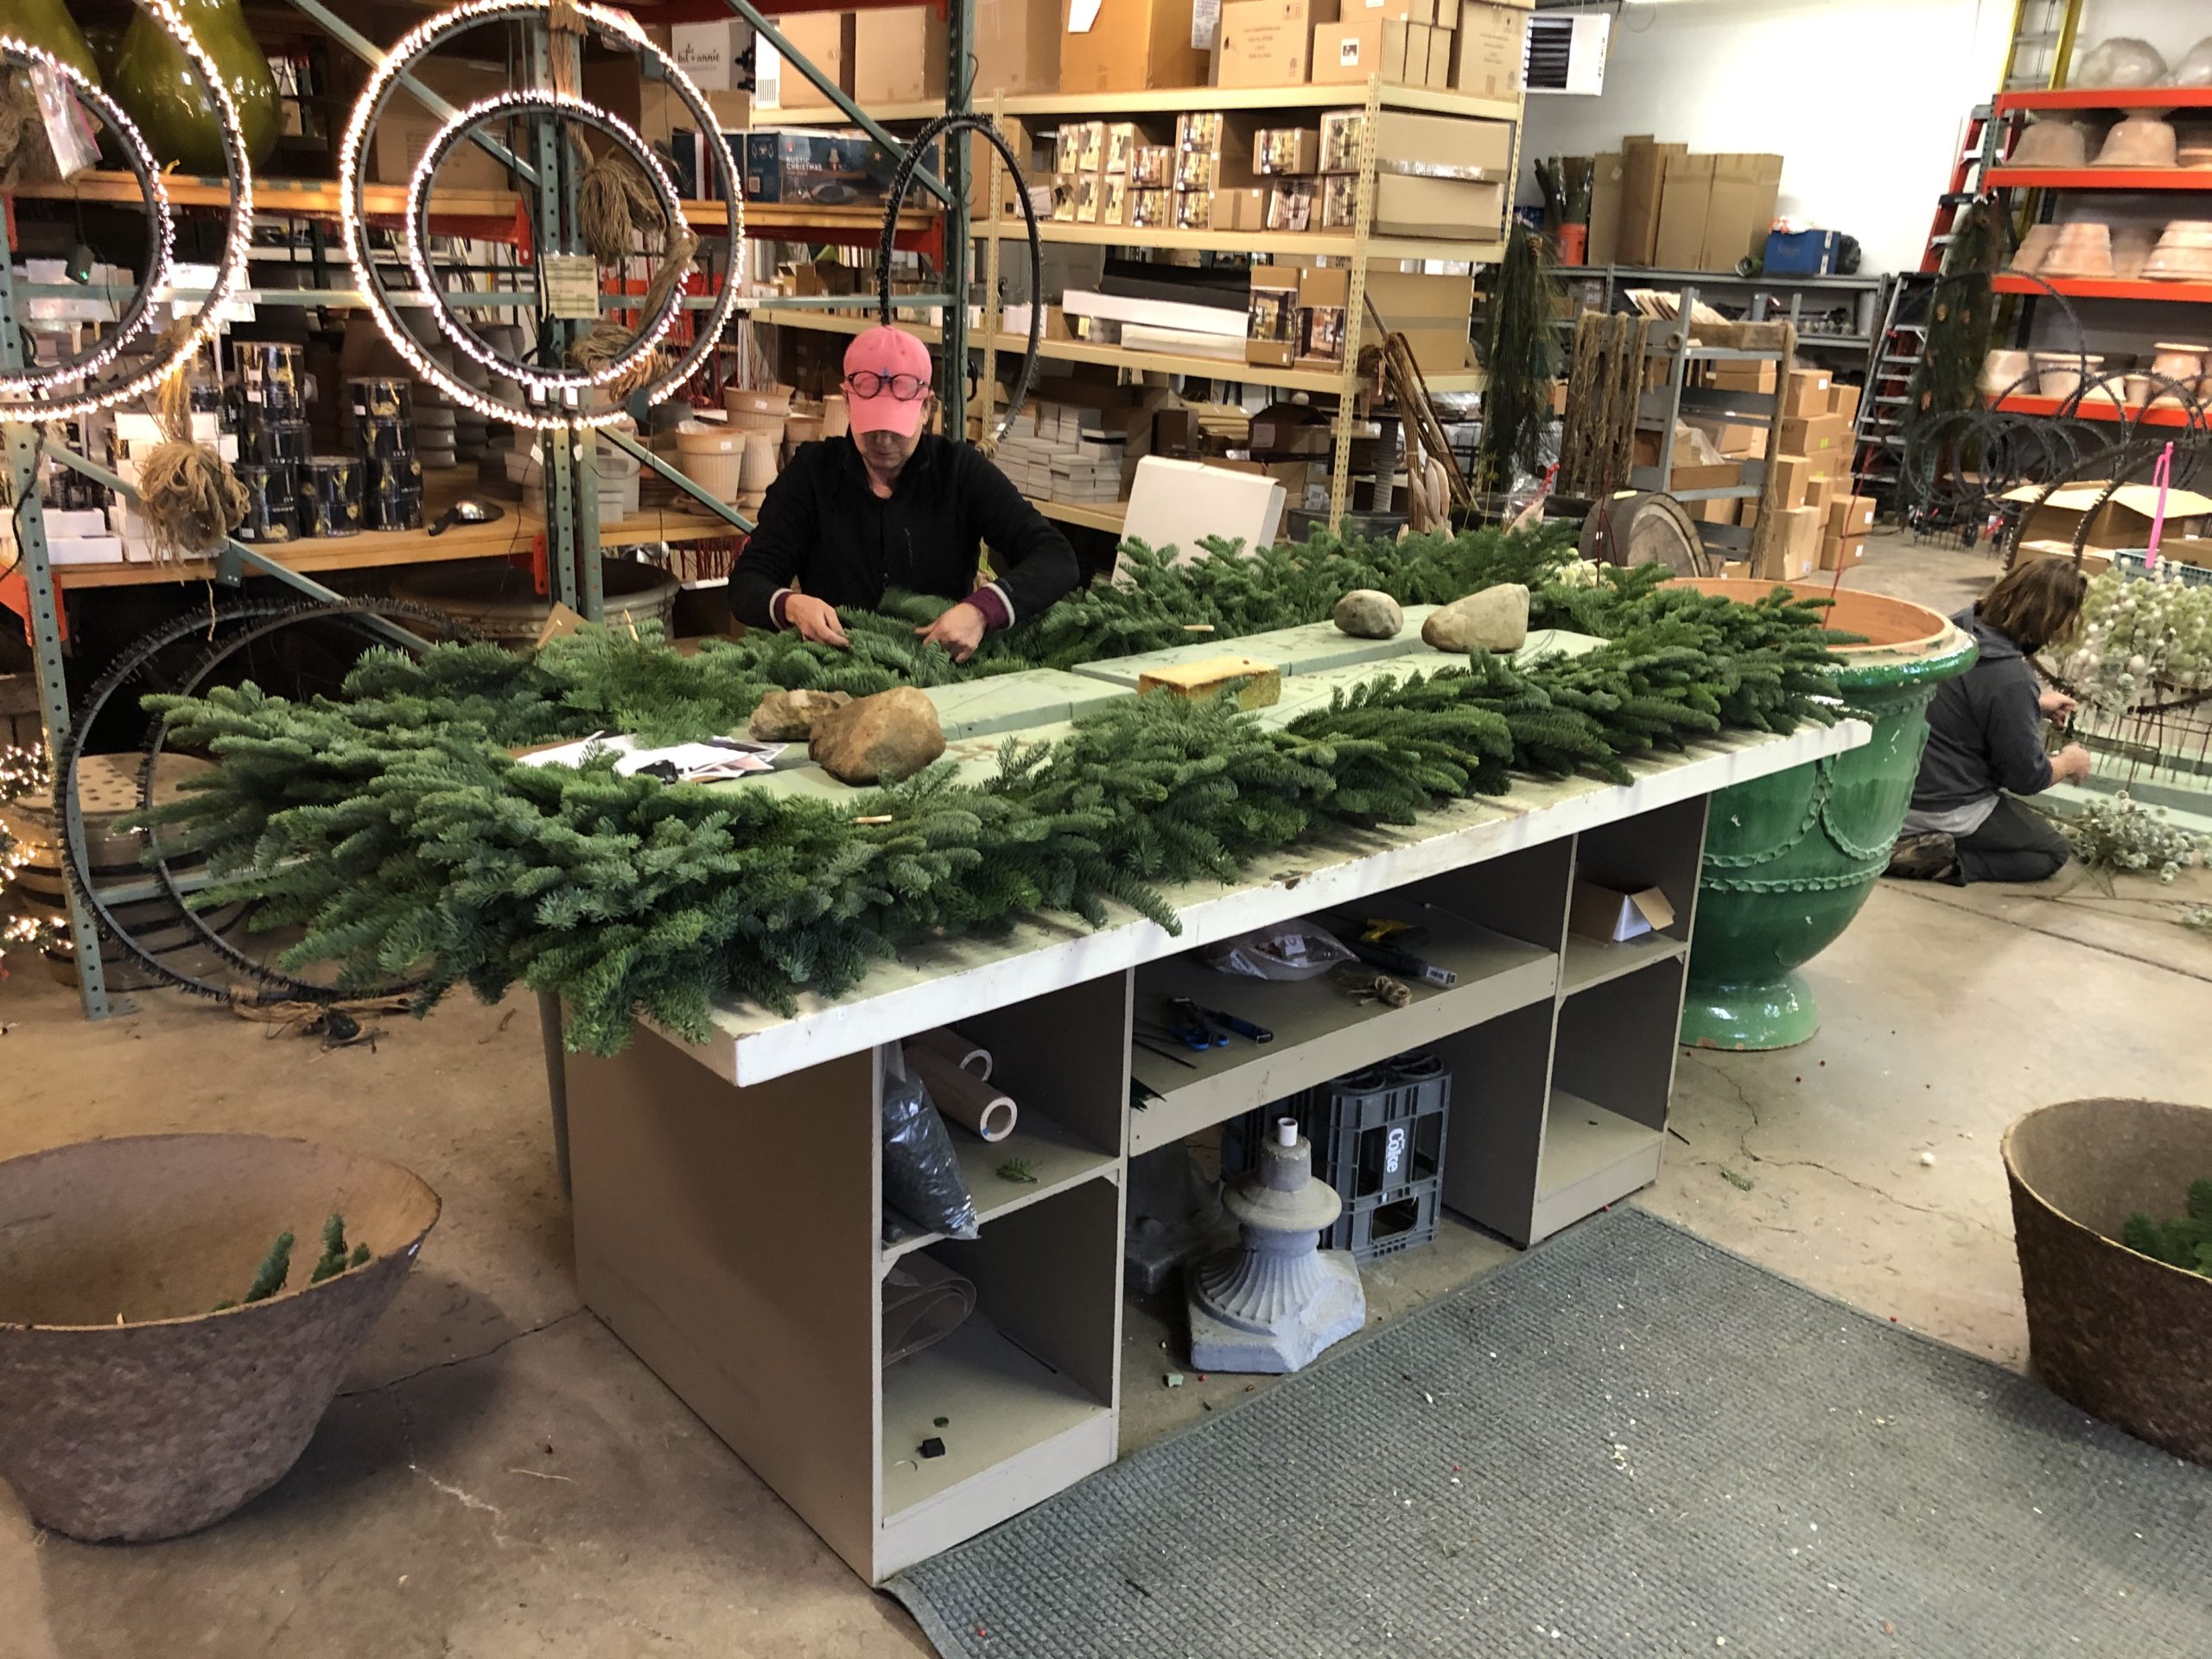
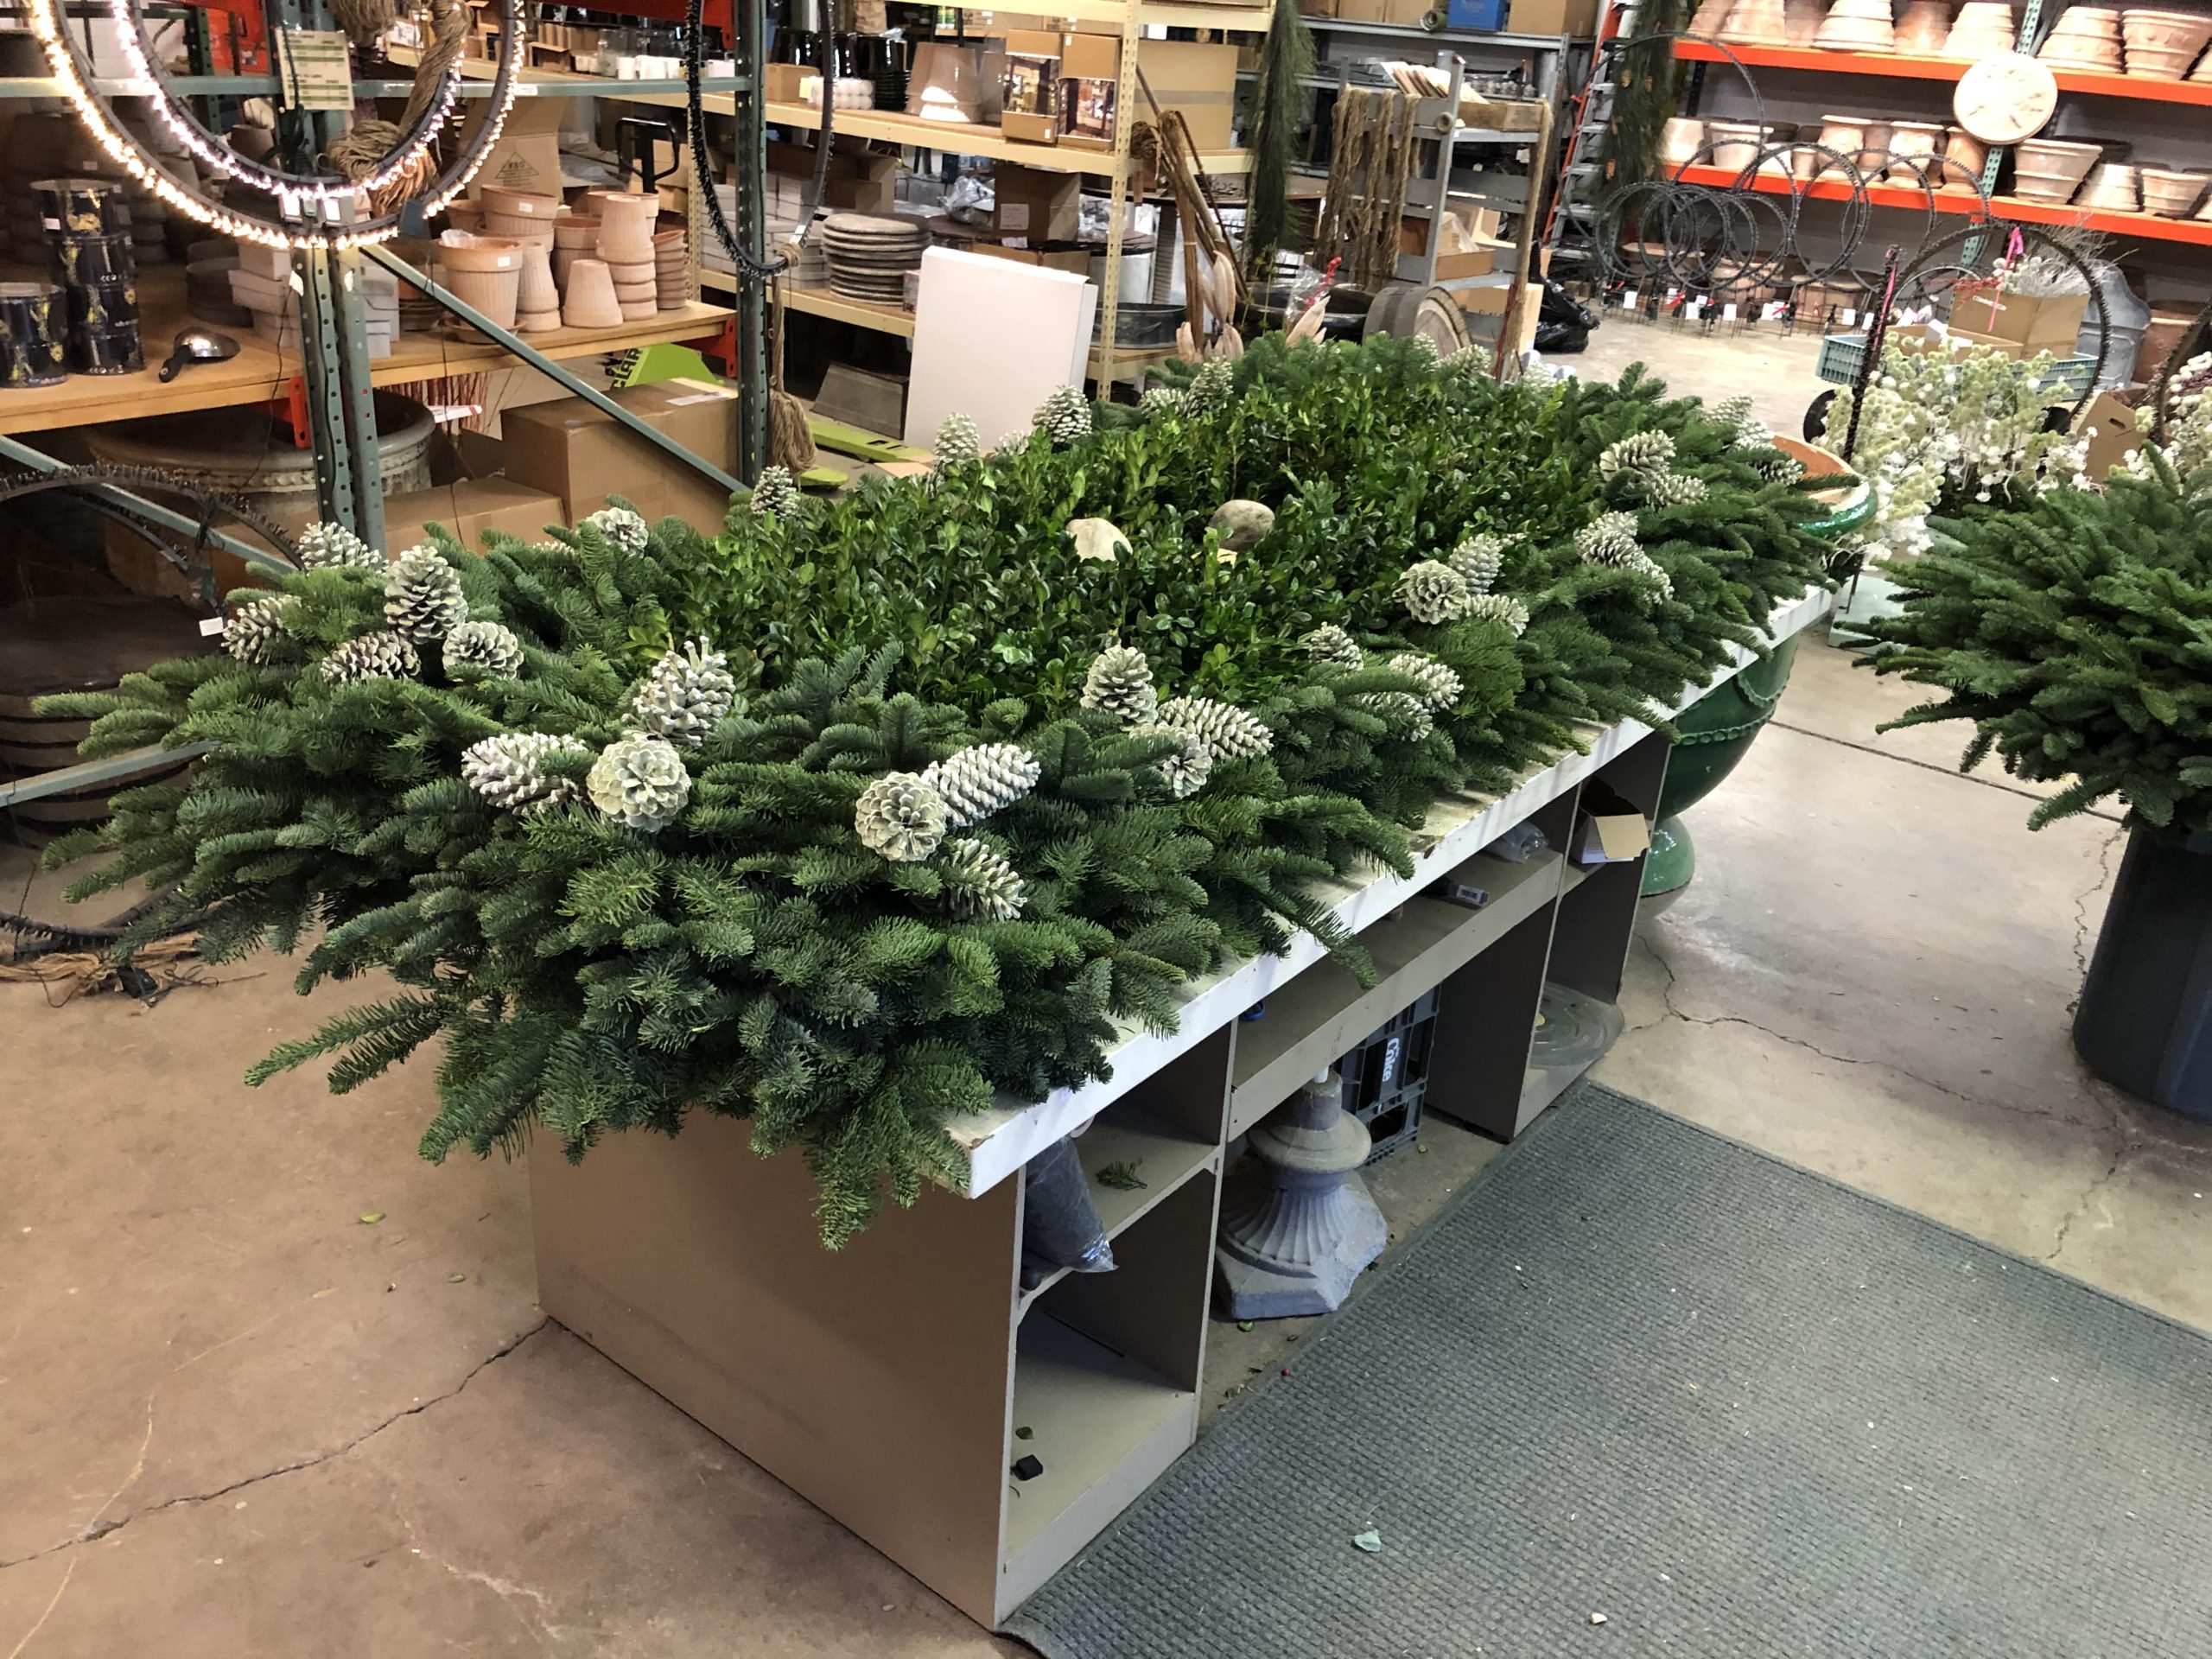
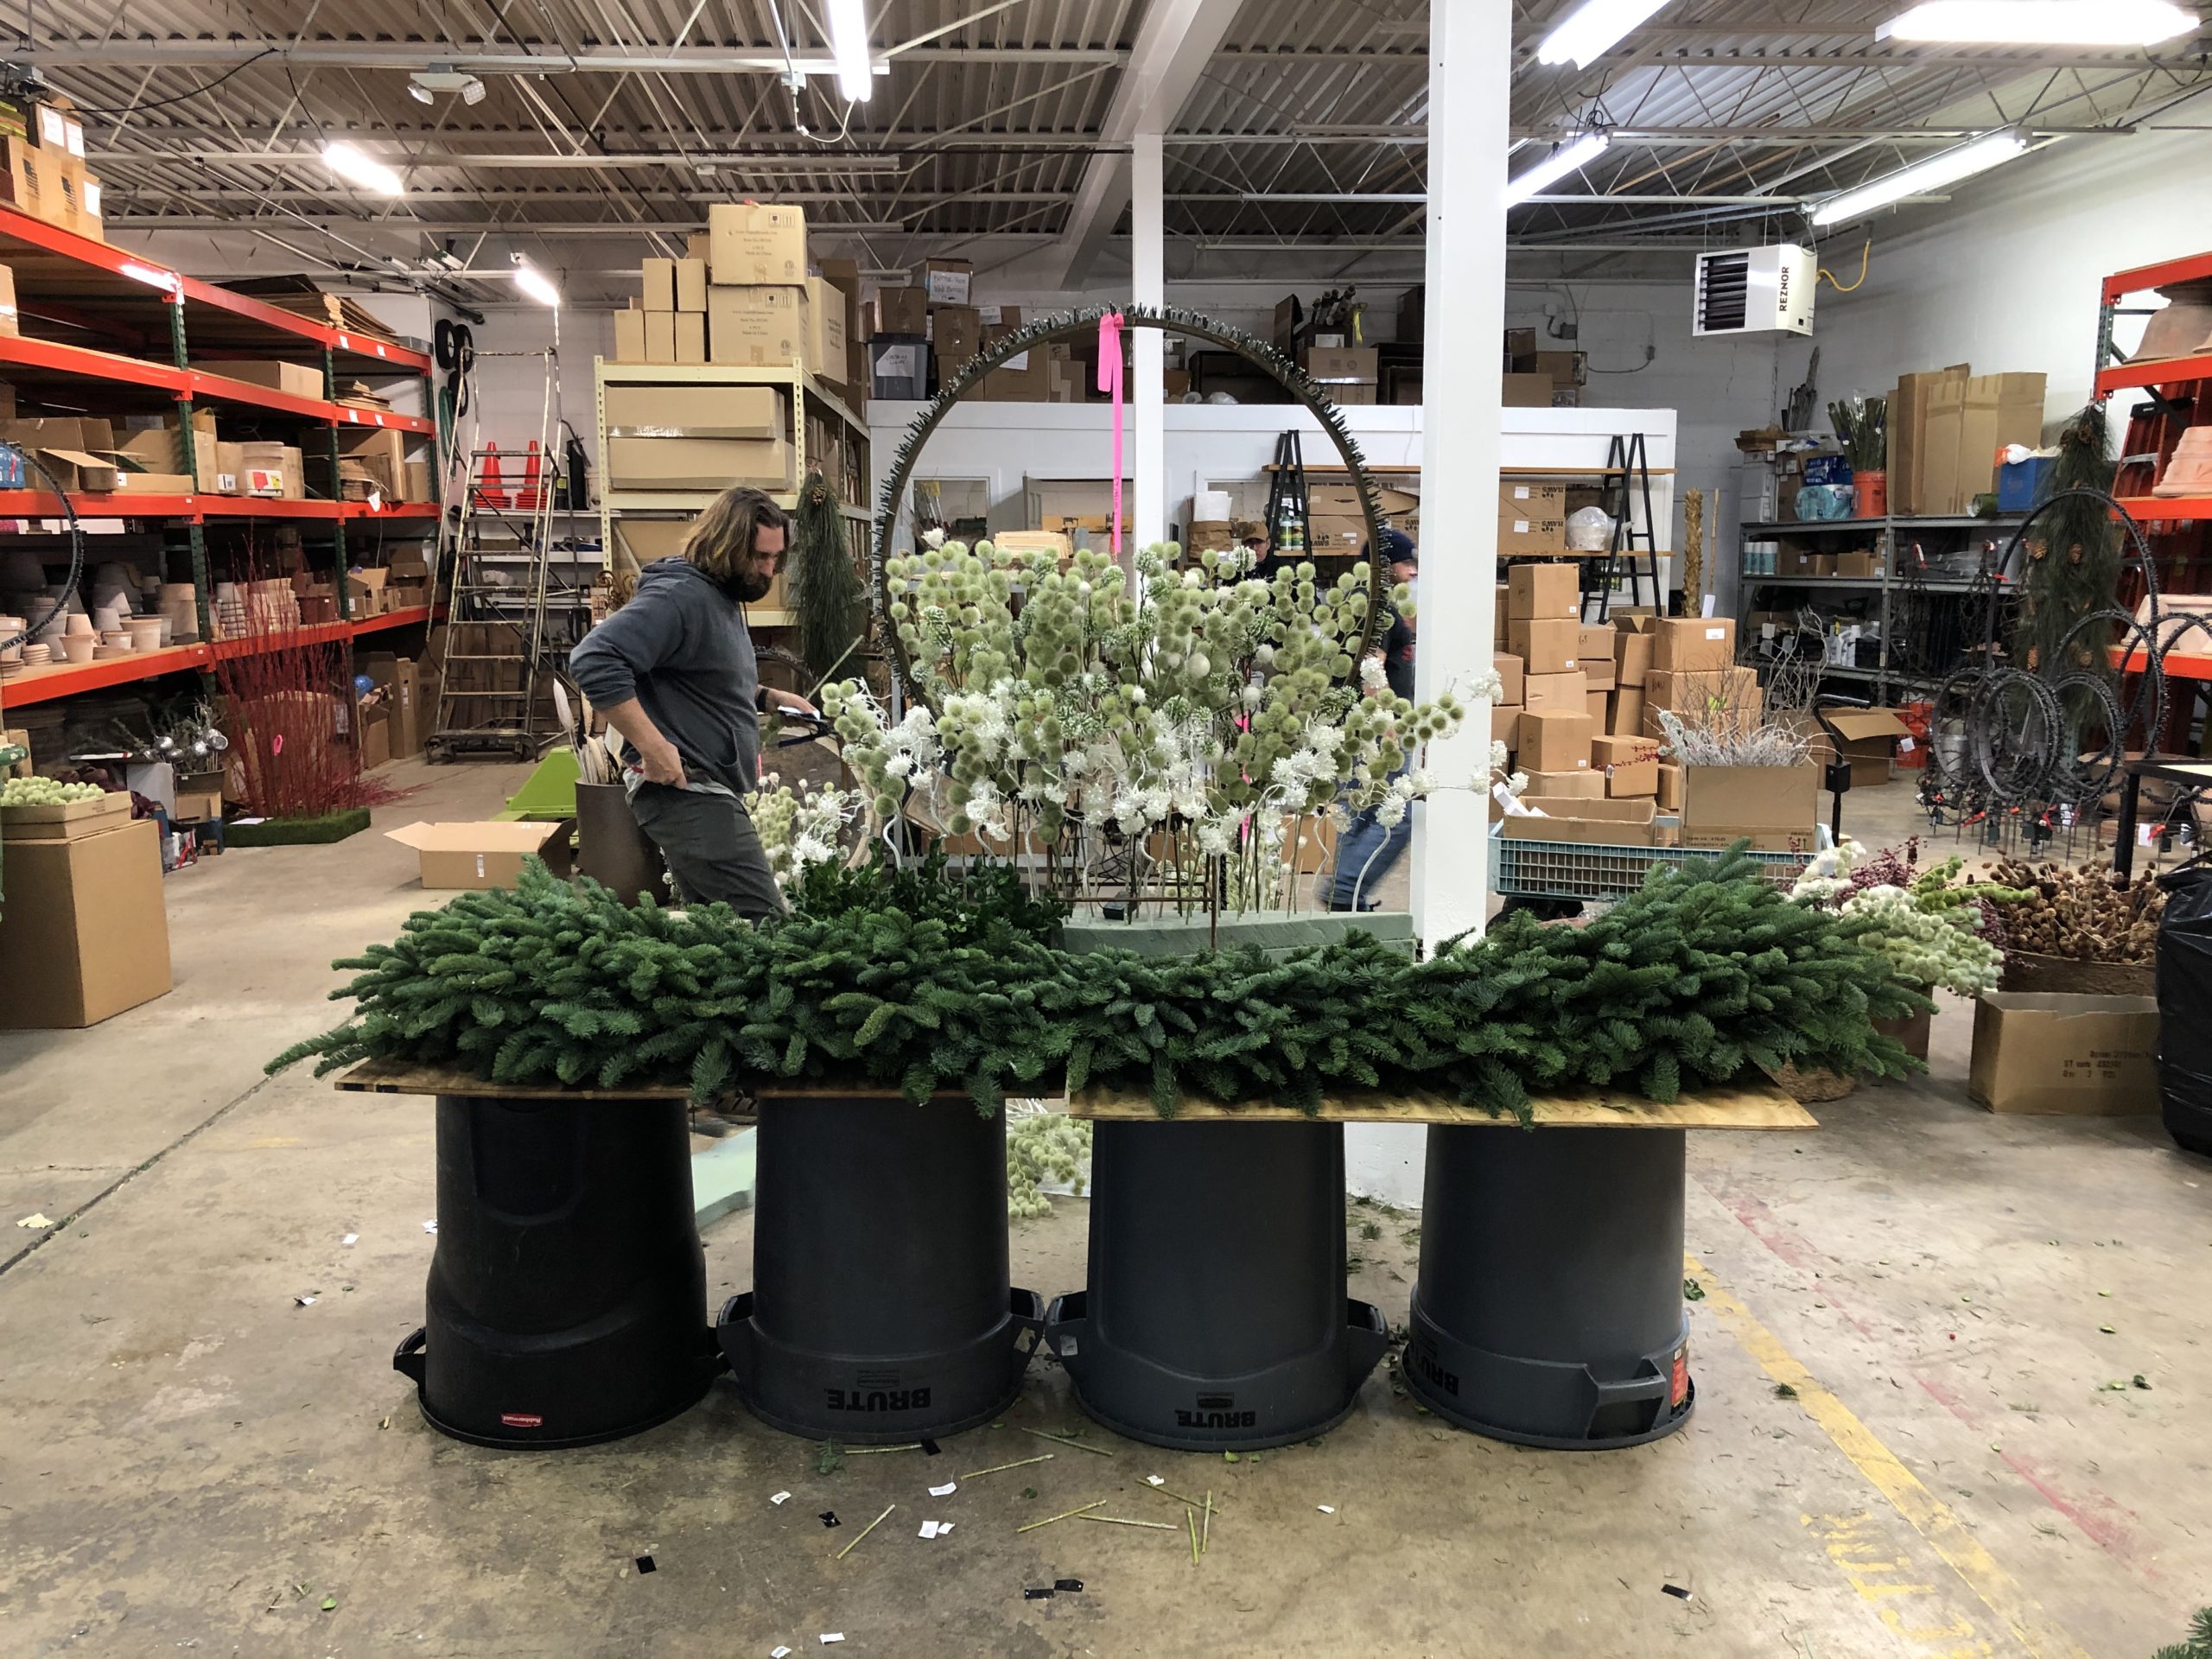
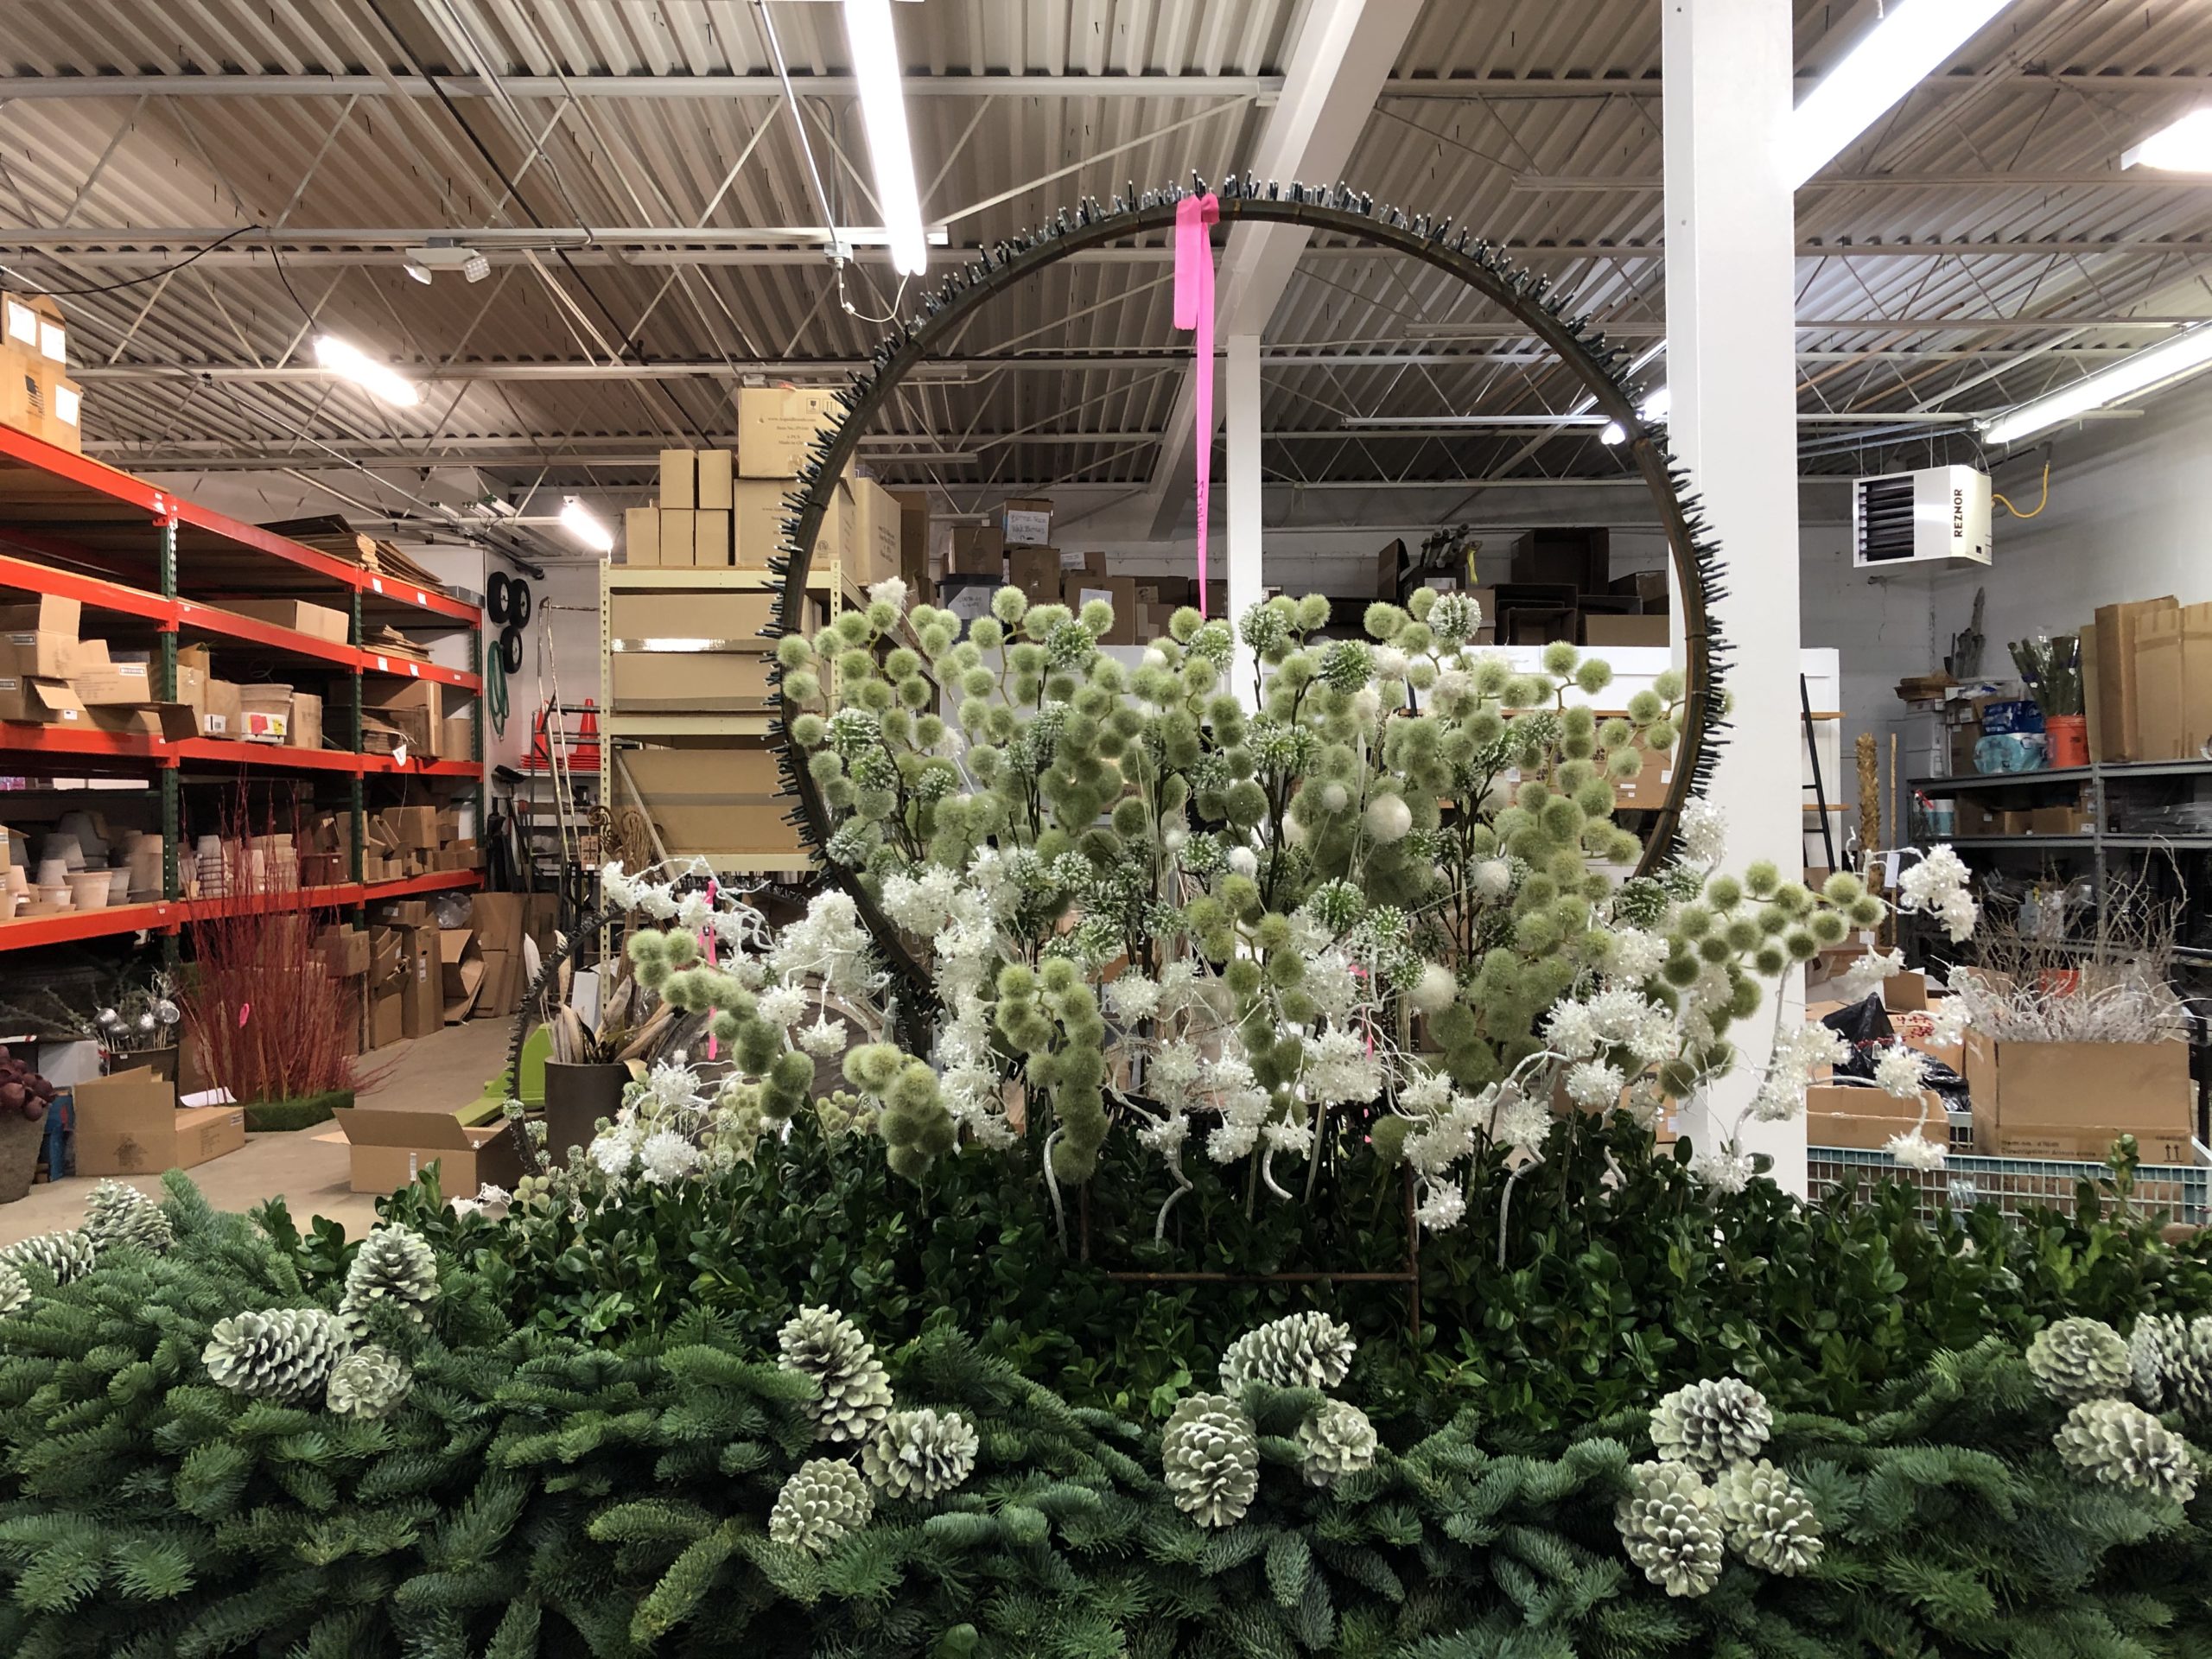
 The only requirement is a well lighted space, lots of materials and tools, and some time. The form that would hold the tree would have to be built from the bottom up.
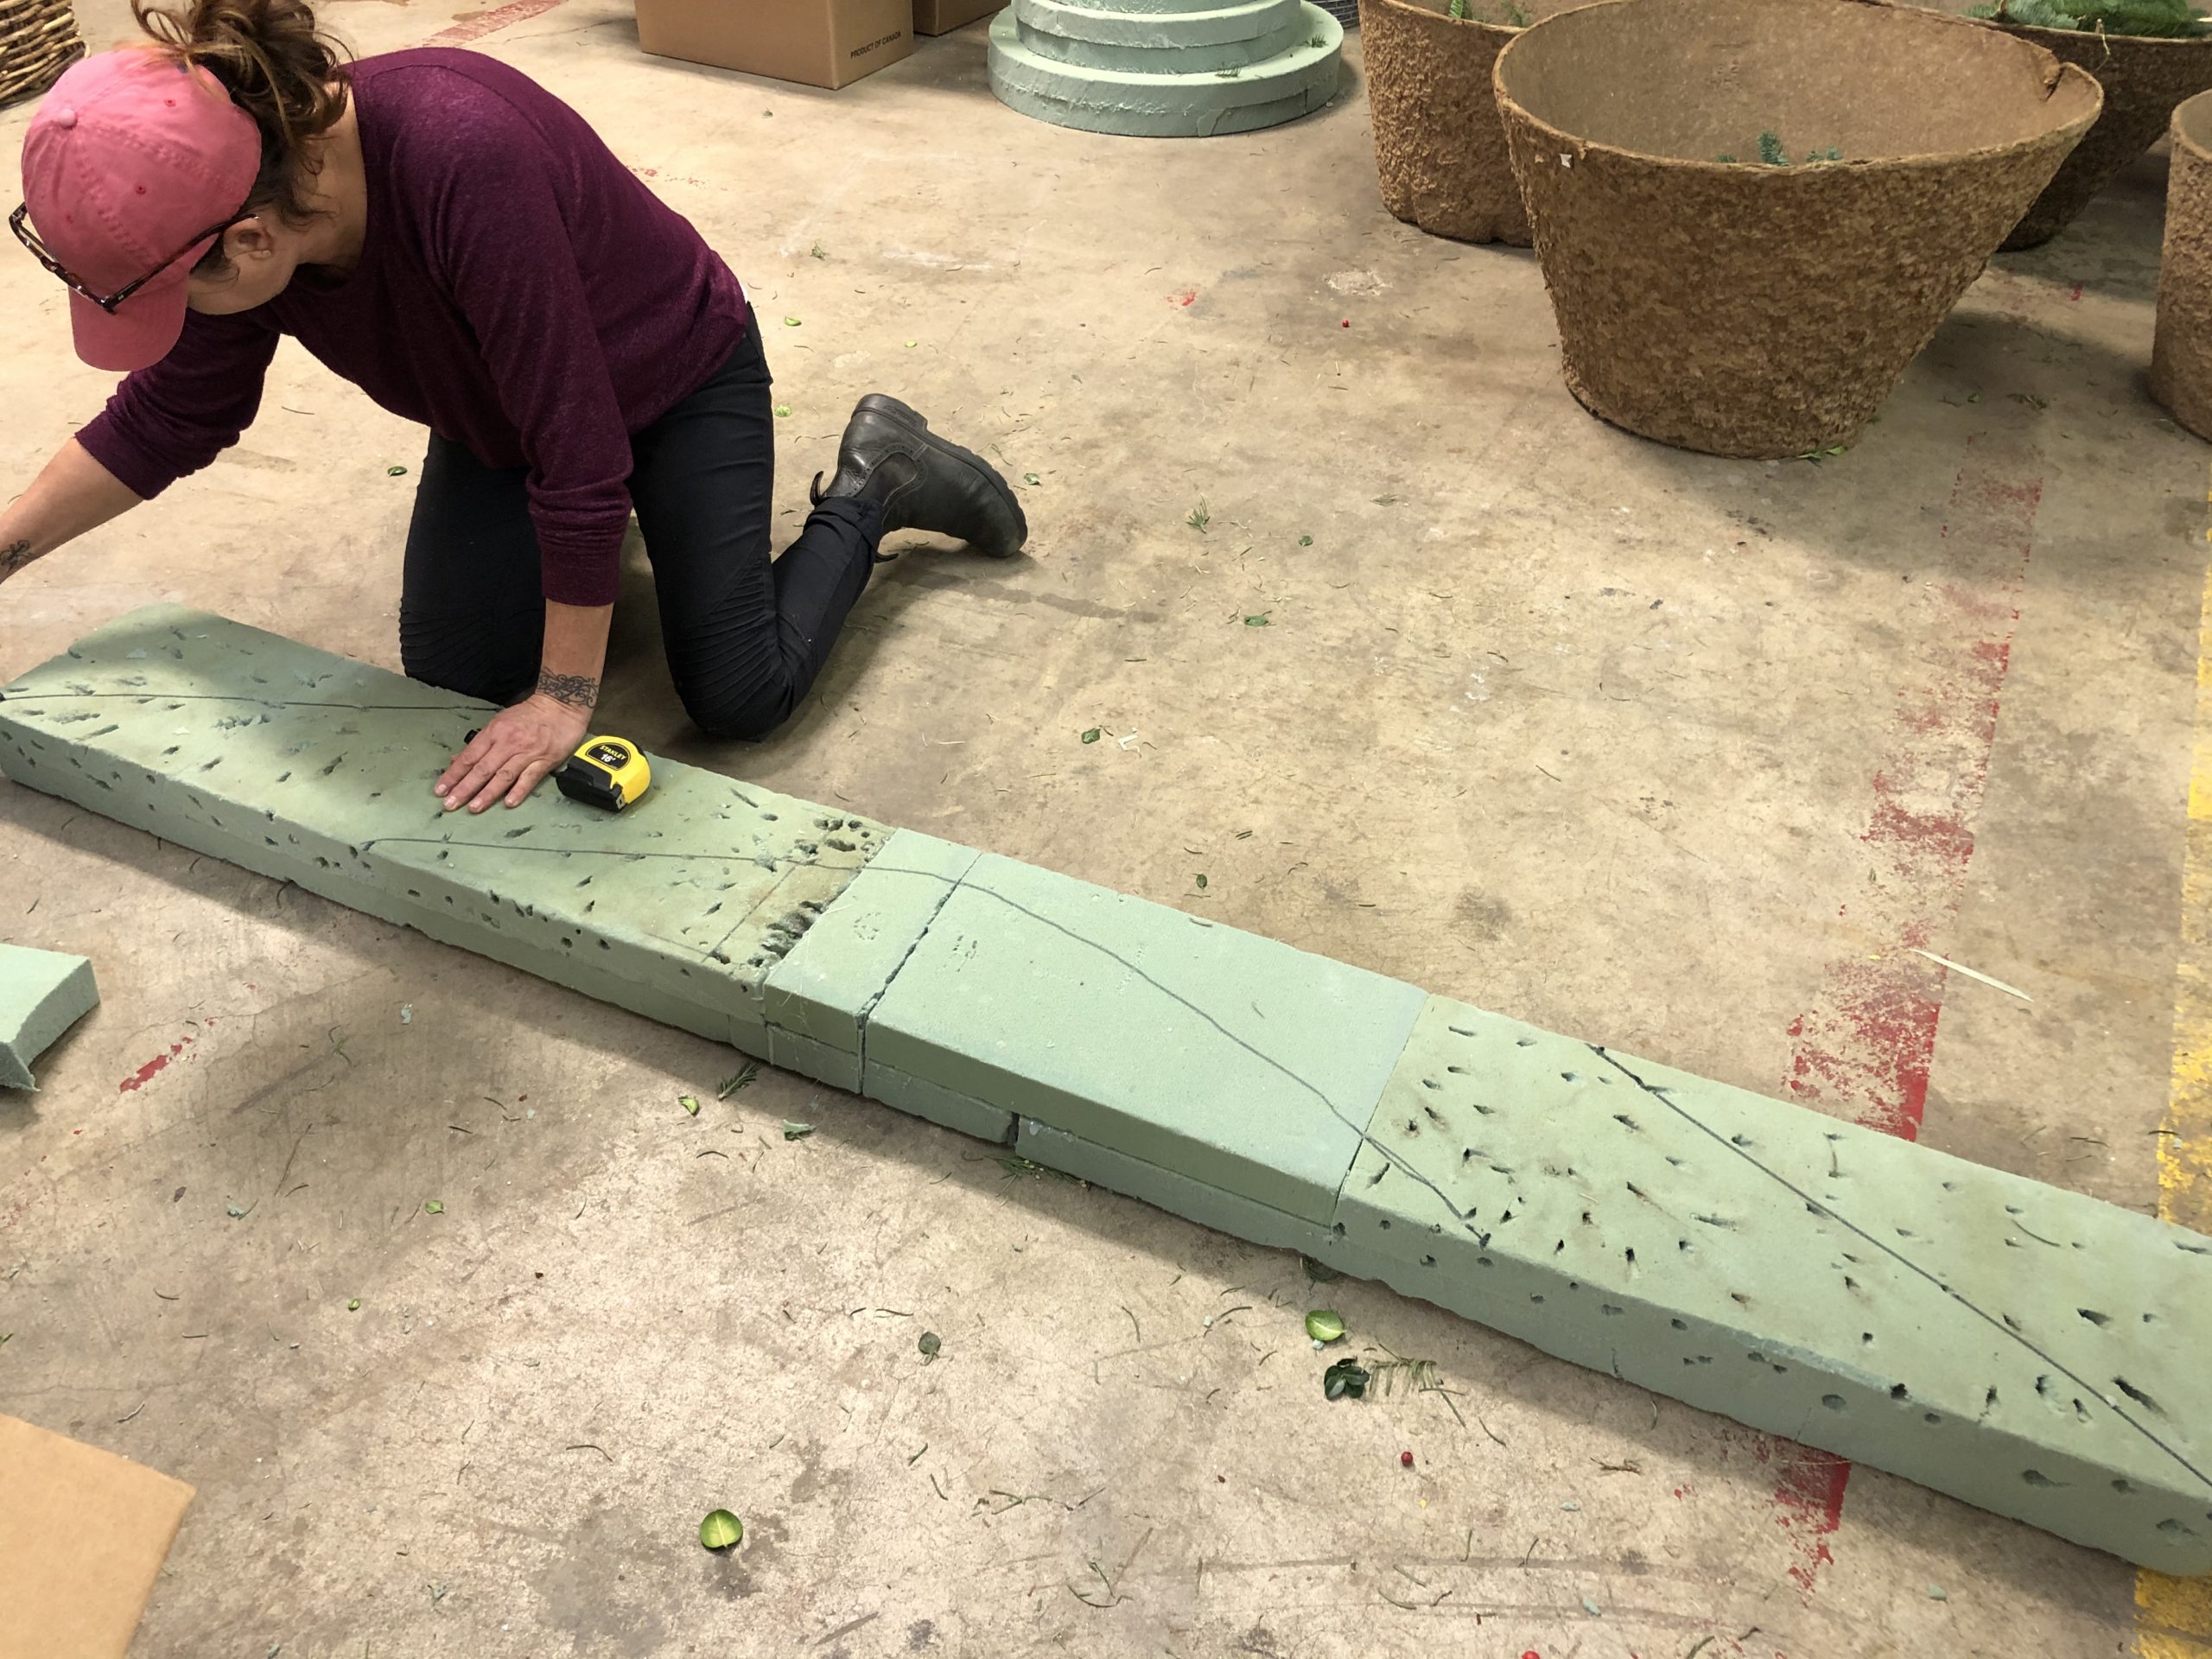
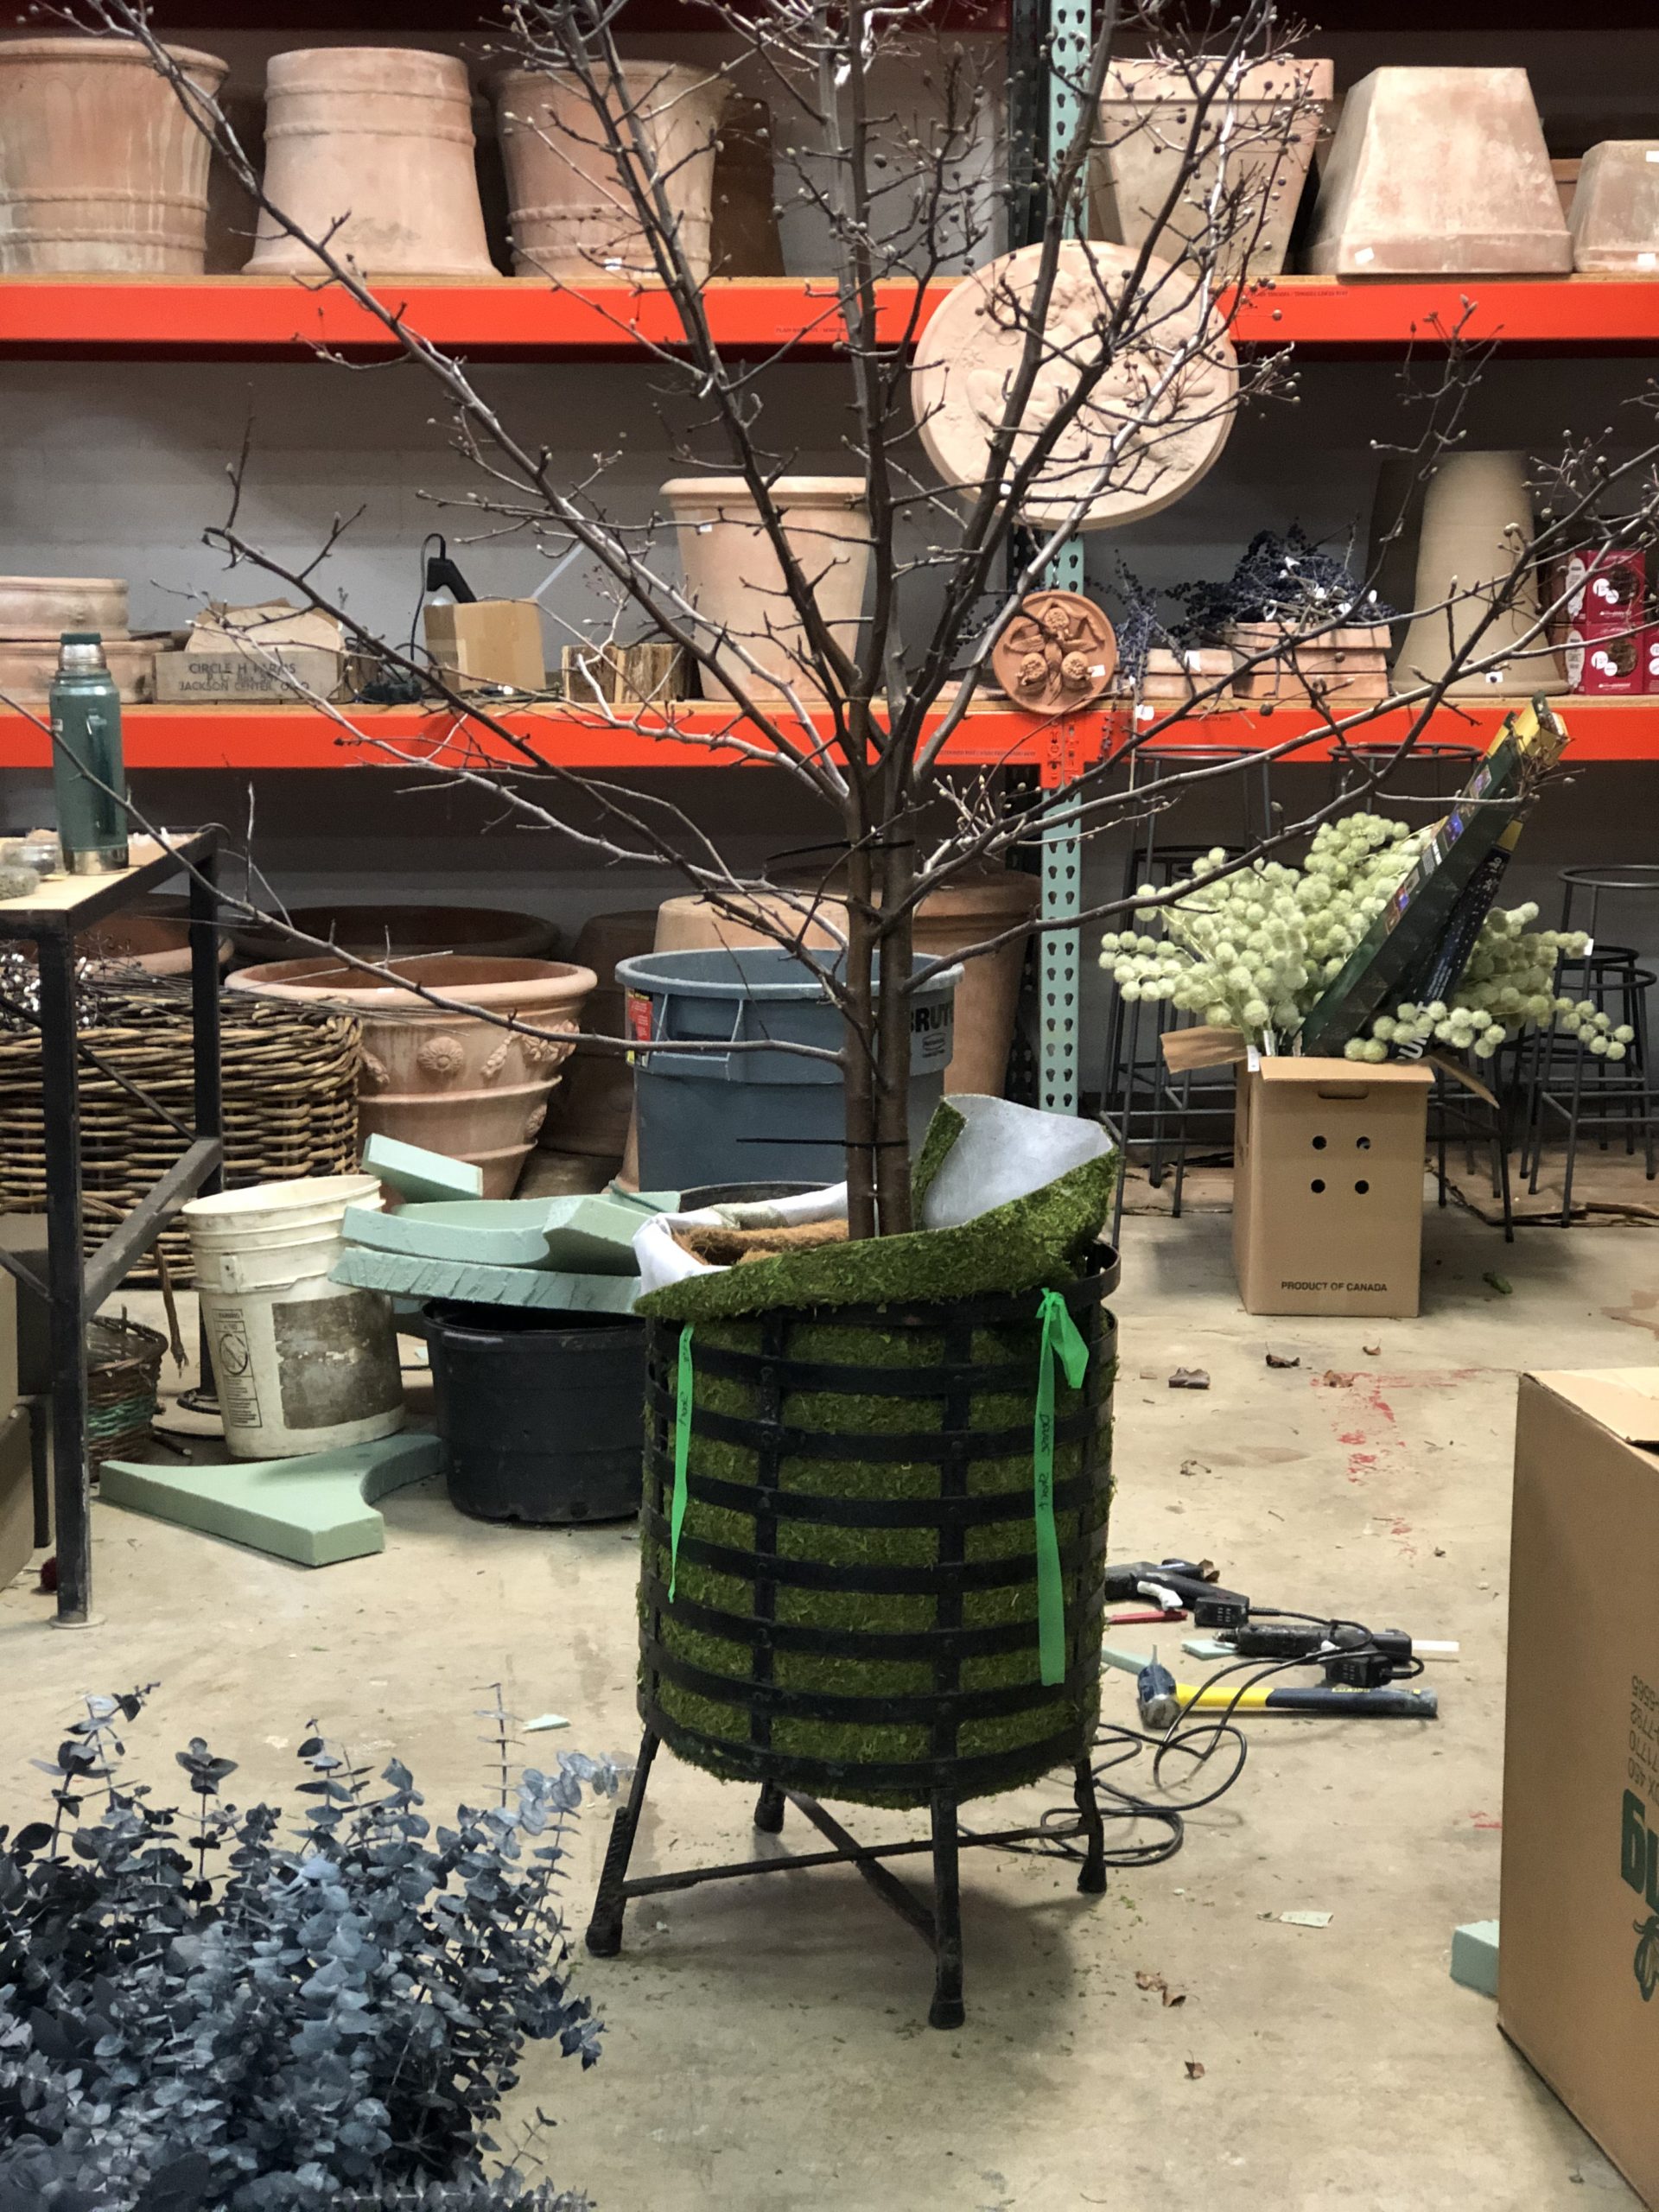
 The moss mat exterior fabric lined with an inner layer of coir was not going to stand up on its own. Sal cut disks of foam slightly smaller than the interior diameter of the pot. He cut every disk in half, and hollowed out a spot for the tree trunks. Once the moss mat and coir was in place, he drove long wedges of foam into the space between the half discs. This pushed the outside circular edge of his disks tight against the walls of the container. Genius, this. He and James built an interior foam framework that would hold that tree, two inches up at a time, from the bottom to the top.
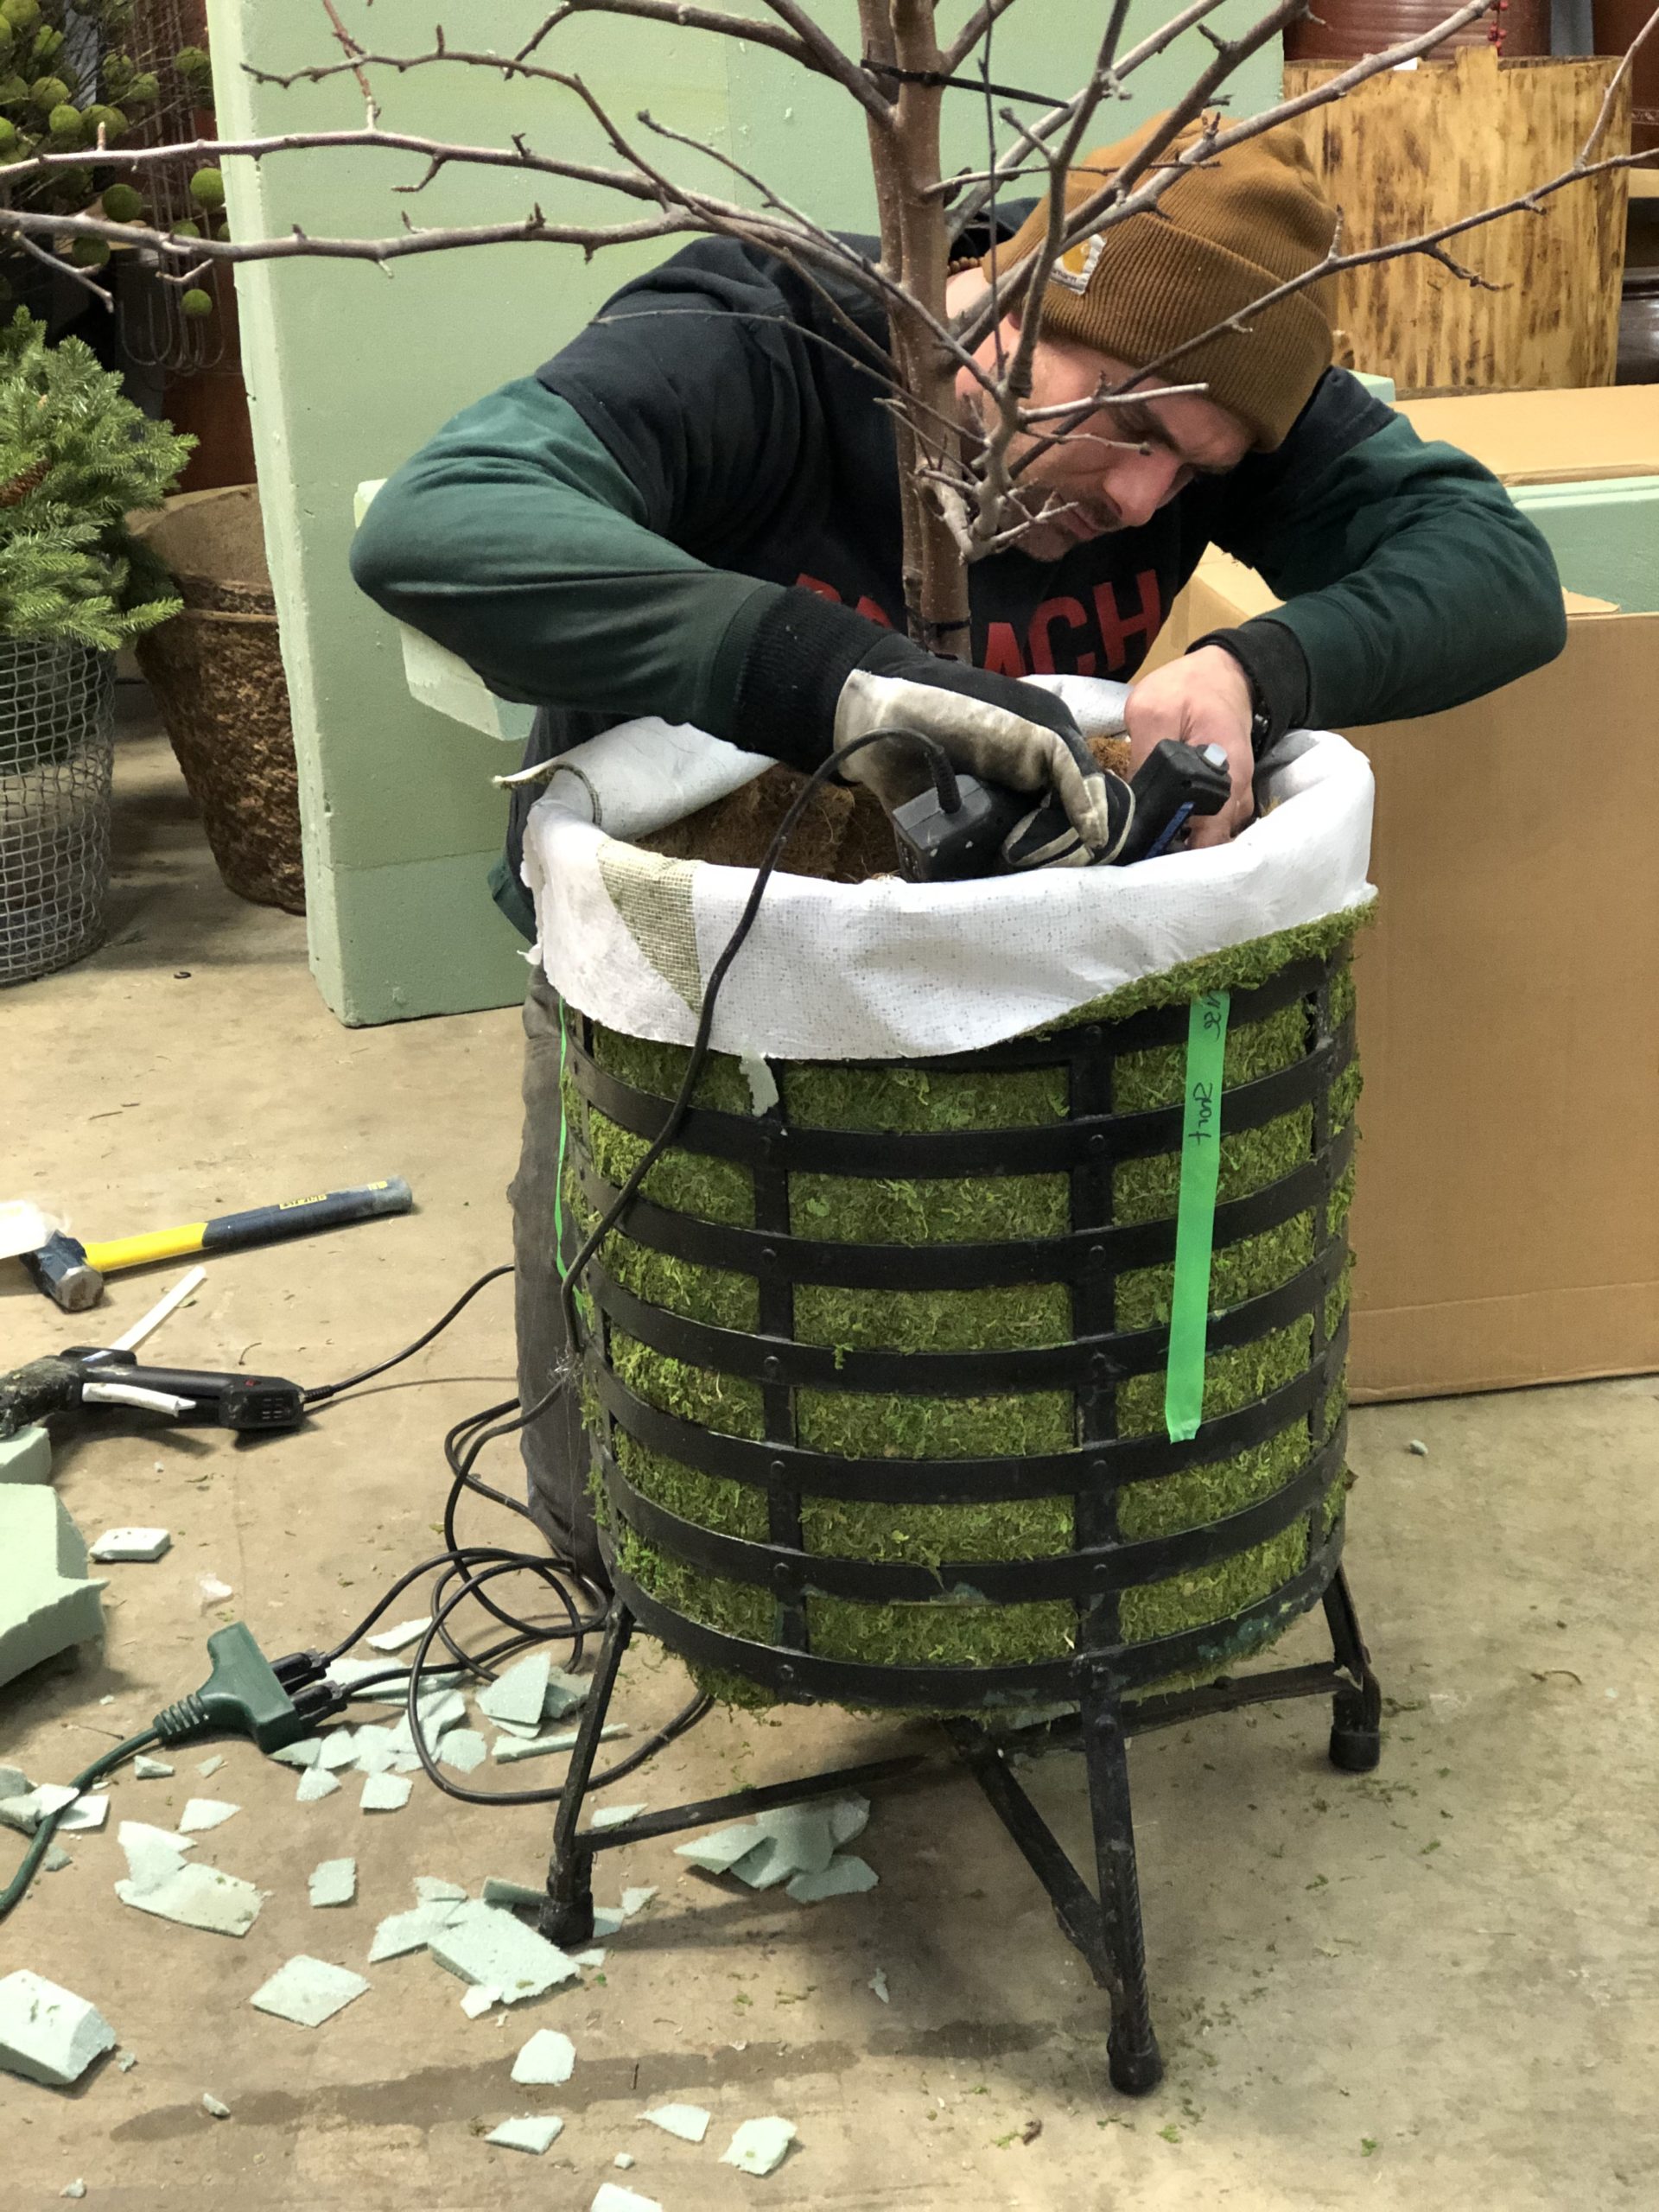 James injected the hot melt glue that would secure the tree in the foam form inside the pot.
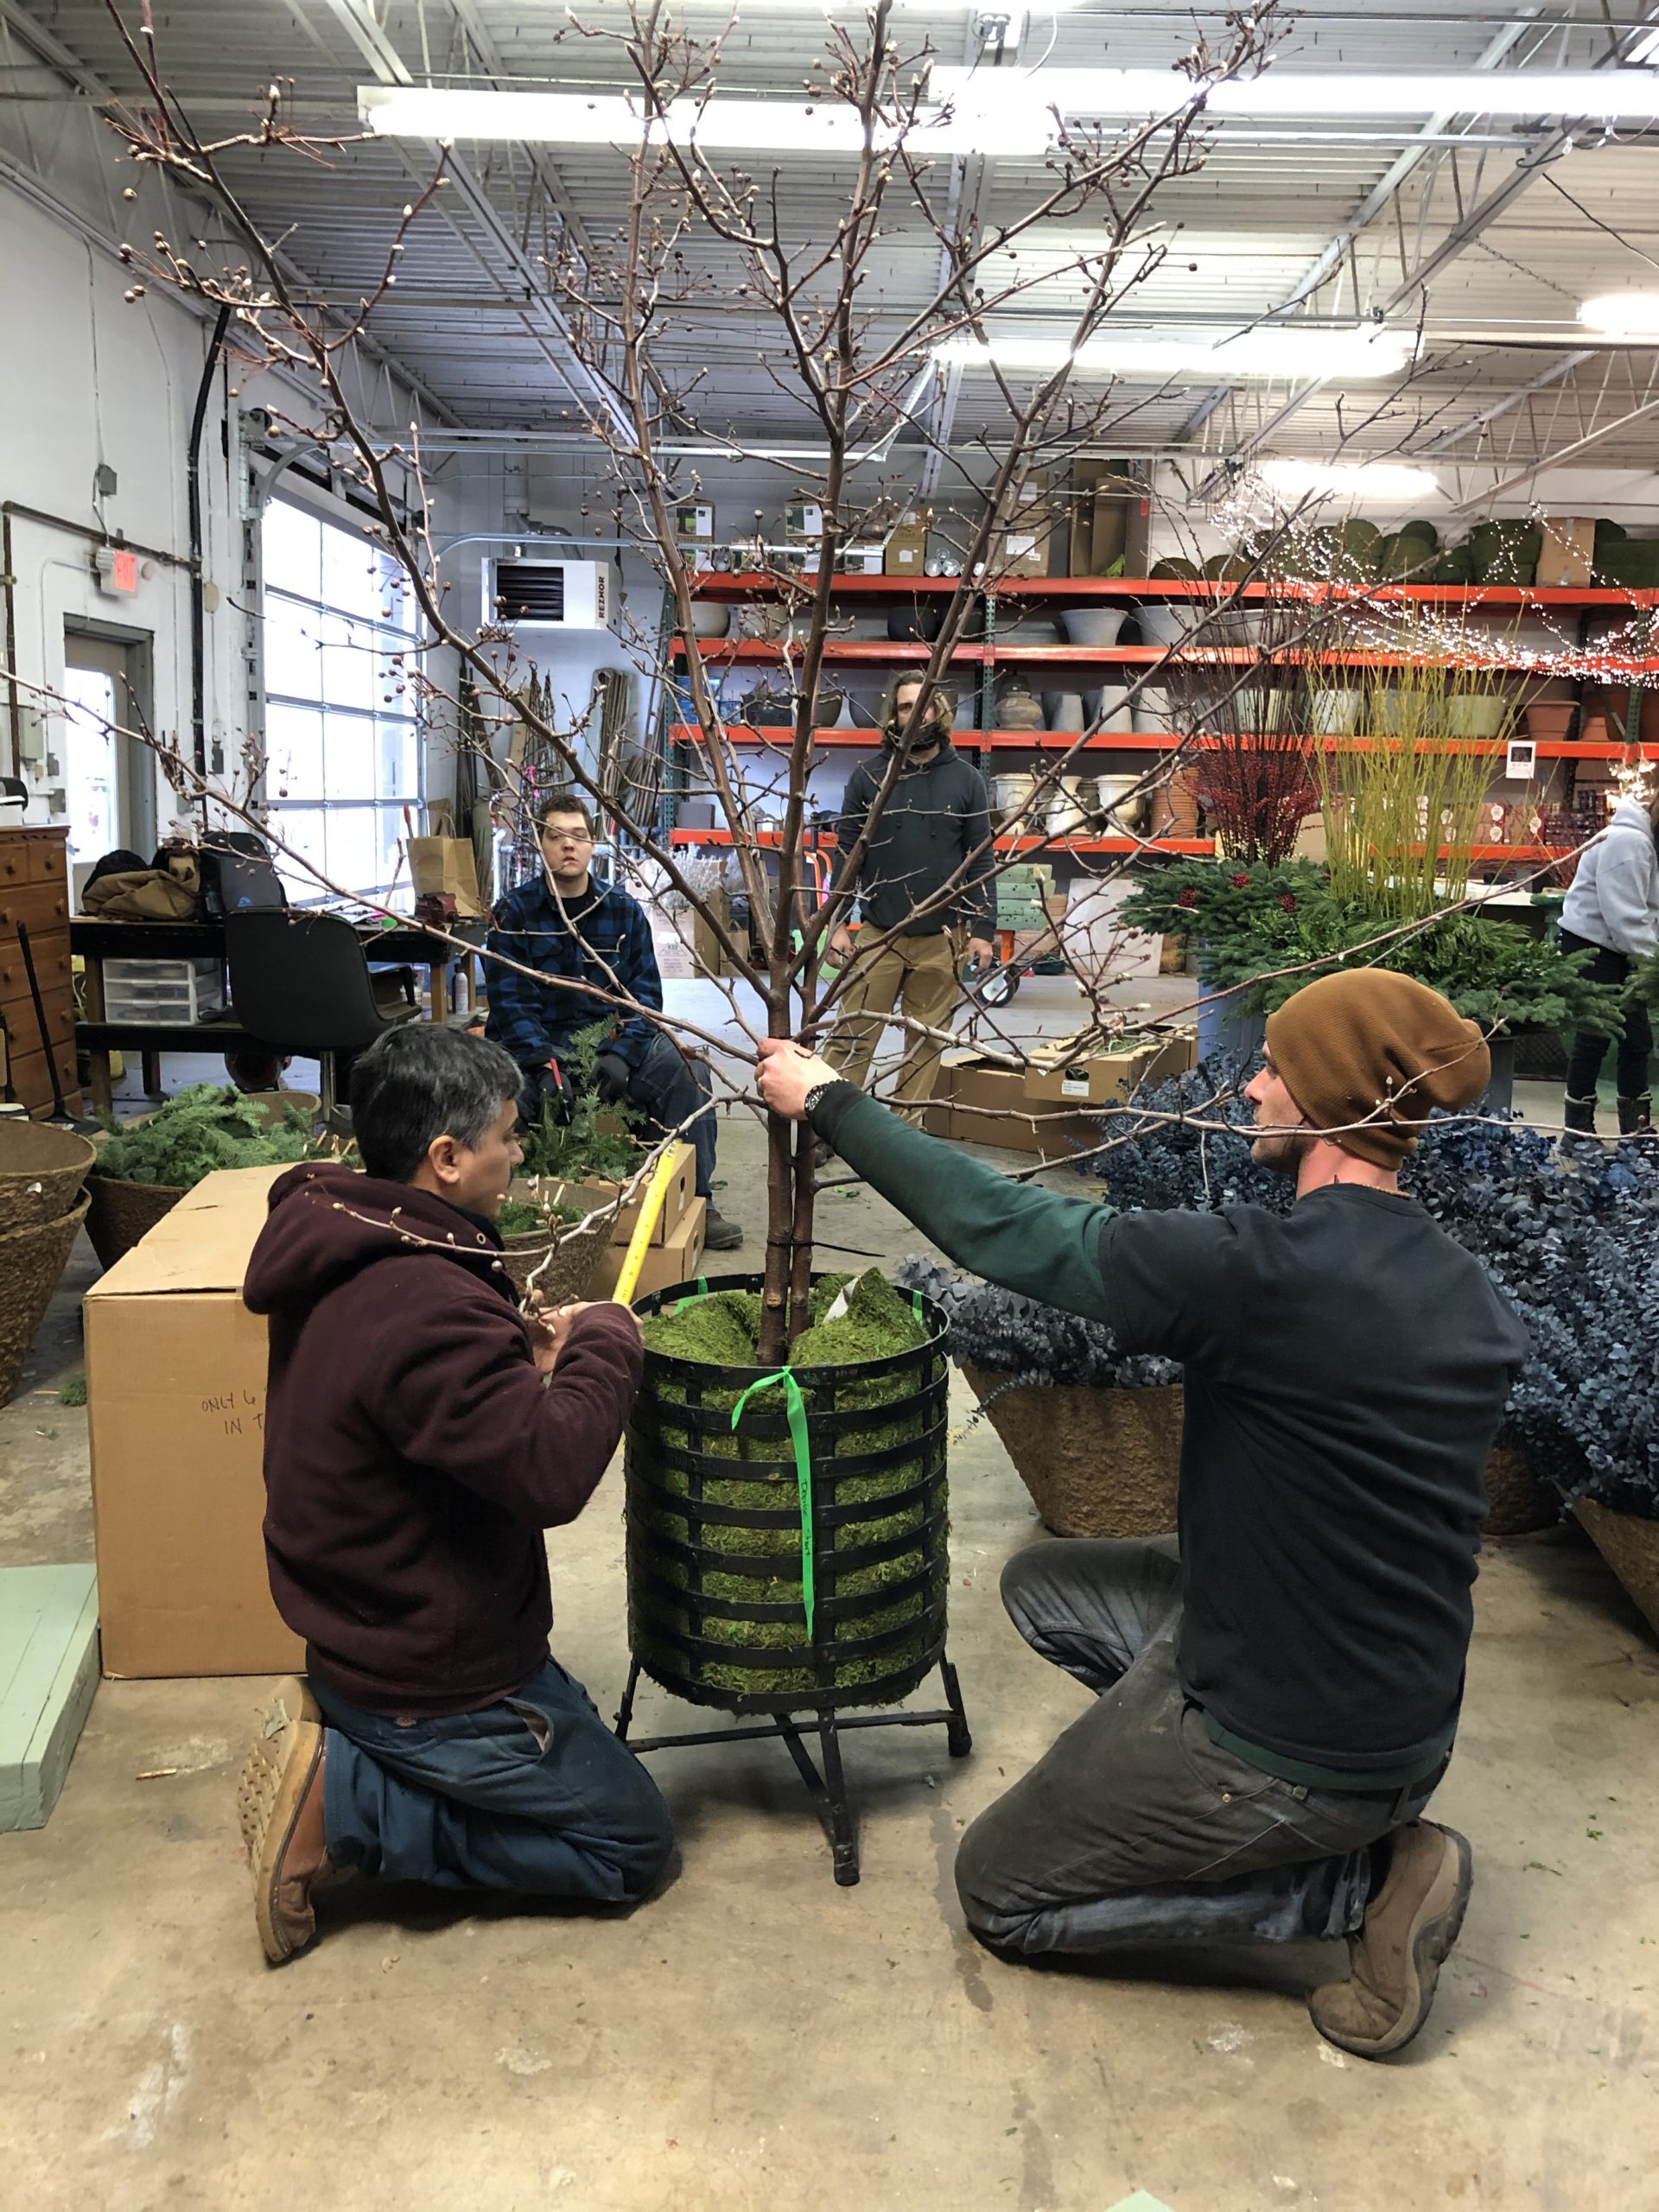 Joe and David and I stepped back, and advised about the tree stems being perfectly vertical. We only had one opportunity to get this tree standing up straight, as once the glue cooled, there would be no moving it.
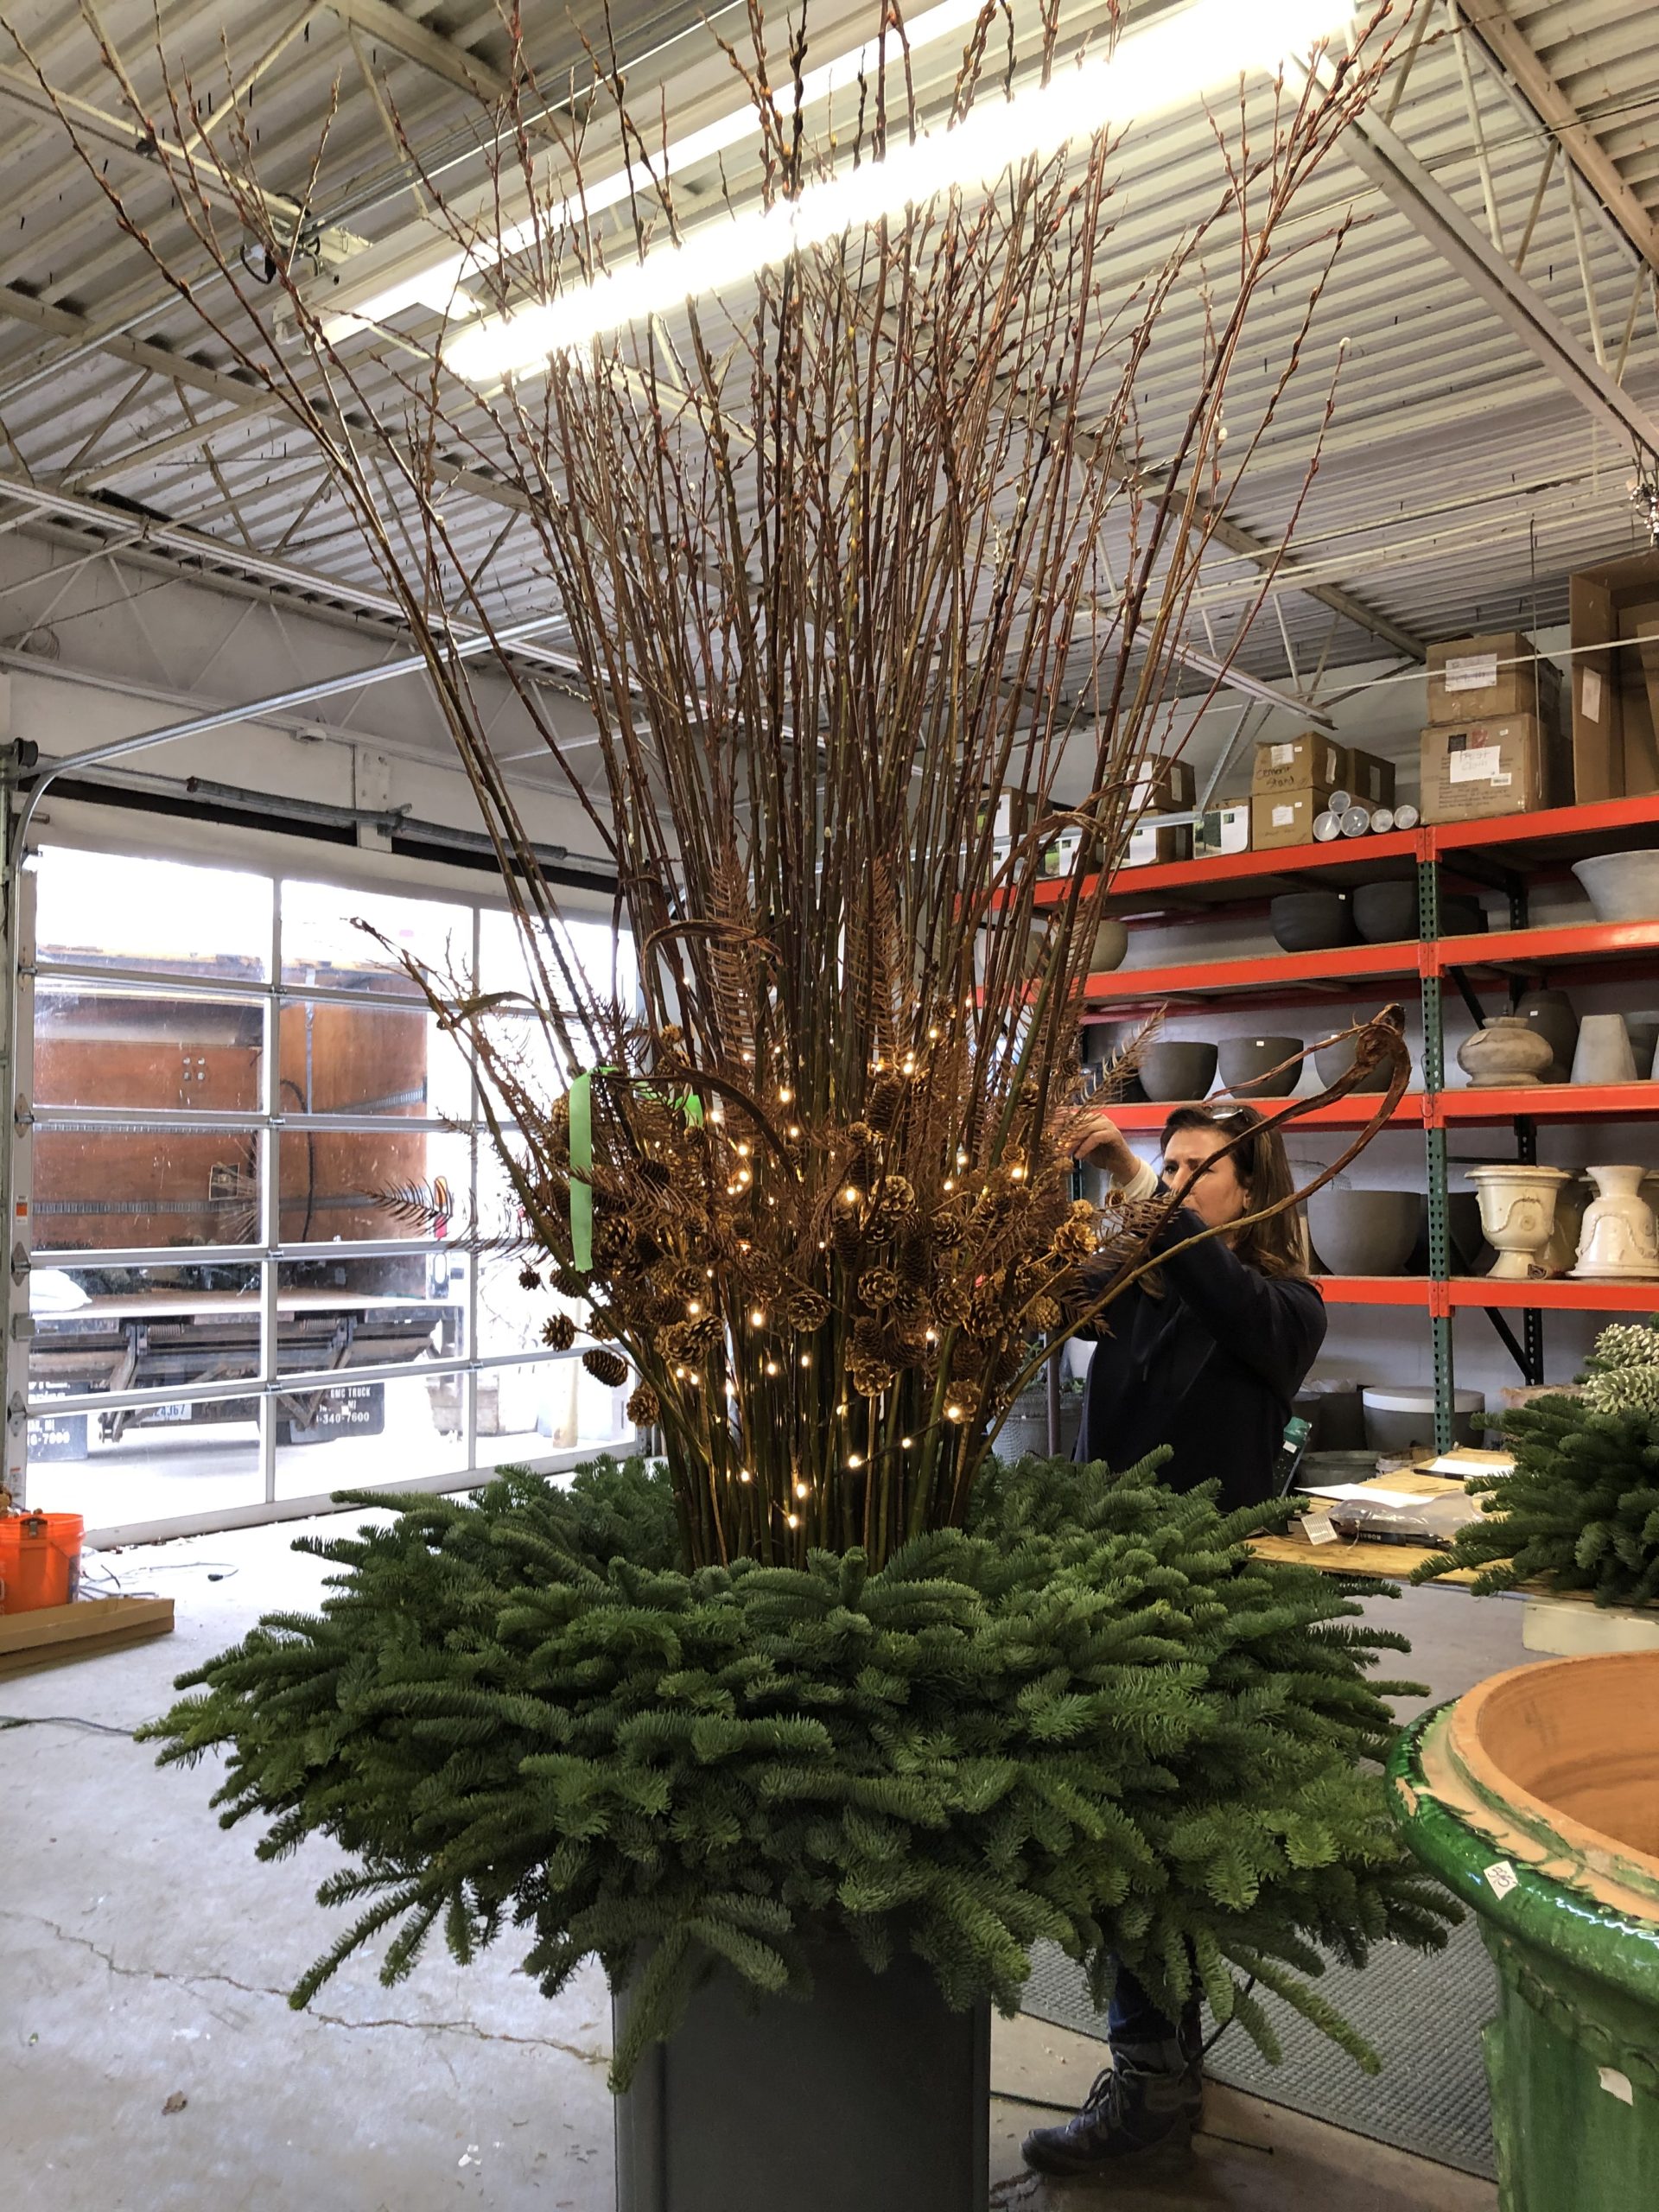
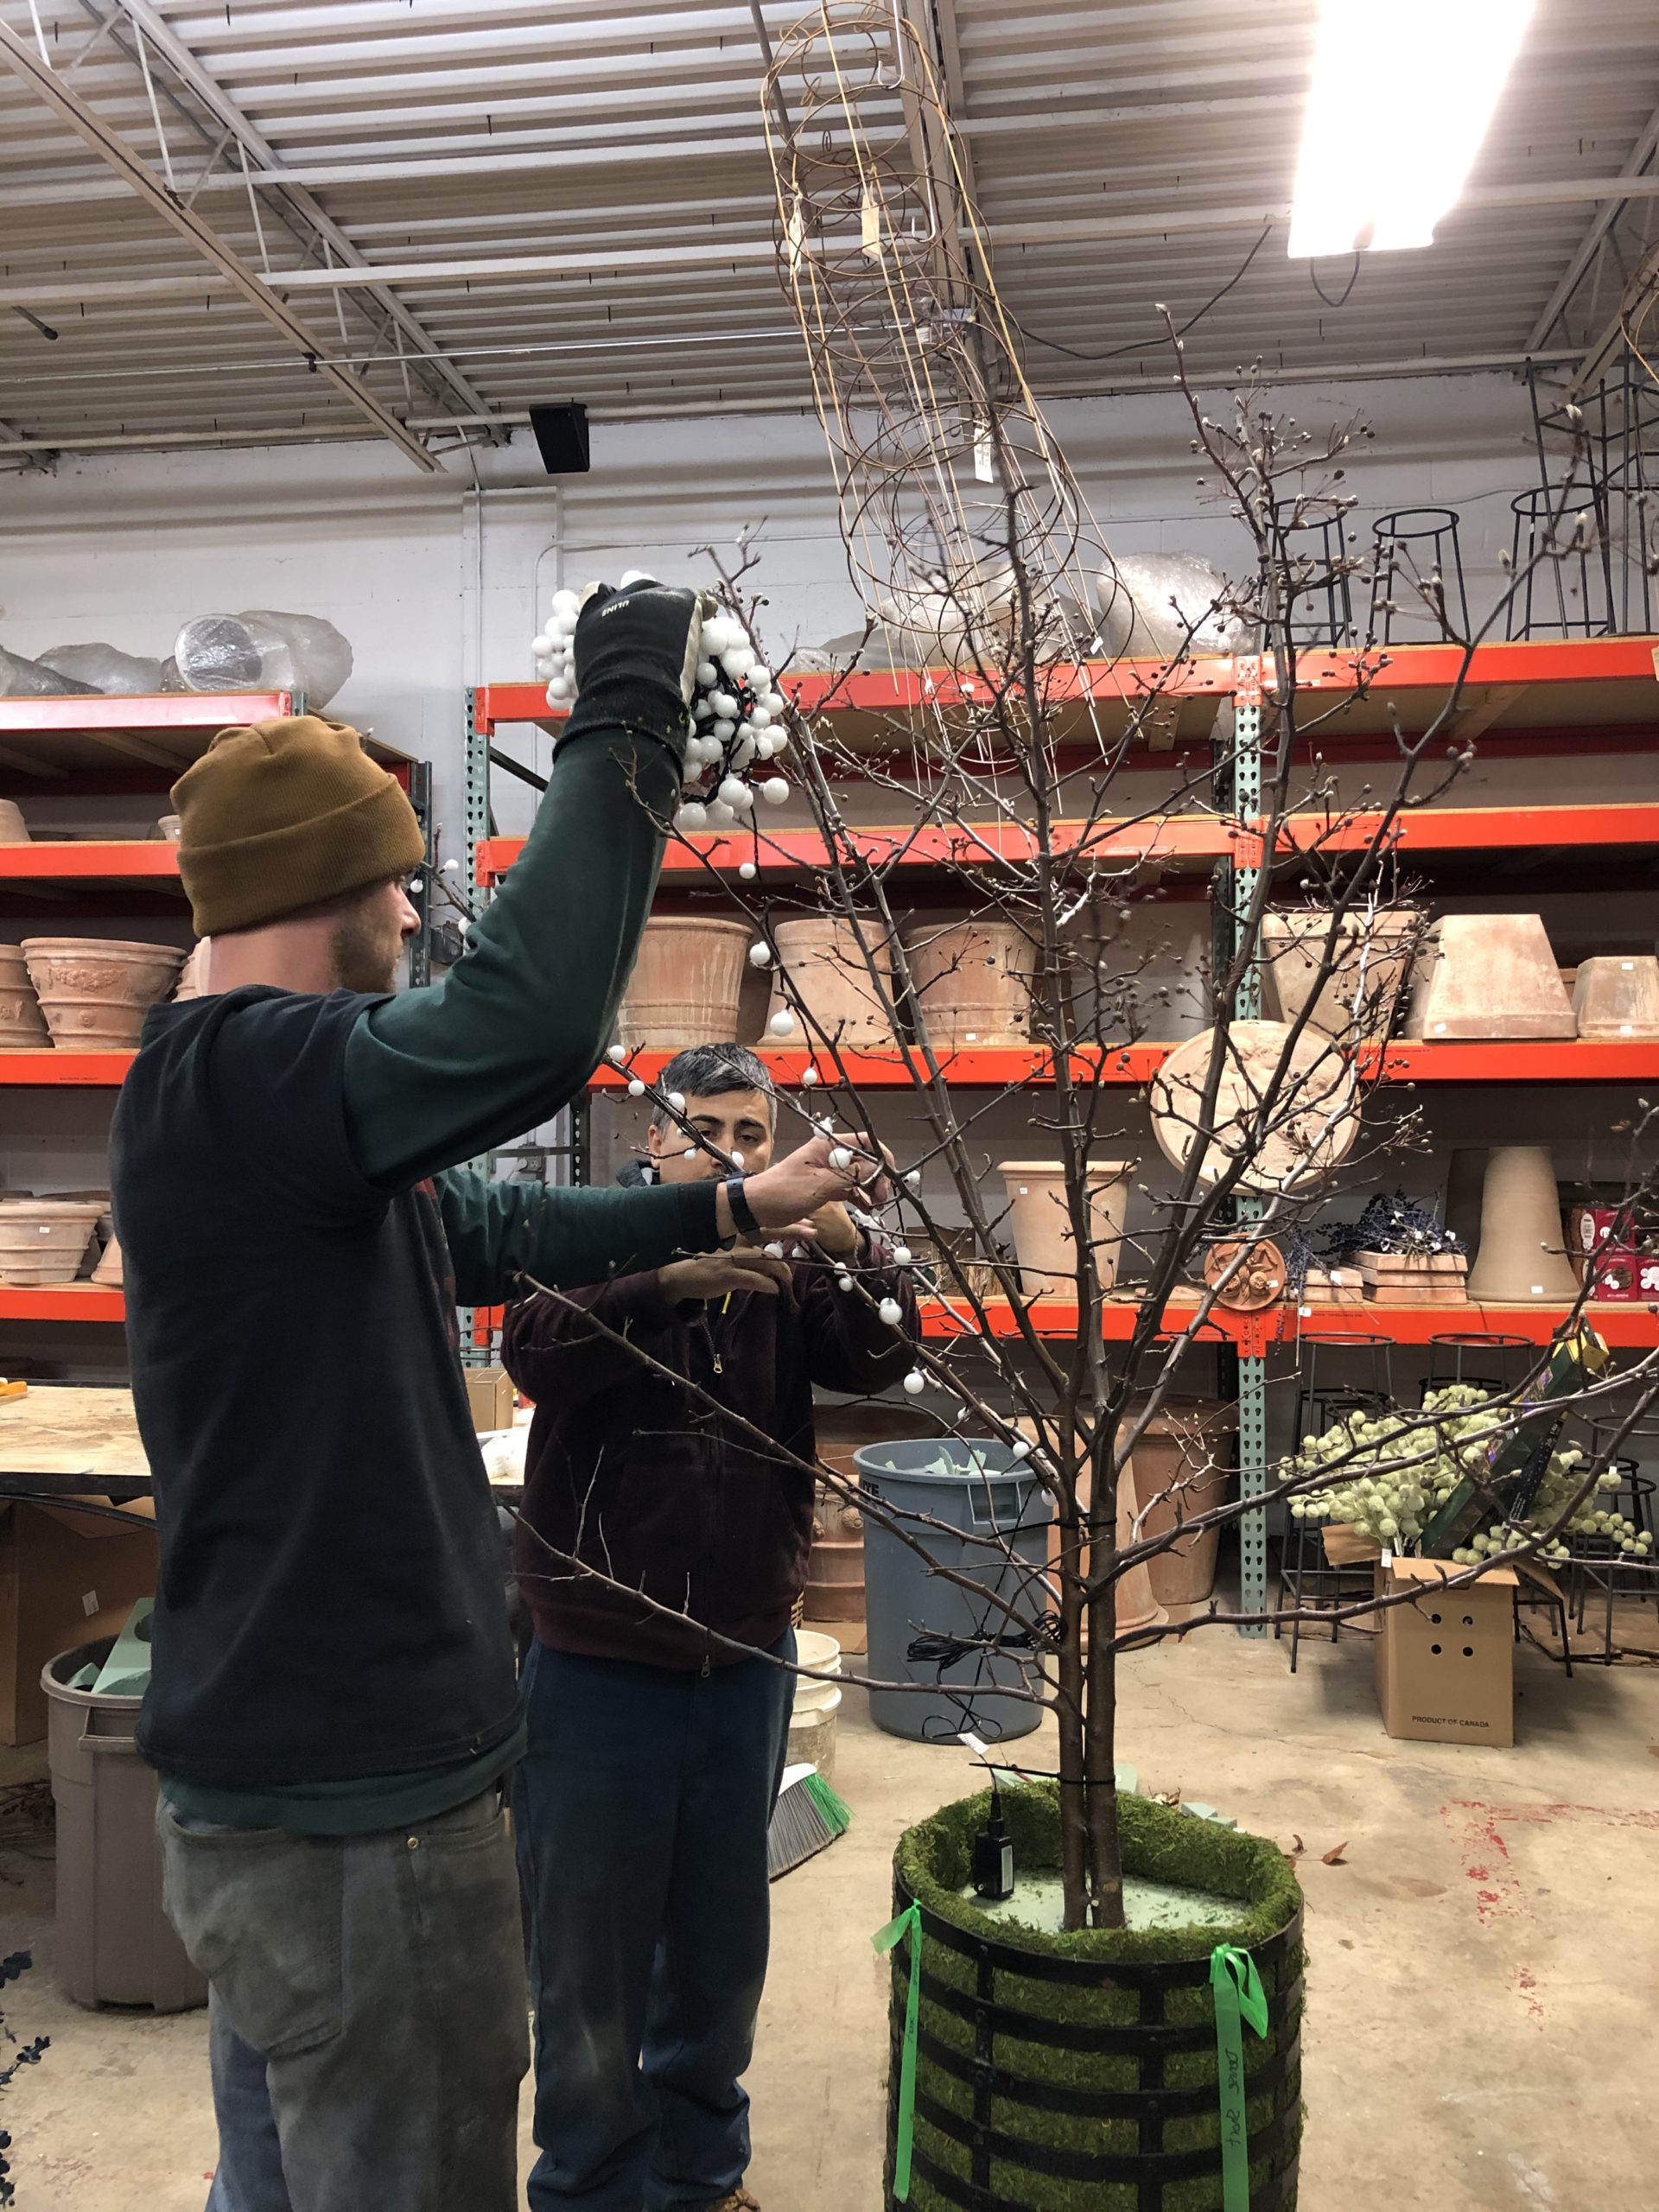 Once the tree was secured in the pot, Sal and James wound the branches round with lights. Of course a holiday tree needs lights. These cherry lights sport globes of a decent size, but the light is soft.
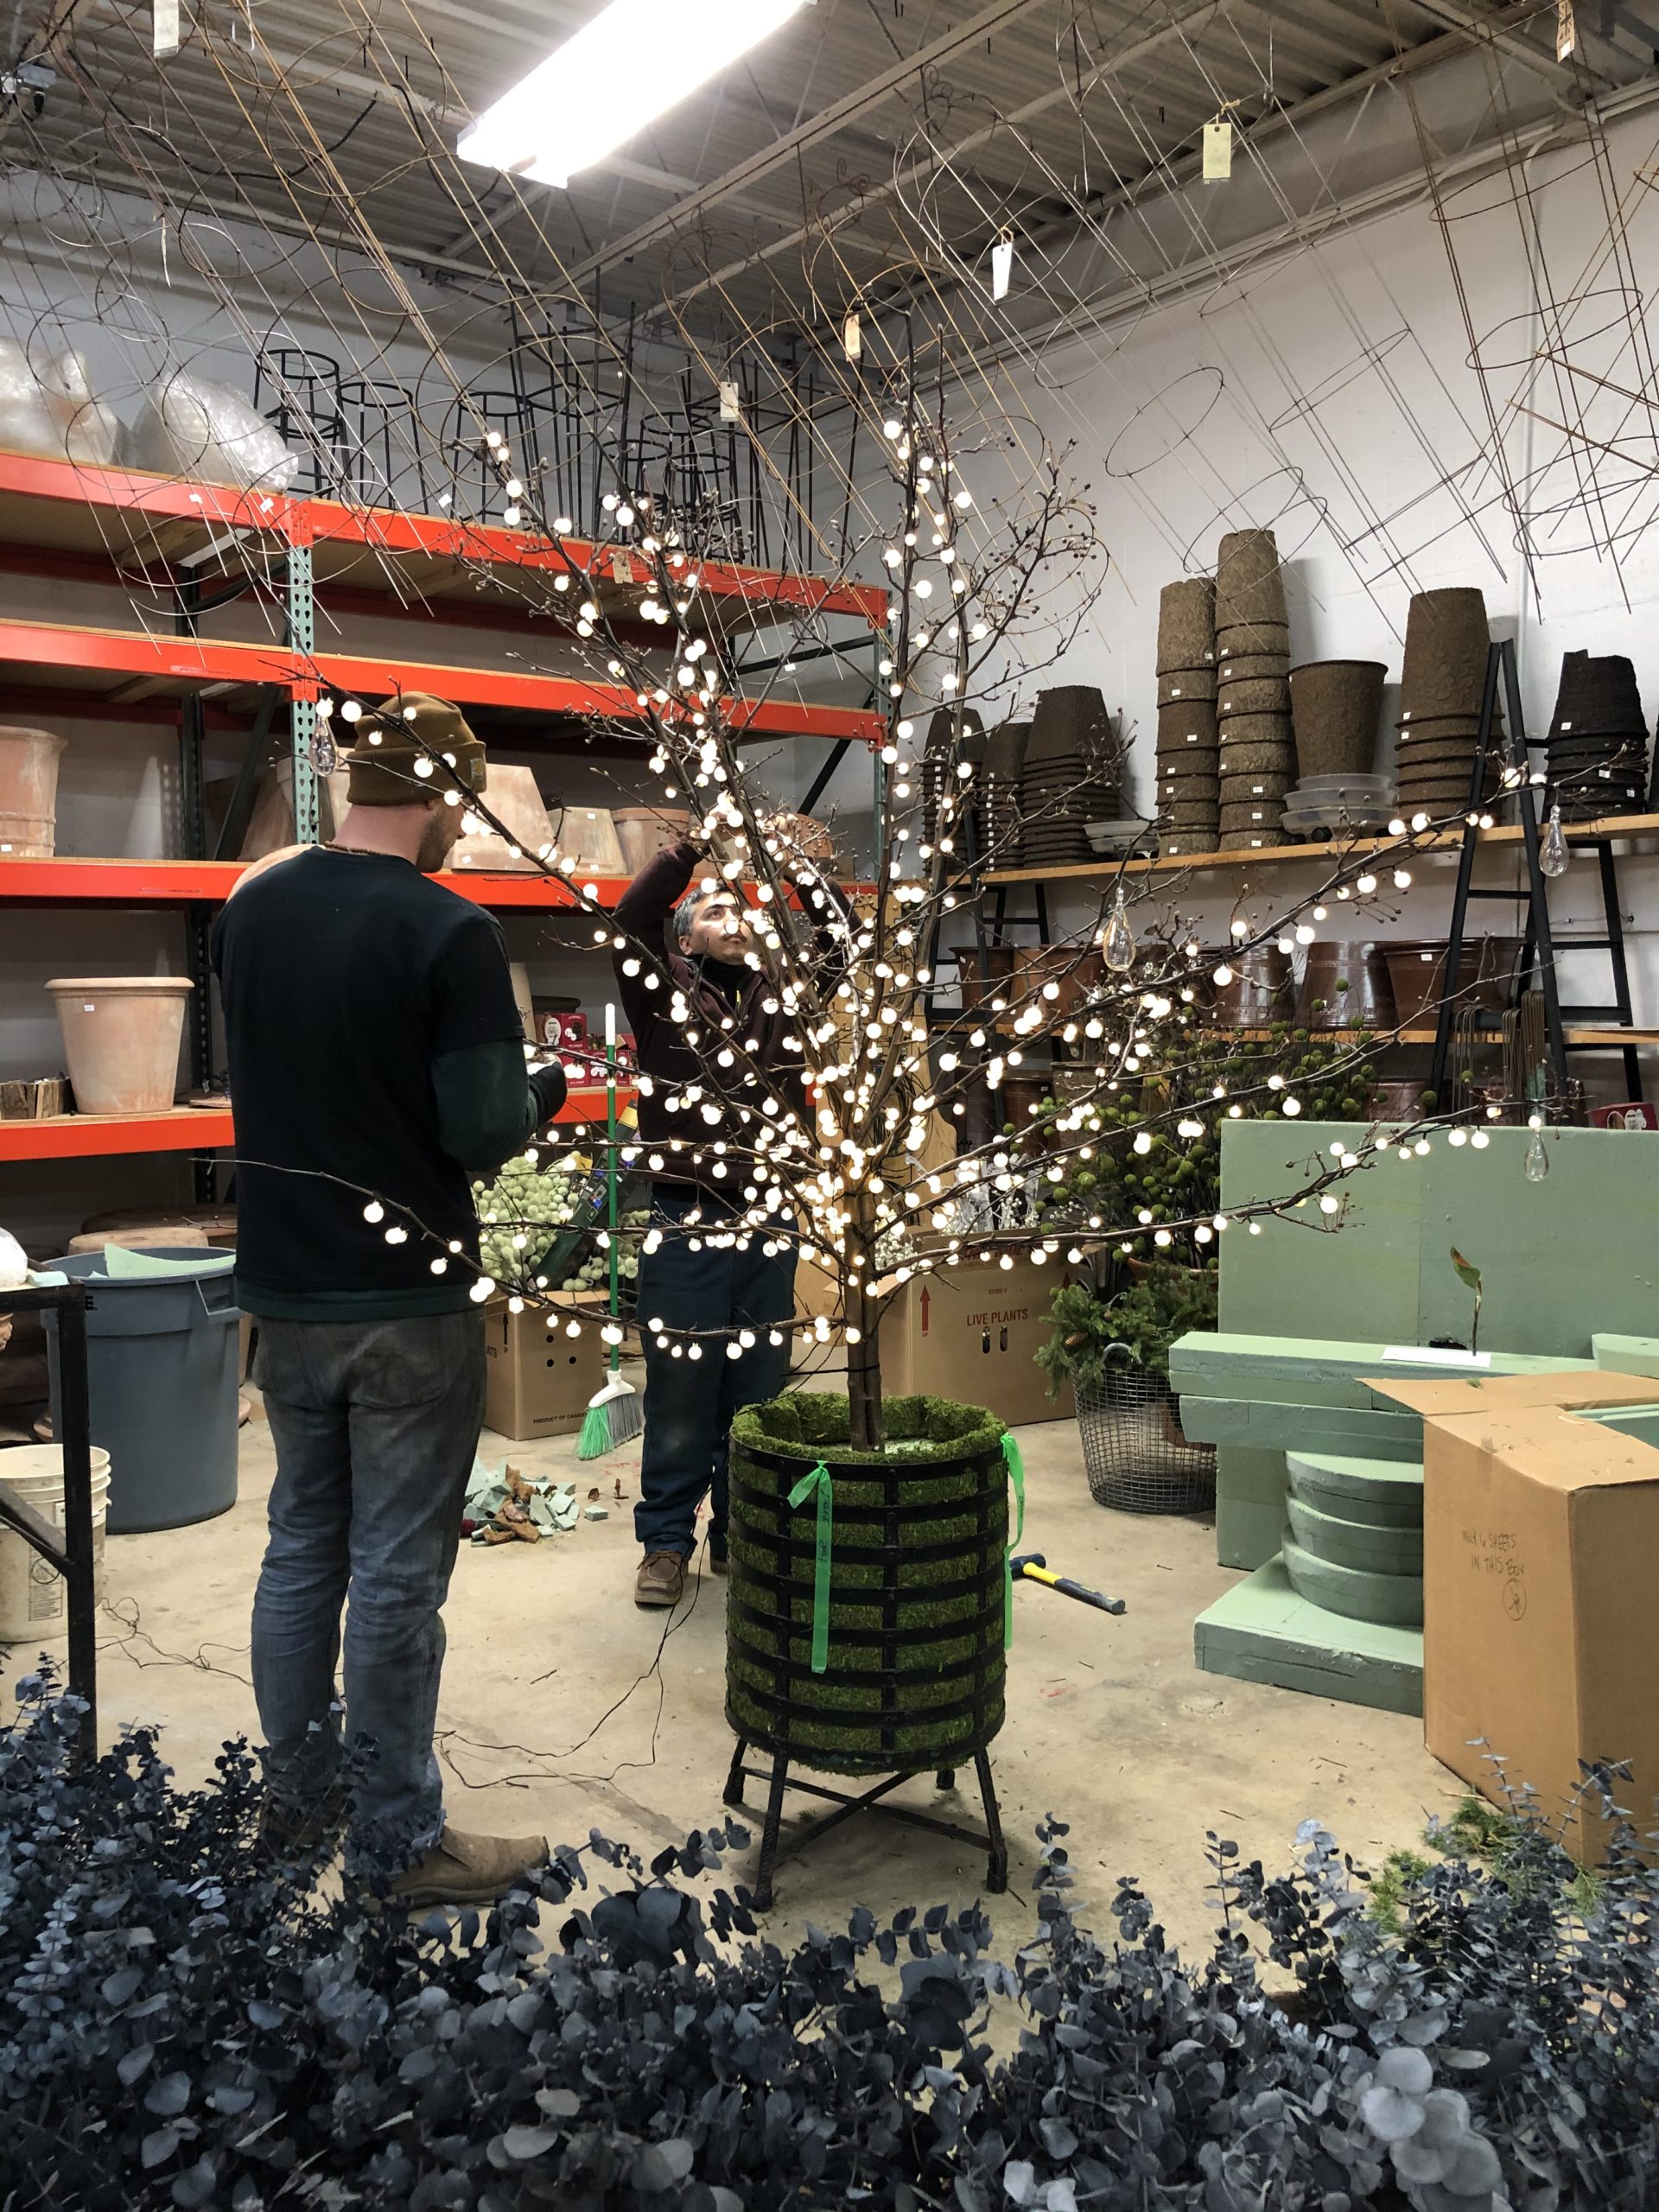 Near the end of the lighting part of this project, I can clearly see that Sal and James have been spot on with the execution of this project. The size and scale of the tree was good, and the pot looked great lined with moss.
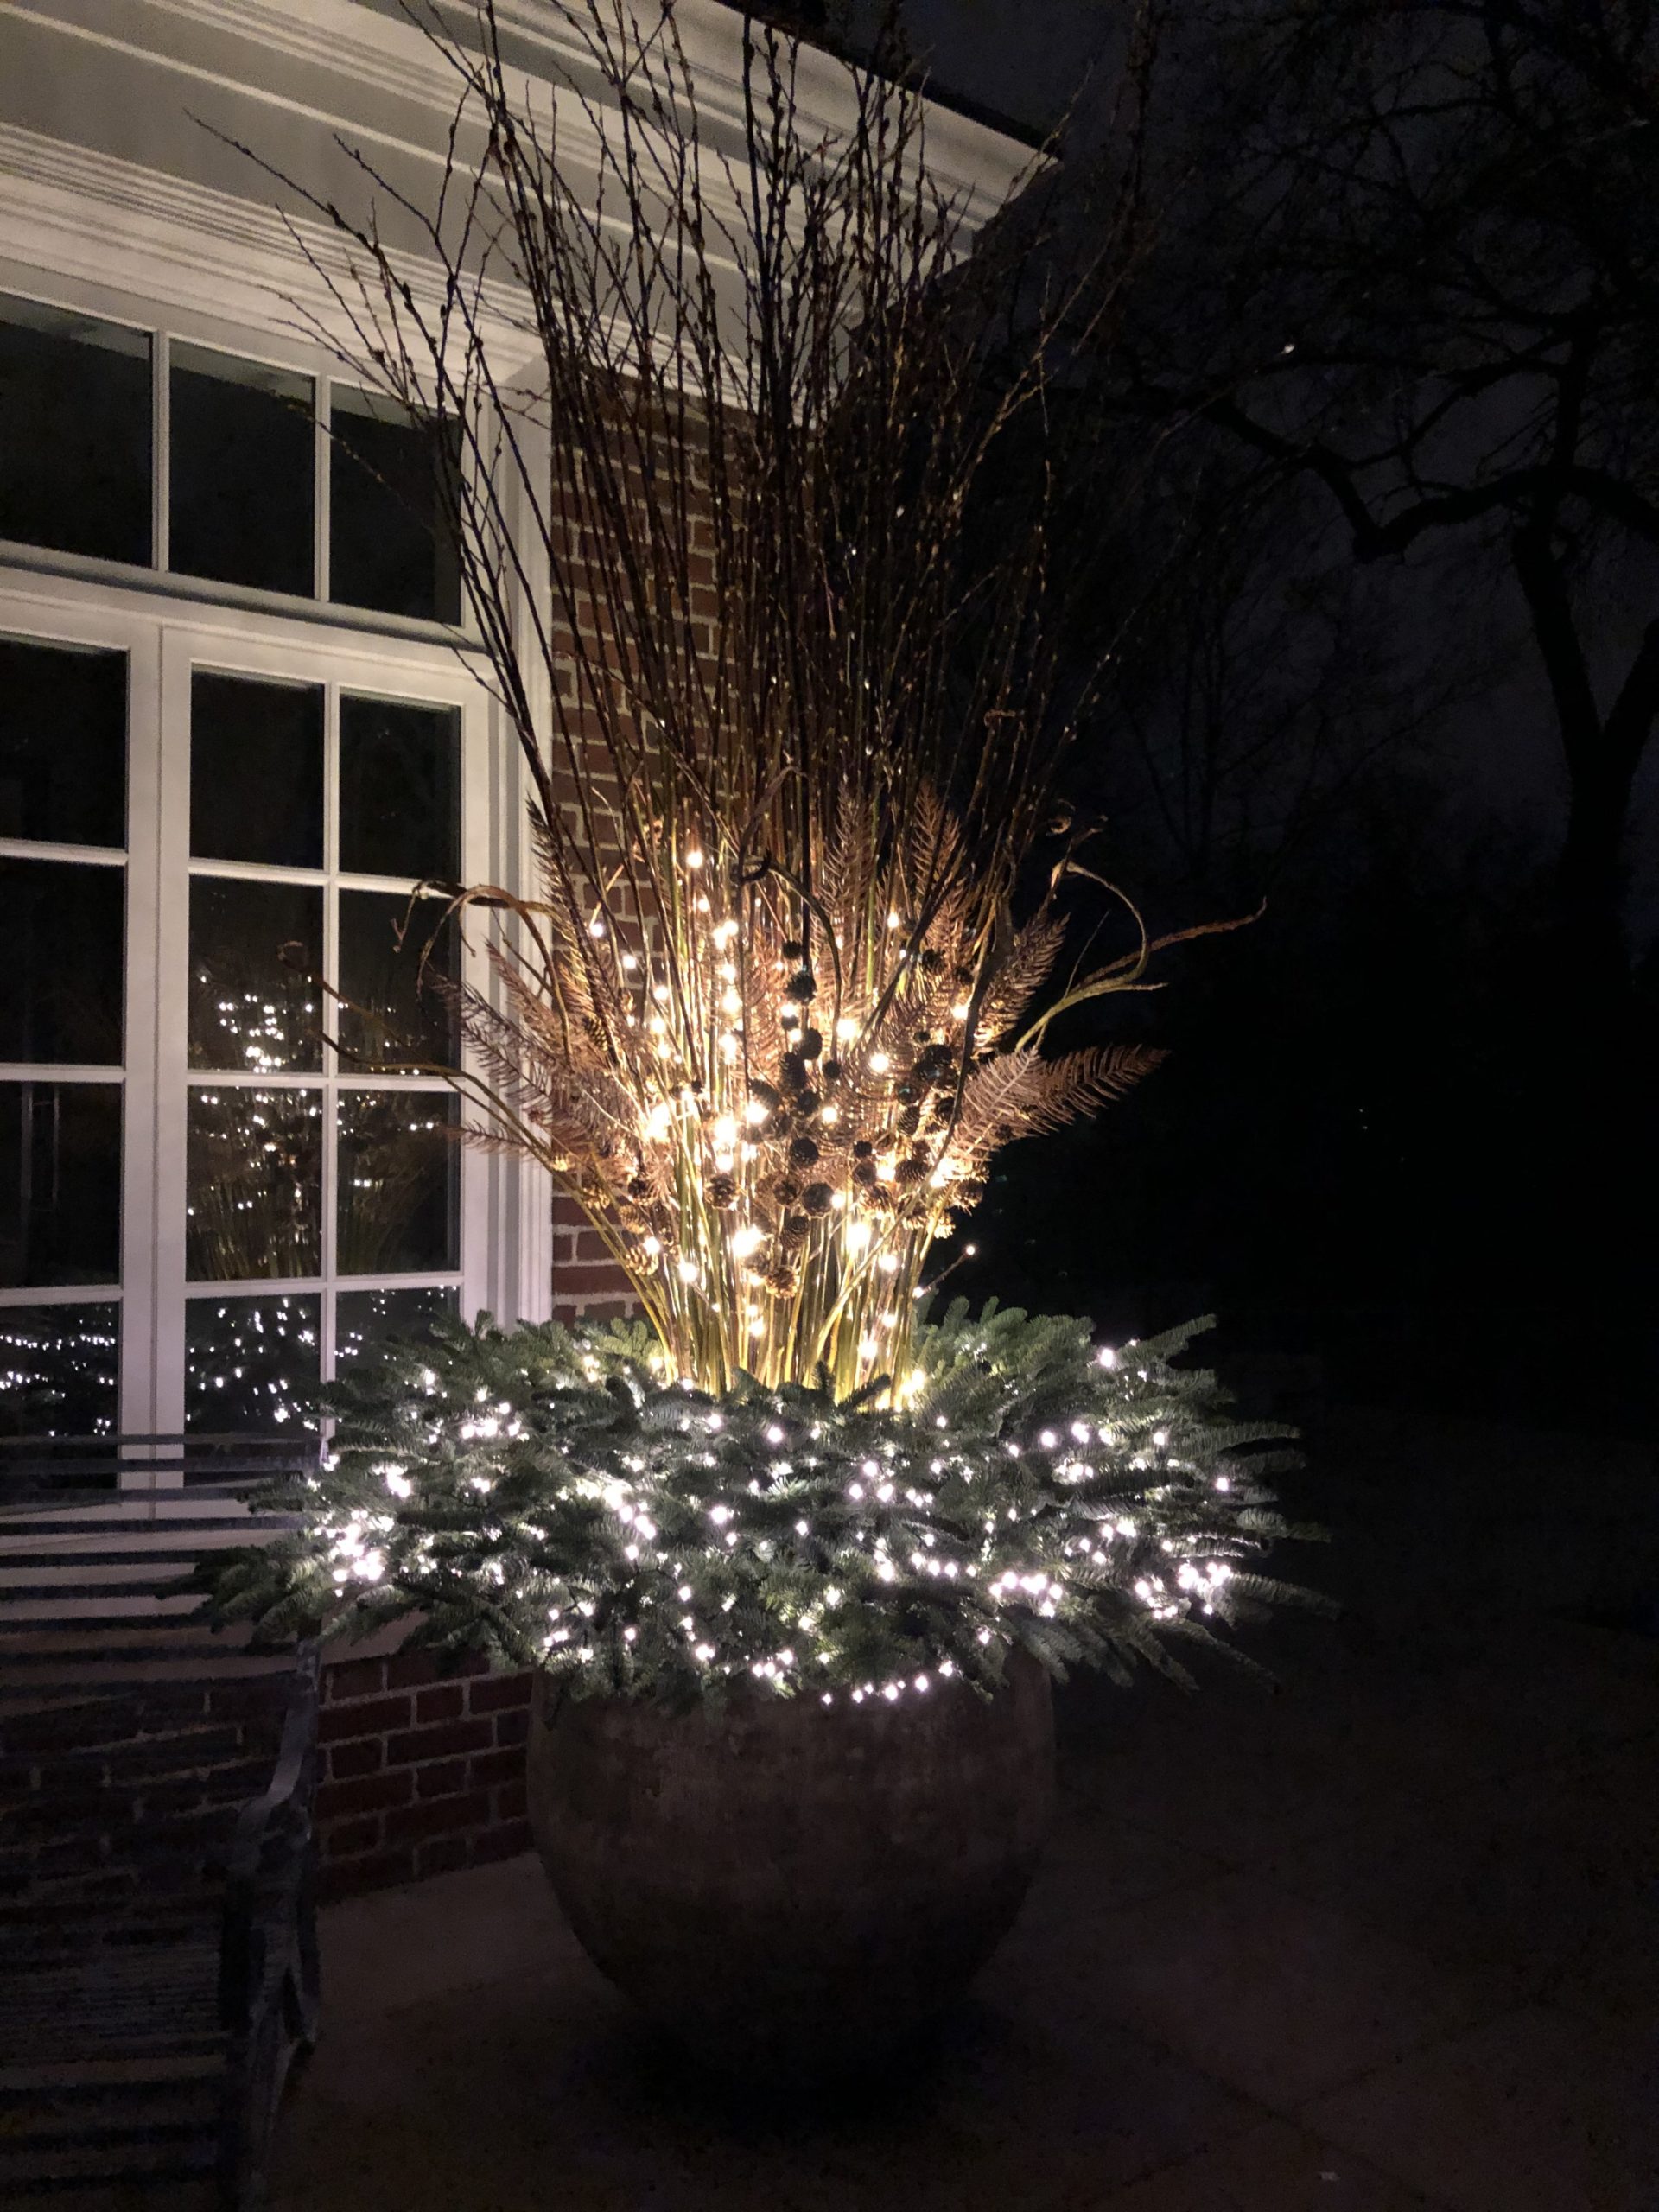
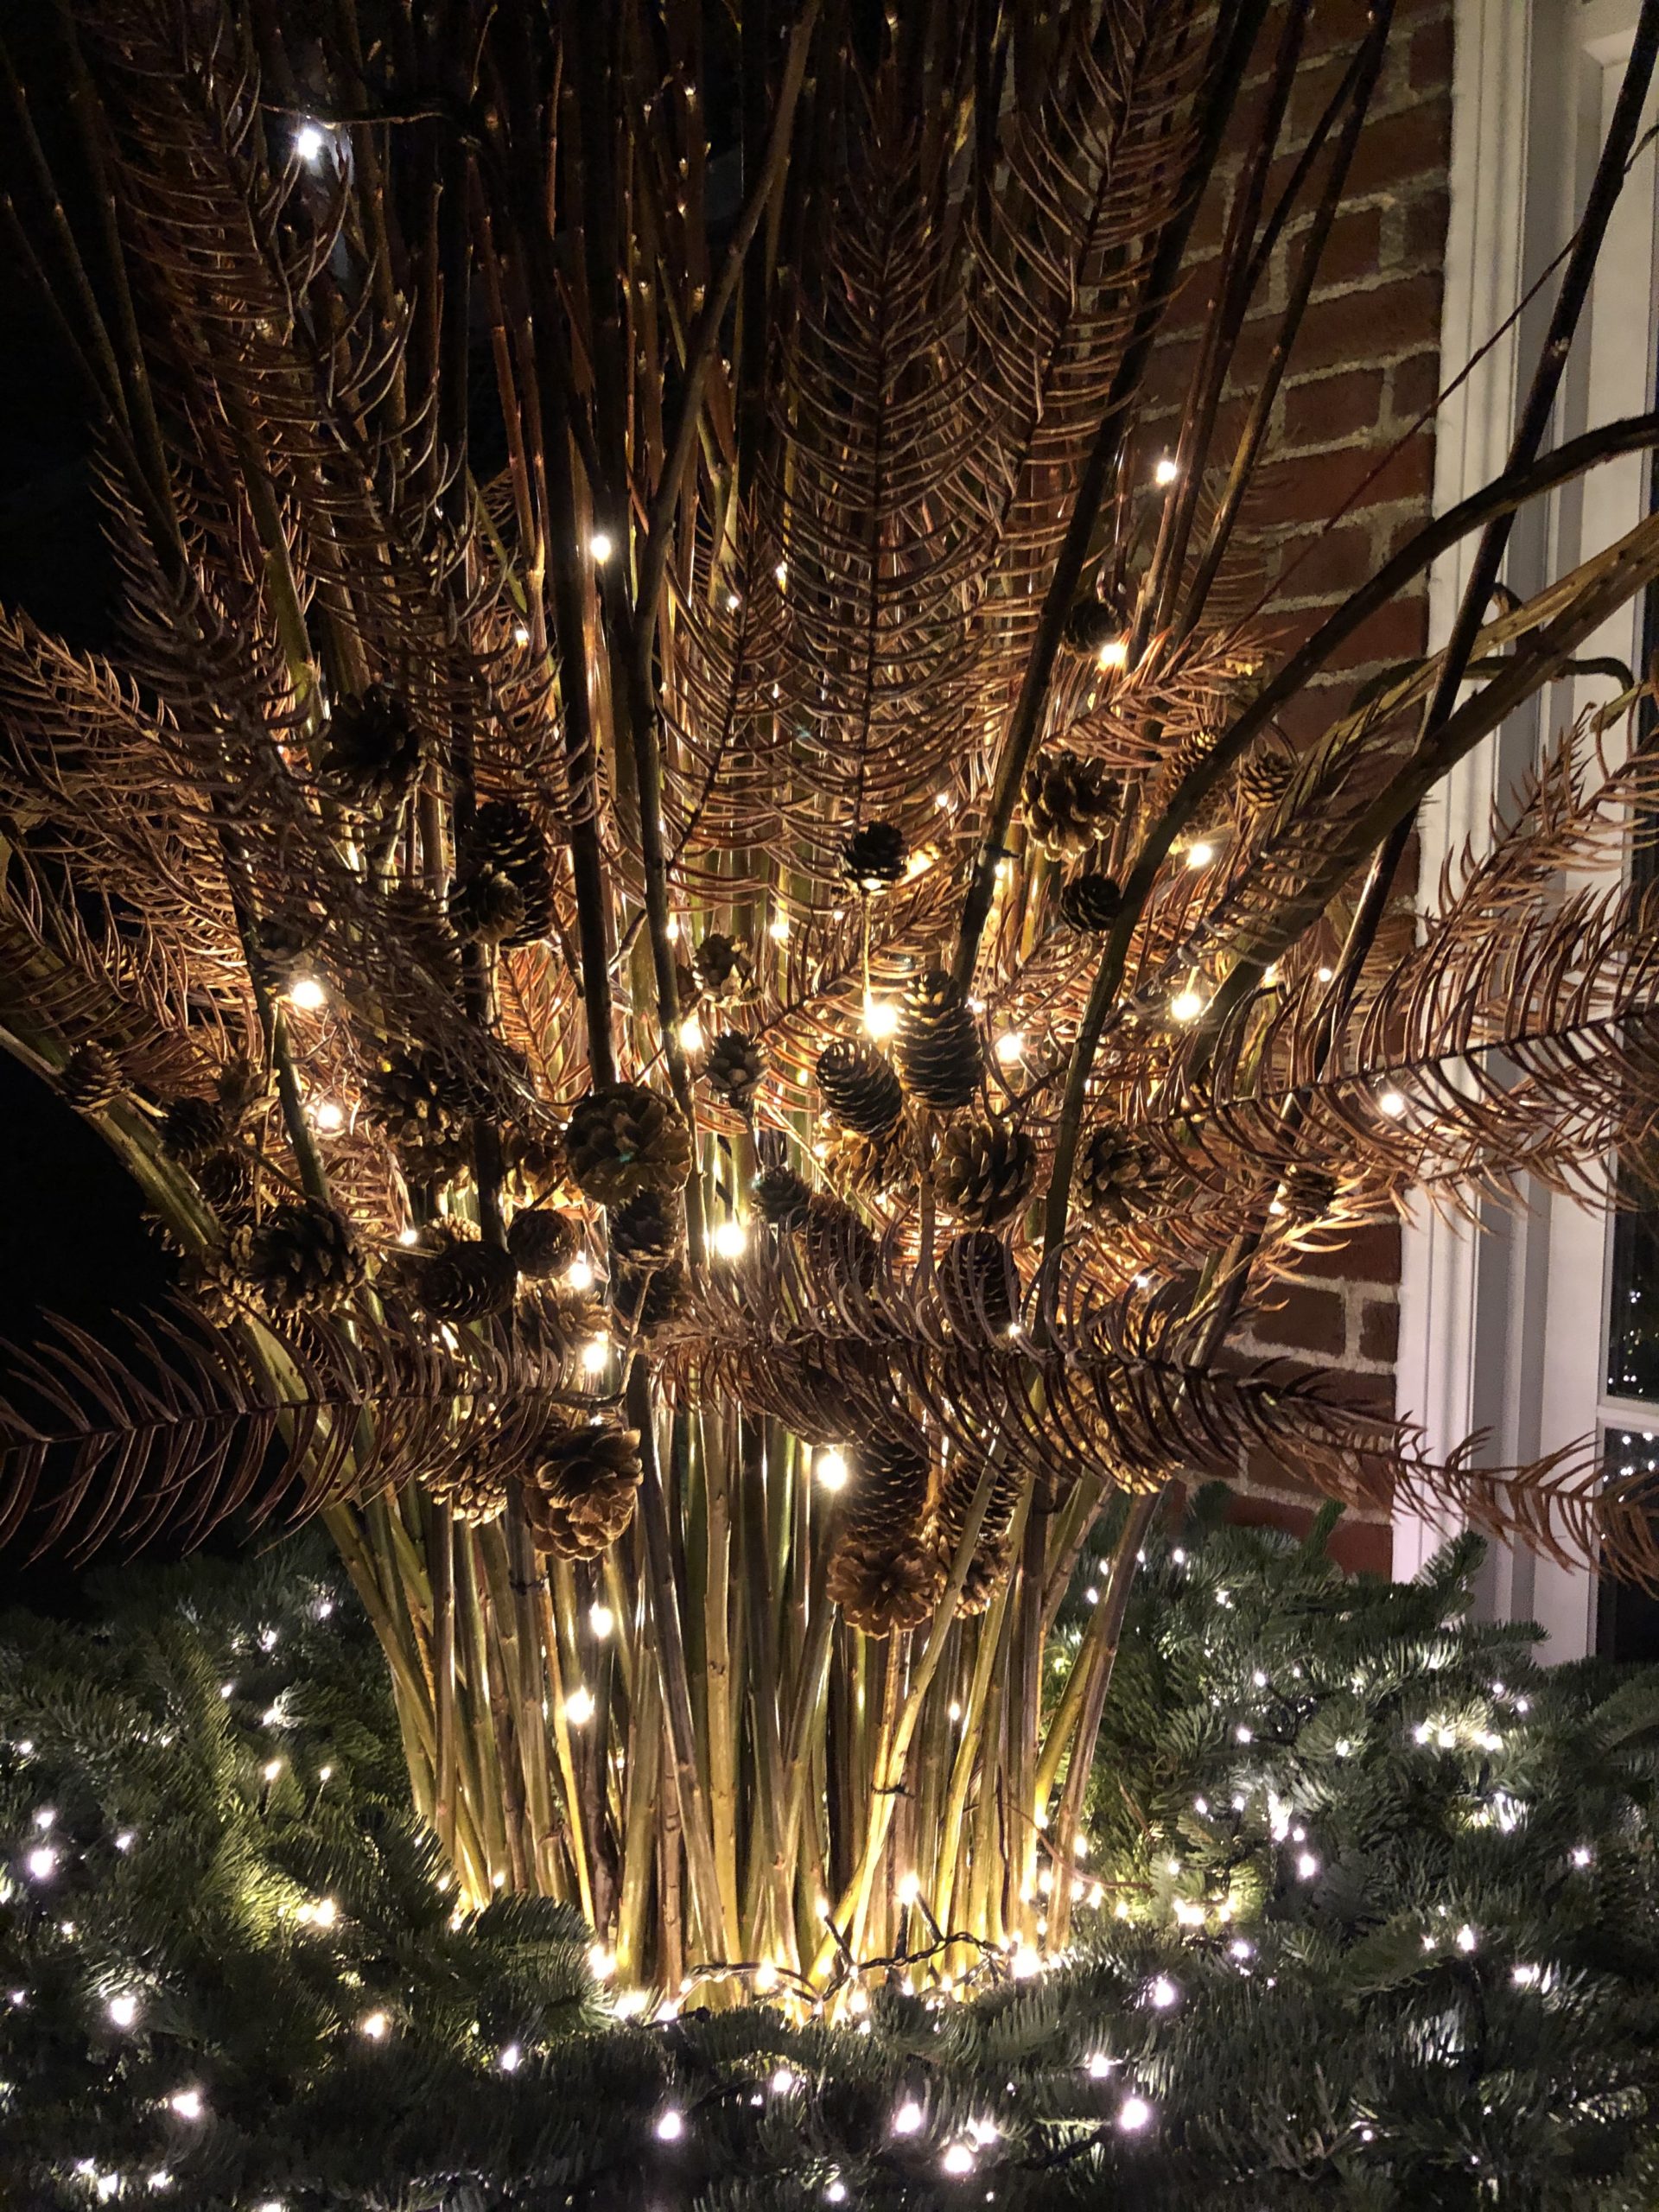
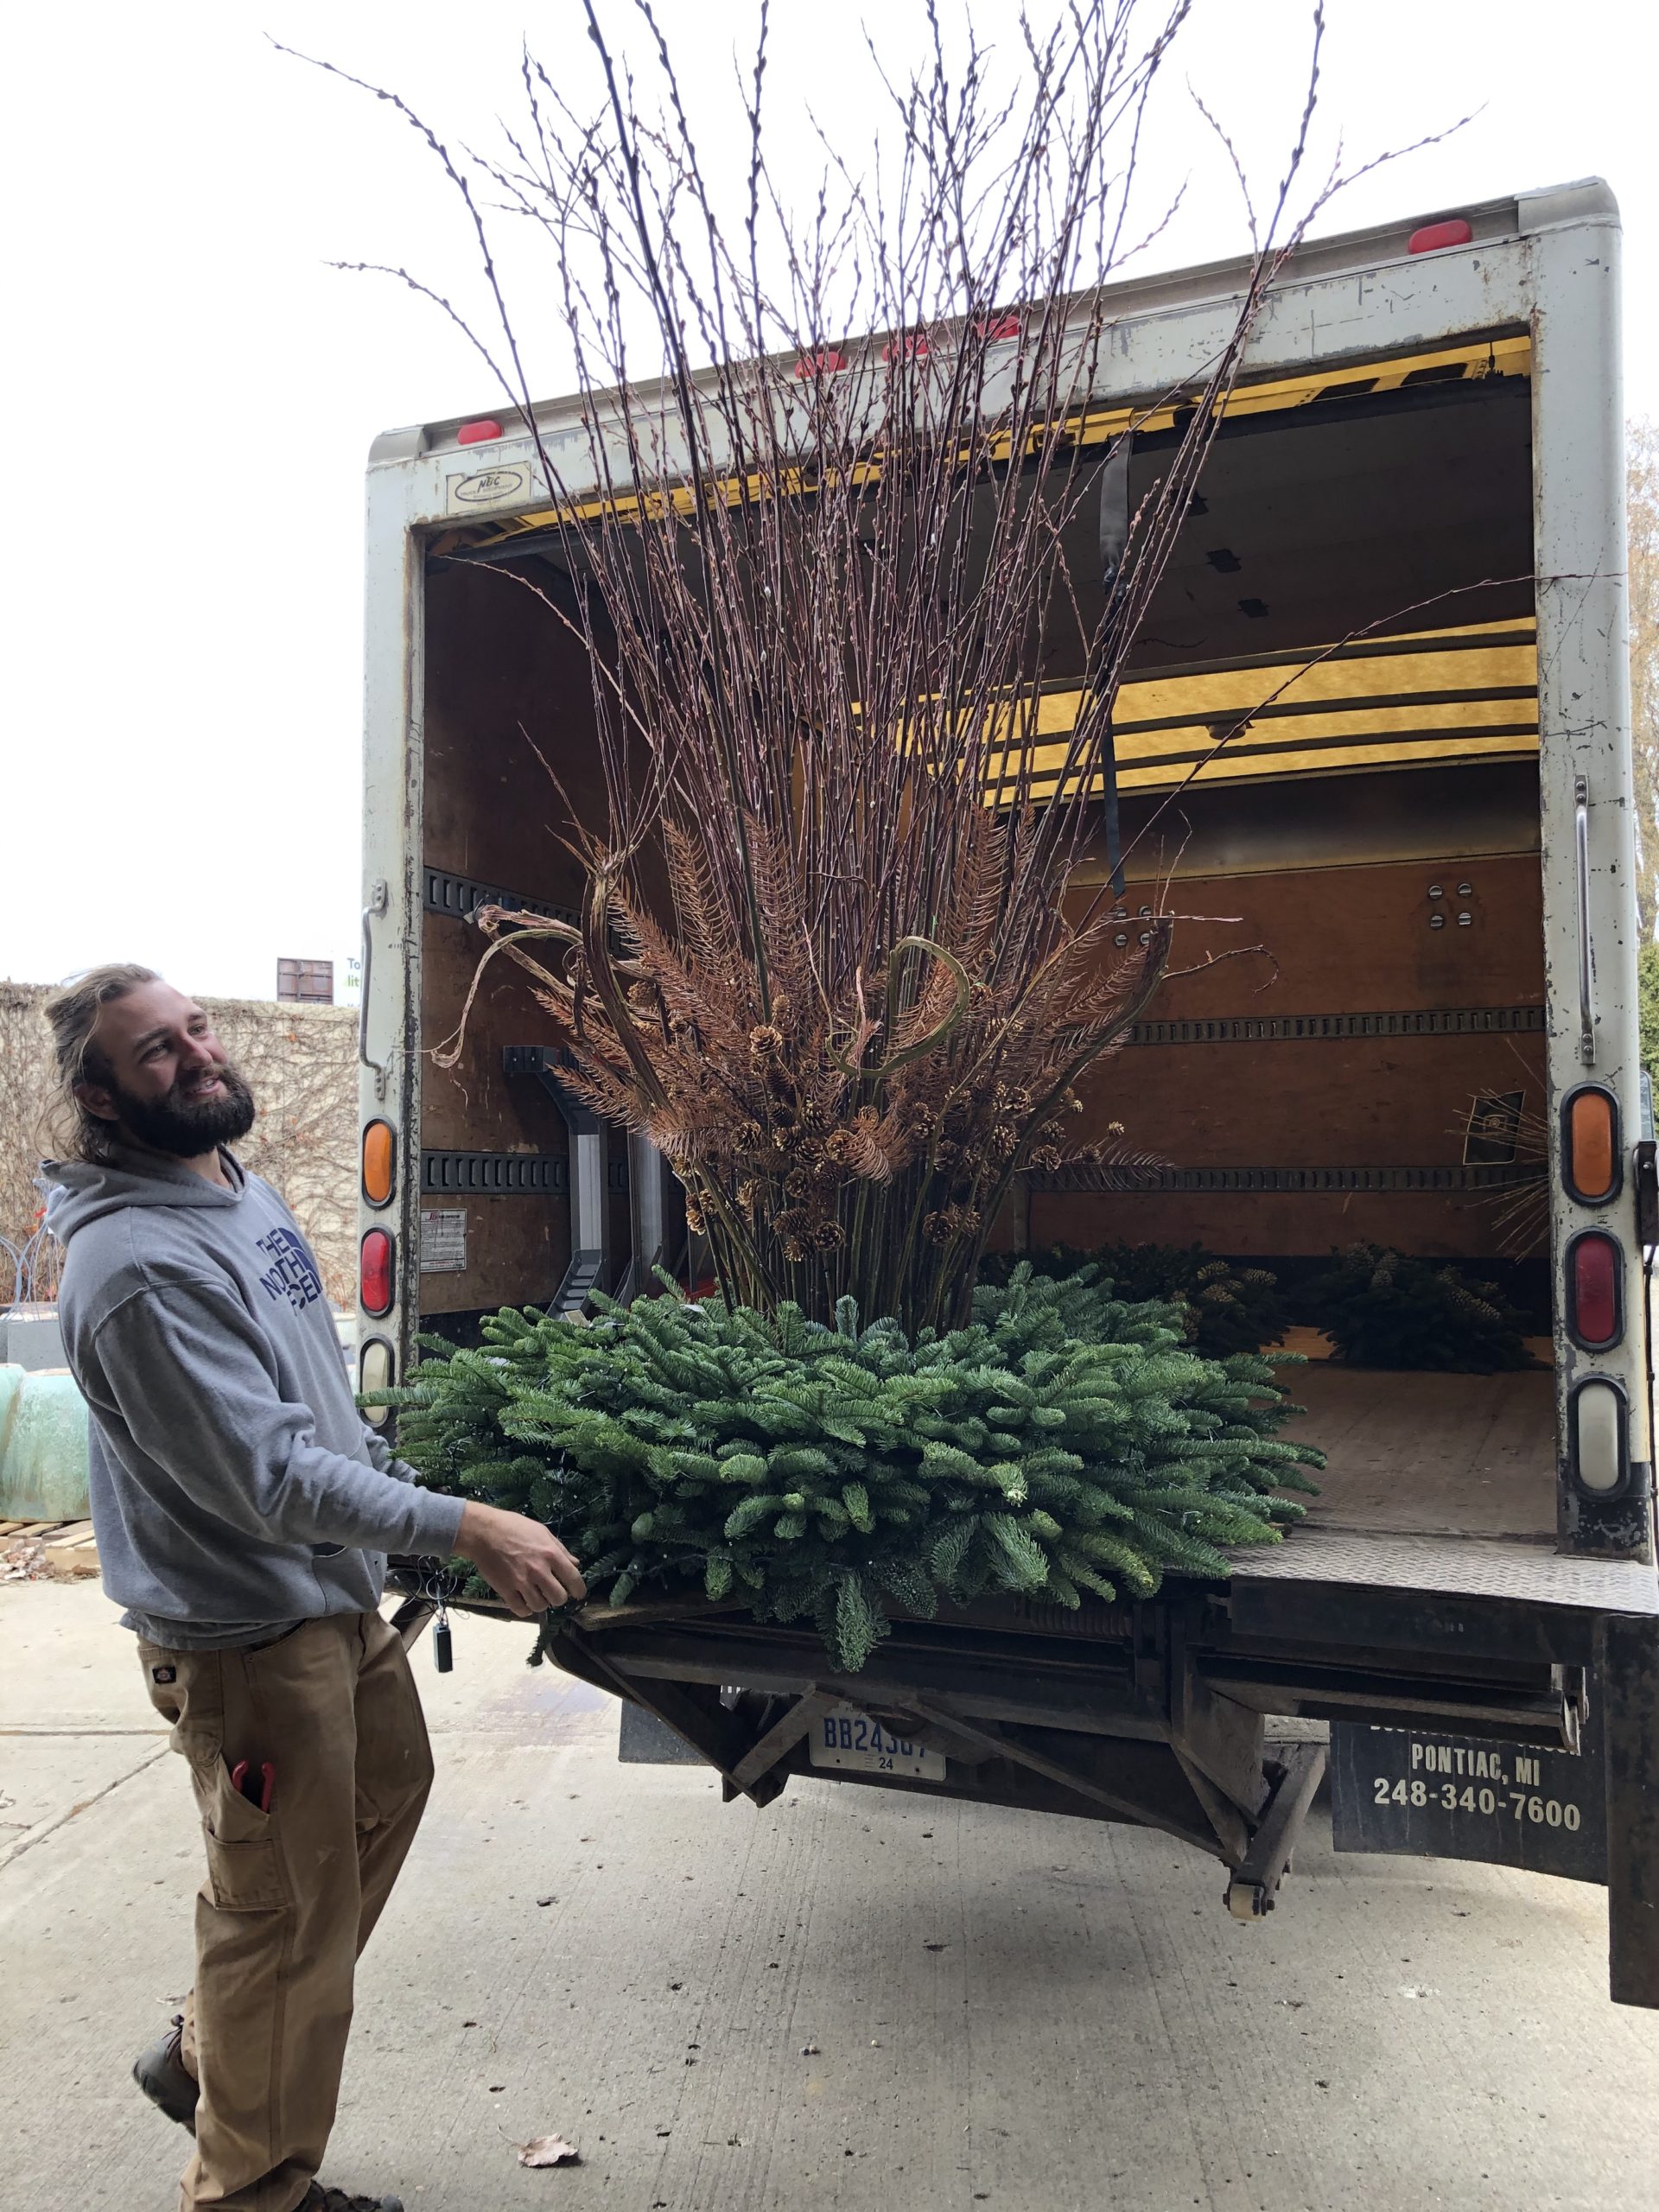
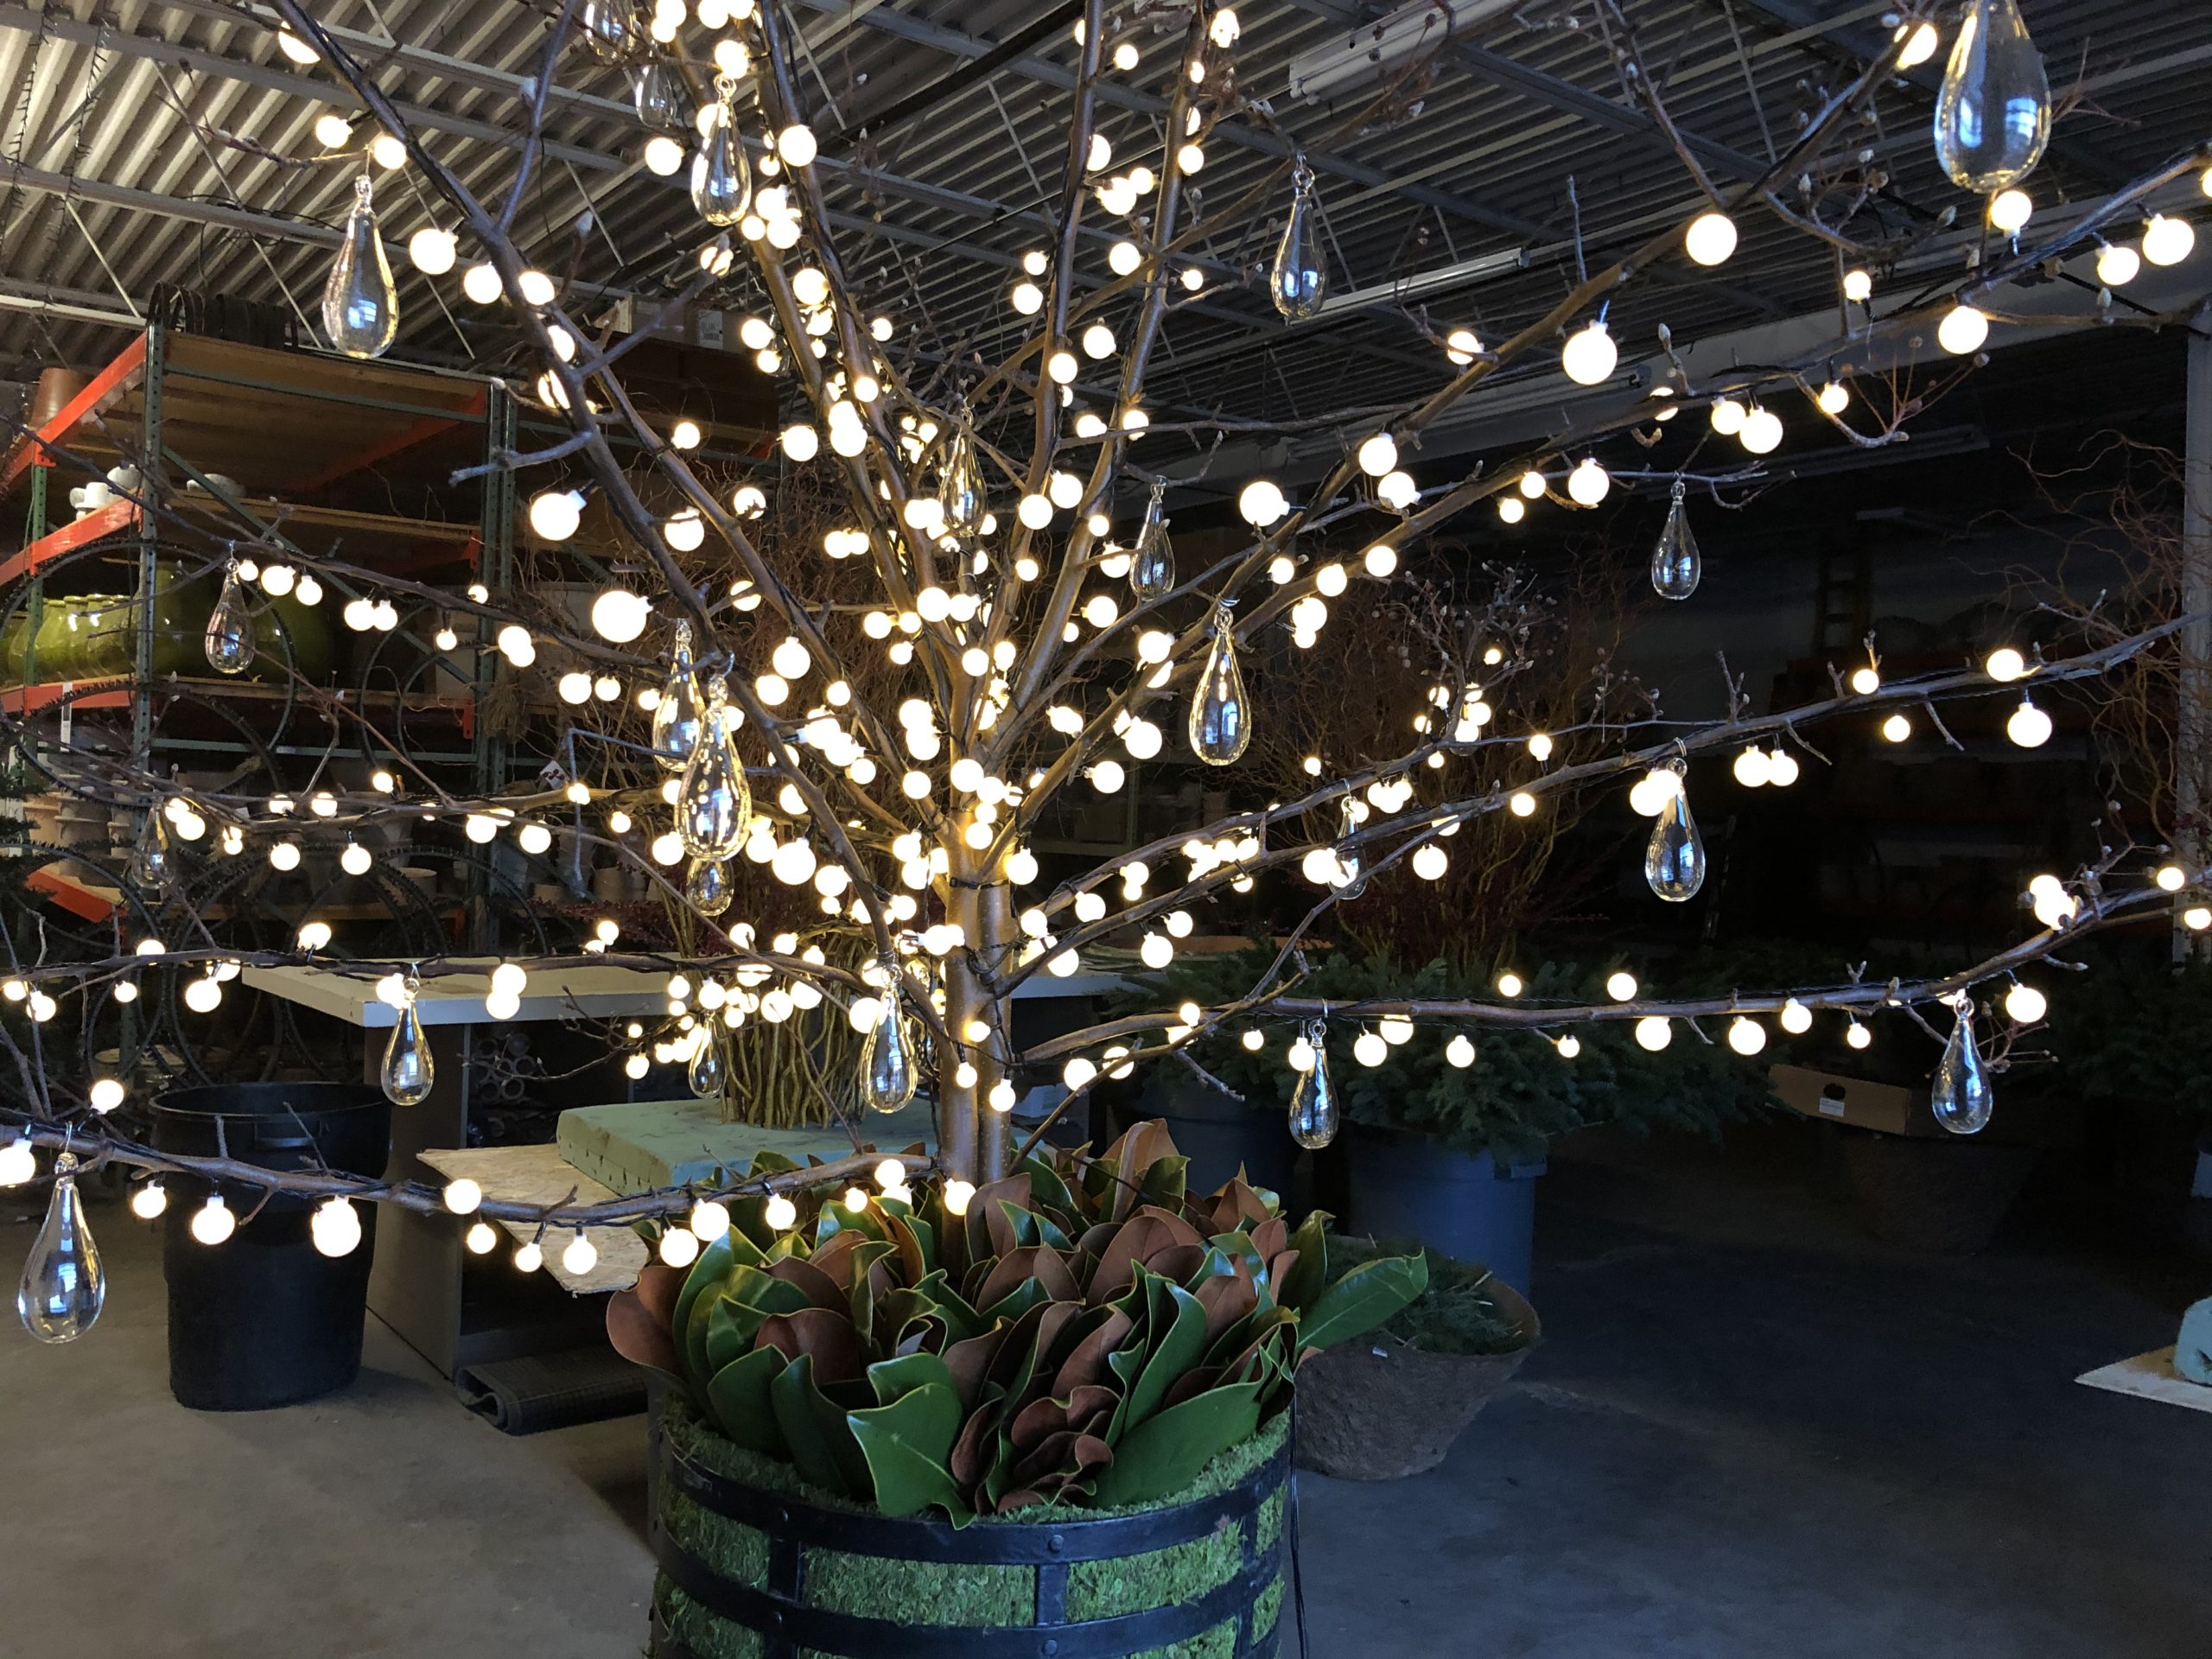
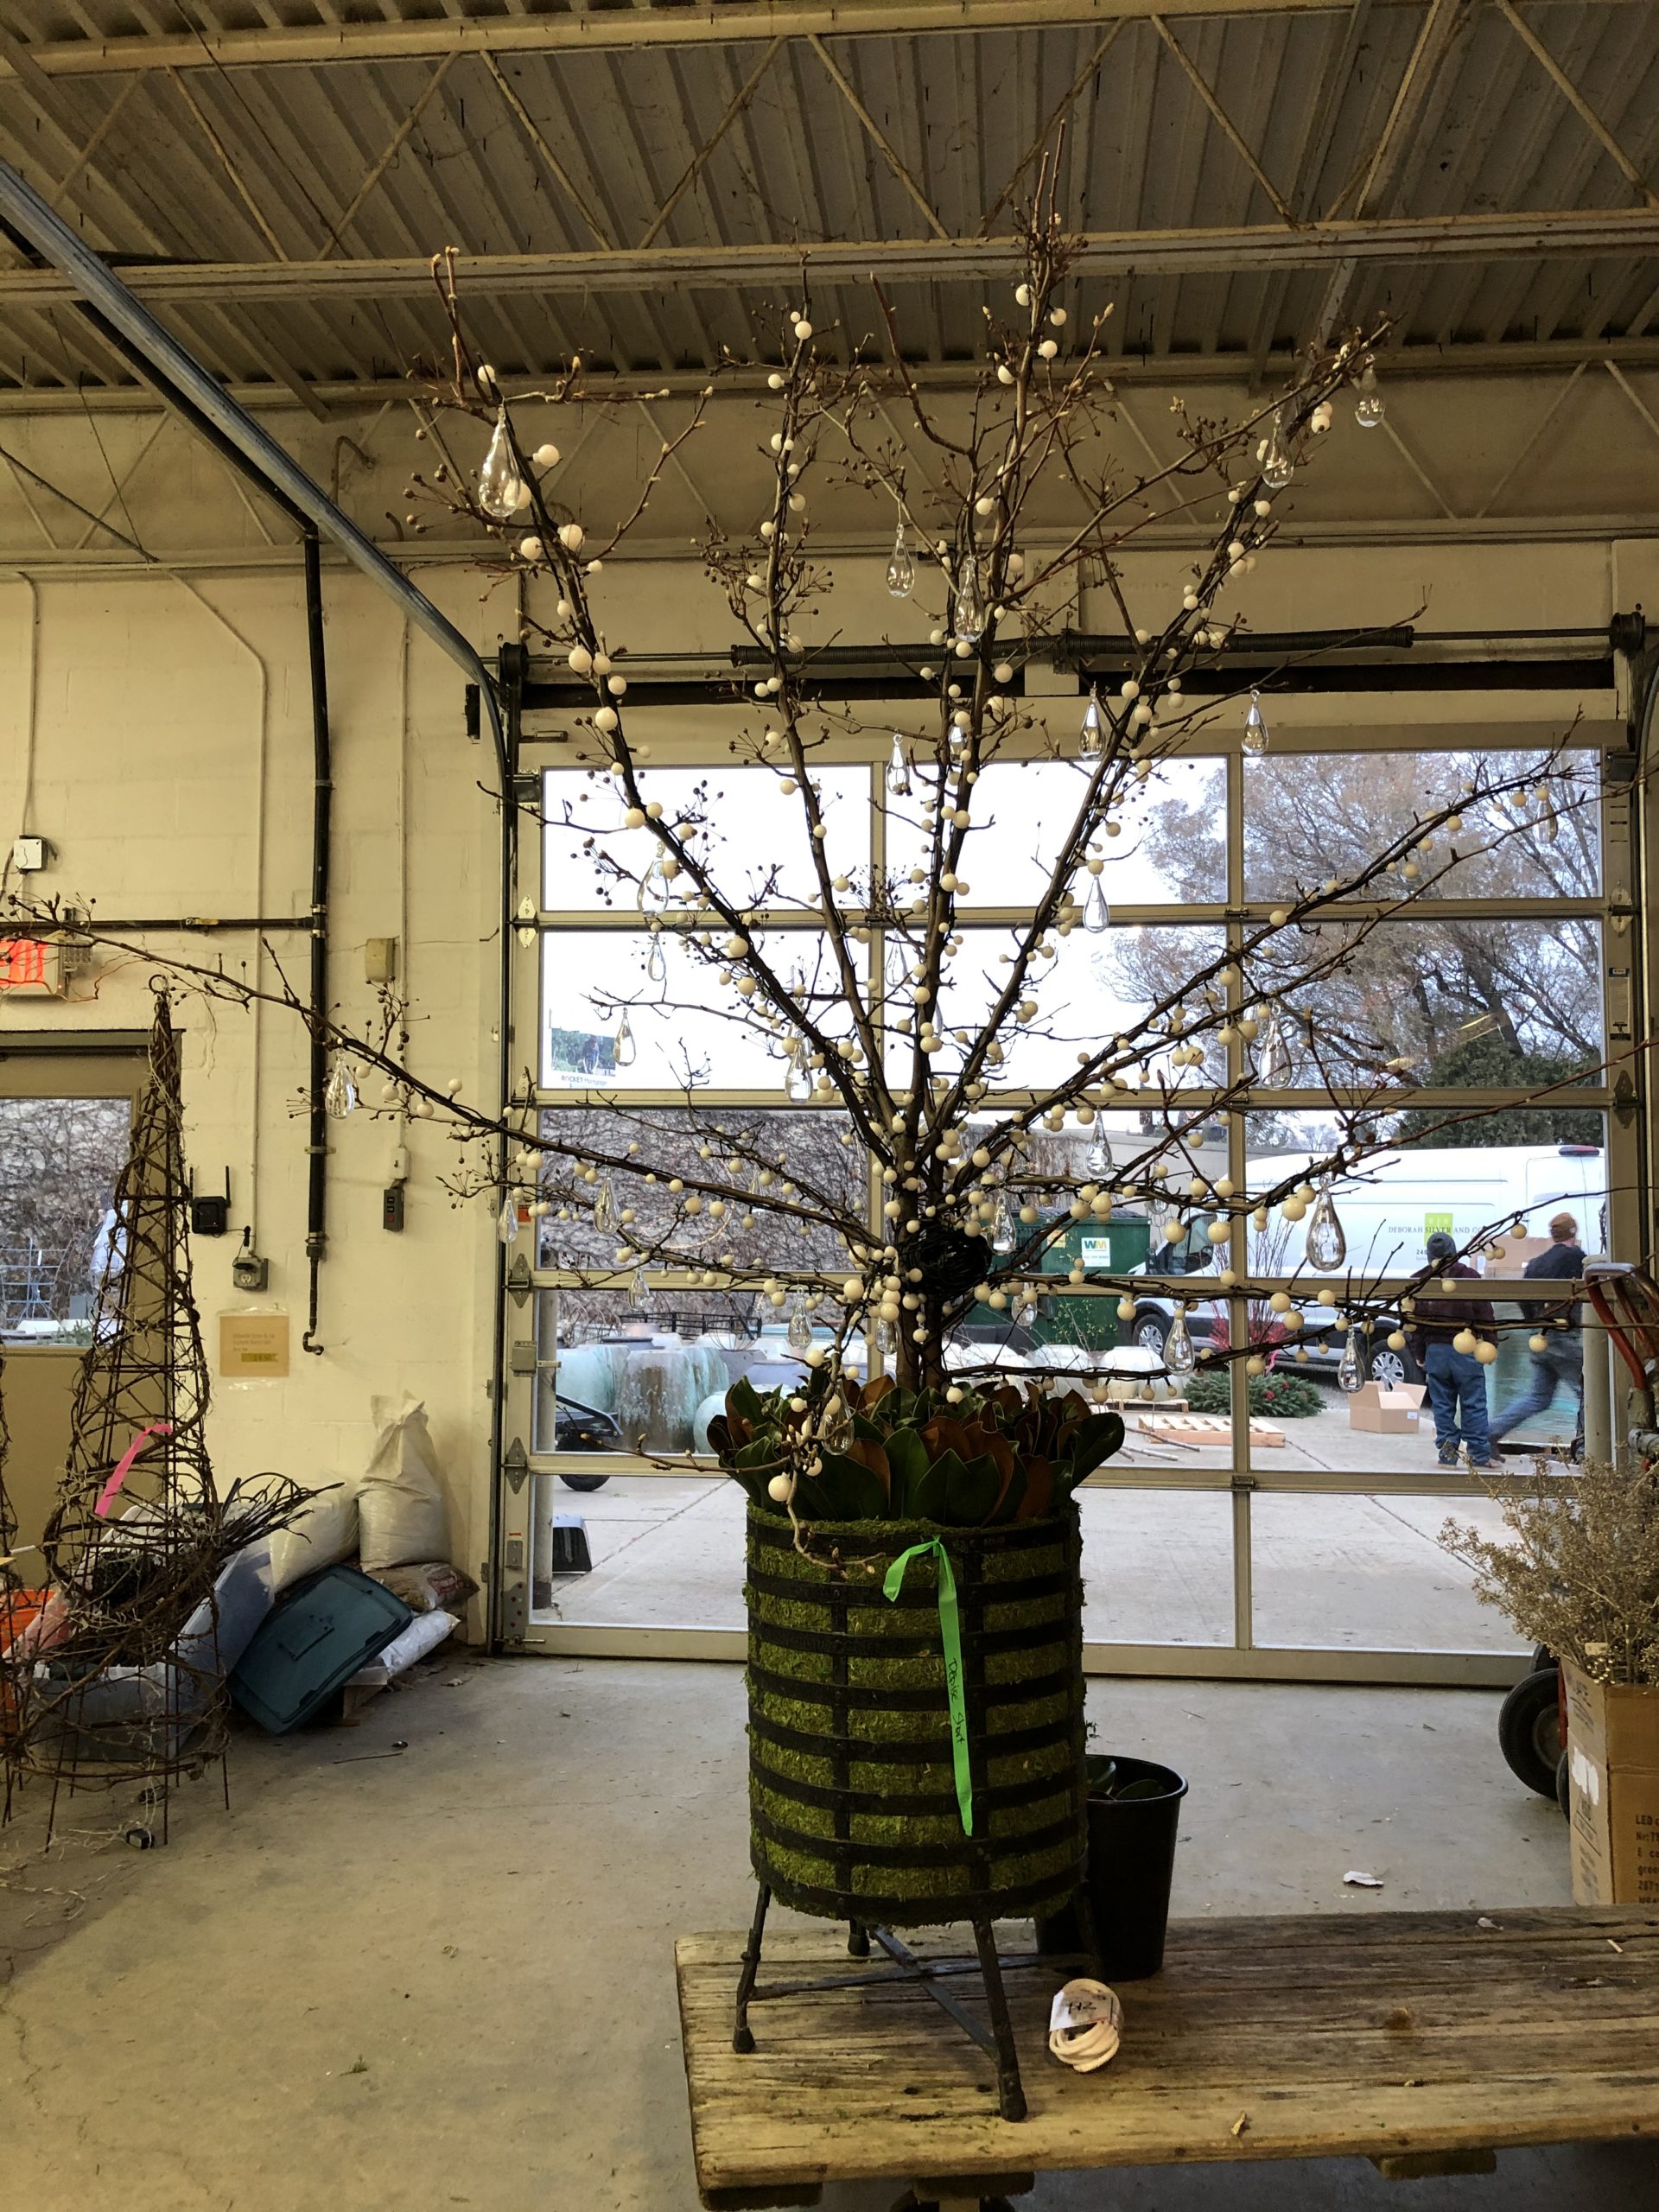 The two of them attached 38 overscaled glass drops to the branches of this tree. That would be the only ornament on this holiday tree. At the end of the day, this twig tree was ready to load up and deliver.
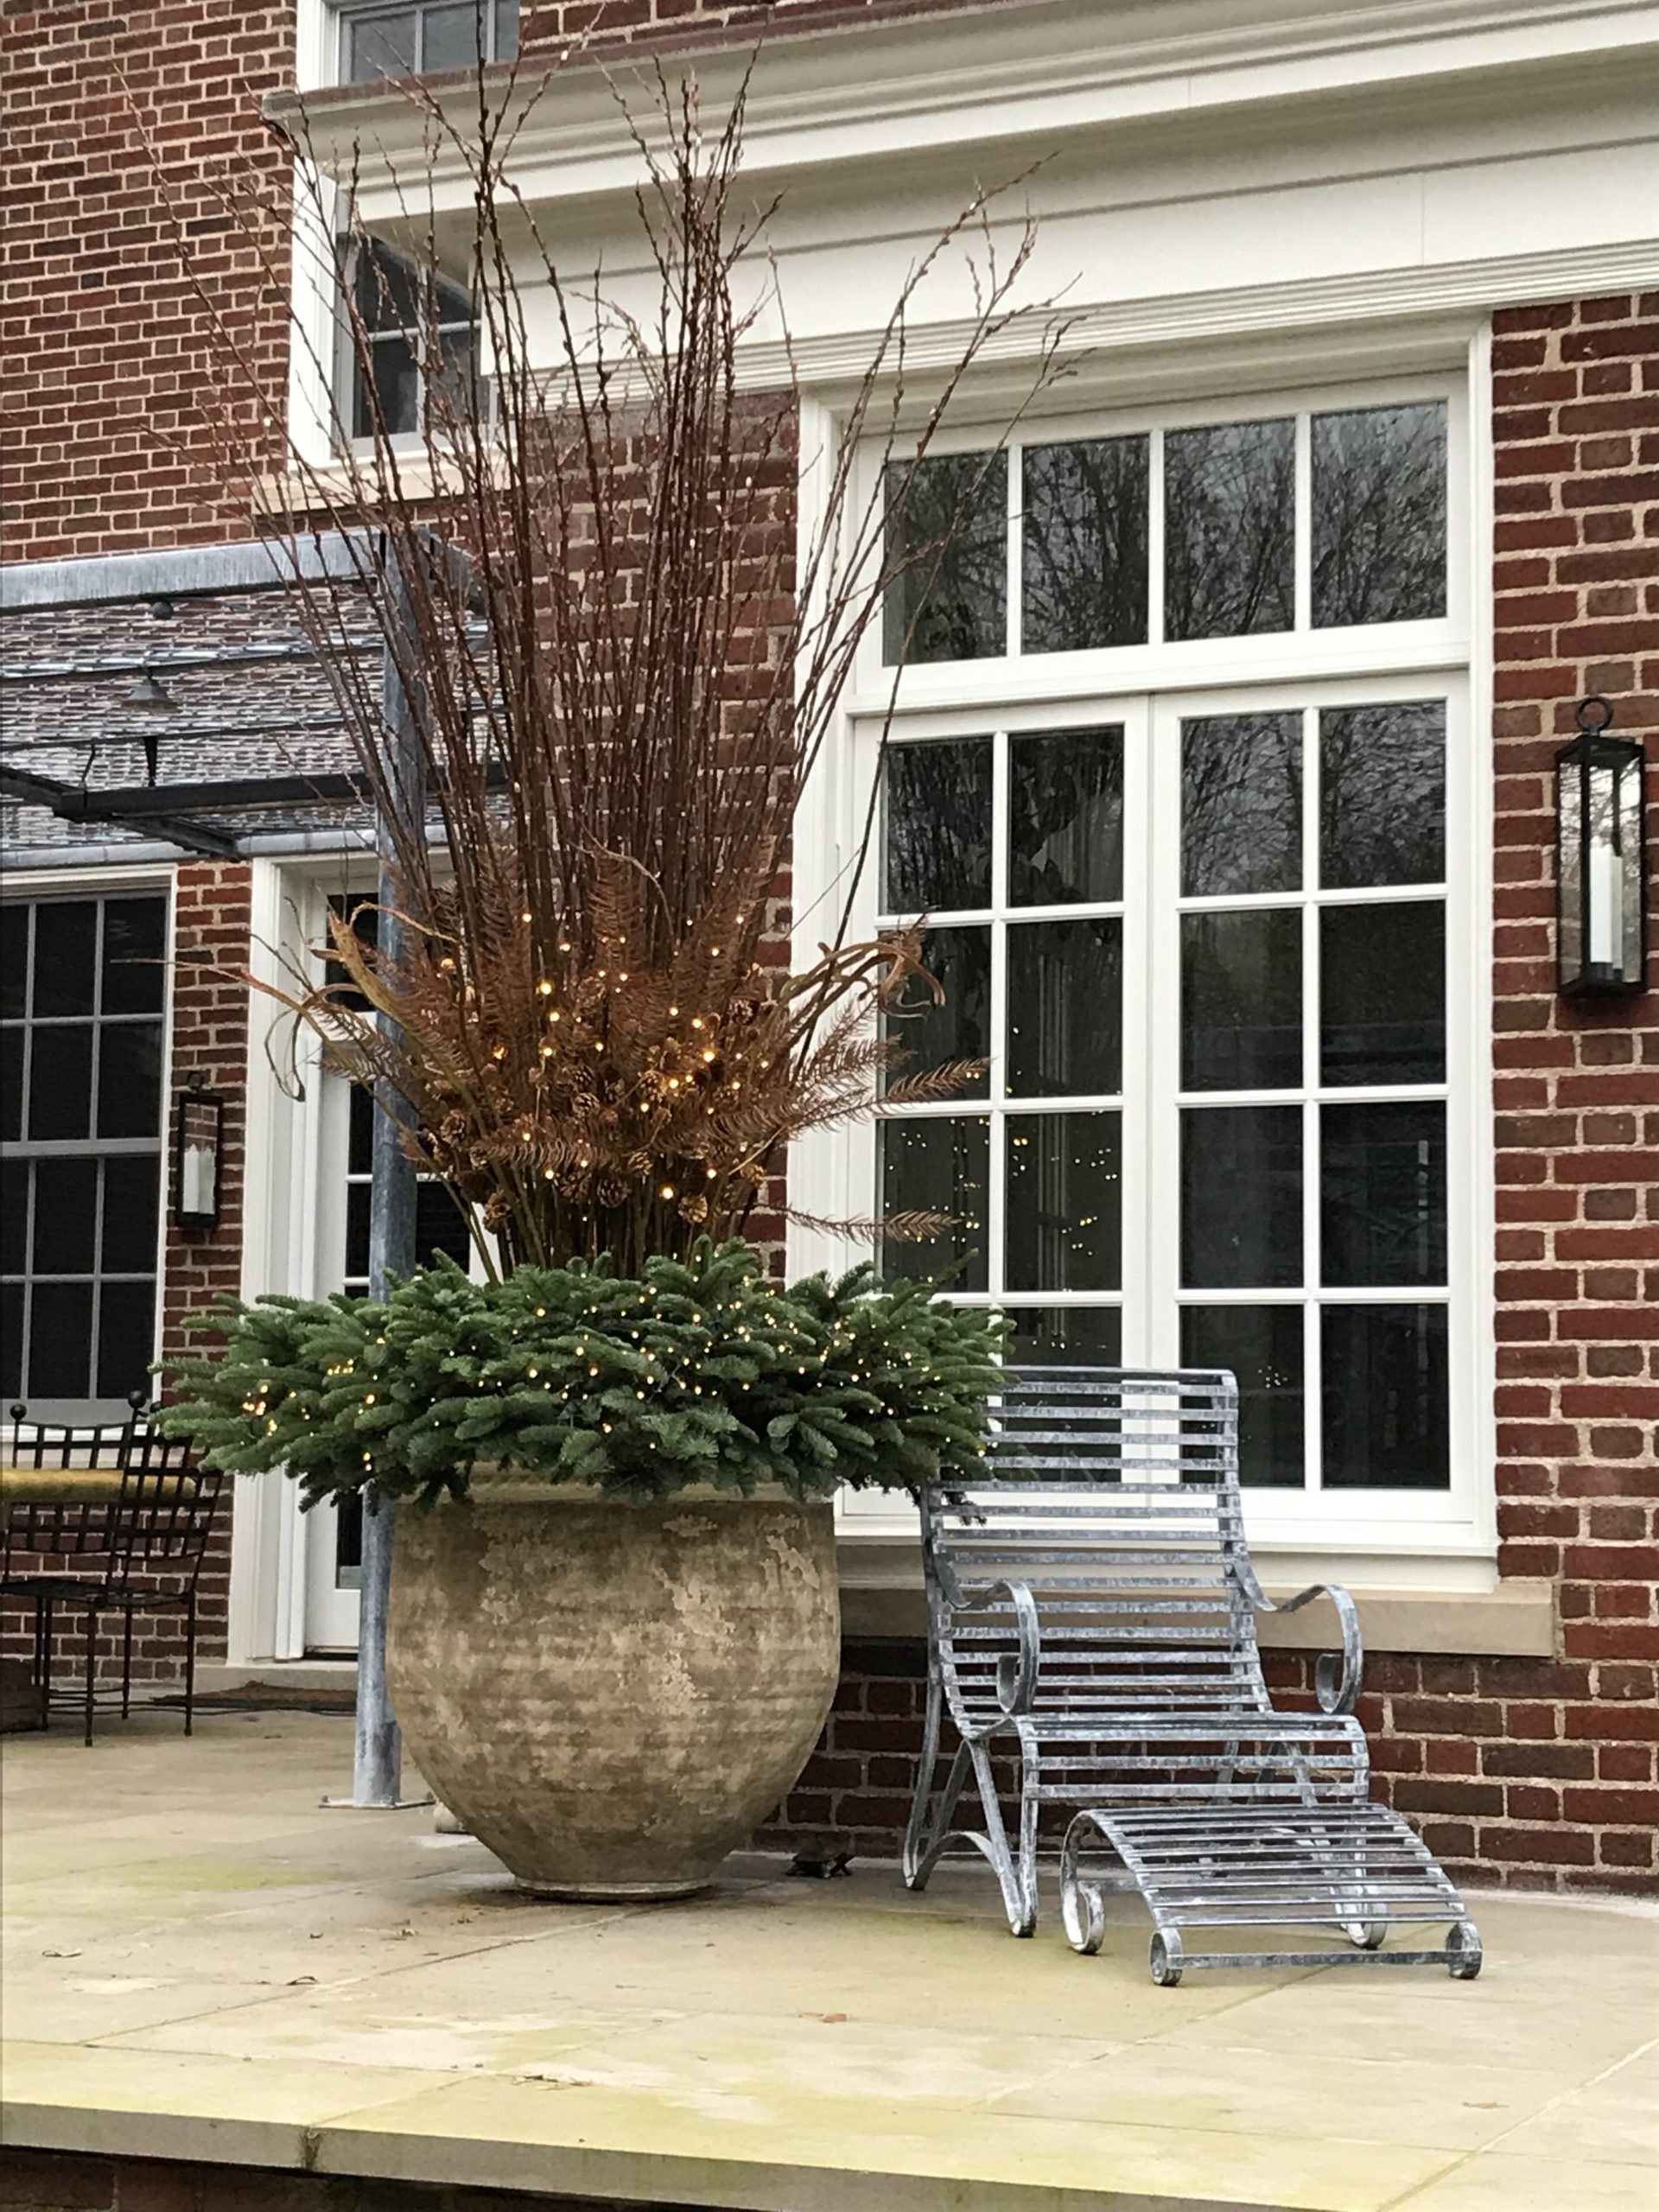
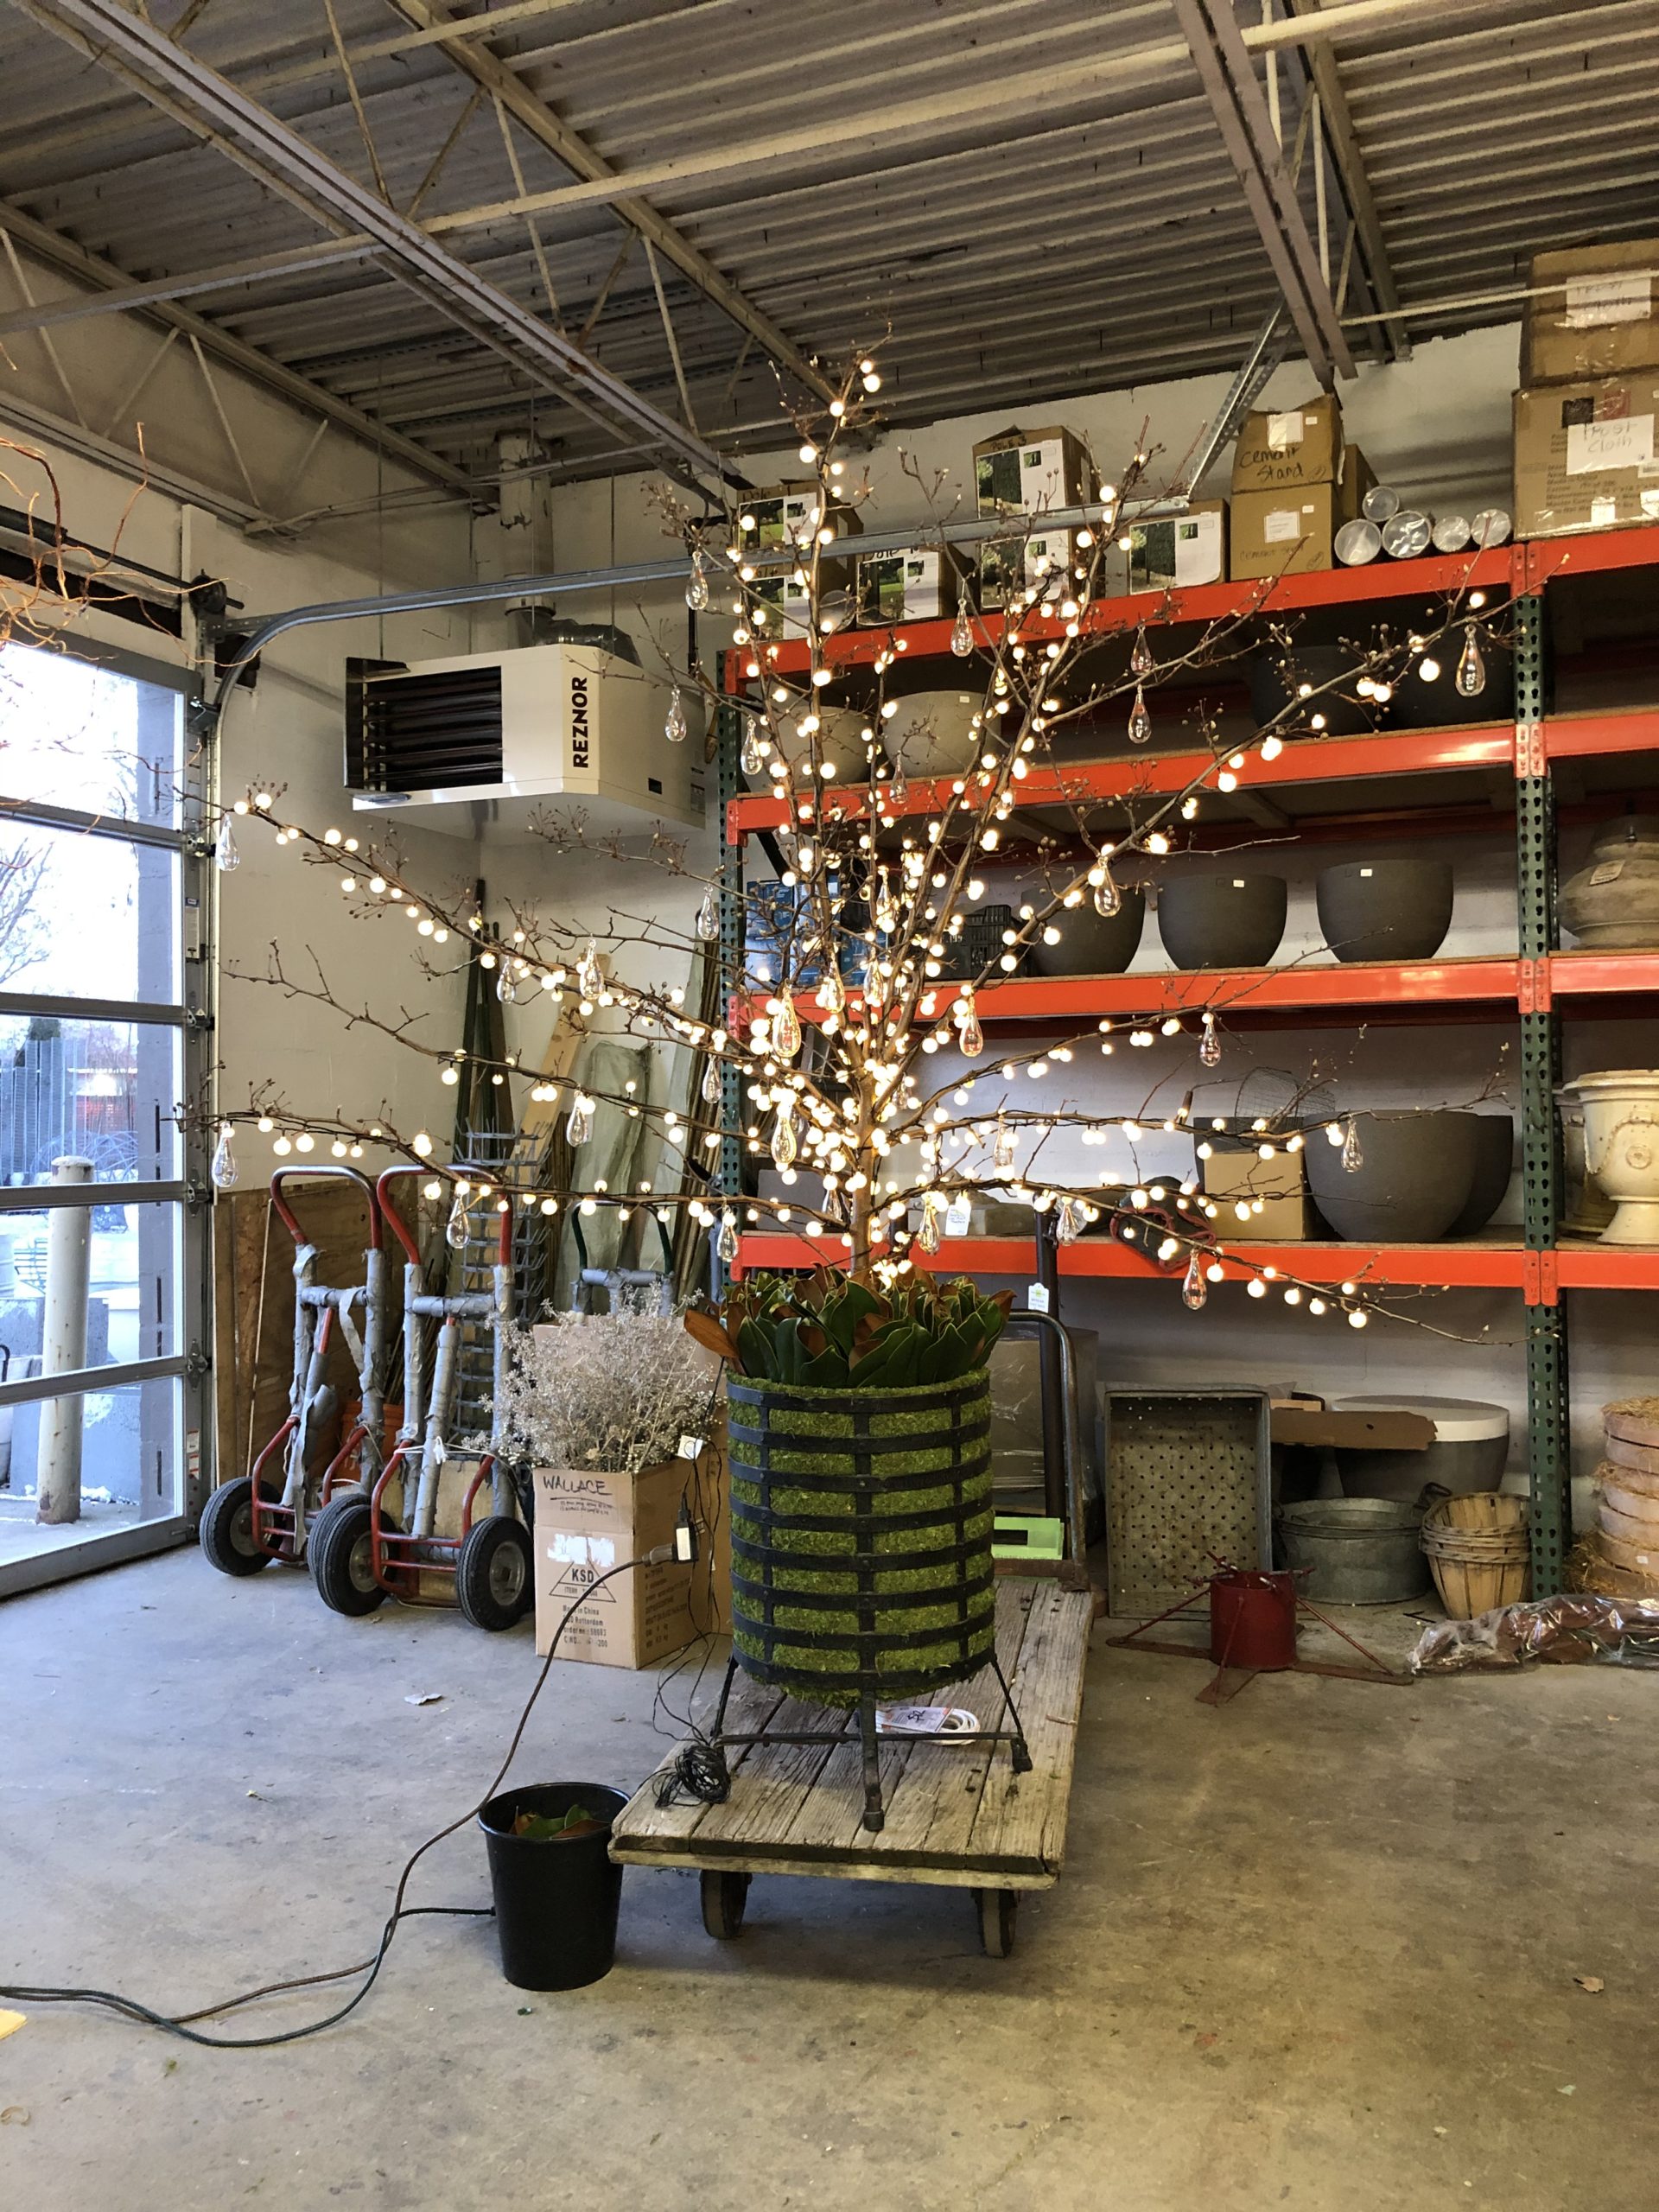 David provided the final touch – a top dressing of short magnolia branches to cover the foam form. His take on how to place and style the magnolia was appropriate to the container. And to its eventual home. Just enough of the trunks of the branches were still visible, giving the impression of that tree form.
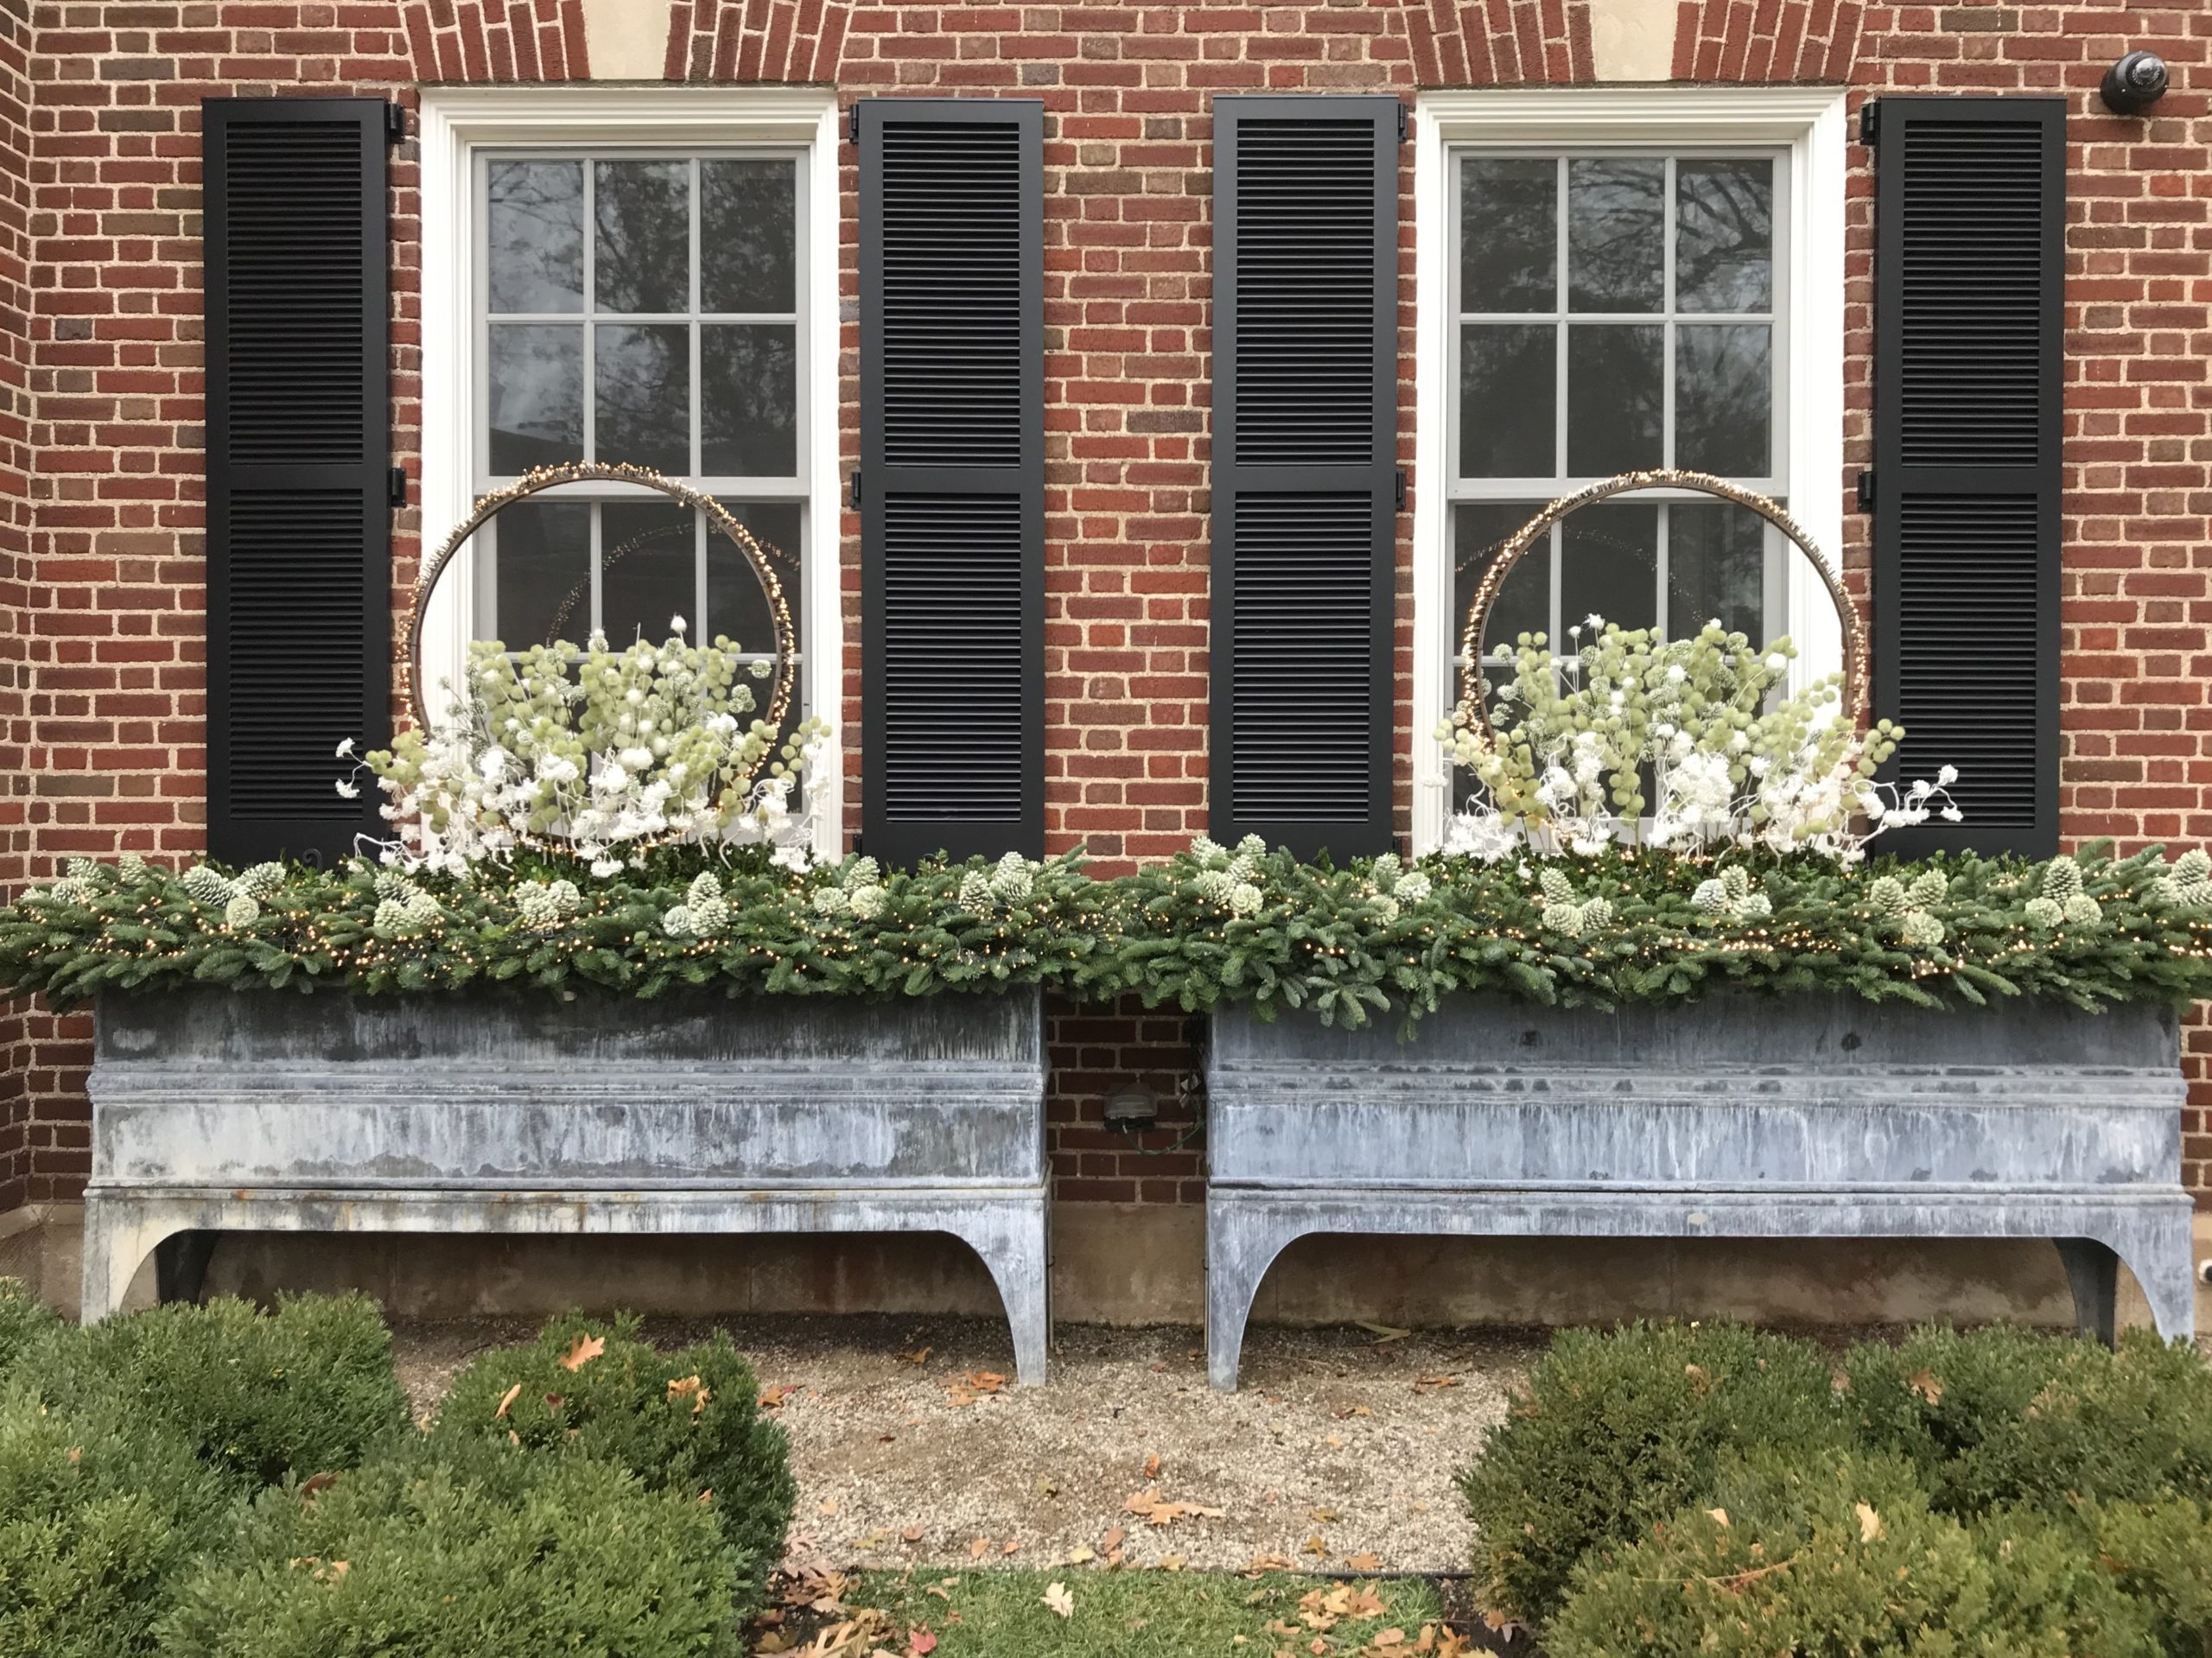
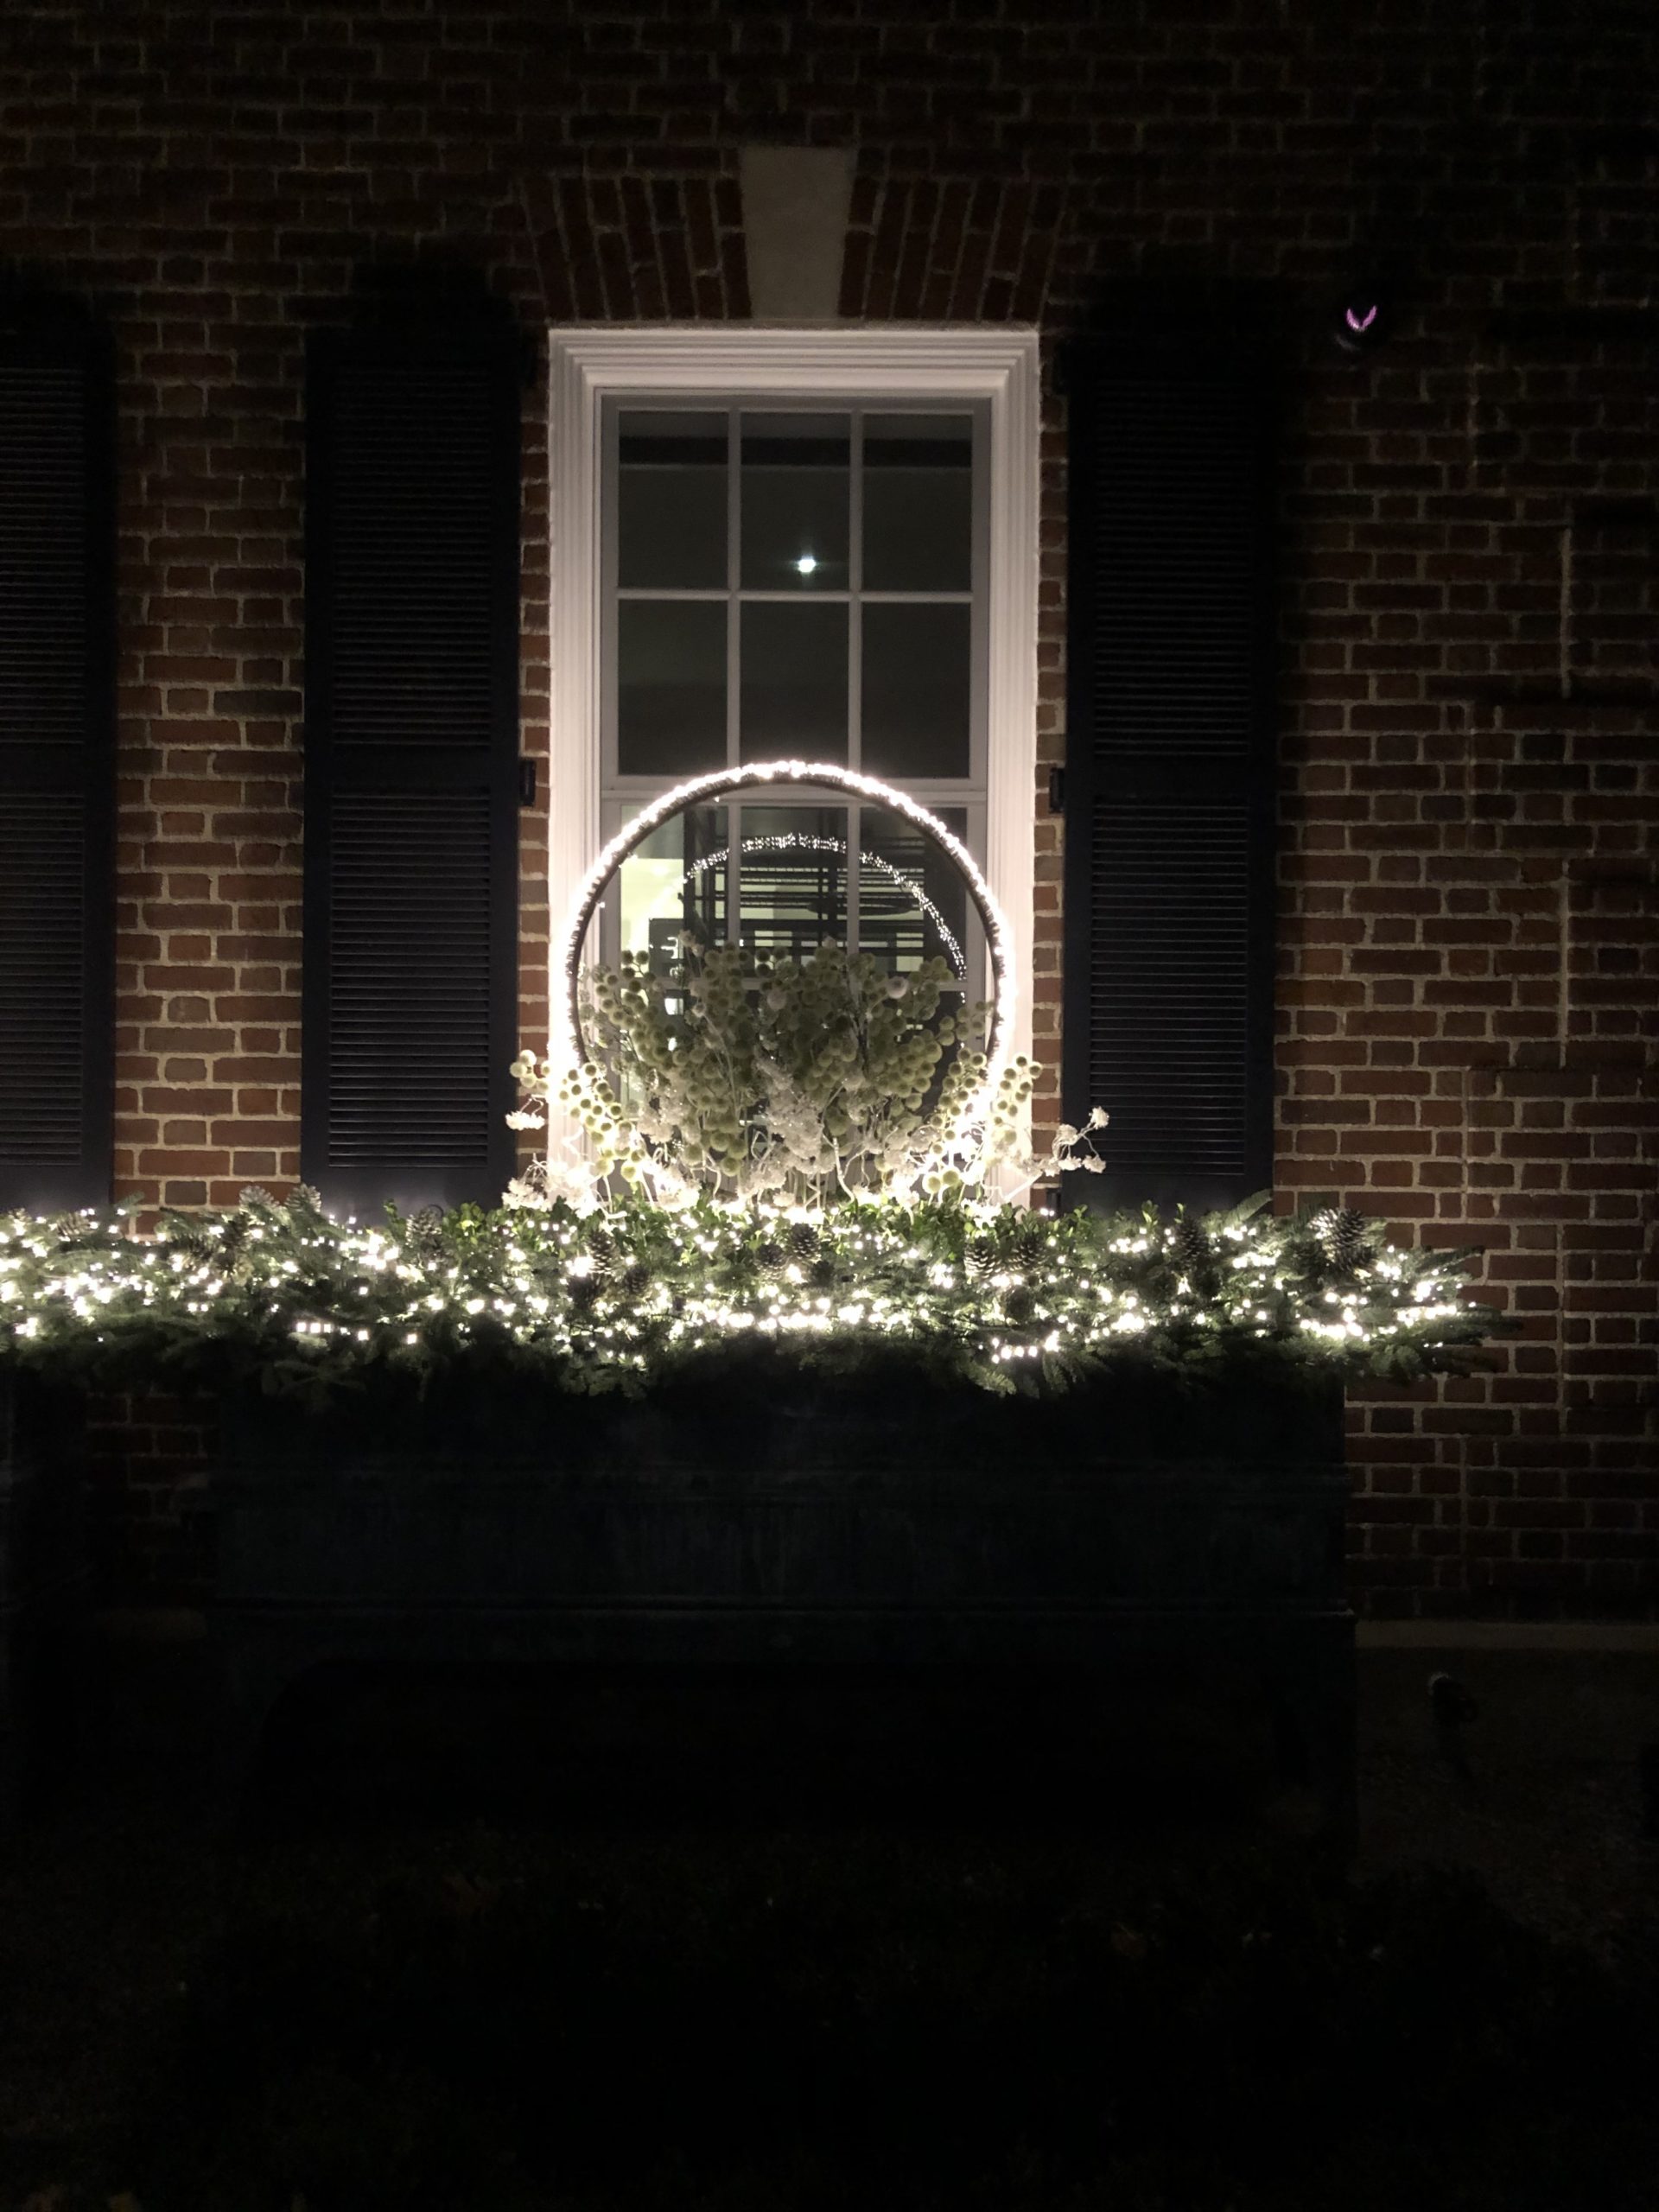
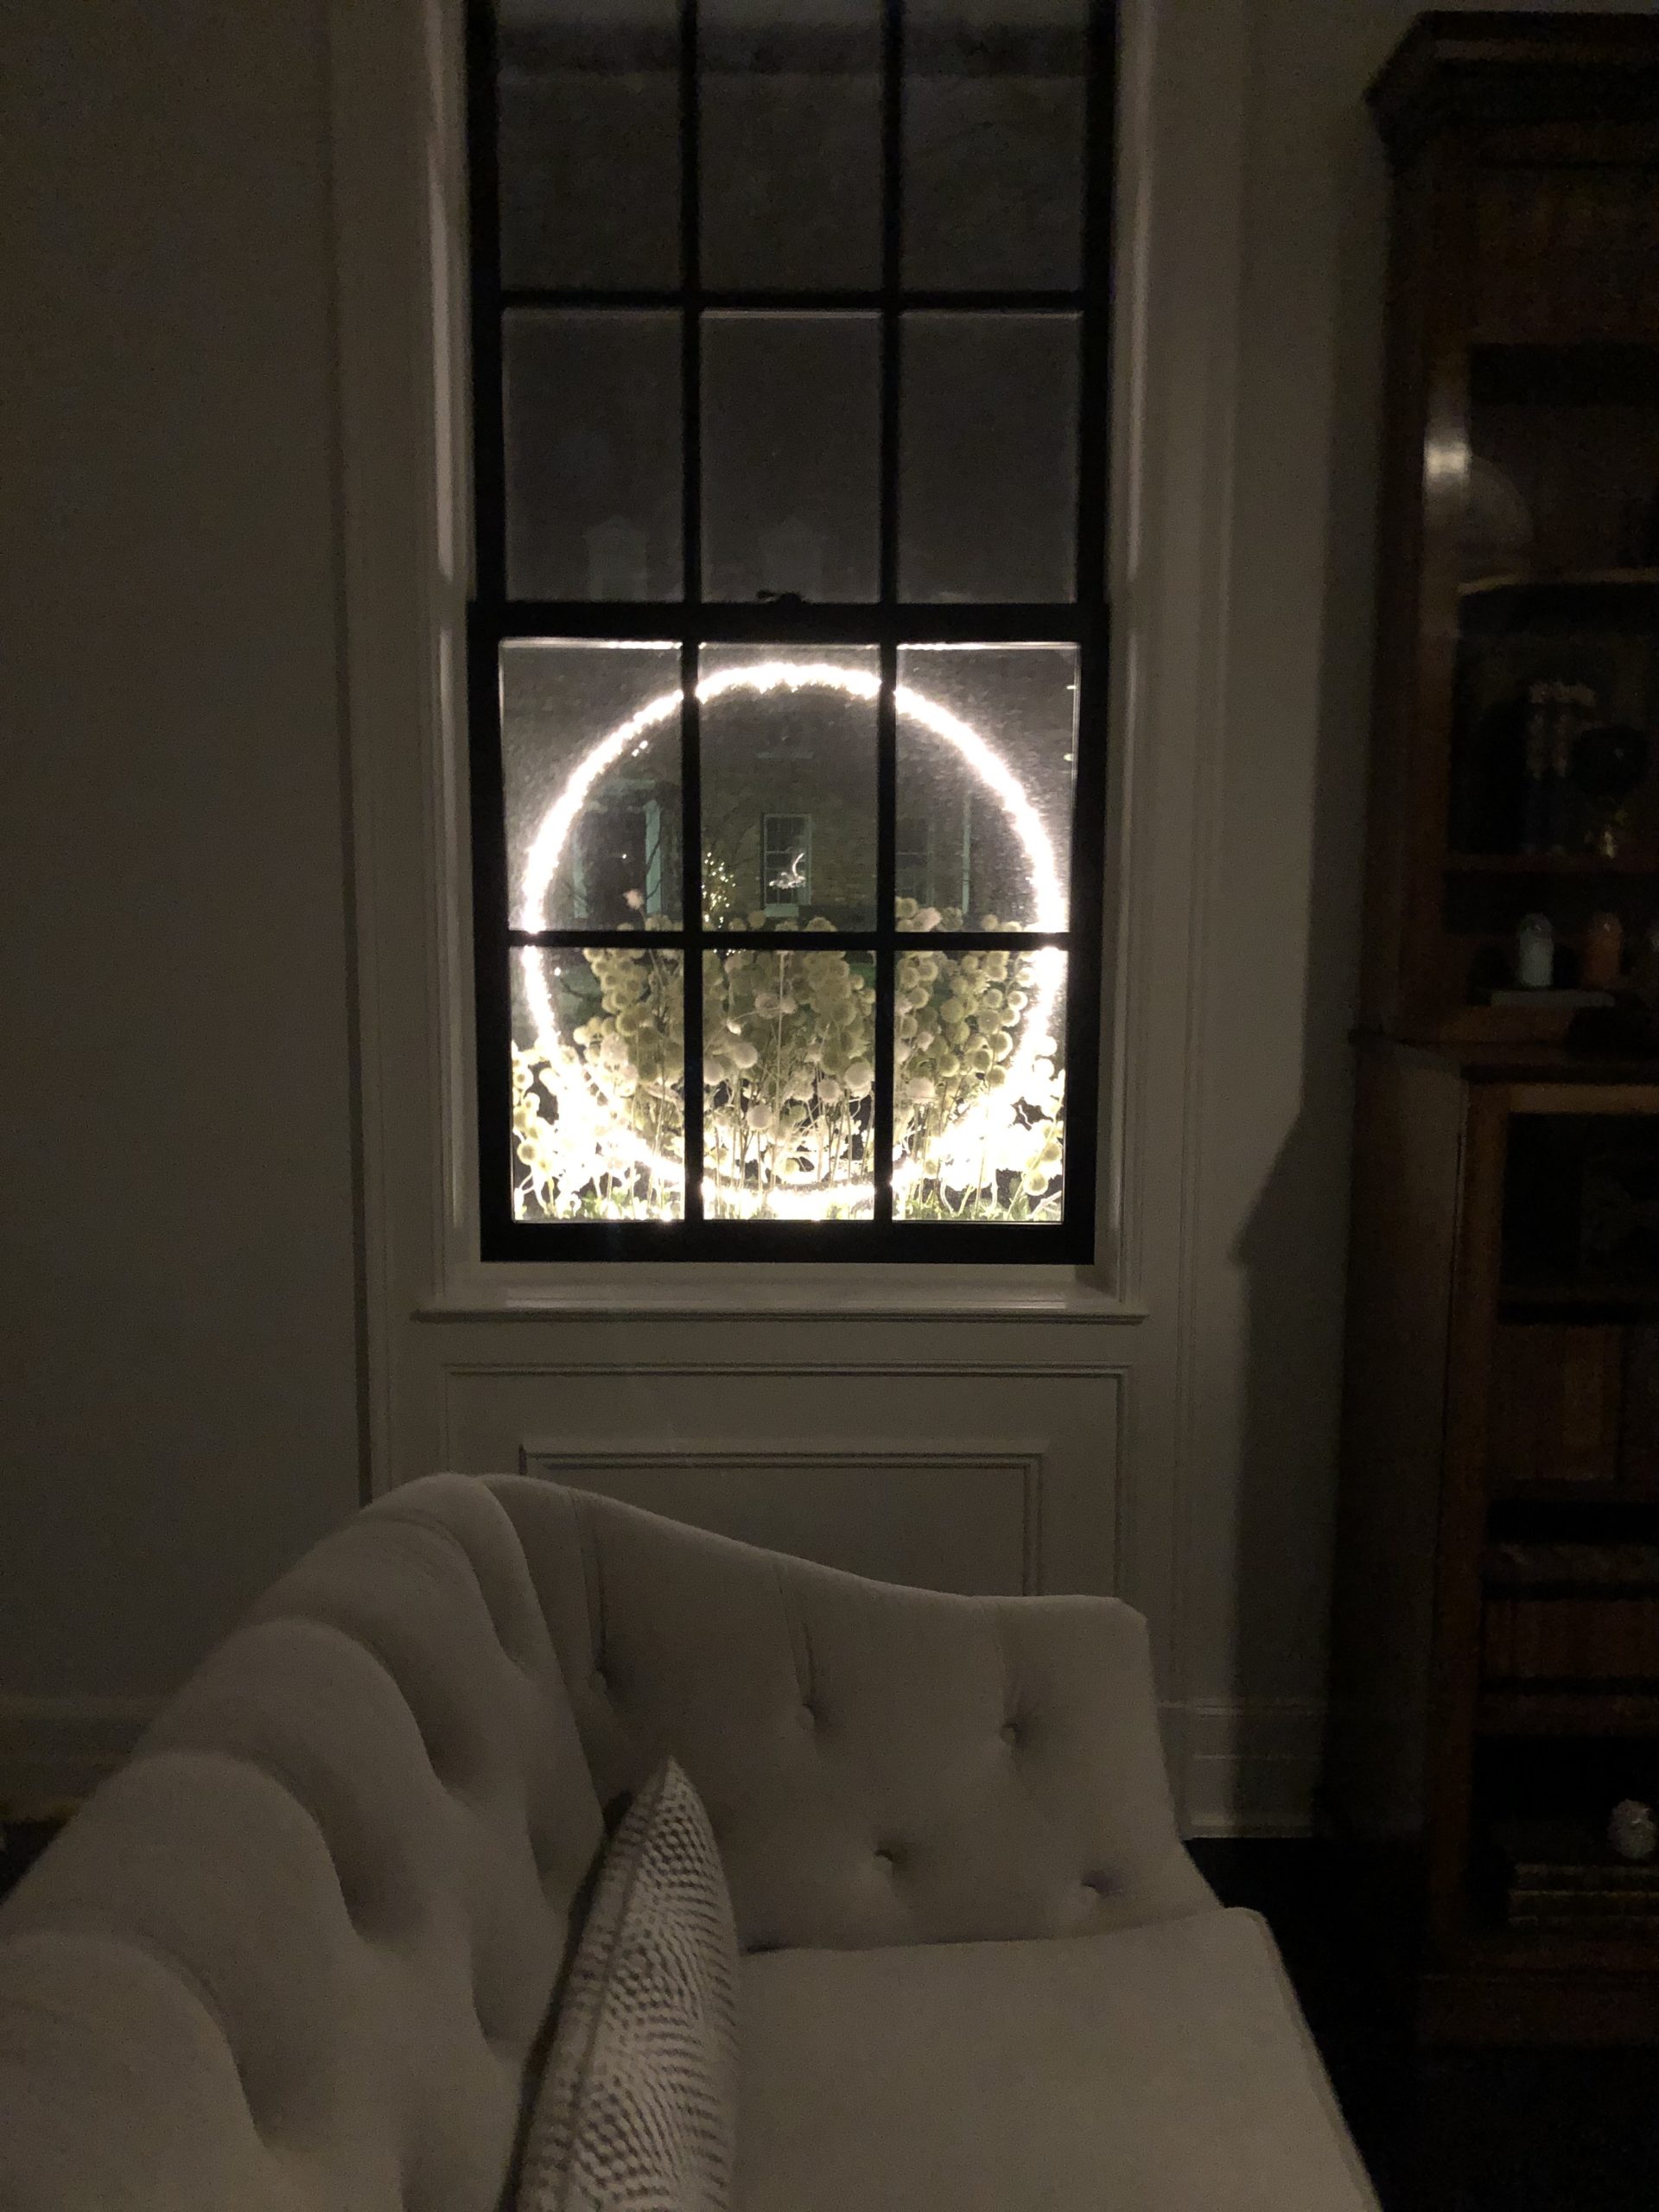
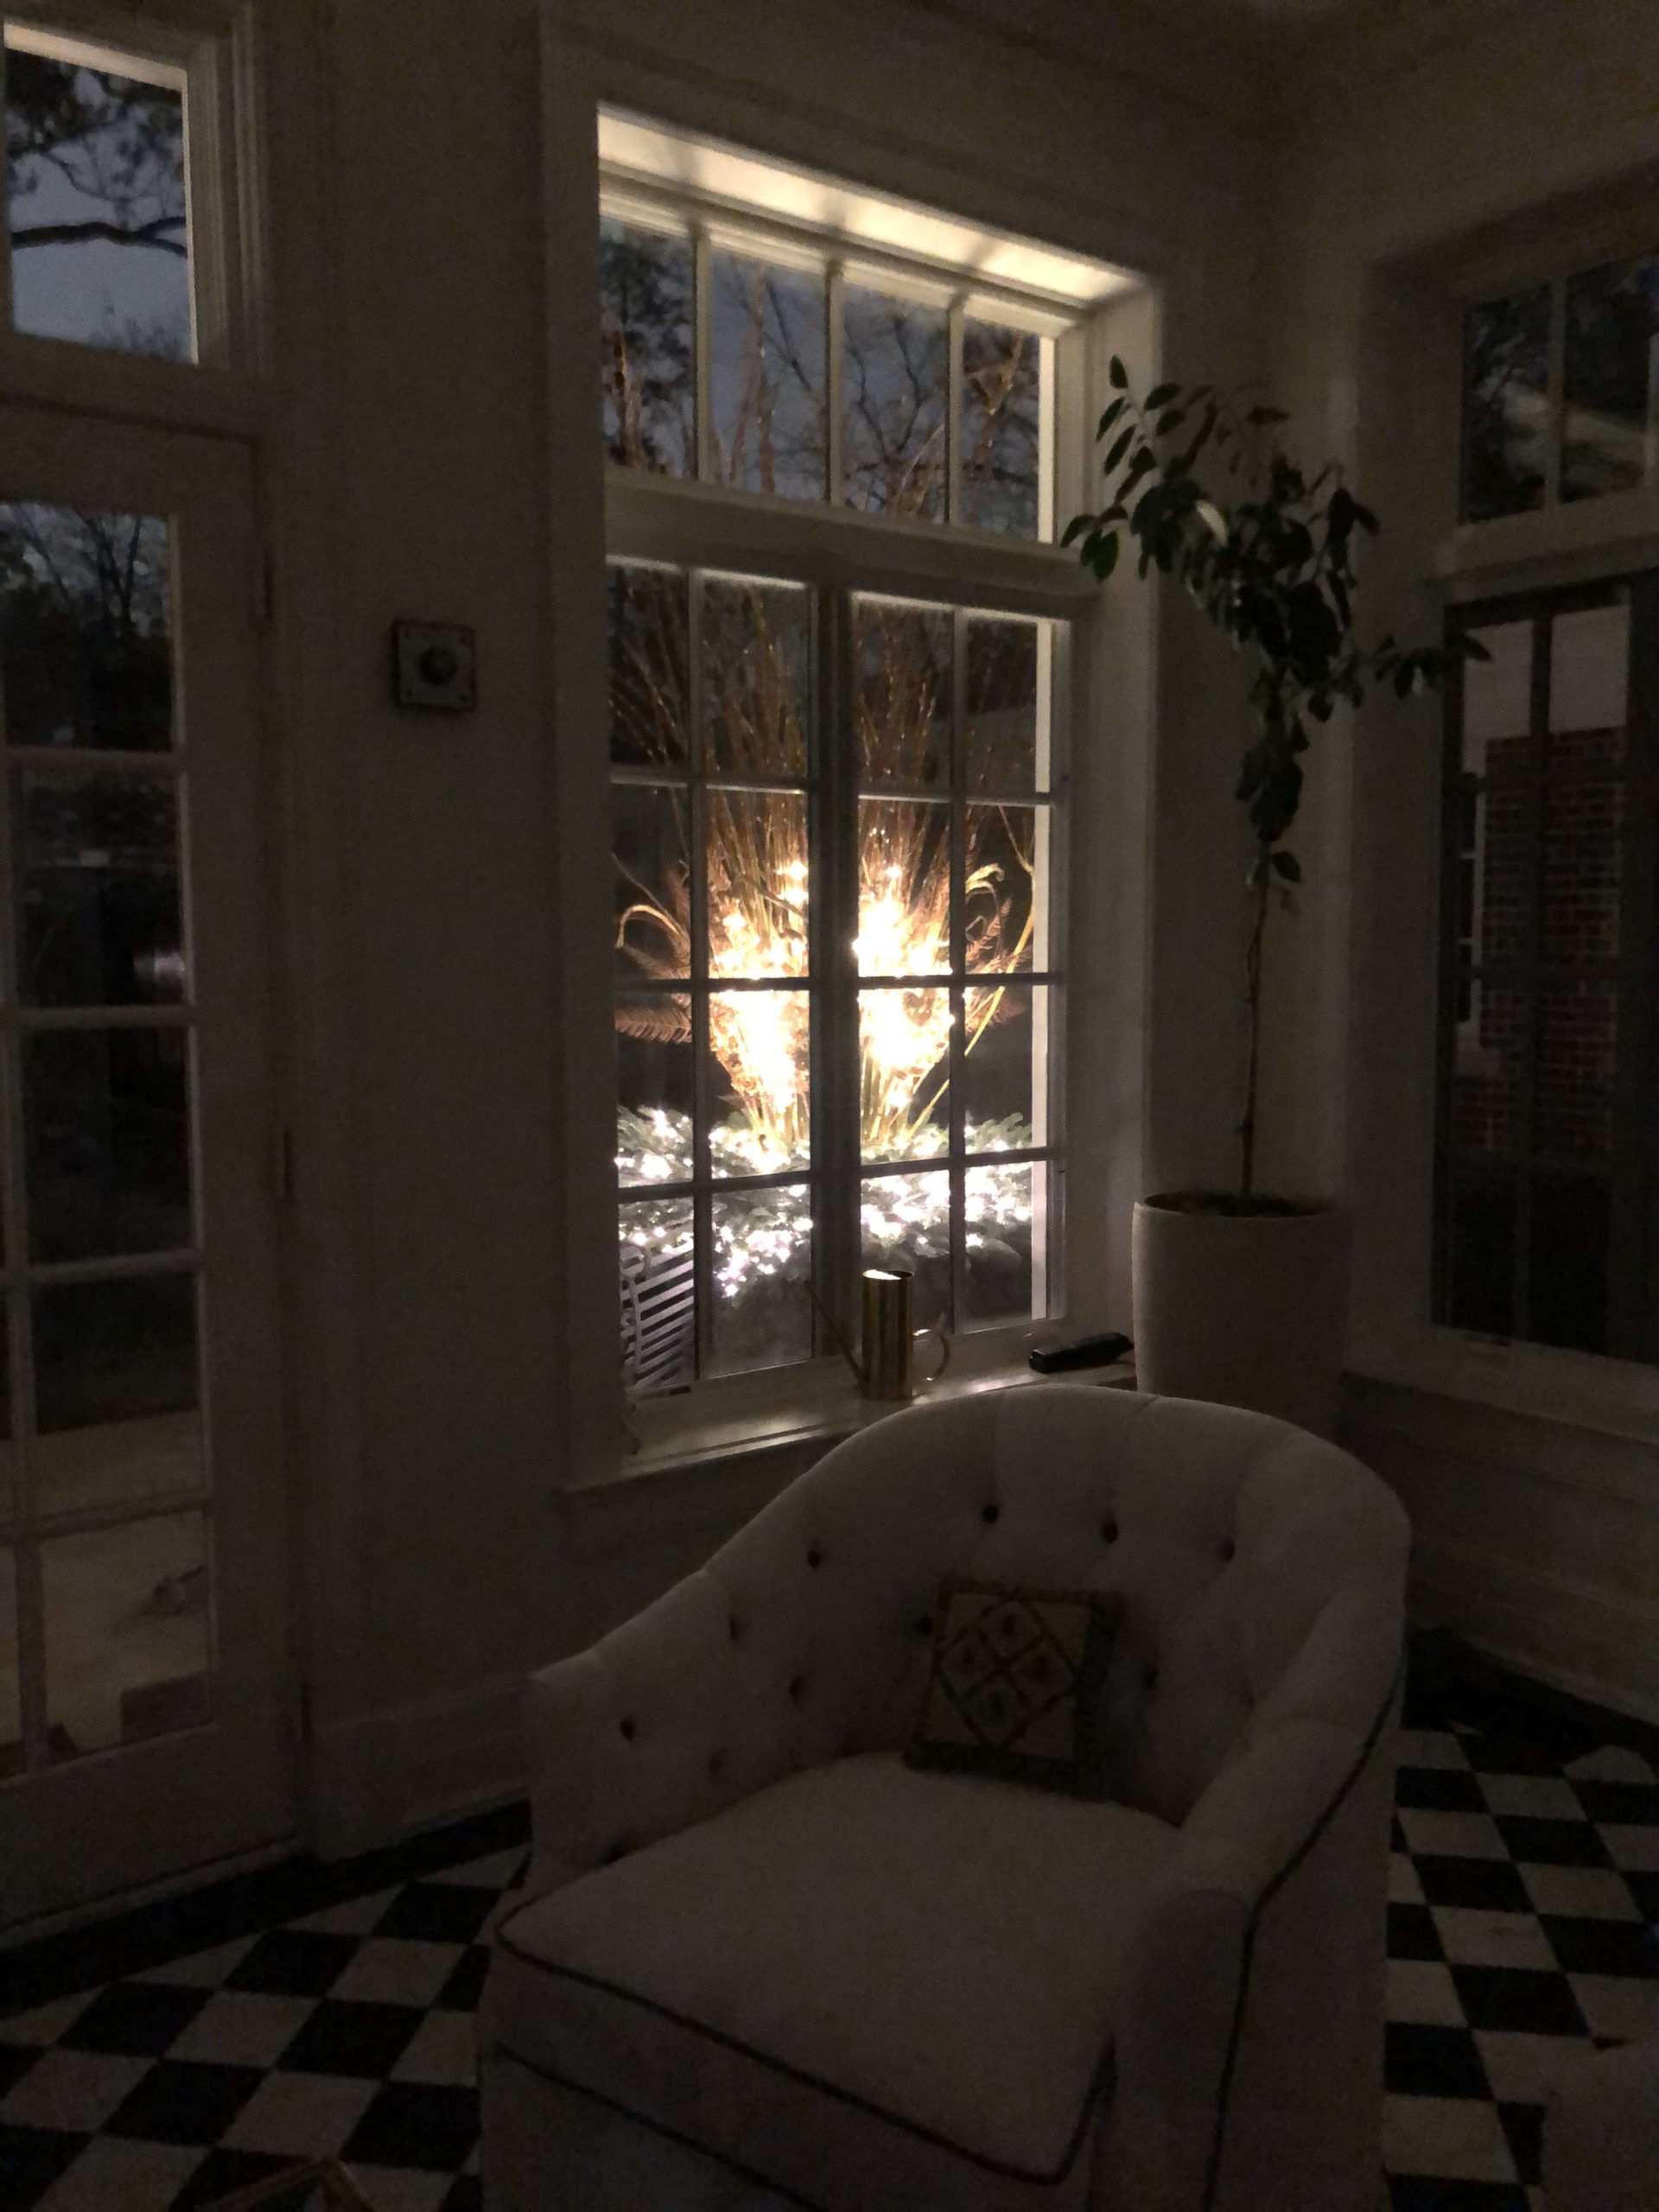
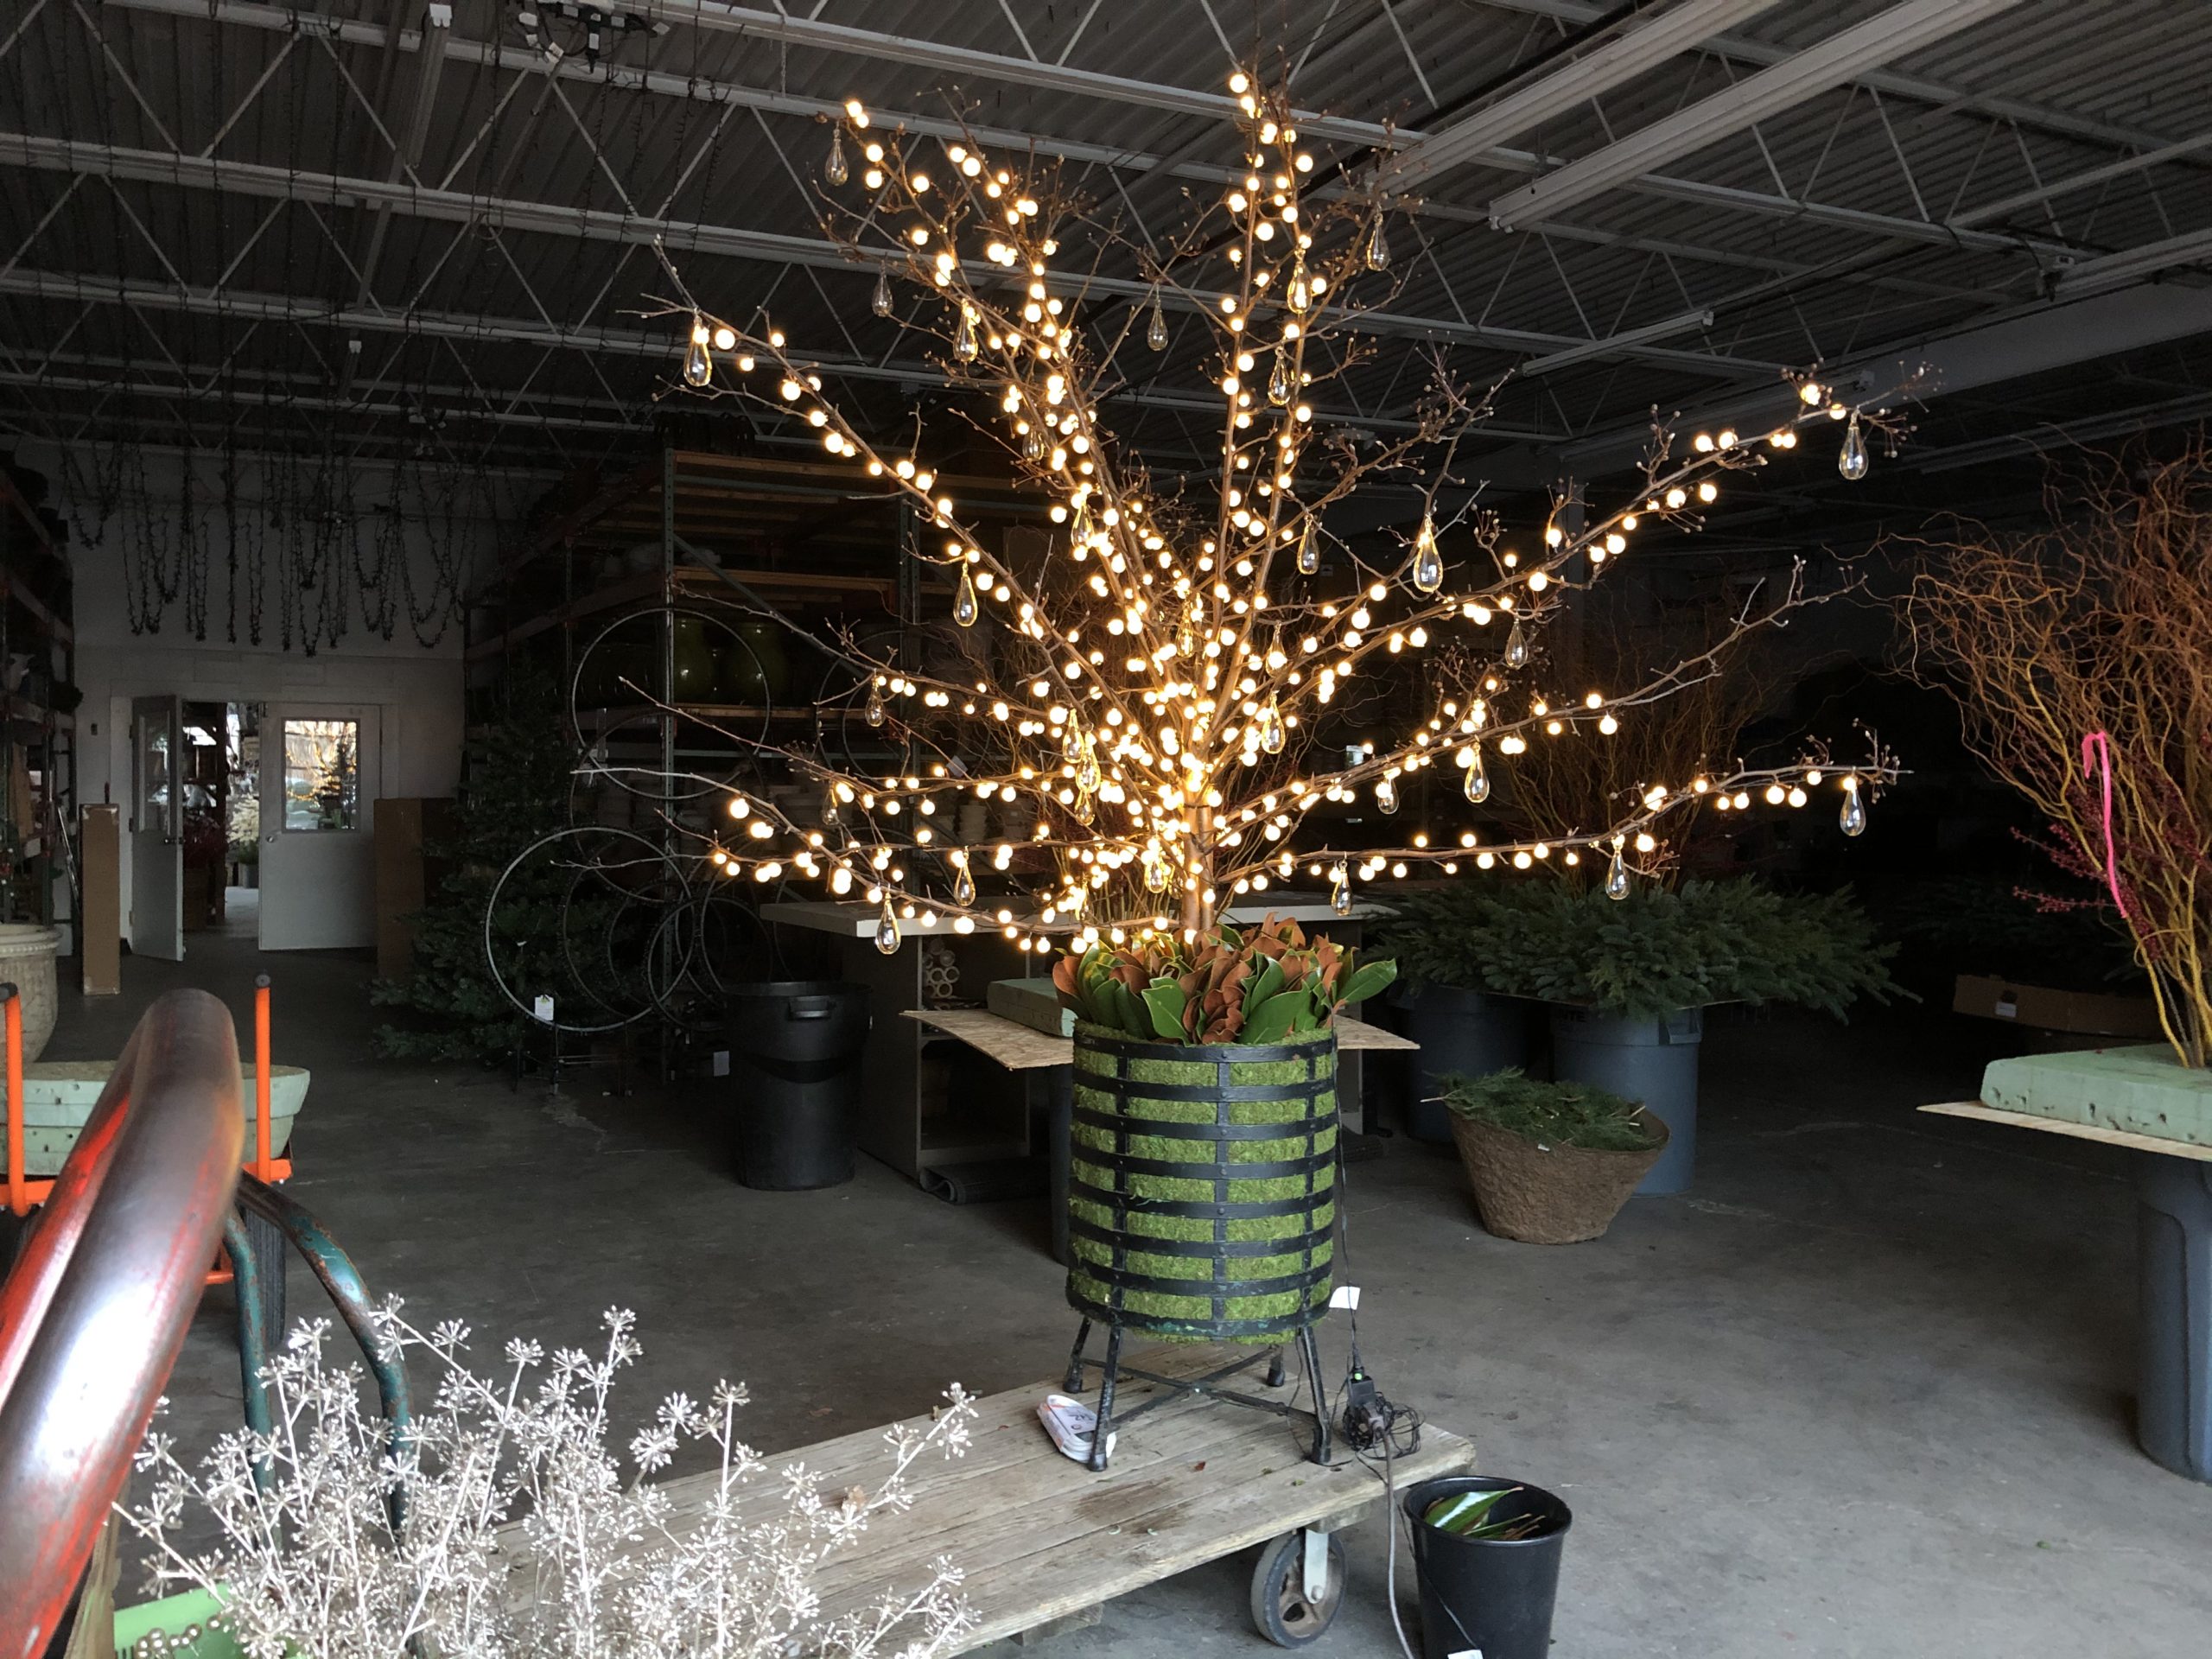 I will confess I came in very early in the morning, just so I could see how this twig tree would look in its lighted state. In my opinion, the fabrication was perfection in every regard. A natural tree that would dry, and keep as long as the client wished to keep it. The light would be soft and glowing, perfect for an interior placement.
 Sal and James made this, and they made it well. The ride in the box truck, tipped over onto a stack of bags of soil, and the ride up a freight elevator was uneventful. Best of all, the client is very pleased.