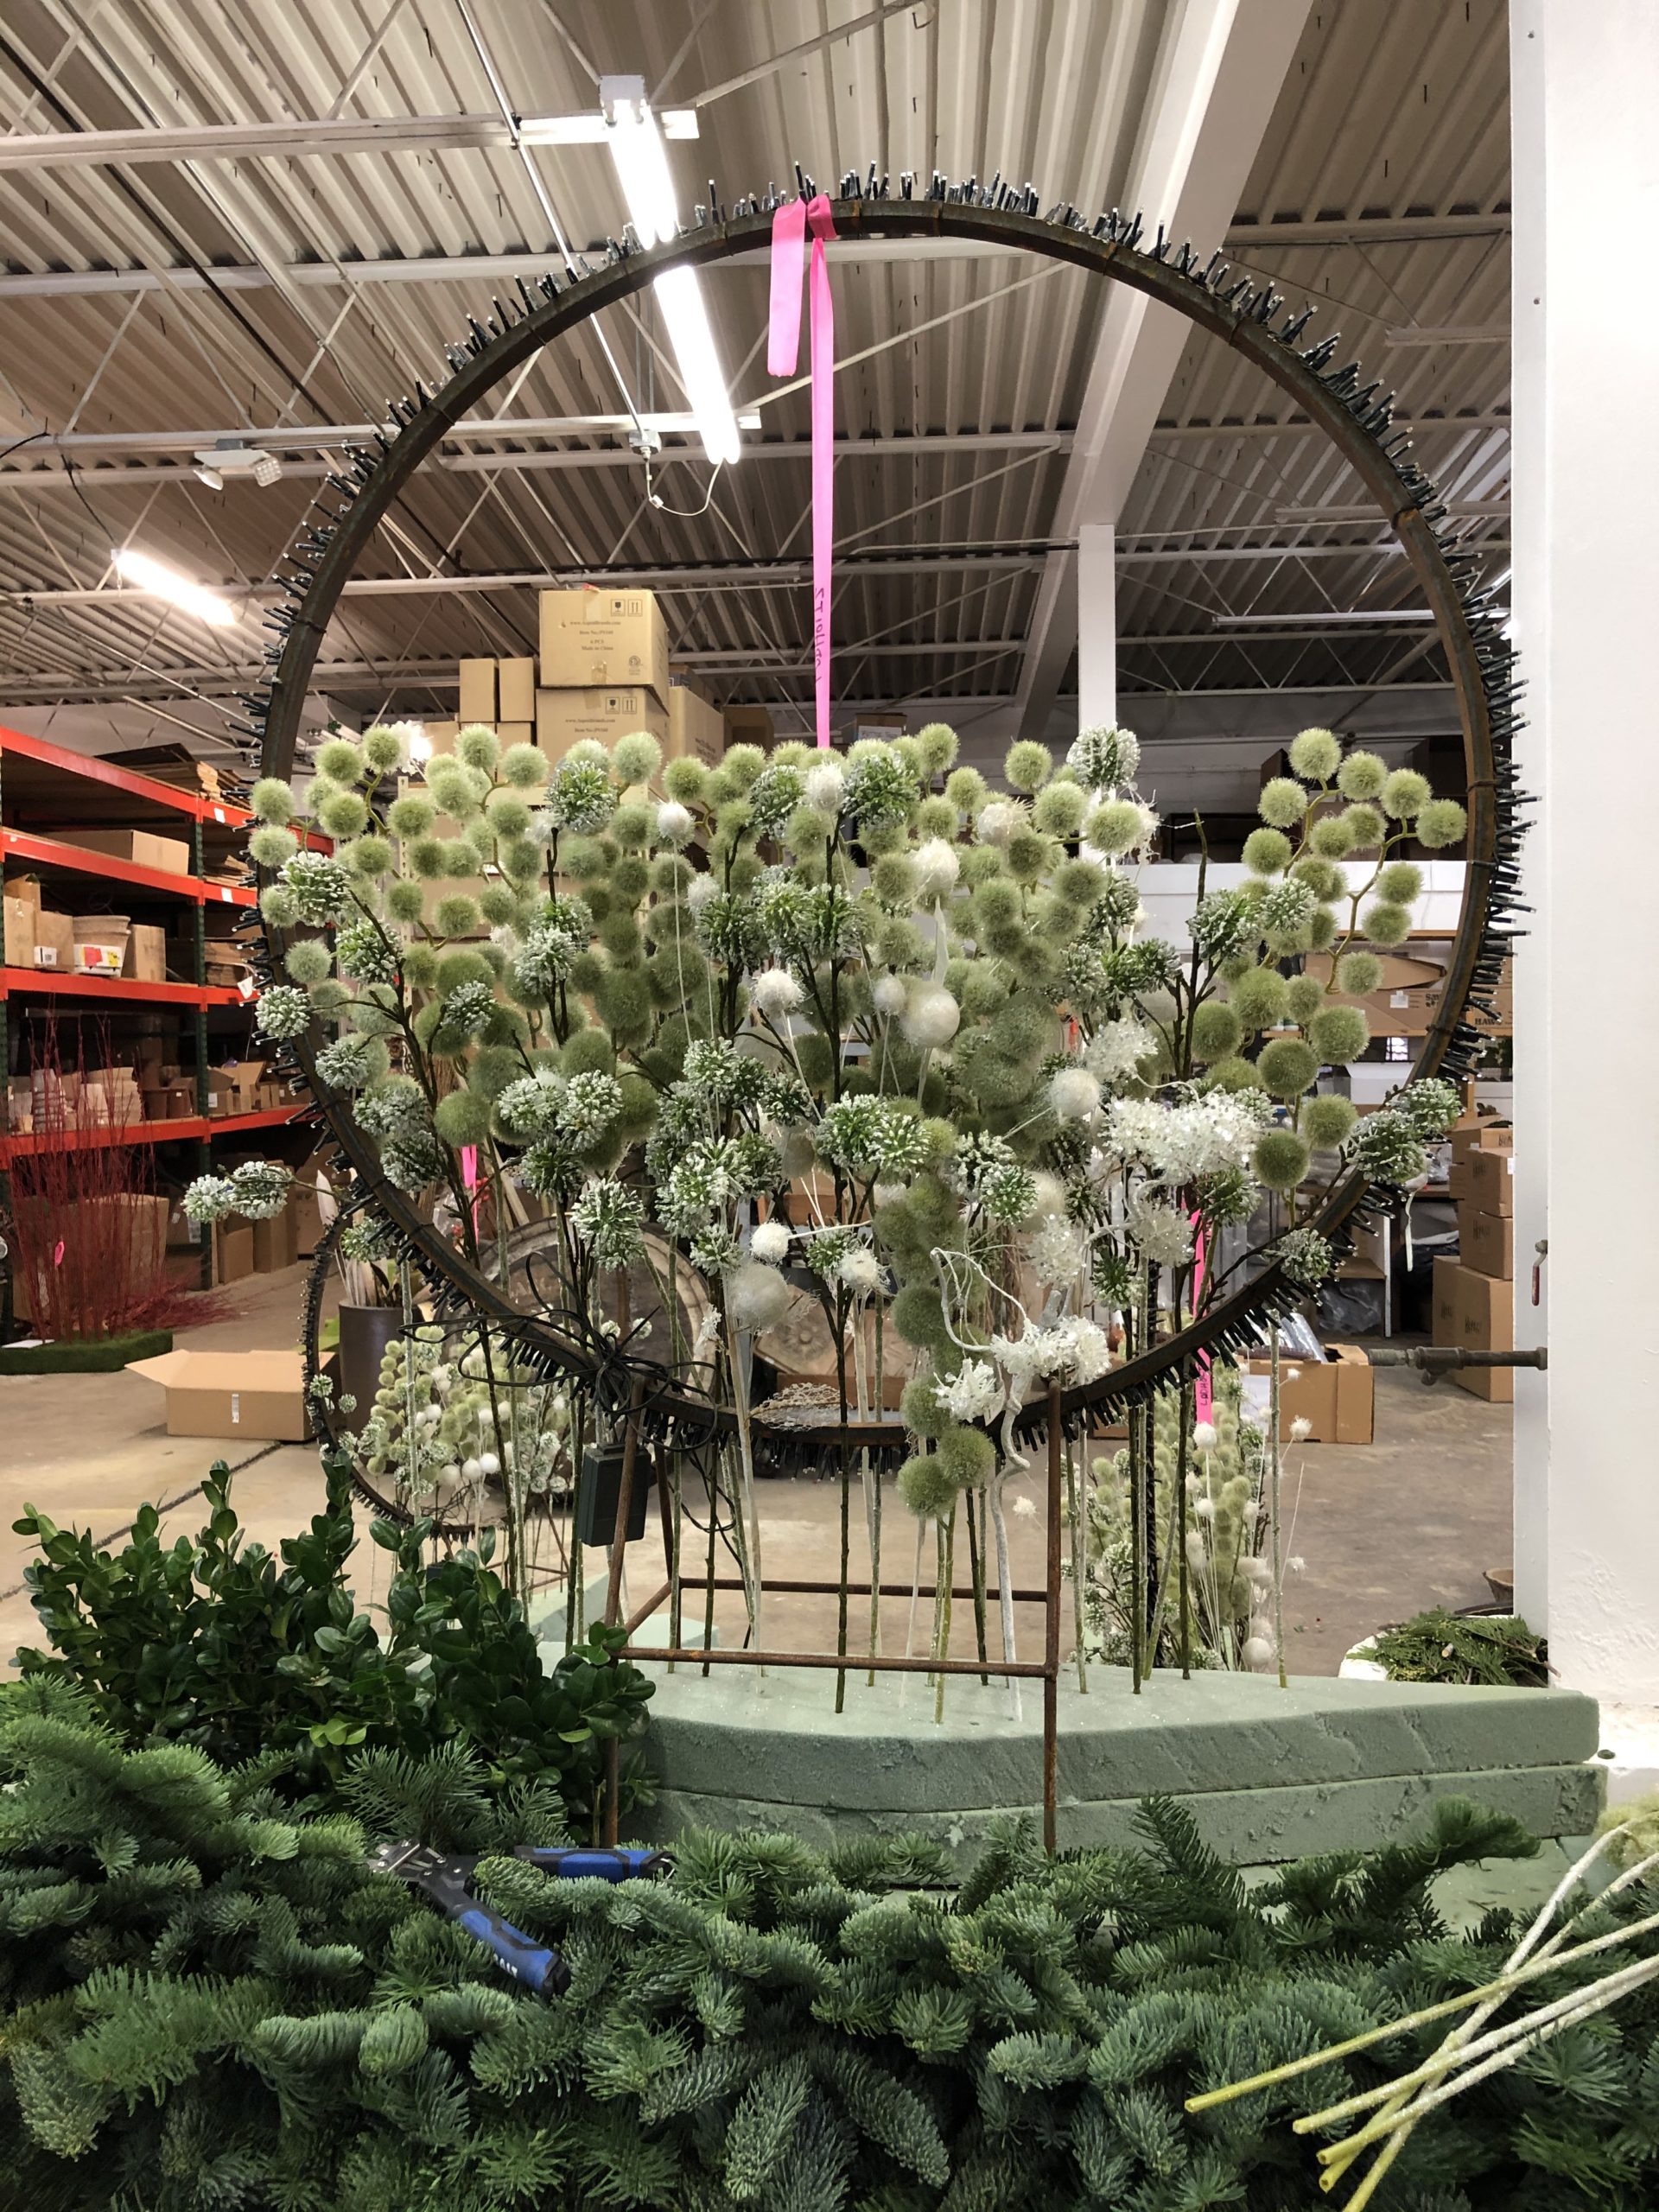
 My penchant for planting containers for spring is based on several factors. At 30 years old, it seemed like an infinite number of springs were ahead. If I skipped planting fall bulbs, or spring pots, or a rose or a tree, there would always be next year. Or the year after that. In a blink of an eye, 30 became 50. And with it, the dawn of the realization that though spring will probably roll around ad infinitum, my springs that had a beginning in 1950 would eventually come to an end. This is not gloomy talk. It means I am more interested than ever in observing and participating in every phase of the gardening year. I especially do not want to miss one moment of the spring season. Given that every plant in the landscape will break dormancy and grow, there is a lot to see over the course of that 3 month period. There are lots of ways to experience the spring season-why miss out on any of those opportunities?
 Planting containers for spring seems even more attractive in cold weather zones like ours. Winter leaches out of our ground slowly. When that ground does thaw, it is wet. Milling around a garden when the soil is sopping wet is ill advised. My shoes, backed up by my weight, do a great job of squeezing the oxygen out of the soil, and compacting it. Compacted soil can be quite brick-like. As I like my plants to have friable soil that encourages good root growth, I stay out of the garden in very early spring. Spring containers make it easier to resist getting in to the garden too early.
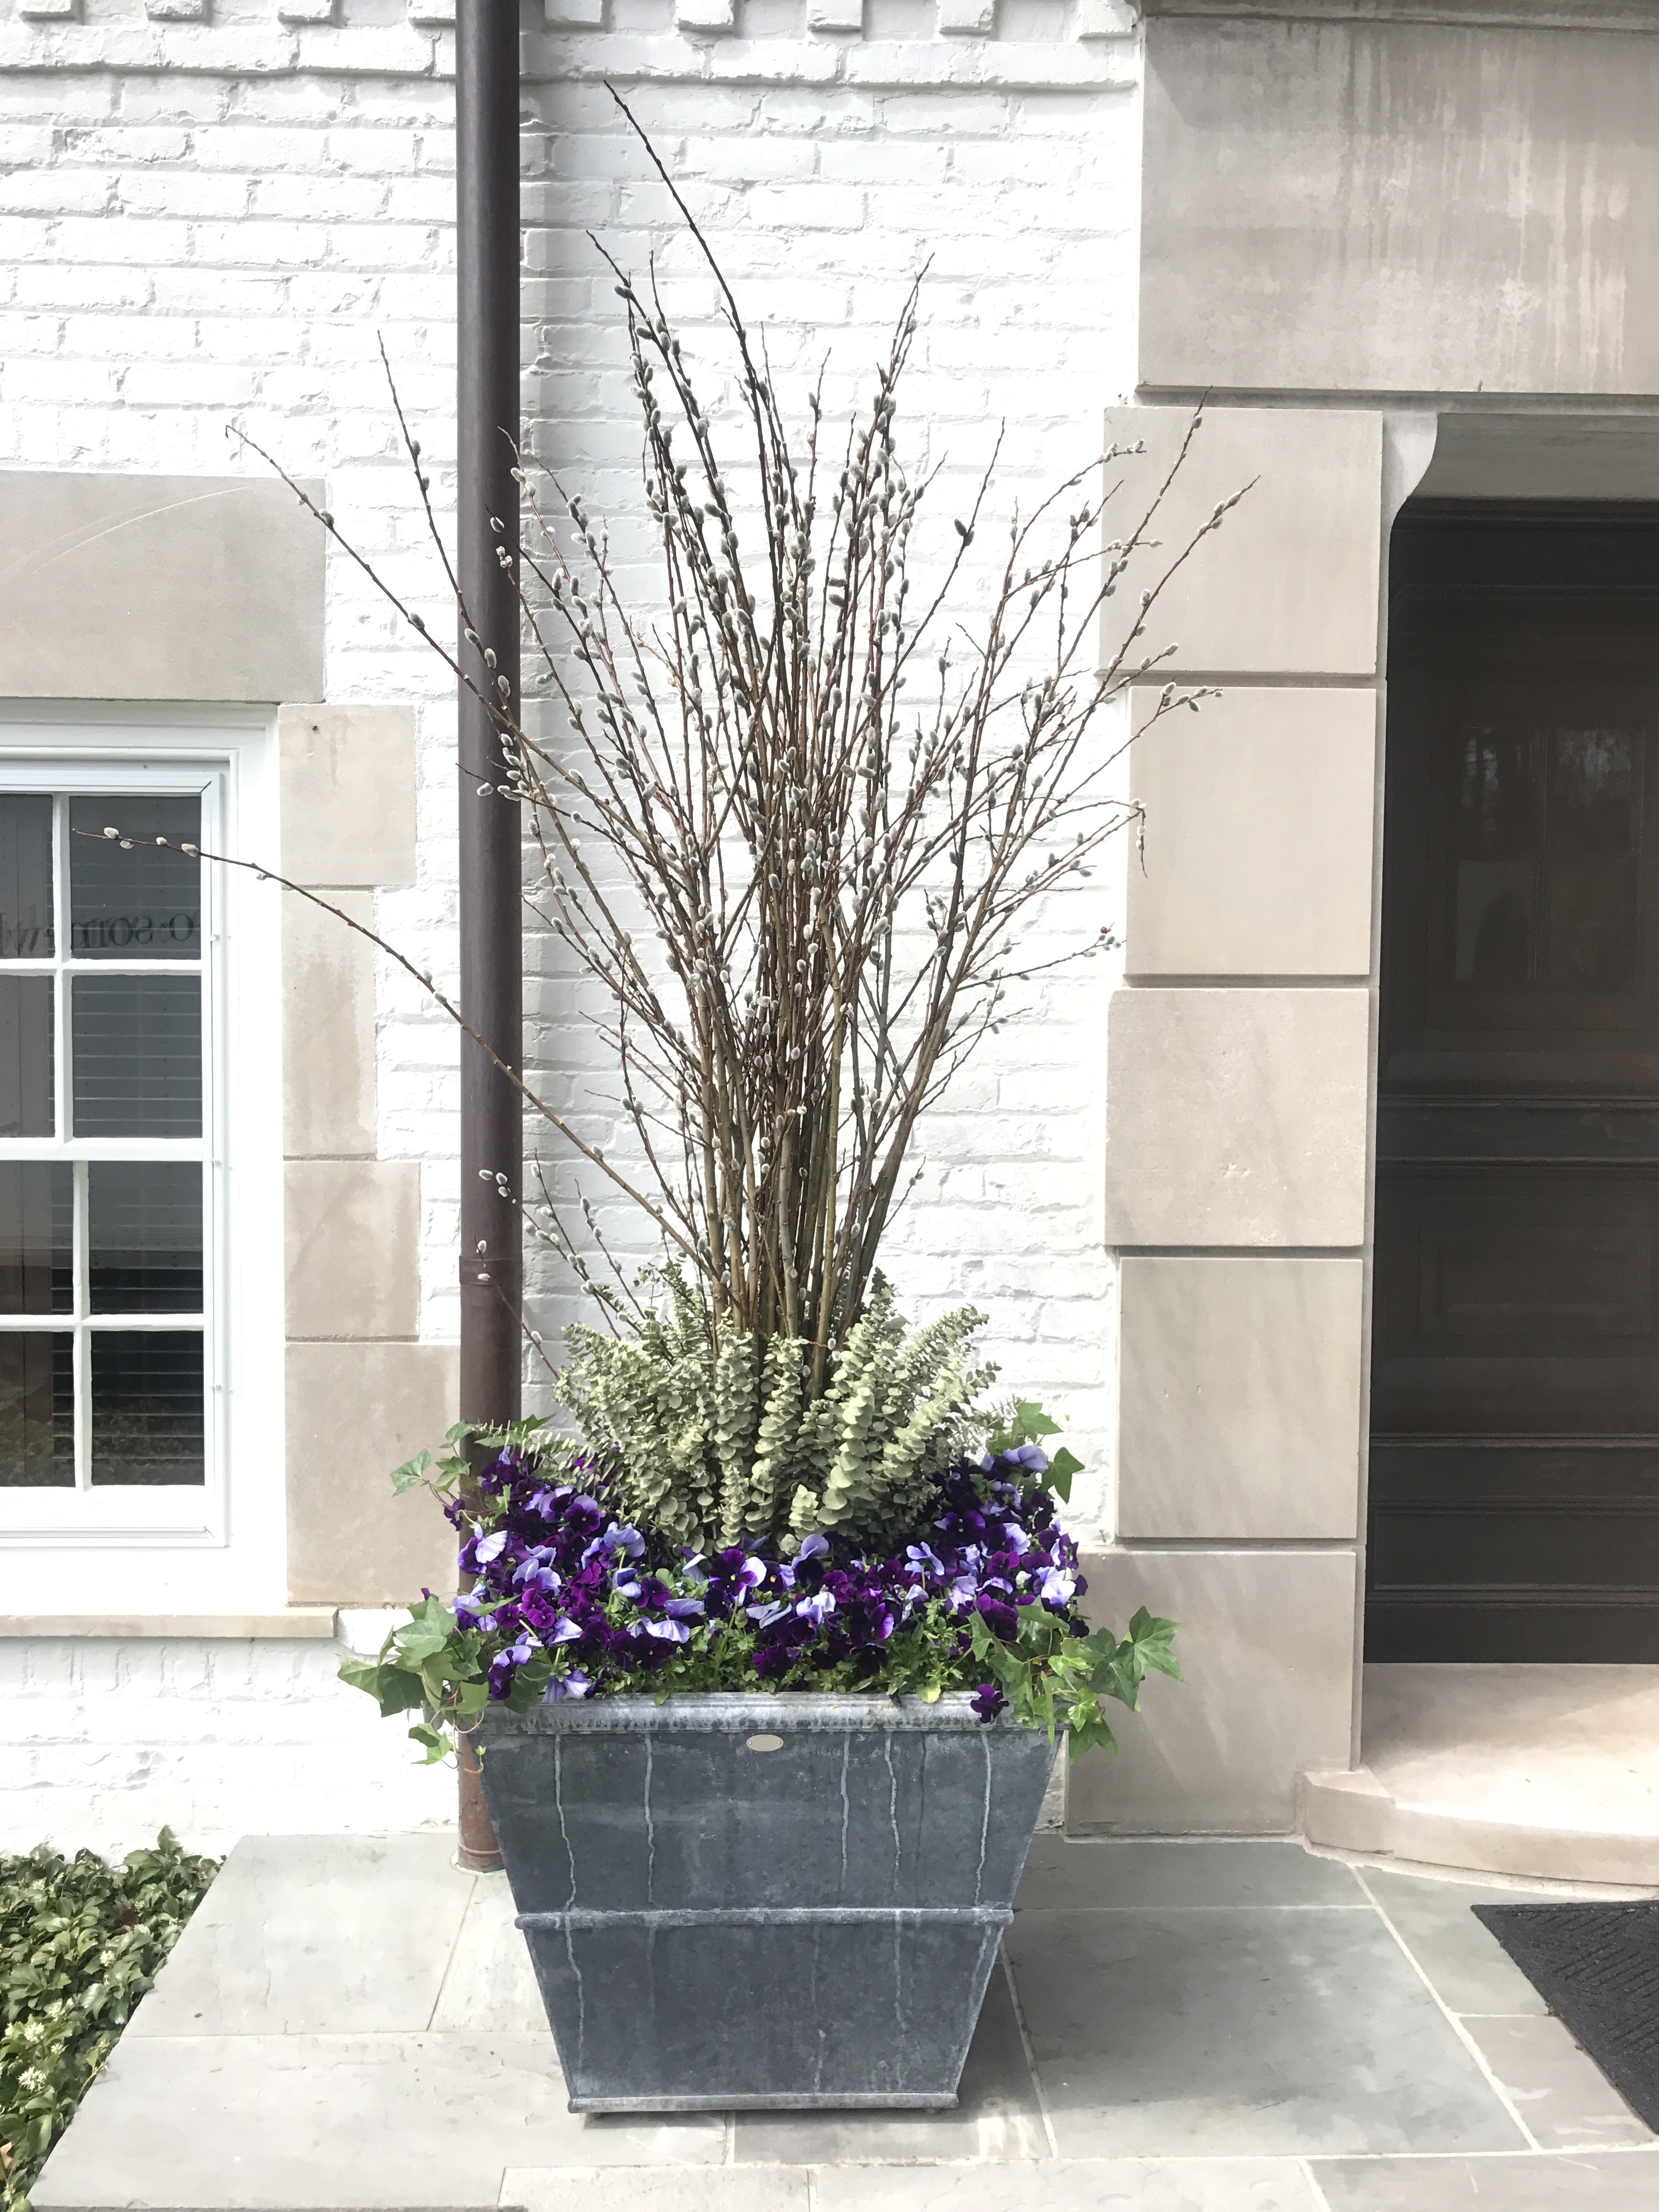
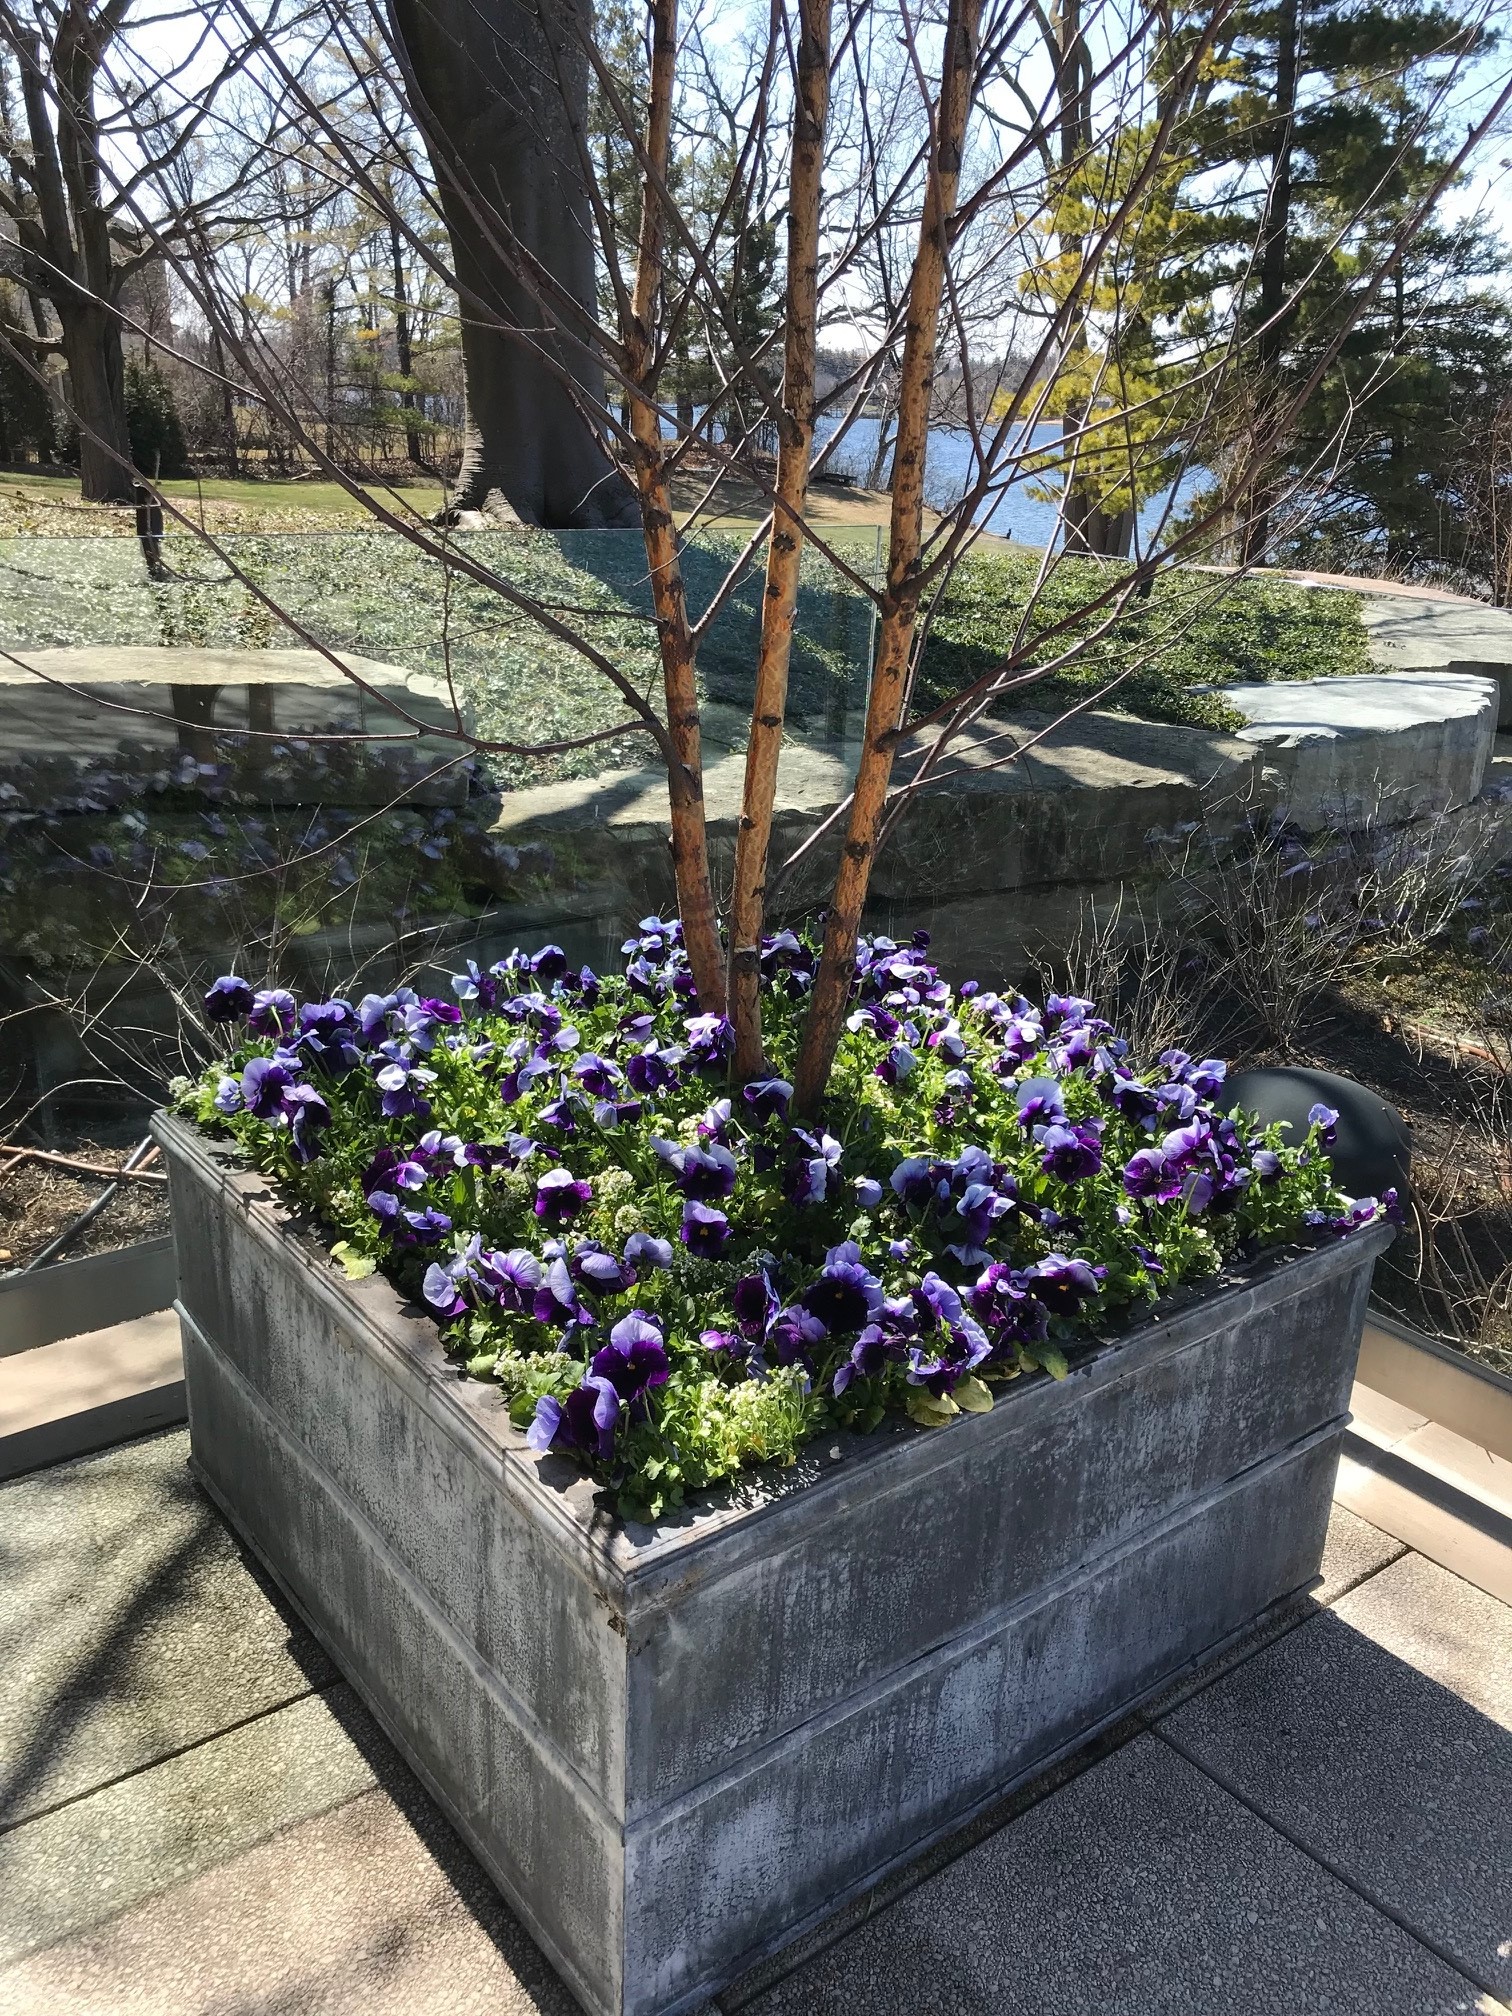
 It used to be that a vast majority of seasonal plants were of the summer season type. Now a gardener can find plants suitable for containers in every season. The most obvious choice is spring flowers bulbs. Forced tulips, daffodils,hyacinths, grape hyacinths and crocus adapt very well to pot culture. The tulips in the shop garden are but 2 inches out of the ground. It will be at least a month before they start to bloom. A pot of emerging tulips faced down with violas already in bloom in a container is a sight for winter weary eyes. The best part of spring flowering bulbs in containers is how beautiful they are in every stage. It is a pleasure to be able to watch a hyacinth at close quarters come out of the ground, bud up, and bloom. The leaves and buds are juicy, and every bit as beautiful as the flowers.
 It used to be that most seasonal plants offered for sale were only suitable for summer containers. That has really changed. Great plants, and lots of them, are available for container planting in every season. Right now at the shop, Rob has hellebores, pansies, violas, alyssum, primrose, rosemary and lavender topiaries, sweet woodruff, and sweet peas. In short order, spring vegetables and herbs will be available for pots. Pansies, lettuce and parsley can be planted up to stunning effect. A hydrangea on standard can look a little bleak in a spring container, but the buds will swell soon, and the spring leaves are beautiful.
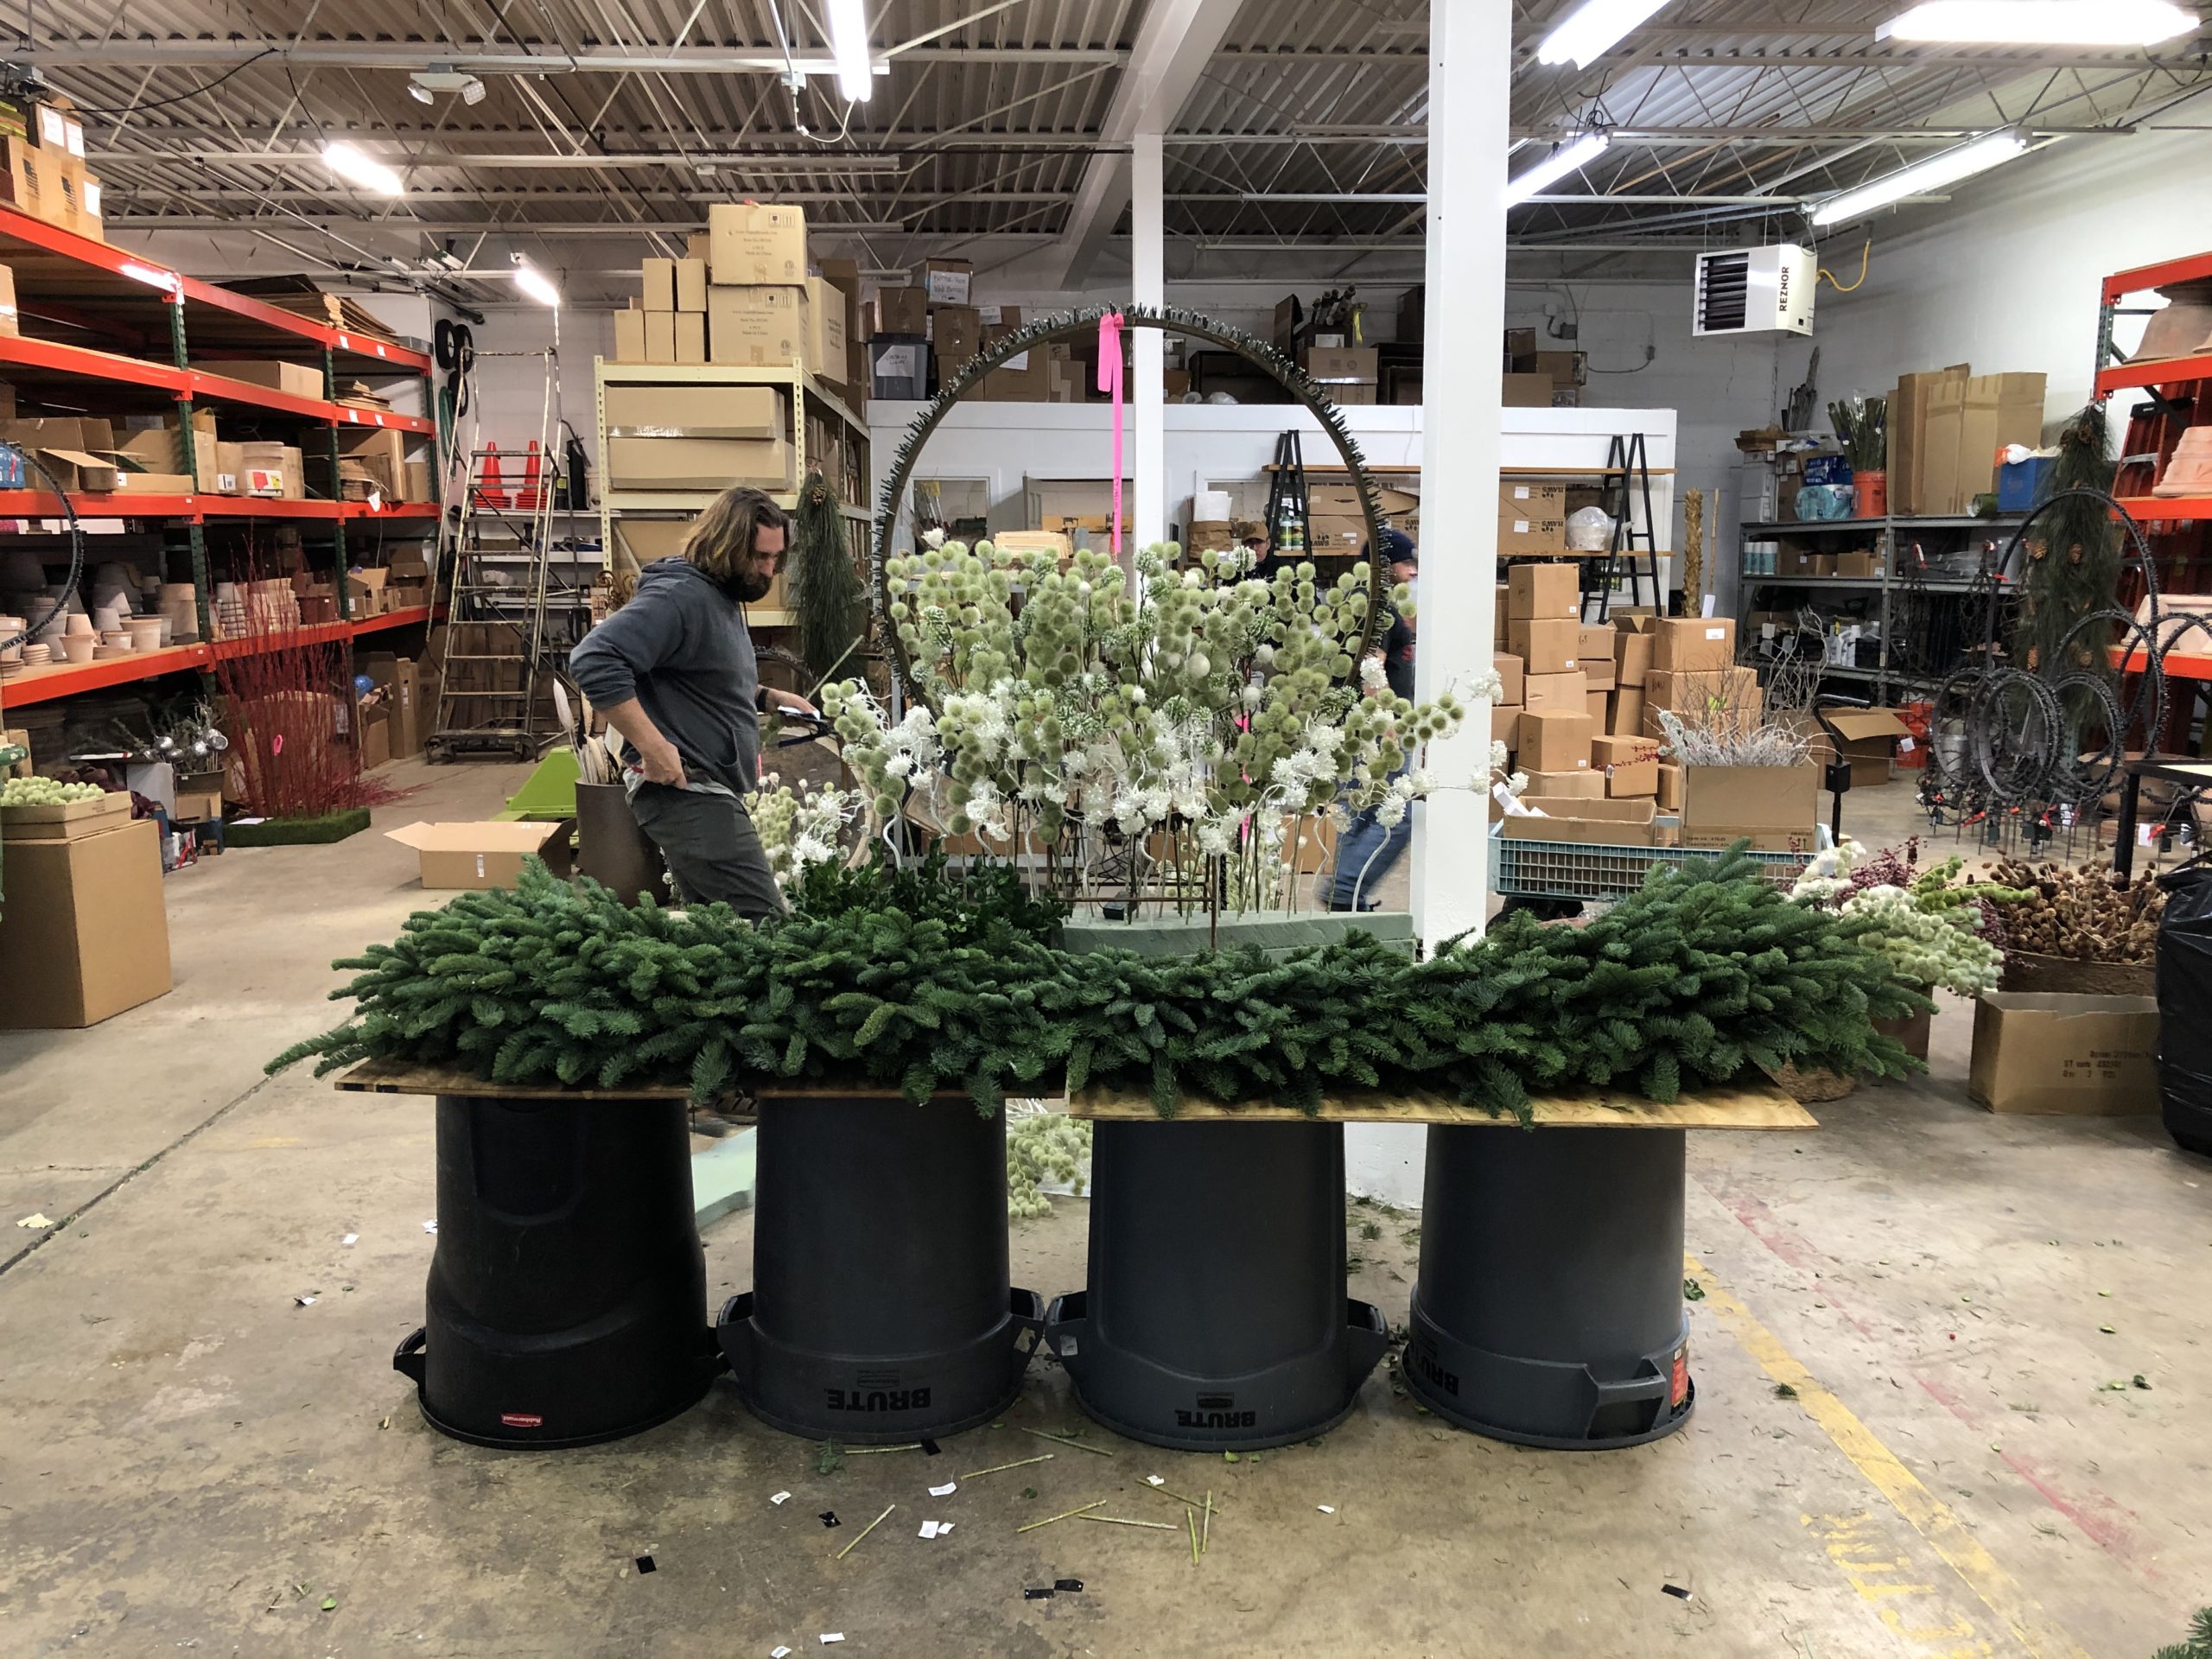
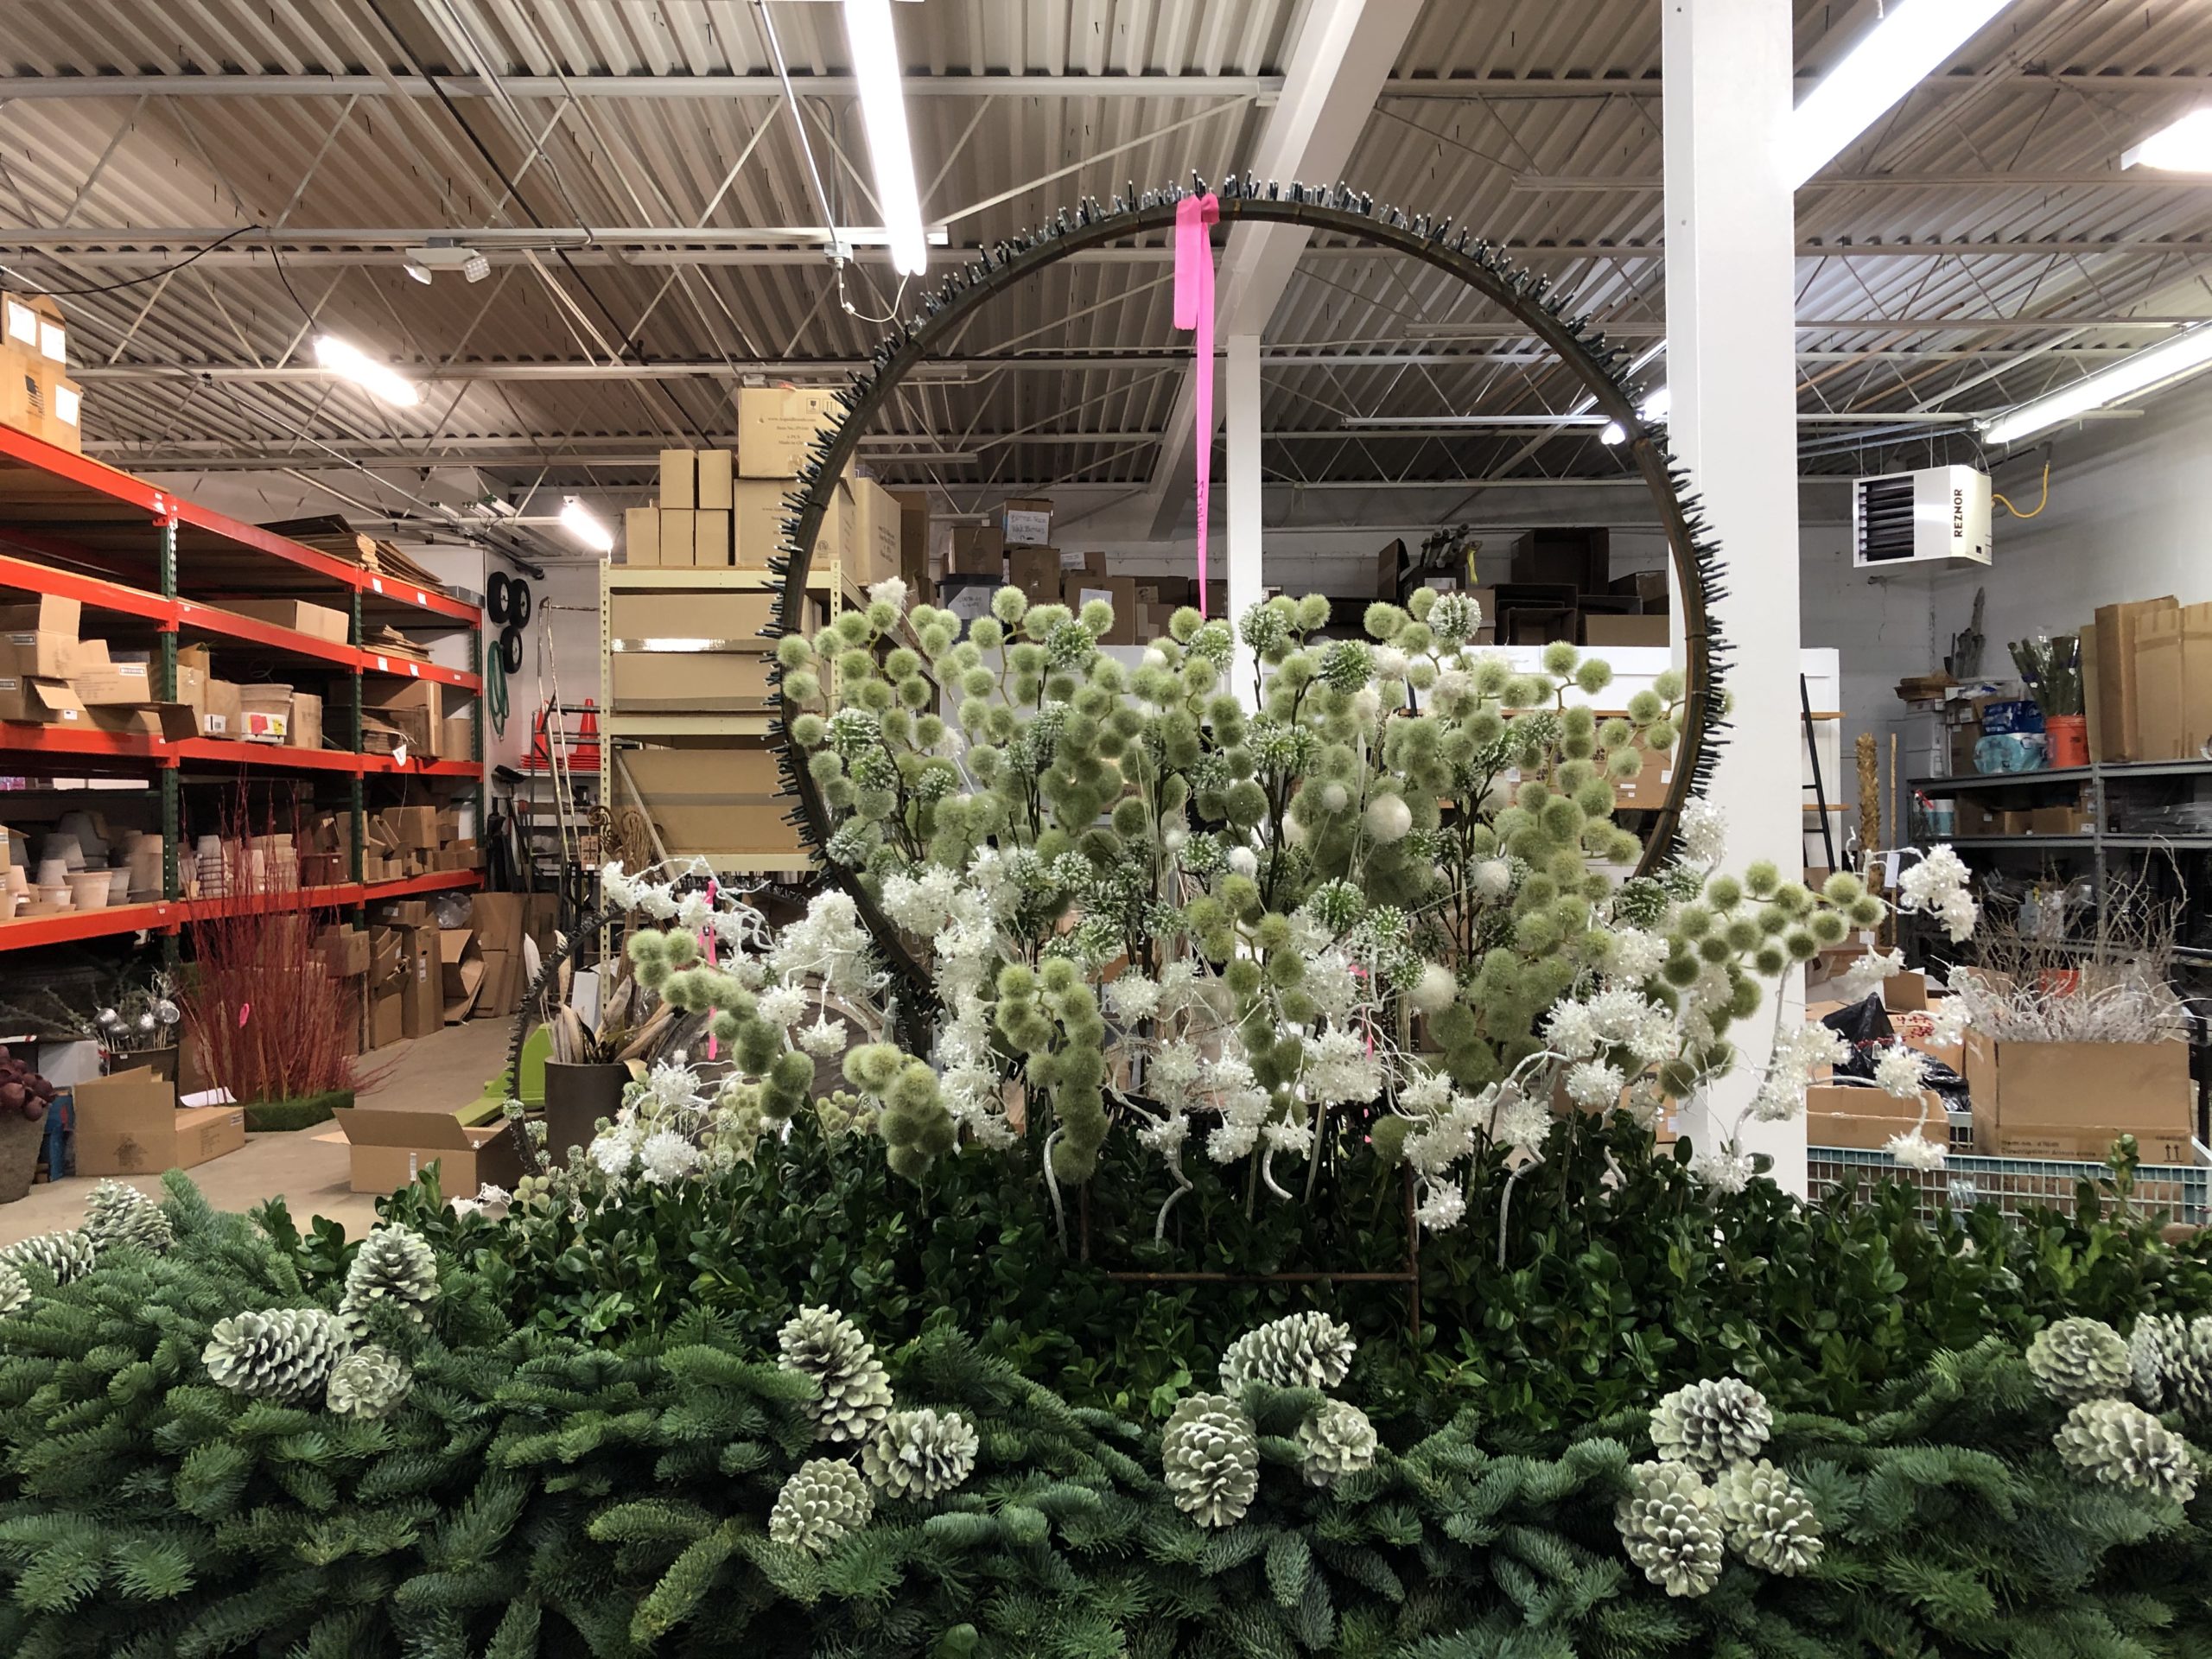
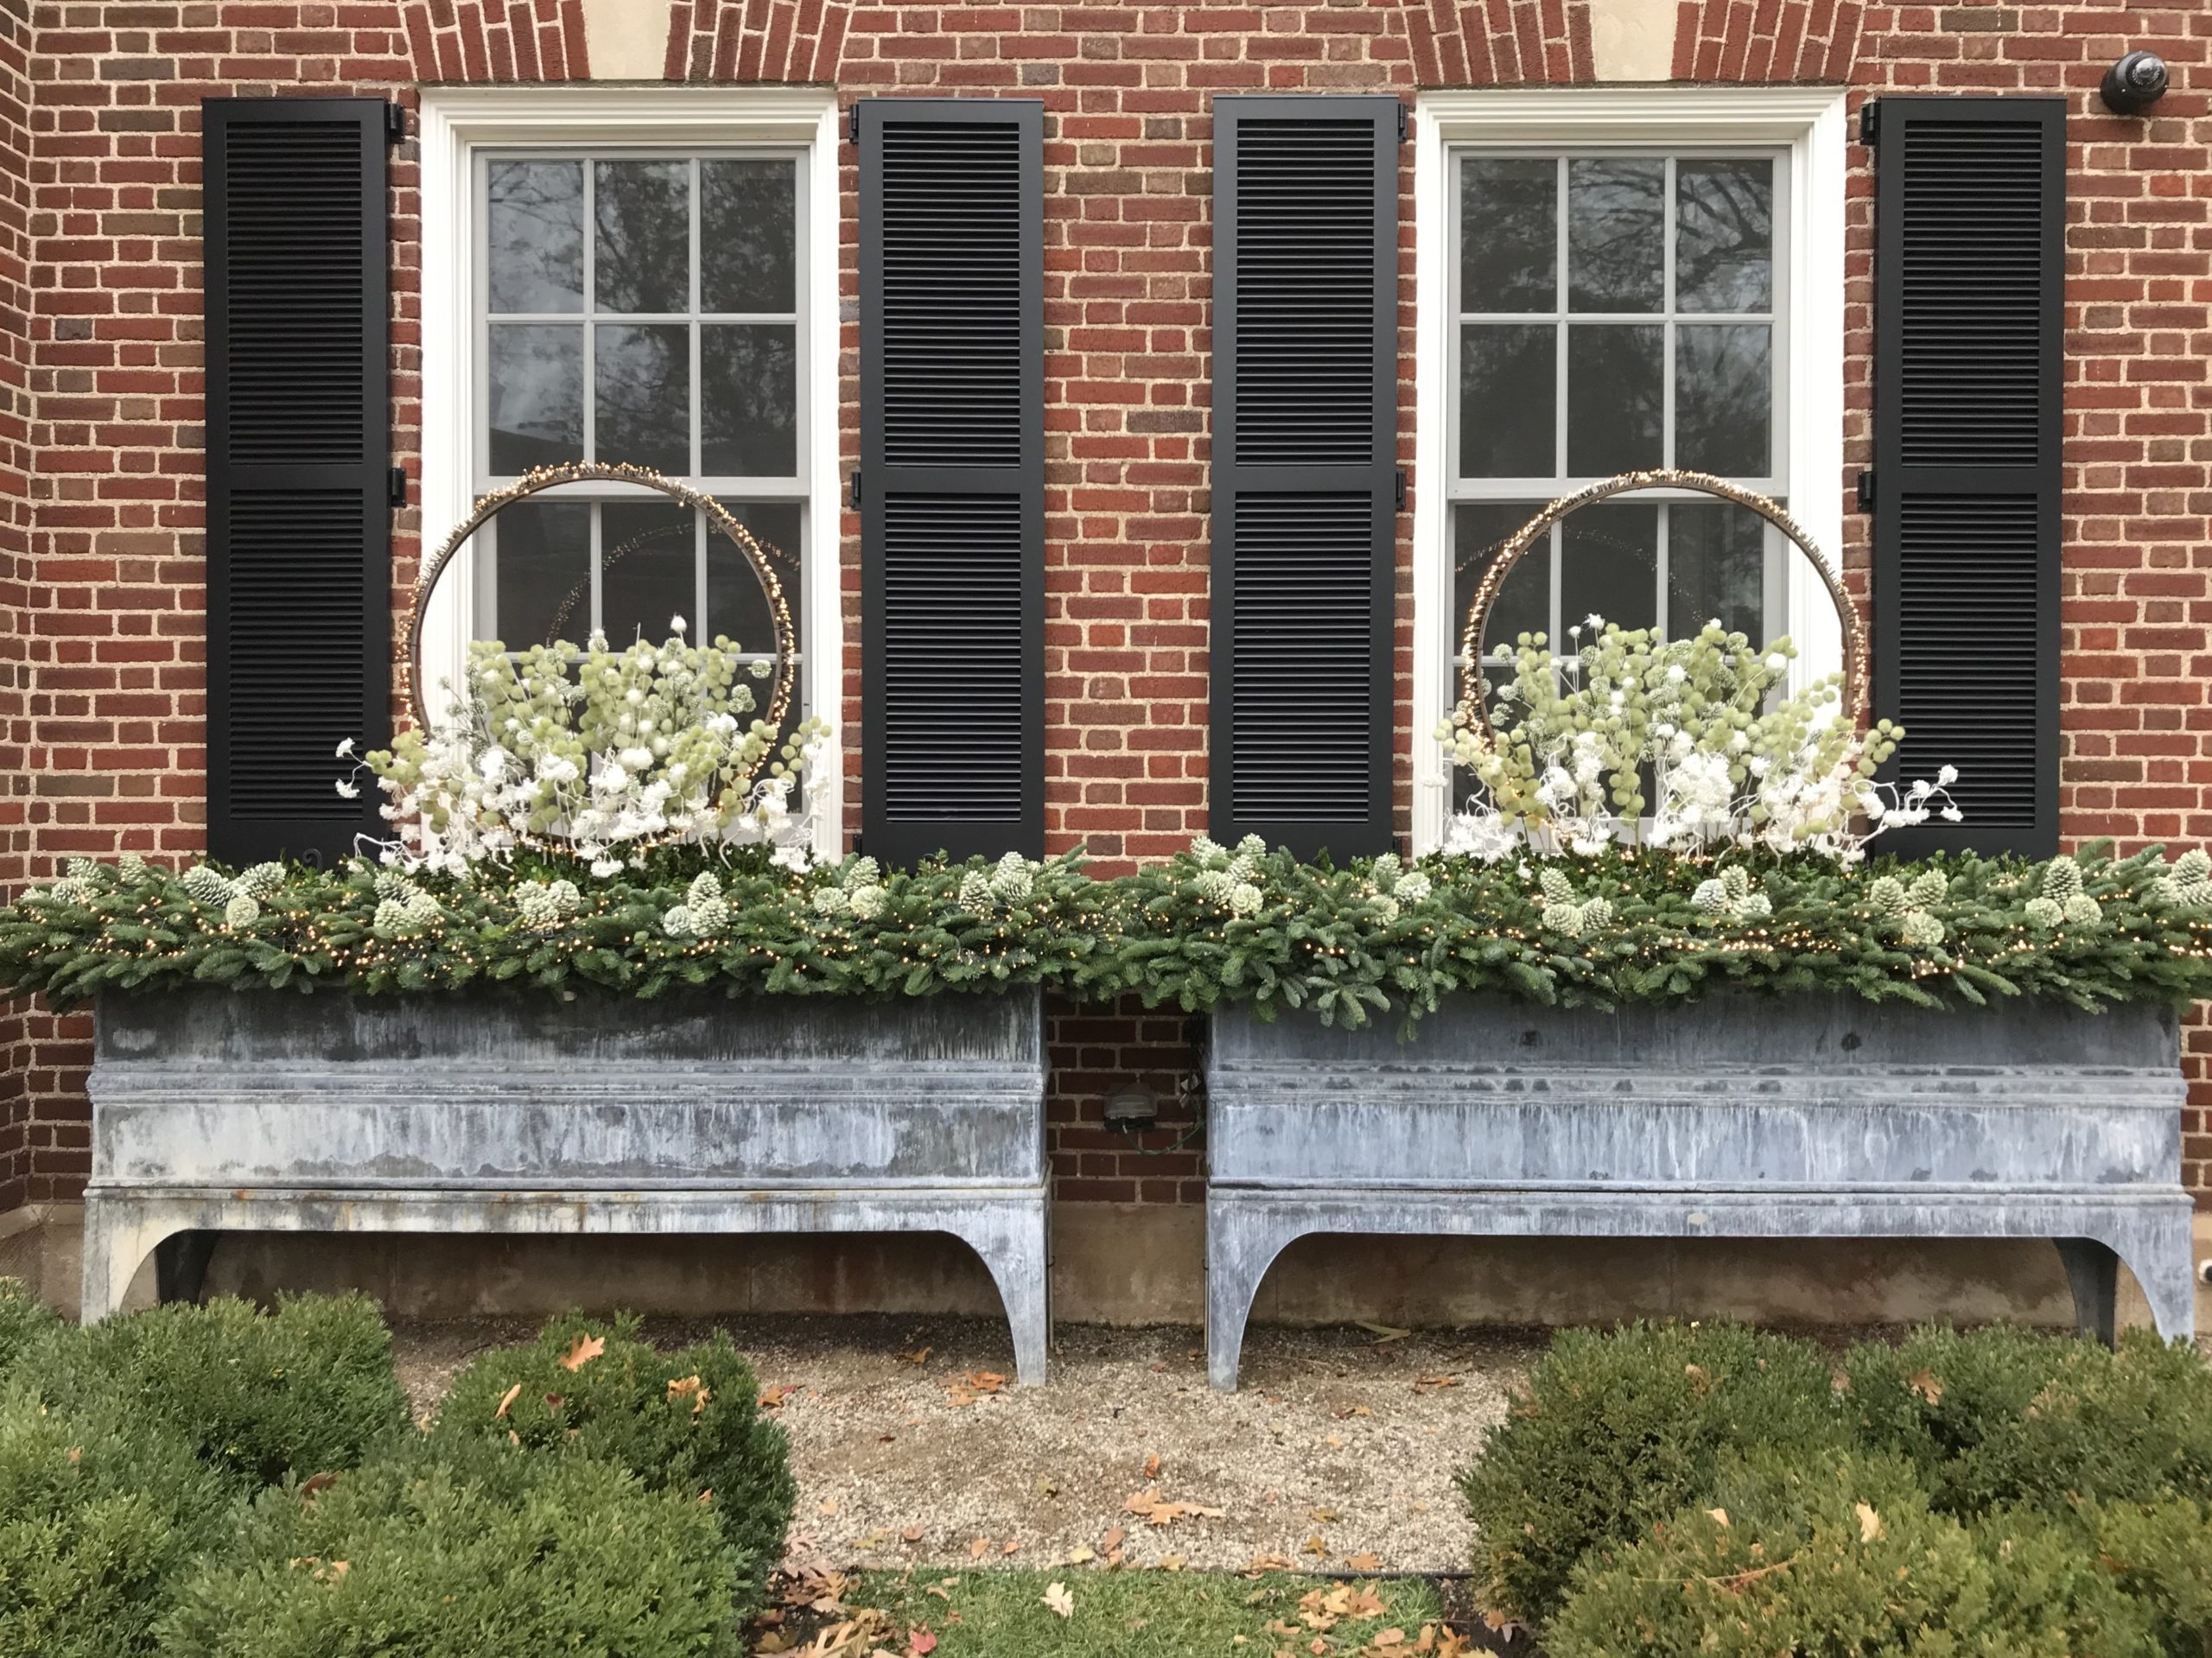
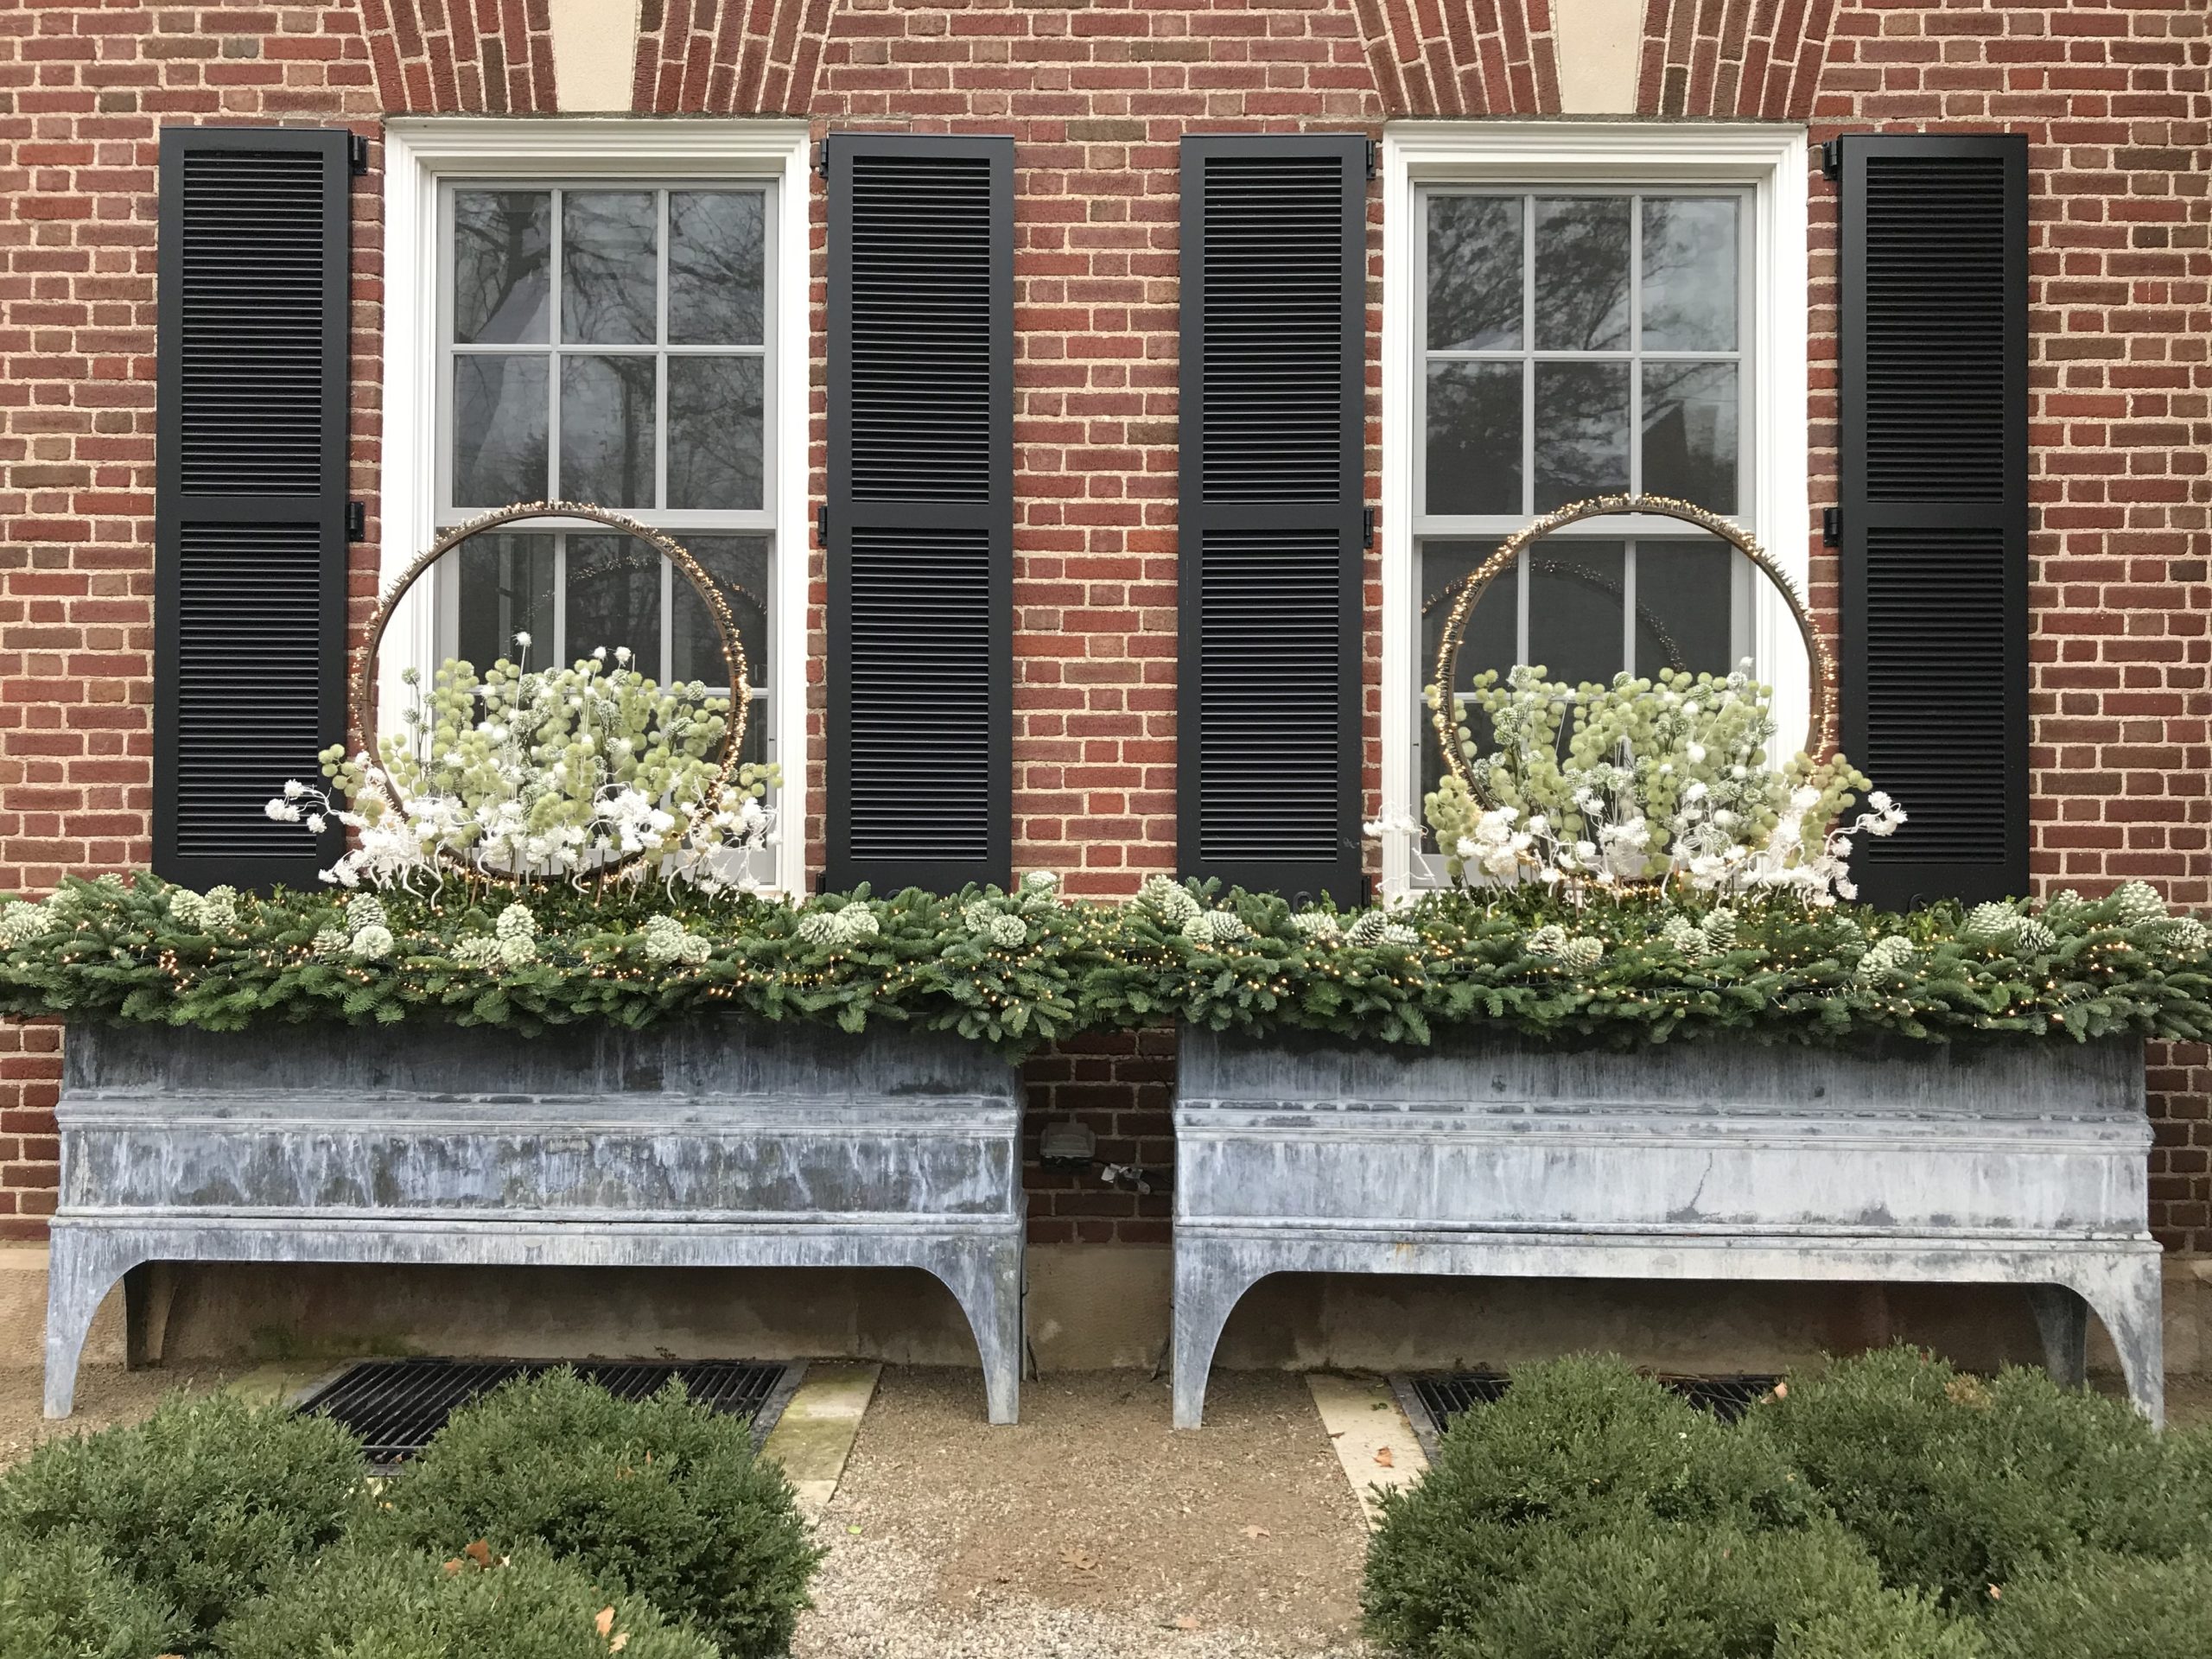
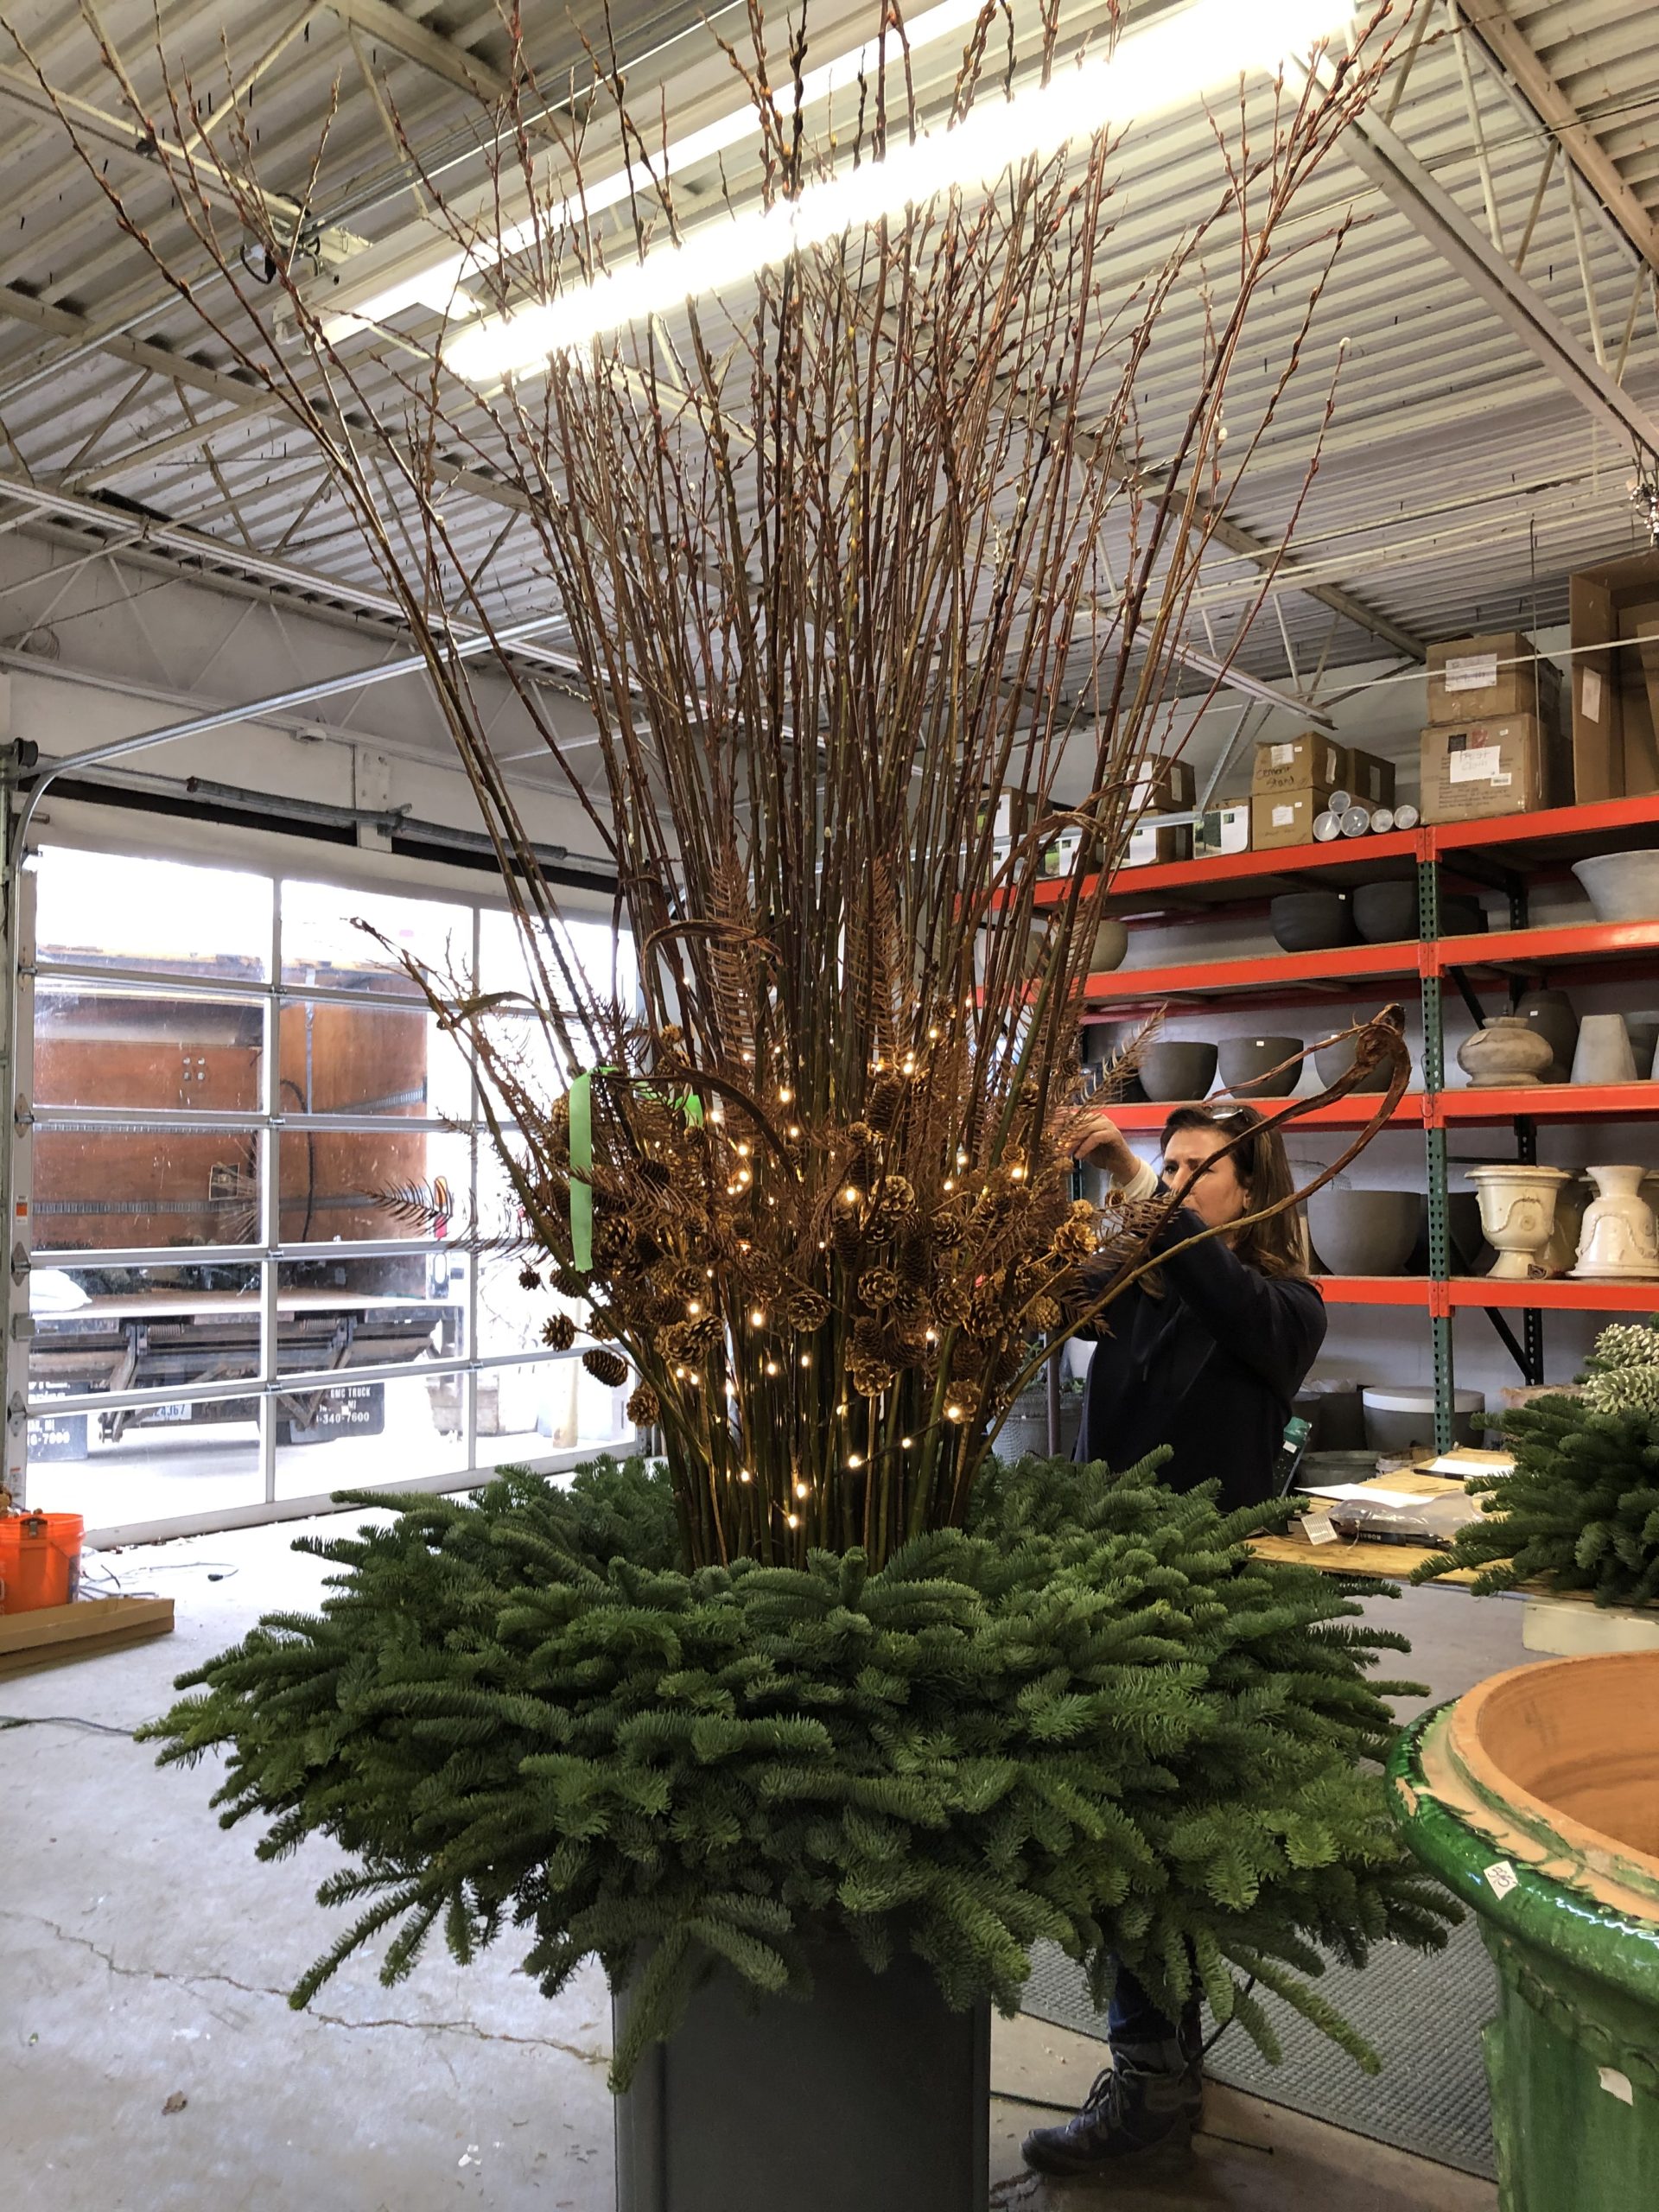
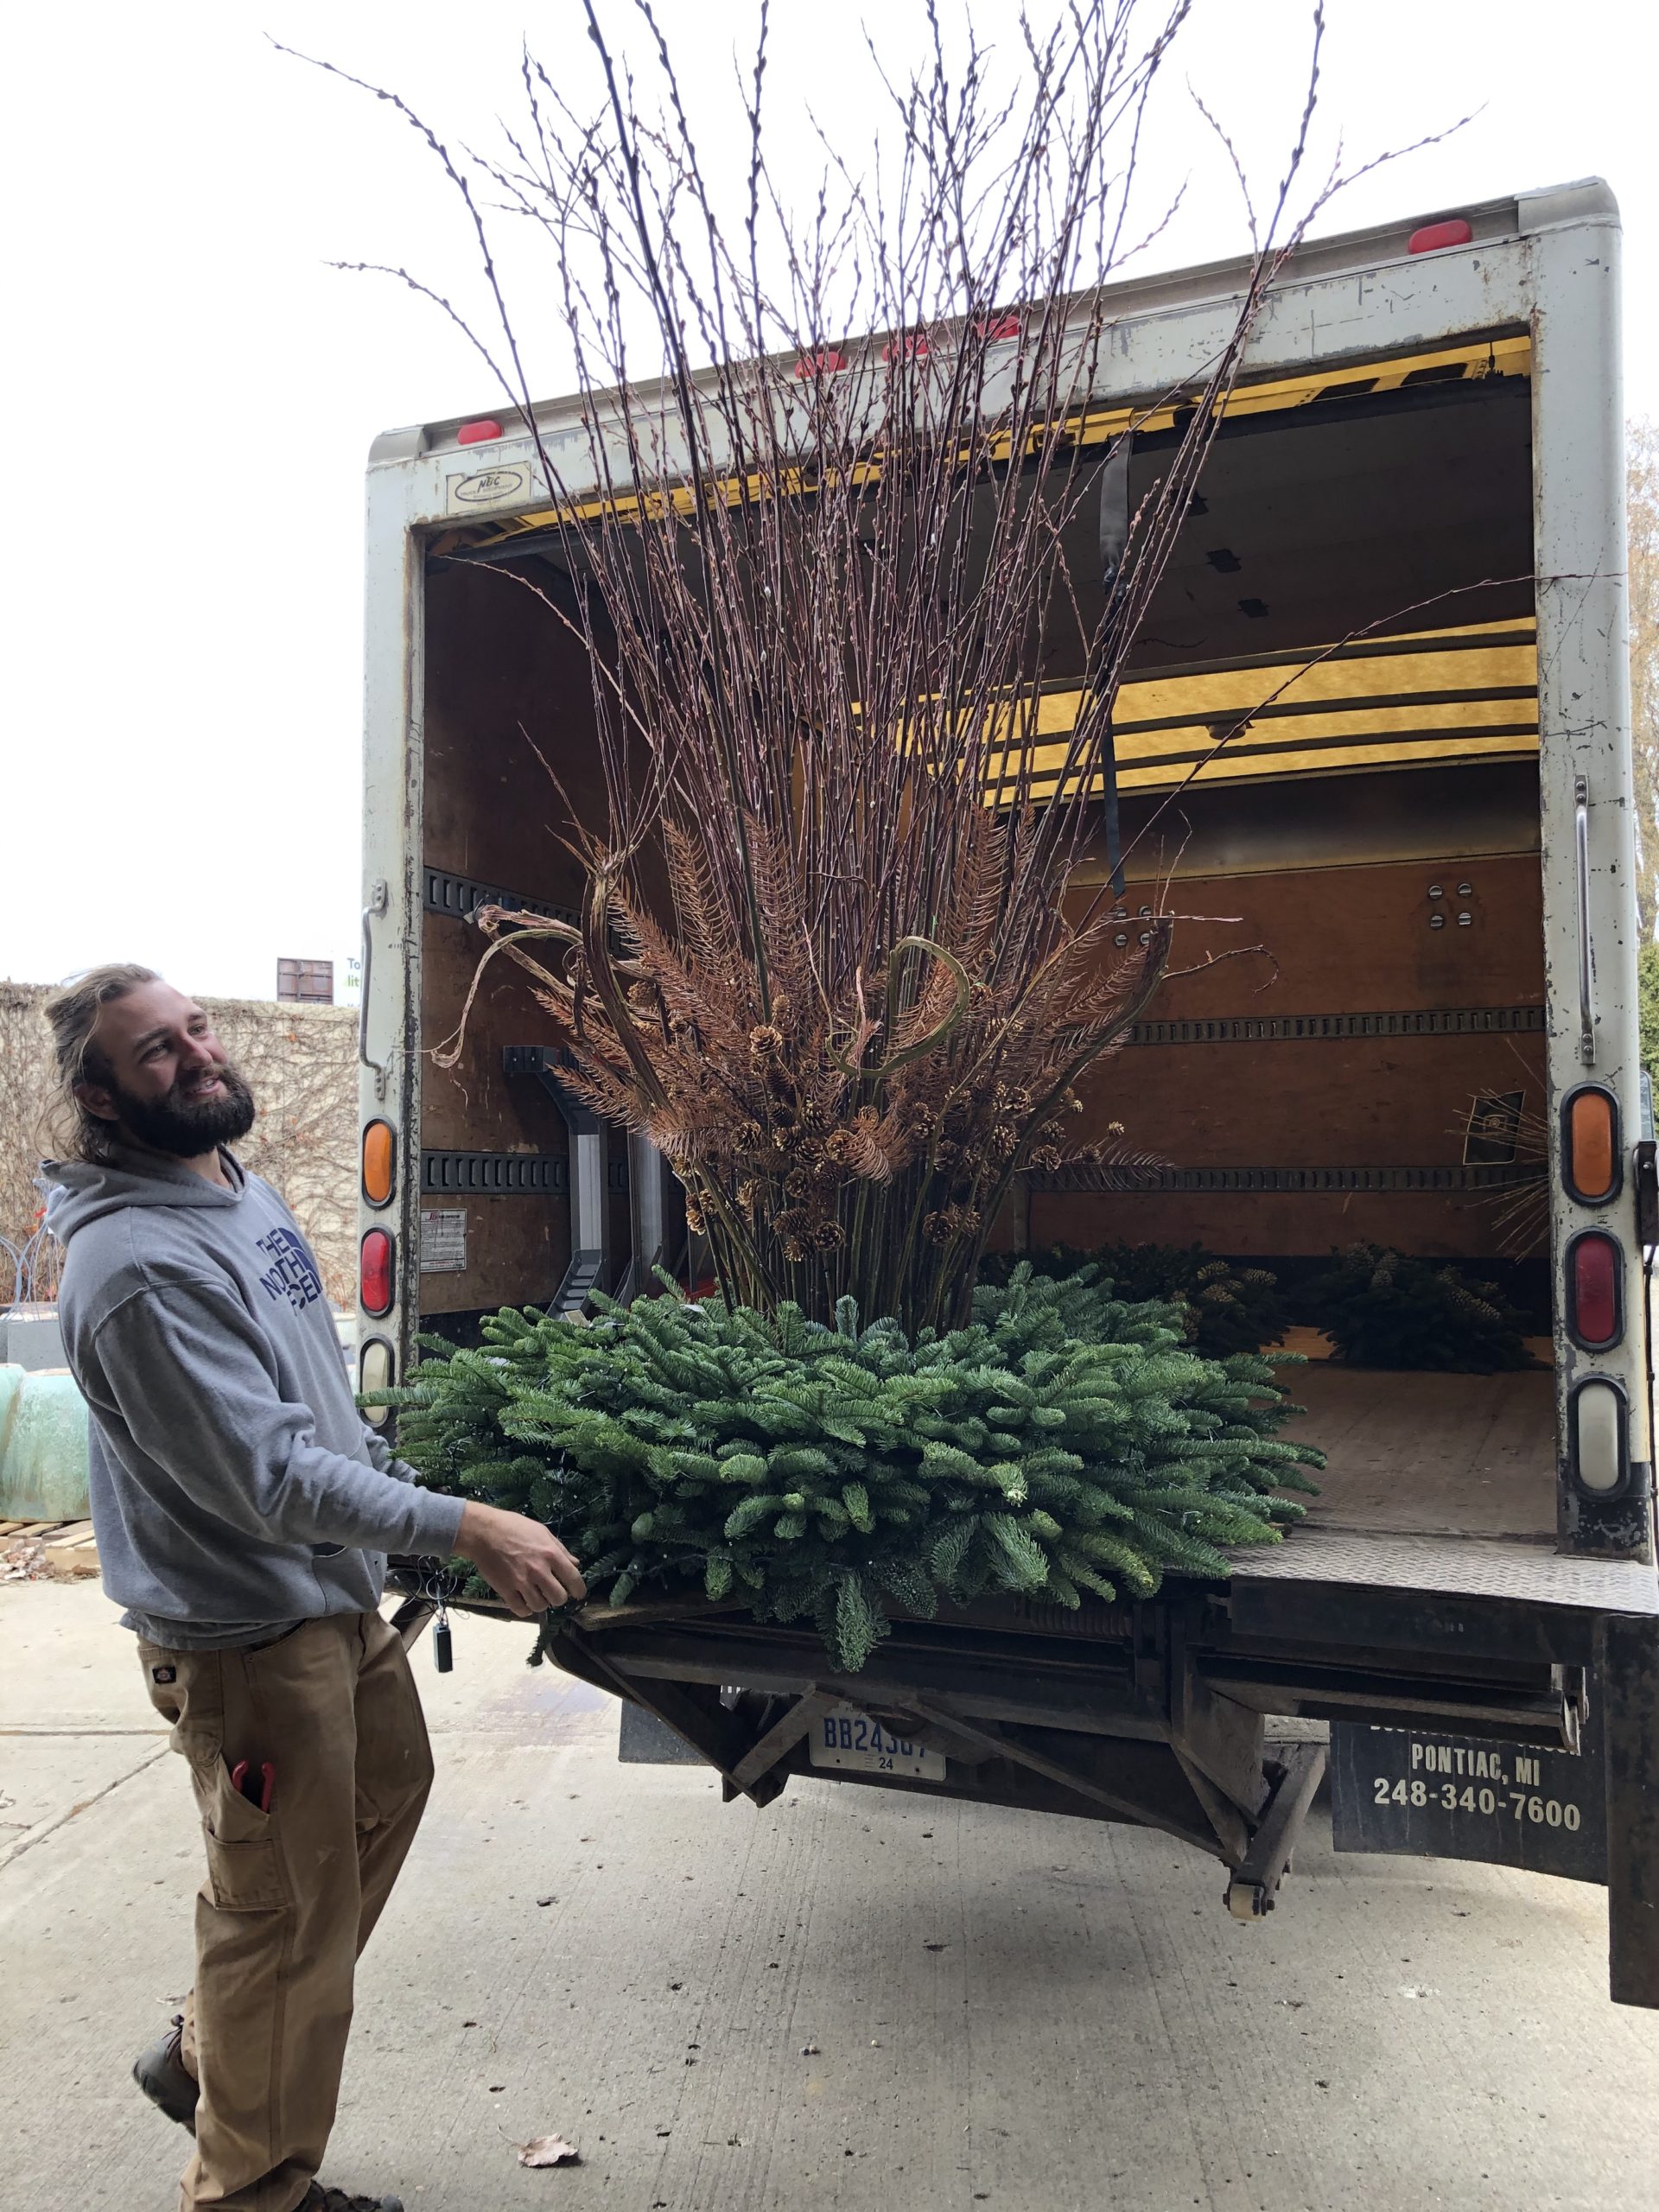
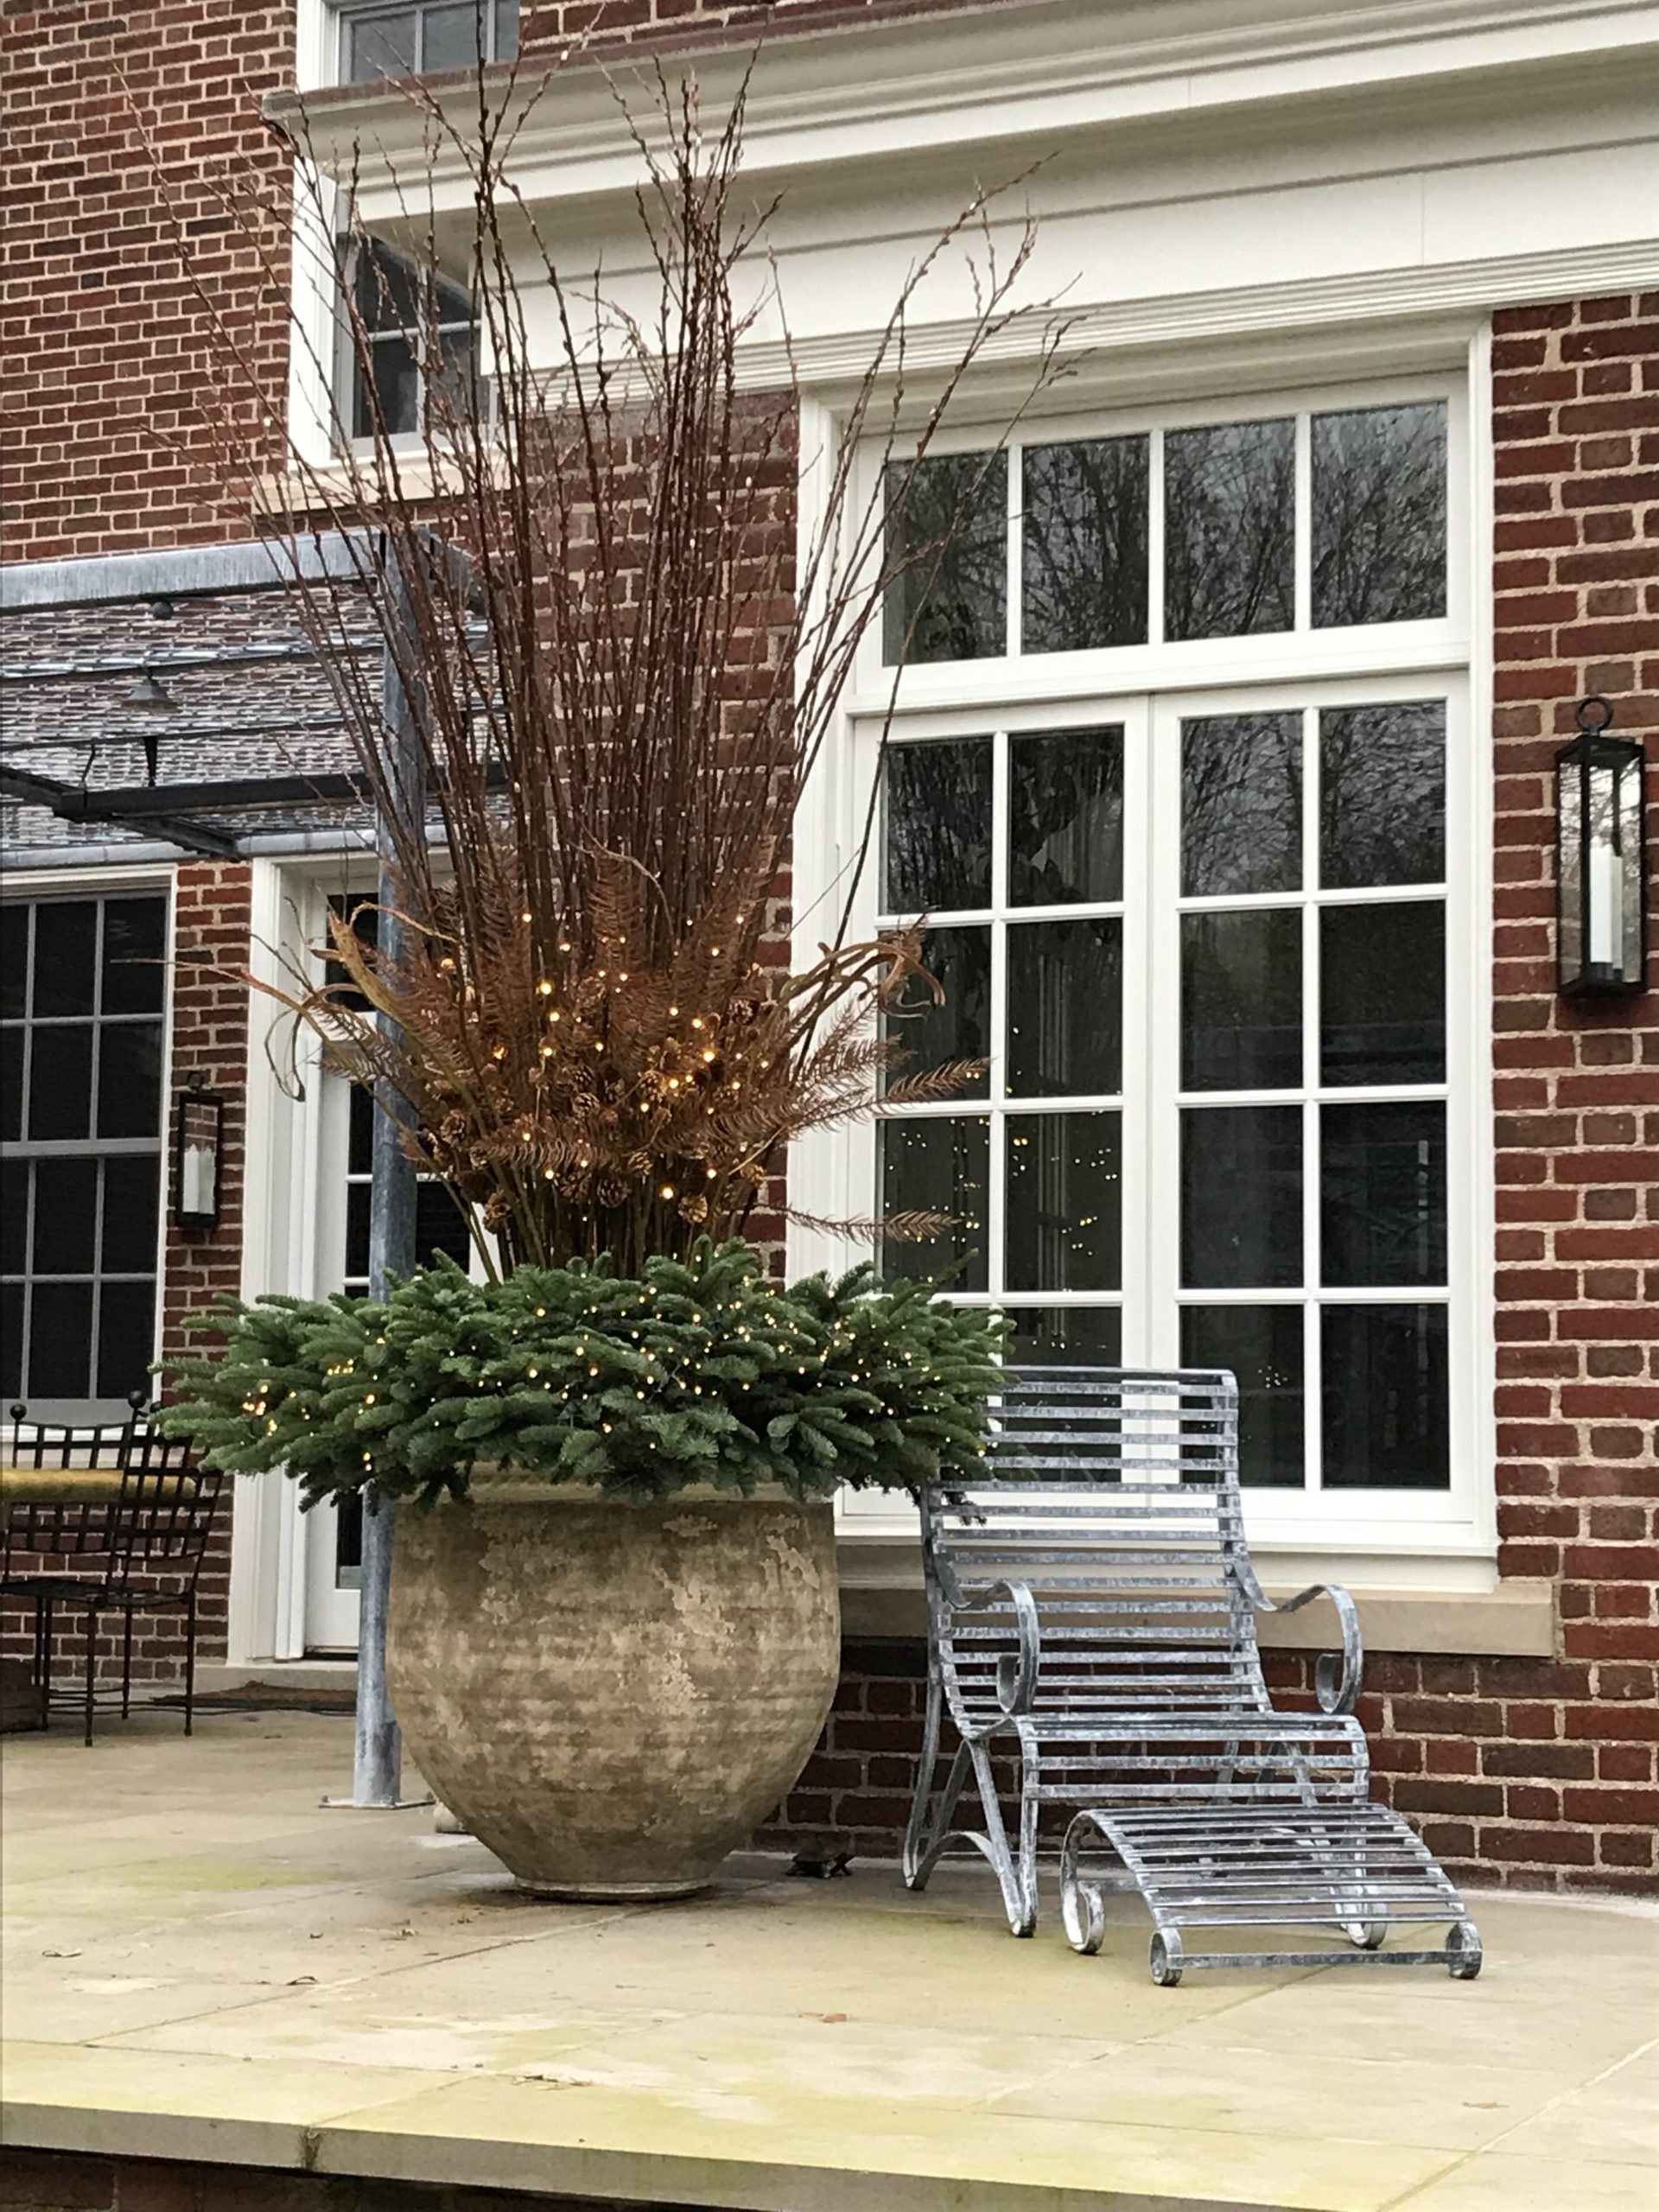
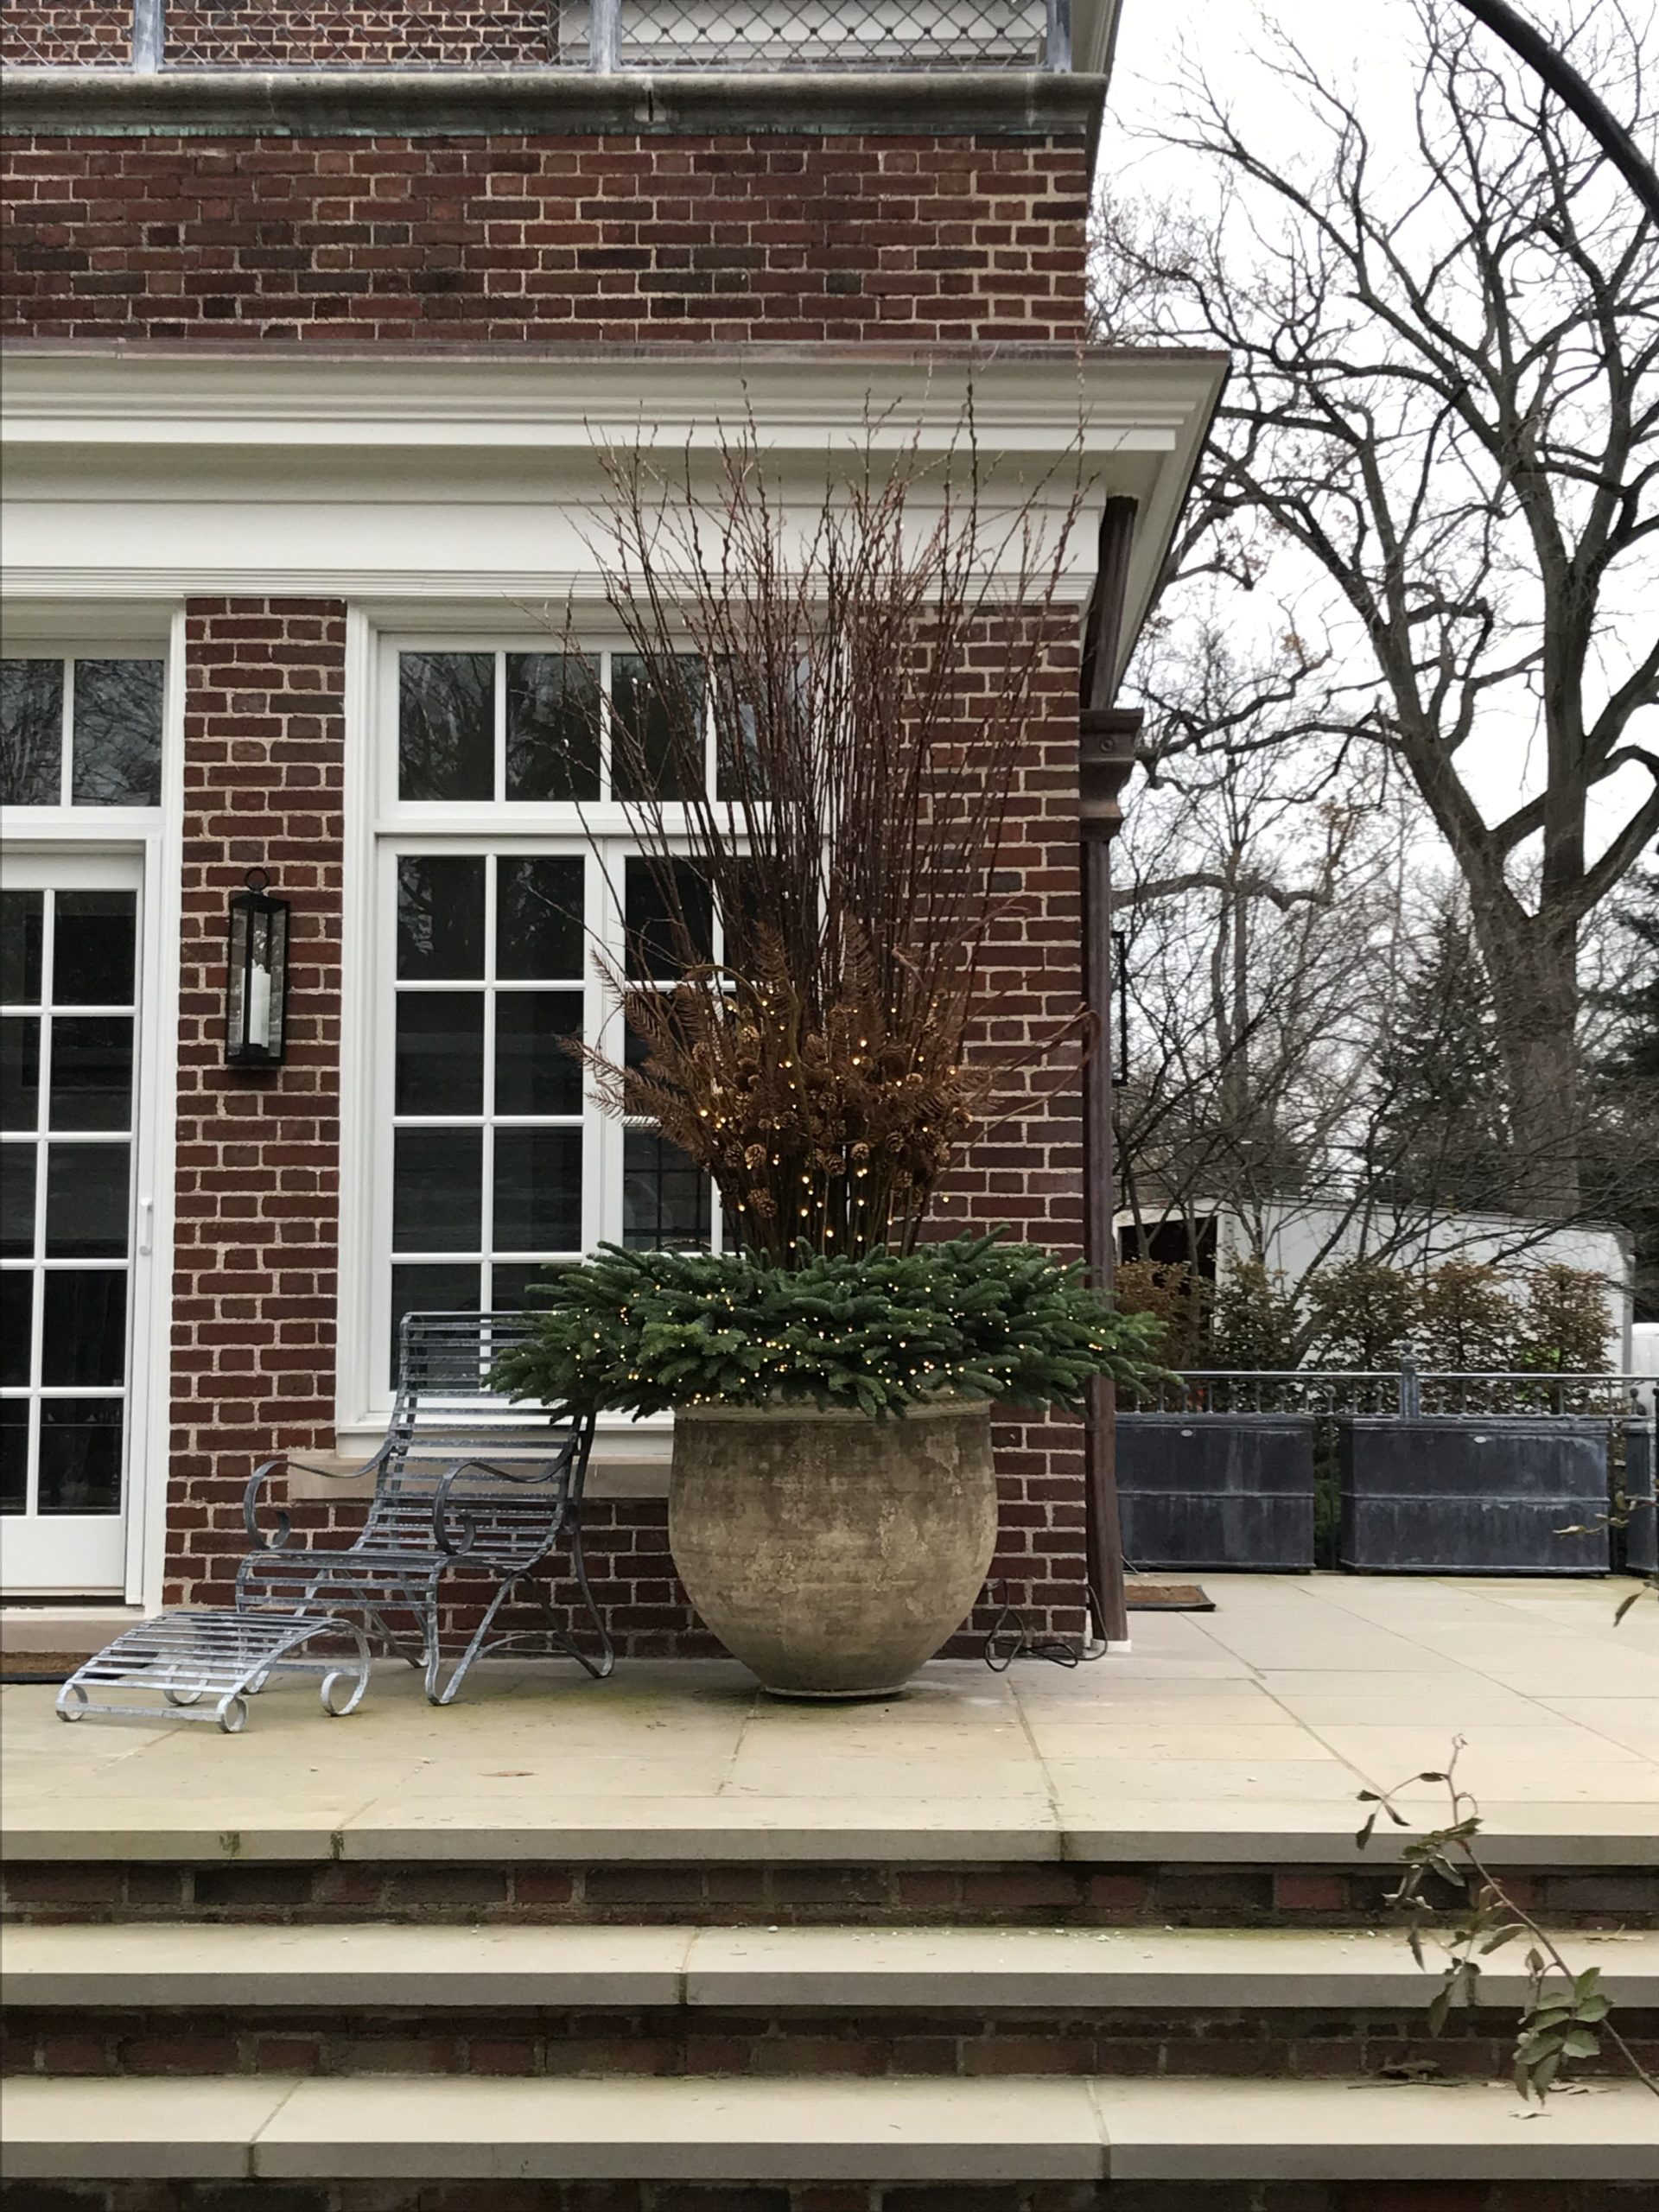
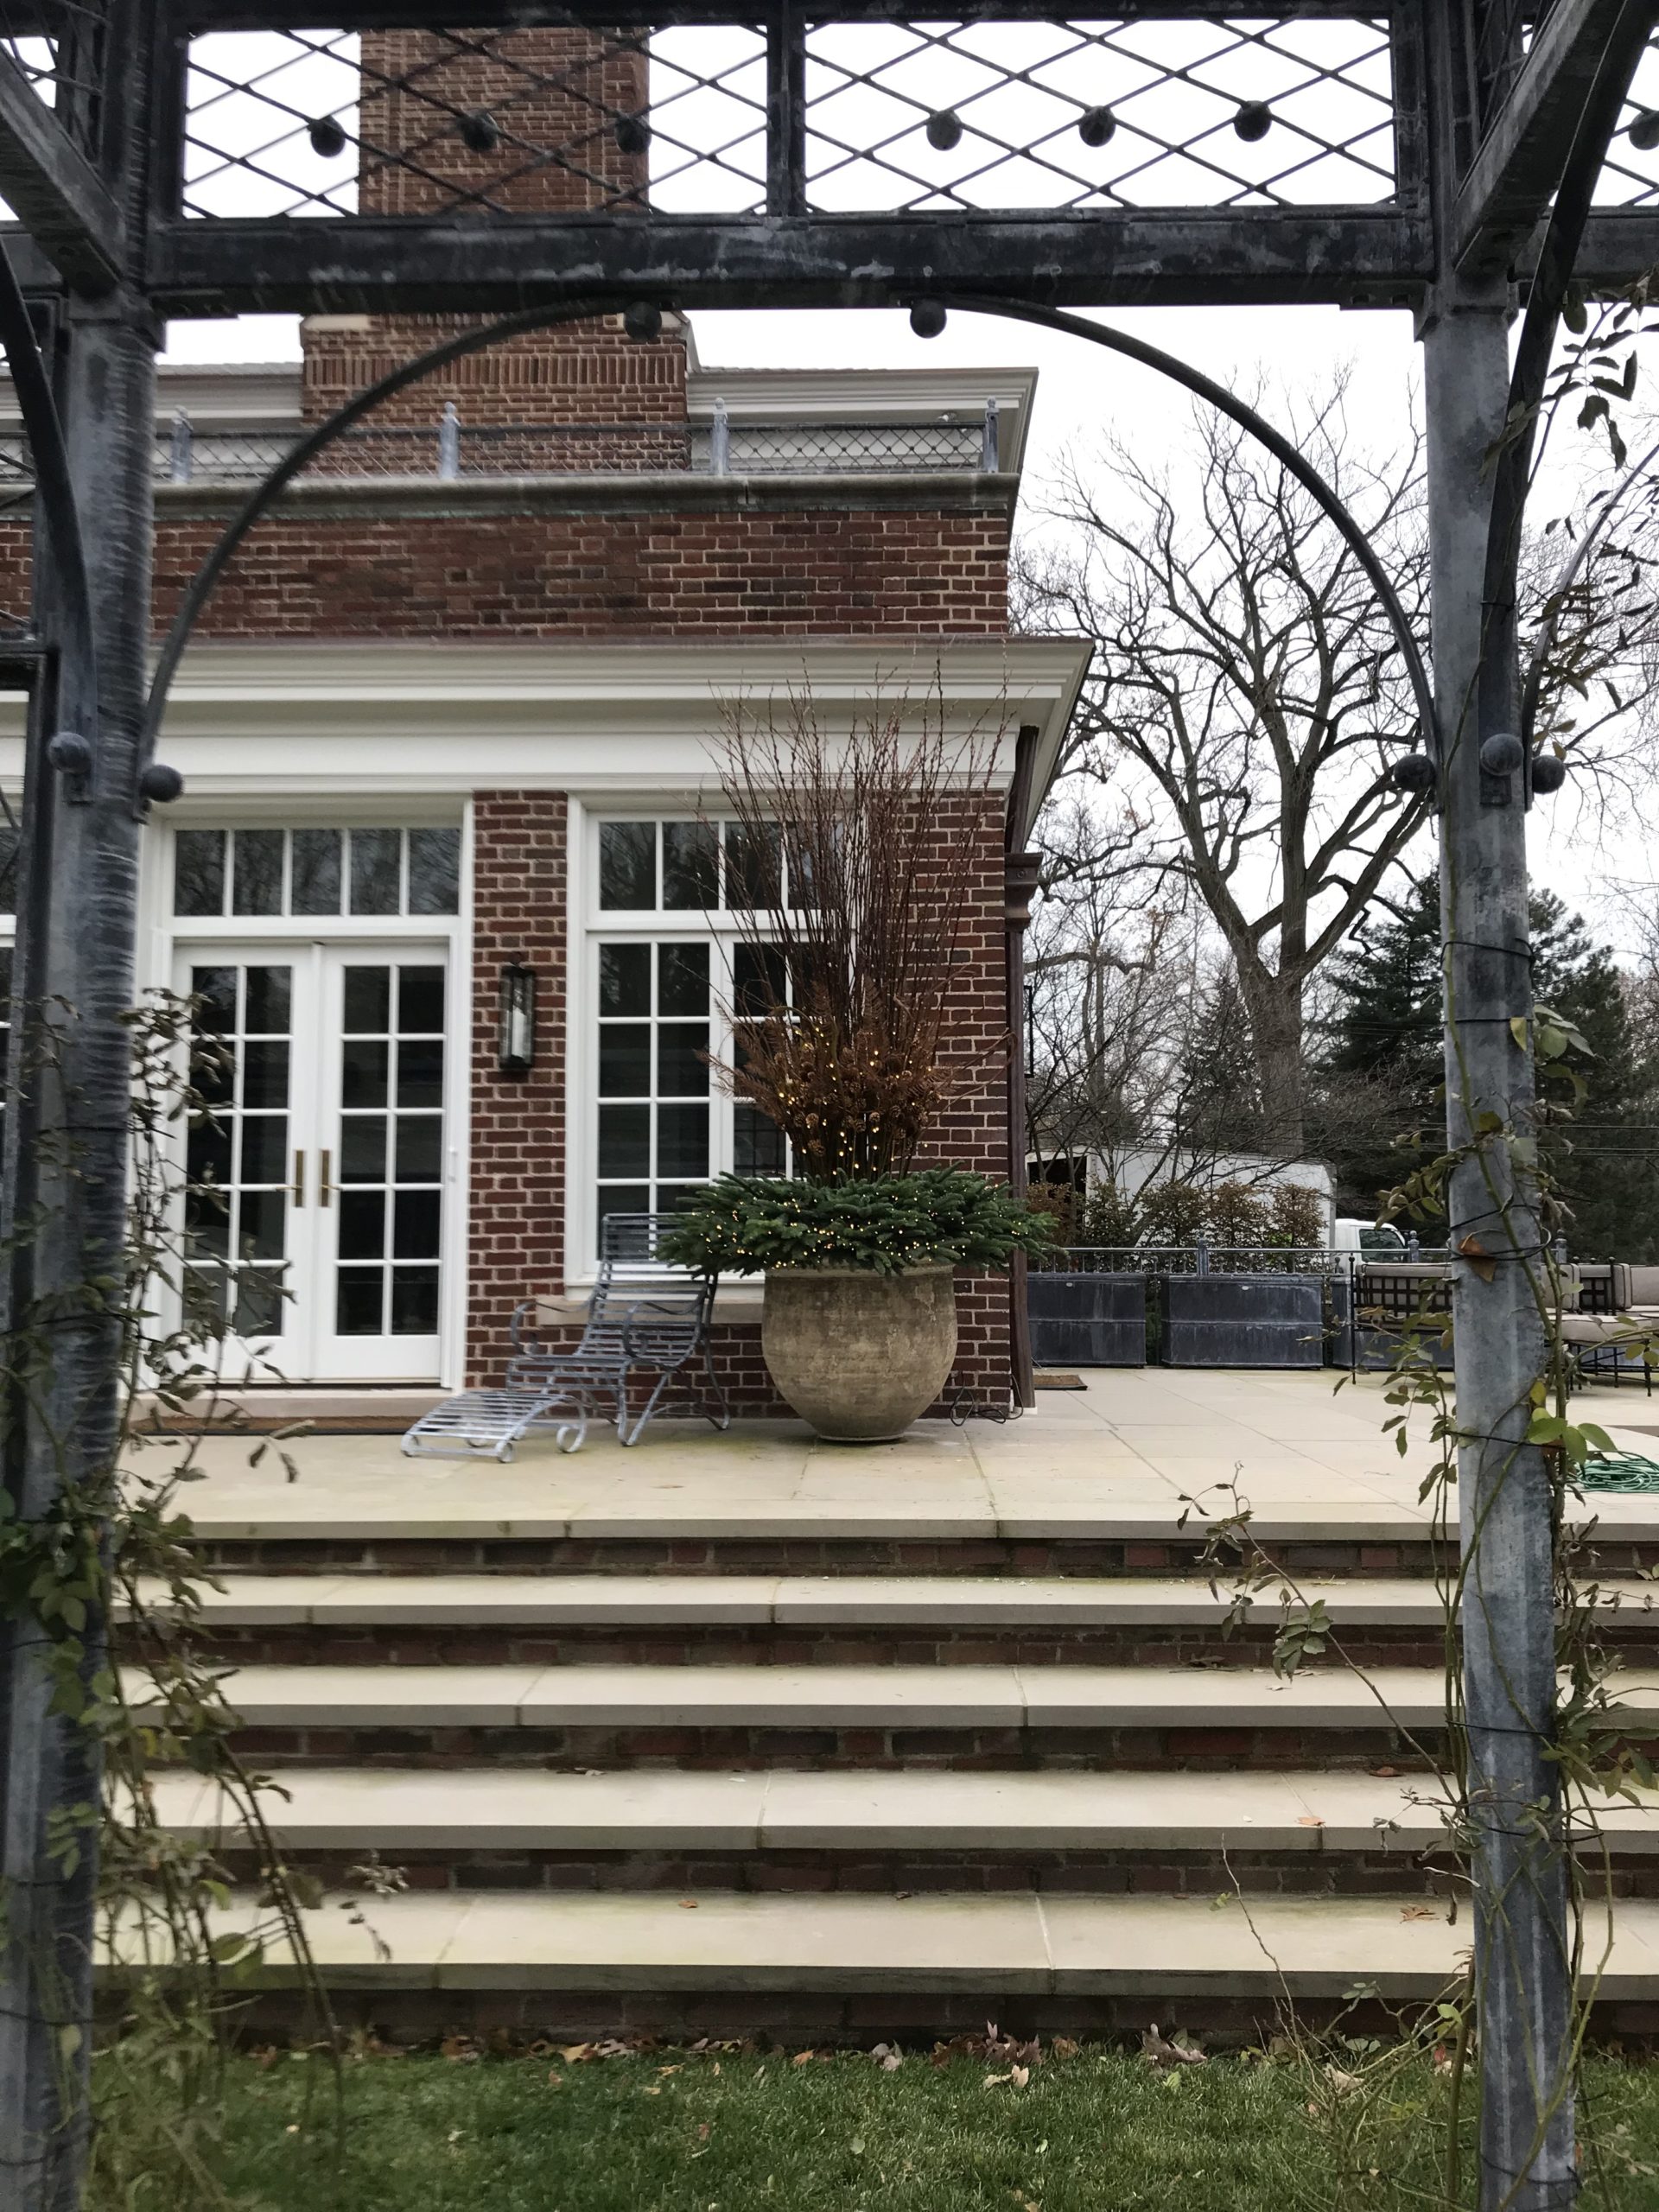
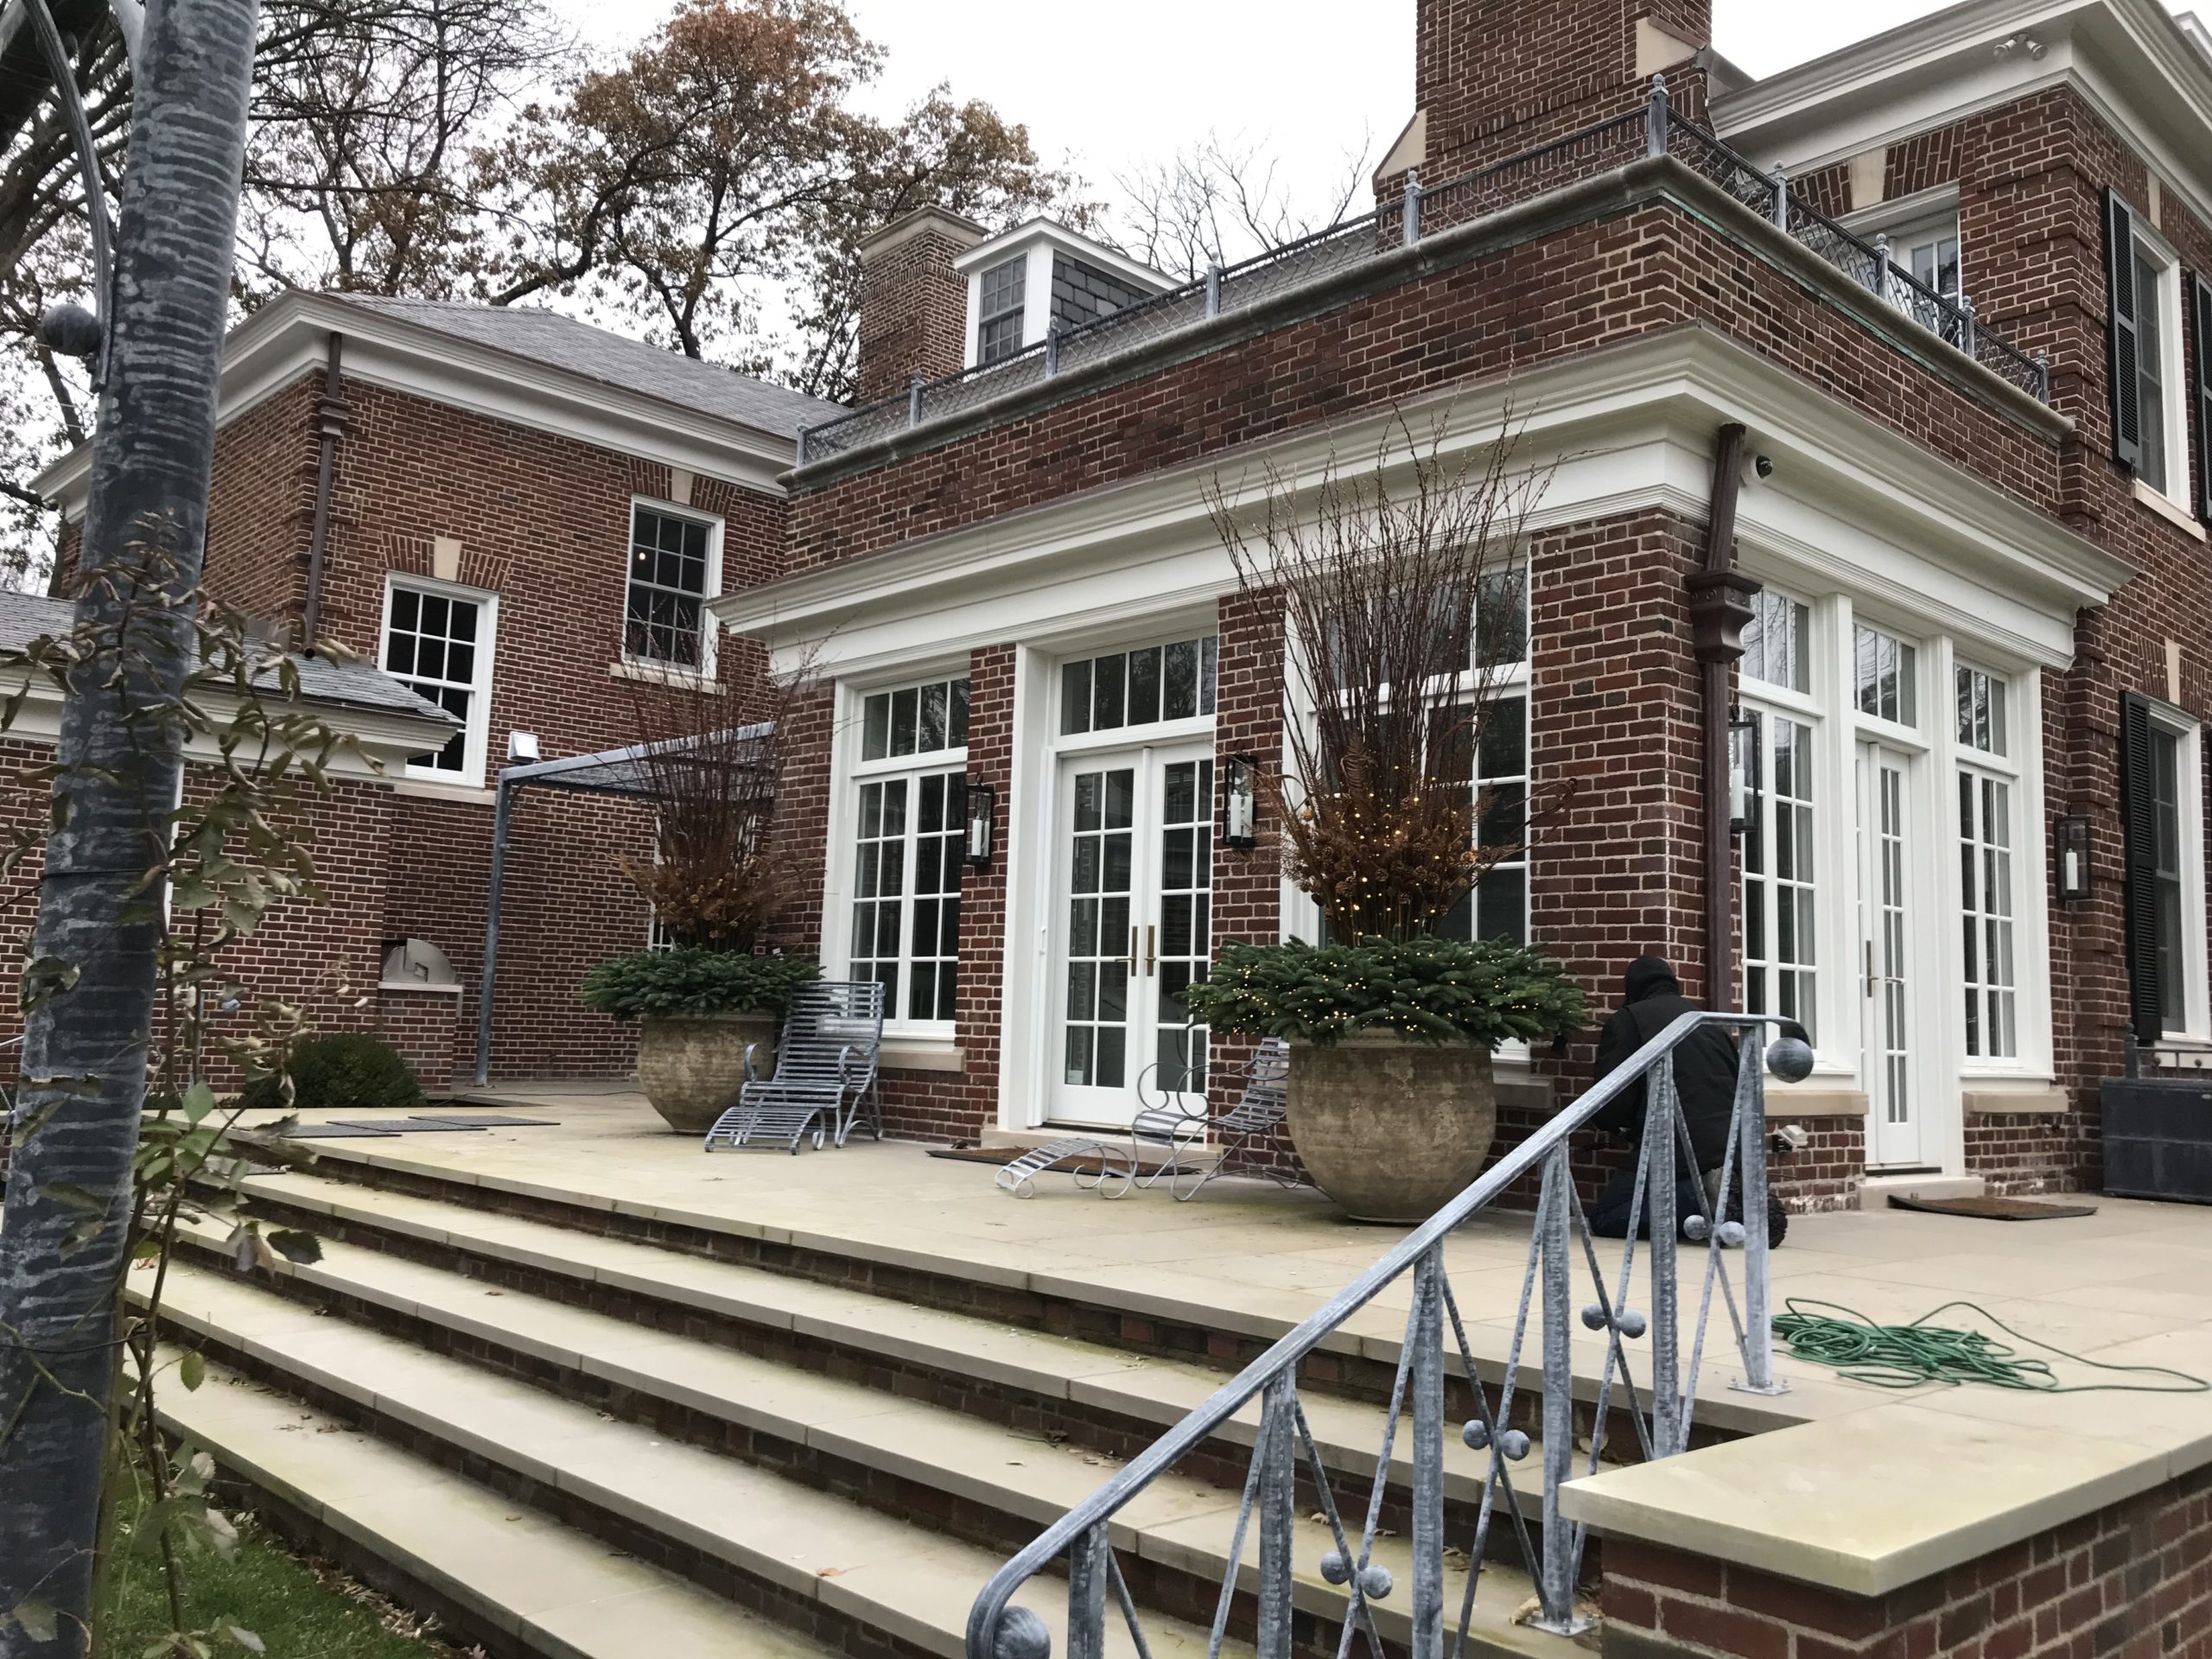
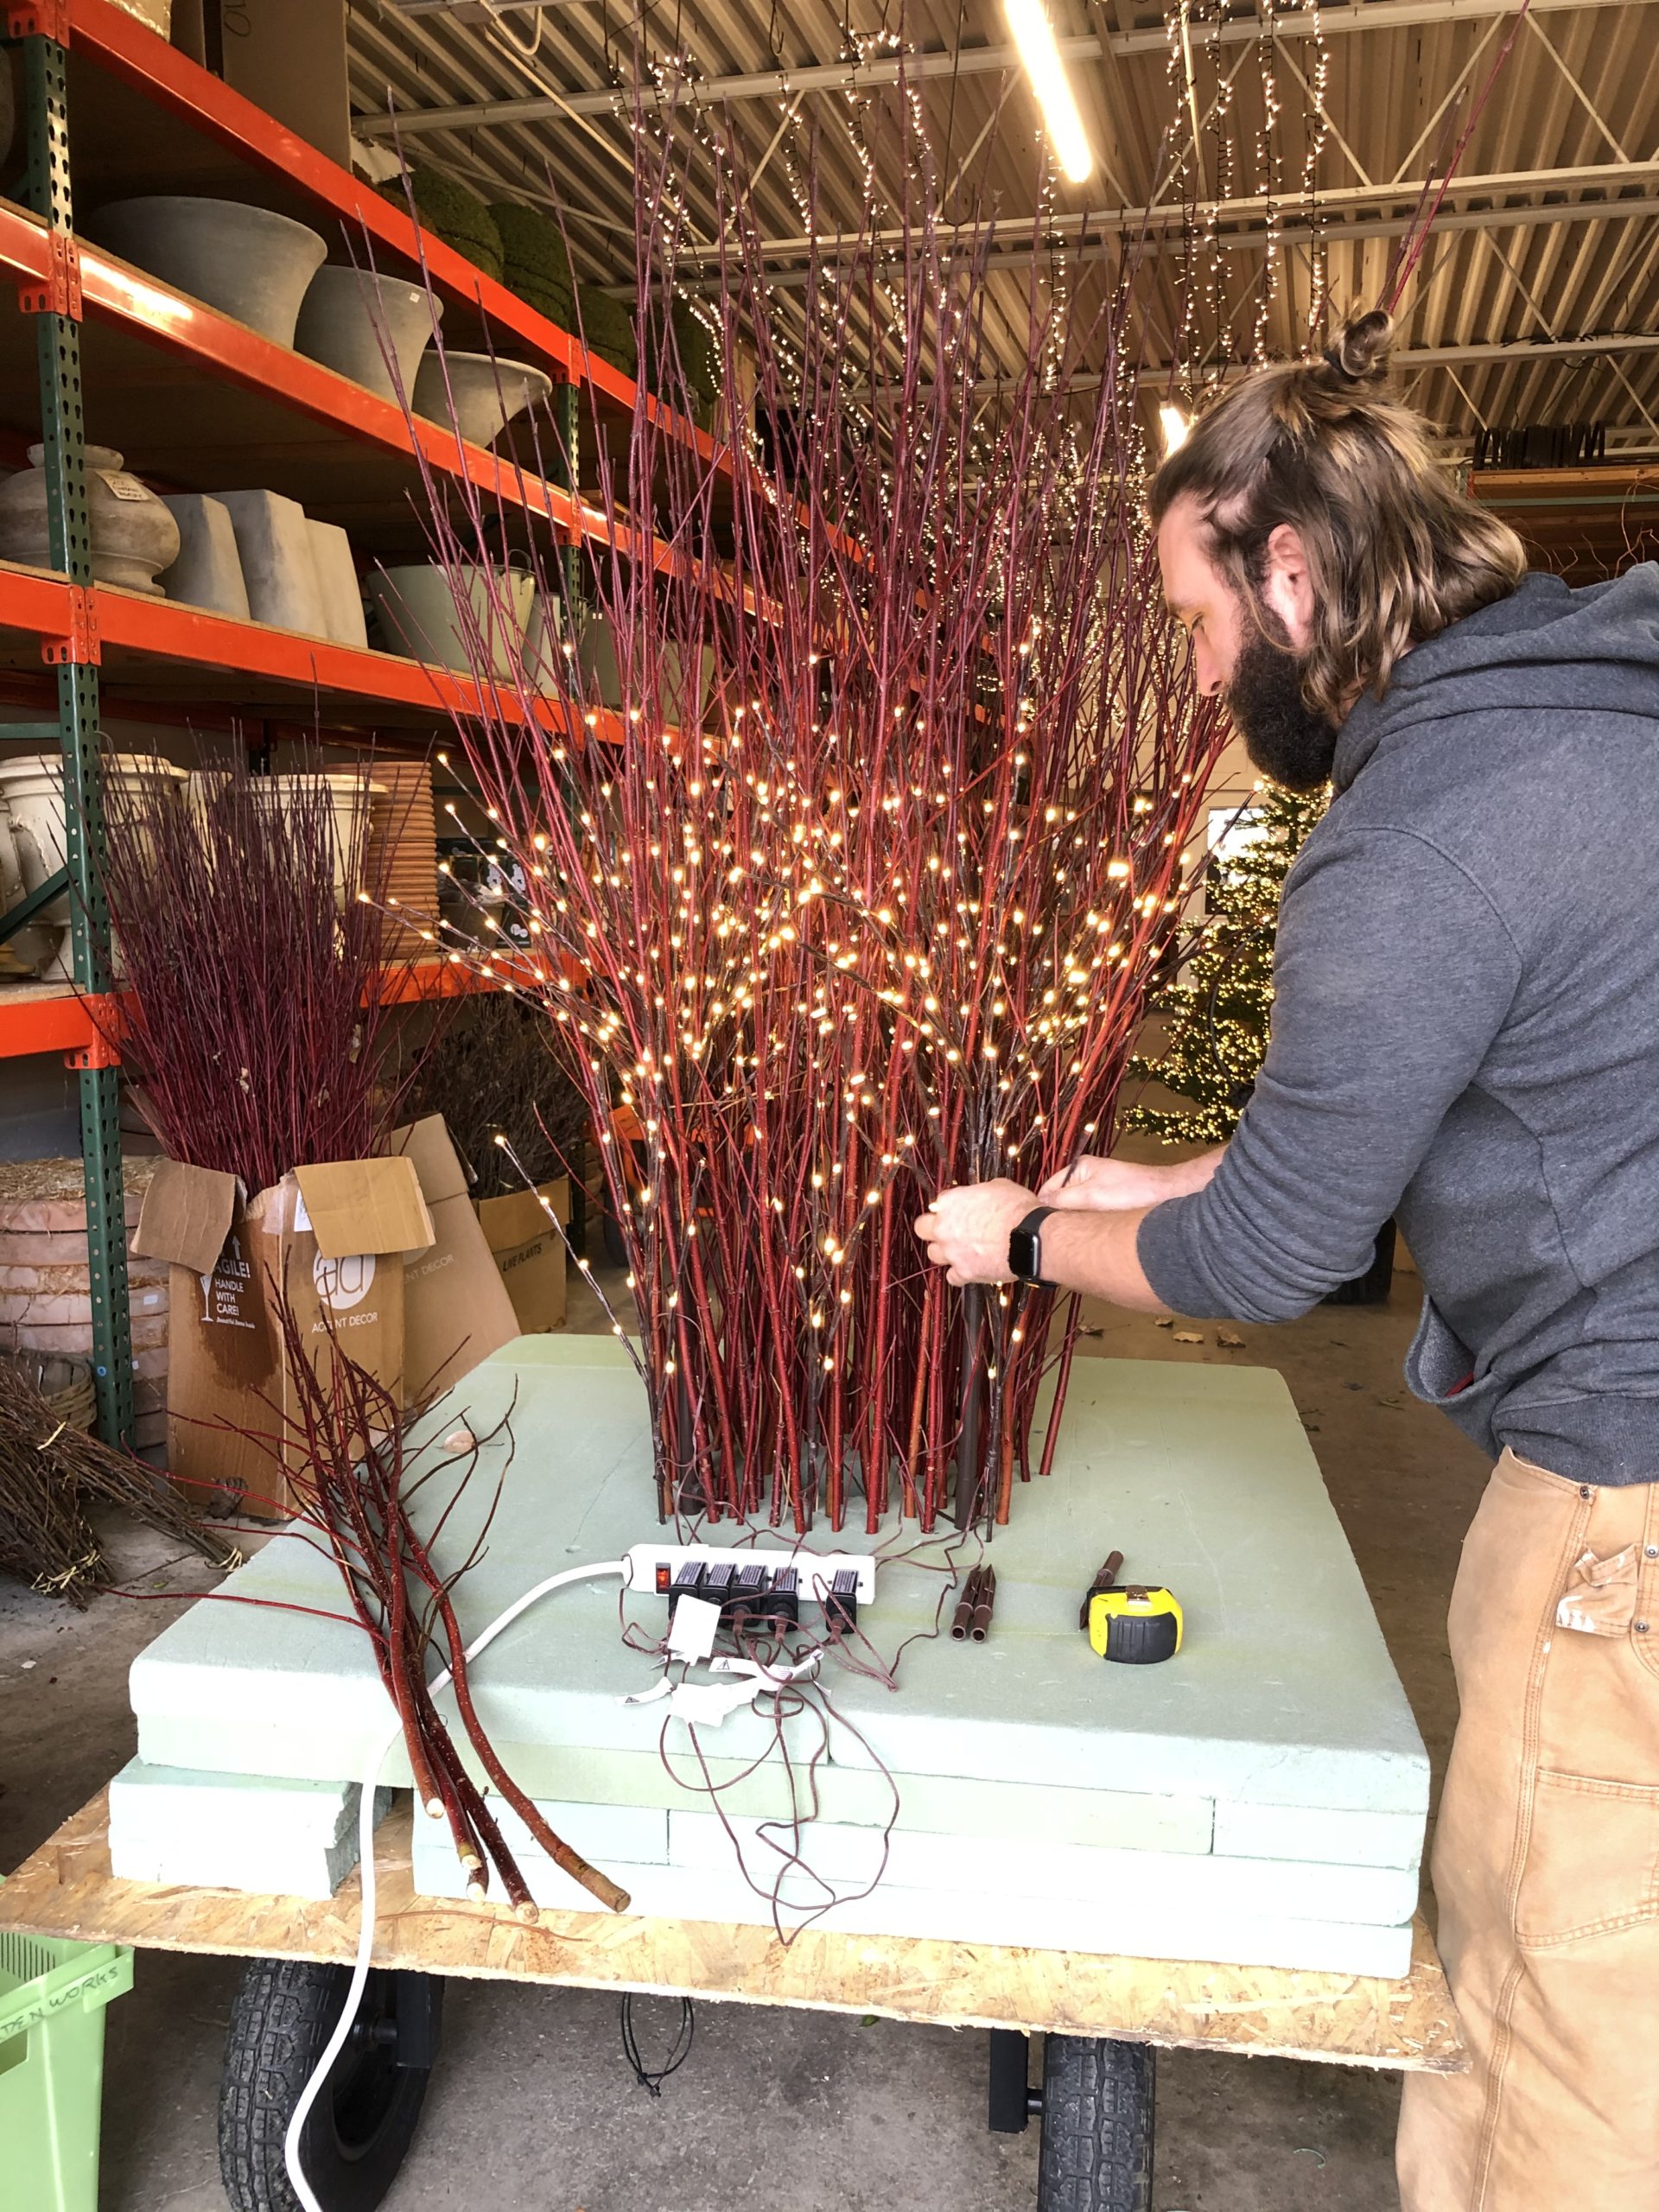
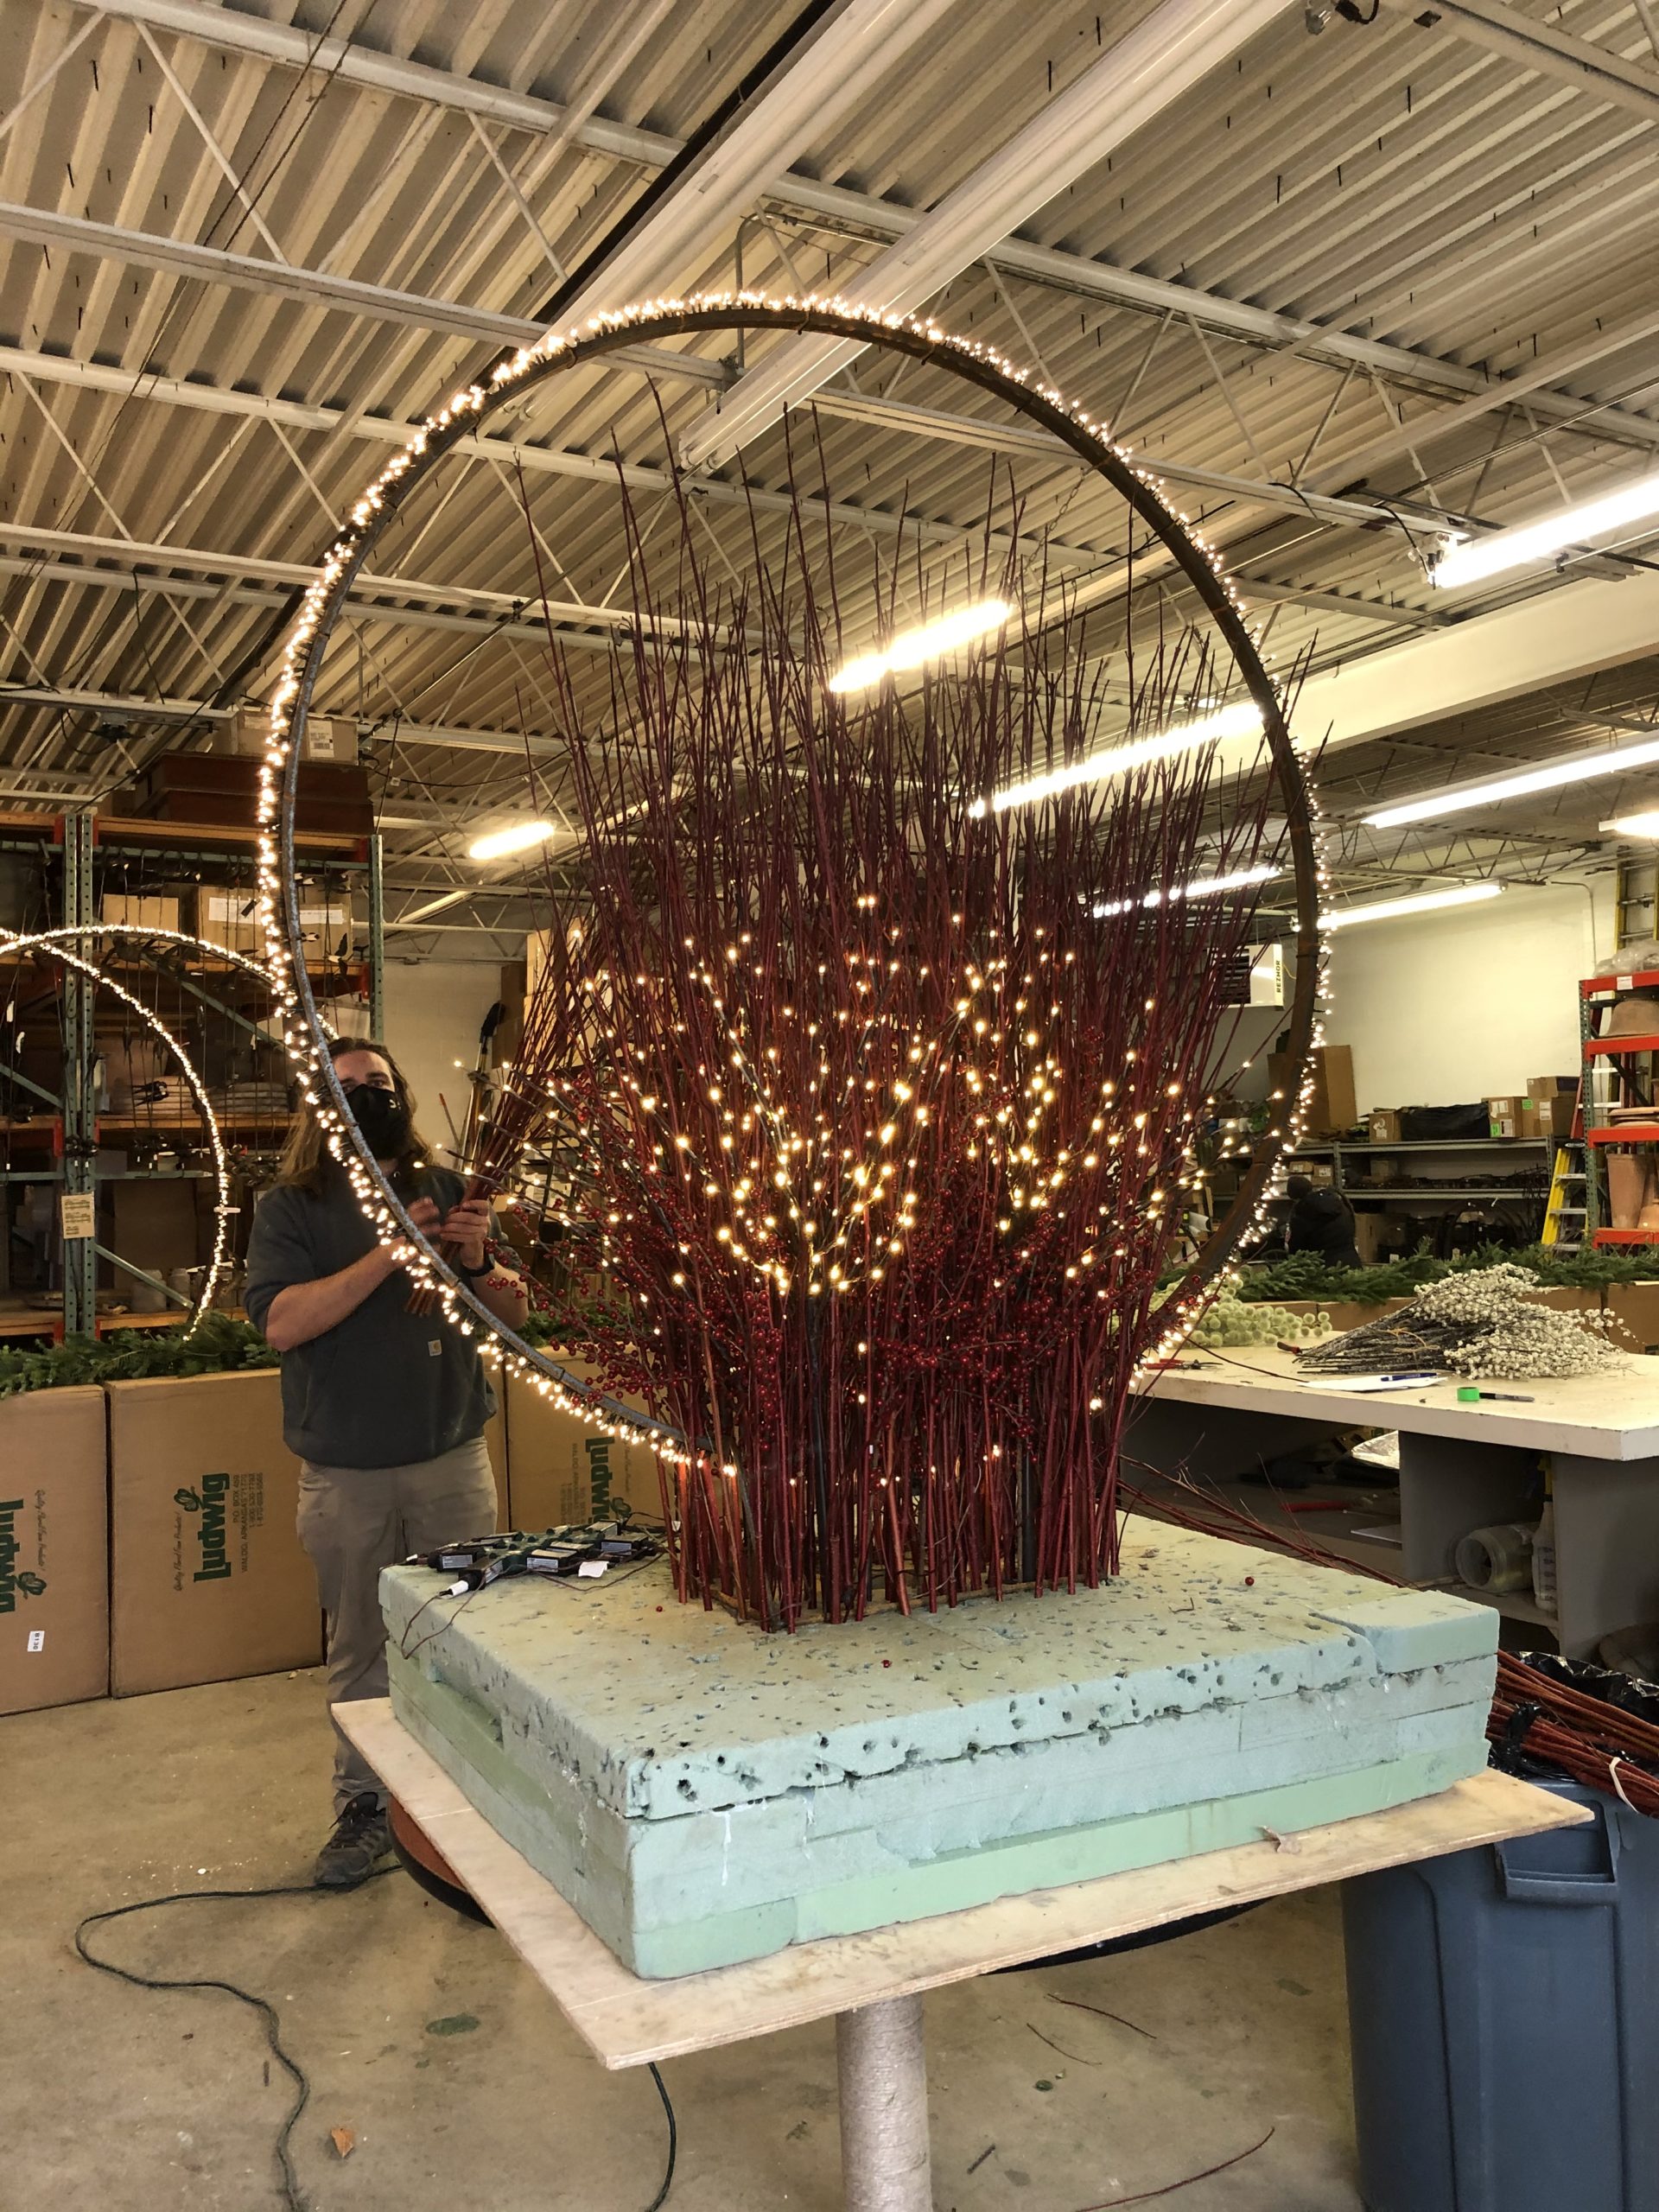
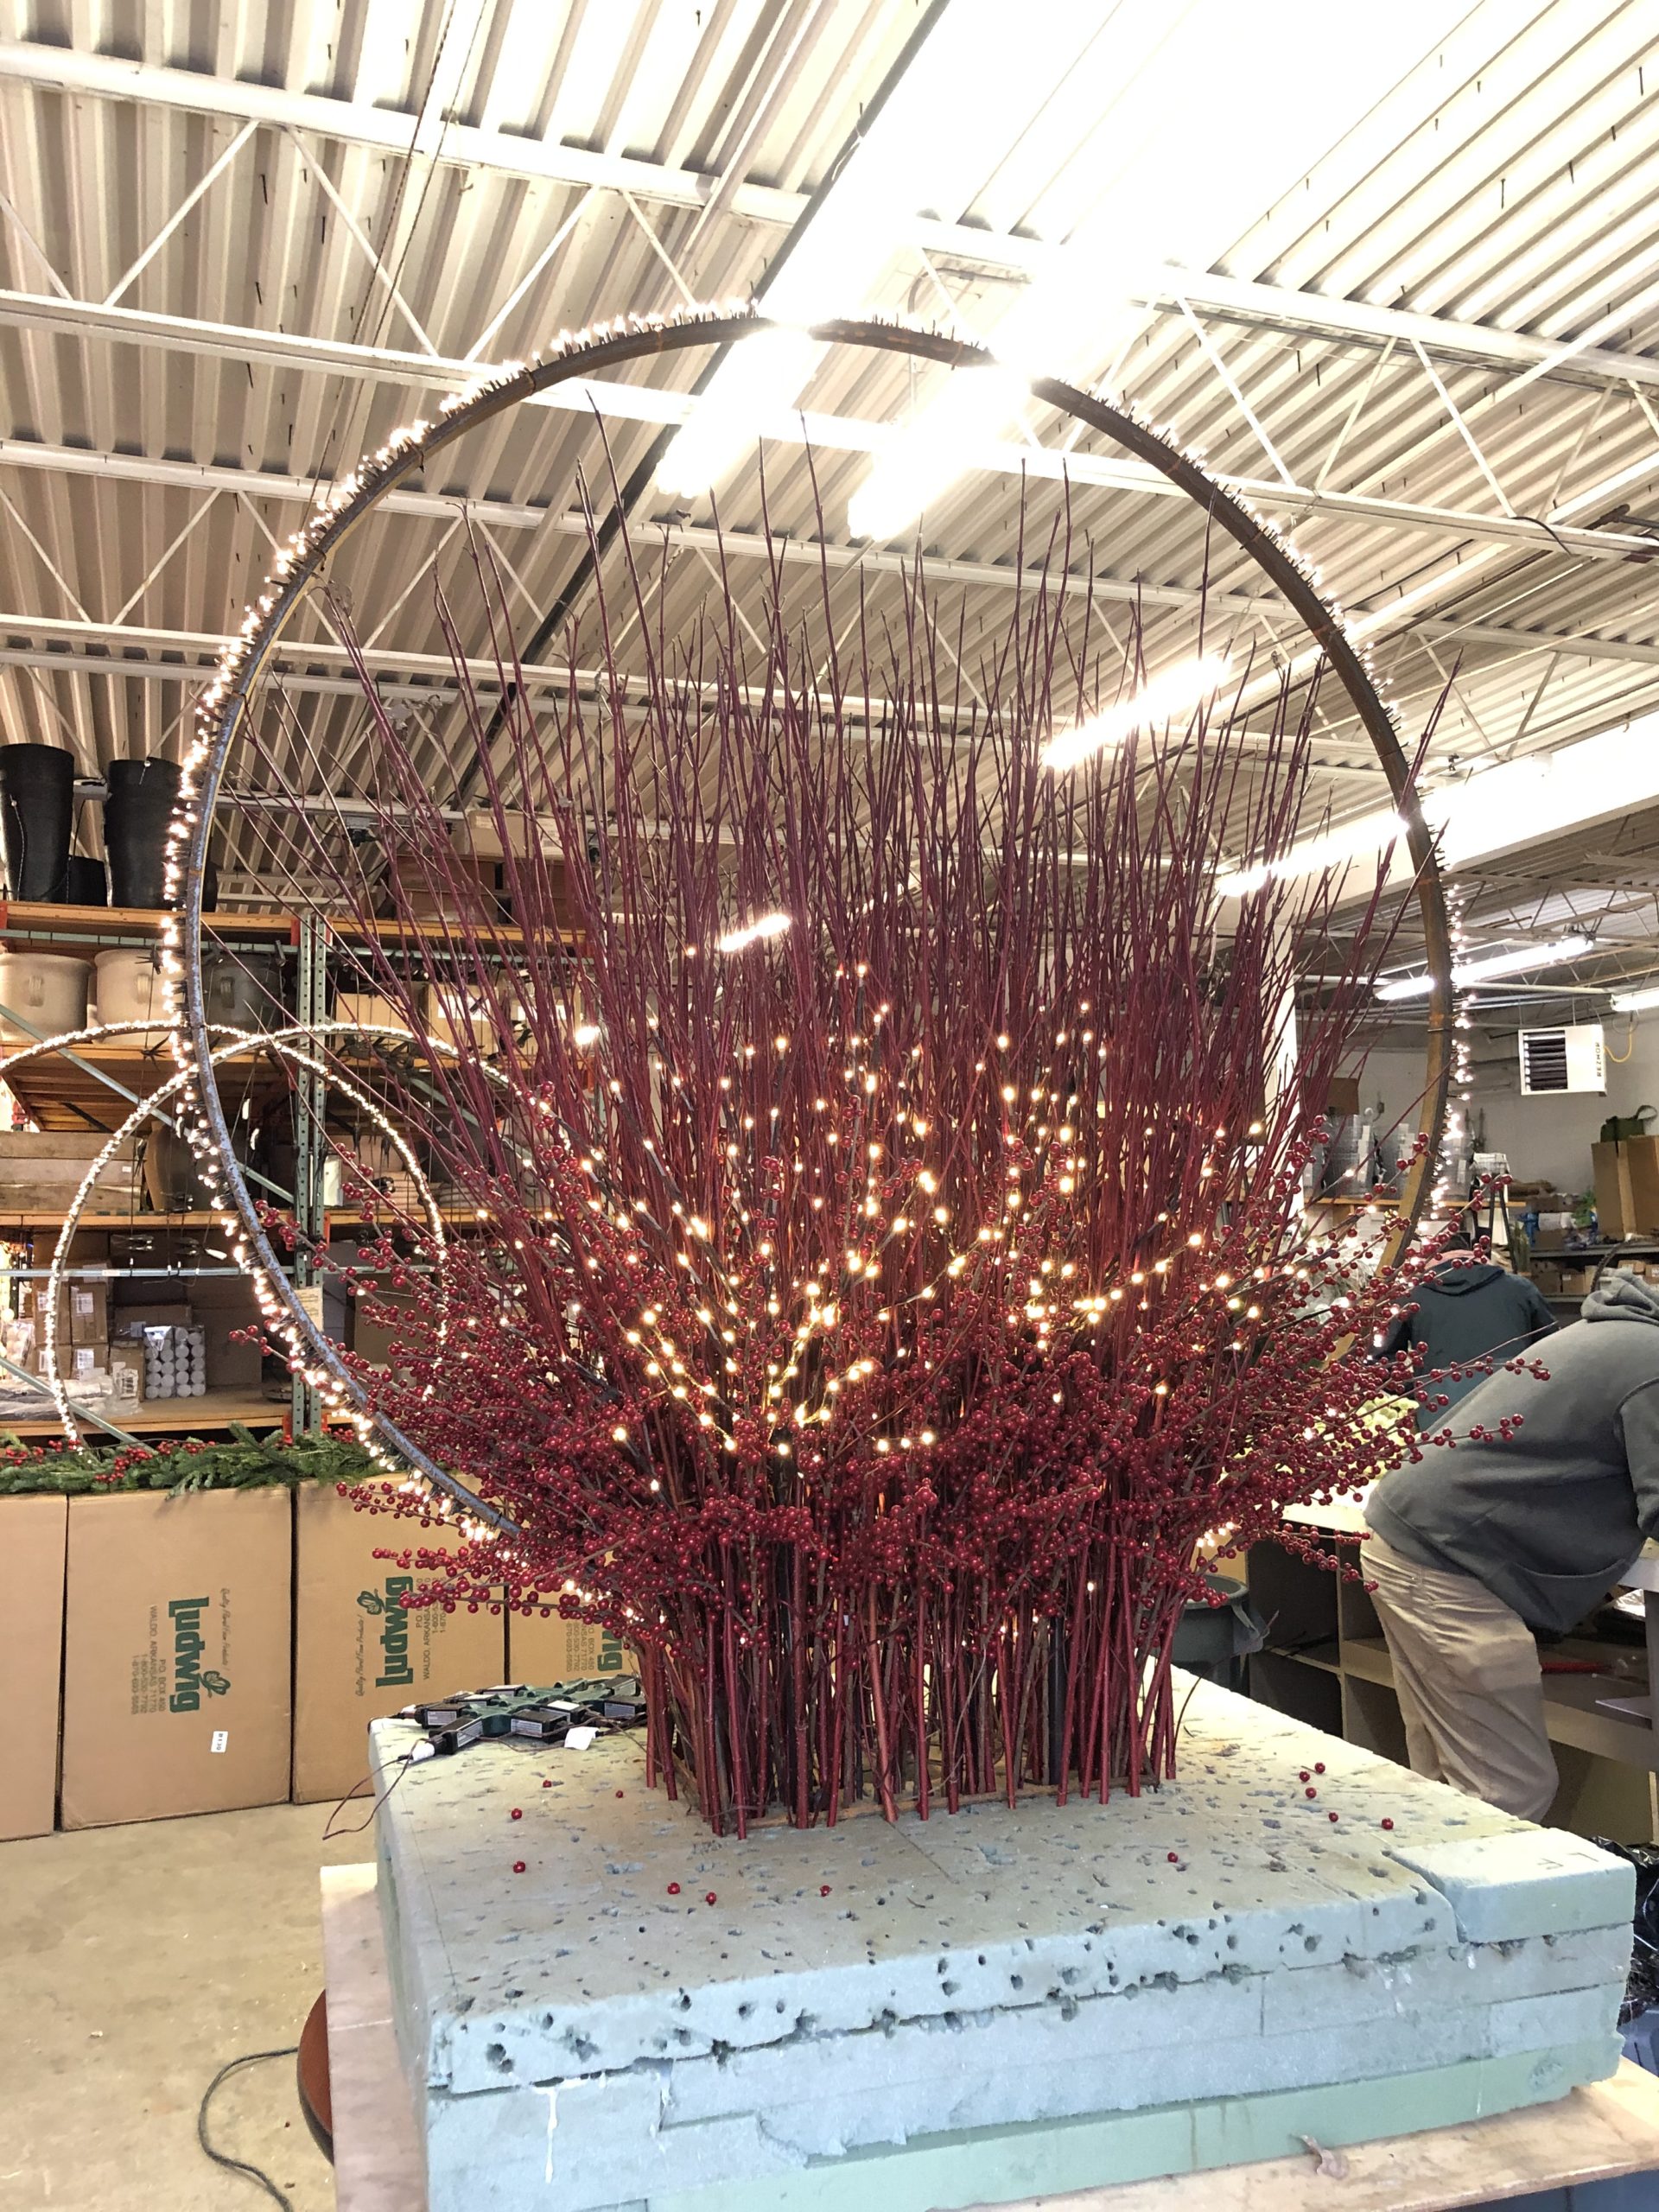
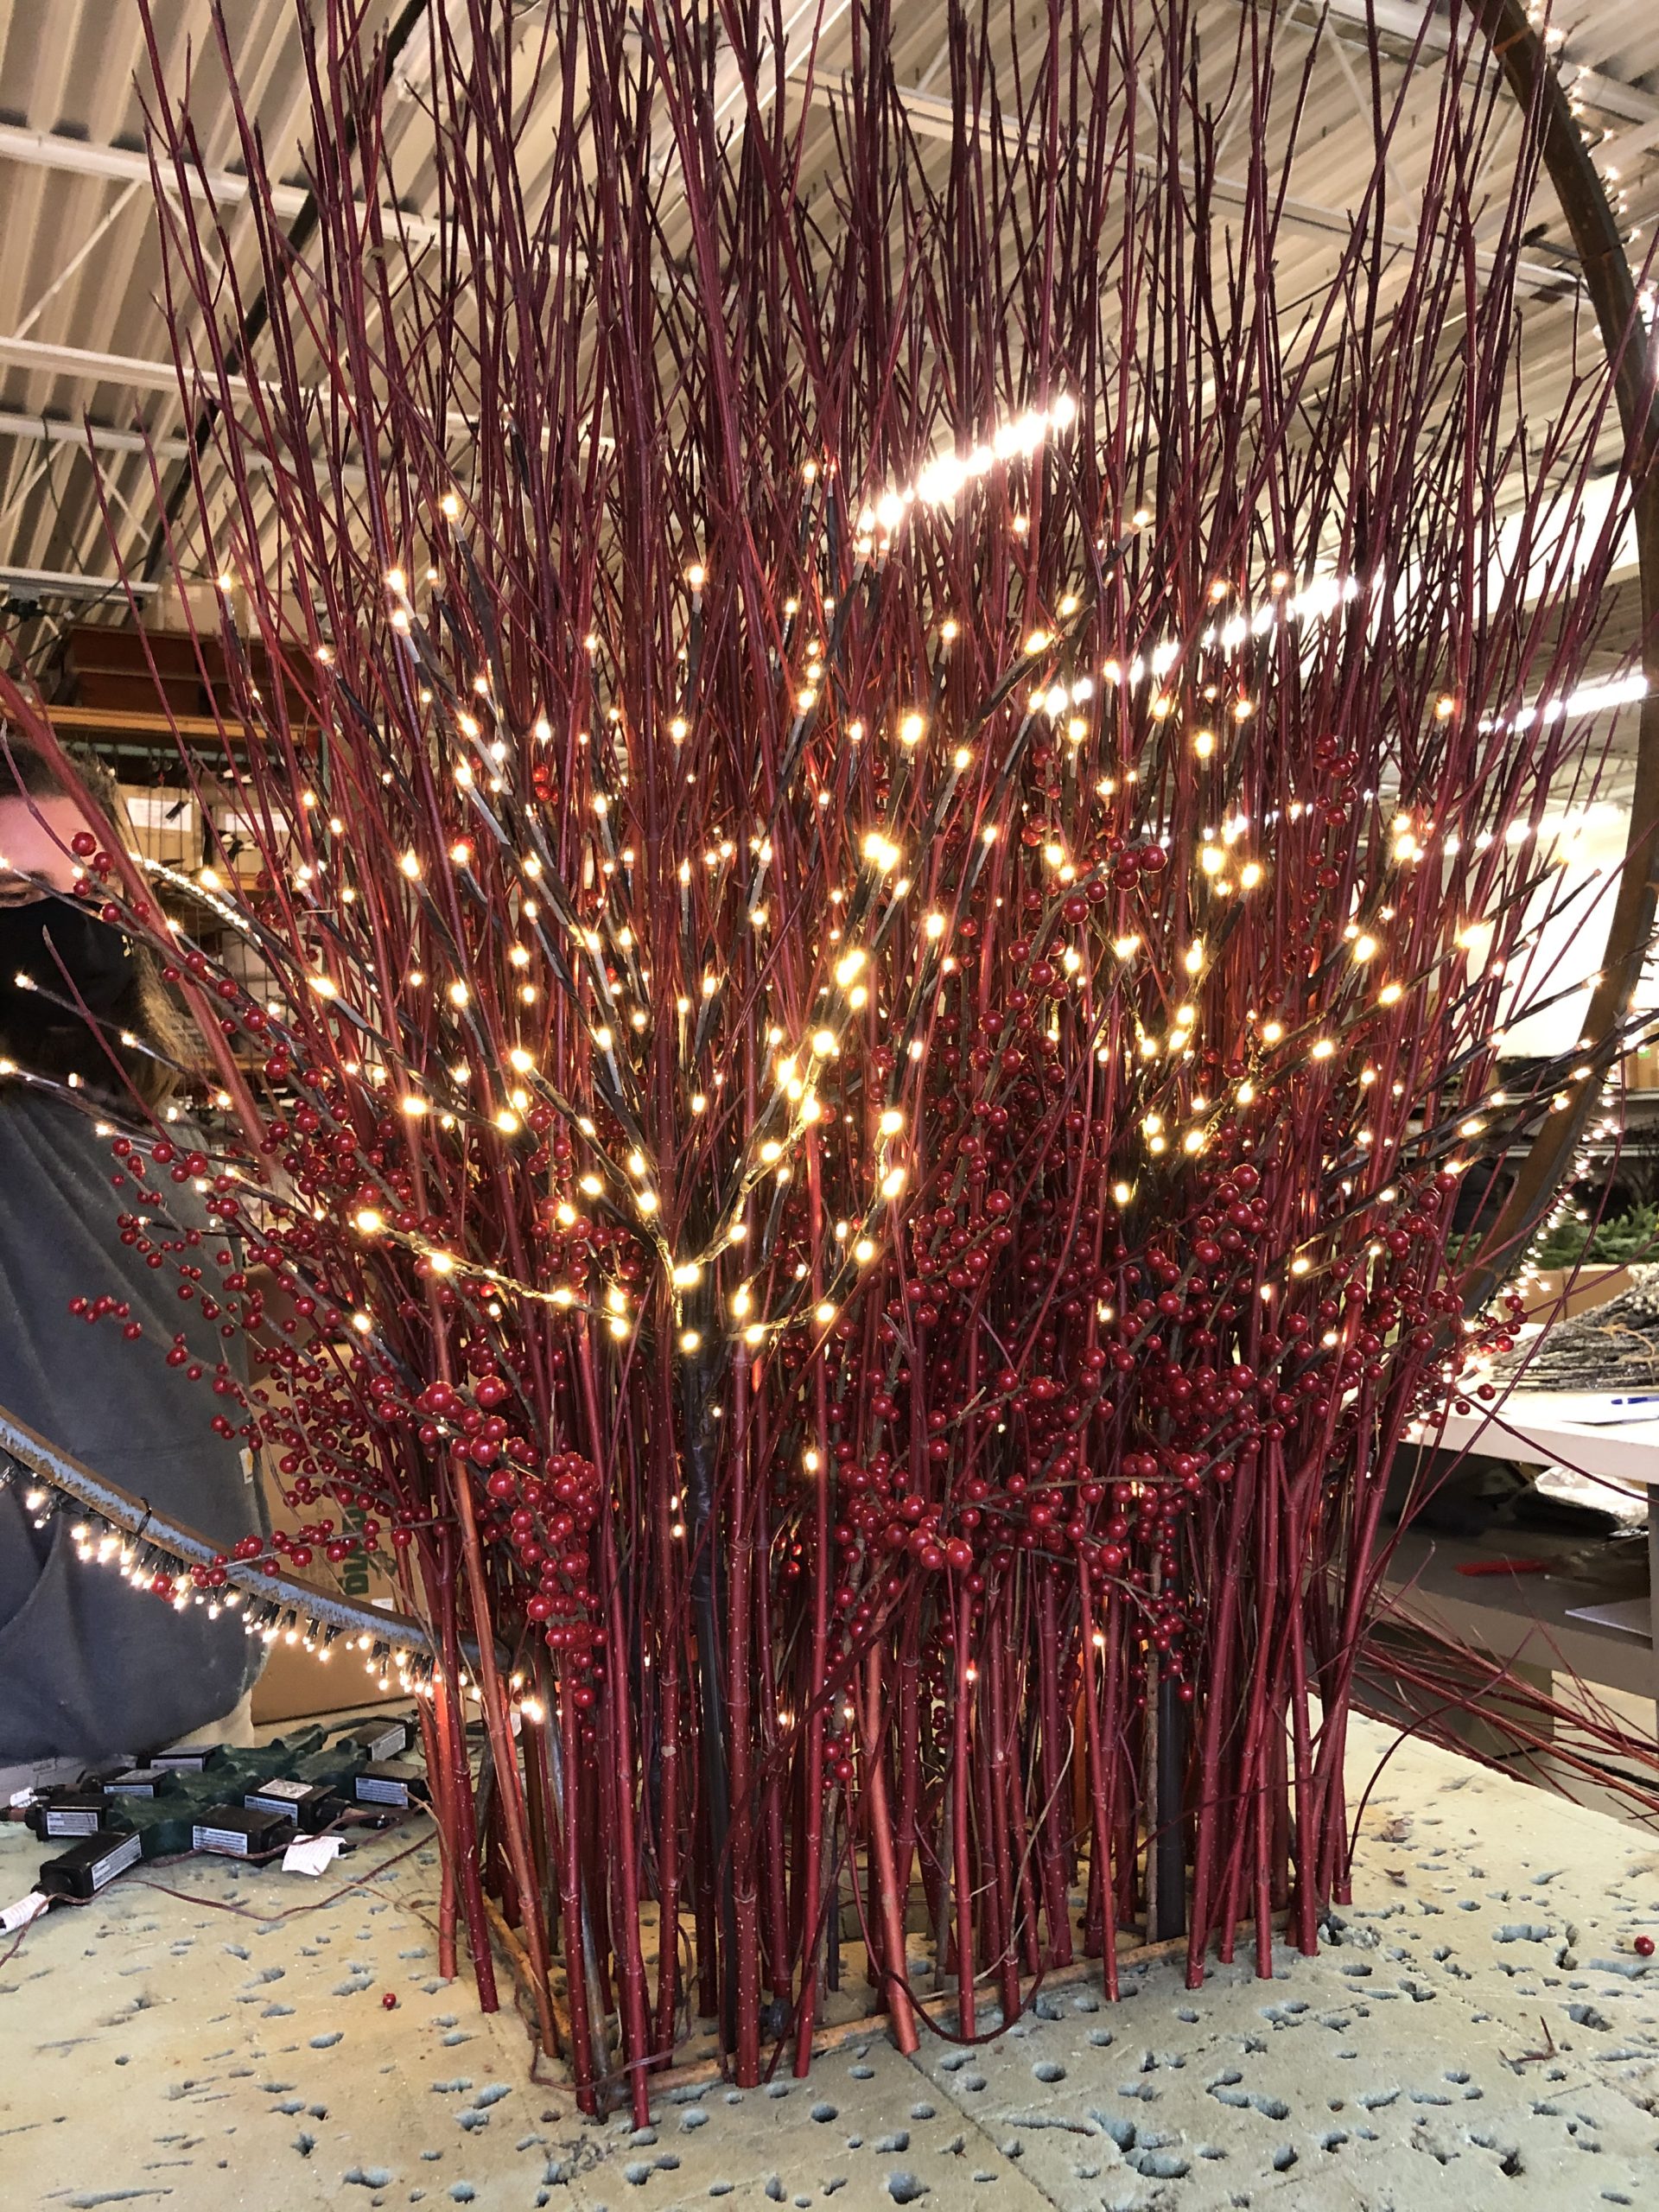
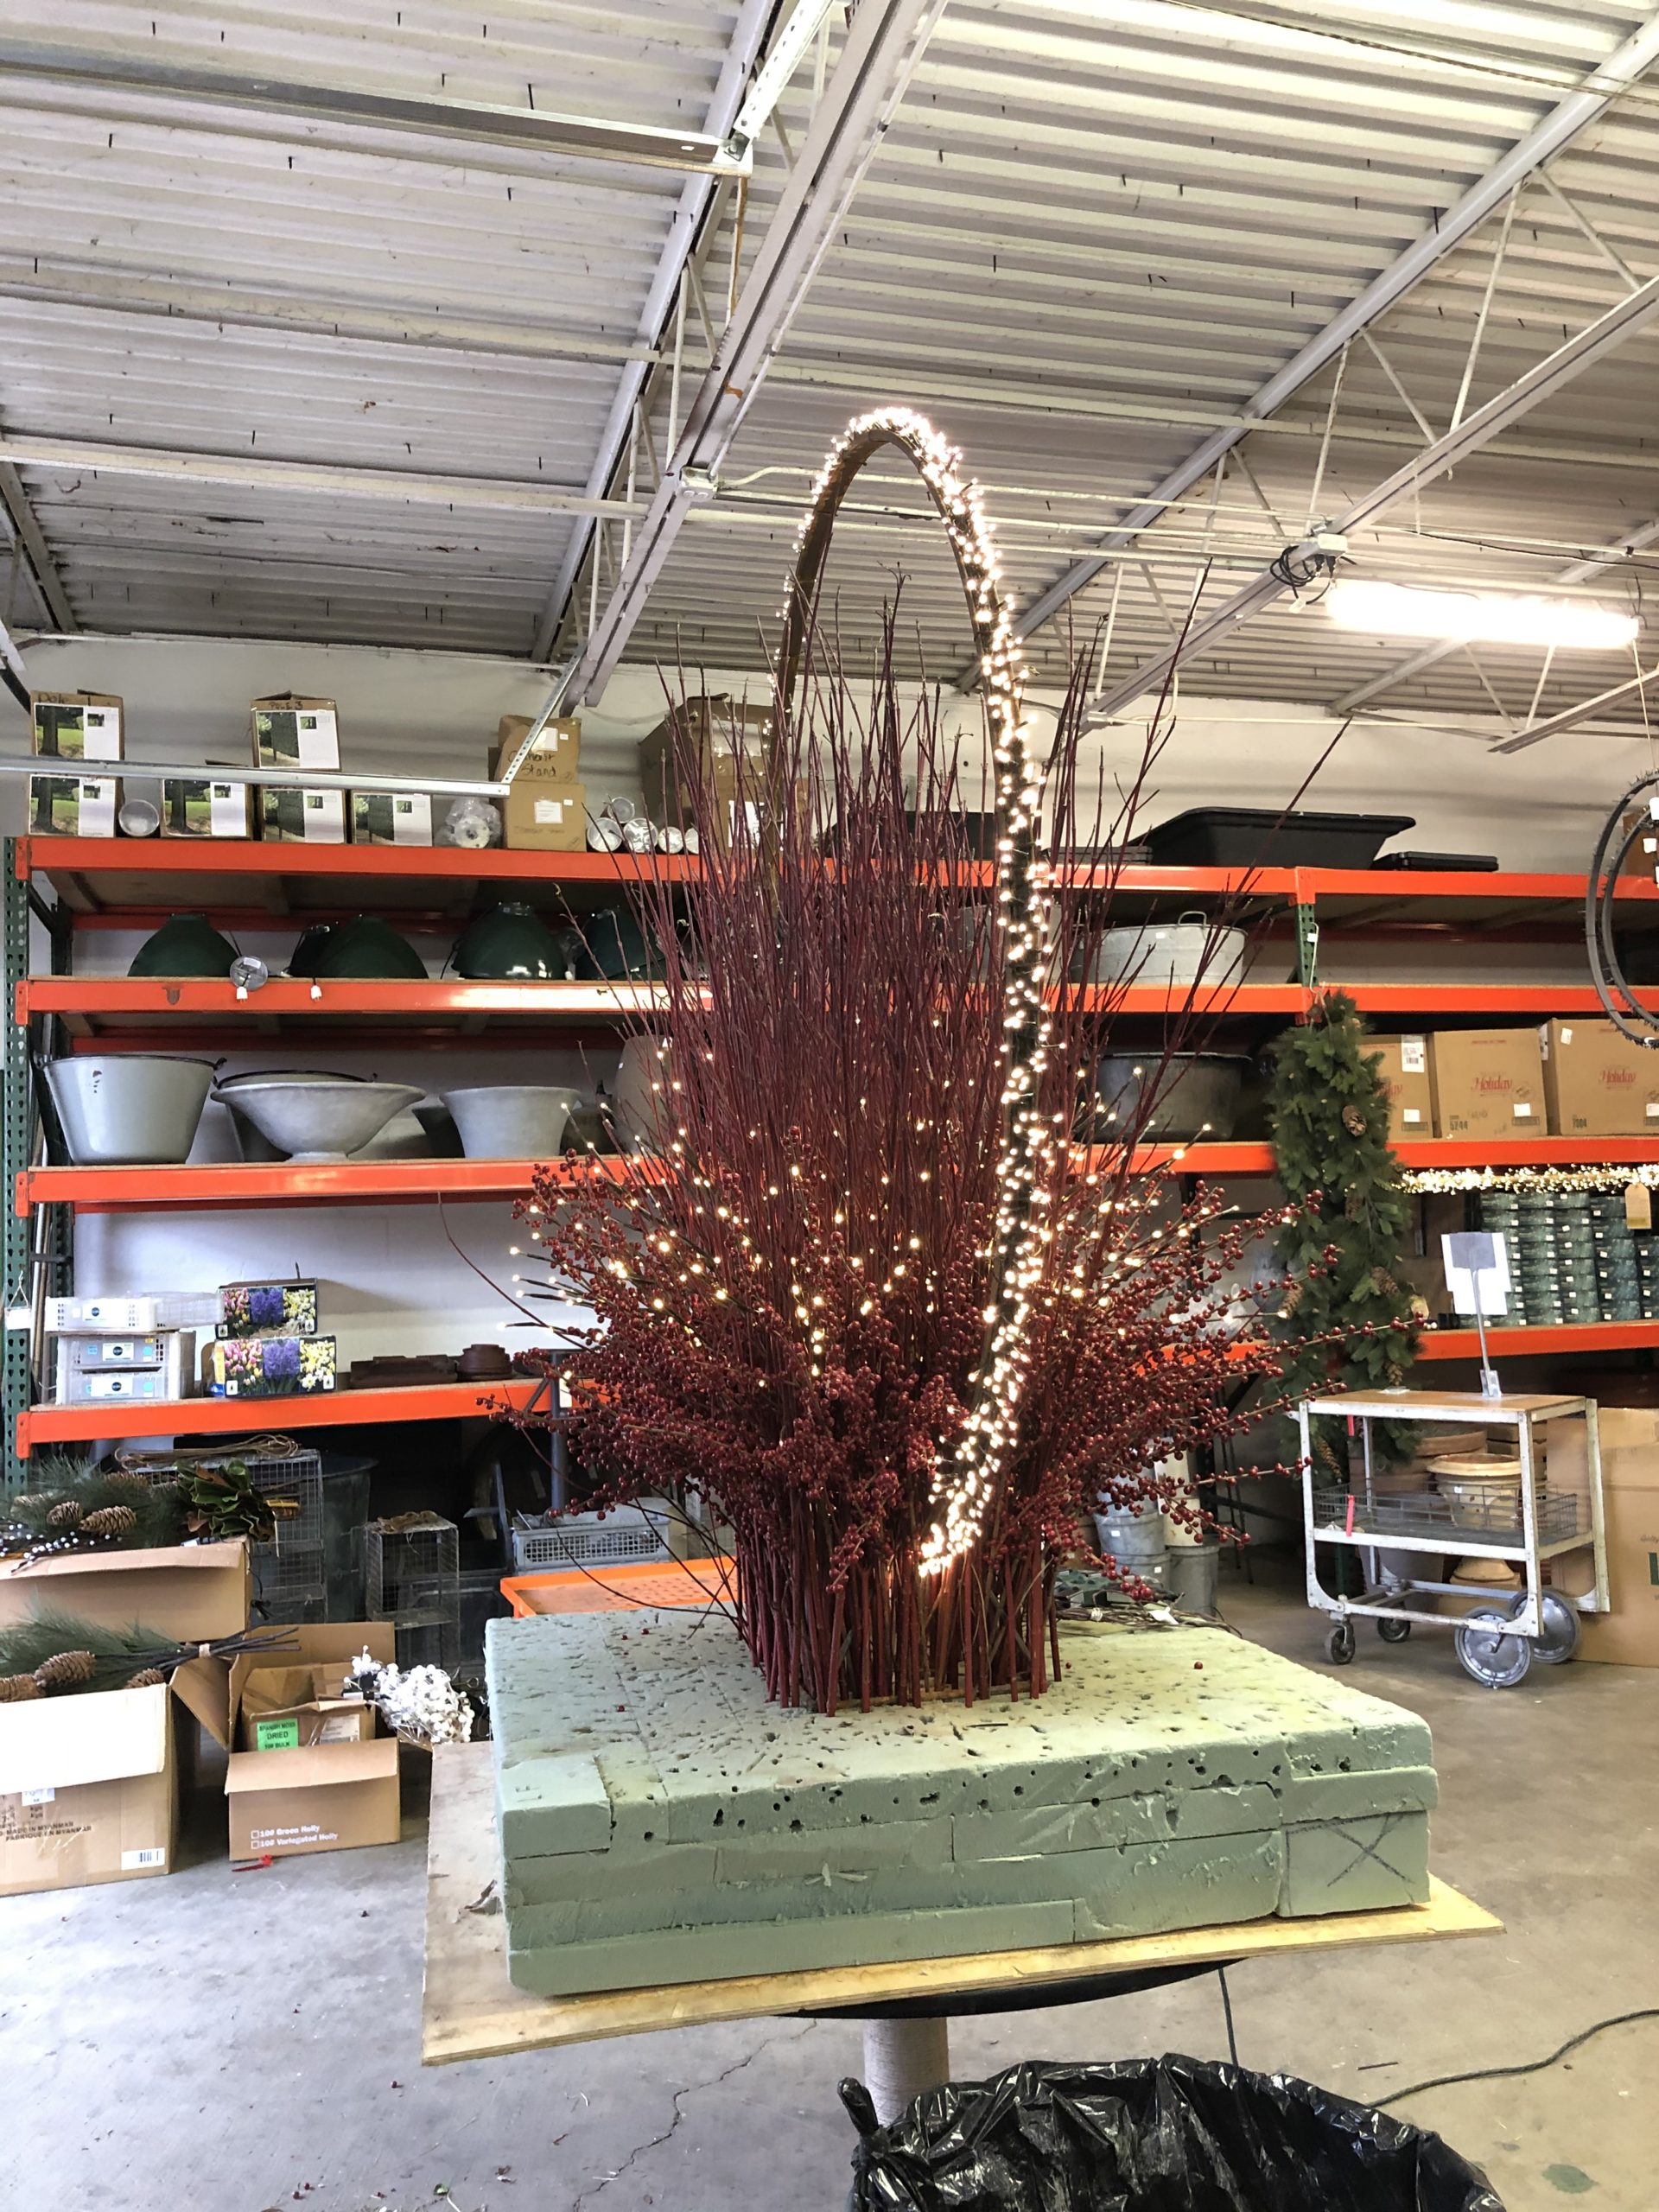
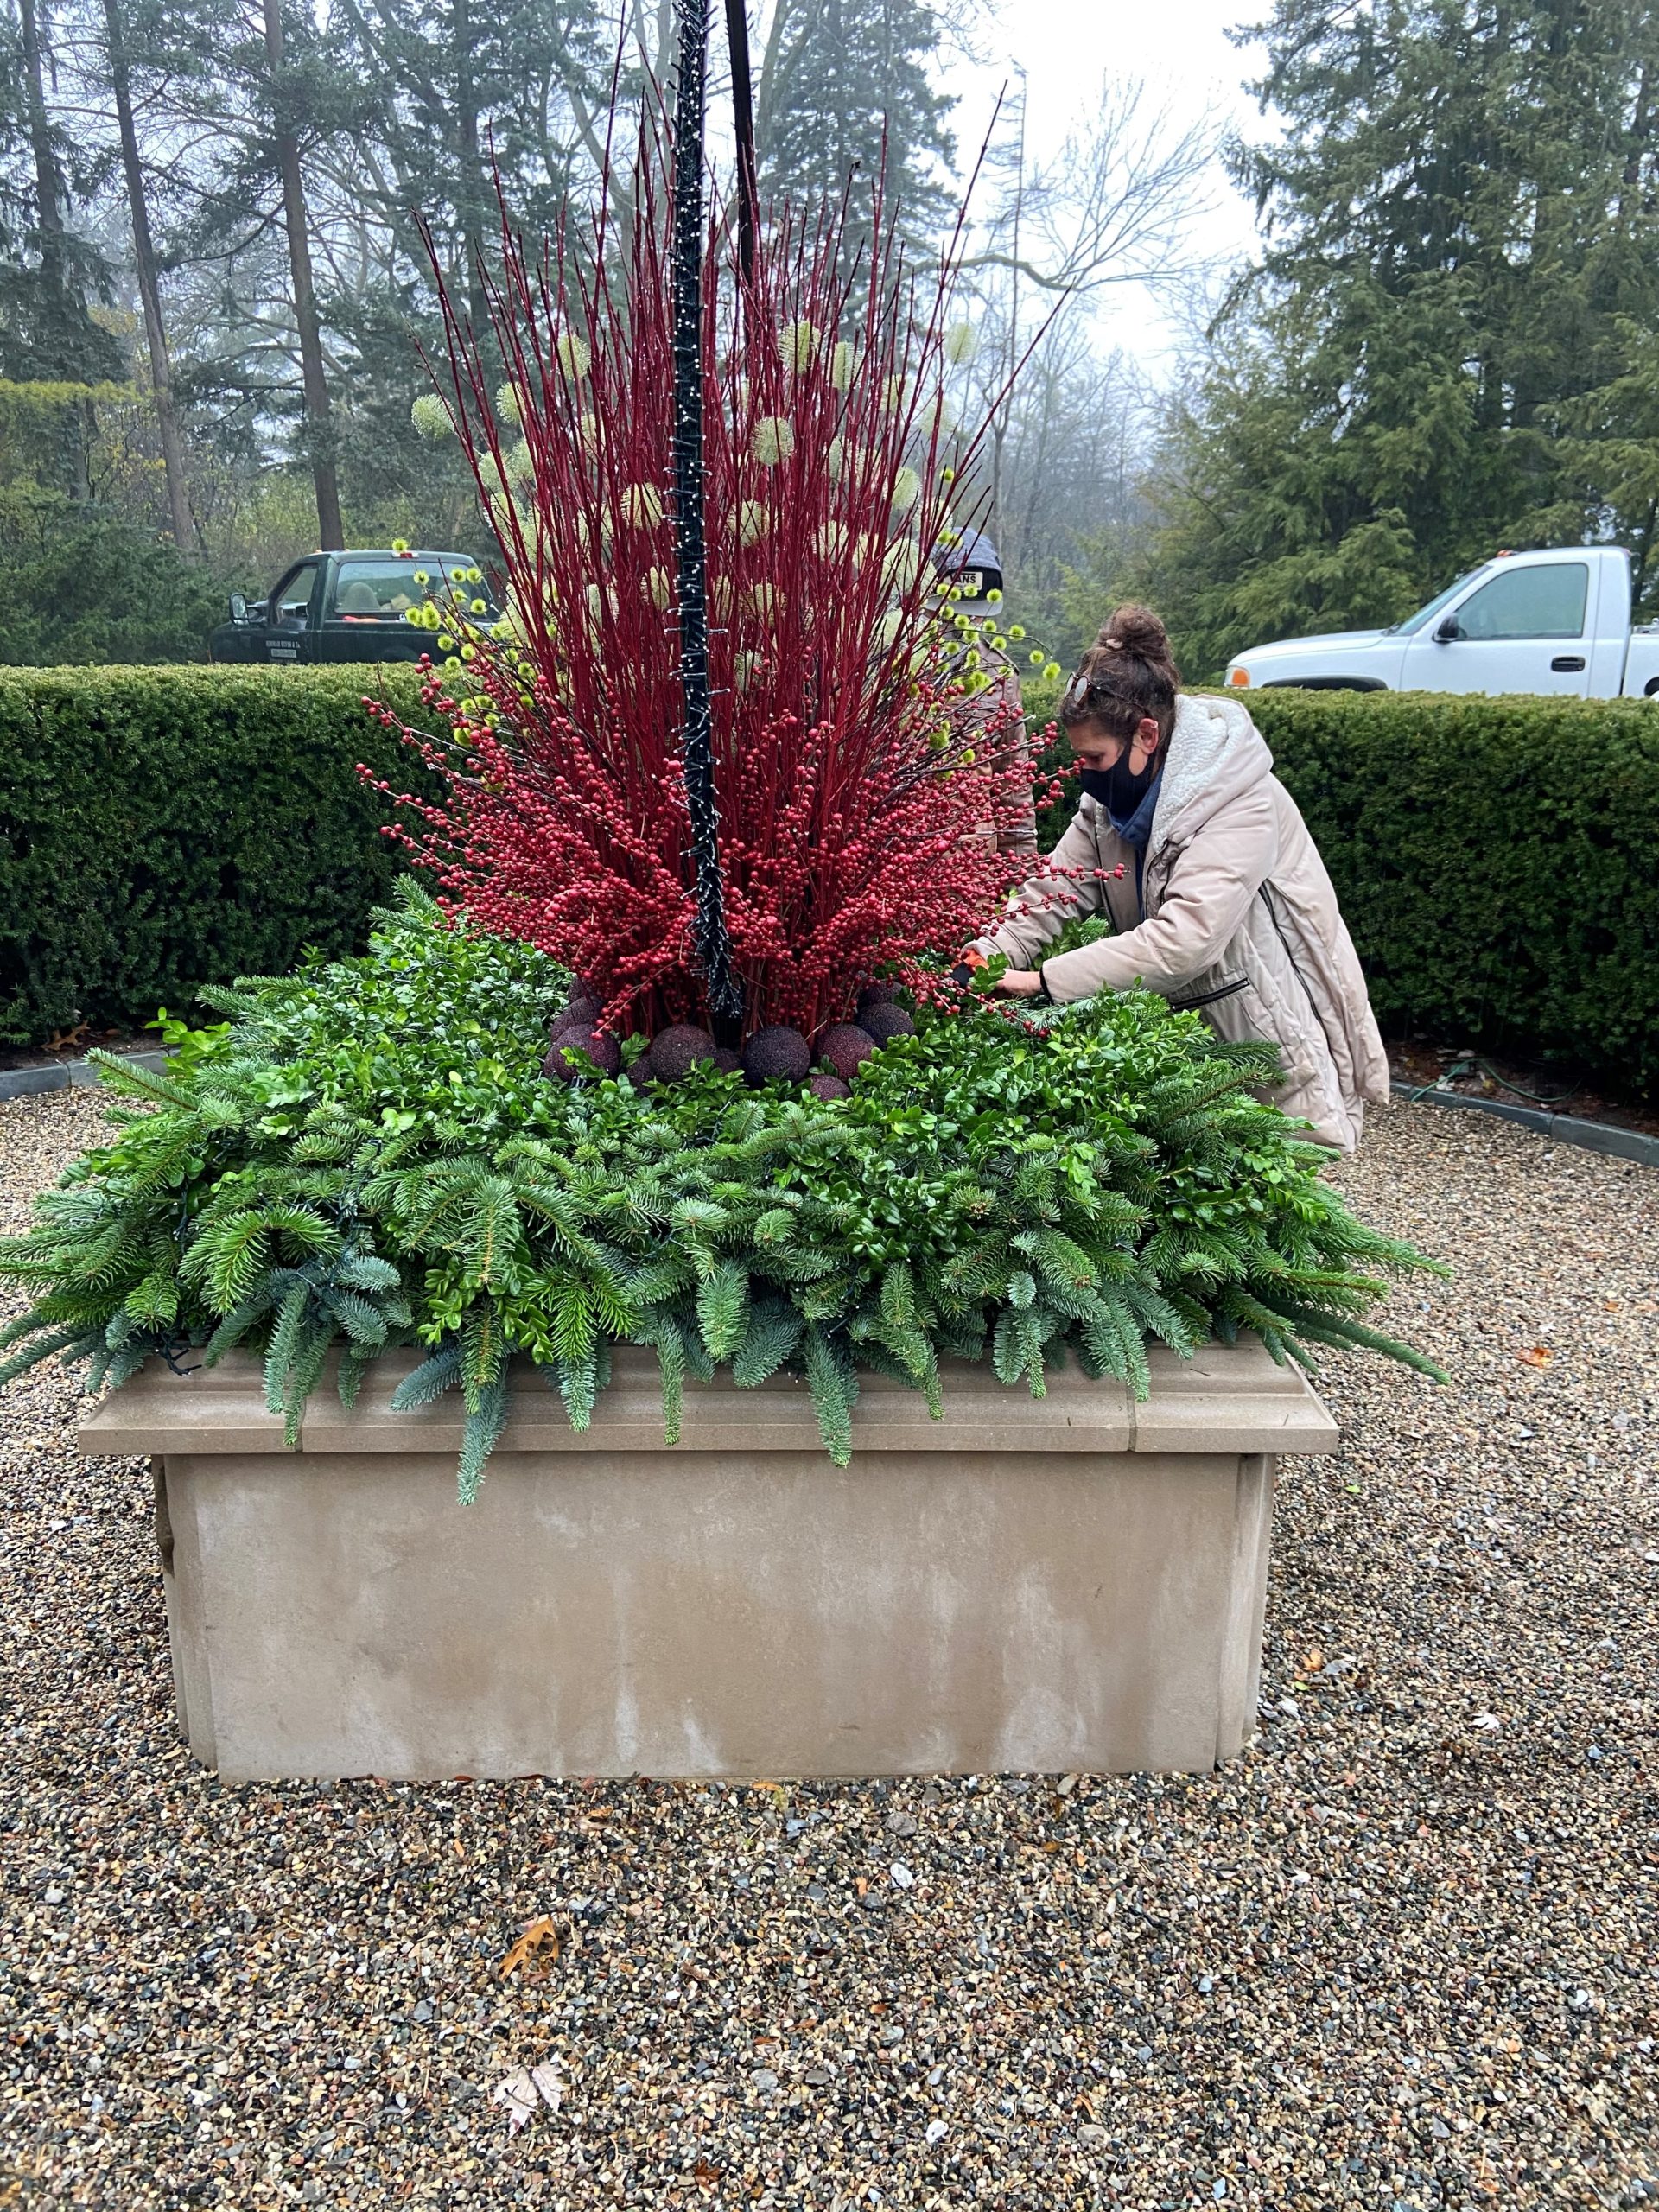
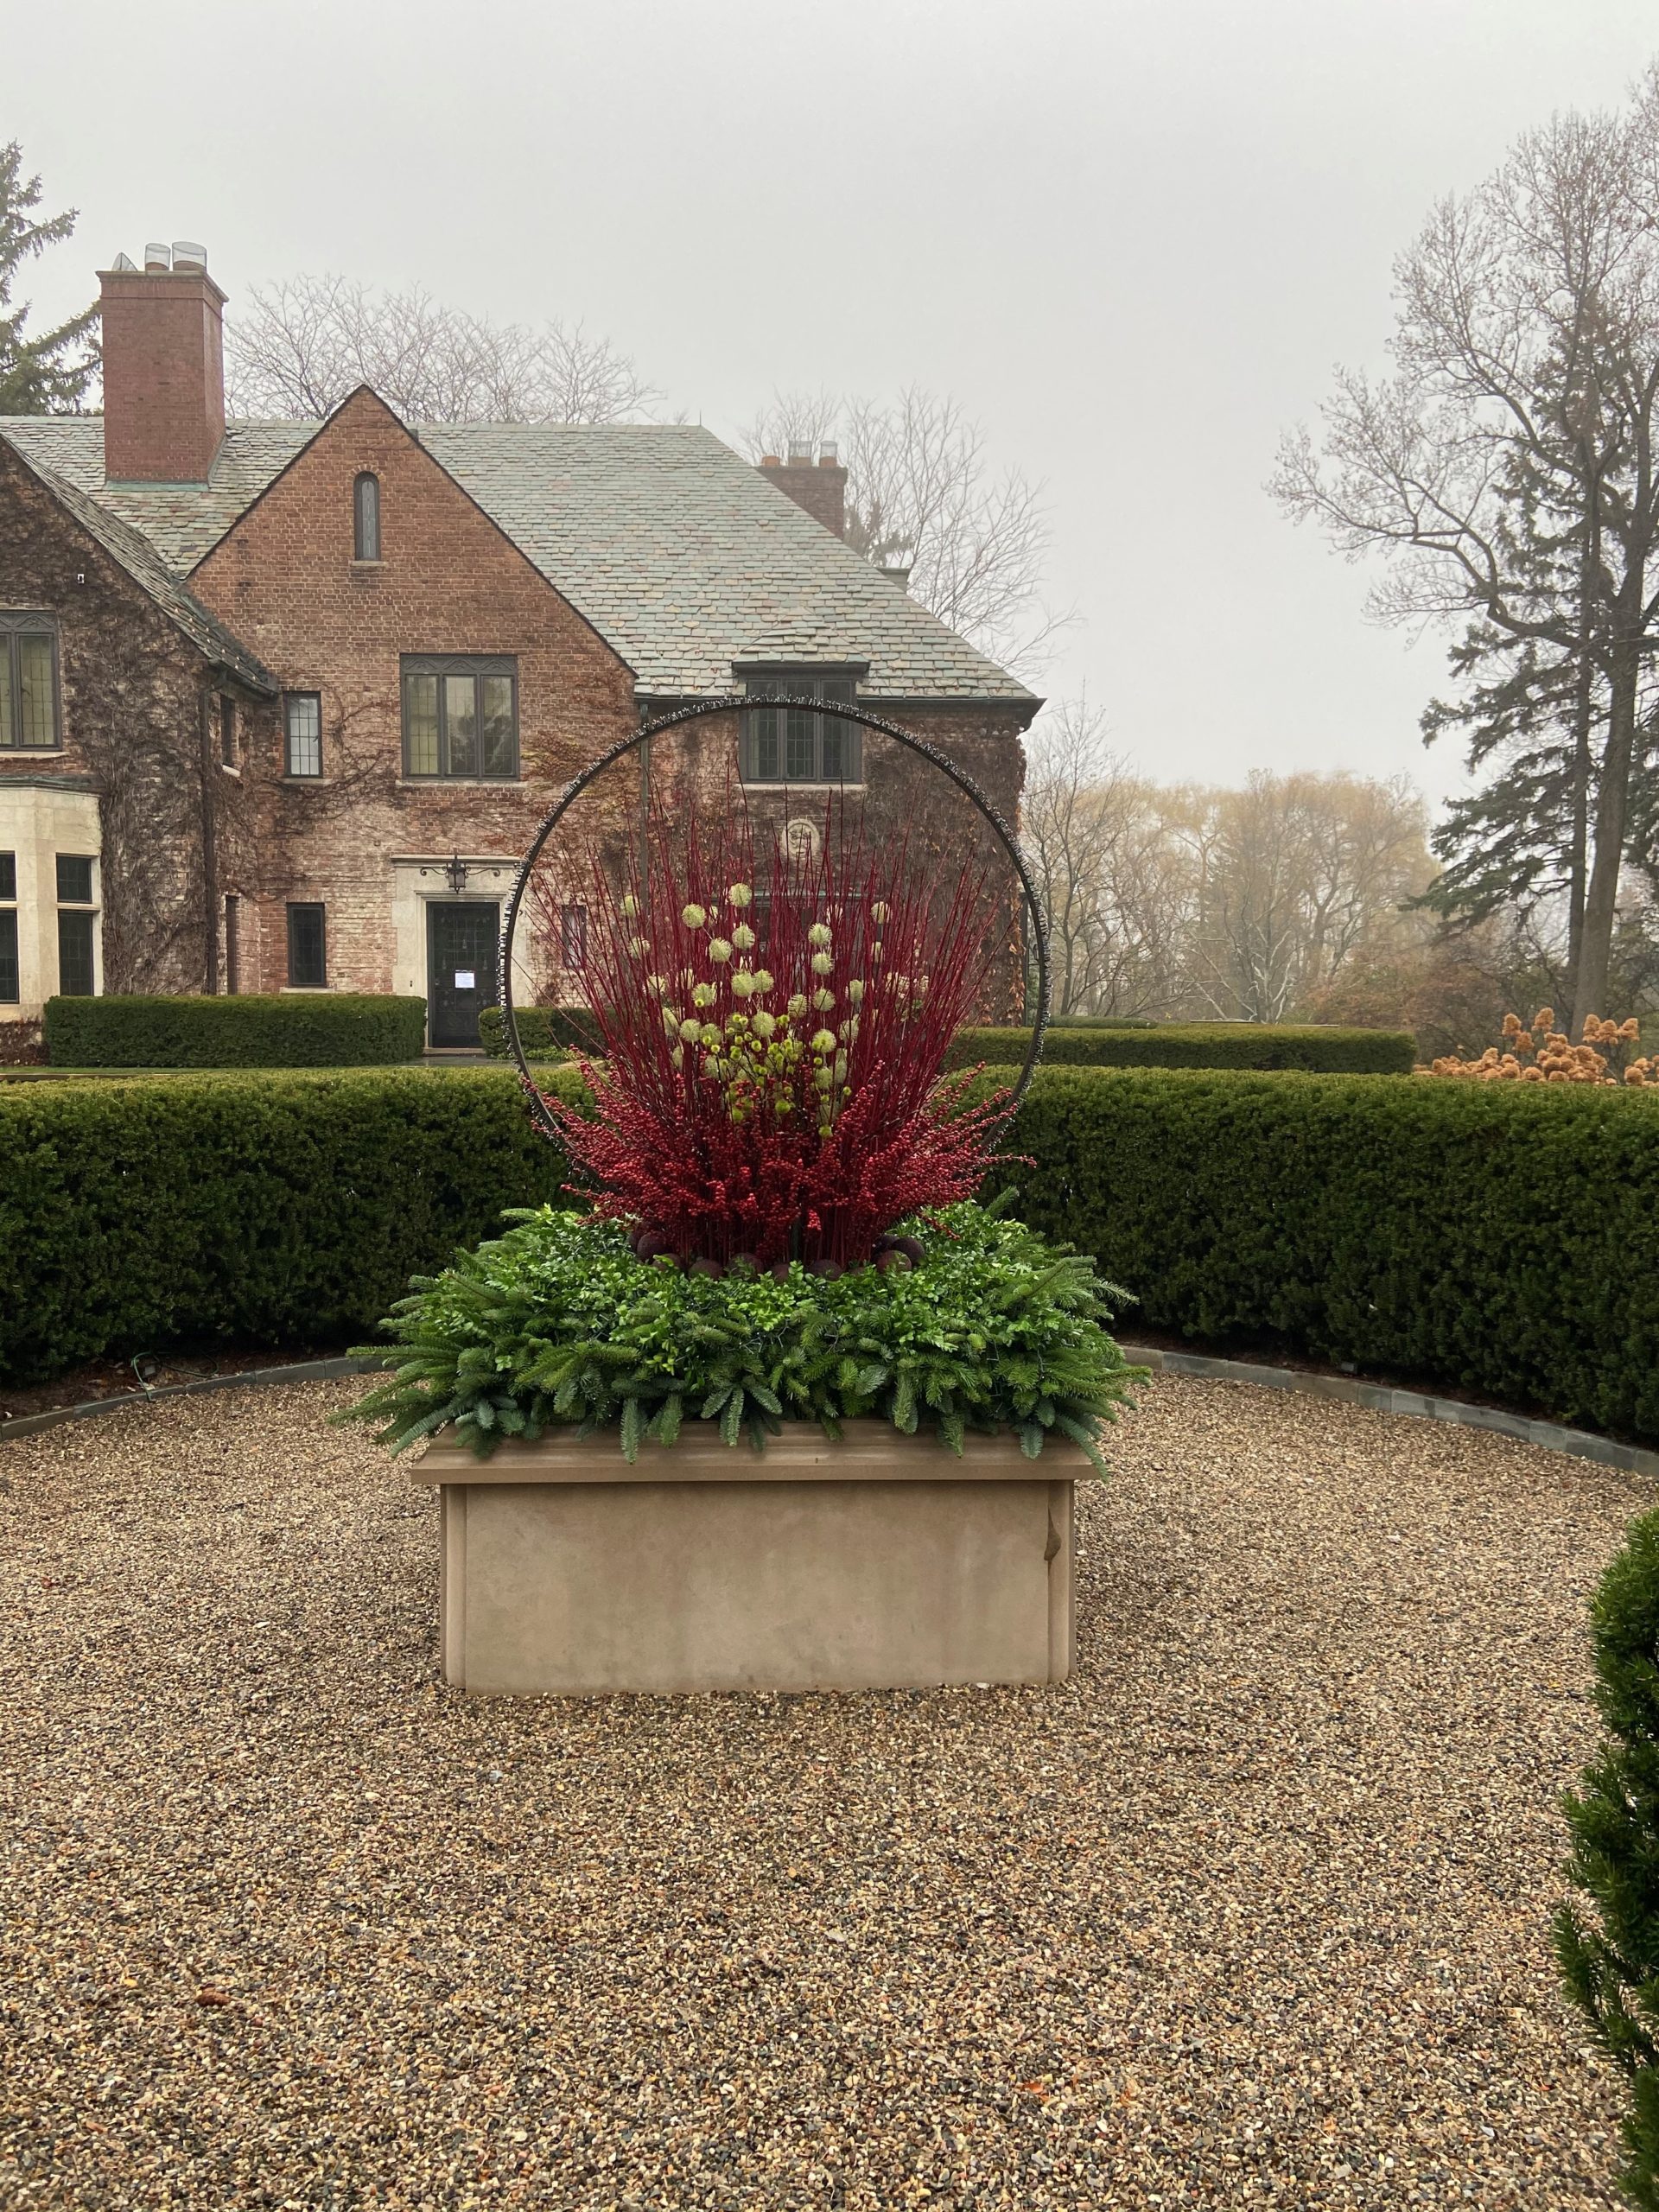
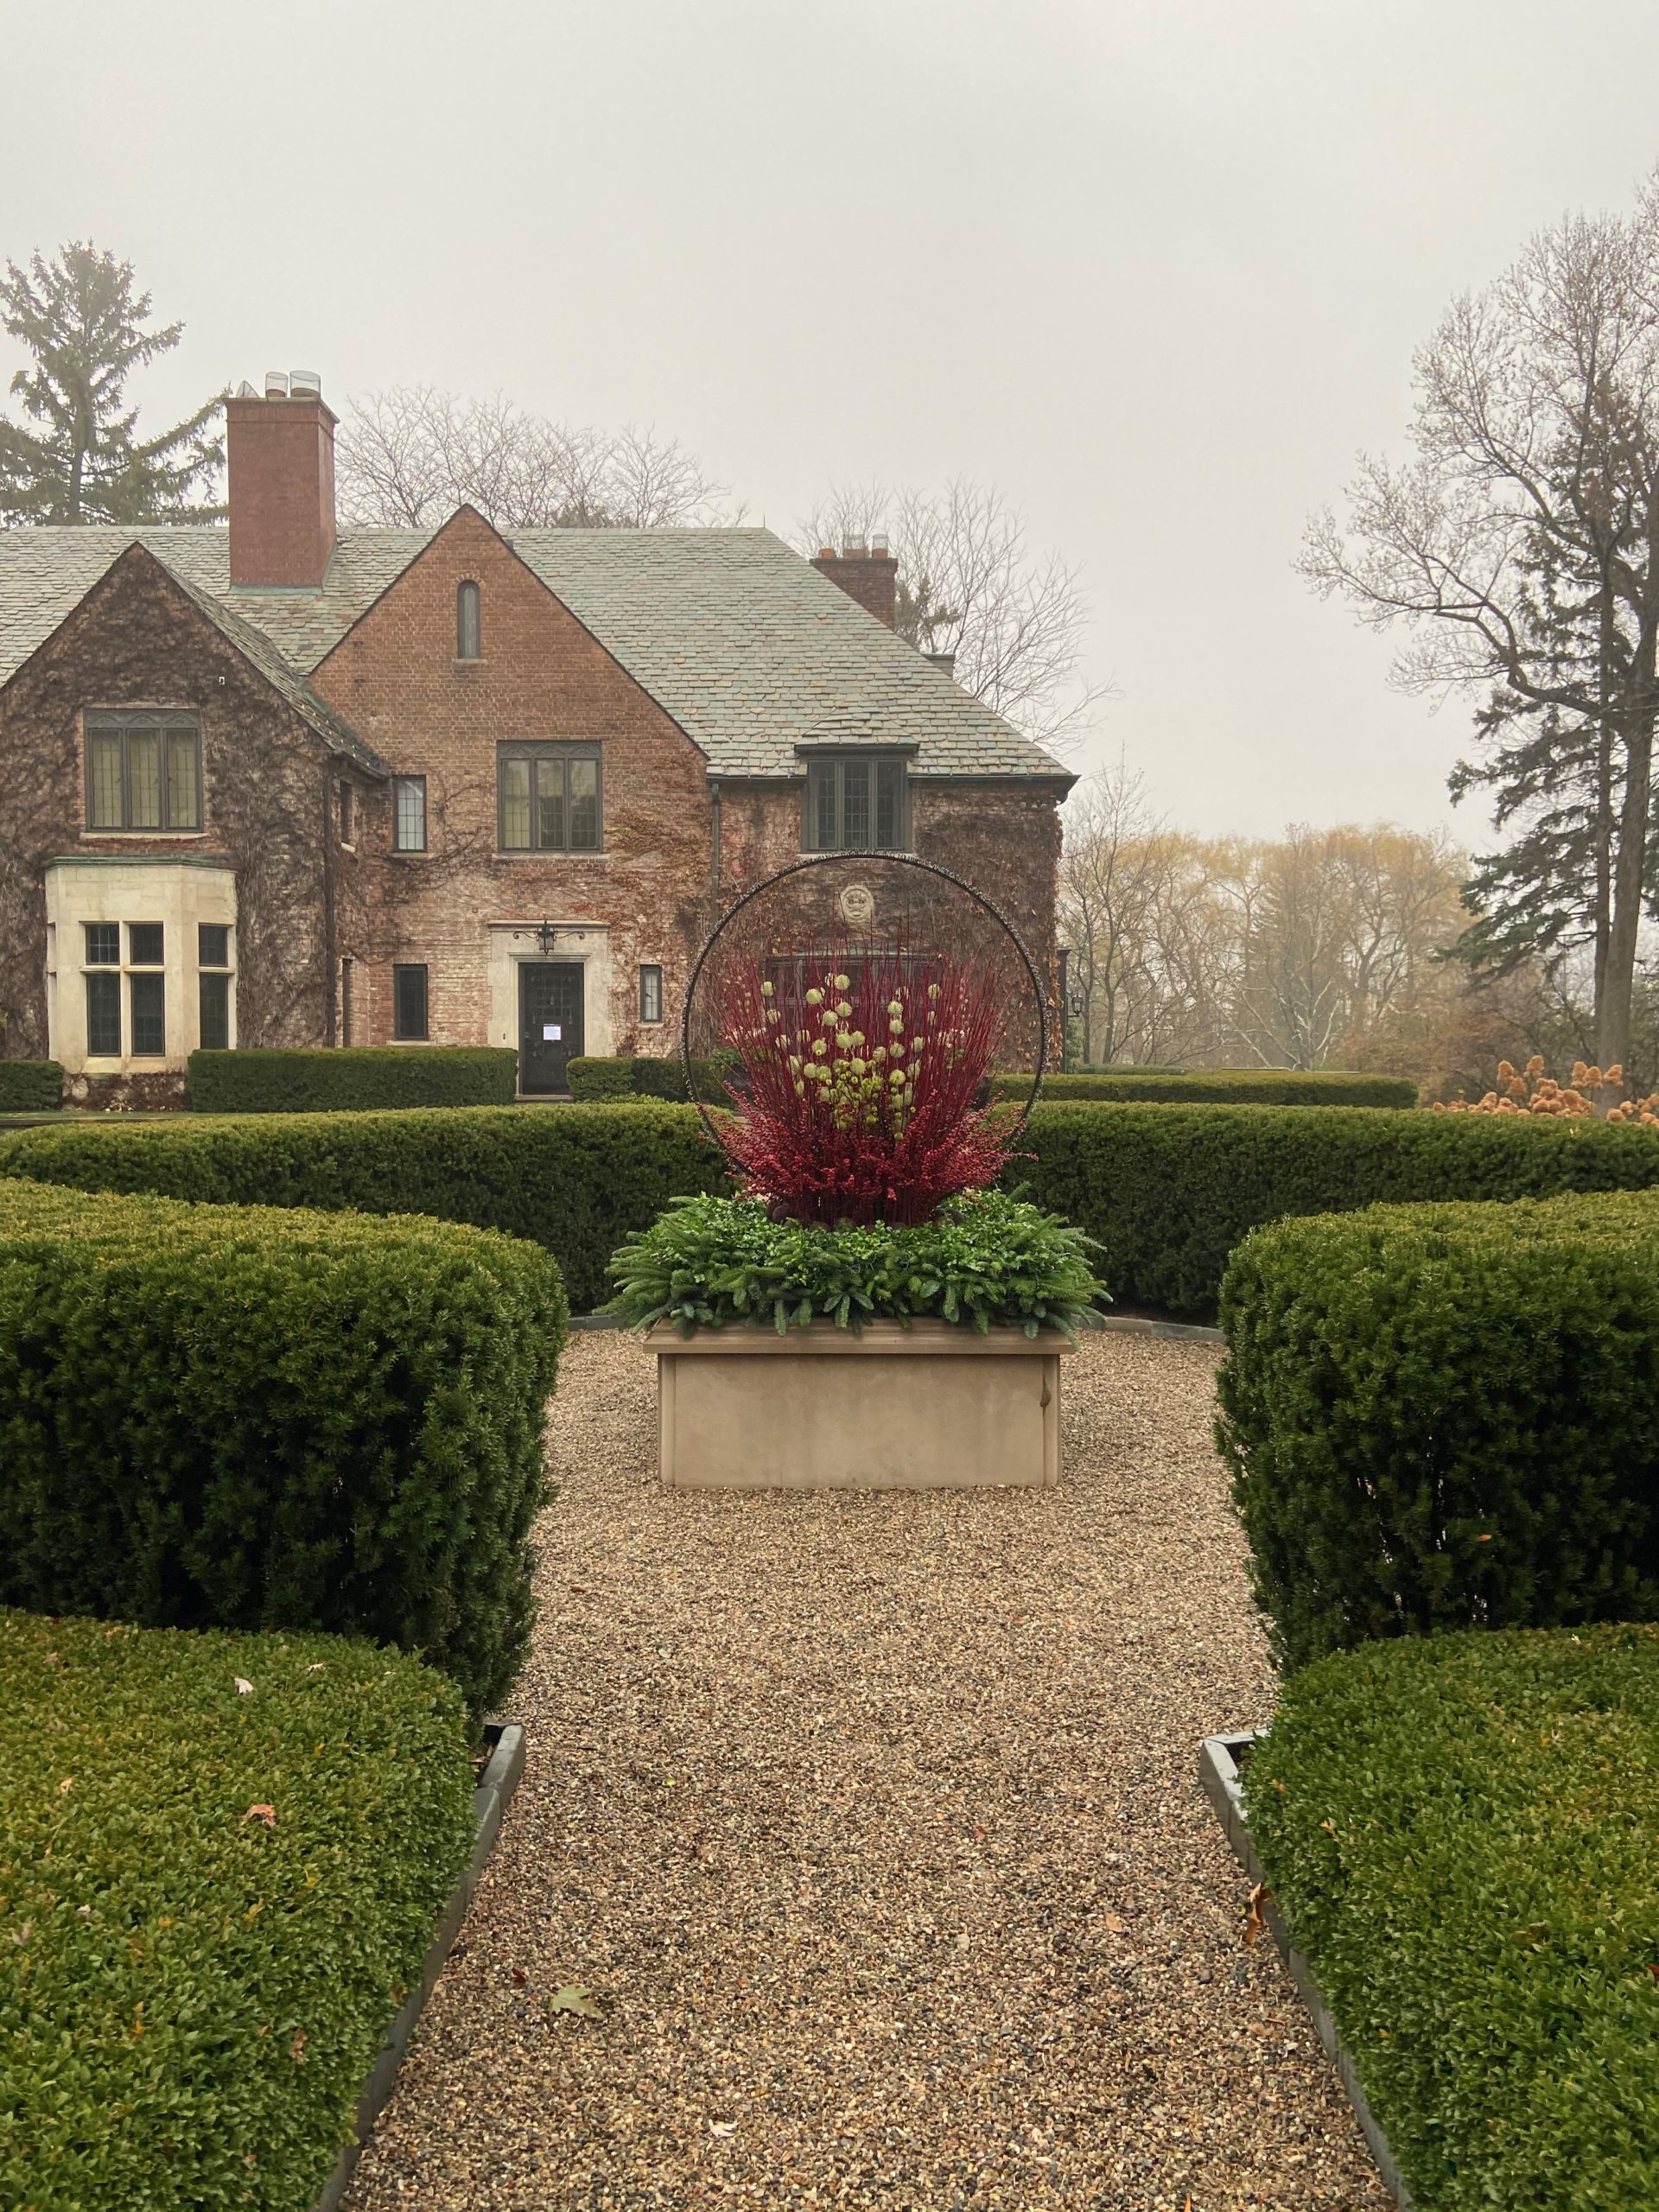
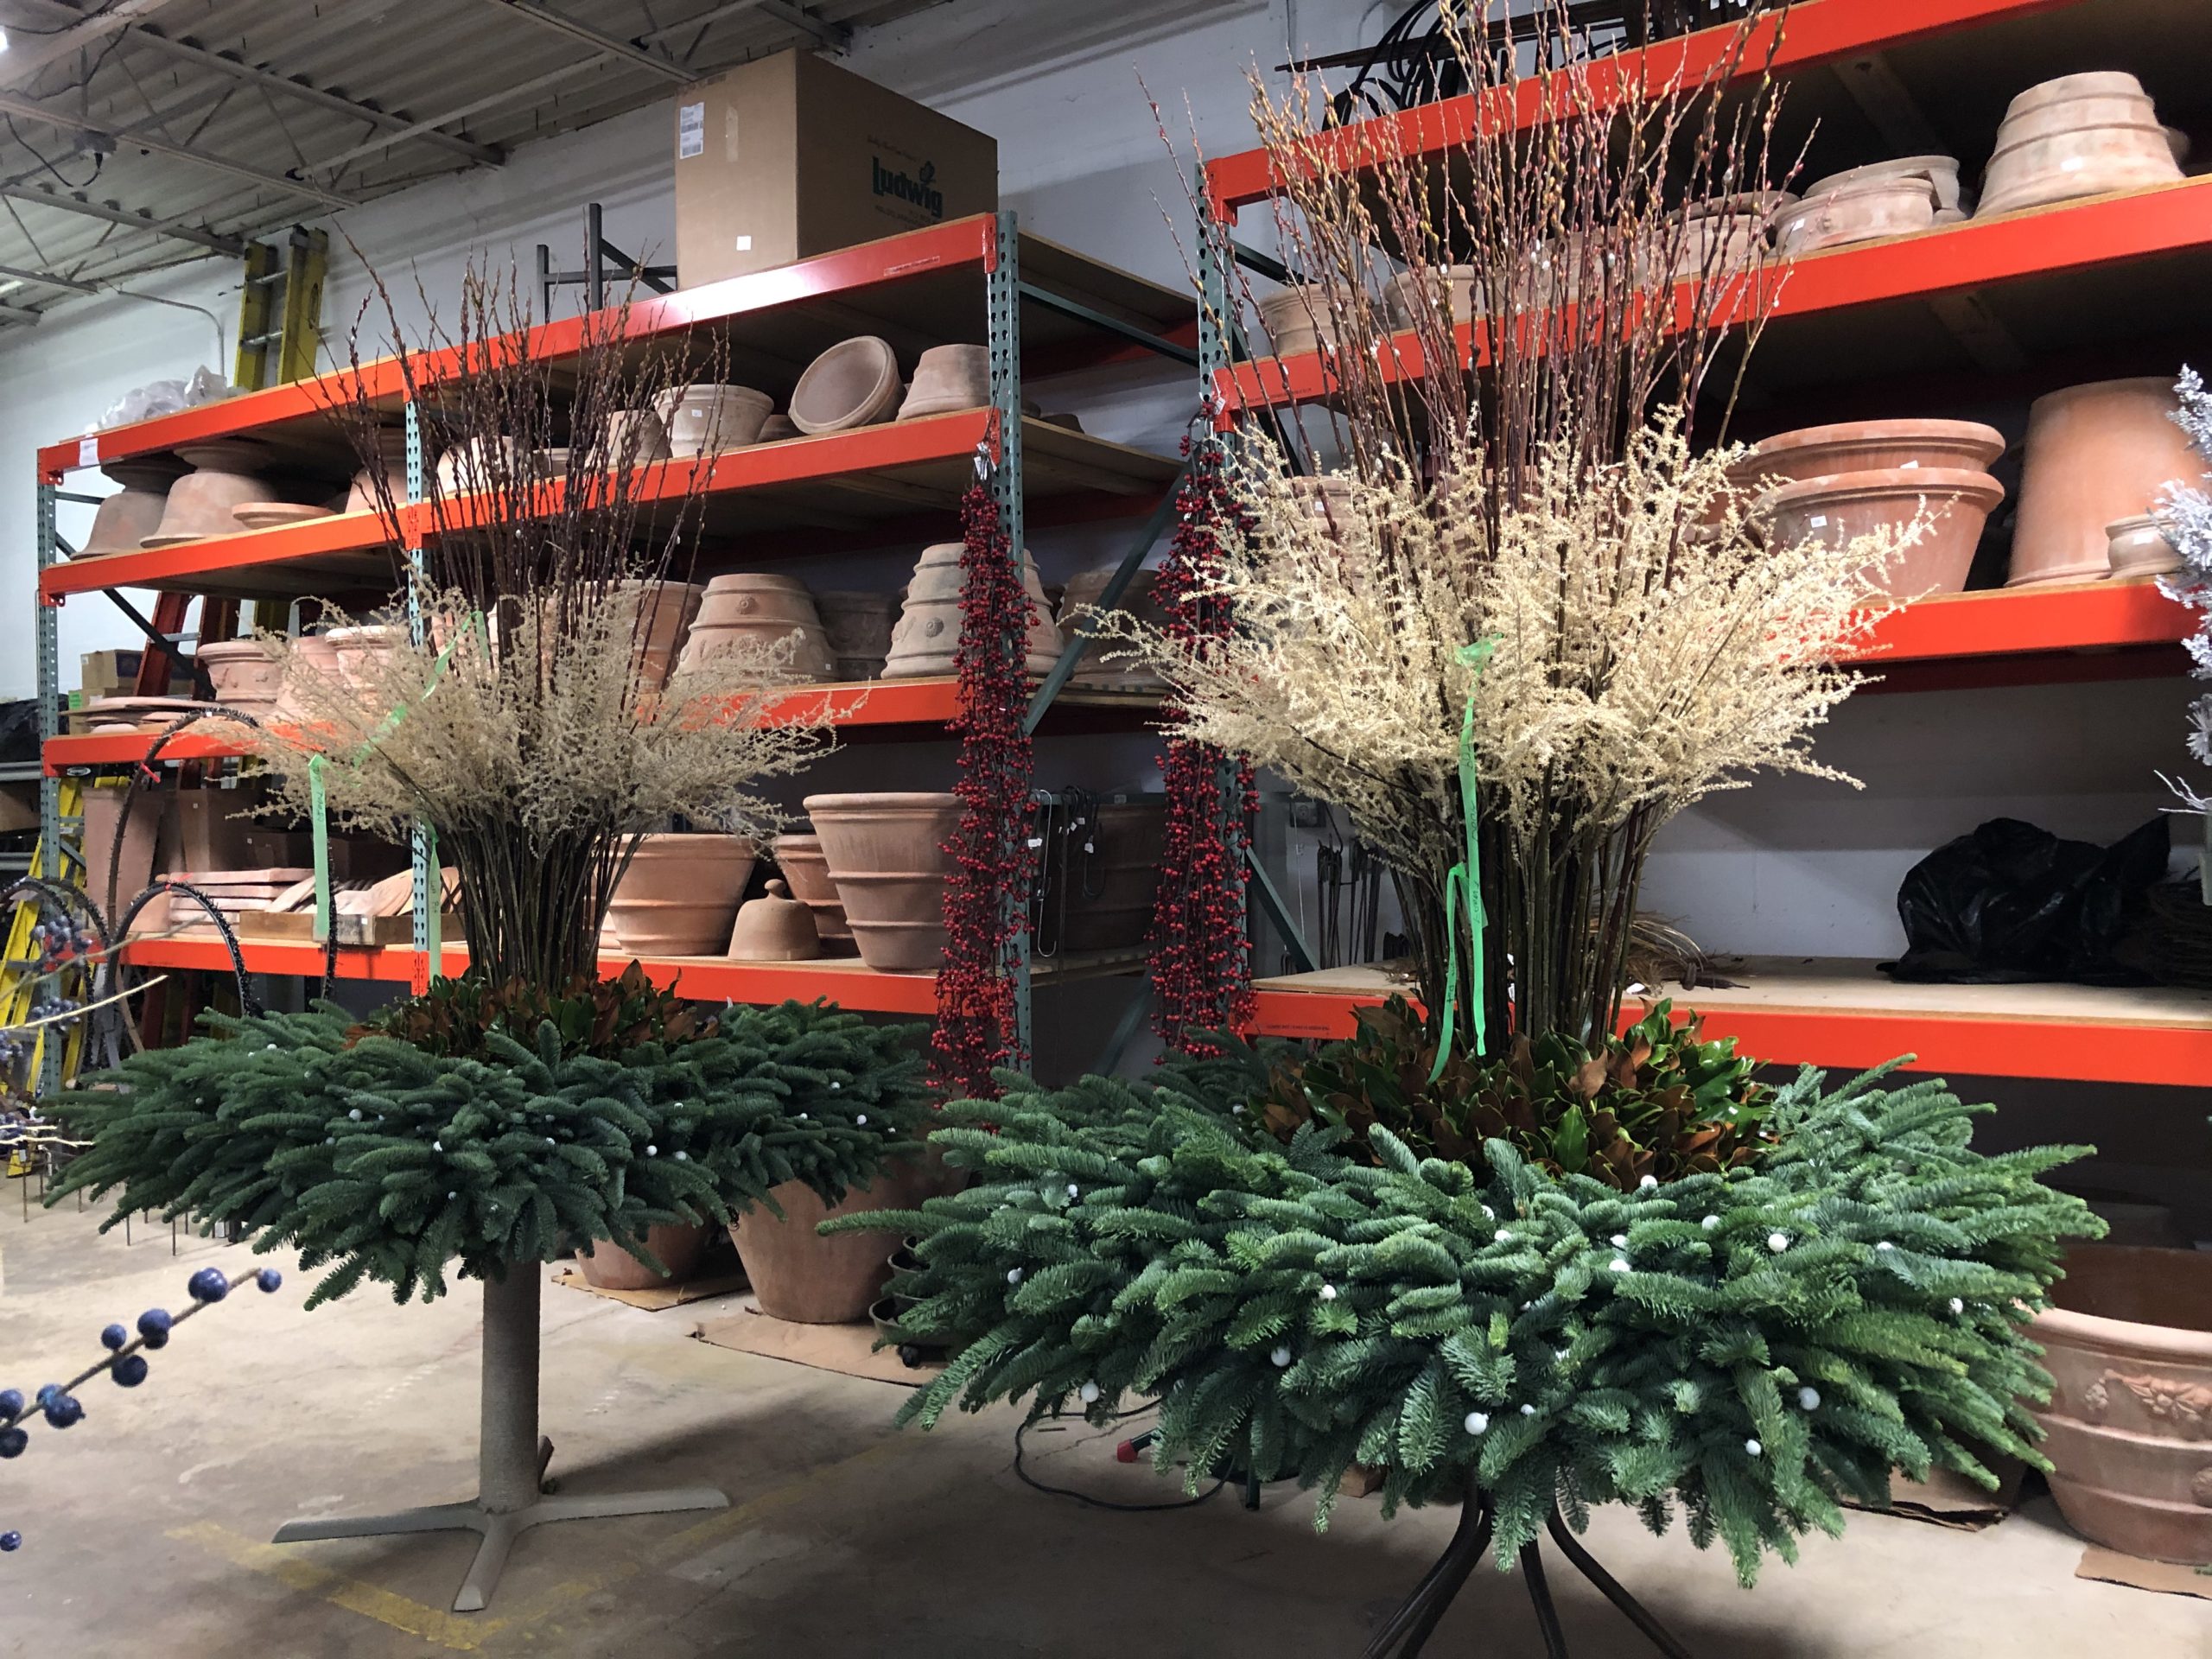
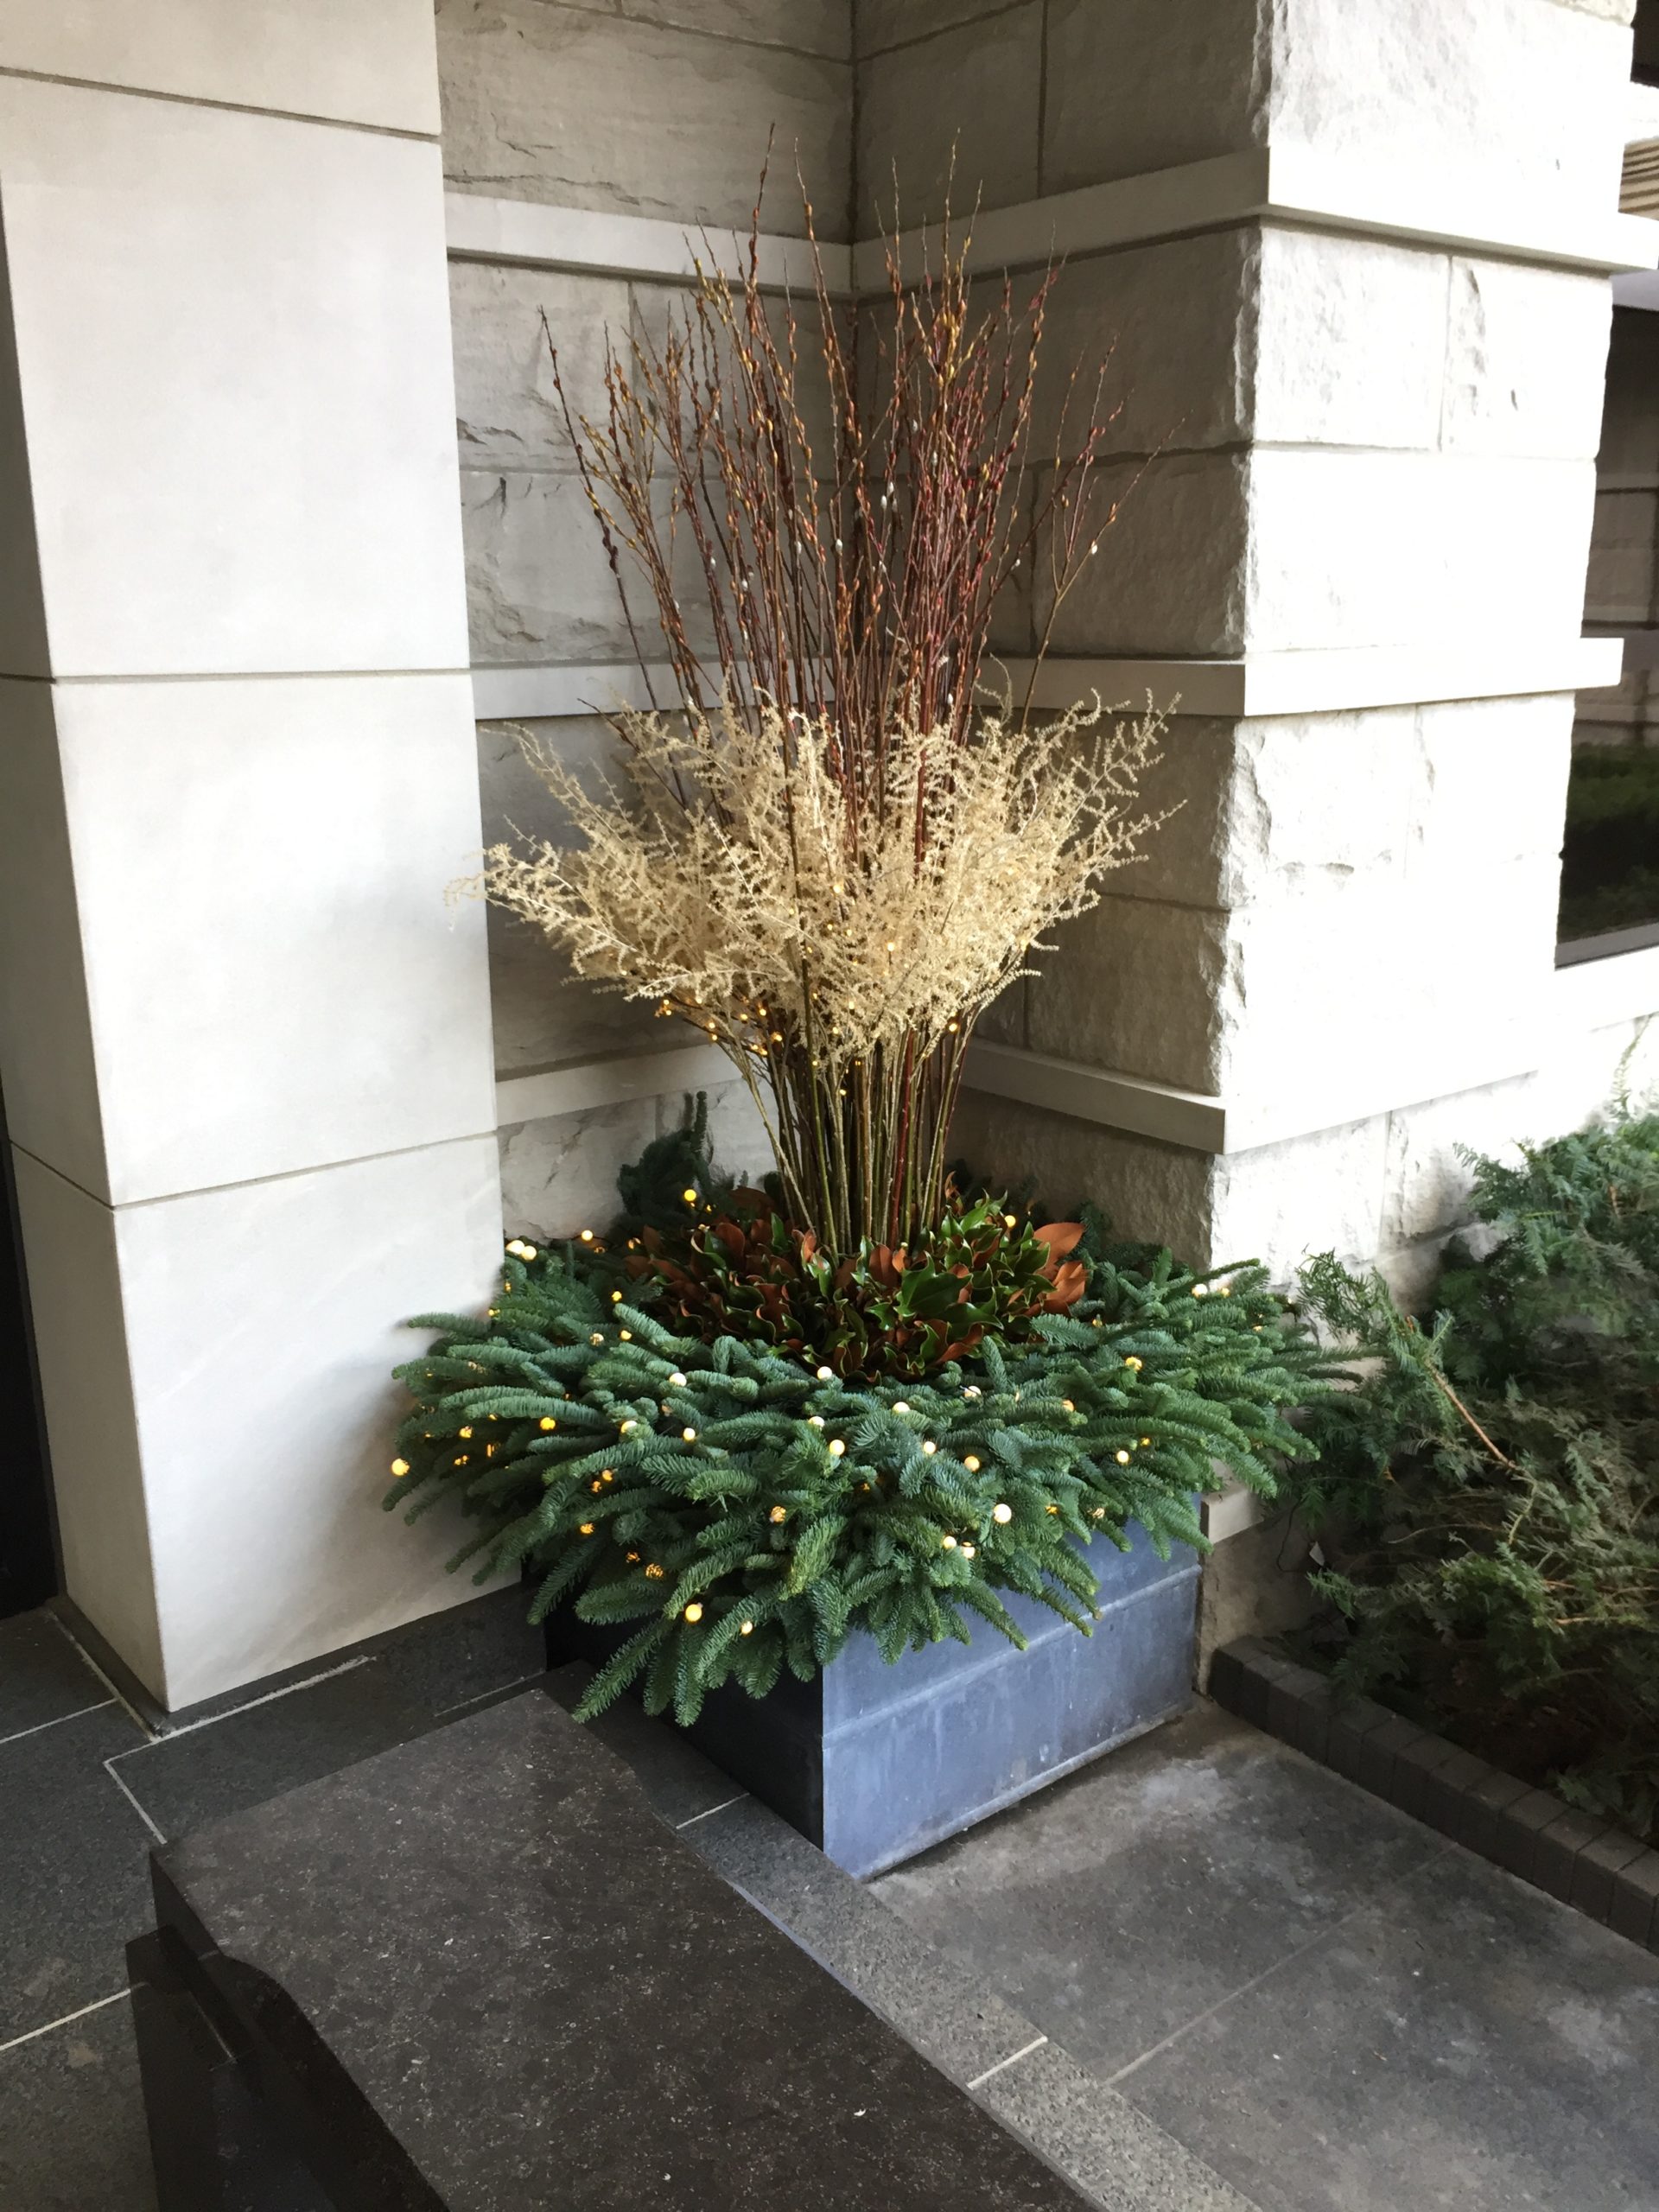
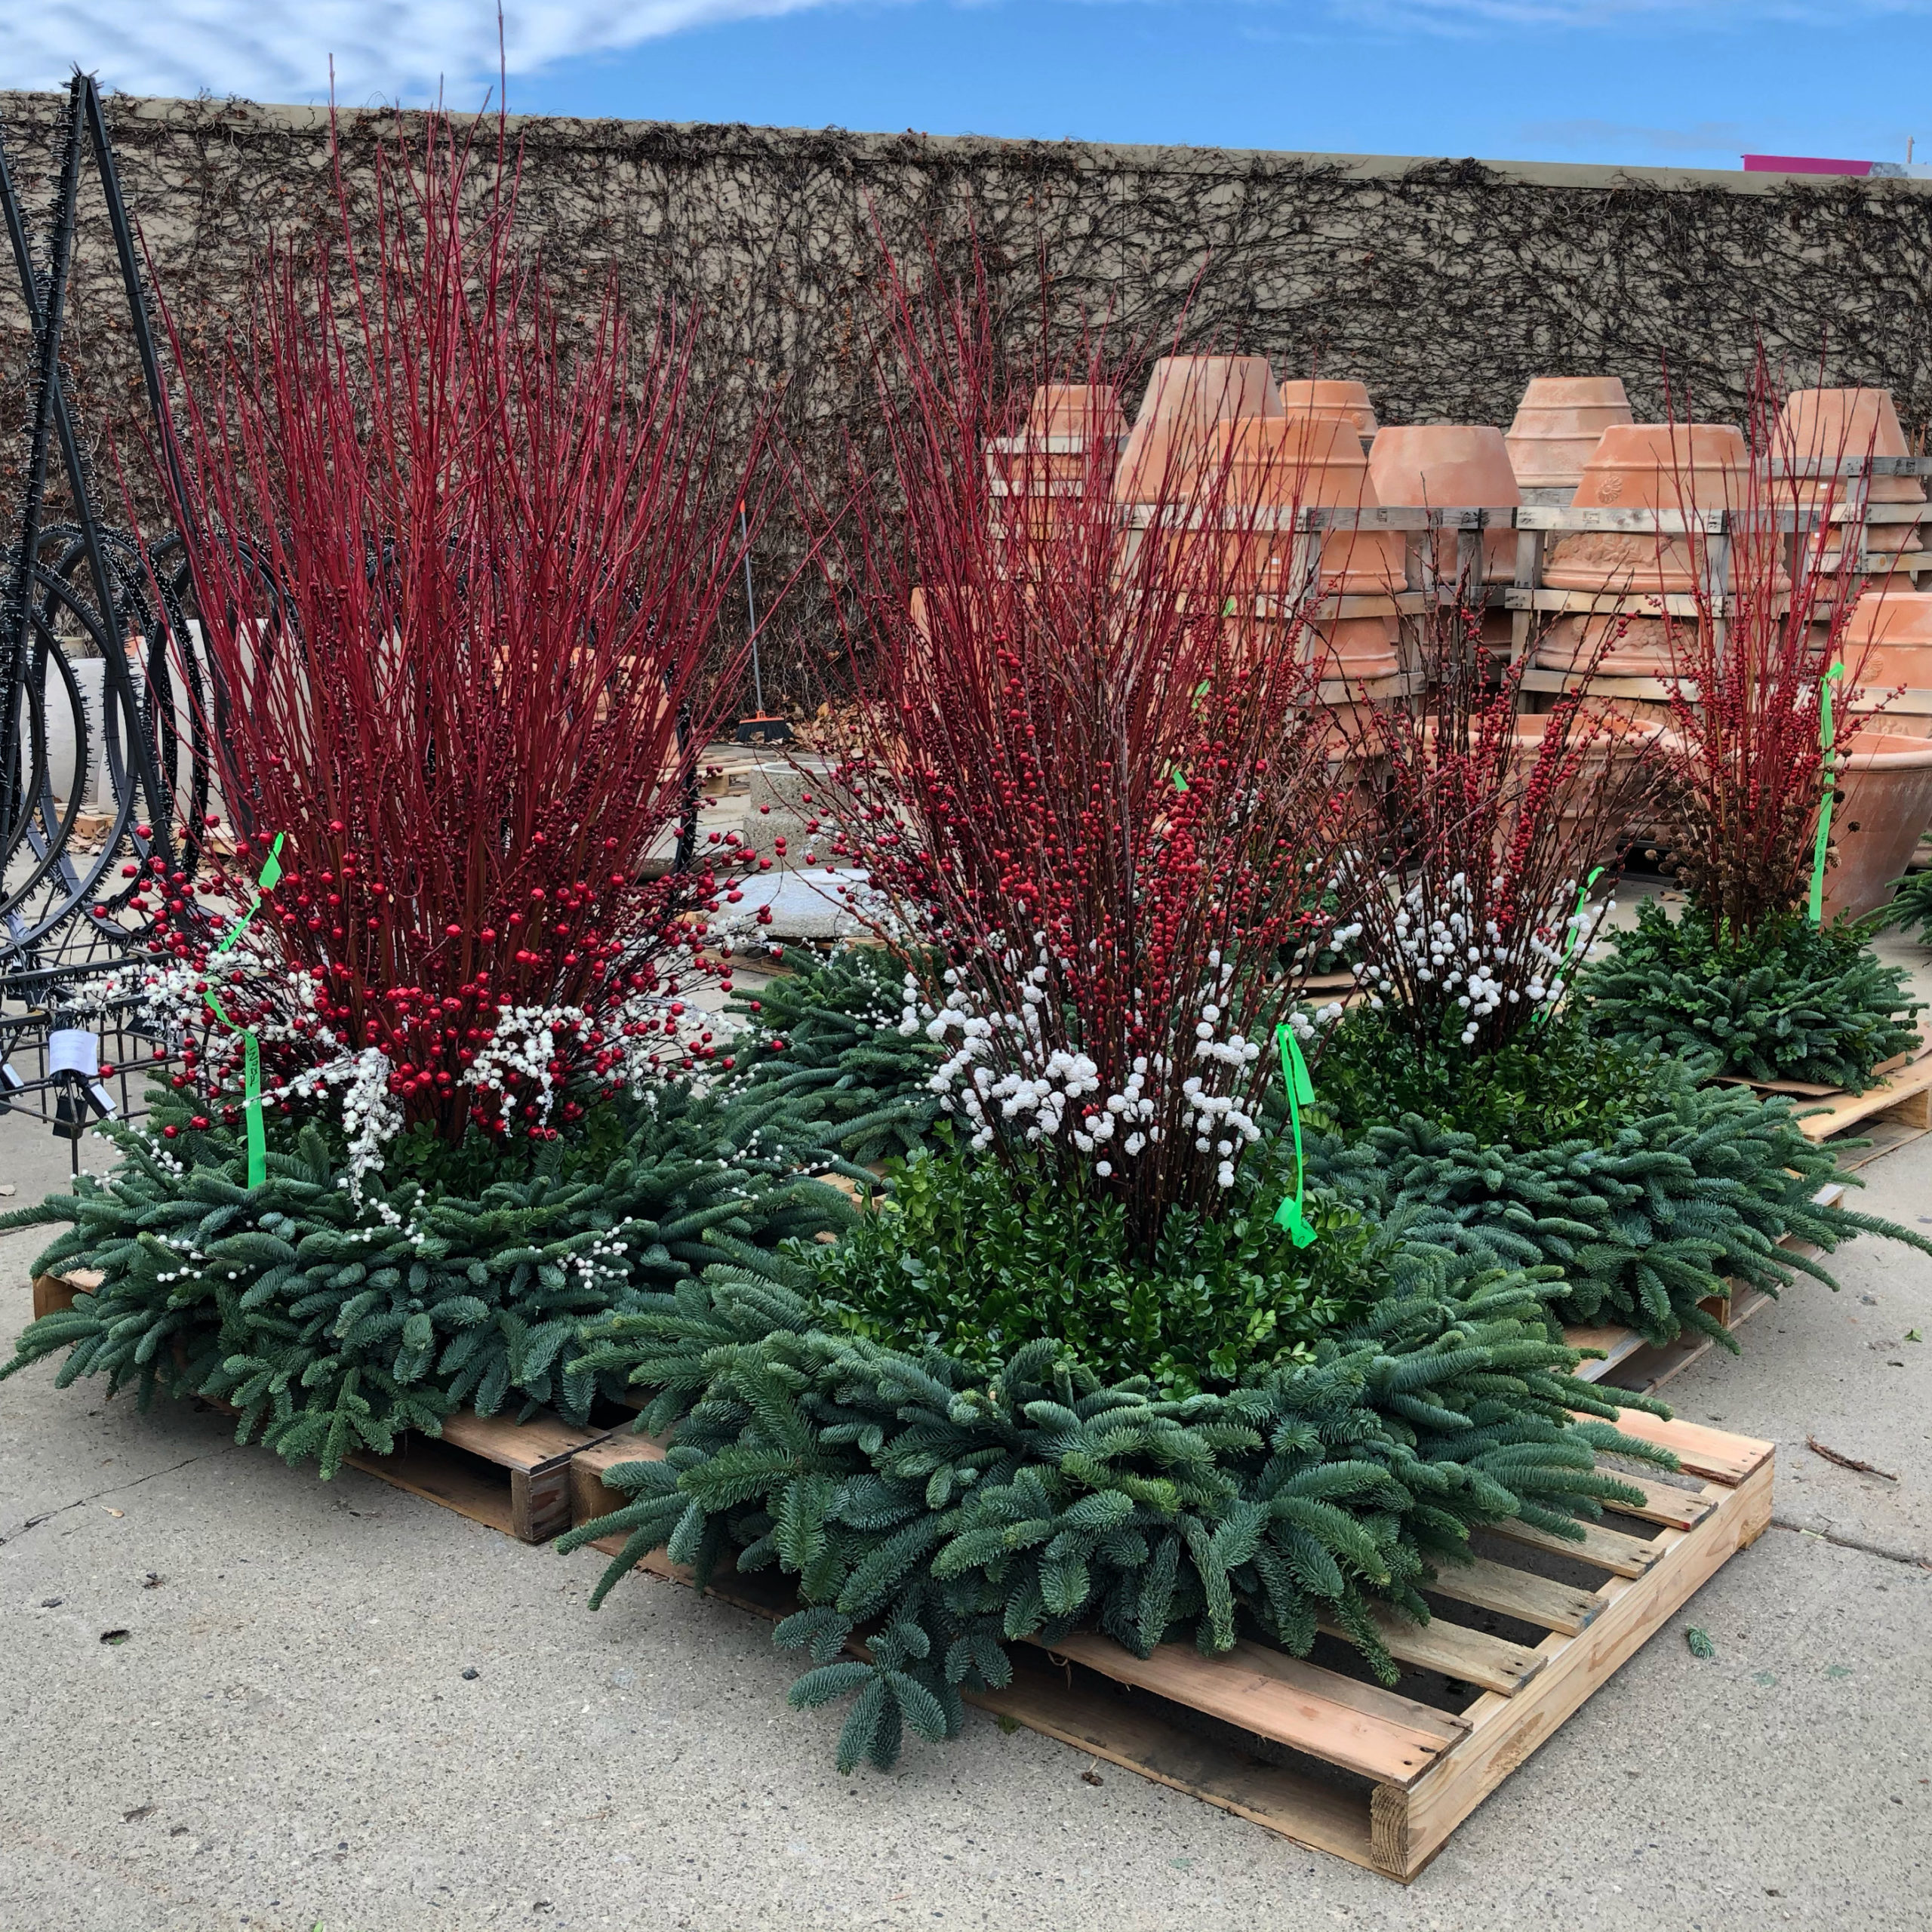
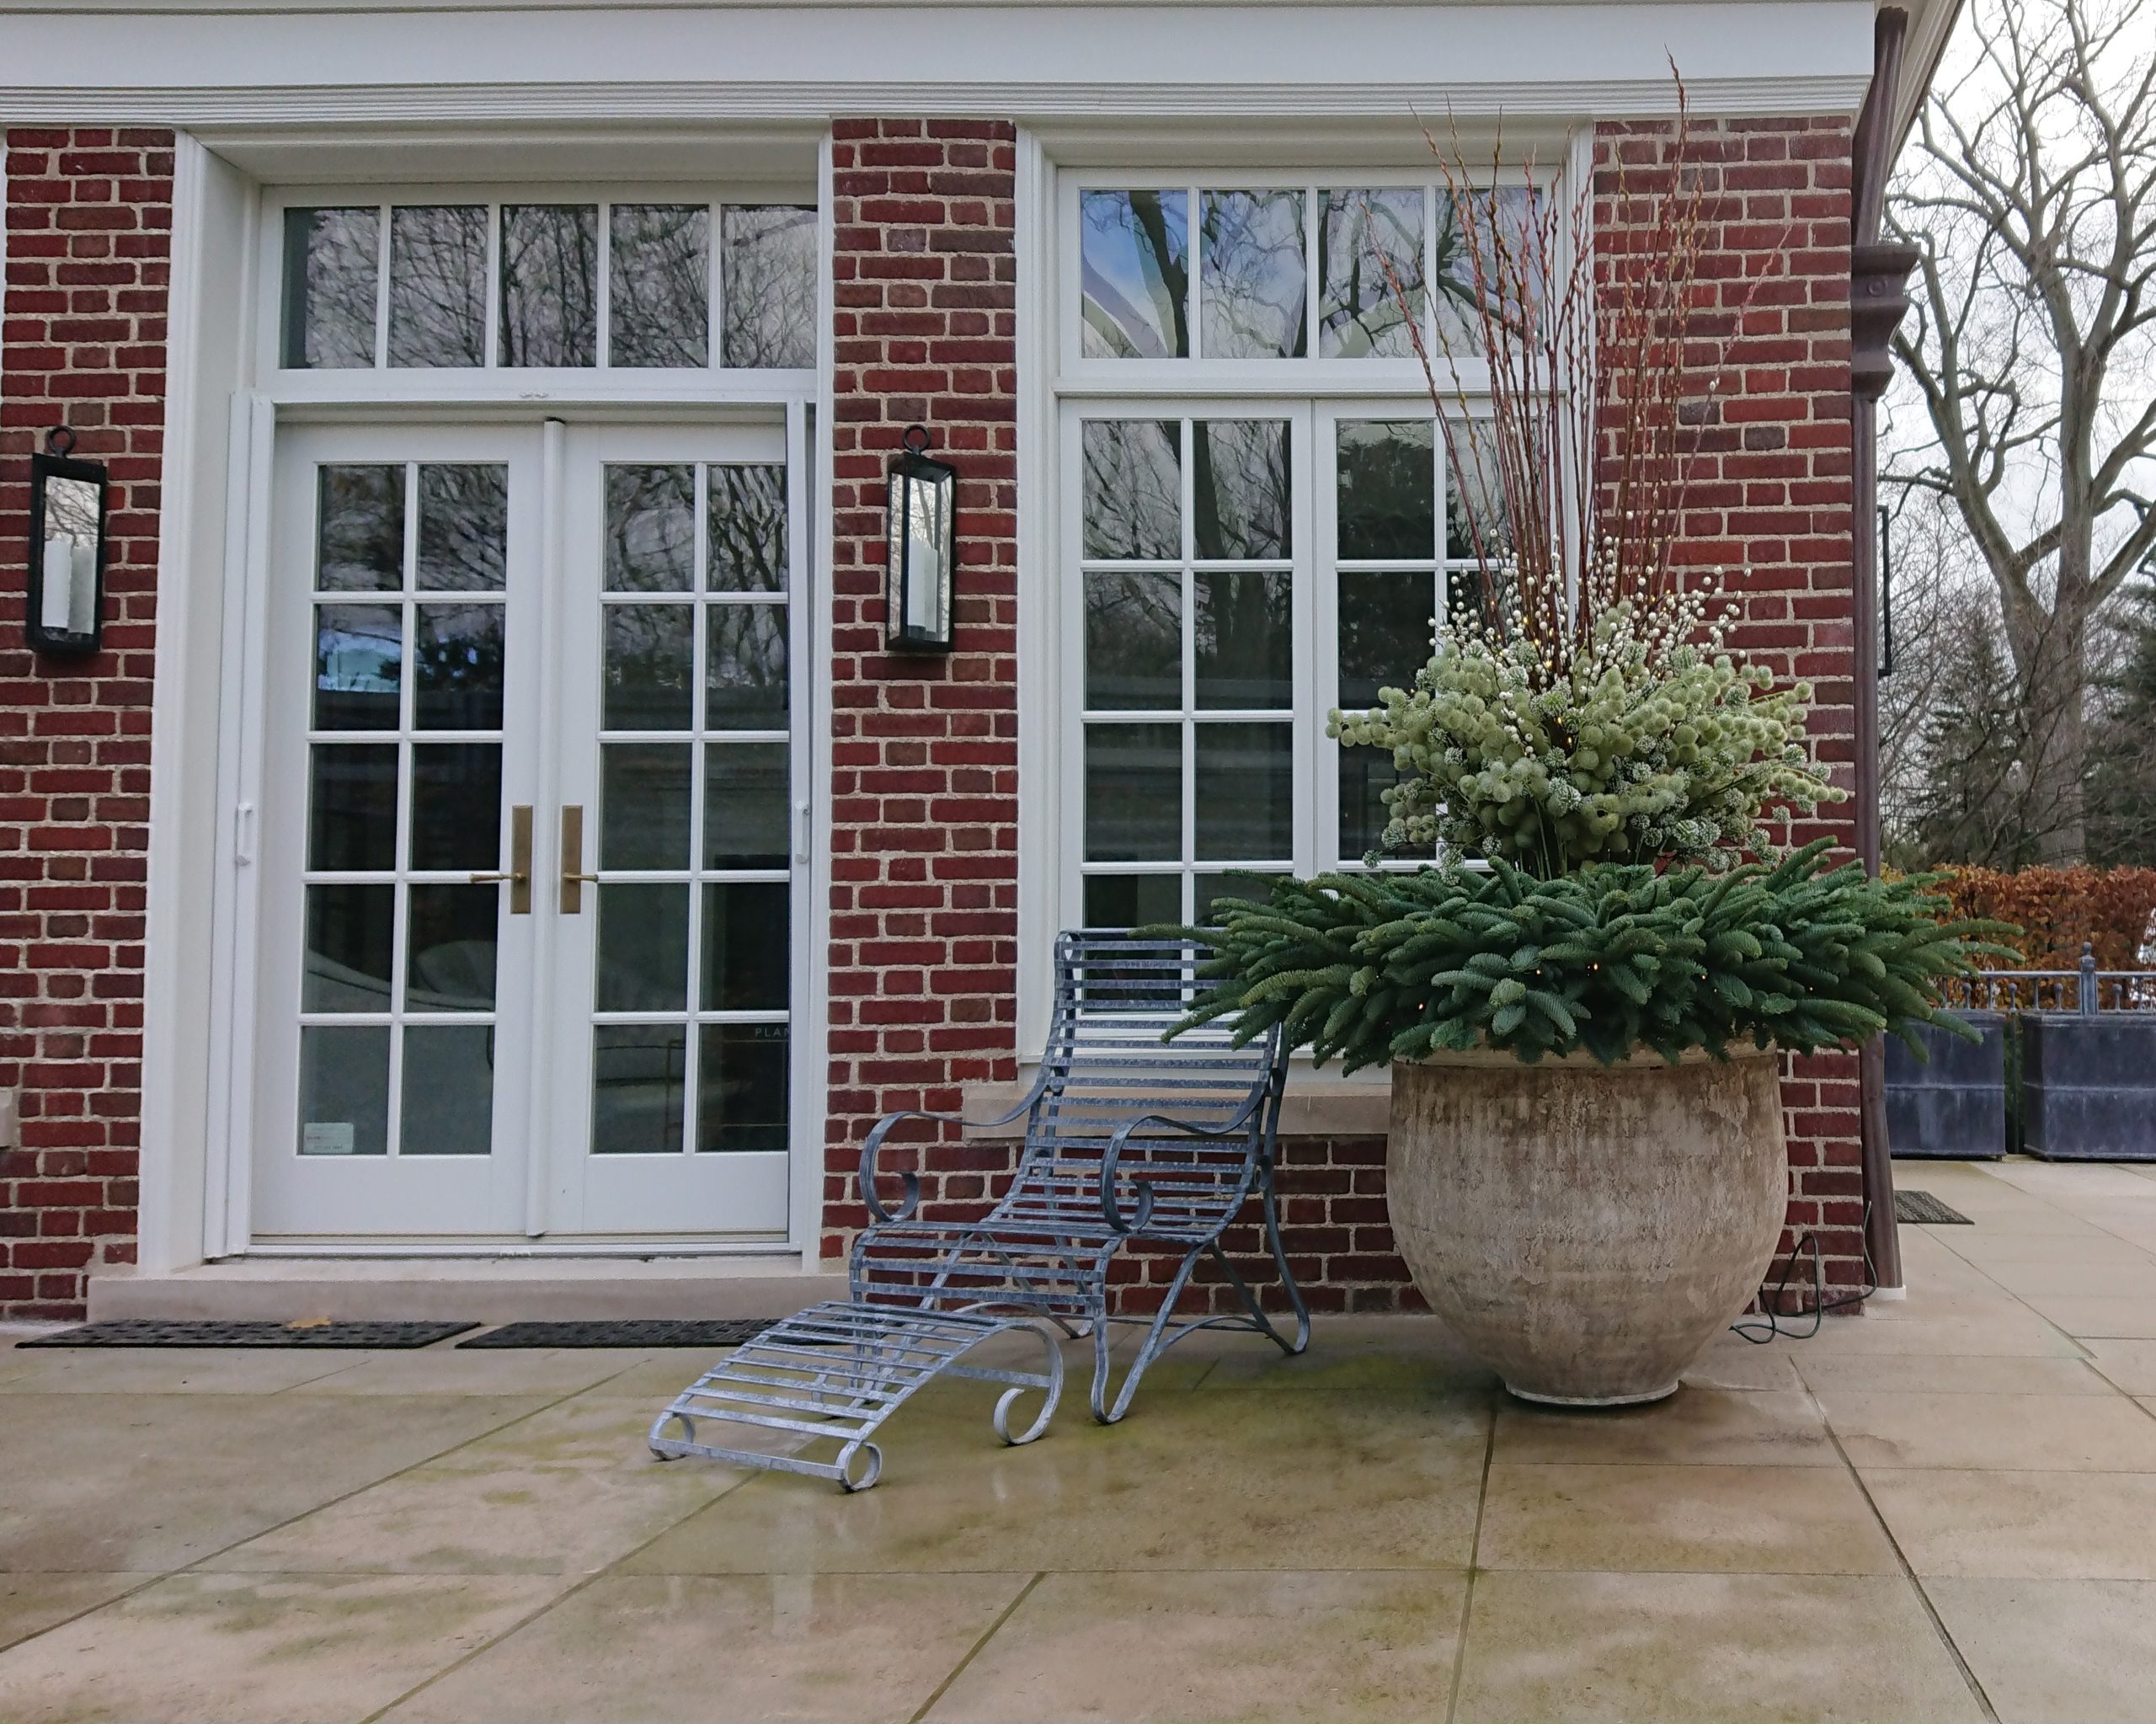
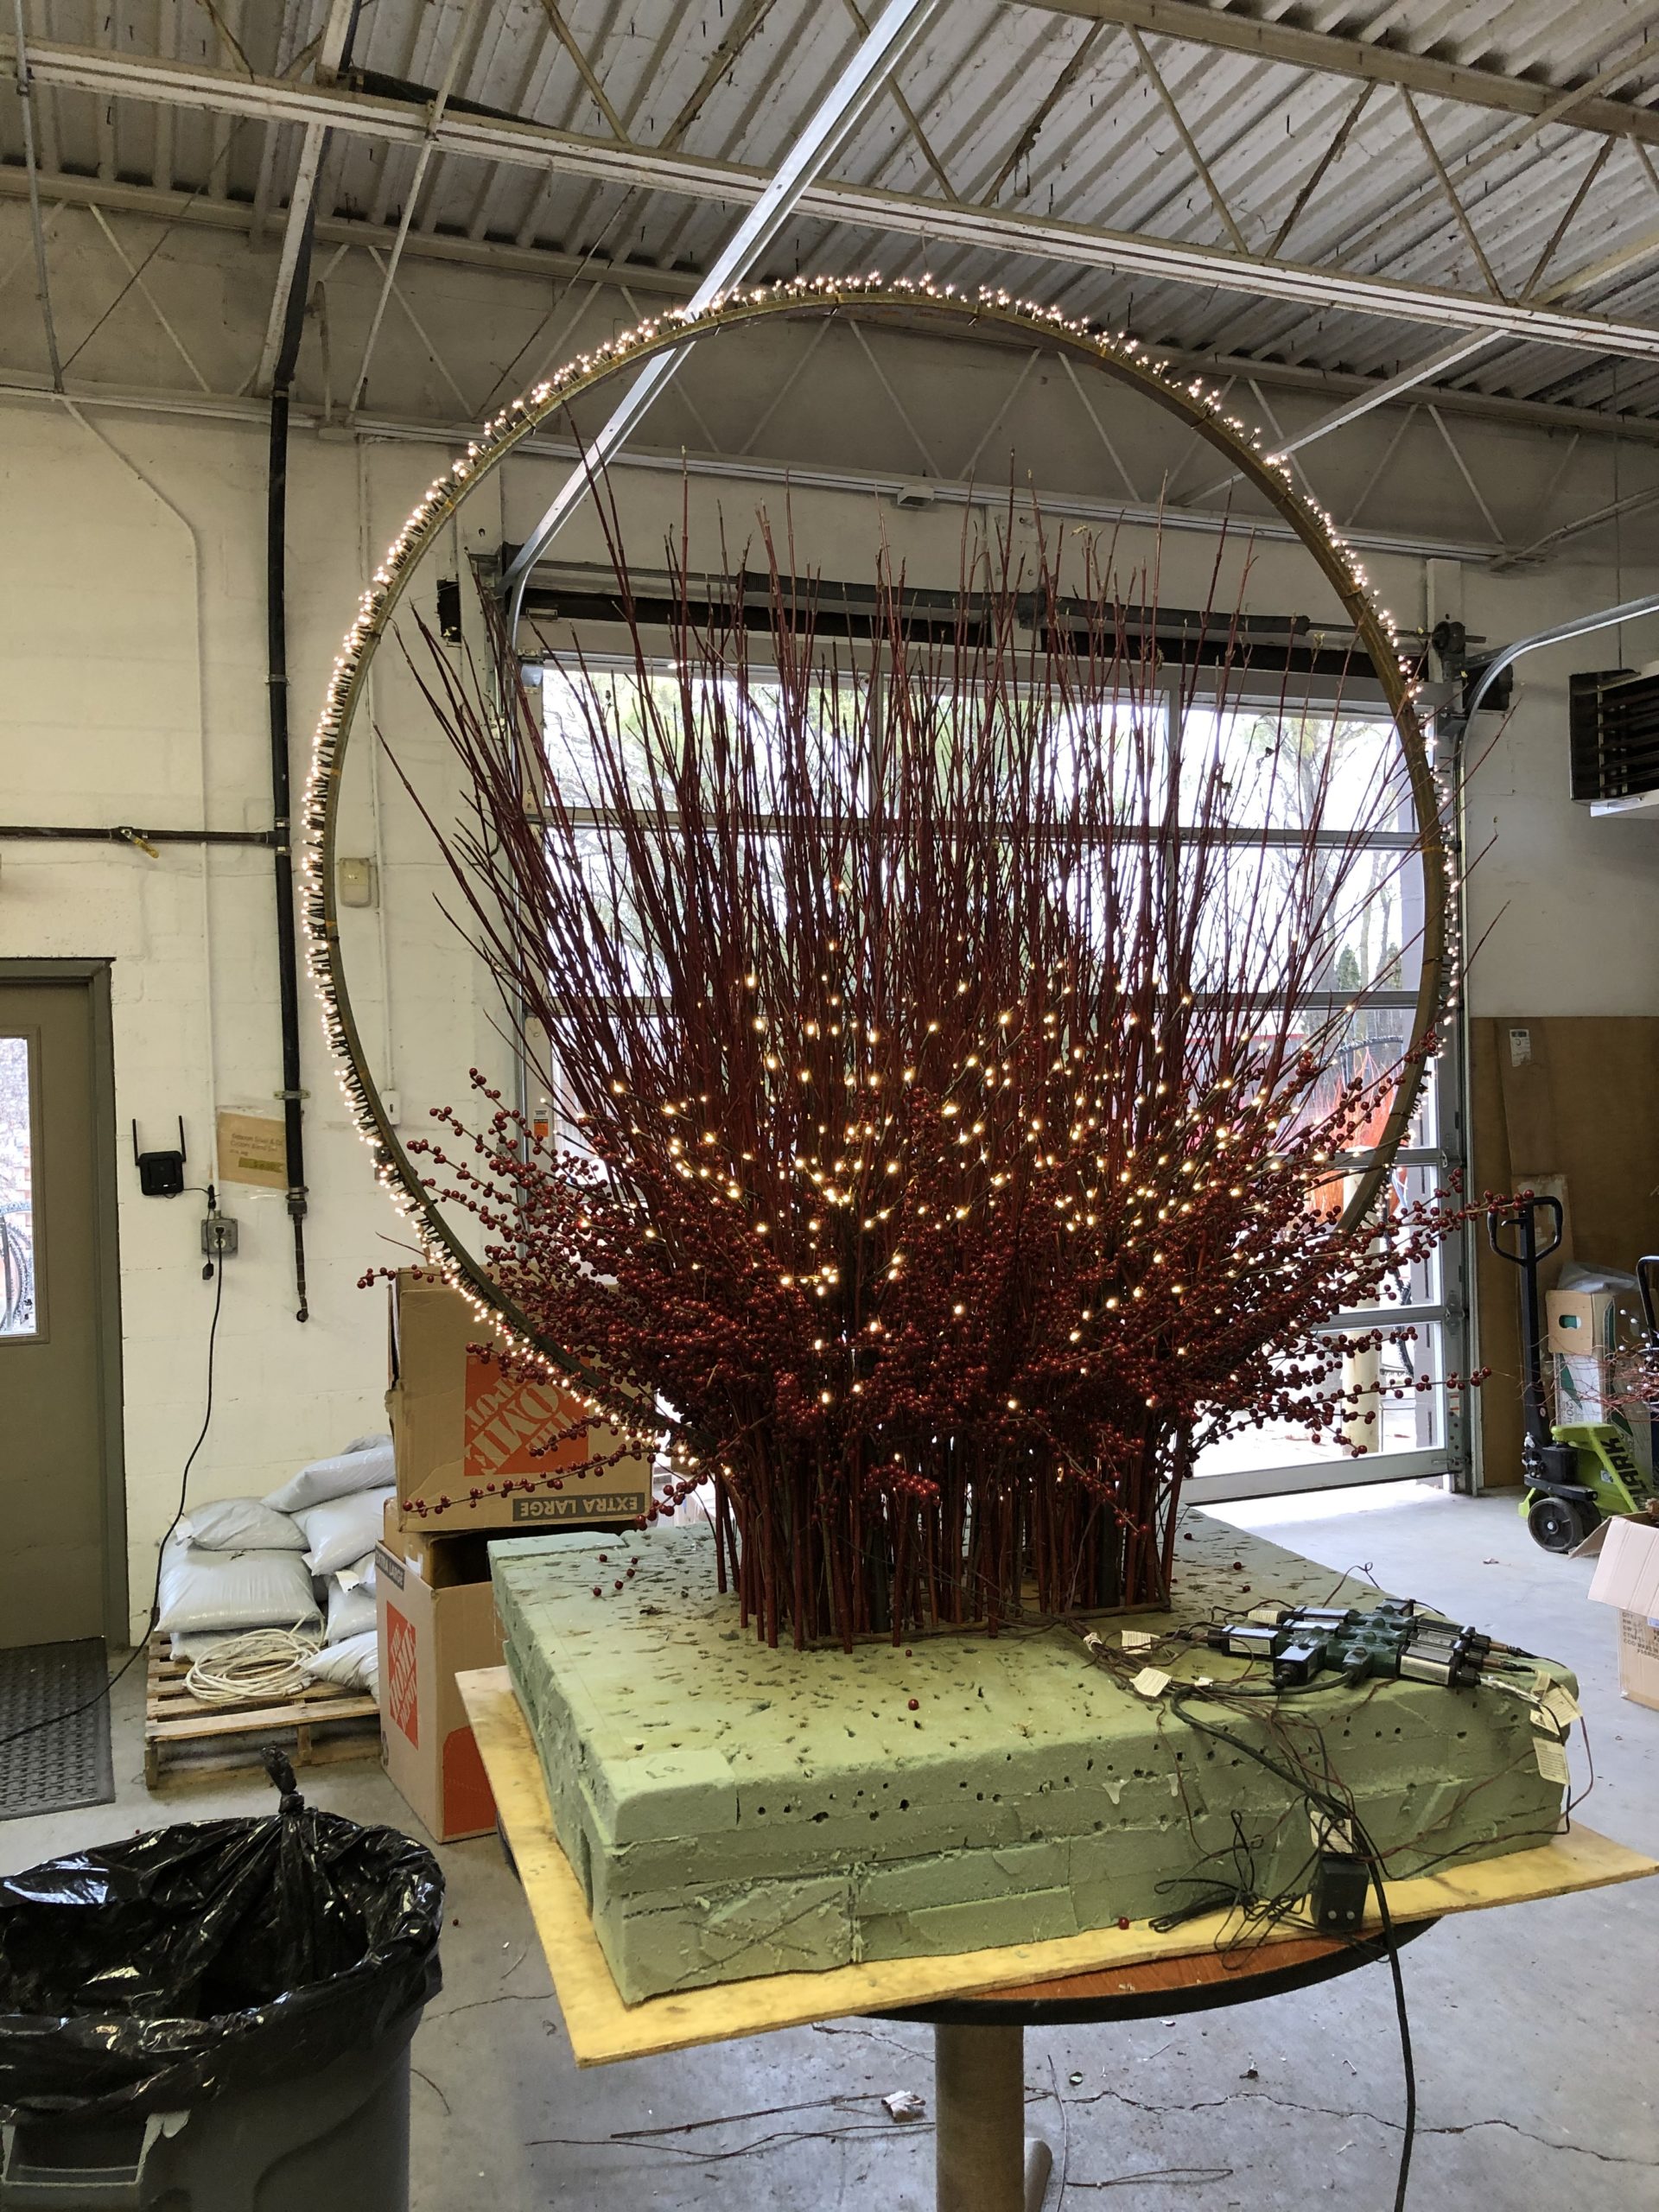
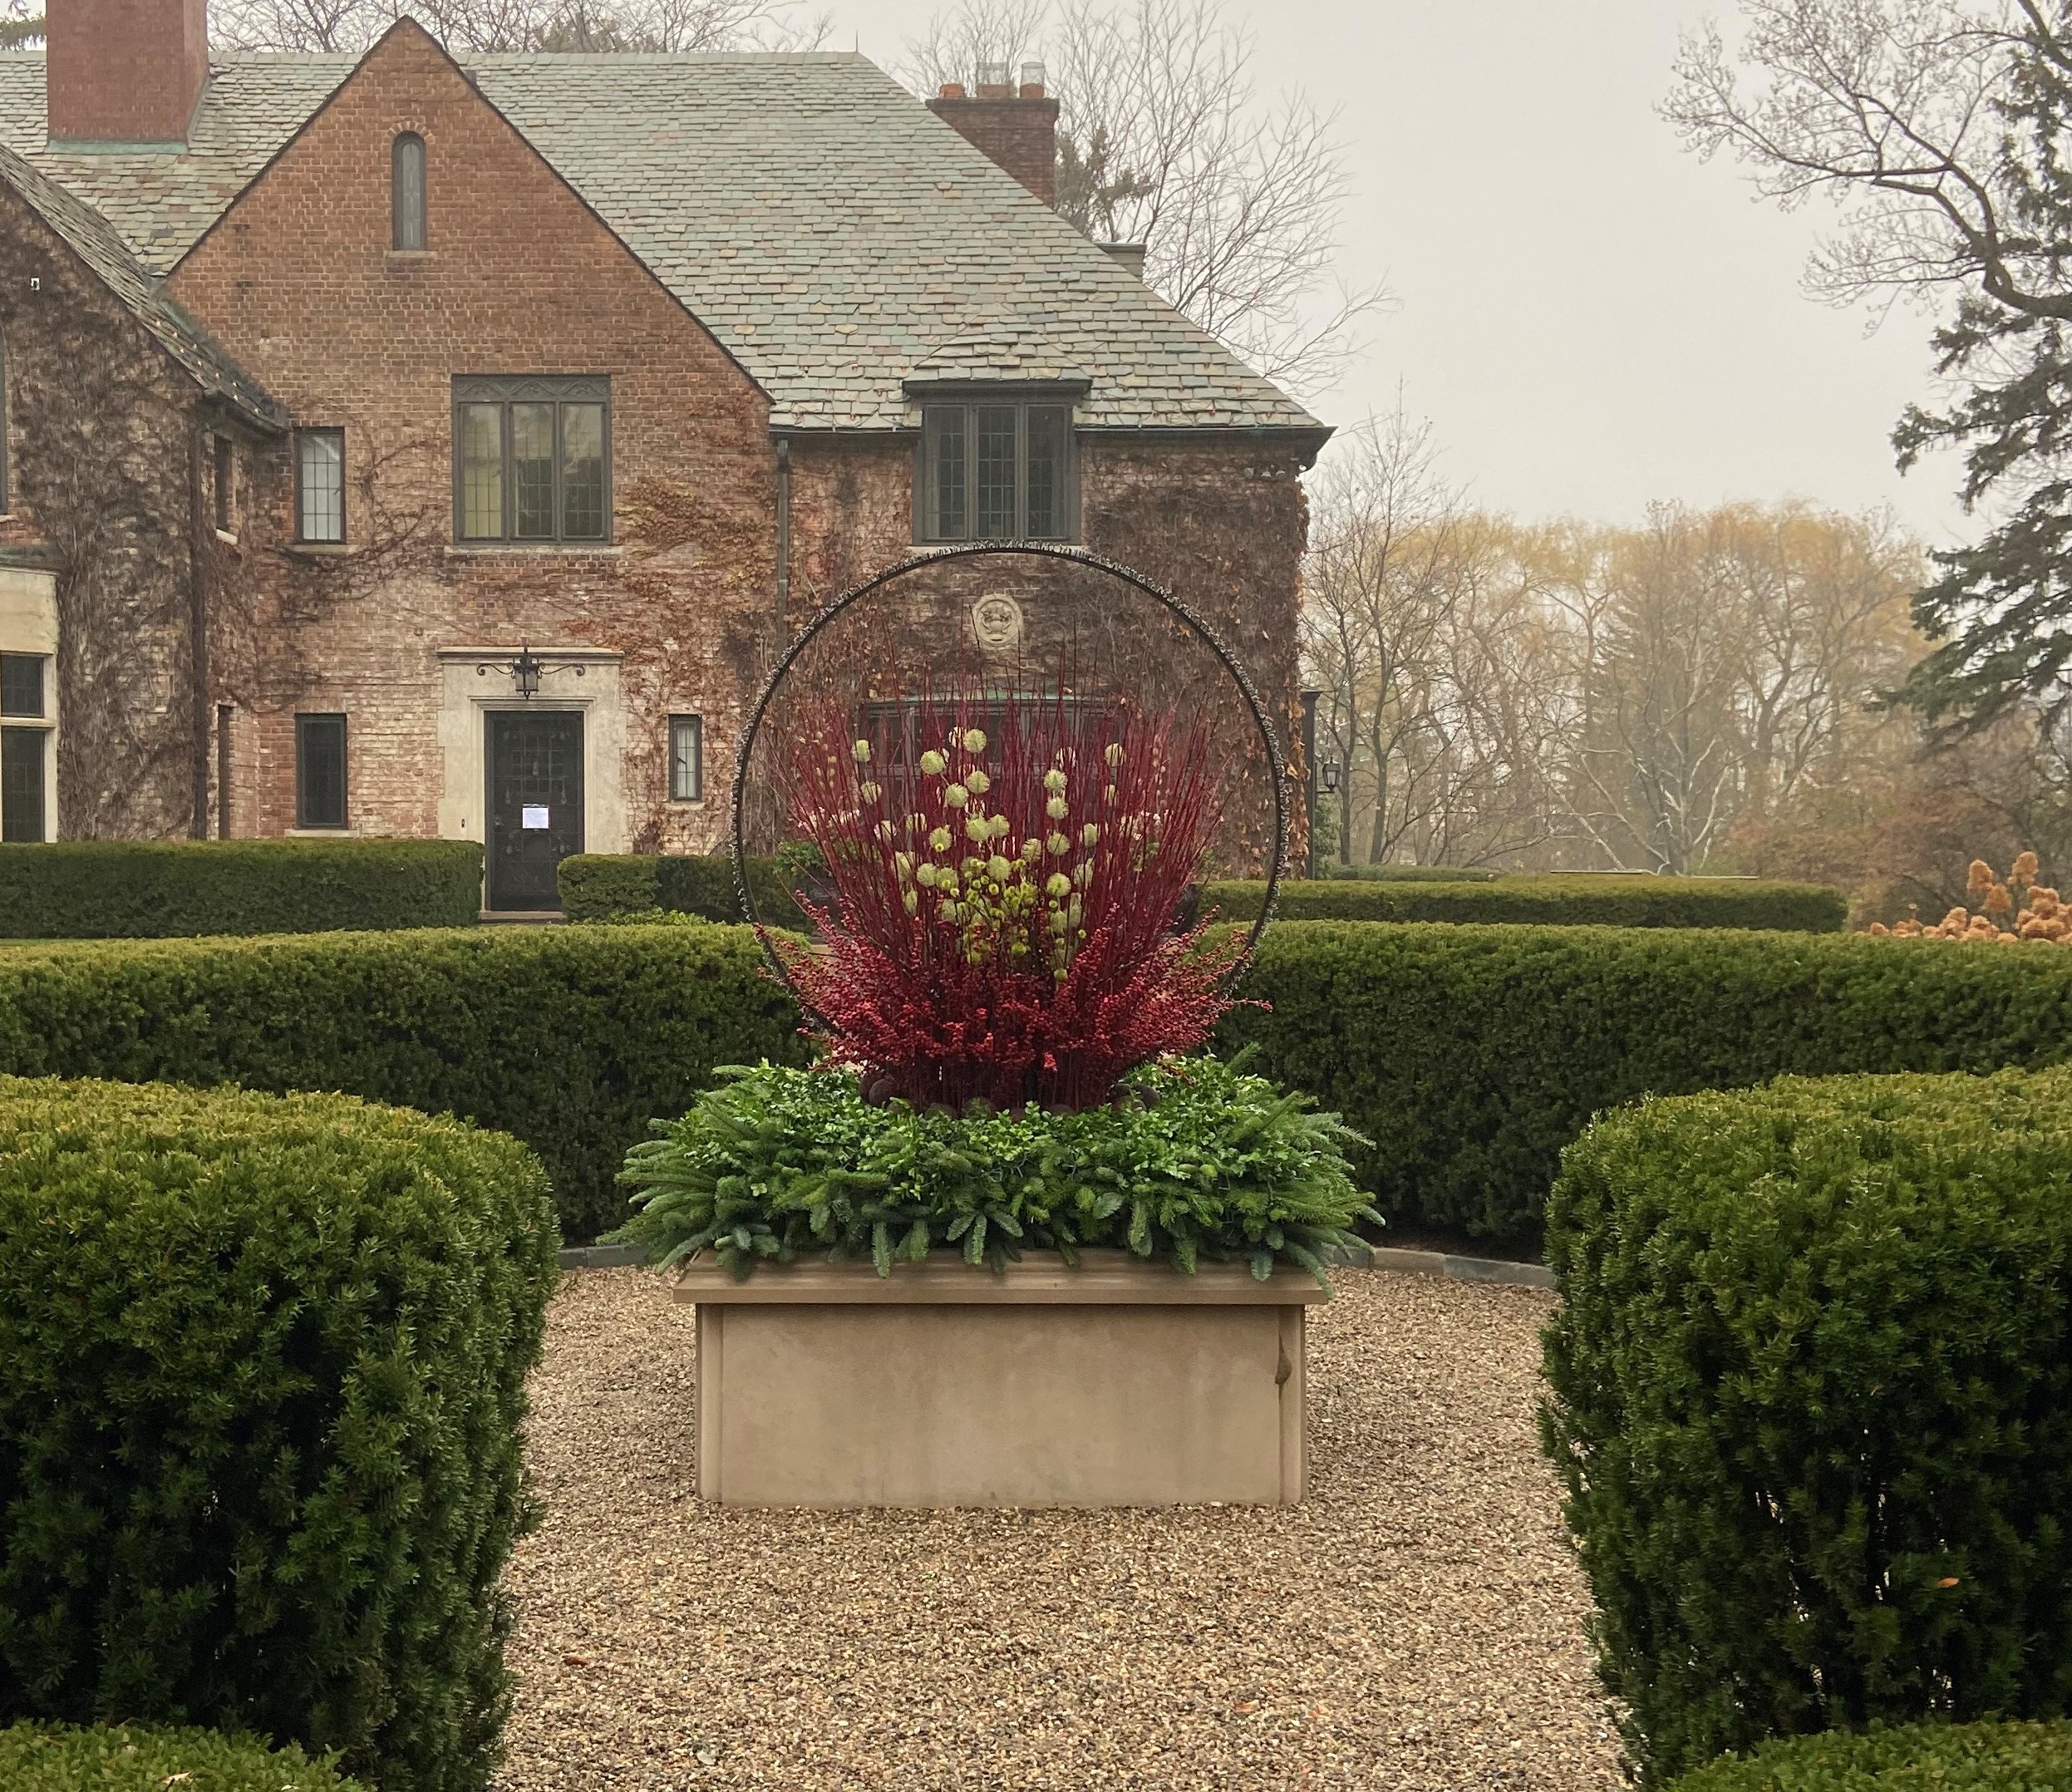
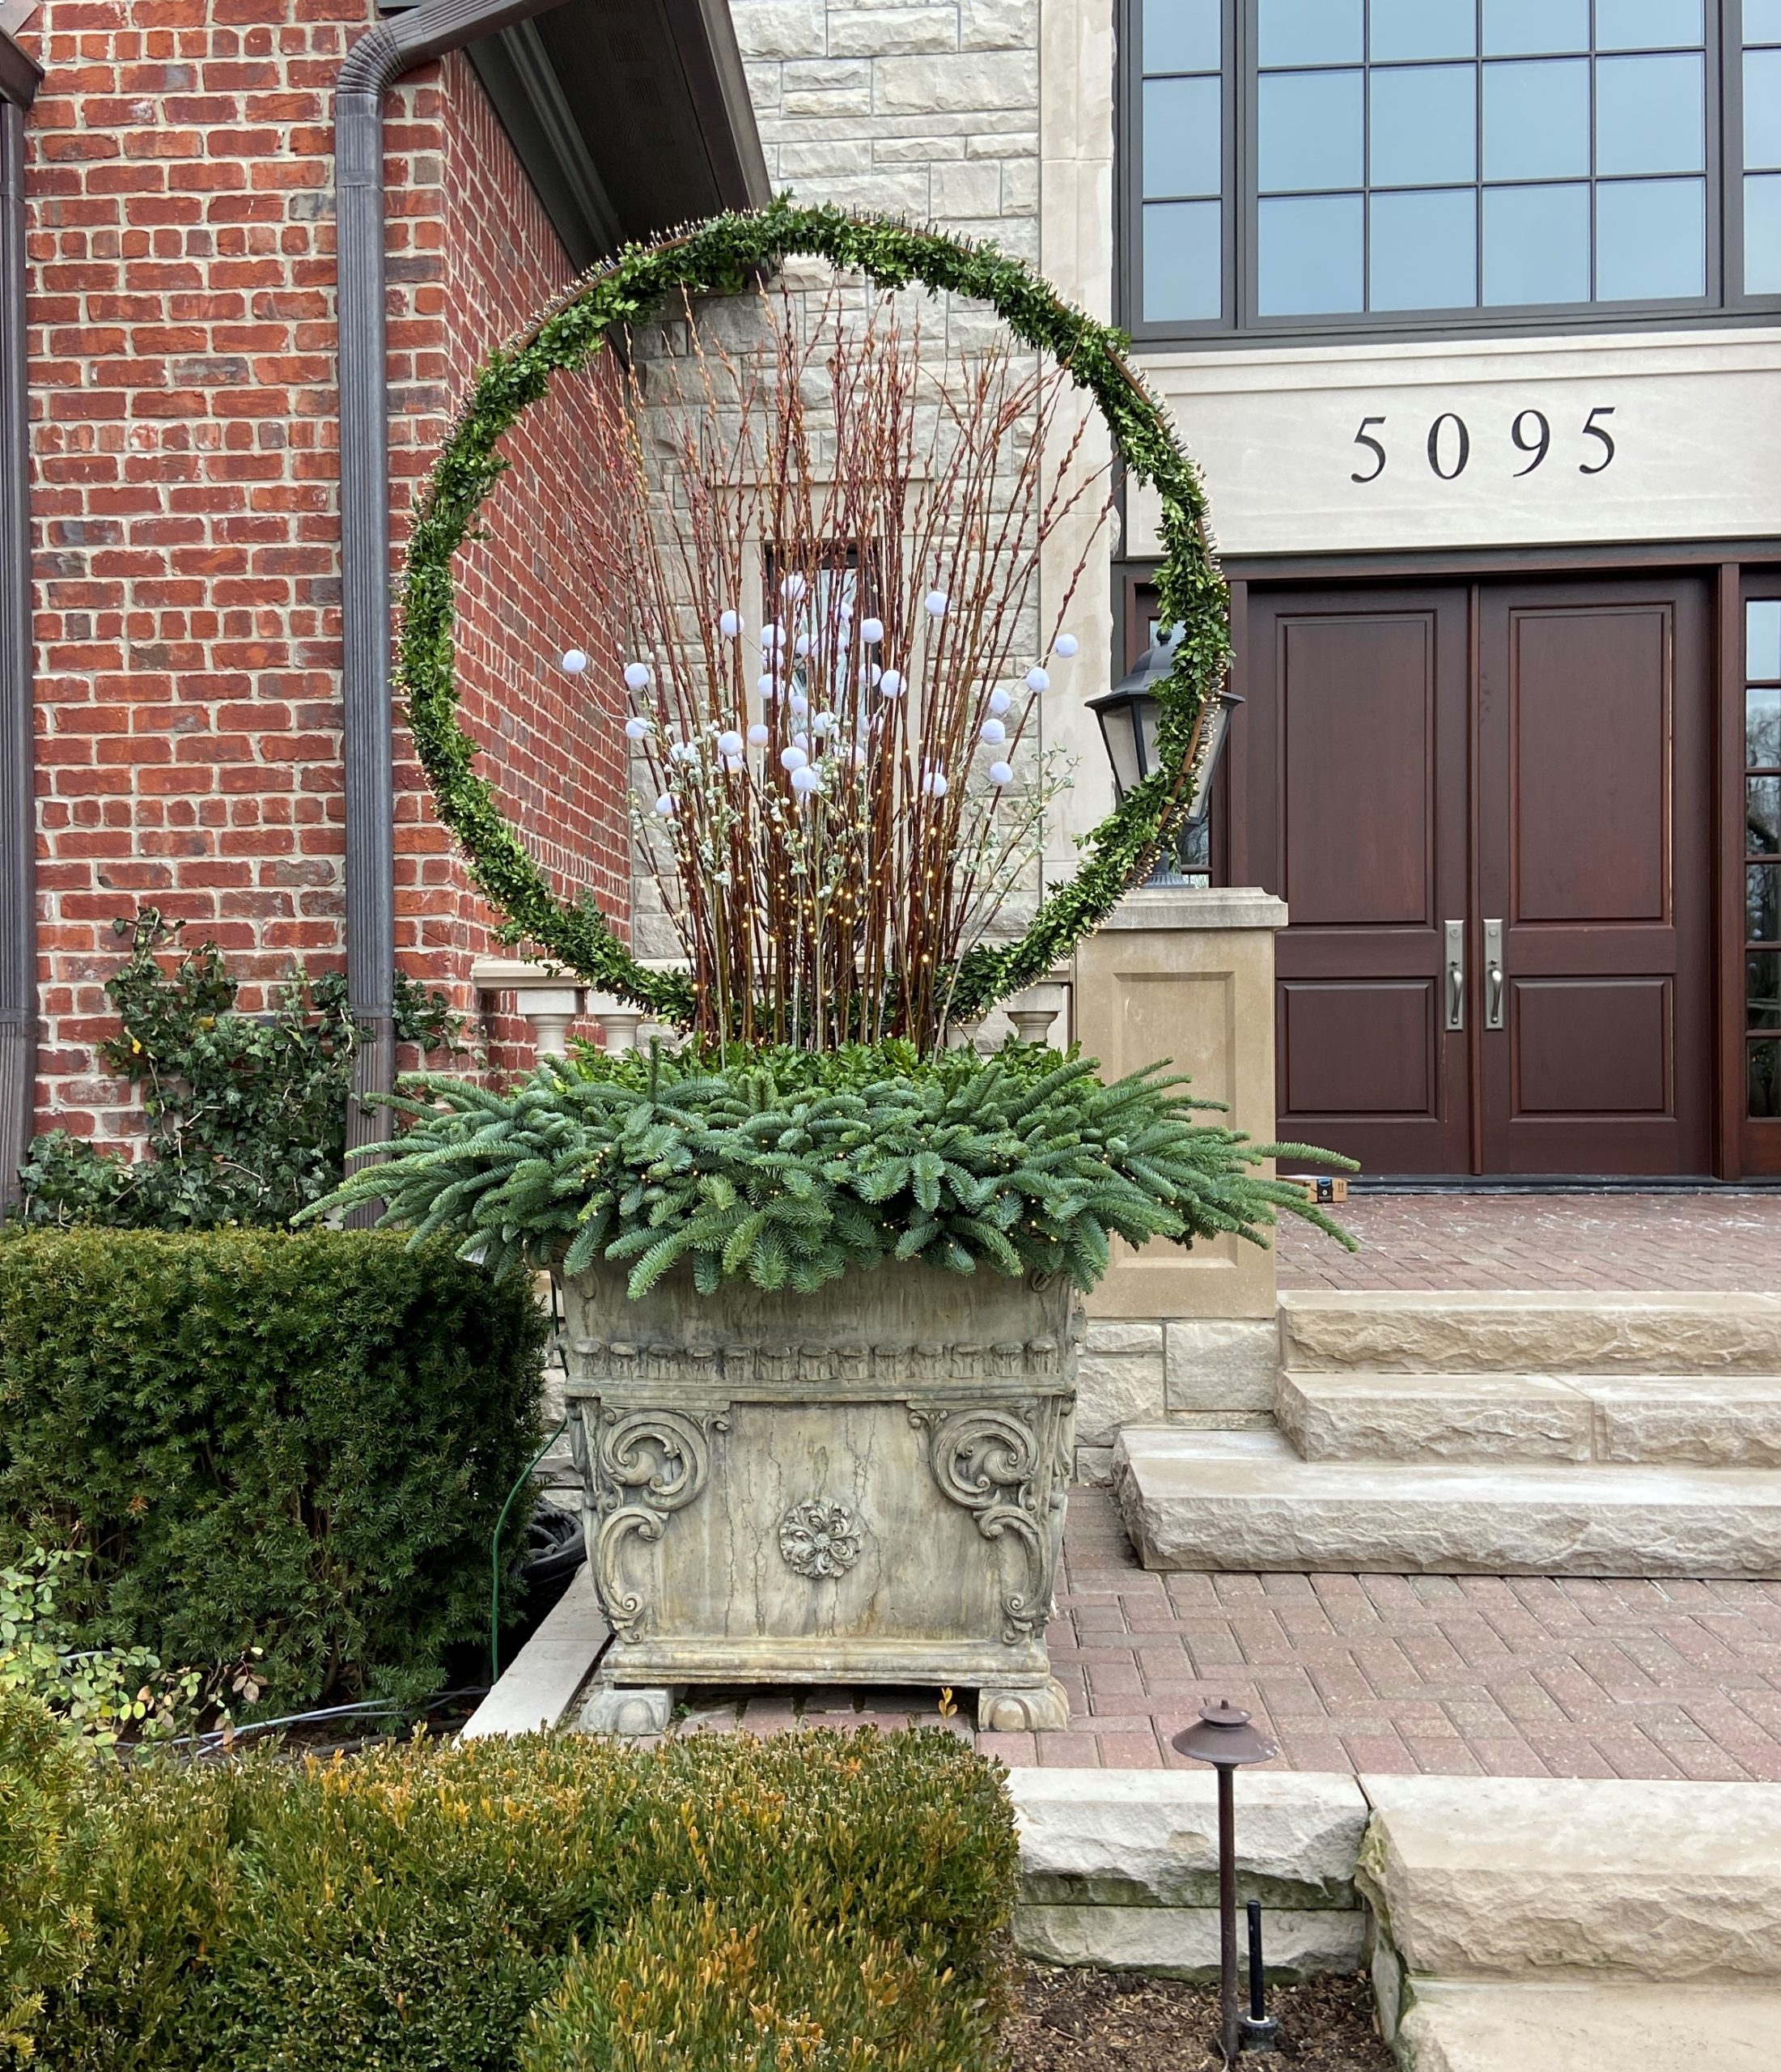
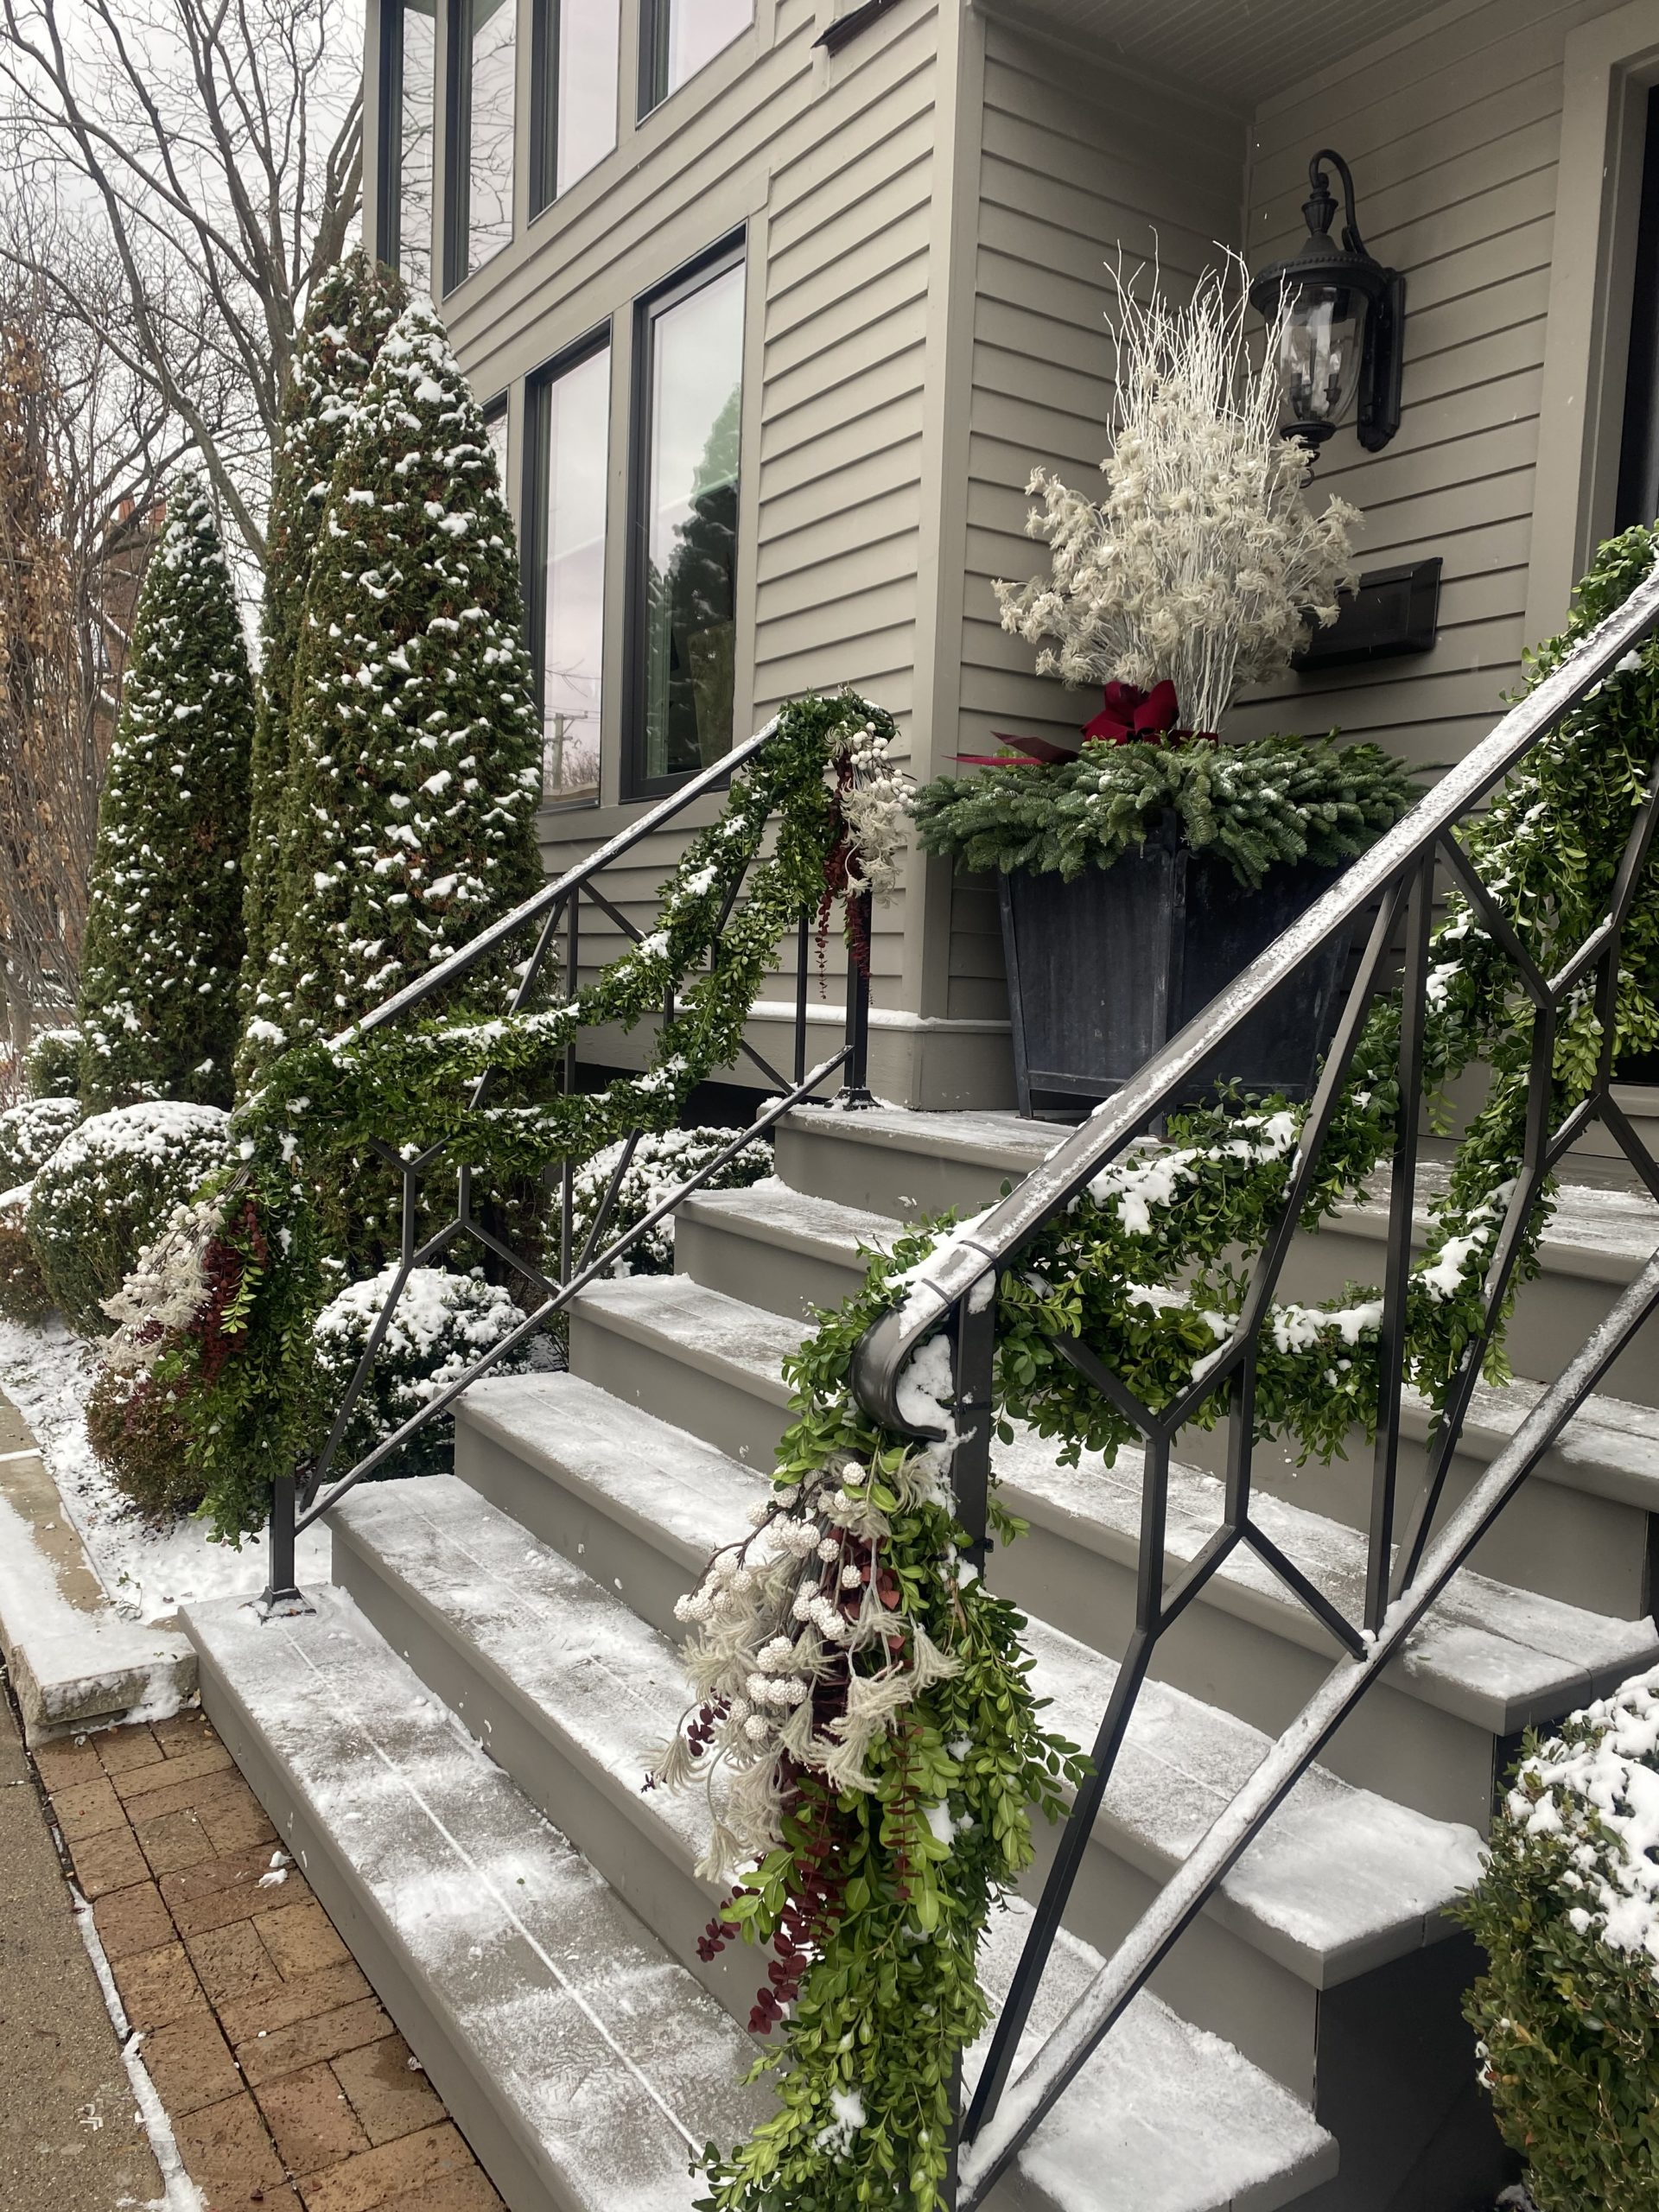
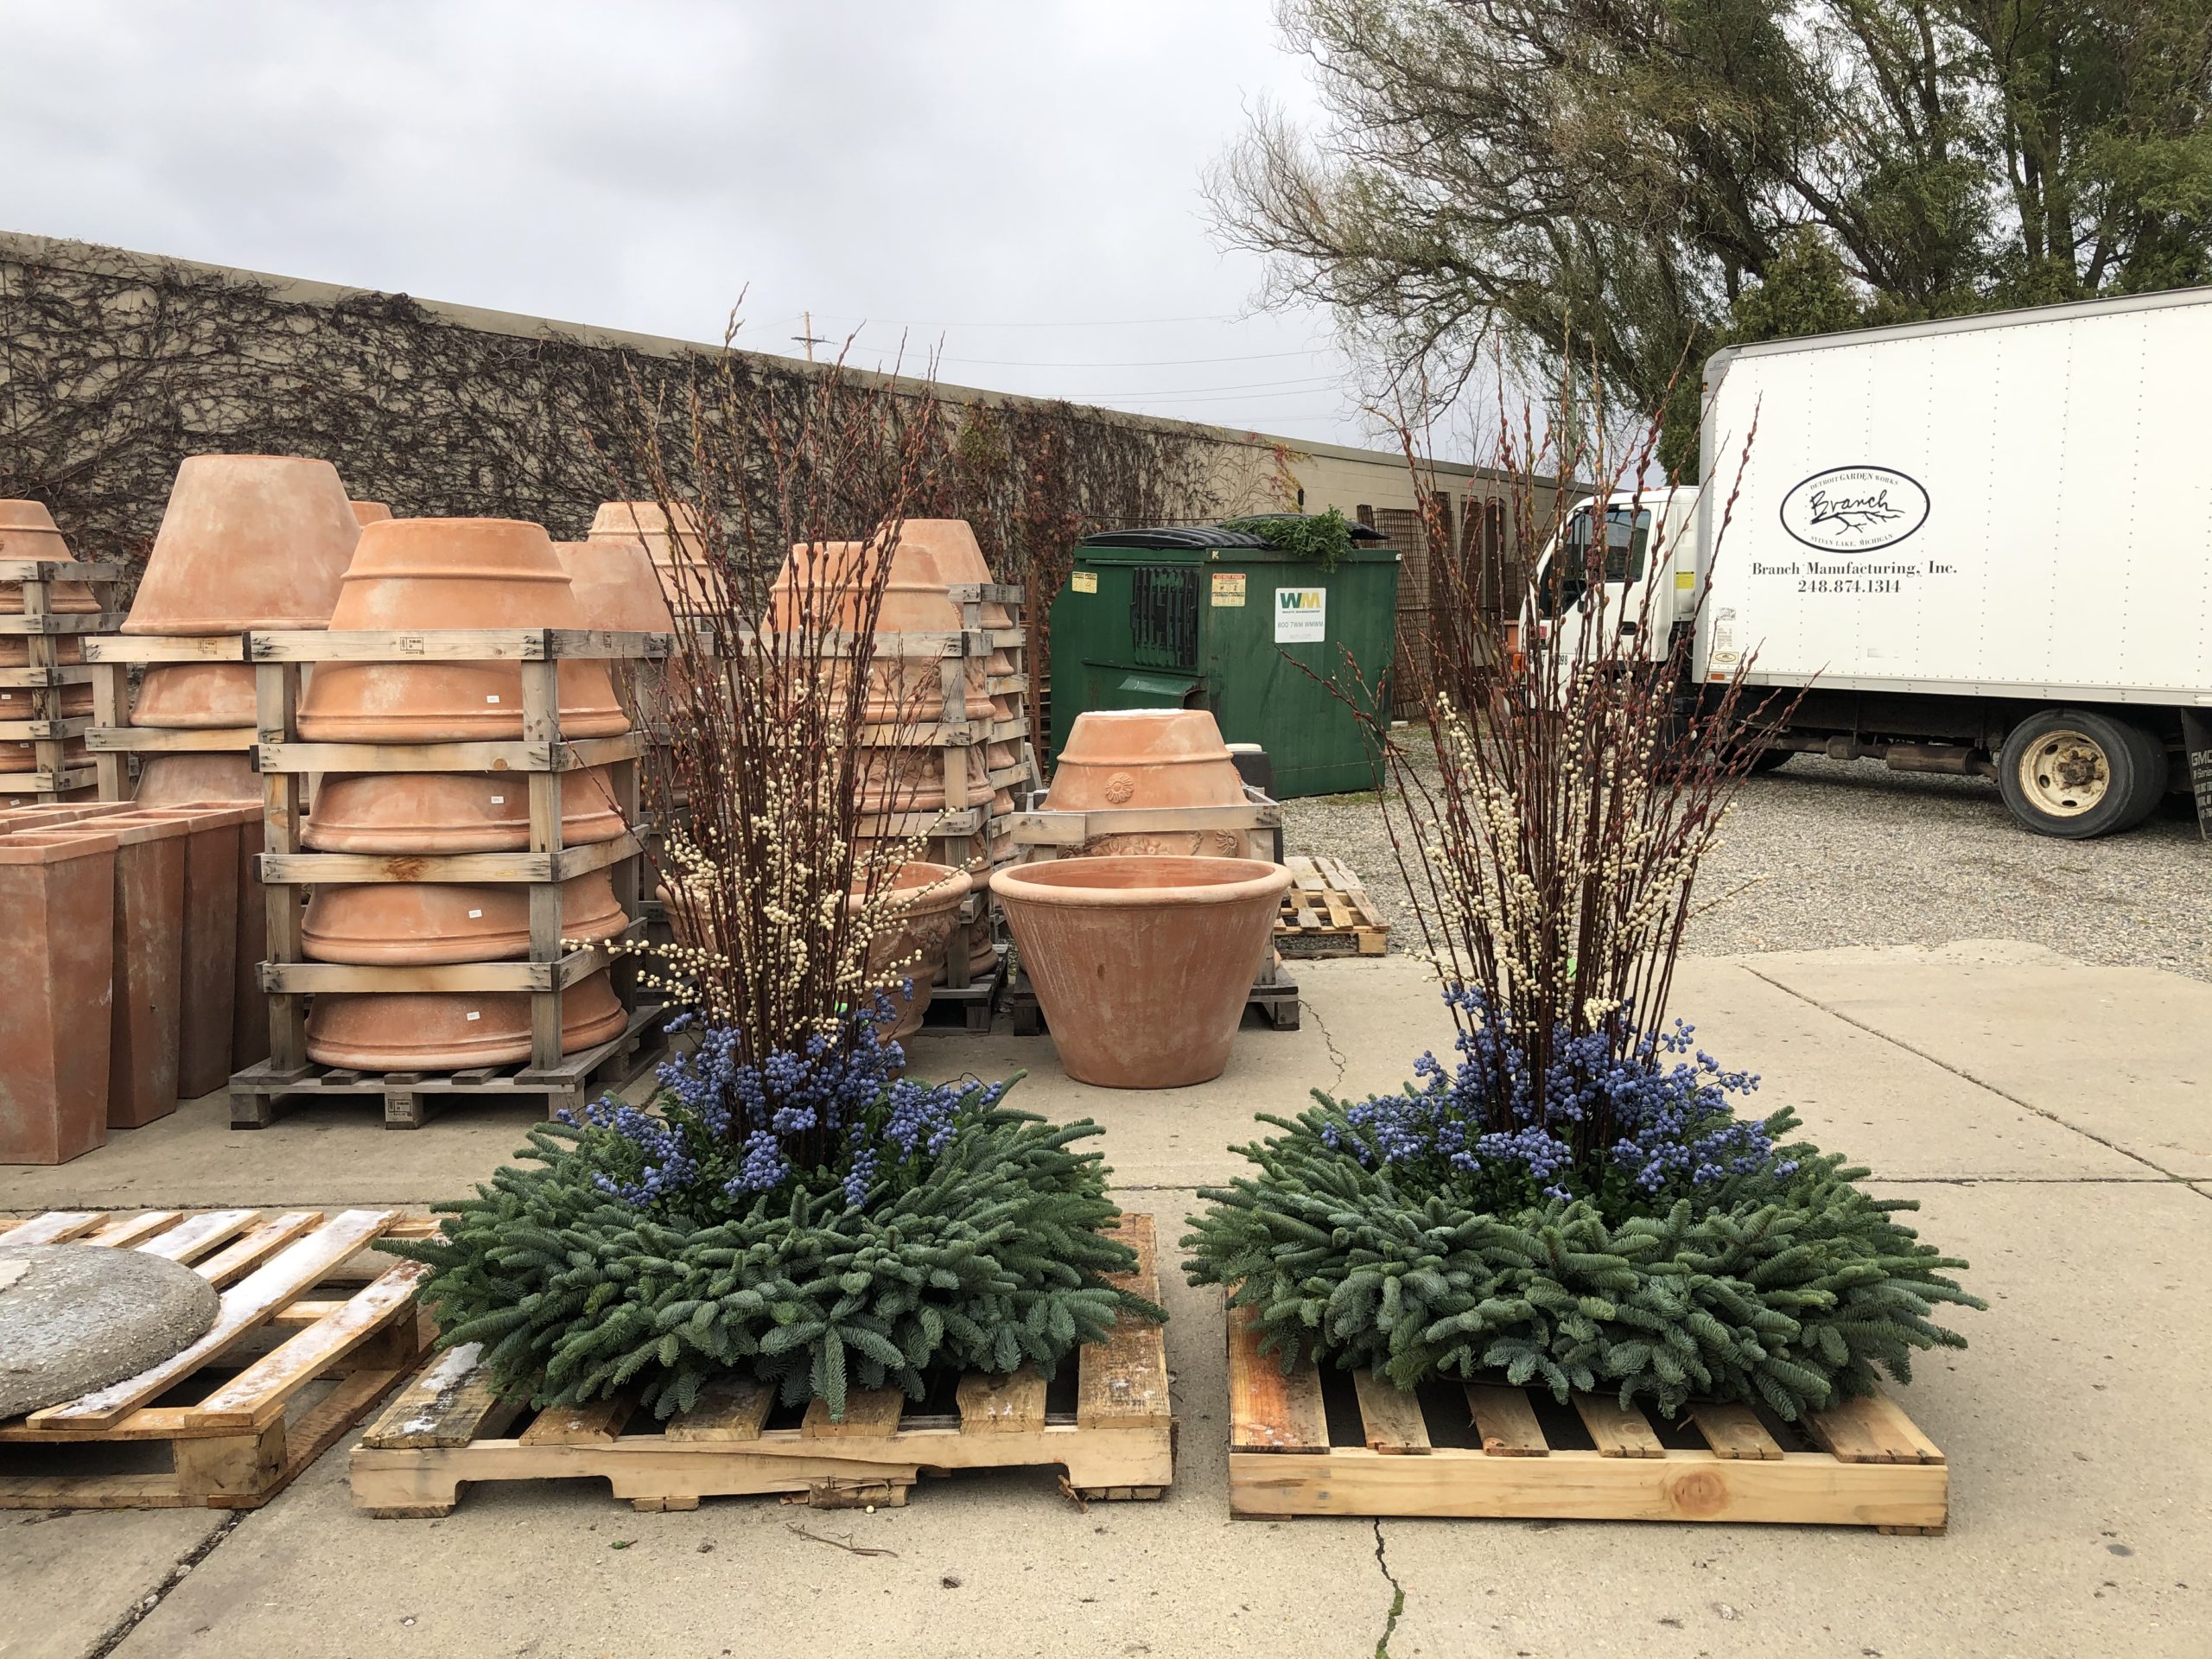
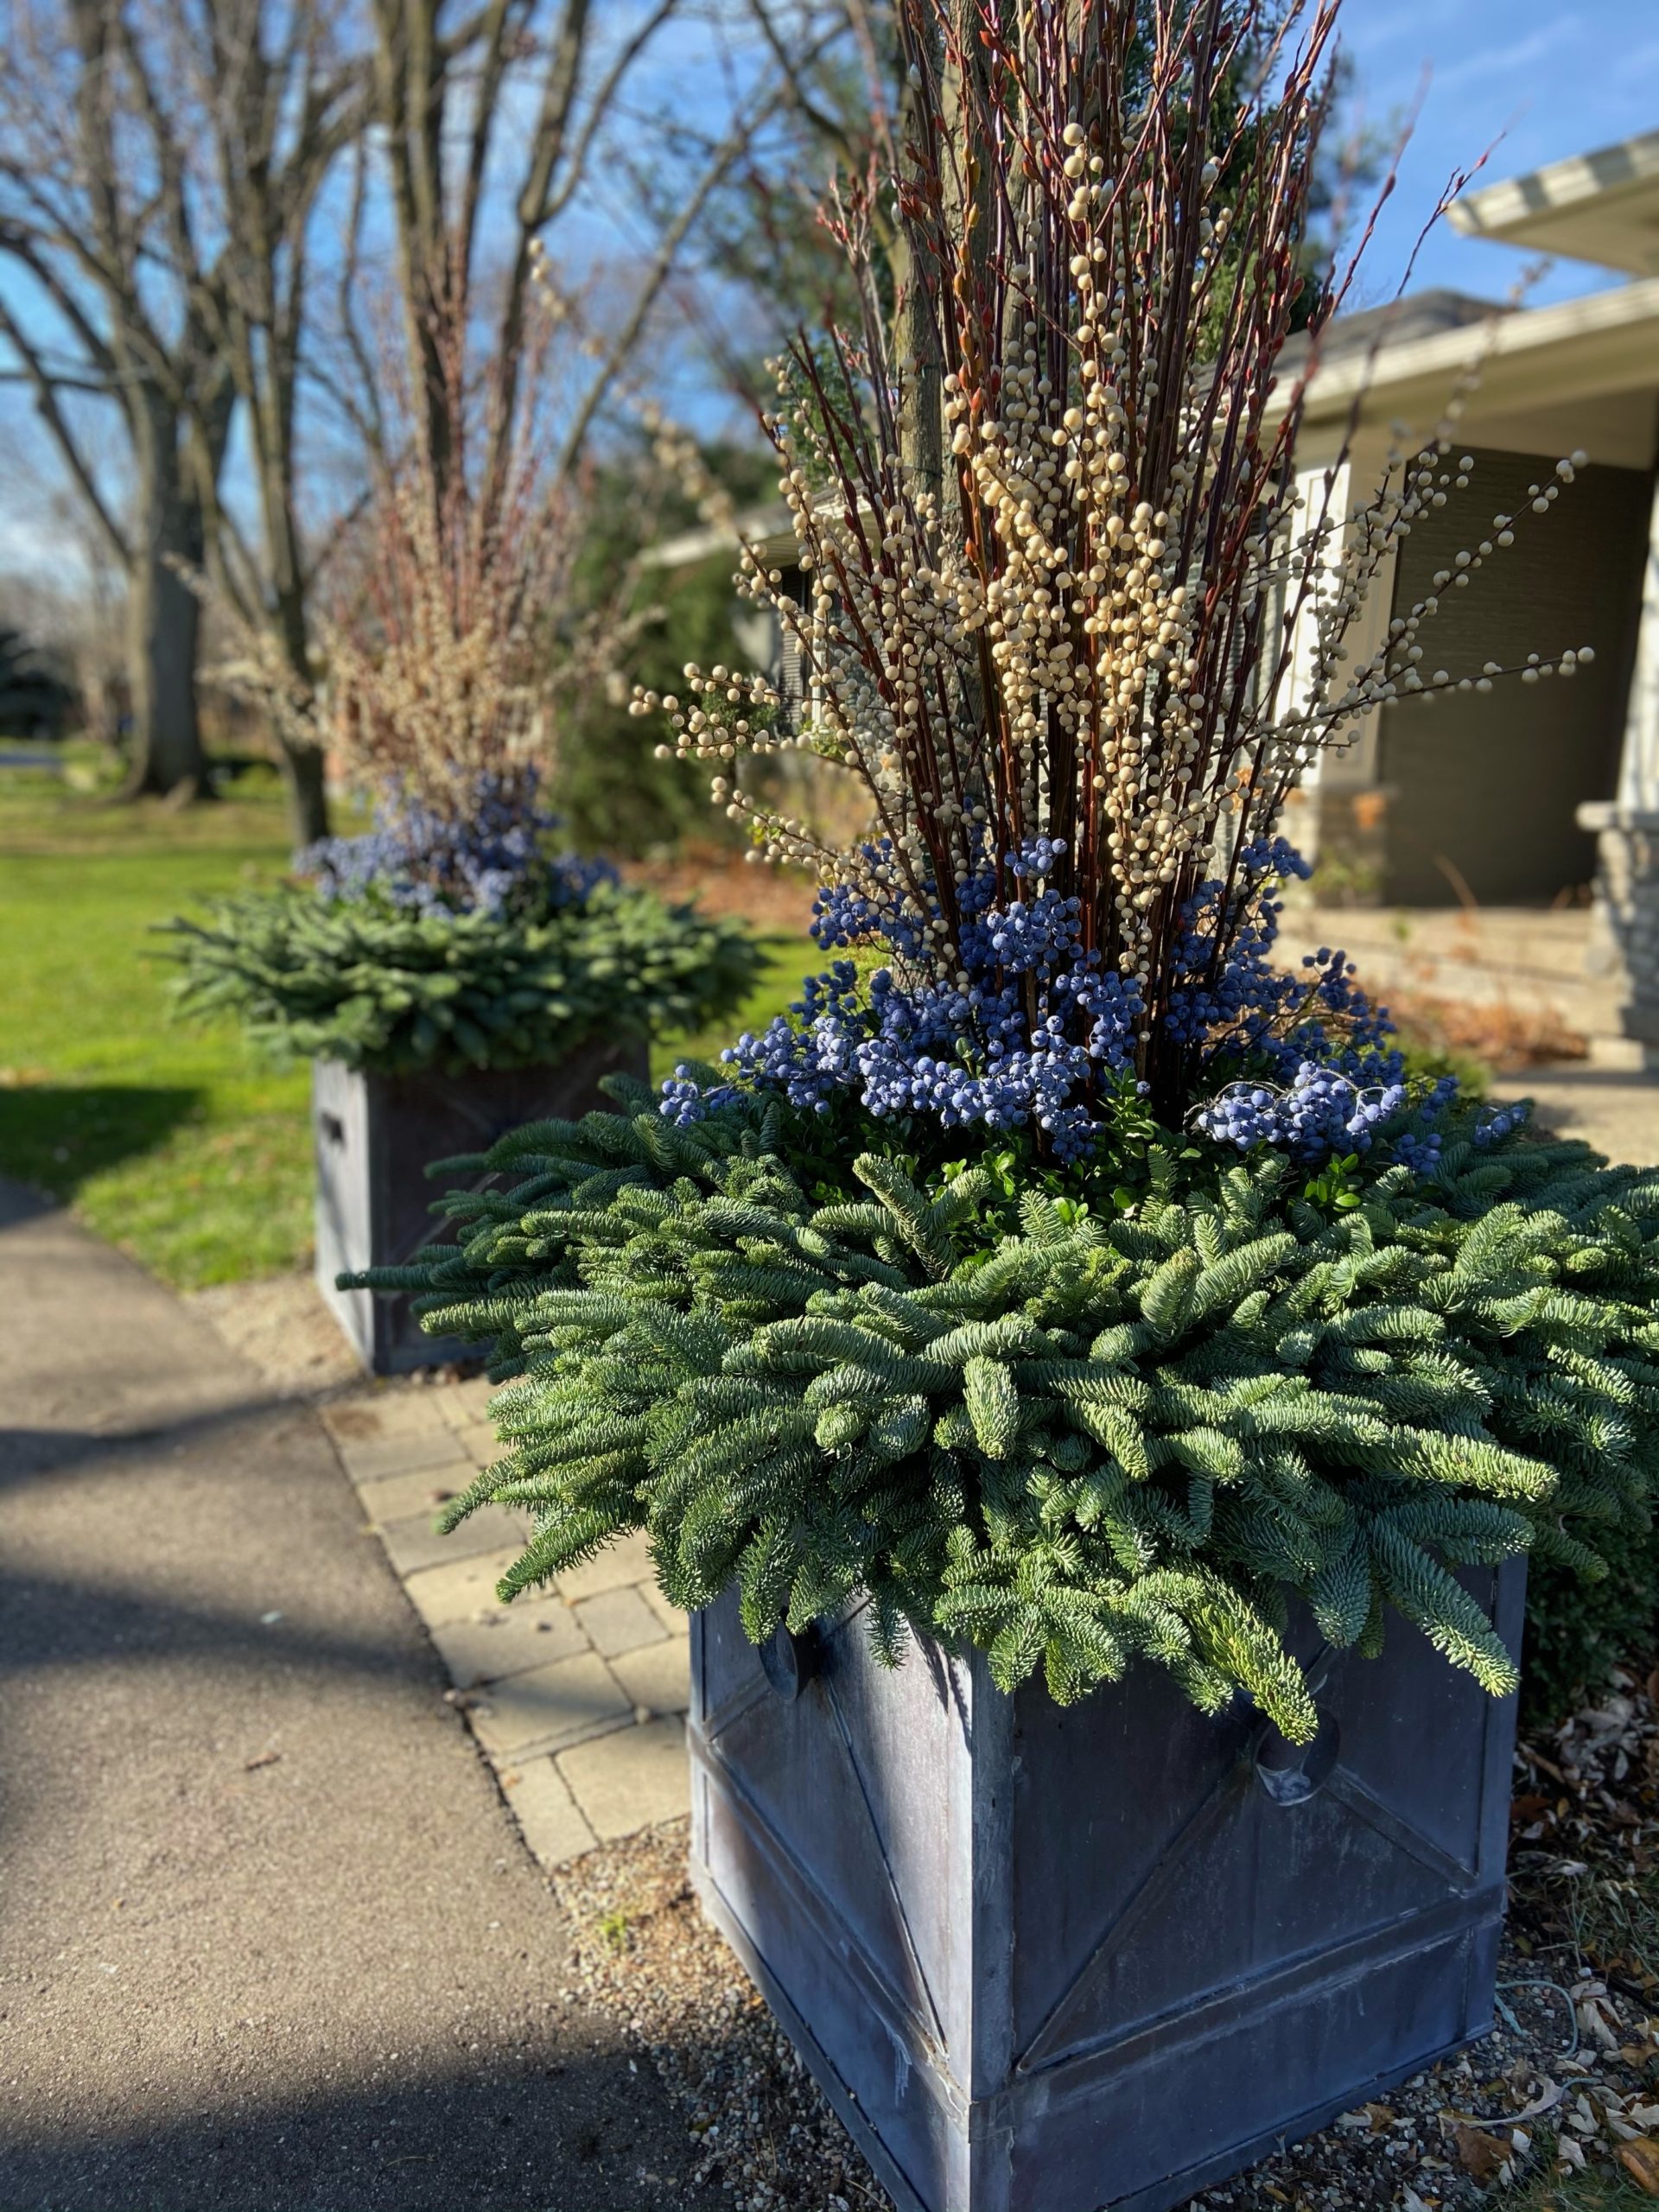
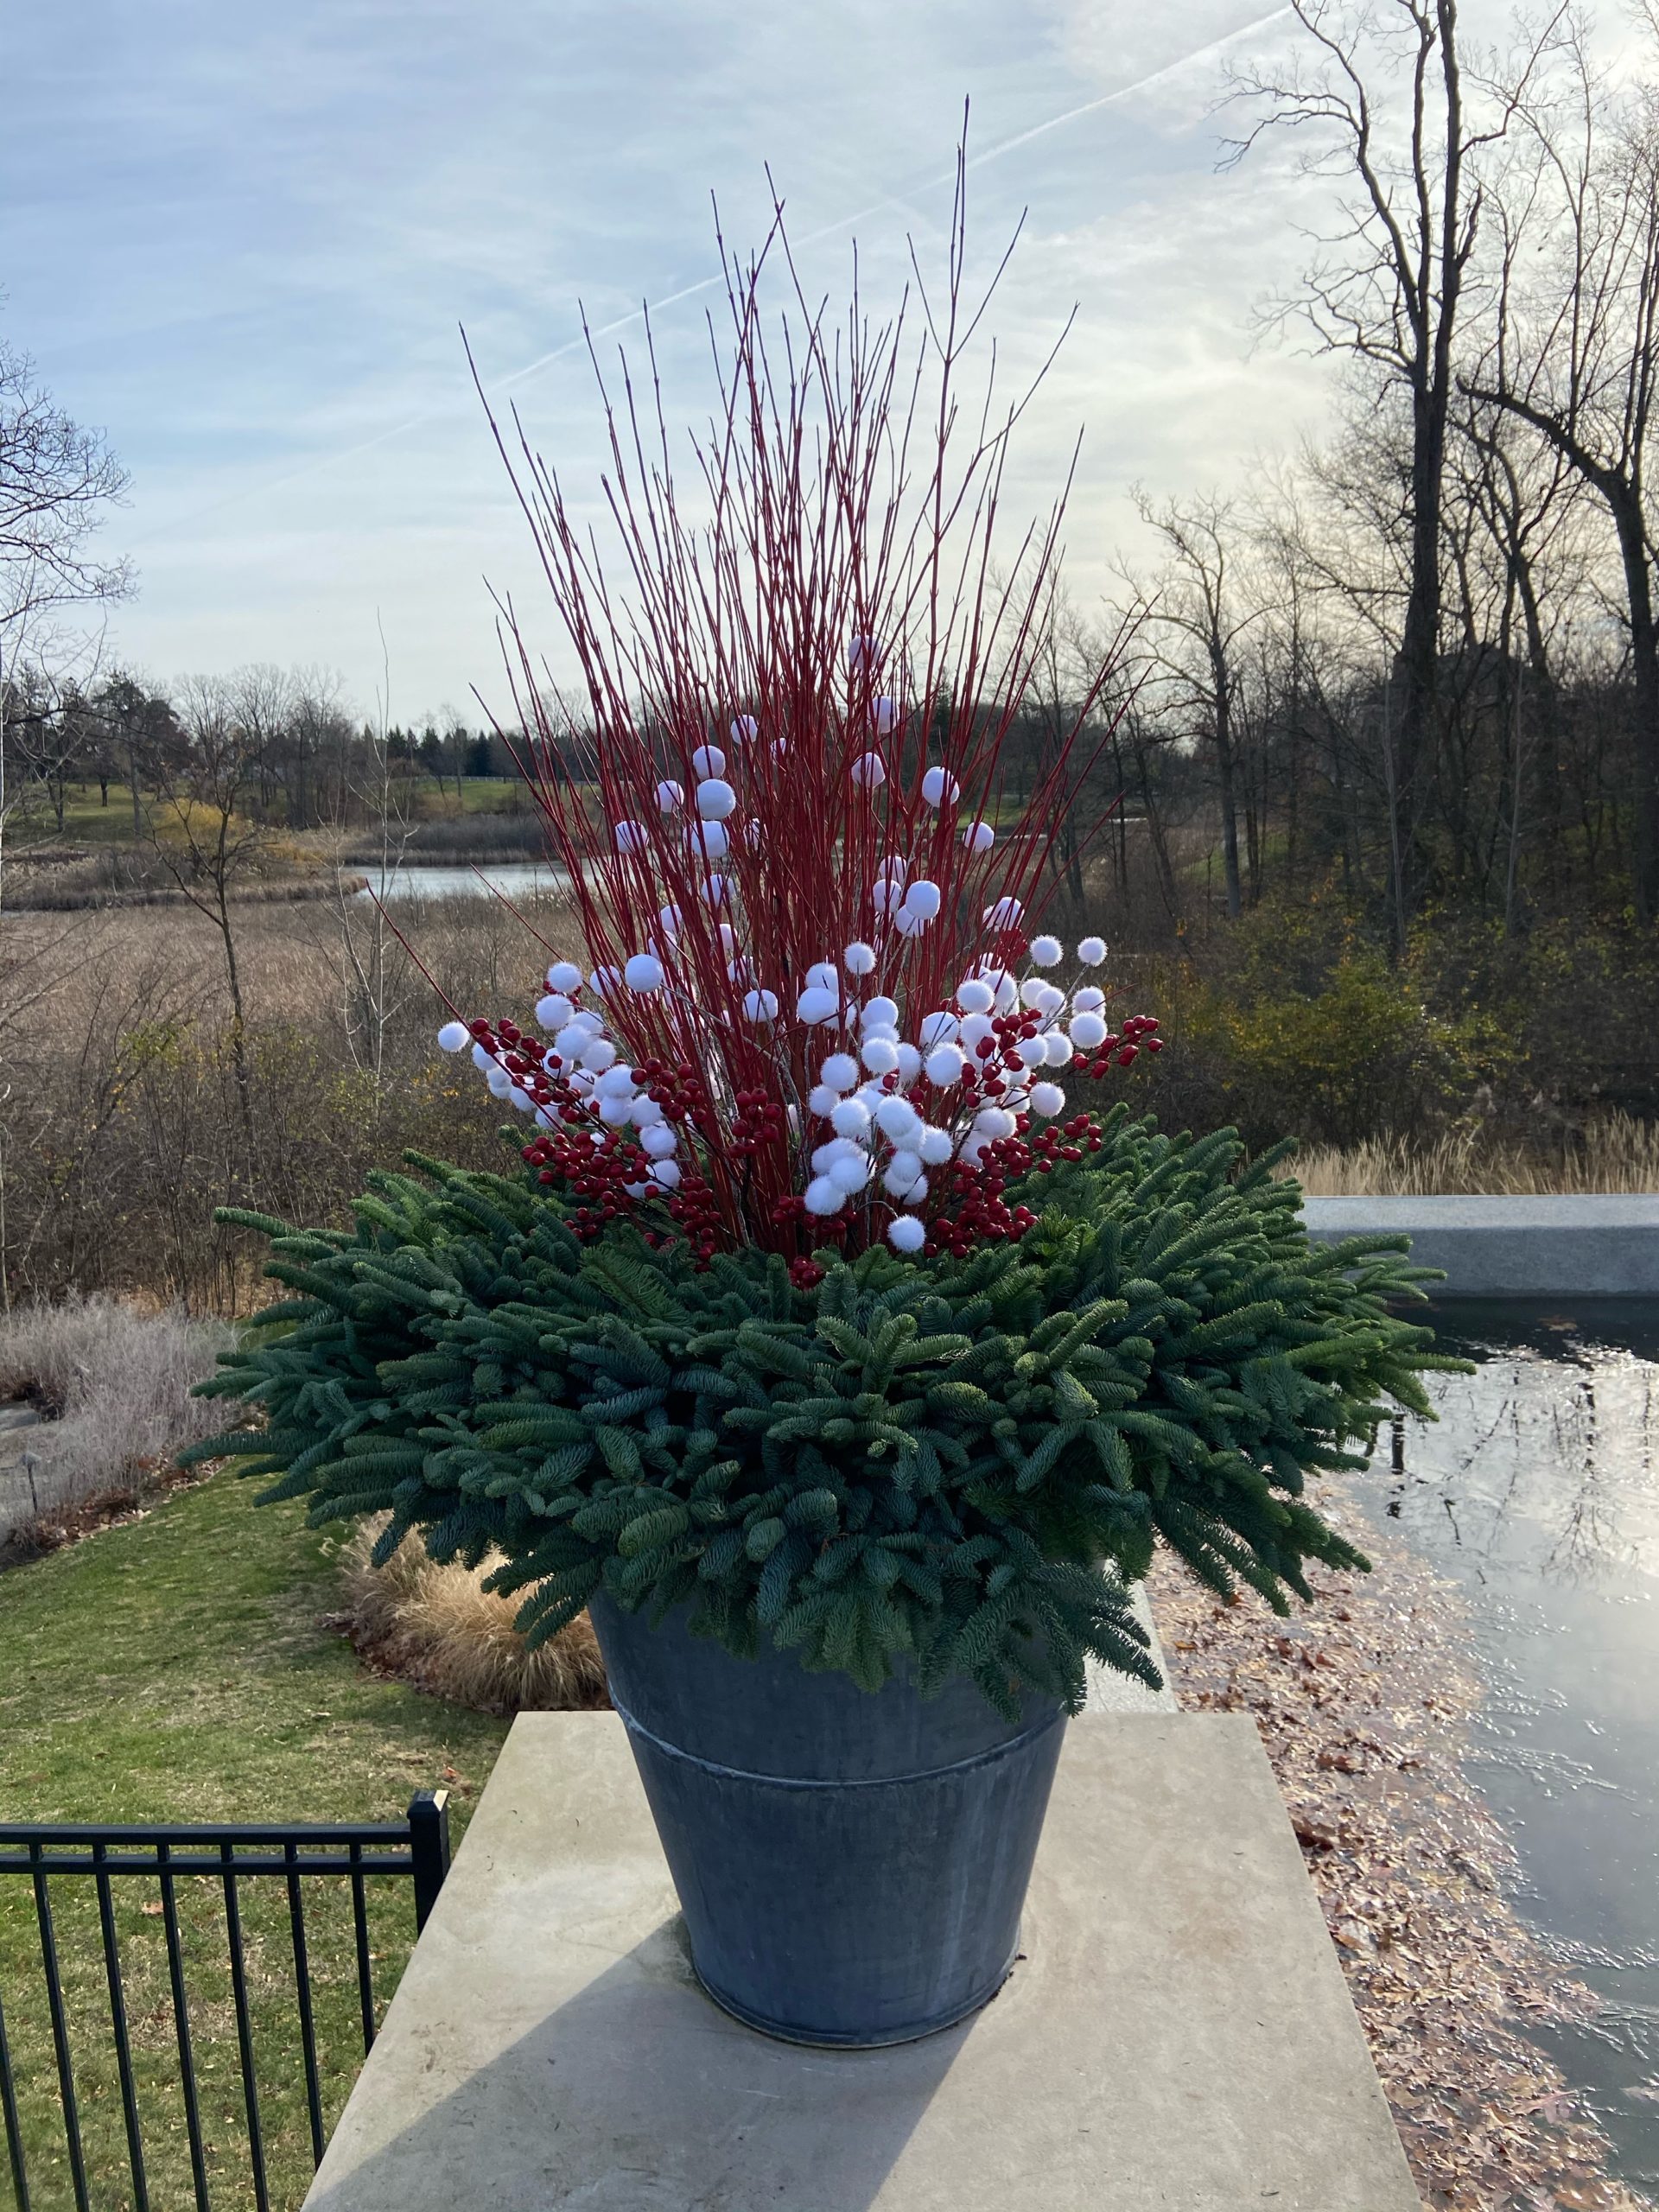
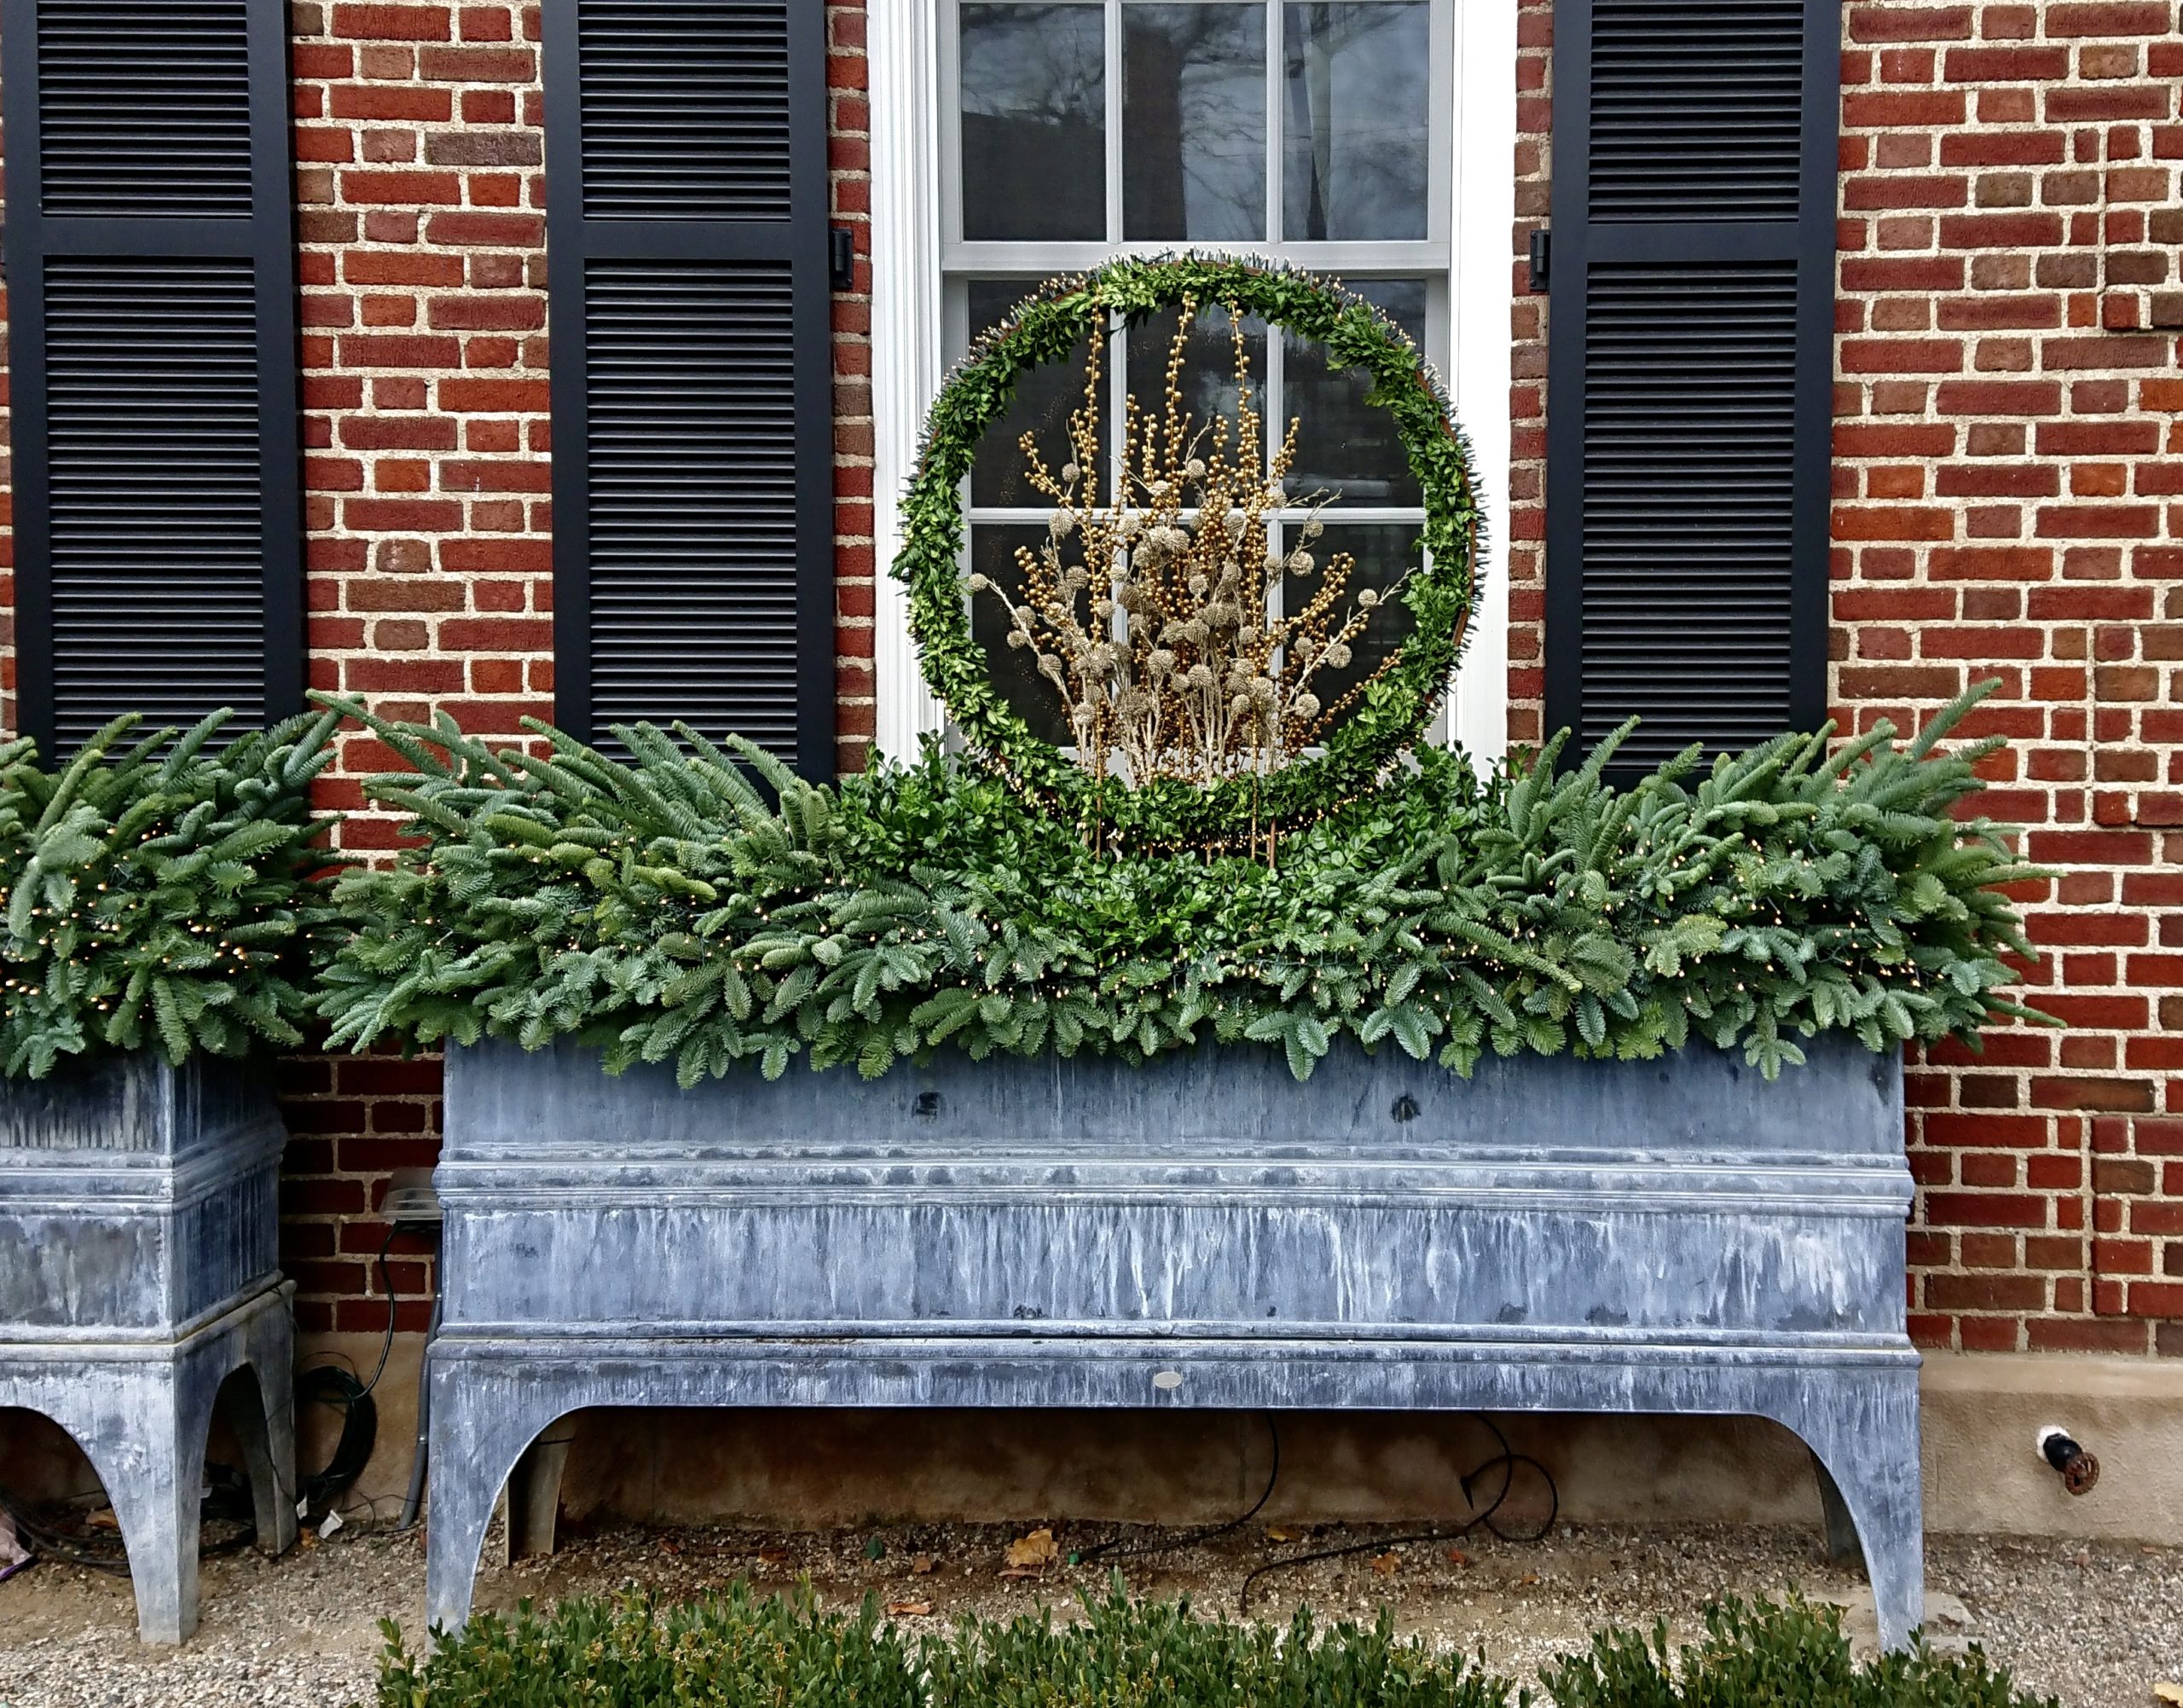
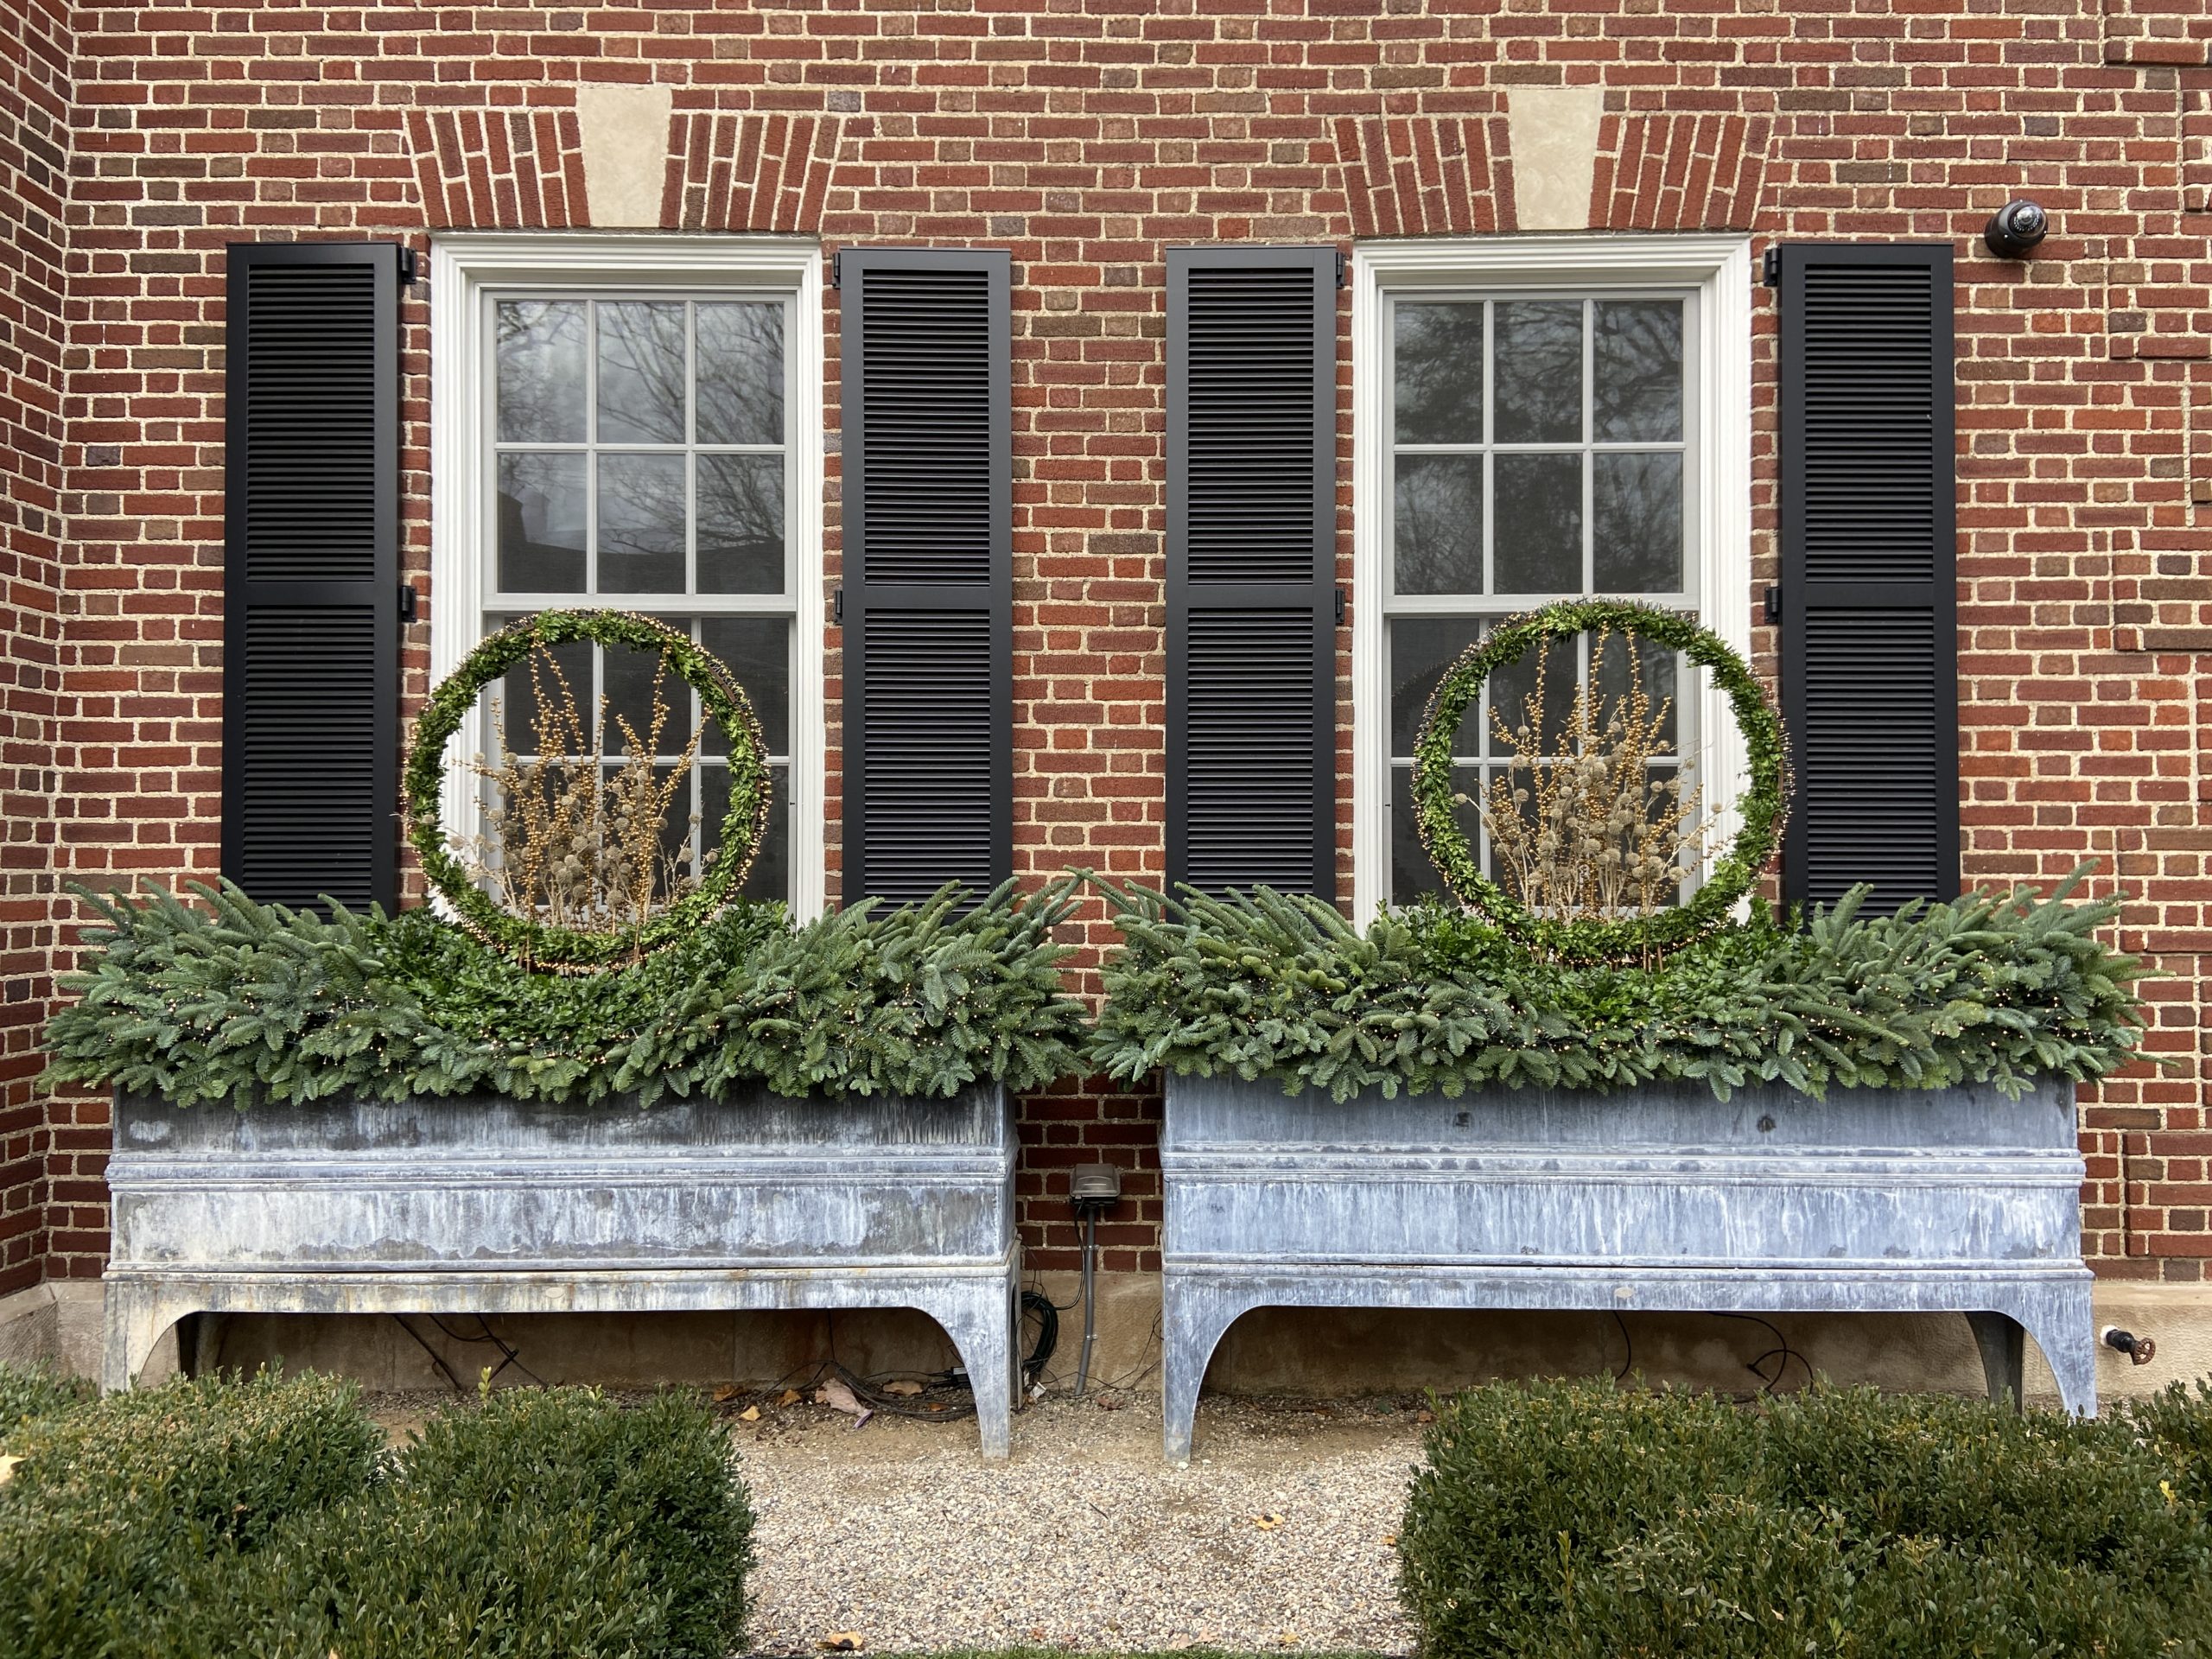
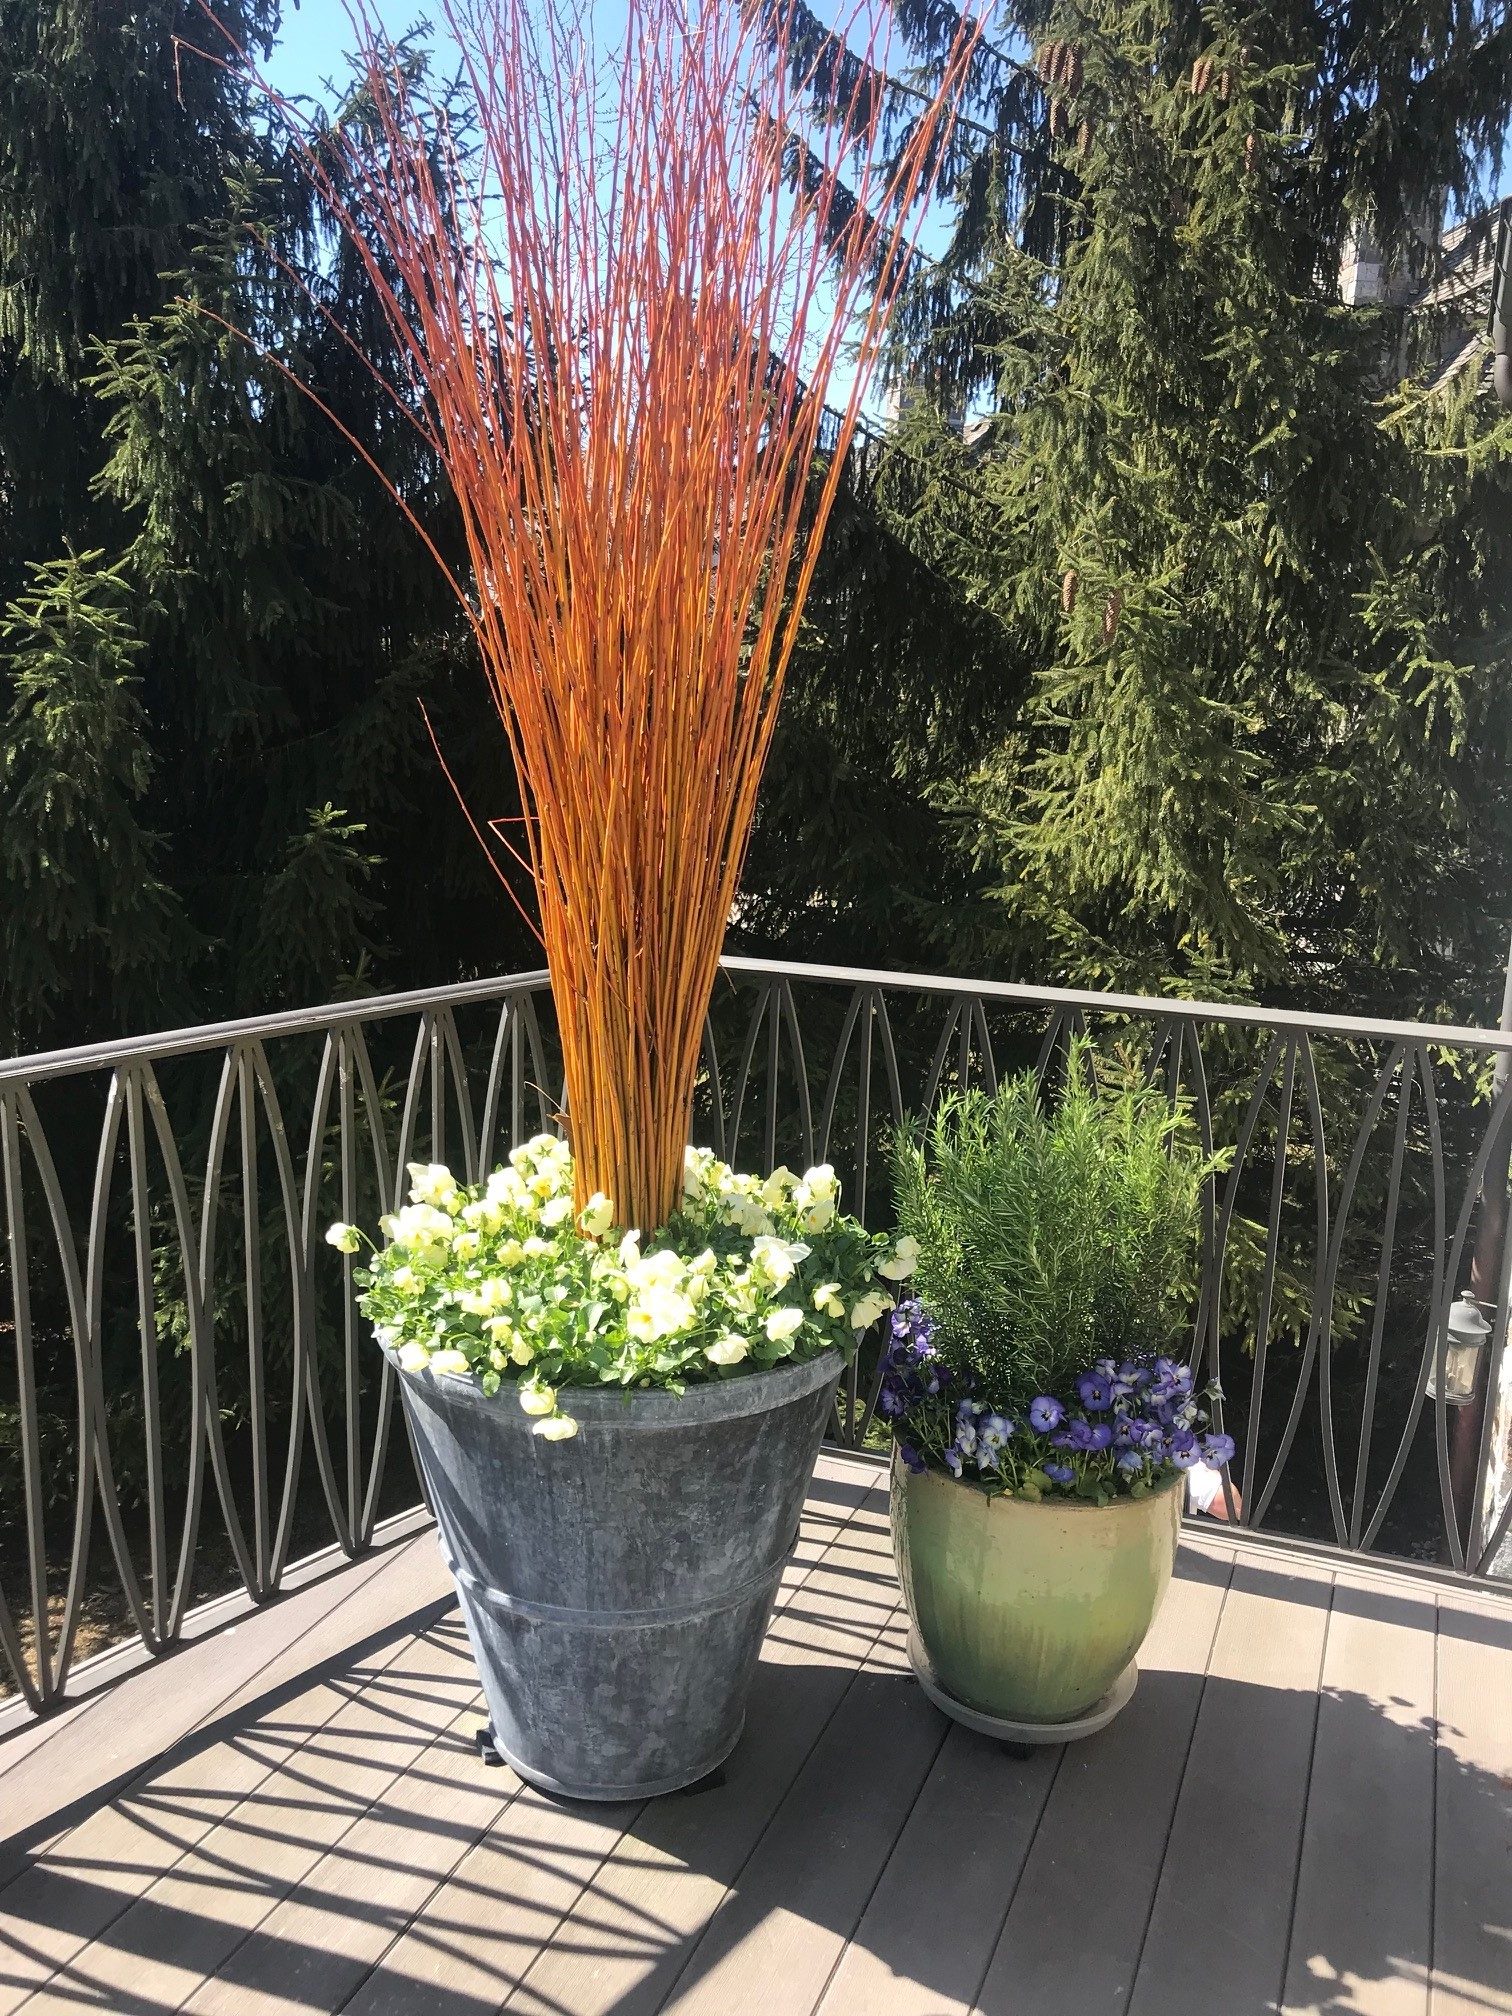 Fresh cut twigs can provide a lot of color and scale to spring containers. This straight copper willow not only has vivid color, that color is lively.
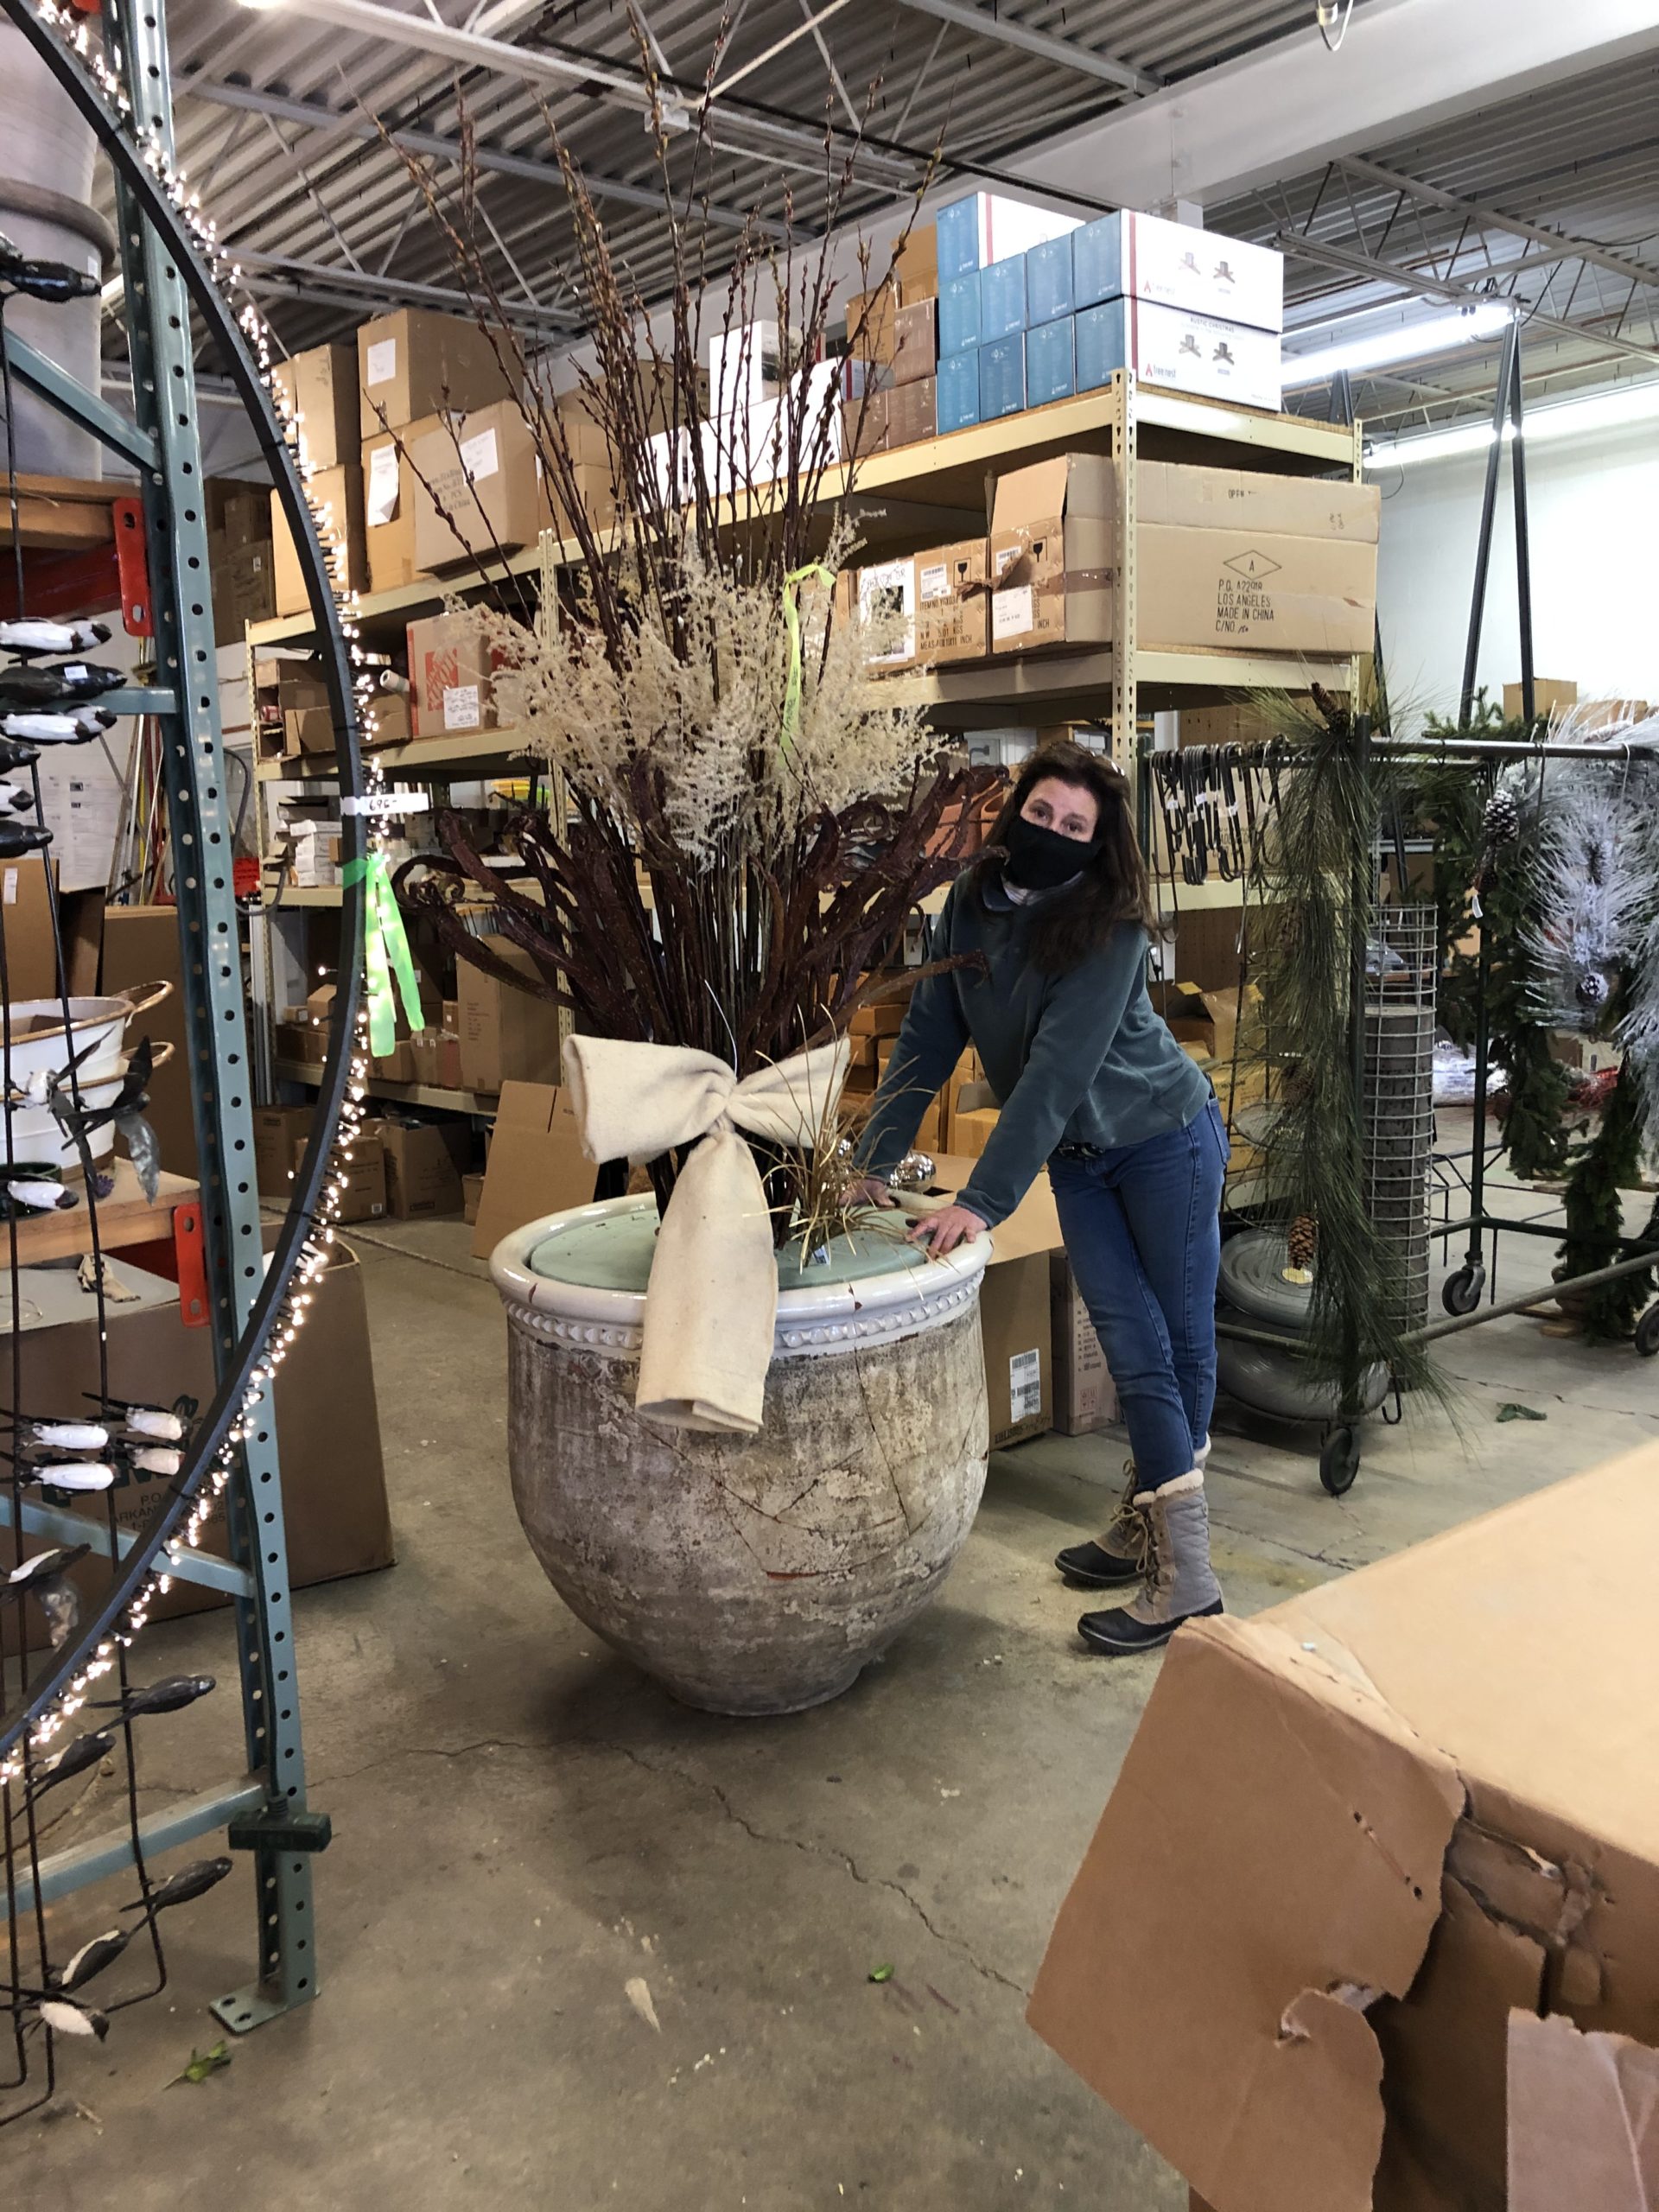
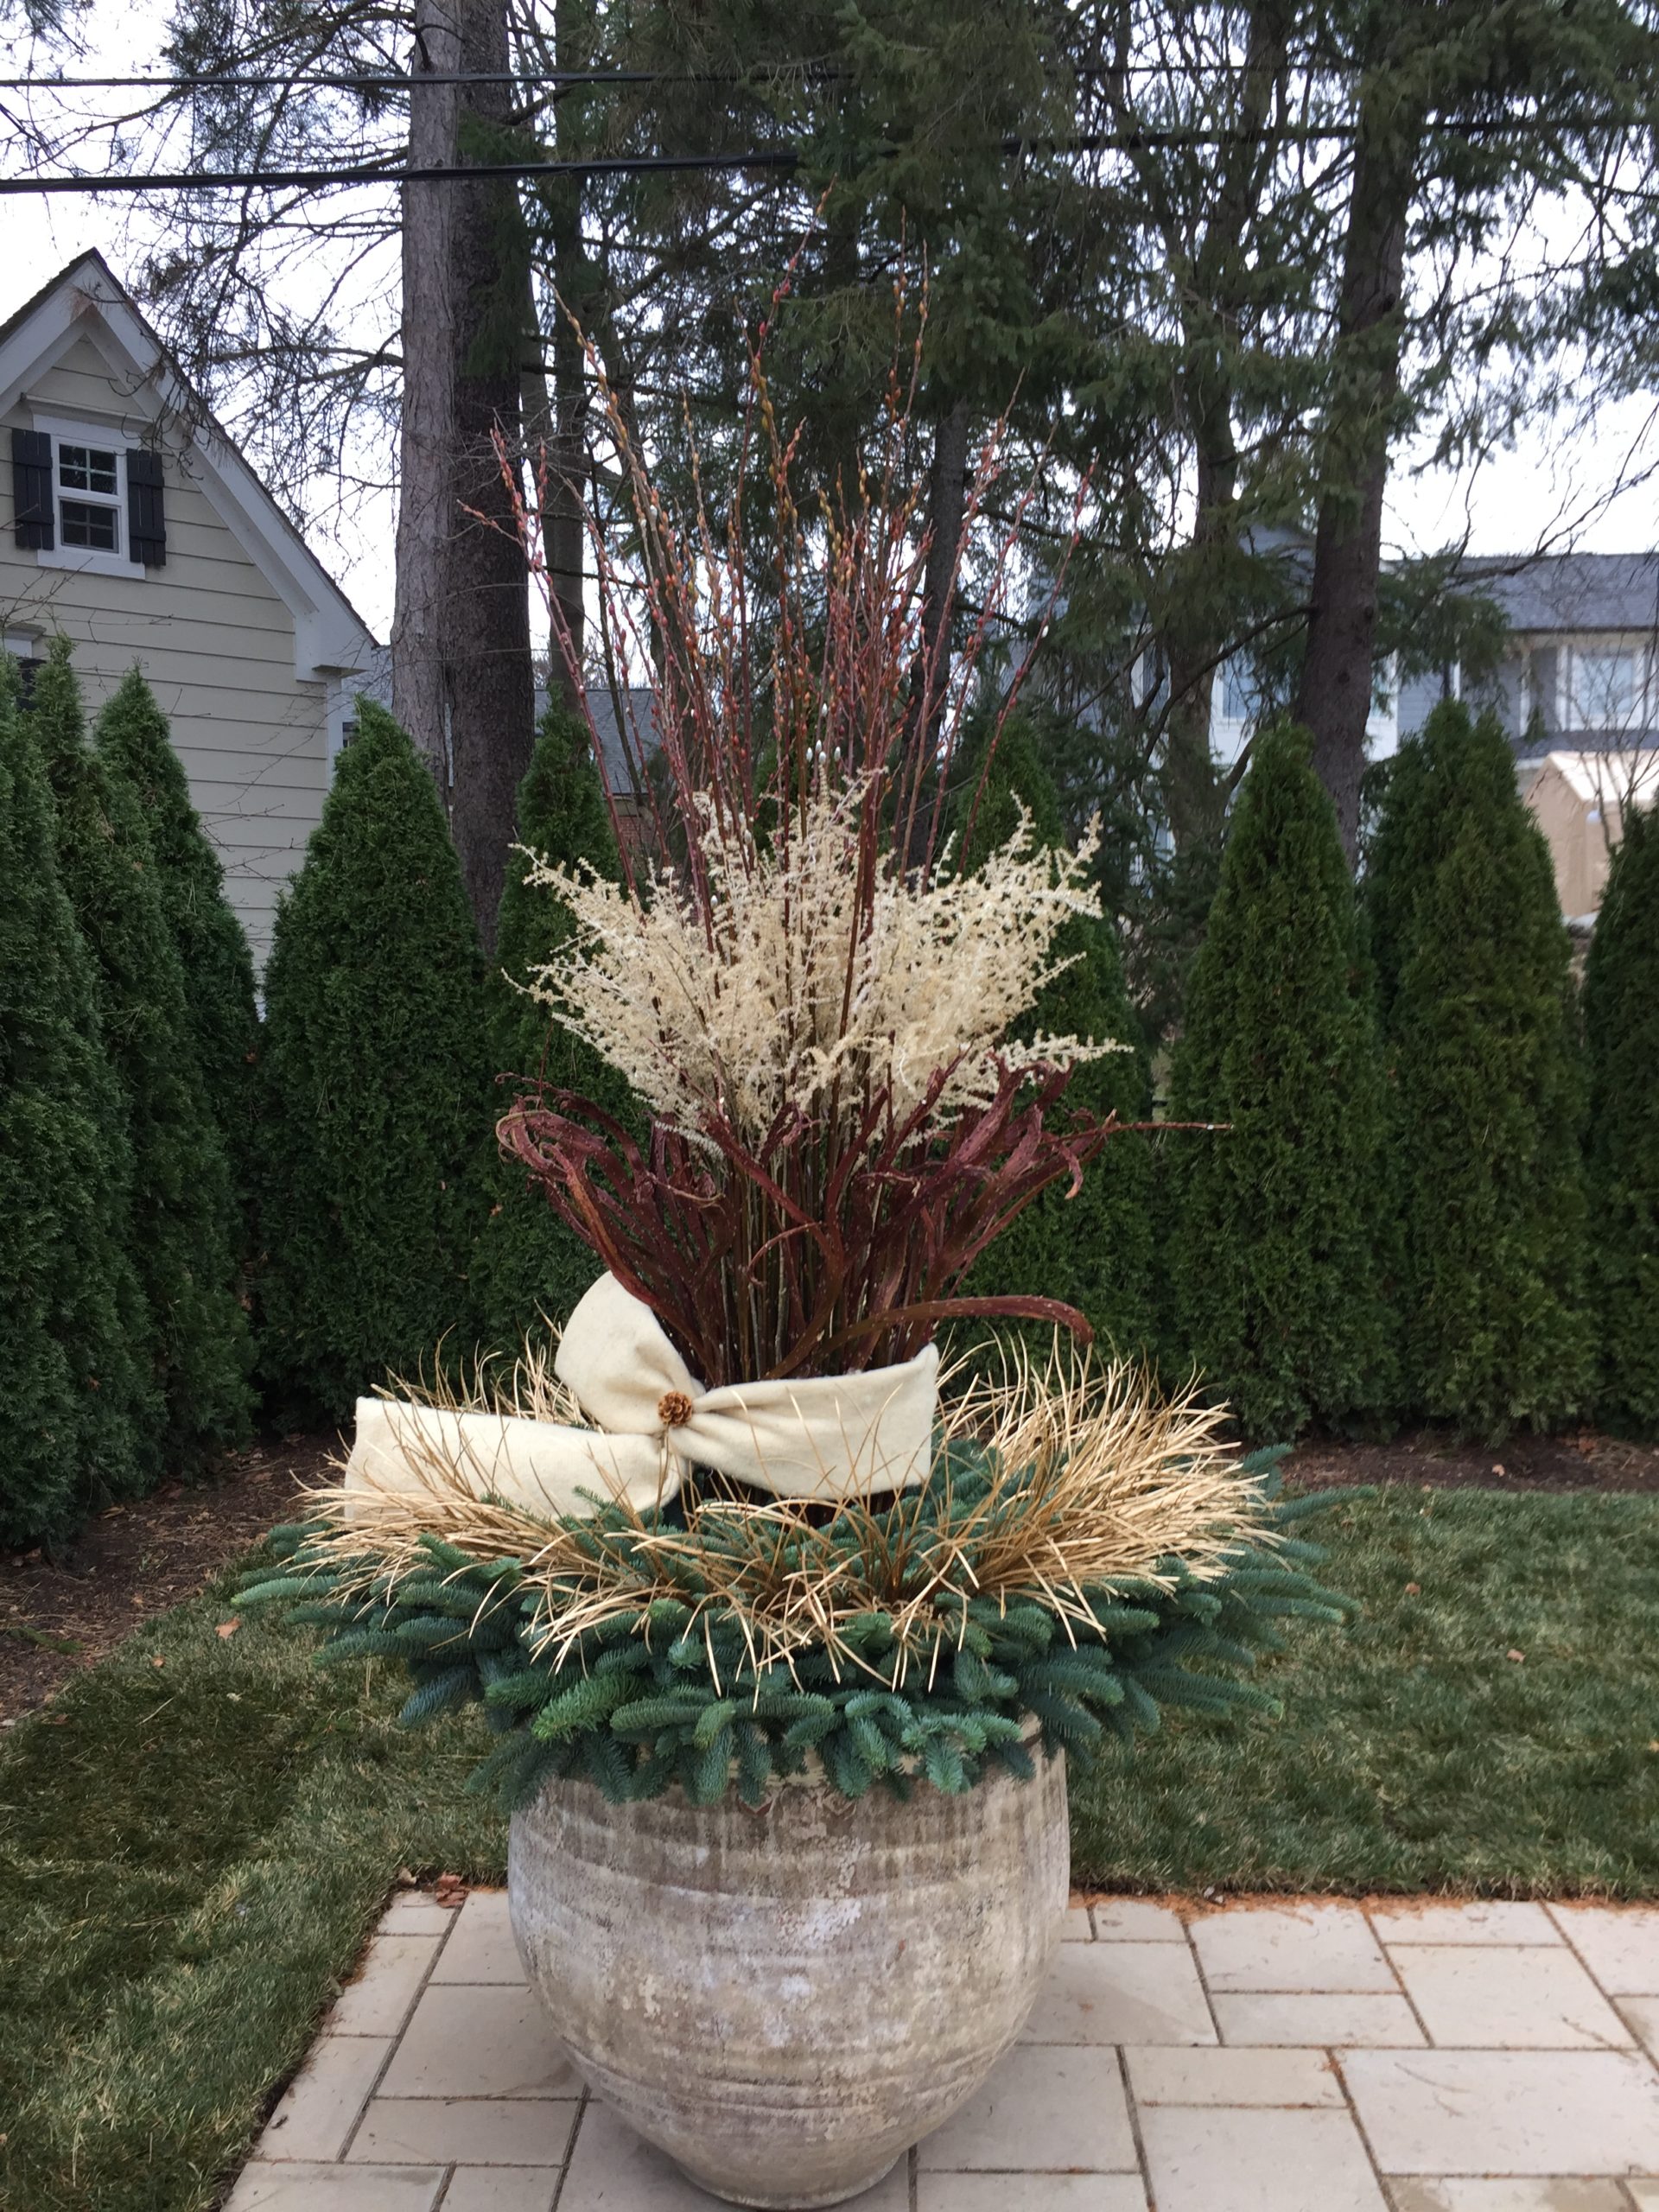
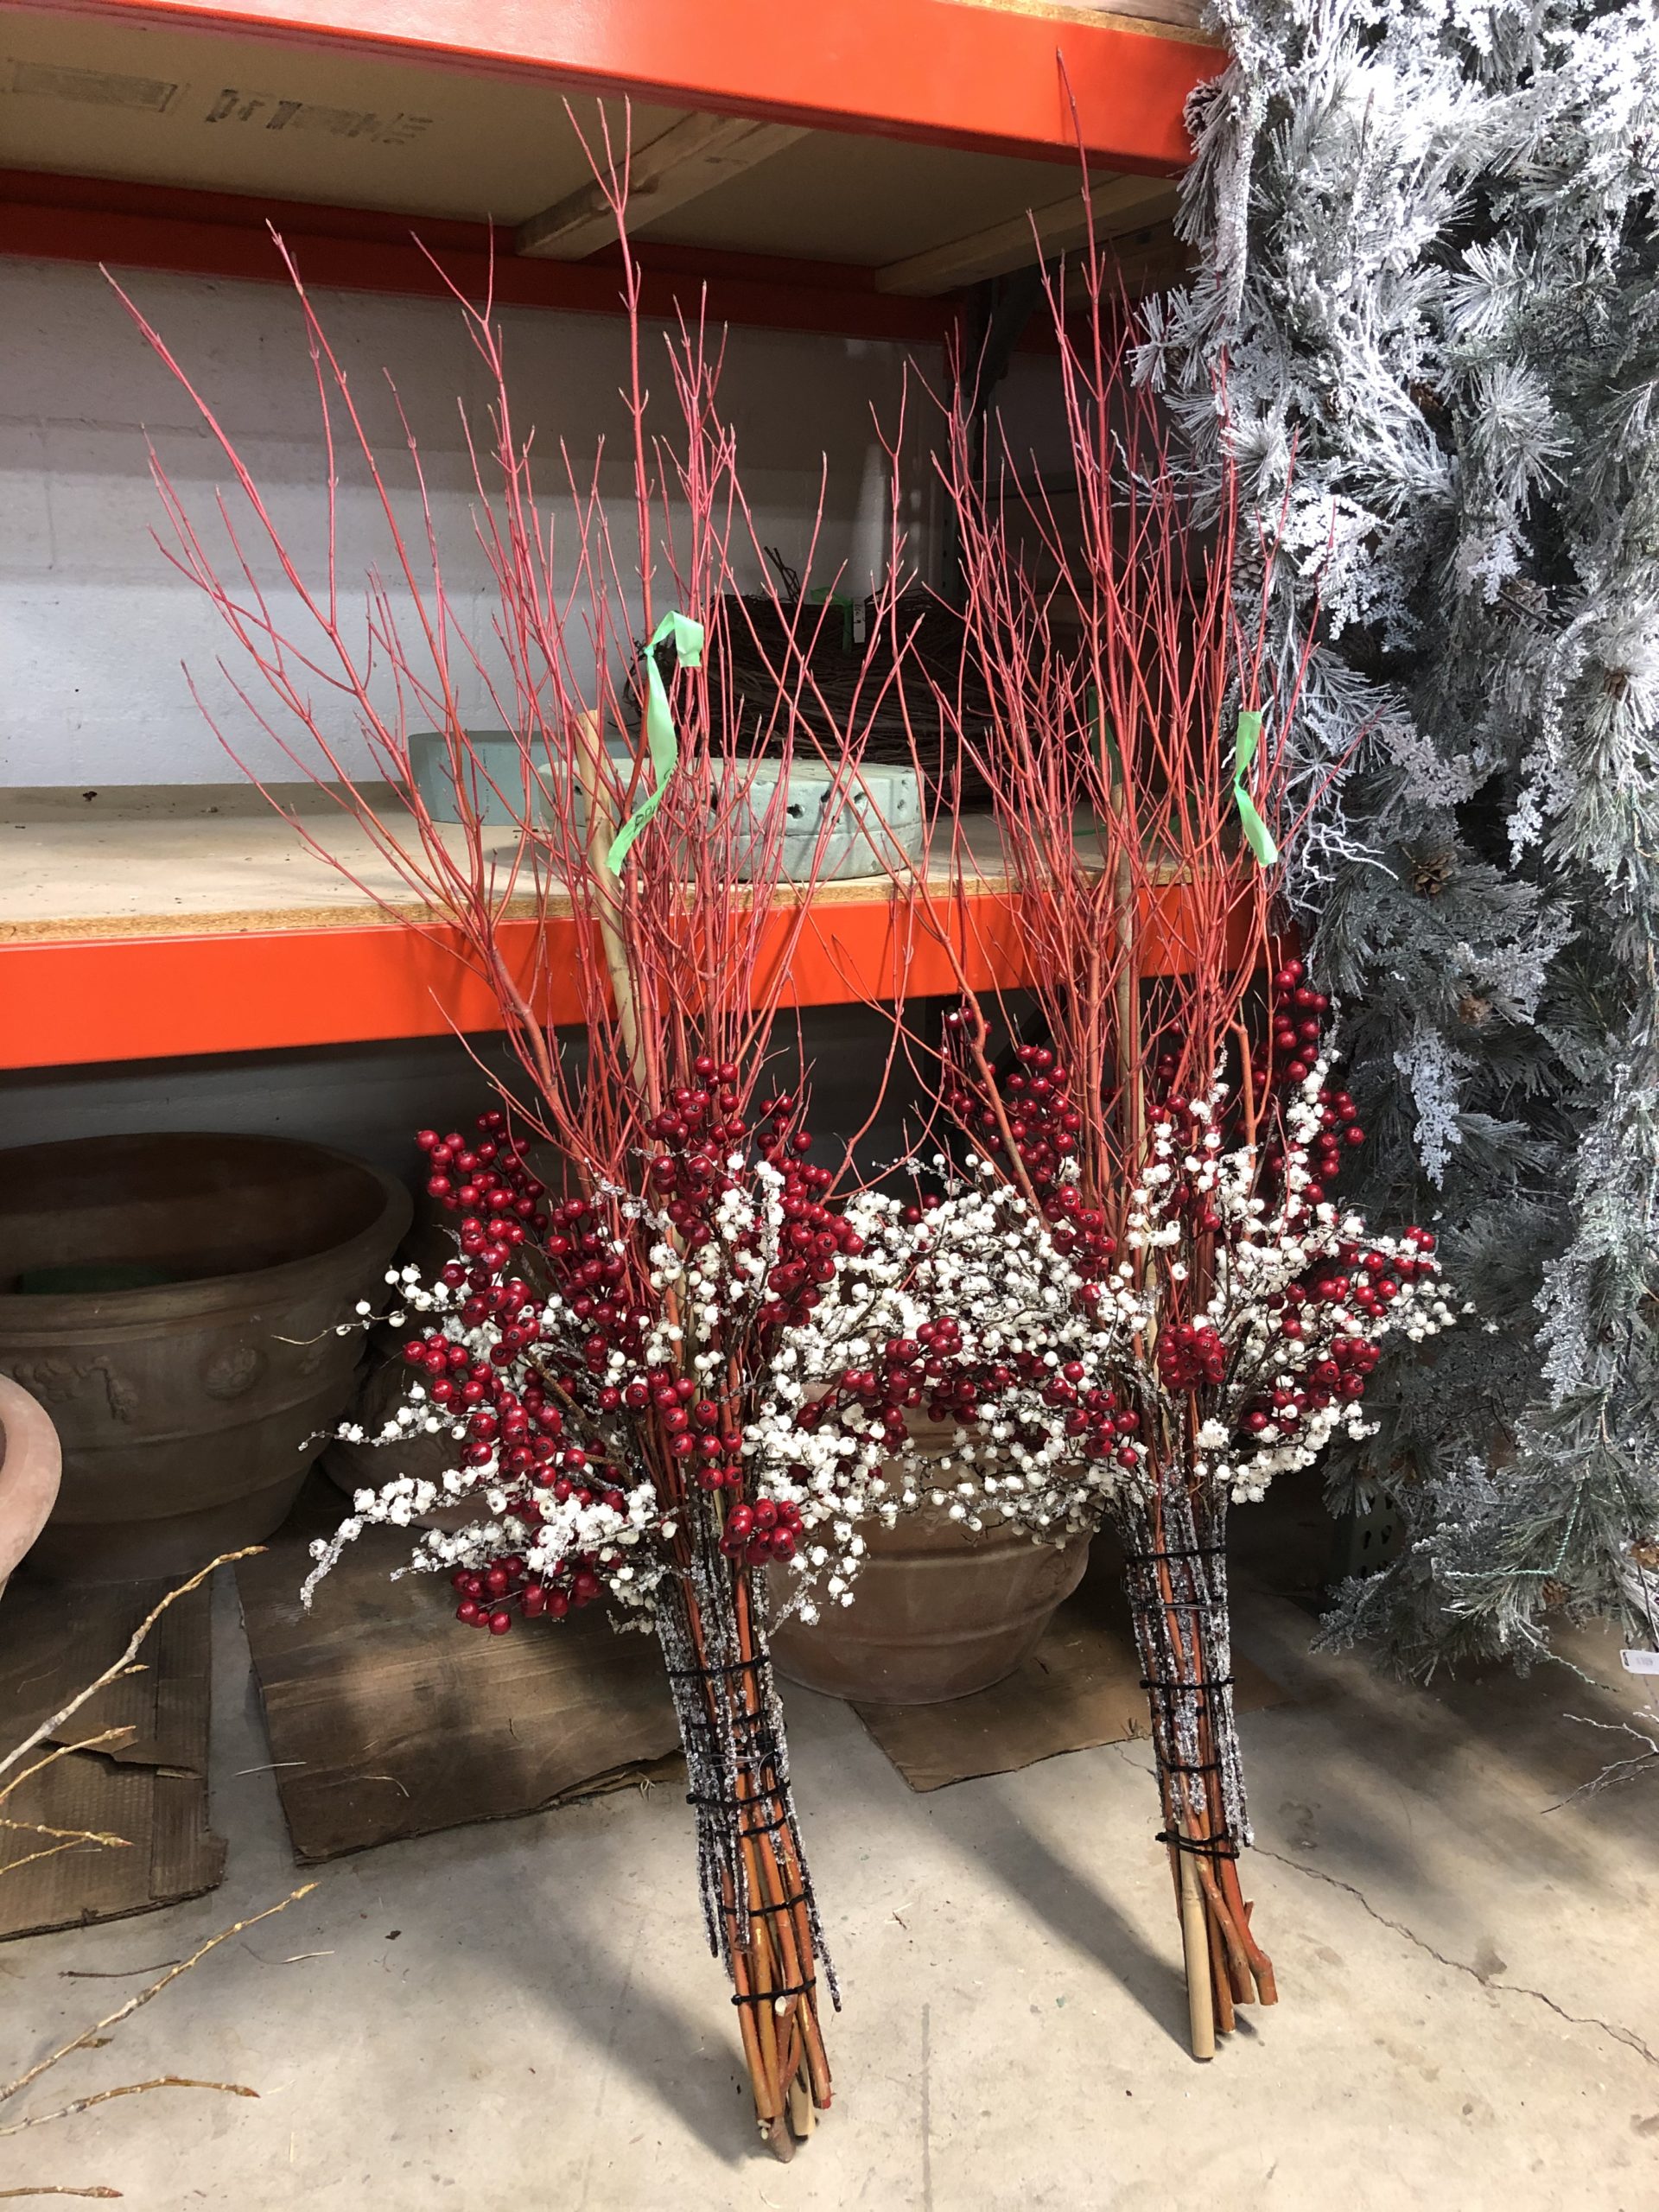
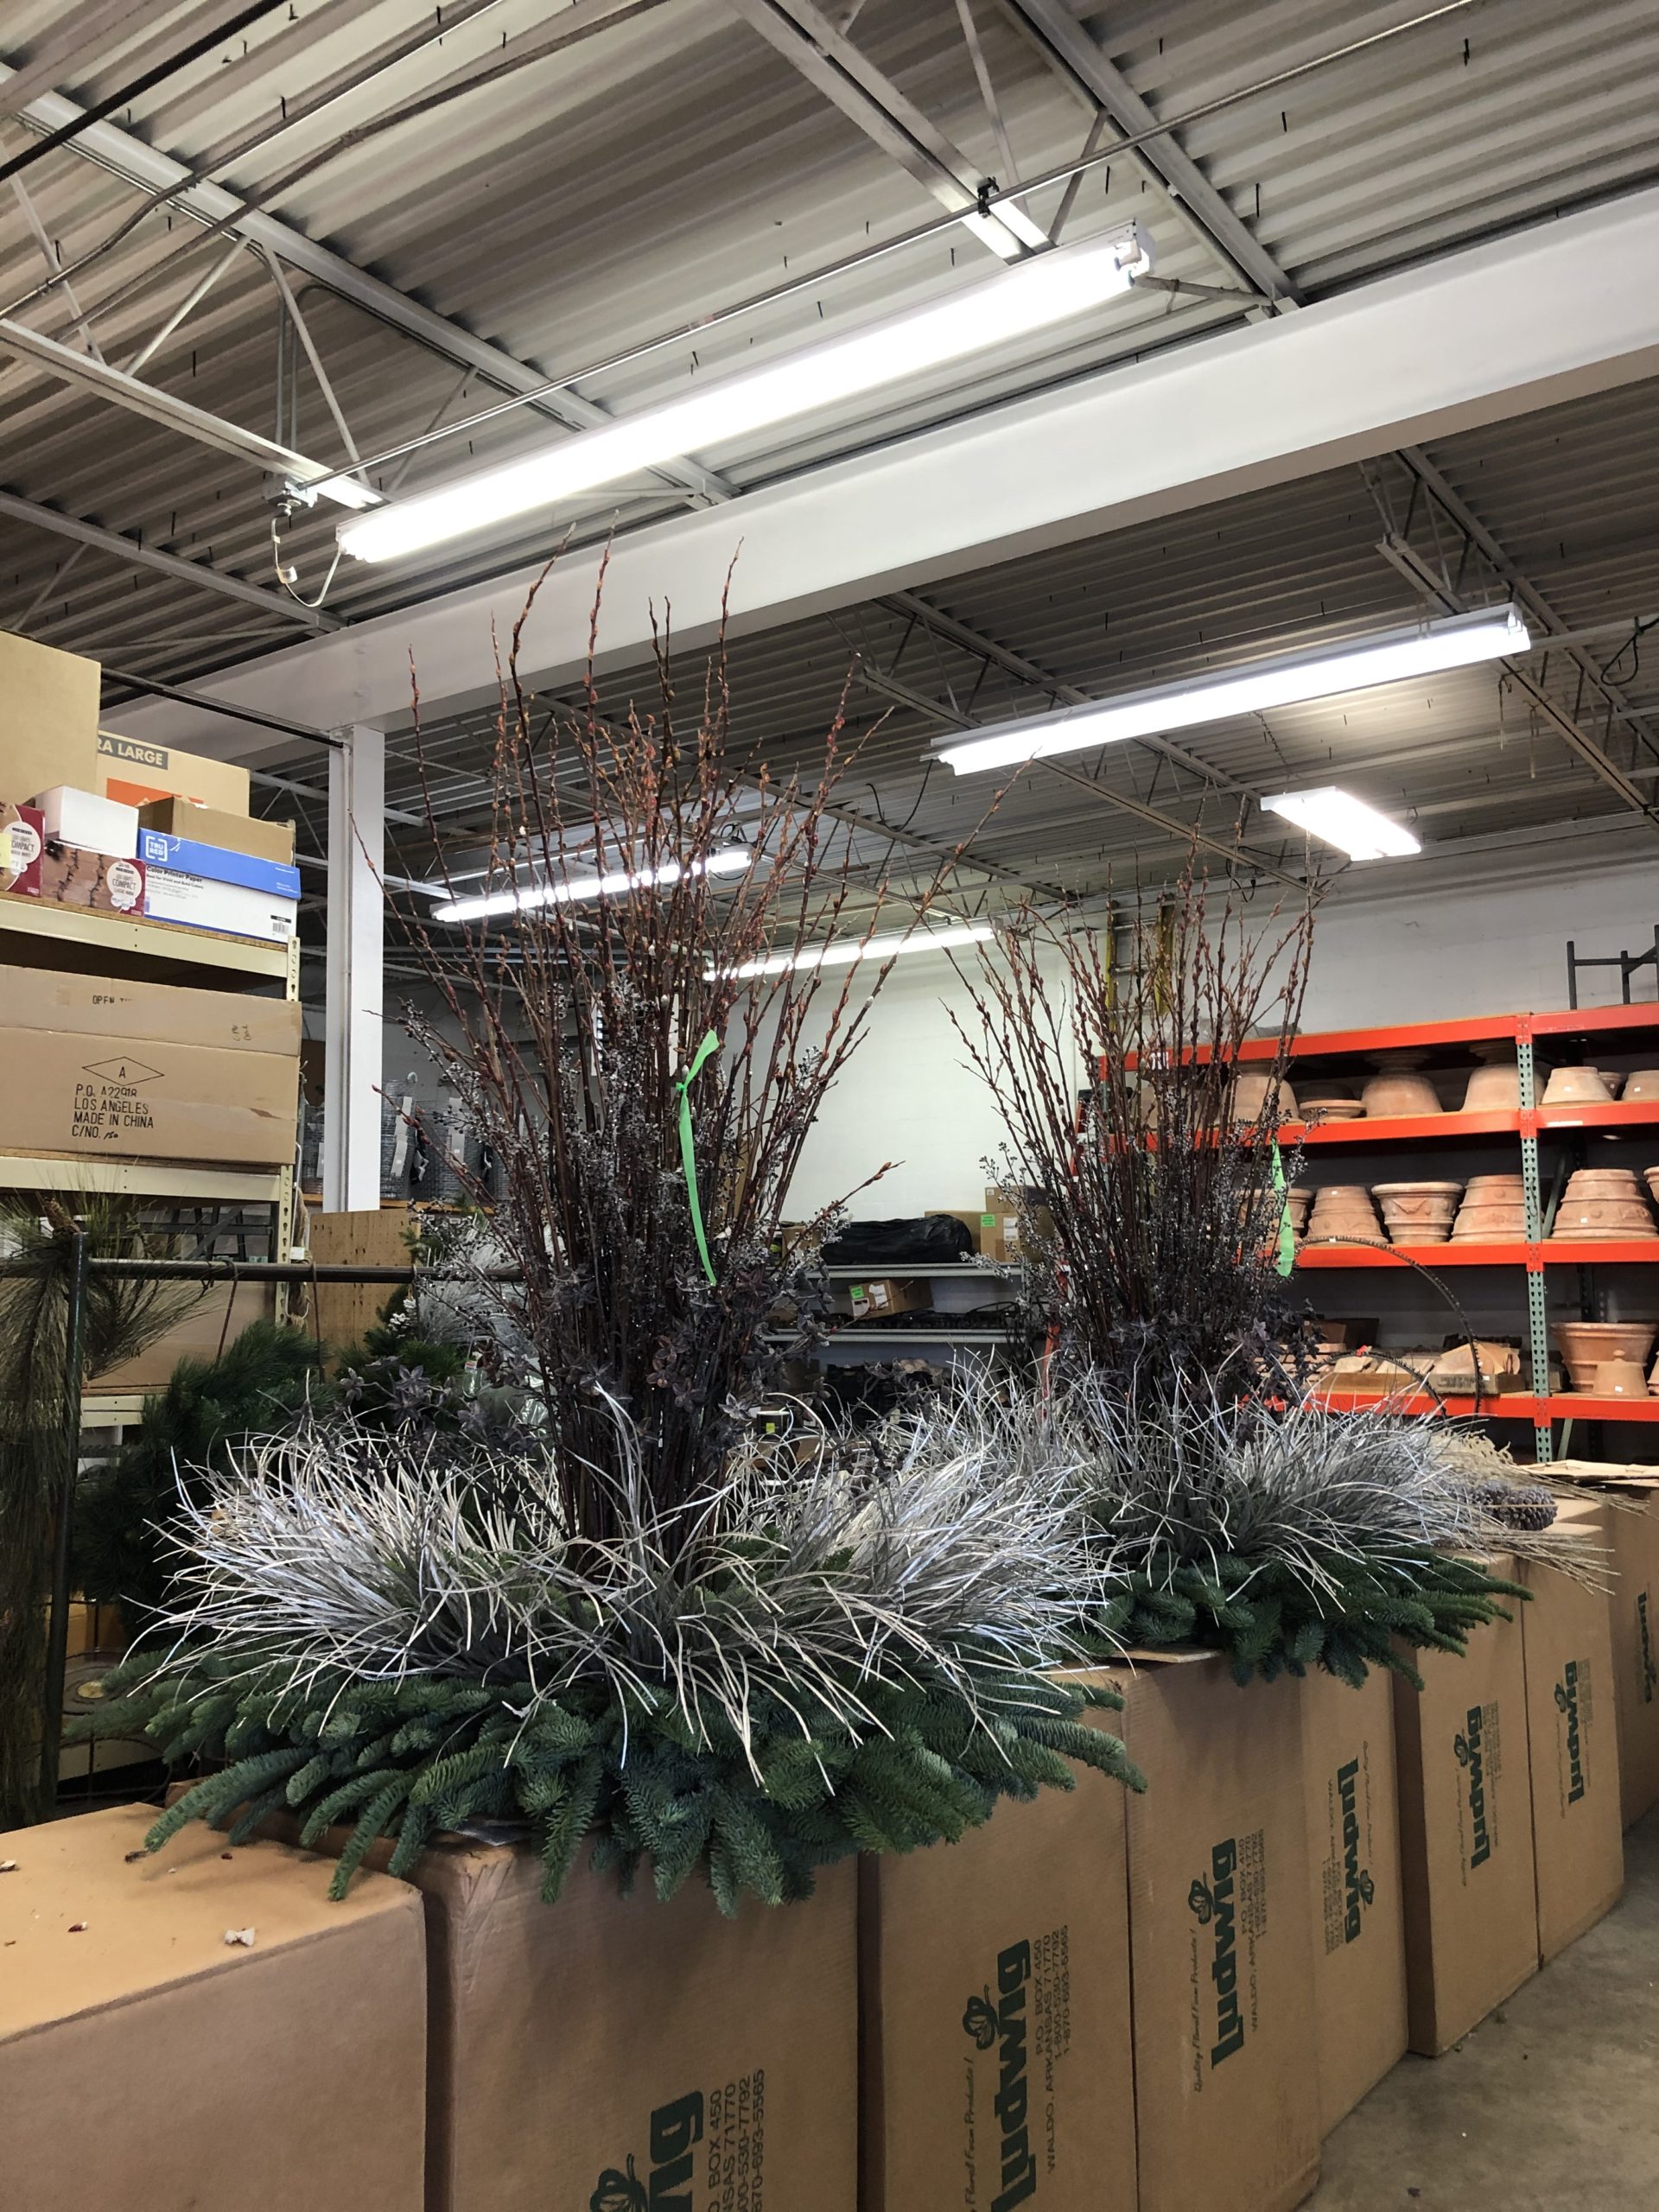
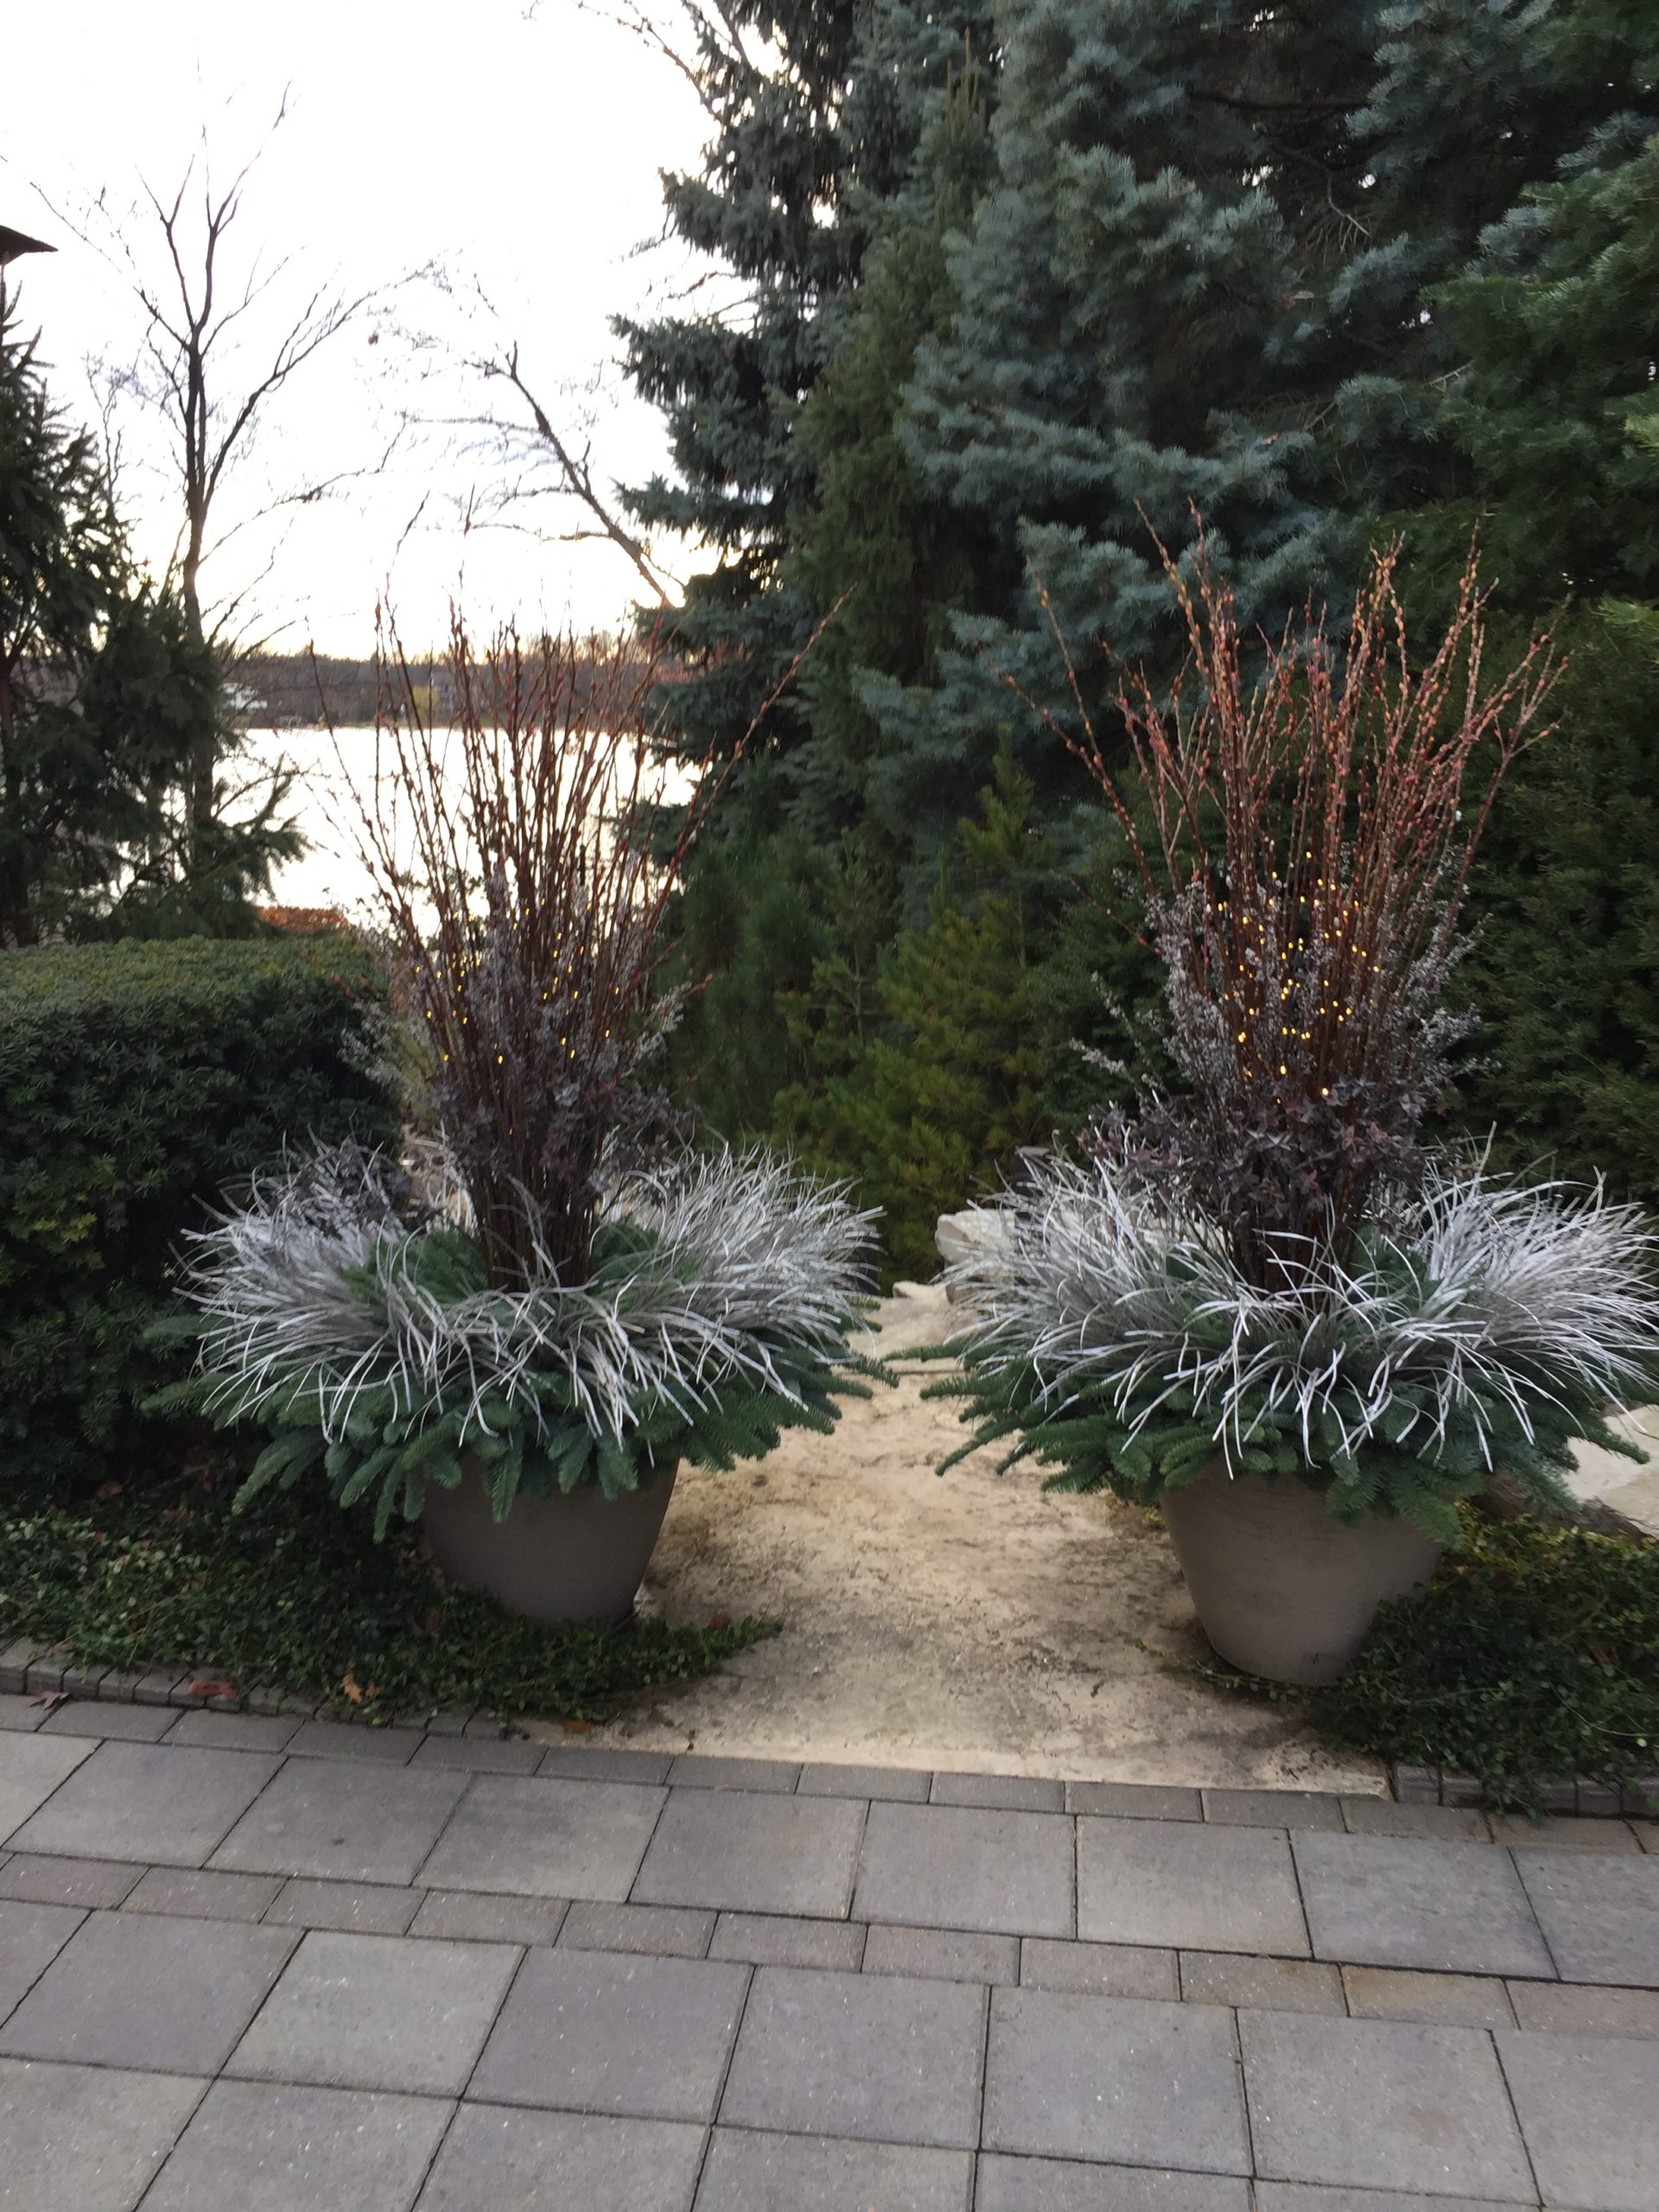
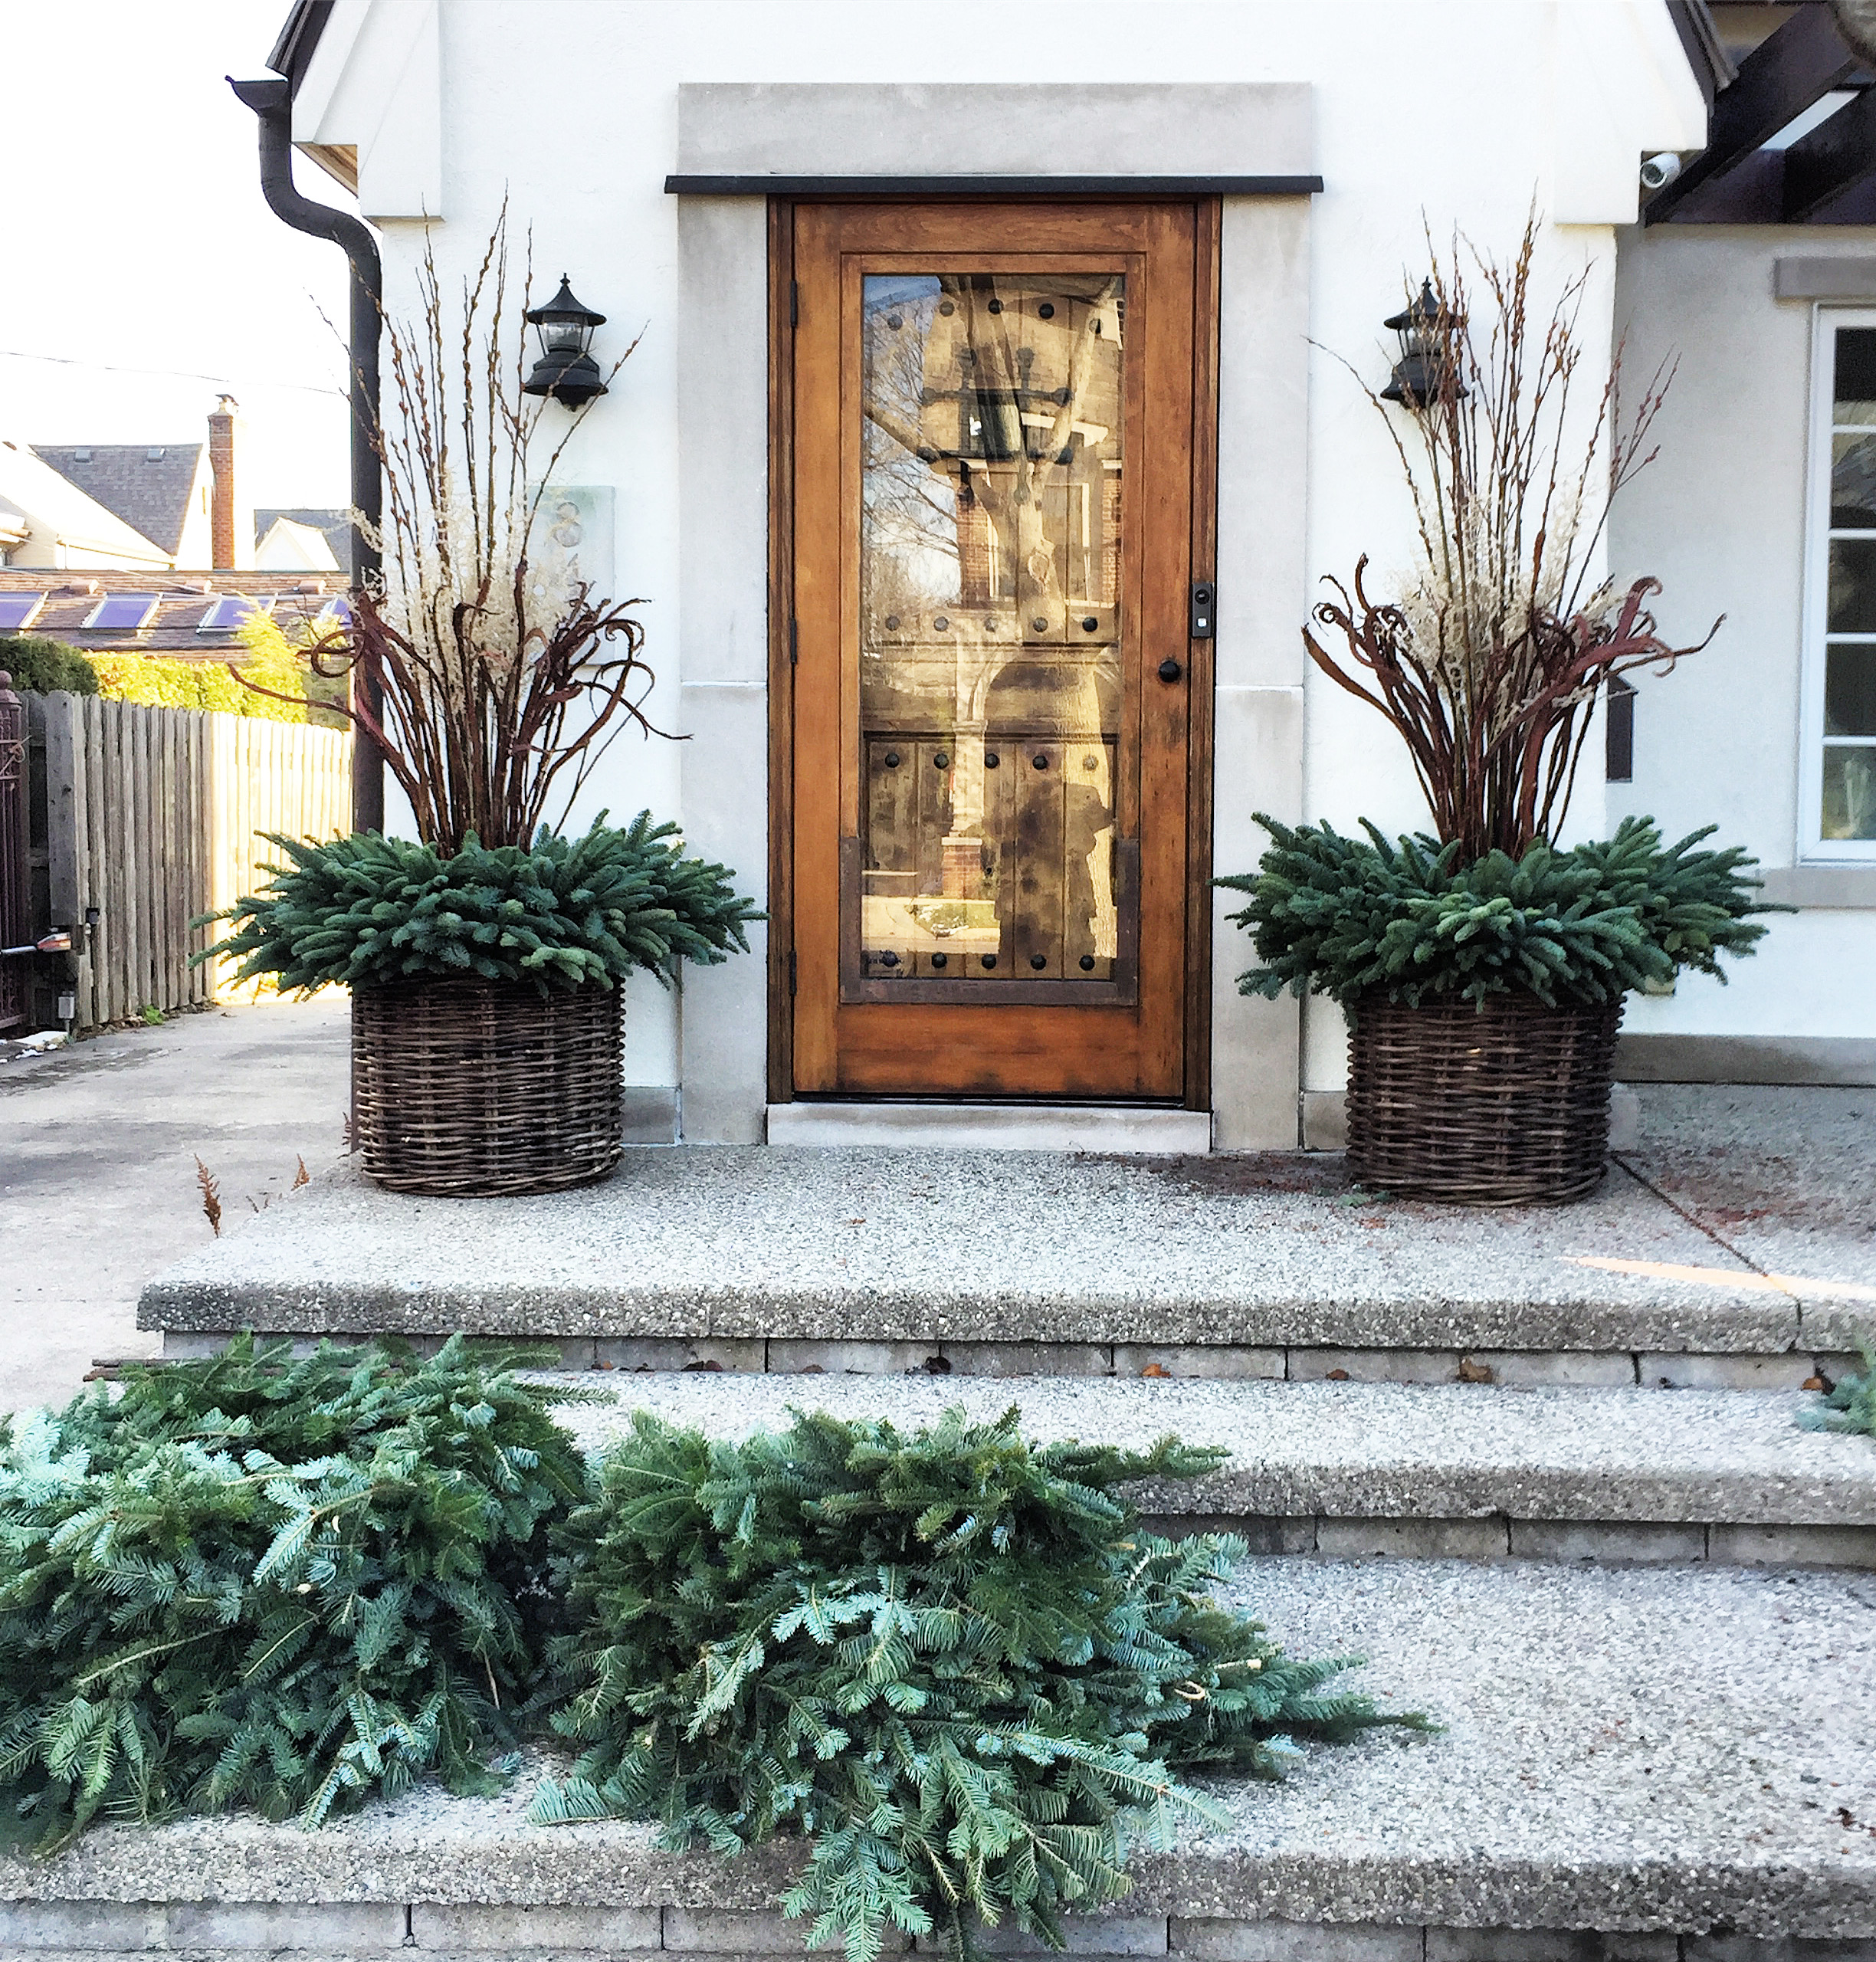
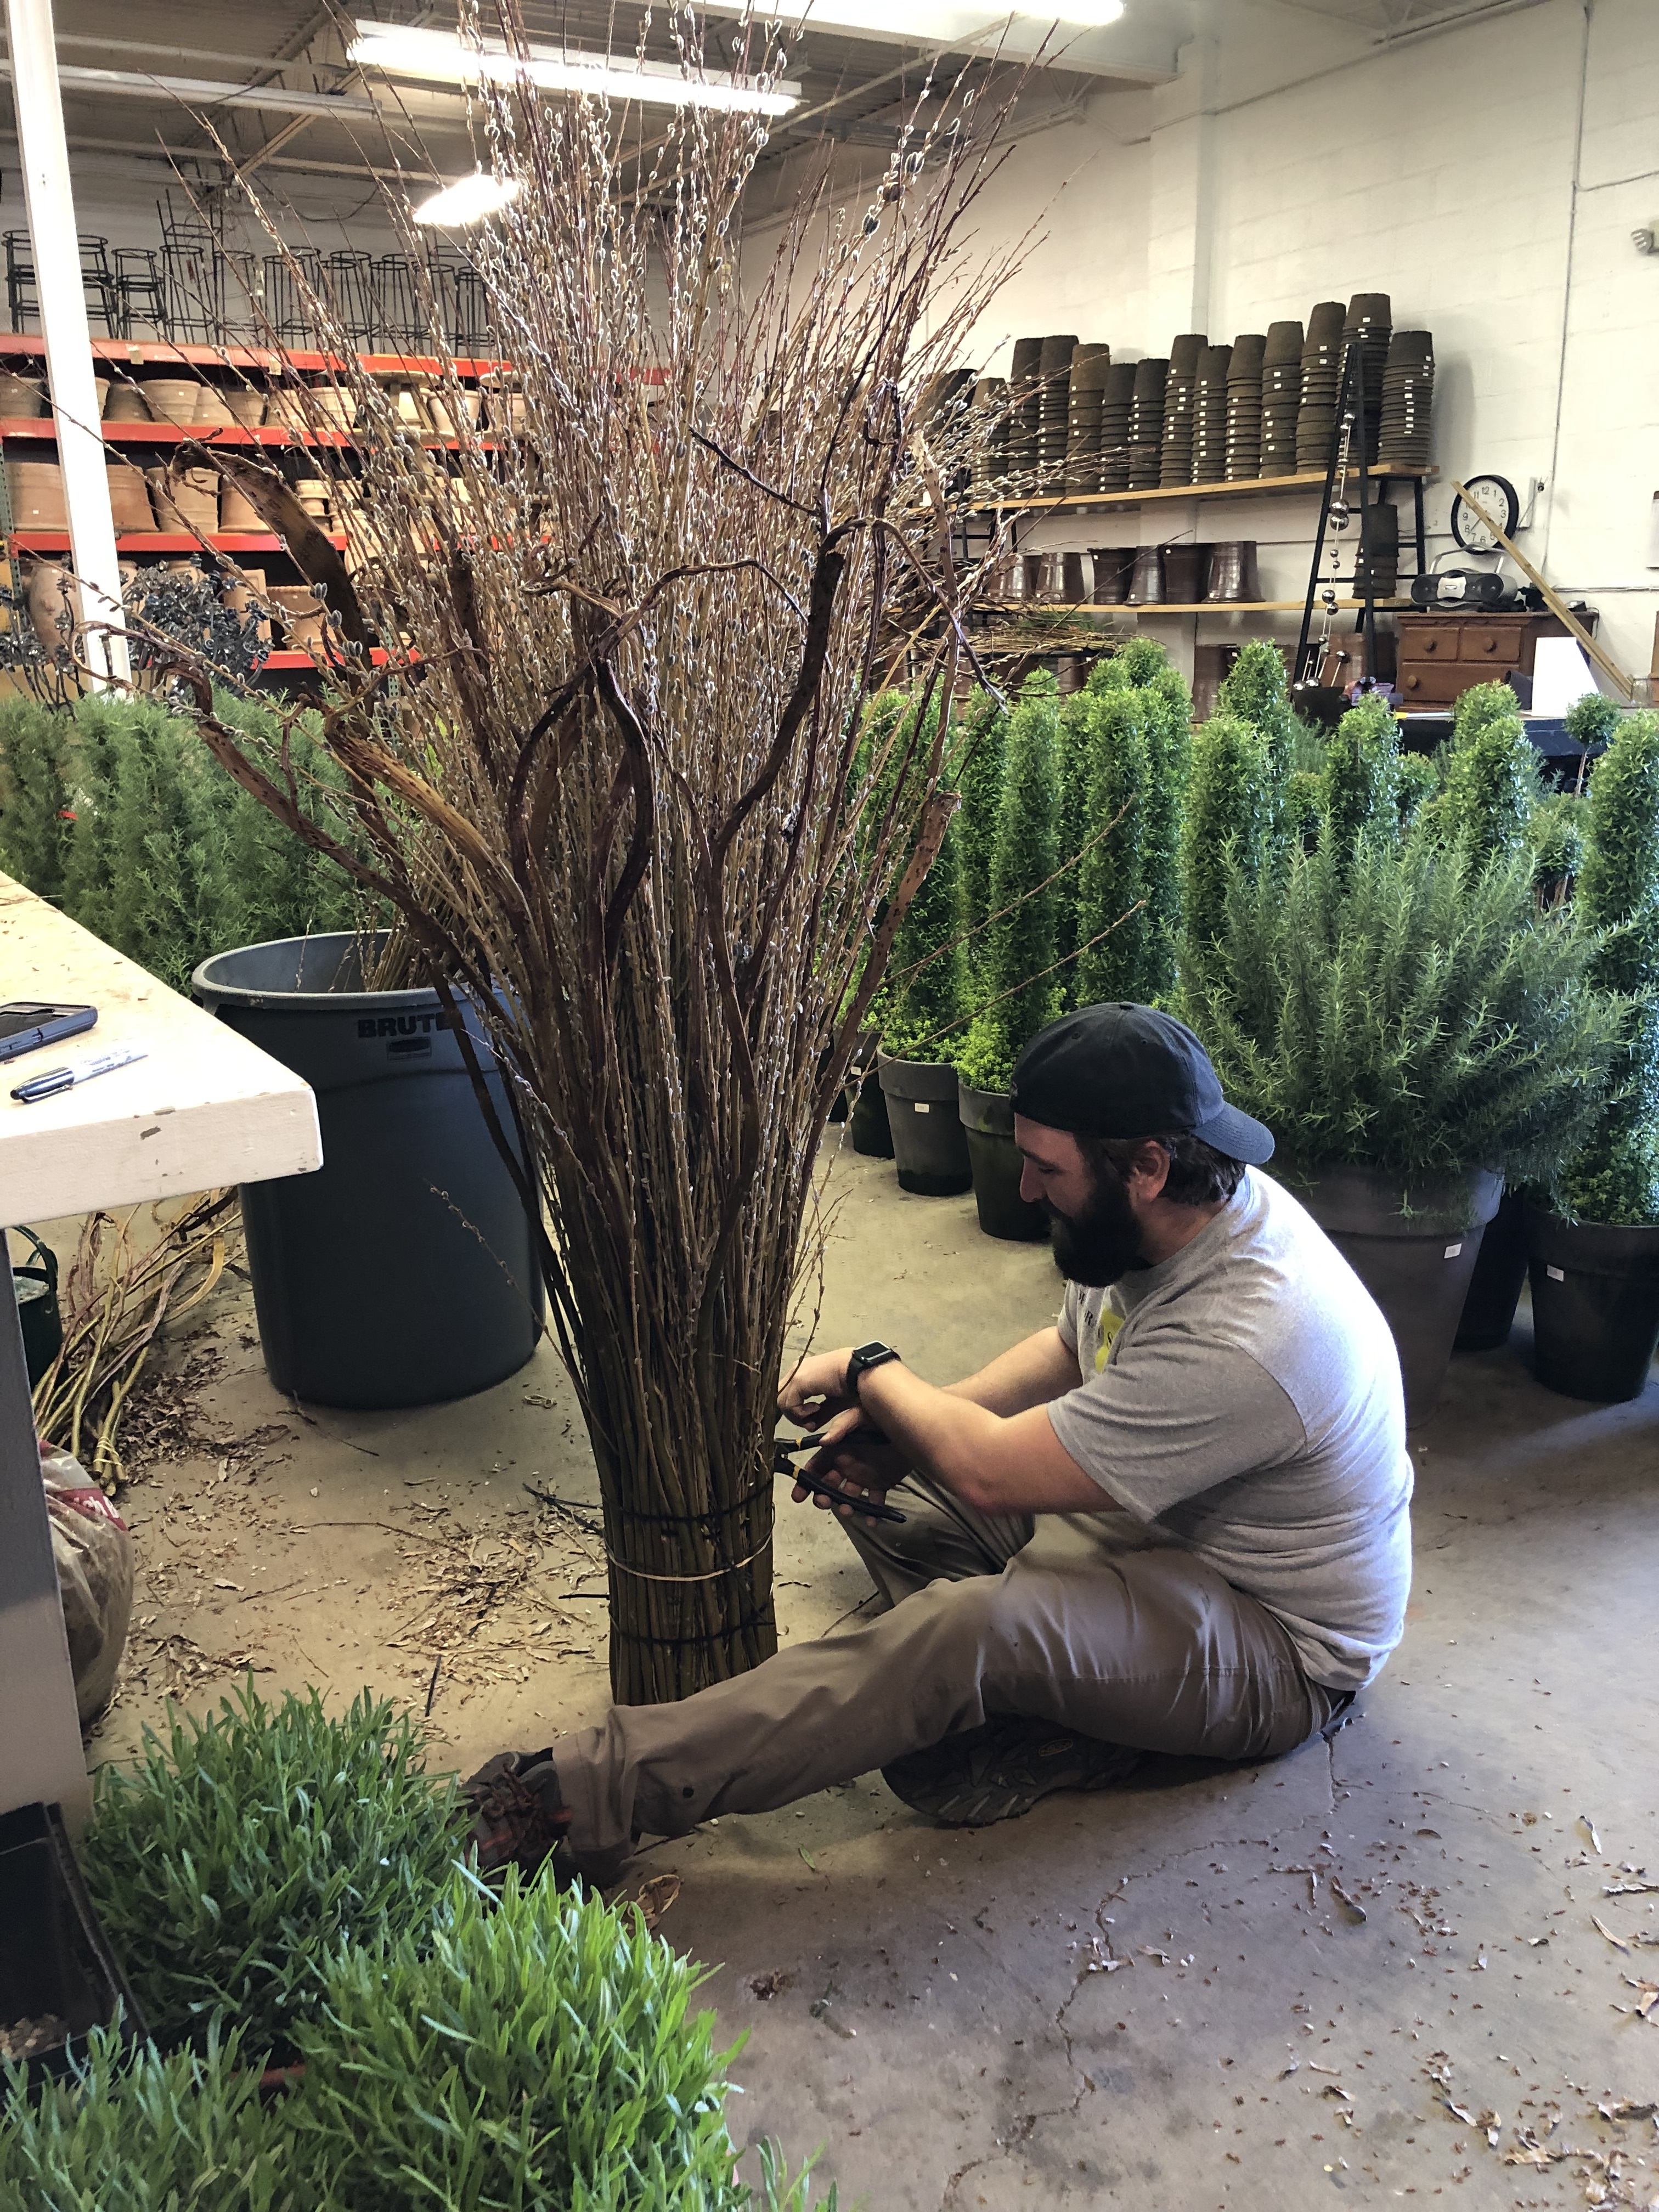
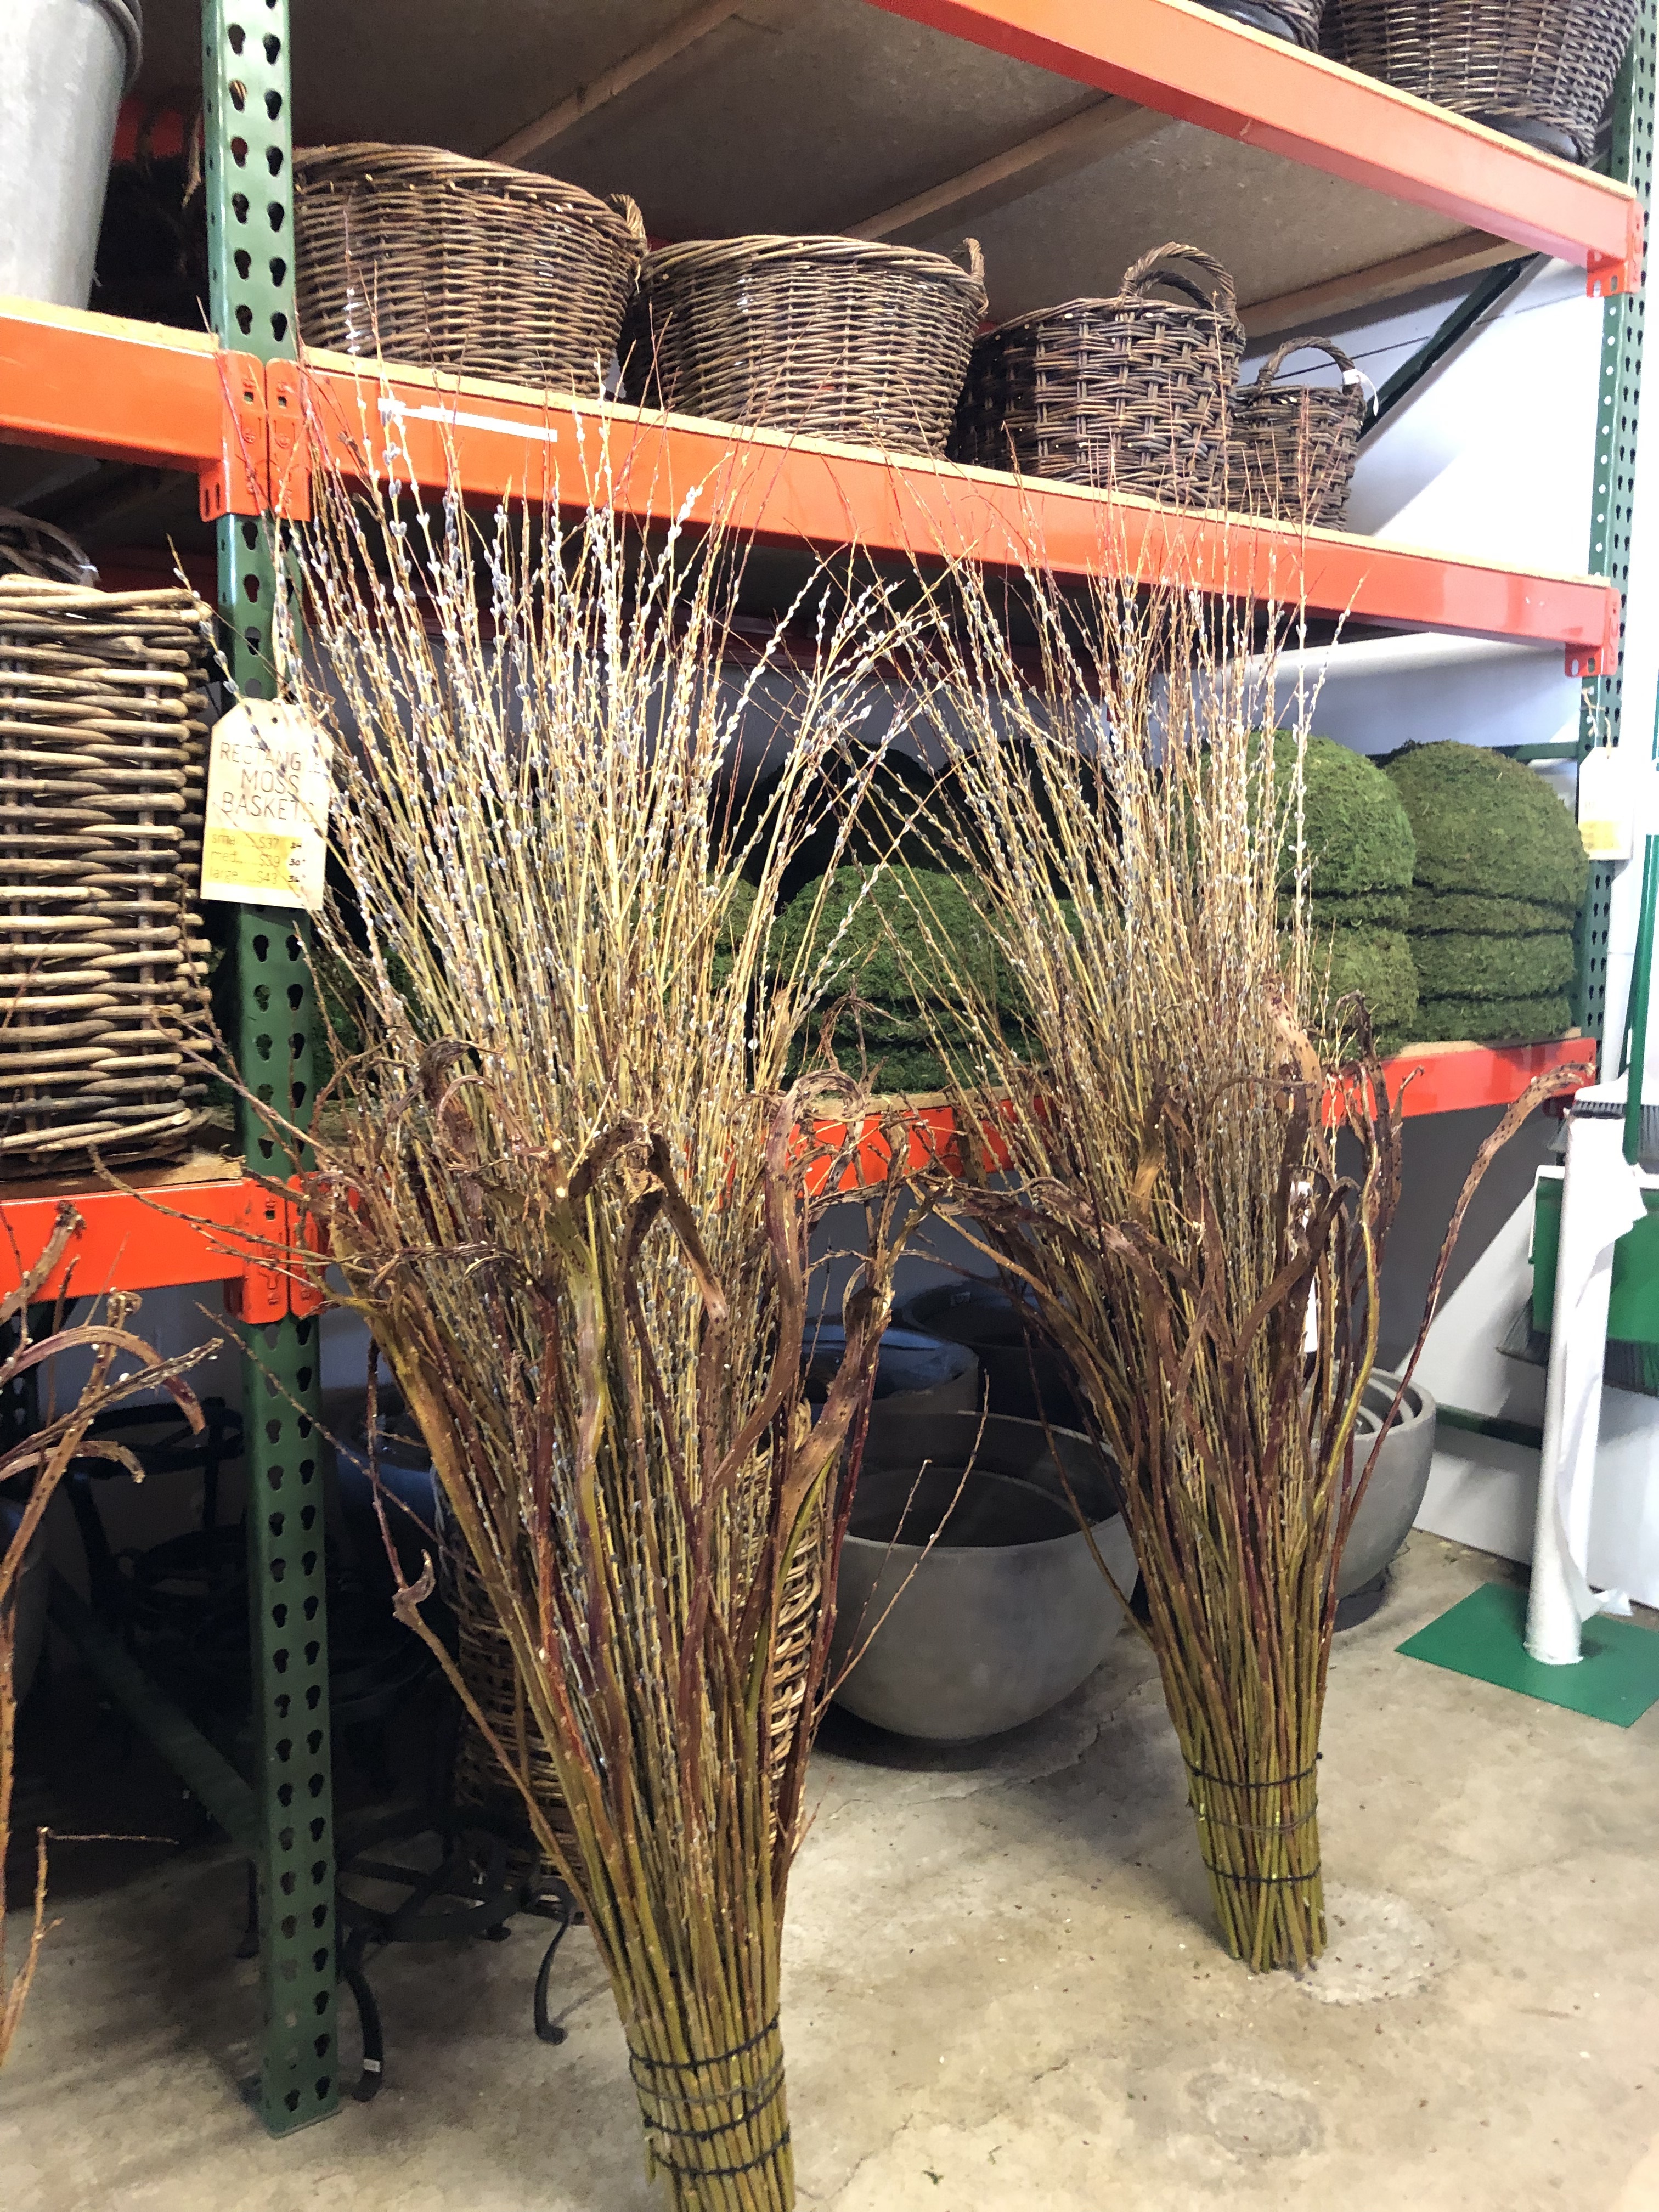
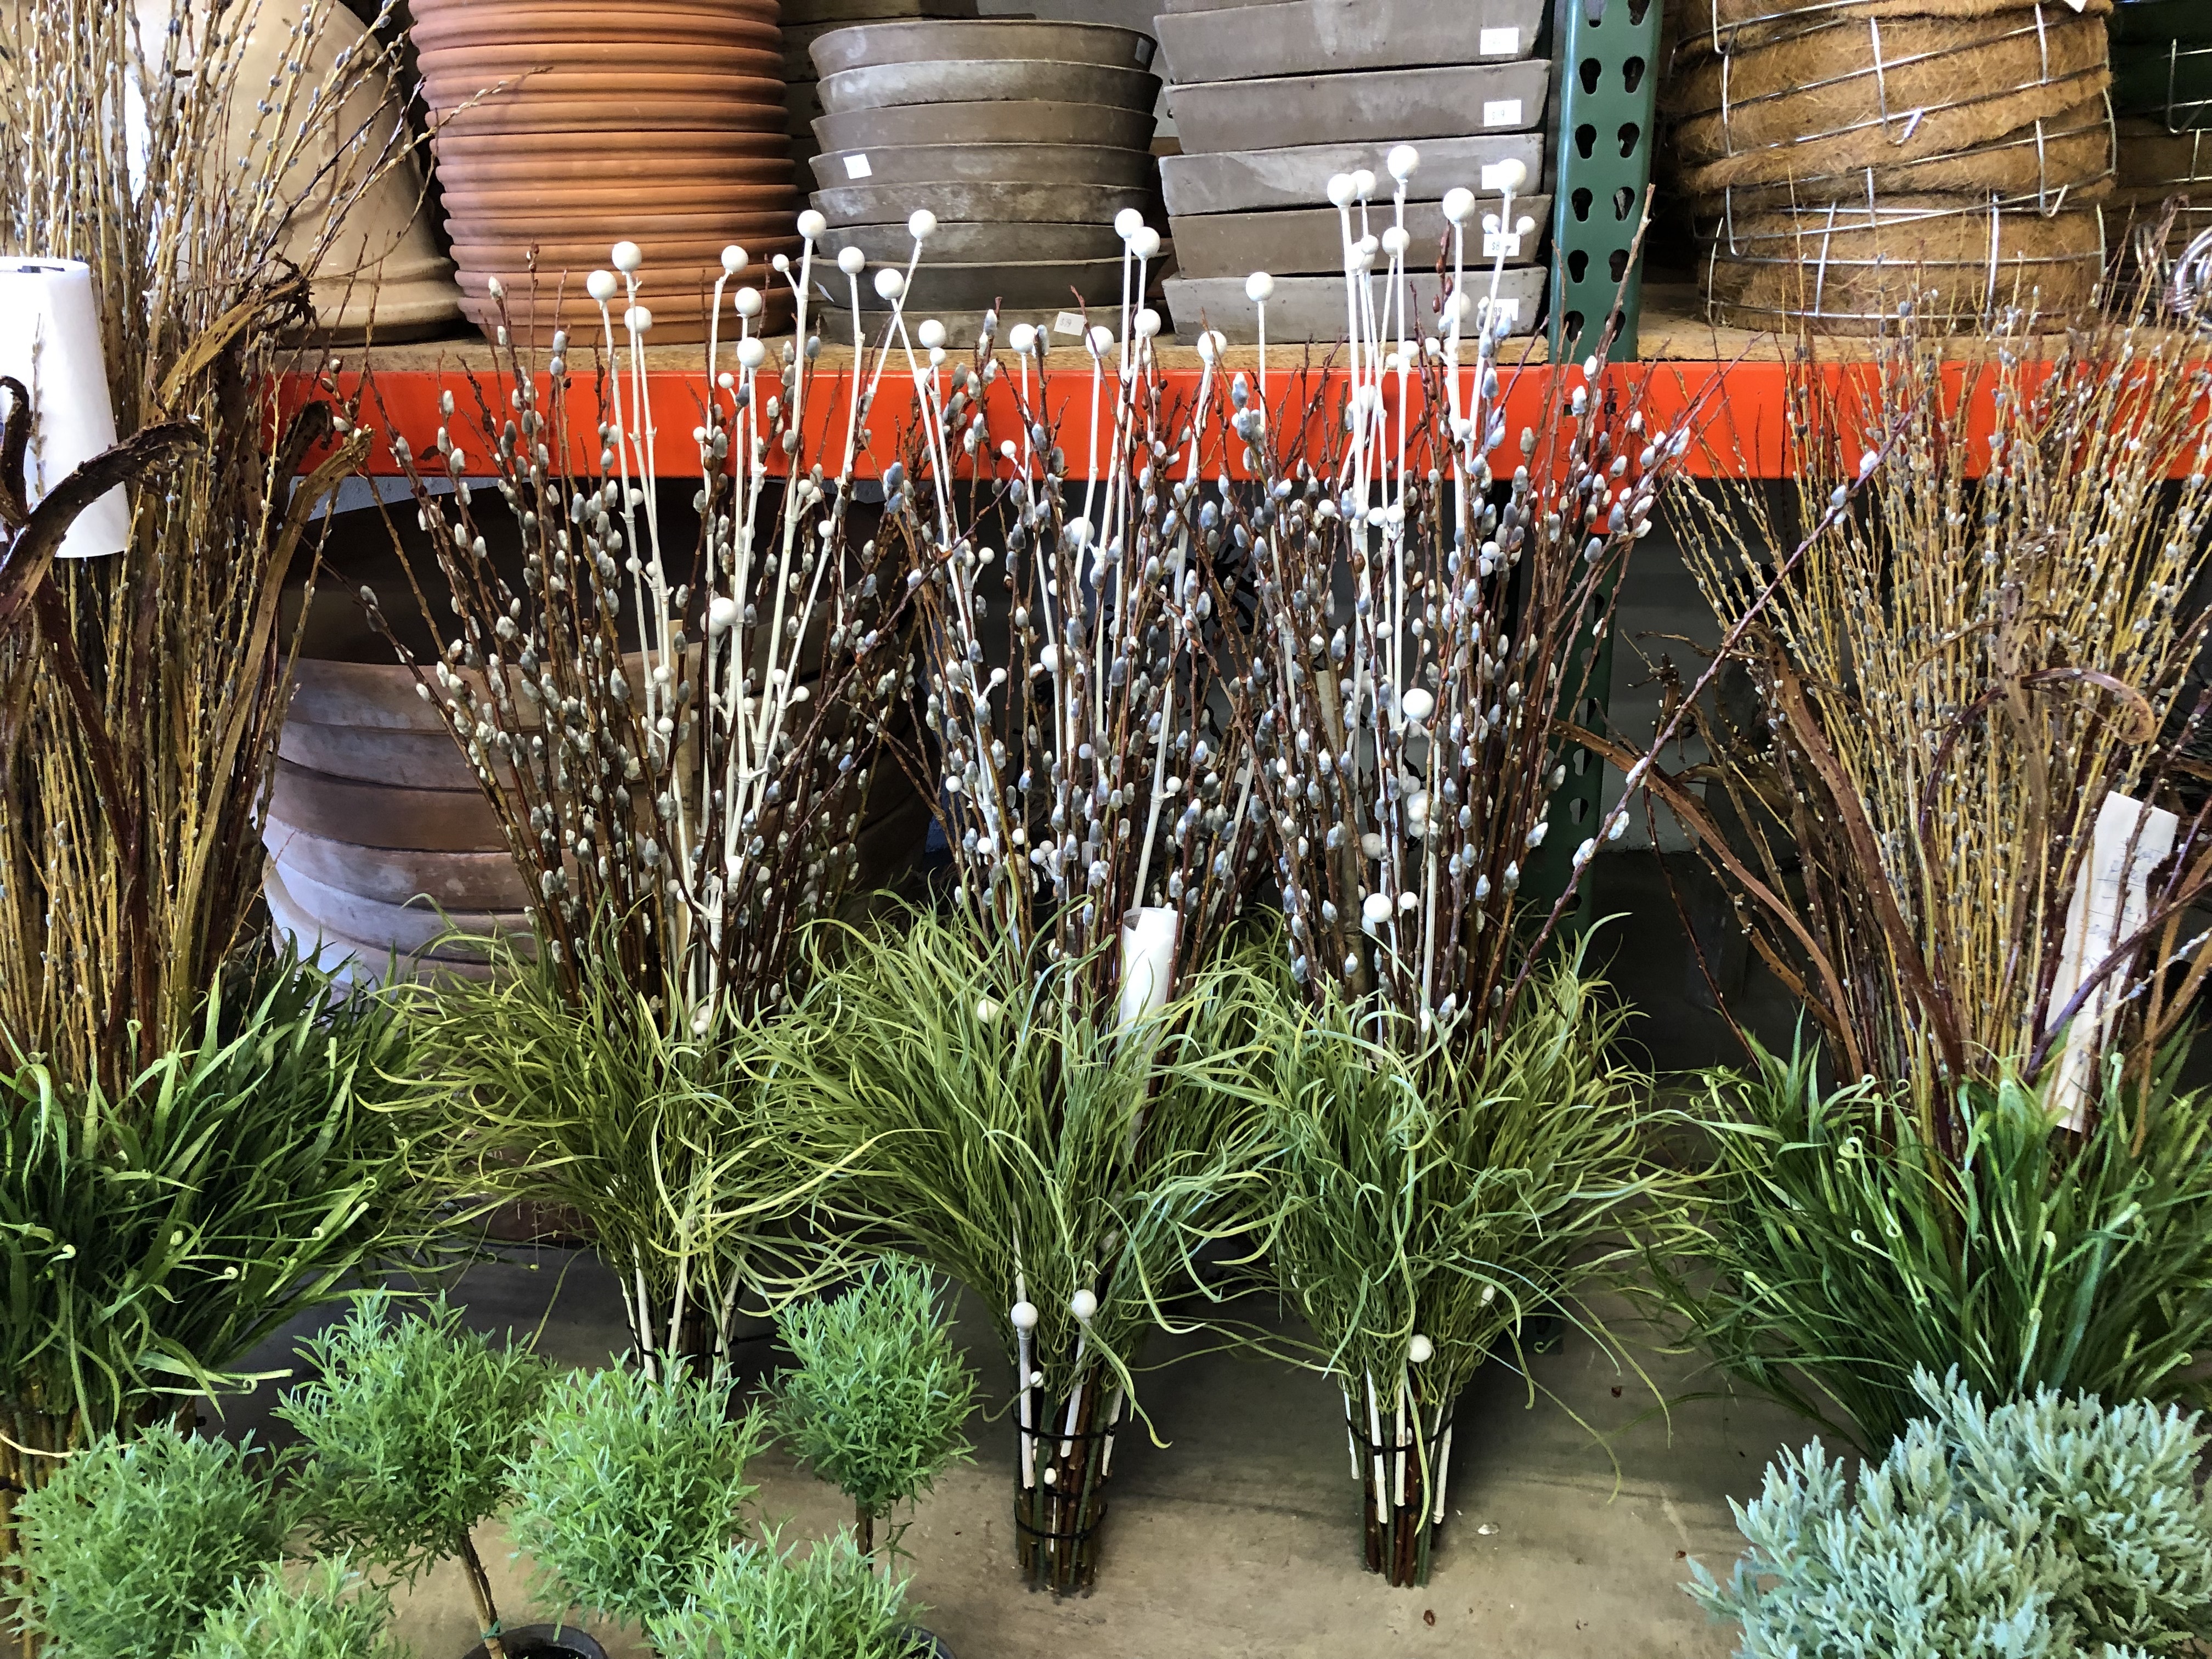
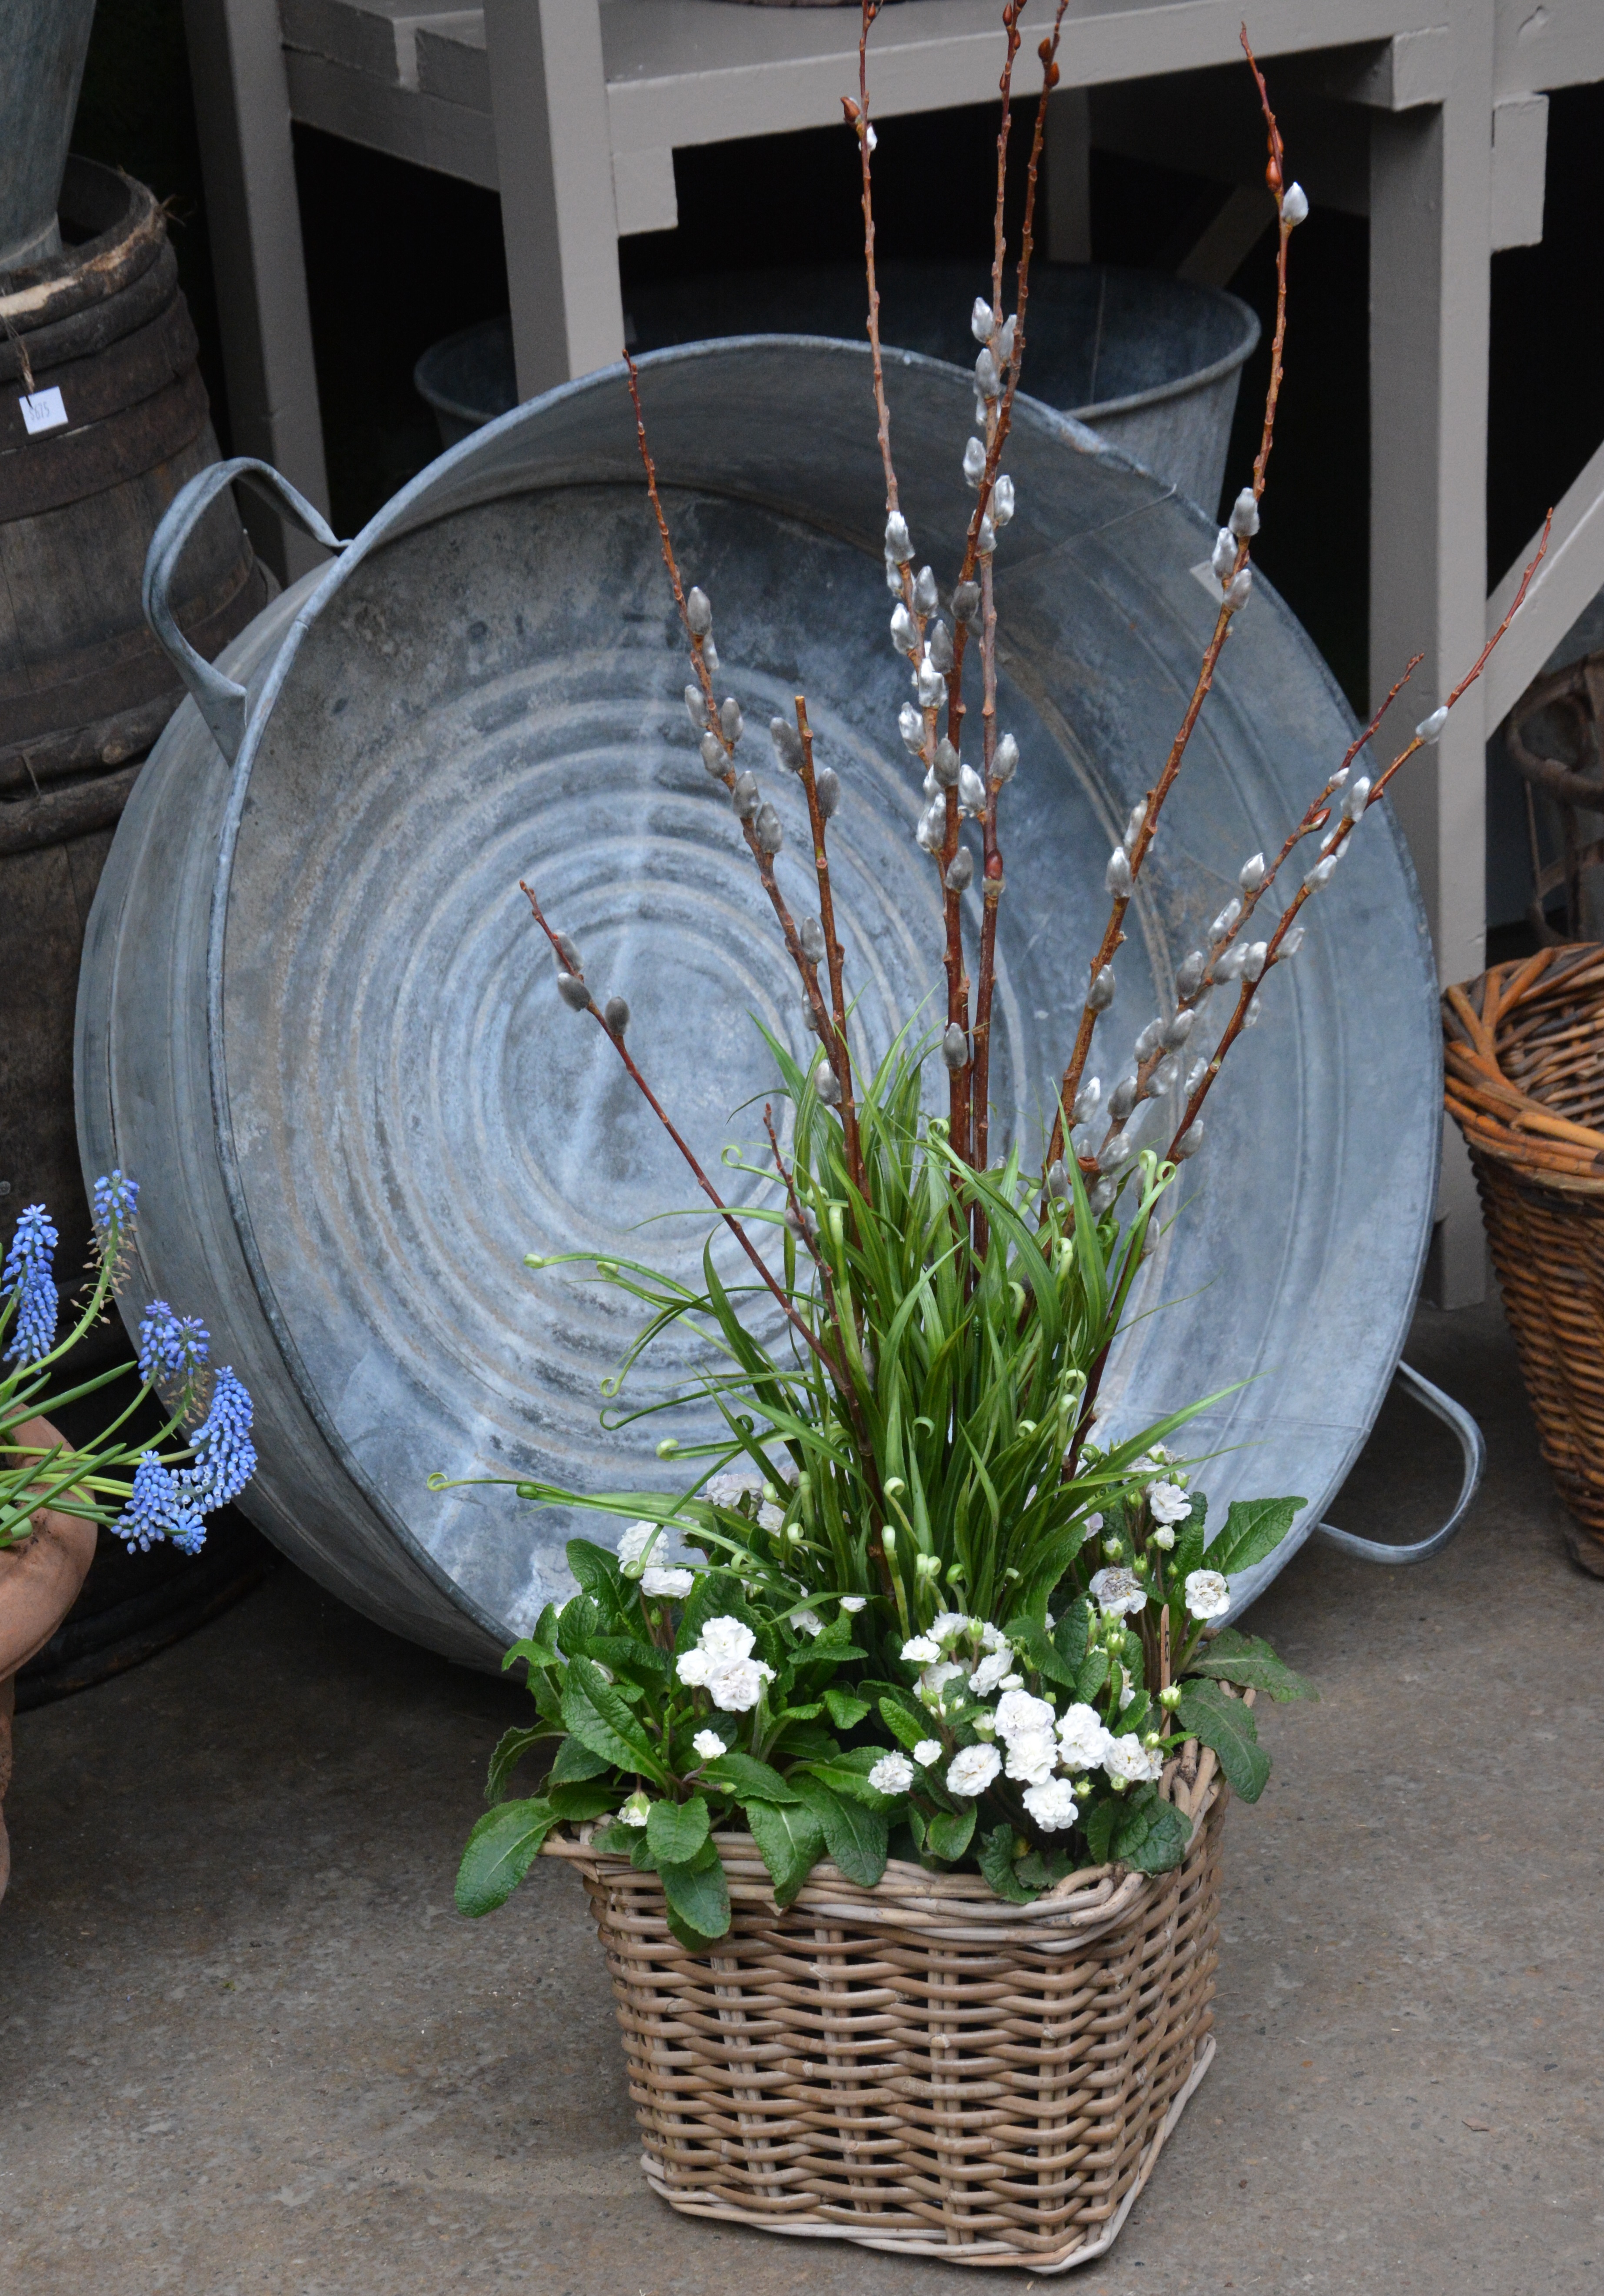
 Pussy willow is a great twig choice for pots. The fuzzy catkins covering the stems are charming. Cut pussy willow twigs will often root in a spring pot, bringing leaves after the catkins have faded. Pussy willow would be a poor choice of a shrub for my garden, as it grows so large. Having the cut stems in a container is a way to enjoy them without making any commitment to a long term relationship. And speaking of long term relationships, it is a pleasure to have the opportunity to try something new in containers every spring.
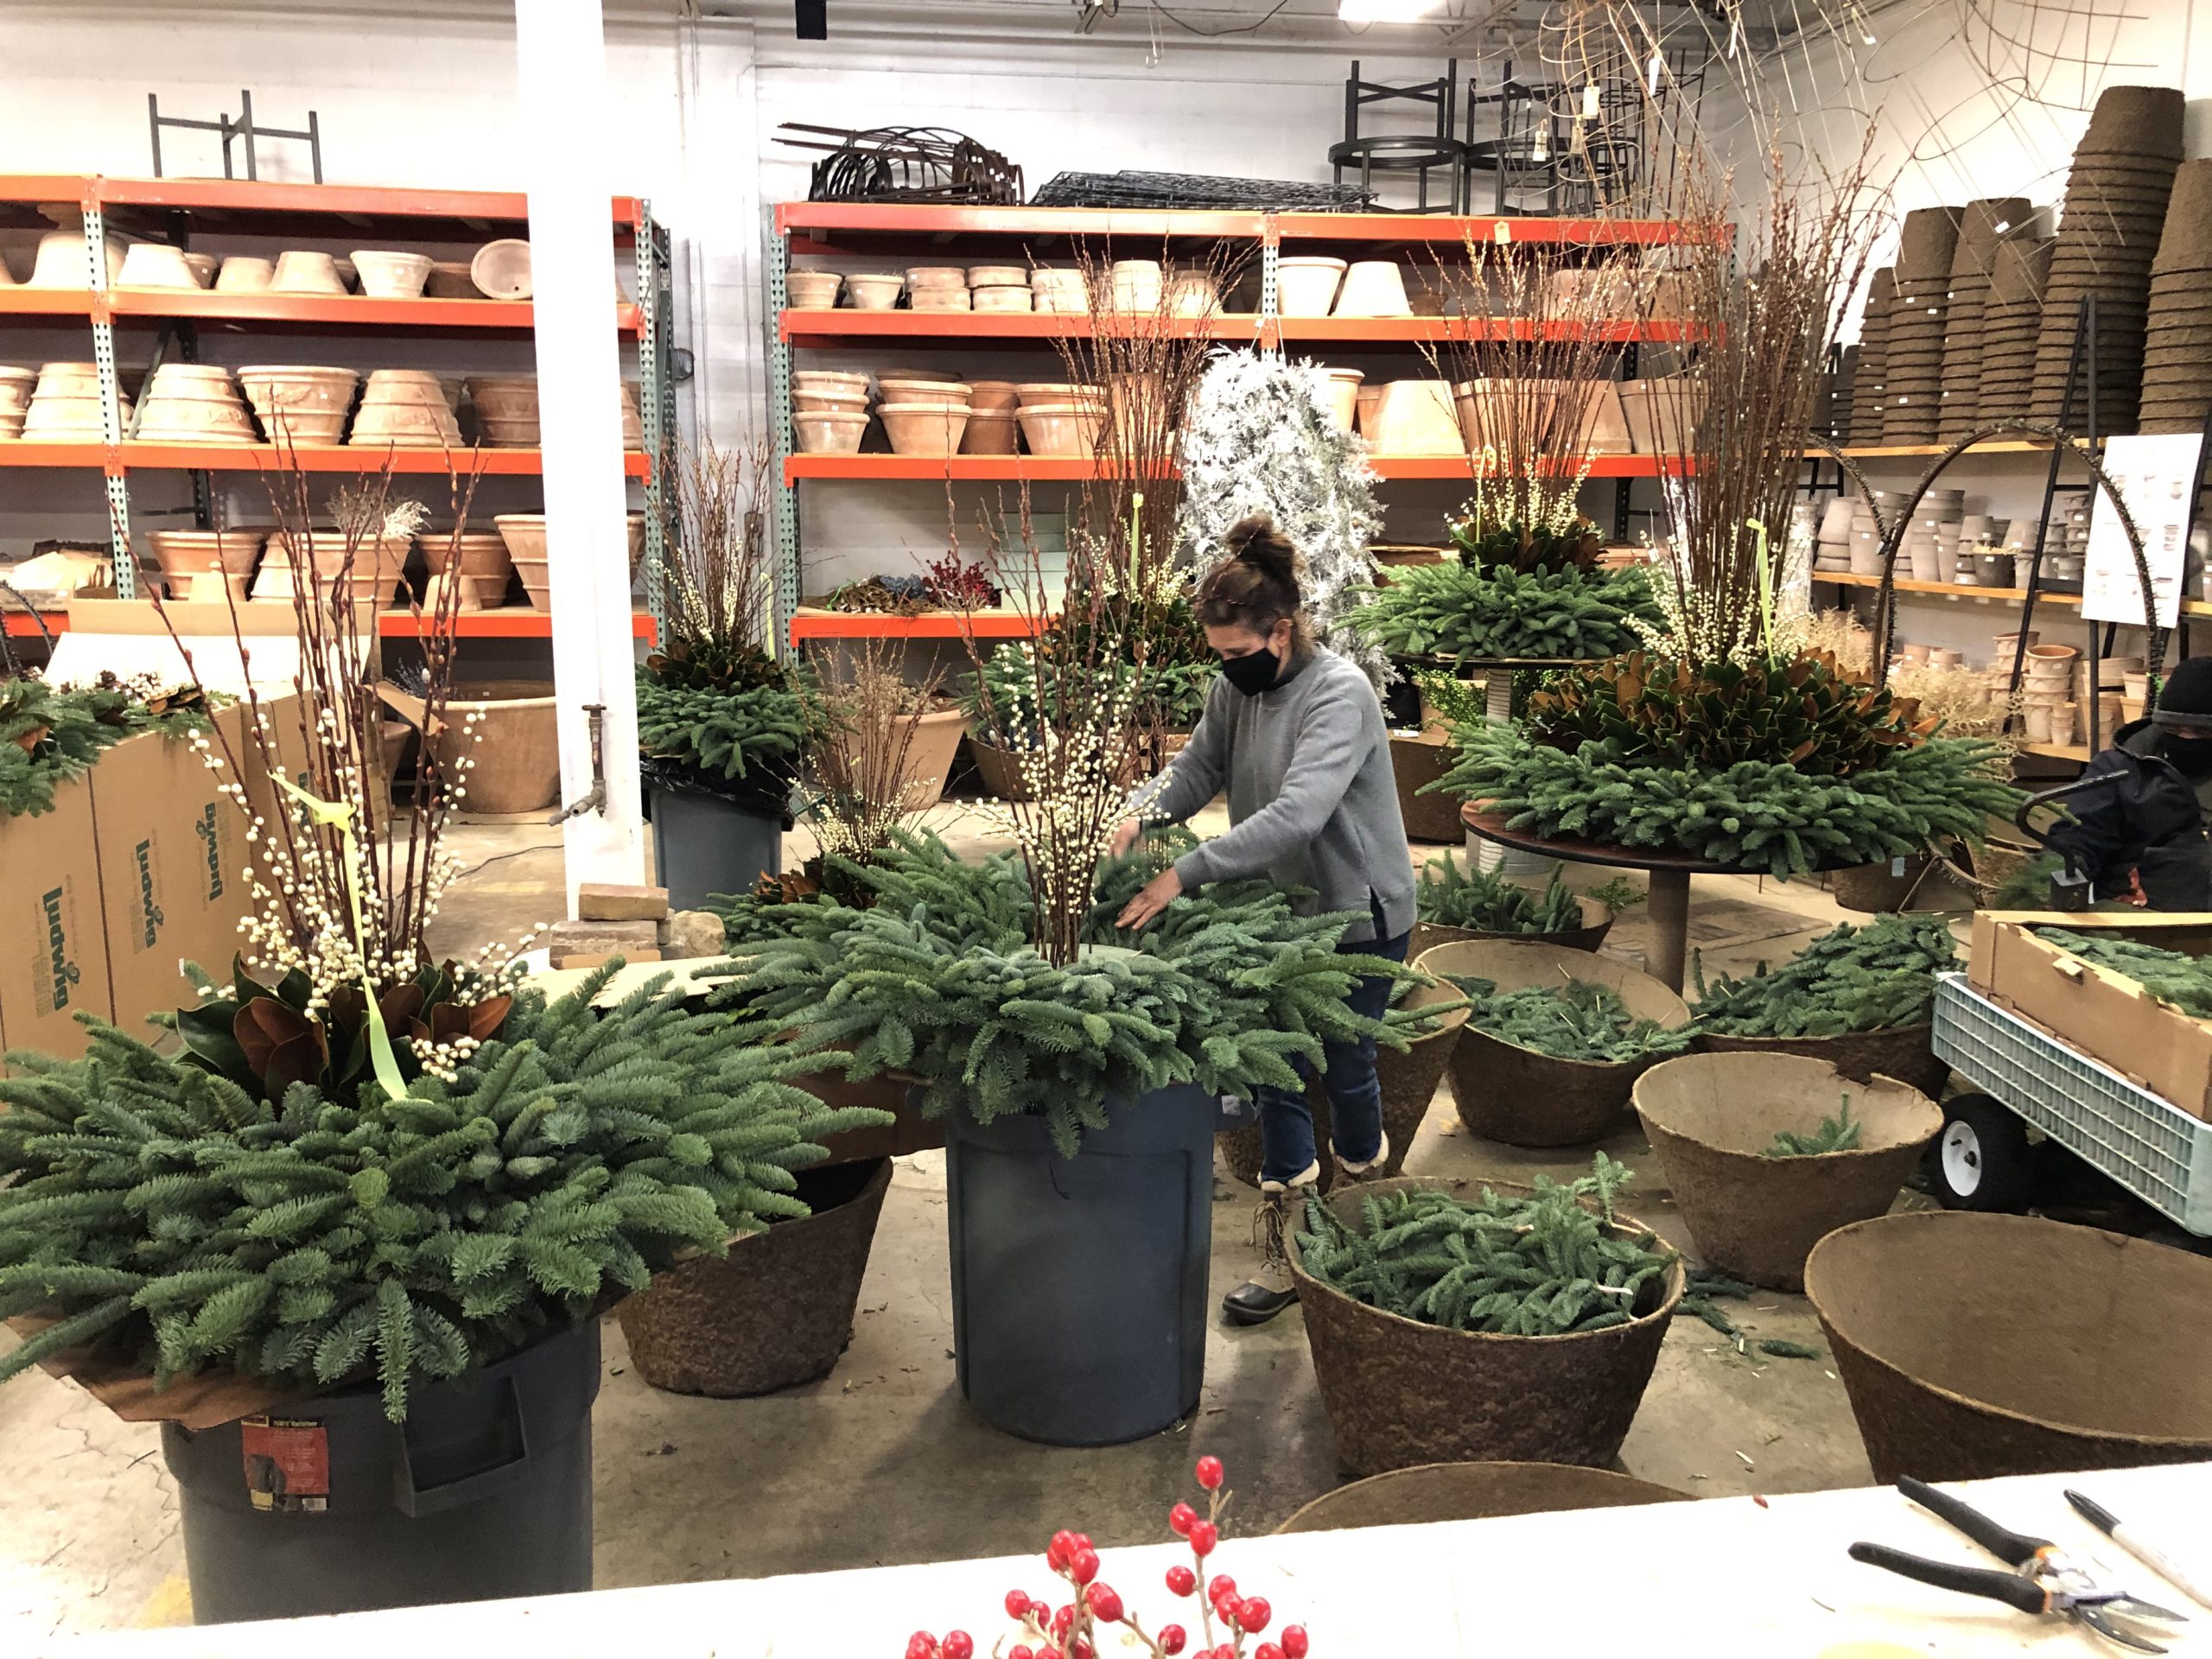
 We will be starting our installations of spring pots this coming Monday. It will feel good to be gardening.
 faux grass and Belarina series double primrose
 white hyacinths
 sweet woodruff and faux grass
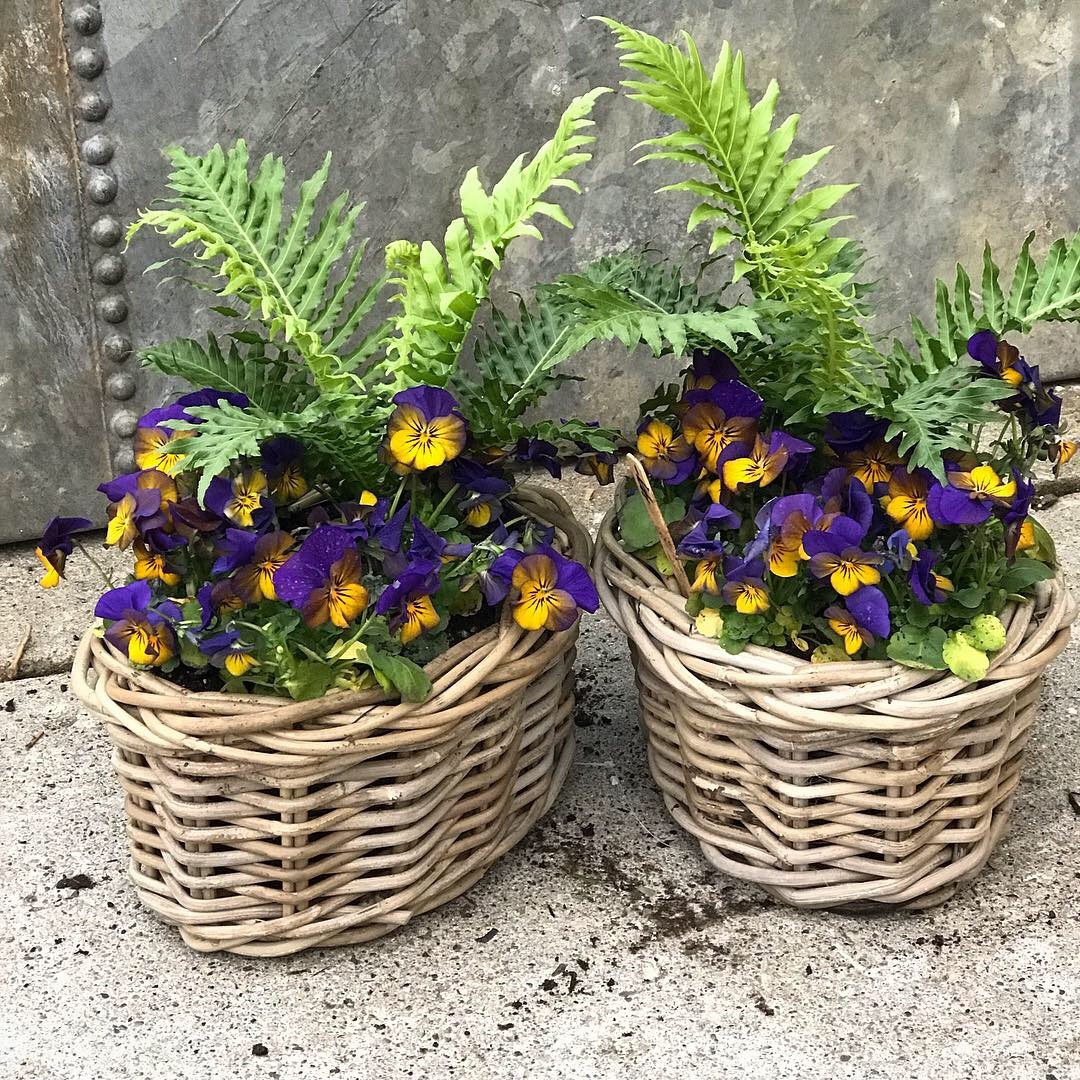 tropical ferns and pansies
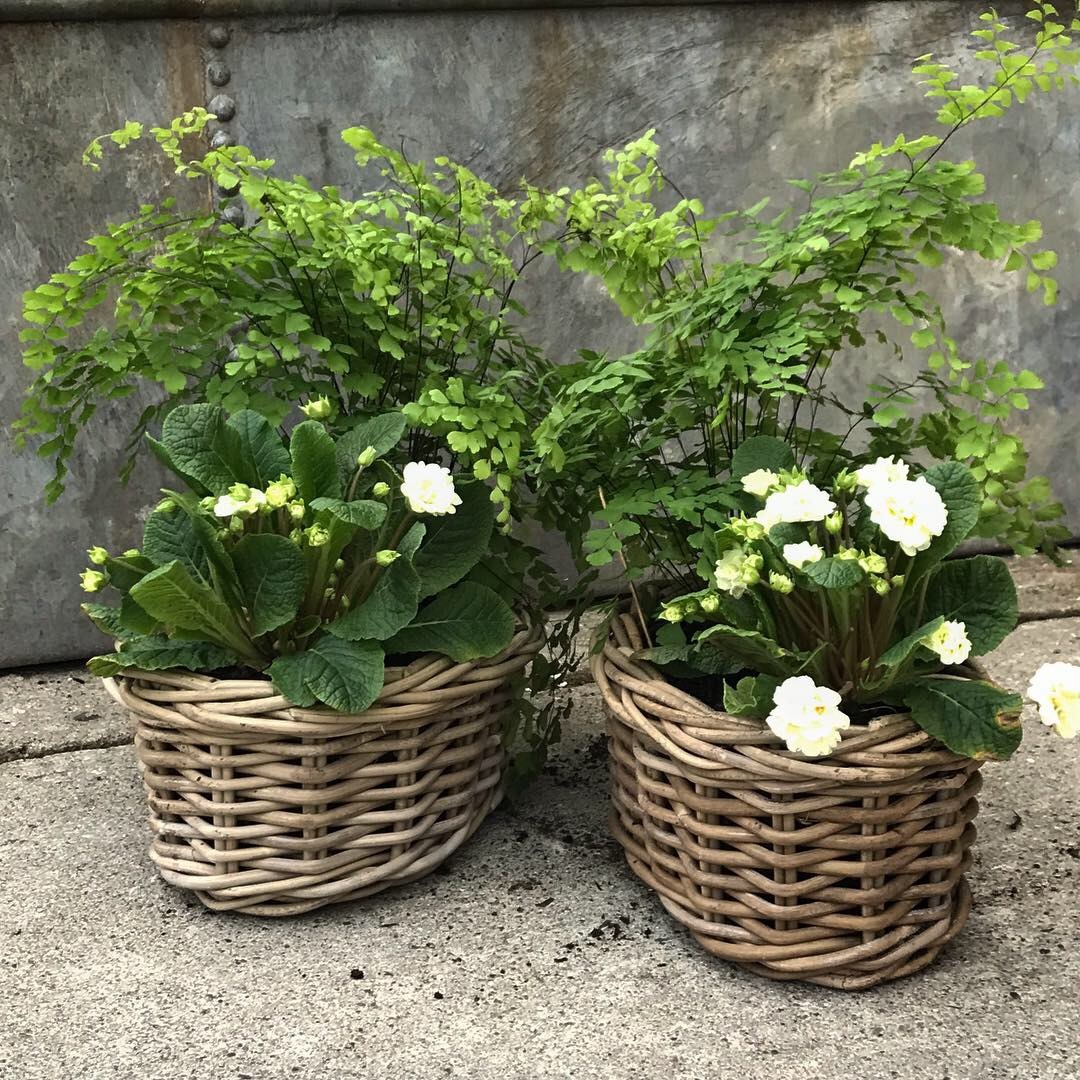 maidenhair ferns and Belarina primrose
 grape hyacinths, primula denticulata and oxalis
 spring pot with helleborus, grape hyacinth, violas and sweet woodruff
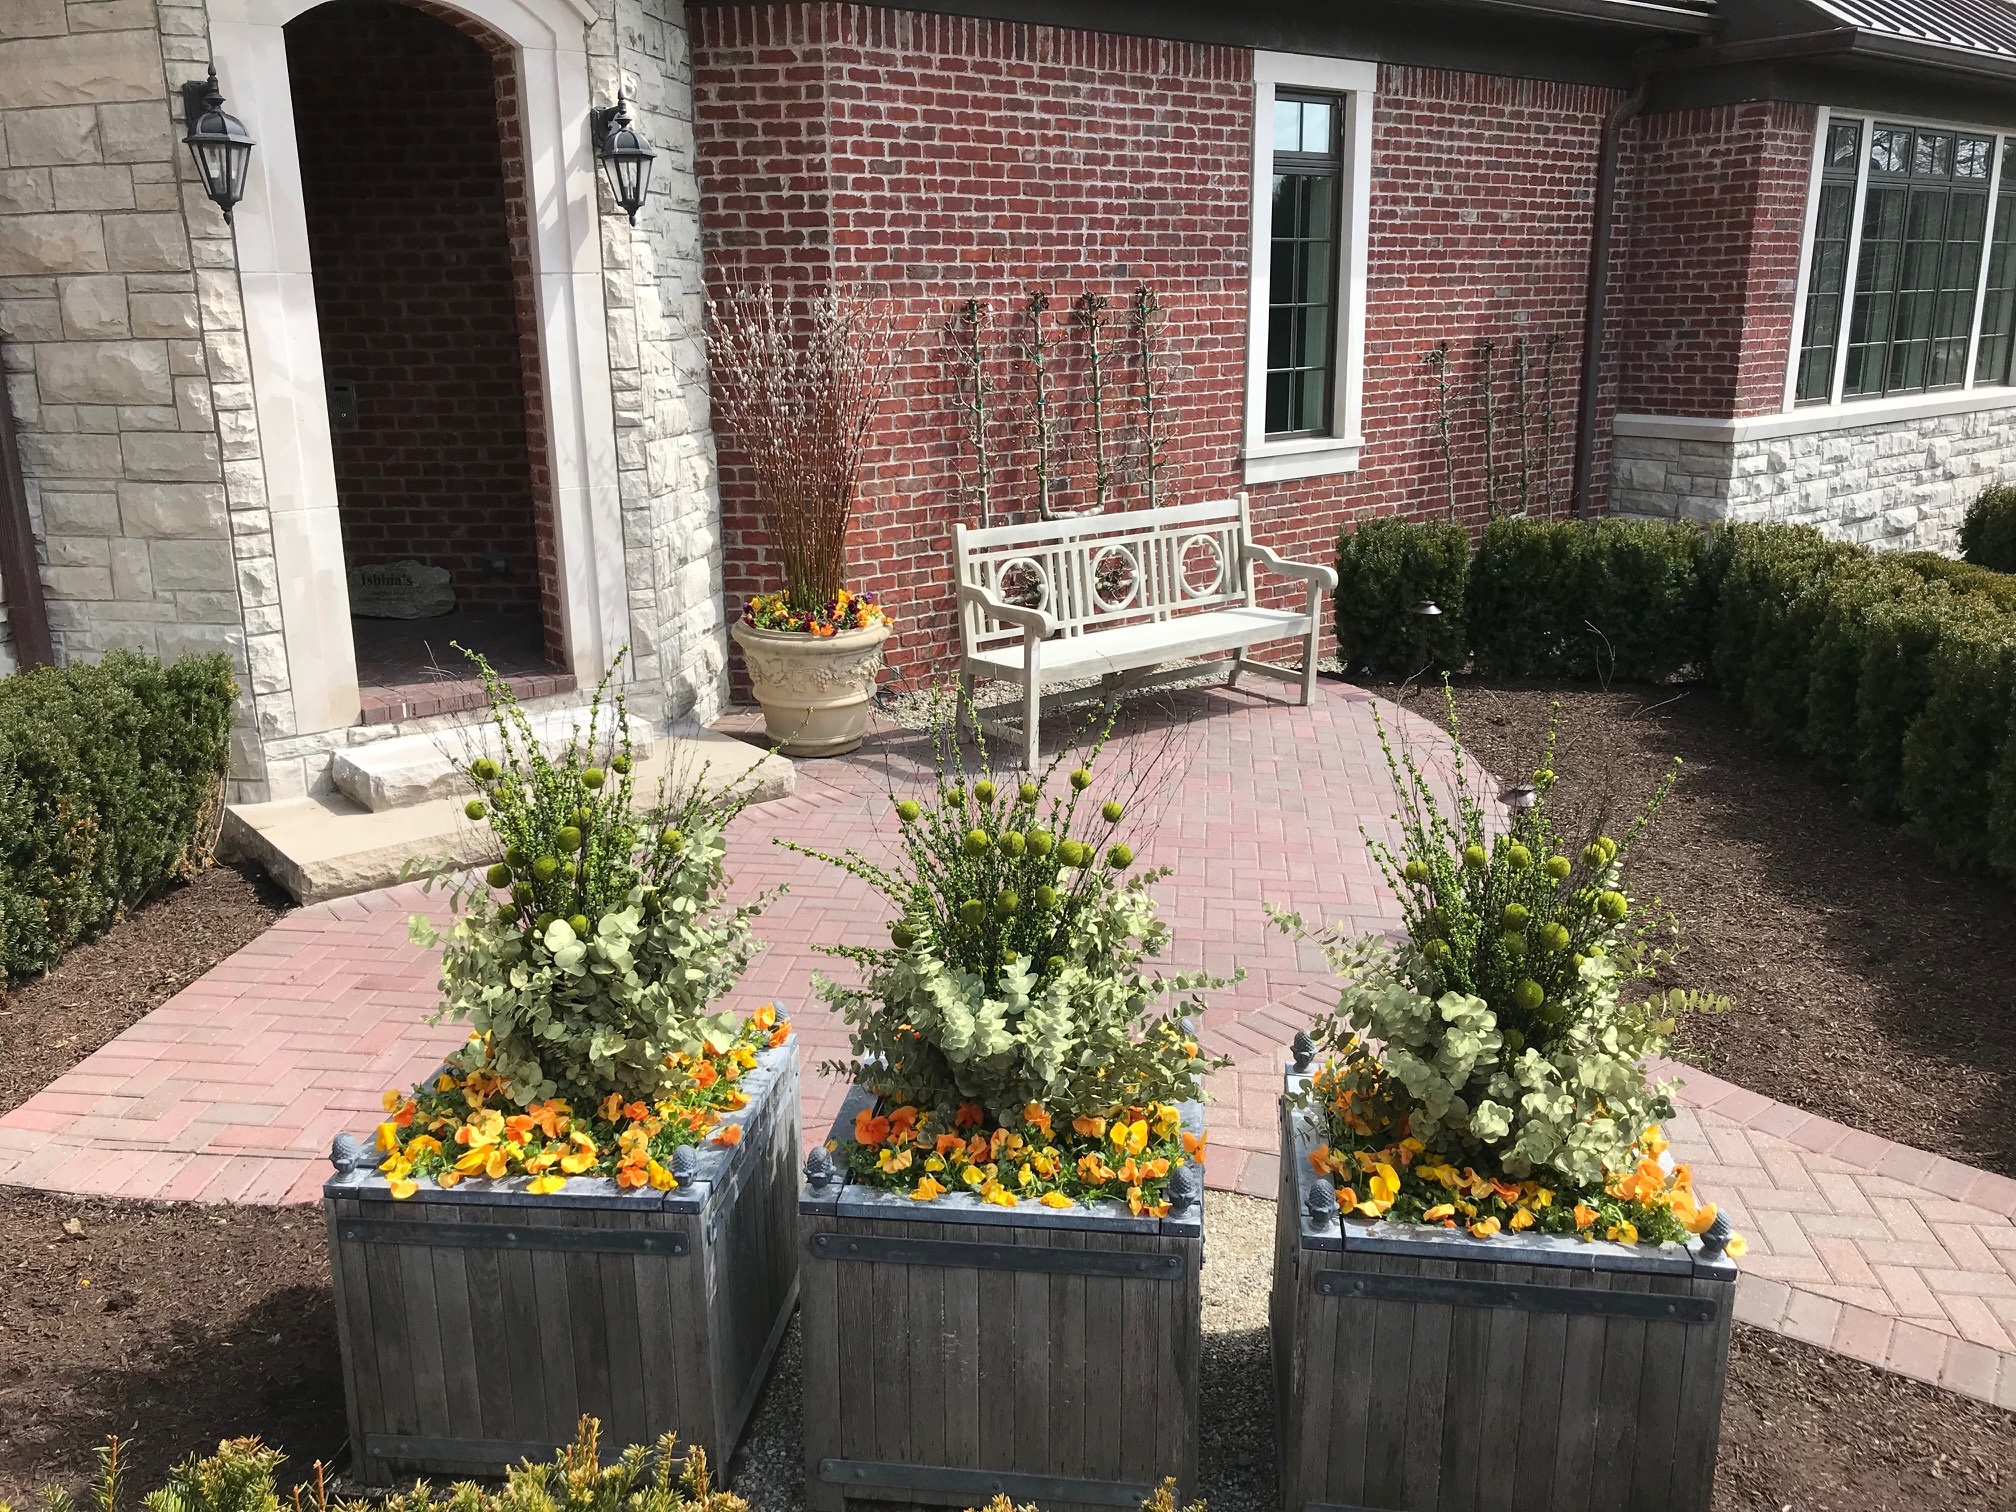 spring pots with eucalyptus centerpieces
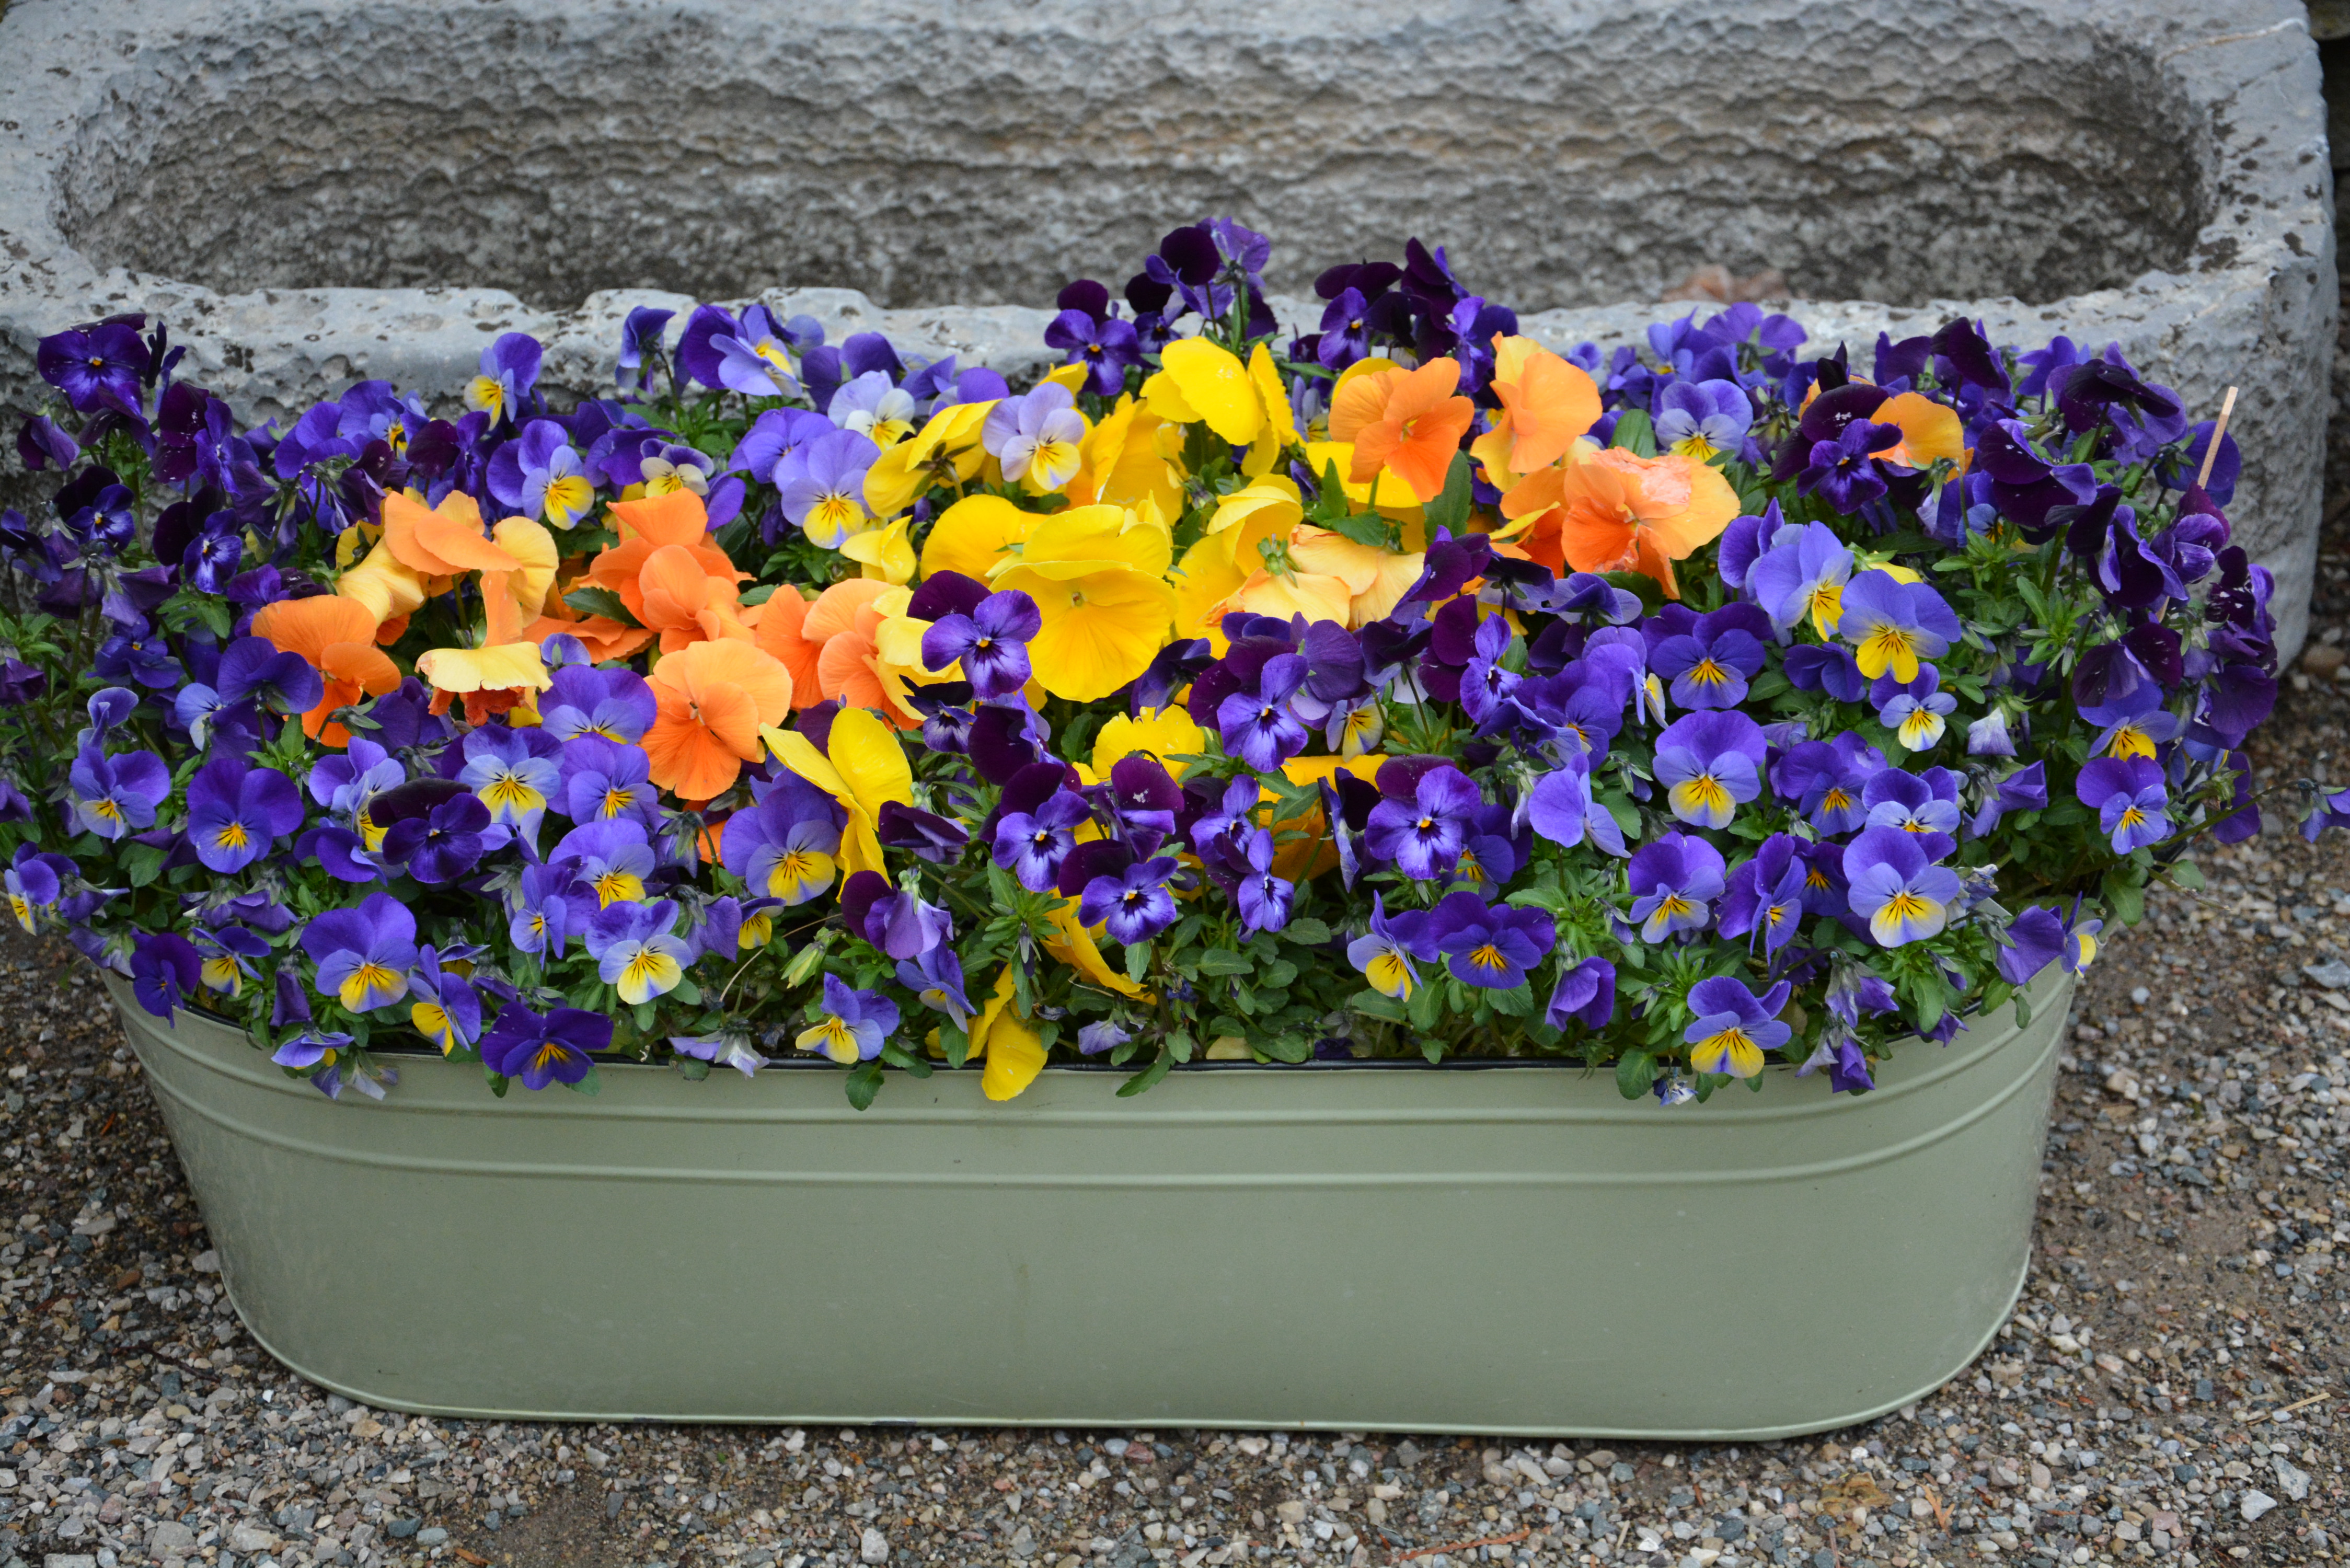 pansies and violas
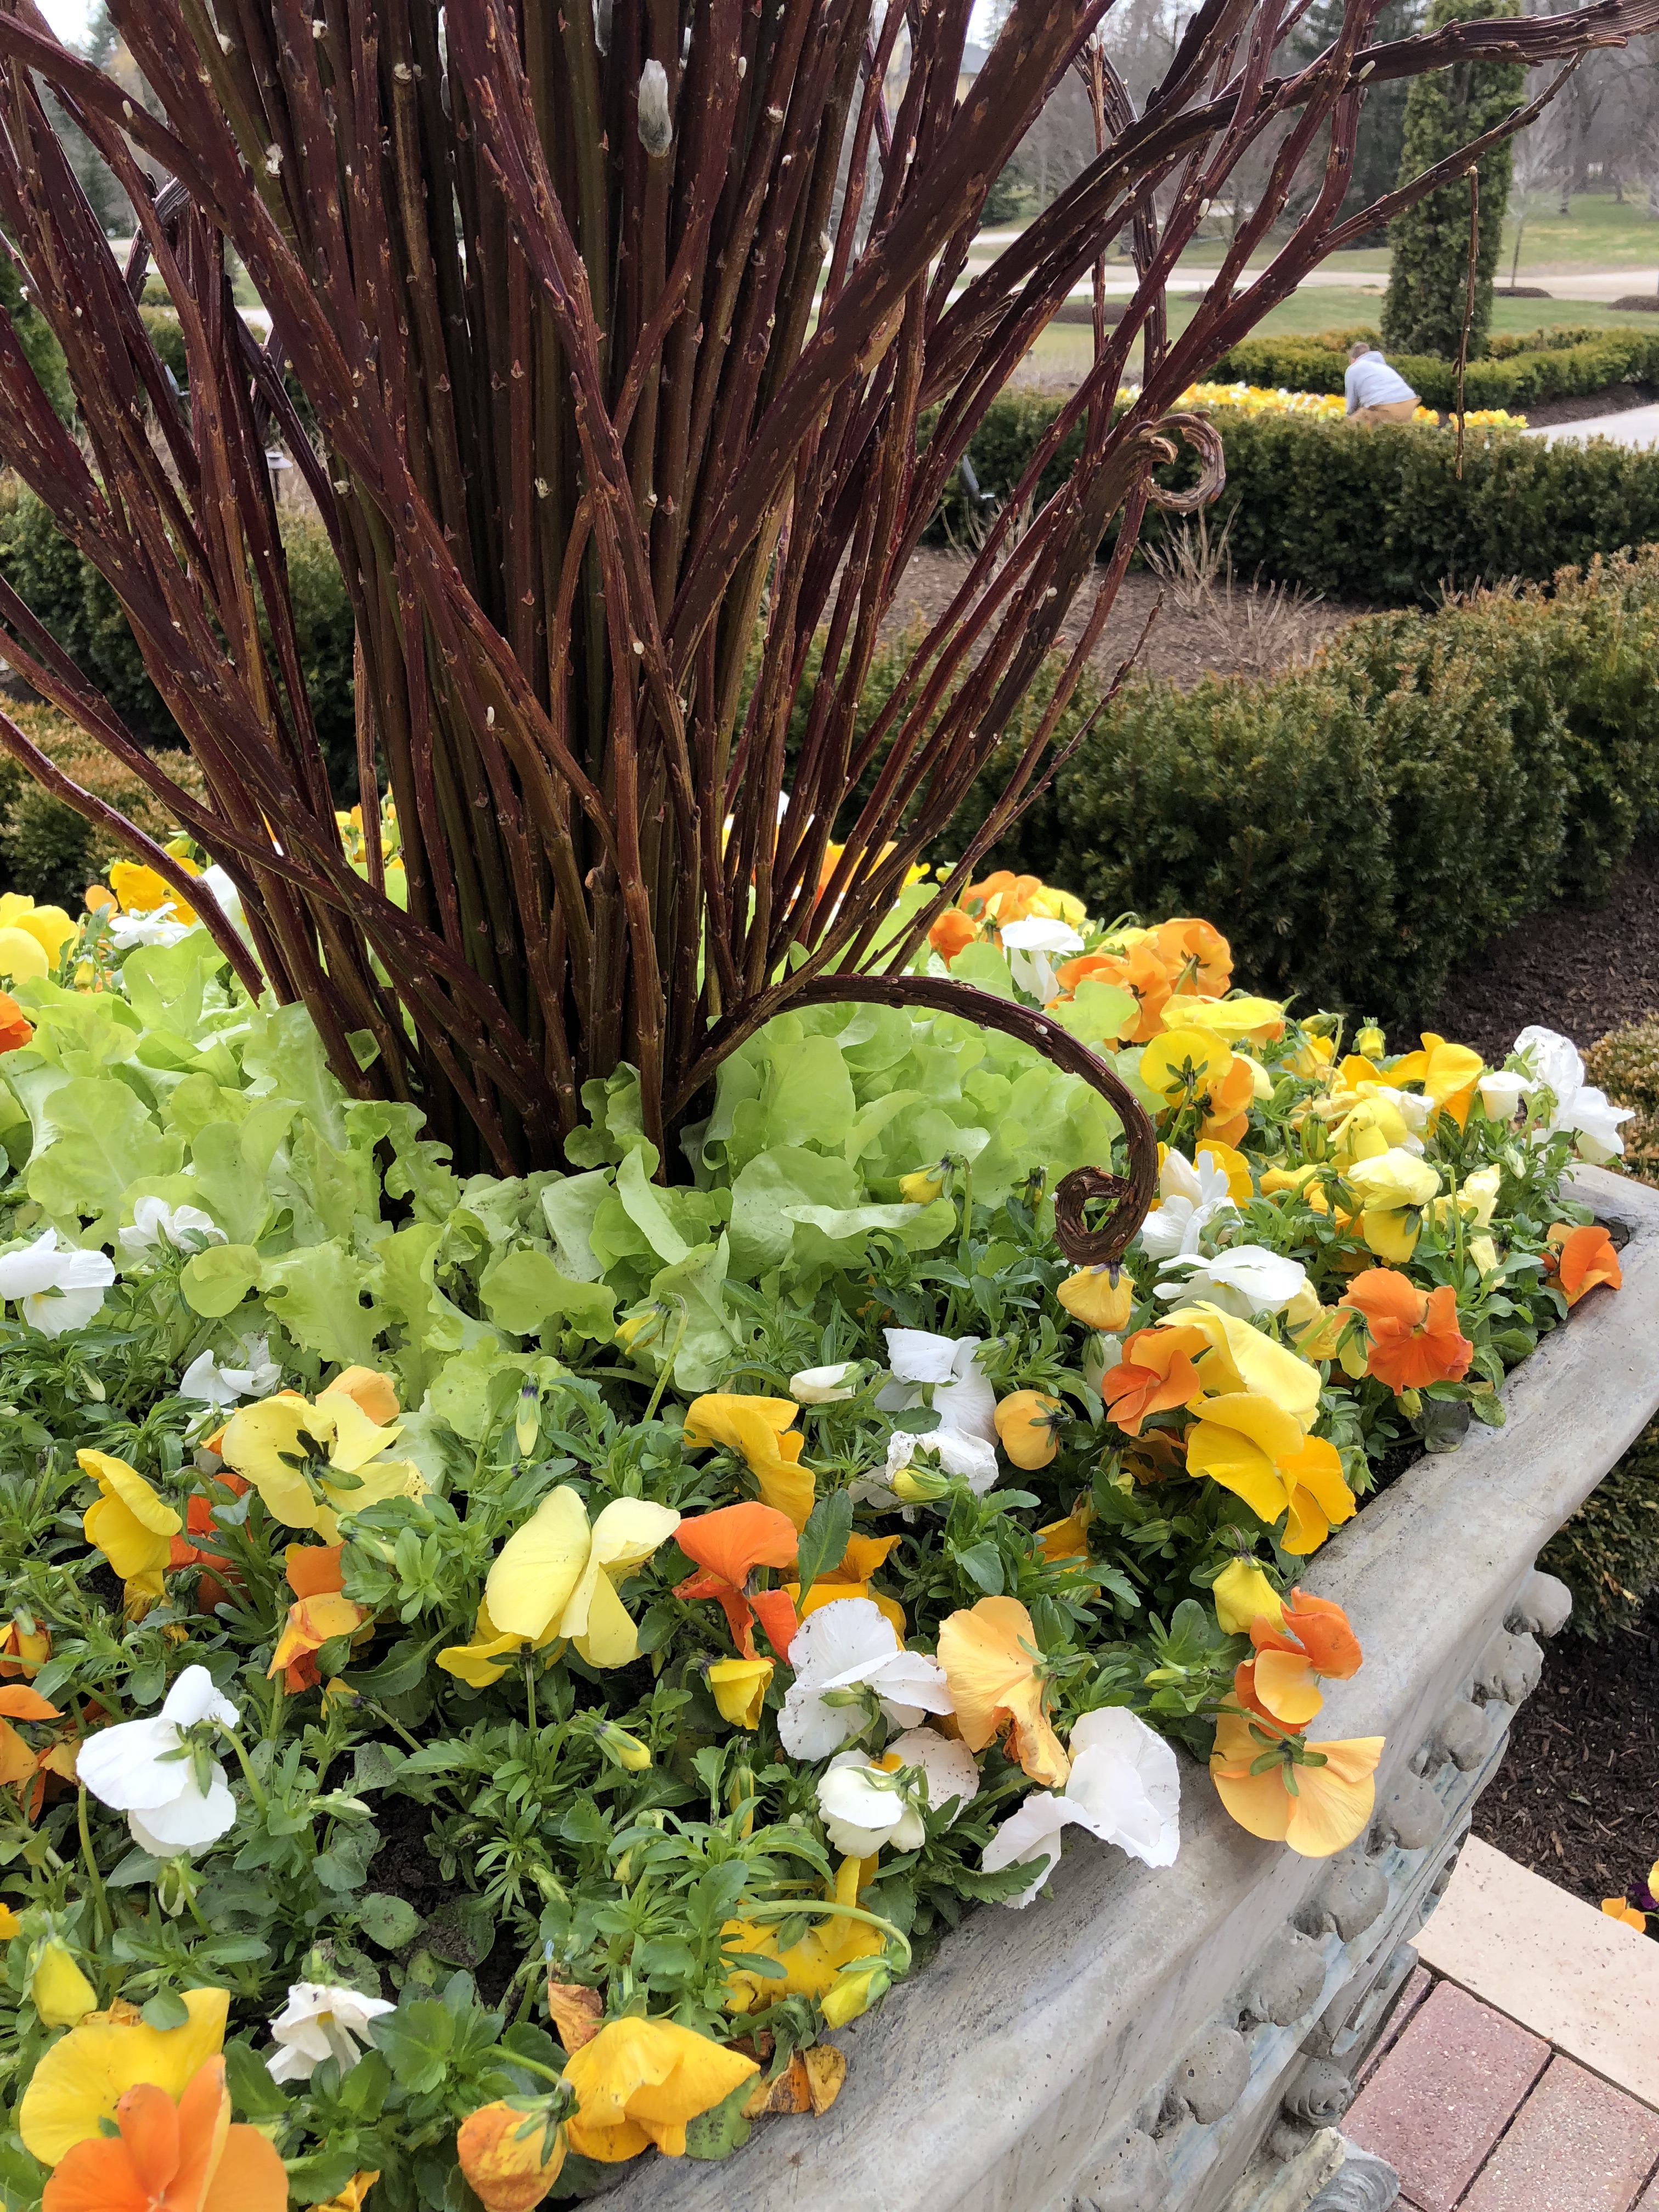 lettuce and pansies
 Tomorrow, the last Saturday of our hellebore festival will feature Rob’s collection of topiary plants – his best ever, I think. Thinking spring containers, we are.