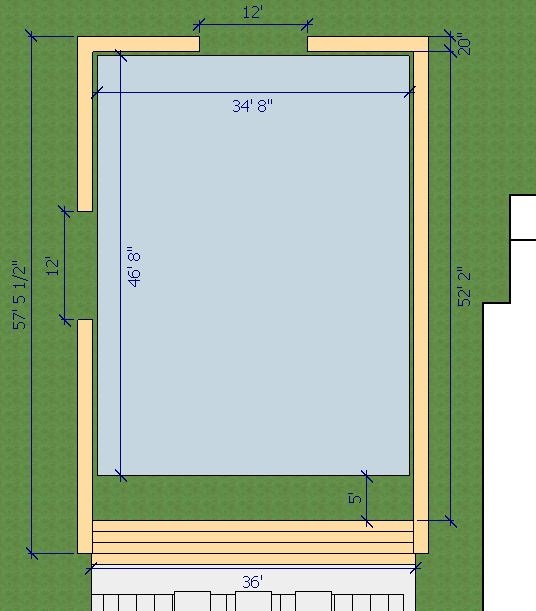
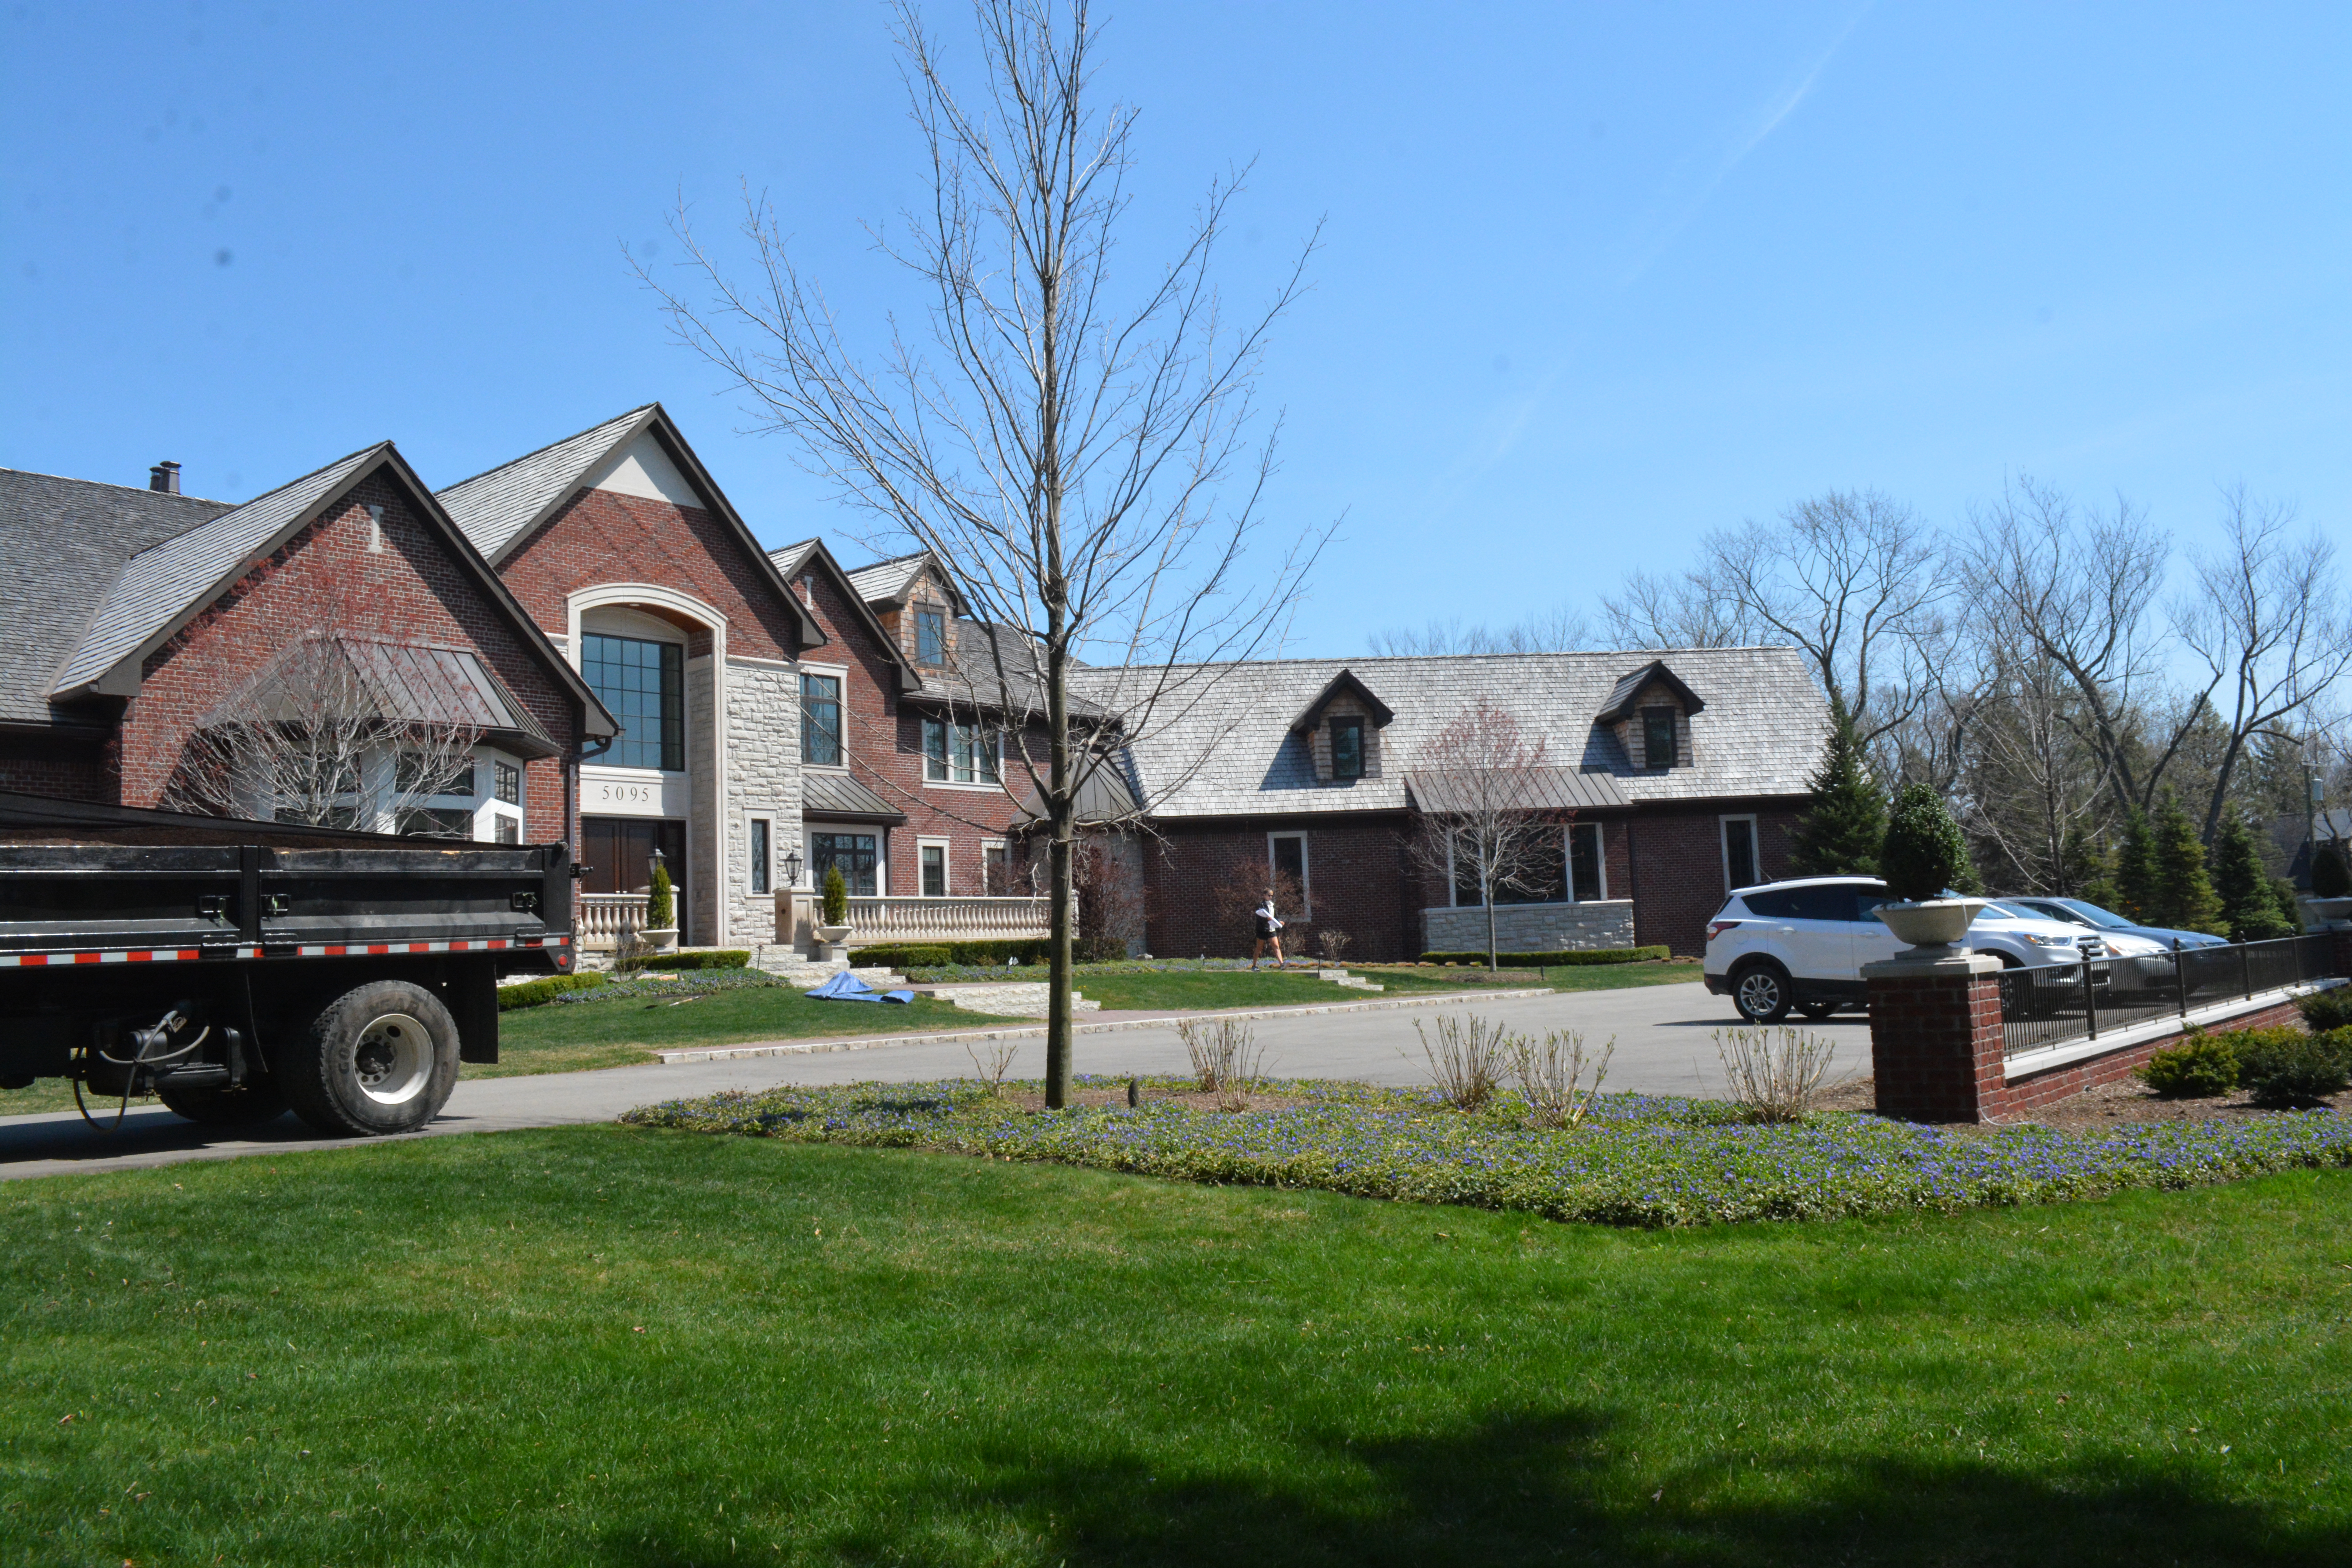
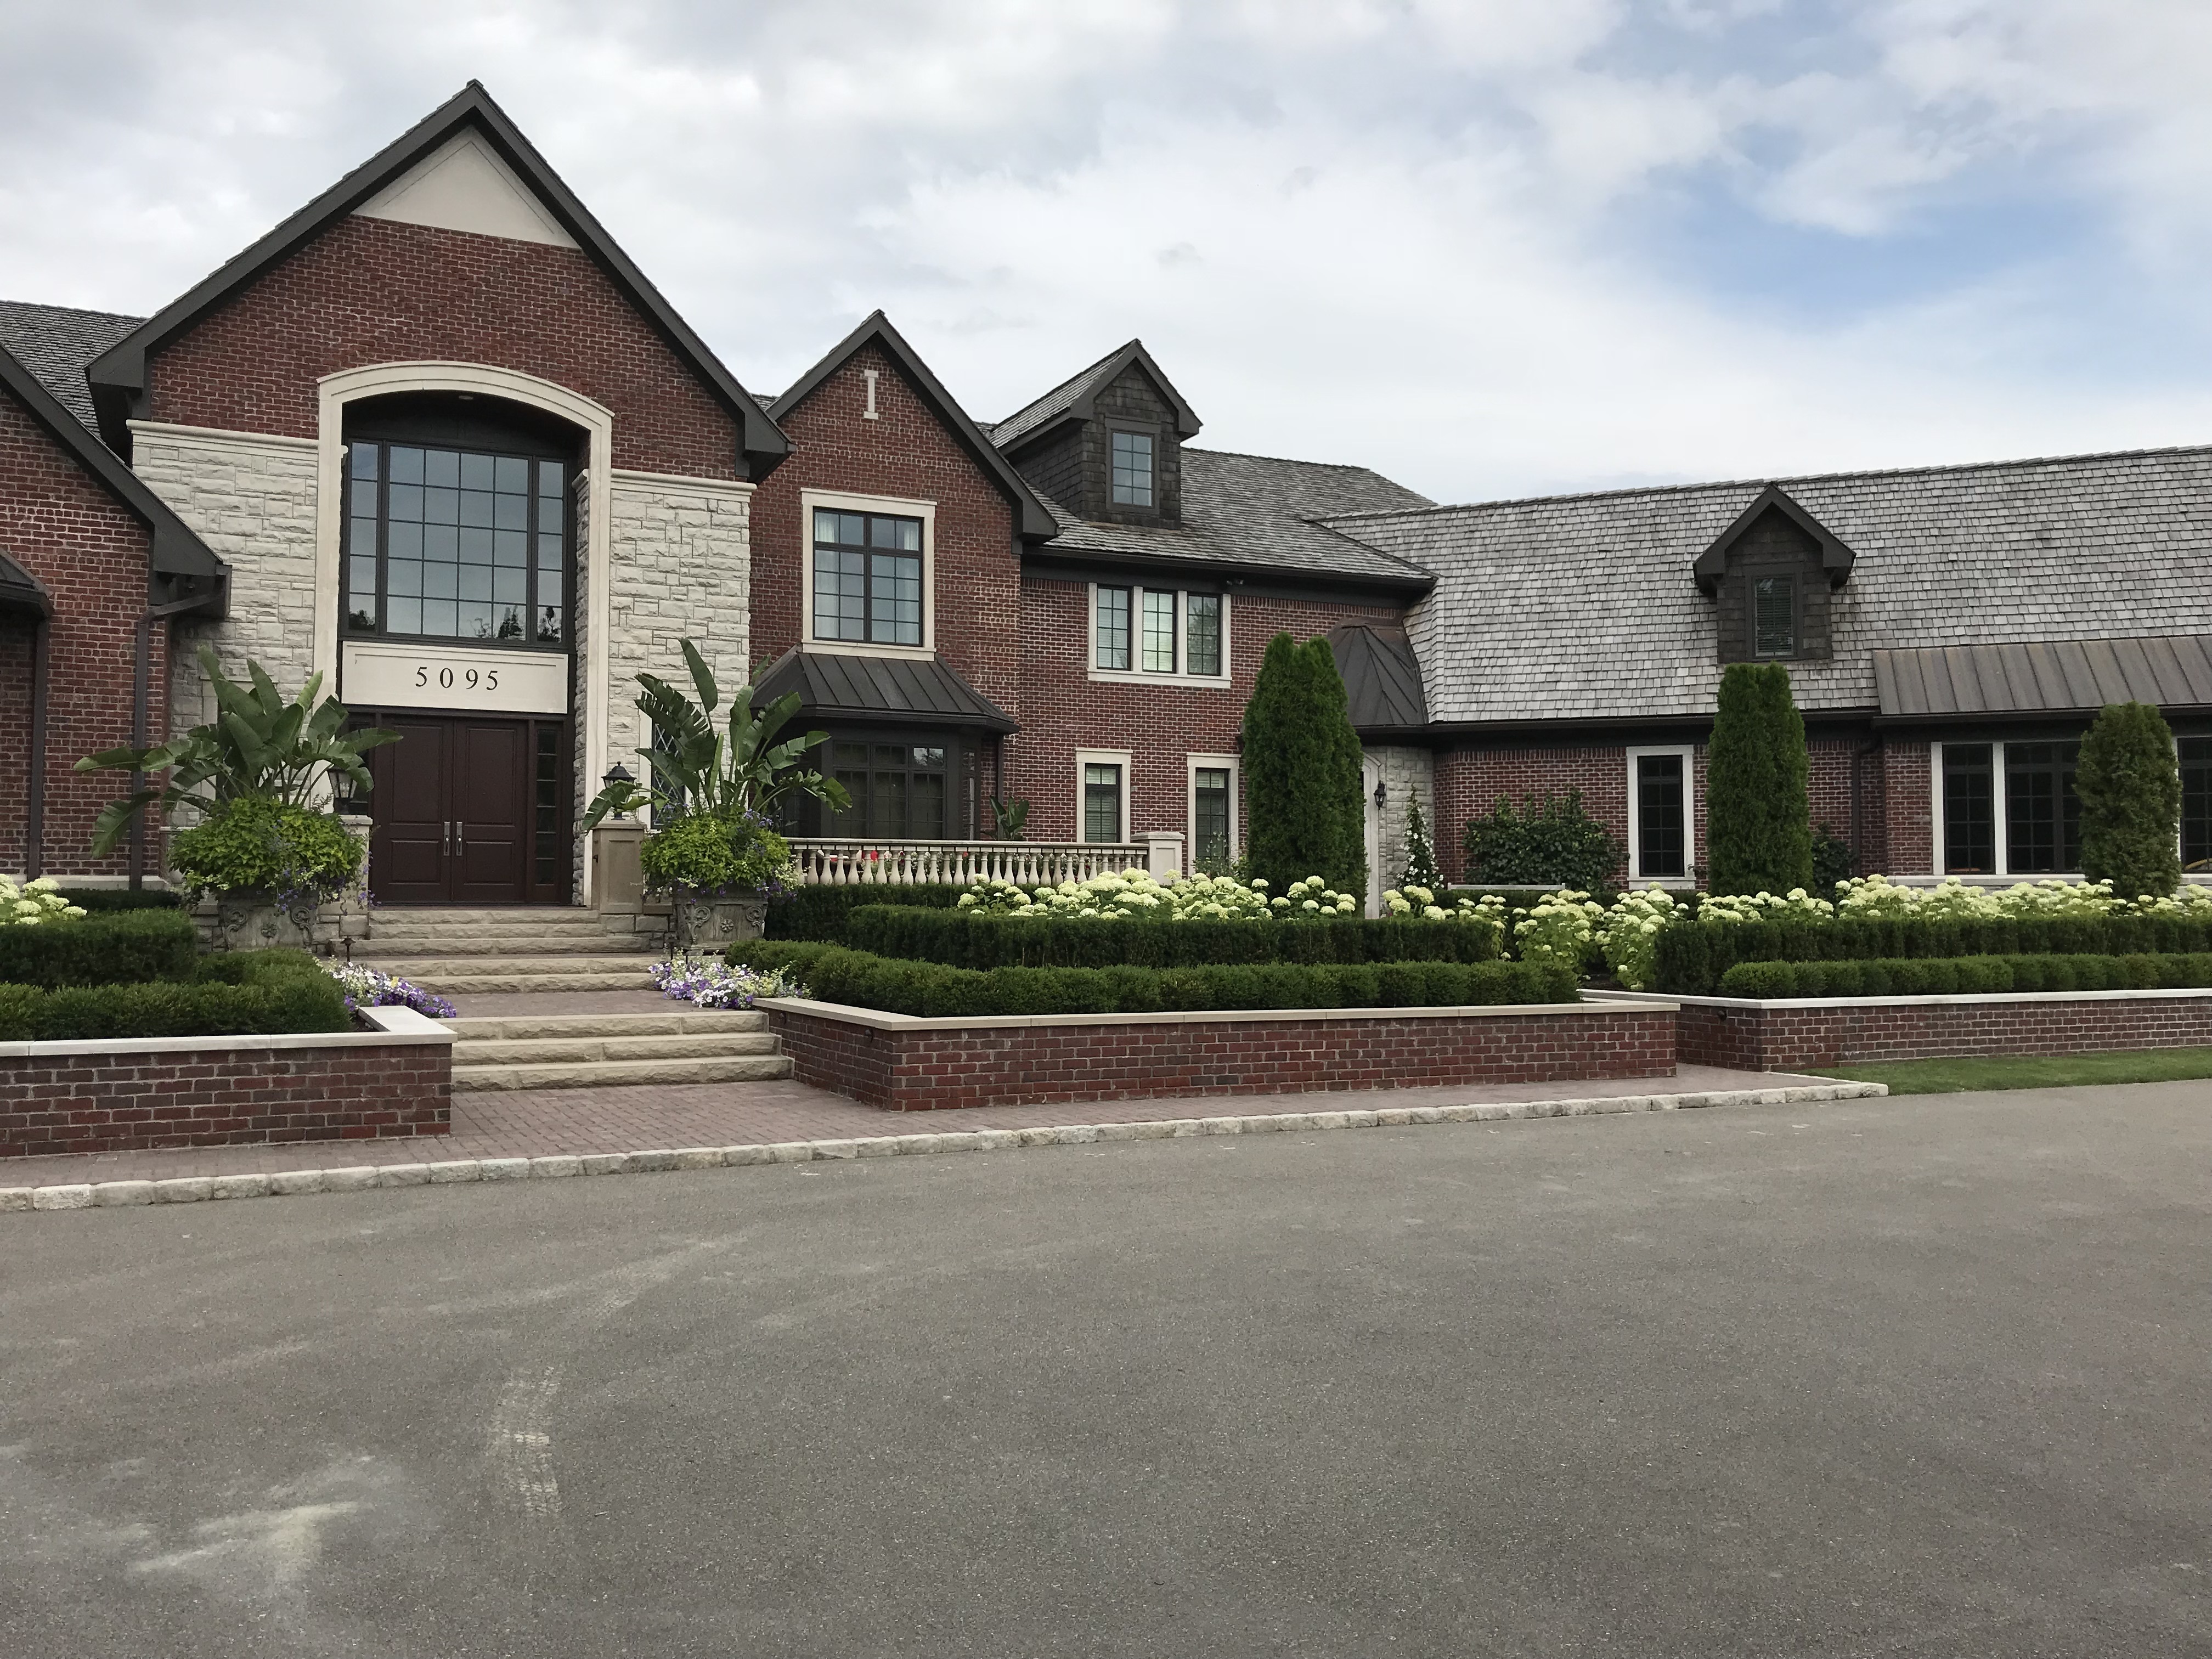
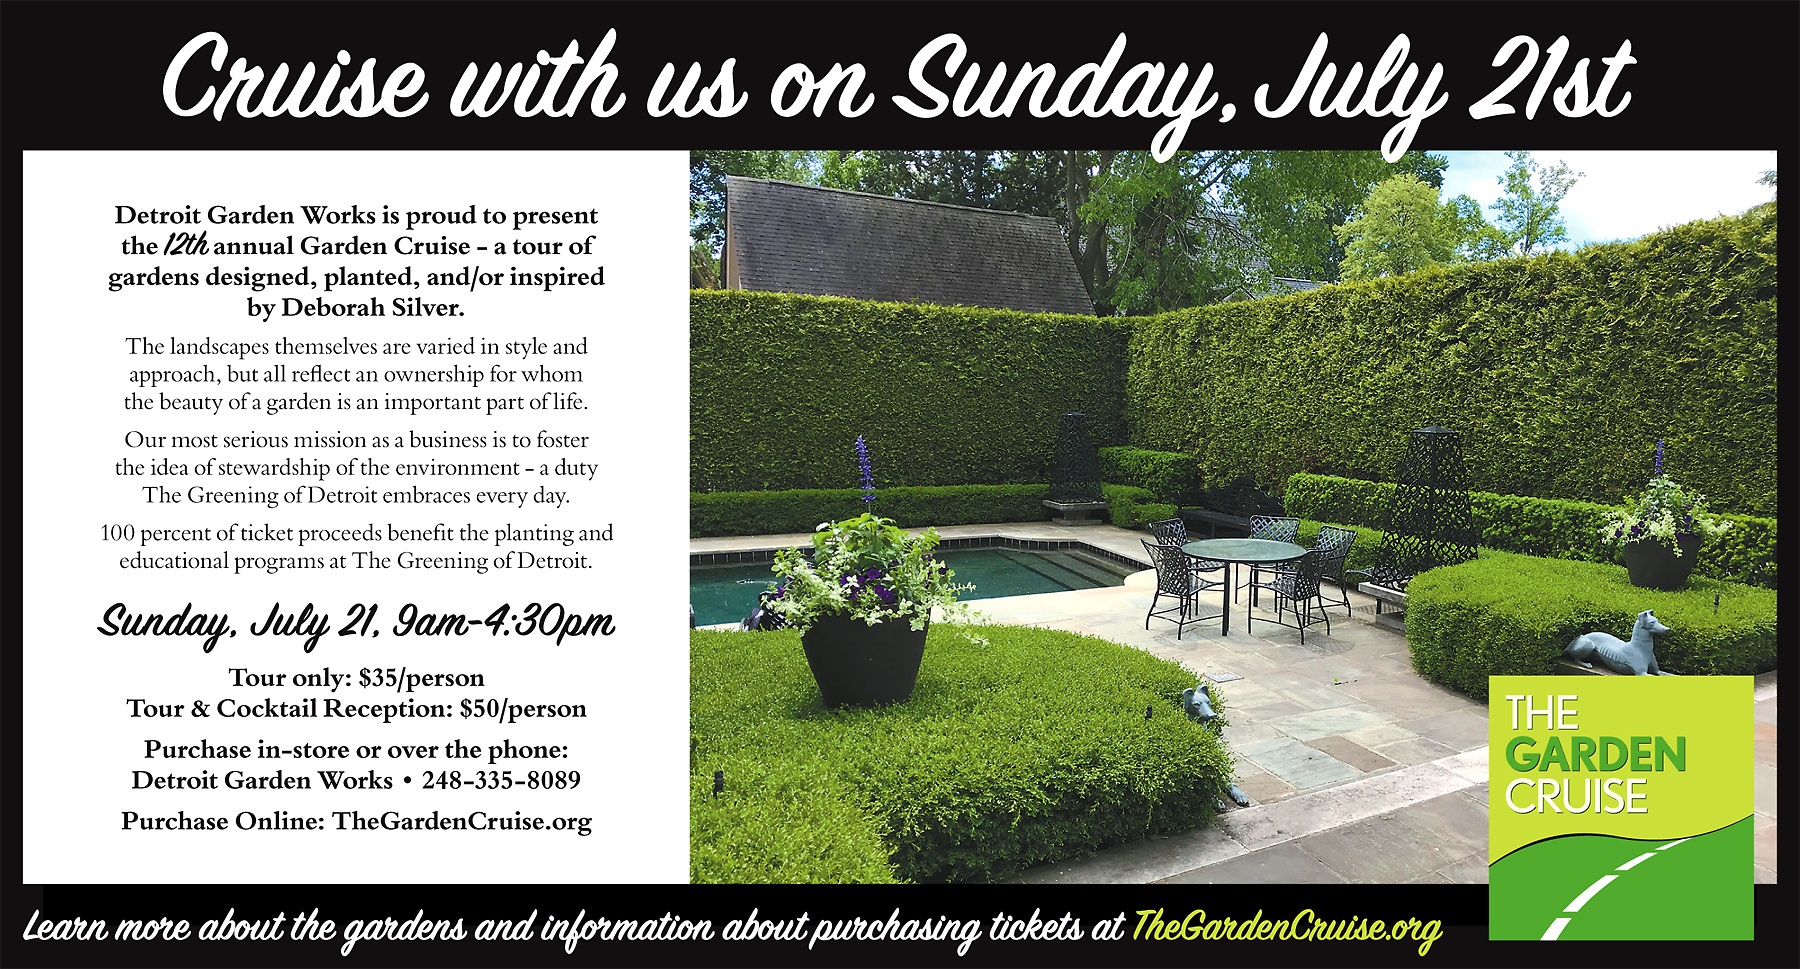
 On Sunday July 21, Detroit Garden Works will host its 12th Garden Cruise to benefit the Greening of Detroit. If you have never taken or heard of our tour, it began in 2009 when I became a member of their board of governors. Not being one to happily participate in meetings and such, I decided to put my effort into raising money for them. Since 2009, the tour of gardens and landscapes of my design or influence has raised close to 156,000.00. I could not be happier about this. Both Detroit Garden Works and Deborah Silver and Co pitch in to make the cruise and reception a reality. 100% of the proceeds of the ticket sales goes to the Greening. We pick up all of the expenses. And the project pictured above? It has been under construction since July of 2018, and yes, it will be on this year’s tour.
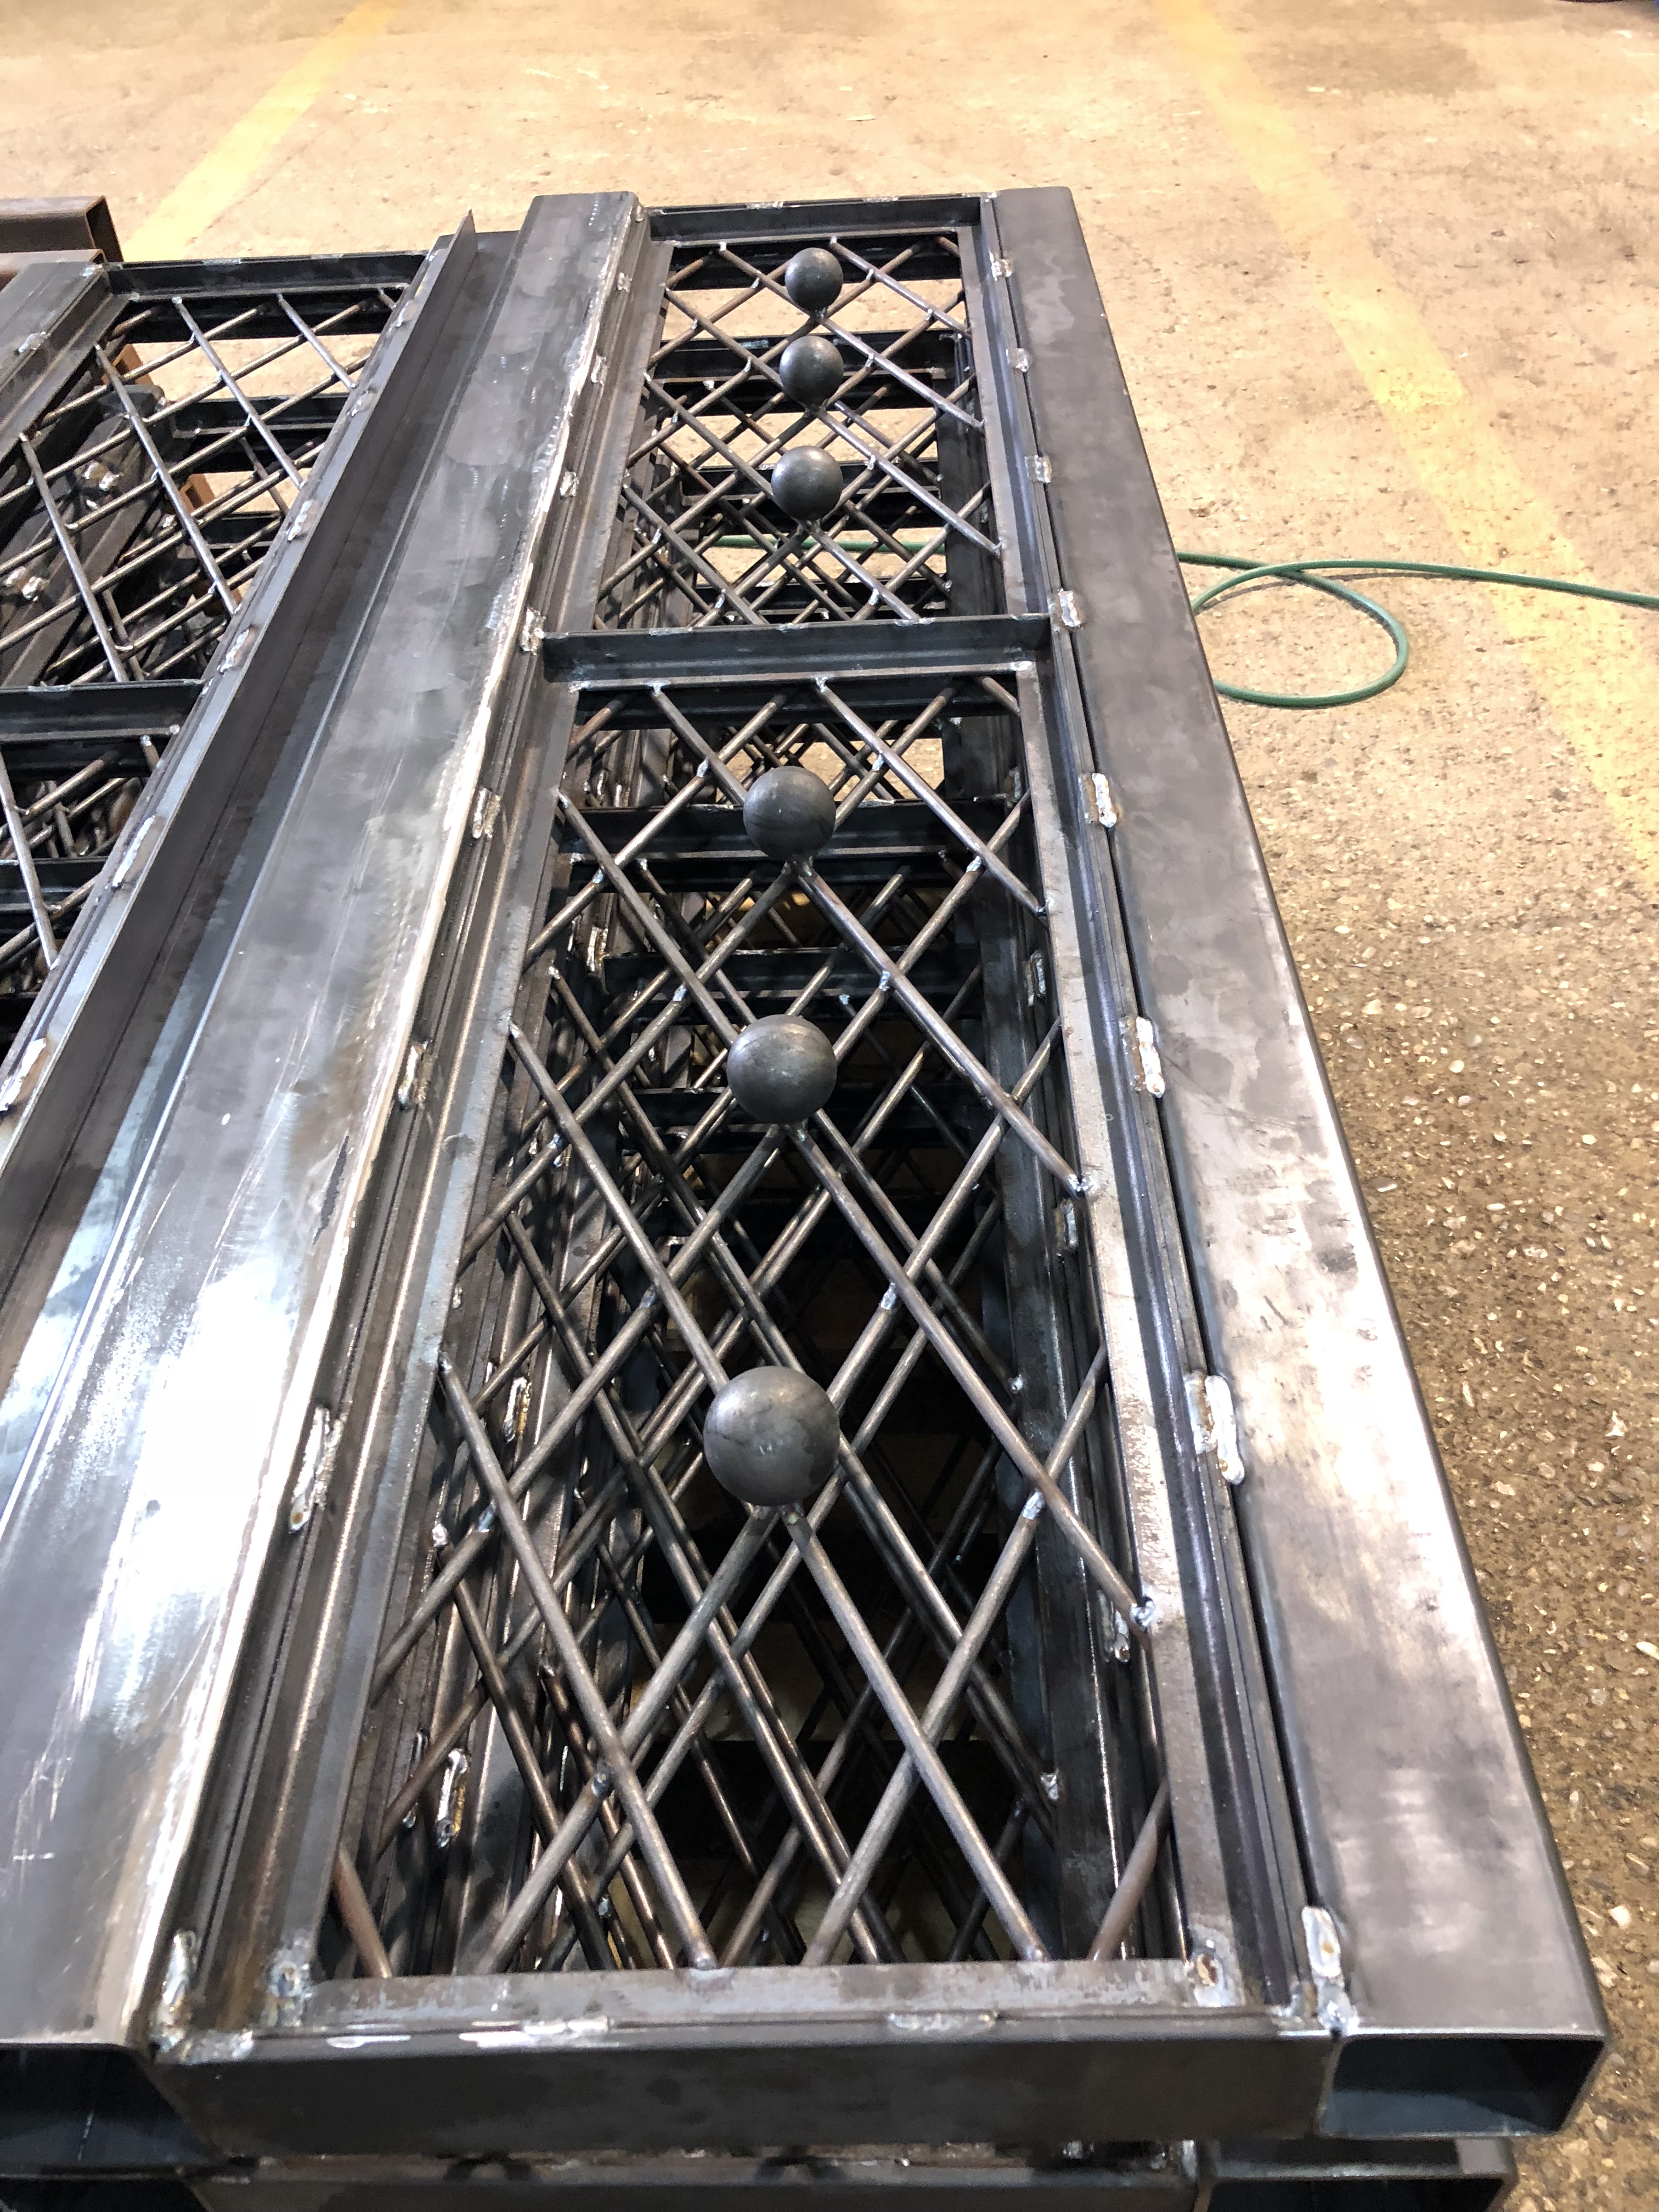
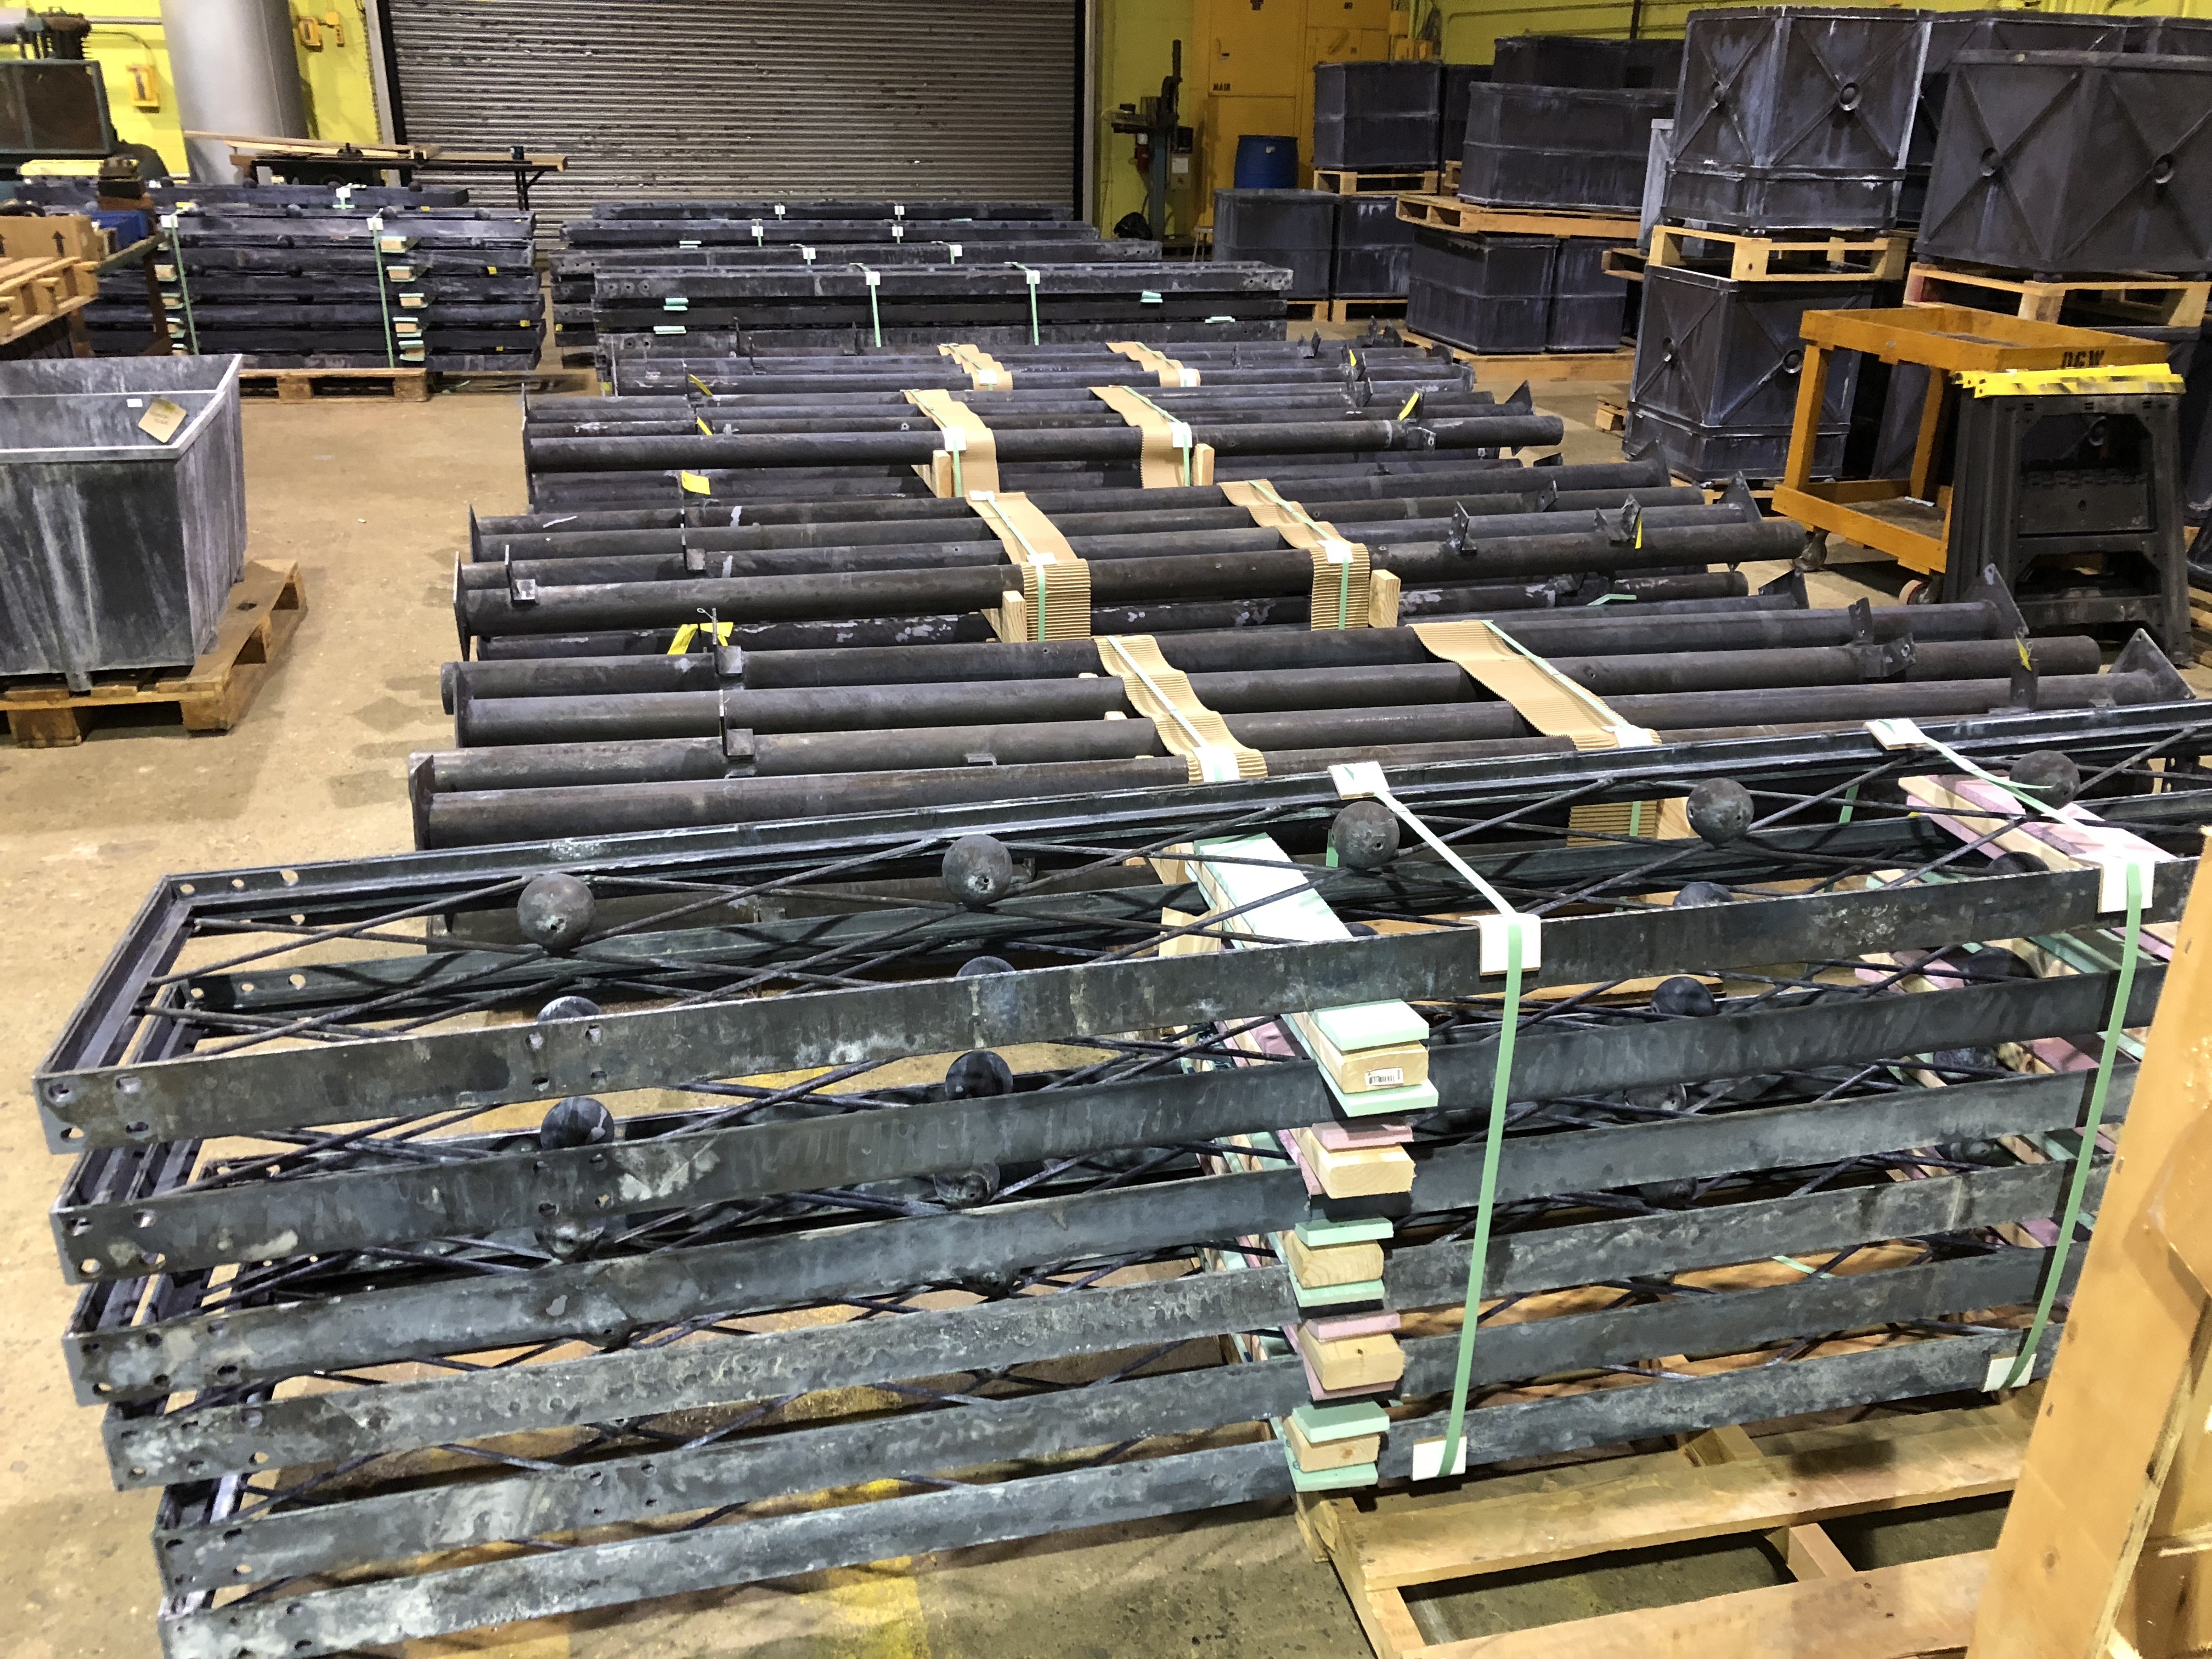
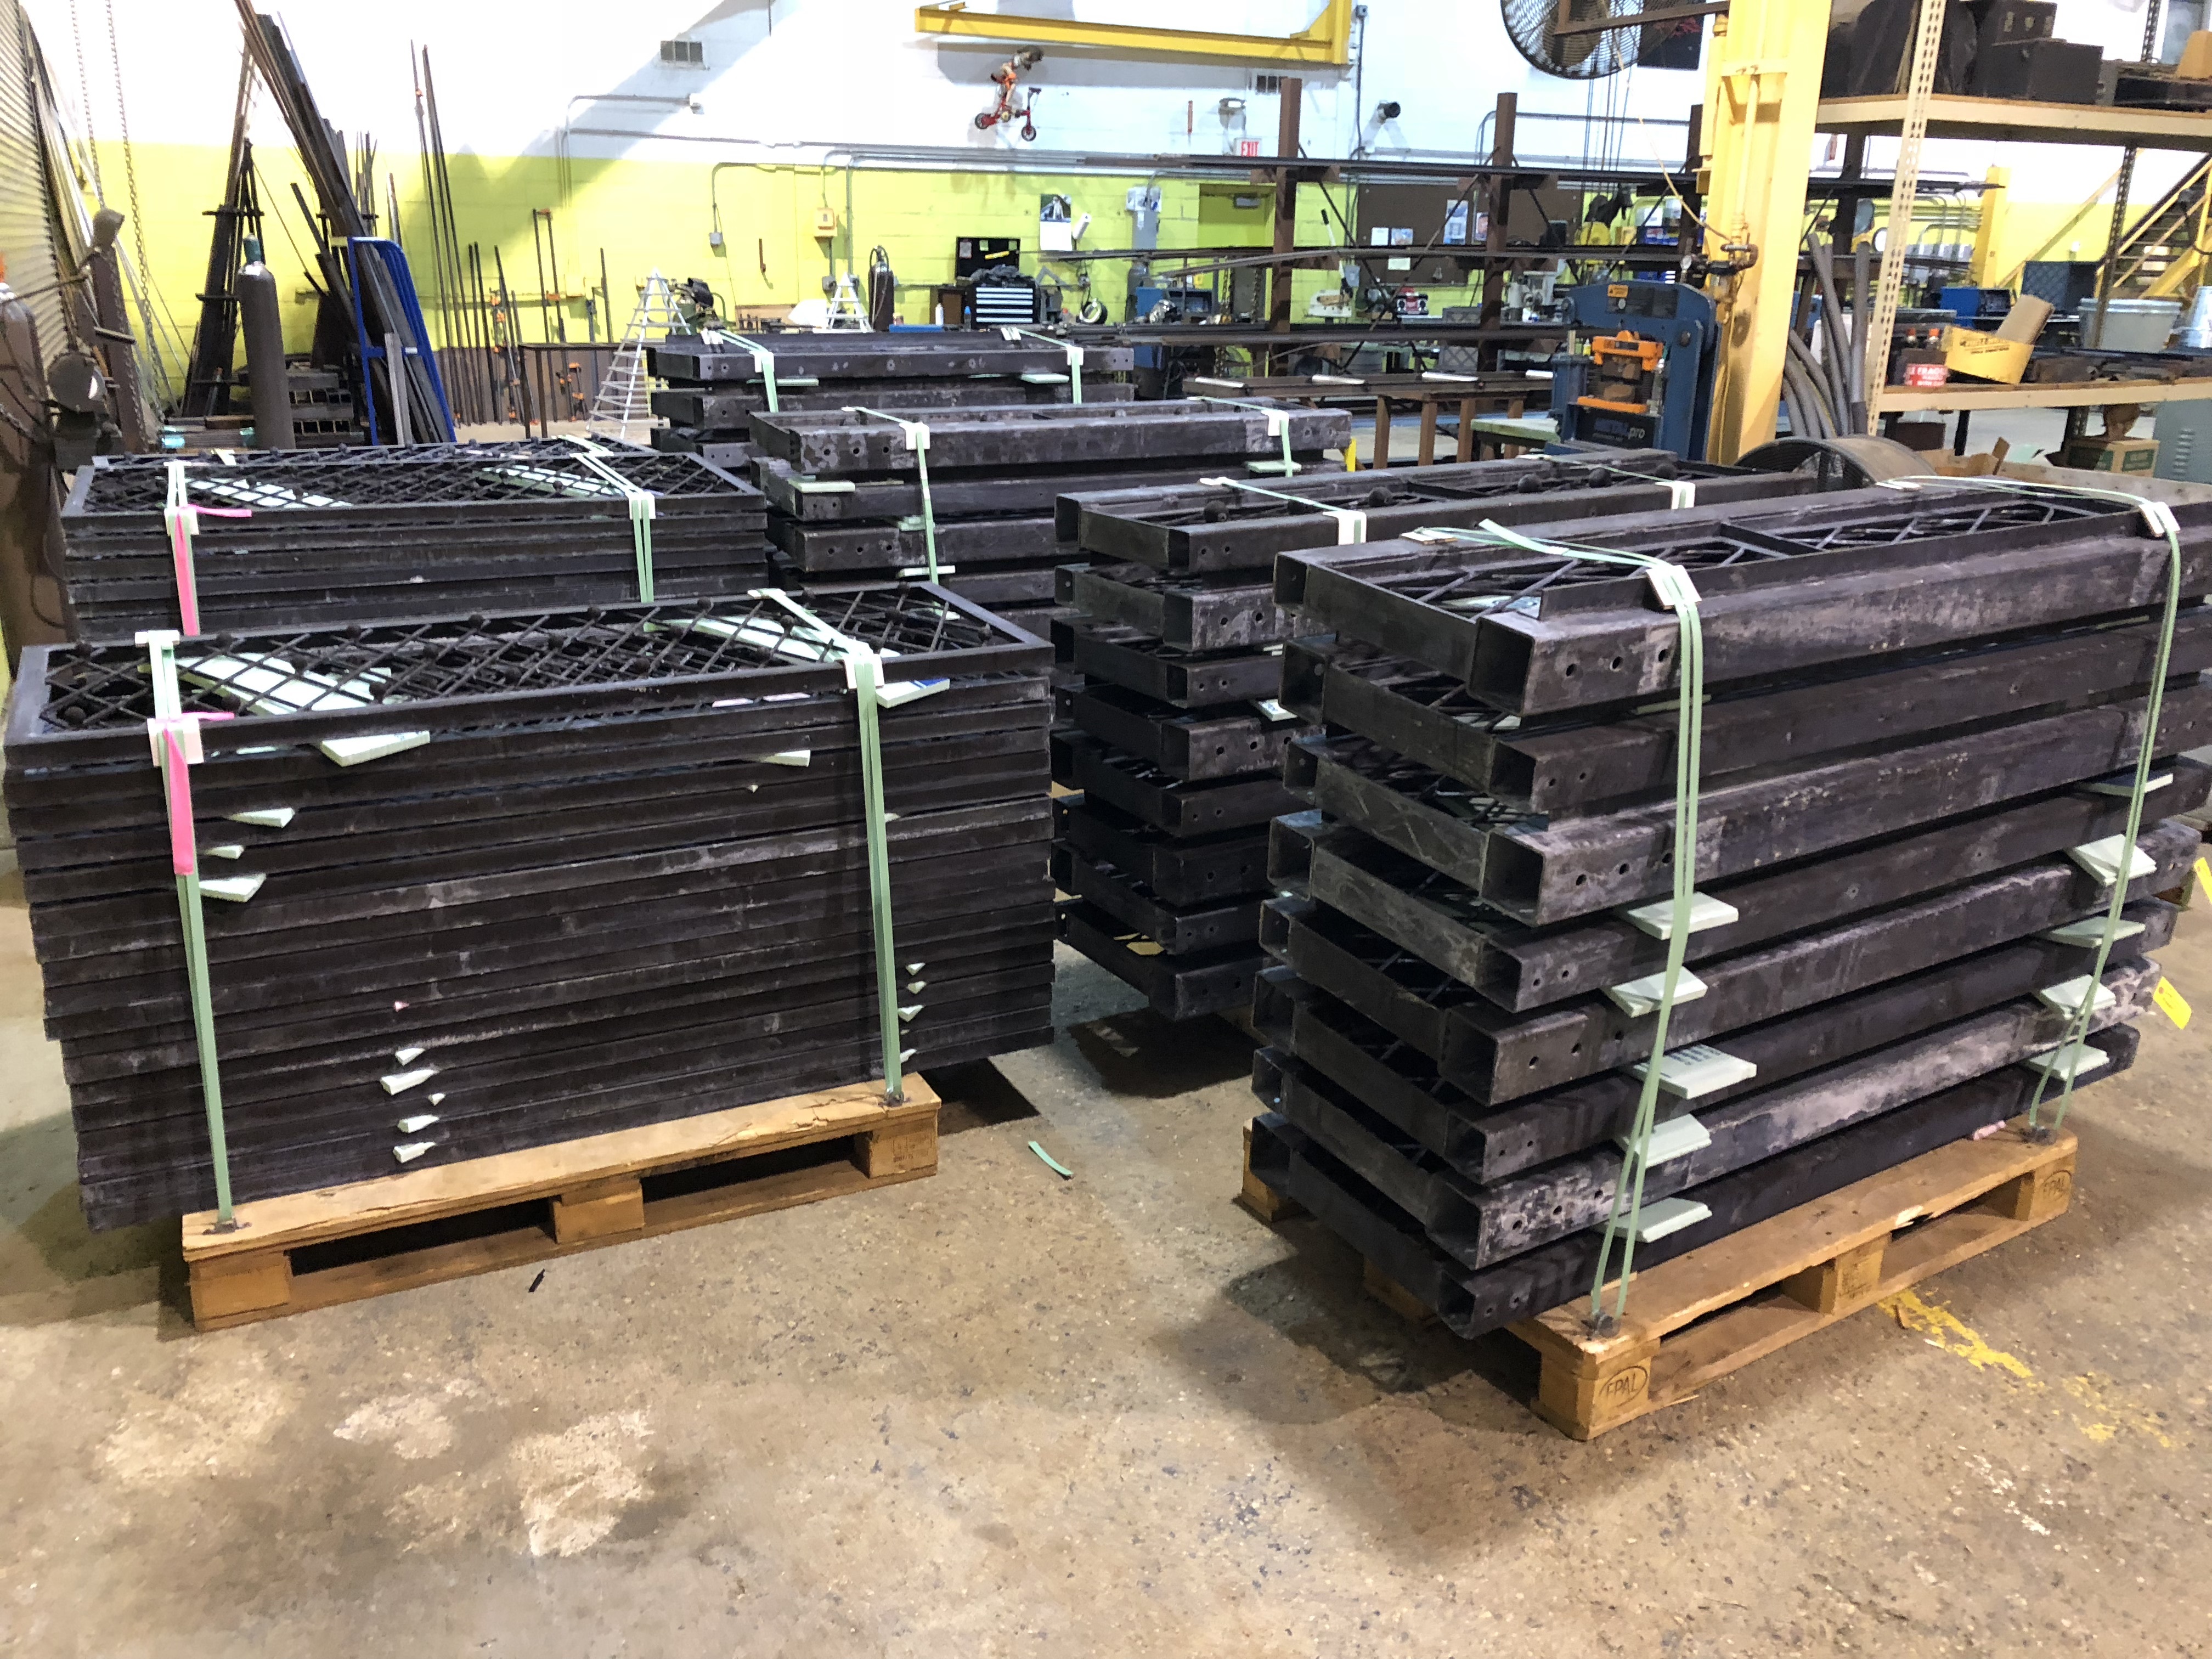
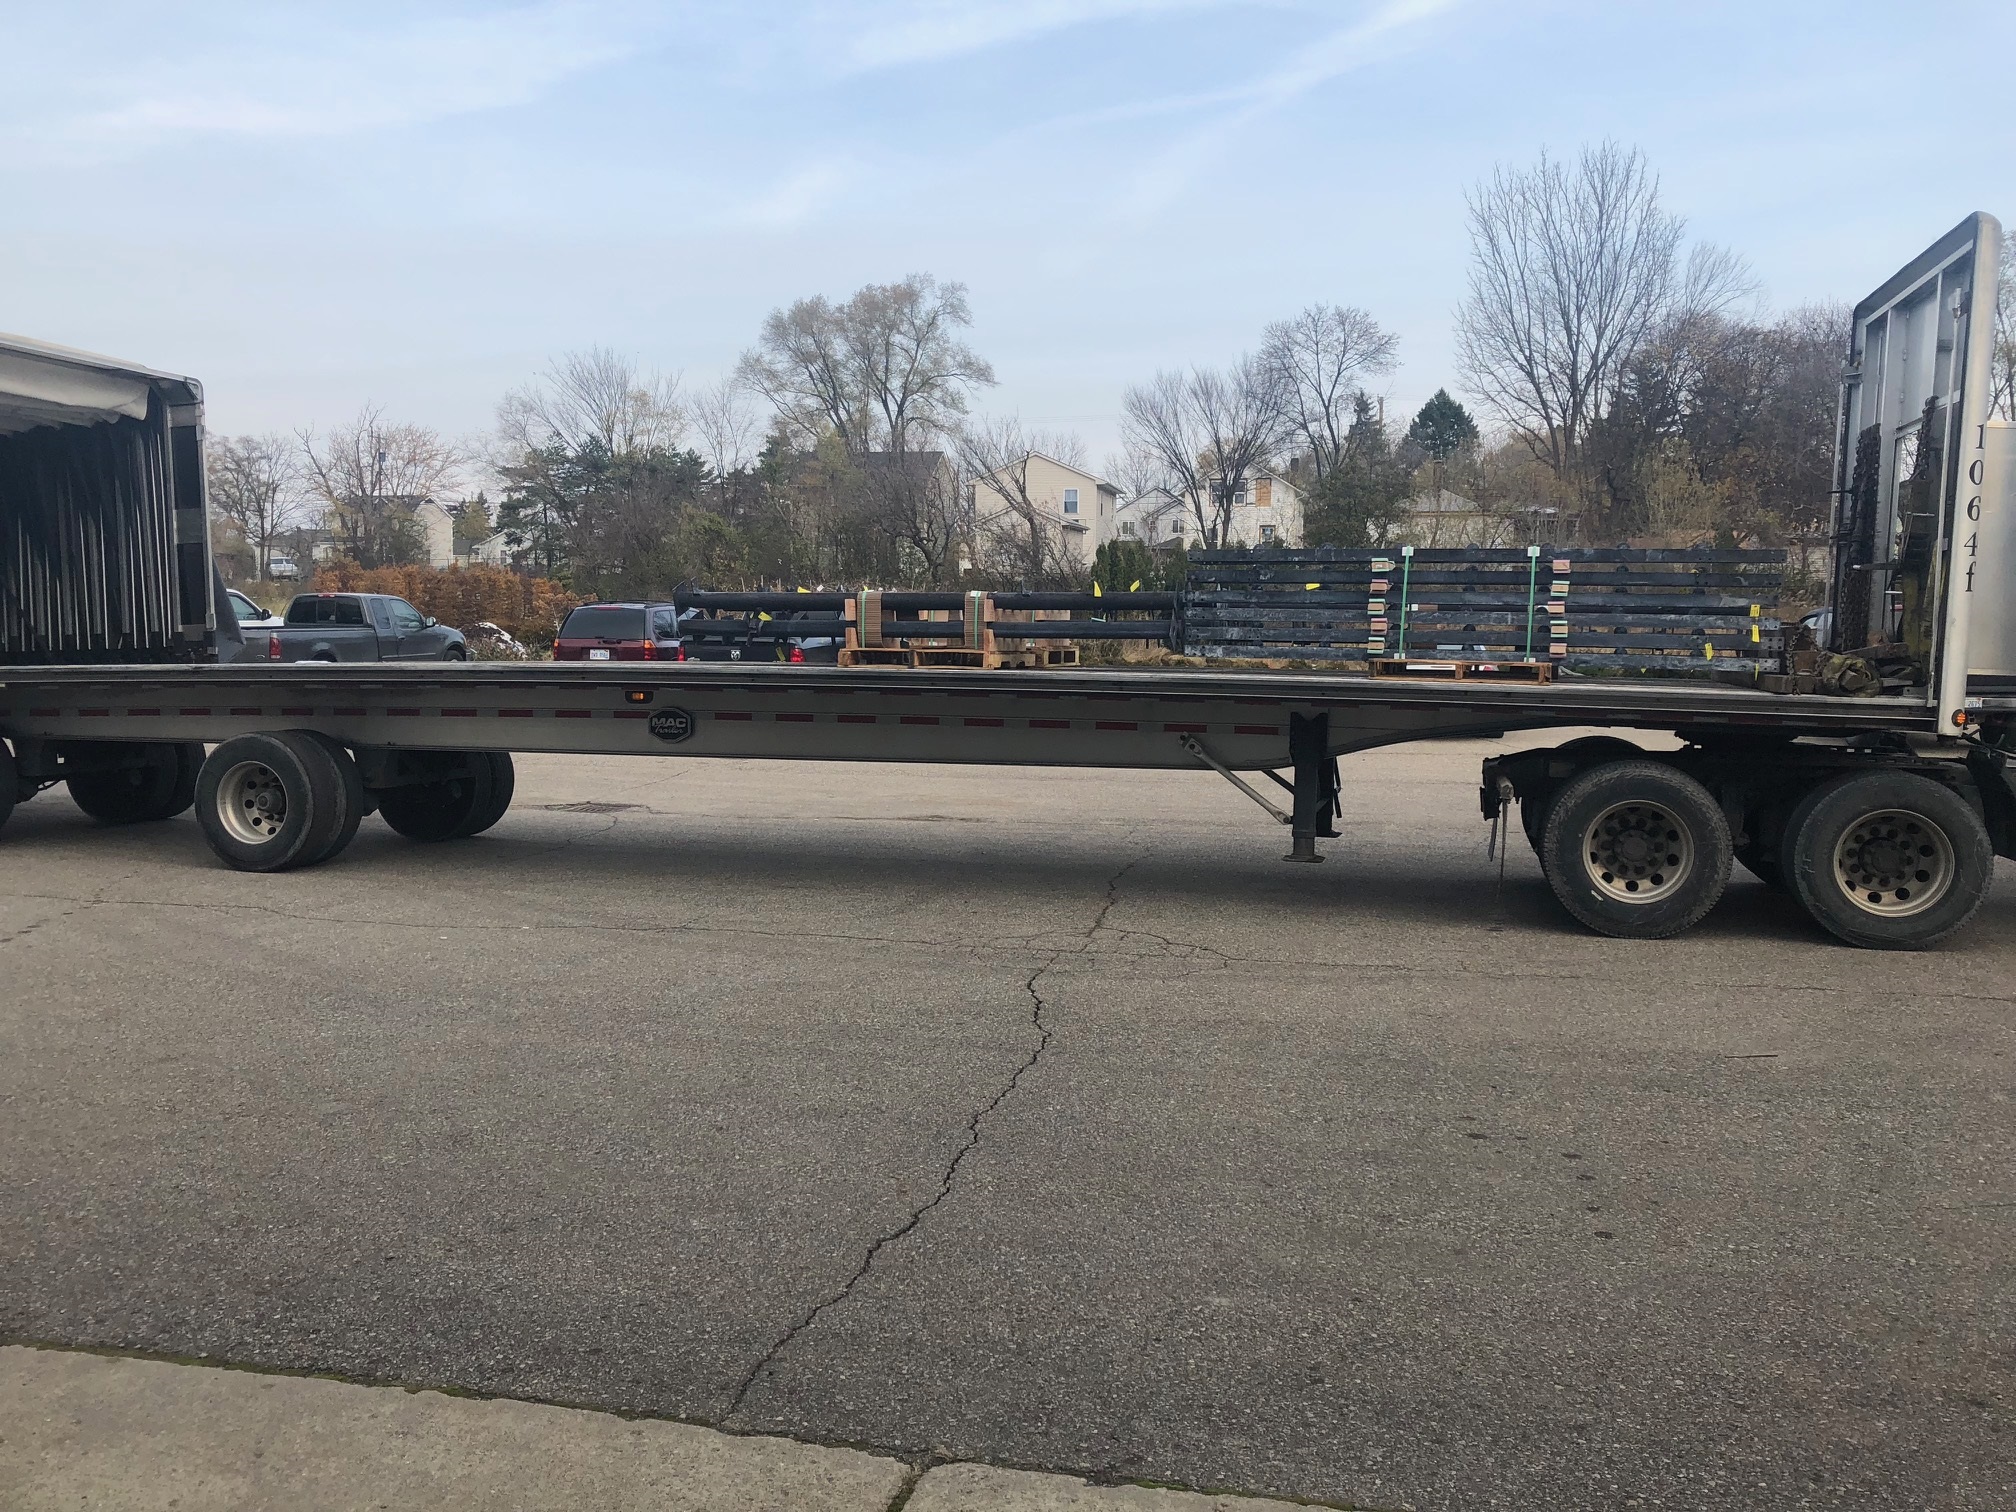
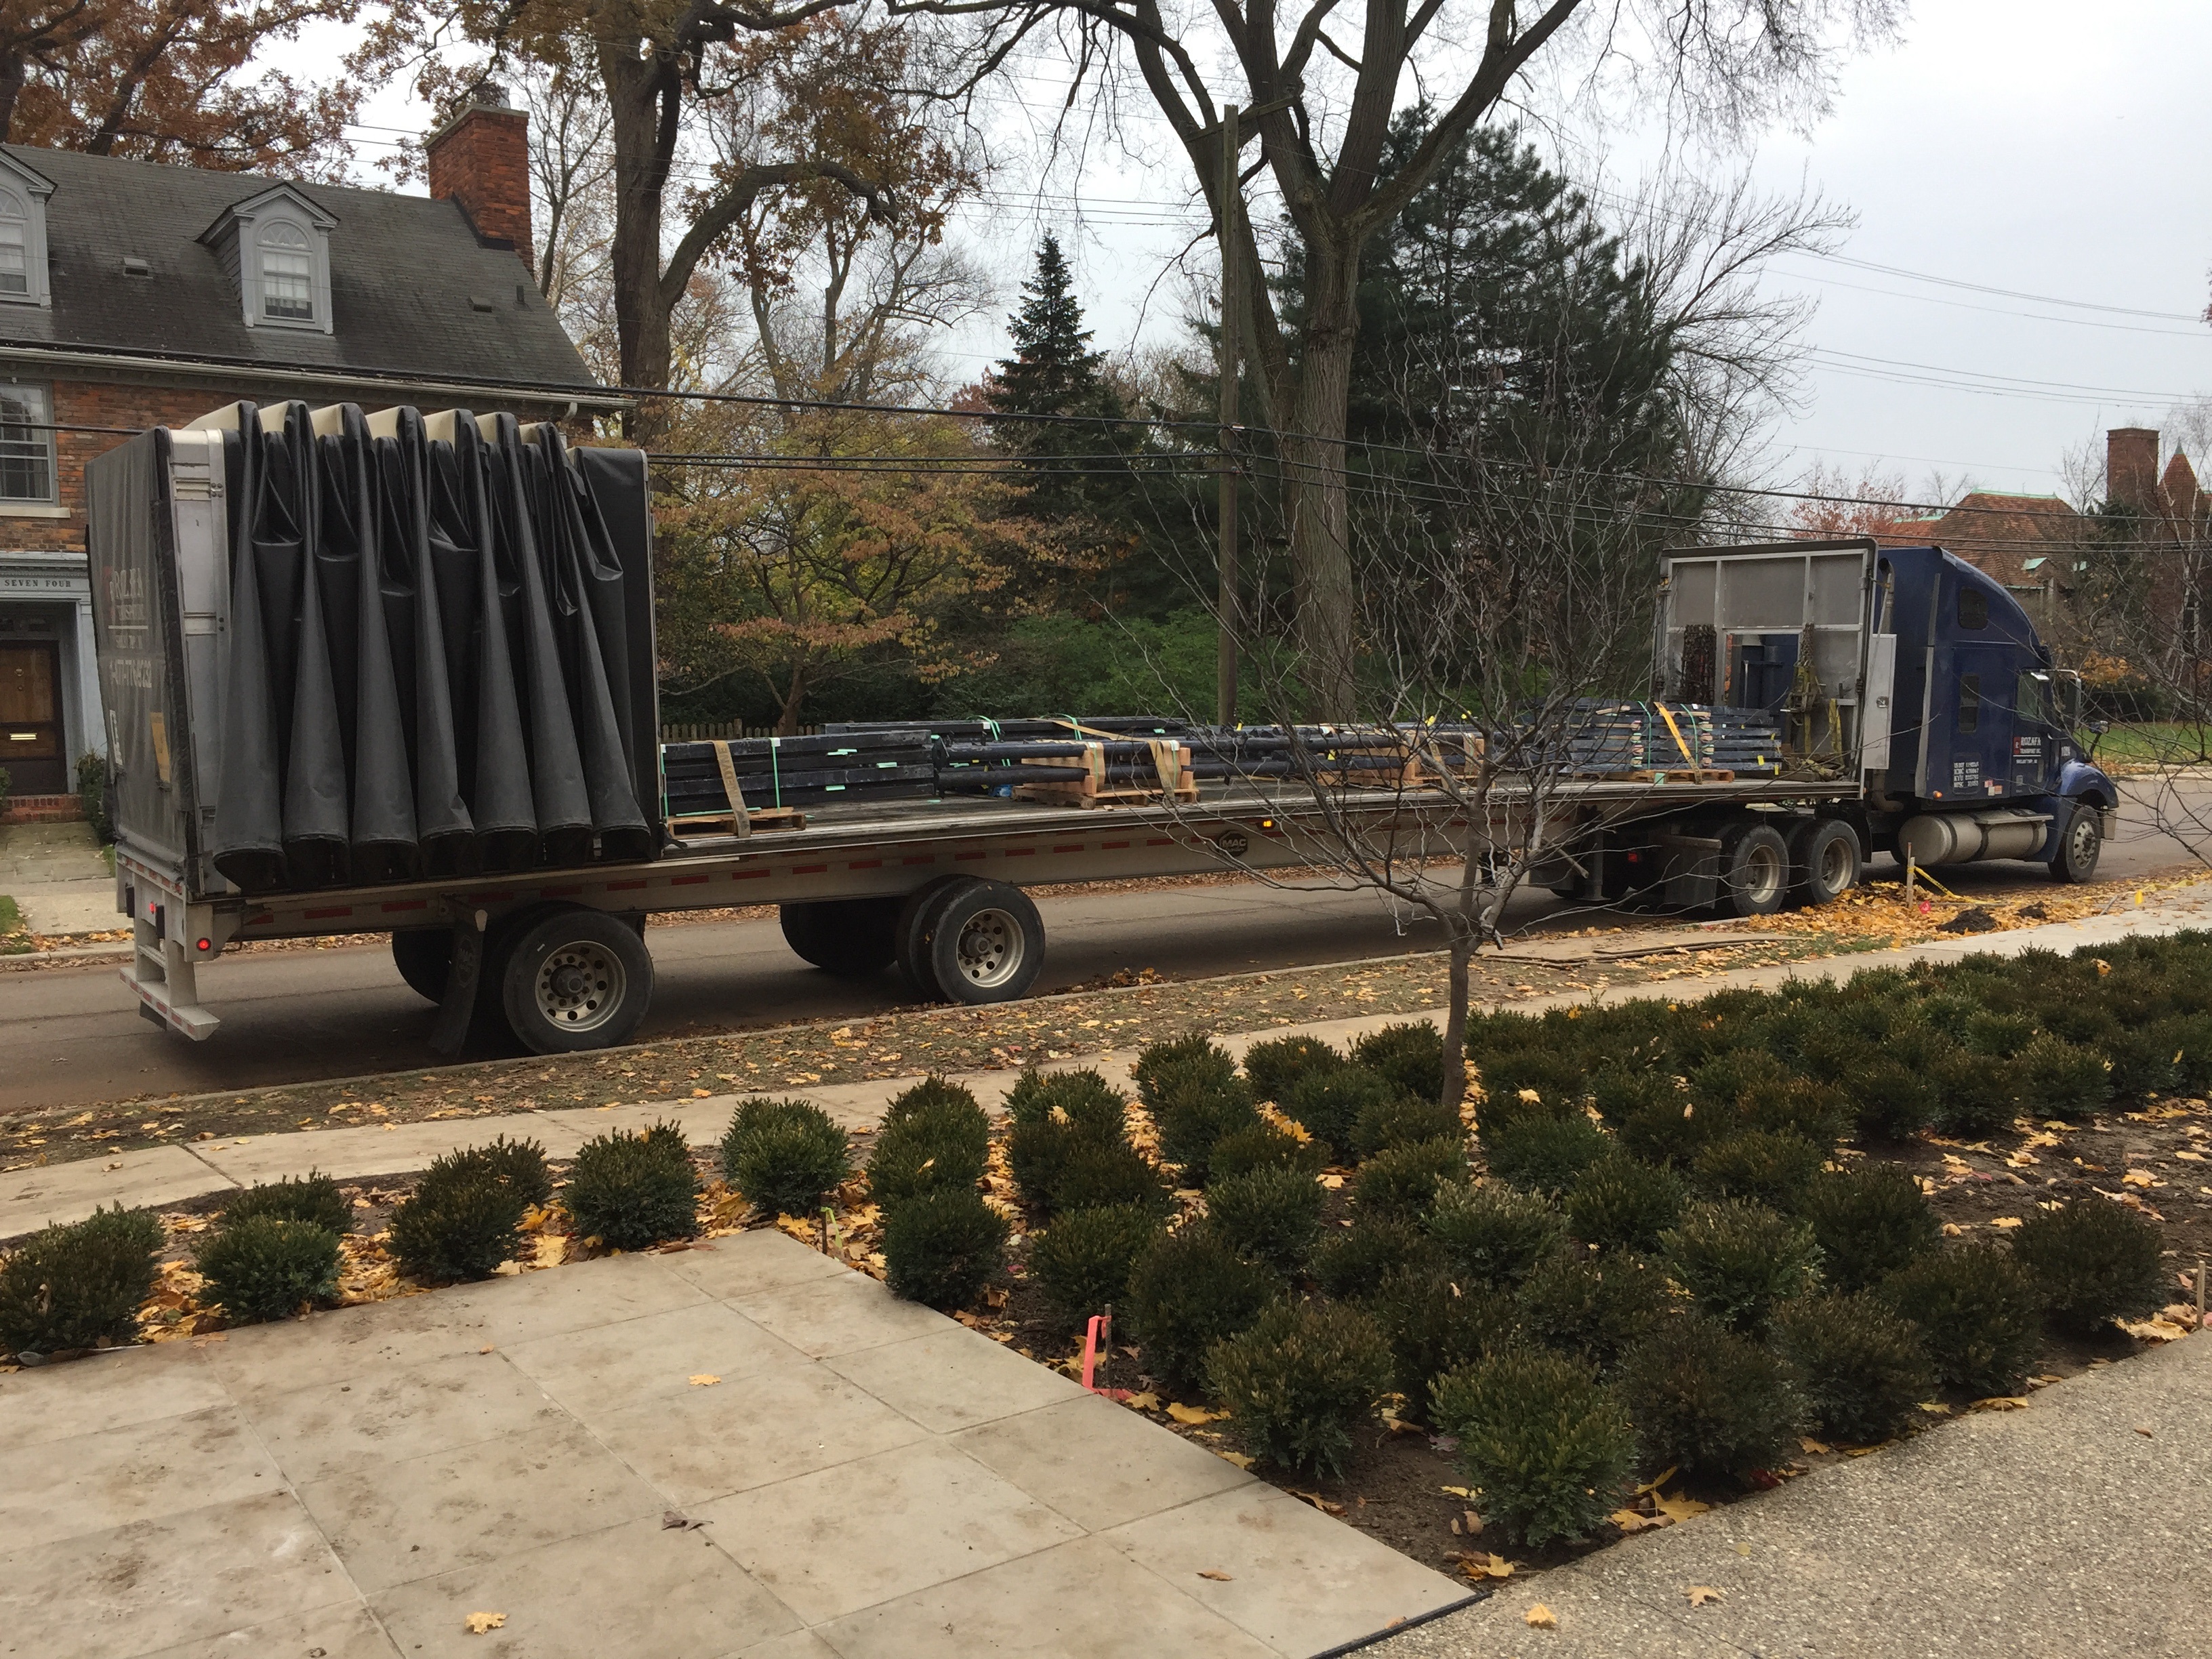
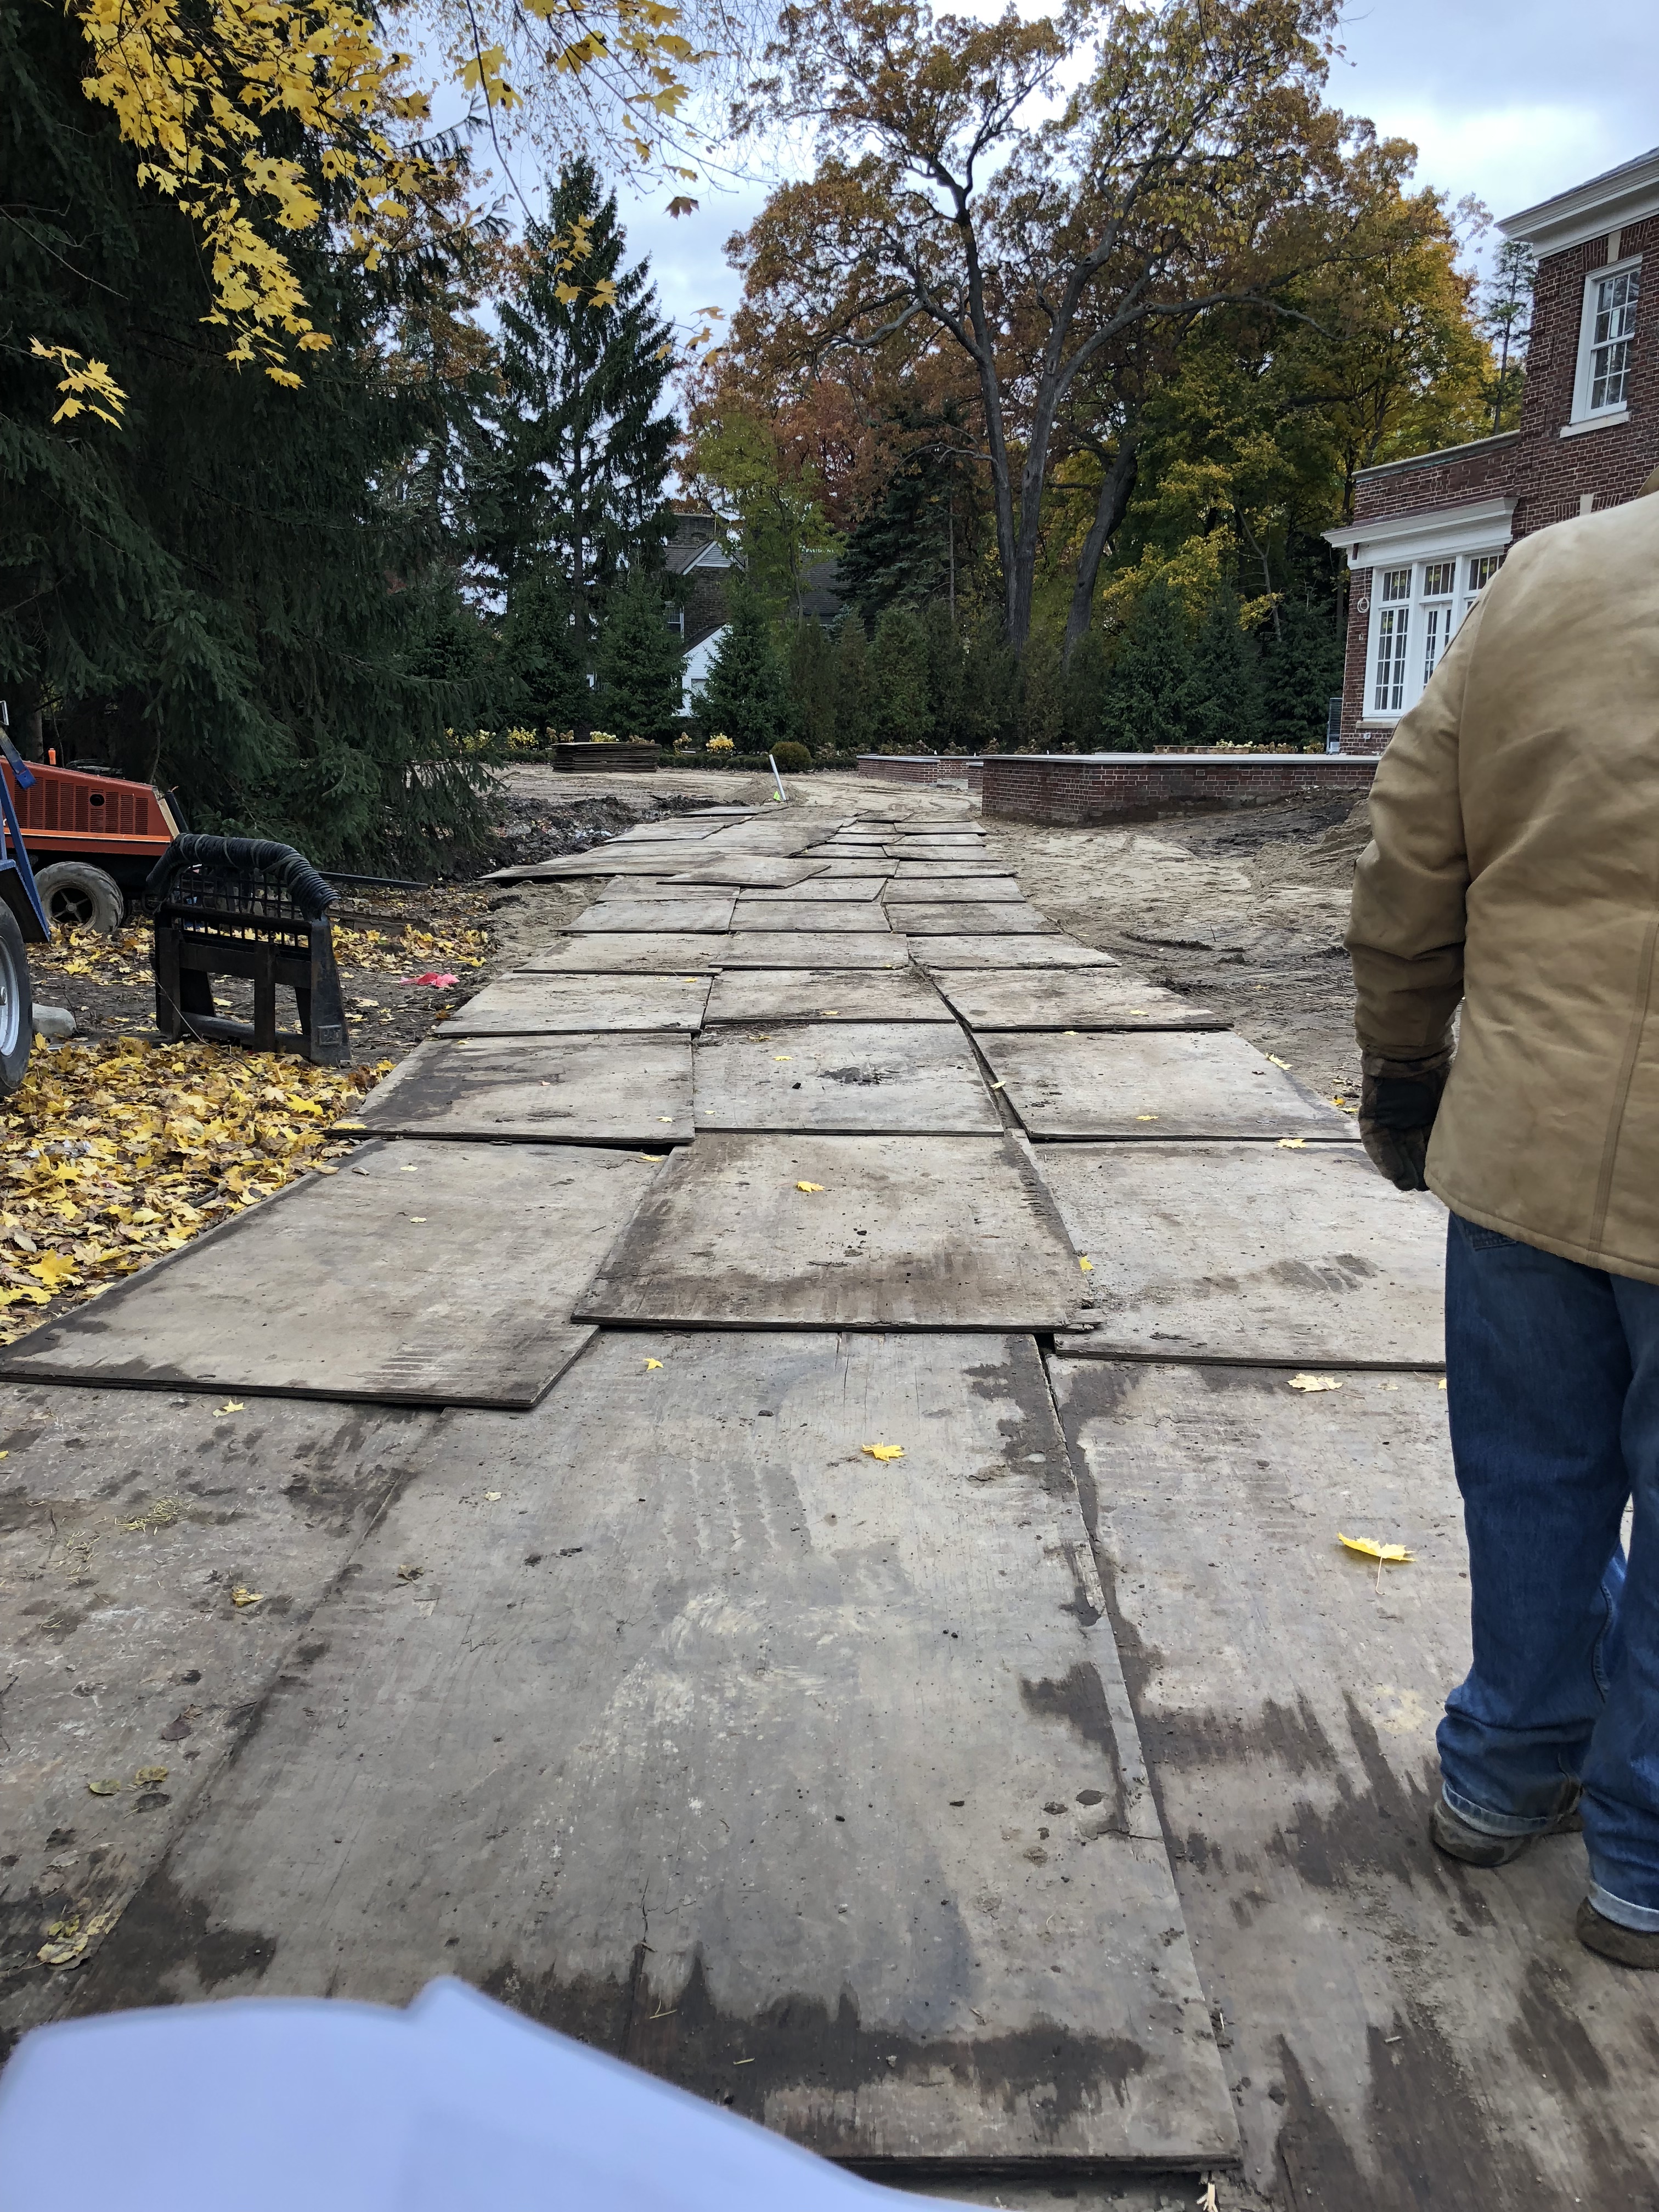
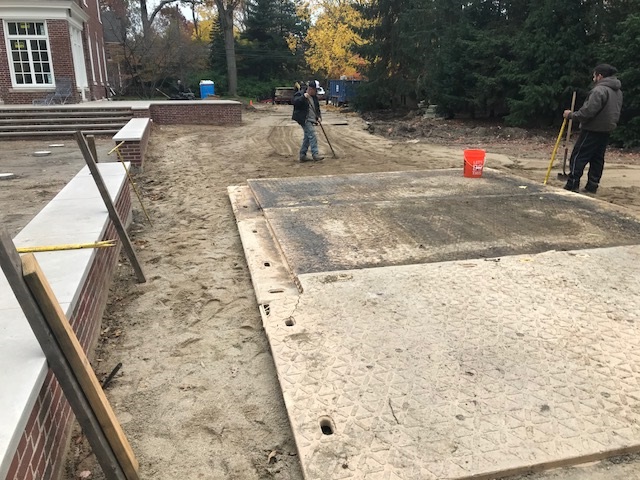
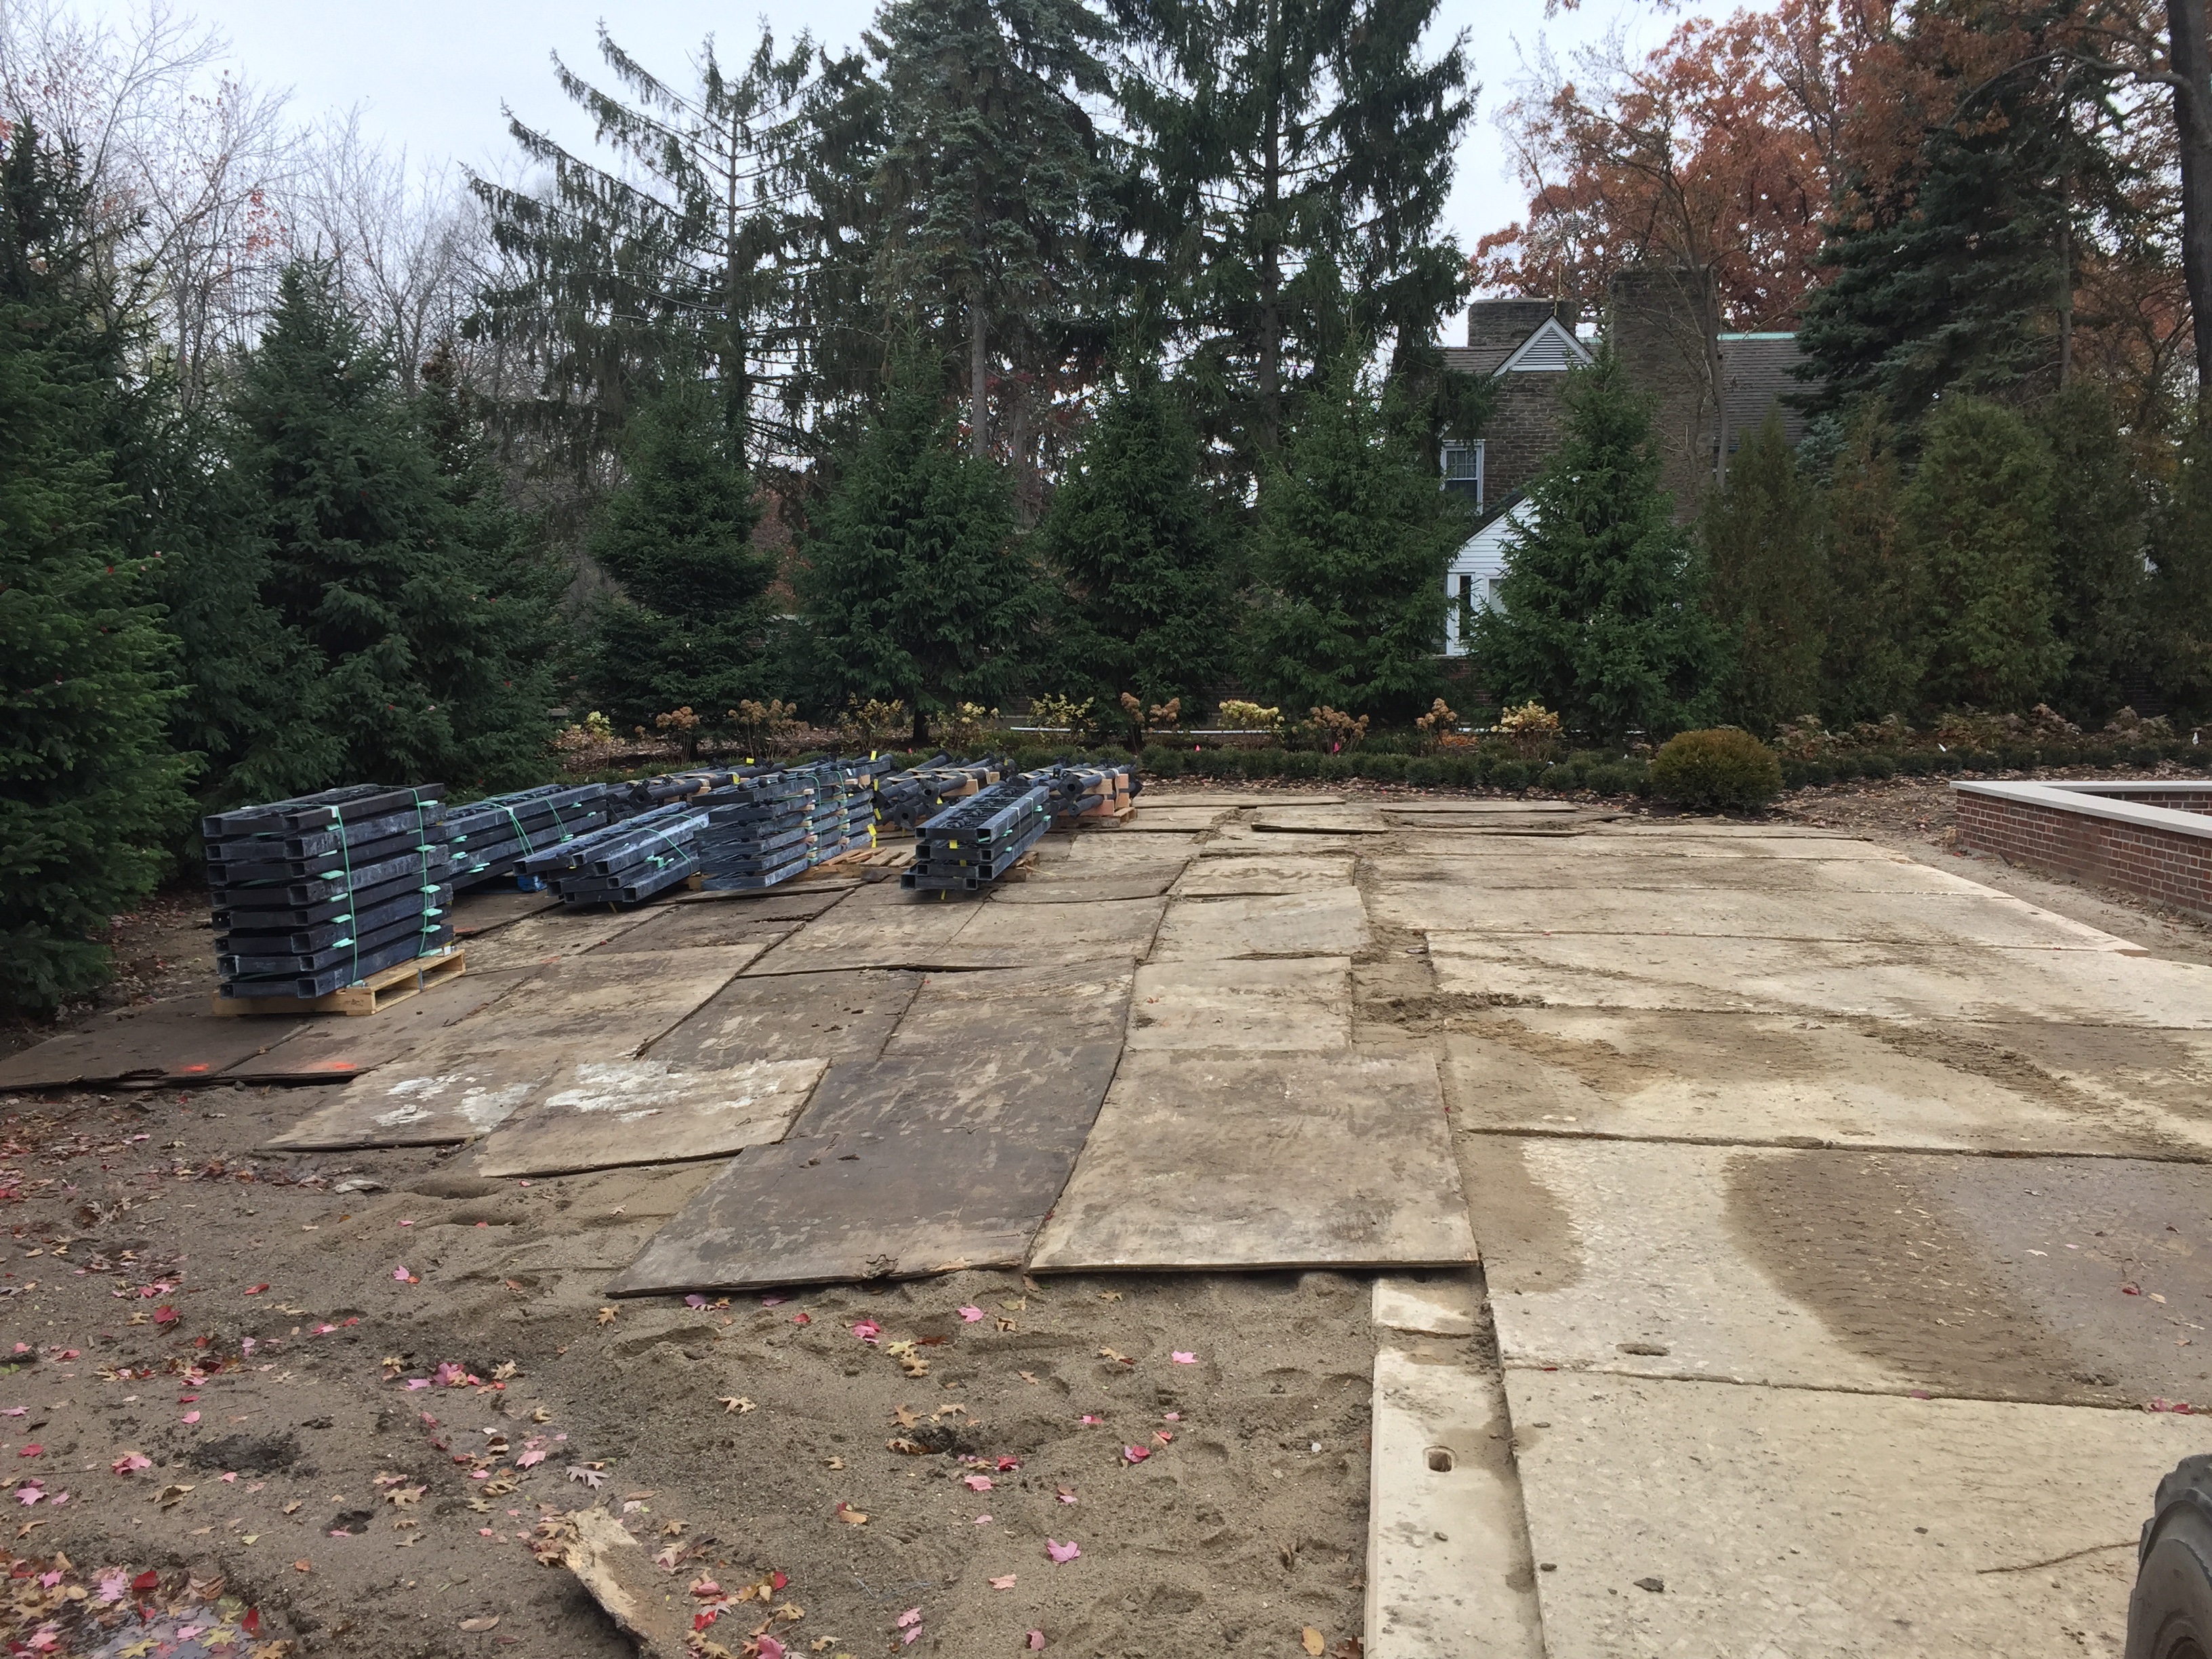
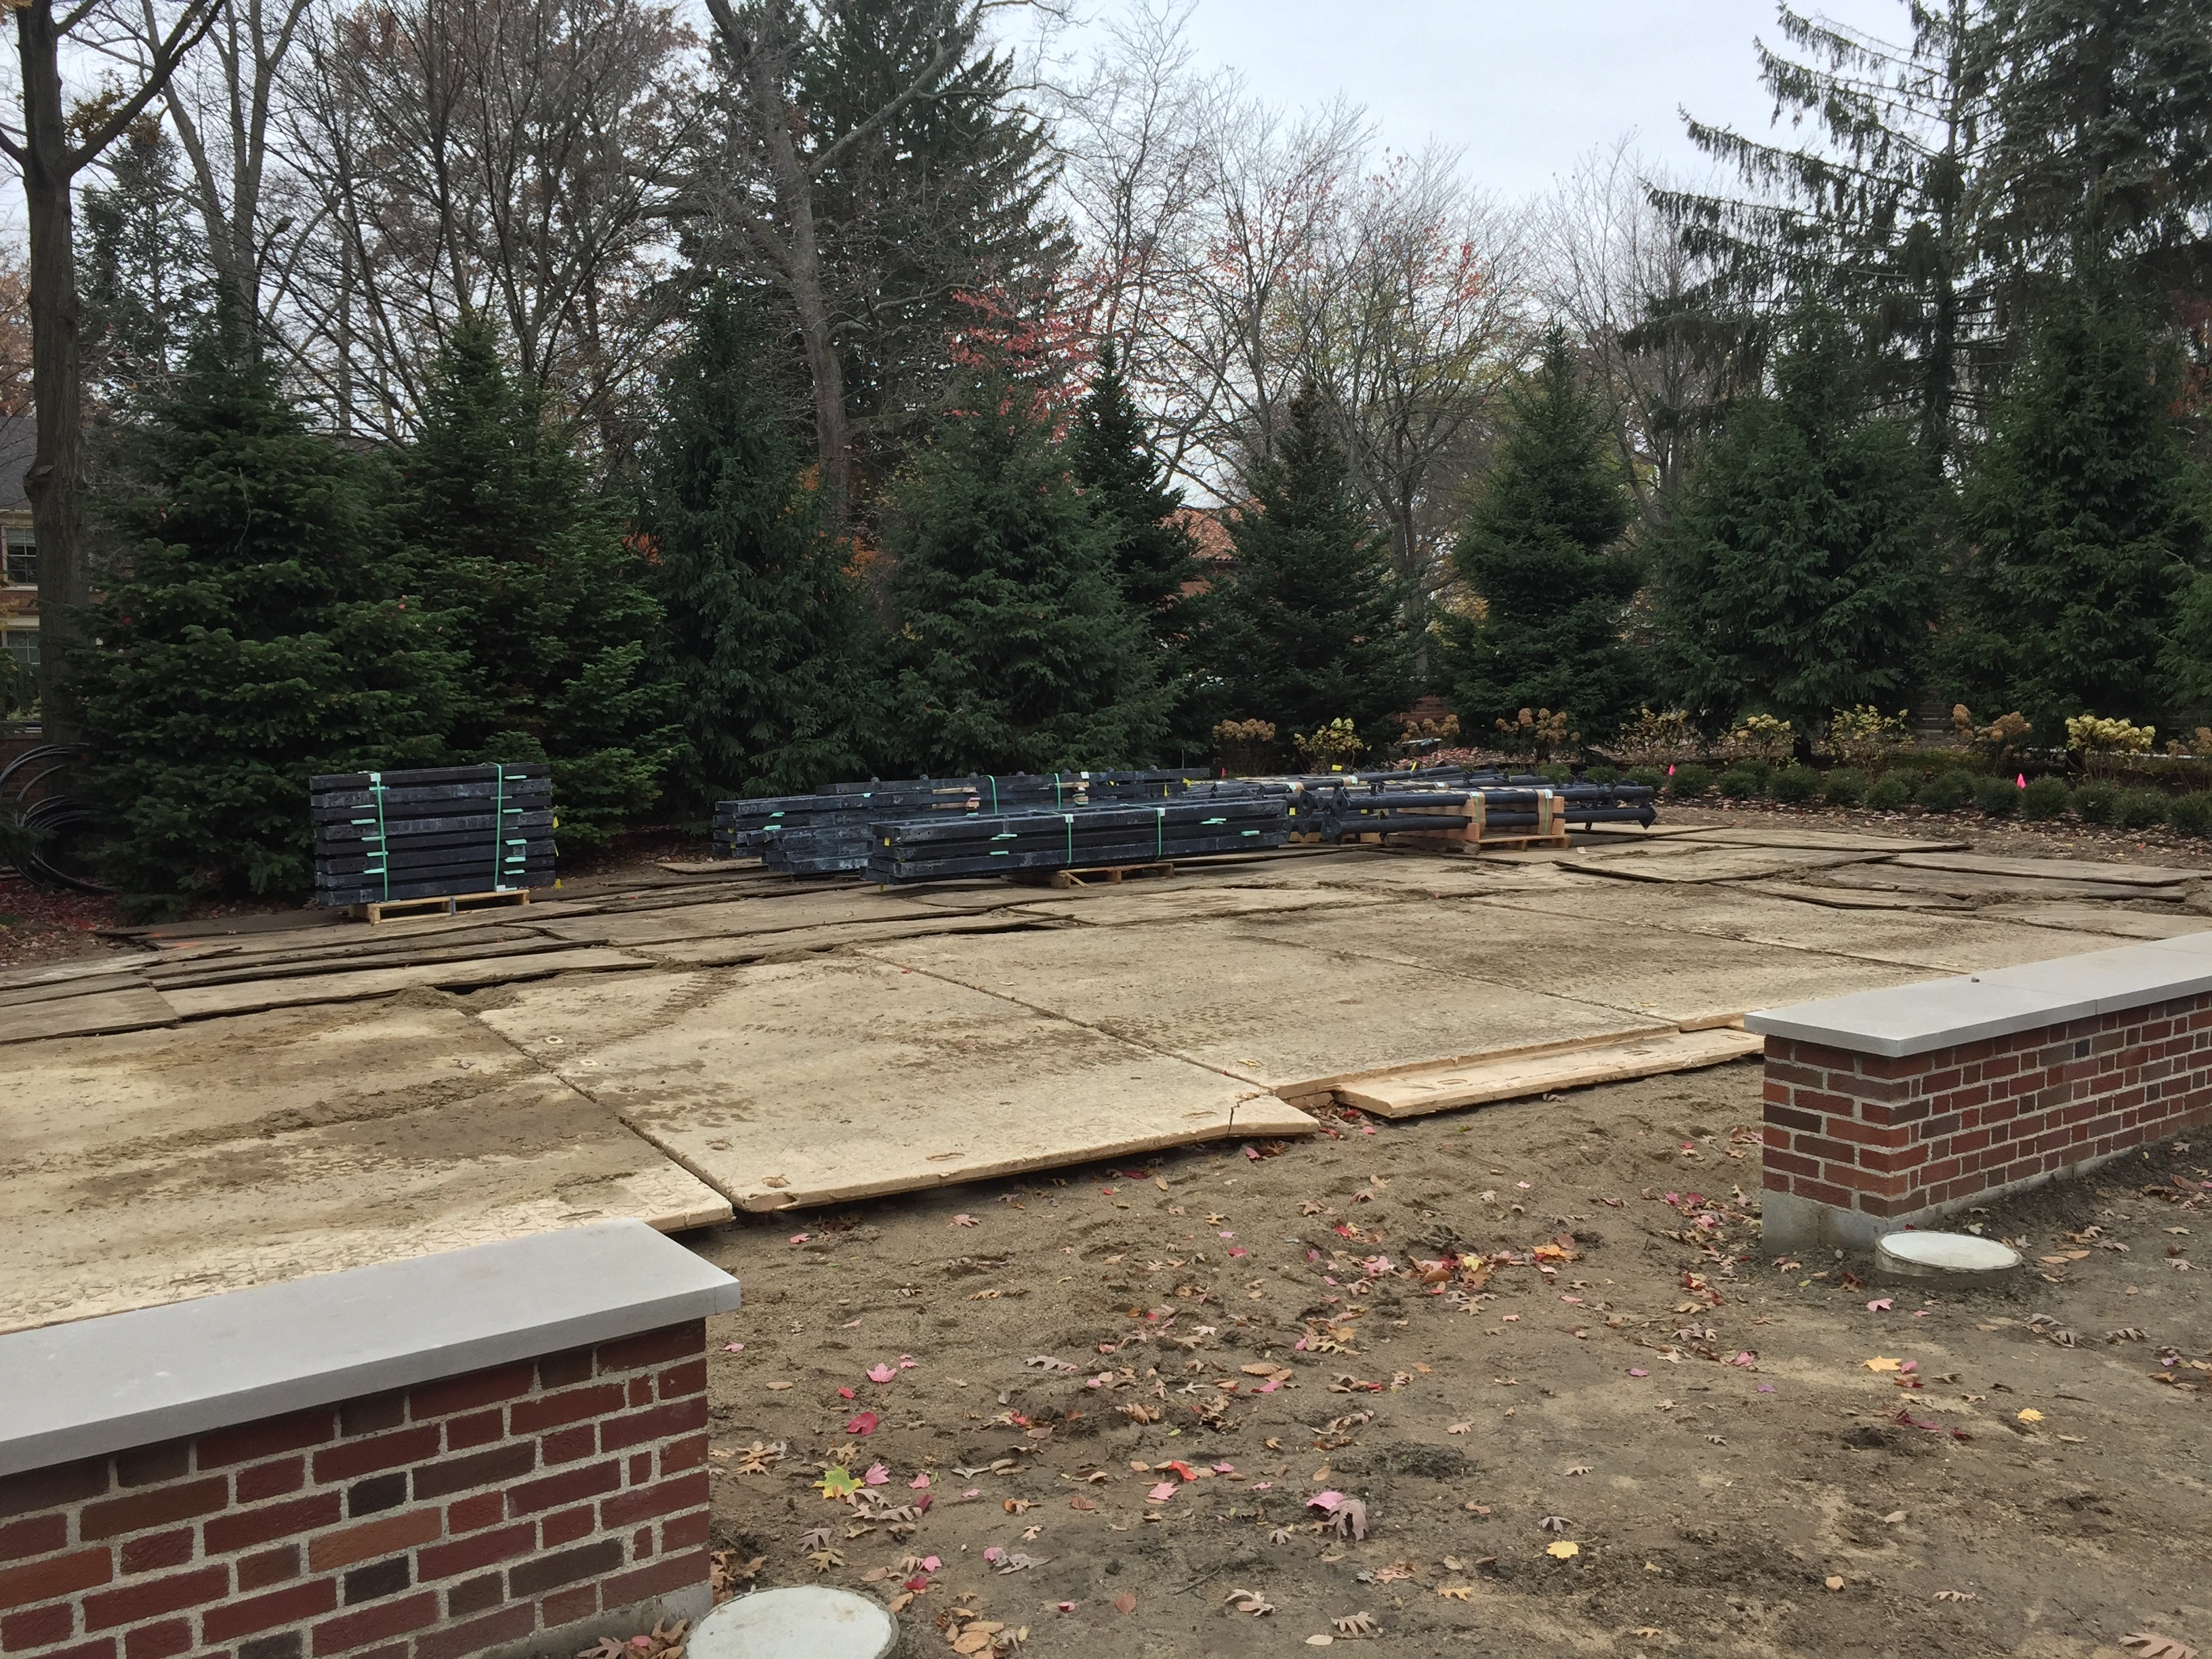
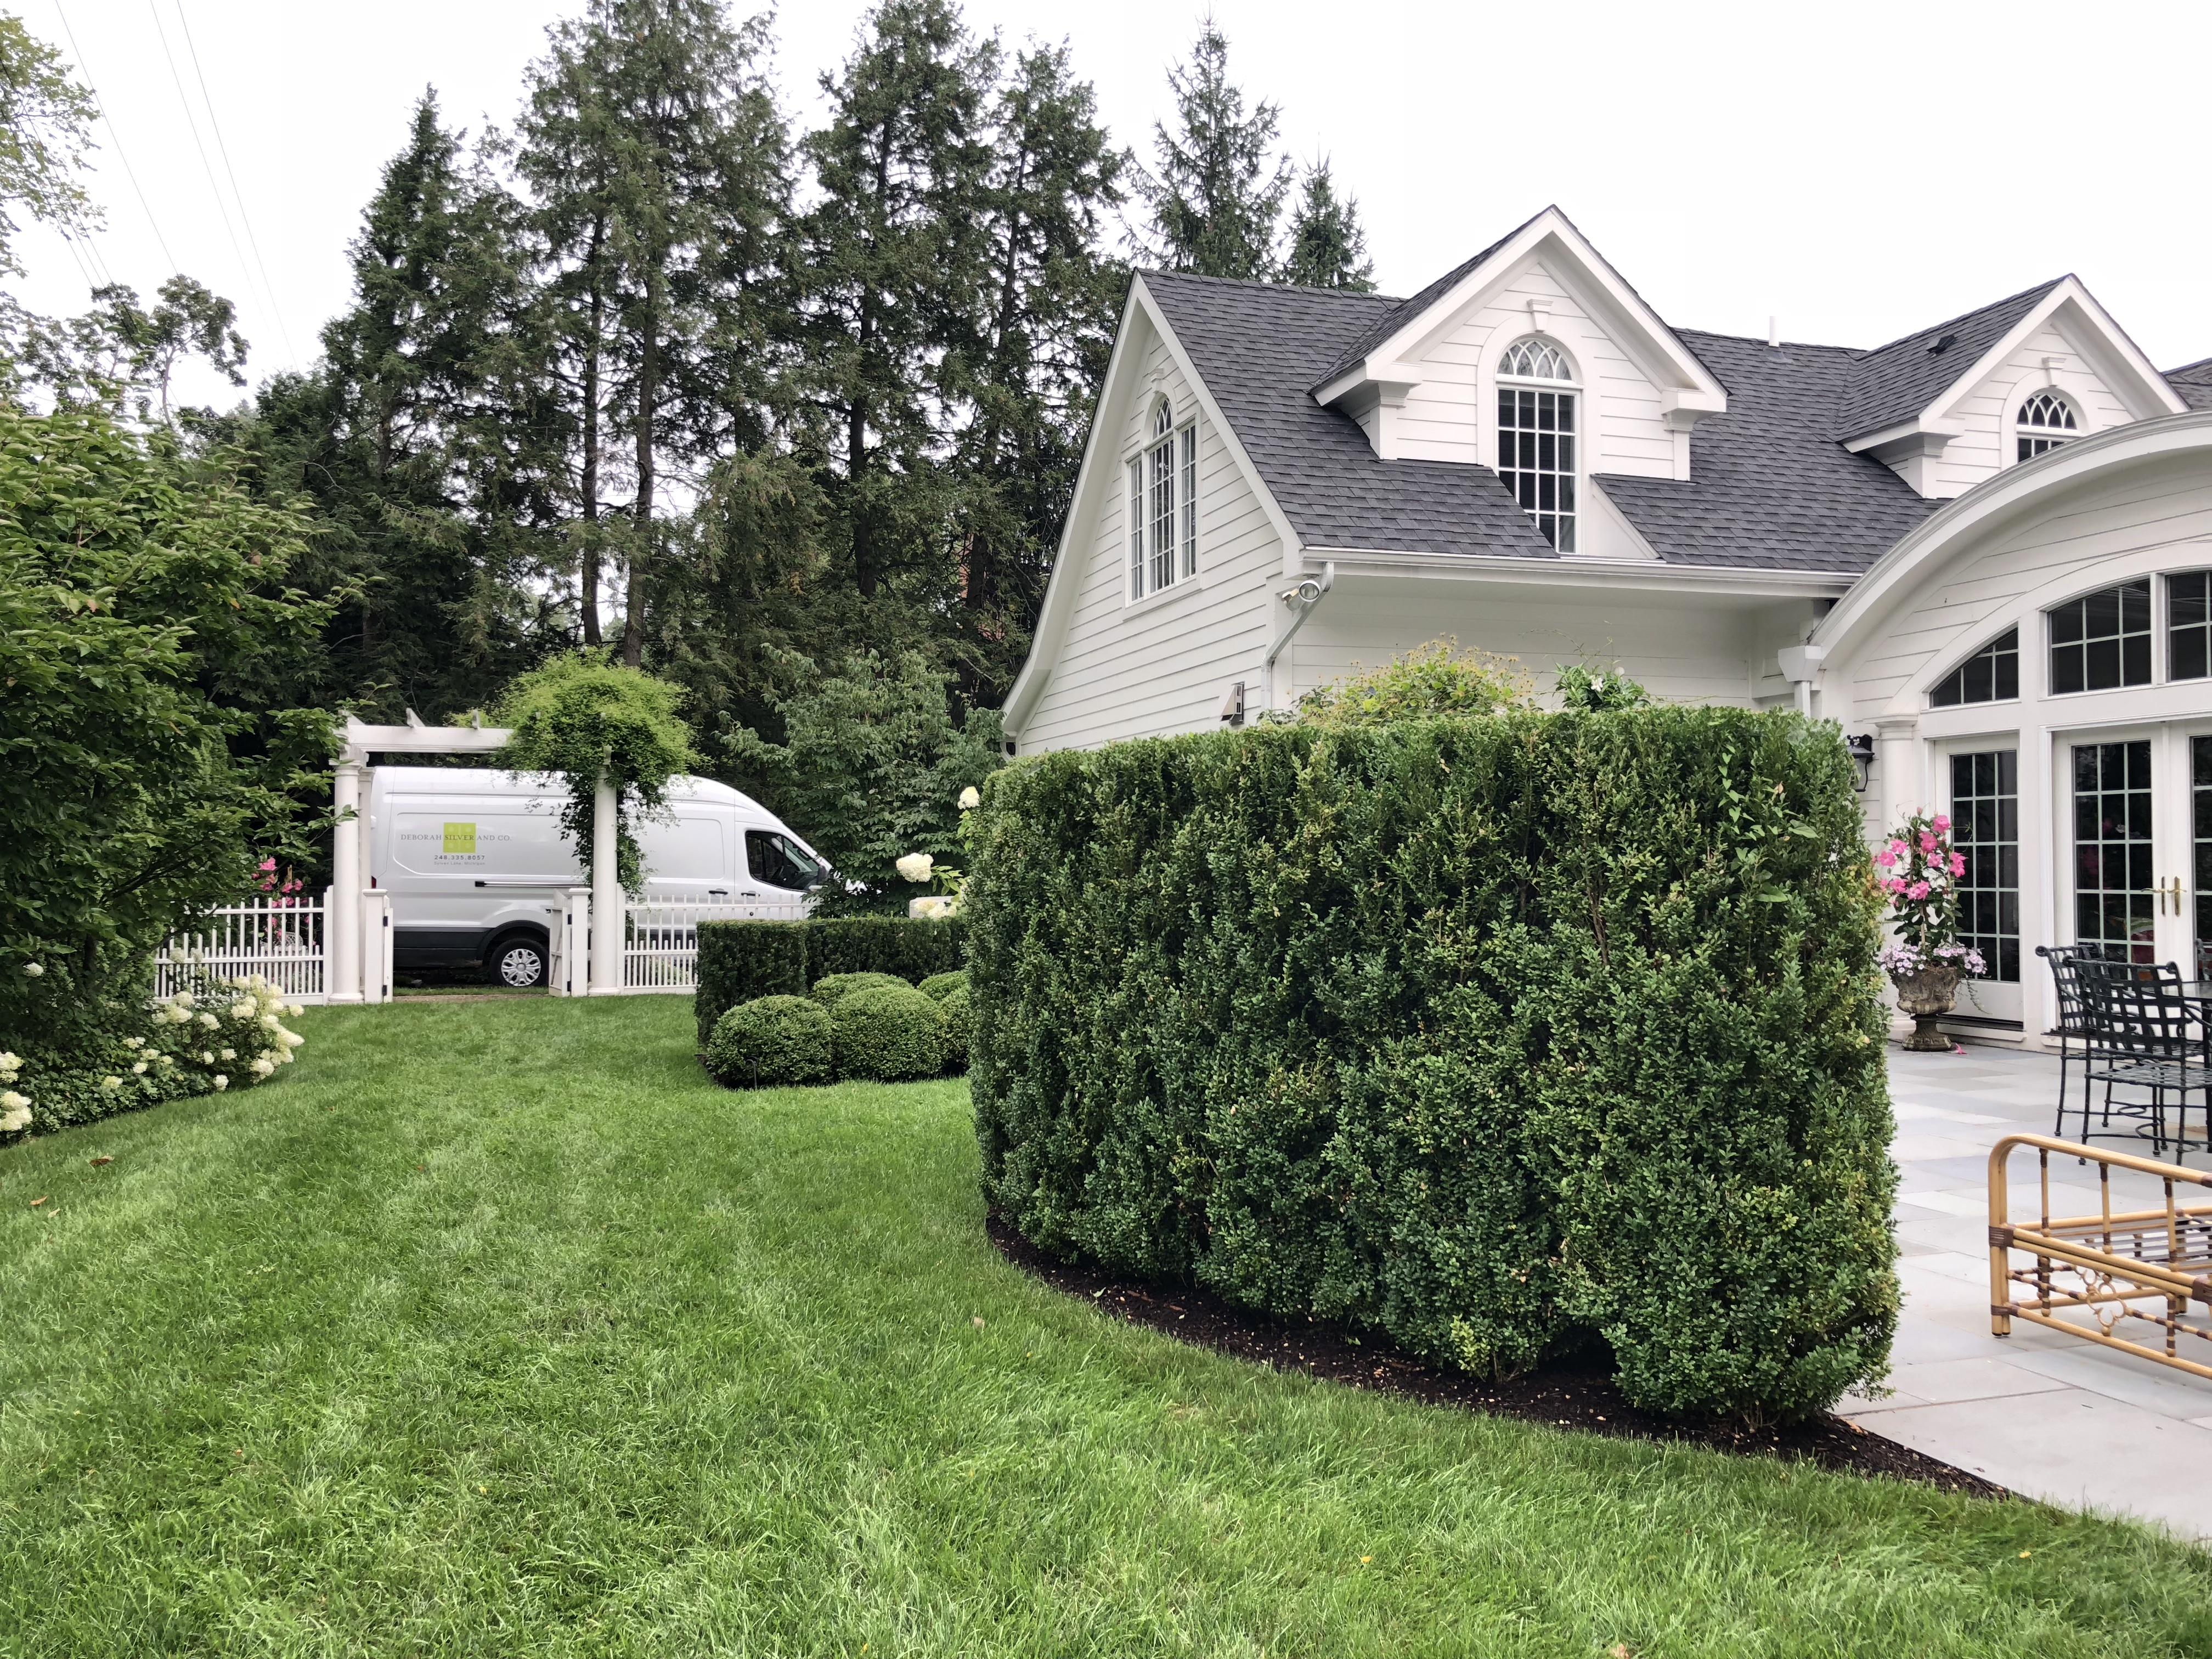
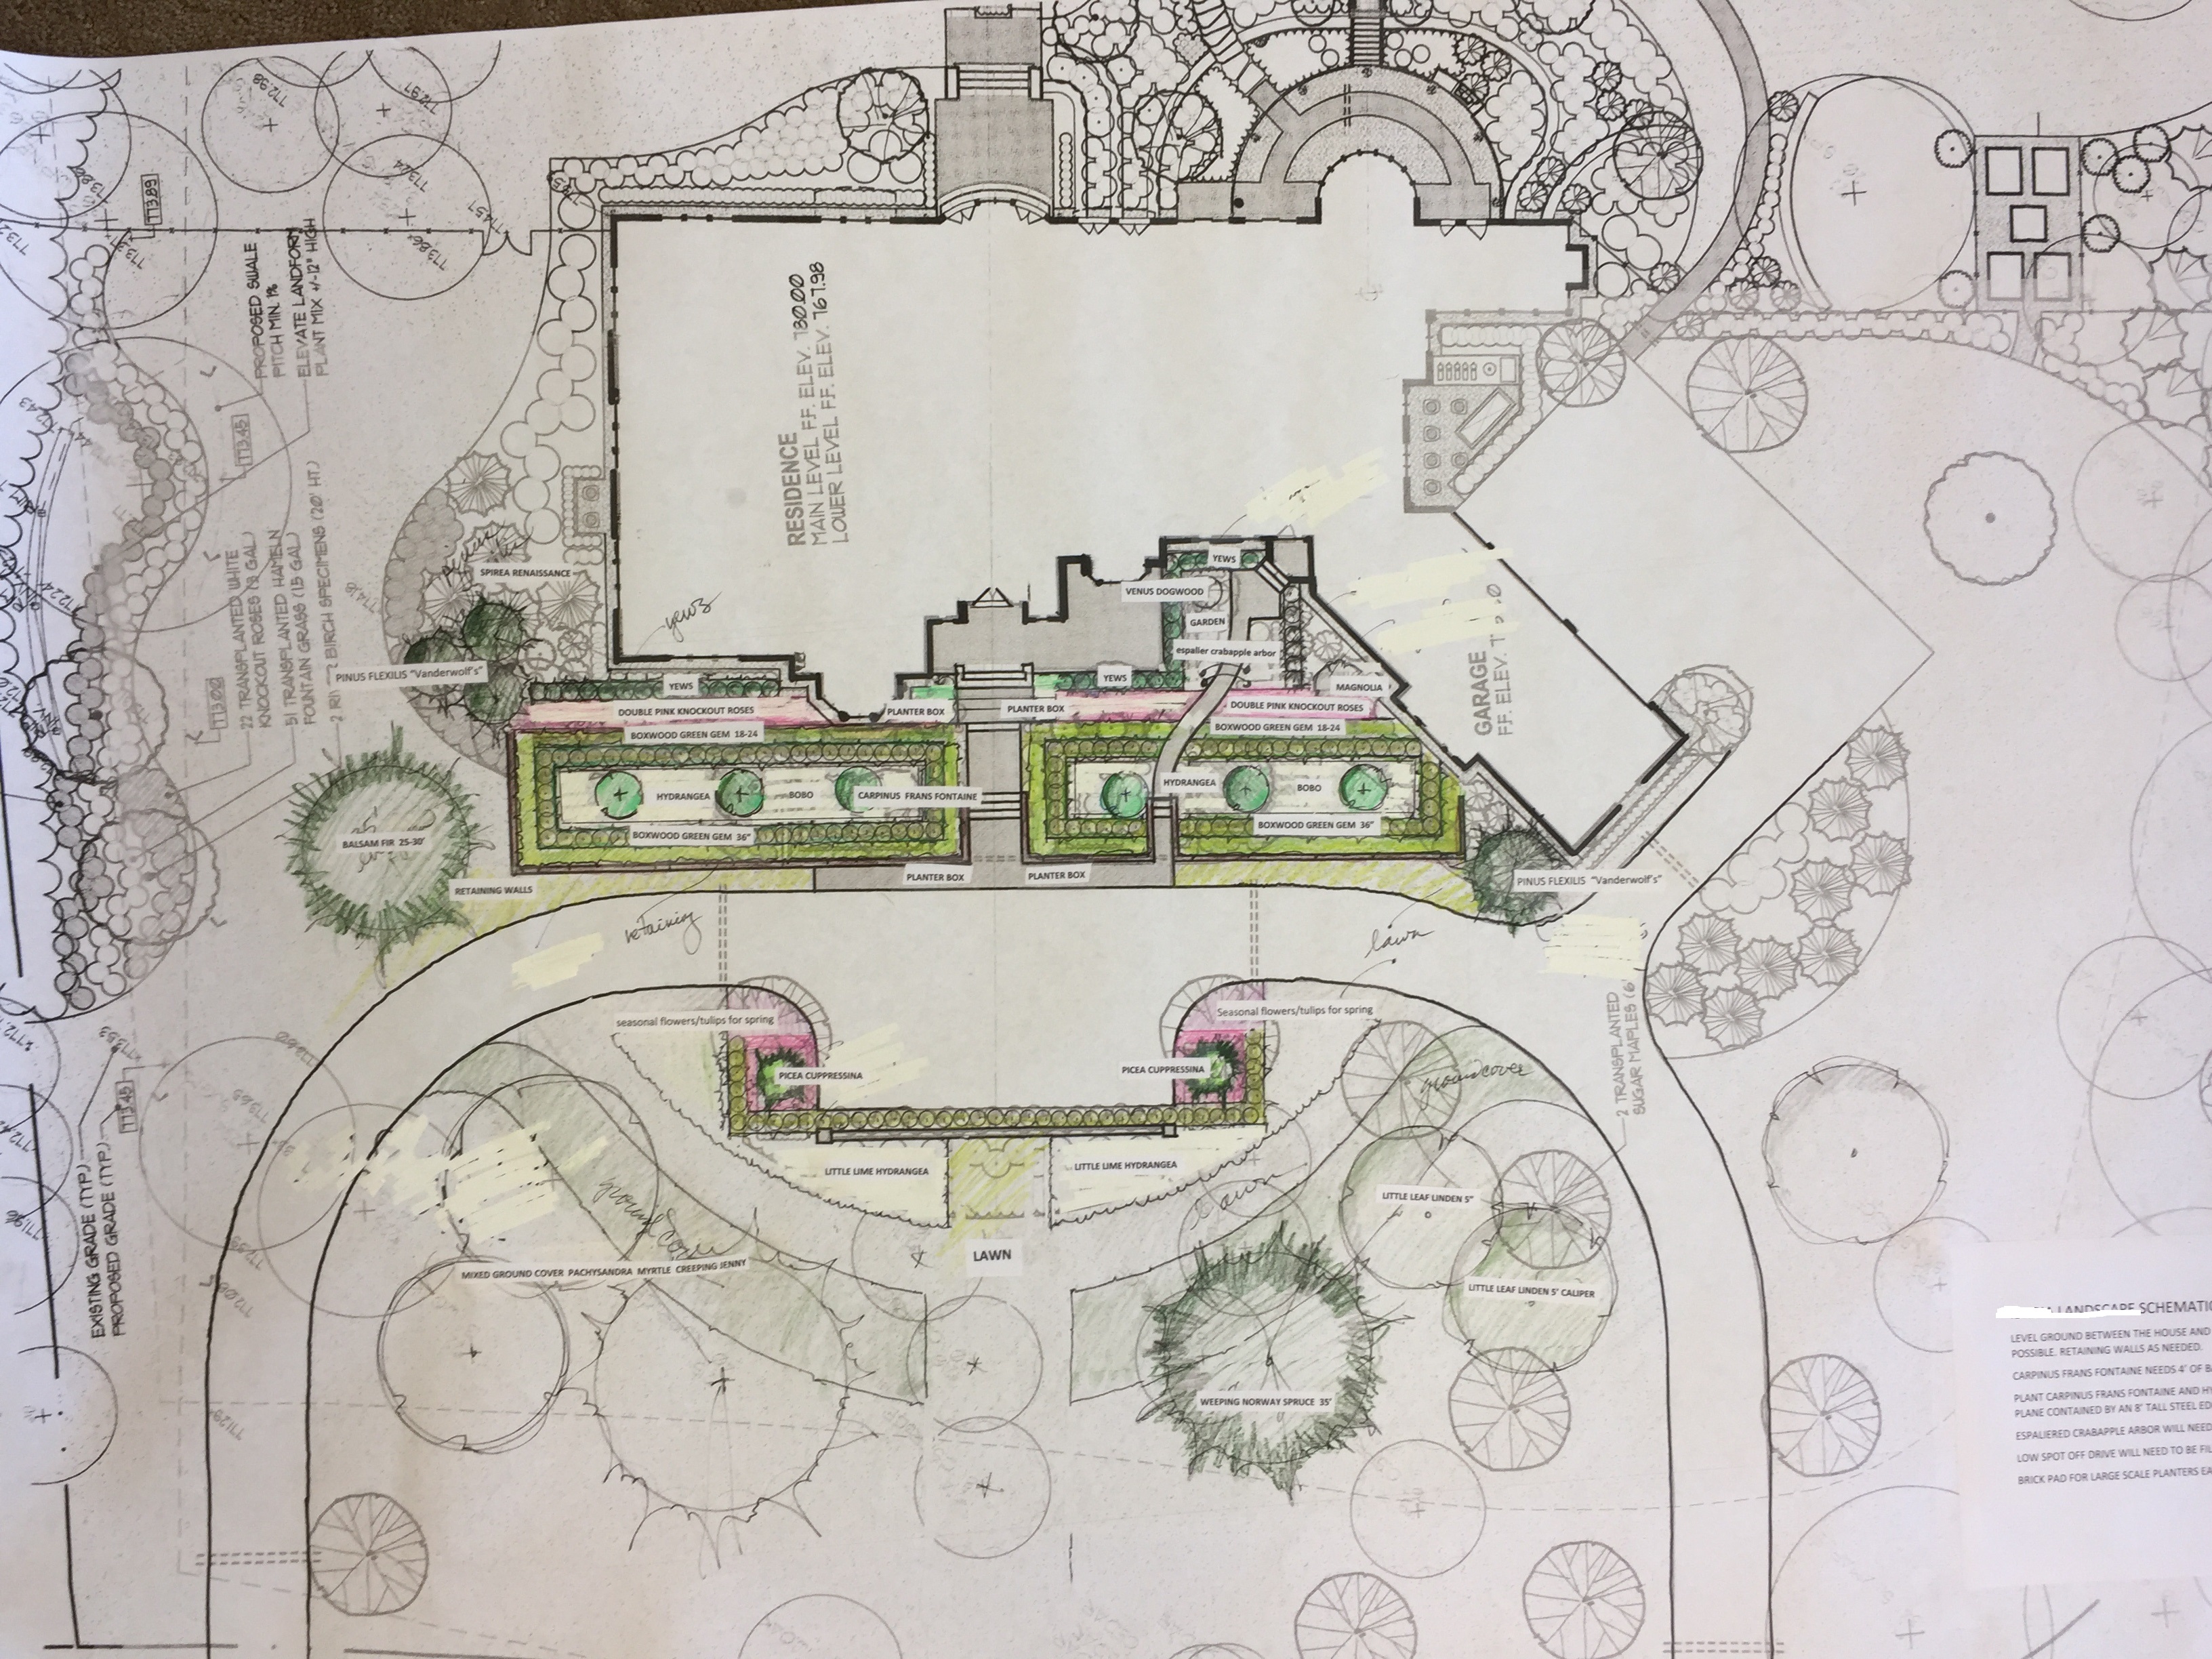
 Nothing helps to to bring a landscape project to a close faster than a deadline. I like deadlines, actually. They provide a framework around which to work. All of the contractors involved, myself included, have a personal interest in seeing this particular project come together. The client has everything to do with that. GP Enterprises handled the planting of all of the large trees, and an extensive drainage system and grading project. Ian Edmunds Irrigation is responsible for a very thoughtful watering system largely based on a network of drip zones. Mountain Pavers Construction, owned and operated by Mike Newman, built all of the terraces, retaining walls and steps and steppers, and a beautiful exposed aggregate driveway. The Branch Studio built a number of structures, containers, fencing and rails especially designed by me for this project. The landscape design was the first in, and the close of the installation of that landscape will be the last out.
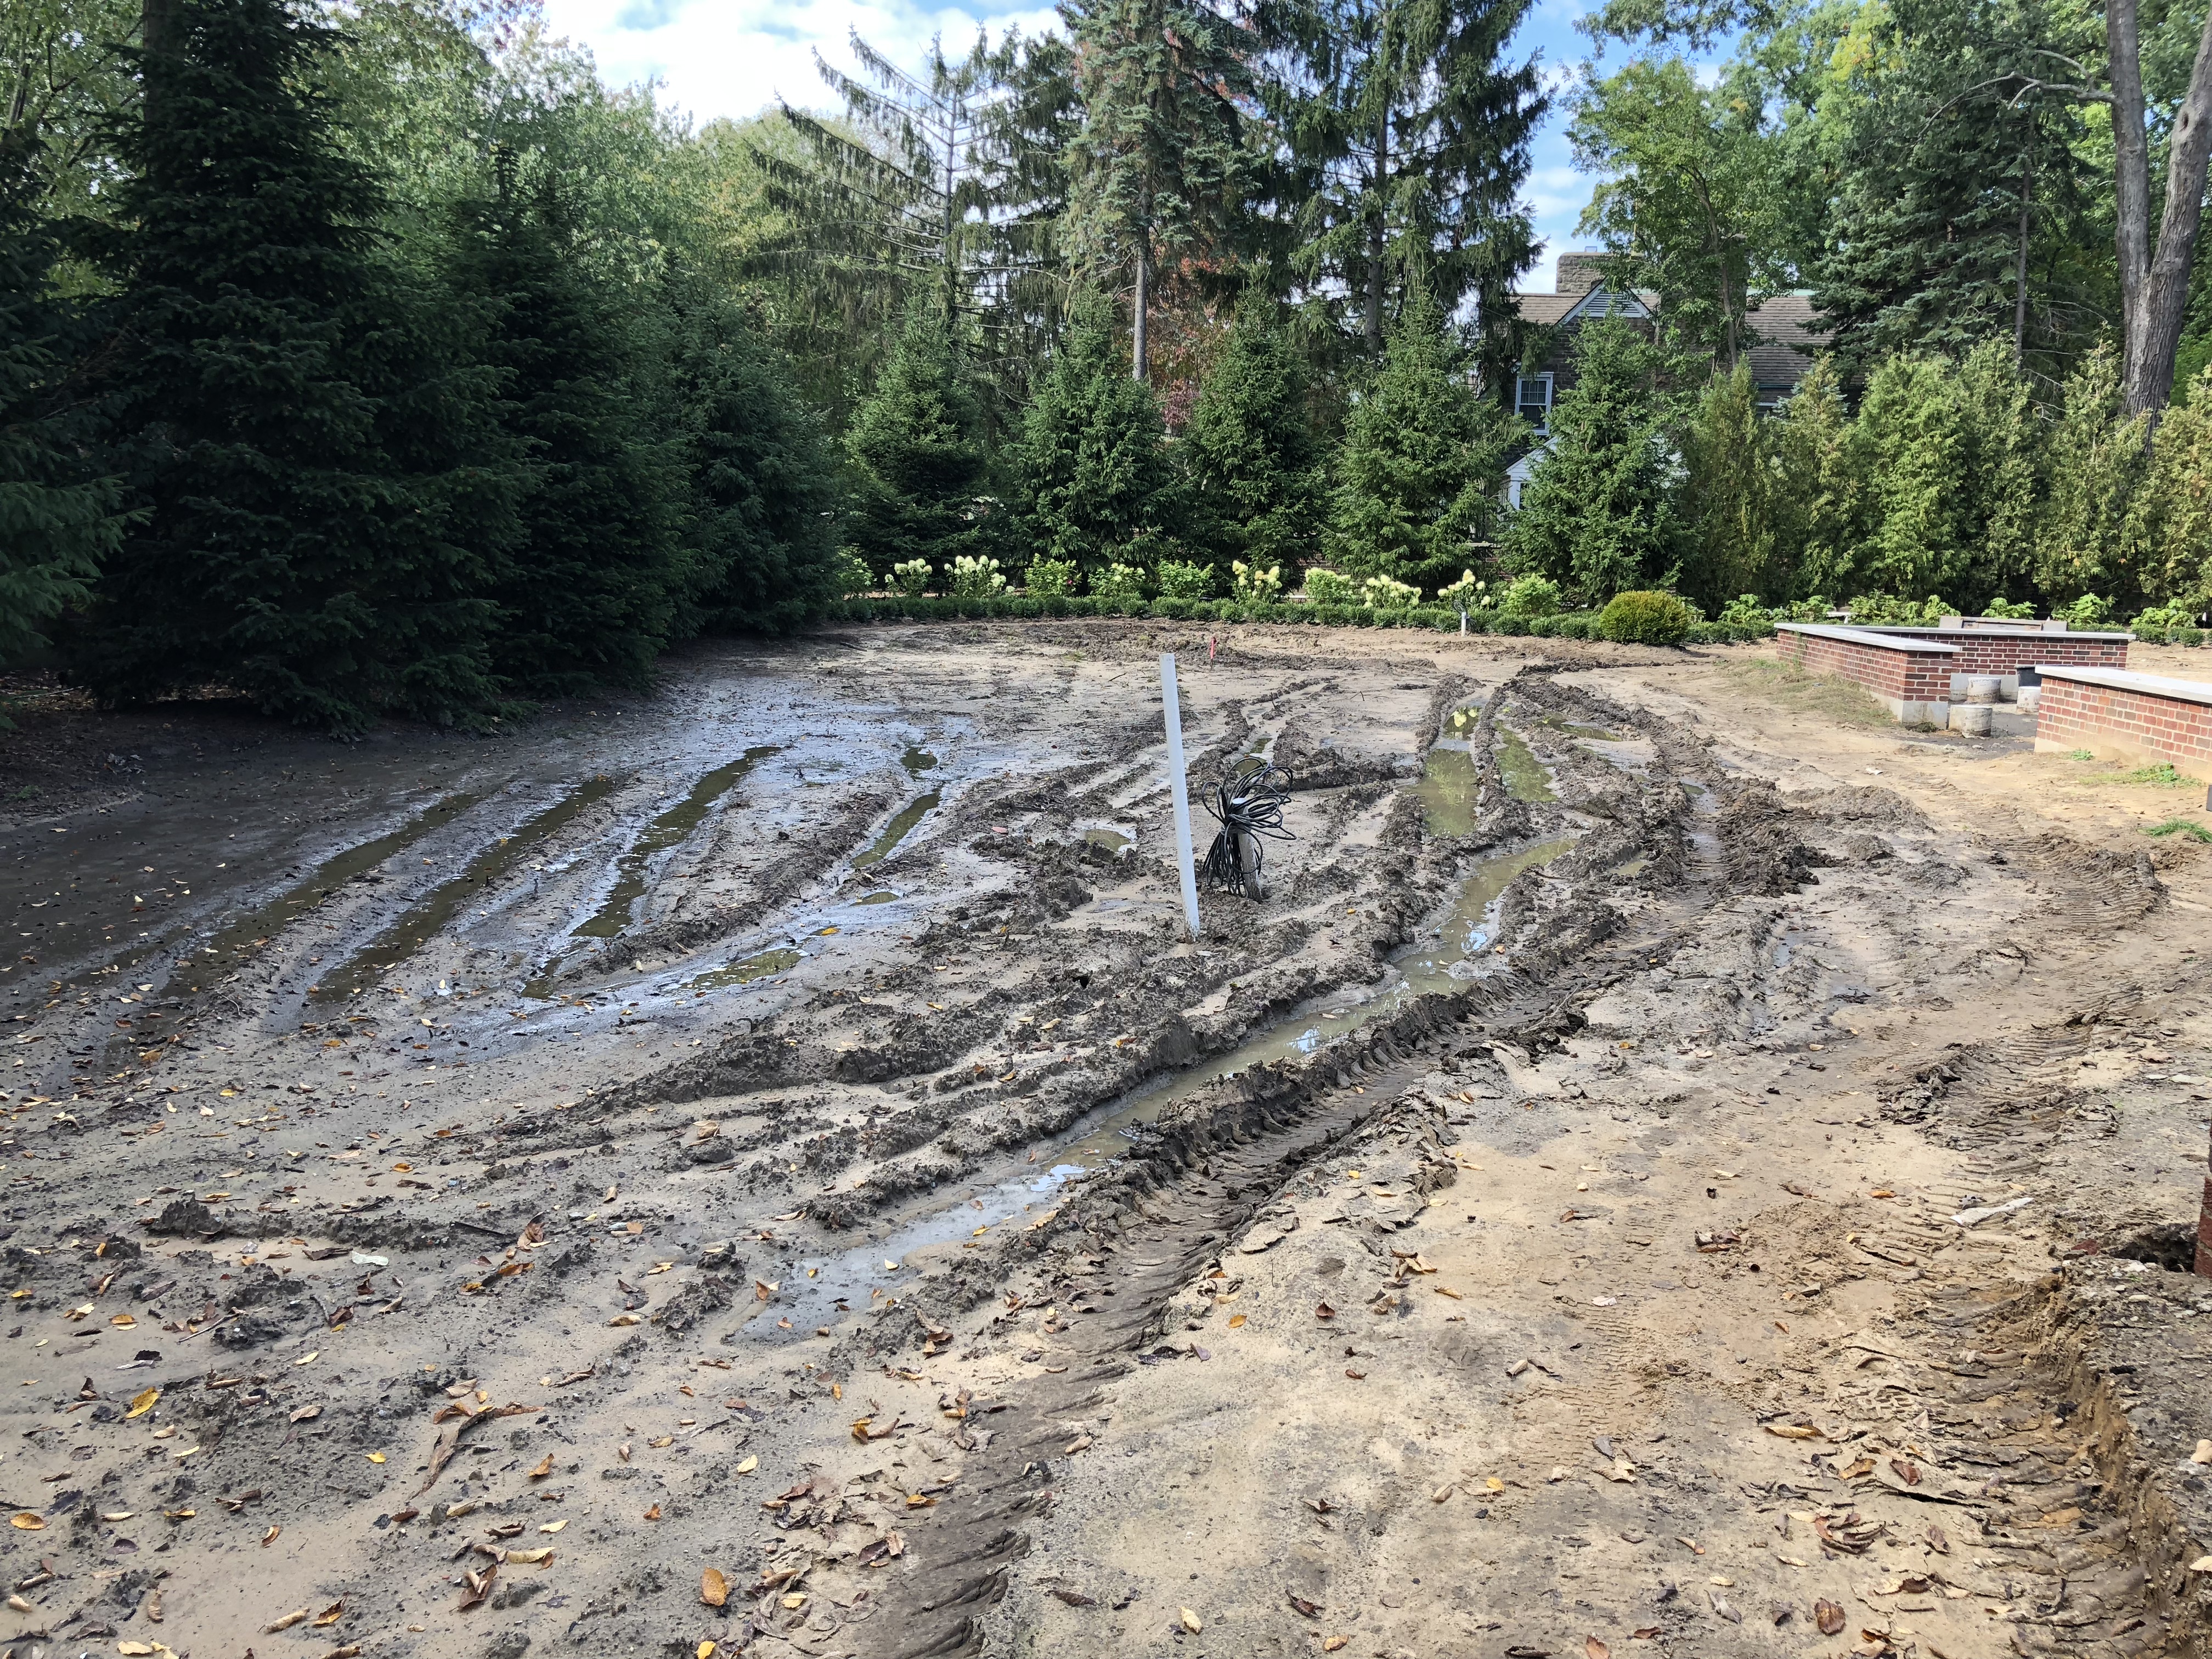
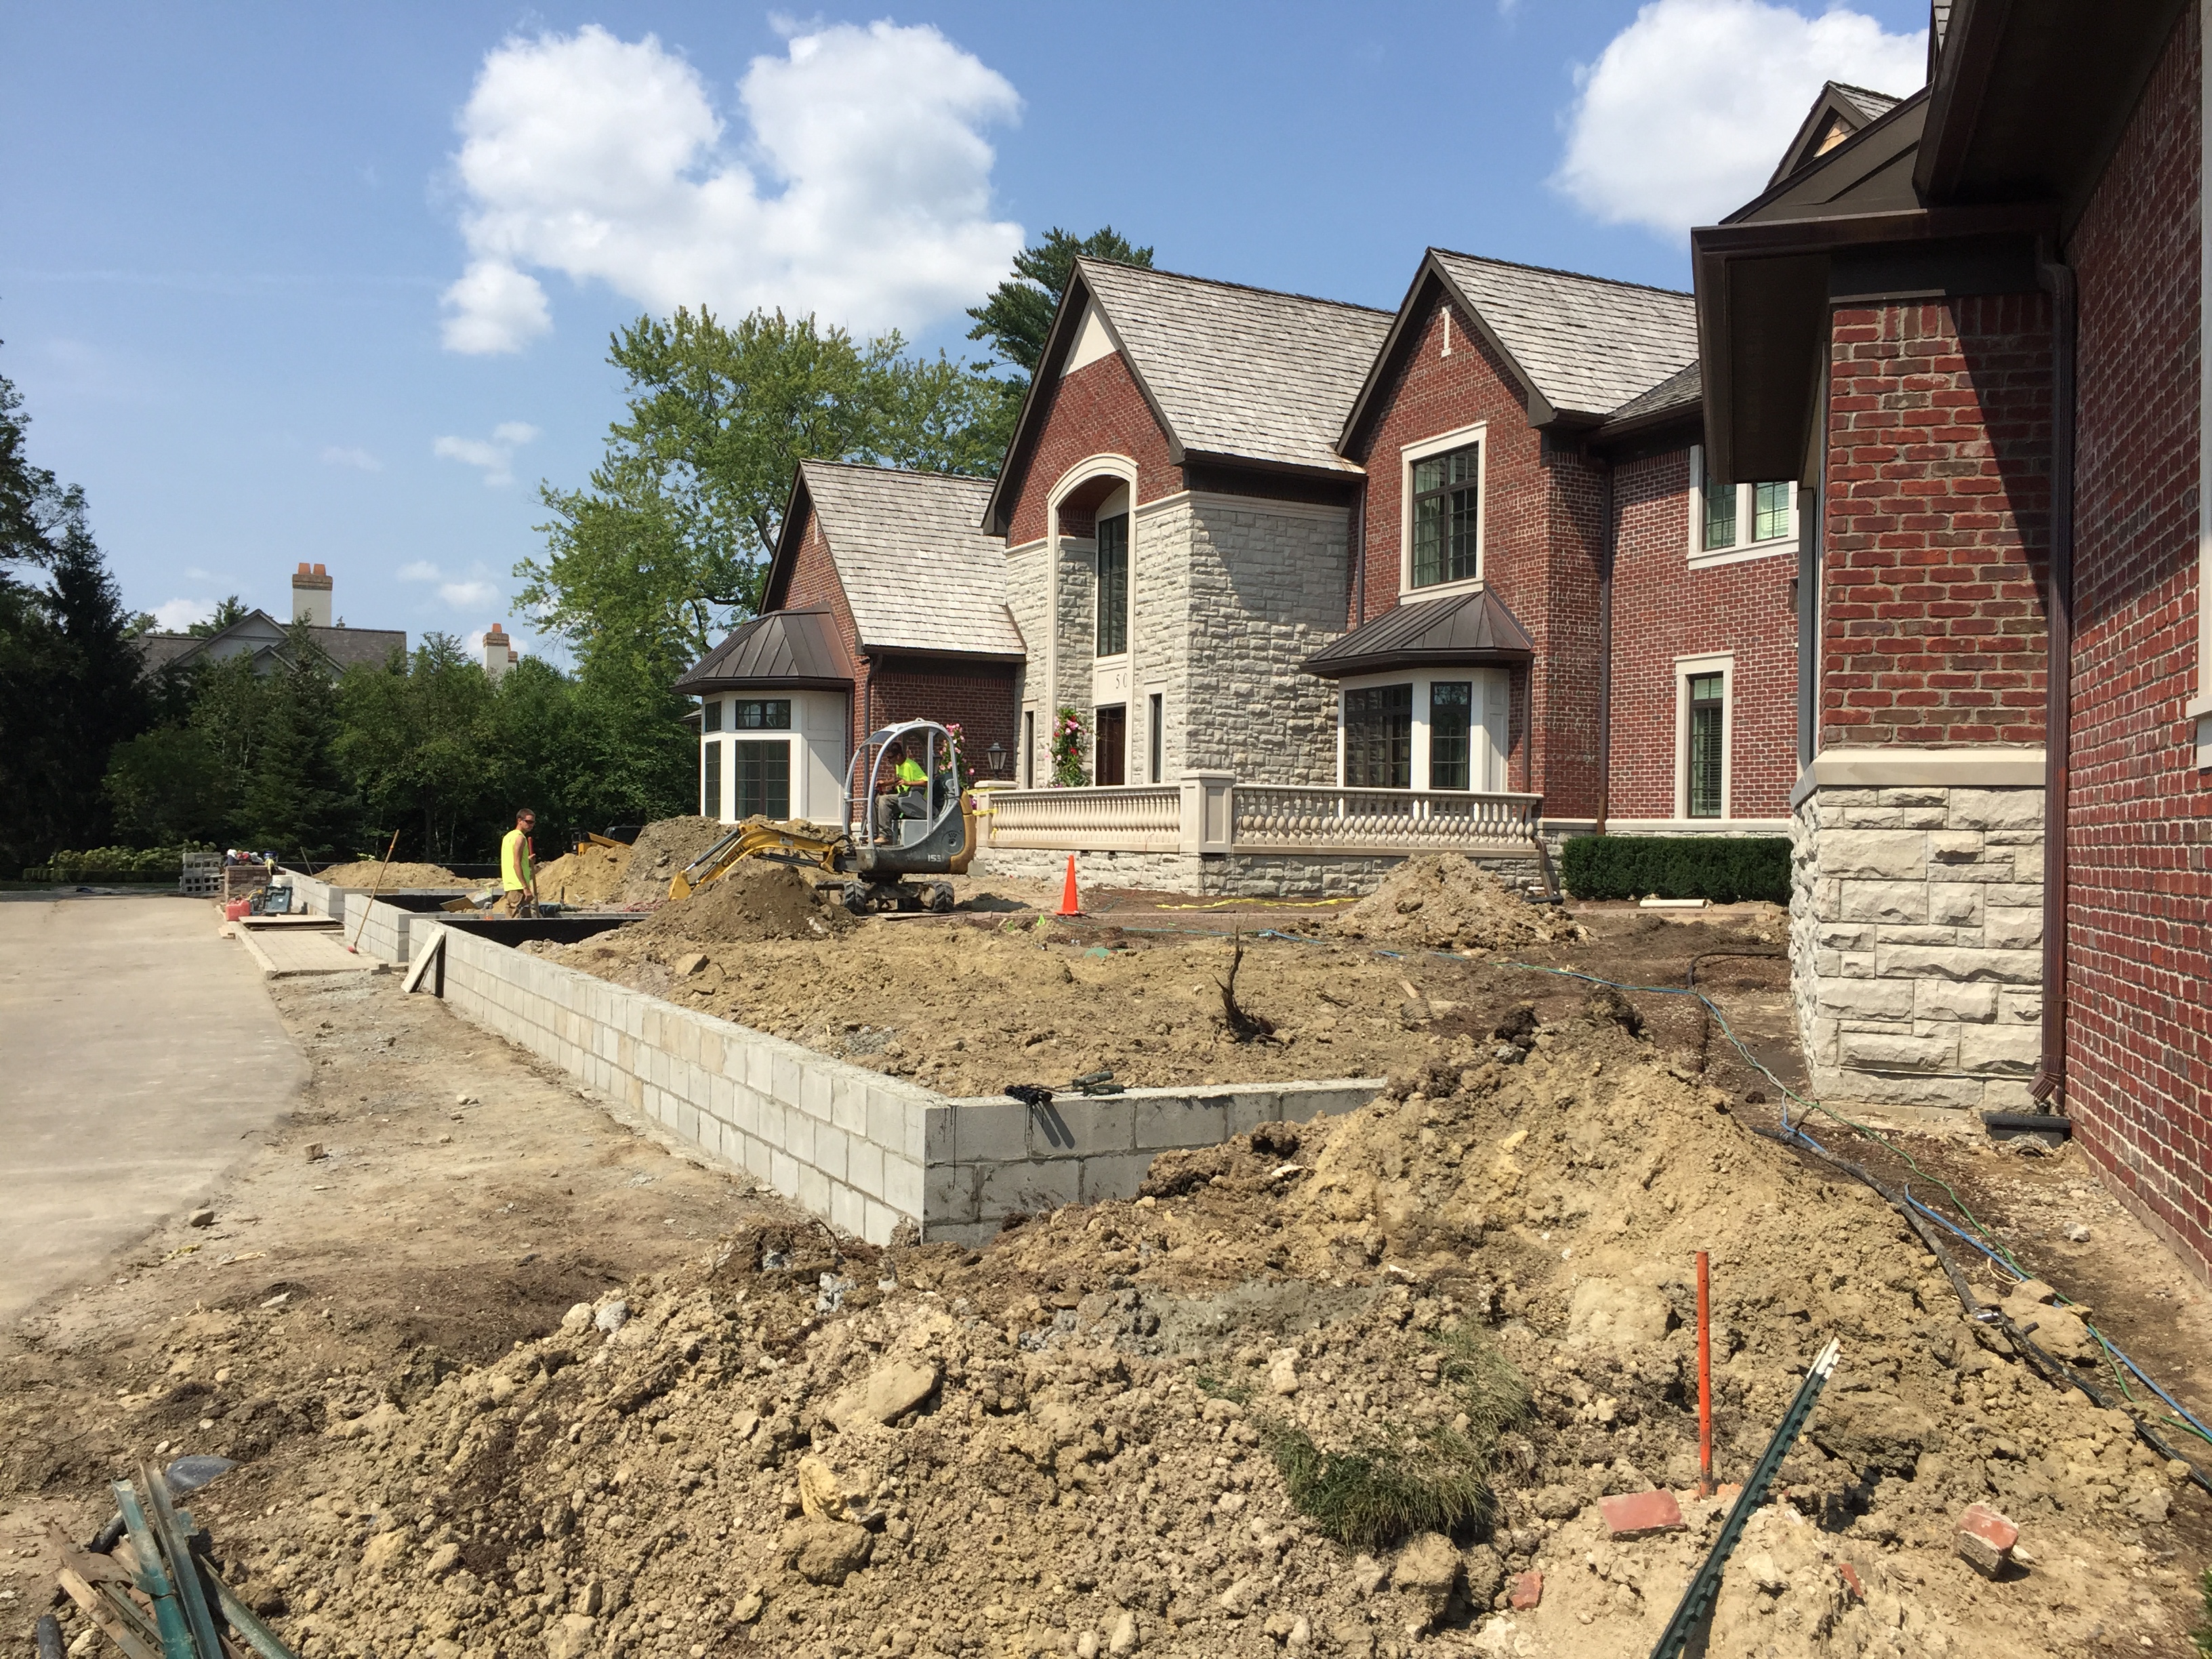
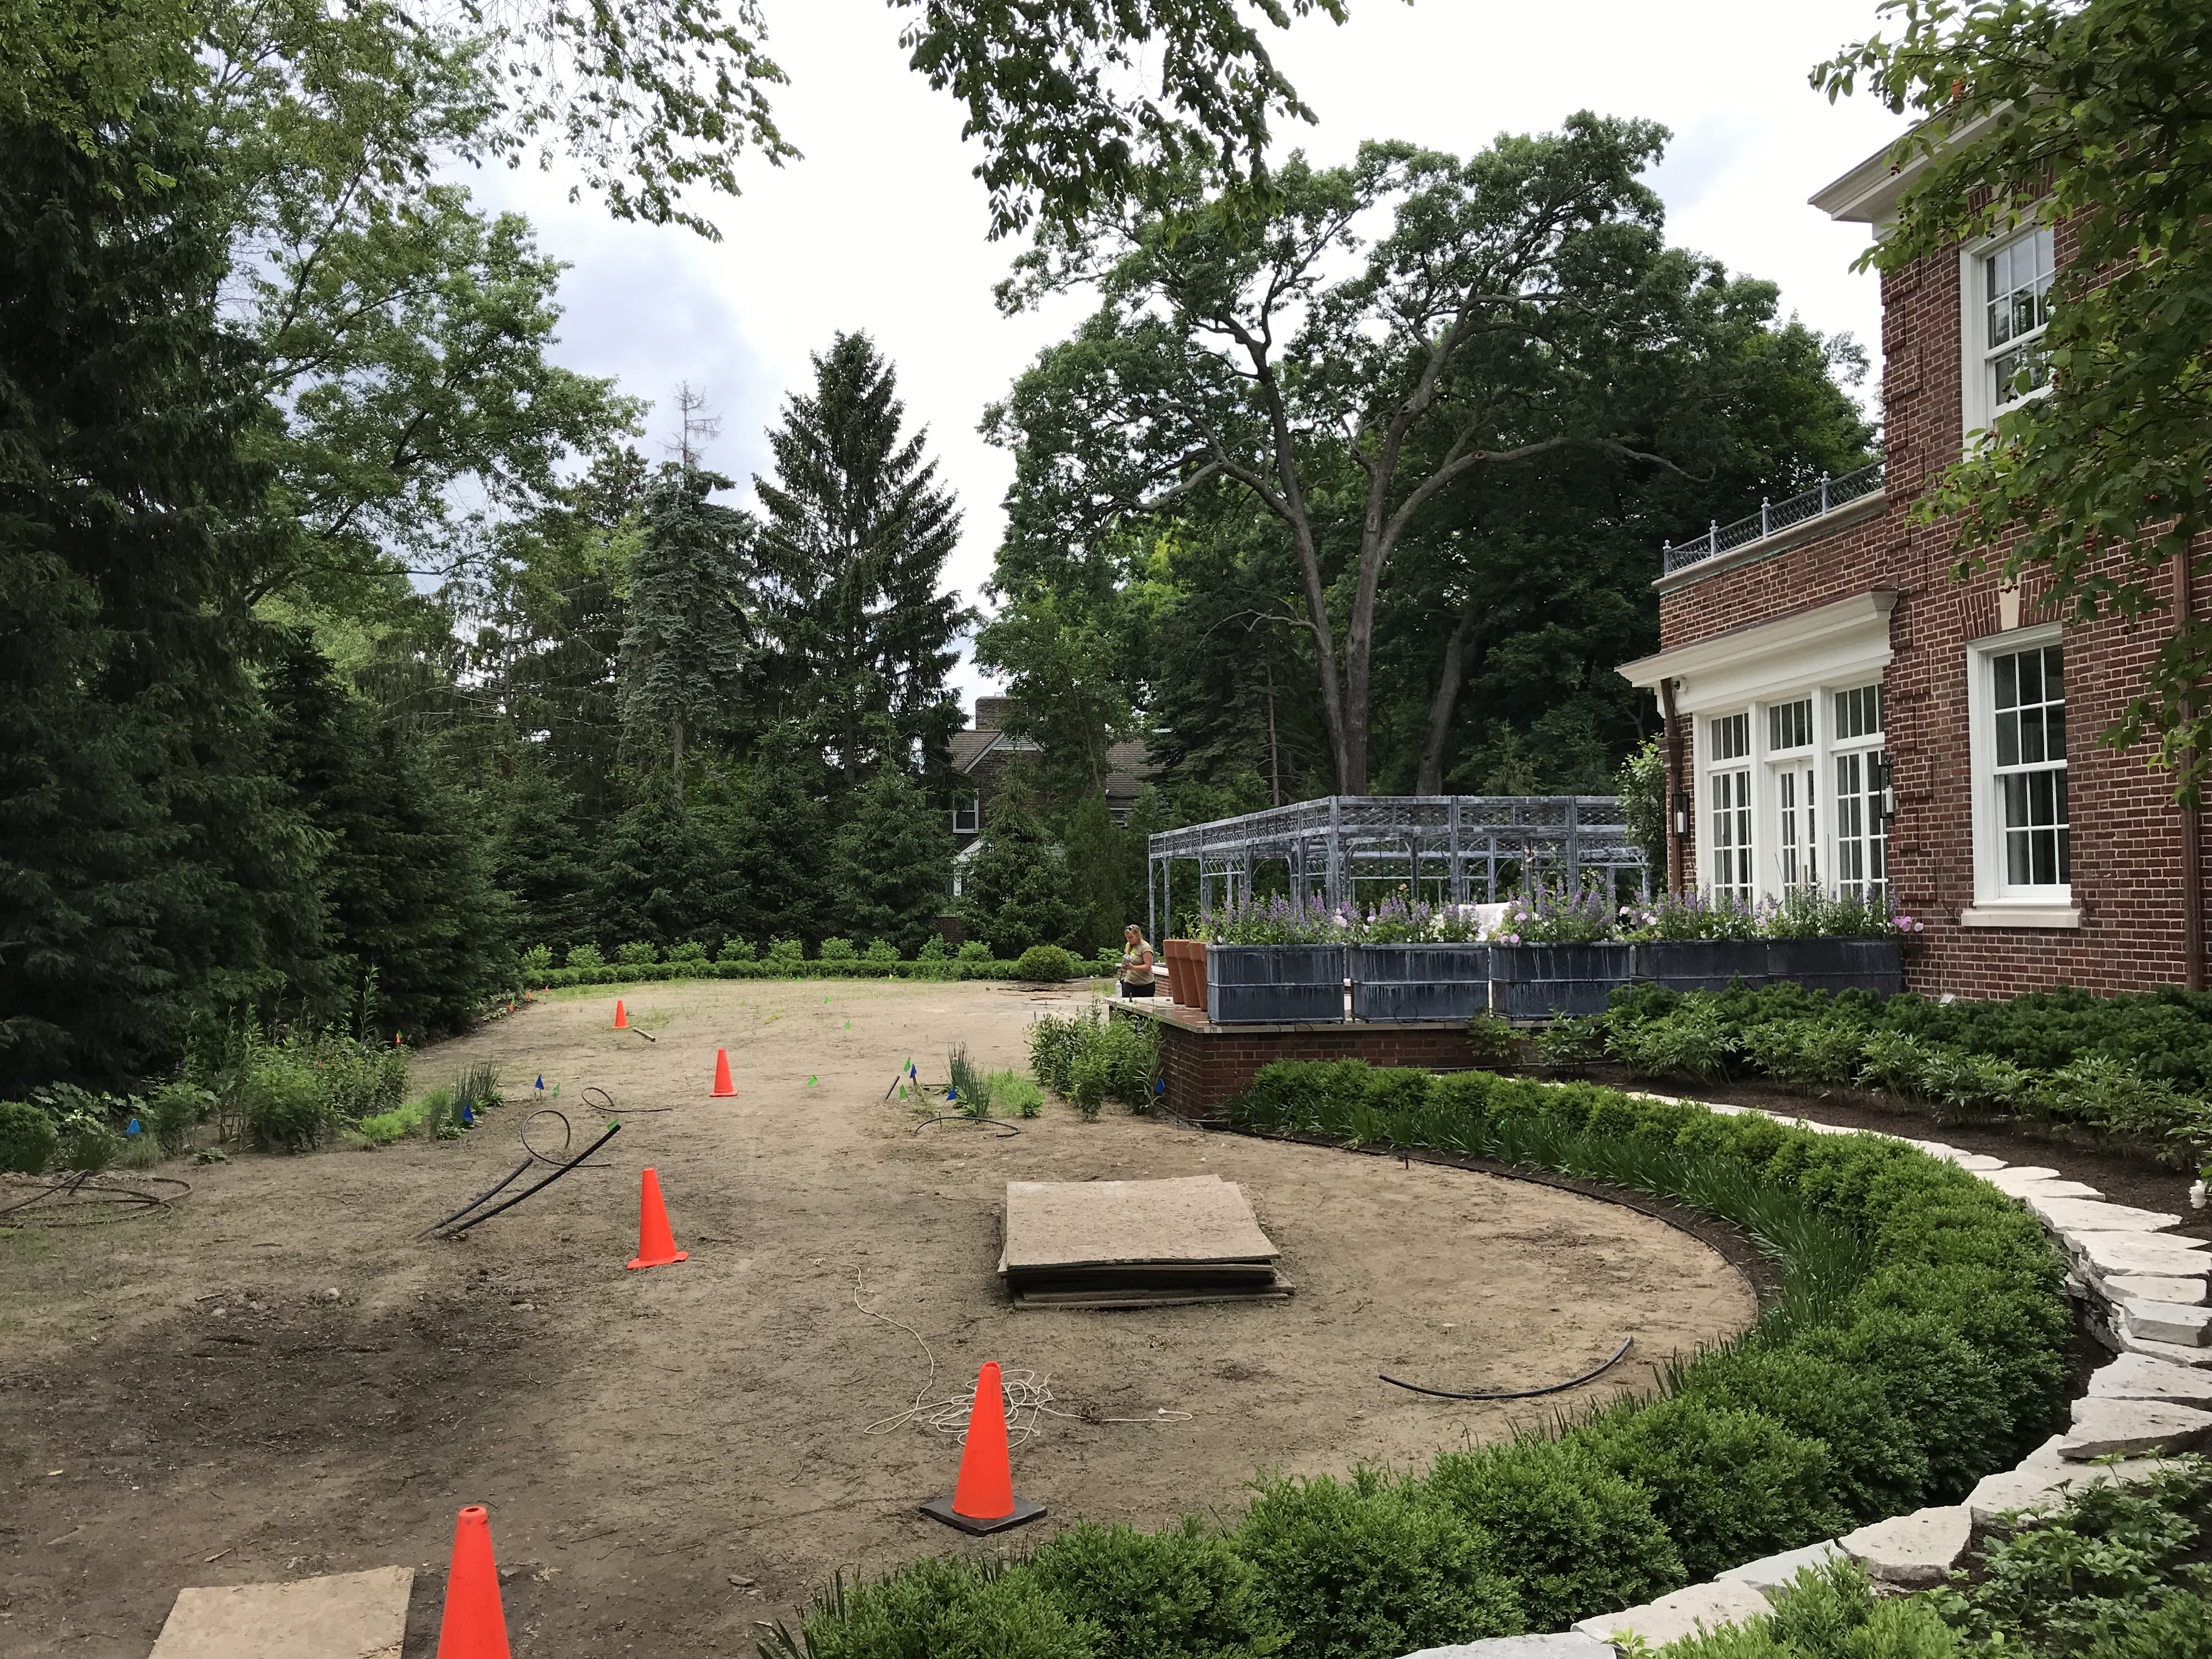
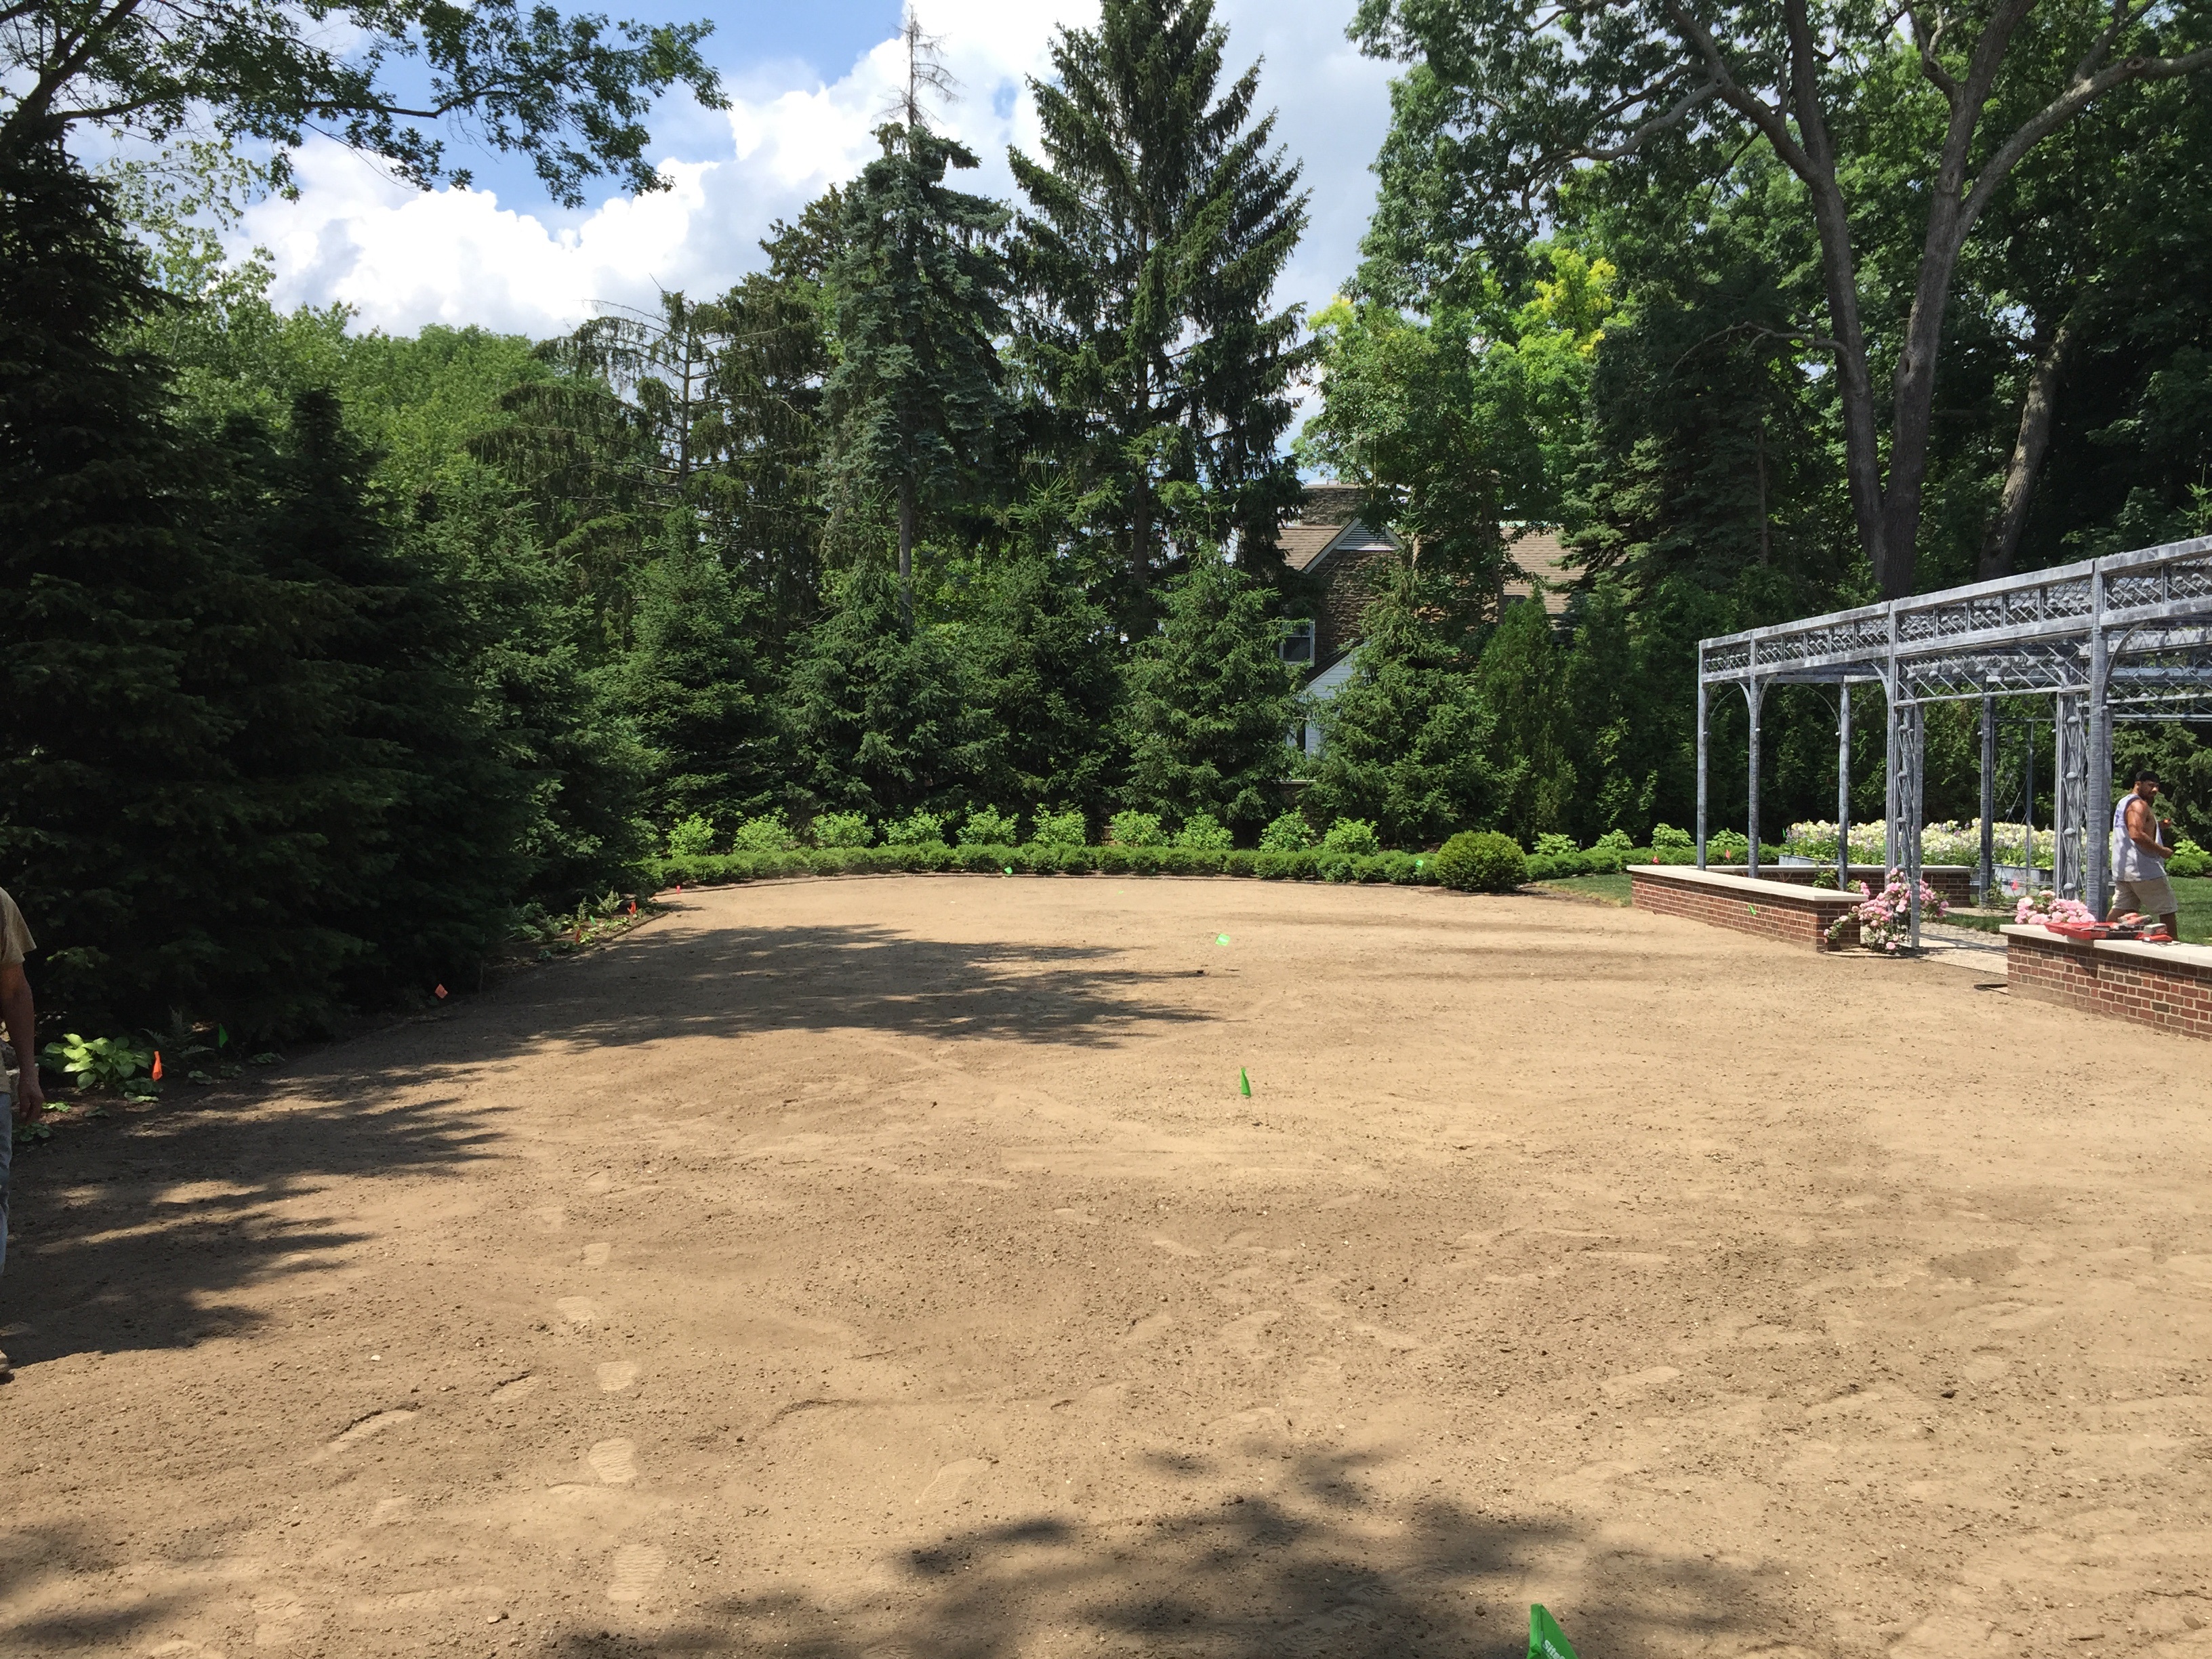
 We are in the process of sodding all of the grass areas. That dirt you see in the above picture has a drain field and irrigation system underneath it. Countless yards of soil were added to make the grade flat. All of the landscaped portions of the yard are enclosed with aluminum edger strip. Over the course of several very hot days, all of the annual weeds have been scraped off, and the ground raked. My crew comes in at 7am when we lay sod. As much as can be done before the heat of the day sets in means the work of it is a little easier. I would think it would take every bit of the next three days to finish laying in all of the grass. We will have it down in enough time for it to root in before the tour.
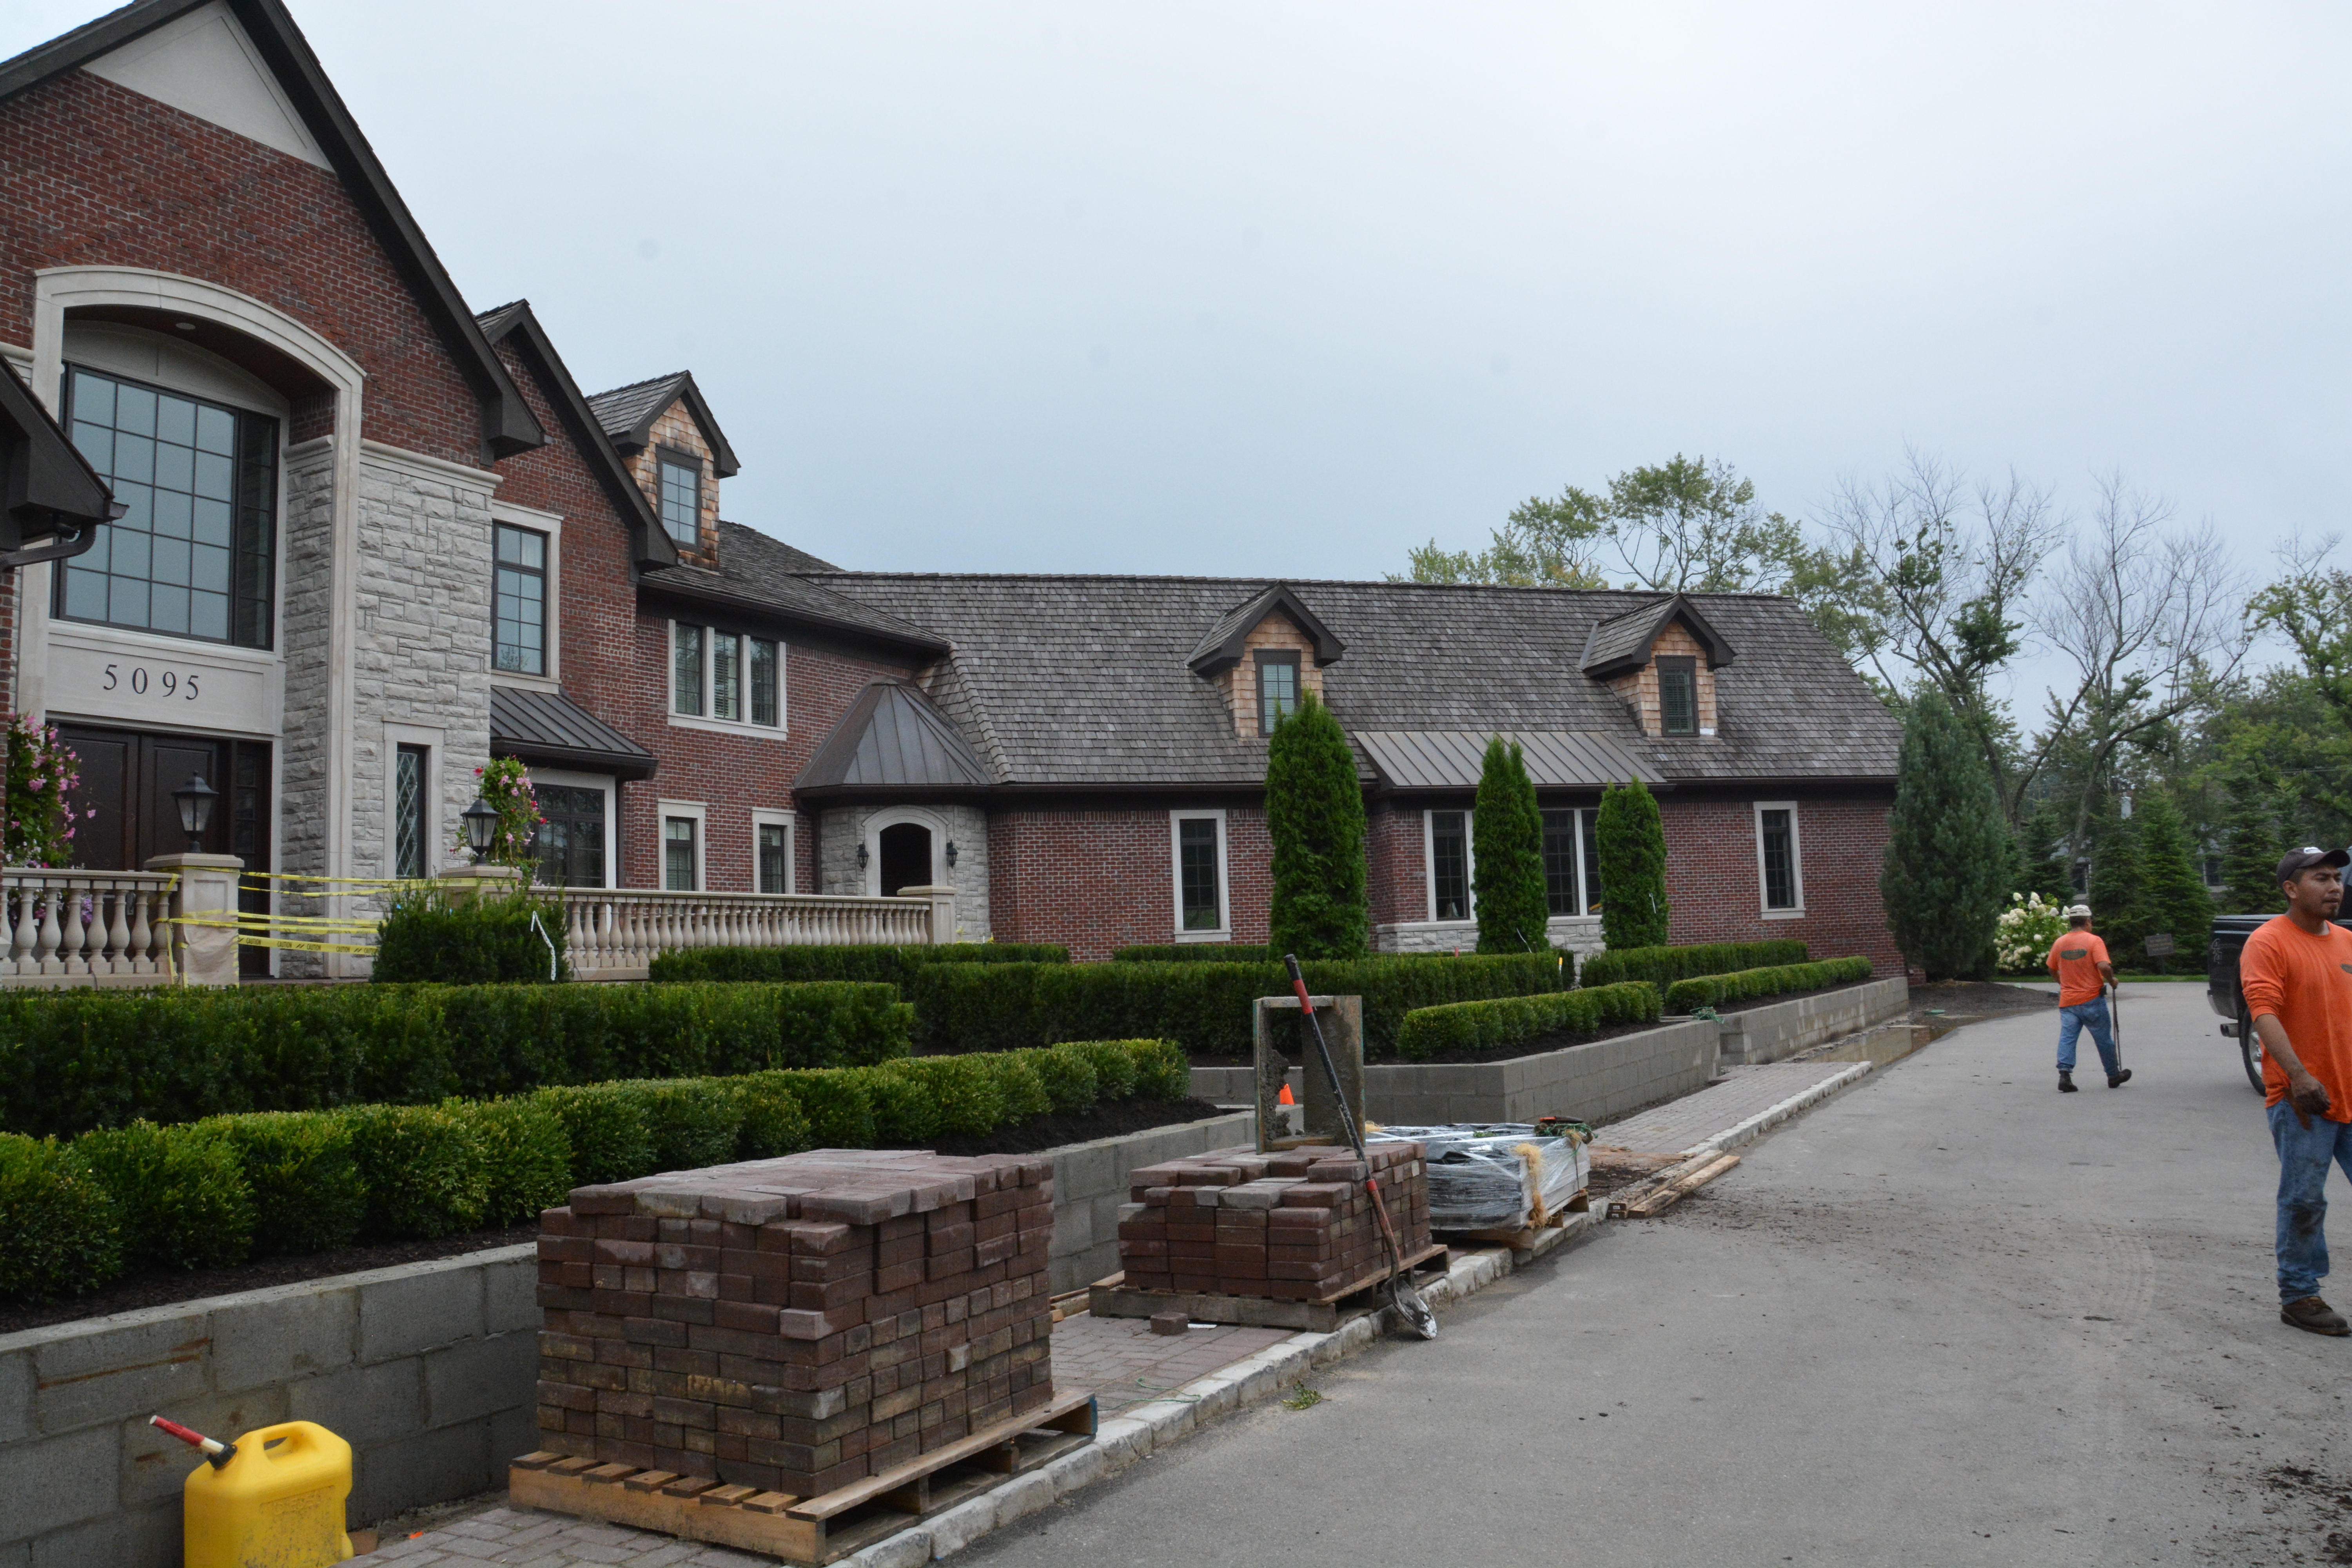
 Much of the landscape was installed late last summer, and throughout the fall. A collection of roses was custom grown for this project at Wiegand’s Nursery farm, and delivered 6 months before the installation date. A rose arbor from the Branch Studio will provide support for four Canadian Explorer roses known as John Cabot. This very long lived and heavy blooming climber will give this arbor a run for its money. All of these other roses are fairly large growing shrub roses, thus the double wide border of Green Gem boxwood. Green Gem is incredible hardy in my zone. It will eventually be box pruned in a traditional and formal shape.
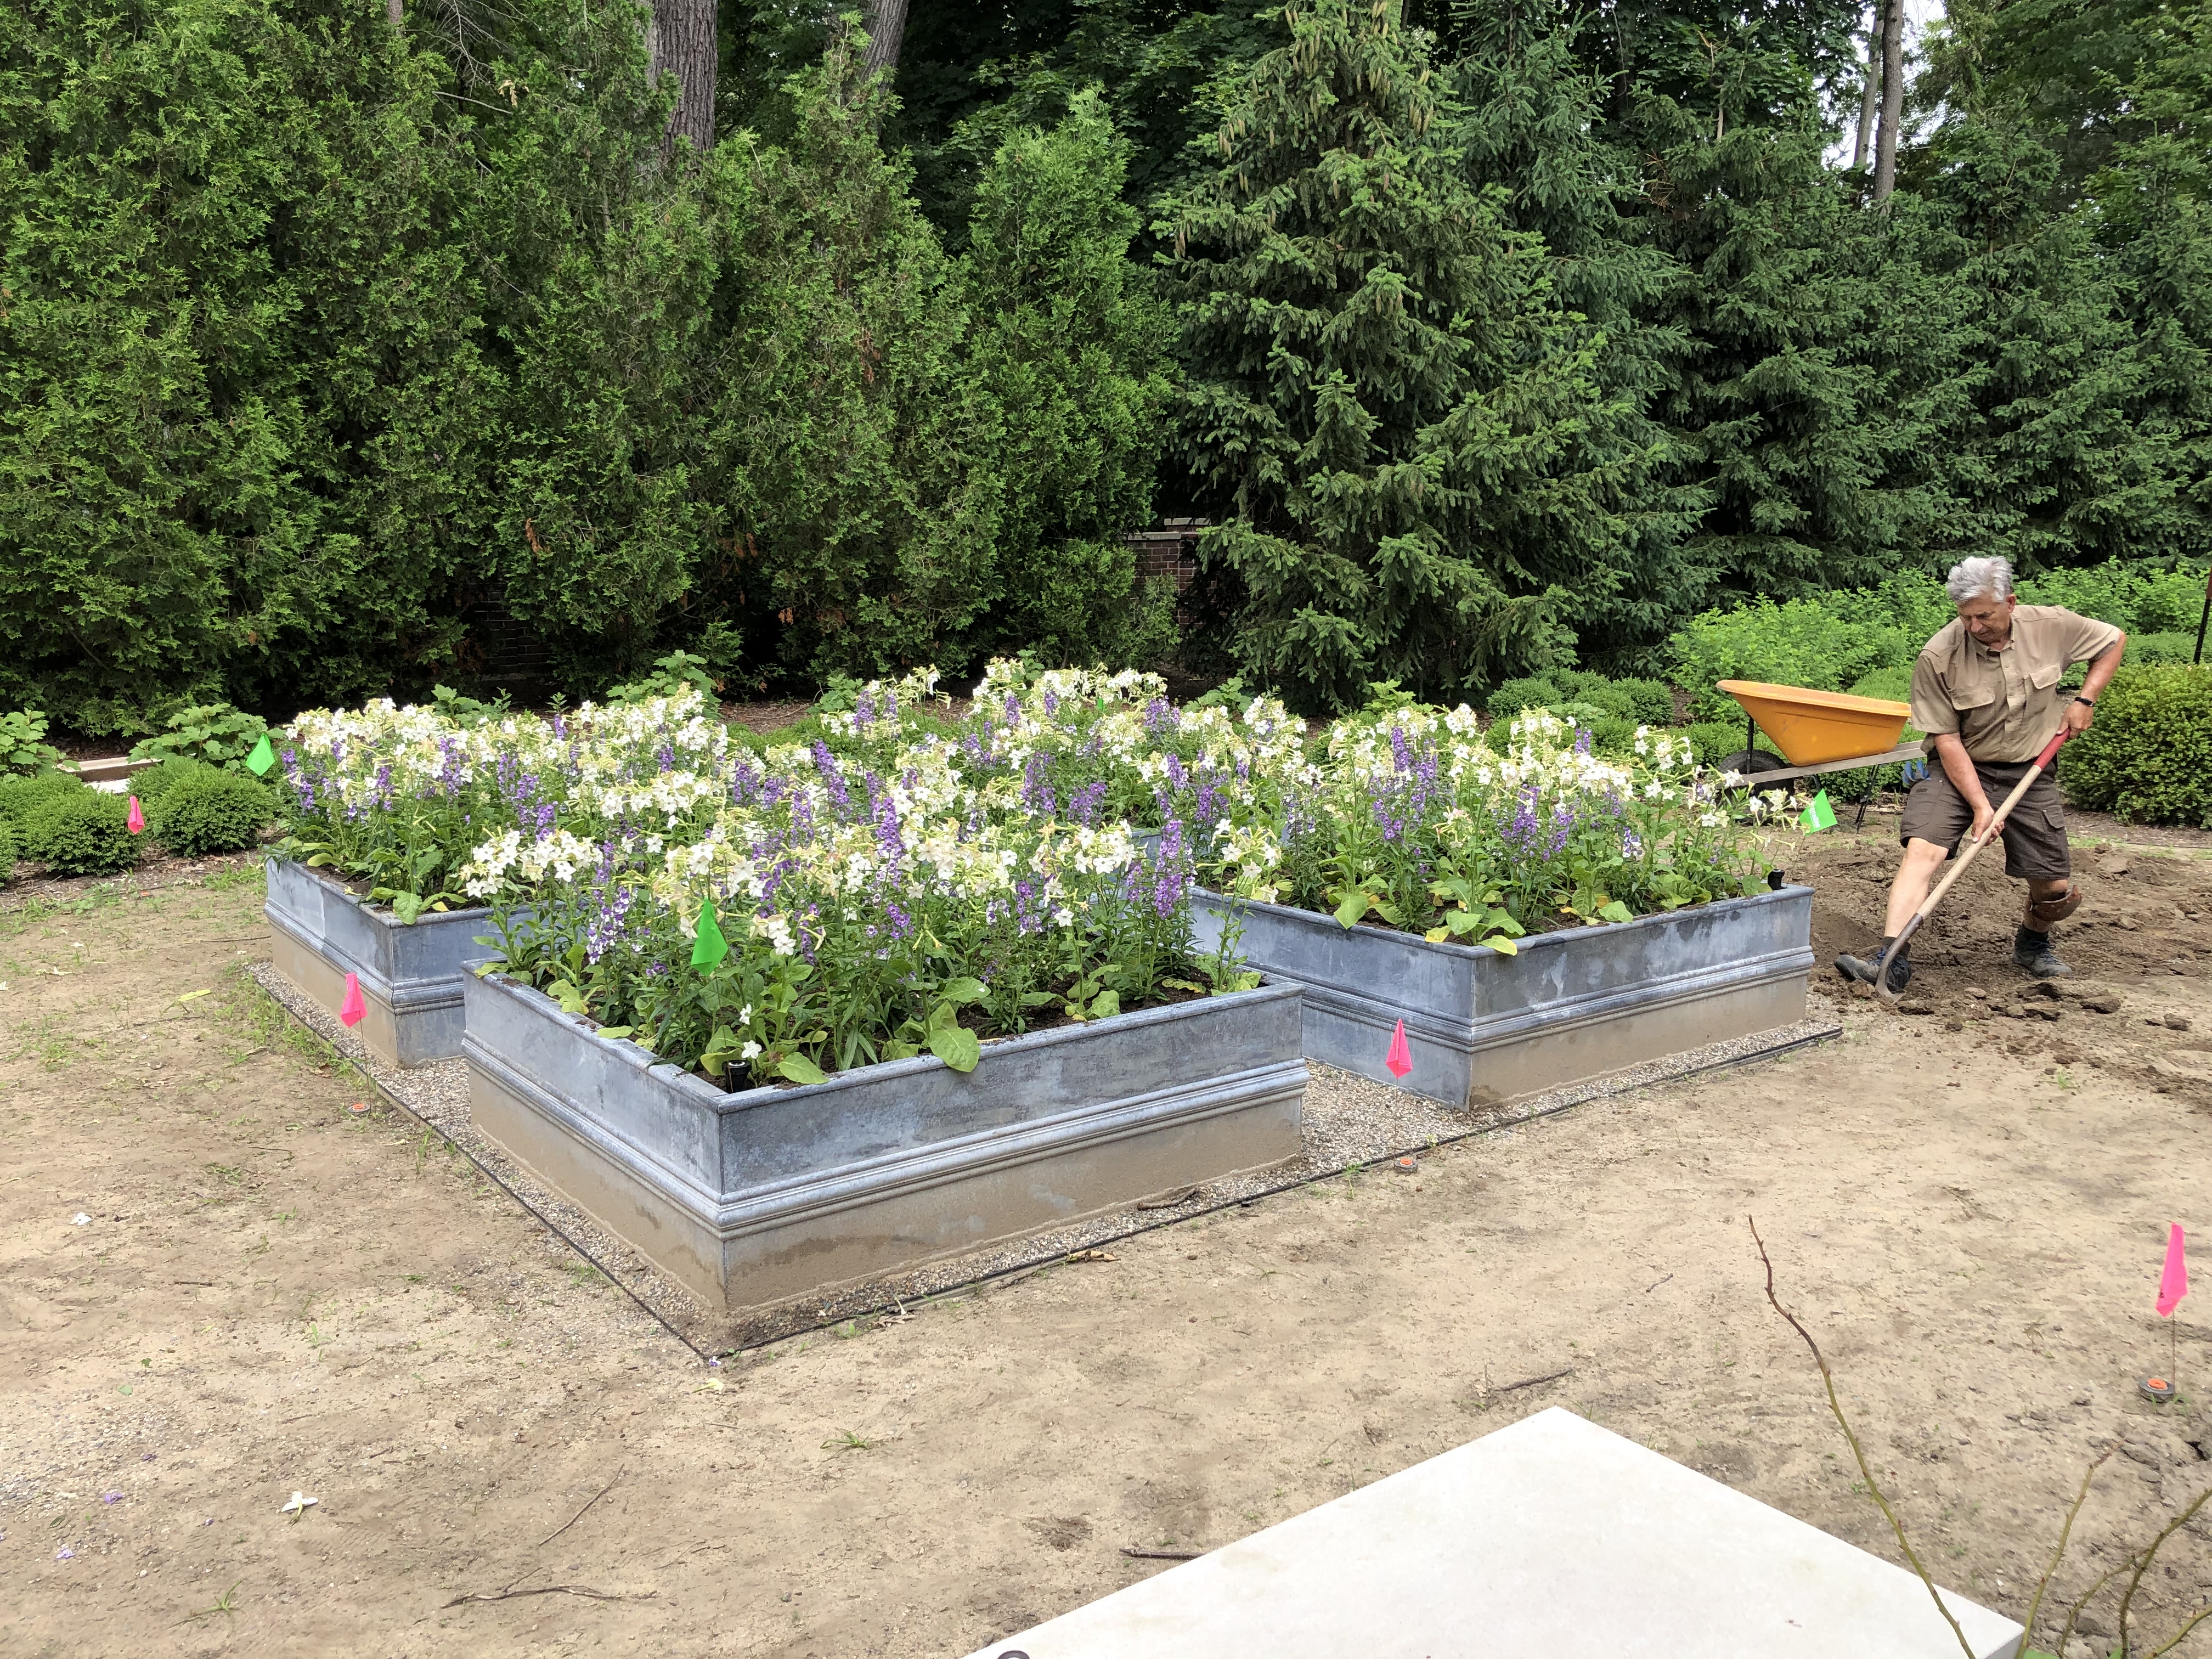
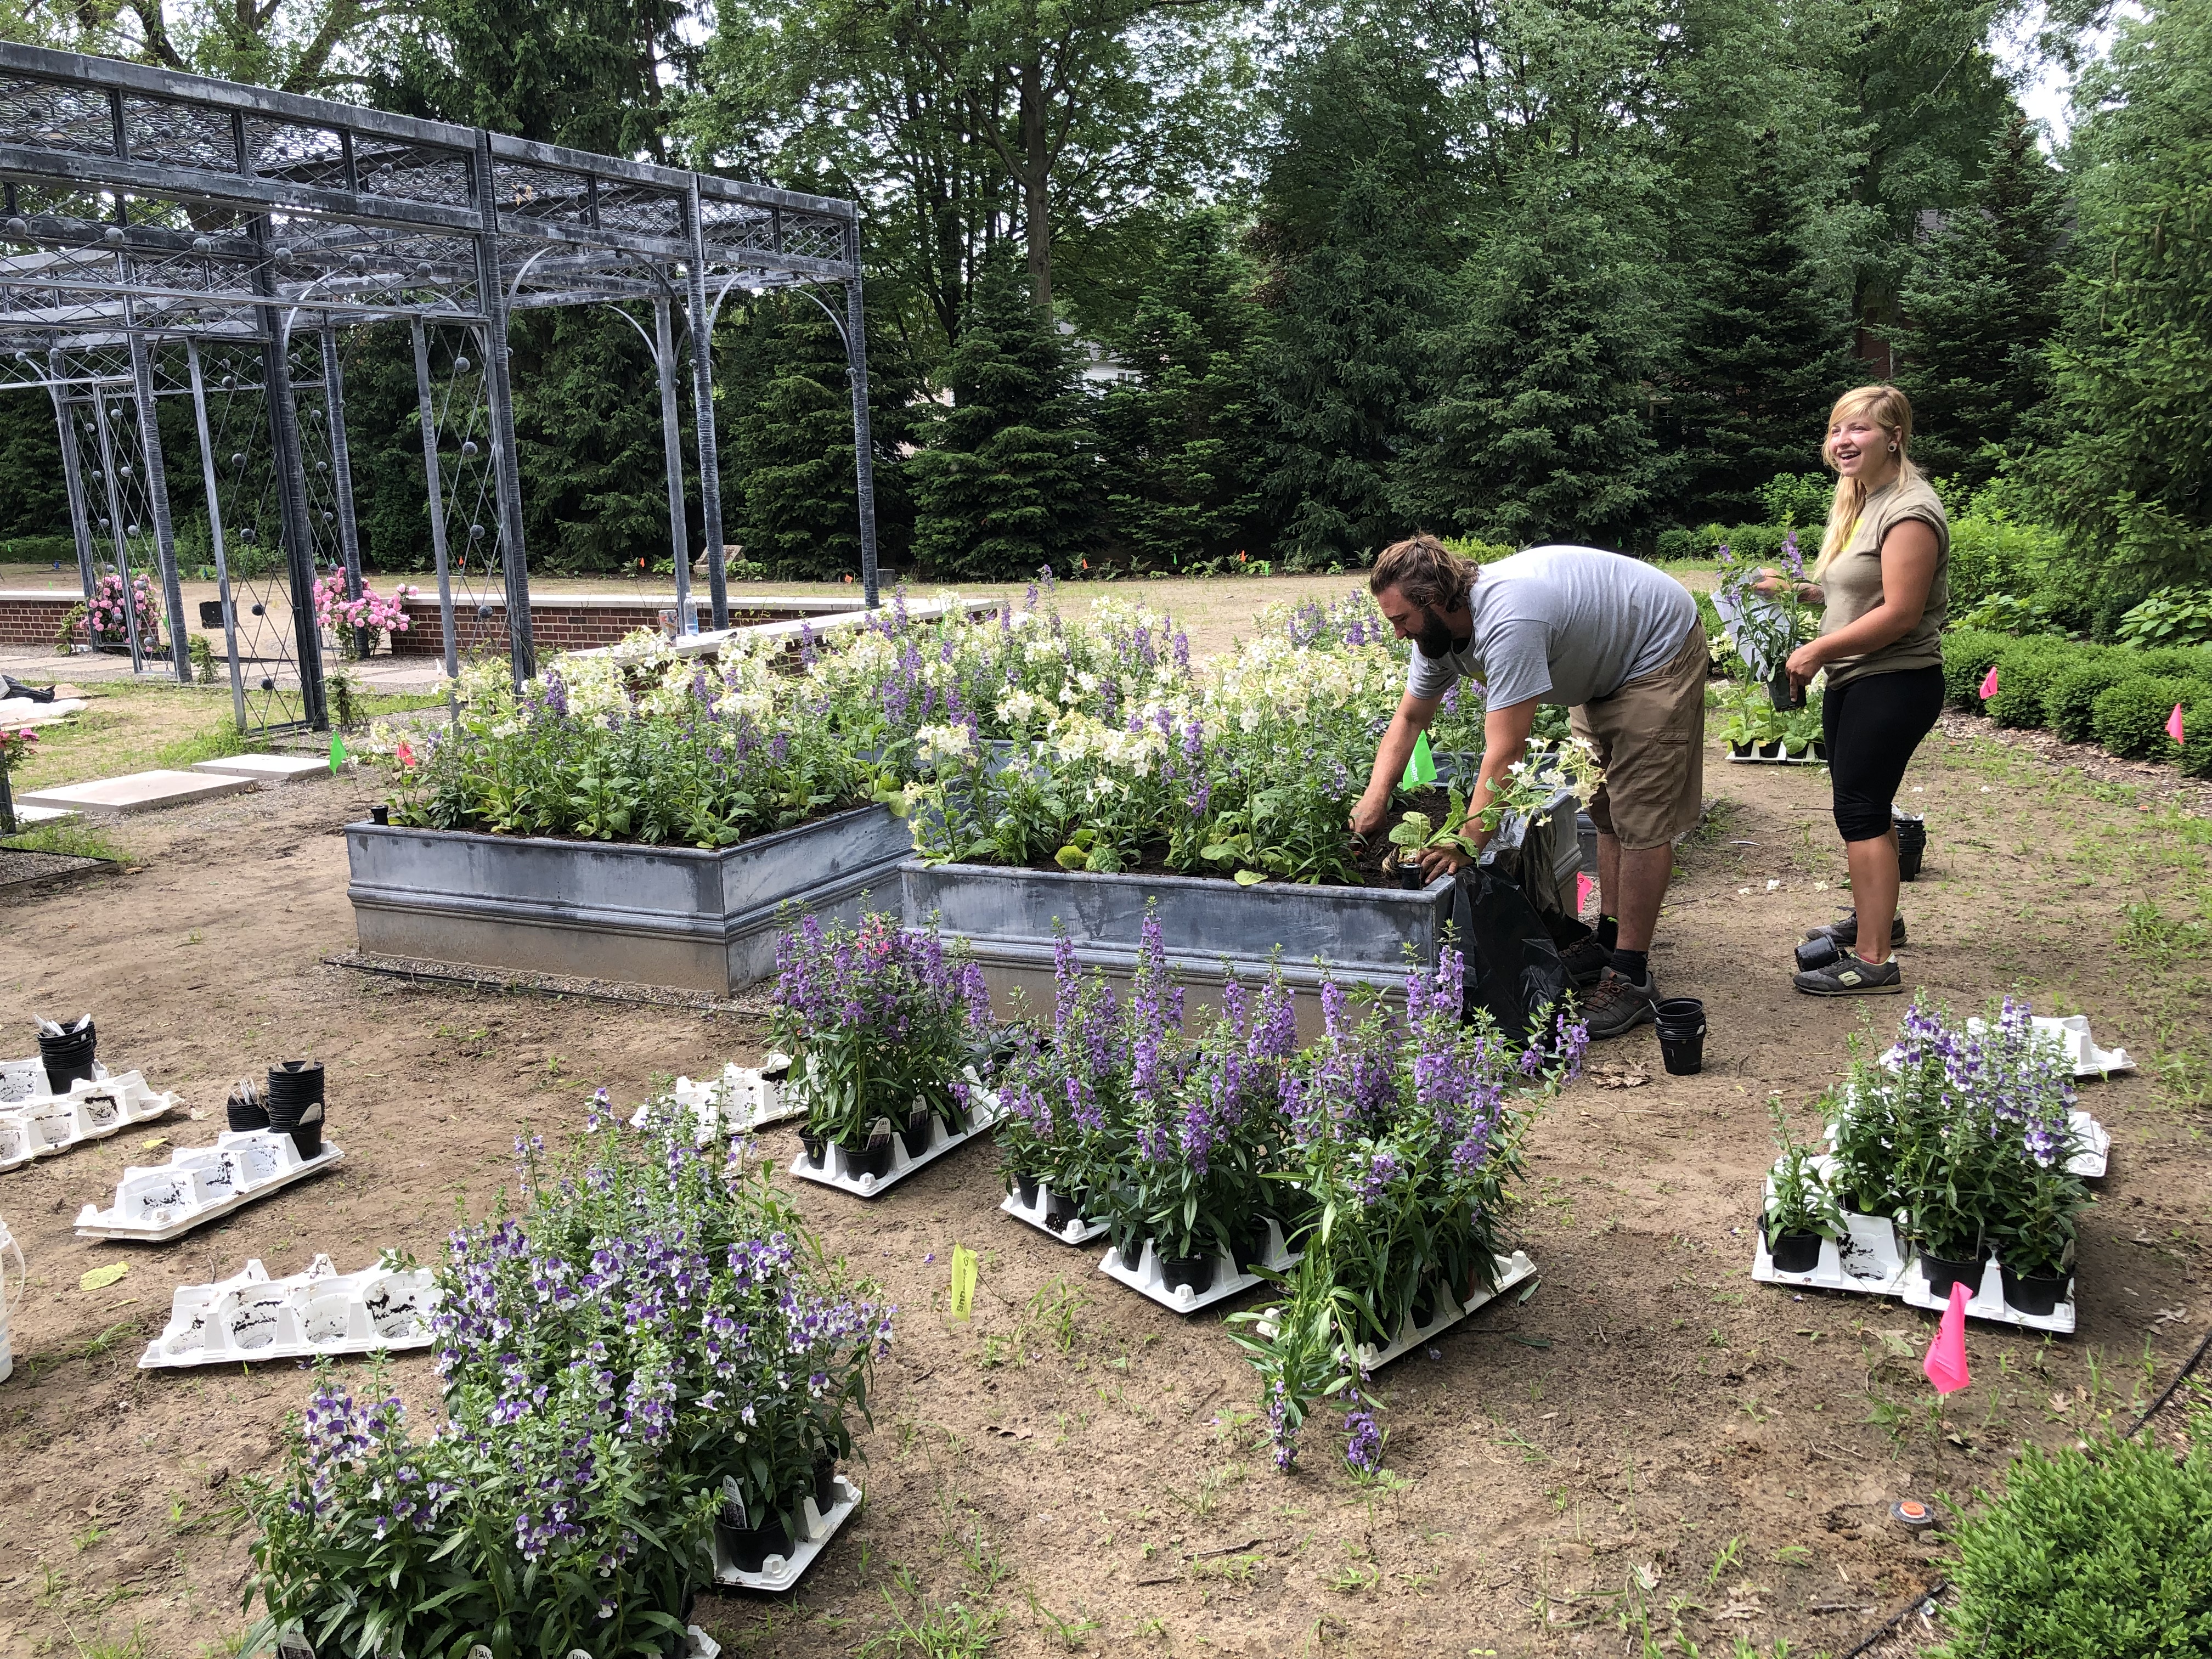 A quartet of steel boxes from Branch will hold flowers for cutting. That plant palette may change every year, depending on my client. This year’s plants were my choice. A new tall angelonia cultivar called Steel Blue is accompanied by the bicolor angelface angelonia and perfume white nicotiana.
 What is my superintendent Dan S. doing here? He is digging over a drain line so he can cover it with landscape fabric, so the drain never clogs up with soil, and quits working. A landscape plan that includes a long range plan for watering and maintenance is a good plan. I always give my clients the option to prepare today for the future of the landscape. I know from my own experience that it will not get easier to tinker with my landscape as I get older. Planning for its care means I will always be able to enjoy it.
 This mass of flowers will thrive in these raised beds. What gets cut for a vase in the house will hardly be noticed. The 5′ by 5′ boxes were set in a graveled spot to make cutting the grass around them a breeze.
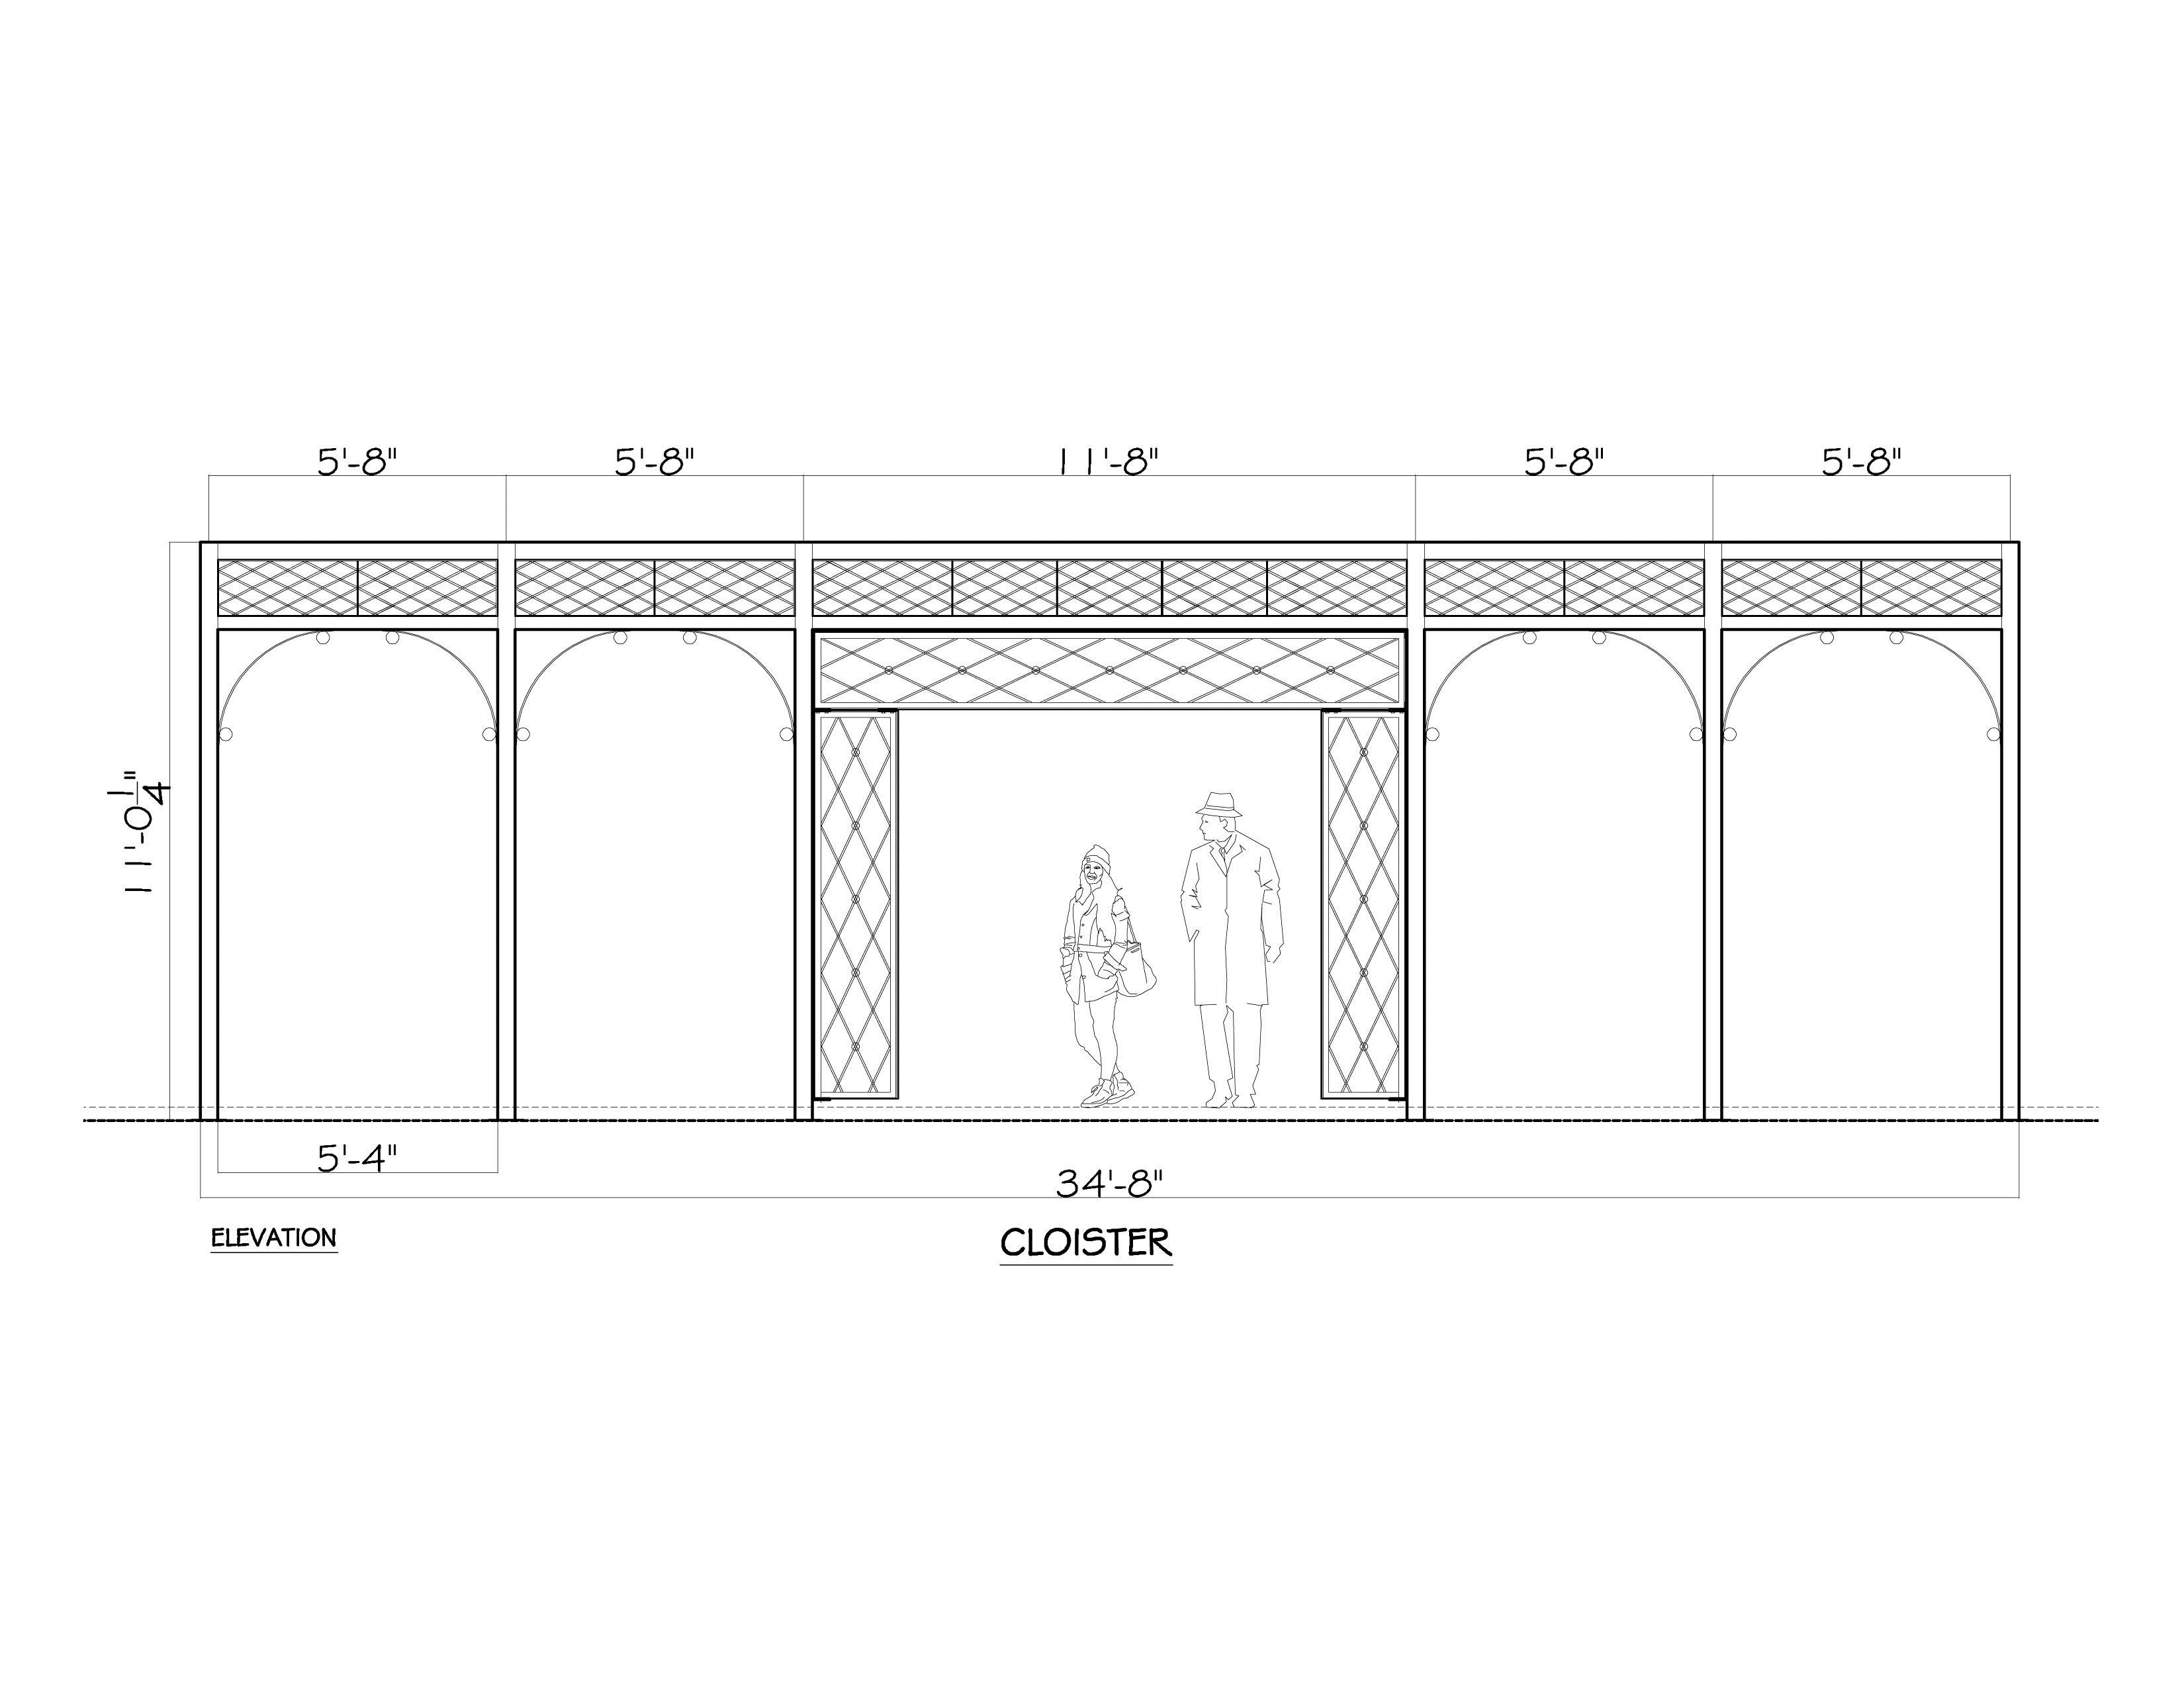
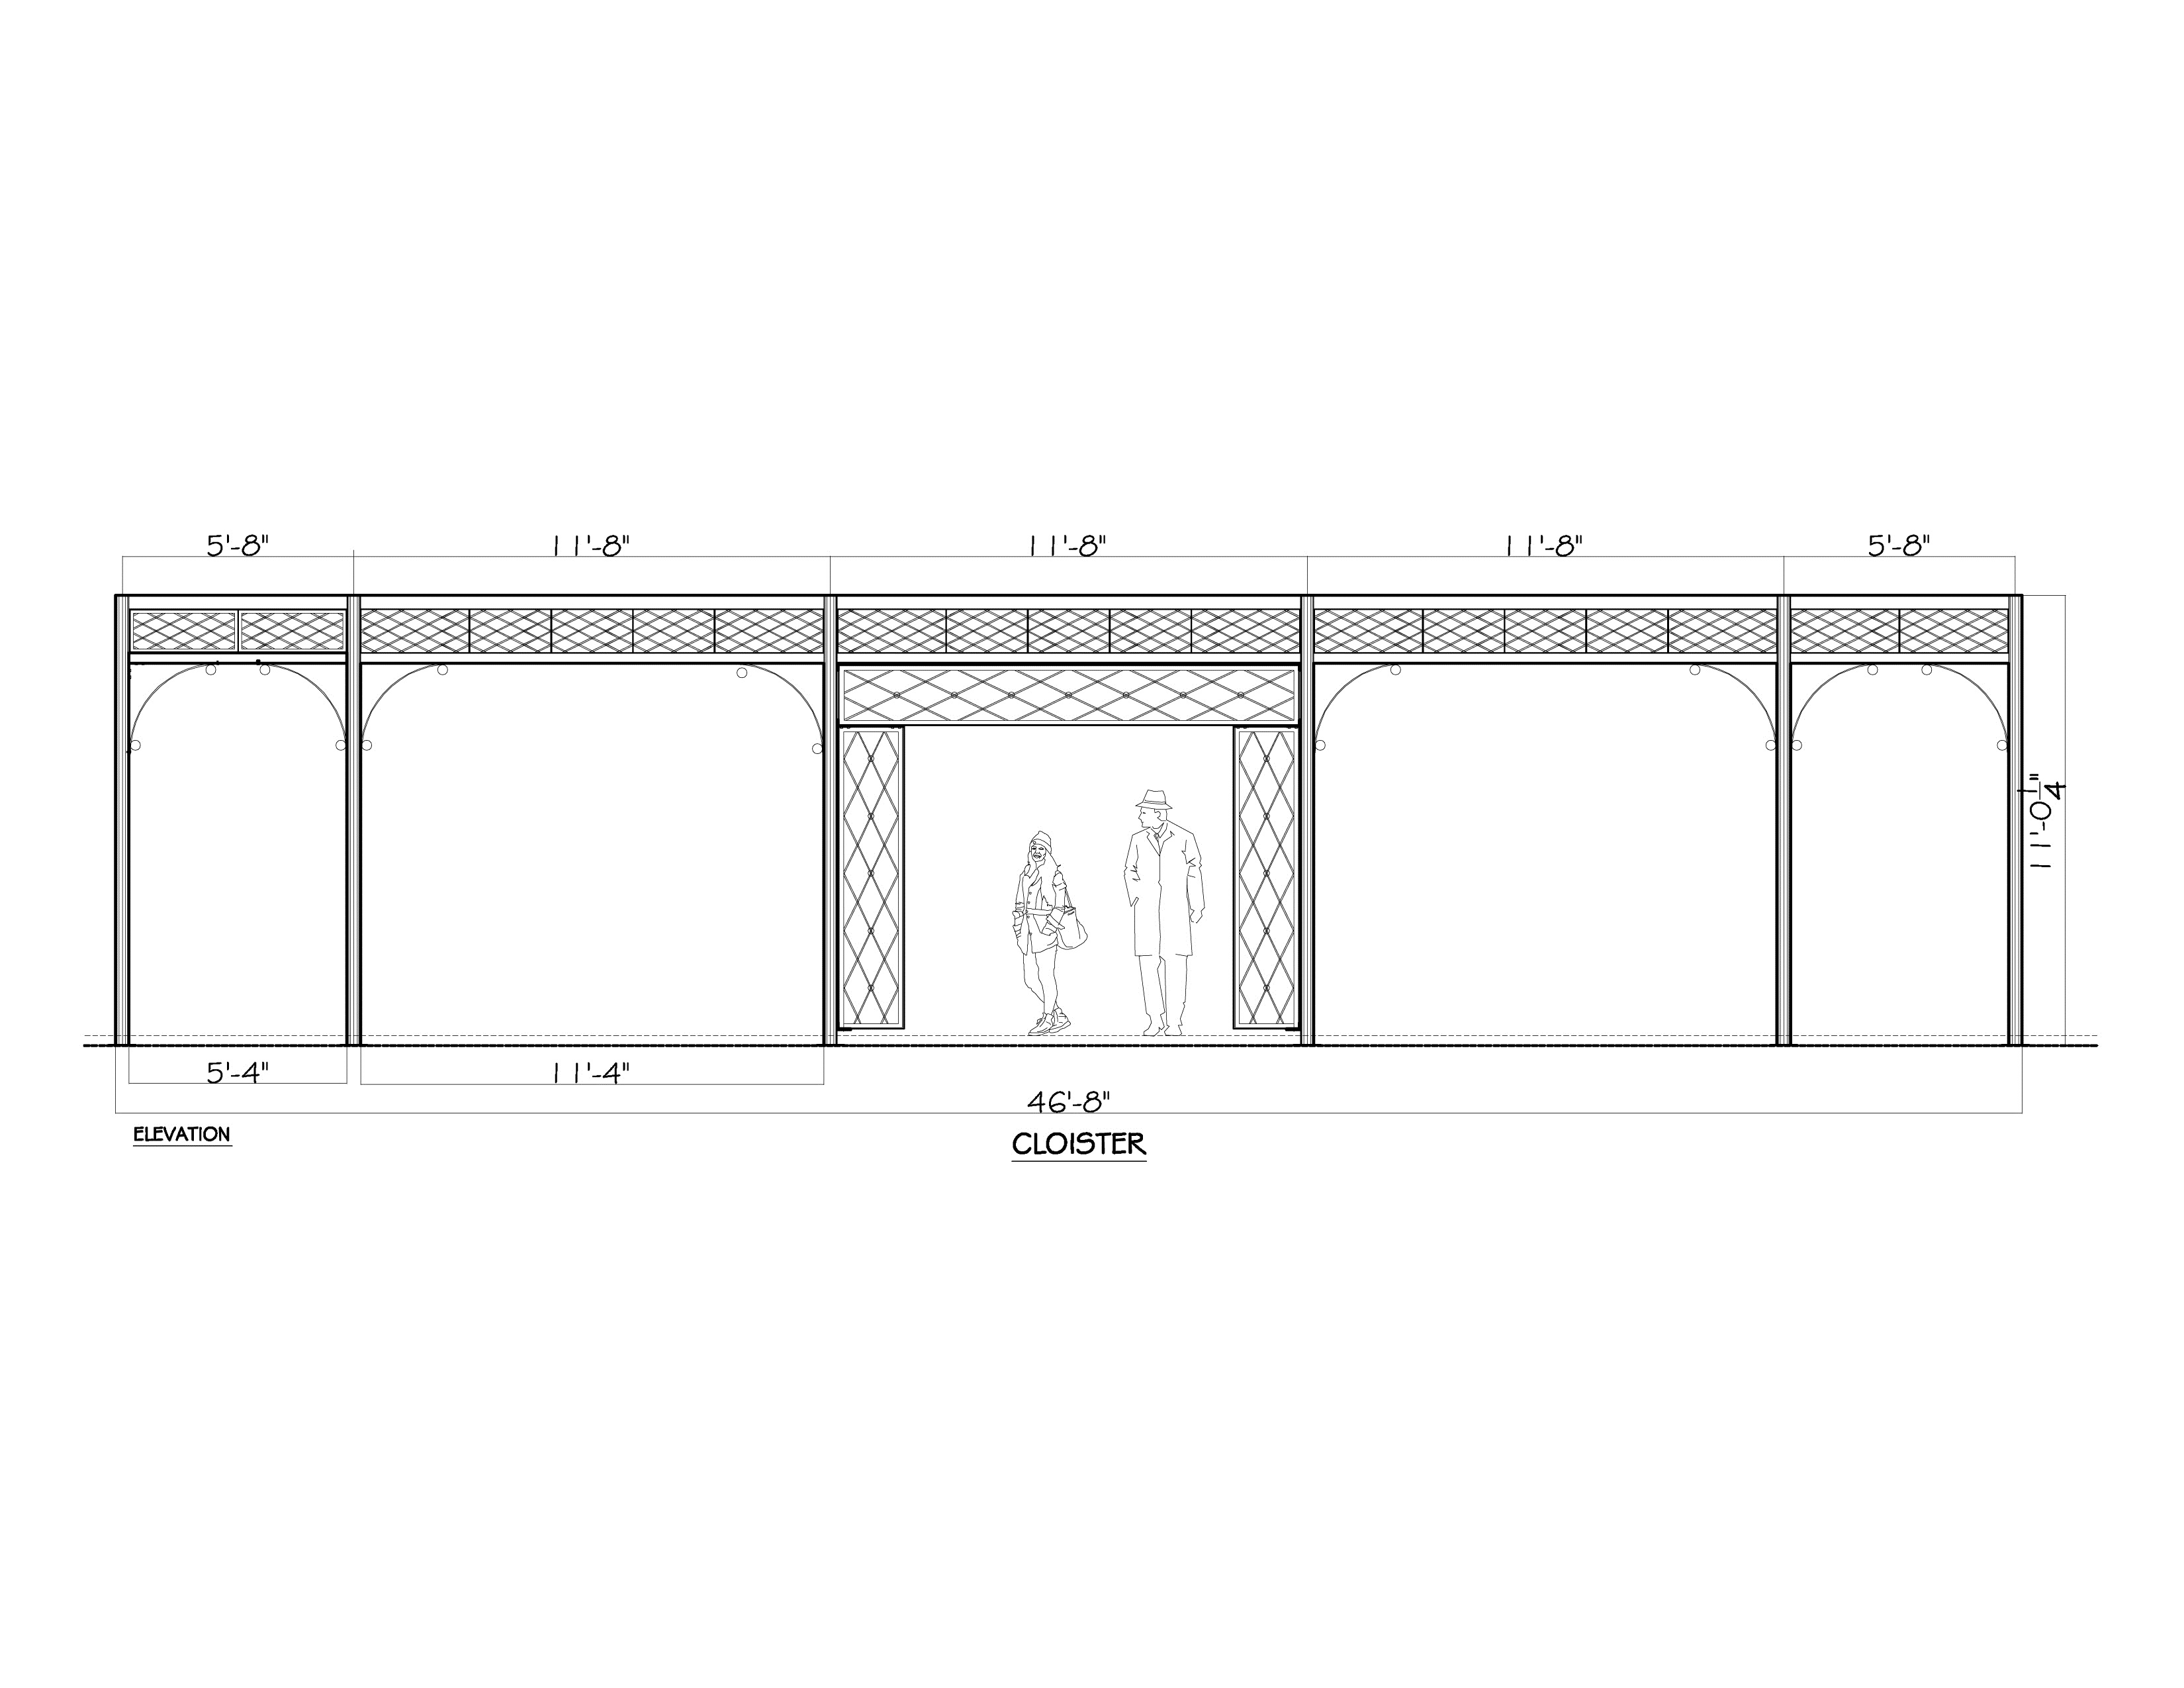
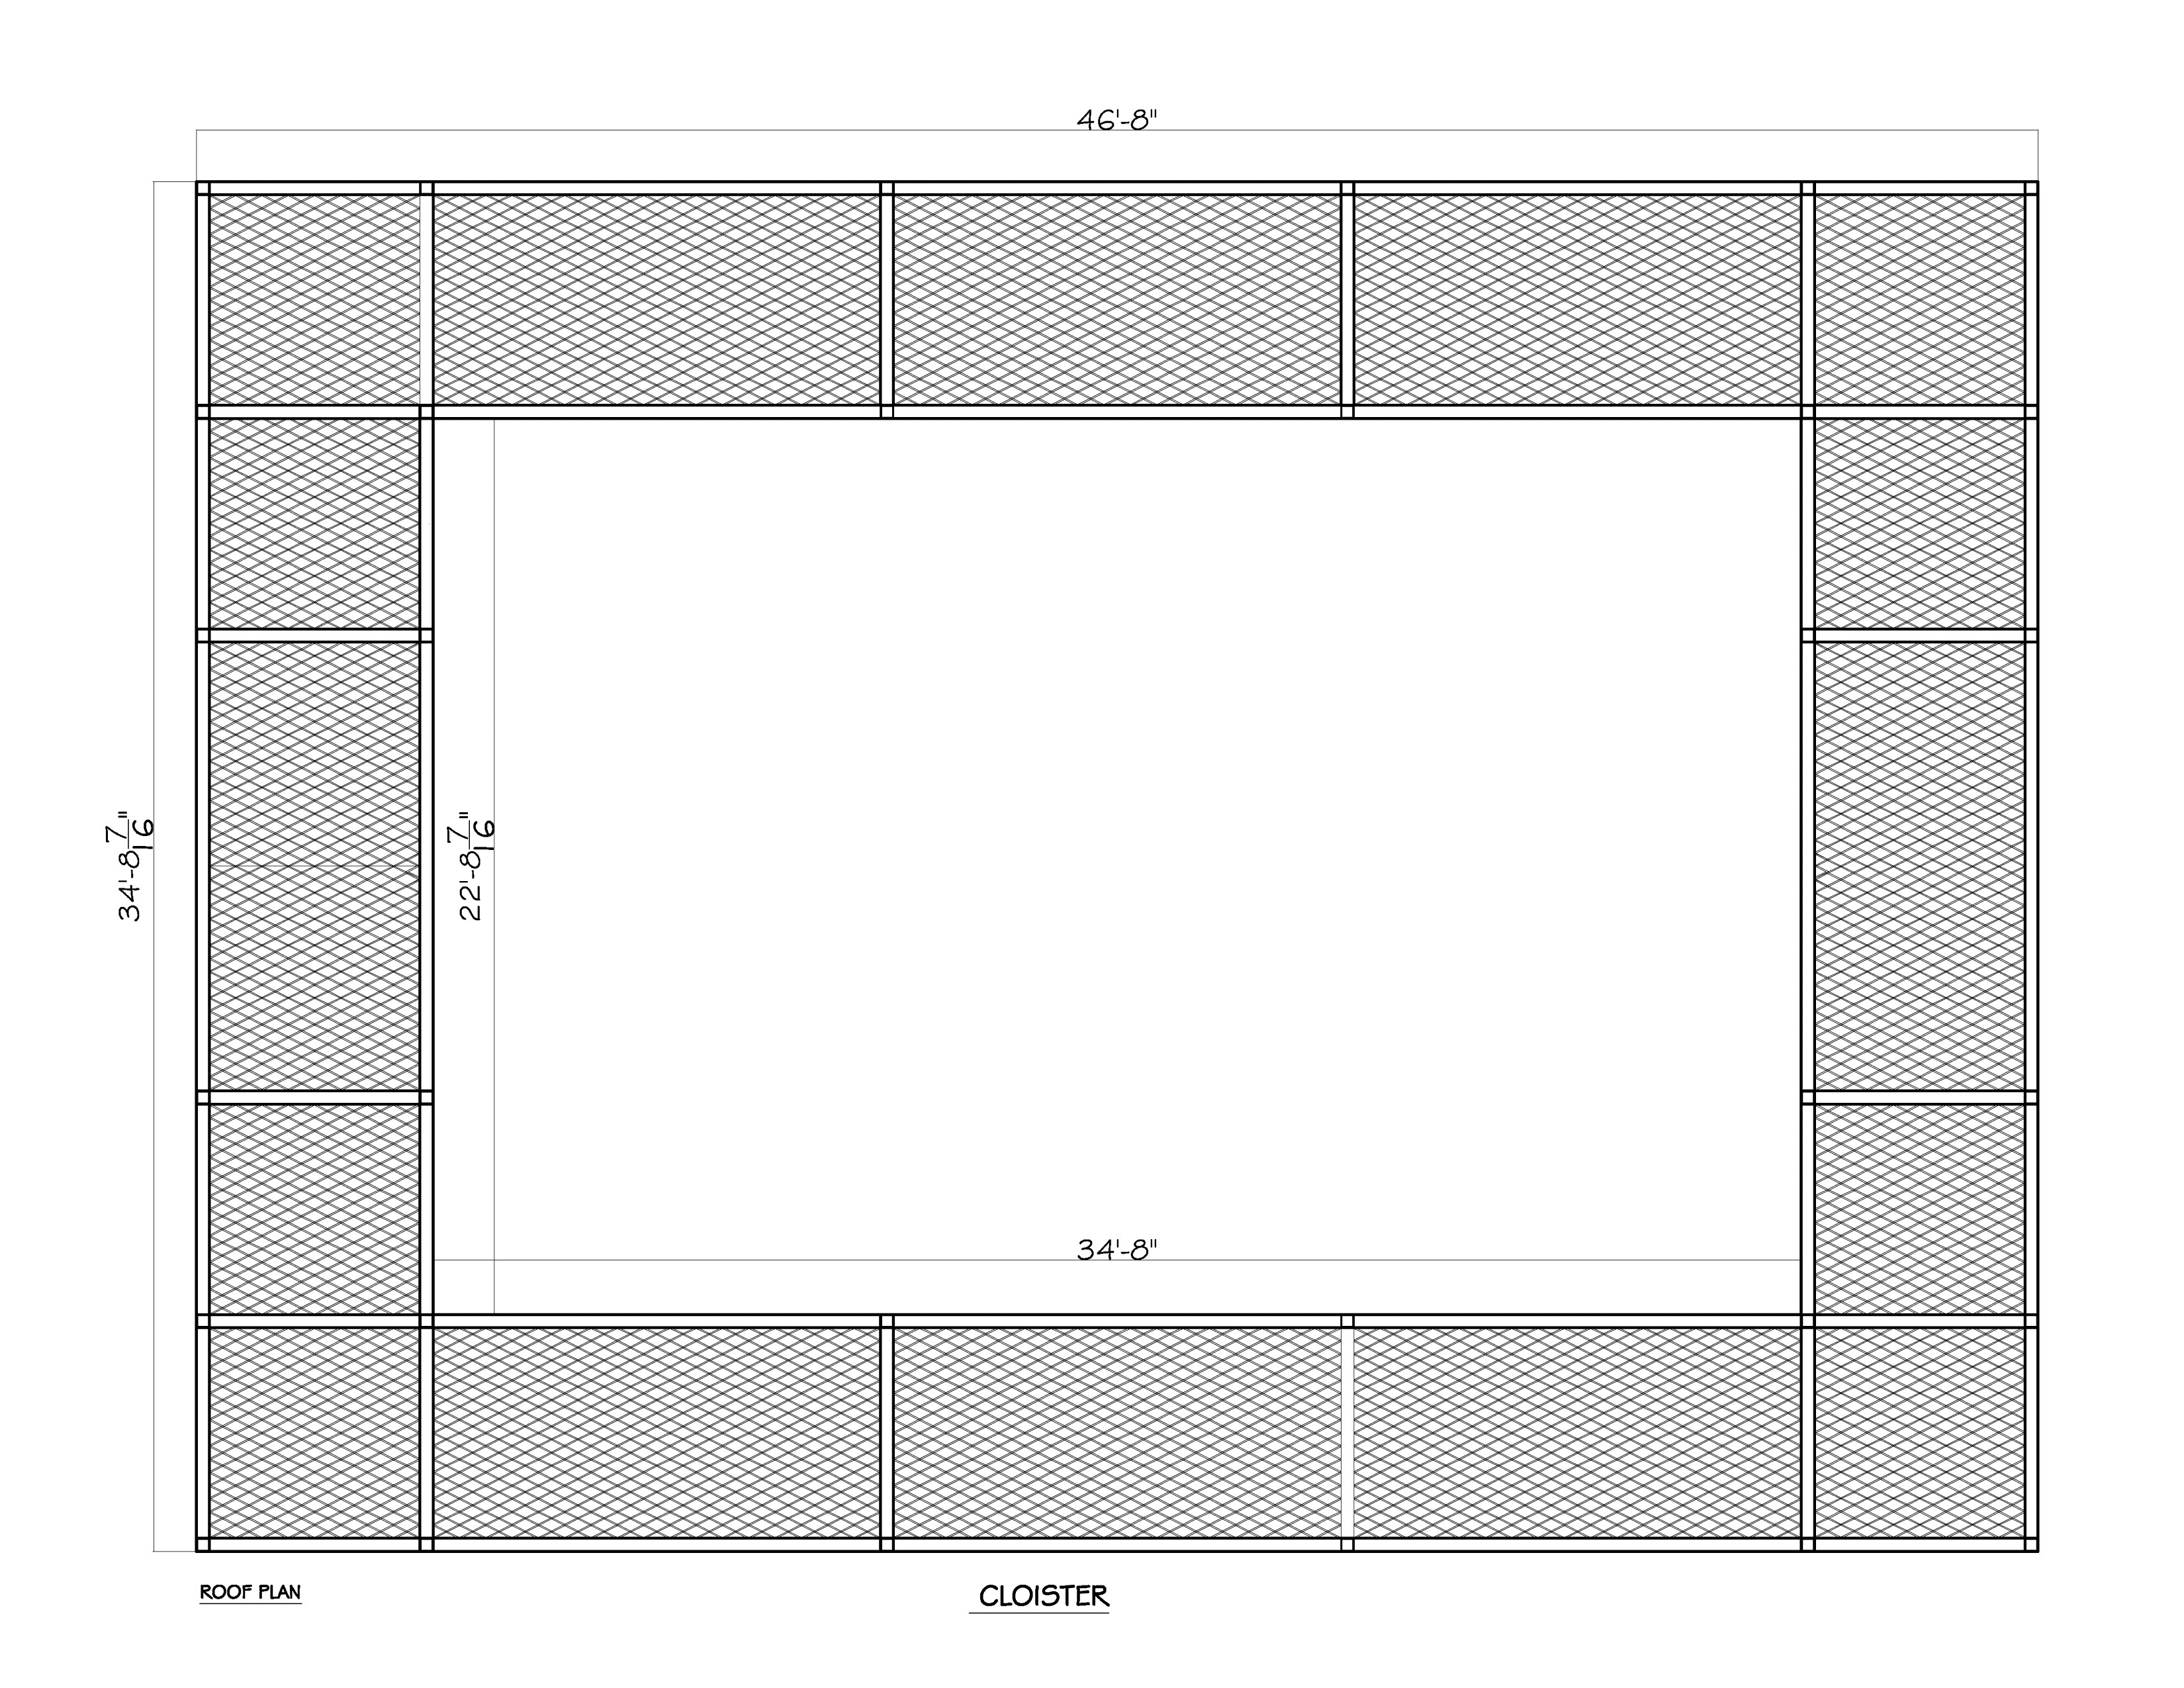
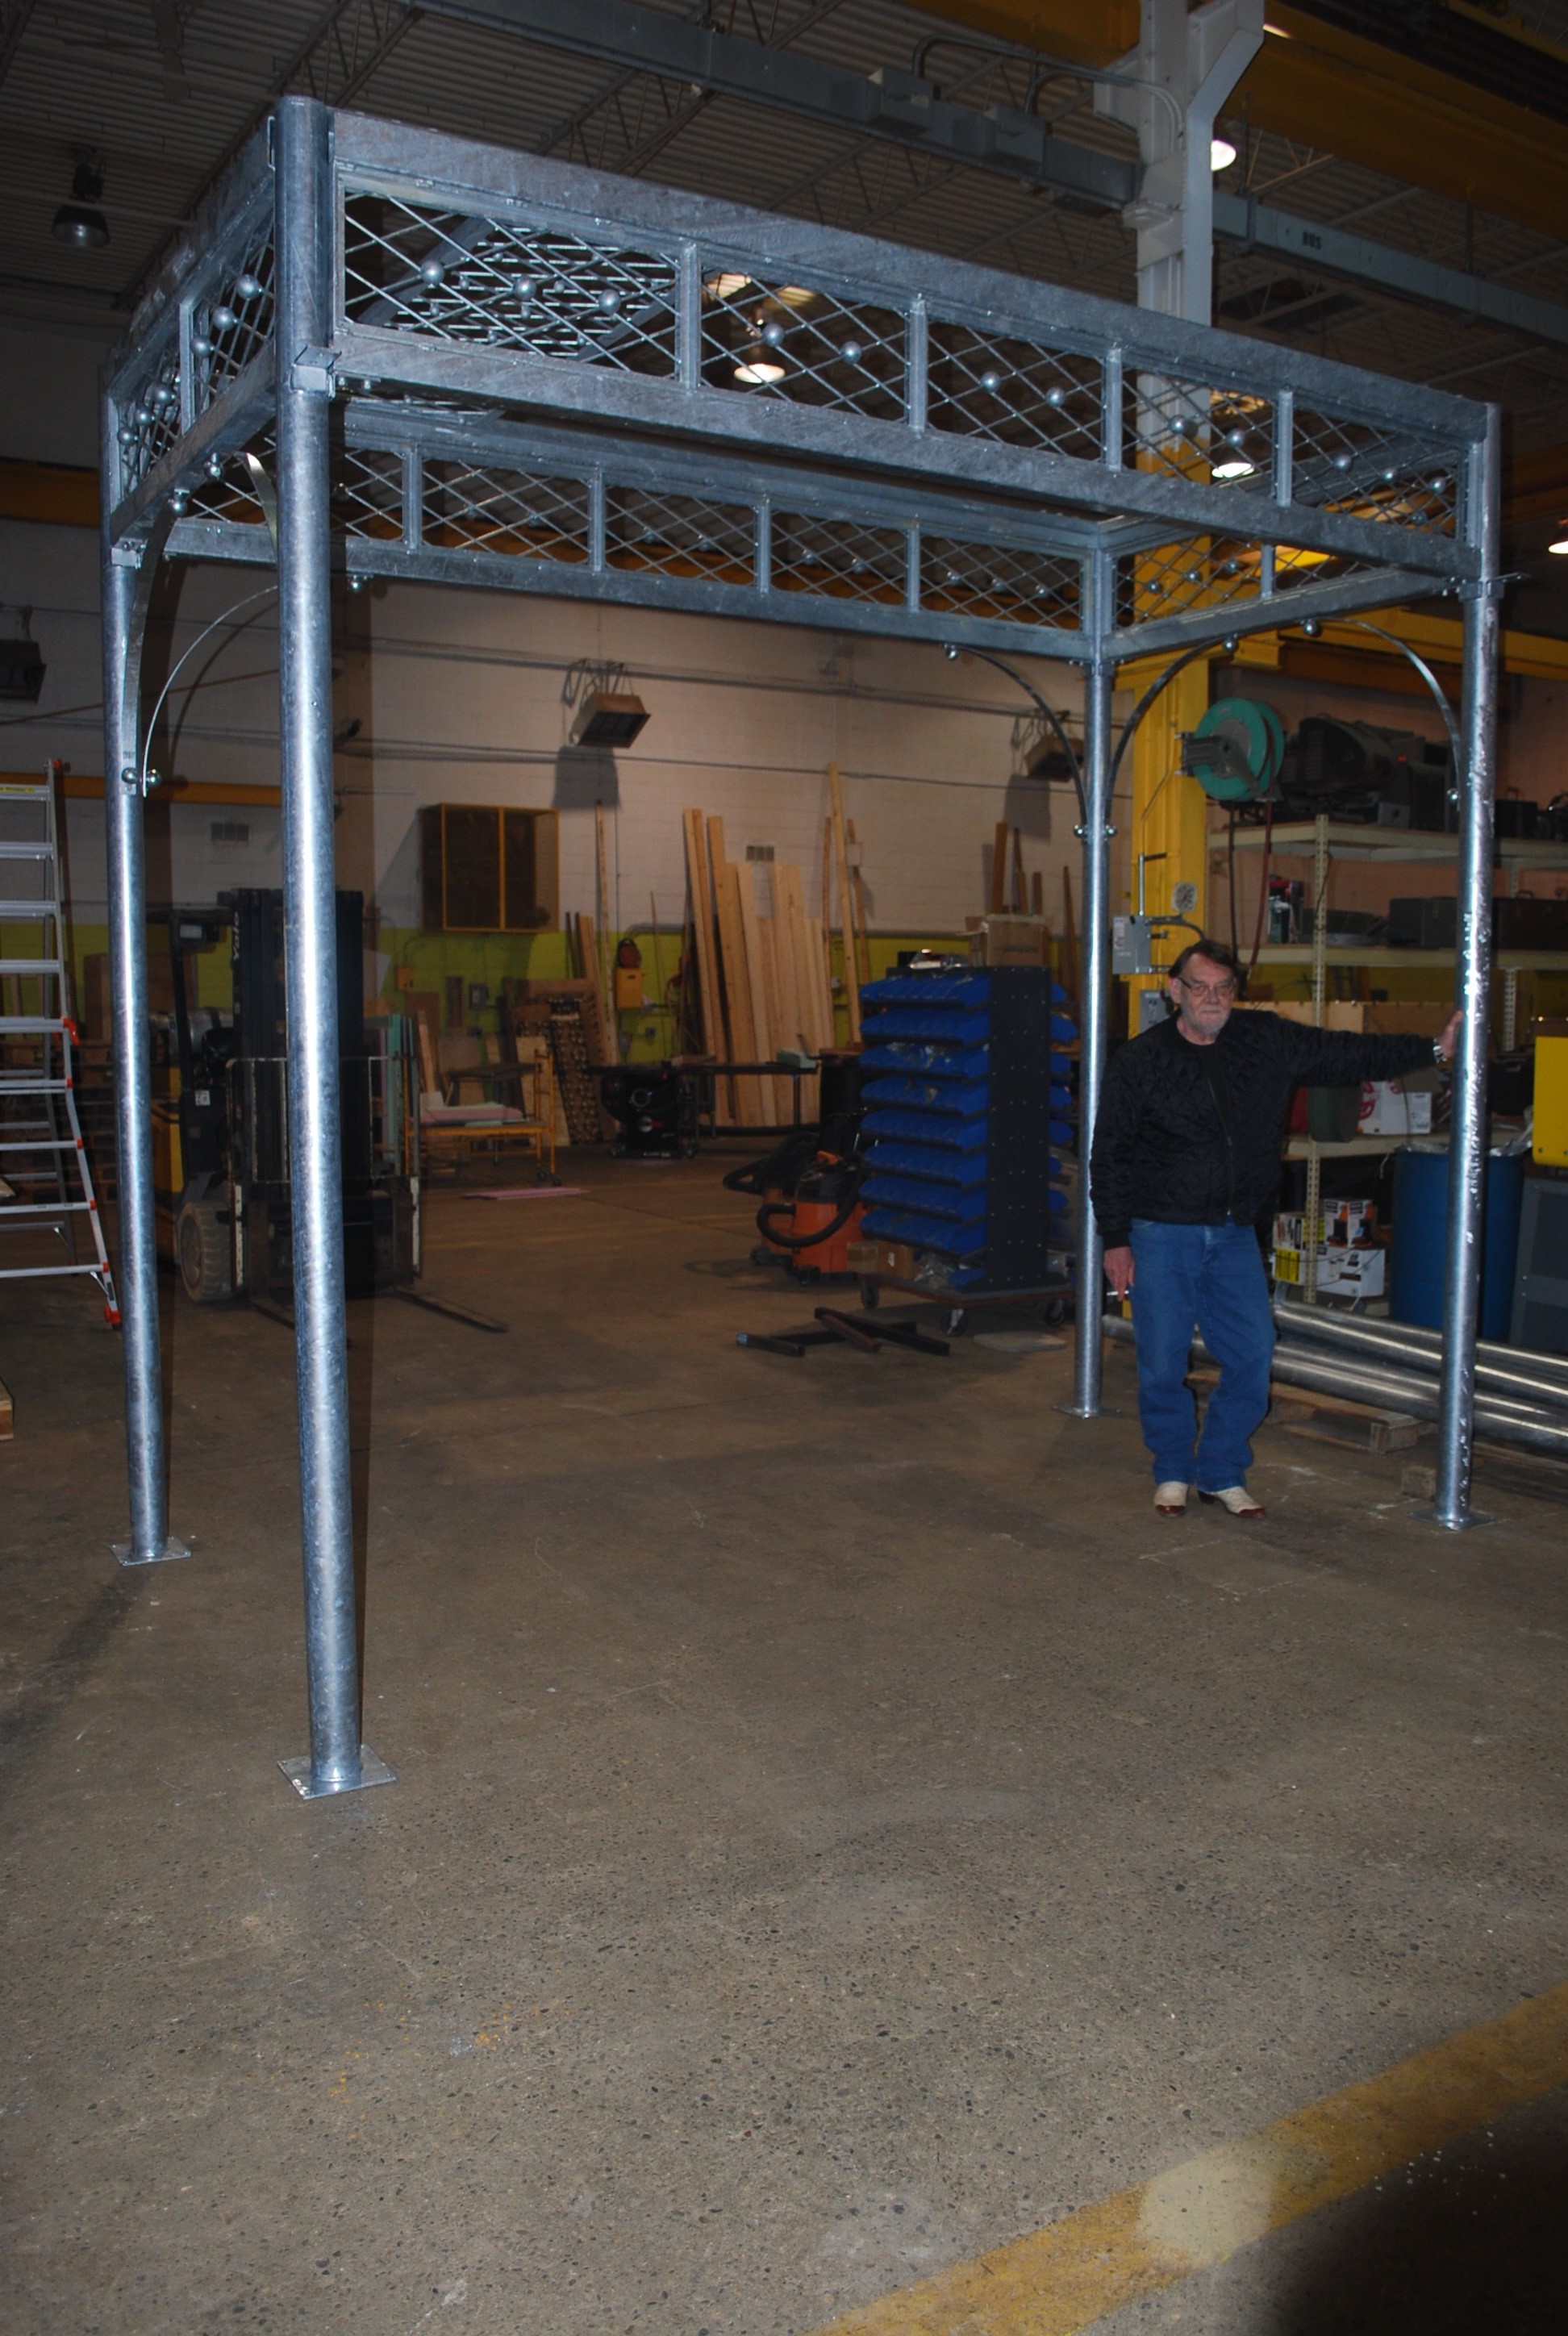
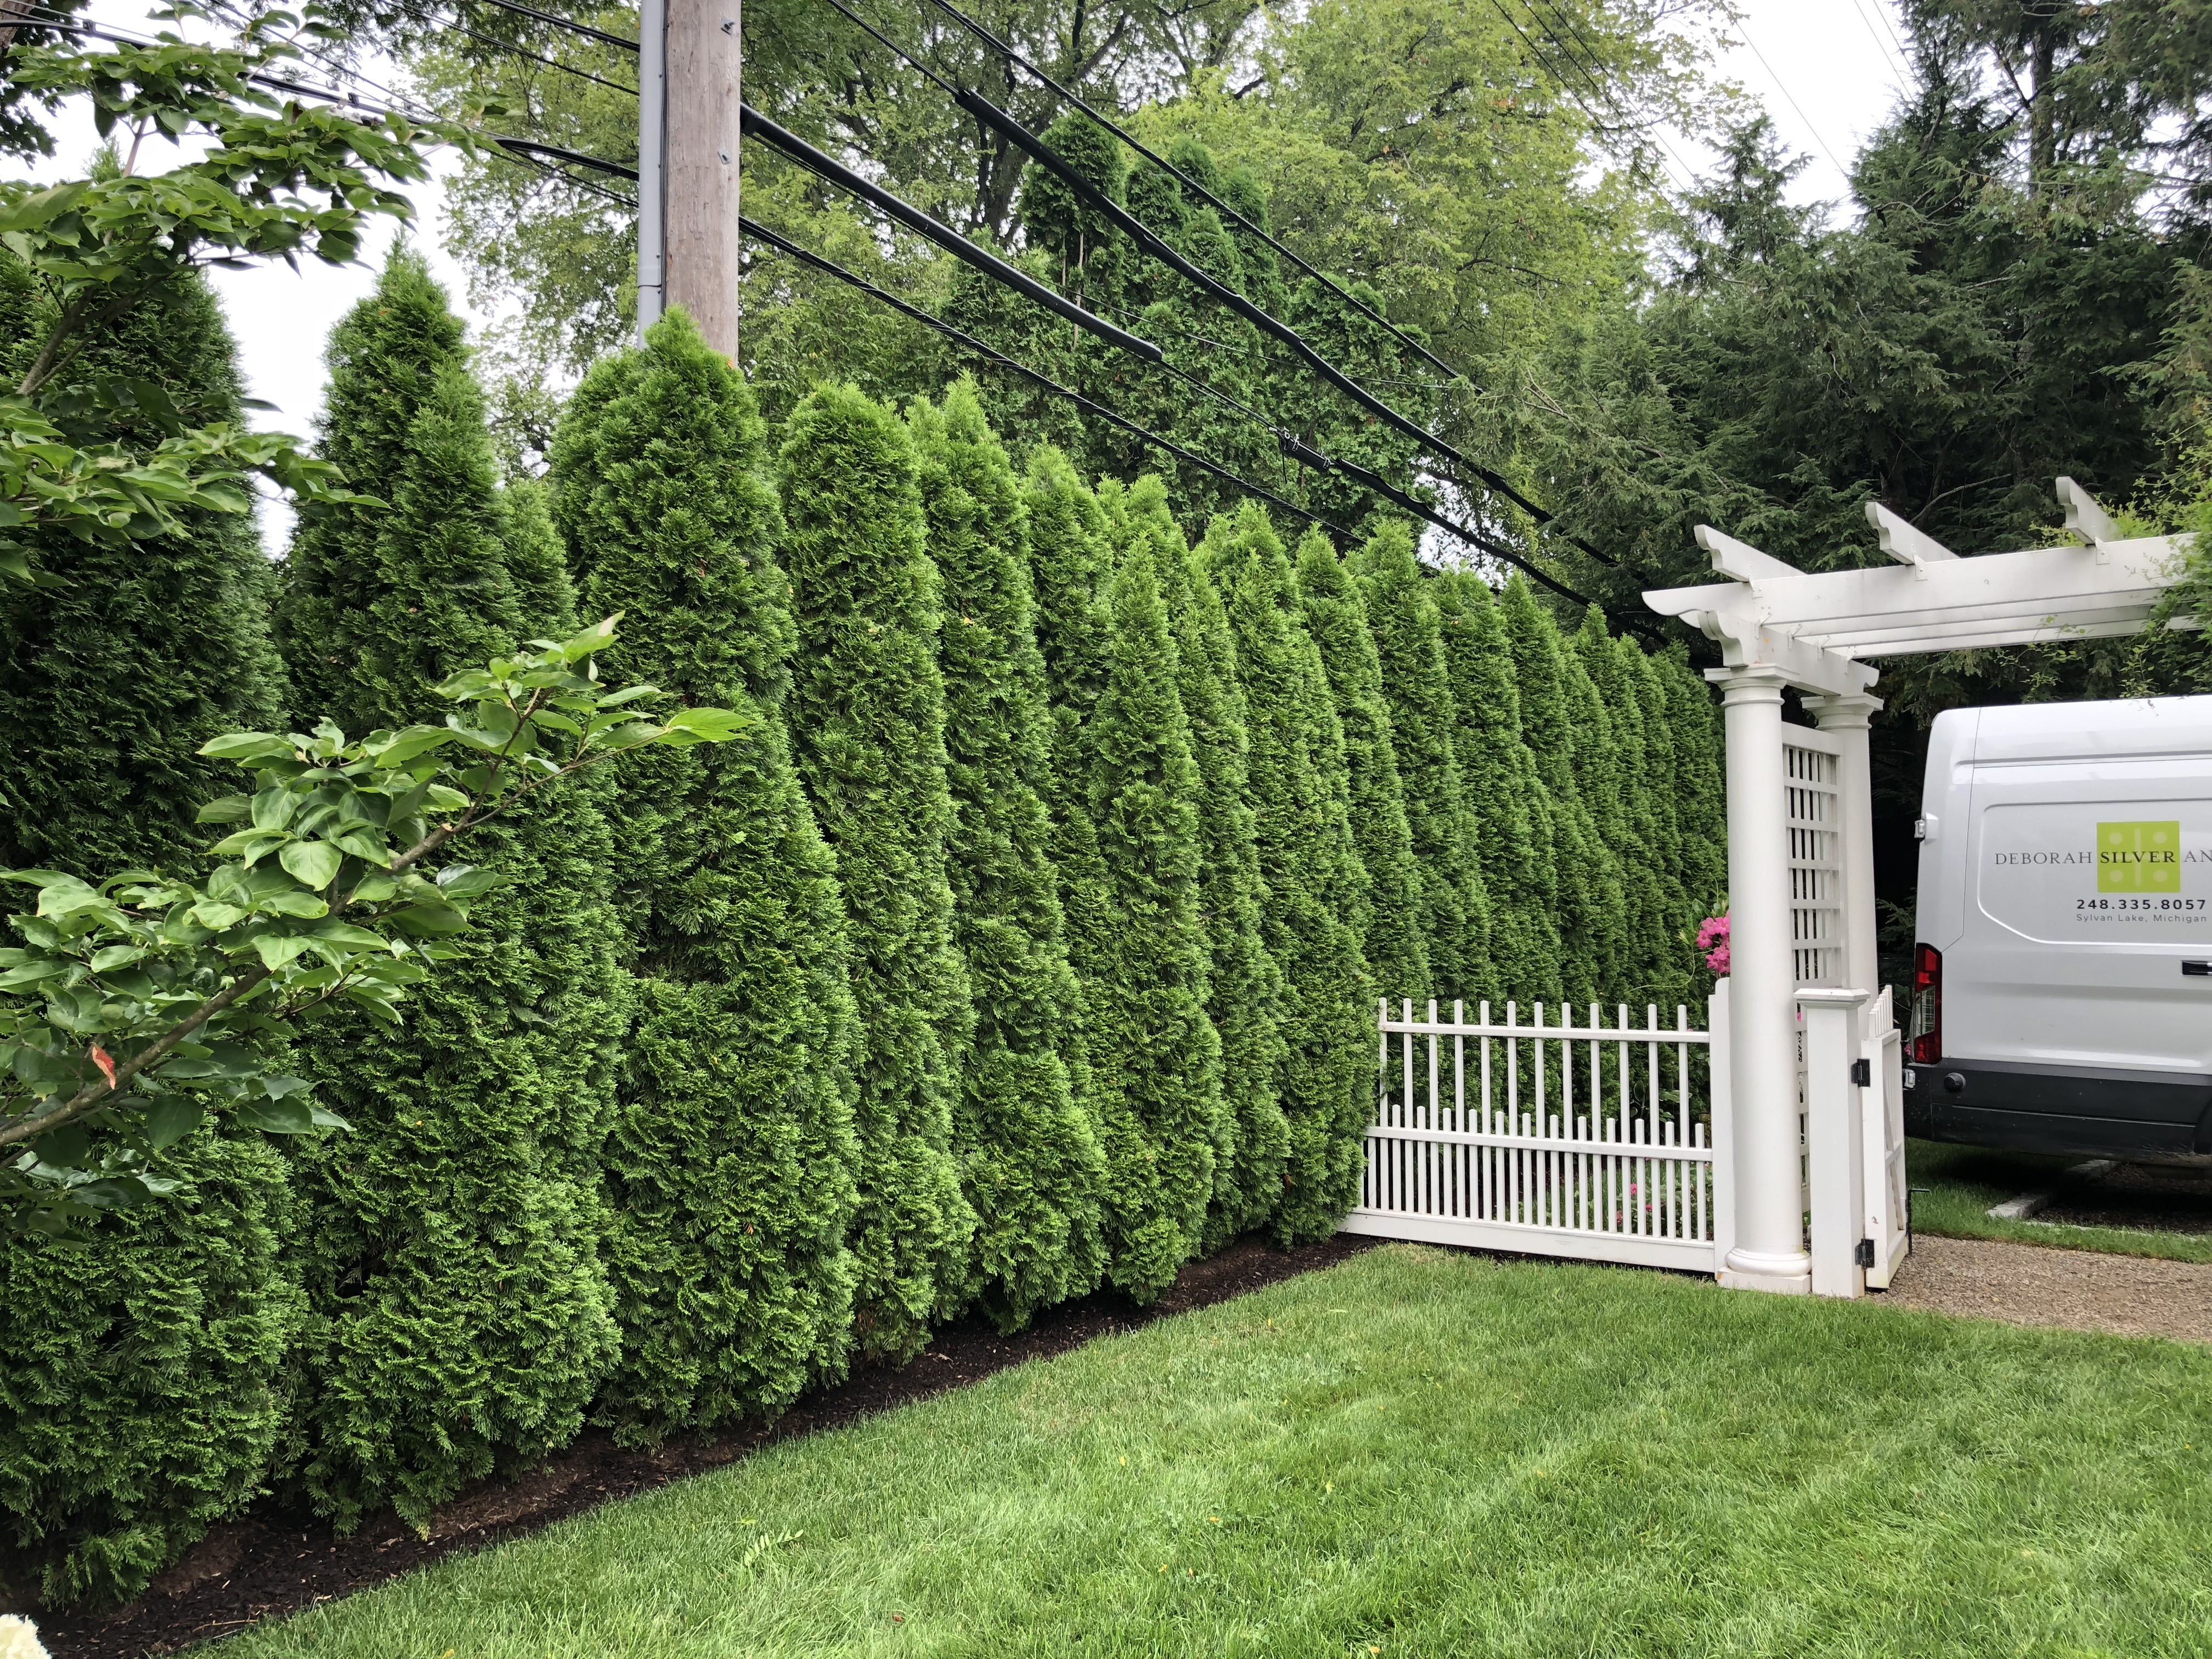
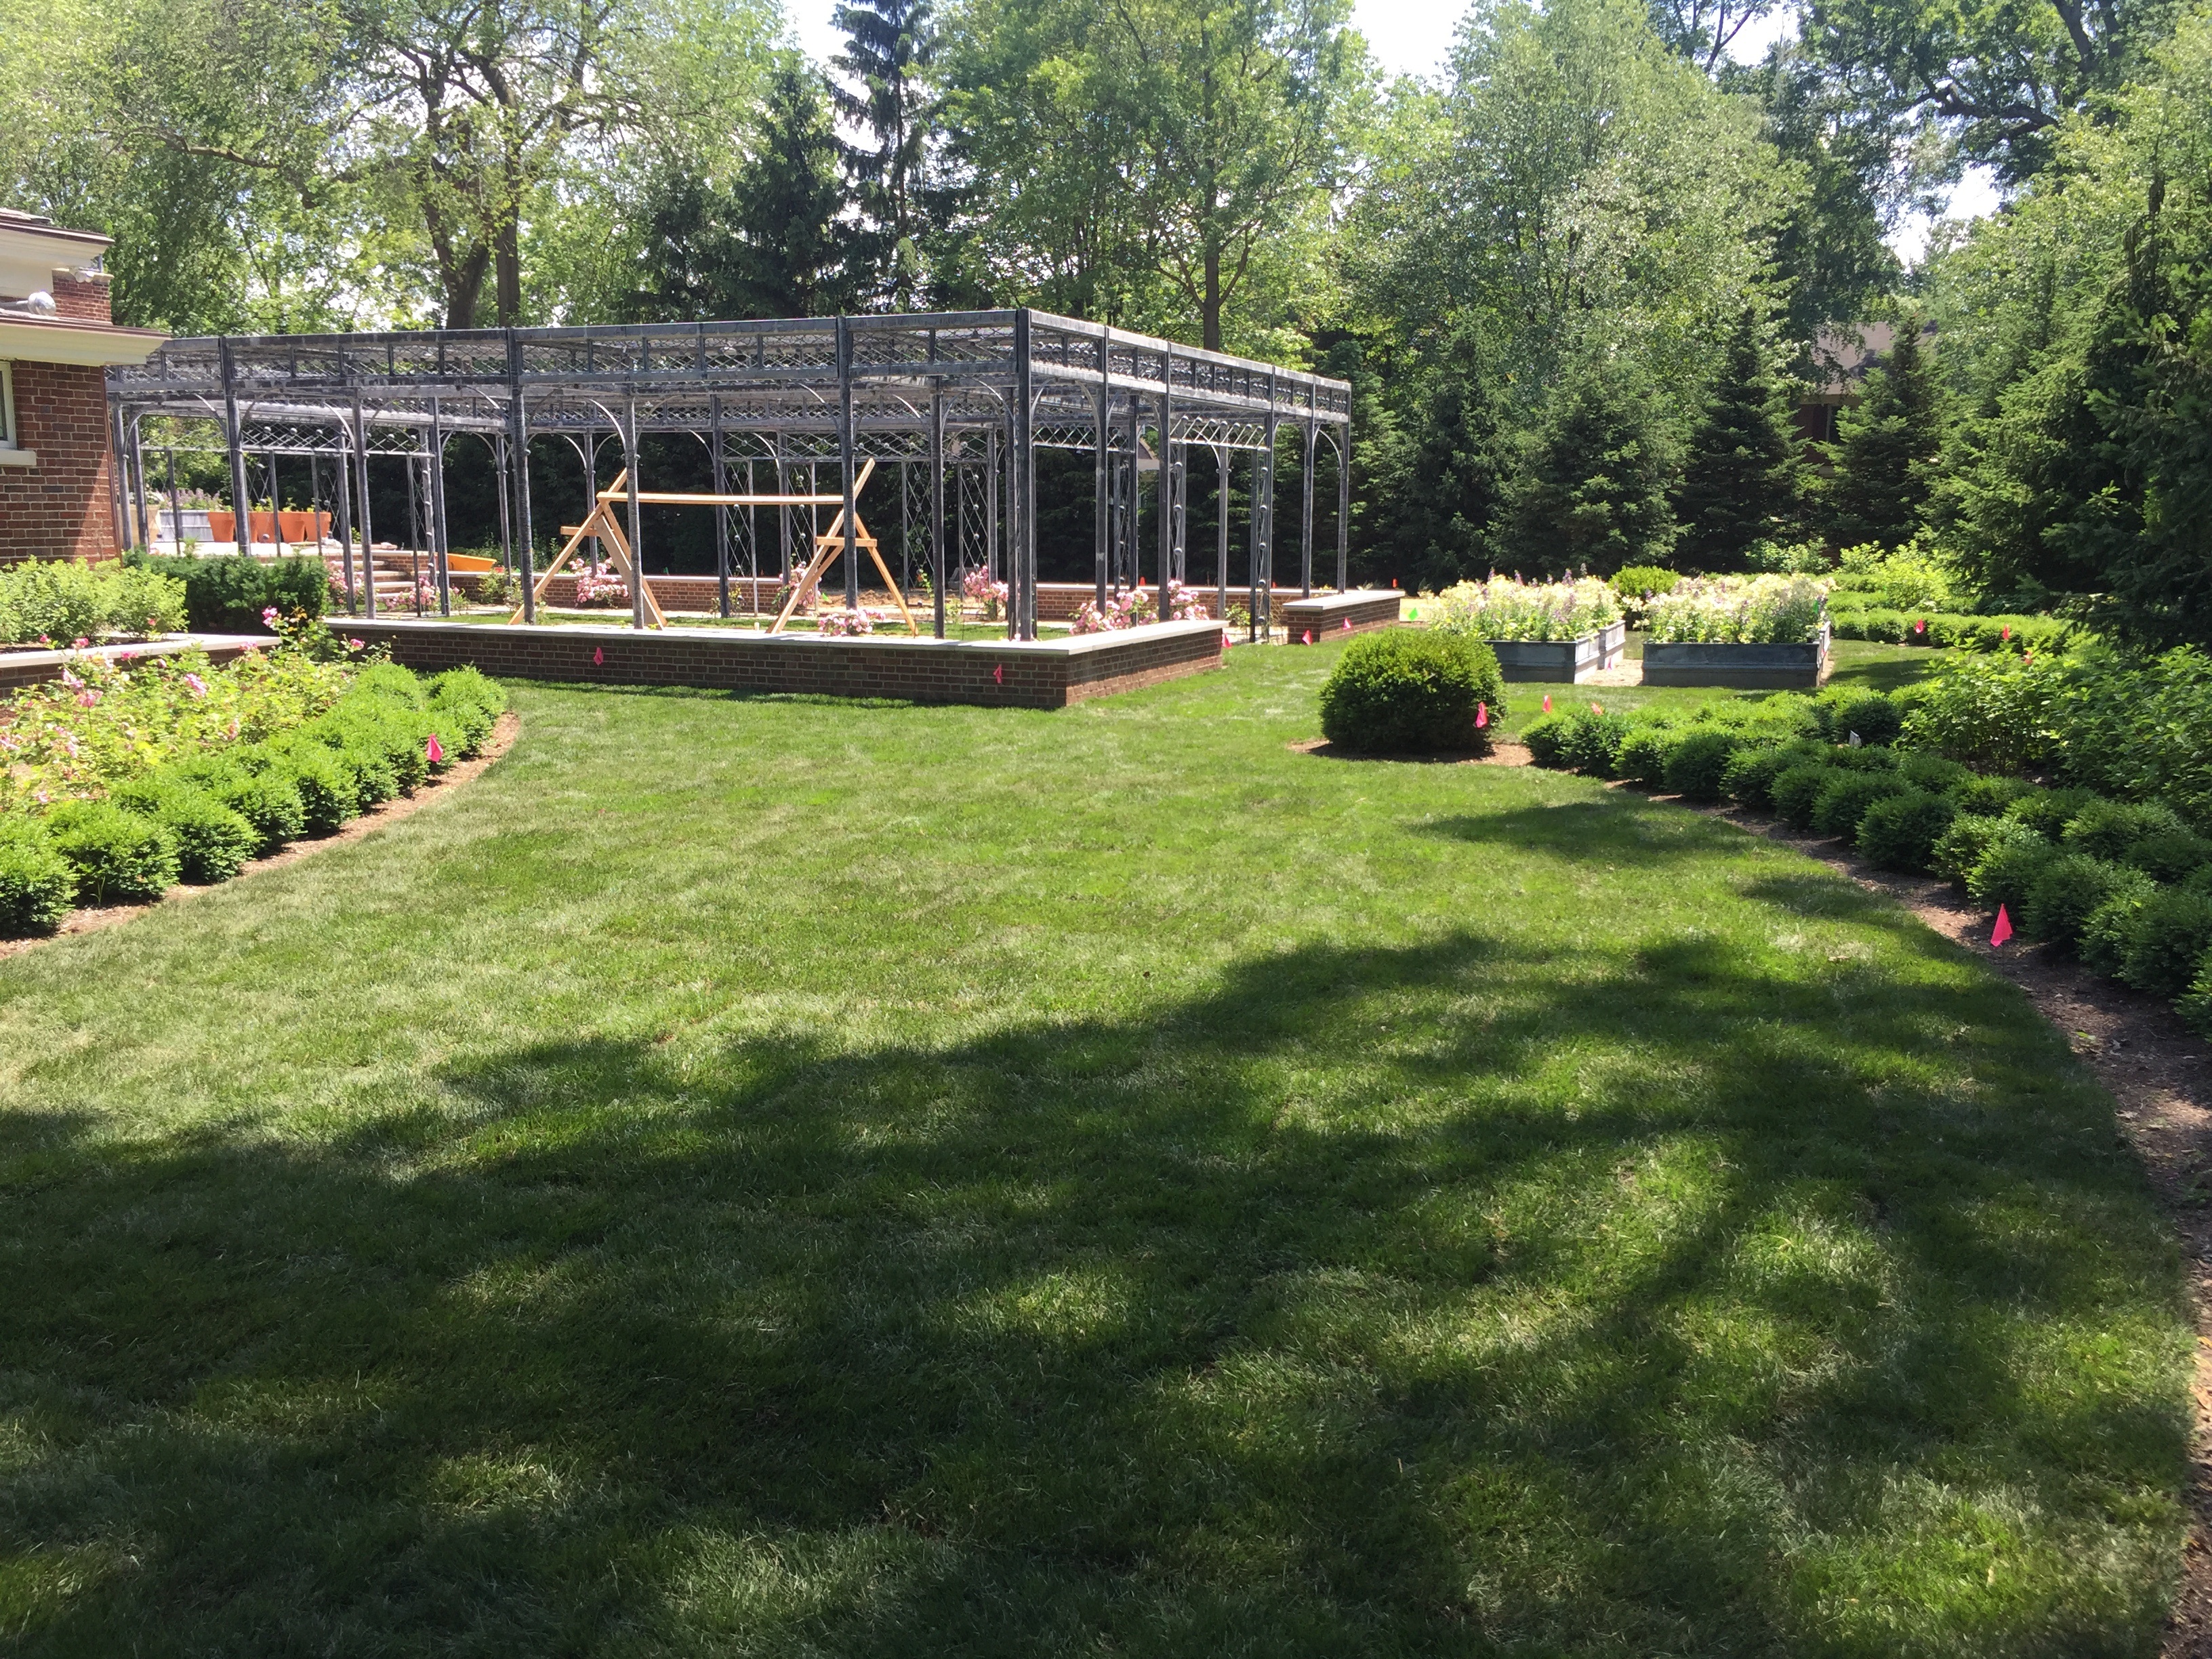 The first round of grass transforms the look all of the work we have done on this landscape since last August. This curving grass swath is a very wide path from the driveway, through the rose arbor, and over to the cloister pergola fabricated by the Branch Studio. Anyone who is interested in what the studio is capable of should take the tour, and see for themselves. This very large and complex structure is an incredibly beautiful anchor to the landscape.
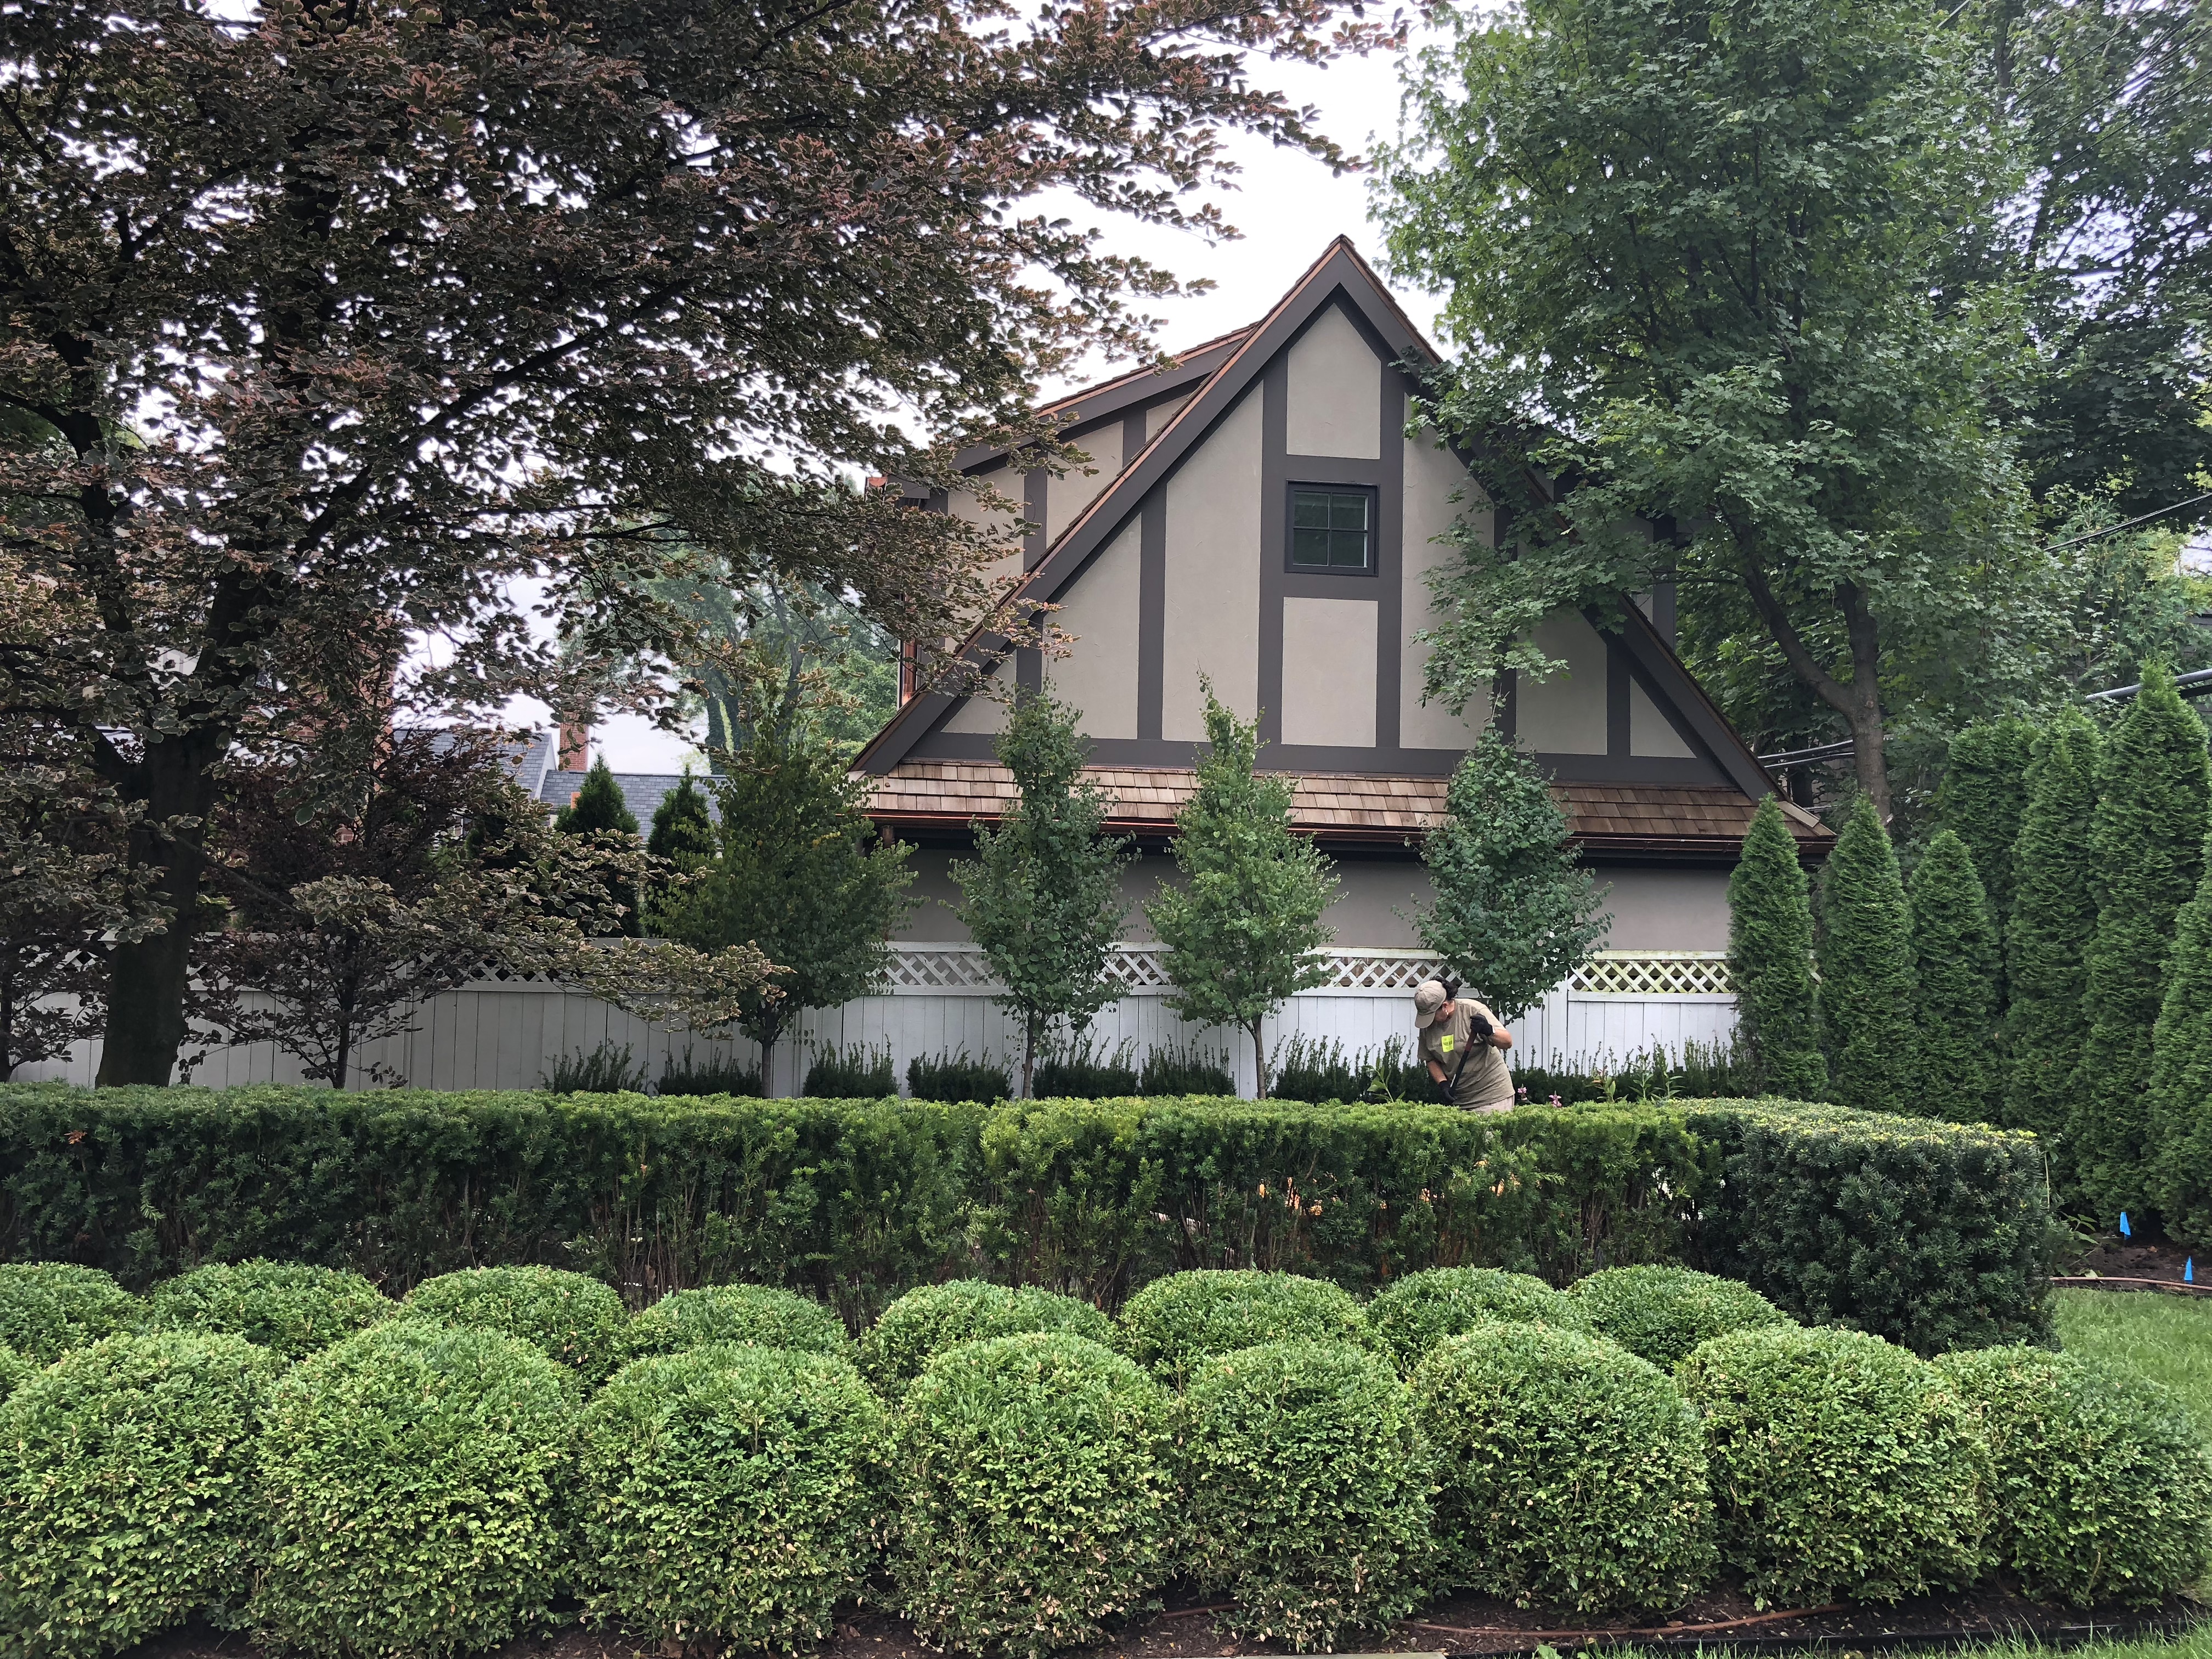
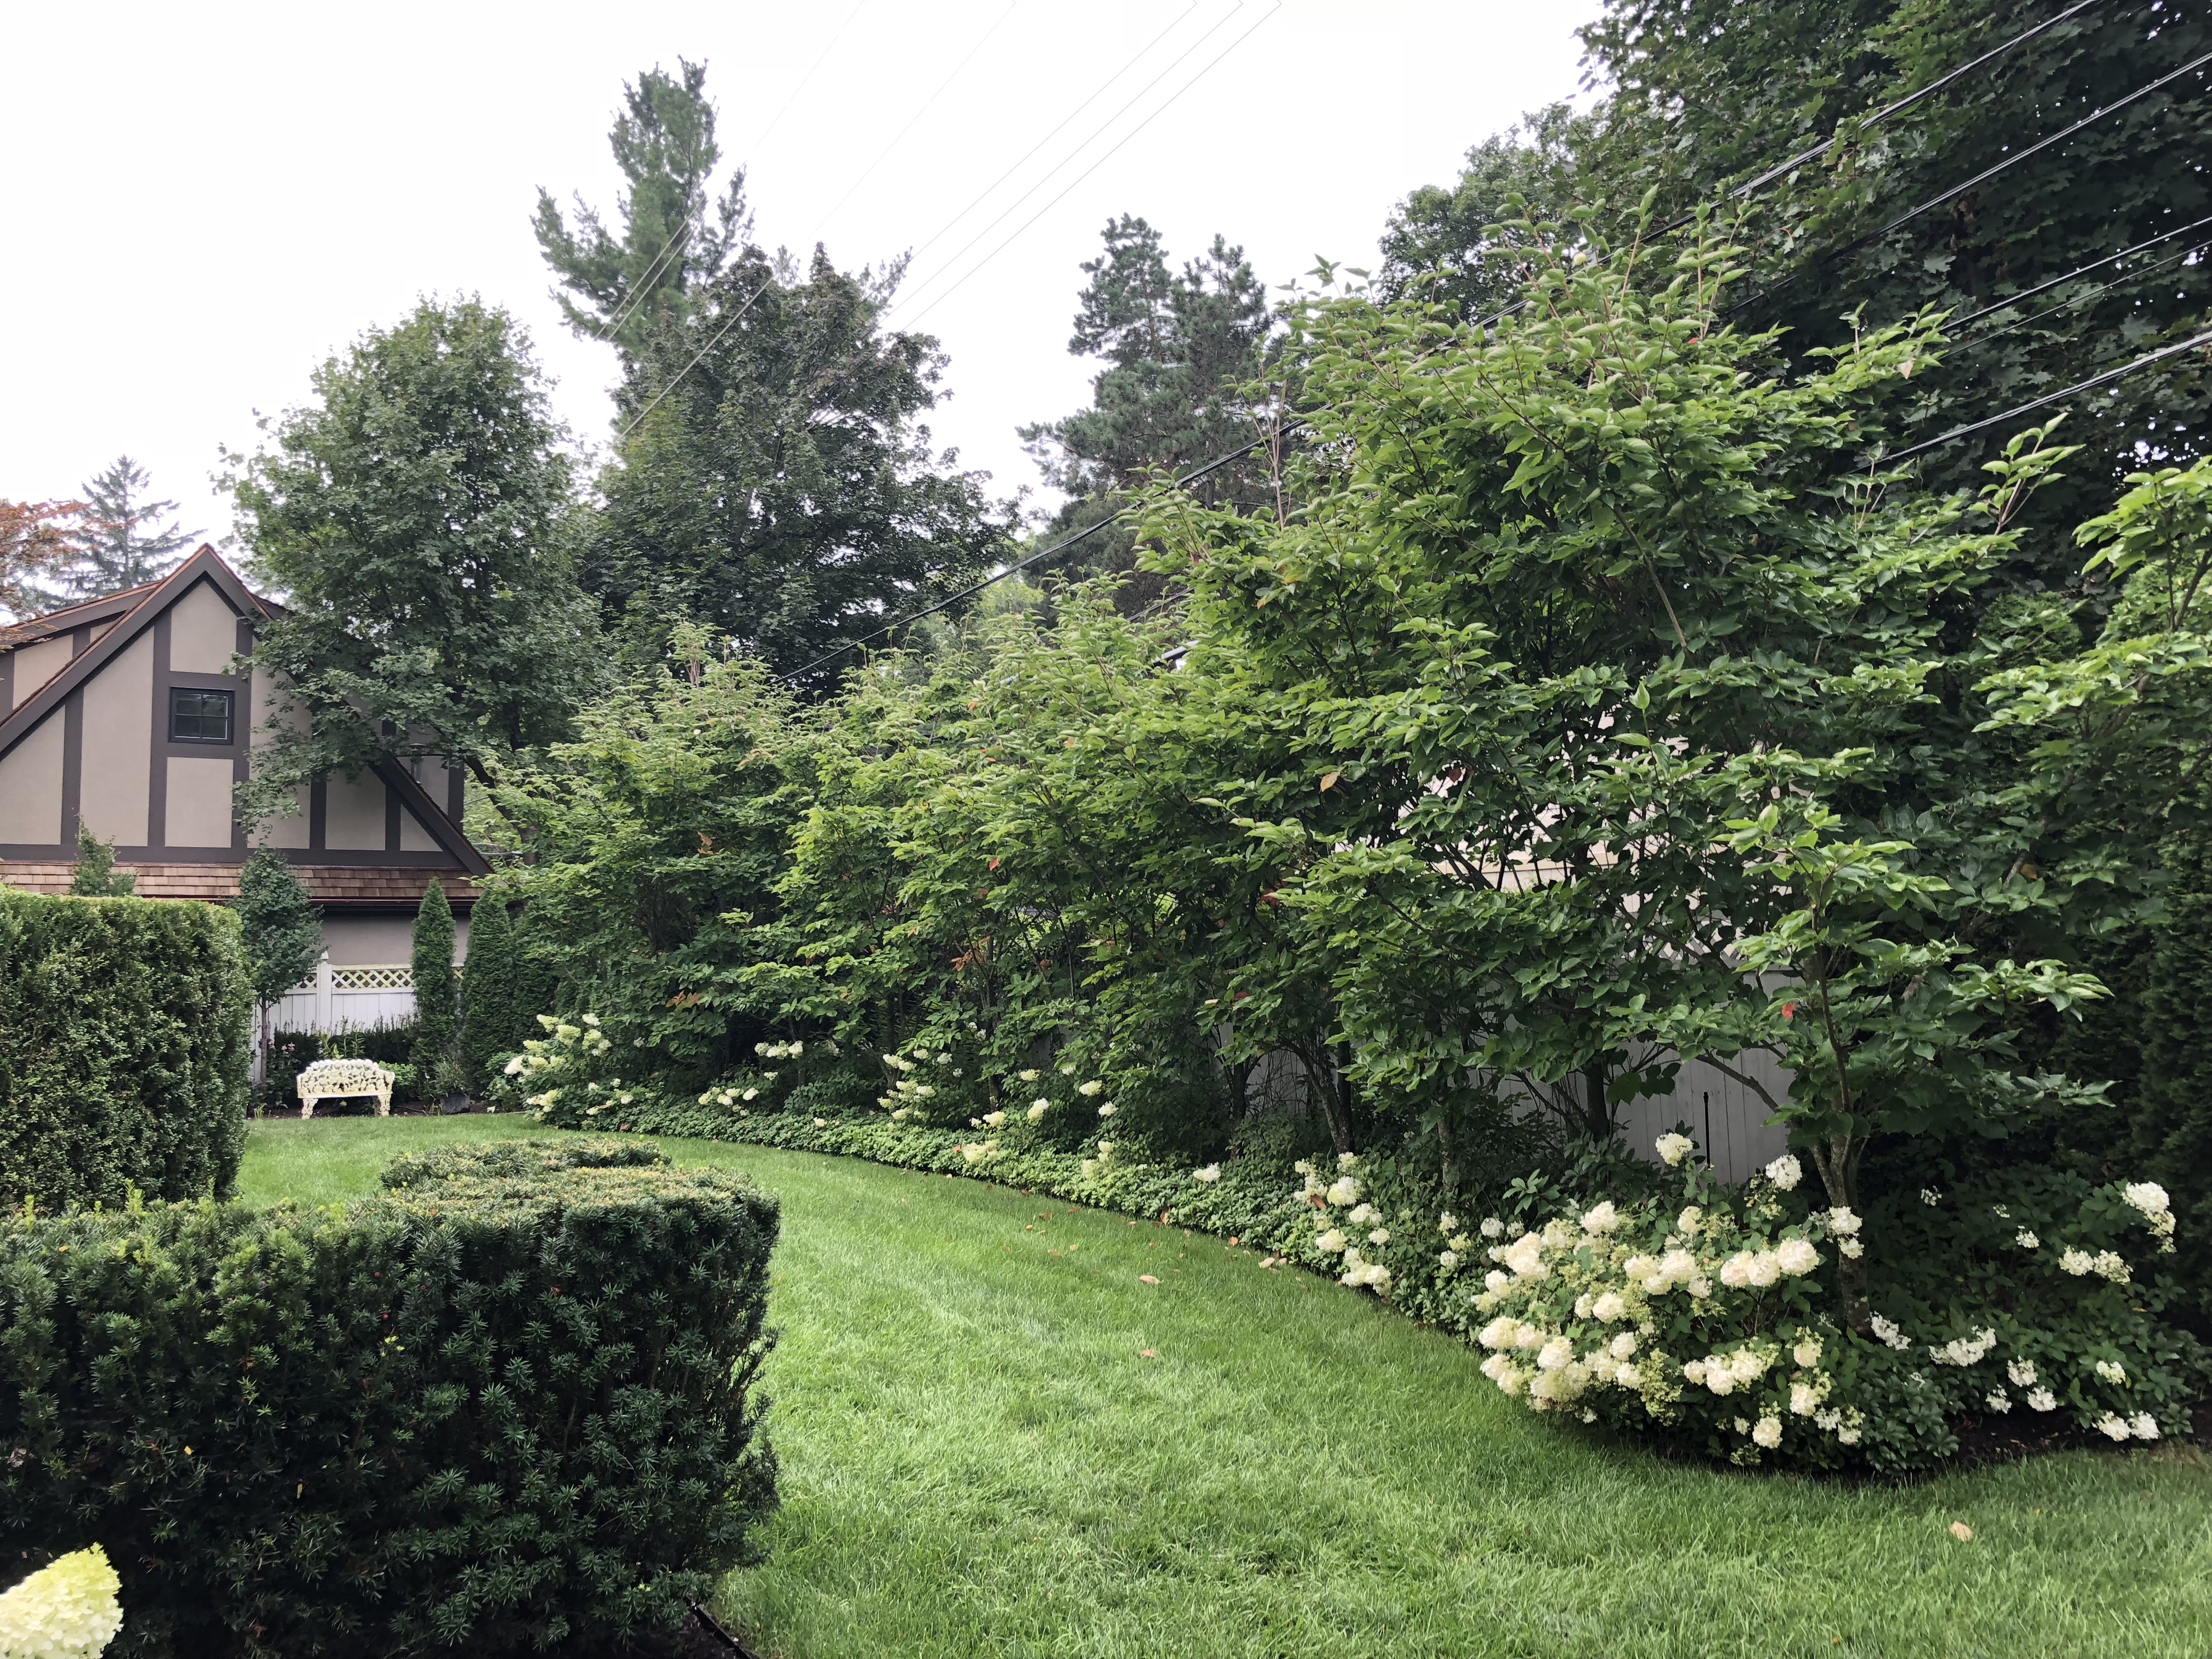
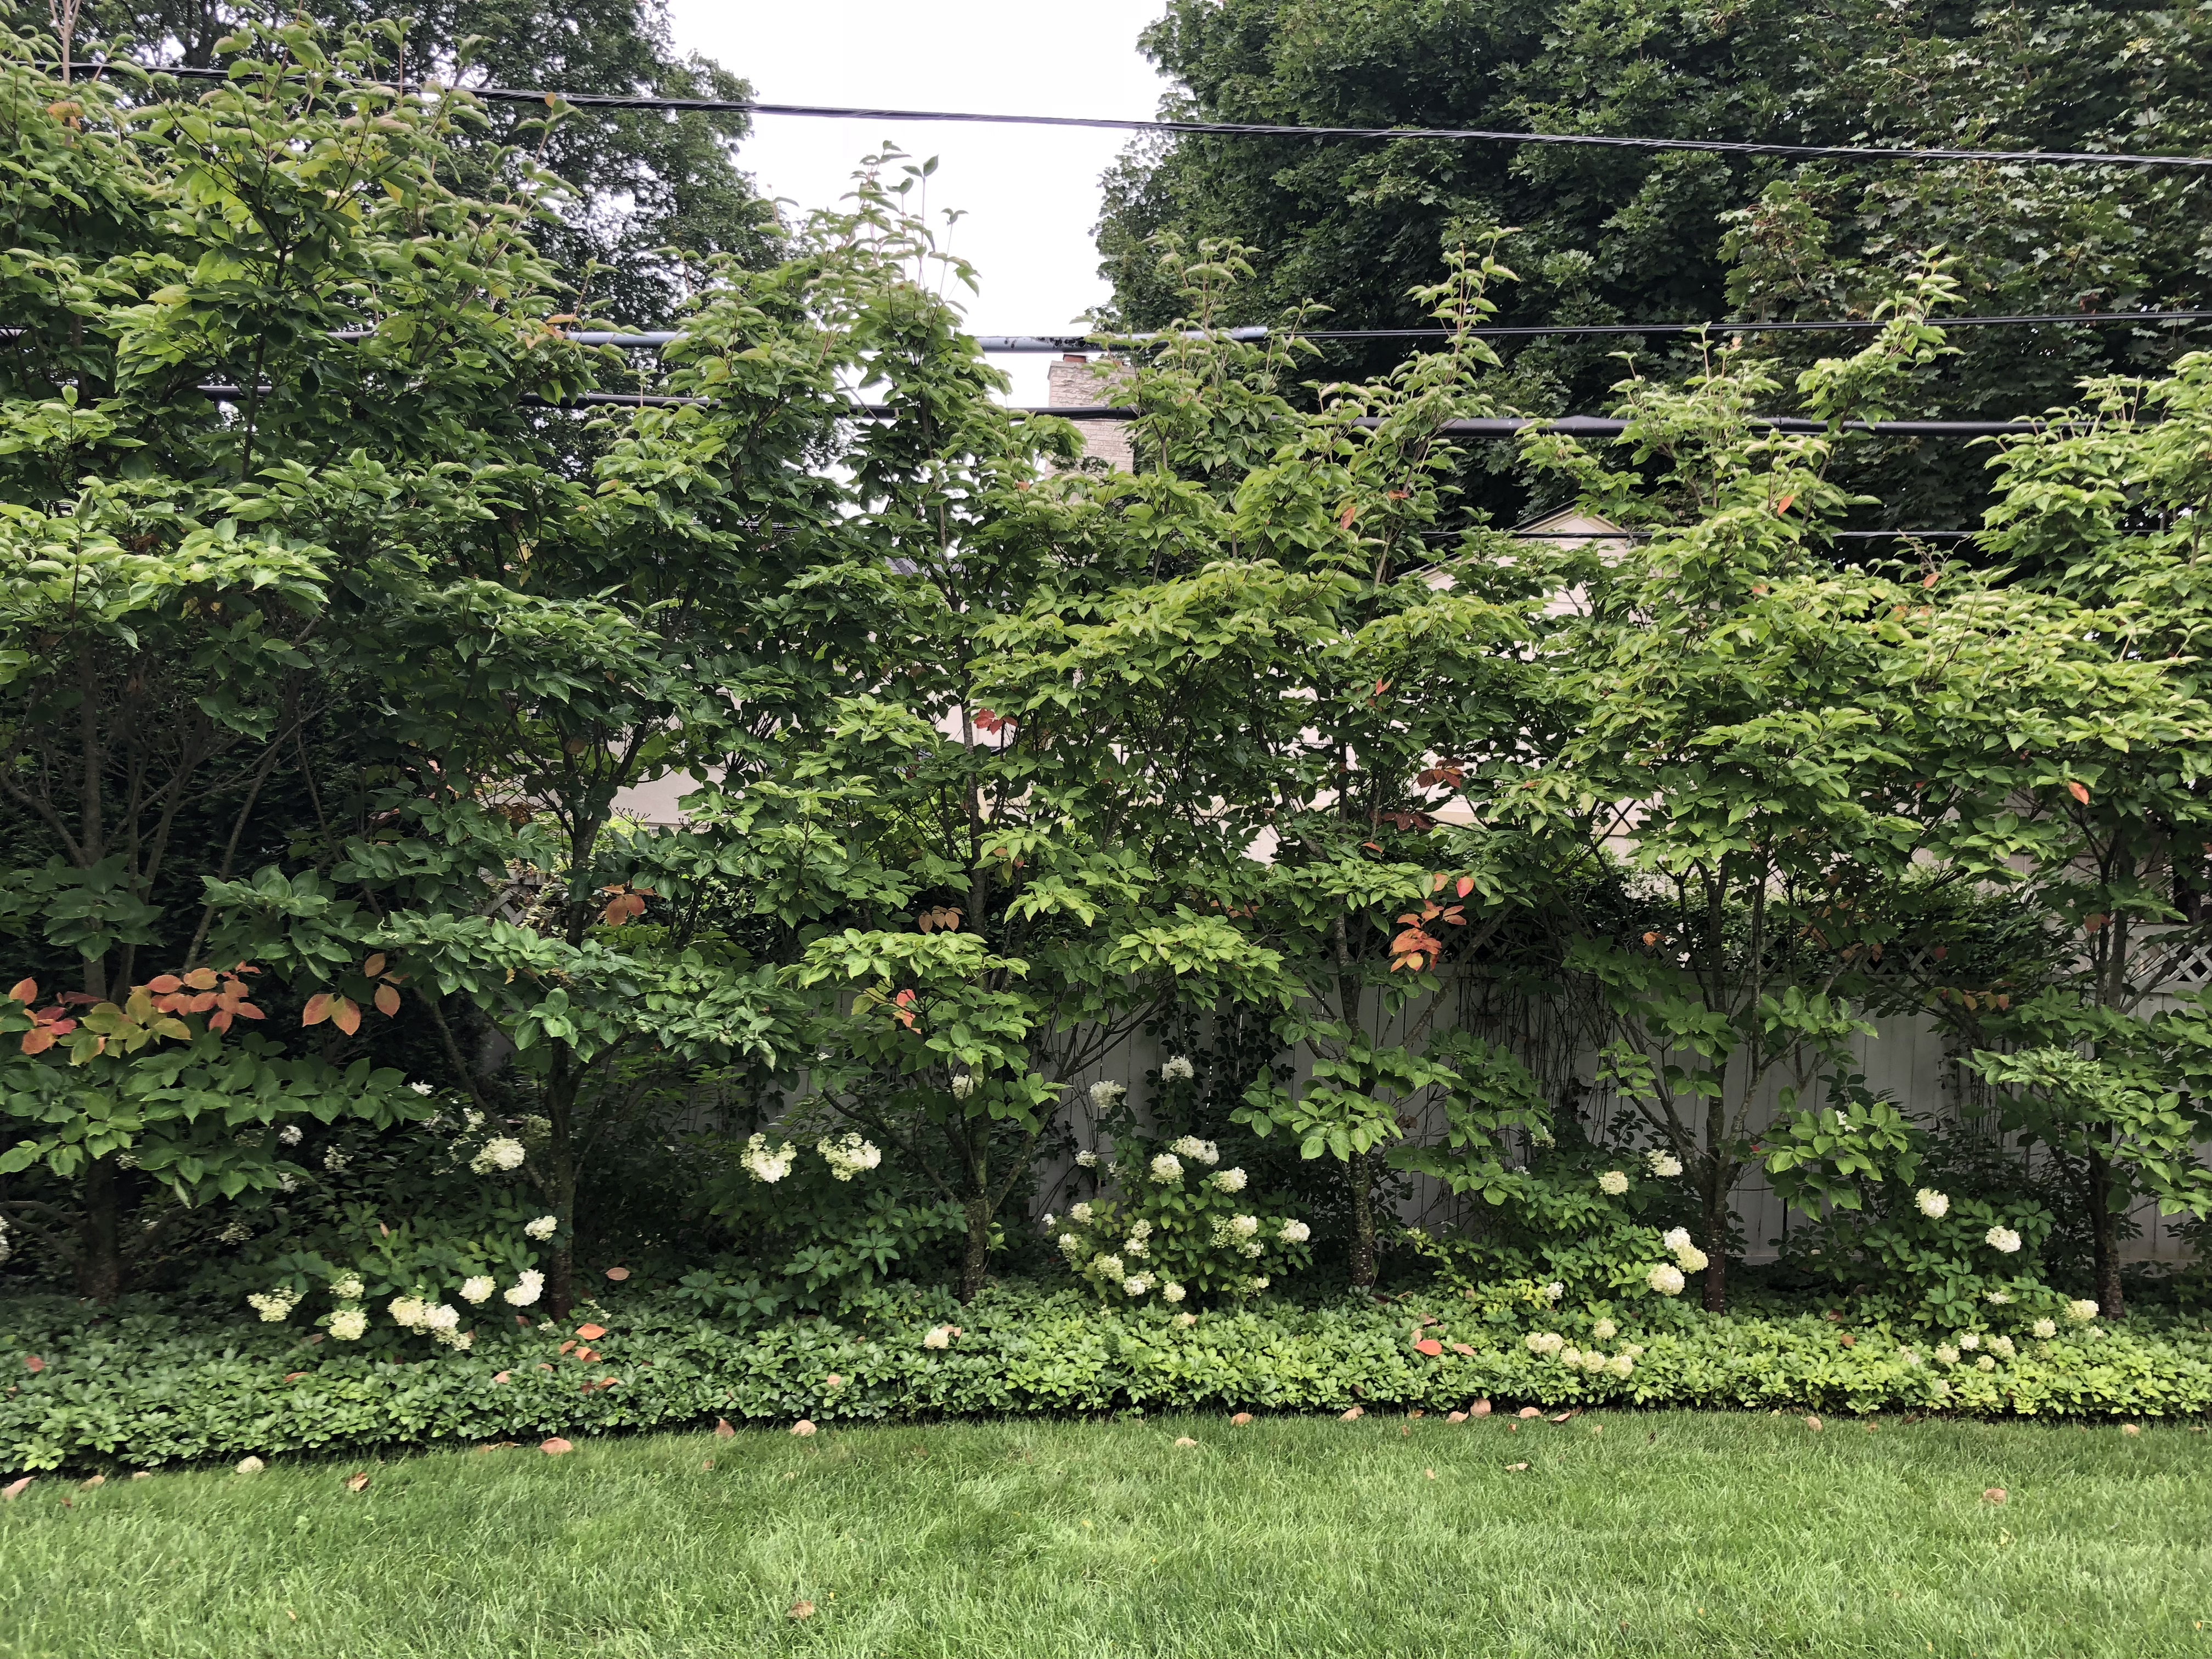
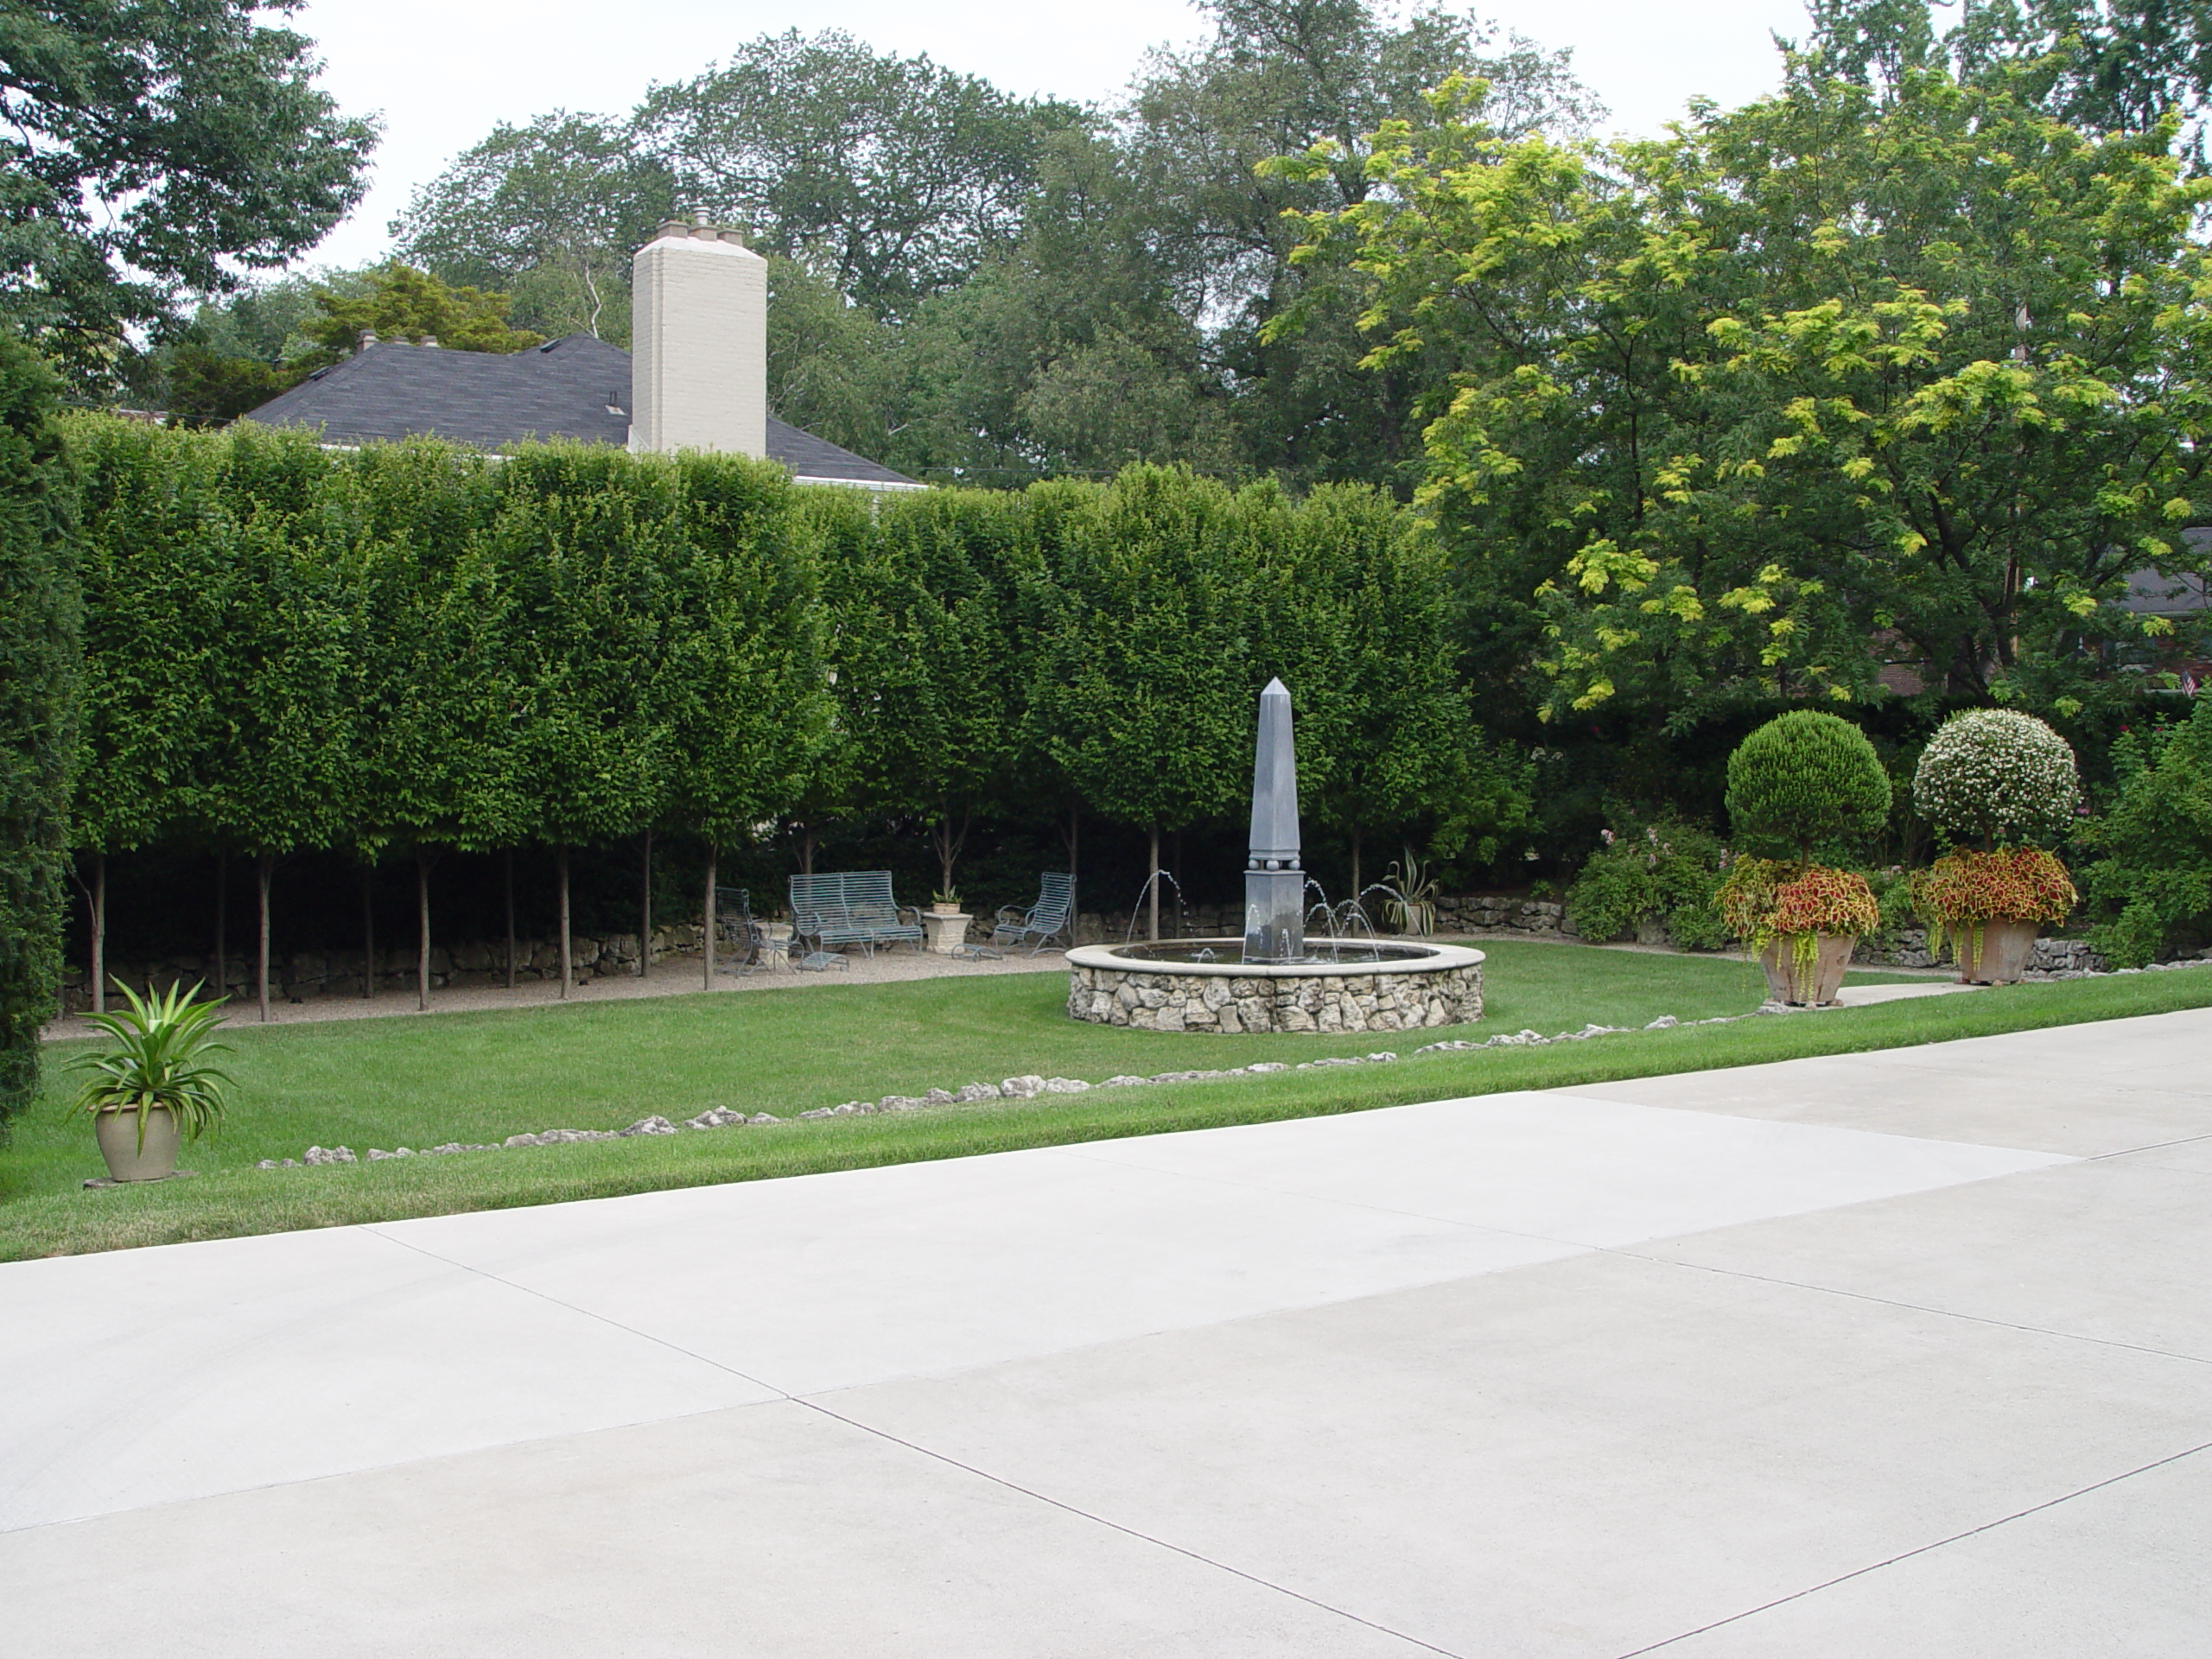
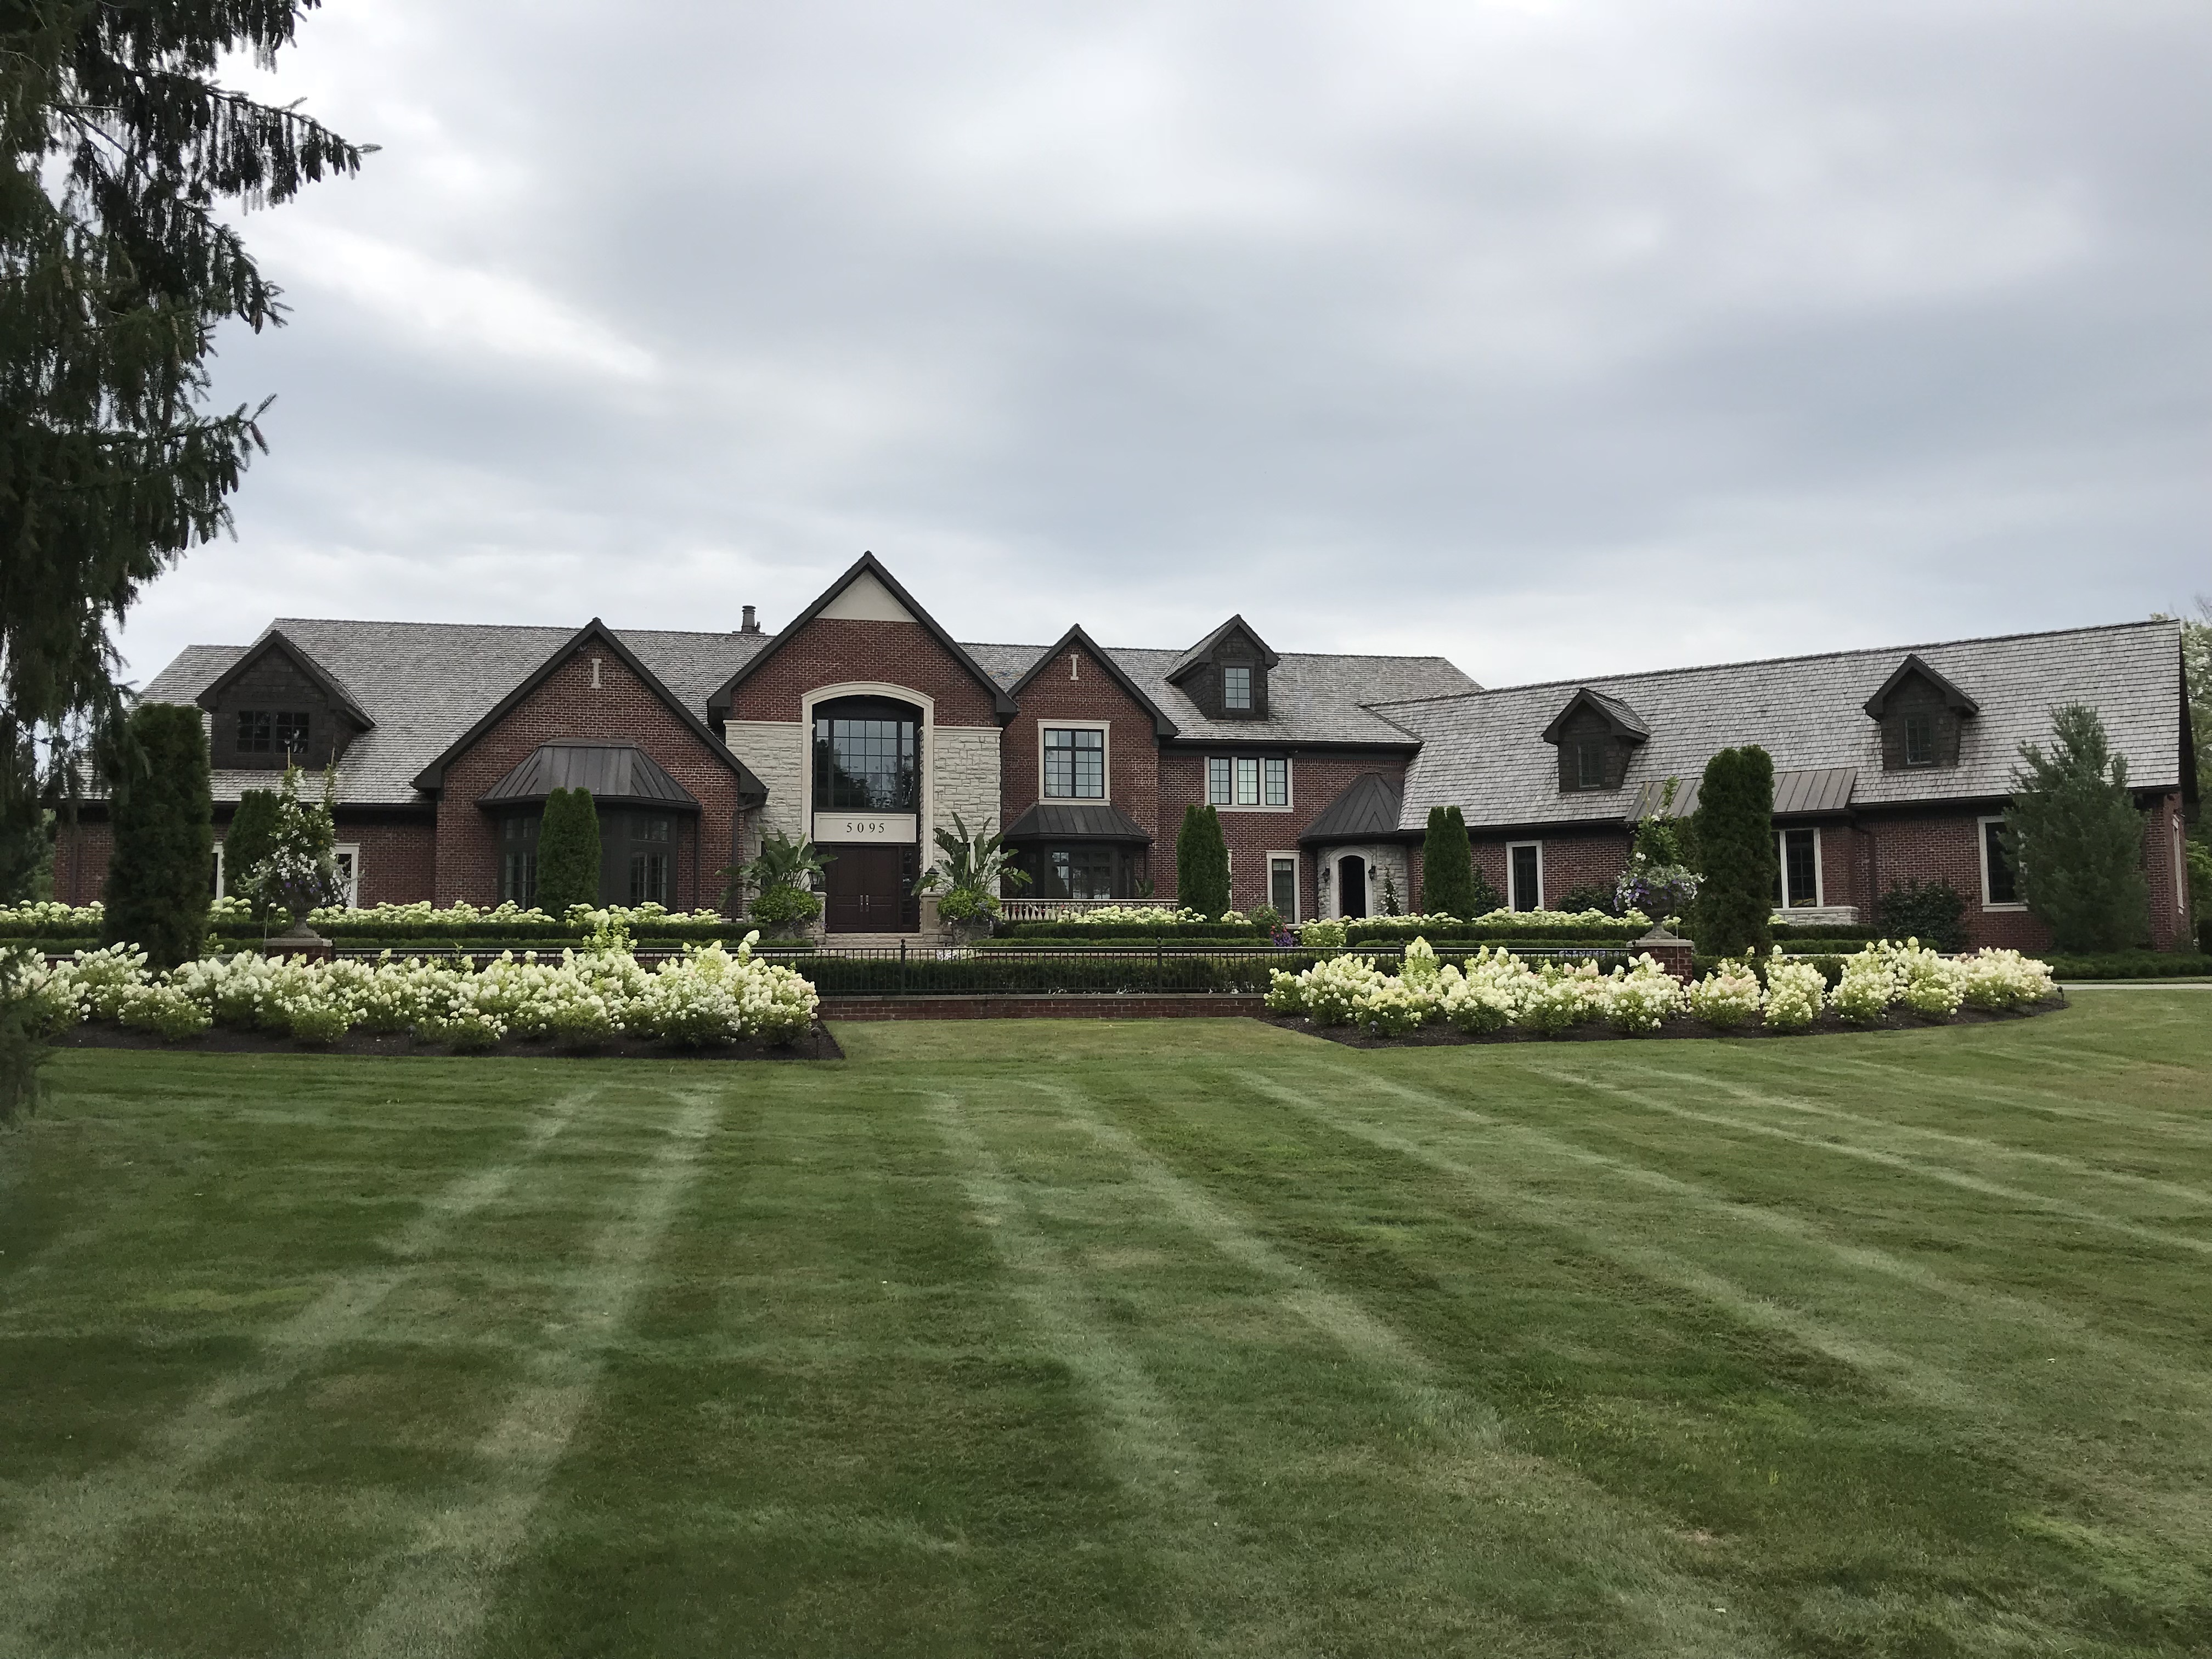
 The circle is a dominant theme in the landscape. The major landscape bed lines in the rear yard are portions of circles. Those three radiused curves contrast and complement the rectilinear shapes of the cloister and raised planters. The center curve ends in spherical Green Gem boxwood of considerable size. A boxwood dot. Behind the boxwood? Limelight hydrangeas on the side curves, and Oakleaf hydrangeas in the center curve. The rear yard landscape is in large part evergreen, with a nod to a summer garden. Roses, hydrangeas, and more roses. The shadier parts of the garden feature perennials, dwarf shrubs and groundcover. Fragrance played a prime role in the selection of all of the plants. Roses, Peonies and phlox will perfume the garden. Even the pink snakeroot has a distinct fragrance, as does the sweet woodruff. Dwarf button bush, lilacs, Viburnum Juddii and mock orange will add scent to the air one season after another.
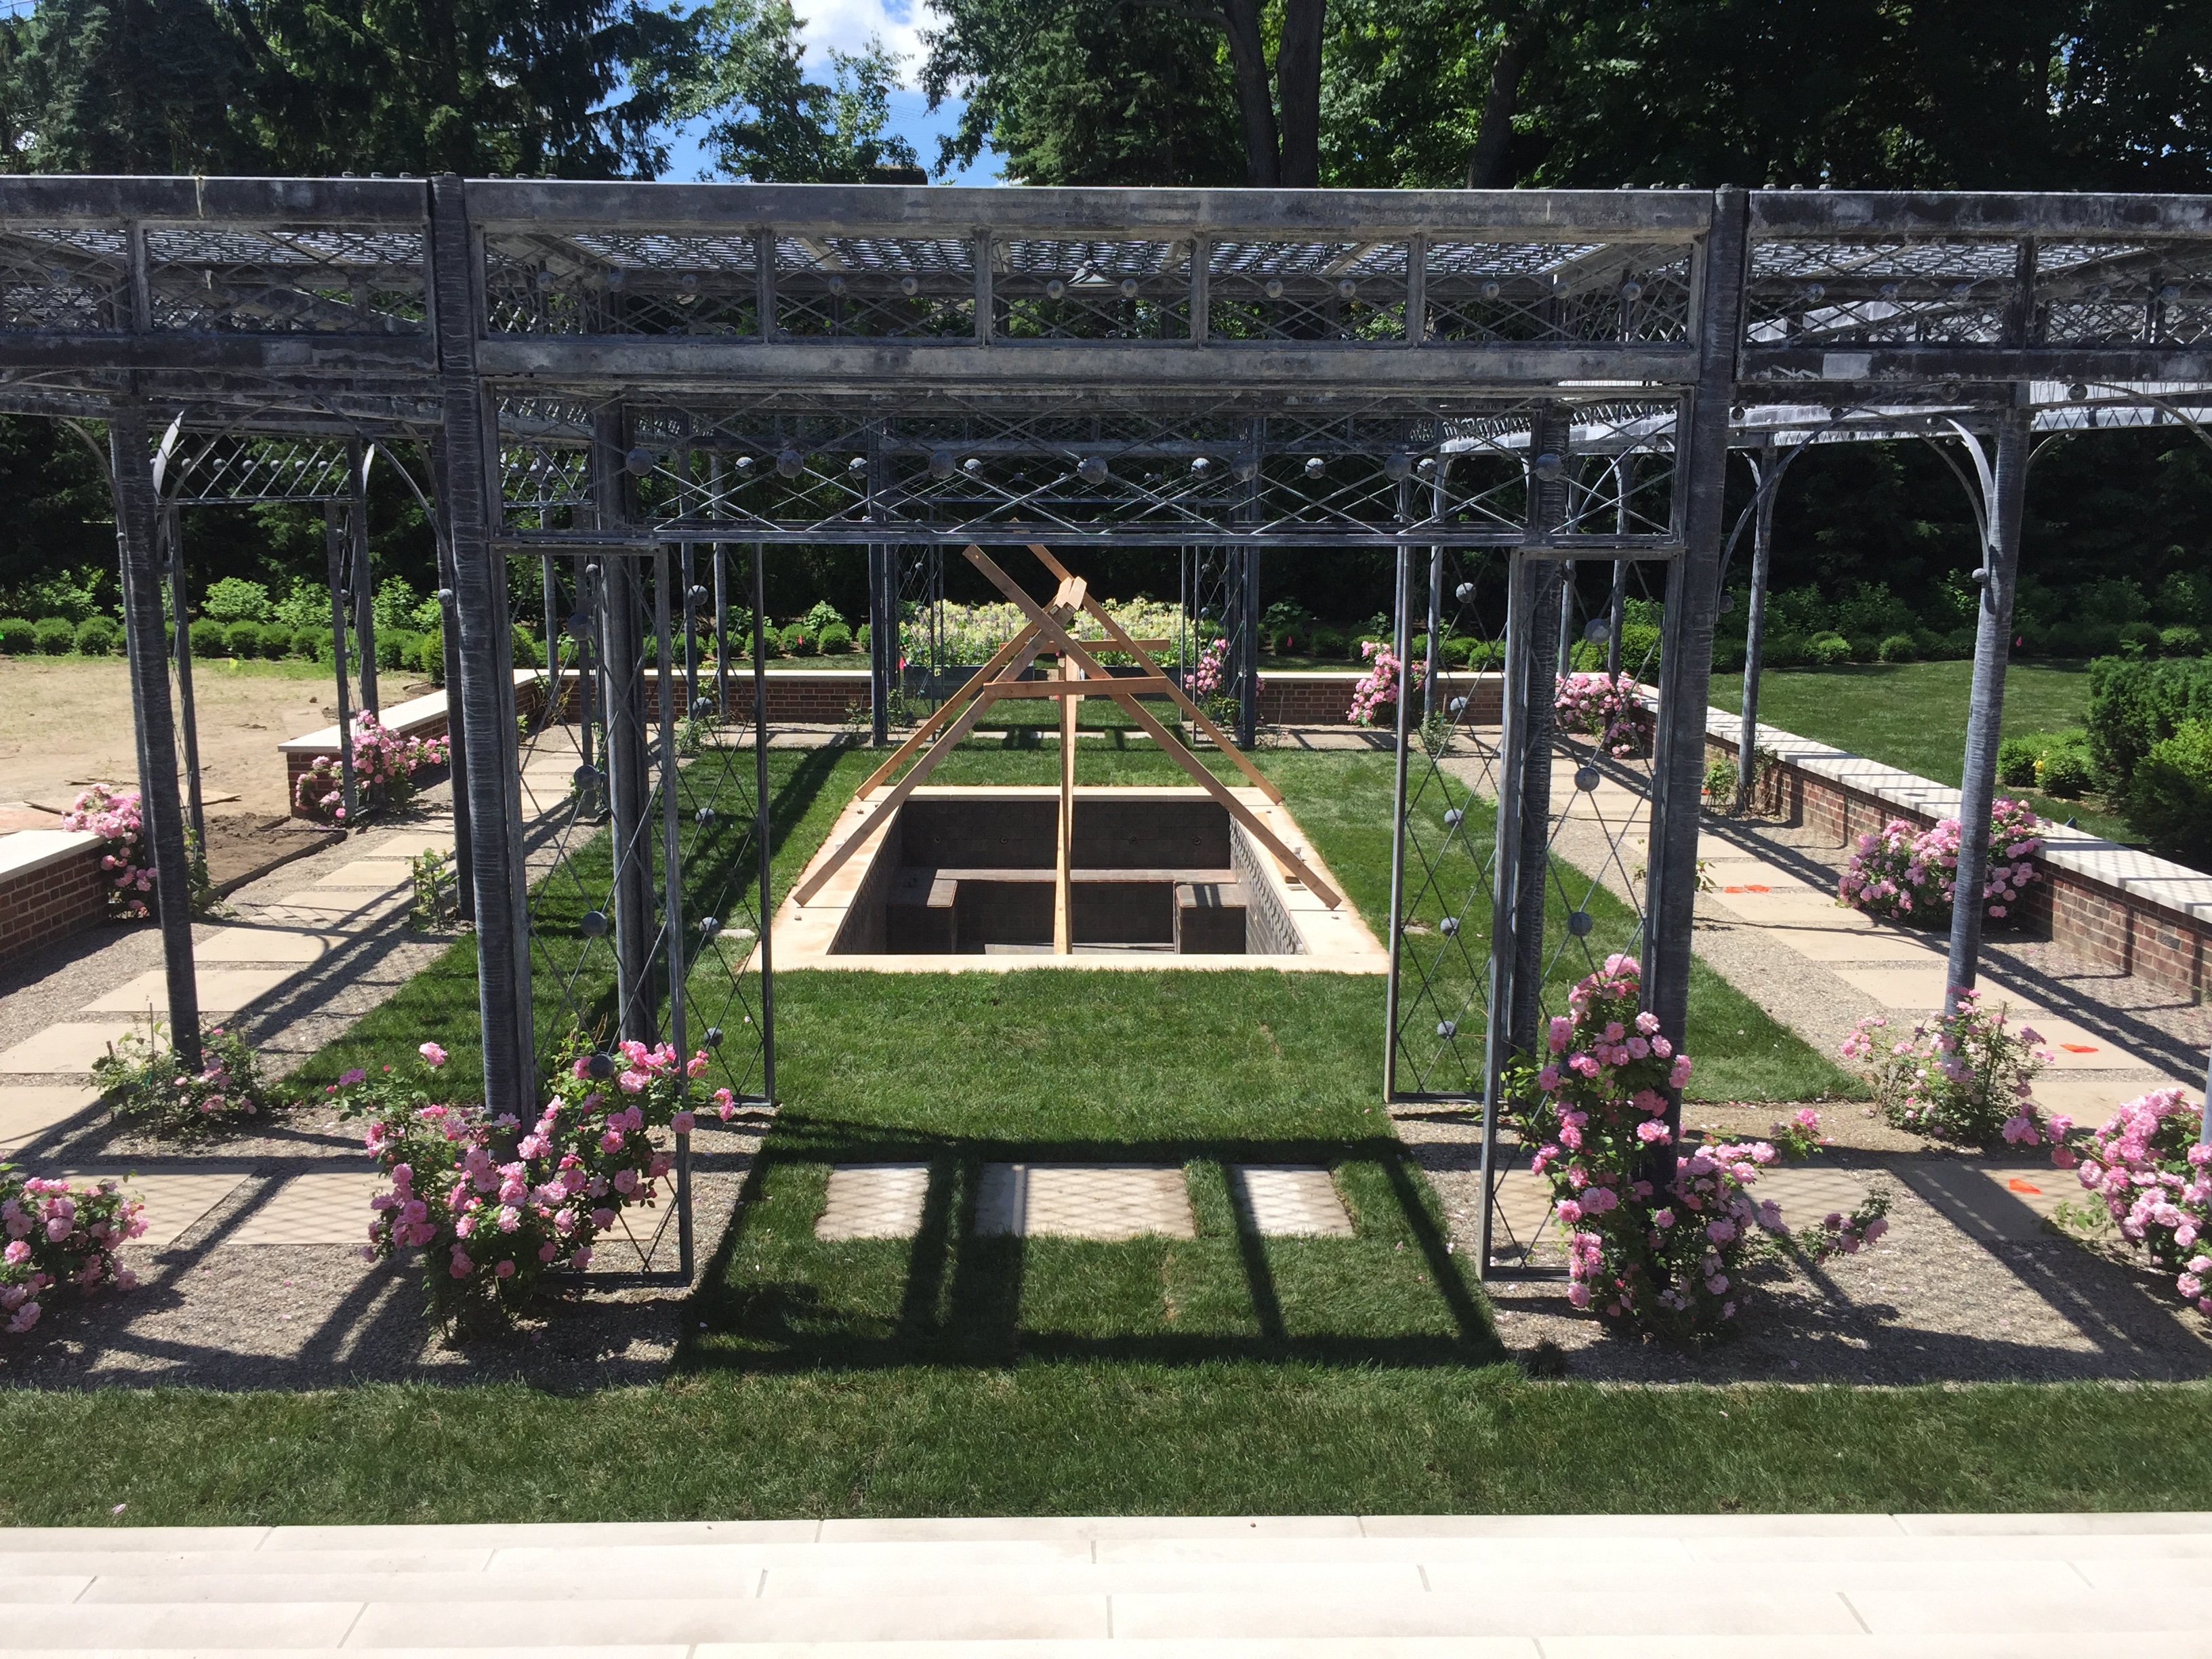
 That wood structure in the middle of the cloister? A fountain pool lies at the center of the cloister. The wood structure is overlaid with a tarp when there is a threat of rain. My client brought photographs of this house for me to see, after I designed the pergola and fountain. The original house had a reflecting pool, and wooden arbor in this location. In 1920. What a pleasure to see that what was on my mind had been expressed on this property close to 100 years ago.
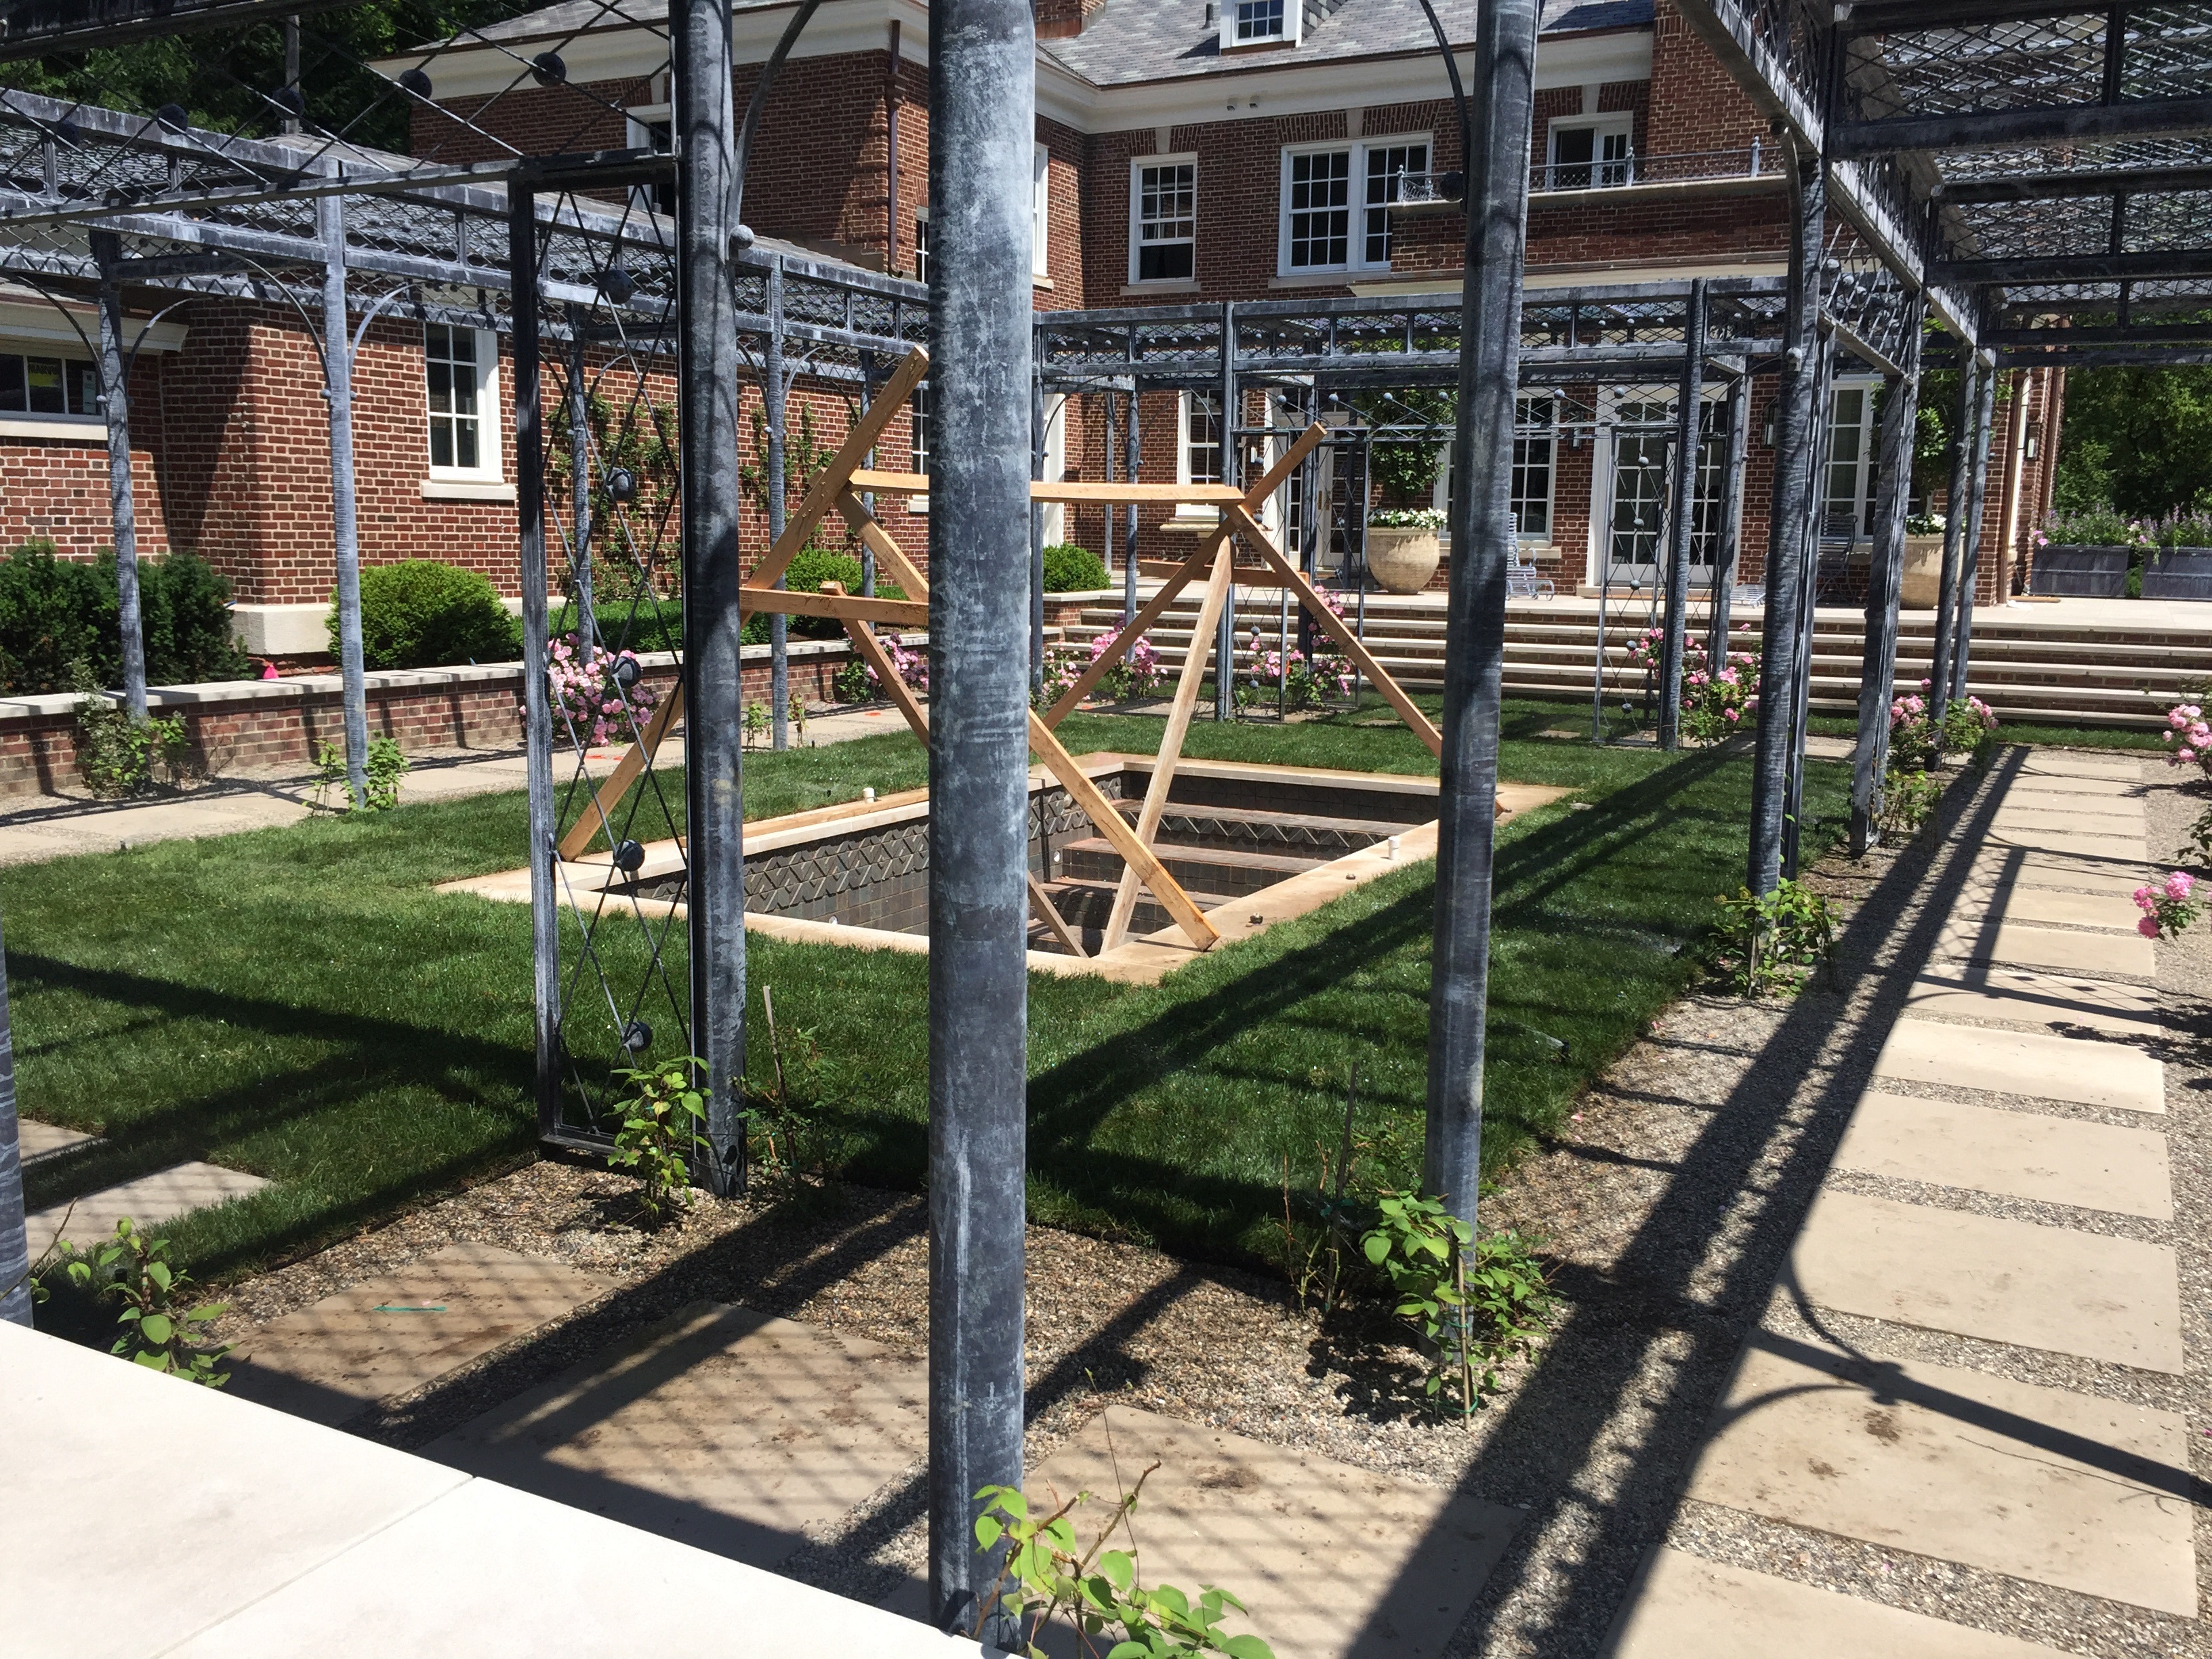 This area was a grassed ditch when I first saw the property. The ground sloped down sharply from the foundation of the house and garage. This area now has two levels, both of which are flat and usable. Though I have previously posted about the fabrication and installation of the cloister,this picture provides a glimpse of how that structure will be integrated into the overall landscape. It also illustrates how the double walled structure with a roof overhead with create shade on the perimeter. Though the structure is comprised of many tons of steel anchored to 32 individual footings, and shadows cast are delicate and airy.
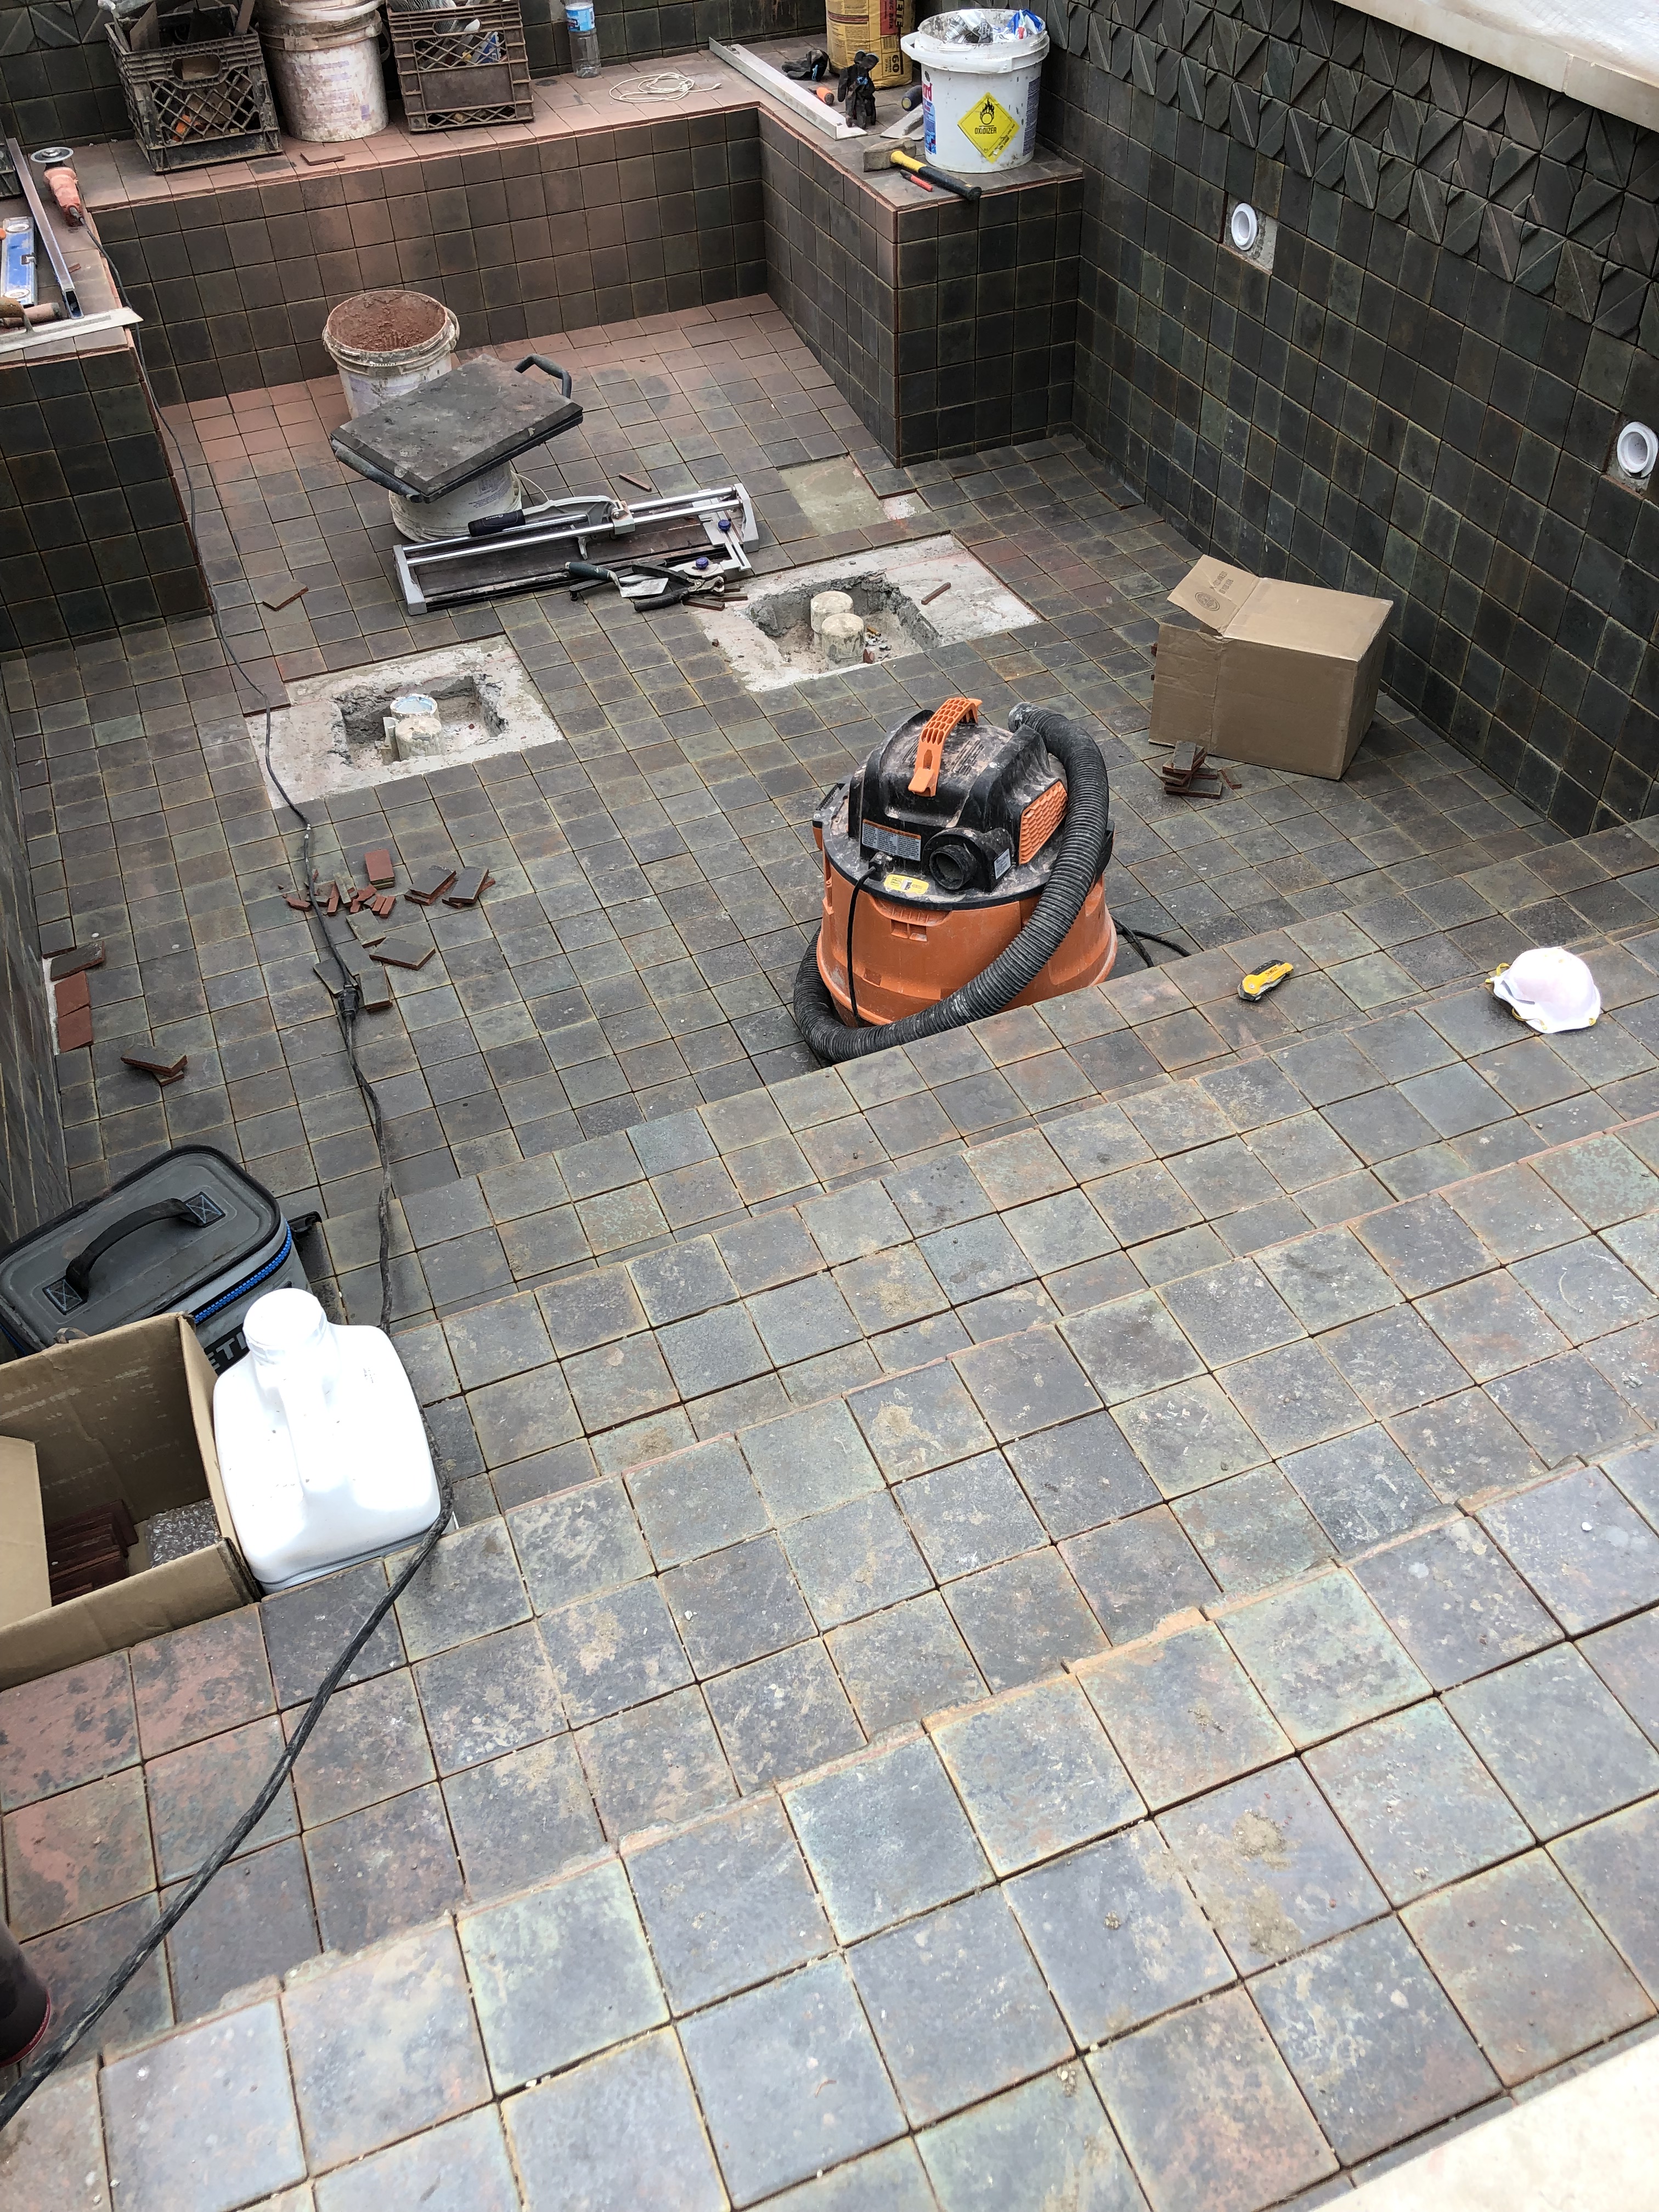 The fountain is tiled in its entirety. The walls, steps, the bench, and the floor. The color variations are reminiscent of fountain tile of this era. The top 3 courses of tile have a strong geometric raised profile. I could not imagine this fountain coated on the interior with pebble tec, a common to swimming pools. This tile respects the architecture and era of the house. Gillette Pools has done an incredible job of installing a state of the art fountain/spa with the craftsmanship required to echo a previous era. My client and I fussed and fumed over the tile selection. What I see here seems just right.
 The John Davis climbing roses are small yet, but they obligingly bloomed. Each John Davis has a Guernsey Cream clematis to go with.
 Yes, the tour is less than a month away, but this new project will be ready. I think the newness of it will enchant visitors in much the same way as I am enchanted. The beauty of the moment, and the hope for the future-every gardener knows about this. This is by far one one of the most exciting and rewarding landscape projects it has ever been my privilege to design and install. Thank you, H.
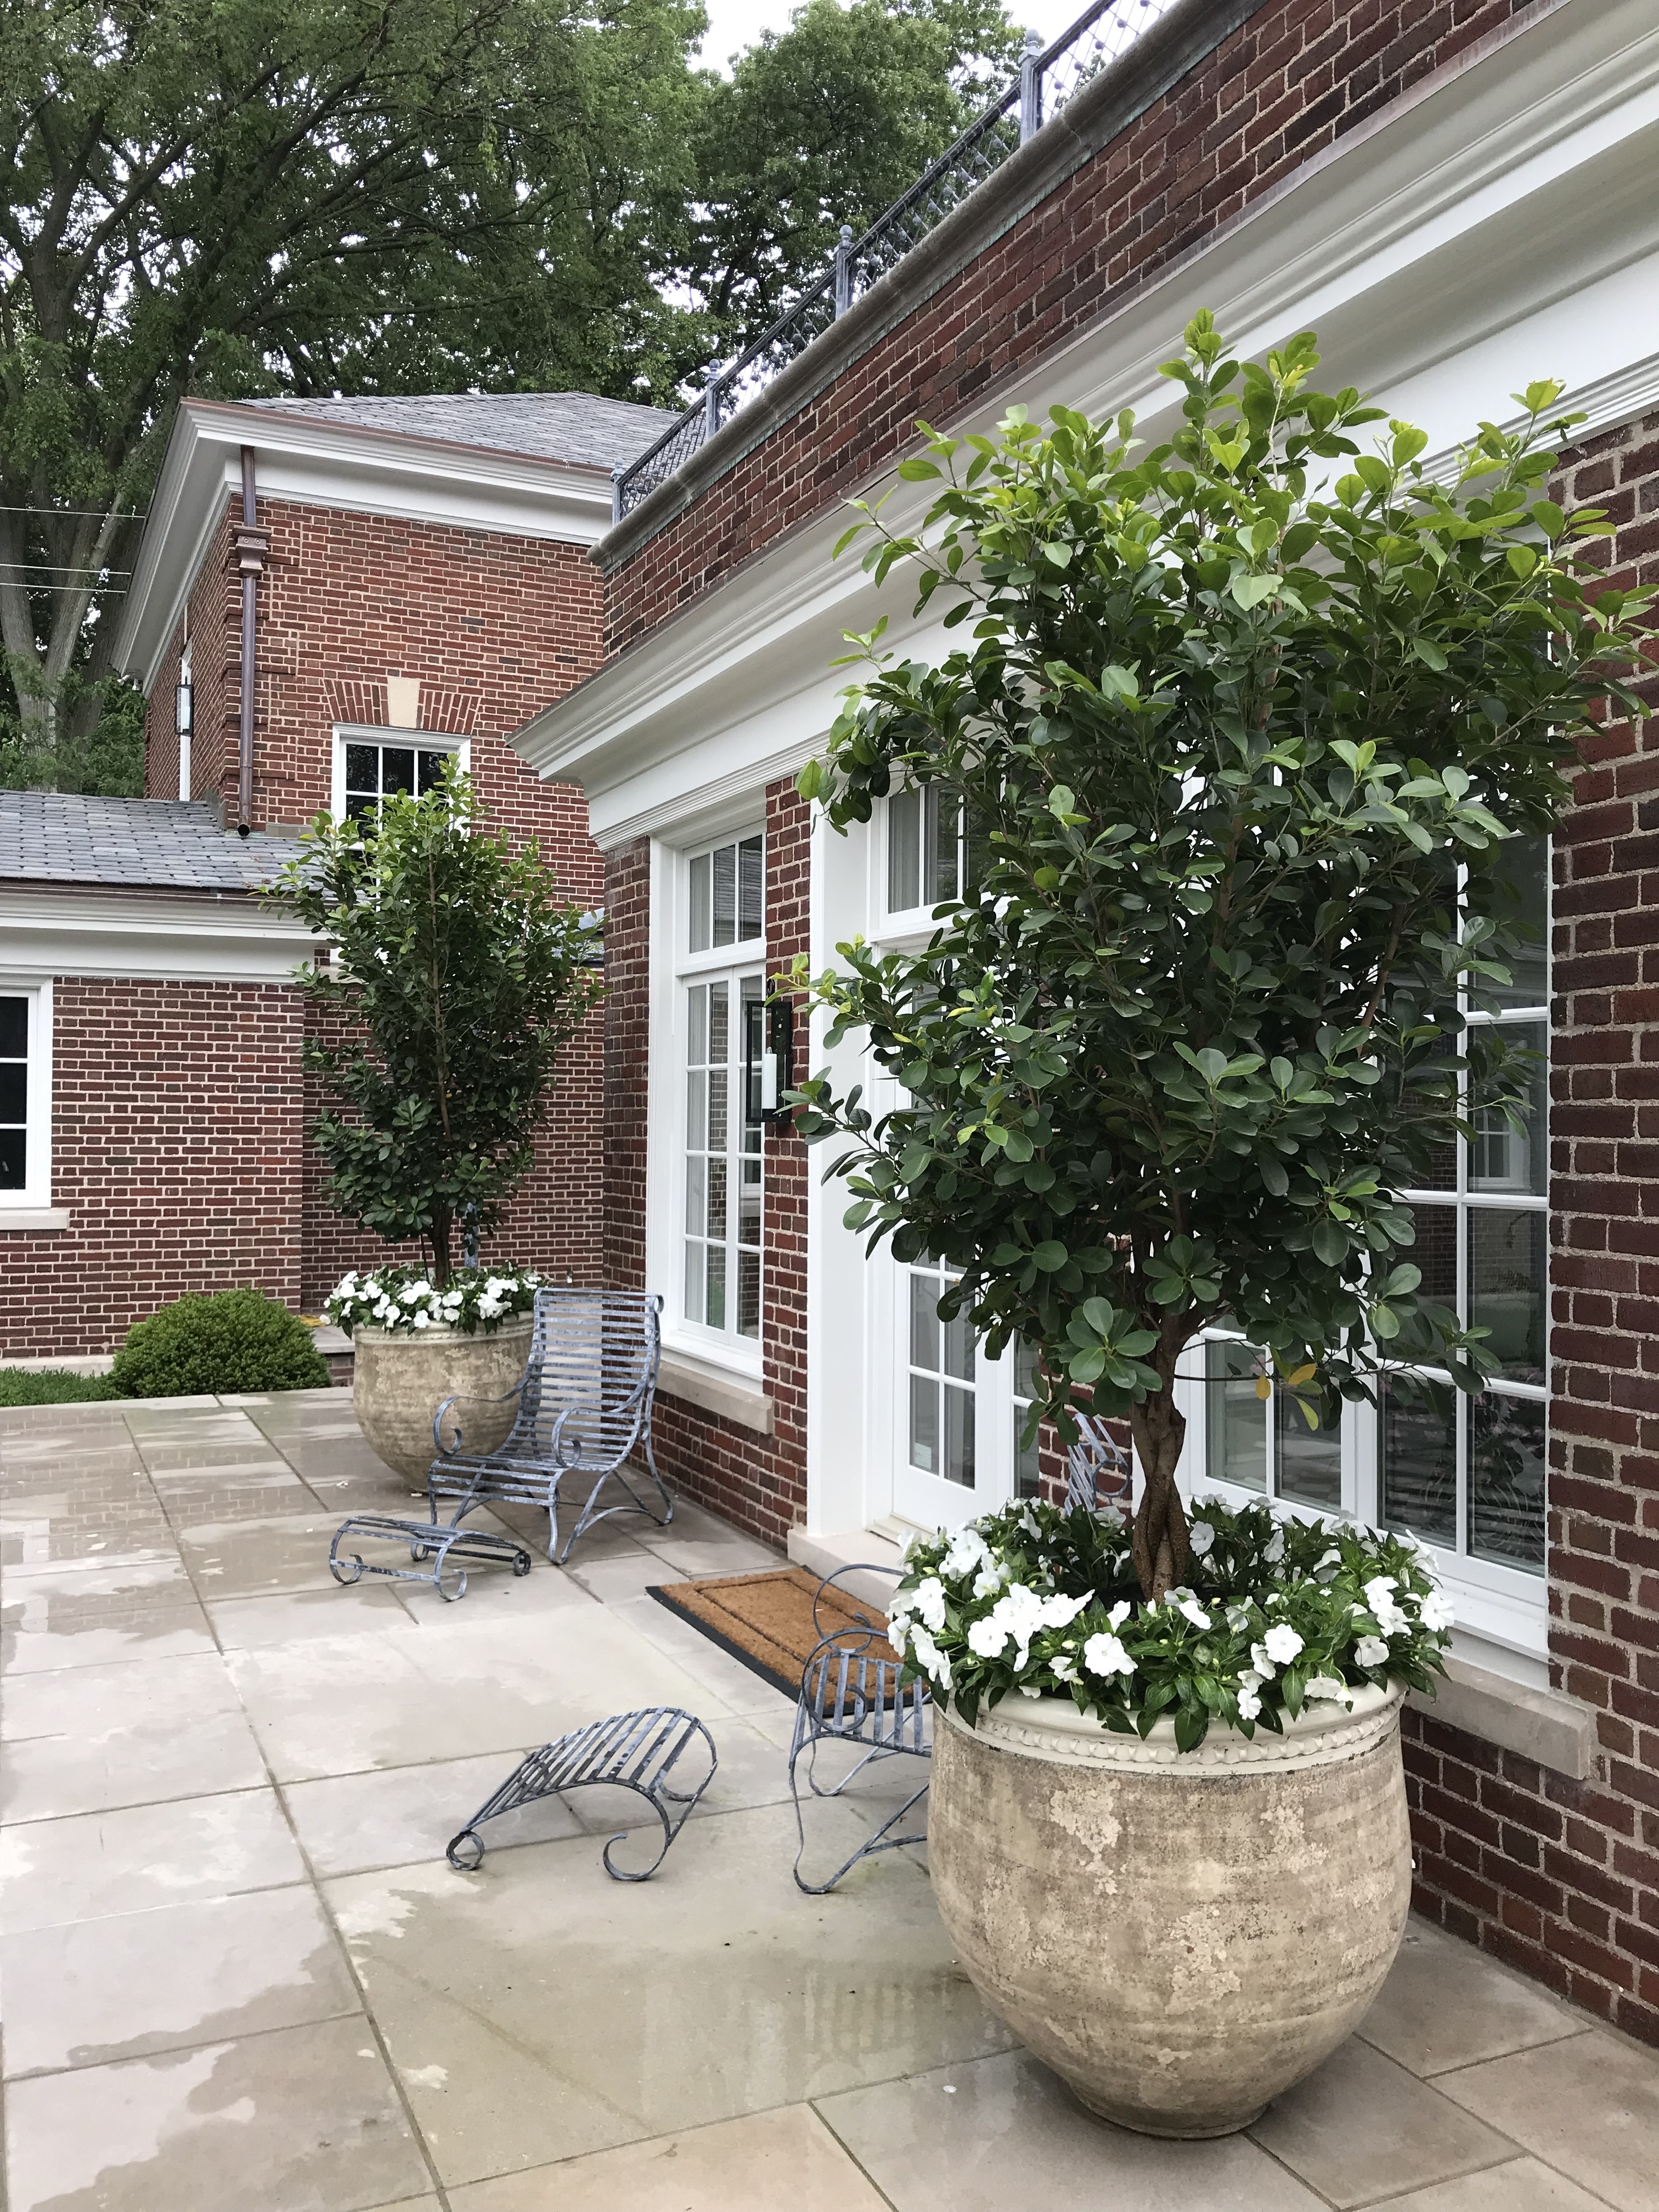 French pots on the upper terrace planted with braided ficus and white New Guinea impatiens
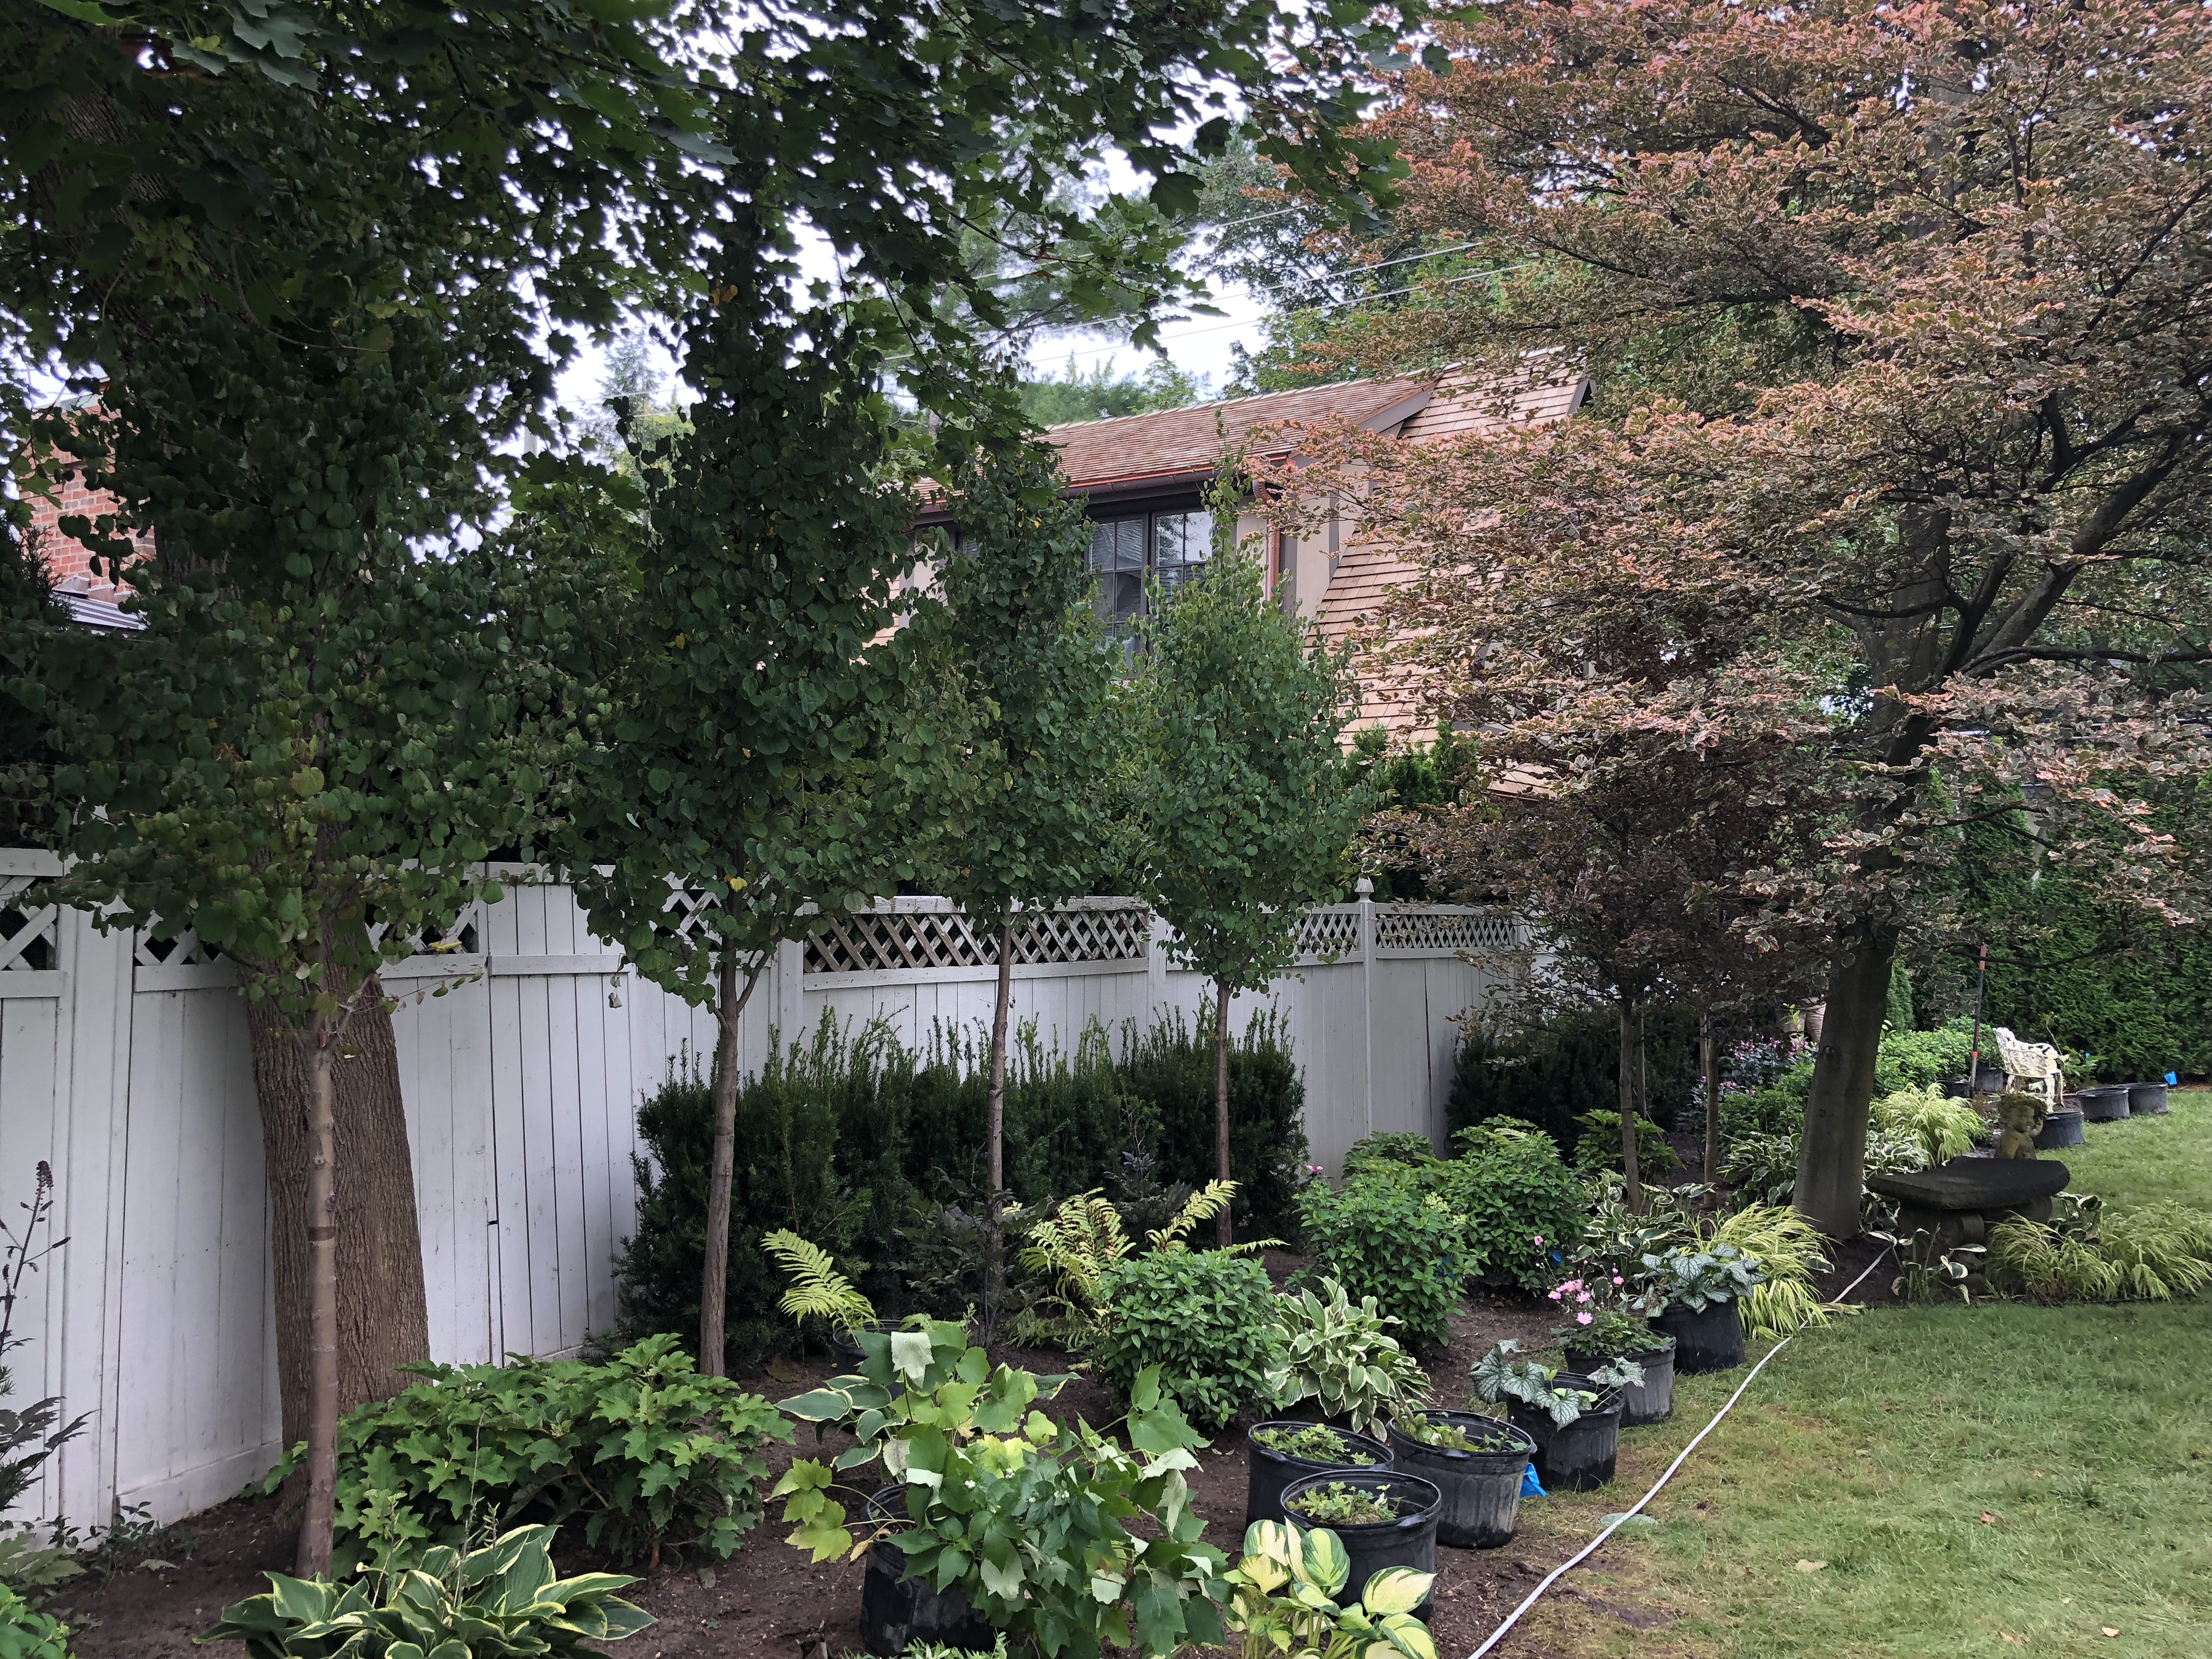
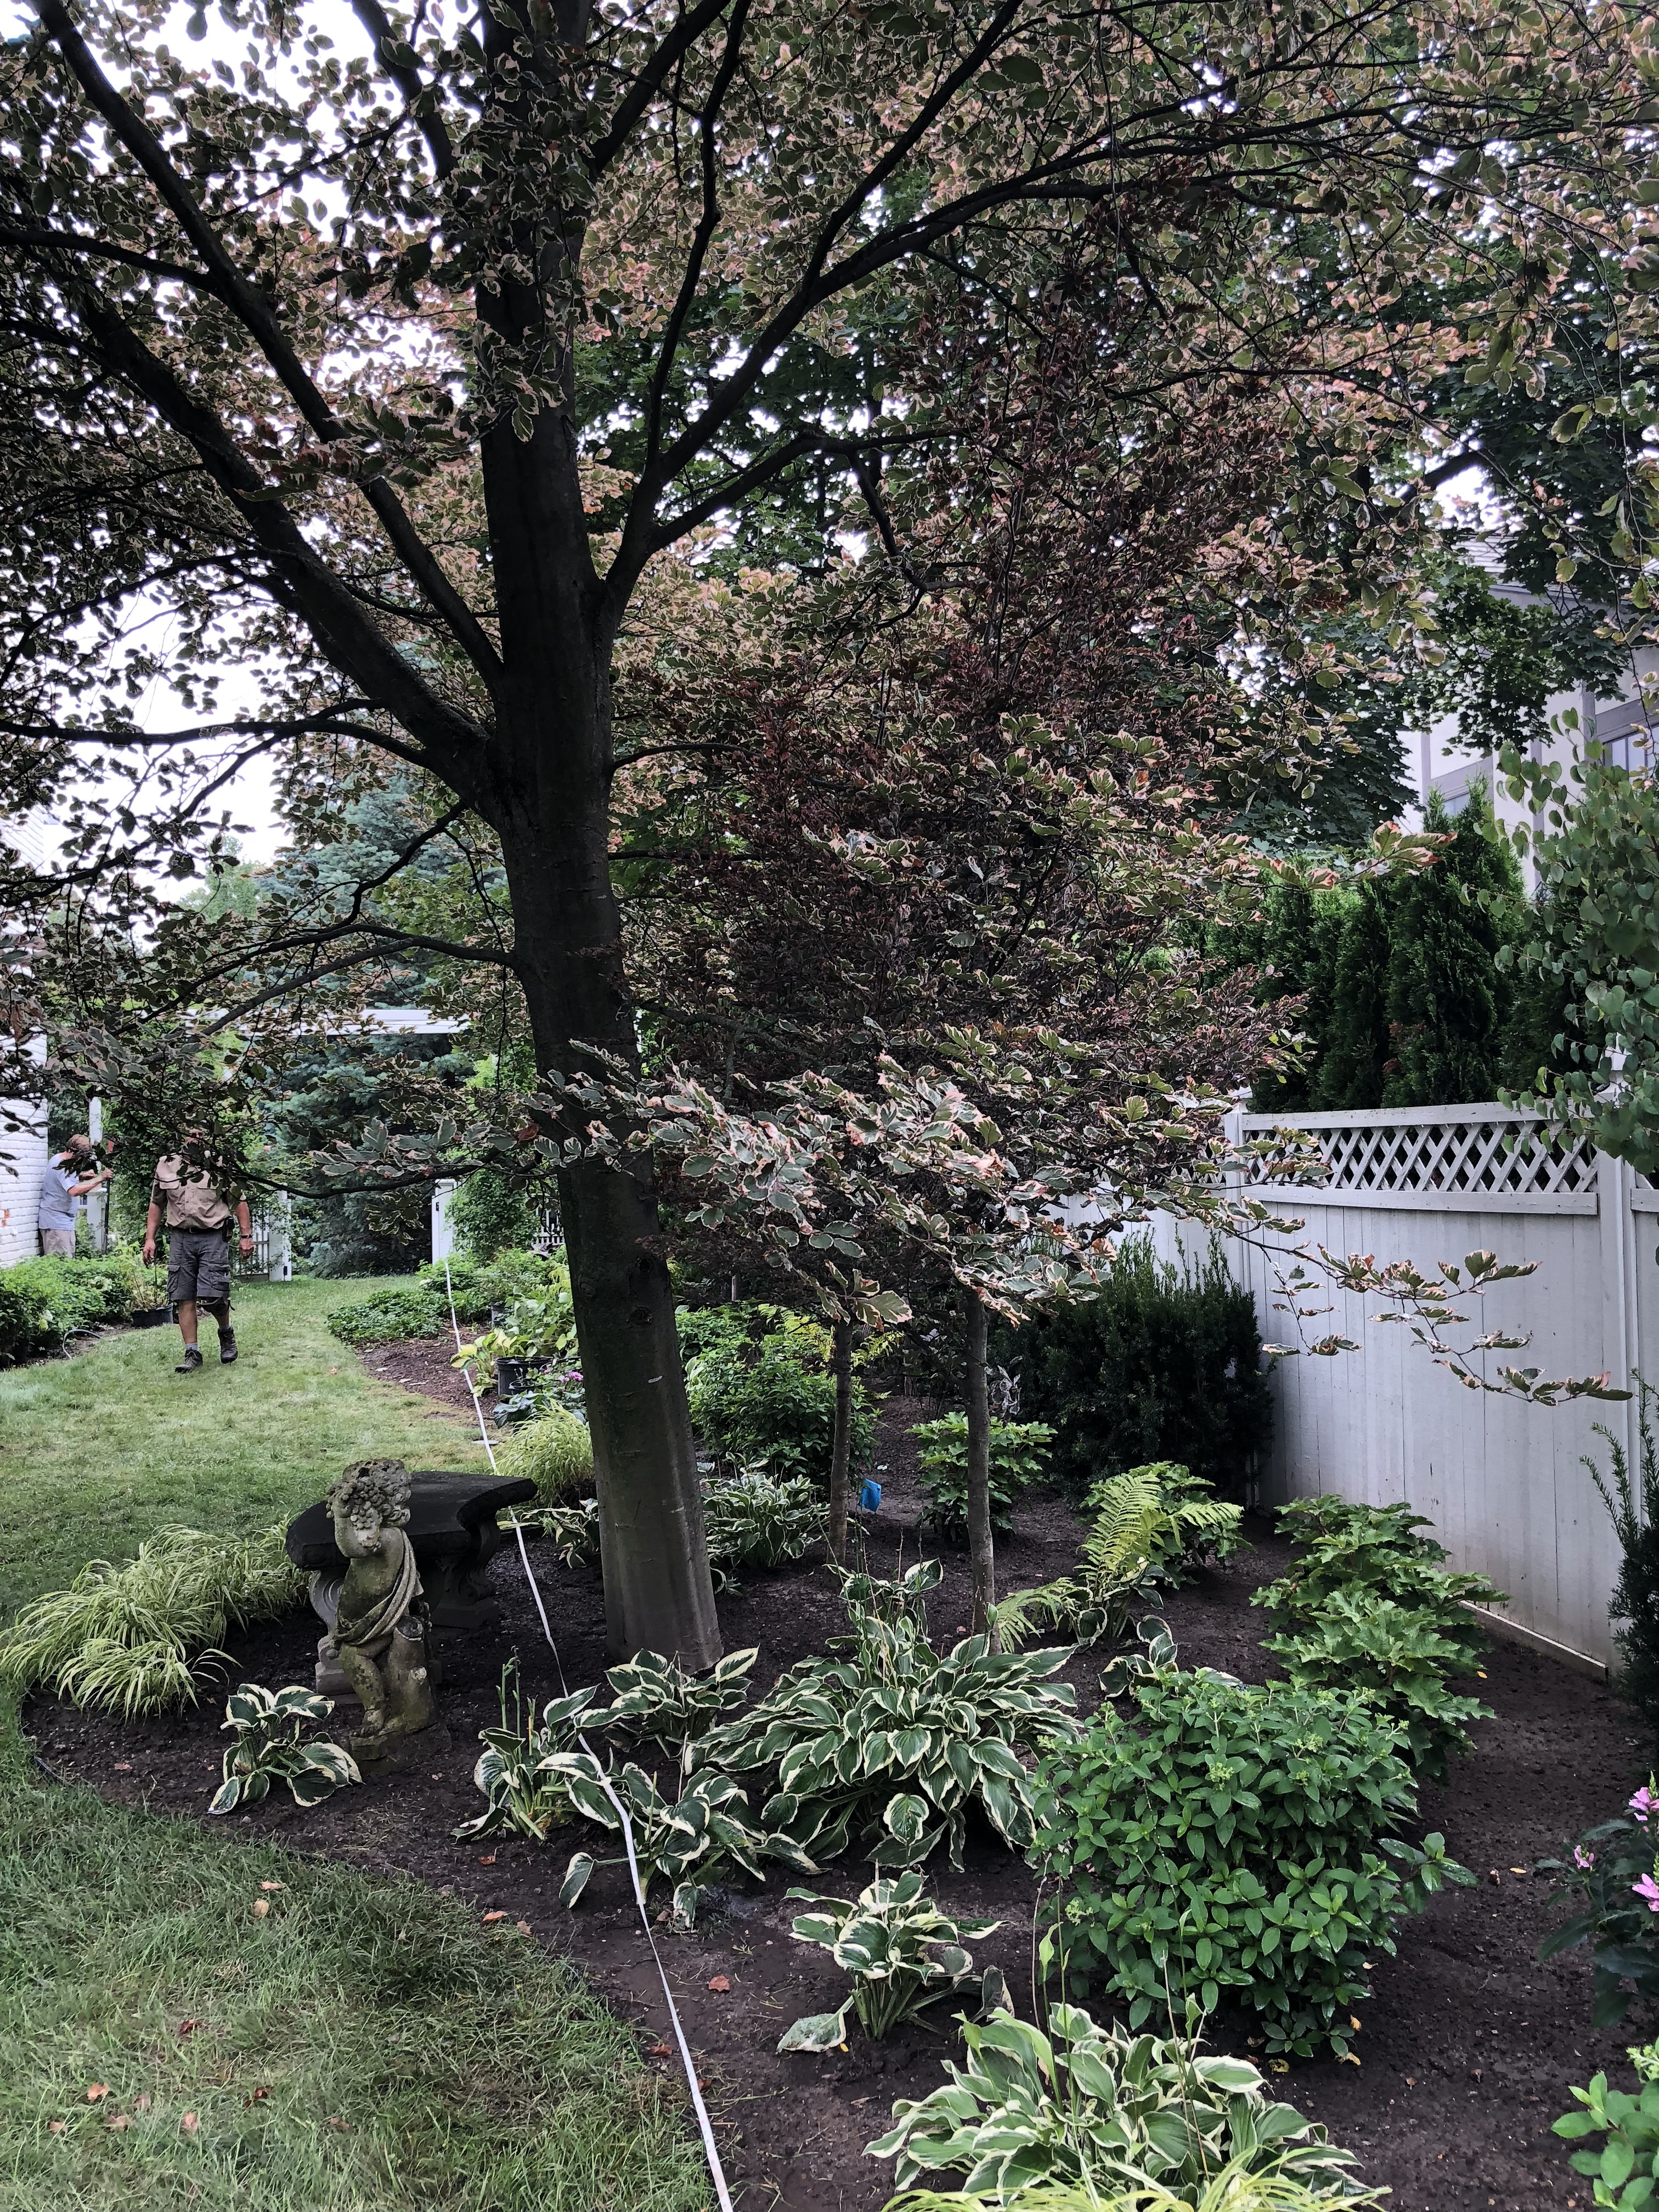
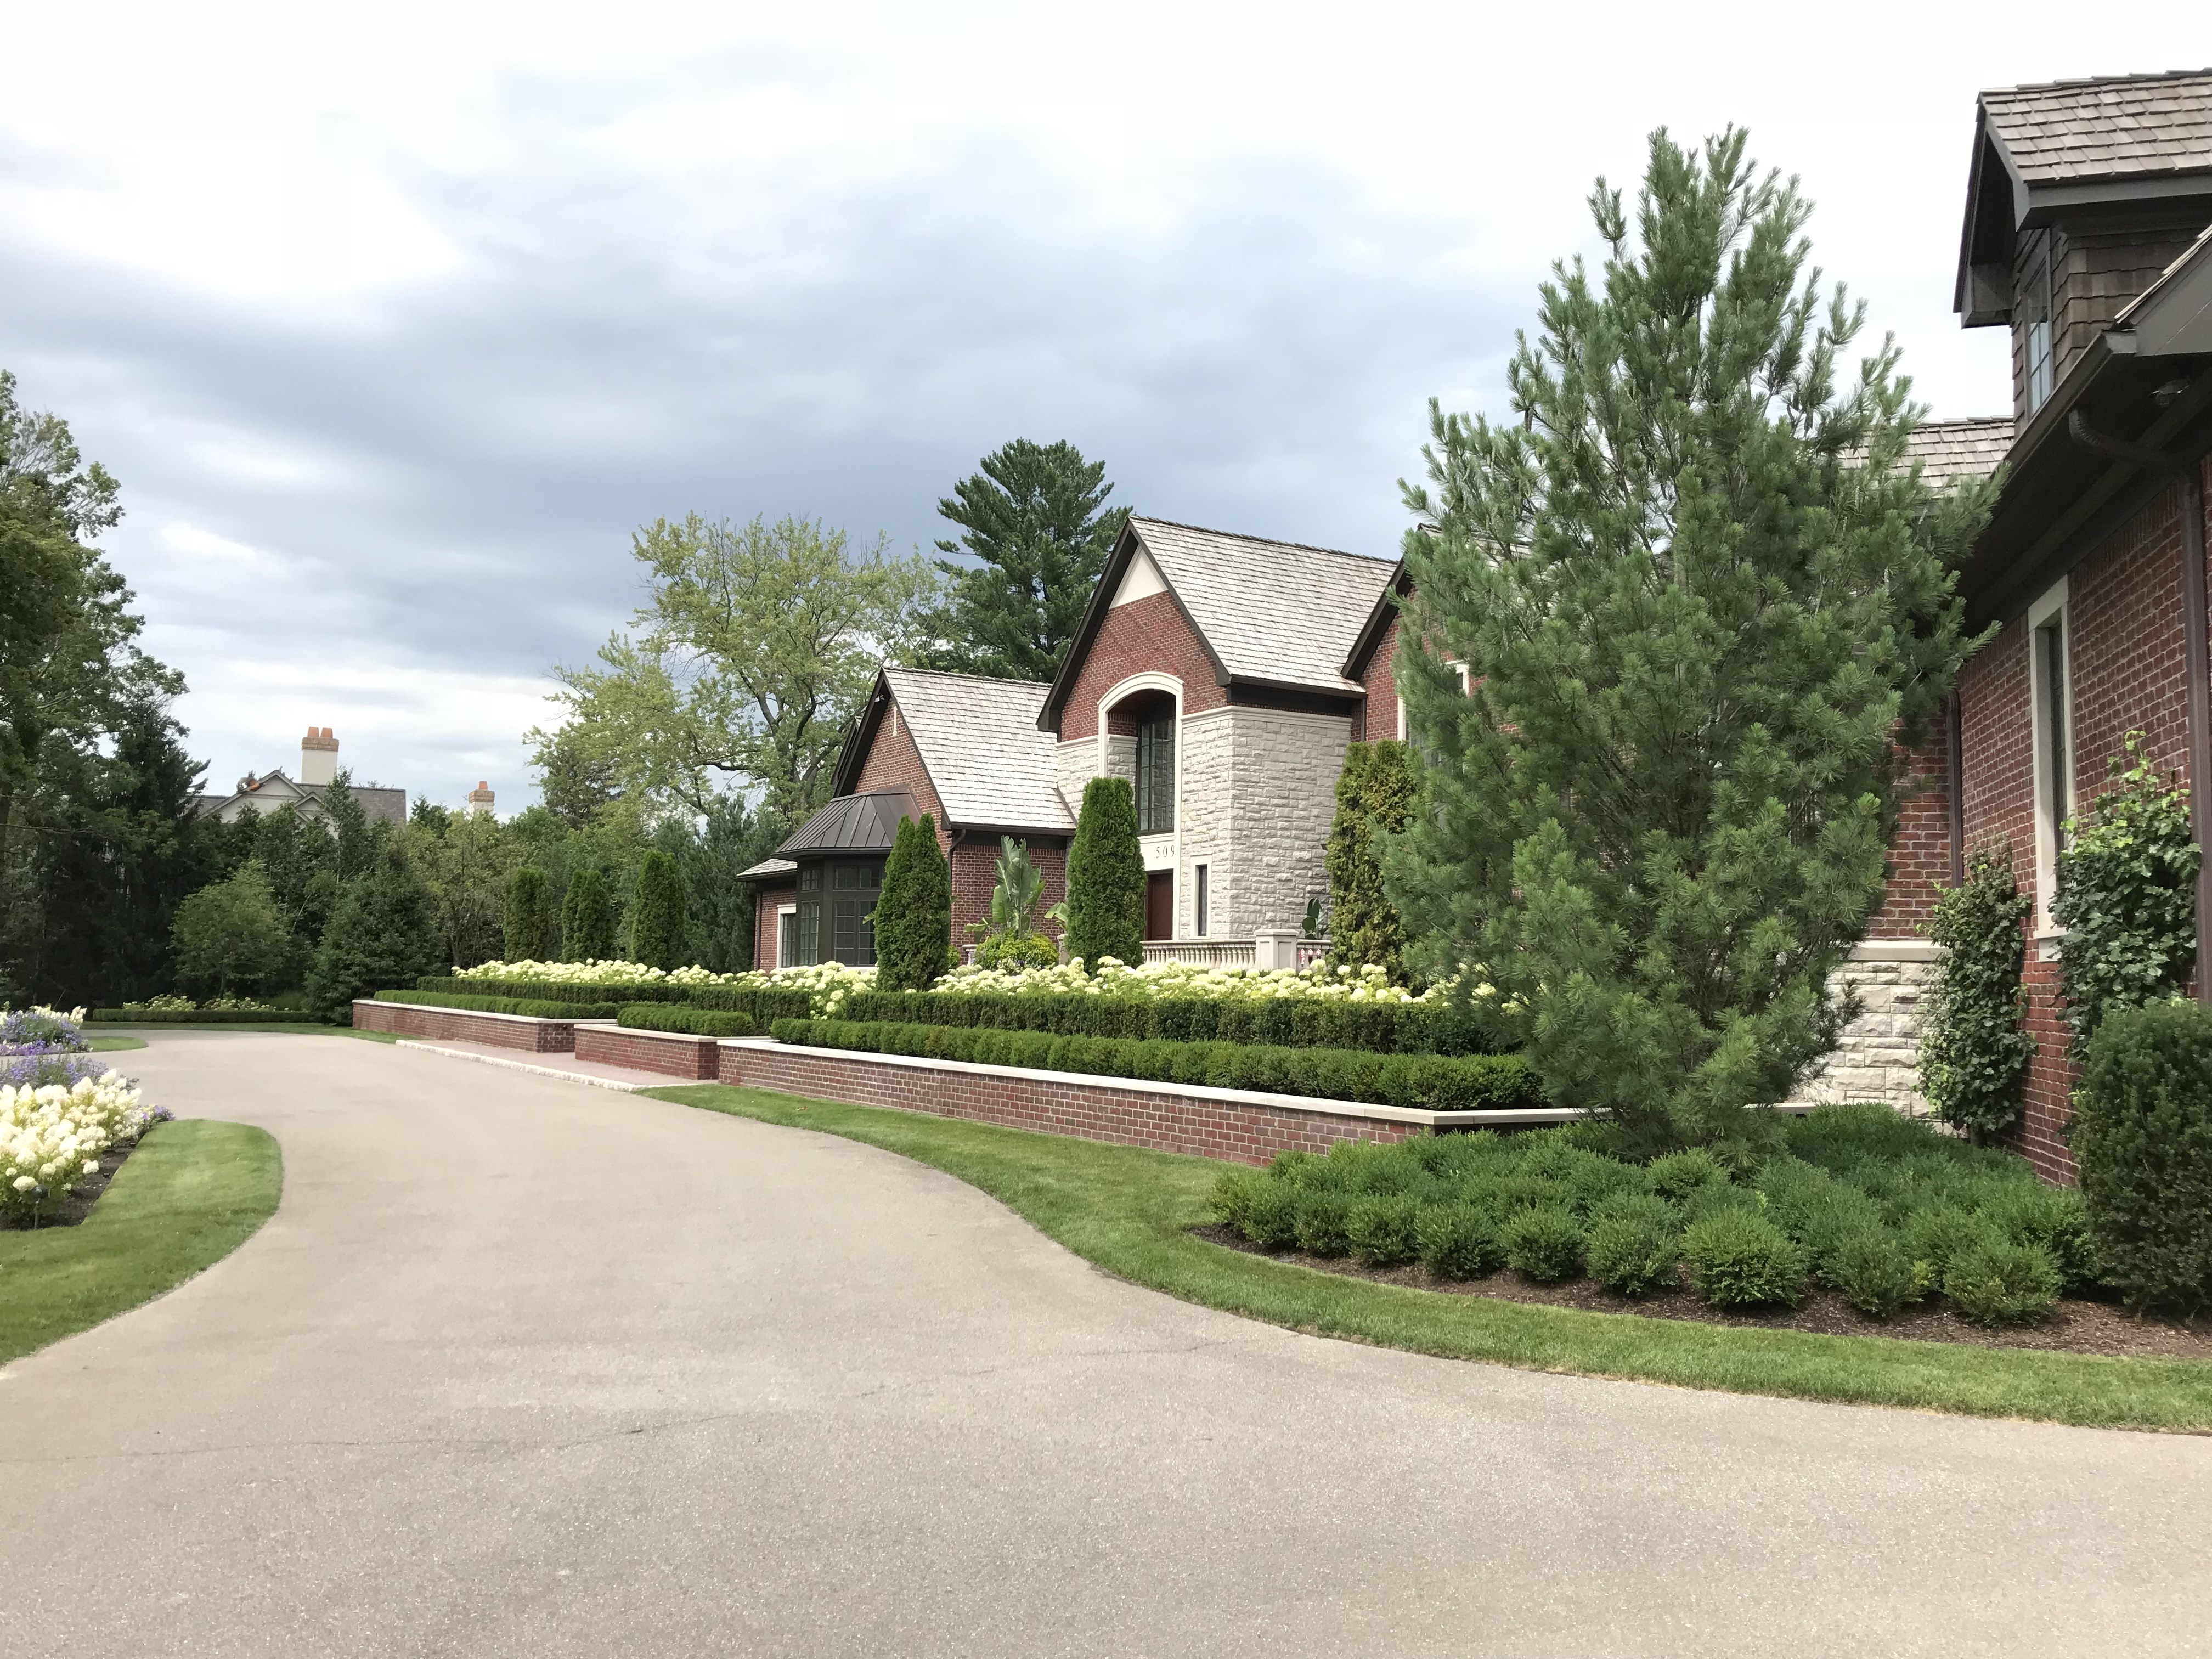
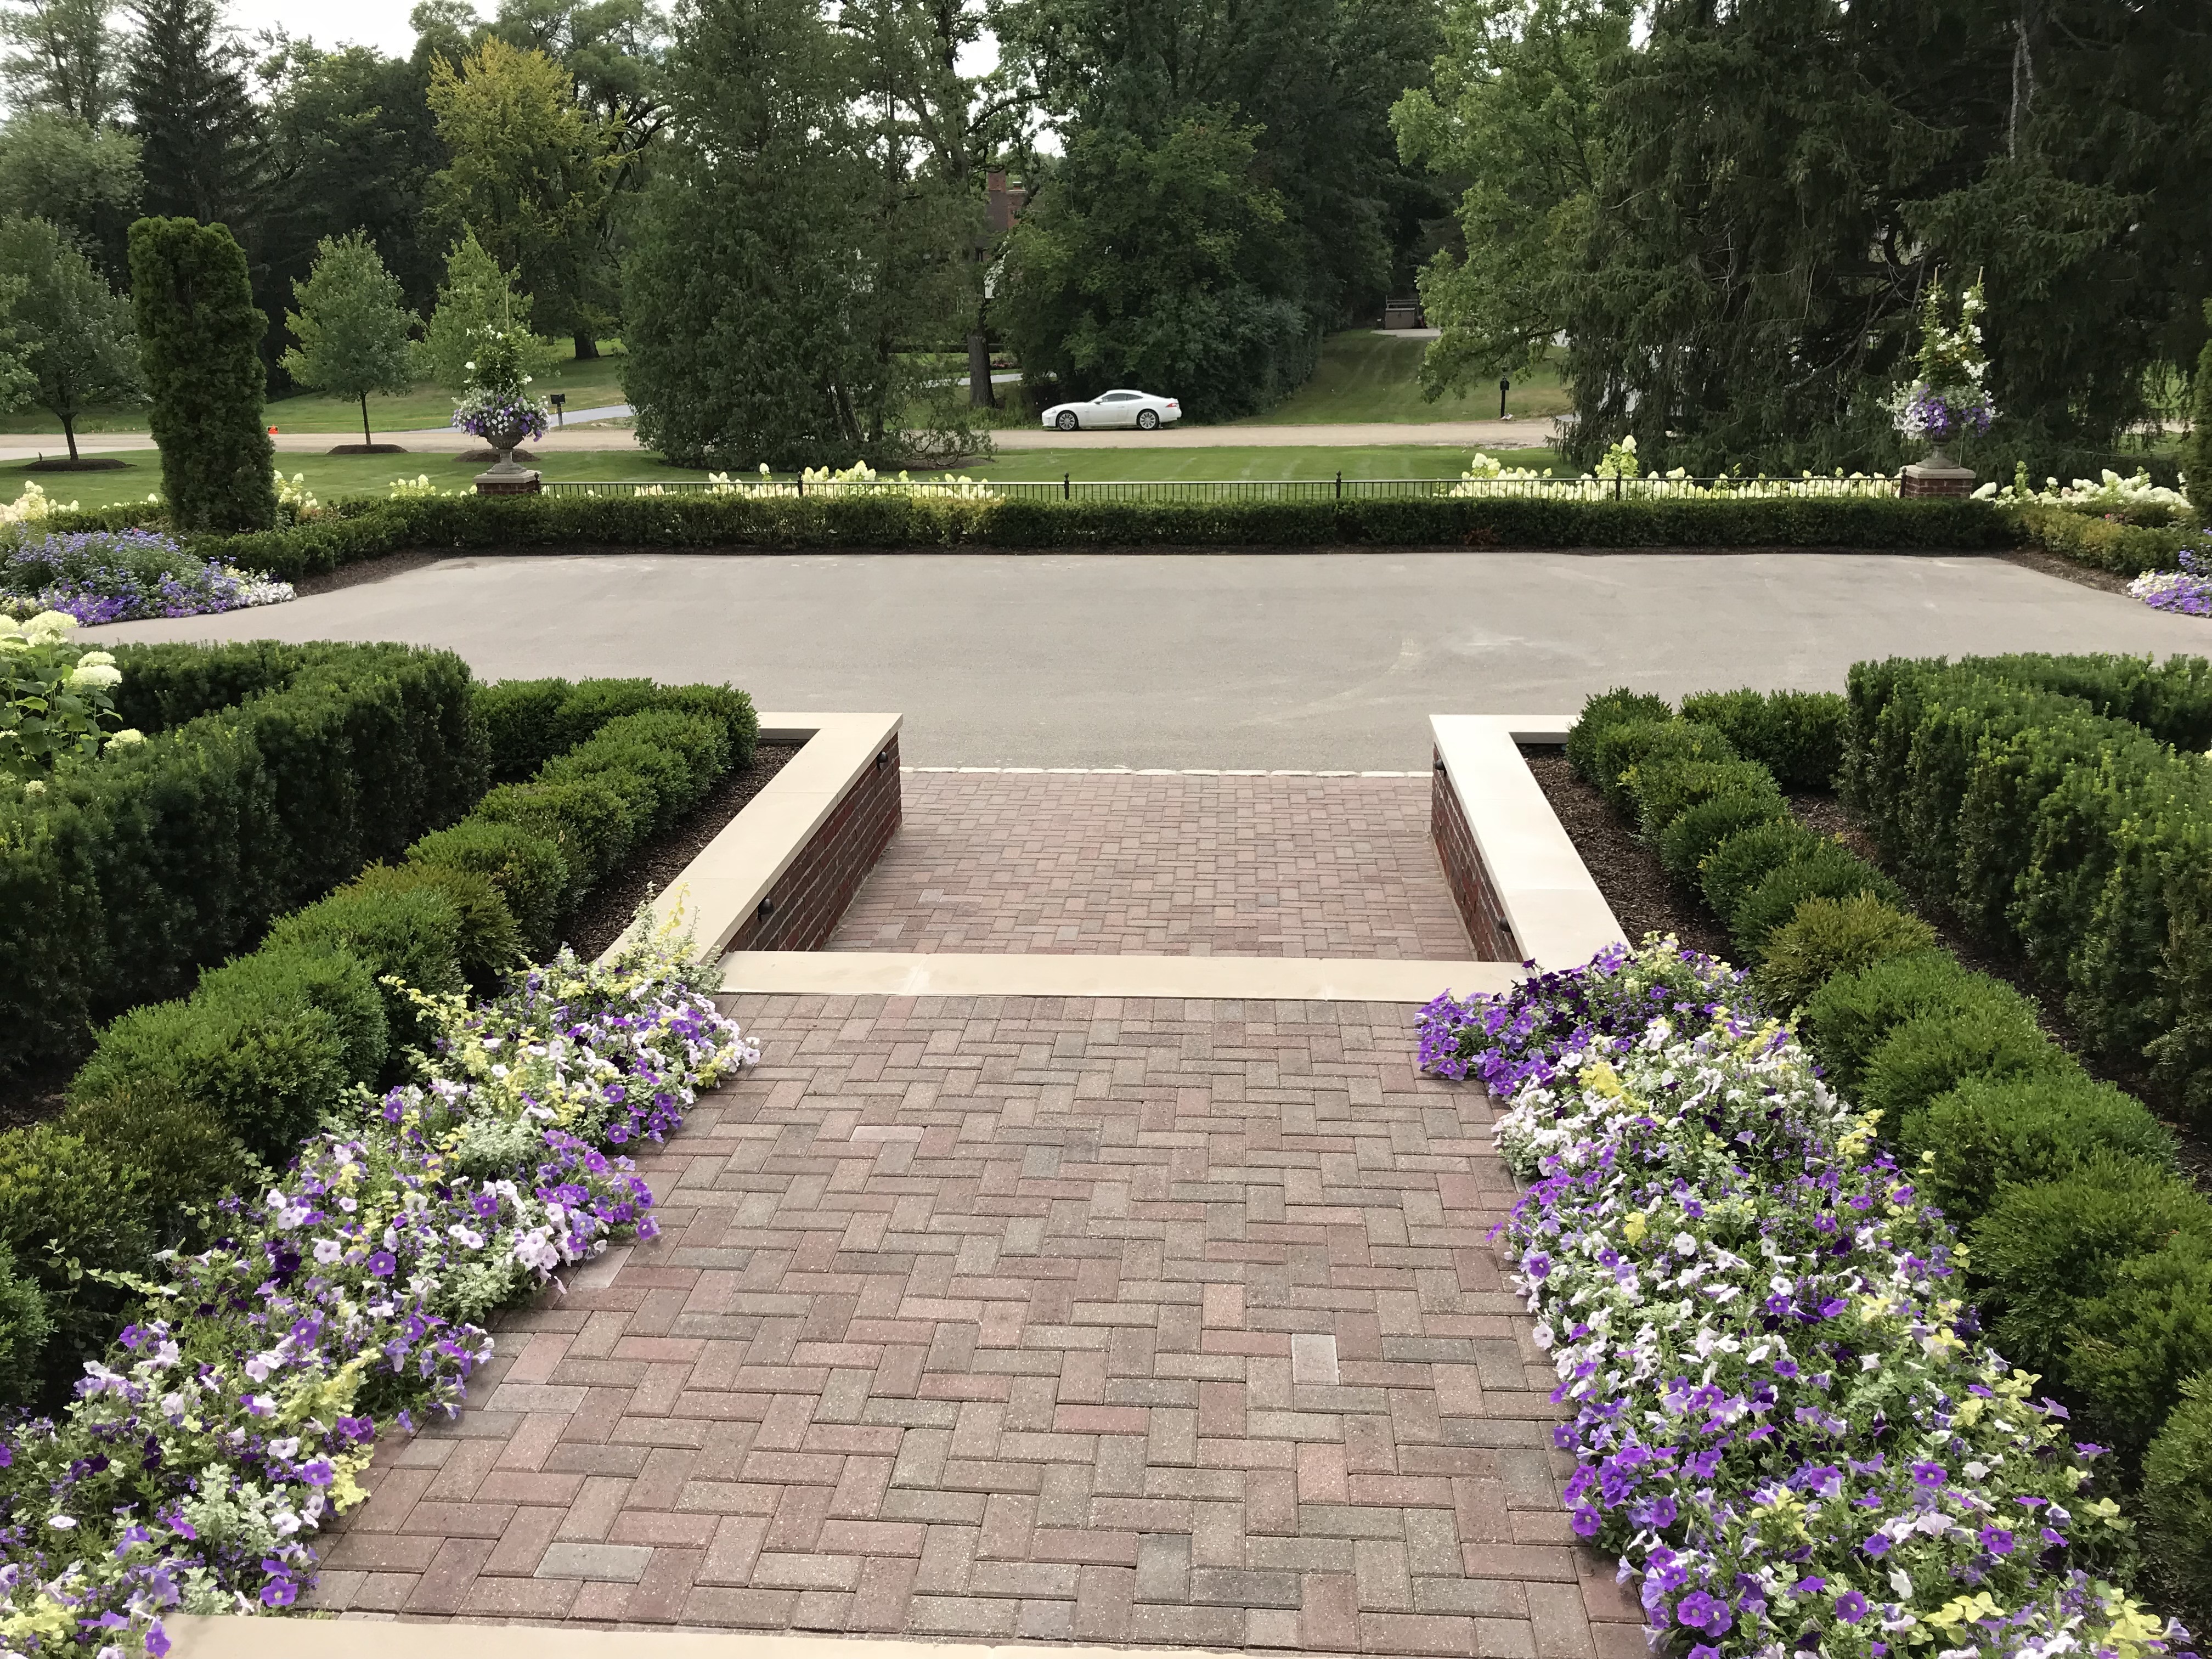
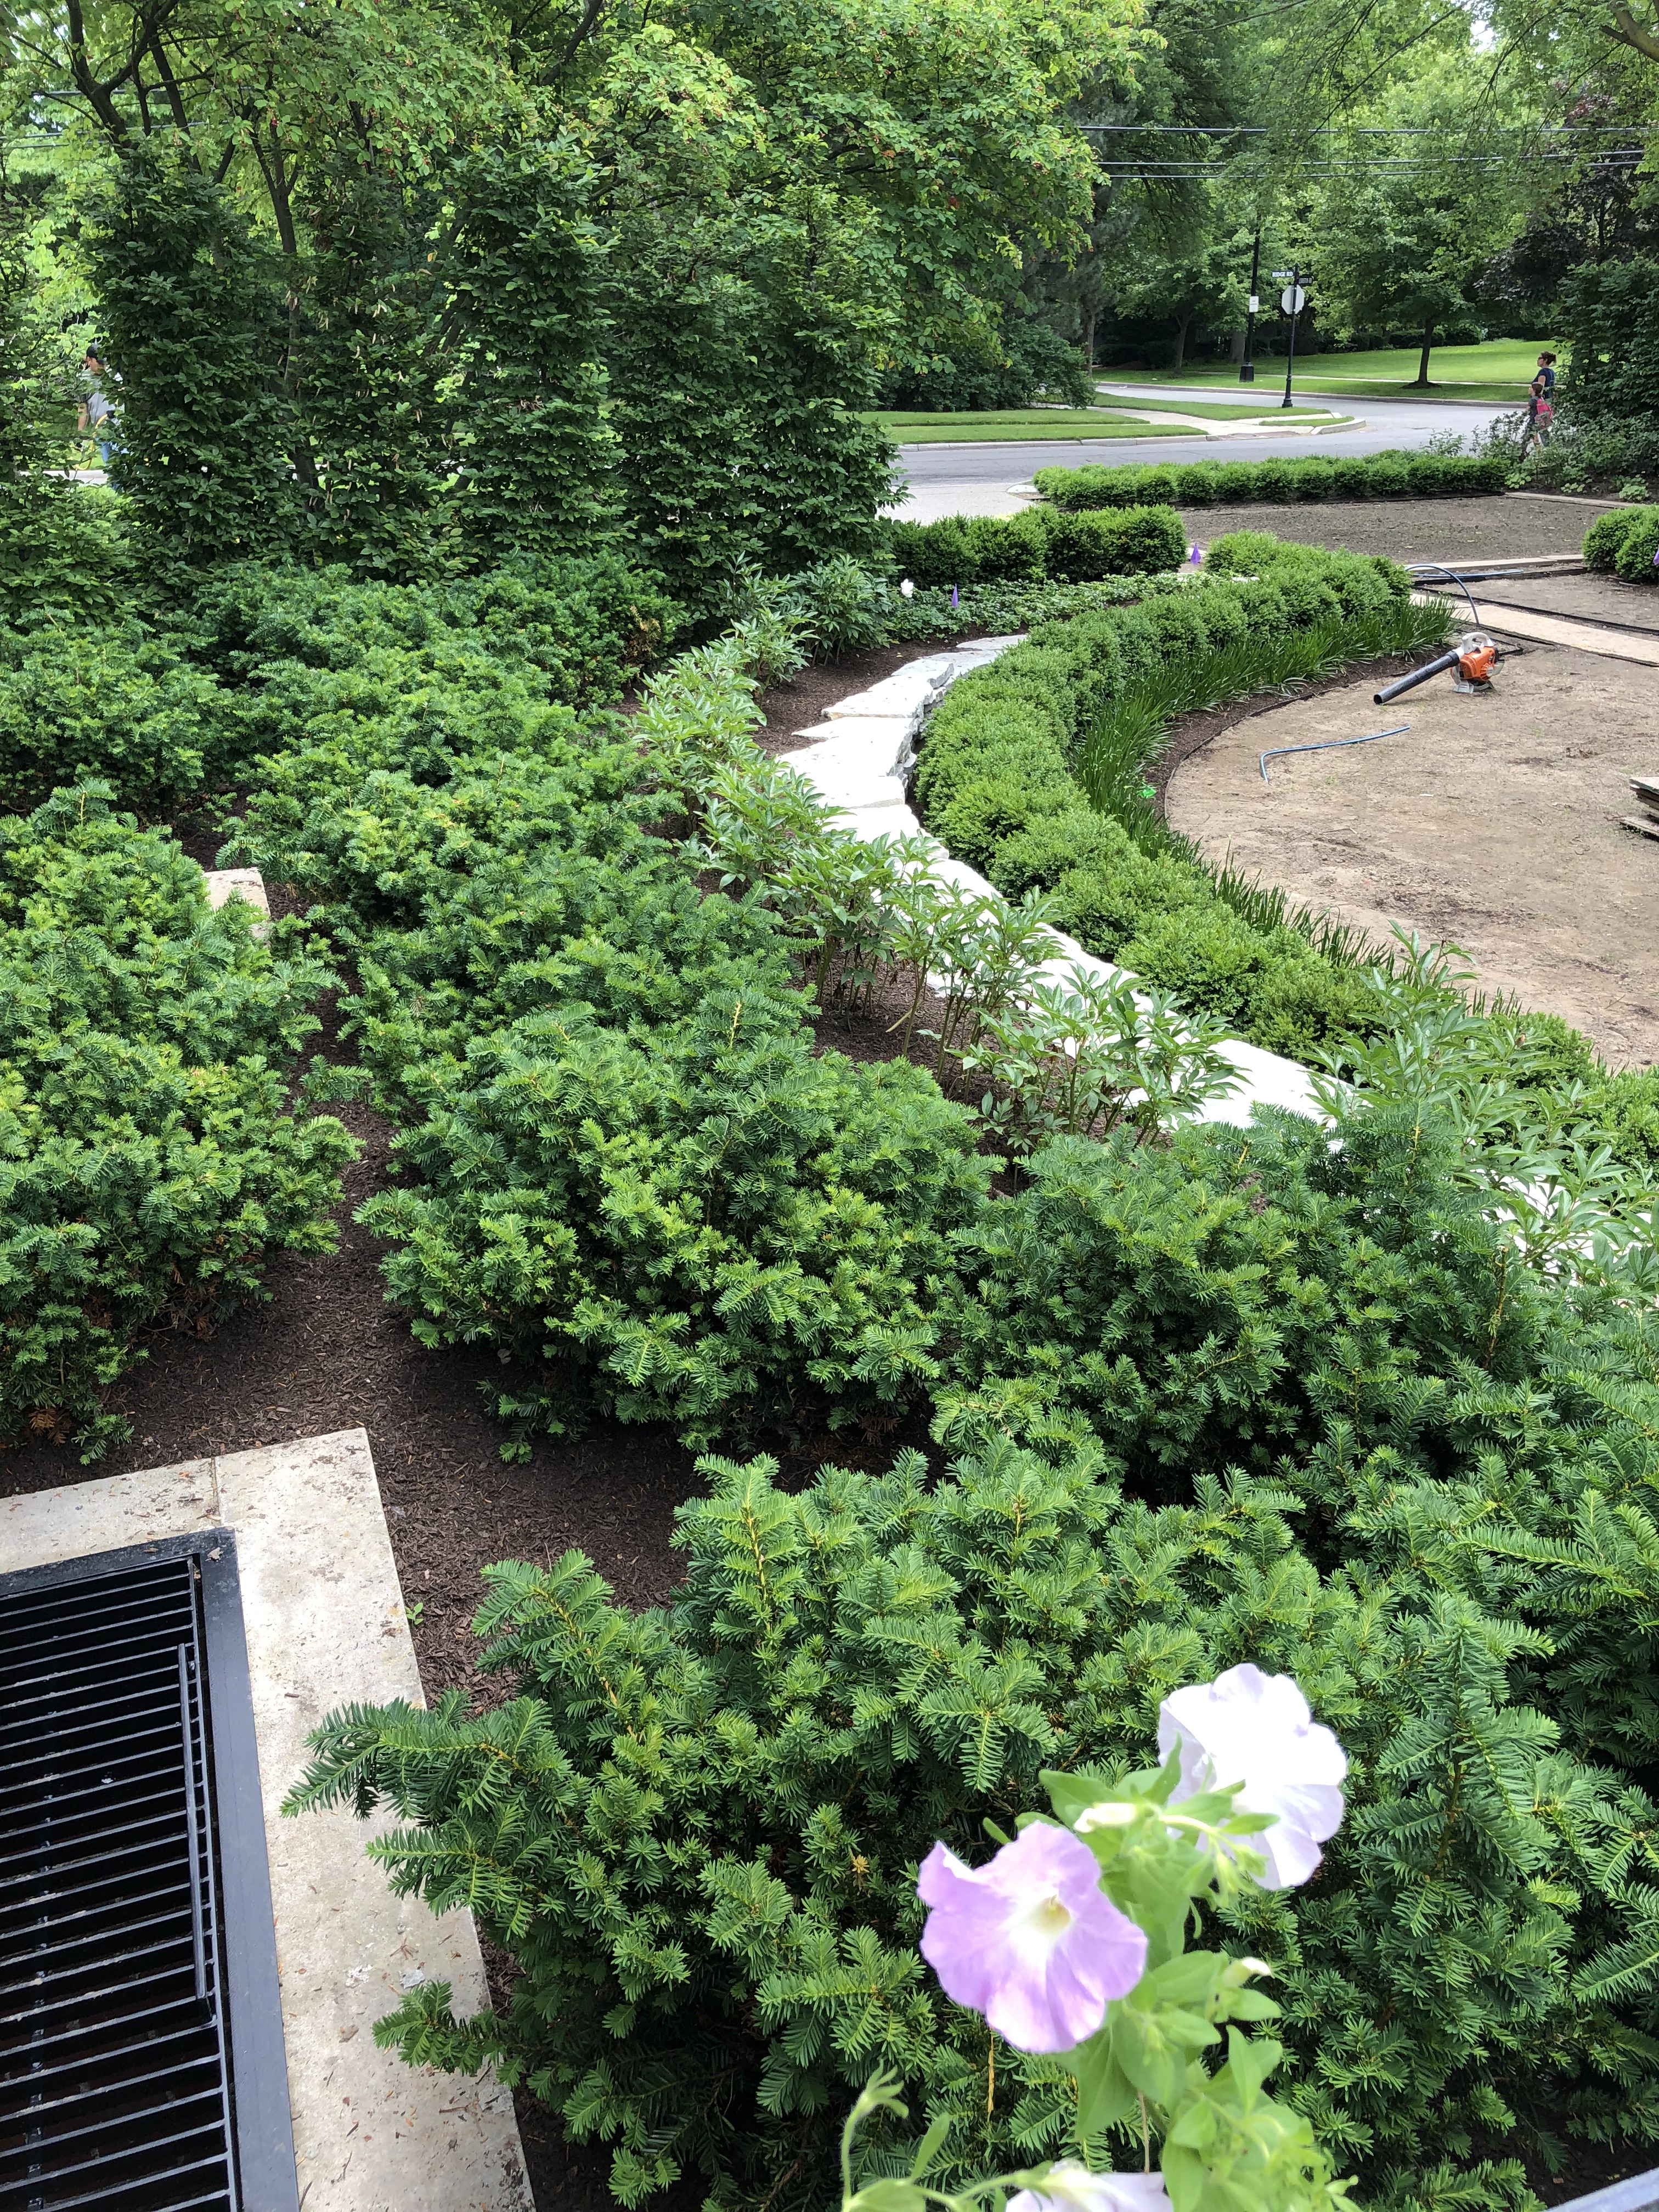 side yard curving landscape
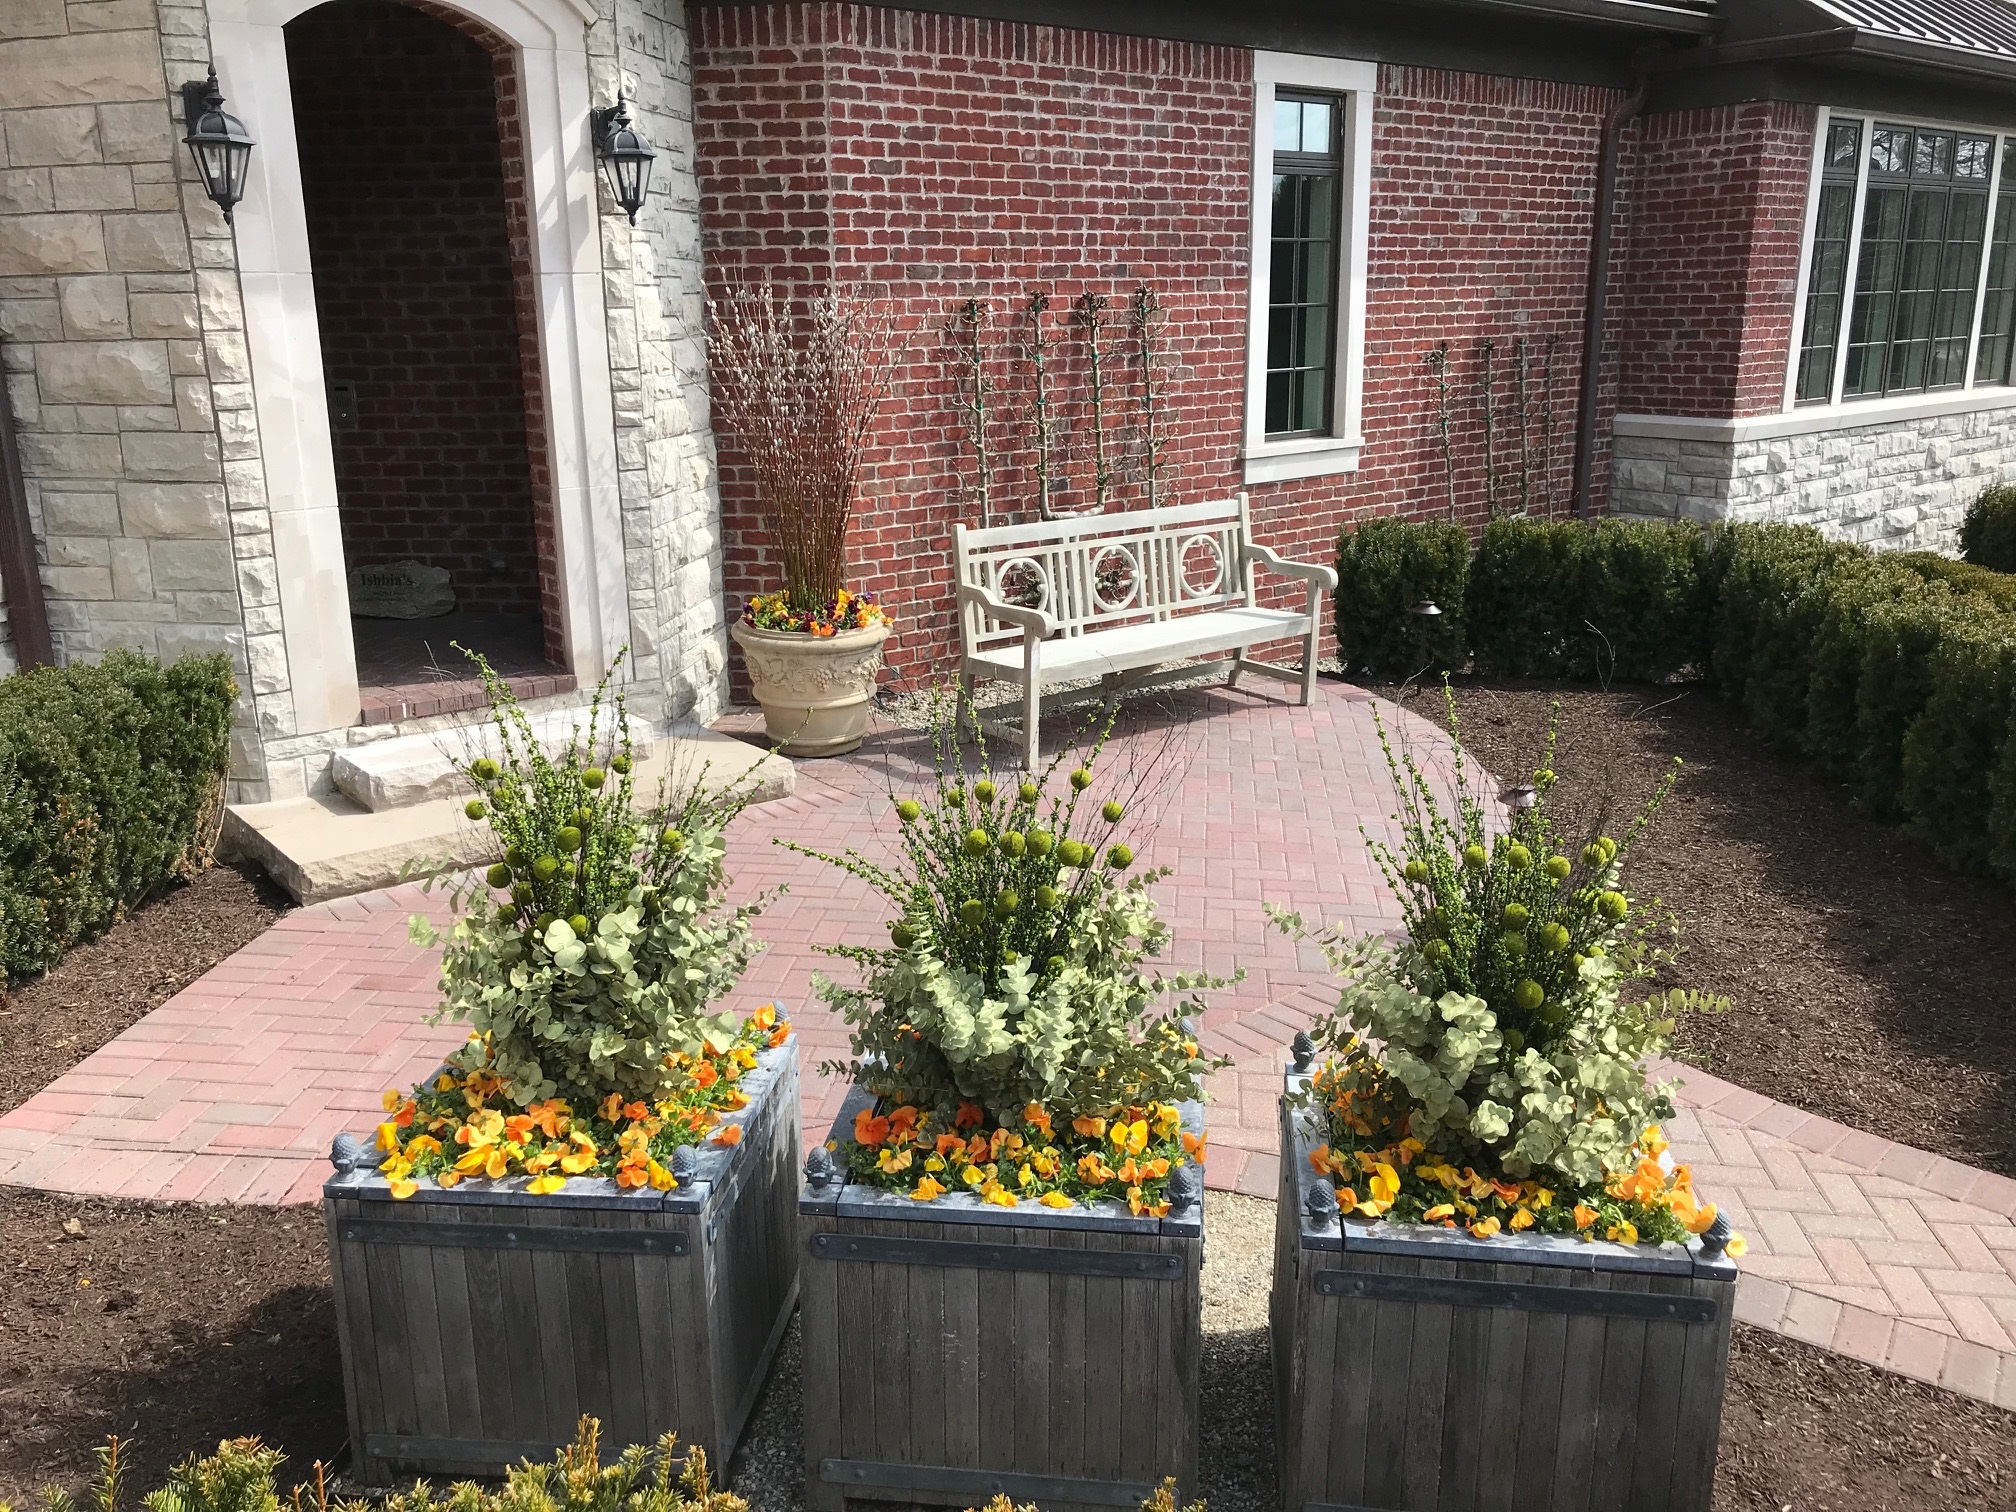
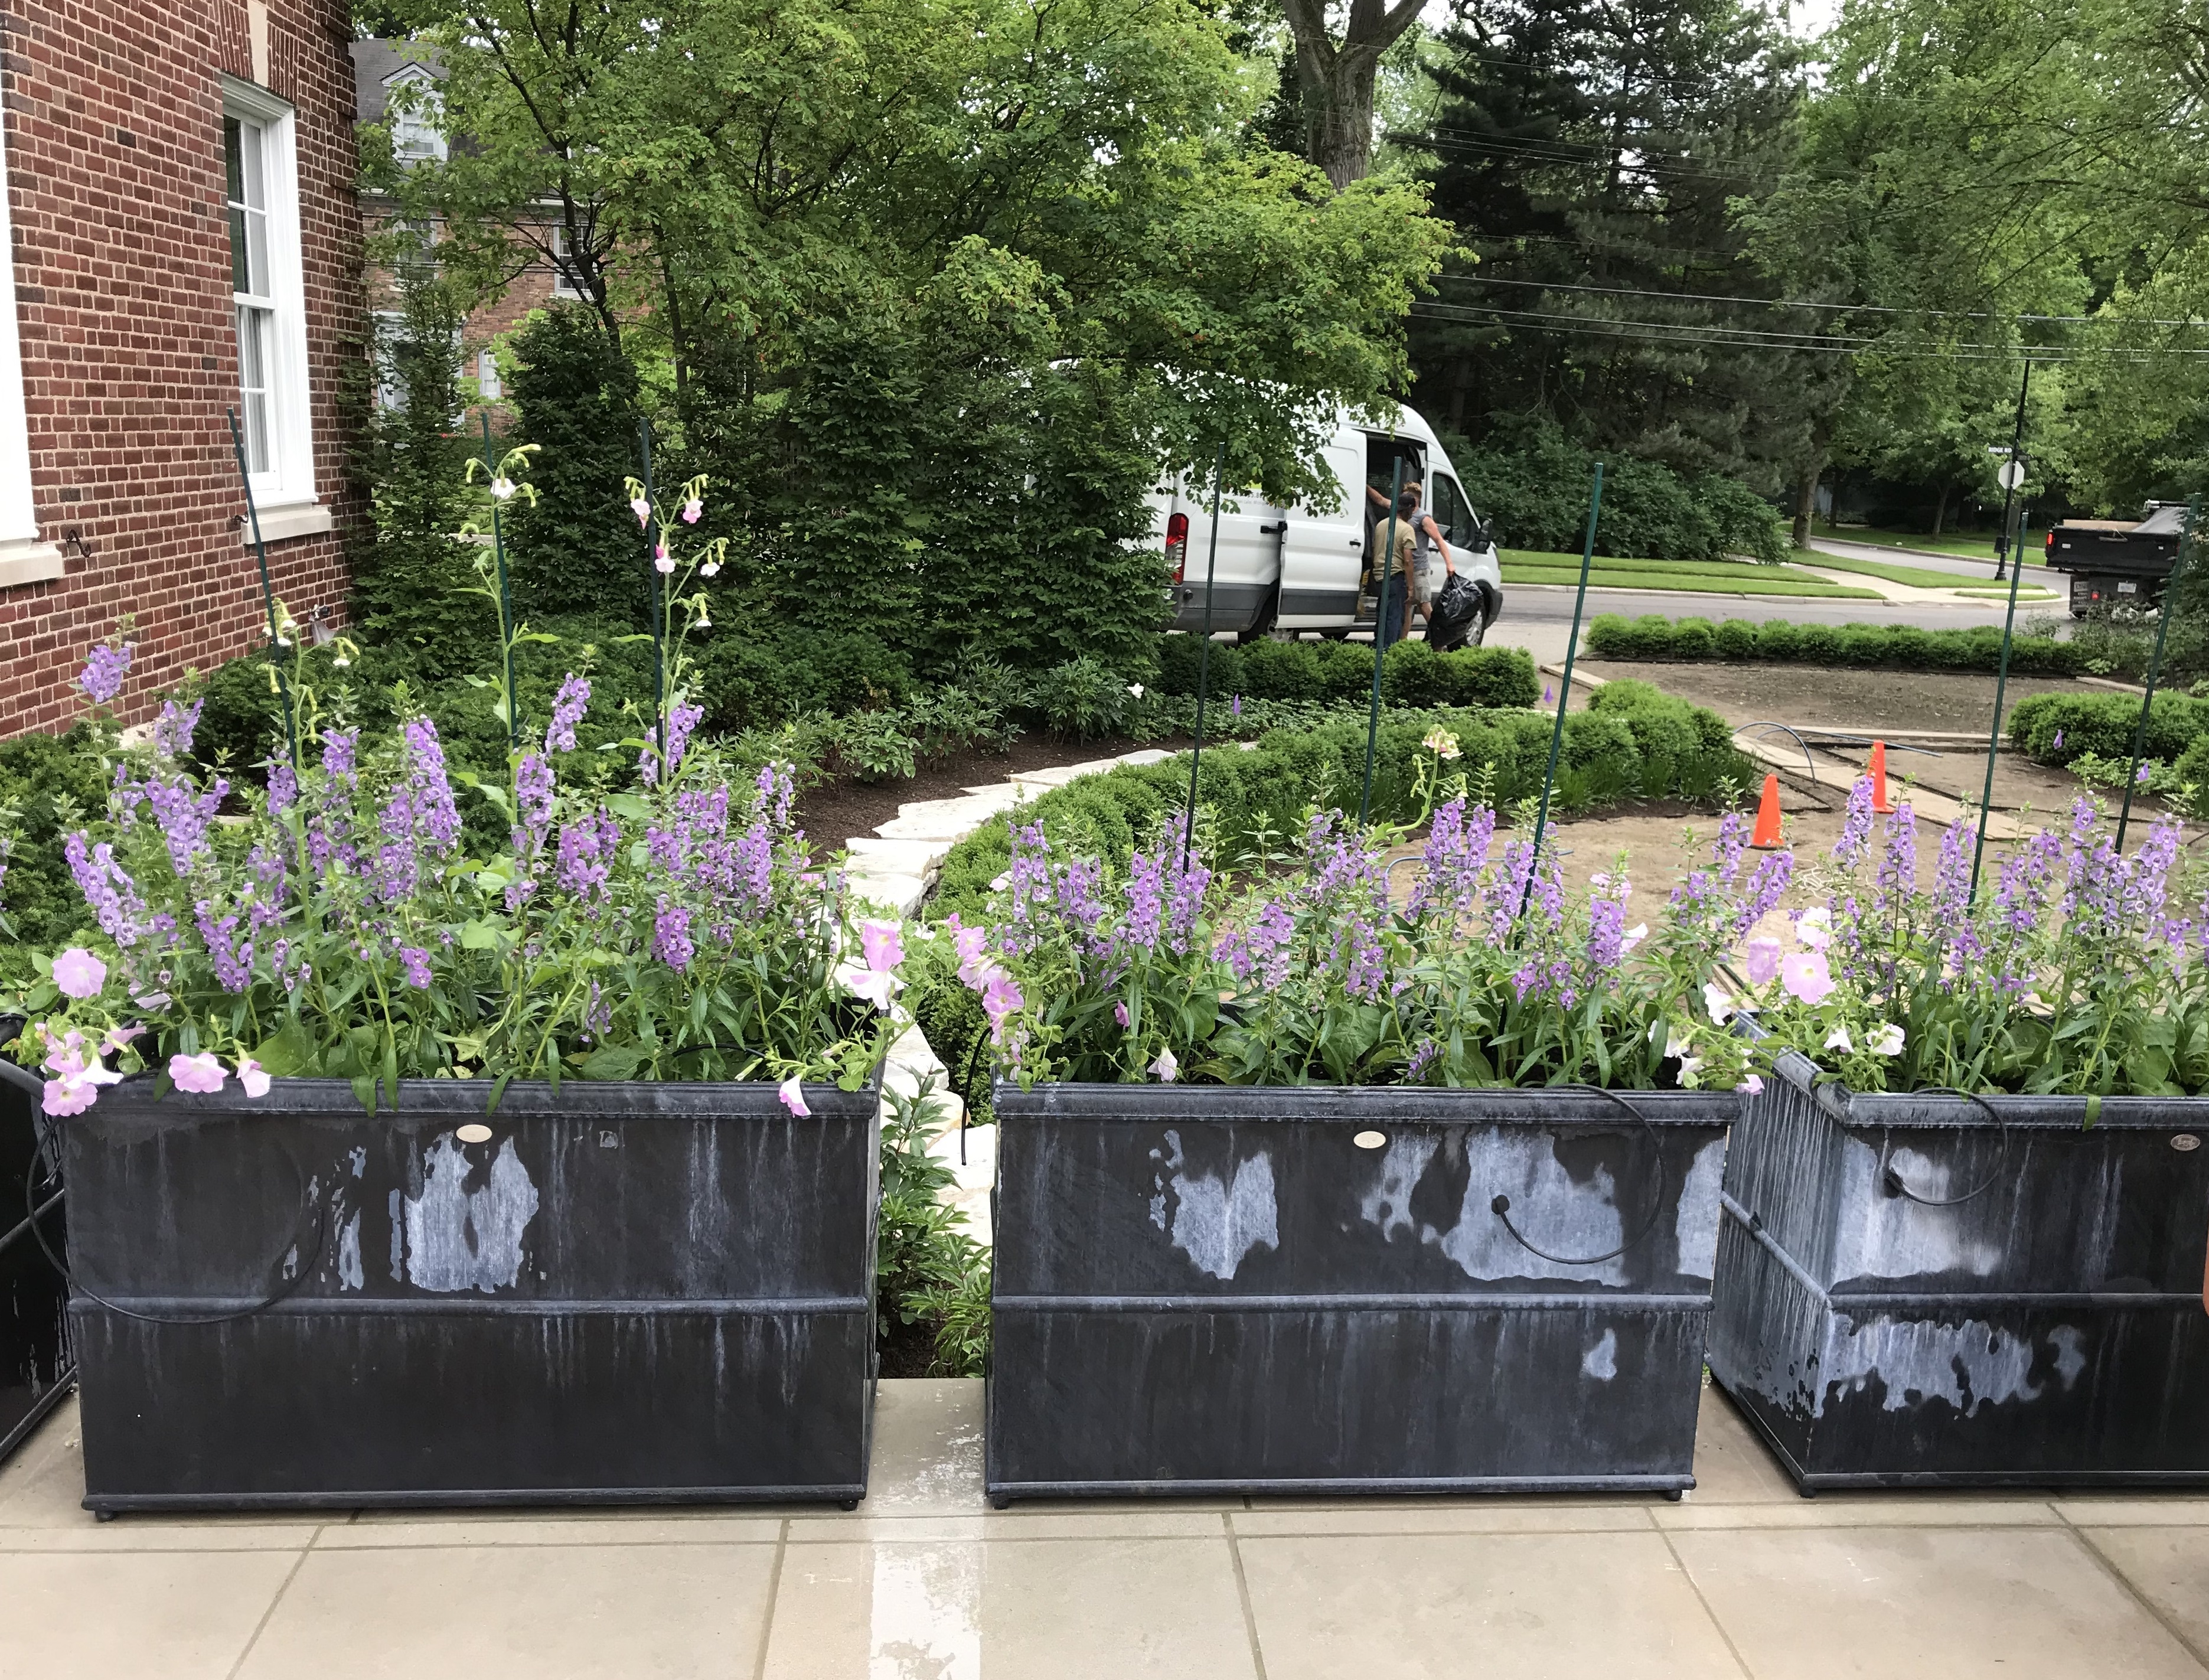 Branch Studio planter boxes on a terrace
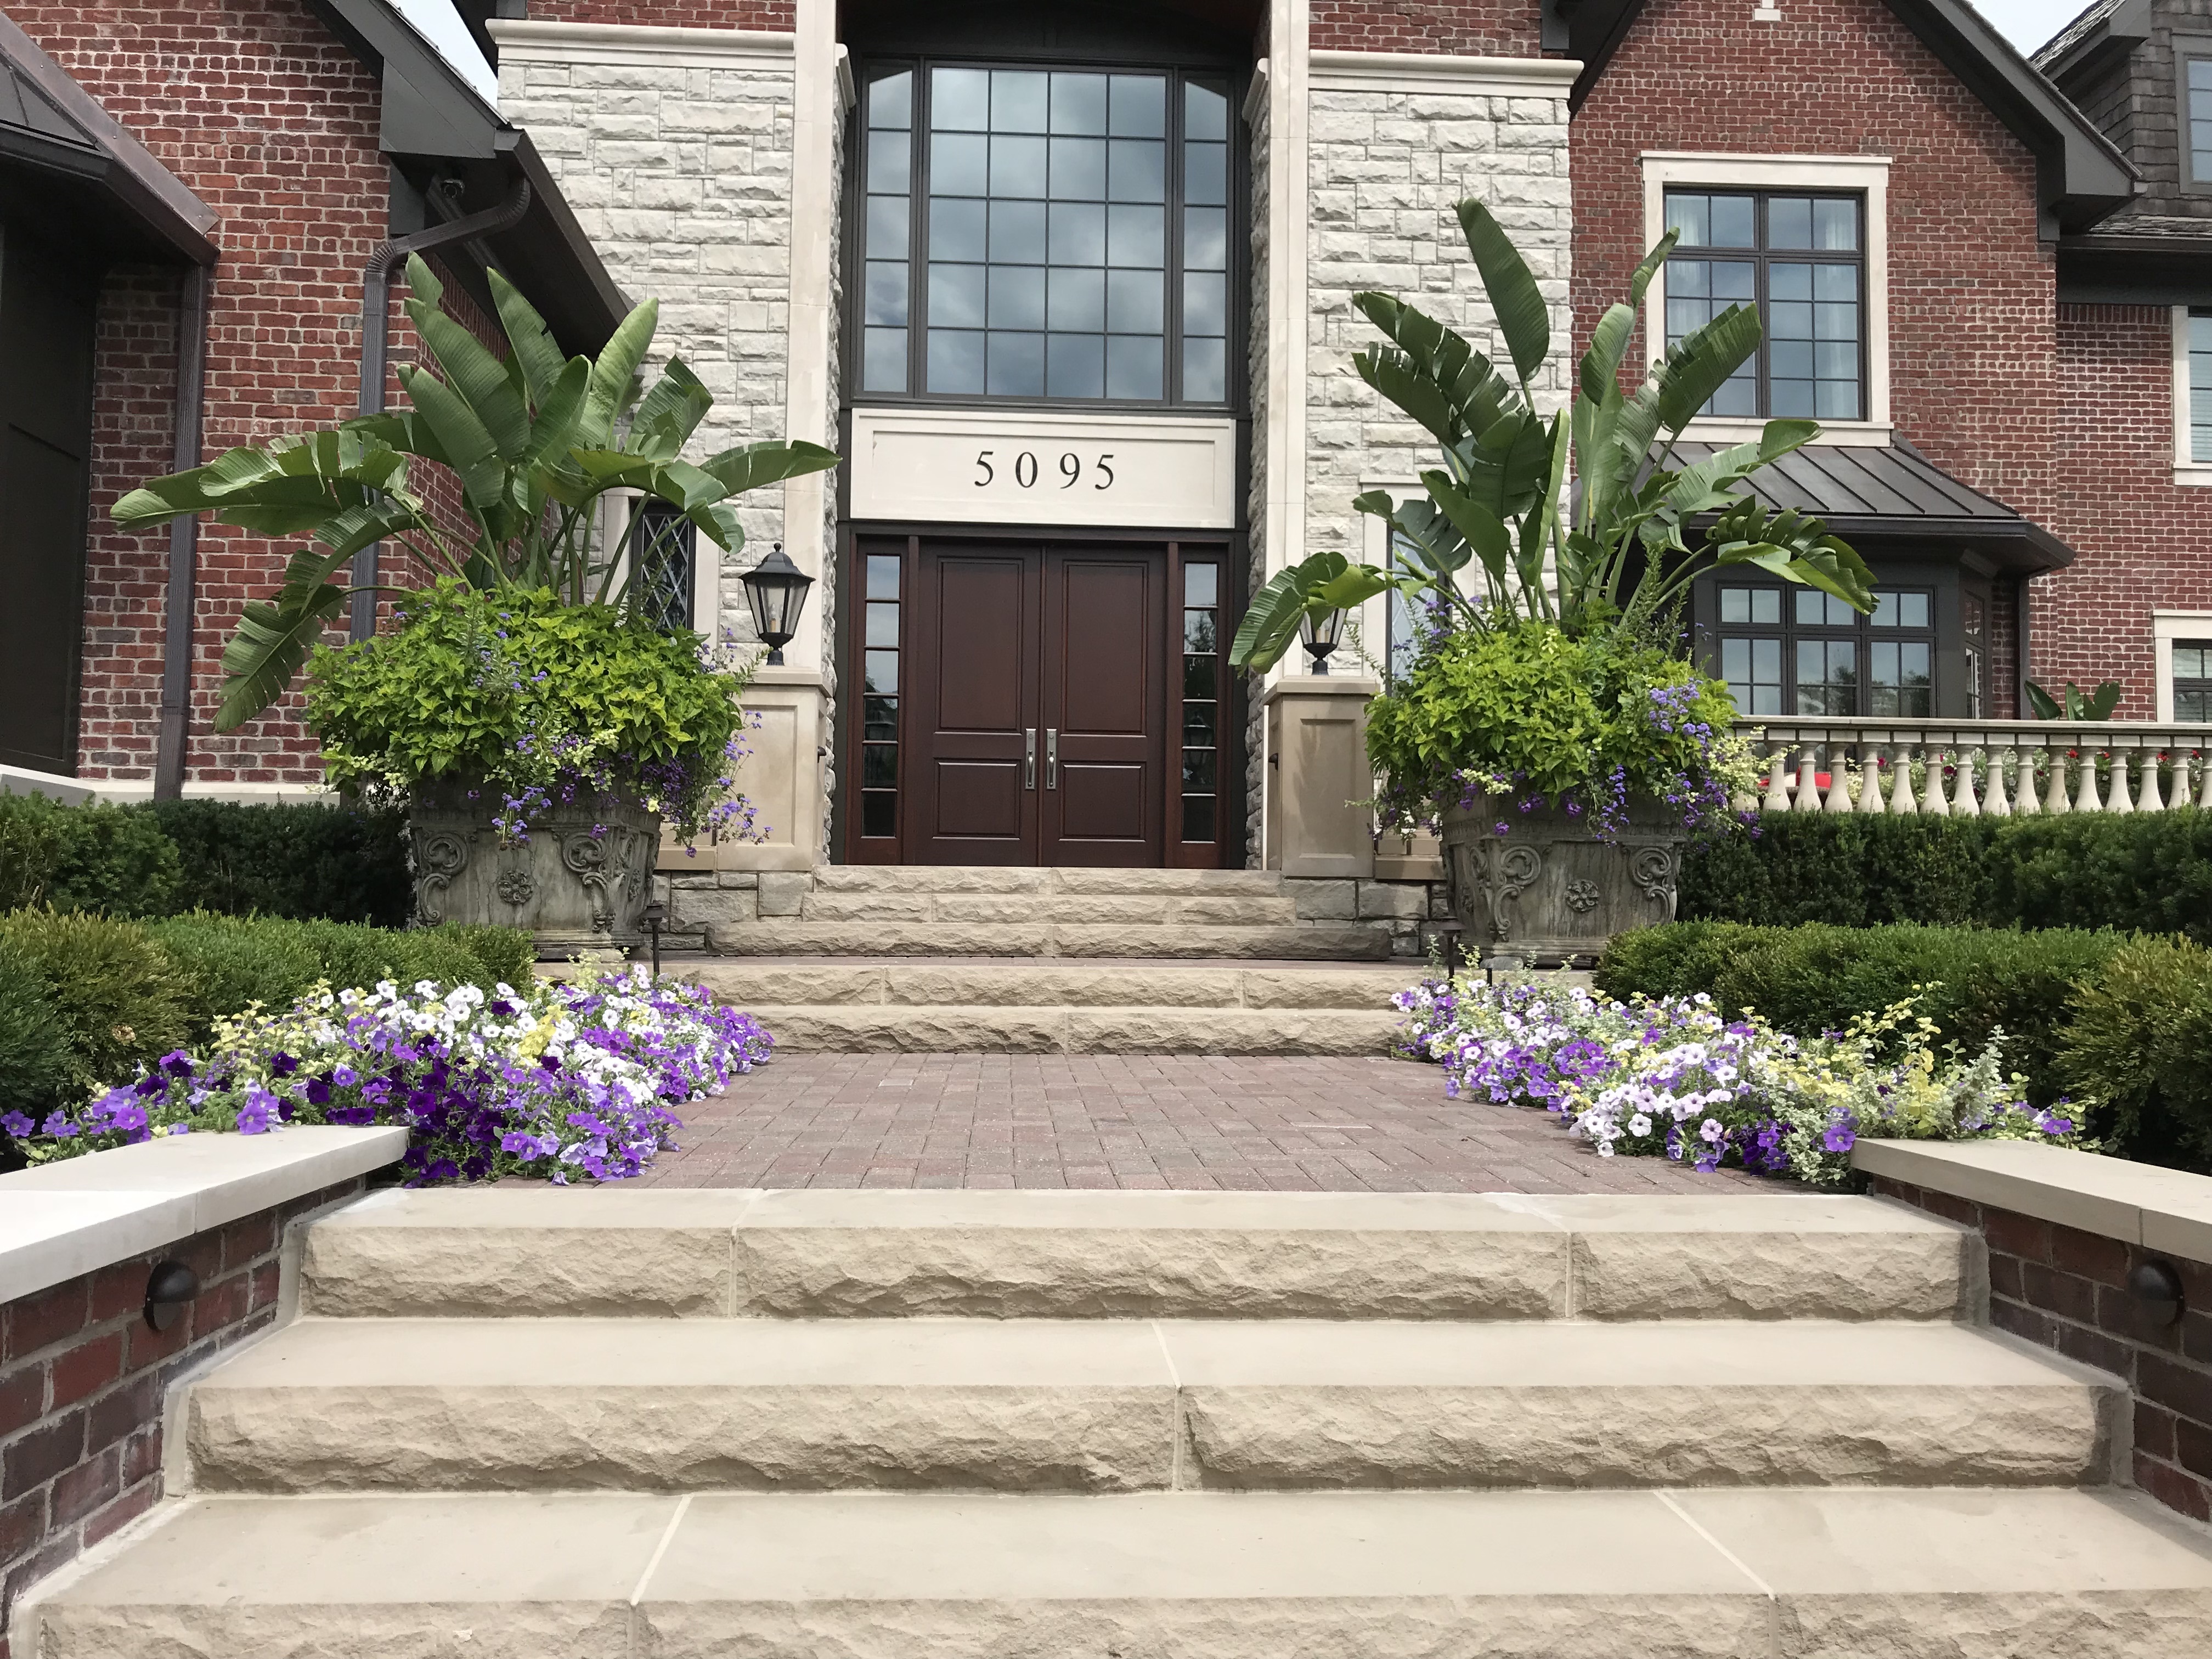
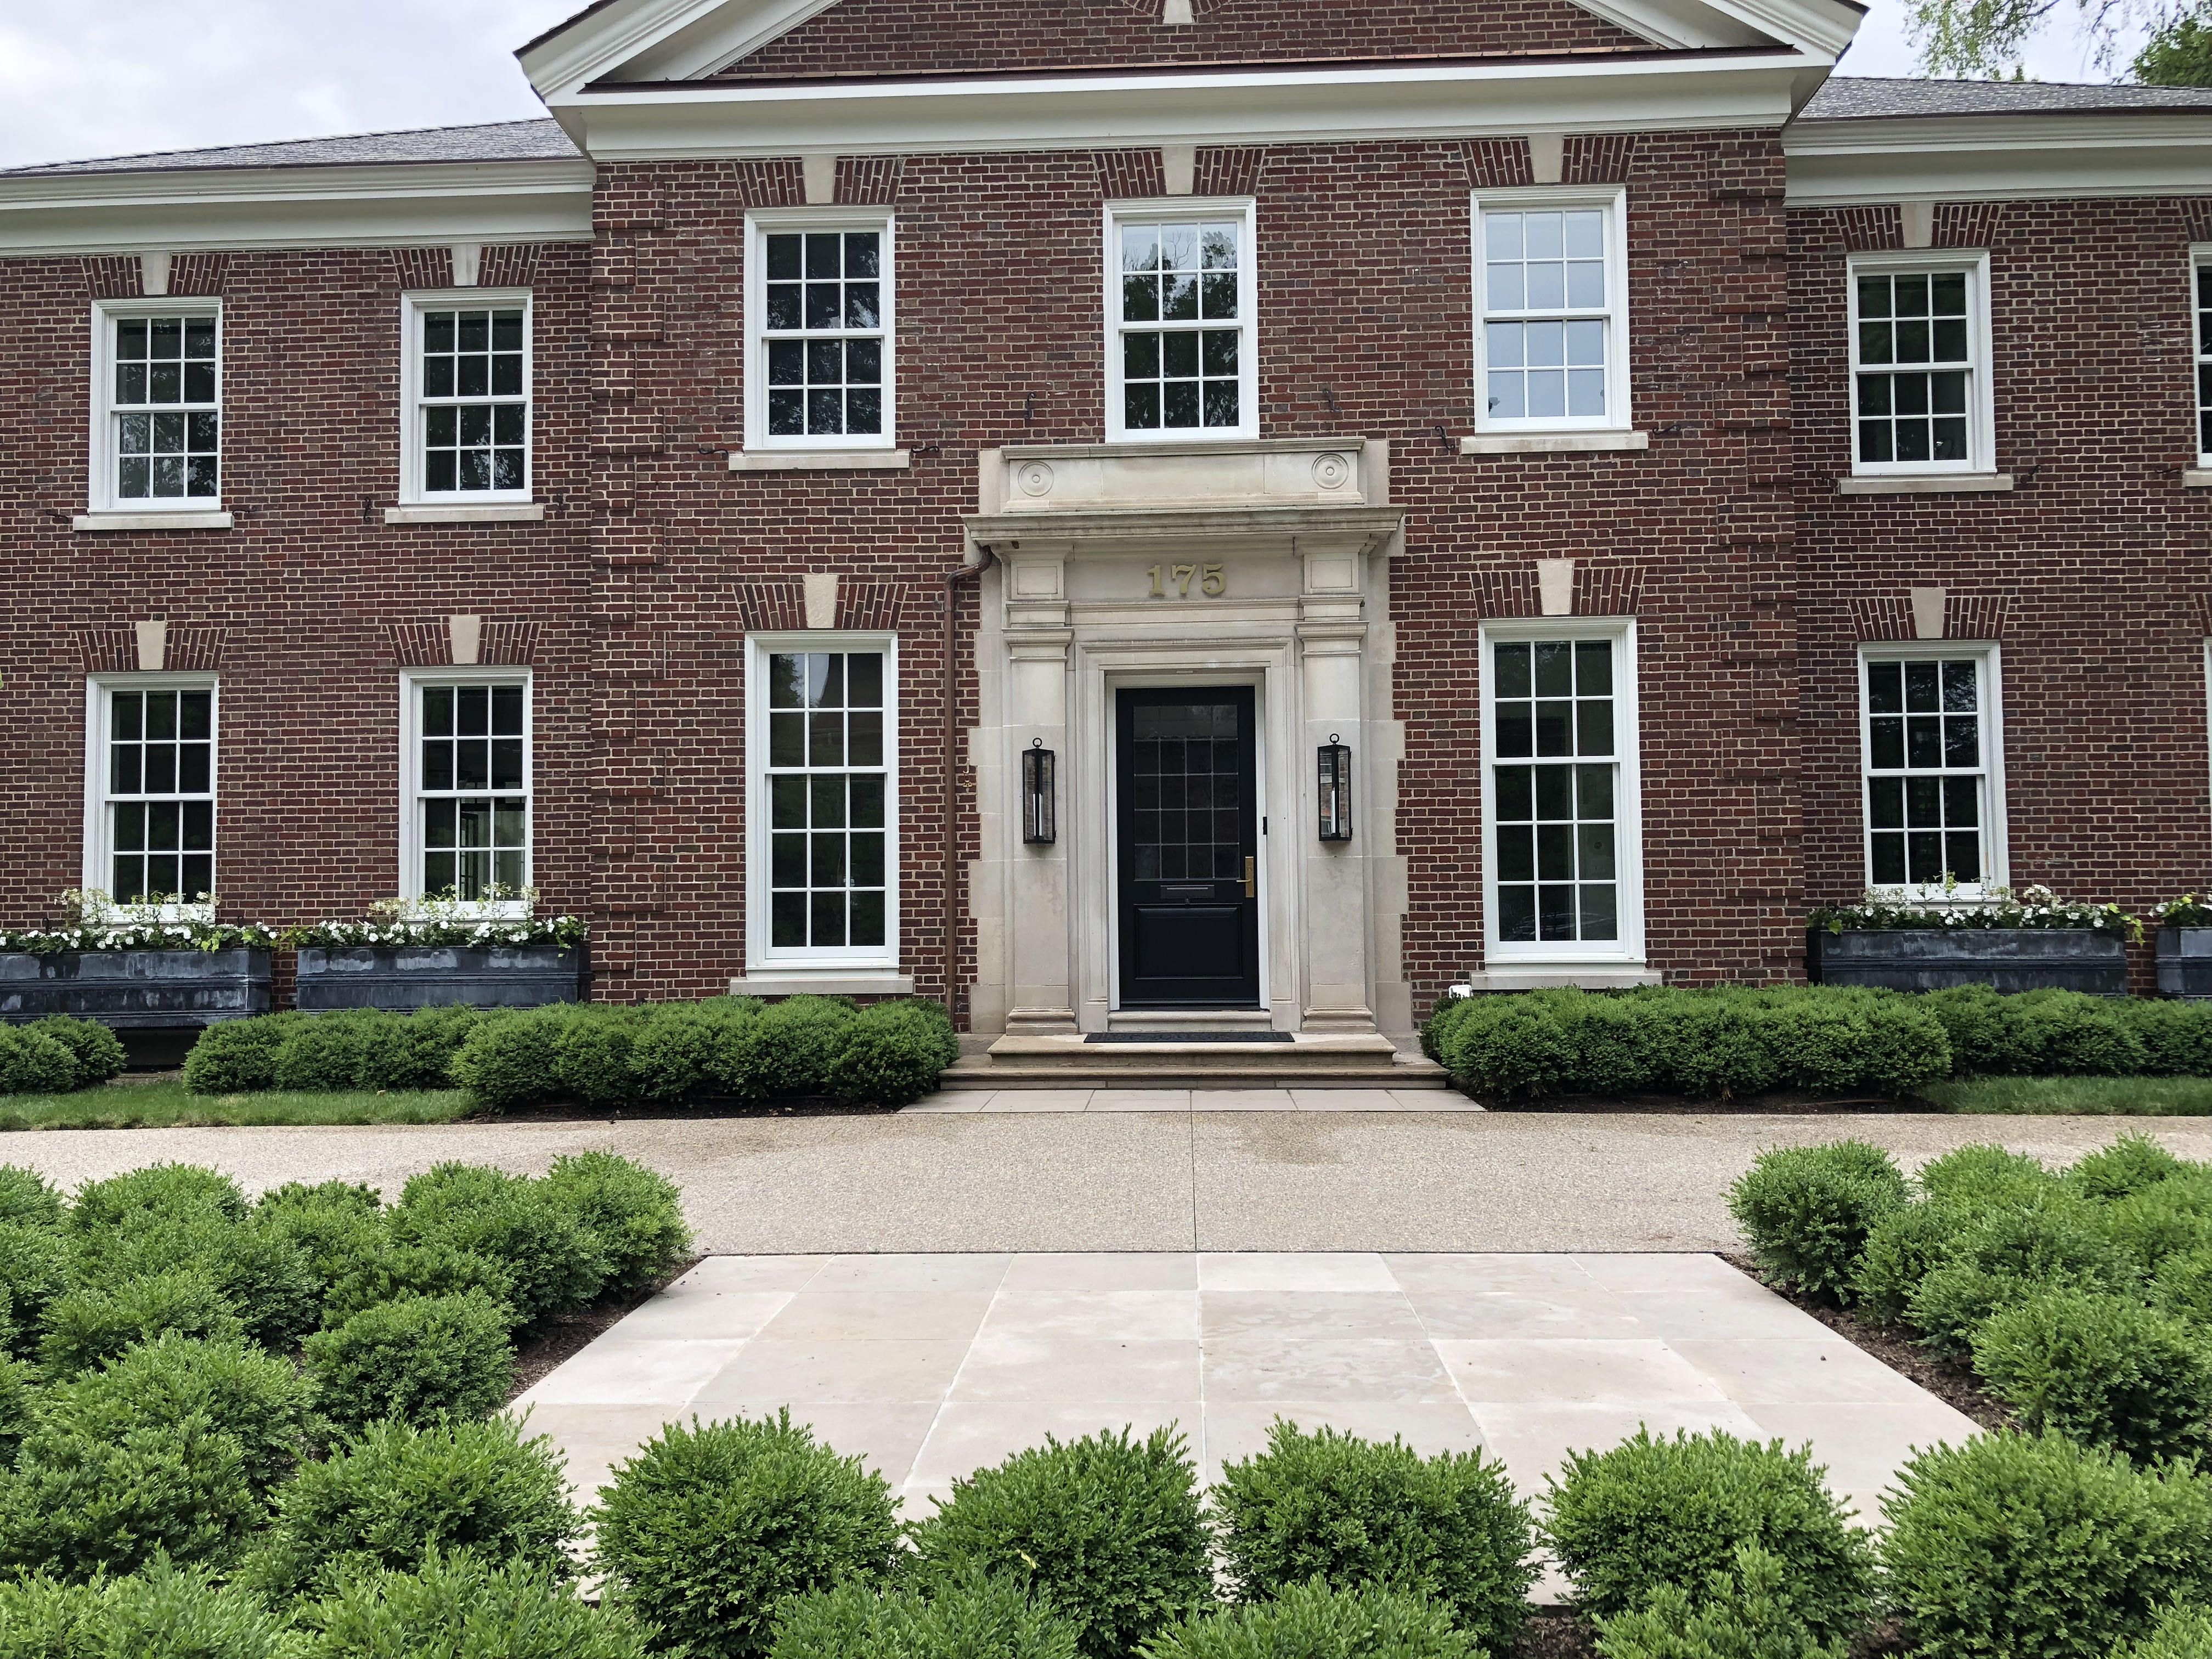 the front door
 My photographs of this project do not do it justice. It will look very different on the 21st. As in finished and ready for company. If you are interested and intrigued, buy a ticket, and see it for yourself in person. It will be worth the effort, and the Greening of Detroit will appreciate your support. The 2019 Garden Cruise has 5 other really terrific landscapes and gardens to visit as well. Hope to see you on the 21st.