The dark days are here. The needled foliage of the yews are not spring or summer green. They are black green. The colder the weather, the darker the color. By contrast with the snow, the boxwood foliage is dark too. I don’t mind it, really. Not now. But as the winter drags on and on, that brown, black green, black, gray and white can get to be tiresome. Not that I envy gardeners in California. I wouldn’t trade how one season gives way to the next for a warm and sunny winter. Having grown up in the midwest, a warm and sunny winter would just seem wrong.
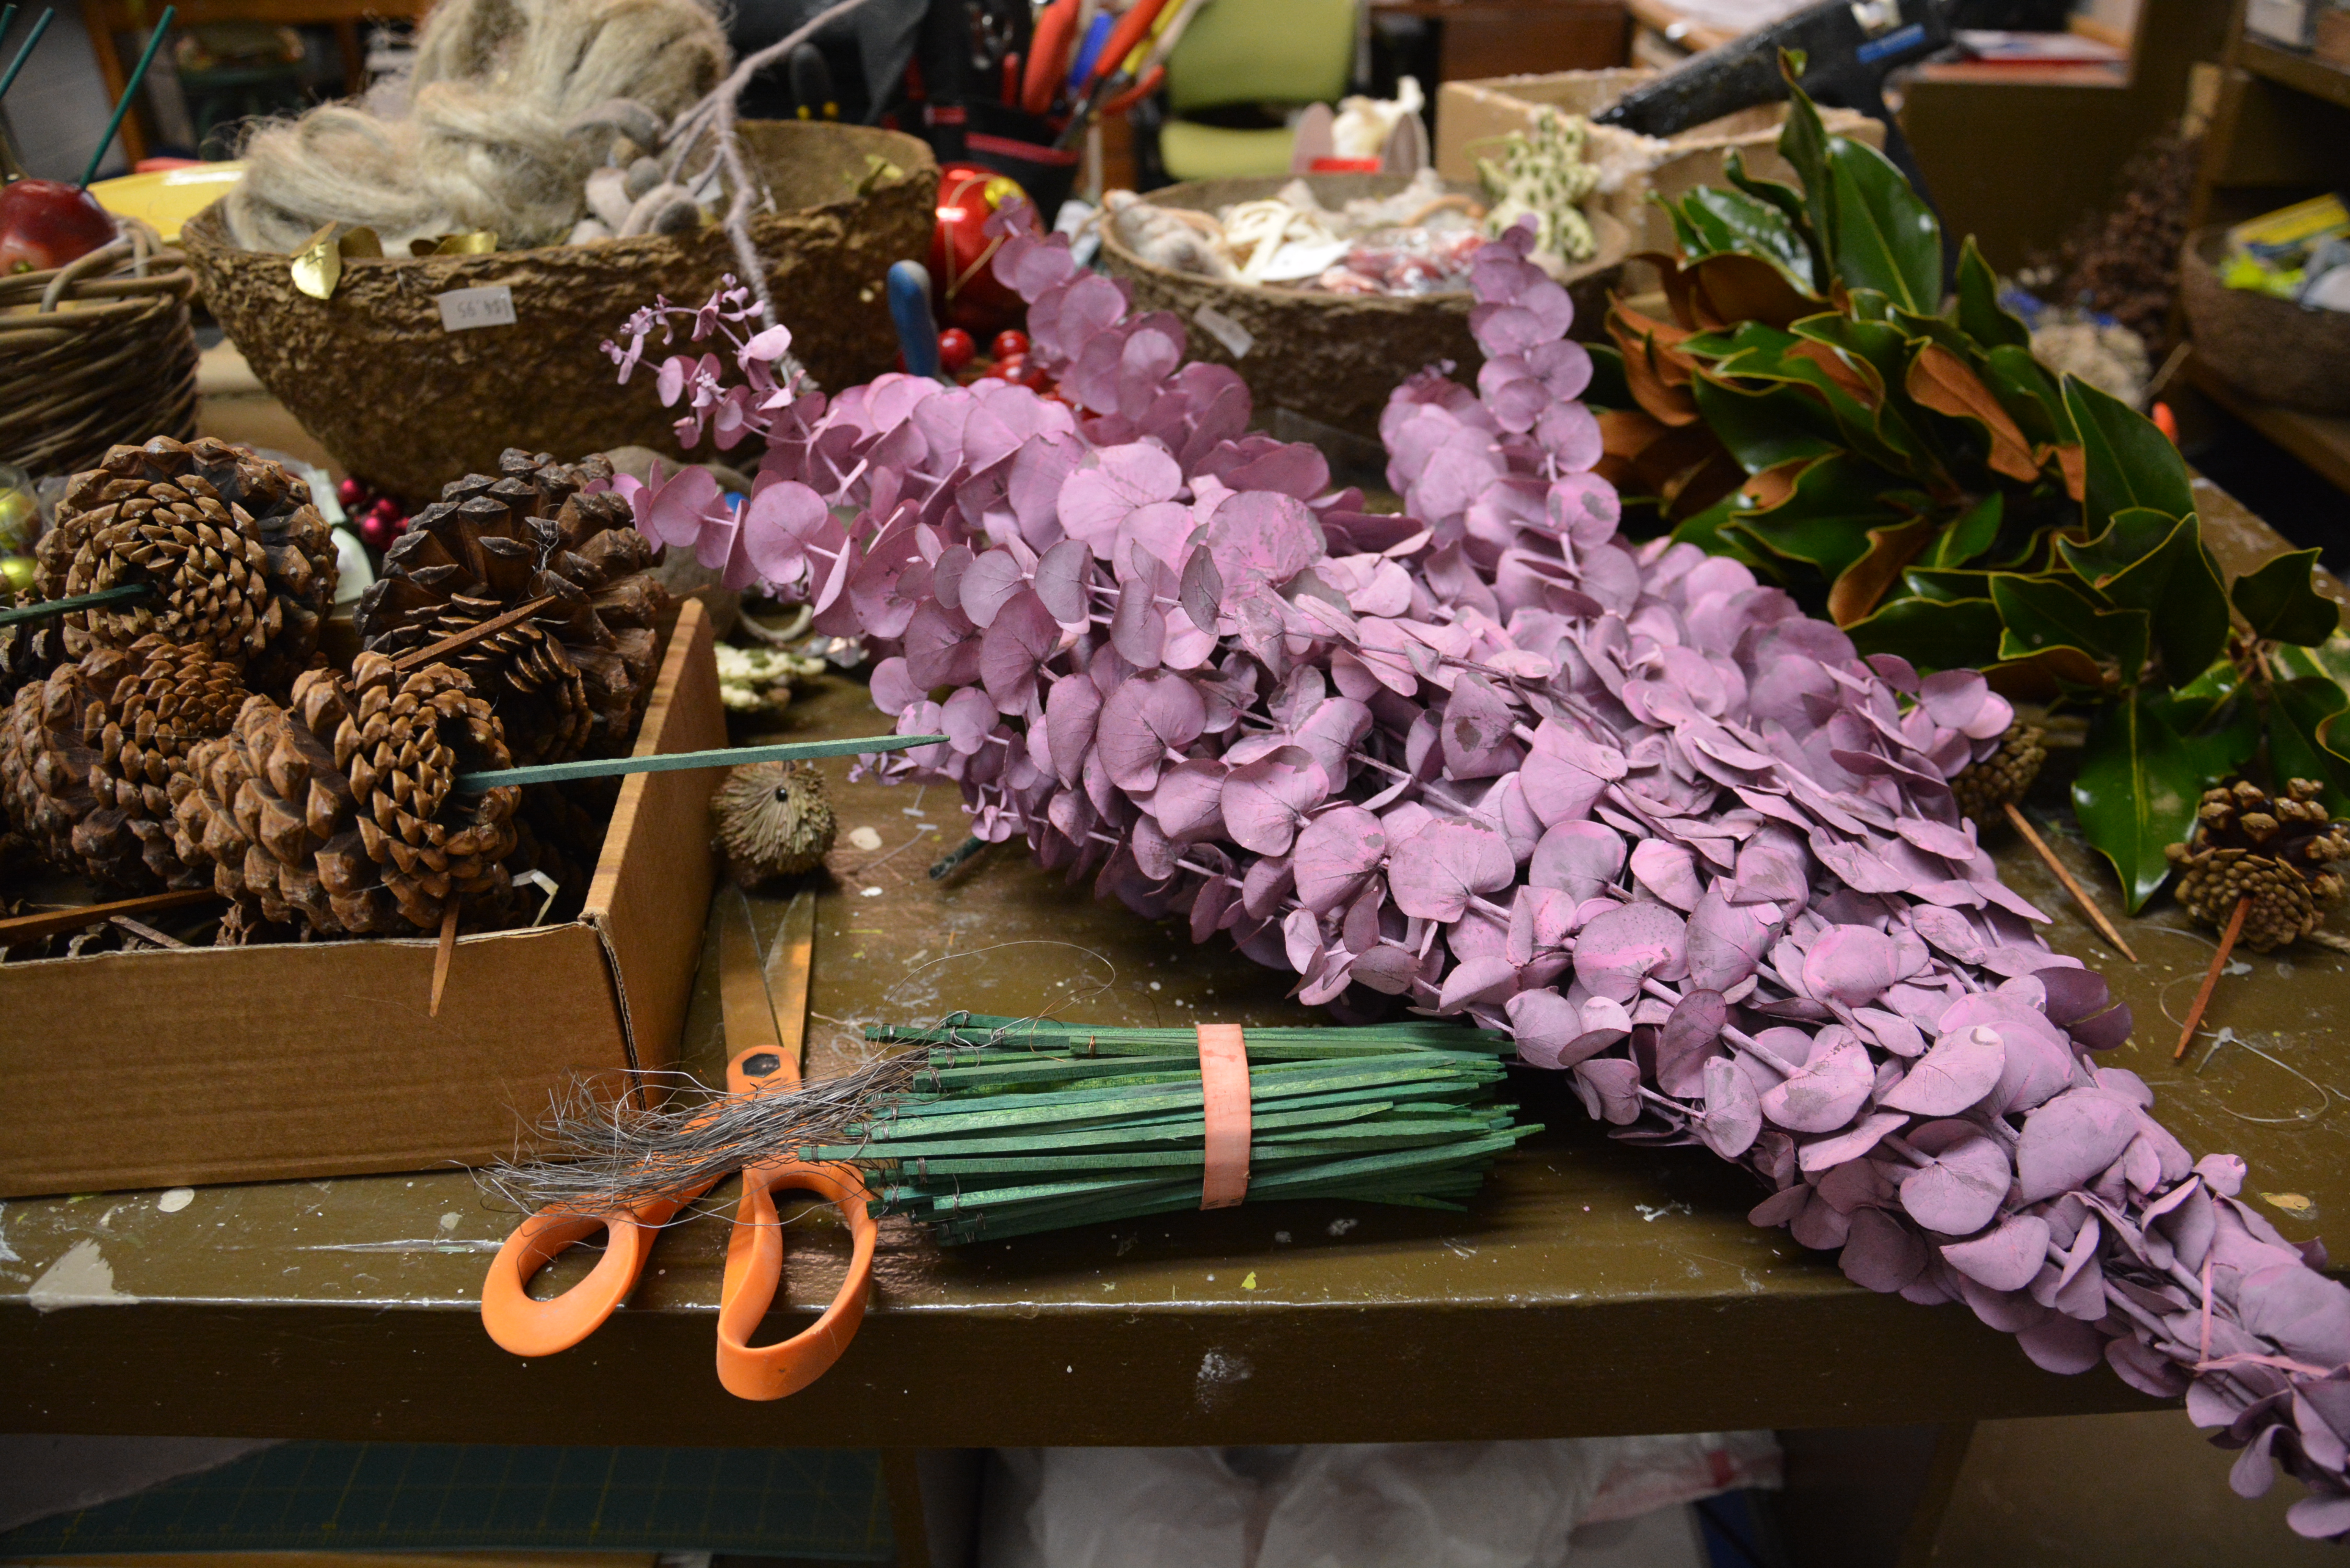
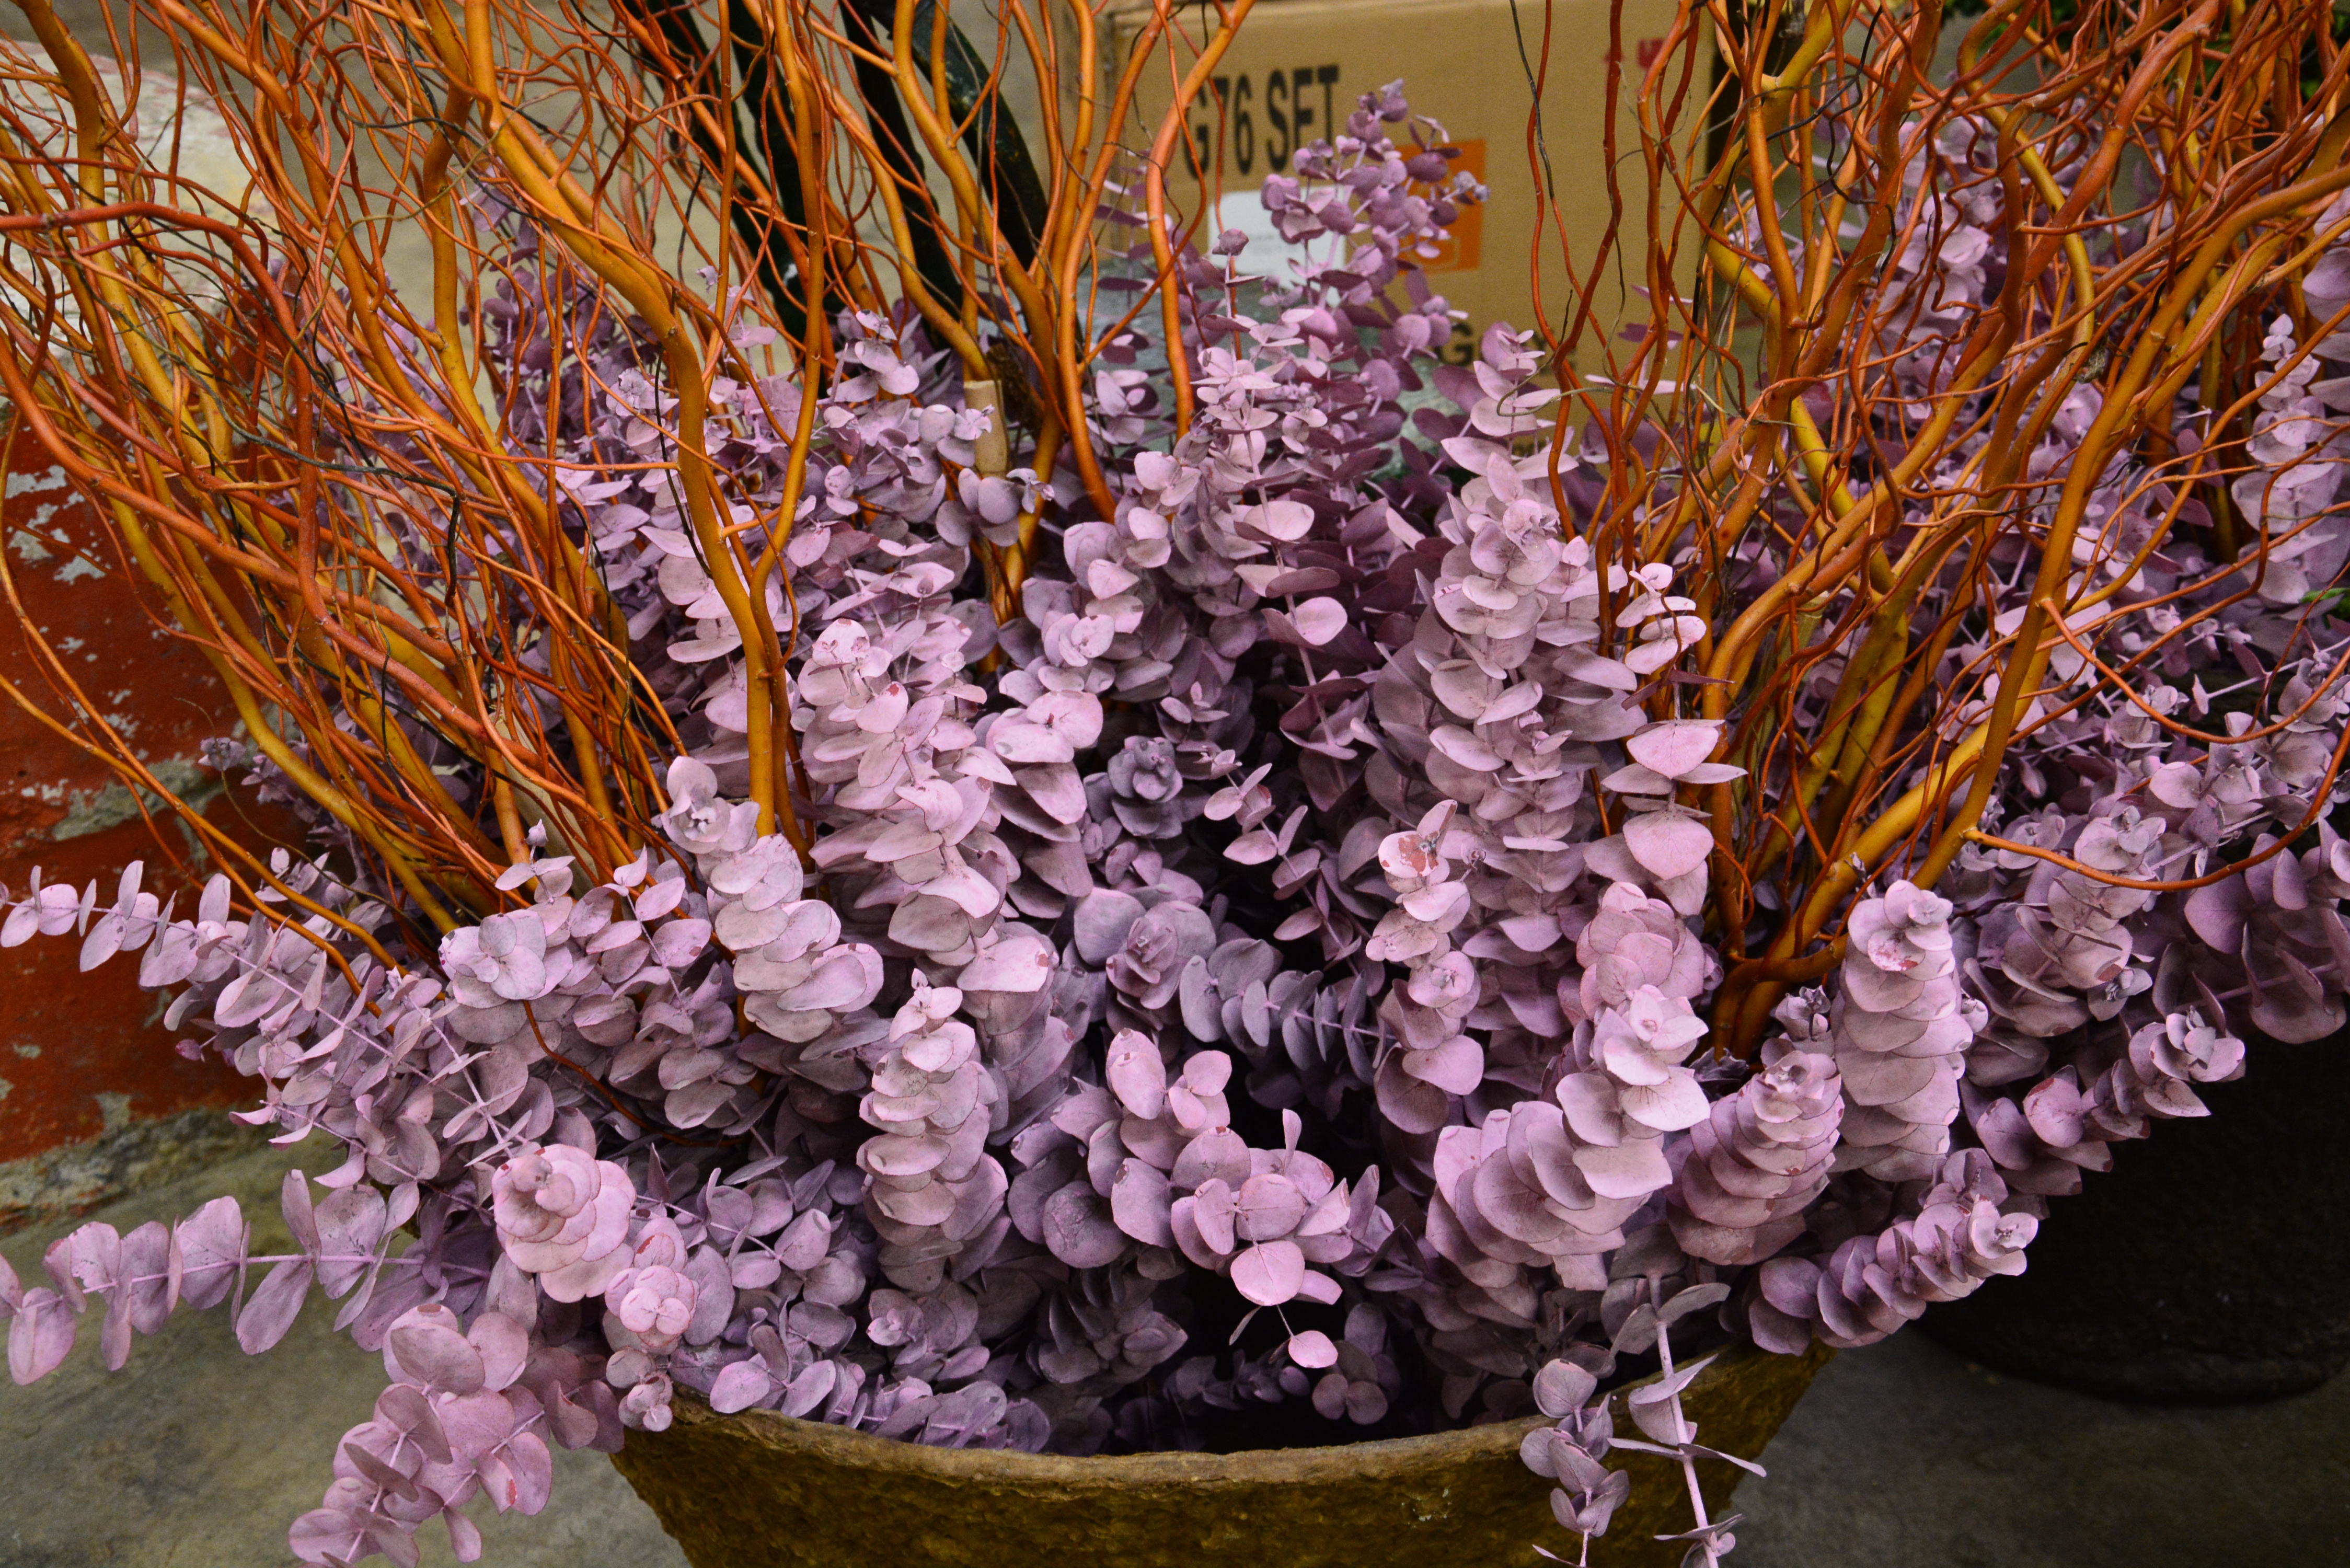
 But I won’t have to worry about coping with a limited and severe color palette. My winter garden in front of my house will be in the pink-dreary winter month after dreary winter month. Does the pink in this pot seem implausible? Not to my eye. The curly copper willow looks great with the brick. The gold sinamay has enough orange and enough mass to look like a party. The pink eucalyptus has a lavender cast, set against the cinnamon brown willow. Pink is by no means a traditional holiday color, but why not? How a color reads has everything to do with its relationship to neighboring colors. Color also reads so differently in daylight, or night light. Suffice it to say, we will have an abundance of gray days the next few months. I like the idea of unexpected winter color.
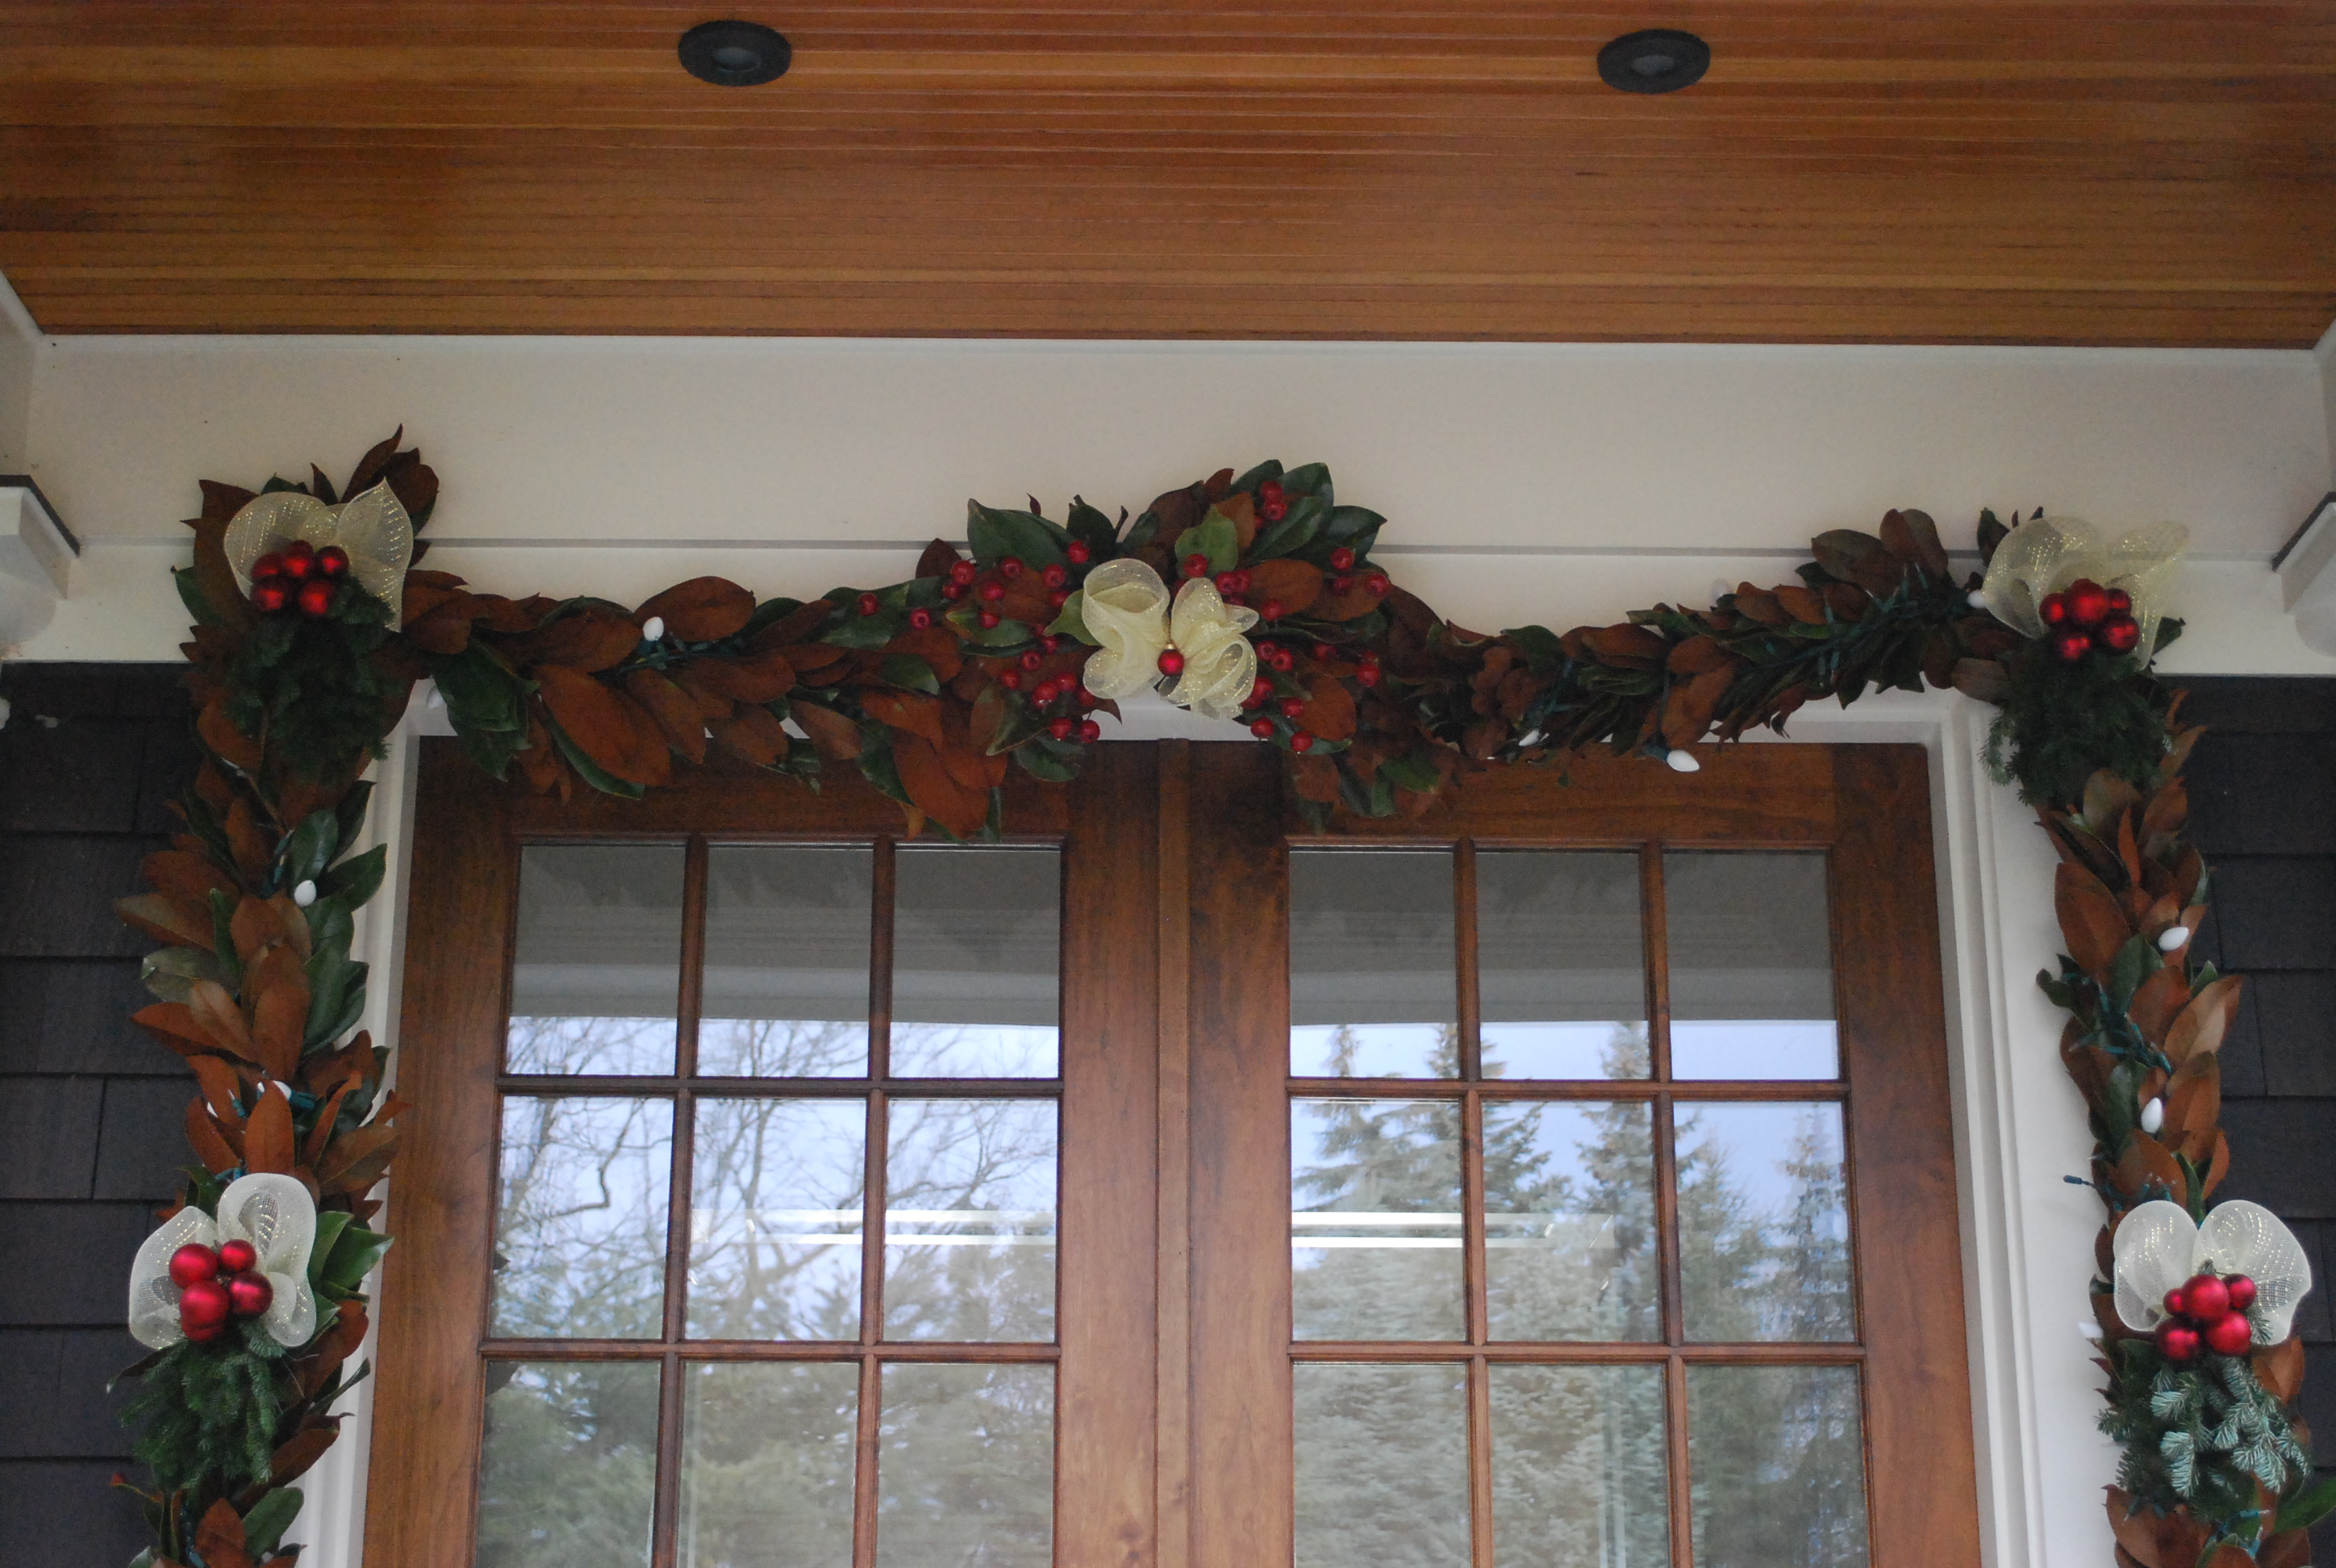
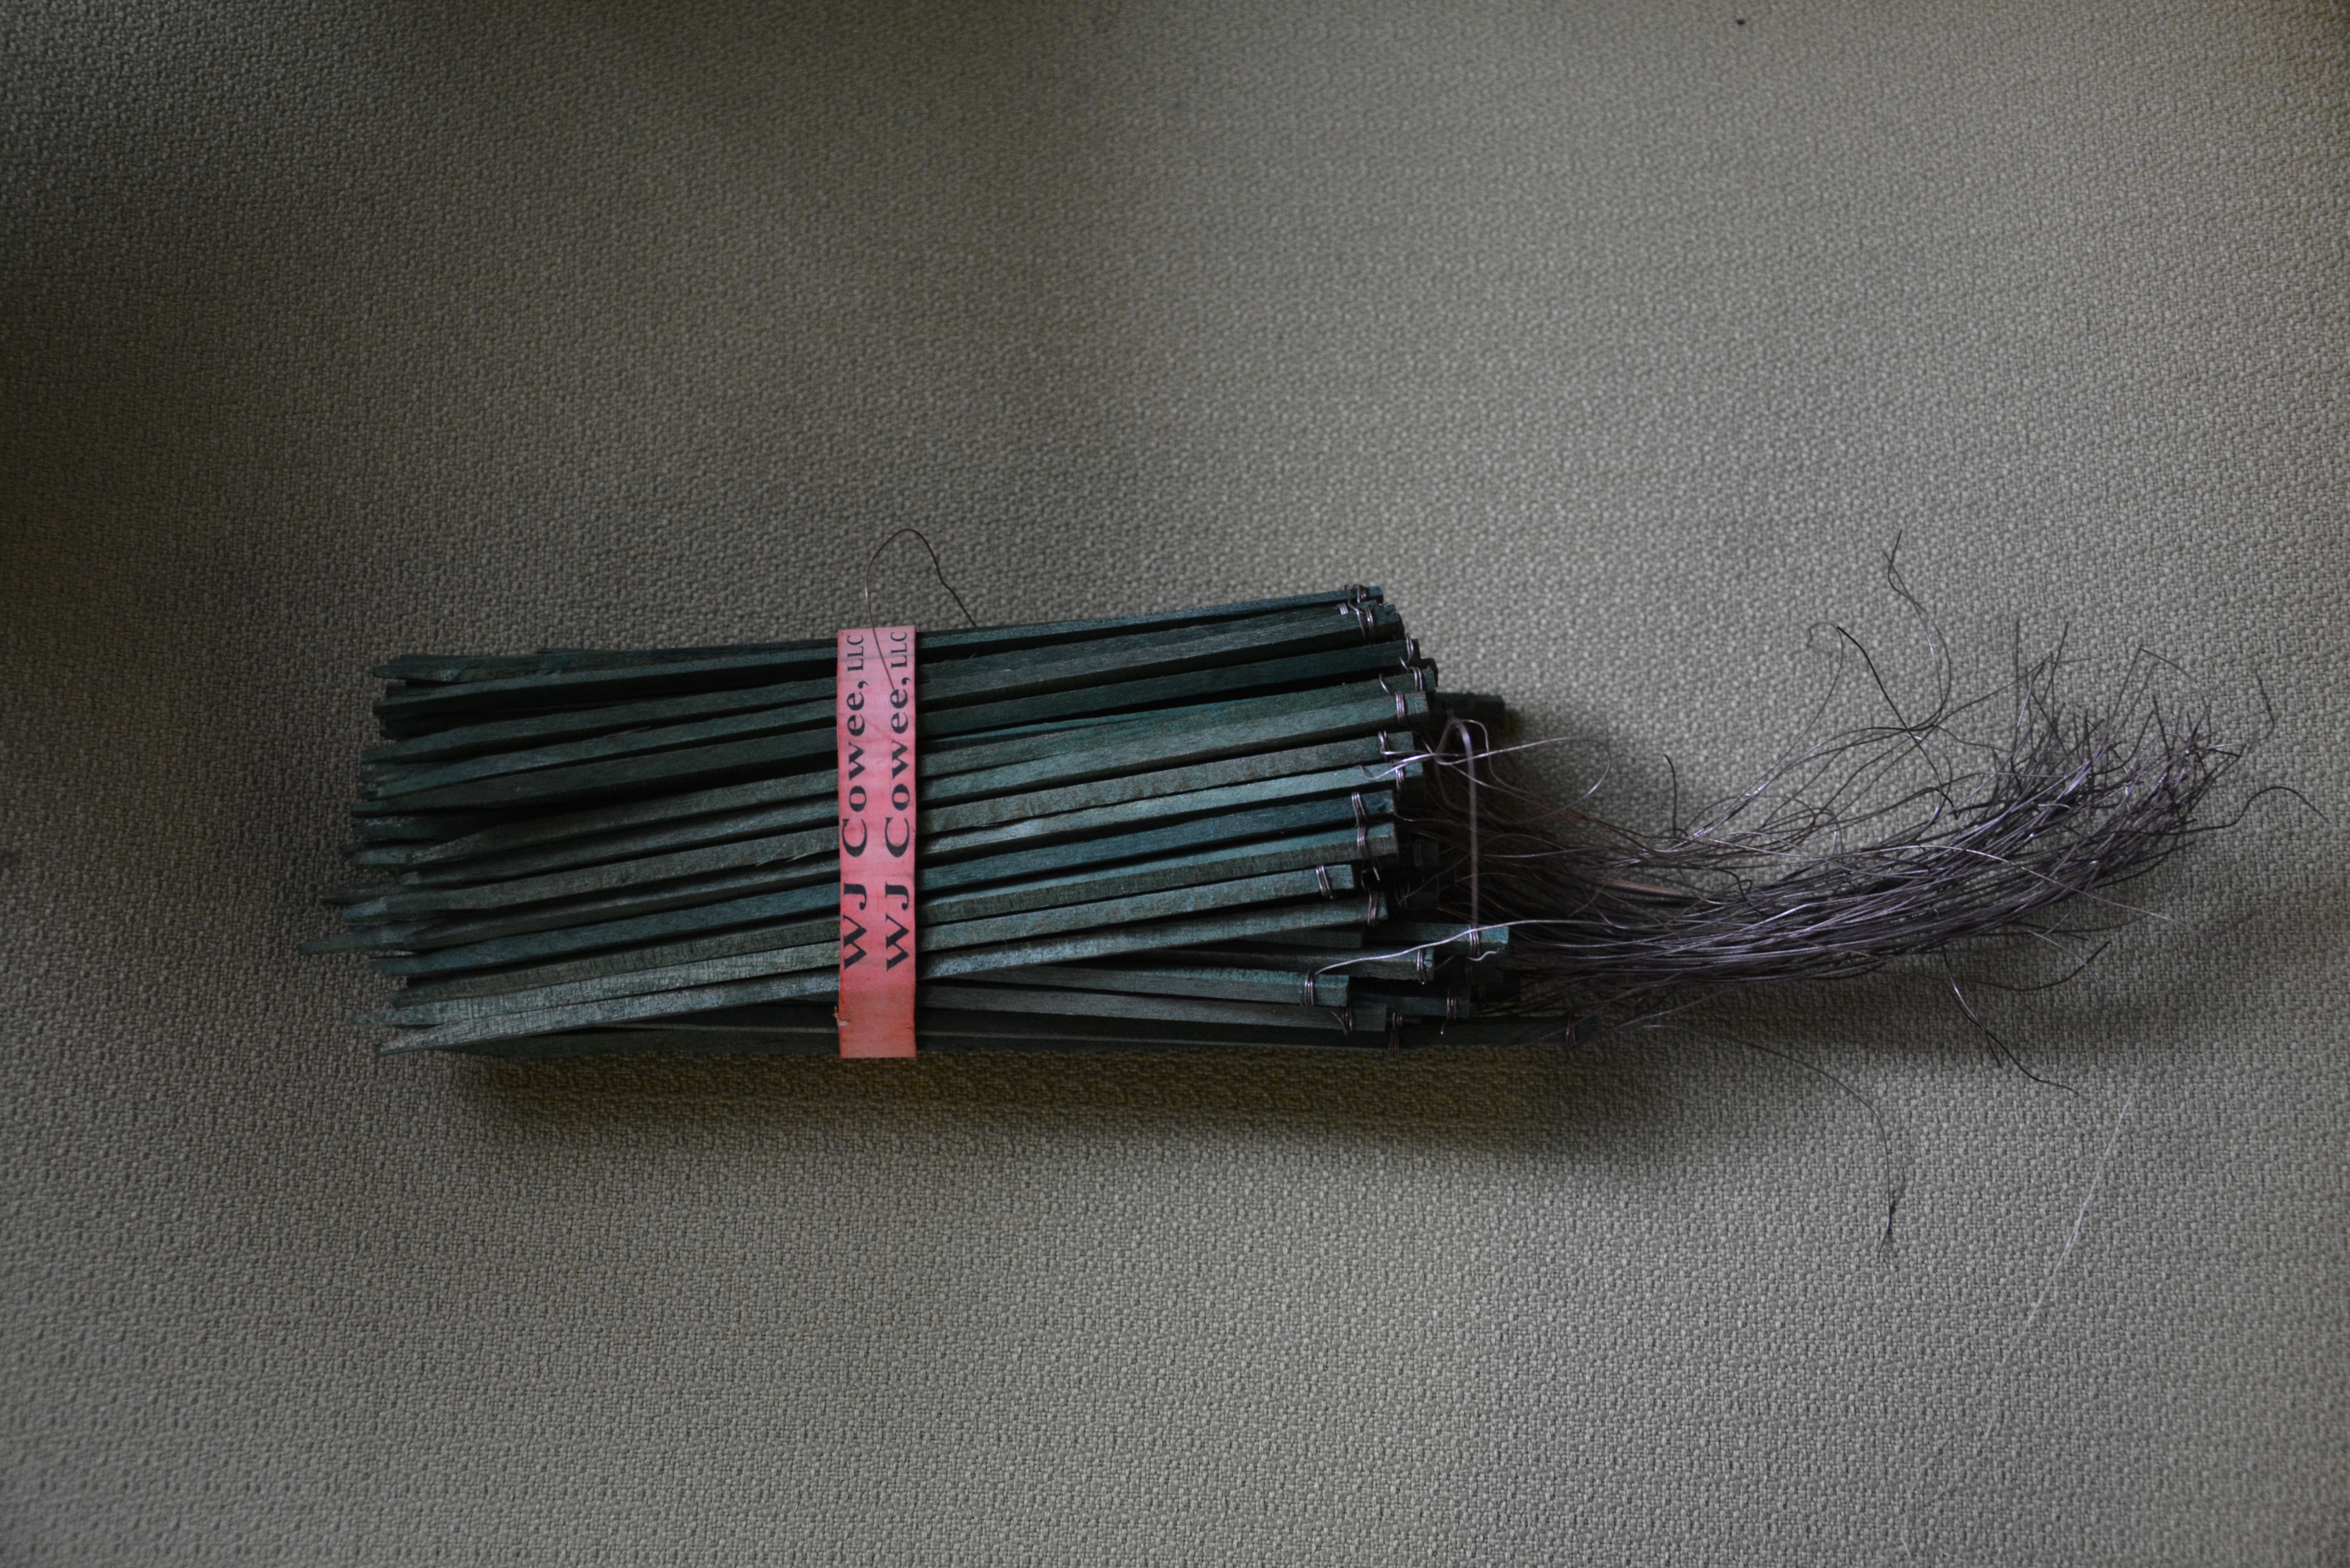
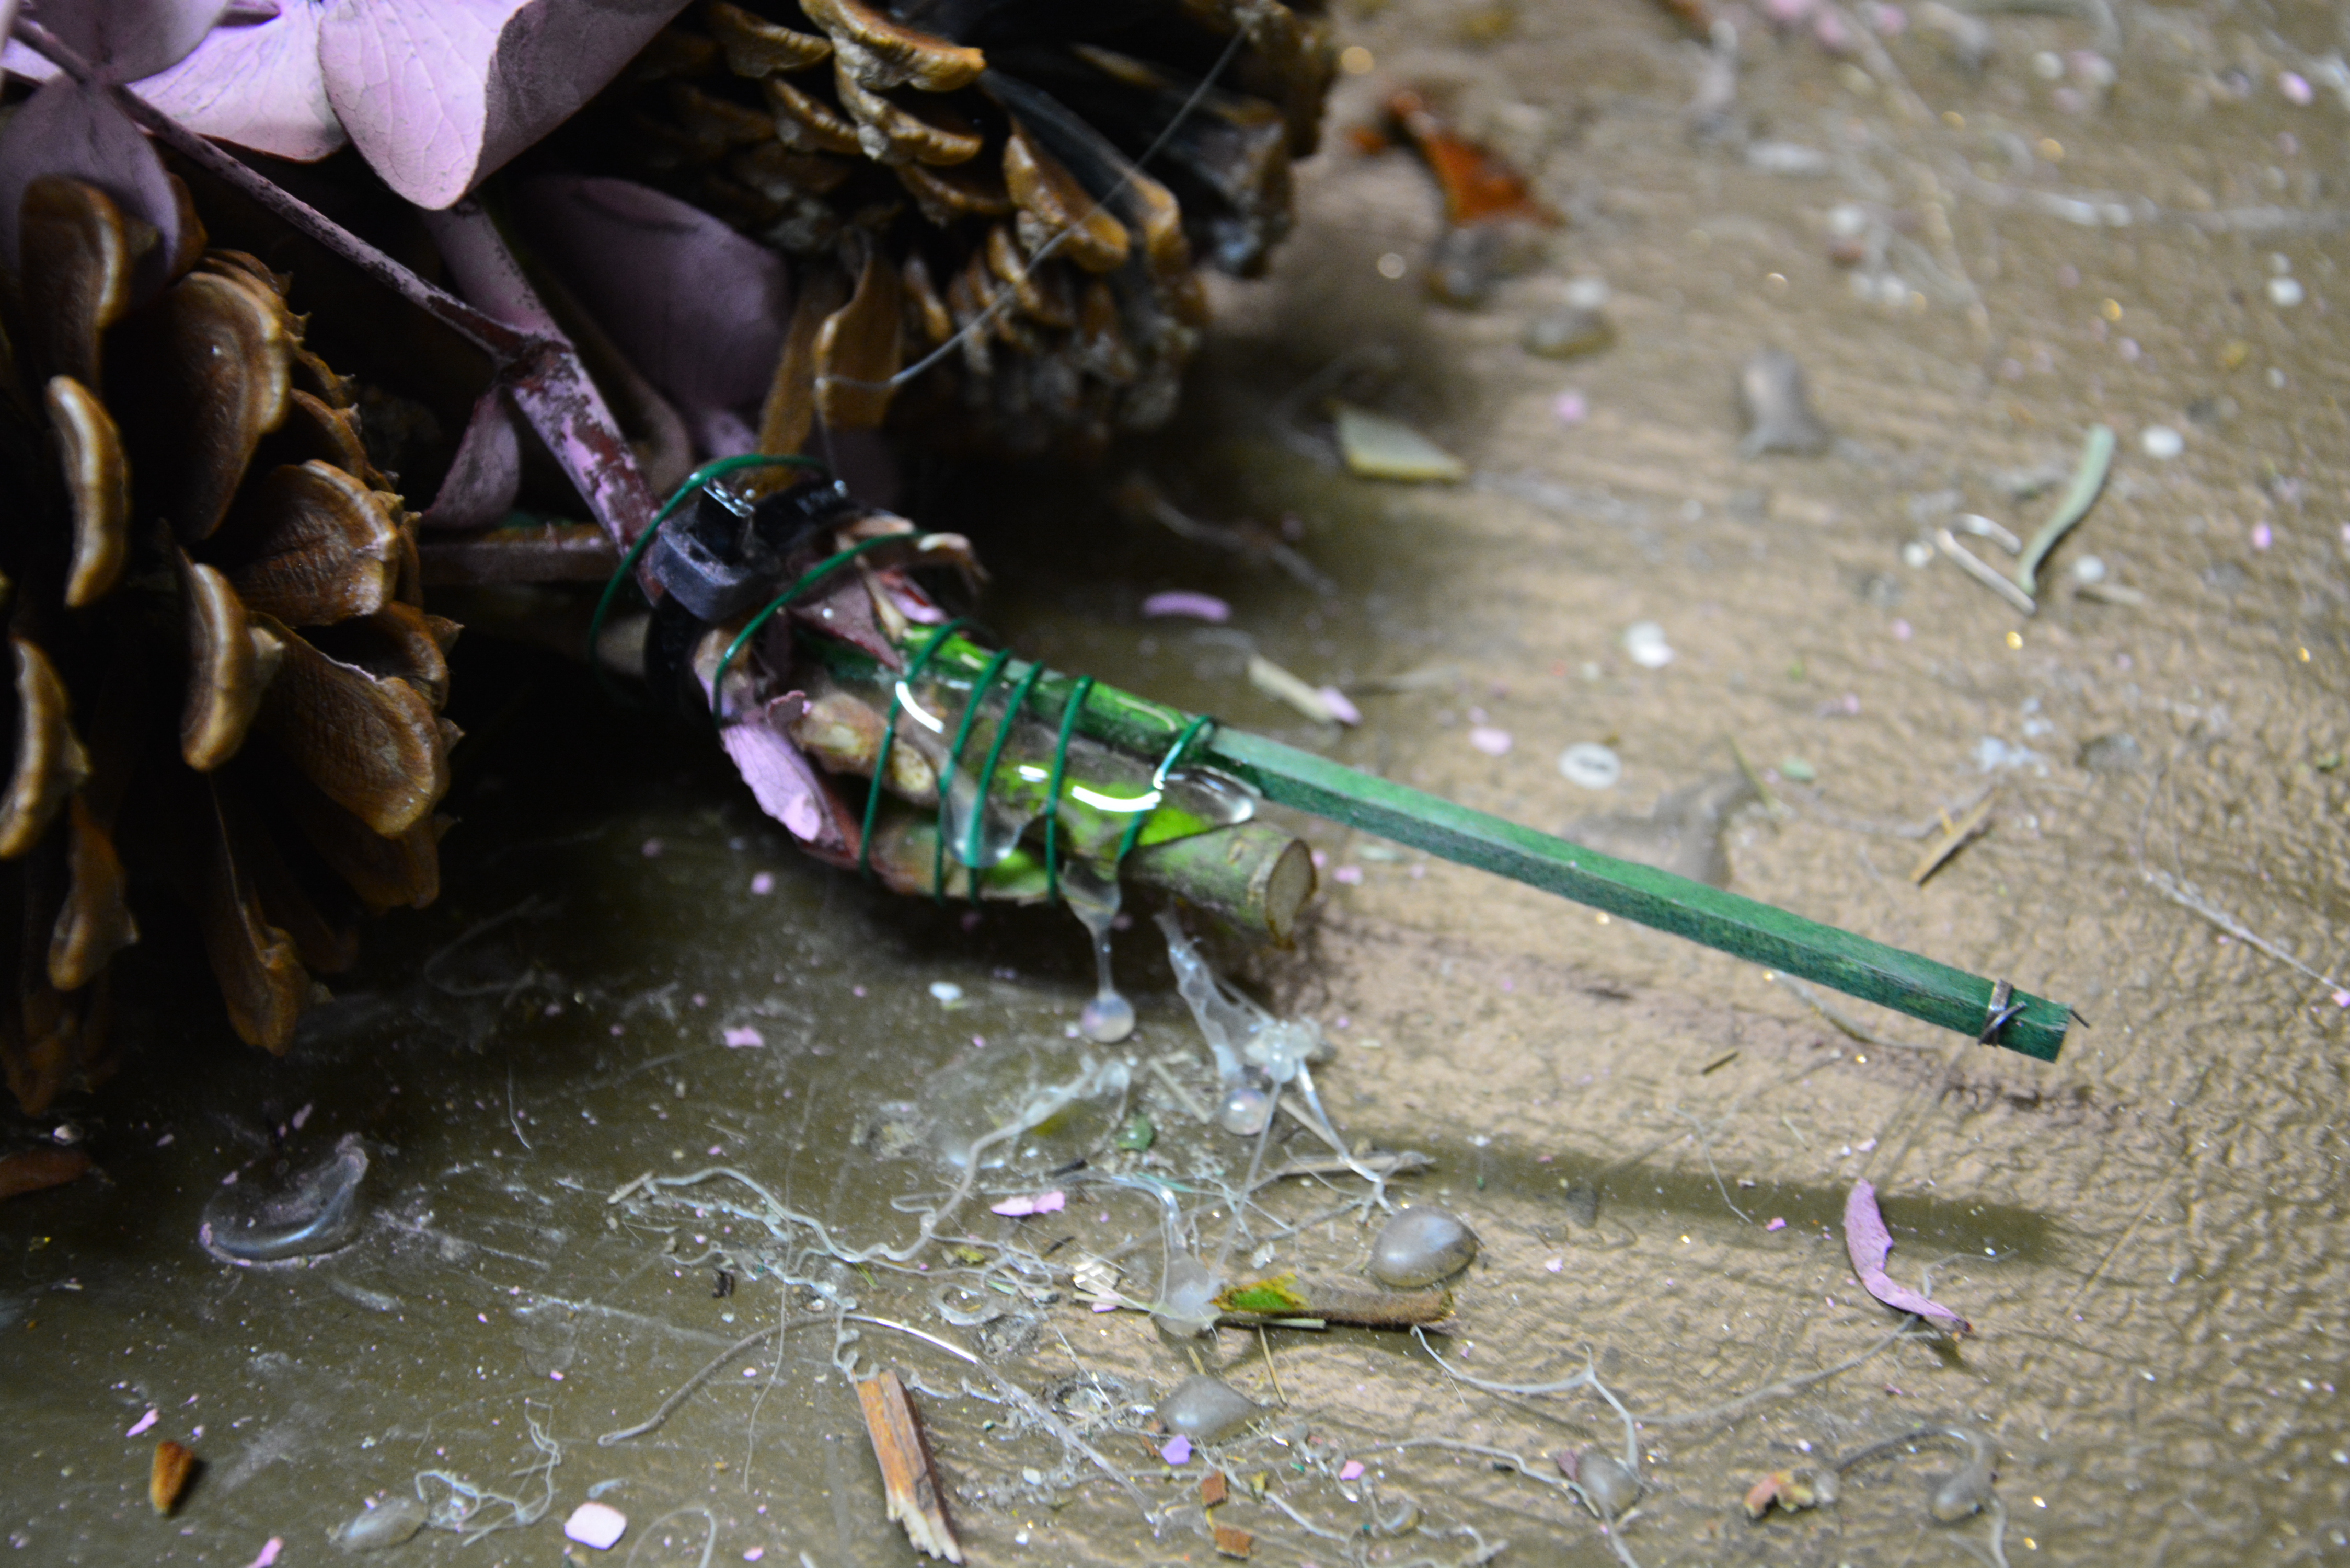
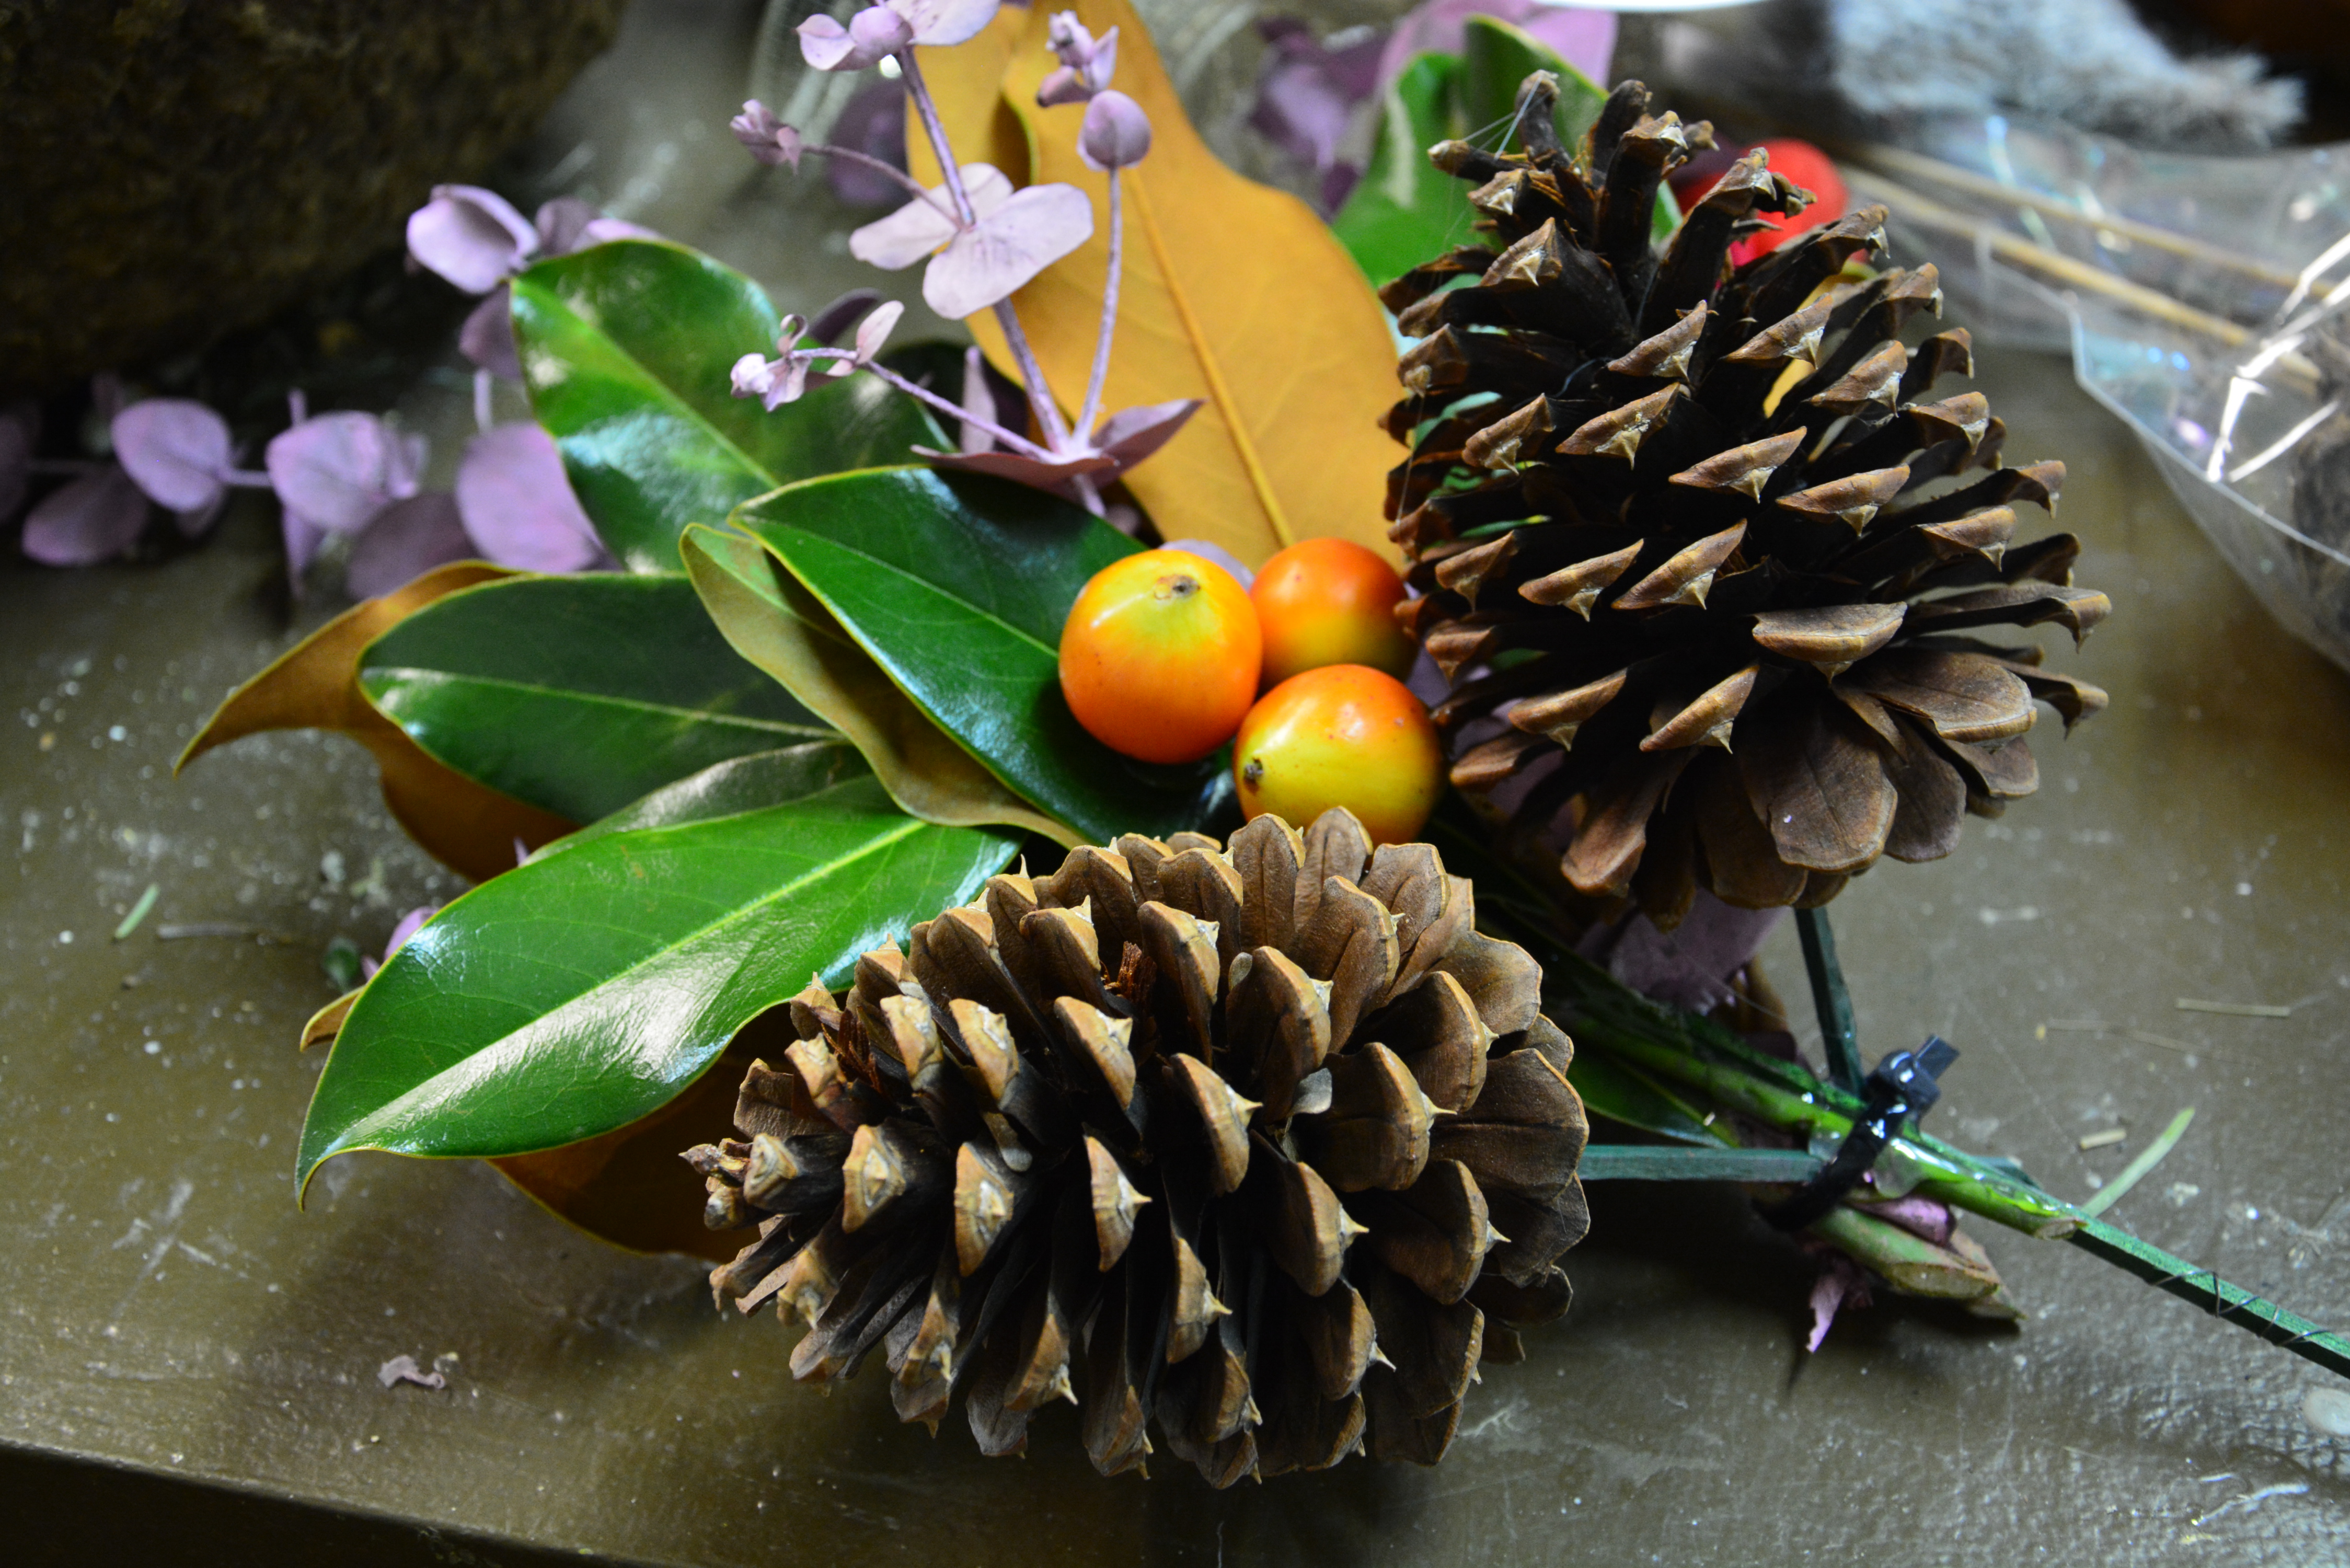
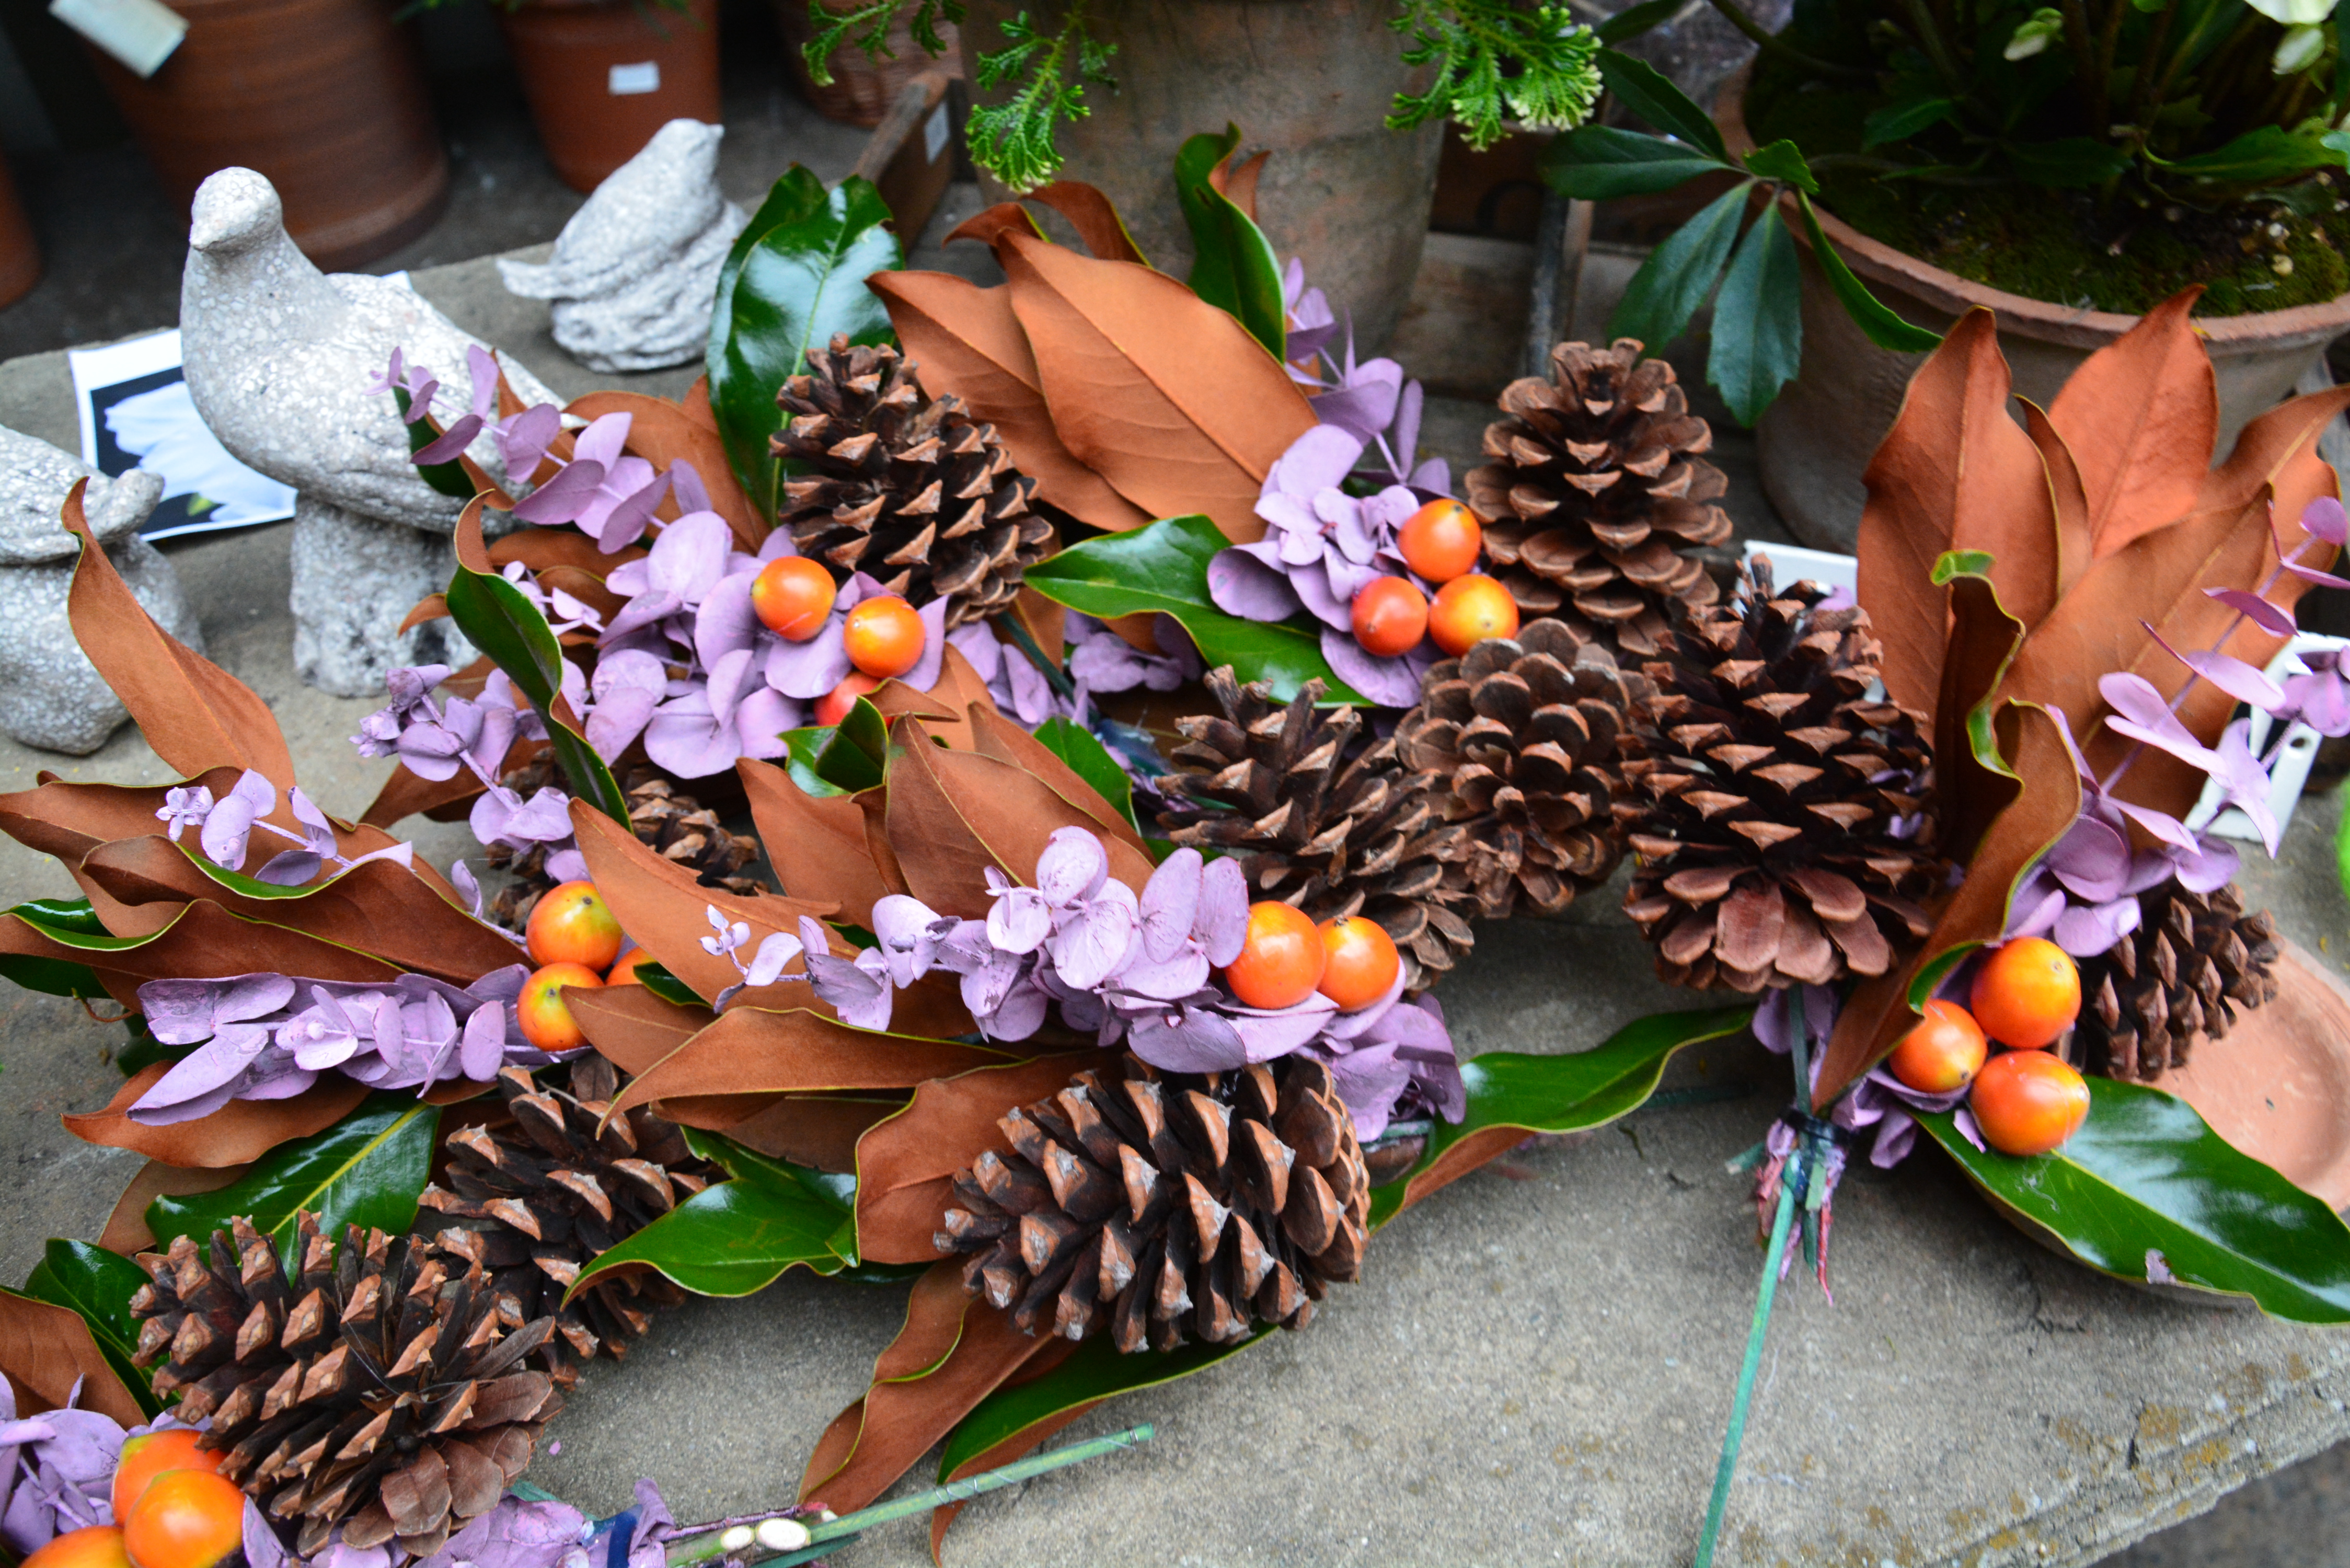
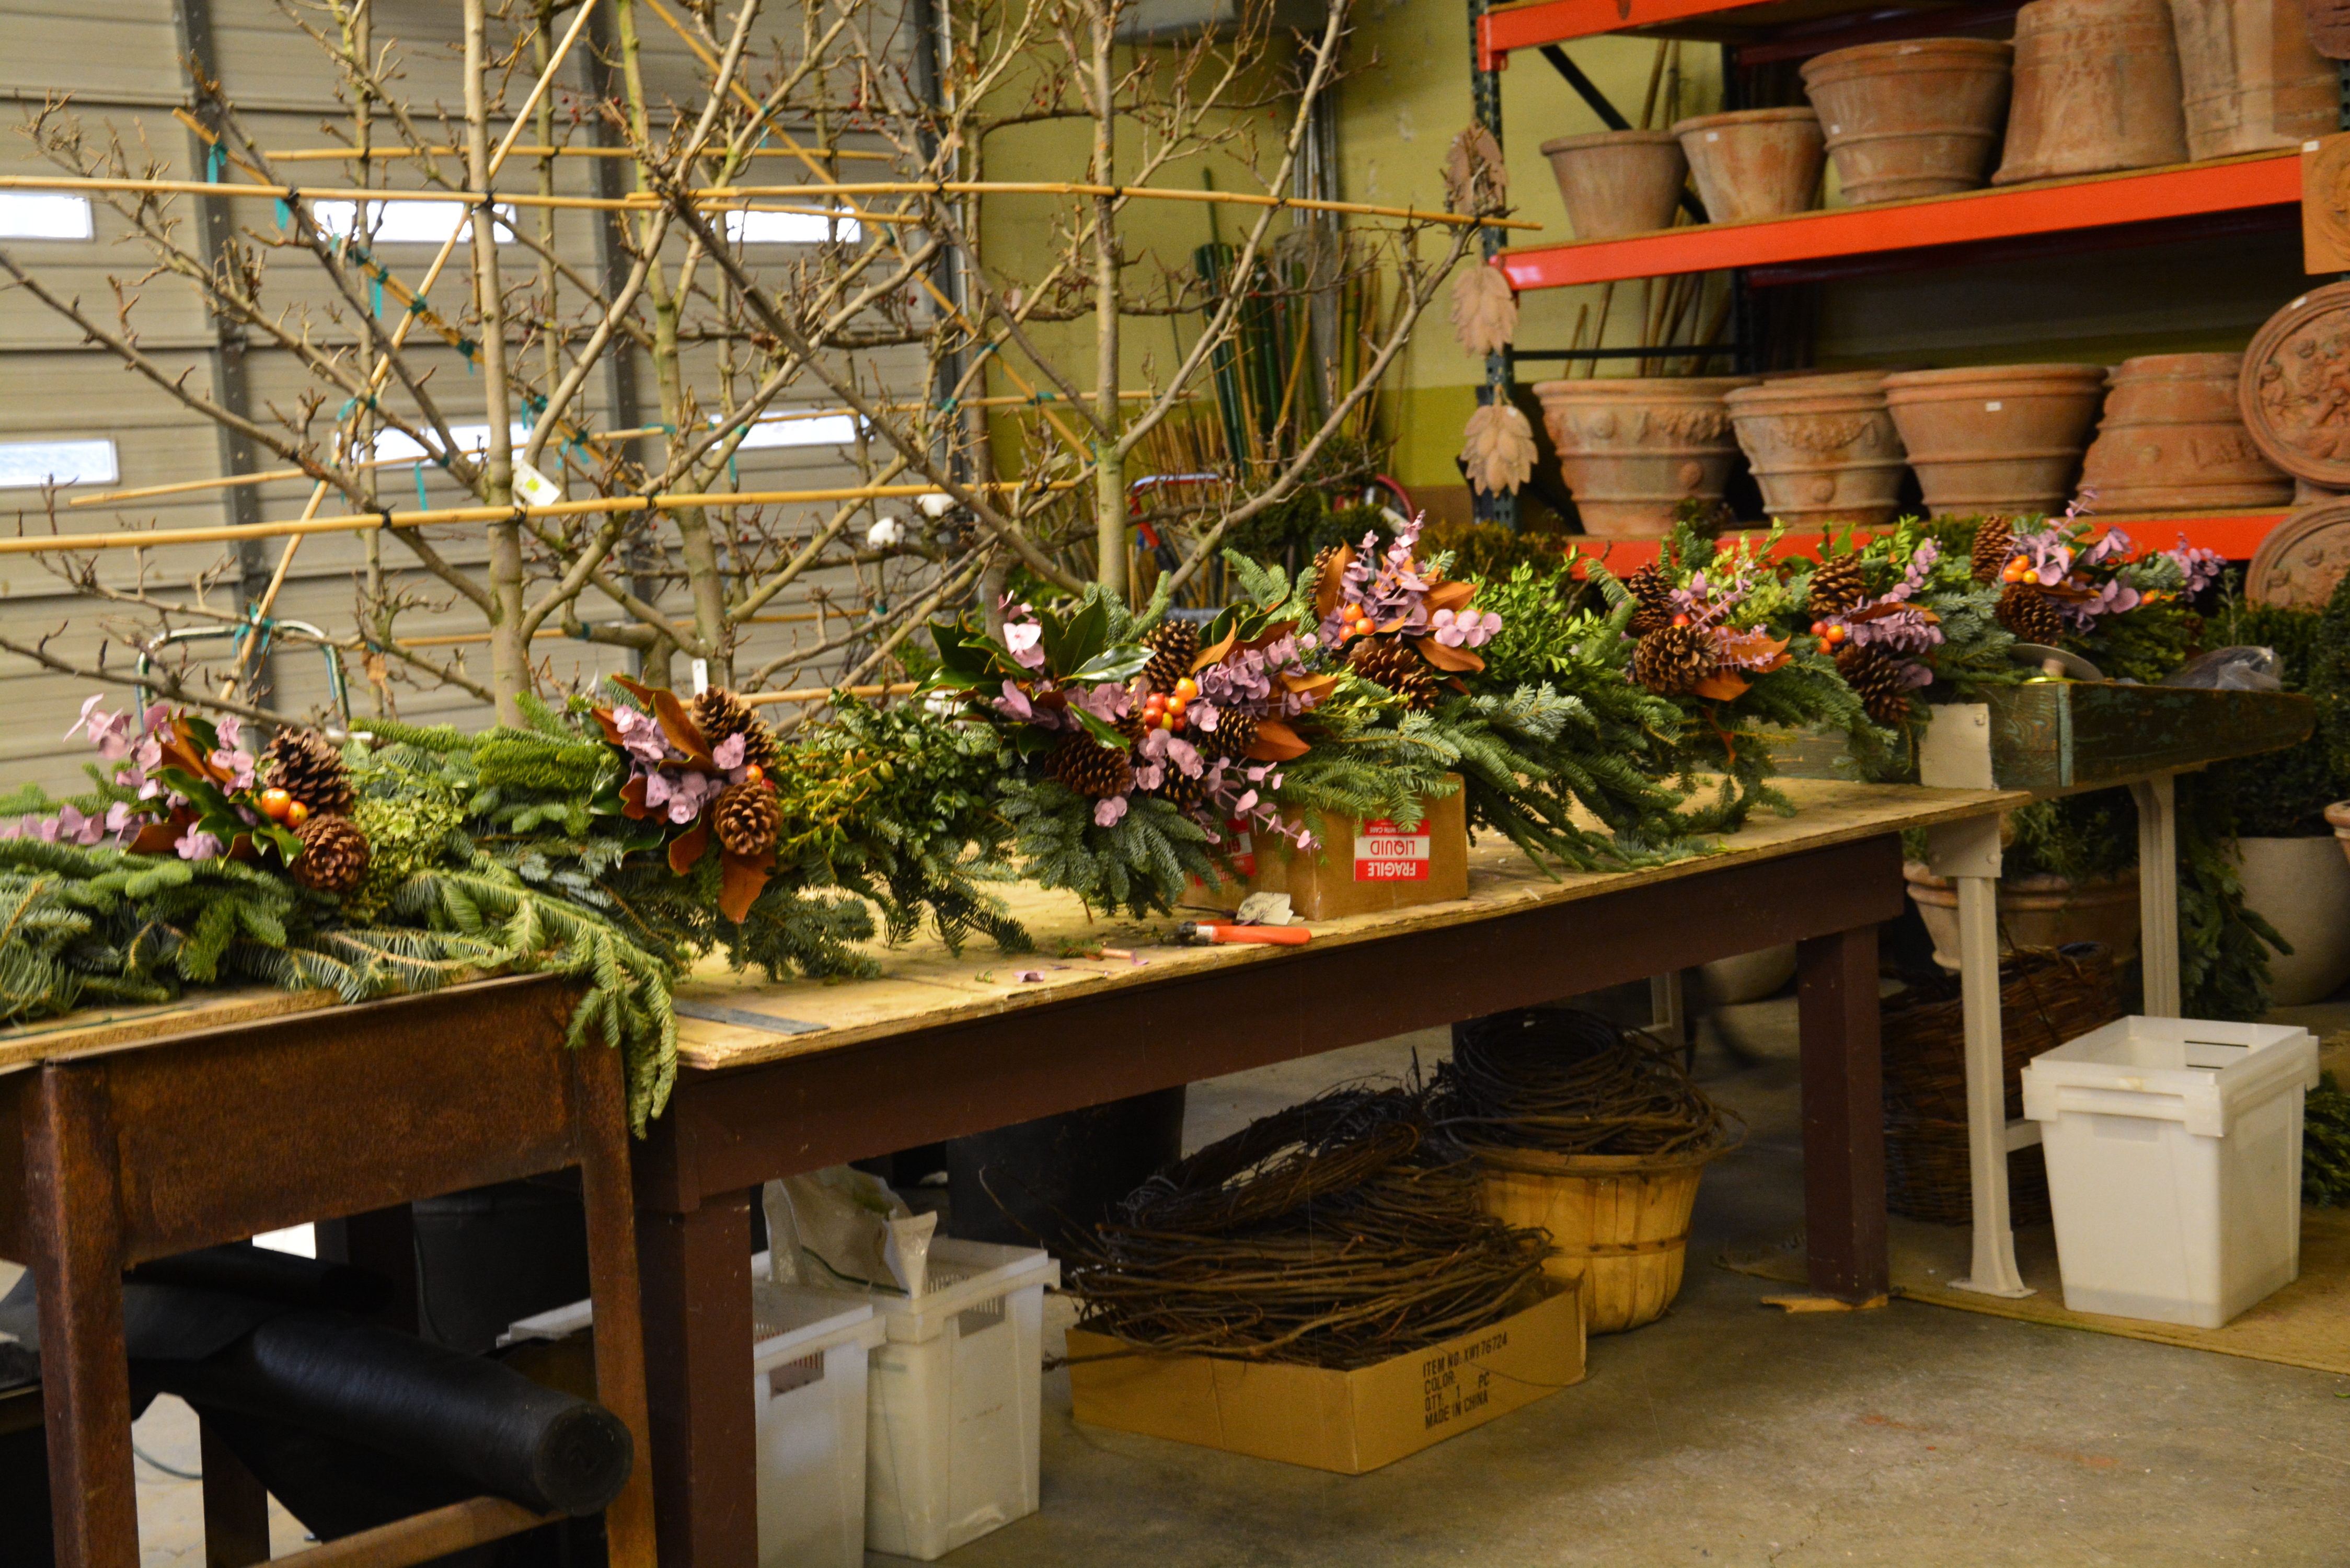
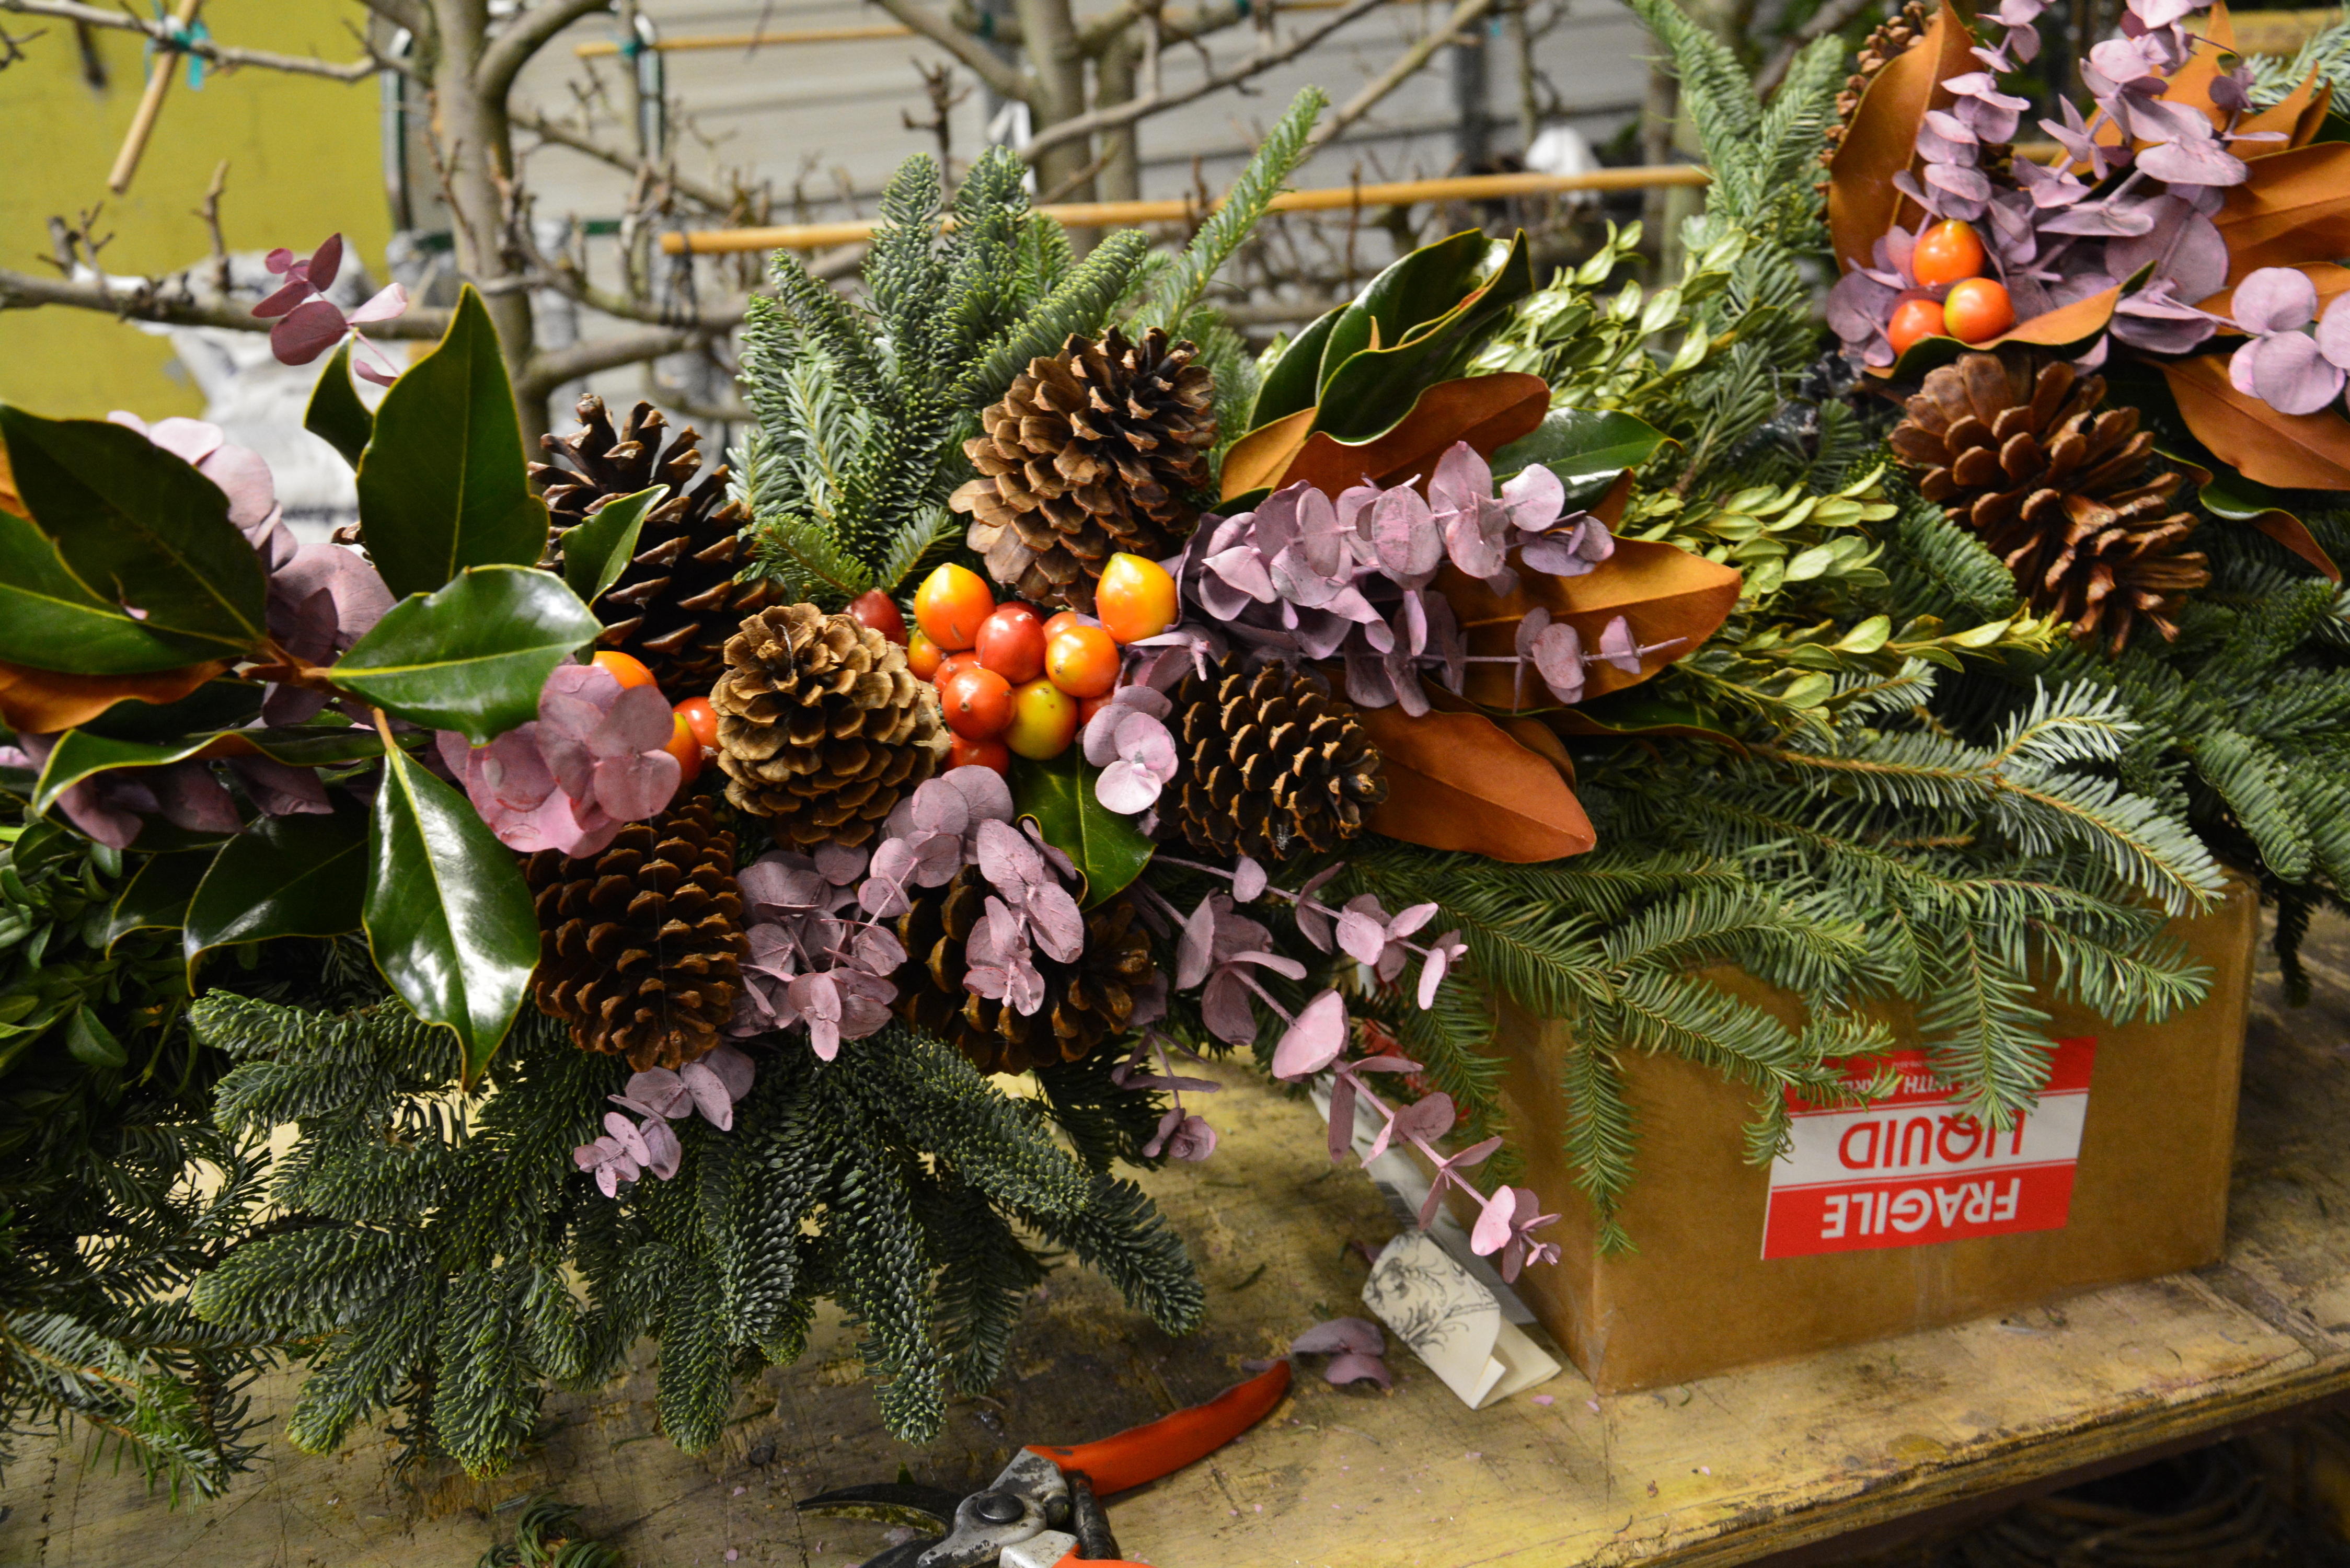
 The holiday garland features pink bits. Funny how what seemed in the studio to be overwhelmingly pink looks so much more reserved outdoors.
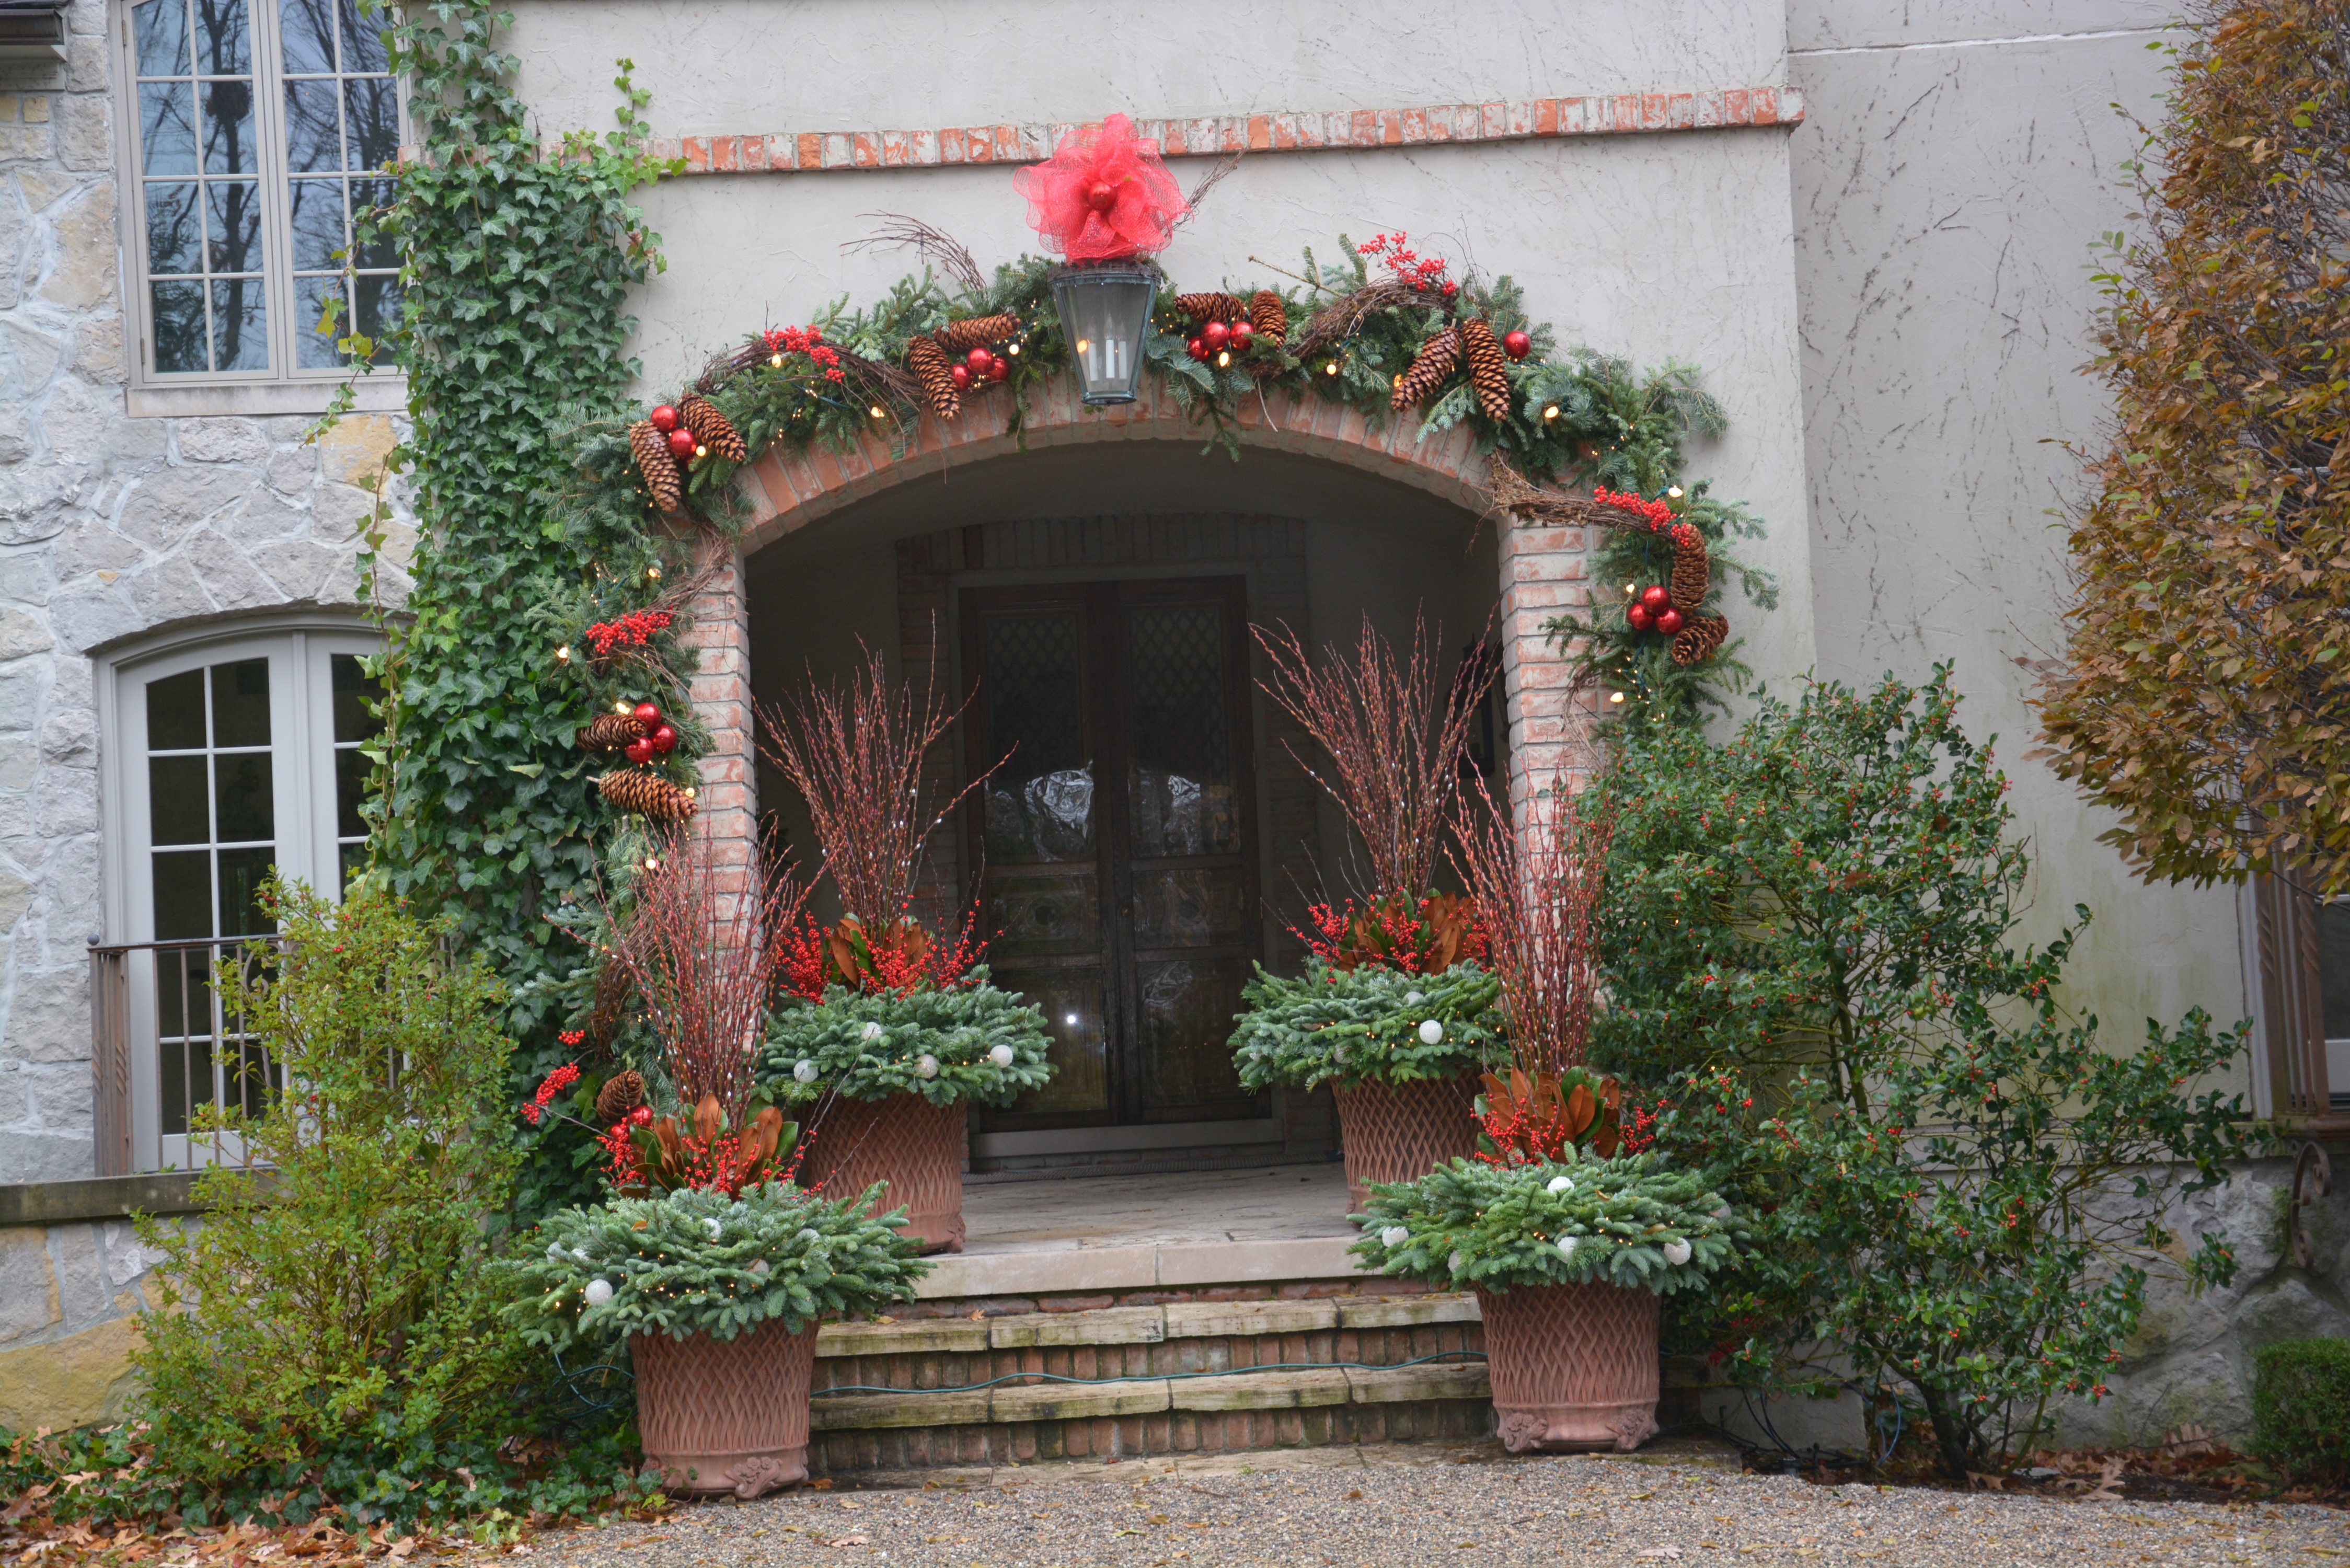
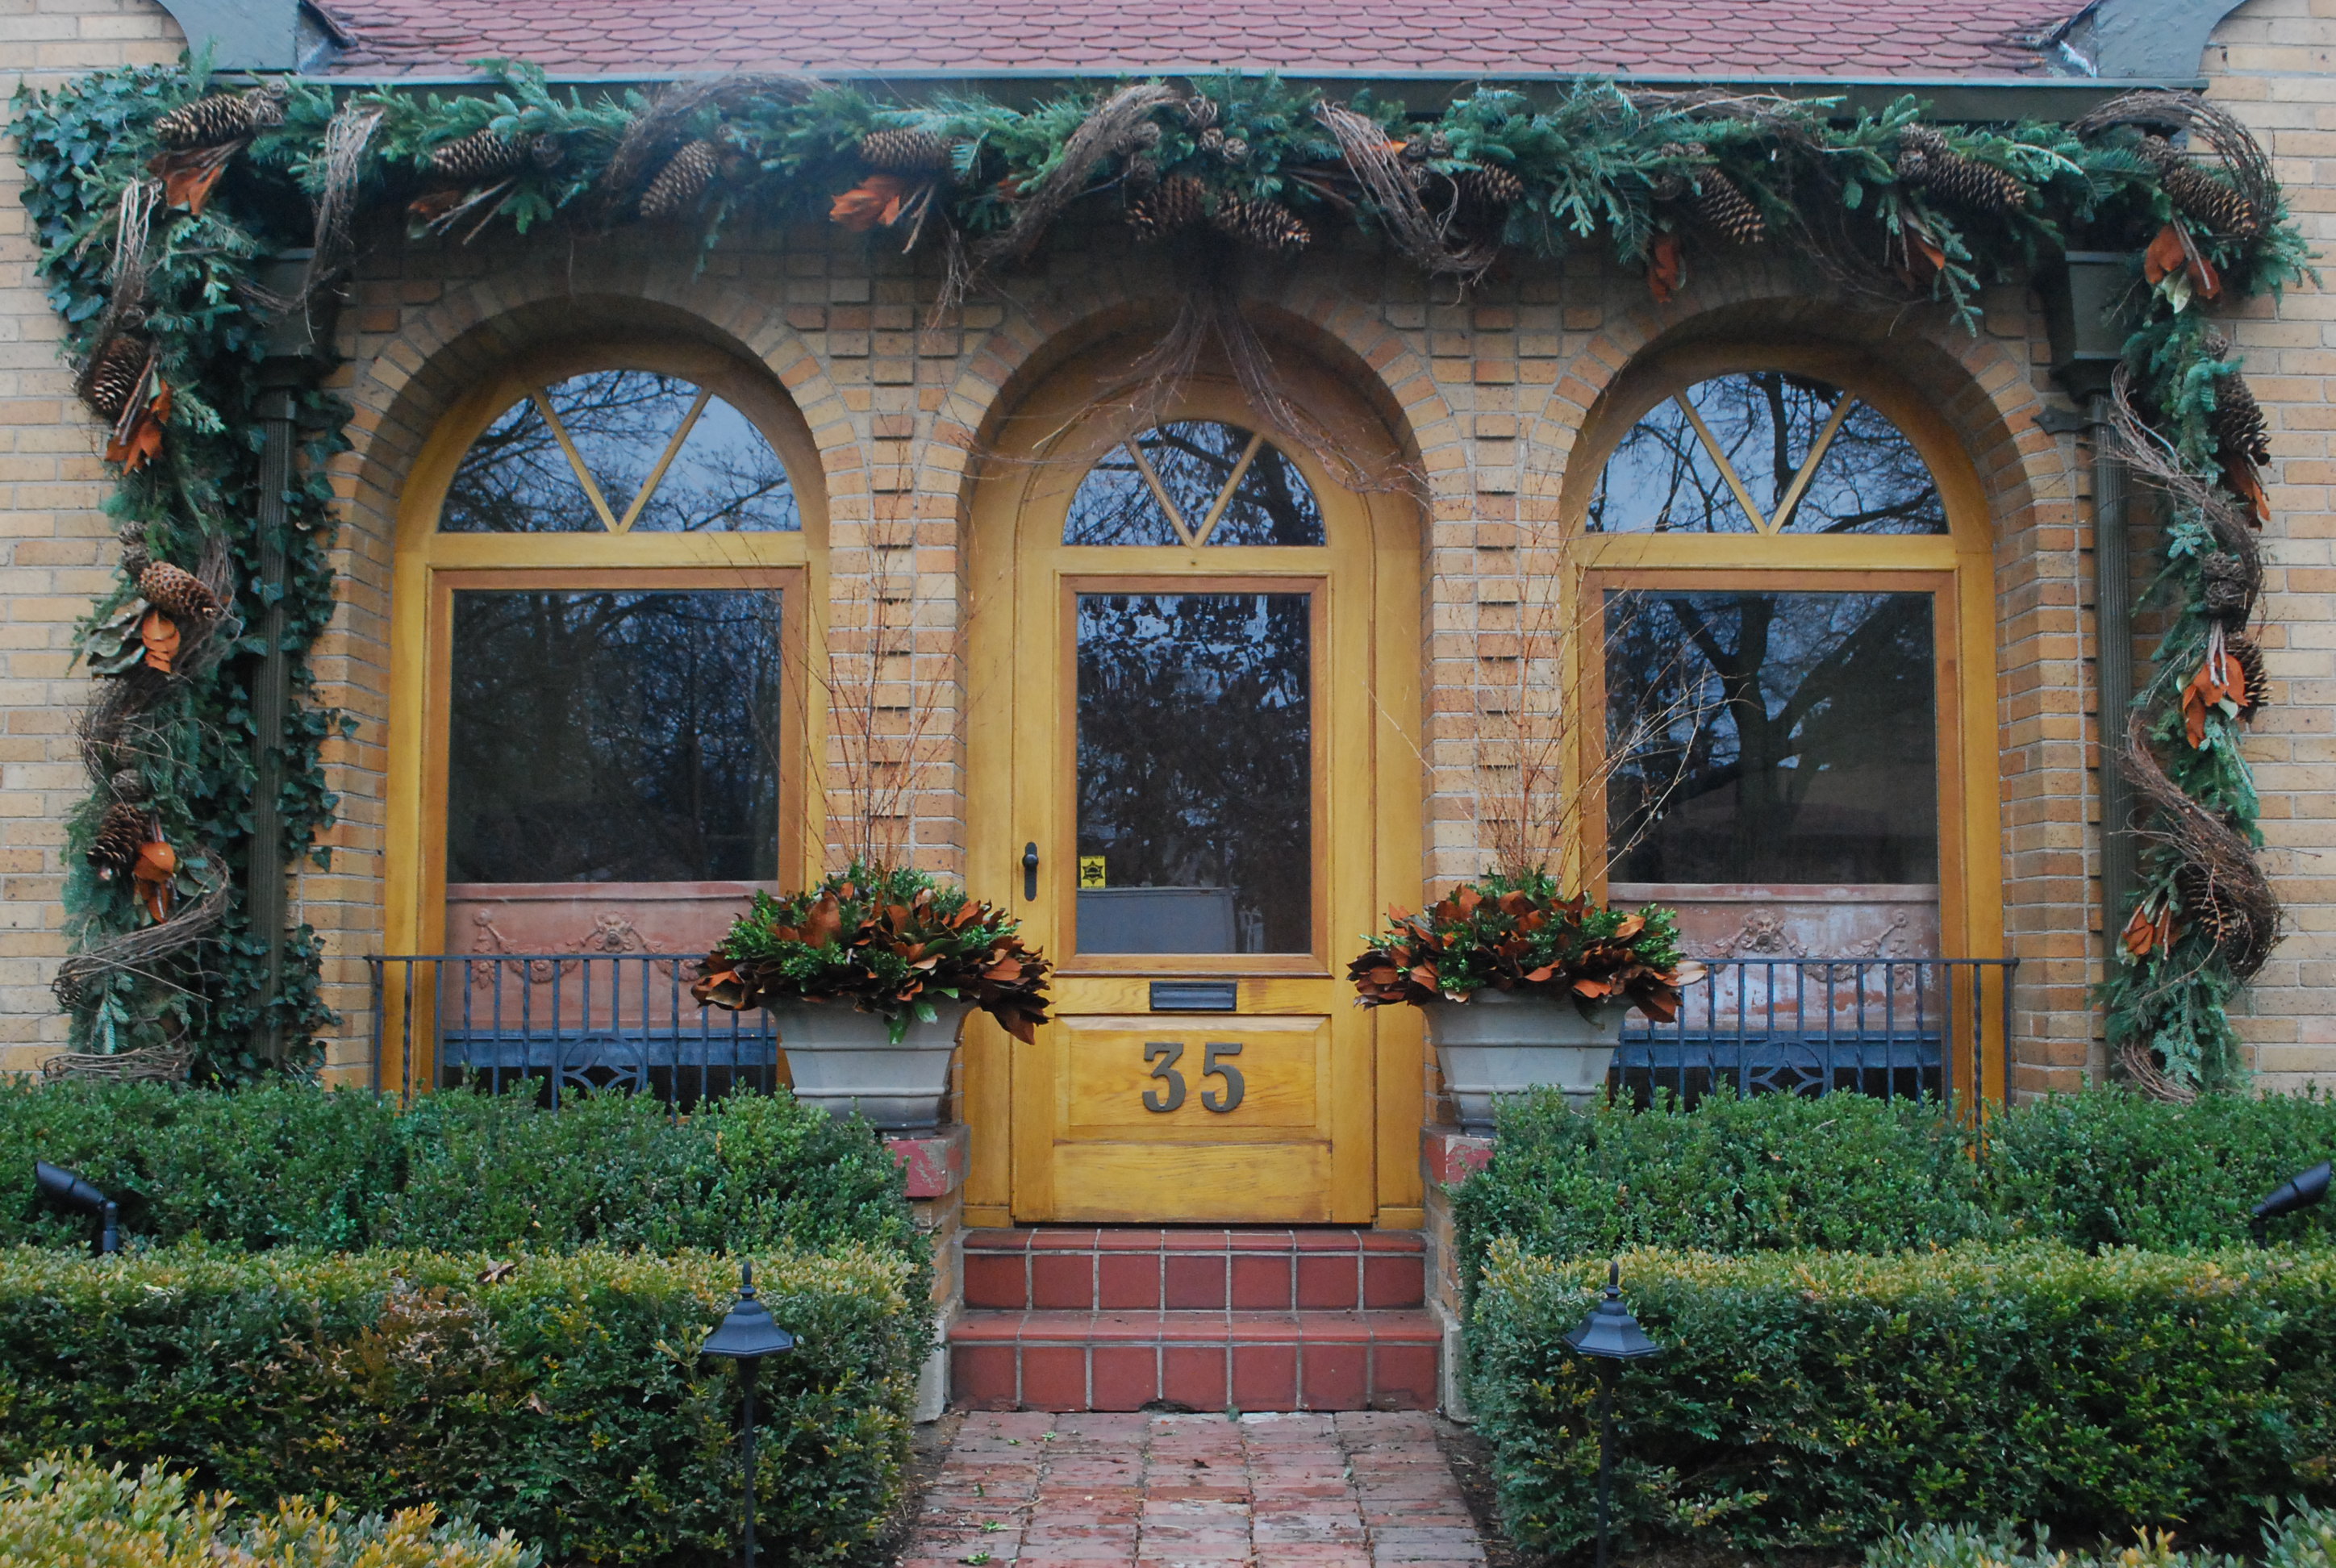
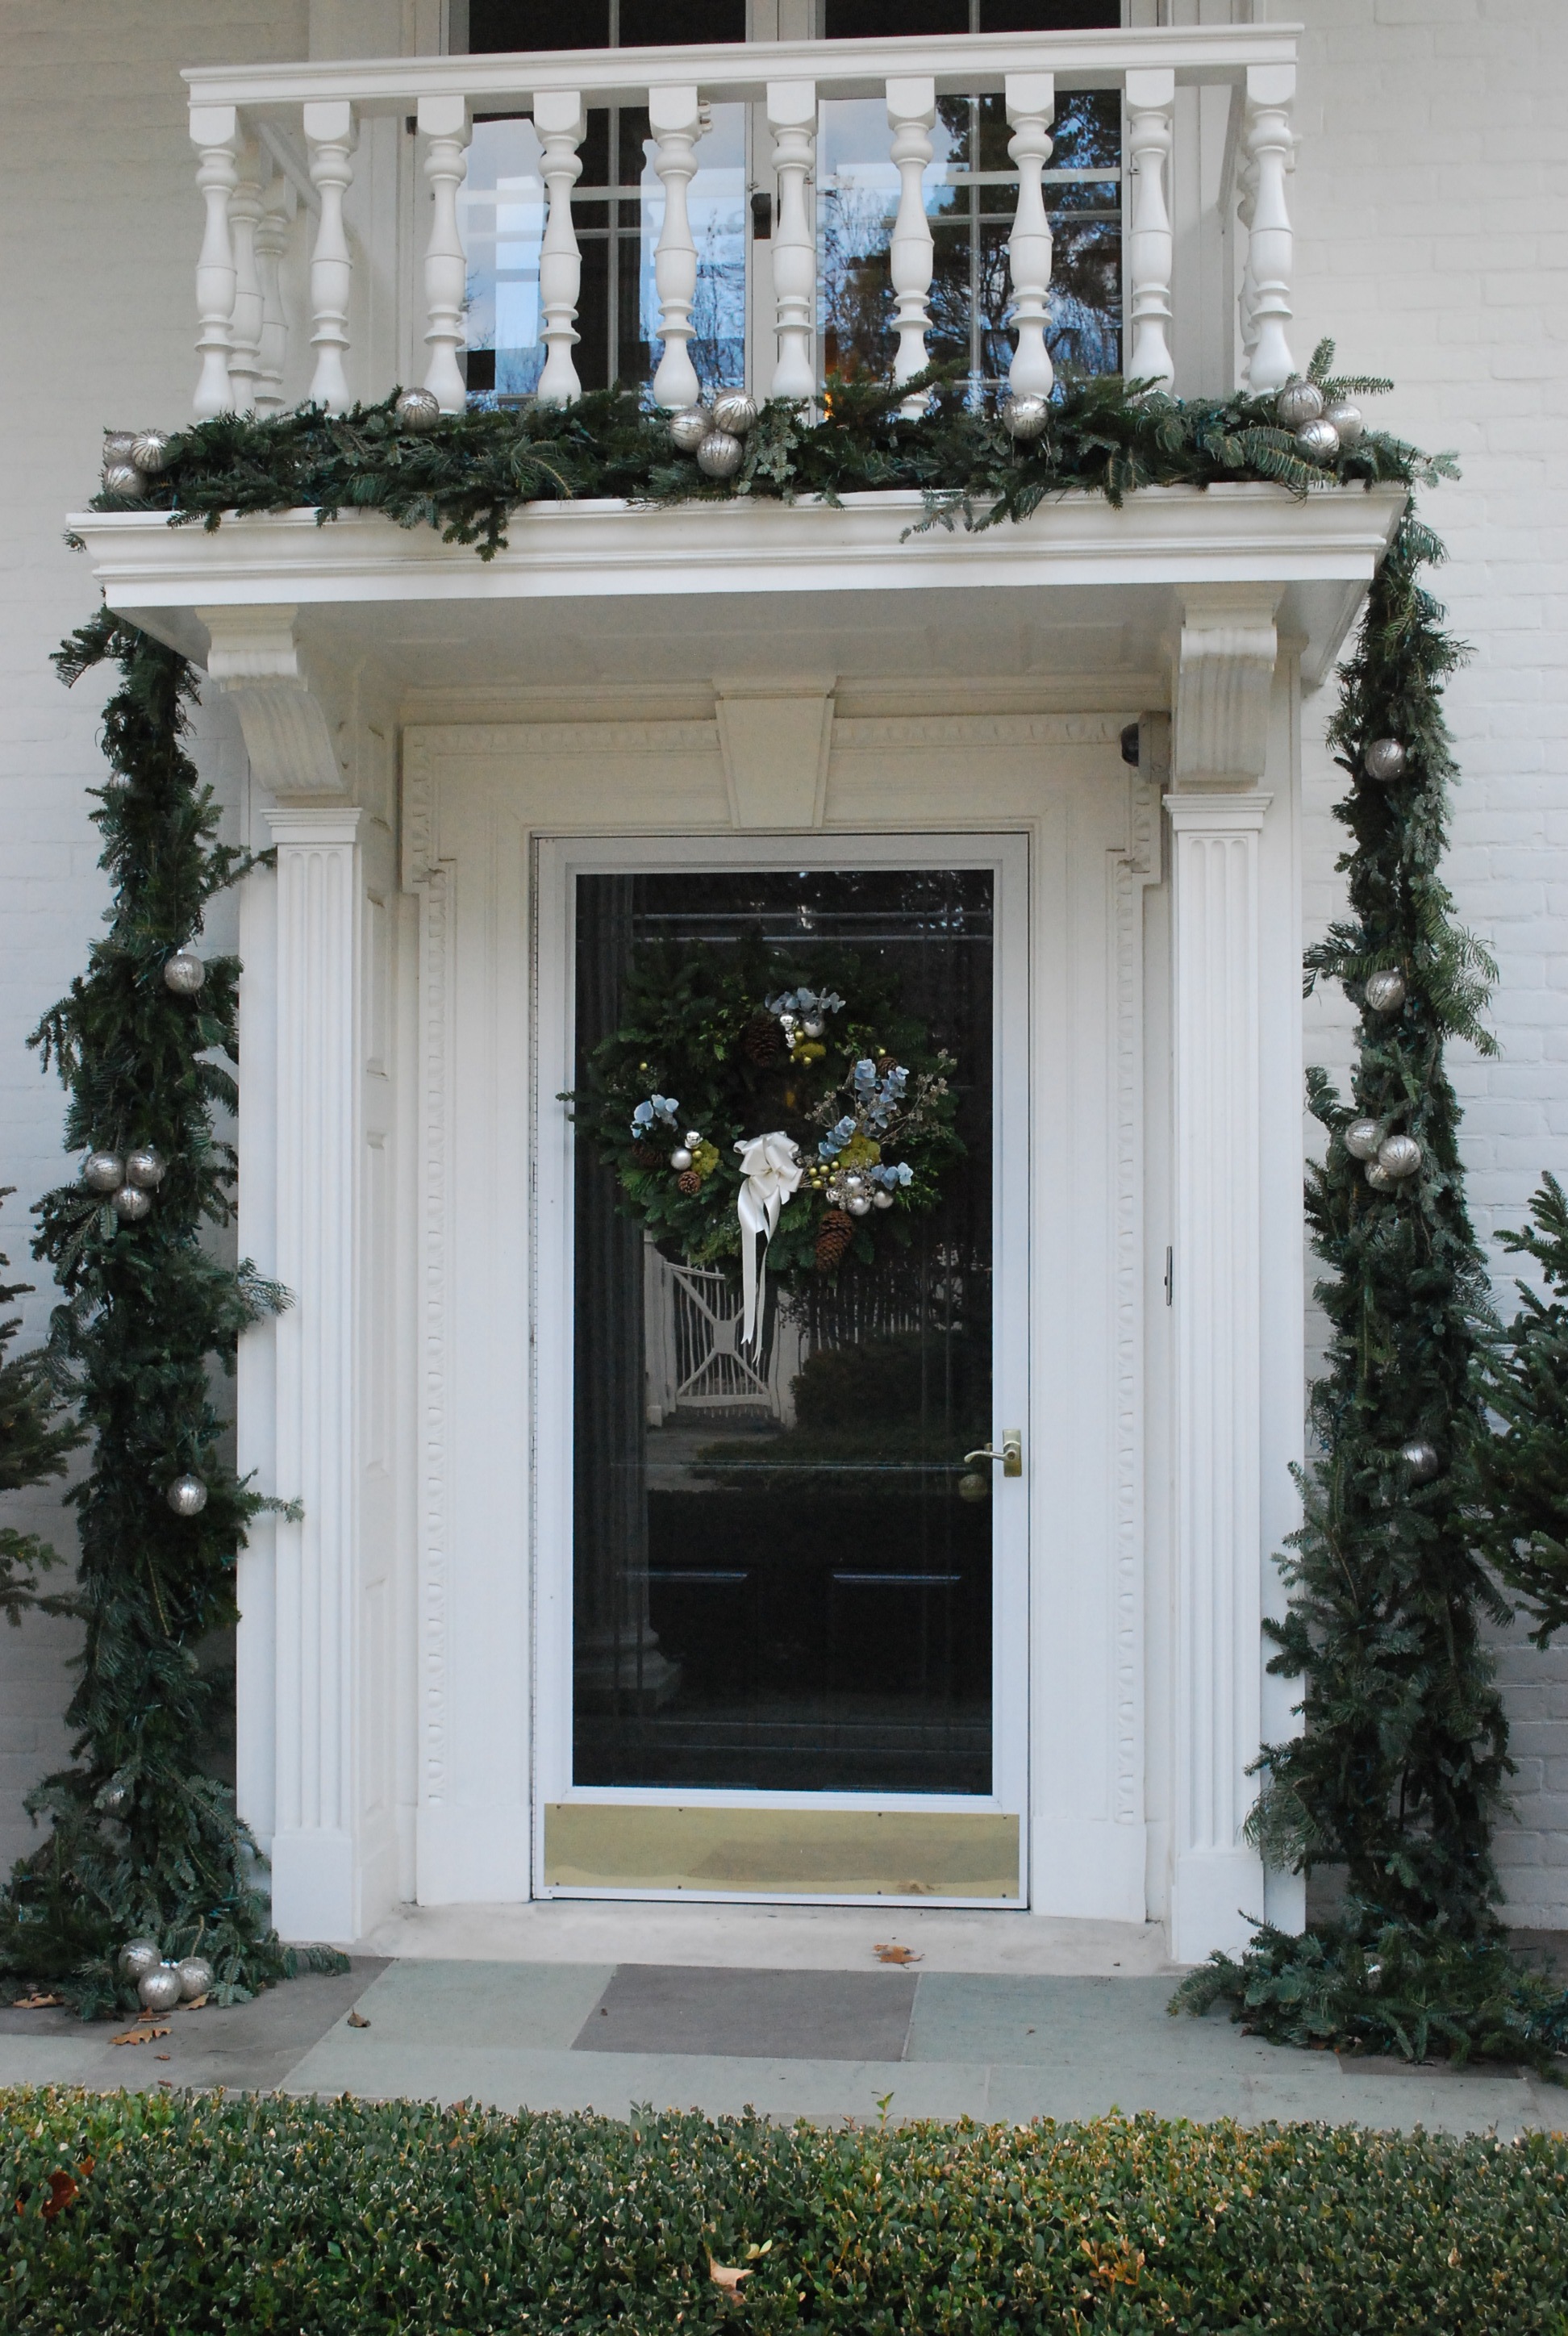
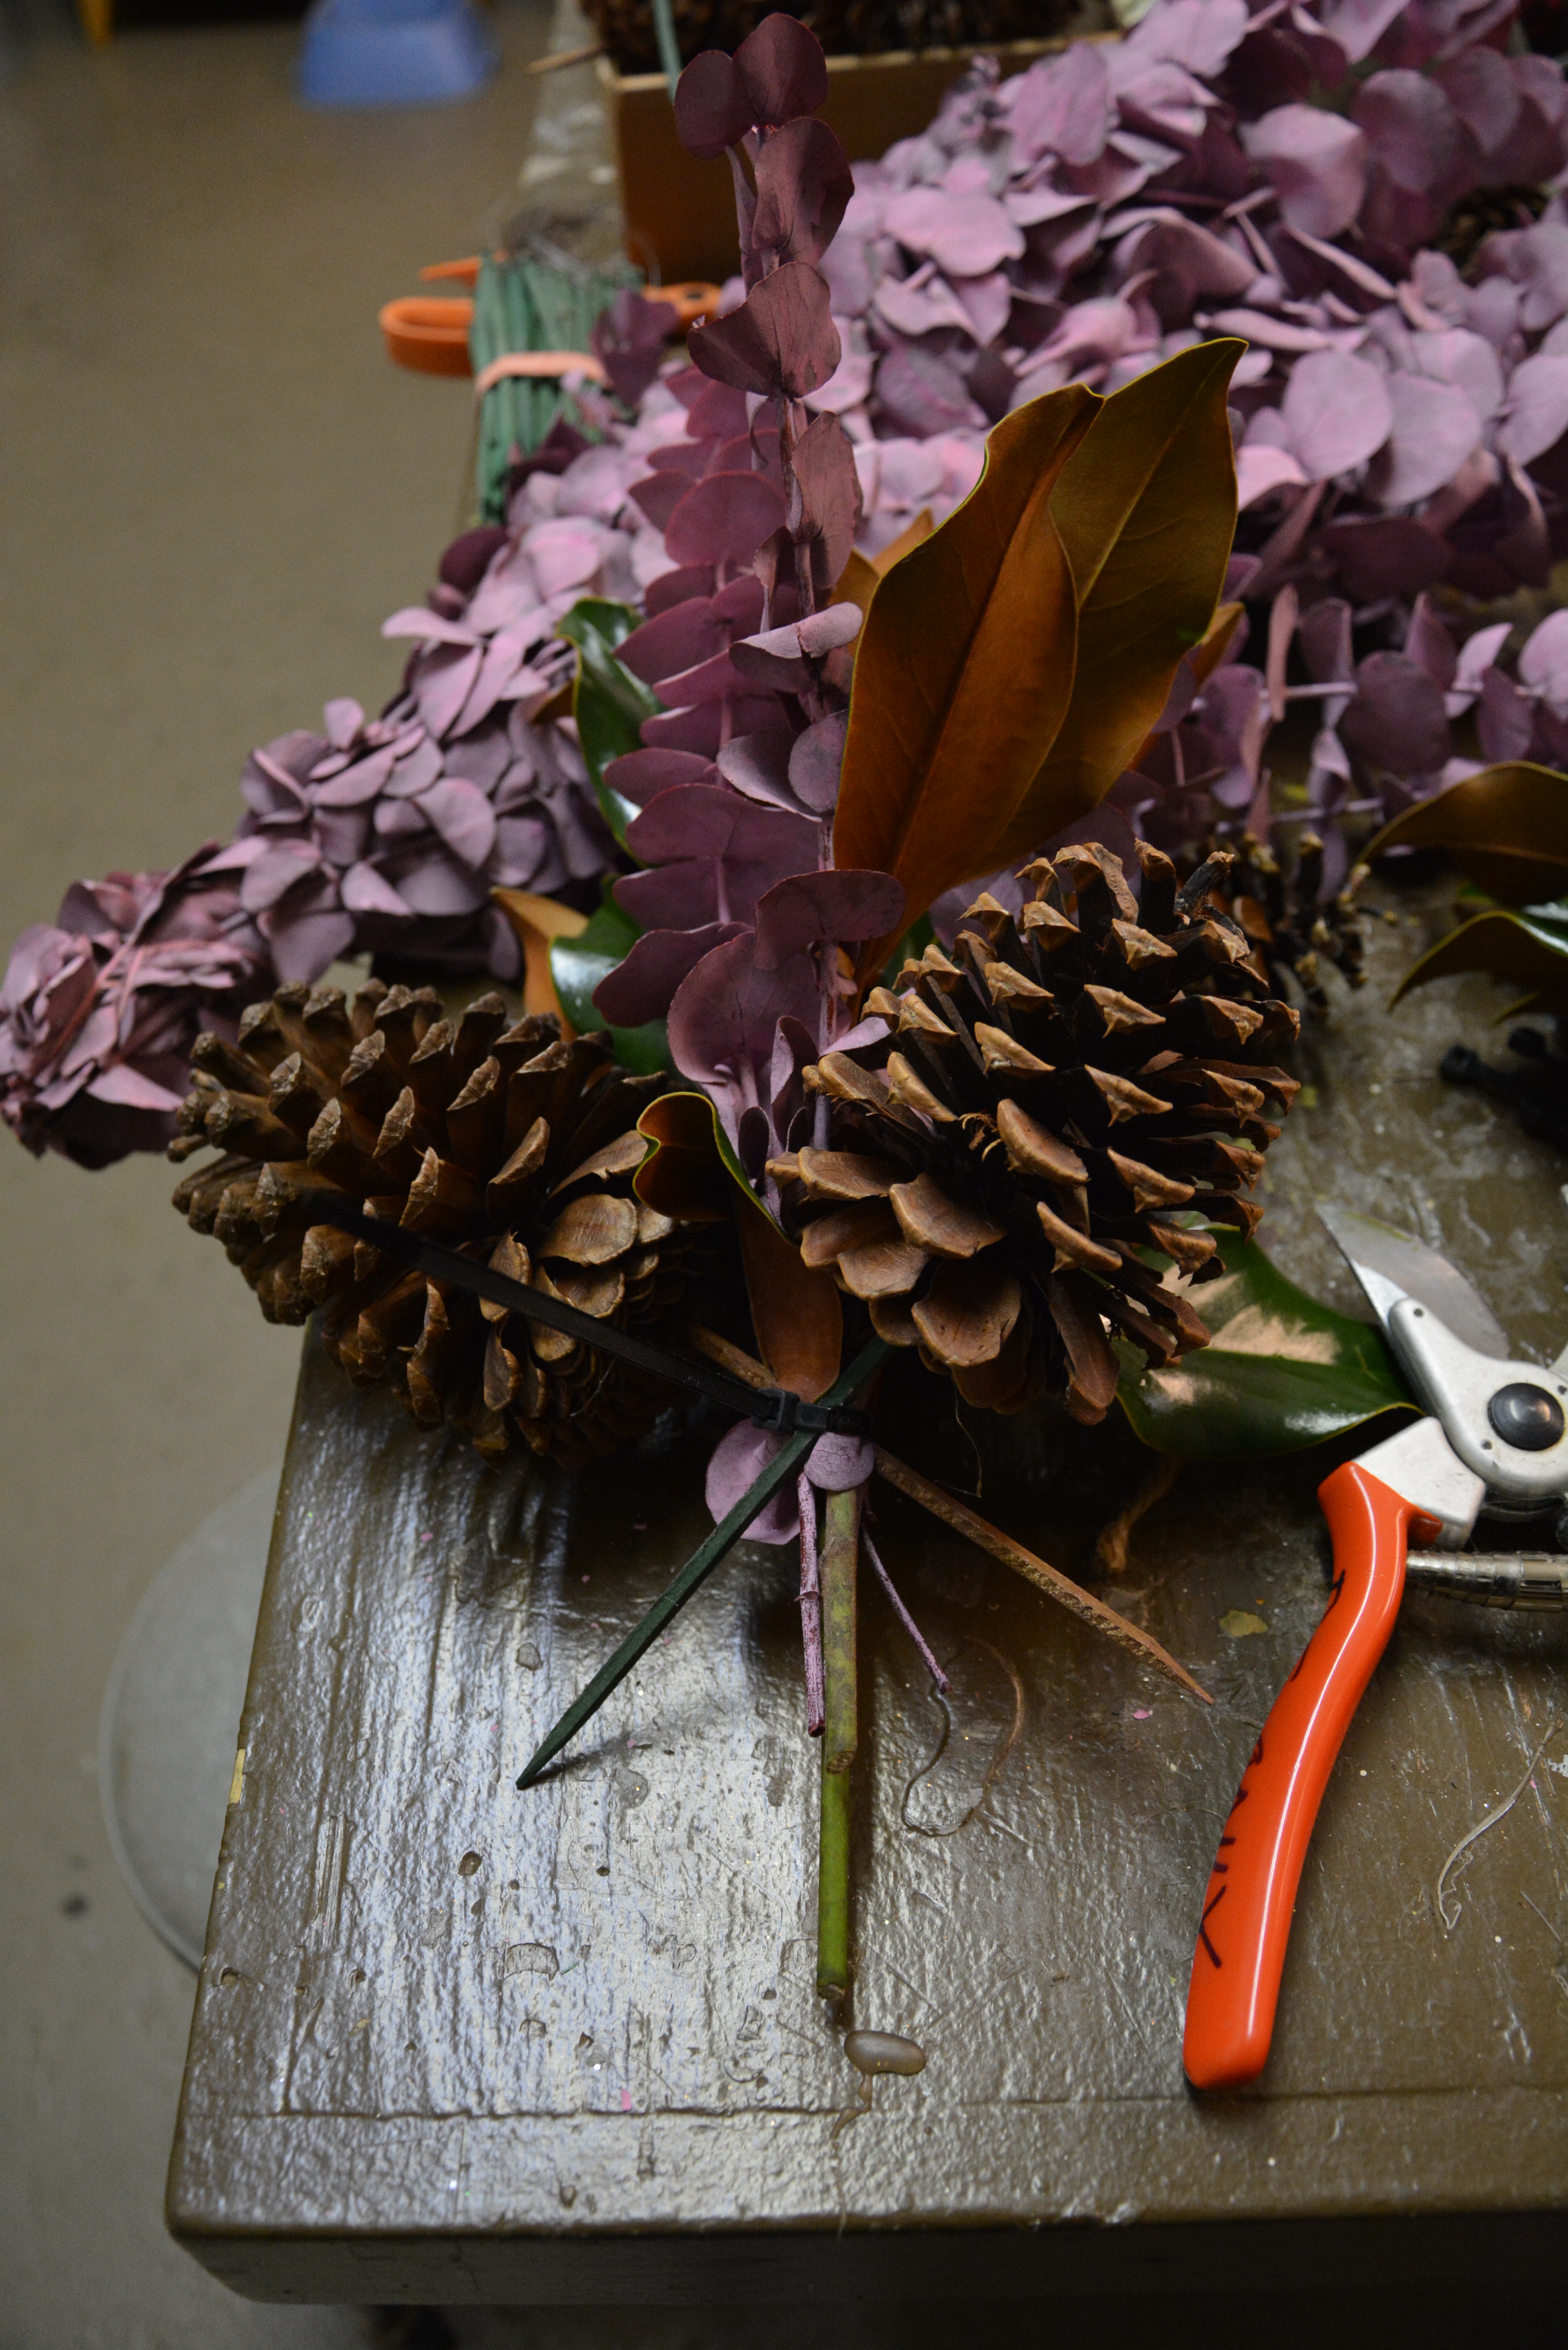
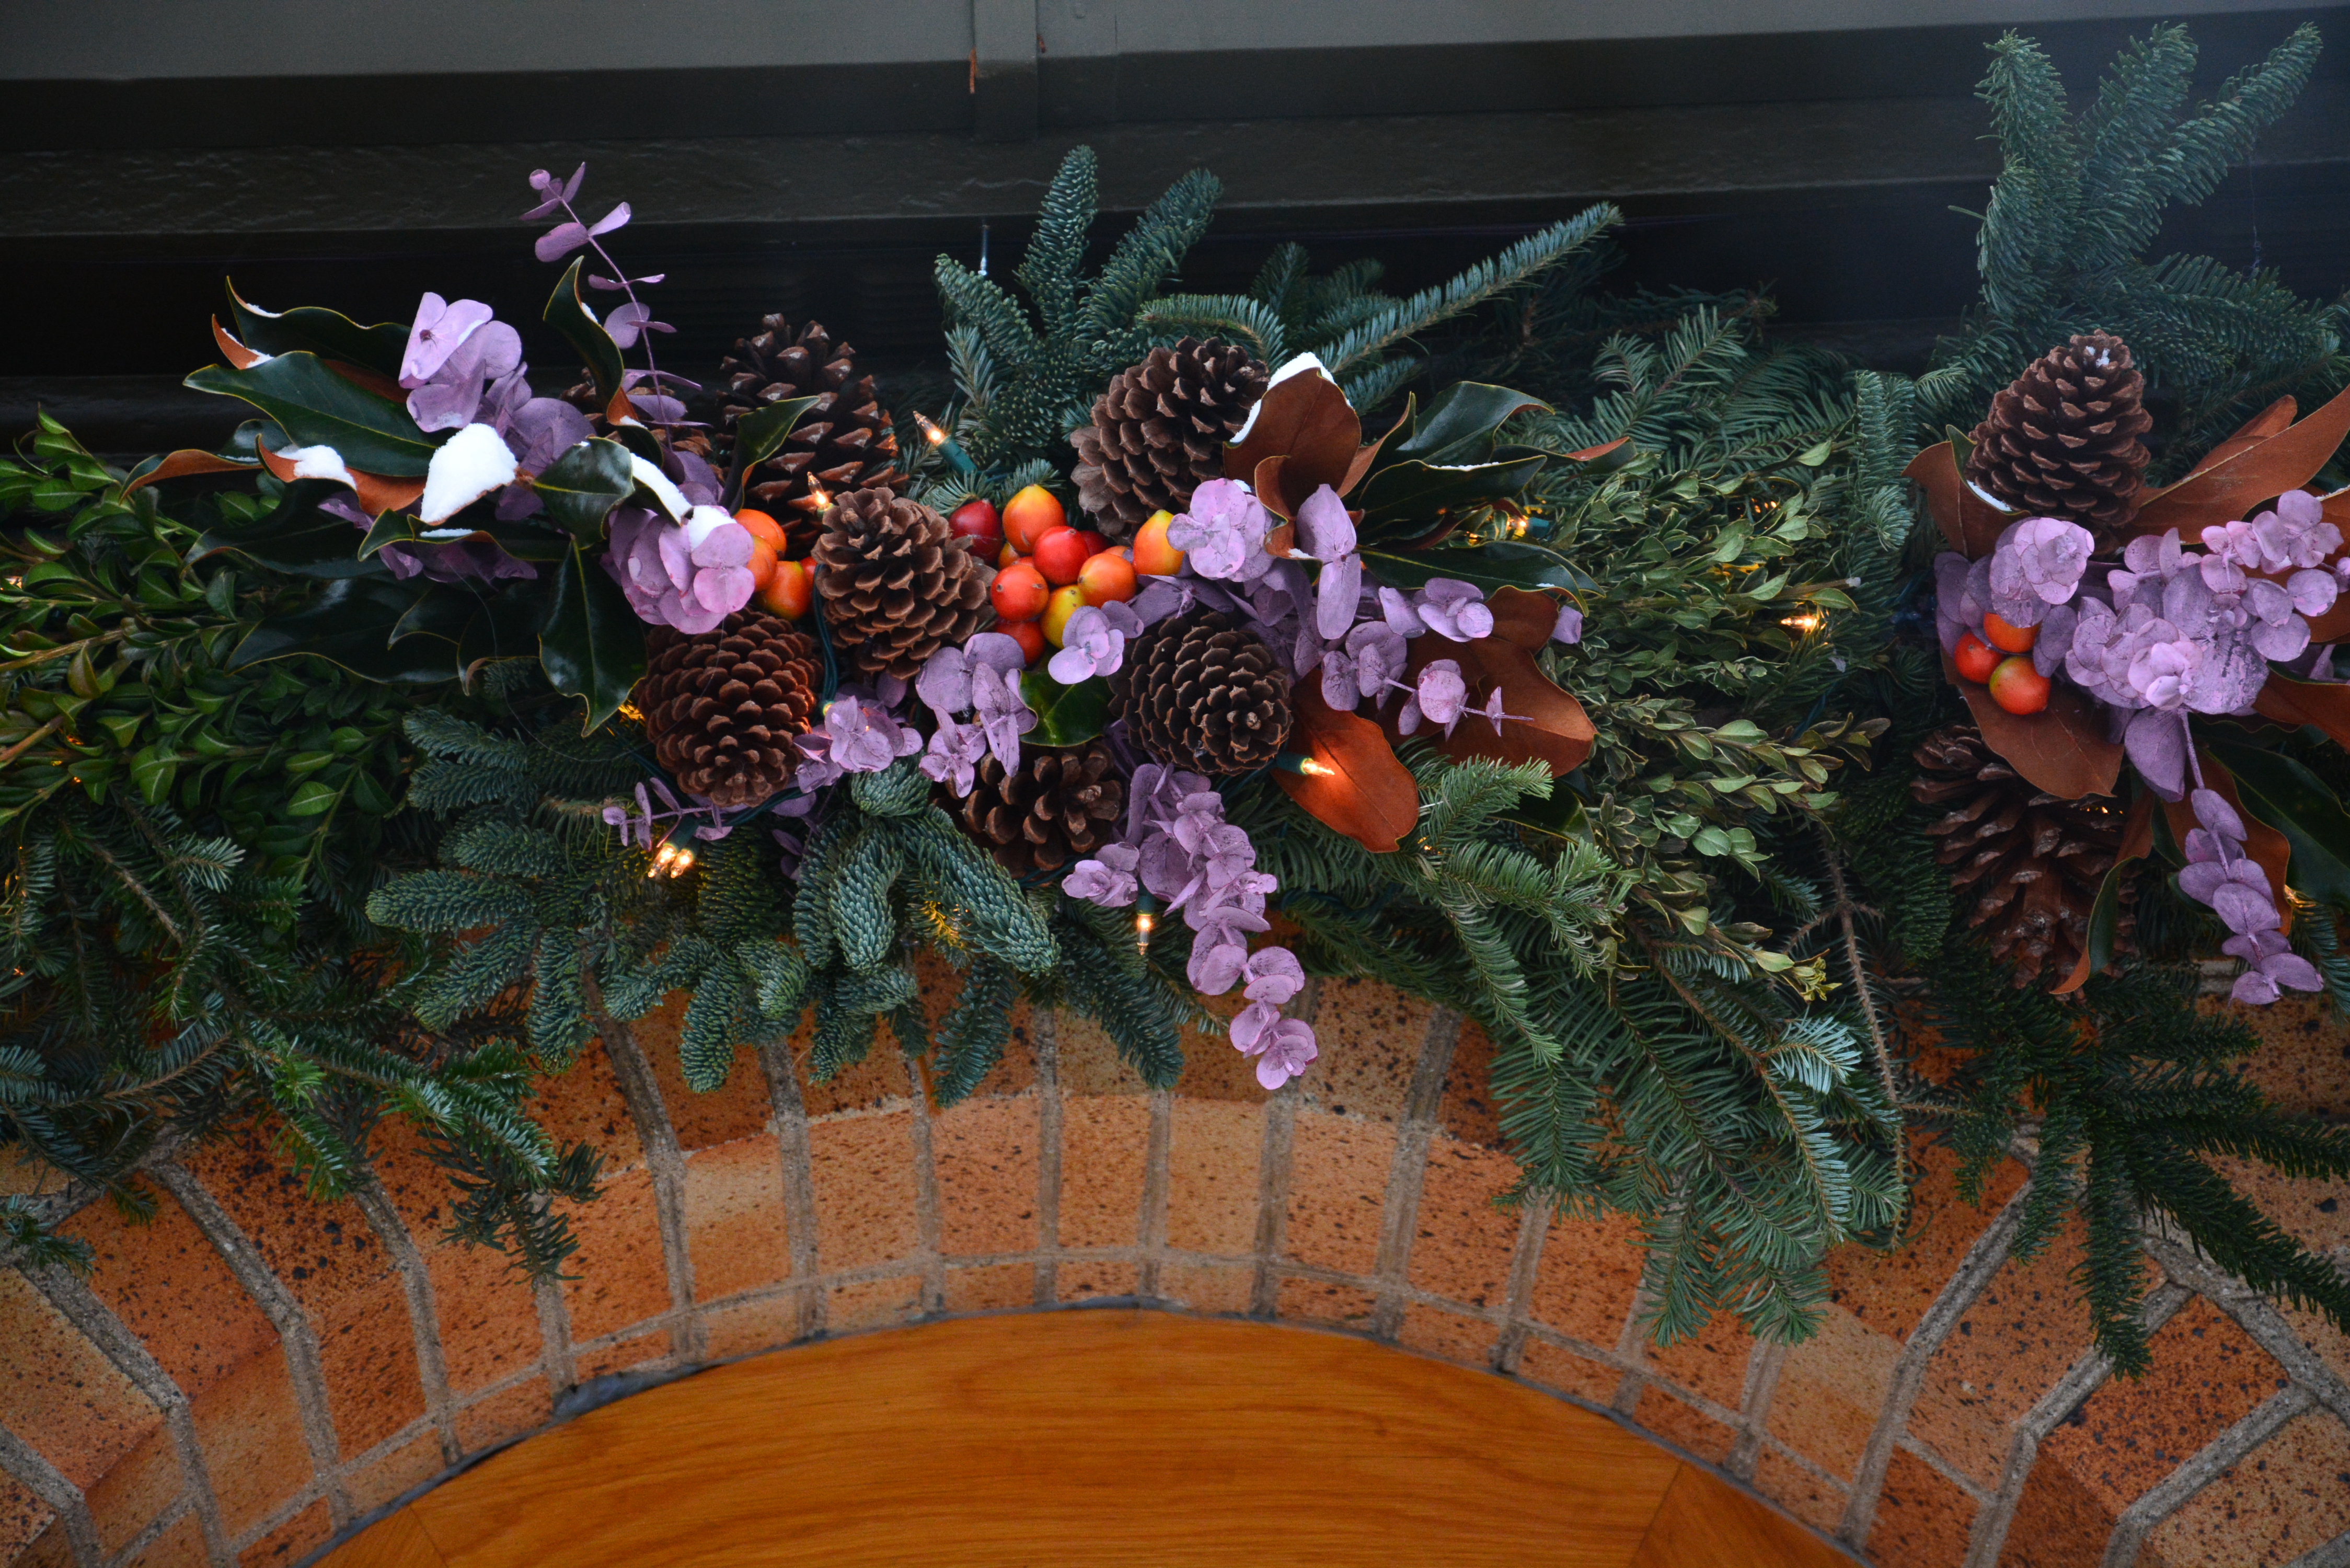
 It is hard to make out the individual elements from the street. There is the dark green of the evergreen boughs, punctuated by a color and forms that attract the eye. Pink may be out of season in the garden, but it is in season in my holiday garden. Of course anyone who comes to the door gets a clearer view. That is the point, of course. My landscape has a street presentation-neat, simple and well kept-and not especially given to the personal details. Those details are reserved for people I know and expect. For a guest that arrives at the front door, there is an element of surprise.
 I would call this a juicy look. In contrast to the austere look of the overall winter landscape. I favor juicy, no matter the season. As in hellebores in really early spring, tulips in the late spring, and roses in June, and the hibiscus in late summer. I like flowers in the landscape. Clematis in bloom is quite unlike the color of any other green plant. As much as I like boxwood, yews, hosta, lady’s mantle and Princeton Gold maples, I like colors other than green-no matter the season.
 White in the winter is a regular feature. Snow is snow. In this picture, the orange and pink looks companionable to the remains of my hydrangeas. The color scheme fits right in. The snow makes its own demands visually. Everything snow touches turns their color close to black. Snow that falls on temperature darkened ever greens is all about the contrast between black and white.
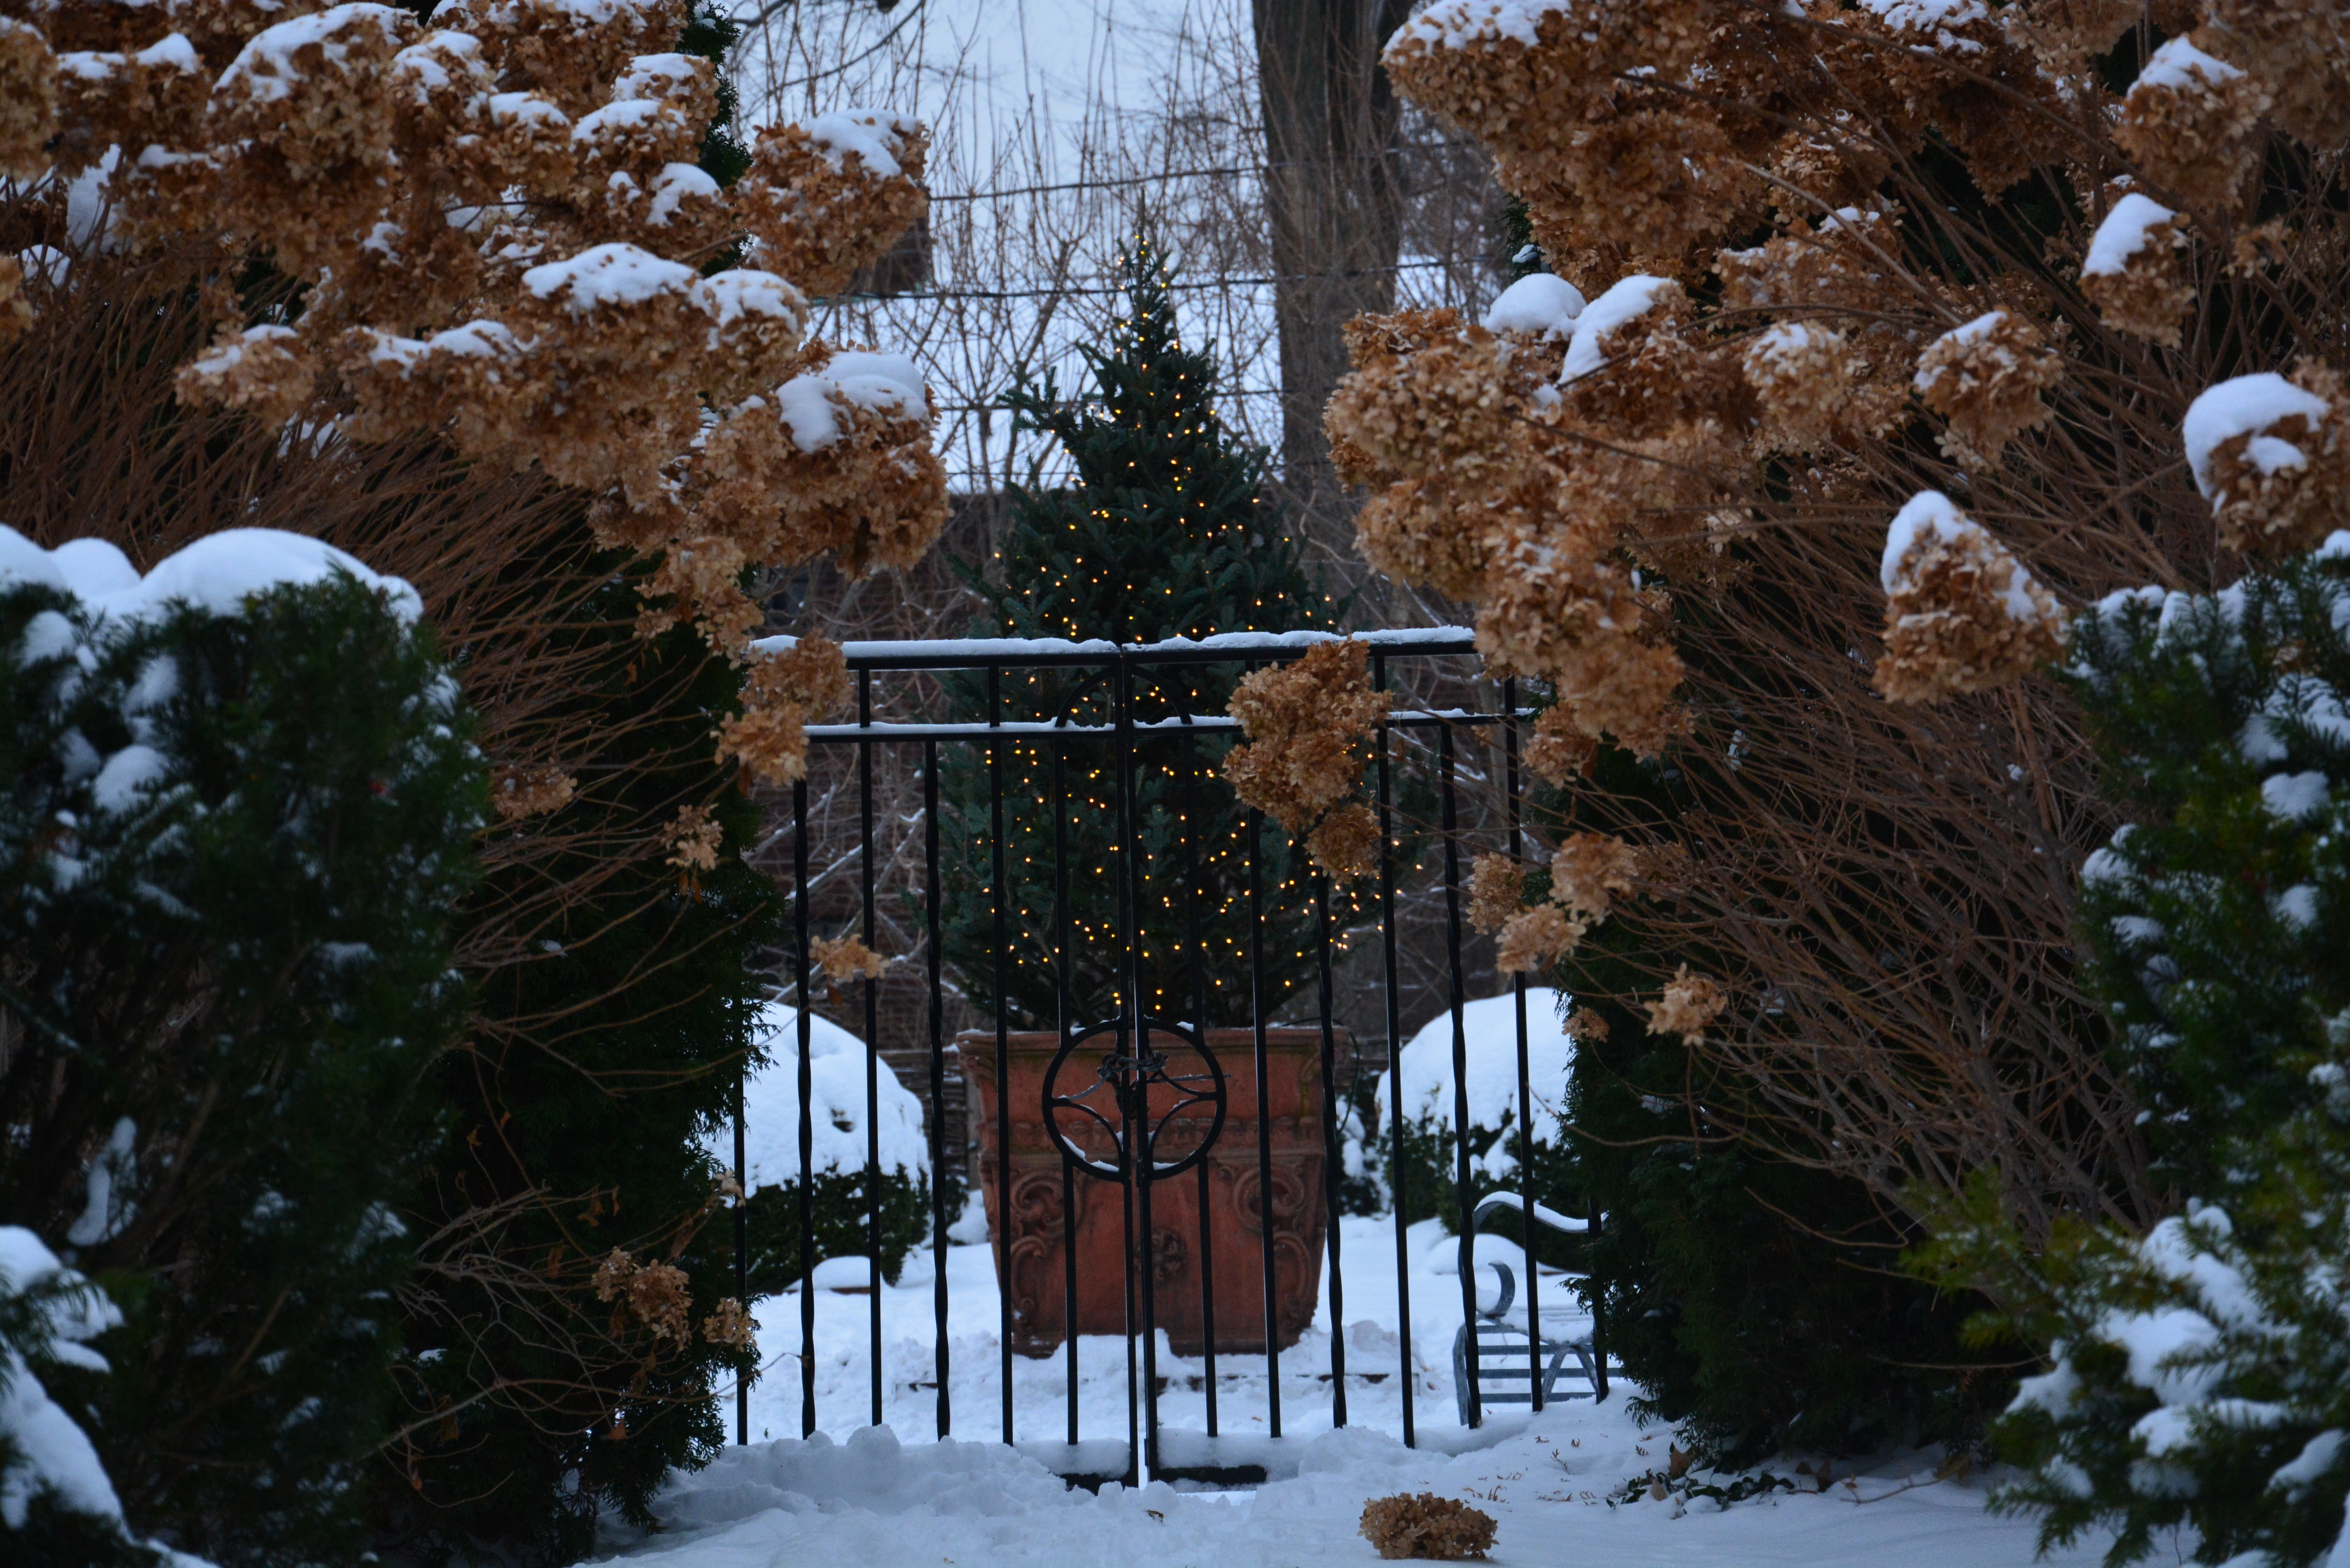 My pot in the side garden has a cut Christmas tree in it, strung with 7 strands of mini lights. At night, the glow is visible from the street, and from the south side of my house. I find that warm light comforting. Appropriate to the season. The lights add another color to the winter landscape-a warm color.
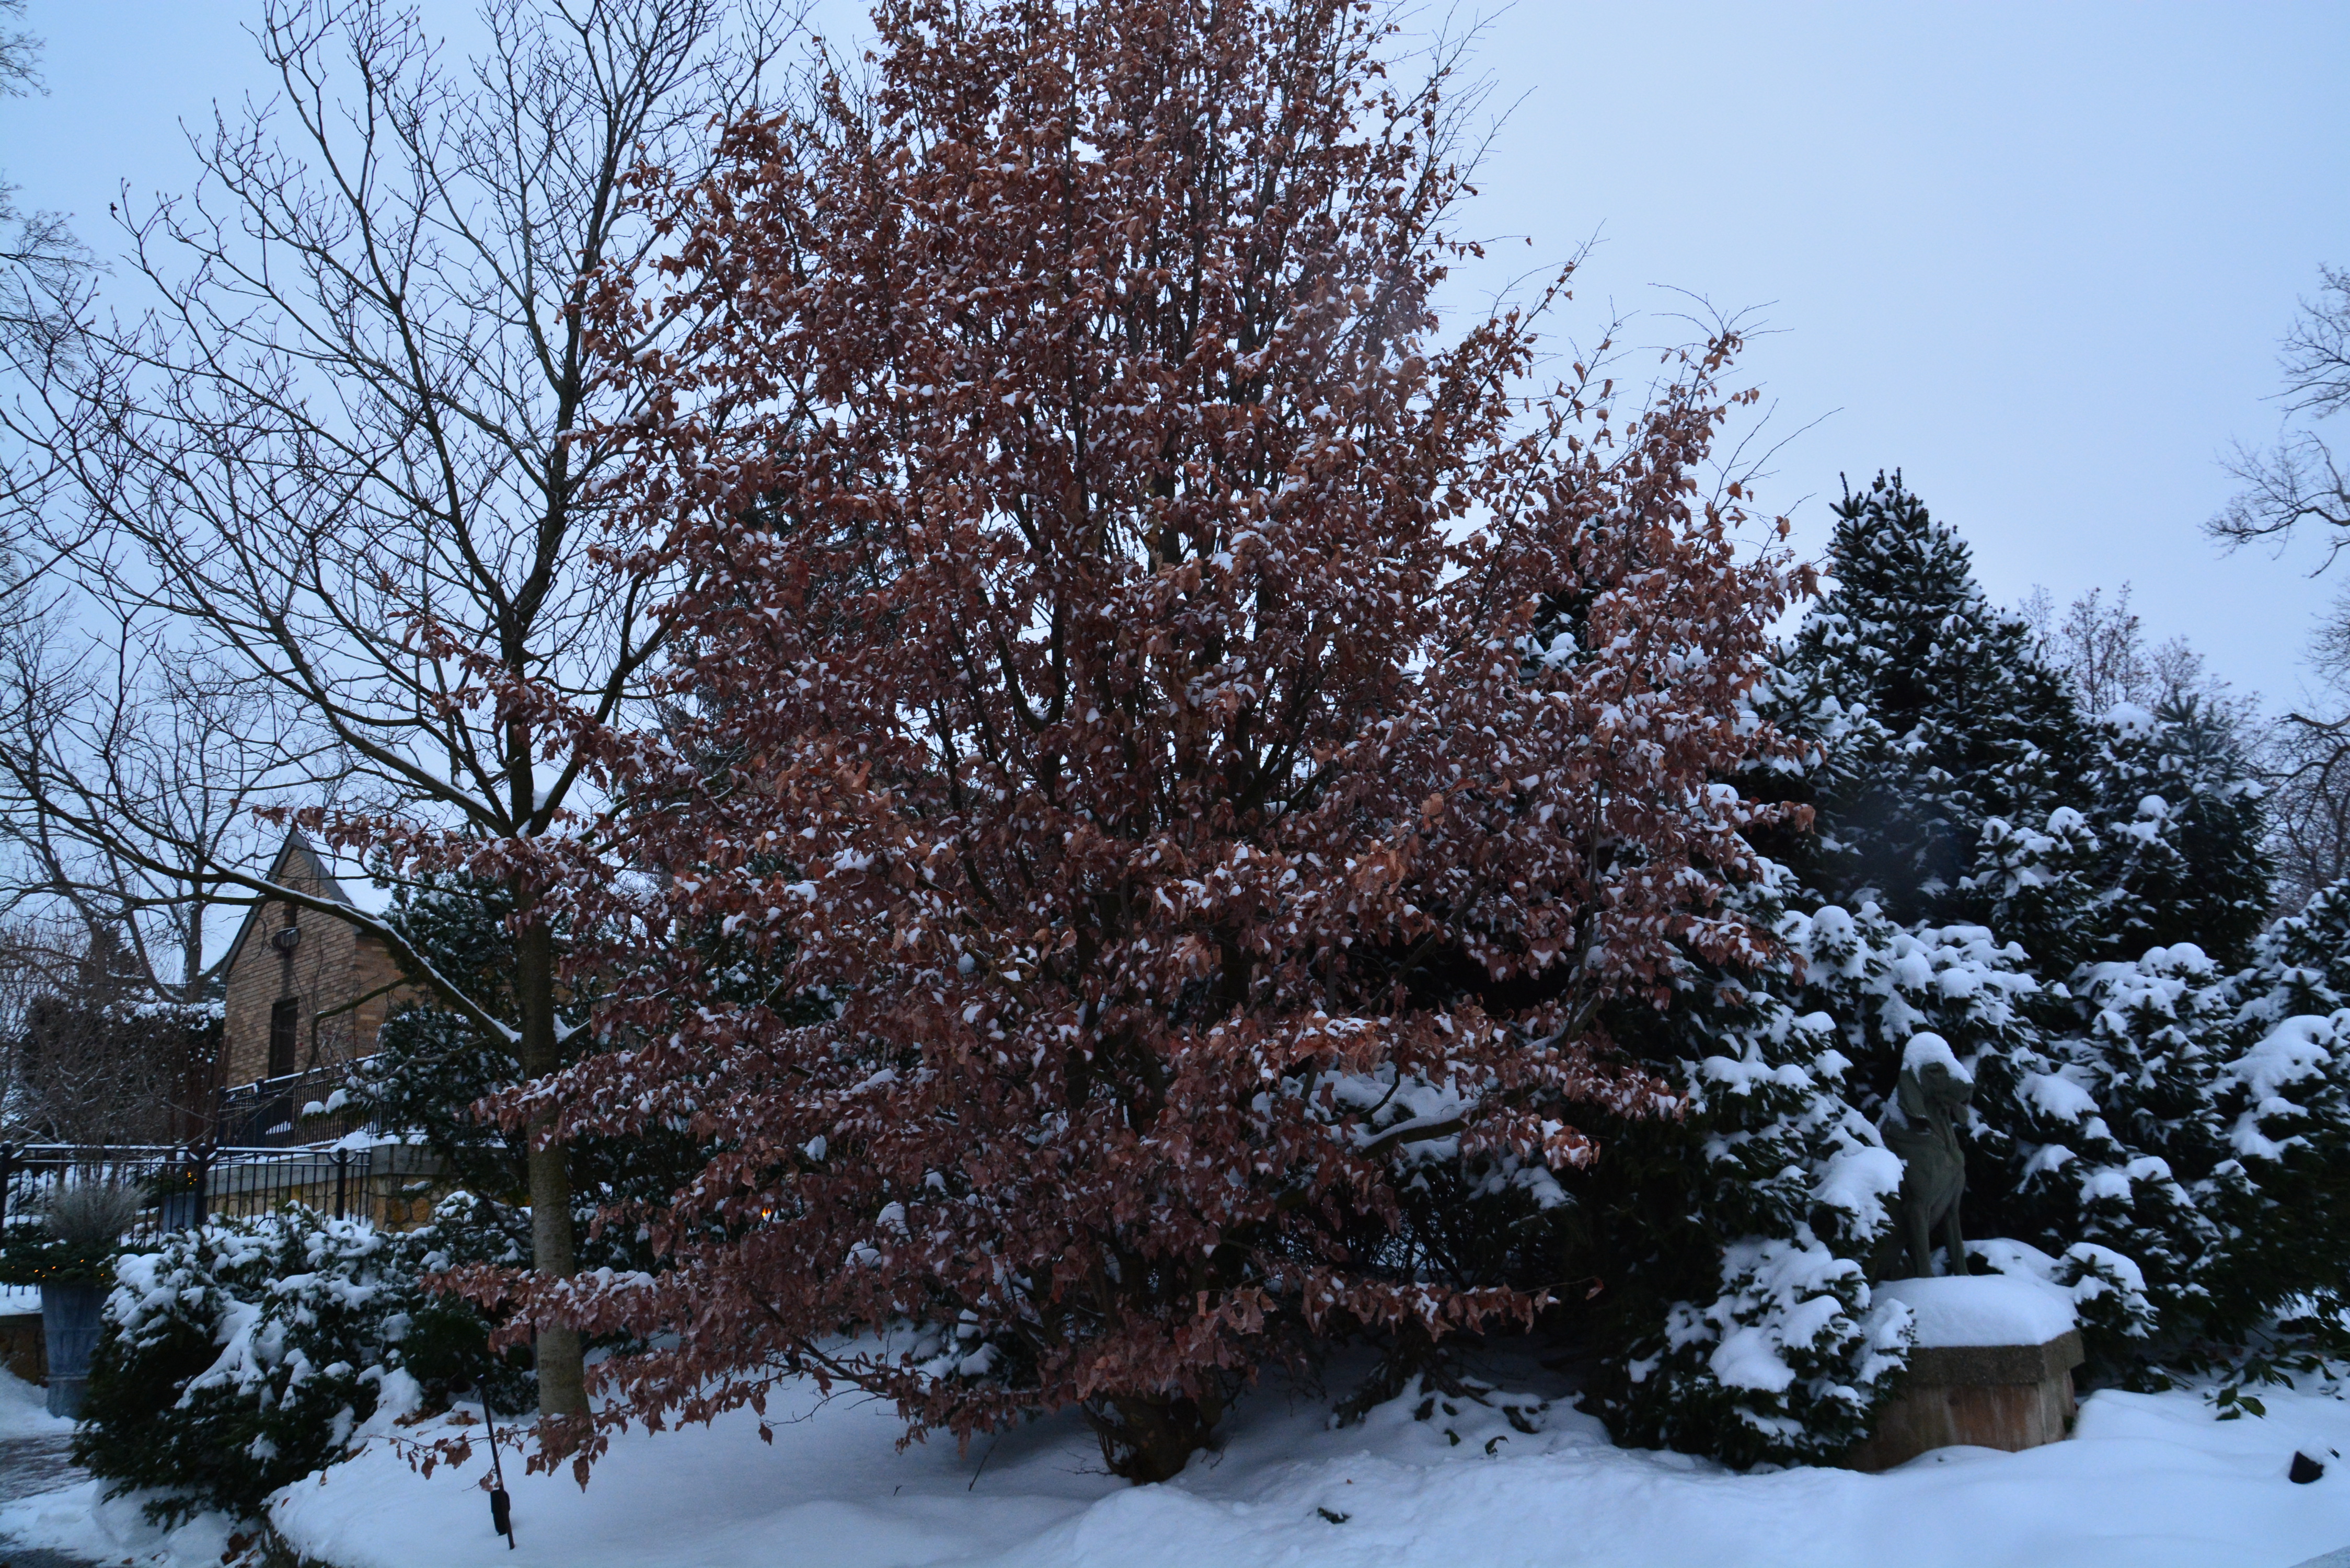 Lest you think there is no pink in the Michigan landscape in the third week of December, I invite you to give a look at my Parrotia. It is the very last tree in my yard to change color. The leaves are a brilliant yellow in late fall. This tree has yet to give up its leaves. They might stay stuck the entire winter. The dry leaves are pink – granted a muddy subtle brownish pink. But pink, nonetheless.