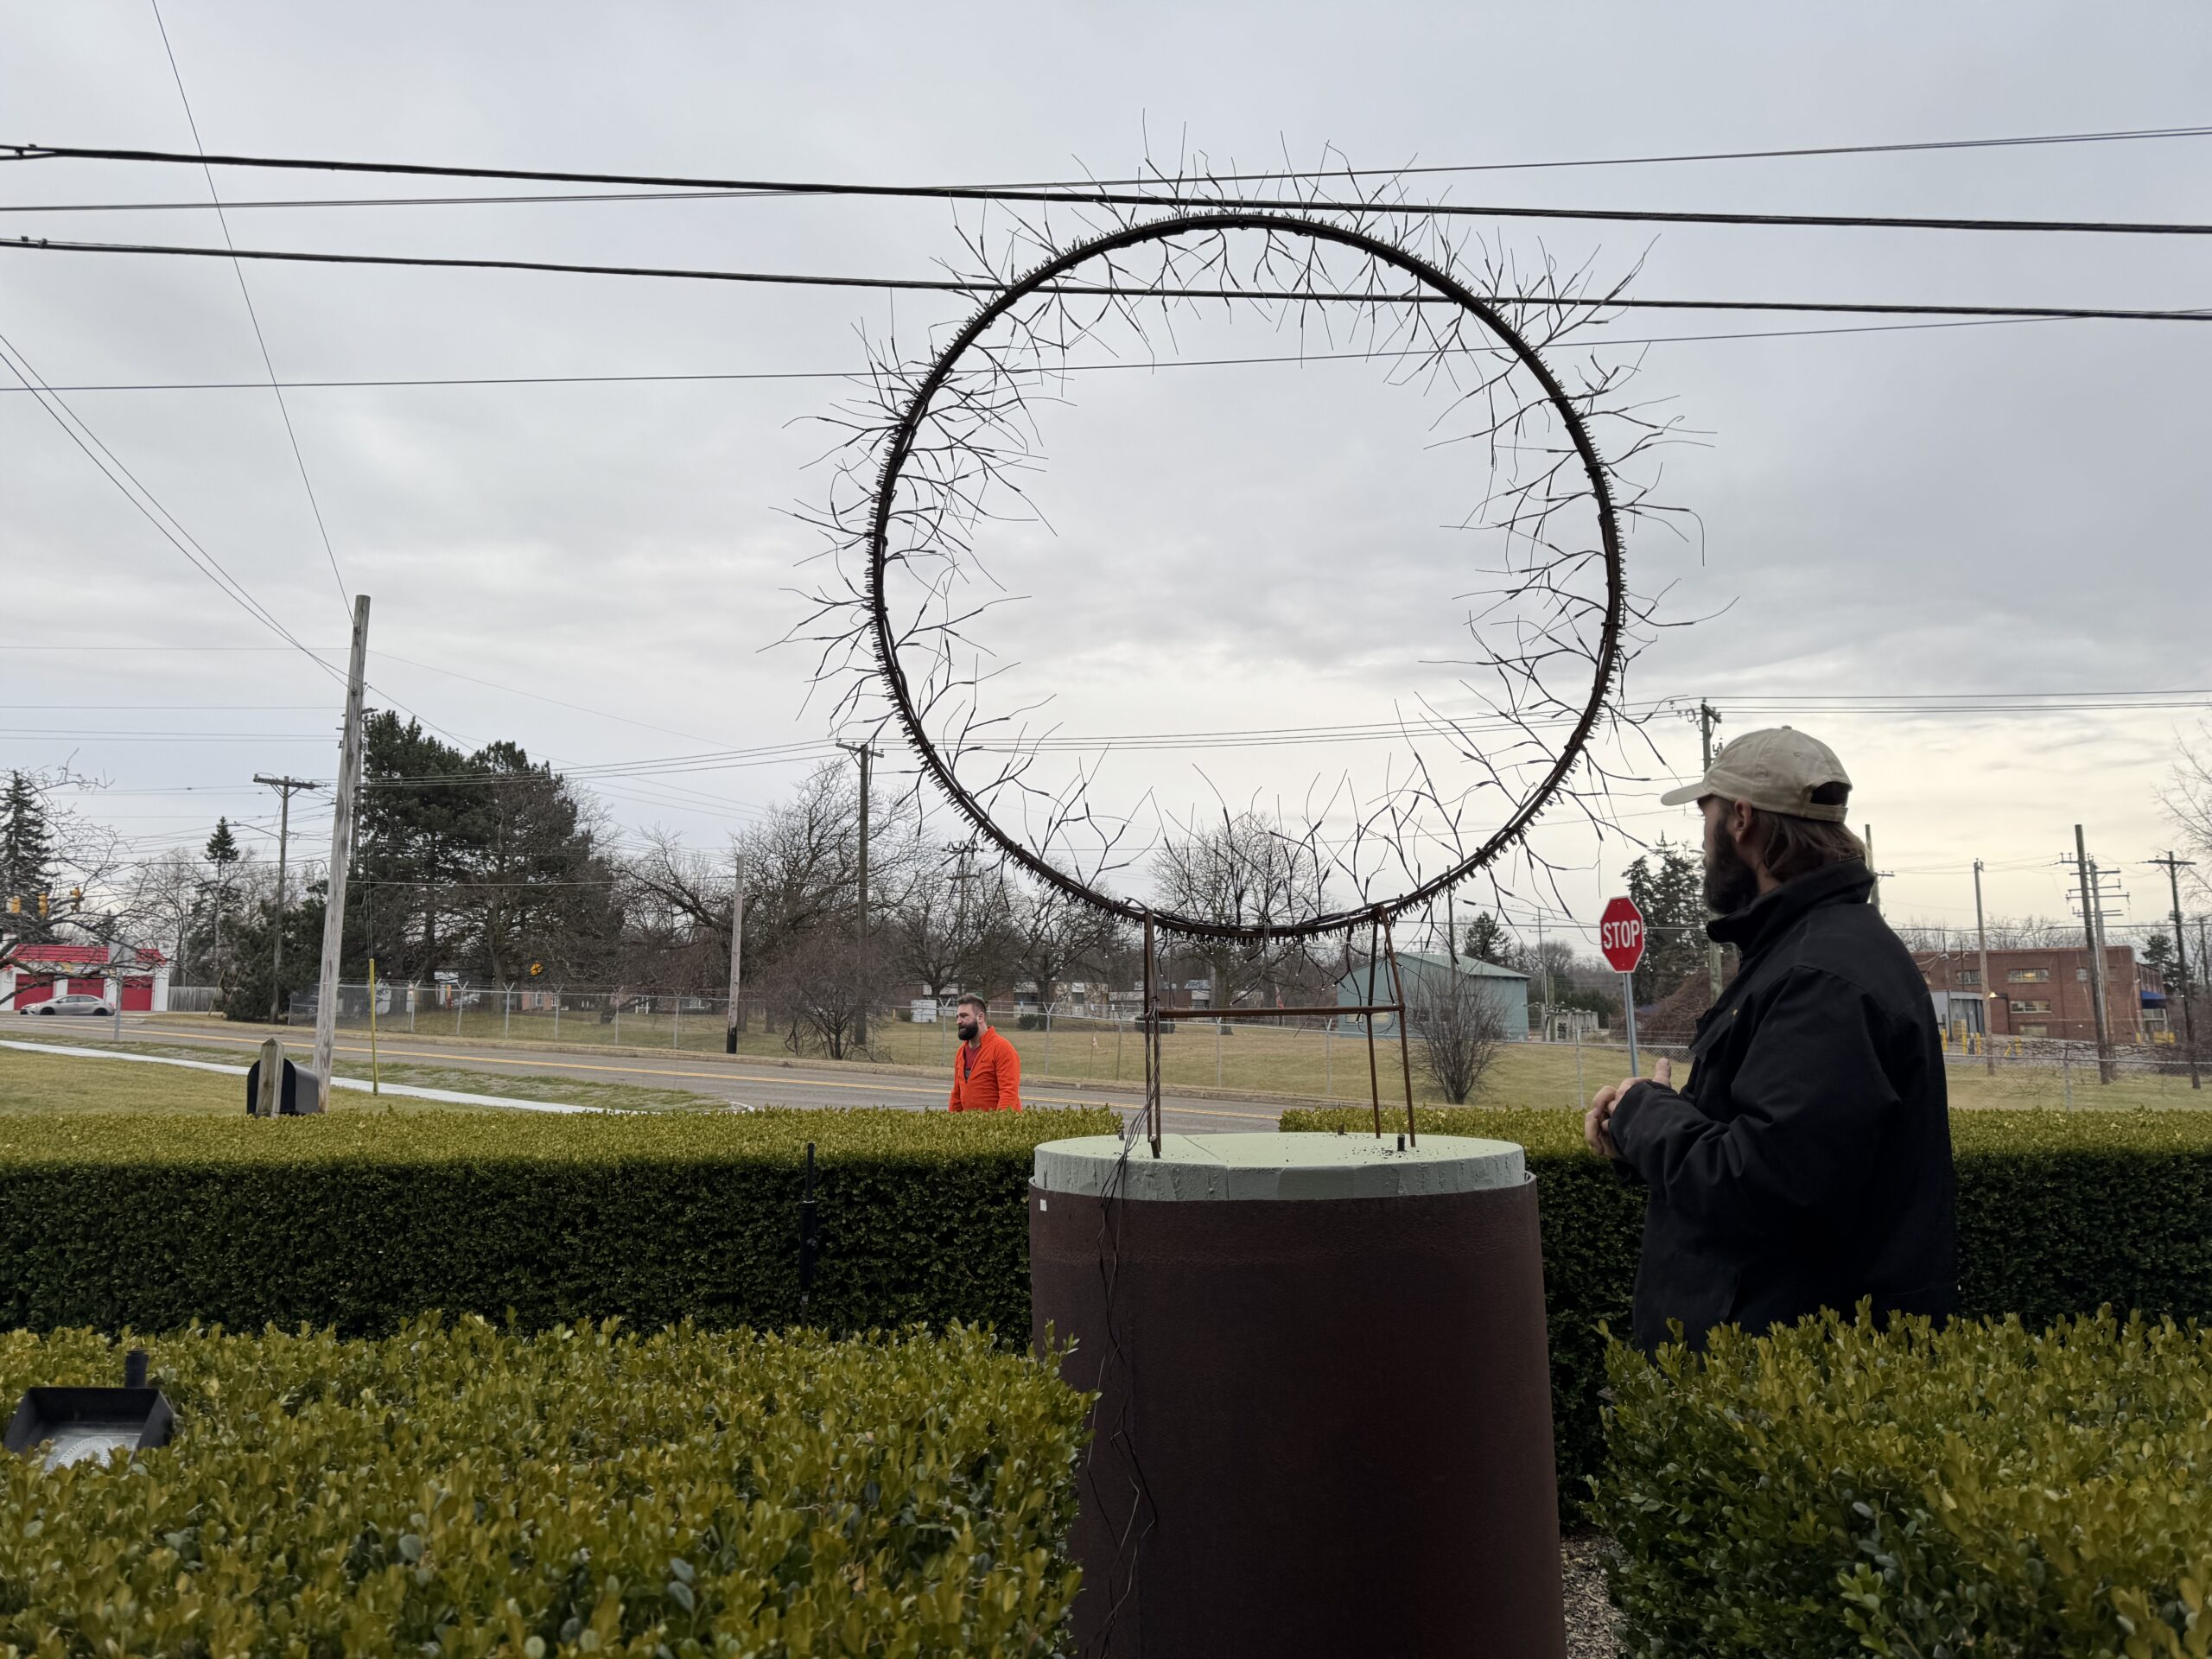
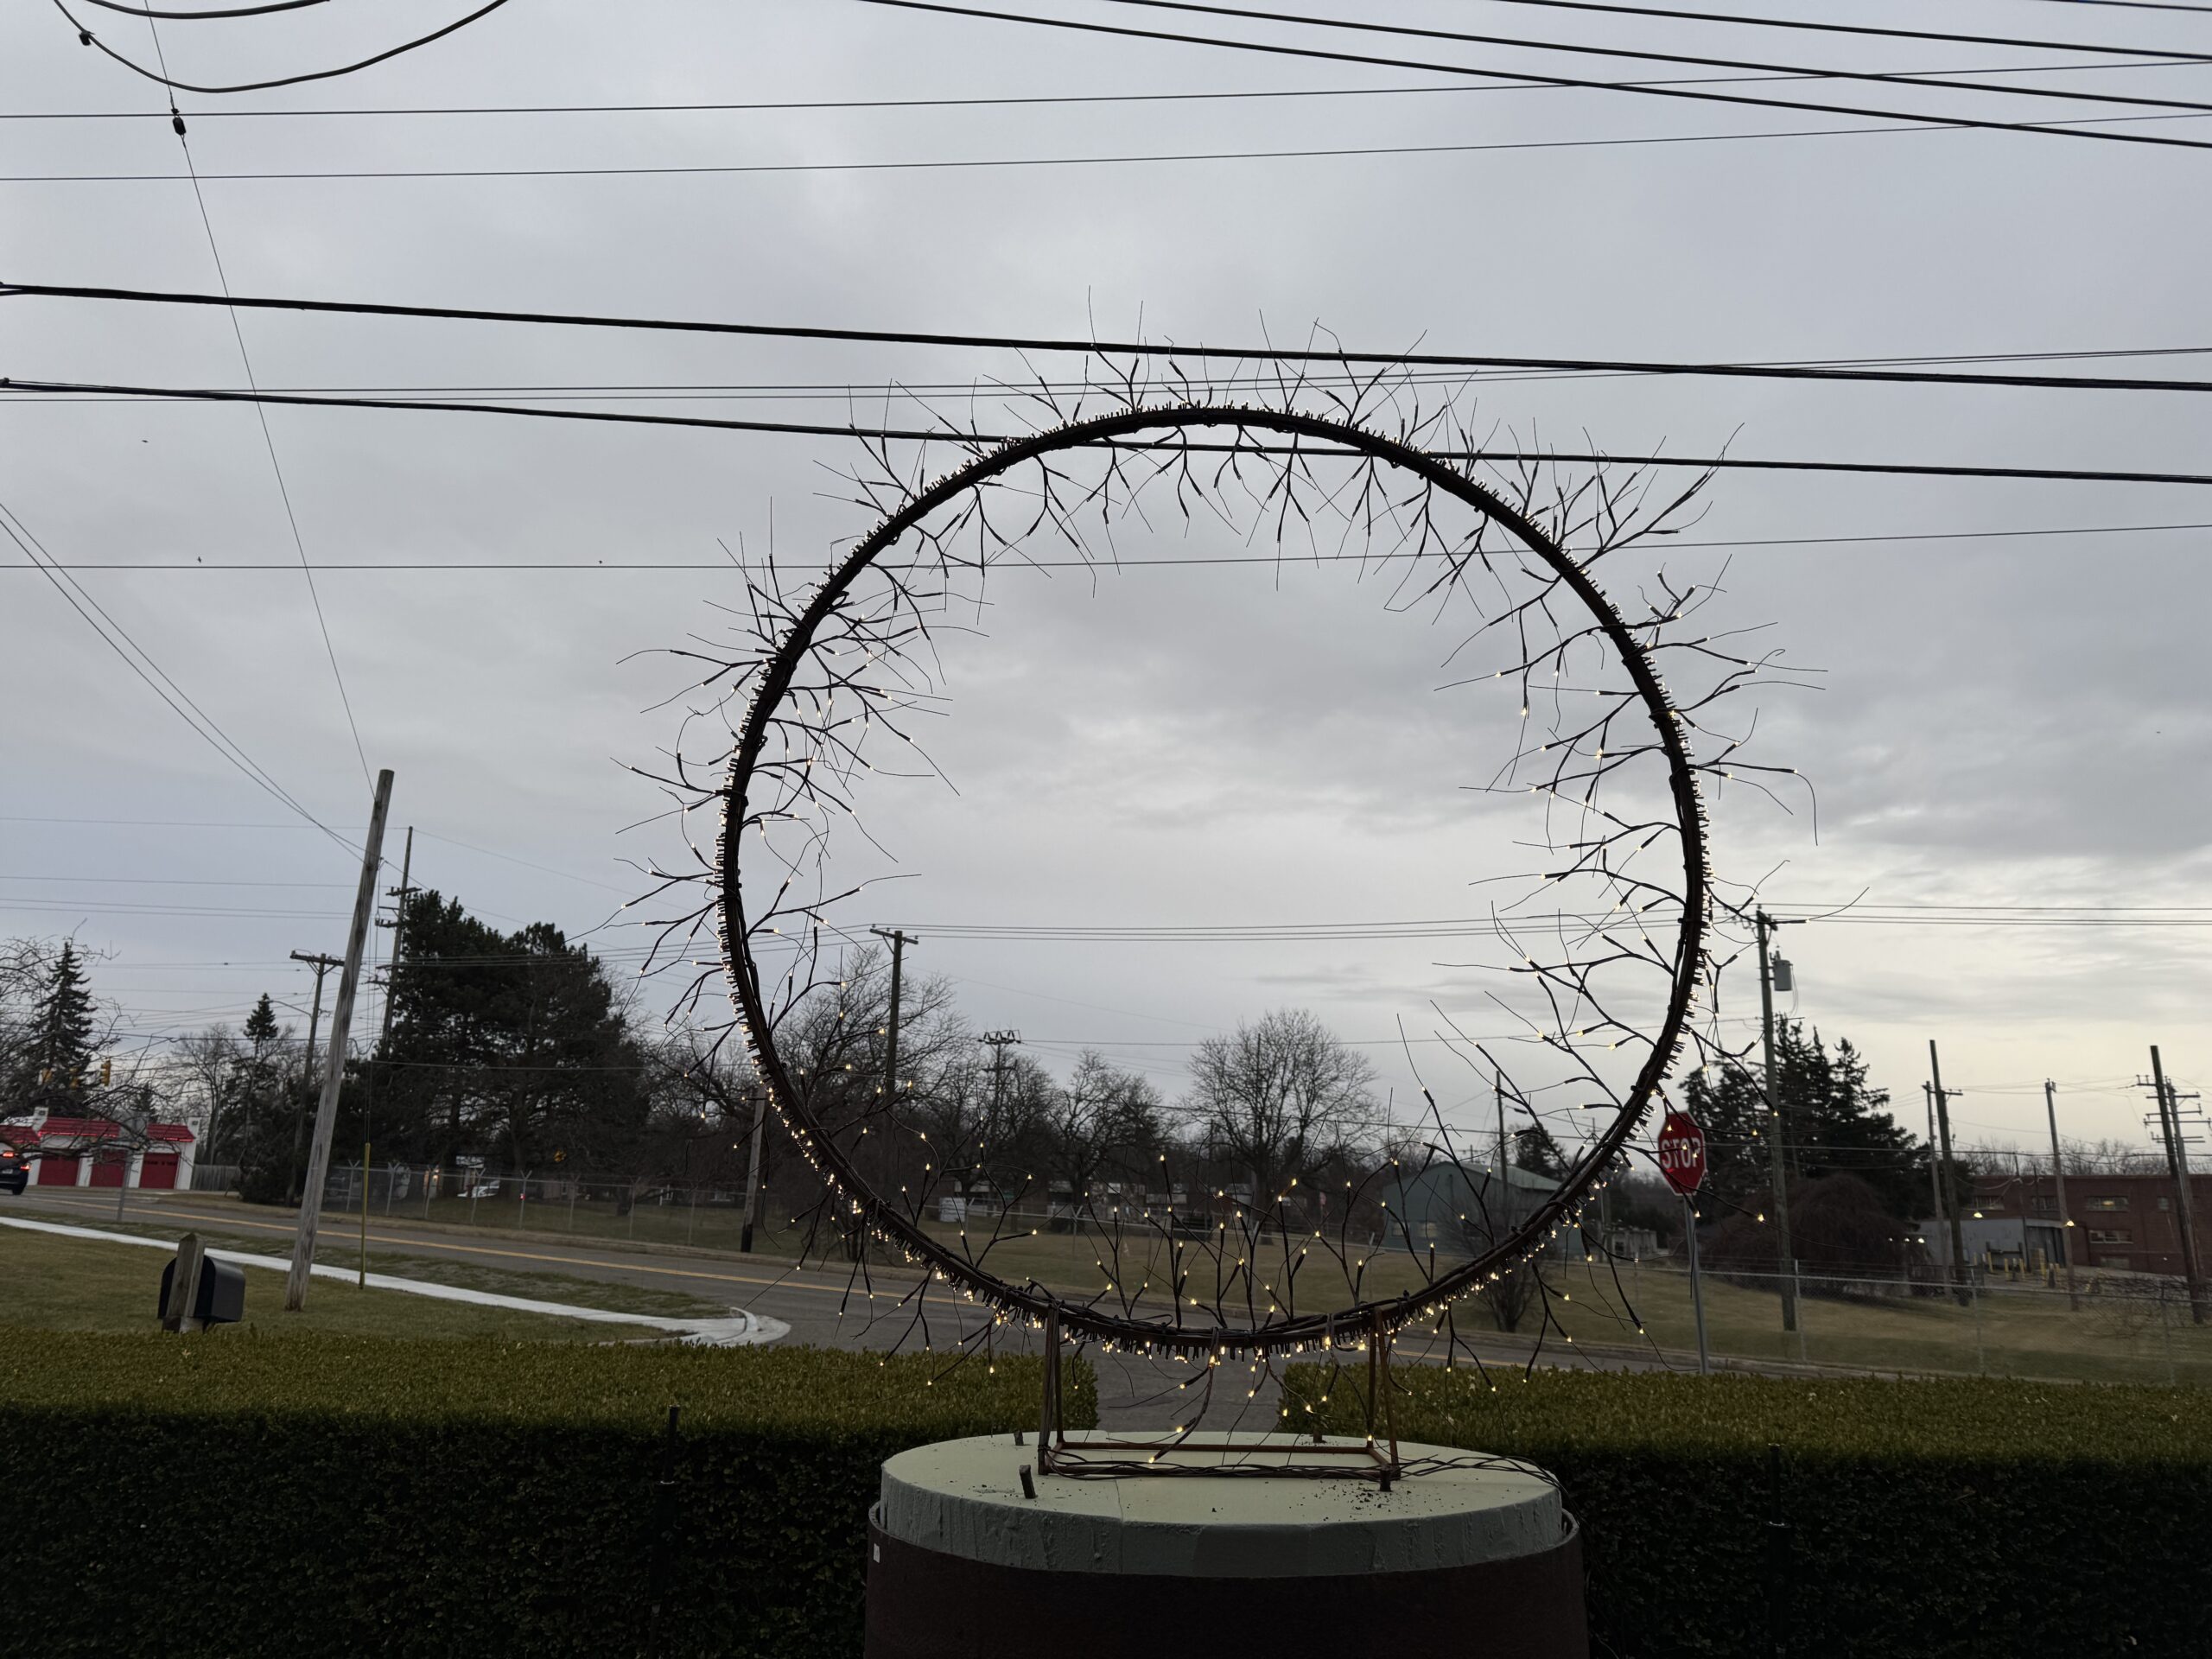
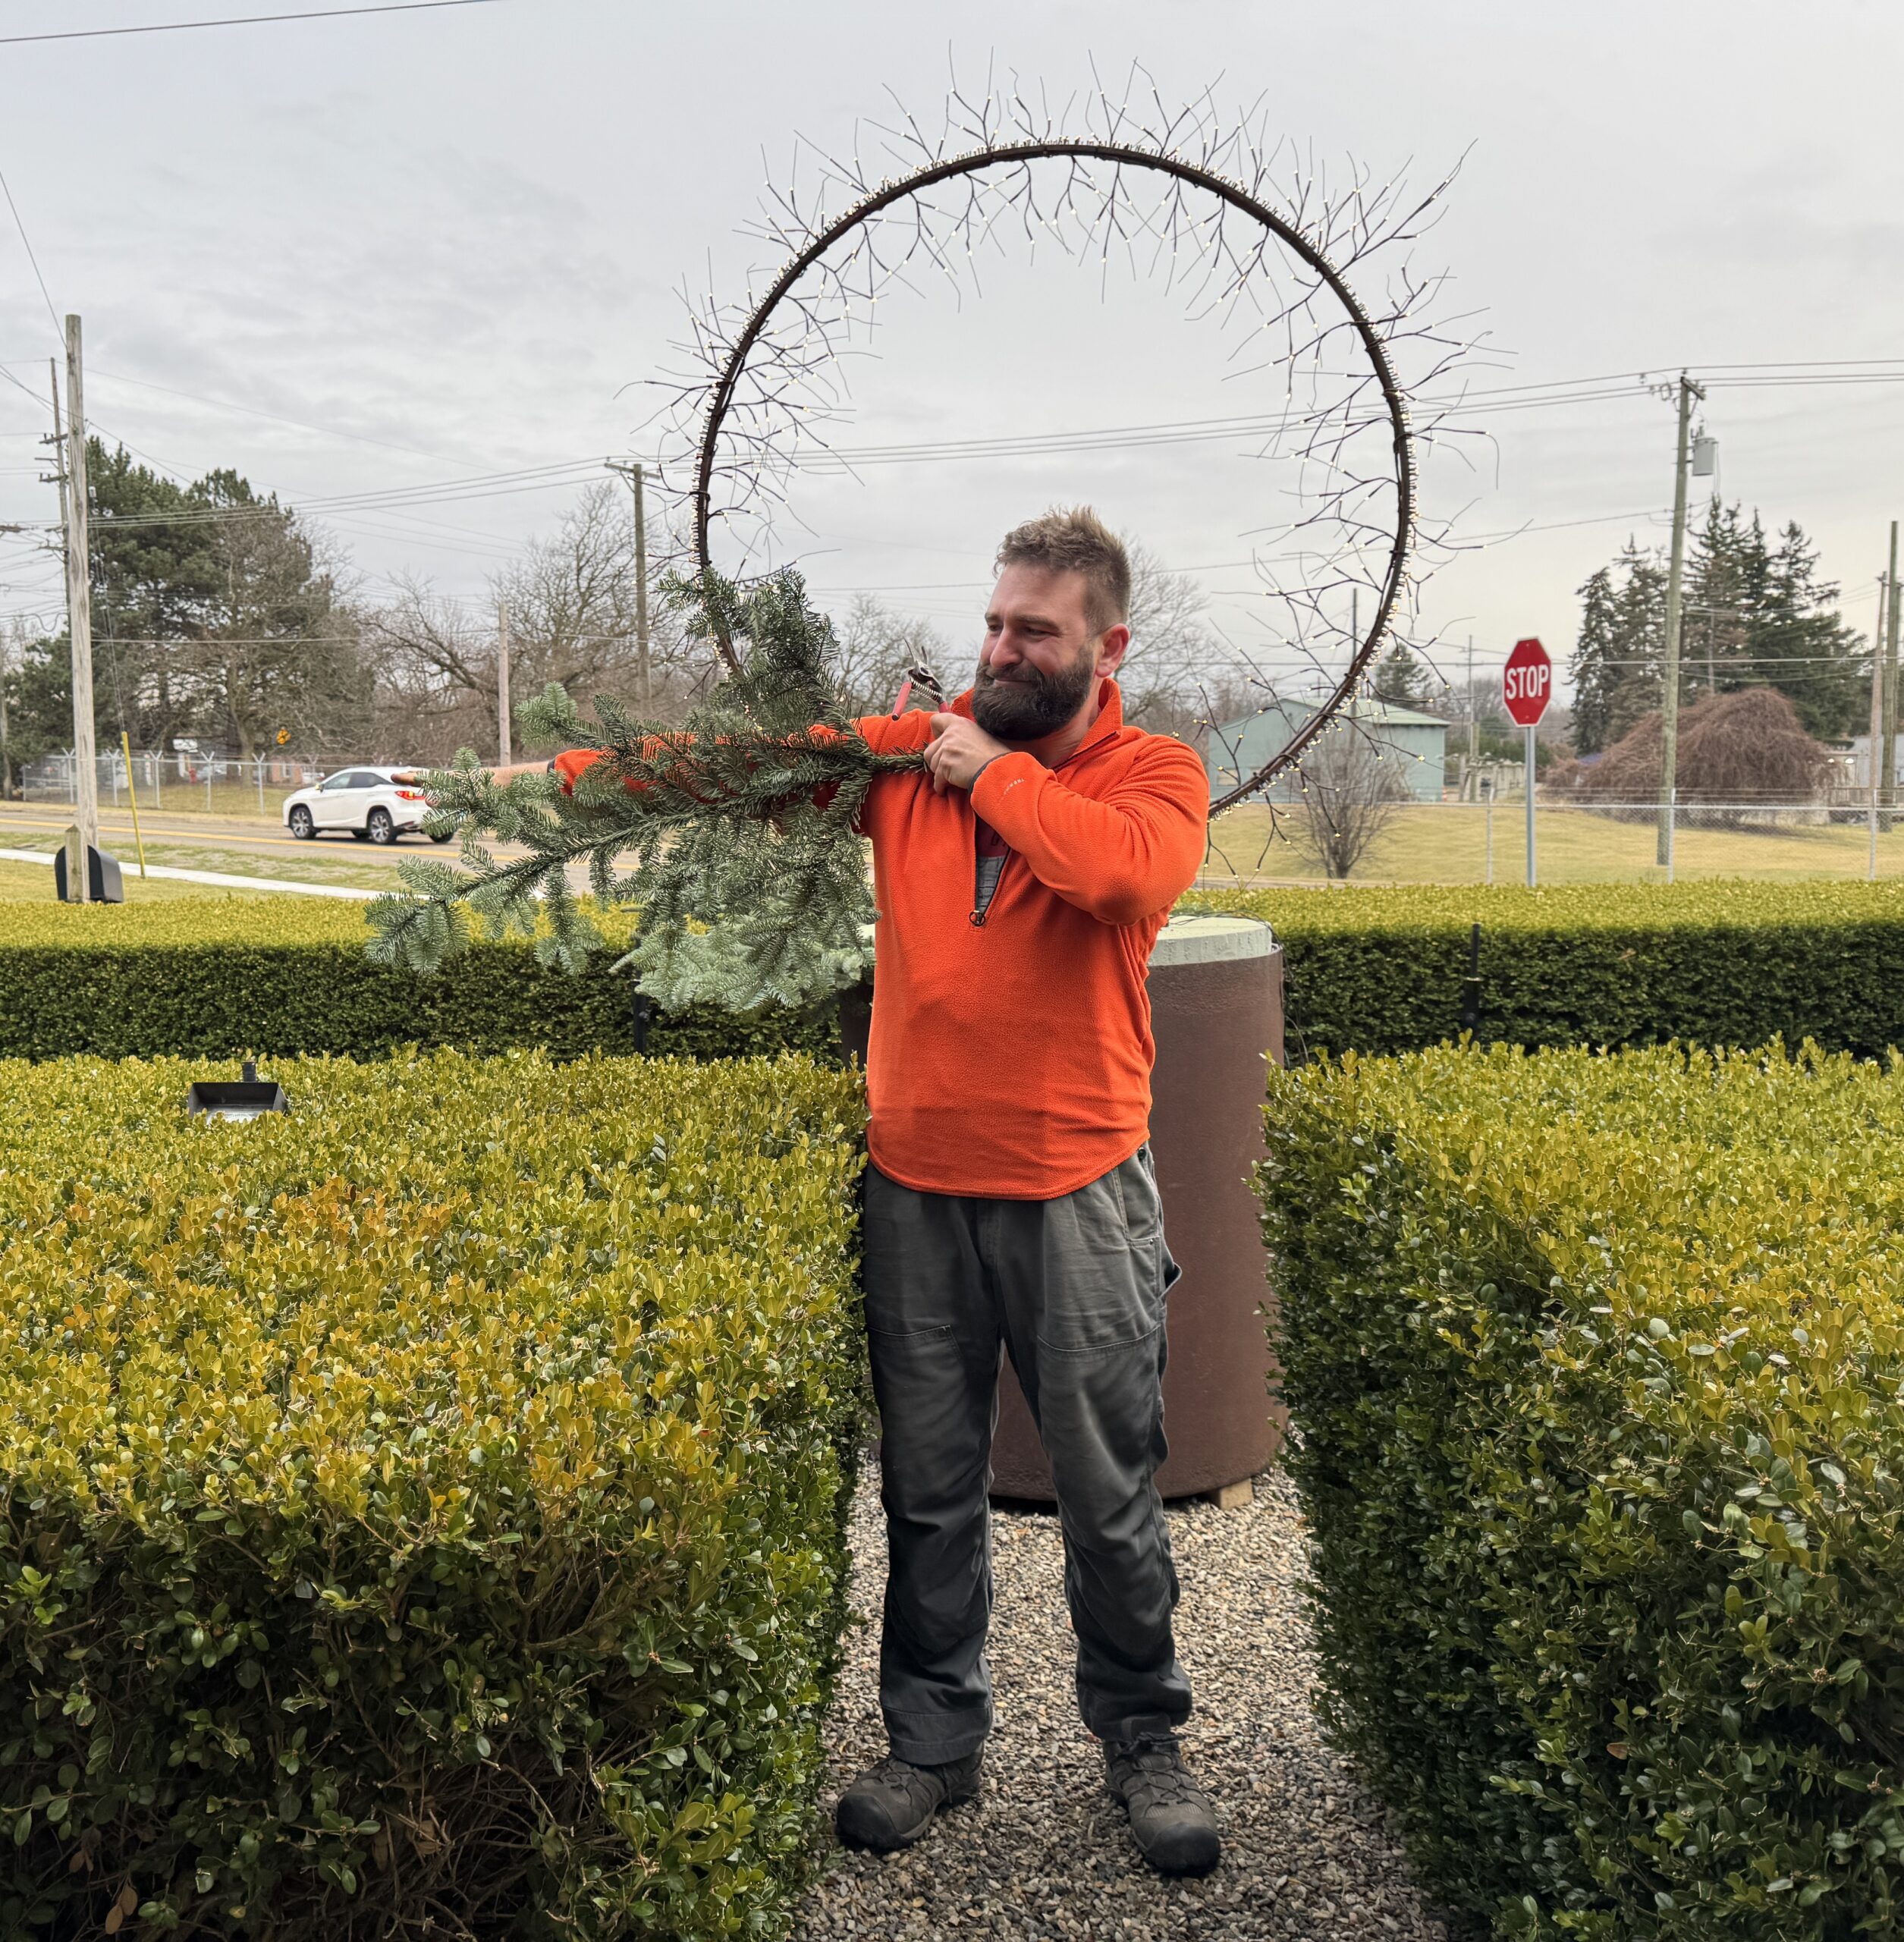
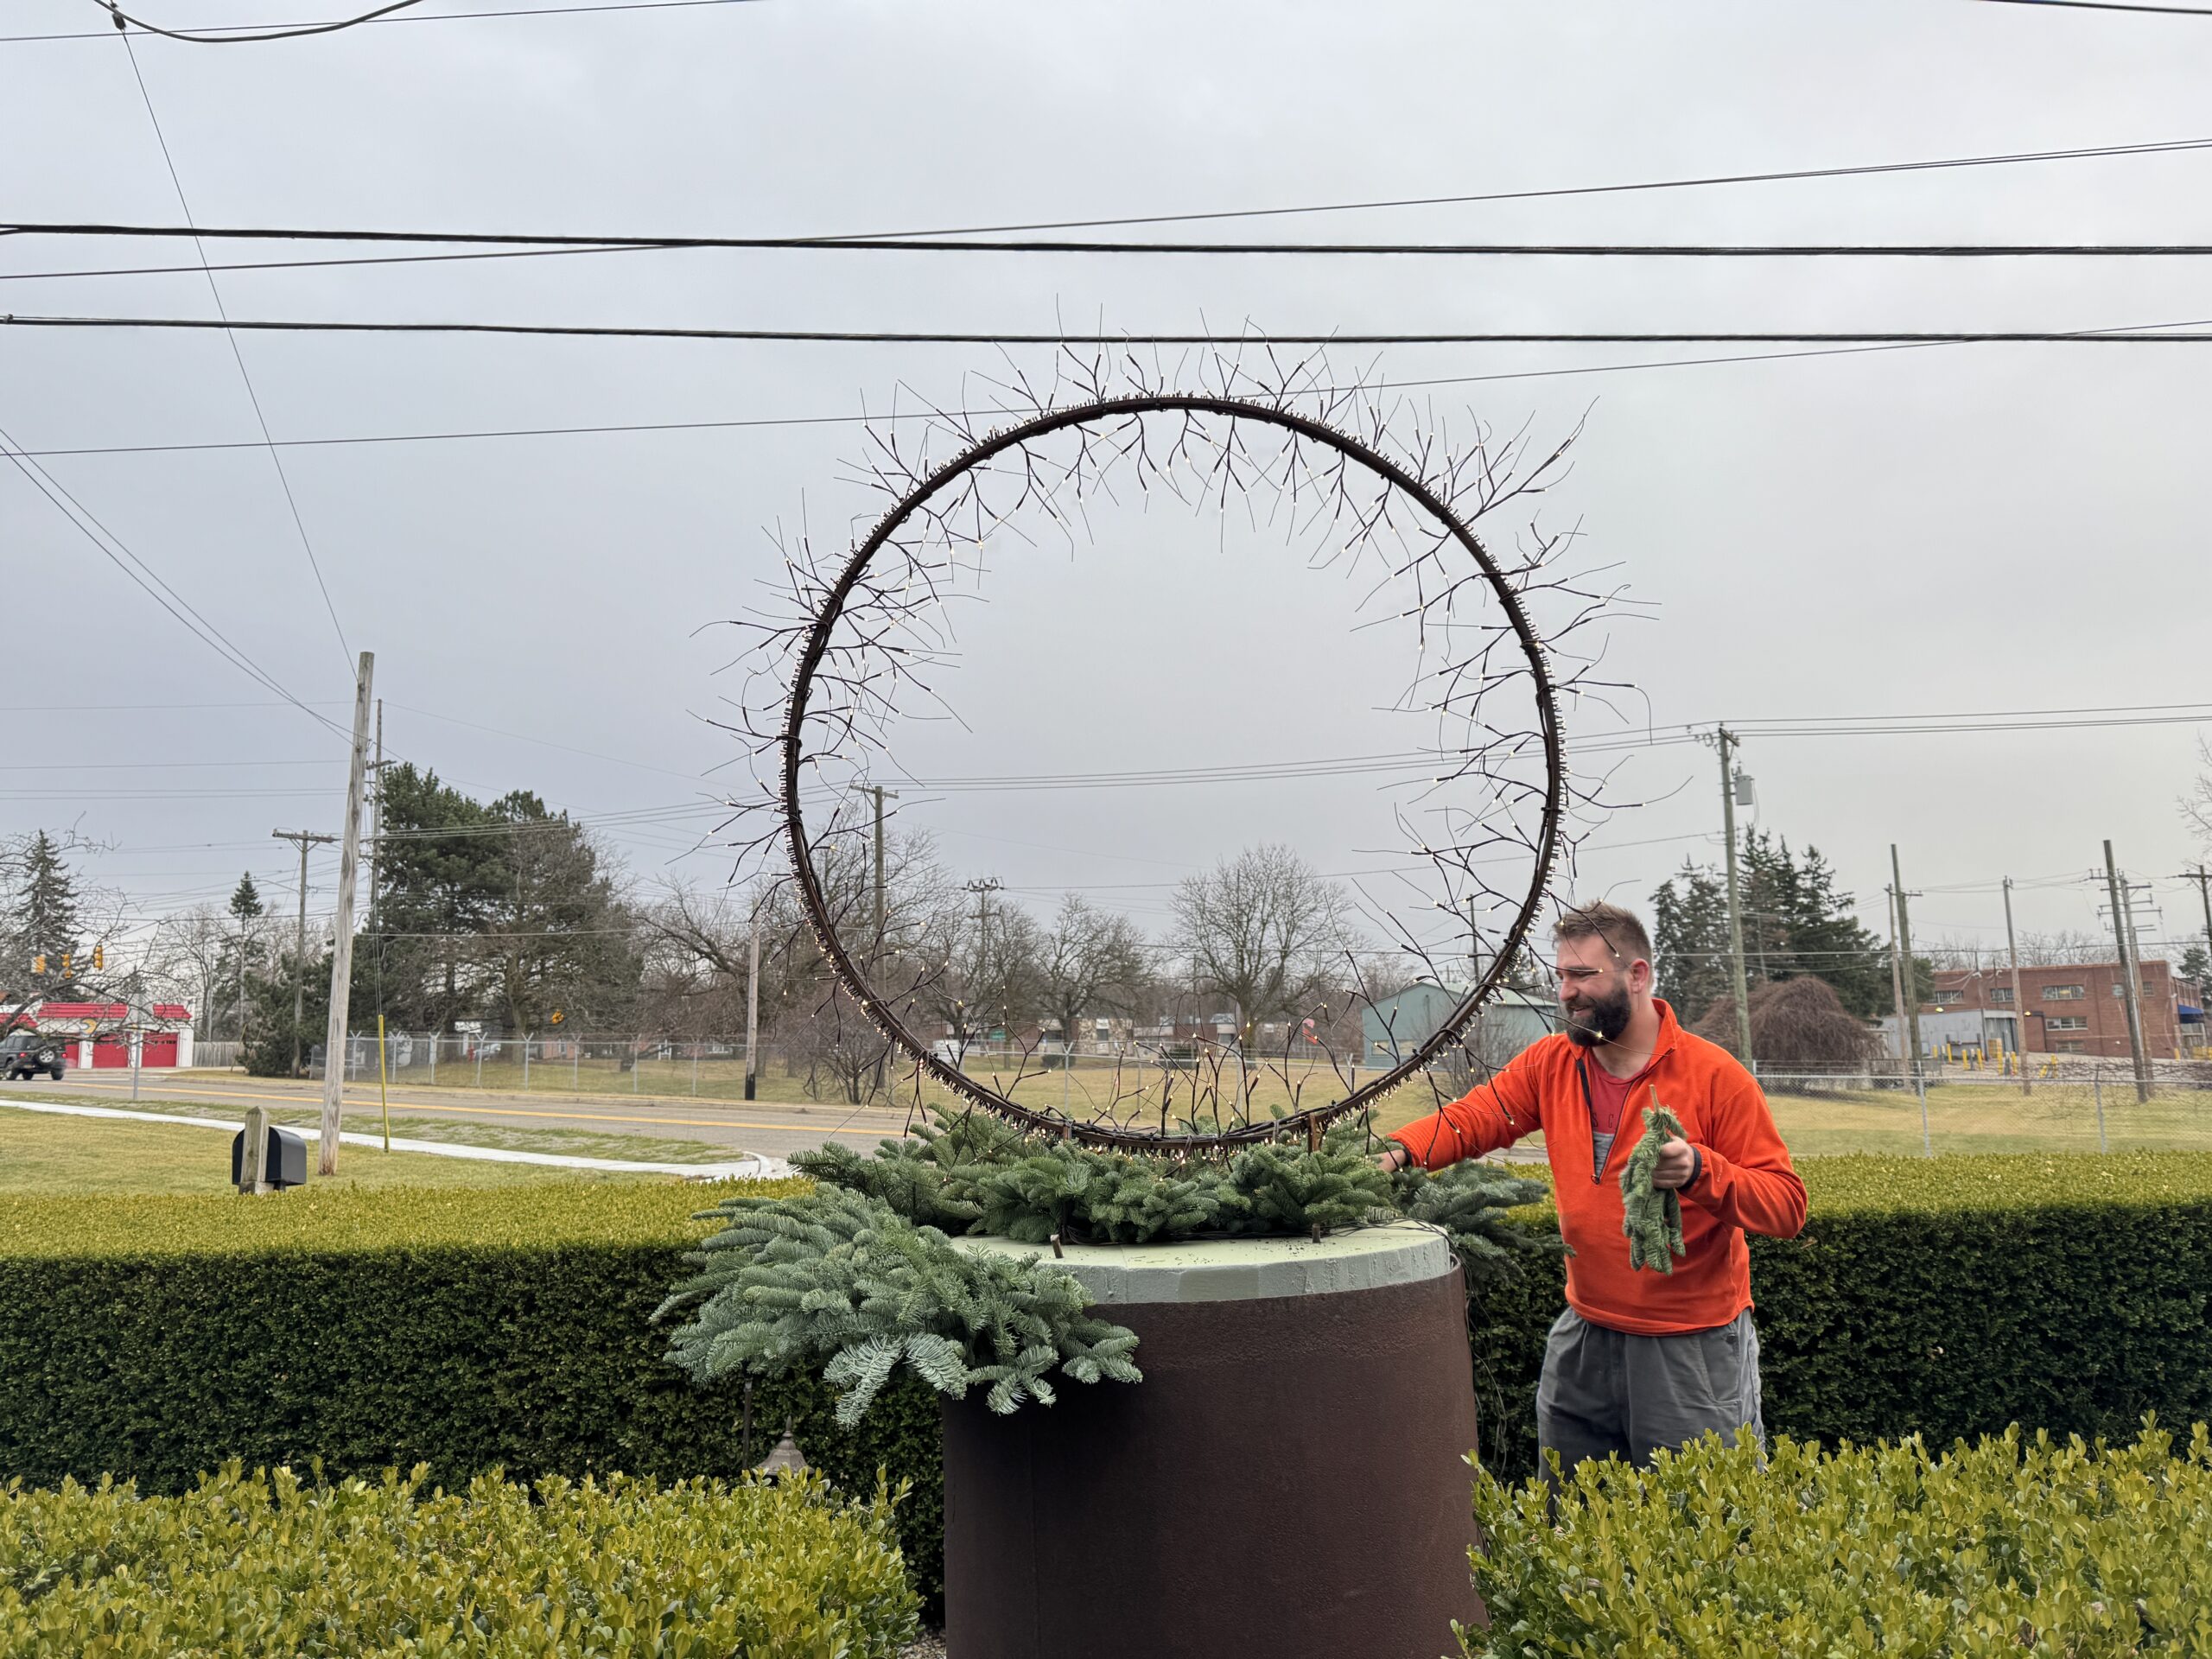
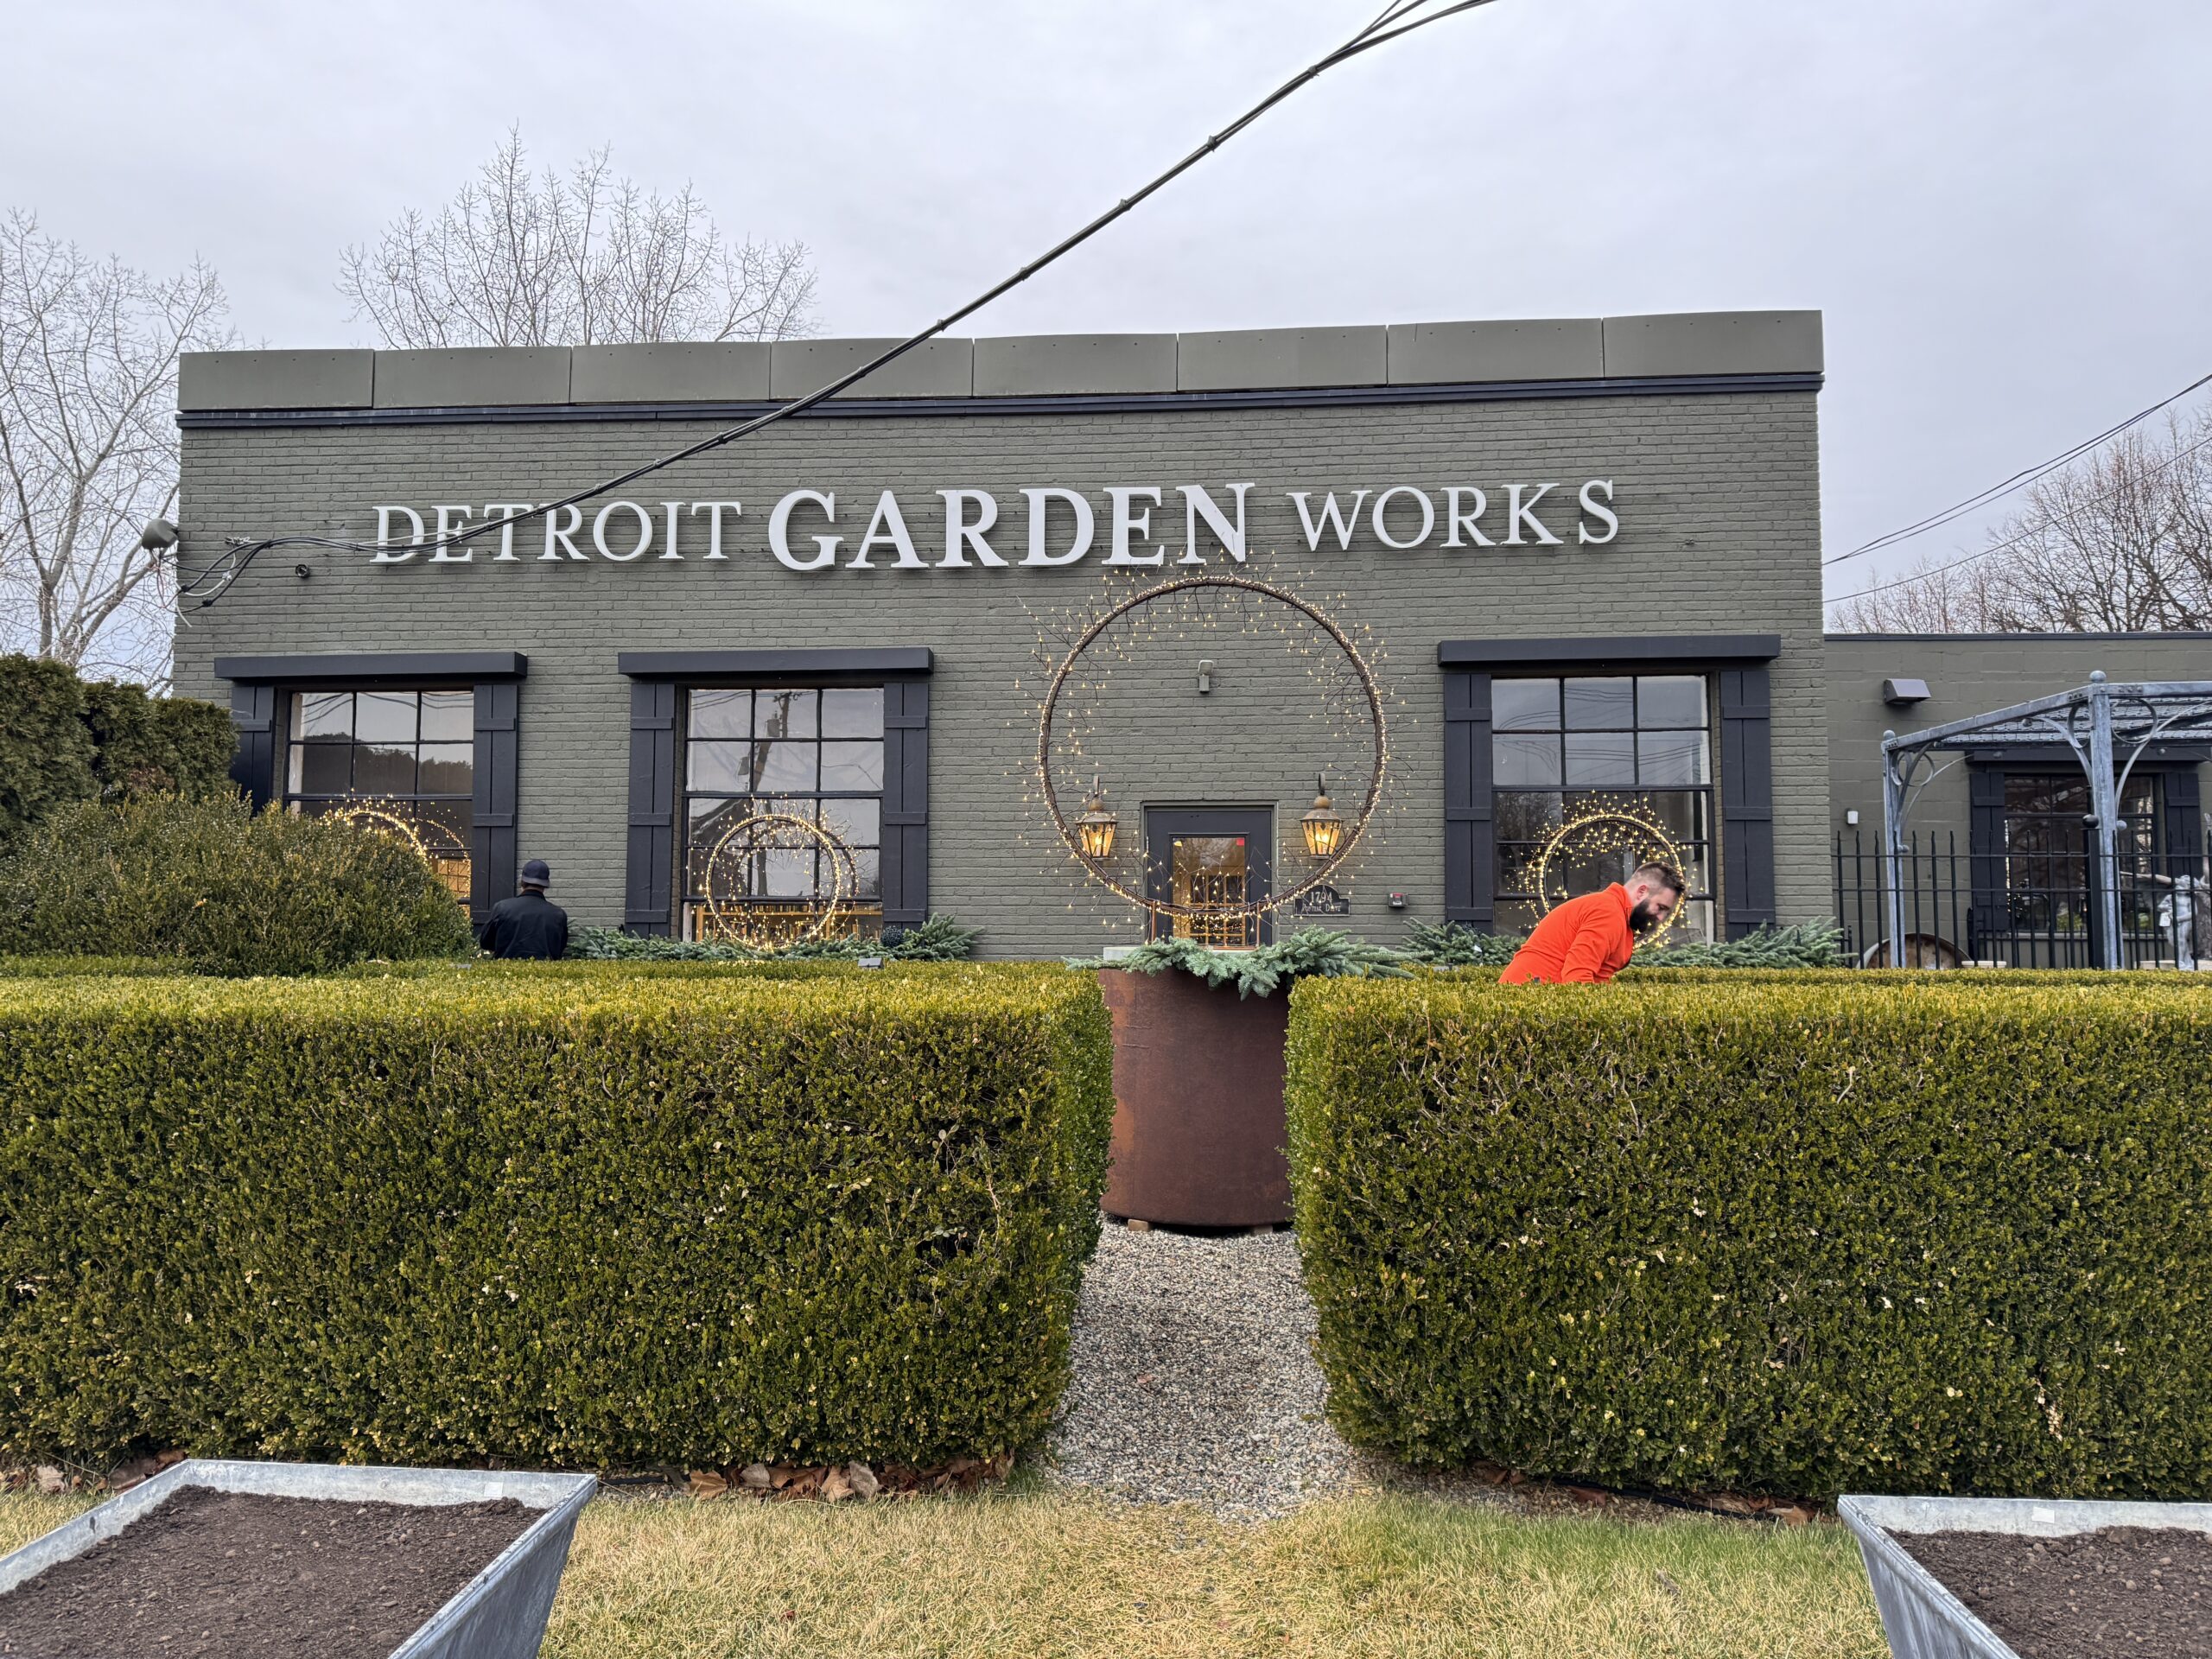
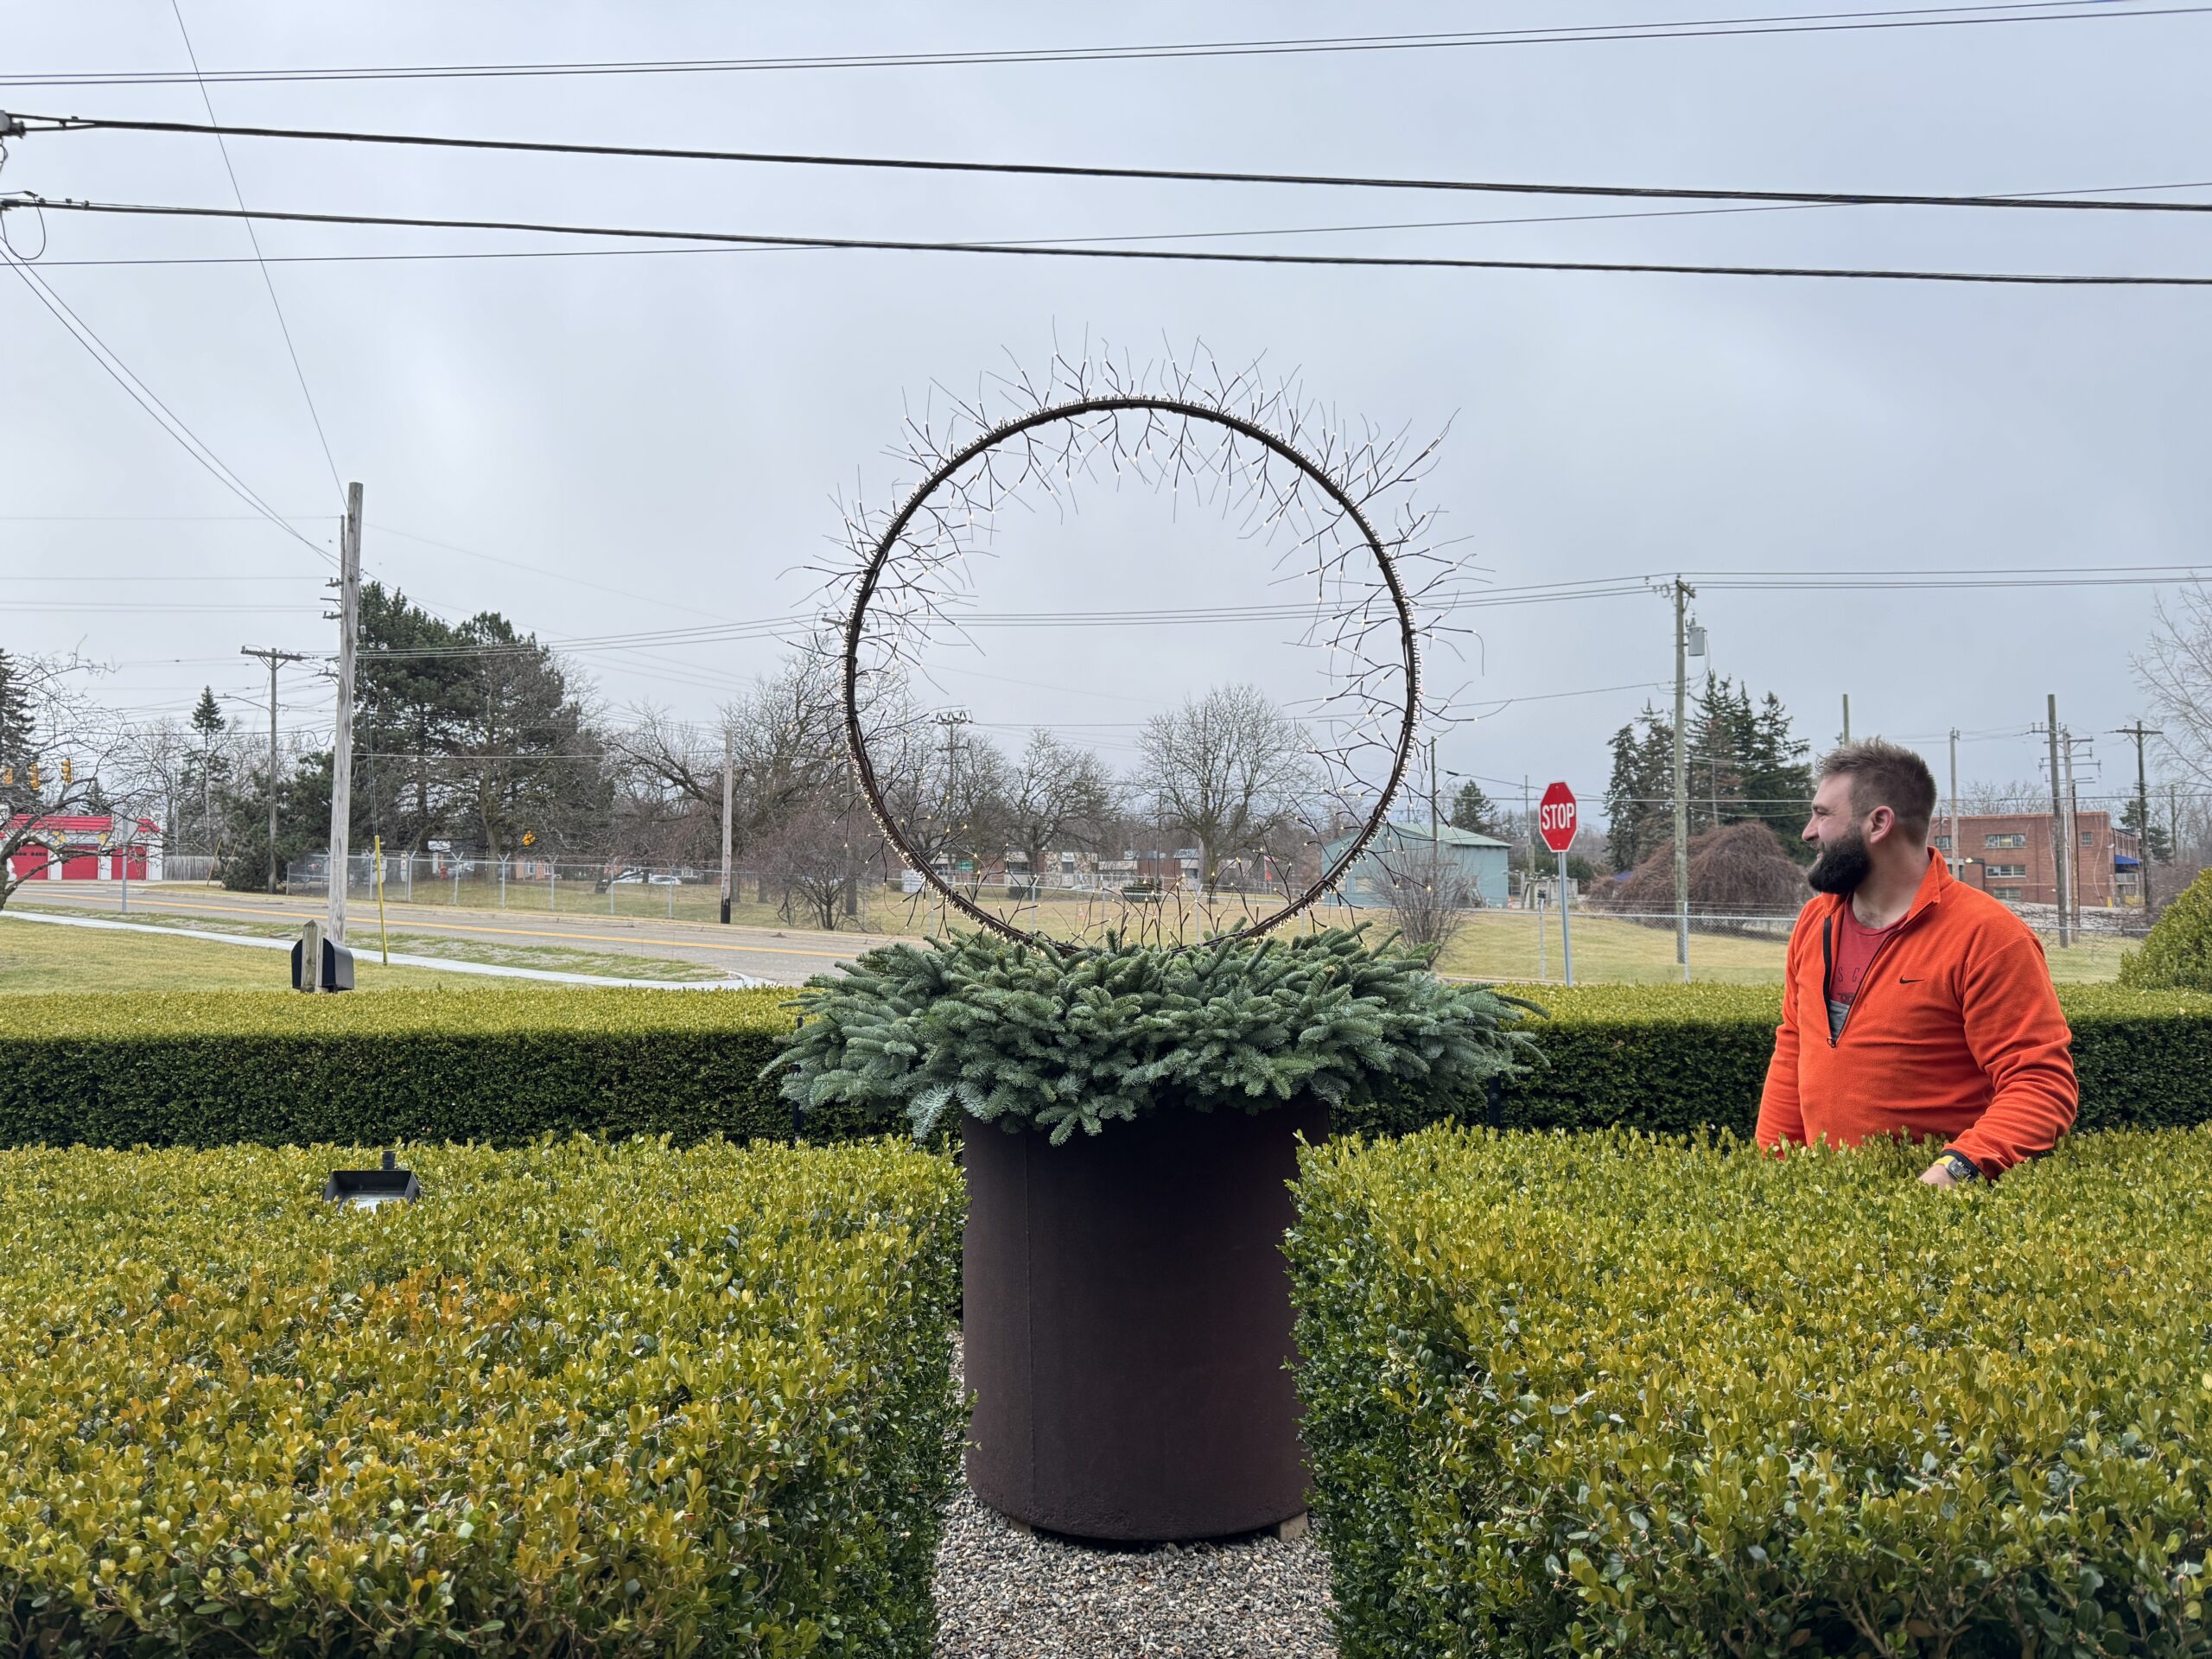
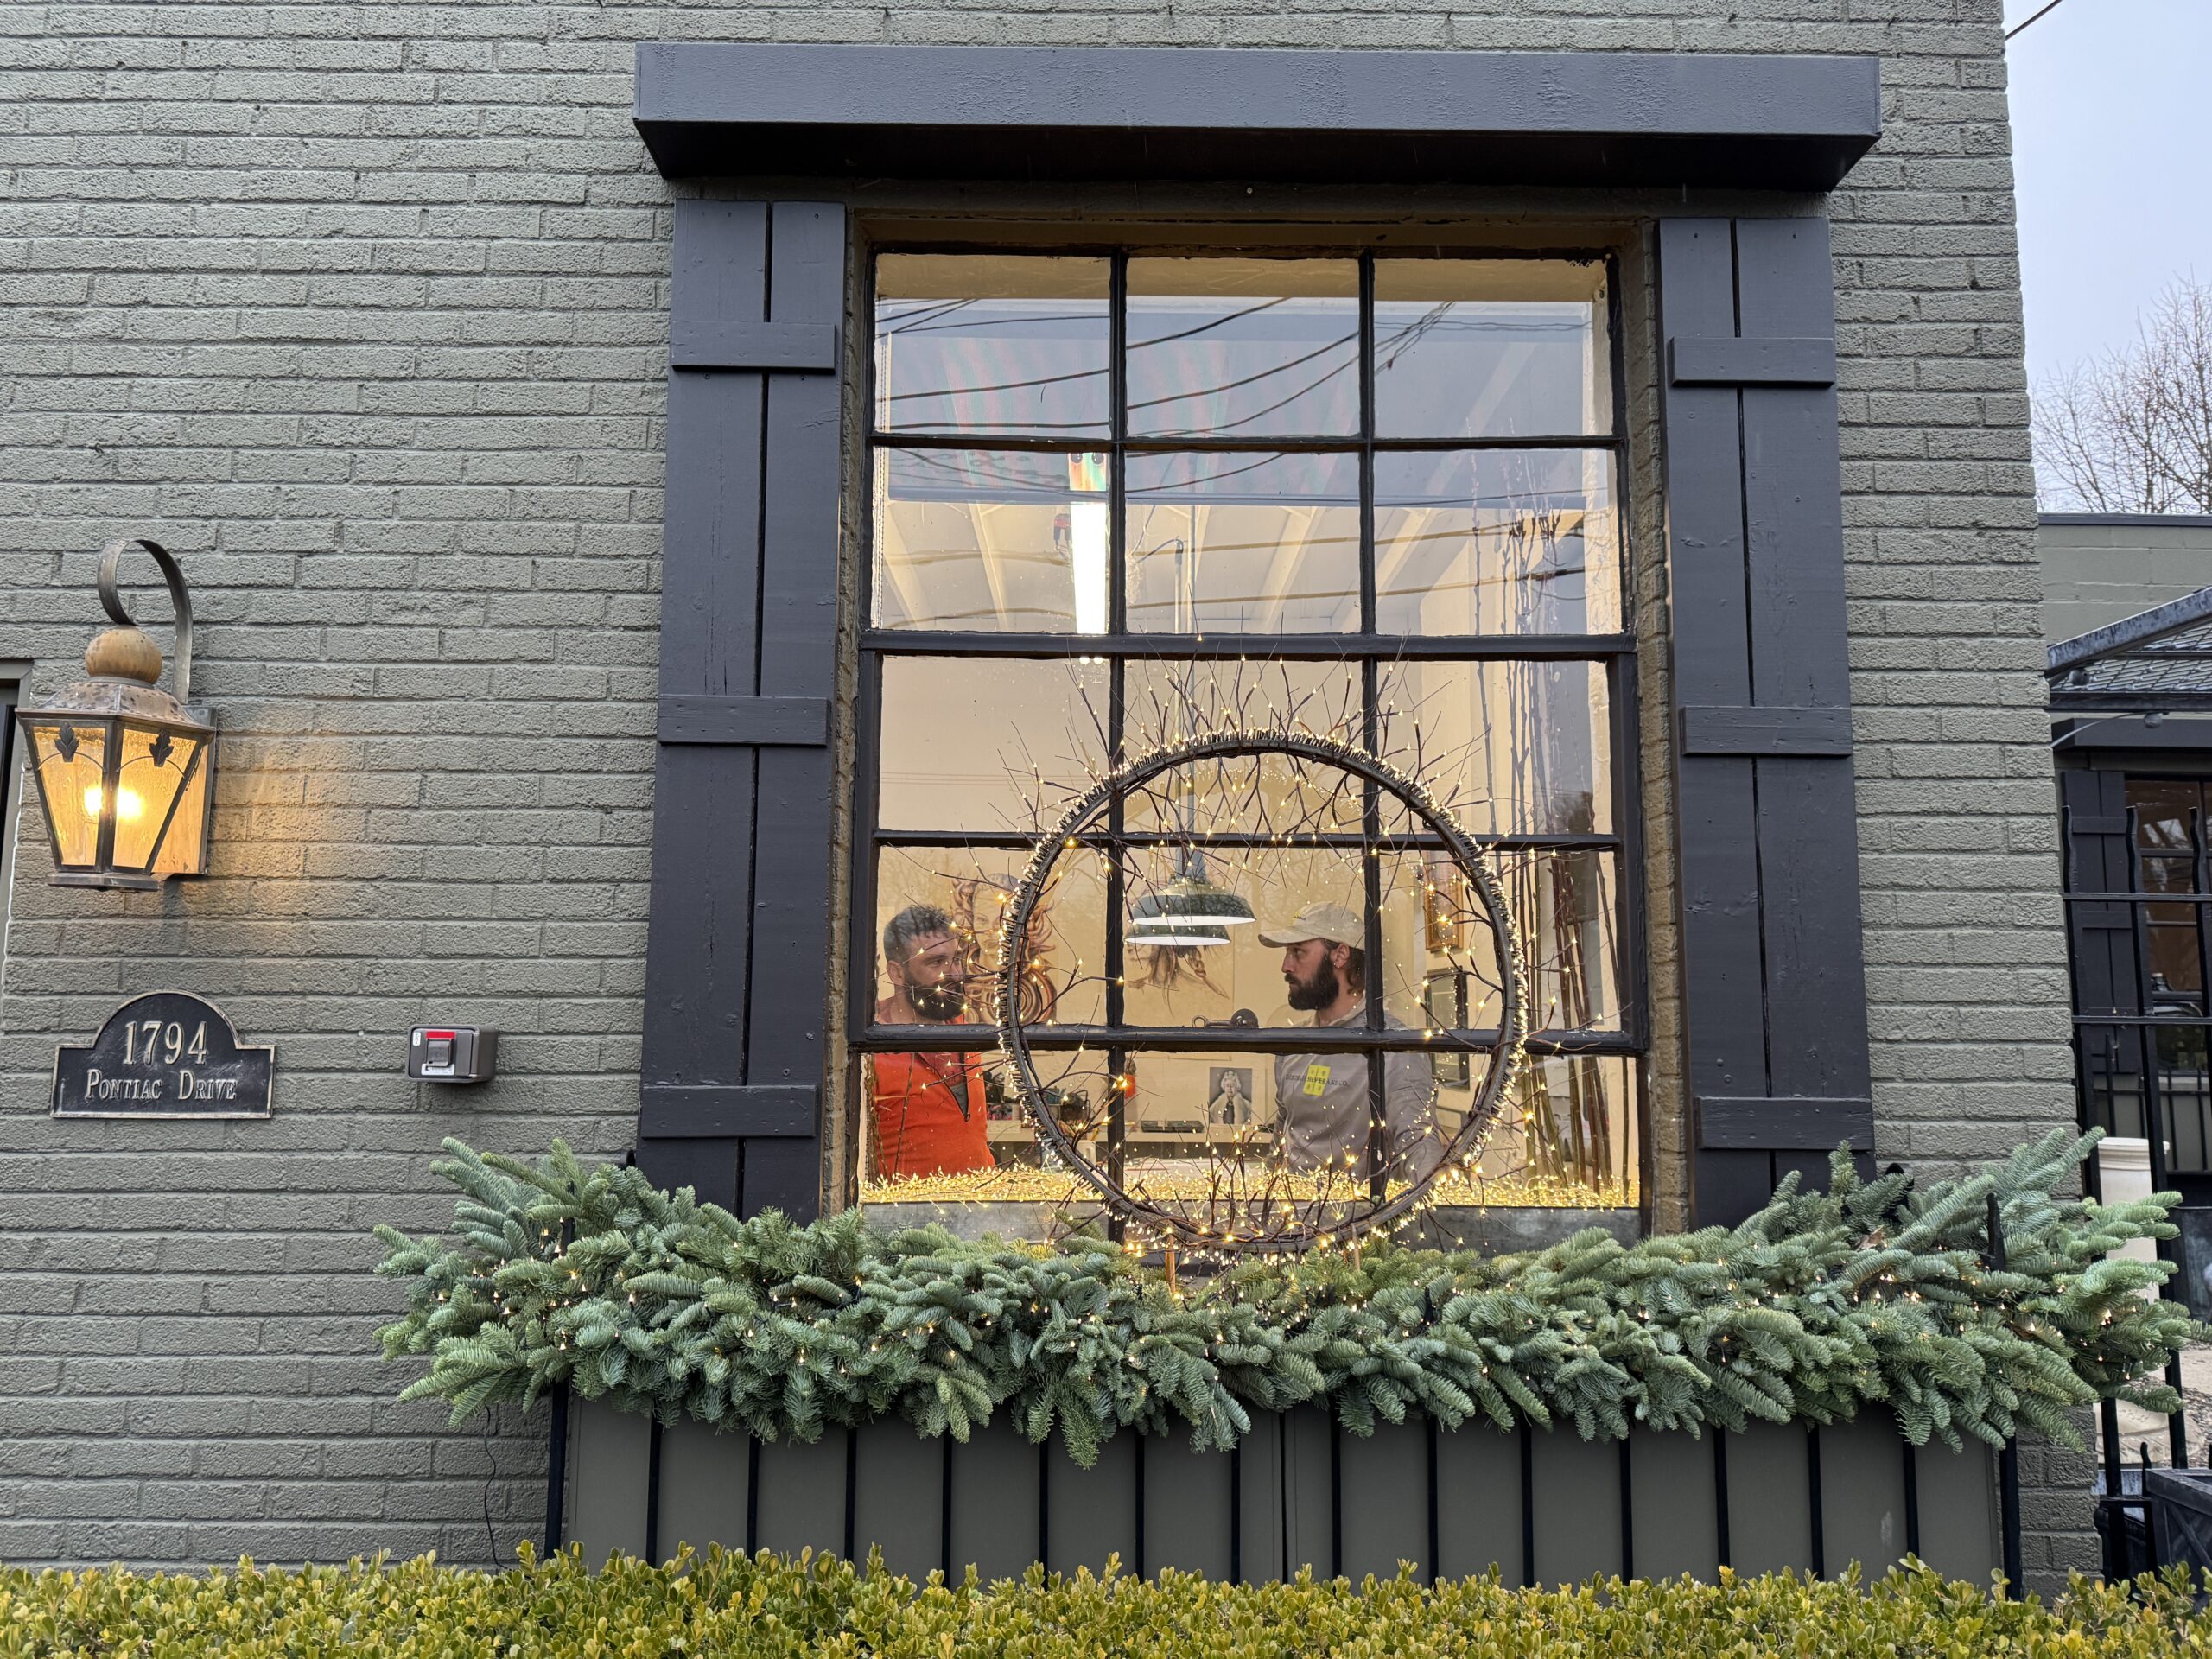
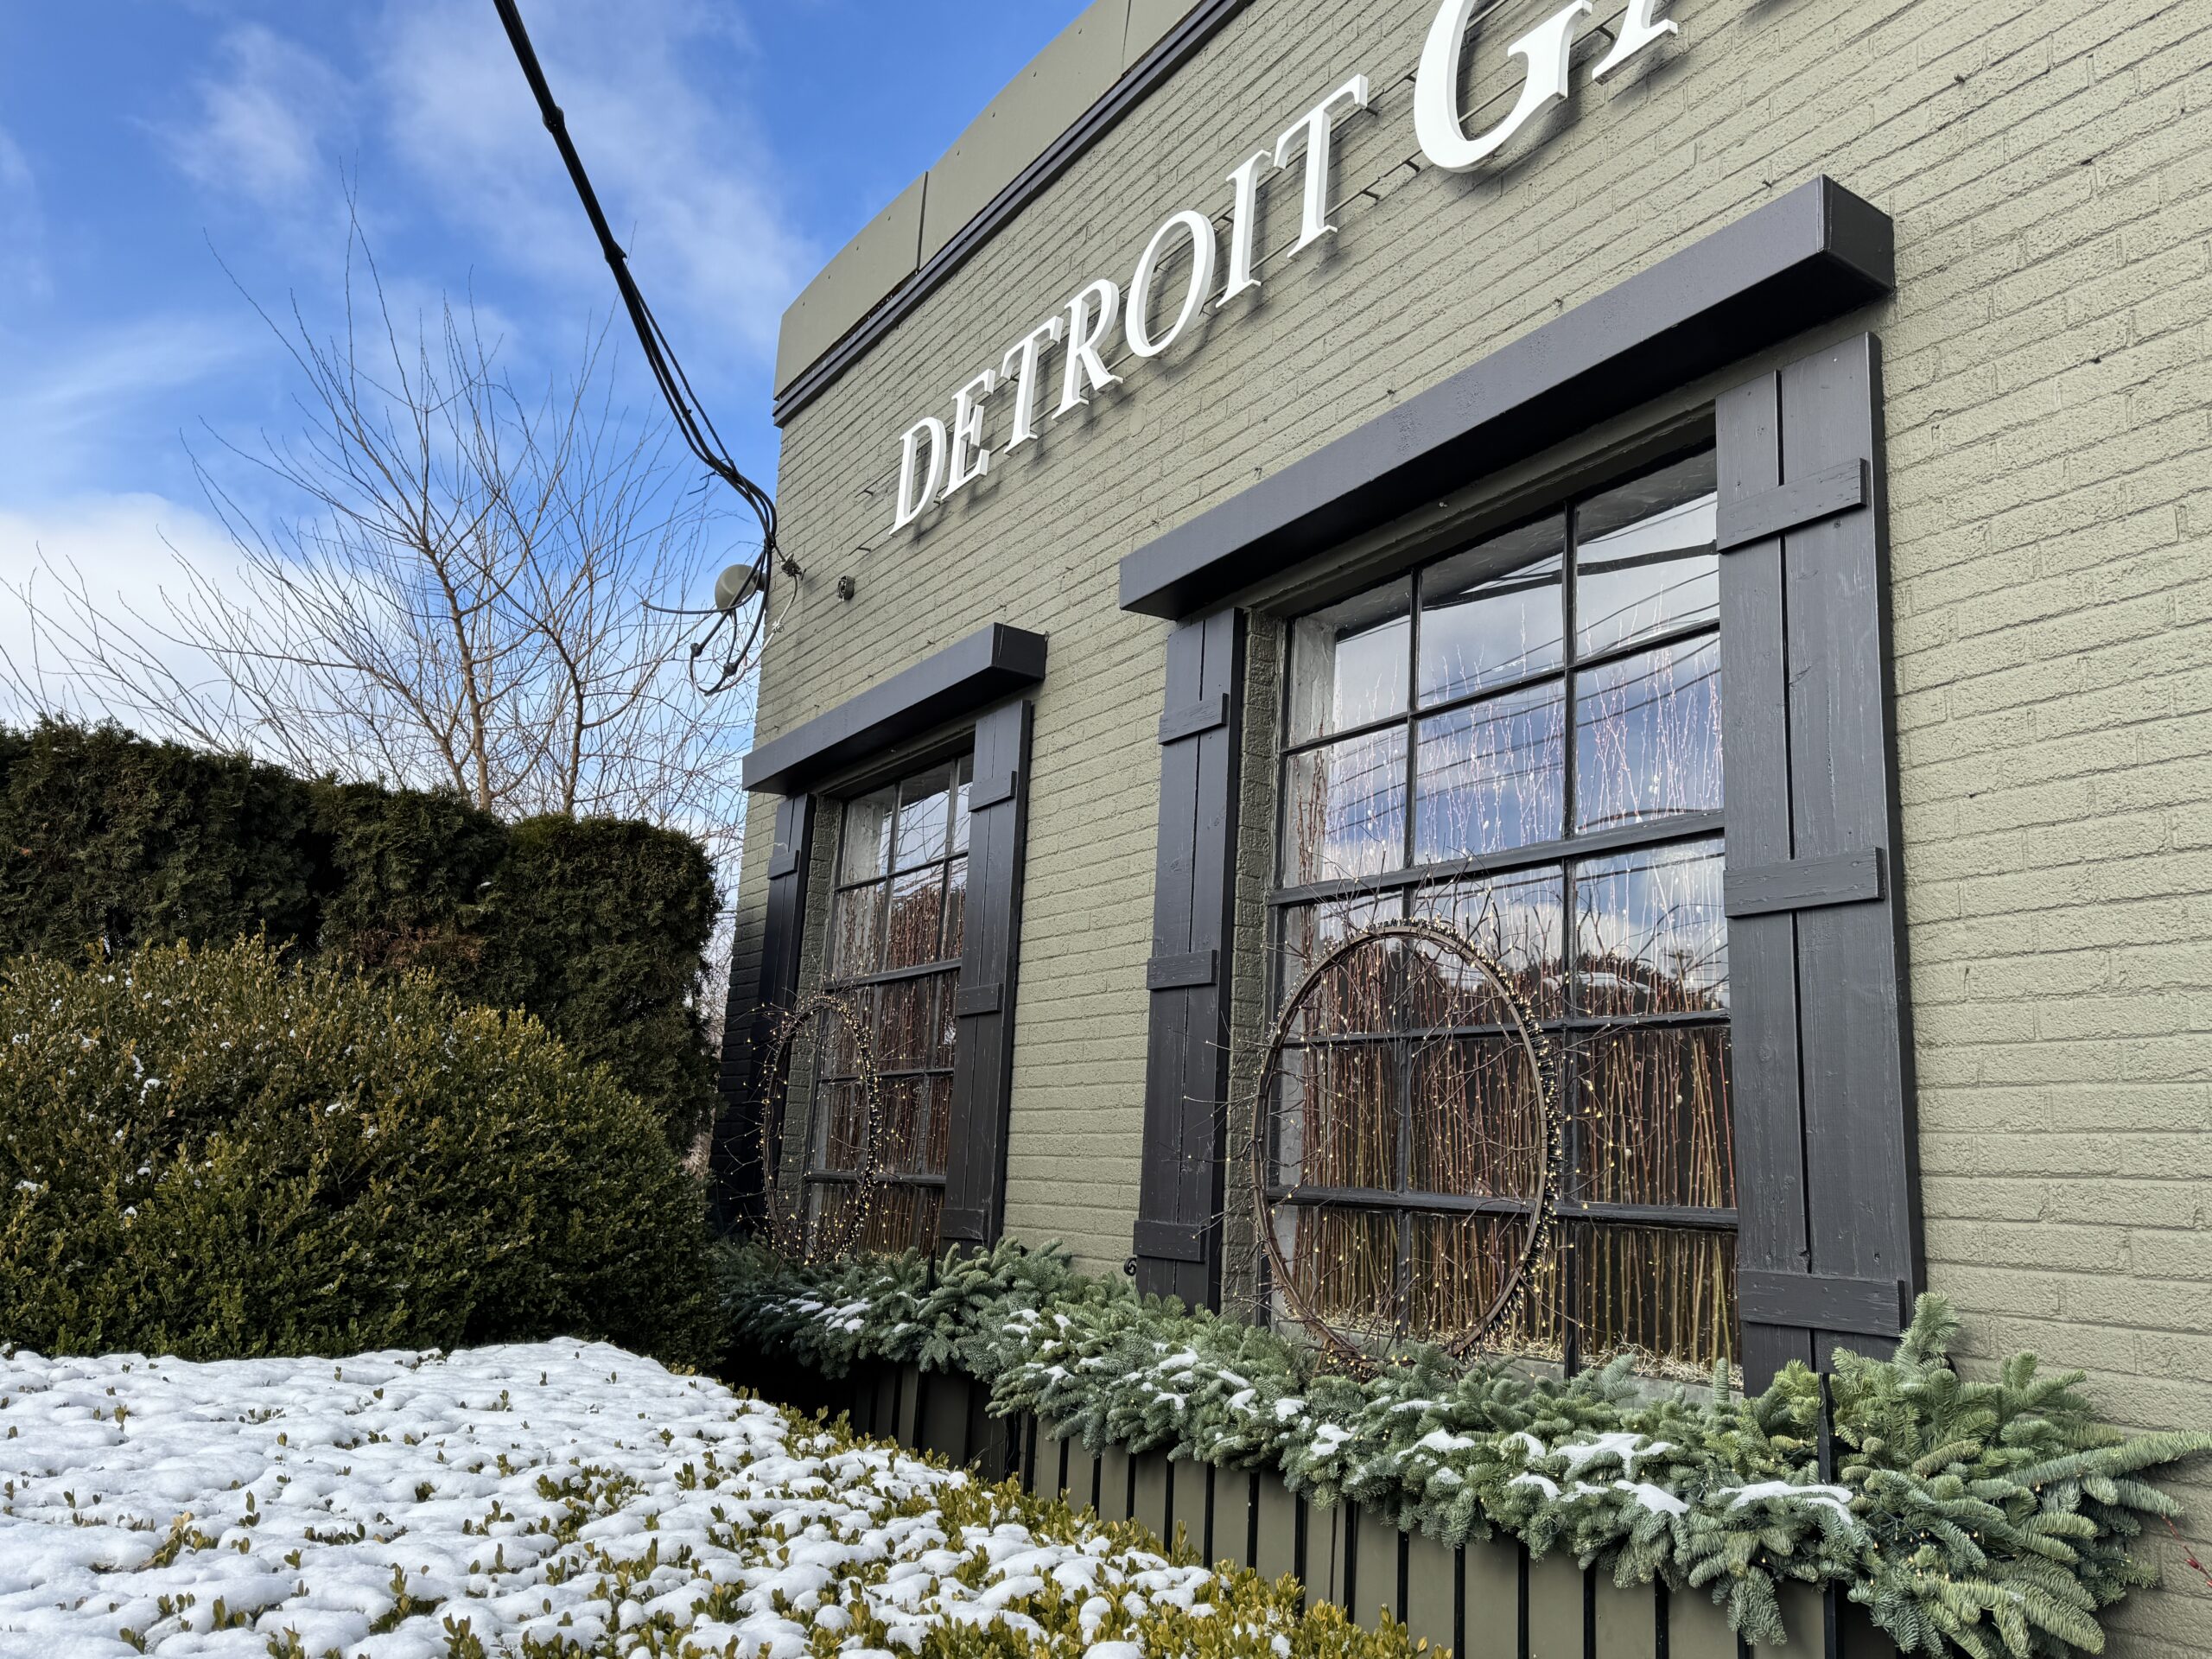
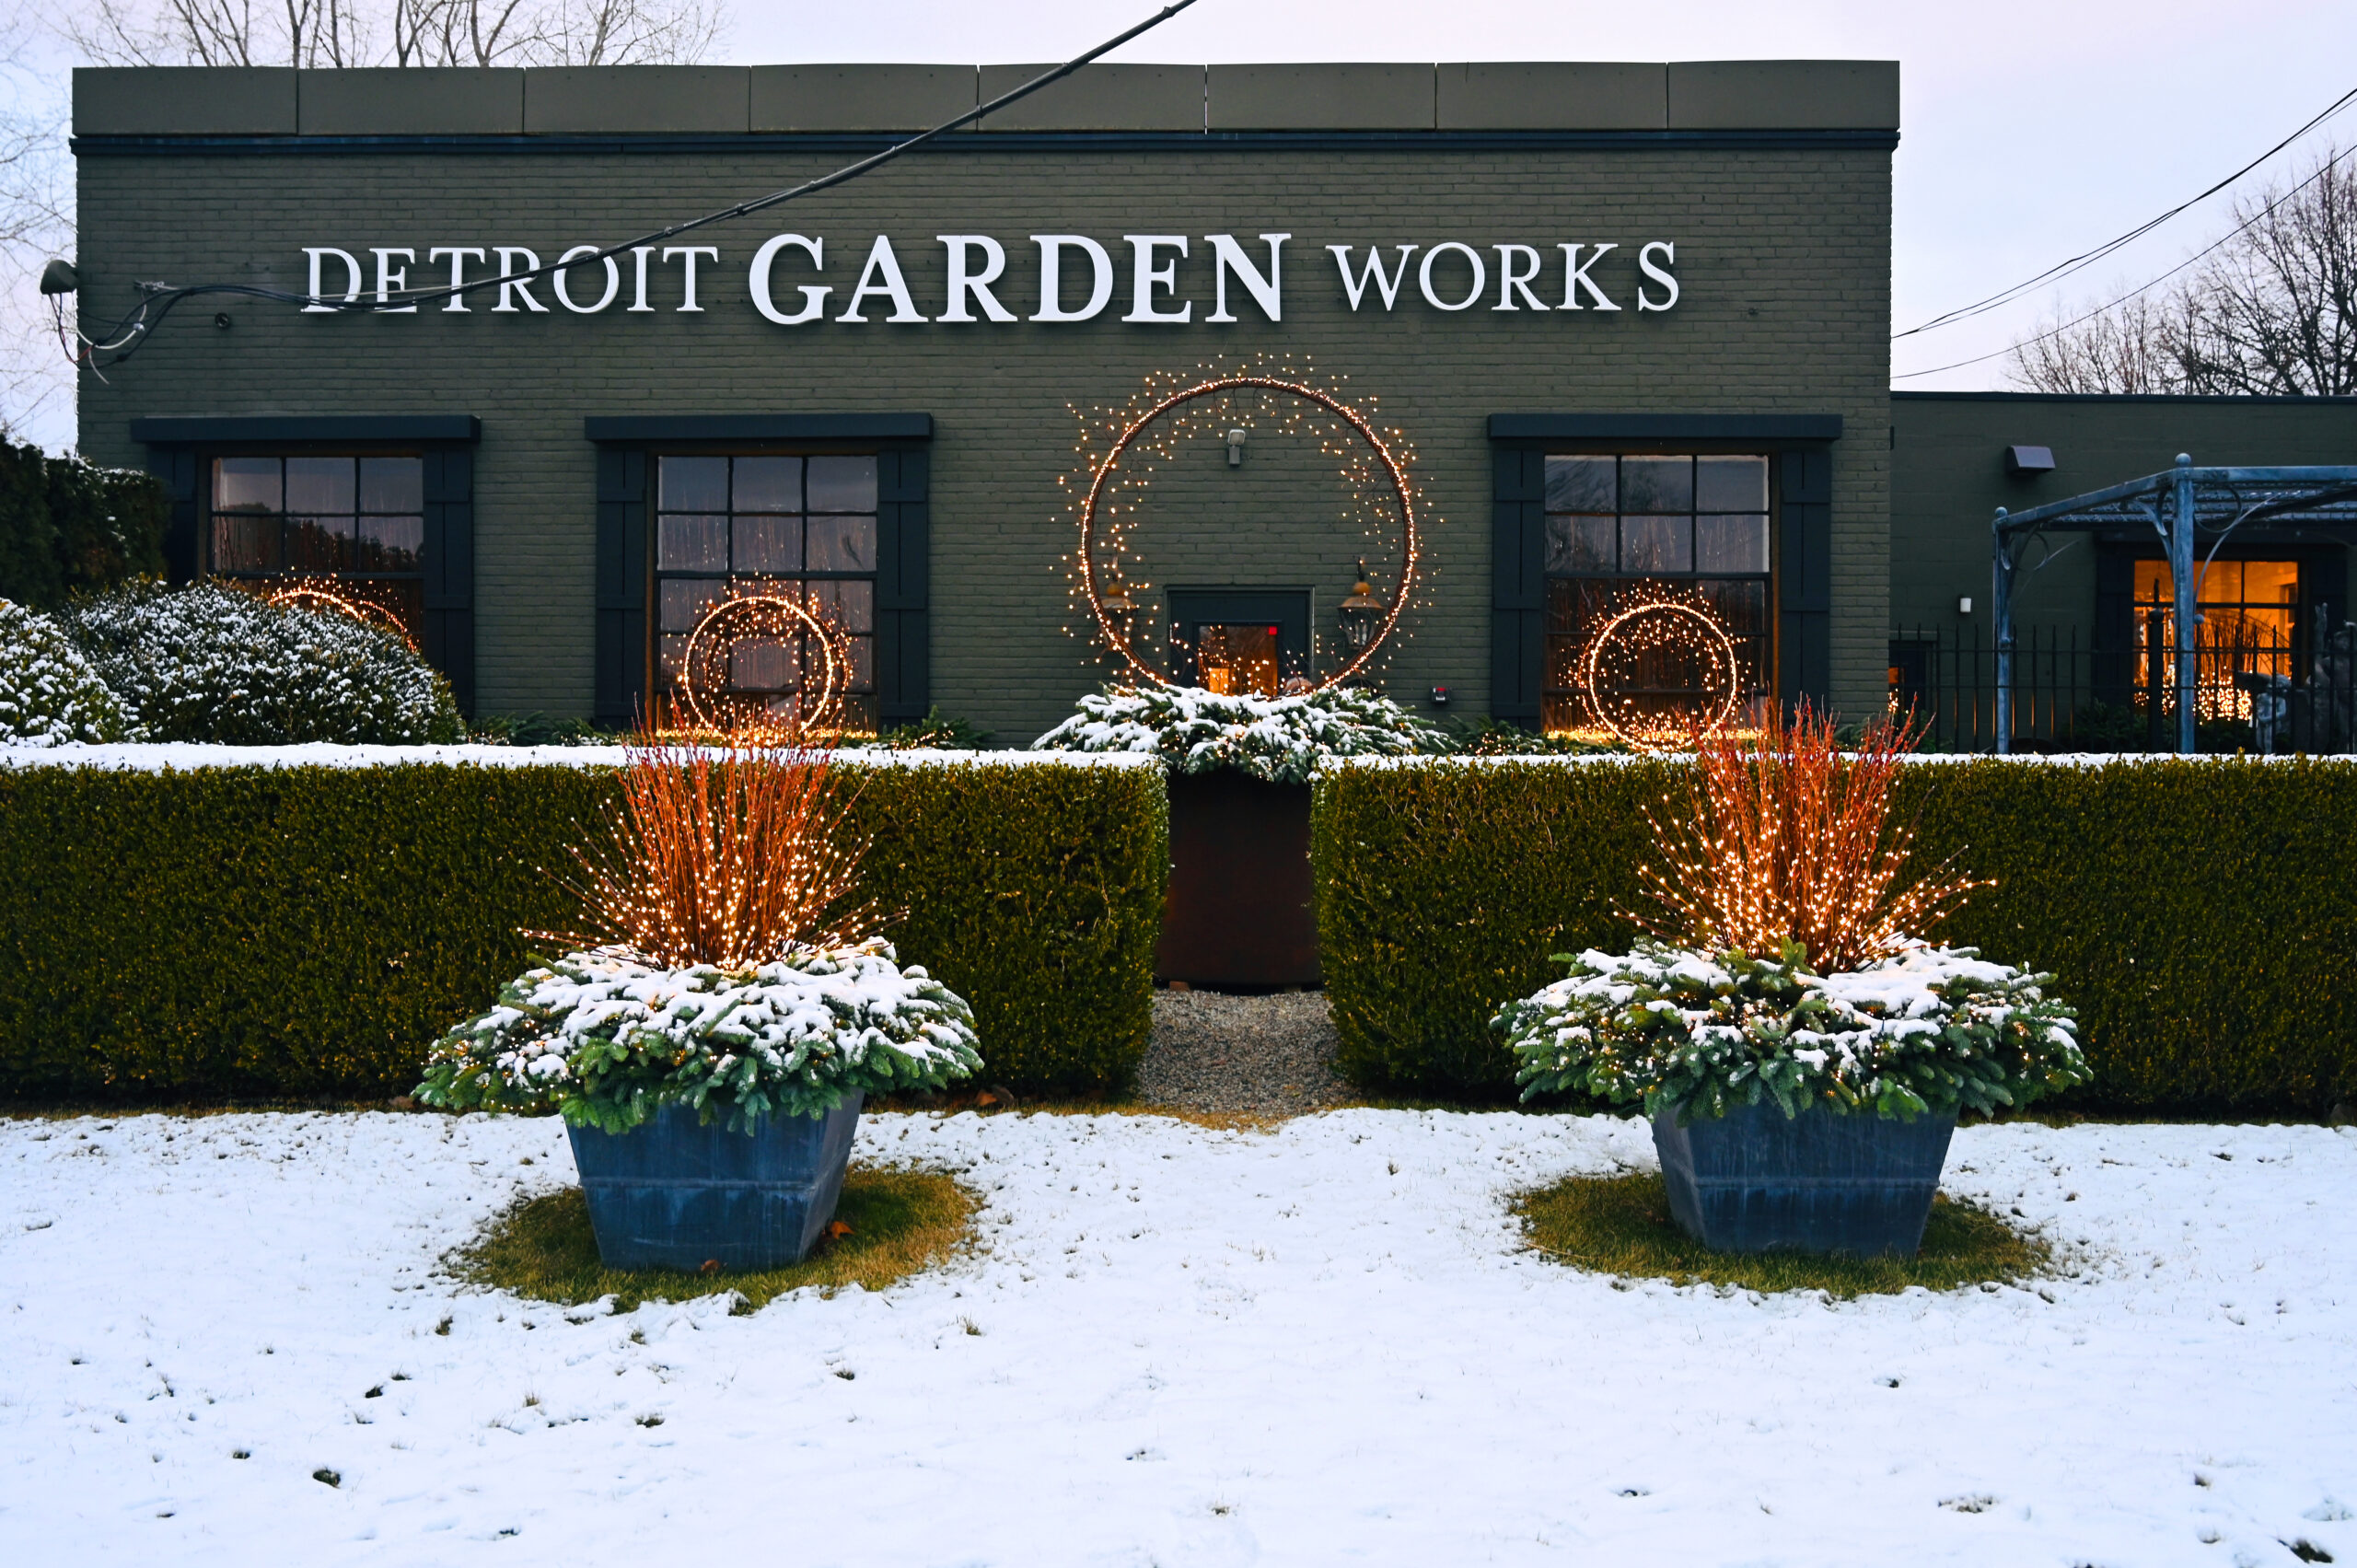
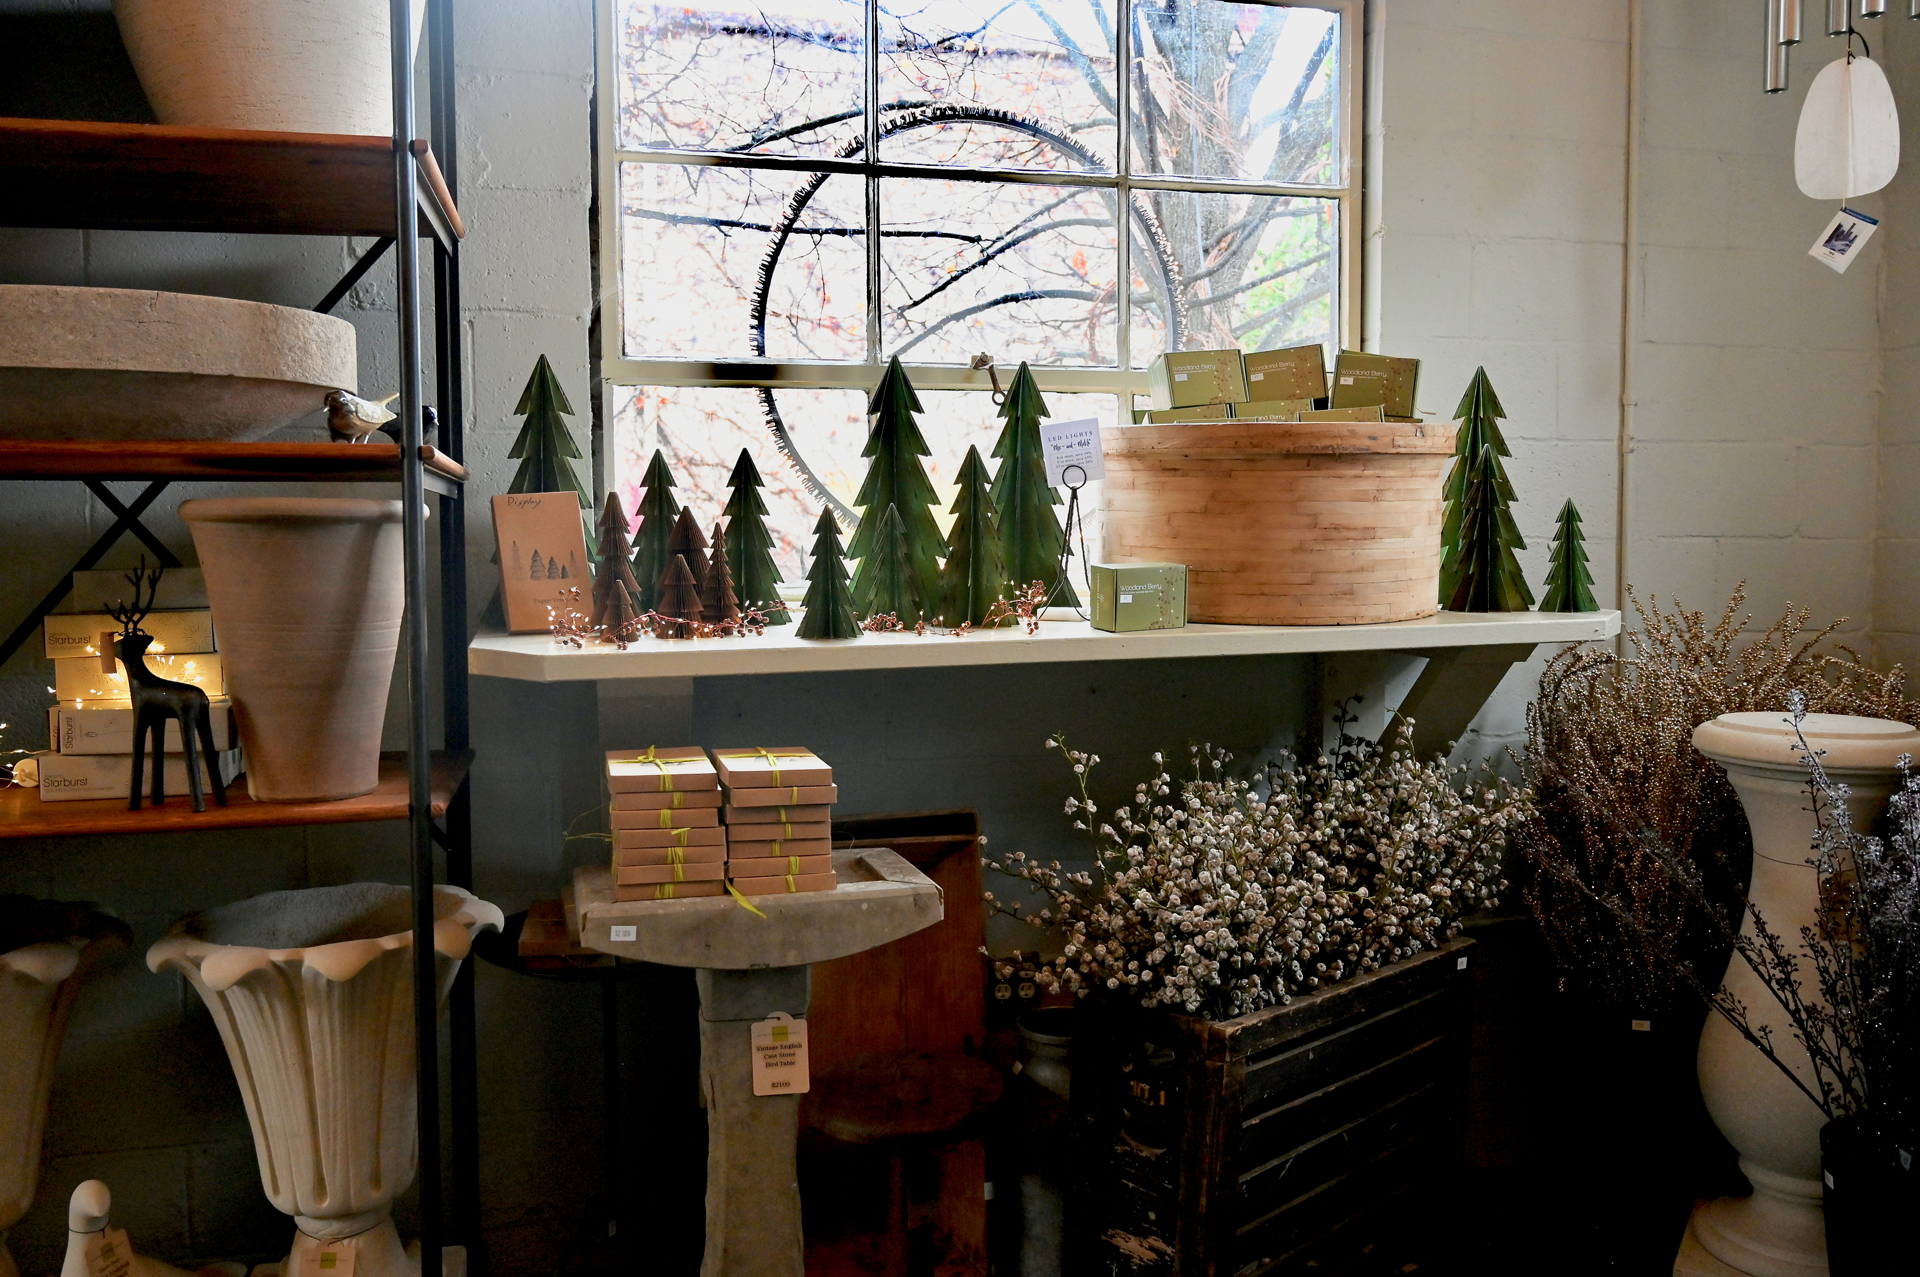
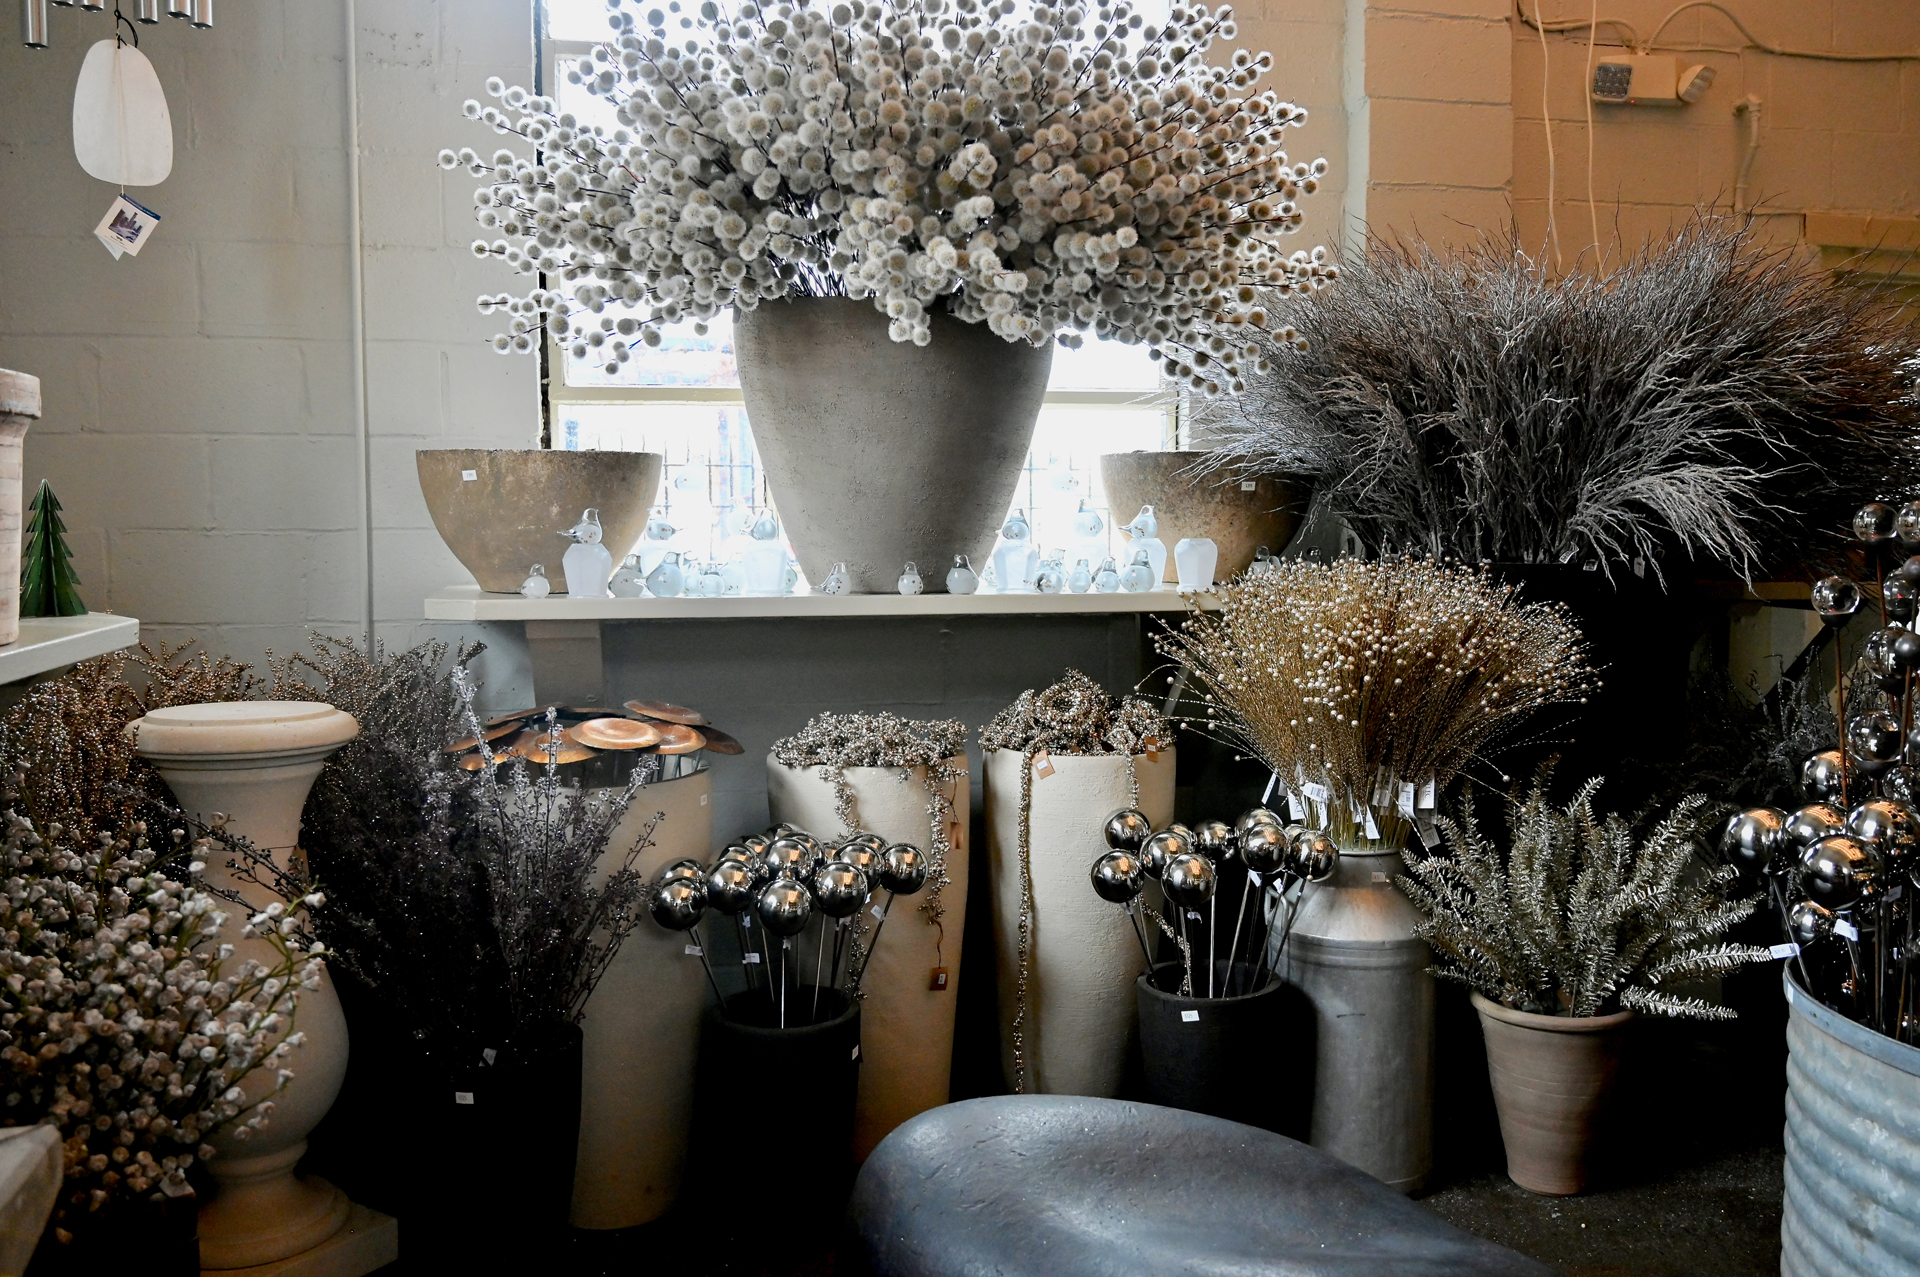
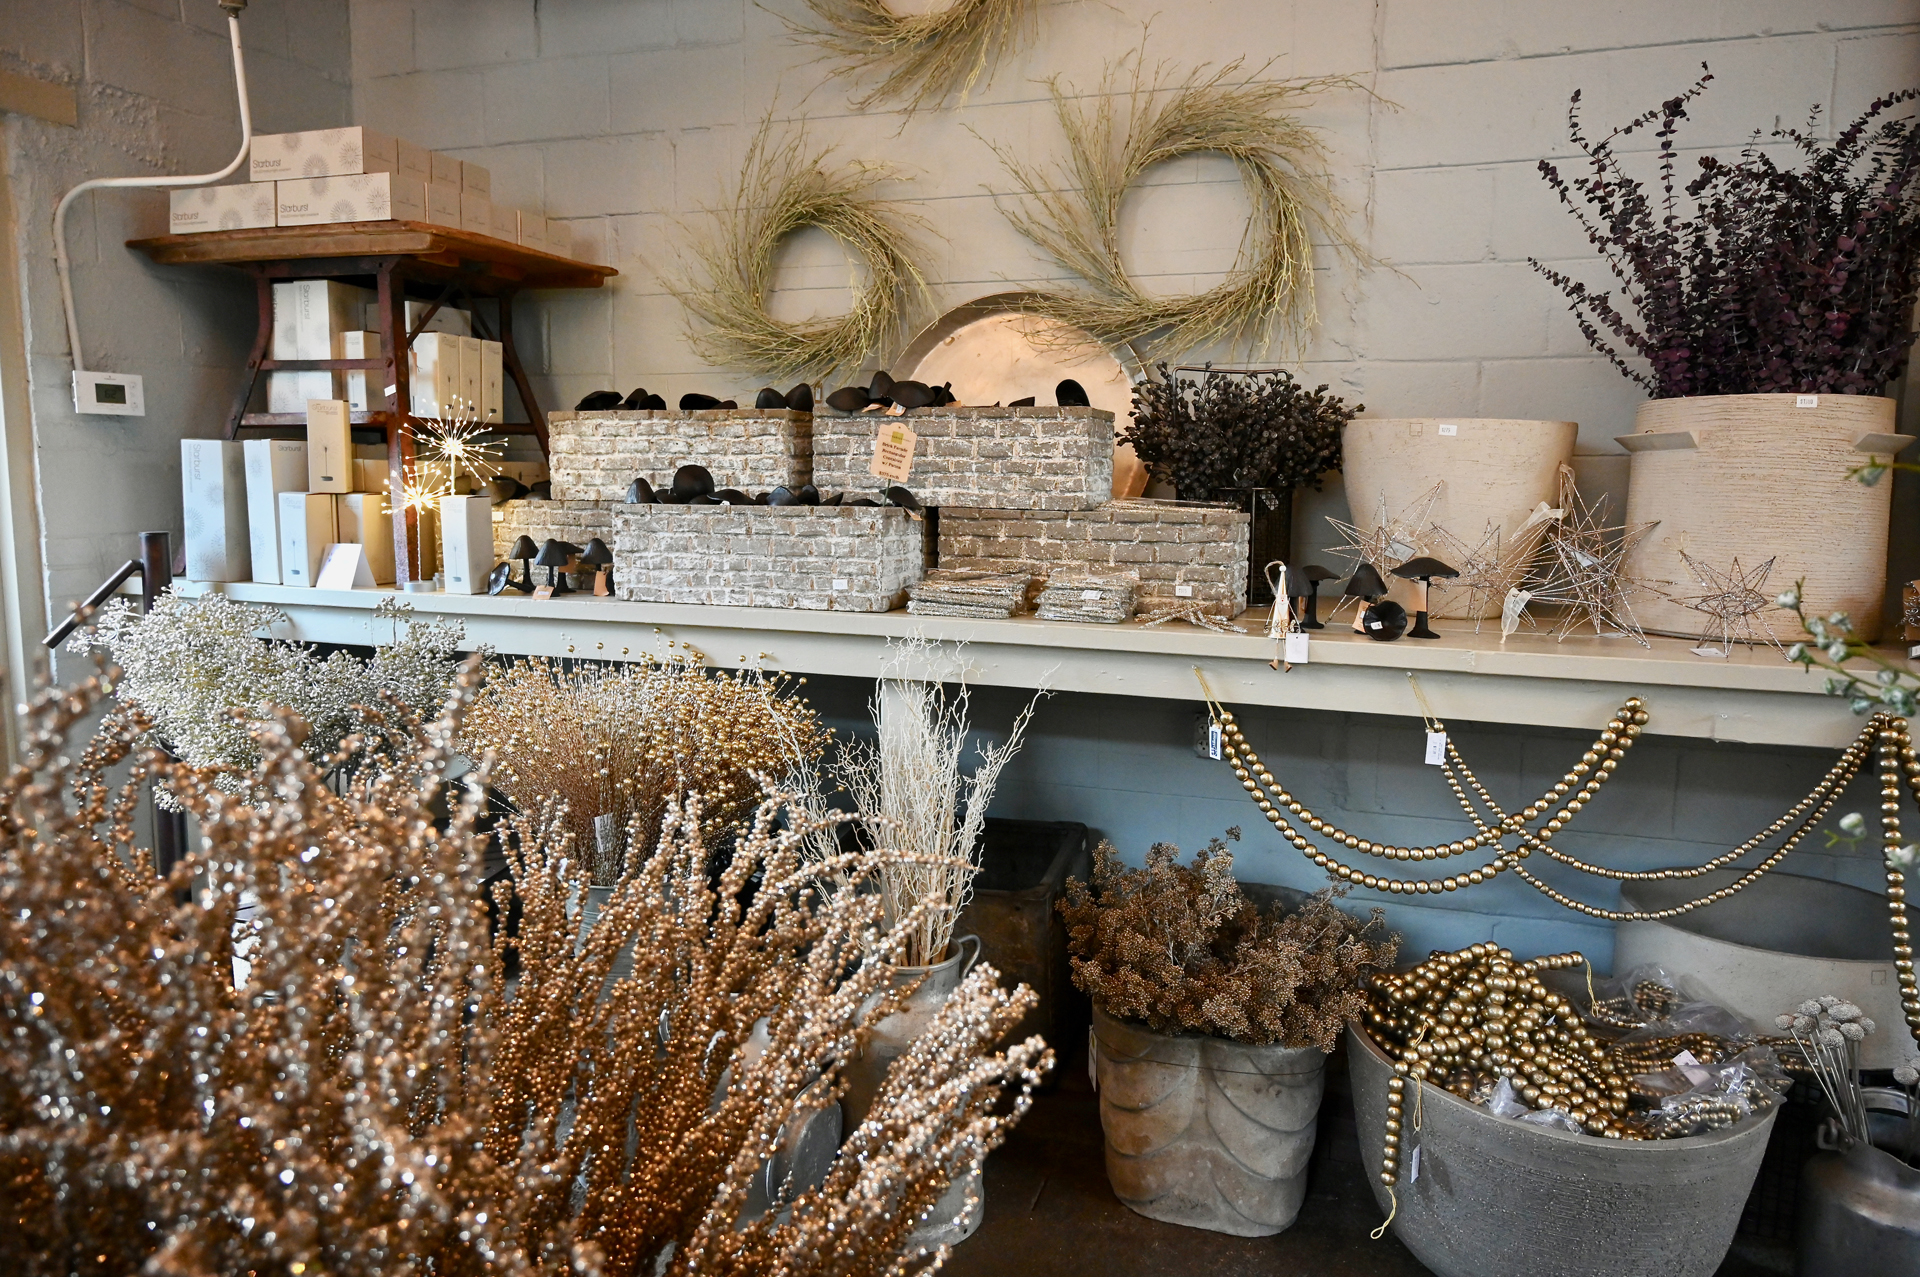
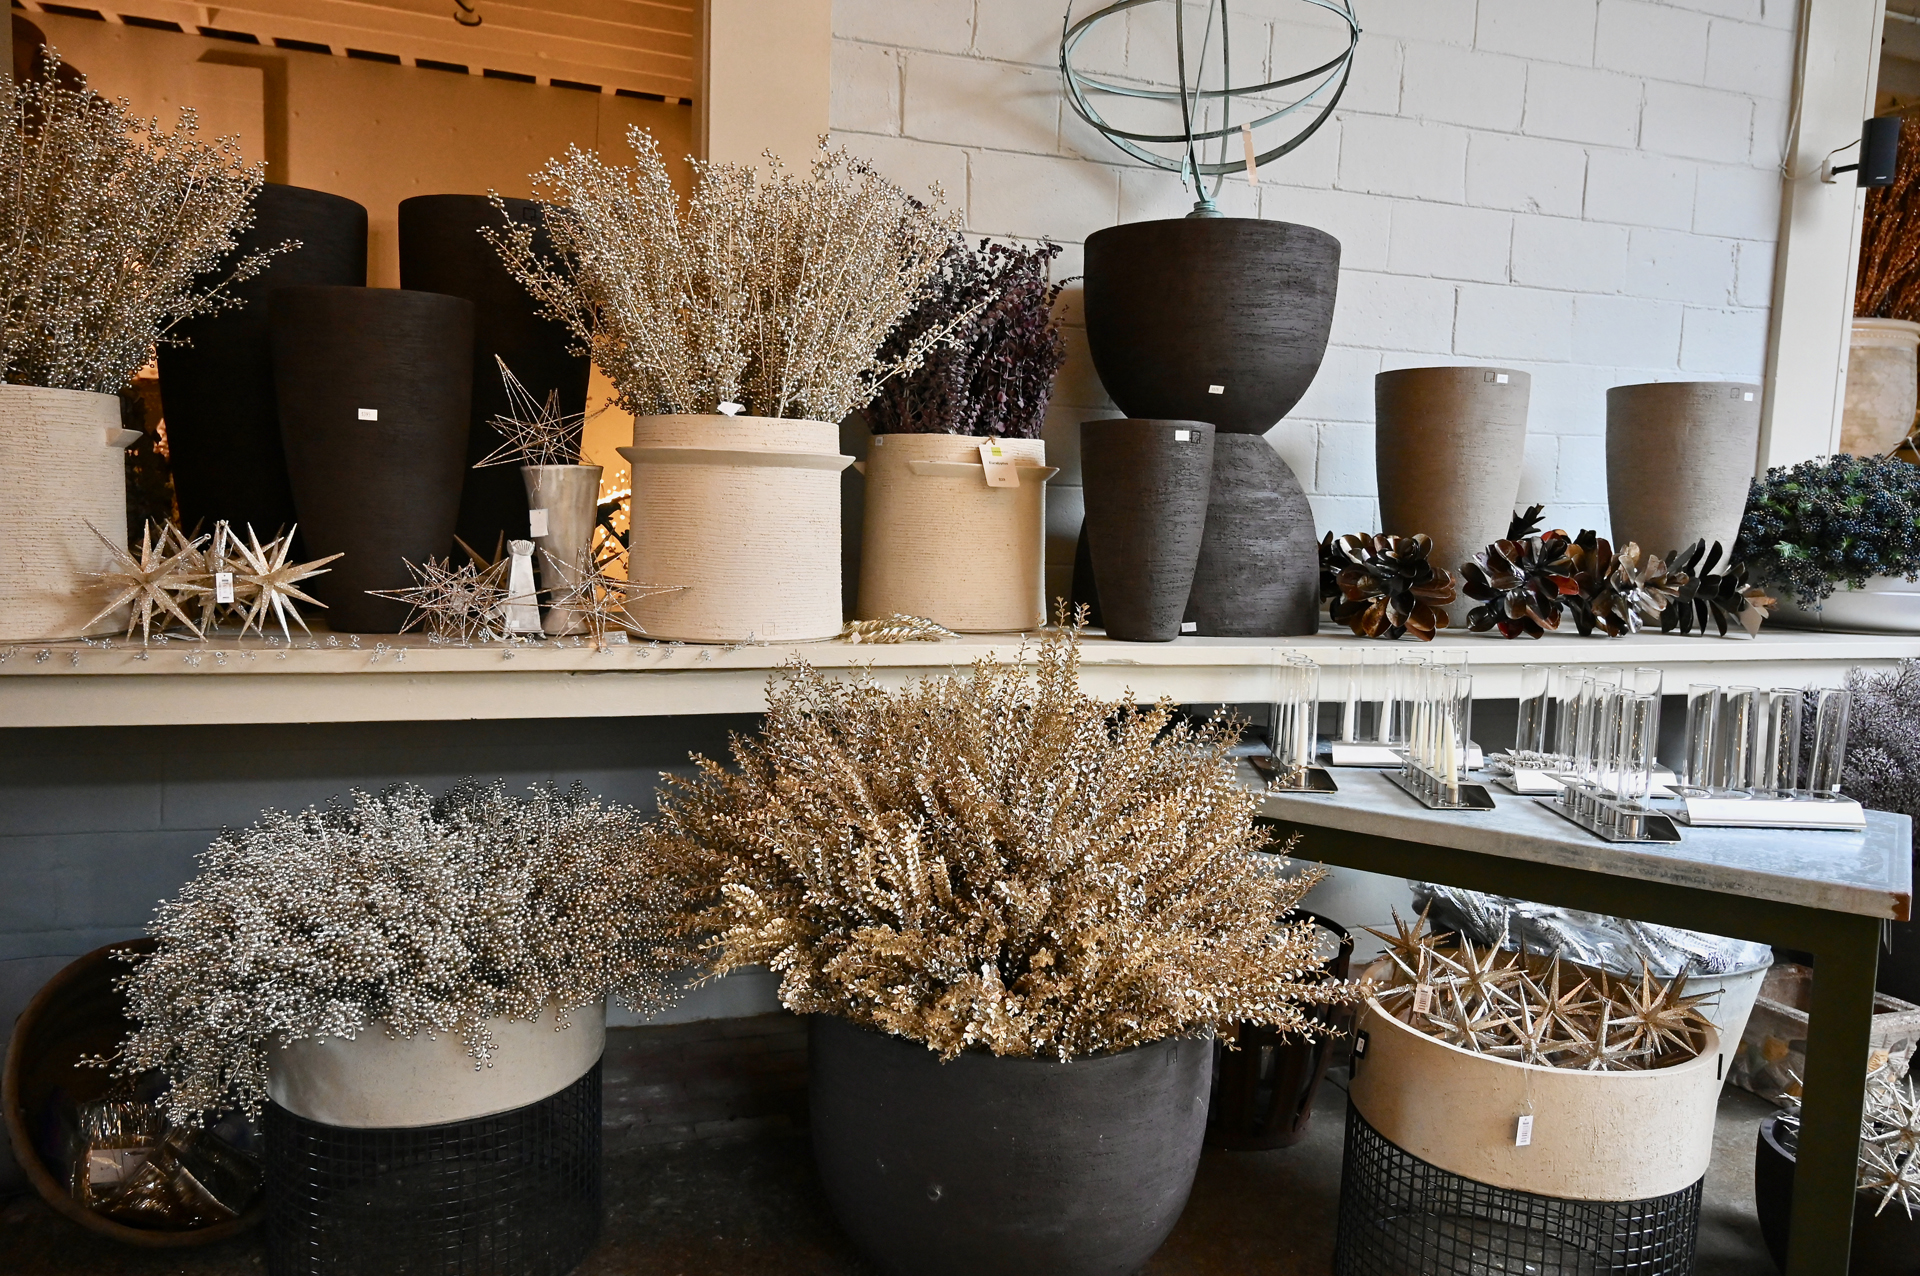
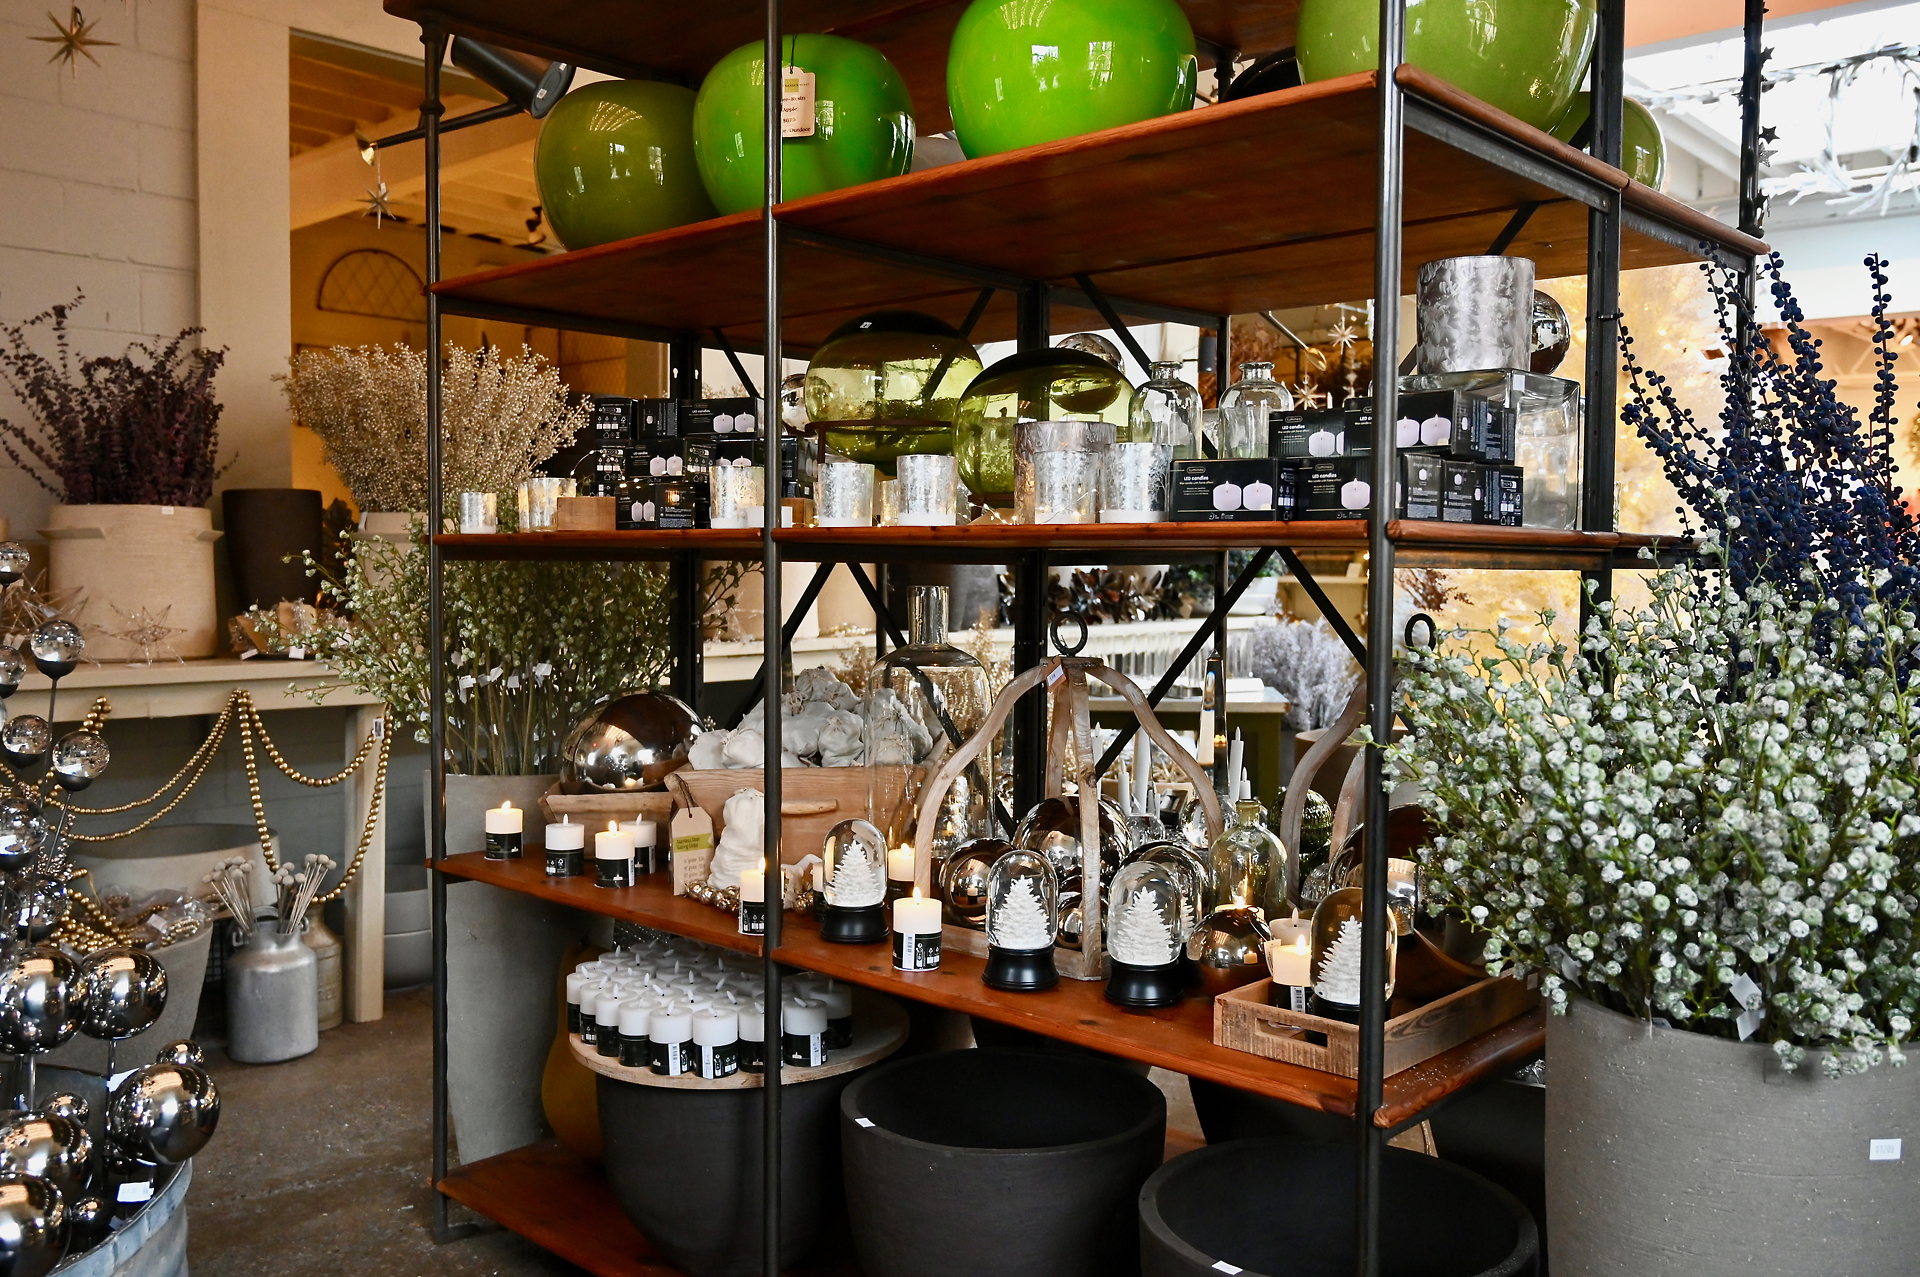
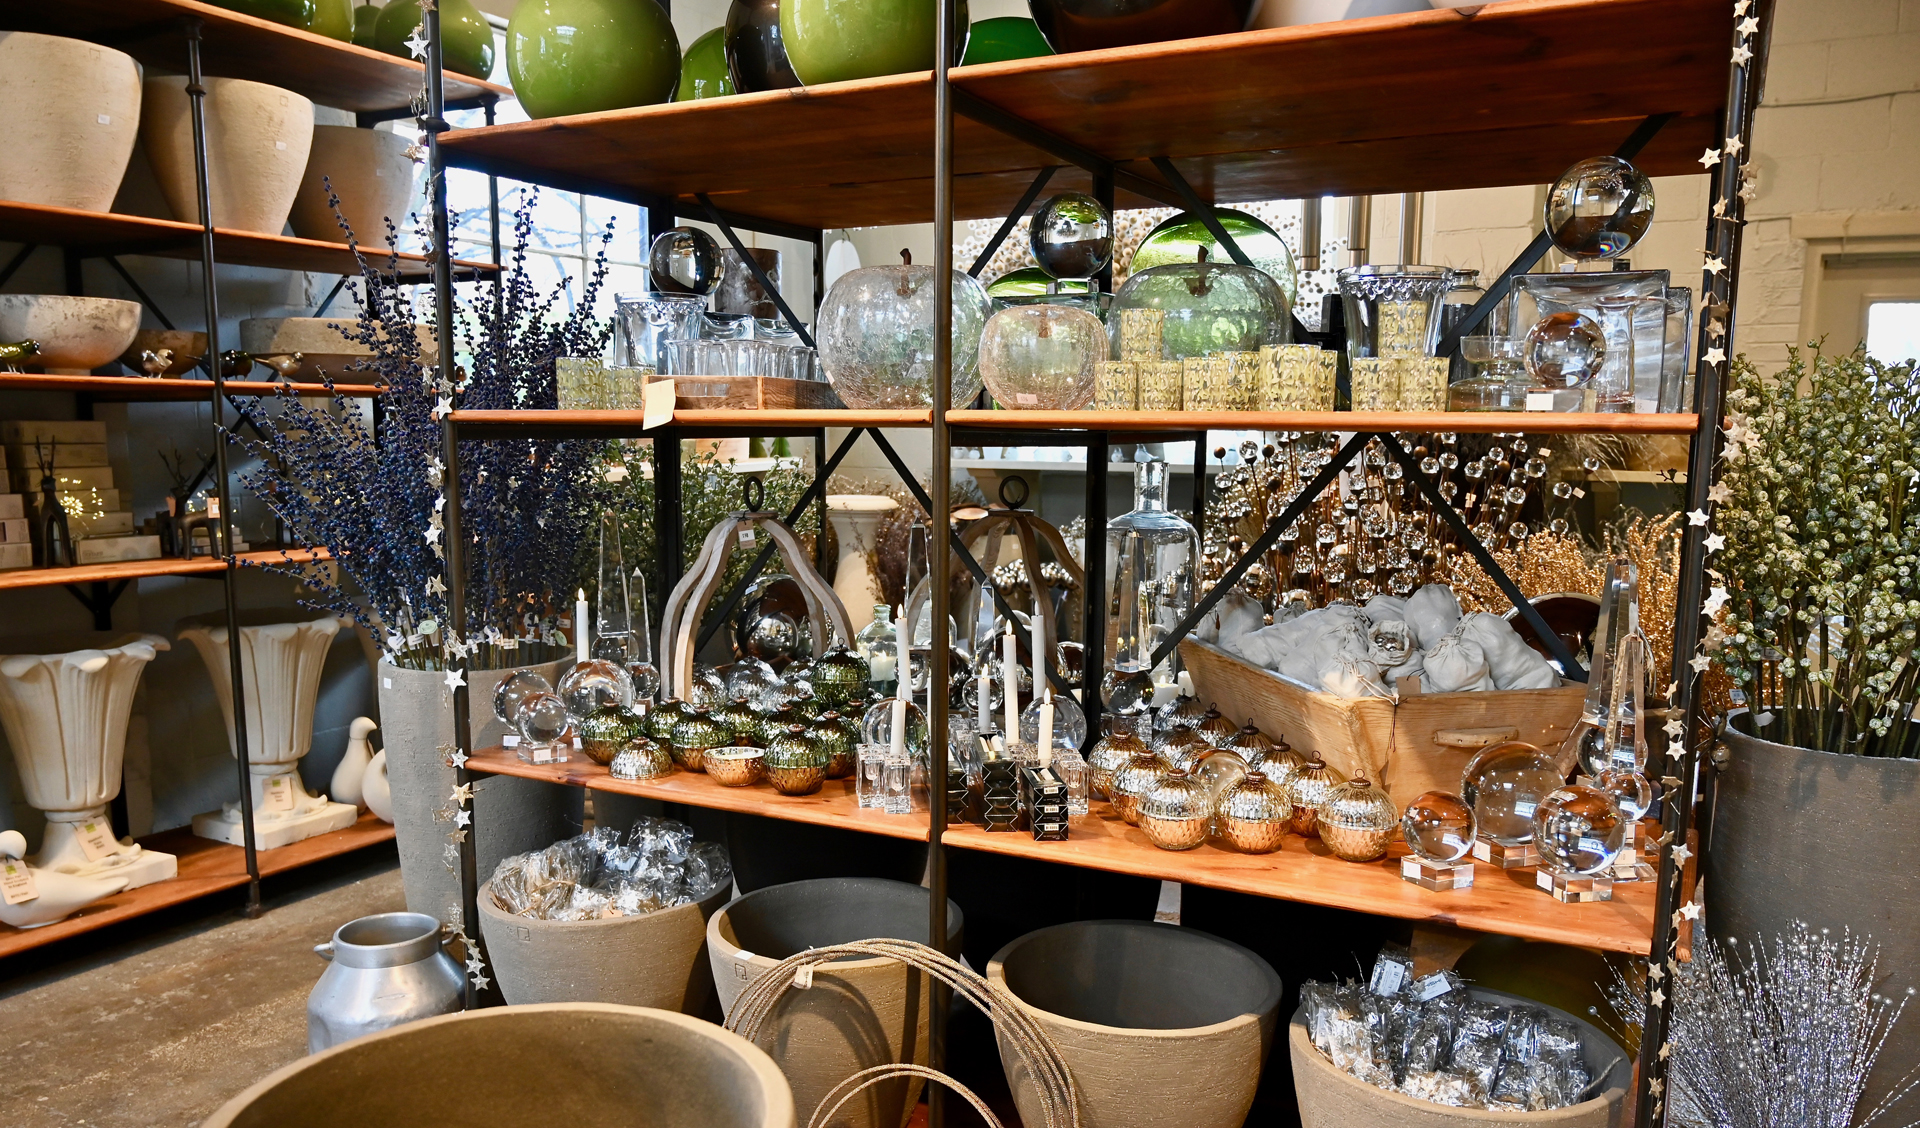
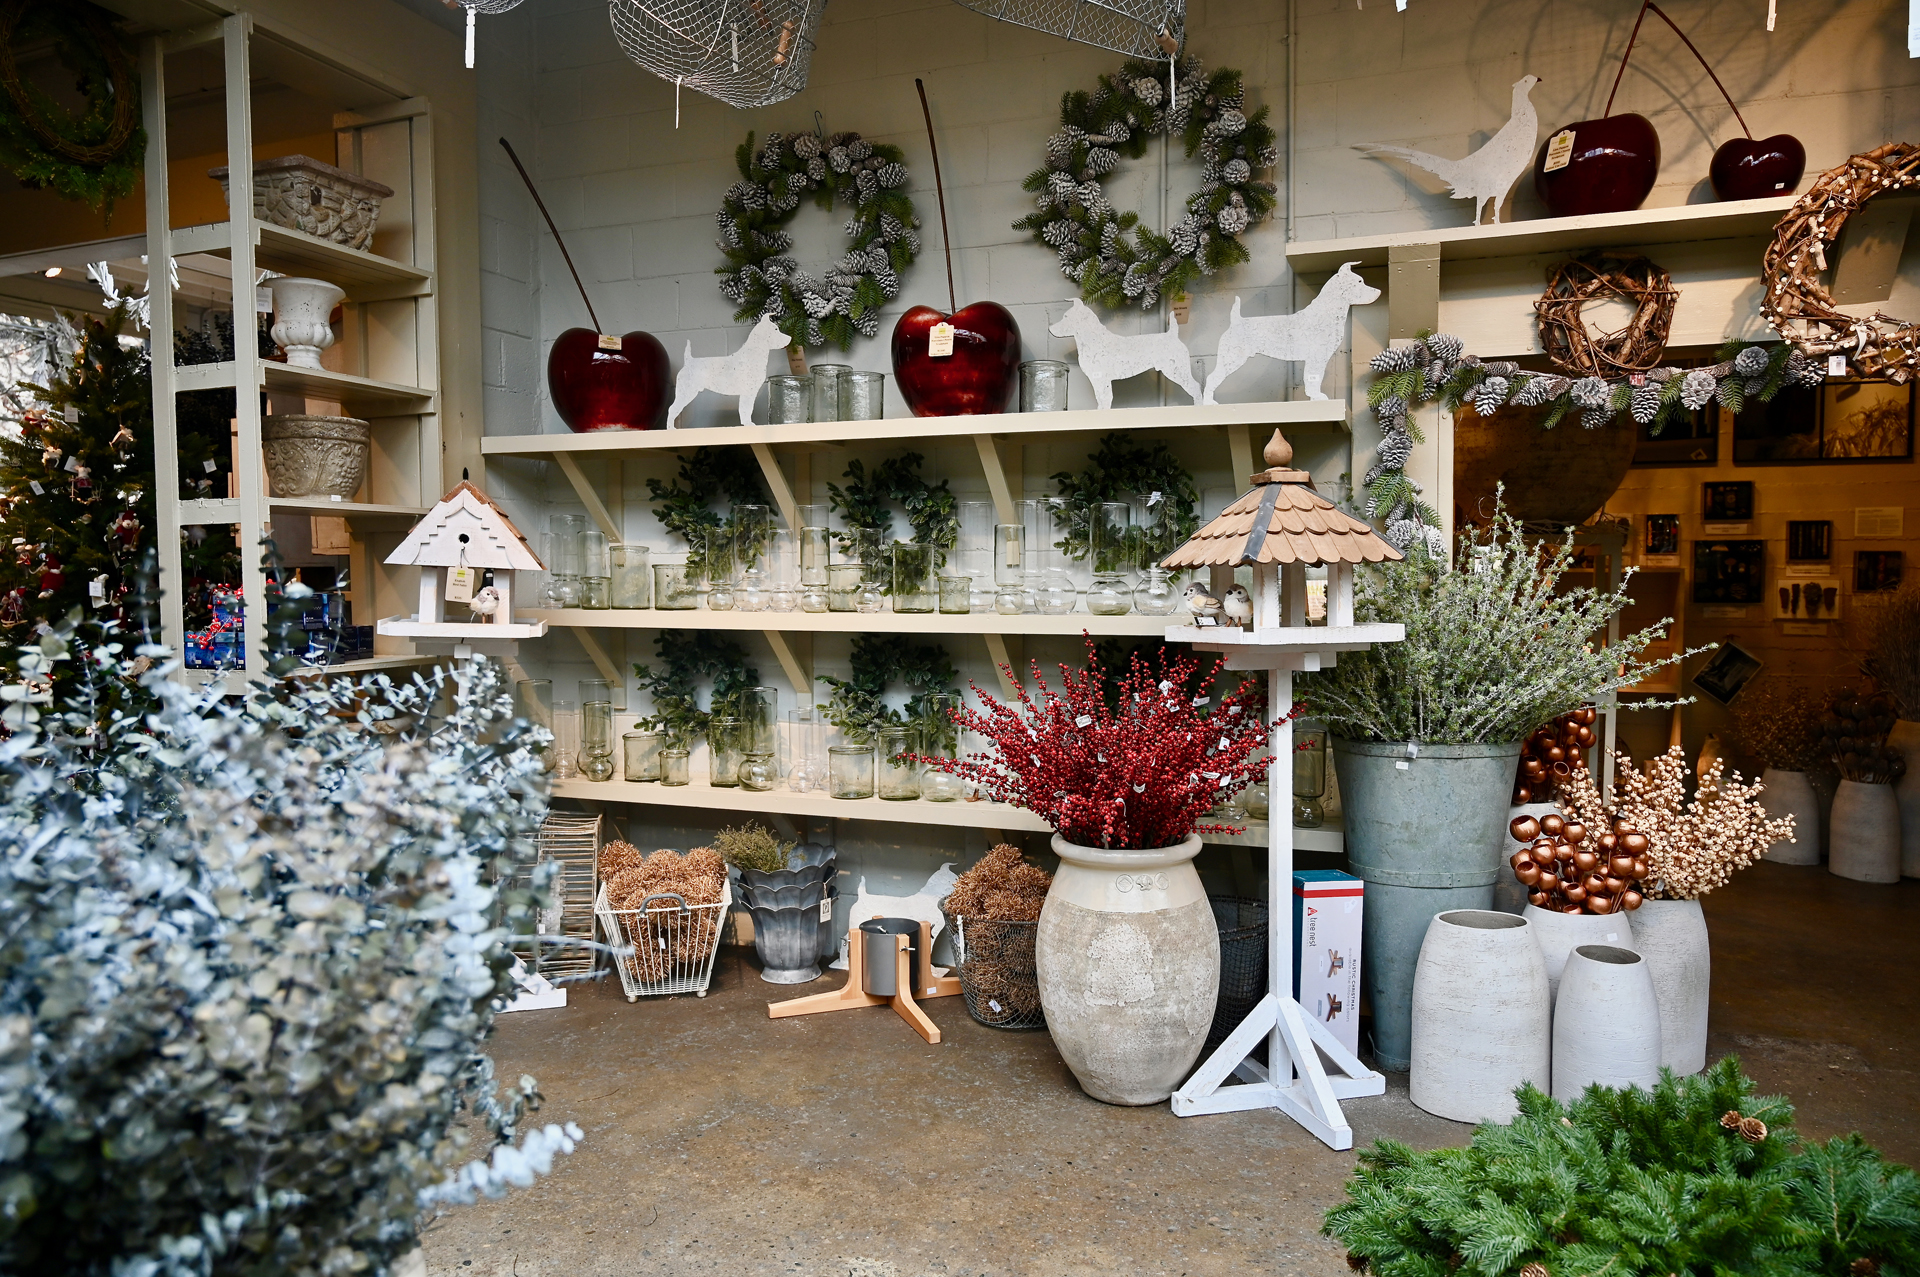
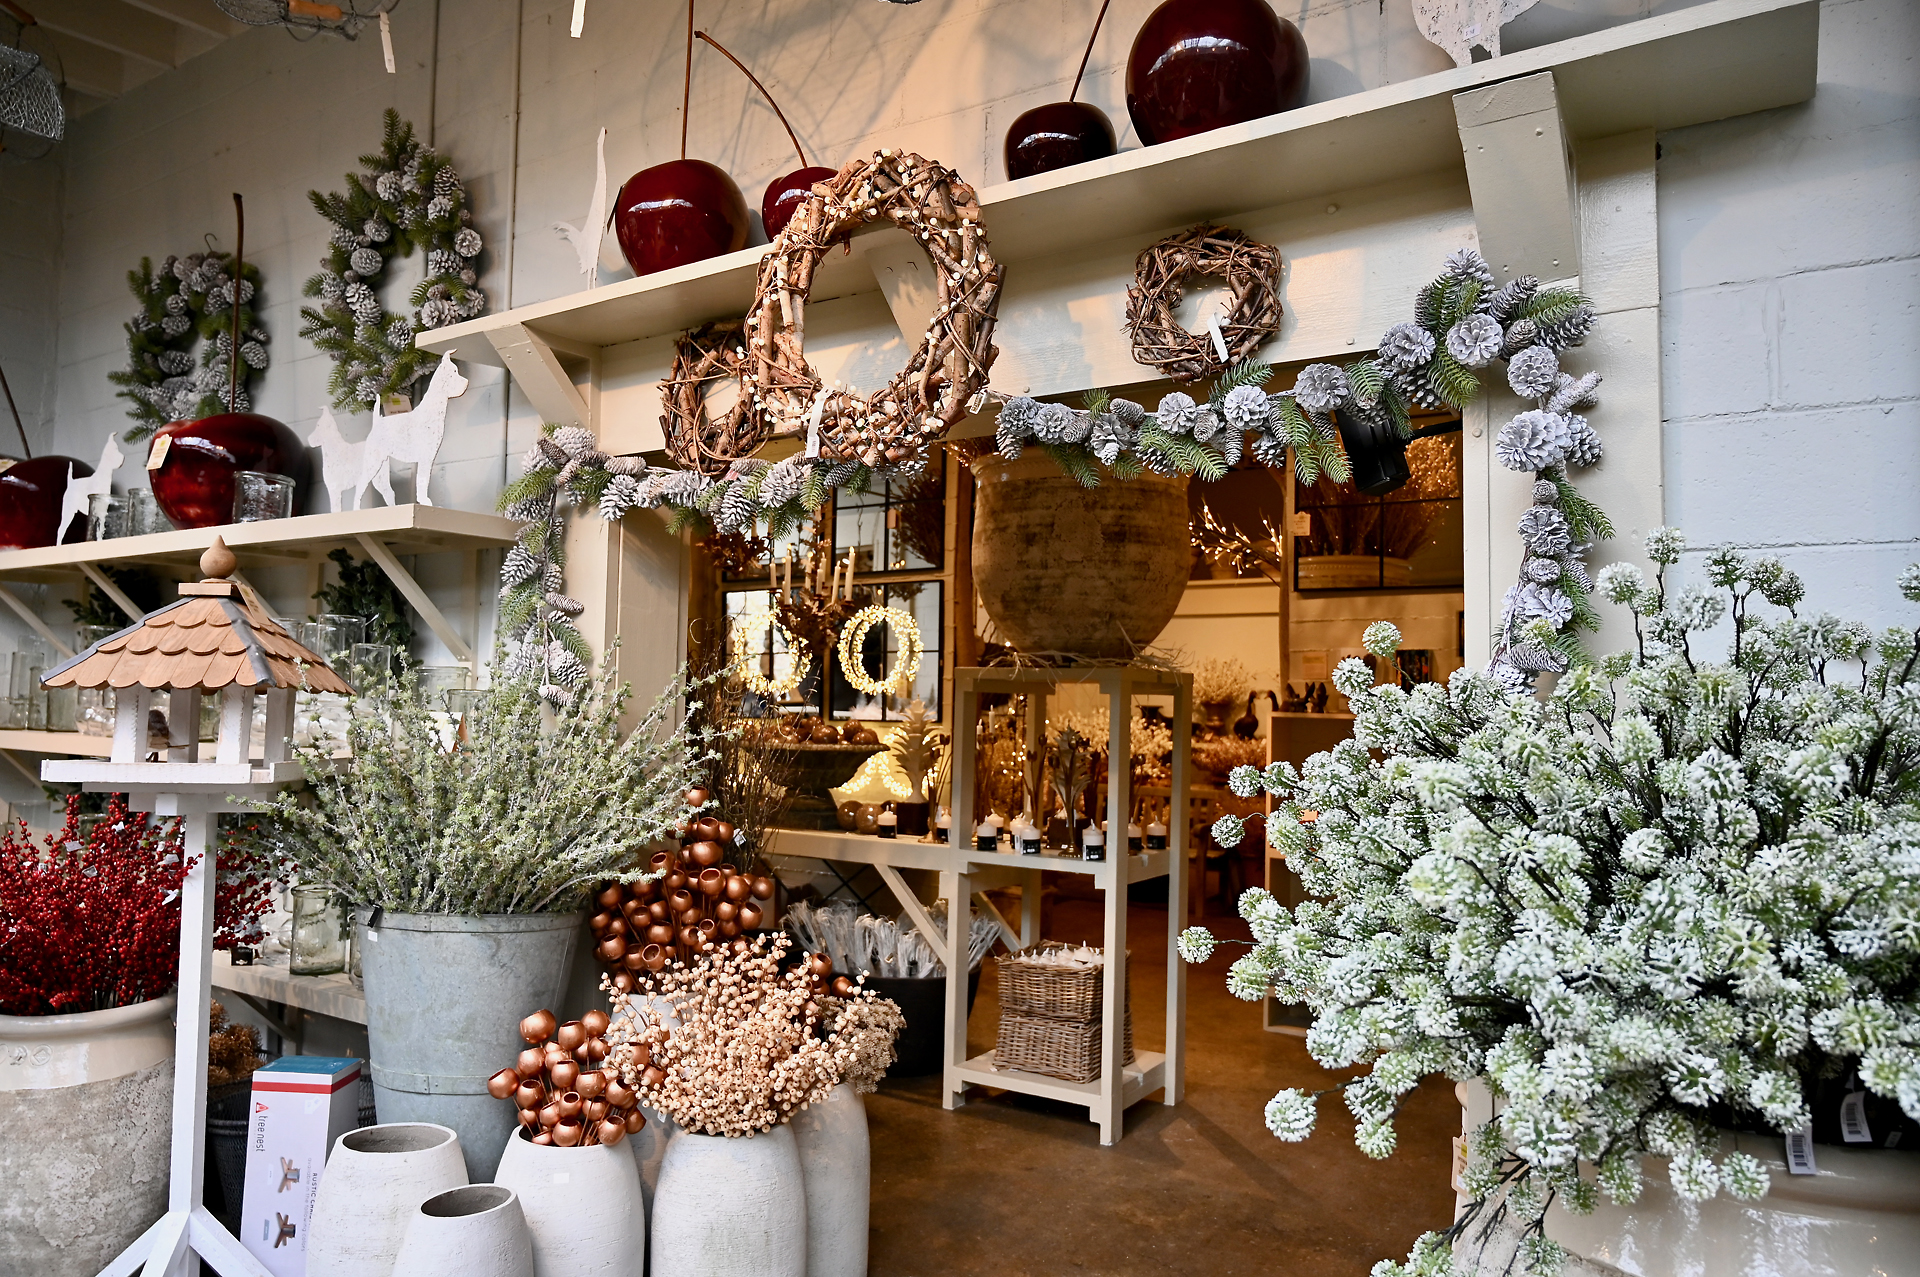
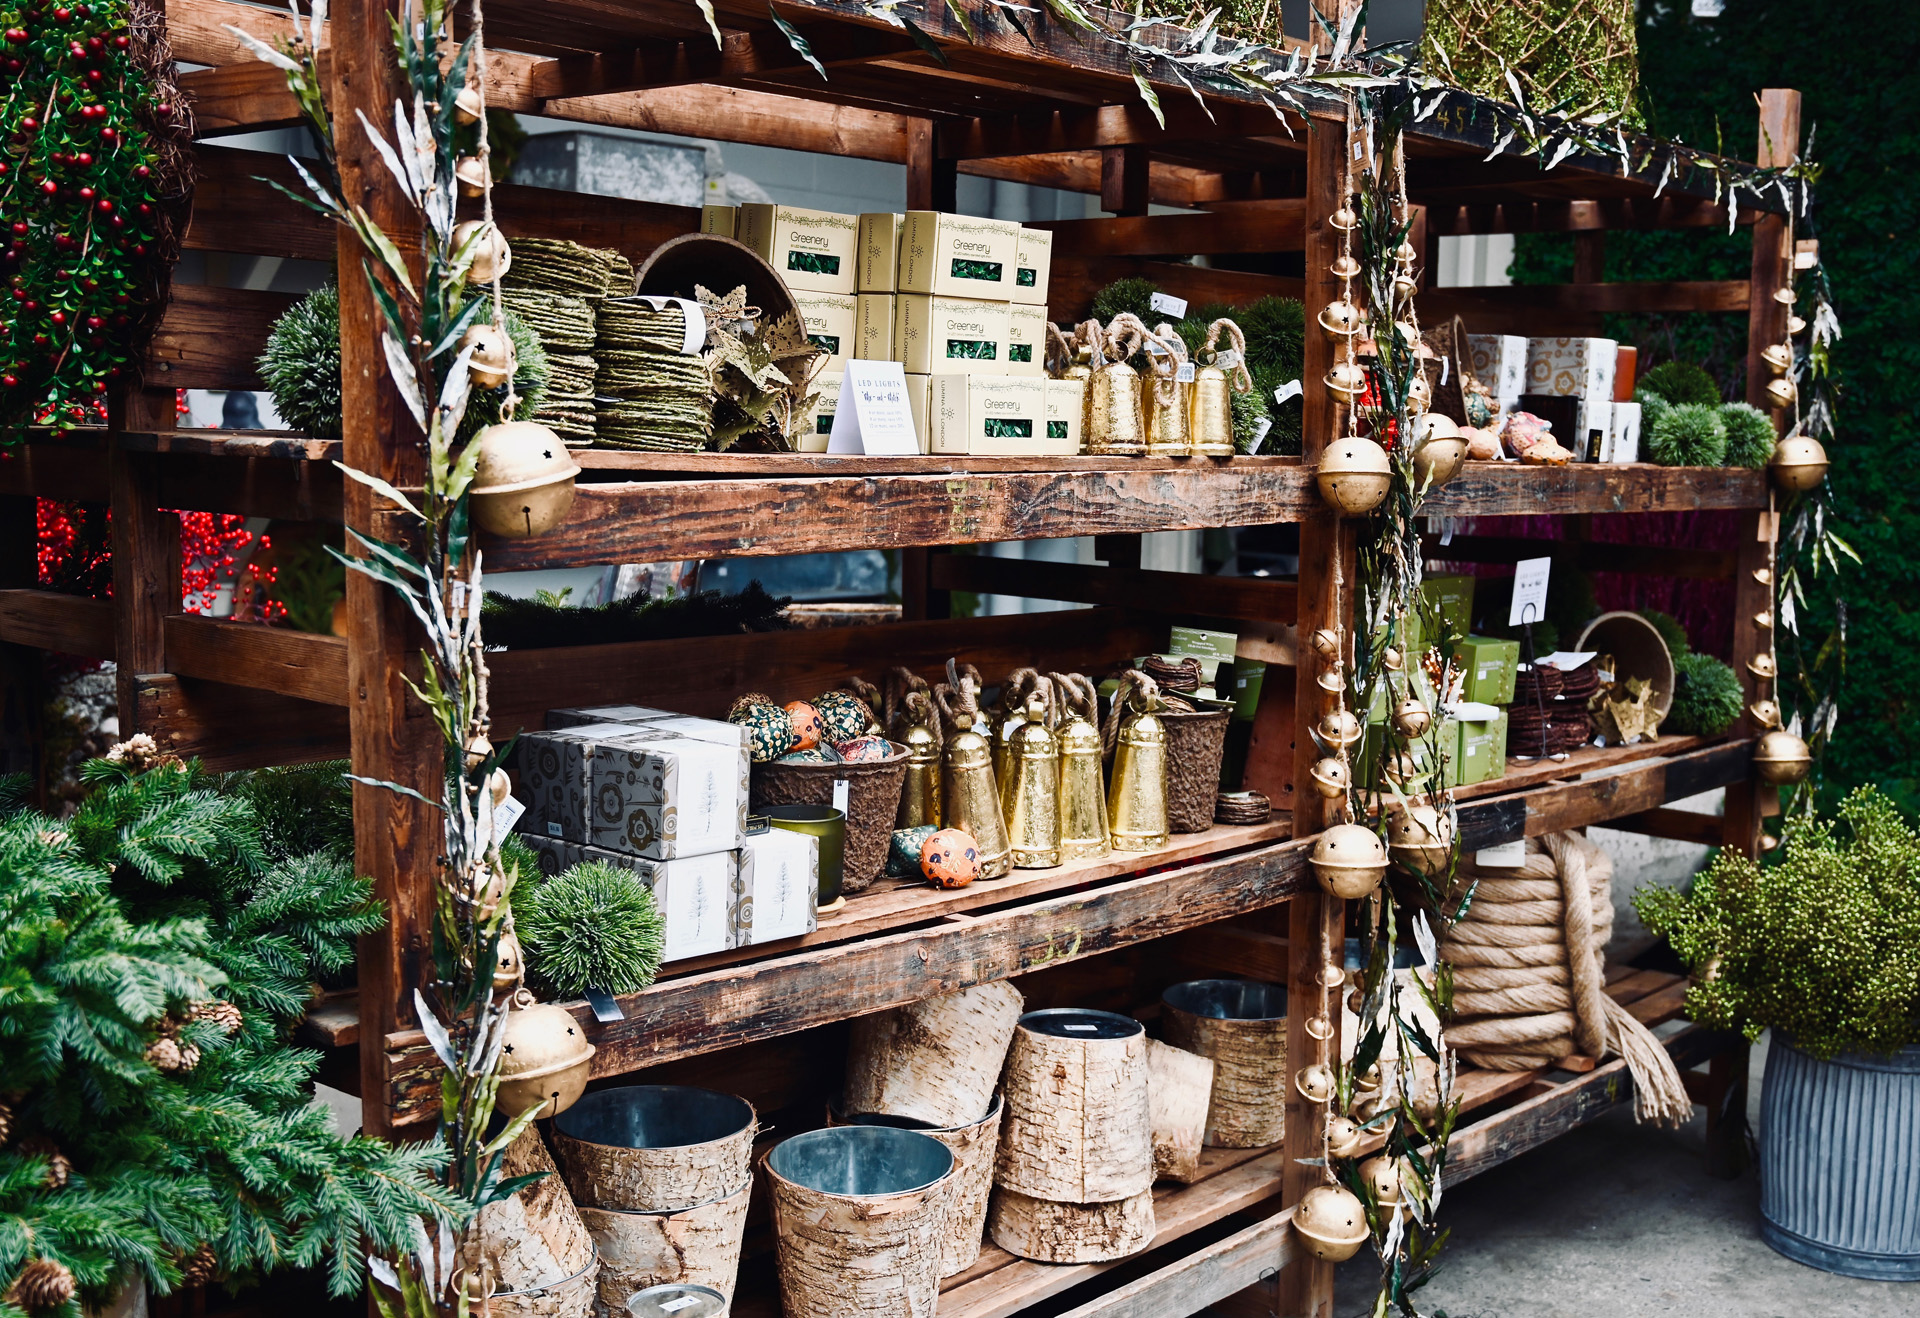
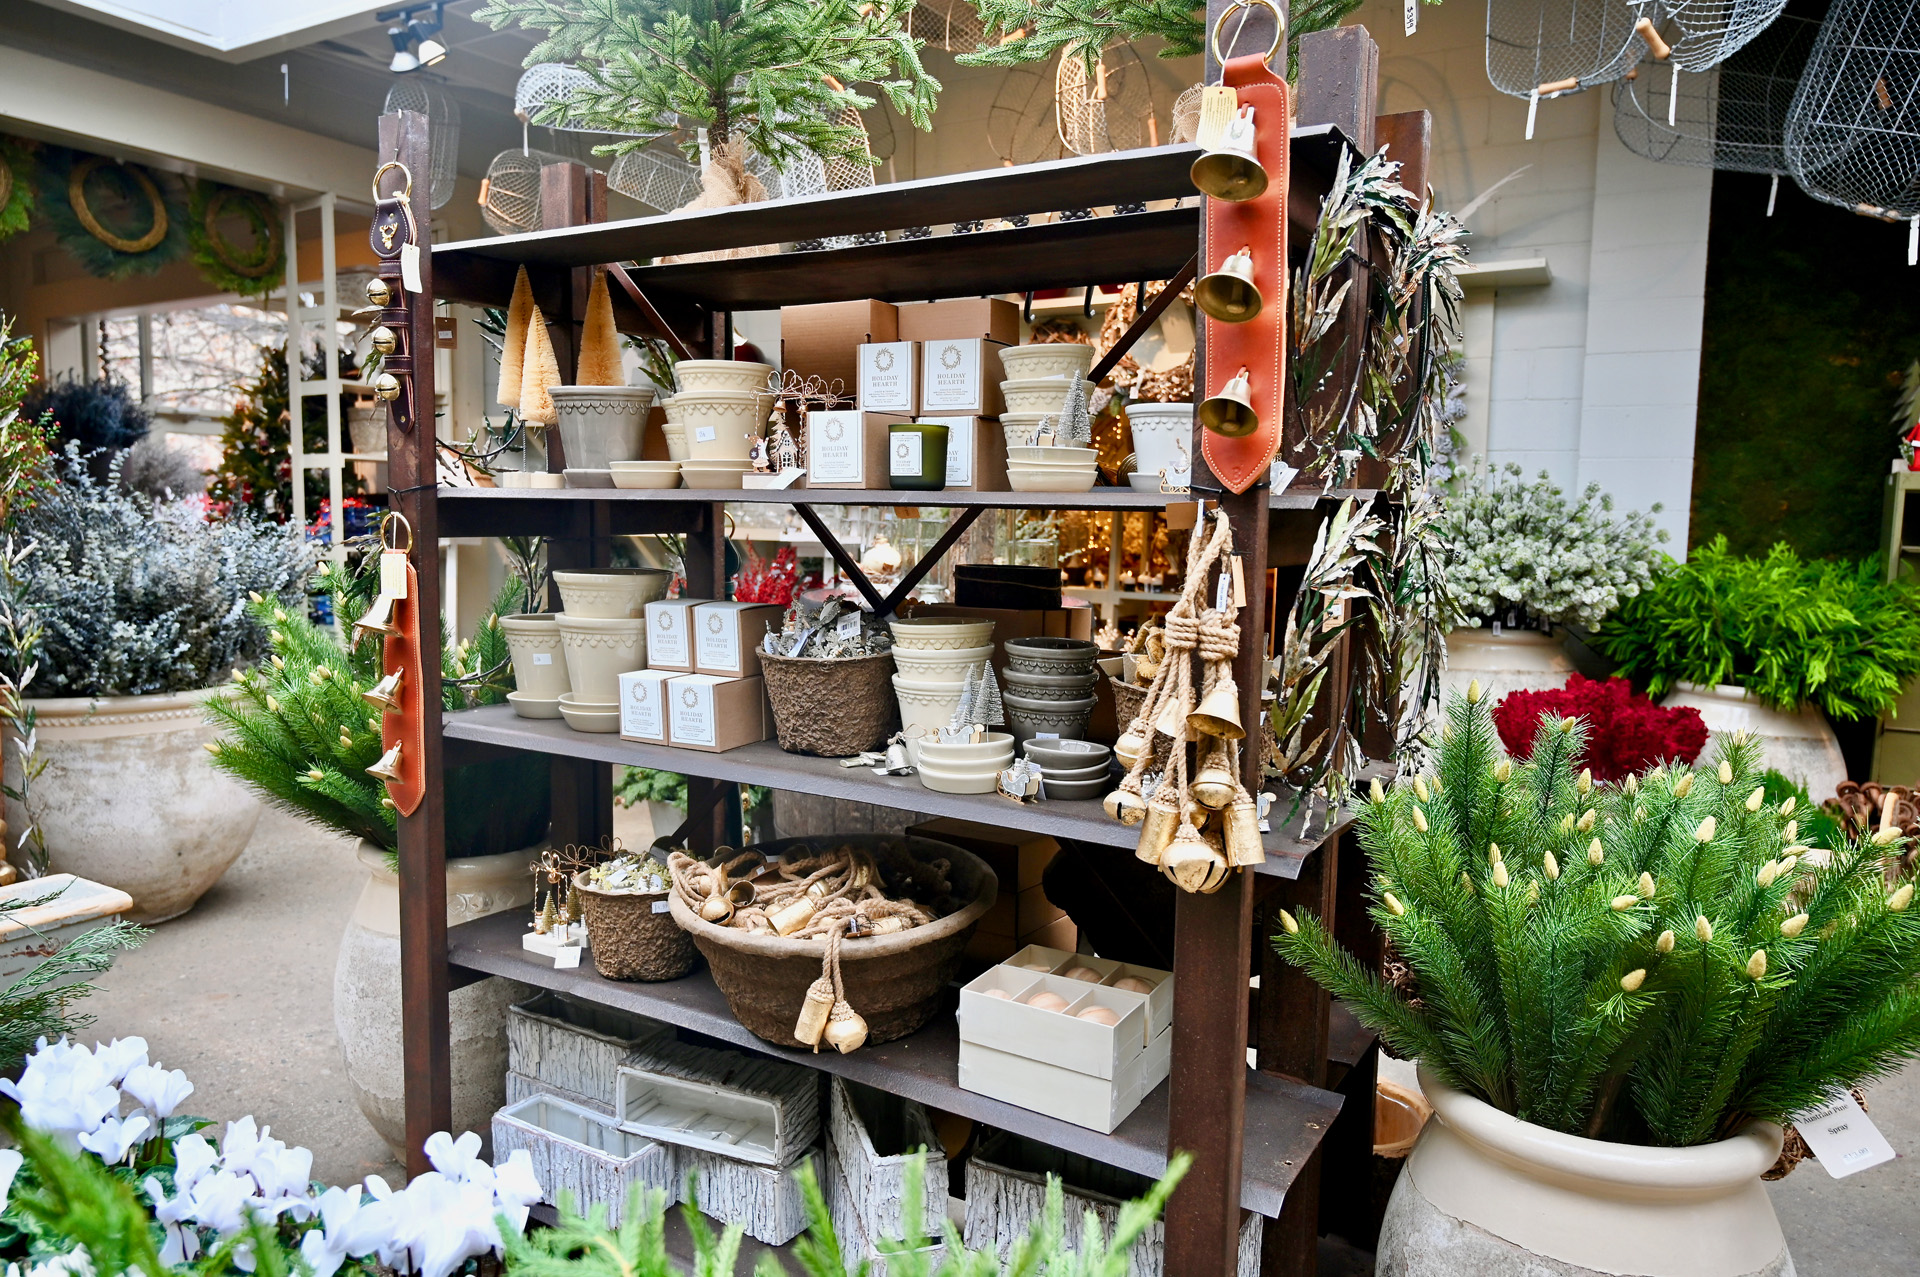
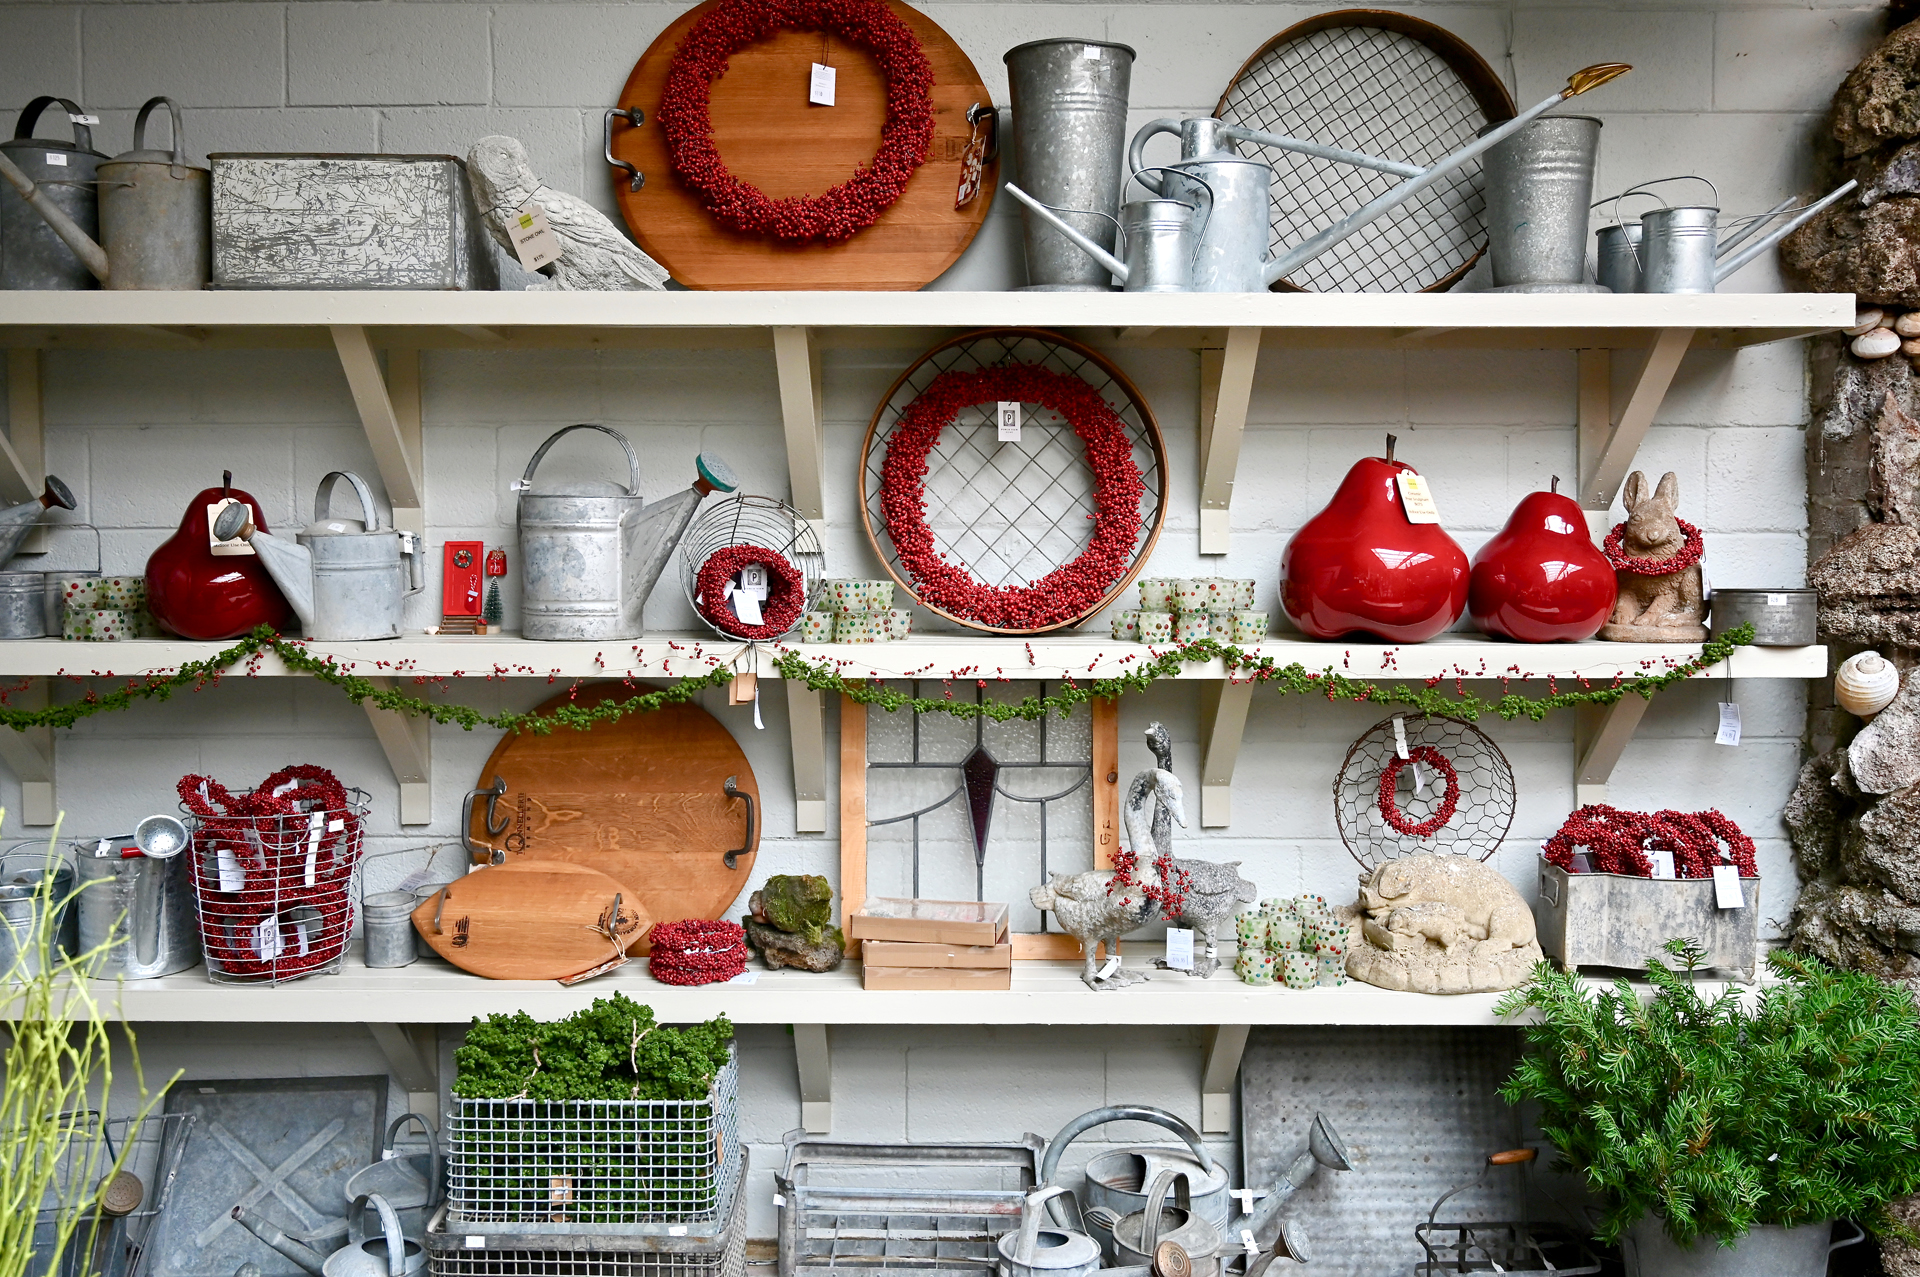
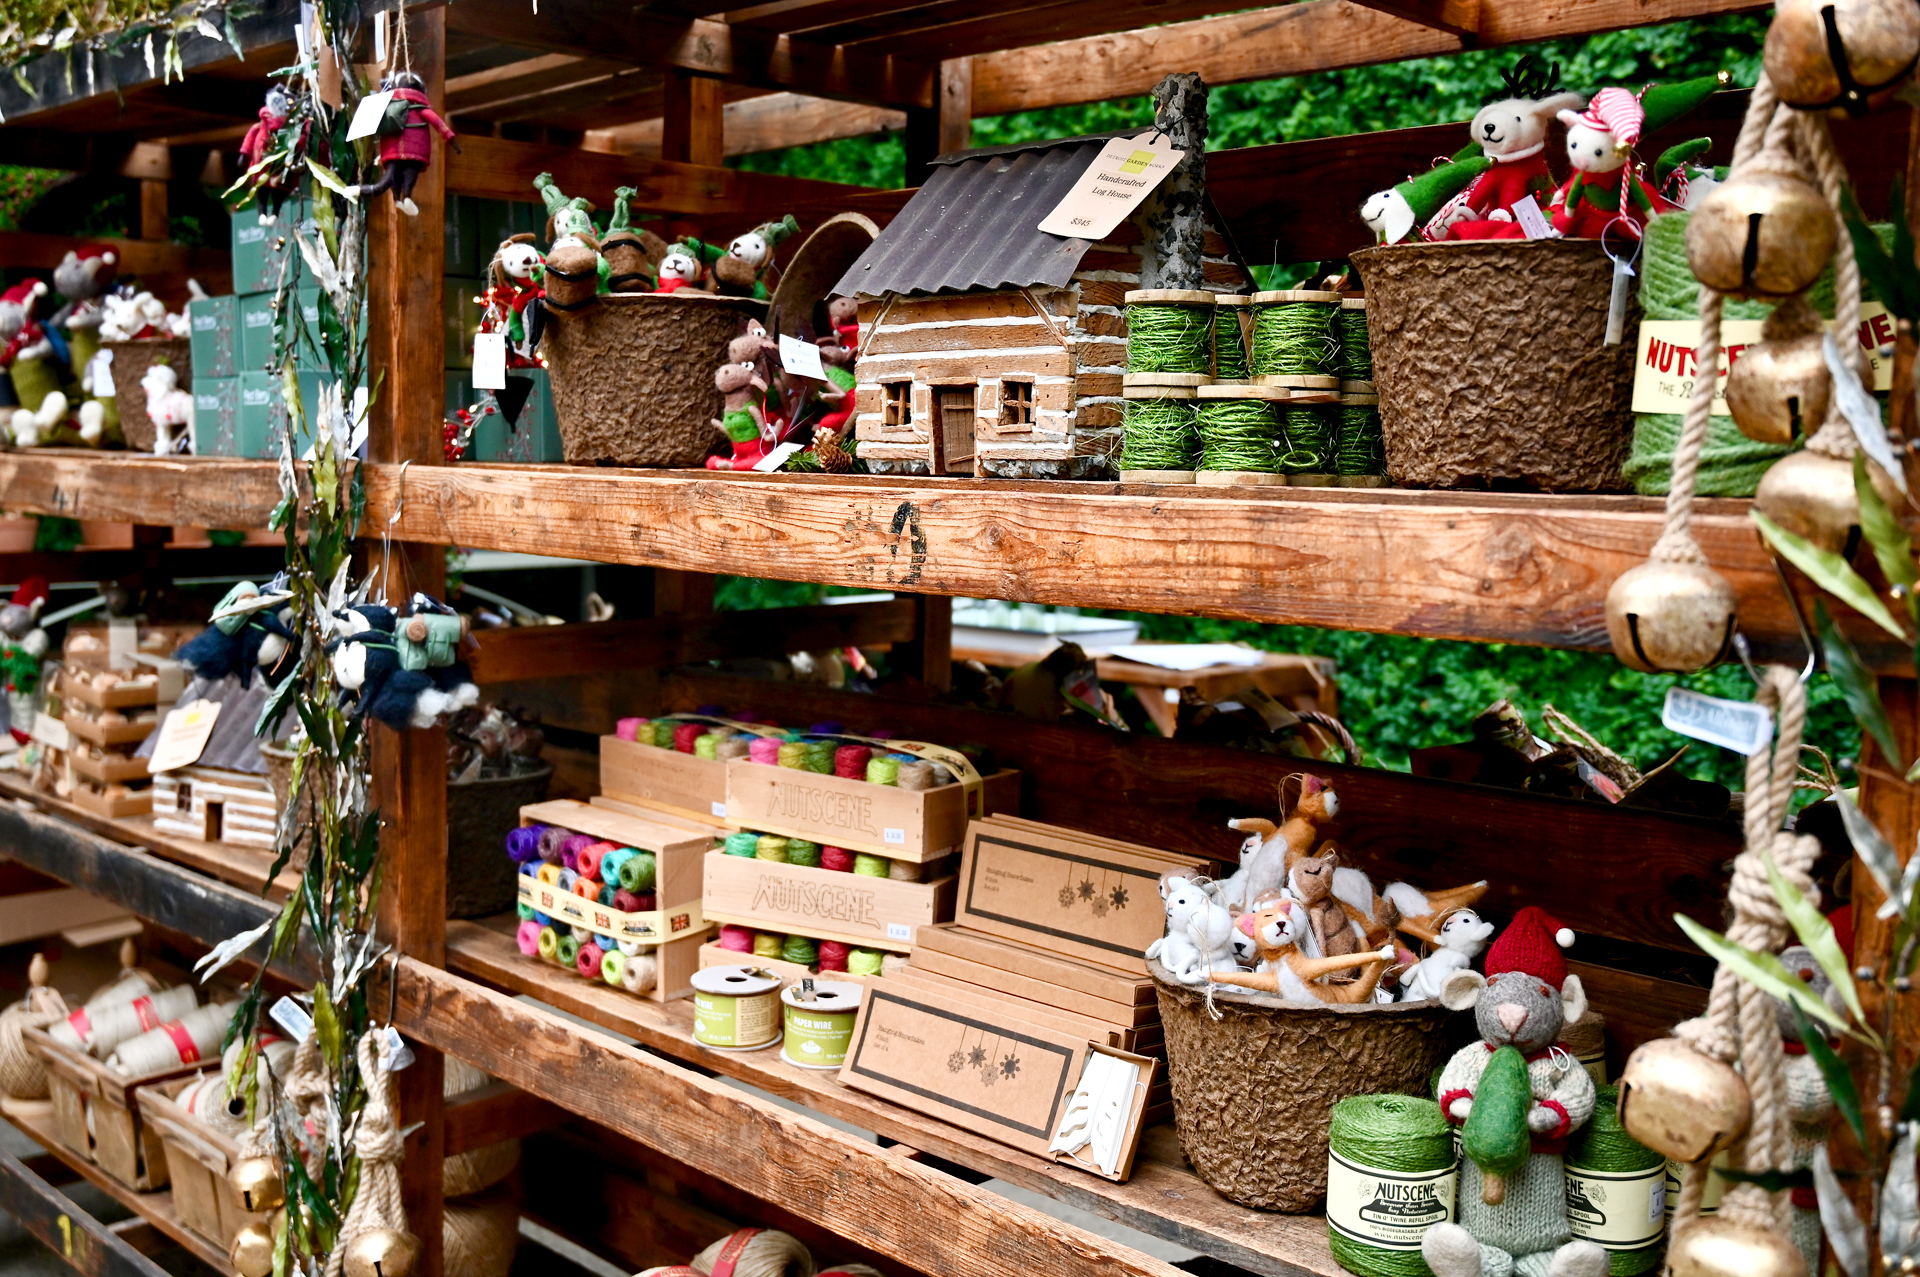
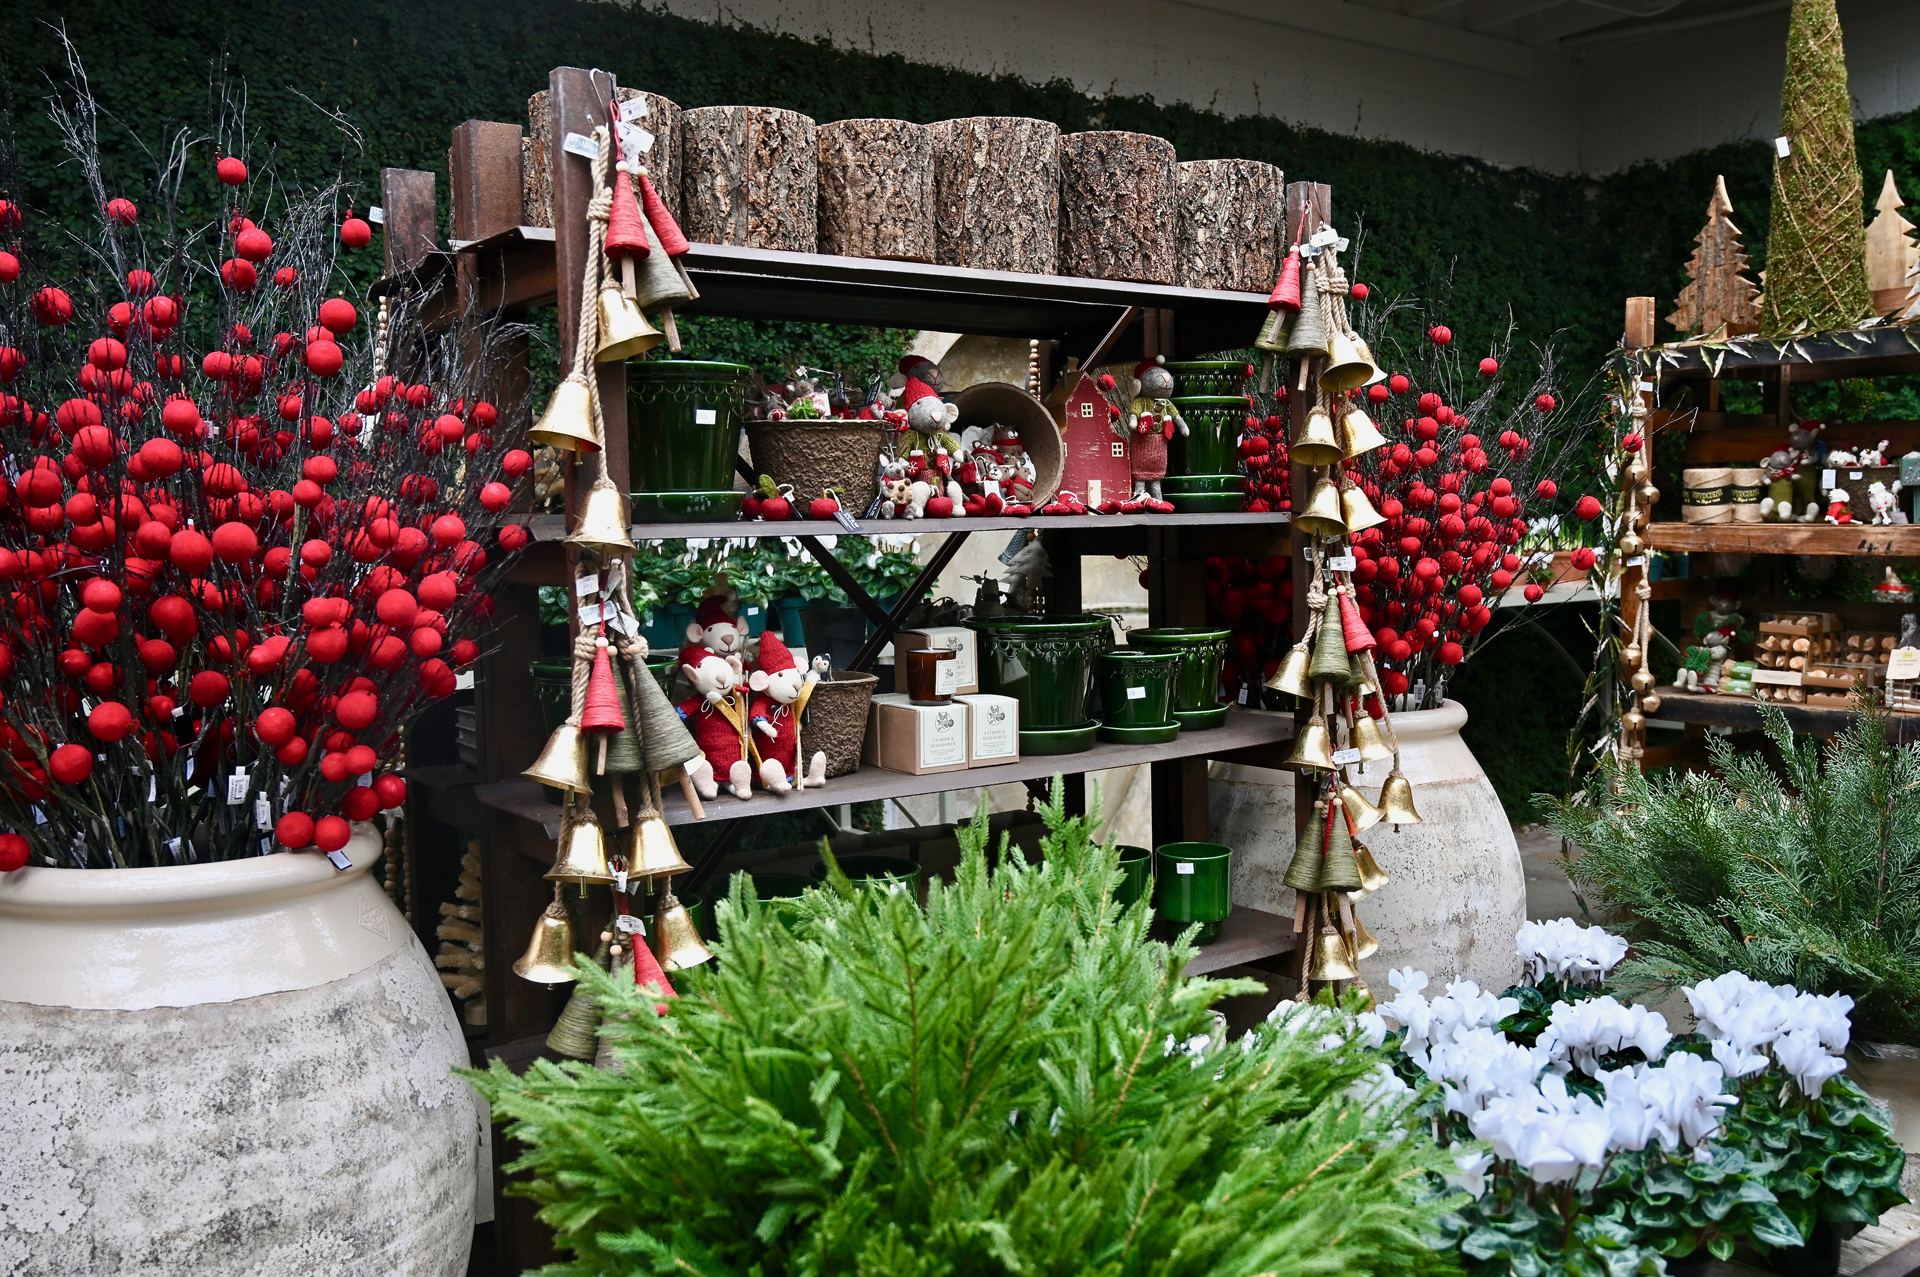
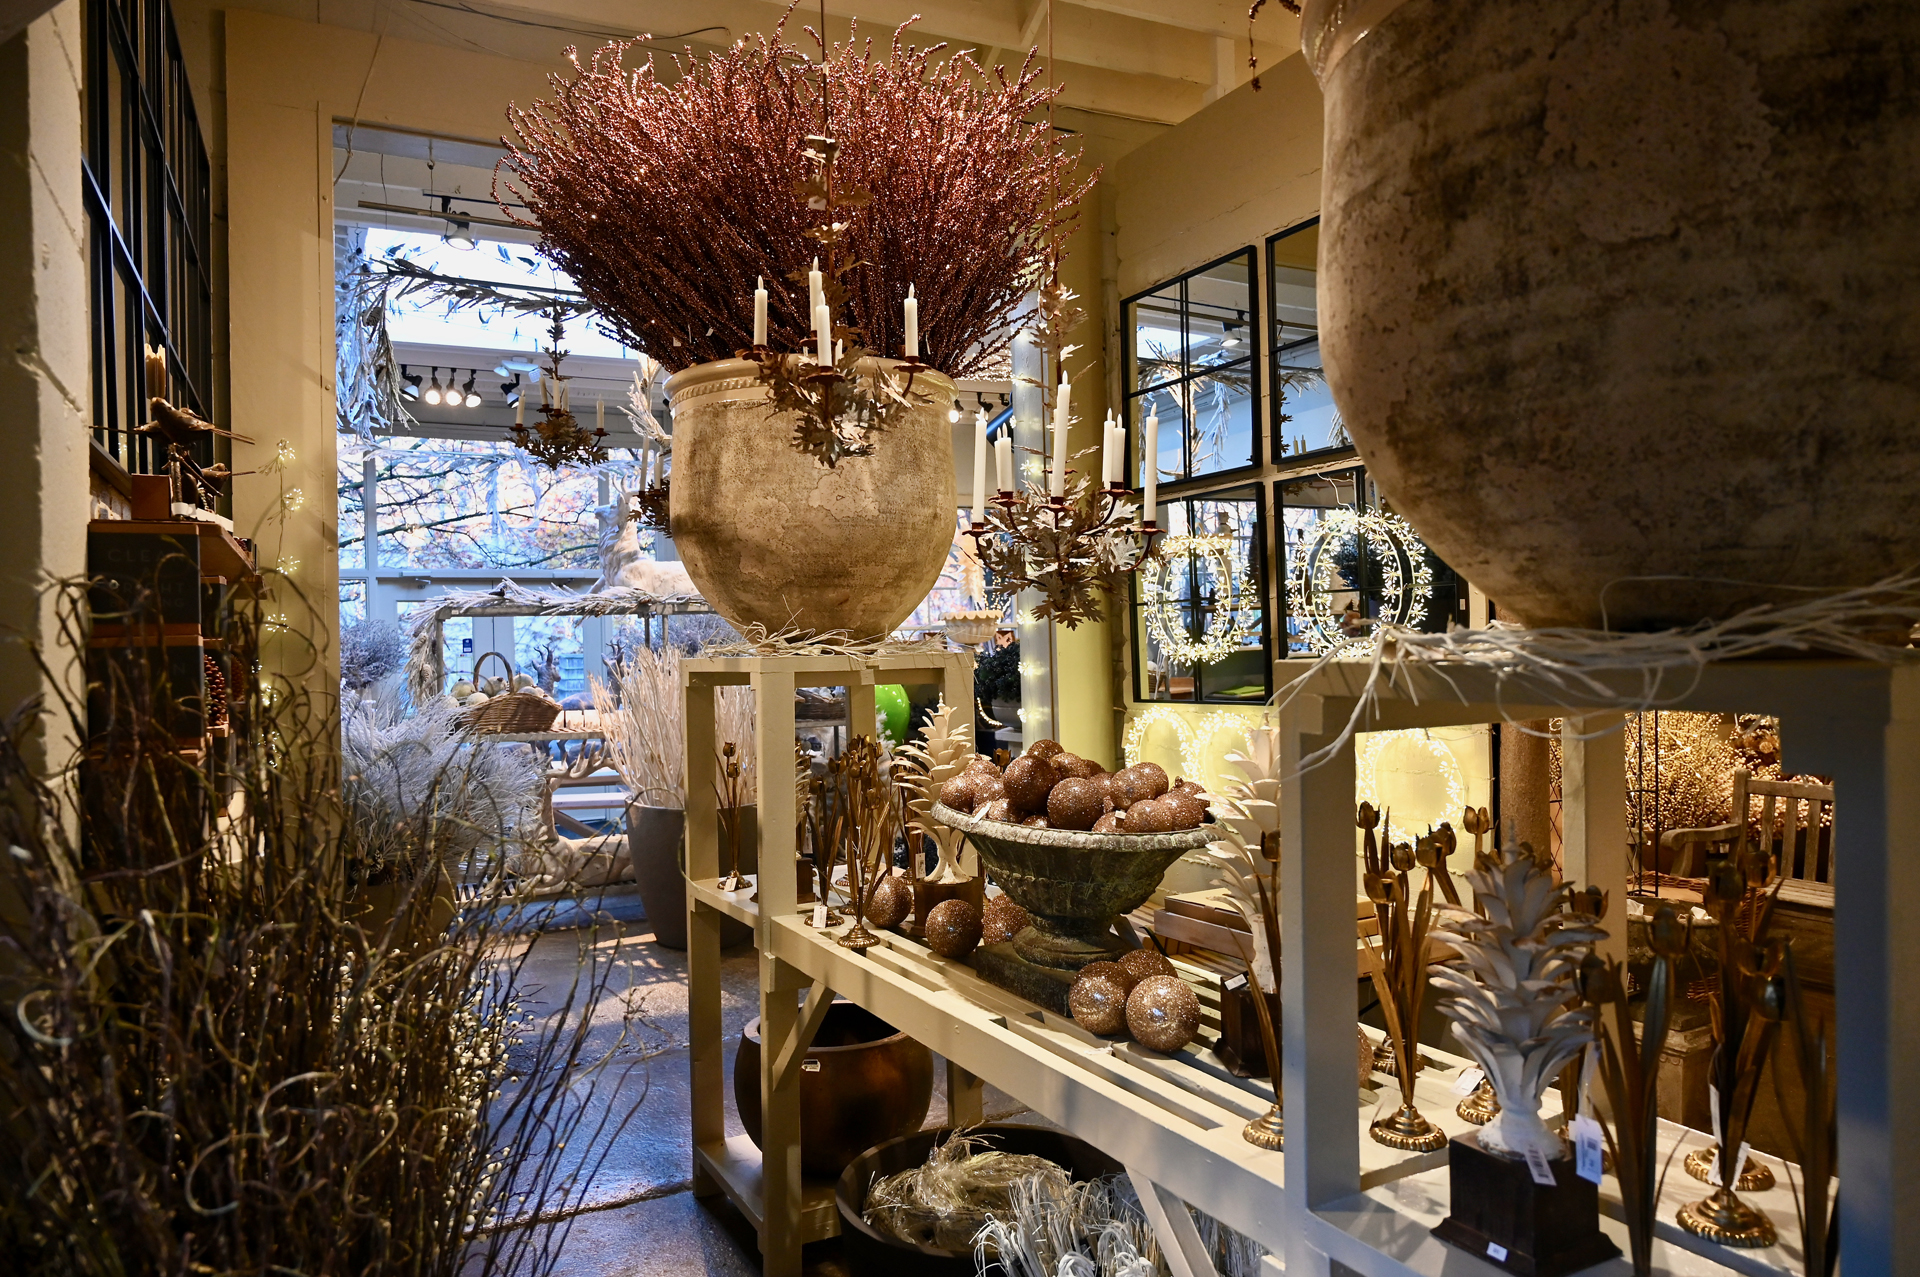
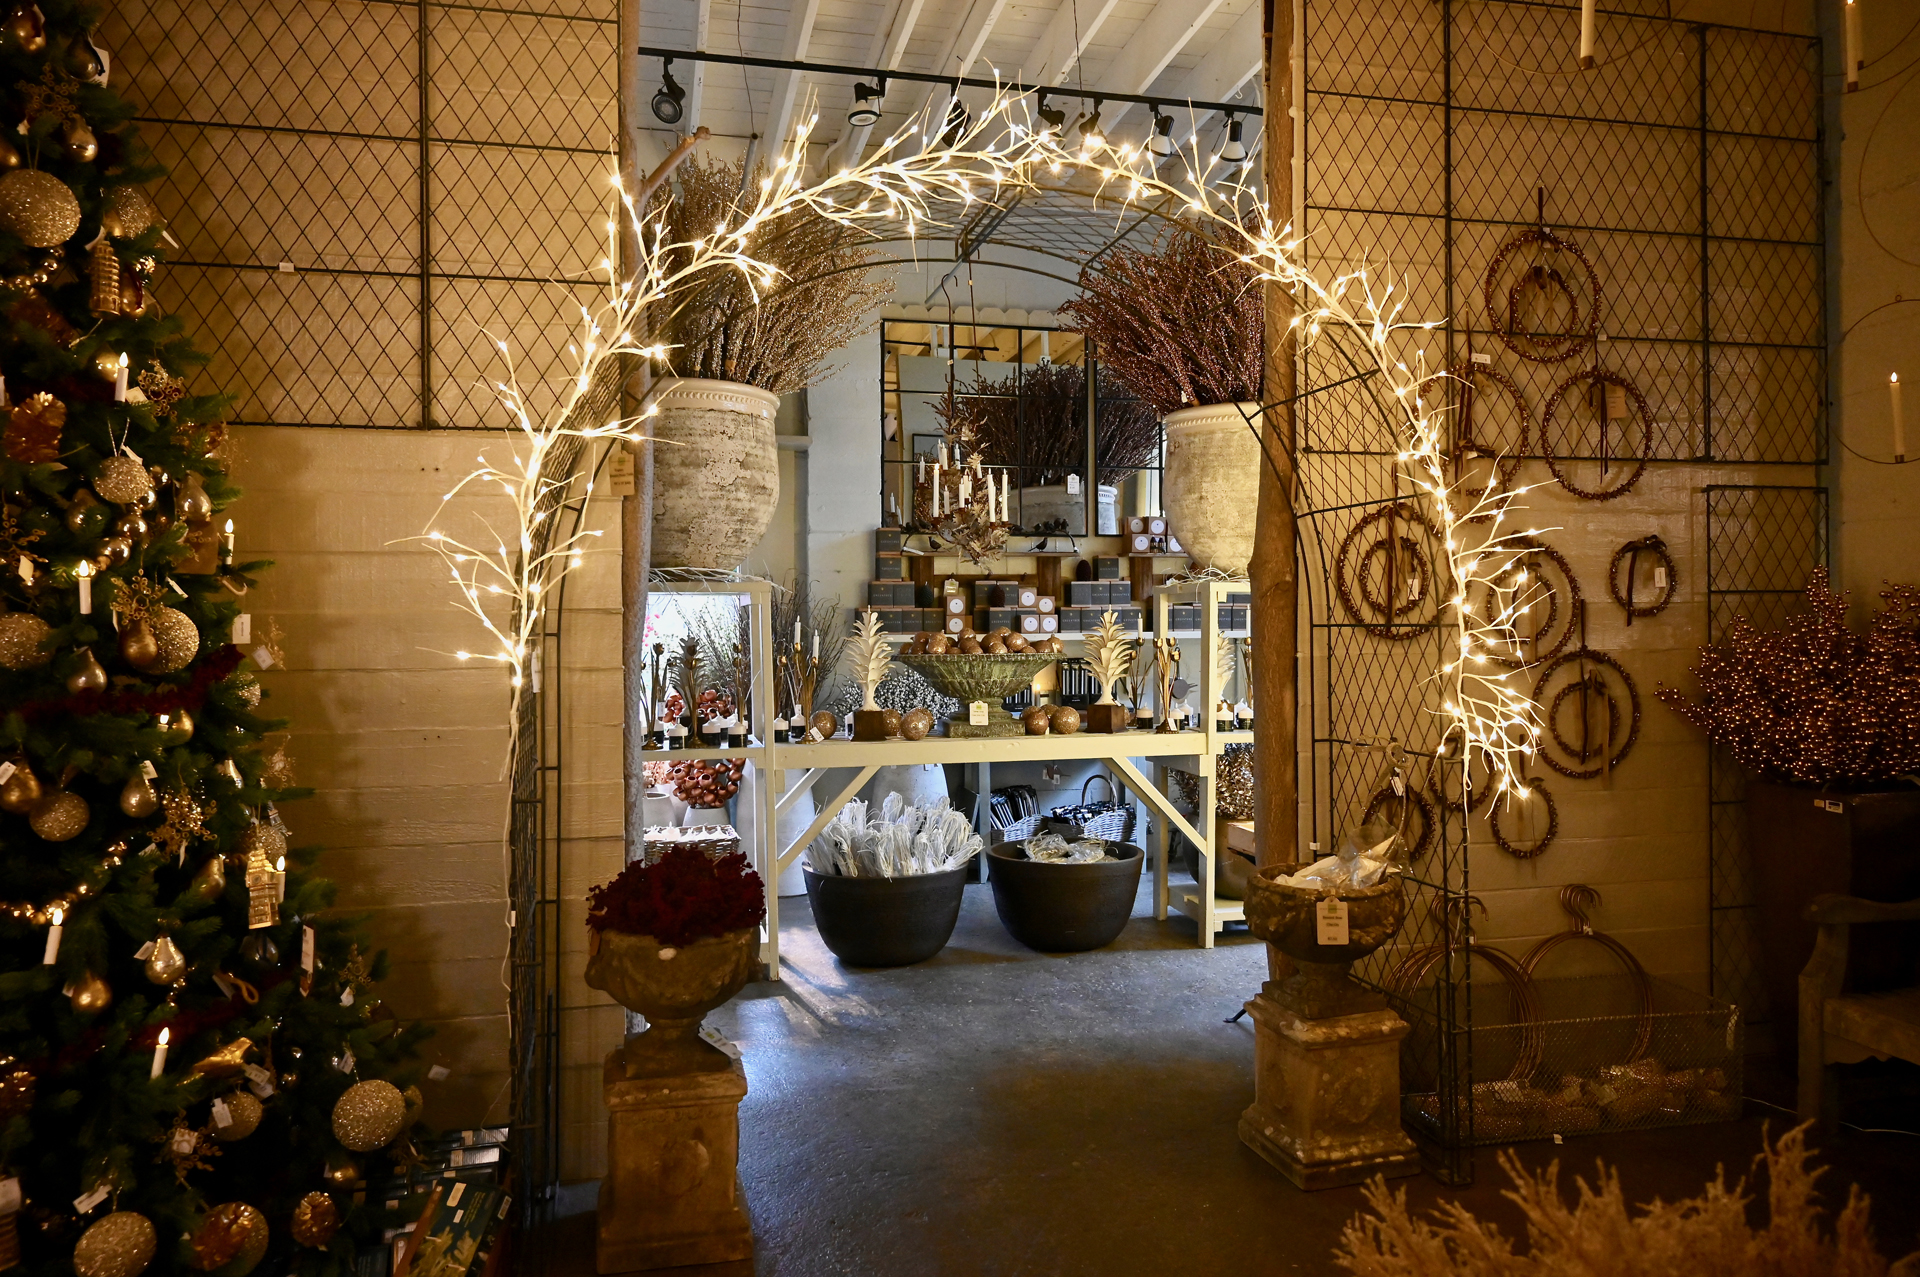
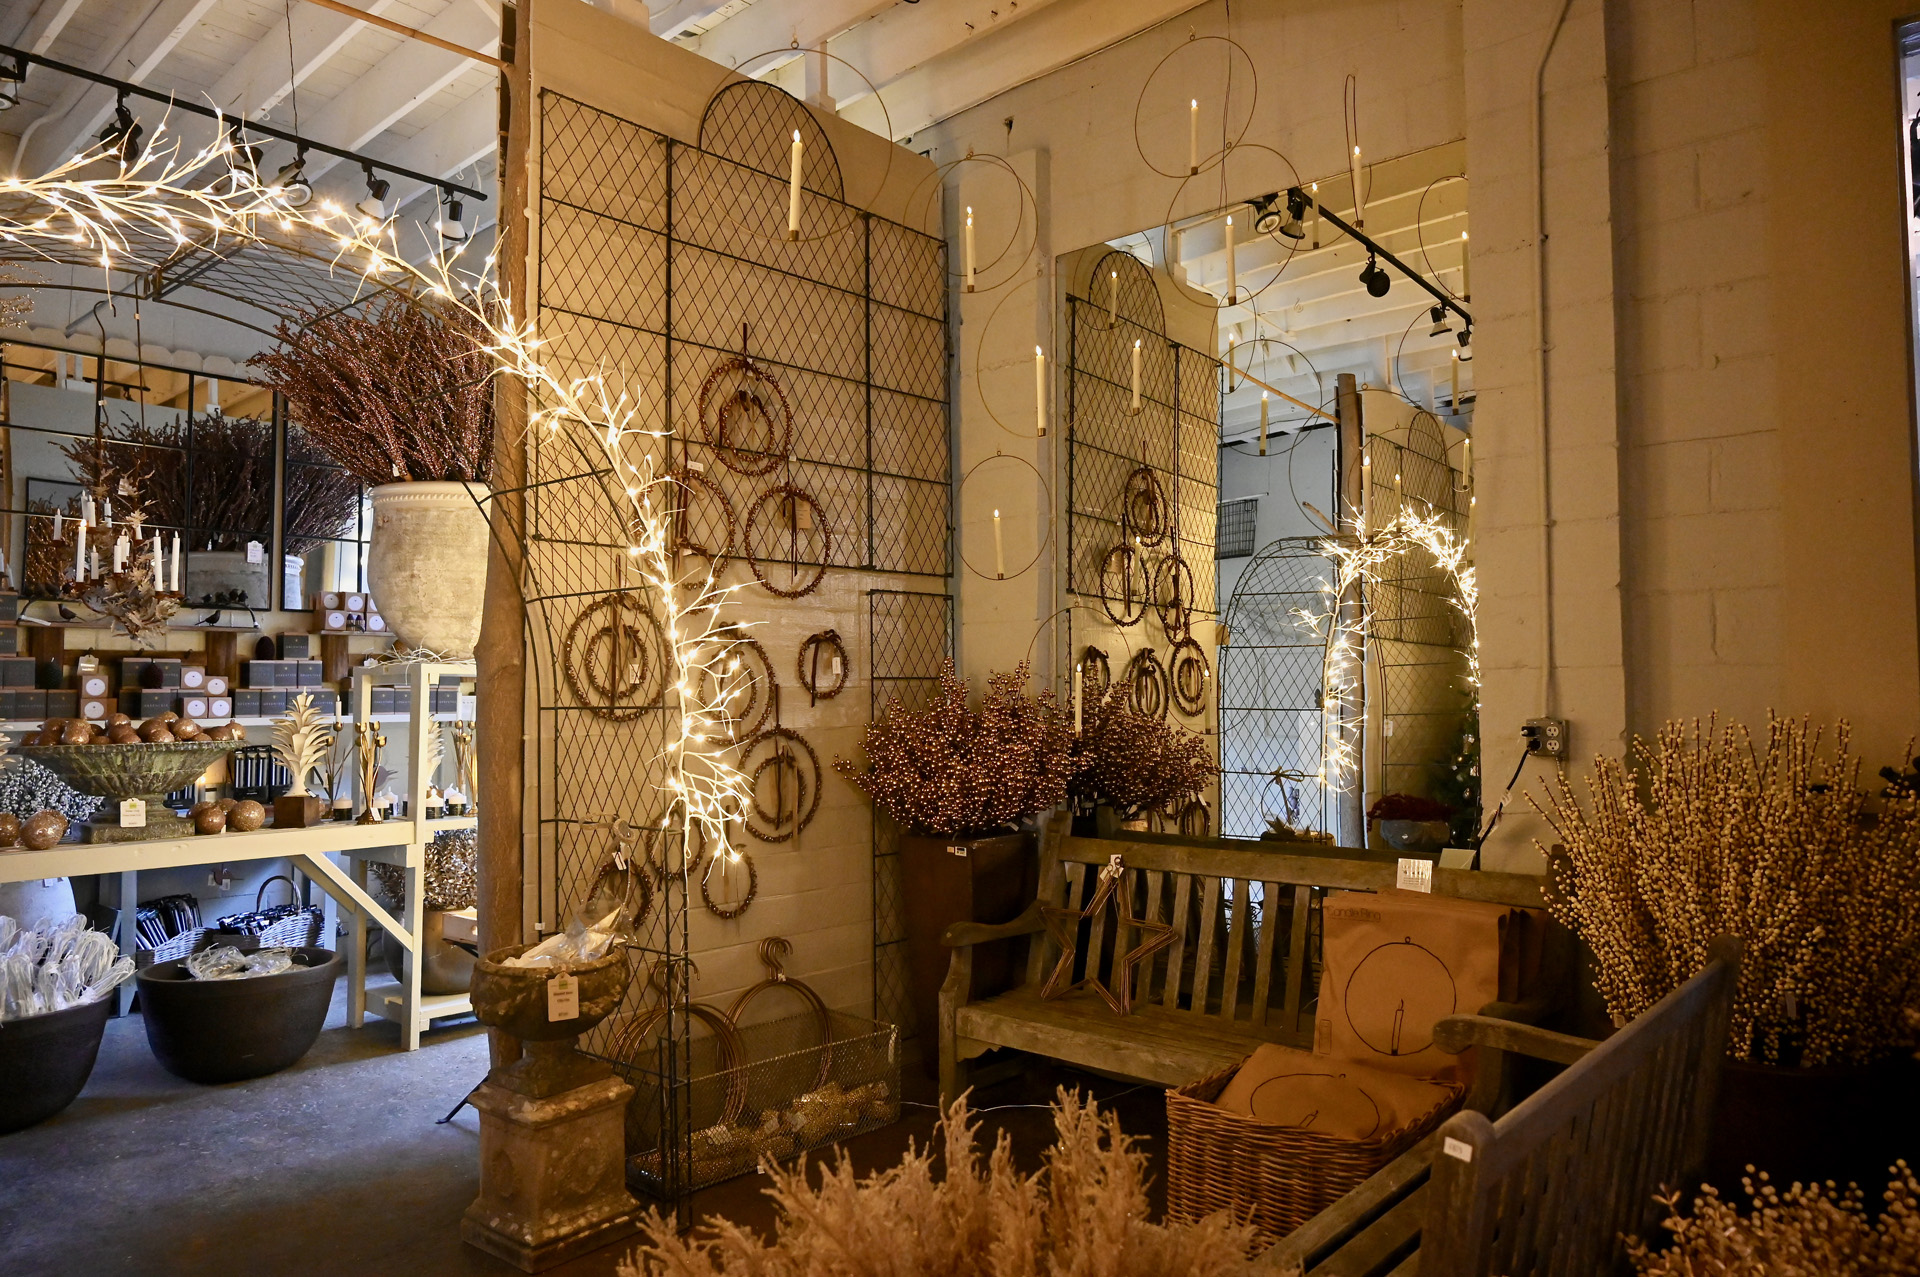
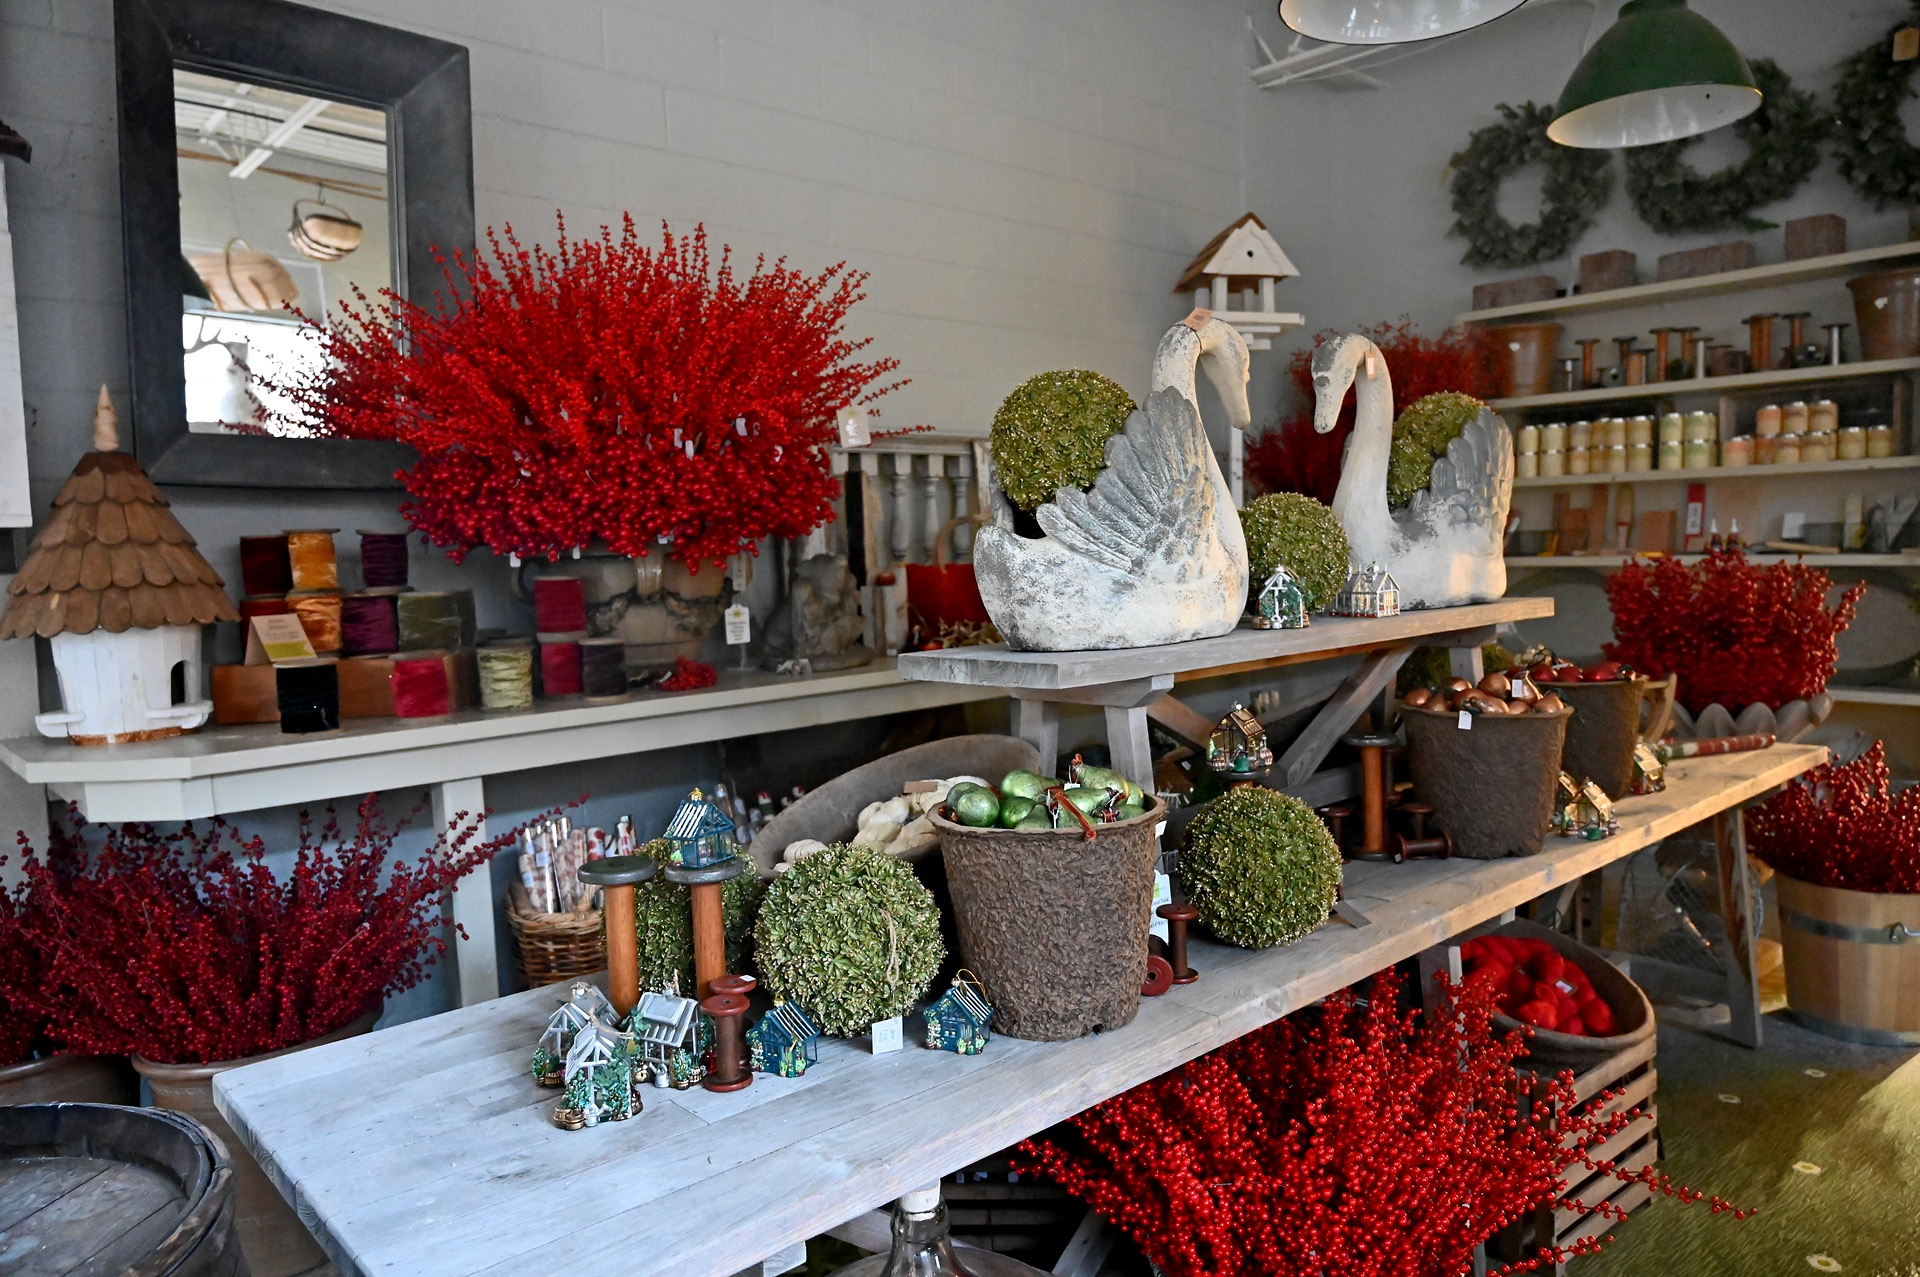
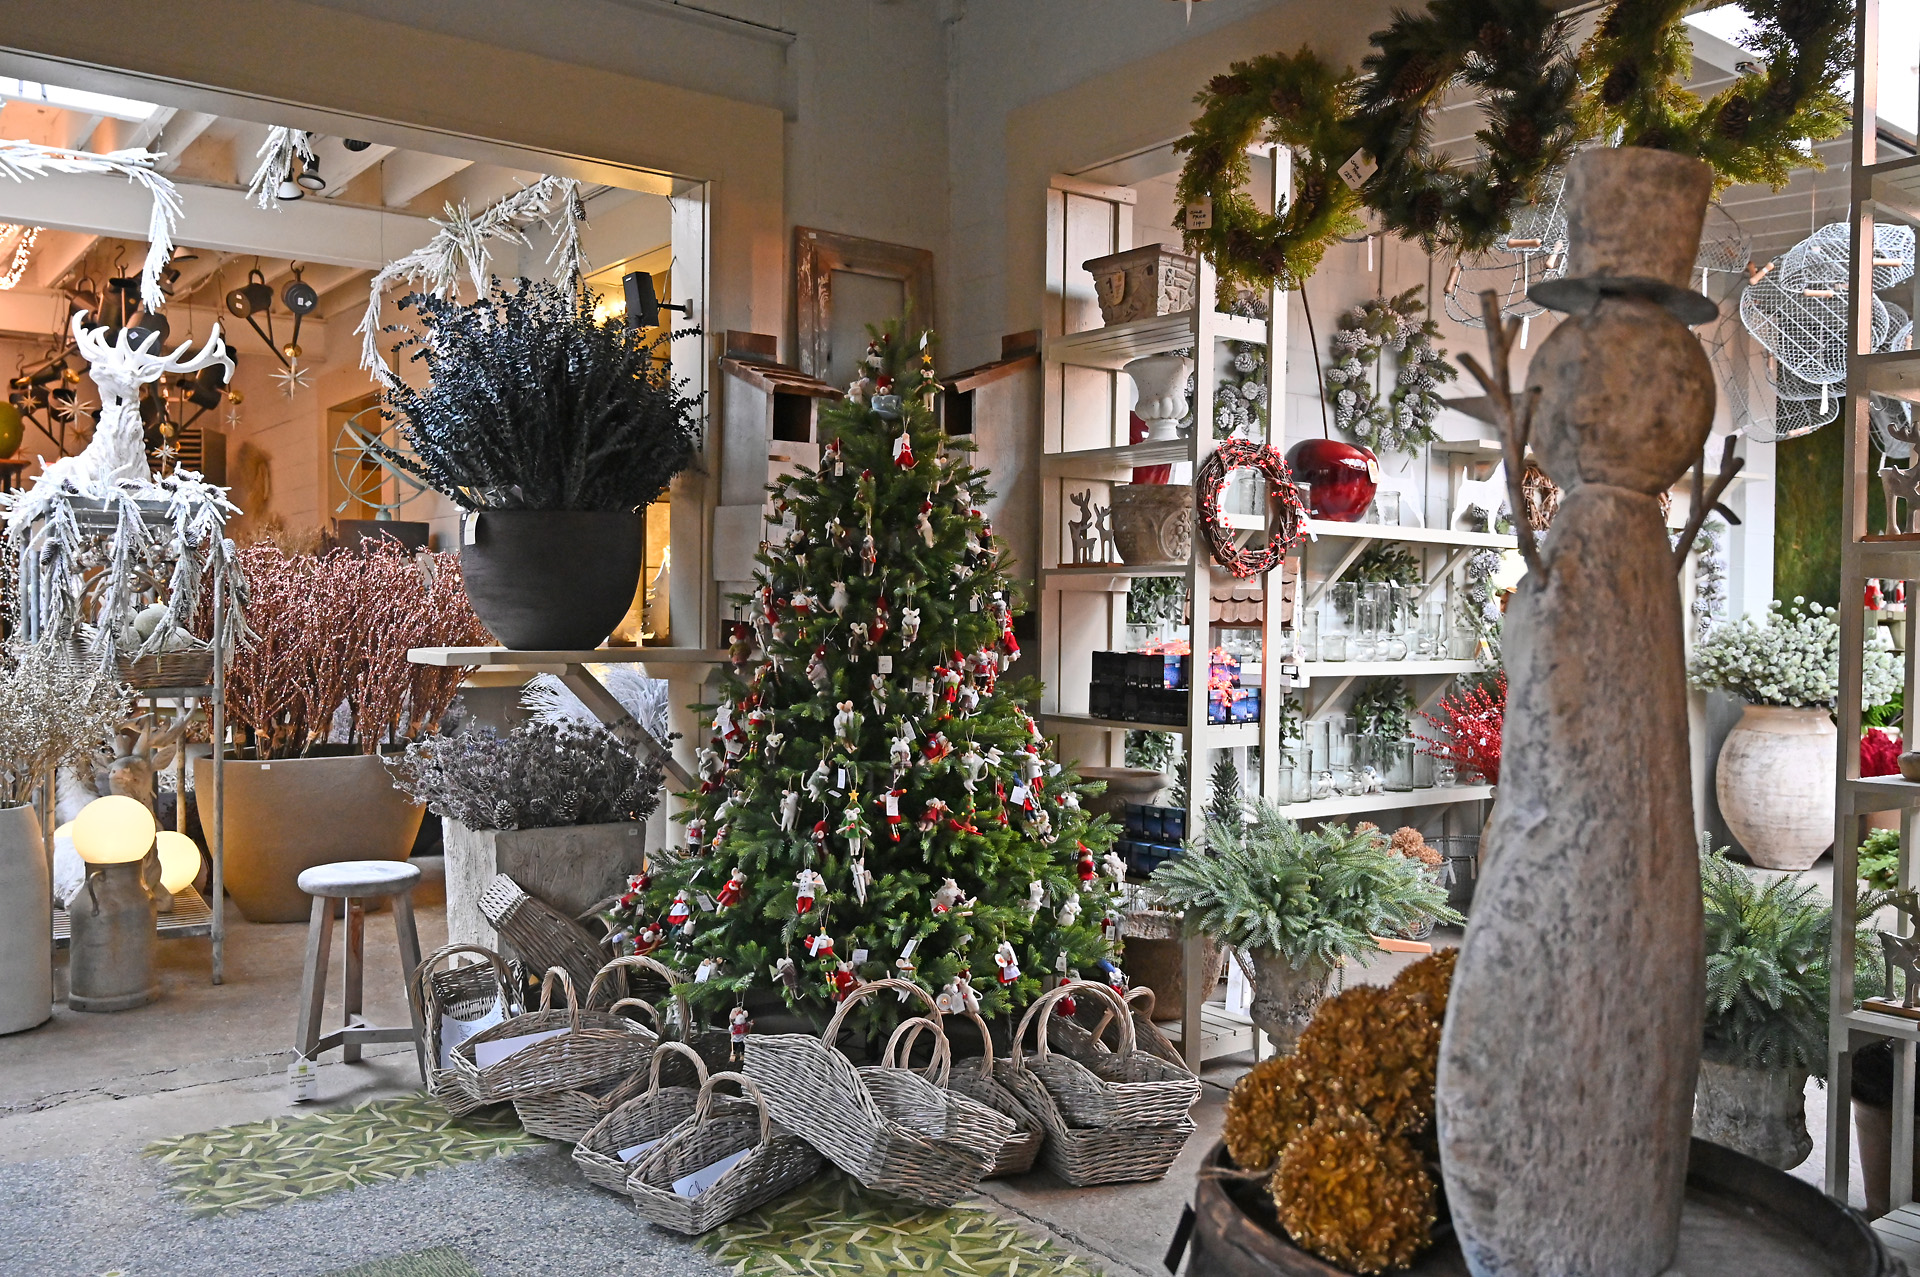
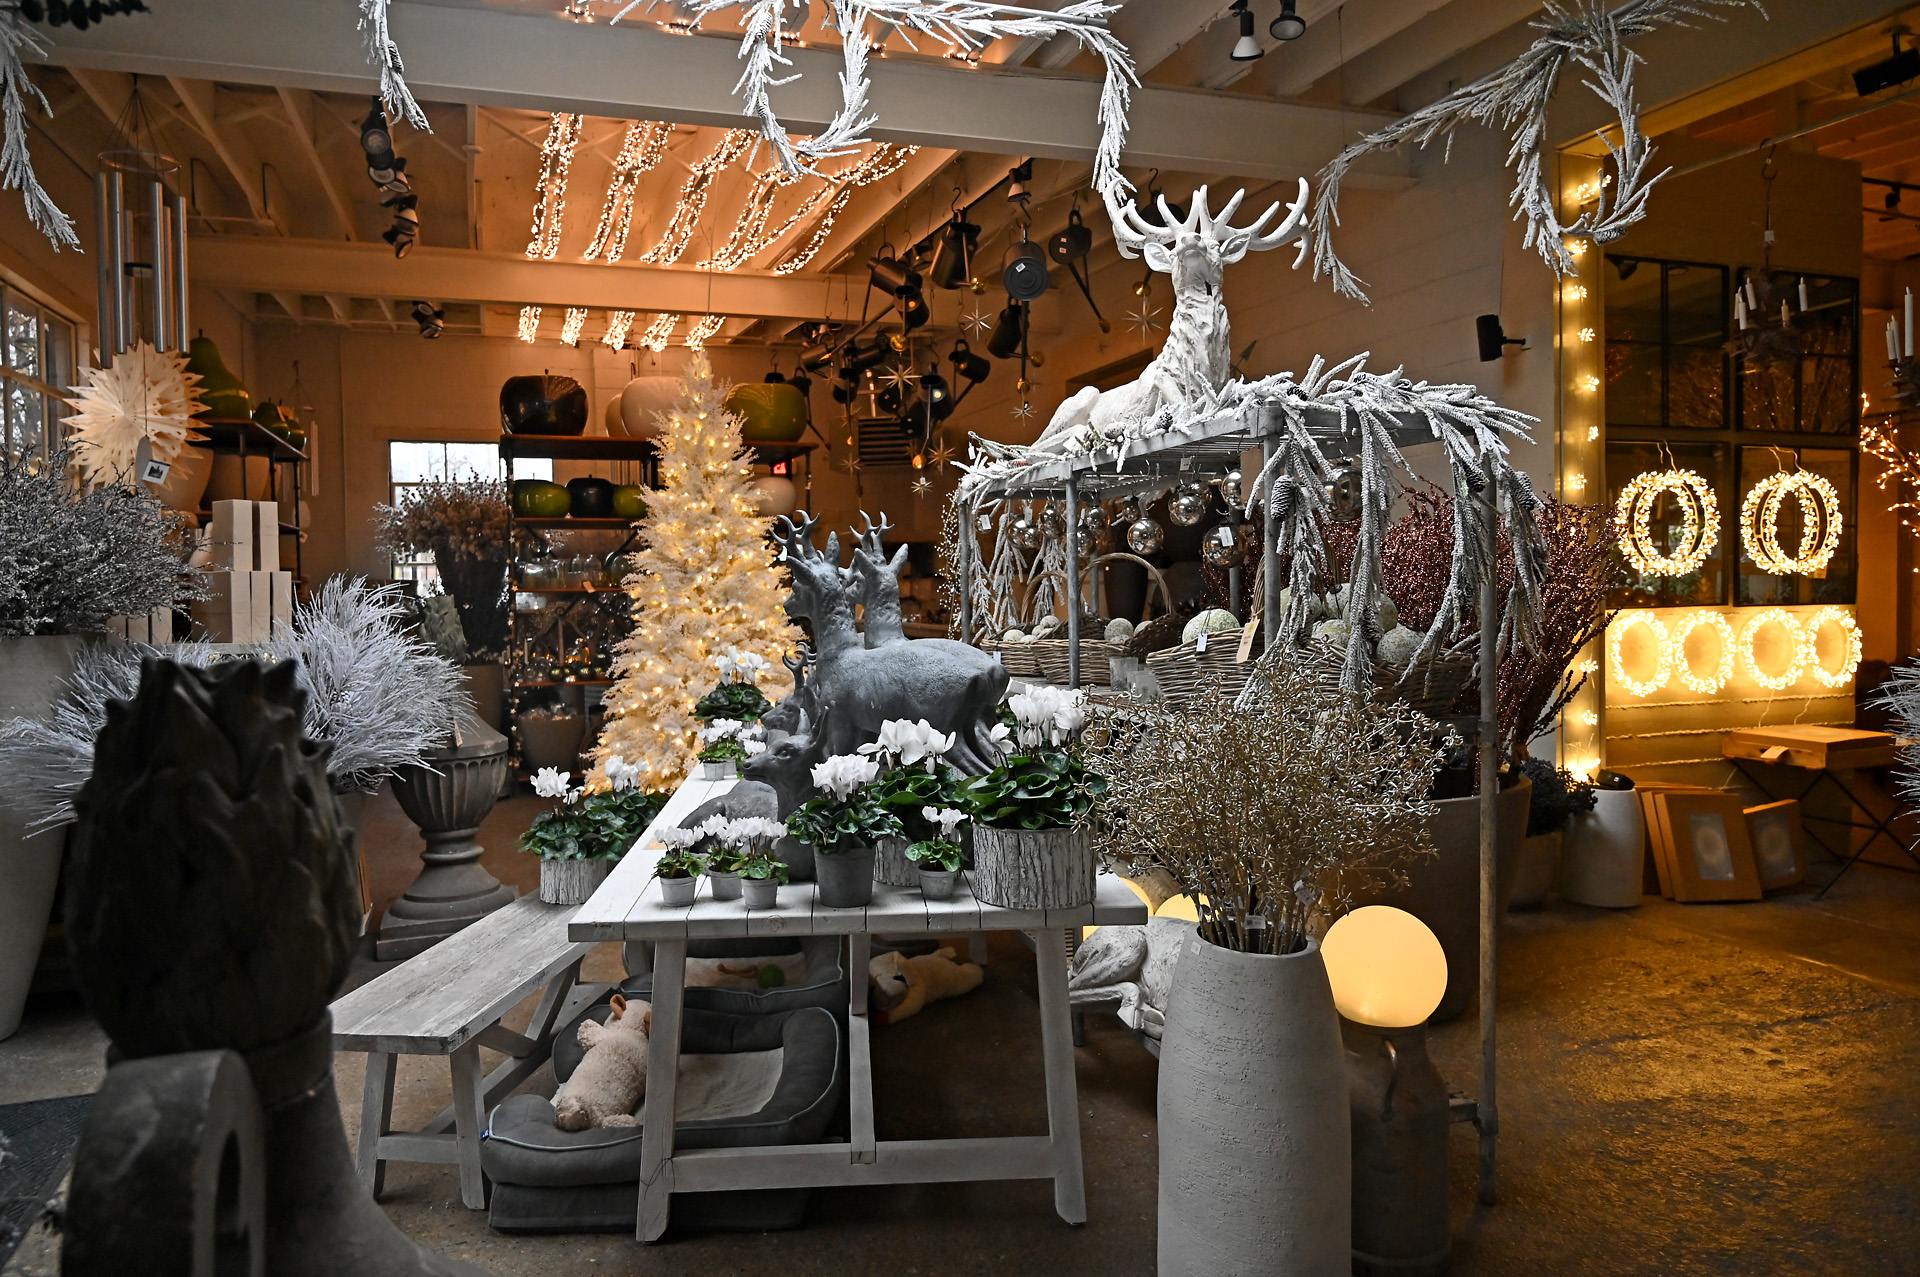
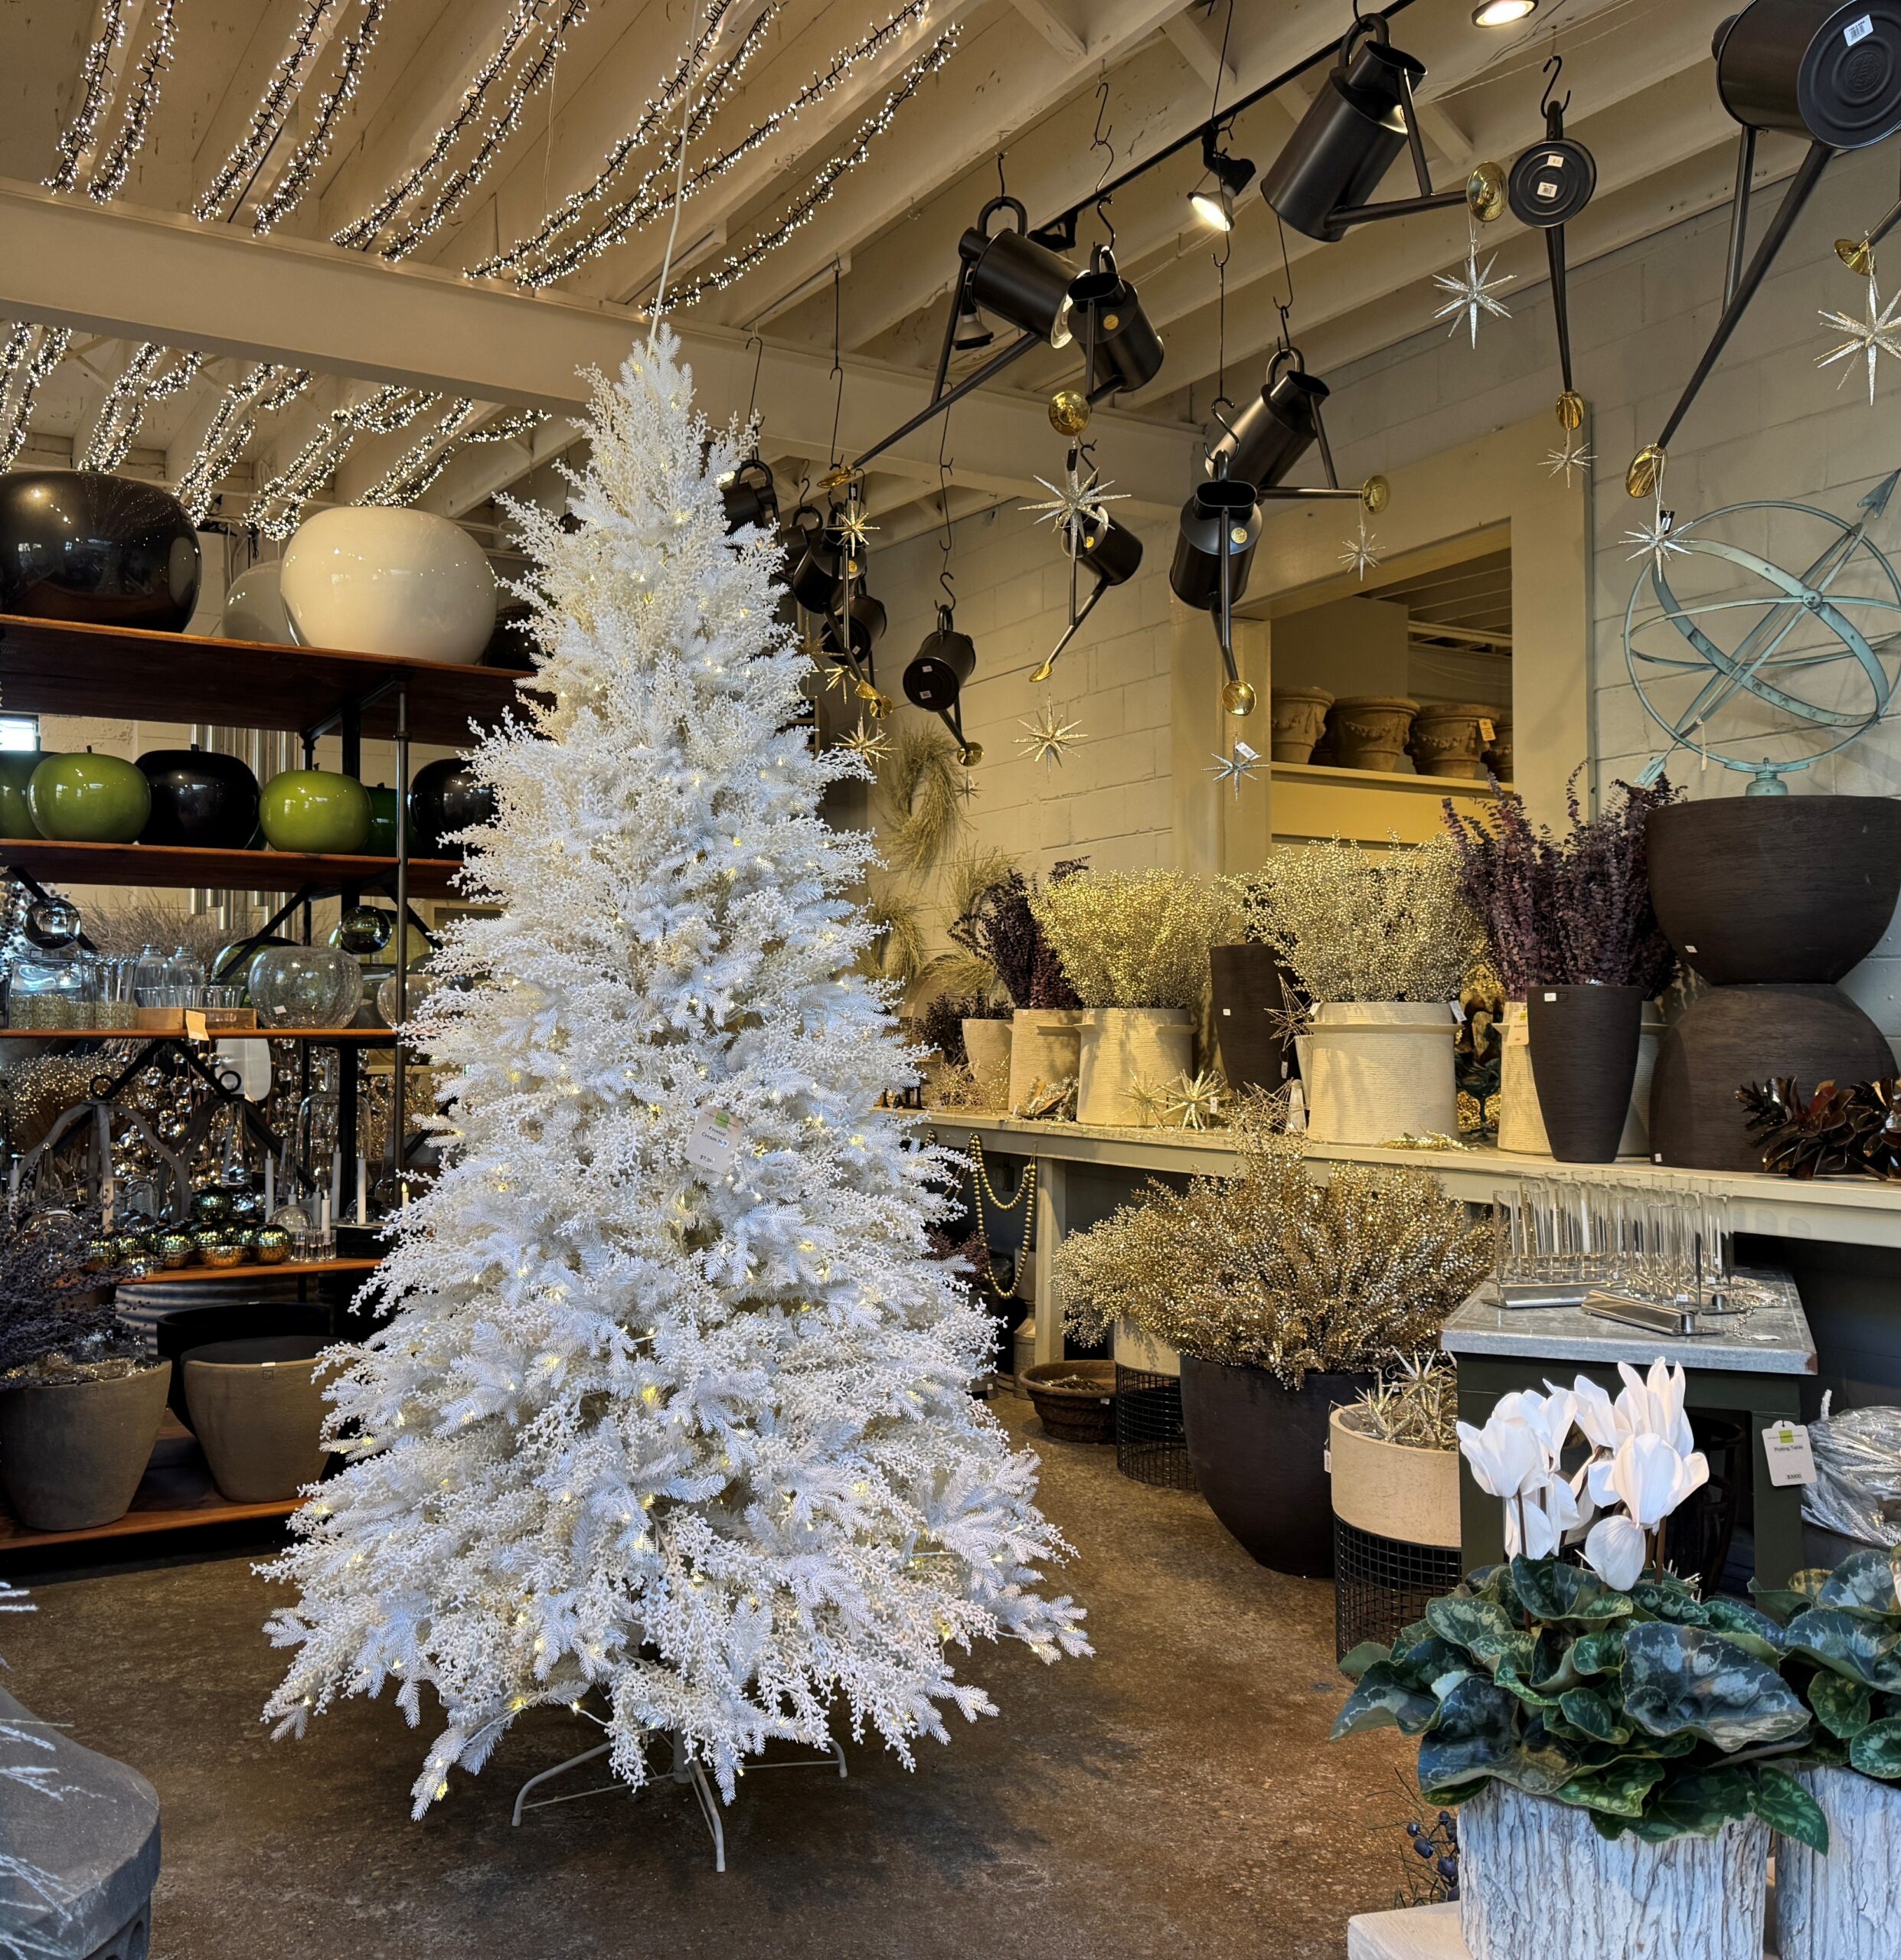
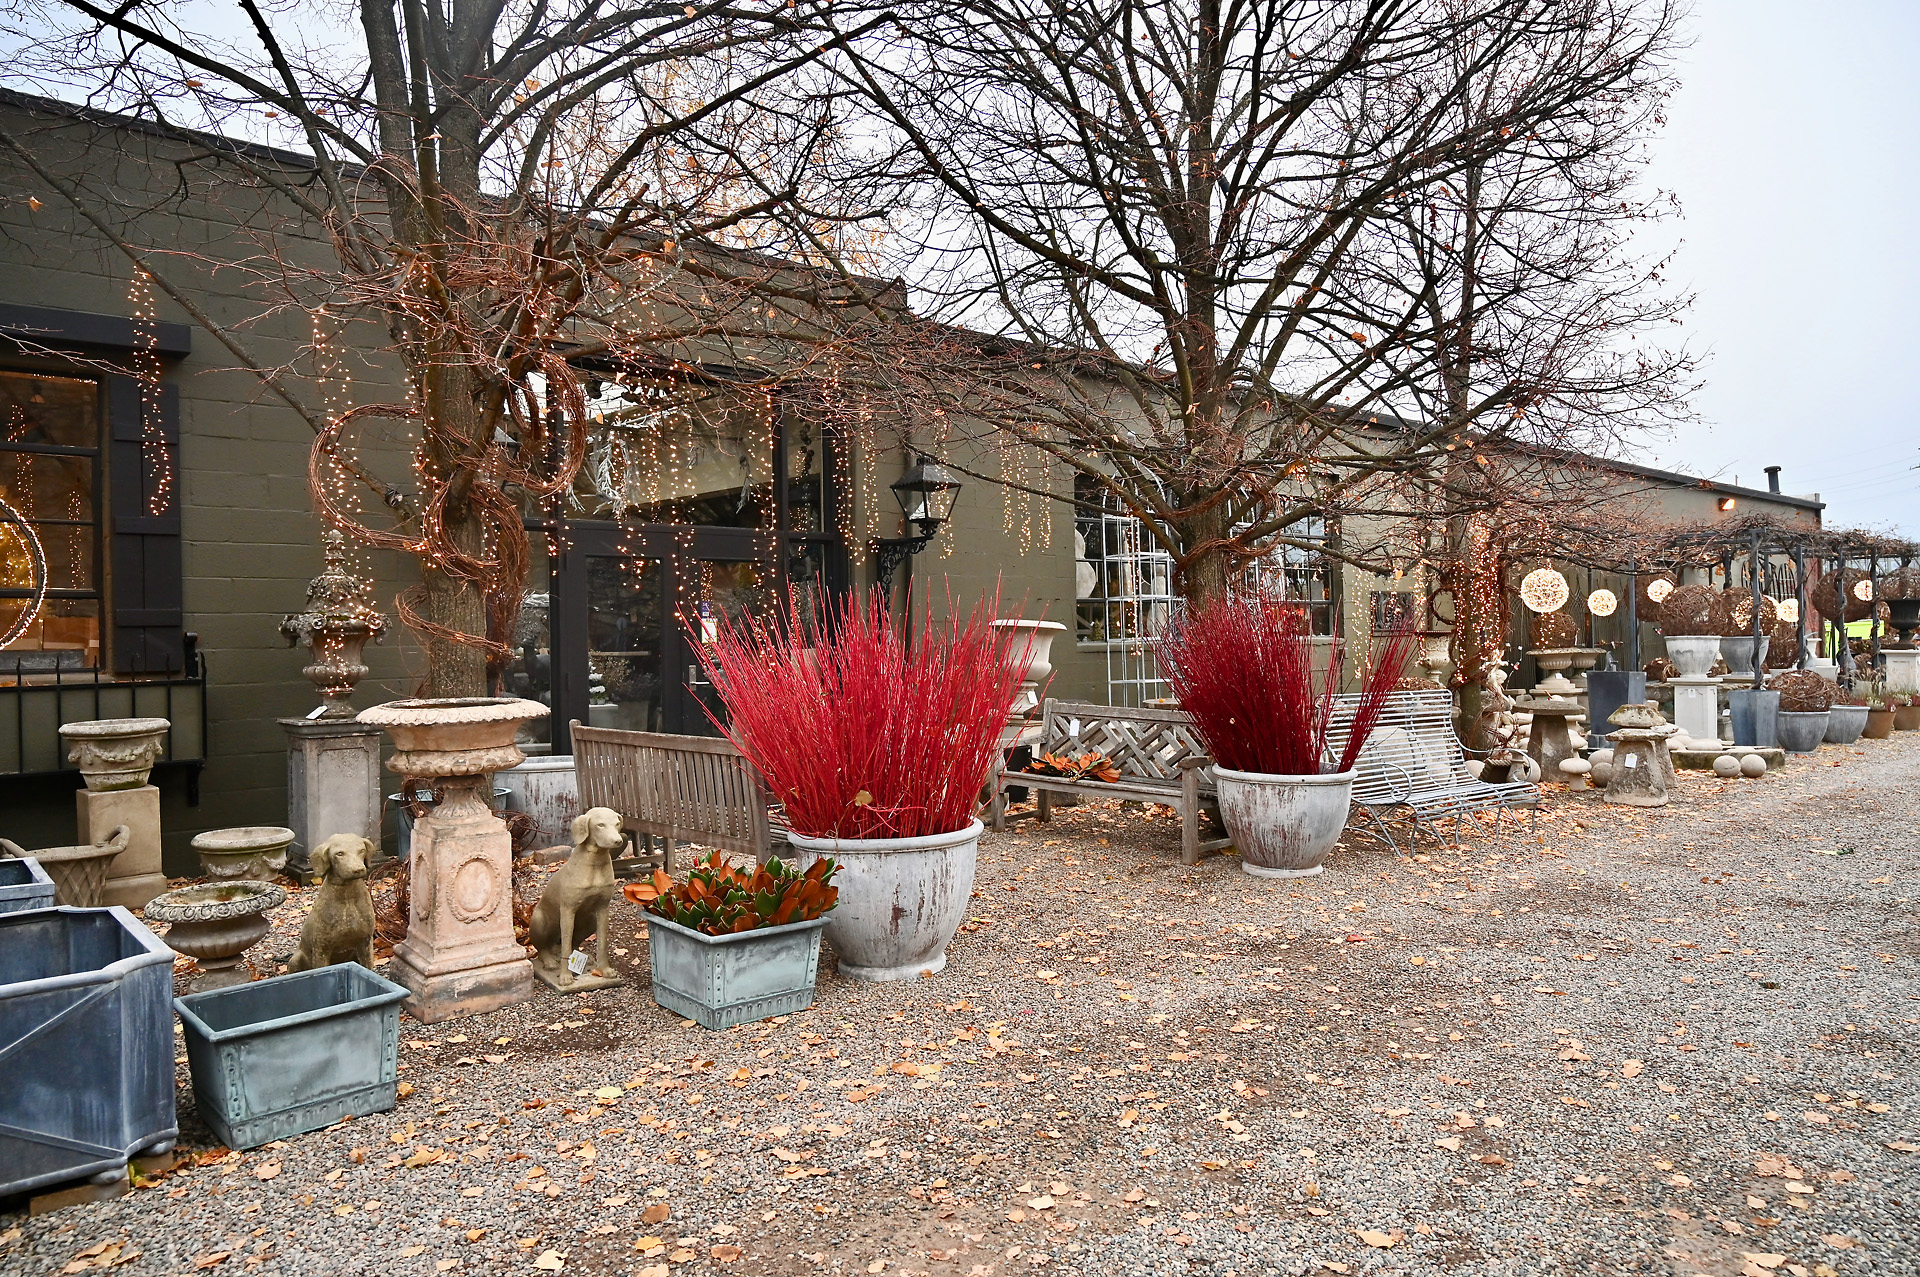
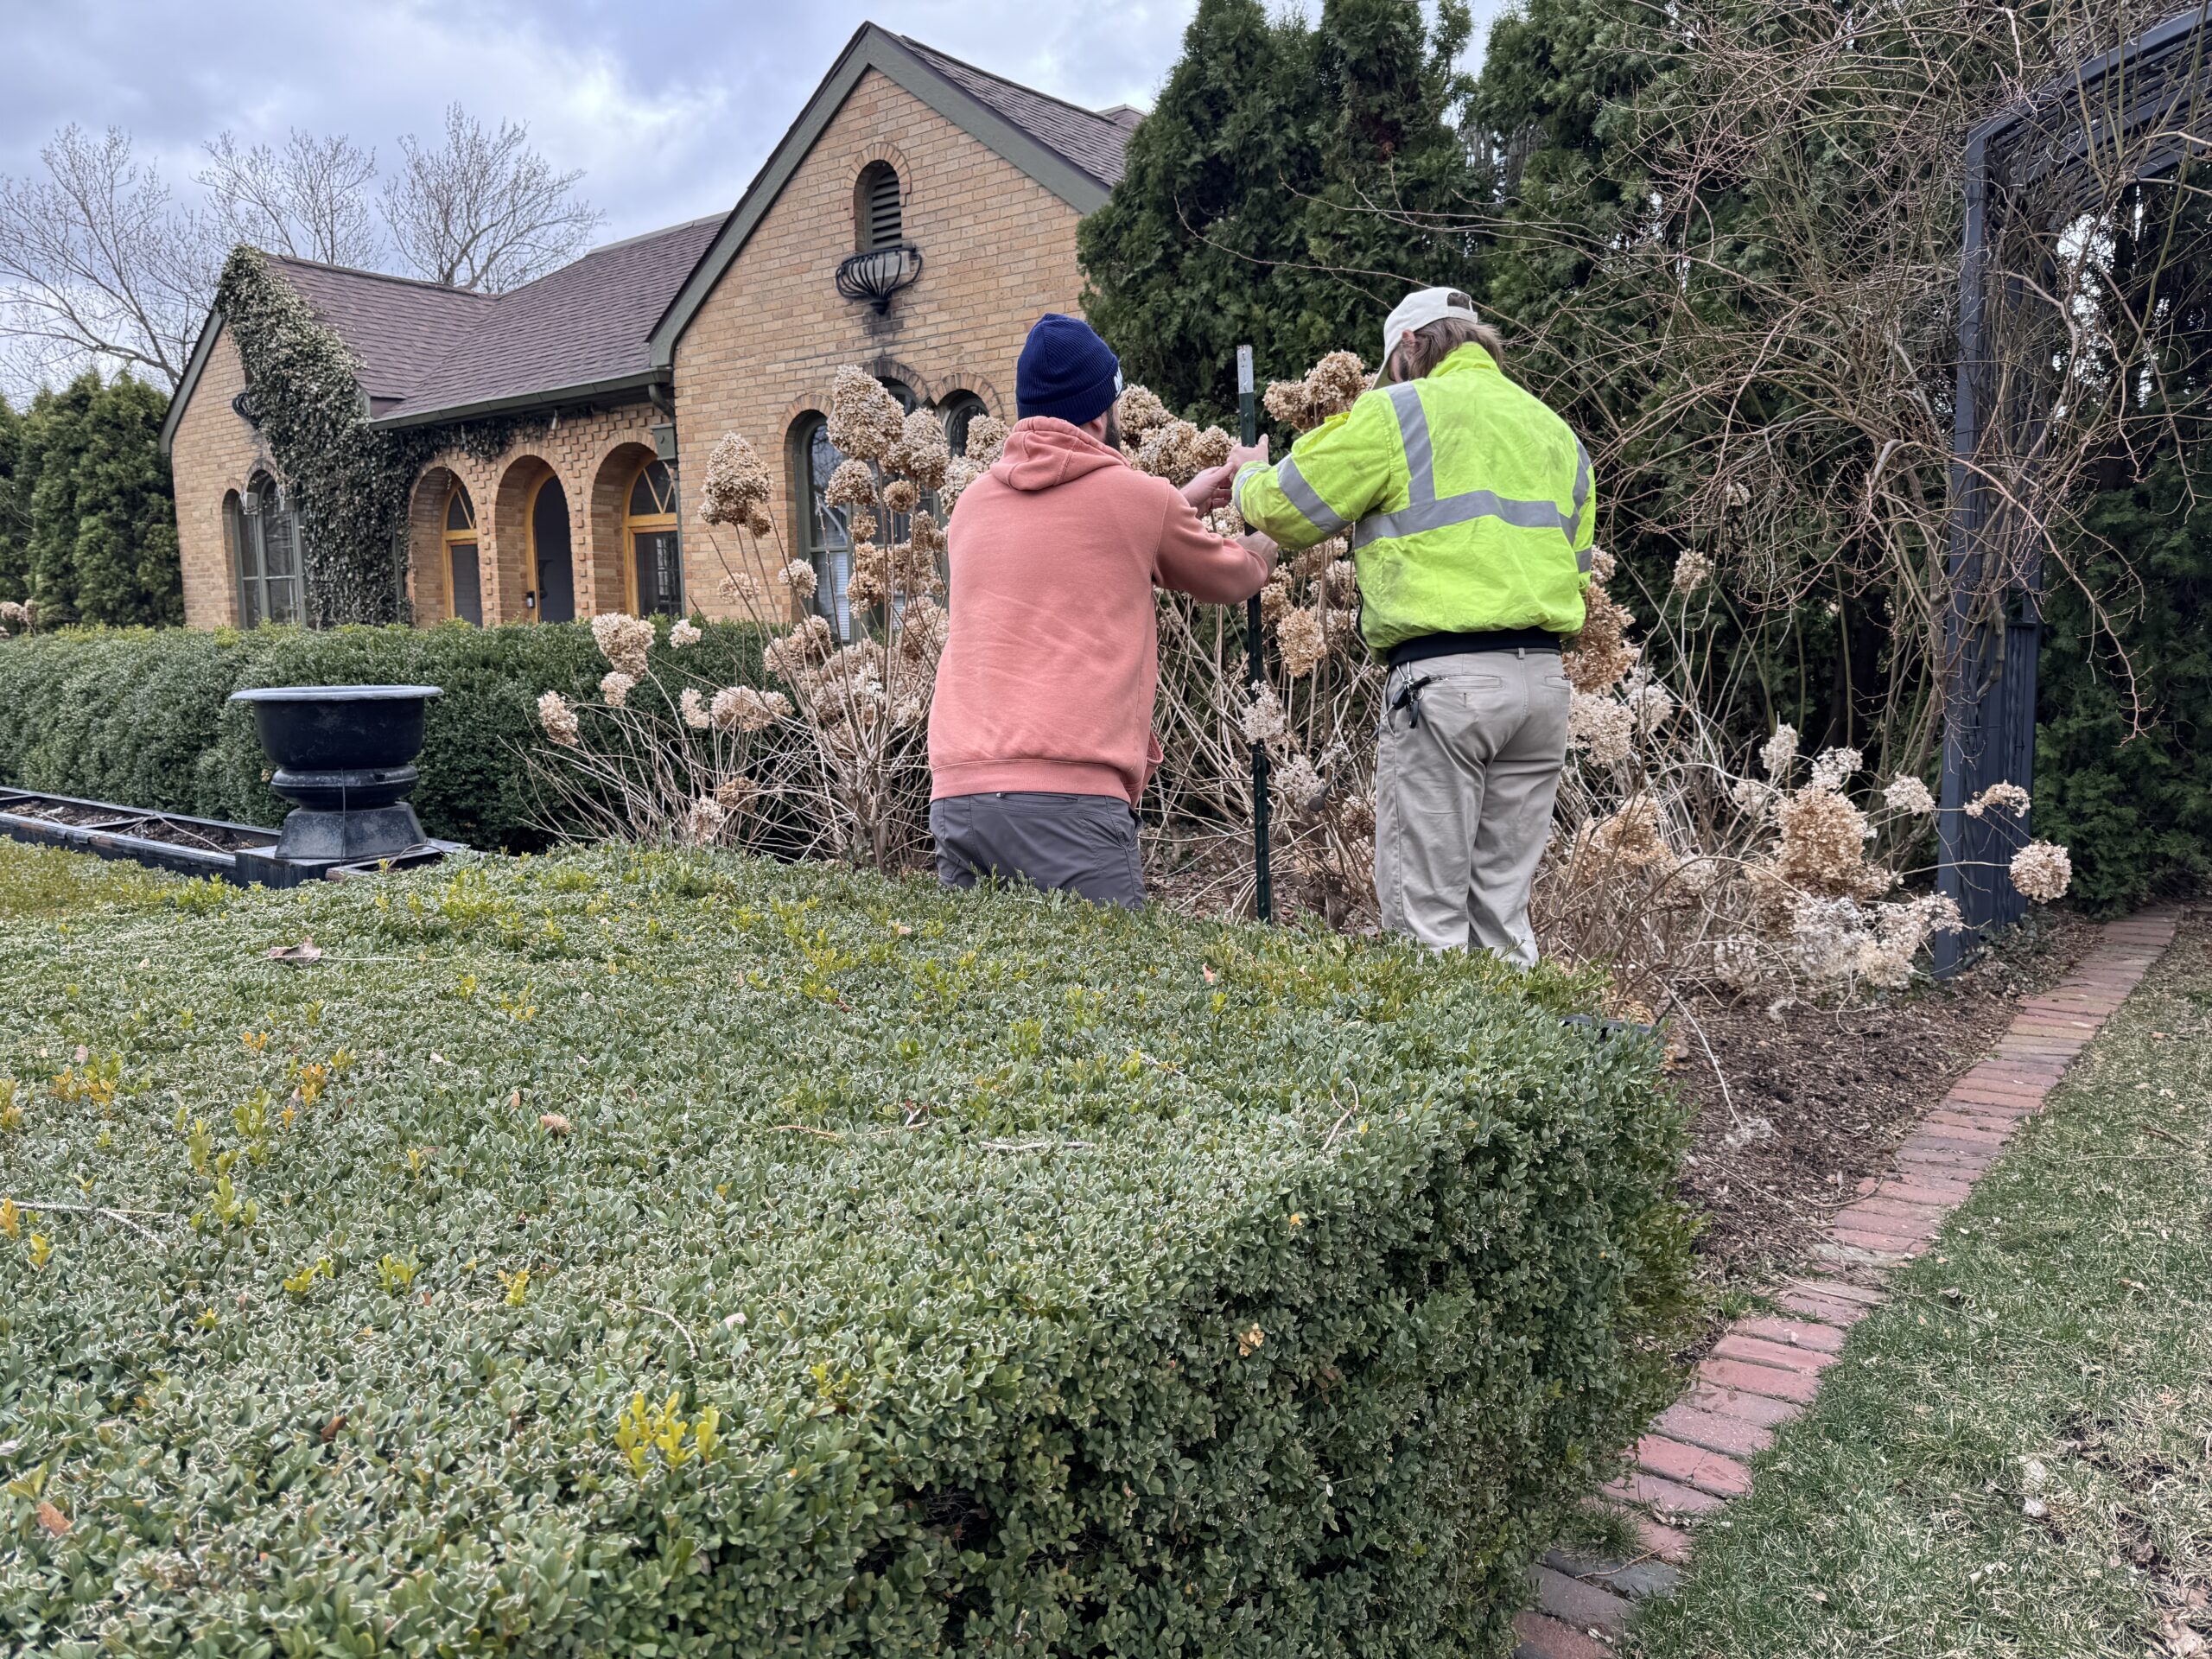
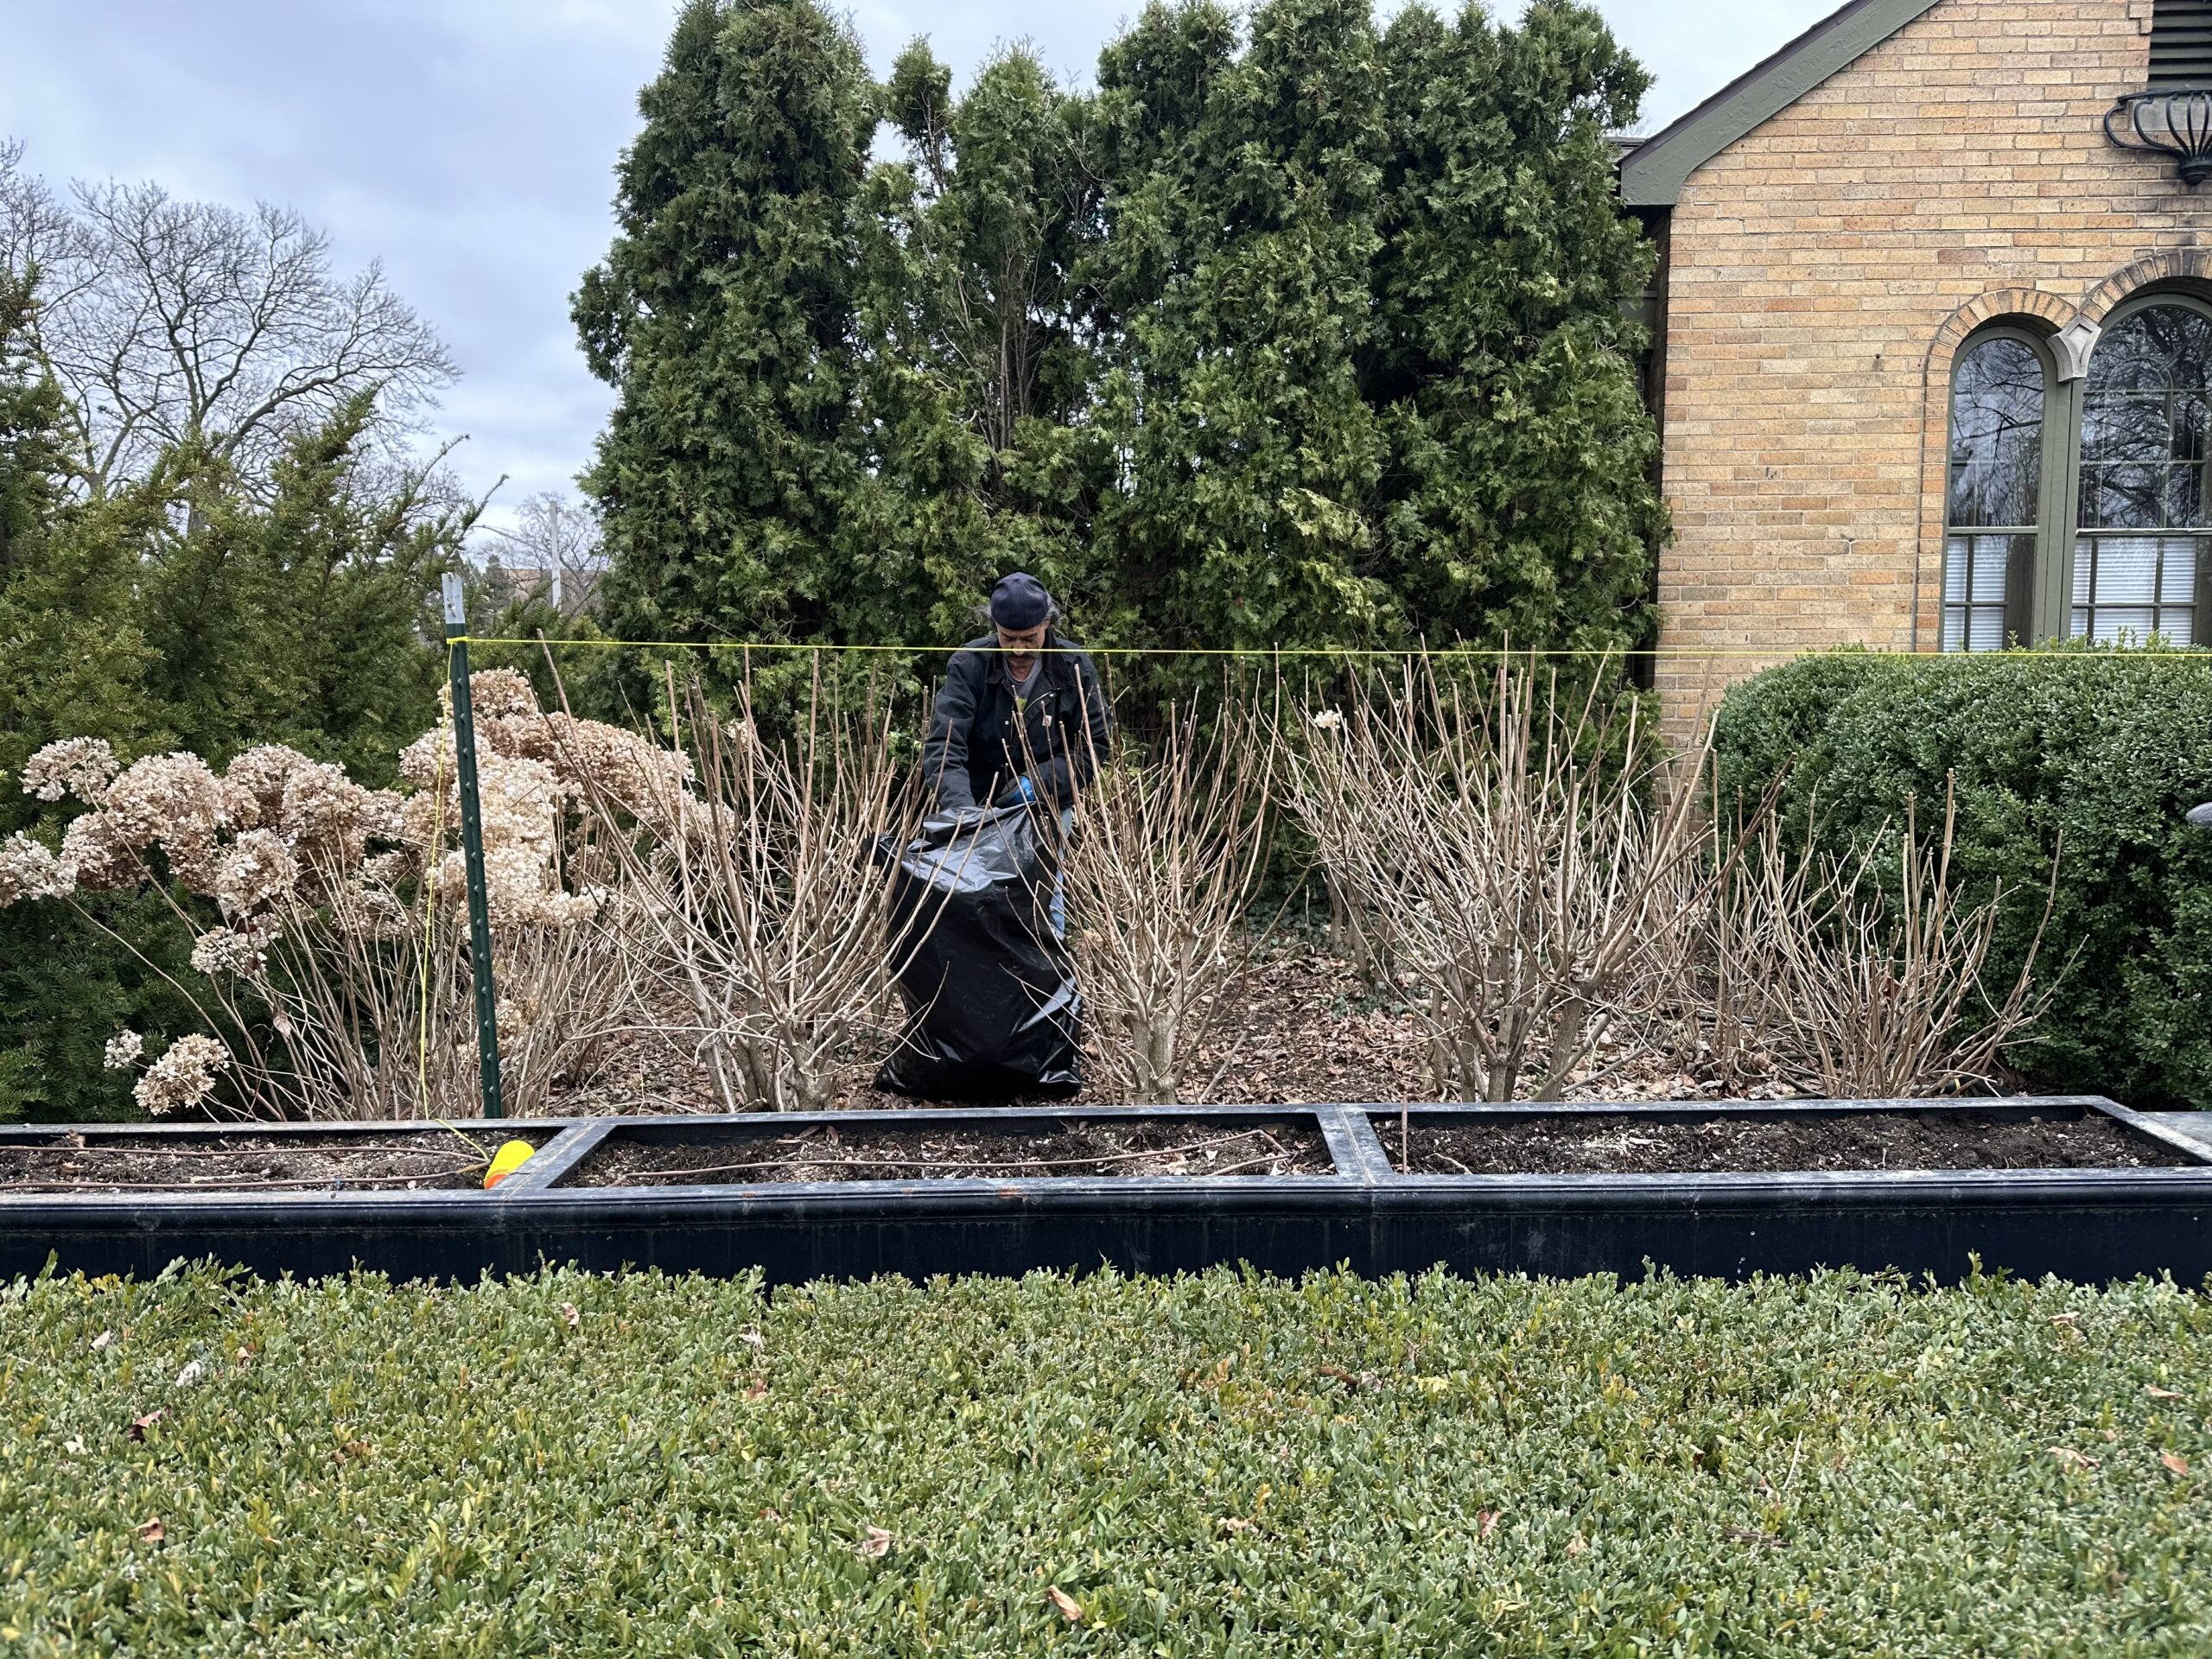
After an intensely re-imagined and heartfelt few weeks, all of the materials new and old we have available for winter and holiday expressions have been unboxed and put on display at the shop. Heartfelt? We work our collective hearts out to provide our clients with materials that recall, honor and celebrate the garden at year’s end. All 9600 square feet of it is stuffed to bursting with the beautiful, the whimsical, the traditional, the unusual – the satisfying and joyous signs of the winter and holiday gardening season on the way.
It was probably better than 25 years ago that Rob and I started shopping, collecting, and offering for sale materials suitable for winter arrangements for pots and containers. All of these materials – whether an astonishingly convincing replica of the real plant or flower, a collection of various fresh cut twigs and greens, or innovative lighting – have the potential to keep the hope and memory of the garden alive during our long winter season. What we have available in the shop today is as good as our experience and and will to celebrate gardening can provide. You’ll see.
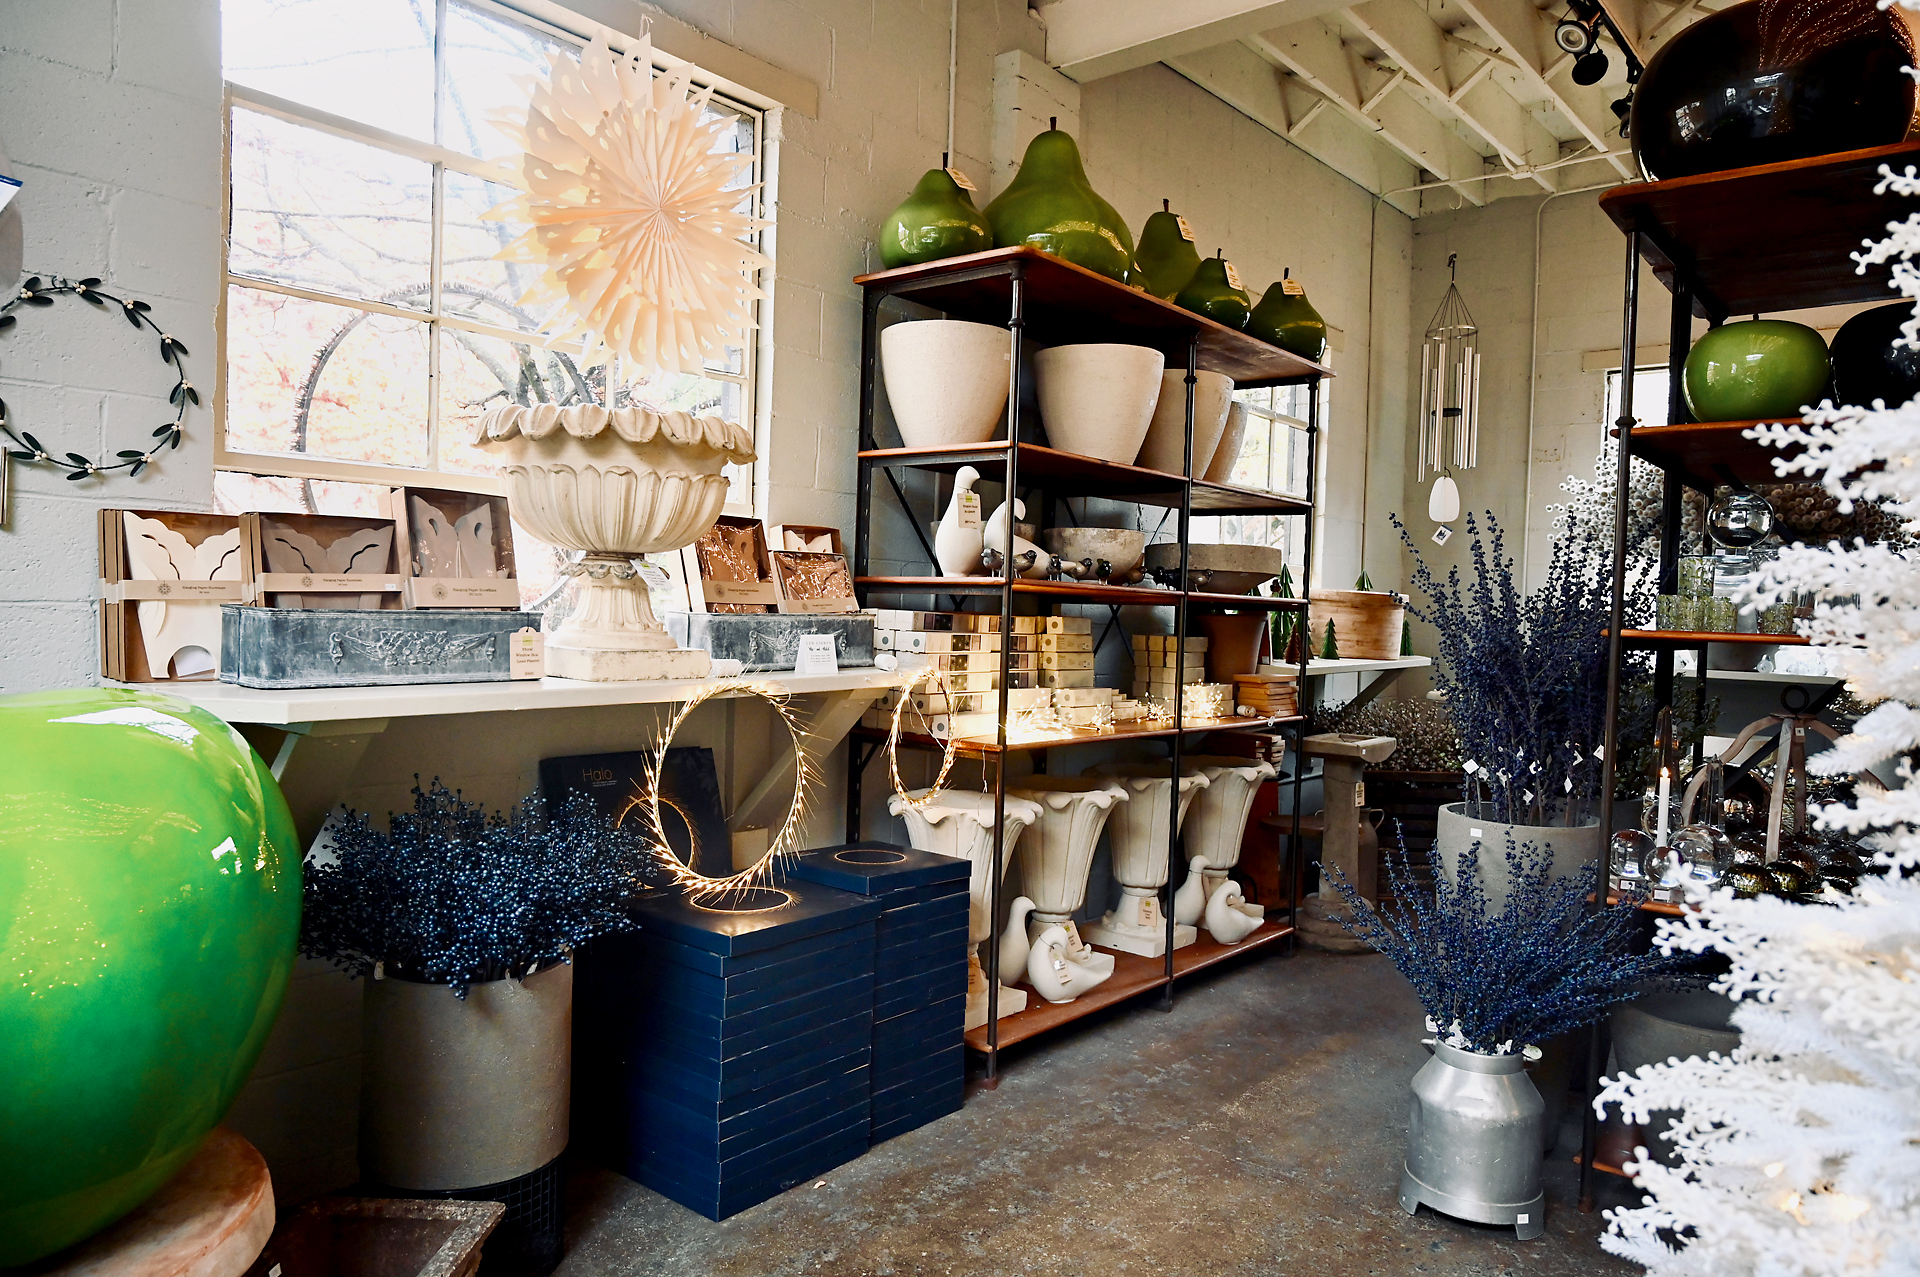
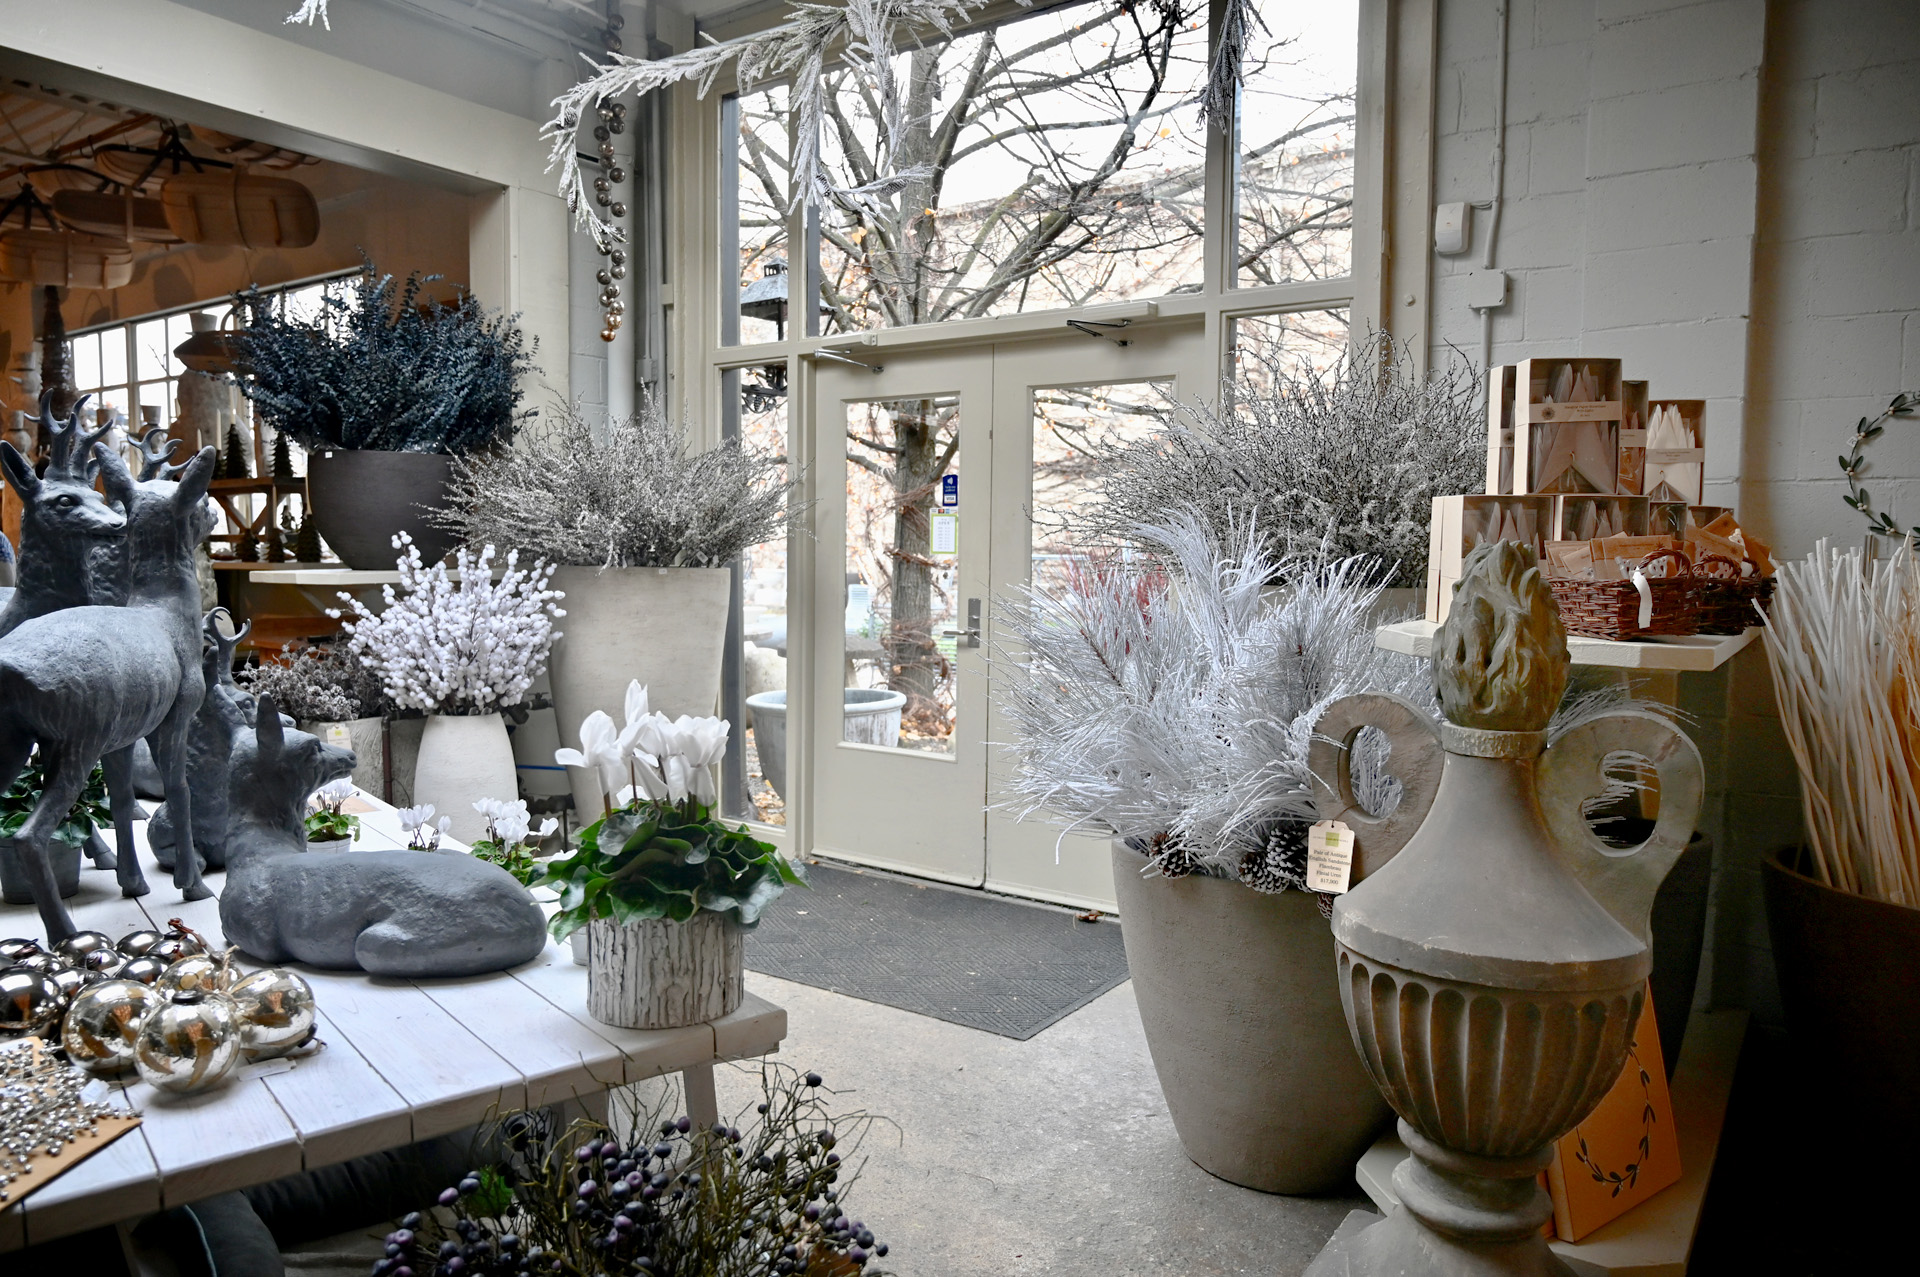
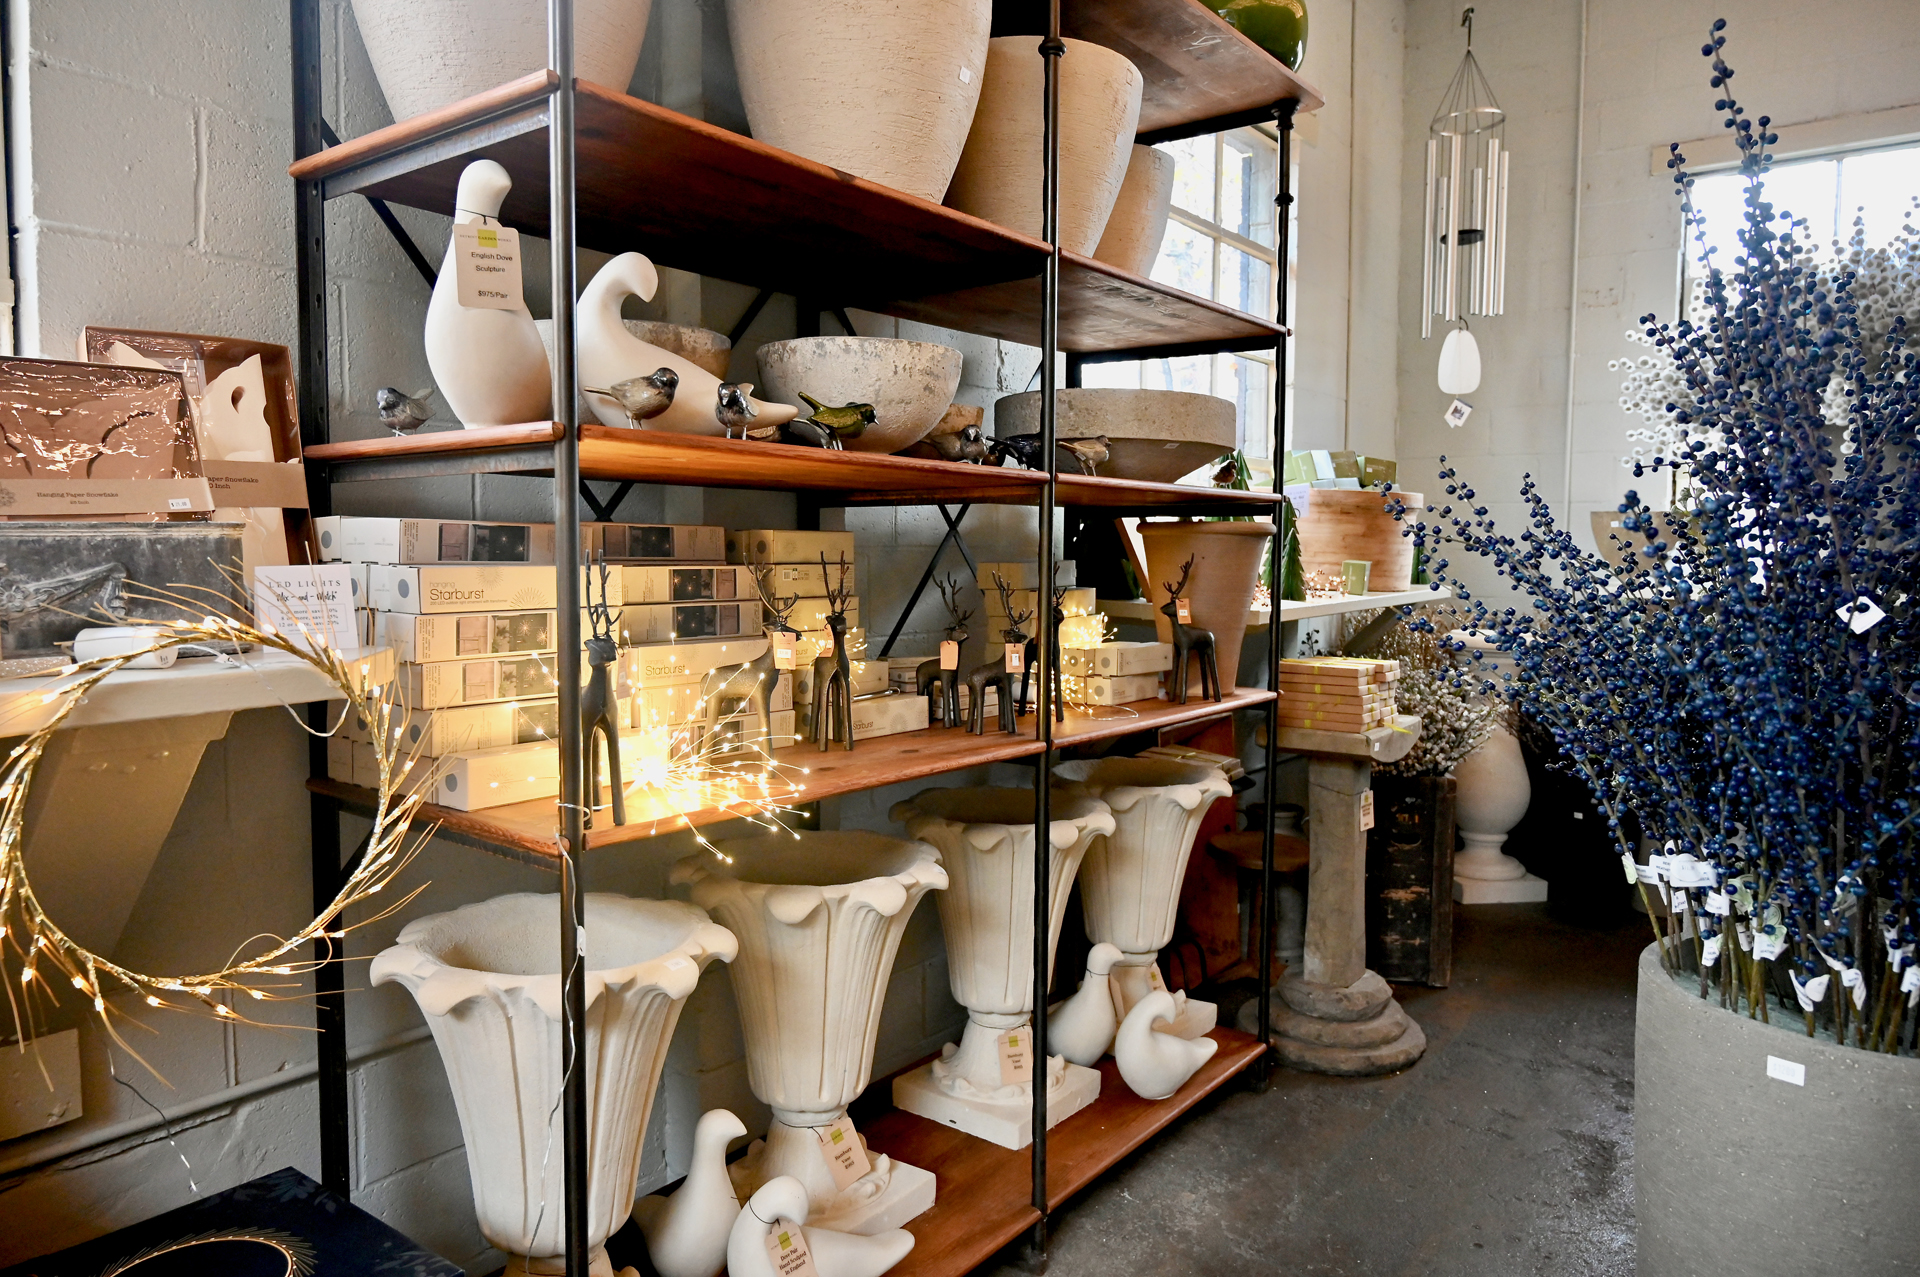
Up next is a pictorial version of the shop, dressed, decked out, and ready for the season. If you are too far to make the trip, we want to share what we have the best we can. If you are close enough, we invite you to come and see what’s doing in person.


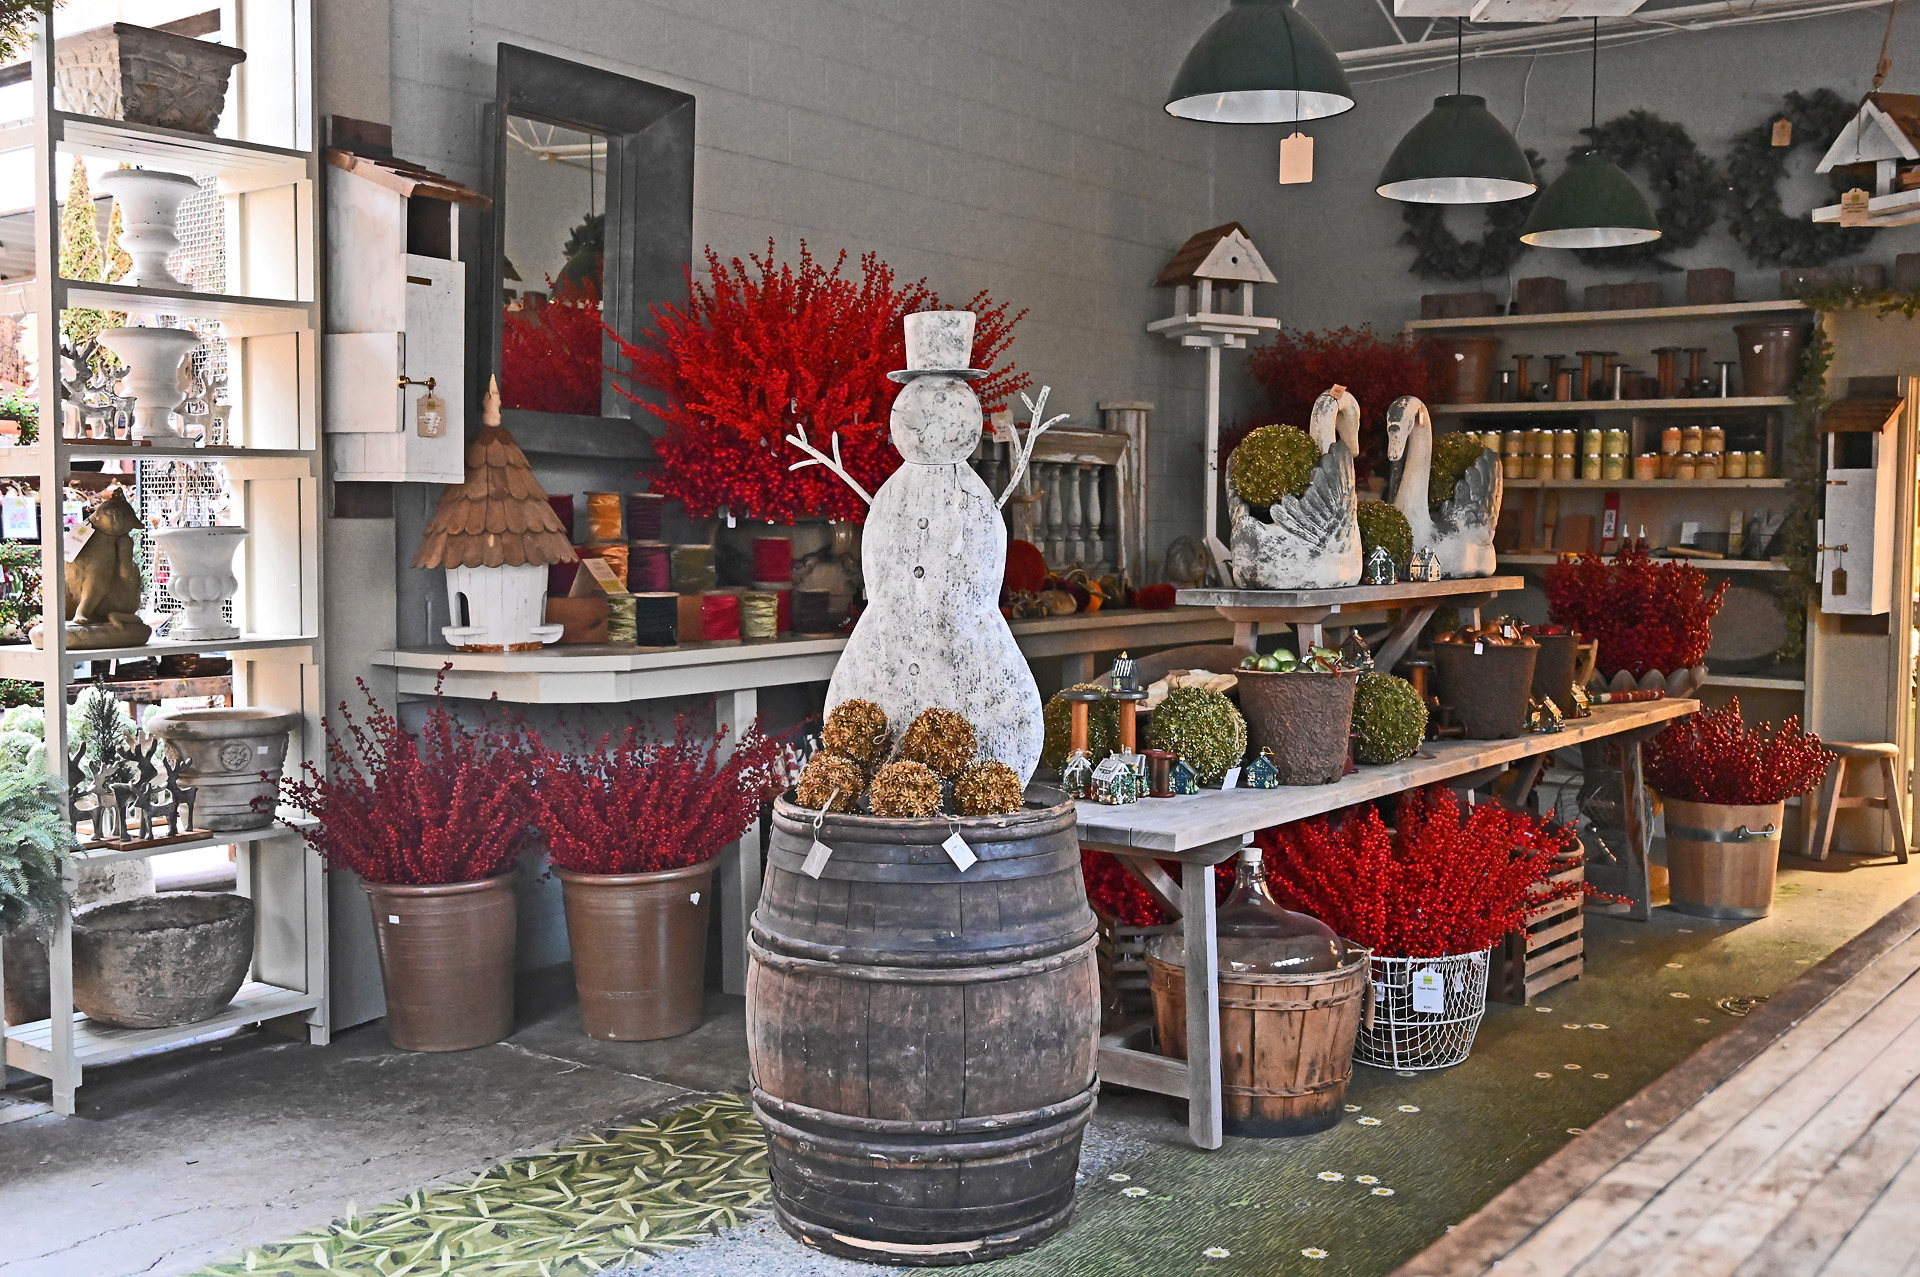

What could possibly be more forlorn and pathetic to a gardener than empty garden pots, or a landscape gone dark and dreary at year’s end?Finding a reason to celebrate seems like a much better idea. We intend to provide the chance to help keep the gardening season open and thriving all year round, in spite of the untoward winter weather and dark. If you see anything here that interests or intrigues you enough to inquire further, we are available.
1 248 335 8089
webinquiry@detroitgardenworks.com
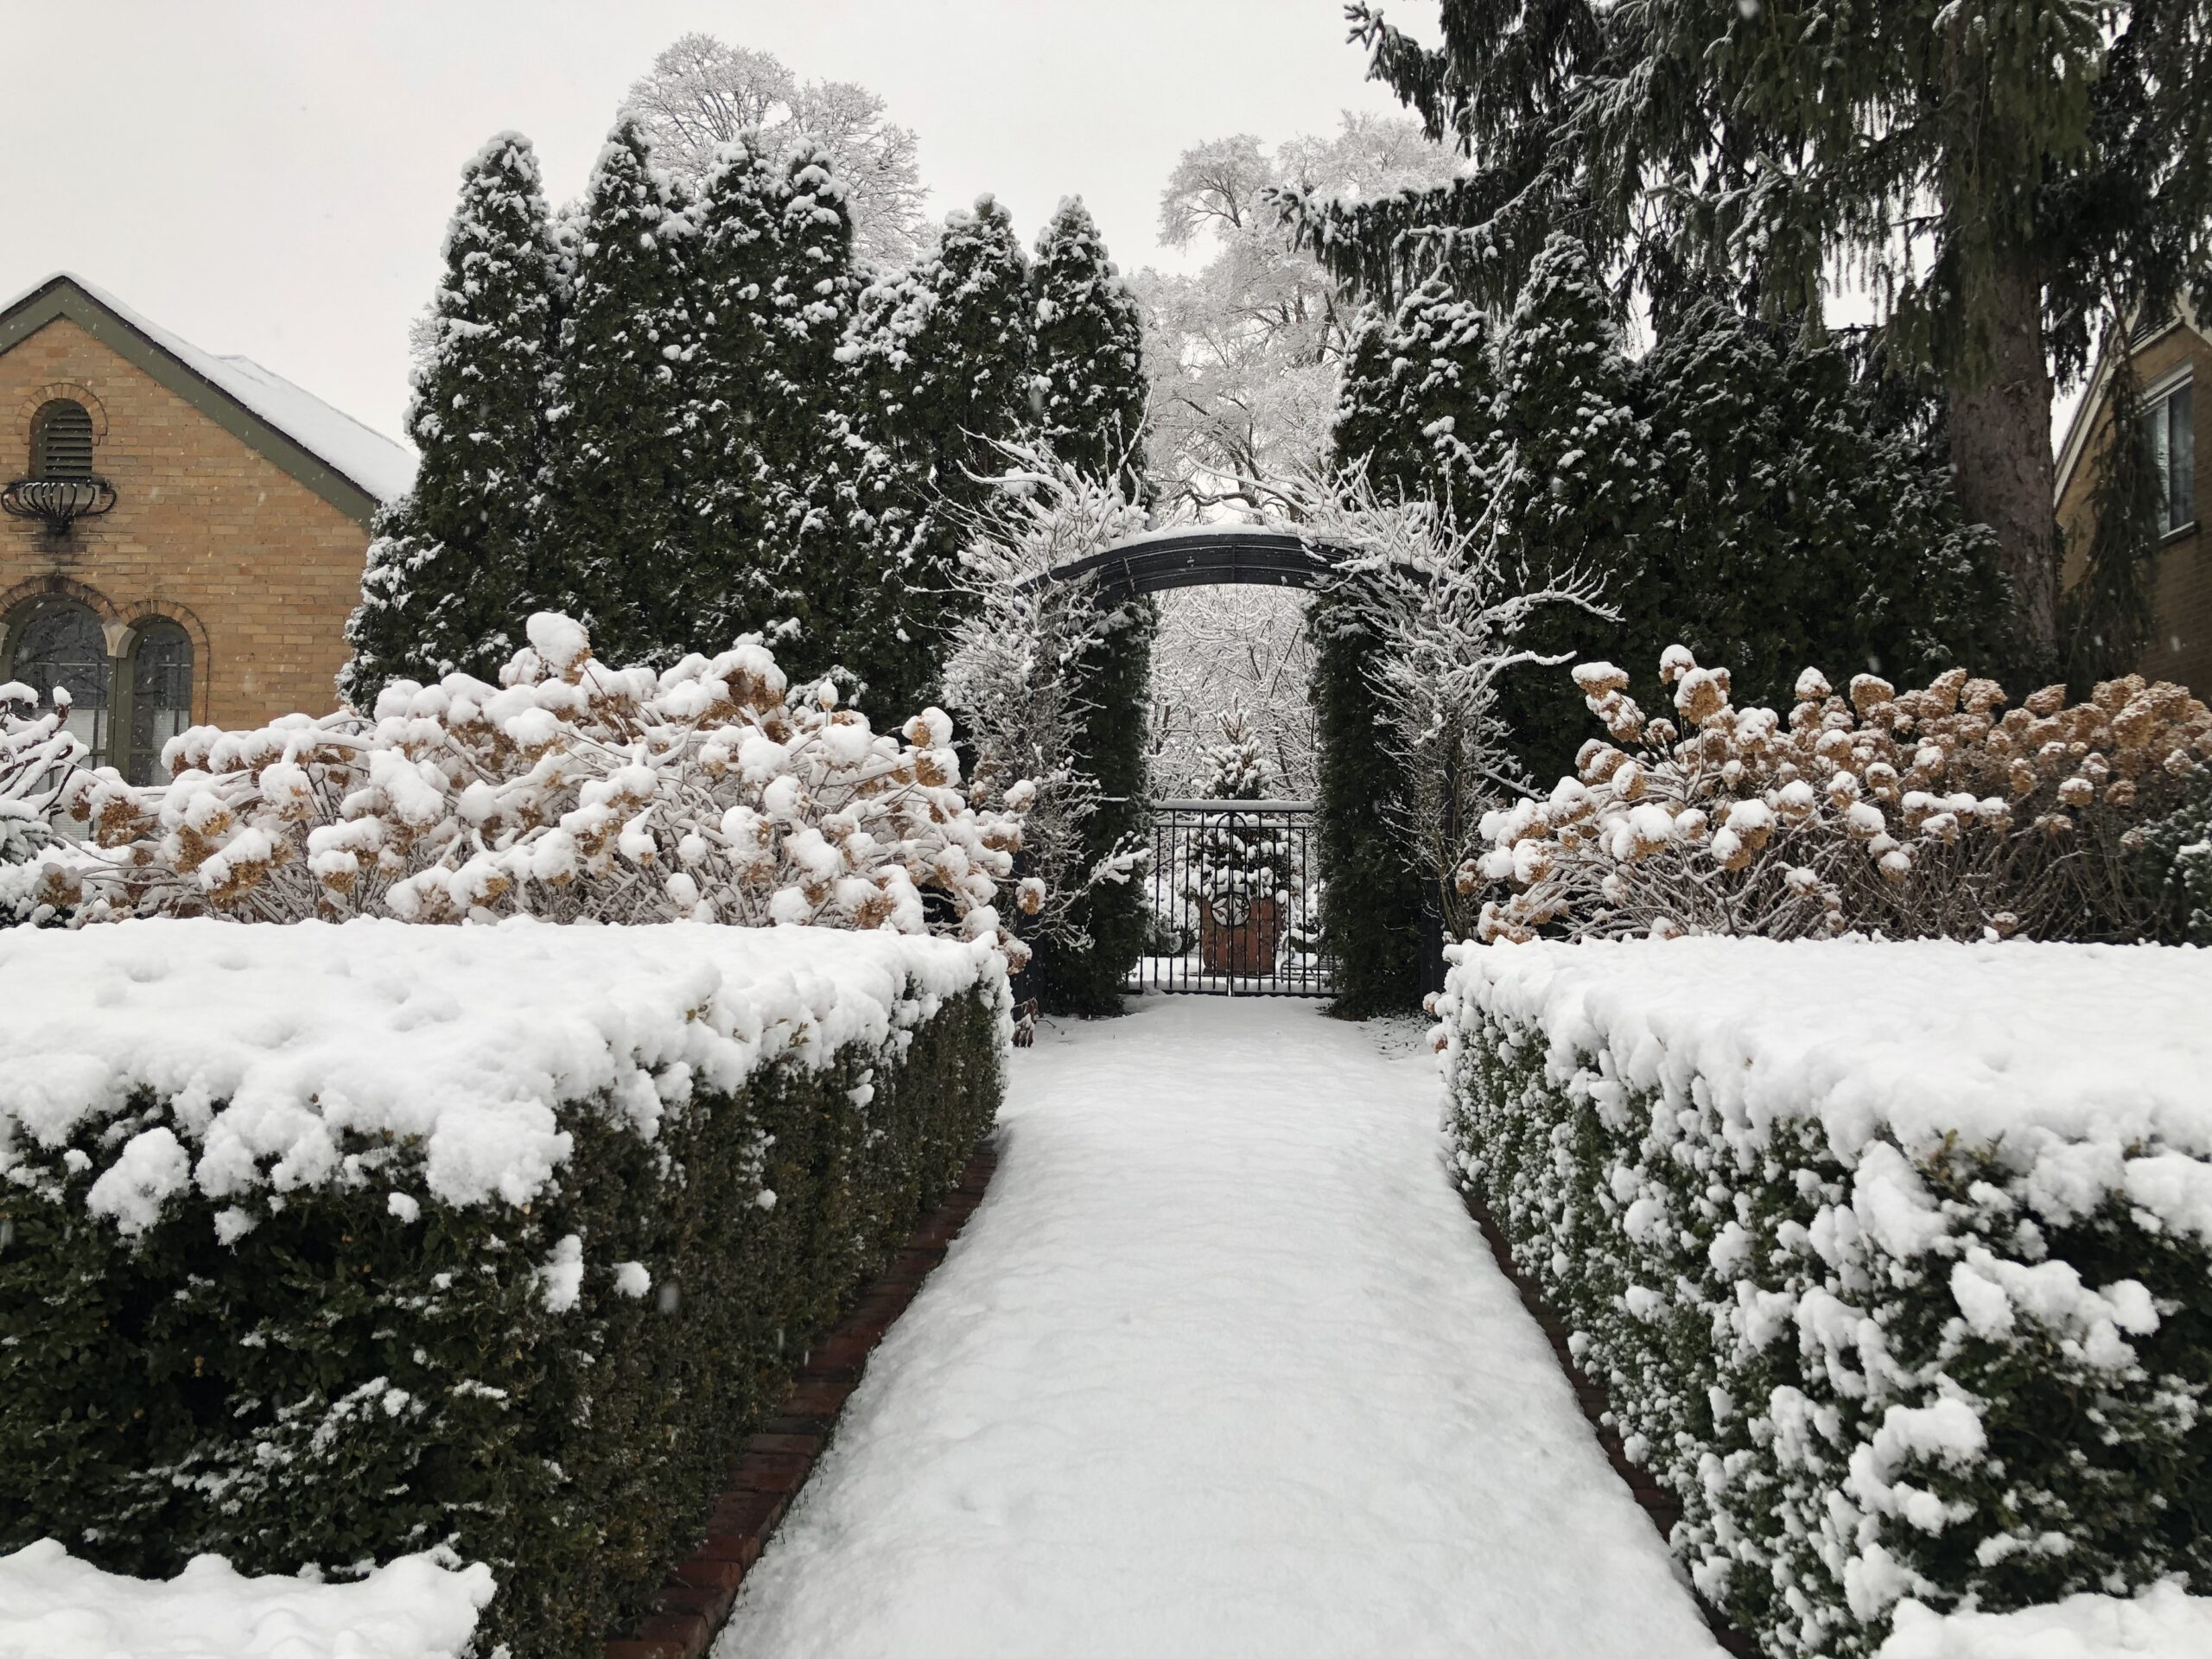 The picture above was taken in the early morning of Jan 3, 2021. I remember waking up well before dawn to a landscape whose every surface was transformed by mounds of snow. Giant snowflakes floated downward on the still air like feathers, and stuck to whatever surface they touched first. The quiet was disconcerting. My yard was truly a fairyland – the first time ever quite like this. Every shape in the landscape was faithfully described and added to by this extraordinary snow. Within minutes of opening my eyes, I was dressed, out the door, and marveling. I took photographs for several hours, and several hours after that the snow had completely melted and was gone. This was an incredible weather event of breathtakingly striking and shocking beauty, the likes of which I had never seen before.
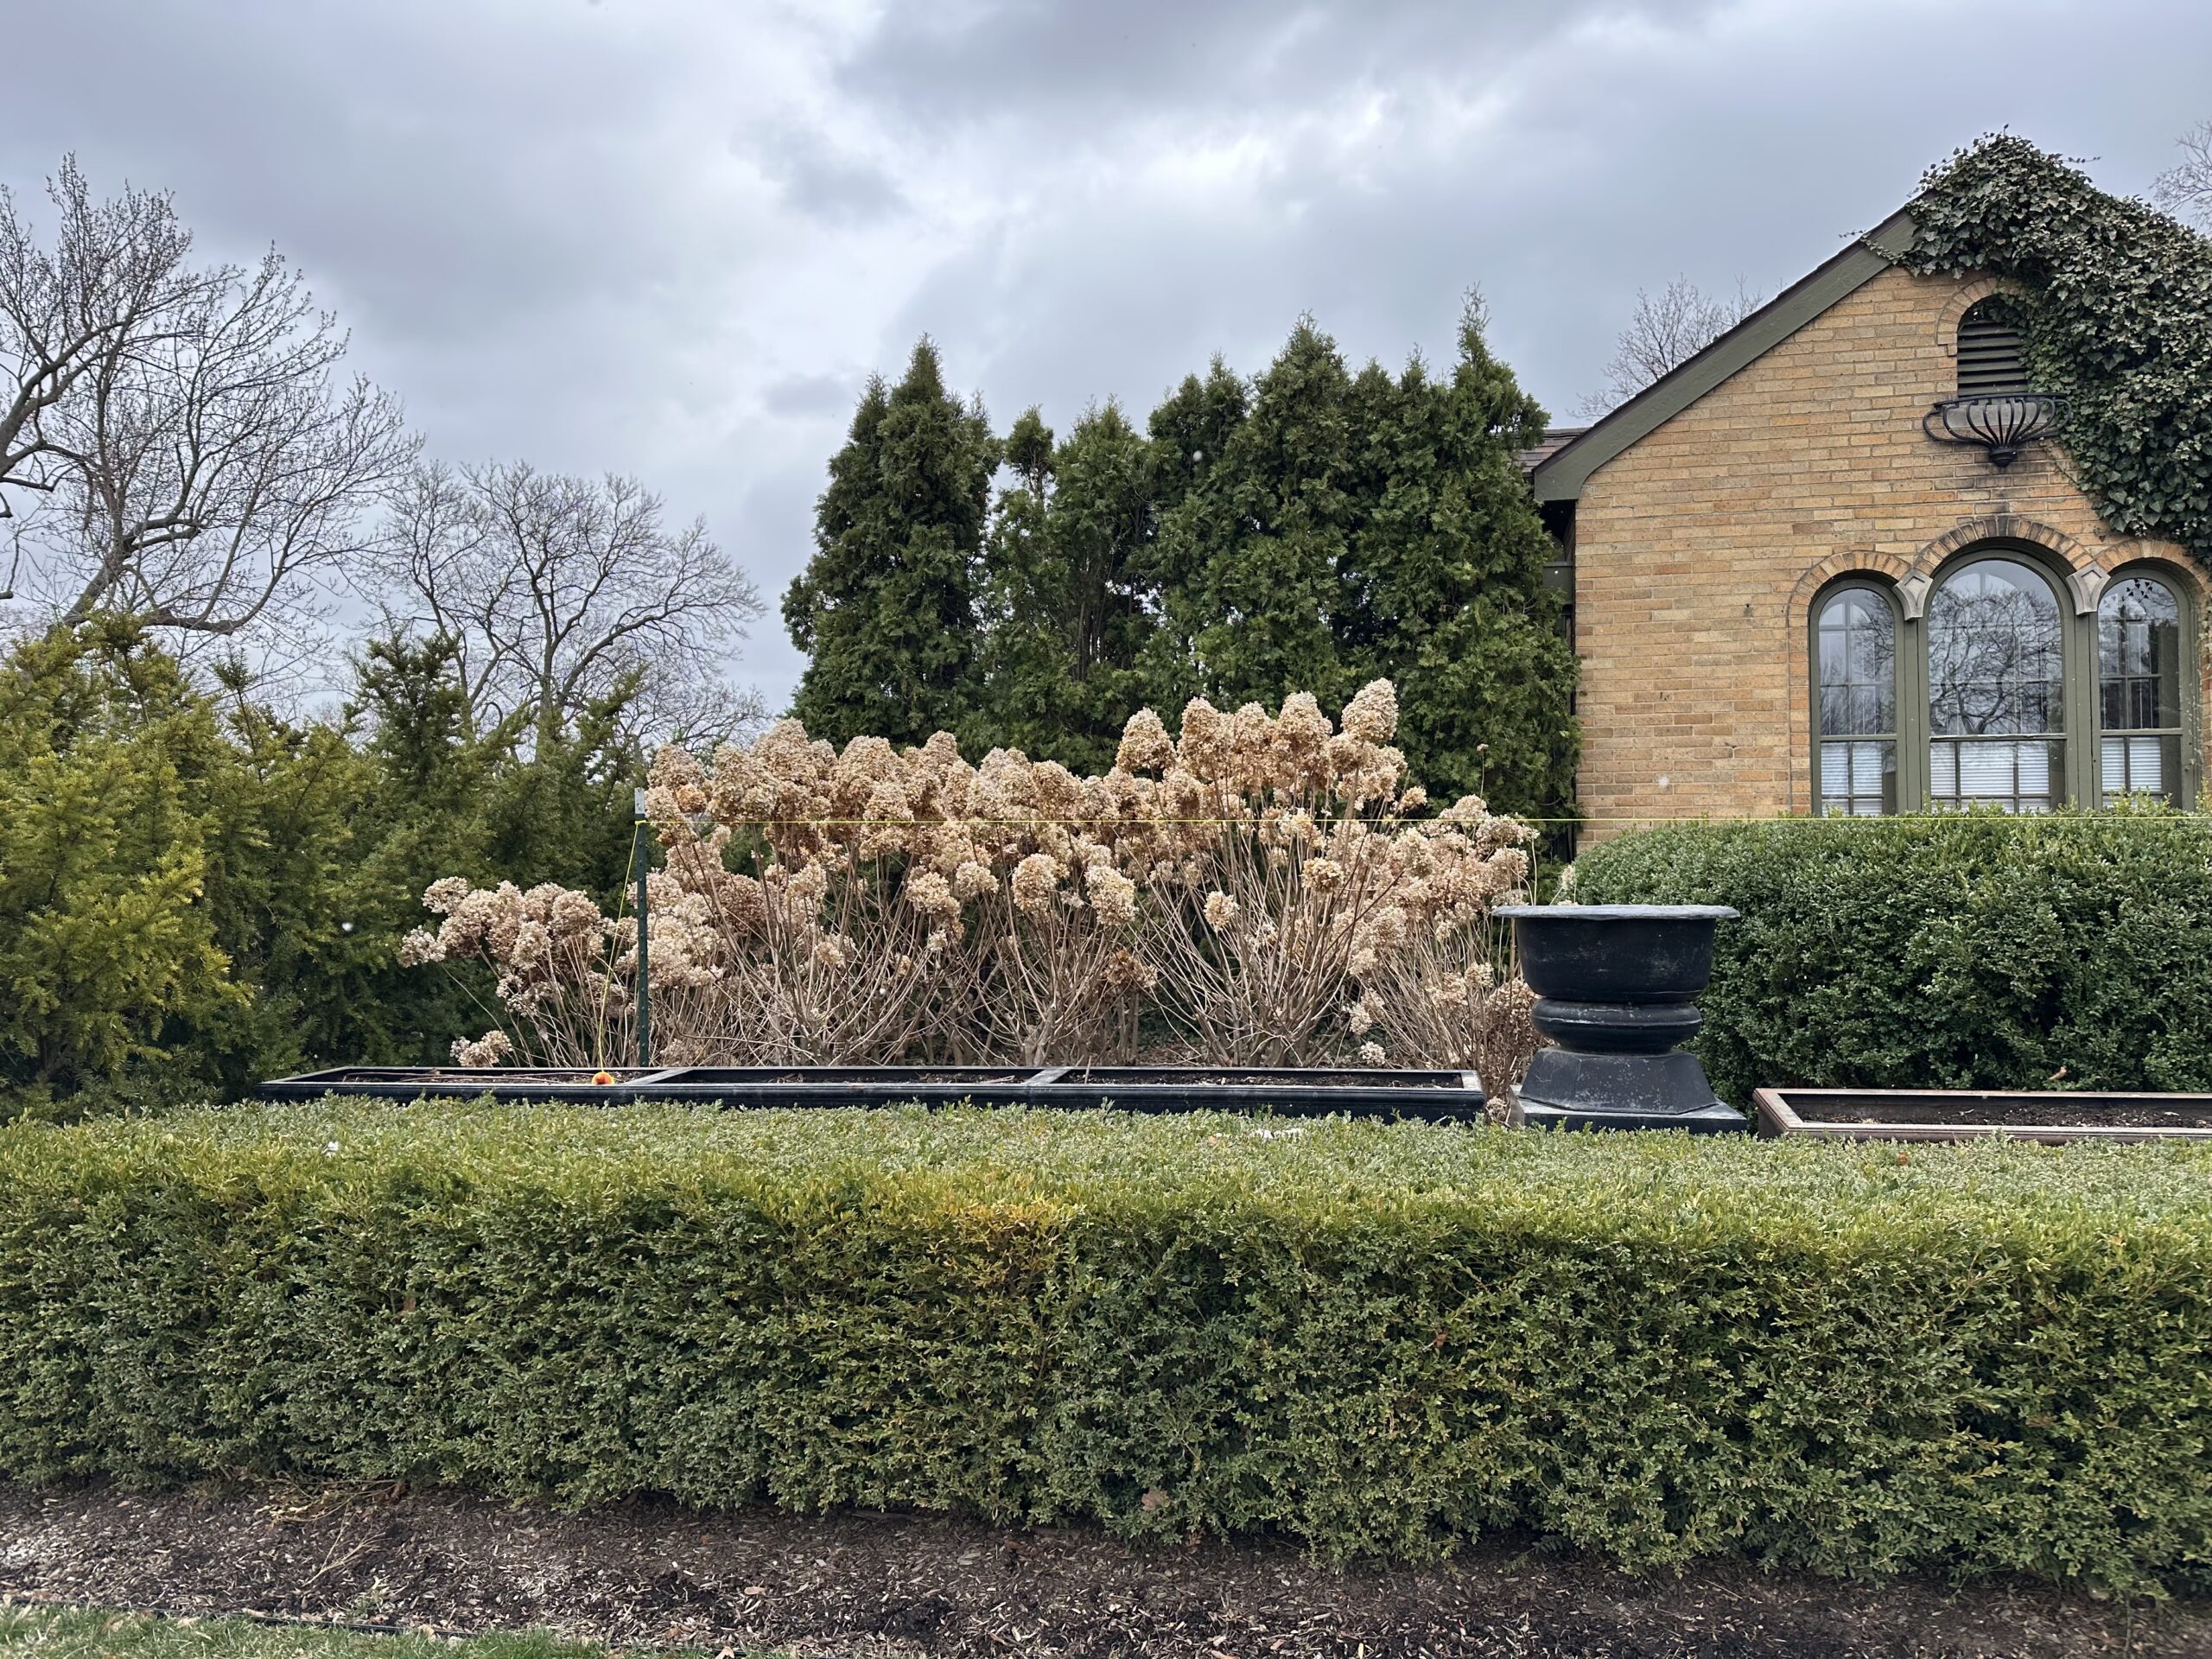
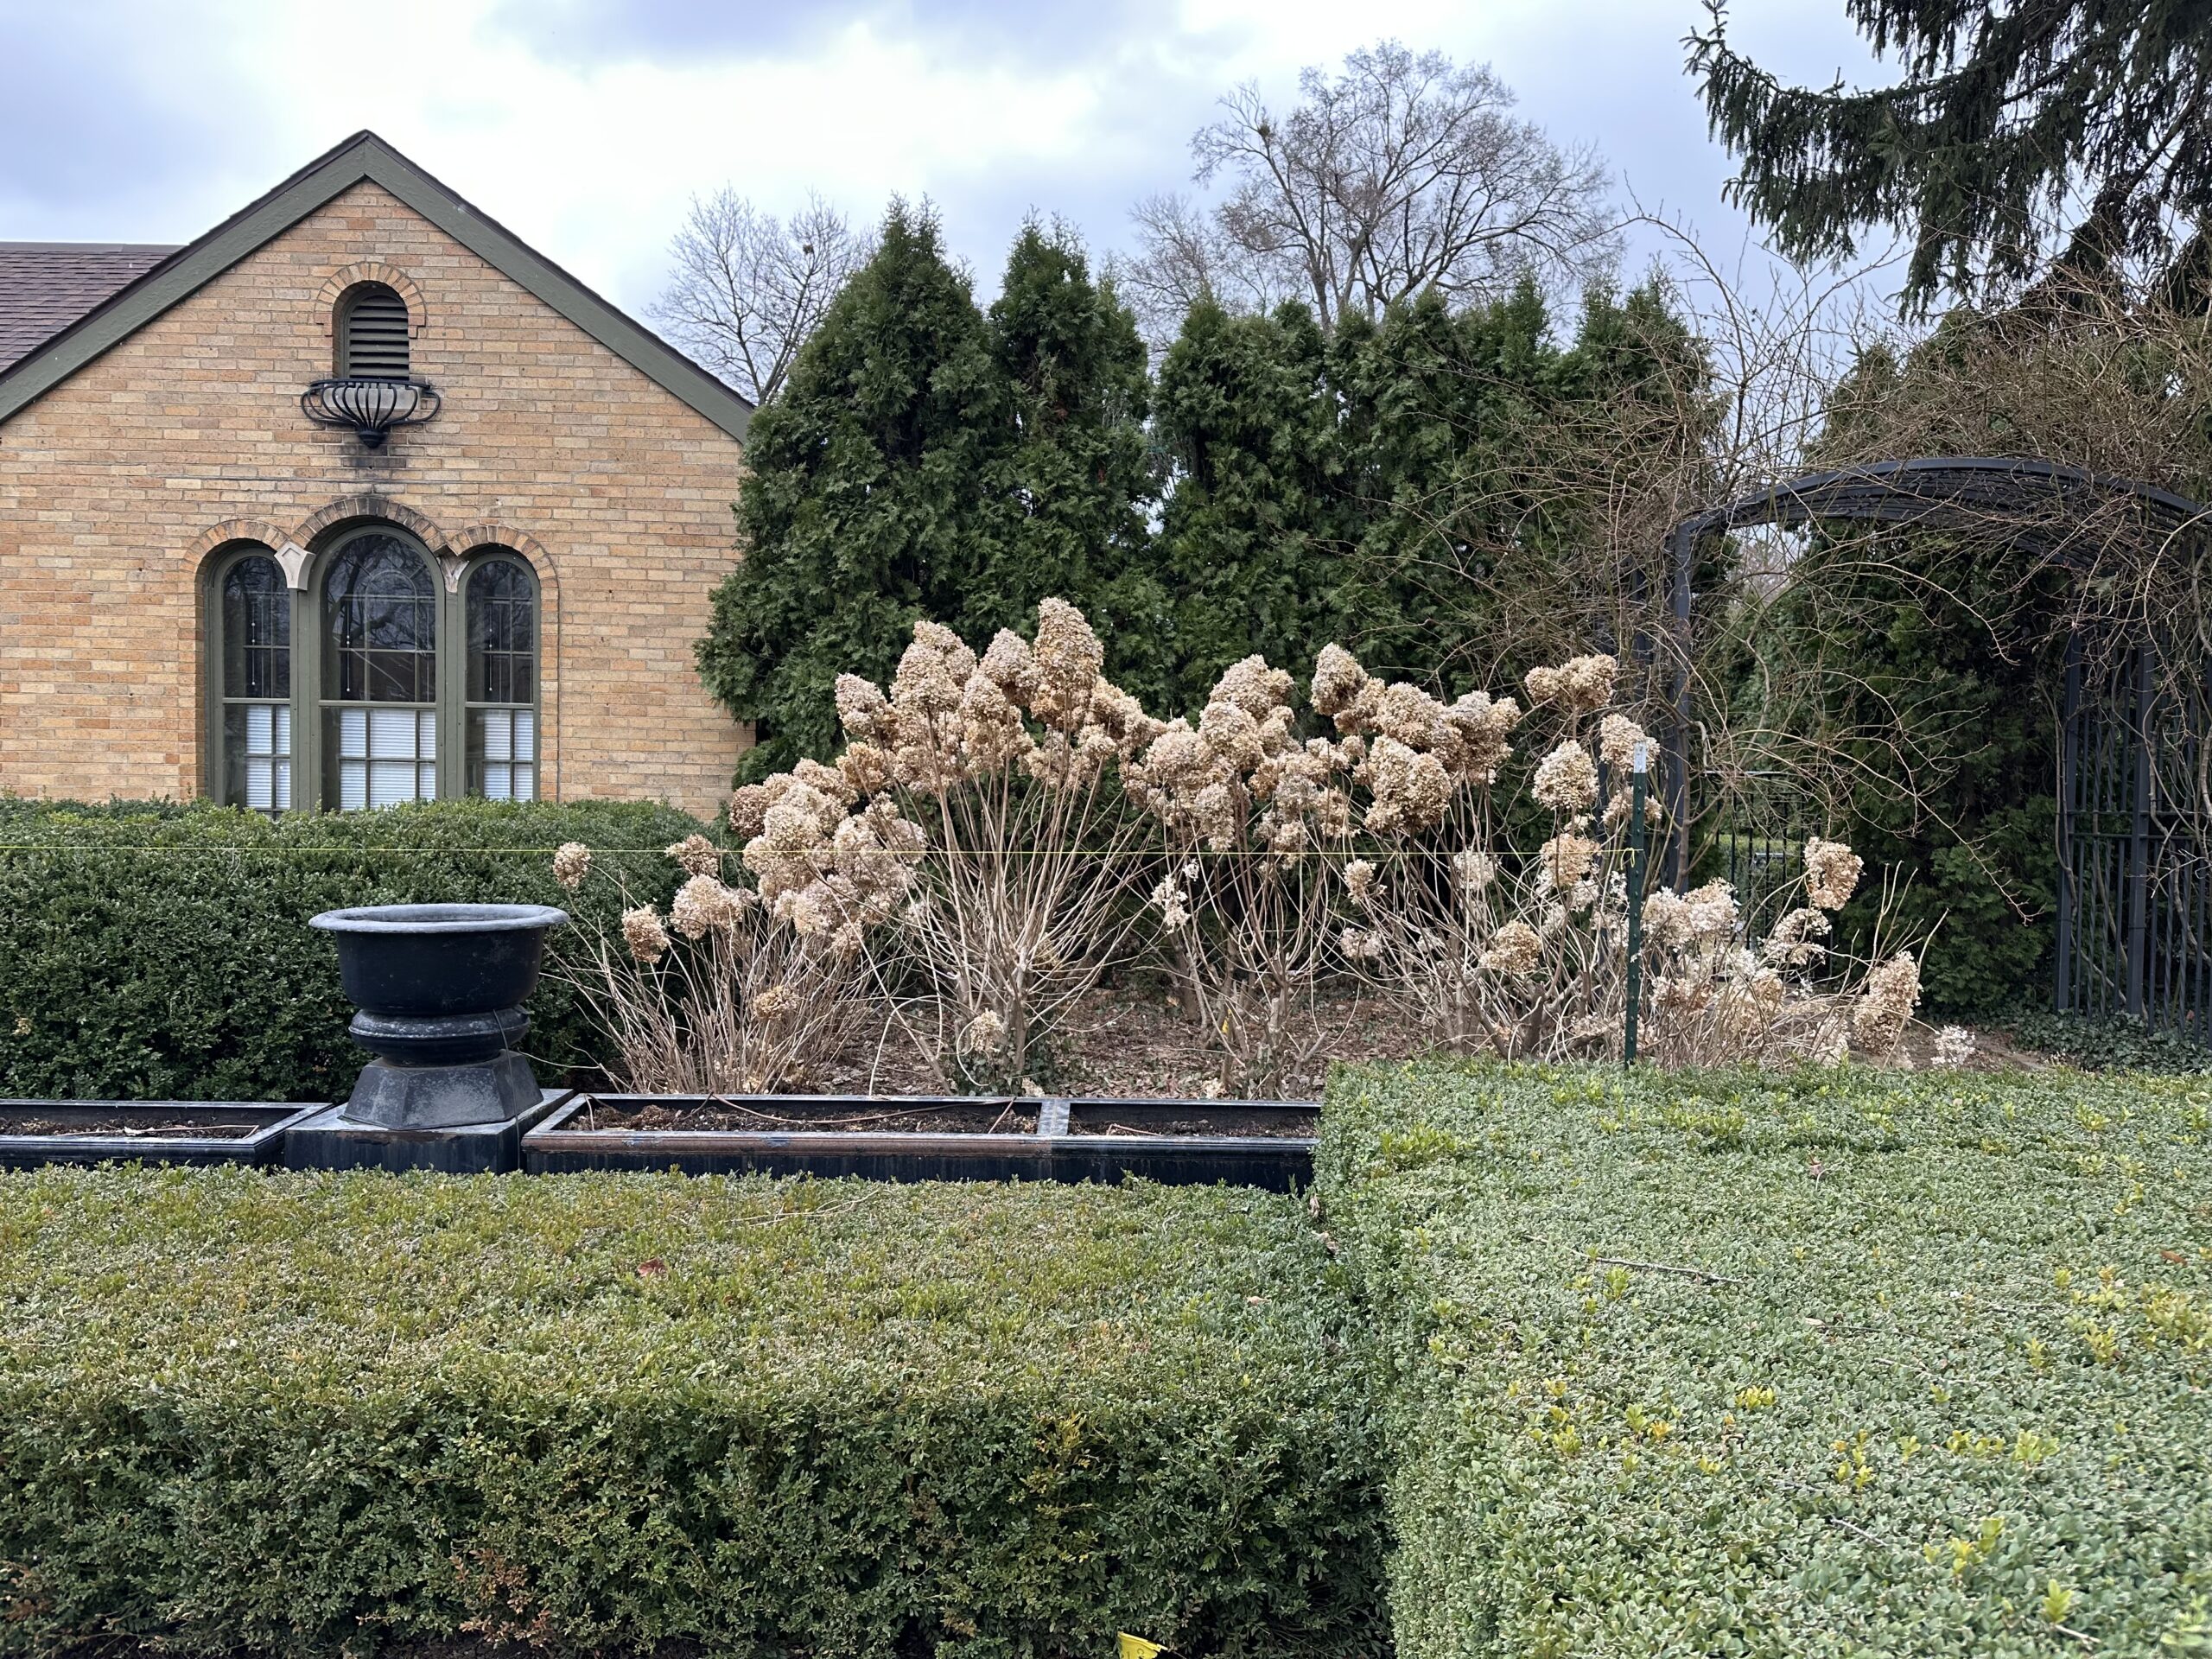
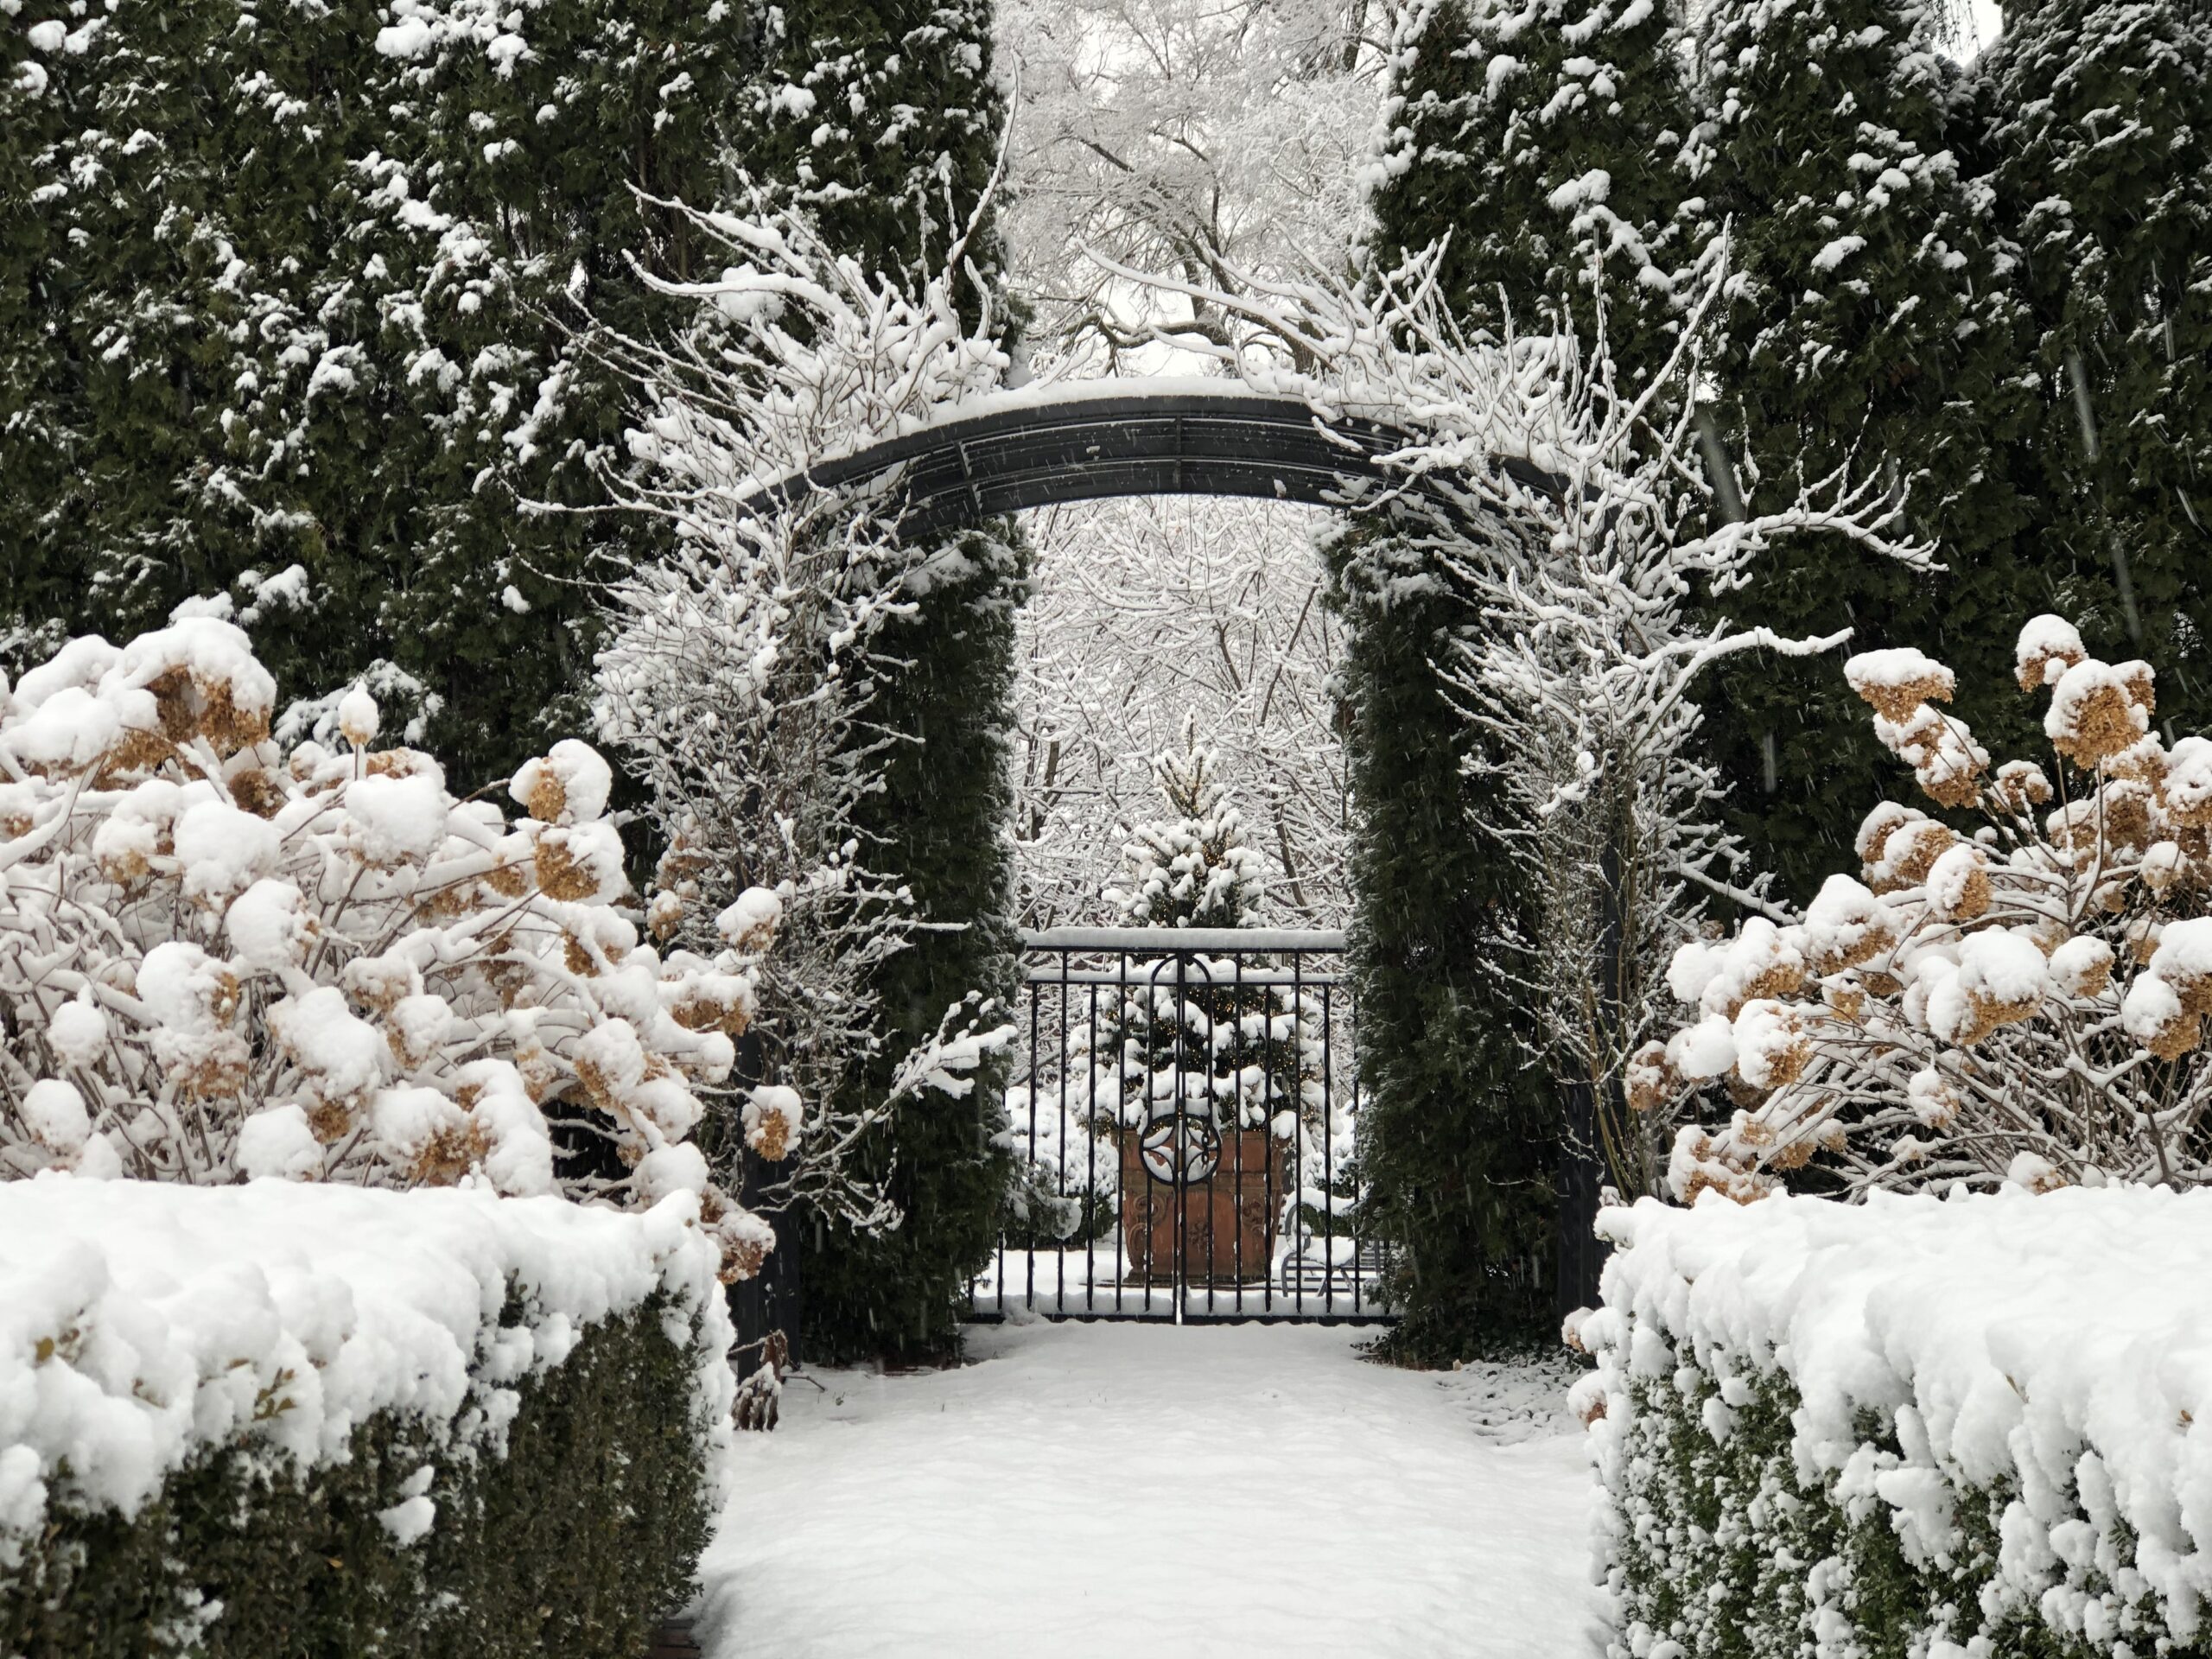 That snow dispassionately described the landscape design. I was happy about what that revealed. A good landscape composition celebrates the depth of a space by beautifully revealing its background, mid ground and foreground. Of course a landscape is a sculpture – a three-dimensional object, if you will. Great landscape design explores that uniquely spatial quality created by land and sky-and edges. I can’t really explain what I mean by edges, except to say that everything and everyone has them. Expressing depth in a composition fuels the means by which a landscape space can be wrought and experienced. A design. Depth in a landscape composition creates mystery, and reveals surprising outcomes at unexpected or opportune moments. Some designers describe this as flow. Others describe this as rooms with transitions in between. The background space above is a thicket of tree branches indicating trees that are a ways away. The focal point of that background space is a a centrally located container with a cut evergreen tree inside. That planter box is in the front of the back – ha. The mid ground space is defined by the hedge of arborvitae that is open in the center to permit travel and views through. The gate marking that entrance and exit is overseen by a steel arbor wreathed in a pair of John Davis roses. That gate explains how the end of the mid ground space becomes the beginning of the foreground space. That arbor is centered in the transition between the front and the back. It also separates the public space from the private. The structure of those climbing roses in the snow is every bit as beautiful here as they are in bloom in June. I mean this. The foreground space features Limelight hydrangeas, faced down by hedges of clipped boxwood, and opens up to a widening path of snow covered grass. This composition features layer after layer of plants from front to back. What is it that makes the relationships established by this design so dramatic and clear? The weather.
 Our most recent snow was not nearly as spectacular as the 2021 storm, but it was good nonetheless. The skirt of this container is set with cut evergreen boughs that radiate out from the center. A second set of evergreen boughs are set on end against the centerpiece. Separating the vertical fir from the horizontal is a loosely defined ring of green and white pine cones in a nest of lights. A single evergreen material has special visual interest given its multi-dimensional placement. This simple arrangement with only a few elements is all the more striking given the landscape around it. The snow tells that story.
 A different year in this location, the container sparkled with an abundance of lights. An unusually textural snow cover produced yet another visual version of this landscape. Over the course of a year or a gardening season, the weather should play a major role in the landscape design. I am an advocate of landscape design which takes a sweeping bow to that element we call nature.
 That same night, the snow illustrated the transition between the driveway and the fountain garden. The pots, arbor and fence occupy that mid ground. That middle ground space can be the most difficult to define and develop in a landscape. It sometimes involves putting an idea or an object or a plant out there in the middle and building from there. Starting a design at the front or the leading edge or the beginning is not necessarily the best or only way forward. A landscape will speak back, if you give it sufficient time. This mid ground space took many years to establish. There is no substitute for age on a landscape.
 This is as close as I have been to that extraordinary snow in 2021. I am happy for it. Beautiful snow is a hallmark of our winter. Having a well designed landscape on which beautiful snow can act makes the winter season welcome, yes. The fence pictured above, punctuated by a gated arbor and flanking pots, is not that unusual a treatment of an outdoor space – but the considerable change of level does give pause. But the simple arrangement of bold and thoughtful forms emphasizes the main idea. The legibility of intent is key to good landscape design.
 Most of my landscape is going on 28 years old. That age has enriched design decisions made decades ago. Sometimes it is good to stay the course, and see what grows.