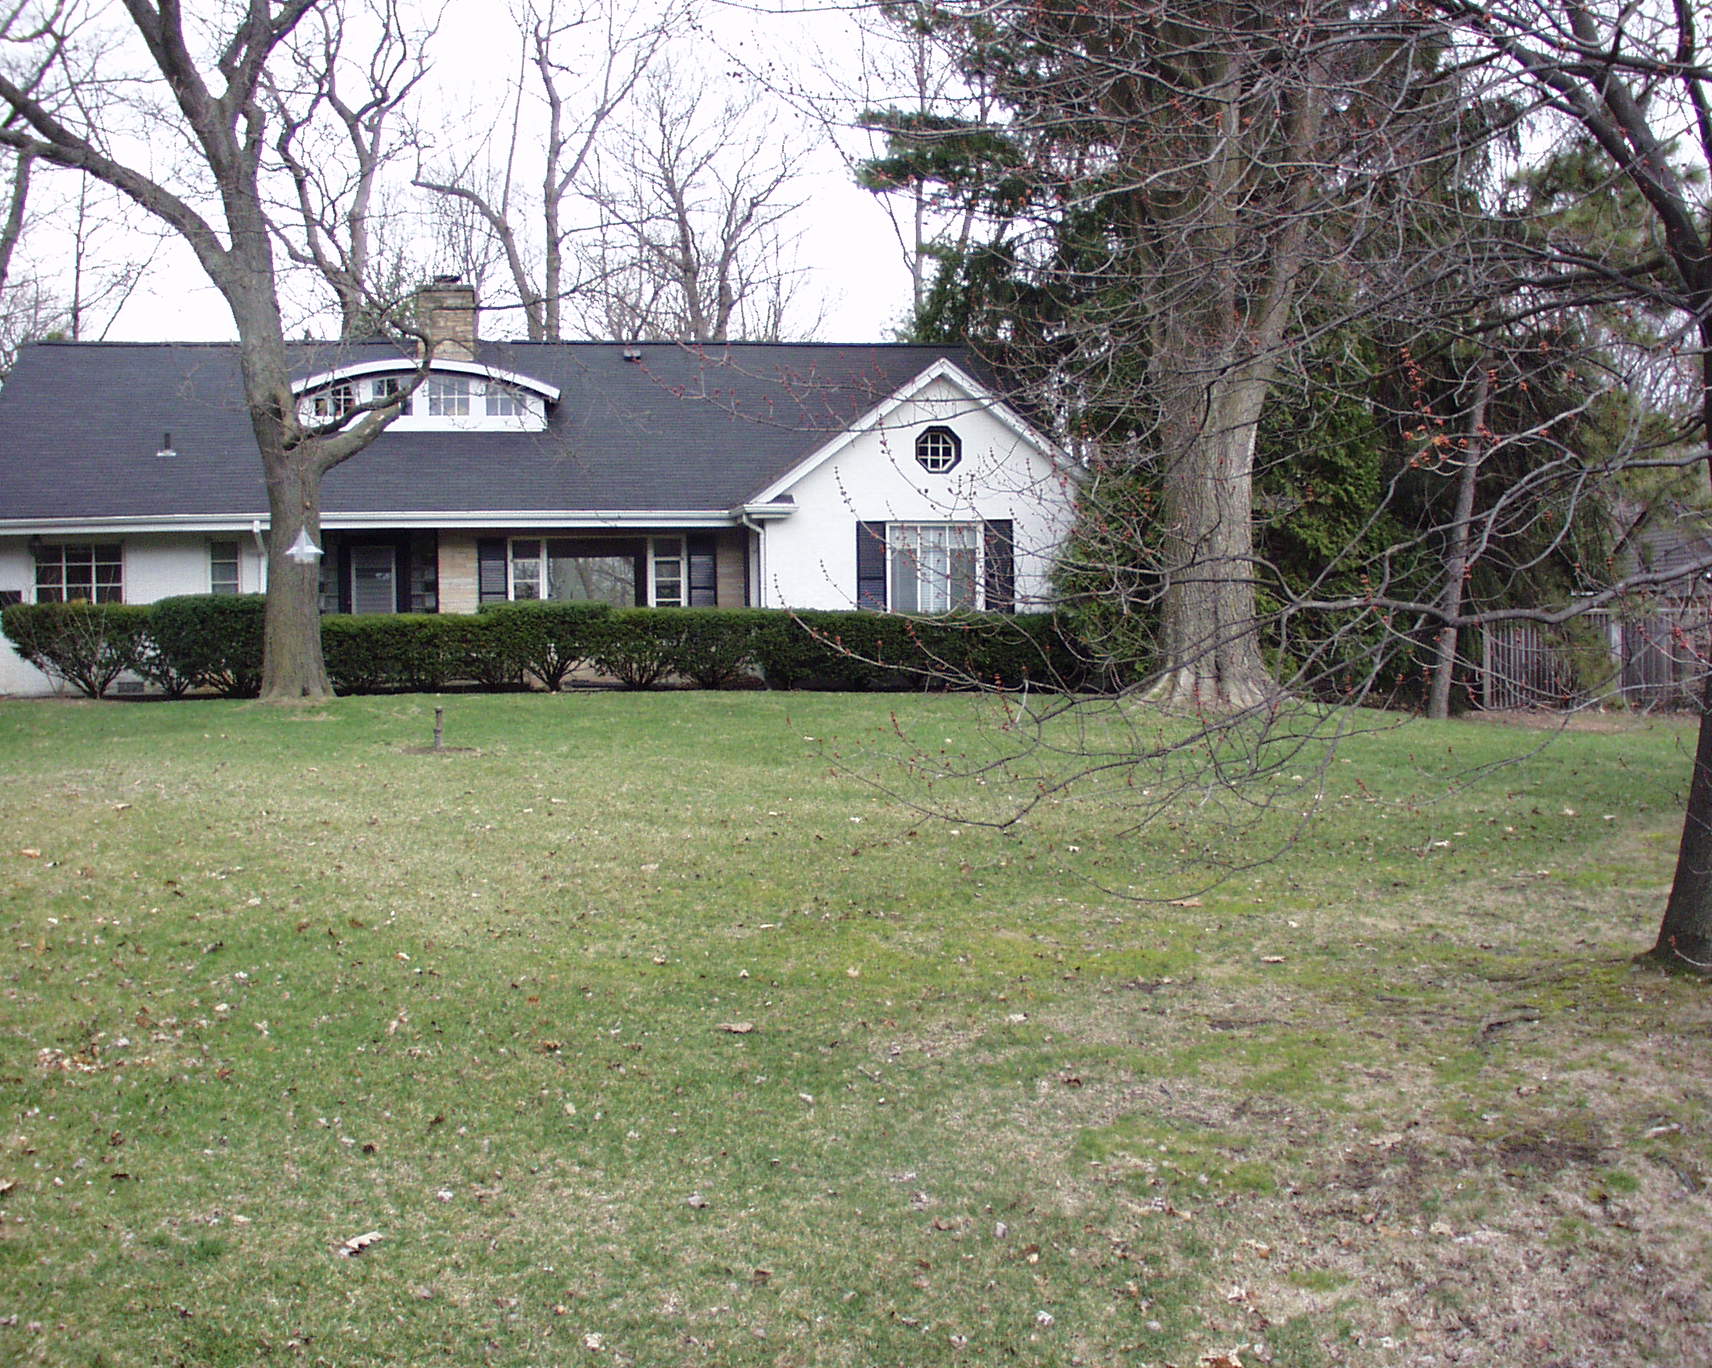
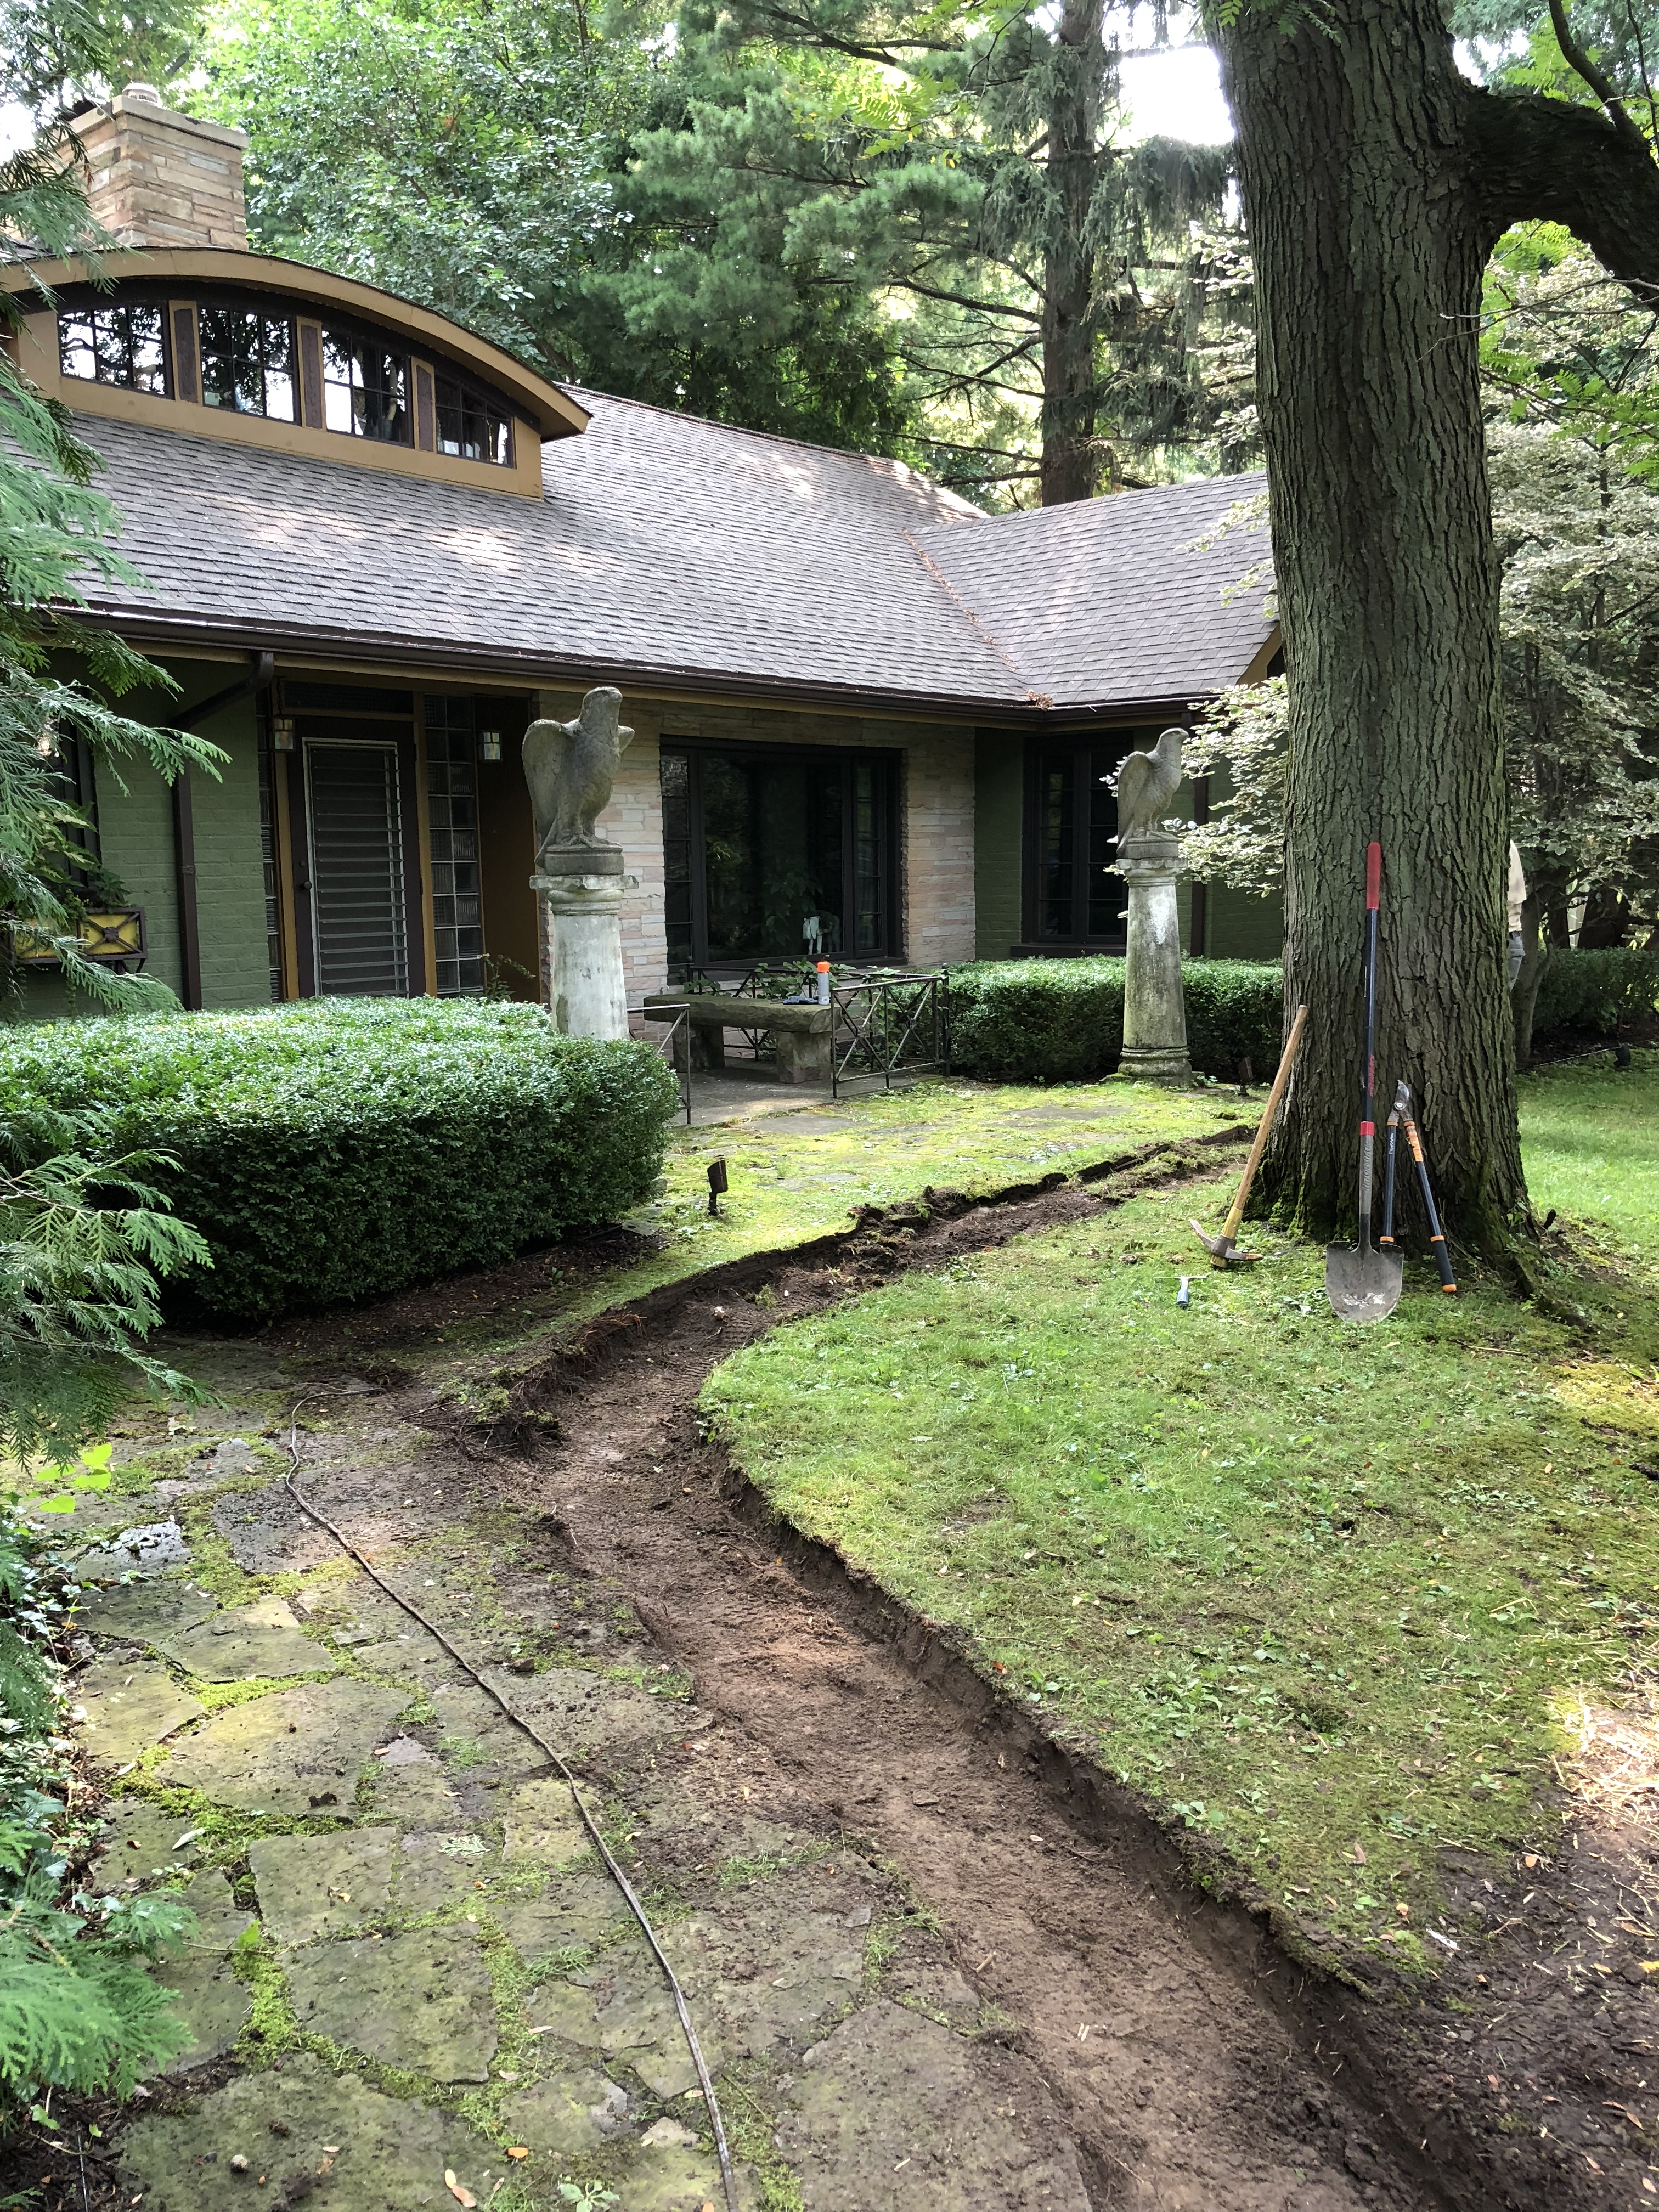
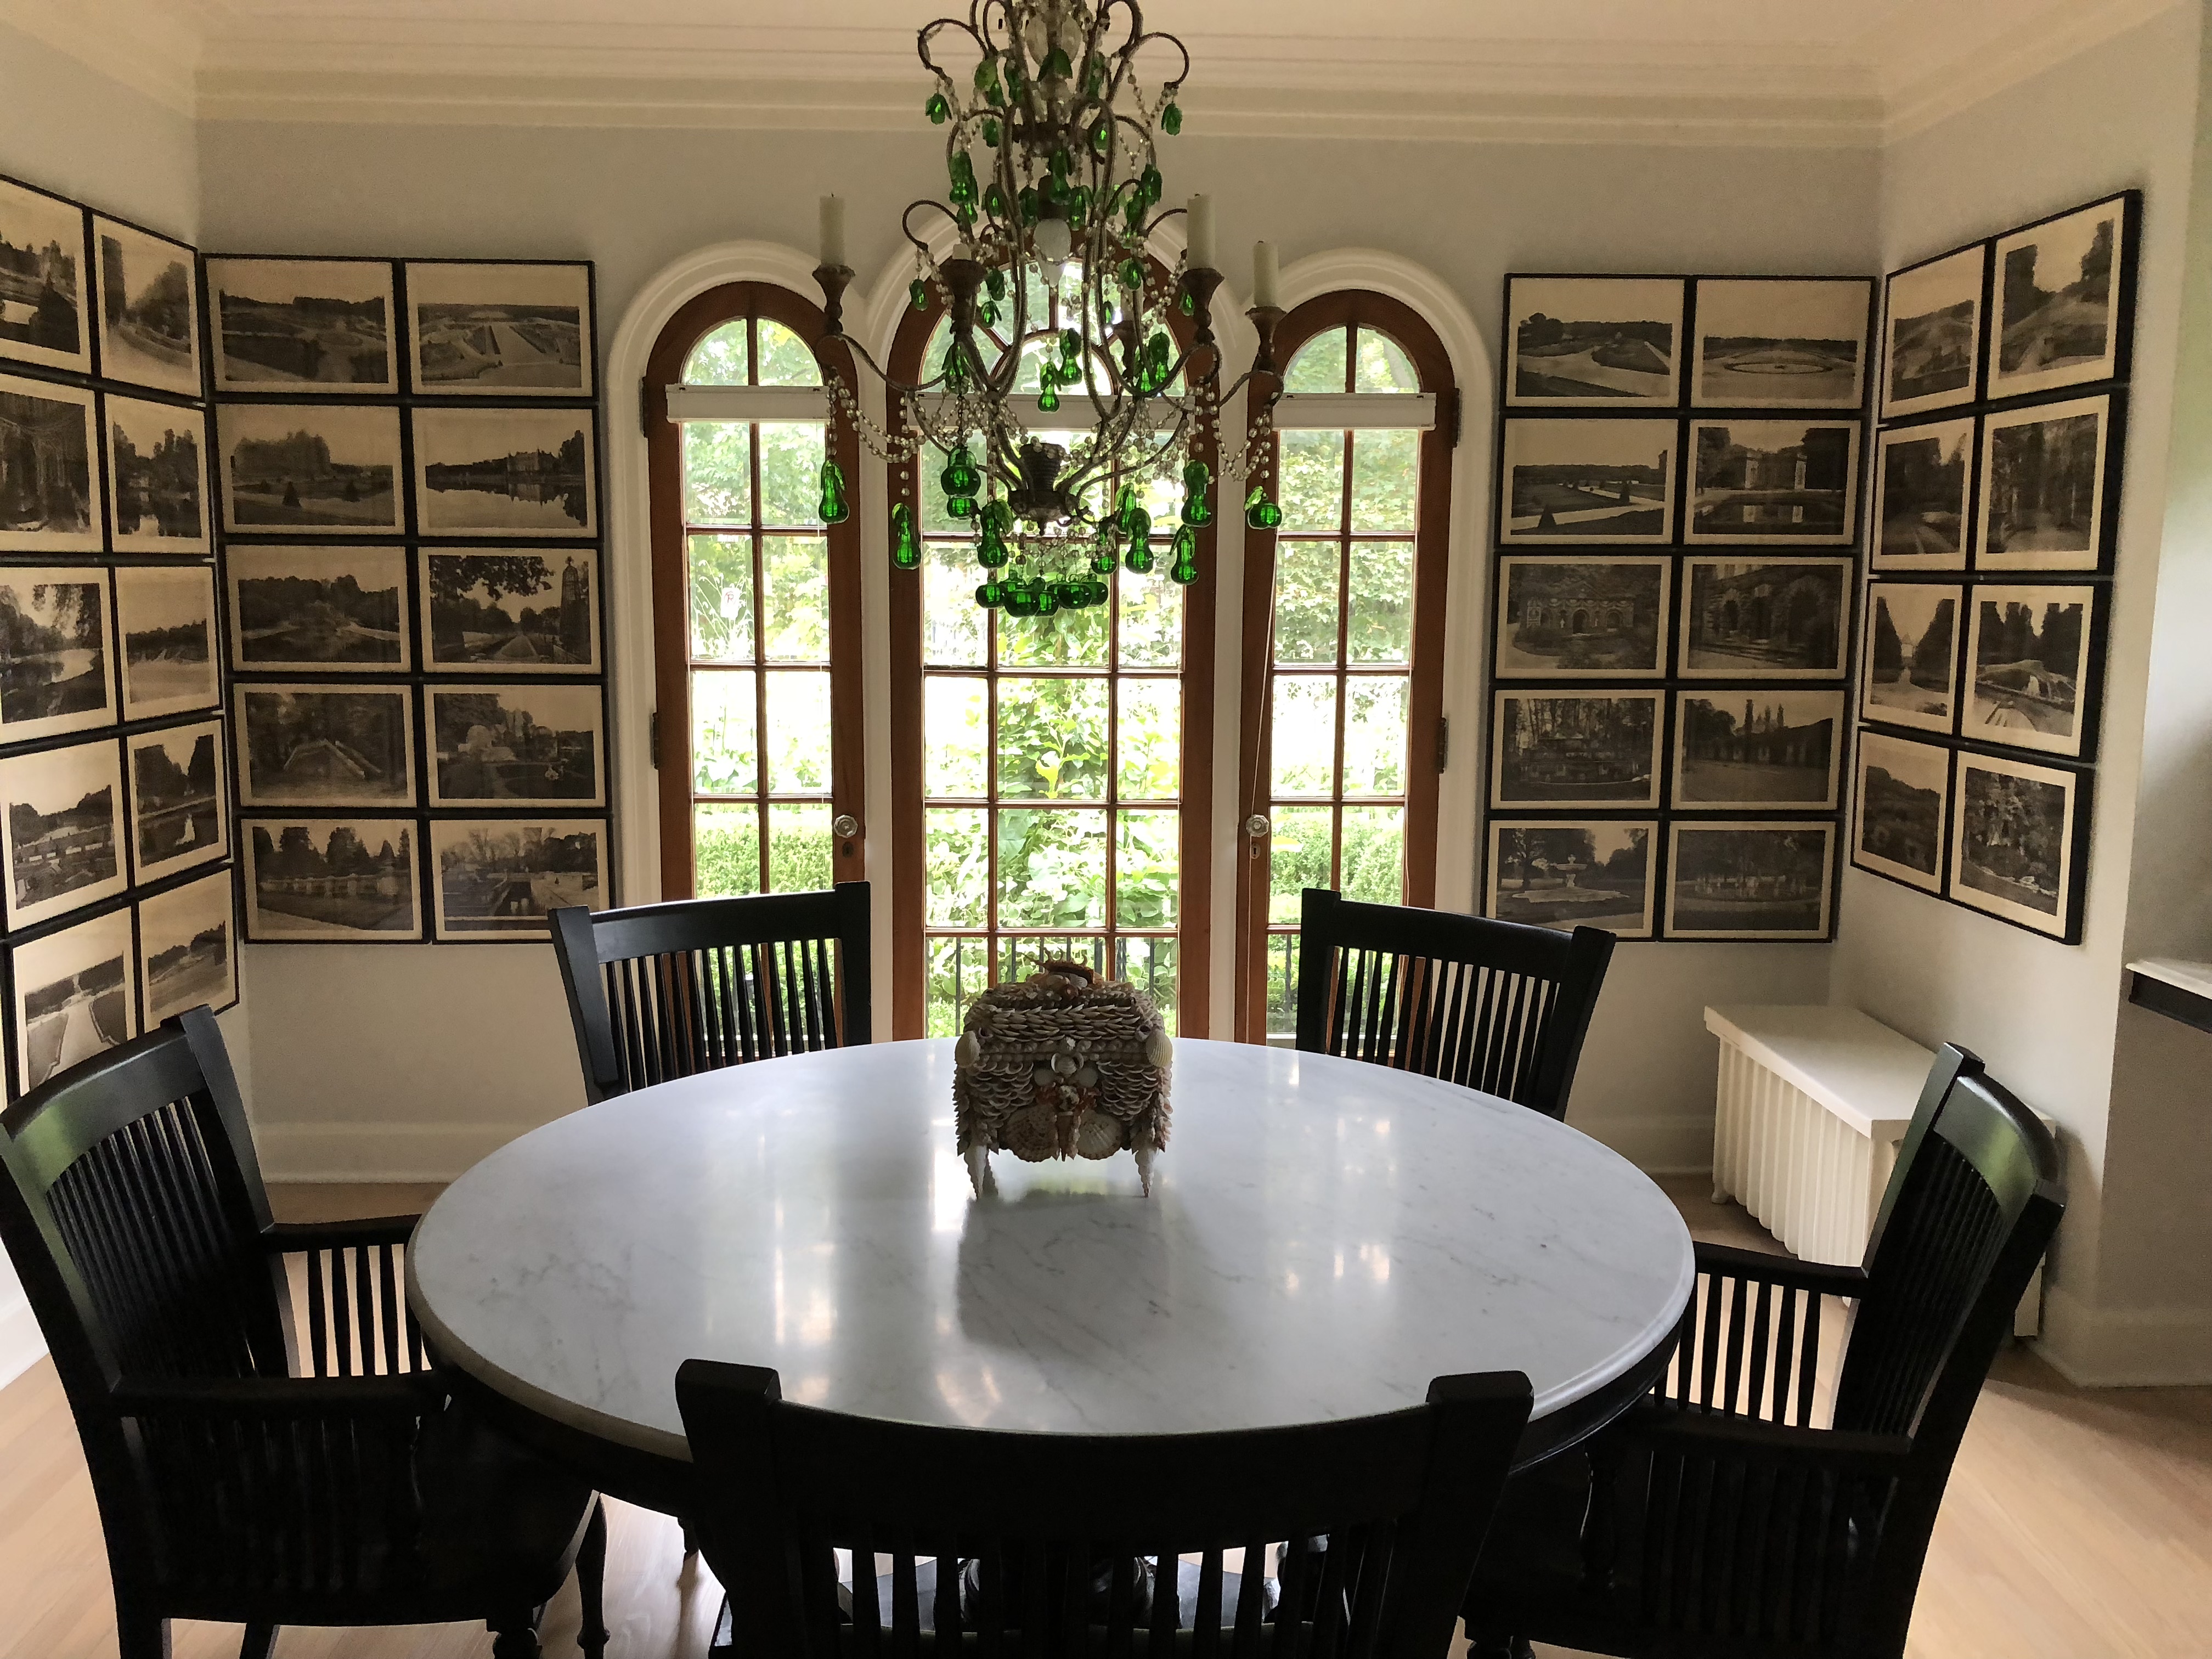
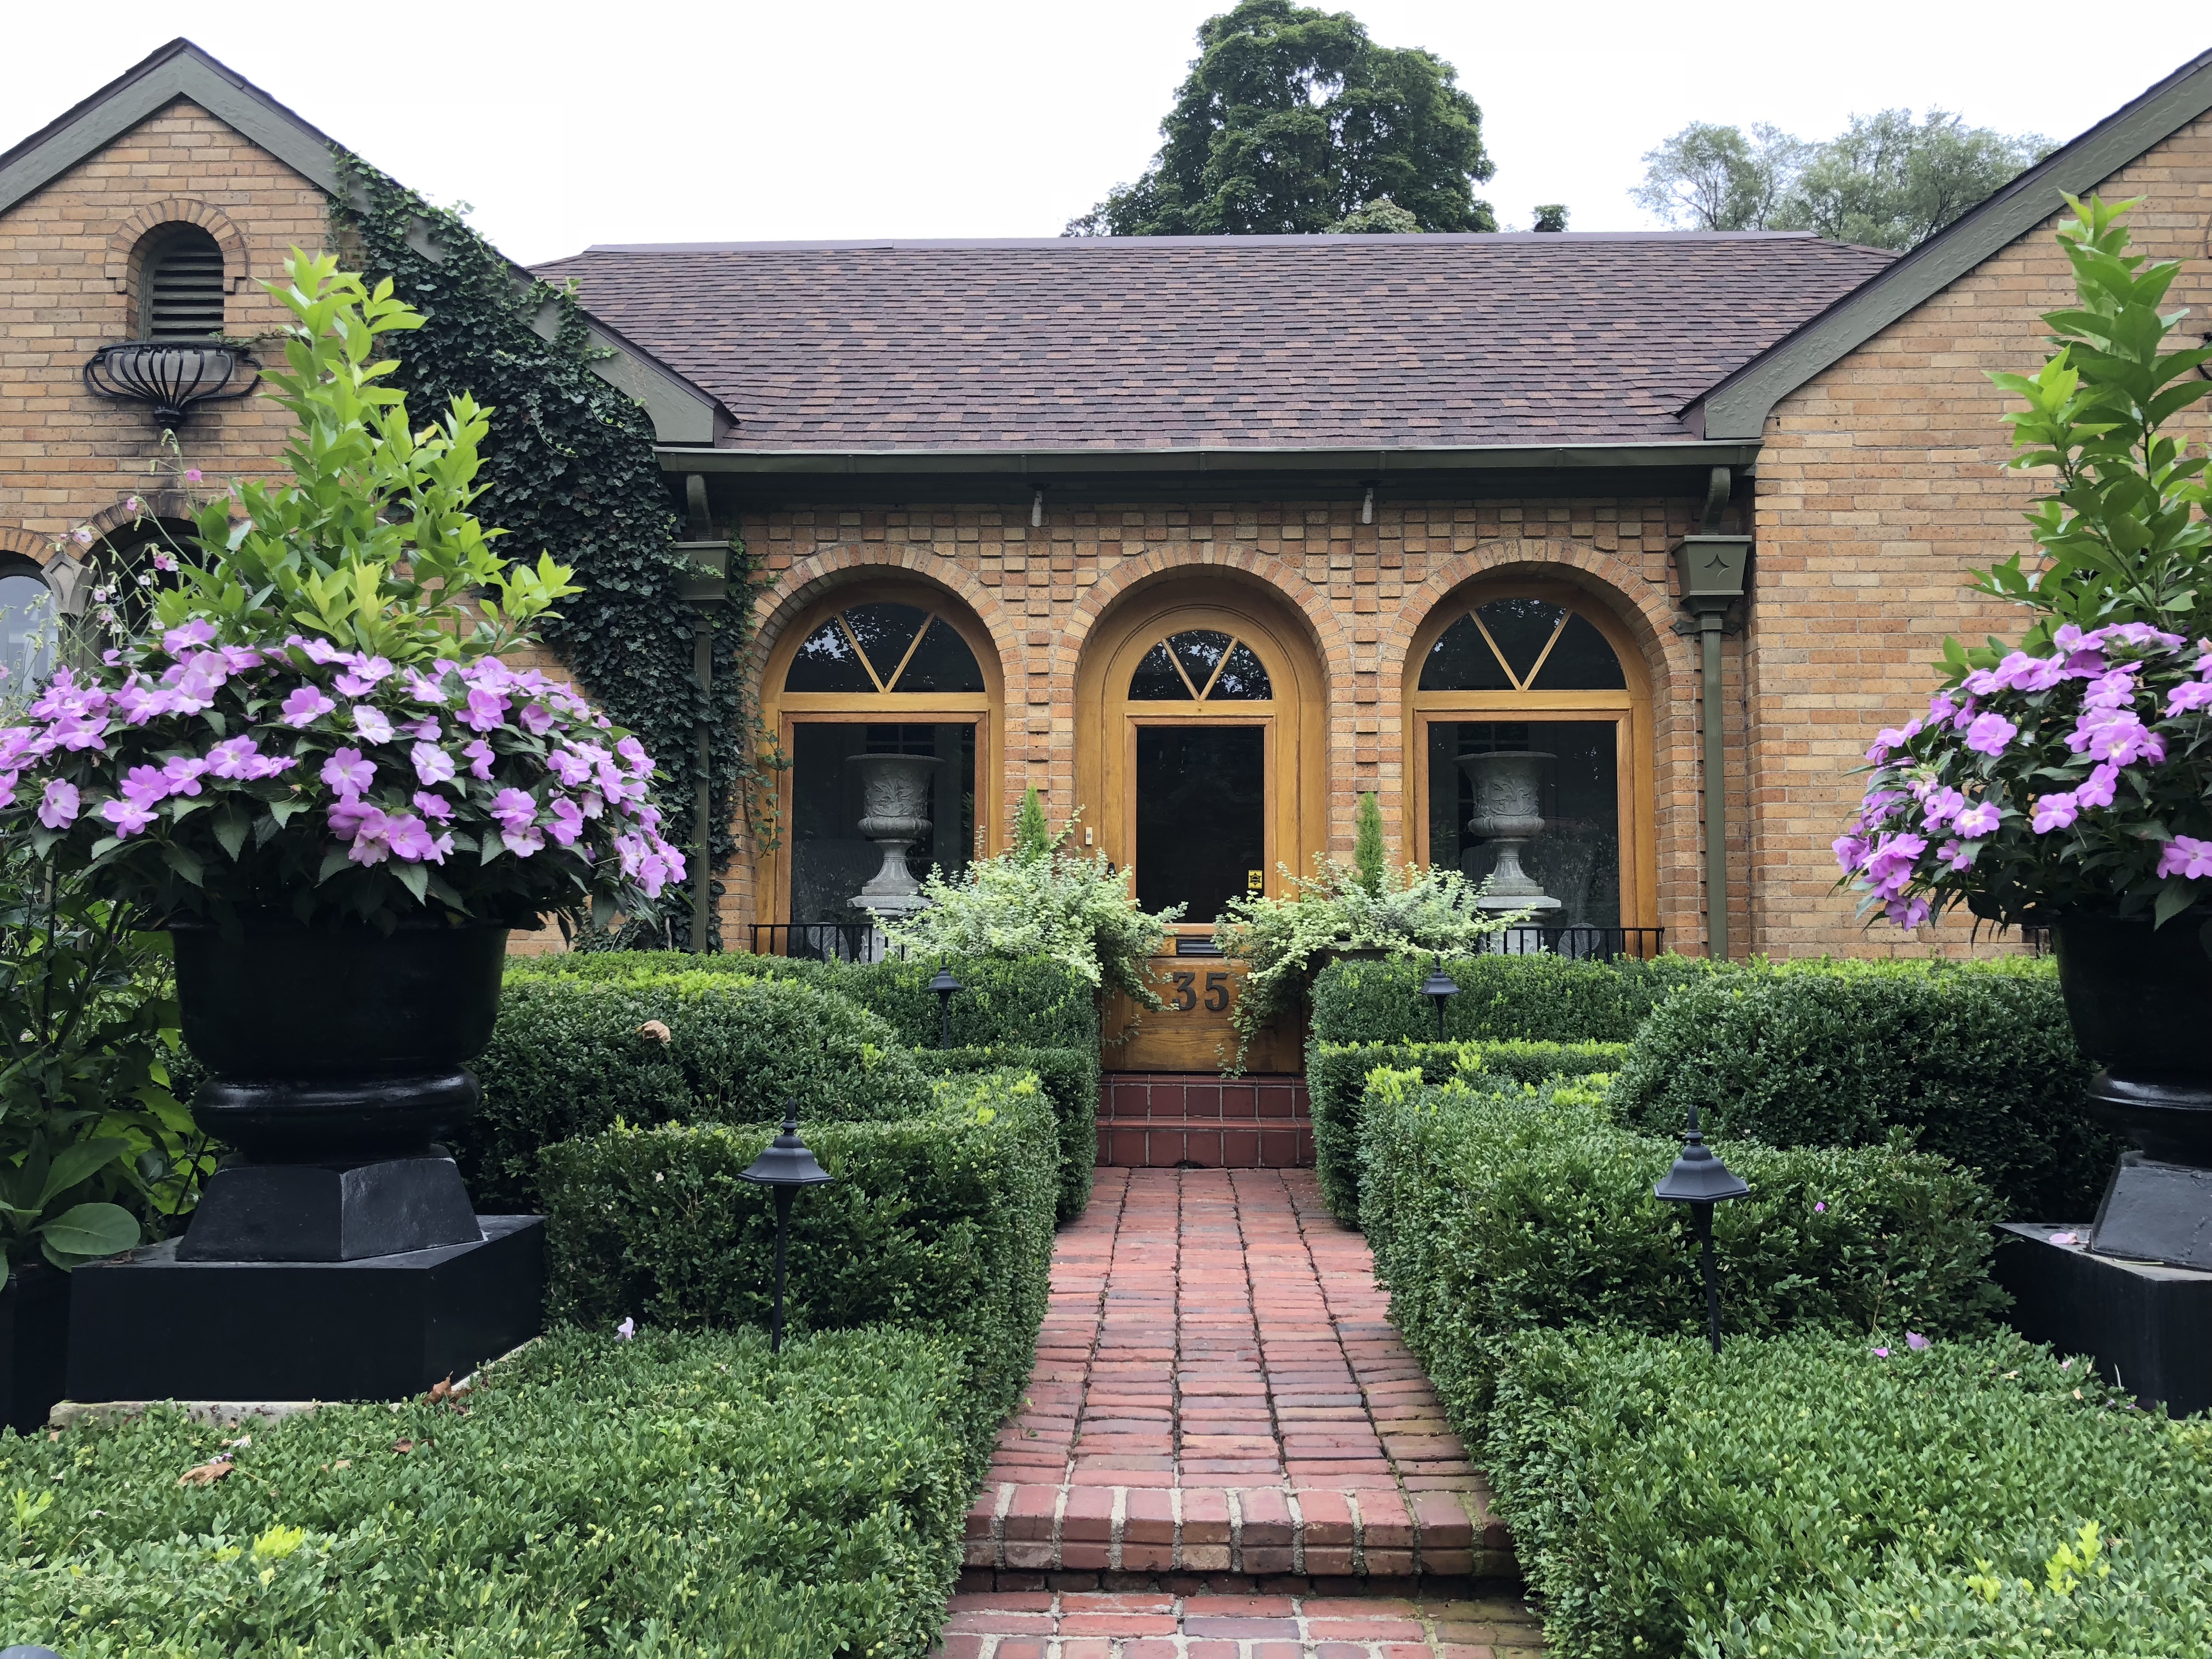
 Creating beautiful views in the landscape is an important component of good design. Those views are not exclusive to the outdoors. The frames around windows and glass doorways provide an ideal opportunity to create interesting views of the landscape from inside out. This is the most compelling reason there is to avoid foundation plantings that grow tall and obstruct the view out, rather than frame or enhance it. Foundation plantings? Any planting that is cozy with that place where a house comes out of the ground is considered a foundation planting. I grew up in a suburban neighborhood in the 1950’s, where every house had shrubs and trees lined up tight to the base of the house. I am sure the idea was to soften that hard structure emerging from the ground with plants. This is a fine idea, as long as the plants don’t overpower what they were intended to augment. Dead center to this large window and pair of French doors is a large container. I plant it tall and lavish enough to provide an obvious focal point from the garden that can be enjoyed from inside the room.
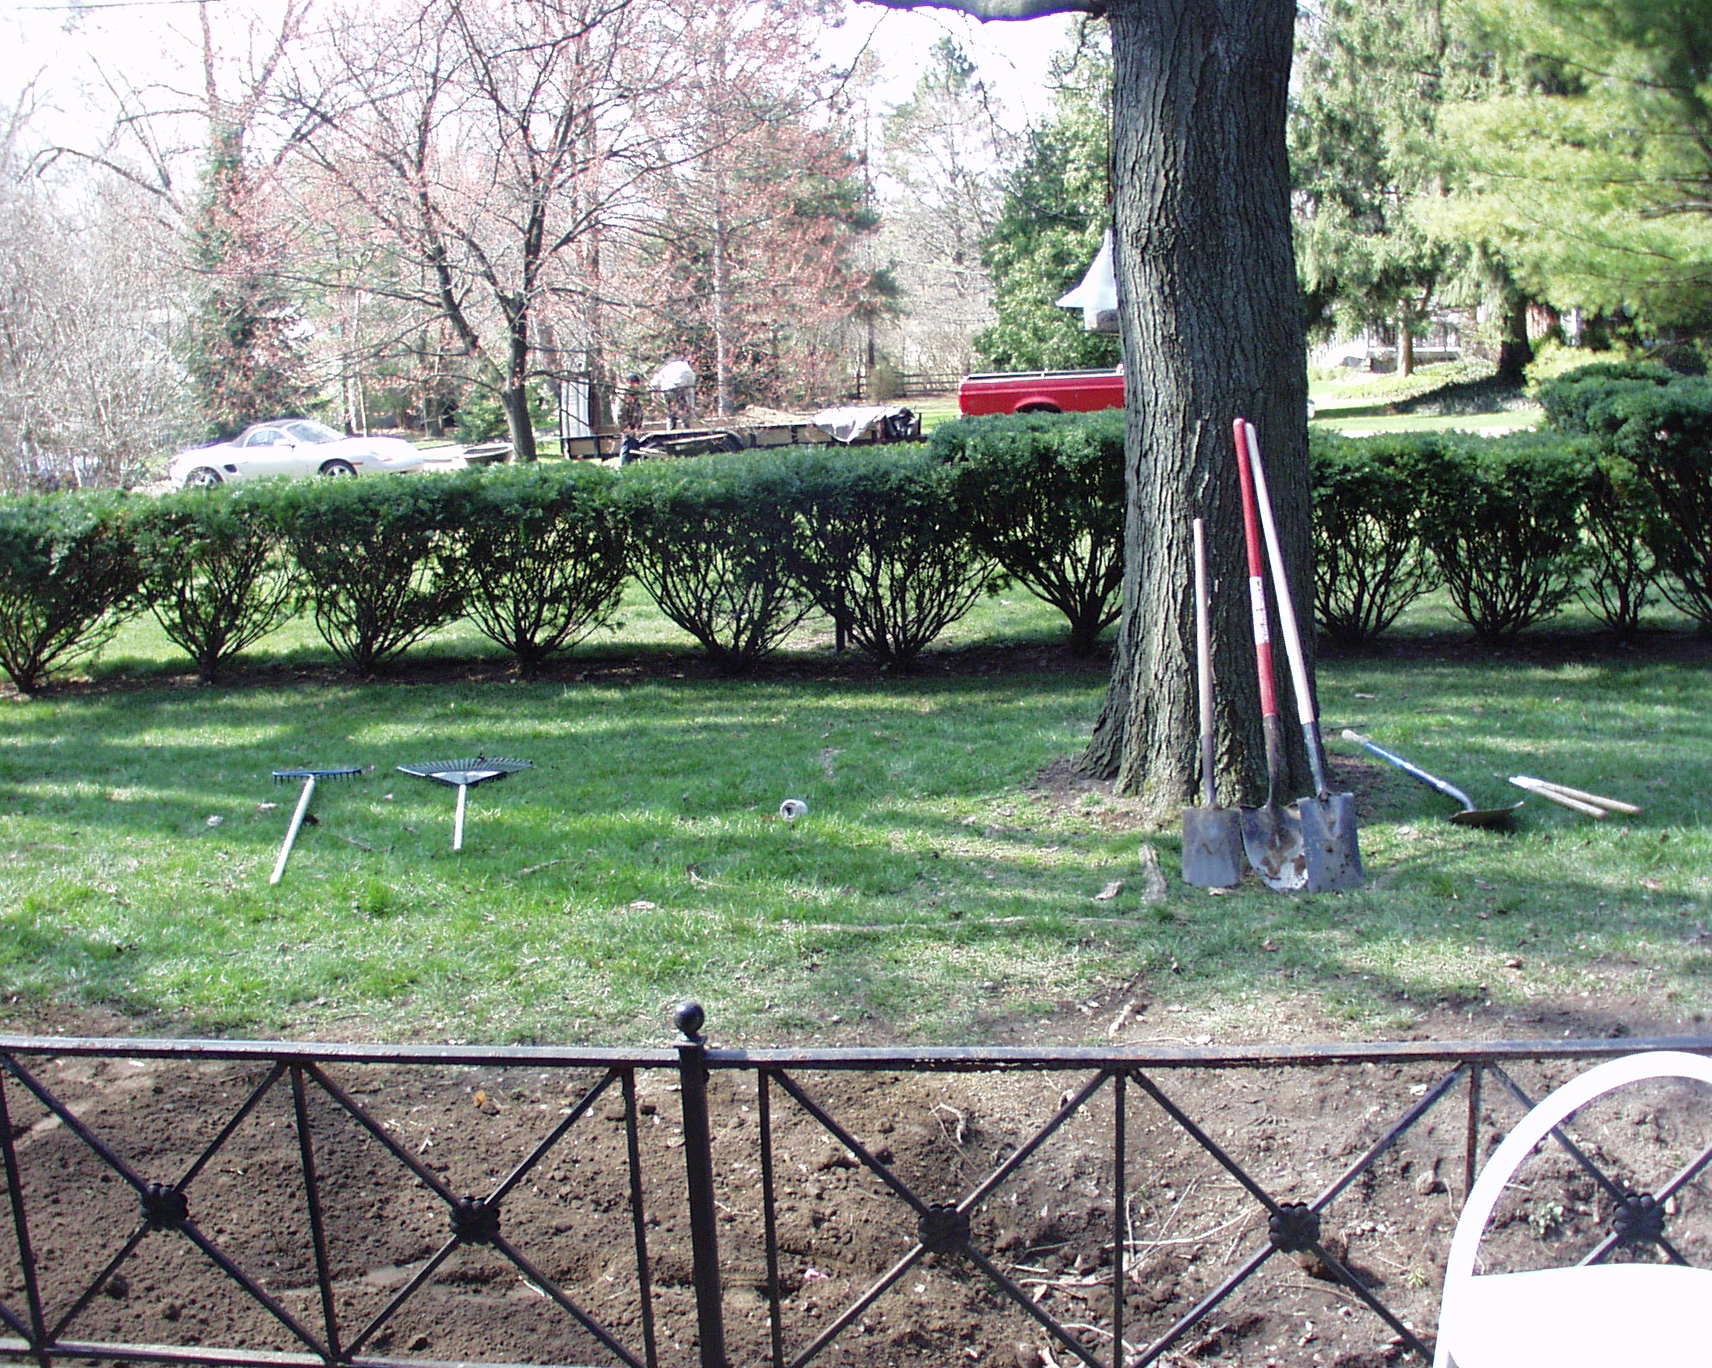
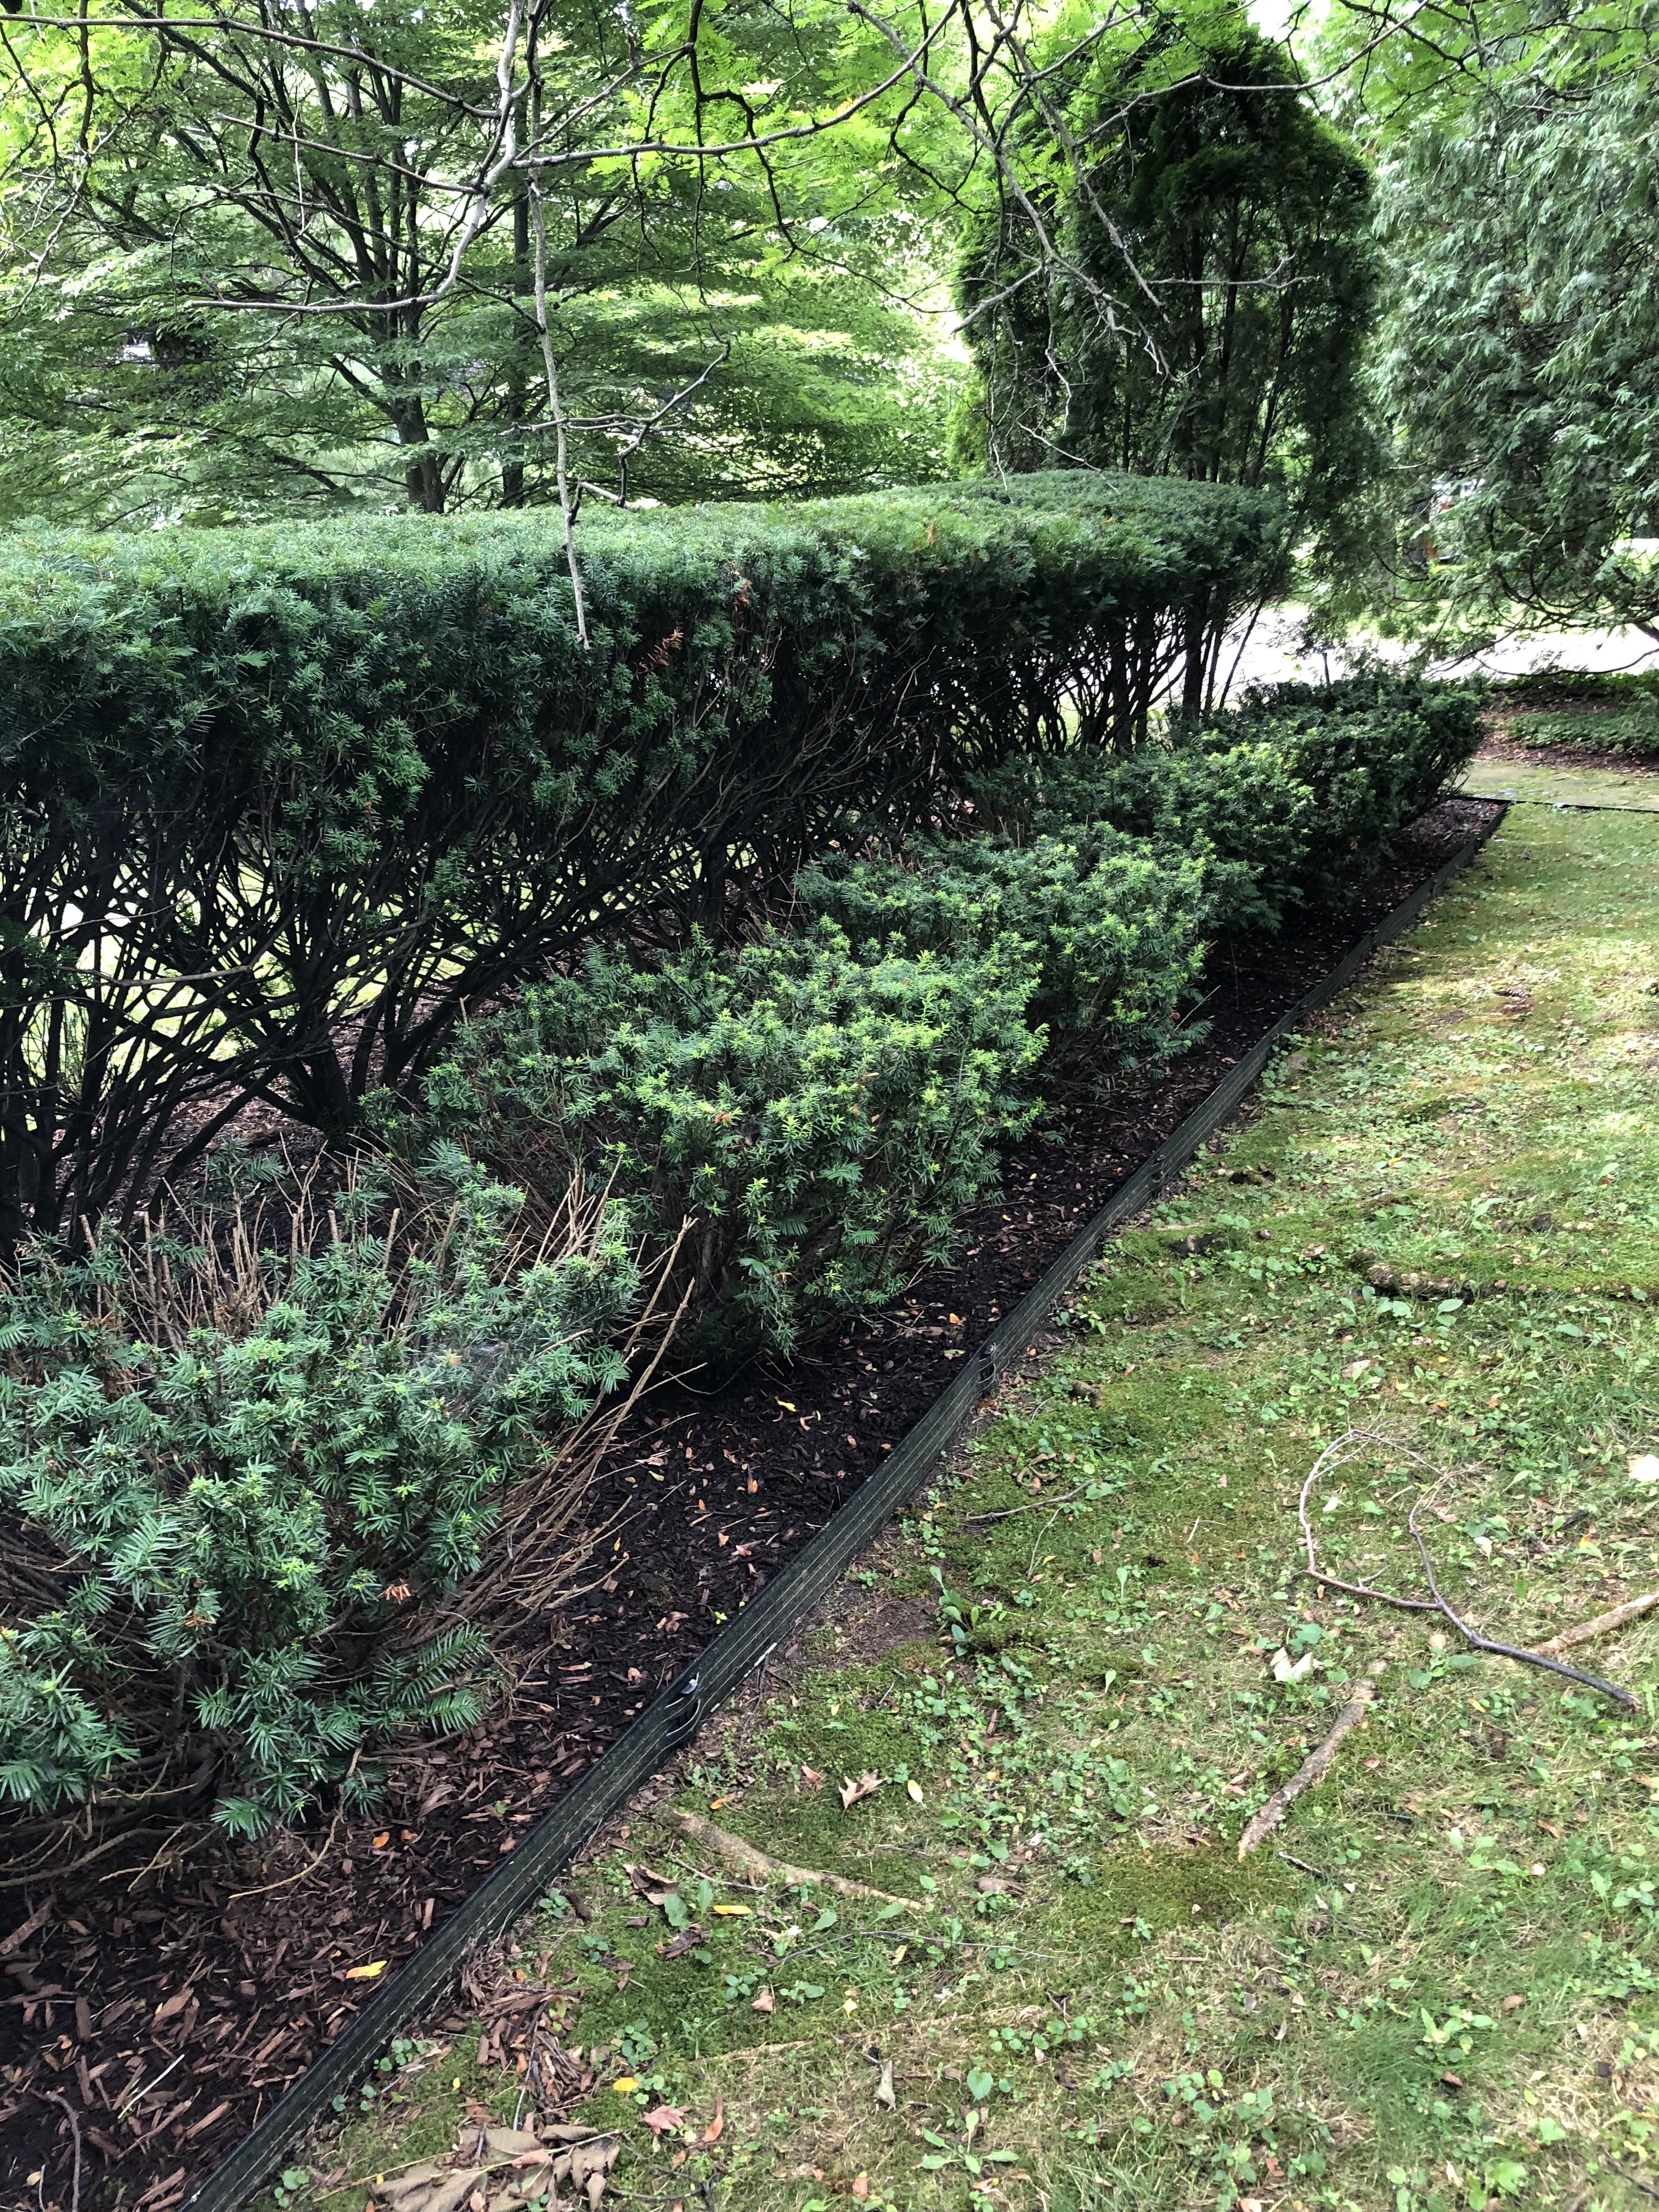
 The pot is not a foundation planting; it is at least seven feet away from the house. It is however, the star attraction out that window. I plant it for summer and most definitely for winter. The view out that window in those seasons are just as important as the views from outside. Providing room and airspace is key to a good landscape design. Even the arborvitae in the center background of this picture was planted a good five feet off the foundation. How it hugs the house now it friendly, not threatening. There are no views from the inside out there.
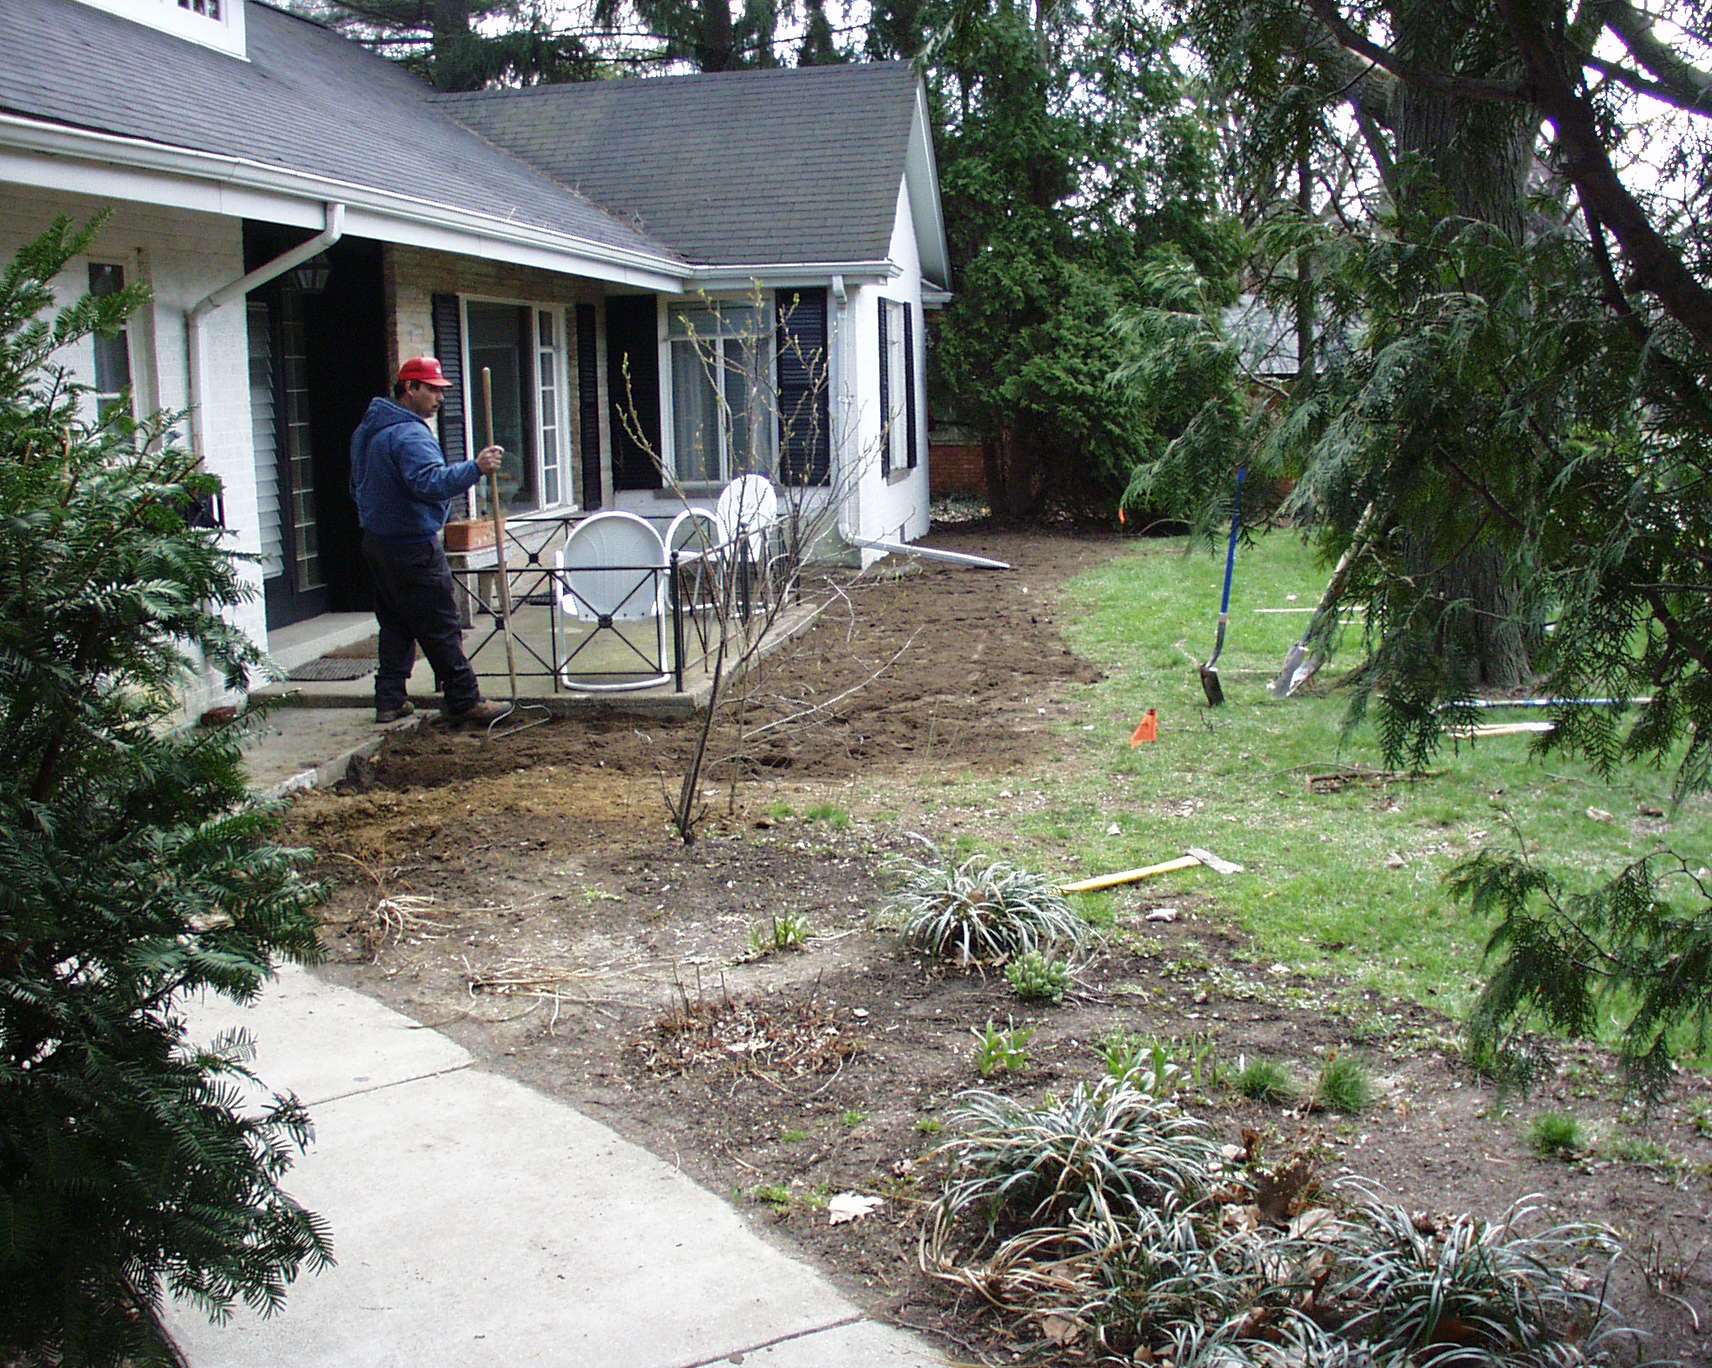
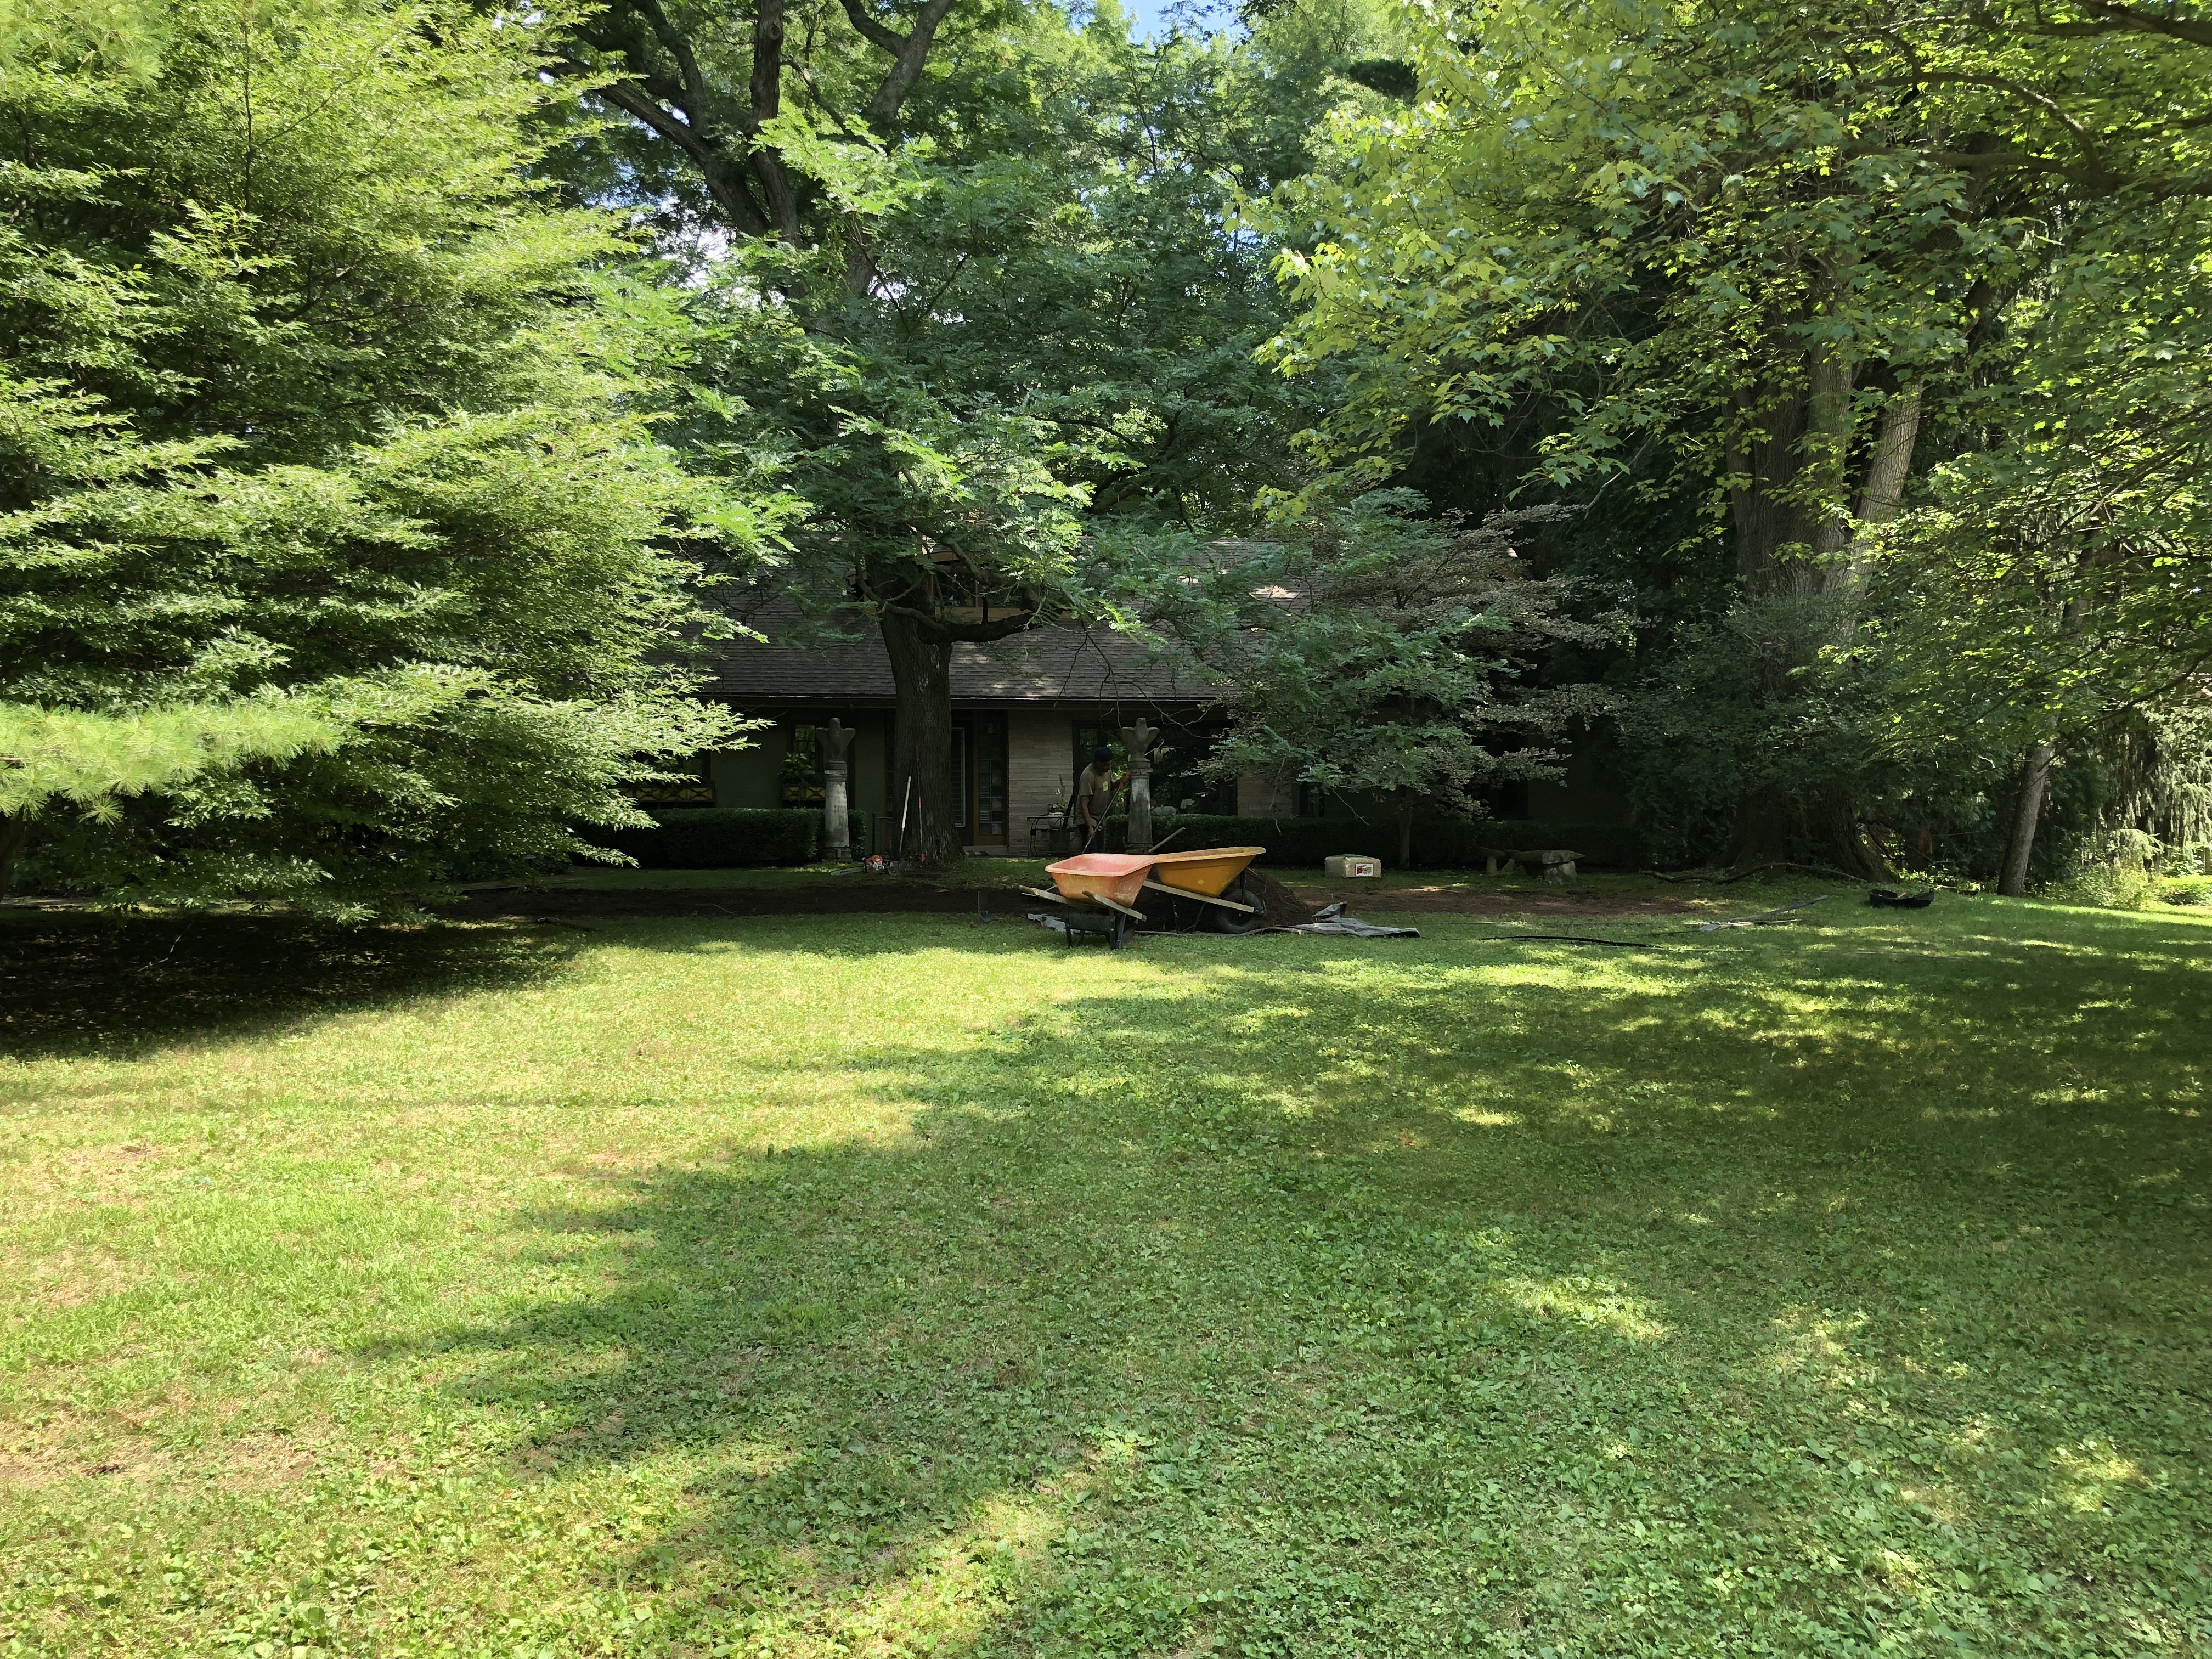
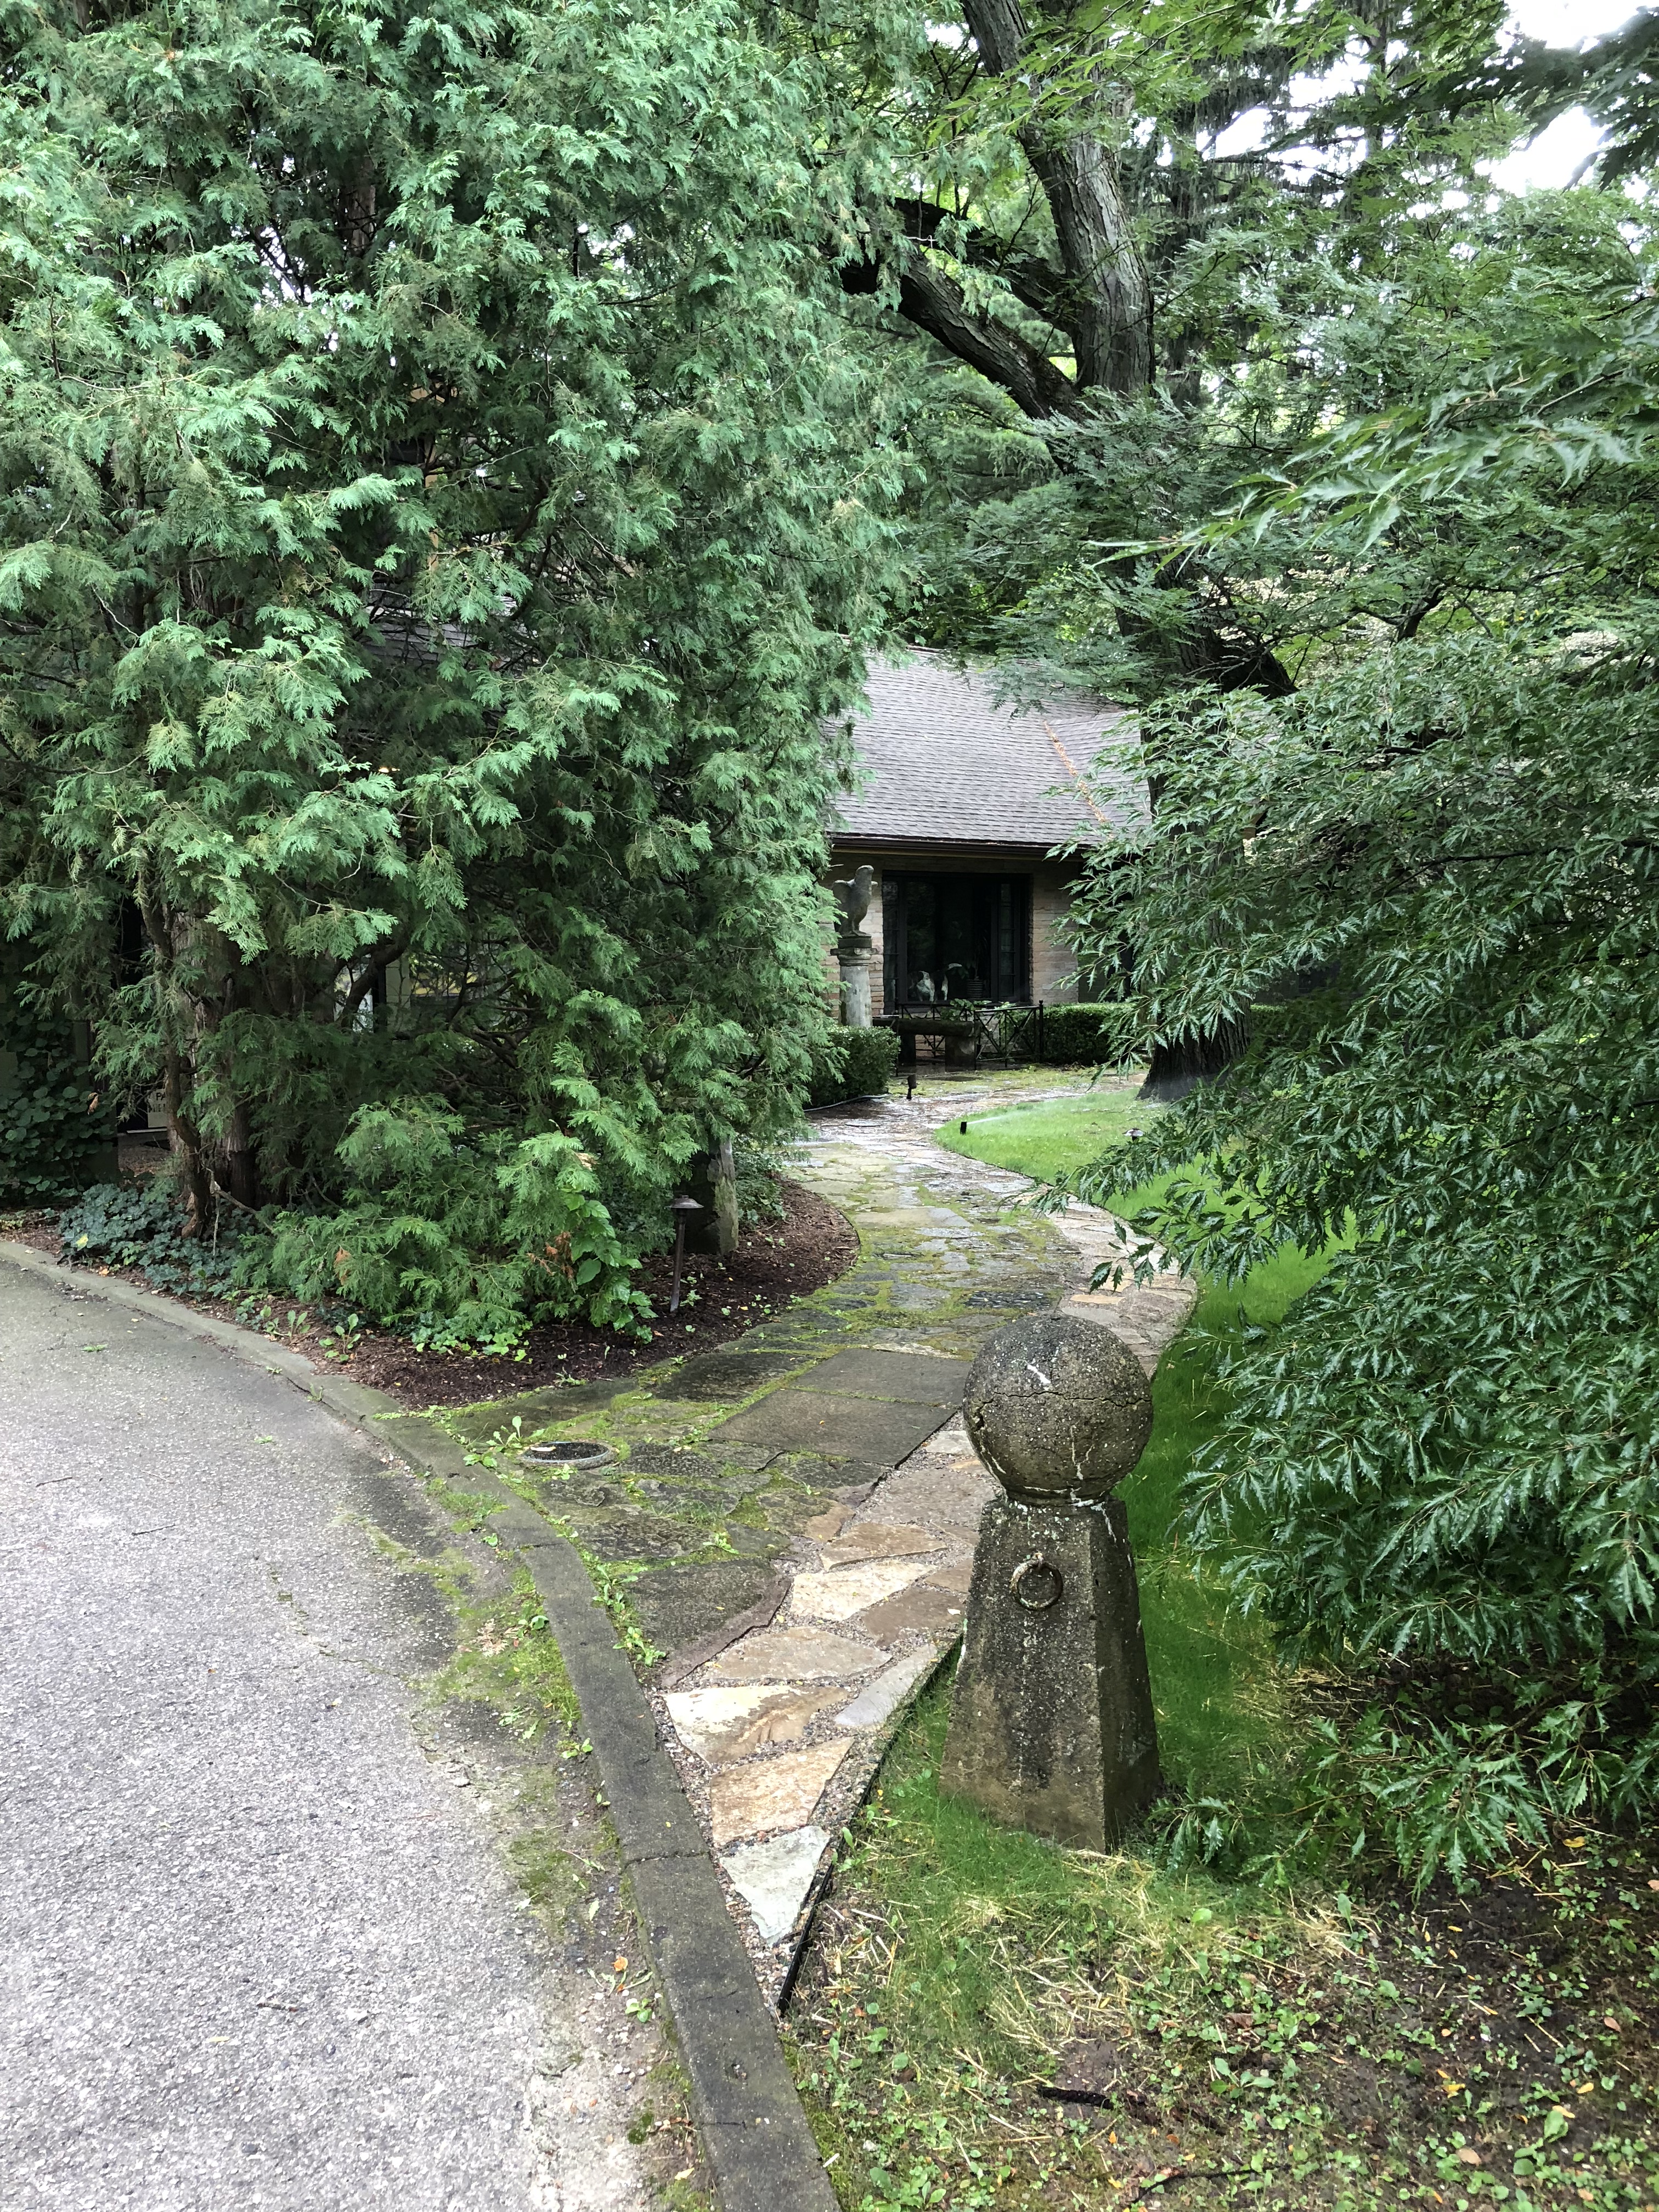
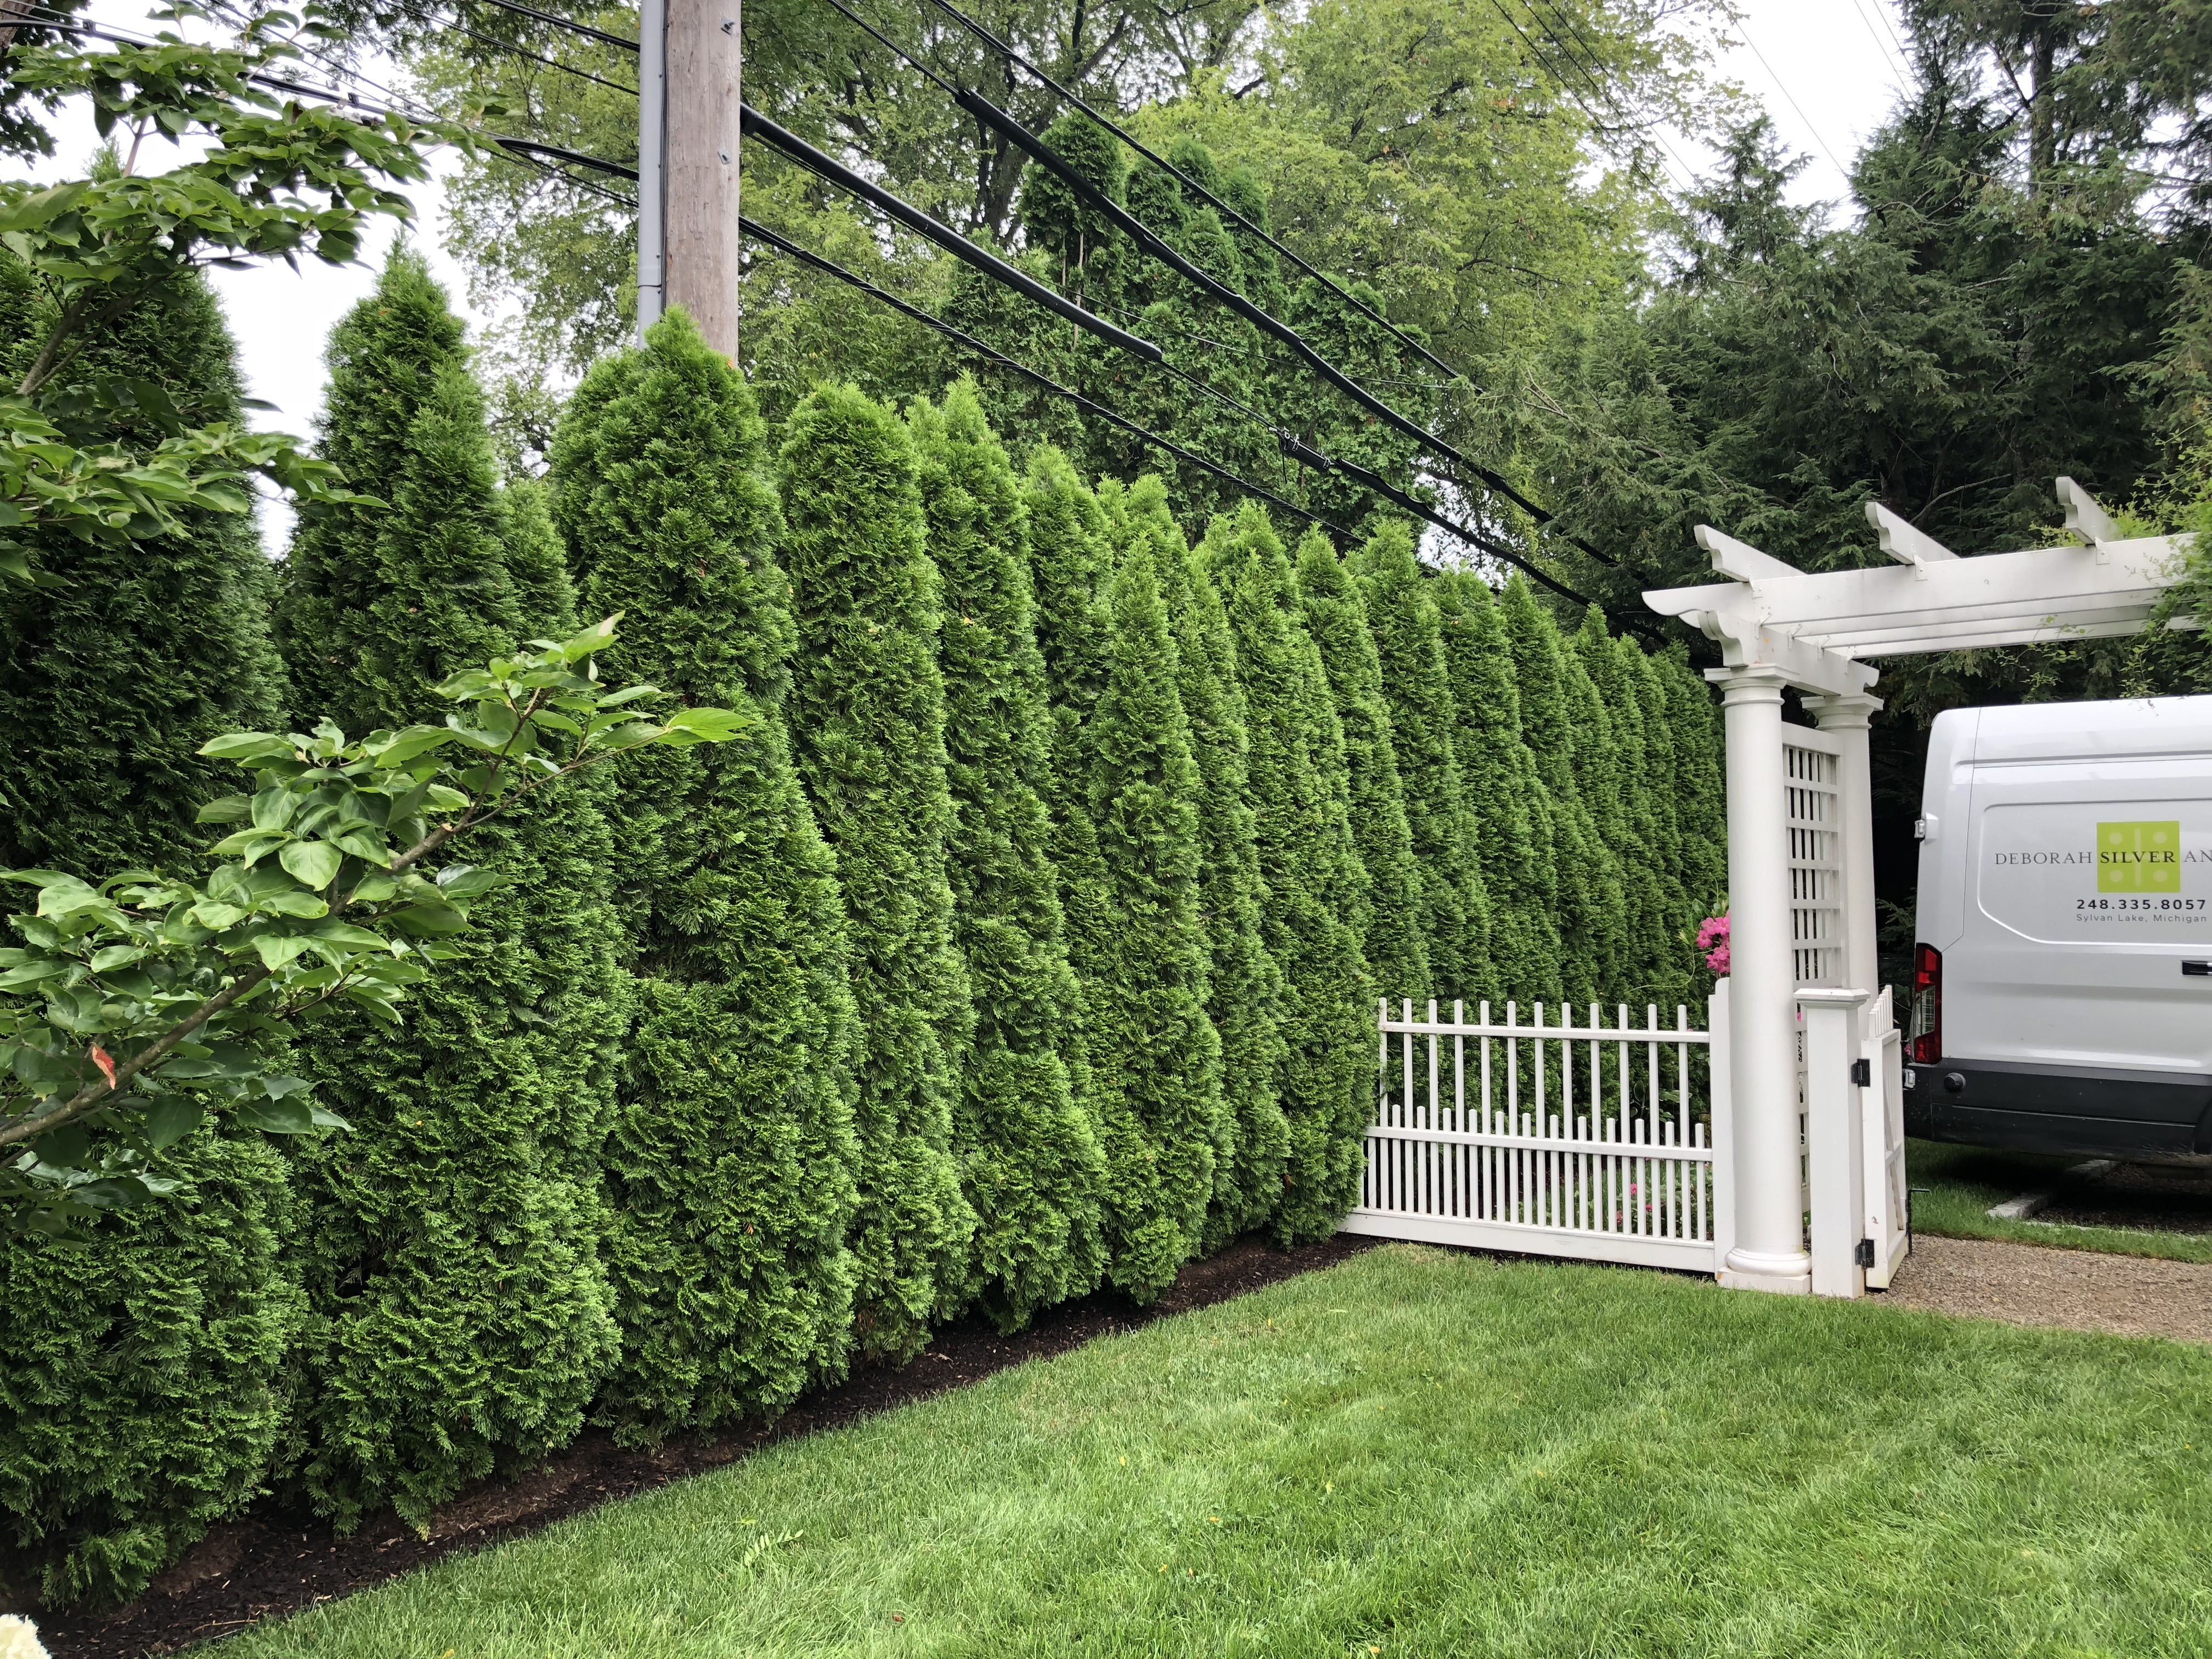
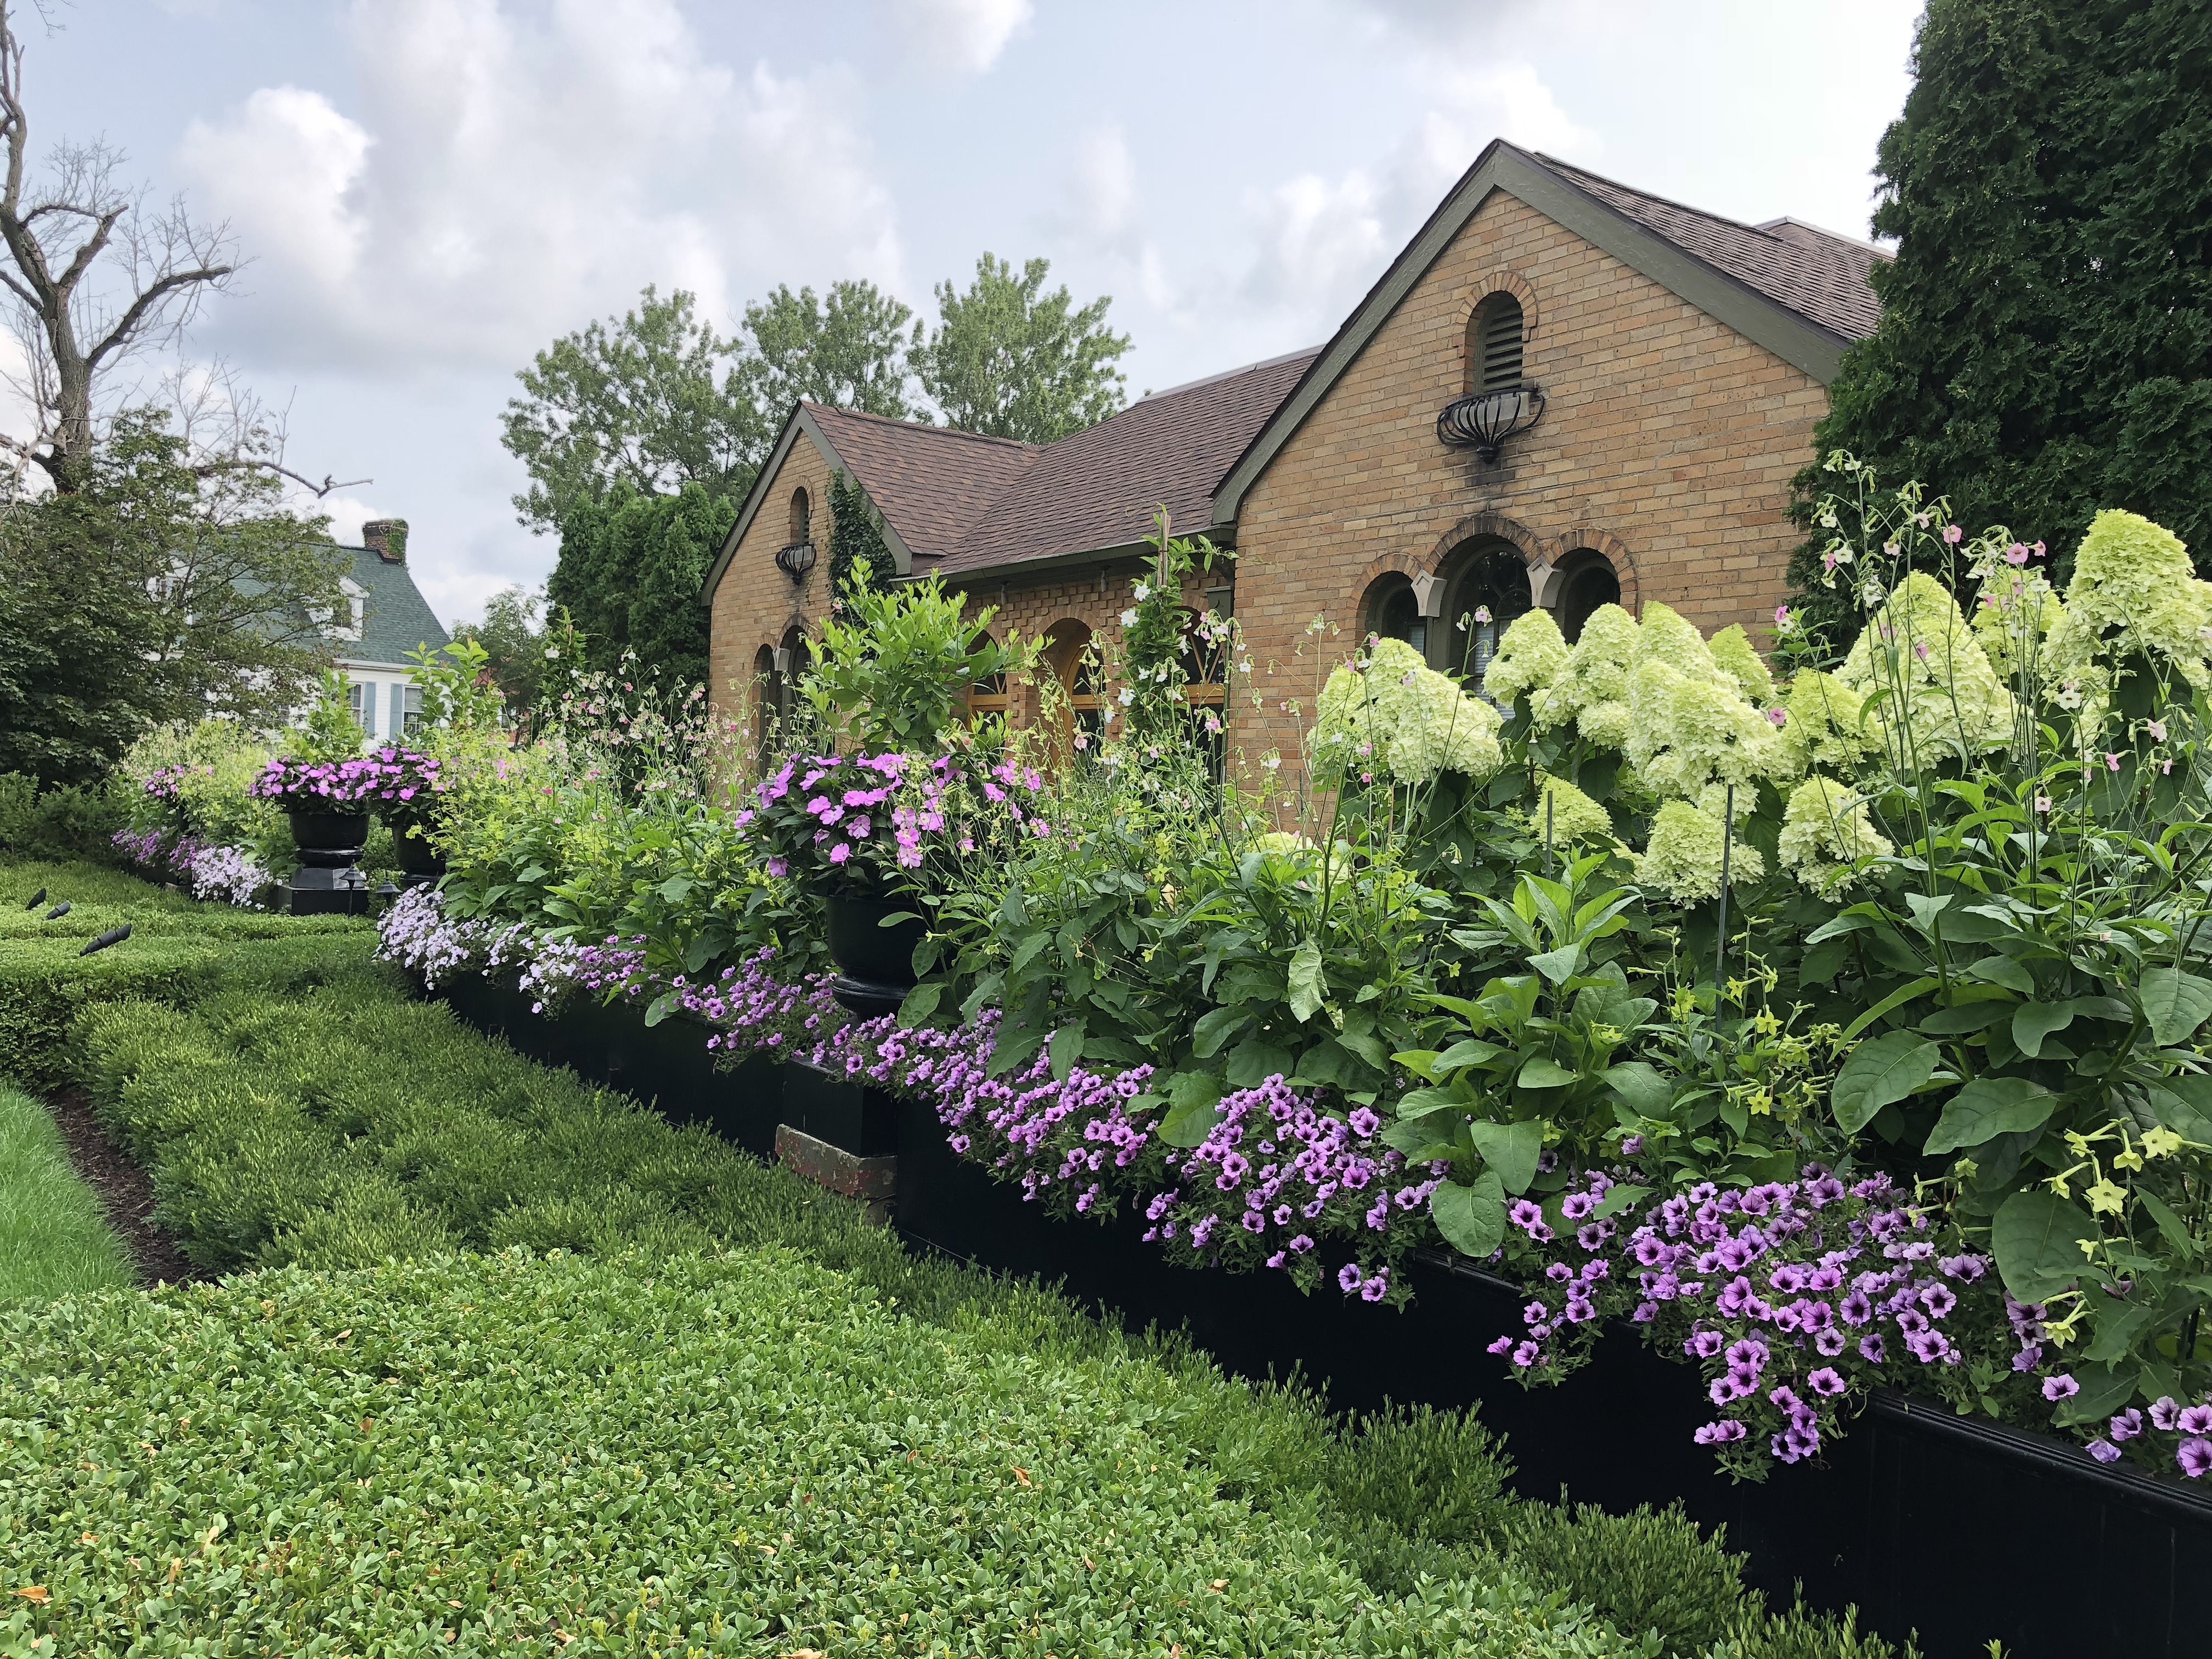
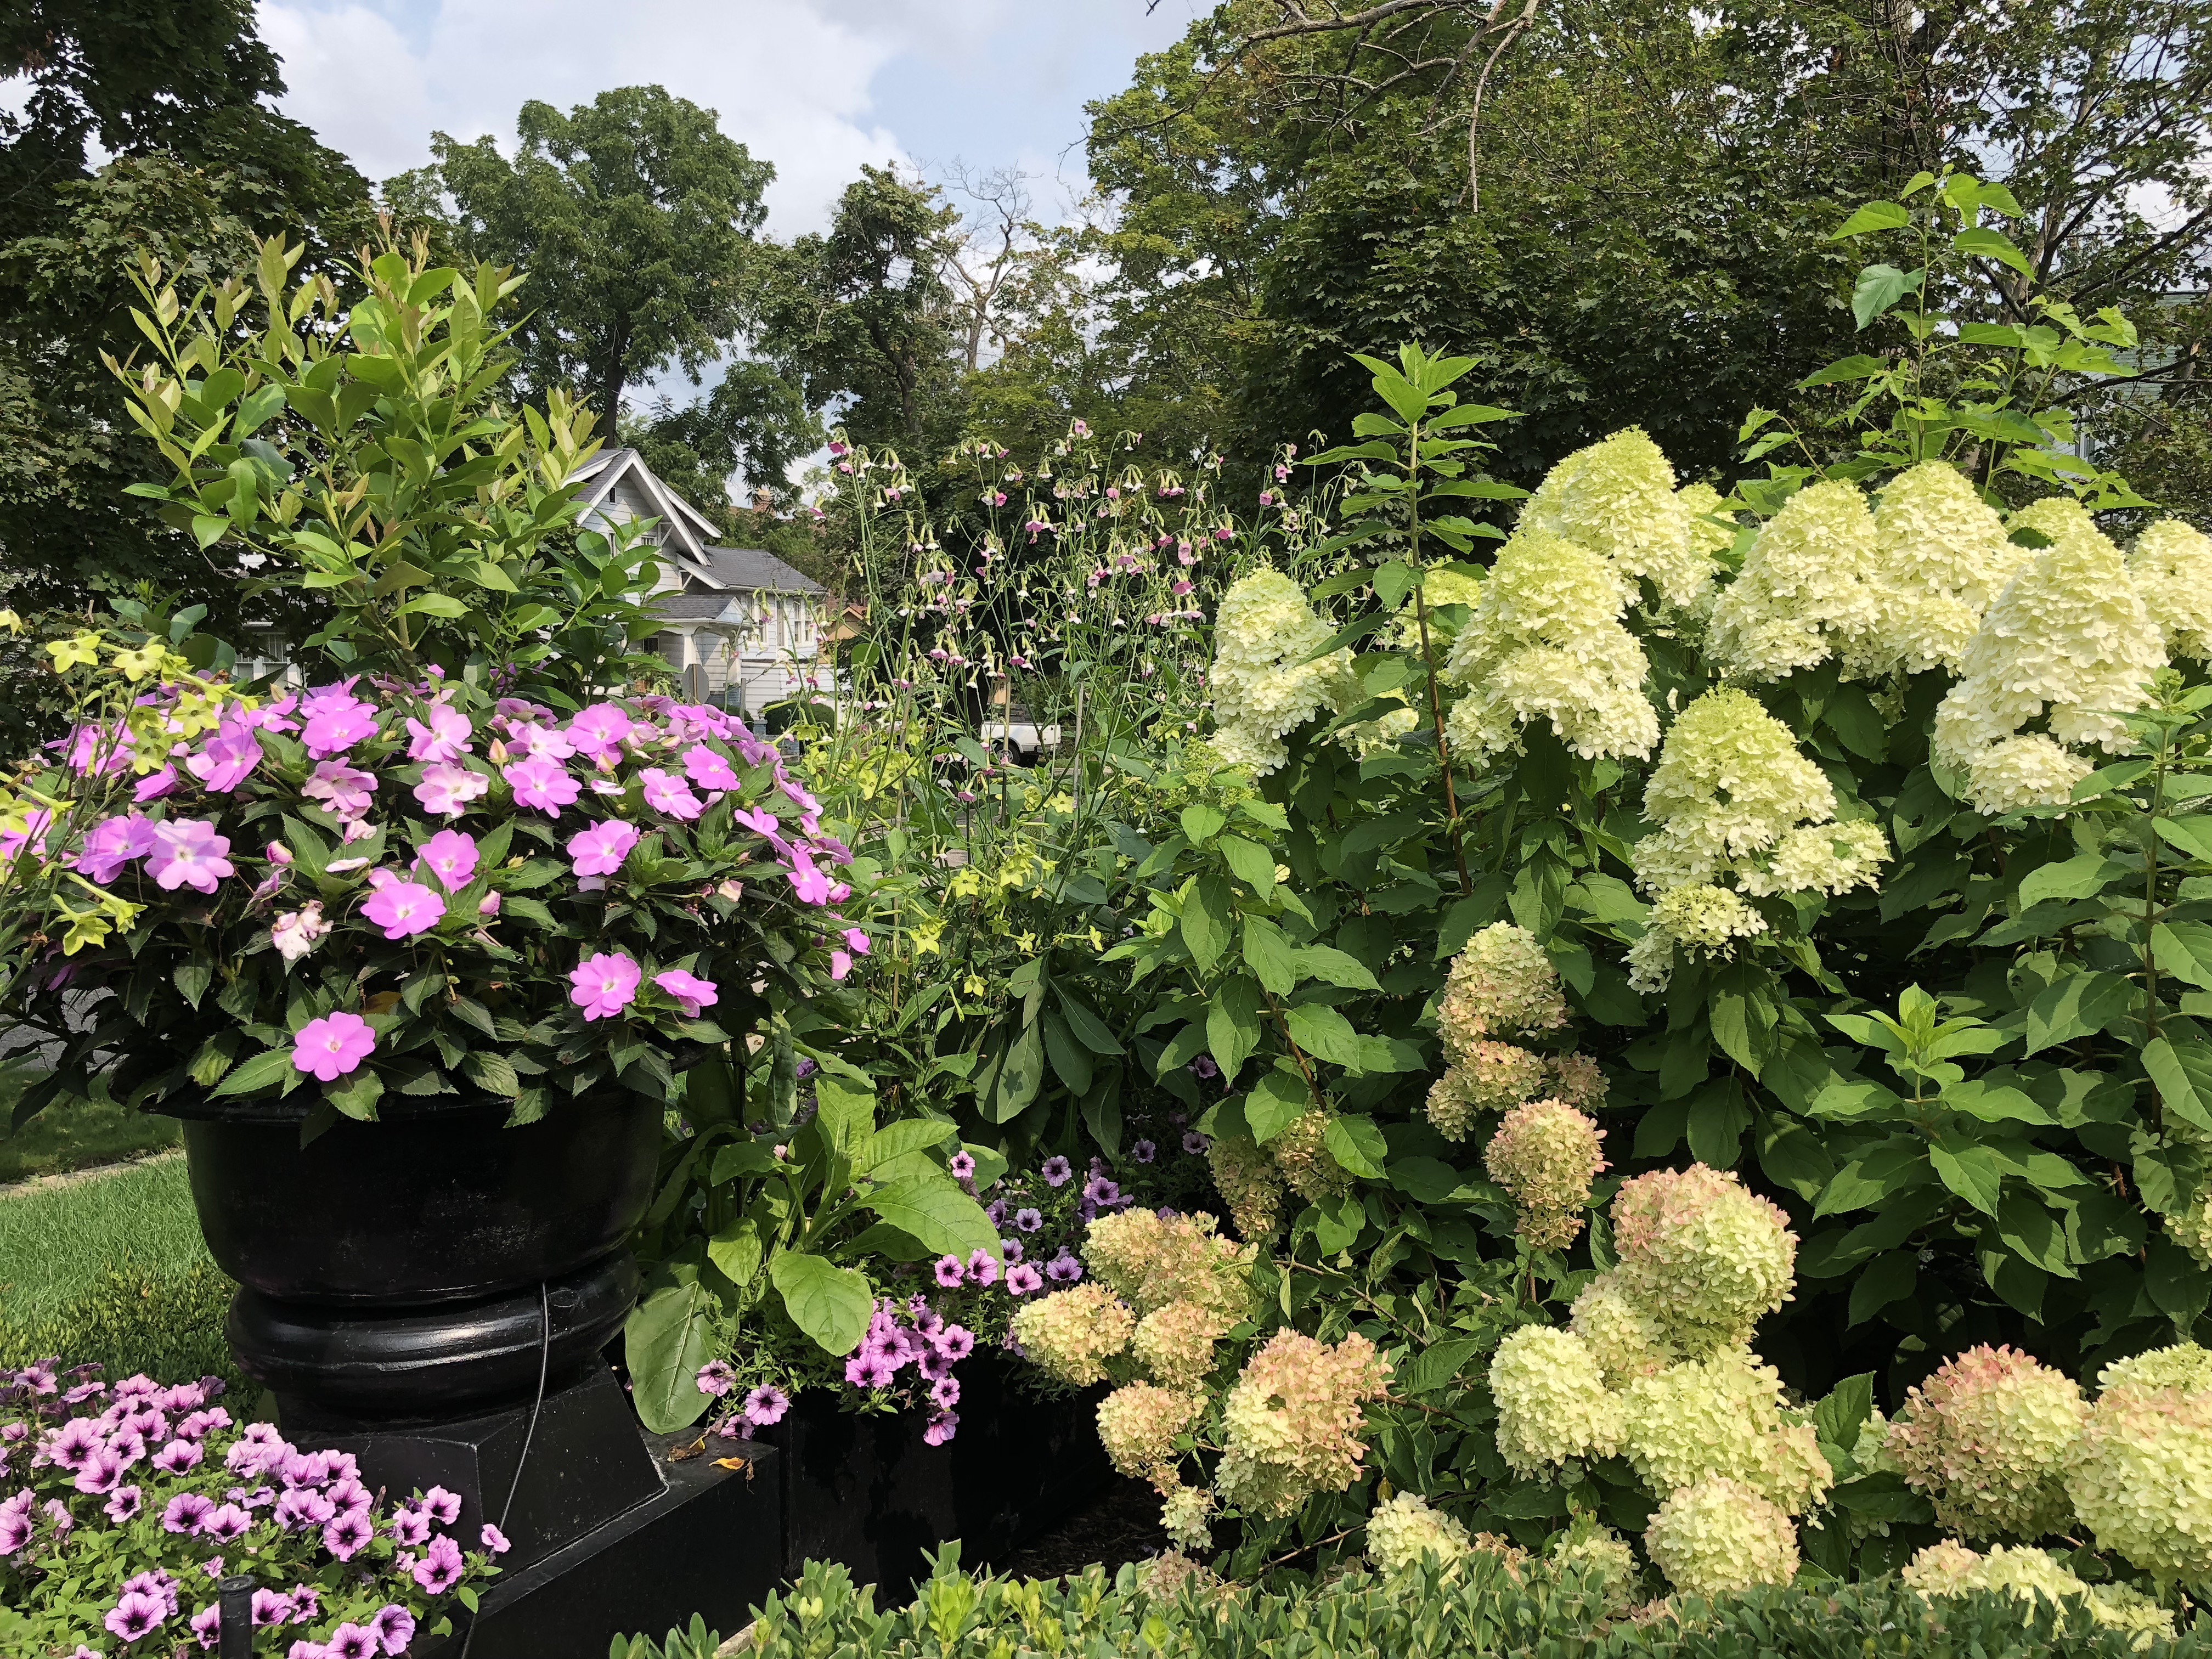
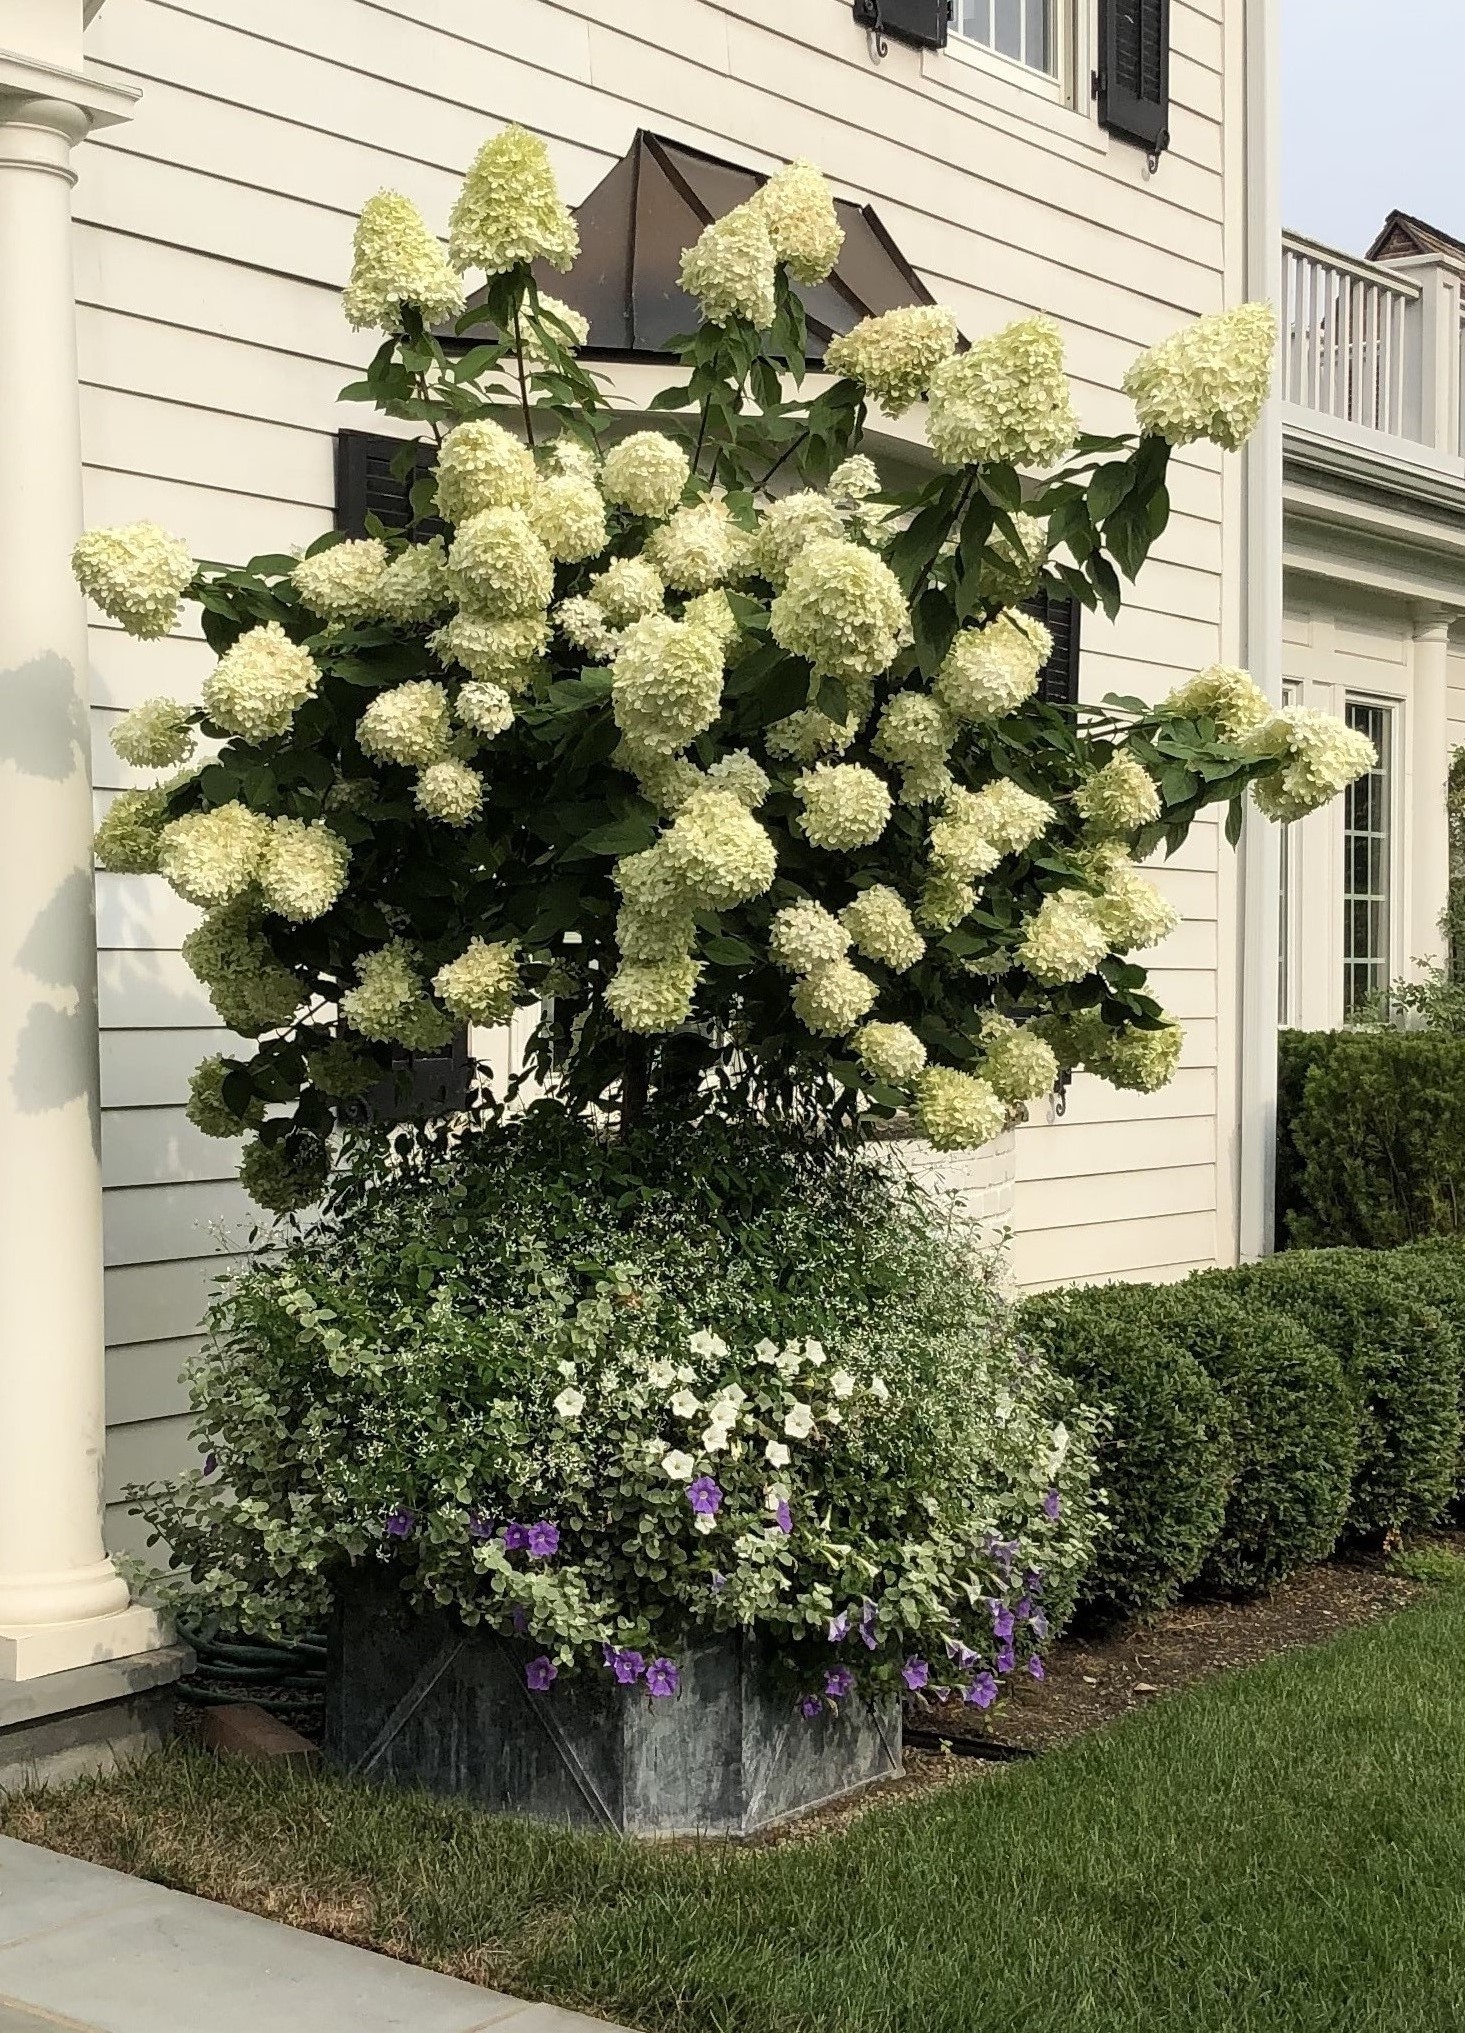
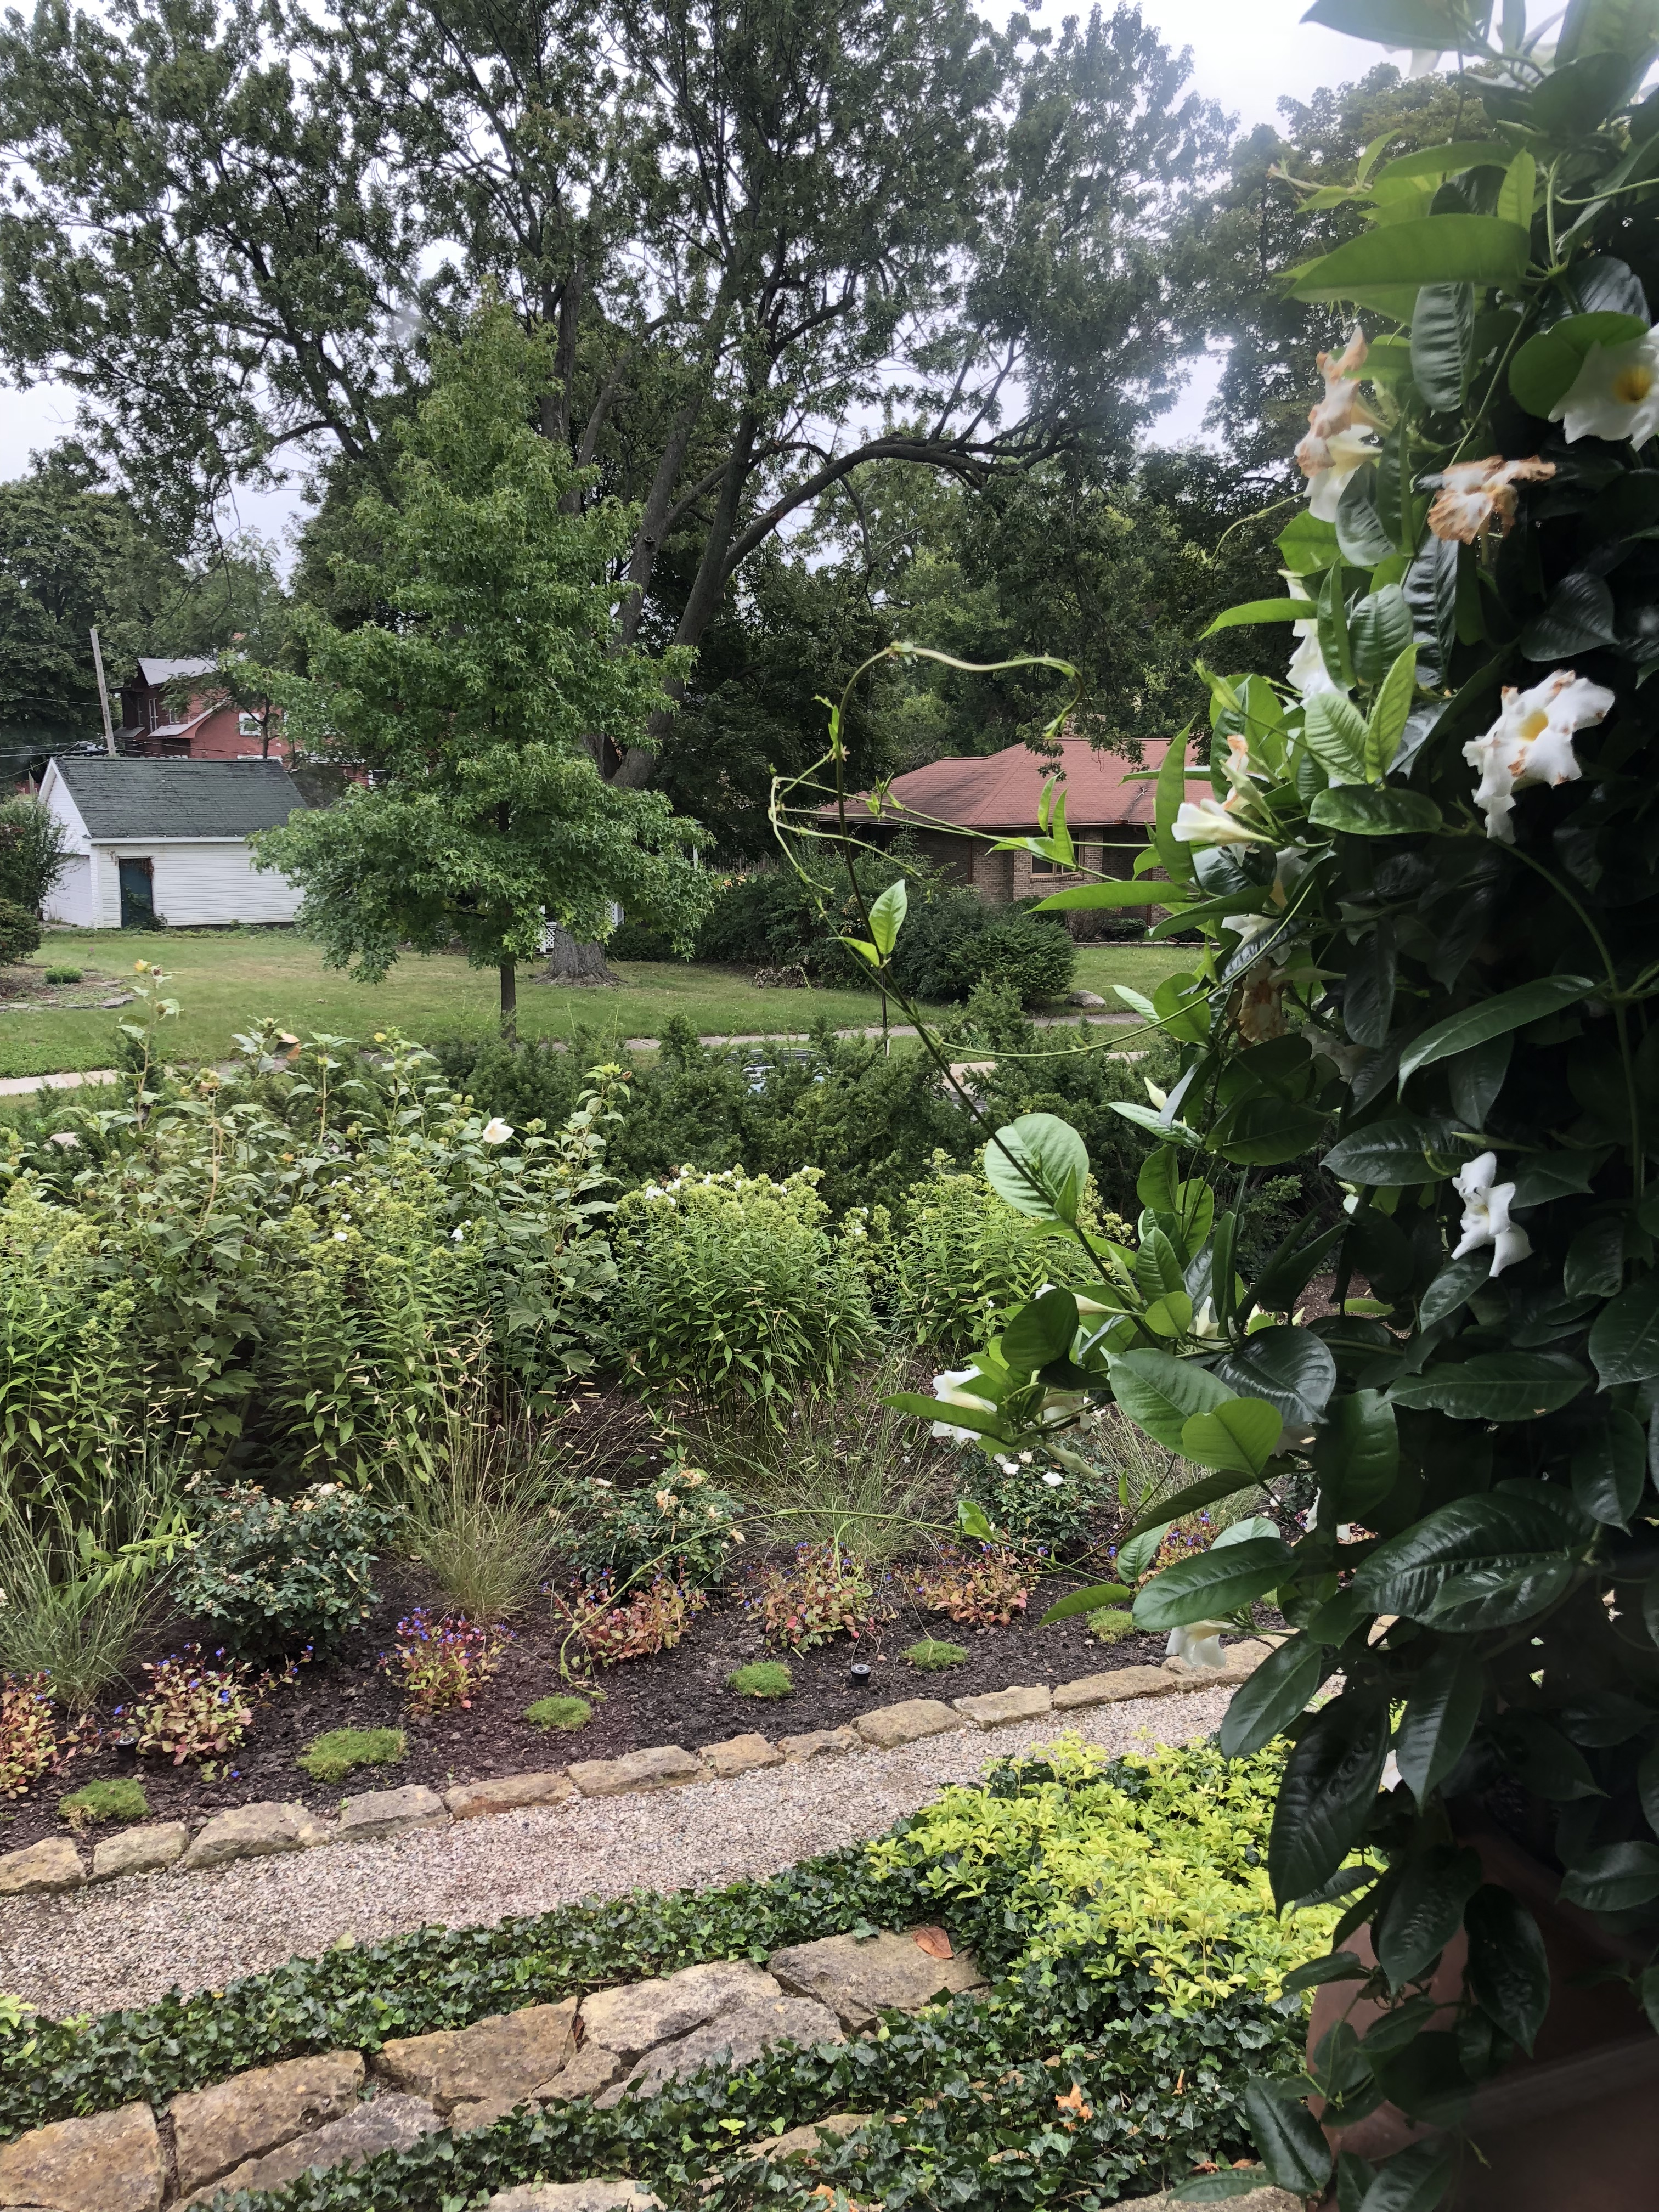
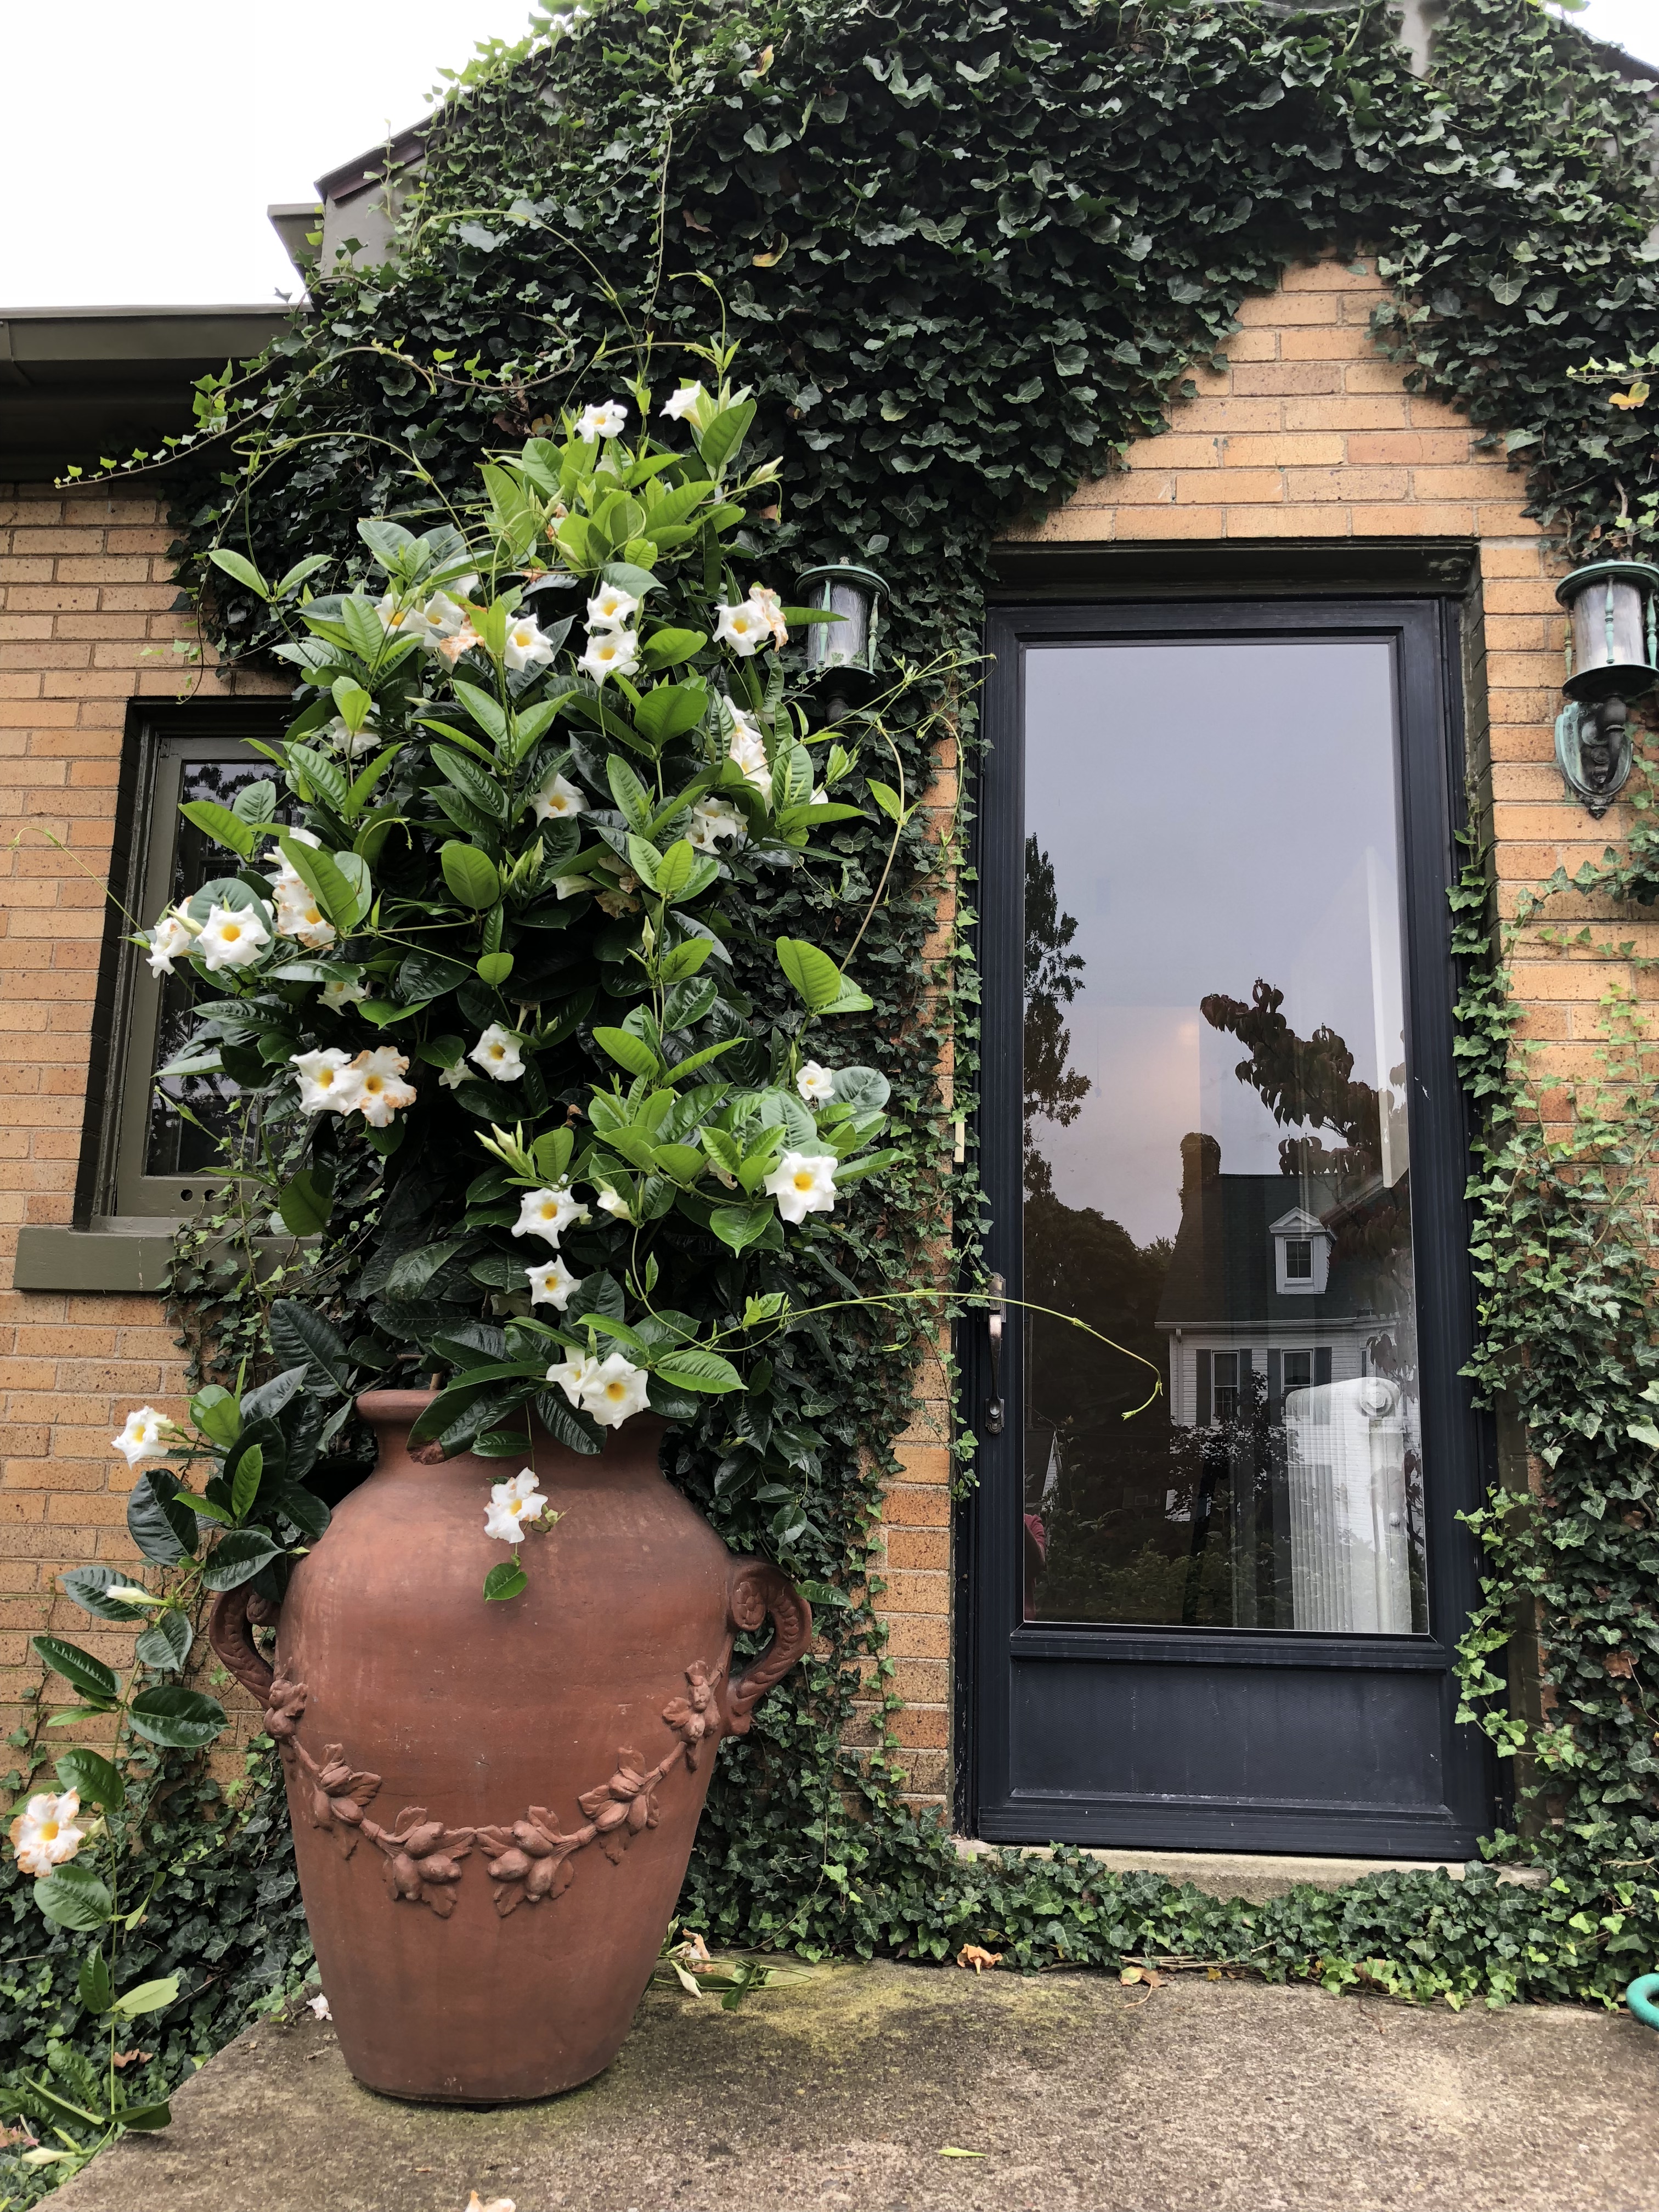
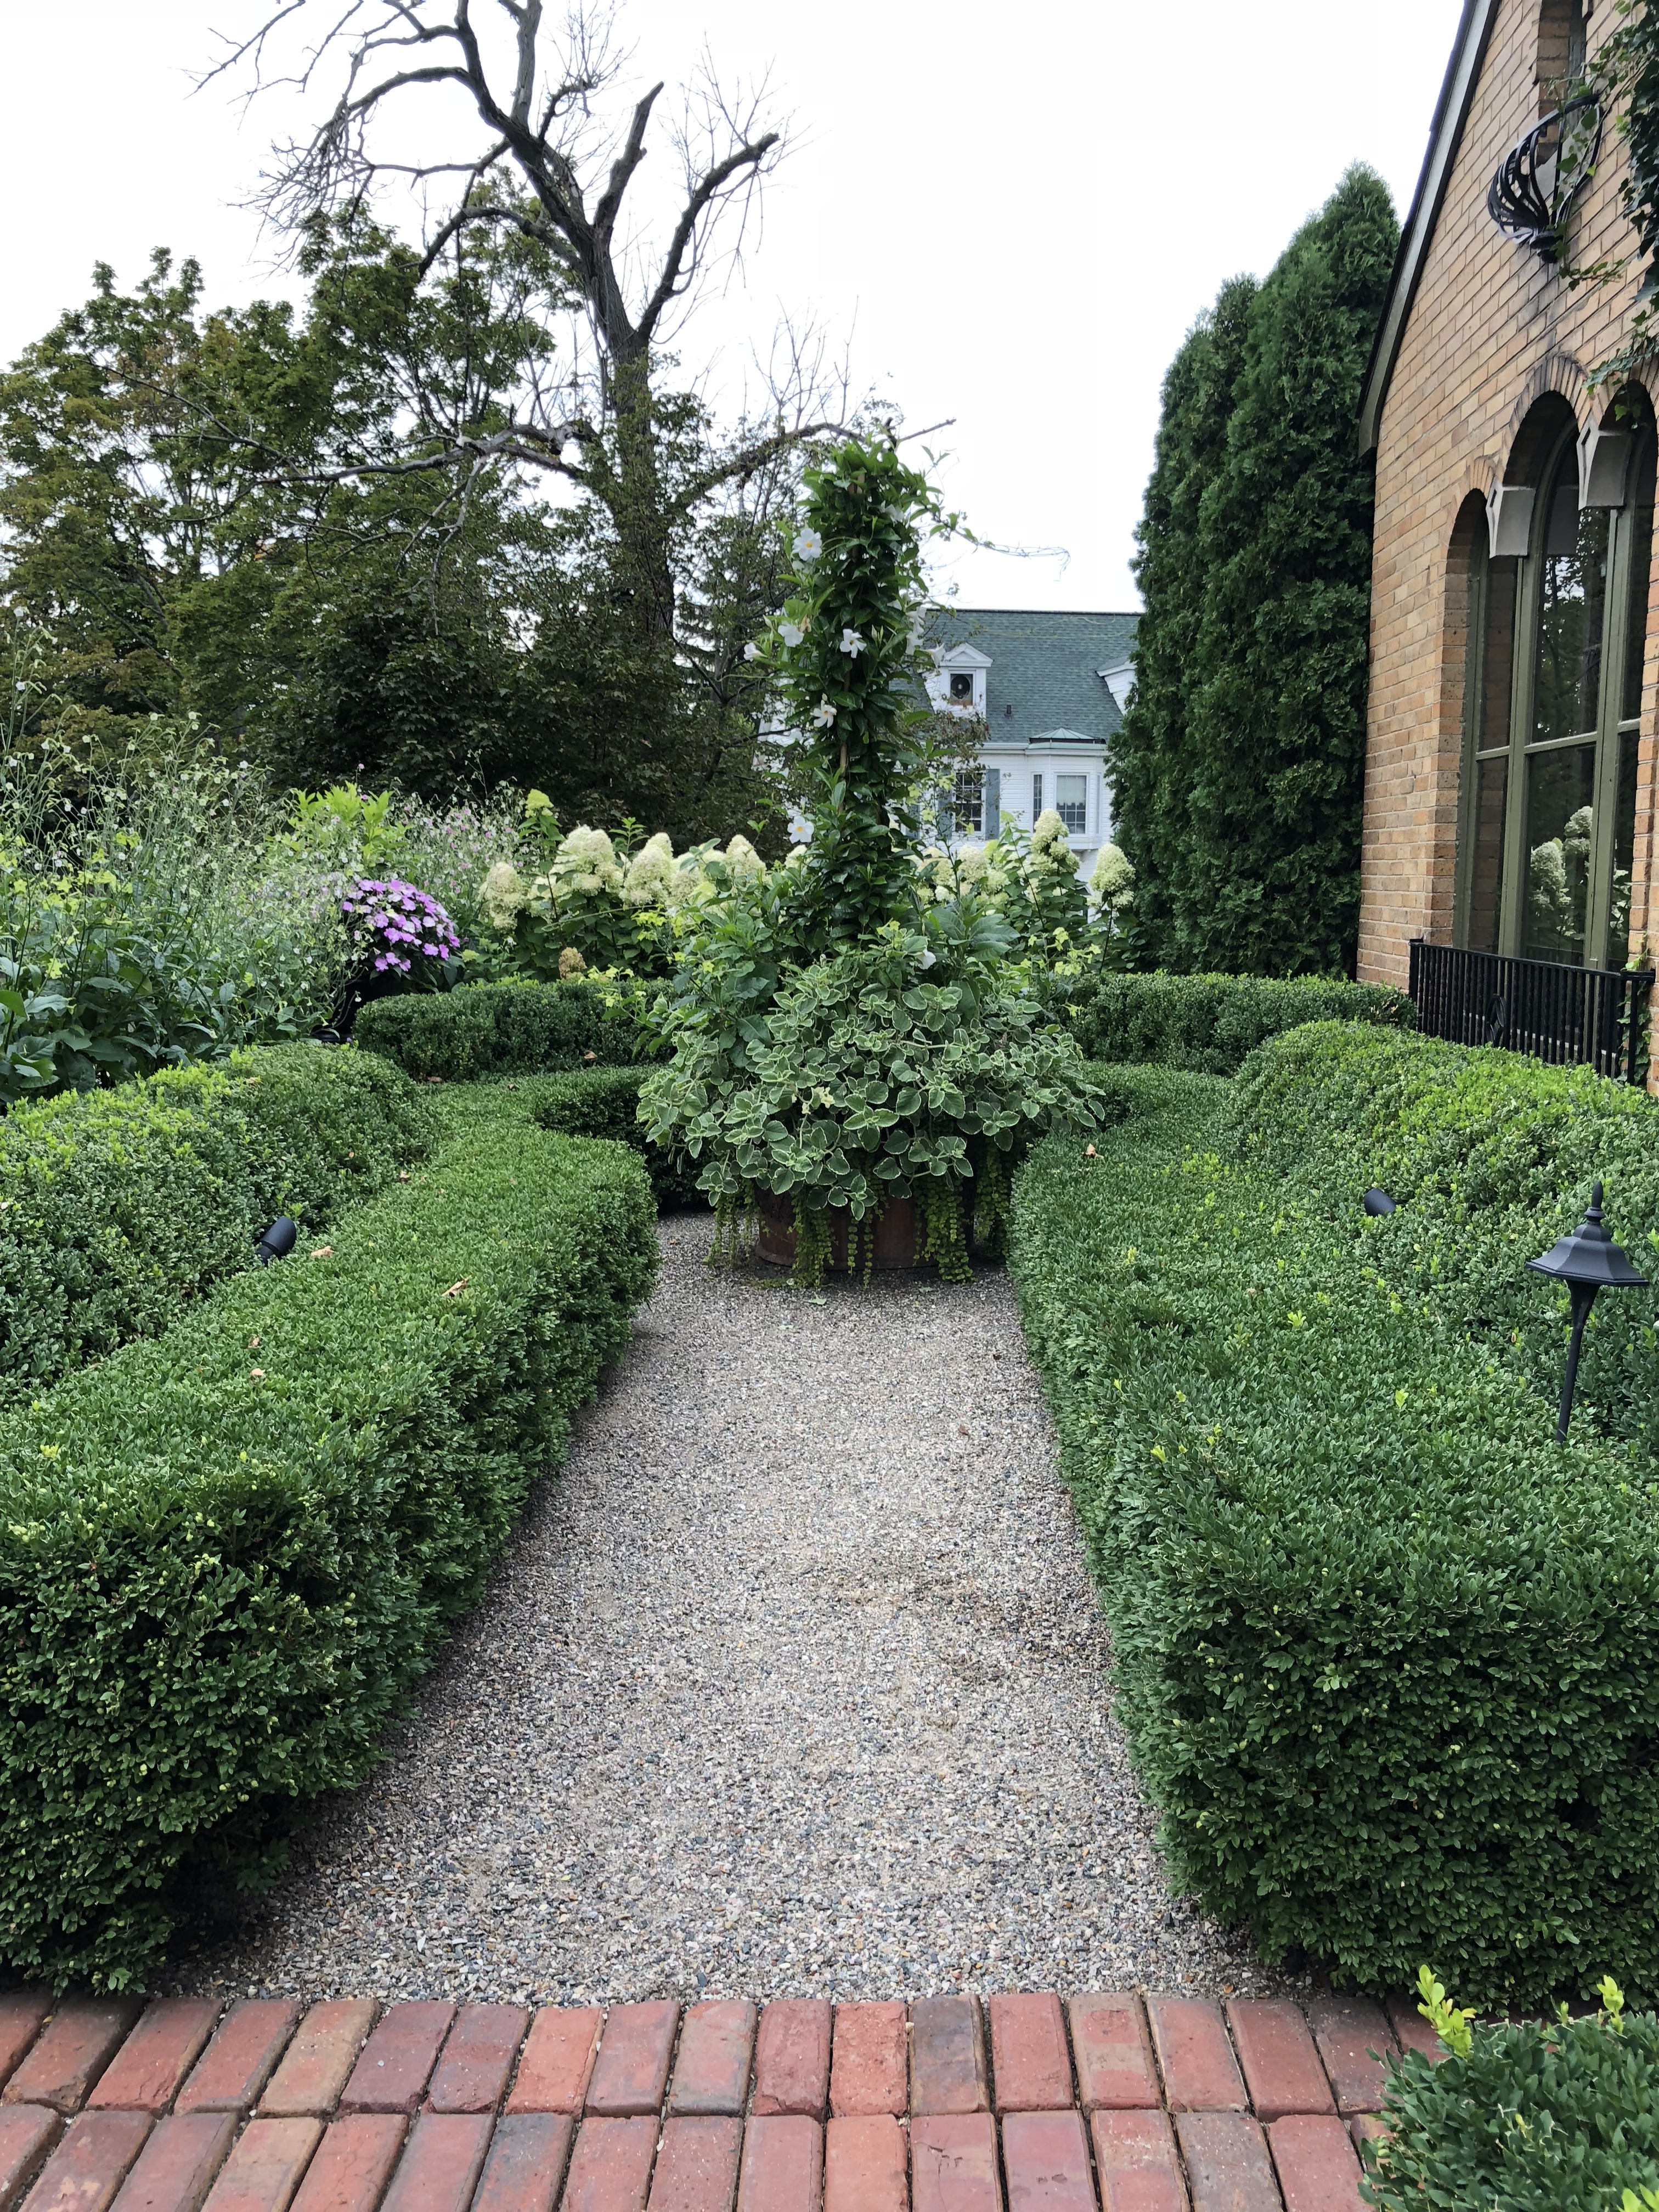 At least twenty feet away from the window are a collection of much taller plants. They not only provide a garden like backdrop for the pot planting from the indoor view, they provide some privacy from the street. This means the blinds can stay up. The outside view of this pot is a feature of the walk to the front door. Anyone who gets within six feet of the front door has has a pot left and a pot right to see. It is an unexpected view, as the street view does not reveal much beyond the top section of mandevillea. The pot also screens the maintenance opening in the boxwood hedge from this view. On the far side of the boxwood is the hose, piled up in a messy heap. No one sees that but me.
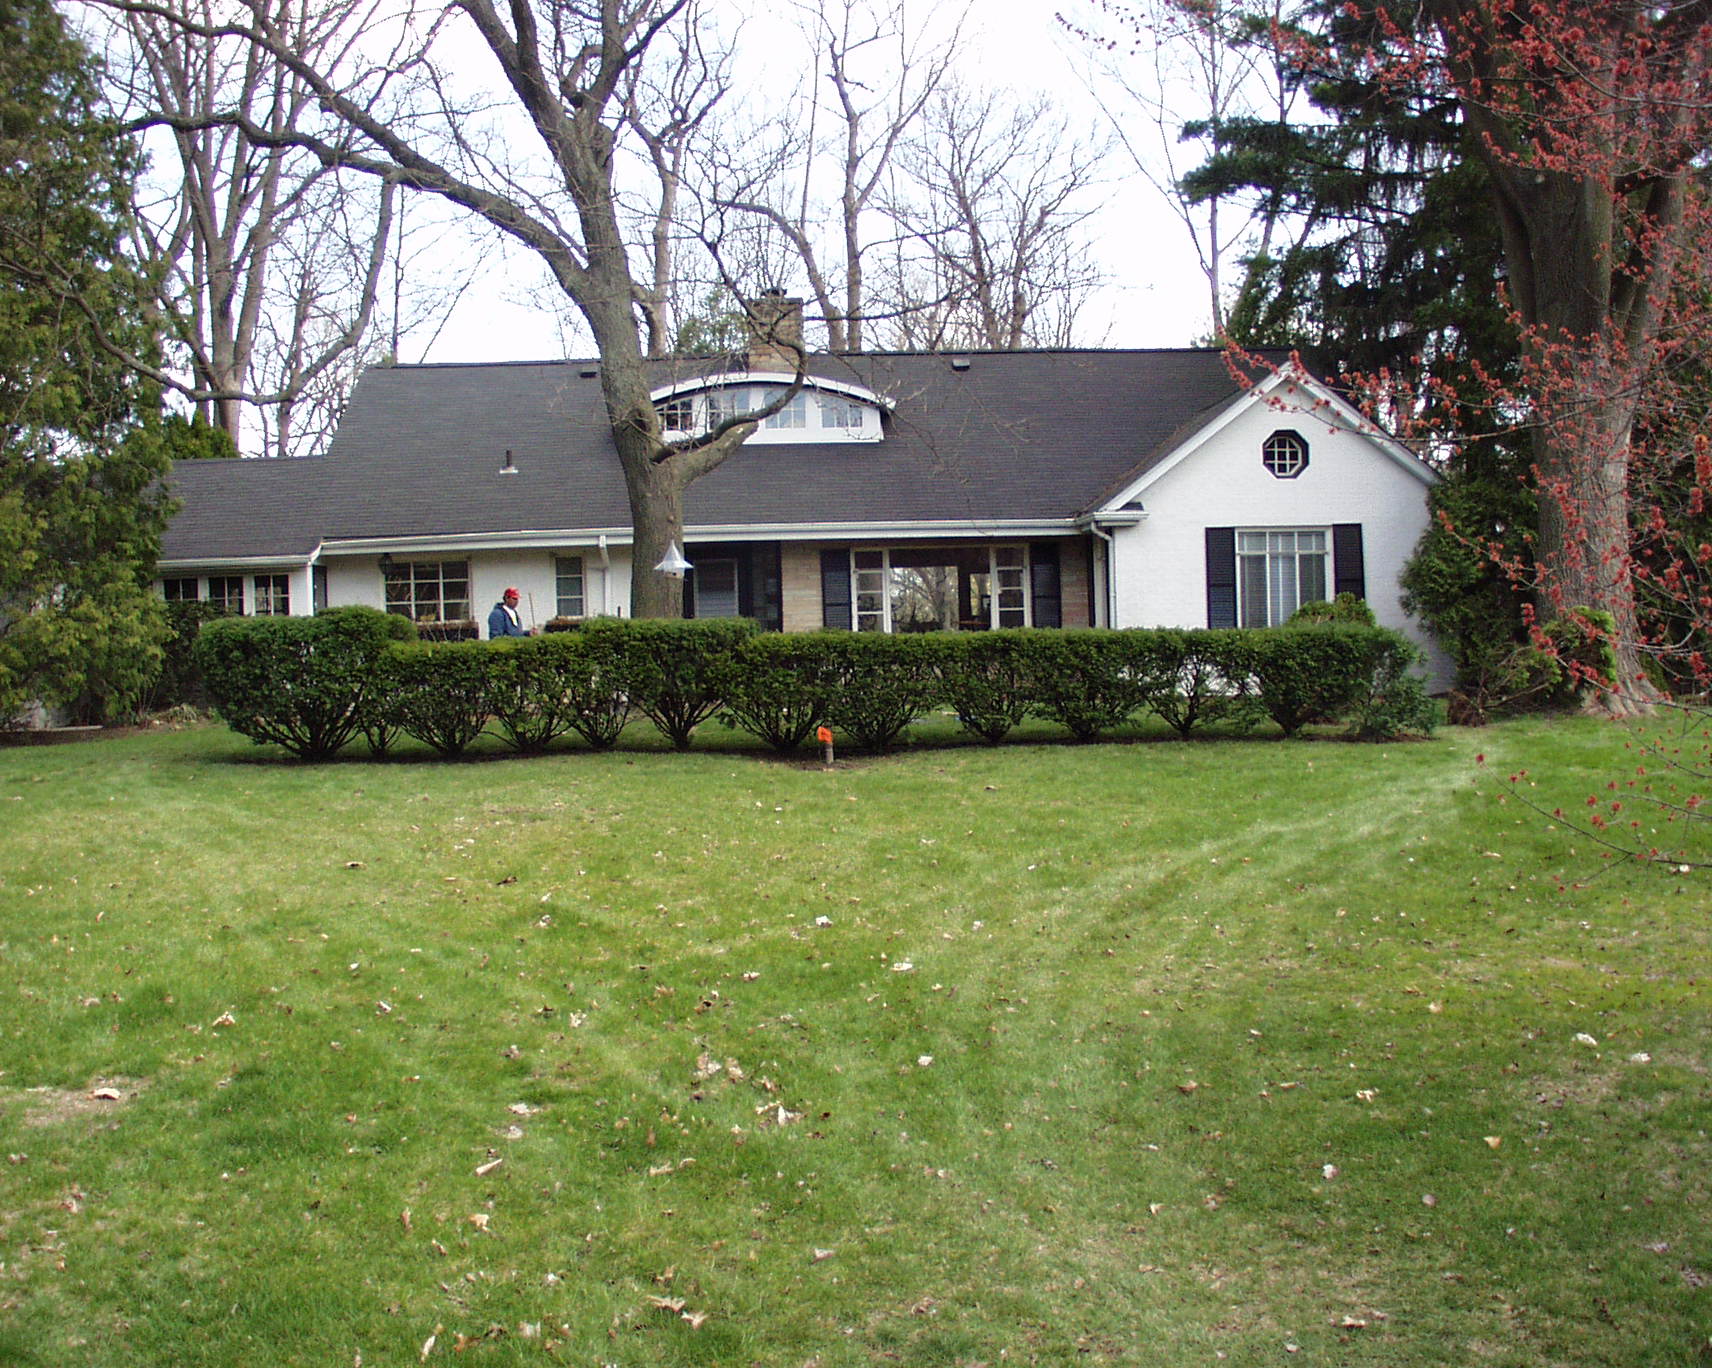
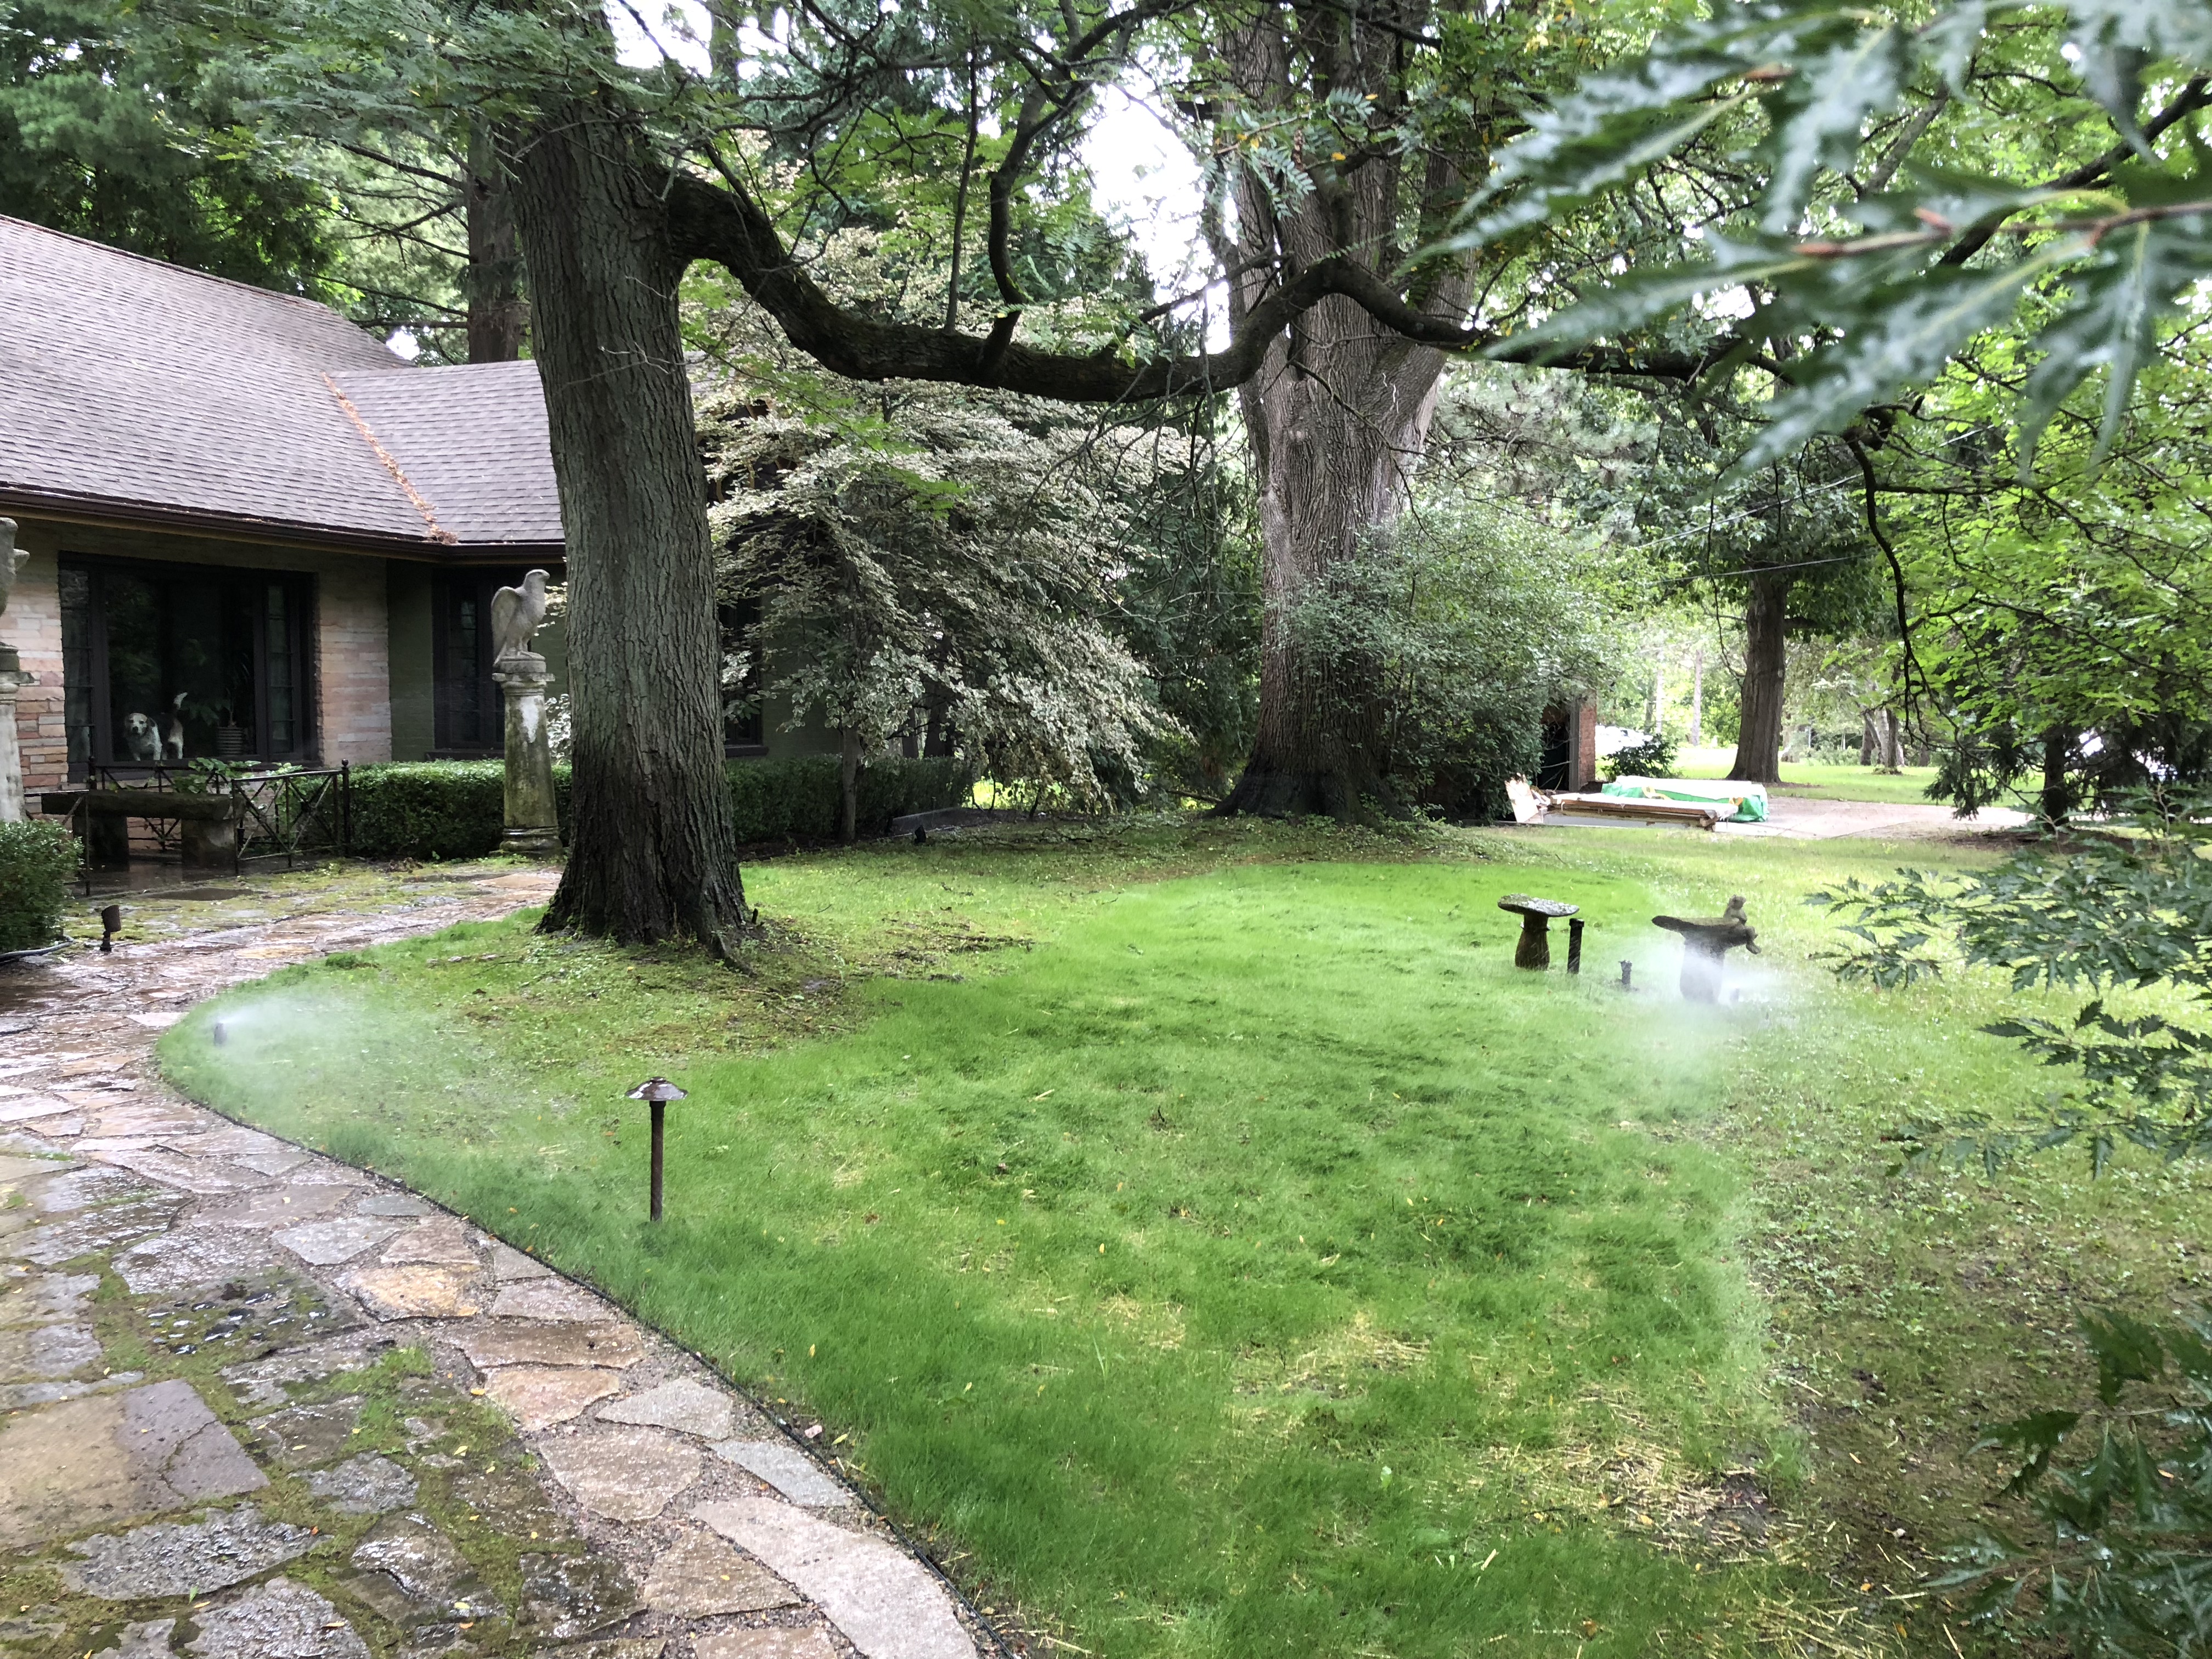
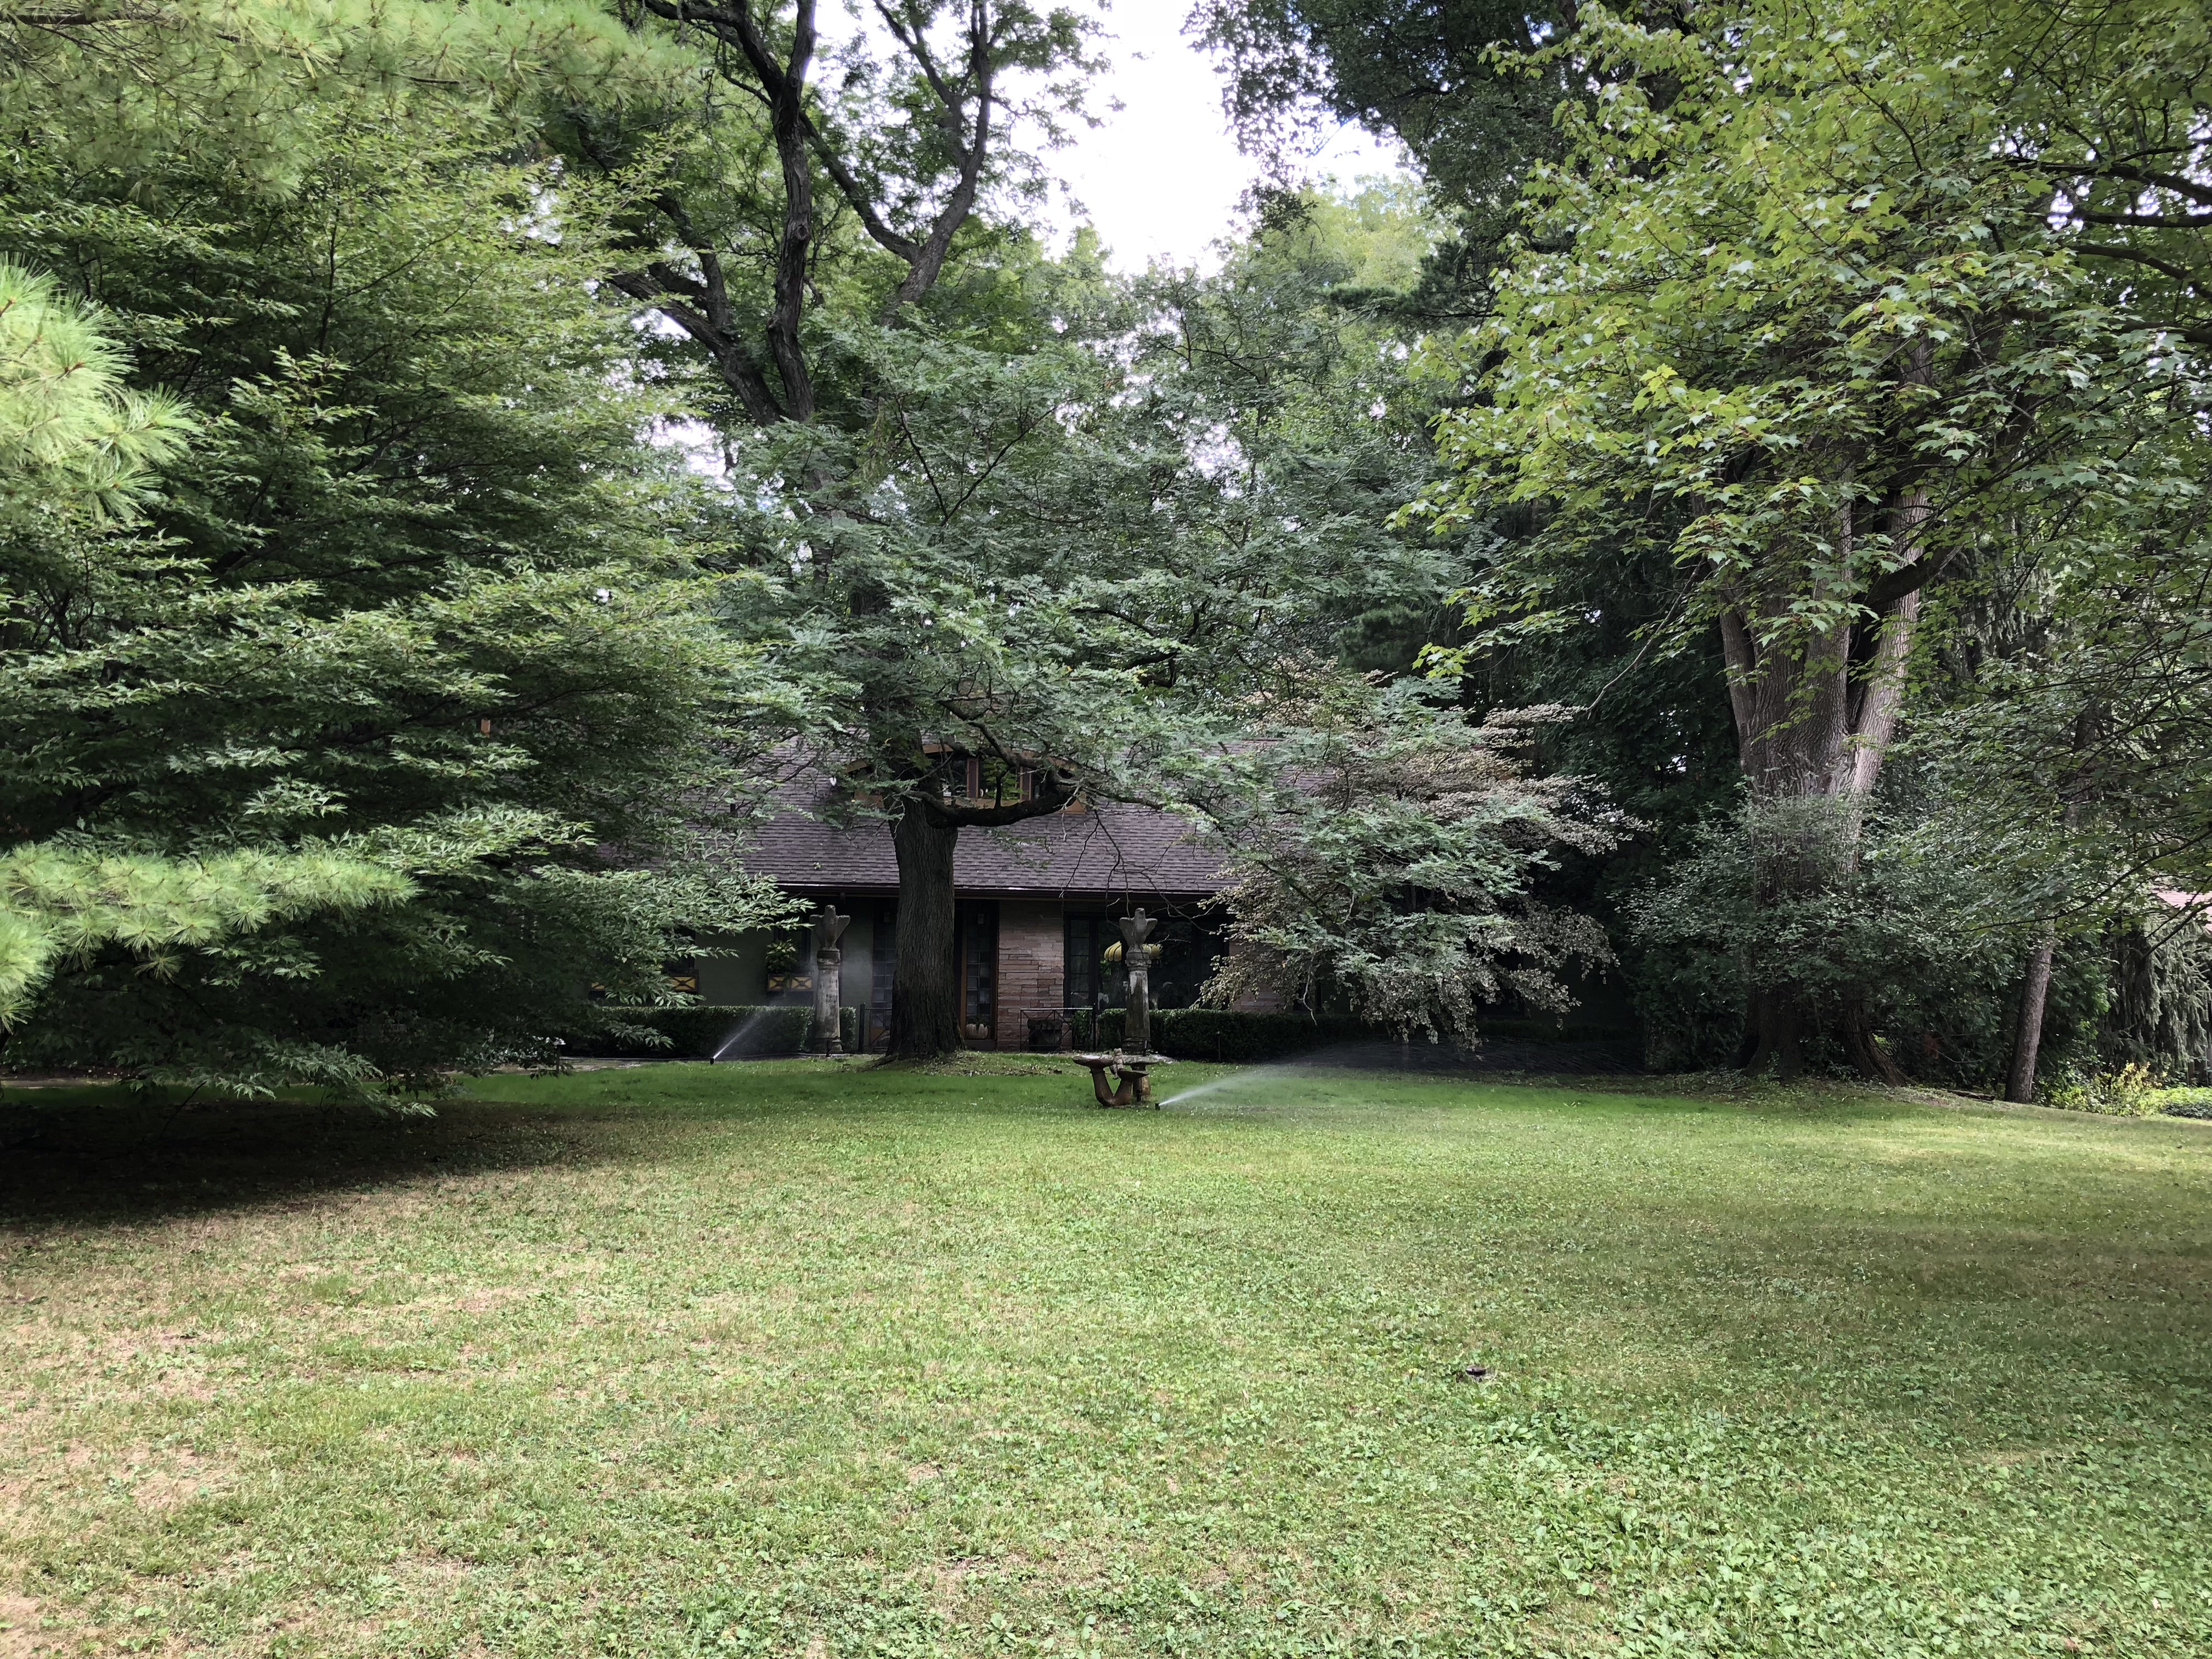
 The house is symmetrical from north to south. A corresponding set of doors and a window provide an identical view out from this room. The same pot, the same distance from the foundation, on axis with the center window, repeats the gesture made to the north. A repetition of interior views means there is an opportunity for the exterior view to form a strong and consistent exterior axis. Would that I could take a photograph looking left and right at the same time. Only a drone could visually convey this axis established by two pots placed parallel to the house, but a person coming up the walk can take it all in with a blink of an eye.
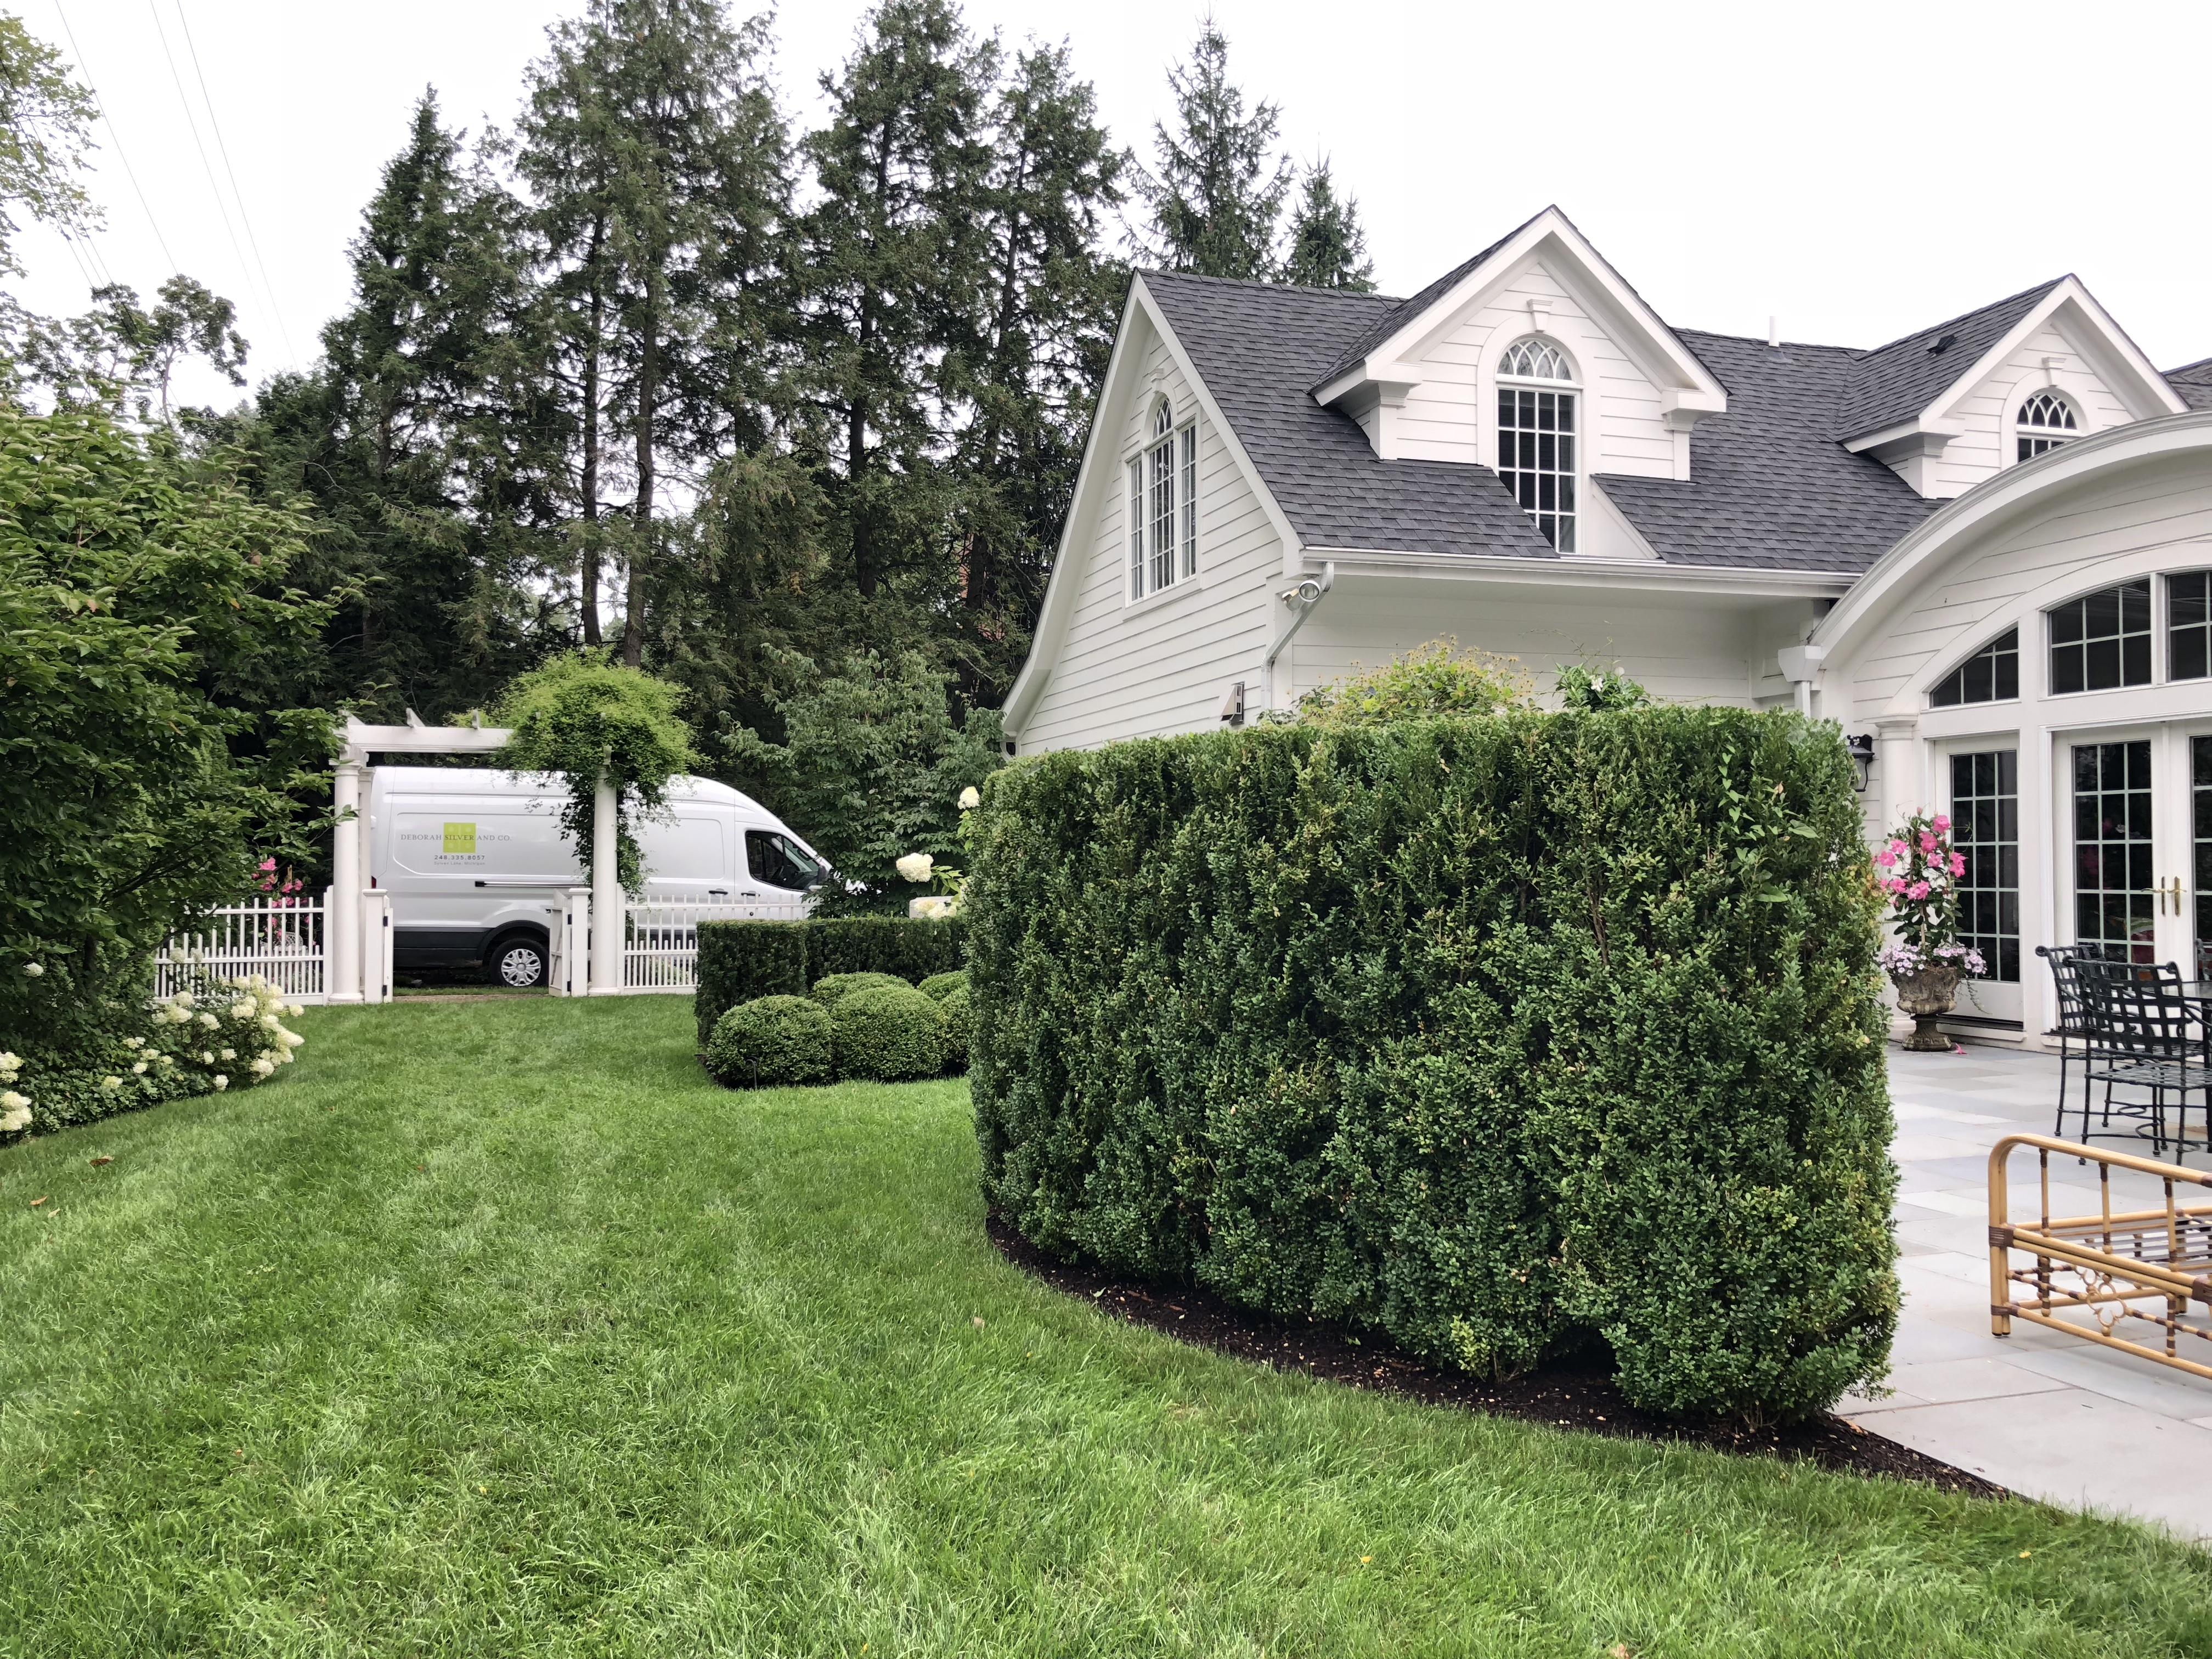
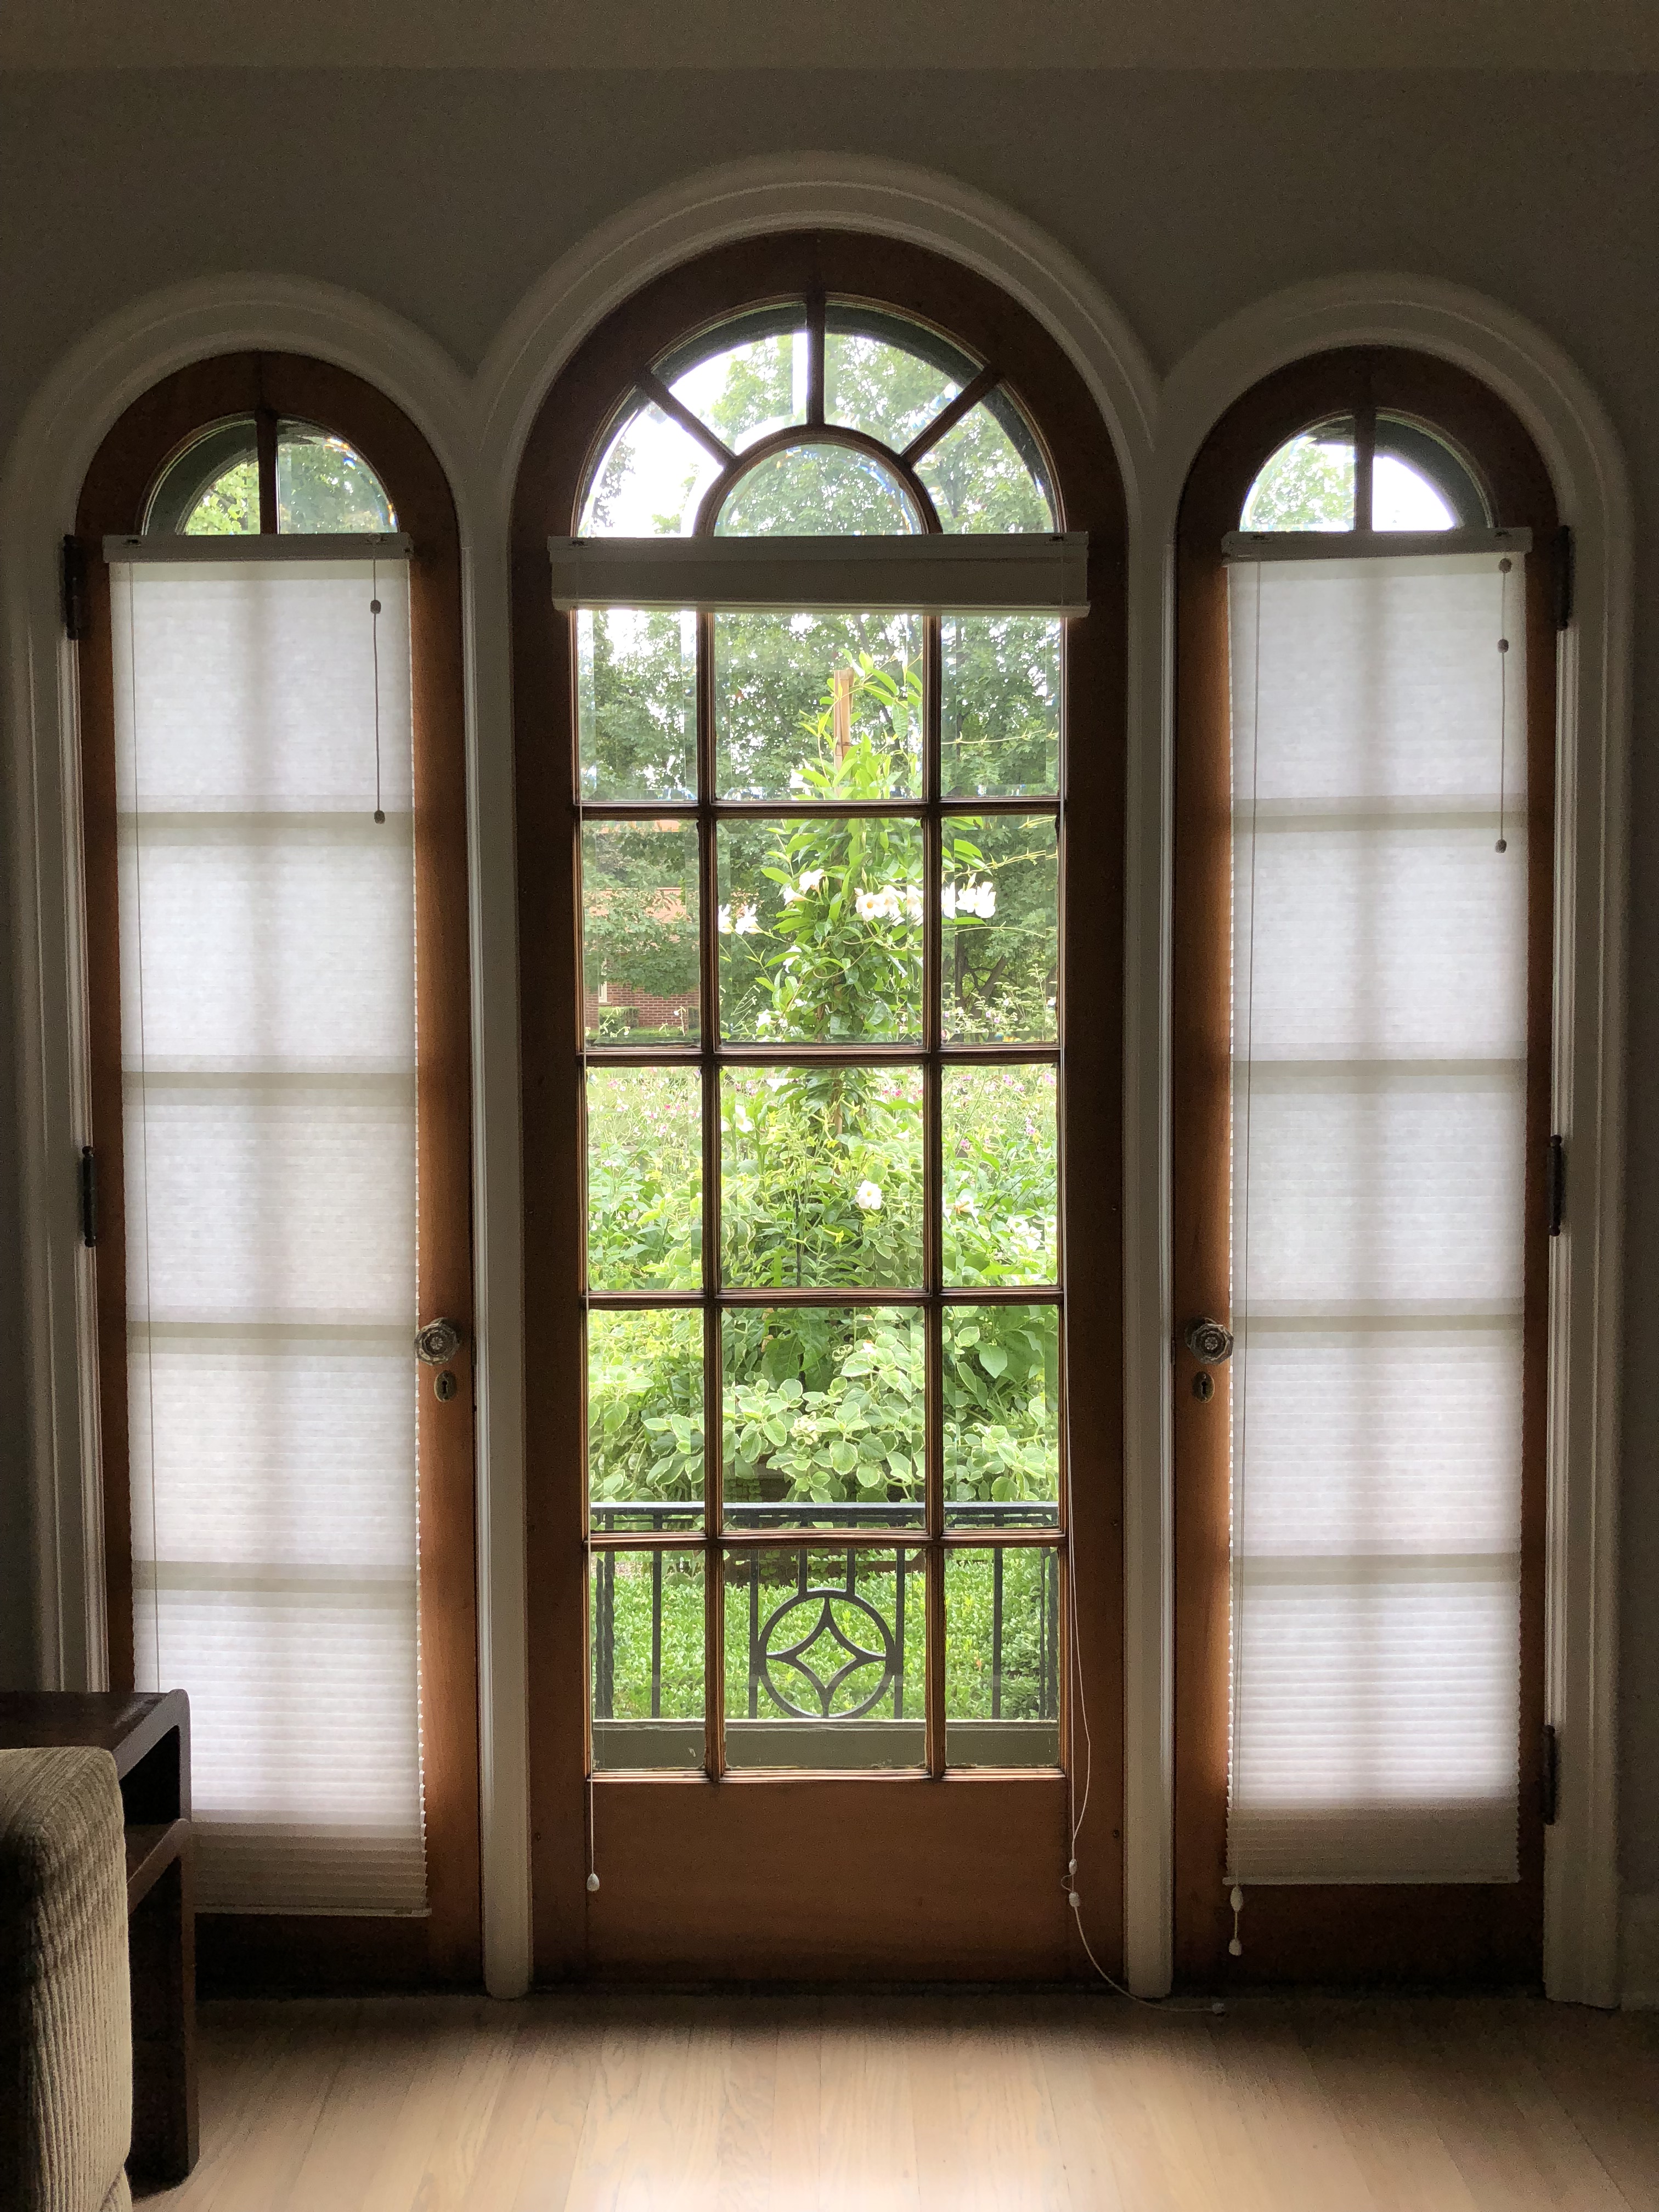
 Creating views out of any interior windows asks for a good space between the window and the view. The boxwood is part of the exterior view. From inside, one’s line of site passes over them.
 I am fortunate to have a front door whose upper half is glass. There is a view out that door that has plenty of interest in the foreground and mid ground space. As for the background, the street sign across the street is a sign of urban living. But the rest of the view is remarkably green.
 The view in to the front door is accompanied by, and celebrated by, the landscape. The pots at the front door with lemon cypress stuffed with lime and variegated licorice embraces the house number. I like this. My corgi Howard is too old to navigate the back stairs from the driveway up to the kitchen, so I pick him up and drop him off at the front door every day. There are 3 sets of two steps, separated by long runs of flat walk. He is a dawdler, so I have a chance to enjoy the view. Landscapes that are designed such to provide interesting views for the people who visit and live in them are landscapes I admire.
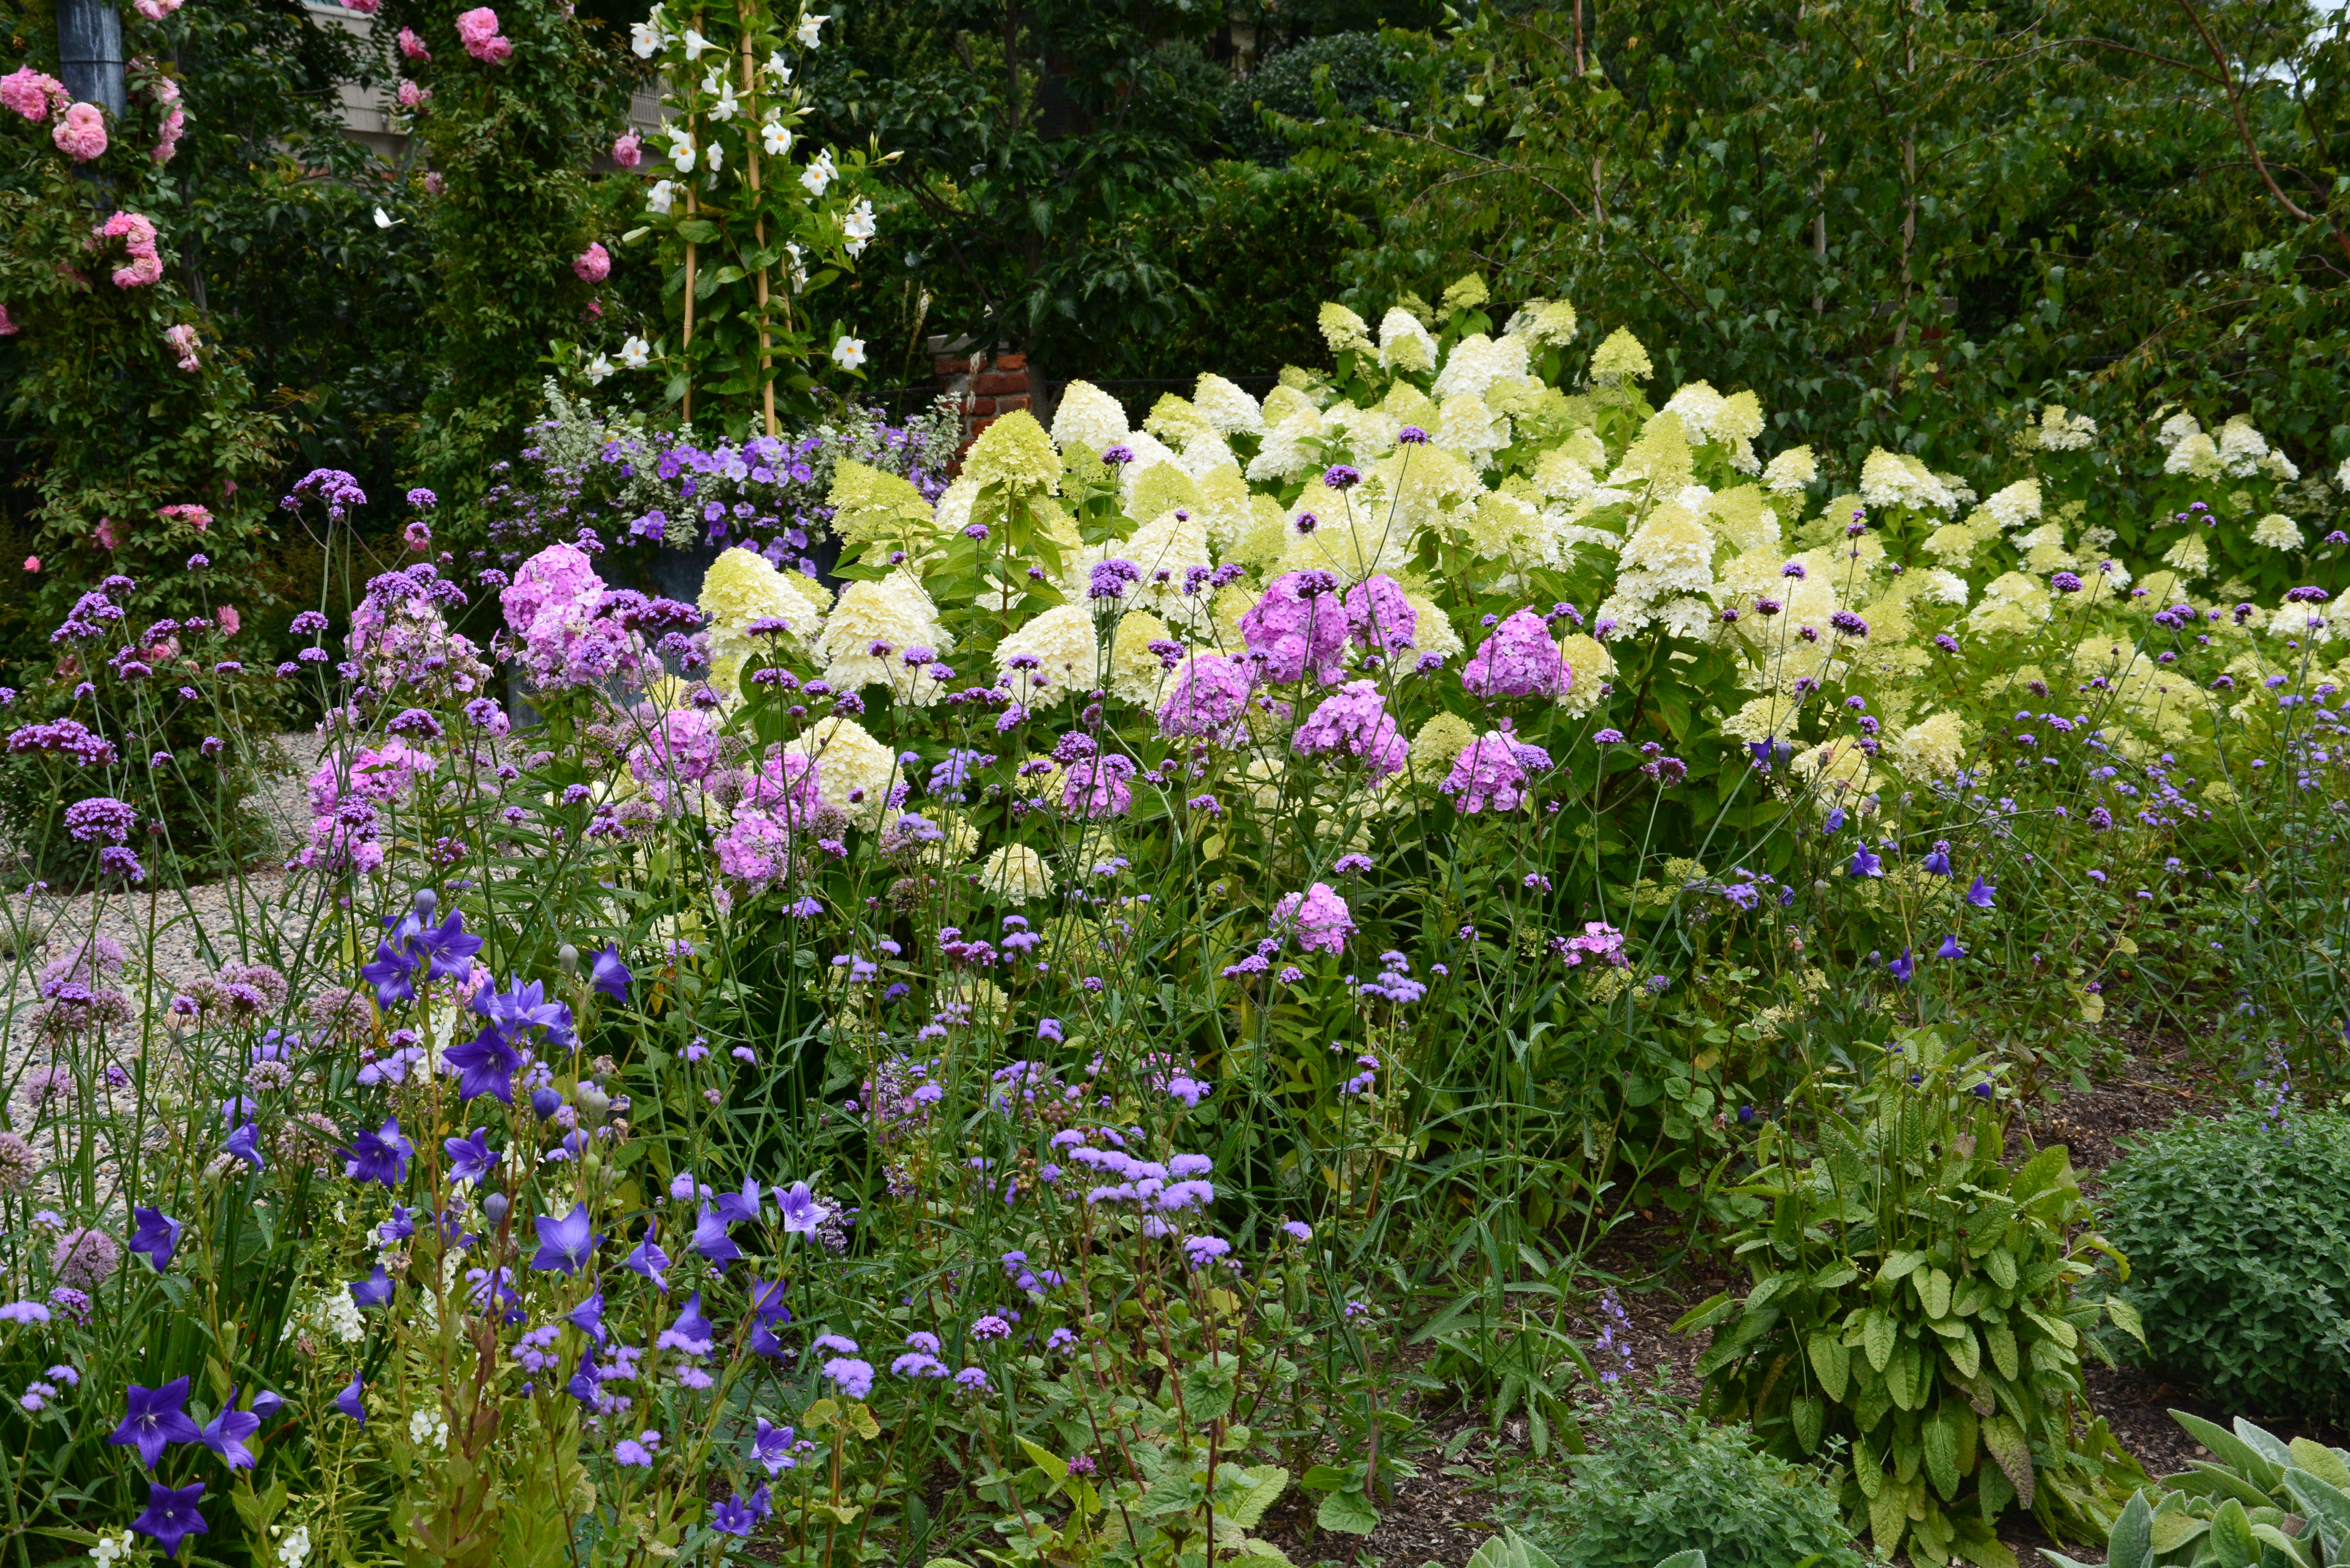
 The view out the kitchen door is framed to the right by a mandevillea in a pot. The views out is substantial, given the strong design of that element in the foreground space. The mid ground space here is a perennial garden. The background space tells the story of living in a neighborhood. I have lost the maples in the tree lawn. I plan to replant with trees that will be happier in a confined space. At one point I will be standing here, to determine the placement of those trees. One rarely has design control of the background. My advice? Make the foreground and mid-ground views as strong as possible.
 The view in, approaching the side door, is a welcoming view.
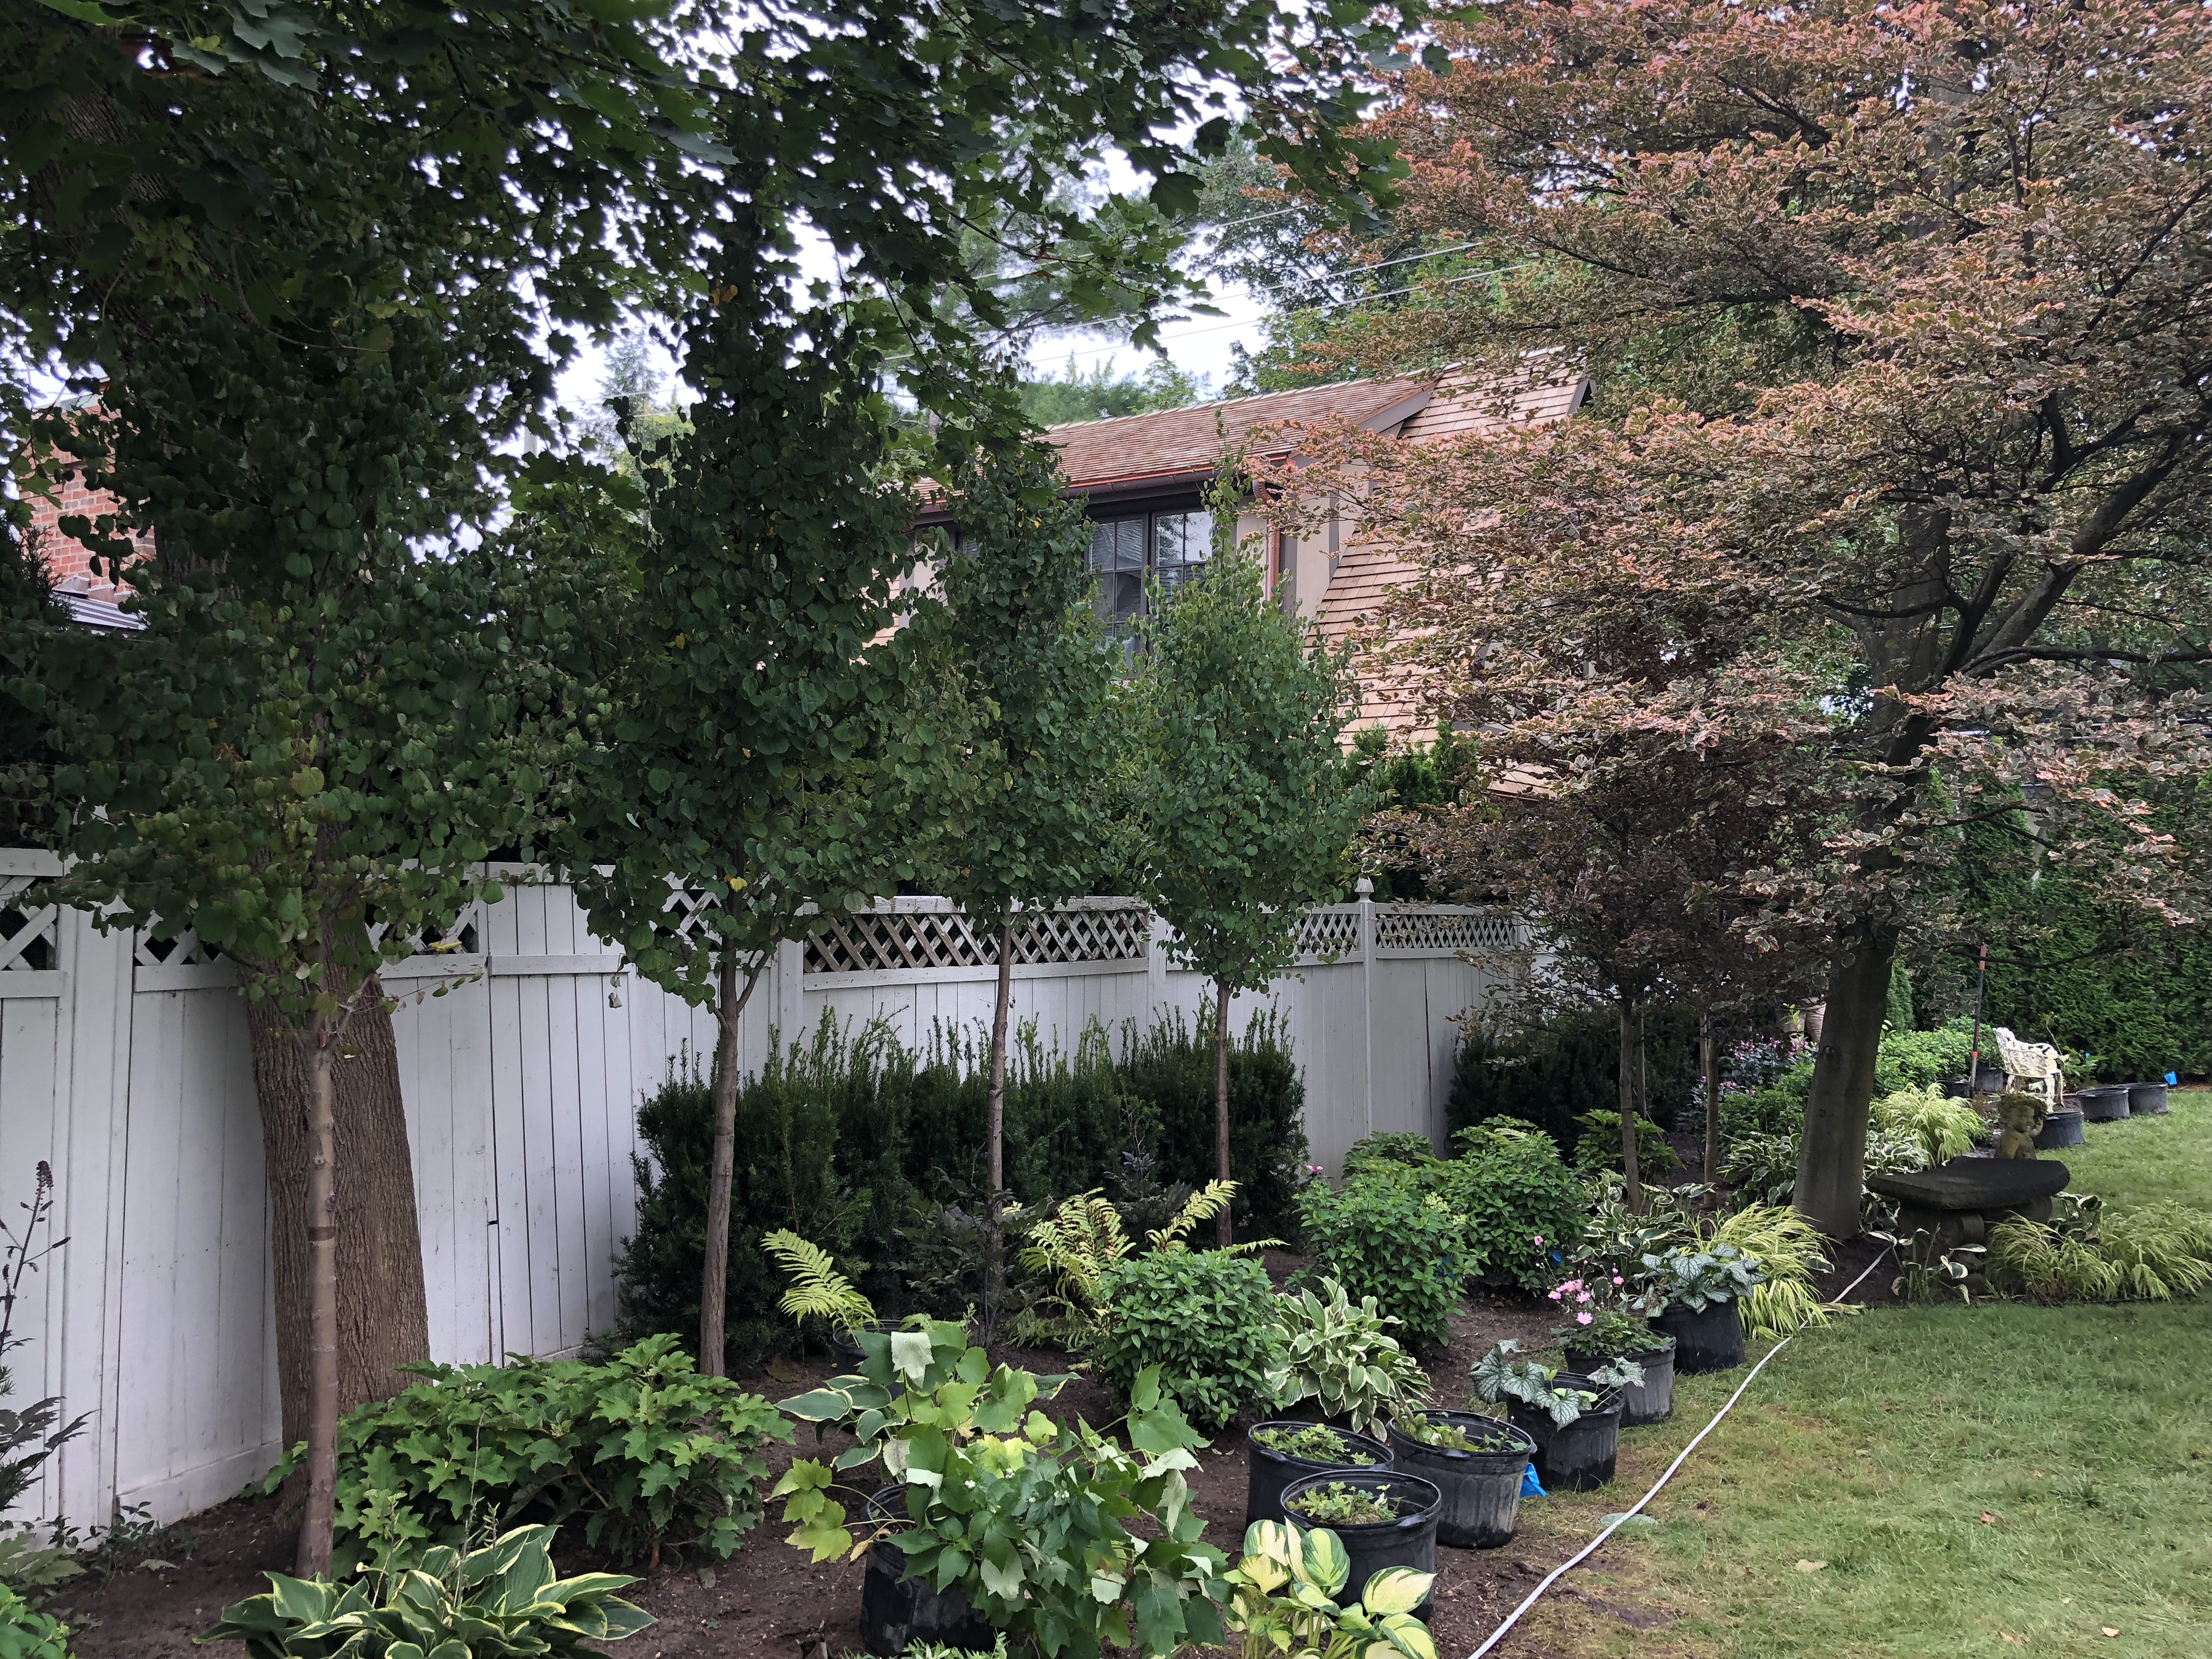
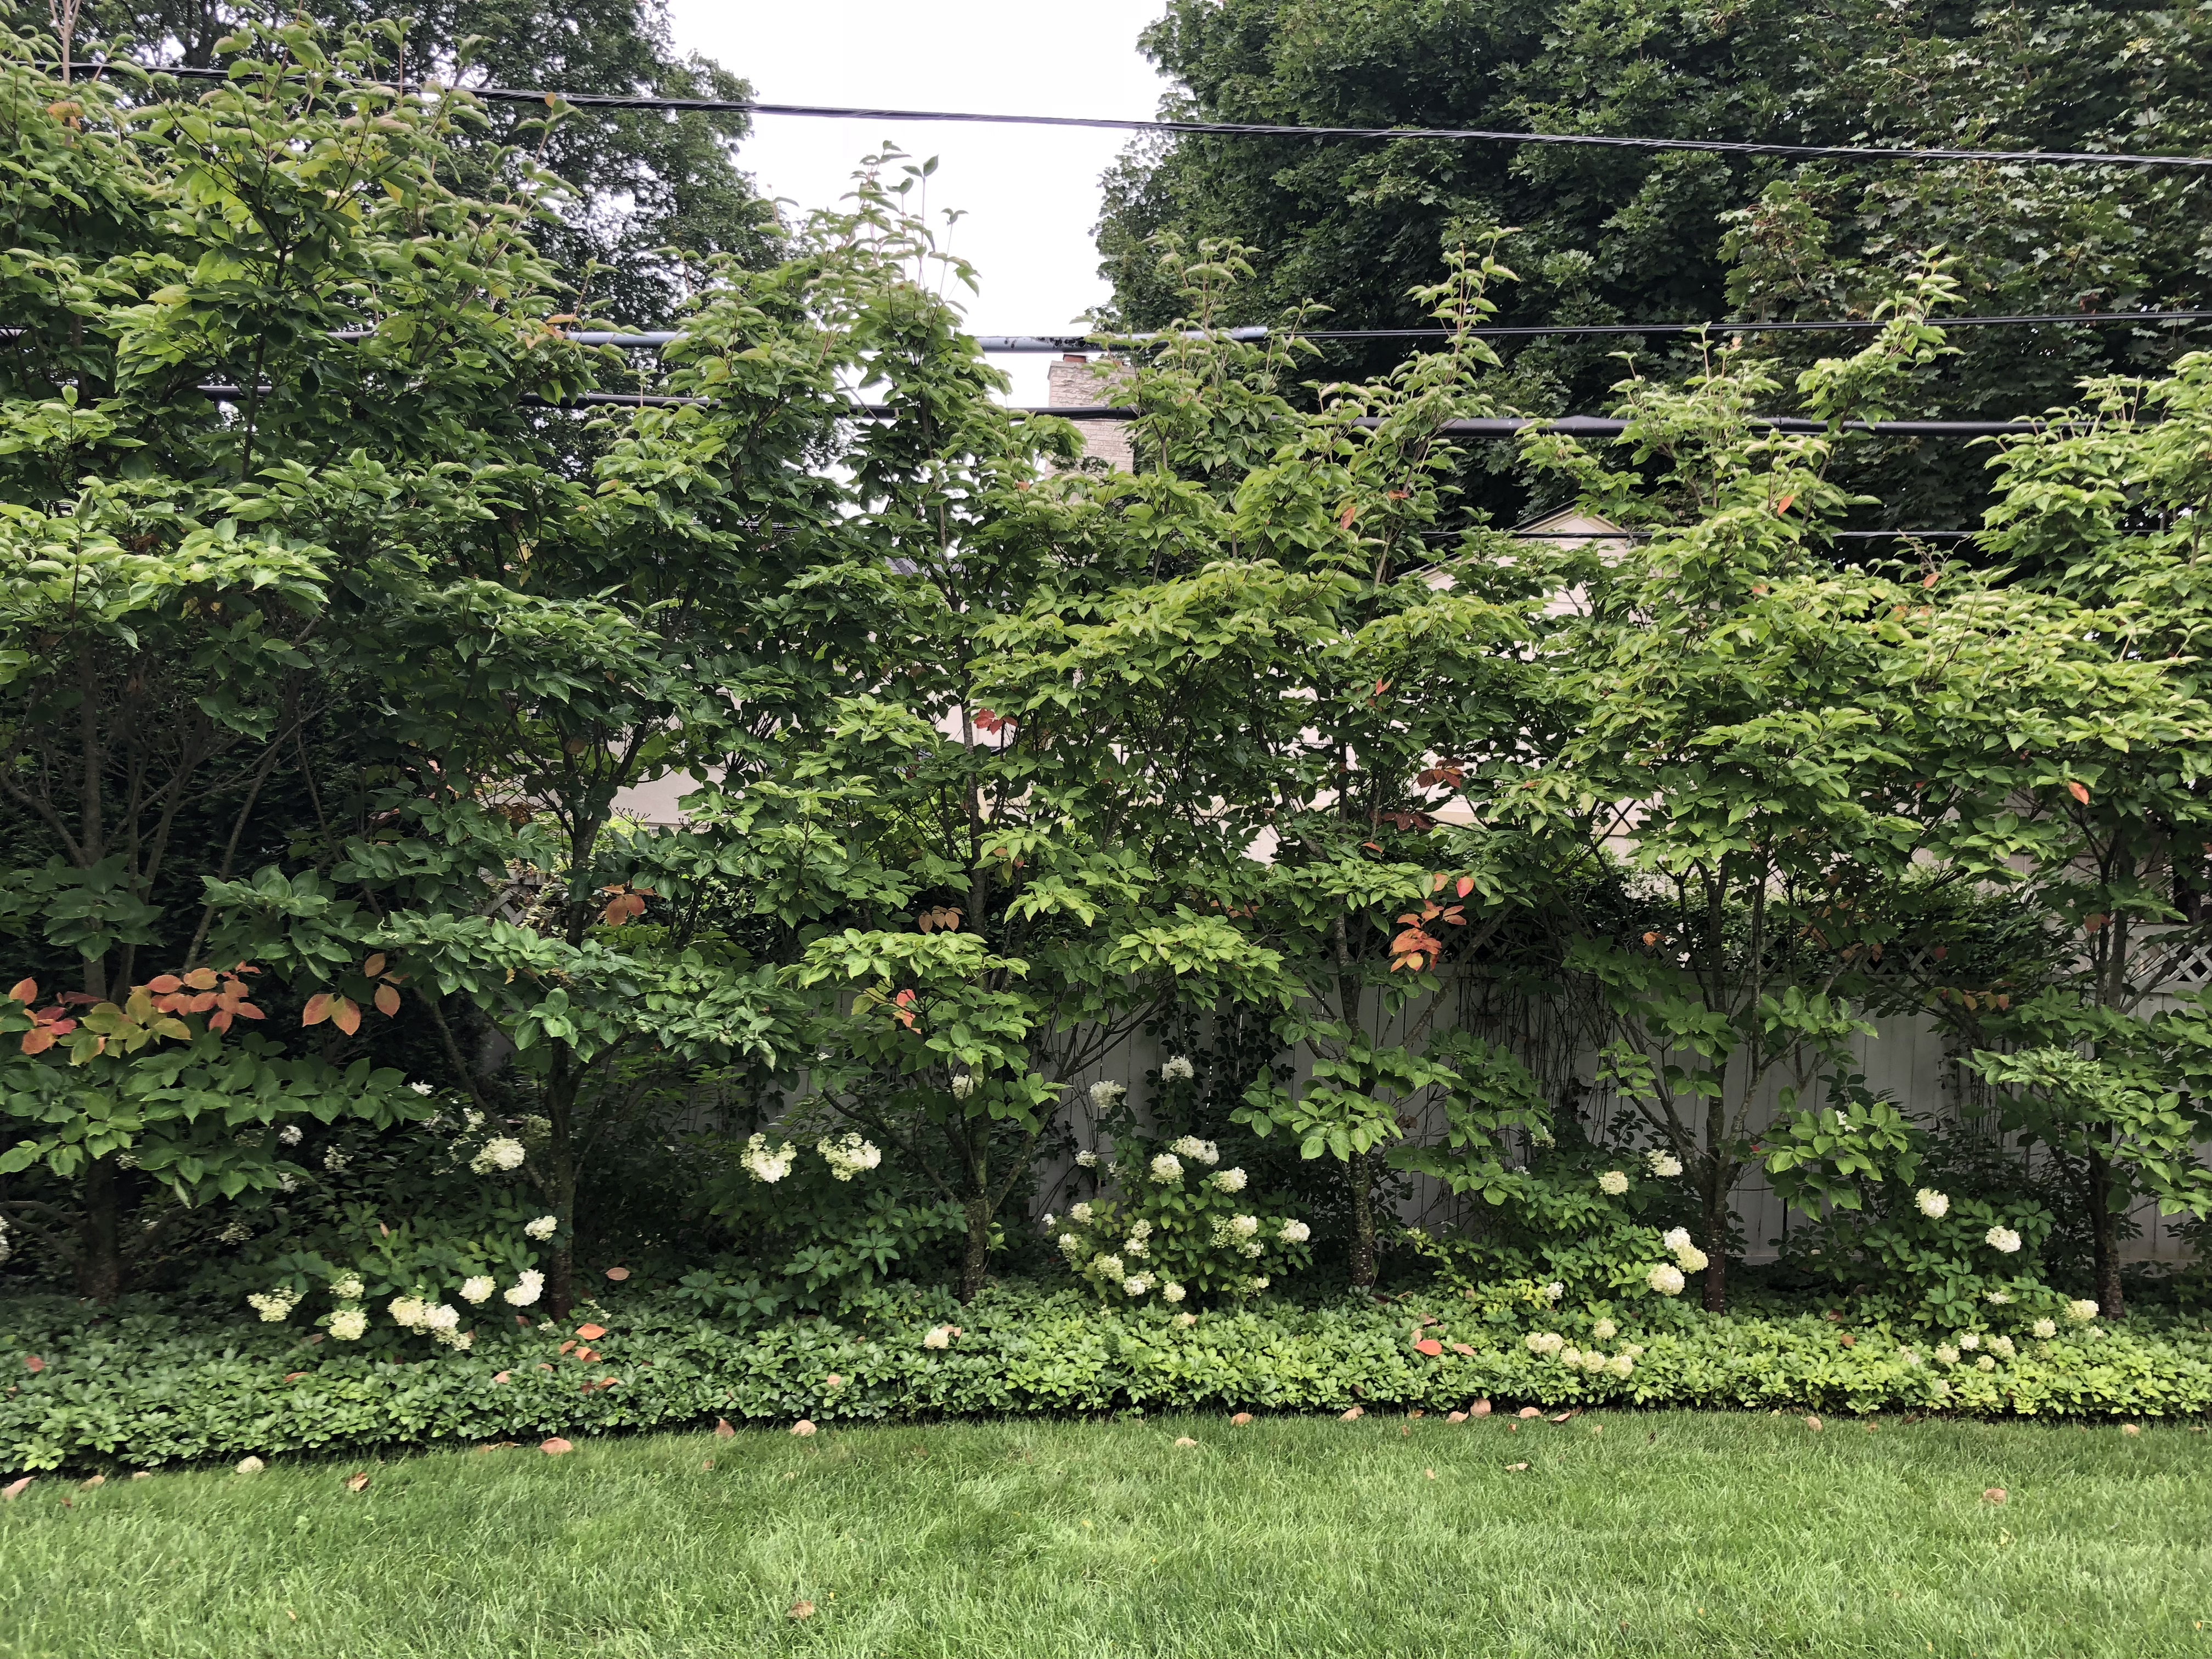
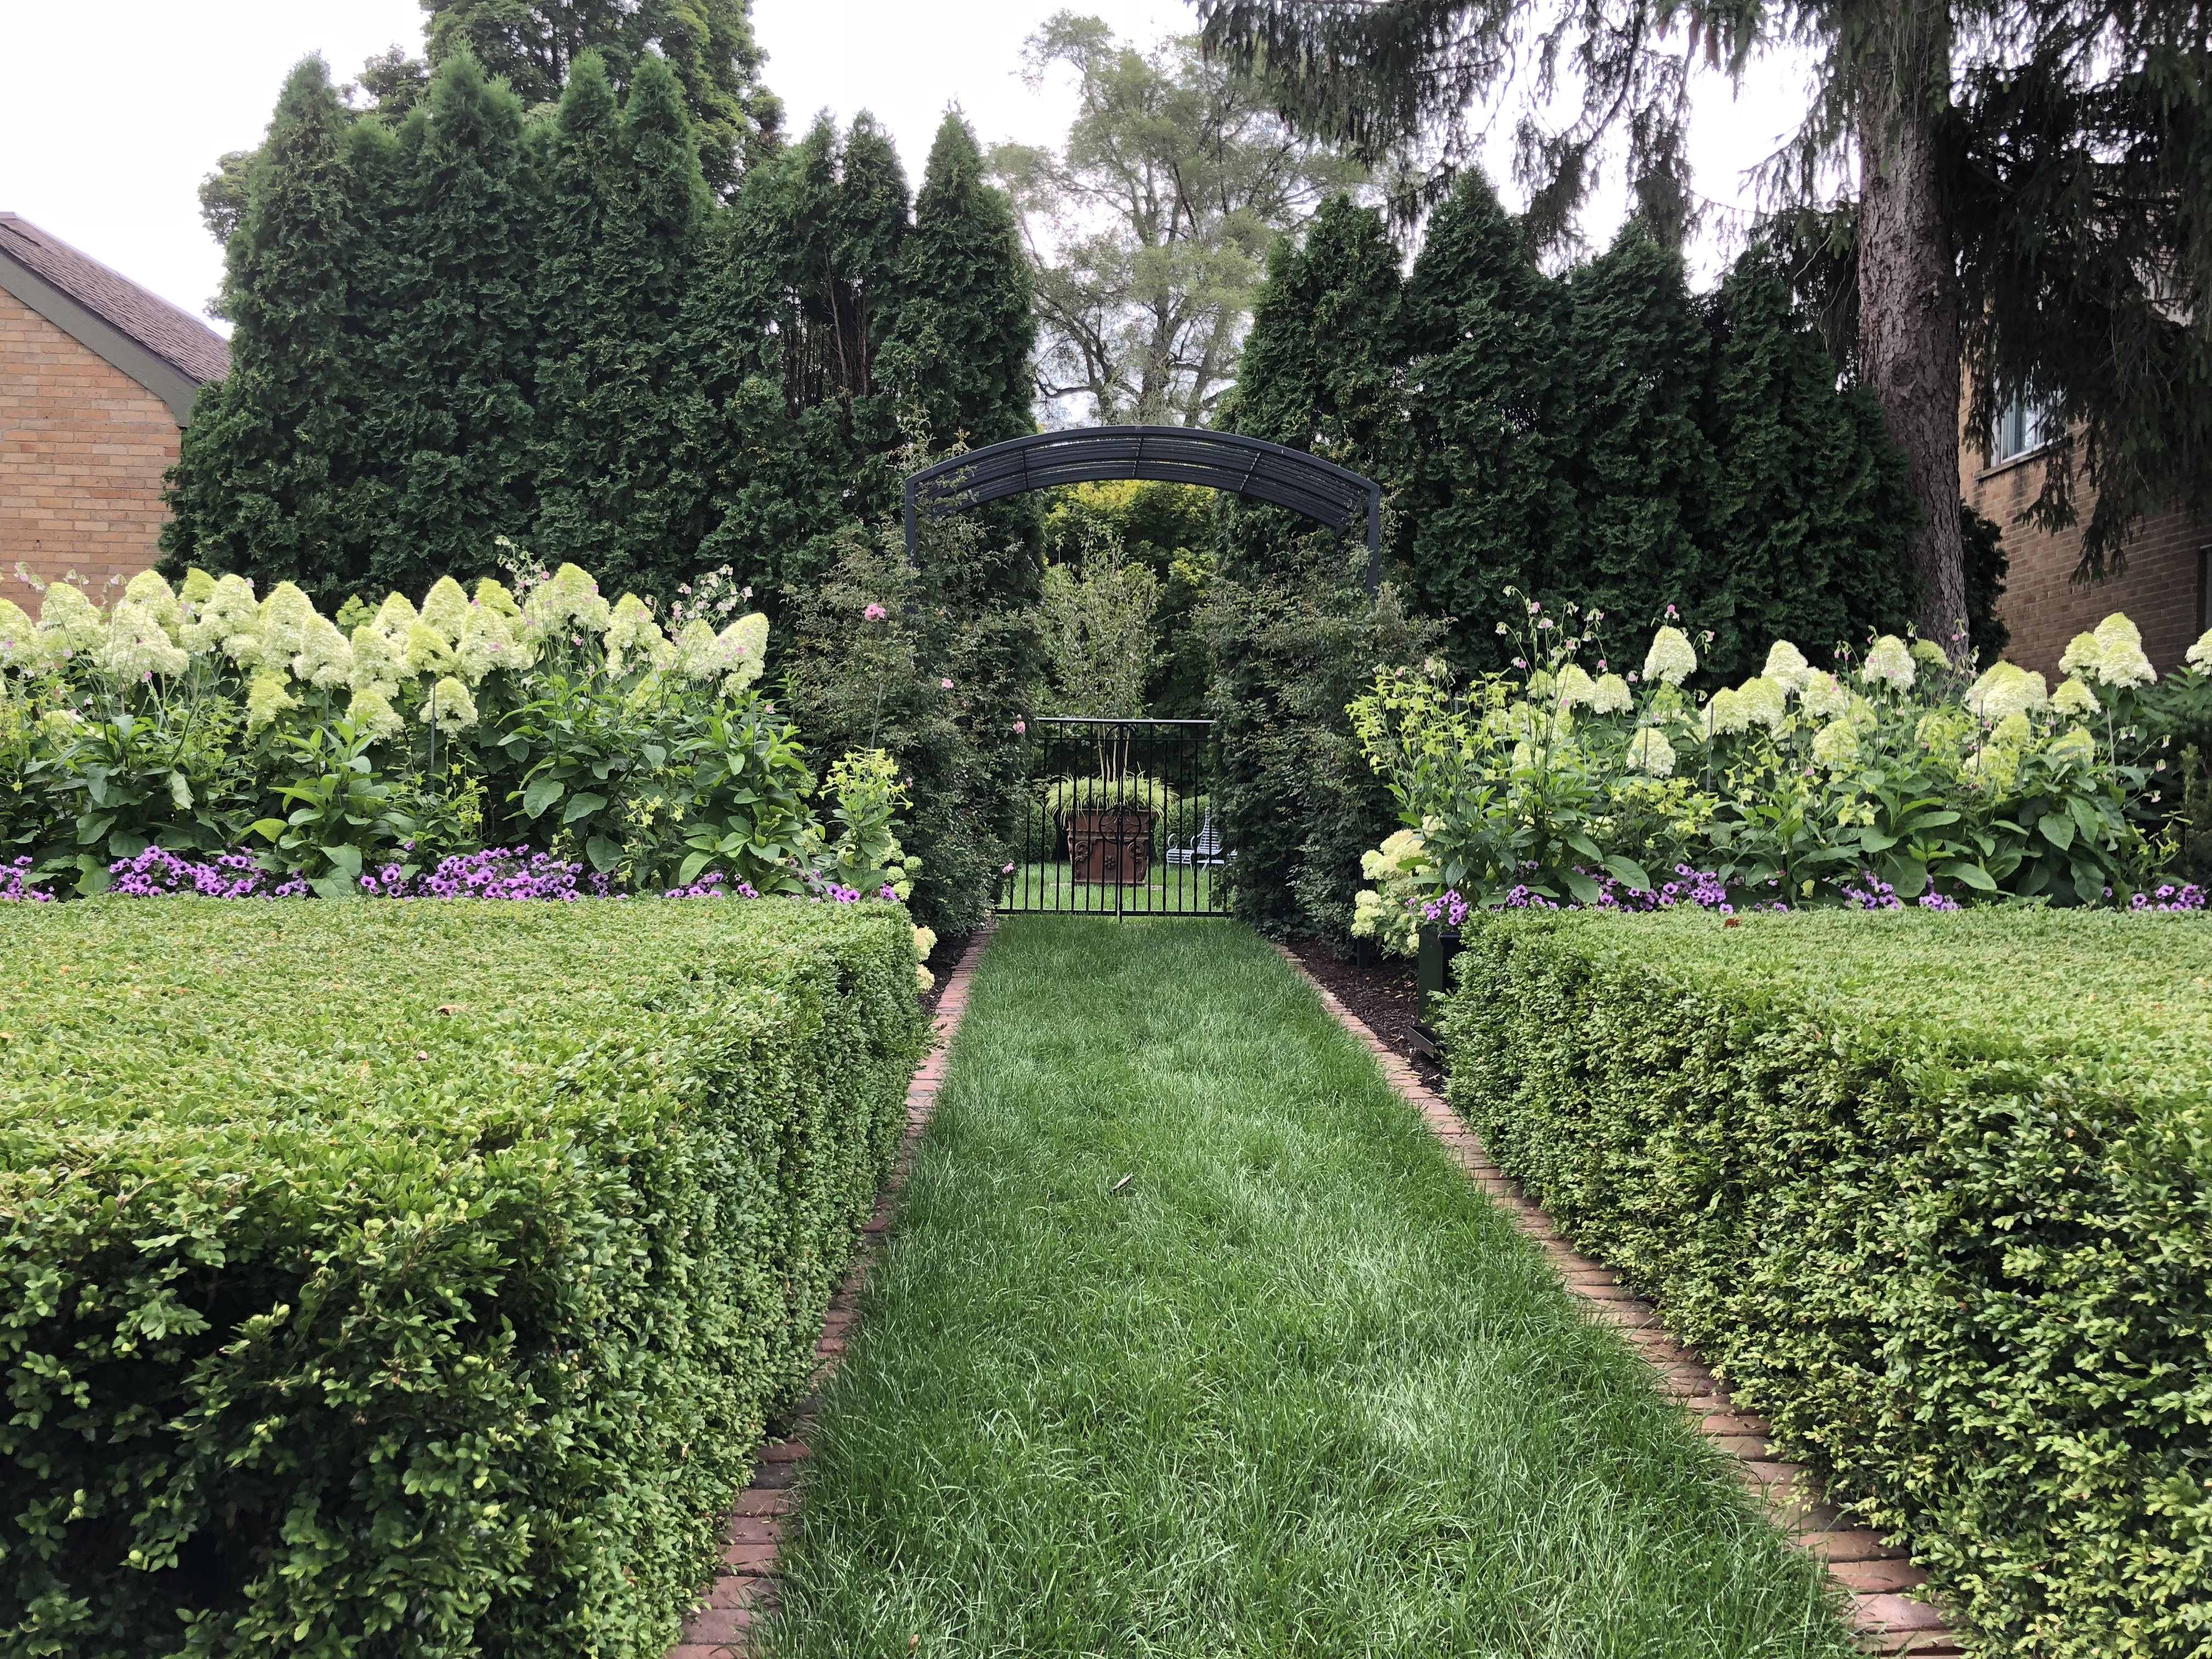
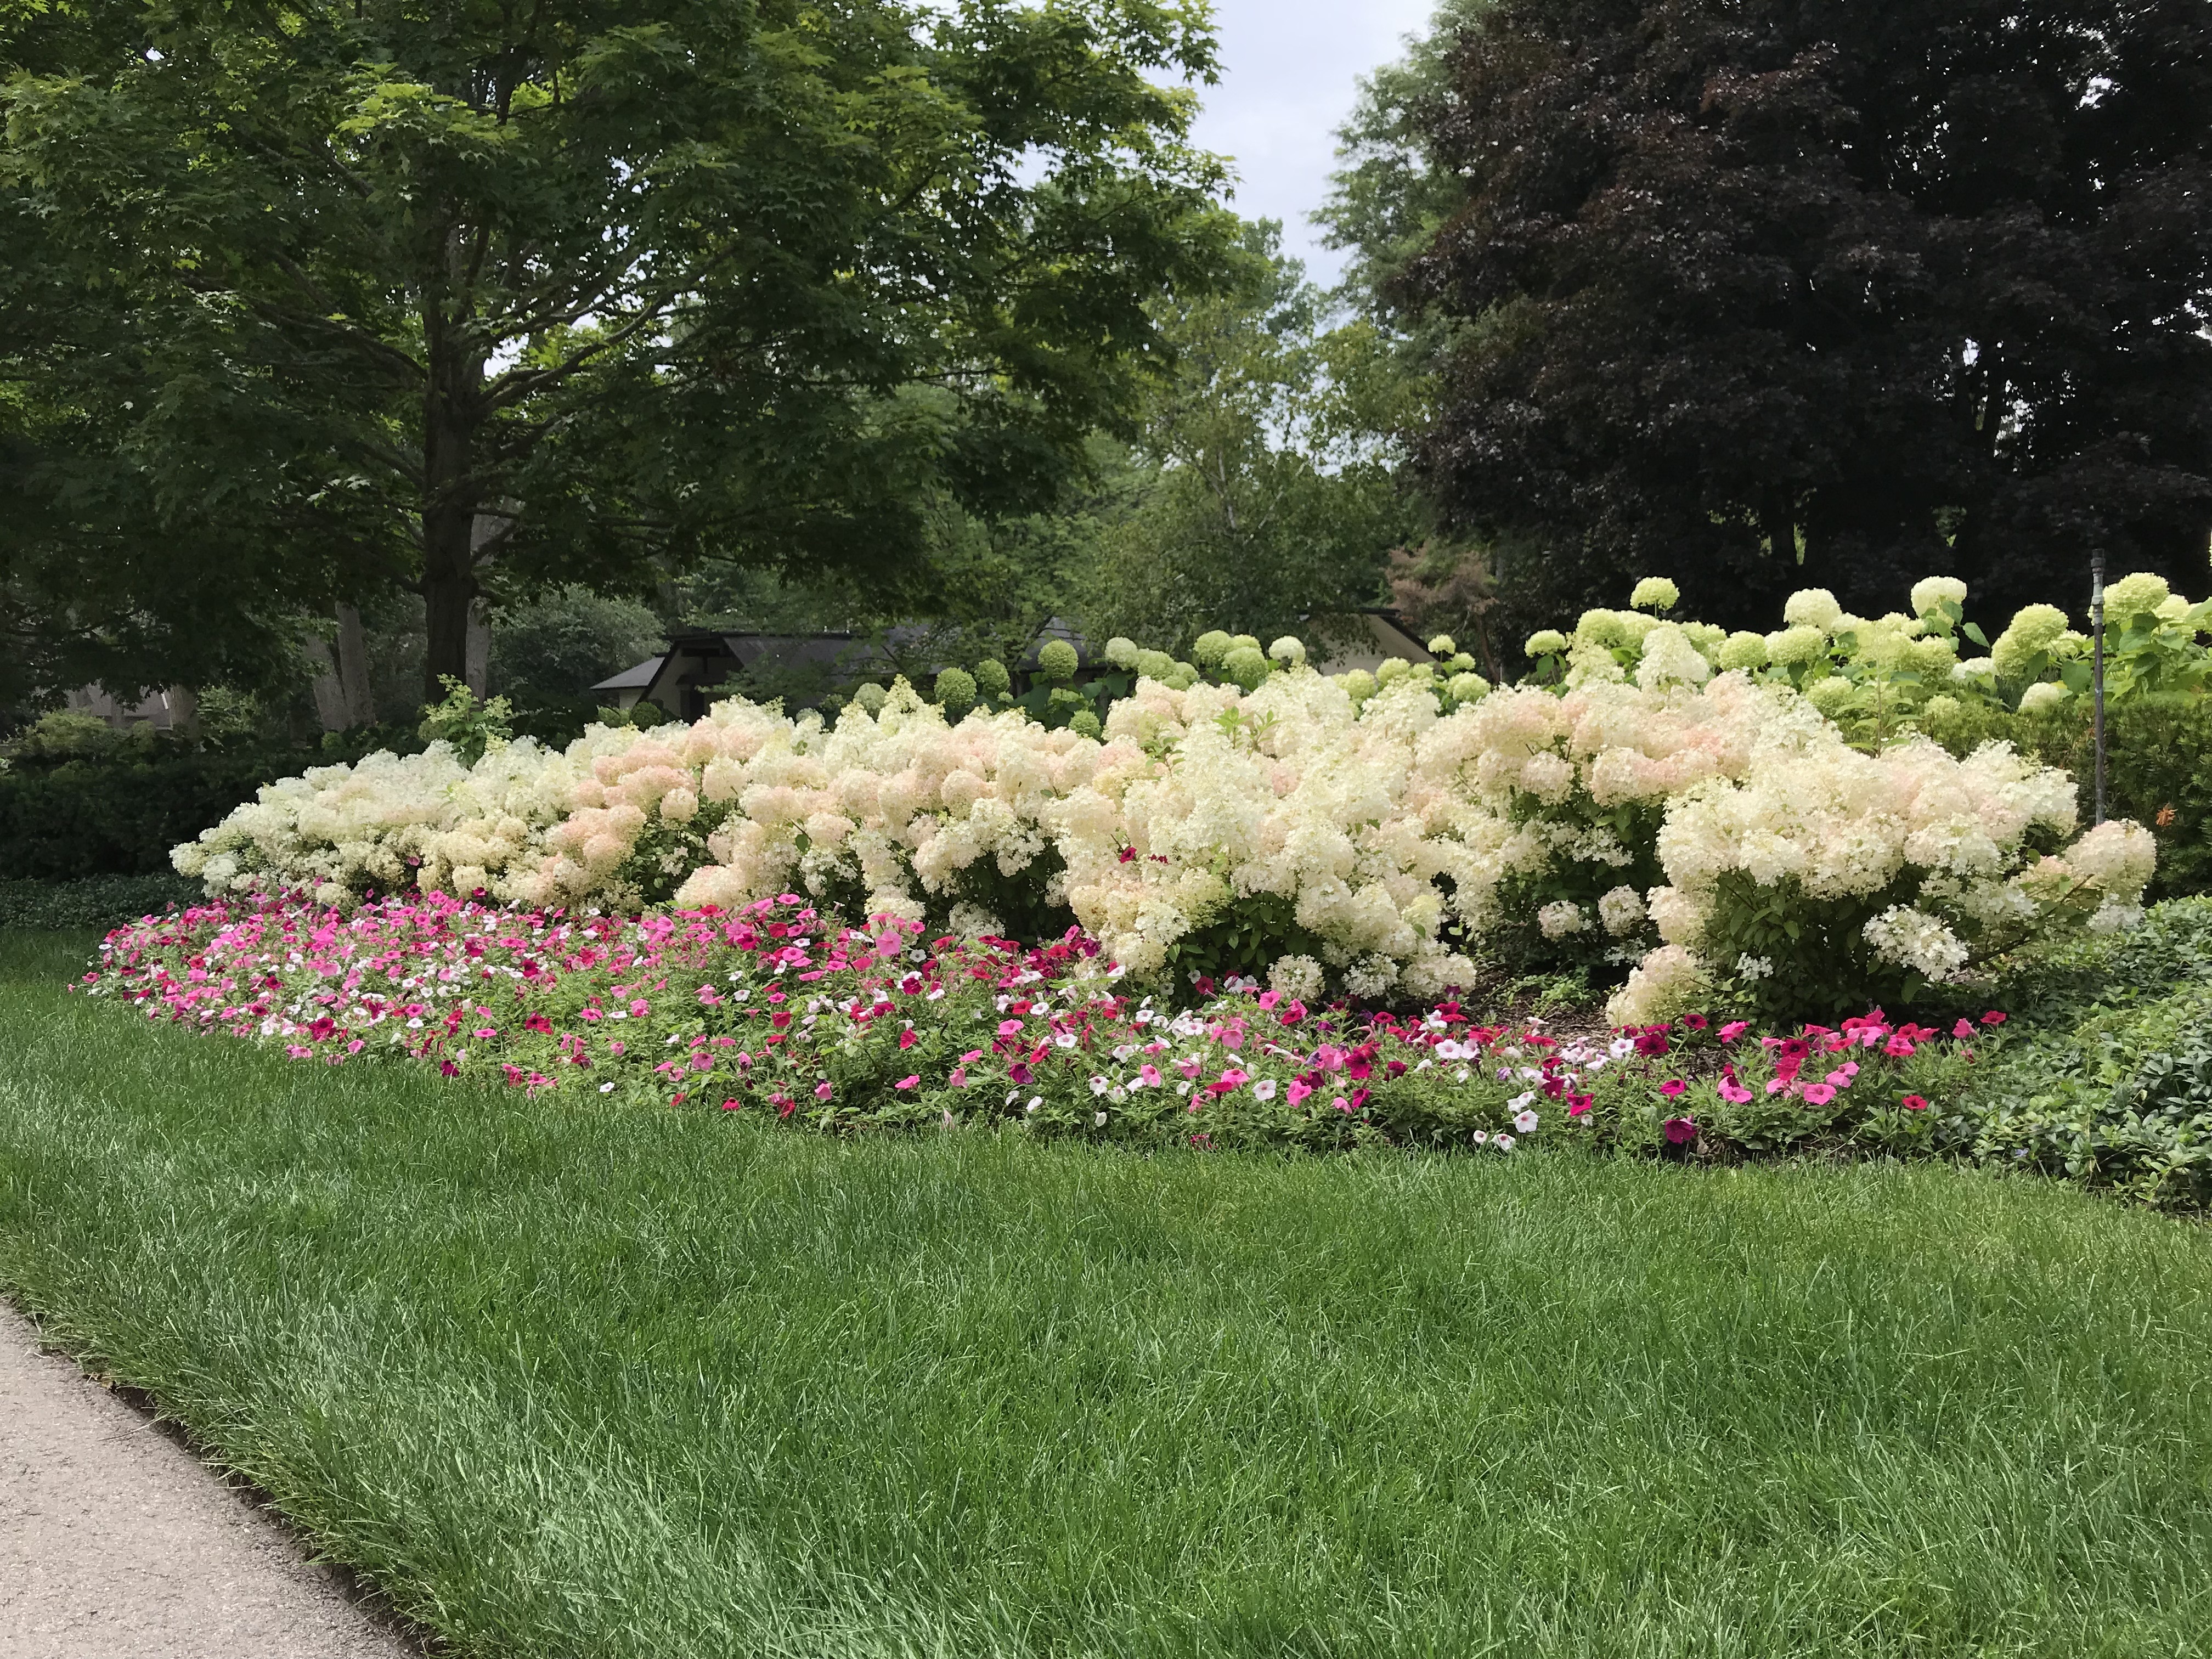
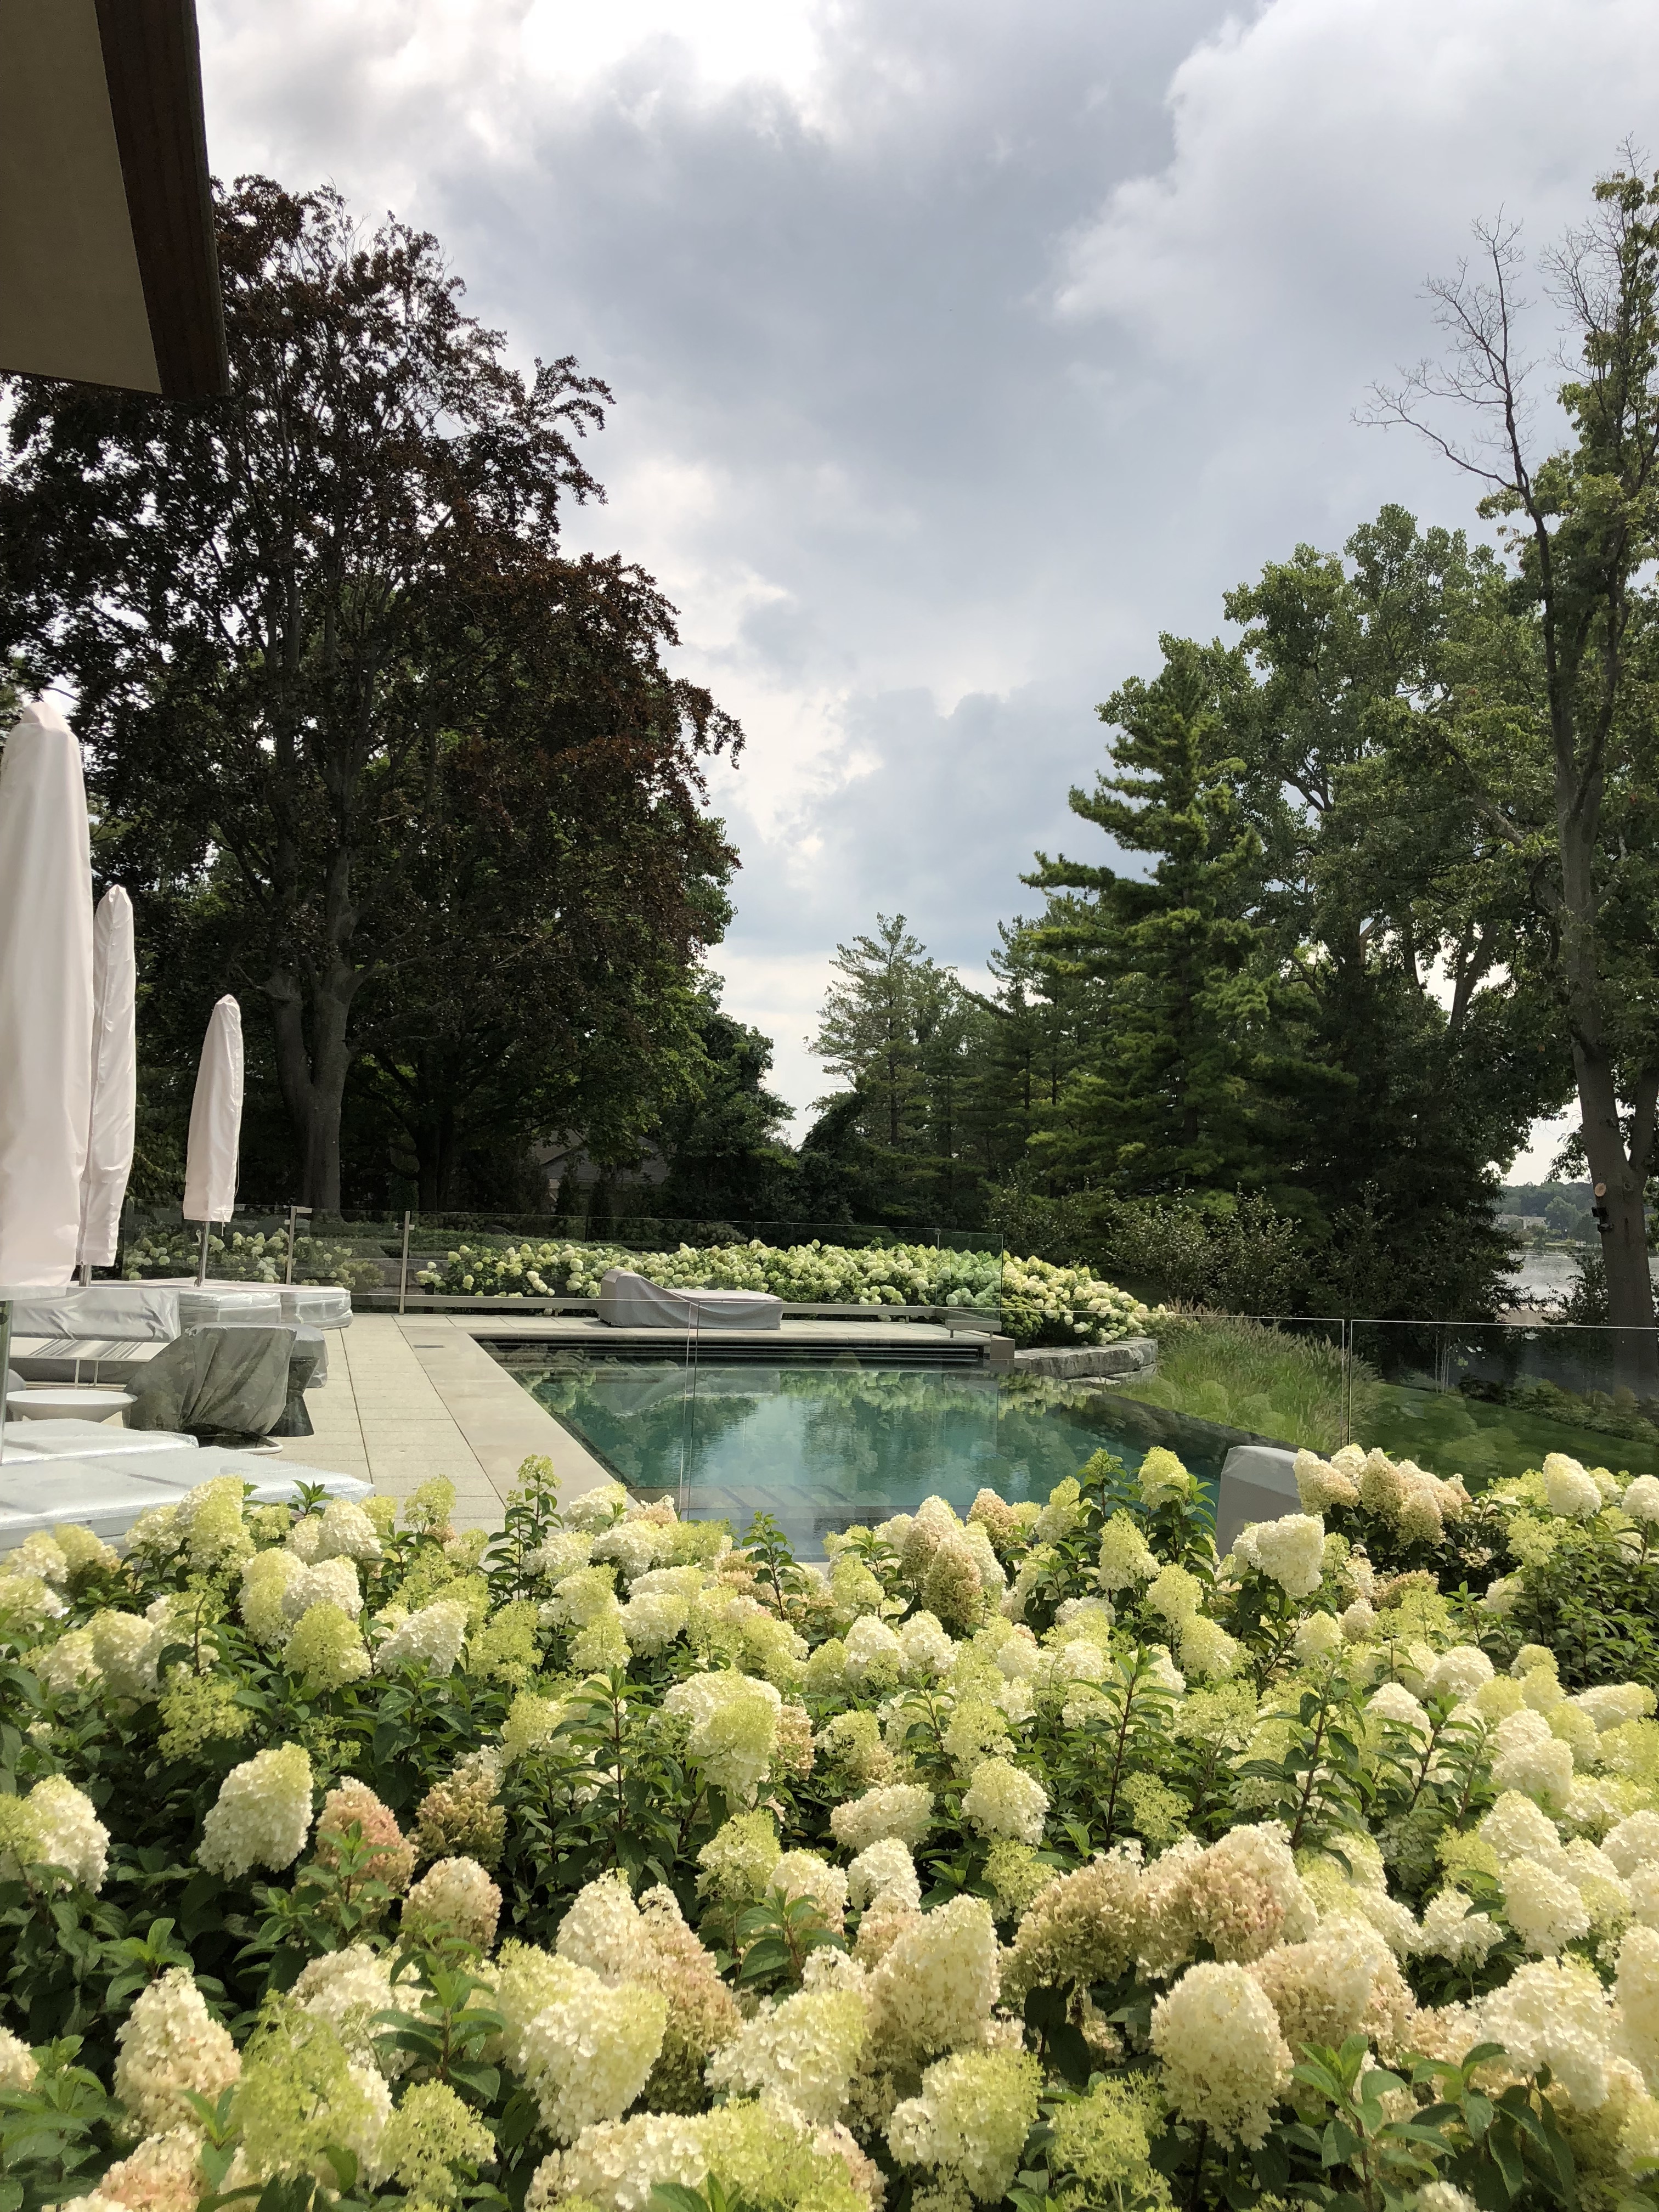
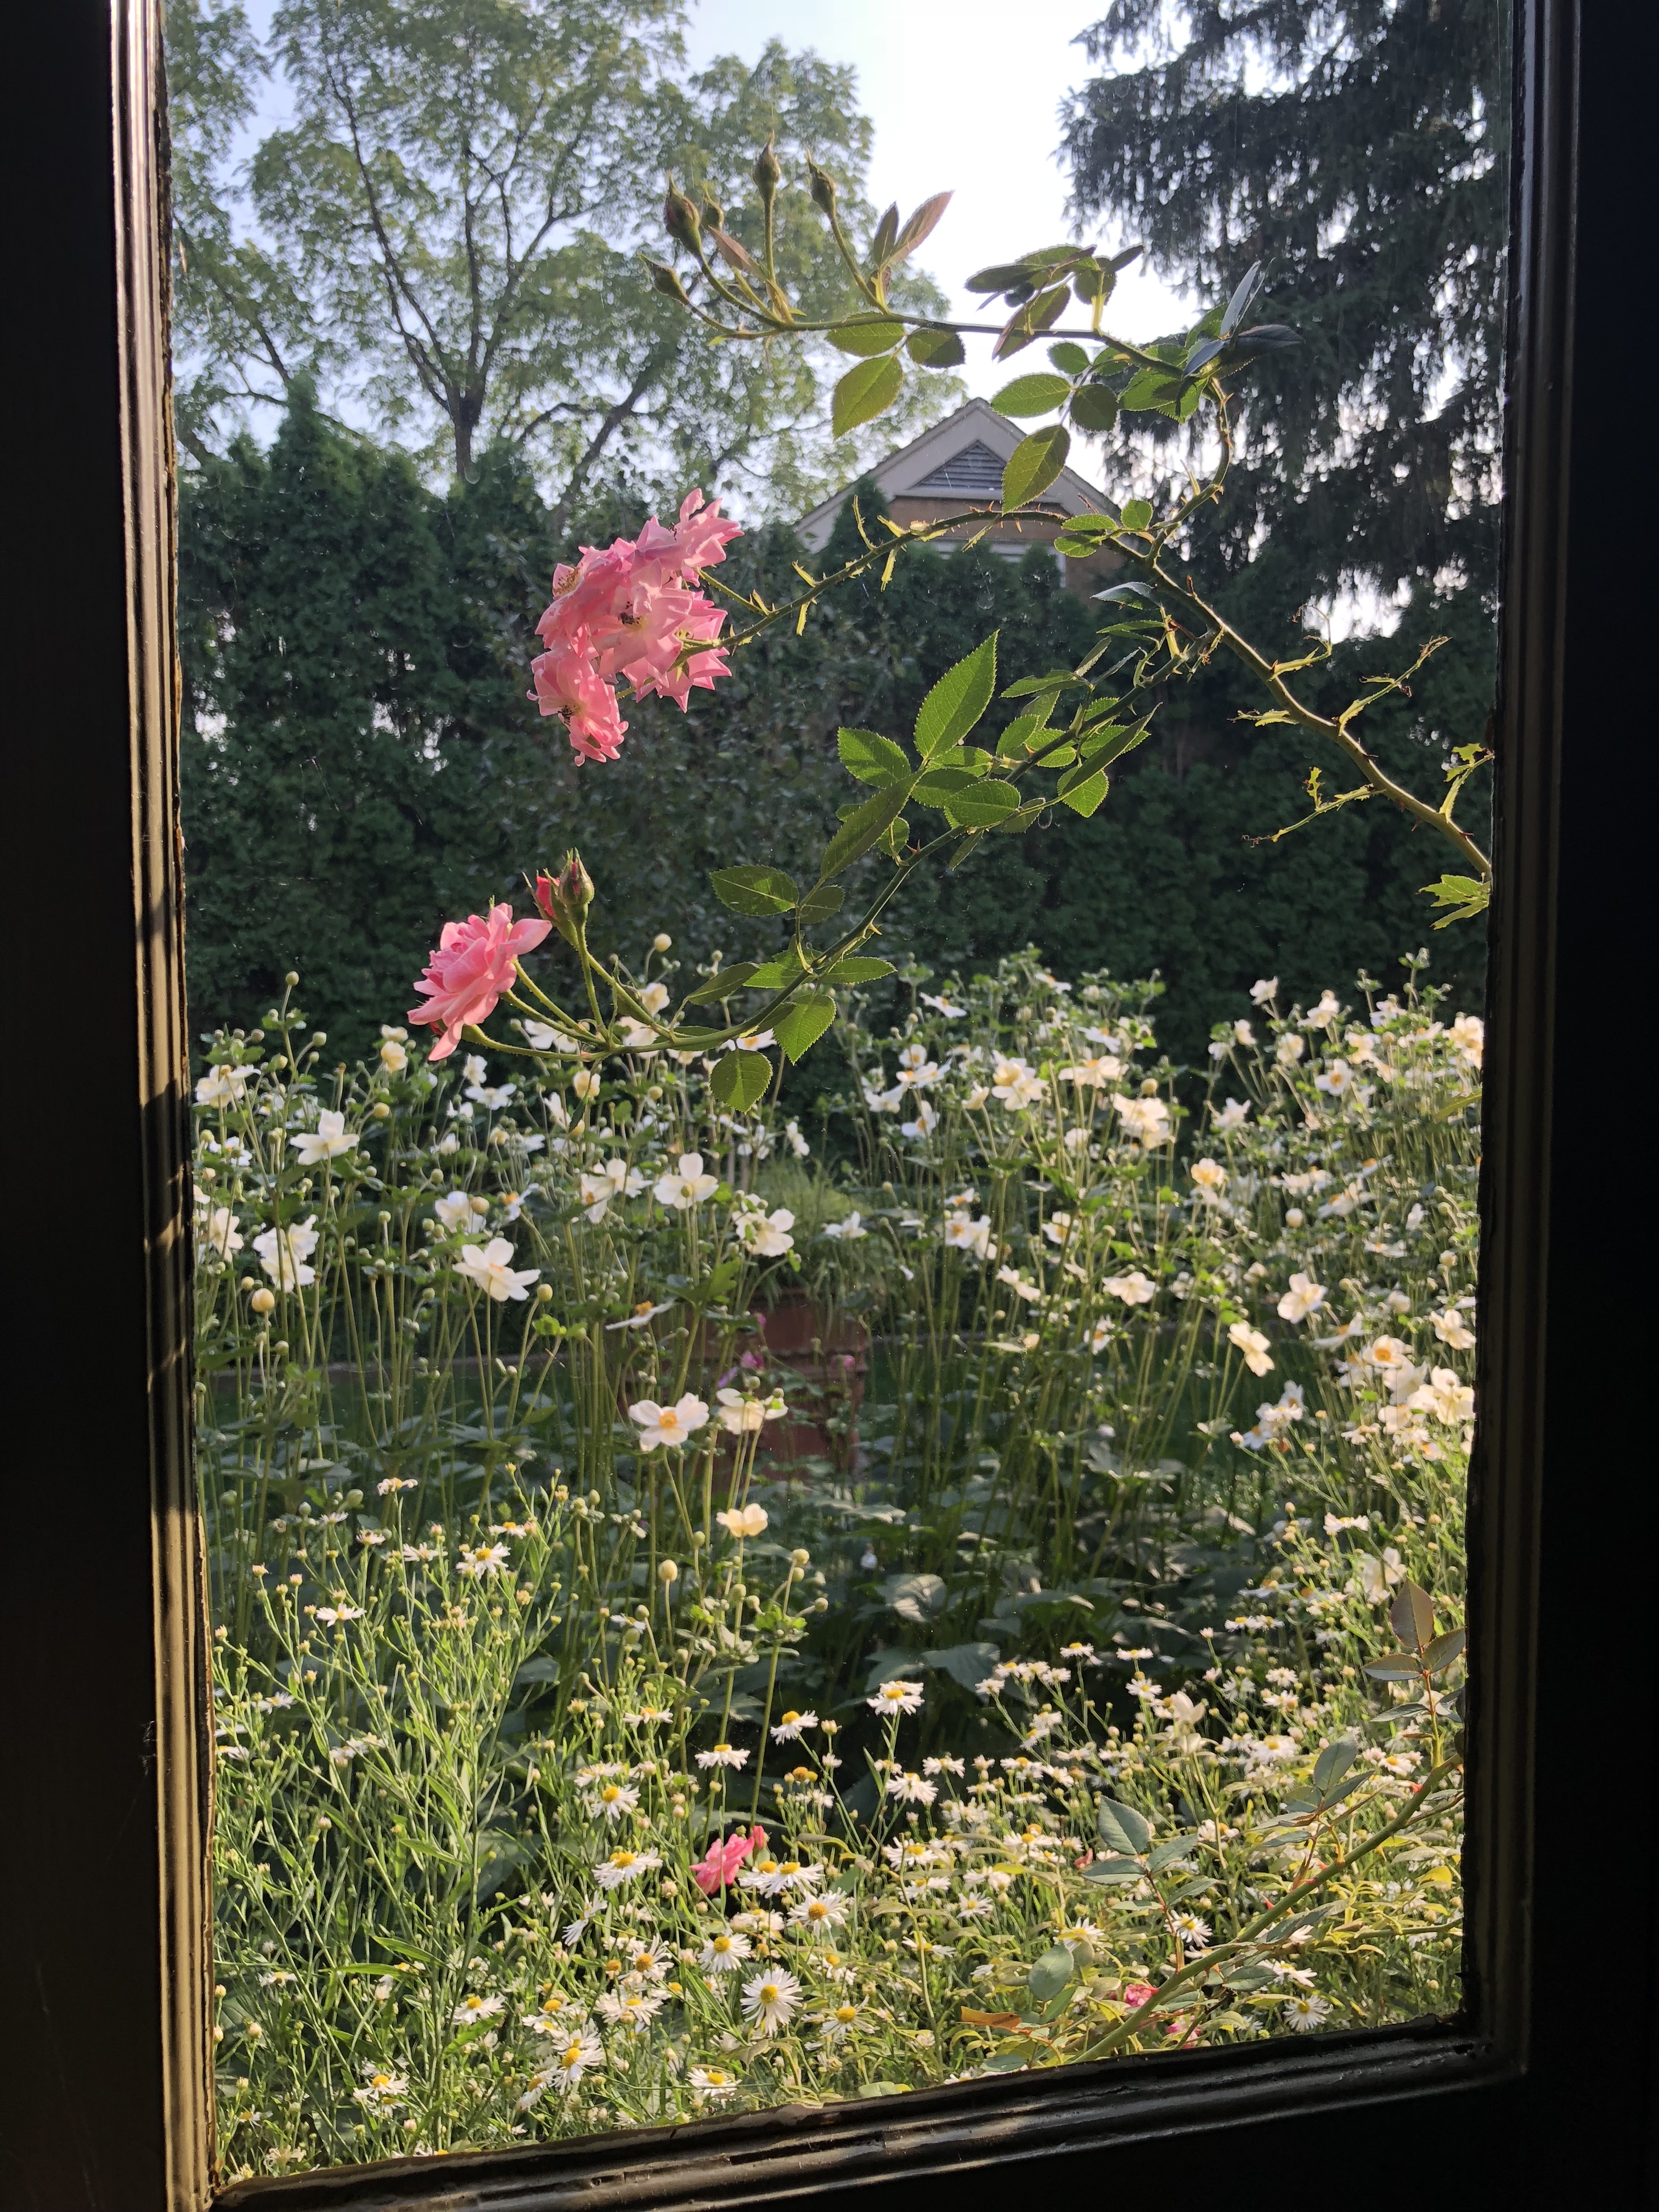 The view out here is all about perennials and roses. Yes, those roses, boltonia asteroides, and anemone Honorine Jobert were planted close to the foundation of the house. They have created a filtered view out. Perfect for a bathroom window. The arborvitae in the background have screened all but the very peak of the house next door. The planting is a better privacy solution than a blind. The large pot planted with a multi-trunked birch and carex provides the interest in the mid ground space. This pot will go on to organize the entire view of this garden in the winter. Providing for views from the inside can make the long winter season more tolerable.
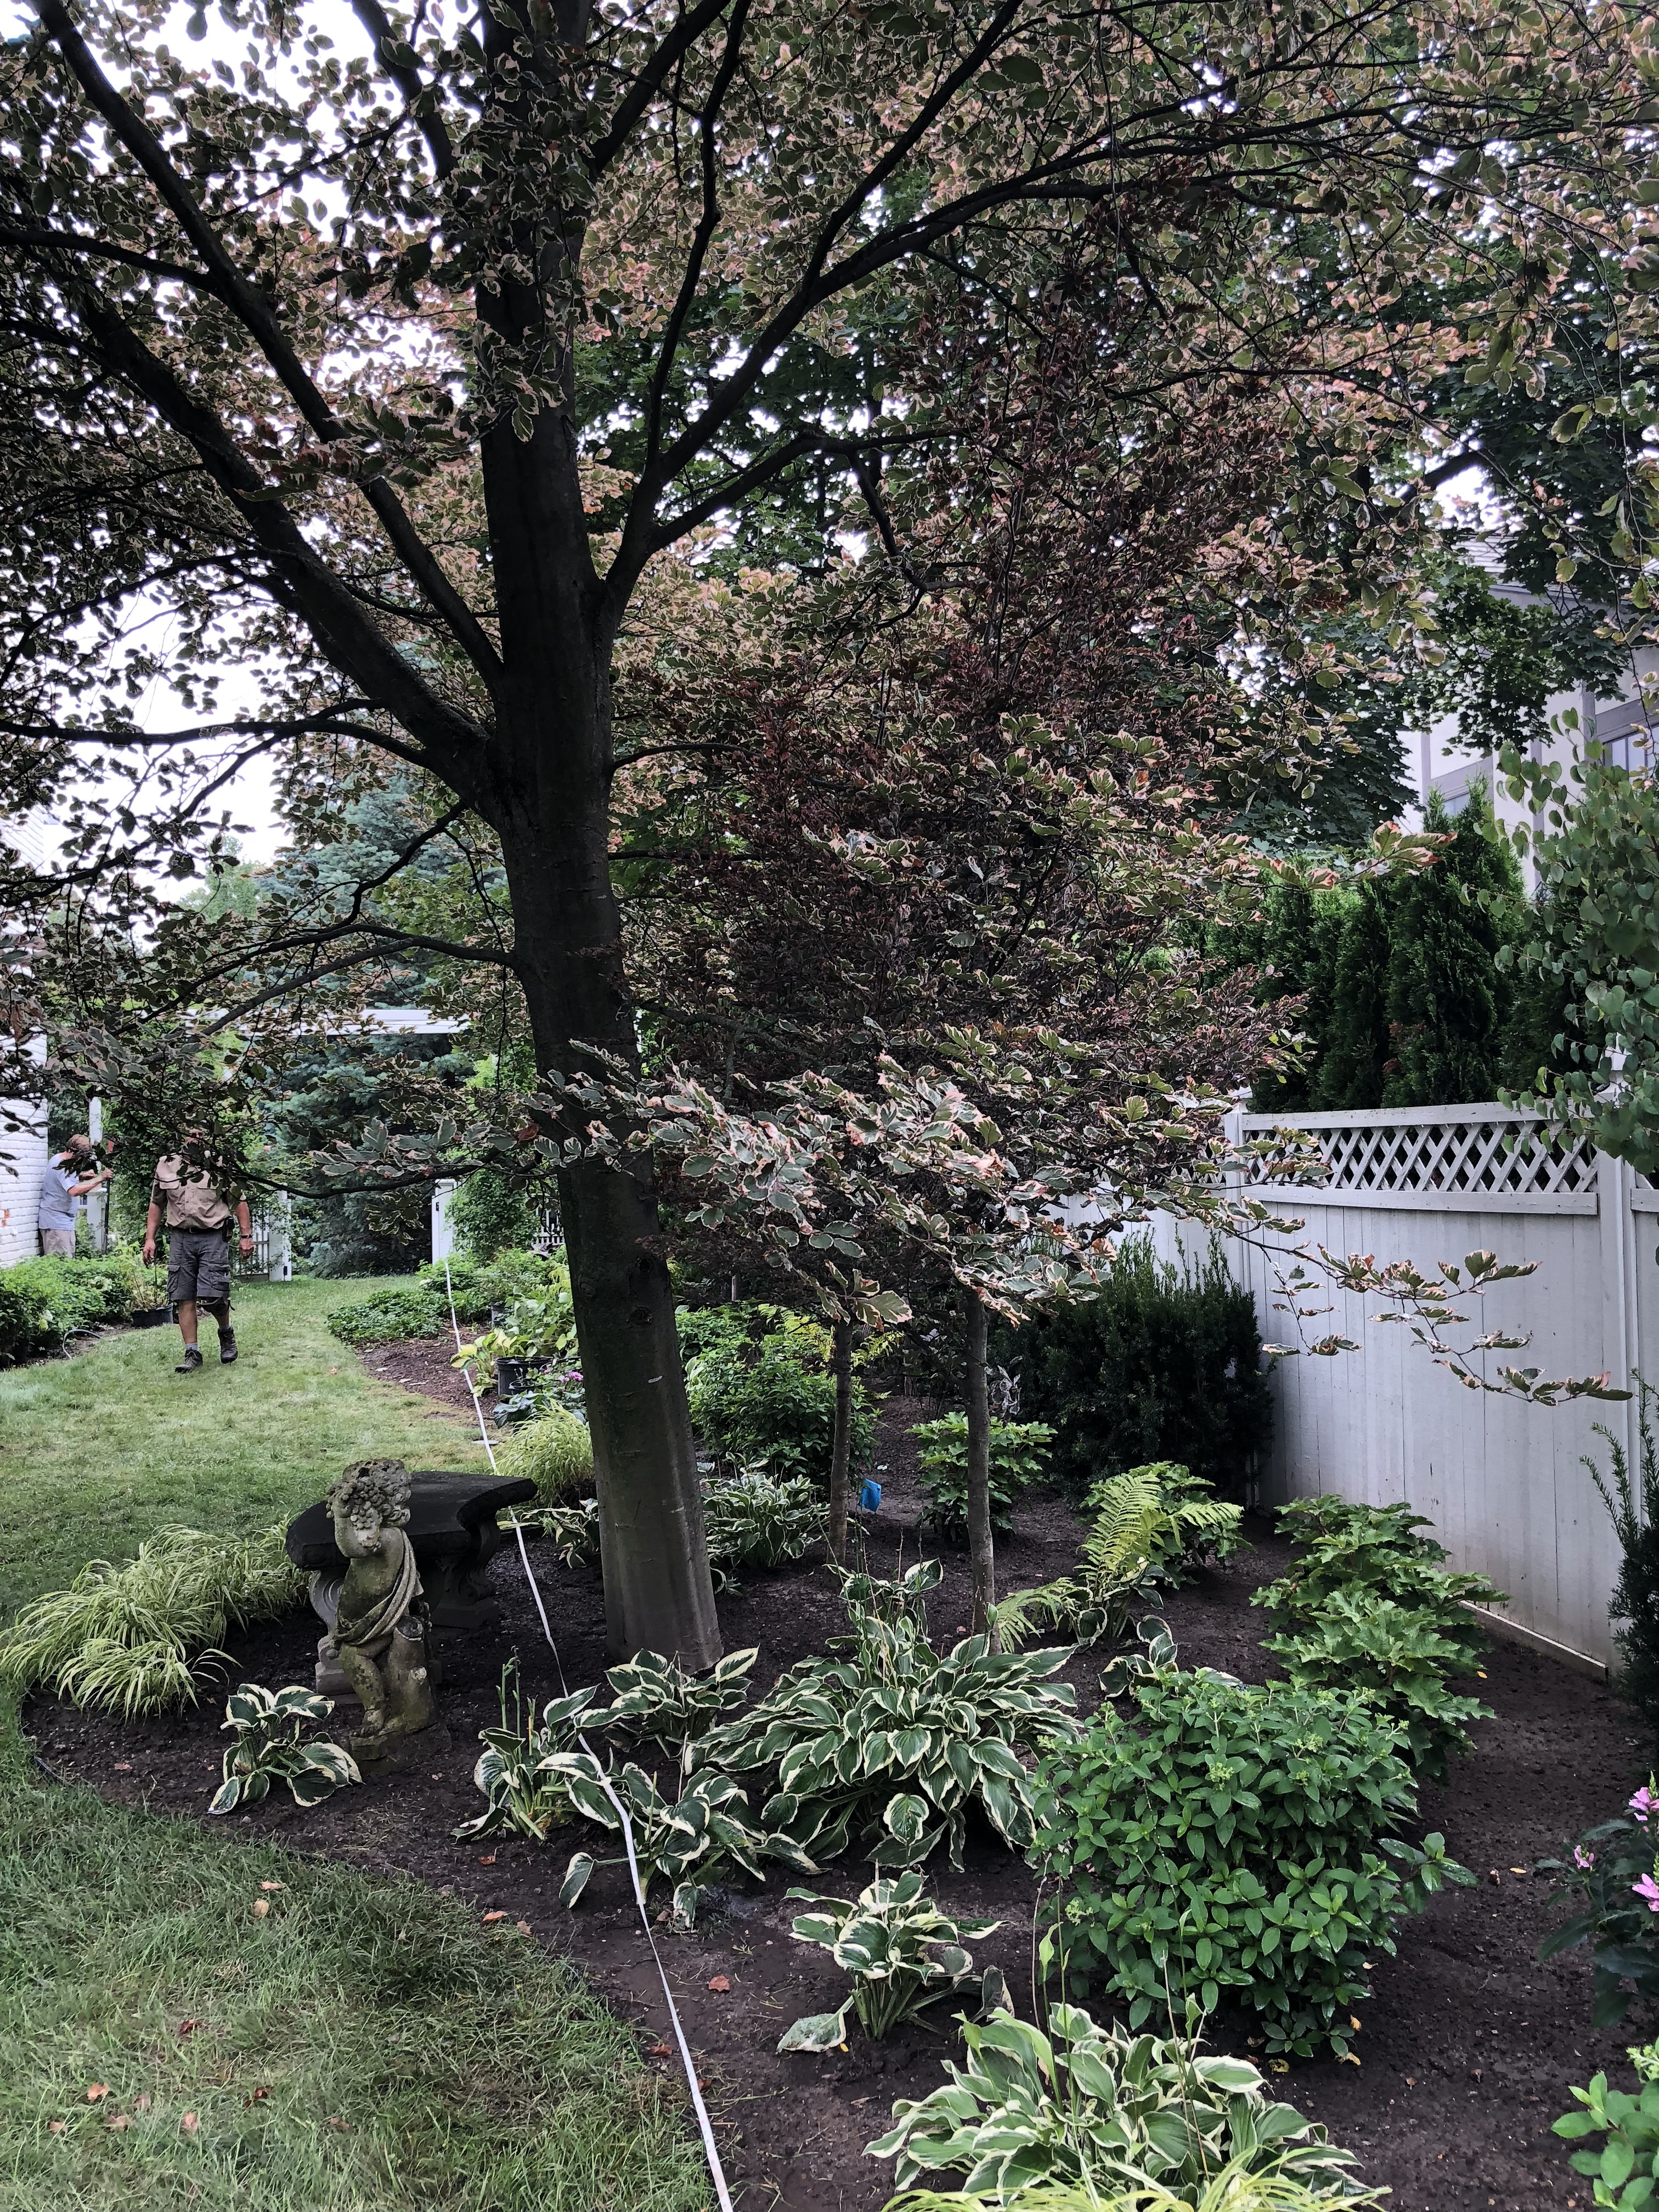
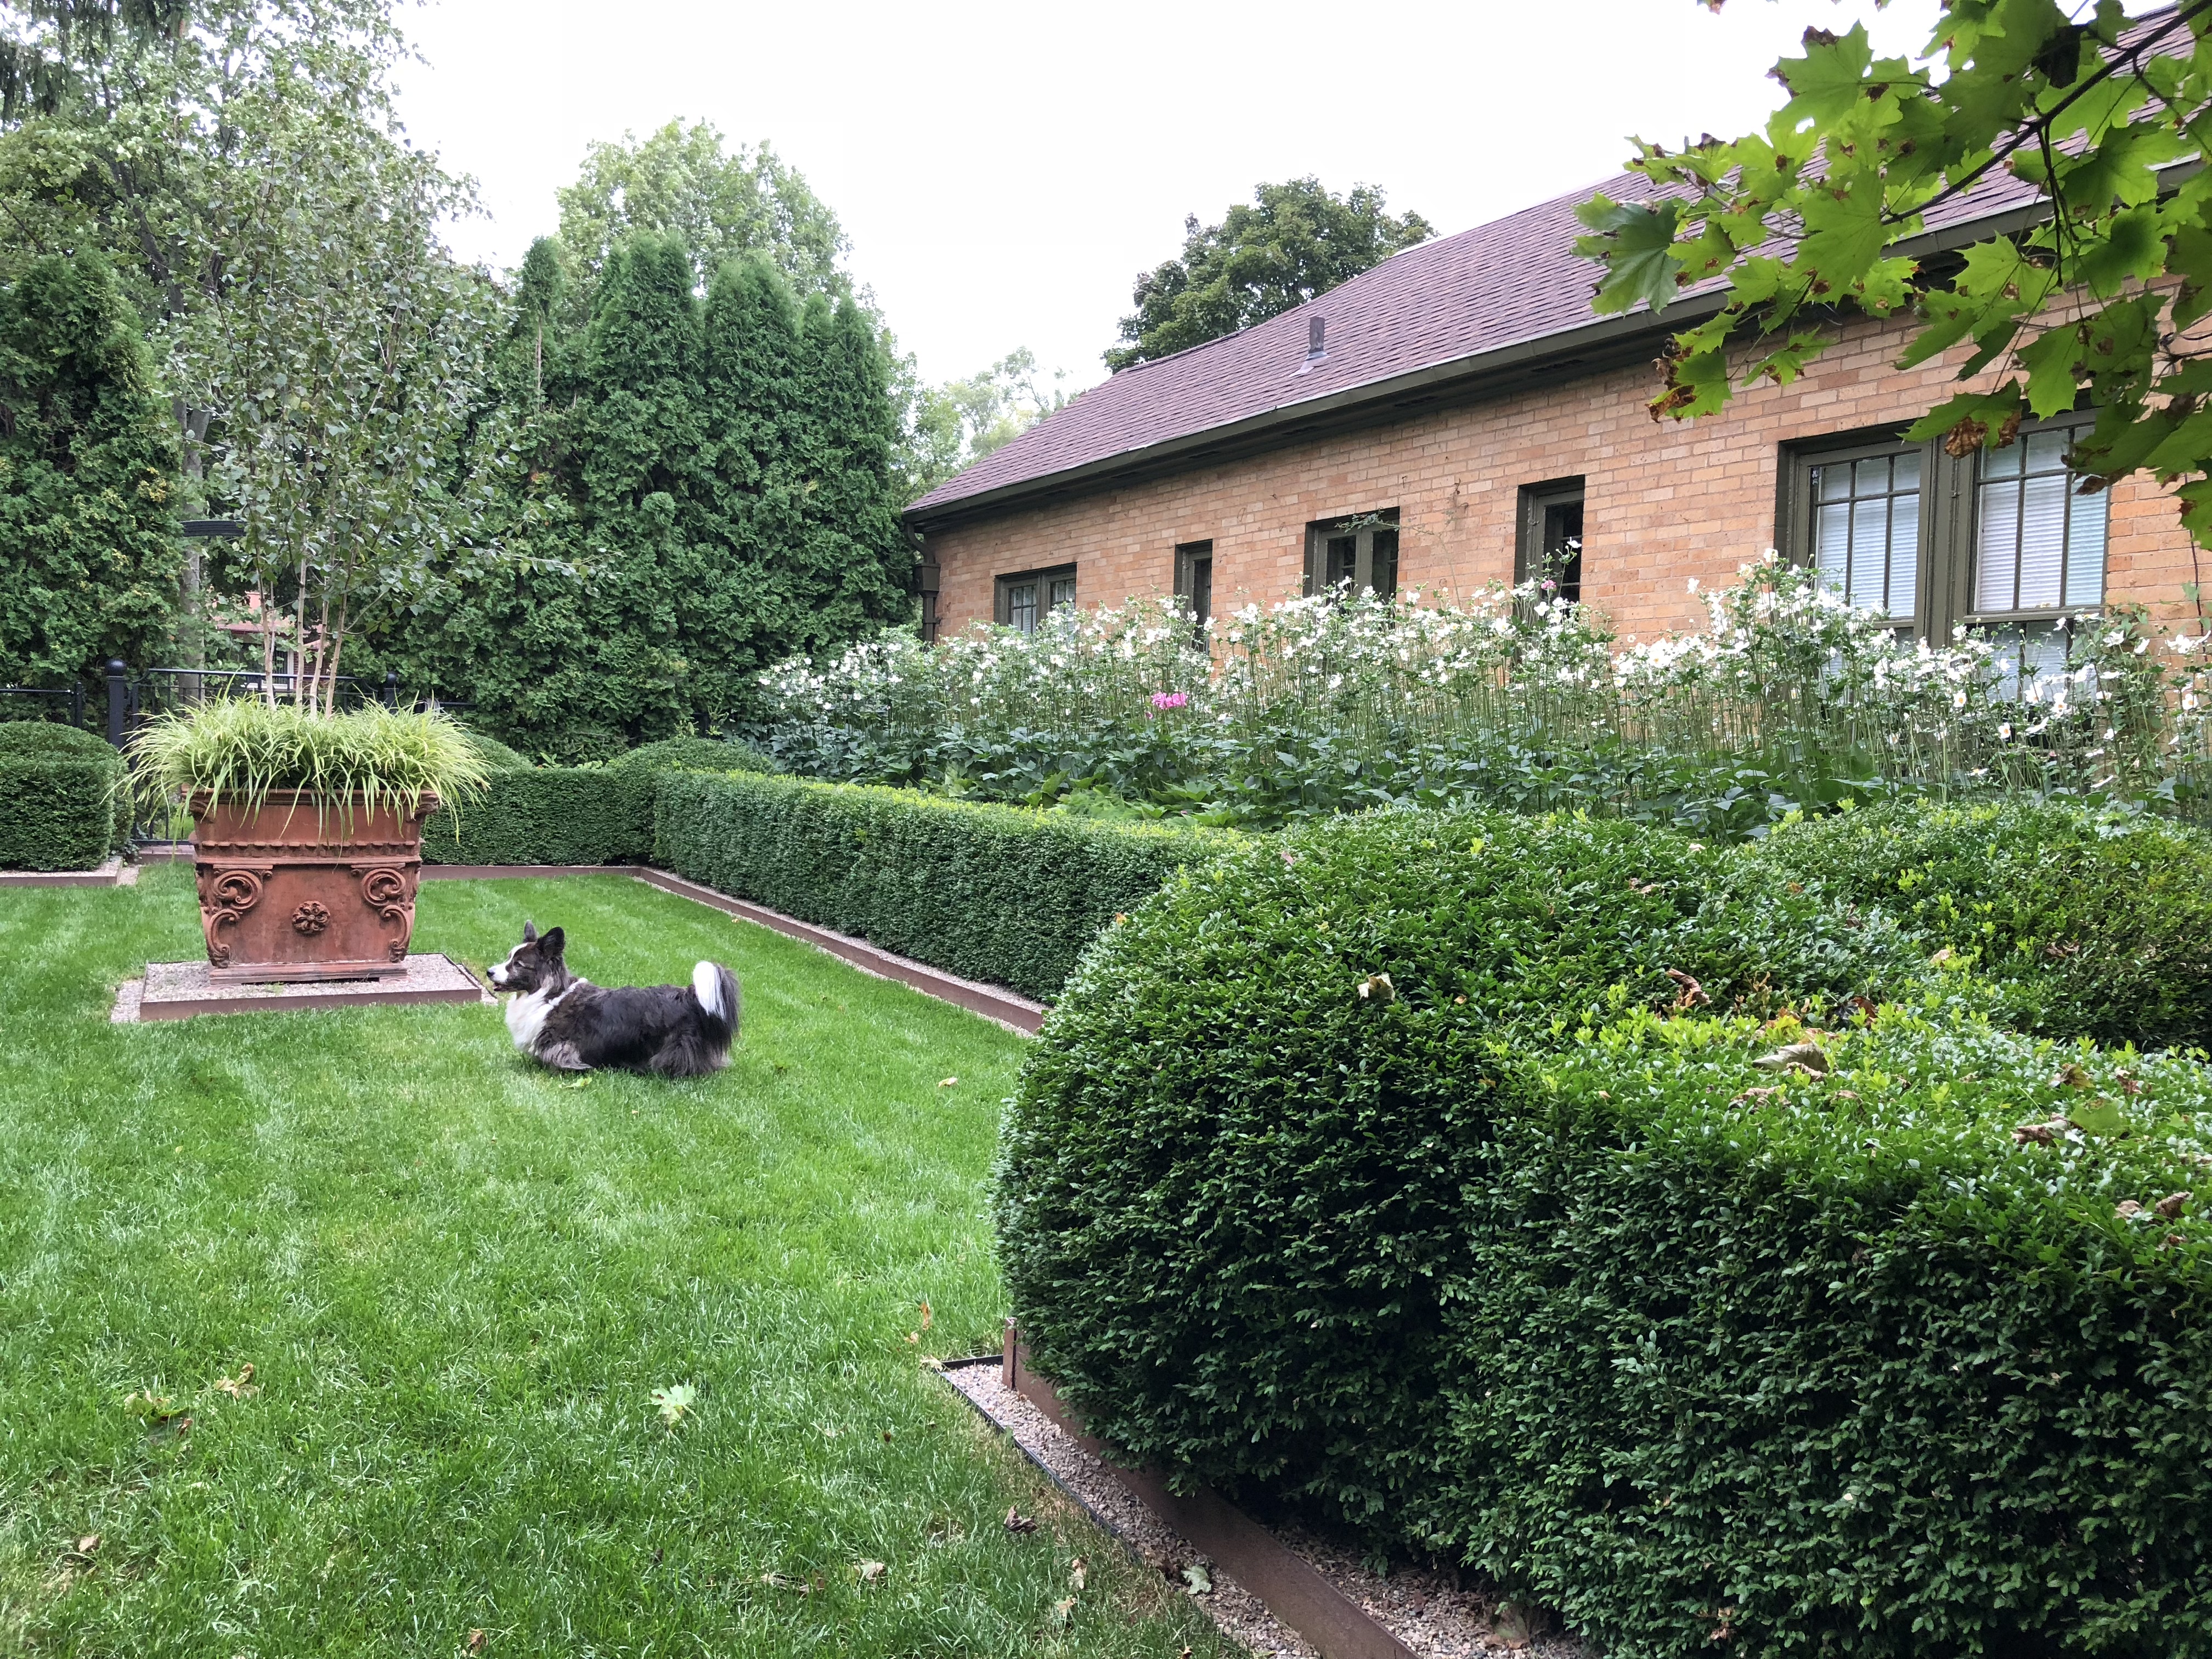 The outside view is the strong view. But there are still subtle views out to the Japanese anemones all along this south side. It won’t be long before all the blinds go up for the duration of this season. That pot is centered on that bathroom window. It is also centered on the stairs coming up into this garden.
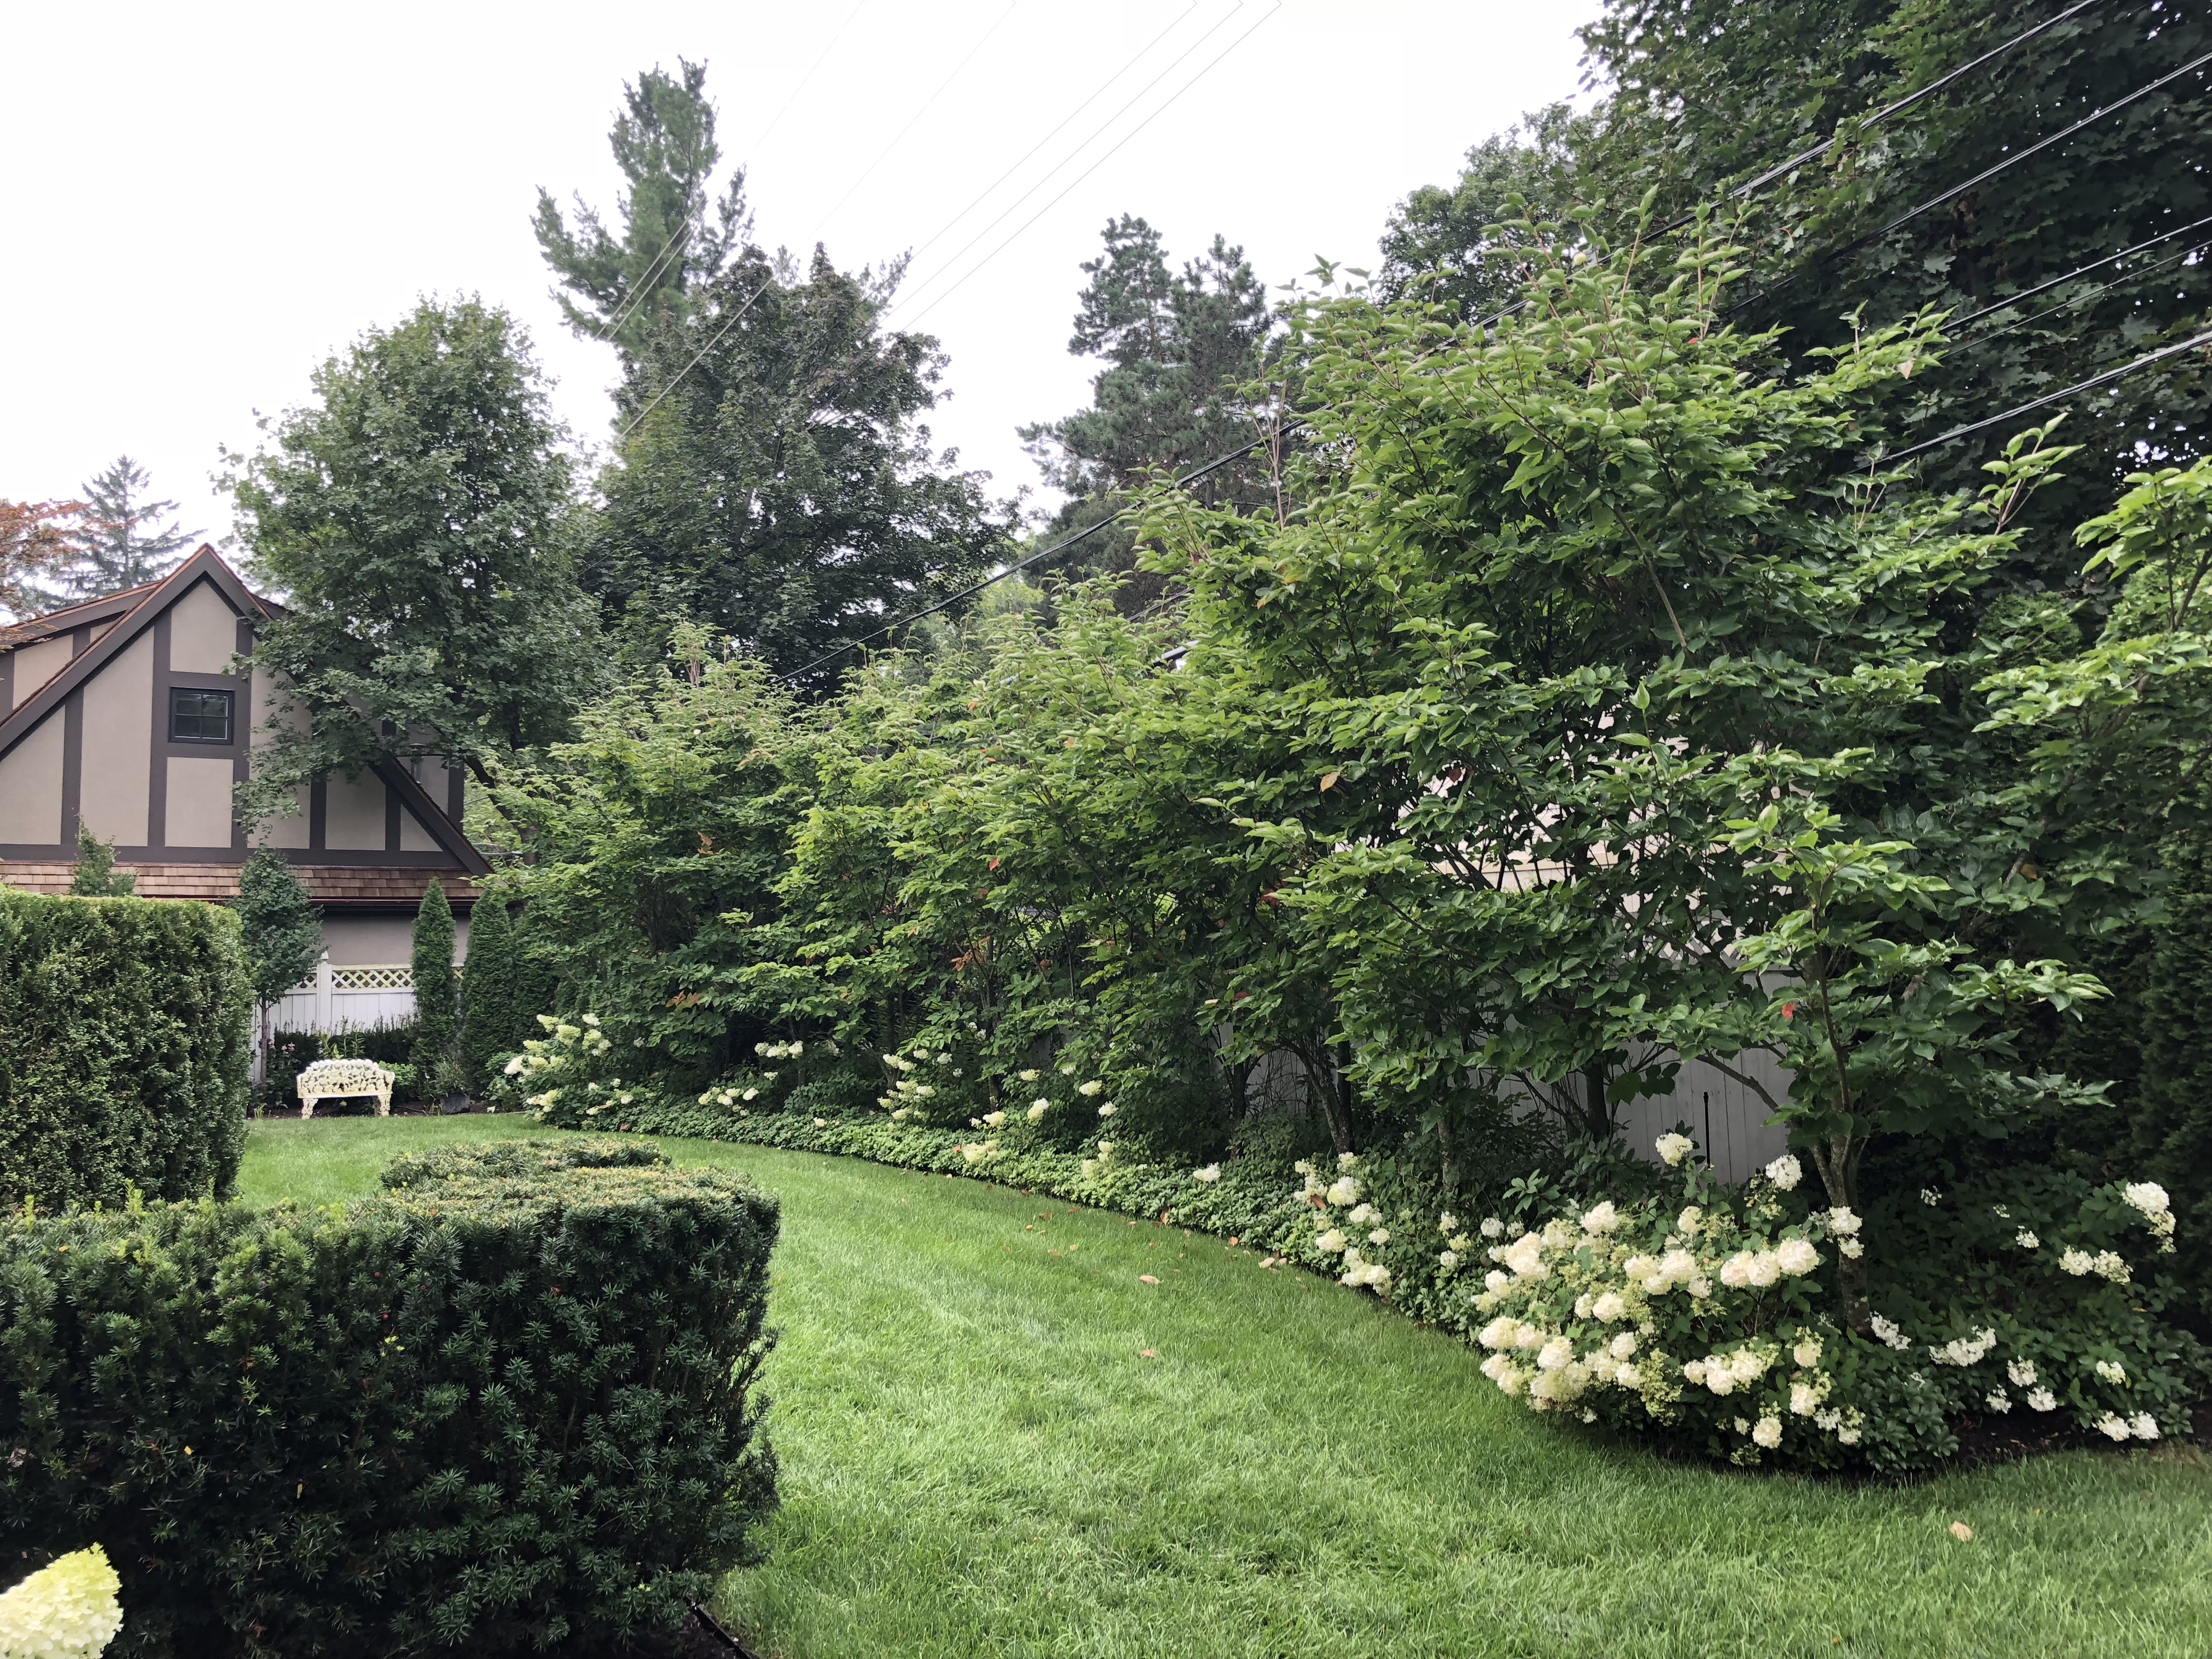
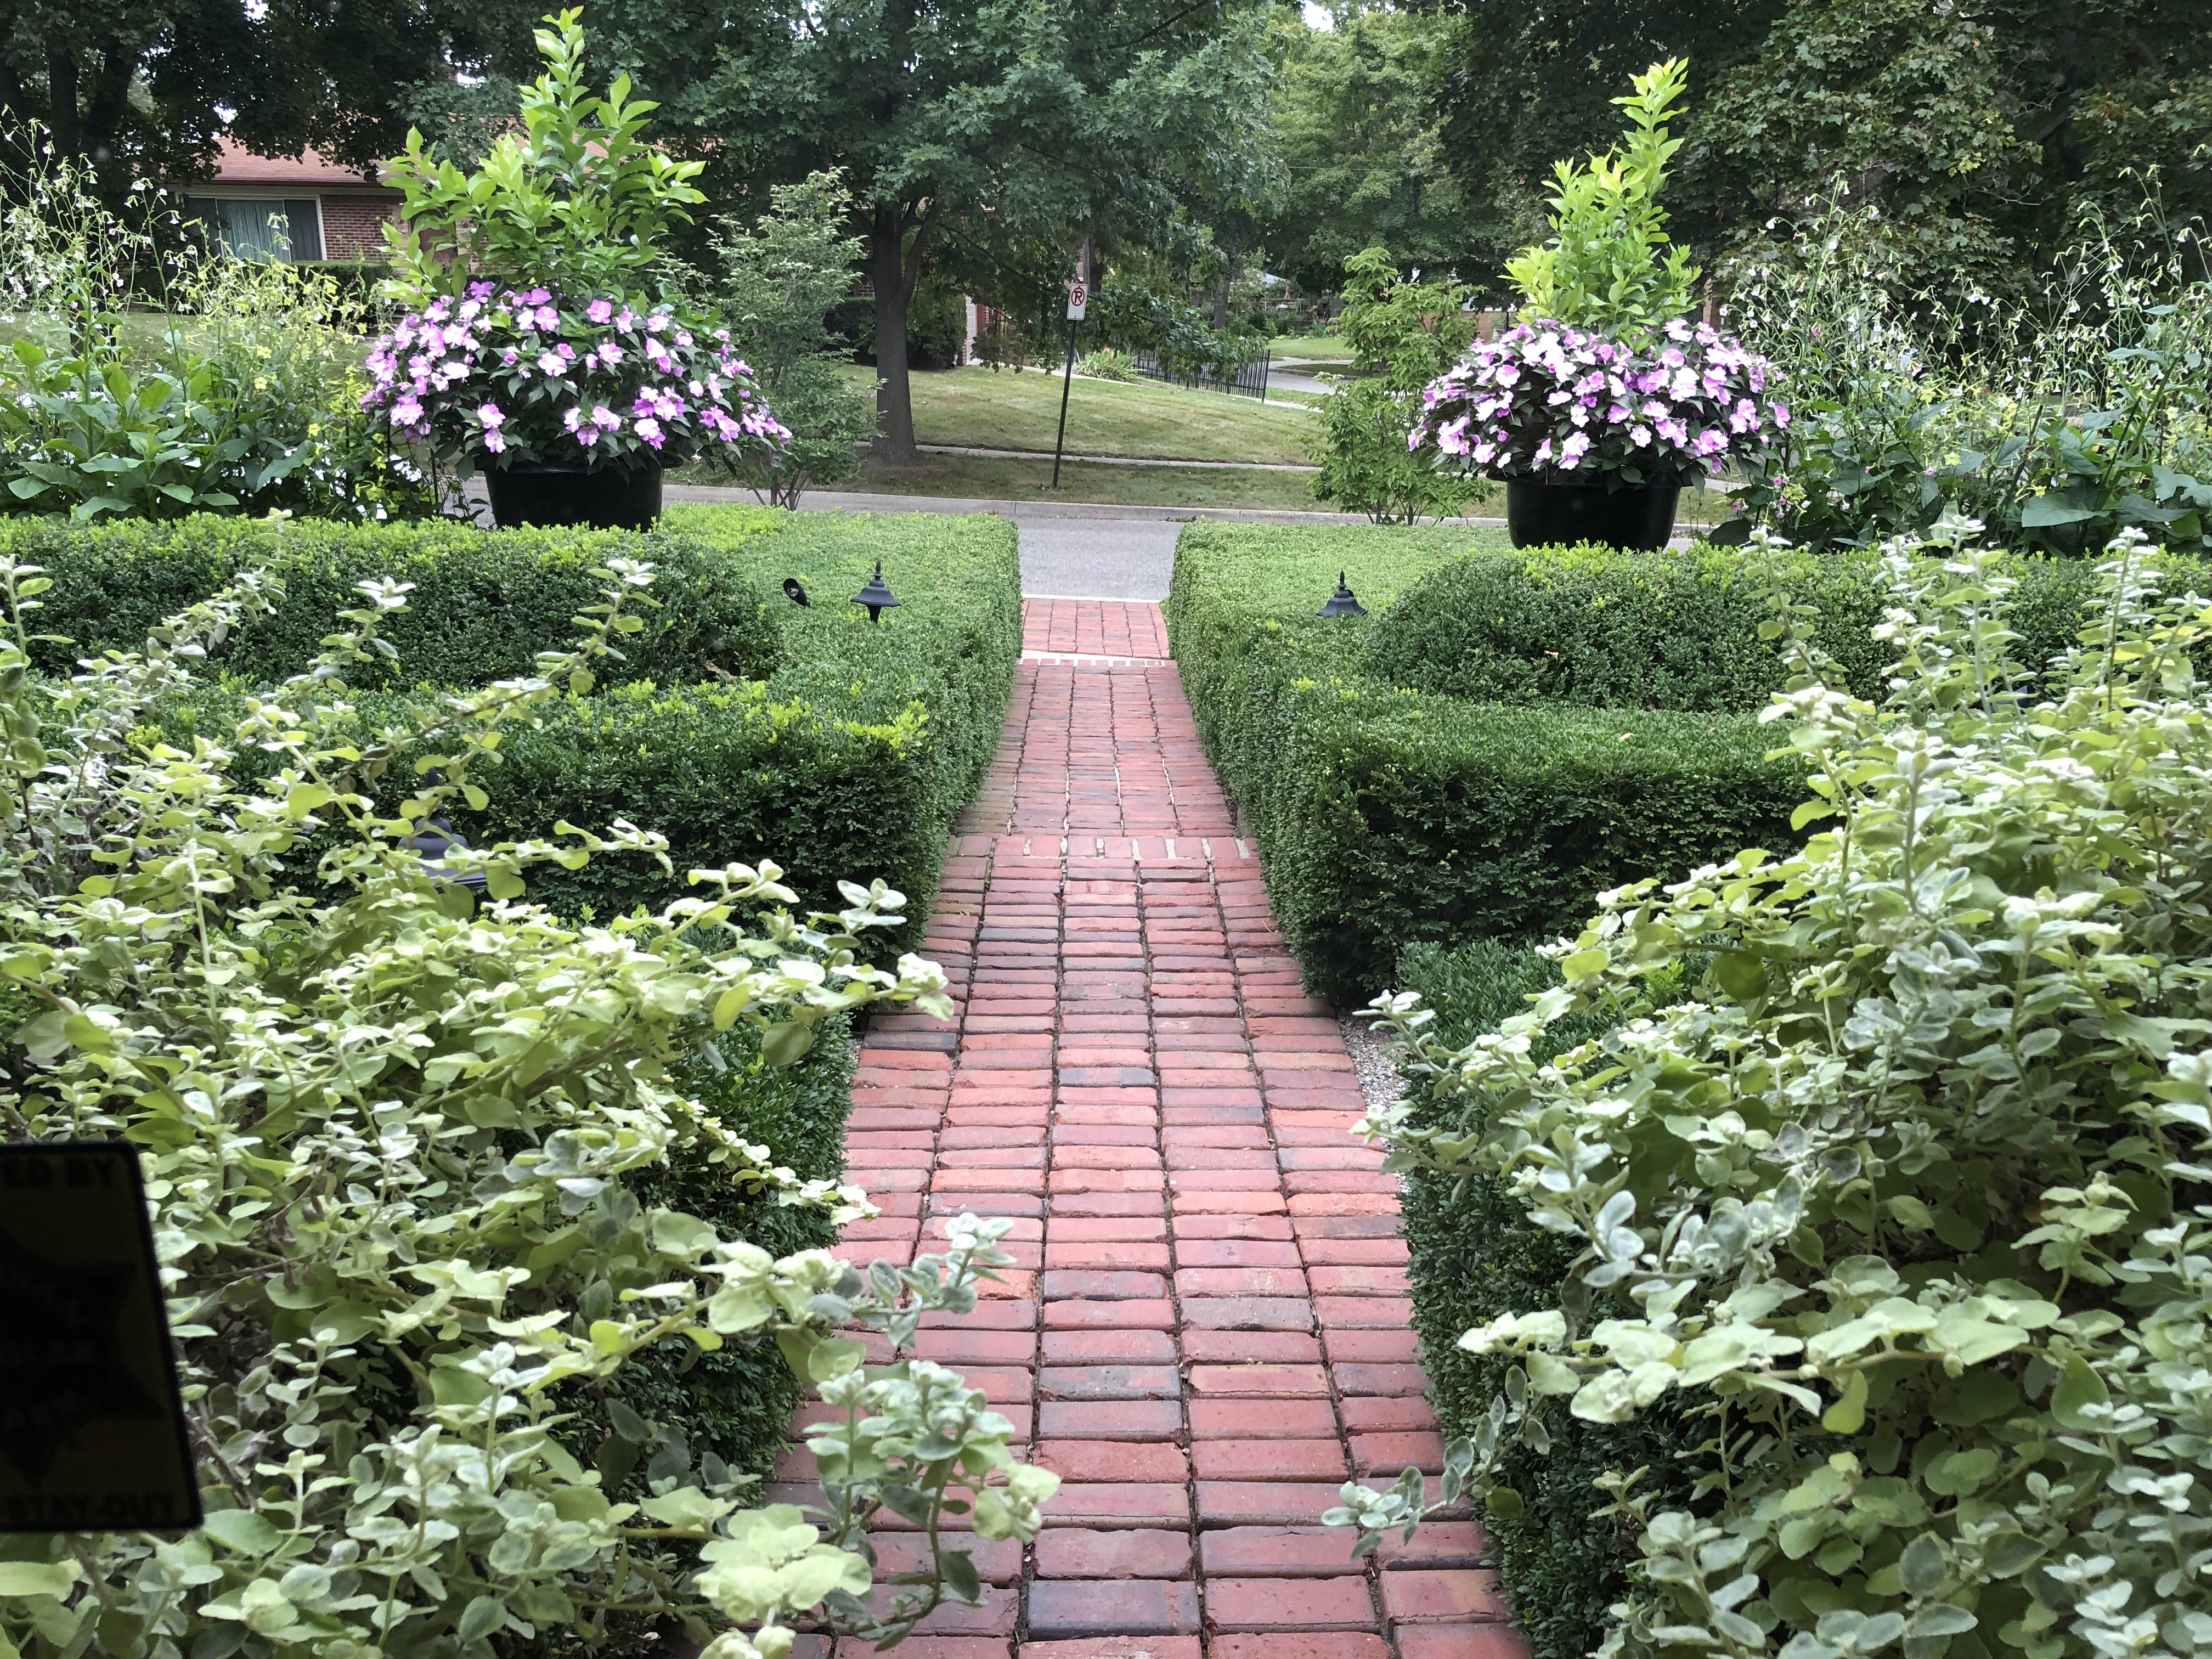
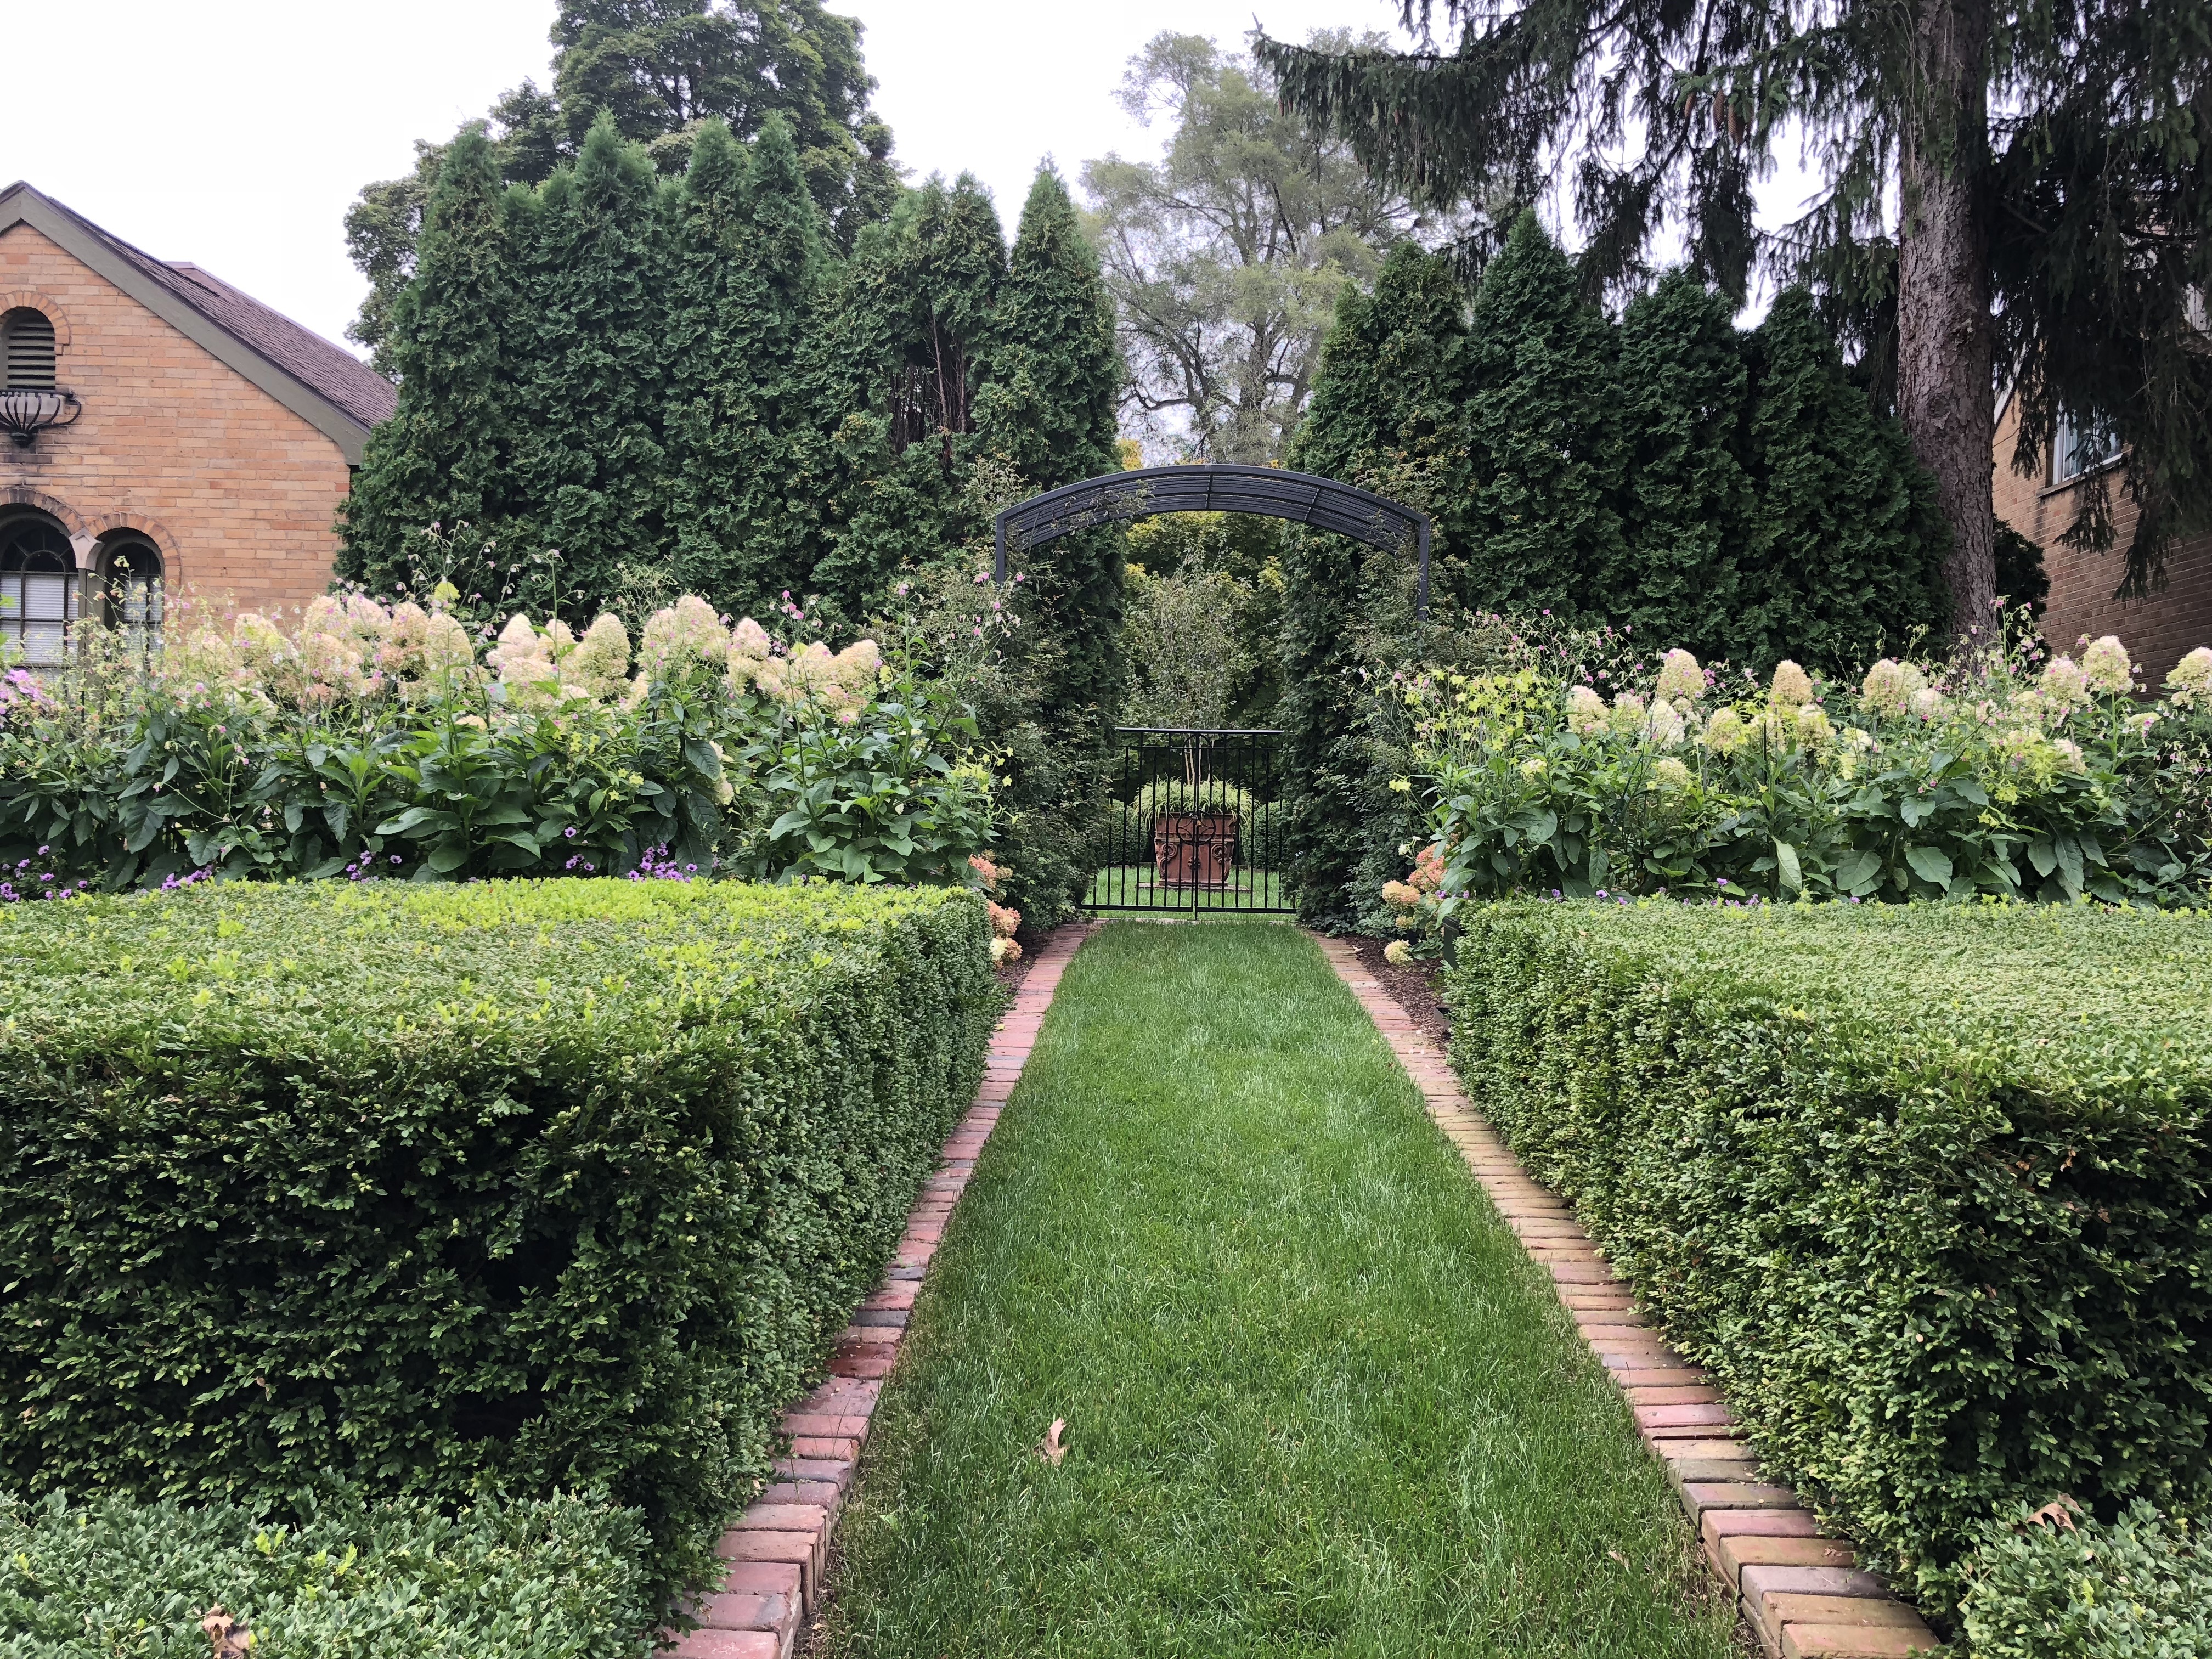 That same pot anchors yet a third view, from the sidewalk looking in. Small properties do not imply limited landscape design opportunities. All the possible views are there for your consideration.