The Details: A Story Board

glass-drops.jpg
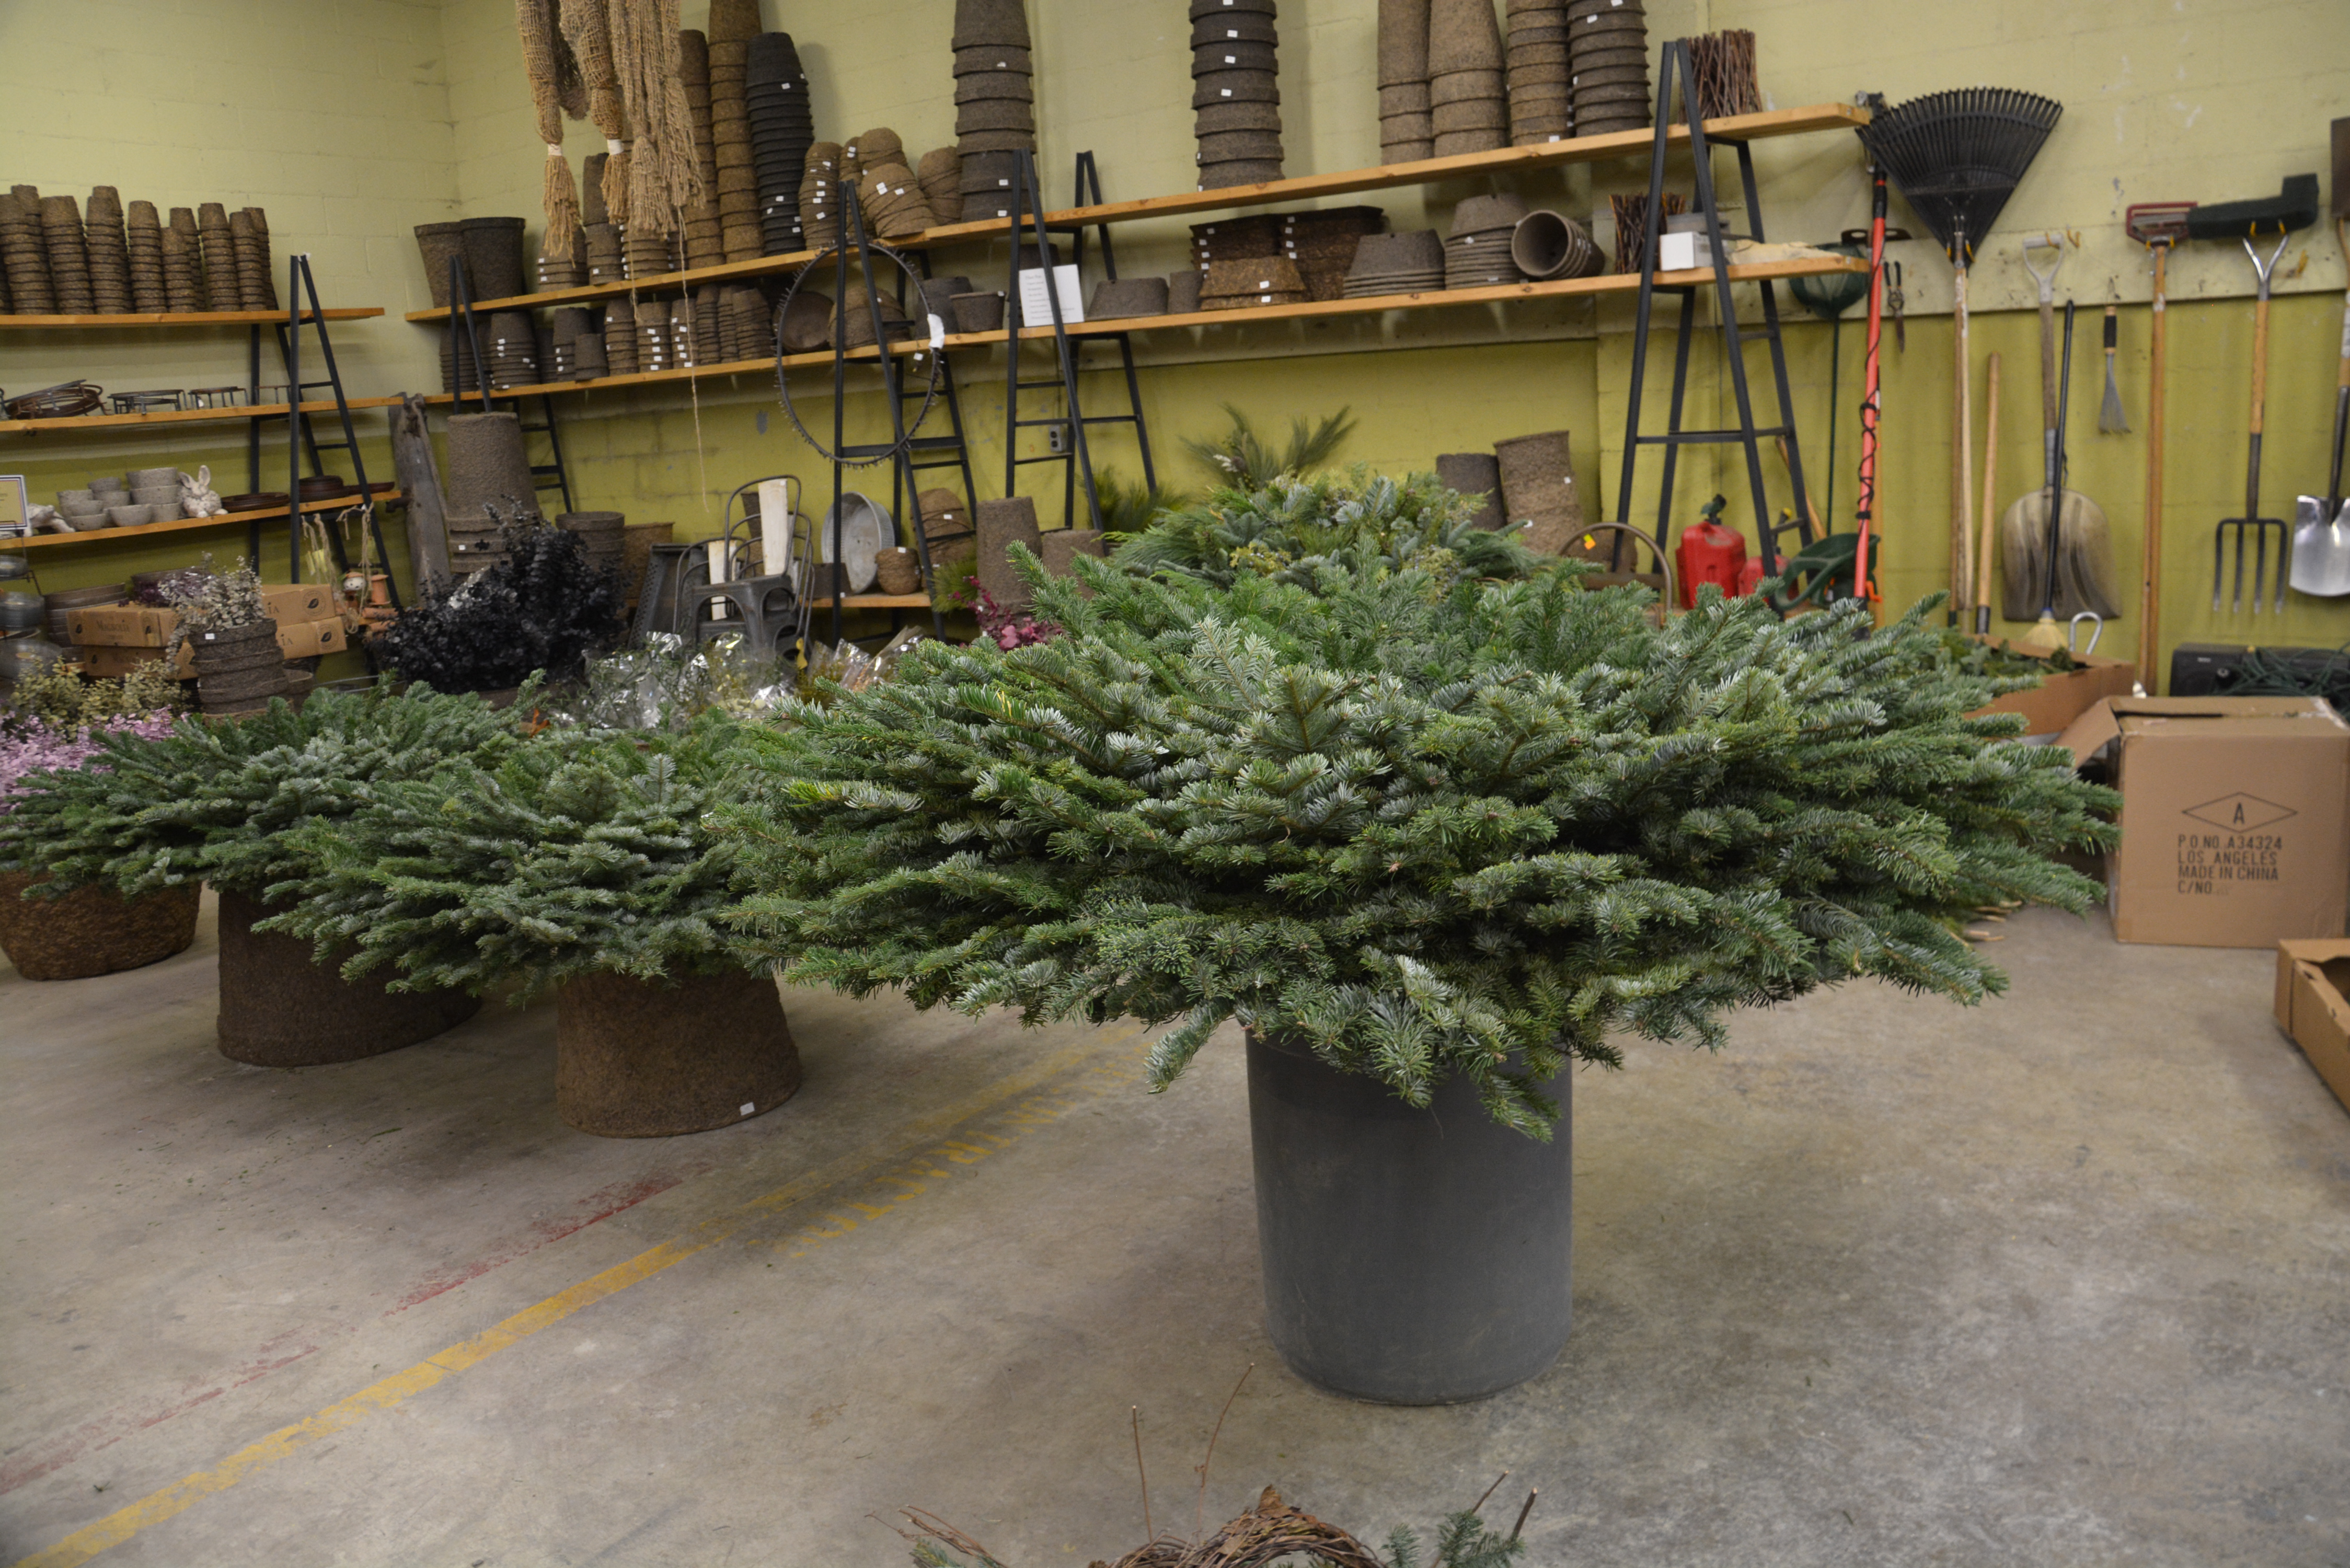
Part 3 of my tutorial about the construction of  winter containers has to do with bringing the special details to life.  Evergreens stuck into a foam form the base of the winter container.  A structure upon which to build.  A centerpiece, no matter whether it is tied up tight and of a piece, or stuck individually, provides an element upon which to focus.  Up next-the details.

evergreens-destined-for-a-winter-pot.jpg
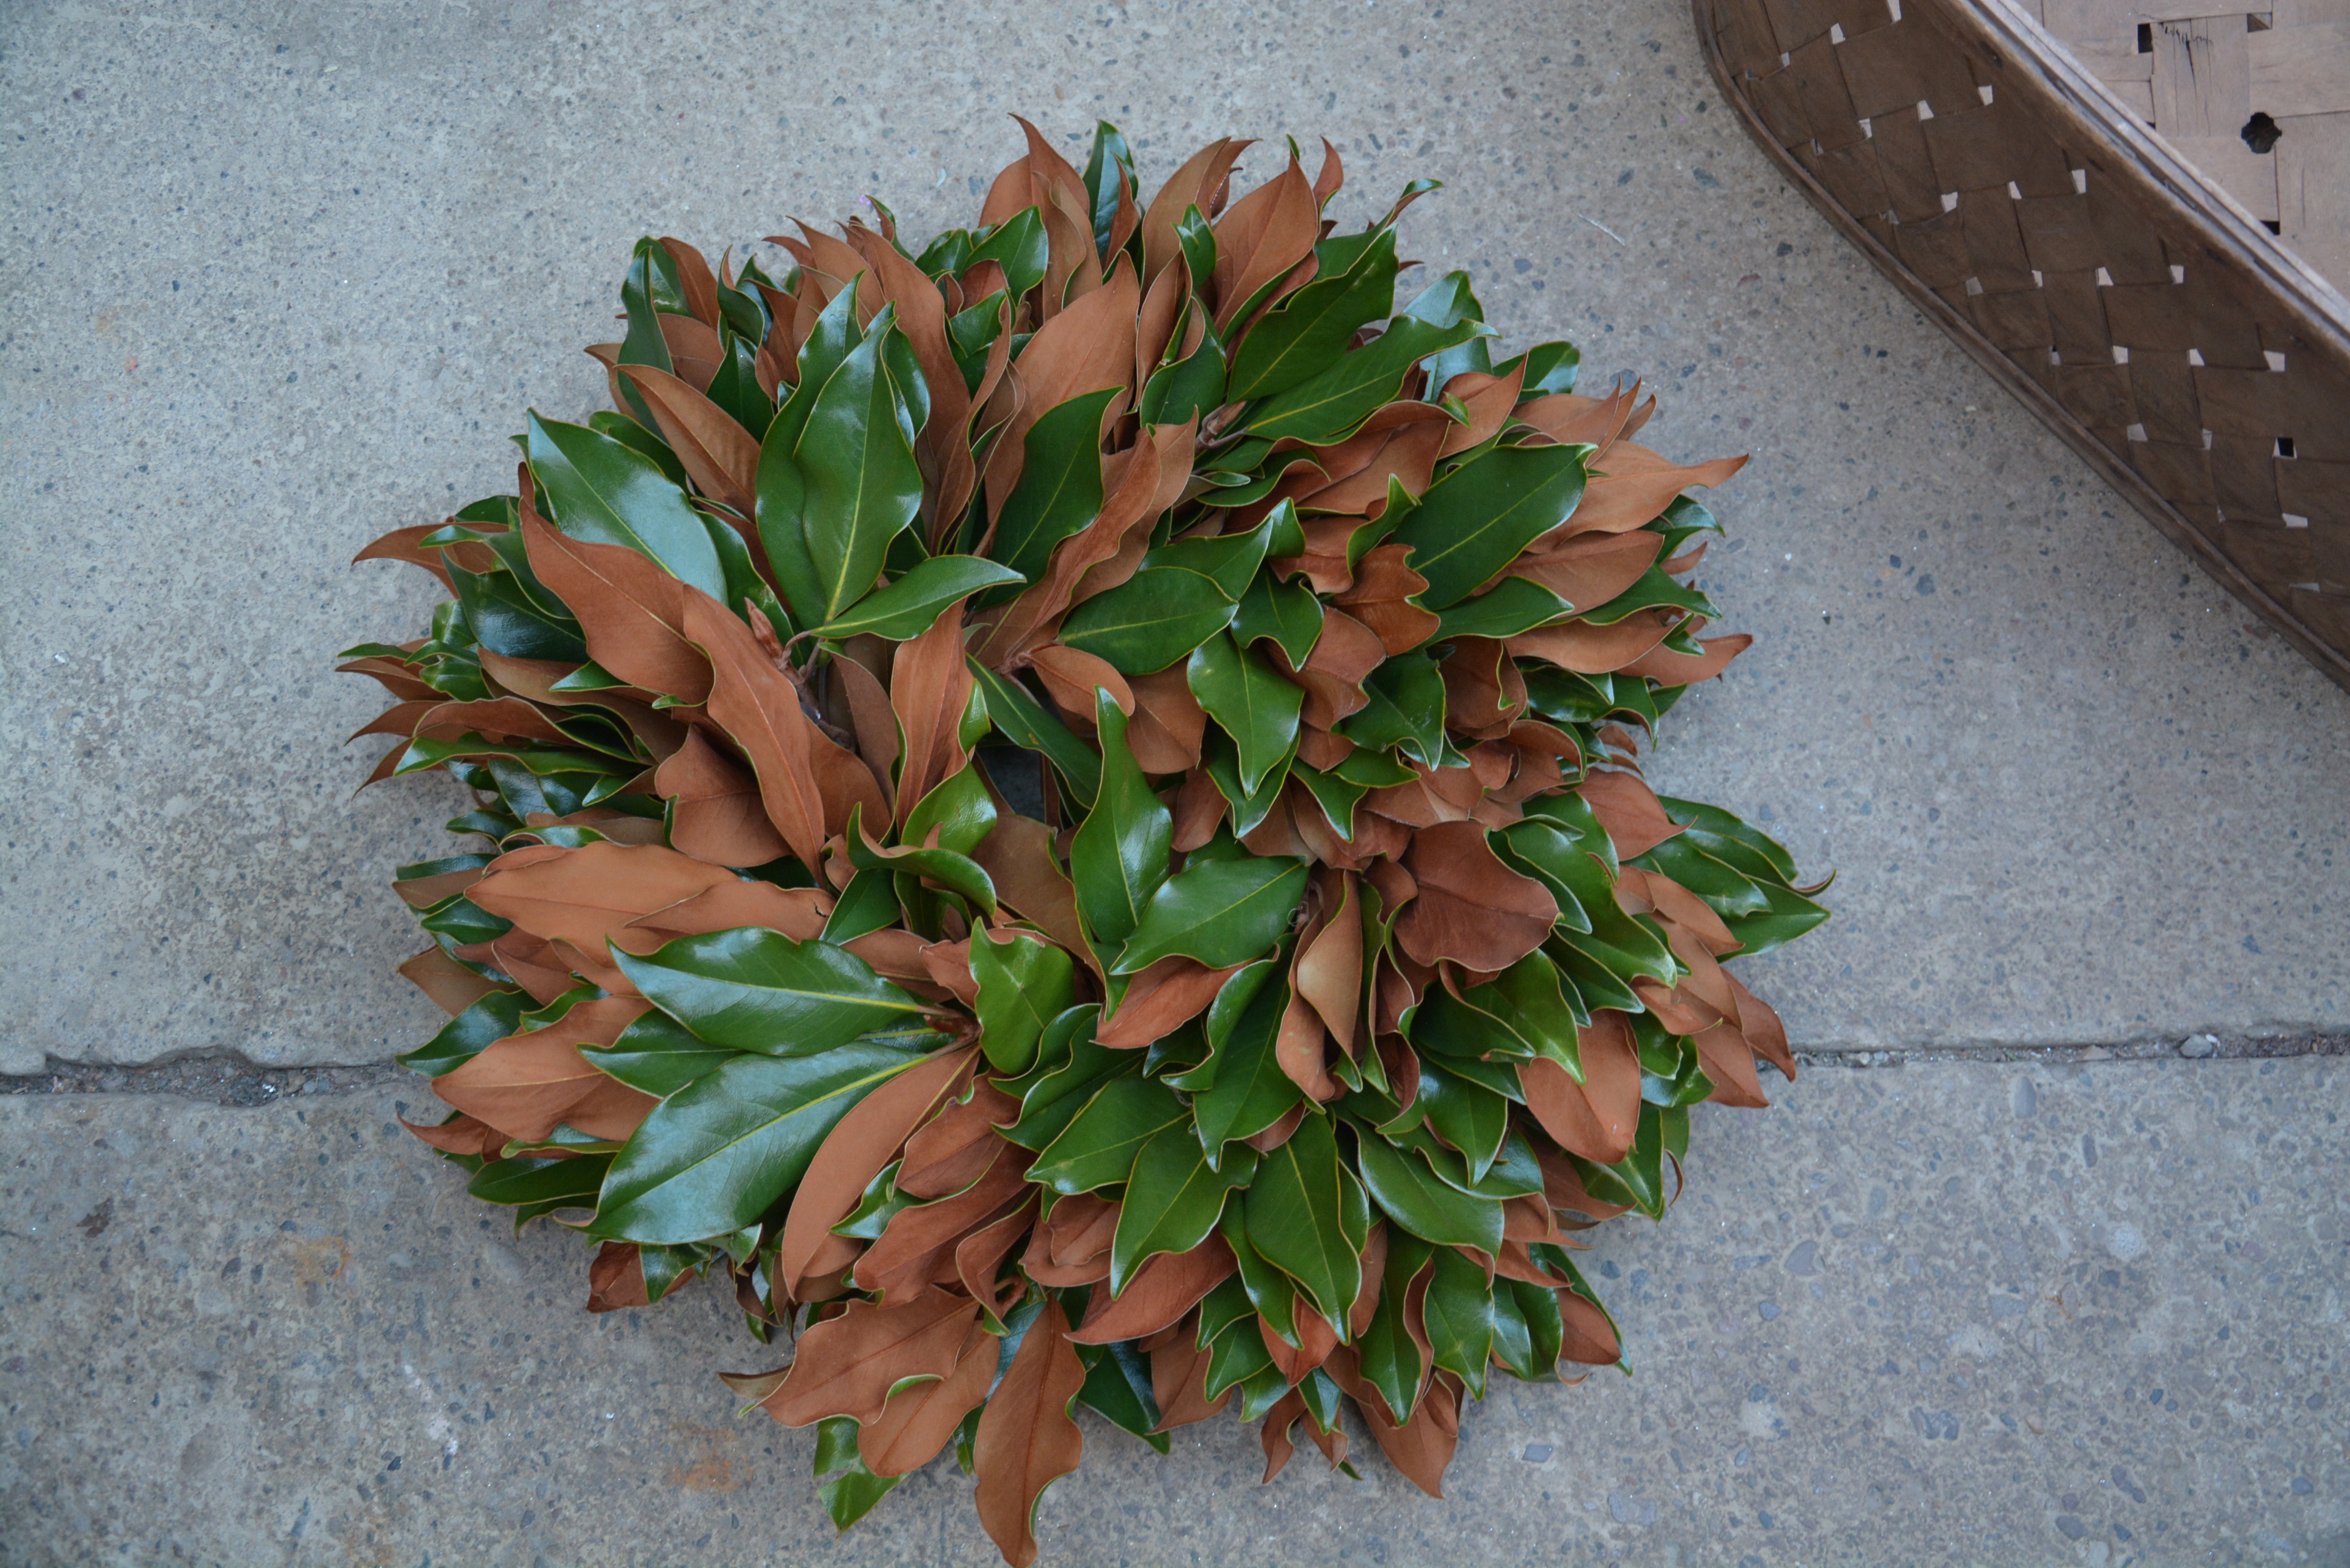
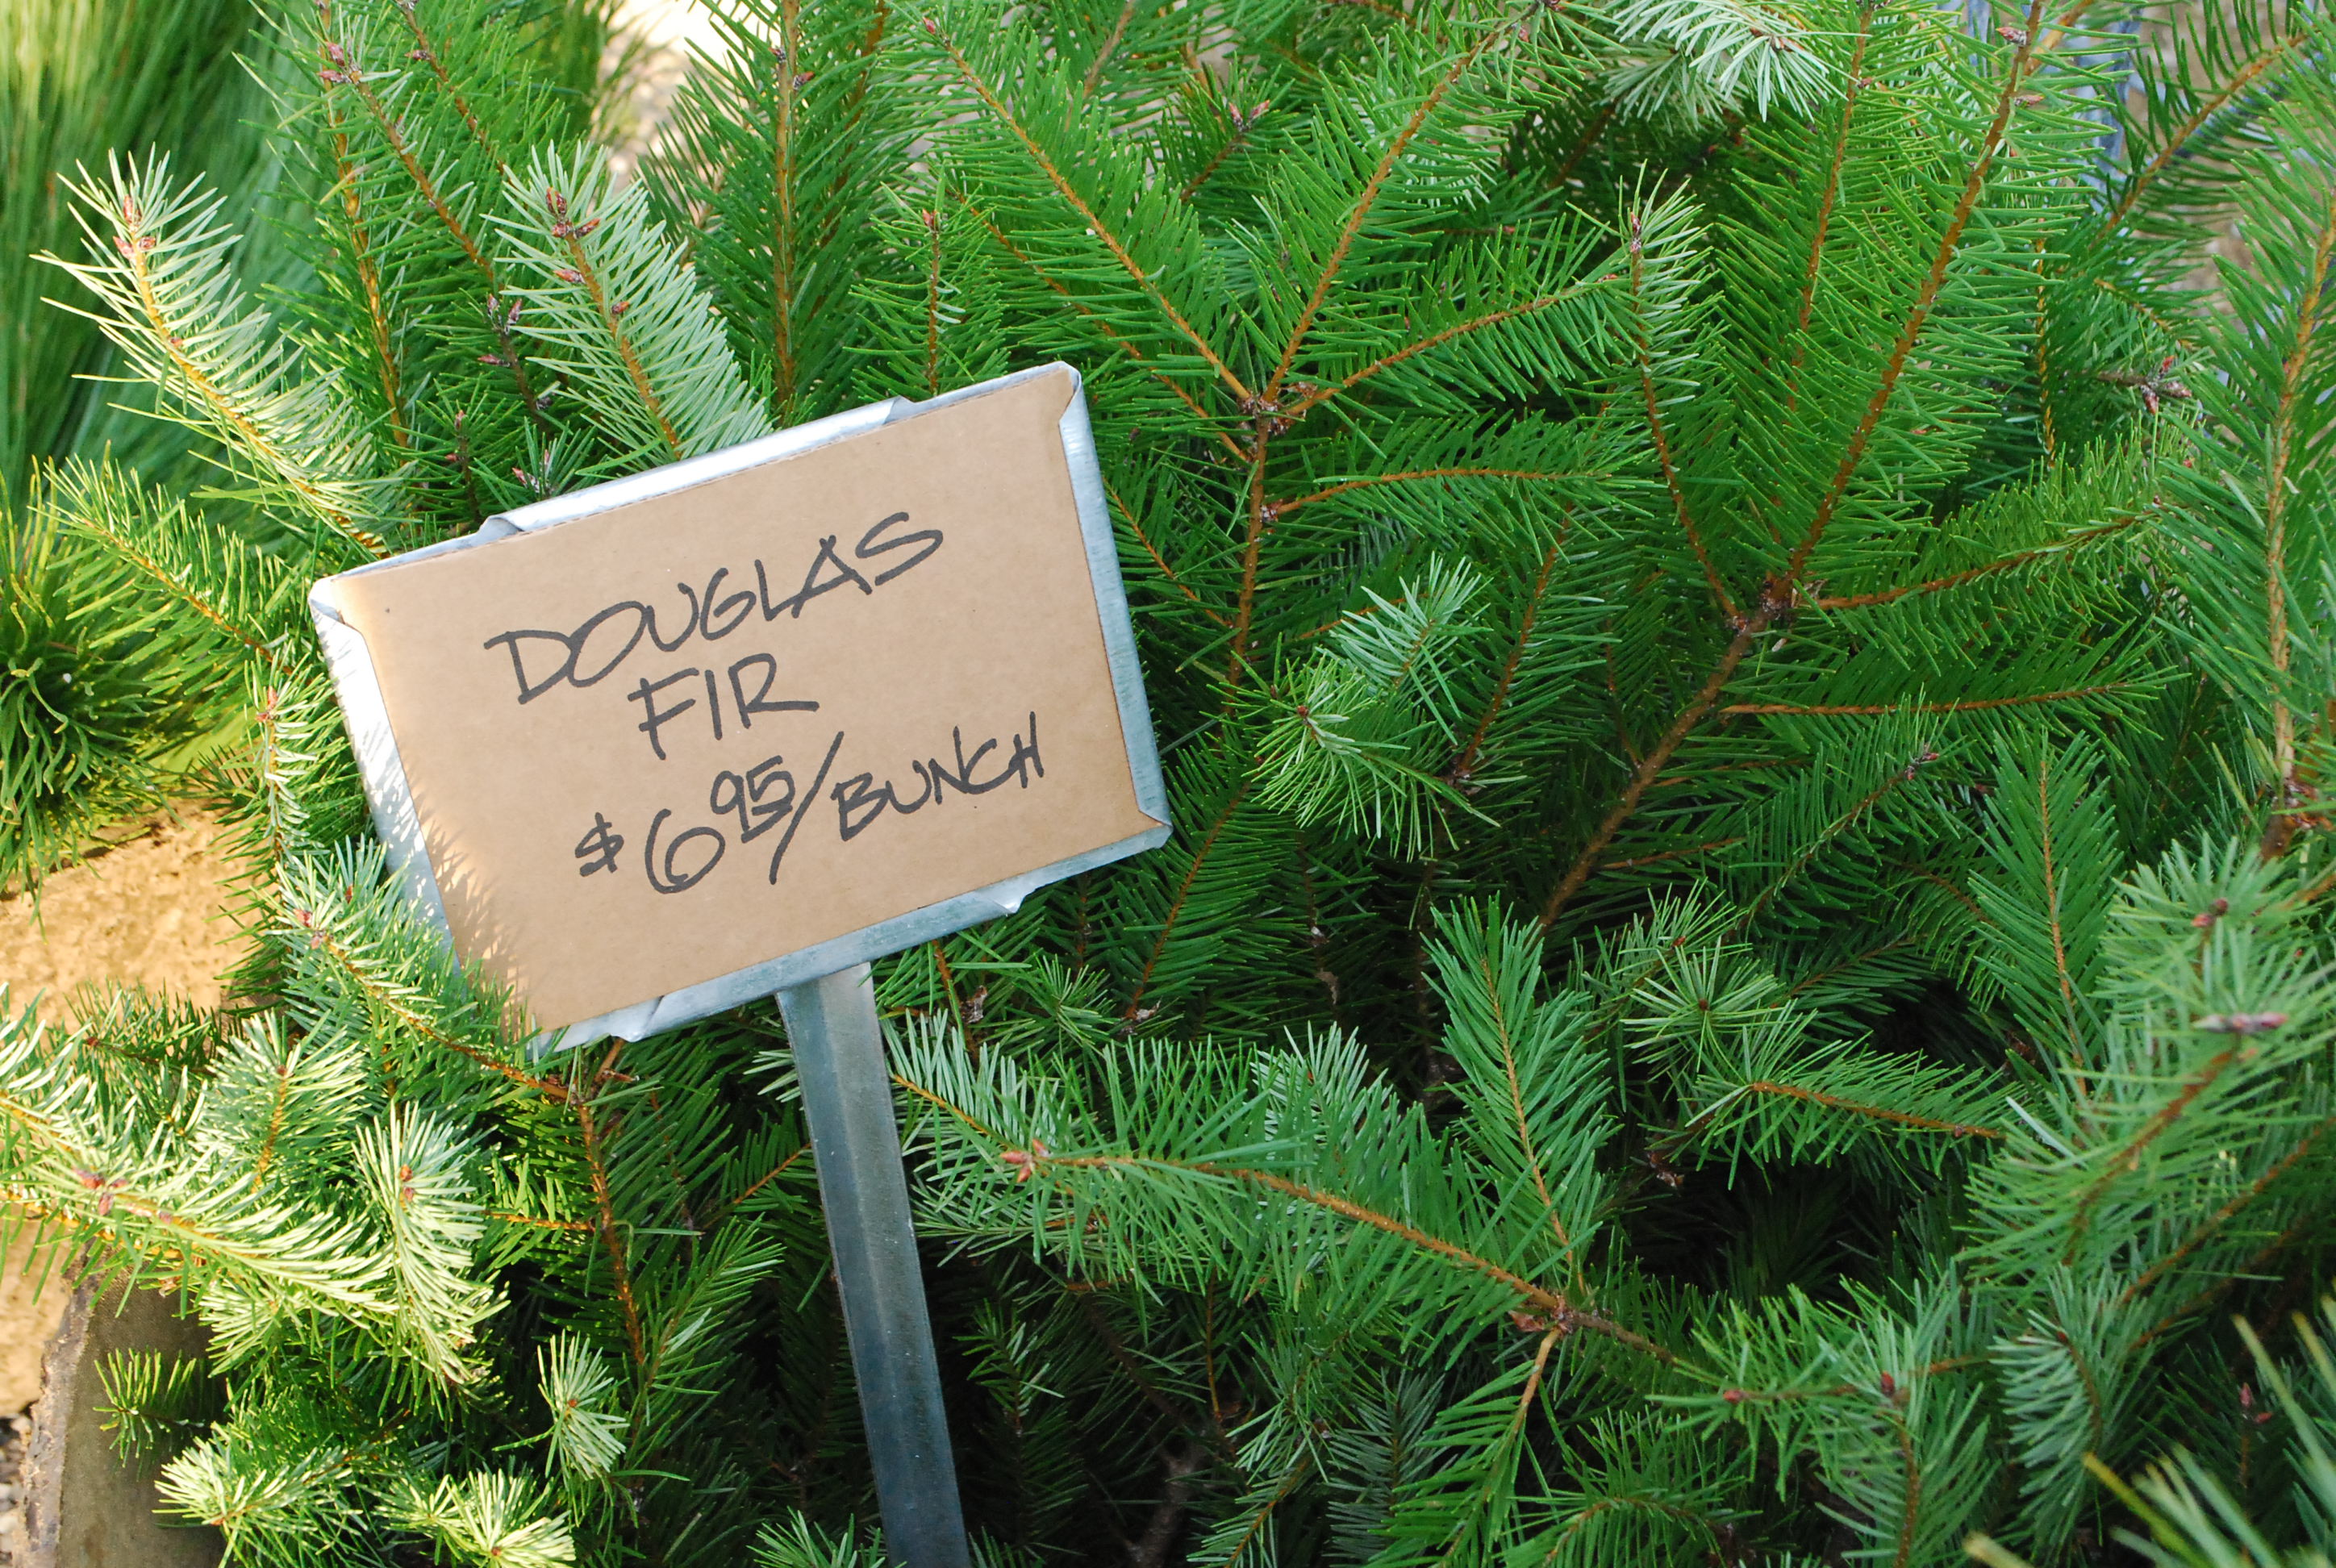
A blank canvas can be lush in and of itself, but it asks for those details that make for an individual design.  The third element of any winter pot-those thoughtfully constructed and expressed finishing details.  Pistou is a vegetable soup of French origin, , made with vegetables, various beans, and small macaroni.  This is an overview- their are many individual recipes.  Upon serving, the soup is topped with a large dollop of basil pesto which is showered with grated parmesan cheese.  The addition of the pesto and its parmesan  is an individually imagined finish.  Pistou has no end of recipes, should you look it up on line.  Individual chefs individually imagine and cook the soup, and finish it to their taste.  The finish of your winter containers should reflect your own particular point of view.

light-rings.jpg
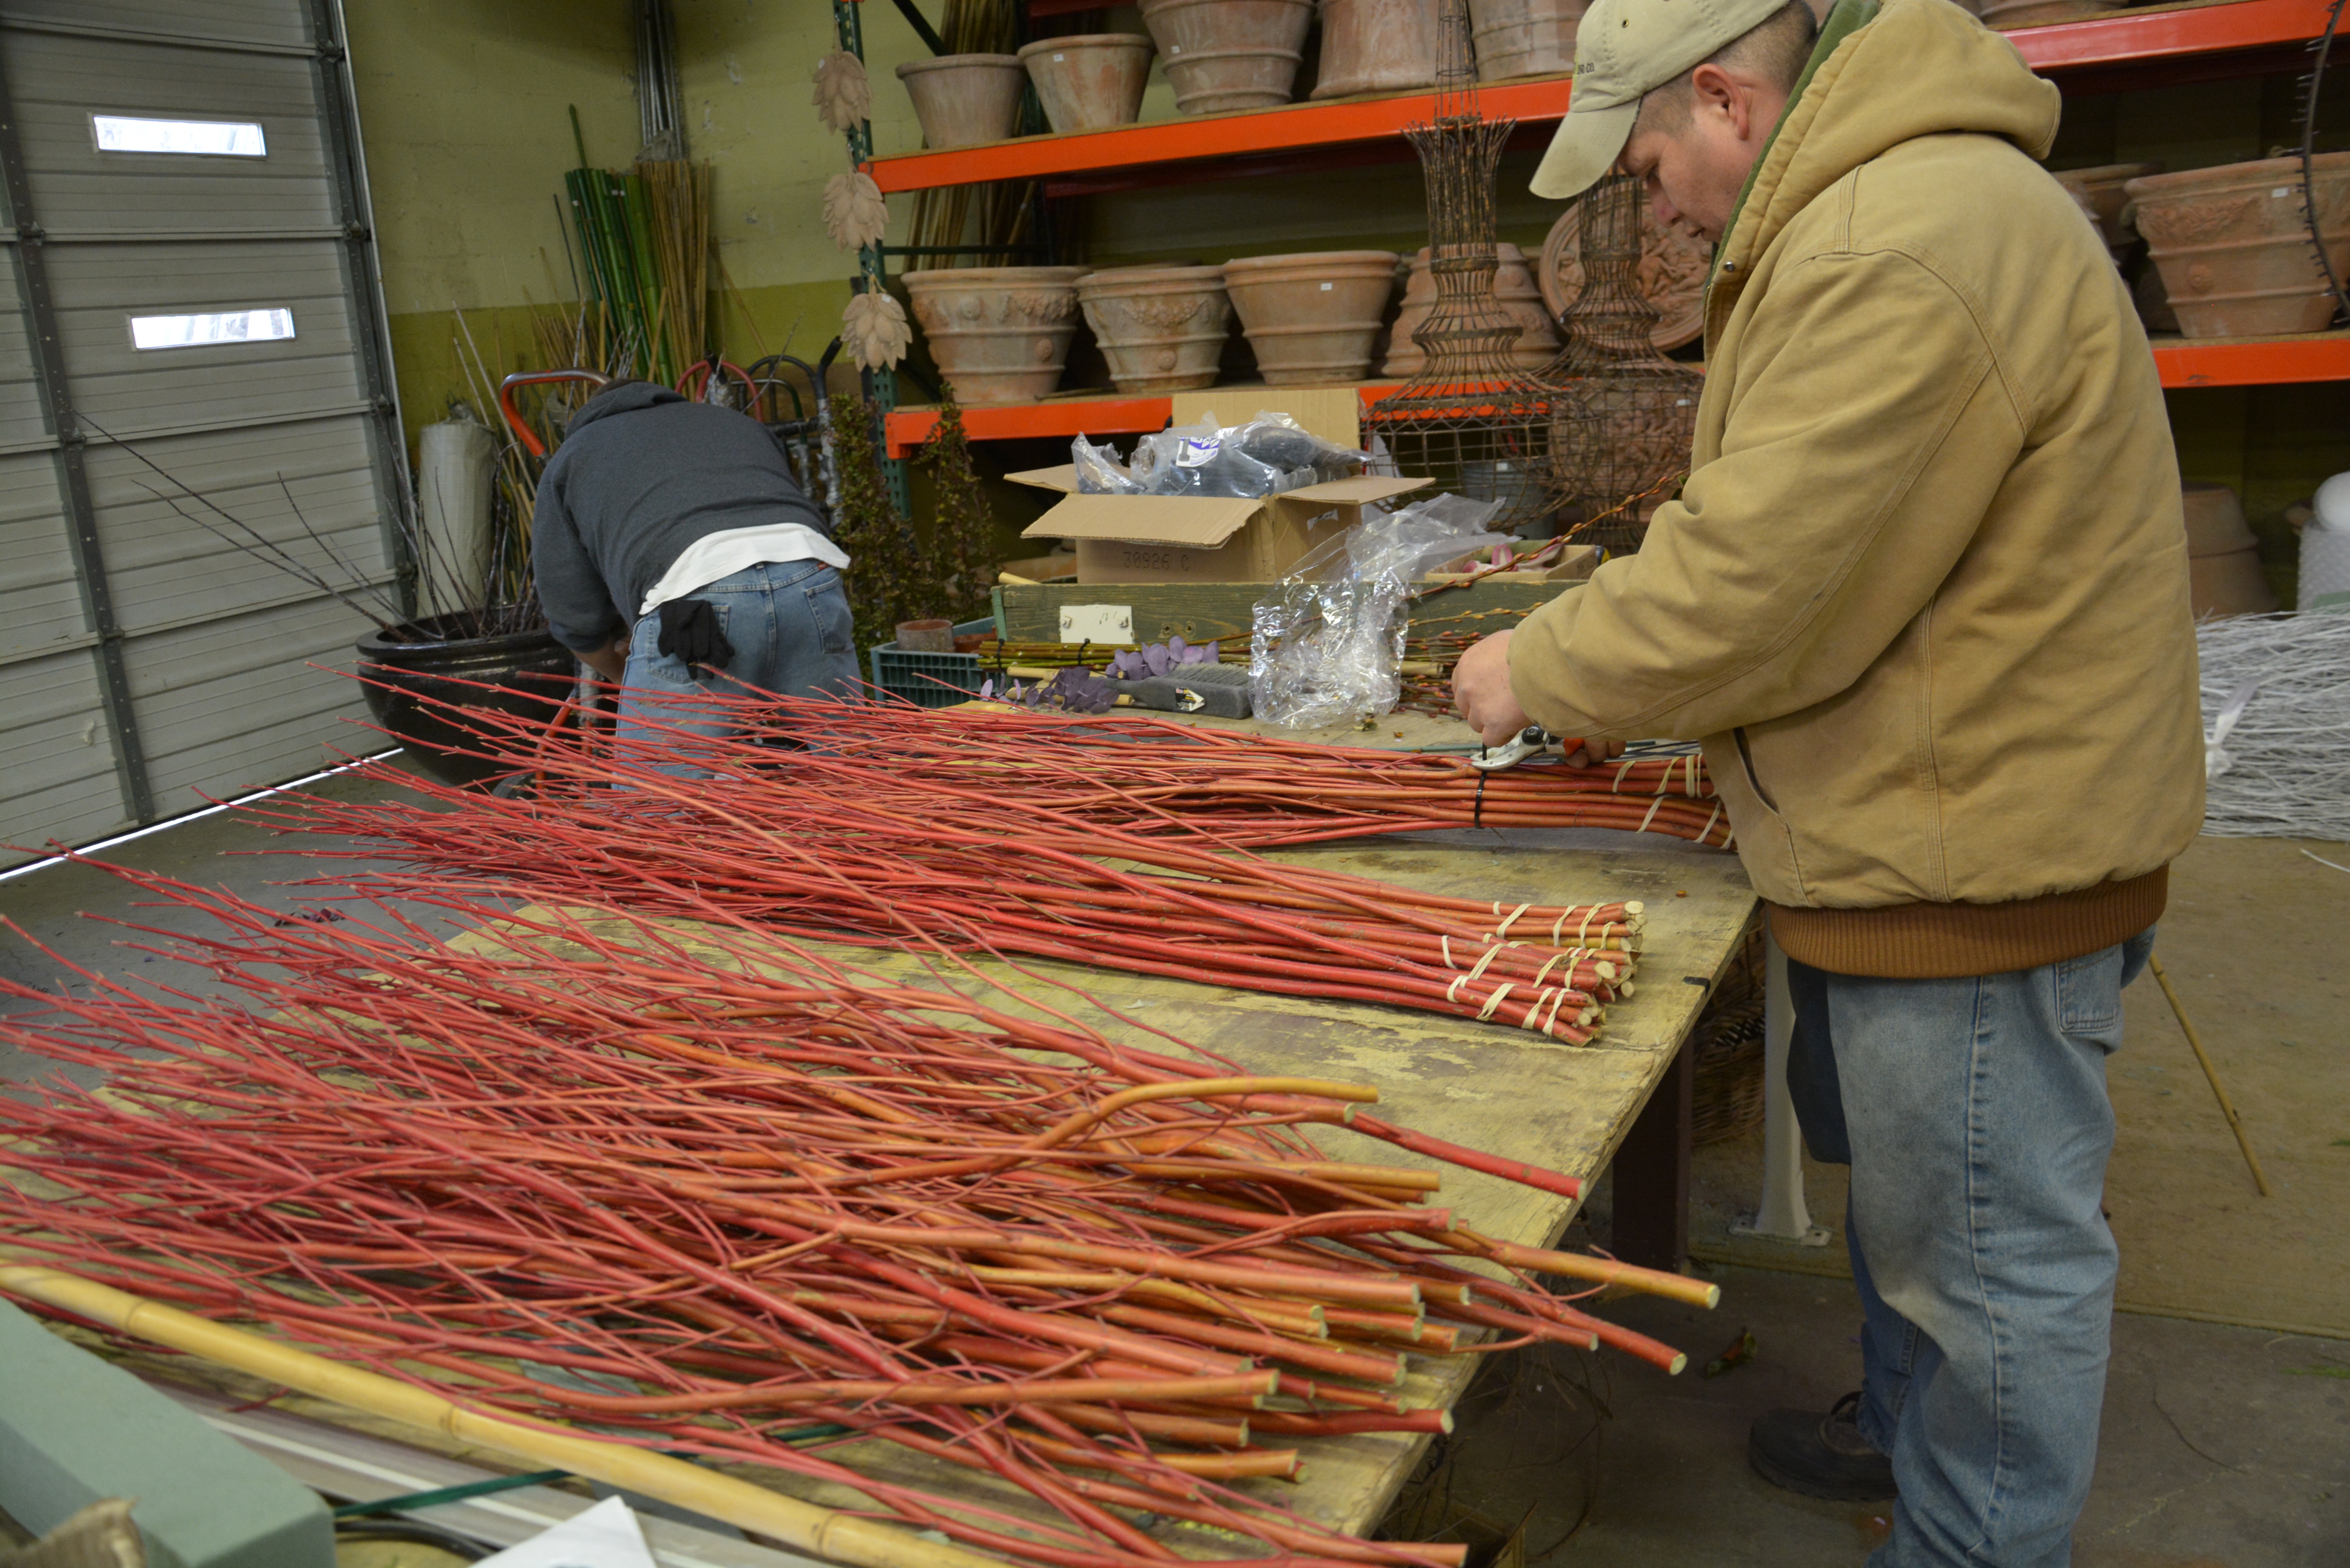
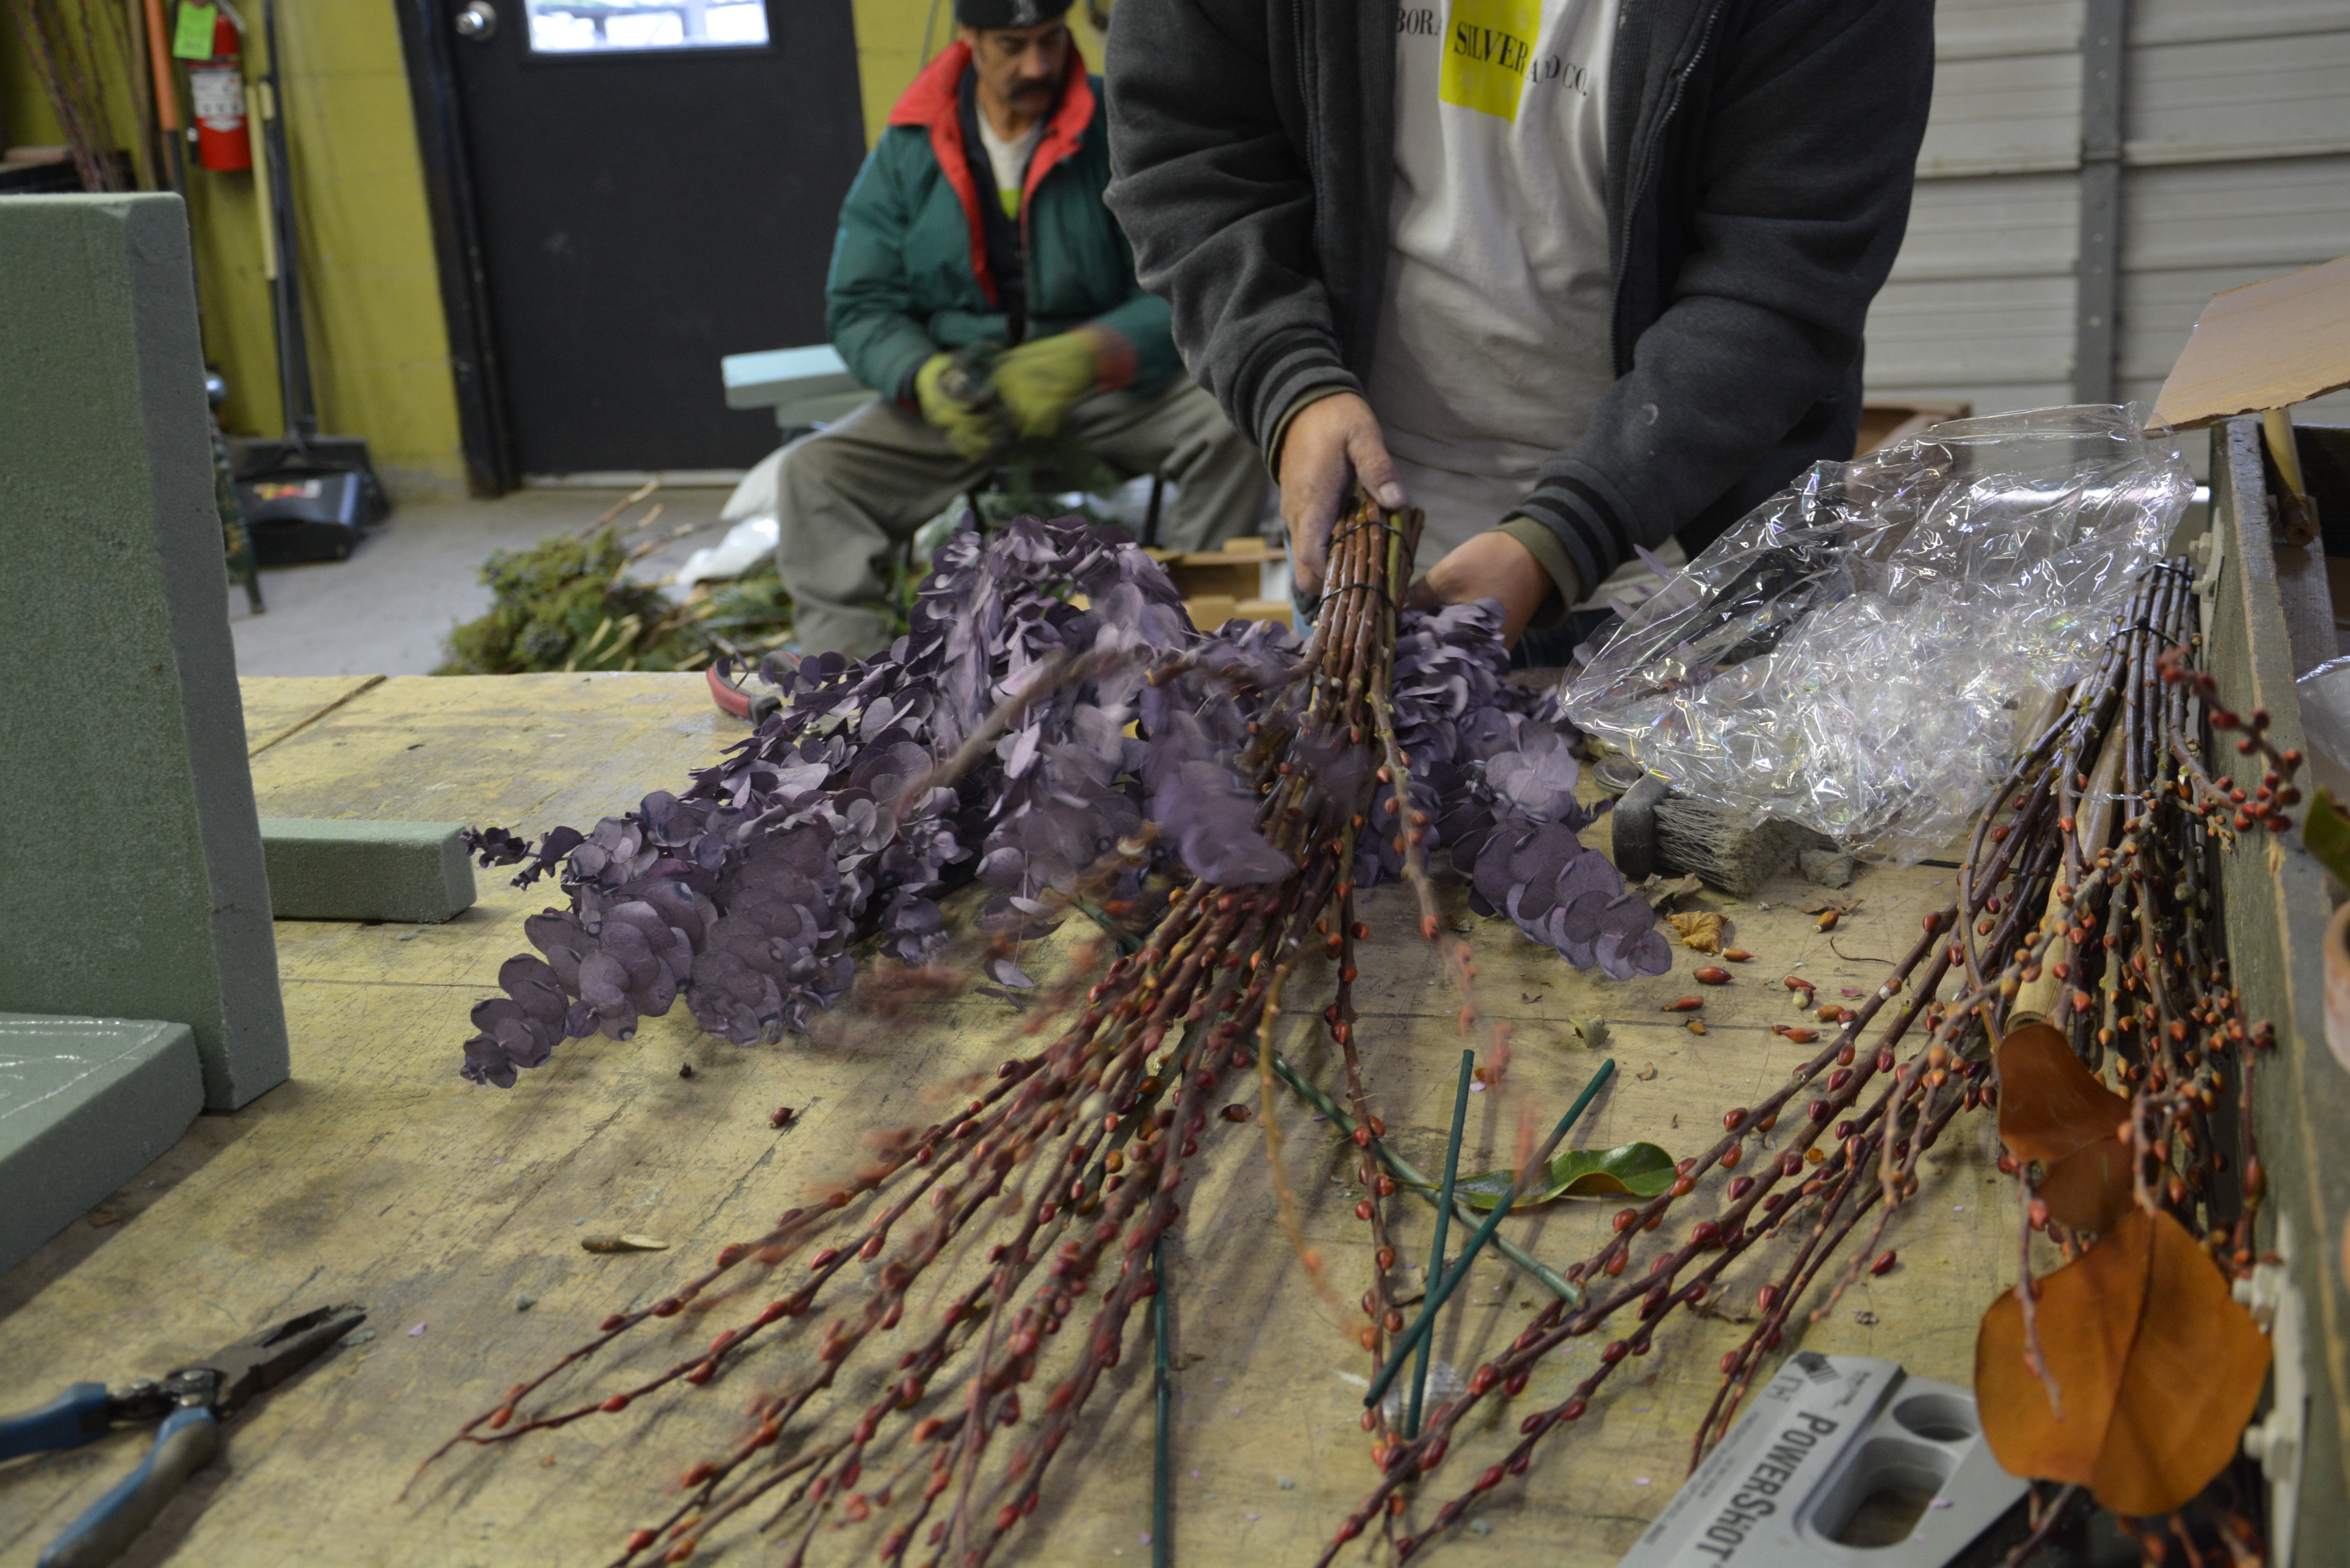
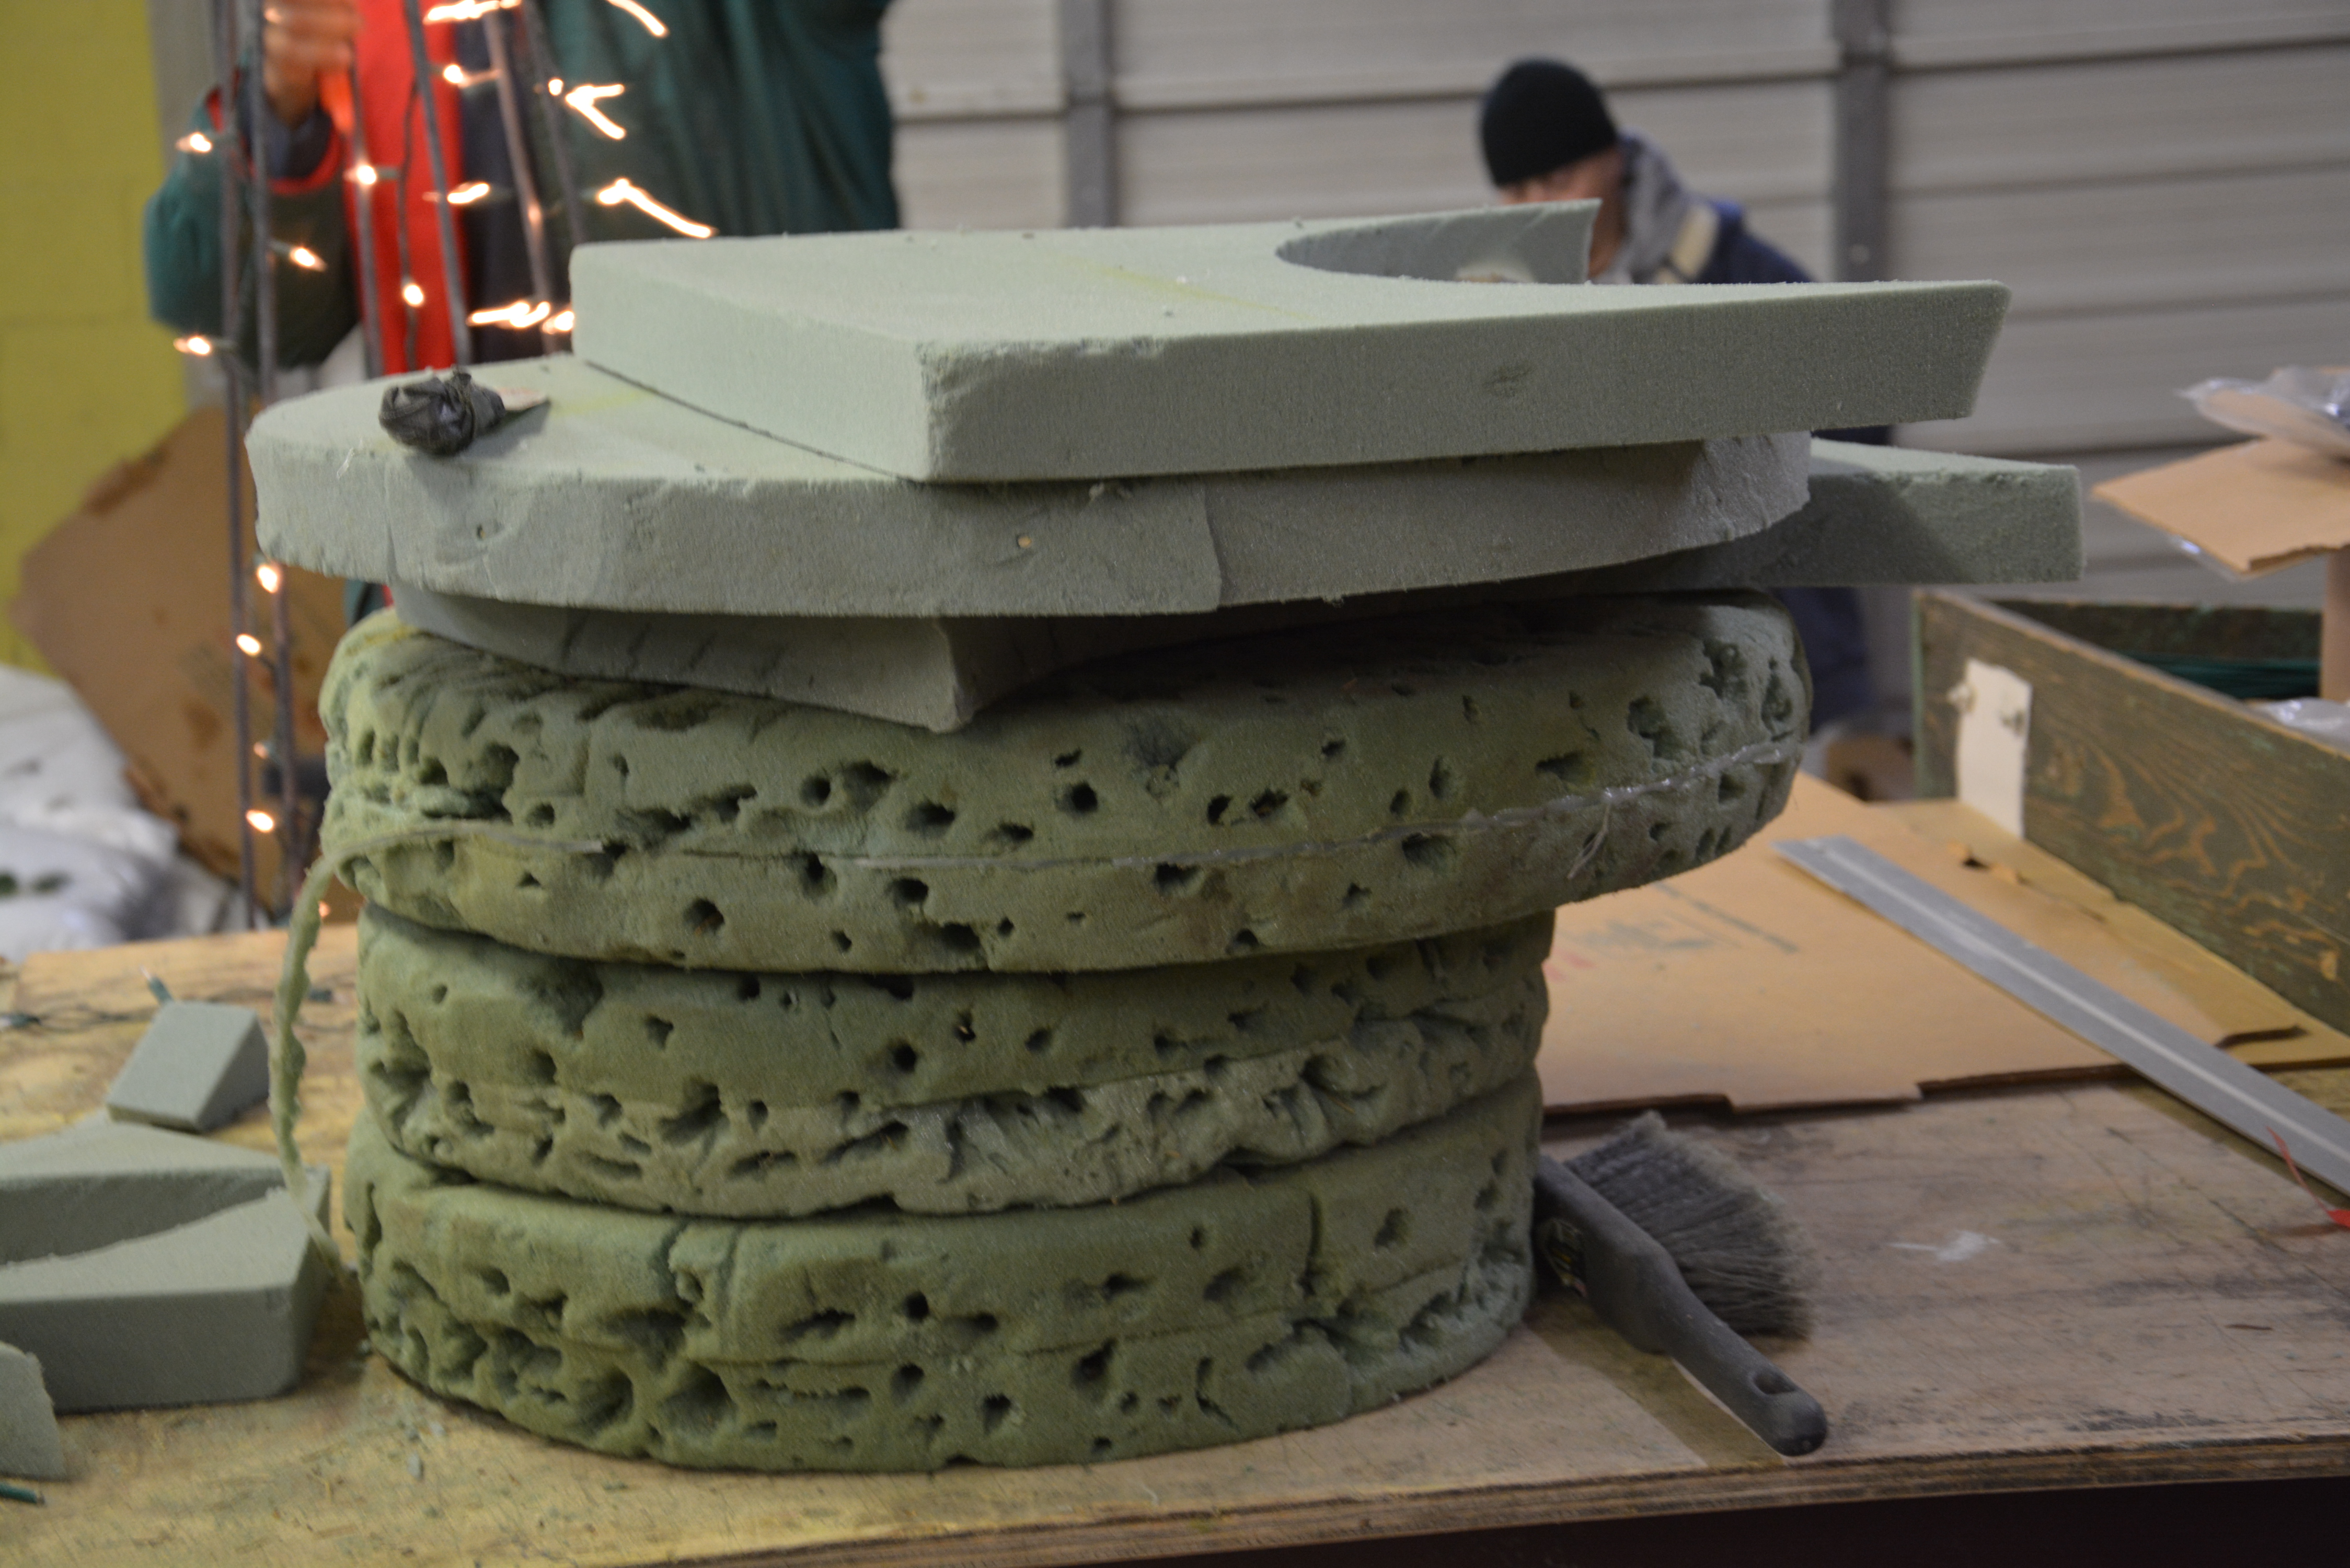
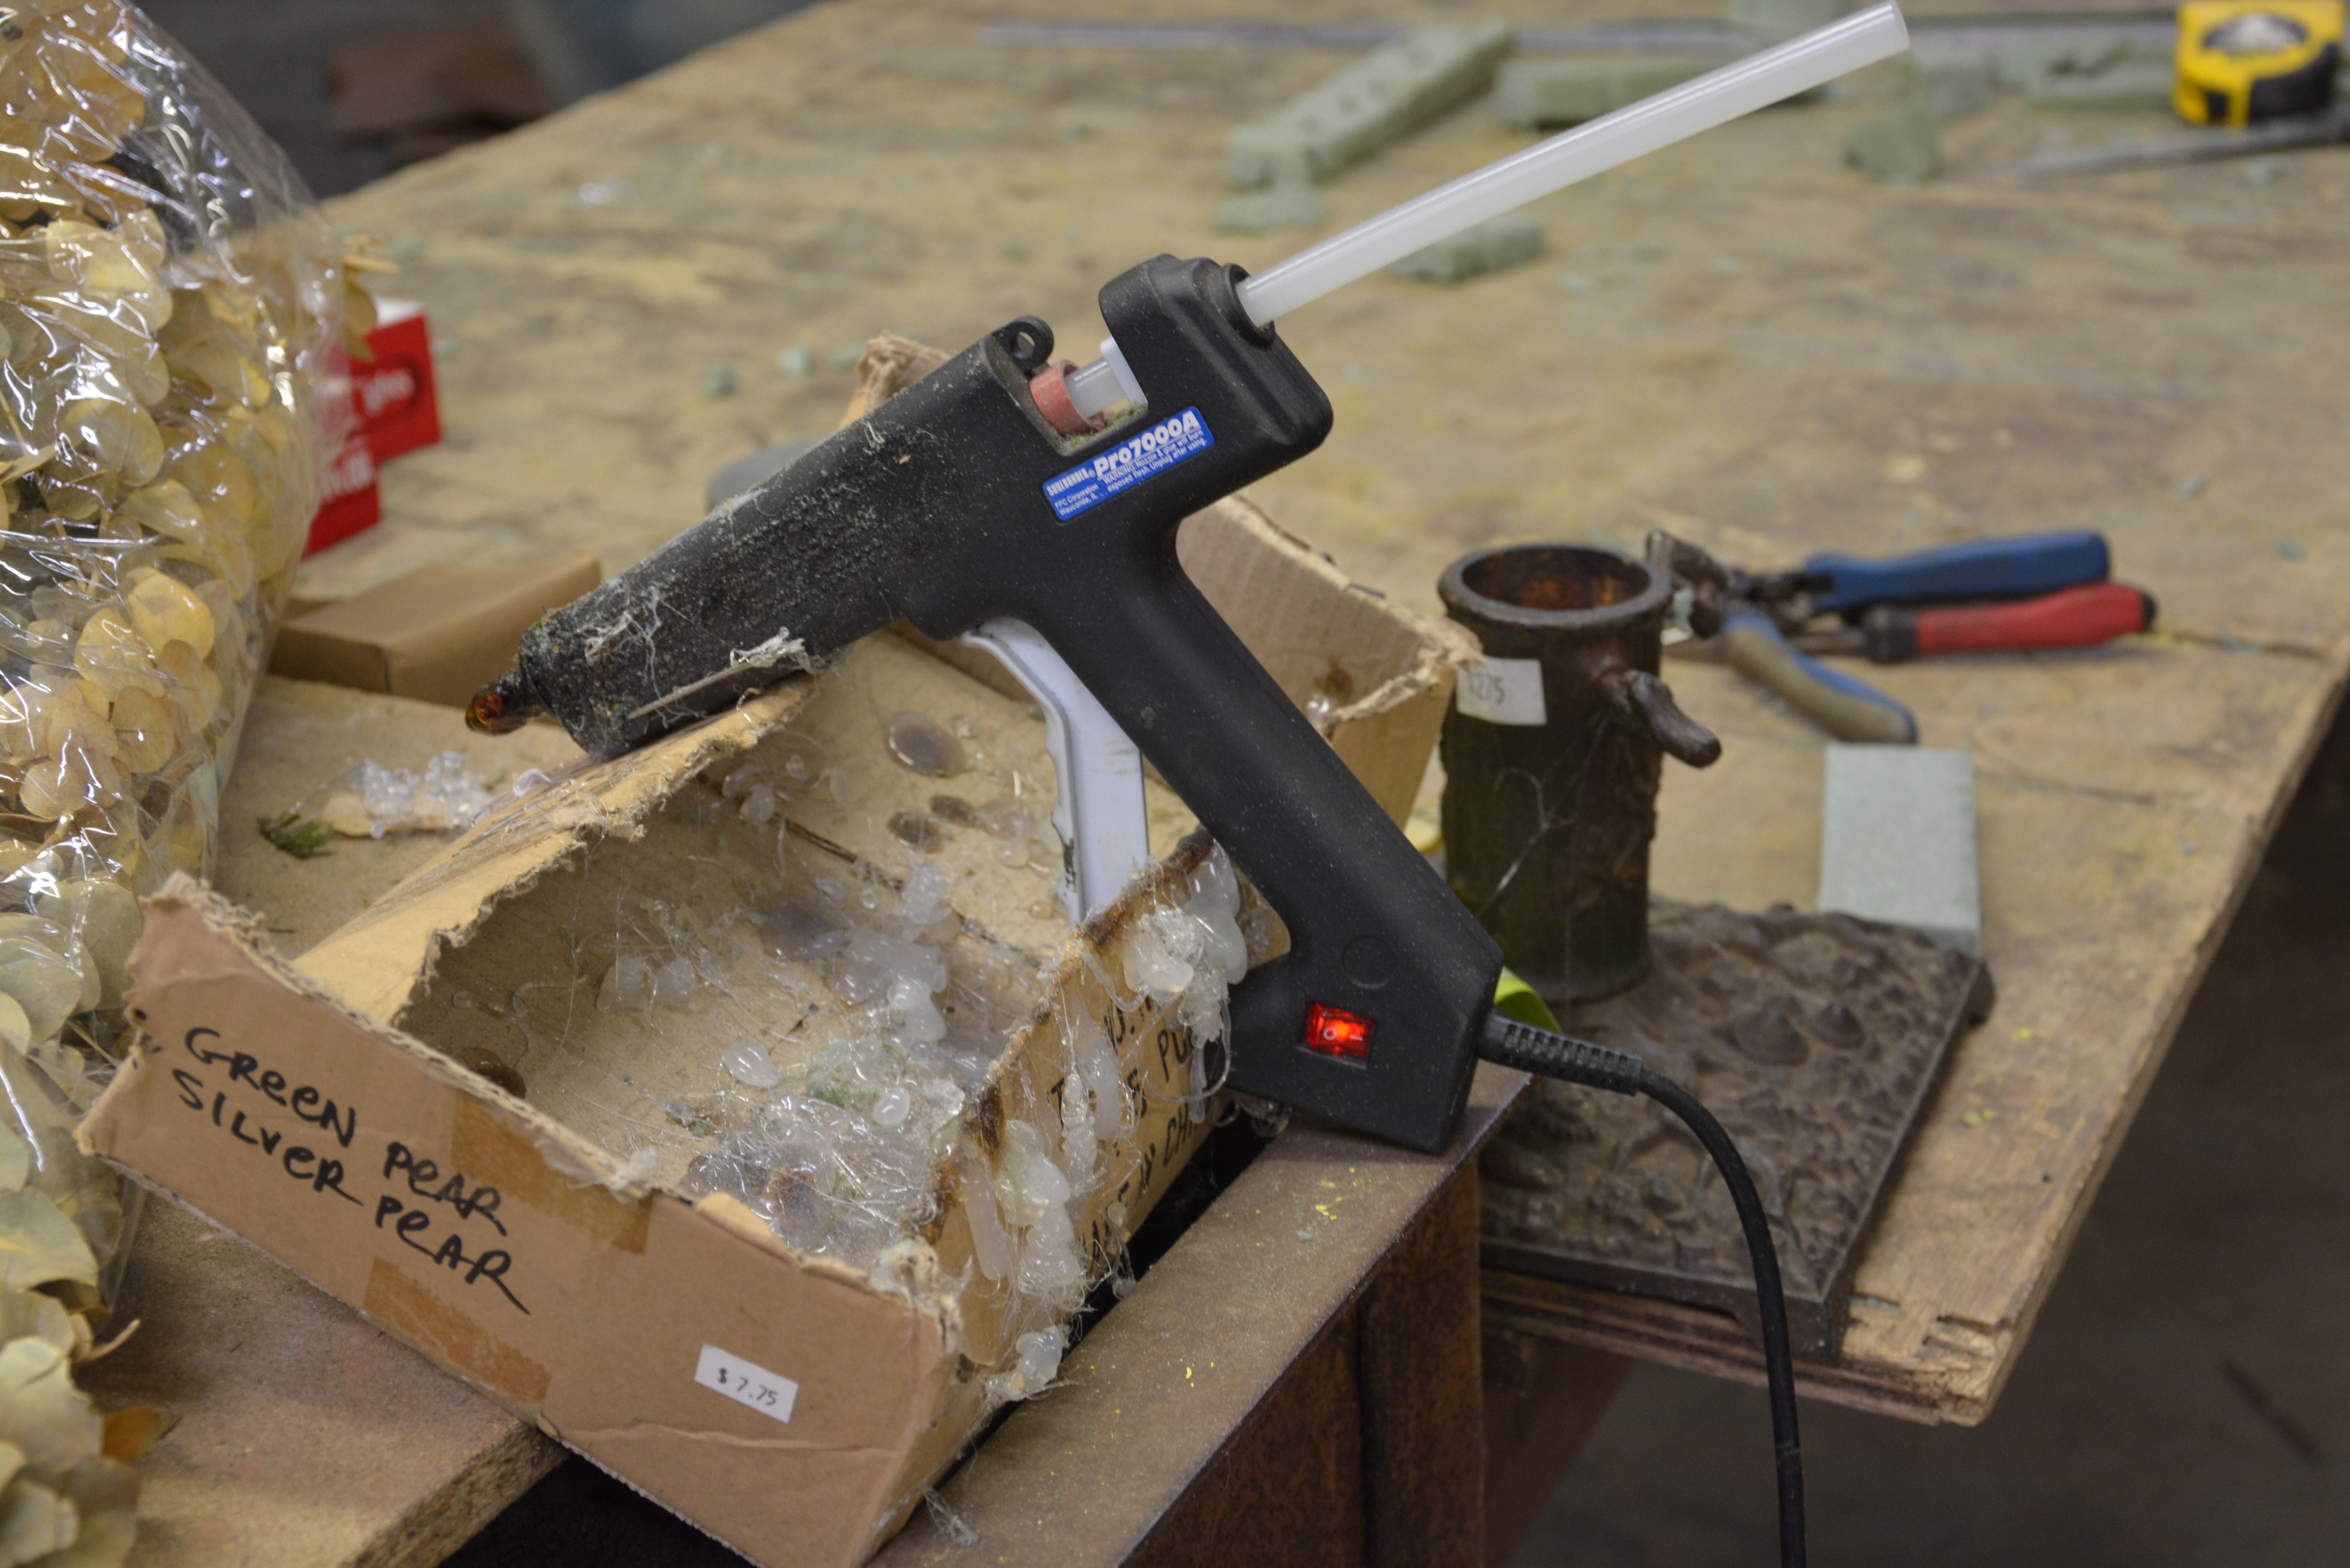
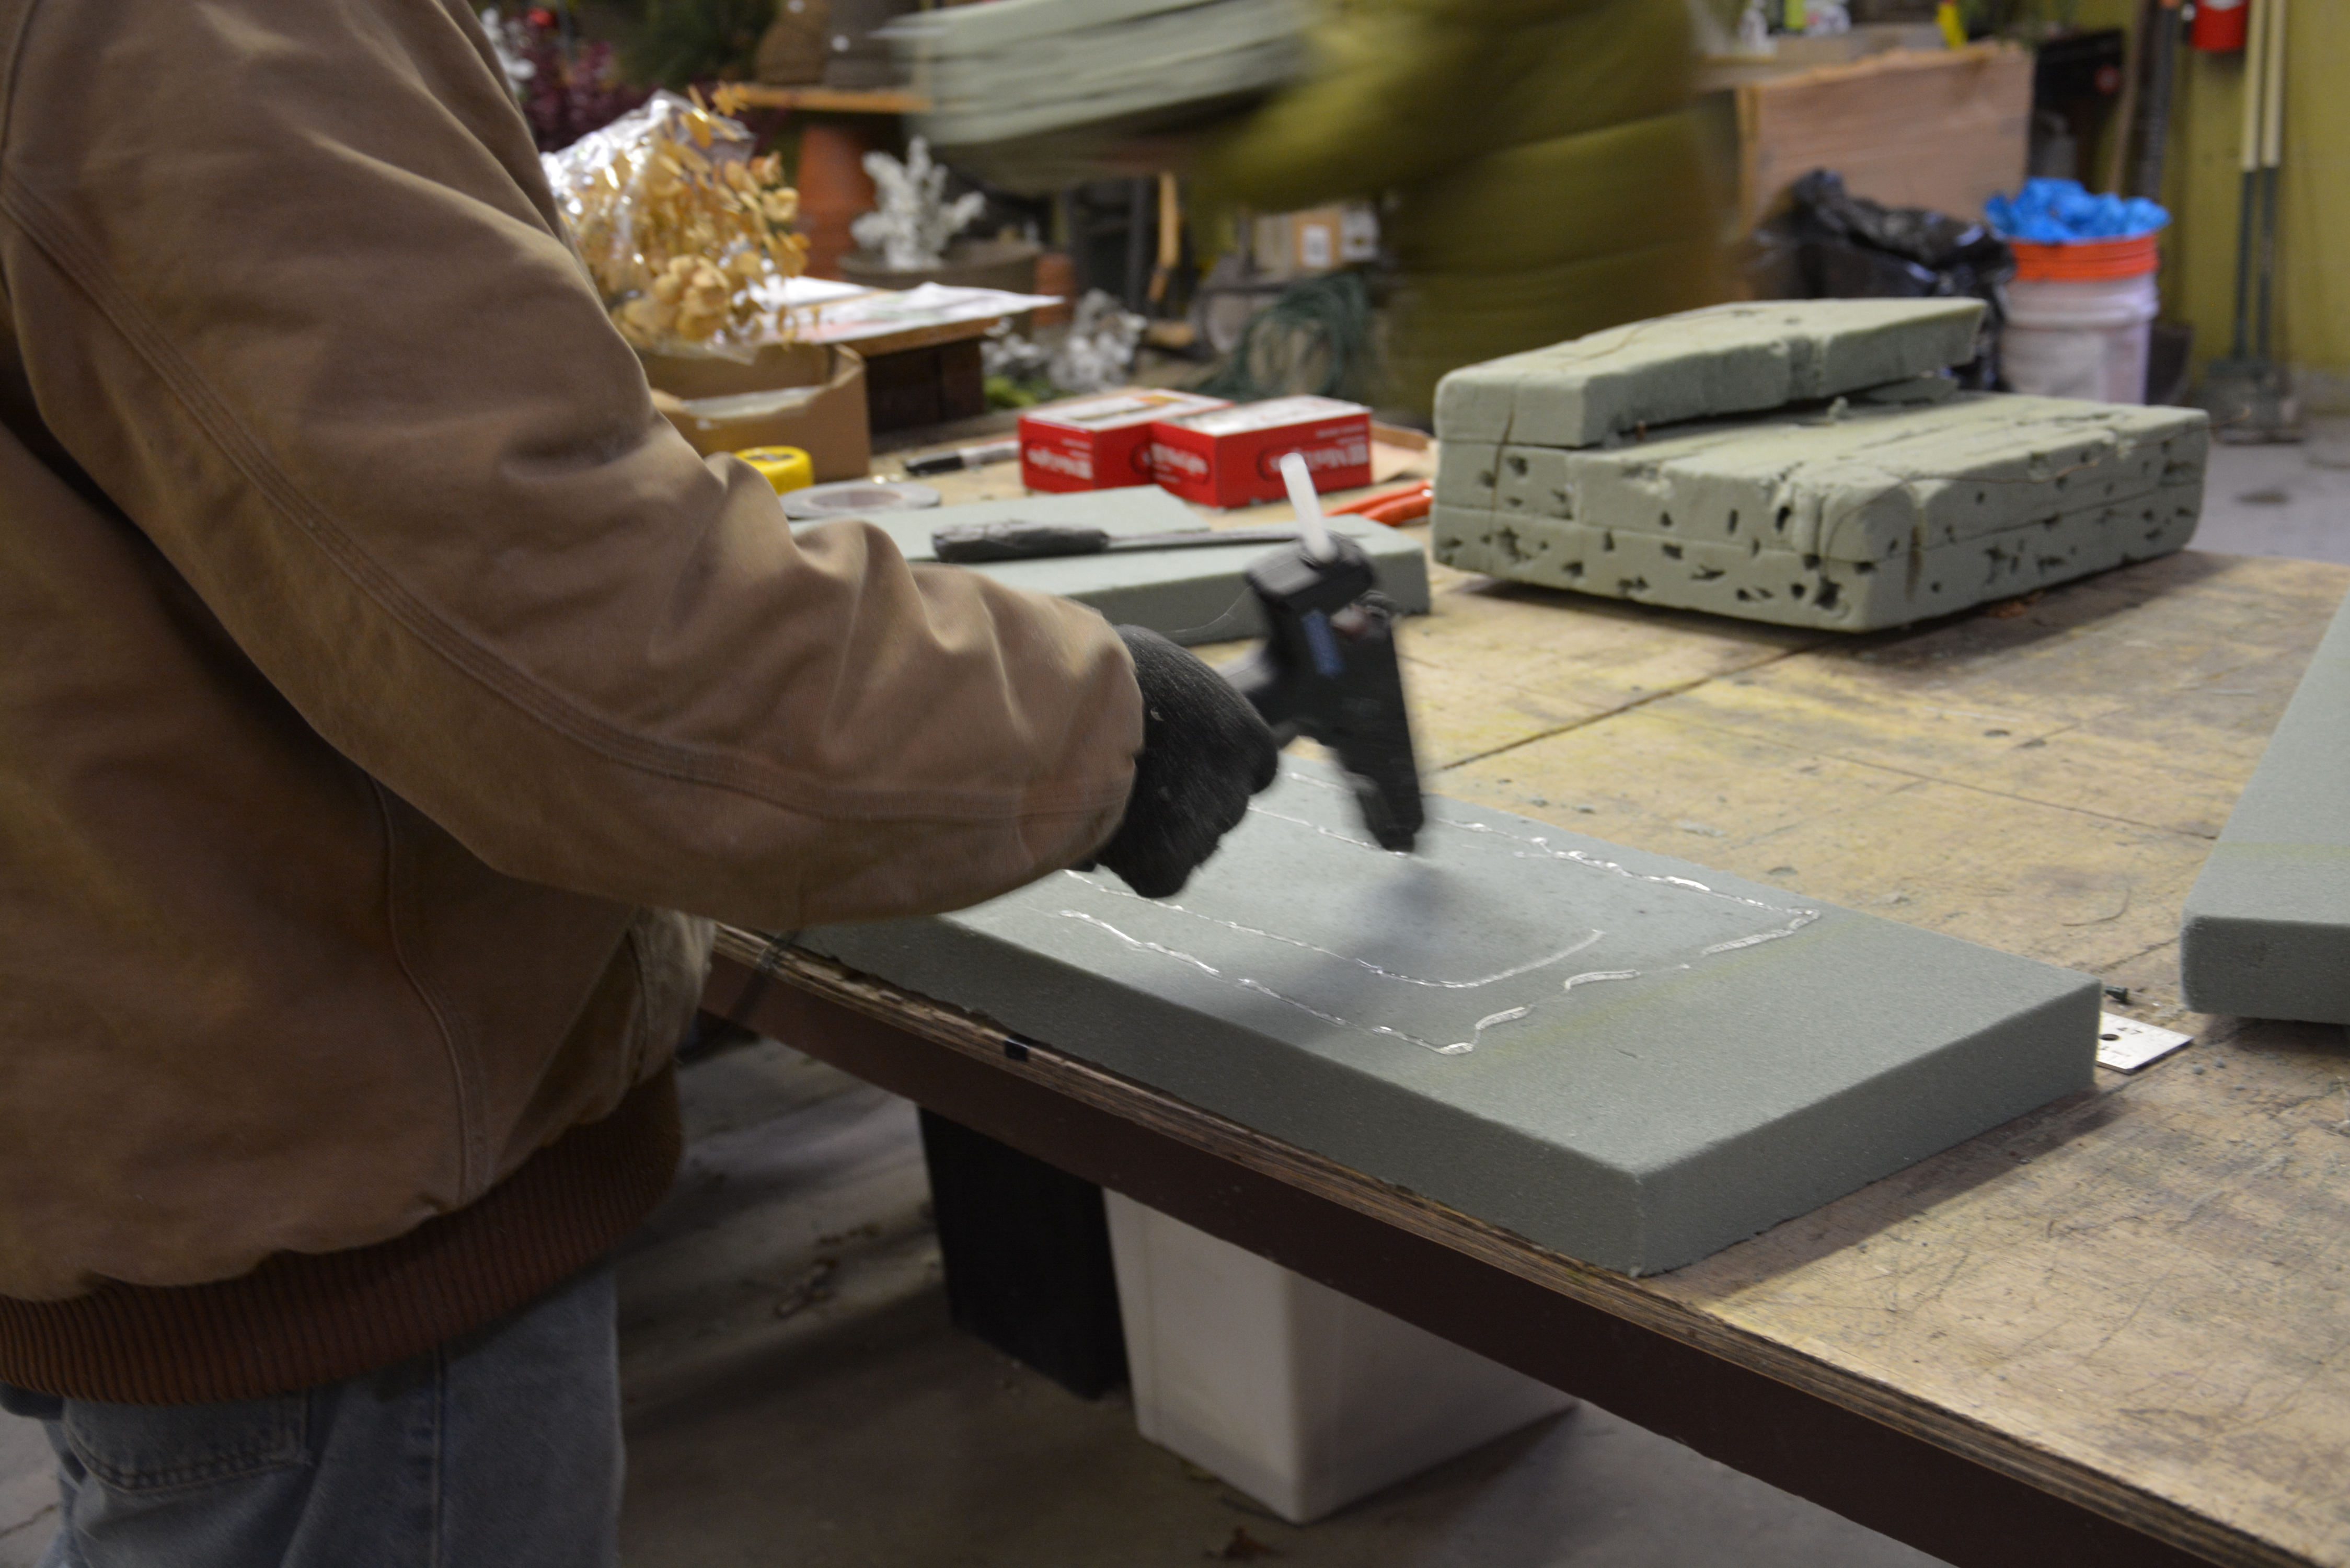
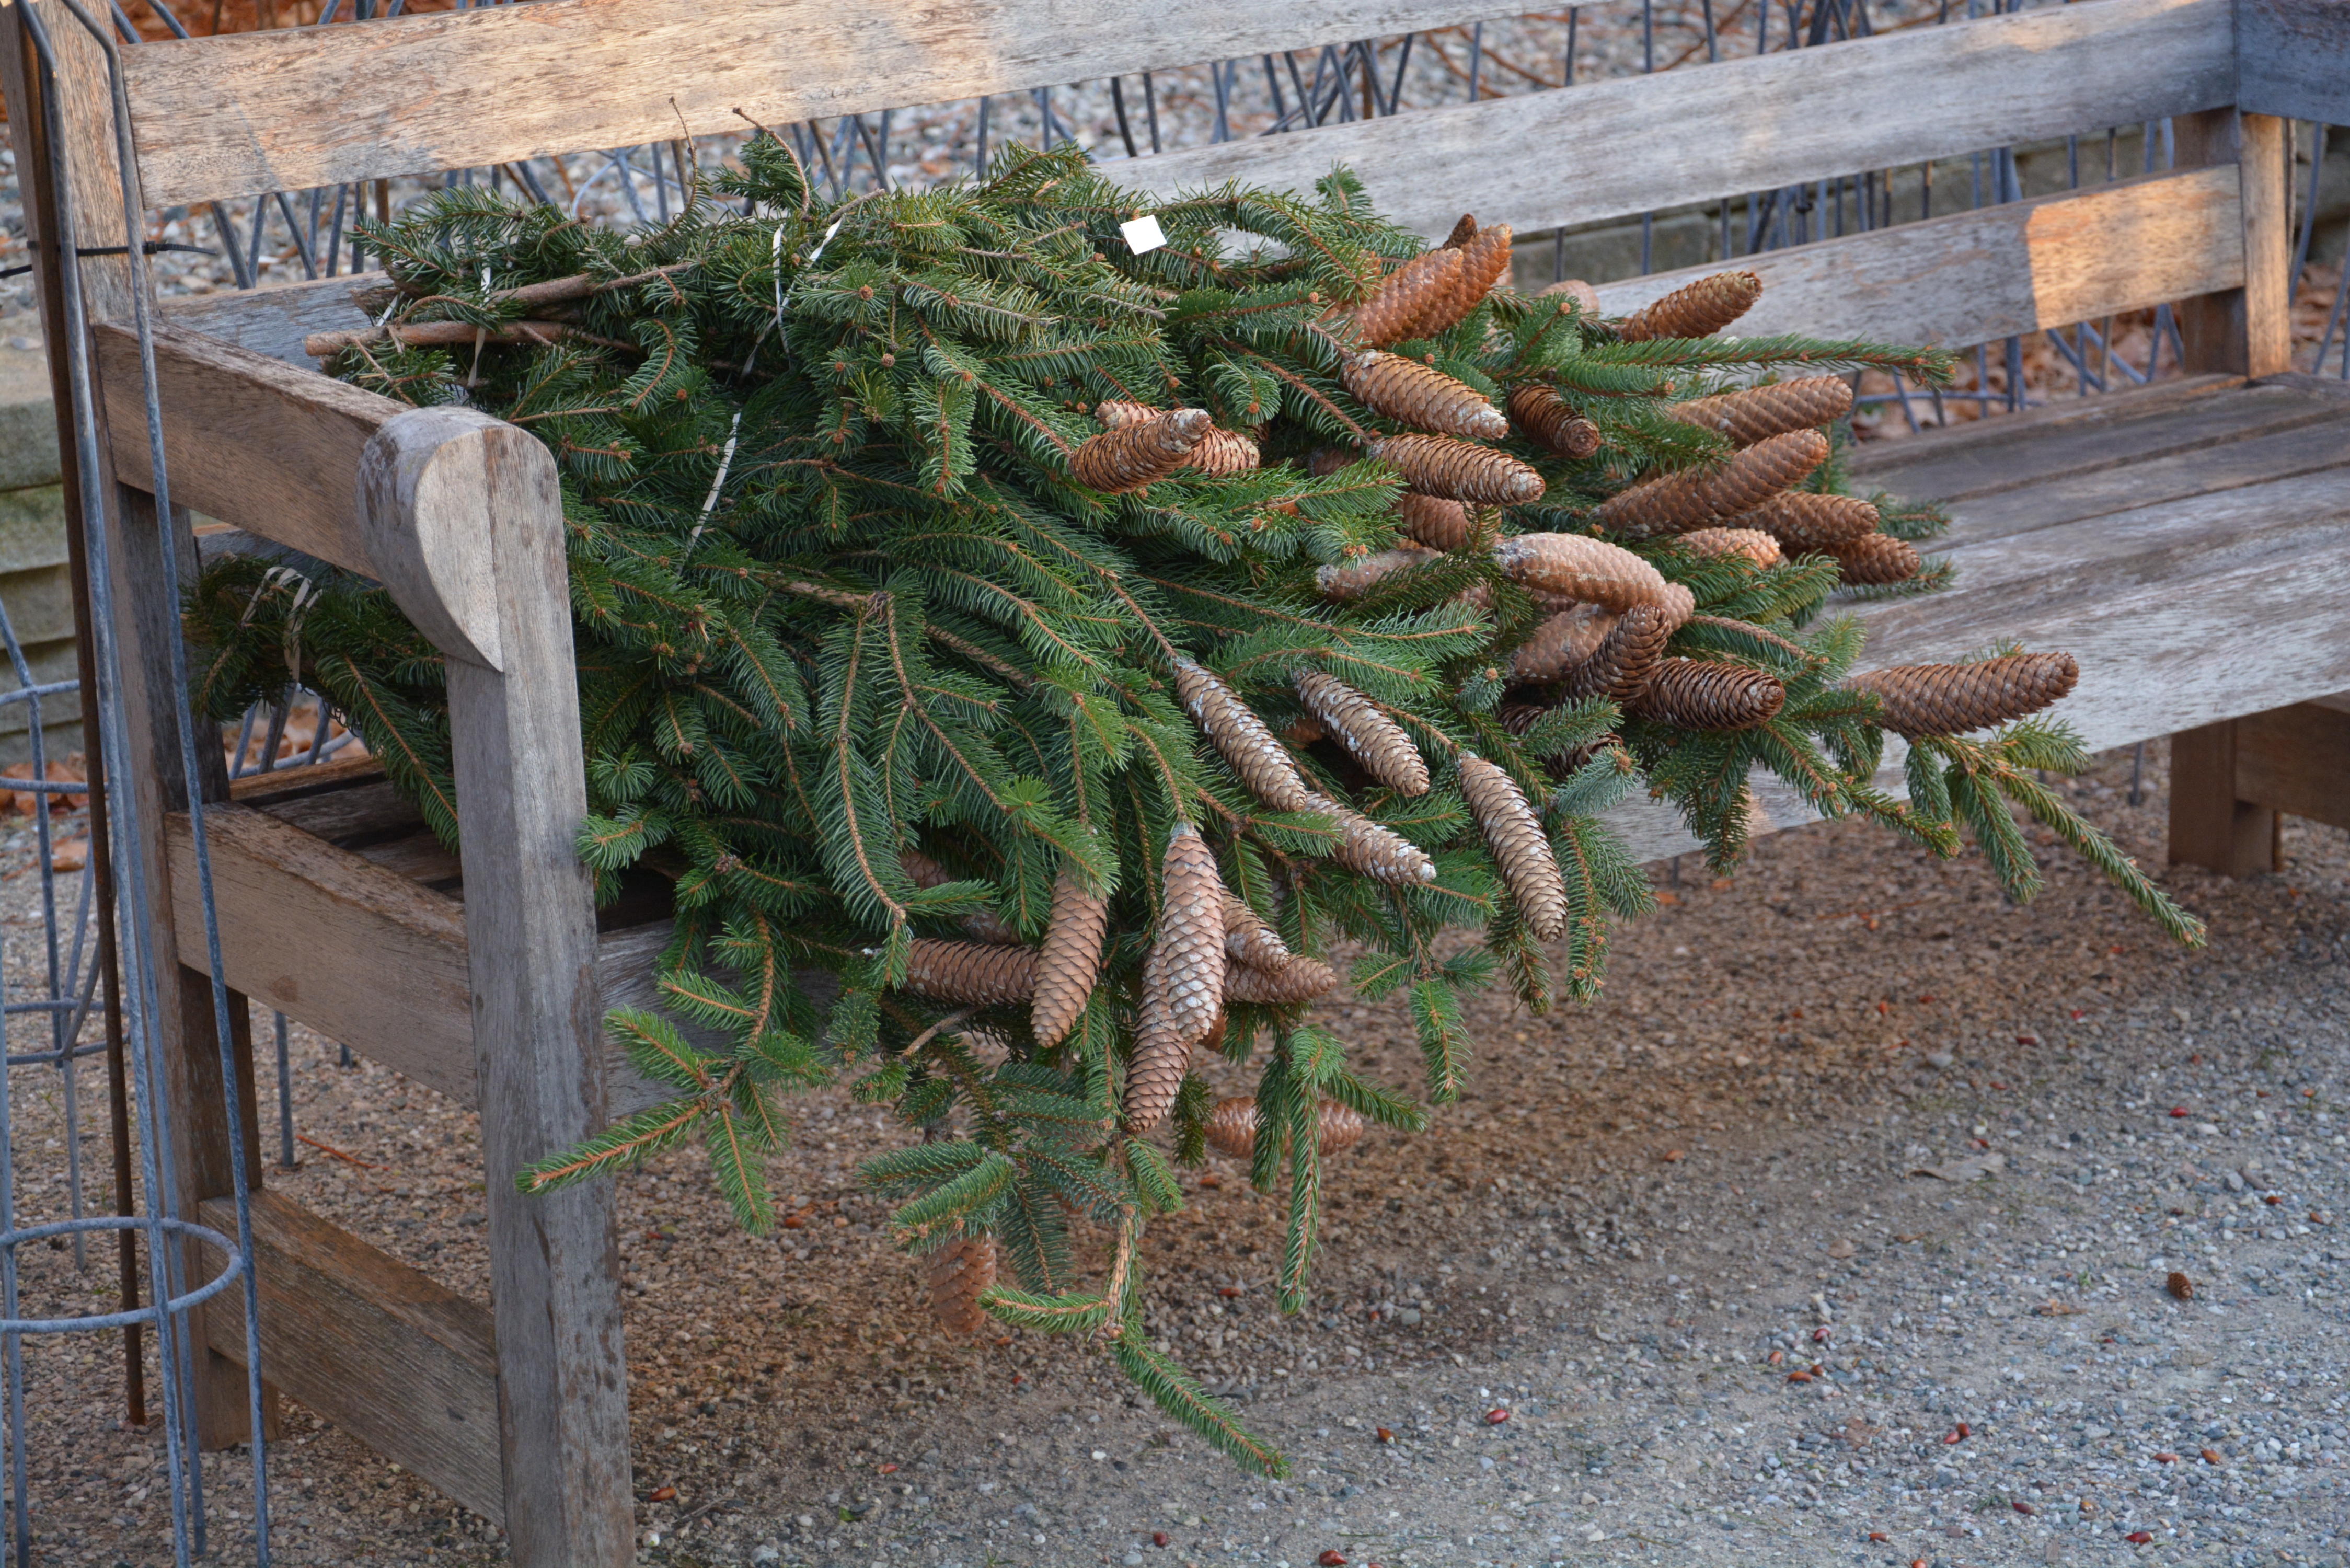
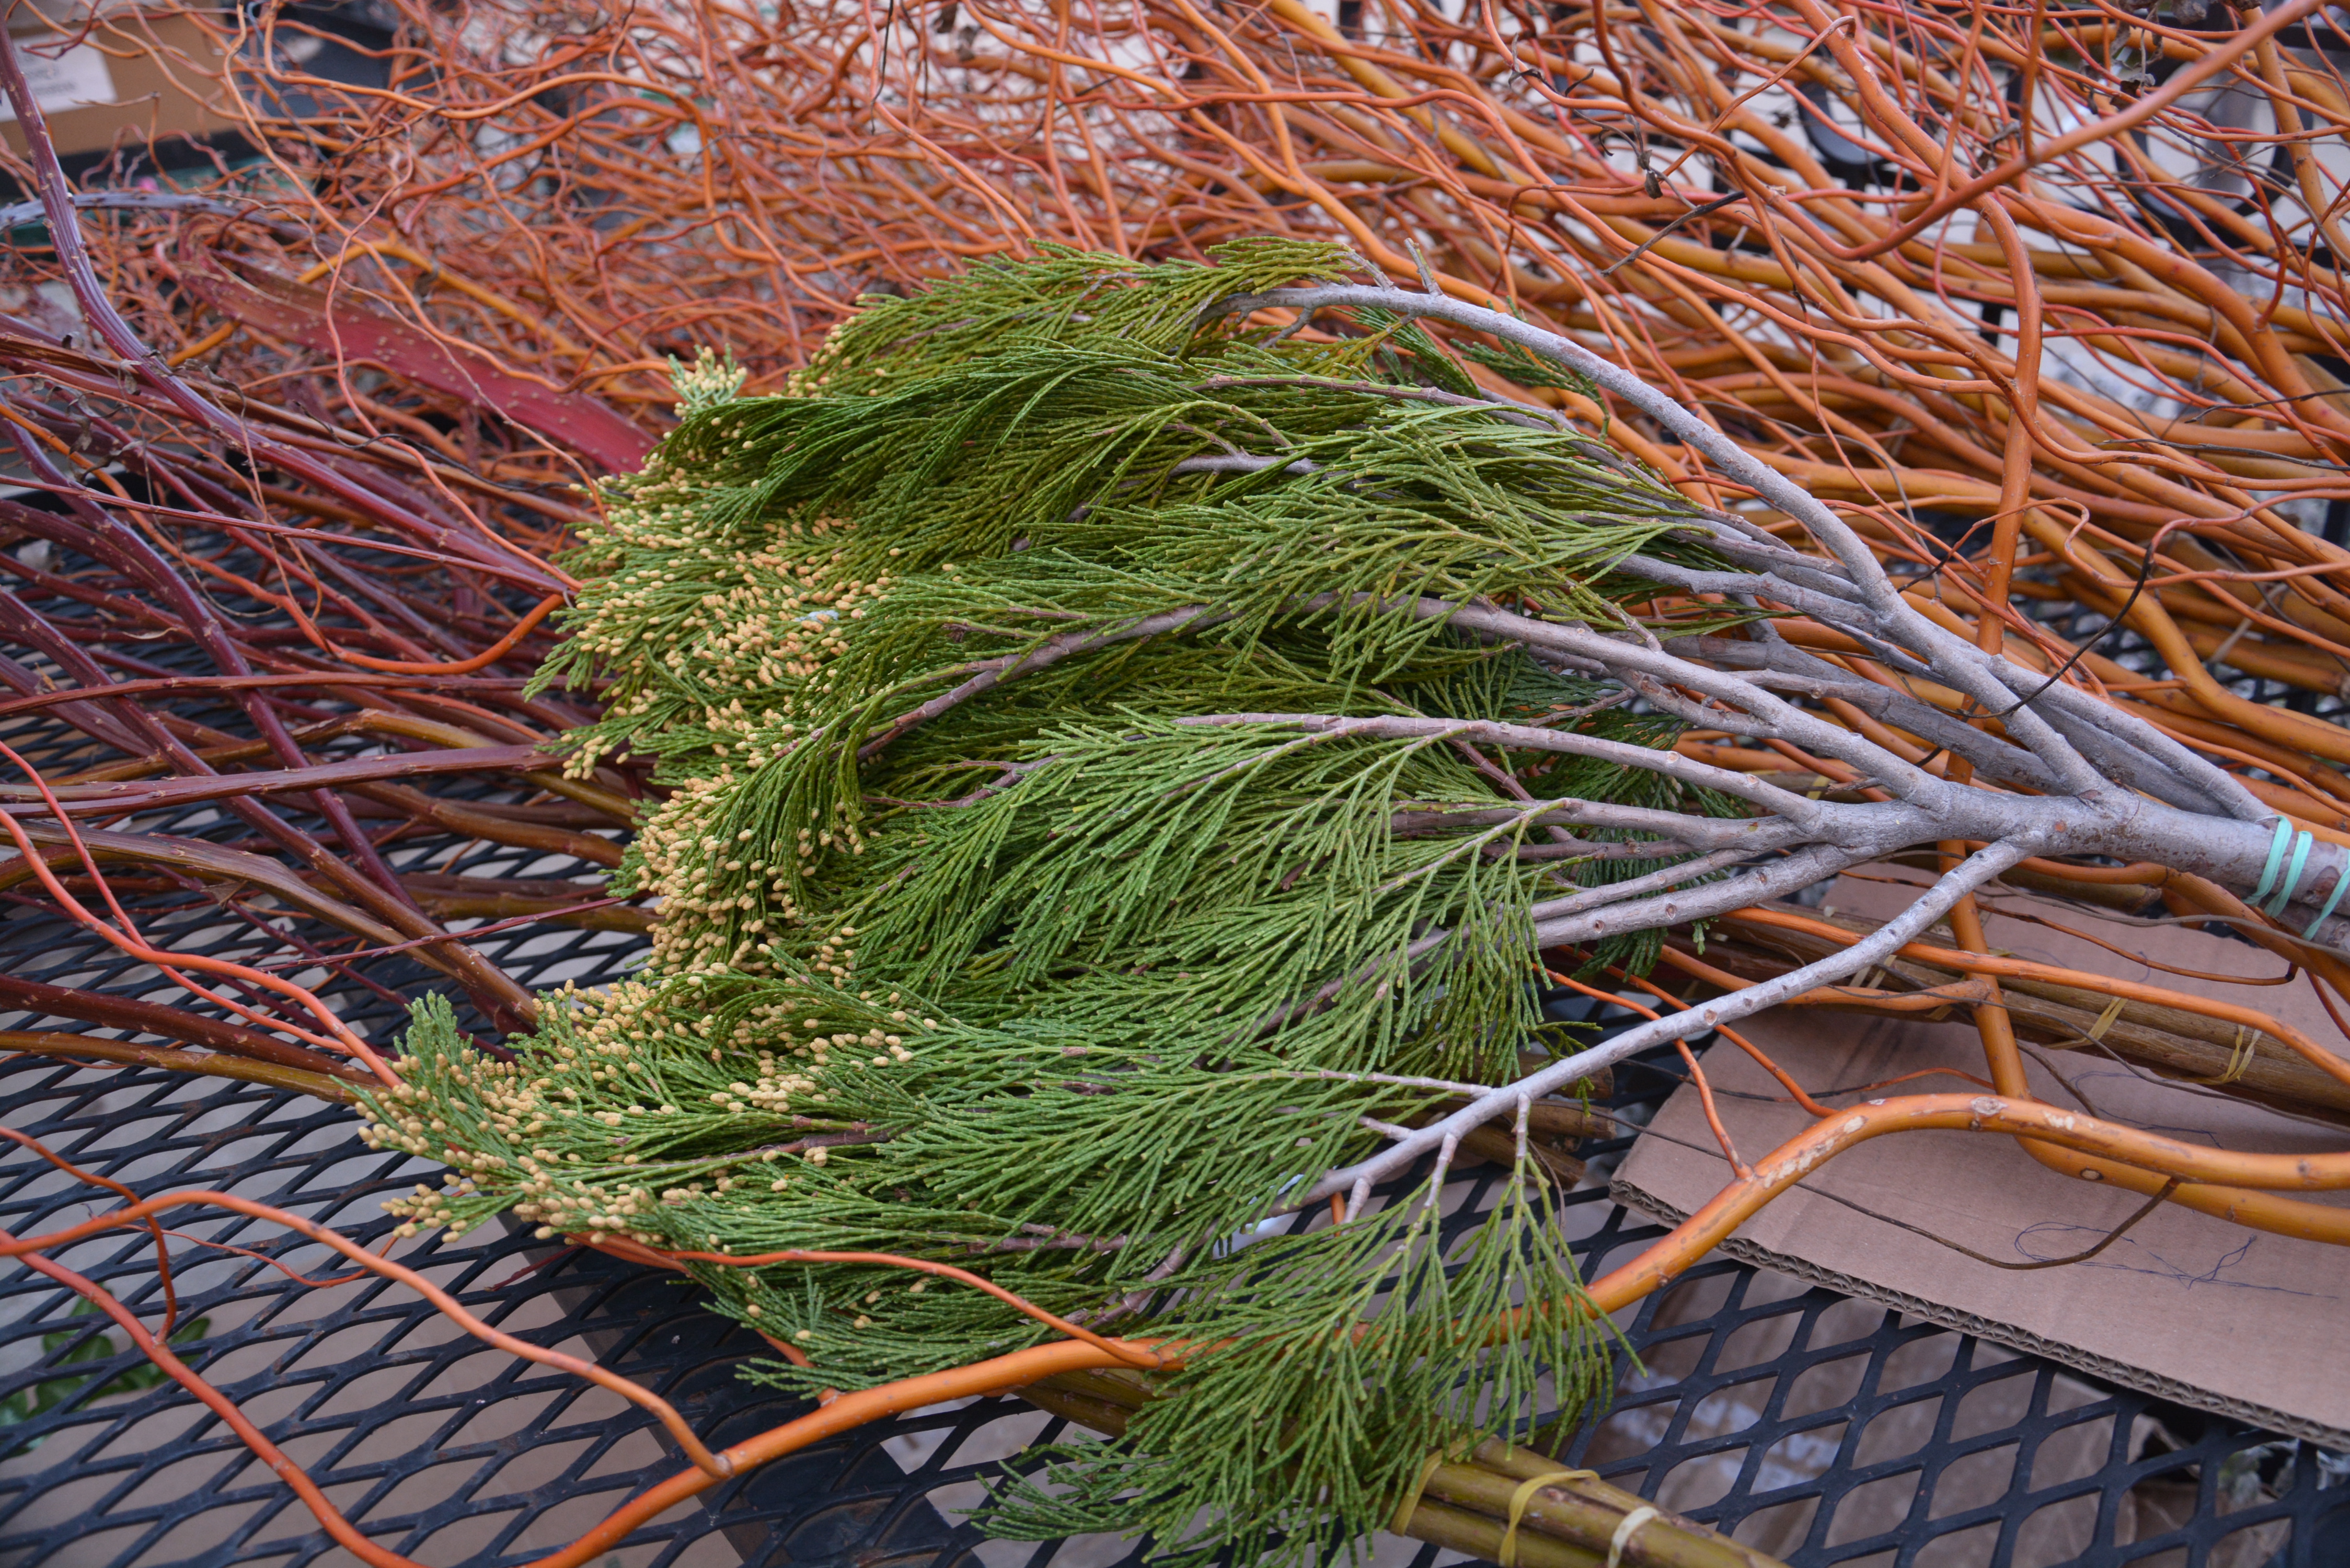
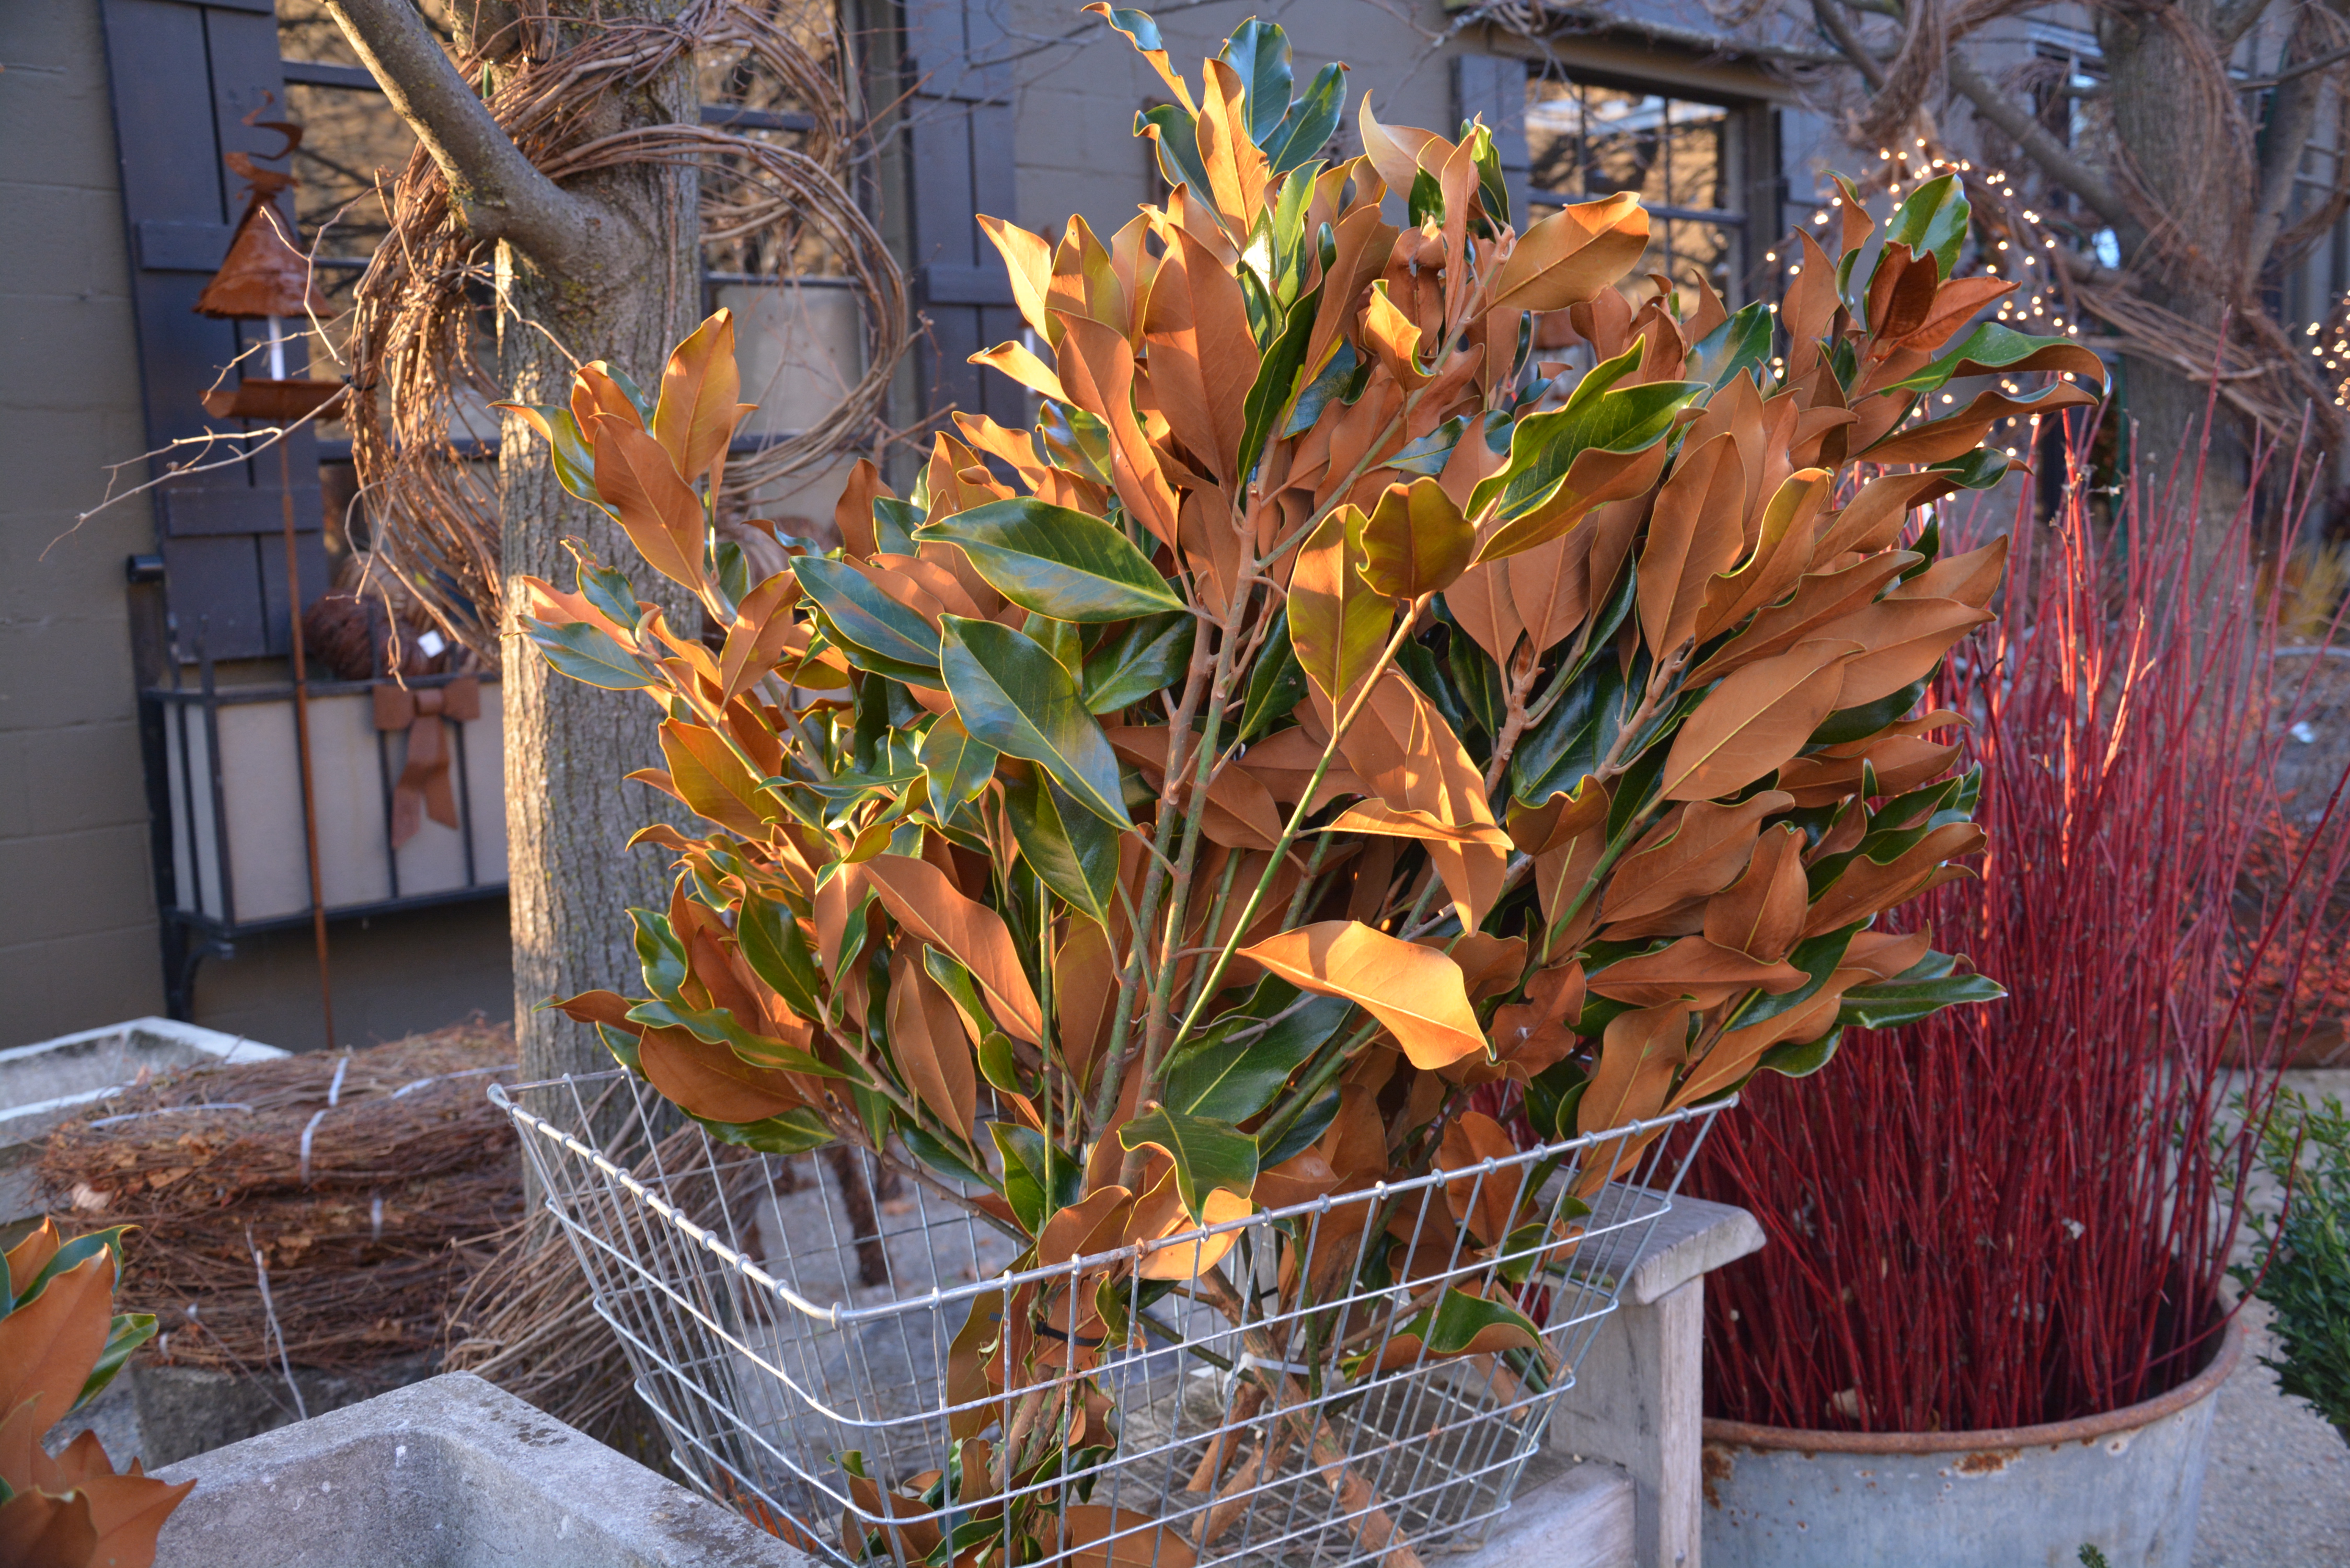
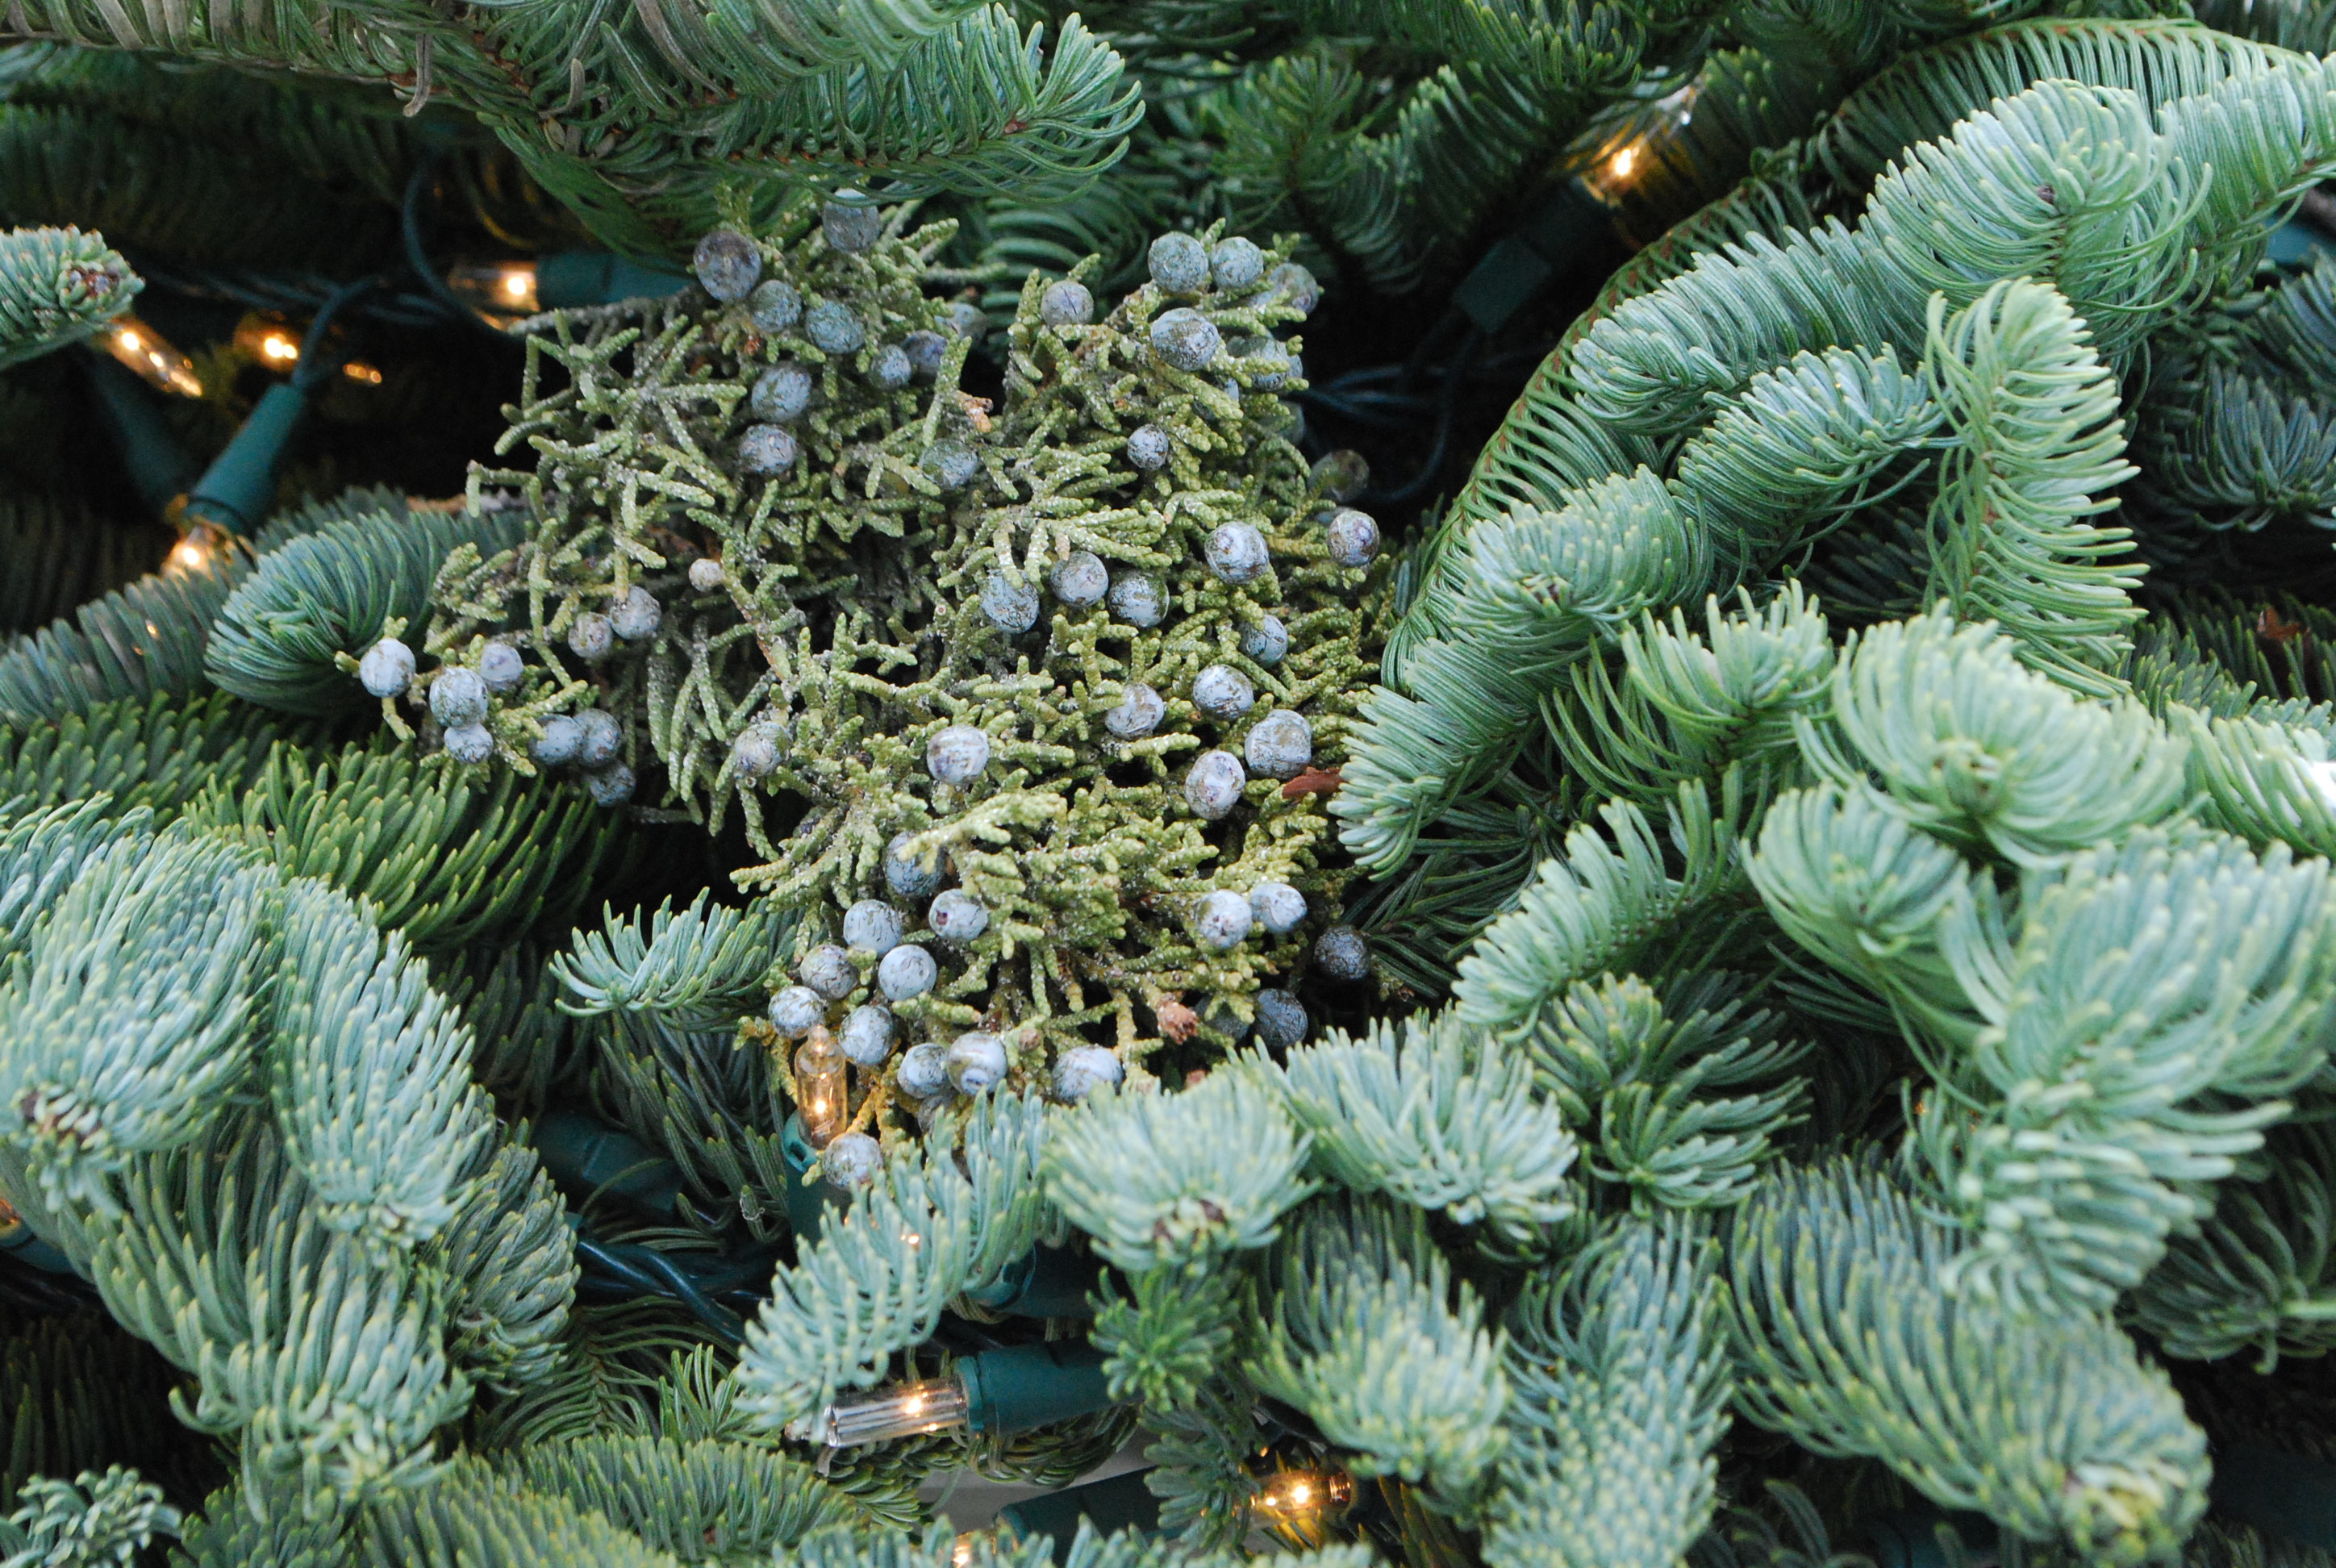
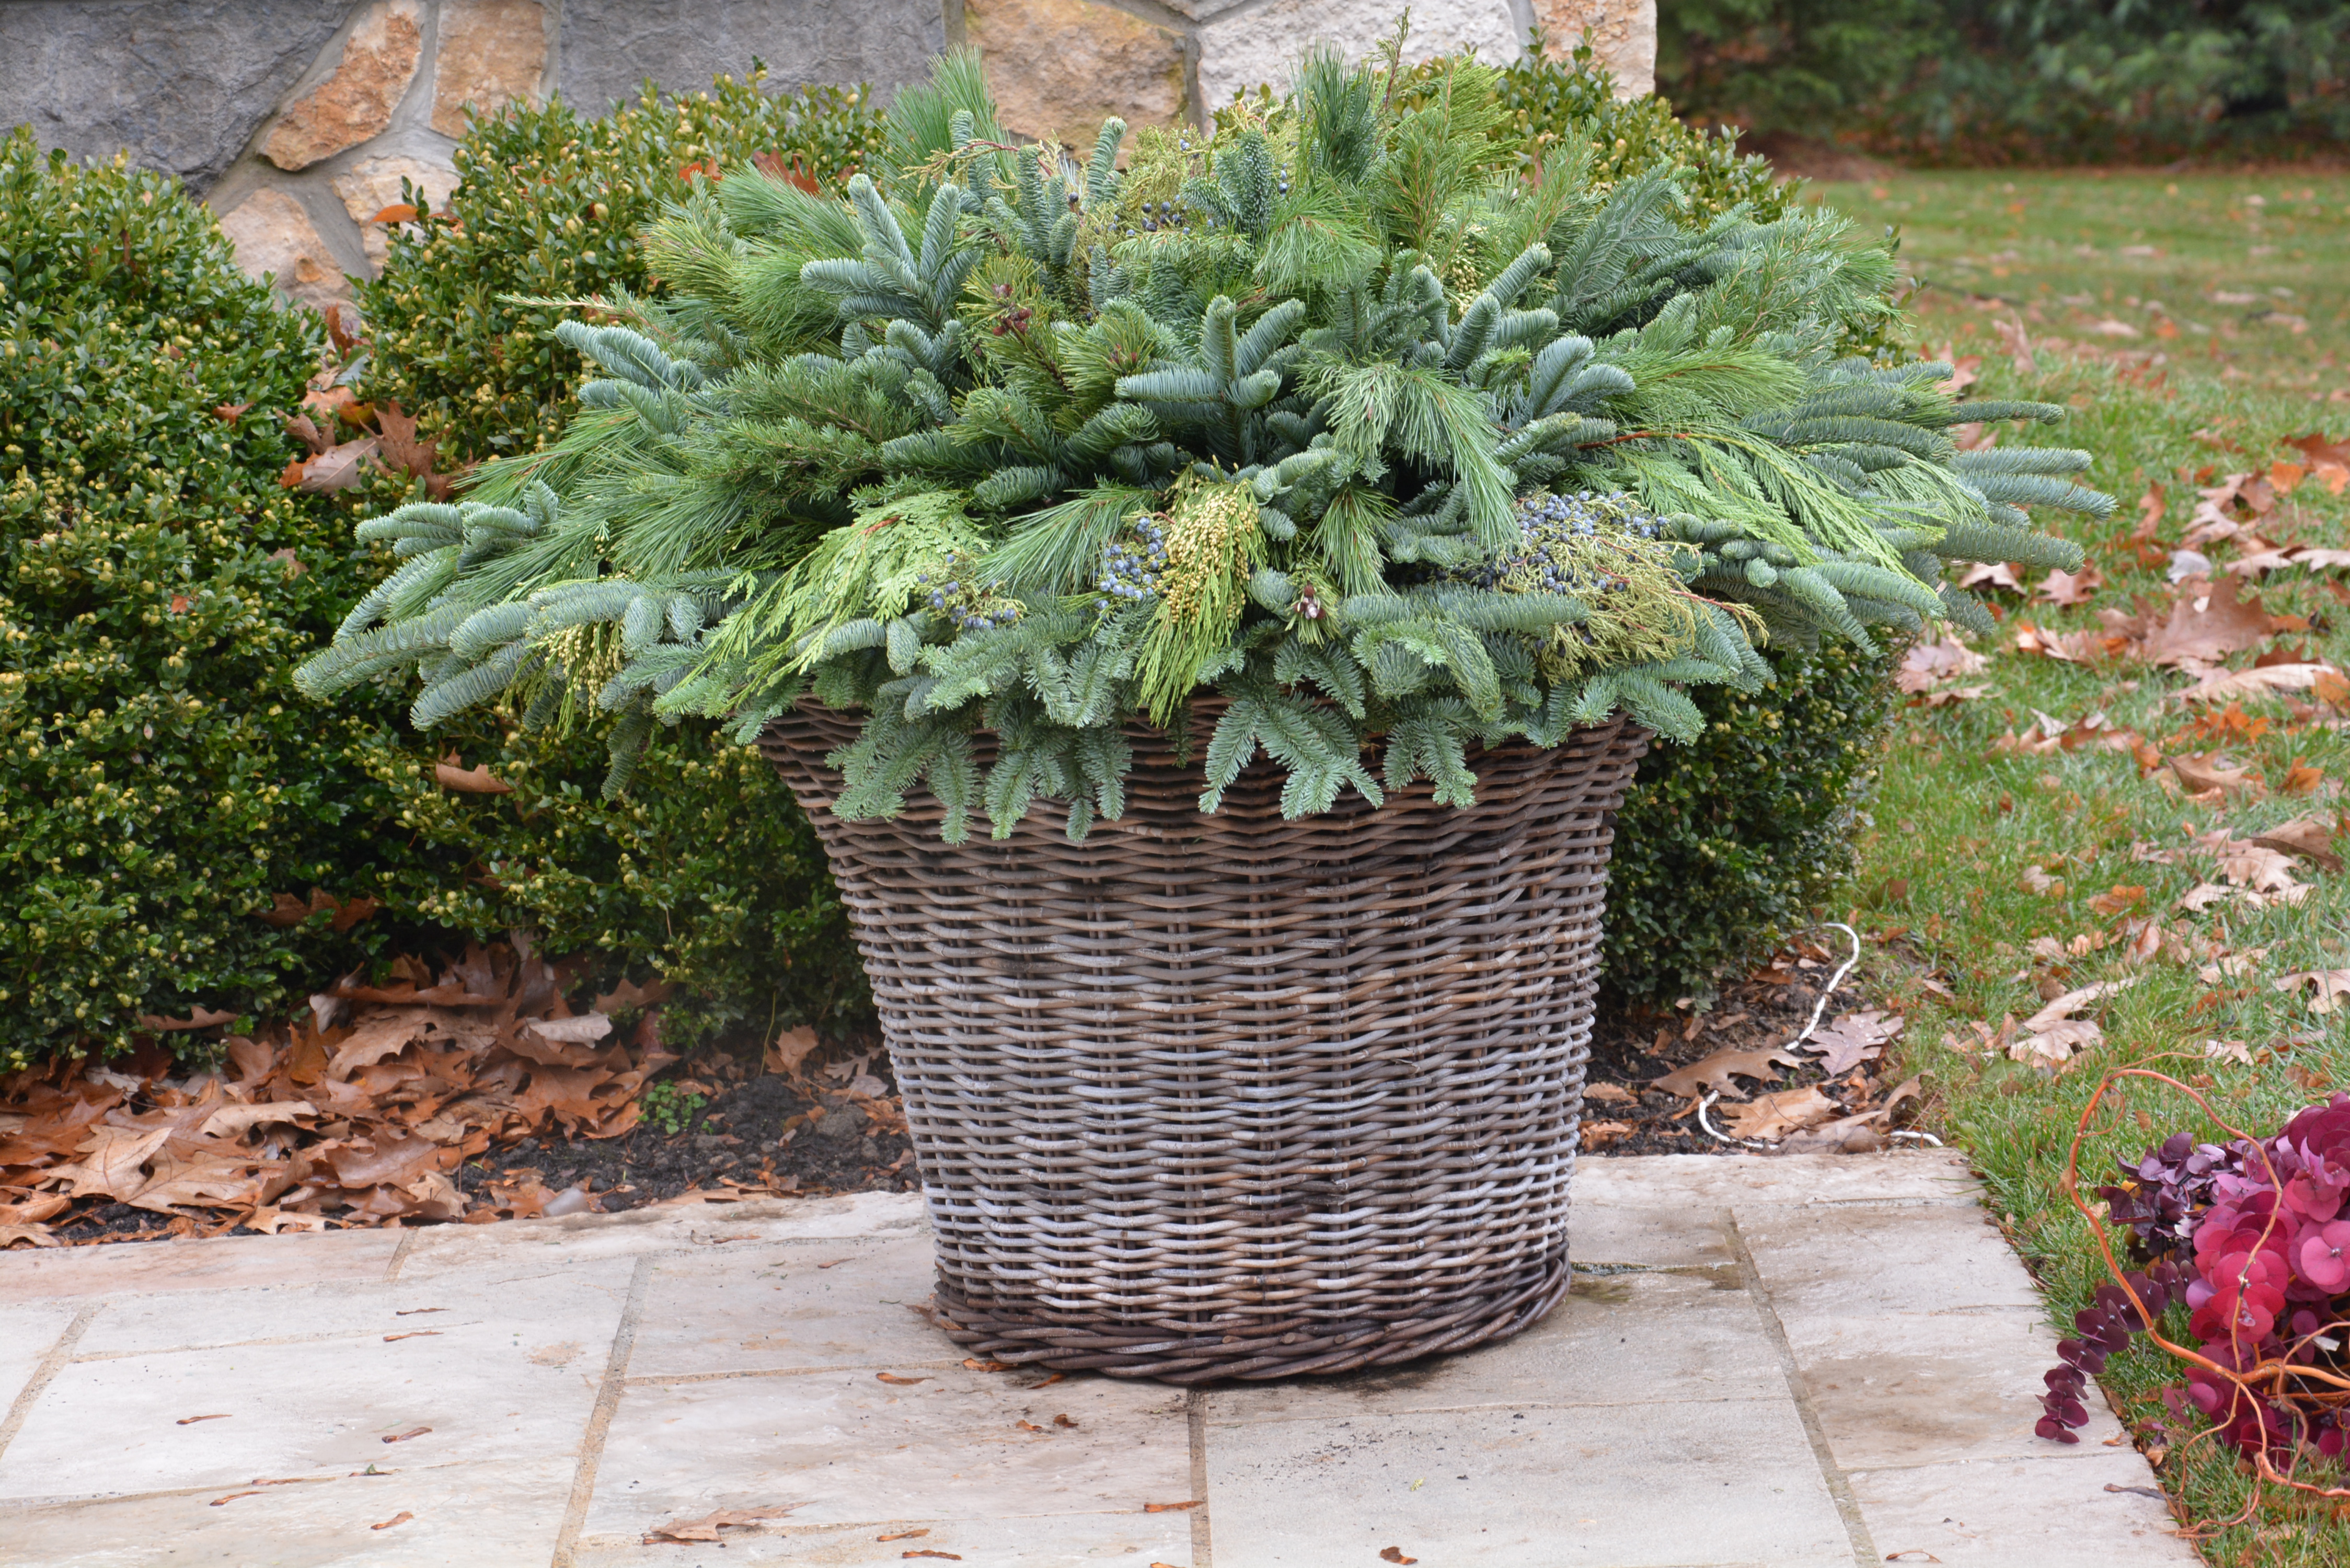
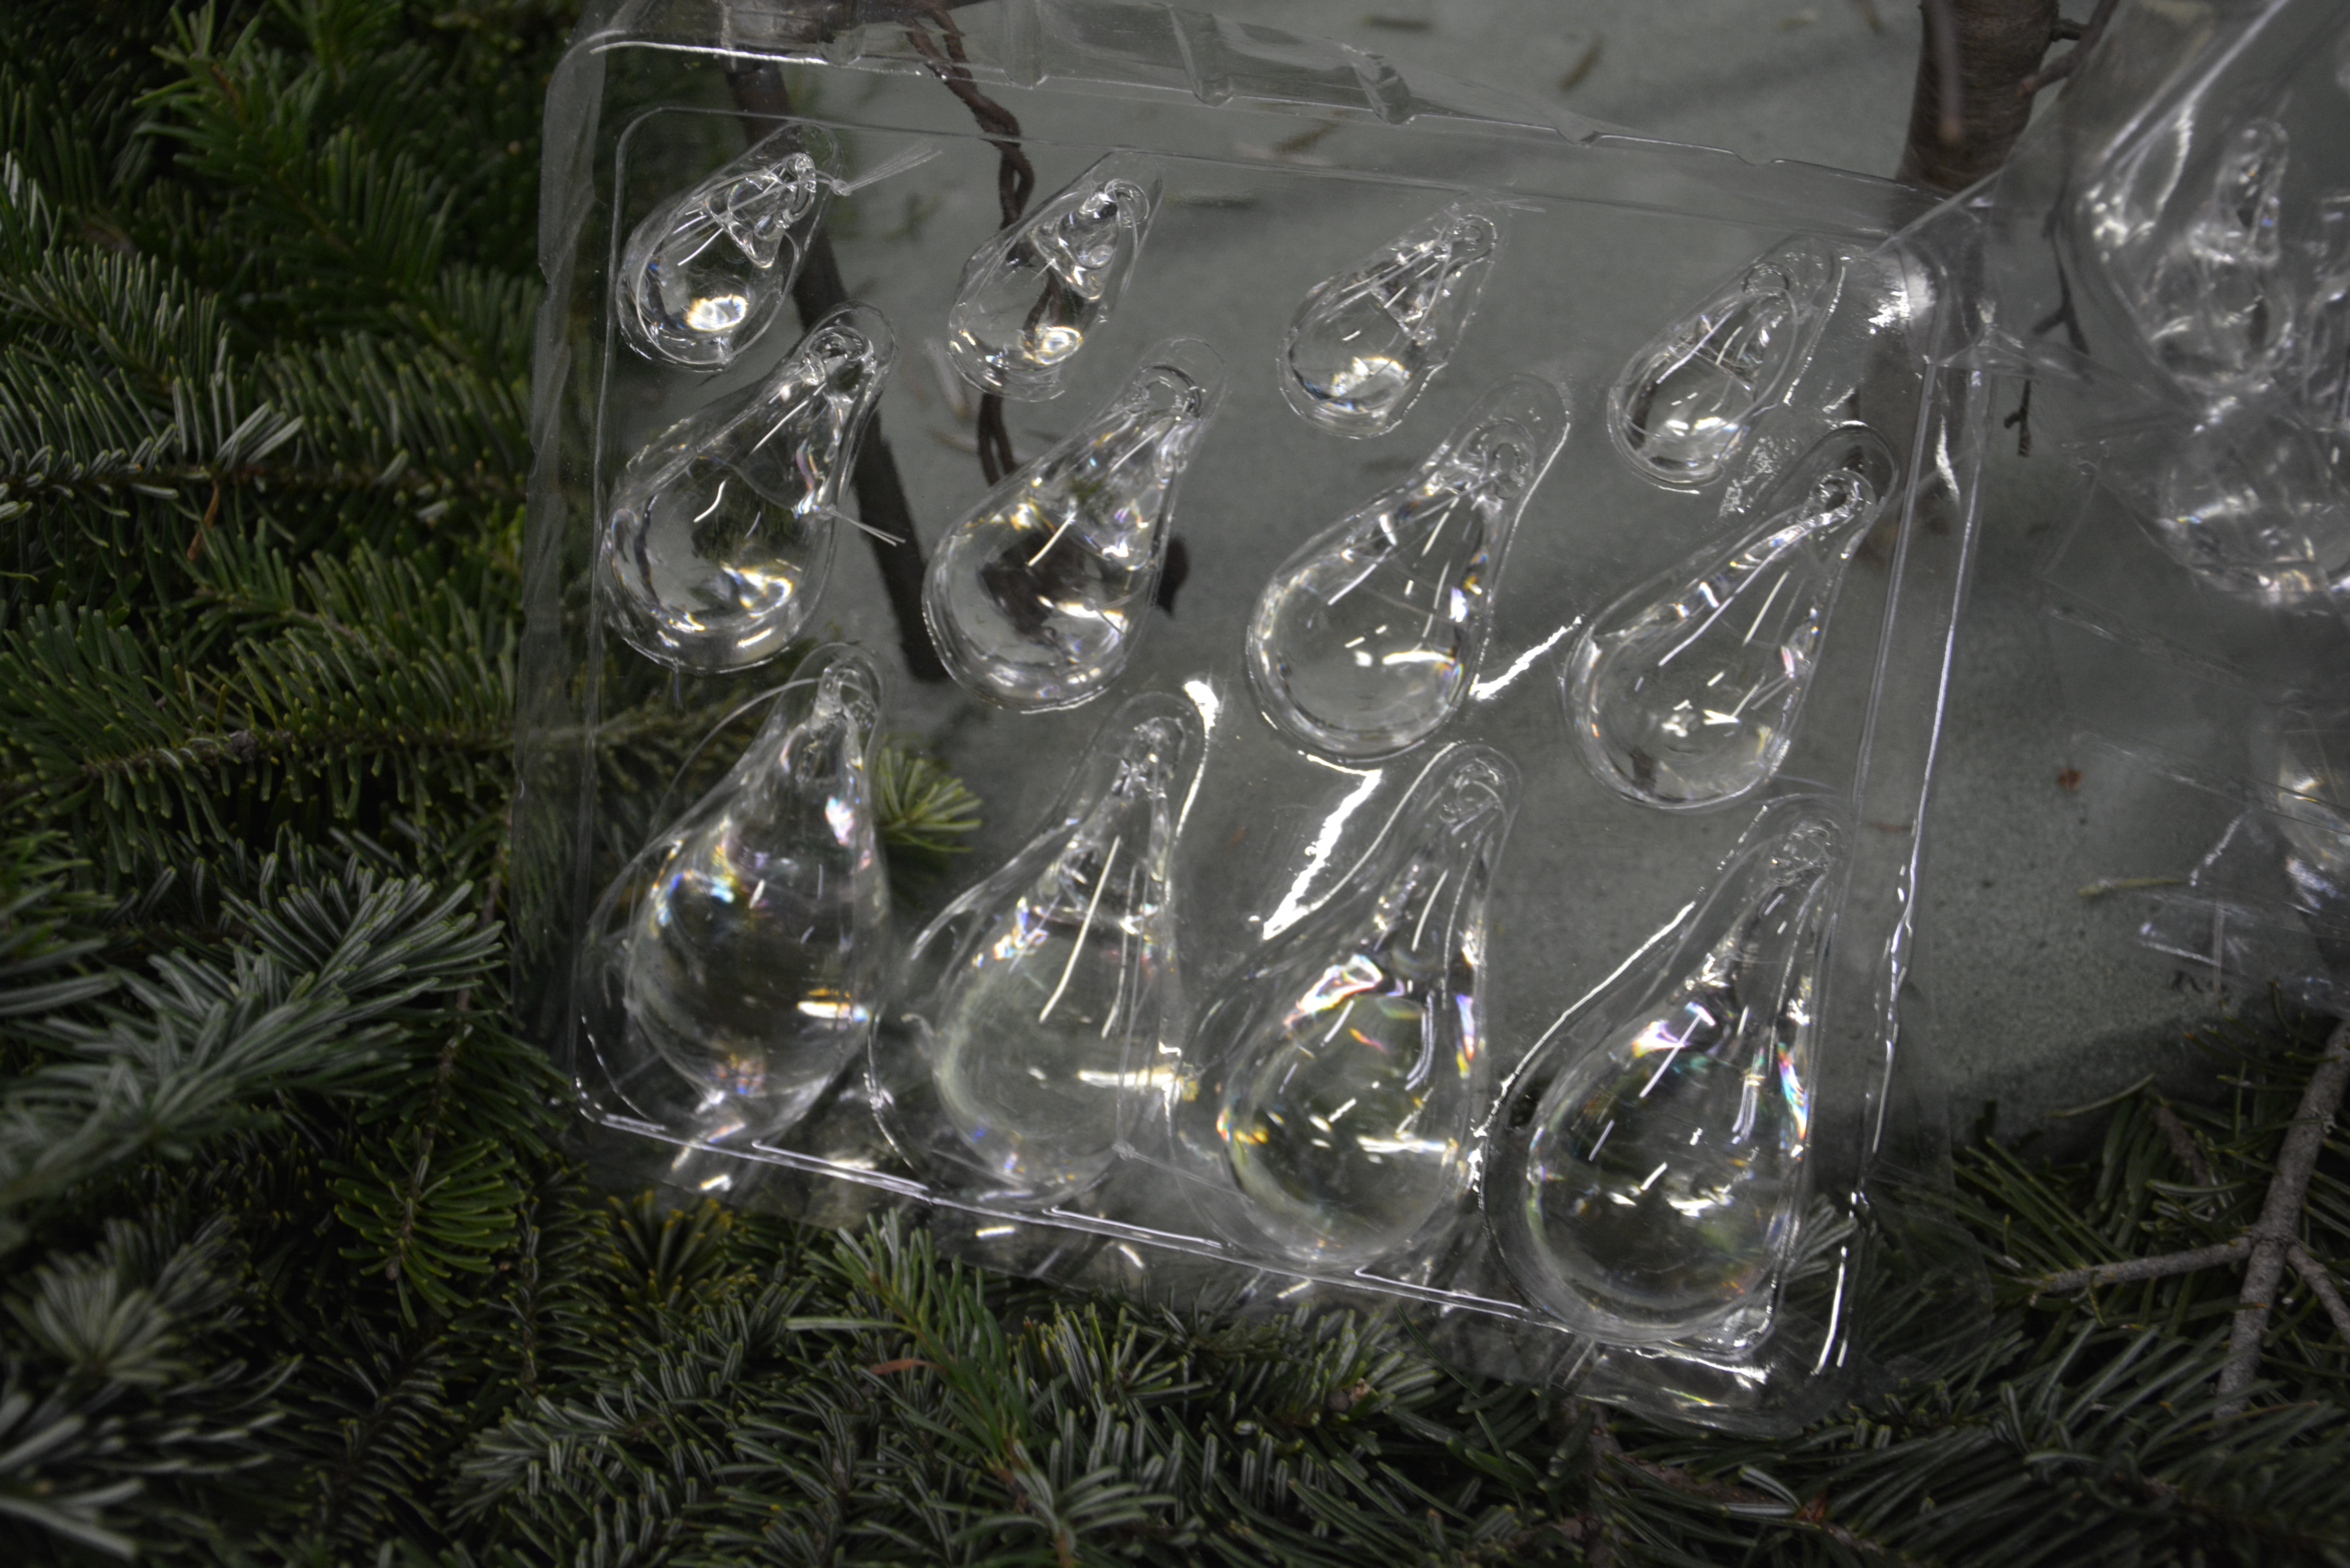
A winter container has several elements, each of which are interpreted by the gardener in charge.  The finish is about the fine tuning.  The little bits that take construction to another level.  Those little bits can be imagined, and sorted out in the shelter provided by the garage.  These winter pots included light rings on stands of Rob’s invention, stout cut twigs, garland lights, big C-9 light strands, and glass drops.

lighted-topiary-form.jpg
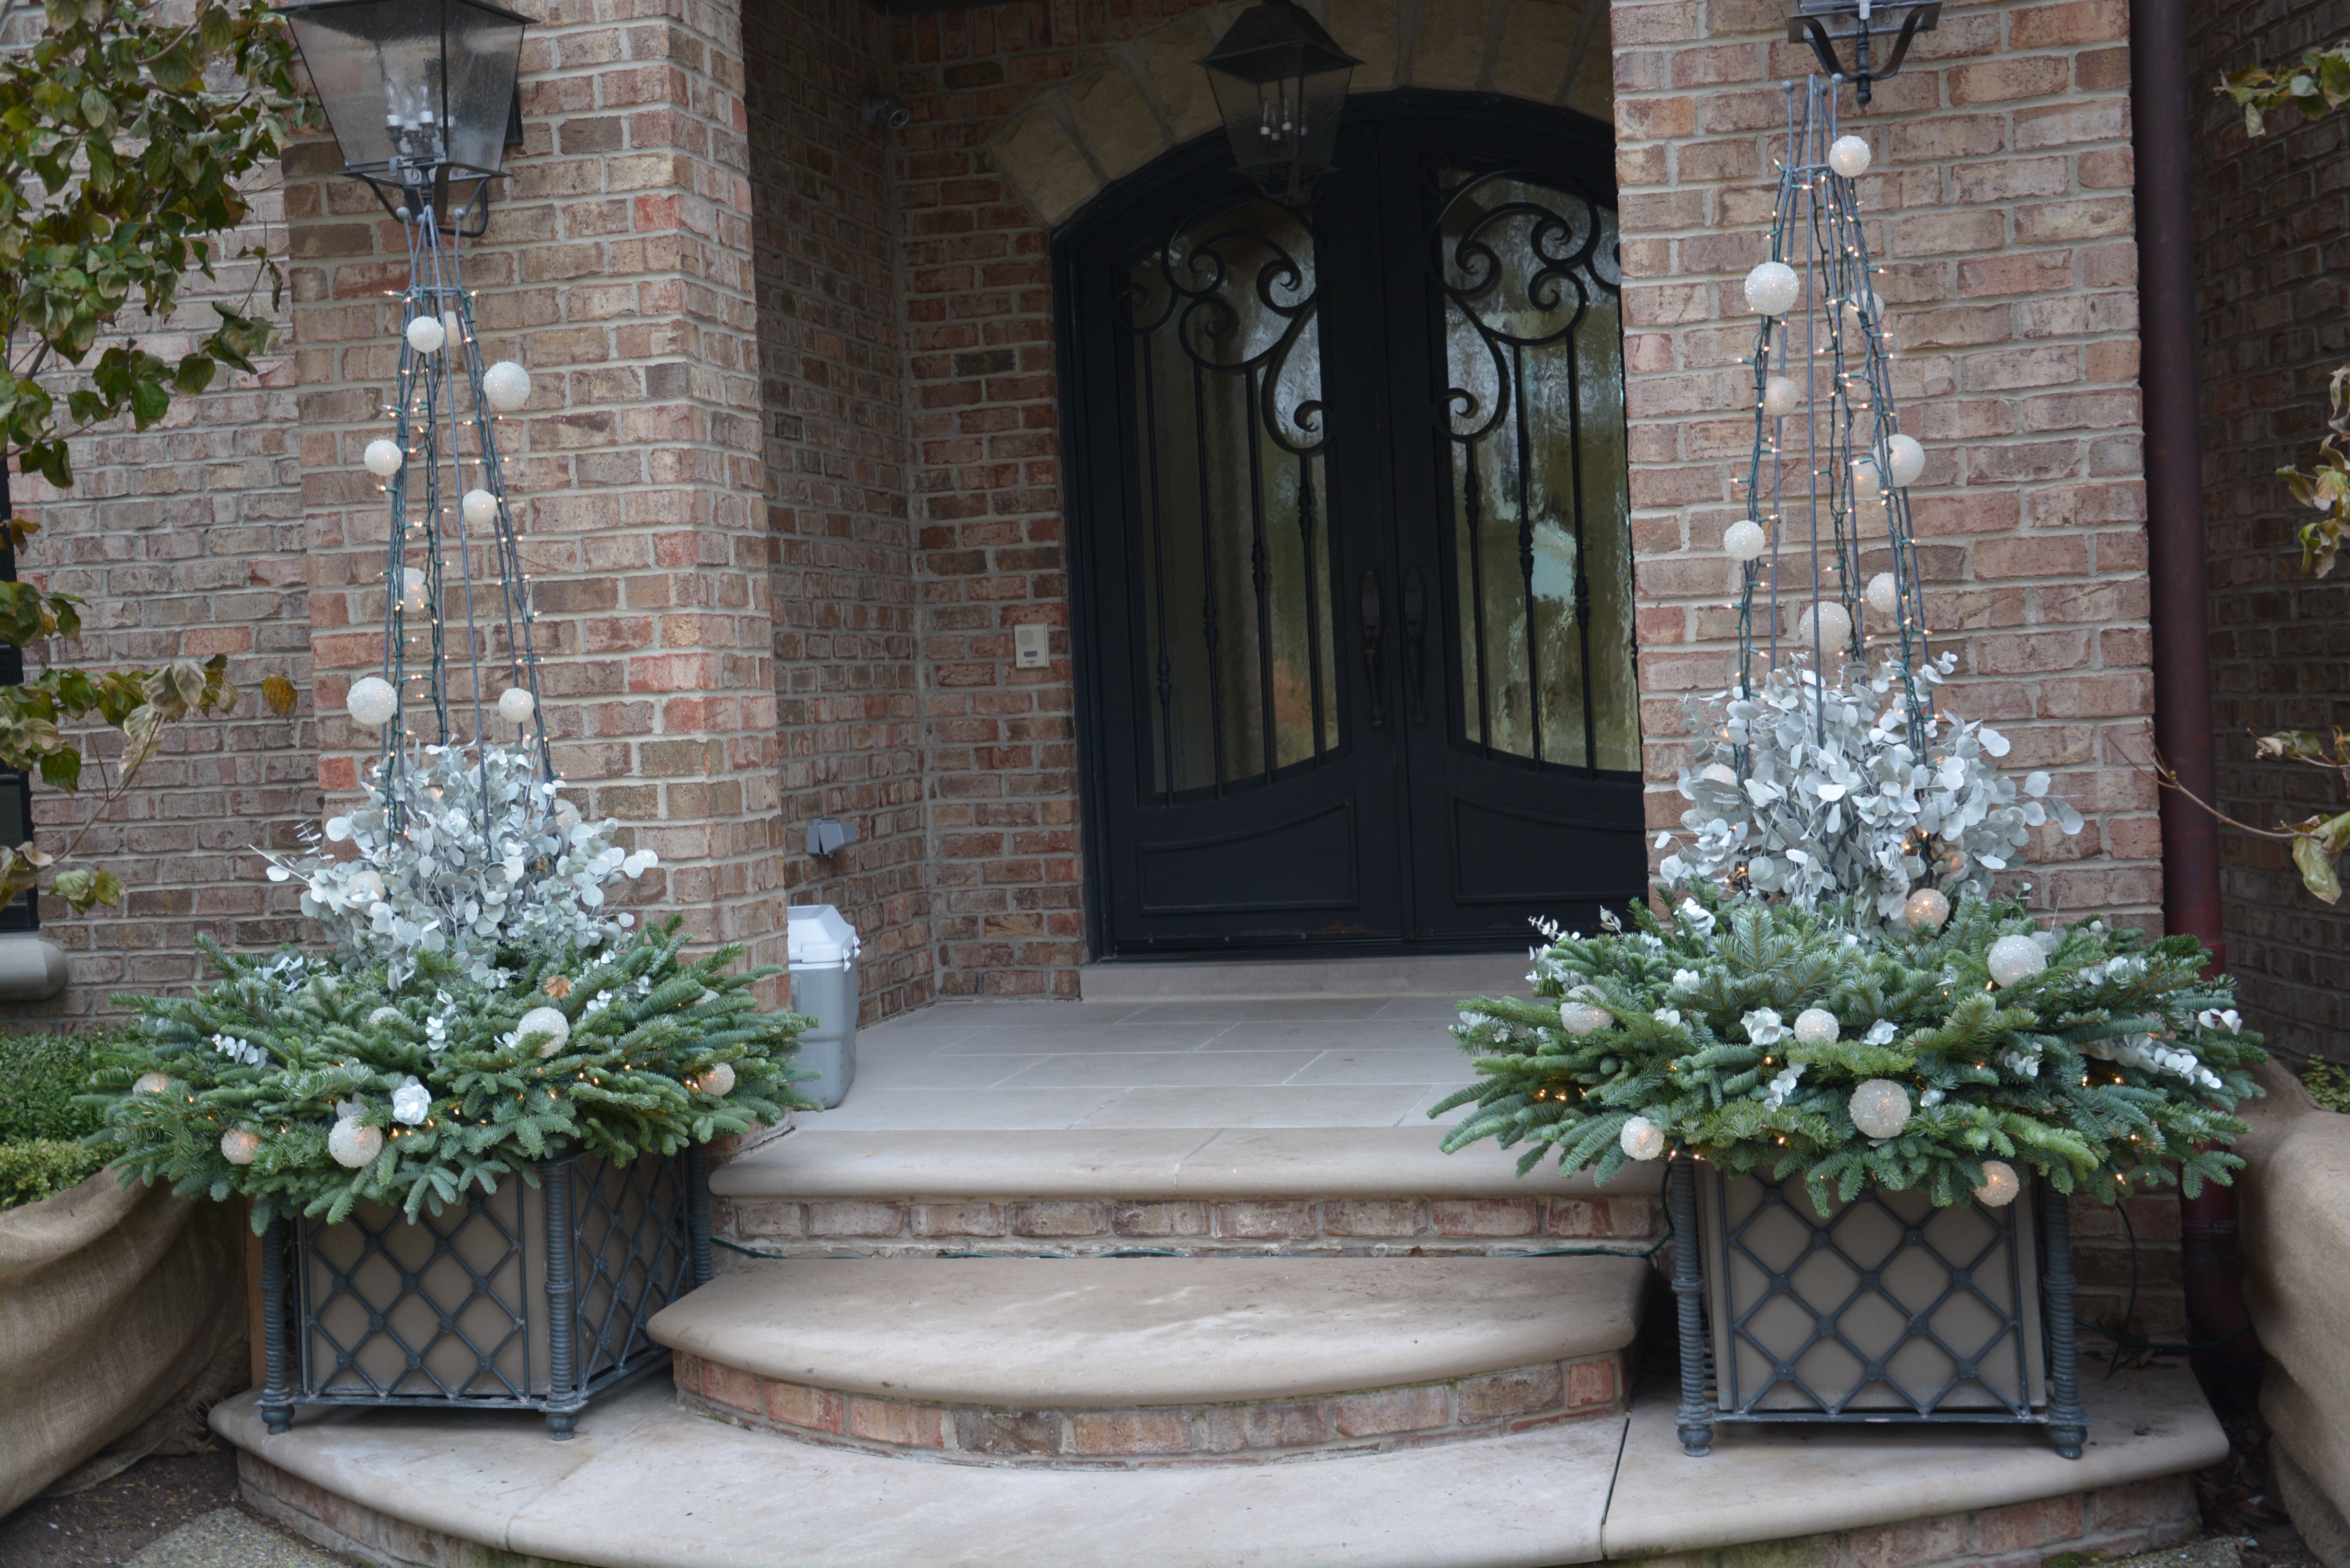
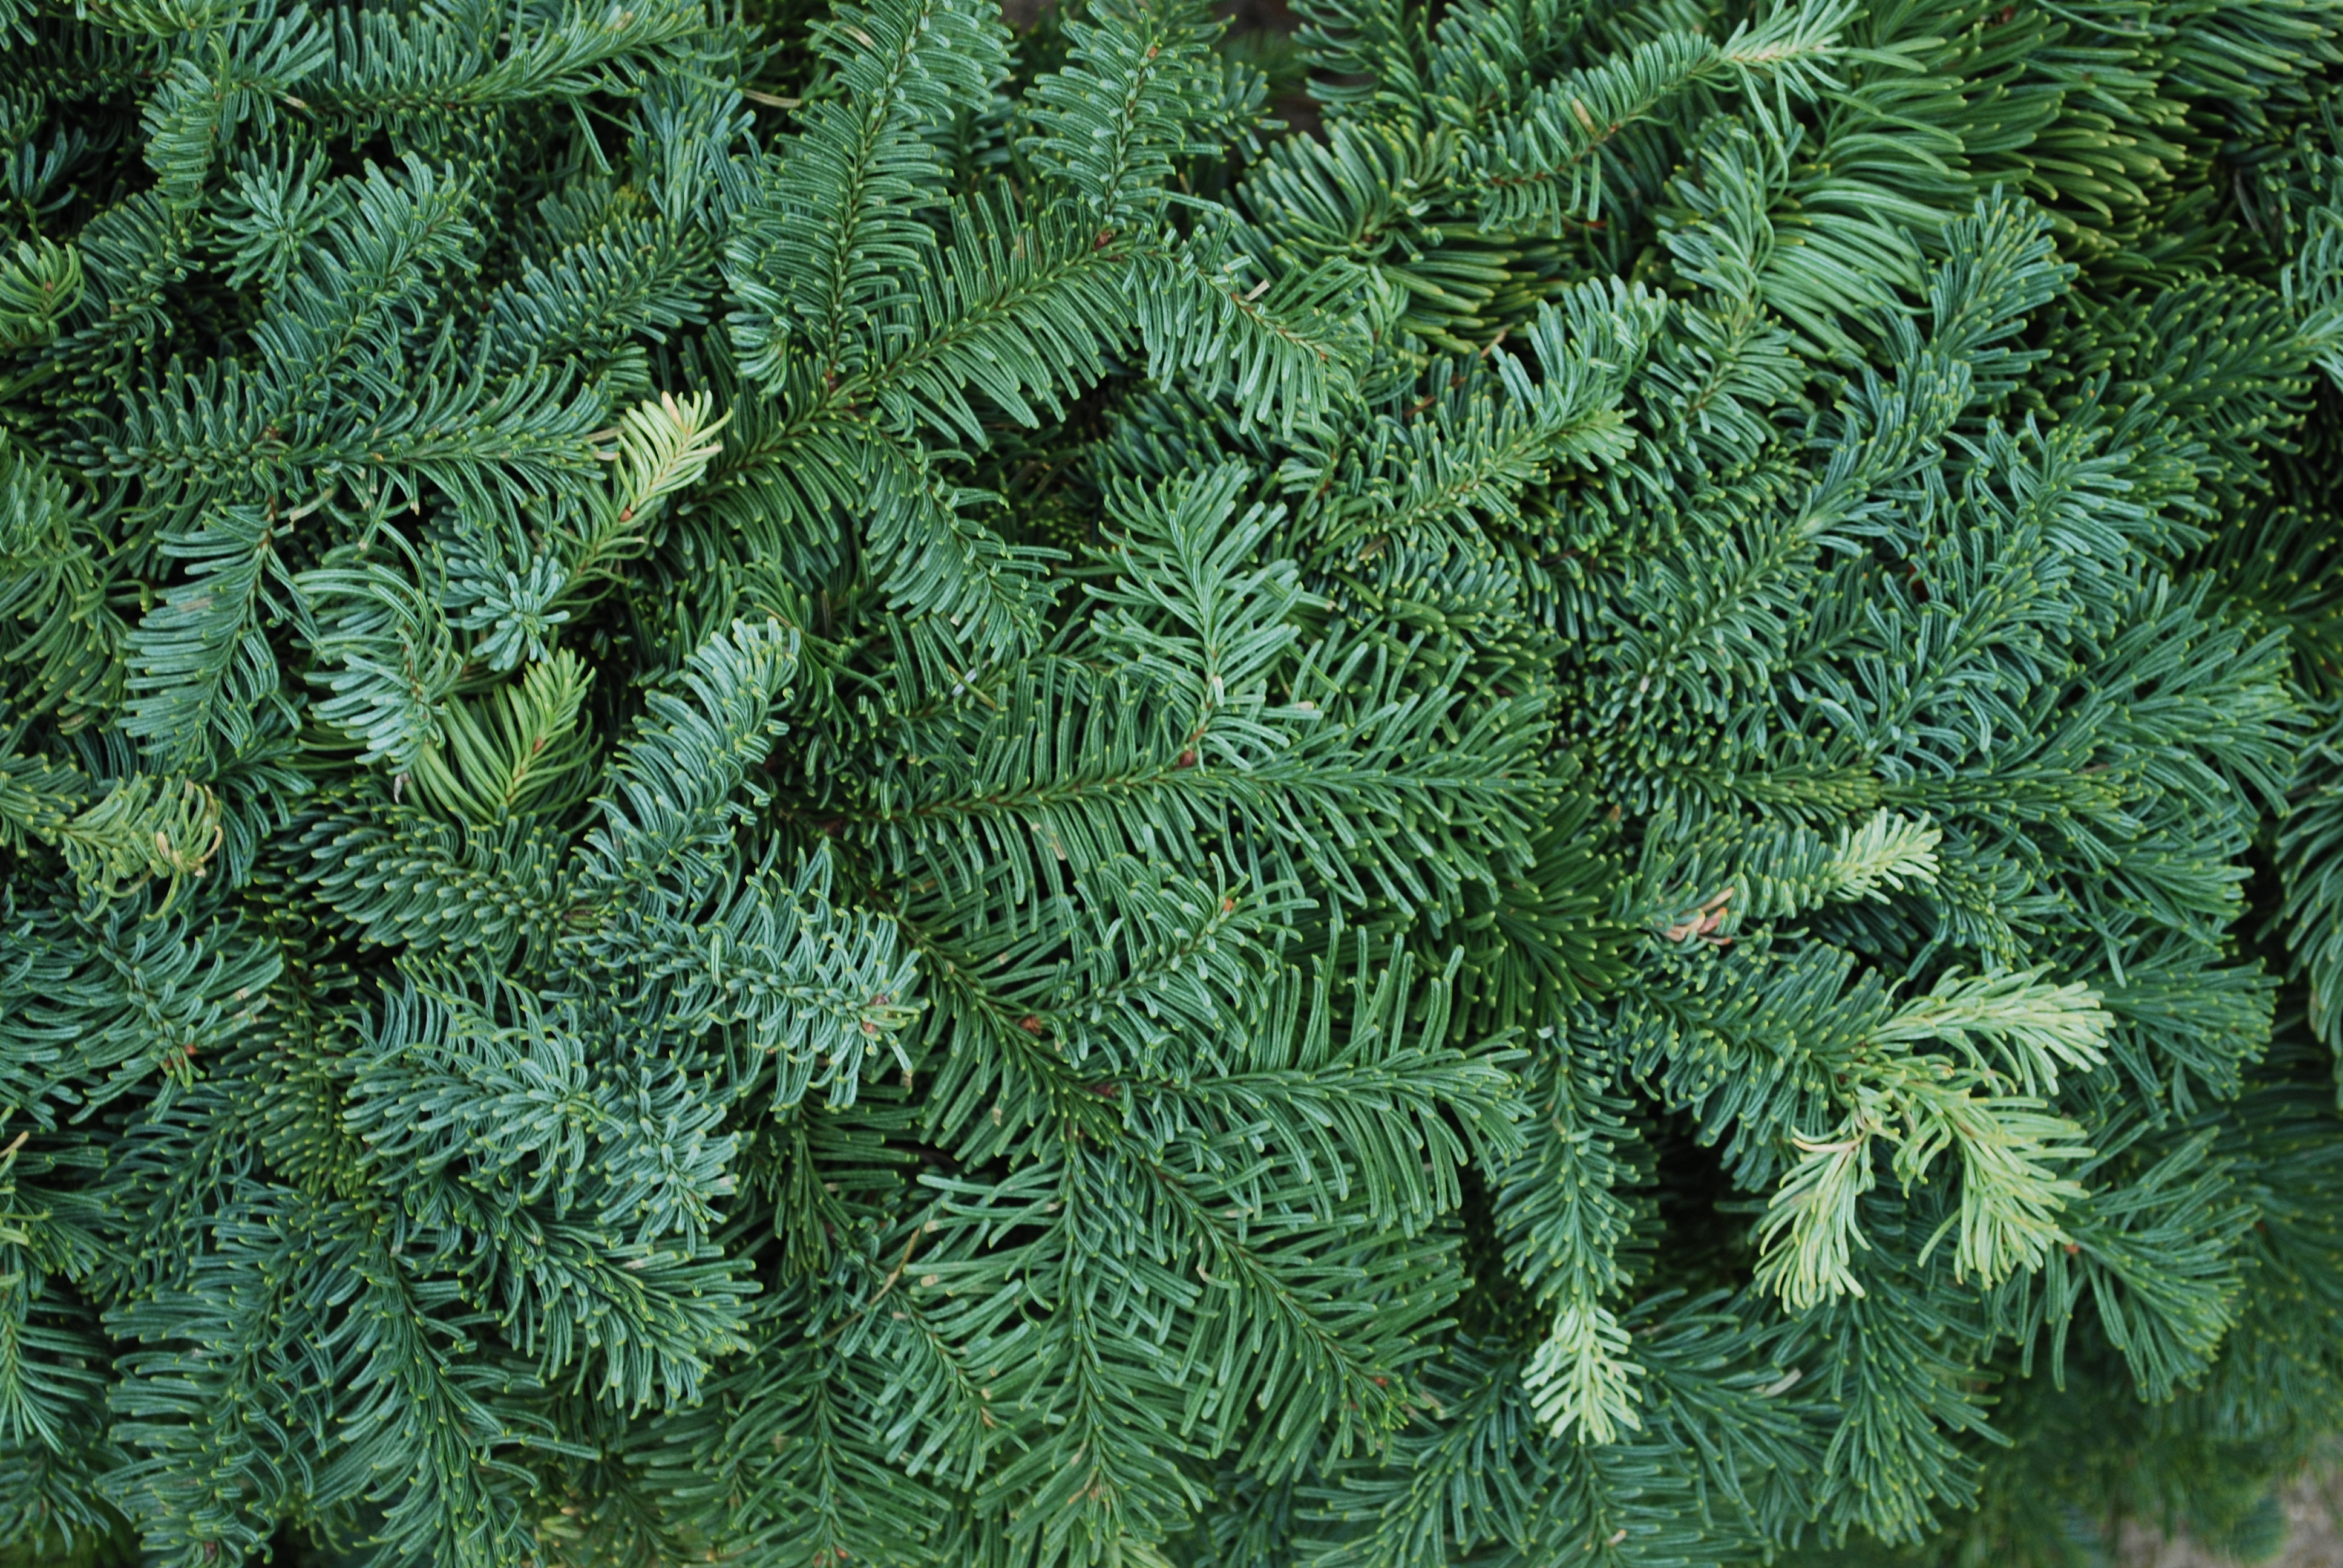
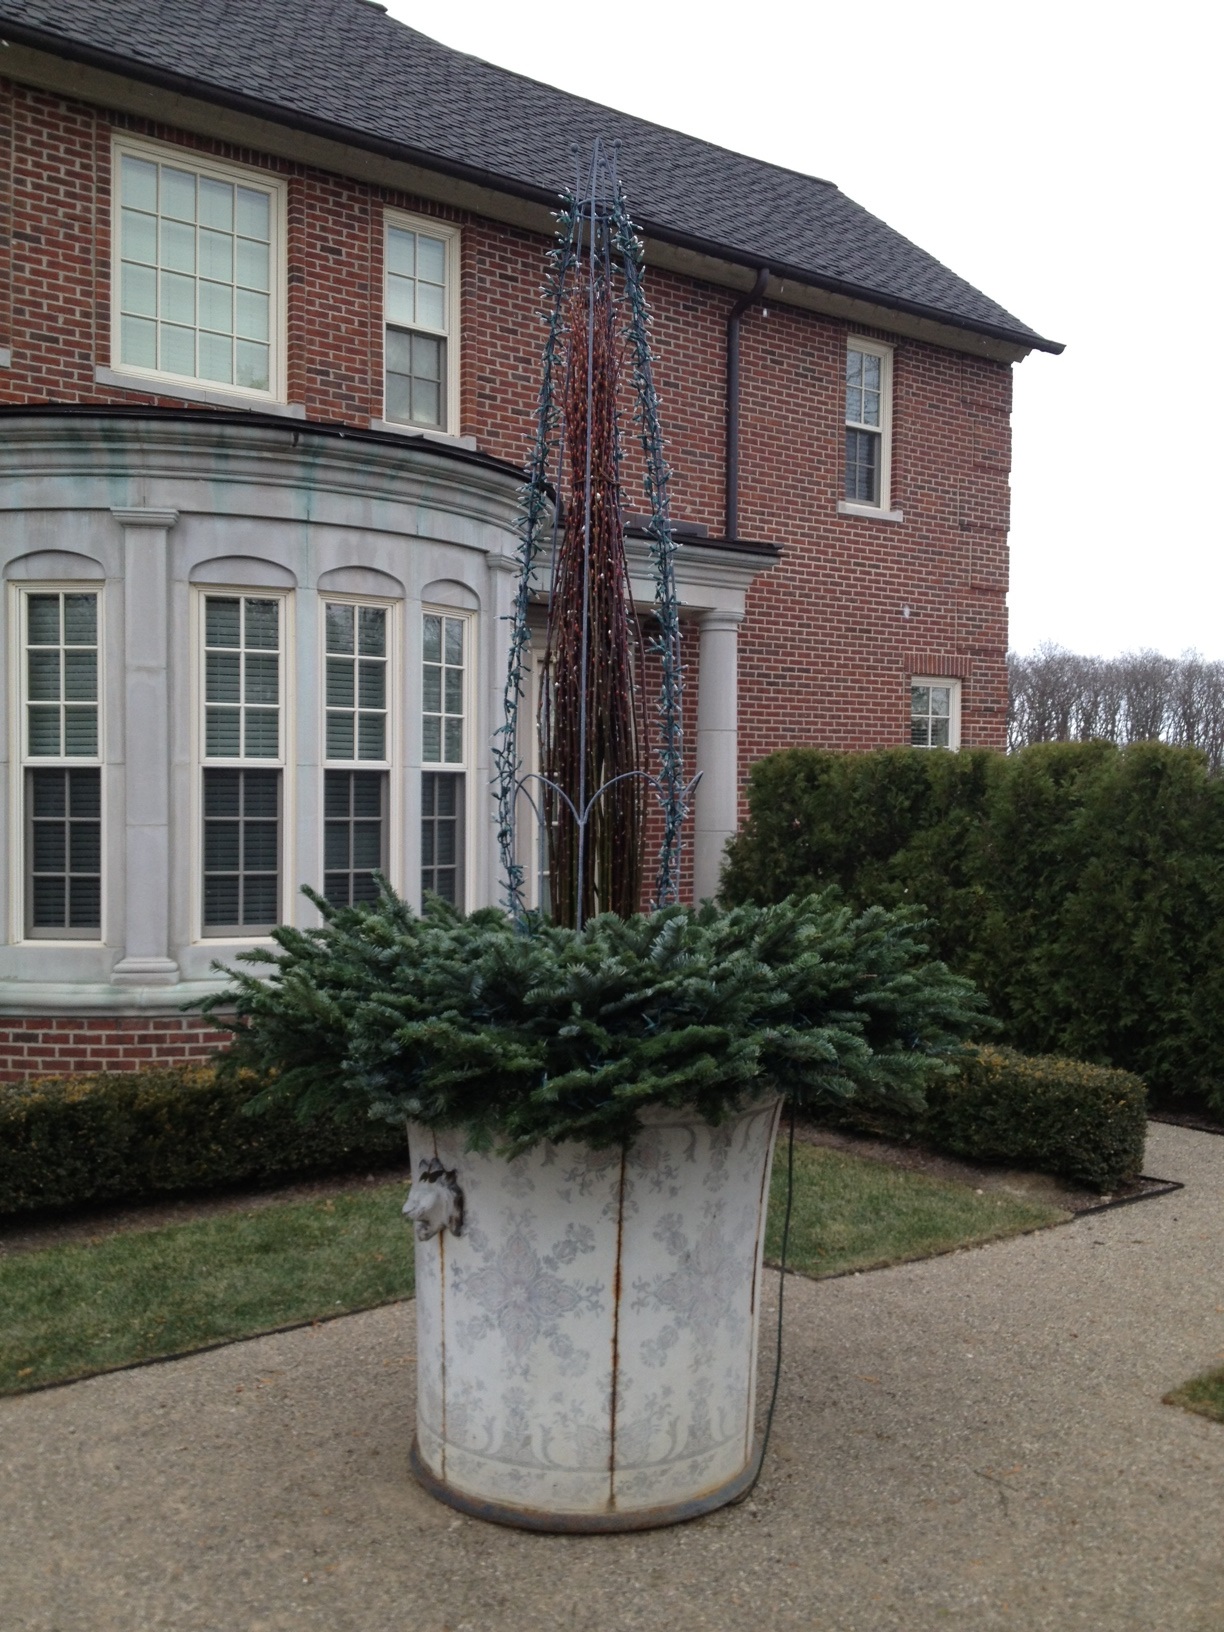
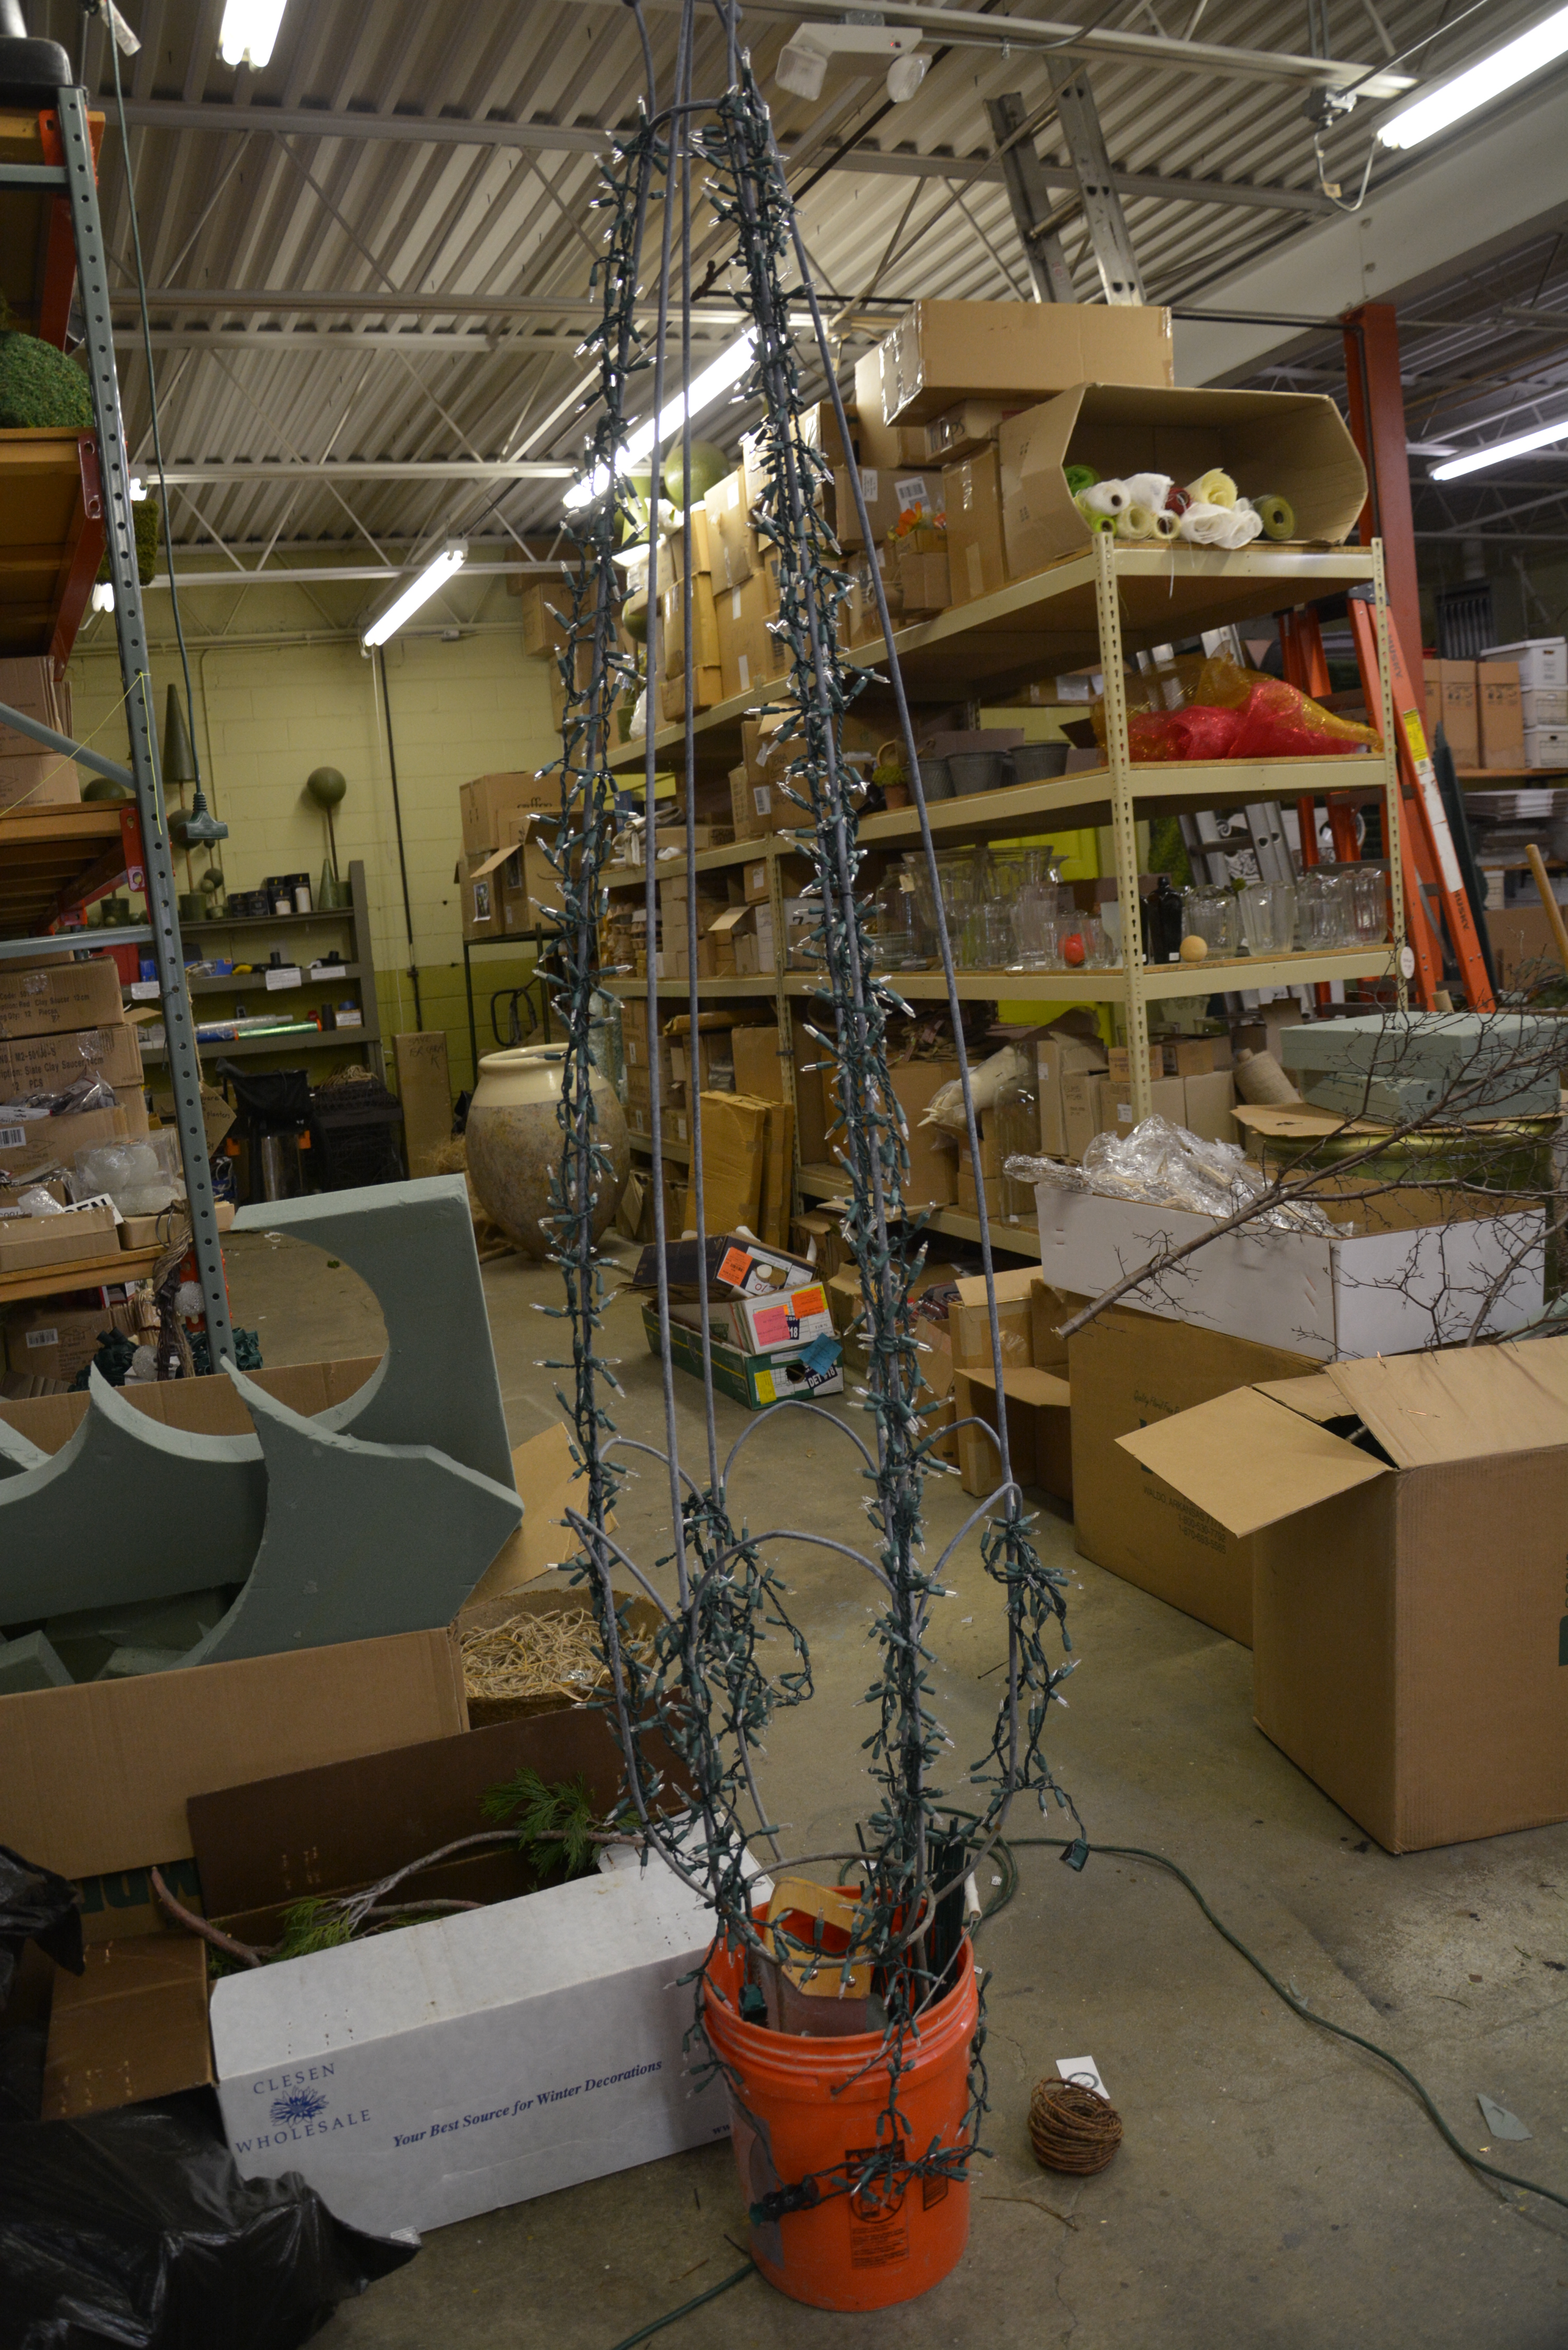
Summer topiary forms which provides a climbing venue for mandevillea vines in the summer are strung with garland light vines for the winter.

holiday-garland.jpg
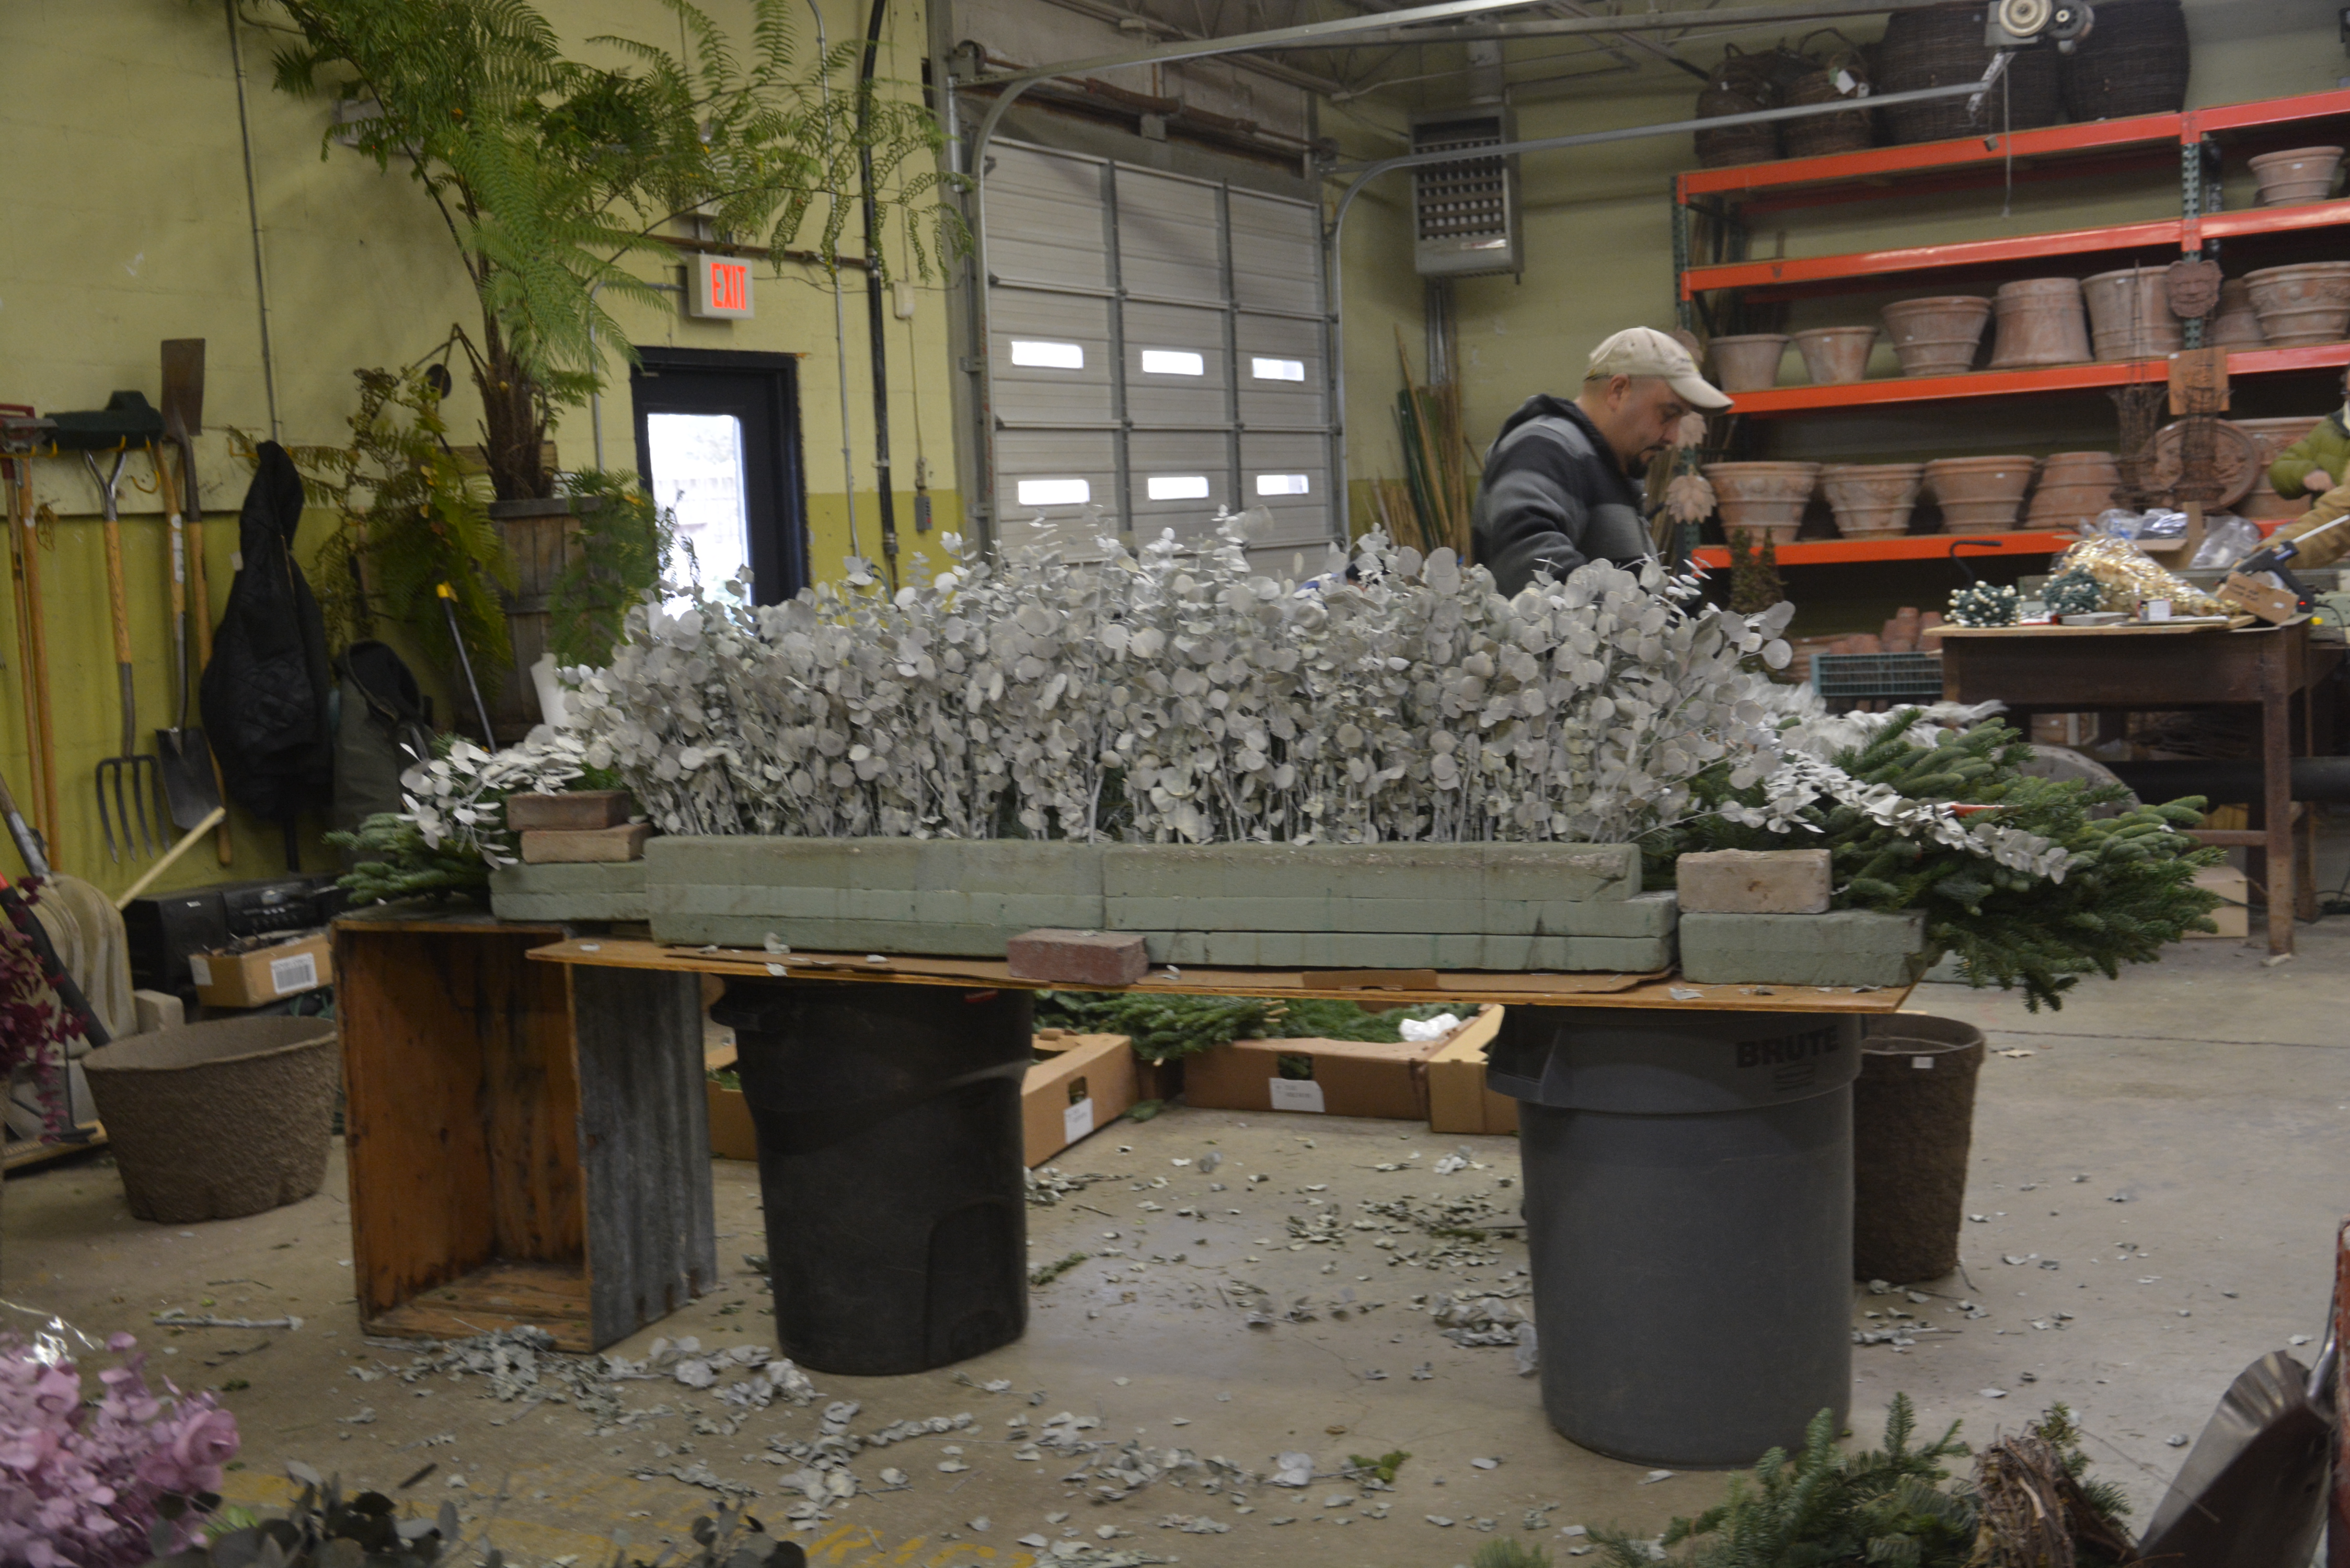
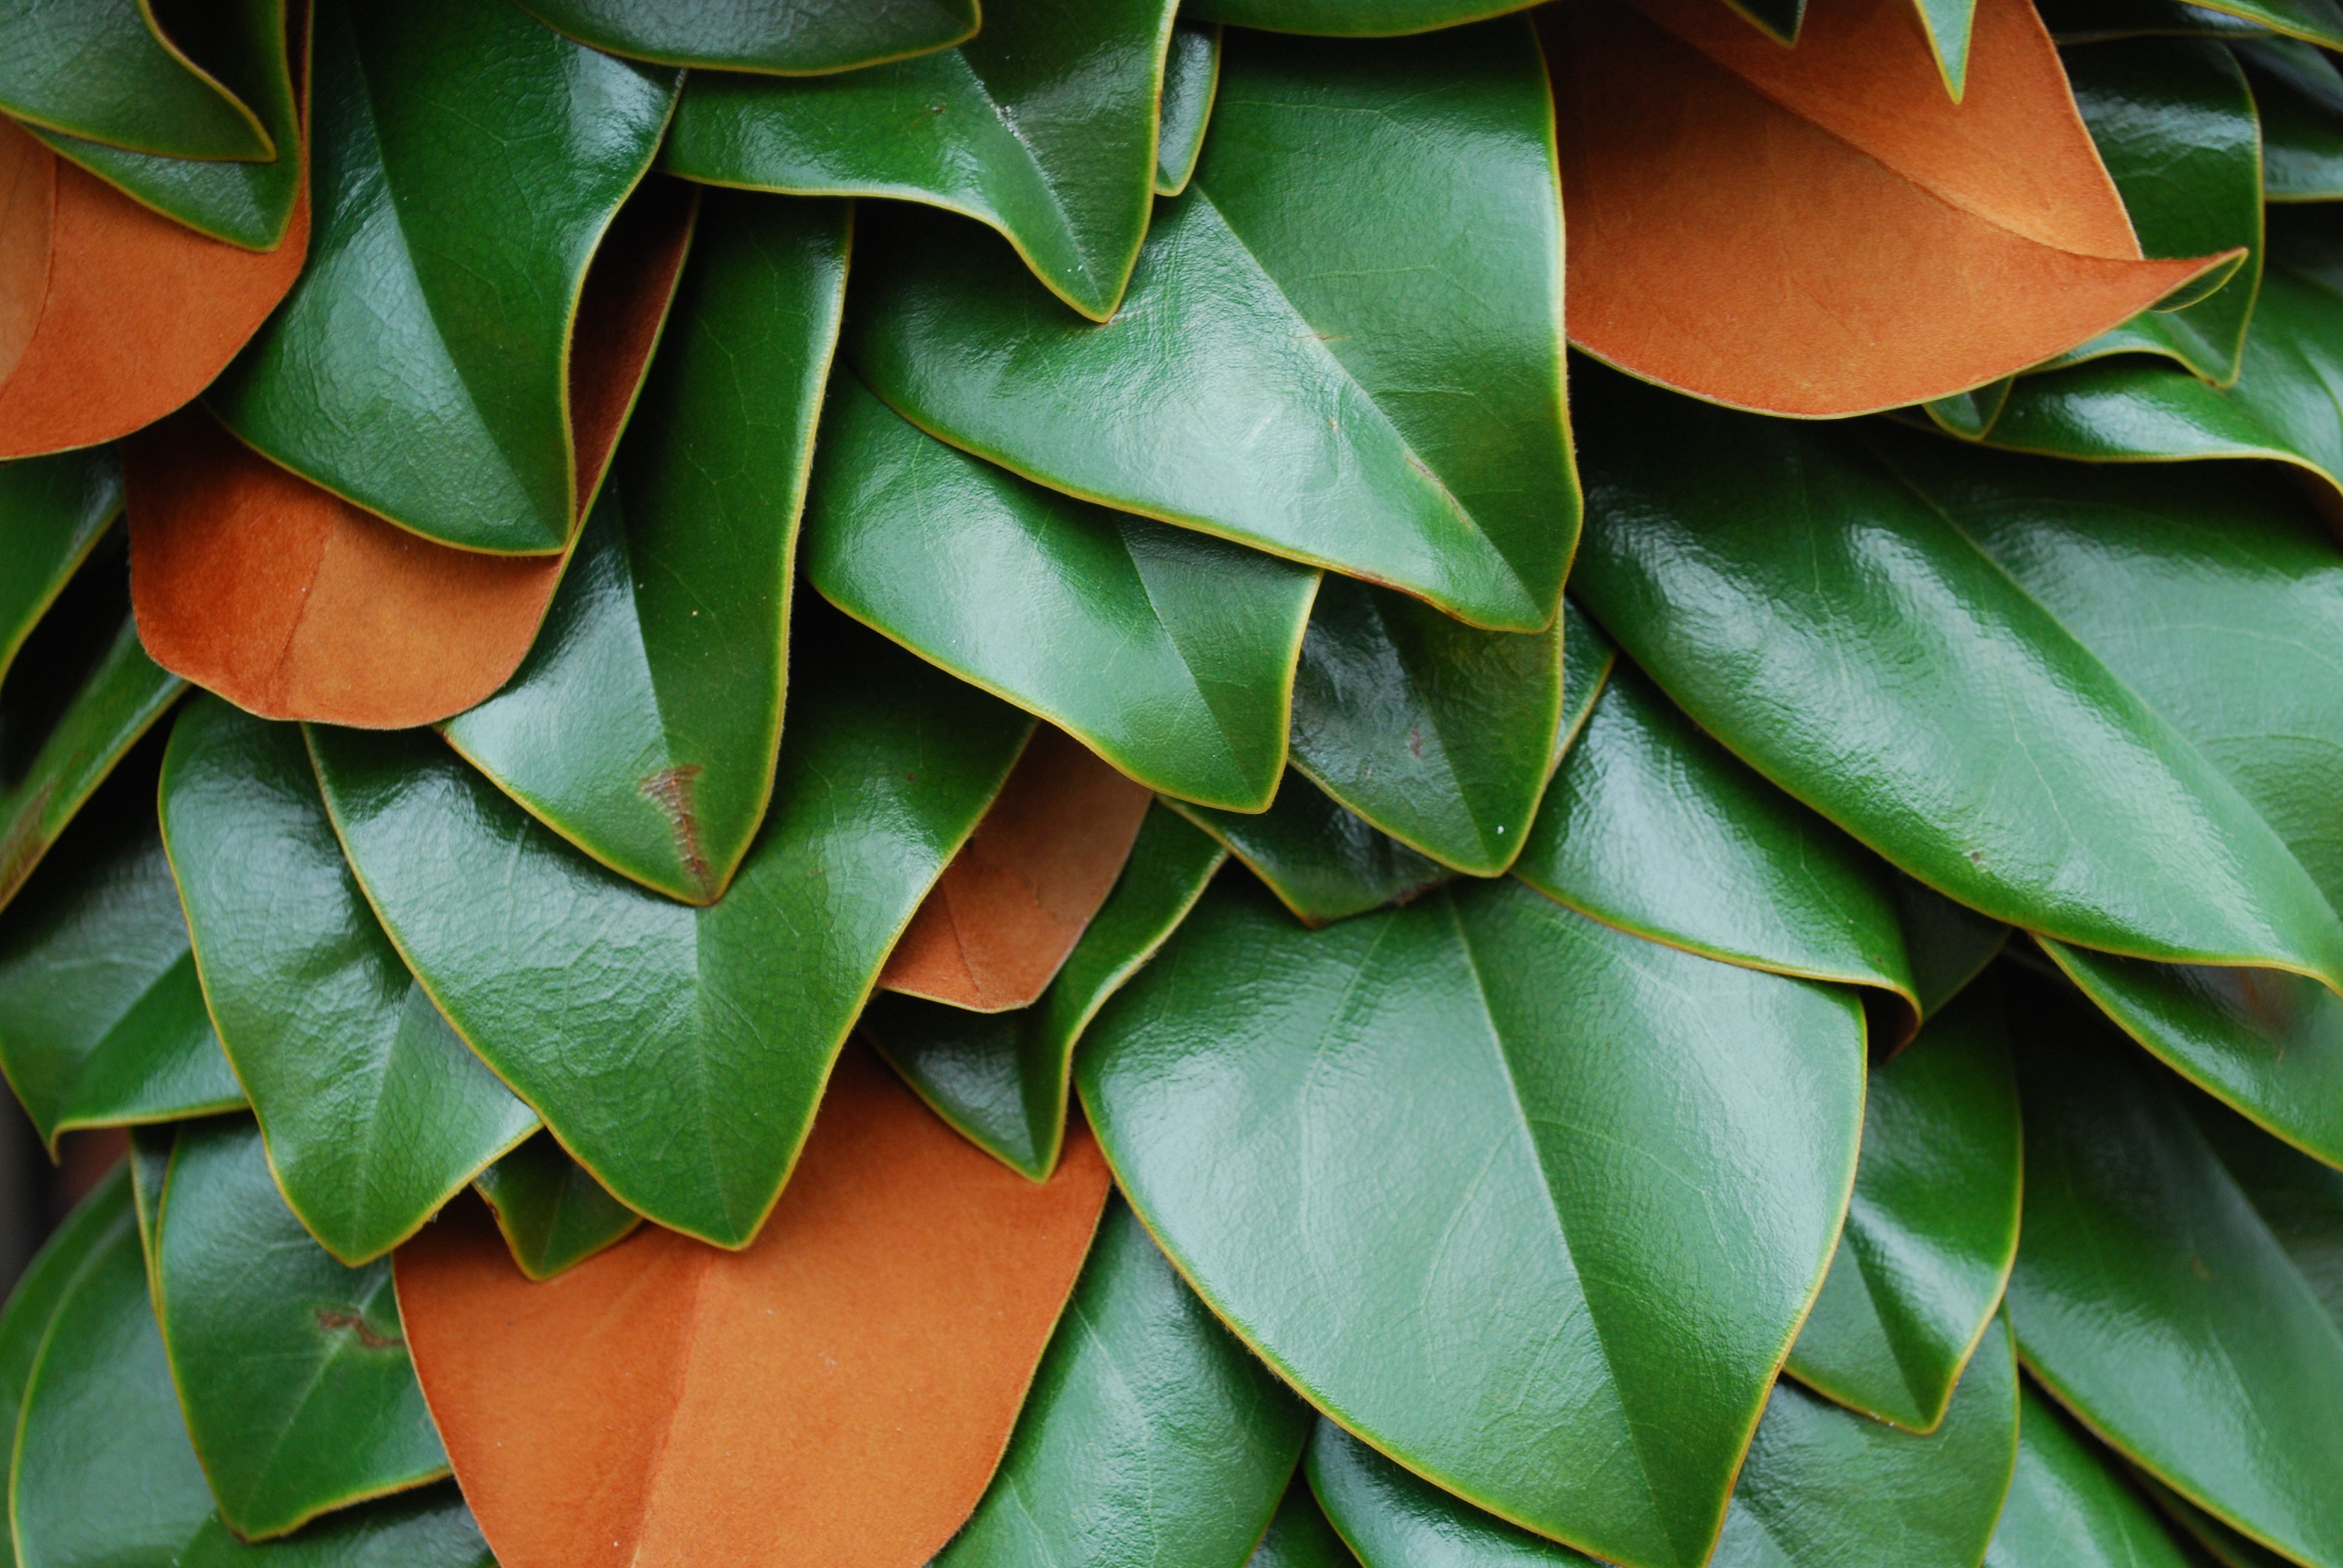
A thick evergreen garland is wrapped with grapevine.  Loose and loopy.  The materials are as subtle as they are simple.

winter-container.jpg
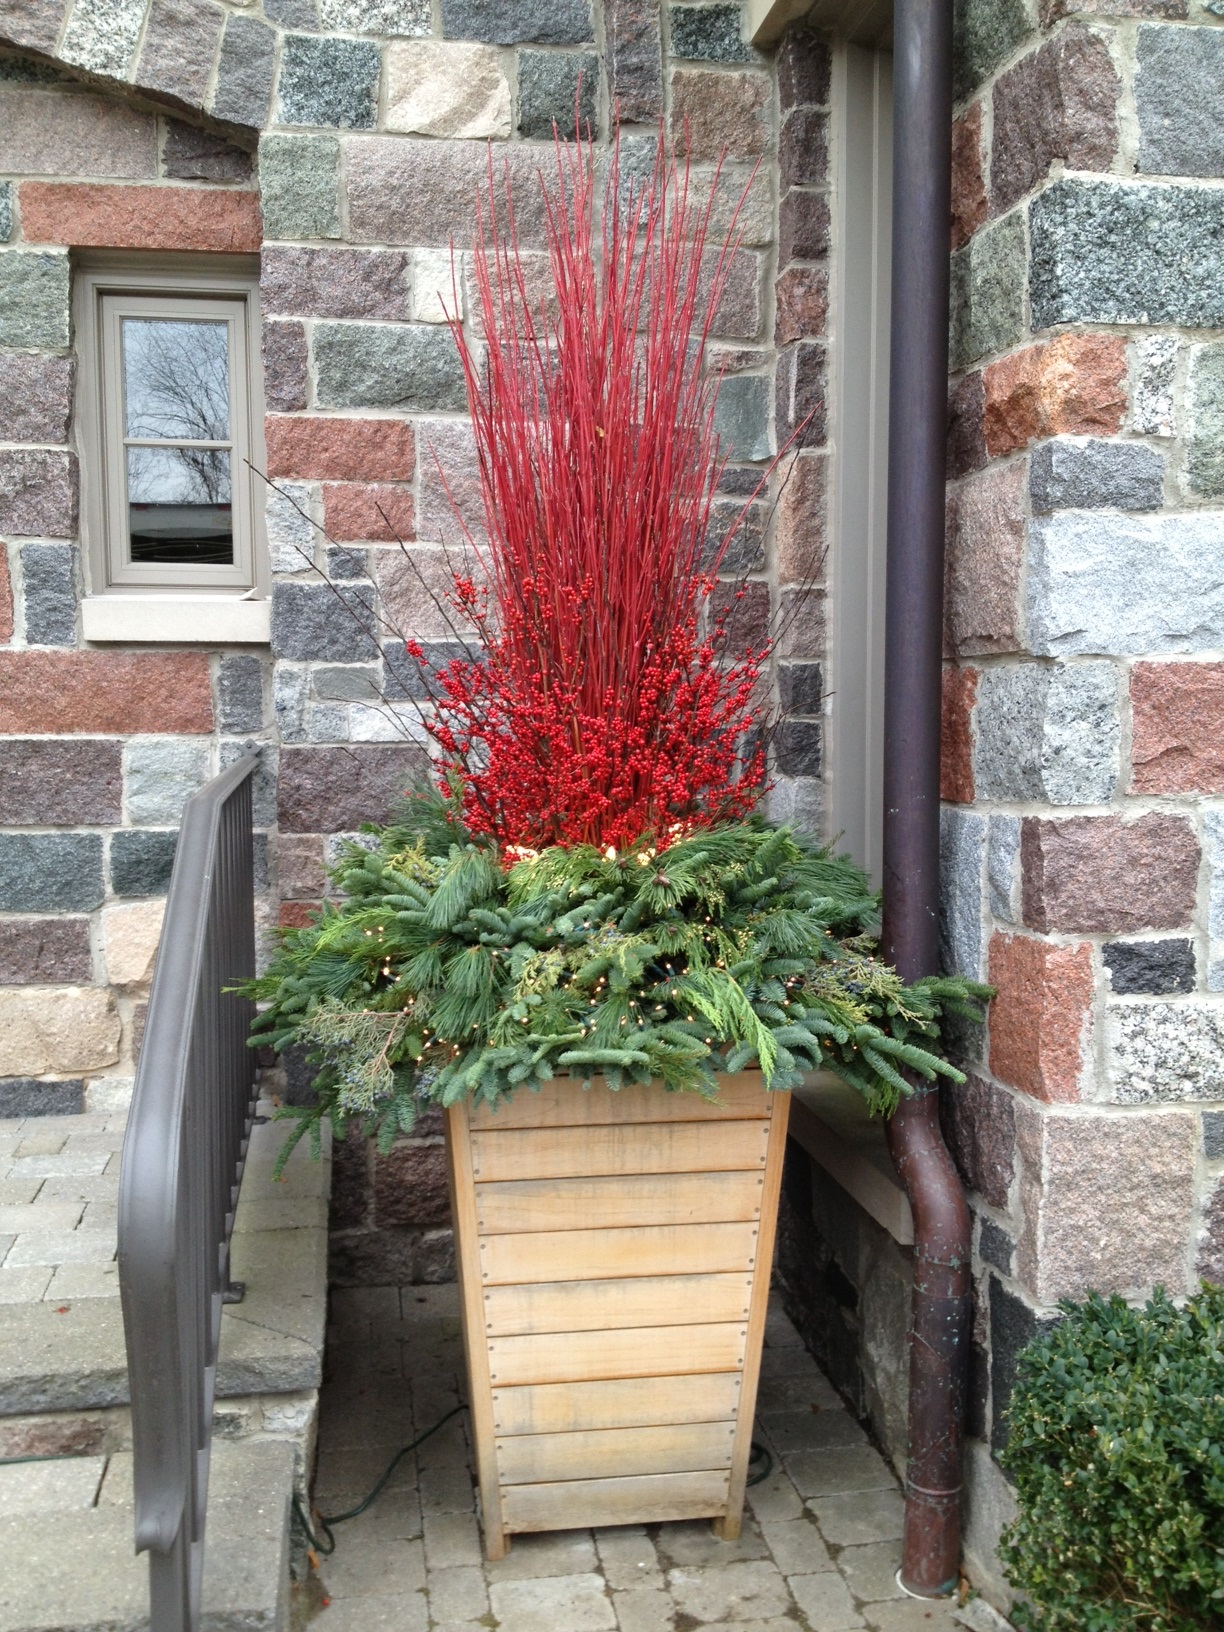
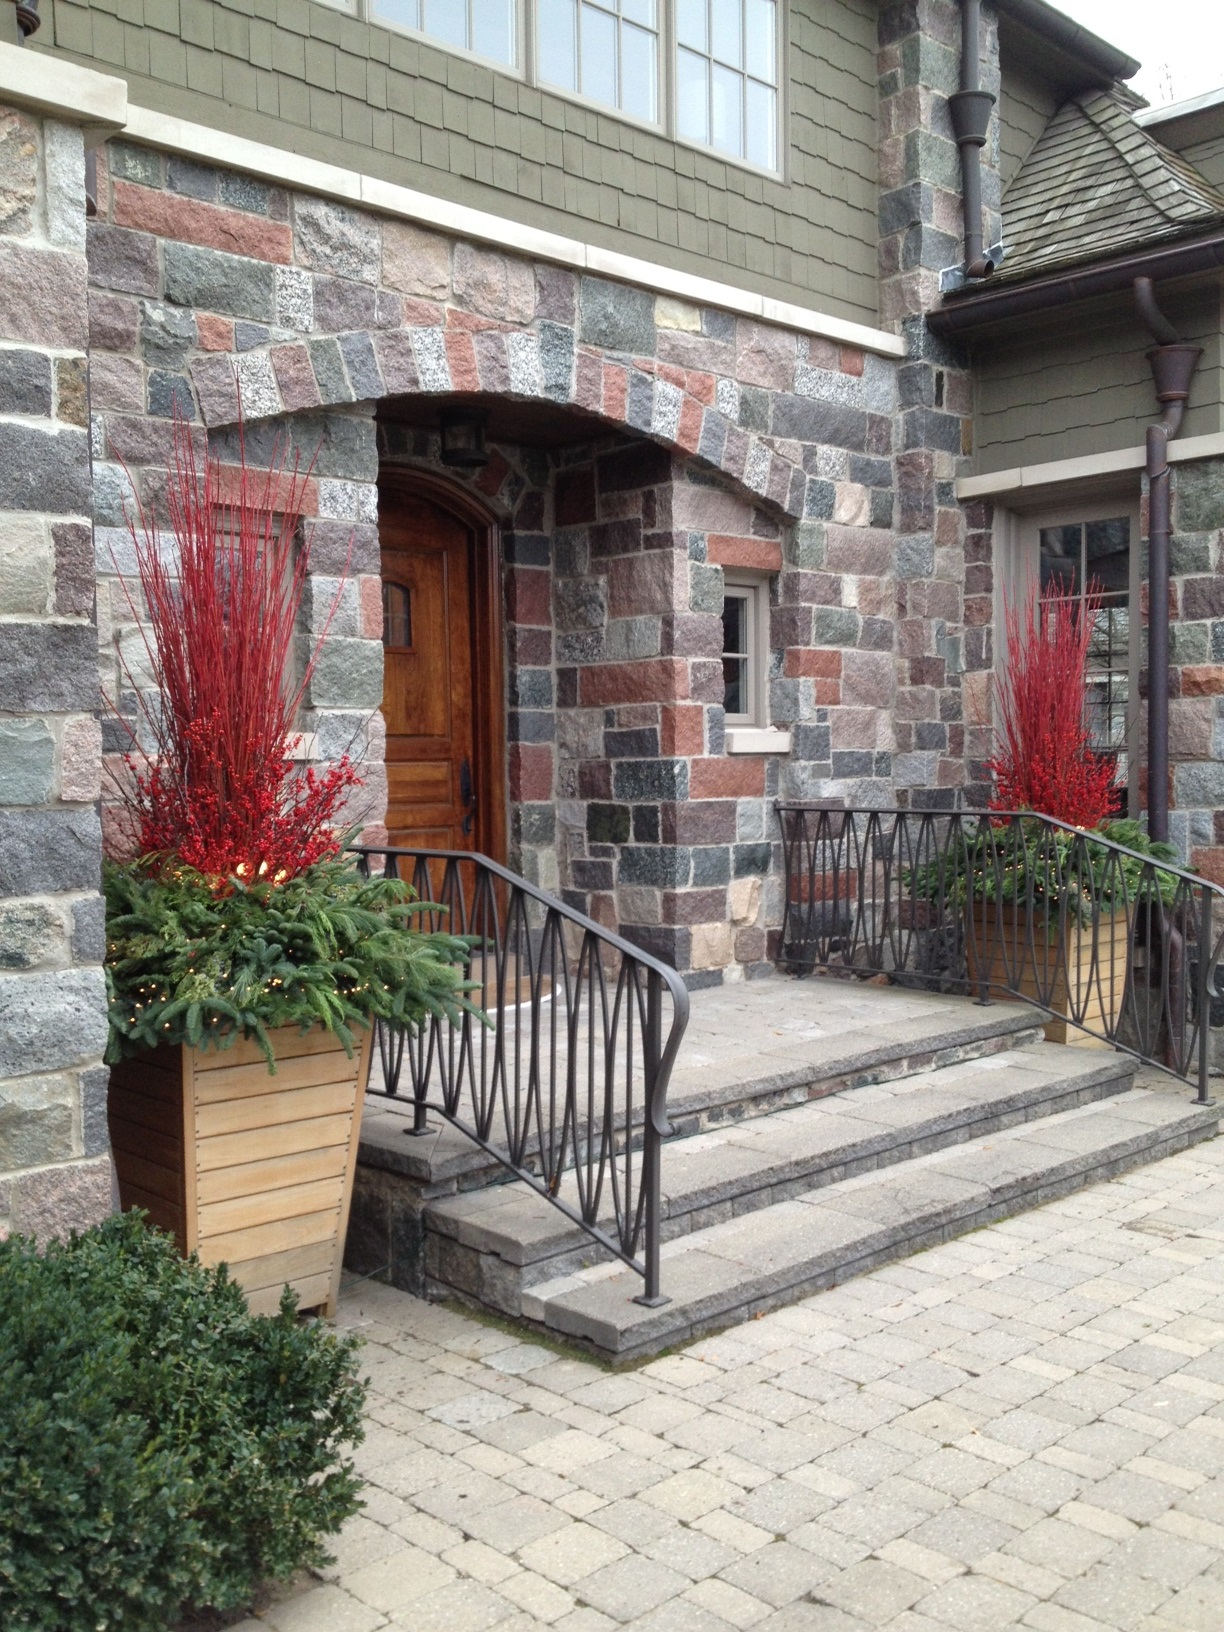
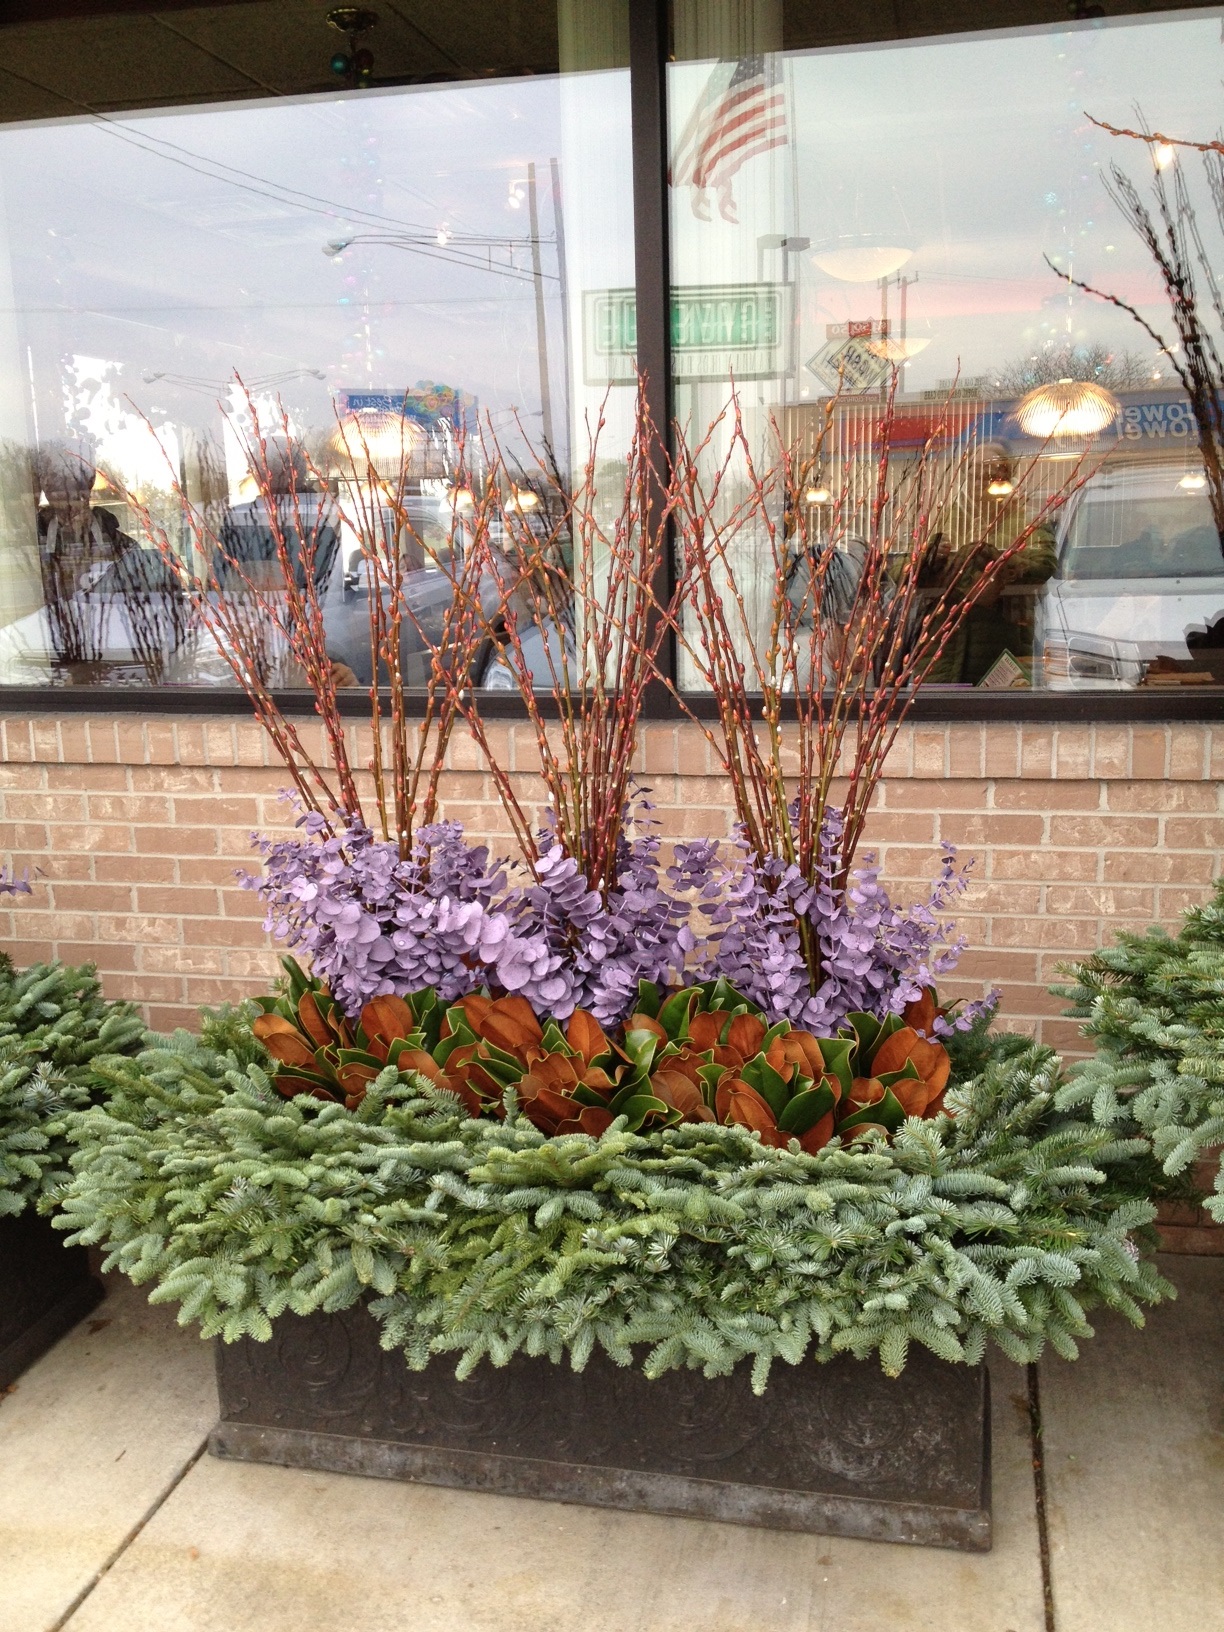
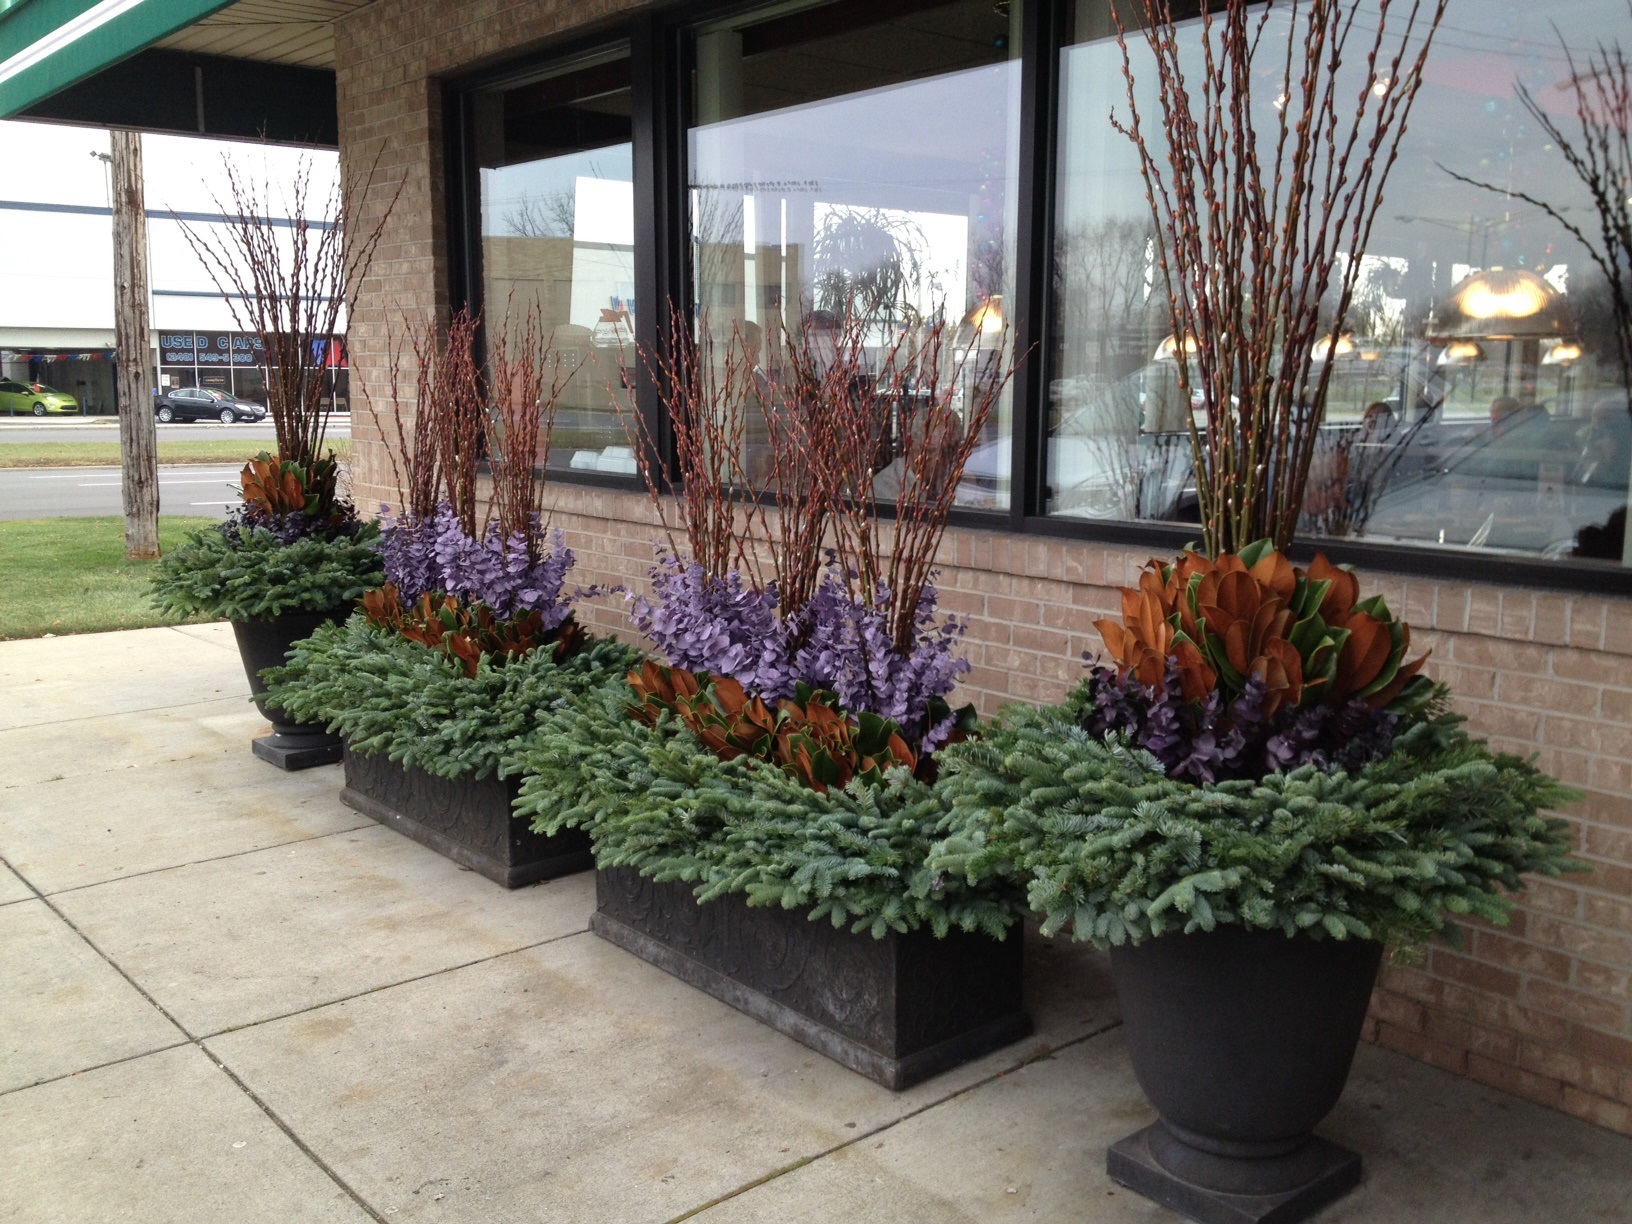
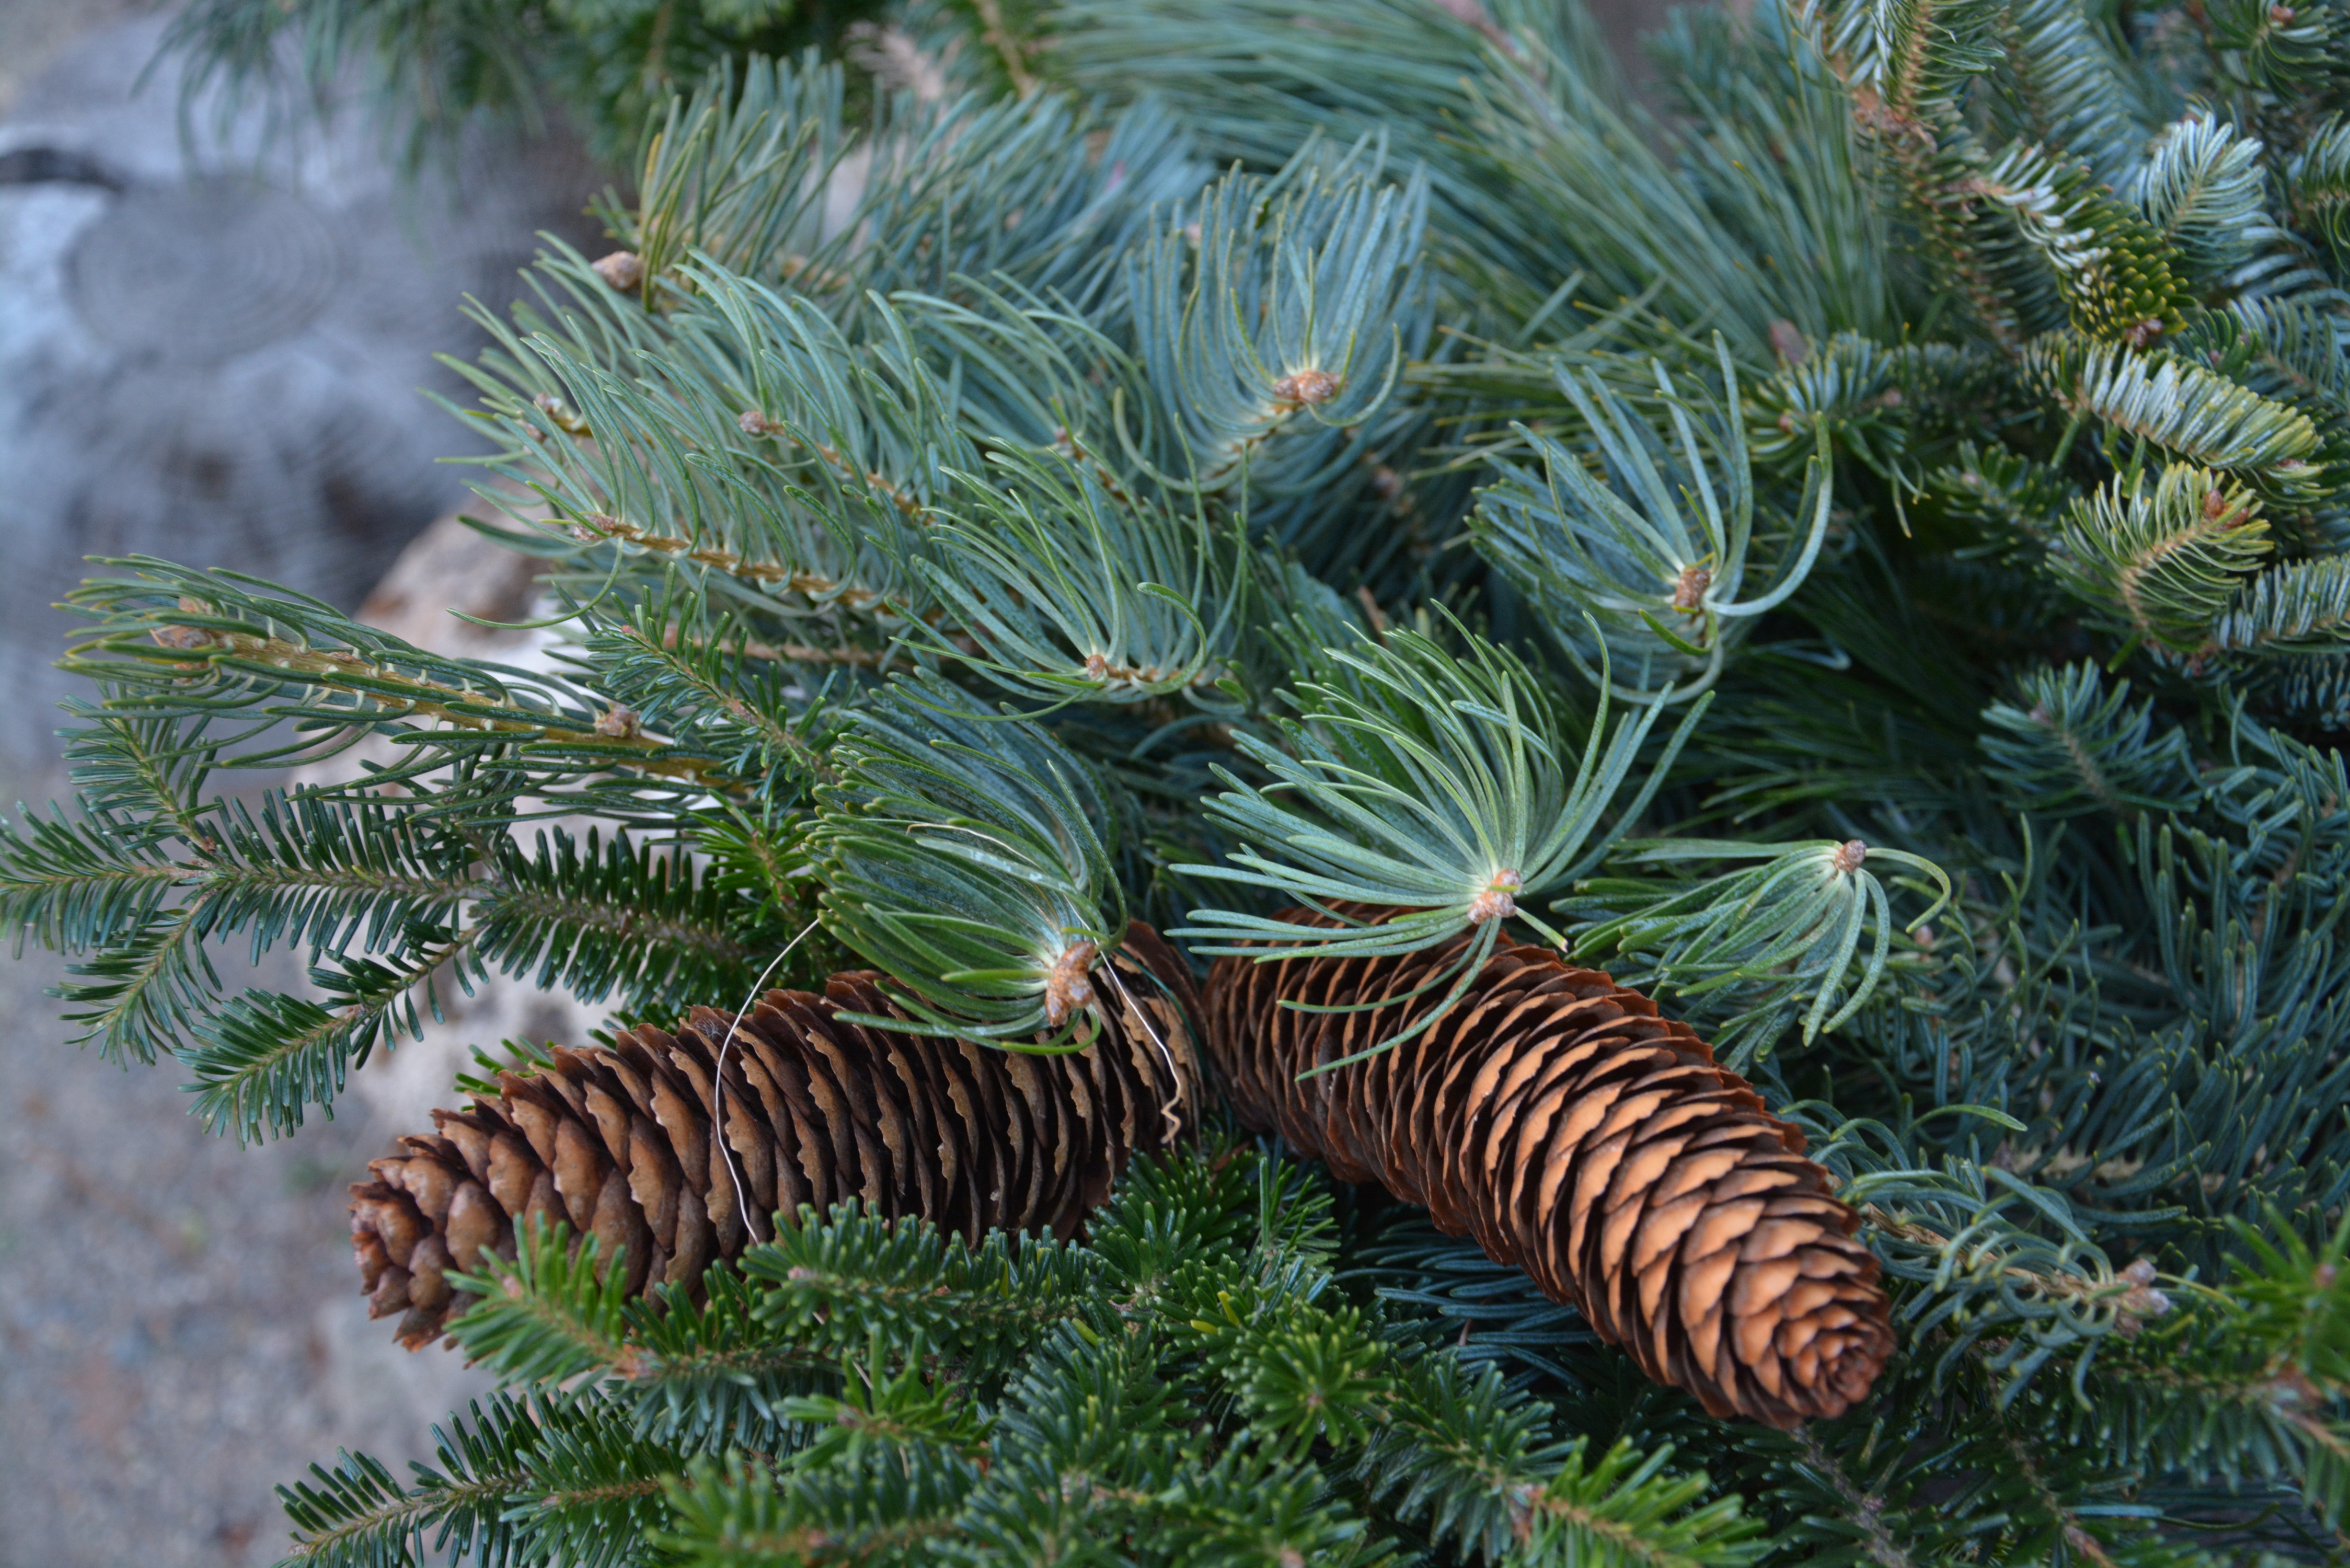
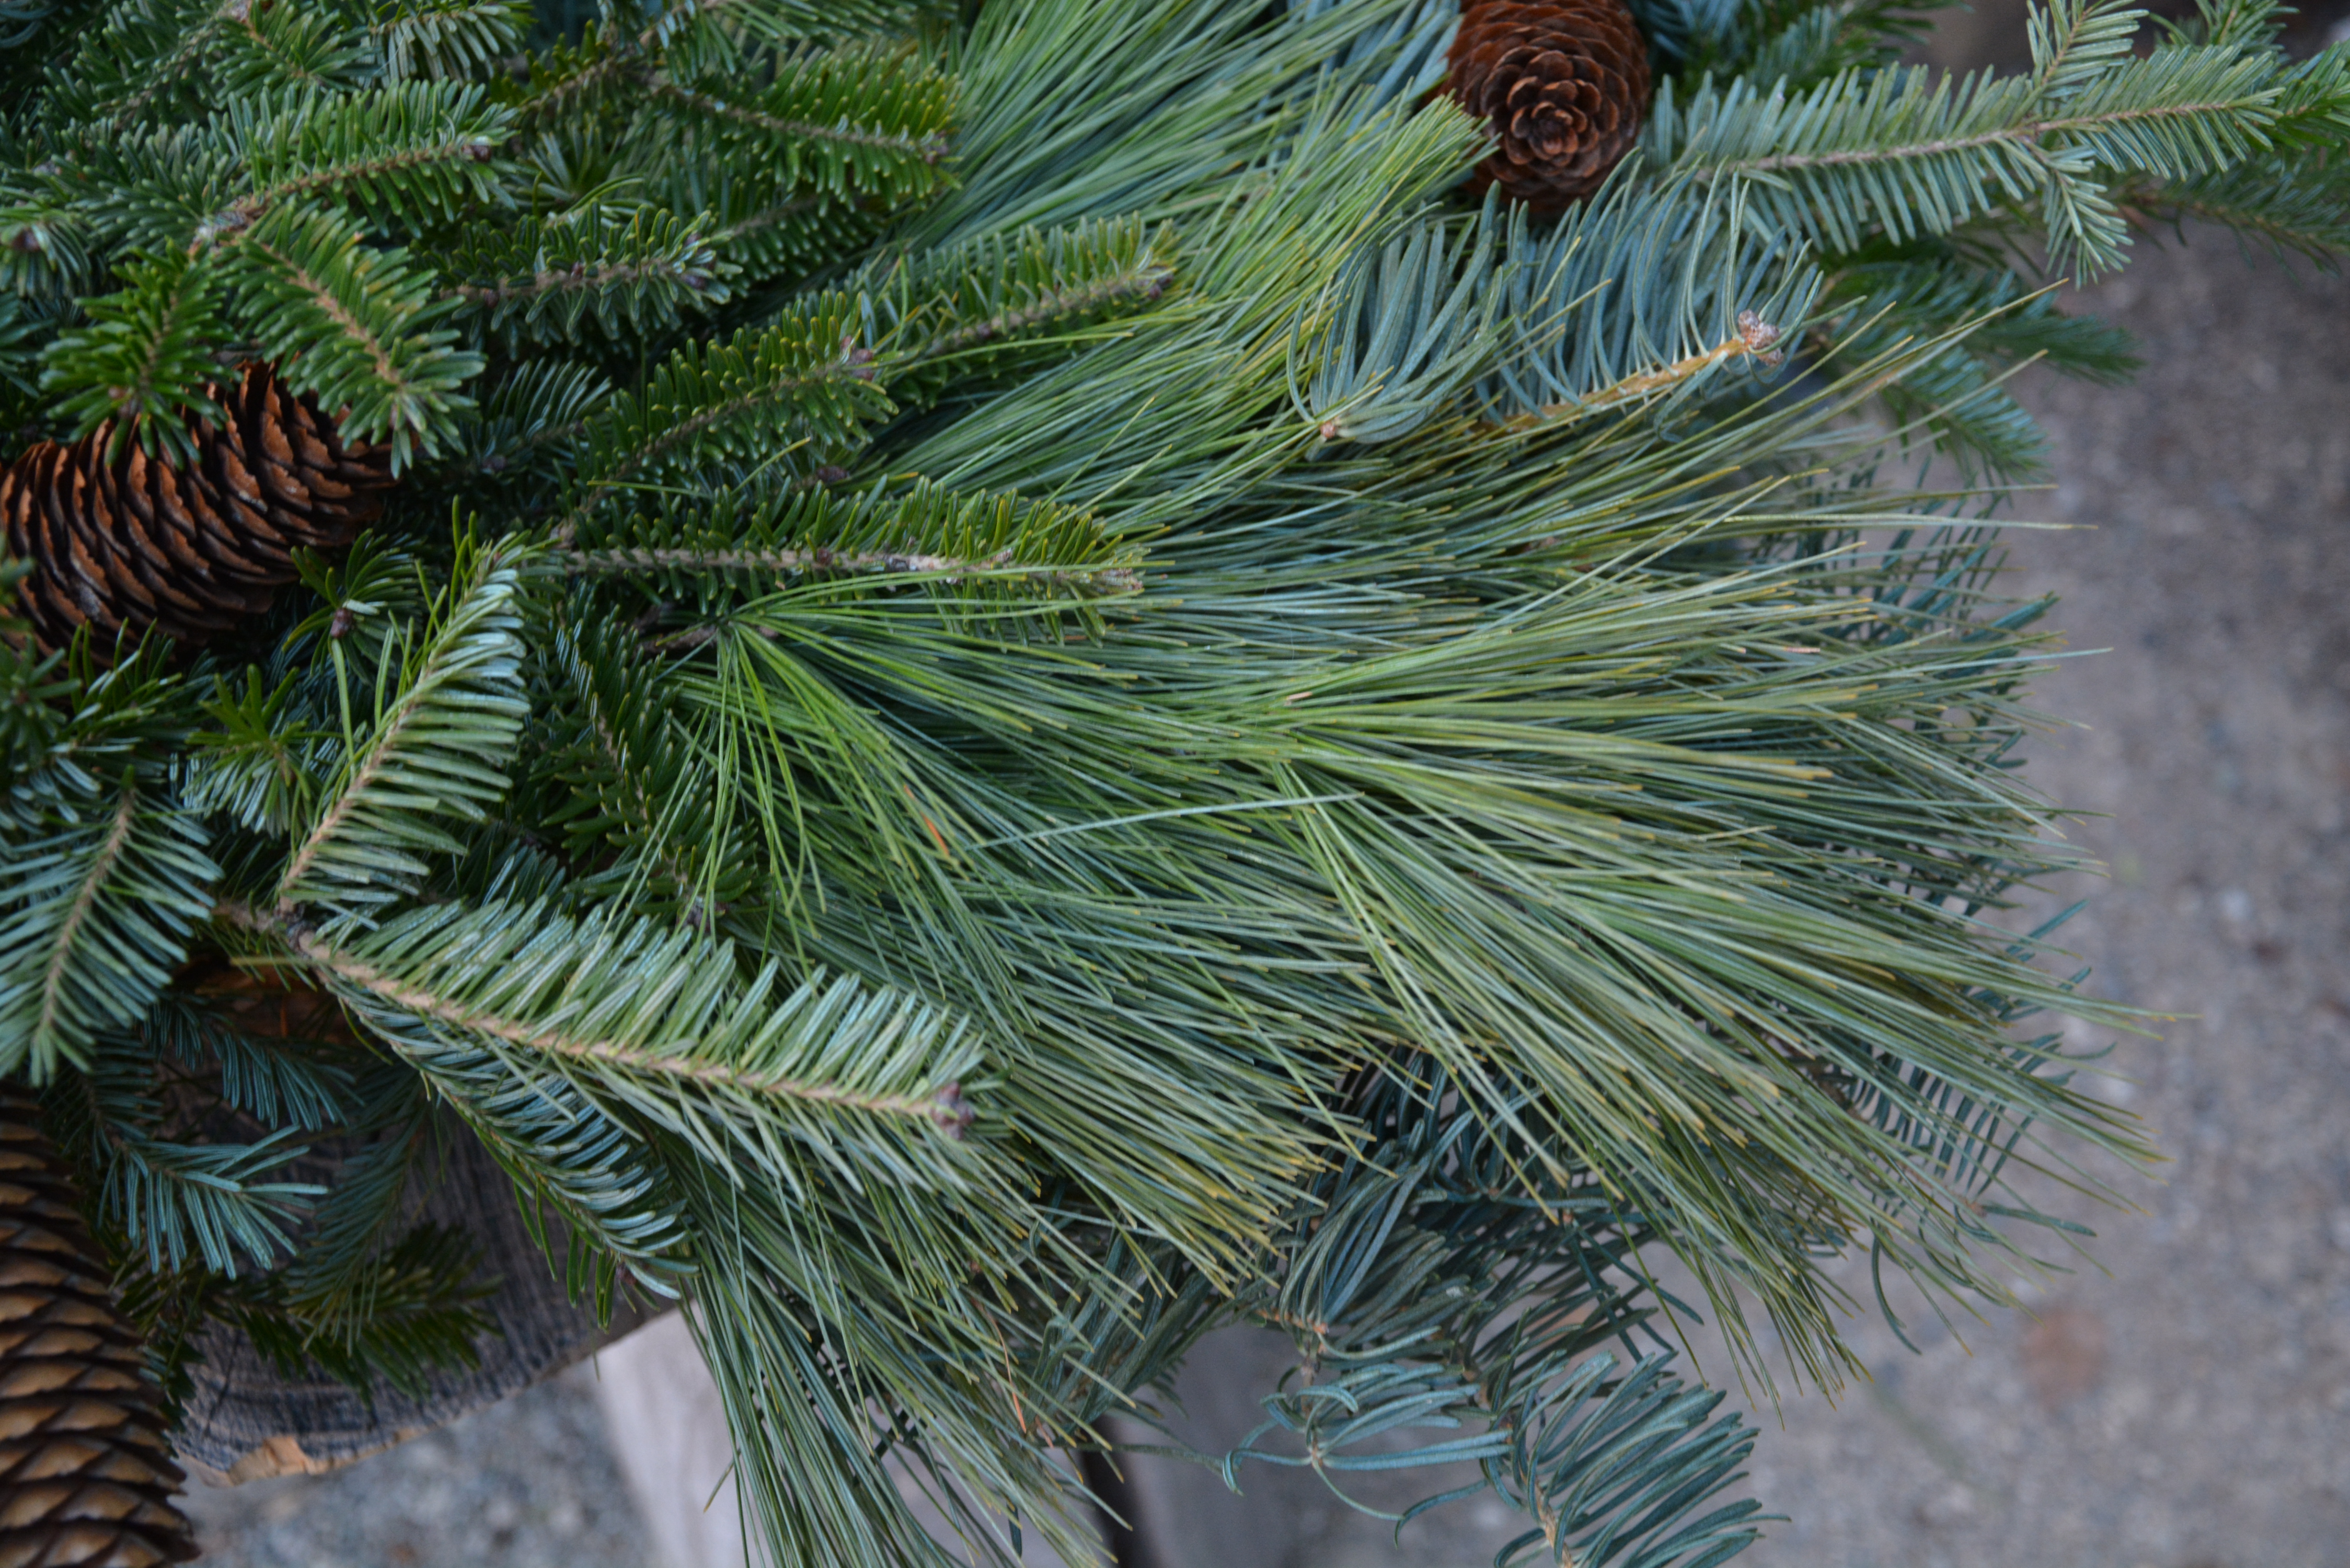
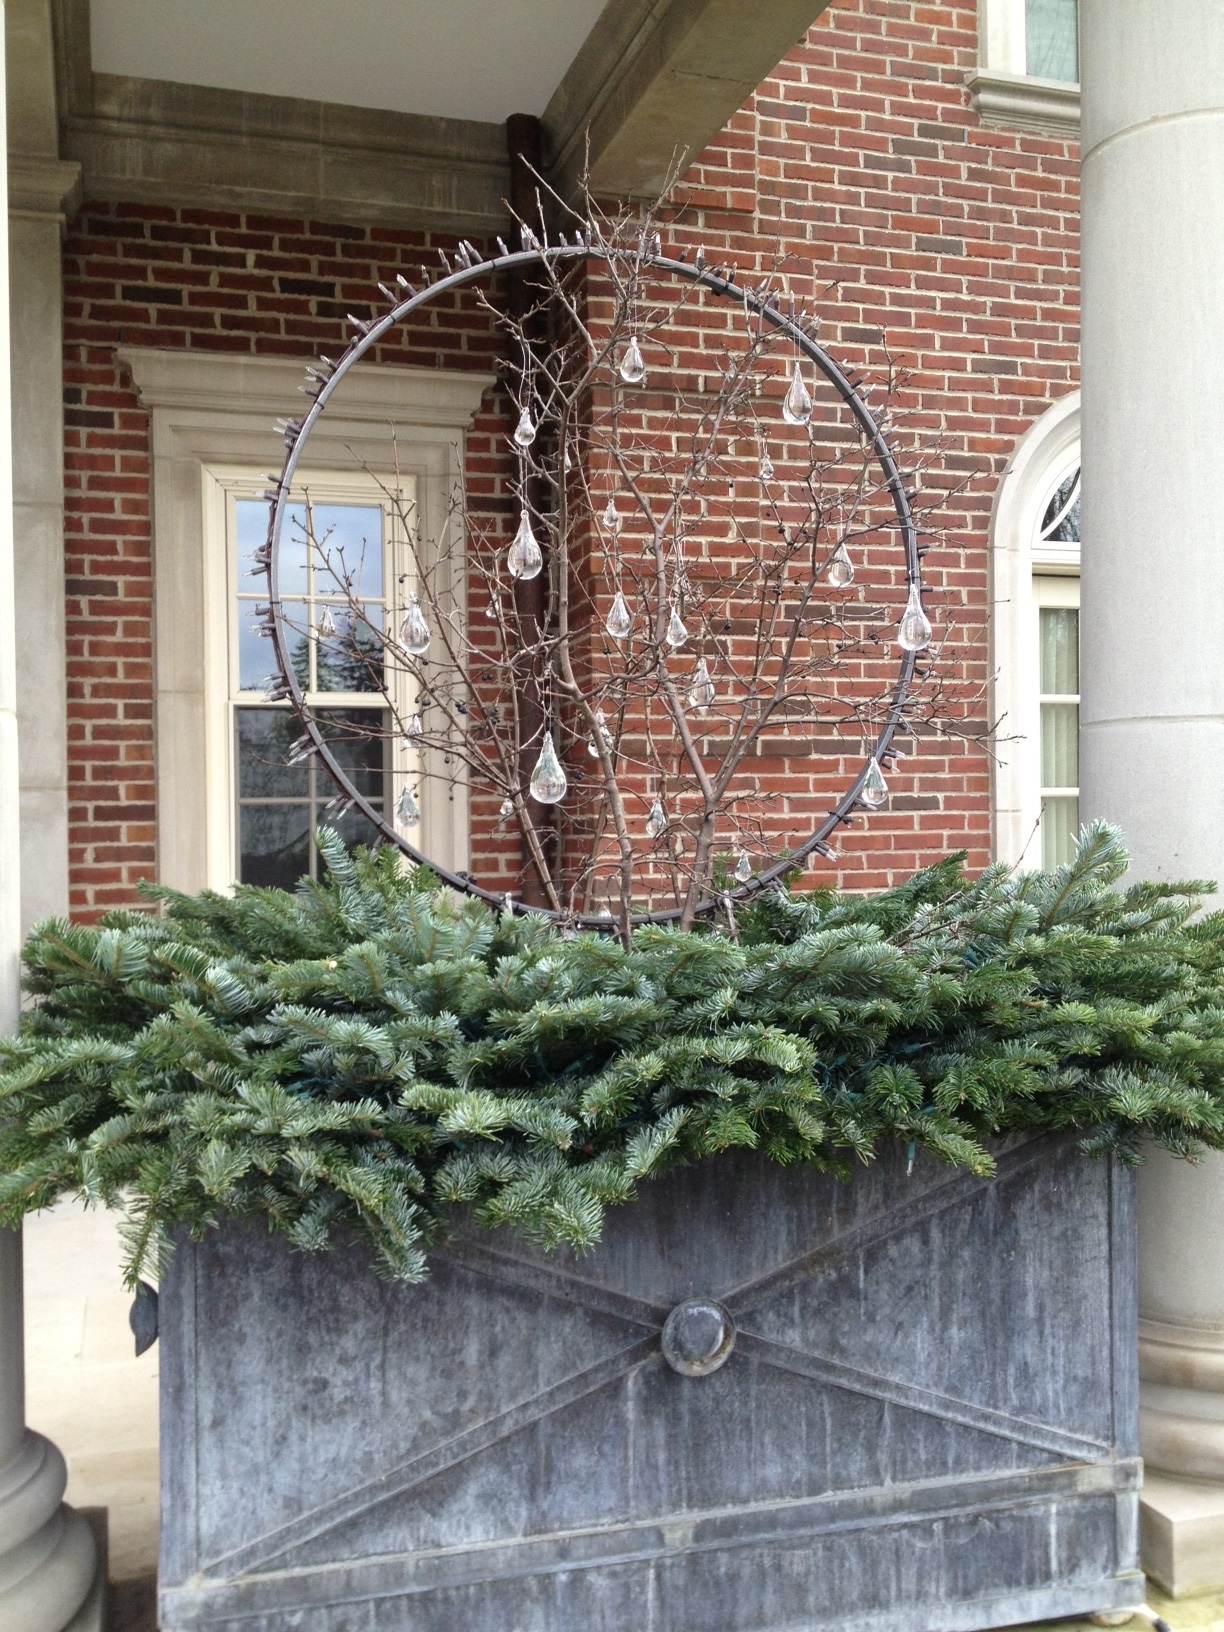
This container features one of Rob’s light rings constructed on a stand.  The branches we cut from a tree at our Branch property.  The glass drops will pick up the light from a string of 50 clear C-9 lights.  Part of the story board of these winter container involve light.  No, you cannot see the wires or the bulbs.  The big idea detailed on this story board-the twigs, the glass, and the light.  A story board is a group of images representing an idea.  Any creative expression should tell a story-from start to finish.
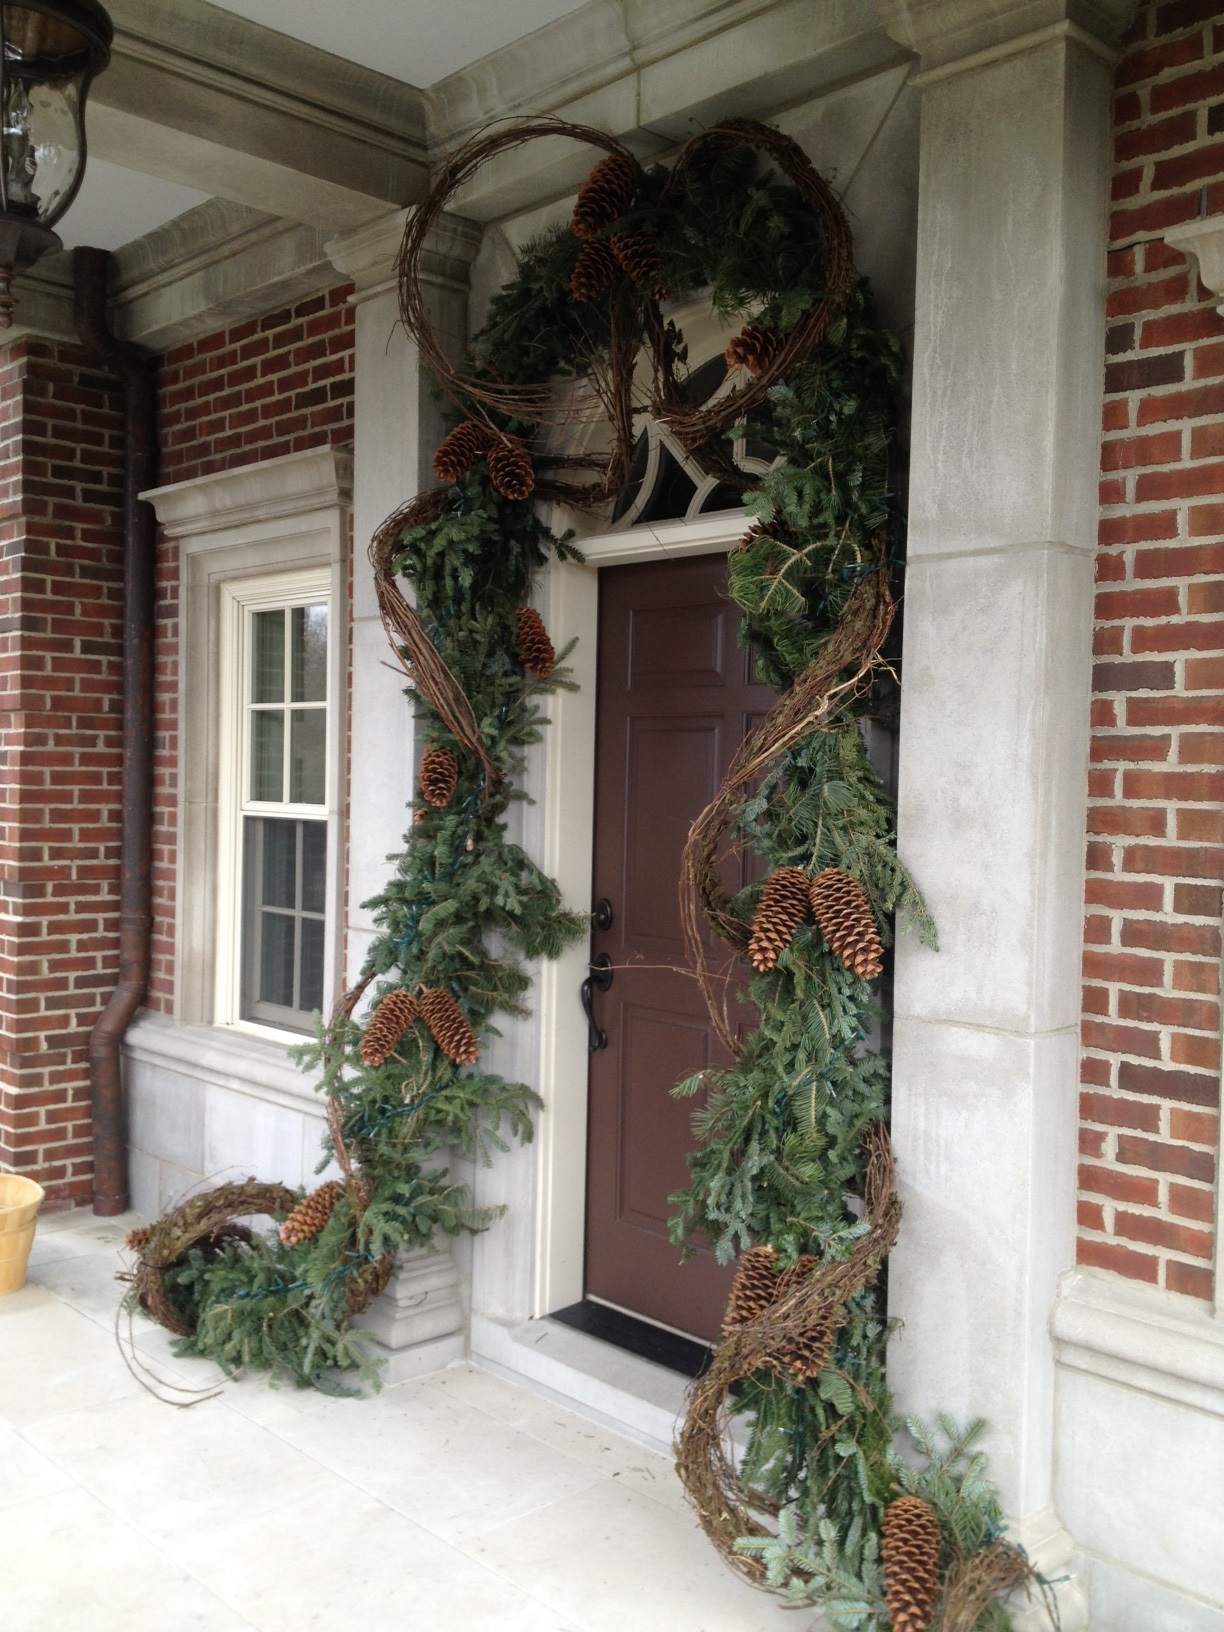
holiday-garland.jpg

winter garland

winter-container-arrangement.jpgThe story?  Welcome to winter.


The Center Of Interest: A Short Story

red-twig-dogwood.jpgOne way to organize a creative winter garden expression is to decide on a center of interest, and design every other element to celebrate that one big idea.  If you have a mind that your winter pot needs a centerpiece, I have some suggestions about the construction.  Let’s assume that you have built a foam form, and stick all of your greens to your satisfaction.  That foam form should have a hole in the middle, close to the diameter of the centerpiece you have in mind.  Sometimes we make that hole smaller, and cut the actual size during the installation.  A tight fit is a good idea.  We arrange the centerpiece using thick rubber bands to contain every stem.  Rubber bands will oblige, should you decide to add several more stems.  The centerpiece needs a place to be.  A great centerpiece for a winter pot needs some thought about the materials, and the construction.

winter-container.jpgFresh cut twigs are woody, and incredibly strong.  But once they have been cut away from the roots of the plant, they have no plan in place to keep them perfectly vertical in the container.  The center of all of our centerpieces is a stout bamboo stake.  Having done countless winter containers, we have an instinct about how long that stake should be.  Though it is part of the above grade centerpiece assembly, that stake will be pounded down into the soil of the container when it is installed.  The centerpiece needs to have something below ground to keep it vertical.  Bamboo ballast.

winter-container-arrangement.jpgOnce the soil in a pot freezes firmly around that bamboo stake, no winter storm can dislodge that centerpiece.  There are occasions when we add another element or two to the vertical centerpiece.  Some materials get strapped onto the twigs with zip ties or concrete wire.  Some materials are stuck into the foam-in that space between the greens and the twig centerpiece.  There are those times when the overall shape of the container will ask for hand sticking during an installation.  As much as I mean this essay to be of a tutorial sort, there are no formulas.  Given a general guideline, the individual eye and hand has to drive the bus.

winter-container-centerpiece.jpgThe green preserved leptospermum in this centerpiece was wedged into the copper curly willow, and purple preserved eucalyptus.  A third element introduced into a centerpiece can stitch a look together.  This lepto is a great contrast to the sleek and thick willow stems.  The color and texture adds interest to the purple eucalyptus.  The lepto moves this arrangement to another level.

winter-container.jpgA center of interest in a winter container sets the tone.  Said centerpiece will rule the roost.  Loose and asymmetrical centerpieces read like a well worn pair of jeans.  Structured centerpieces that reach for the sky-awesome.  A winter container with no centerpiece -a winter container well on its way to a contemporary expression.  Twigs arranged to represent in the vertical dimension-more formal. Or maybe more contemporary.  A twig centerpiece that fans out-a uniform fan is very formal.  Restrained.  A loose fan breathes, and chats up a storm.

winter-centerpiece.jpgNo matter what elements you plan to include in your centerpiece, a strong construction will reward you the entire season long.  Strong in, strong out.  Invest in some zip ties, if concrete wire and pliers are not your style.

winter-centerpiece.jpgEvery move you make in the construction of a winter container has visual meaning.  What you construct behind the scenes-I am in favor of a very strong construction.  What you construct behind the scenes also makes a visual statement.  Be clear about what you wish to say.  The time and pleasure that you take to express your idea of winter-everyone will appreciate that.

winter-container.jpgwinter container

winter-container-arrangement.jpgwinter container

pots-for-winter.jpgpots dressed for the winter.

Sticking It: A Foam Story

dry-floral-foam.jpgOur late fall weather took a nose dive a few days ago.  Just yesterday, it was 15 degrees when I came into work.  Bitter cold like that over a period of time can make any soil left in a container turn rock hard.  I have had gardeners in, wondering how they will get their winter containers done.  We do not stick any of our greens into the soil in a pot.  Evergreen boughs installed in the soil have only one direction possible-that is straight up.  We build forms from florist’s foam that fit tight into the pot.  The foam will stand above the rim of the pot, enabling the placement of greens to the side, and on an angle.  Once a form is built, you can reuse it, or patch it.  But another great feature of working in foam is the fact that frozen soil is not a problem.

dry-floral-foam.jpgI try to remember to take 4 ” or so of soil out of the pot when doing the fall cleanup.  The bottom layer of the foam will sit down into the pot.  The top layer gets the evergreen stems. Very large pots may ask for more layers of foam.  Given very large pots, or very tall centerpieces, we may wrap the foam with steel wire.

hot-glue-gun.jpg

We glue our layers of foam together with hot melt glue. Since the glue cools and sets up fairly quickly, we usually have 2 glue guns going at once.  If this sounds like way to much work, we make forms to order all the time.

layers-of-foam.jpgThere are plenty of variations on this theme. A long window box may ask for 3 forms that can be wedged together upon installation.  Odd shaped containers may ask for foam bricks that can be glued up, rather than sheets.  Some forms are thicker at the back than the front, if the materials at the back will be heavier in the back.  This material enables the actual sticking of the greens to be done indoors.  I would dread having to insert branches into half frozen soil when the temperature is much below freezing.  This would make the job miserable.

gluing-the-layers.jpgGardeners are routinely victimized by the weather, but in this particular instance, there is no need.  Being comfortable means the ability to concentrate on the task at hand, rather than the wind chill.  Should you want to move a branch over or up an inch, that adjustment is easy.  You can control the angle and direction of the placement with ease.  If you make a move you don’t like, you can try a different move.

winter-window-box-under-construction.jpgMuch better this mess on the garage floor, than on the front porch.  This is easy to sweep up.

dry-floral-foam.jpgThis is the third year for this form.  We actually don’t make so many holes in the foam.  We sharpen the woody stems of the greens with pruners.  This makes for a tight fit.  We look at the green topside of a branch to decide on the placement of the next.  We do not place the woody stems close together.  This helps to conserve material without sacrificing a lush look.

winter-window-box.jpgTransporting an arrangement this large takes some doing.  And the heaviest stems or centerpieces are put in once the foam is in place.  Once you get the hang of sticking the foam, there will be no stopping you.

lighted-winter-containers.jpg

If you haven’t done your winter containers yet, don’t despair. A little simple technology can help make it happen.  I did post lots of pictures of winter pots on the Detroit Garden Works facebook page today, should you be interested.


At A Glance: Evergreen Branches

concolor-fir.jpgconcolor fir, and coned spruce branches

coned-spruce-boughs.jpgconed spruce boughs

German-boxwood.jpgGerman boxwood in a 25 pound case

long-needled-pine.jpgLong needled pine

Magnolia-grandiflora.jpgmagnolia grandiflora

incense-cedar.jpgincense cedar

English-variegated-boxwood.jpgEnglish variegated boxwood

silver-fir-boughs.jpgSilver fir

small-leaved-magnolia wreath.jpgLittle leaved magnolia wreath

30-inch-tall-Brown-Bracken-magnolia-stems.jpg30″ tall Little leaved magnolia bunches

Port-Orford-cedar-branches.jpgPort Orford cedar

white-pine.jpgwhite pine, and coned spruce

Douglas-fir.jpgDouglas Fir

berried-juniper.jpgberried juniper

evergreen-boughs.jpgI would guess that I prune the evergreens in my yard back 6 inches in the spring.  A long and wild stem on a yew, I may prune back 16 inches. Do I prune in November?  Never.  But there are those farmers out there that grow evergreens with the idea to cut for the holiday season. Long trimmings grace no end of winter pots and garlands.   Our premium greens come 25 pounds to a case.  Each bough averages 18 inches in length.  We appreciate an emphasis on long and green for our  winter and holiday projects.  Greens of lesser quality are more about the woody trimmings, than the greens.

Florists greens are really short.  A centerpiece on a table needs much less in the way of length and volume than a winter container.  My advice- go for the long boughs.  I am appreciative of how many materials are available to me.  Any creative expression friendly to the garden begins and ends with what nature provides.   The evergreen boughs that will bring your holiday to life are brought to you by the farming community.  Do what you can to support them.