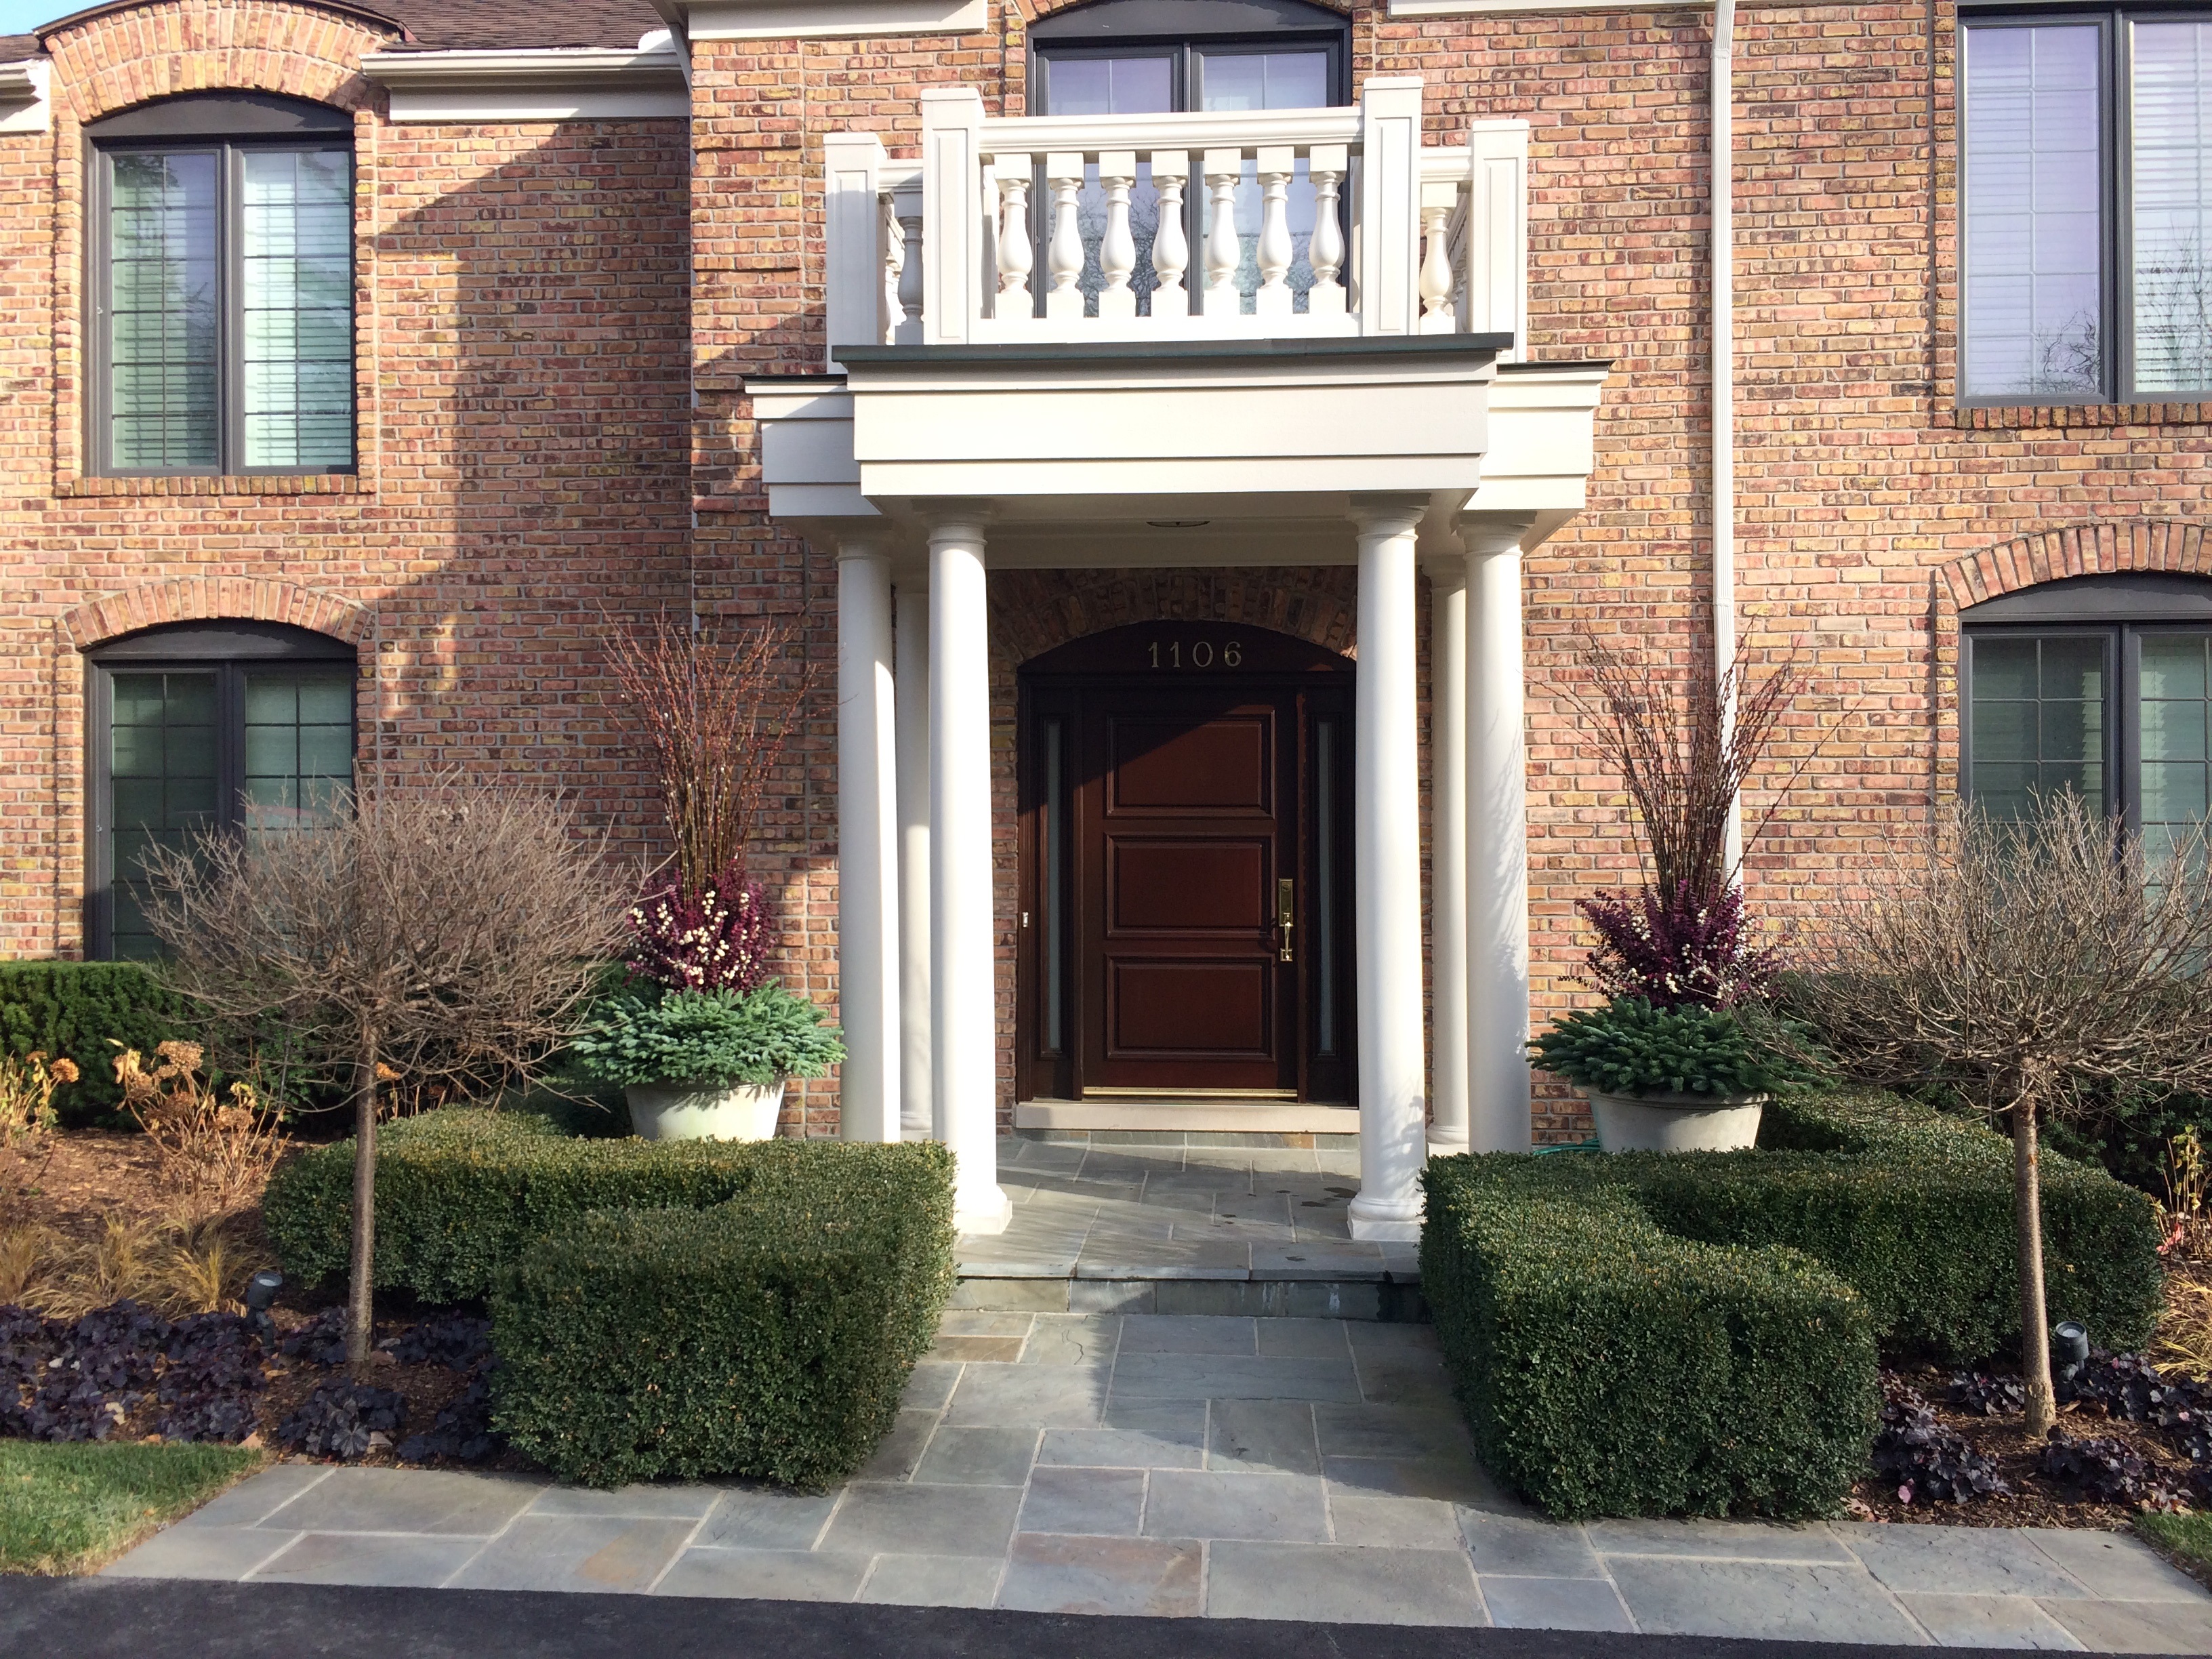
 Several years ago I had a request from a new client to plant her pots. We obliged. I could not help over the course of a few seasons to take note of the landscape. Her front door had a very tall, substantial, and fairly elaborate porch roof. That porch roof and upstairs balcony was a very prominent architectural feature in shape as well as color. A mature clipped hedge of boxwood planted close the walk from the drive was not so friendly to that feature. It obscured the view of a beautiful blue stone porch floor, the bottoms of the offset columns, and her pots. A pair of young Palabin lilacs on standard added to the congestion. Full grown, the heads of those lilacs would spread and completely obscure the pots on the porch from the driveway, and would eventually encroach on the walkway to the front door. It seemed like the entry landscape obscured the entry, as opposed to embracing it. The house is always the the dominant feature of an urban landscape, by virtue of its size. Successful landscape design needs to address and compliment that architecture.
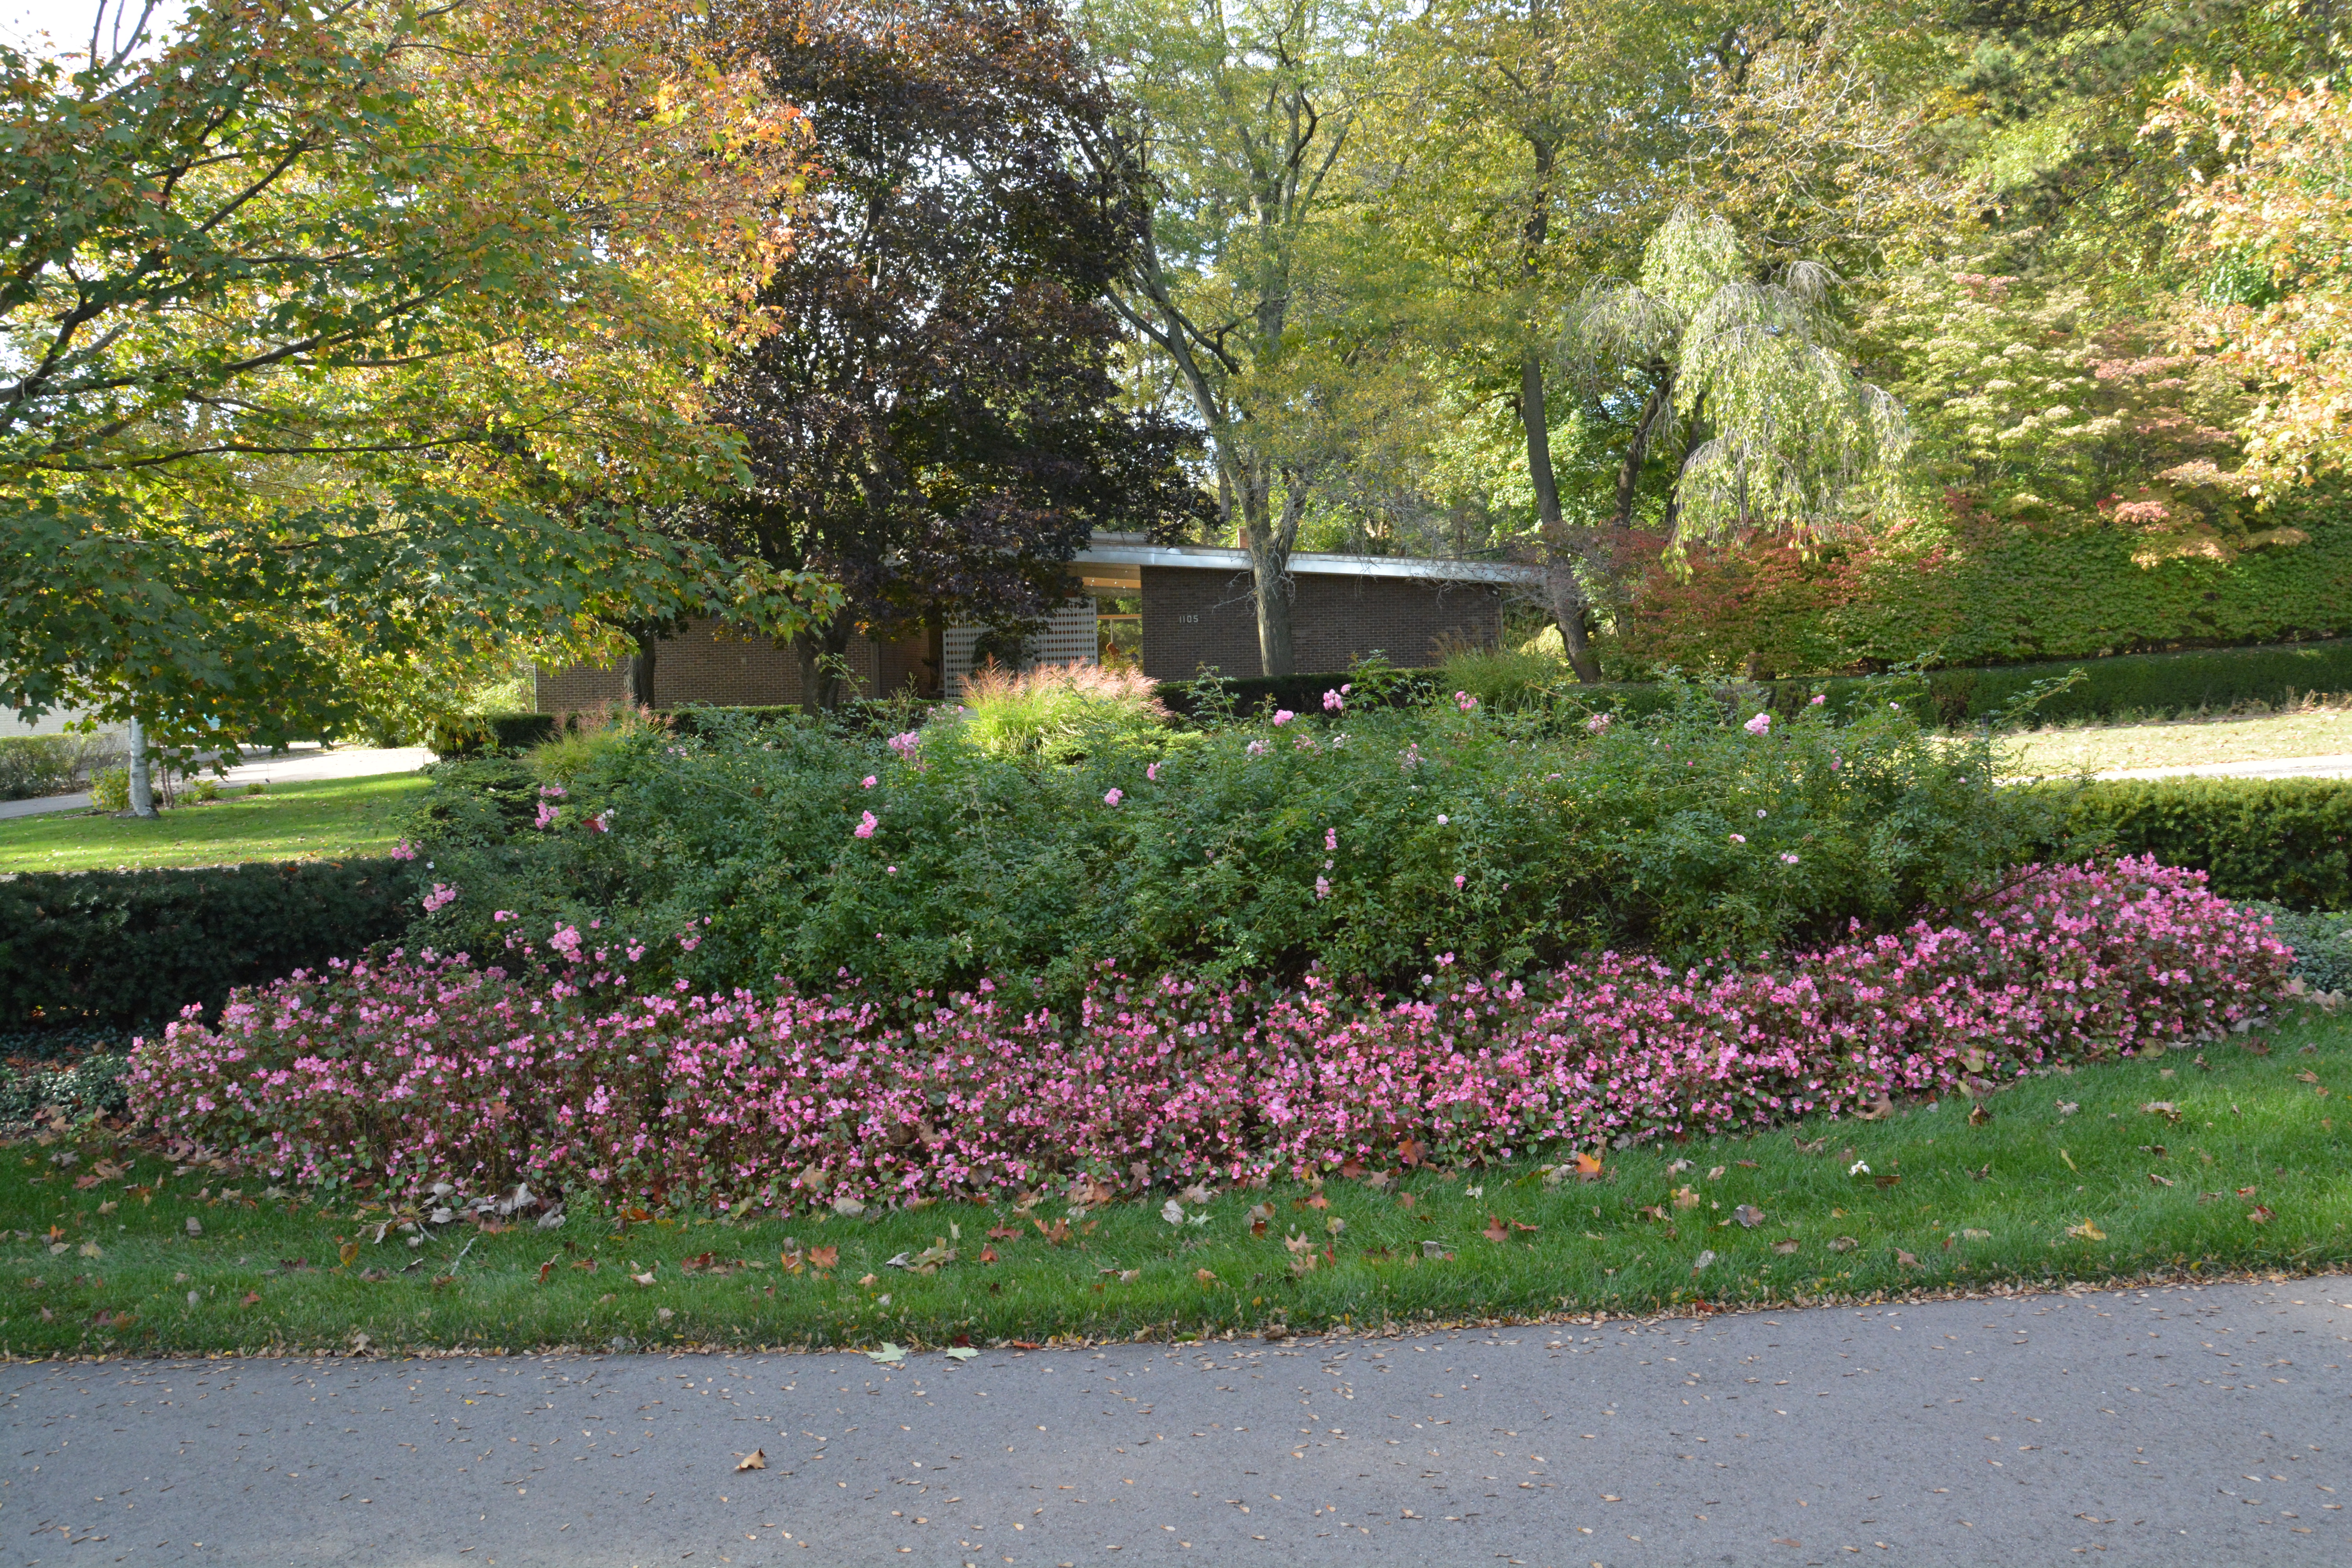
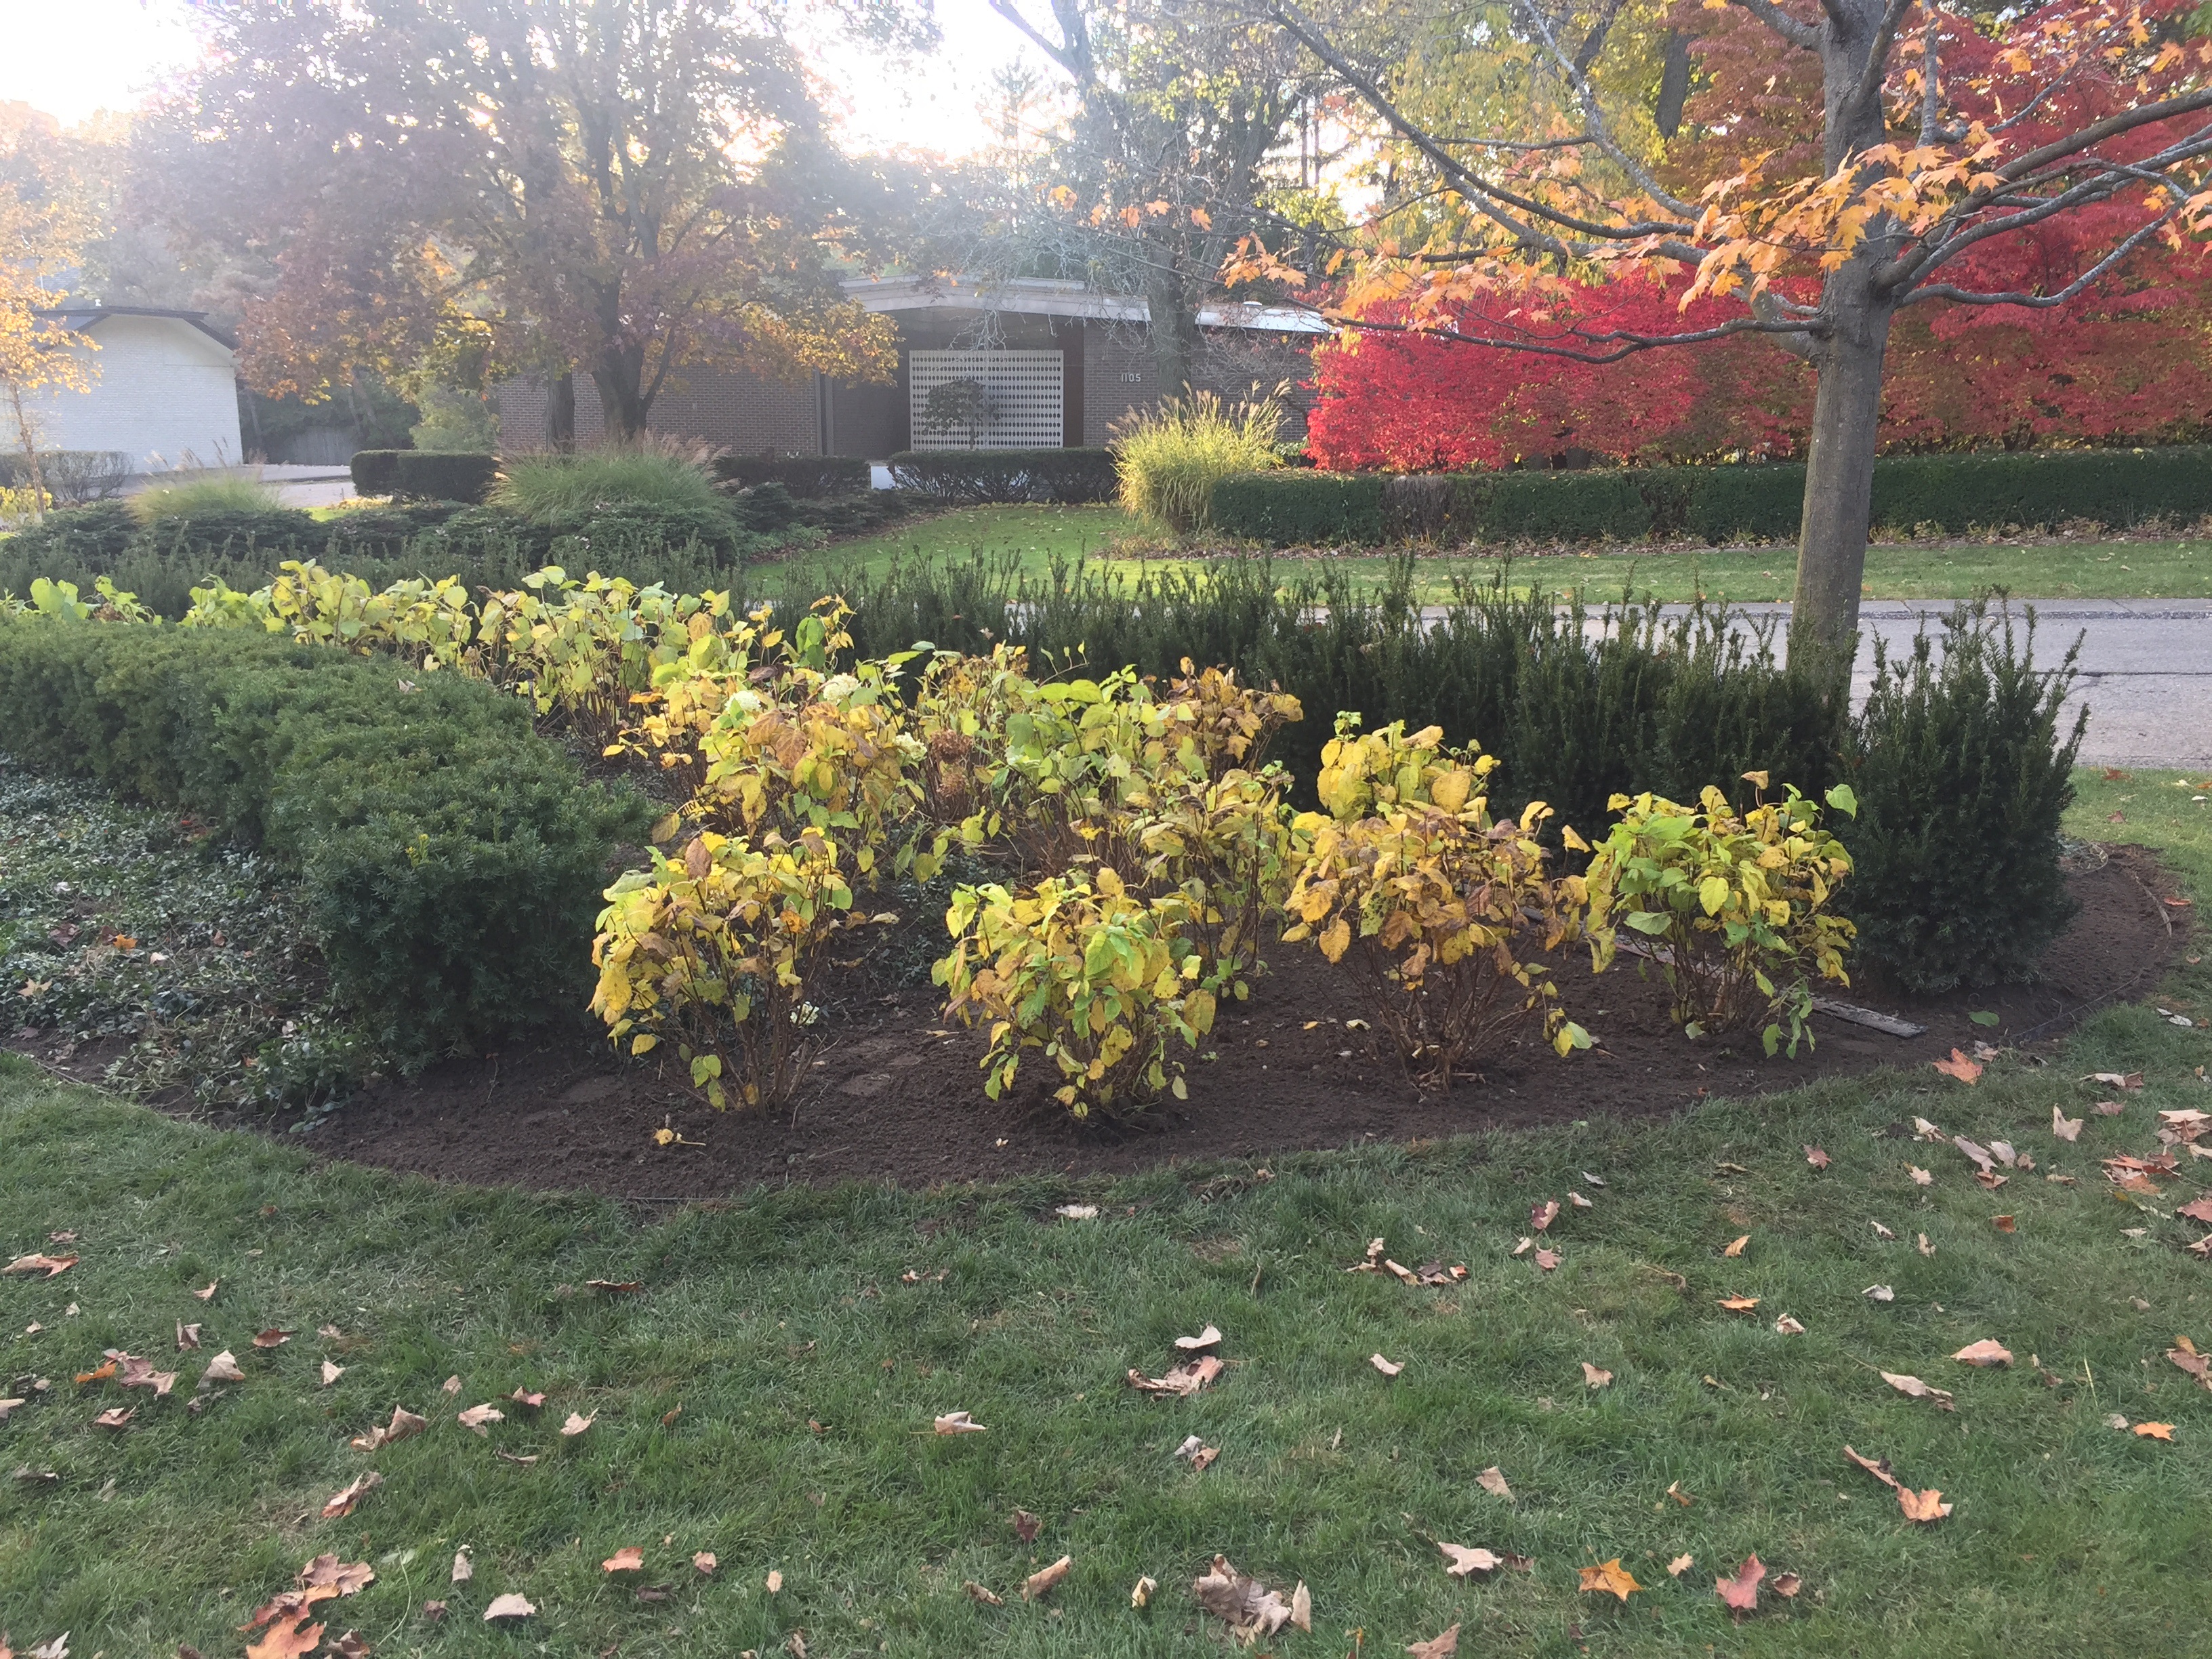
 Late last summer, this client did ask me to look over her landscape. She was not happy with the feel or the look. A landscape she showed me that she liked was very formal, and symmetrical. Though she was willing to change it all up, she wanted me to reuse all of the existing plant material that she had, a good bit of which she had just put in a year ago. Though that would prove to be a significant challenge, I could understand the request. No one wants to feel their investment was not a pleasing investment. The view from the street revealed a scalloped landscape bed planted with myrtle and begonias that did not include or speak to a trio of sizeable maples. Behind the begonias, a hedge of spreading yews, planted in a shallow arc with straight wings.
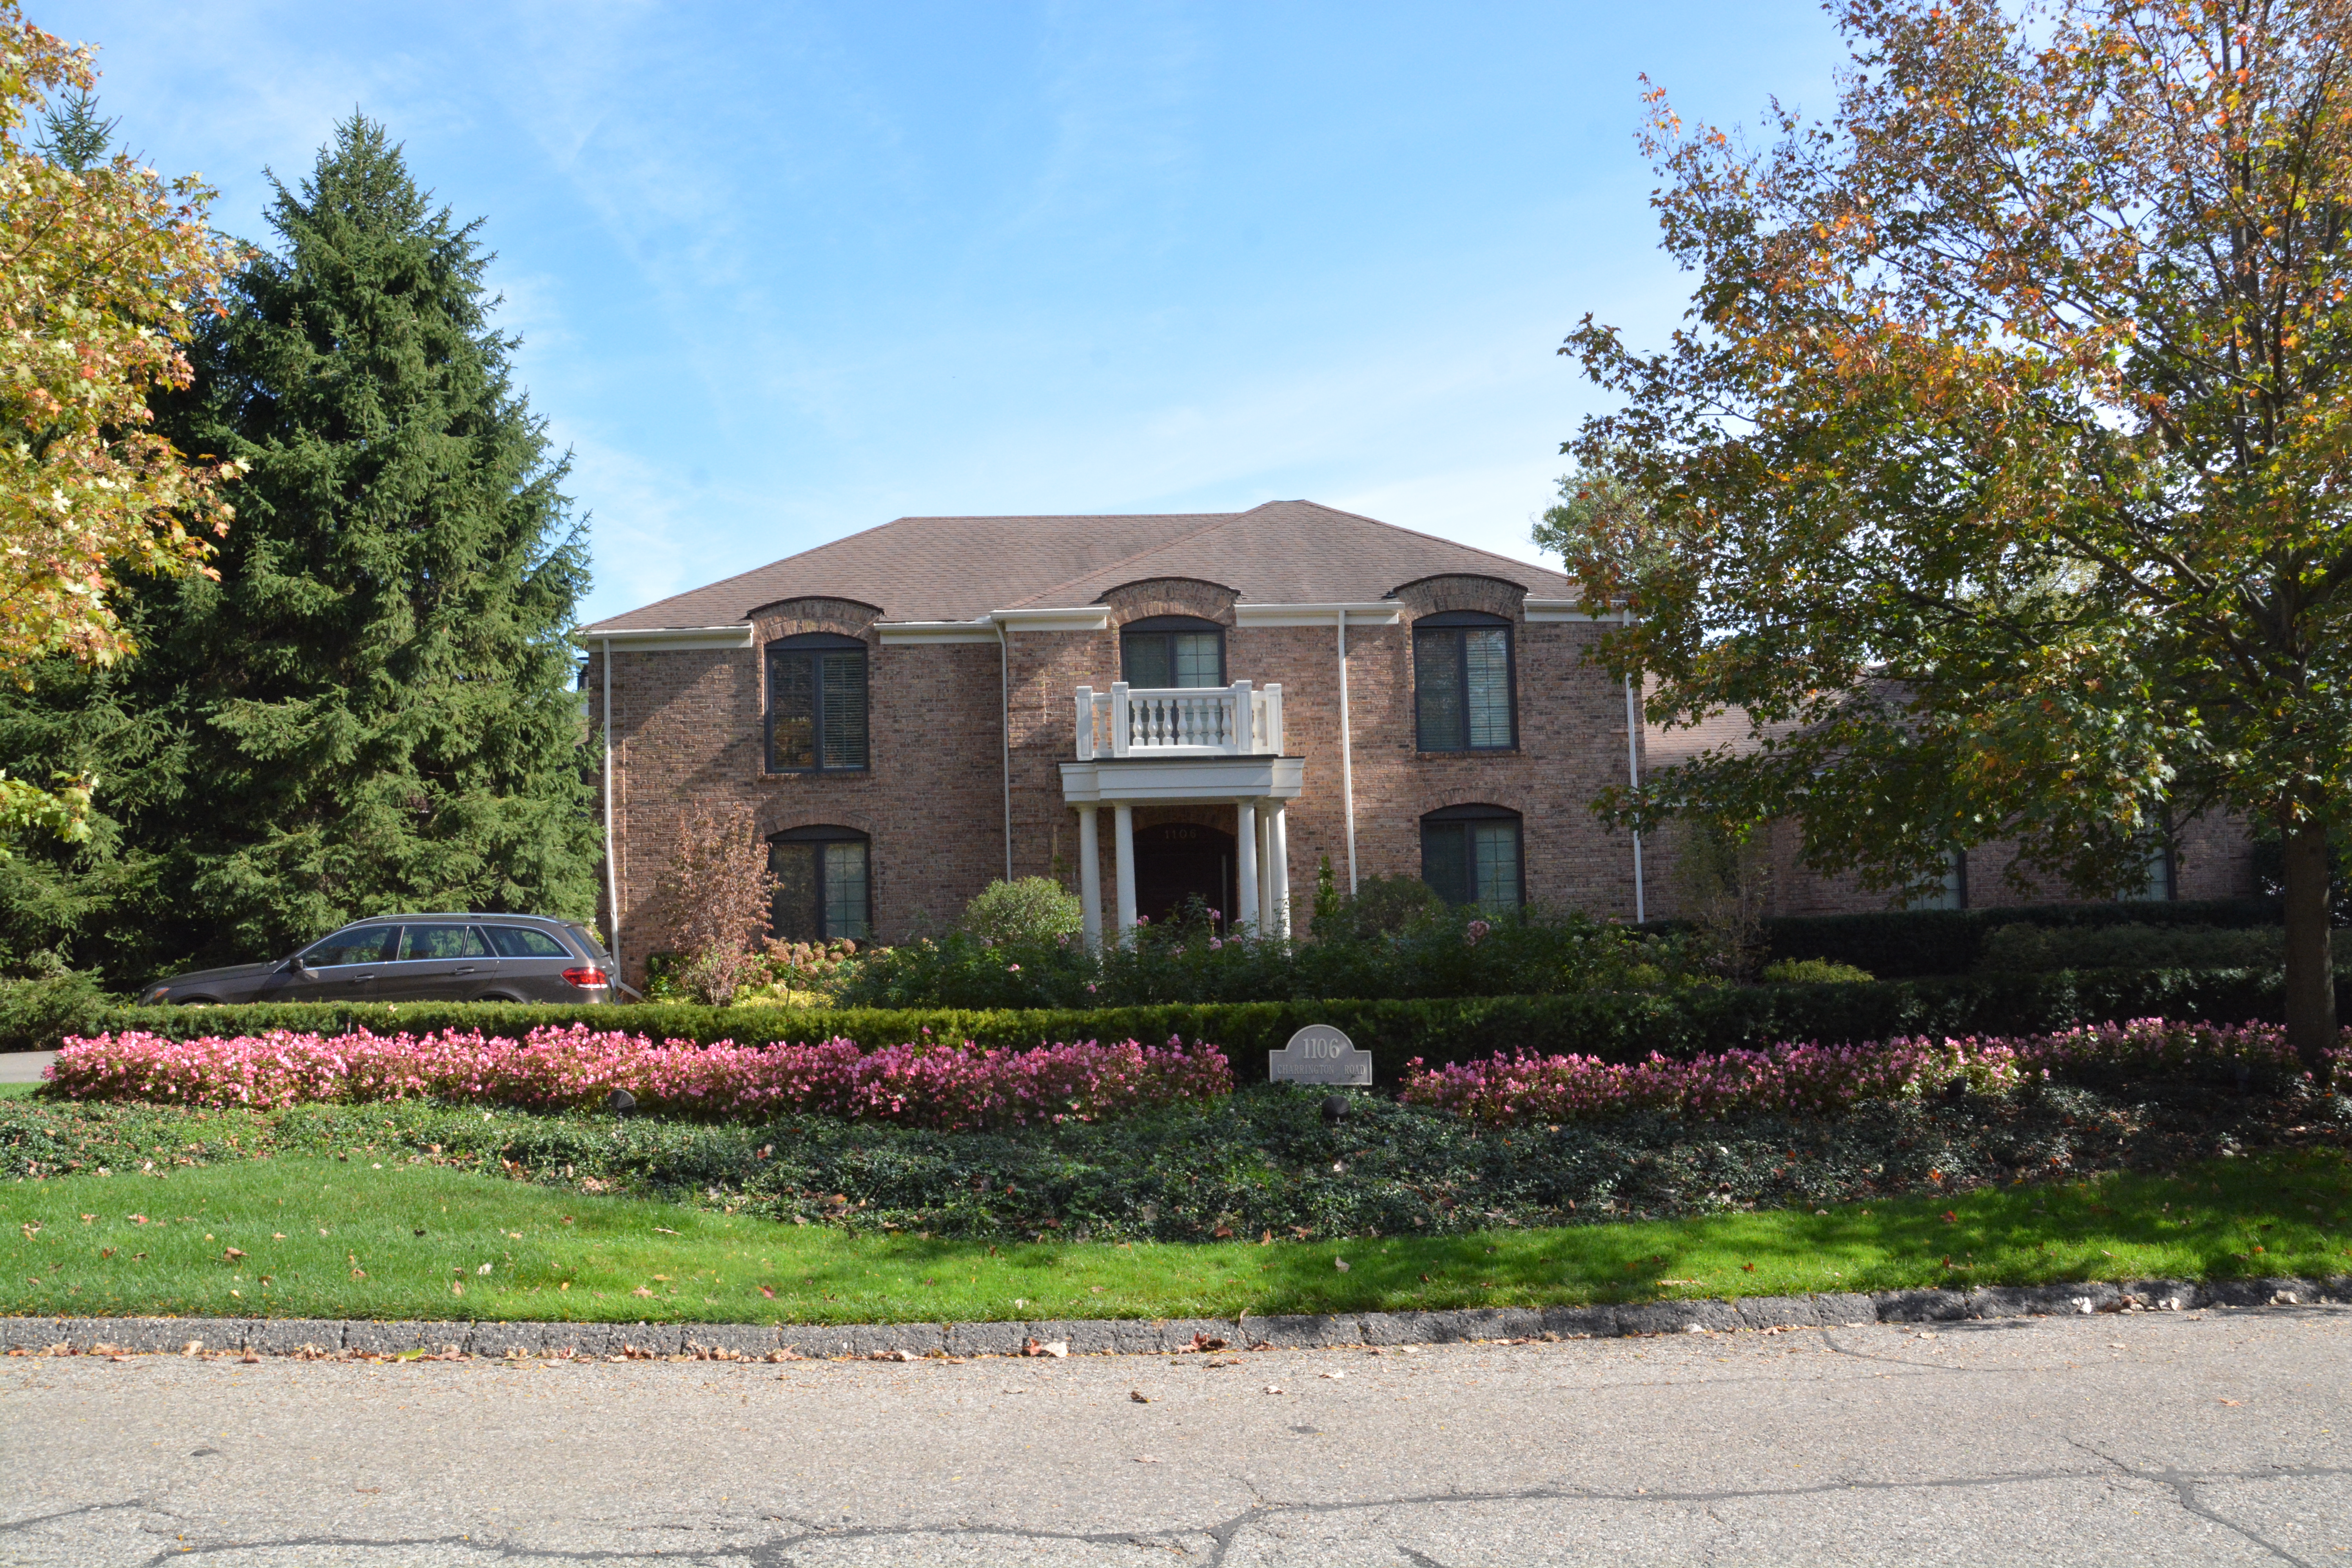 The landscape on the street side of the drive was layered. The shape of the large bed of myrtle was not consistent side to side, and the scalloped edges did not work so well with the straight line presented by the street and curb. Nothing about this view seemed clearly defined.The grass and myrtle were so similar in color and texture that it was difficult to see the shapes.
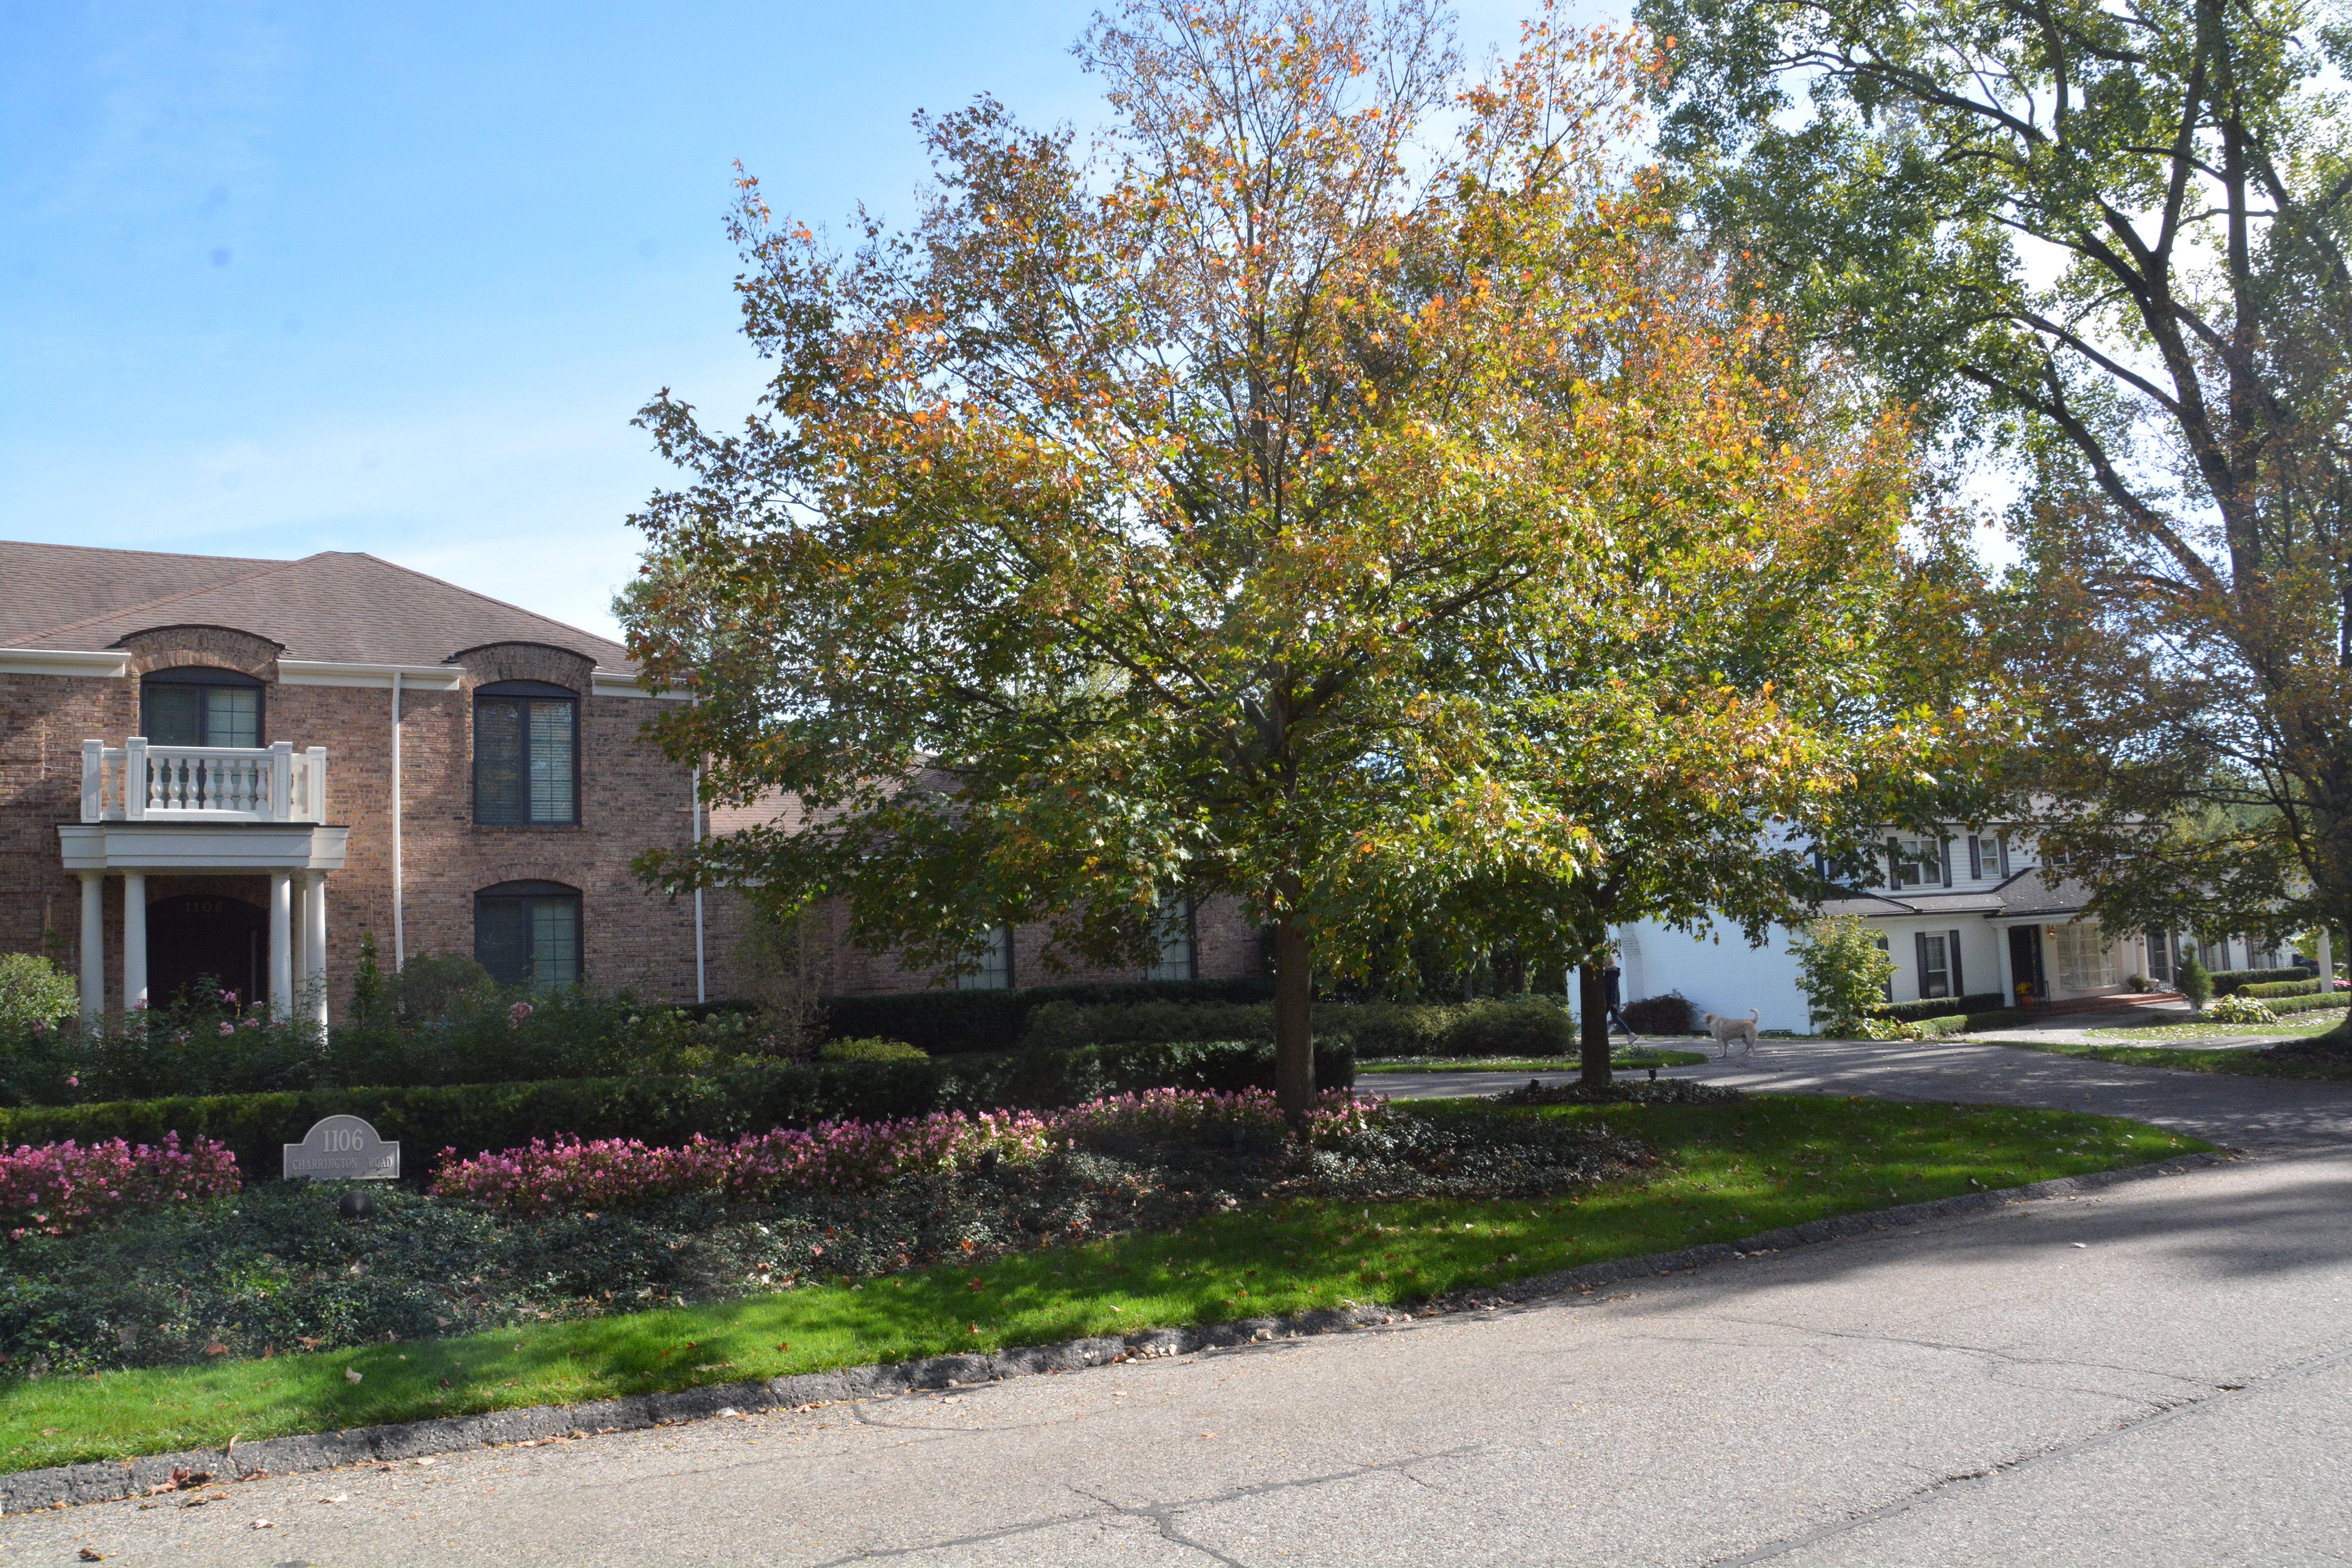 The far south side of the landscape featured a pair of maples. The landscape dropped off, and quit speaking on the south side. Most likely the shade cast by the pair of trees had much to do with that. Myrtle in deeper shade looses its texture and punch, and is ineffective visually unless it is planted in substantial and clearly defined beds.
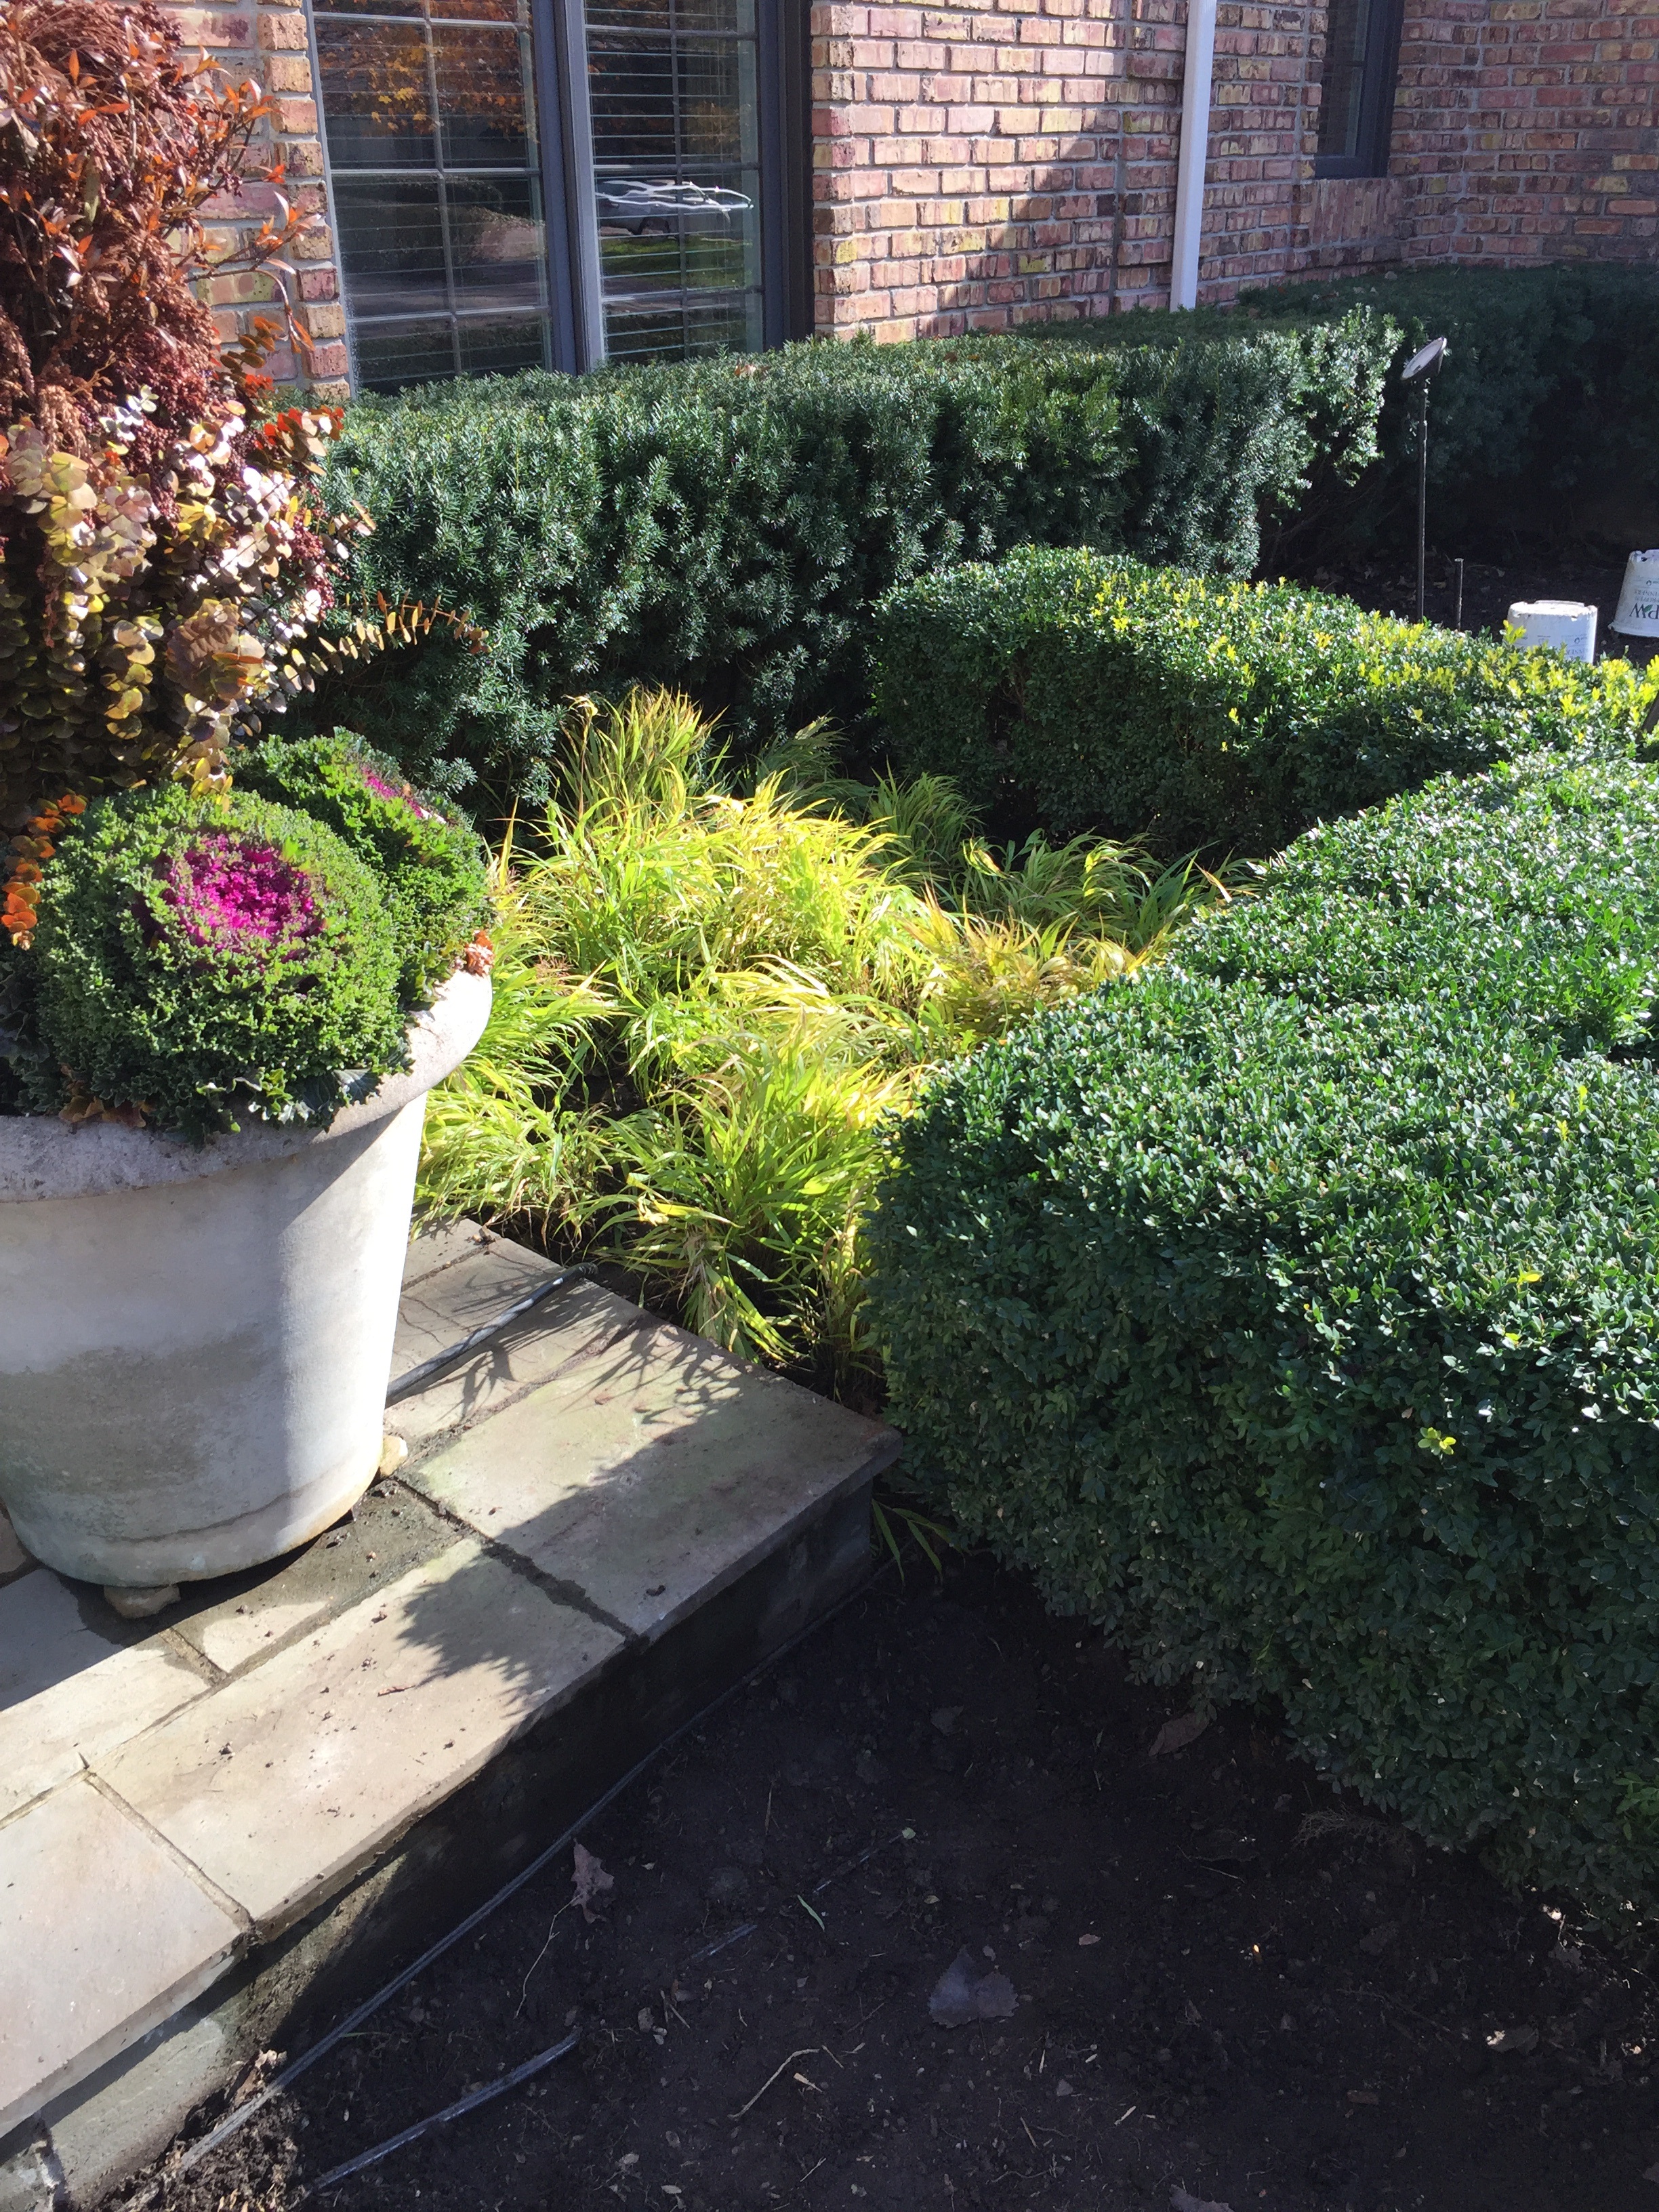
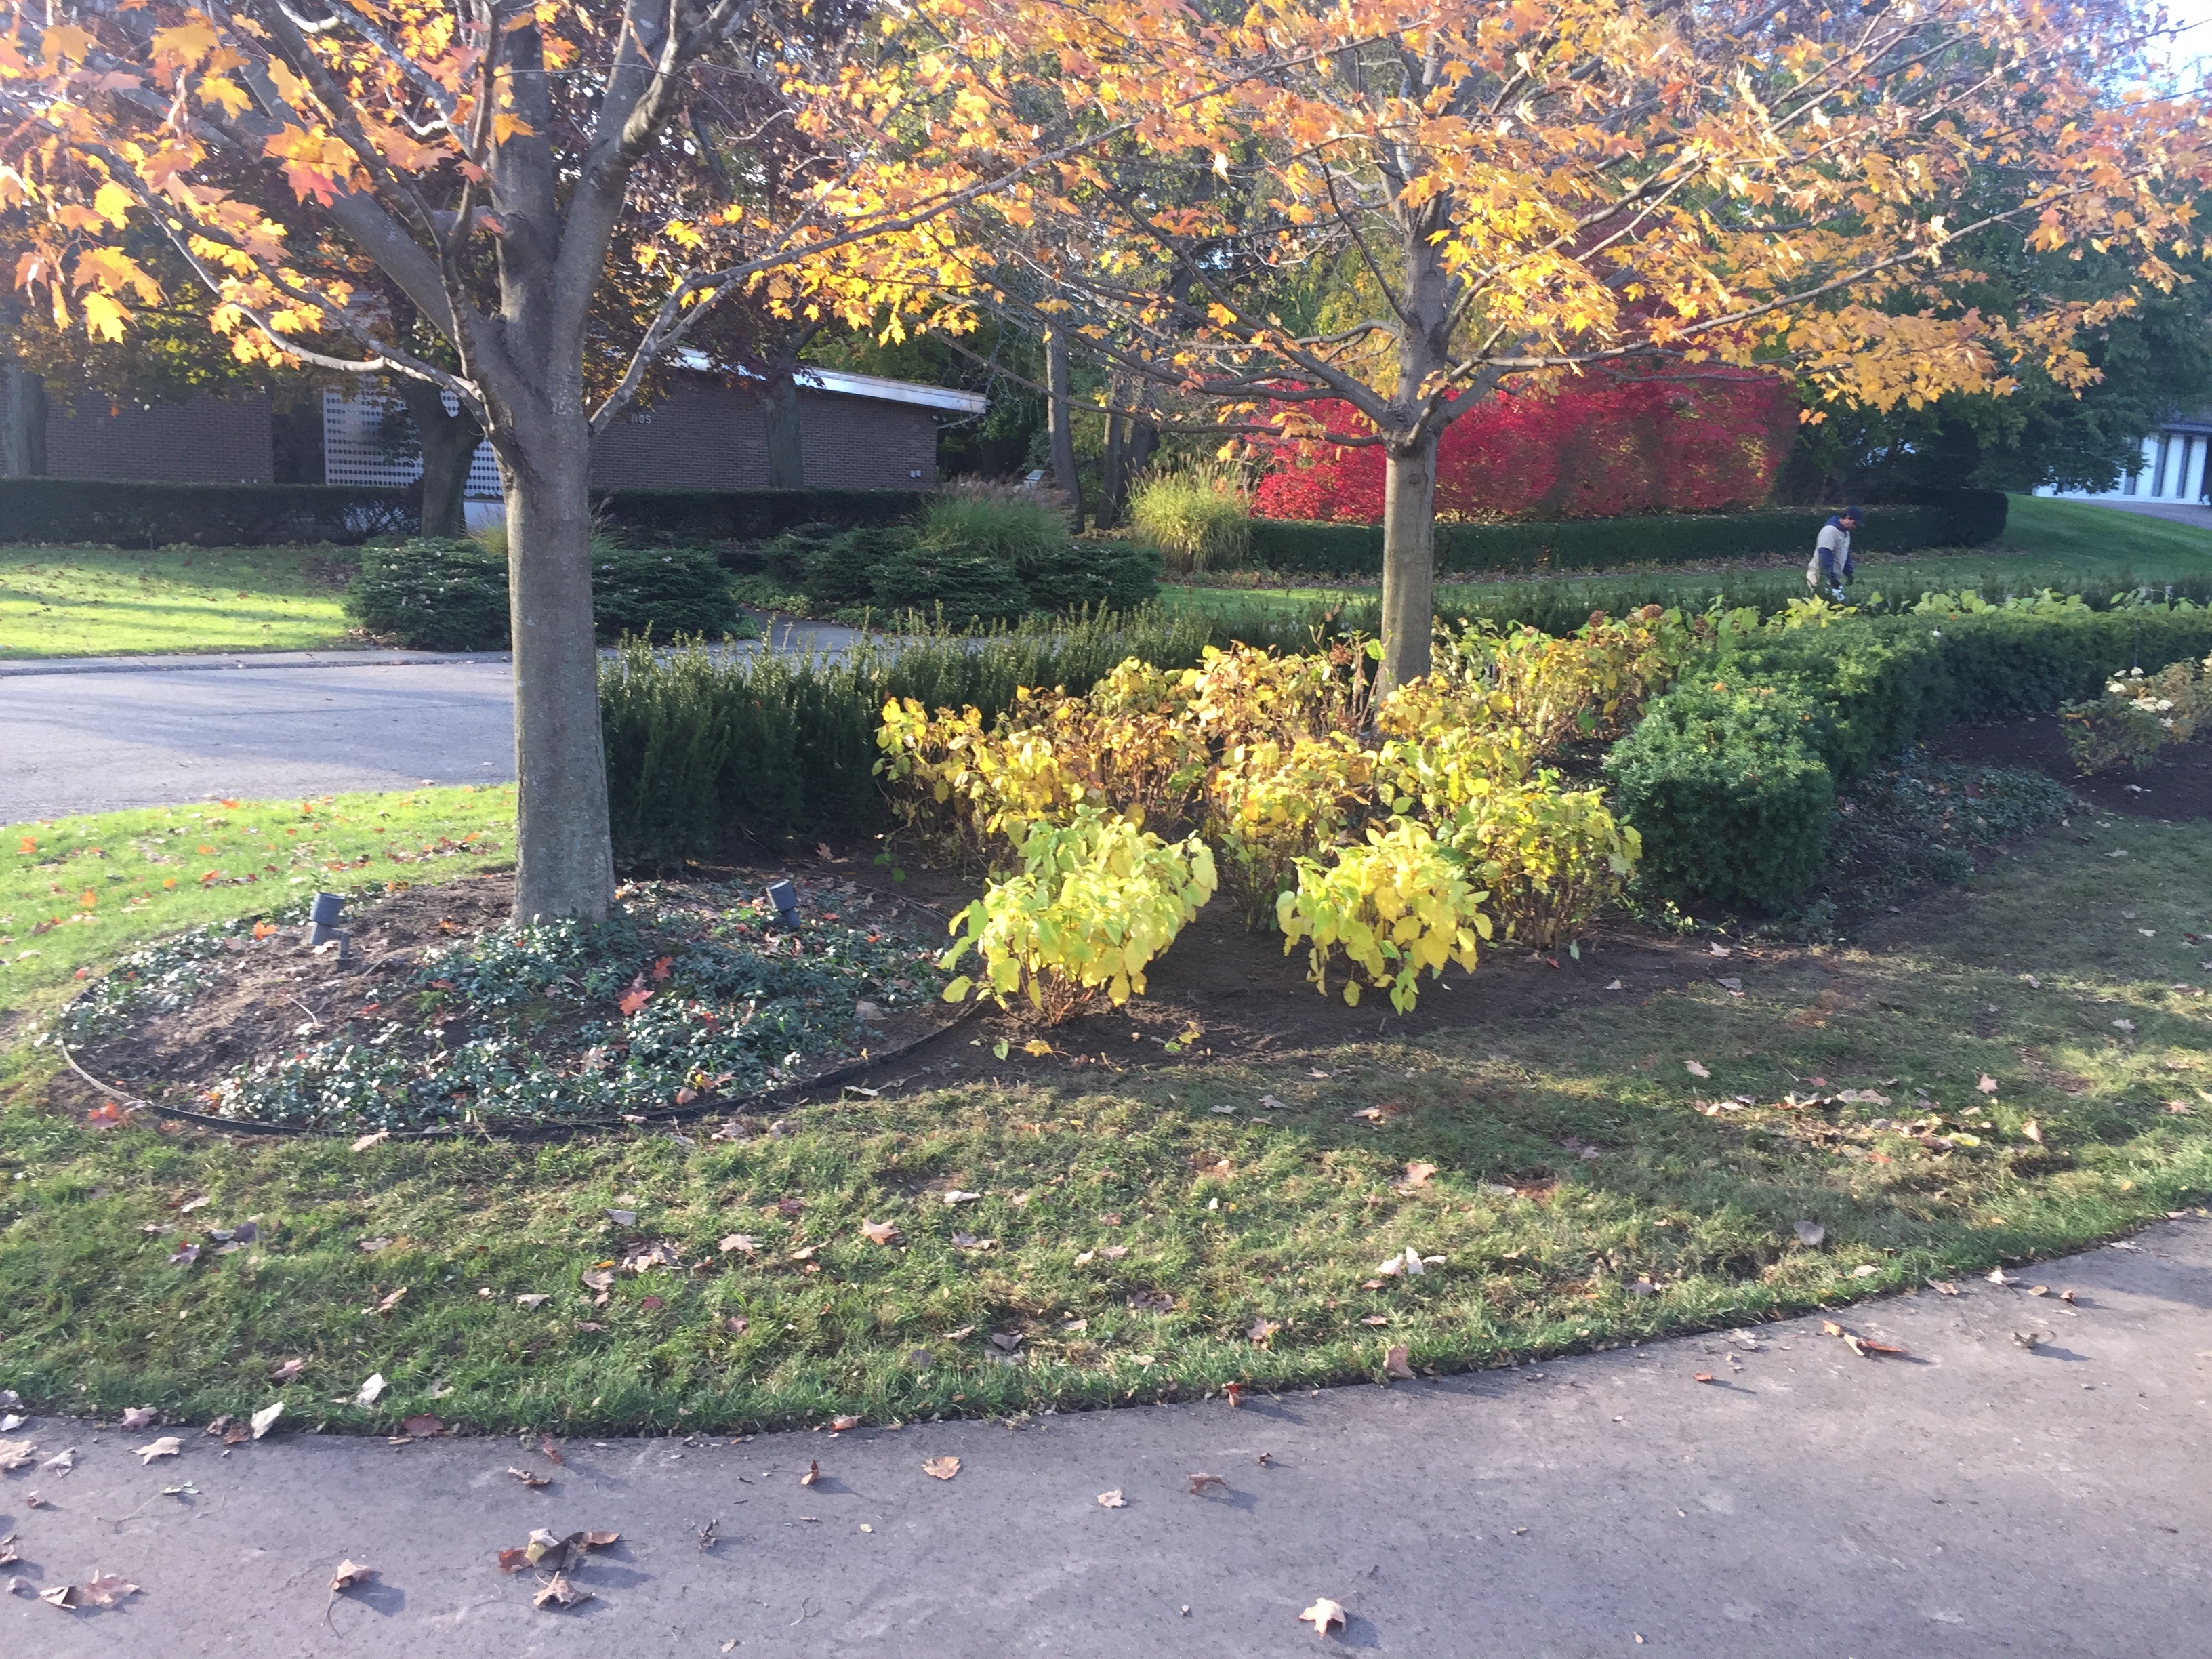
 This side view of the street side landscape makes it easy to see the scalloped edge of the myrtle, and the planting layers. The densiformis yews had been formally pruned, and was topped off by a mass of roses. Densiformis yews are the most beautiful in their naturally spiky and wide state. The trimming here was an effort to keep them lower than the roses. I like a layered landscape just as much as the next gardener, but I like layers that take into account the eventual height and spread, and the natural habit of each plant. Many years of gardening has taught me that most plants resent schooling. They are at their most beautiful when they can grow and have room to breathe.
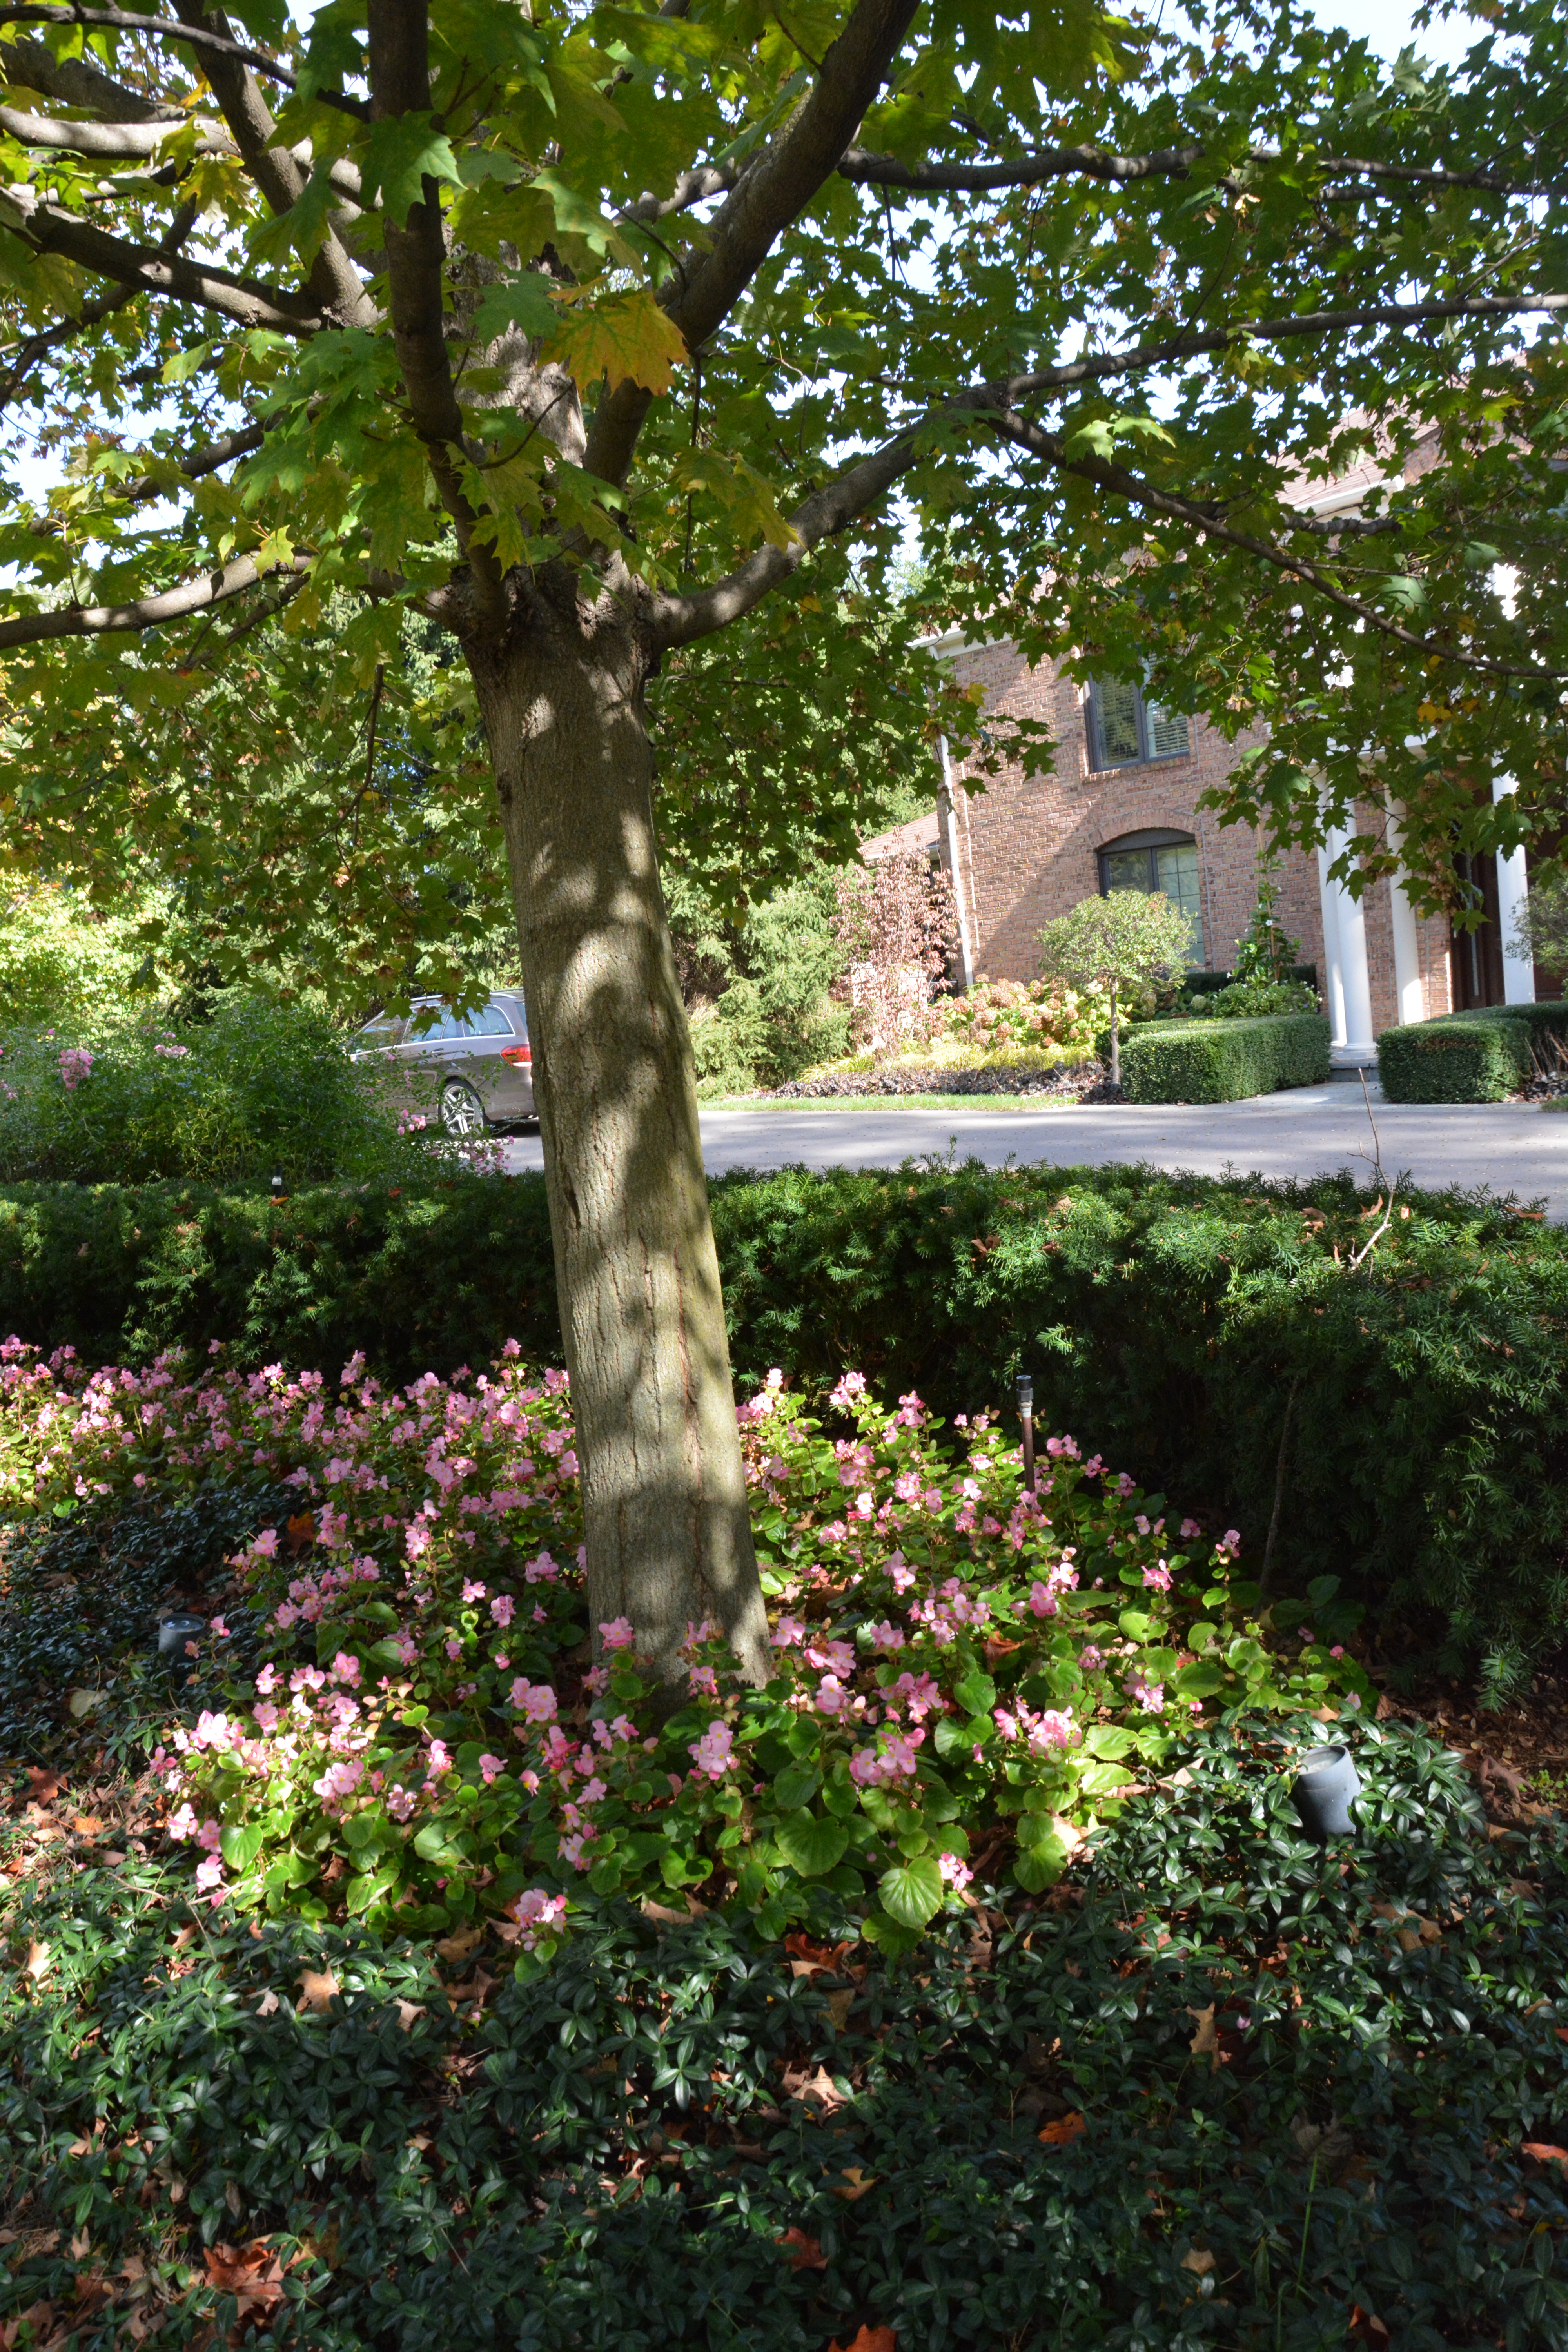 Across the drive, blocks of Incrediball hydrangeas were backed up by Hicks yews planted on the foundation of the house. A couple of Kousa dogwoods were sprinkled in to the mix.
 In front of the hydrangeas were long parallel ribbons of Japanese forest grass, and black leaved heuchera. Black and lime in a container can be quite dramatic and effective. This was too much of a good thing, in my opinion. Nor would these plants look good in the winter.
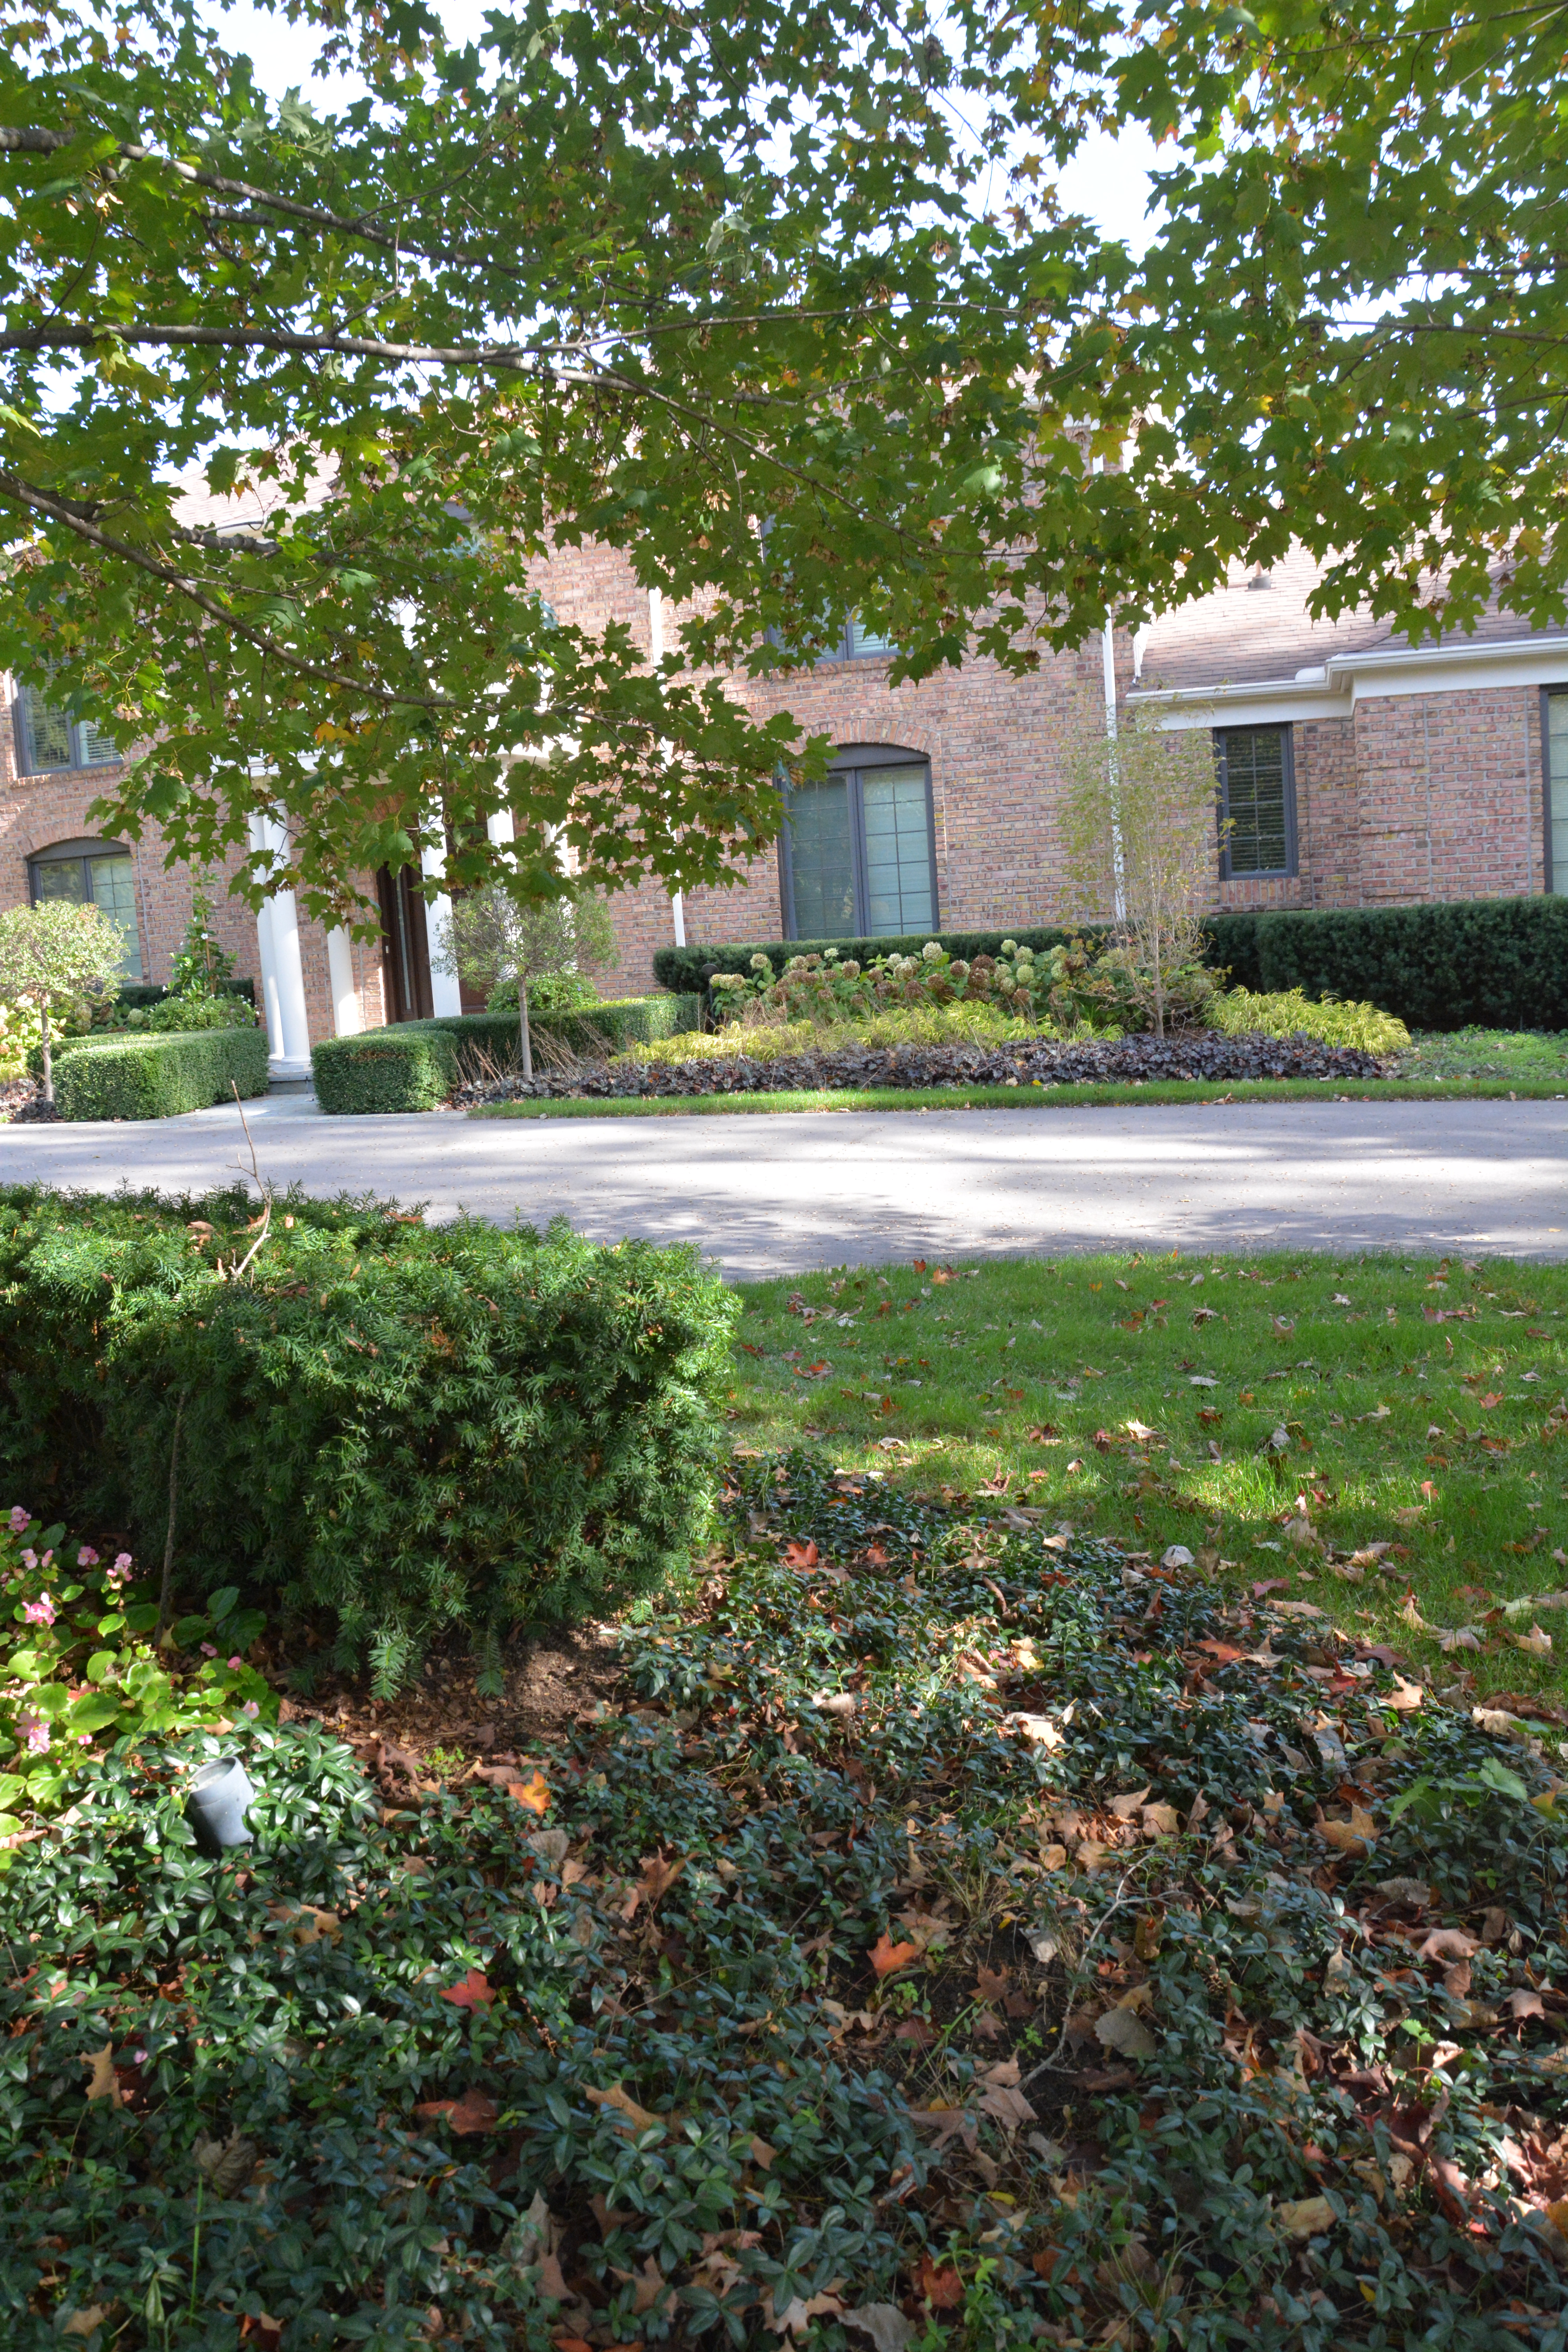
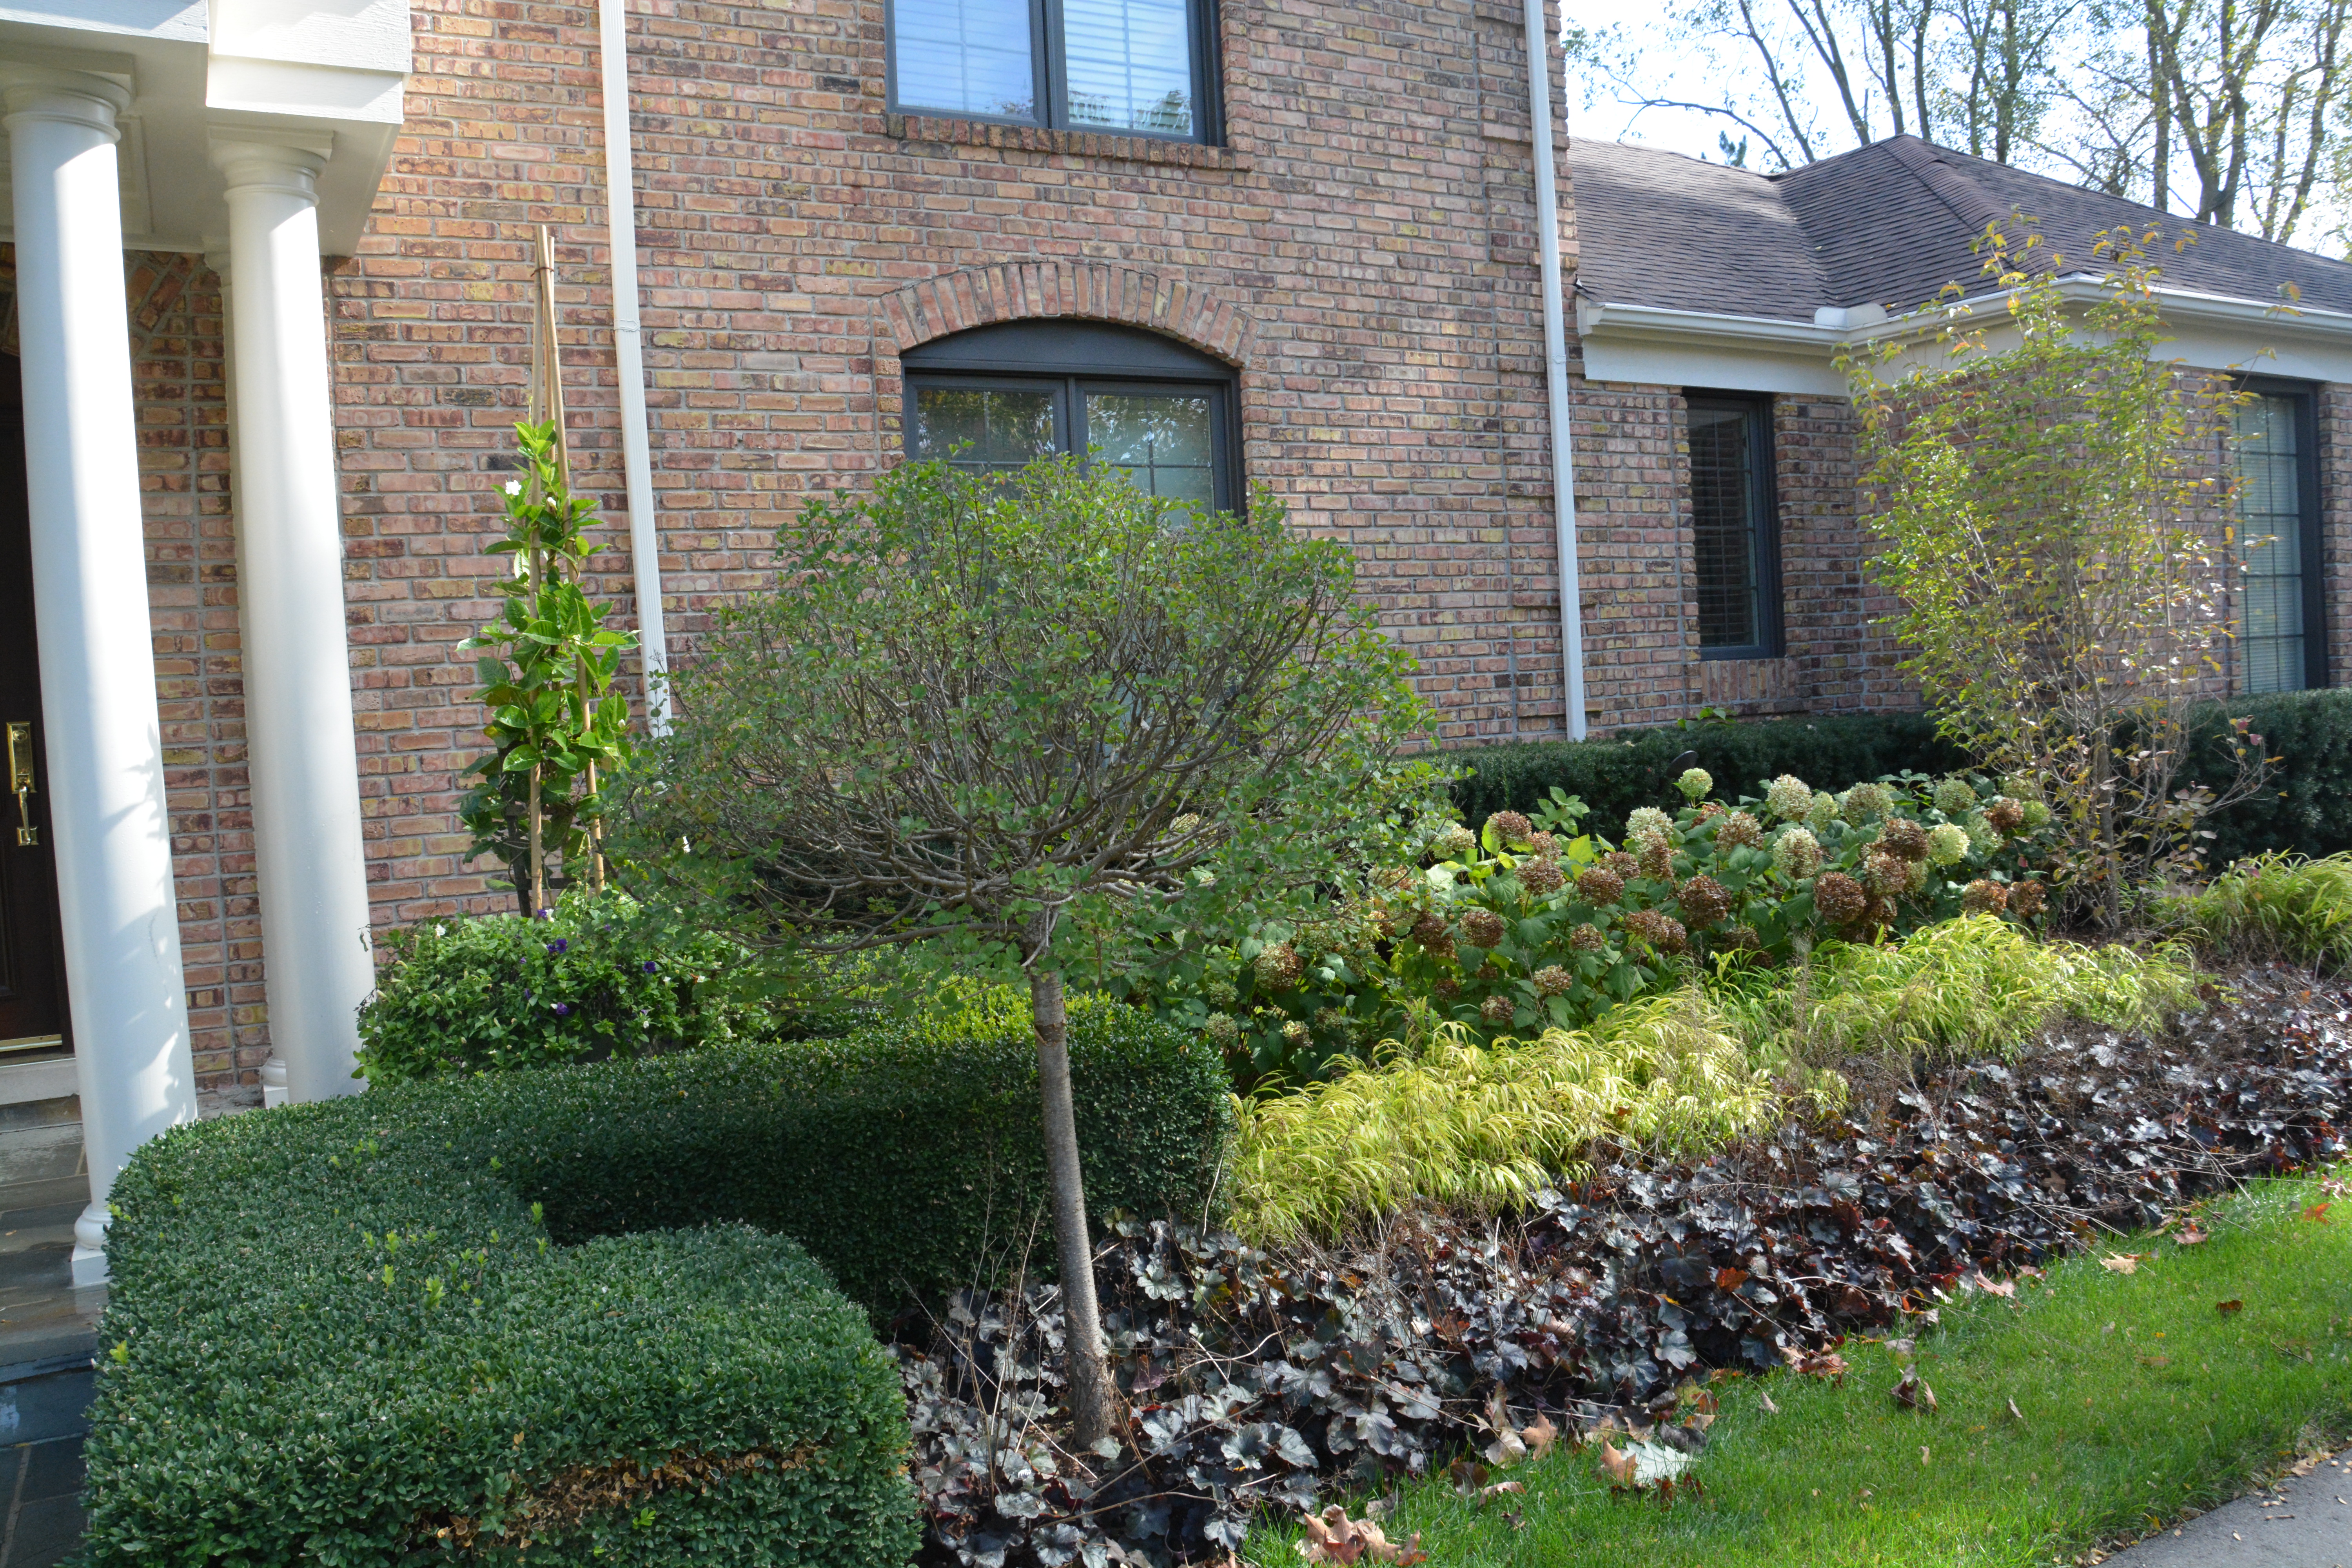 It is so important in creating landscape layers to allow room for each plant to develop to its eventual size, and to choose plants that will eventually represent the height and width sought. The Hicks yews in the background could certainly be grown to a taller height, but they were already covering the bottoms of the windows.To my mind, the Hicks yews set the height that all other landscape elements needed to respect. It would only take another year for the Incrediballs to exceed the foundation yews in height. They would also drape over at least the first row of grasses.
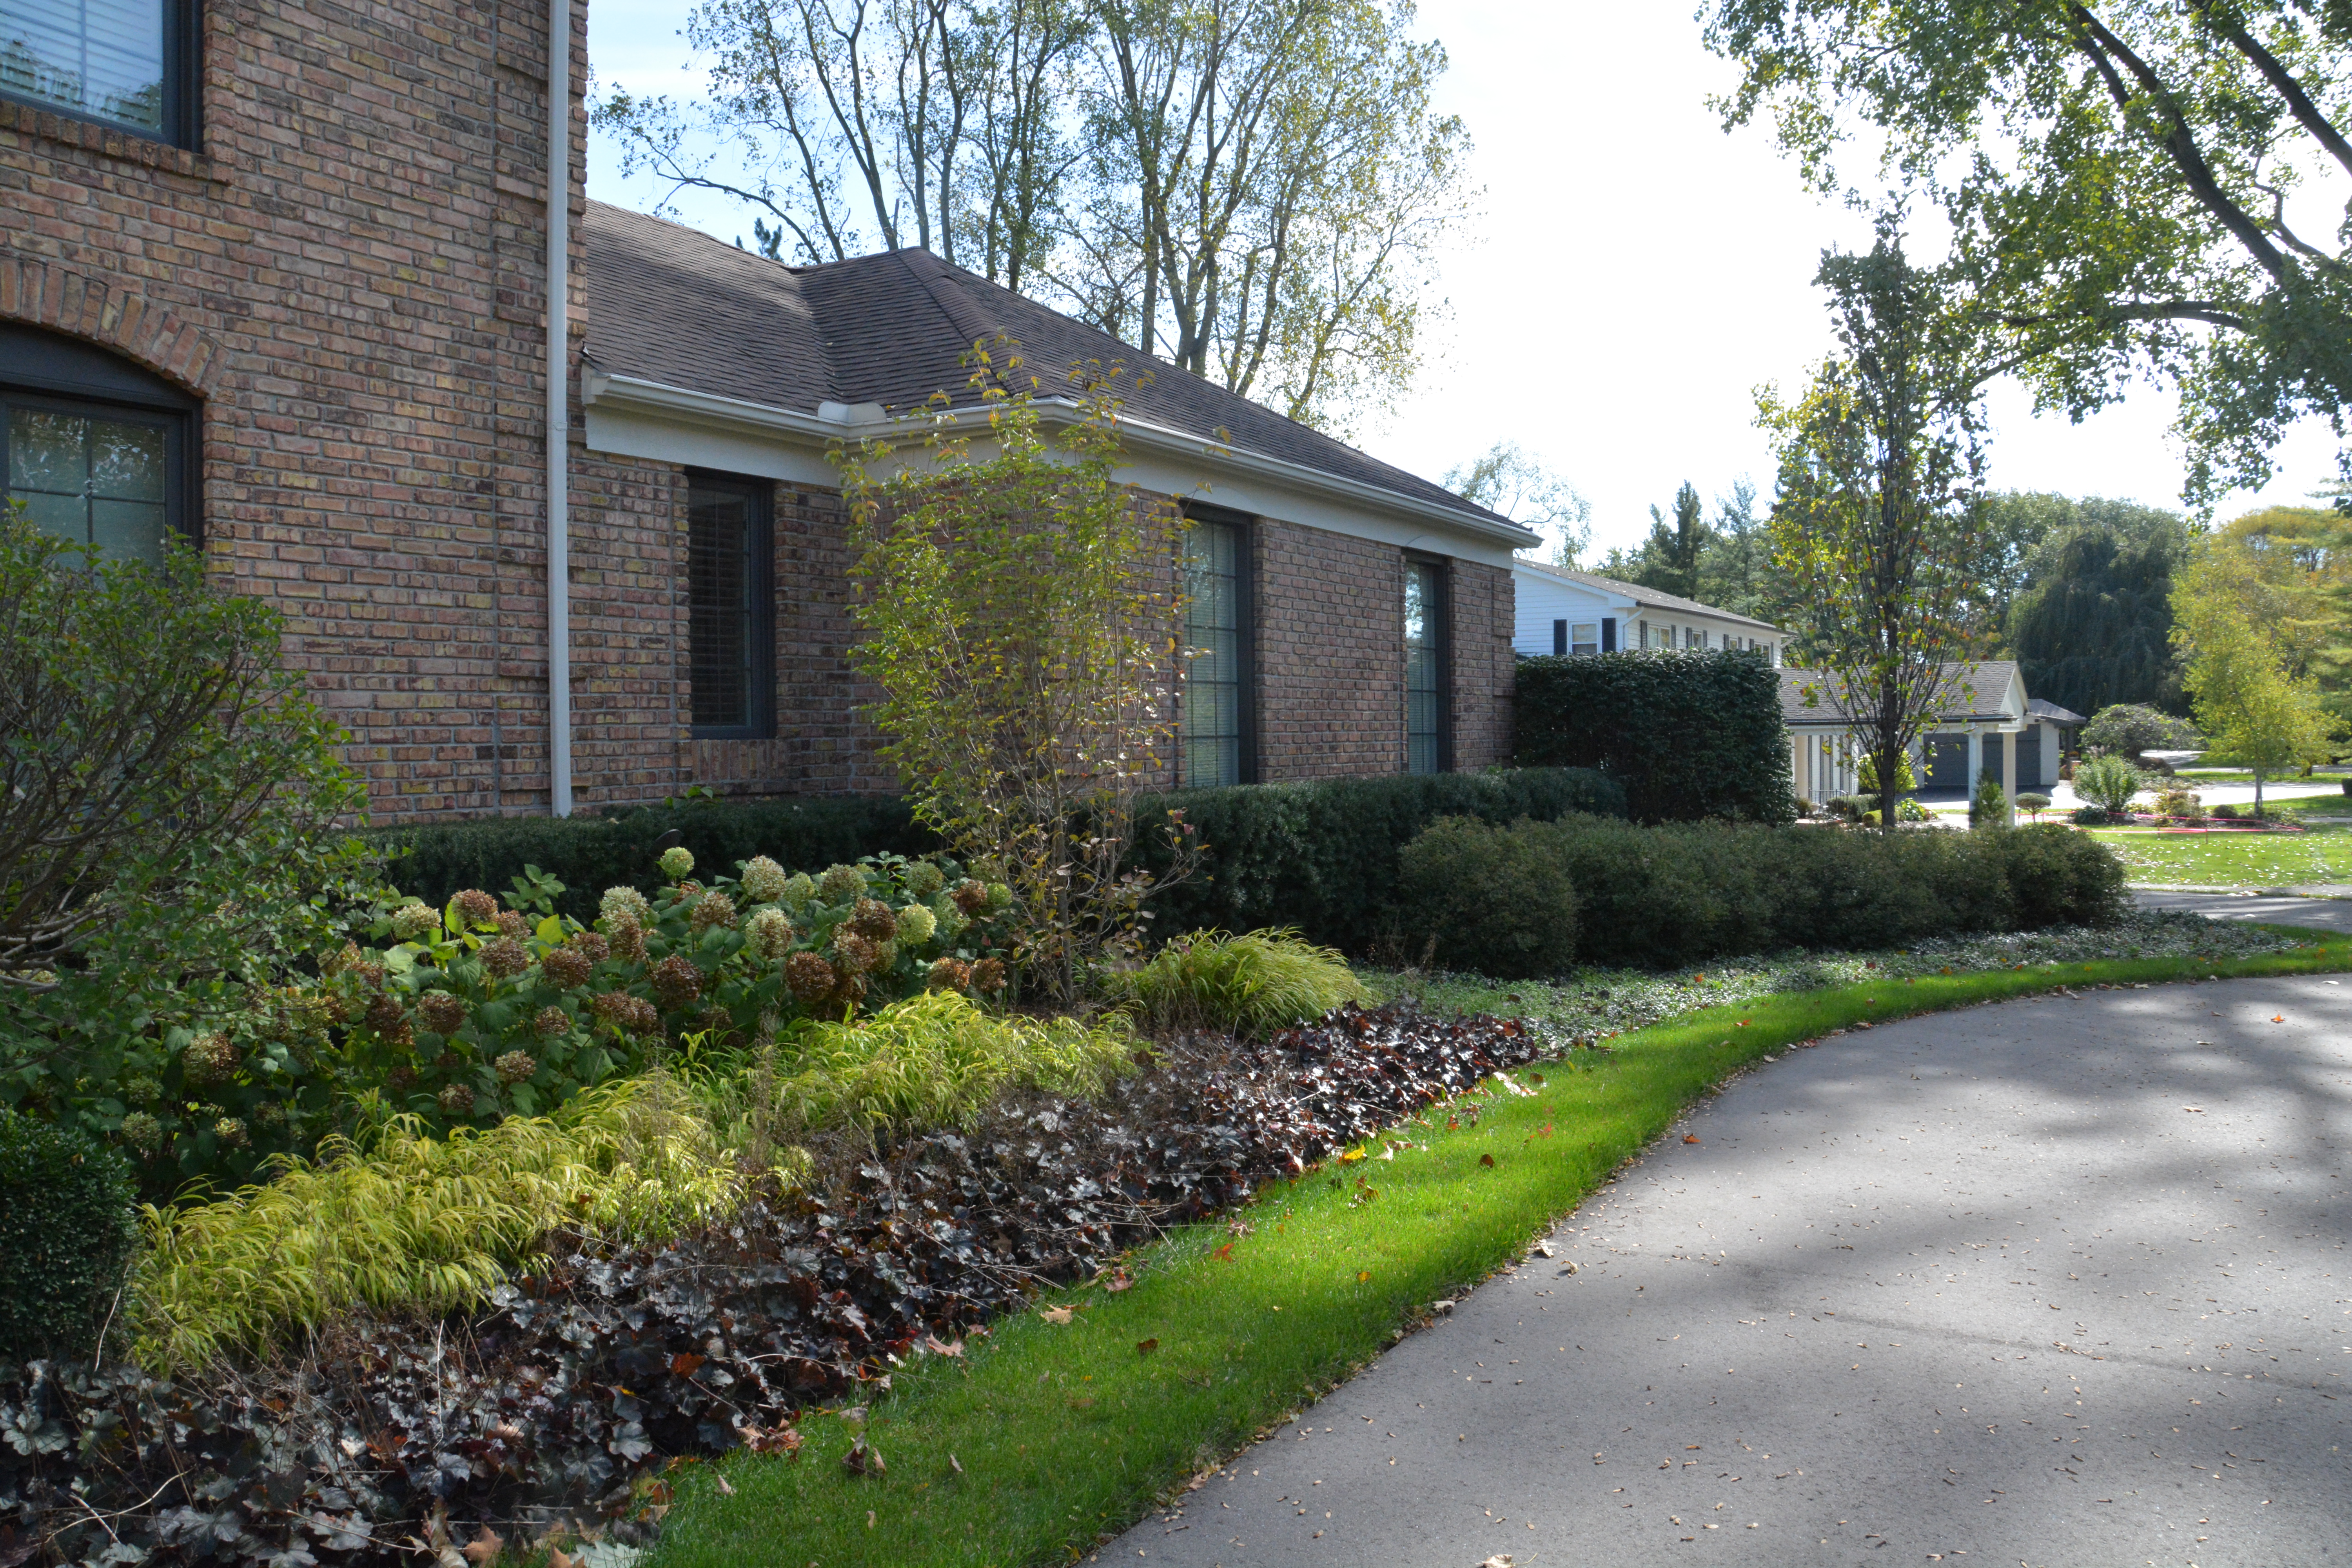 The far south side featured a ball shaped hedge of spirea. This seemed fine to me. The problem was the maintenance. I would hard prune those spireas regularly rather than snipping the ends. They looked bulky, chubby, and too tall against the yews.
 Opposite the front door, the beds were scalloped in a similar way as the street side myrtle bed. The landscape bed lines did not seem to take much of a cue from the shapes, curves, and lines created by the driveway. The bed line scallops on the street side have the same problem.. Streets and driveways are hard structures that cannot be changed. Good landscape design acknowledges and works with those structures that are a given.
 My client was tired of the roses. She was happy for me to pitch them. They were robust to the point of weediness. I doubt they gave her much color but for a few weeks in June. Did I relay all of my observations to my client? No. Though I would be able to point out my design concerns, I had no idea what to propose in its stead. I told her I wanted to transplant the boxwood hedge -intact- away from the porch, and move all of the Incrediball hydrangeas to the opposite side of the driveway. After that was done, I told her that I would have to come every day to decide what would go where, next. She seemed hesitant, but not for long. I told her the project would take a number of days, and that she would have time to react to what she was seeing. Knowing she had time helped her to have confident in the process.
 Dan does a terrific job of moving plant material. Each boxwood that got dug up was flagged with a number and a face, so the replanting seems exactly as it was-just in a different spot.
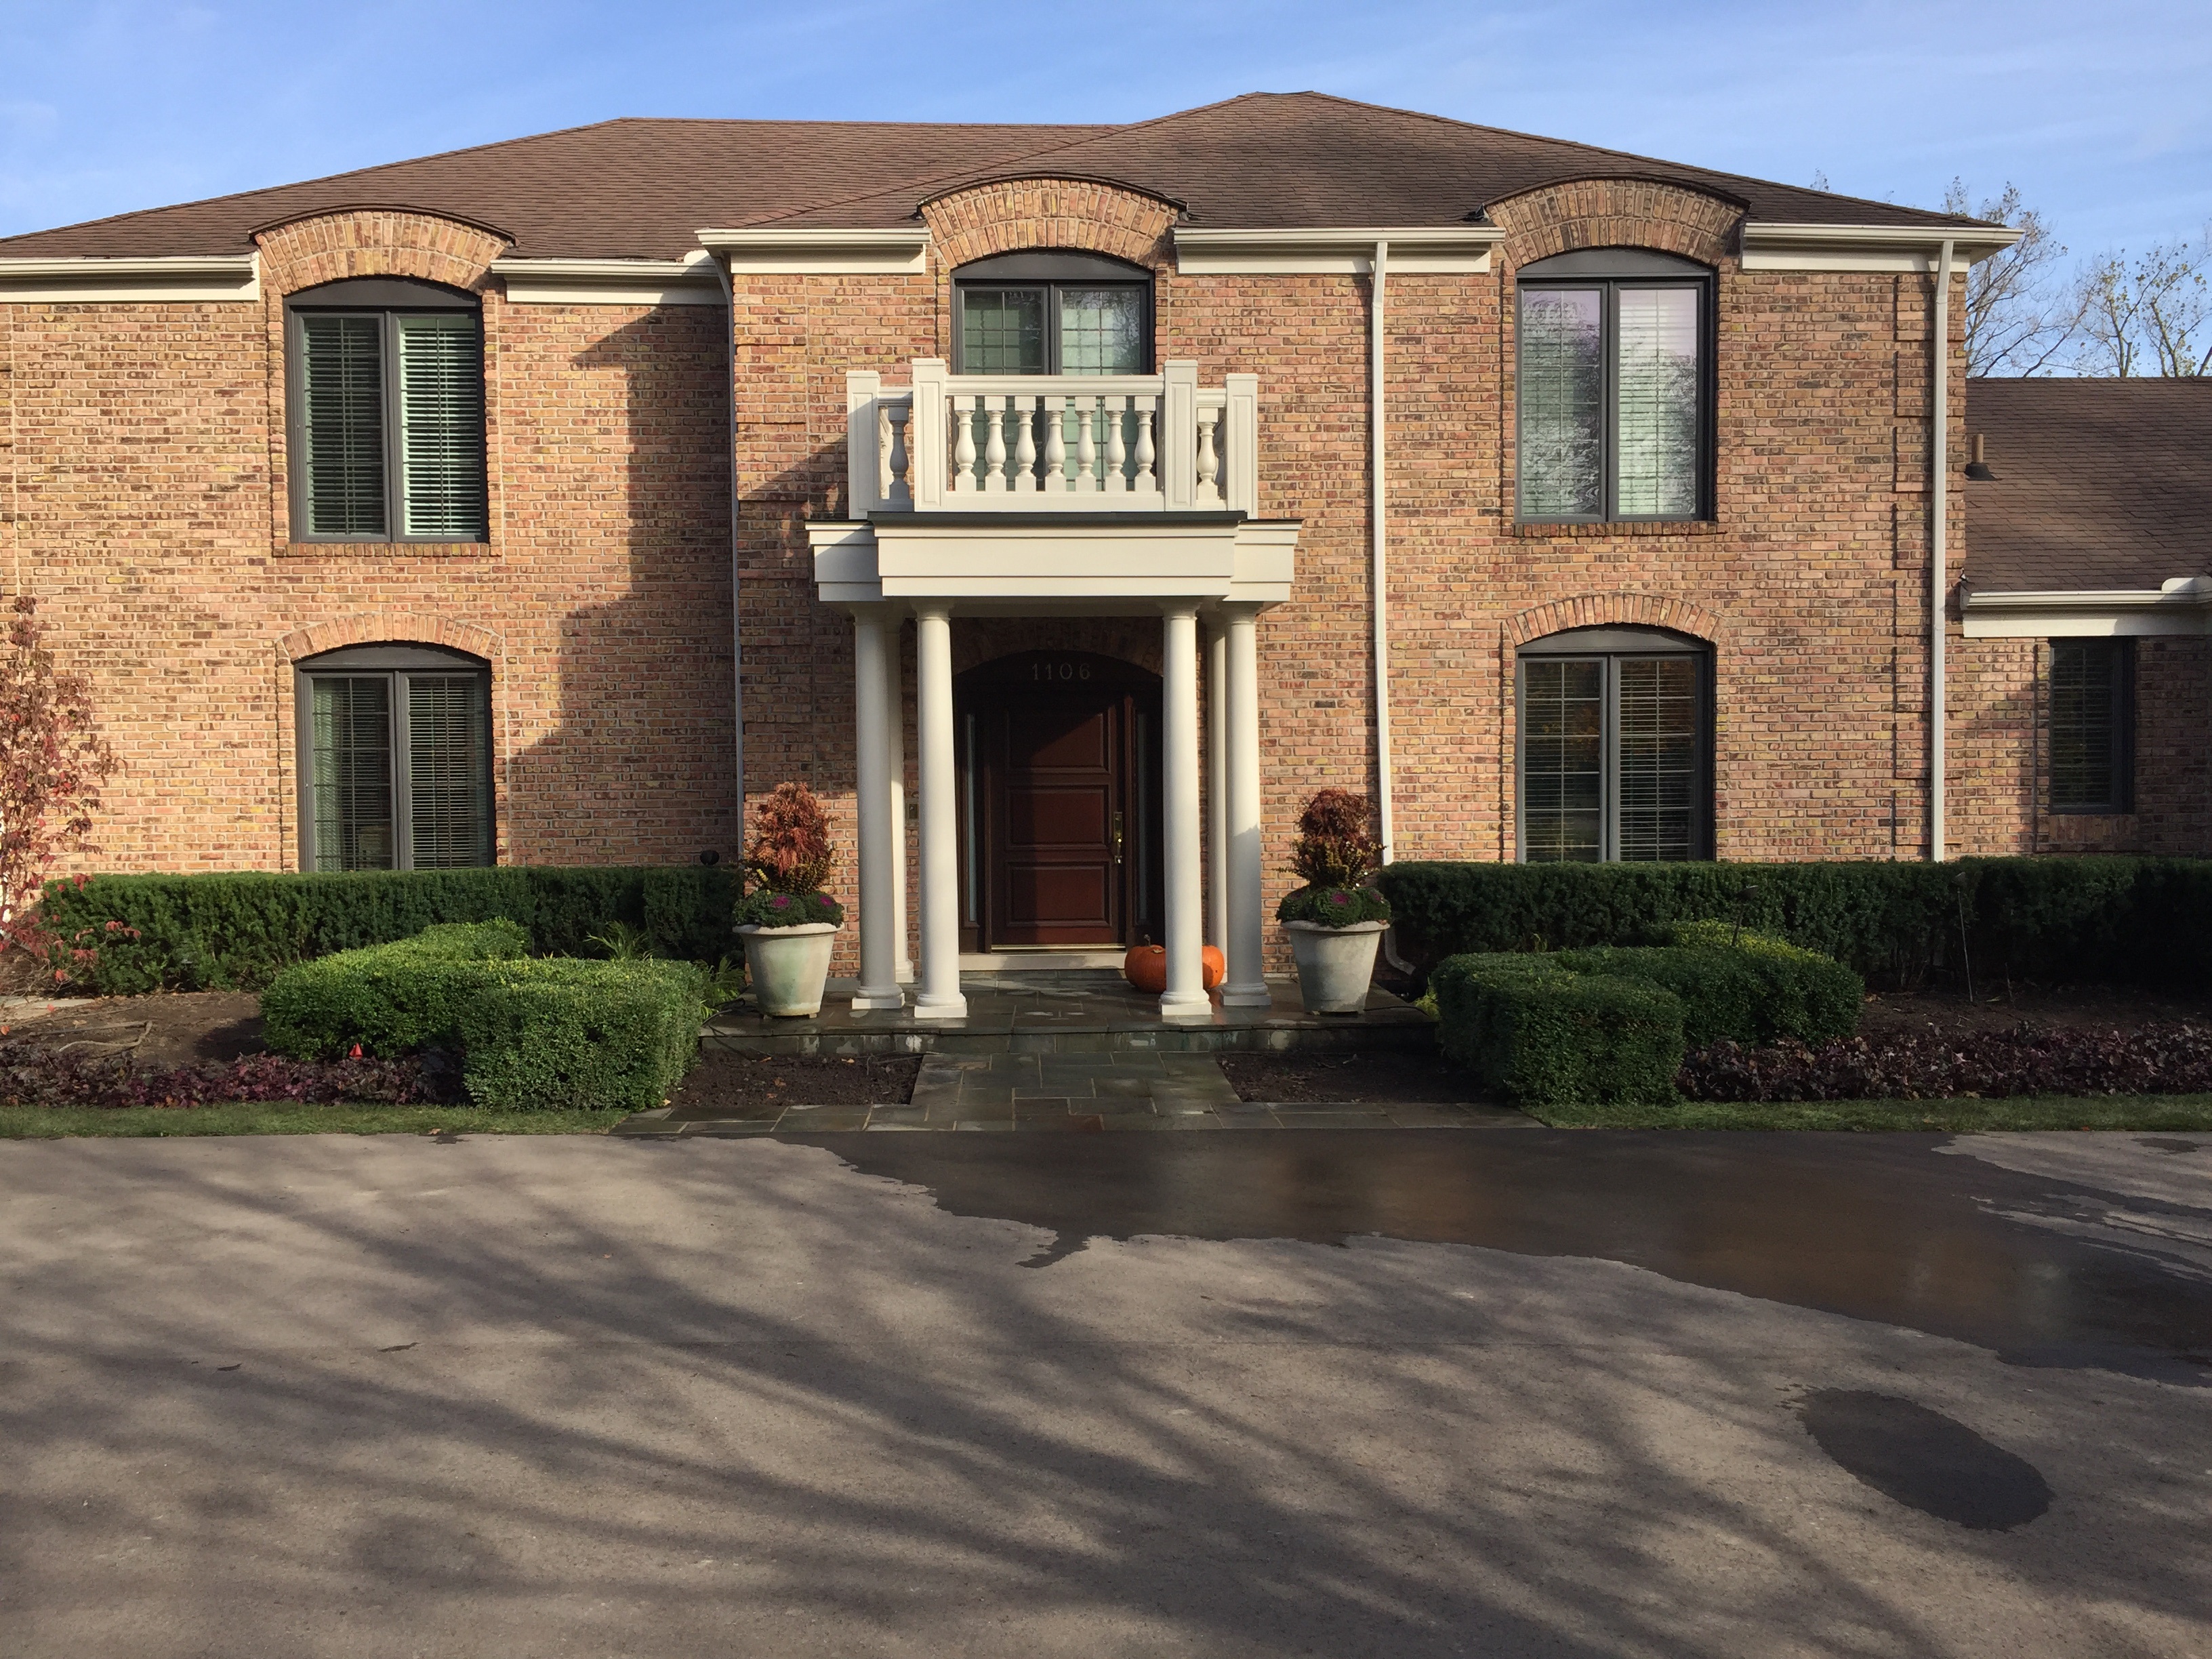
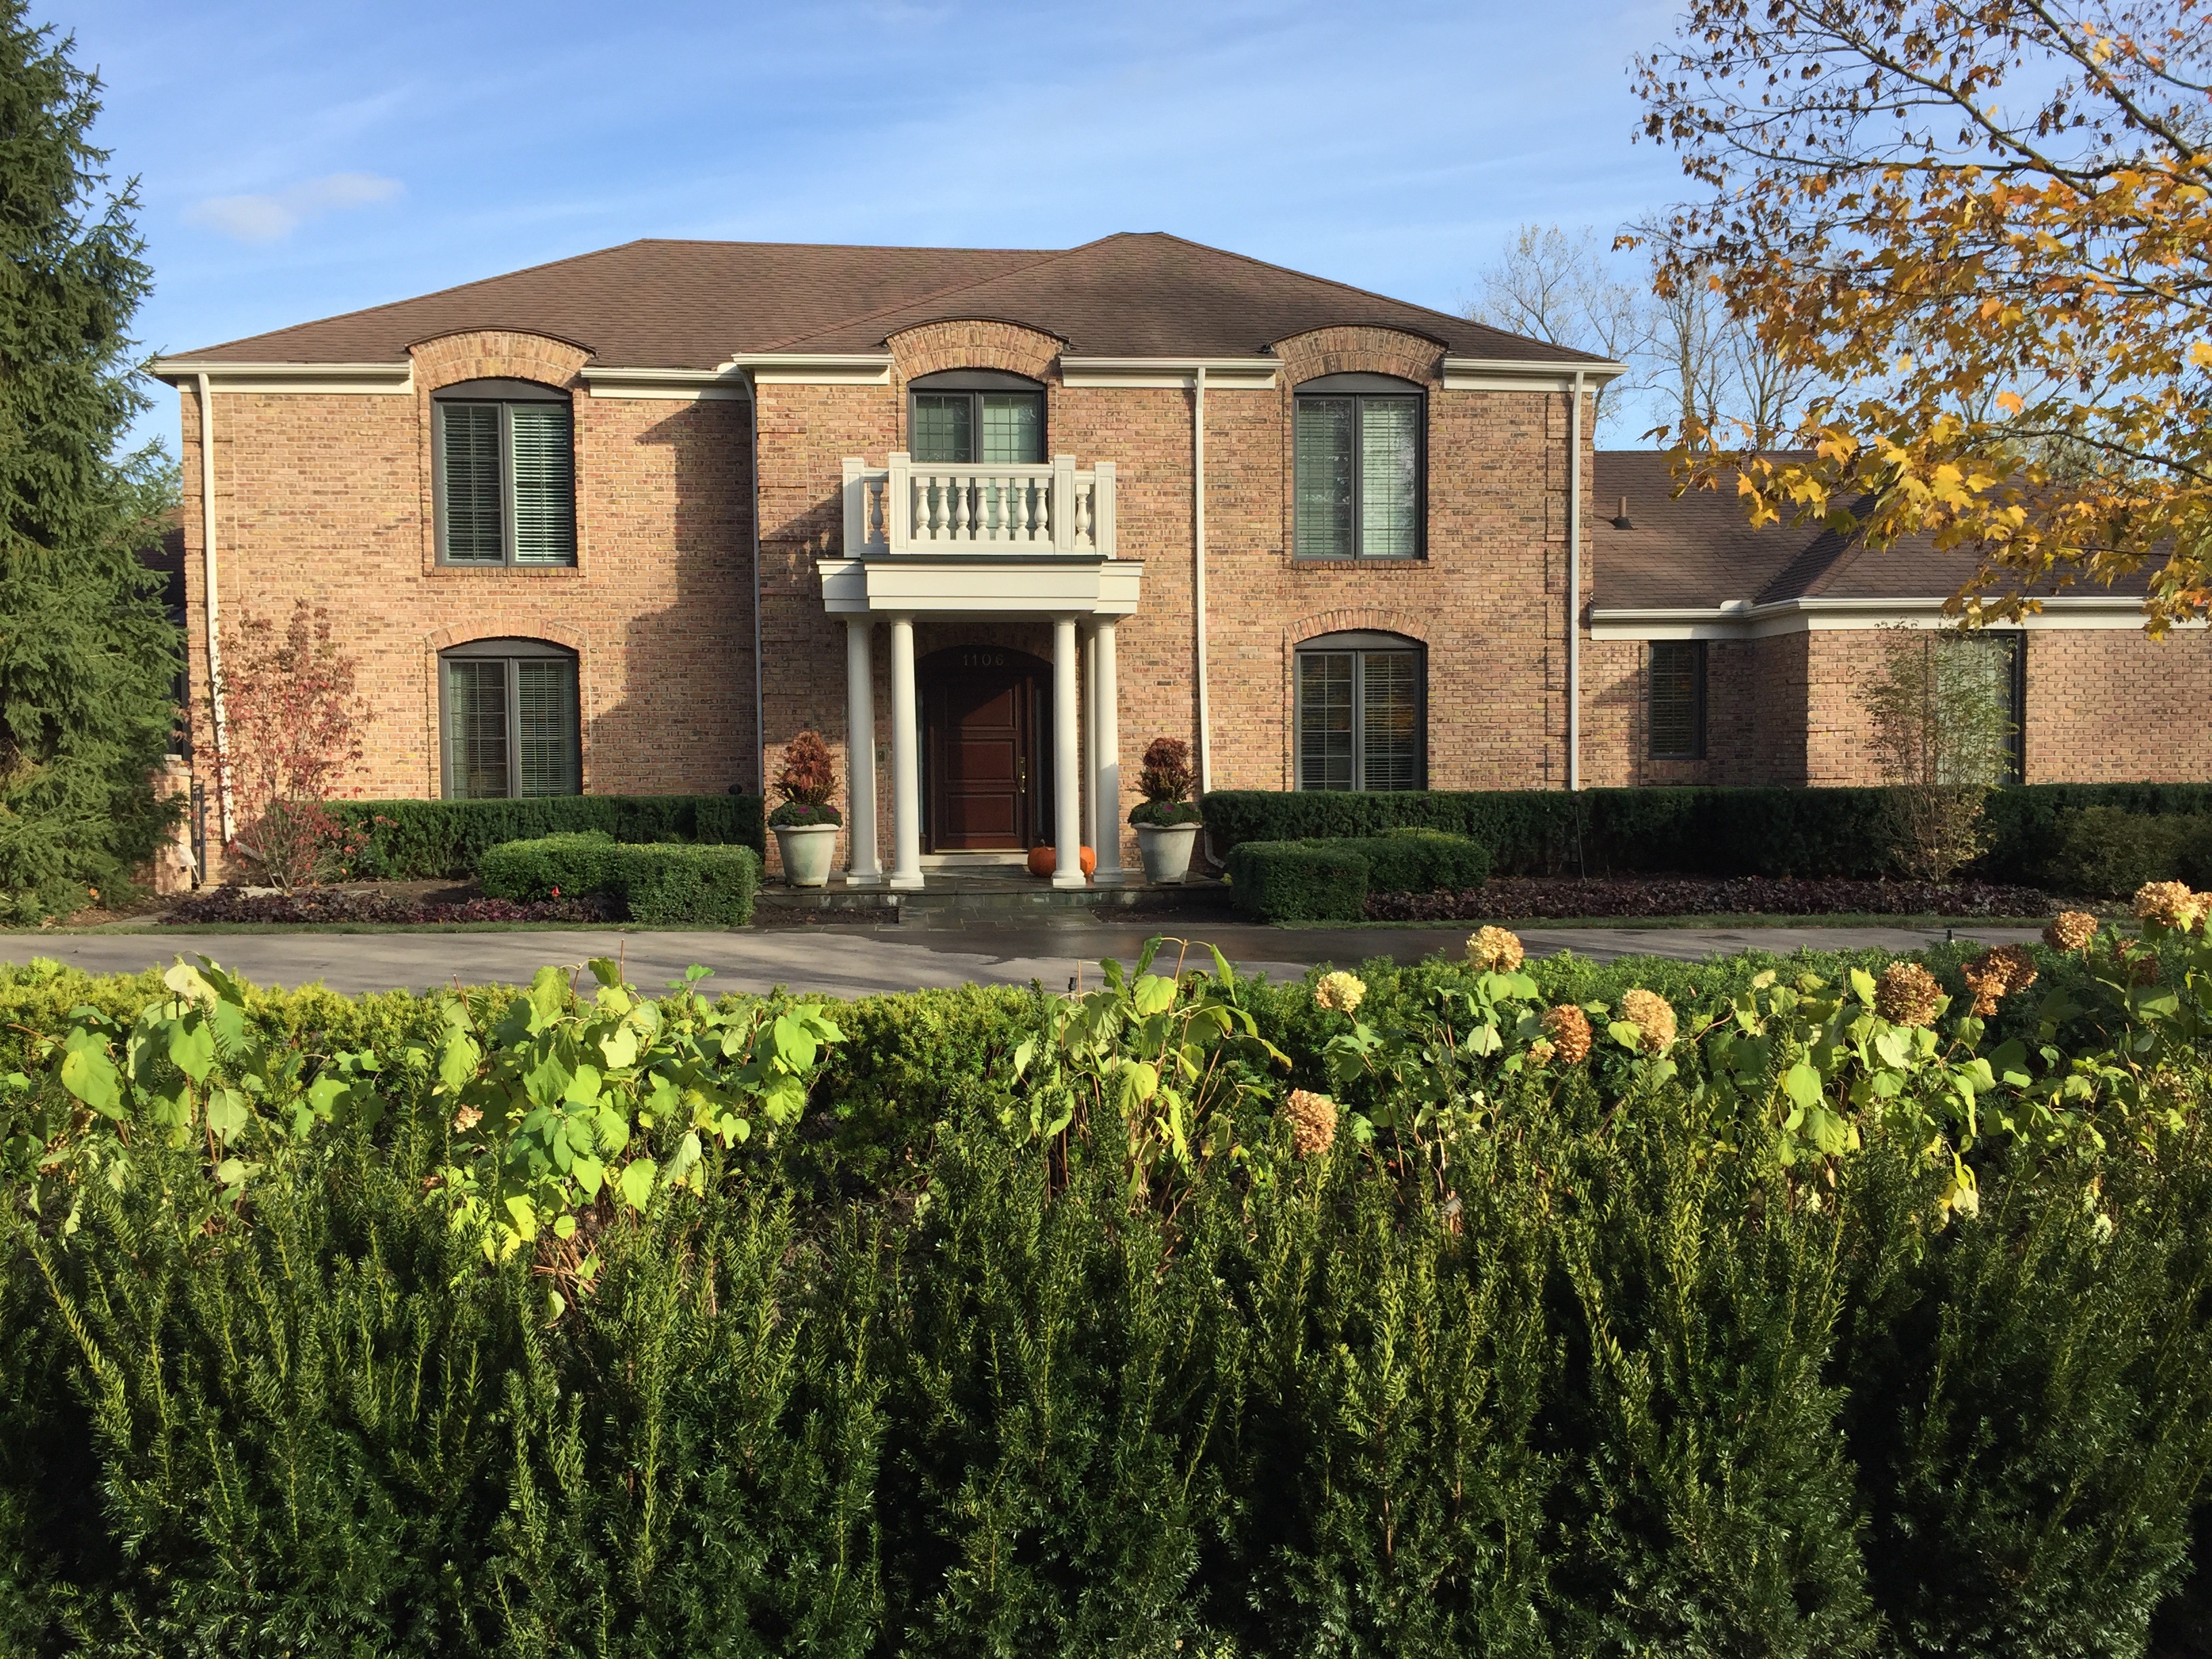
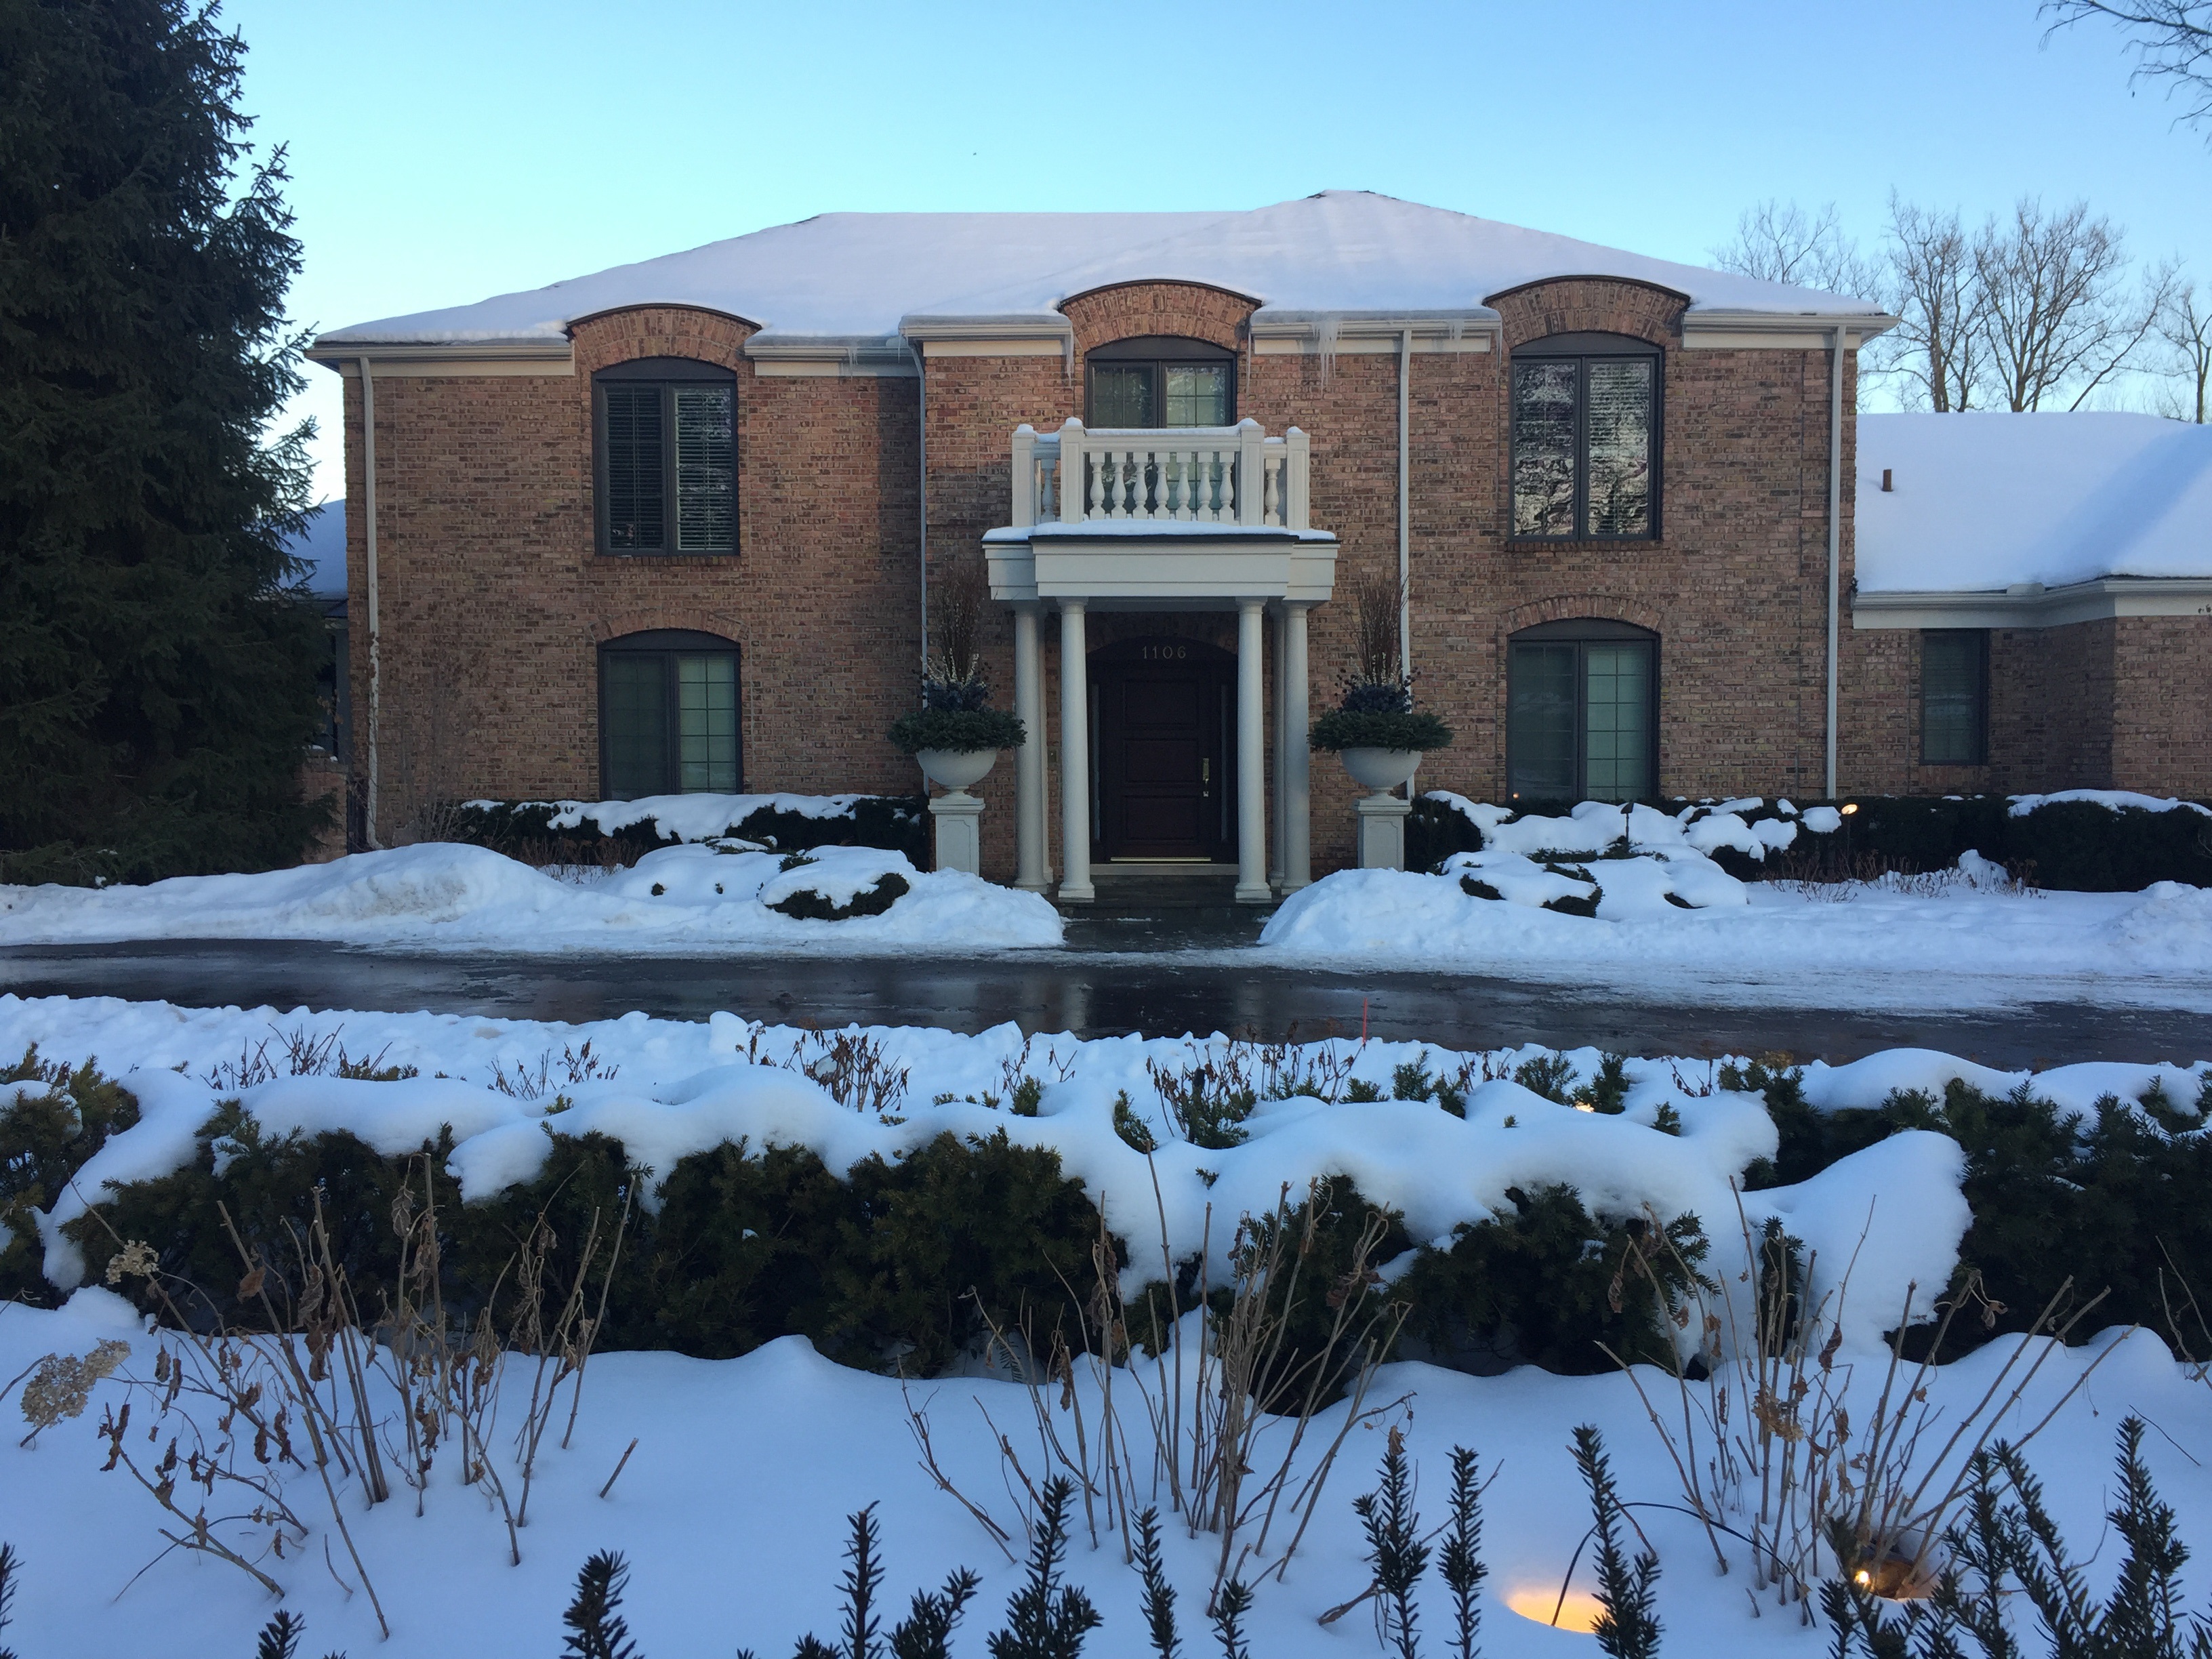
 Moving the boxwood (and the Palabin lilac standards) completely transformed the look of the entrance to the house. The entrance landscape is simple, formal and symmetrical, and embraces the architecture. The yews in the back could be seen, as well as the porch pillars and pots. It was a good start. My client was happy with the starting gesture and felt more relaxed about trusting what was to come.
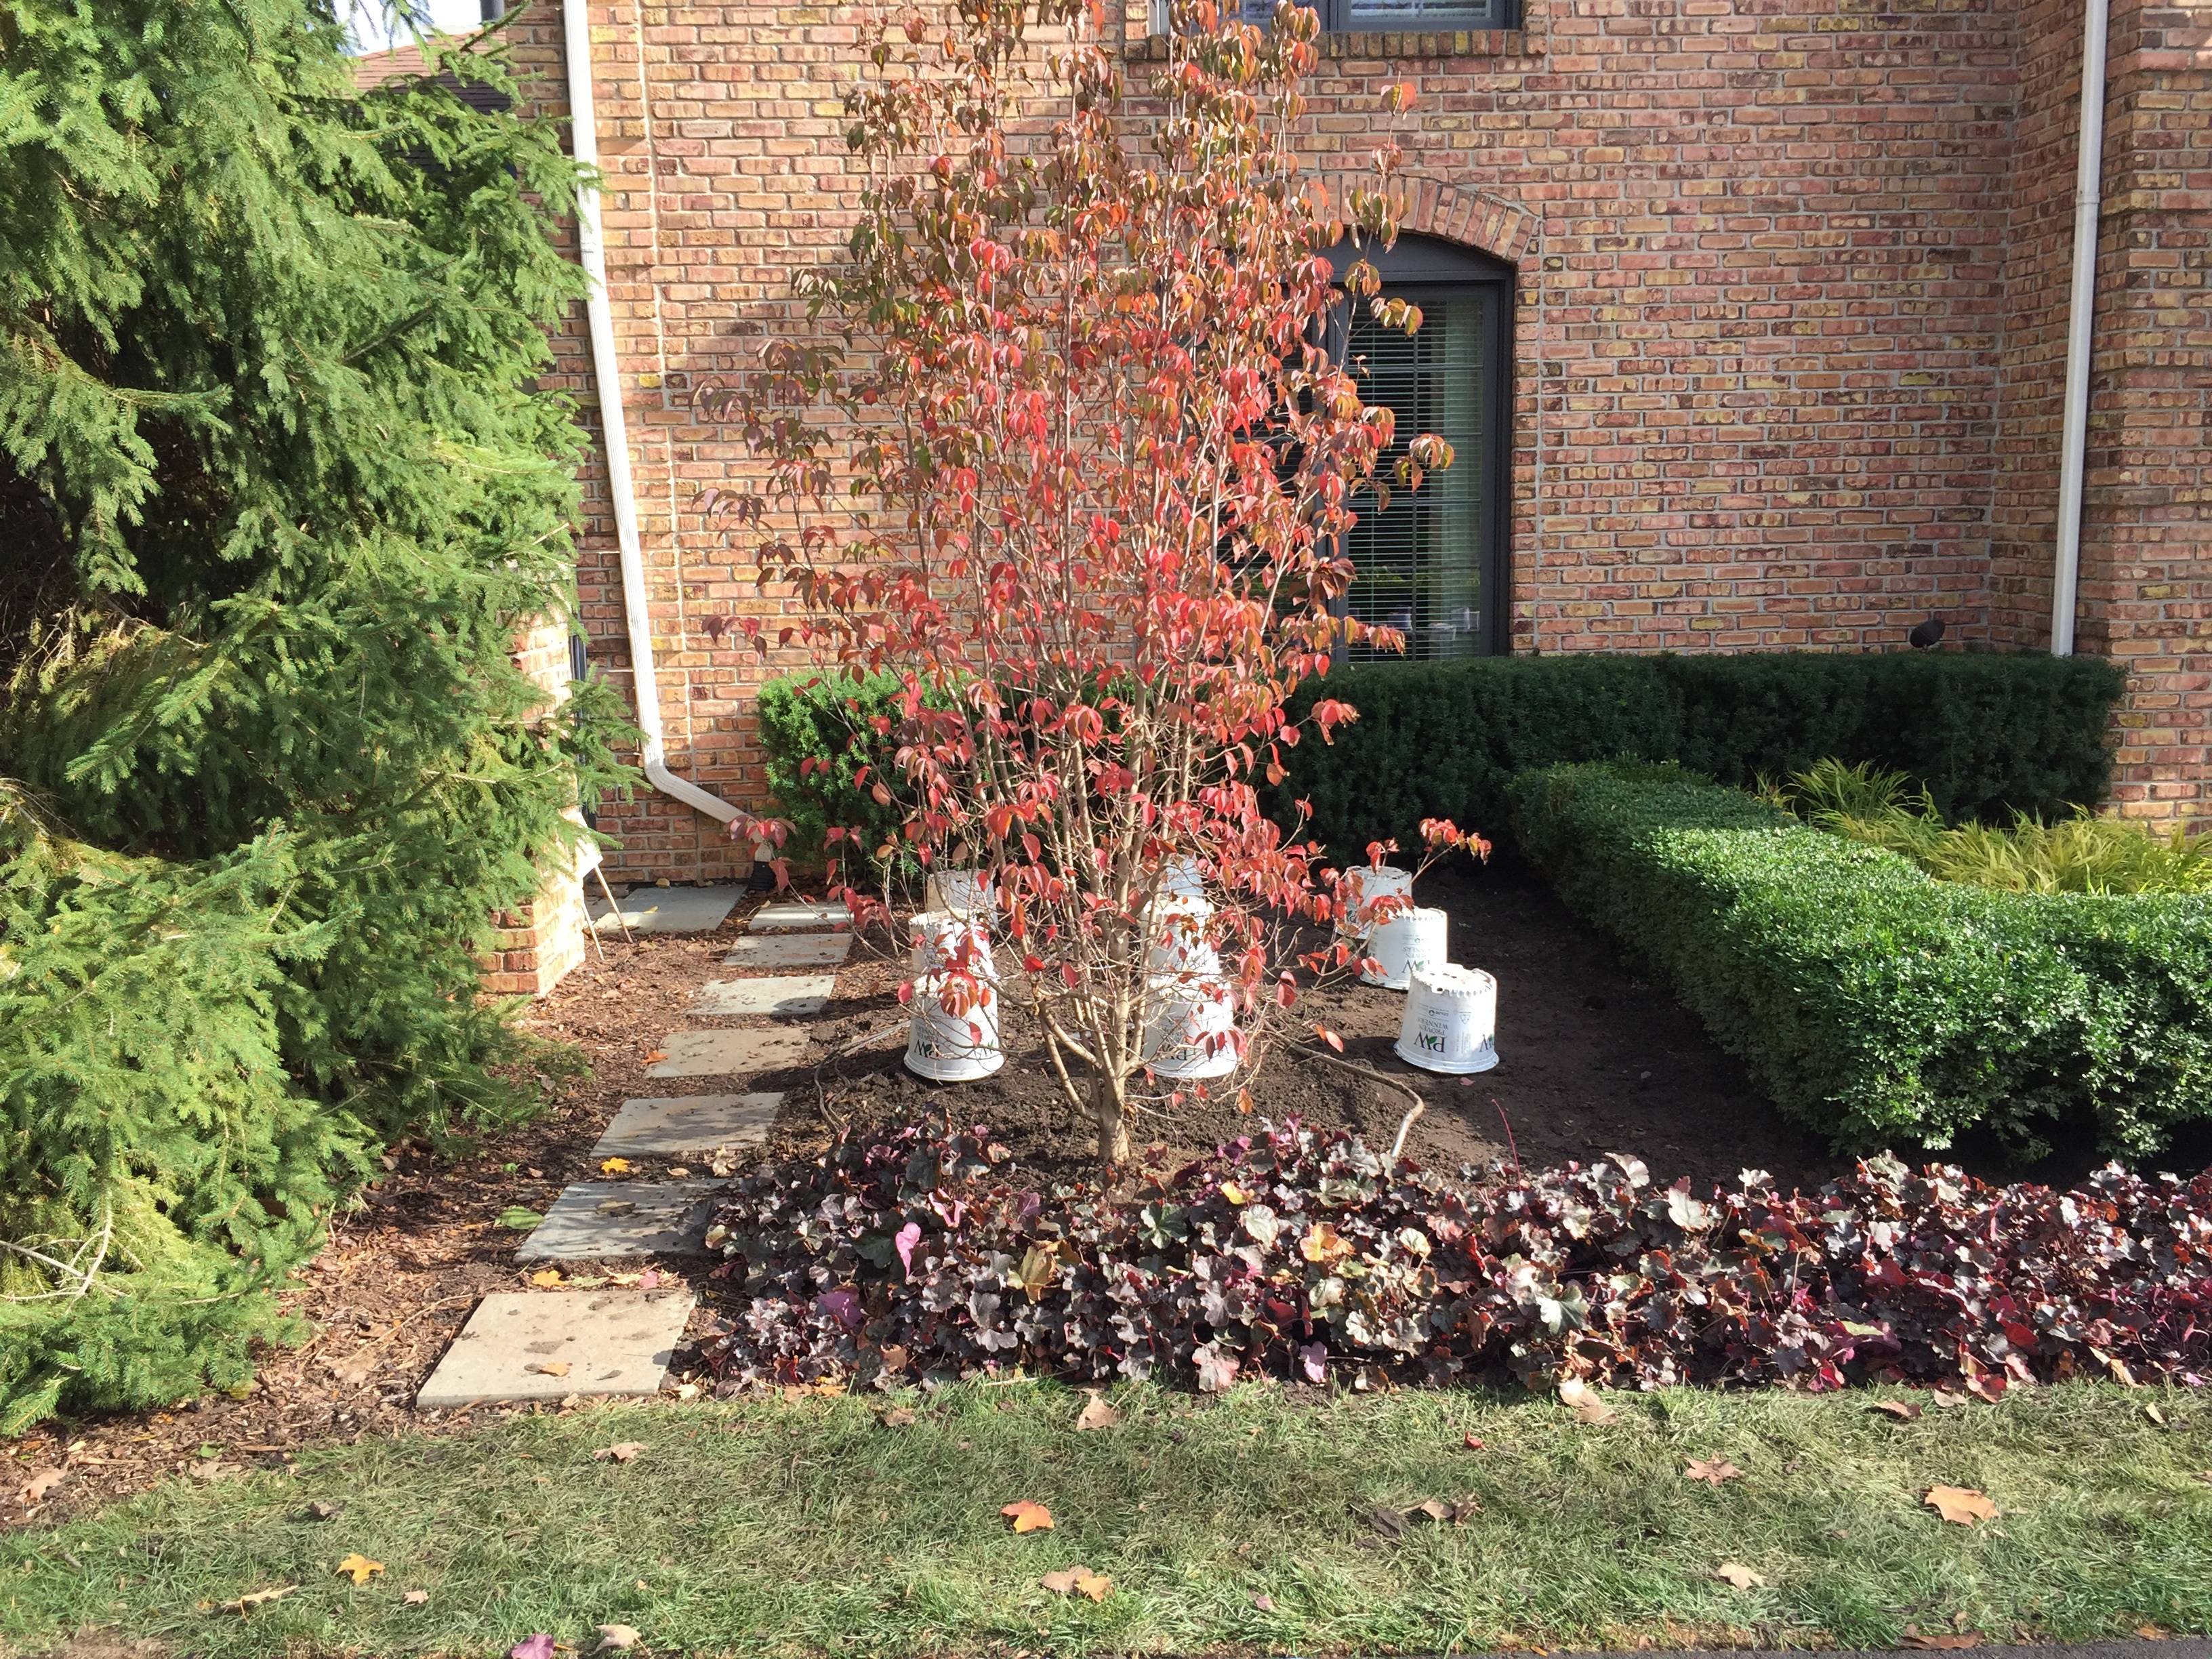 One newly planted kousa dogwood was moved a bit forward. It is now the same distance from the driveway as the dogwood on the opposite side of the porch. The Incrediball hydrangeas would be replaced with fewer numbers of hydrangea Bobo. This dwarf hydrangea is easy to maintain at 3′ tall. The front border of heuchera was reduced by one row in depth, so there were enough plants to traverse the entire length of the main house.
 The lime green Japanese forest grasses were transplanted into the new square shaped ground created when the boxwood were moved. The planting mimics the width and height of the porch. The color and texture will be a welcome surprise to anyone who steps up on to the porch.
 A matching block of hydrangea Bobo were planted to the south of the front door. The remainder of the south side landscape would be kept intact.
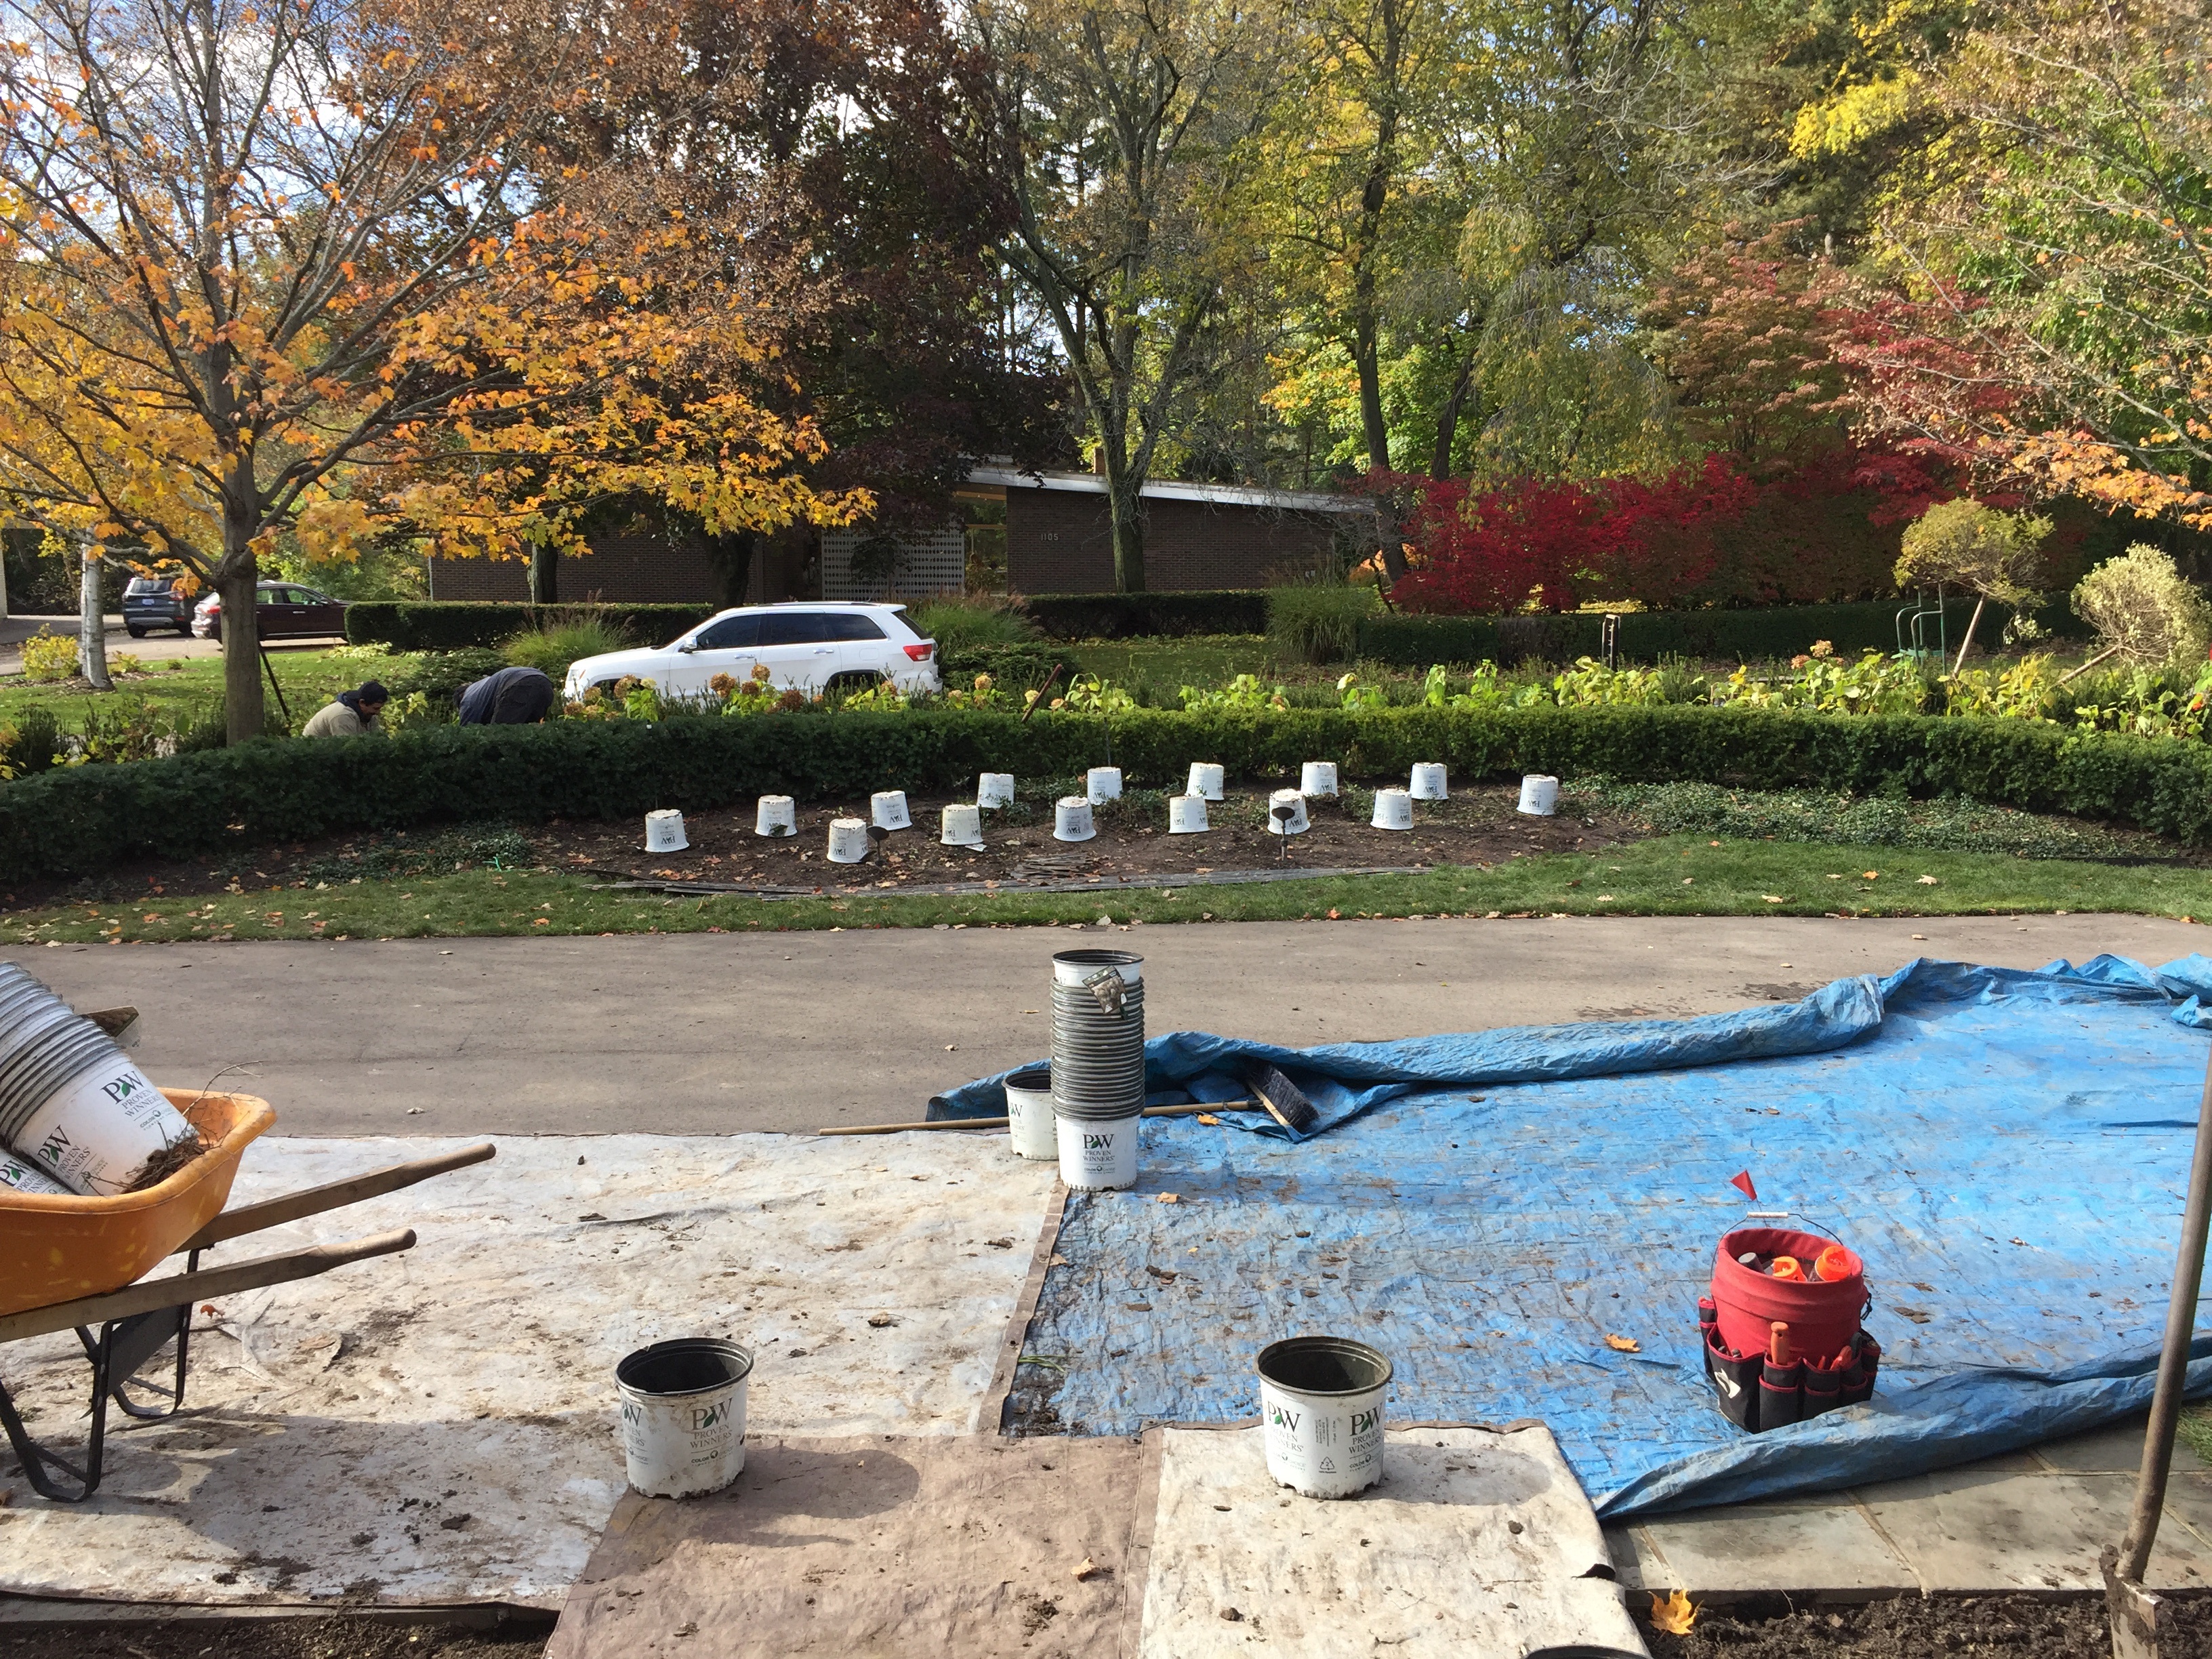
 Though the twigs of the Bobos are almost invisible here, the house side landscape was complete in late October. The areas on either side of the walk will be planted in the spring. I told my client I would prefer to see something short here, unless she decided to opt for taller pots on the porch.
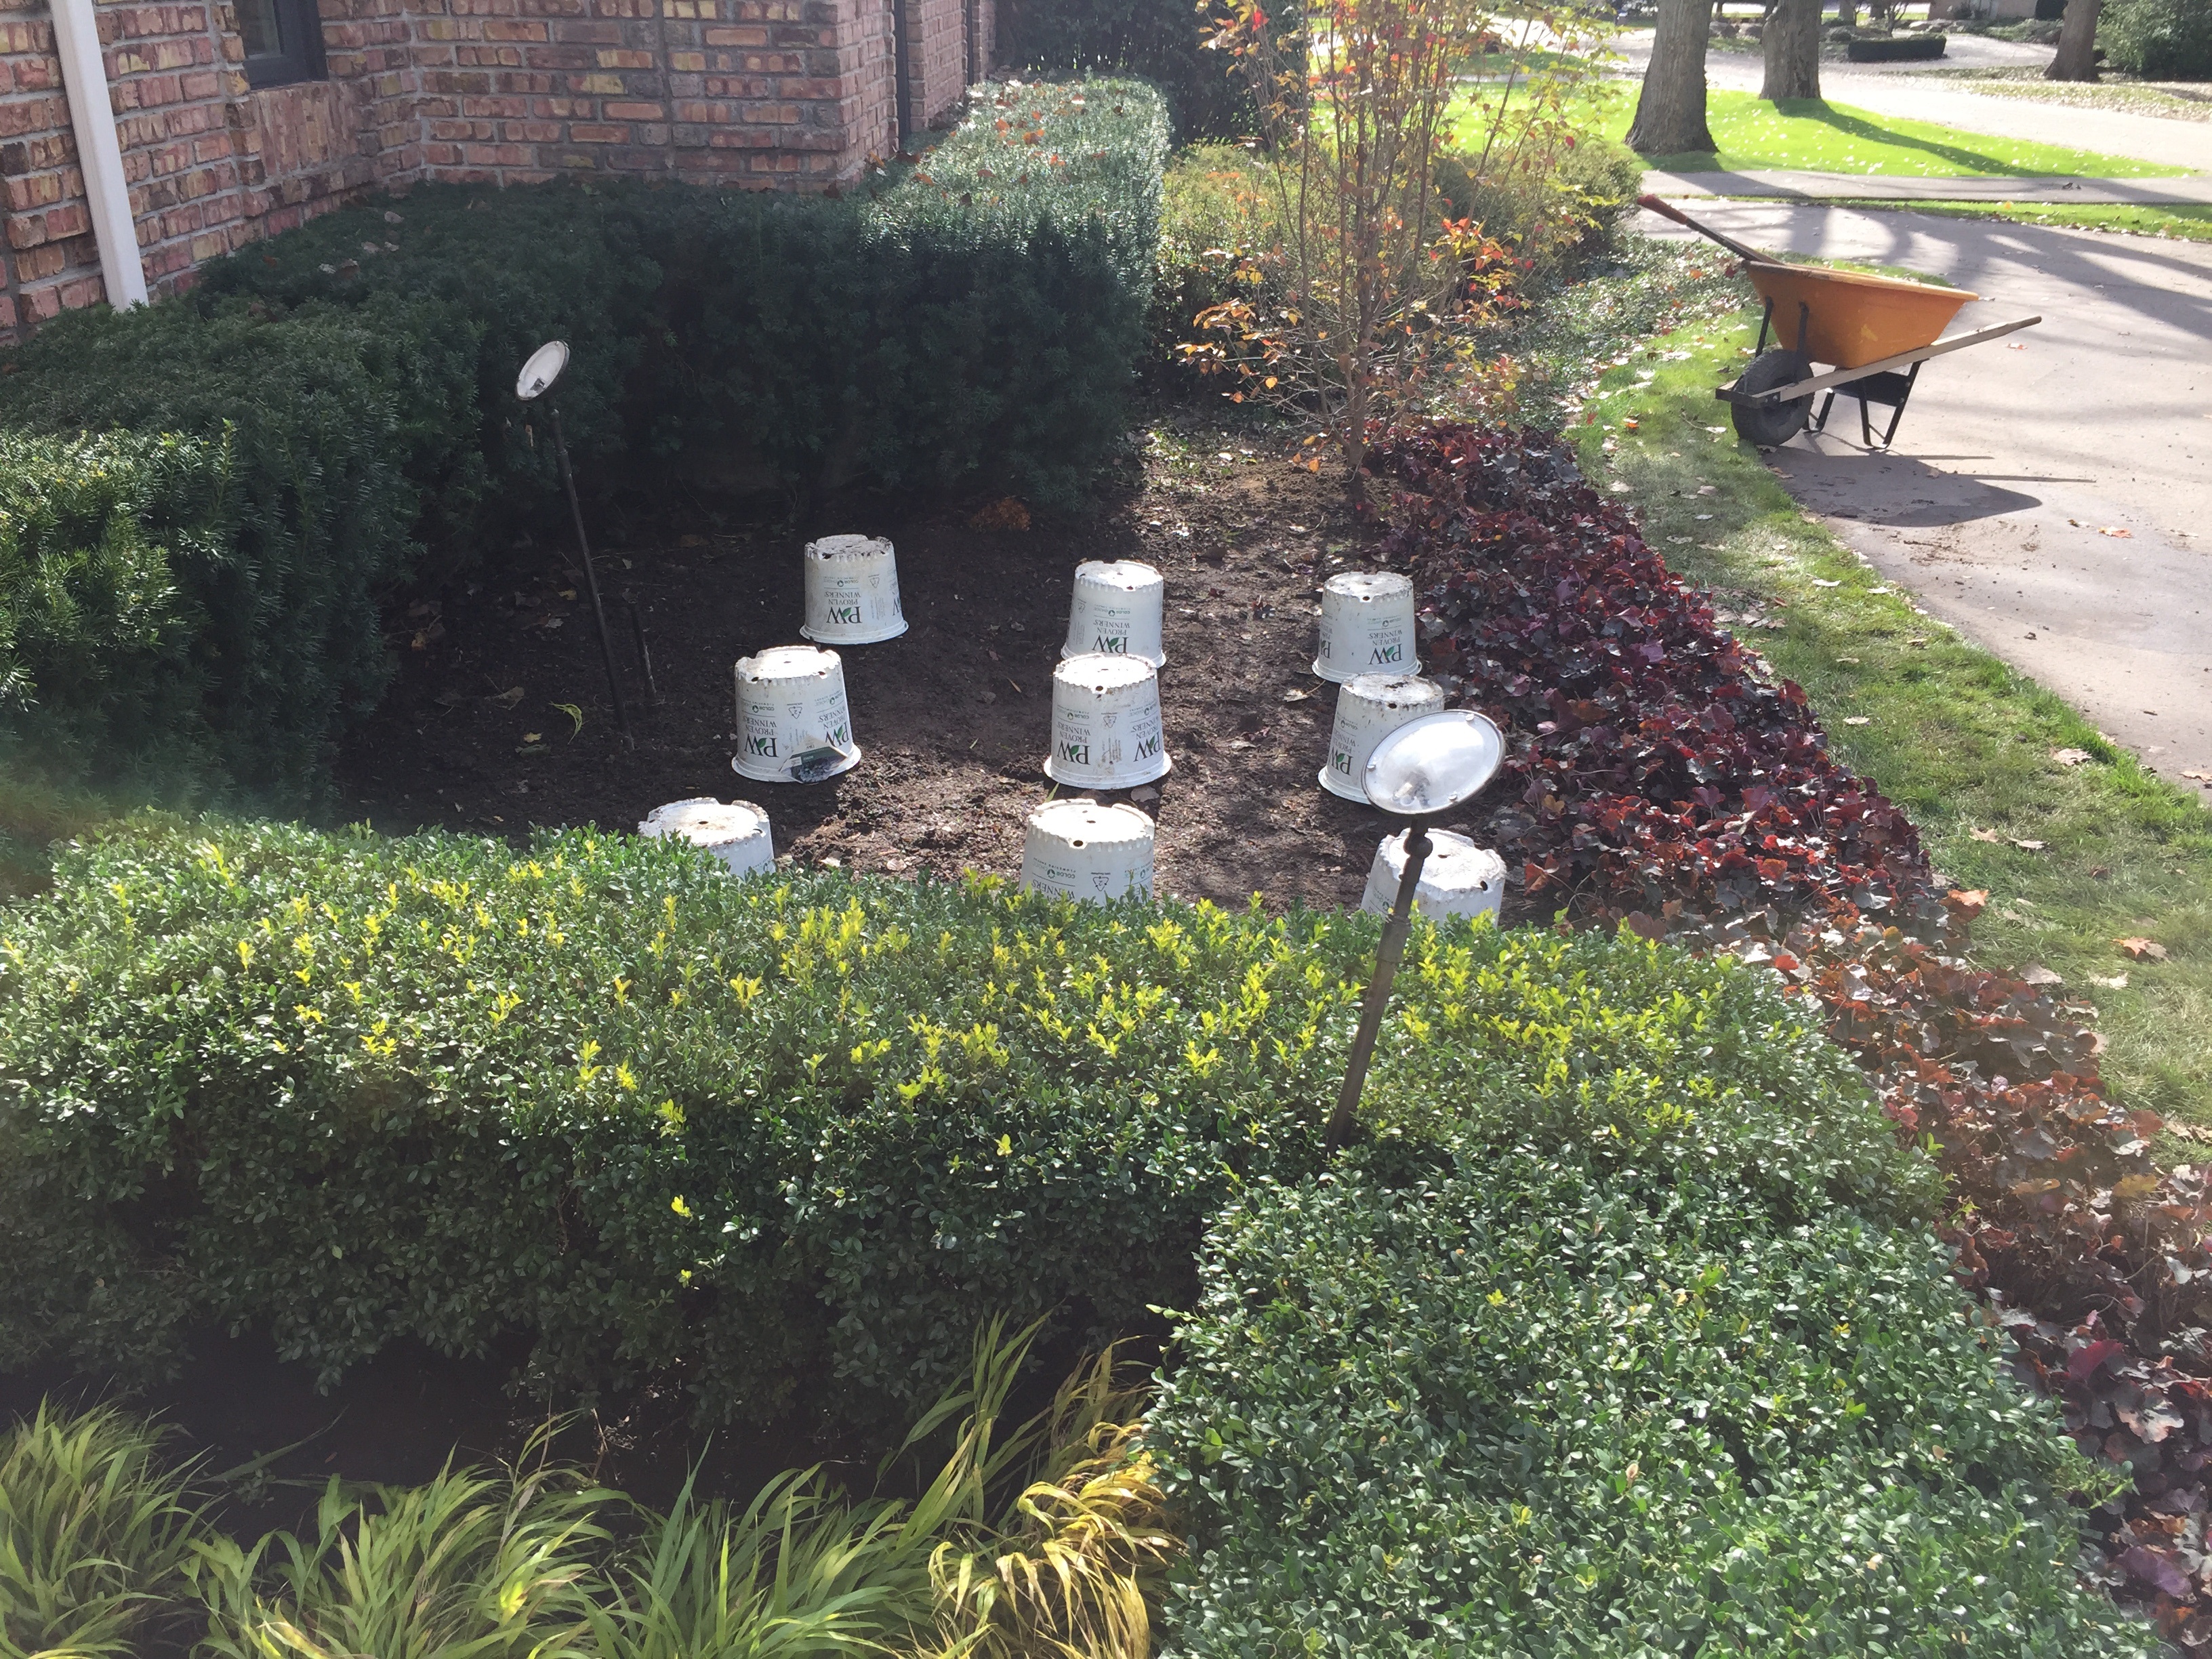
 Opposite the front door, we dug and replanted all of the existing densiformis yews in a simple and shallow curve. A group of Hydrangea Bobo were planted in the midsection in place of those roses. There would be room for seasonal flowers here, come spring.
 A new hedge of upright yews -taxus Mooni- was installed on the street side. That curve is more shallow than the replanted densiformis yews. The space that opened up between the two curving hedges provided room for the existing Incrediball hydrangeas. The eventual height and width of this cultivar will be perfect in this location.
 All three maple trees were included in what is now one large bed. Once the new bed lines were established, we reset the original steel edger strip.
 The new look is organized, simple and formal. It is not symmetrical, but it suggests the concept of symmetry.
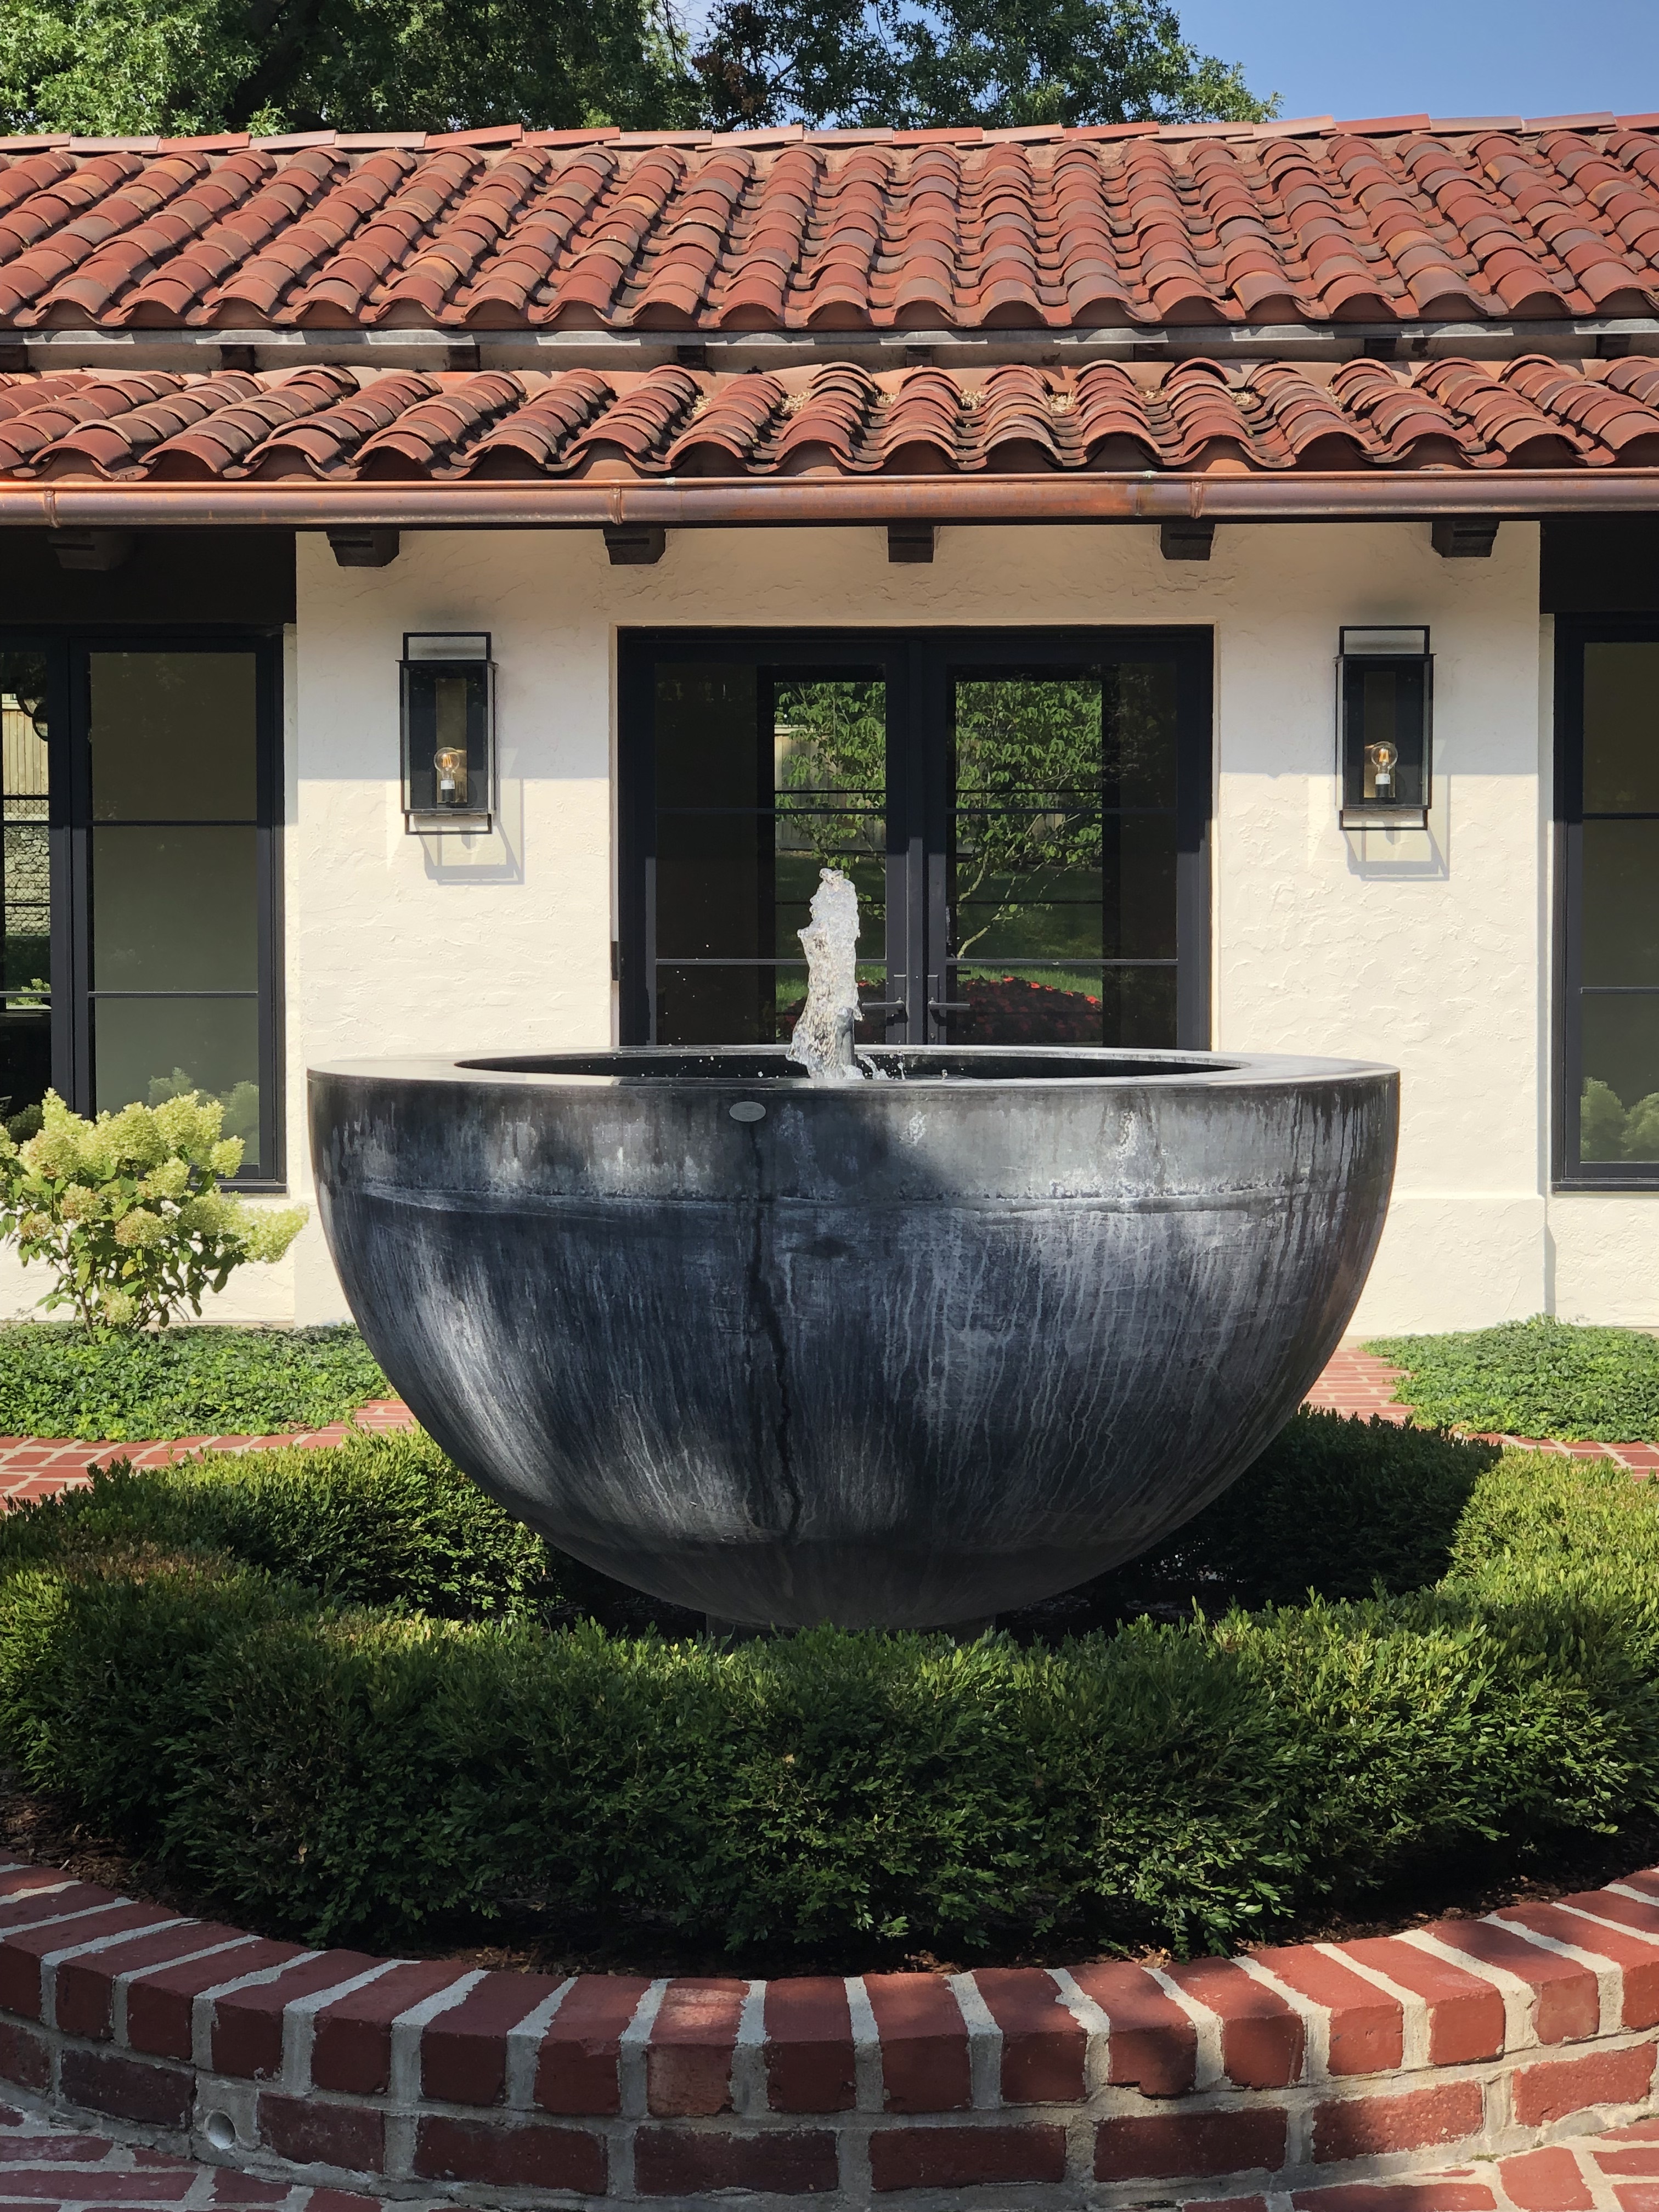
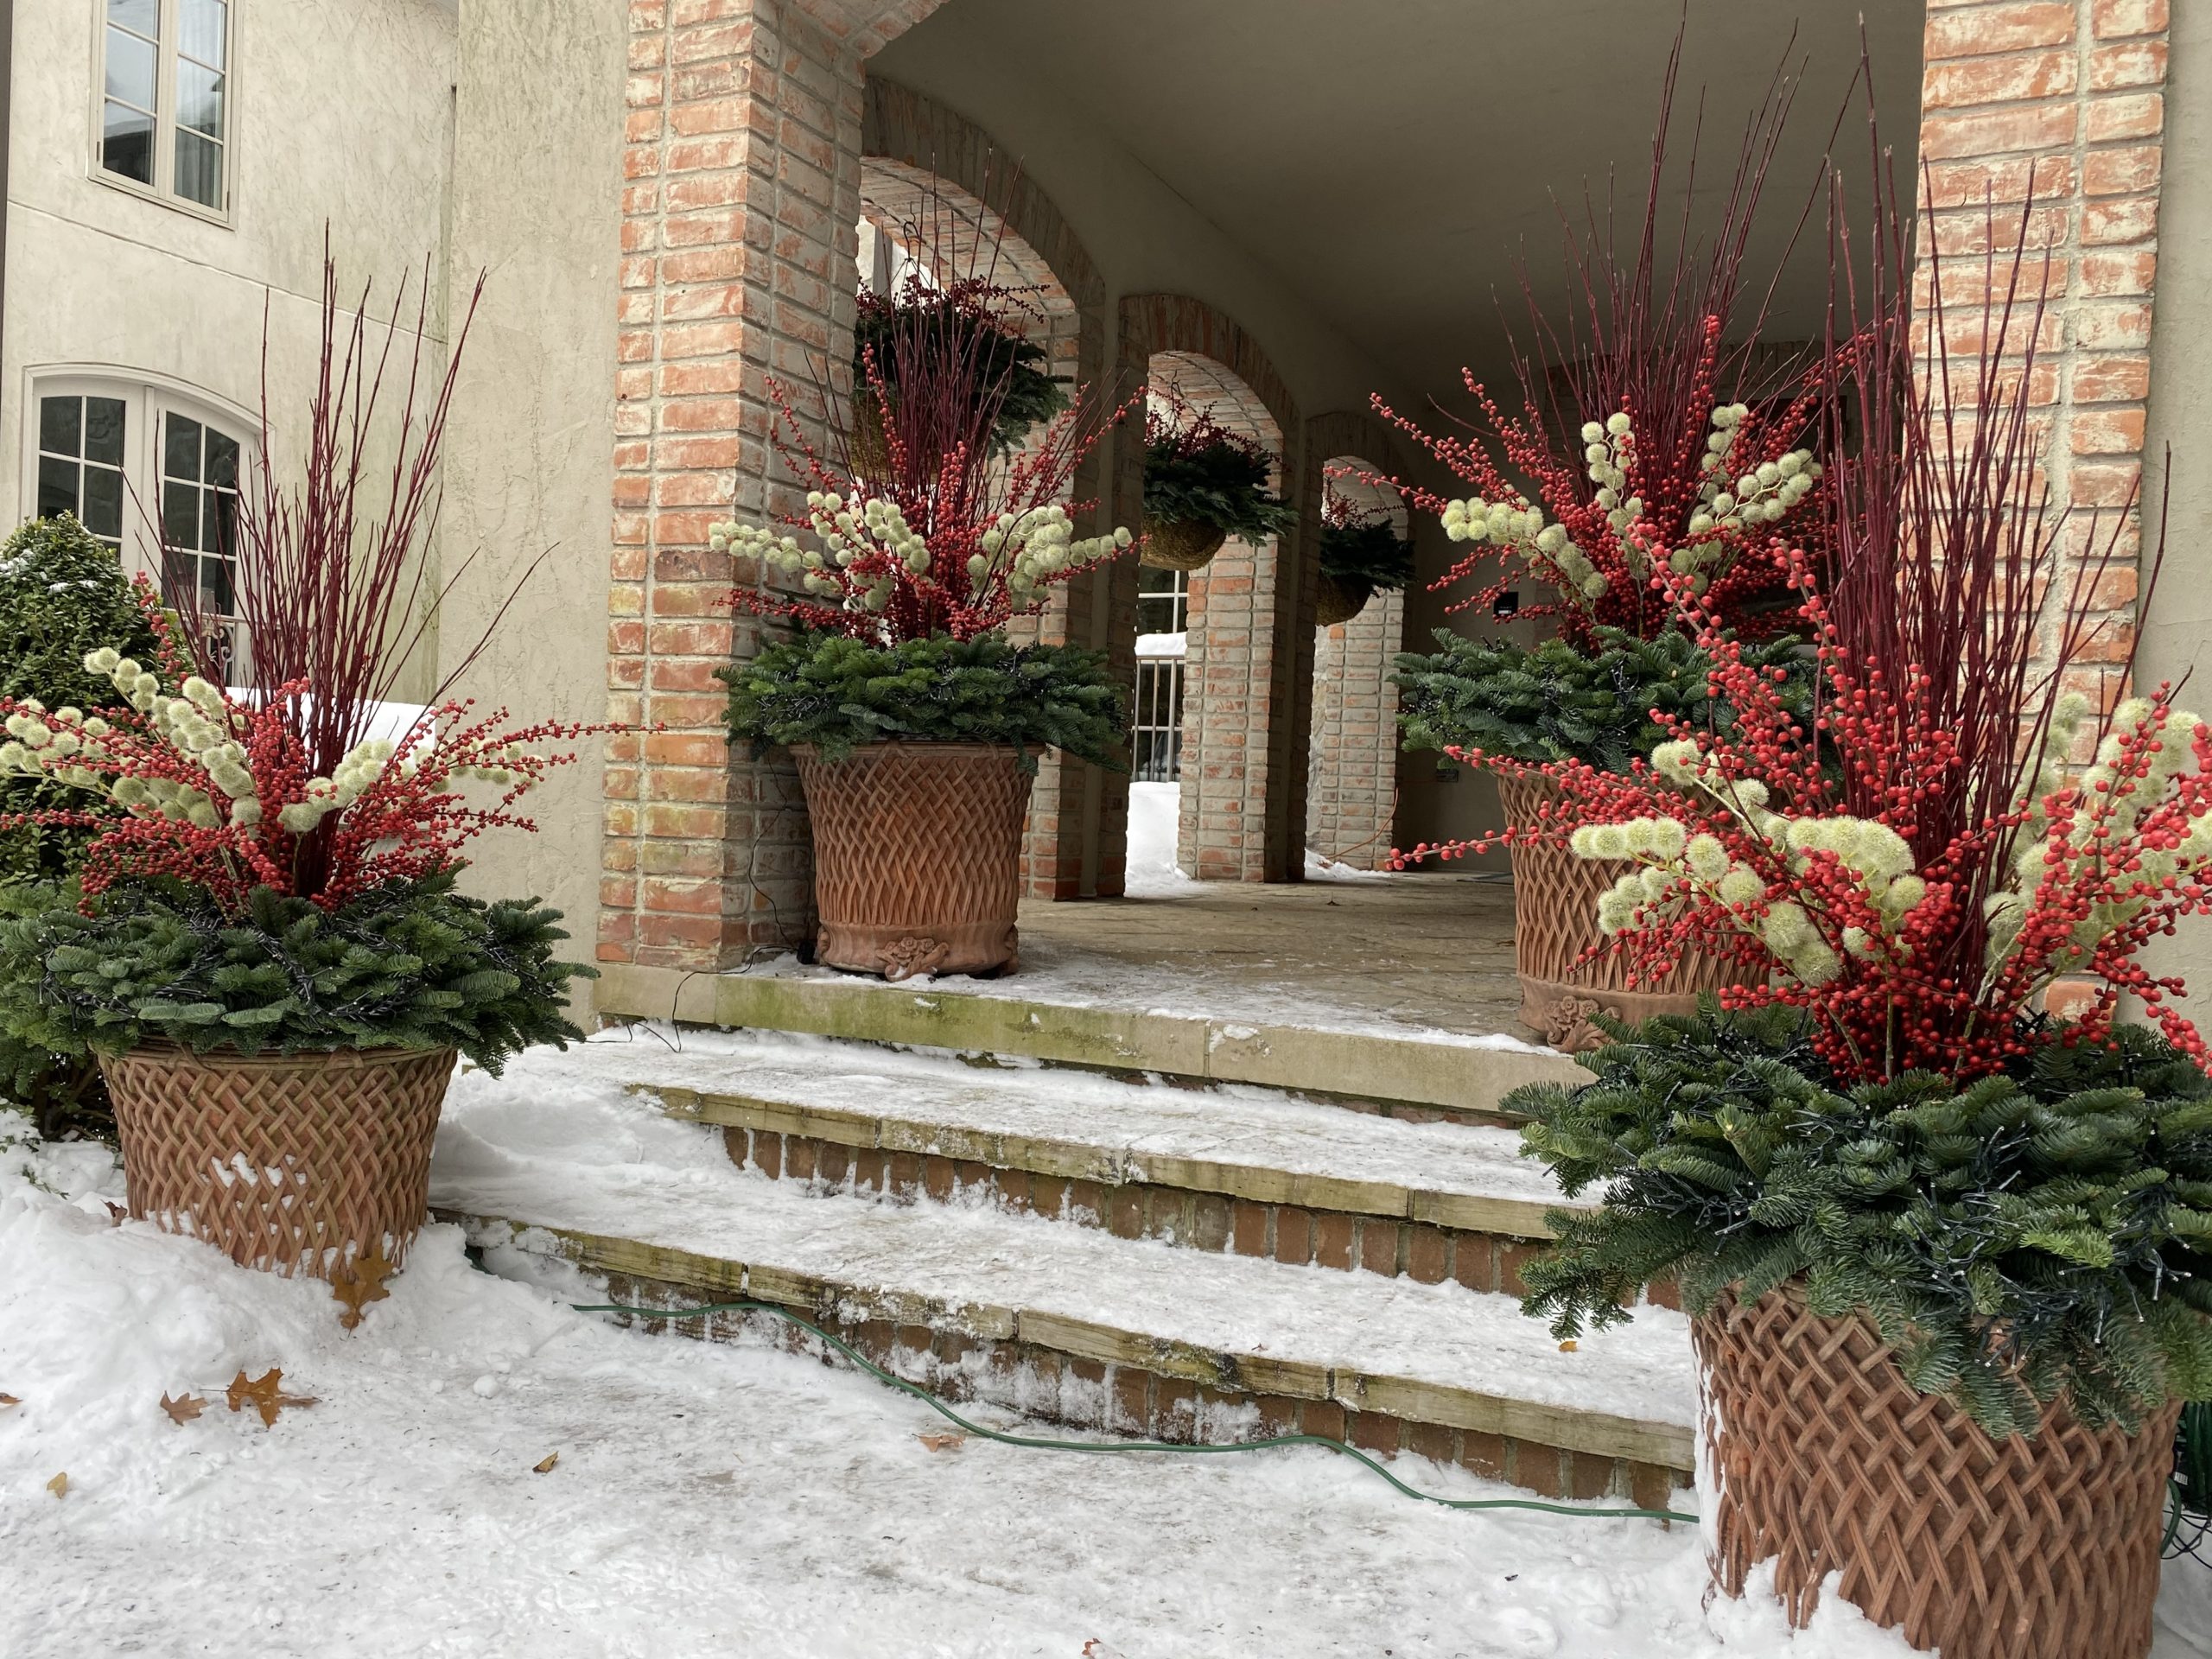
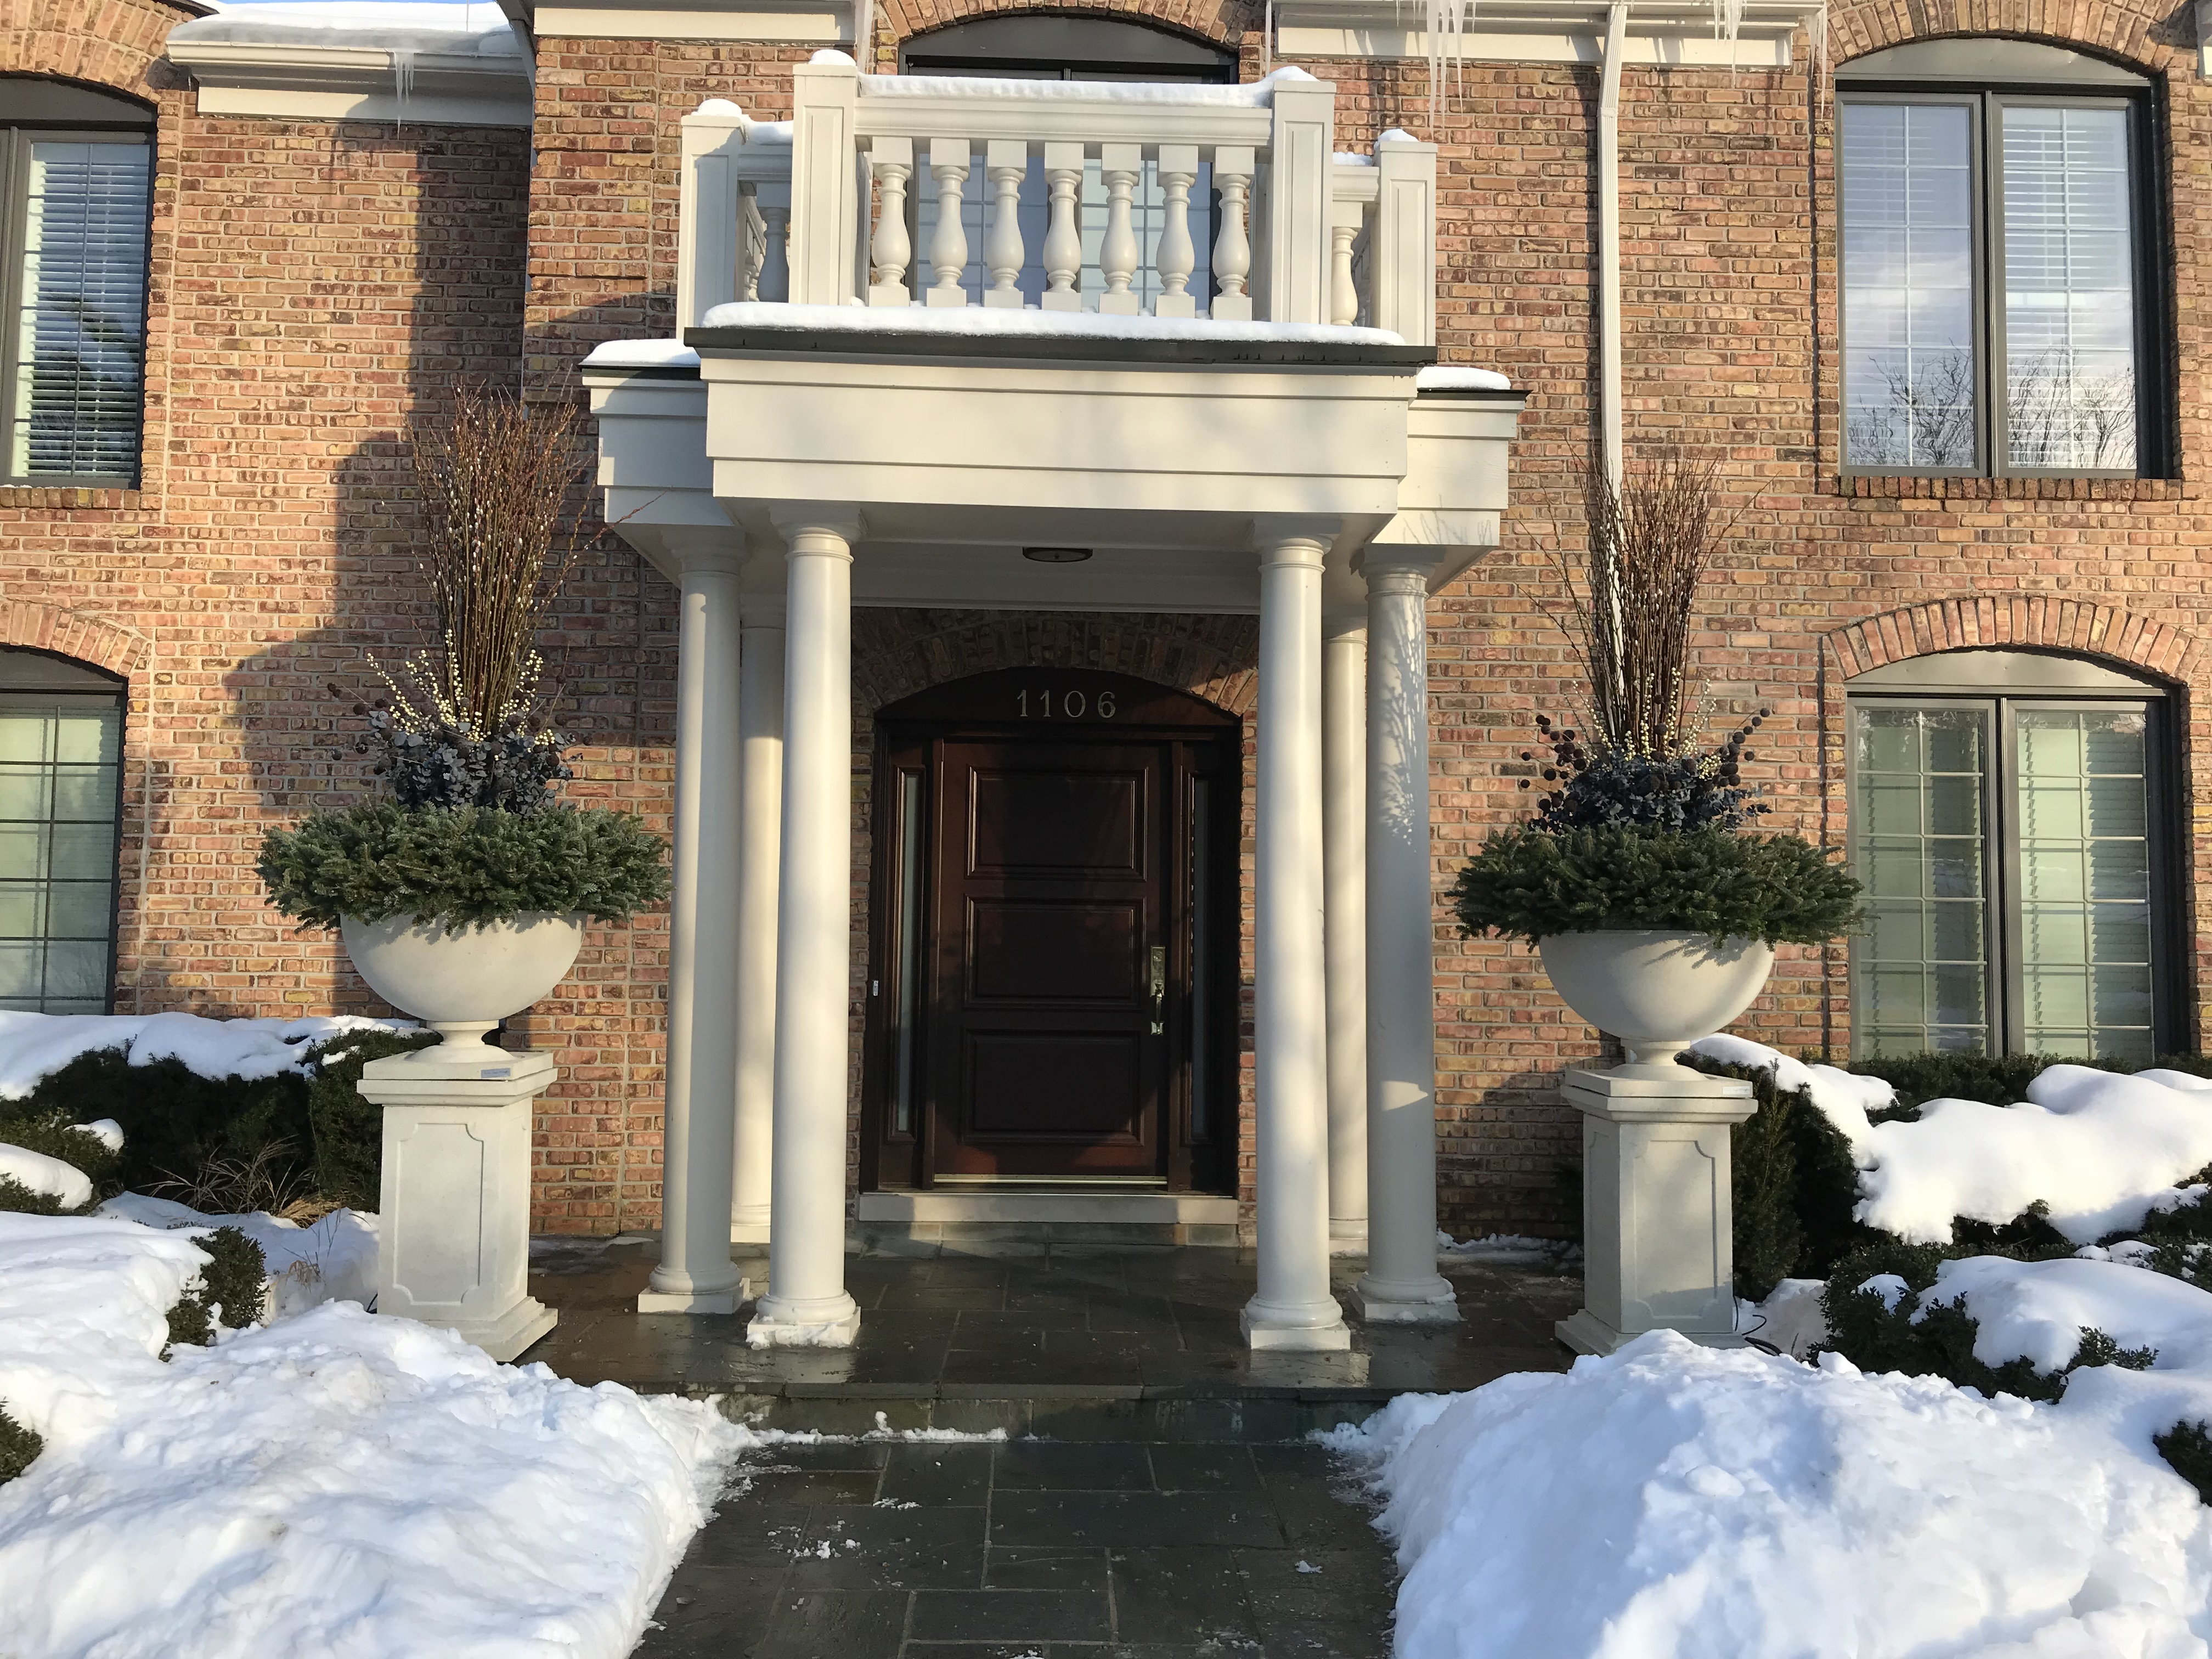 As it turns out, my client was interested in new pots. She chose these Frank Lloyd Wright reproduction urns and pedestals. The color of the stone is perfect with the color of the porch roof and pillars. It adds some horizontal weight to a porch that formerly looked so tall and narrow.
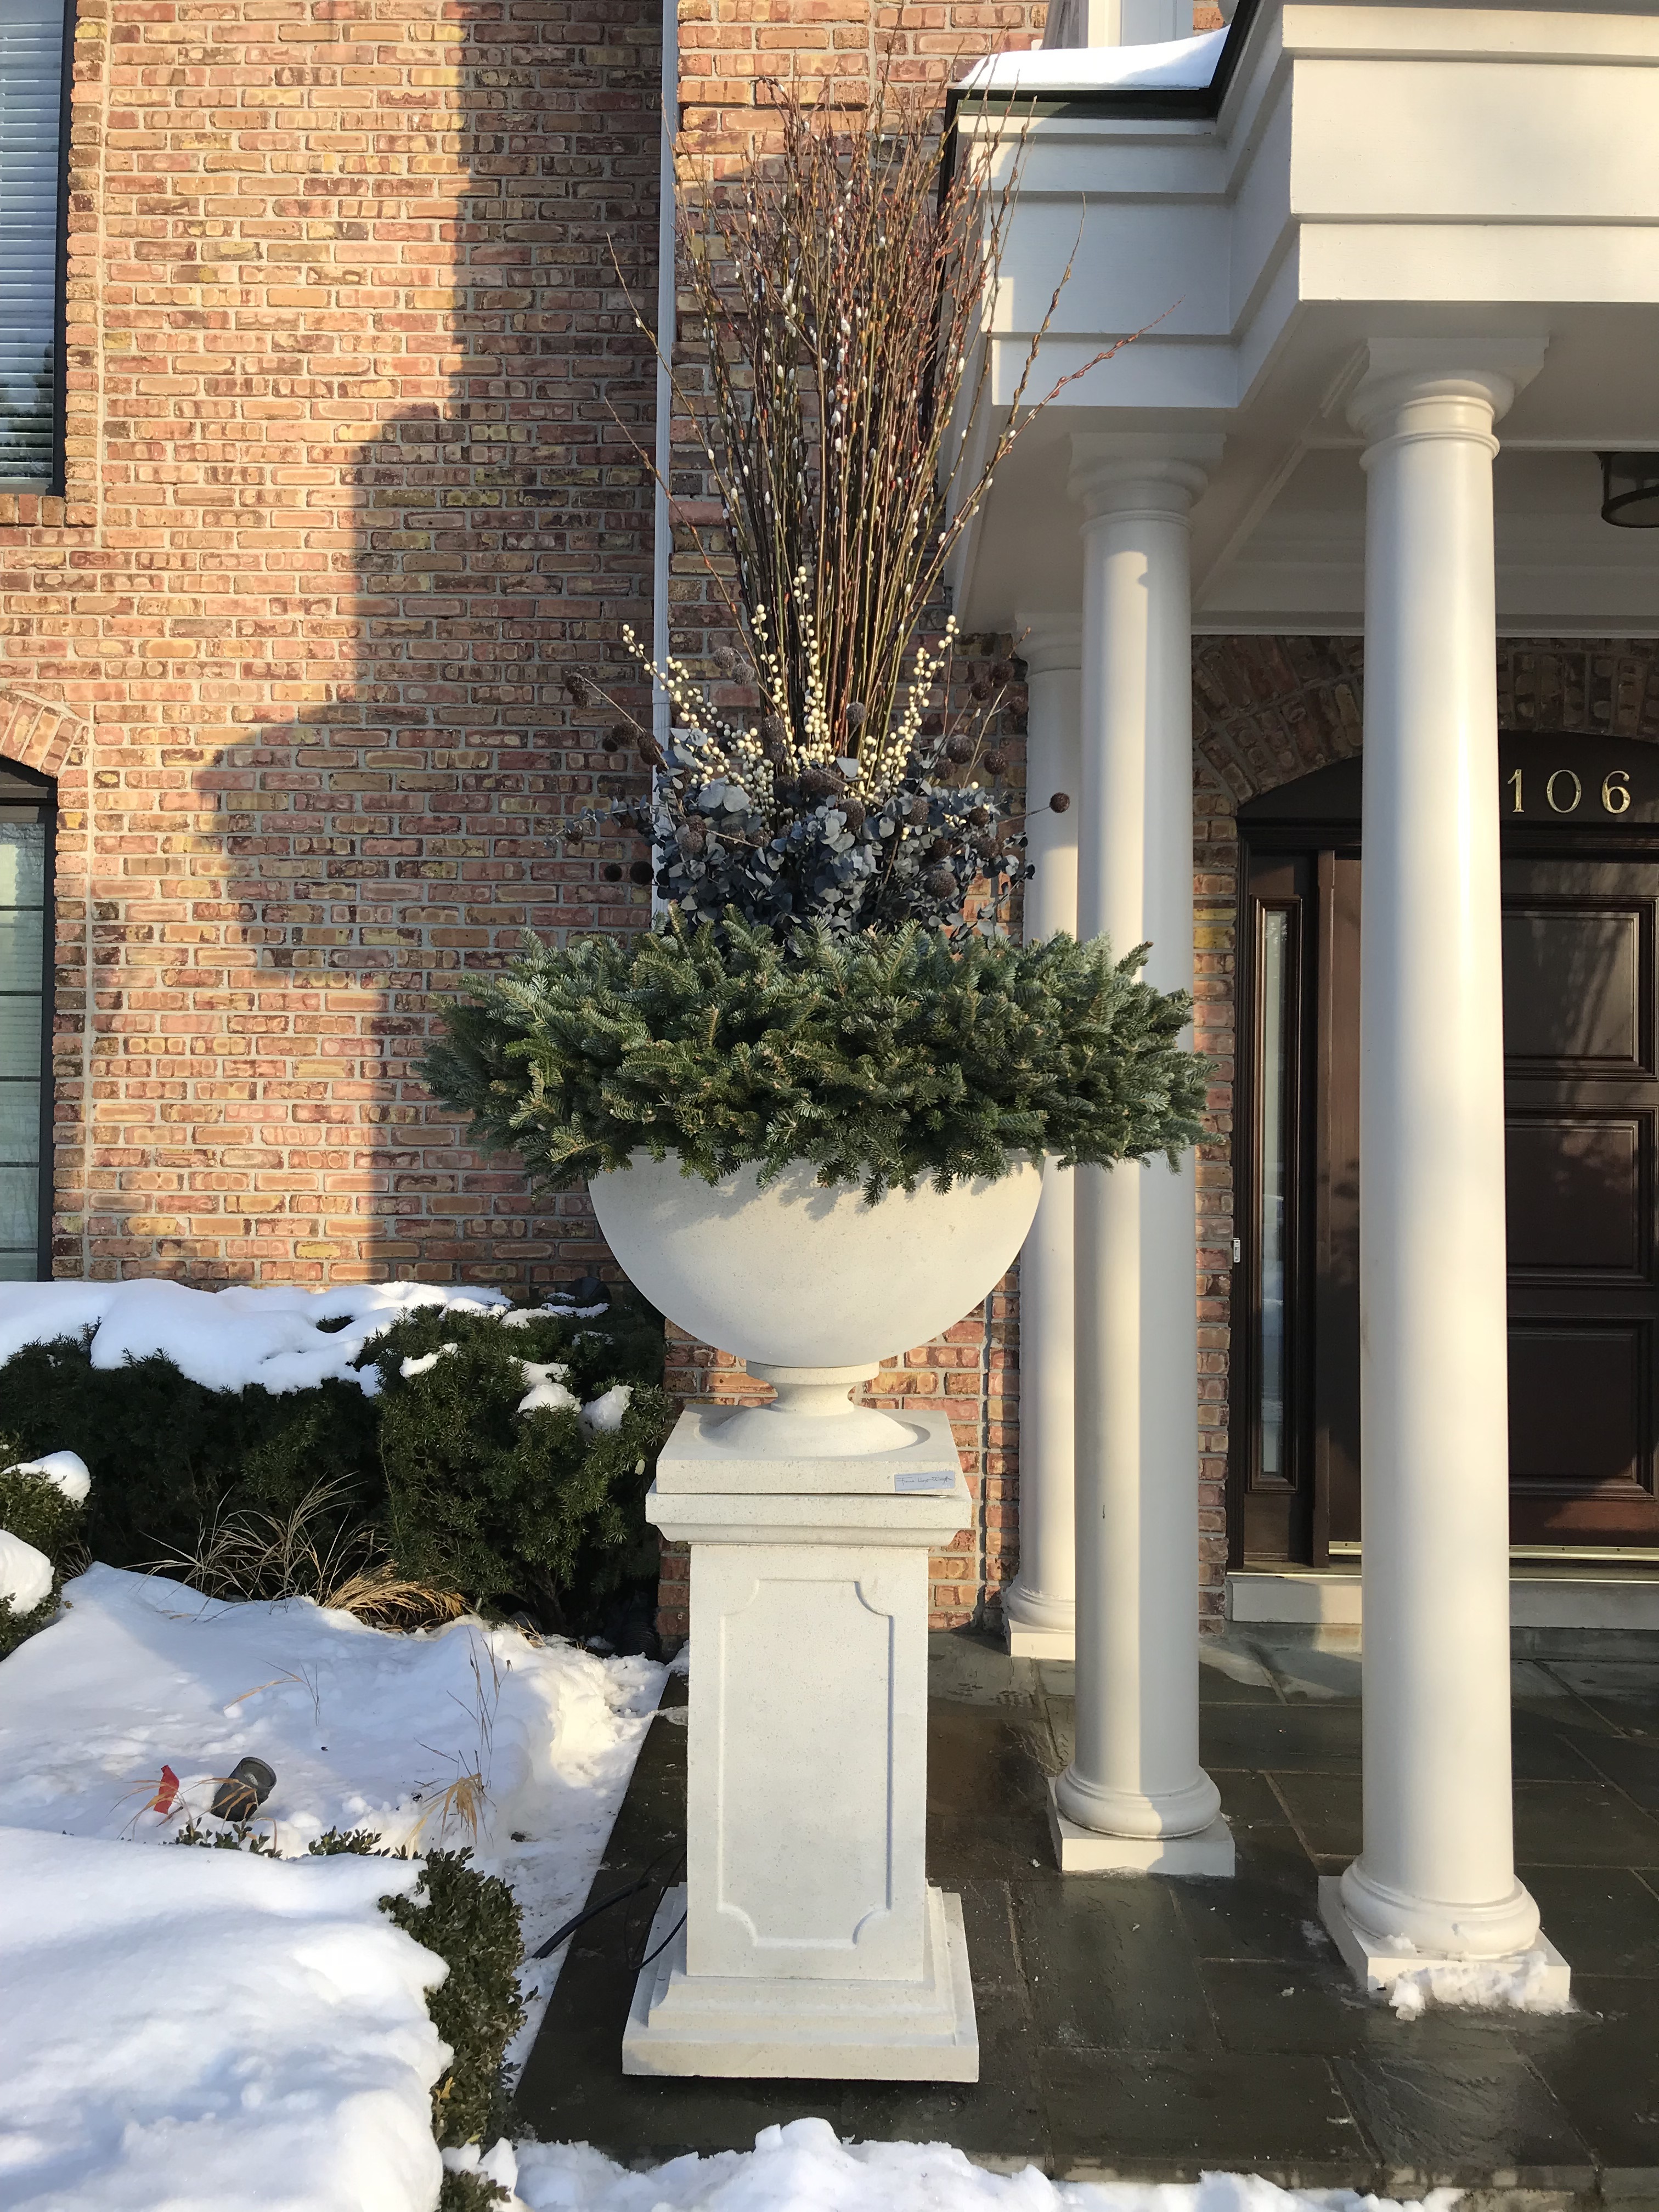 With the pots at this height, the porch has some appropriate and dressy company.
 Renovating this landscape was not so easy. We will see how well we did with that, come summer.