Rob and his group did an incredible job of getting the shop turned over to the holiday and winter season to come. I know there are those that are grumpy seeing this in what rightfully is the fall, but it takes many days and many pairs of hands to get this all ready. Our one evening event of the year featured Rob’s lighting as usual, and pizza cooked up fresh on the driveway. The description doesn’t sound all the great, but sitting on the driveway in 40 degree weather, eating pizza right out of the oven – perfect. To follow are pictures of the before during and after of that event, for those readers too far away to attend. Our season kickoff open house goes on all weekend, and is a perfect prelude to the season to come. If you are nearby, we are well worth the trip.
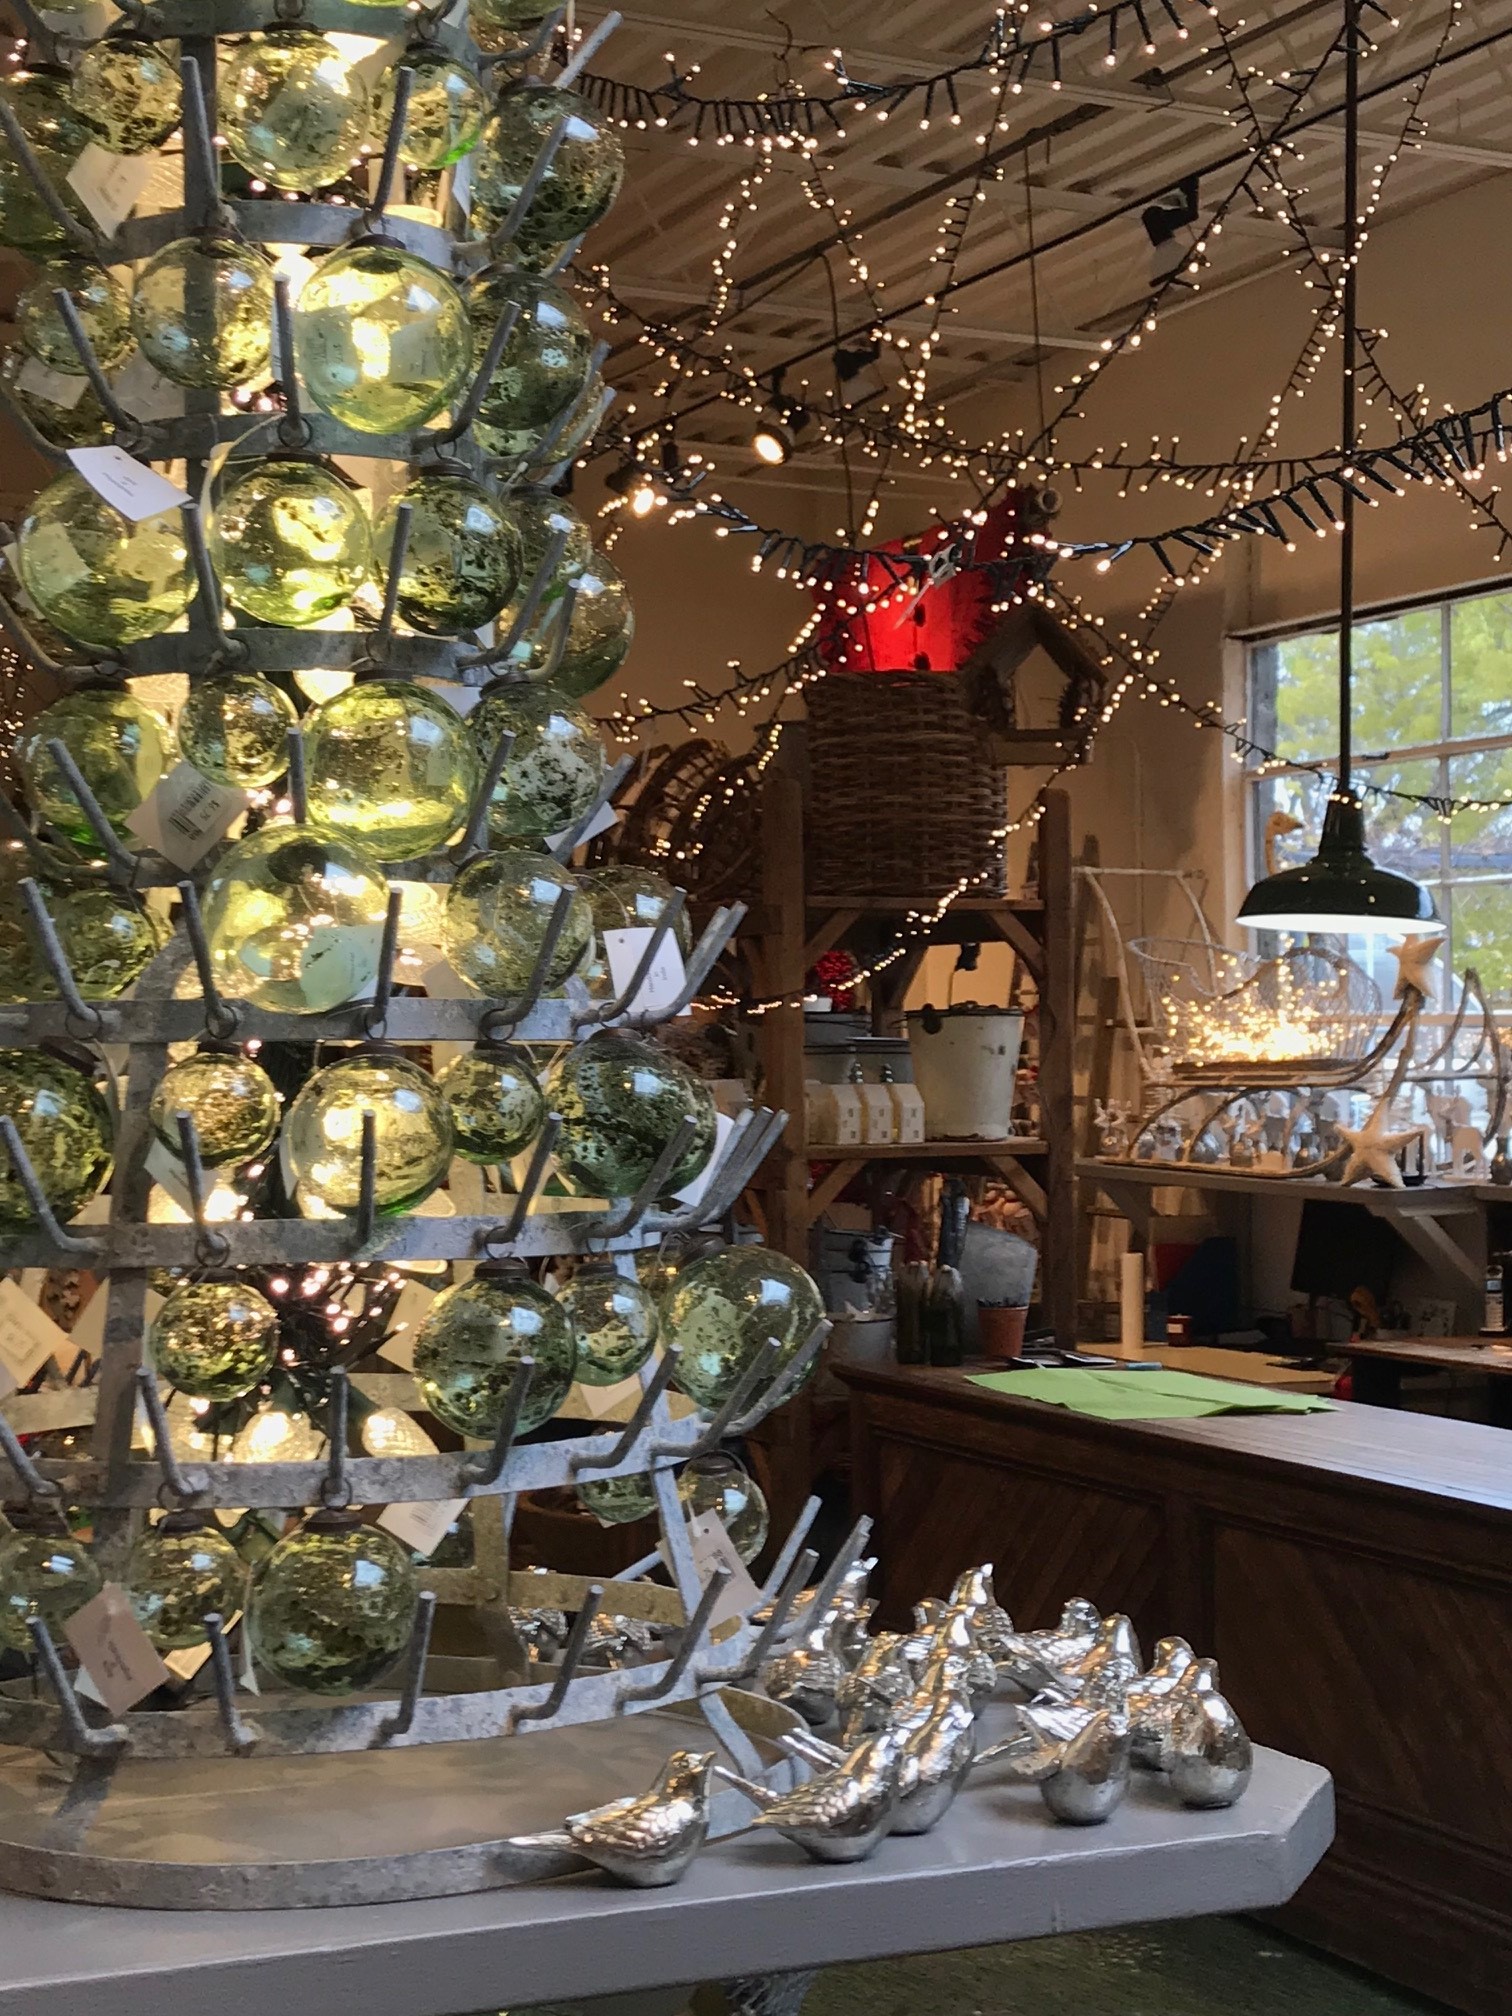 antique bottle rack, lighted on the interior and decorated with green glass globes
 picks and such
 Dutch made artificial tree with 11,000 lights
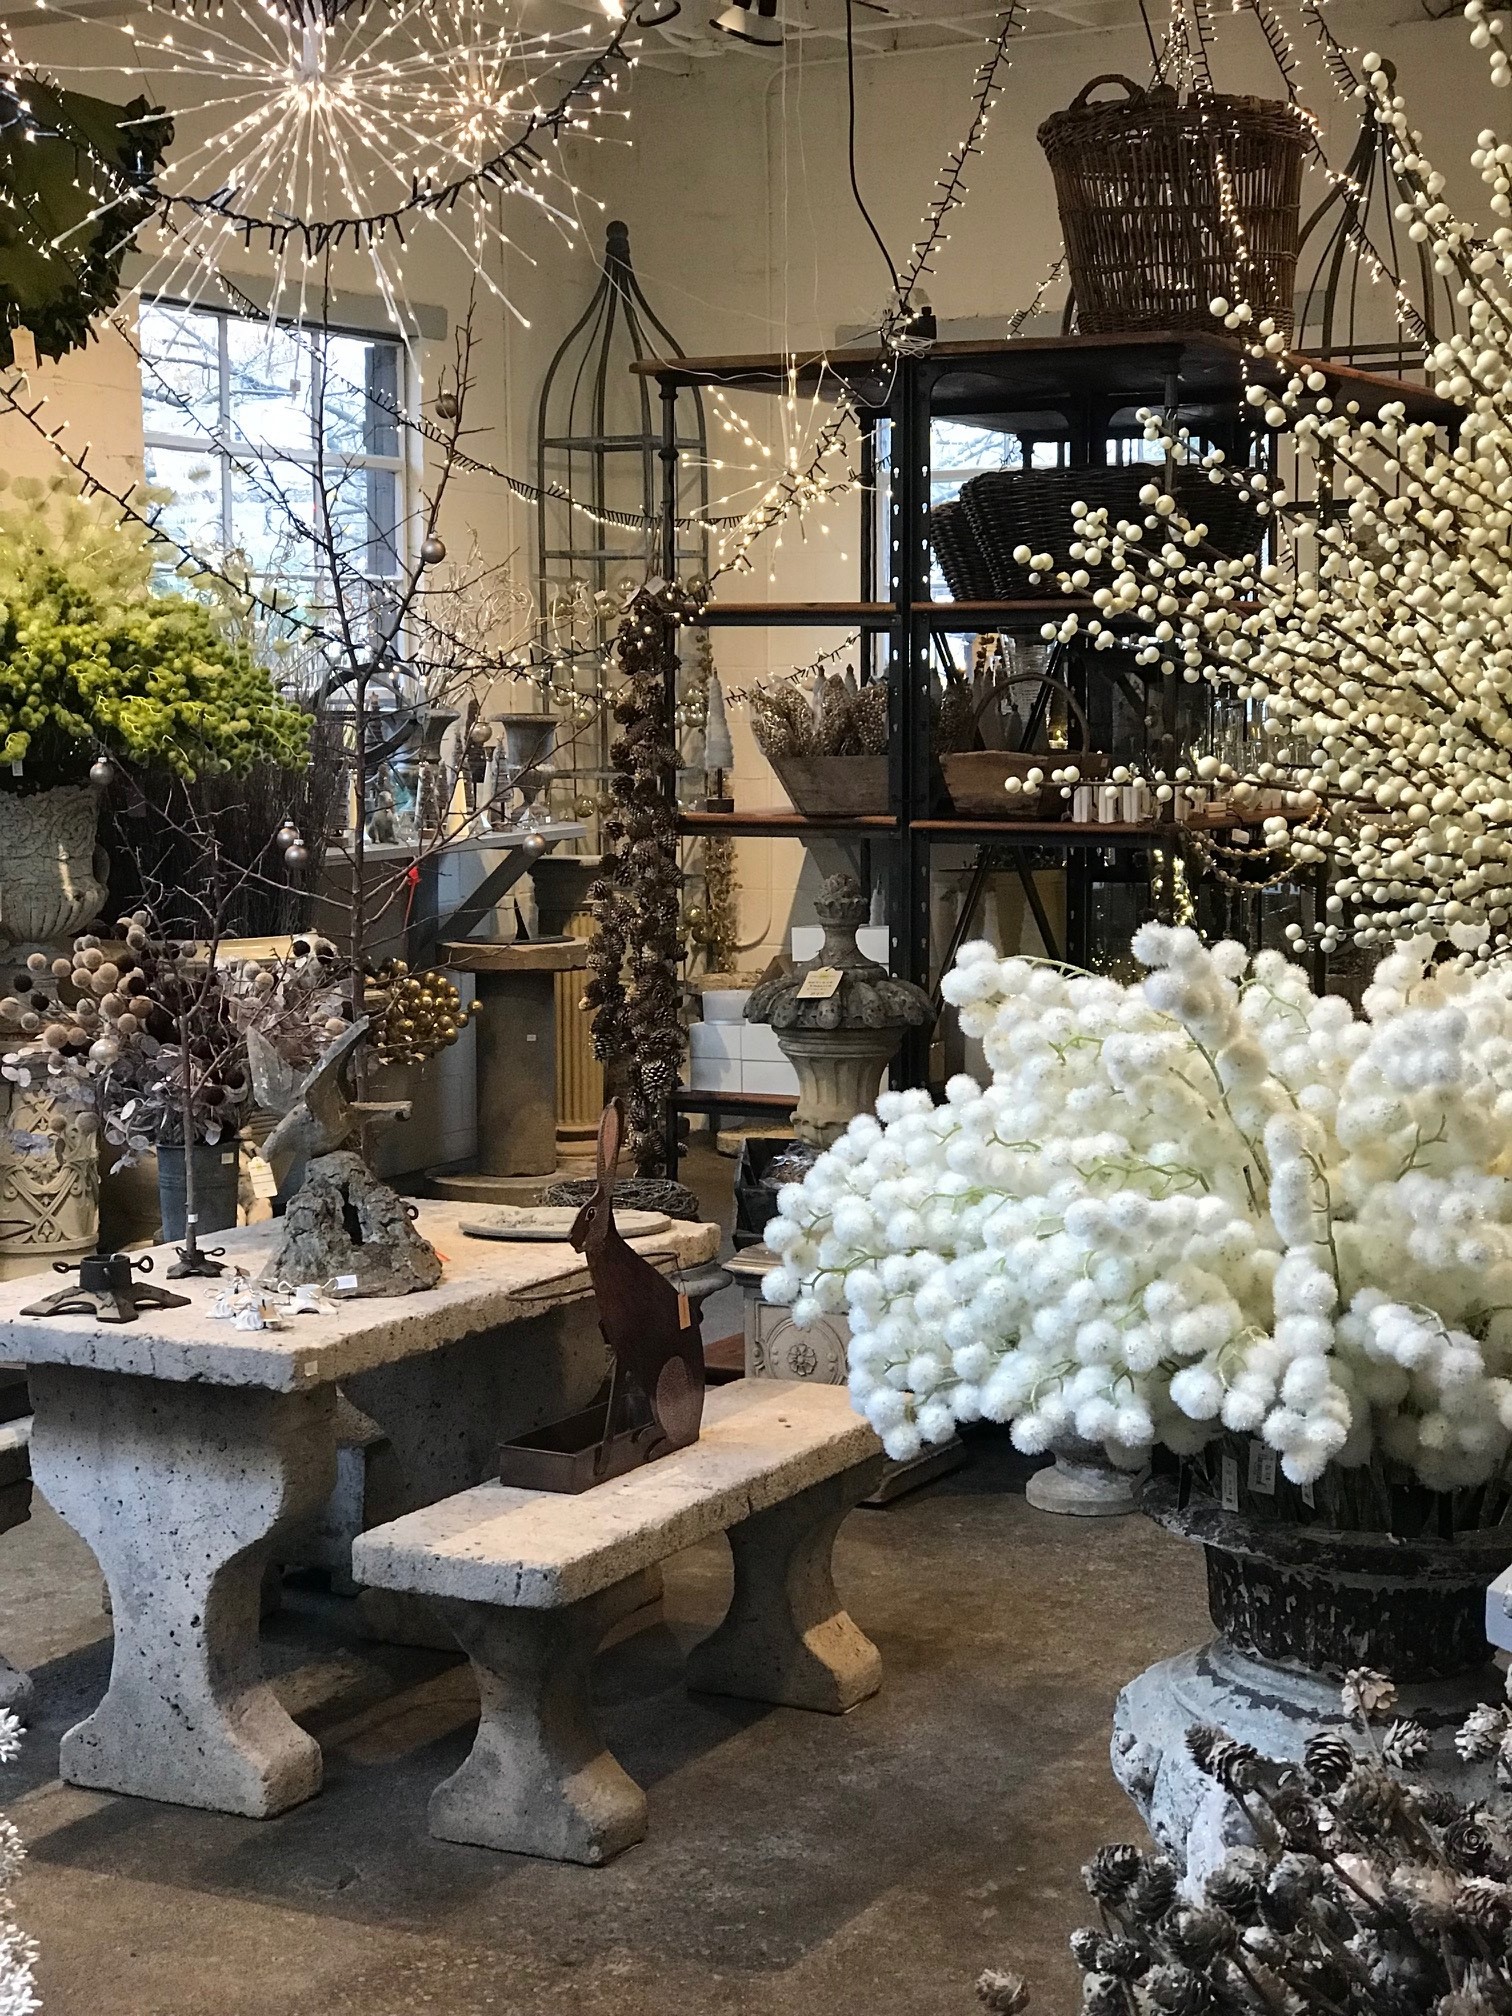
 fresh cut magnolia bunches
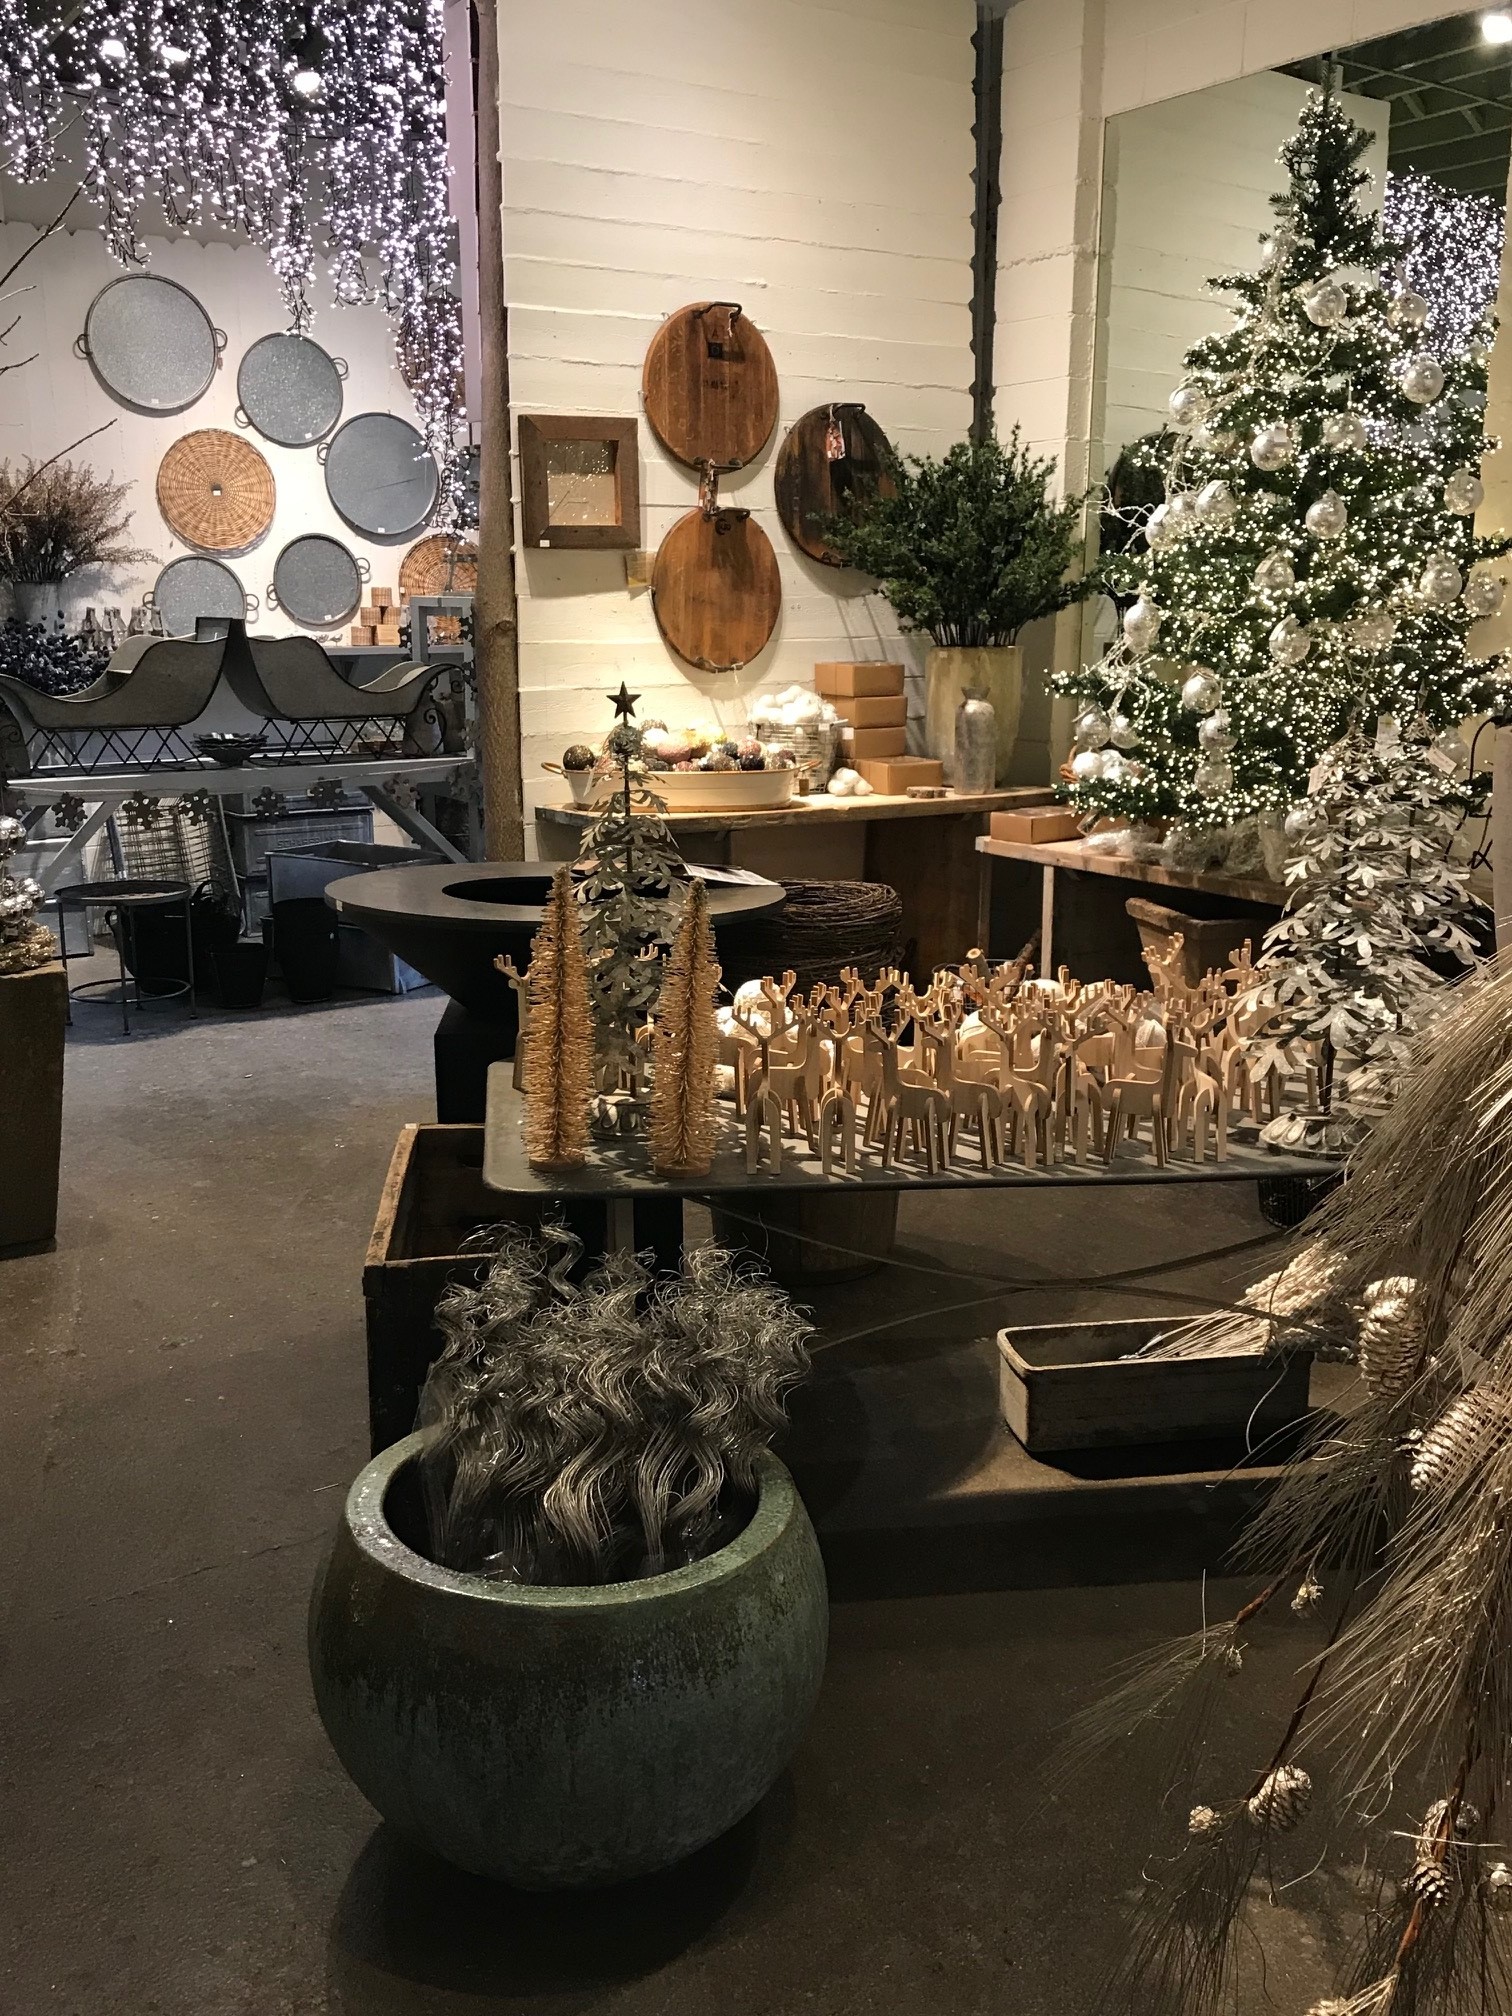 wood cheese boards and deer
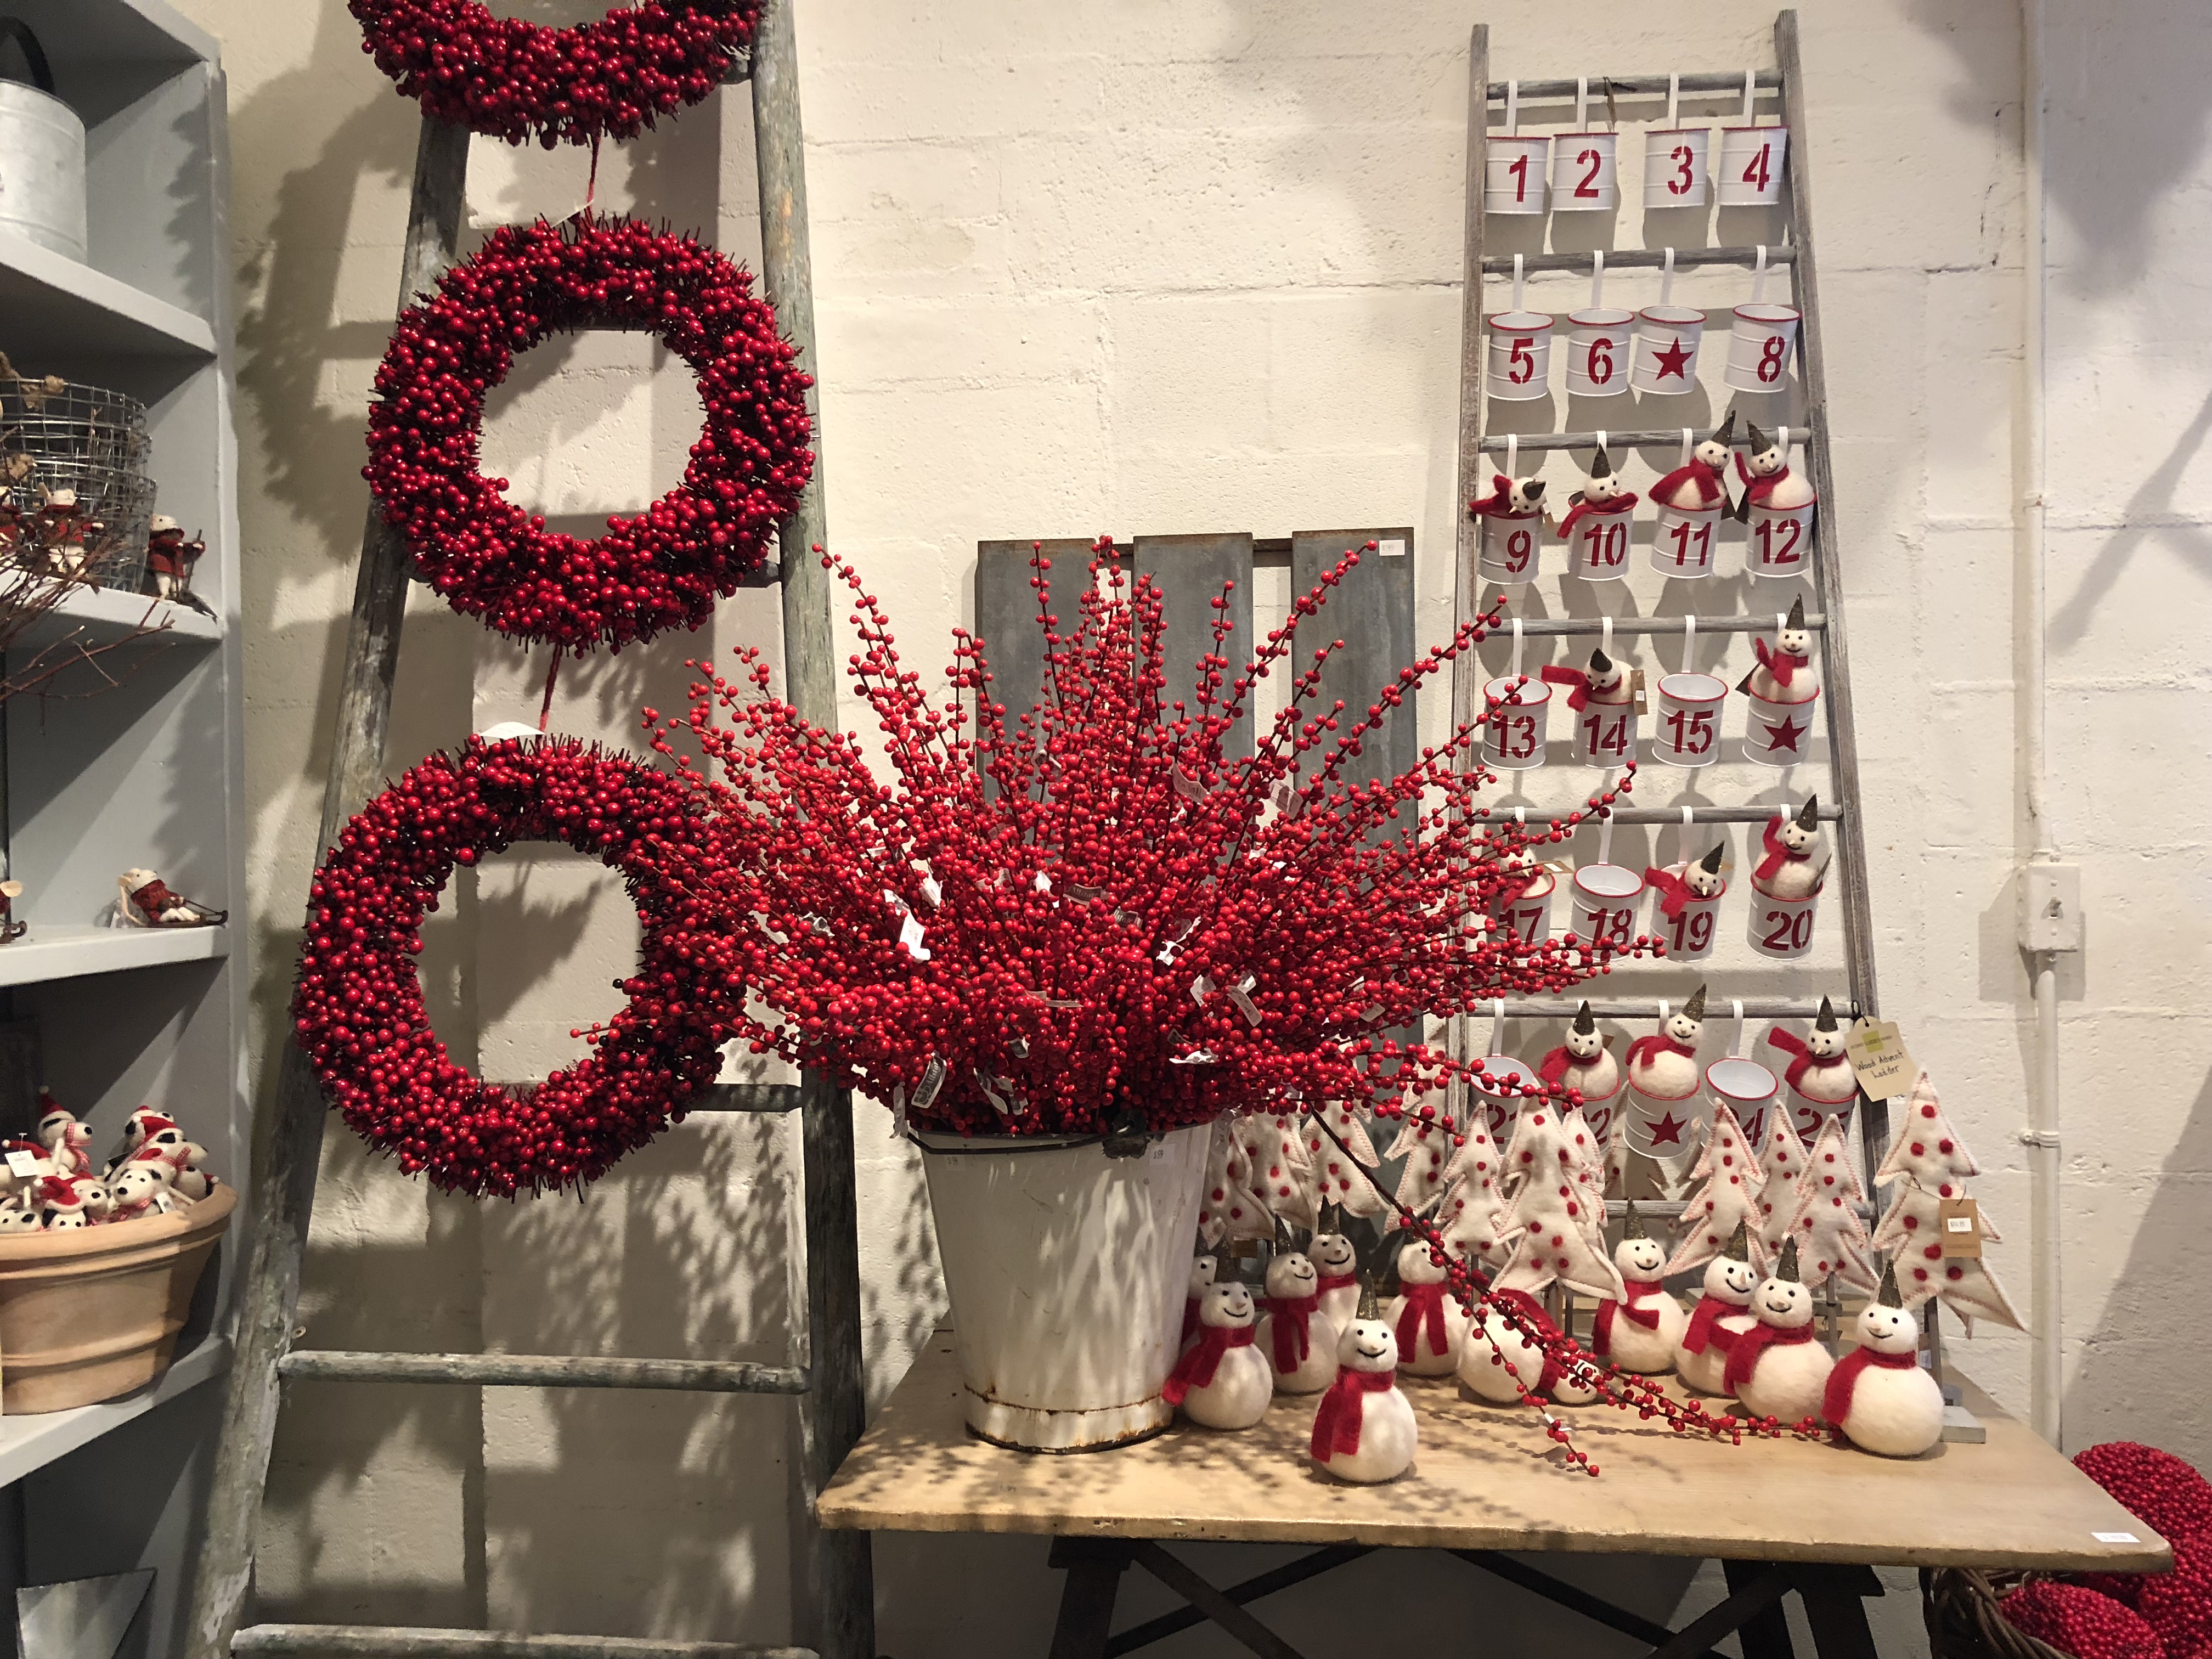 red and white
 swan cart
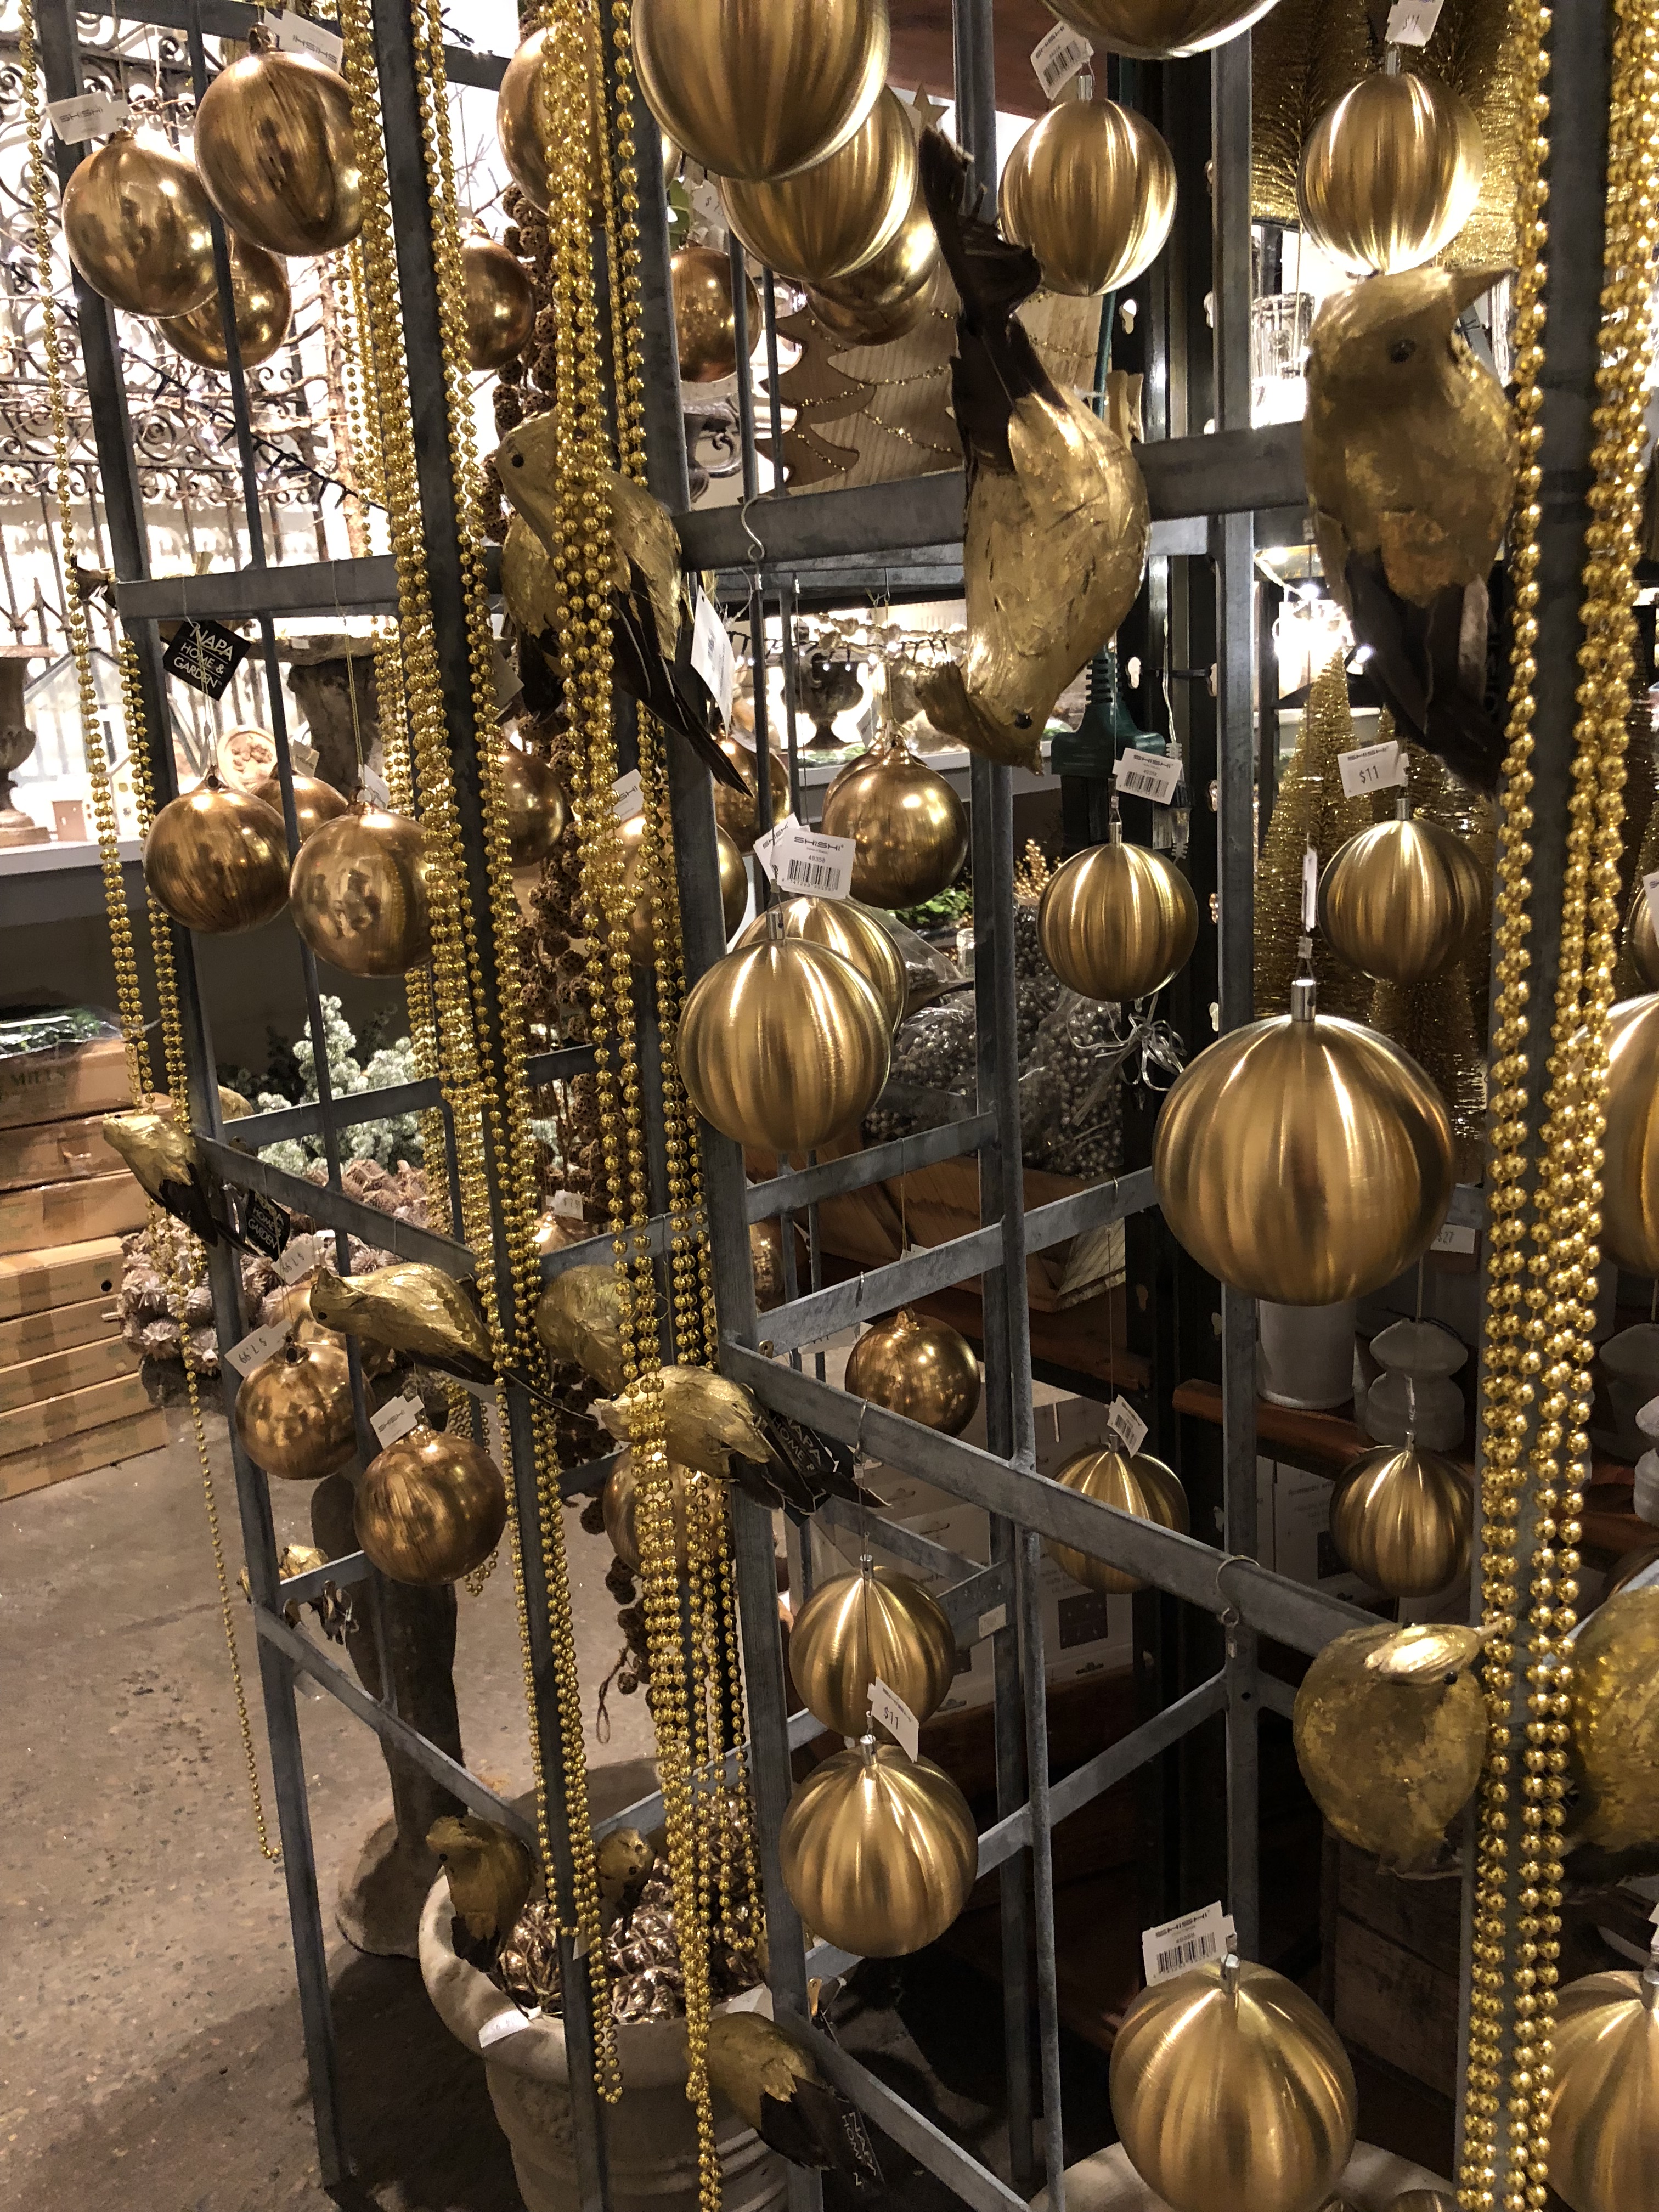 gold colored metal ornaments
 rustic look
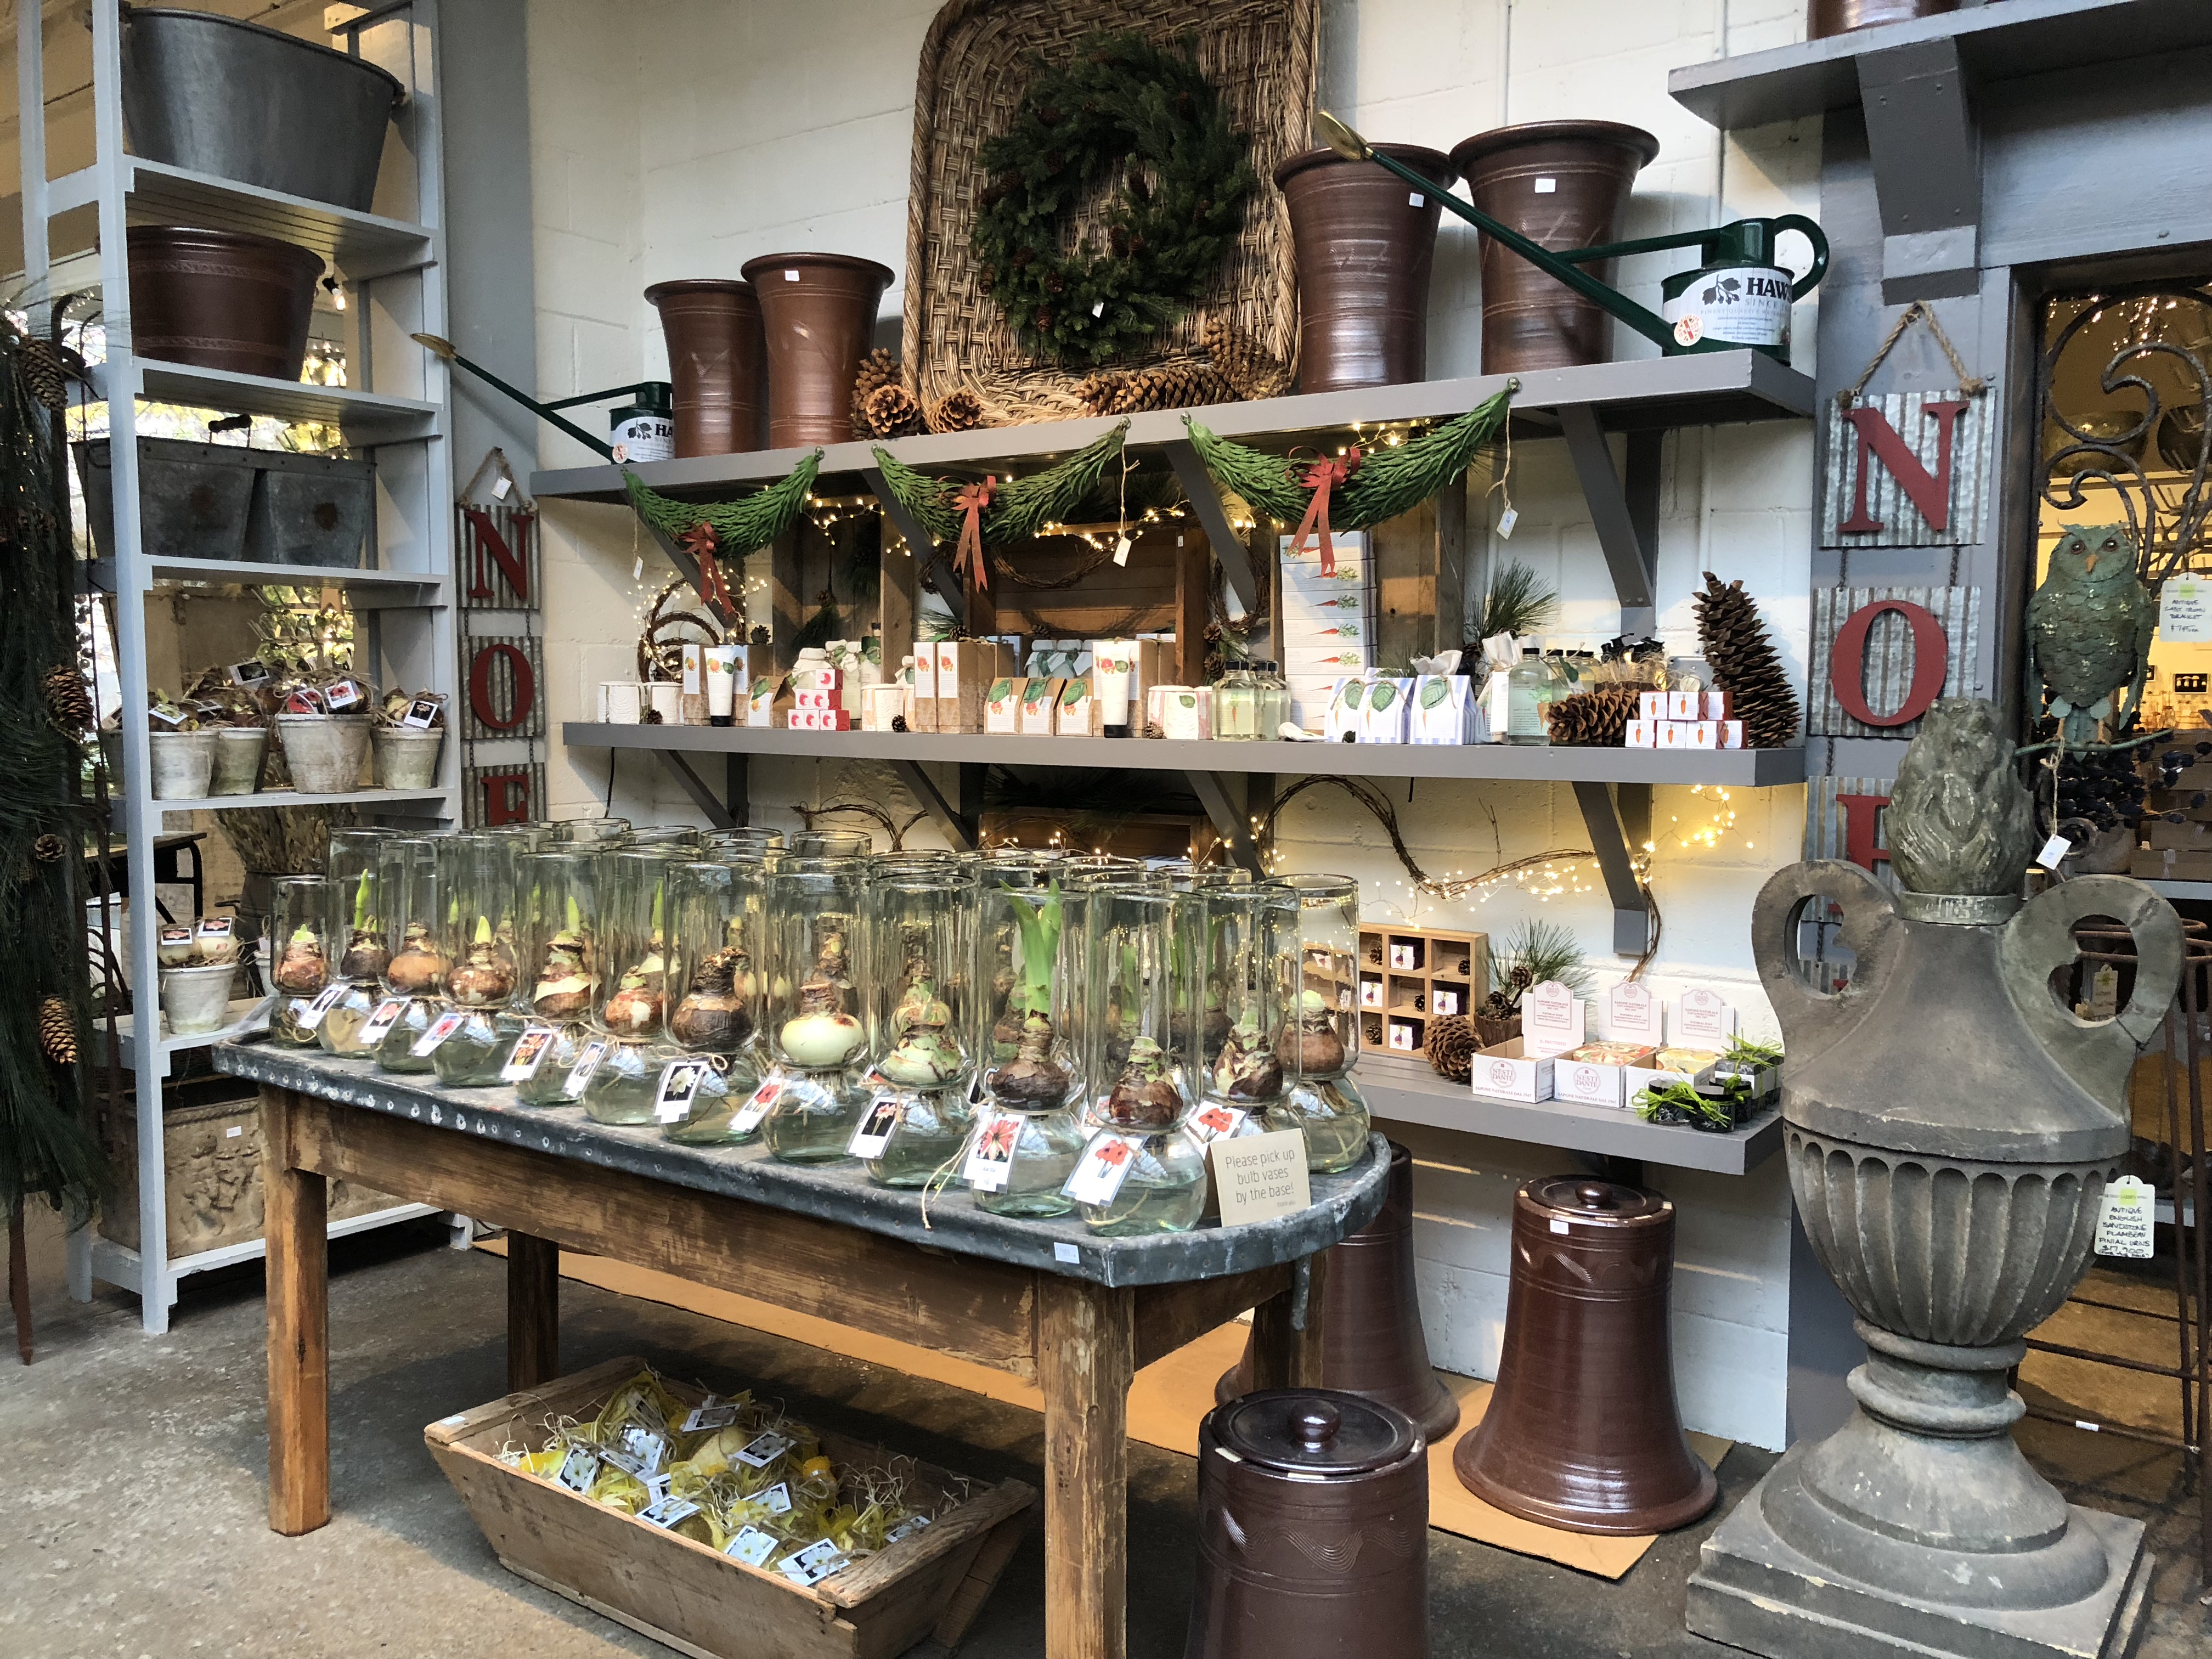 amaryllis in glass forcing vases
 wood ornament
 the shop
 shop window with swan sleighs
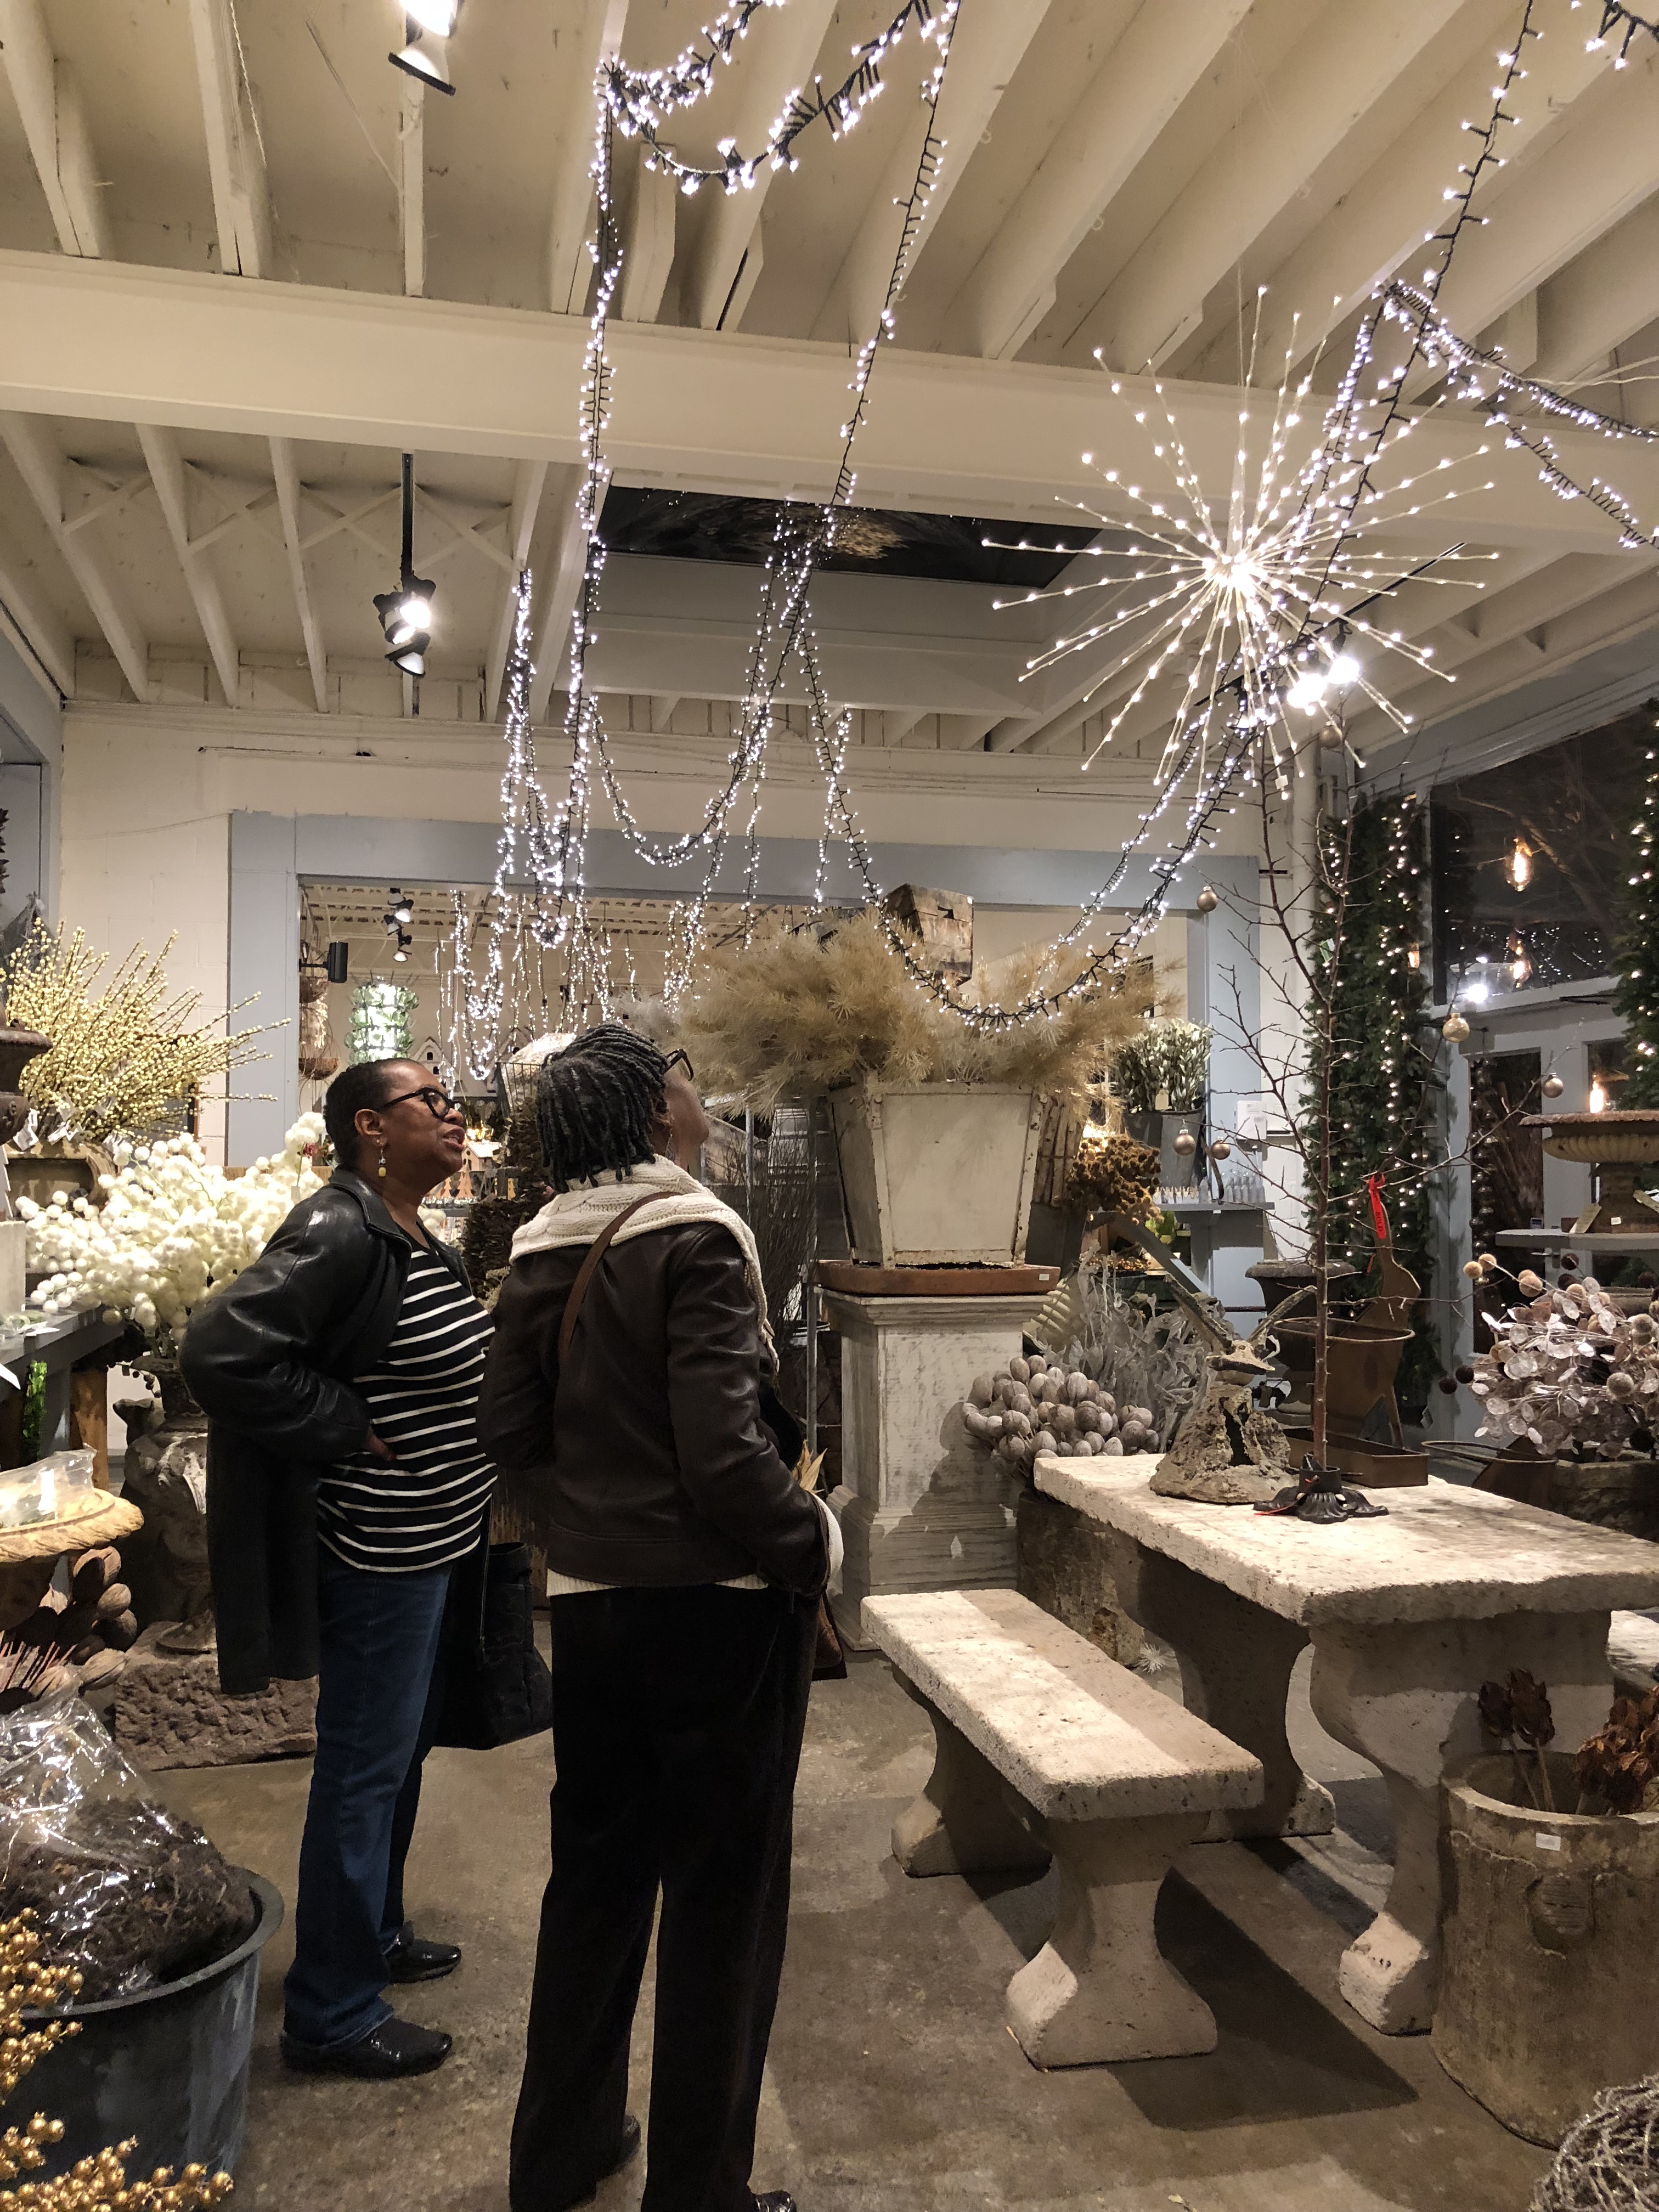 lighted starbursts
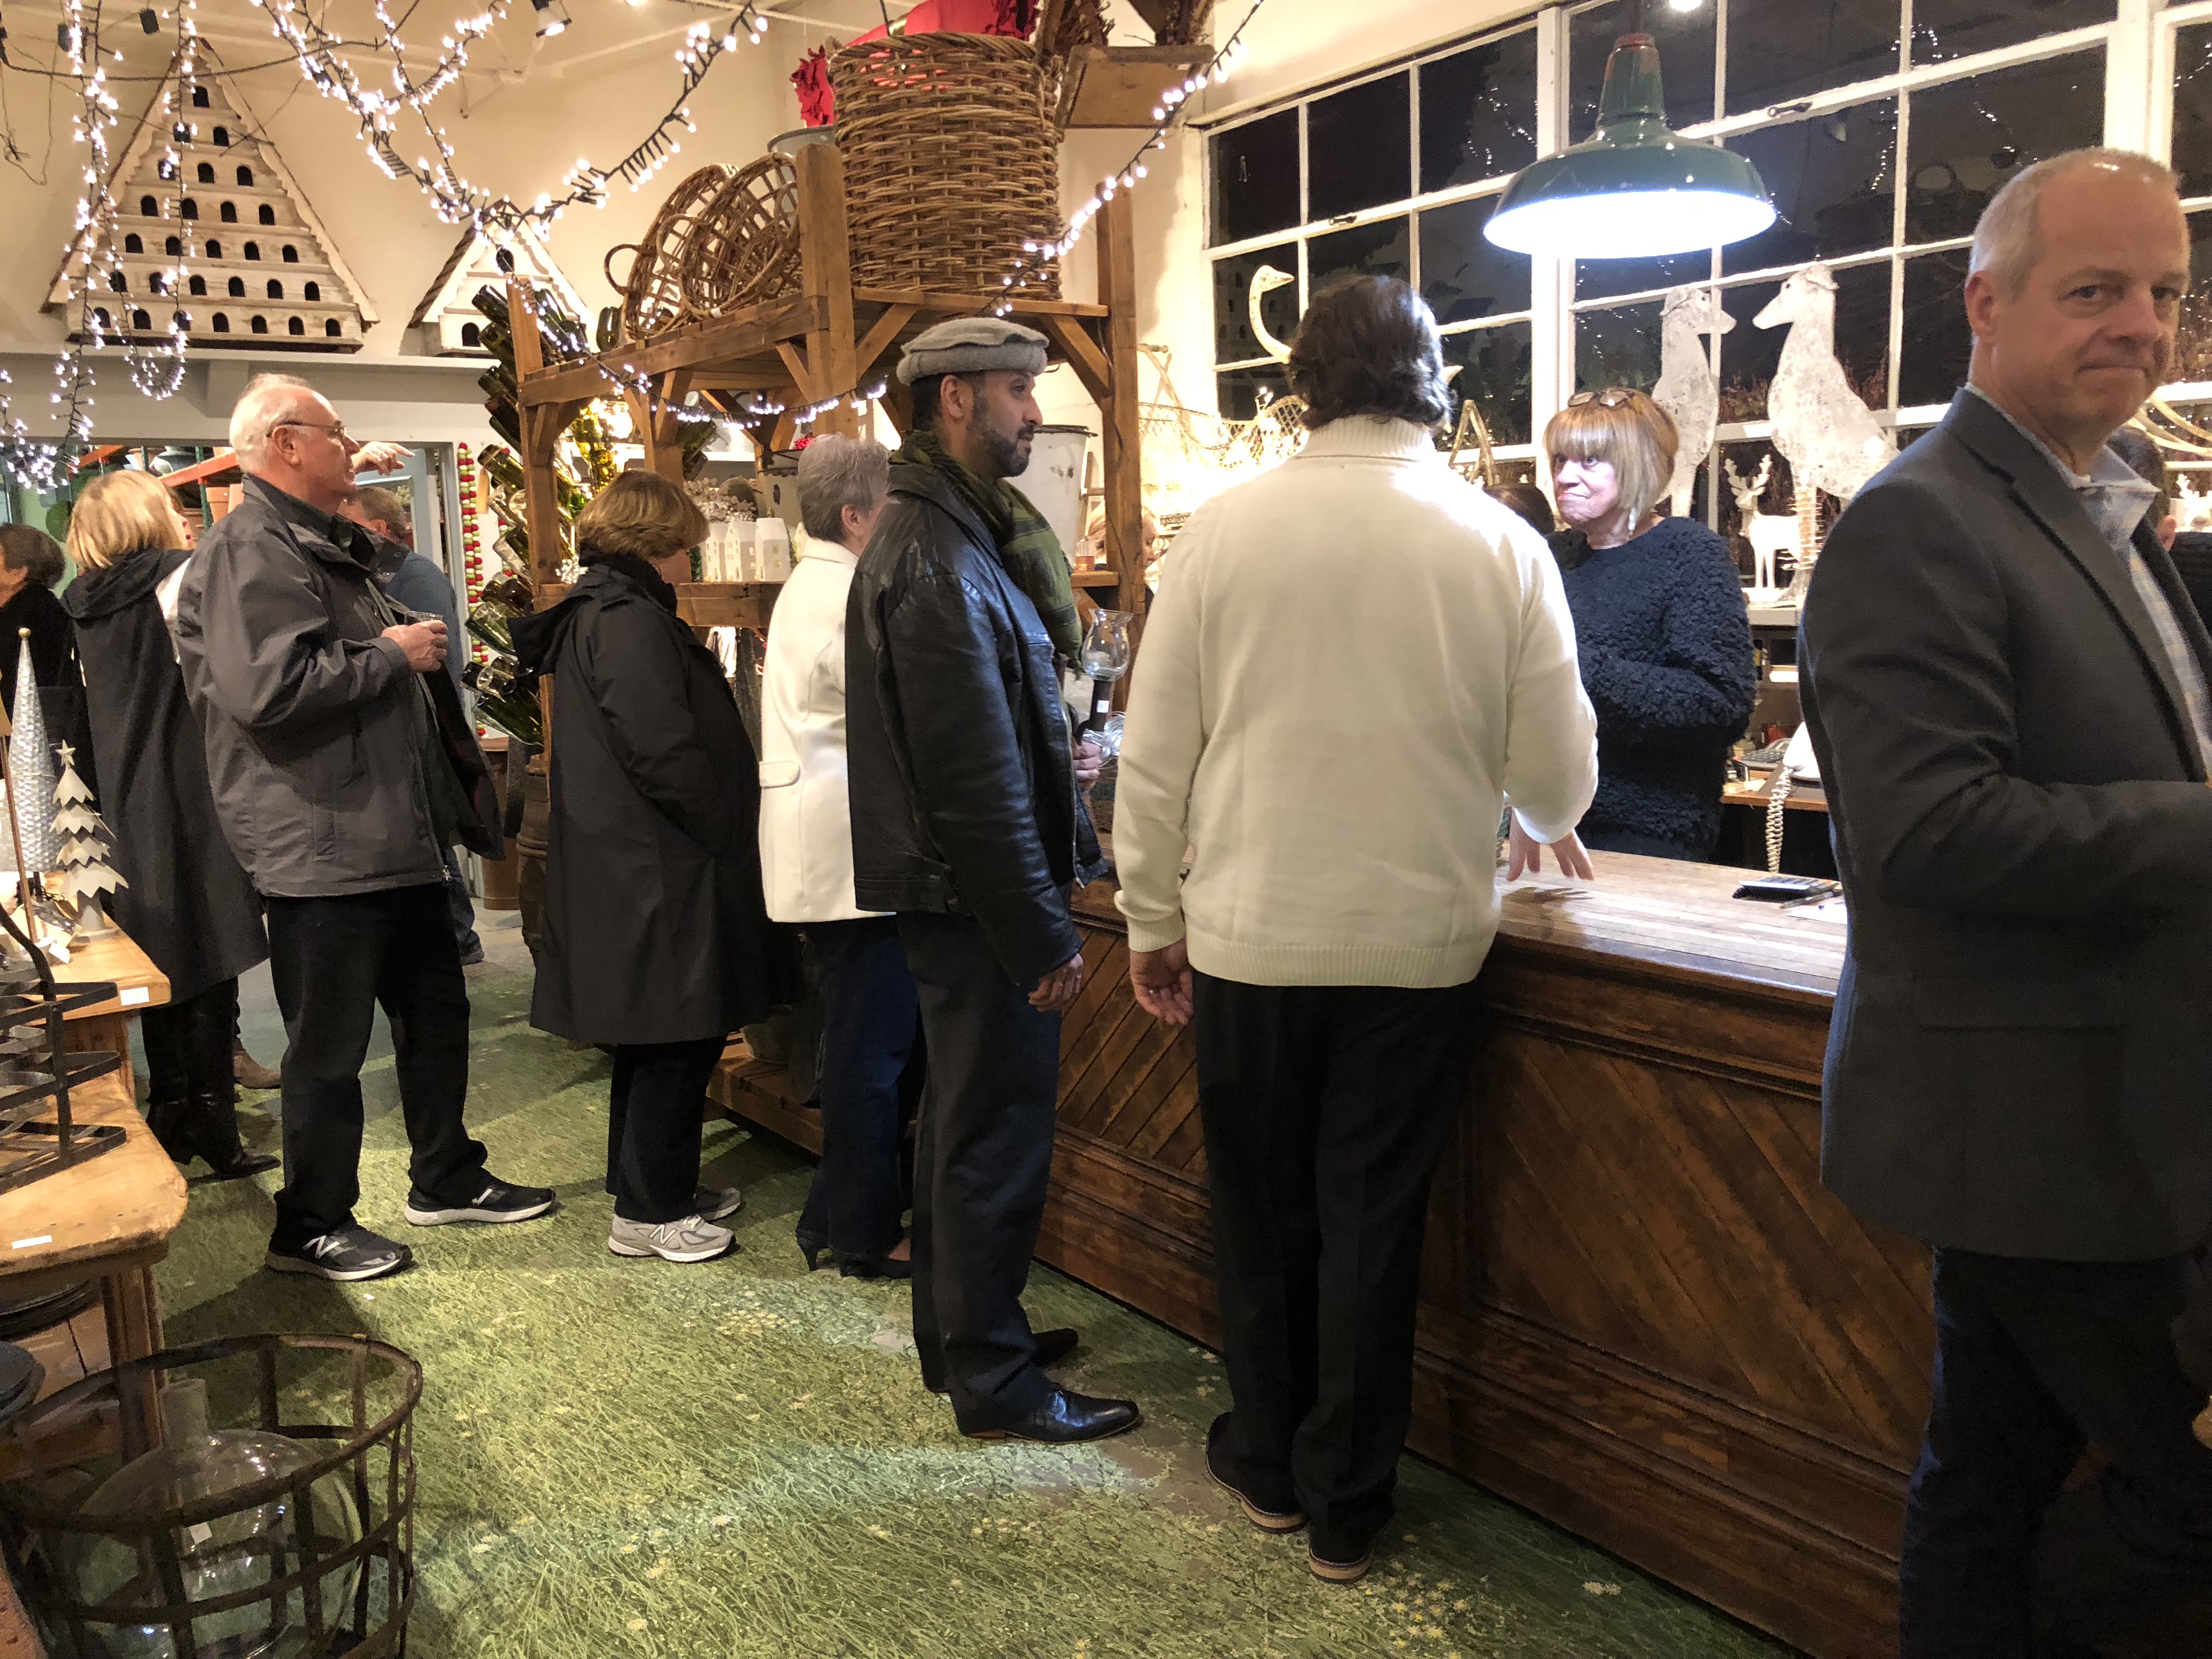
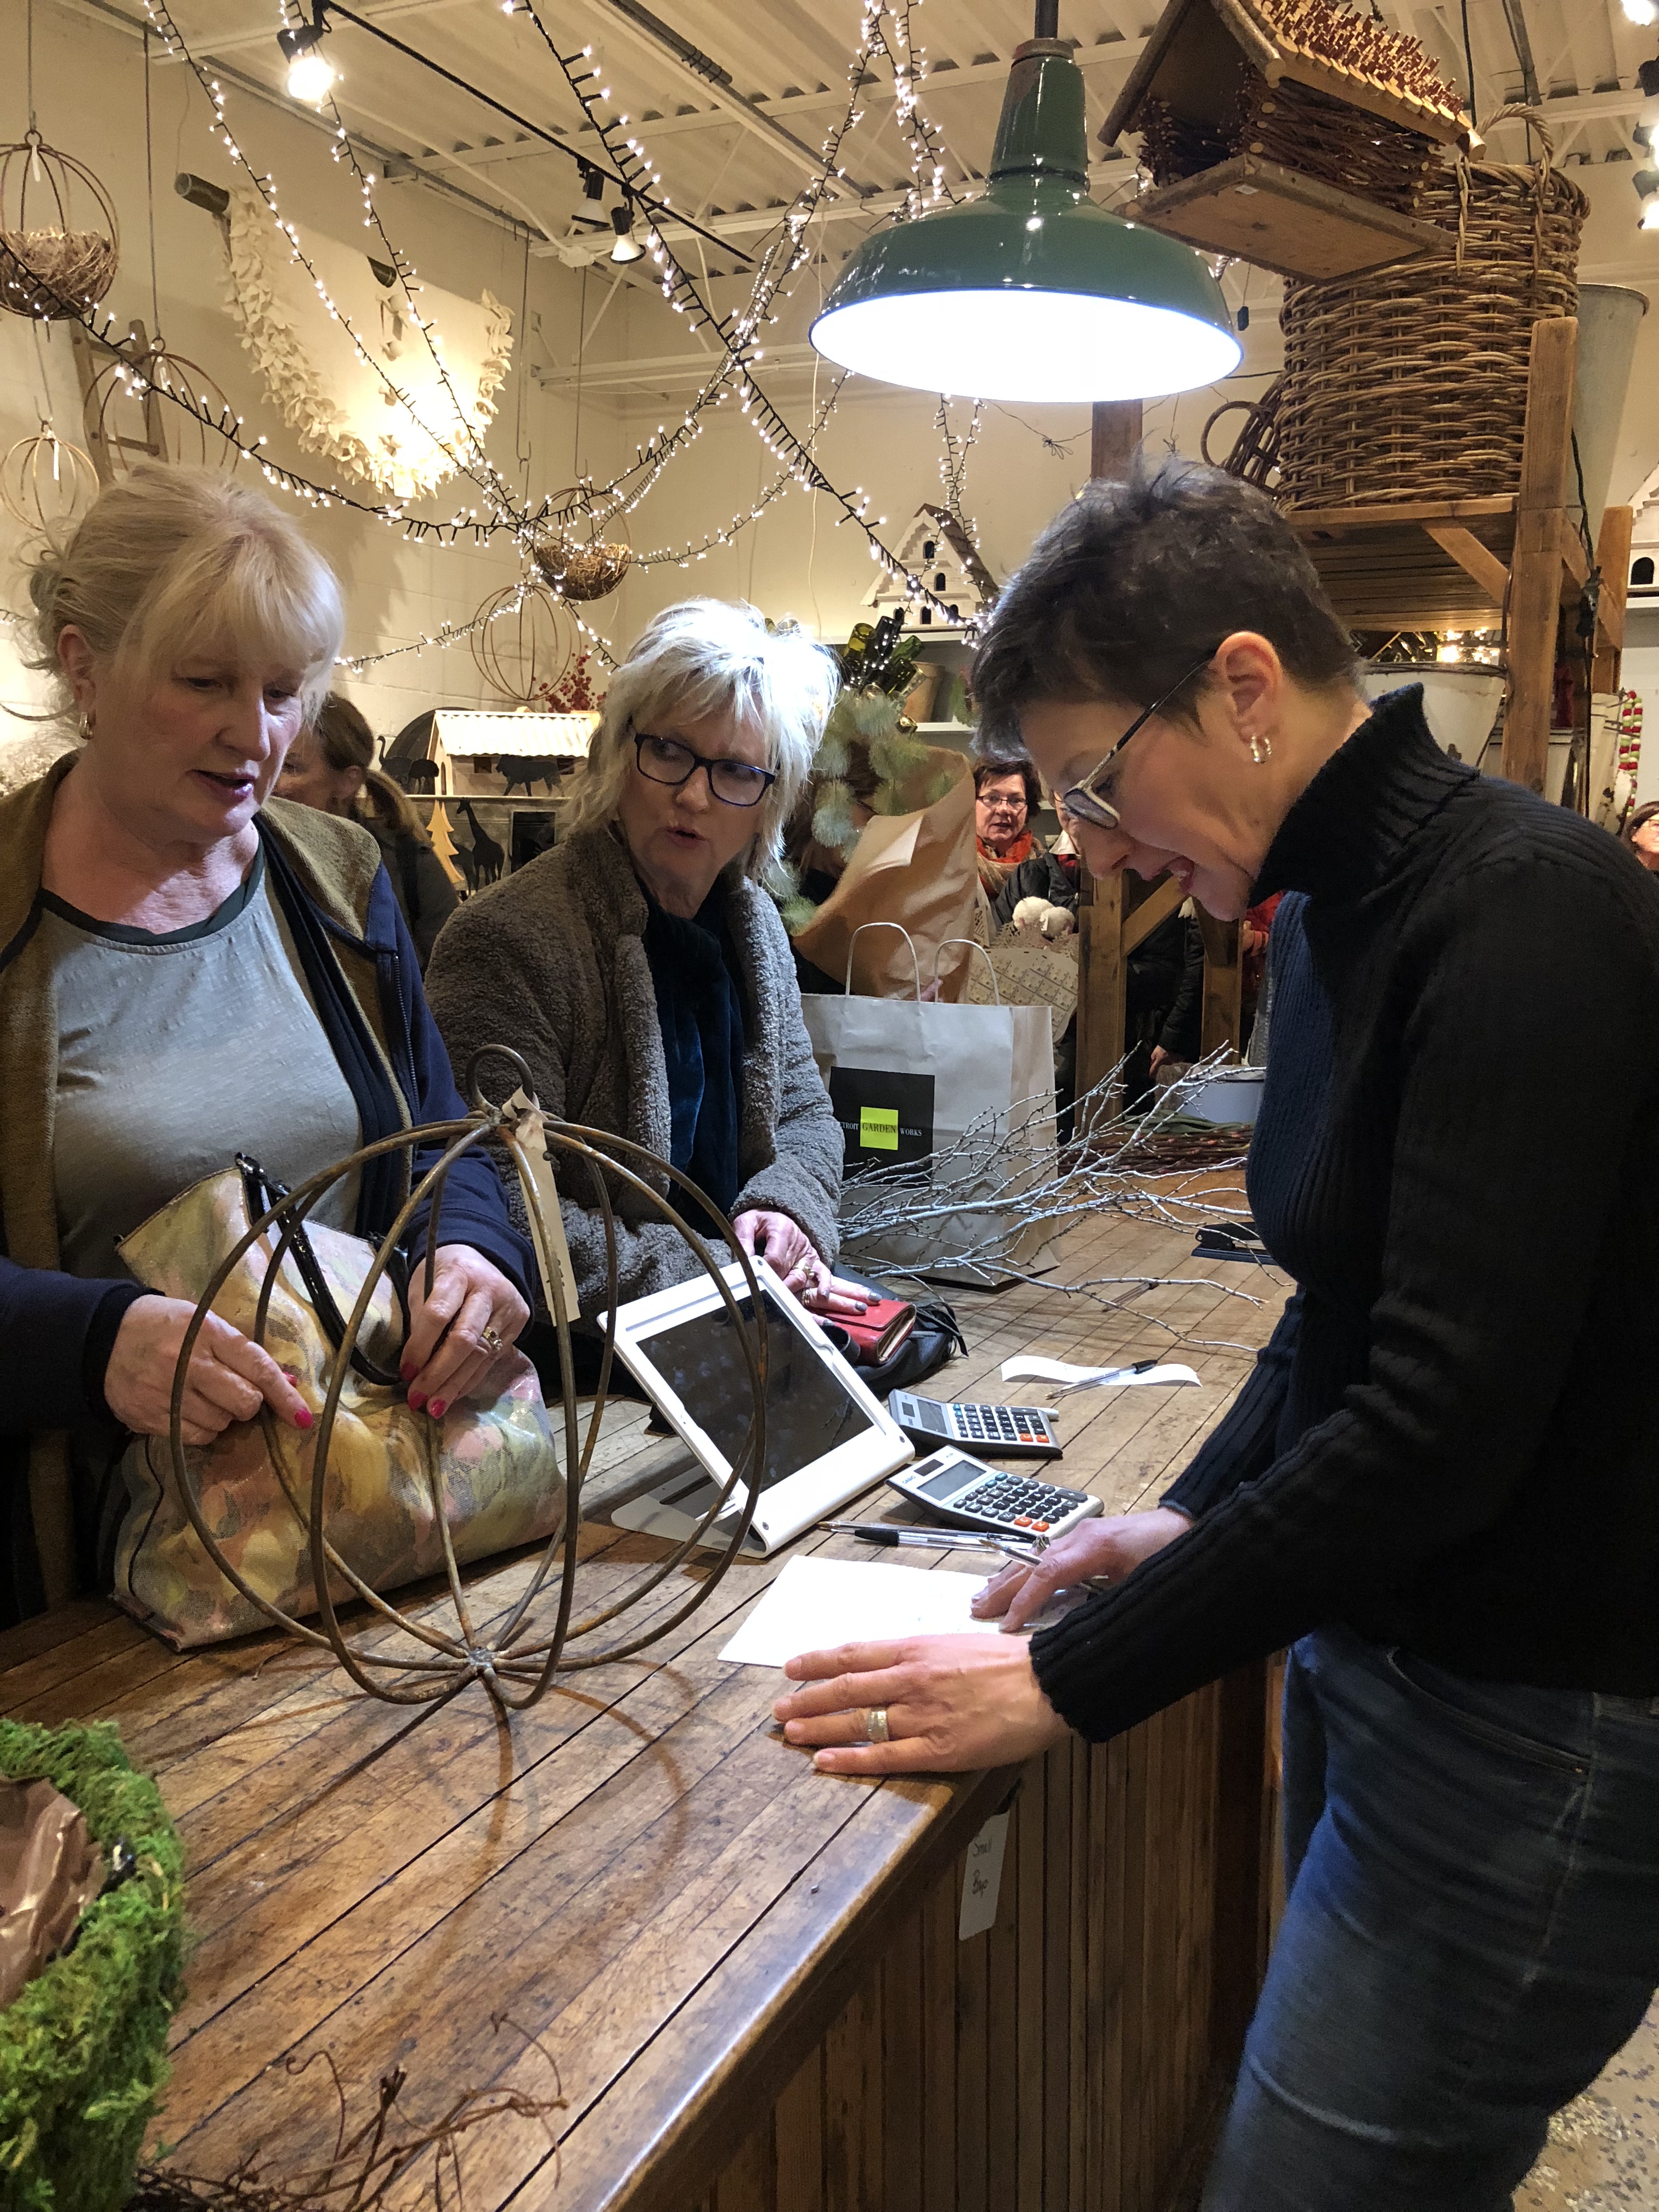 a party
 shop at night
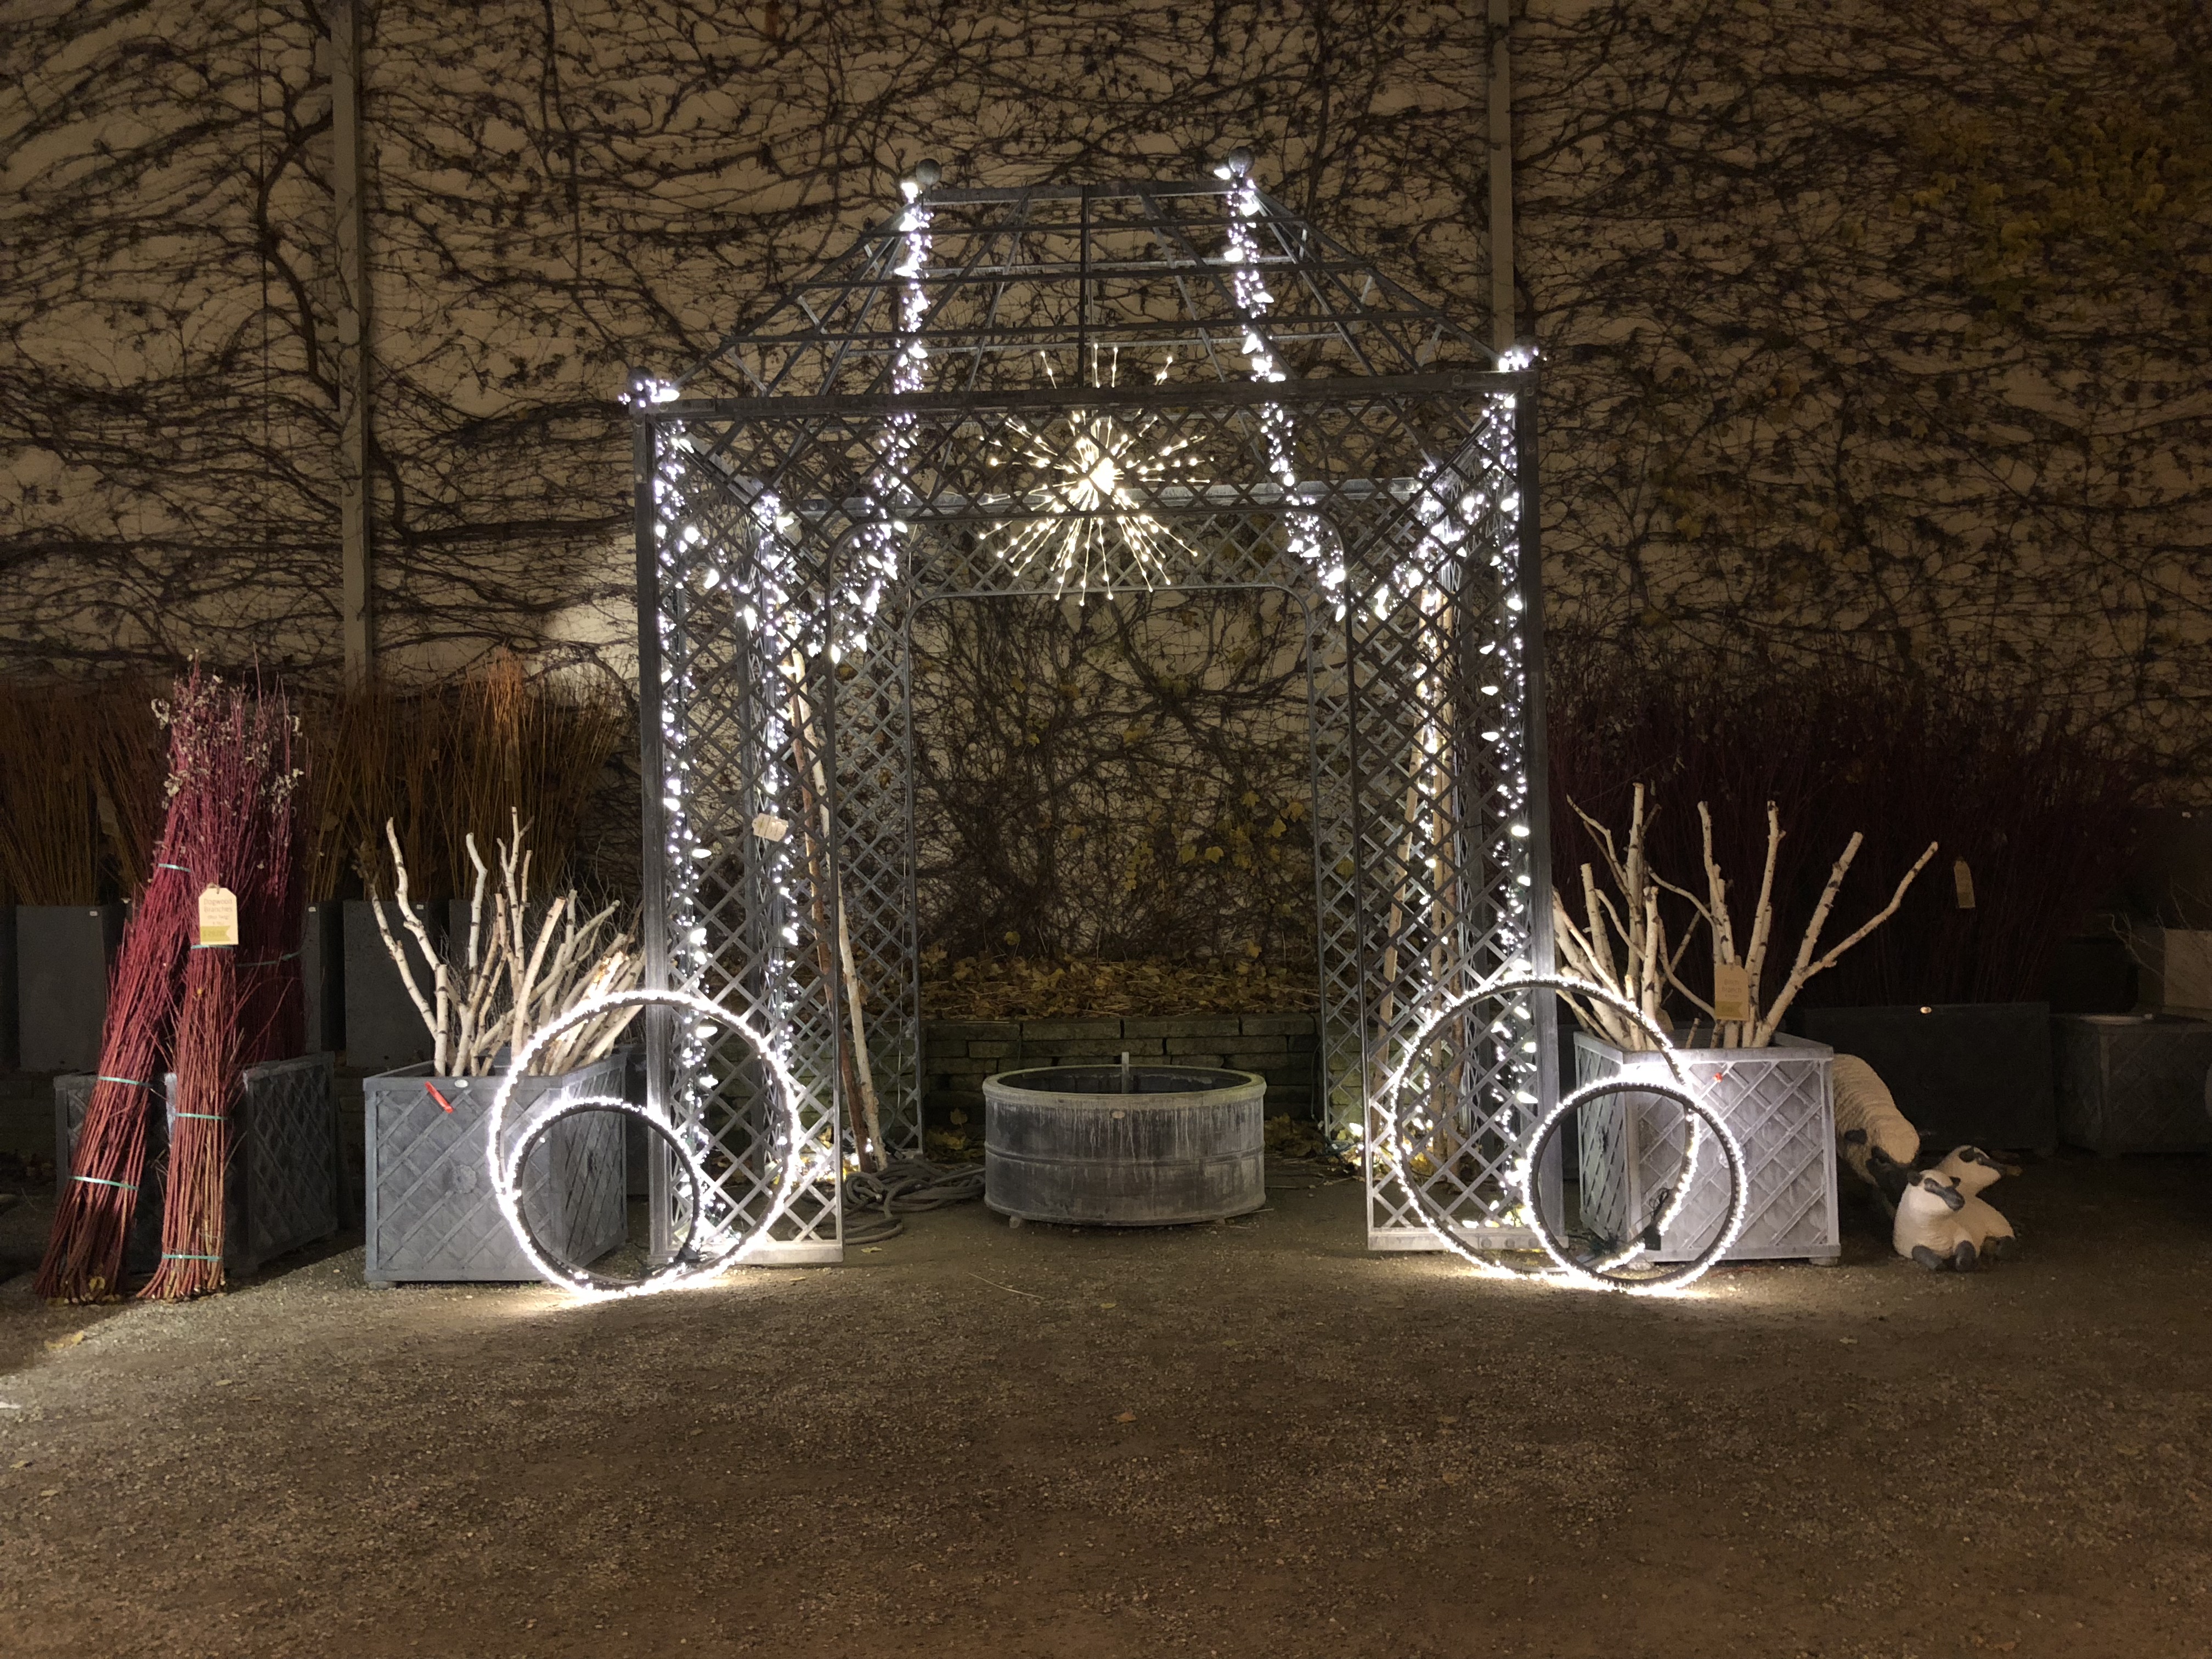 lighting on the pergola
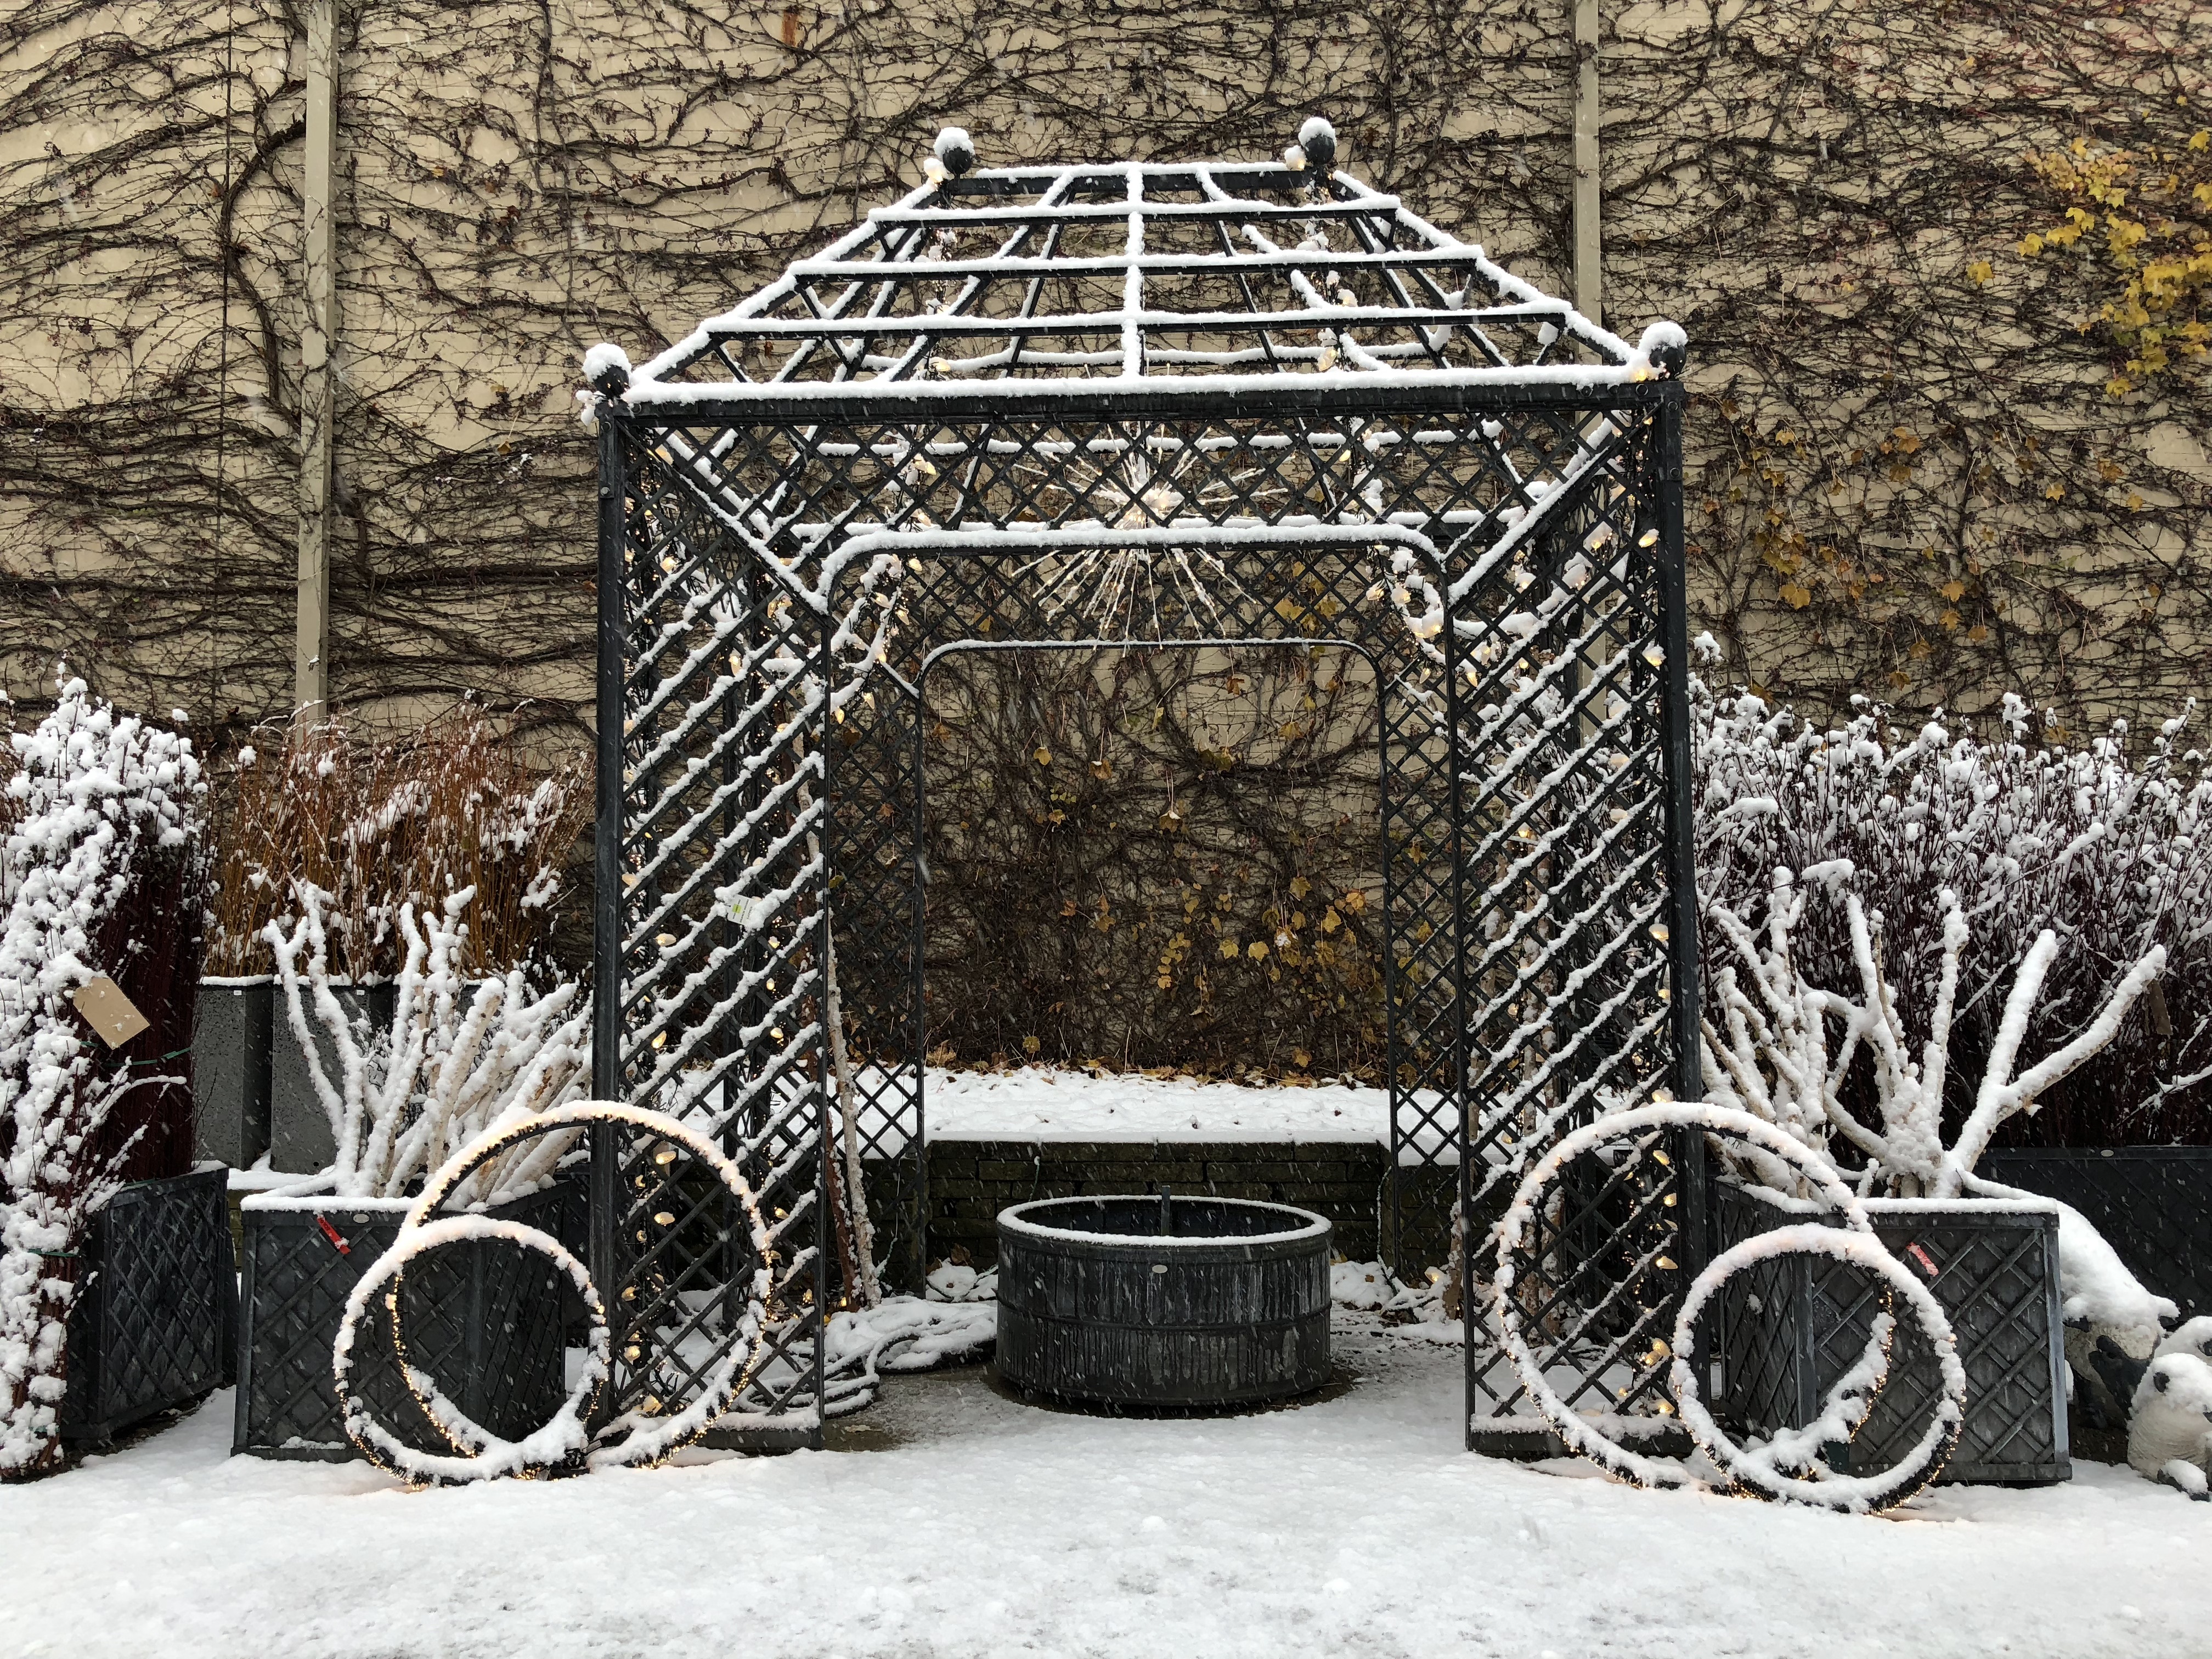
And this morning-our first snow!
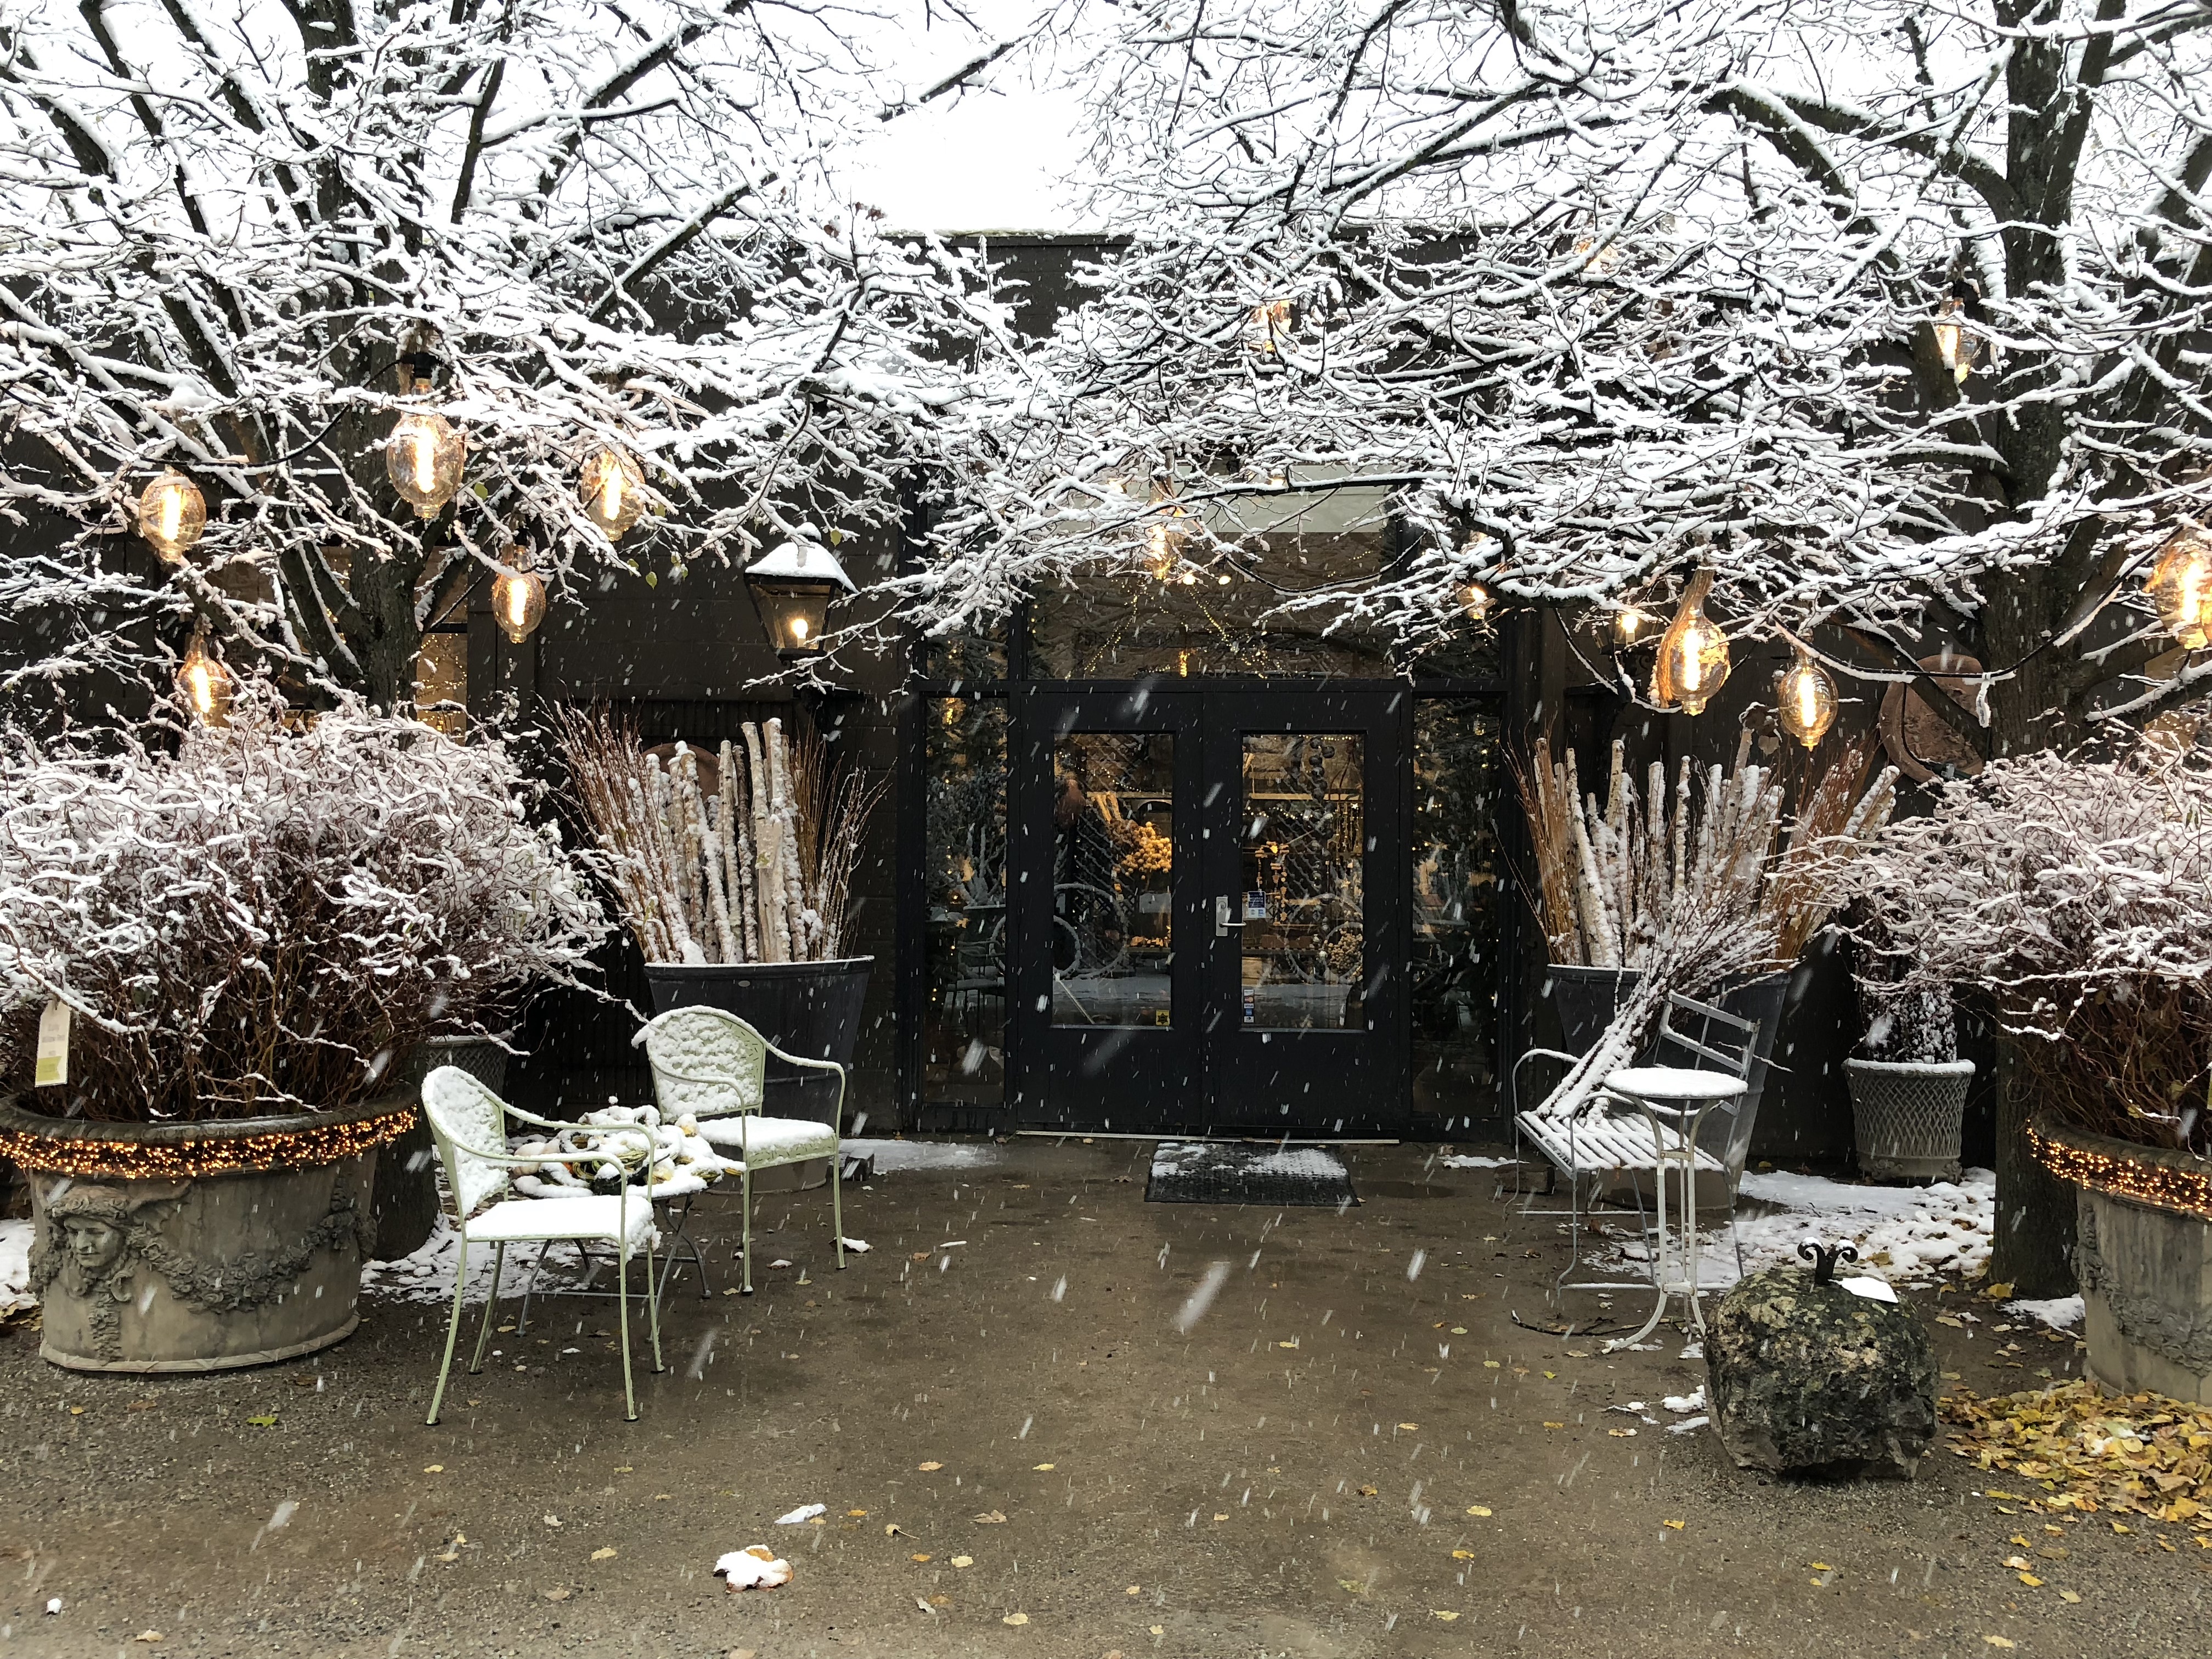

A perfect day for a winter open house, don’t you think?