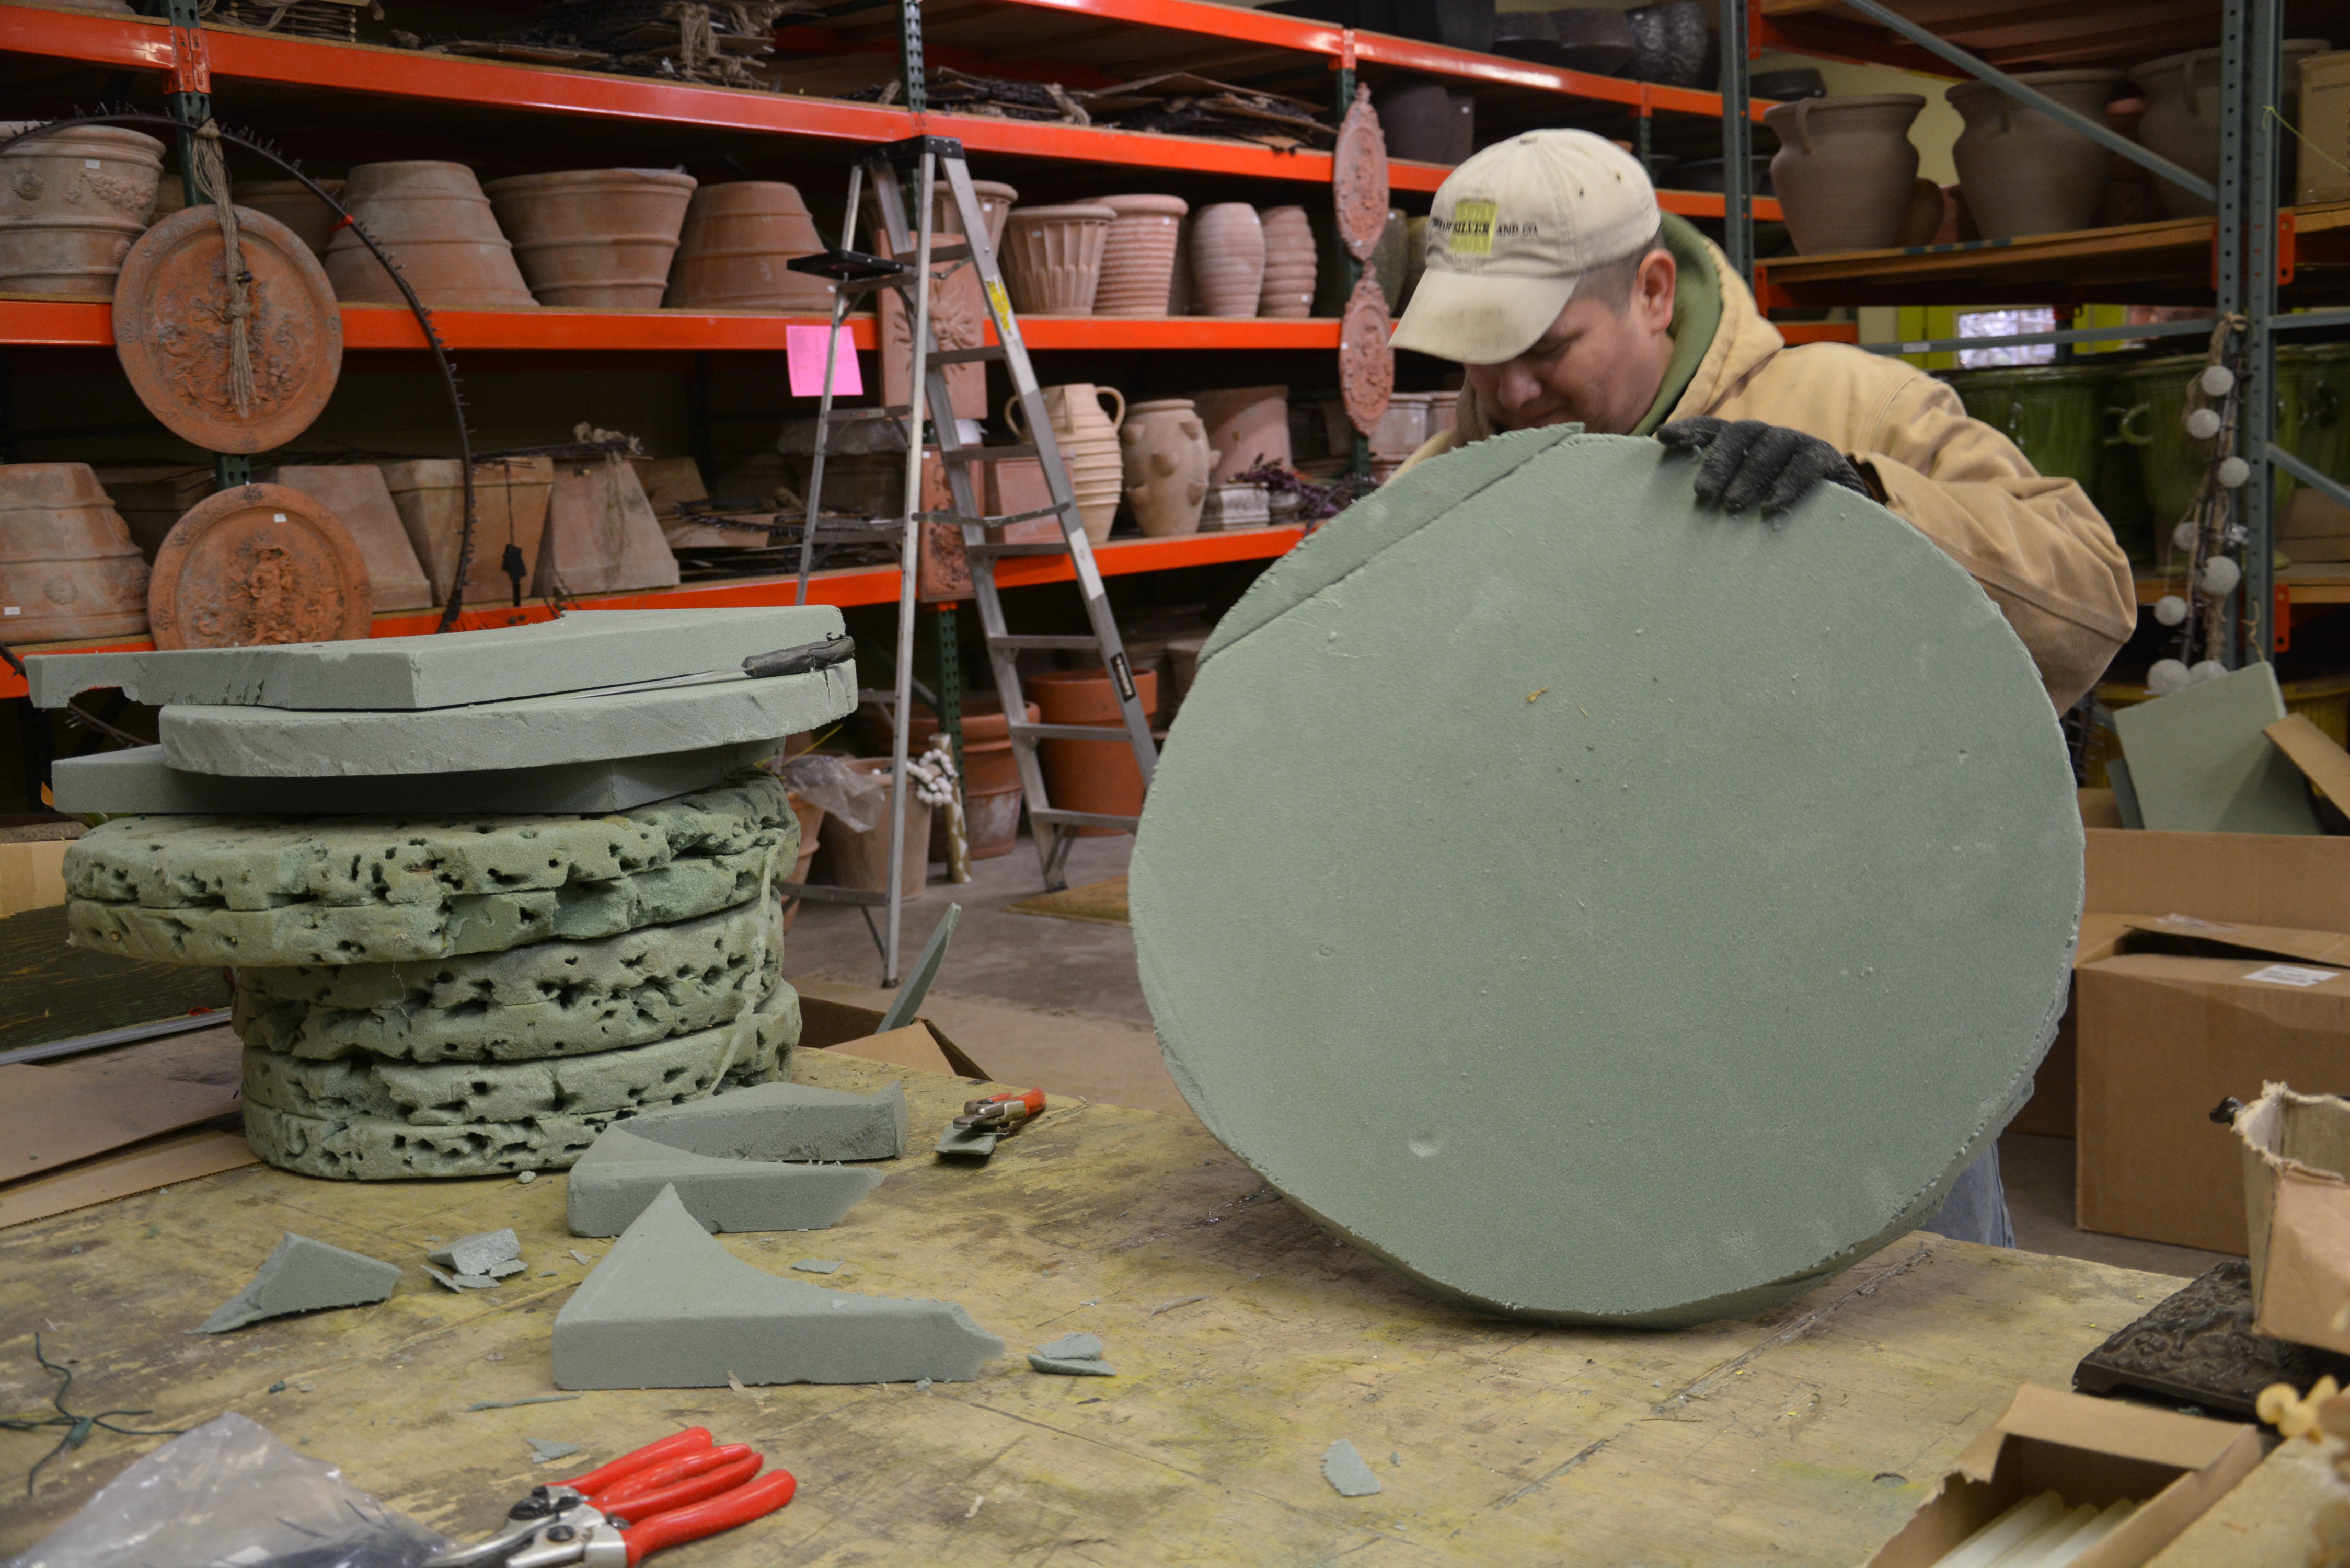
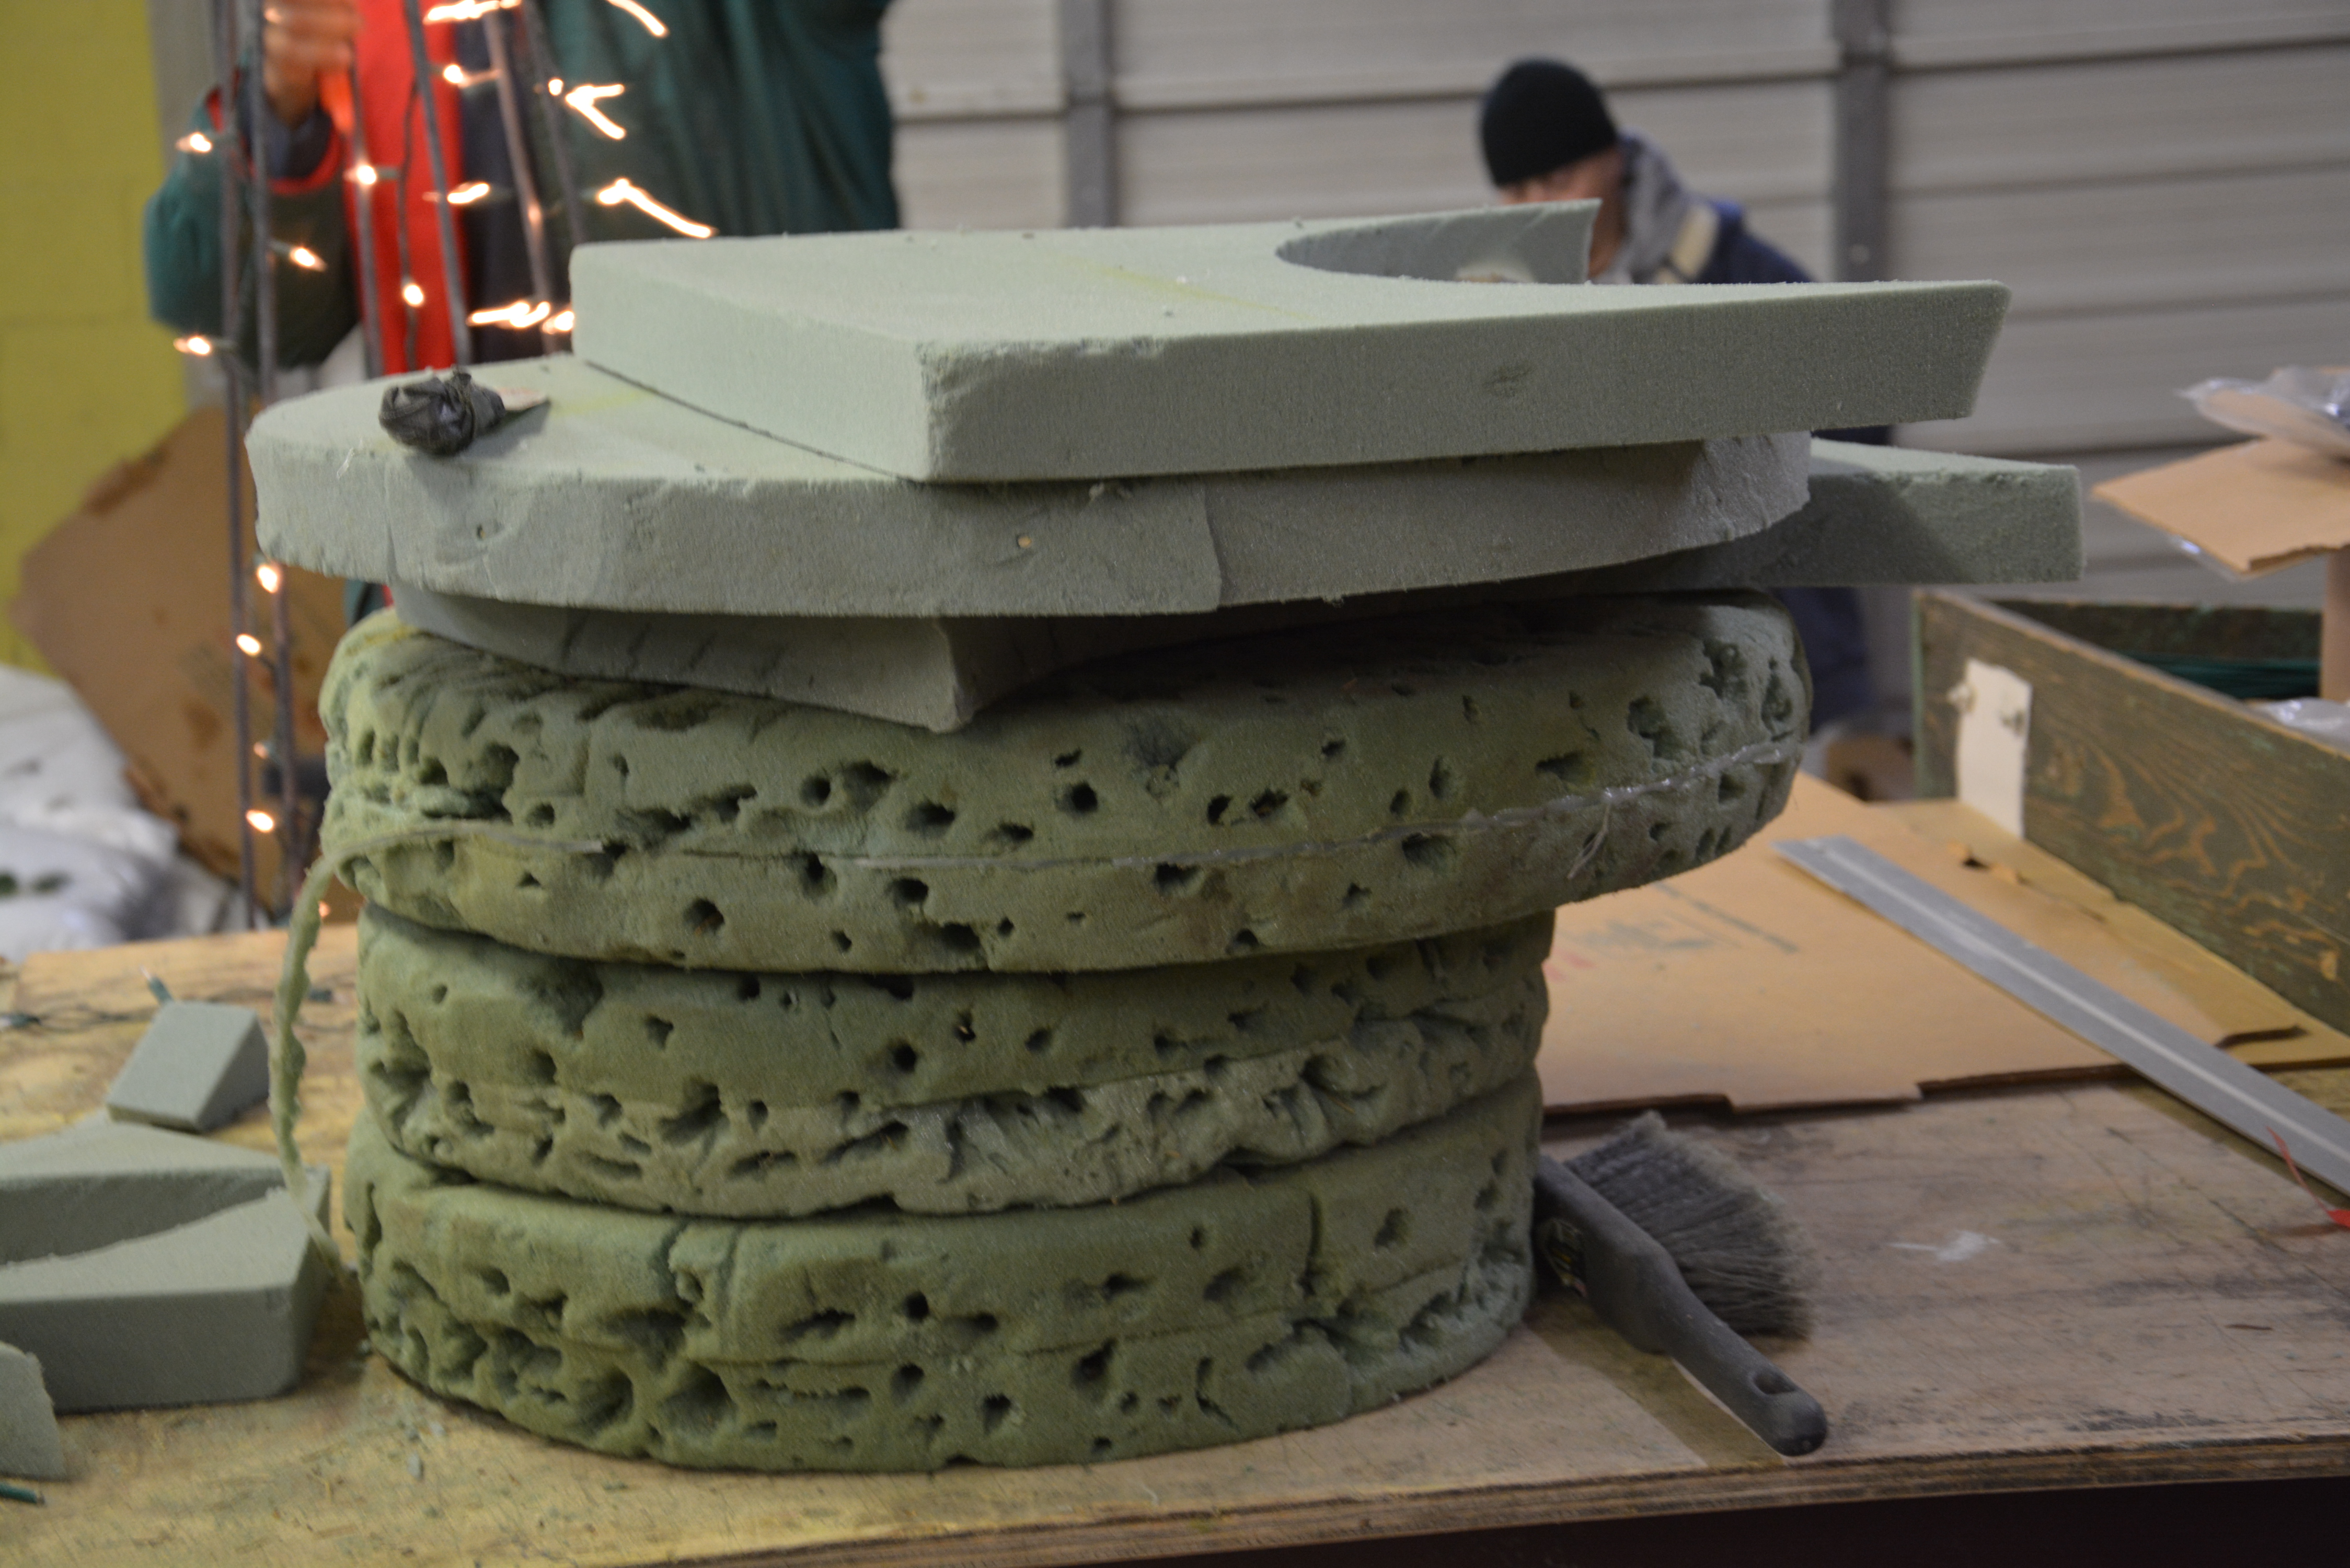
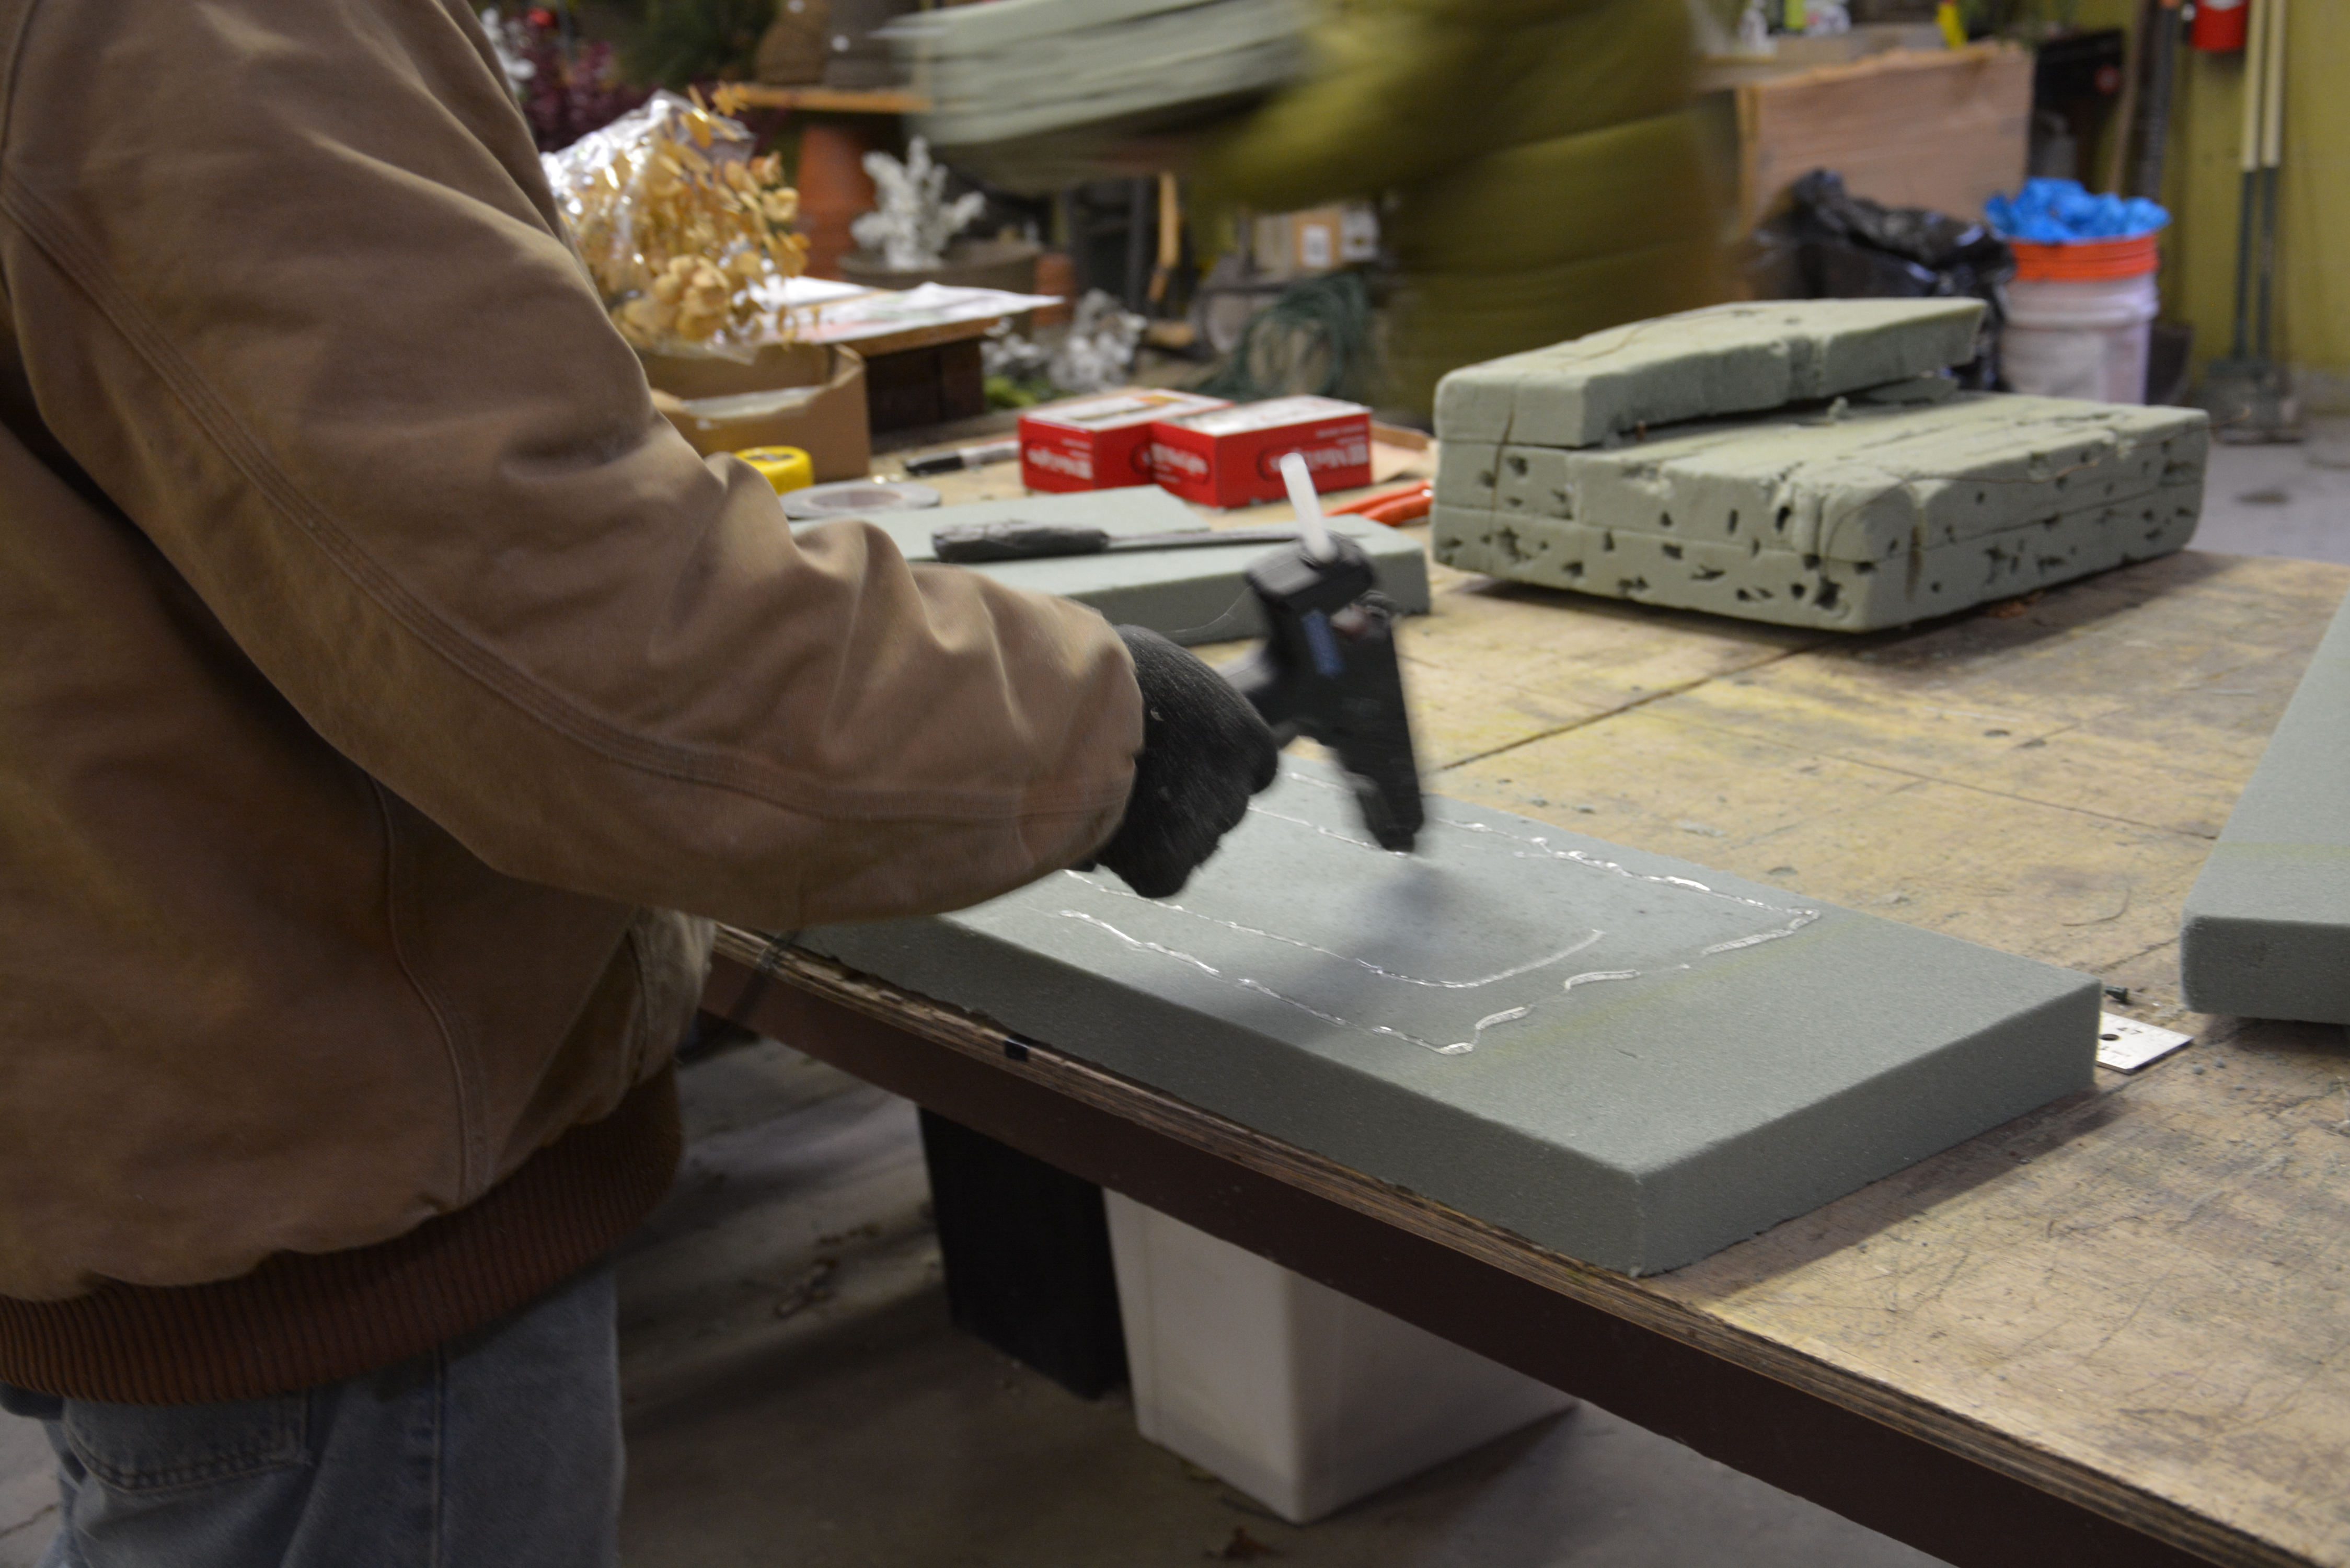
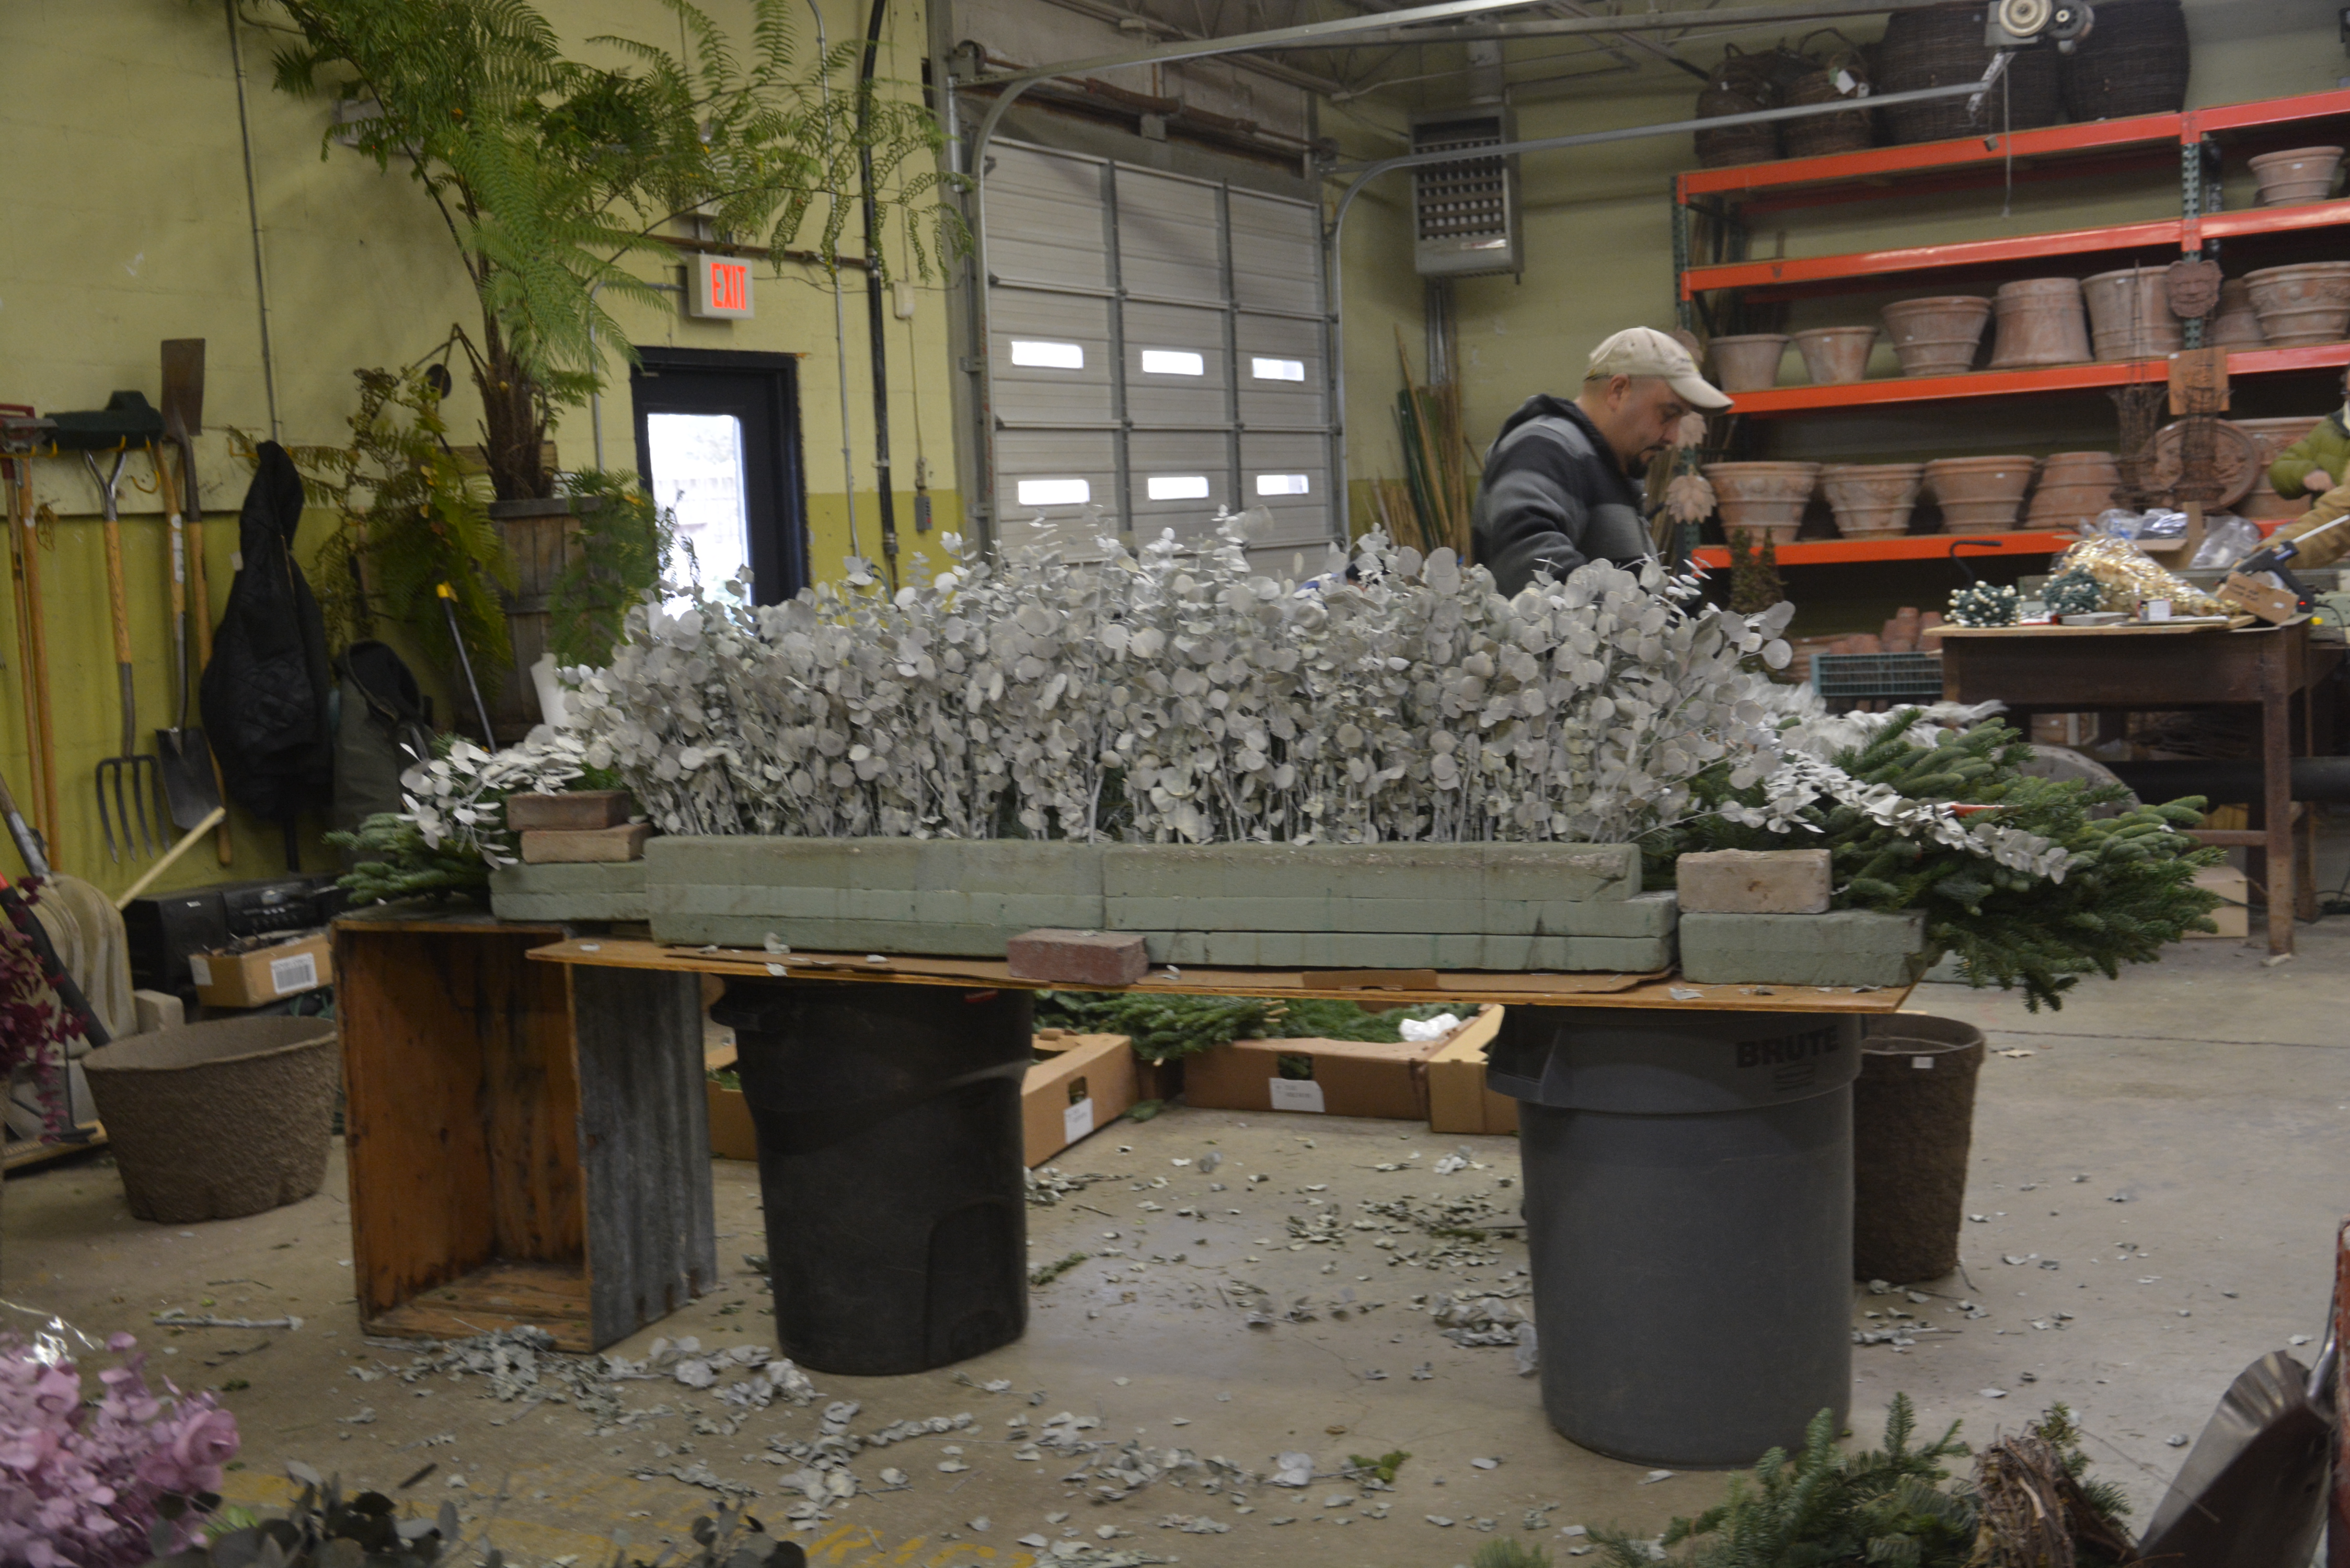
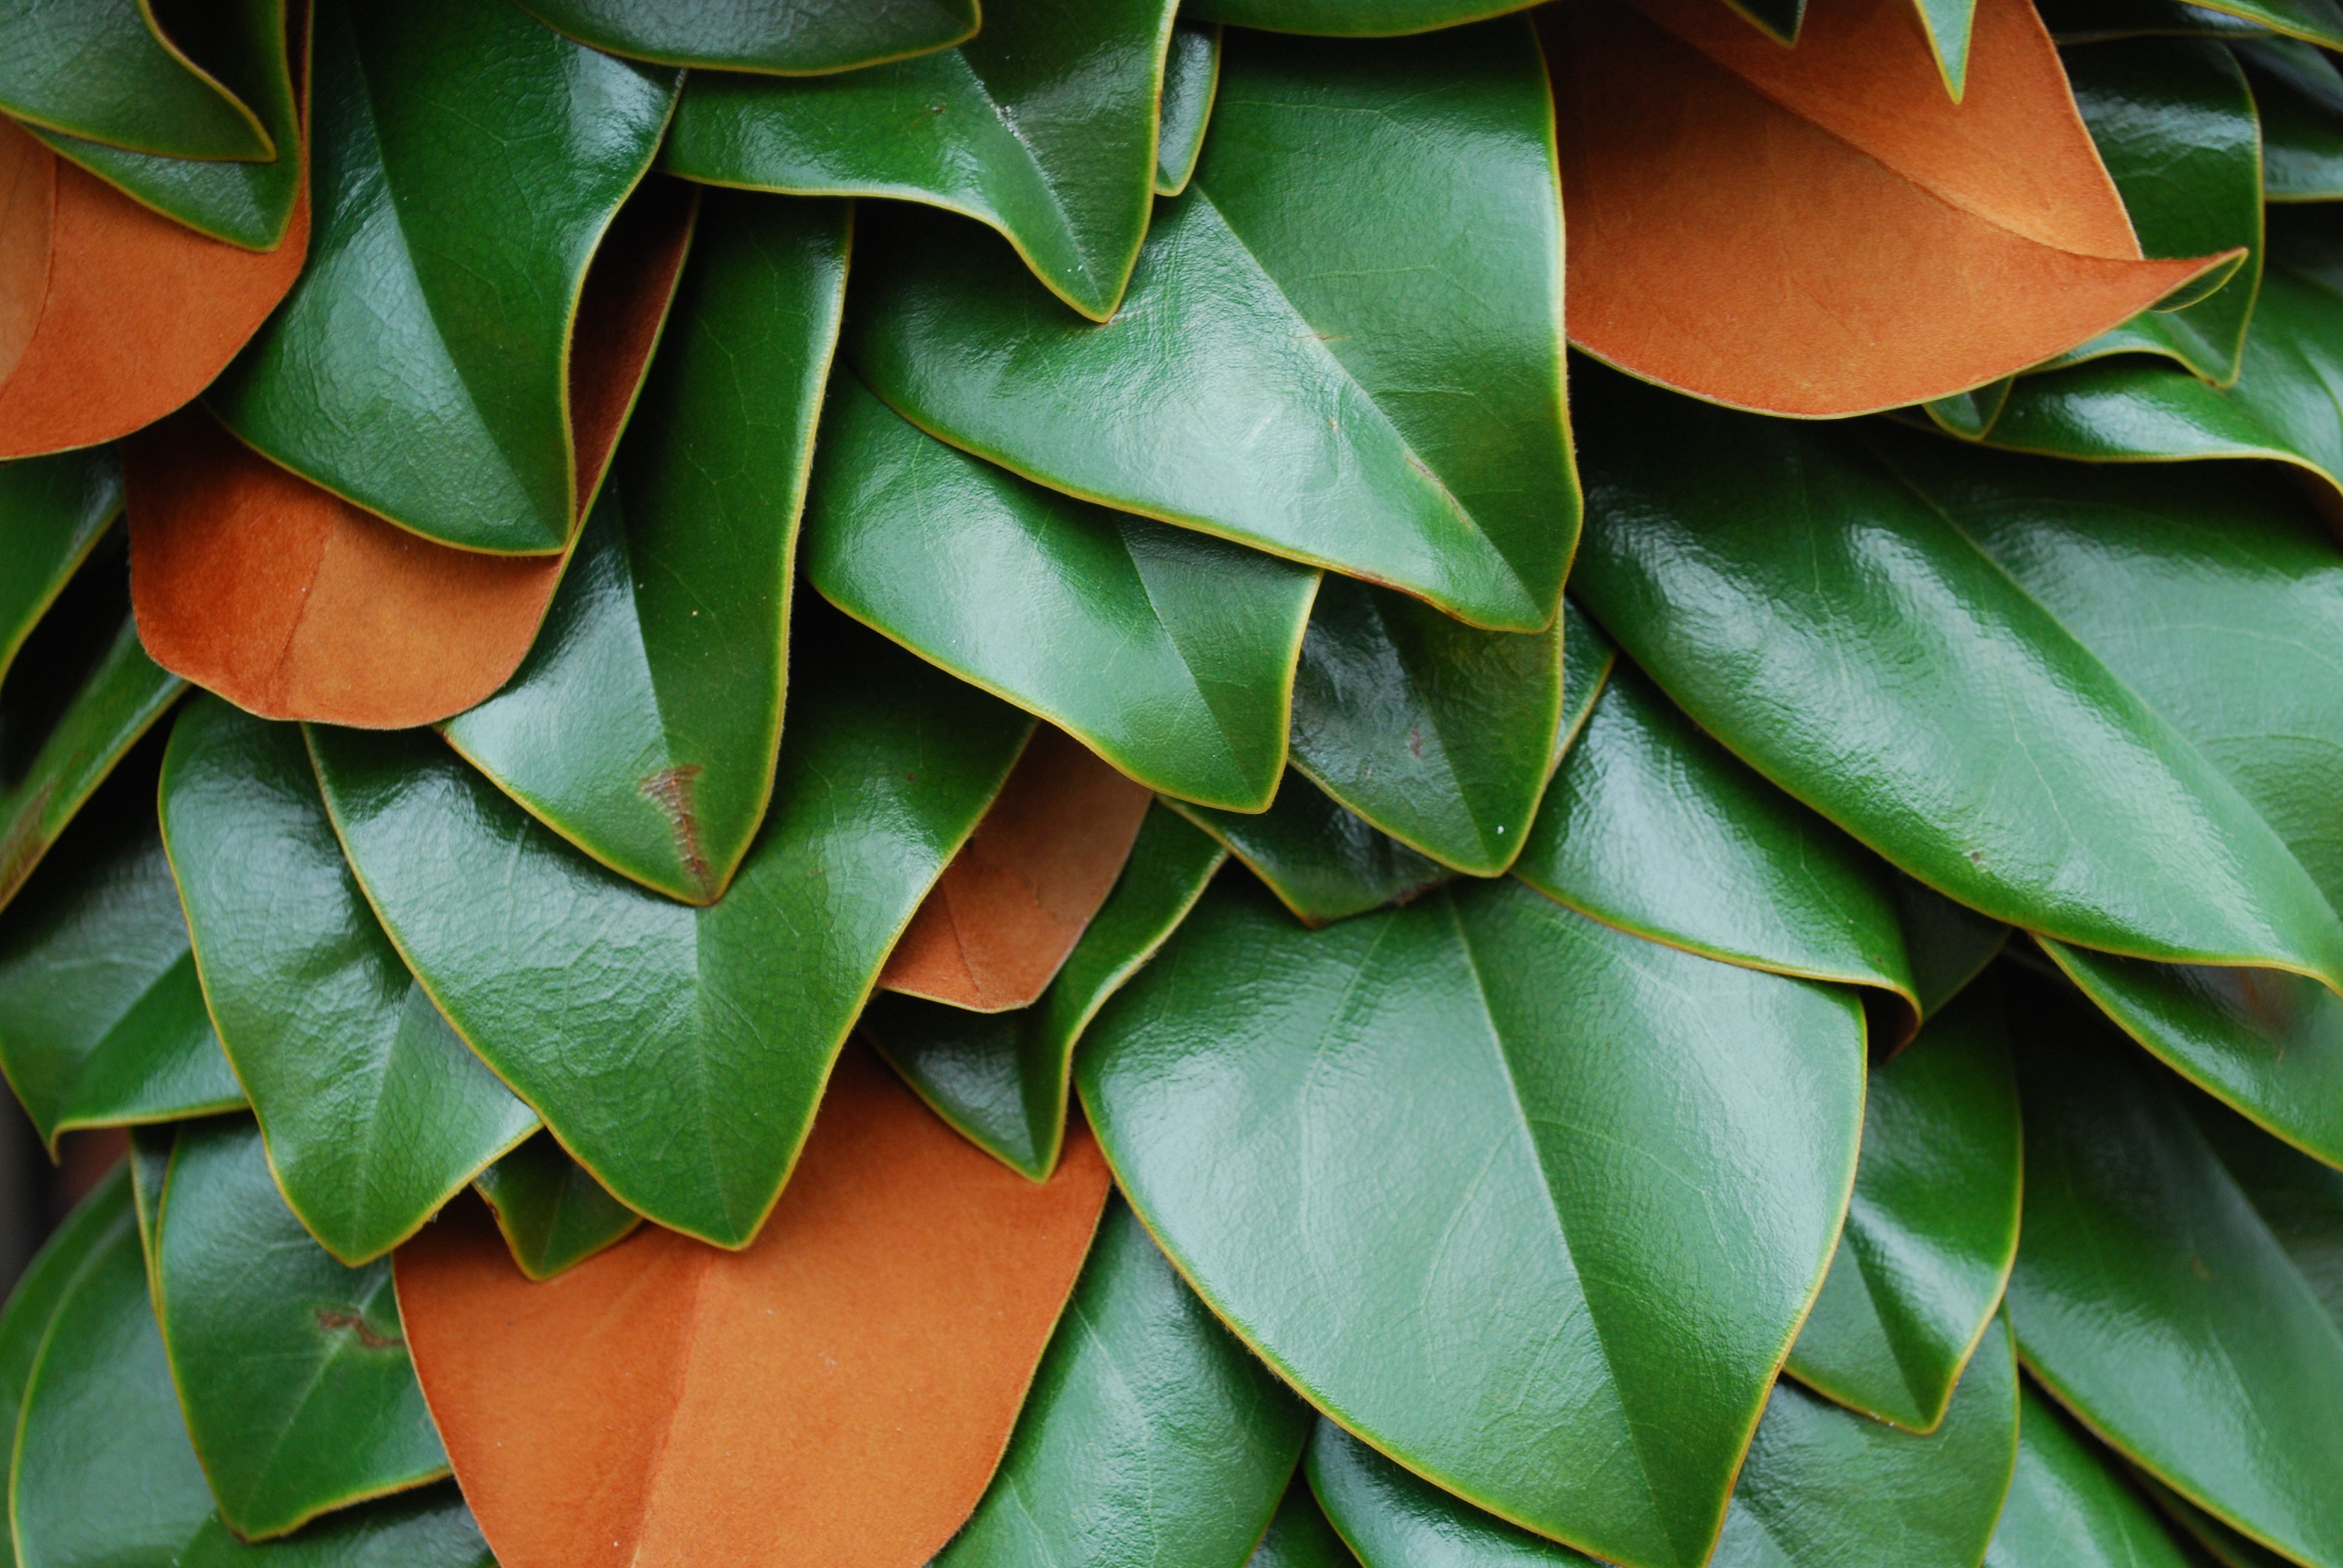
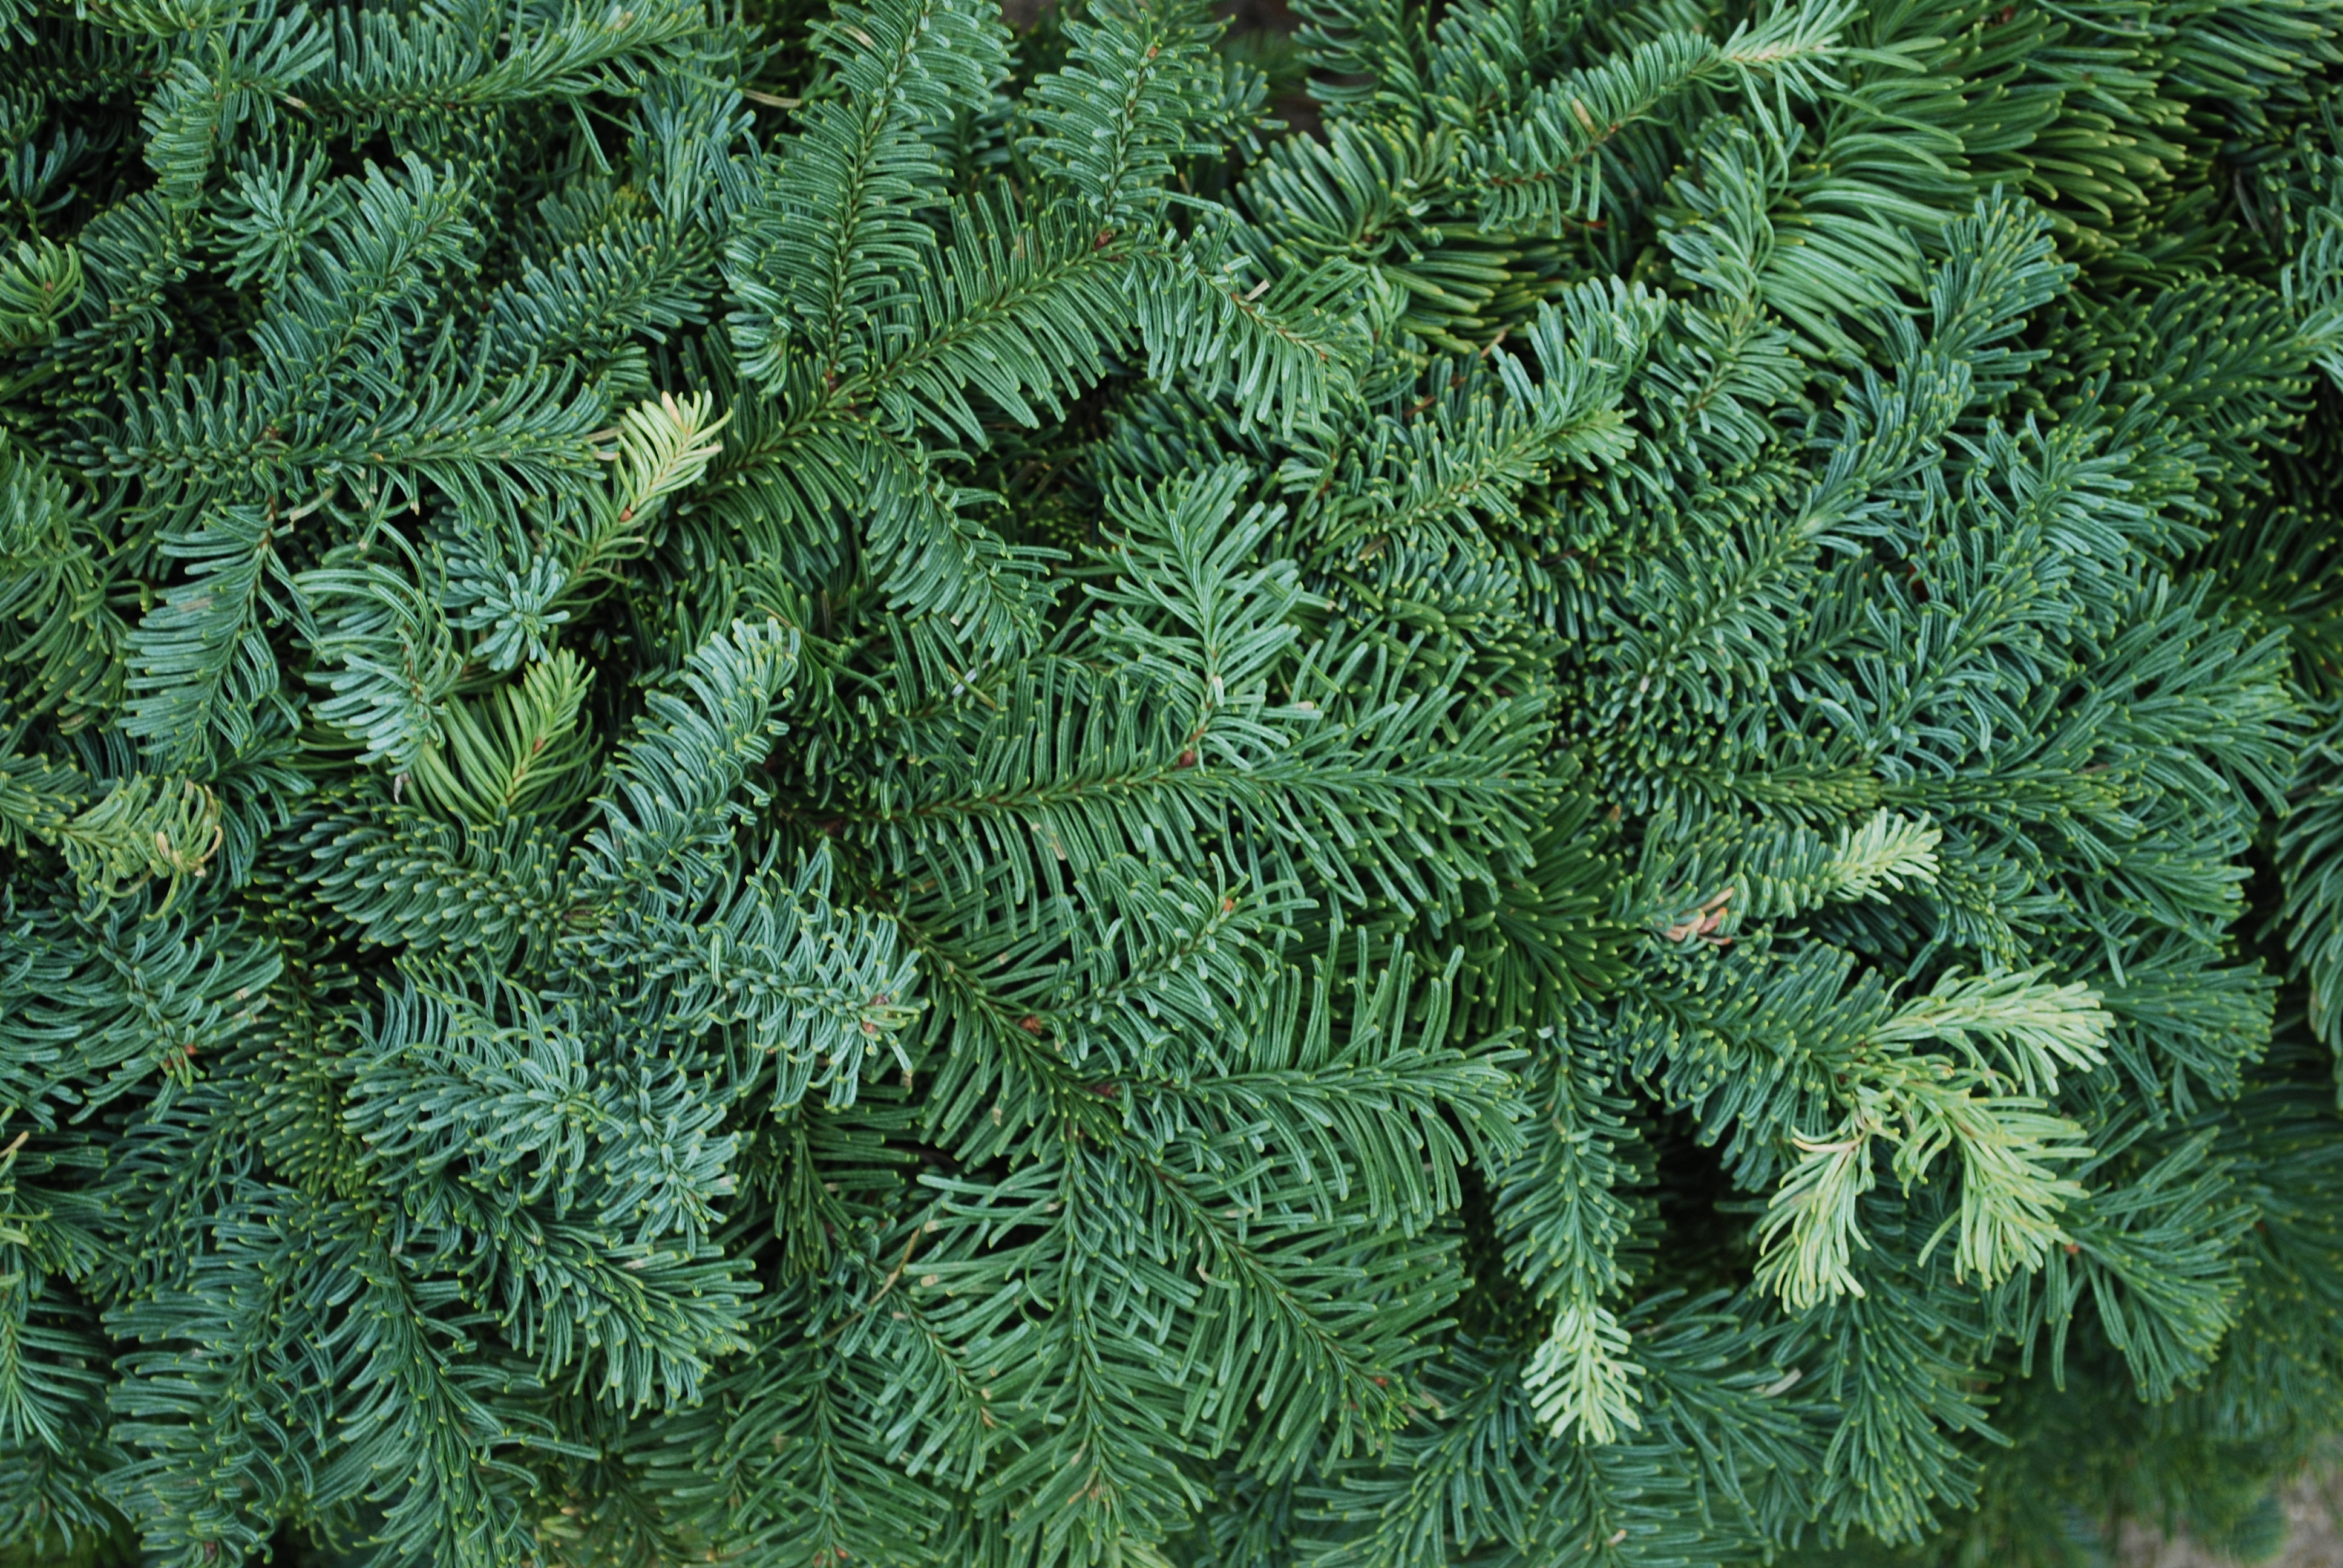
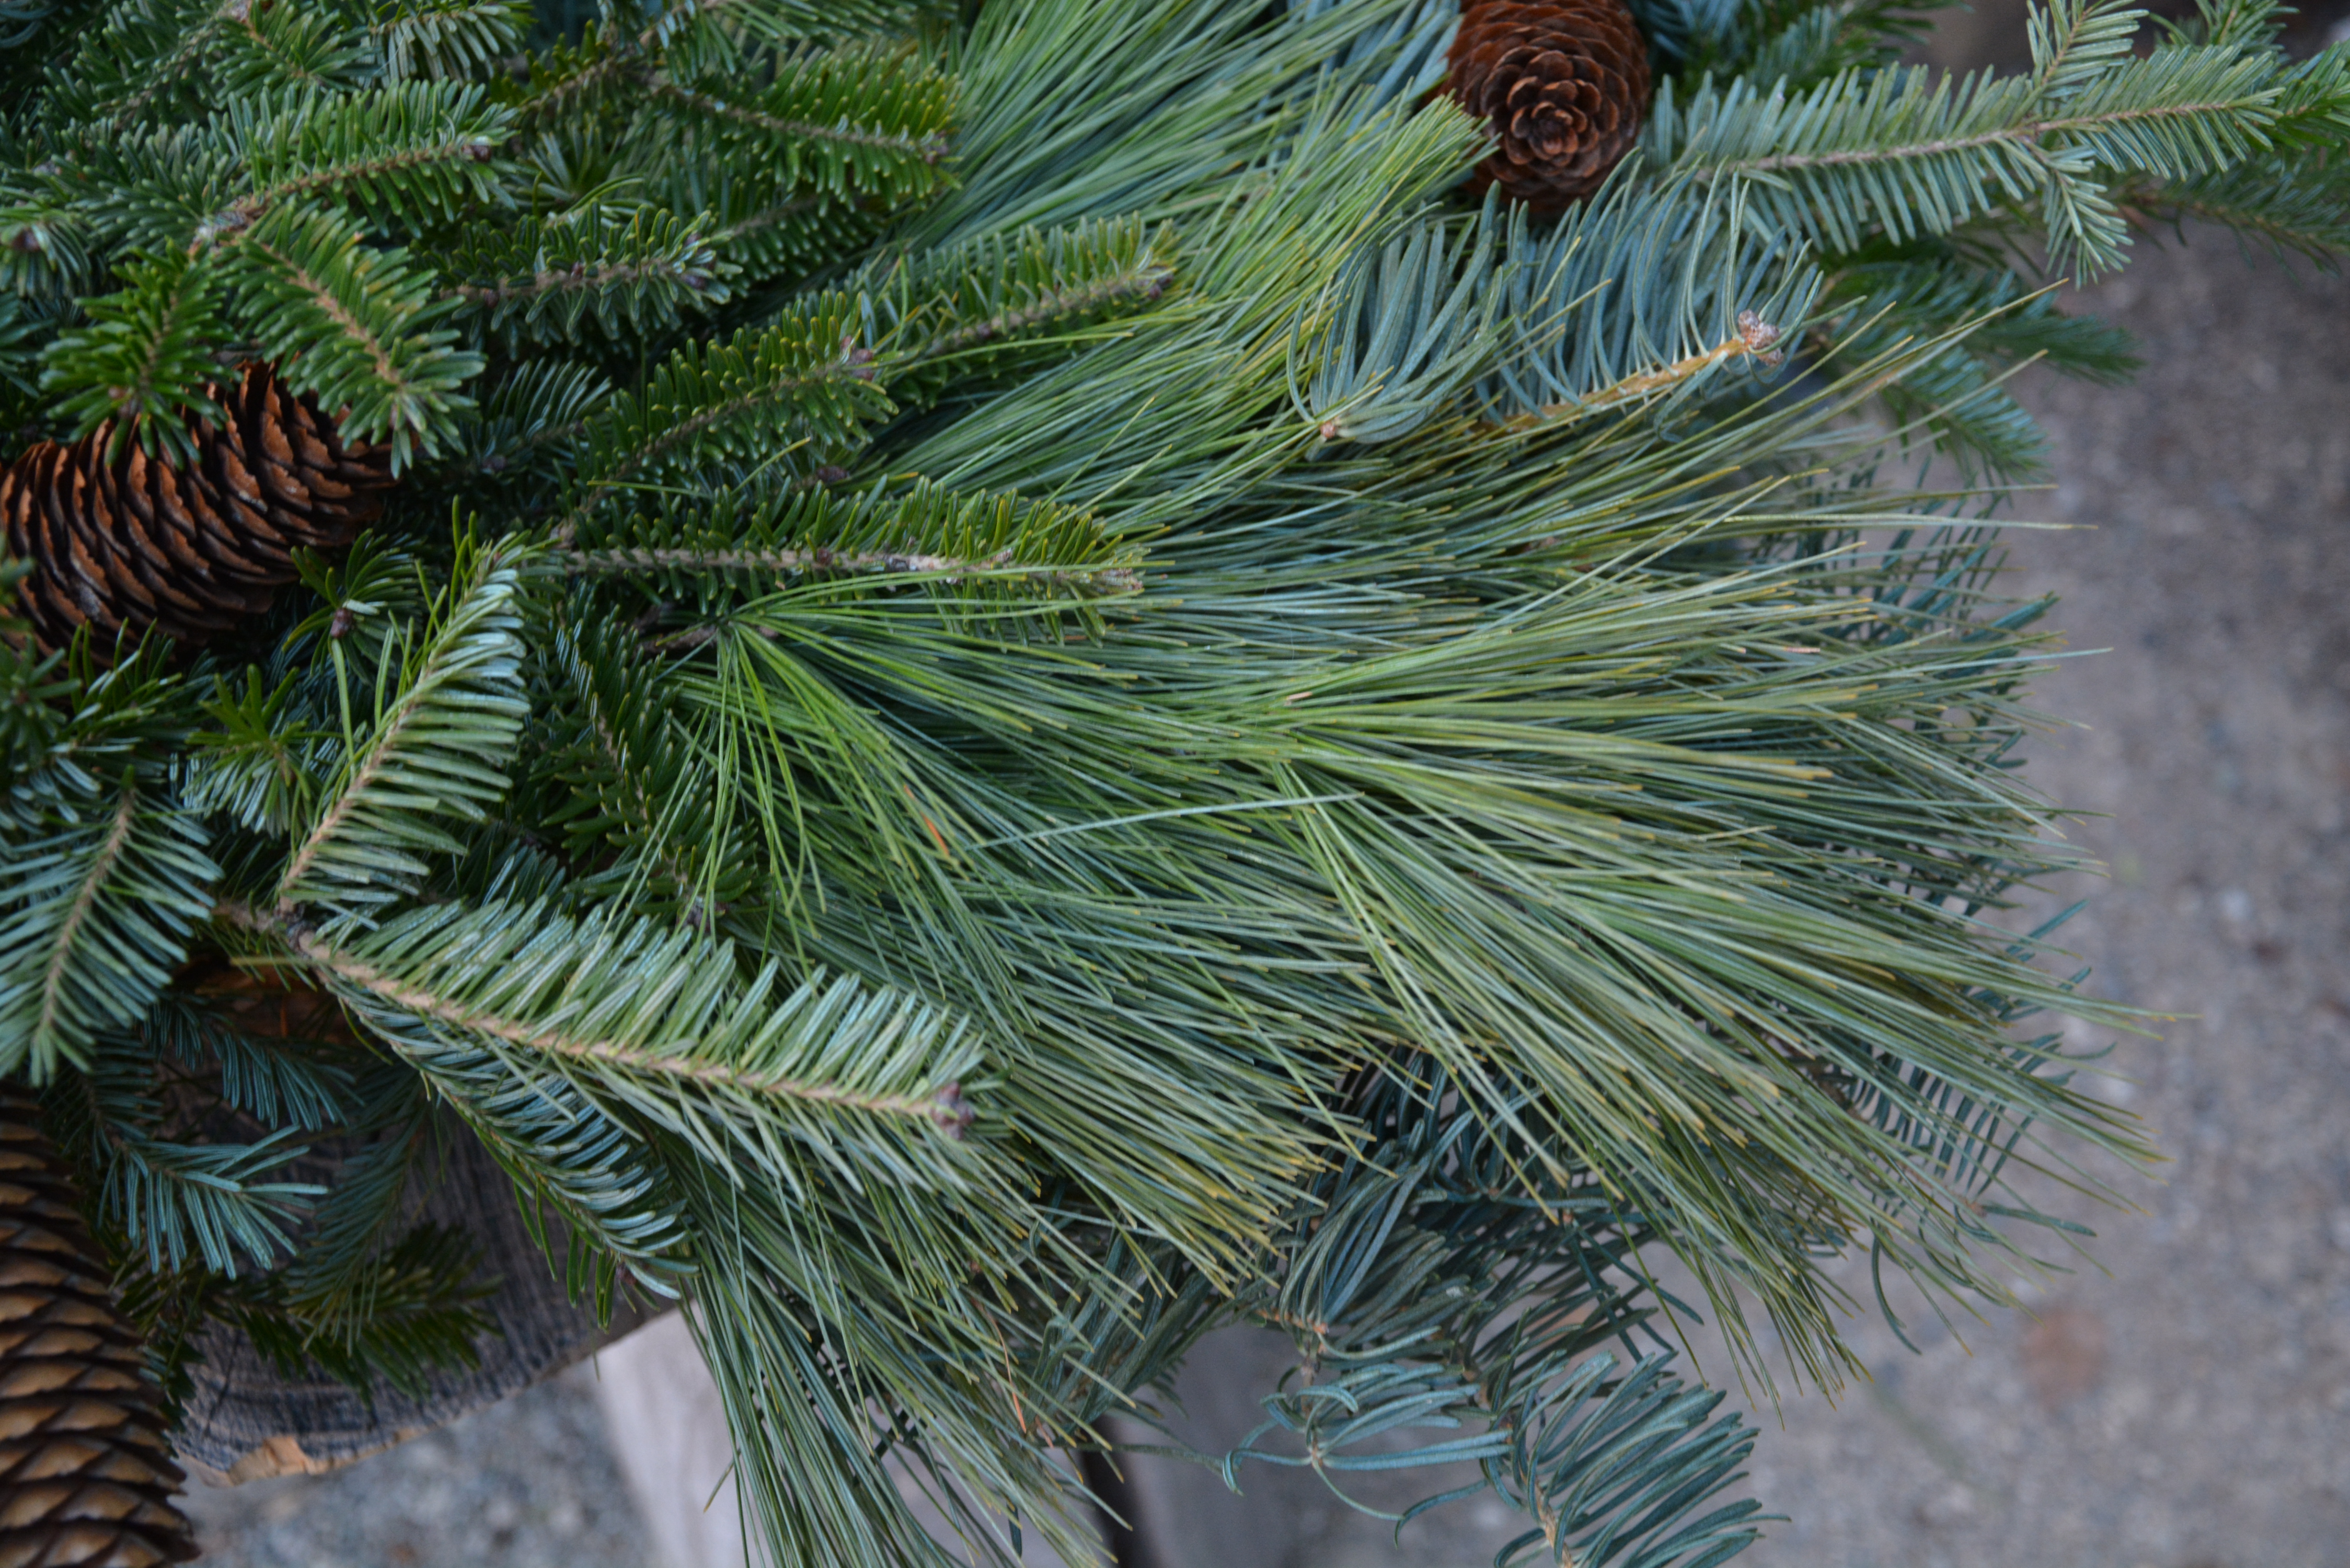
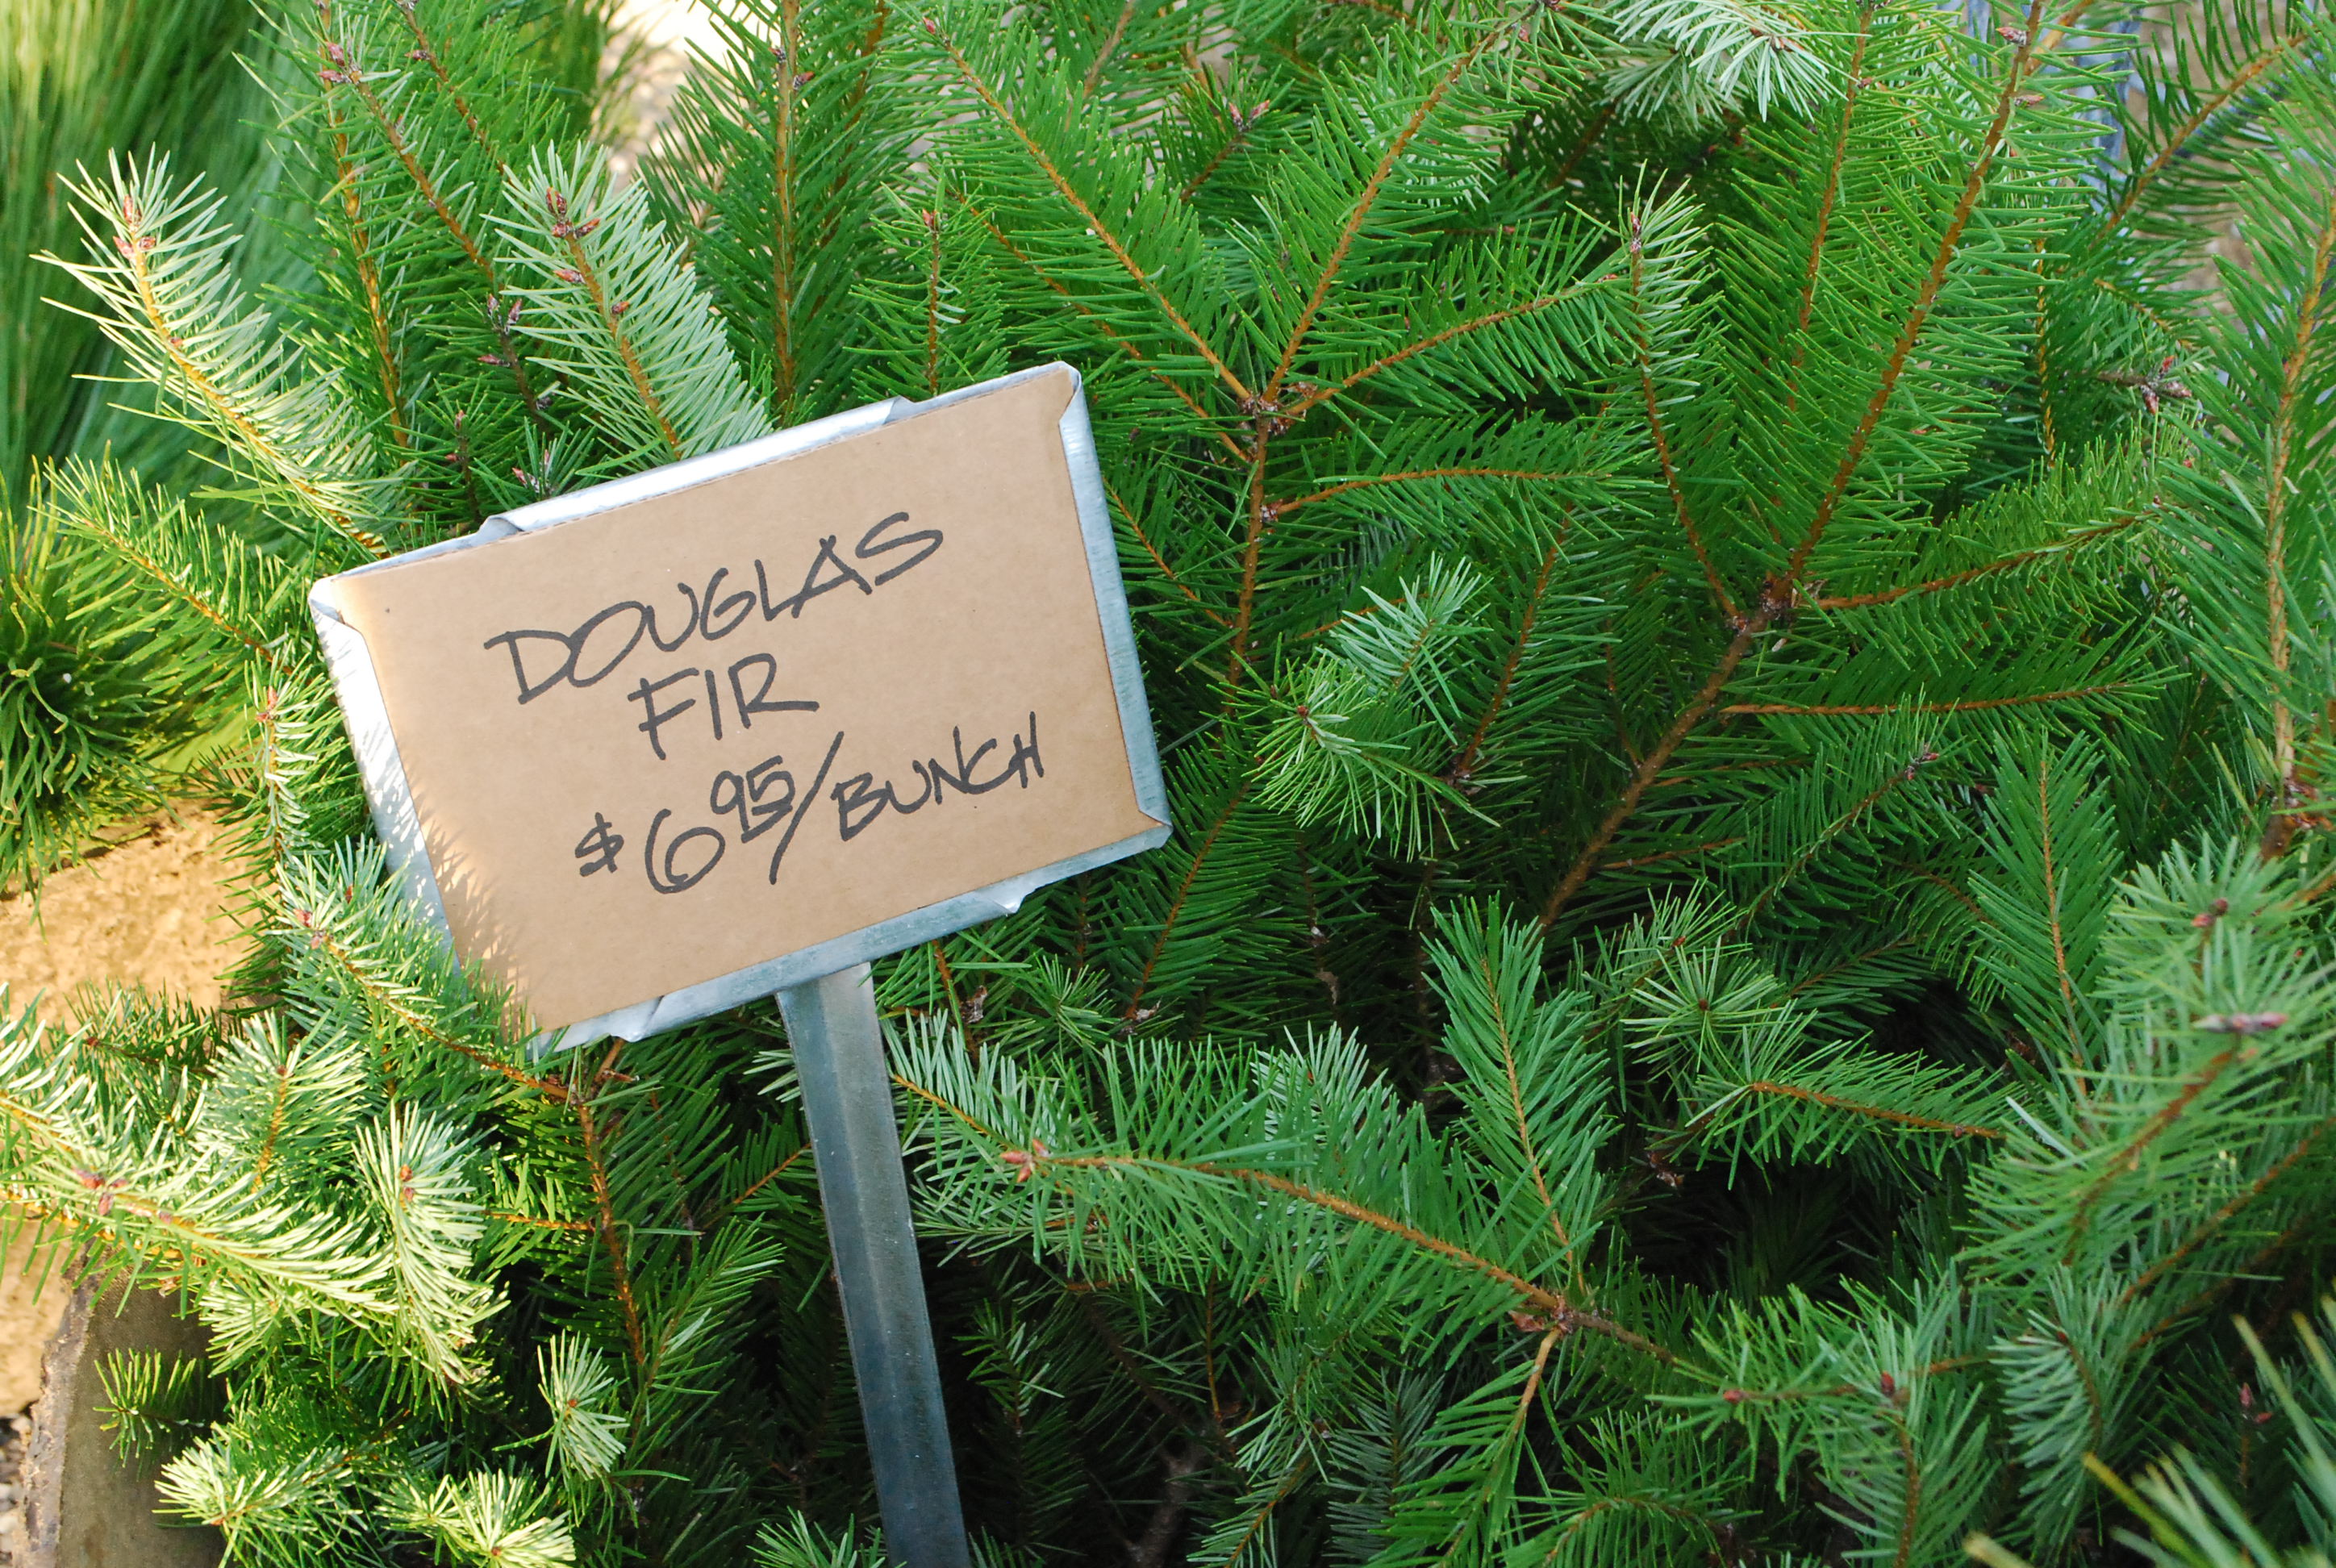
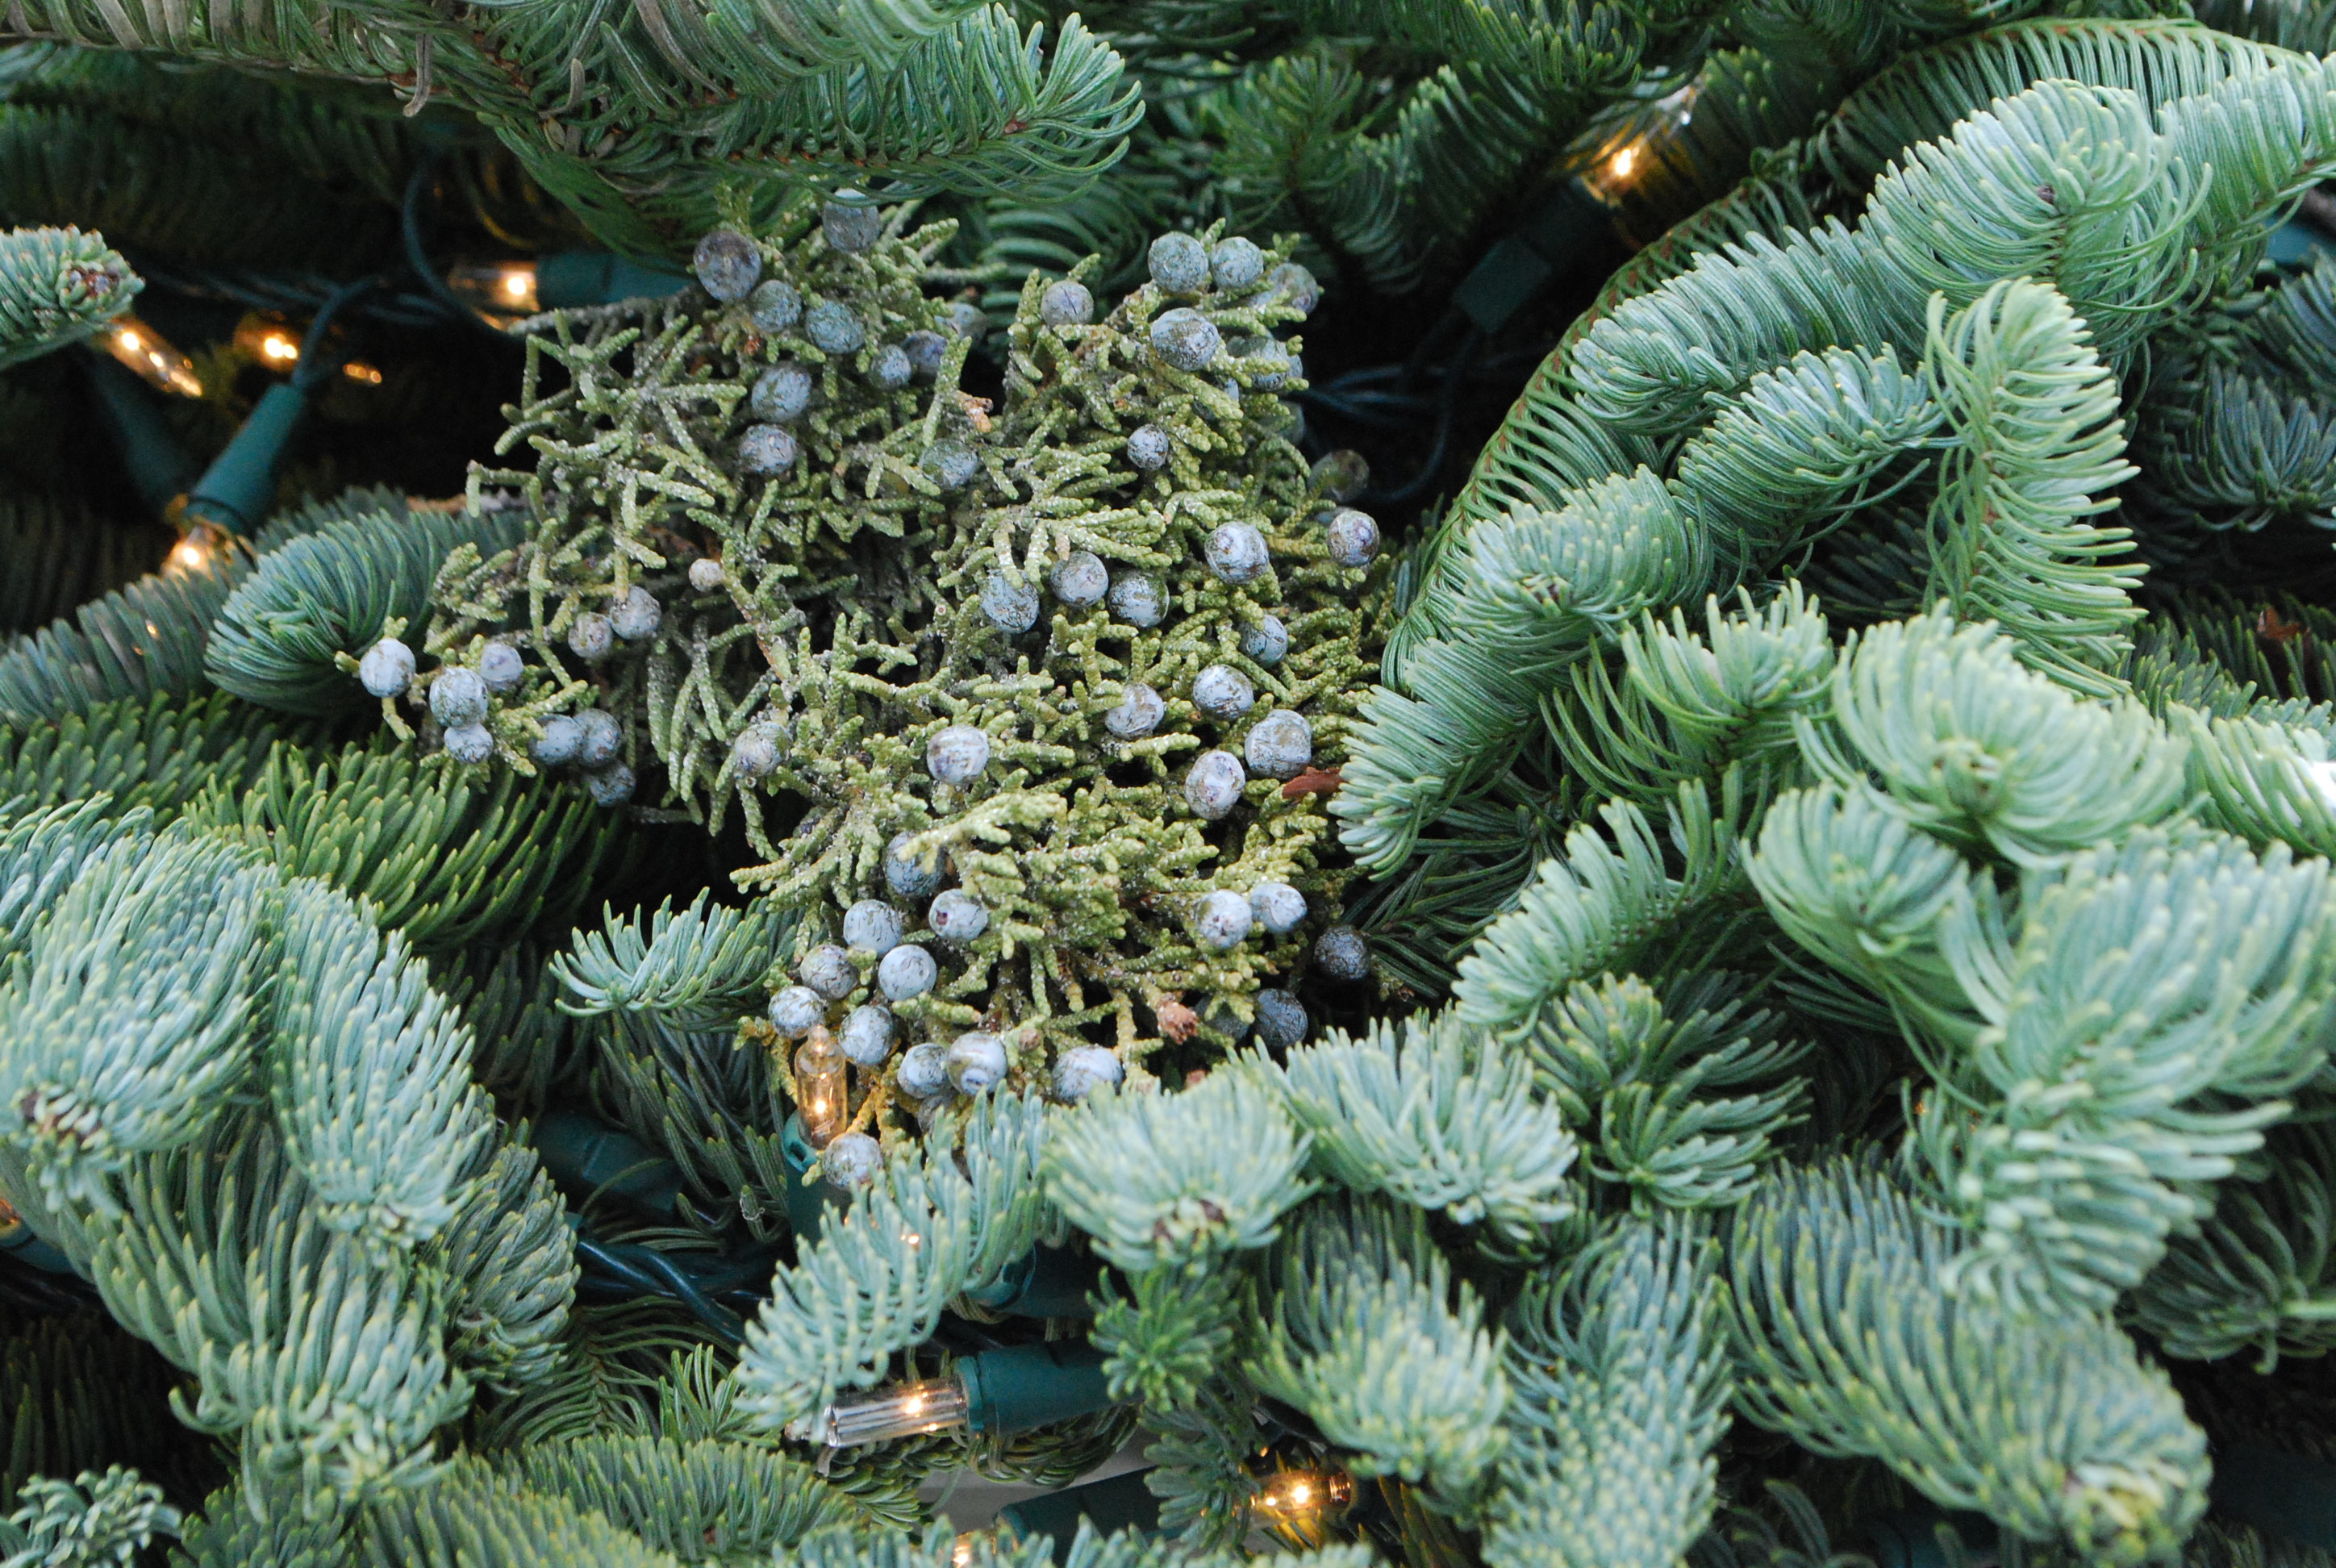
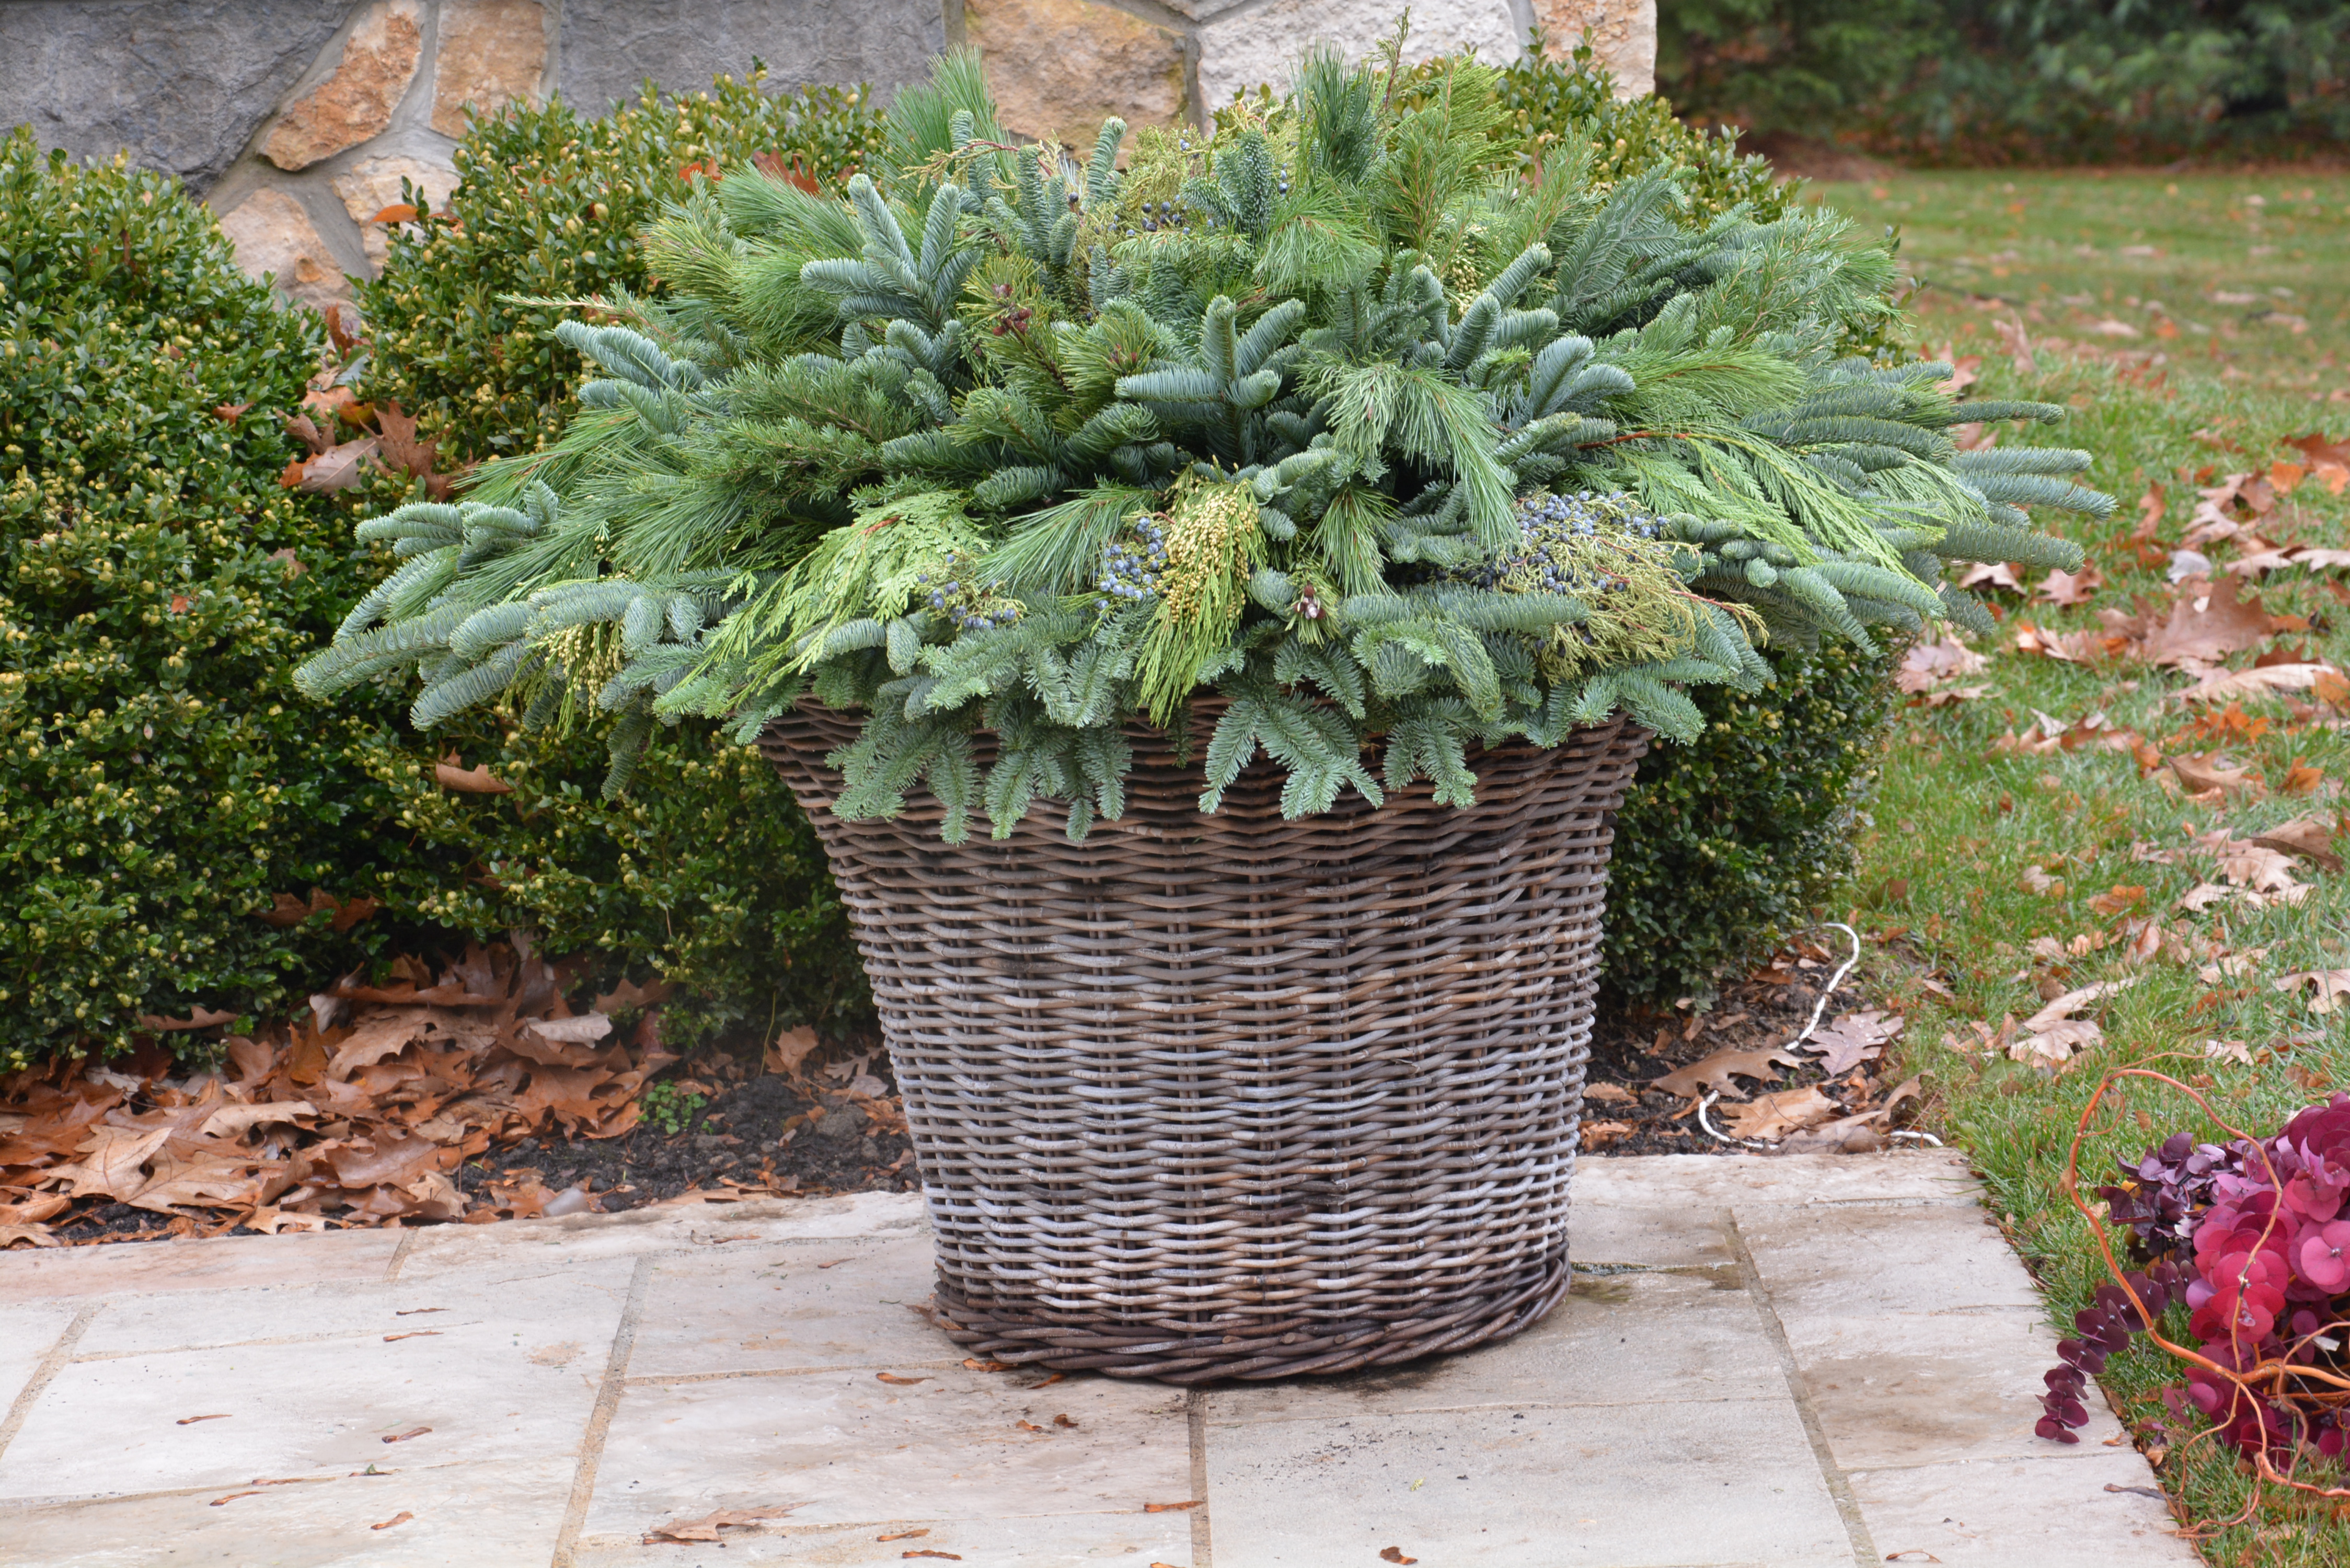
 One way to organize a creative winter garden expression is to decide on a center of interest, and design every other element to celebrate that one big idea. If you have a mind that your winter pot needs a centerpiece, I have some suggestions about the construction. Let’s assume that you have built a foam form, and stick all of your greens to your satisfaction. That foam form should have a hole in the middle, close to the diameter of the centerpiece you have in mind. Sometimes we make that hole smaller, and cut the actual size during the installation. A tight fit is a good idea. We arrange the centerpiece using thick rubber bands to contain every stem. Rubber bands will oblige, should you decide to add several more stems. The centerpiece needs a place to be. A great centerpiece for a winter pot needs some thought about the materials, and the construction.
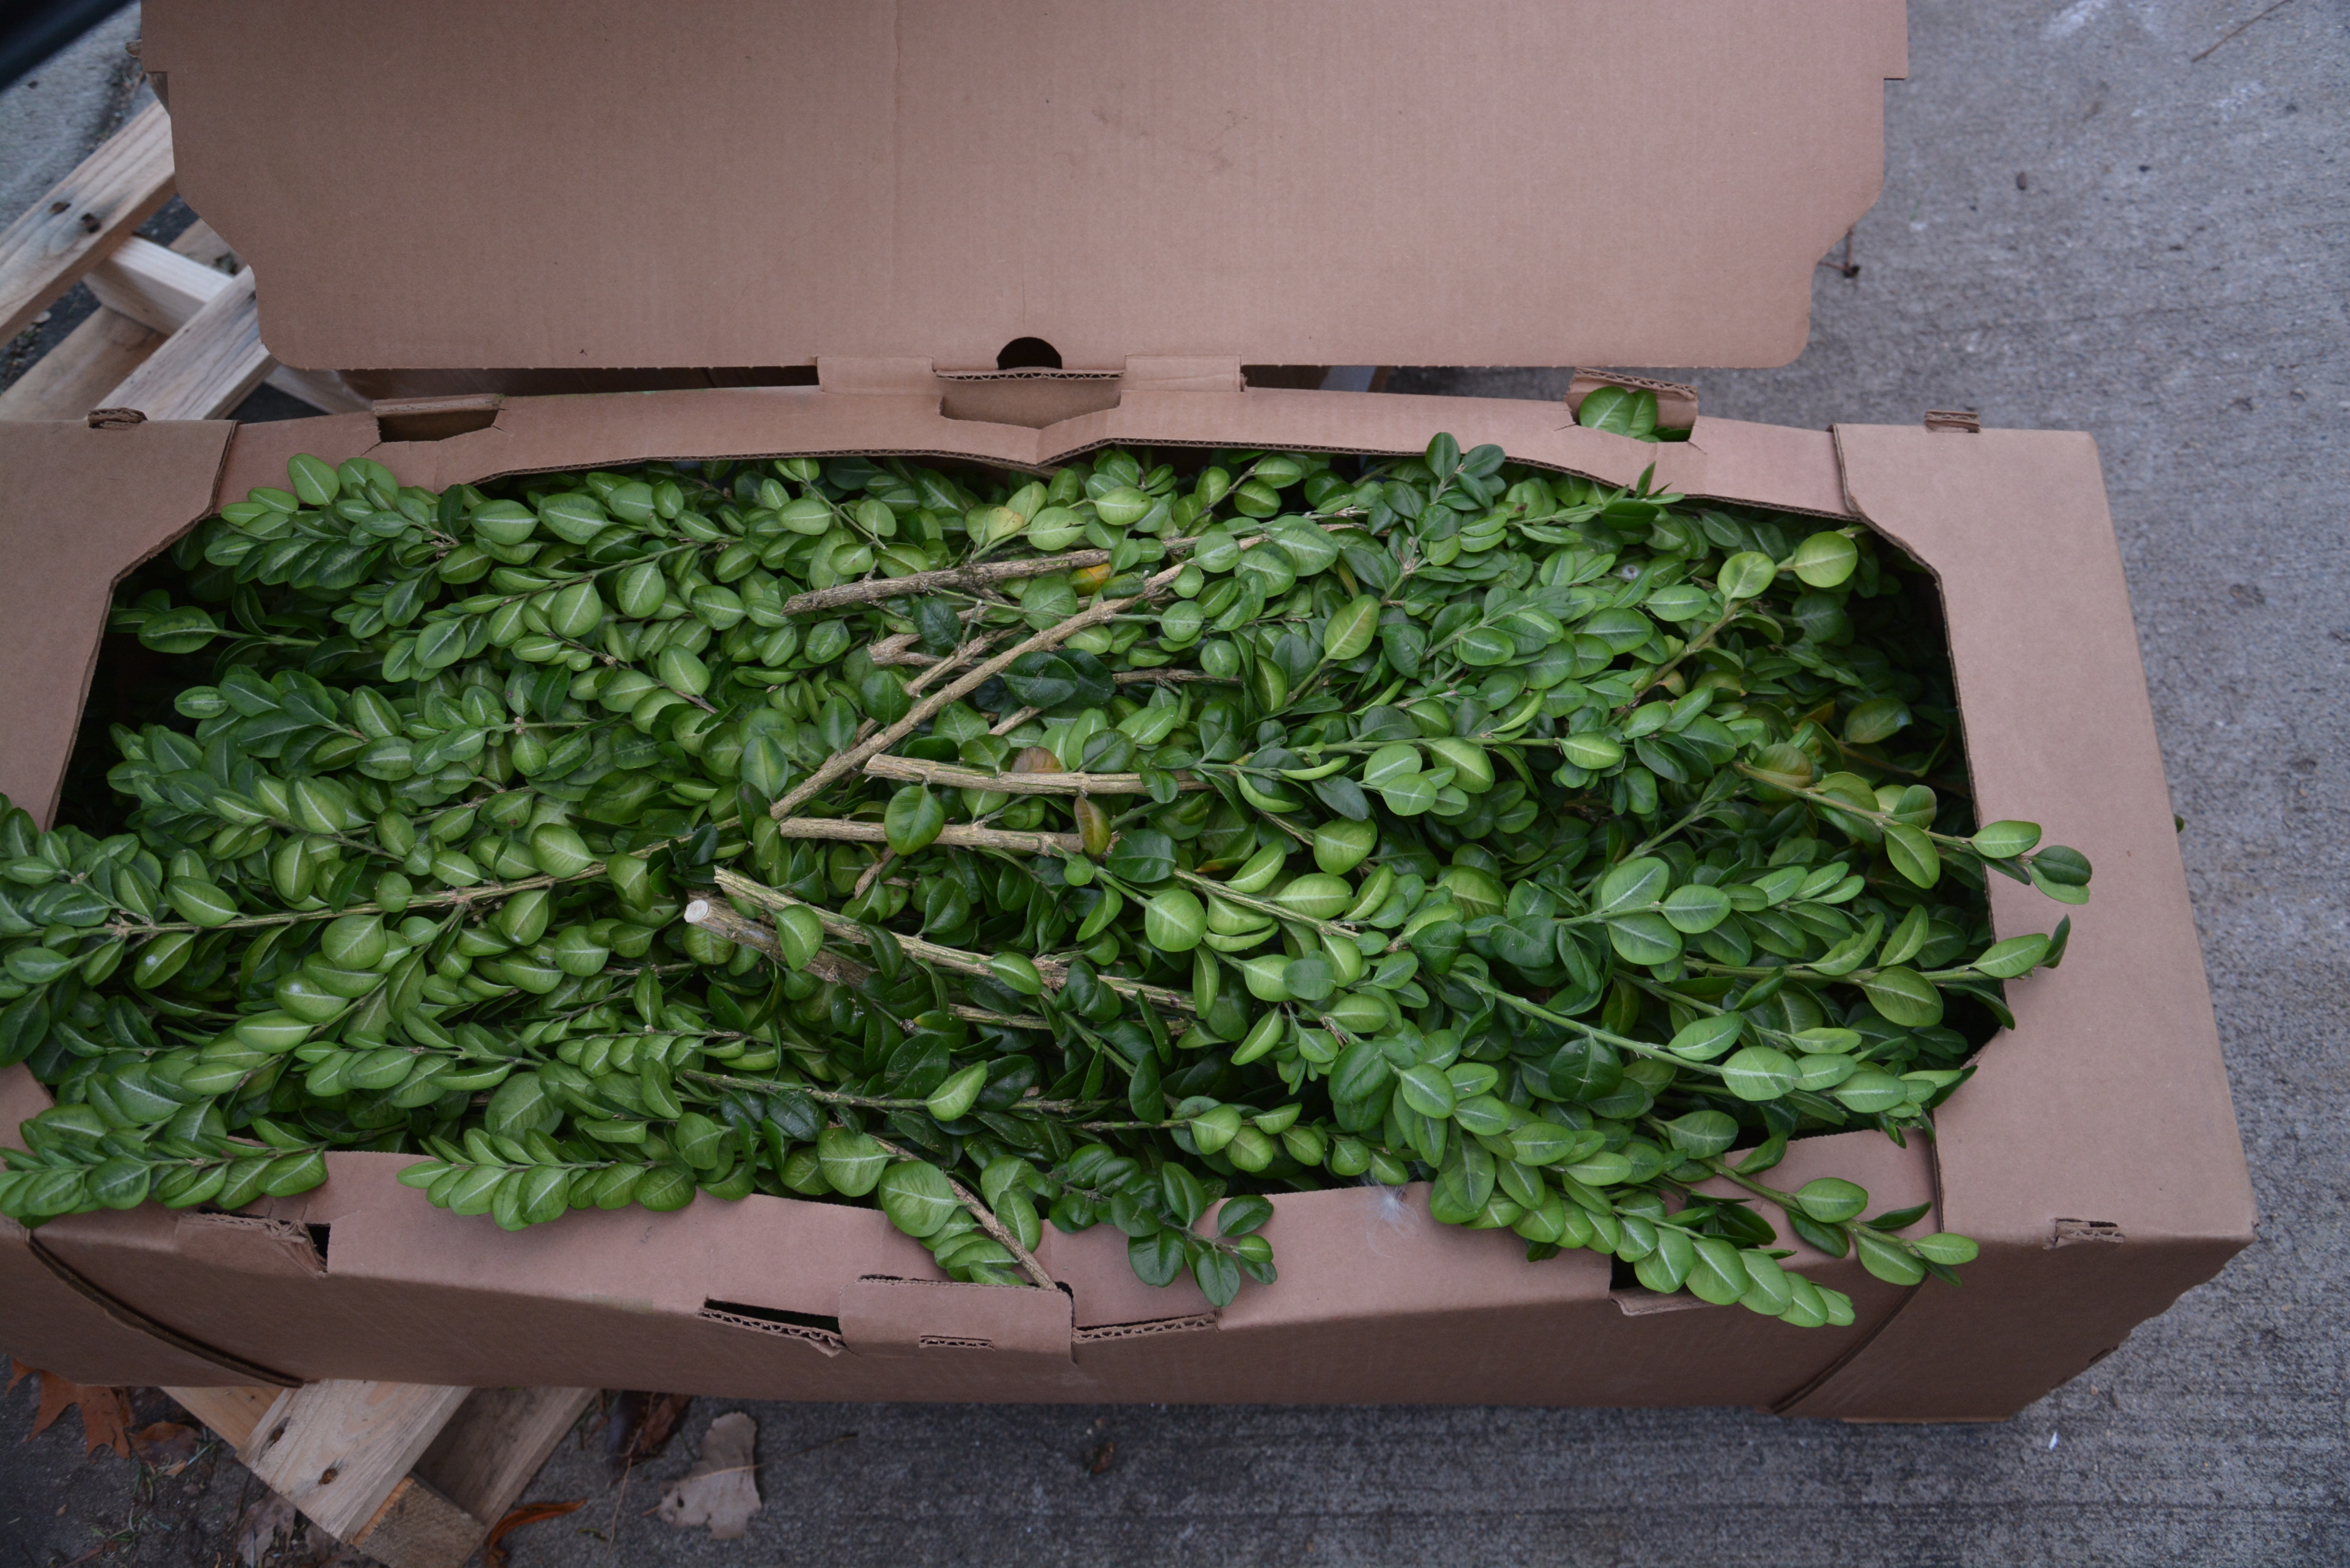
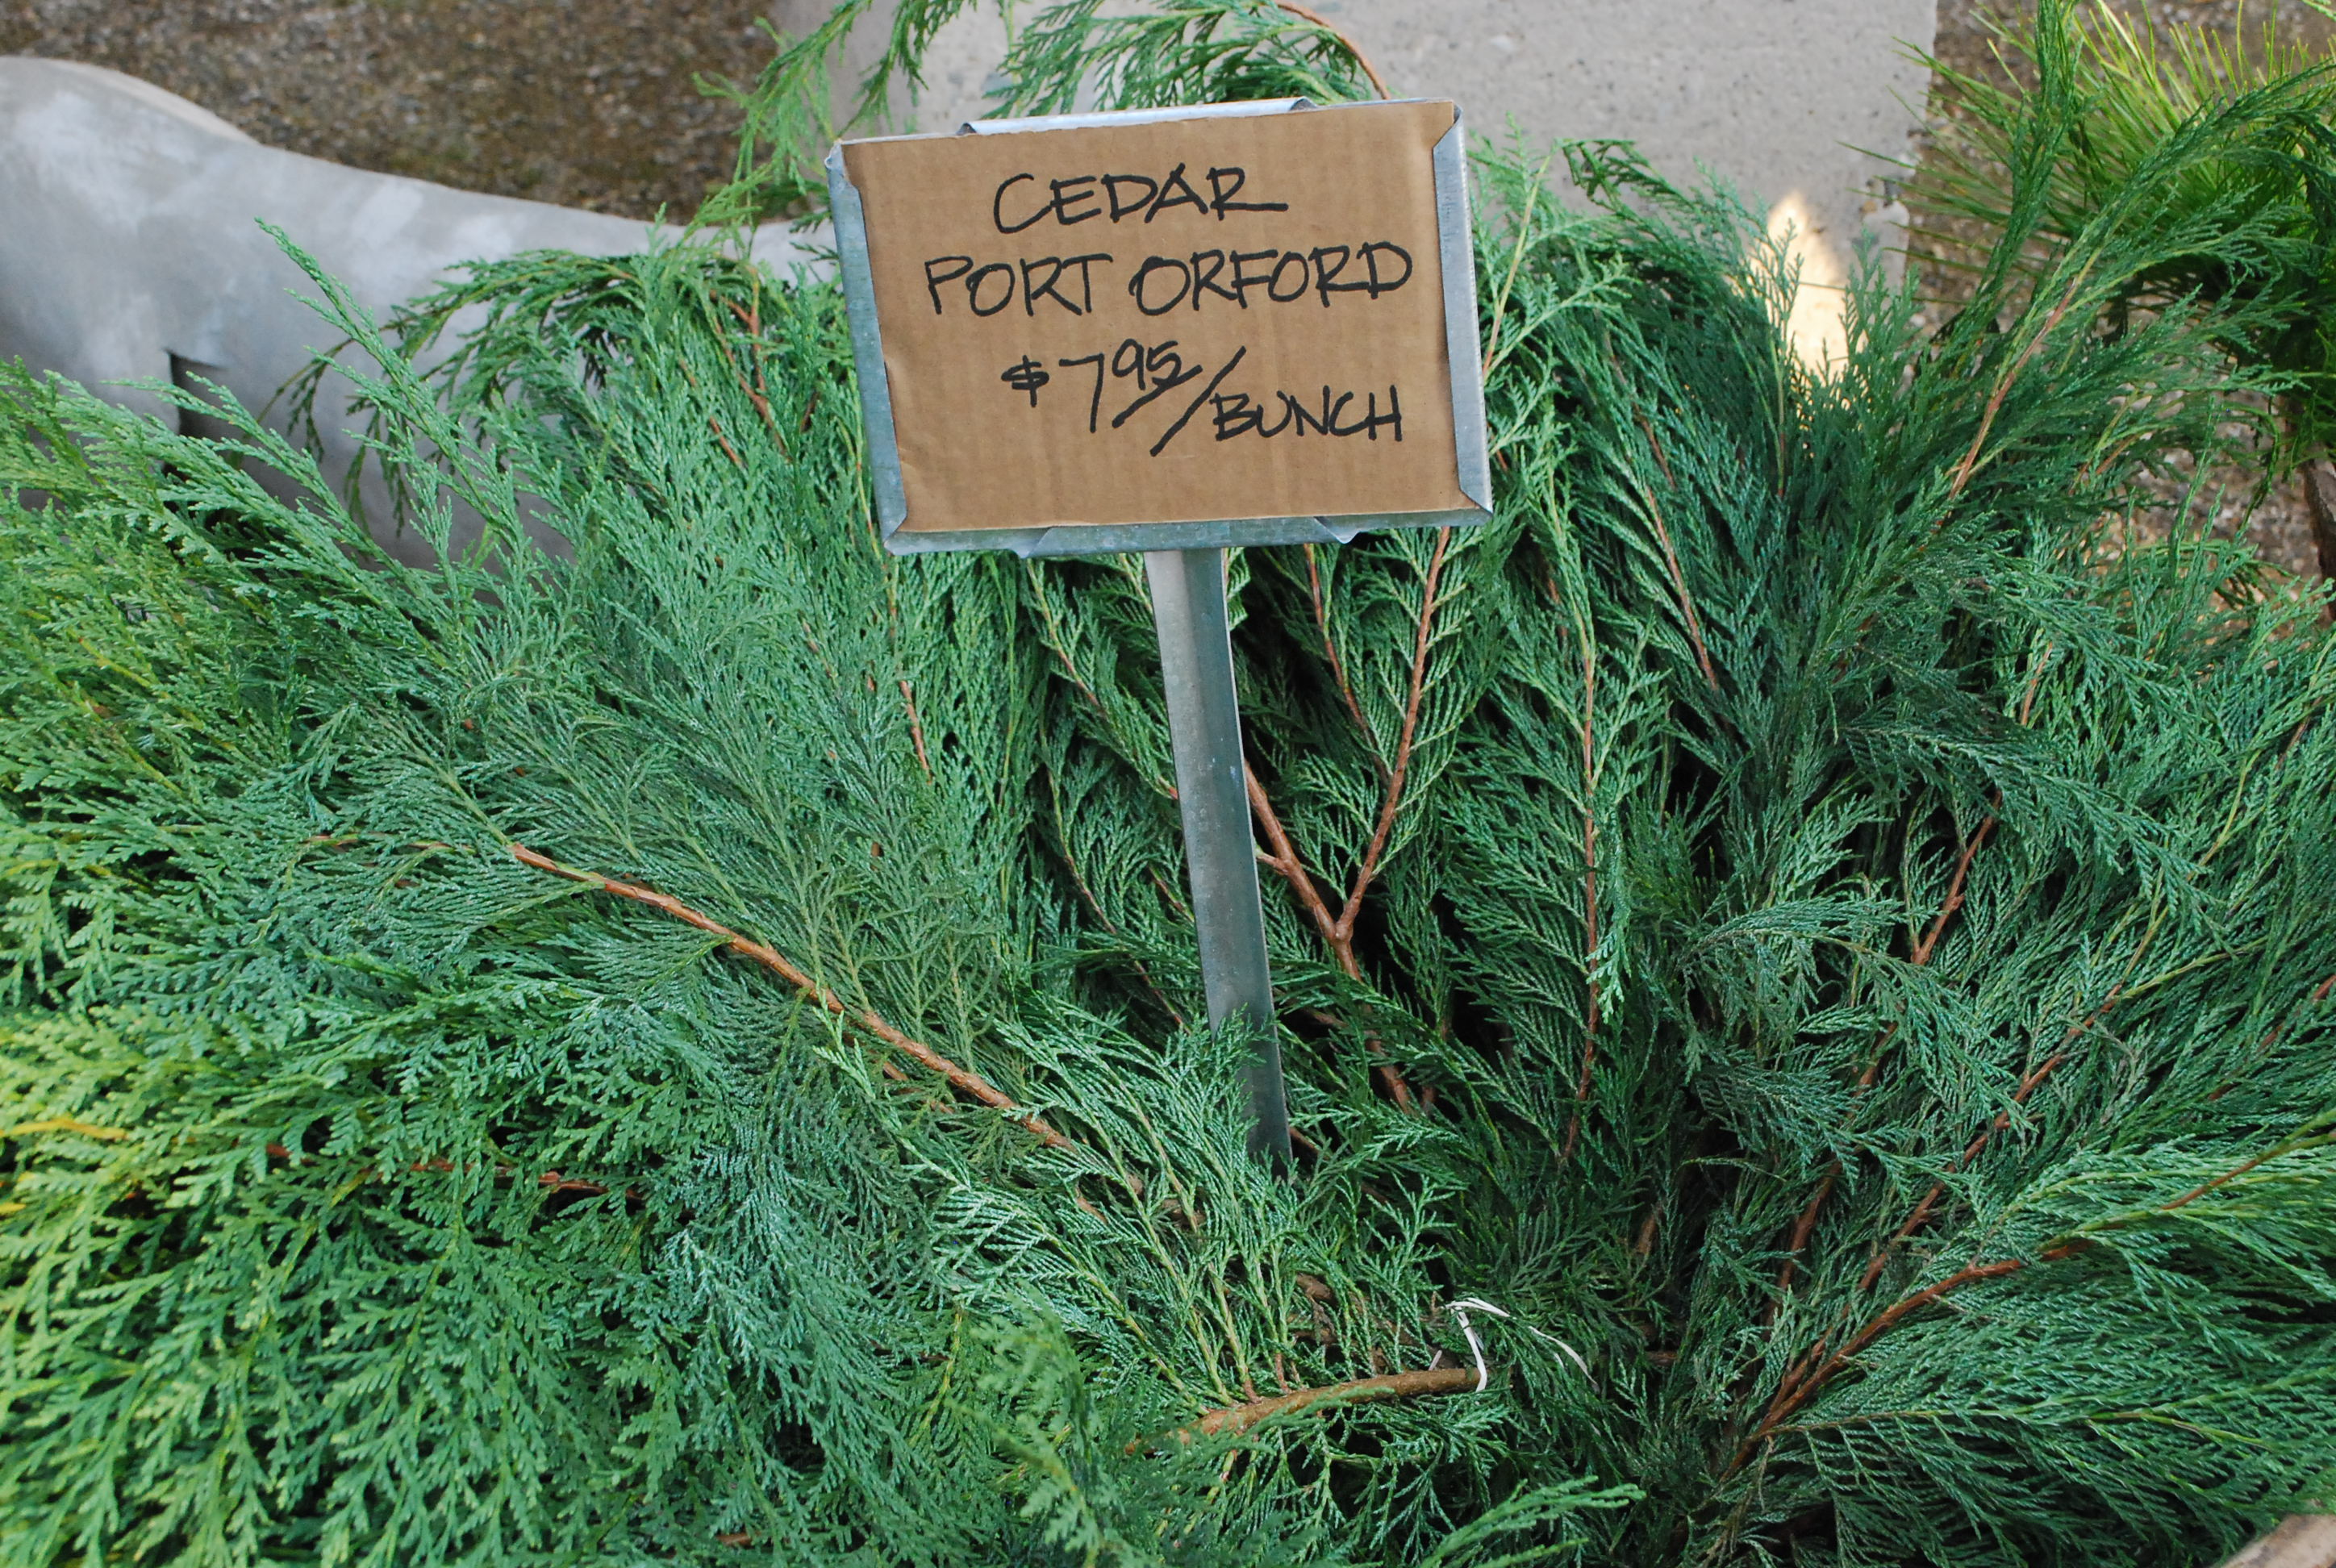
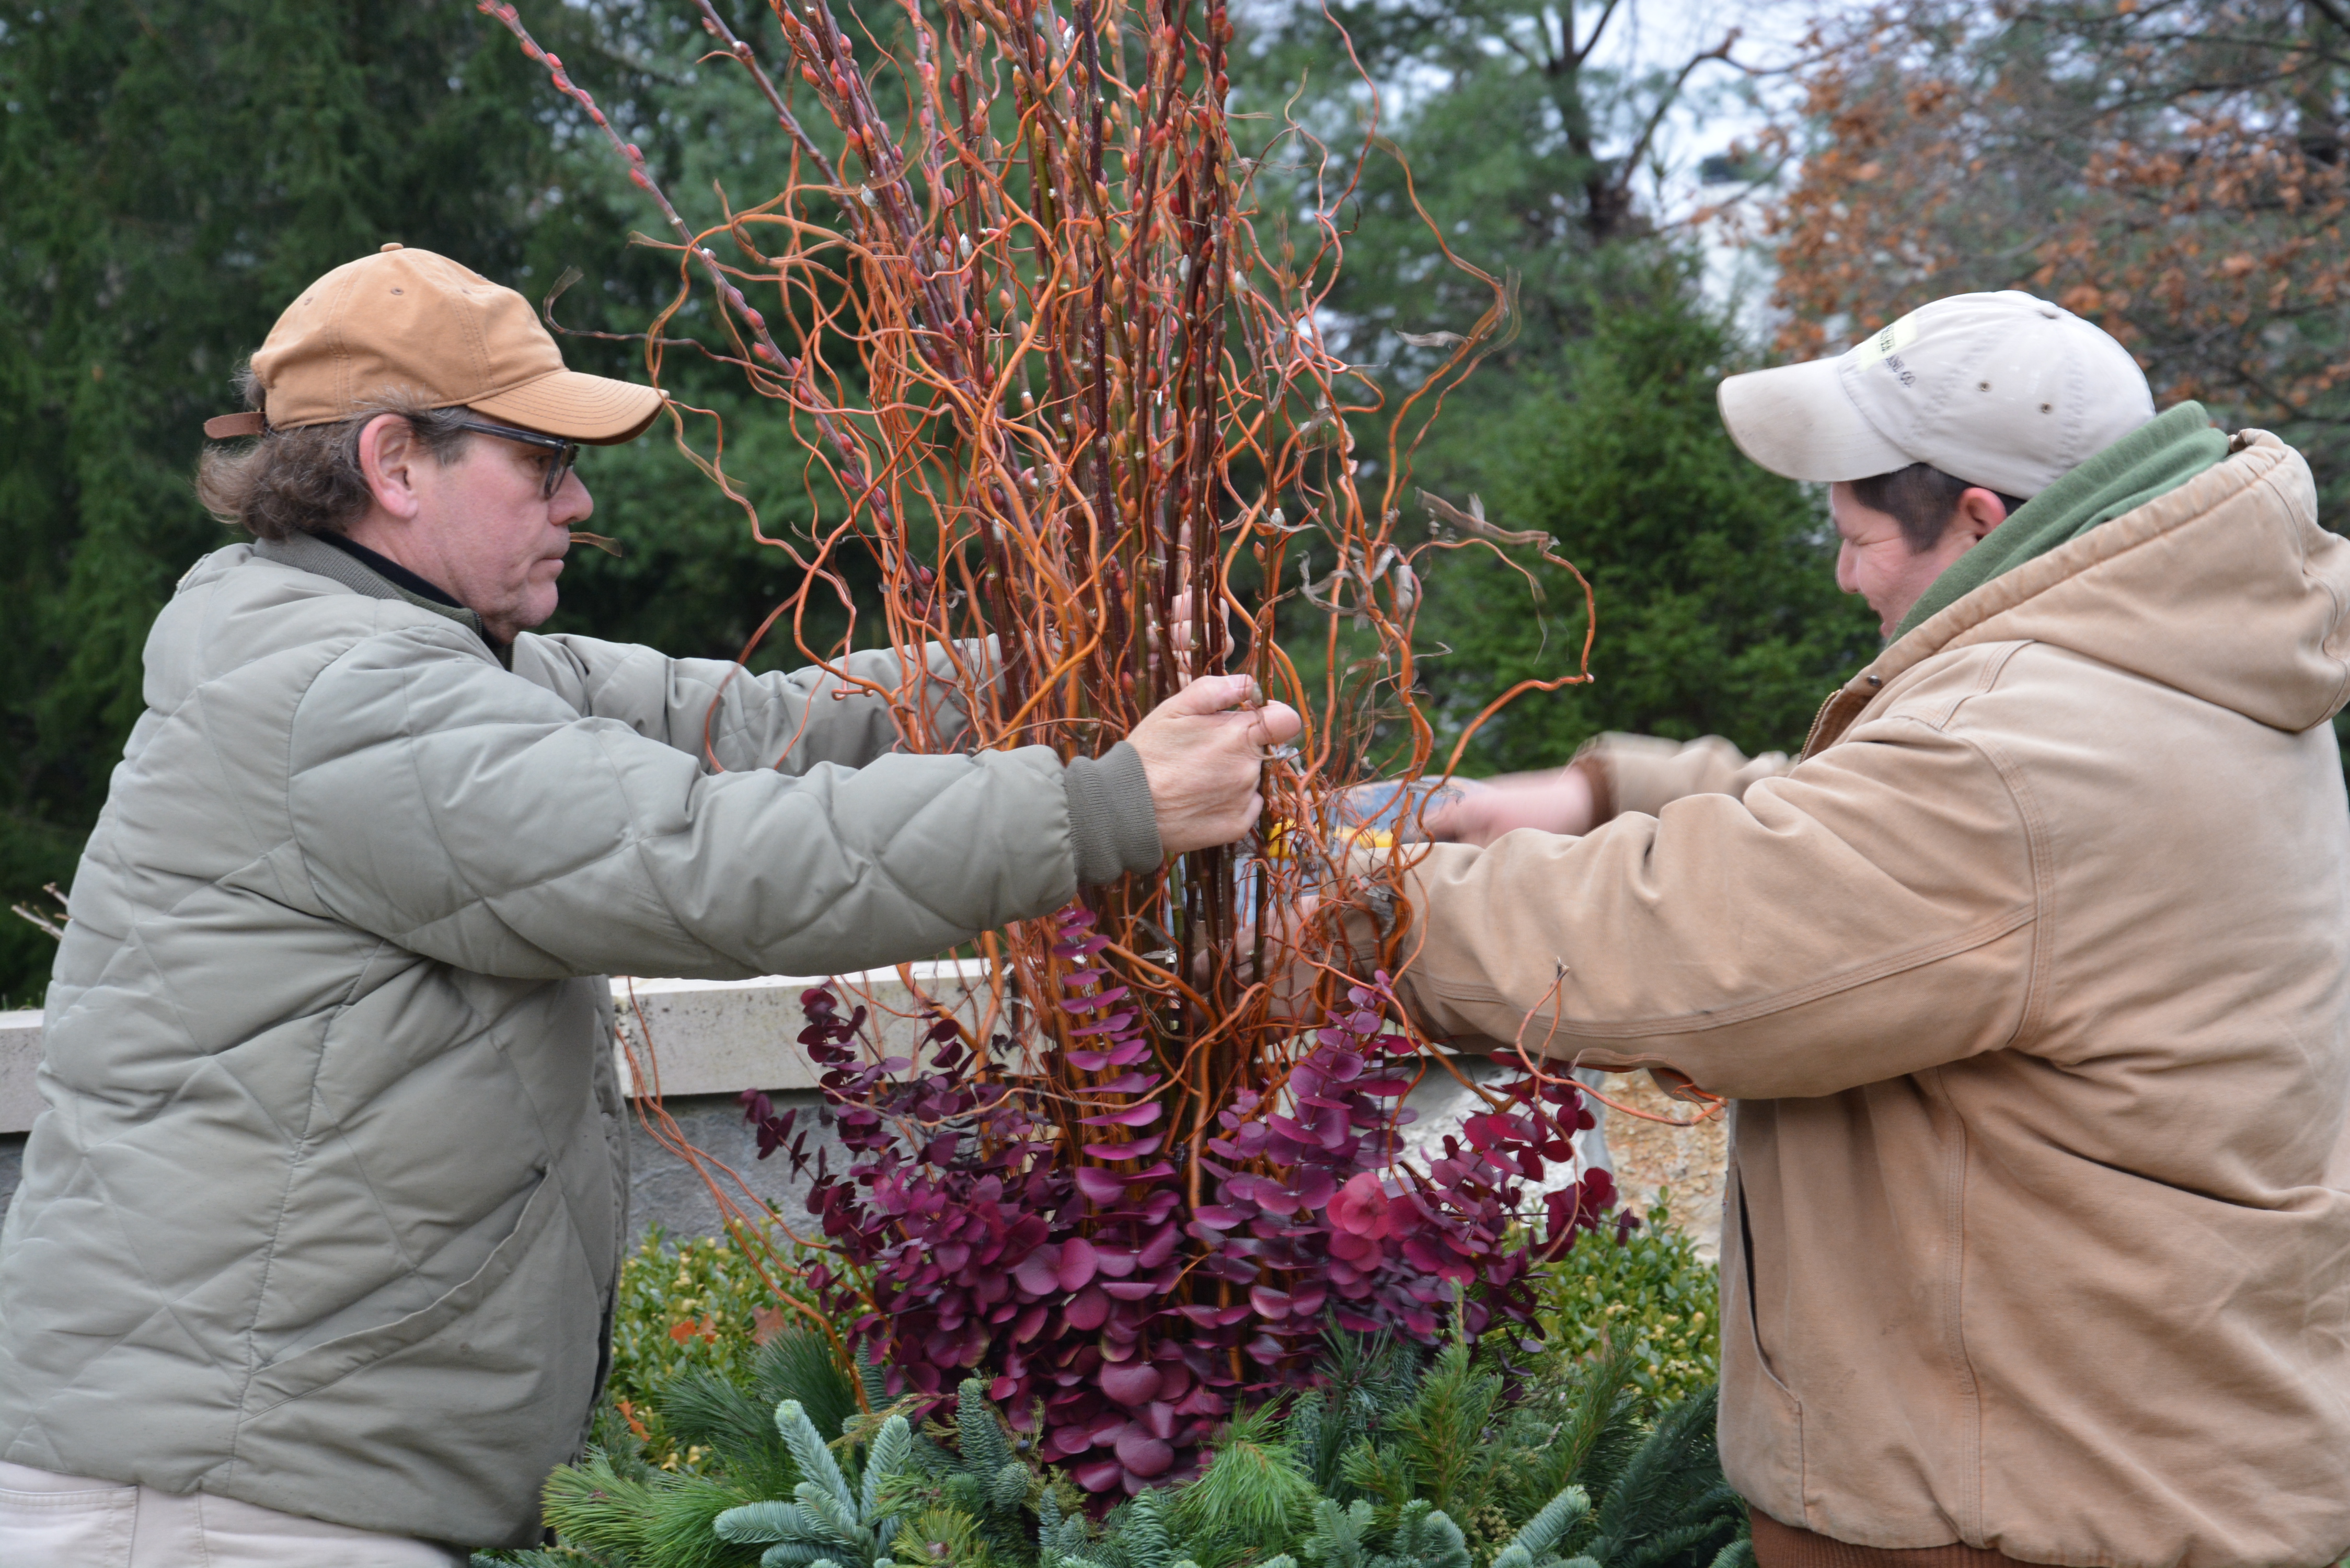
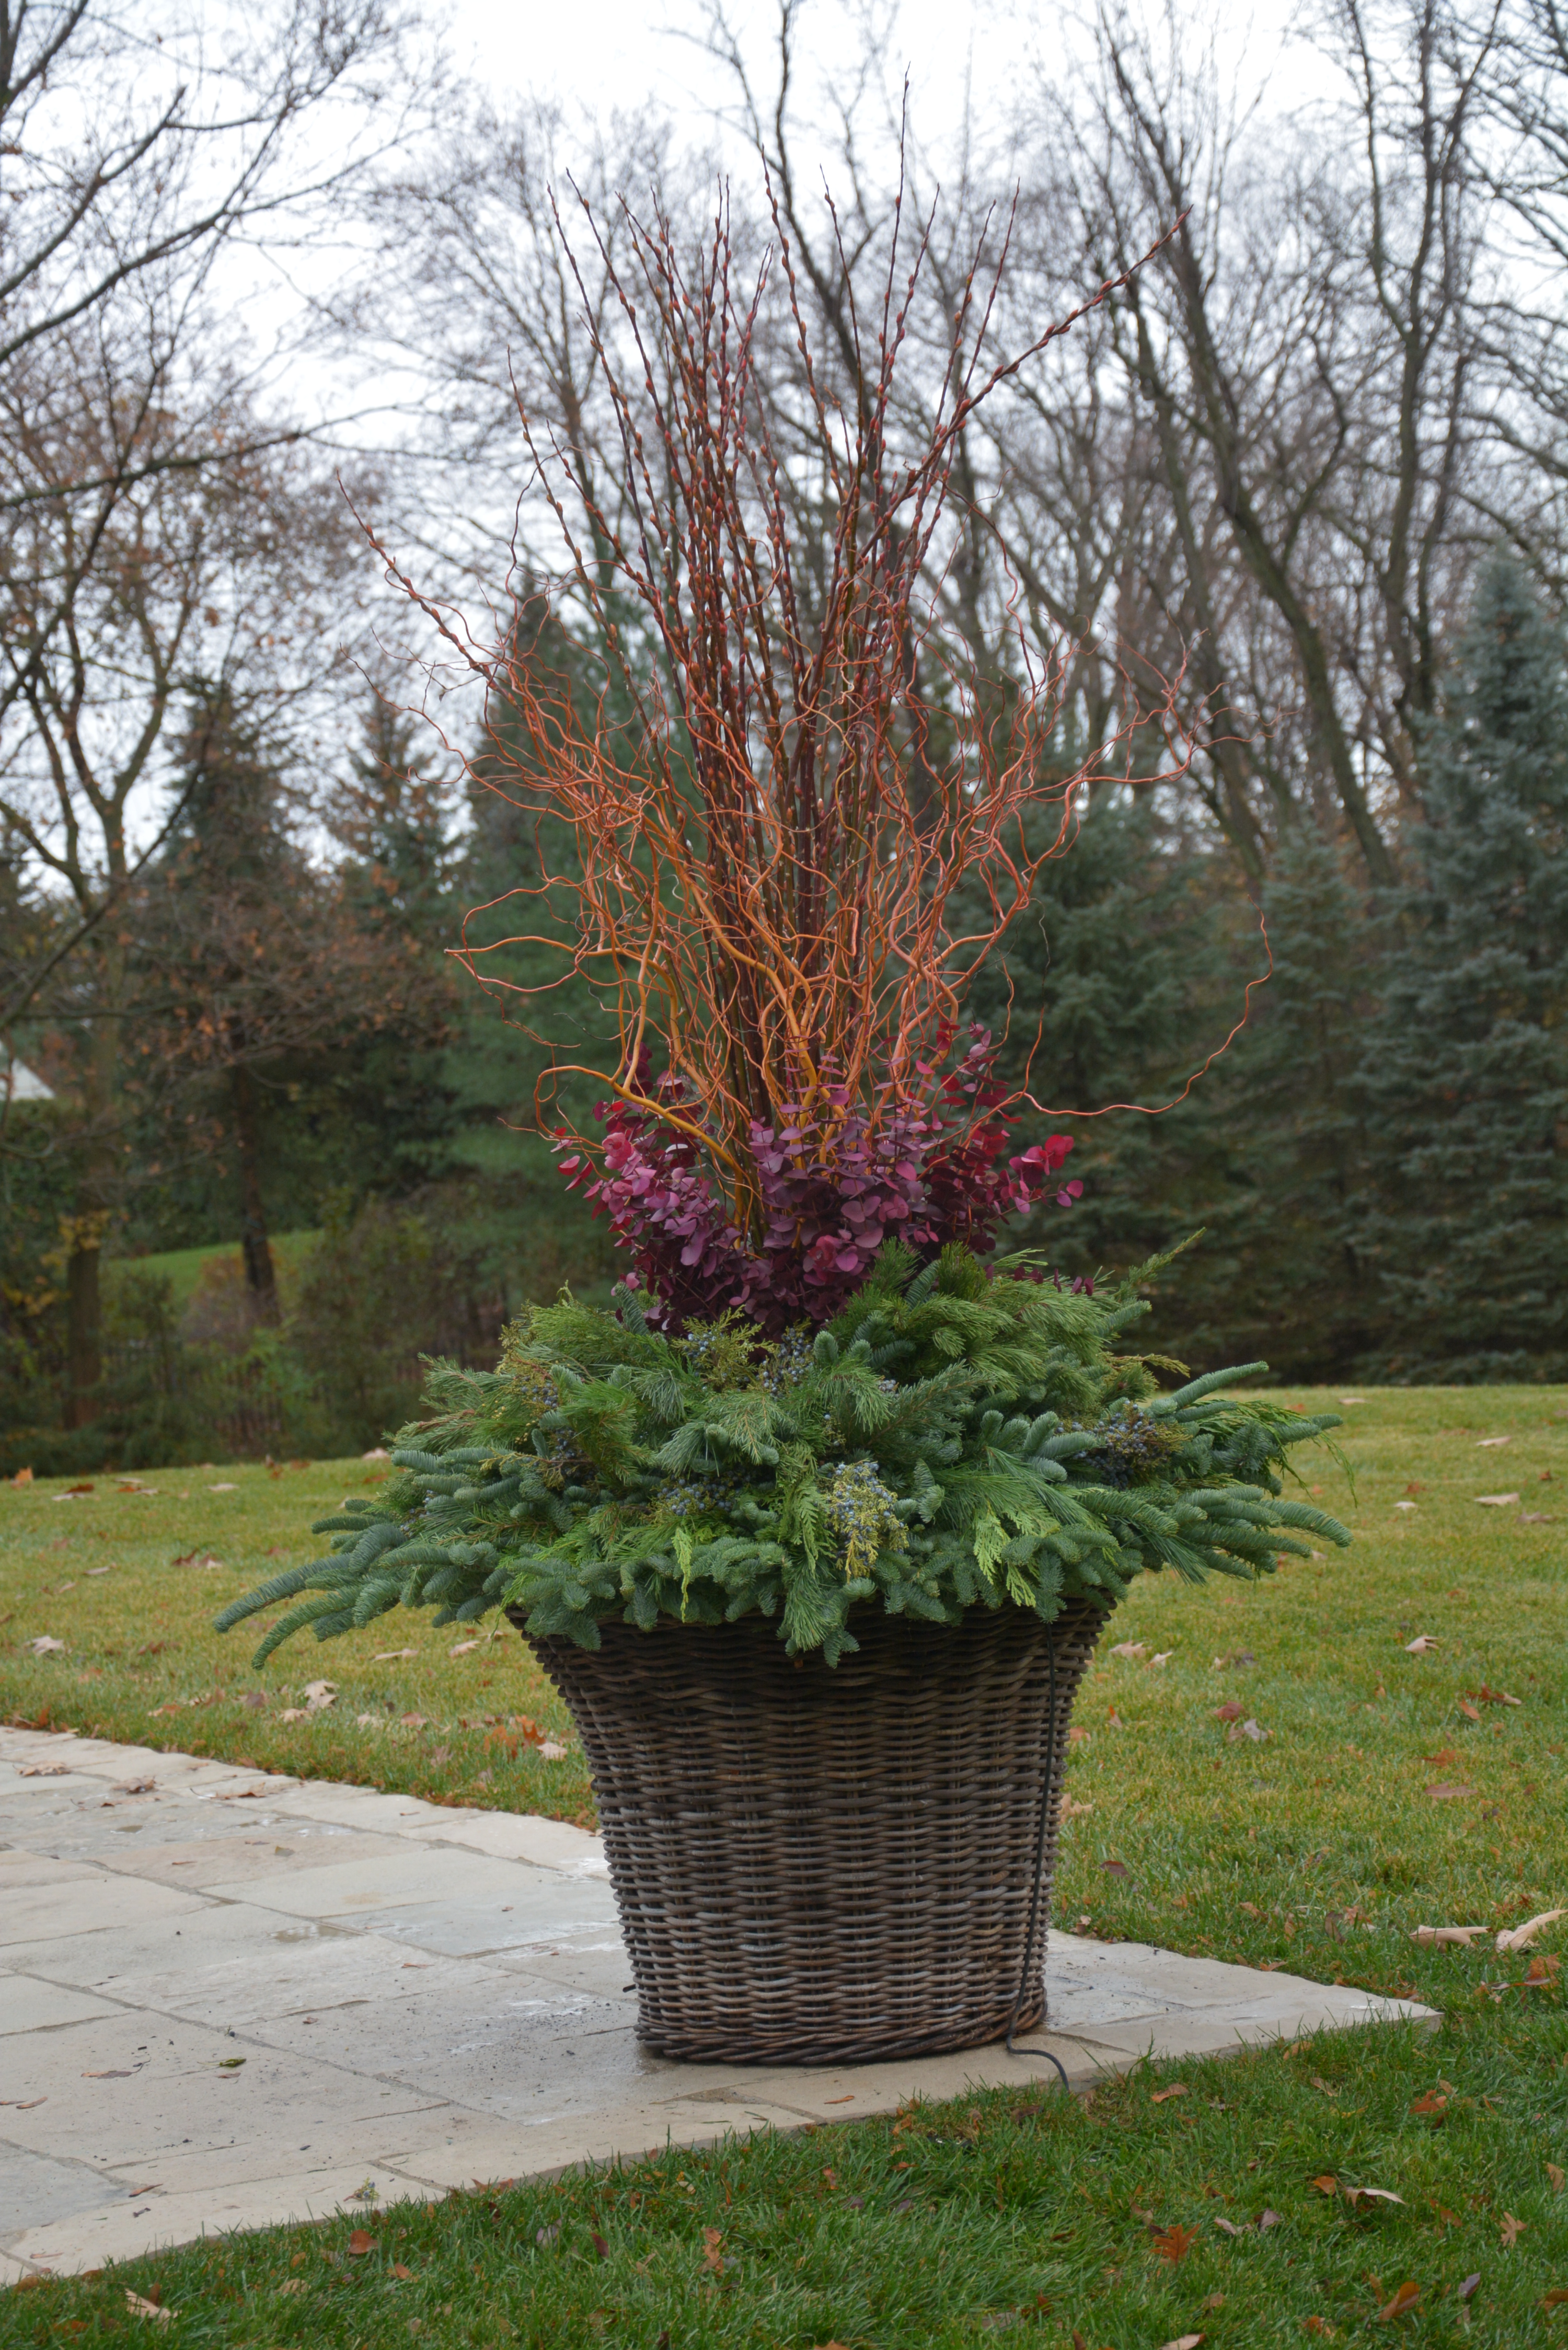
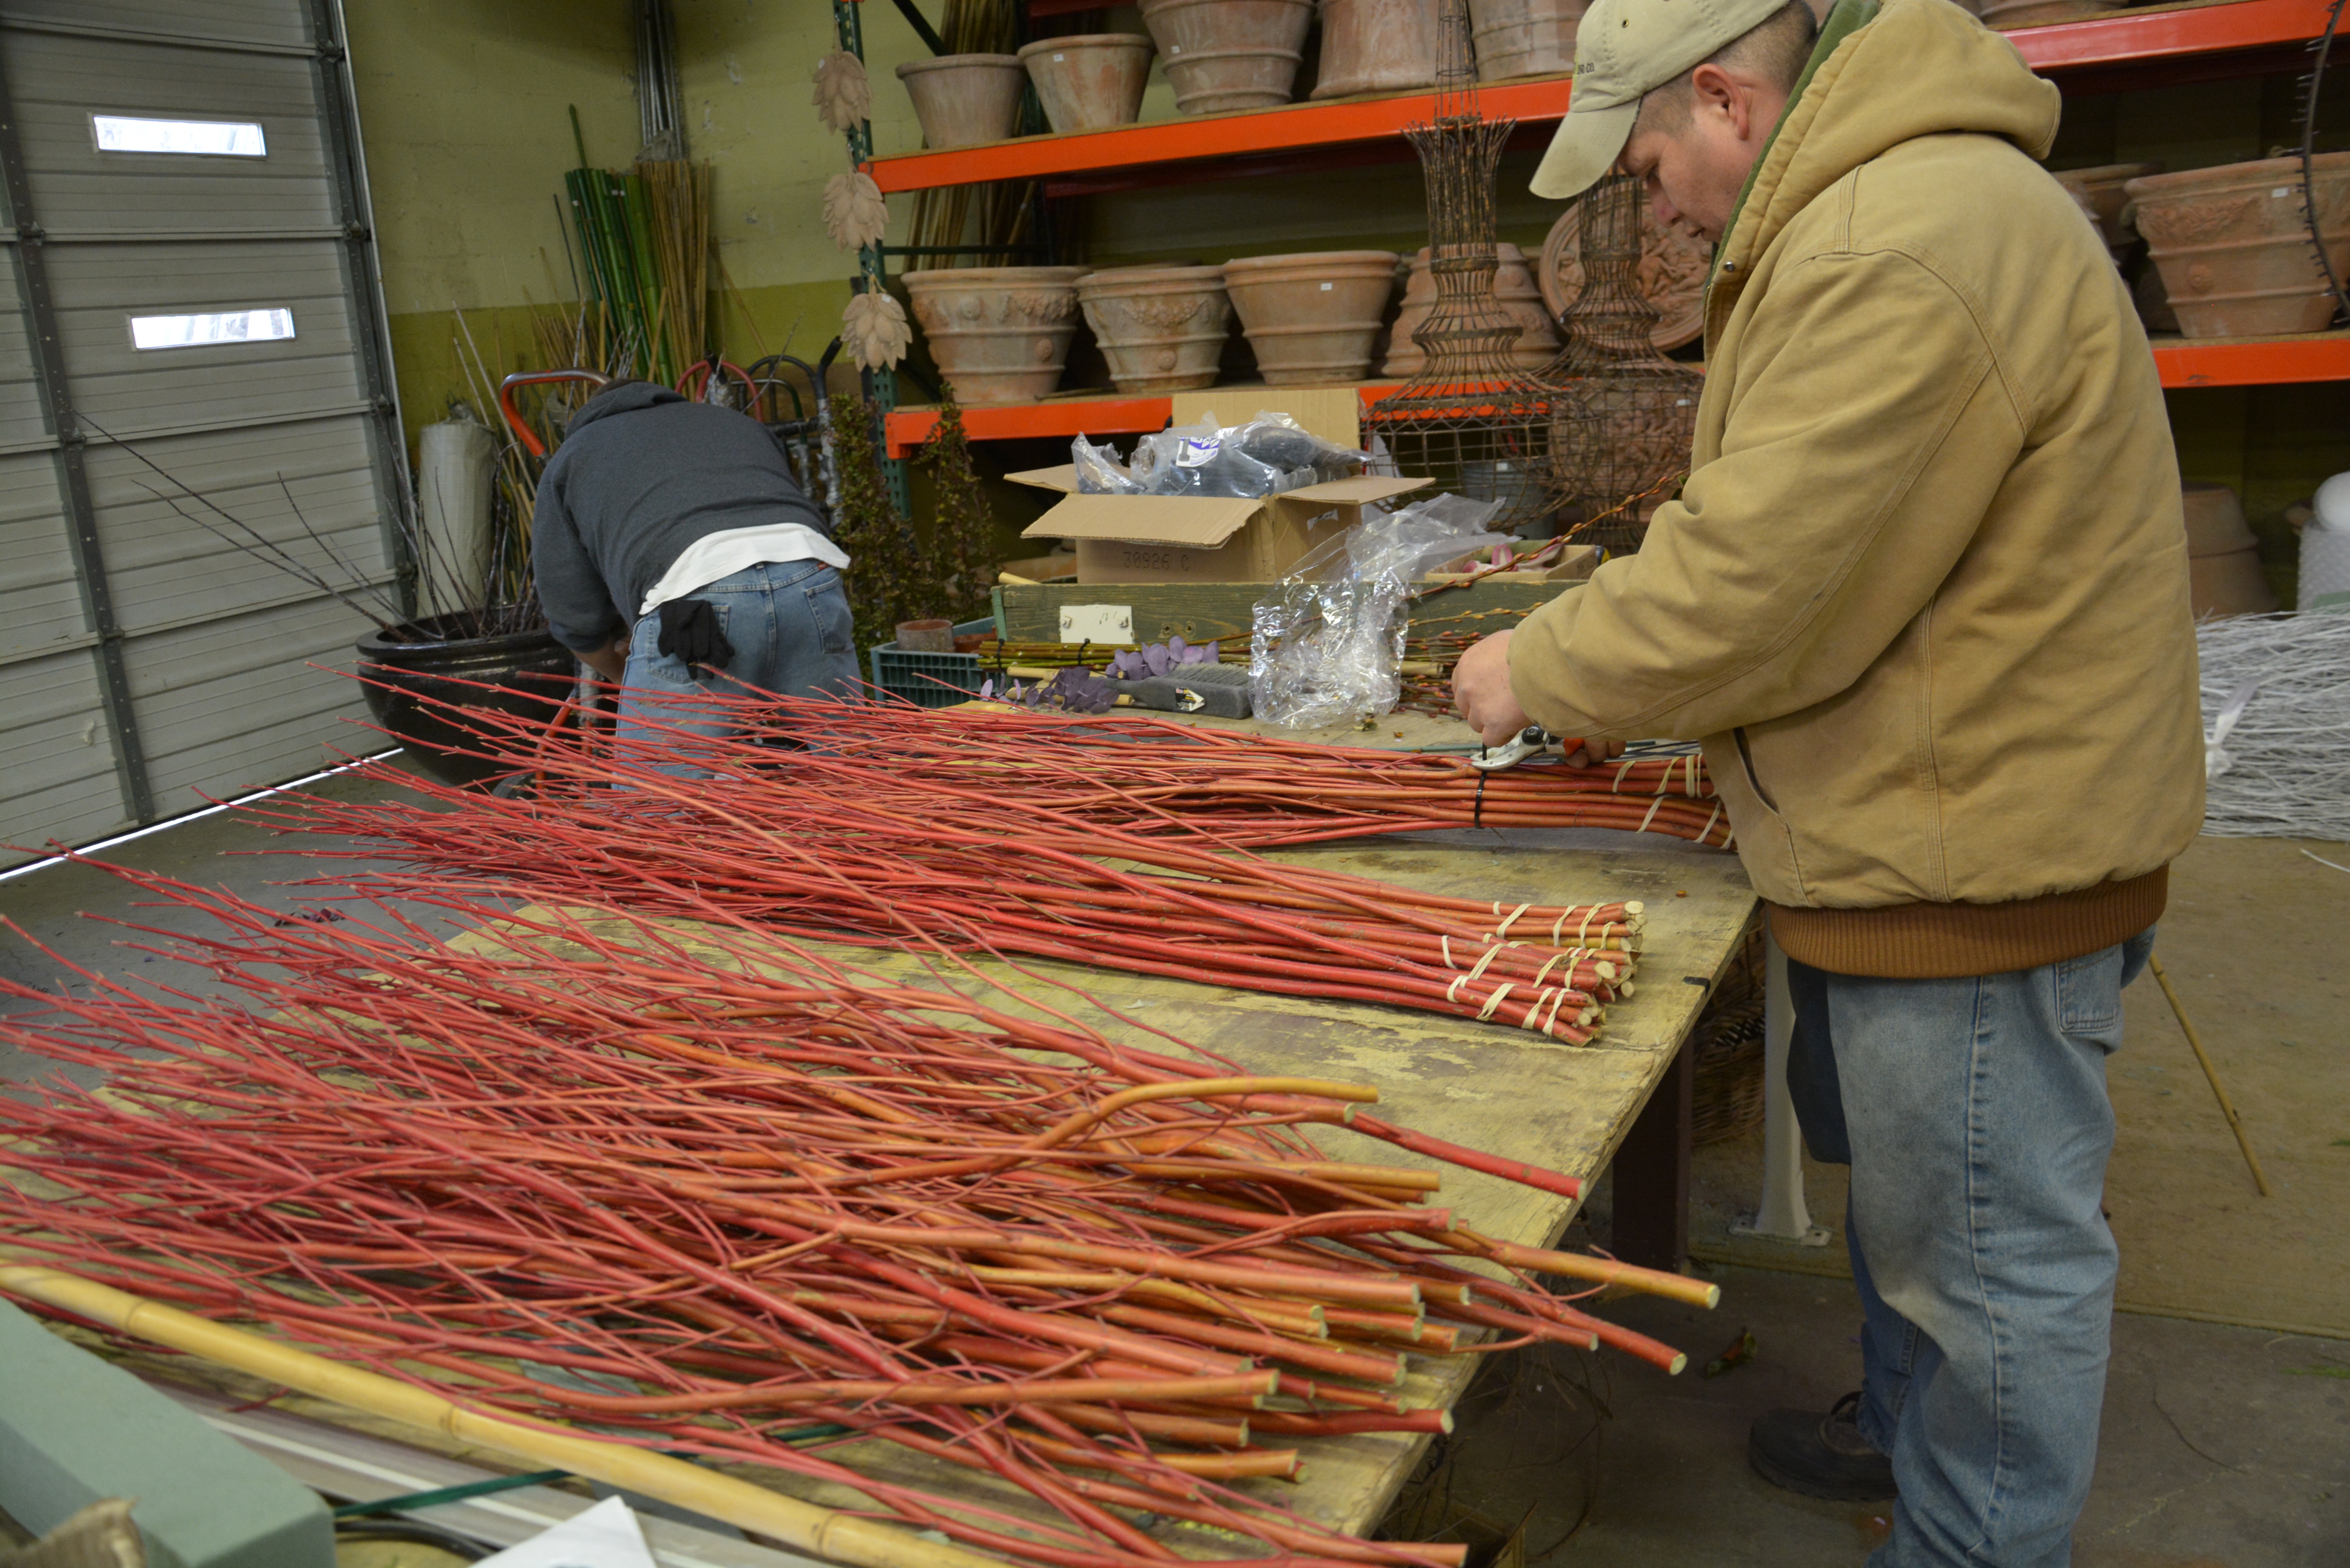
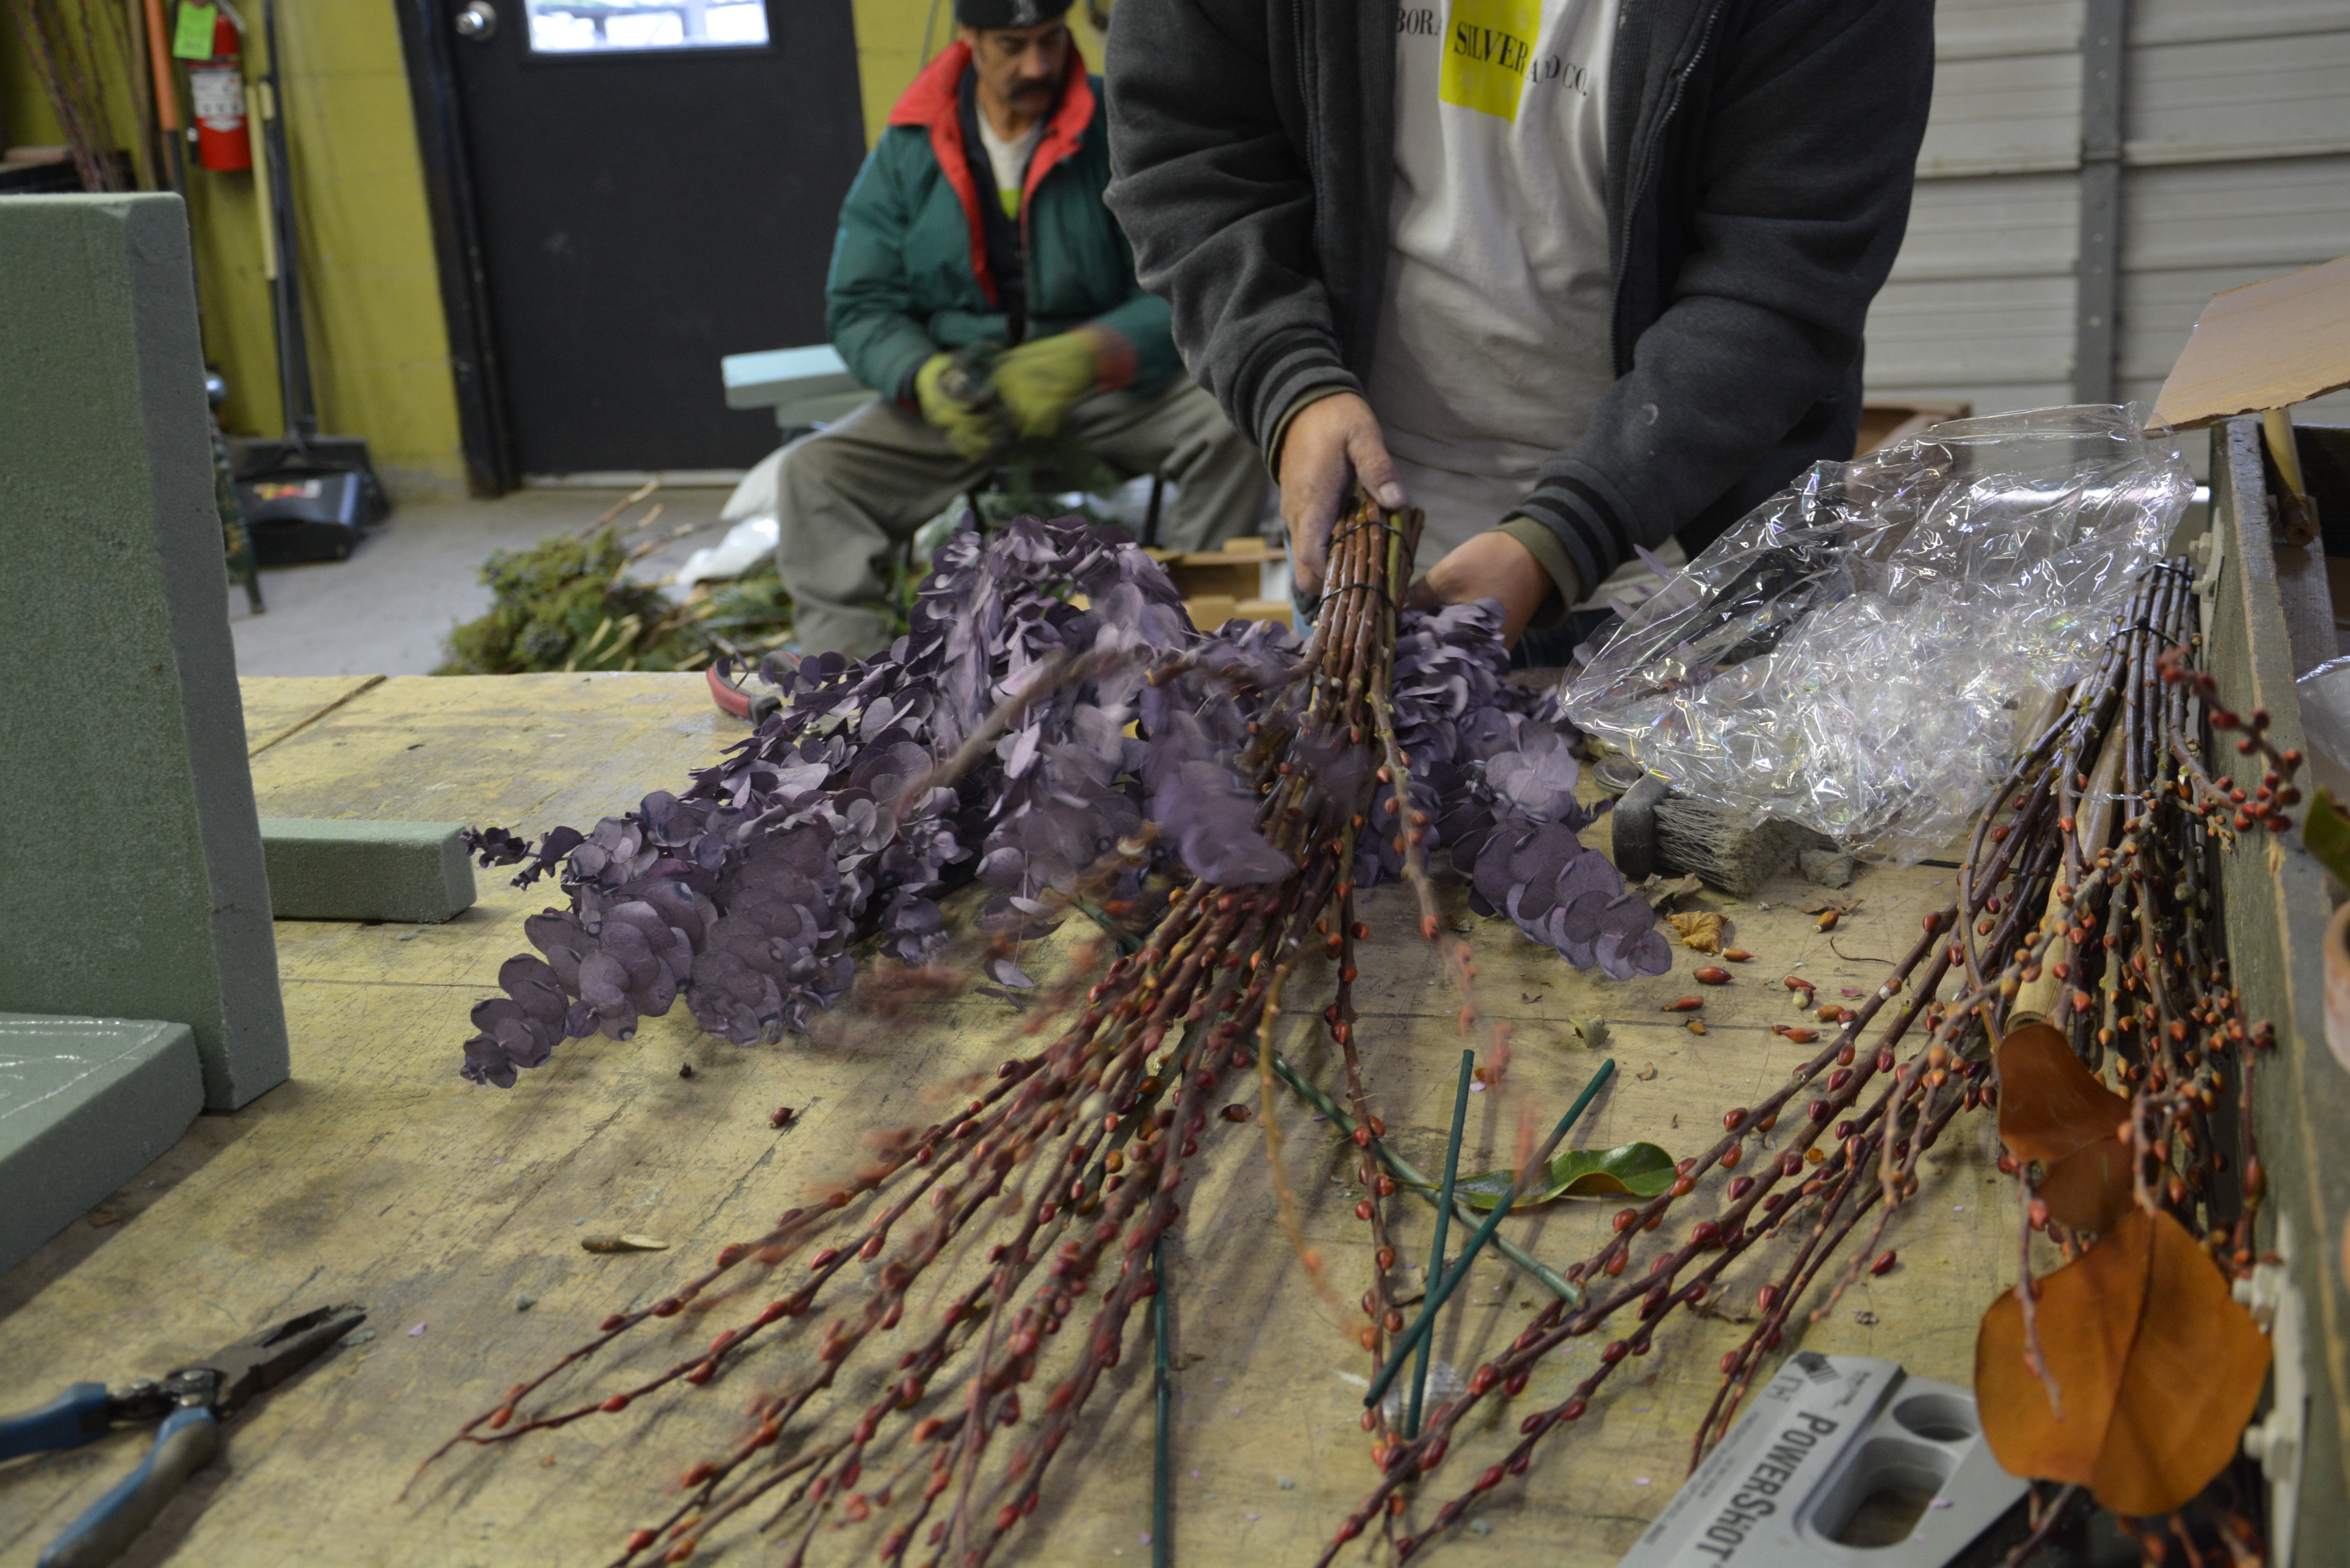
 Fresh cut twigs are woody, and incredibly strong. But once they have been cut away from the roots of the plant, they have no plan in place to keep them perfectly vertical in the container. The center of all of our centerpieces is a stout bamboo stake. Having done countless winter containers, we have an instinct about how long that stake should be. Though it is part of the above grade centerpiece assembly, that stake will be pounded down into the soil of the container when it is installed. The centerpiece needs to have something below ground to keep it vertical. Bamboo ballast.
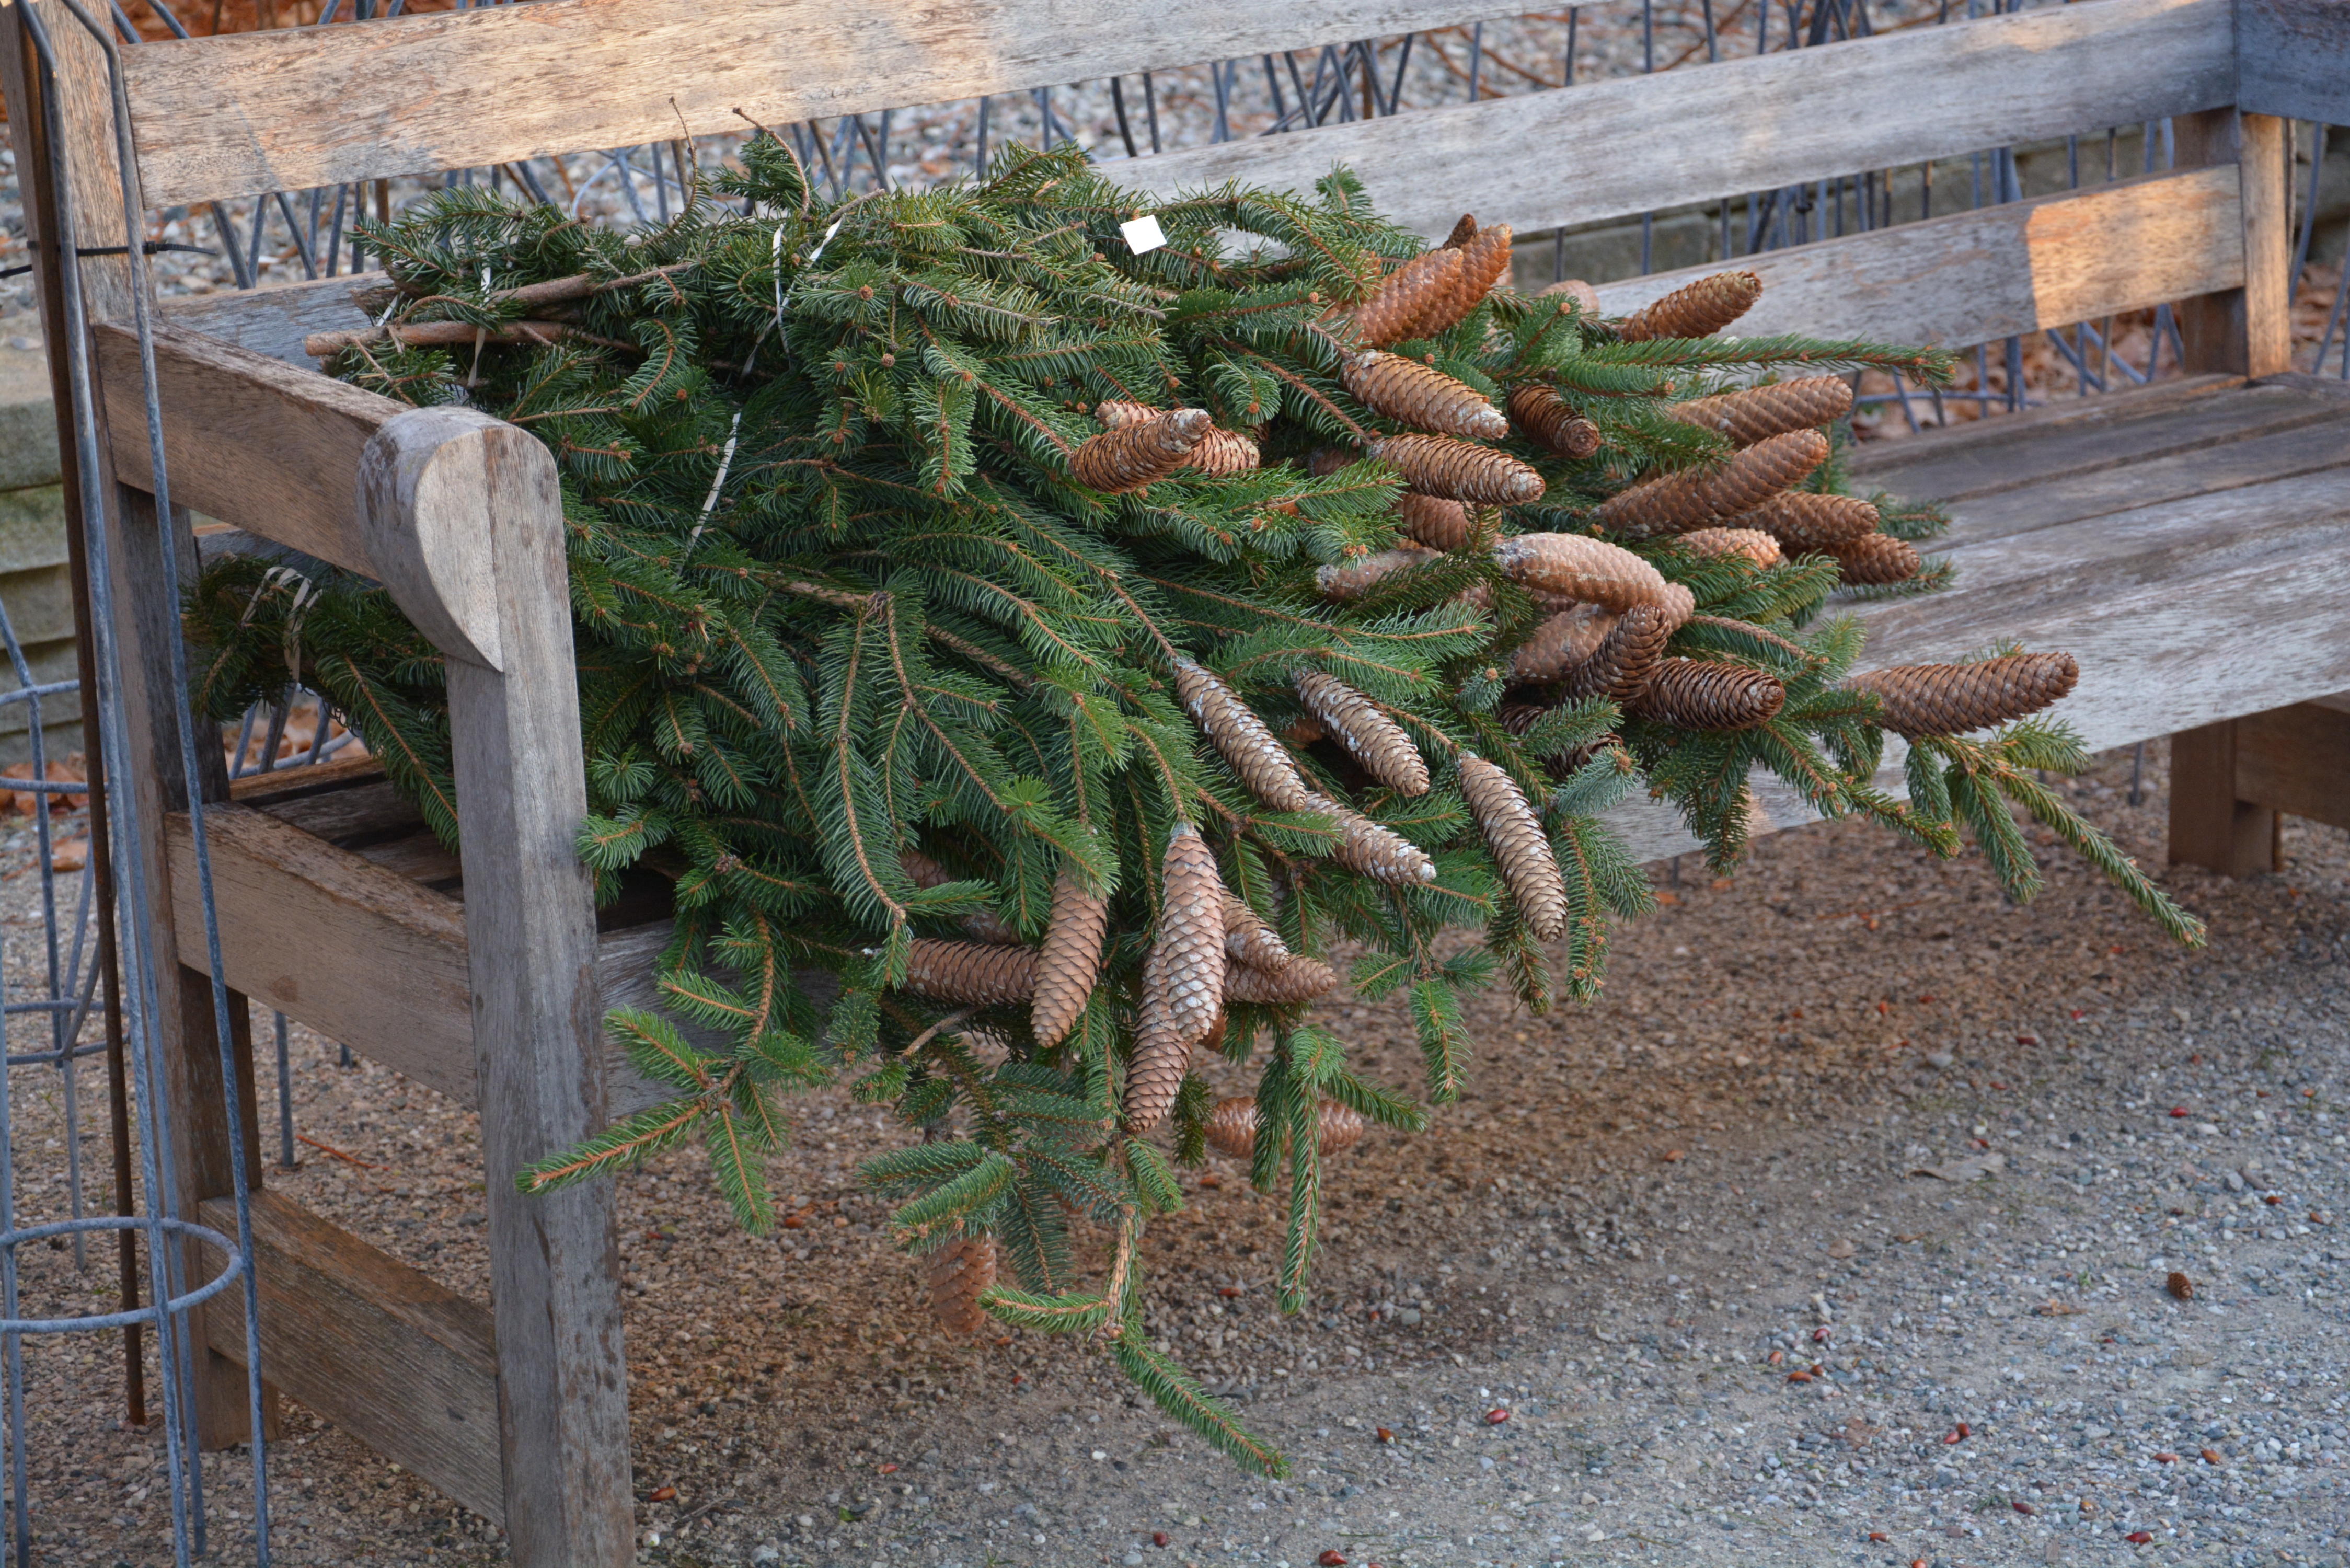
 Once the soil in a pot freezes firmly around that bamboo stake, no winter storm can dislodge that centerpiece. There are occasions when we add another element or two to the vertical centerpiece. Some materials get strapped onto the twigs with zip ties or concrete wire. Some materials are stuck into the foam-in that space between the greens and the twig centerpiece. There are those times when the overall shape of the container will ask for hand sticking during an installation. As much as I mean this essay to be of a tutorial sort, there are no formulas. Given a general guideline, the individual eye and hand has to drive the bus.
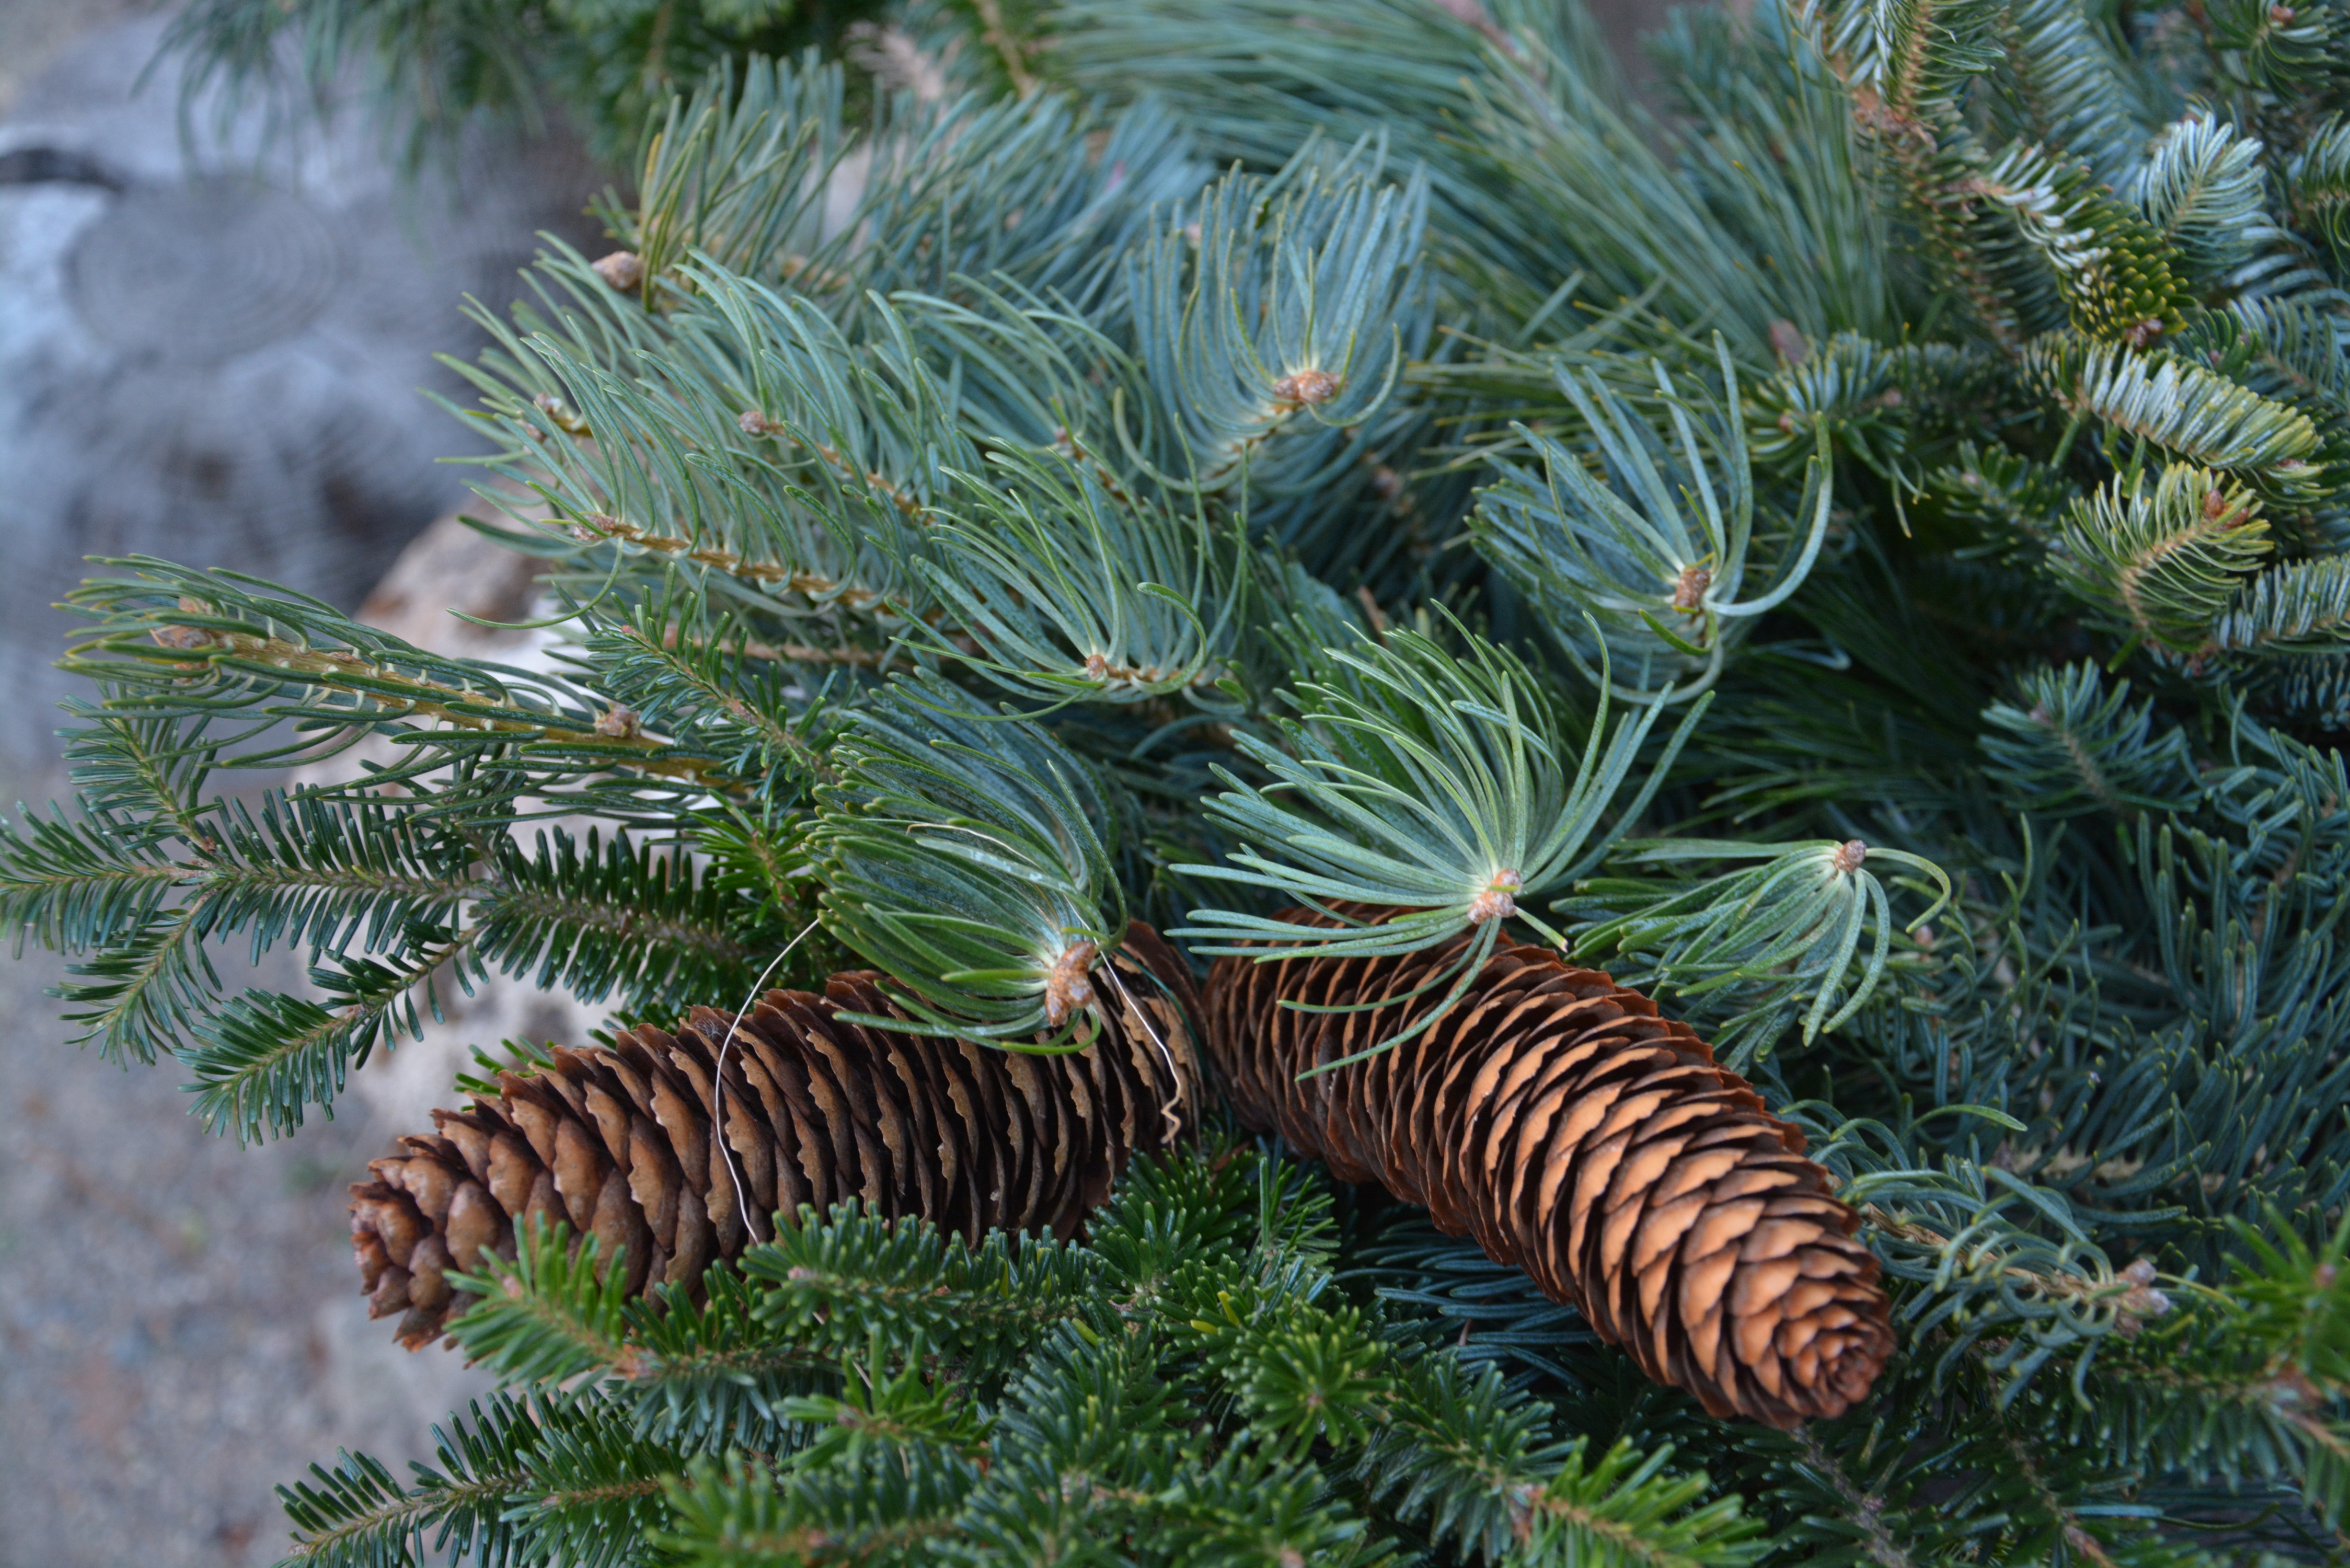
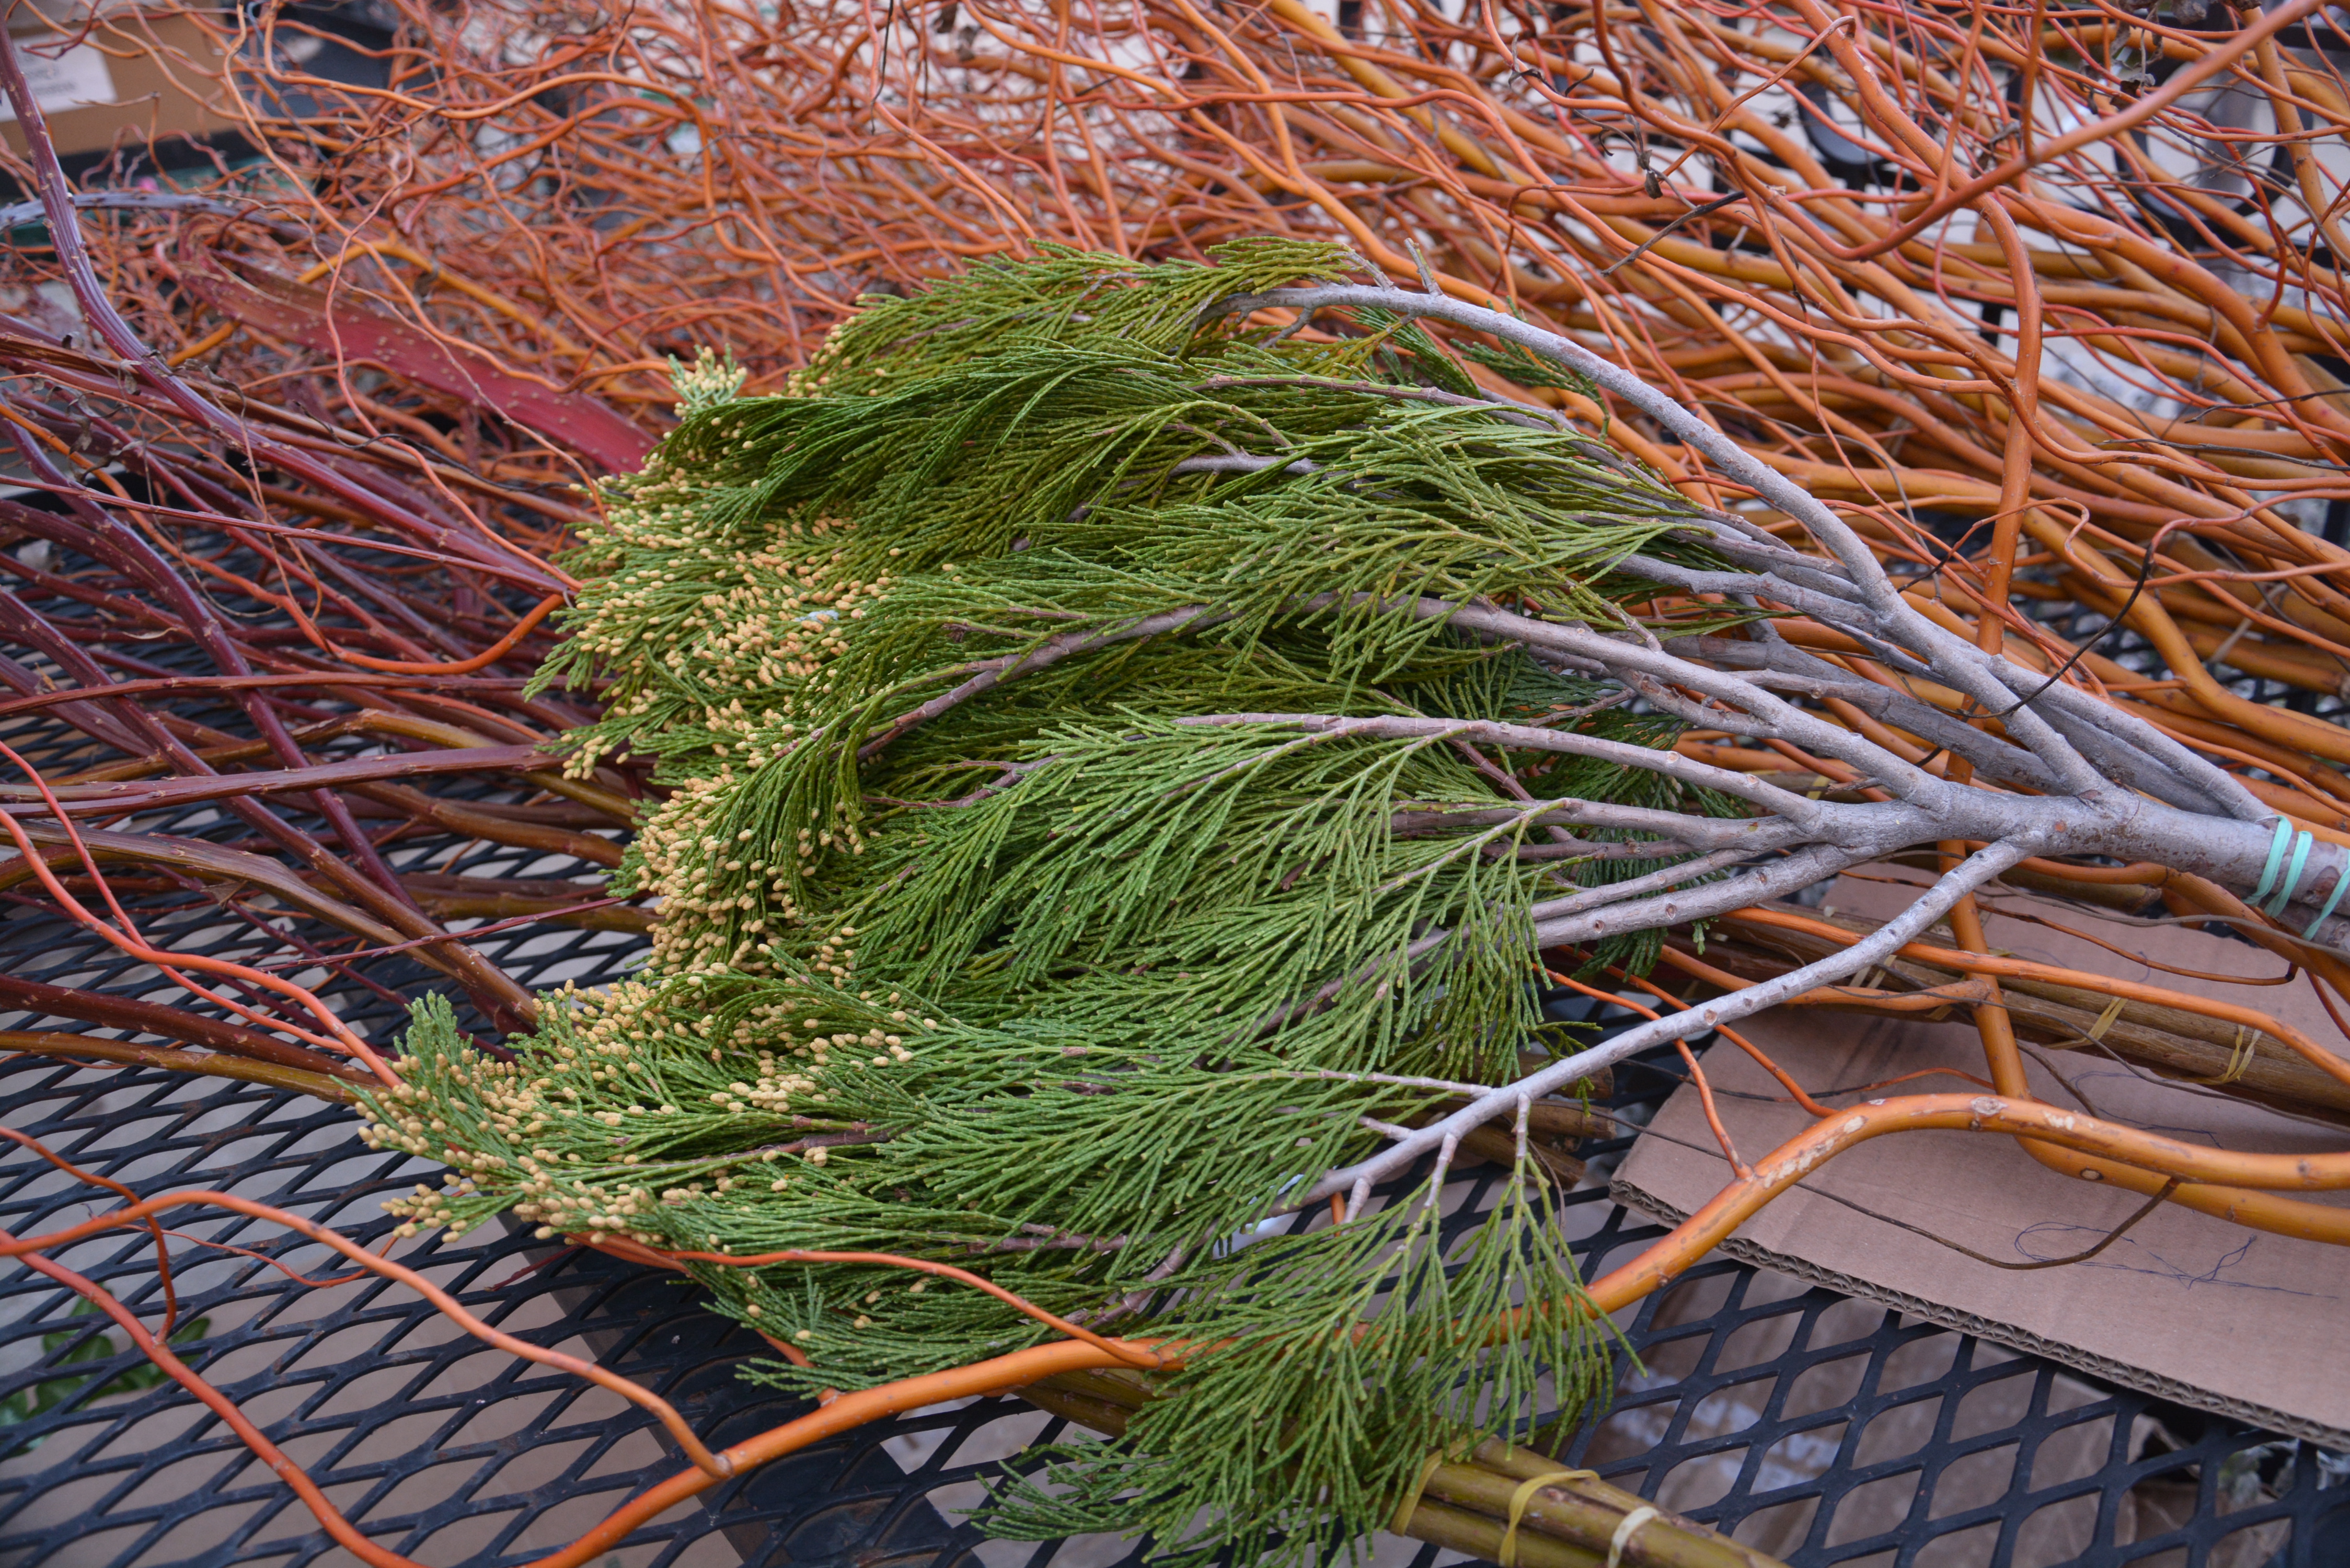
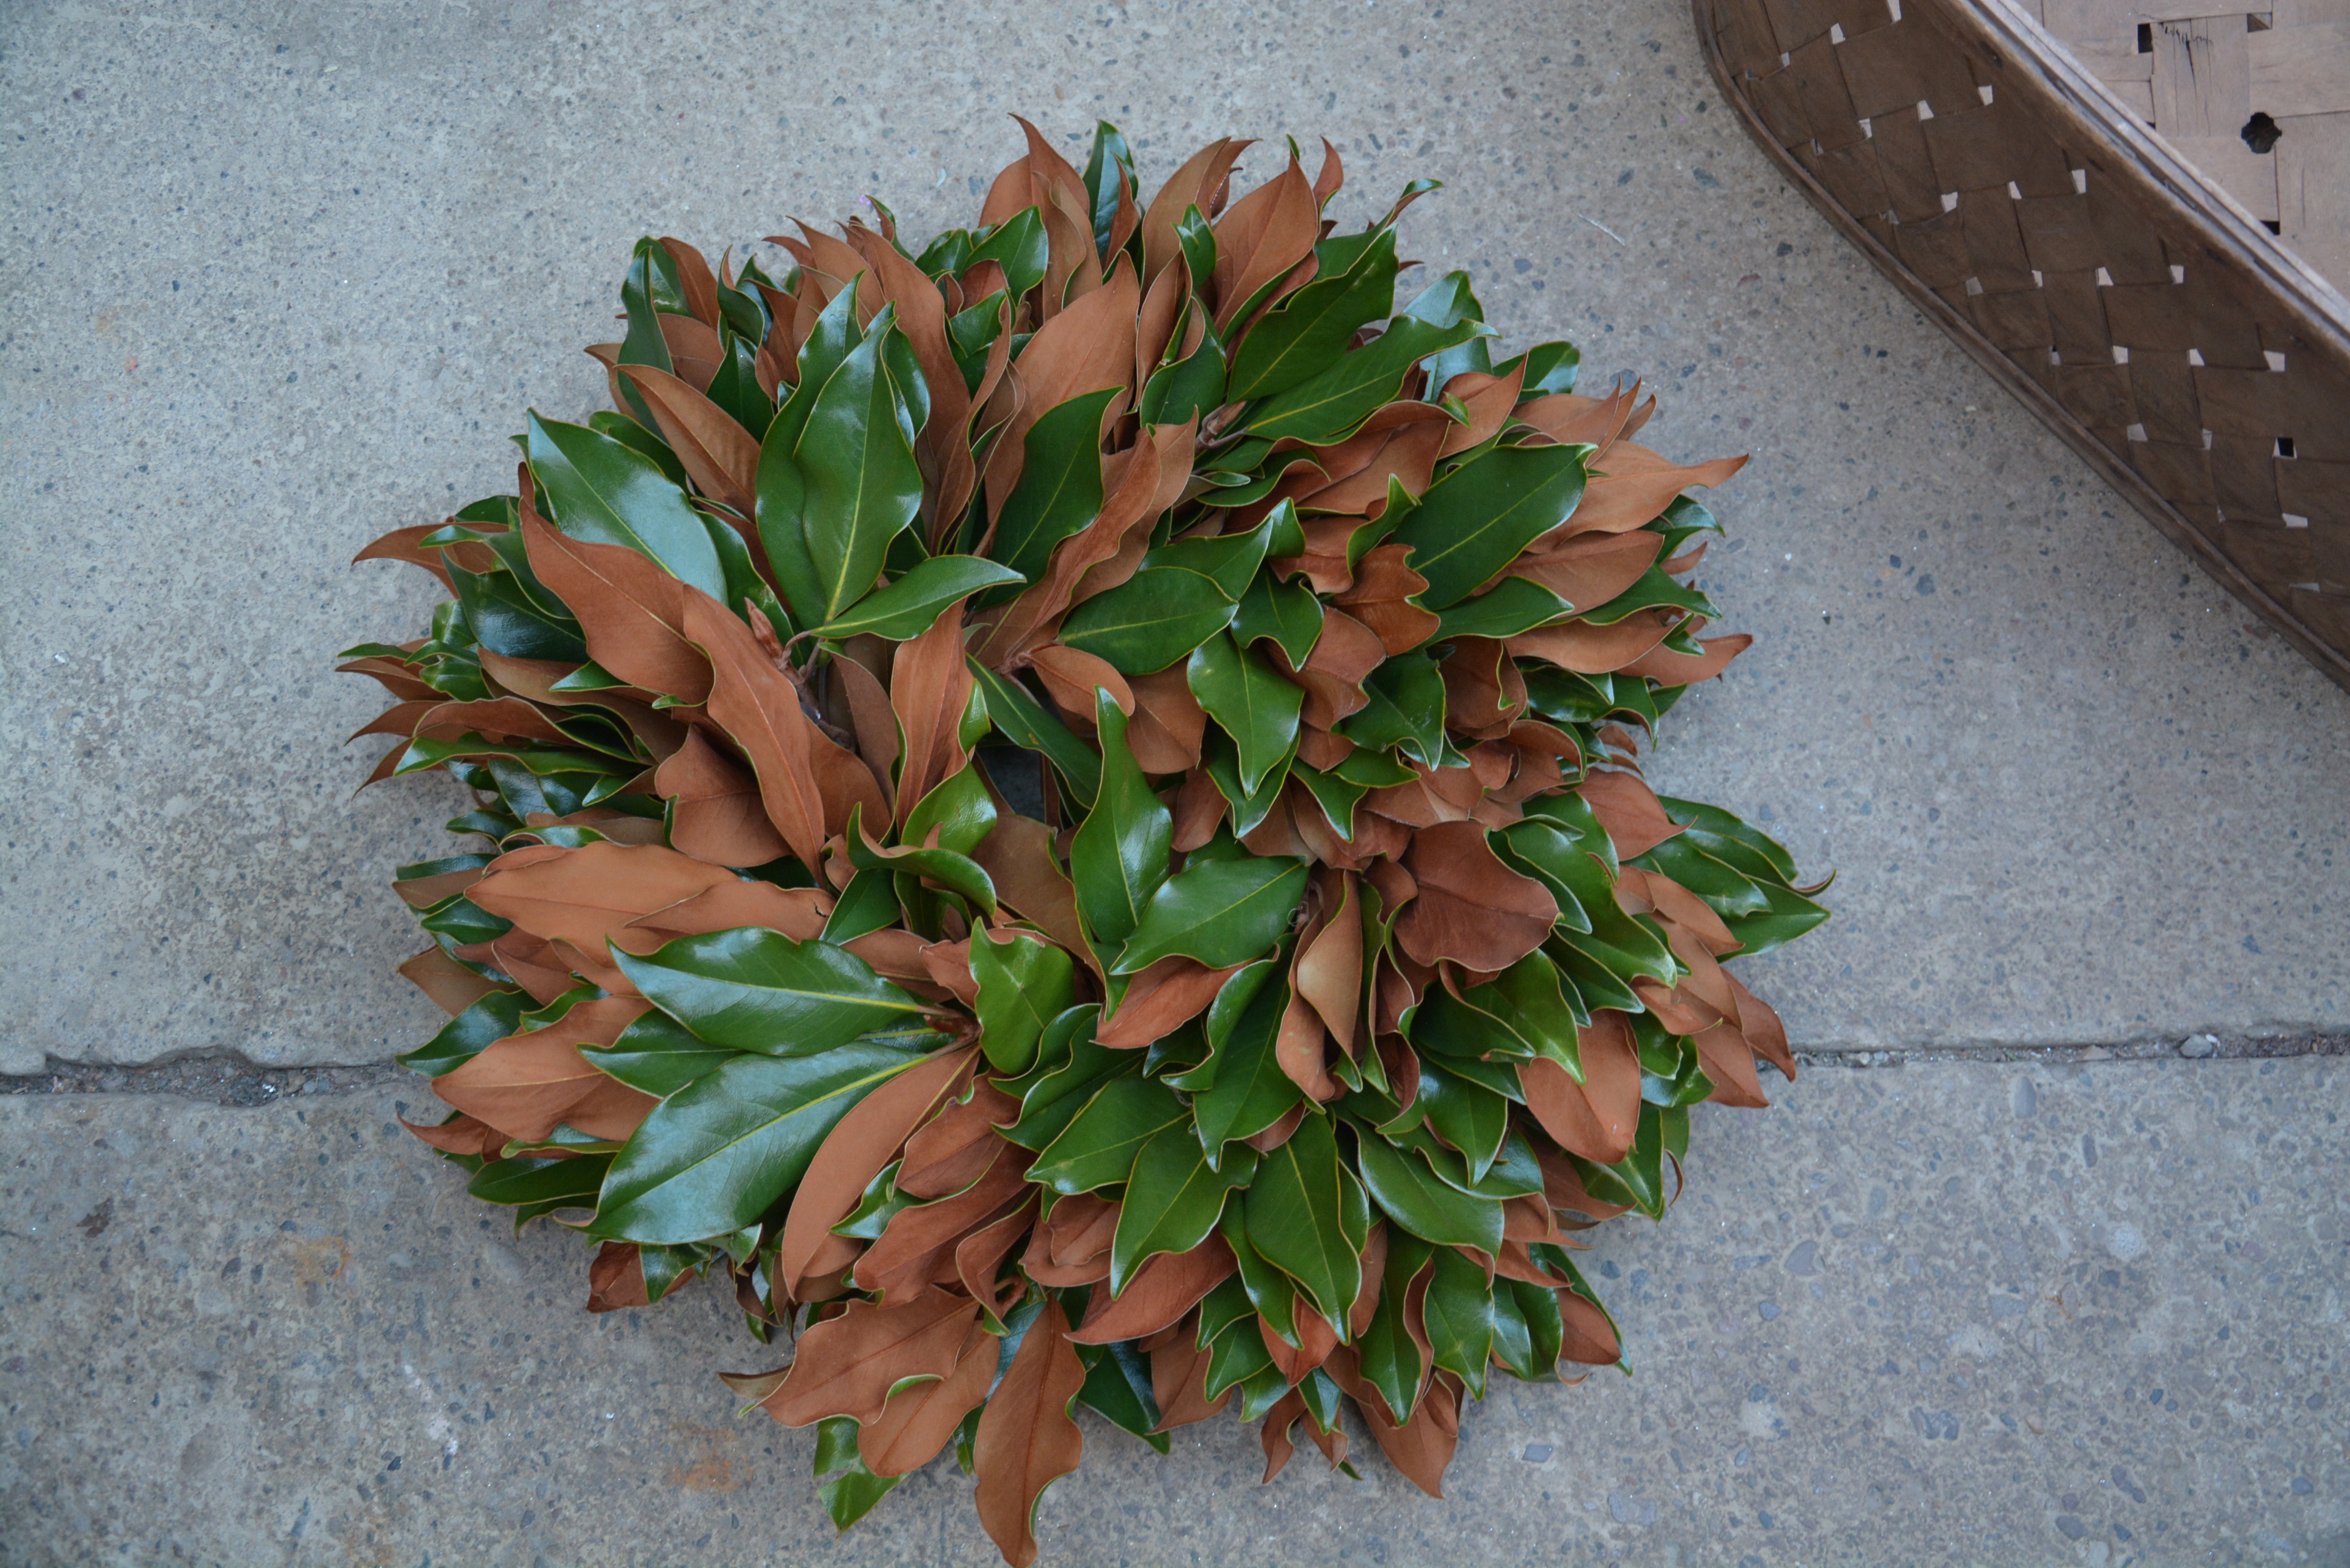
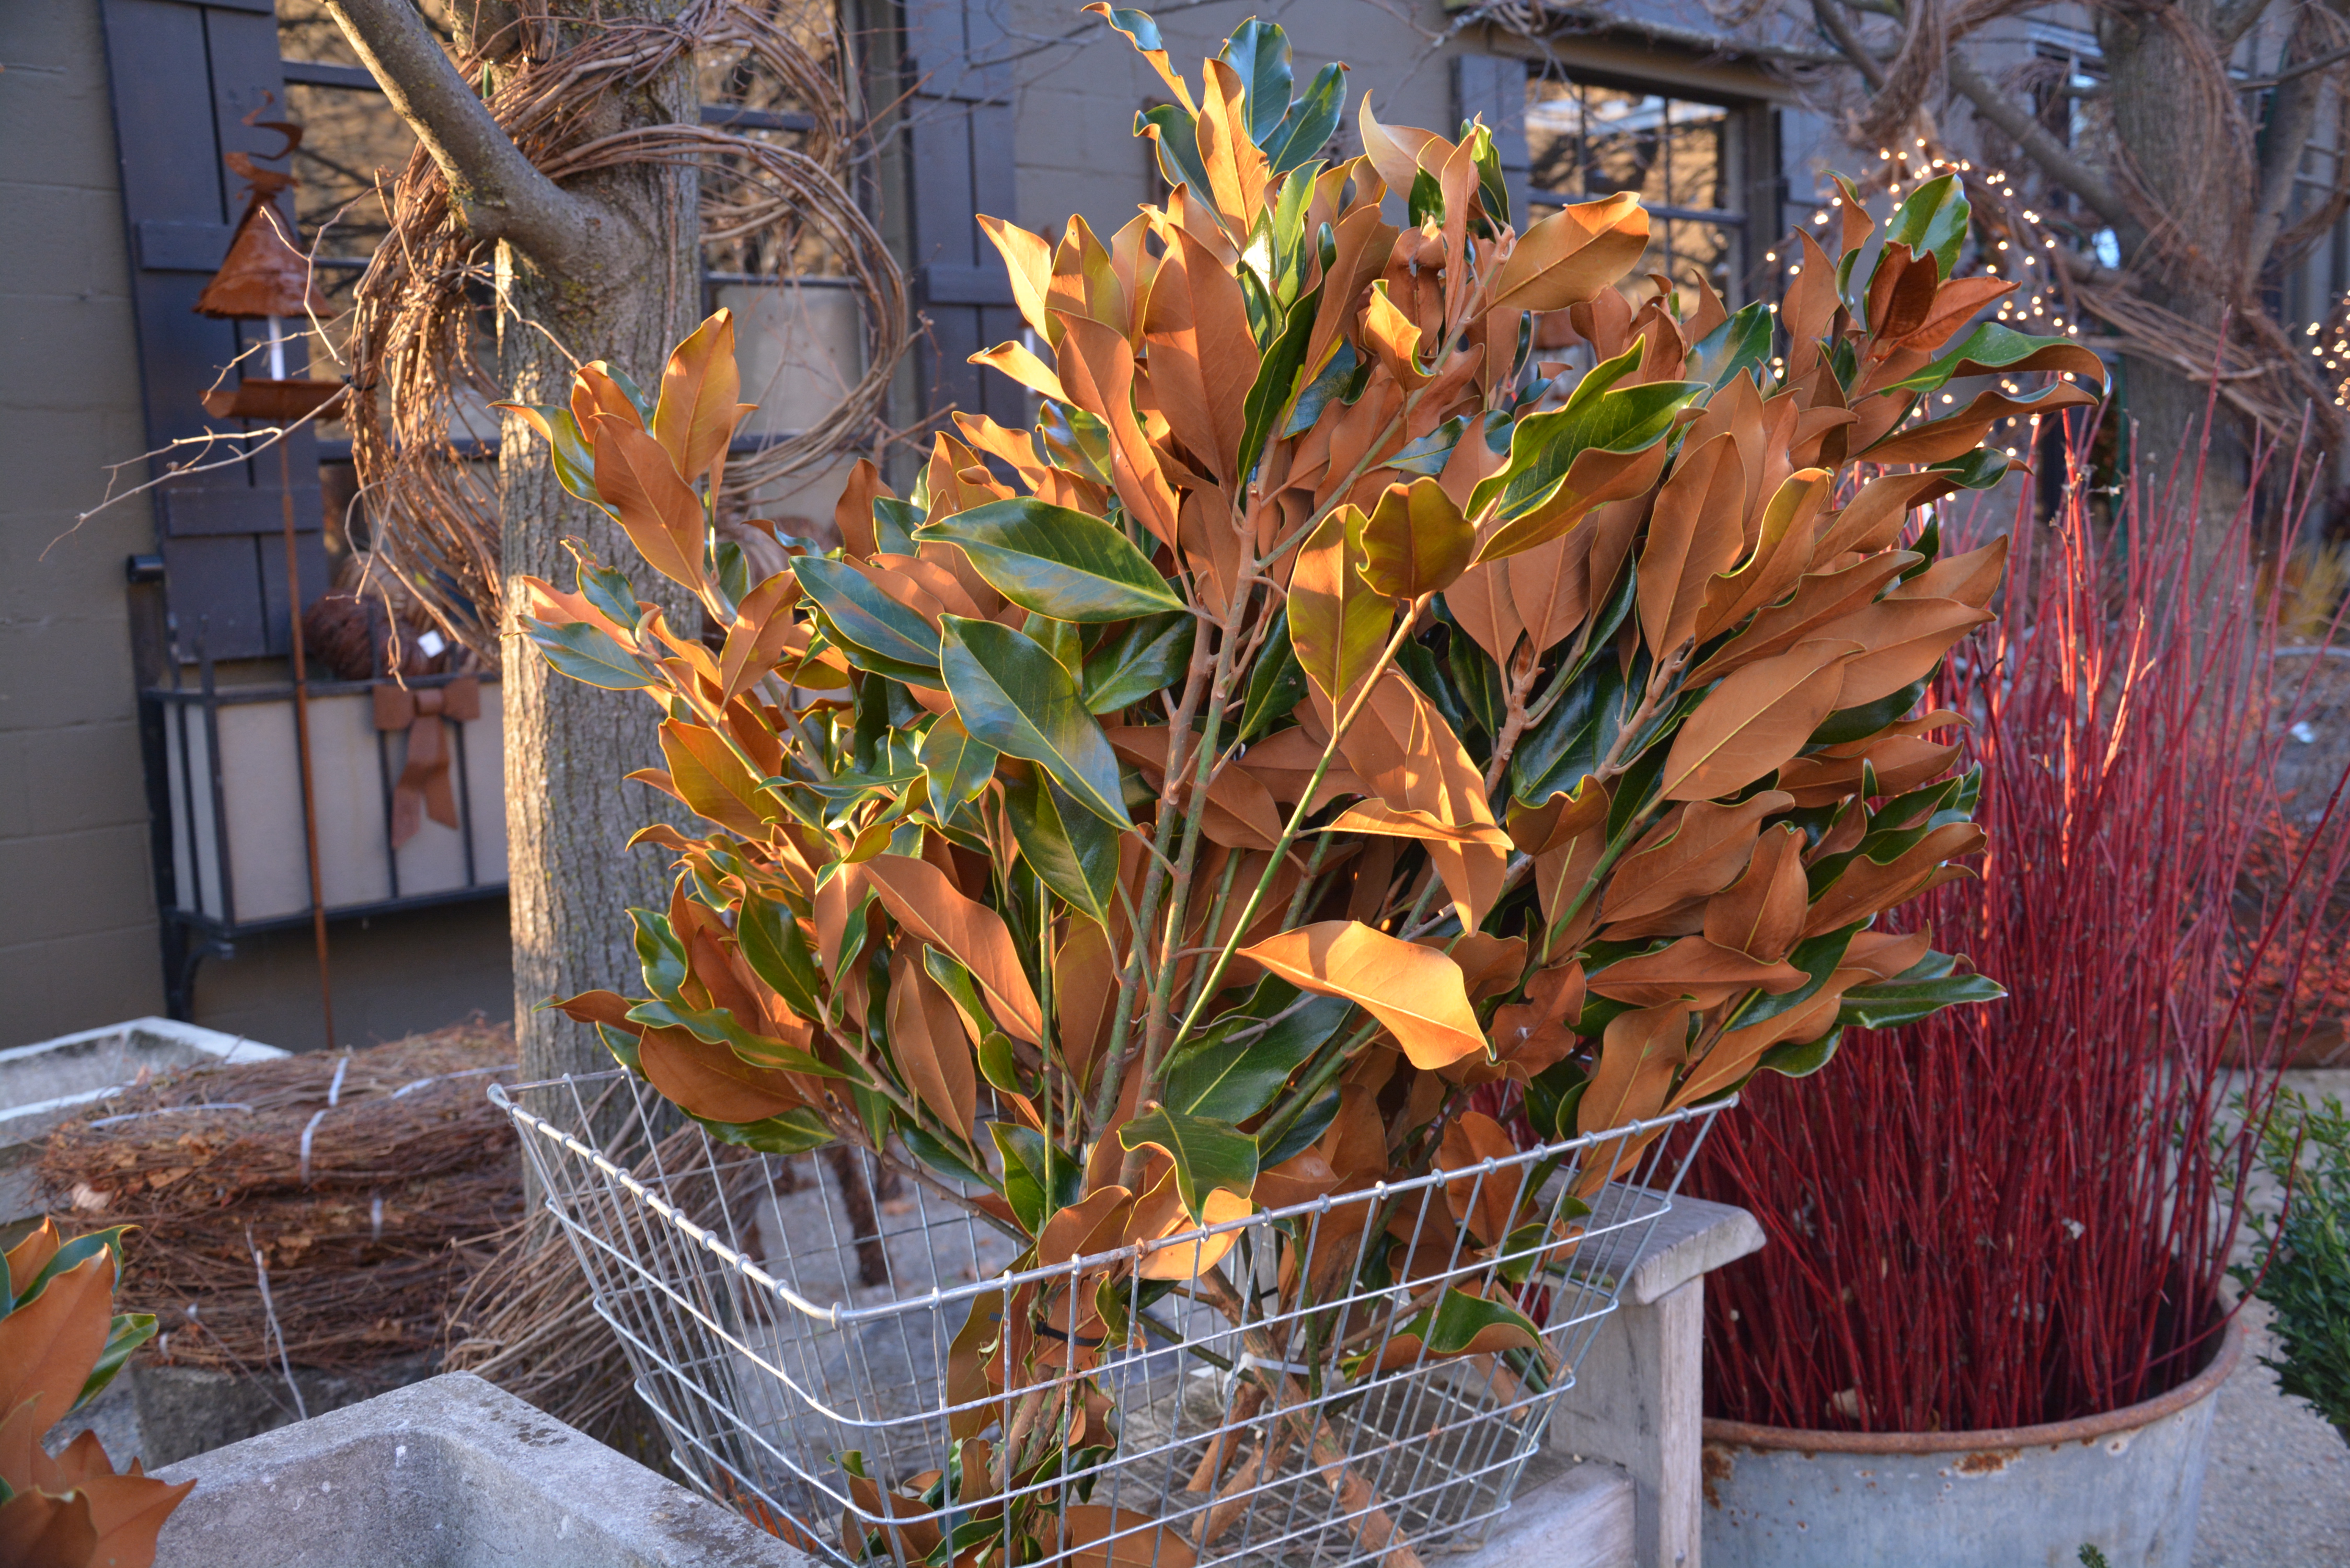
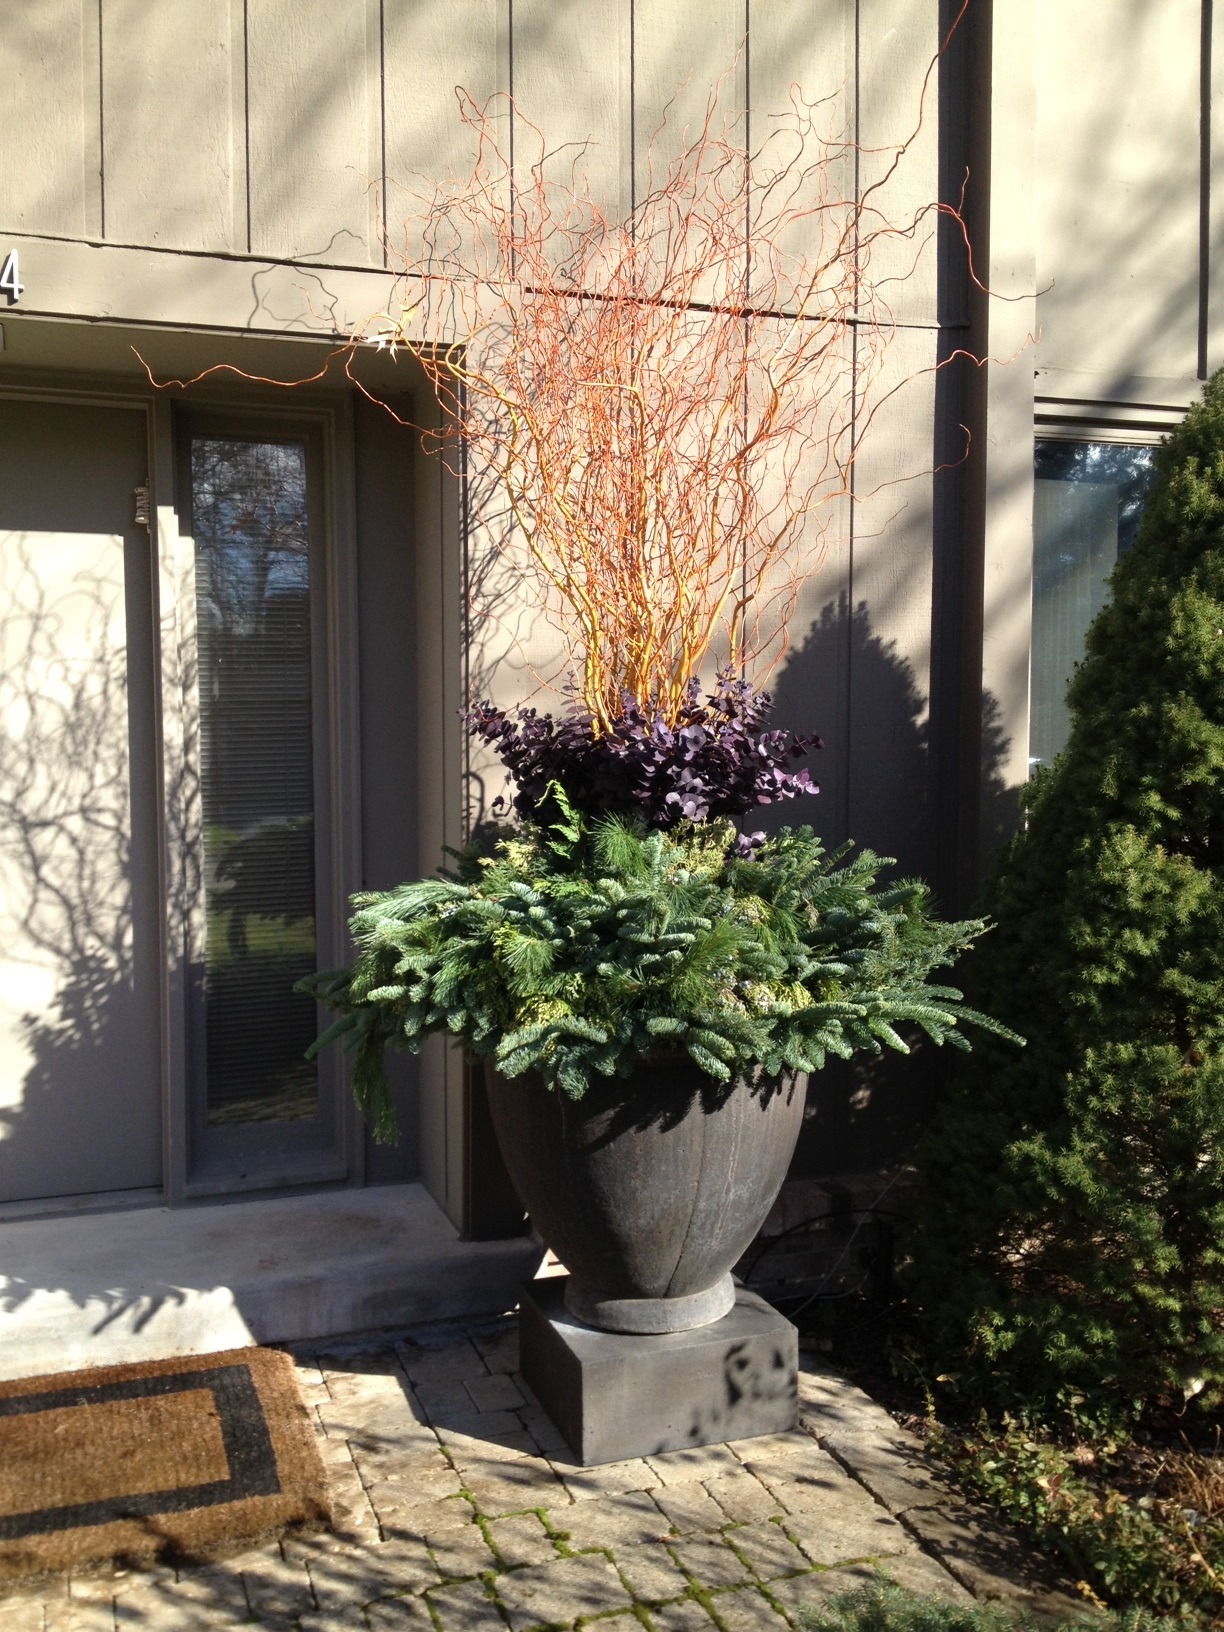
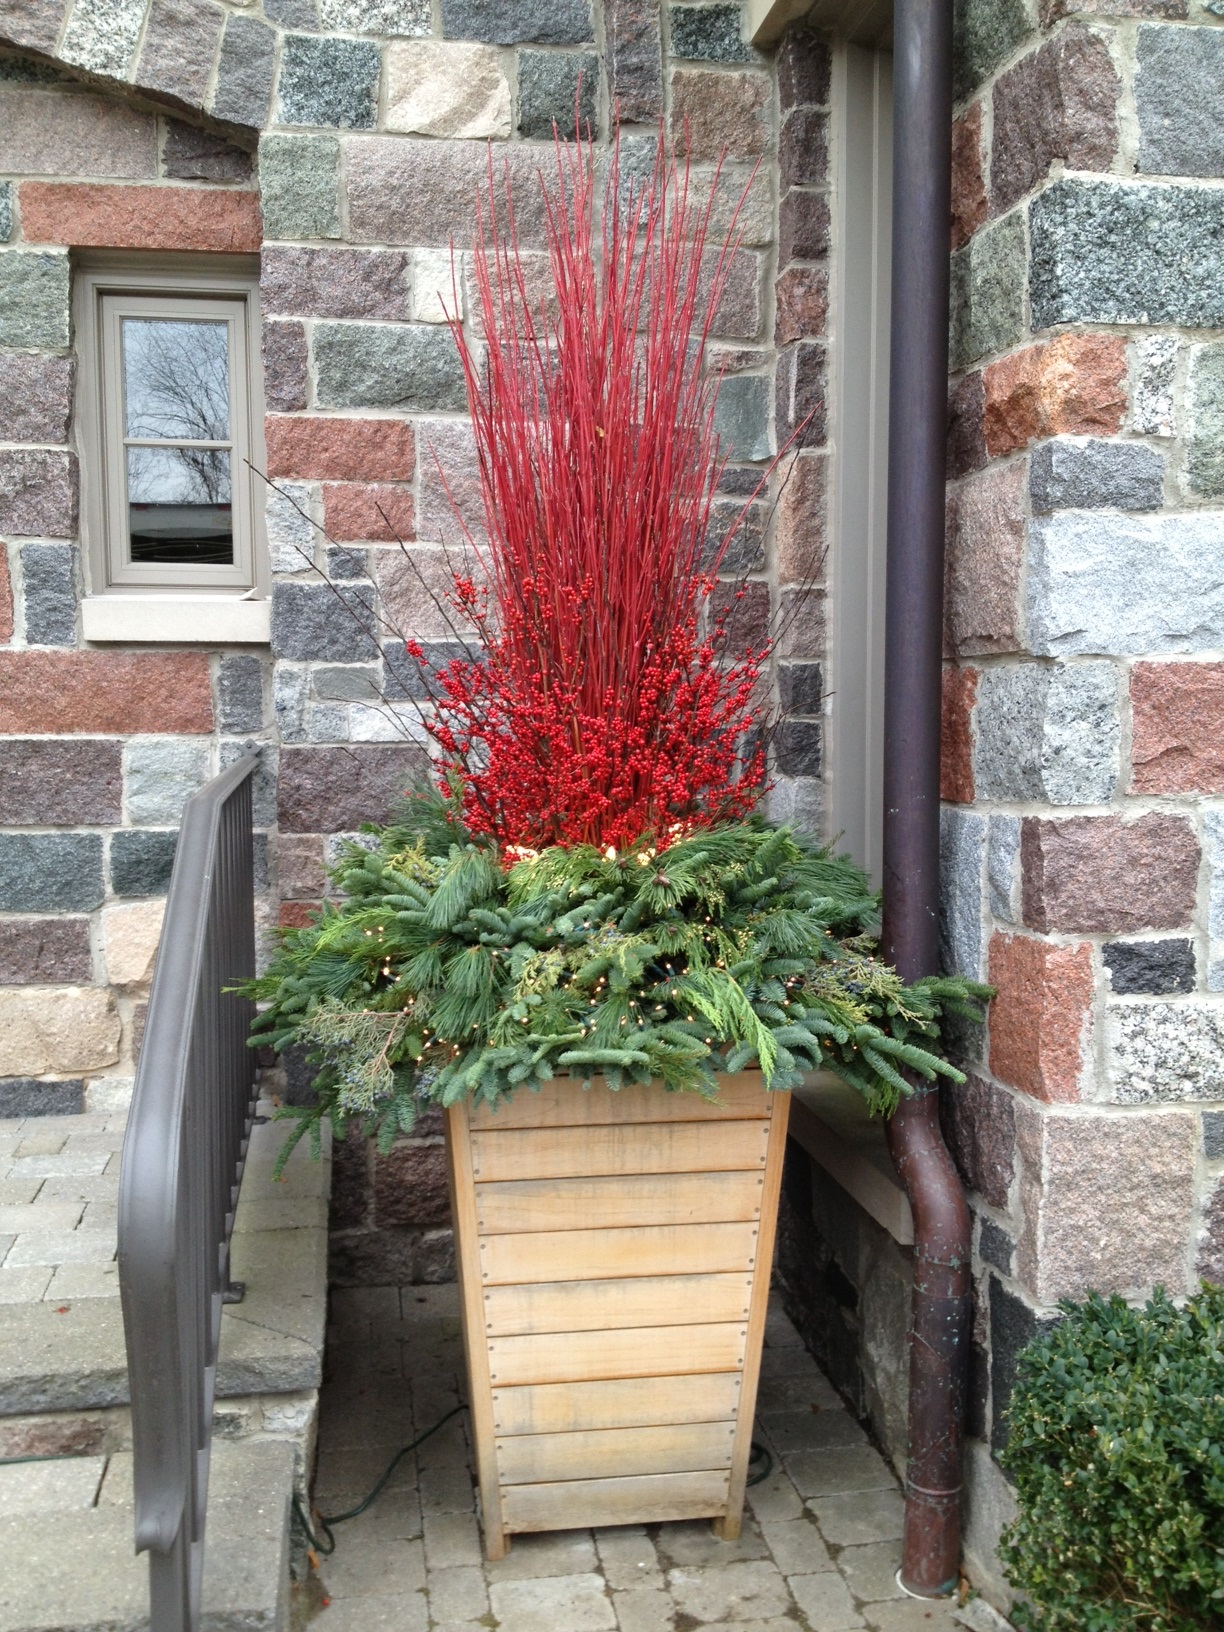
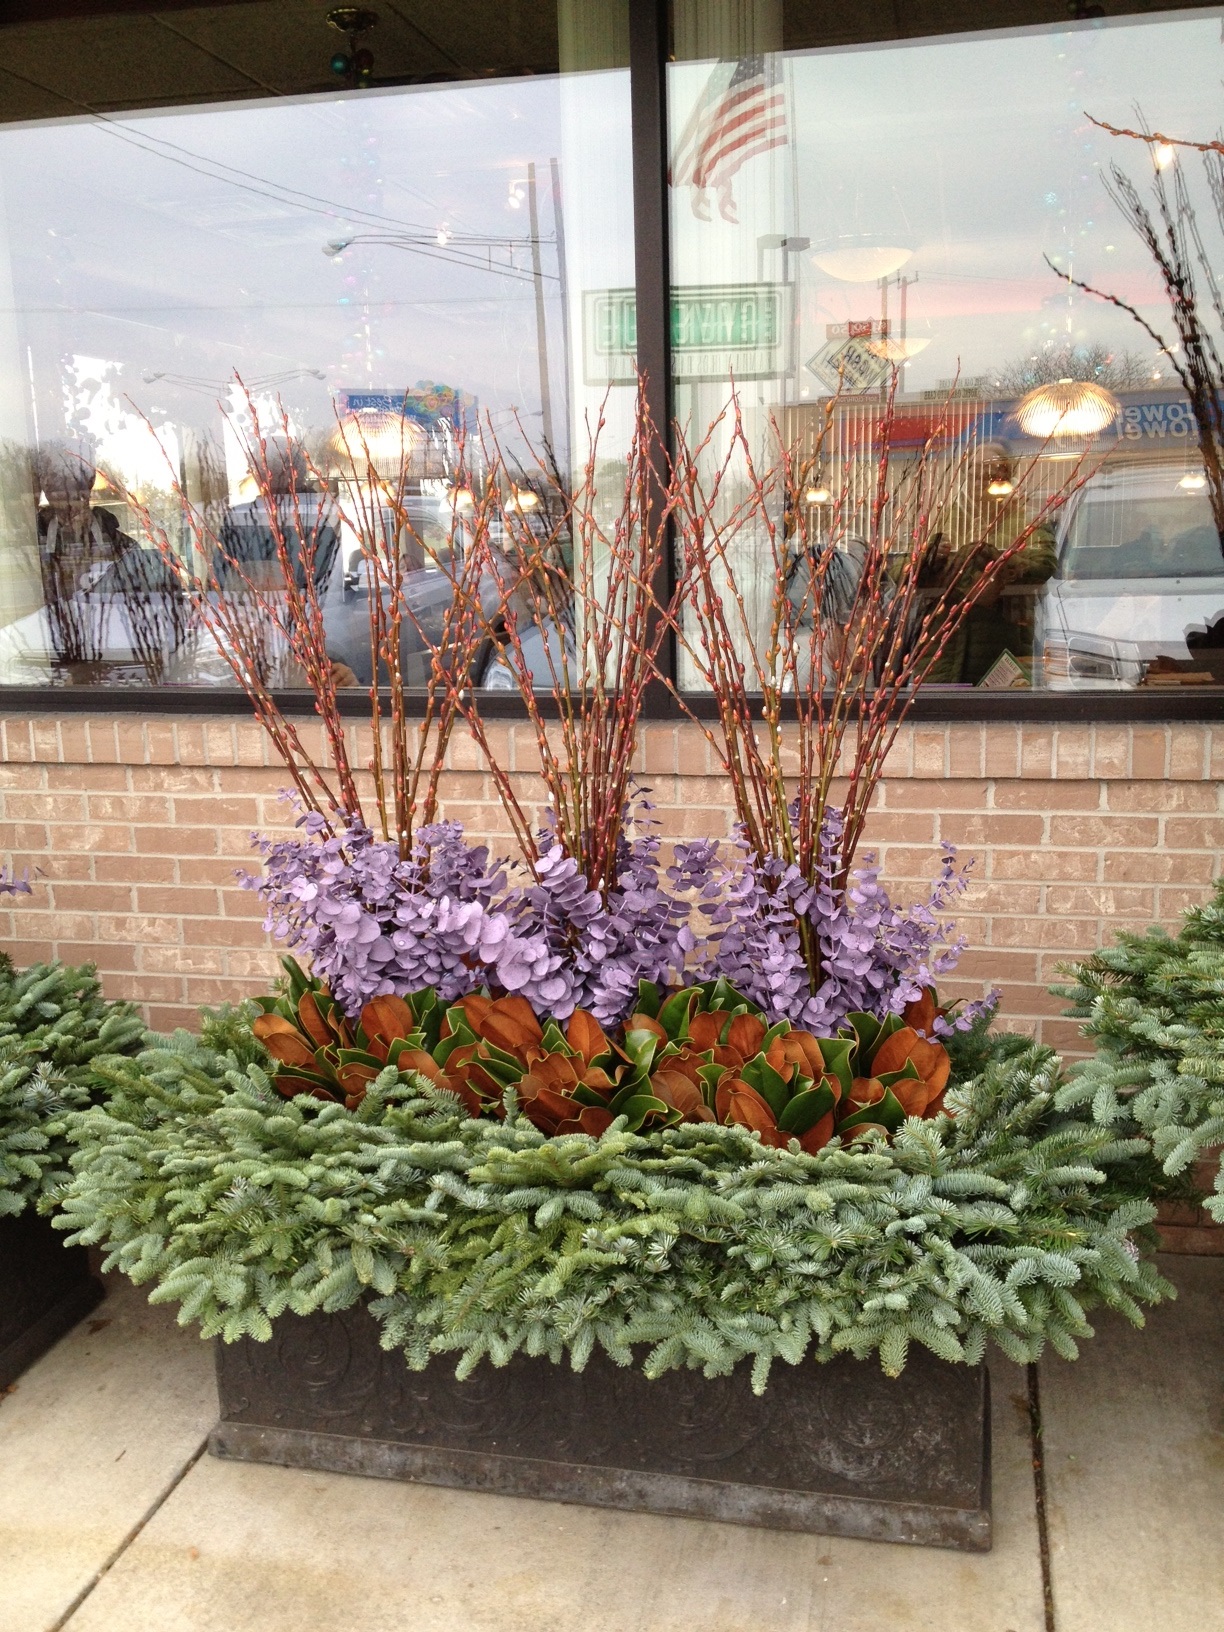
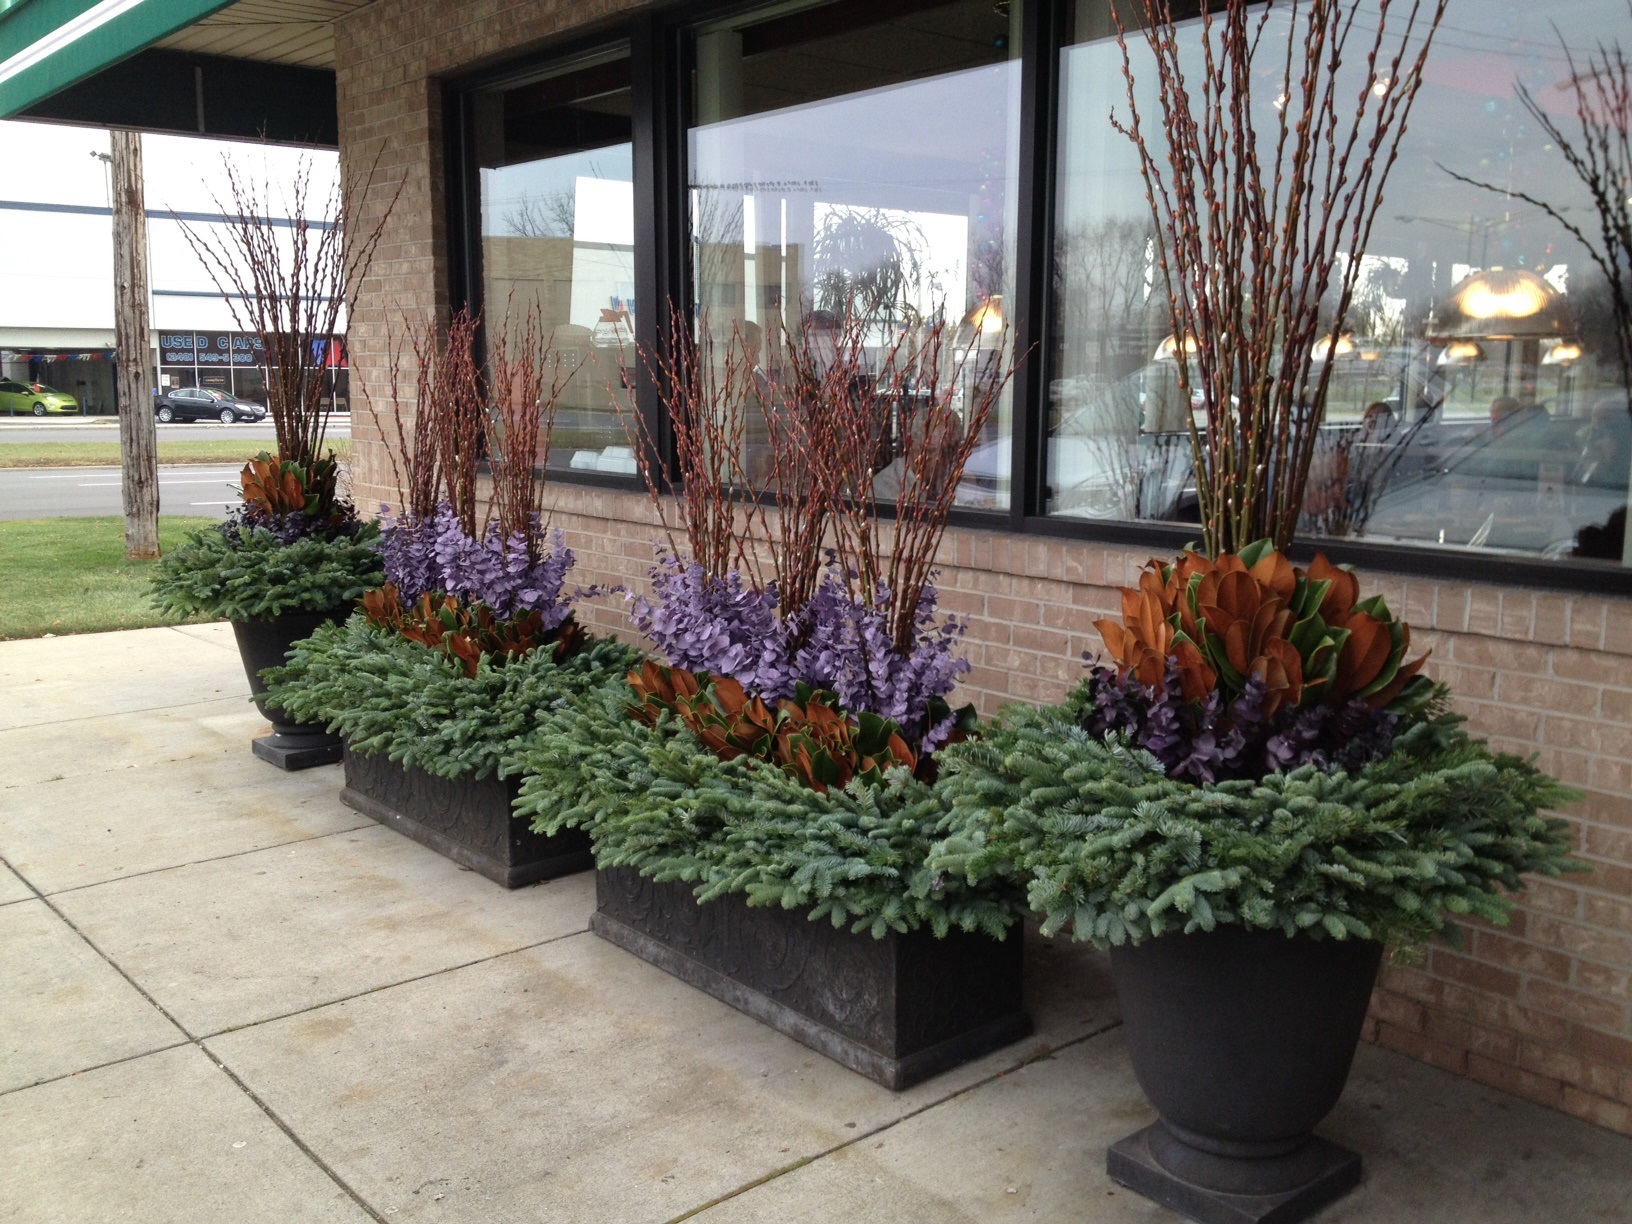
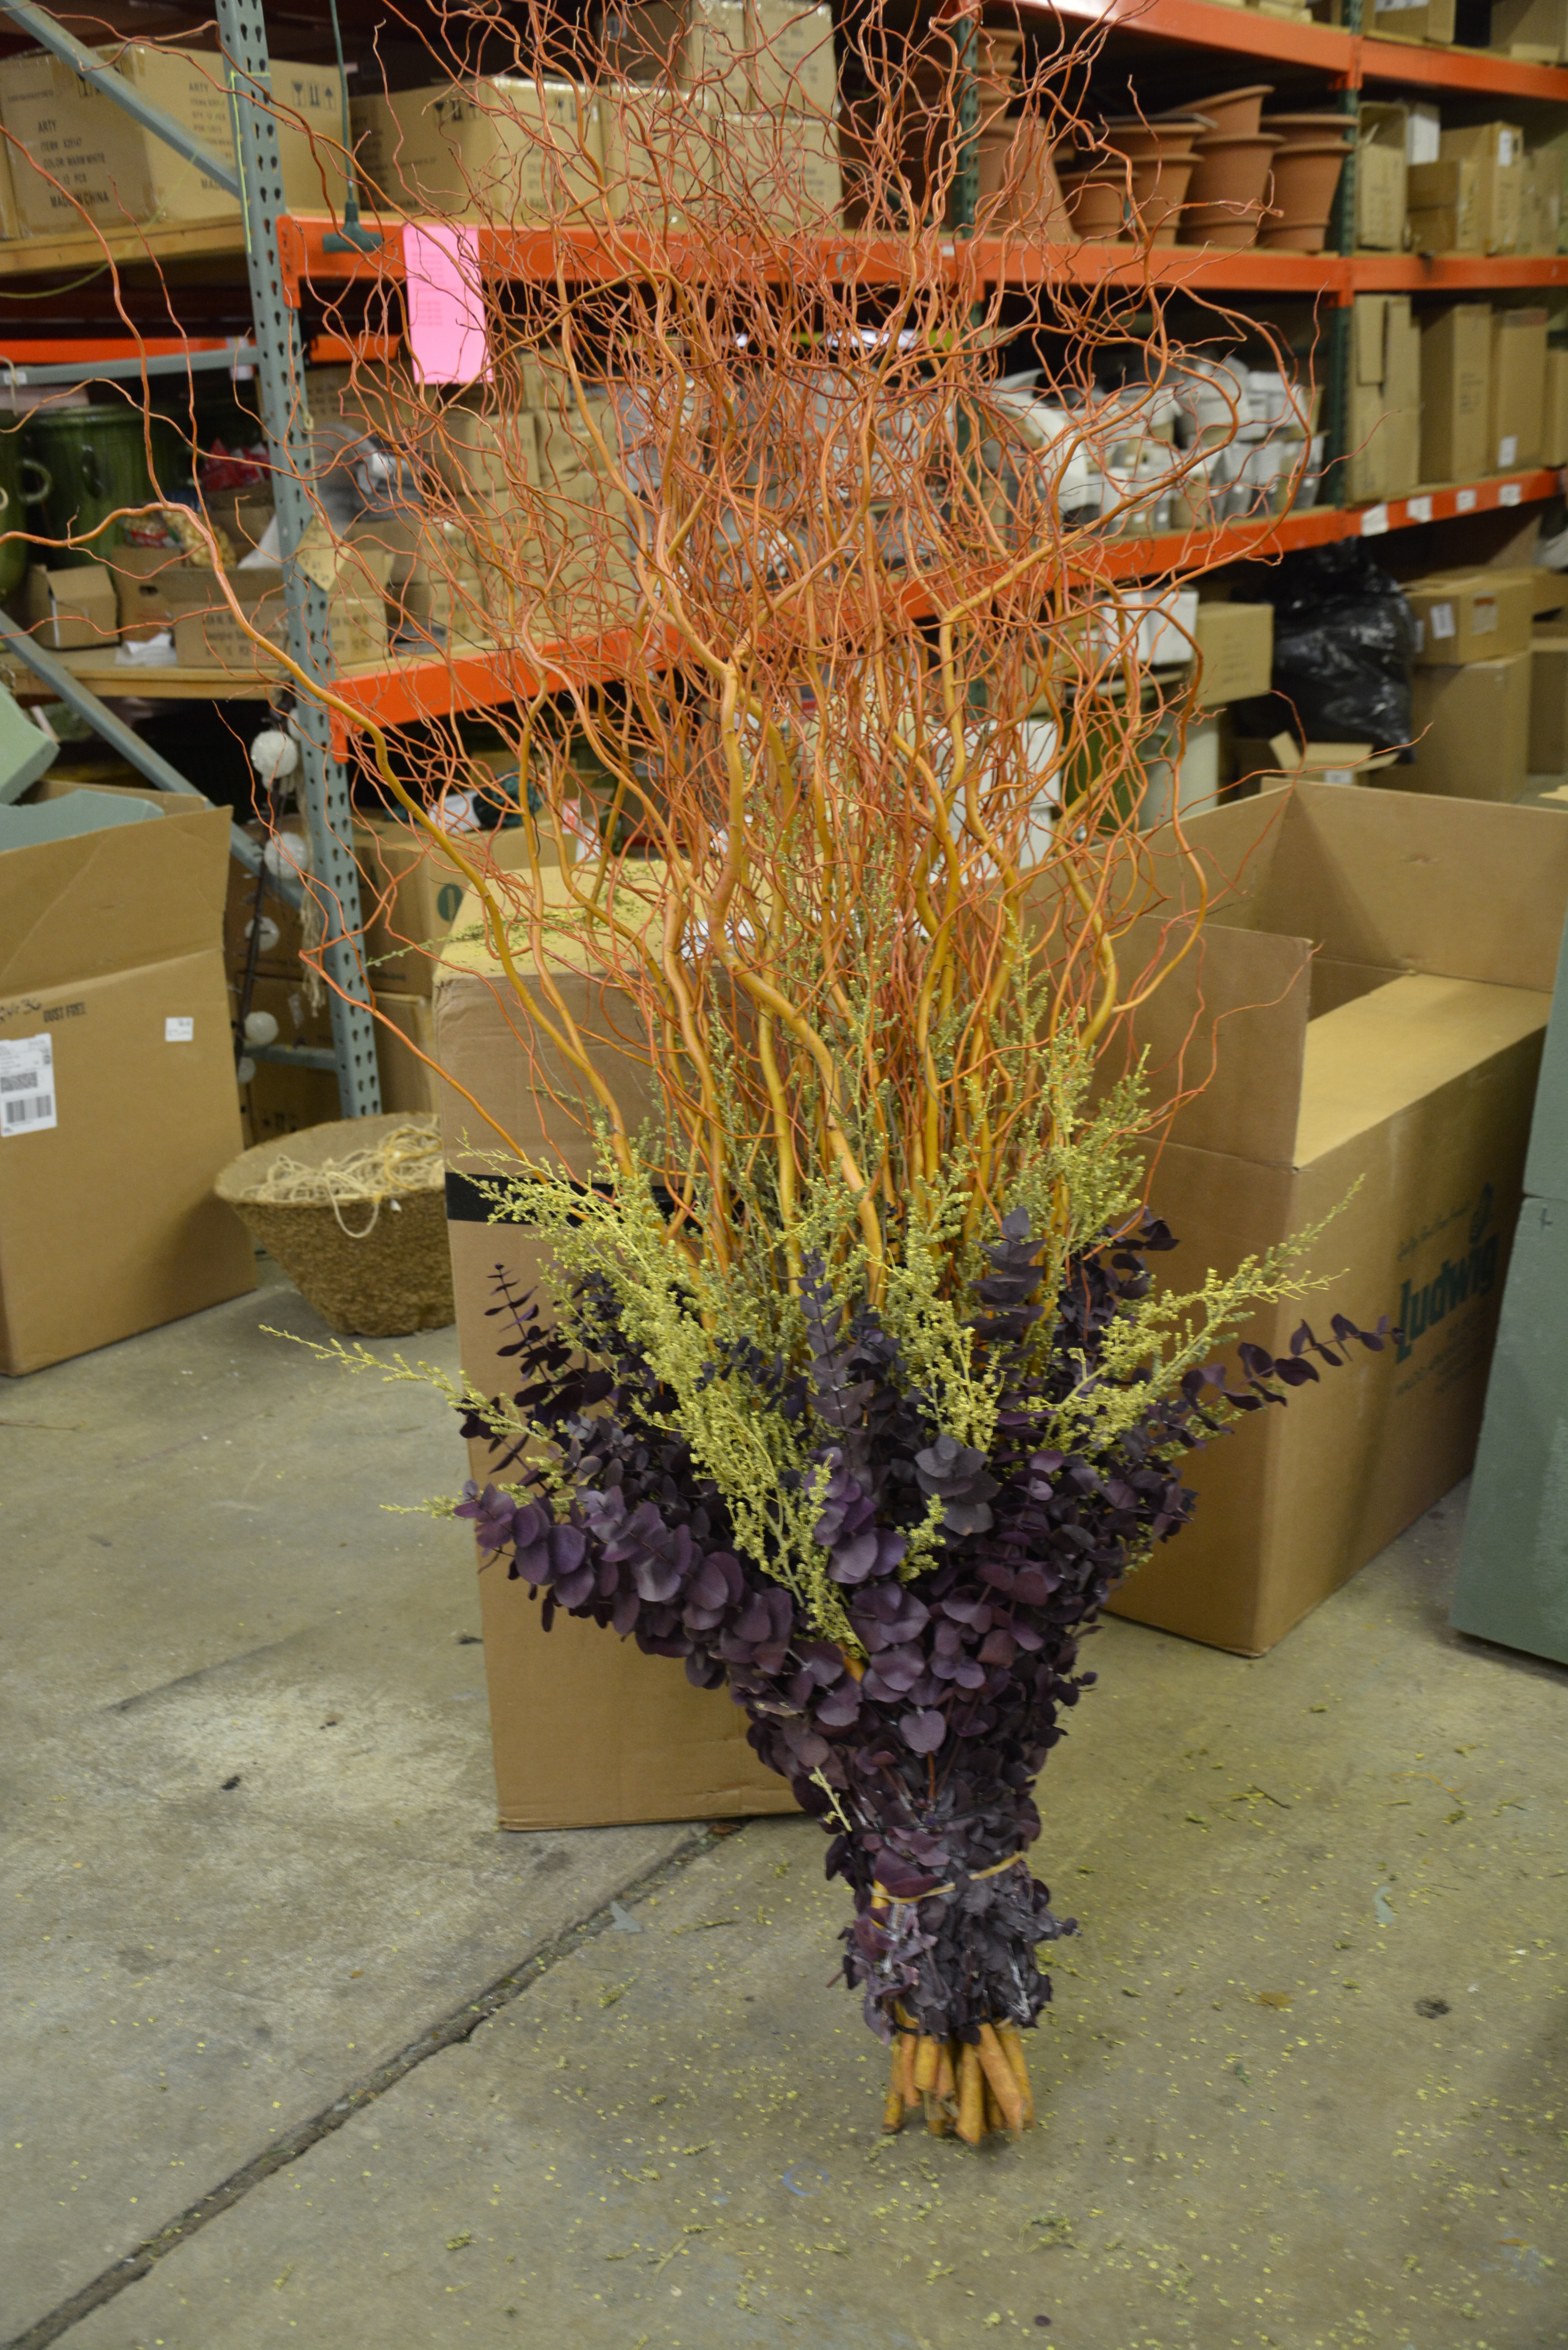 The green preserved leptospermum in this centerpiece was wedged into the copper curly willow, and purple preserved eucalyptus. A third element introduced into a centerpiece can stitch a look together. This lepto is a great contrast to the sleek and thick willow stems. The color and texture adds interest to the purple eucalyptus. The lepto moves this arrangement to another level.
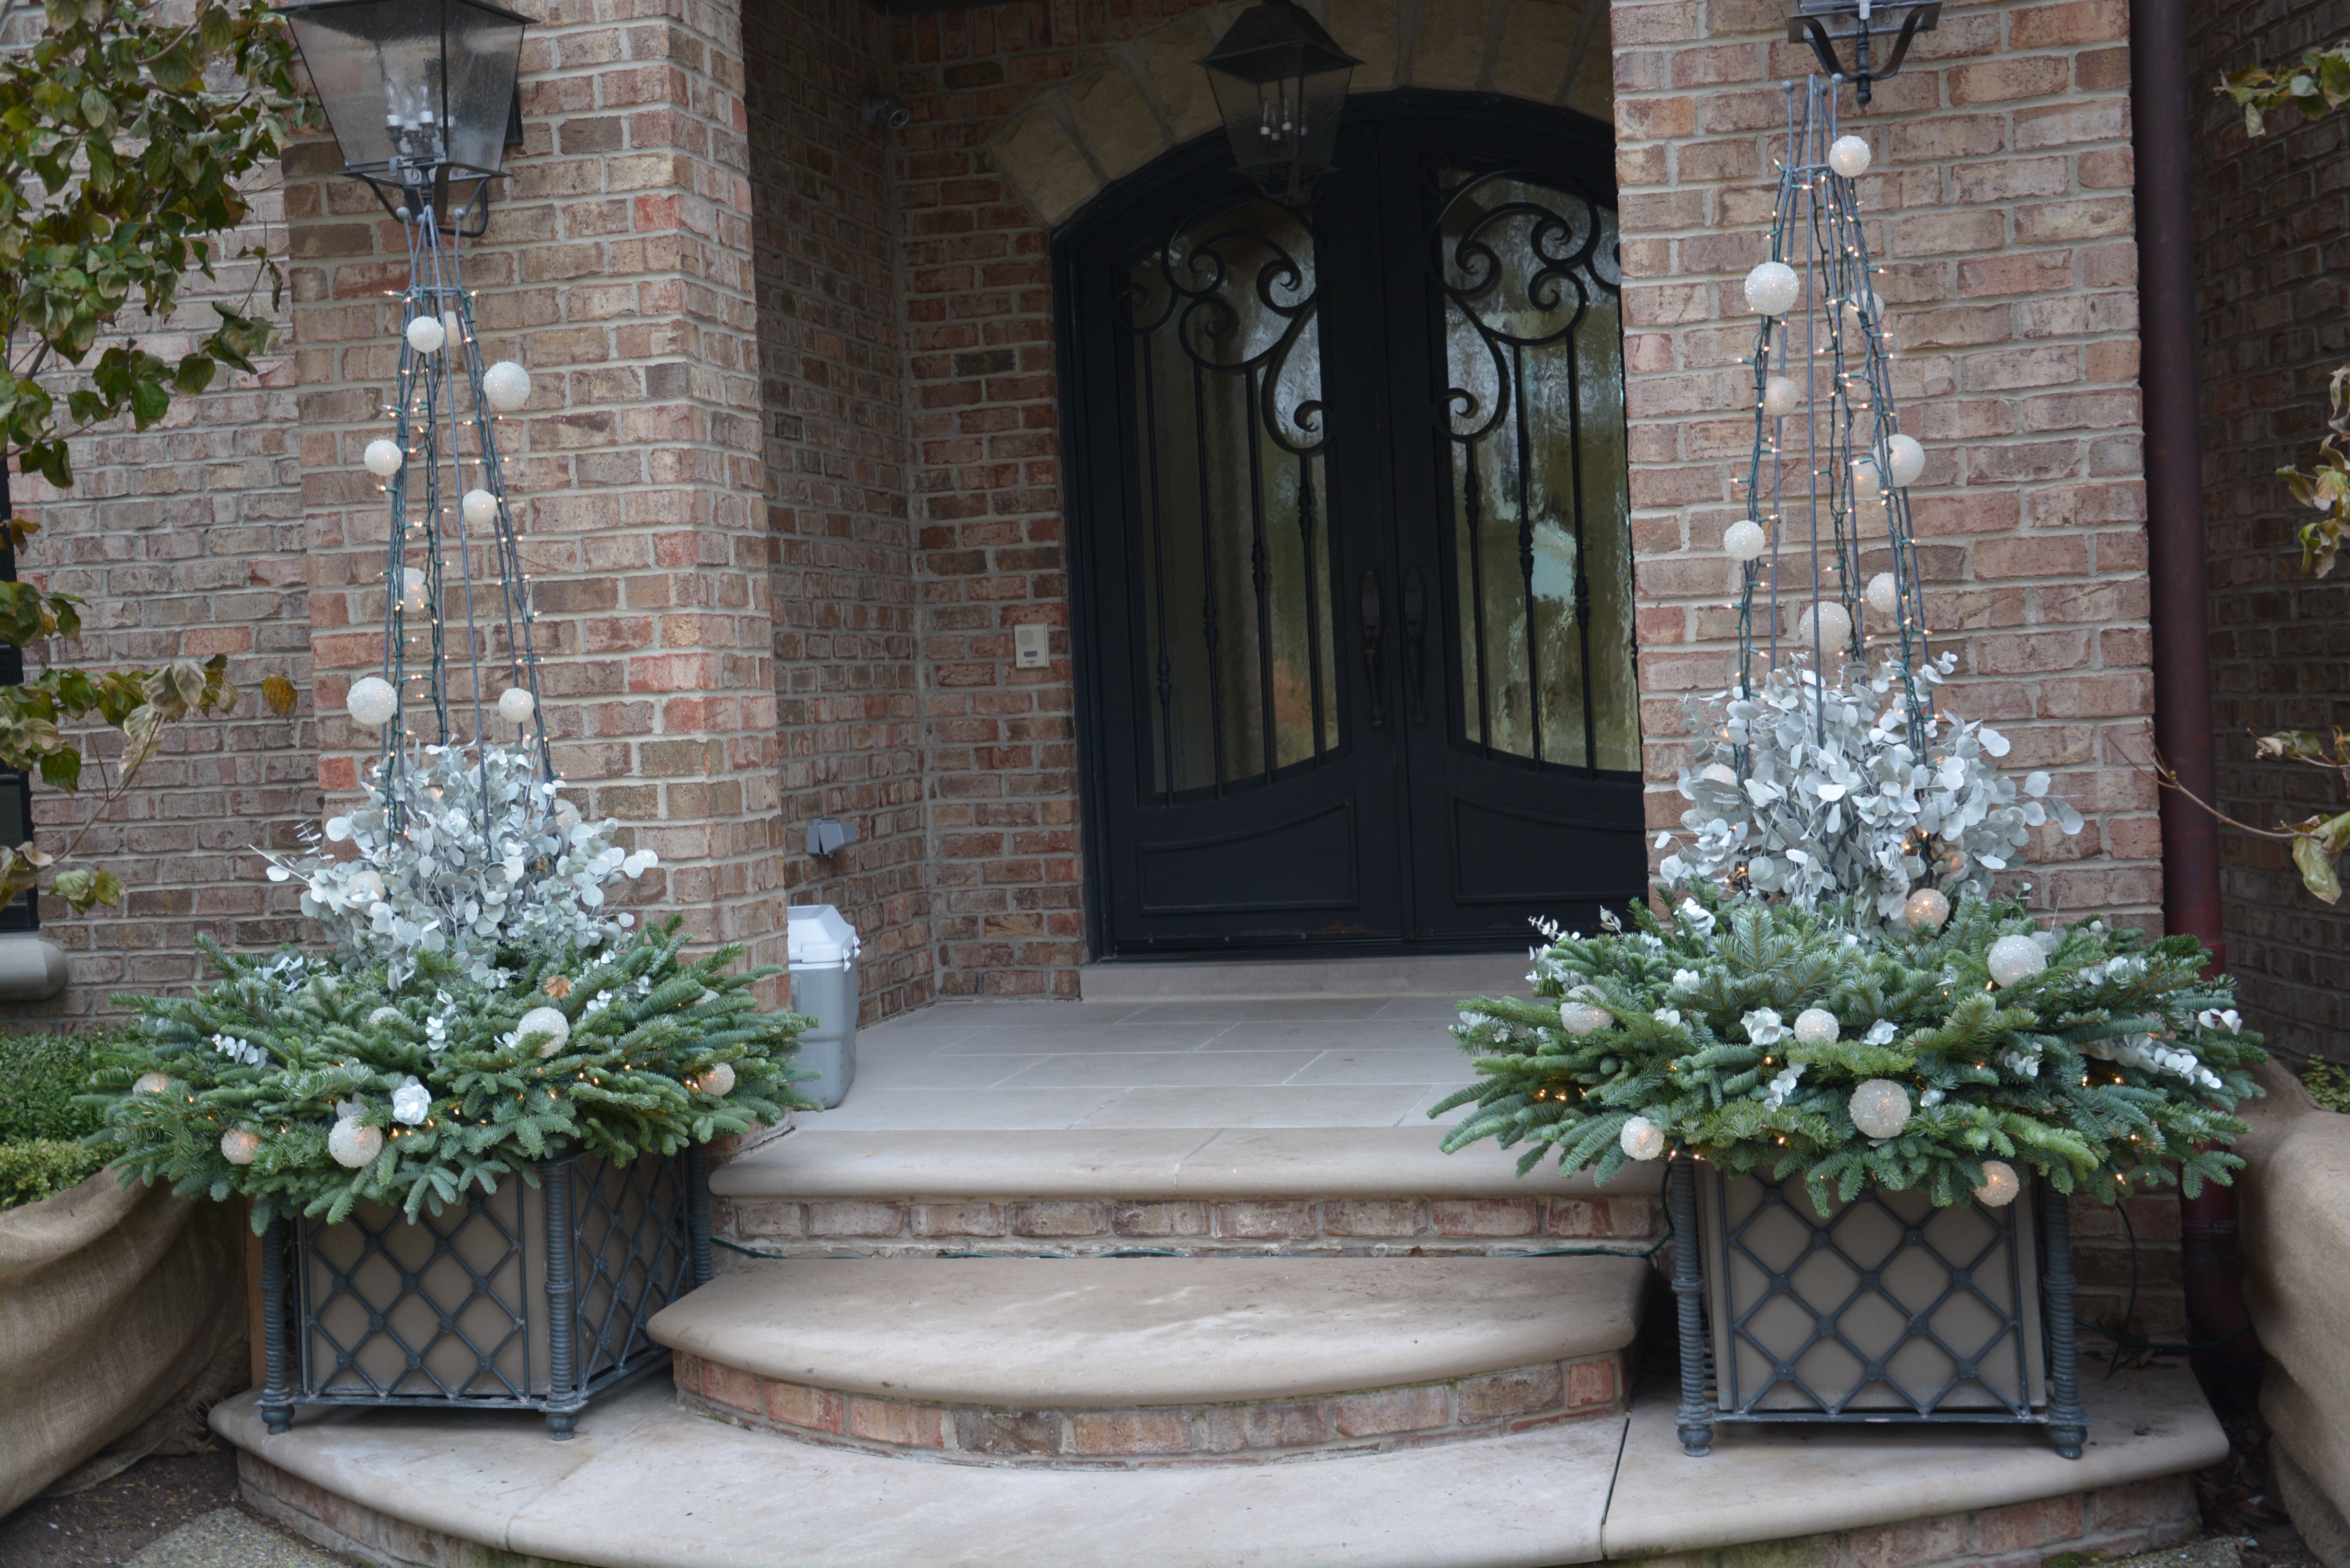
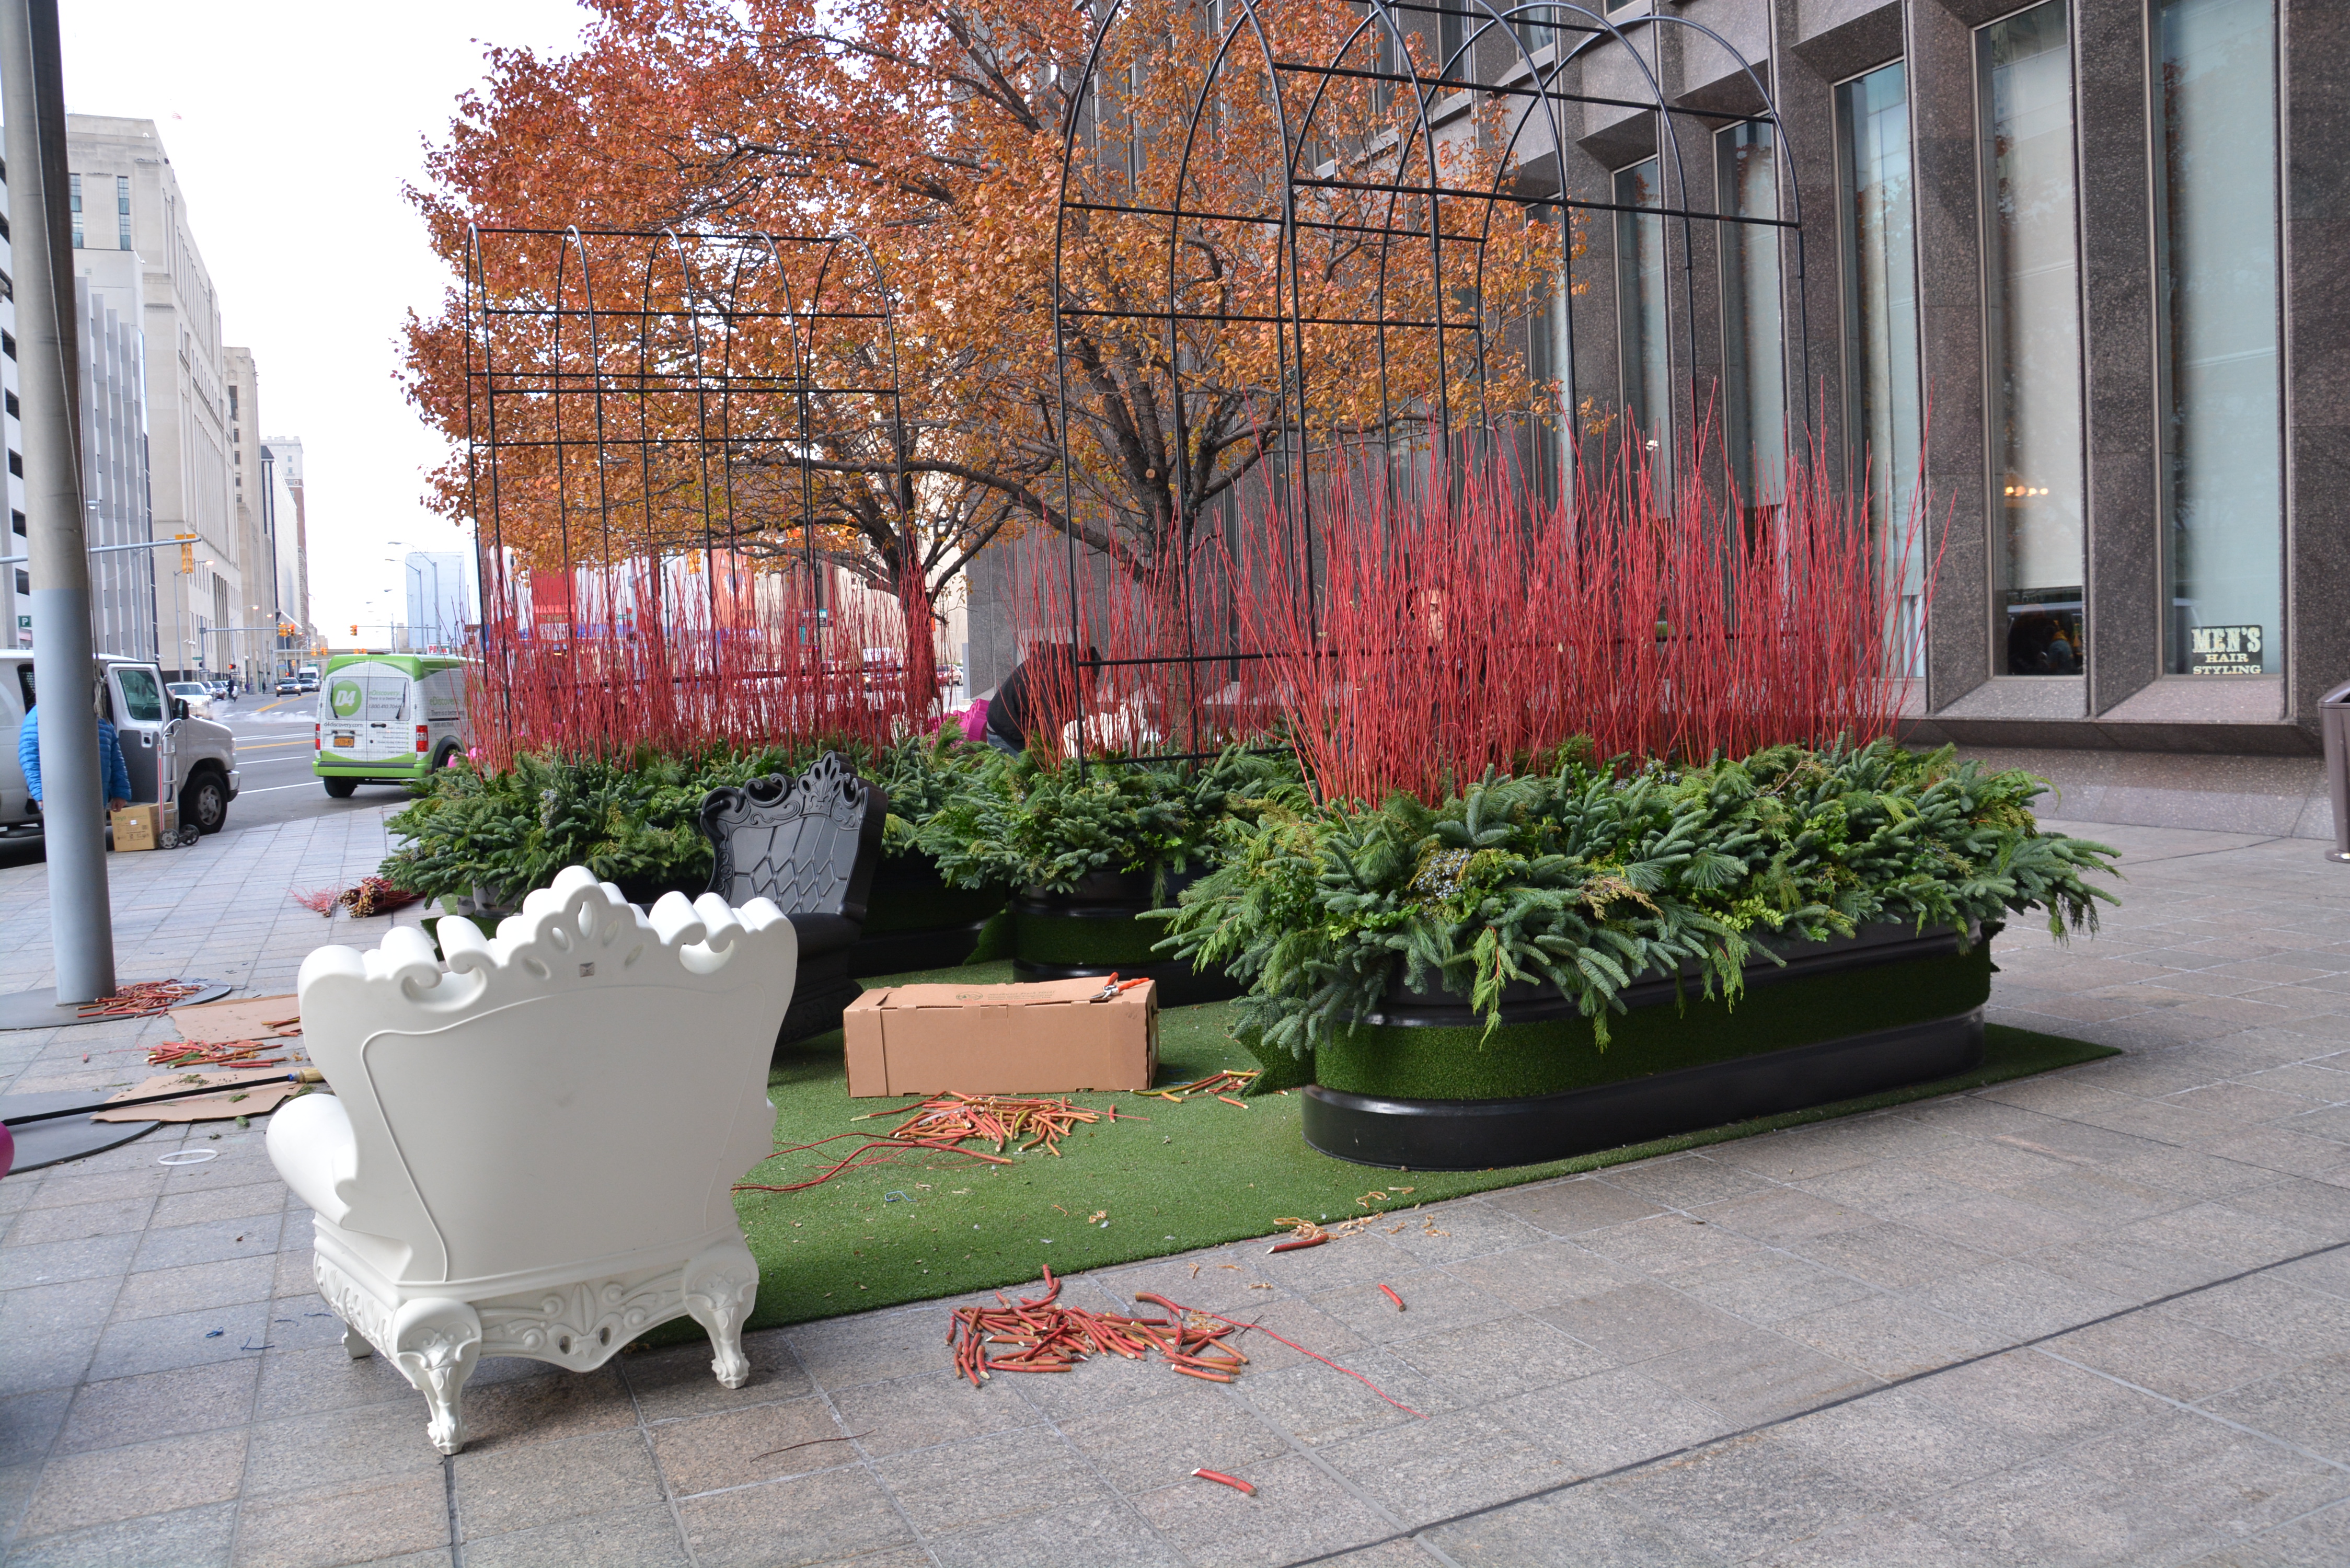
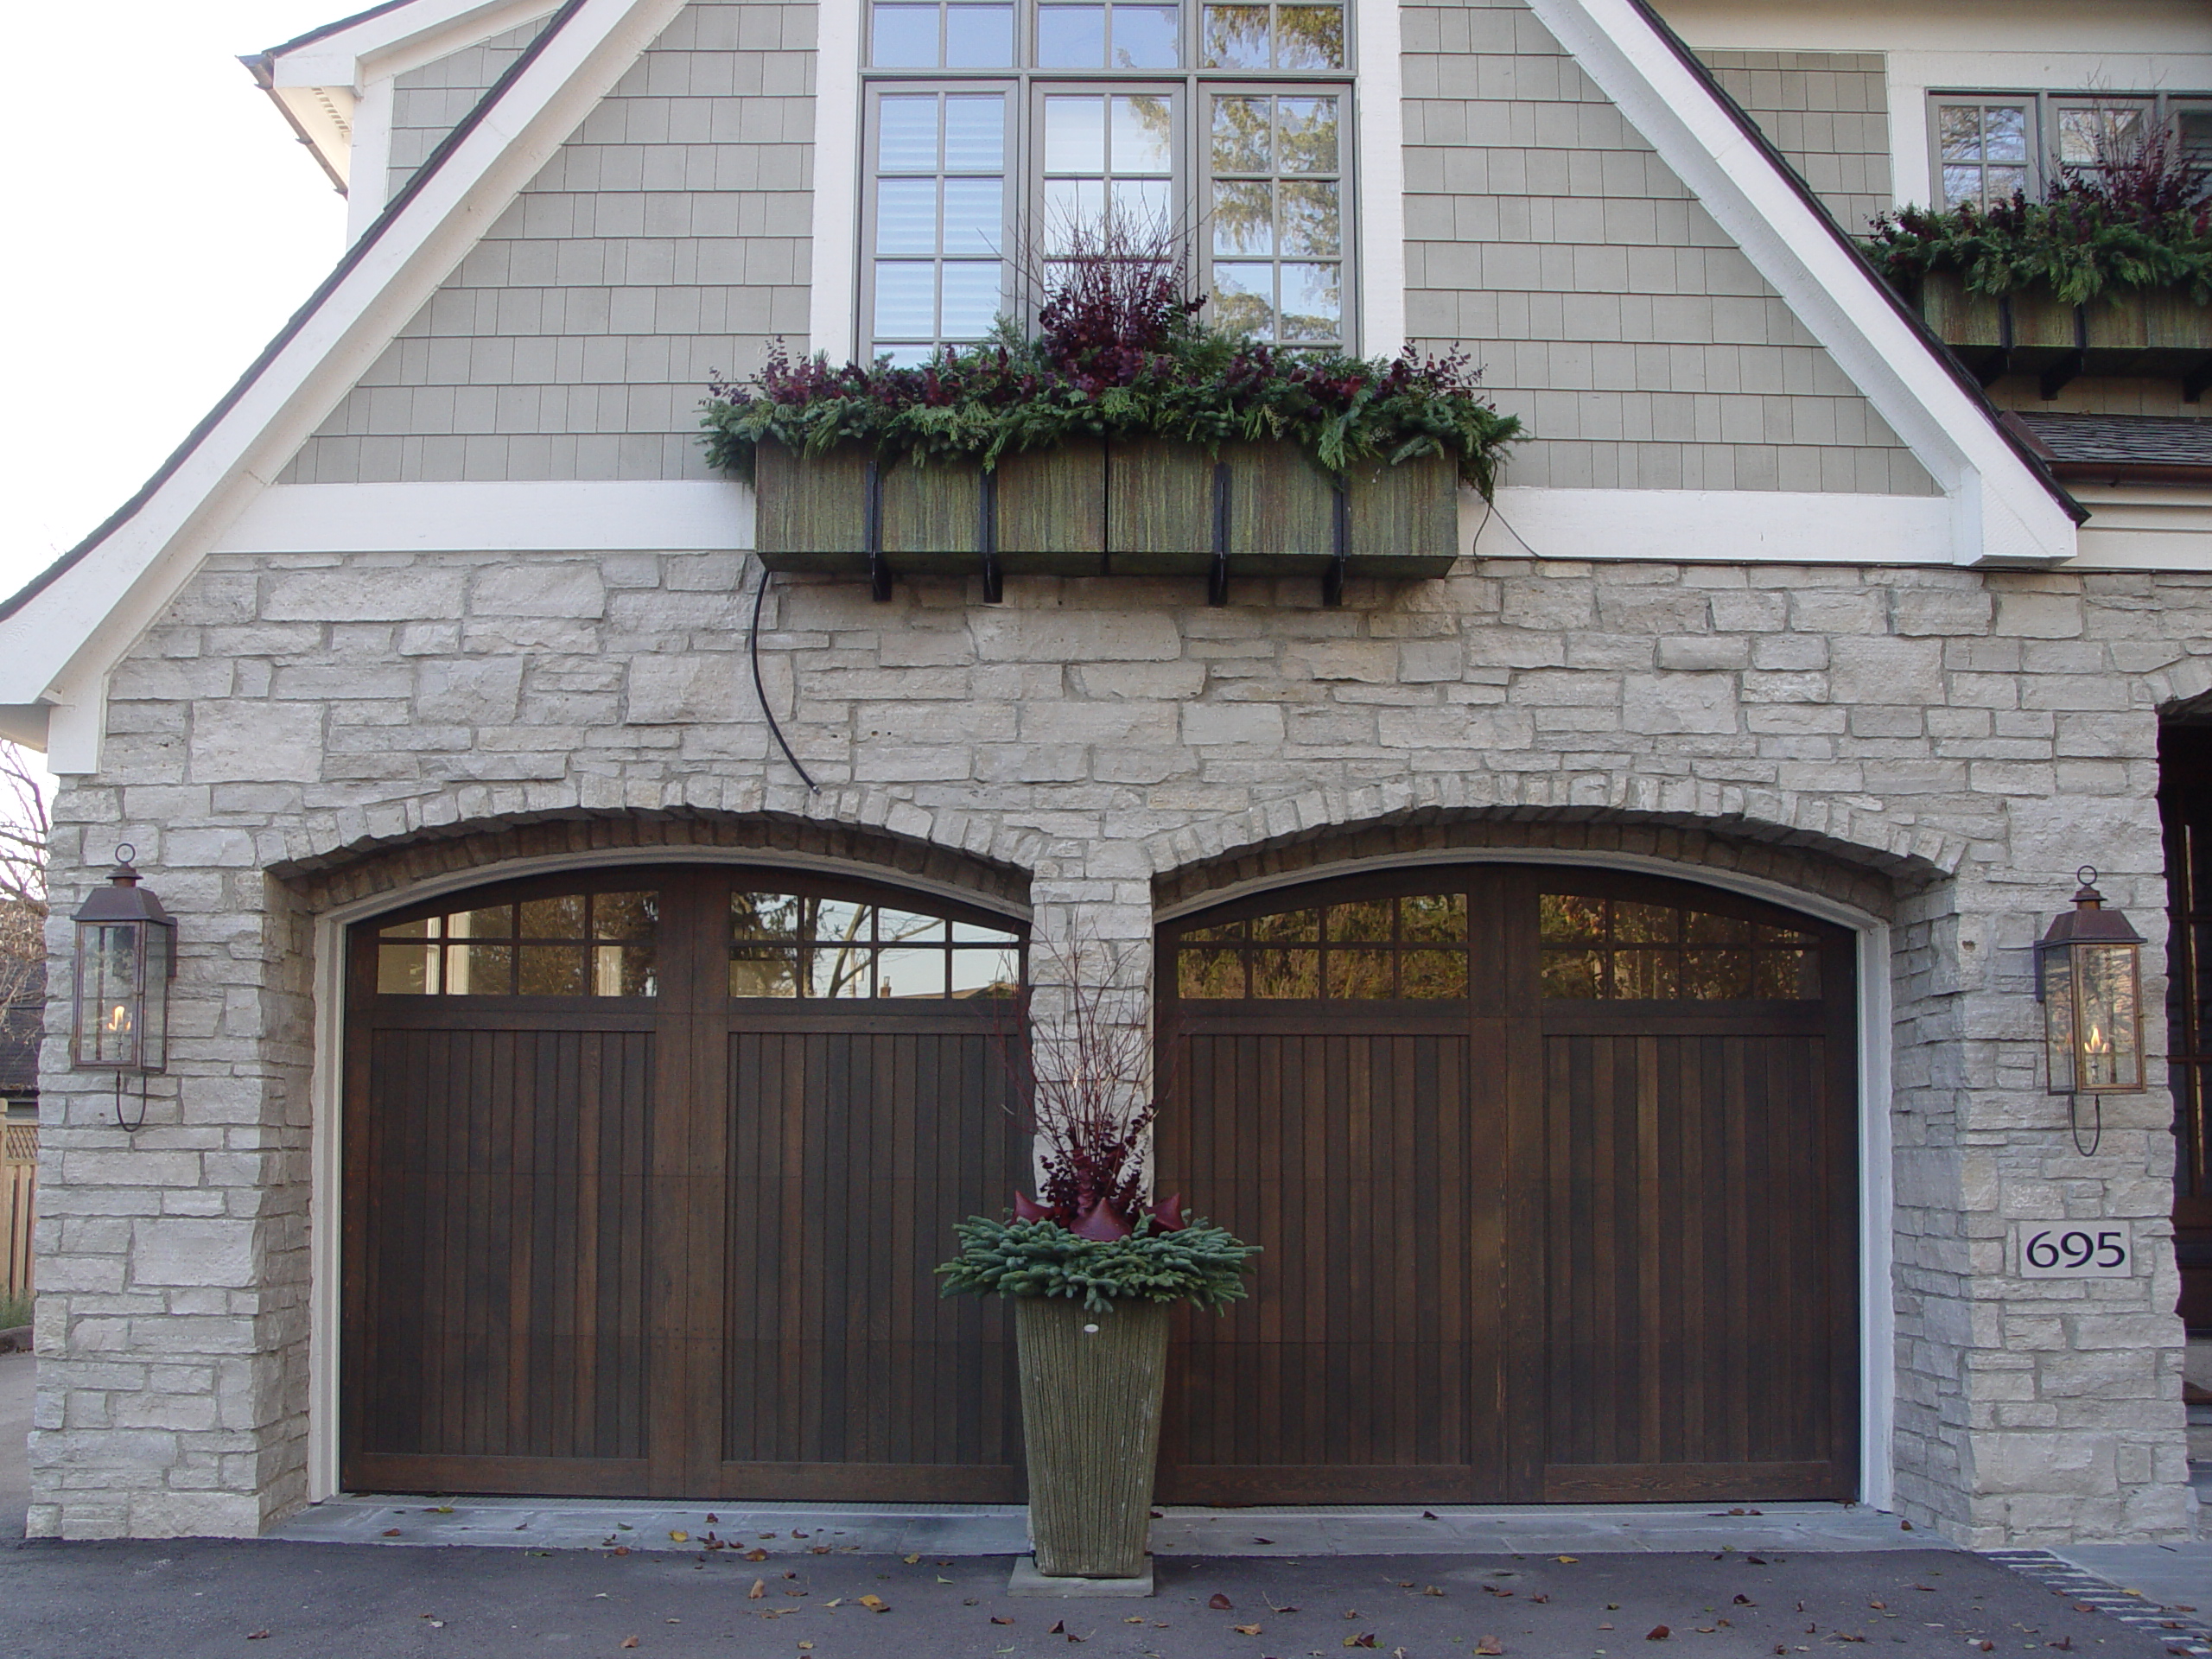
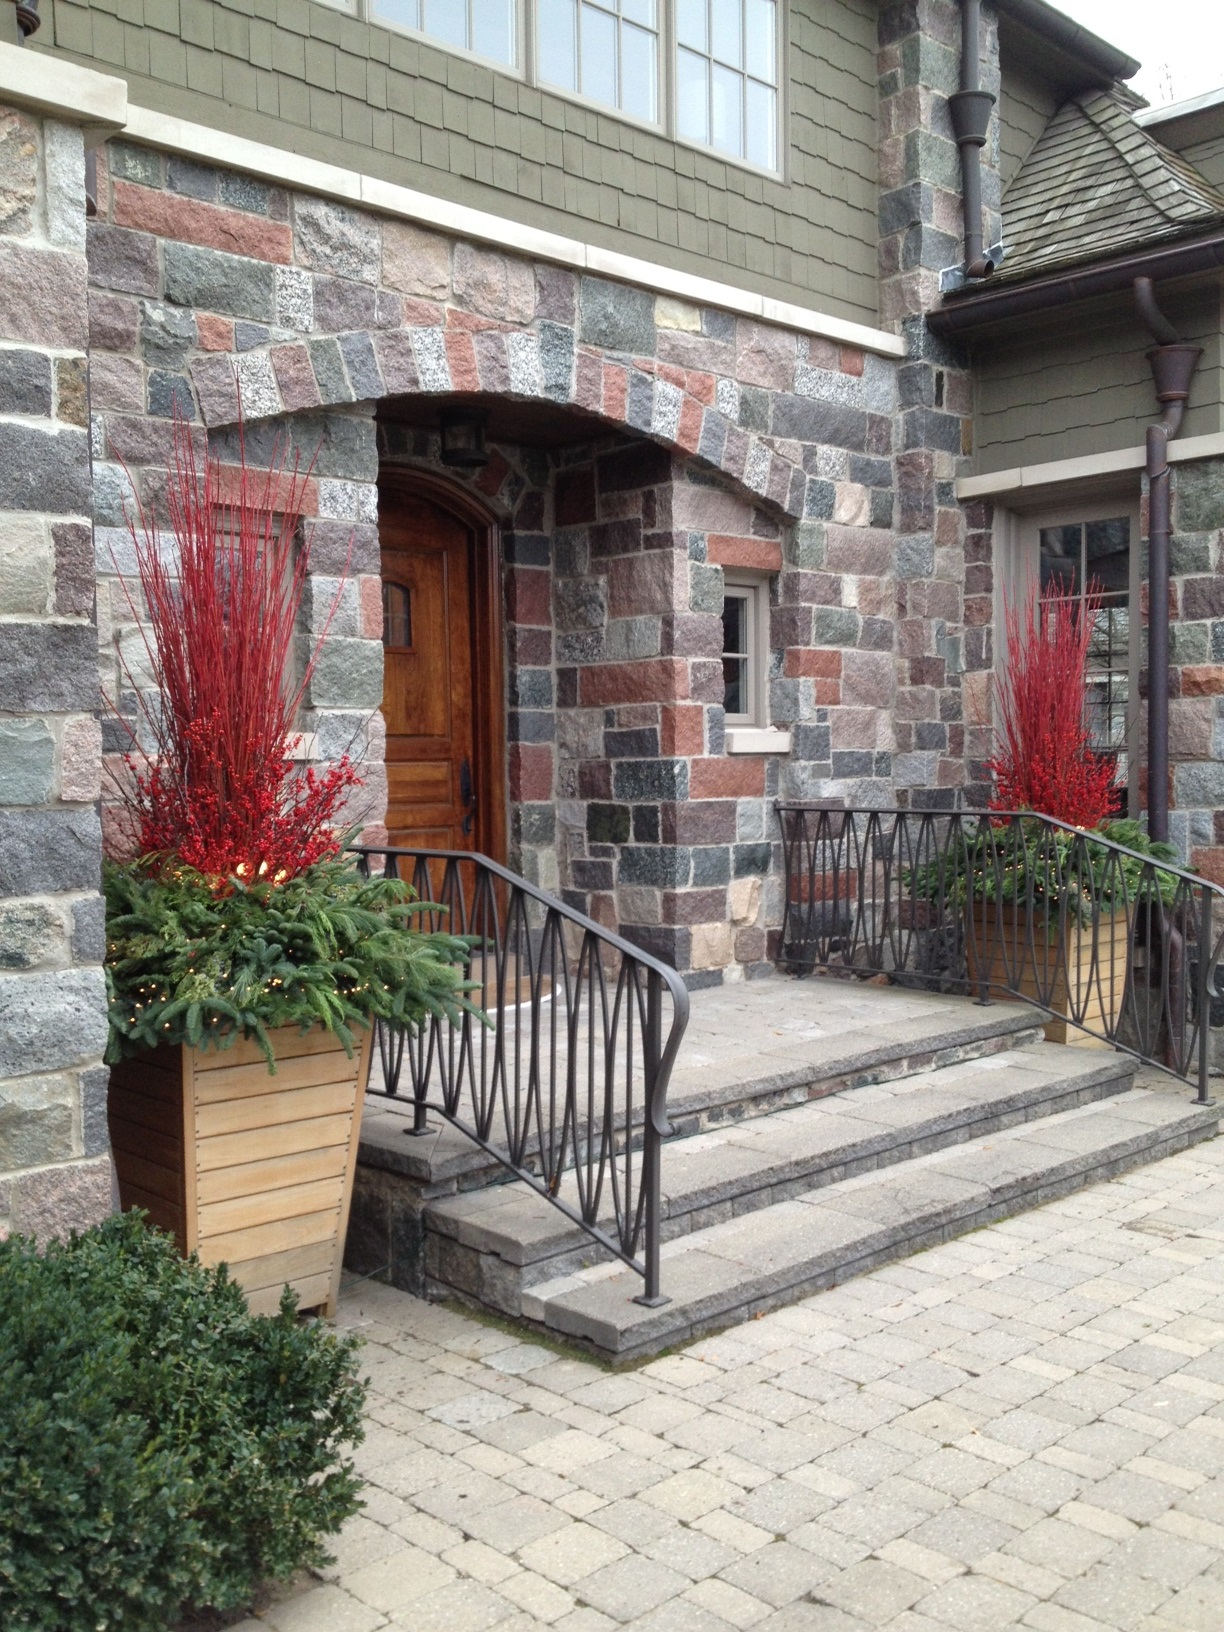
 A center of interest in a winter container sets the tone. Said centerpiece will rule the roost. Loose and asymmetrical centerpieces read like a well worn pair of jeans. Structured centerpieces that reach for the sky-awesome. A winter container with no centerpiece -a winter container well on its way to a contemporary expression. Twigs arranged to represent in the vertical dimension-more formal. Or maybe more contemporary. A twig centerpiece that fans out-a uniform fan is very formal. Restrained. A loose fan breathes, and chats up a storm.
 No matter what elements you plan to include in your centerpiece, a strong construction will reward you the entire season long. Strong in, strong out. Invest in some zip ties, if concrete wire and pliers are not your style.
 Every move you make in the construction of a winter container has visual meaning. What you construct behind the scenes-I am in favor of a very strong construction. What you construct behind the scenes also makes a visual statement. Be clear about what you wish to say. The time and pleasure that you take to express your idea of winter-everyone will appreciate that.
 winter container
 winter container
 pots dressed for the winter.