 Our recent weather has been much more like January than November. Day time temperatures the the 20’s, and night temperatures in the low teens does not mean we postpone our winter container work. Even if we could, there isn’t any need. If the prospect of doing winter container arrangements is leaving you cold, perhaps some of our techniques might help make it more satisfying. Trying to create is tough when one’s fingers and toes are numb. Most of our construction is done indoors-in our garage. Any enclosed space will be a more comfortable environment in which to to work, even if it isn’t heated much. When we do go outdoors, it is for active work-the installation part.
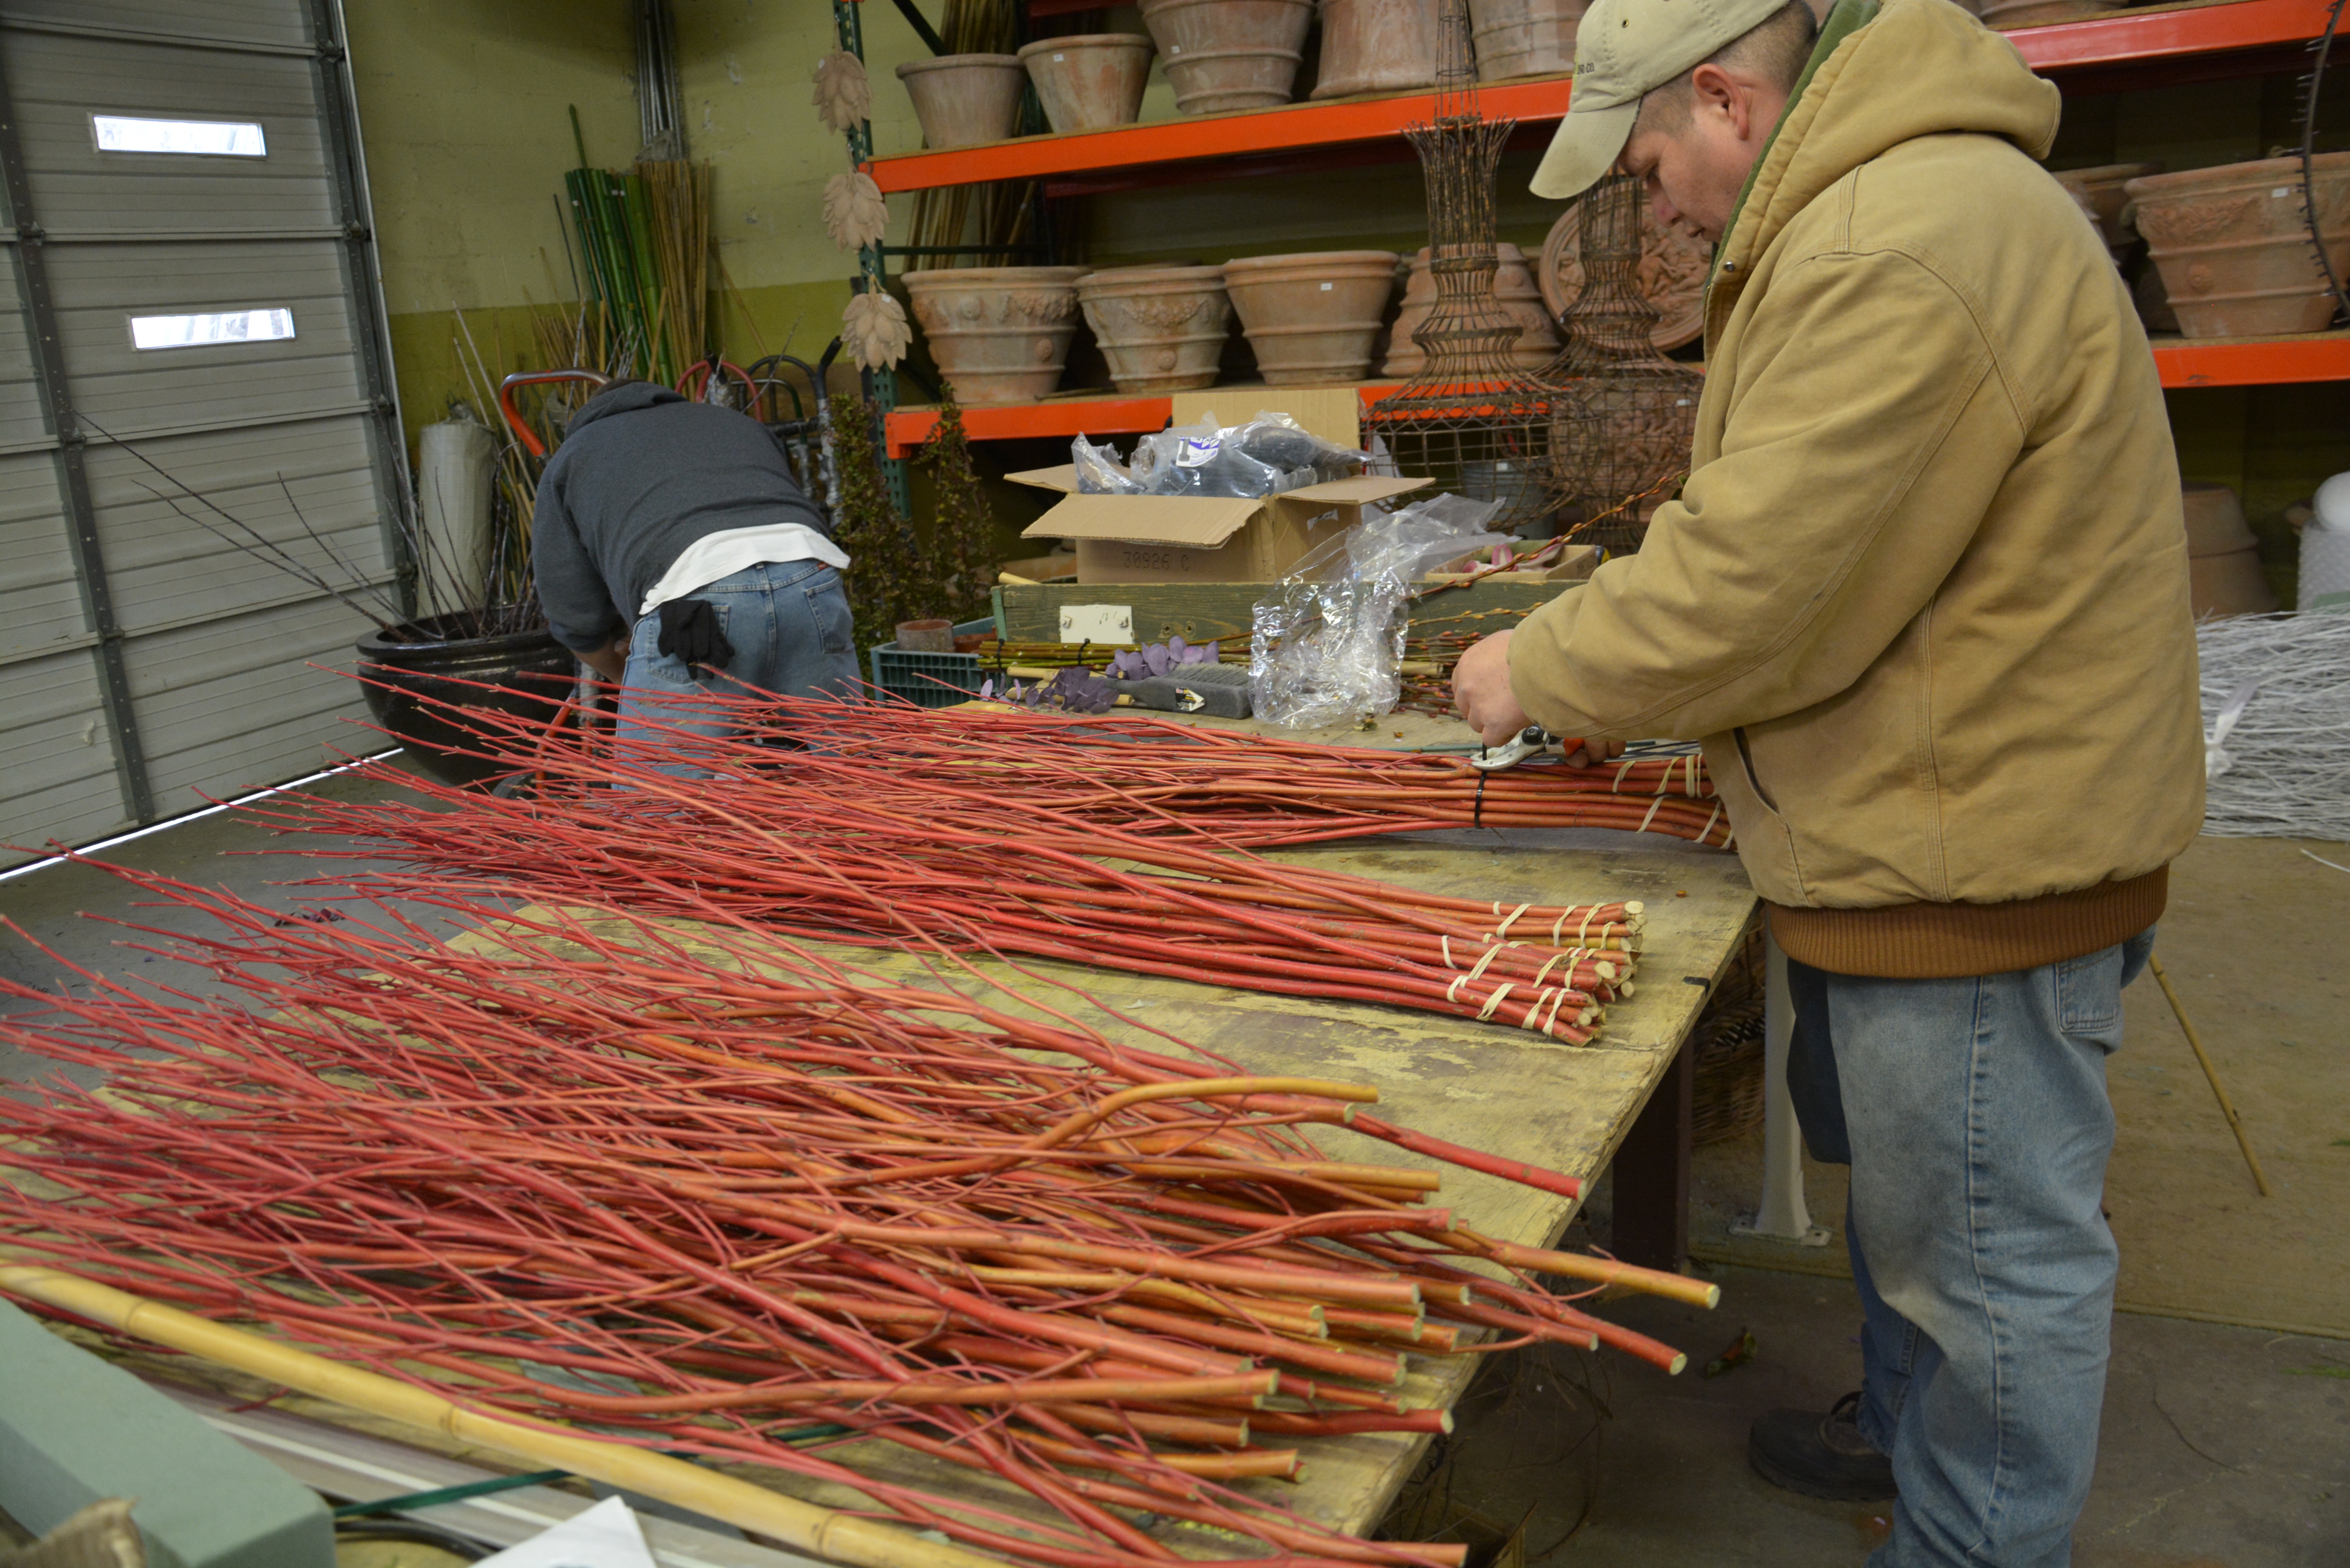
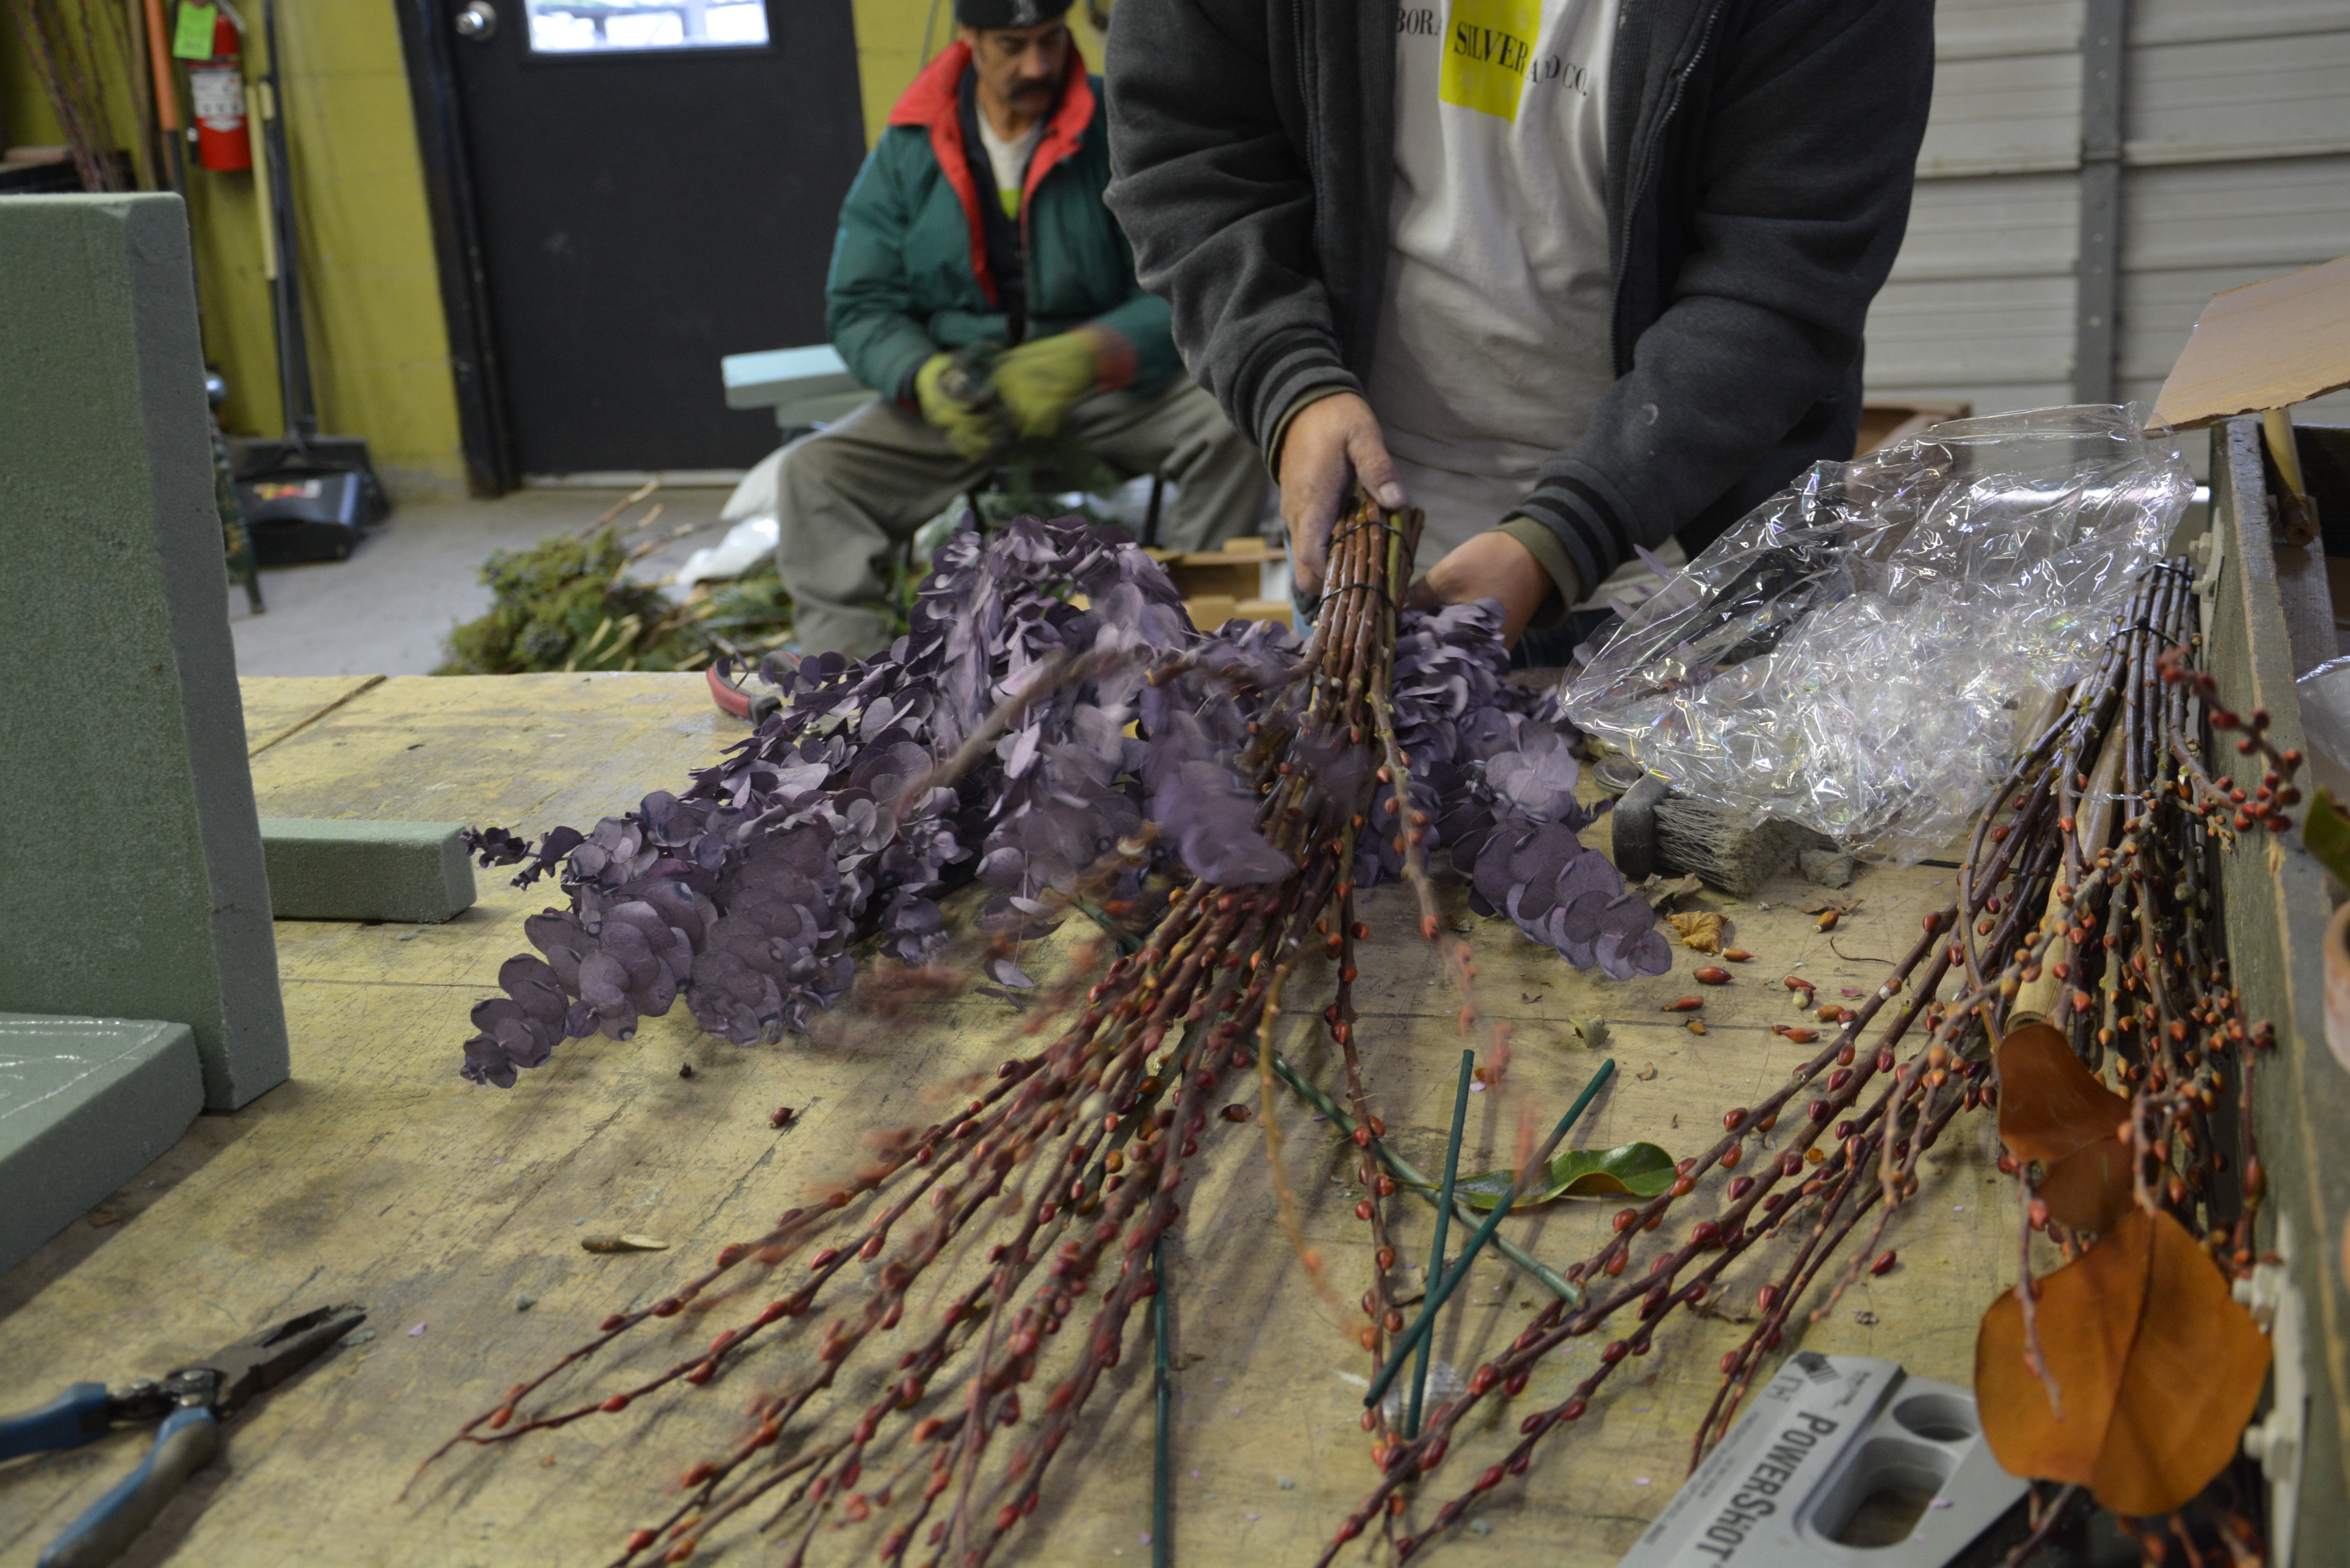
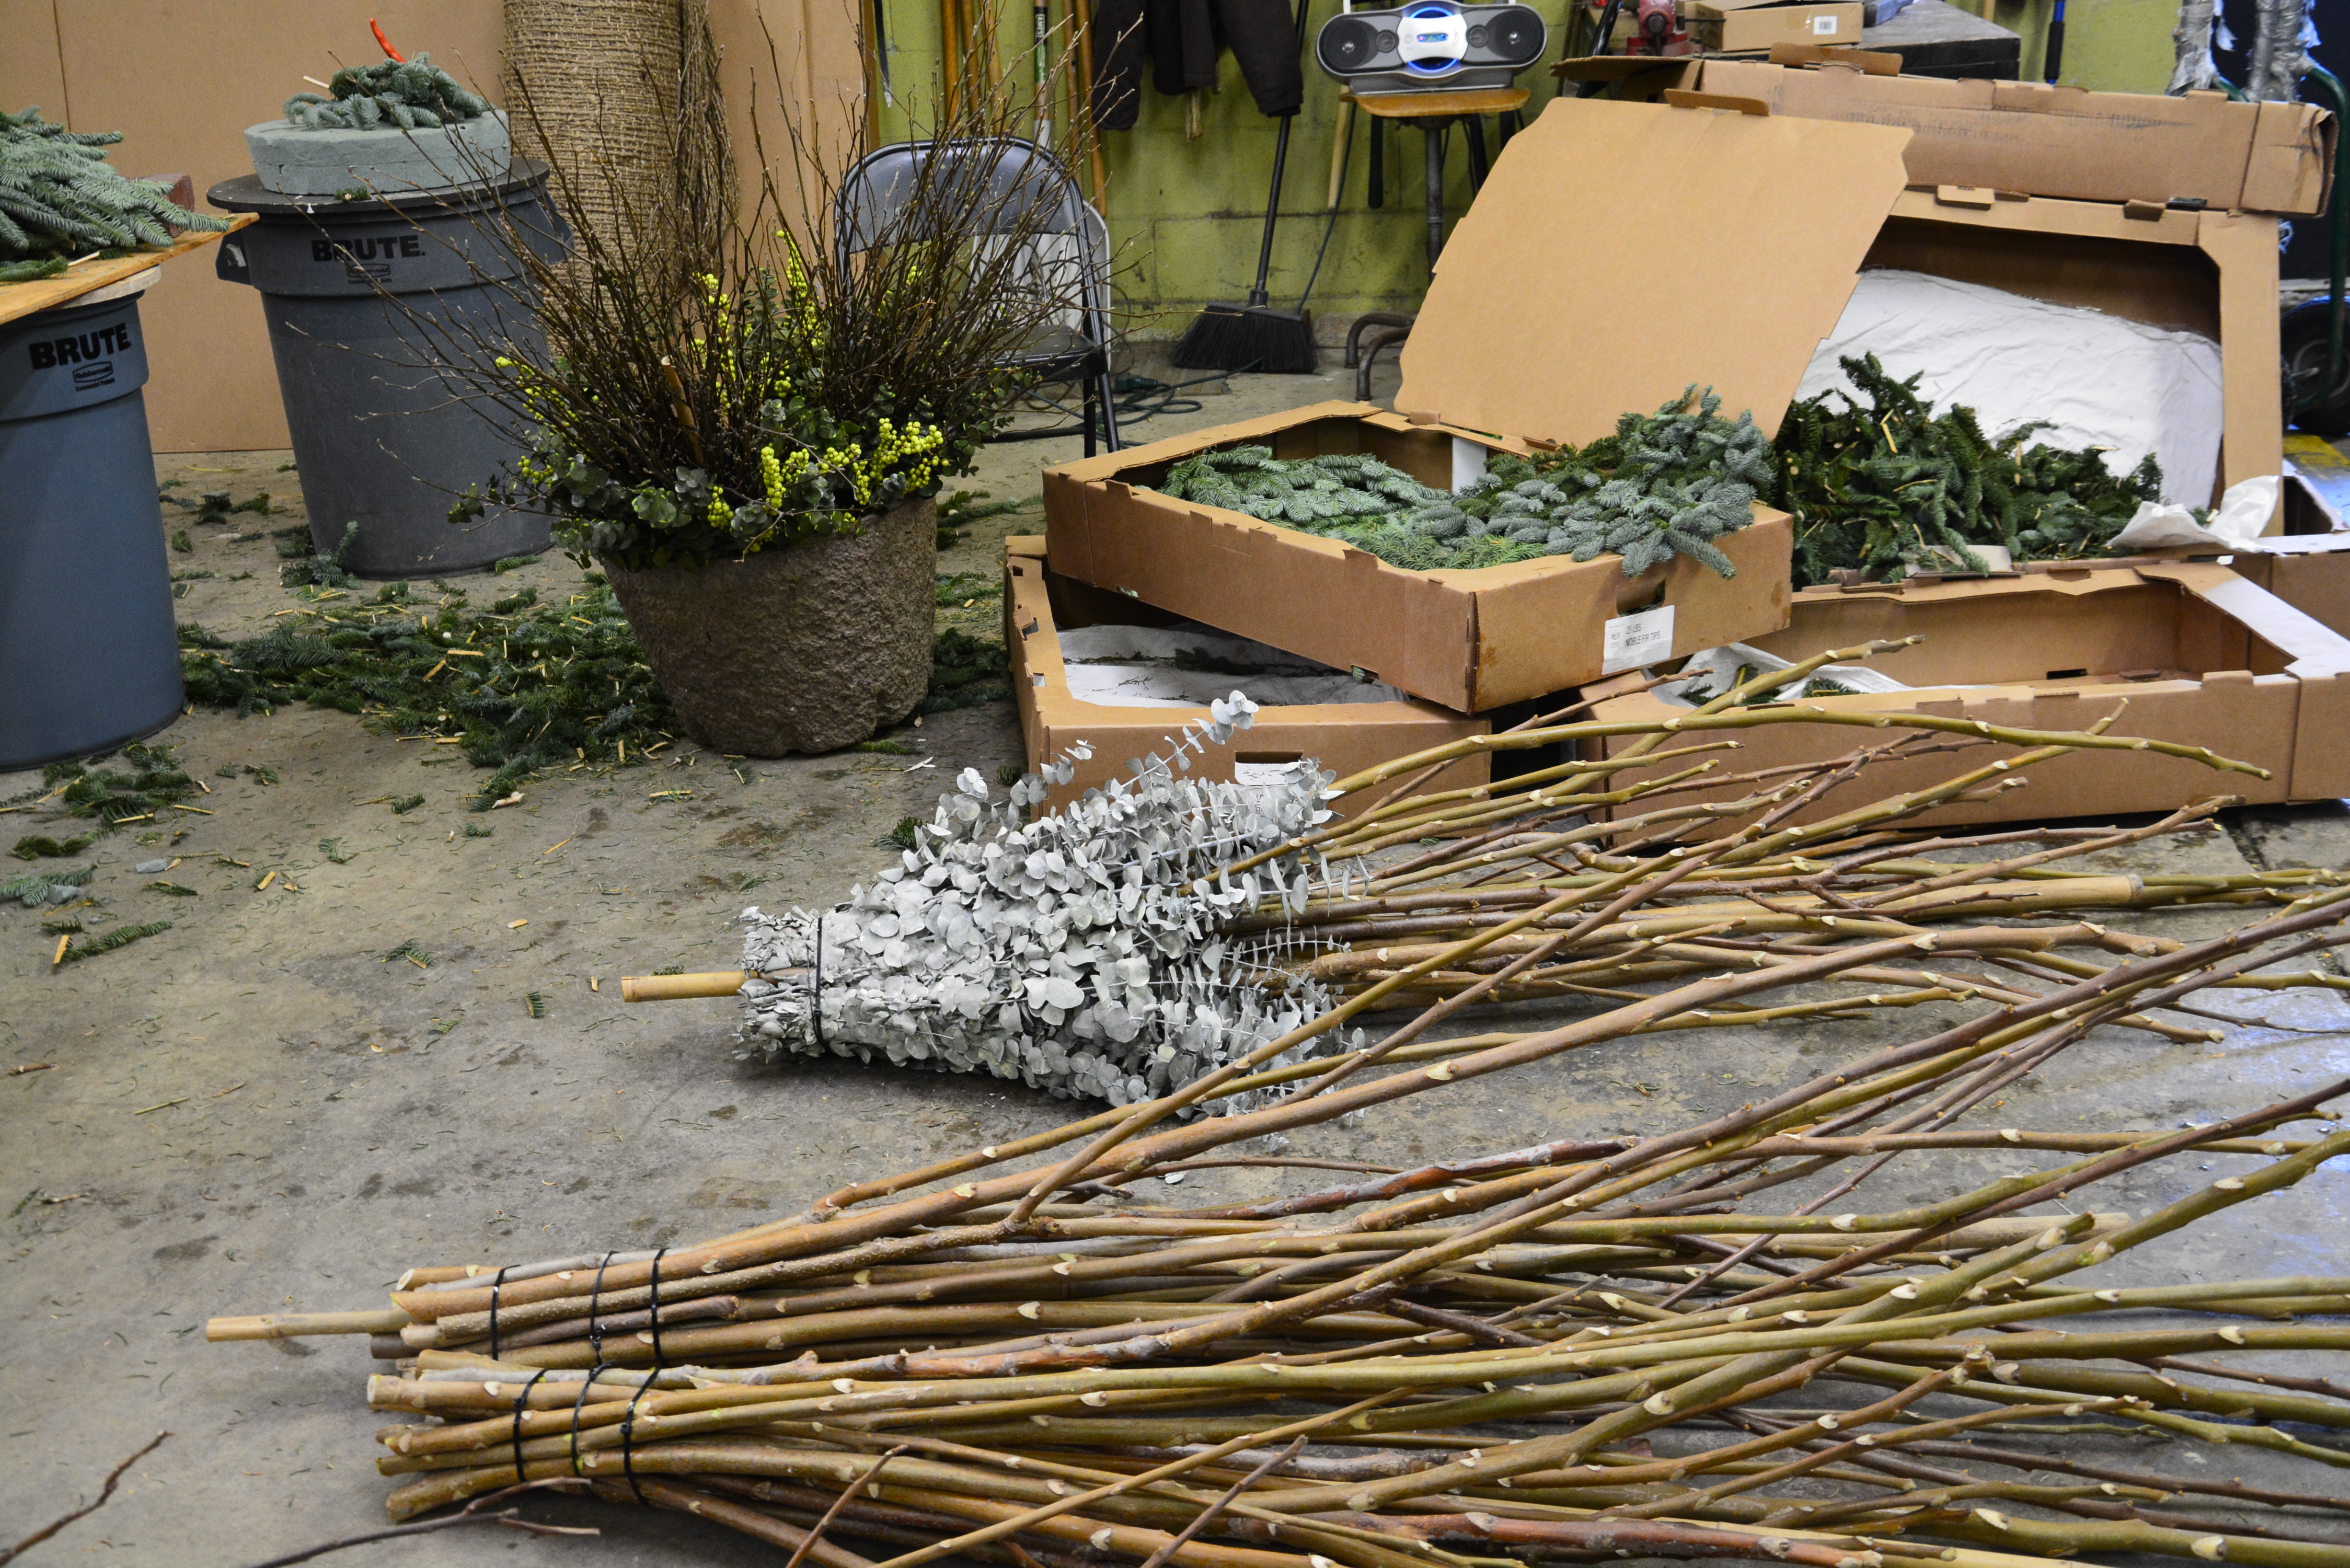 Some of our centerpieces are constructed ahead of the installation time. A very stout bamboo stake is at the center of every centerpiece. All of the other materials are arranged around that stake. Sometimes a good quality rubber band helps to keep the materials in place until you get everything arranged exactly as you wish. For large and heavy materials, a loose zip tie will do the trick. For very heavy materials, another pair of hands is best. Once all of the materials are arranged to suit, we tighten the zip ties with a pair of piers. Very bulky and heavy materials are secured with concrete wire. A centerpiece may have multiple components or layers.
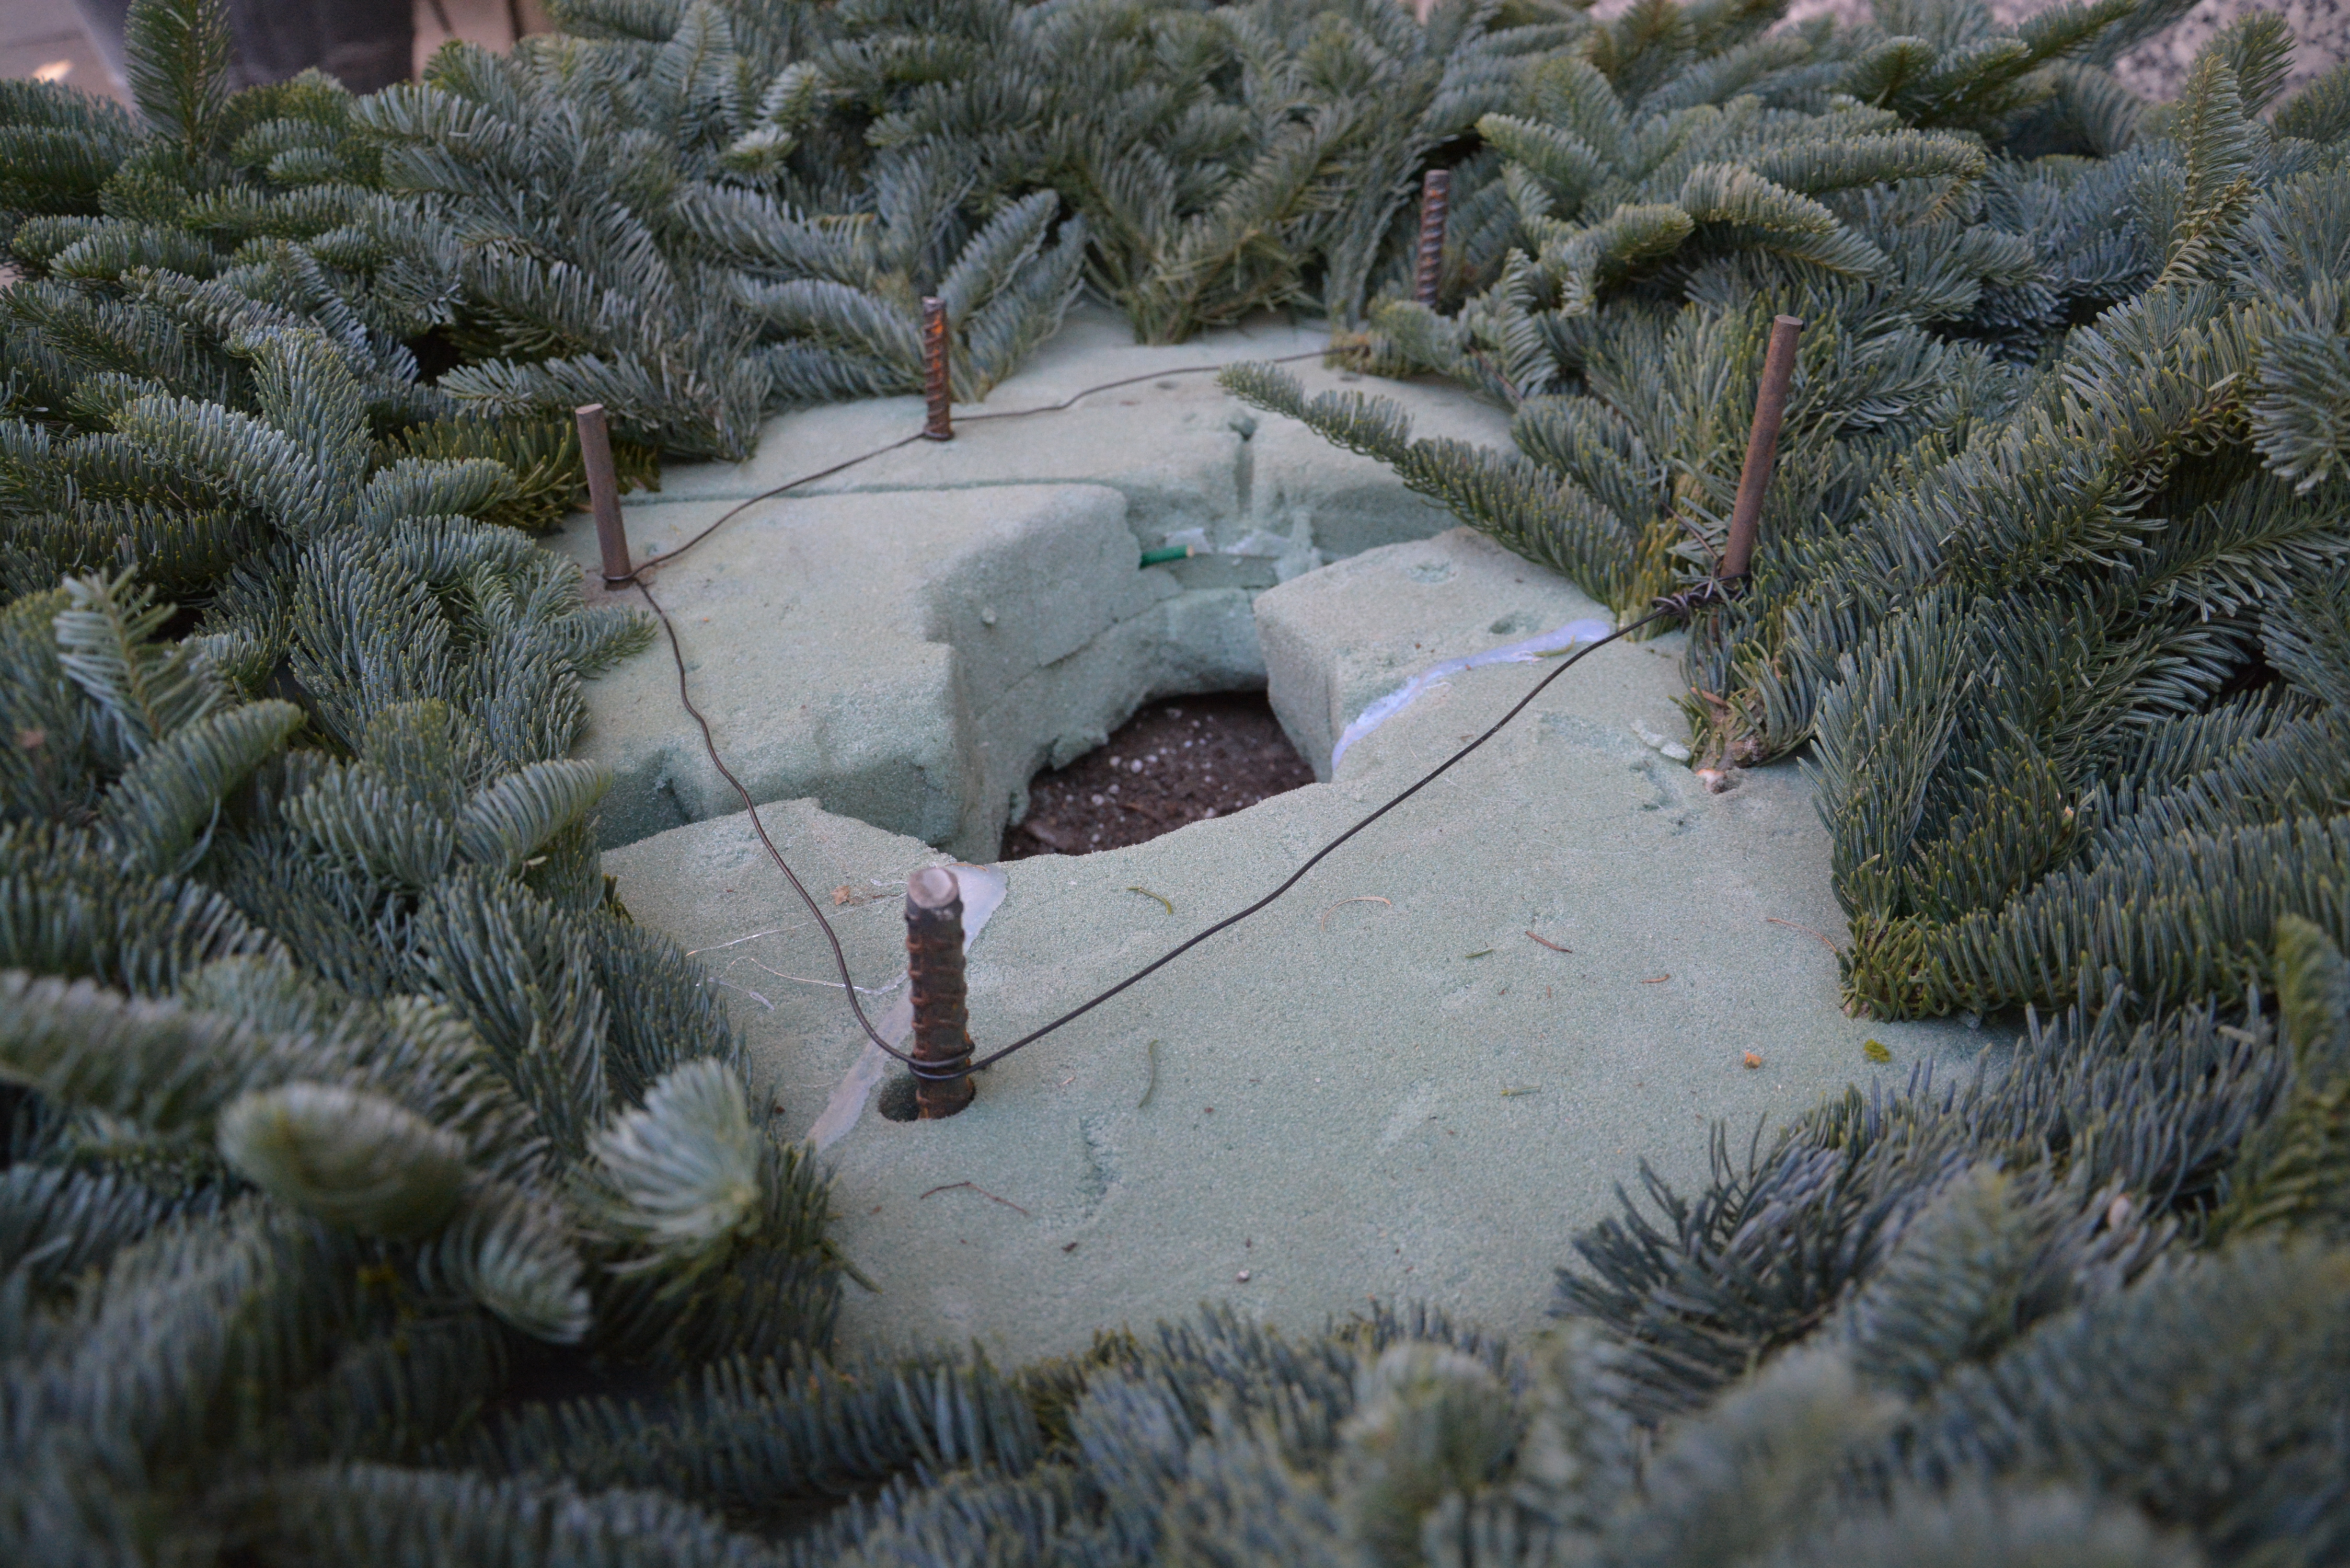 We construct forms for our greens from dry floral foam. We glue two layers together for added strength. All of our premium greens are in the range of 18″ long, and are fairly weighty. Large scale pots may ask for that entire width over the edge in order to look properly proportioned. We can get 2 lengths of greens from one long bough for smaller pots. For pots larger than 36″ in diameter, we usually glue the foam form to a piece of 1/2 inch thick exterior plywood for added support. The winter pots need to look good over a long period of time in which the weather can bring high winds and heavy snow. Nothing is more miserable than trying to repair a winter container arrangement gone over in mid January or February. The foam form is secured to the soil in the pot in two ways. We remove the top 4 inches of soil, so the lower level of foam fits down into the container. The upper level holds all of the boughs. We sharpen the stems of the greens, for a tight fit. We then drive rebar through the foam and greens into the soil, and wire the steel posts together. The hole you see in the center of the foam-a place for the centerpiece. Foam forms do not have to be exact. They are an armature giving support and flexibility to the finished arrangement.
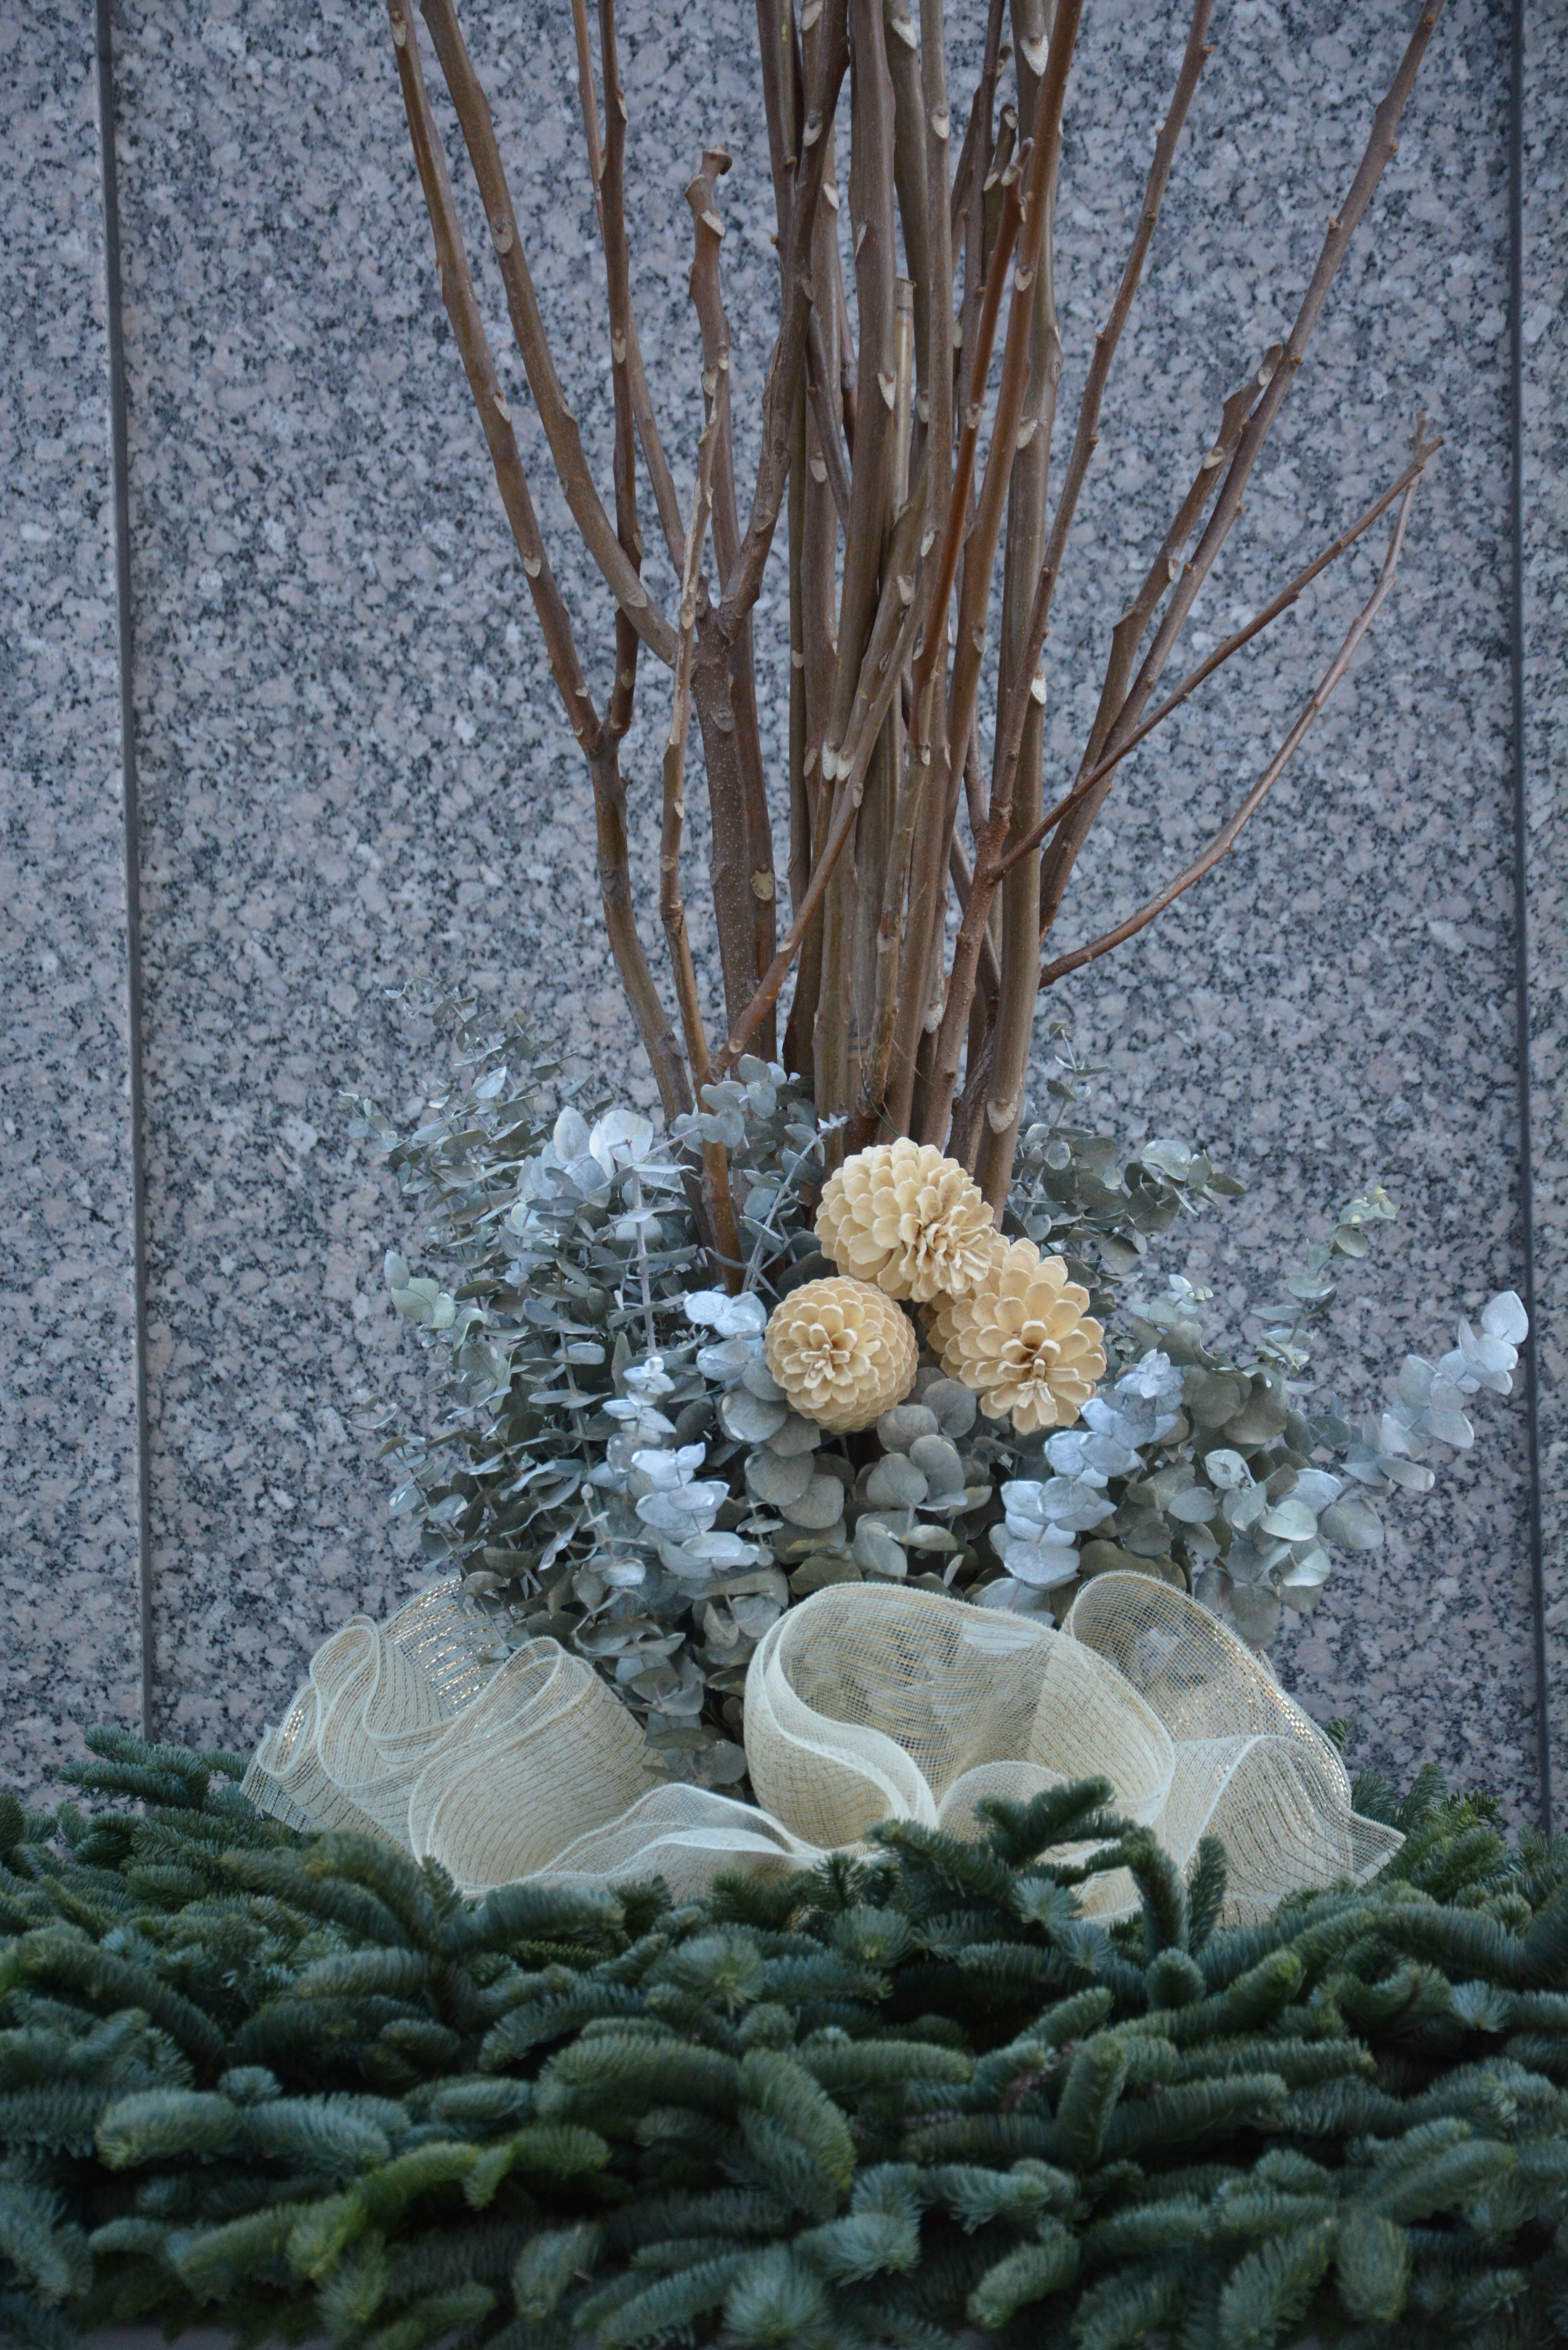
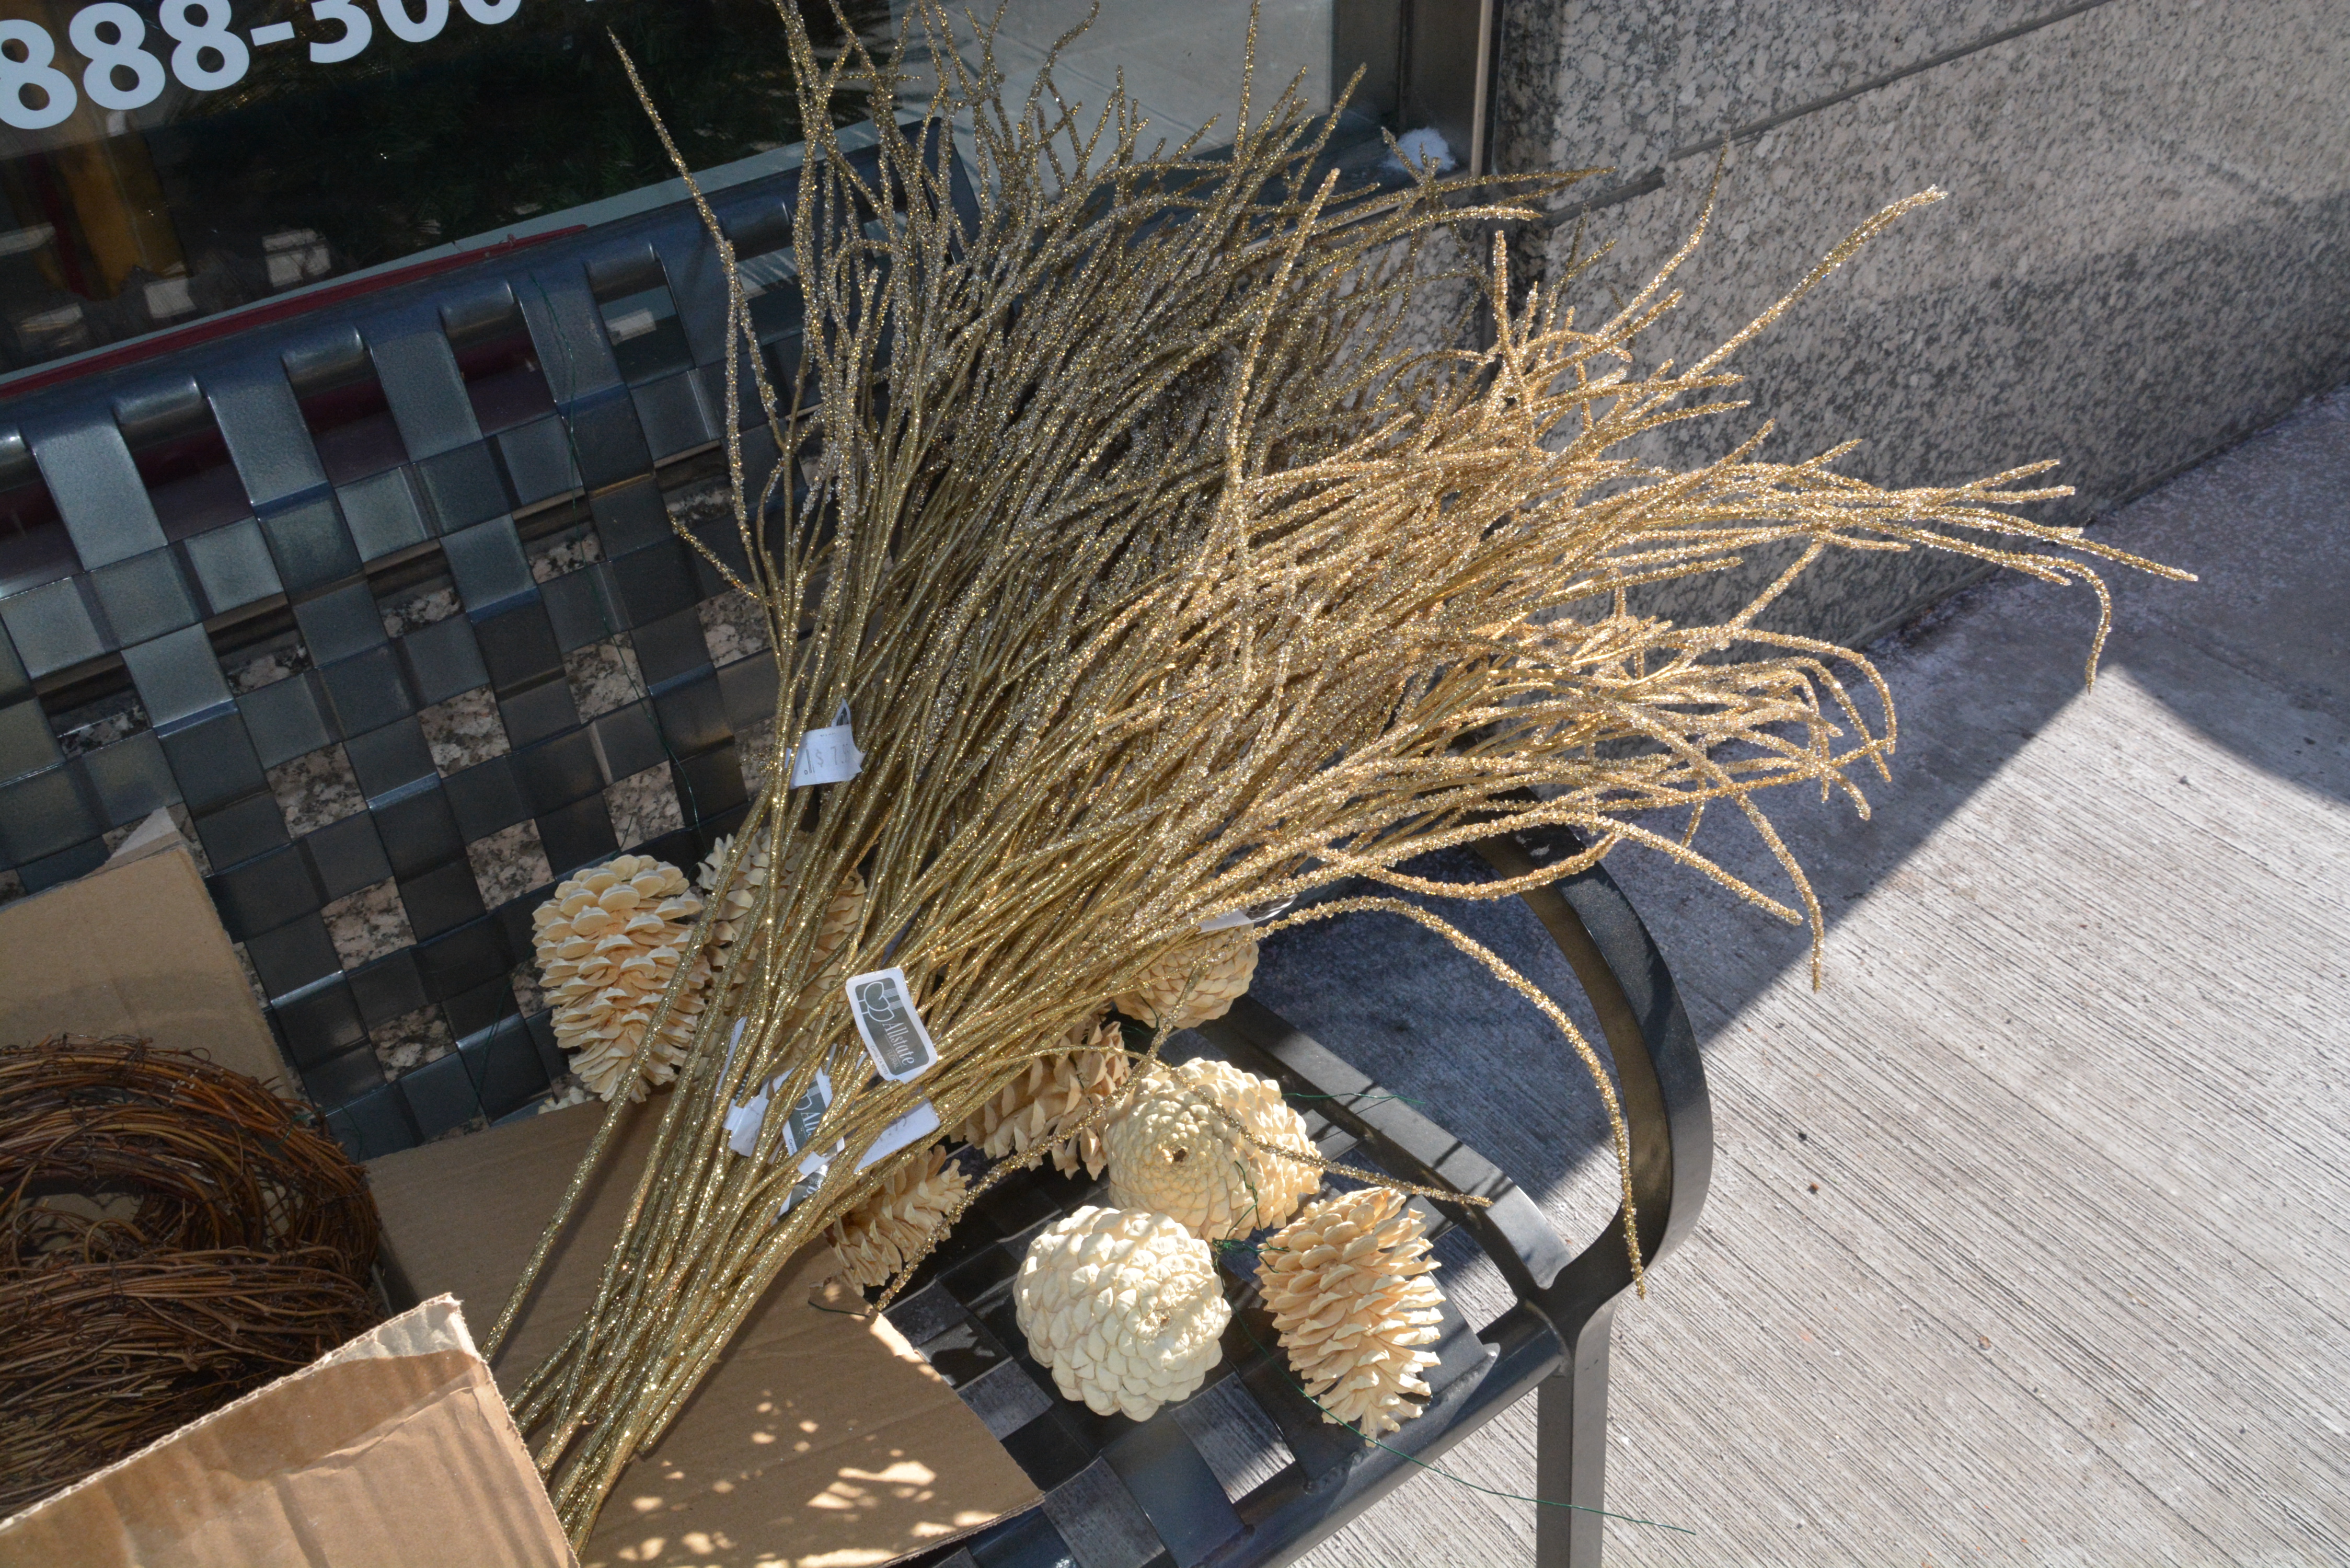 All that remains to add to the centerpieces on site are those finishing materials that gives each winter container a distinct and unique look. Very contemporary winter pots may be as simple as a mass of twigs set into cut greens. There are plenty of other materials available, should you want a softer look. These winter pots have sinamay (also known as poly mesh), bleached pine cones, pale gold holiday picks, and mini vine rolls. Rob does a great job of sourcing a wide variety of materials that can find their way into winter pots. He likes giving every gardener lots of choices. We have a long winter ahead.
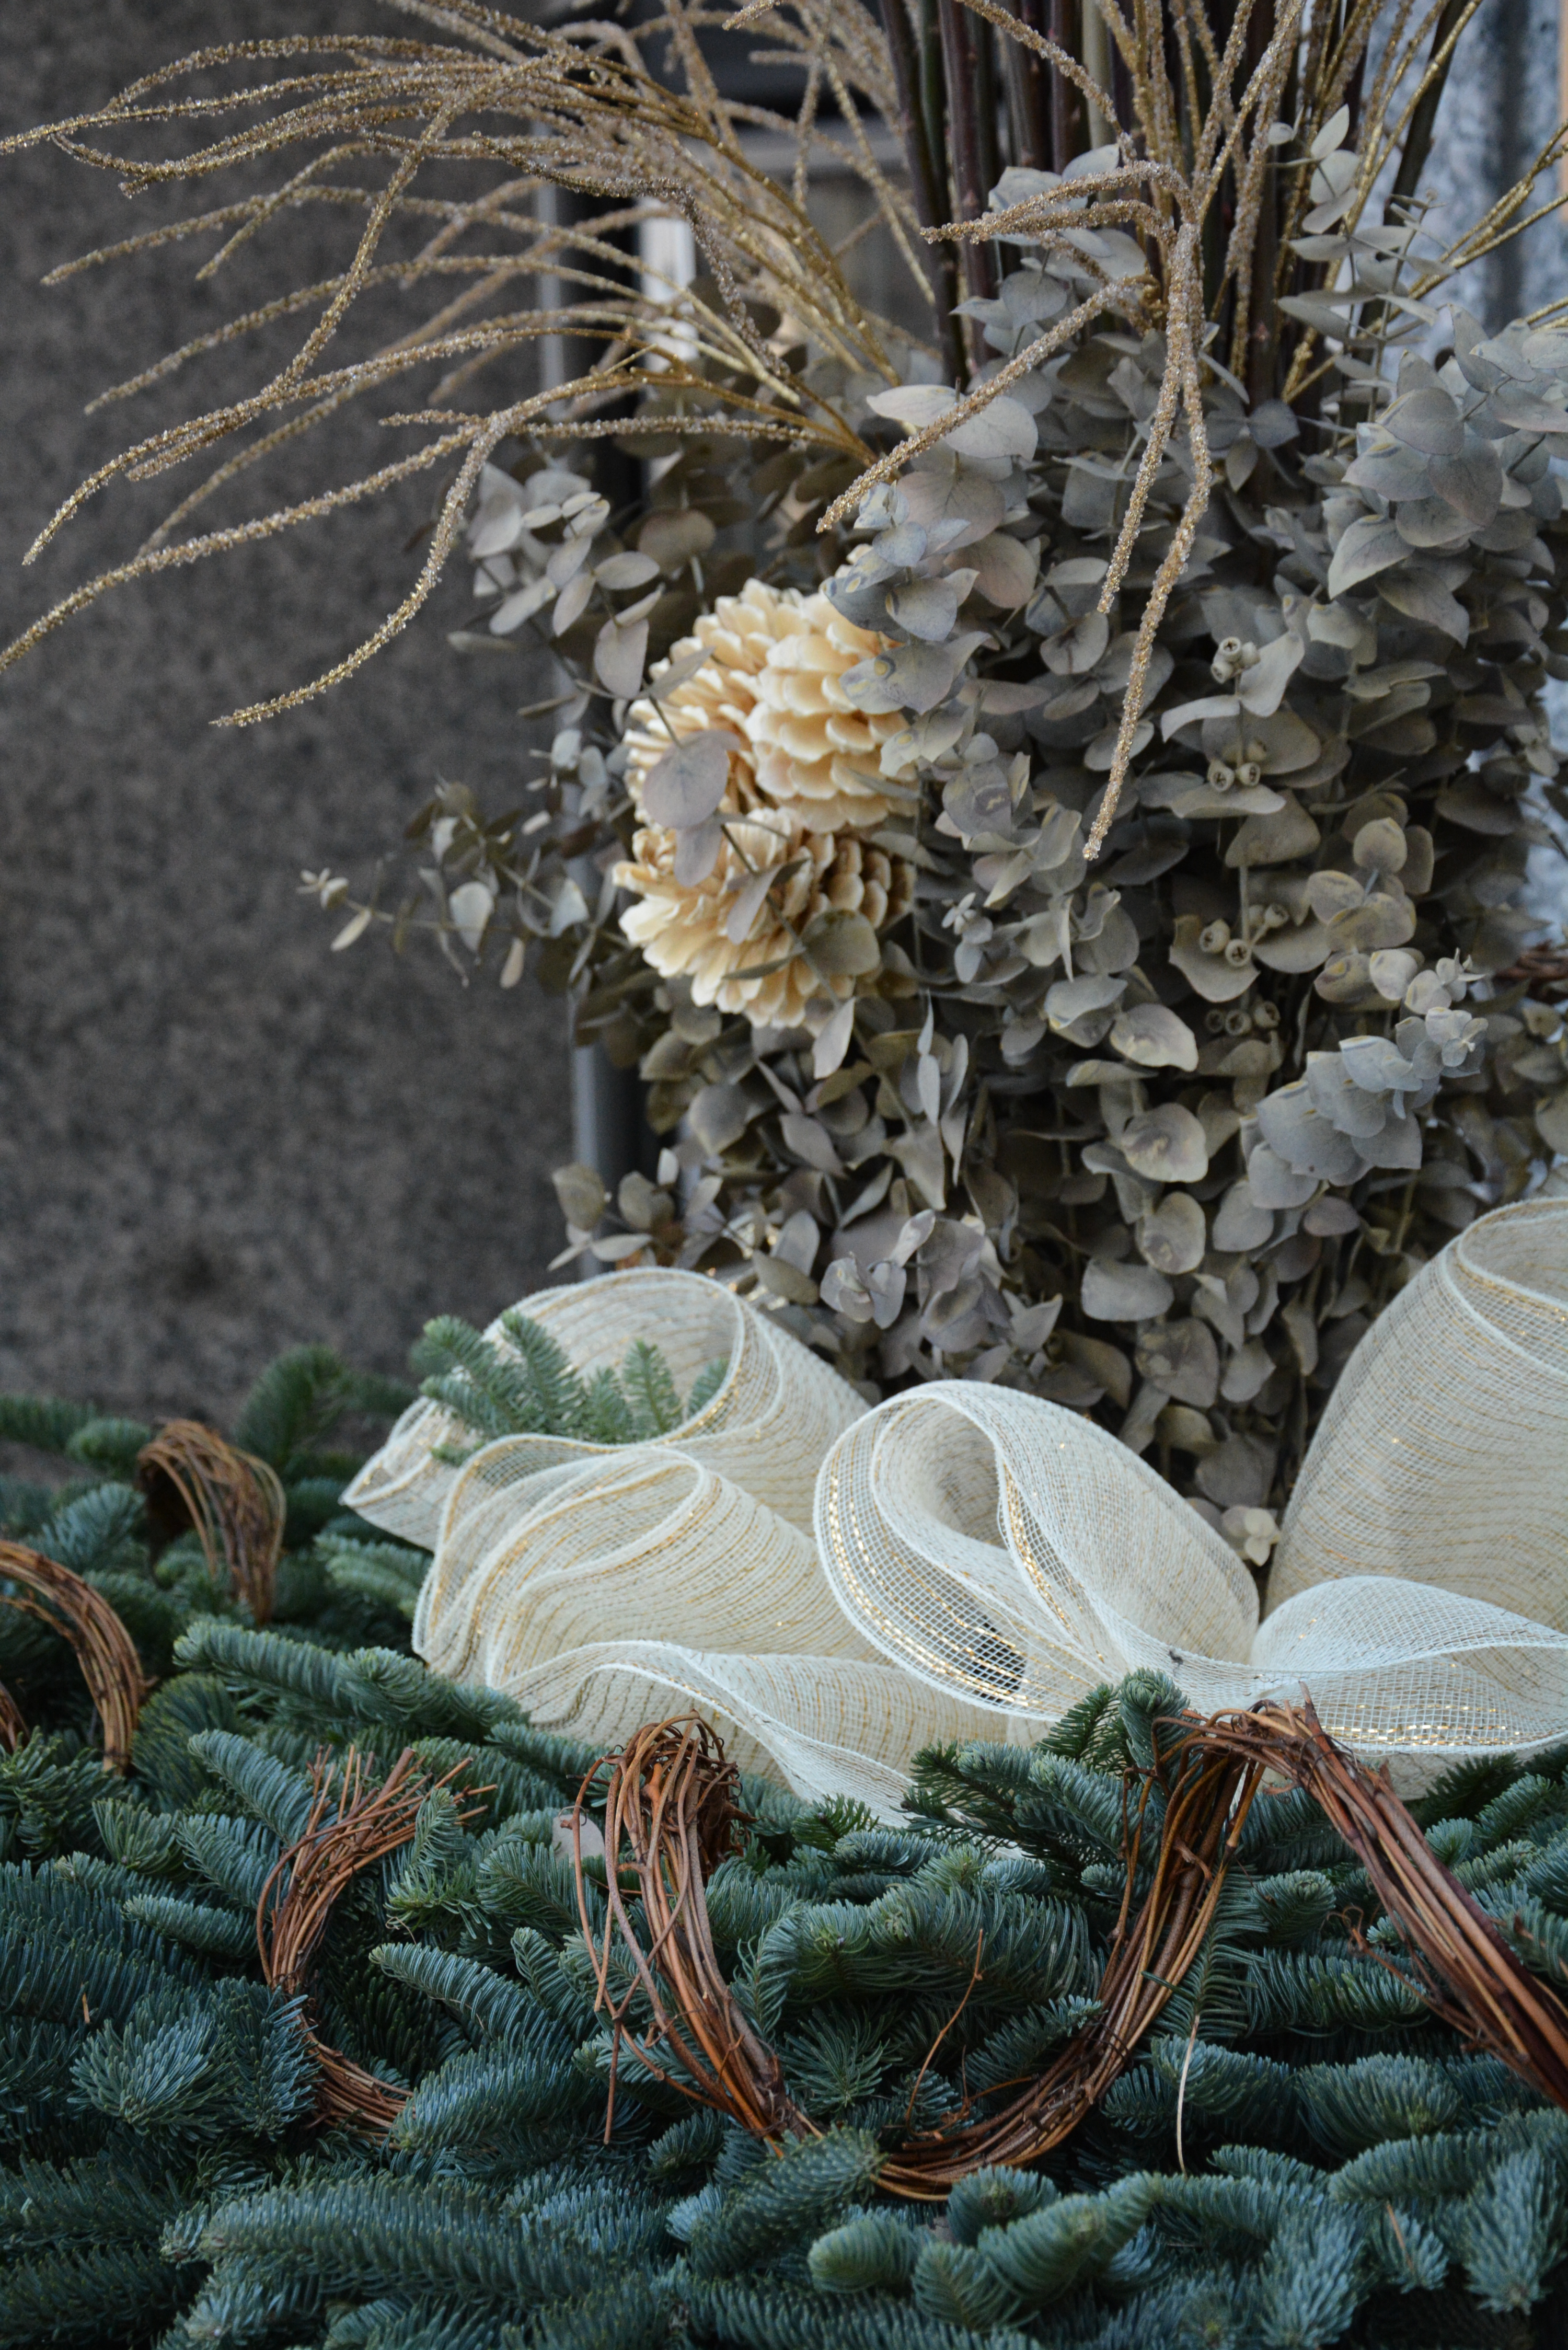 All of these accessory materials are either wired to the greens, or wedged into the stick stack. All of these materials will be fine outdoors over a winter. Does this process seem like much too much work? It isn’t really-as the process from raw materials to finished container is not only fun, but doable. Any gardener can do winter pots for themselves.
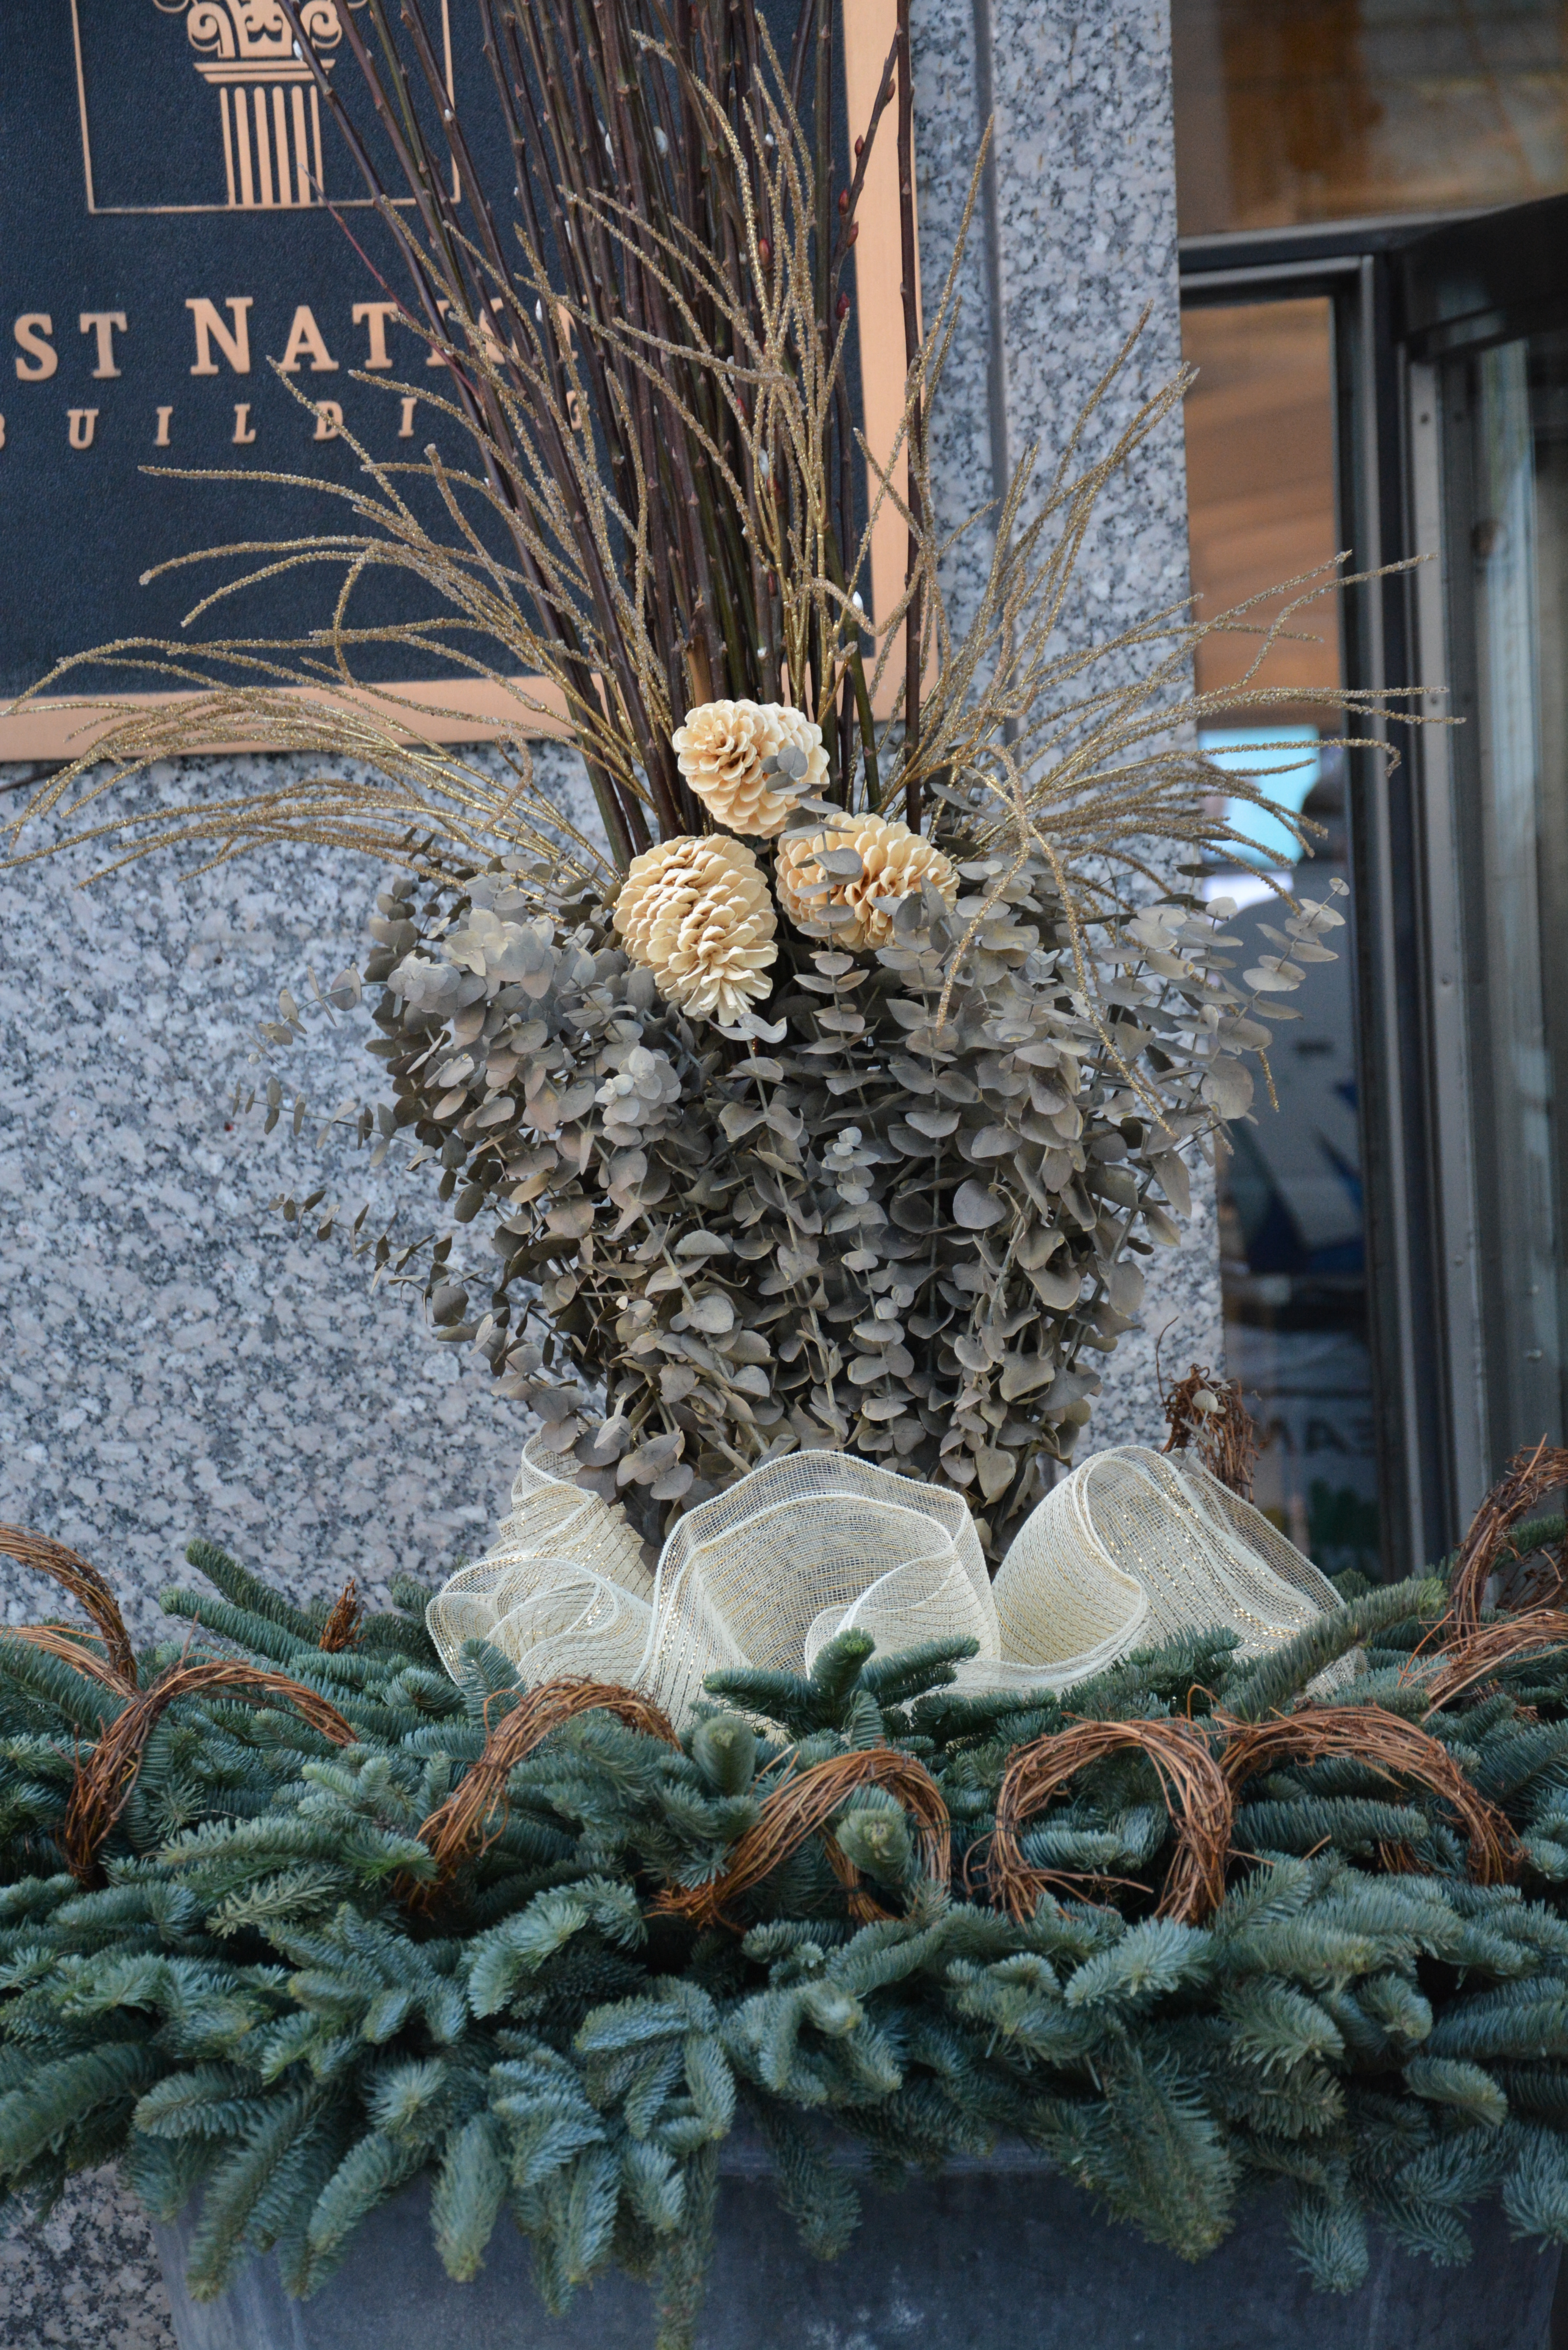
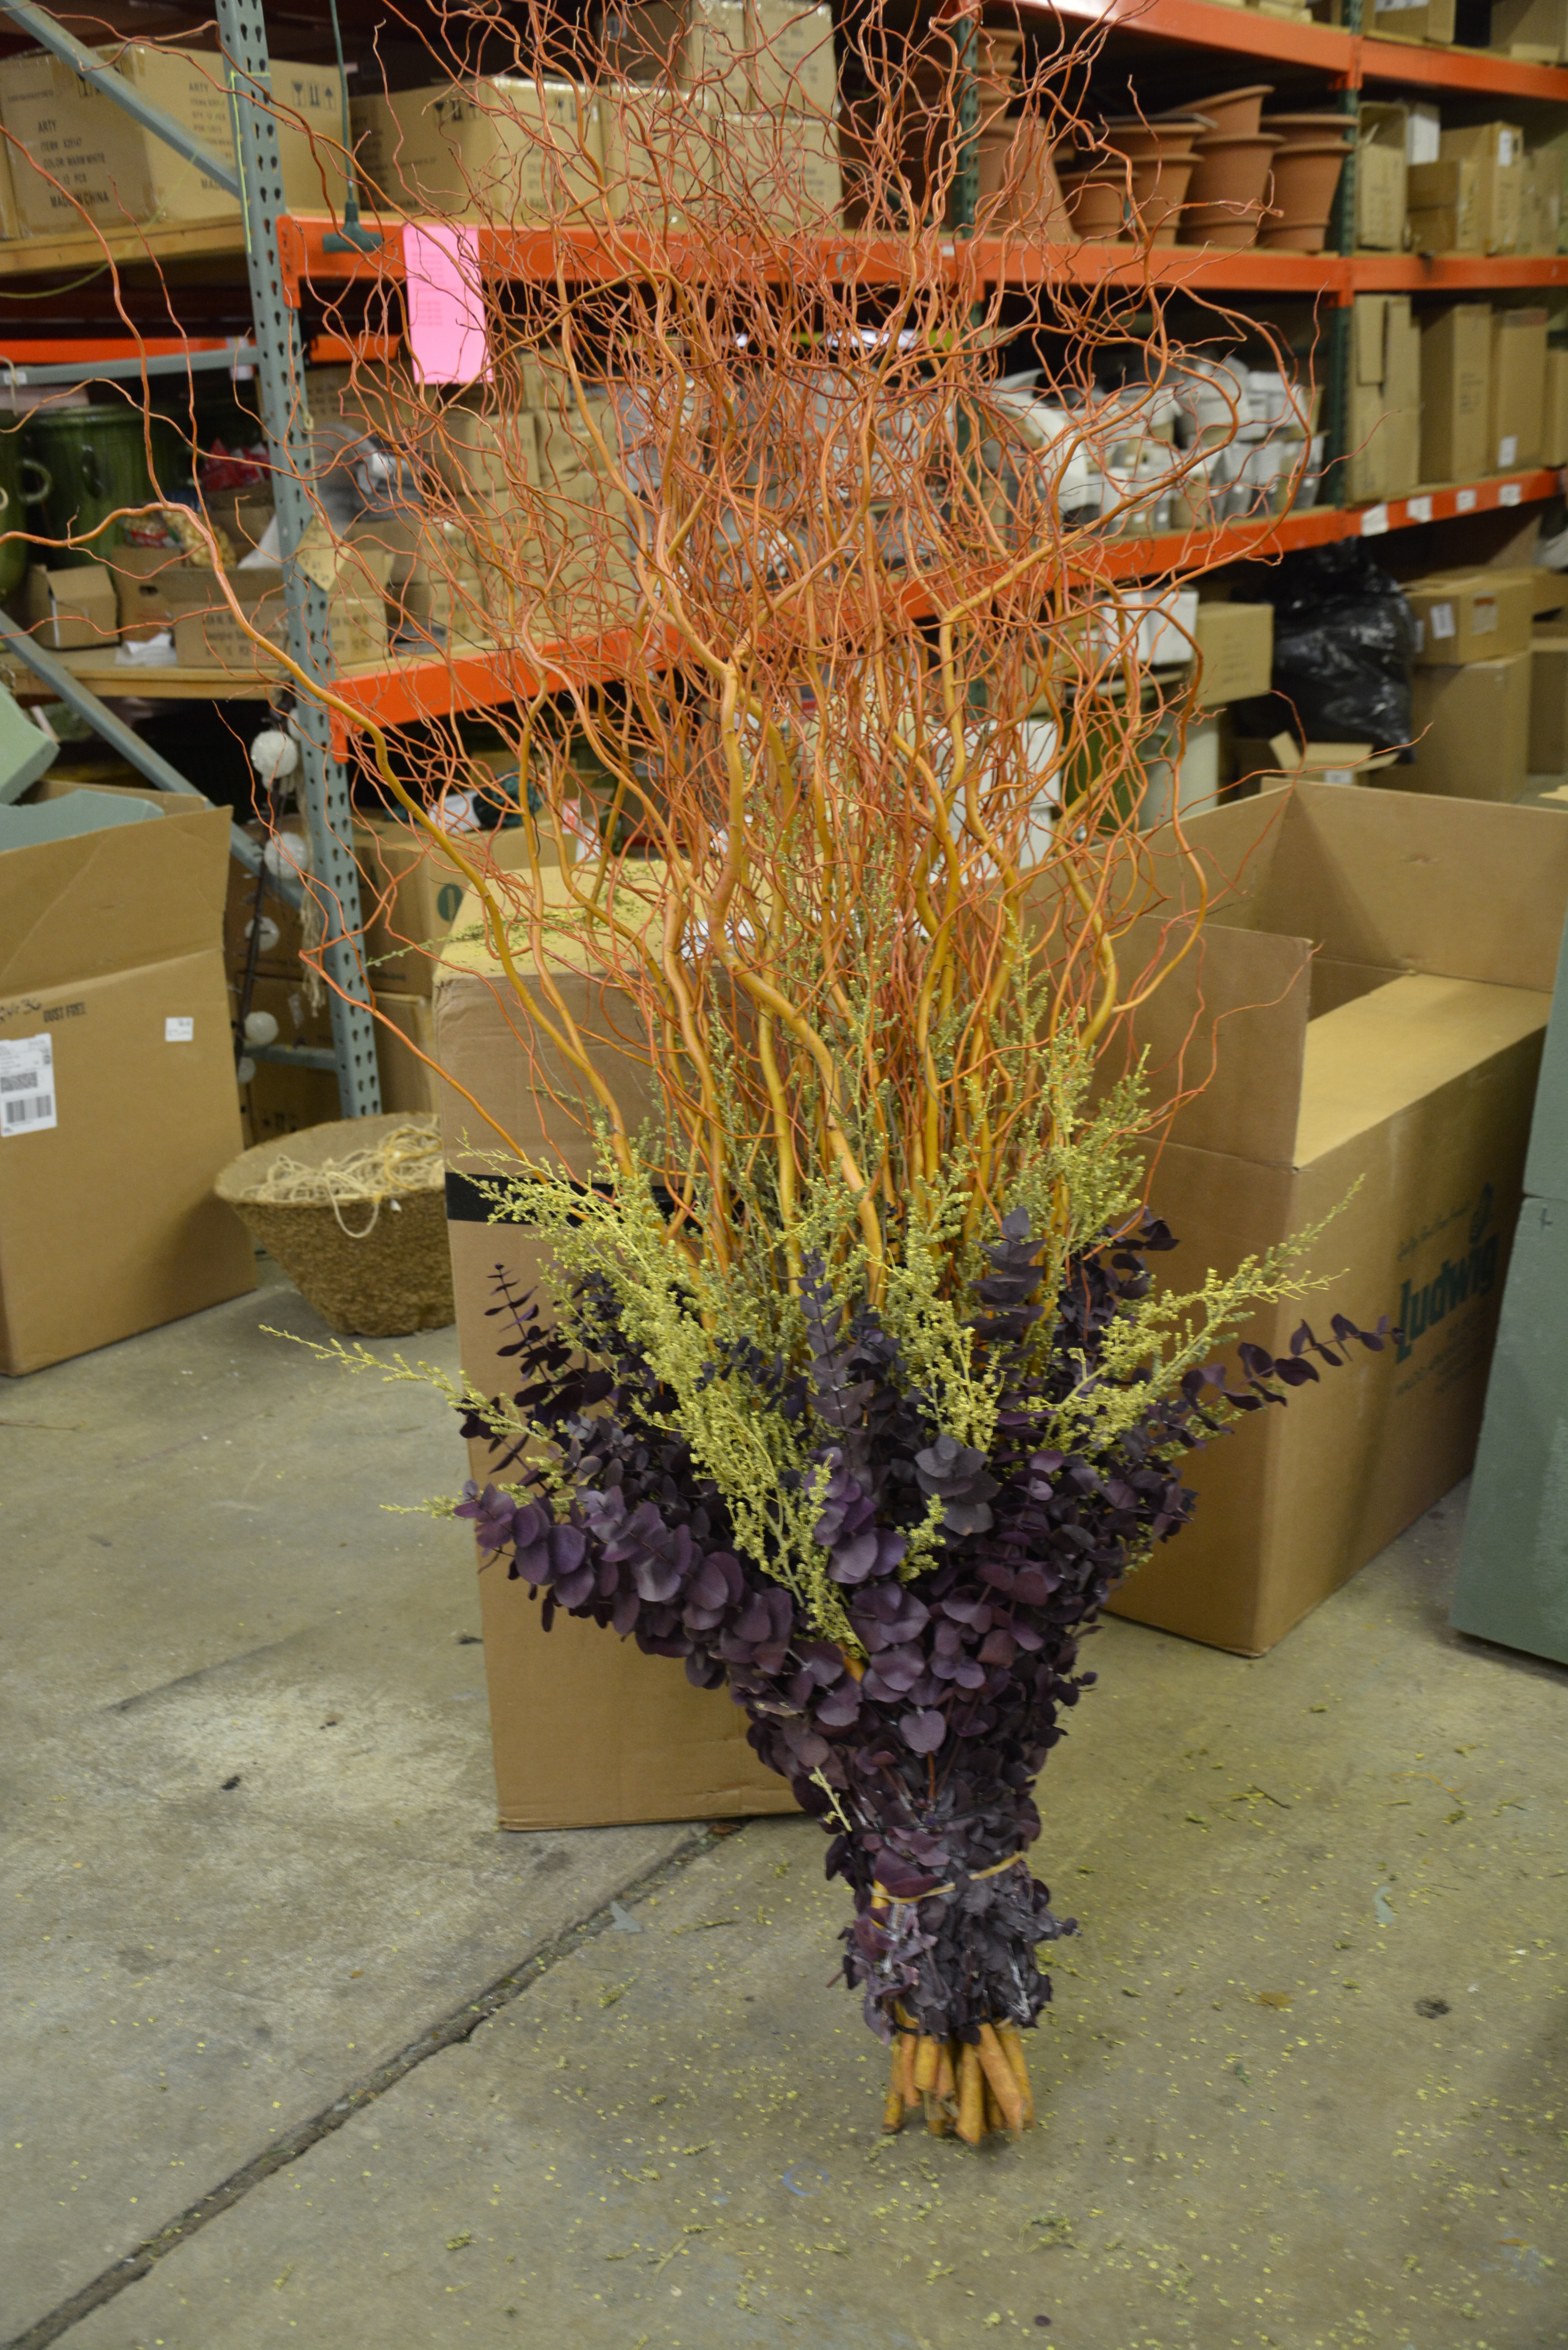
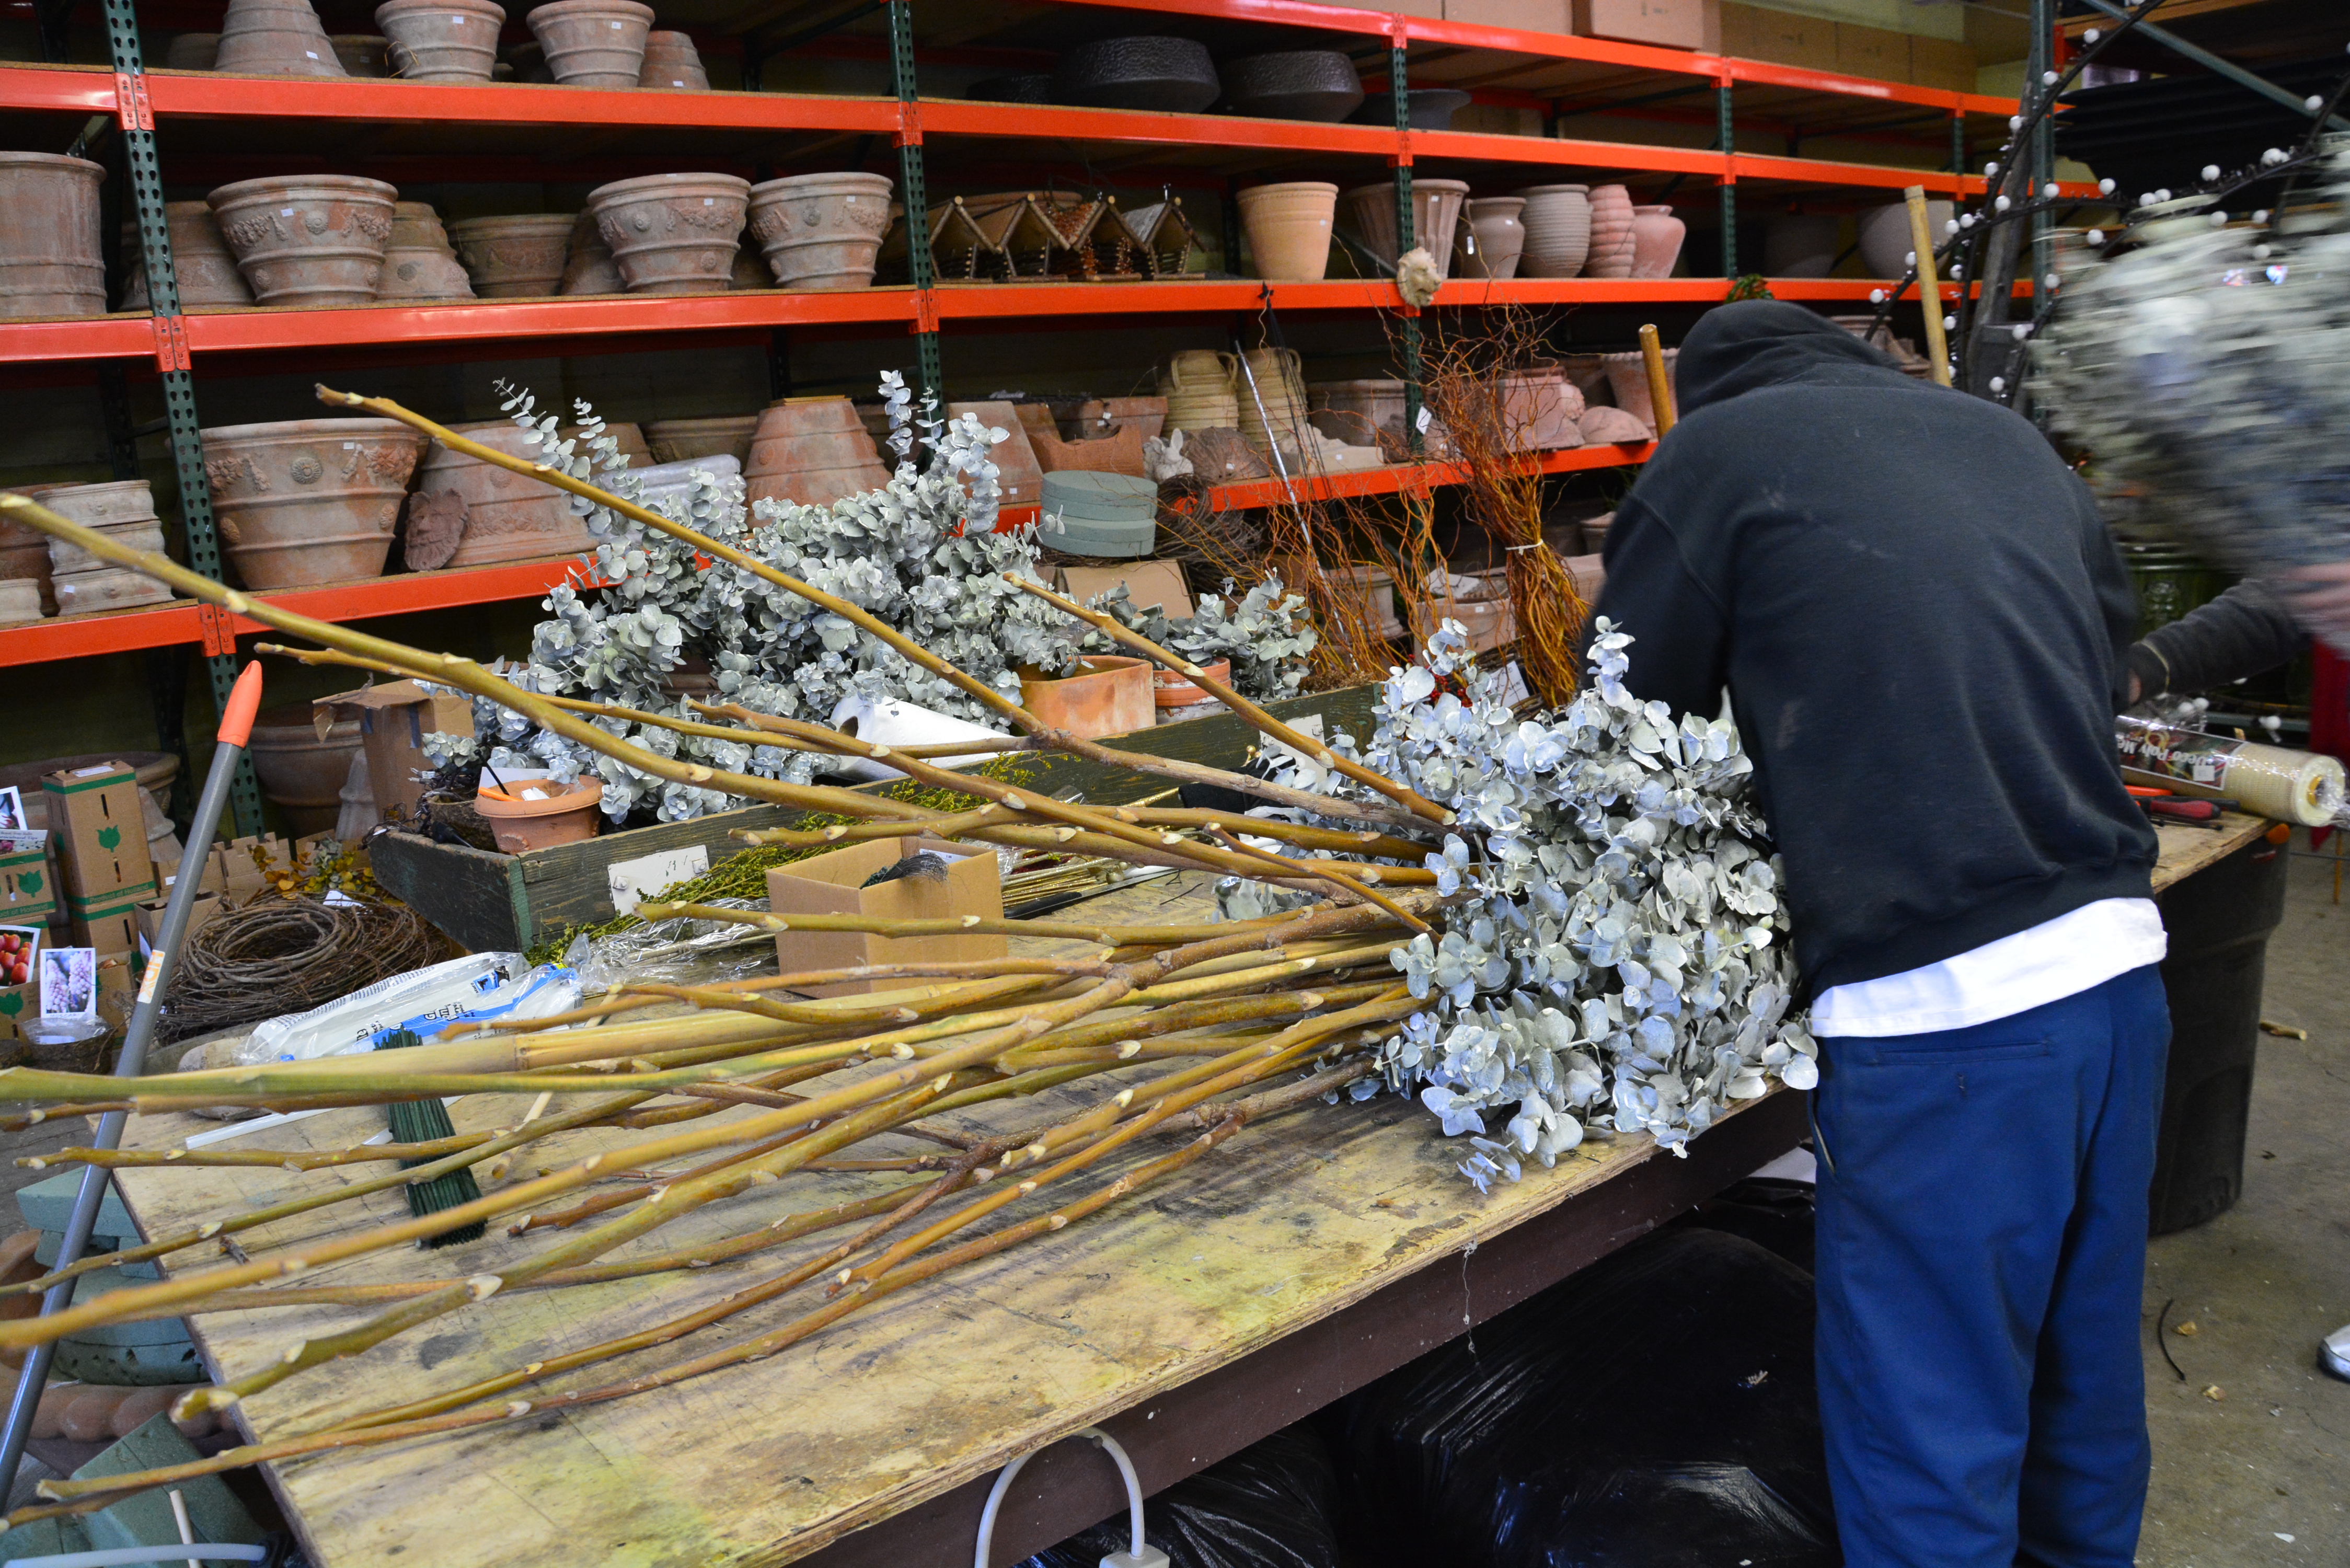
In composing a winter pot, keep in mind that you are without that miracle we know as growing. The winter pots are the same size and scale on the last day of winter as they are on the first. Eucalyptus is bulky-a single bunch will go a long way. If your container is large, consider 2. If you want to feature this material, go to three bunches, and use fewer fresh cut twigs. Sinamay is a synthetic mesh that when rouched like smocking, will occupy lots of space. No amount of snow will distort the shape you create from the beginning. I brush the snow off my sinamay at home when the snow threatens to bury it. Curly Grapevine rolls create a lot of volume from not much material. These mini vine rolls are perfect for adding an airy layer of interest to this pot.
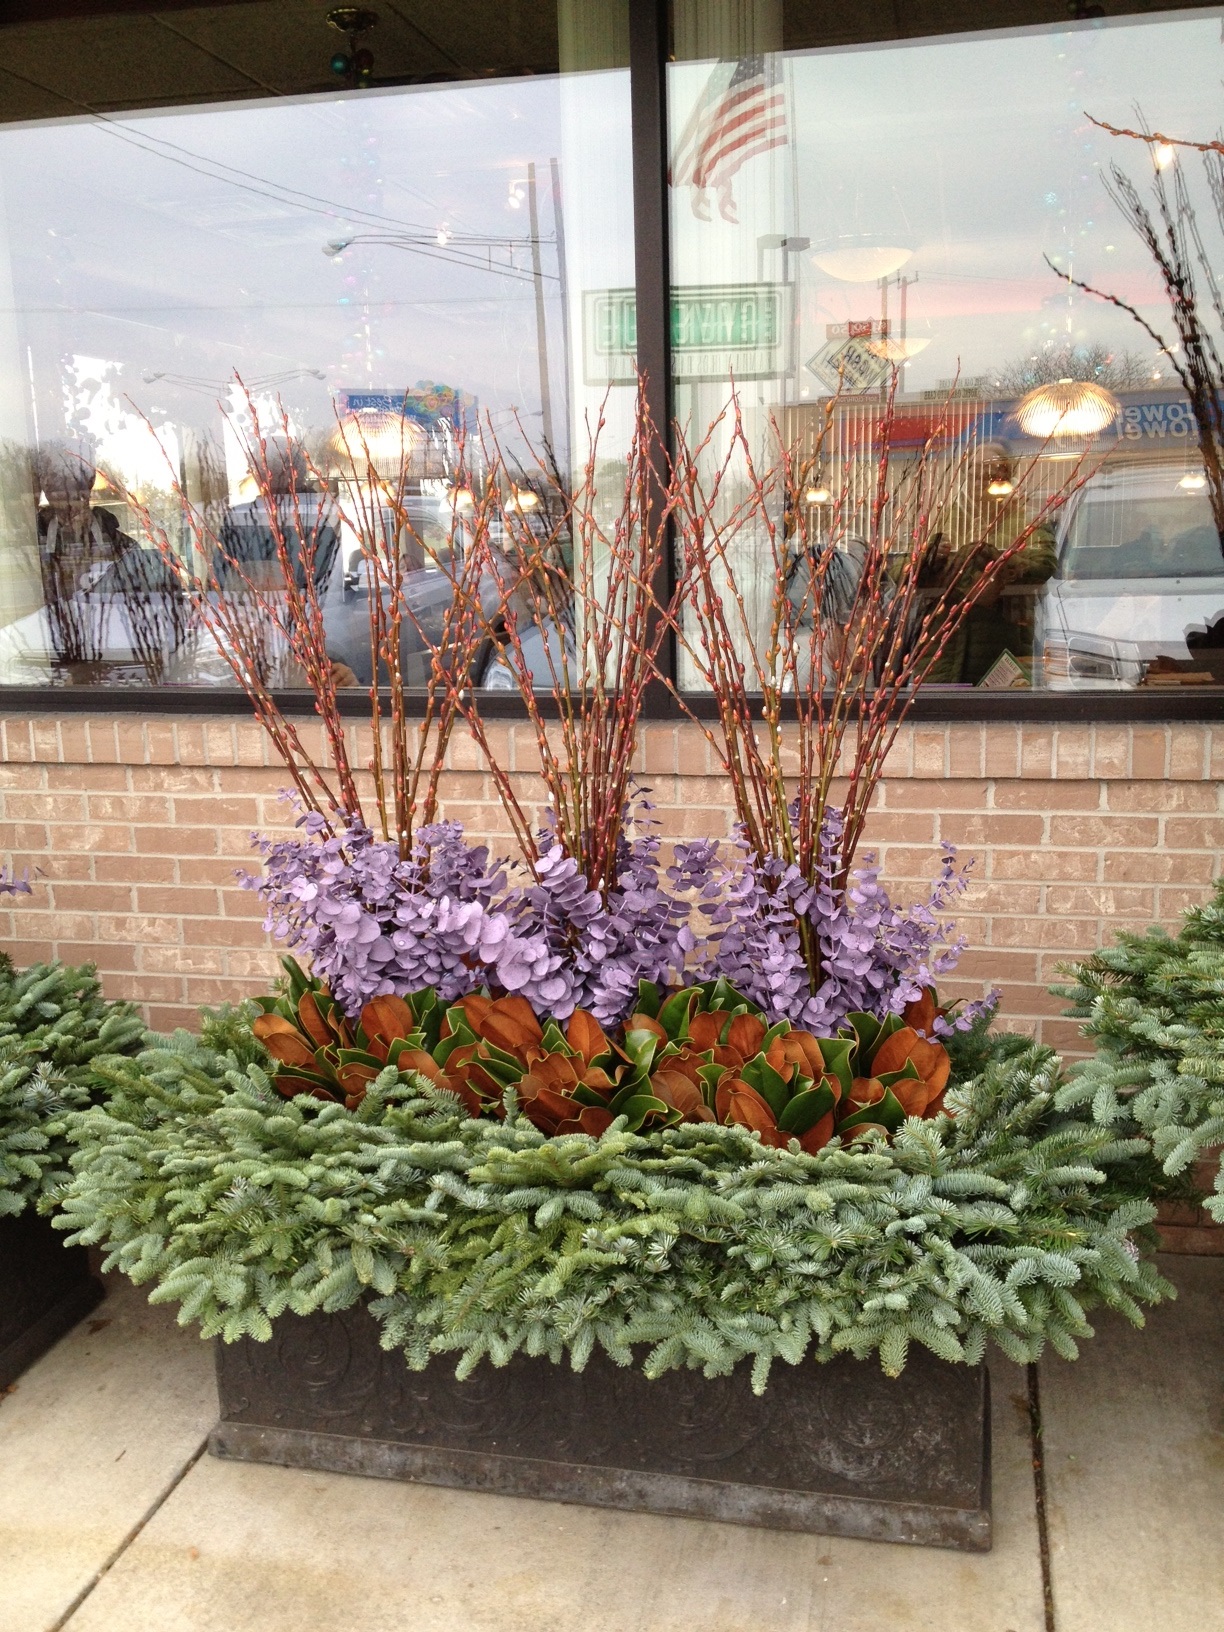
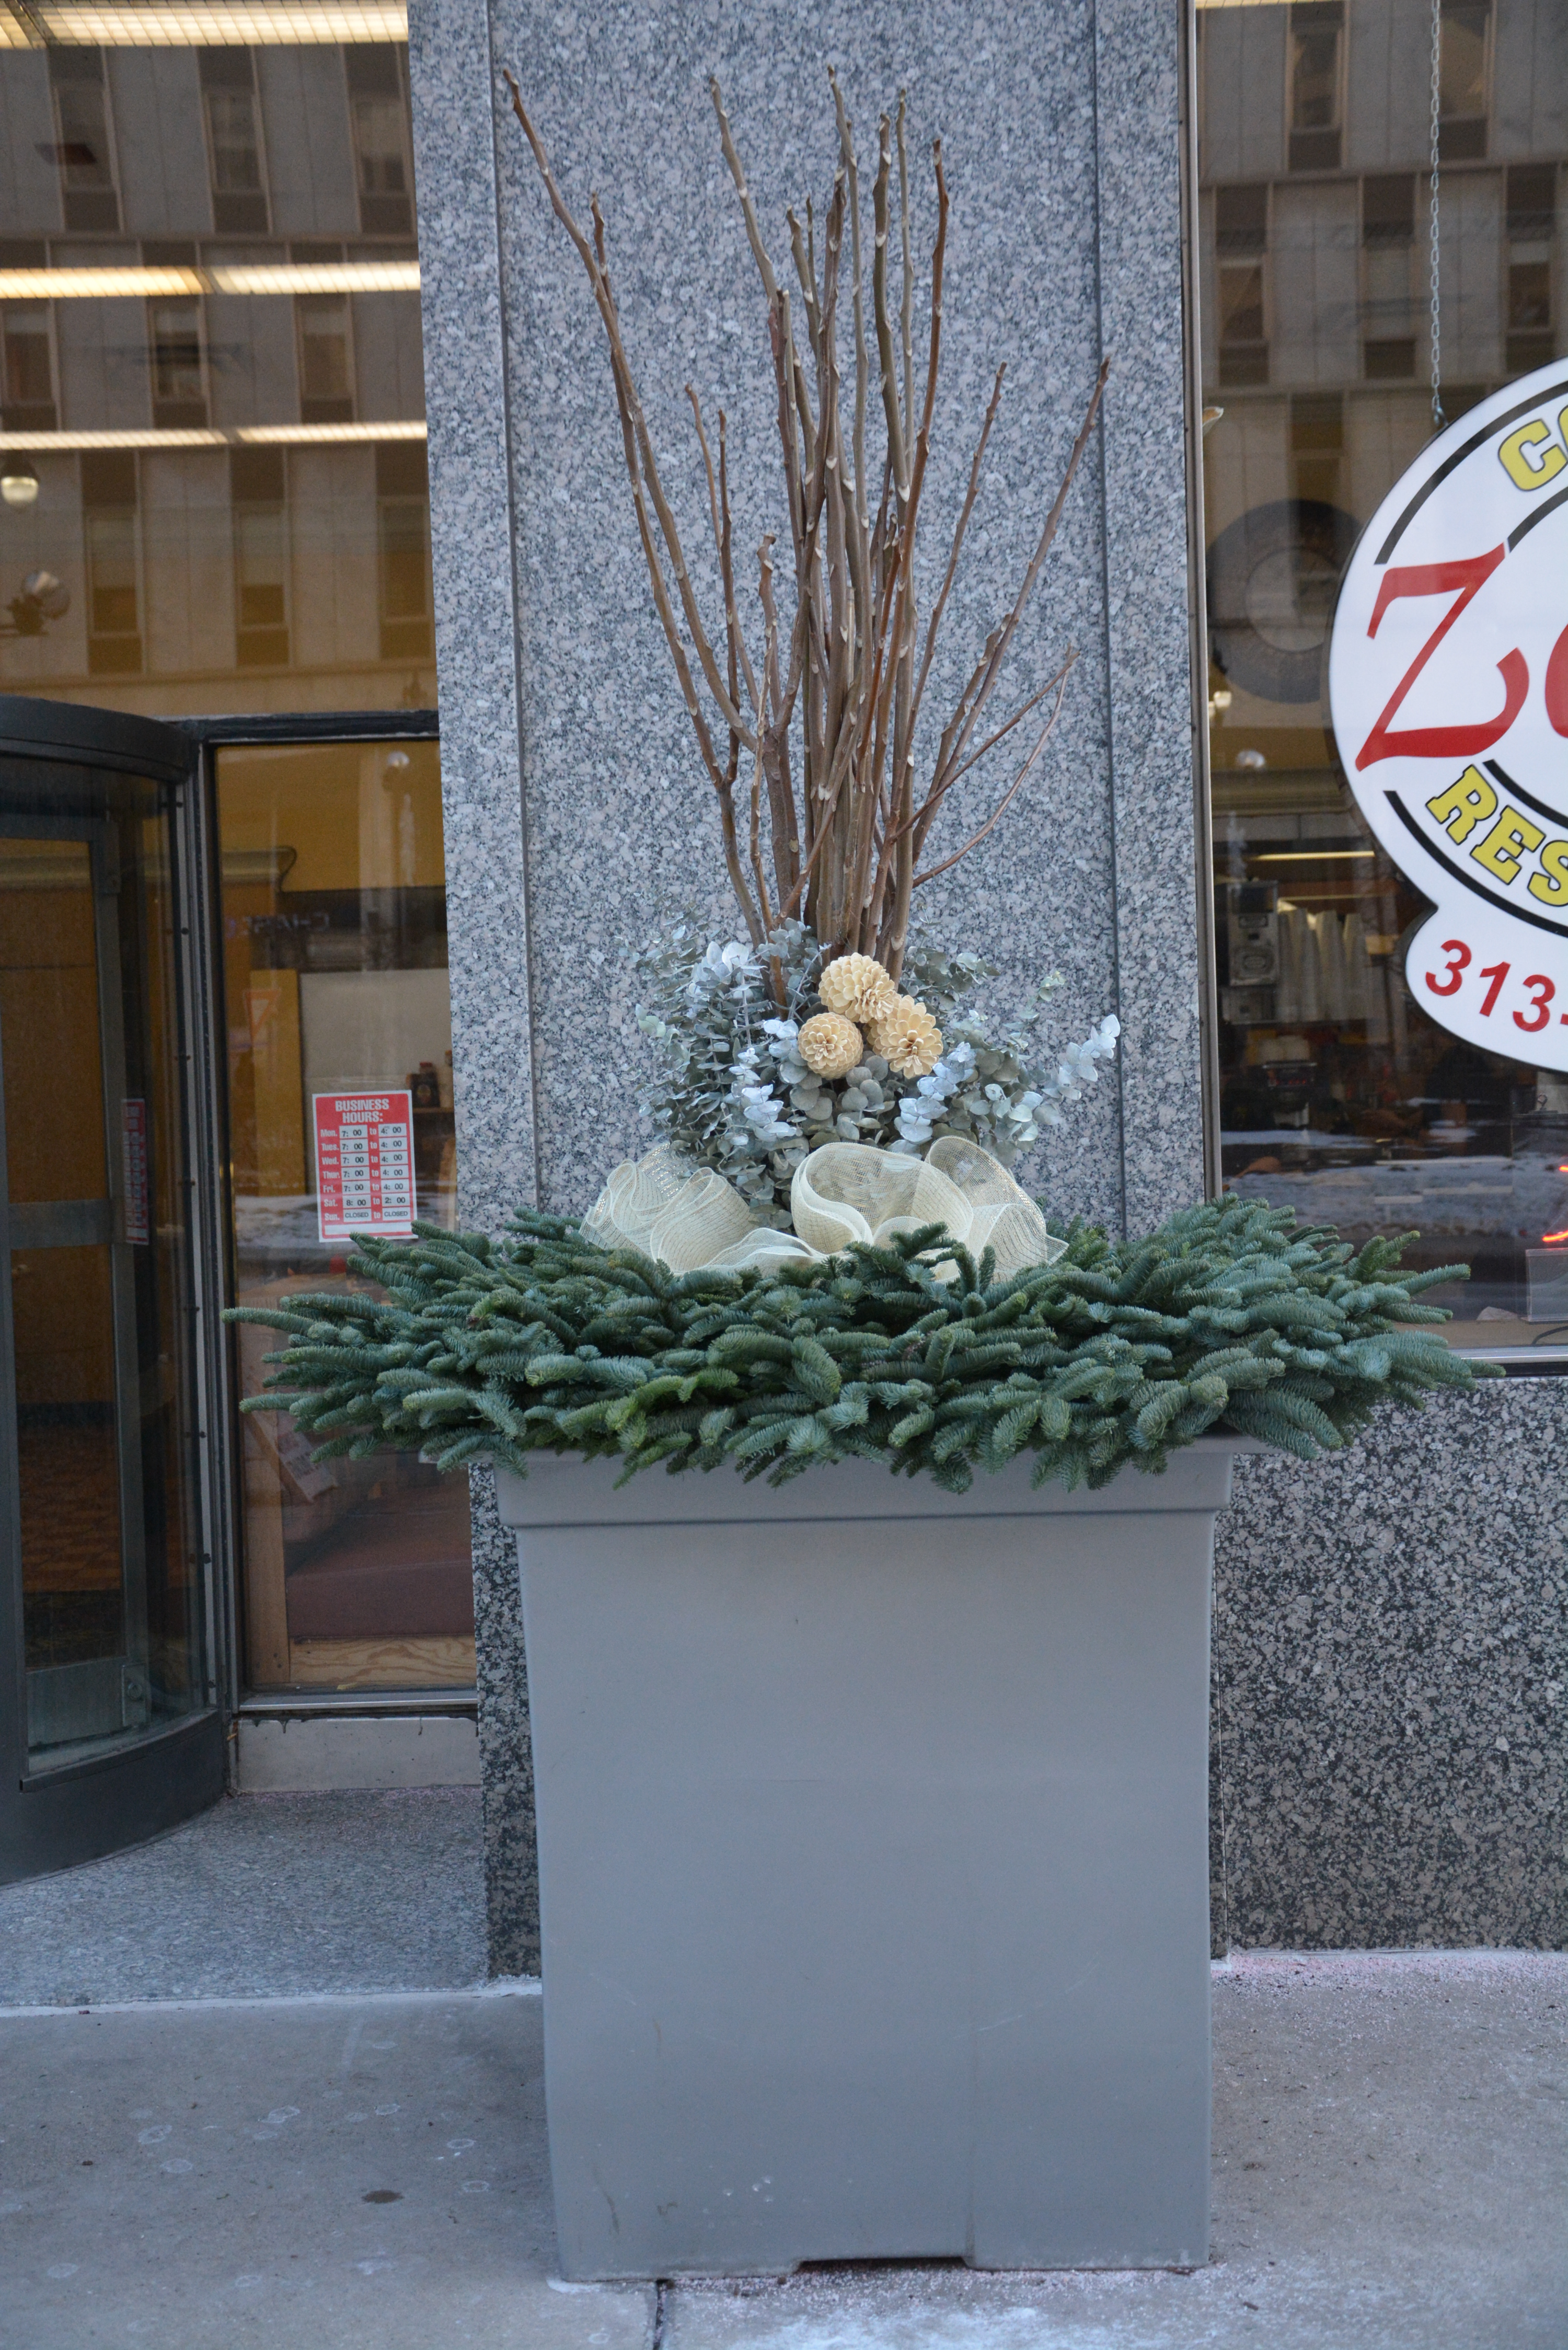
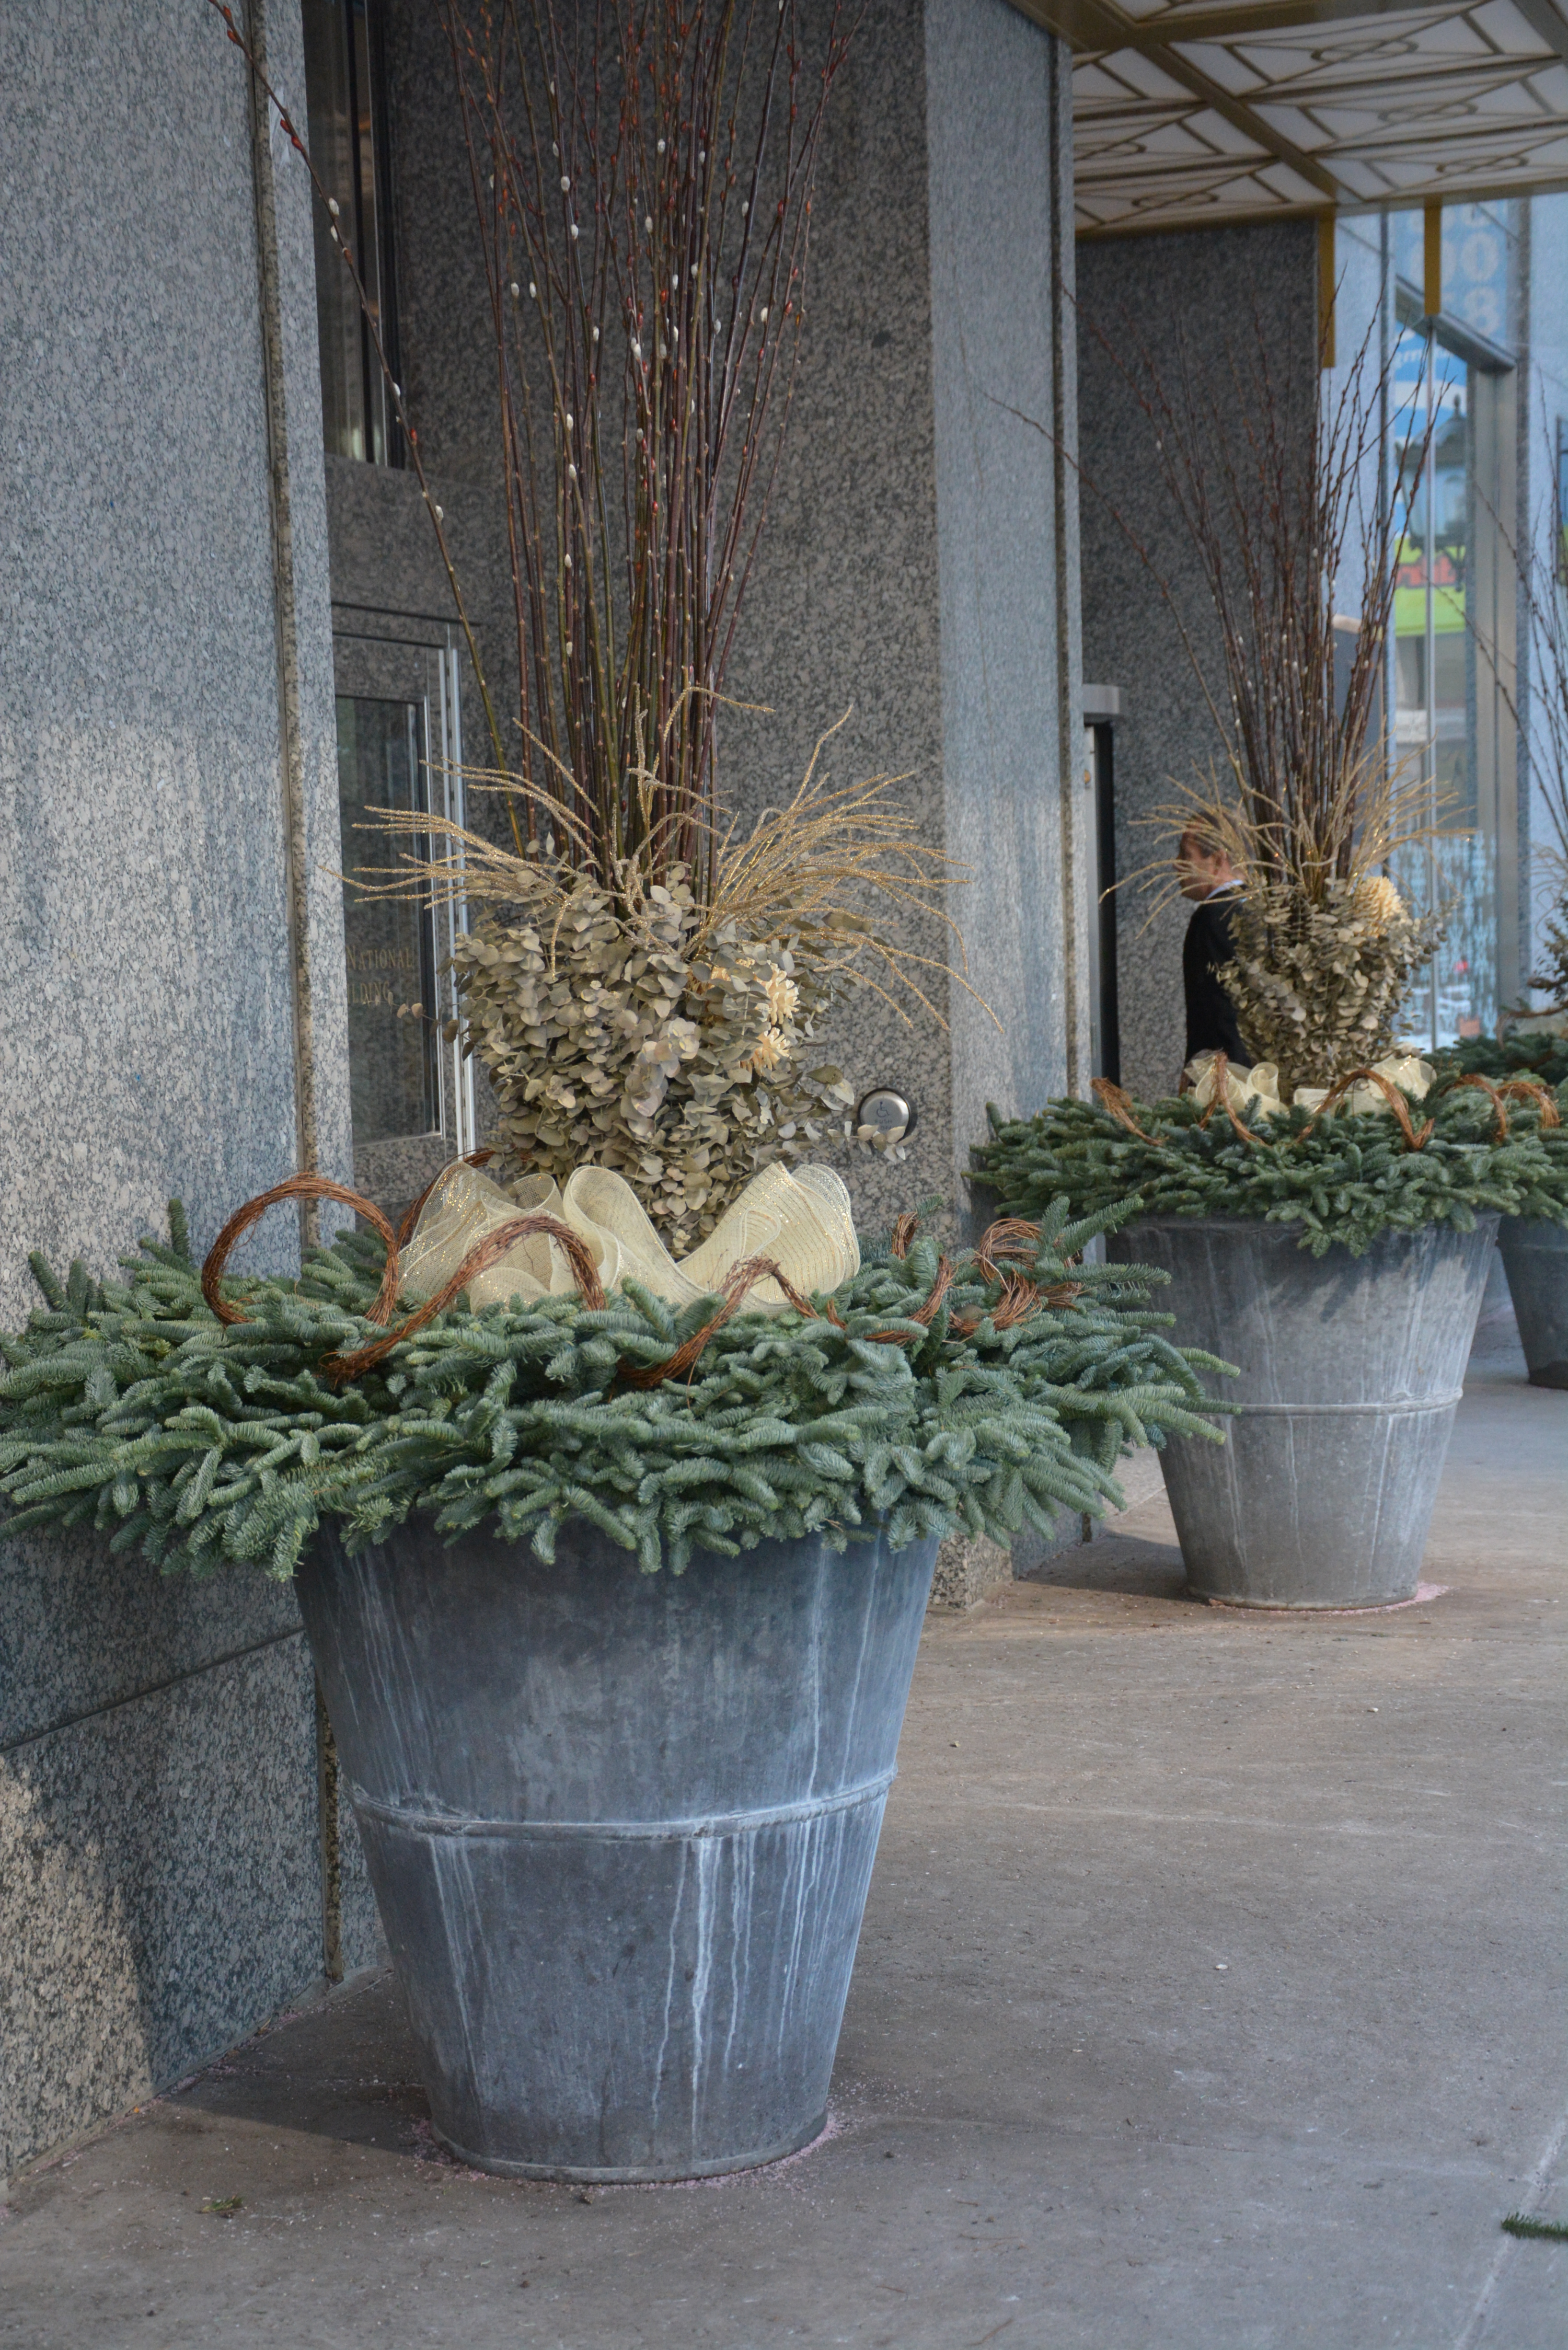 The materials in these pots are subtly colored, but are of a volume proportional to the size of the pot. The centerpieces is red bud pussy willow, in a 5-6 foot height. Some pots need a tall element. Branches are graded by height, so the height you need is the height you get. The fresh cut natural branch sets the stage for the character of all of the other elements.
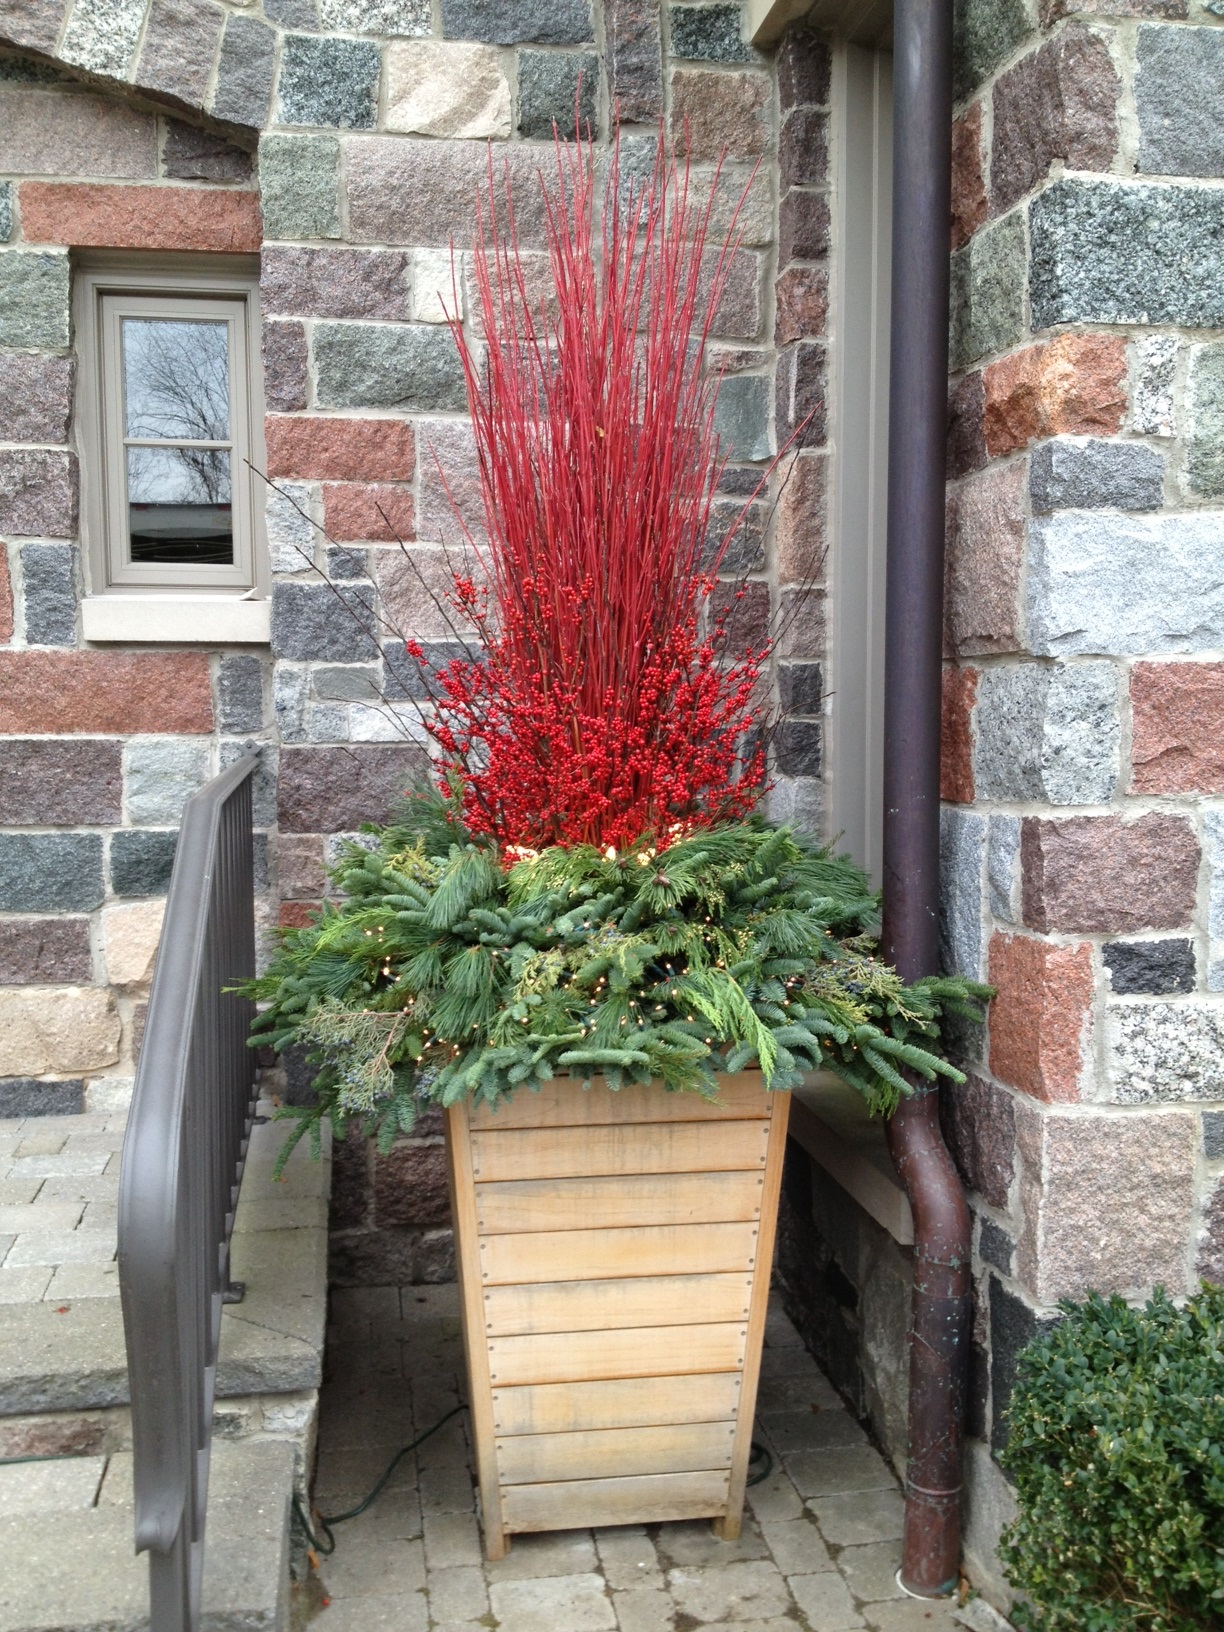
 Though the pots are 36″ tall, and 36″ in diameter, the arrangement is graceful. Each pot is different, as they are done by hand. Done by hand can endow anything you with a certain feeling. Containers imagined and arranged by gardeners have that hand made look. The evidence of the human hand is always attracts my attention and interest.
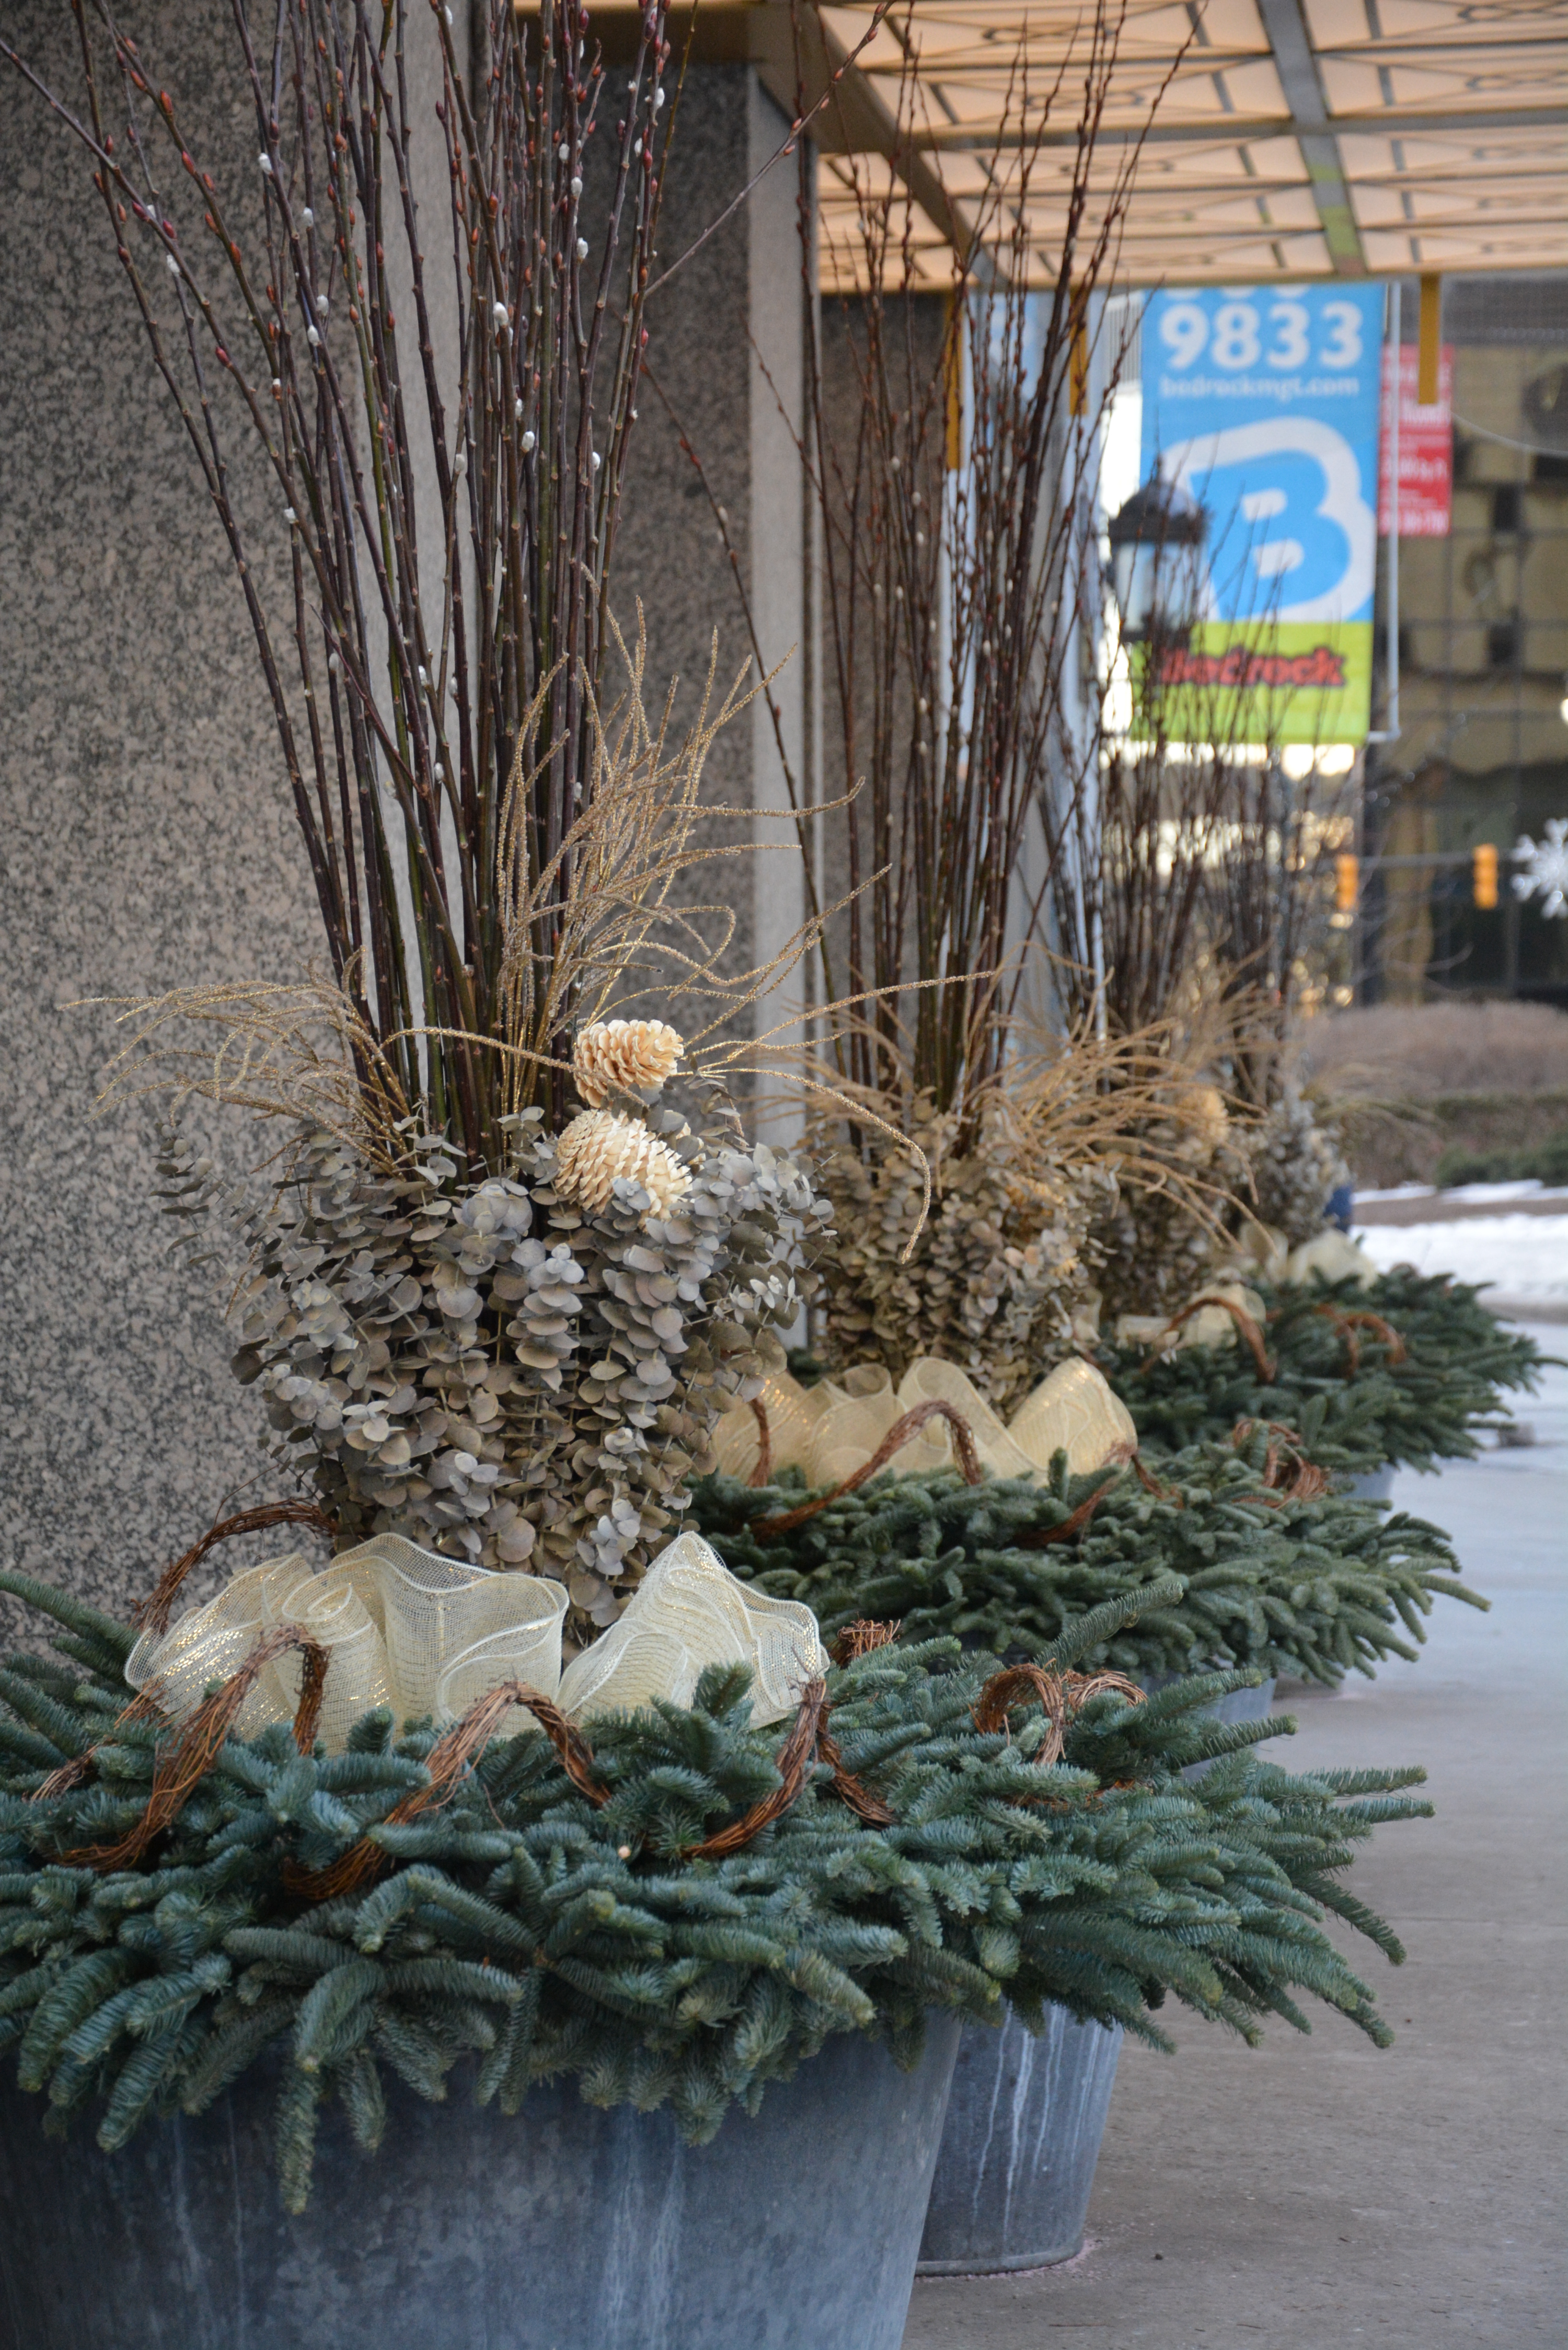 These pots could stand as is until the spring. I don’t mind a little sparkle during the winter. Alternately, they would work just as well, if the sinamay and pale gold sparkle picks came out after New Years.
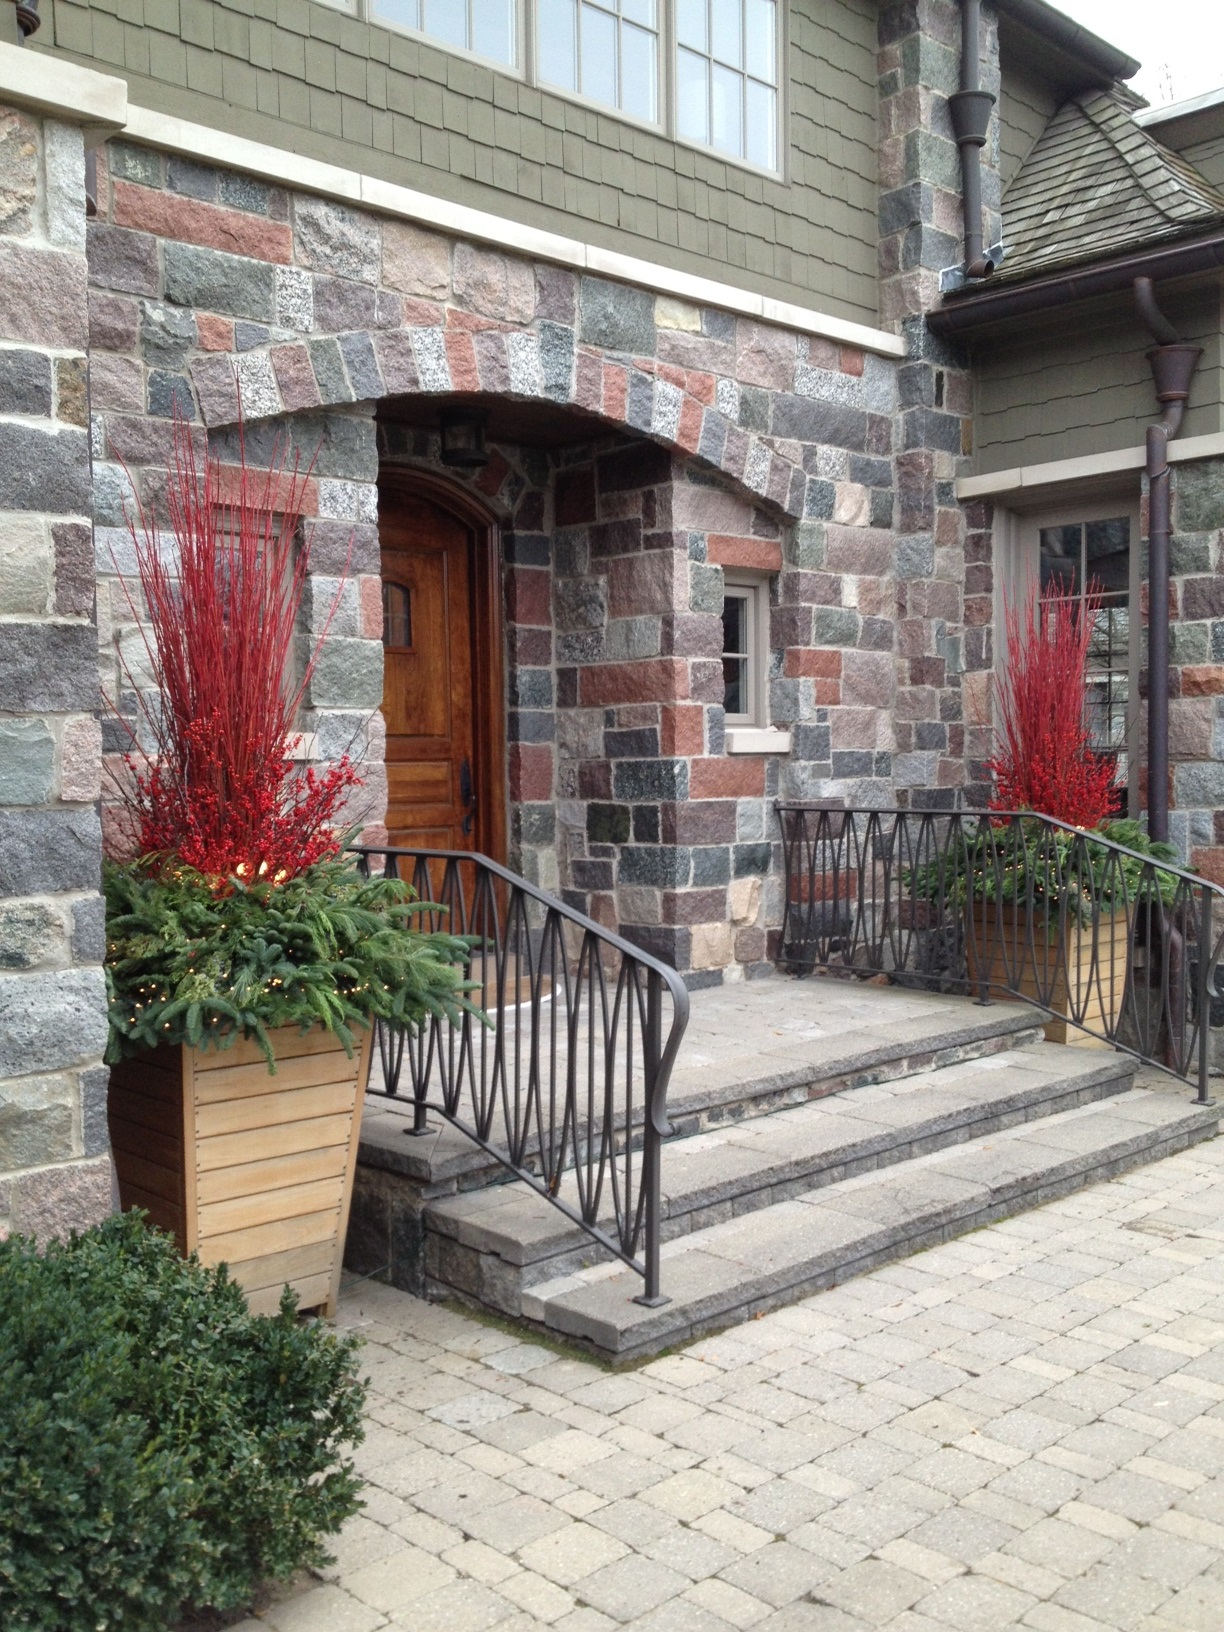
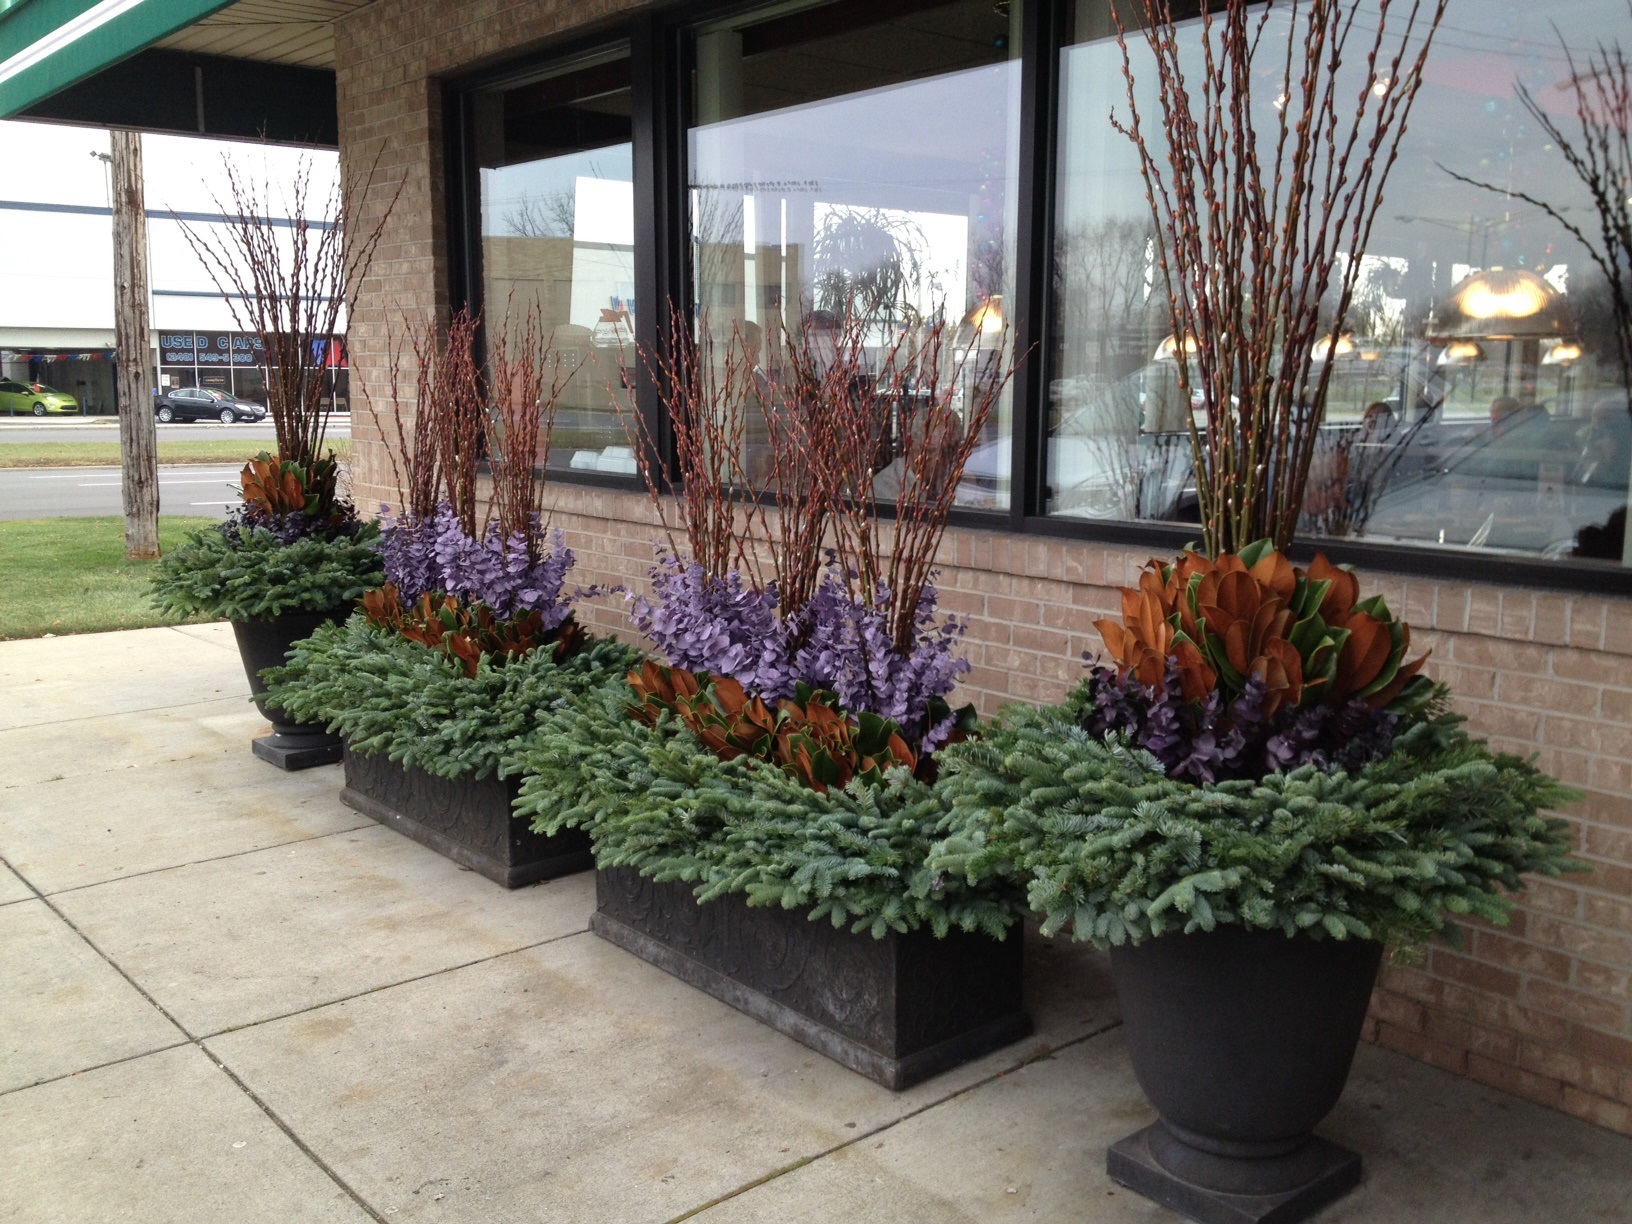
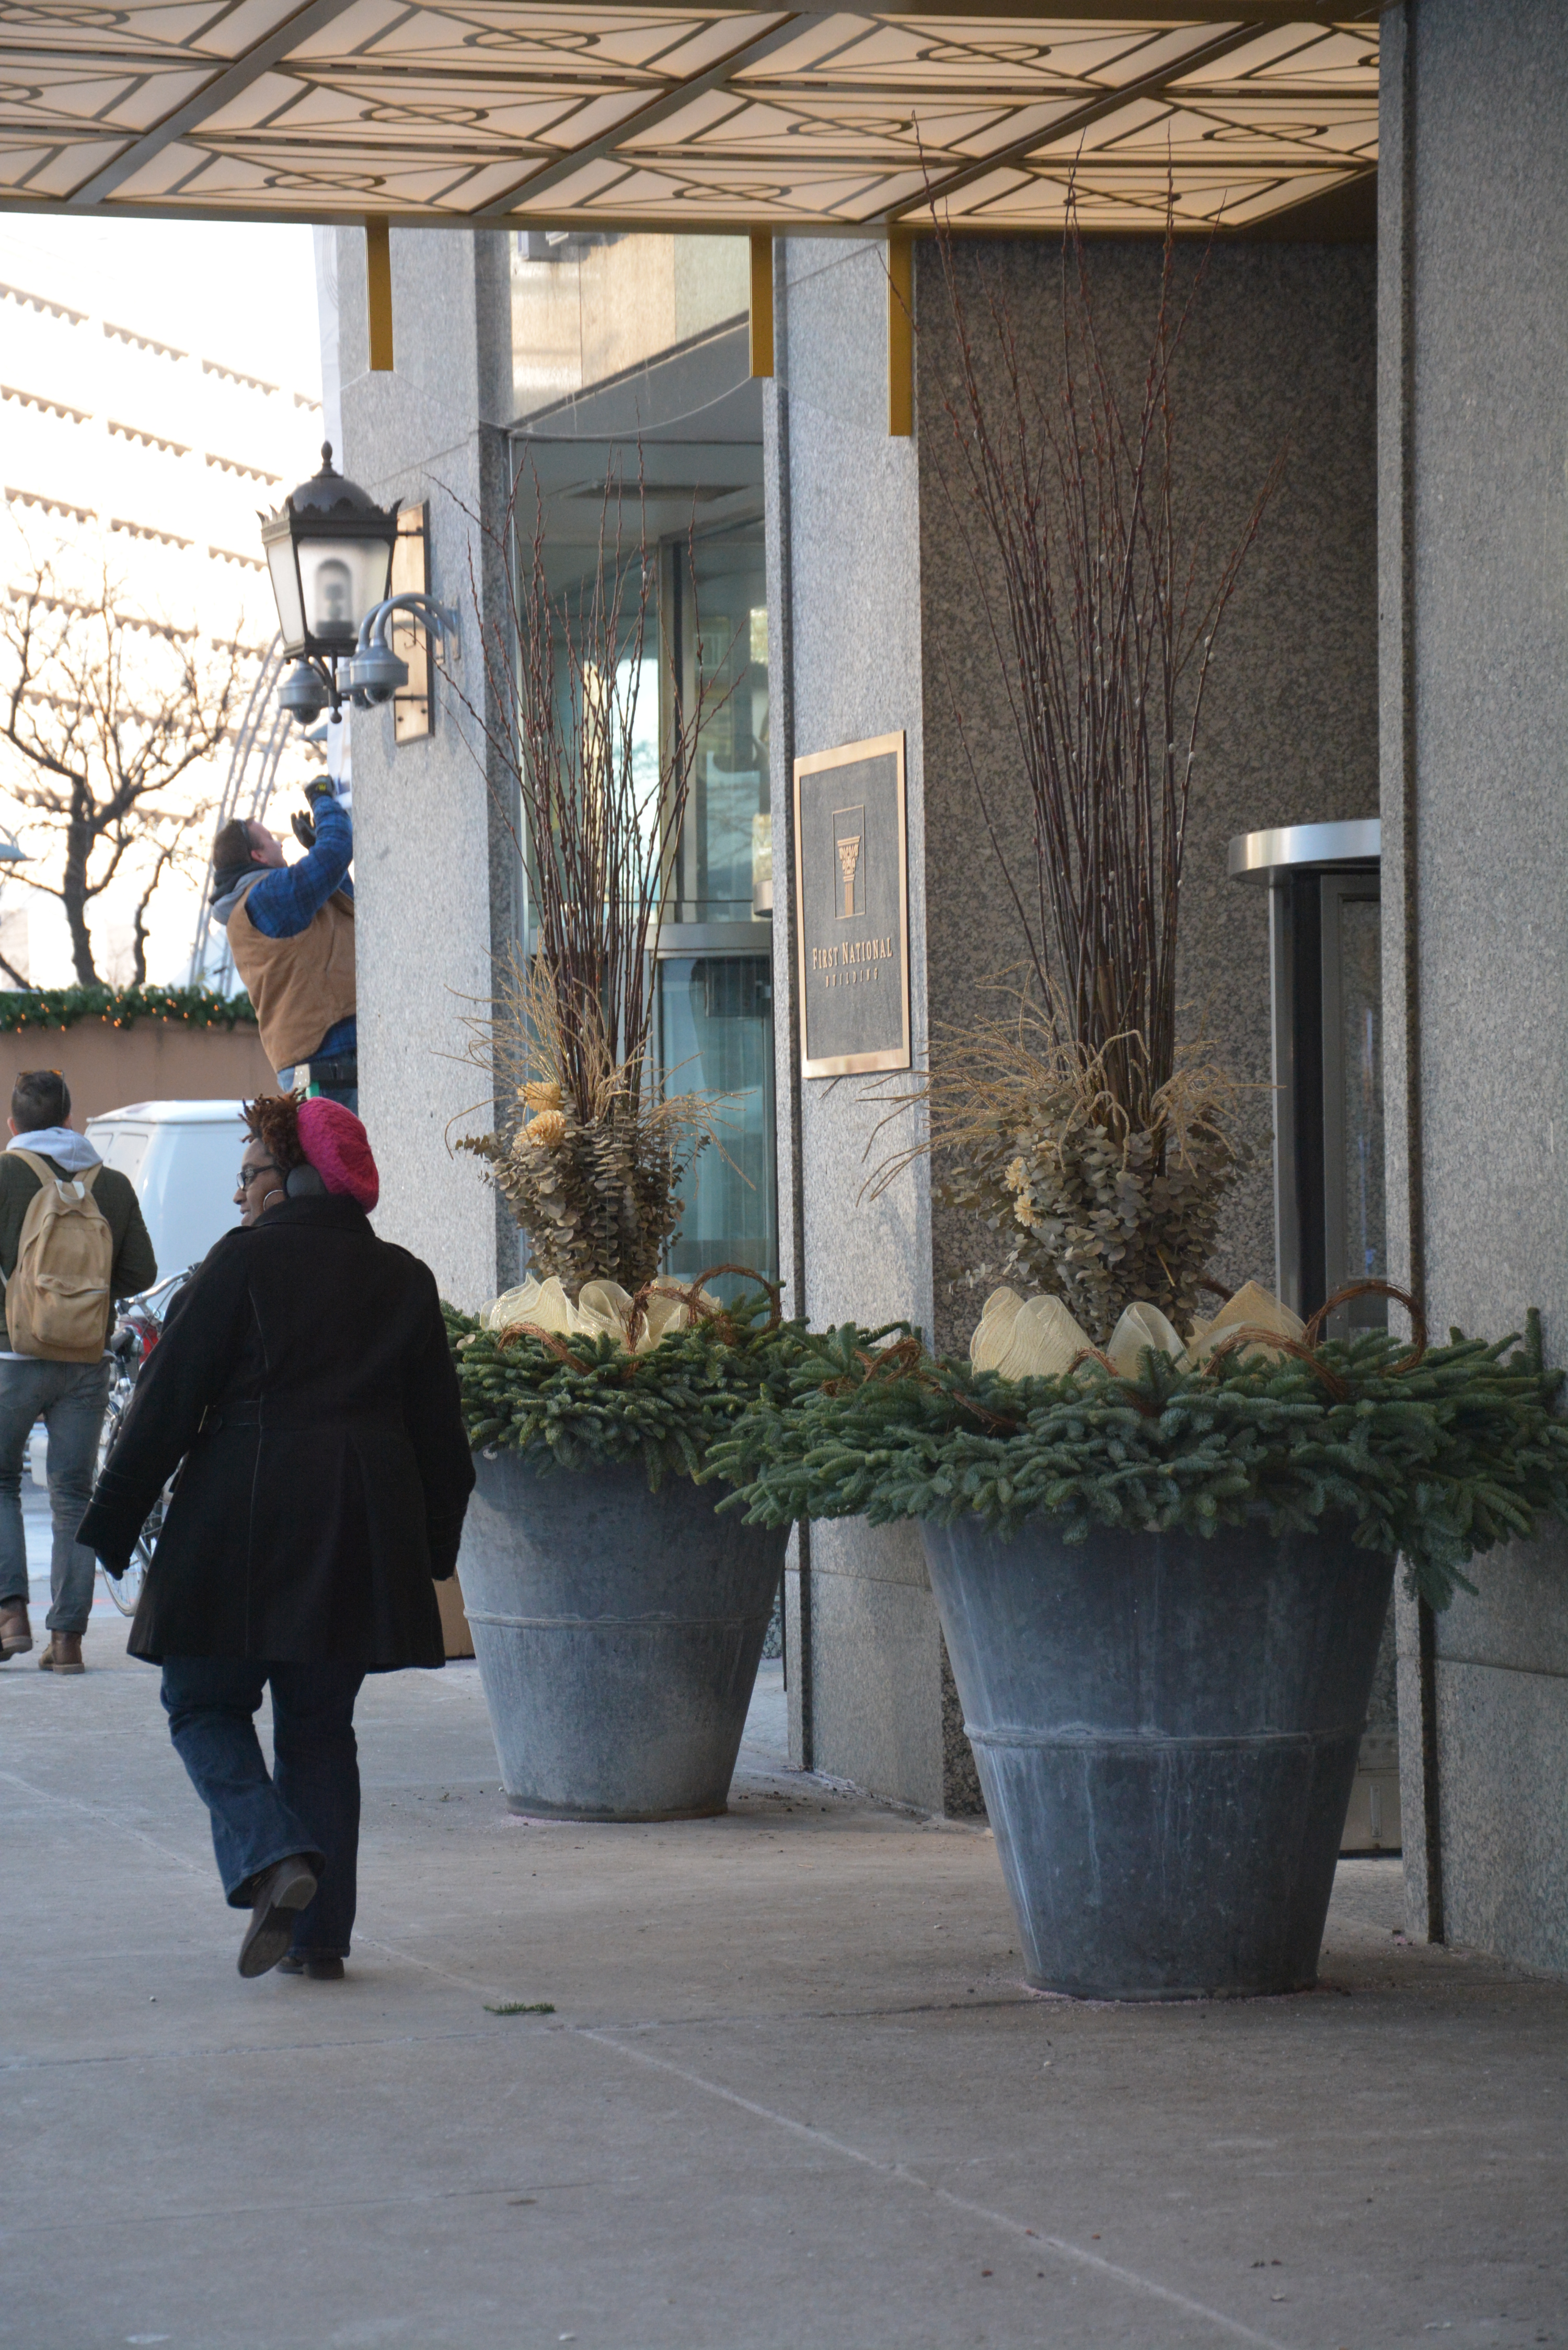
 These very large containers have enough variation in materials to provide some interest, even though the color palette is subdued.
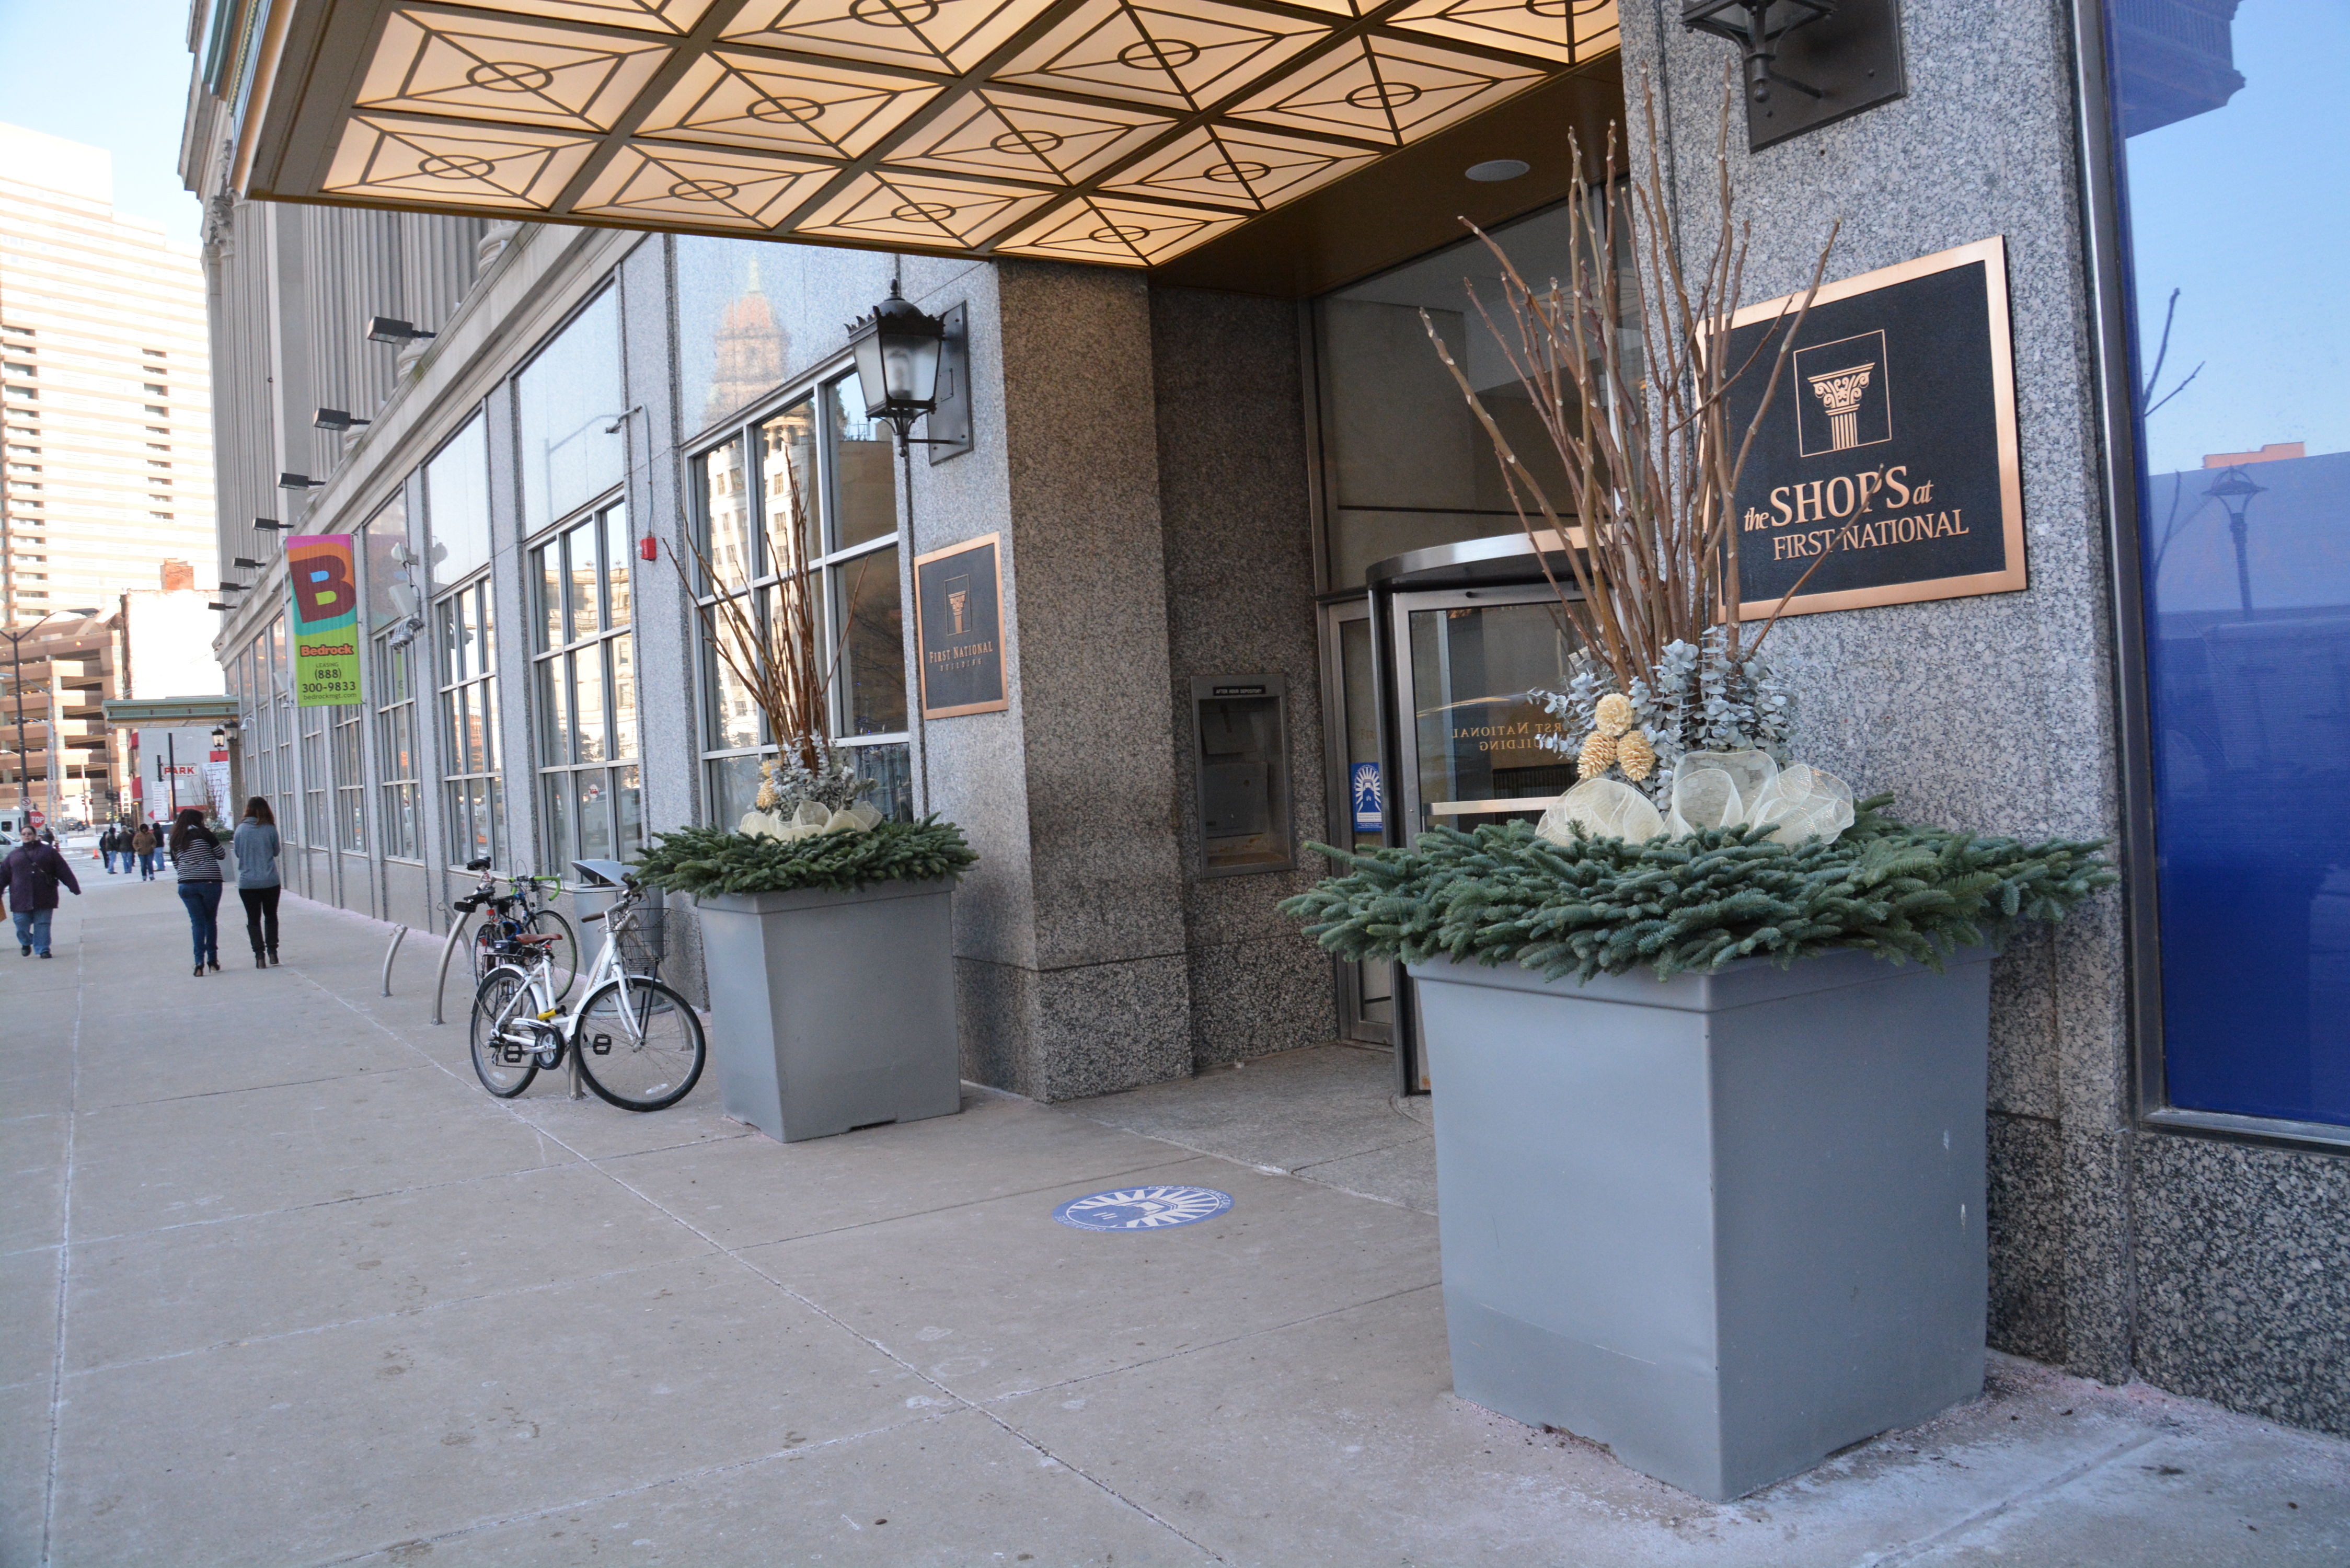 The steel gray color of the pots was an important consideration in the selection of the materials.
 Few things pain me more than pots sitting empty over the winter. Pots full of this or that, enduring over the course of the winter, speak to the hope that grounds every gardener. The garden goes on all year round, does it not? Some seasons, the forms and available materials are different. No reason not to celebrate, whatever the weather.