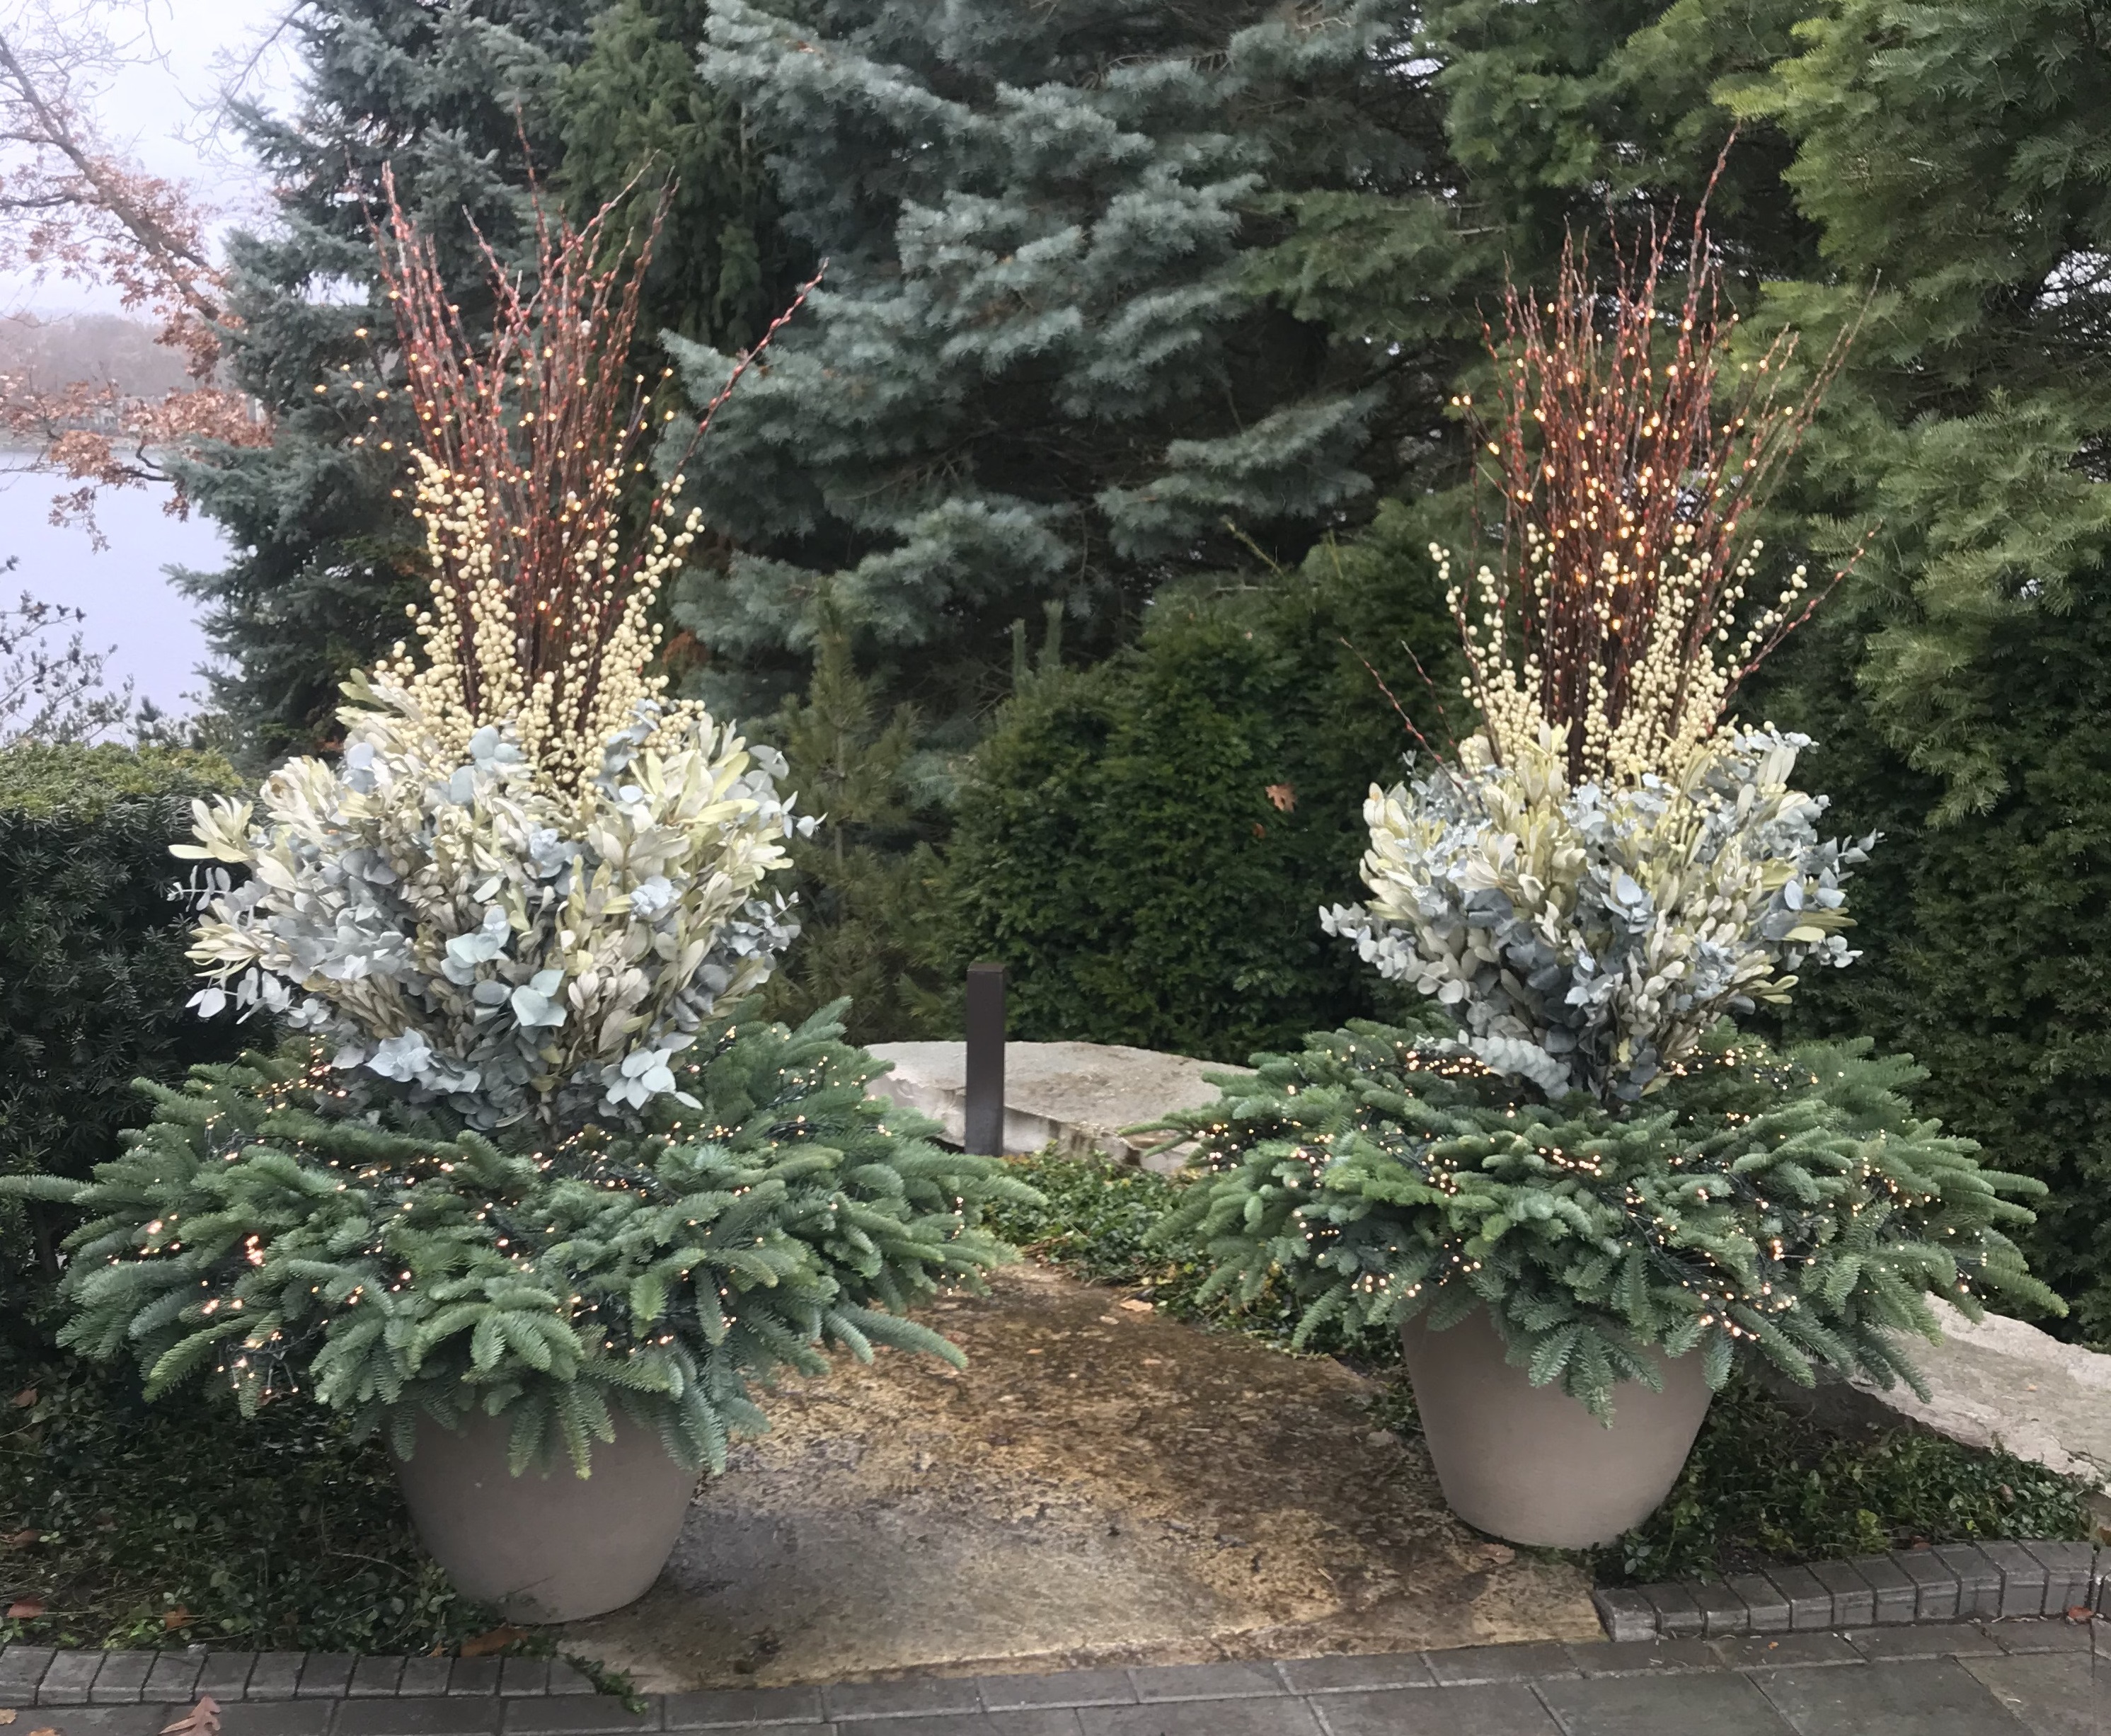
 Once in a blue moon we have a client who decides to buy new pots in December. The process from purchase to finish involves a series of steps, the first of which is the placement. Installing pots in a bed, rather than on a hard surface, is not all that usual. But in this case, I think my client made a great choice. Starting over is an opportunity. For her, and for me. It took us a few days to put everything together, but our idea was to stay on the project from start to finish.
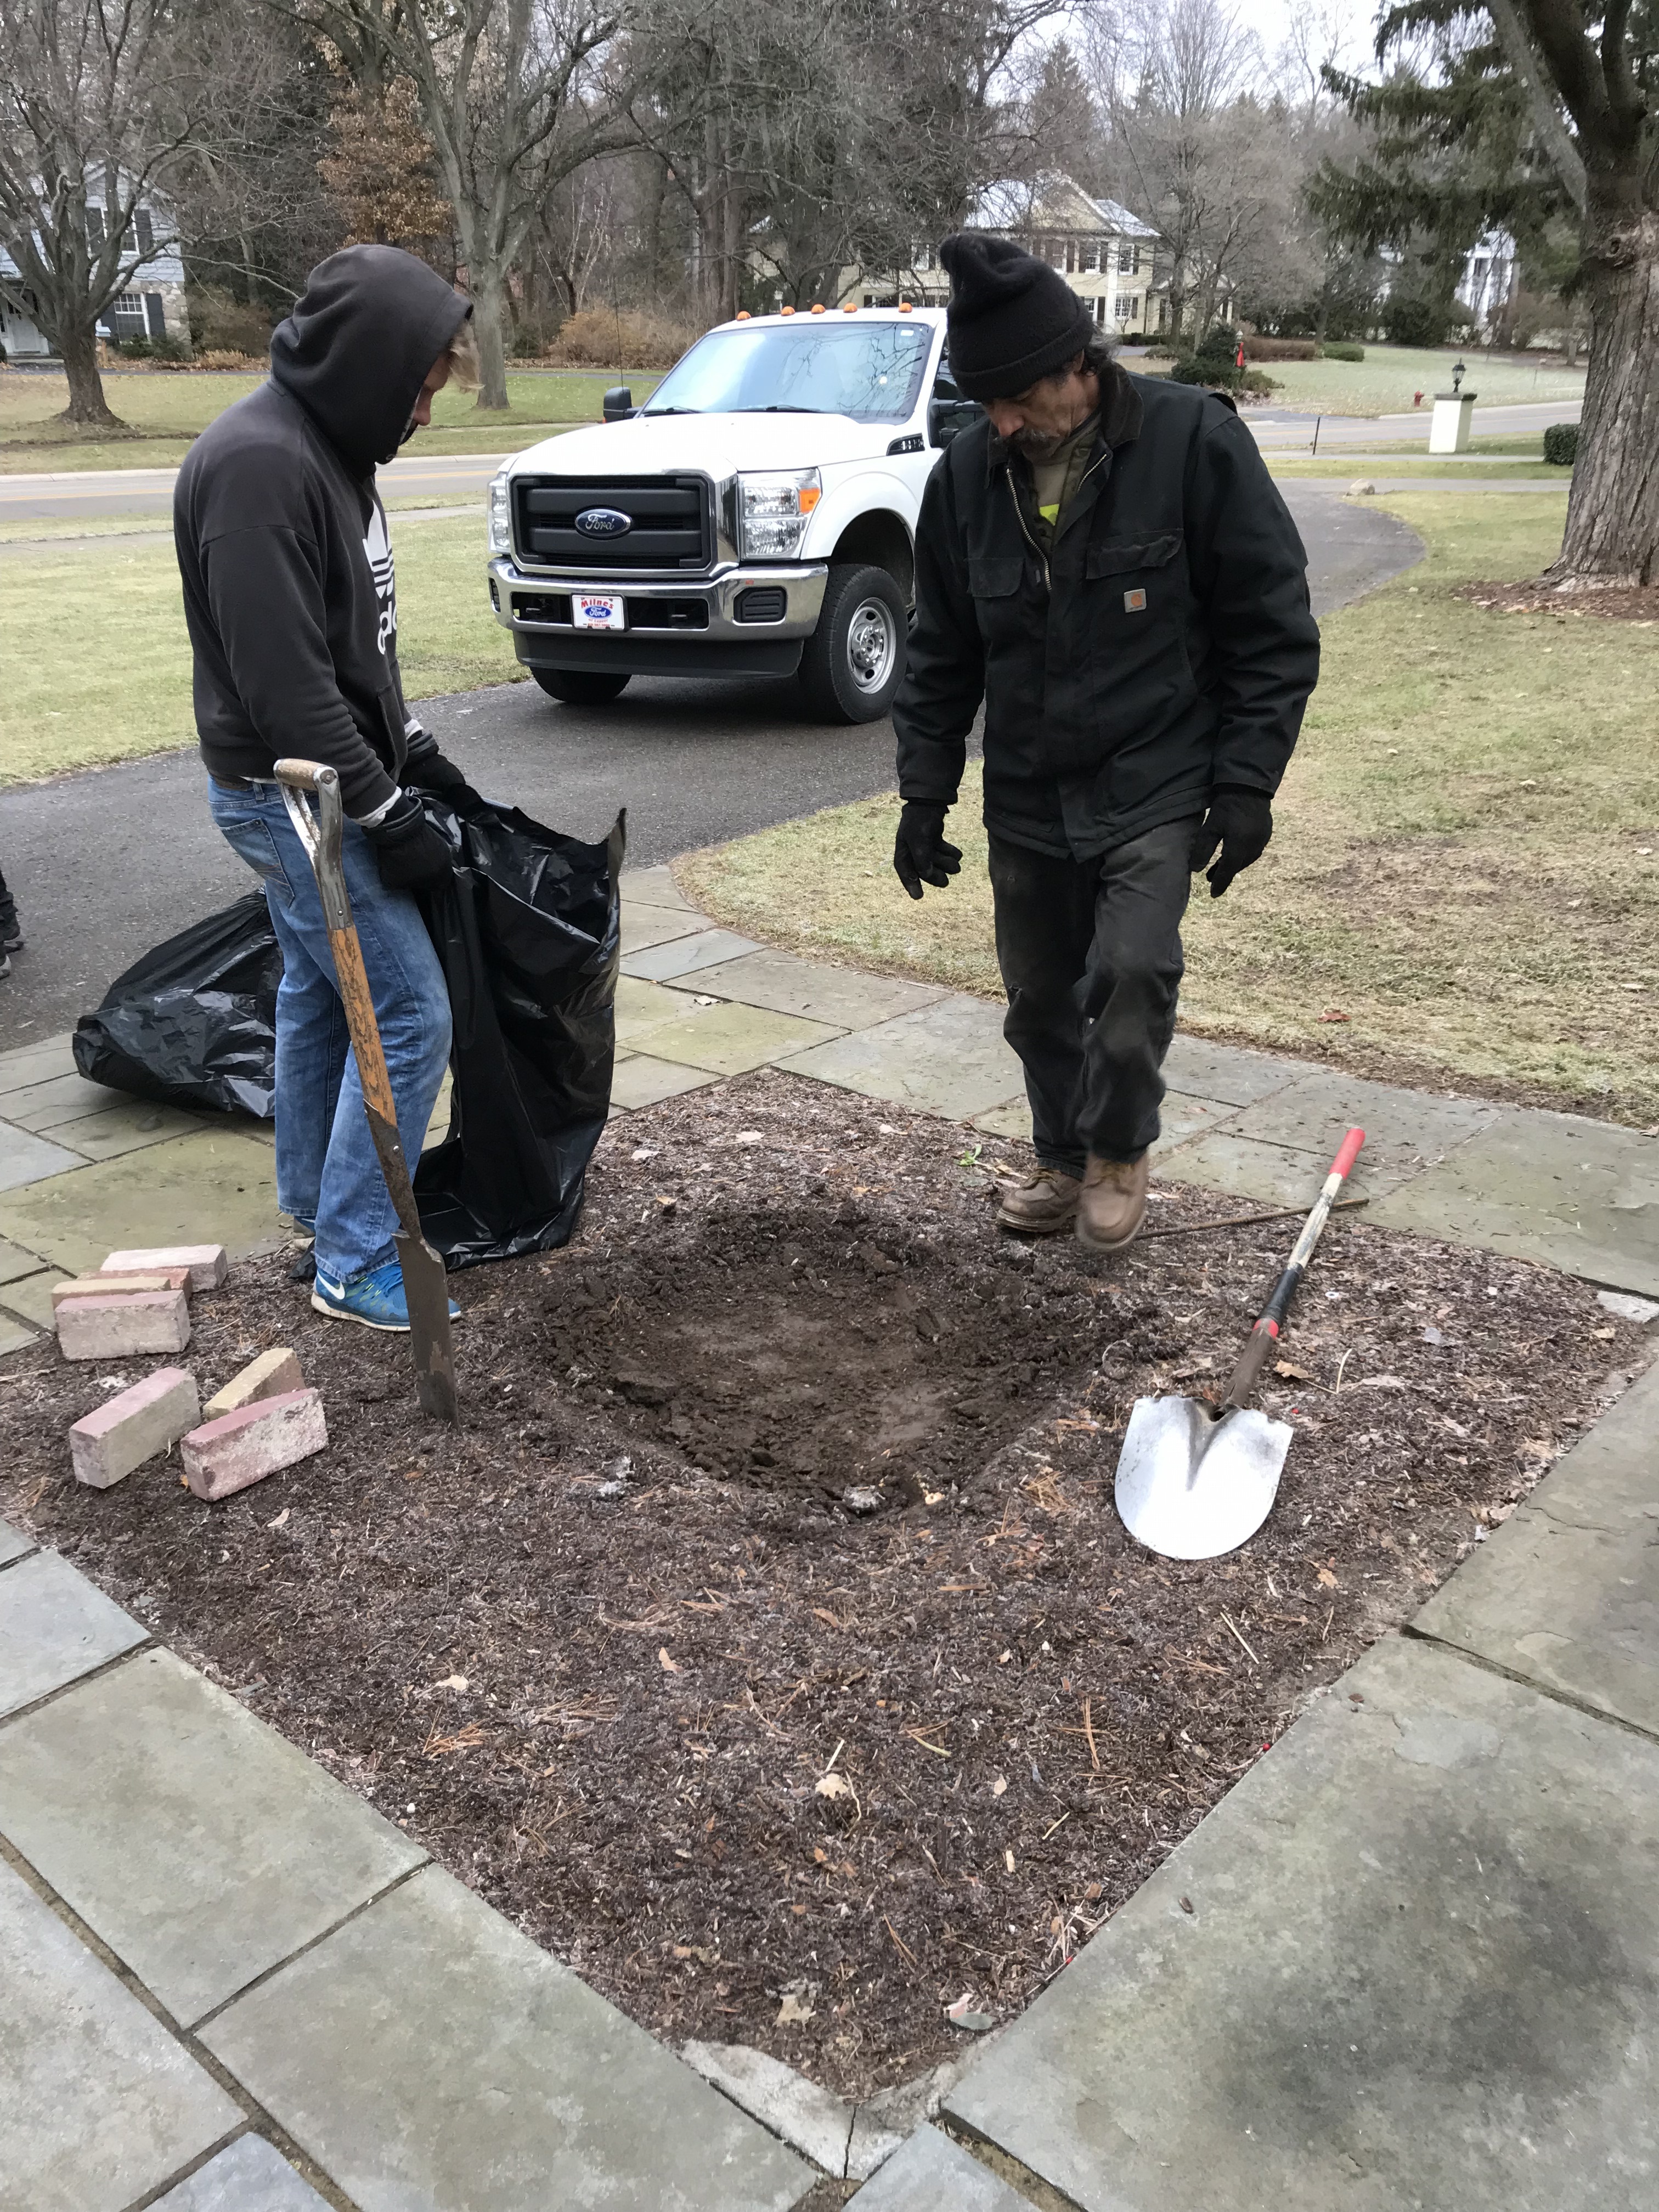
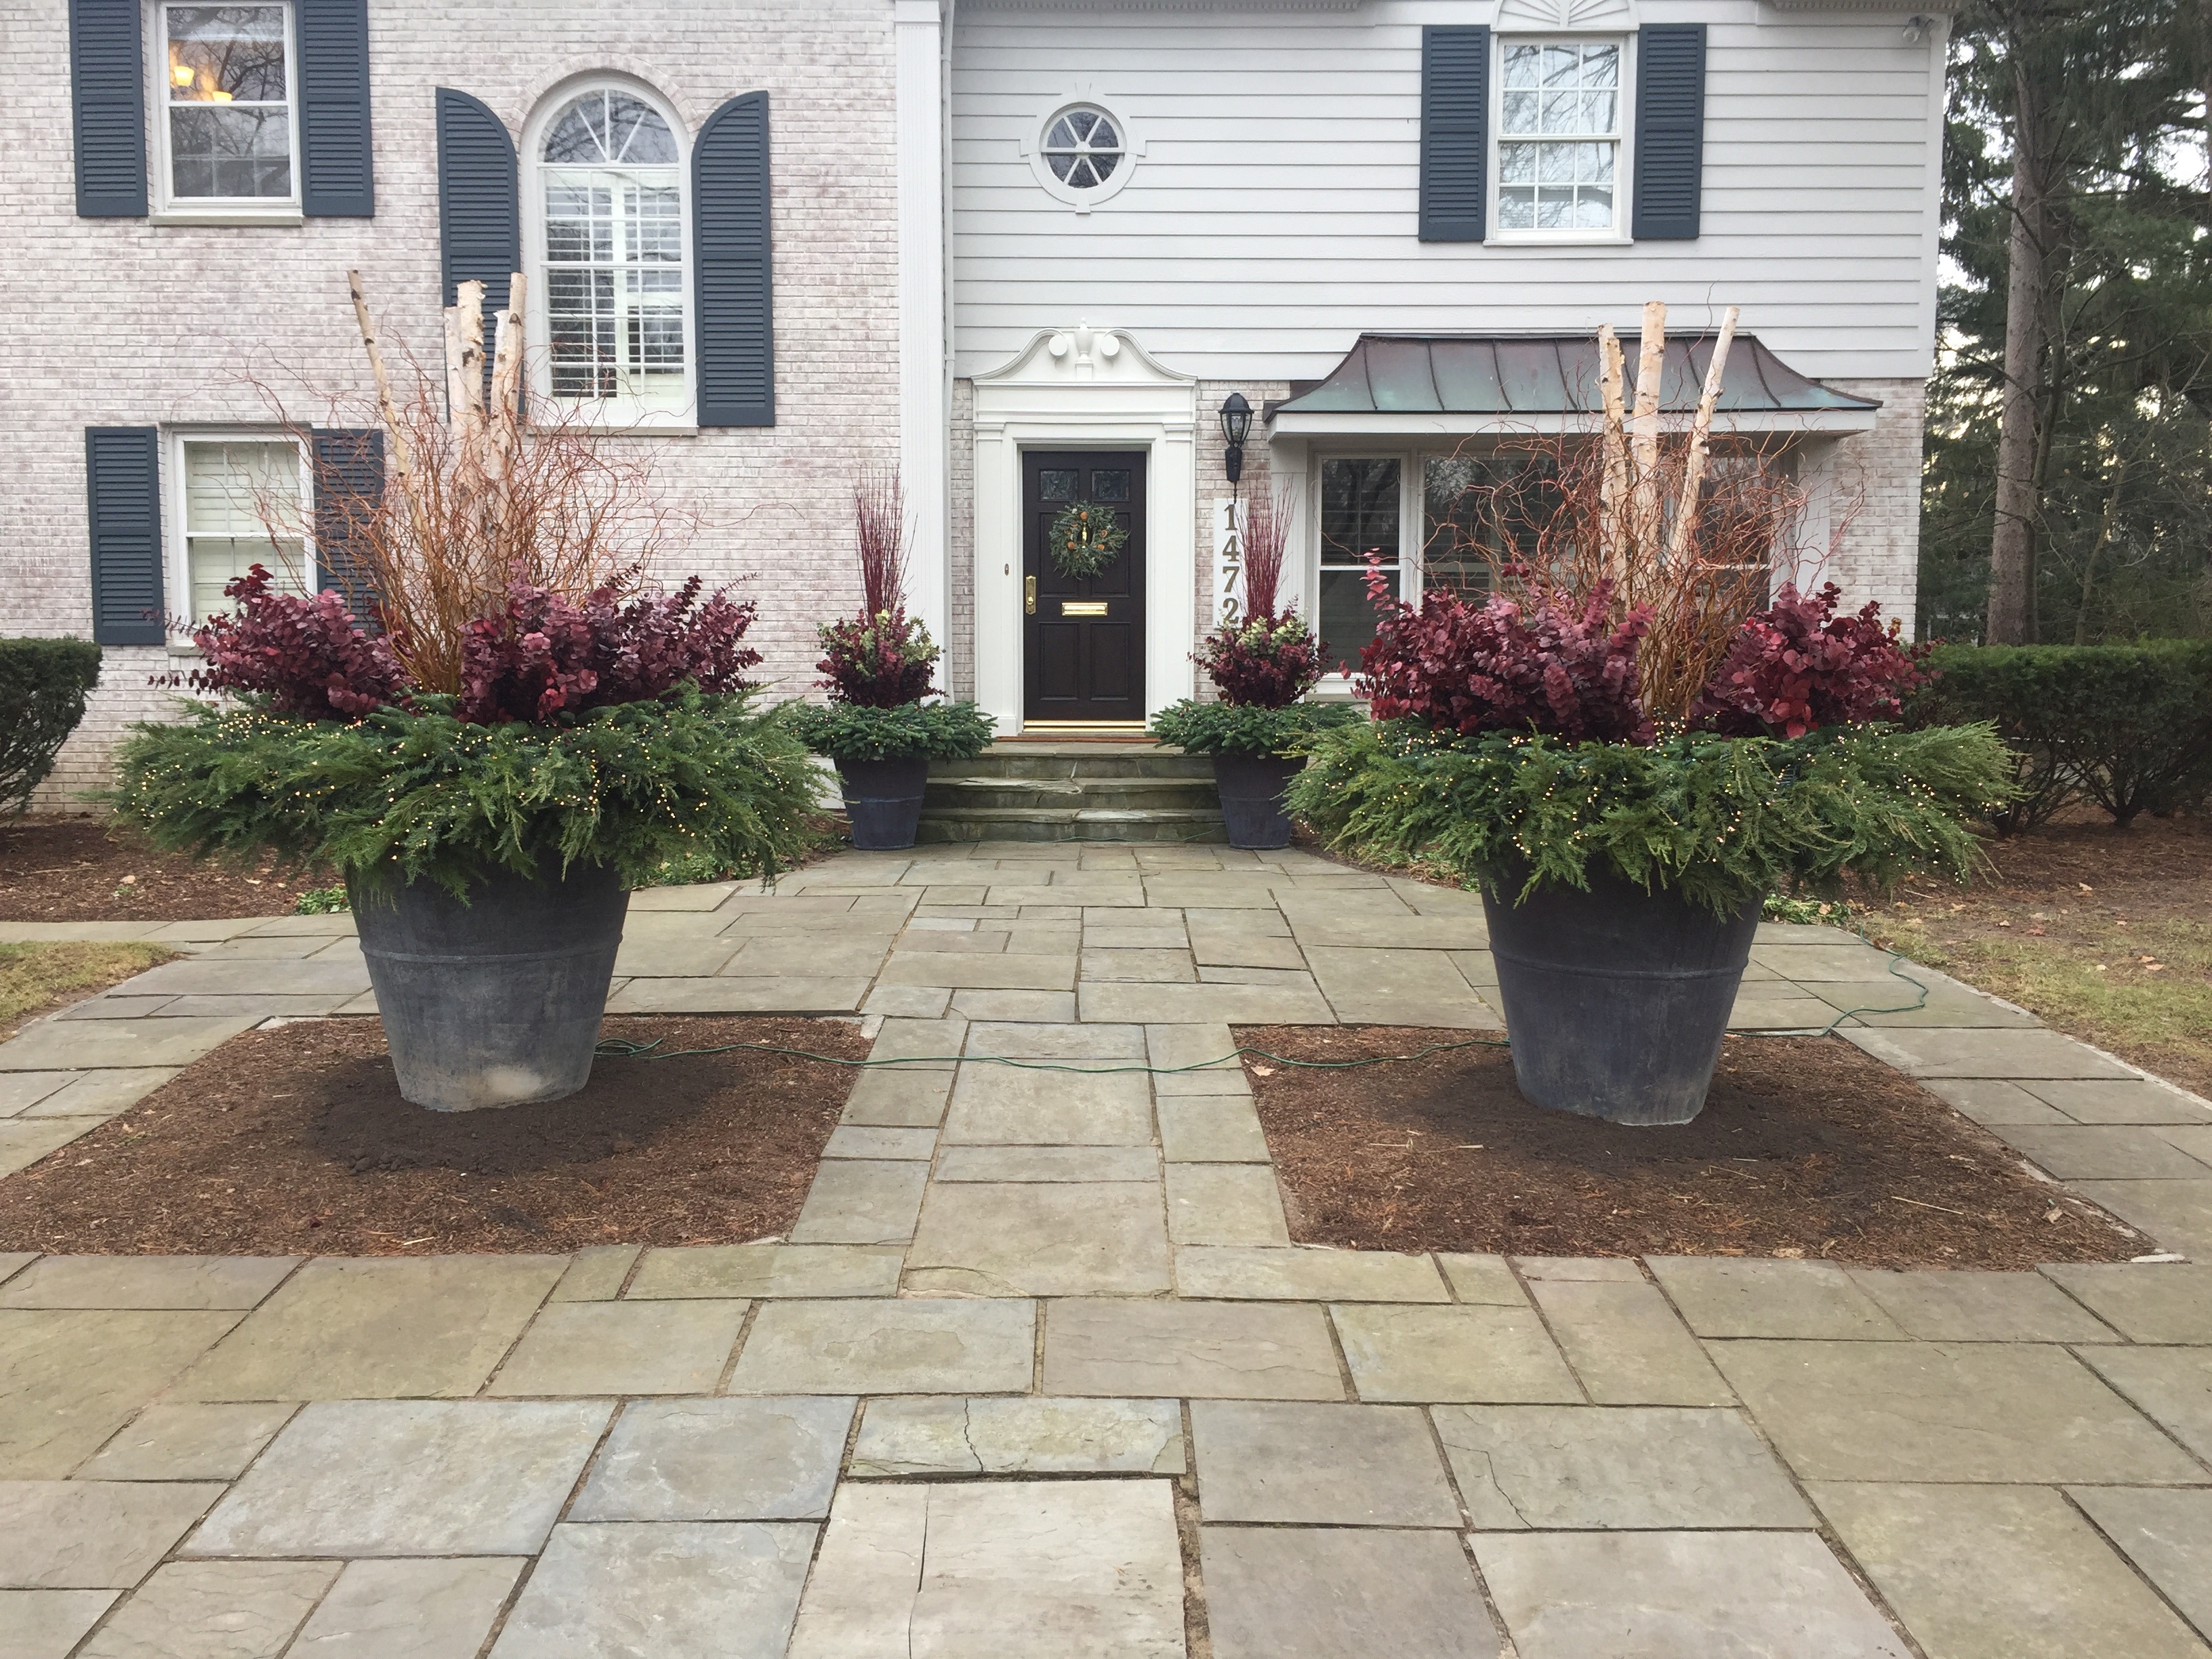
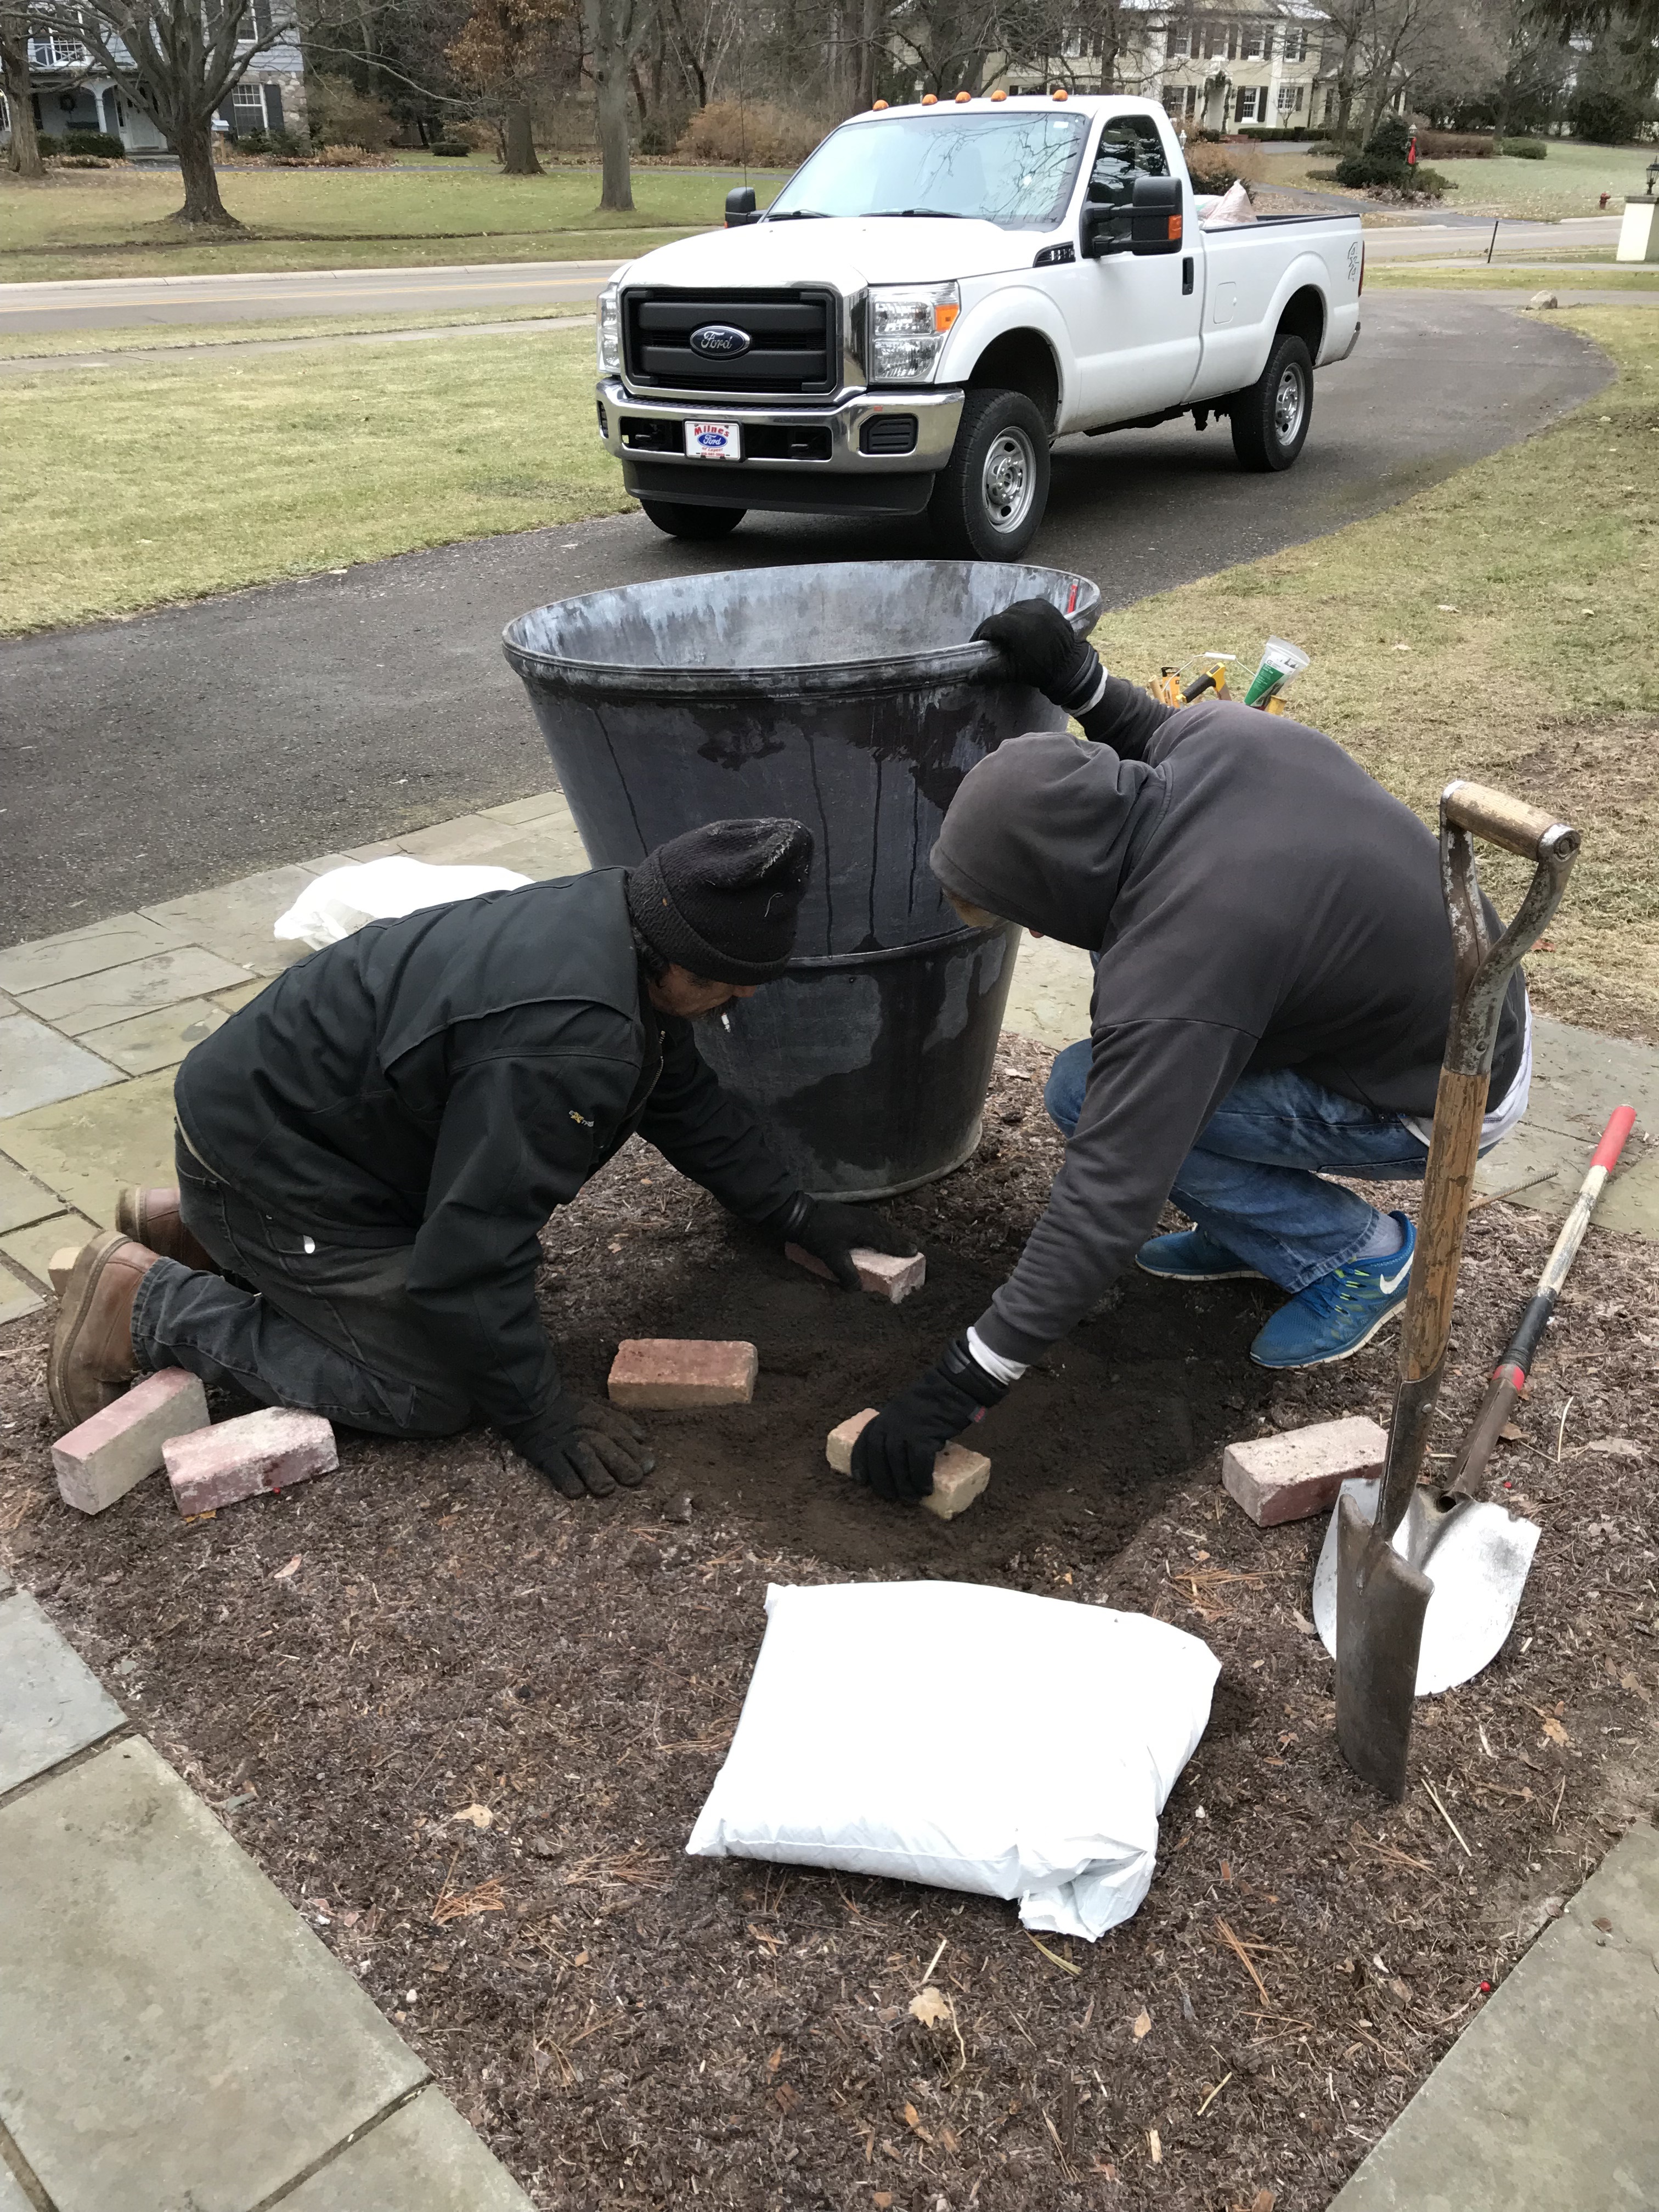 These substantial pots were set to be placed in a pair of beds that once held some very unhappy plant material. By large, I mean 36″ tall, and 36″ in diameter at the top. The first order of business was to level the ground they would sit on, and provide a way for the pots to drain. Given the size of the pots, elevating them on bricks seemed like a good idea.
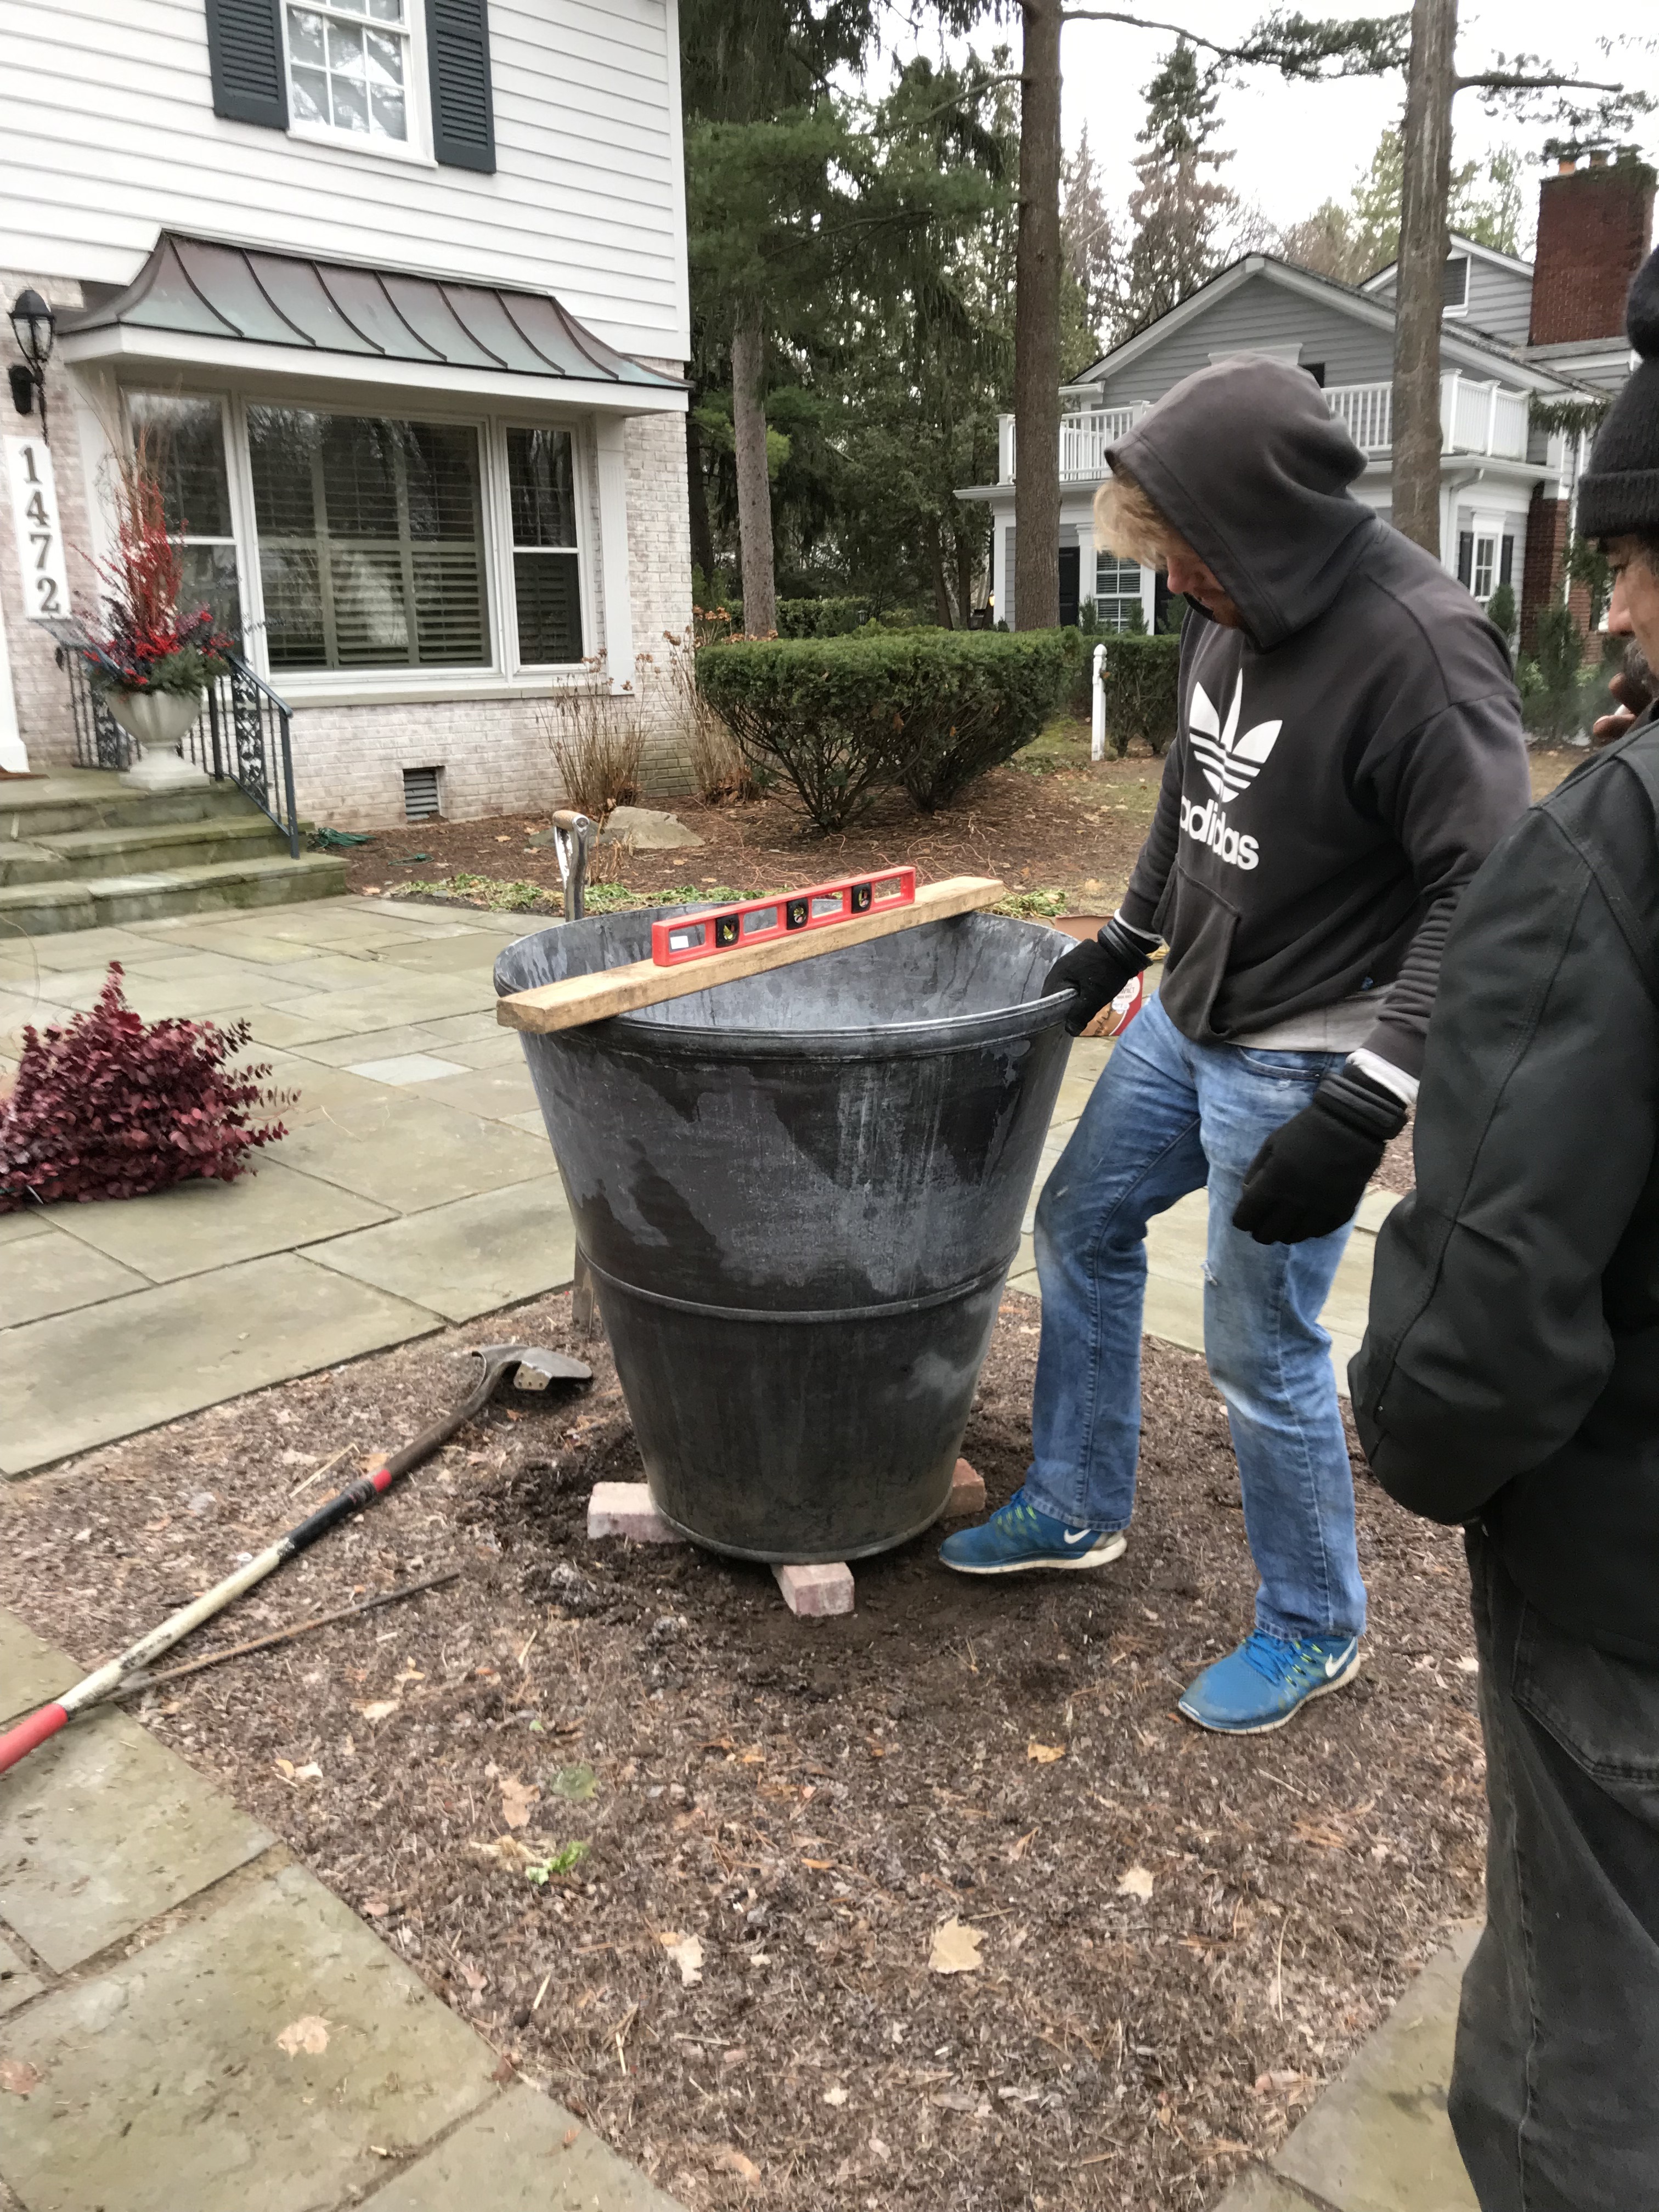 There is measuring and more measuring involved in this phase, because none of us want to try and level or center a large pot that is full of soil, and a winter arrangement. Empty pots are the easiest to move around.
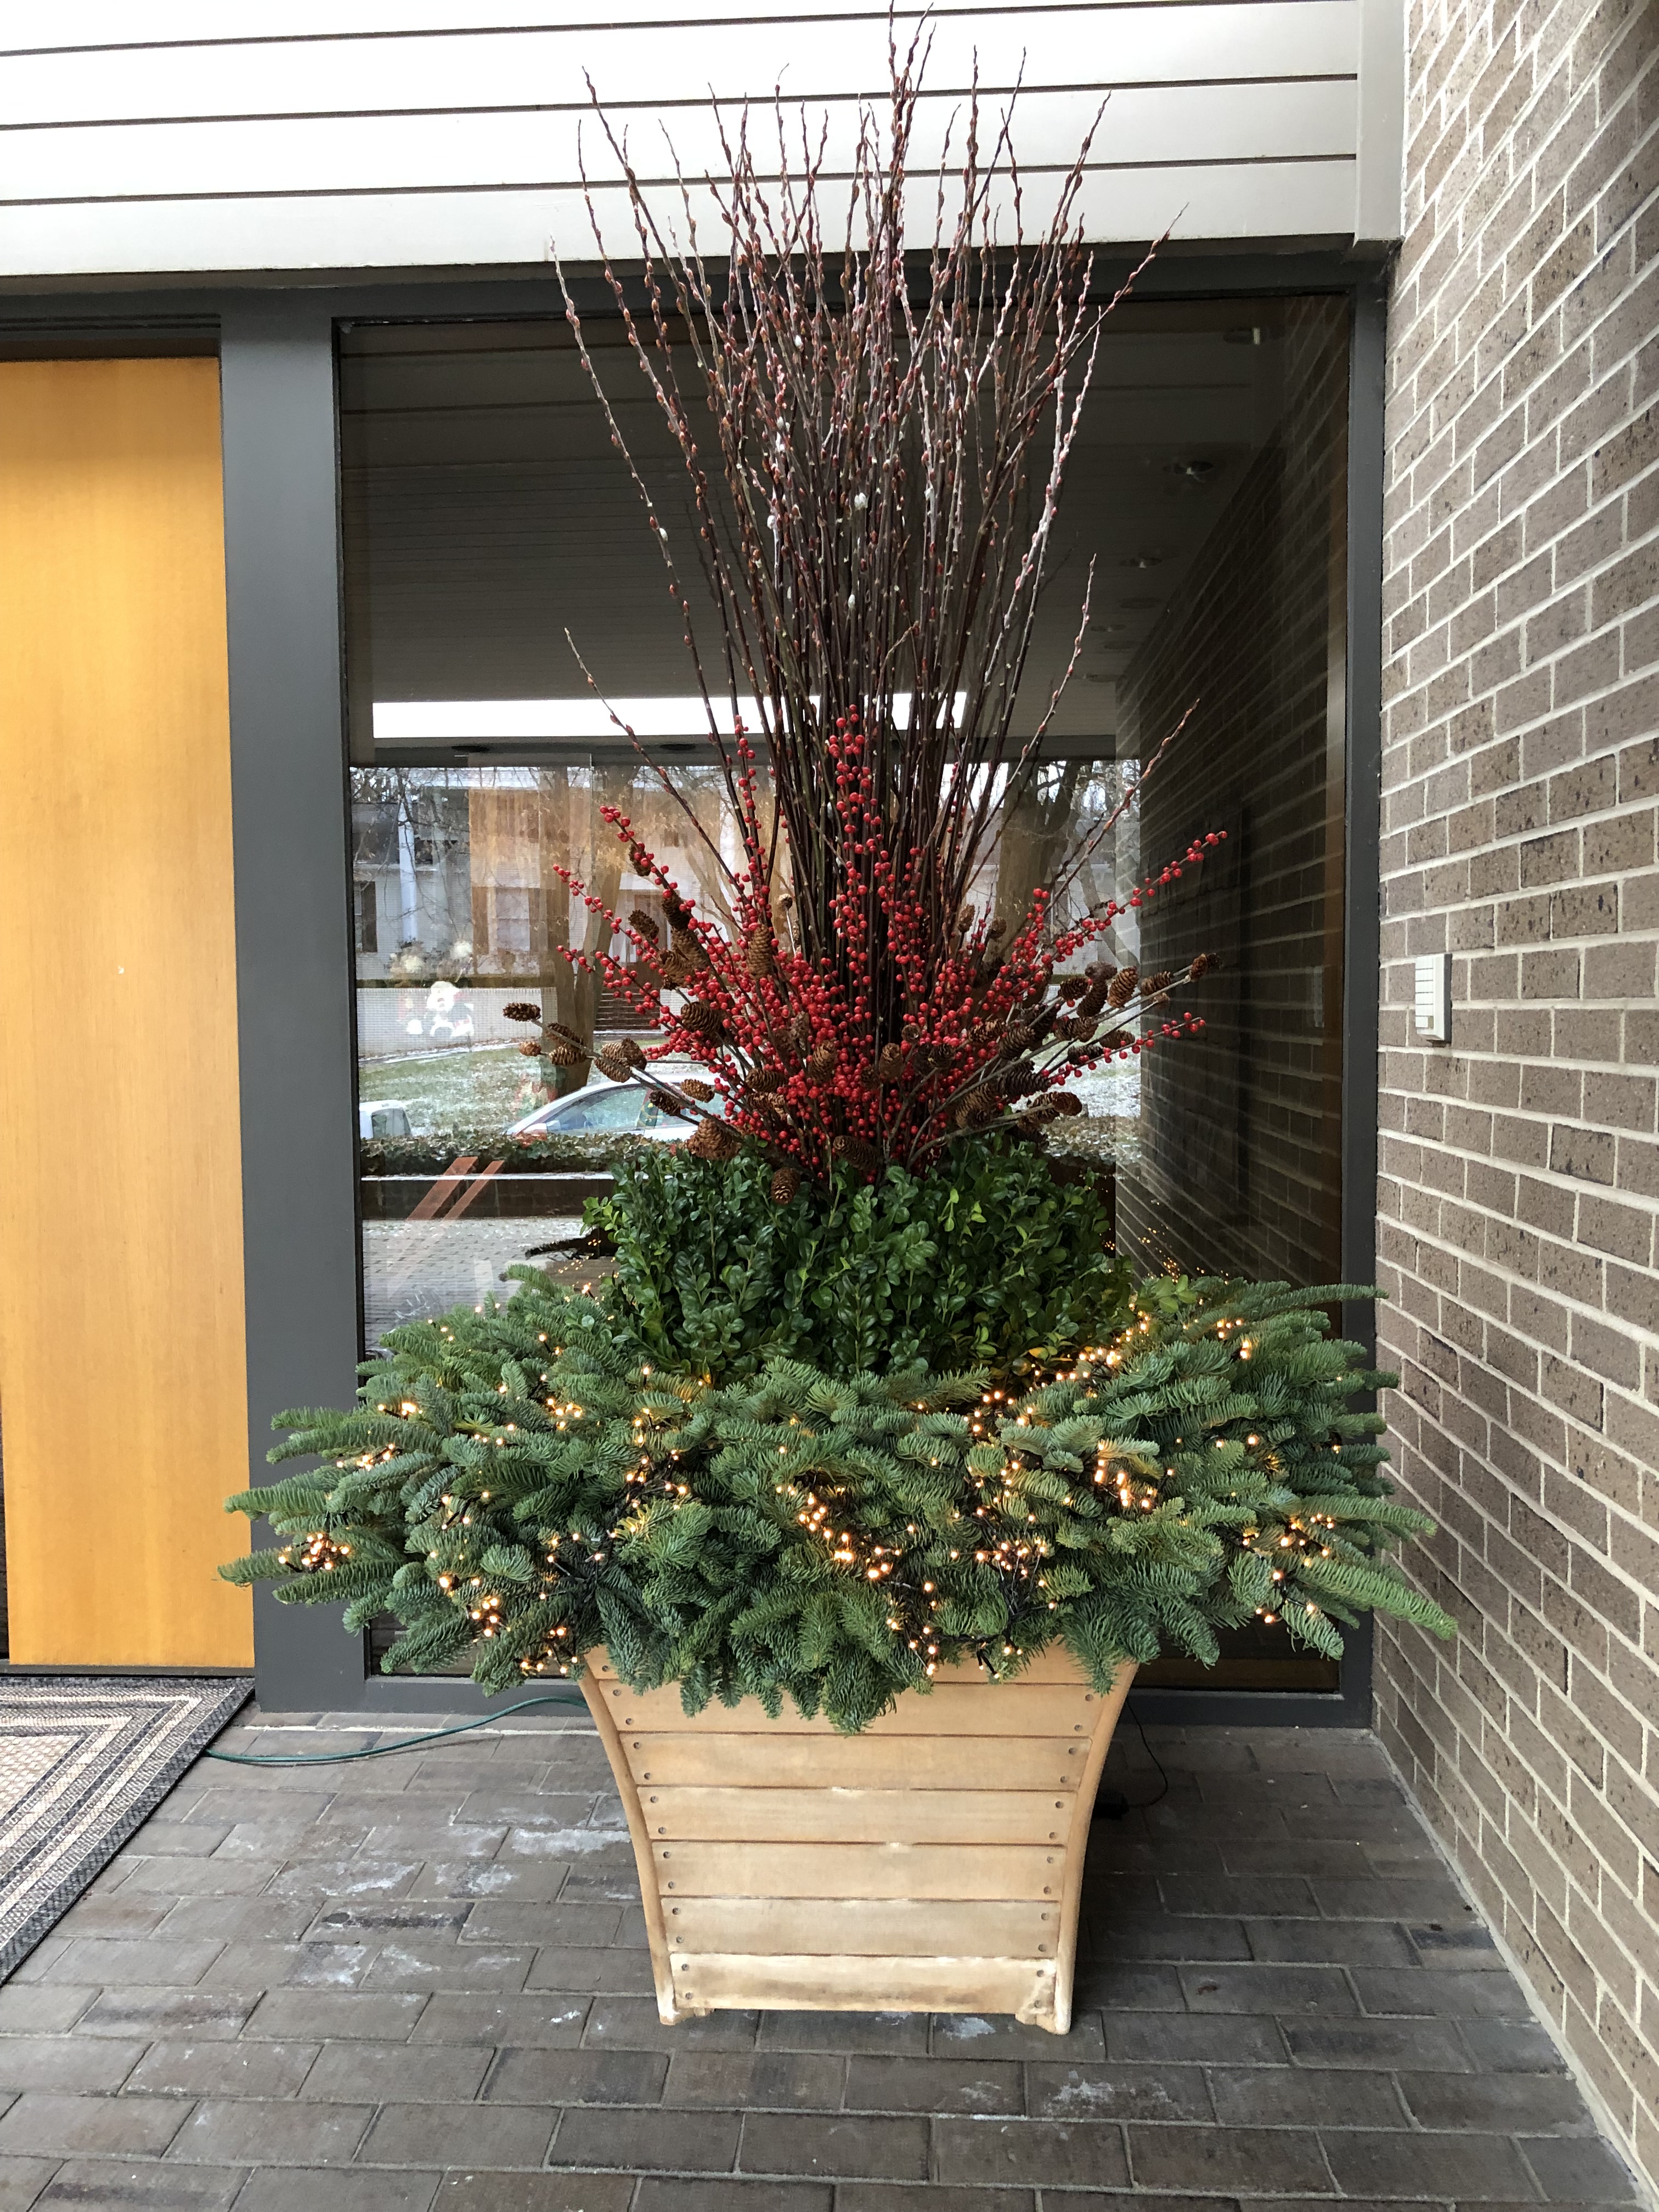
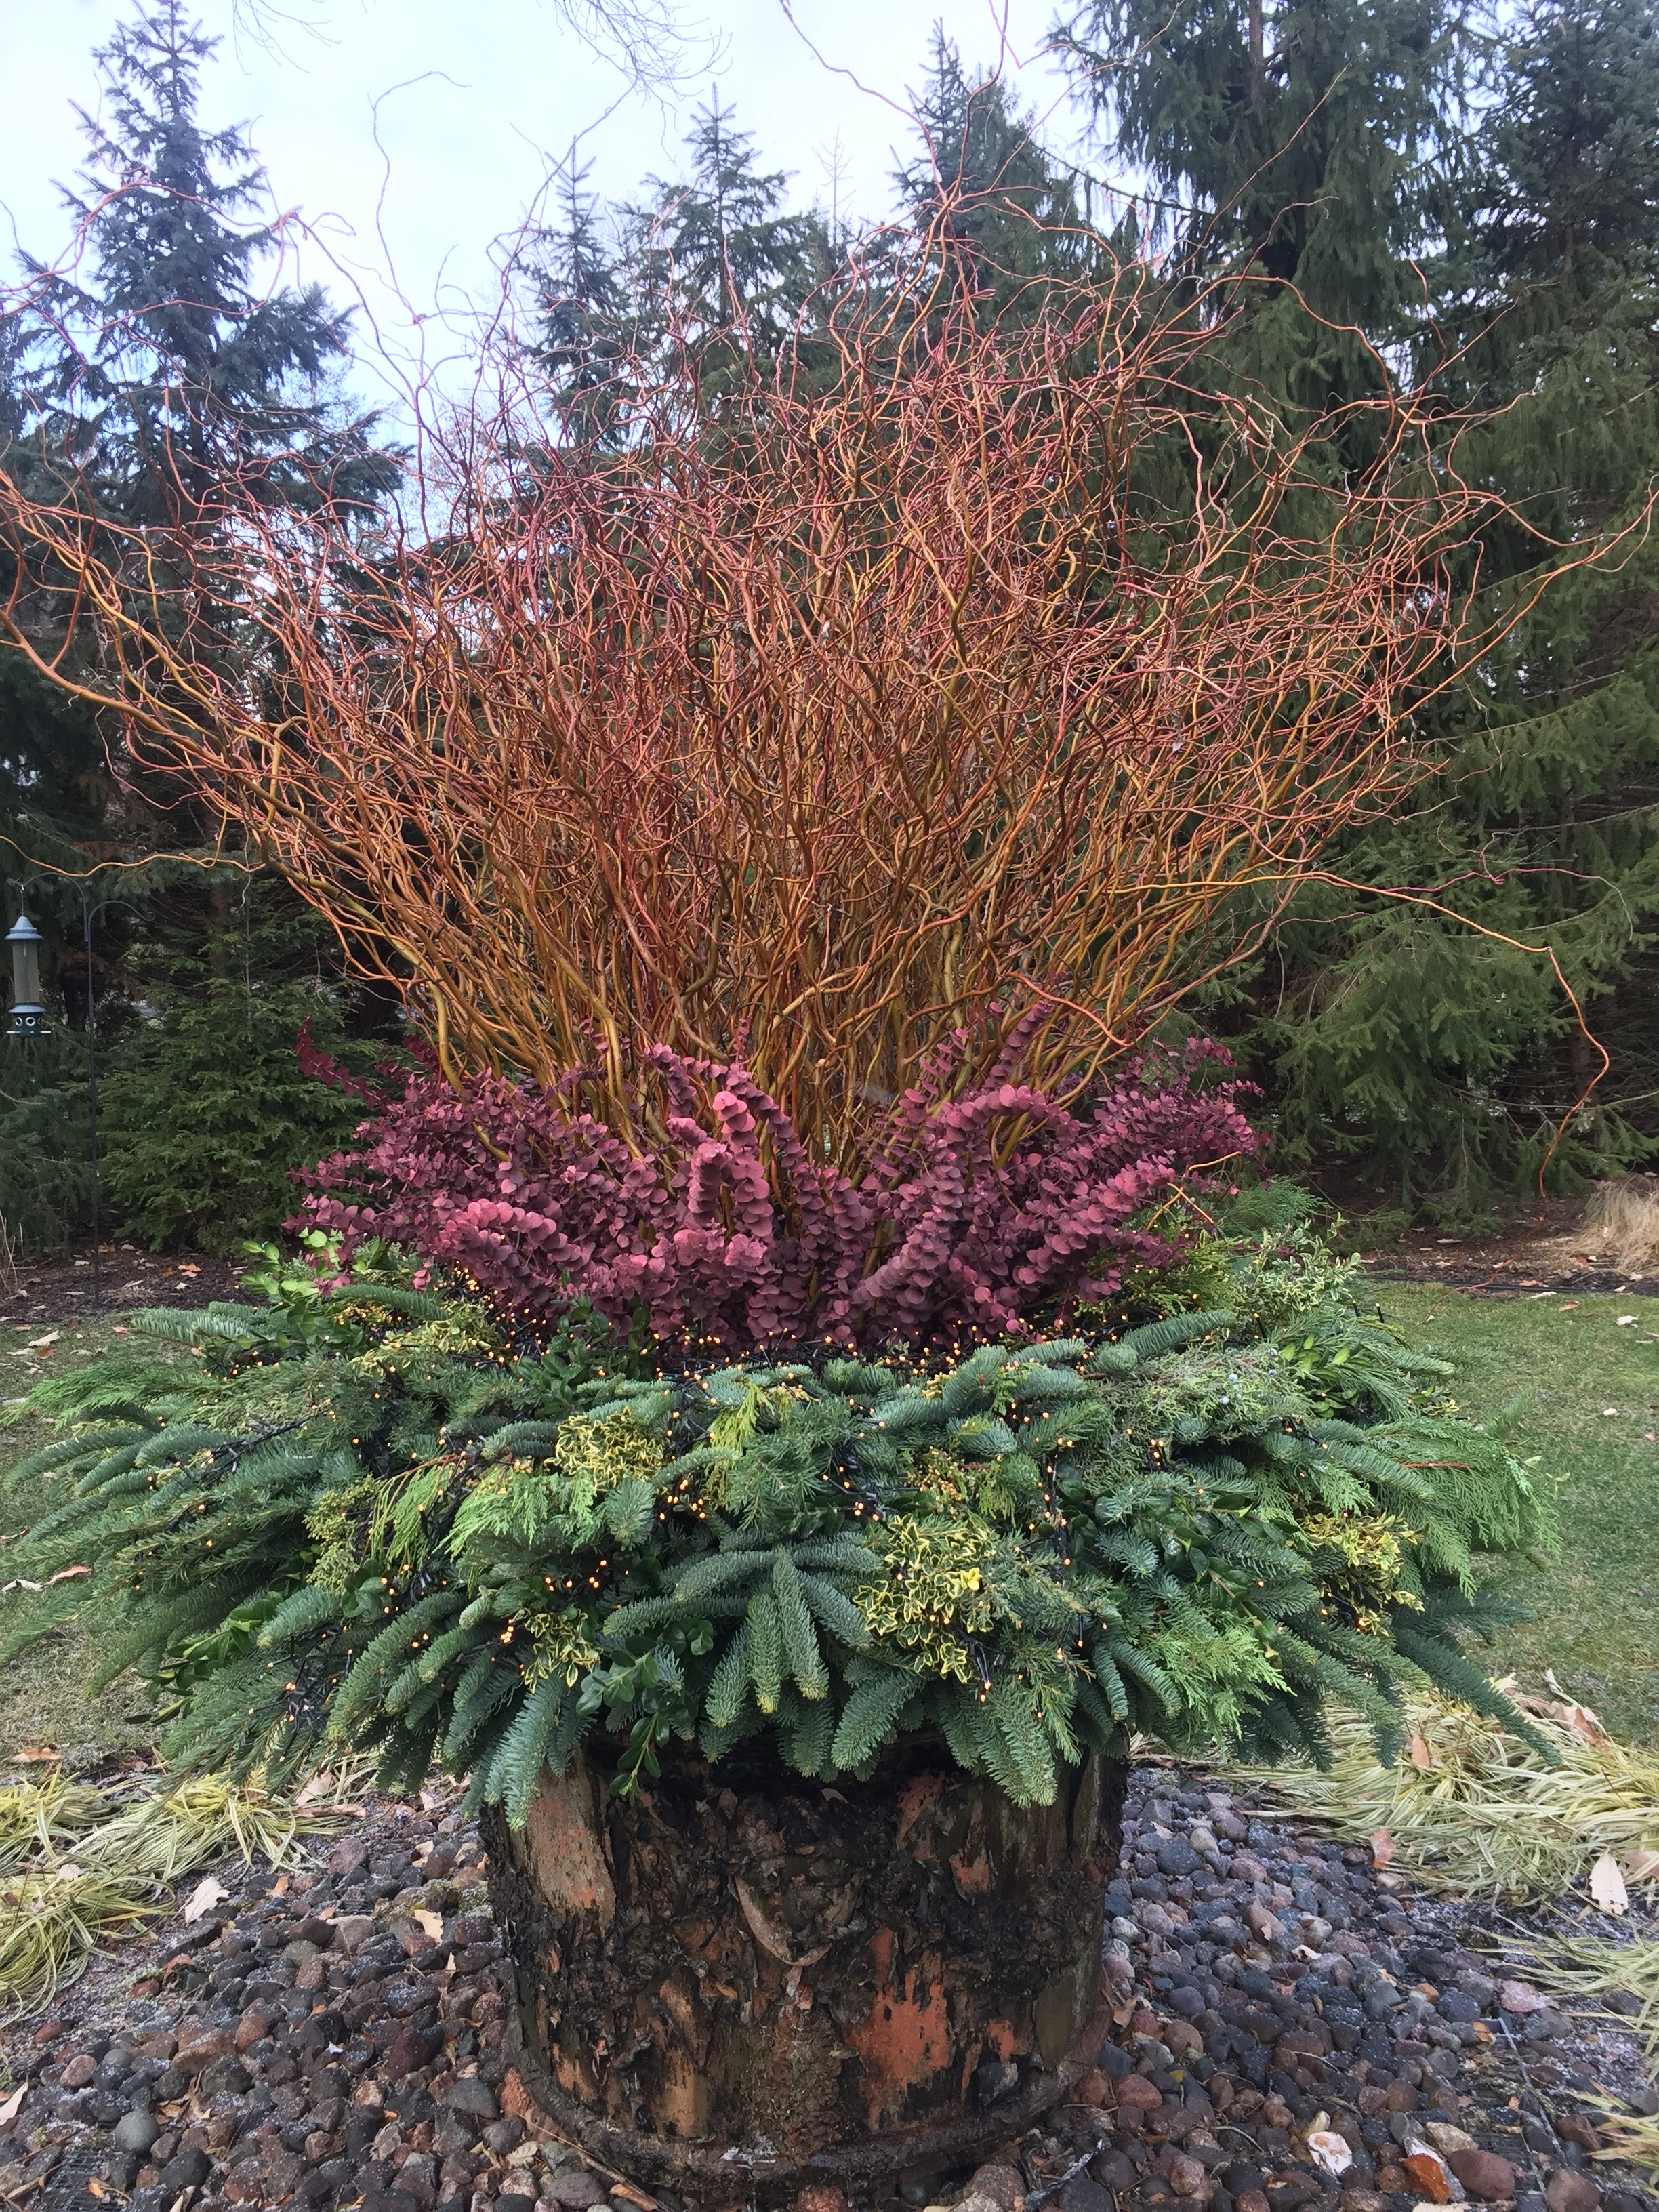
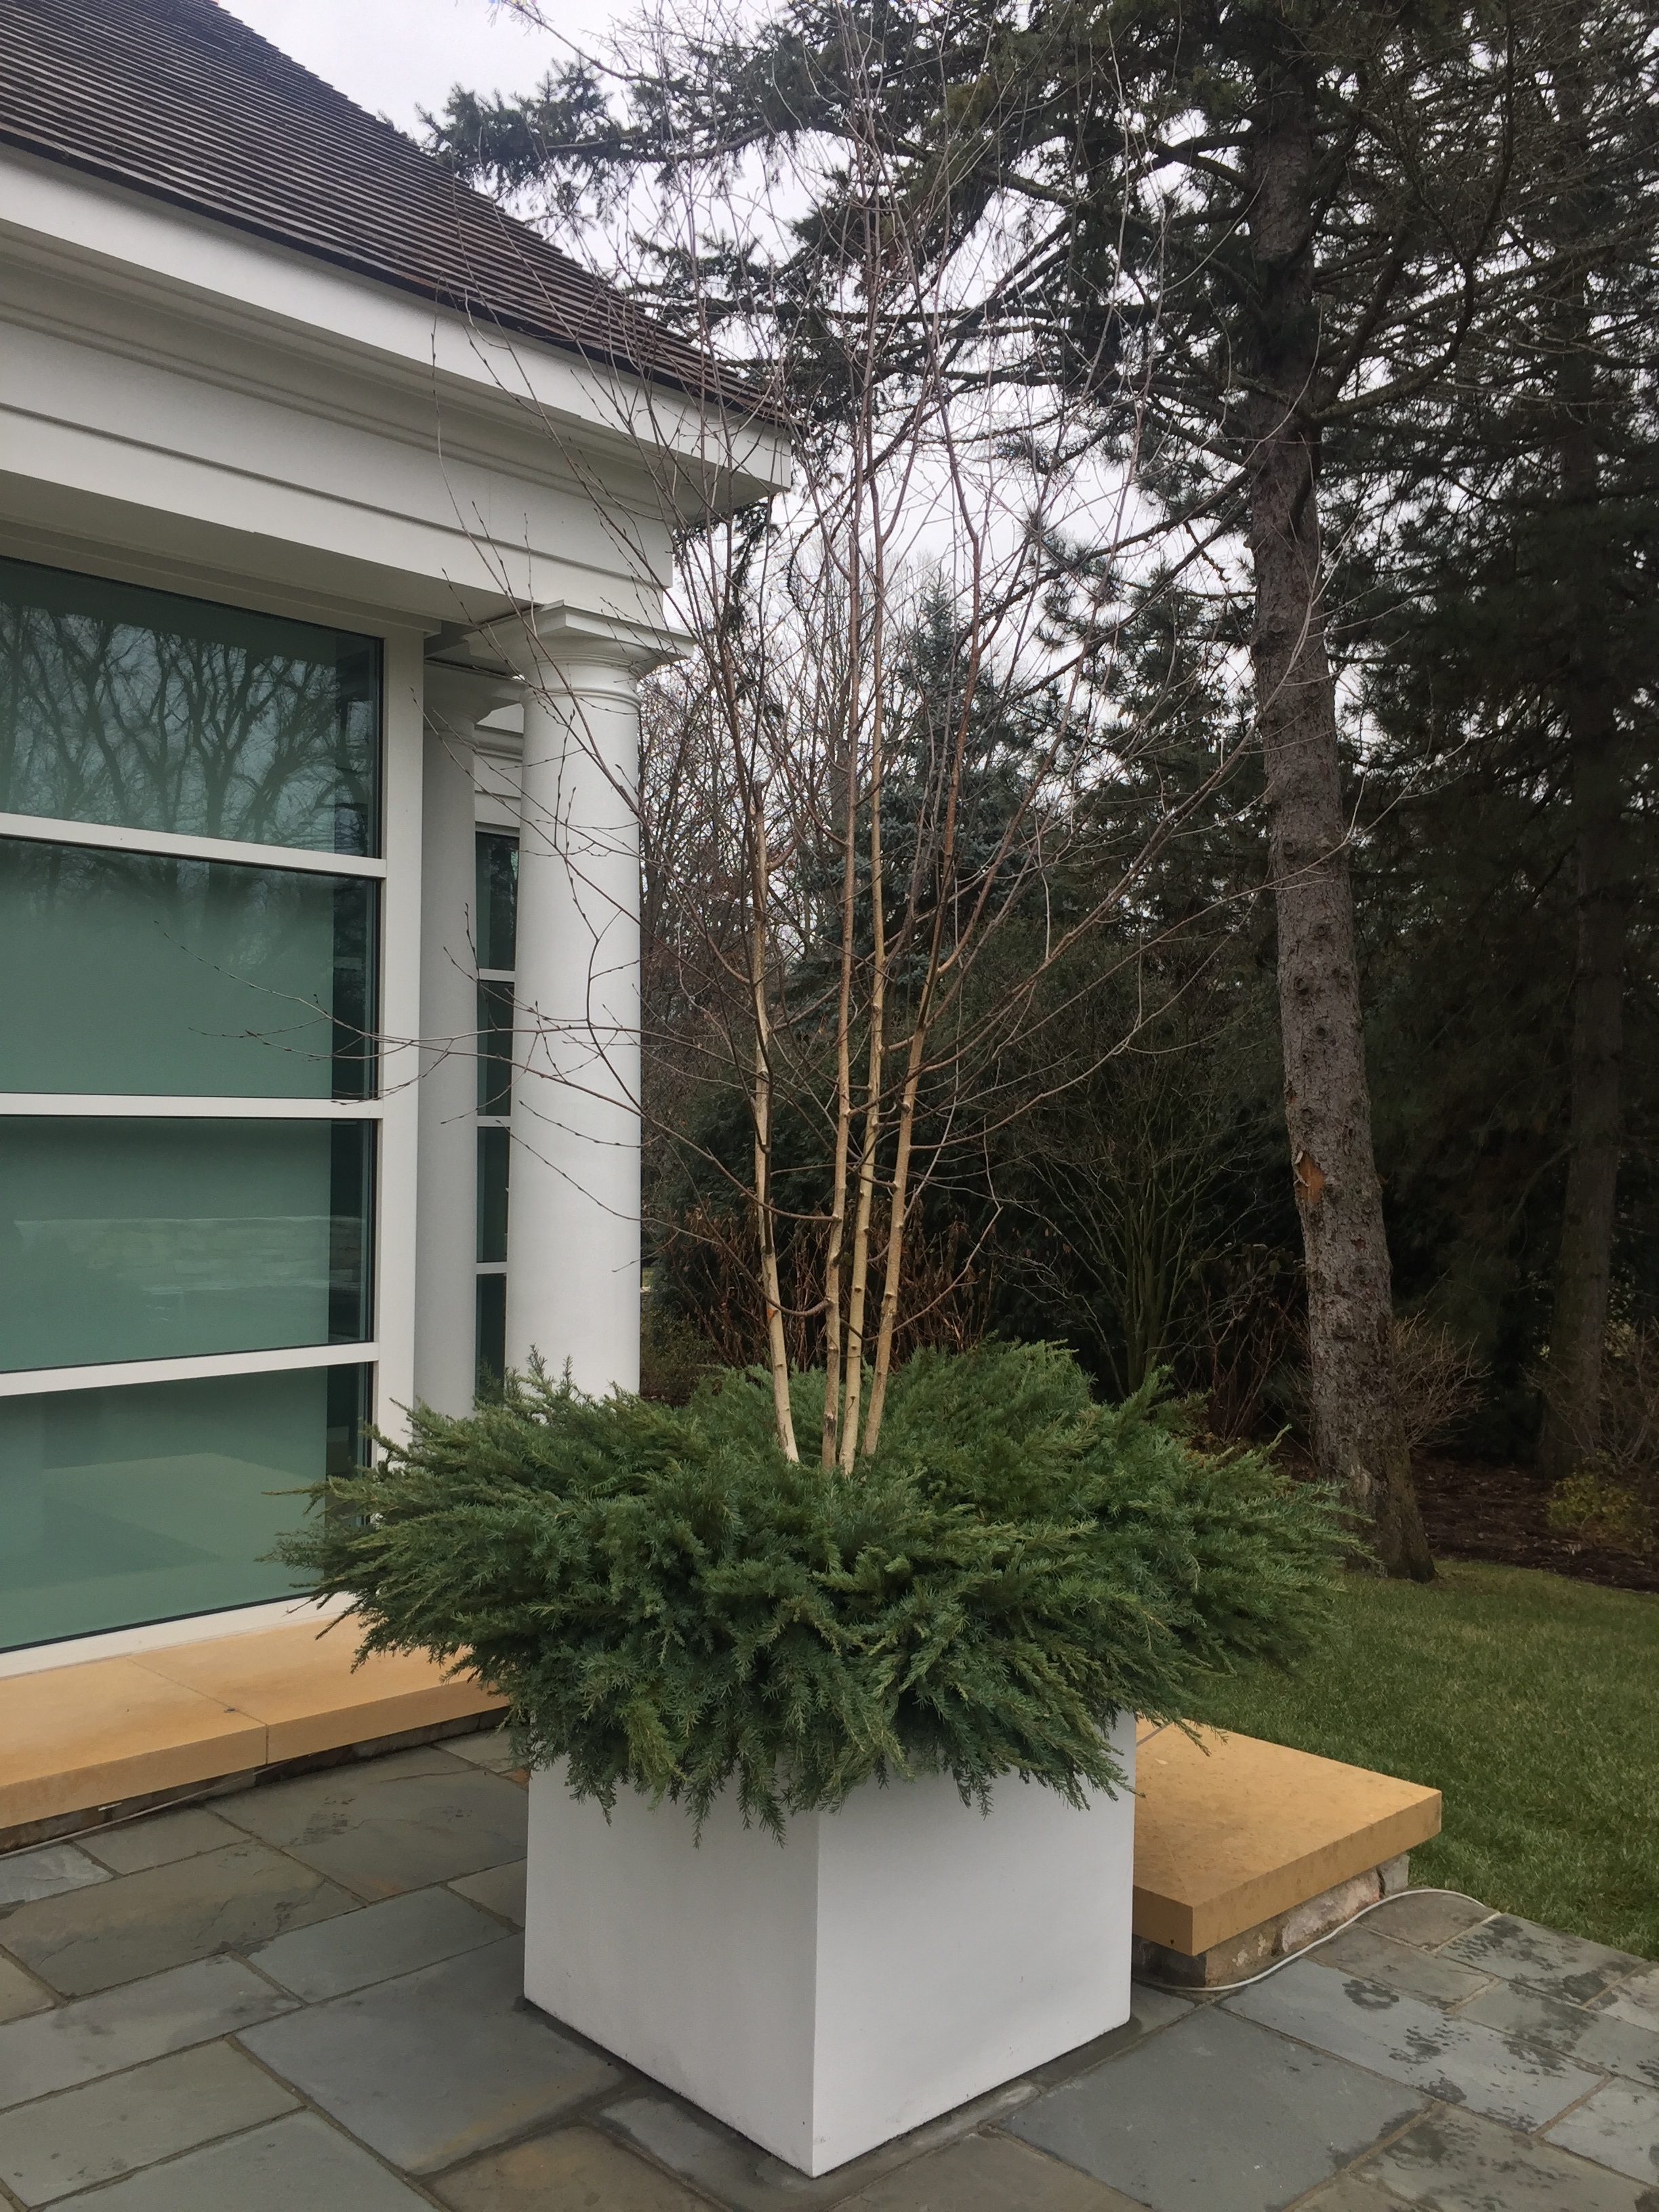
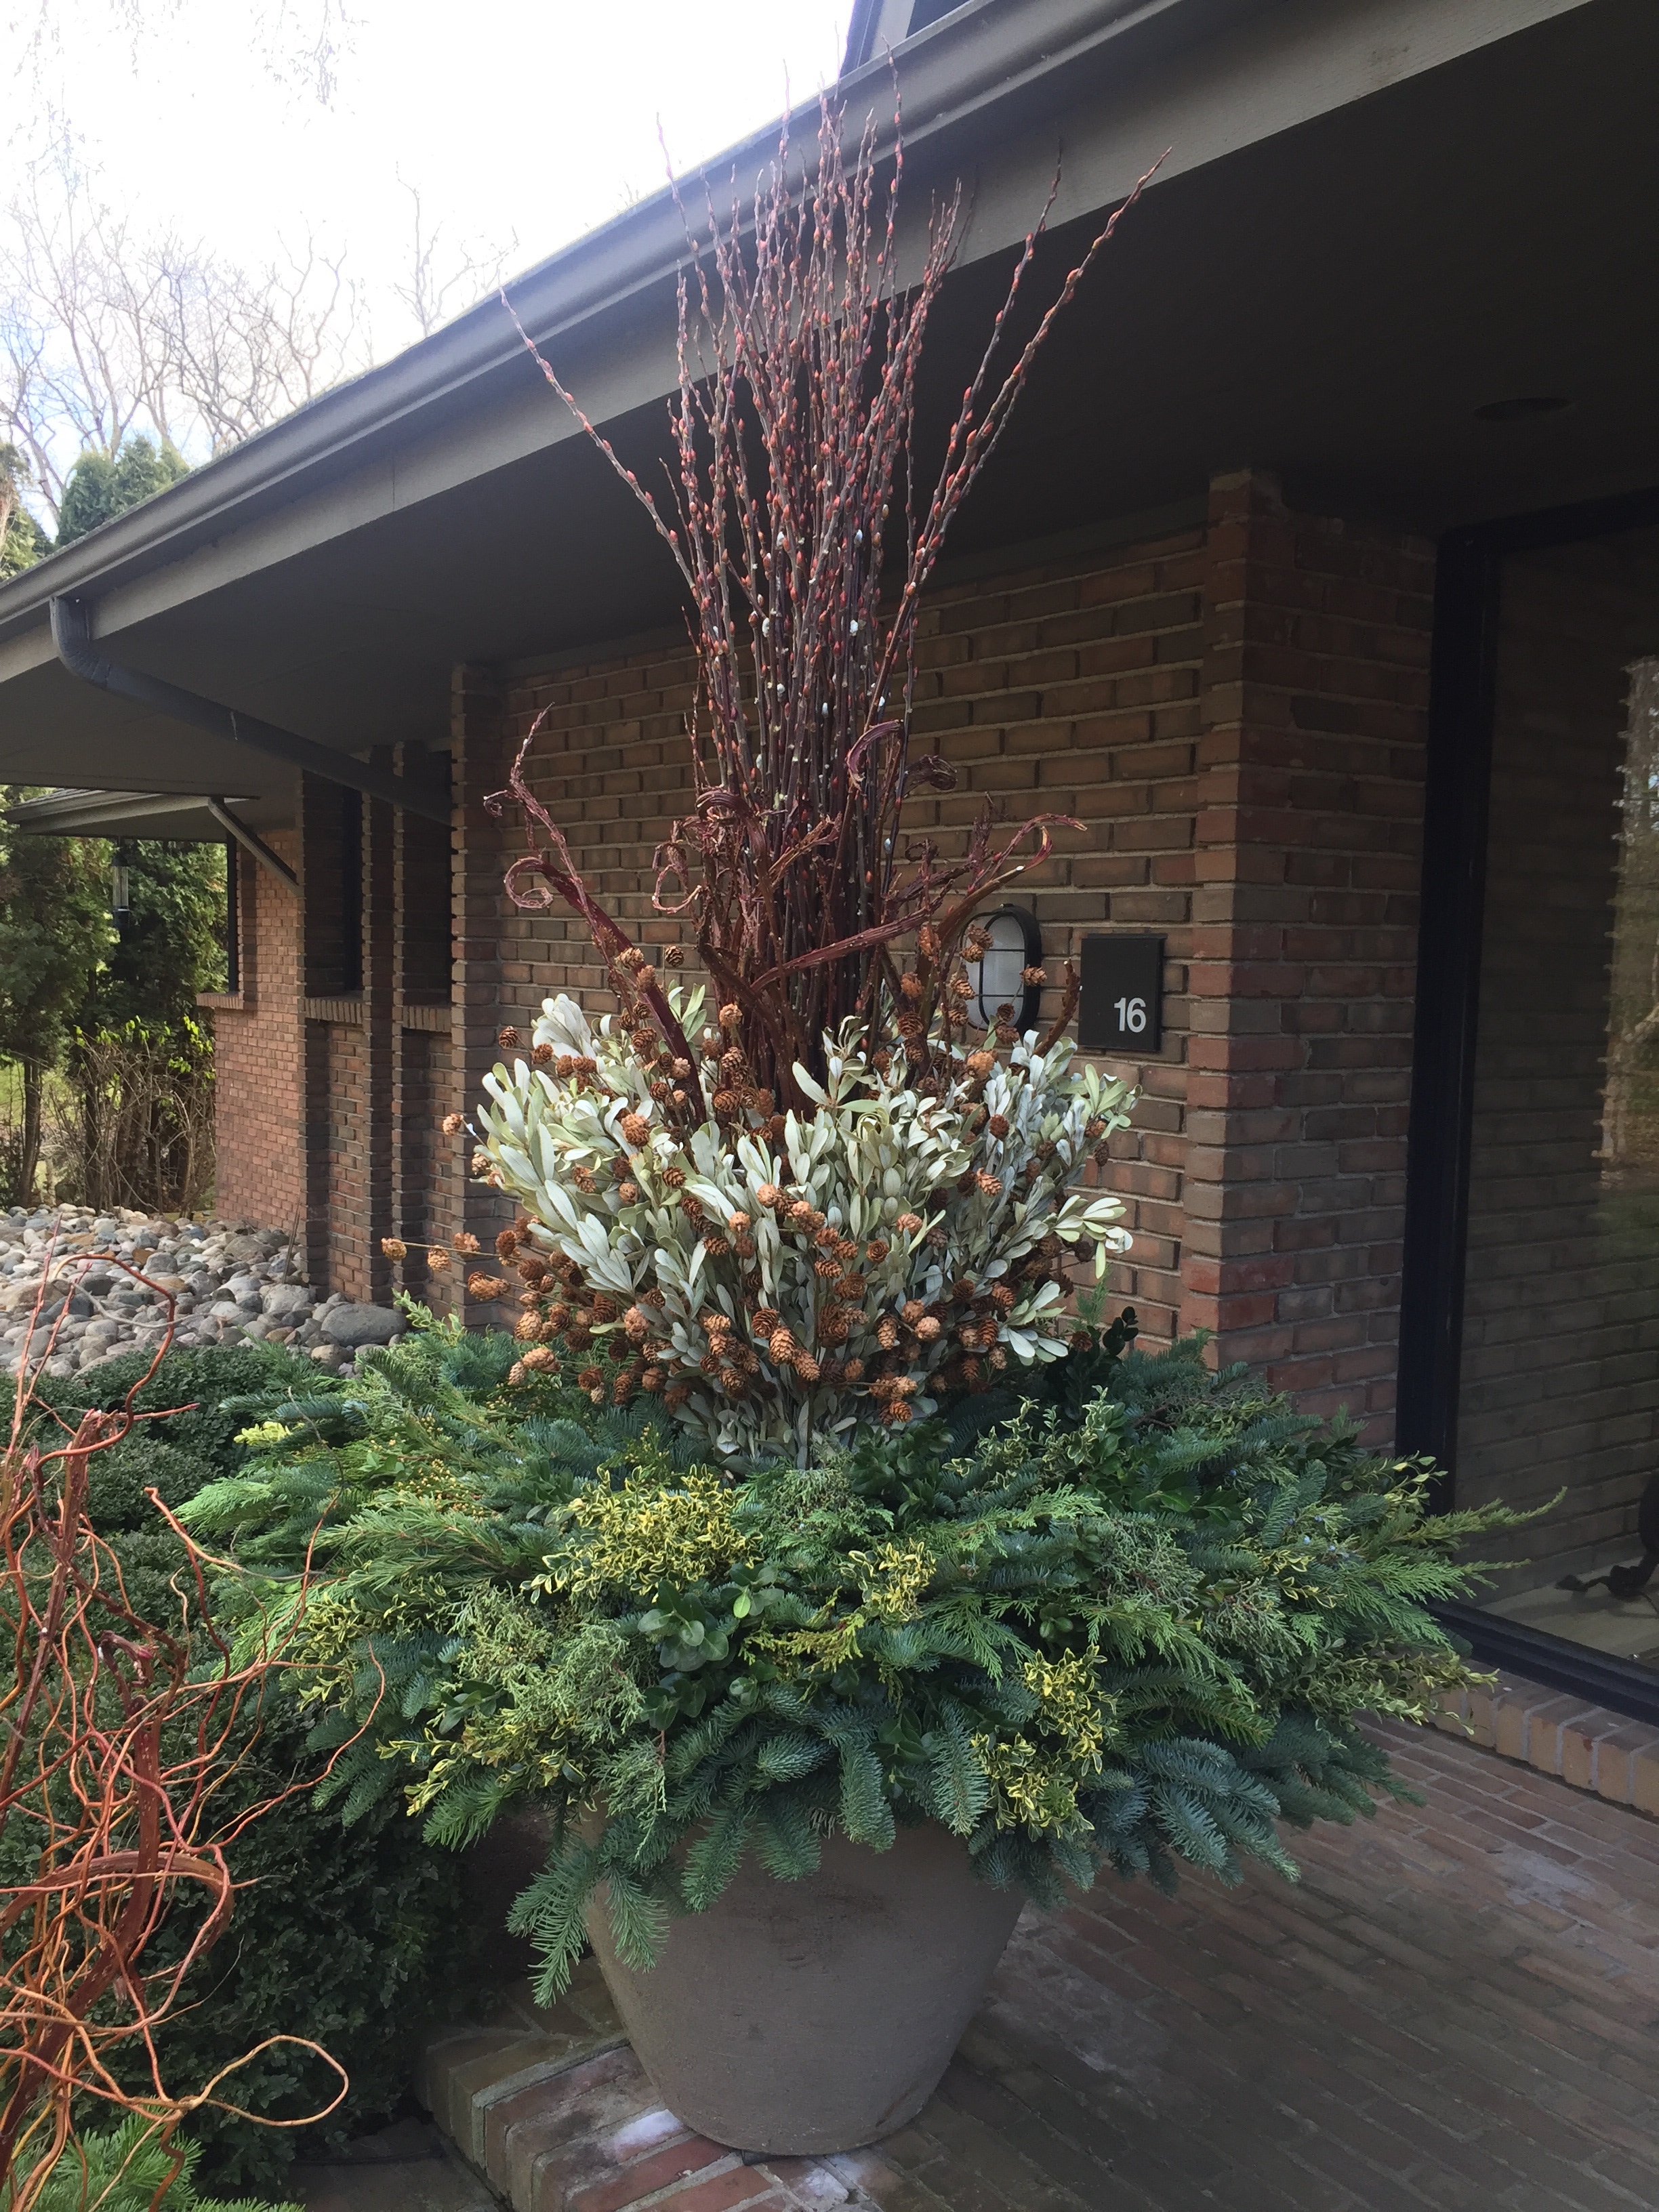
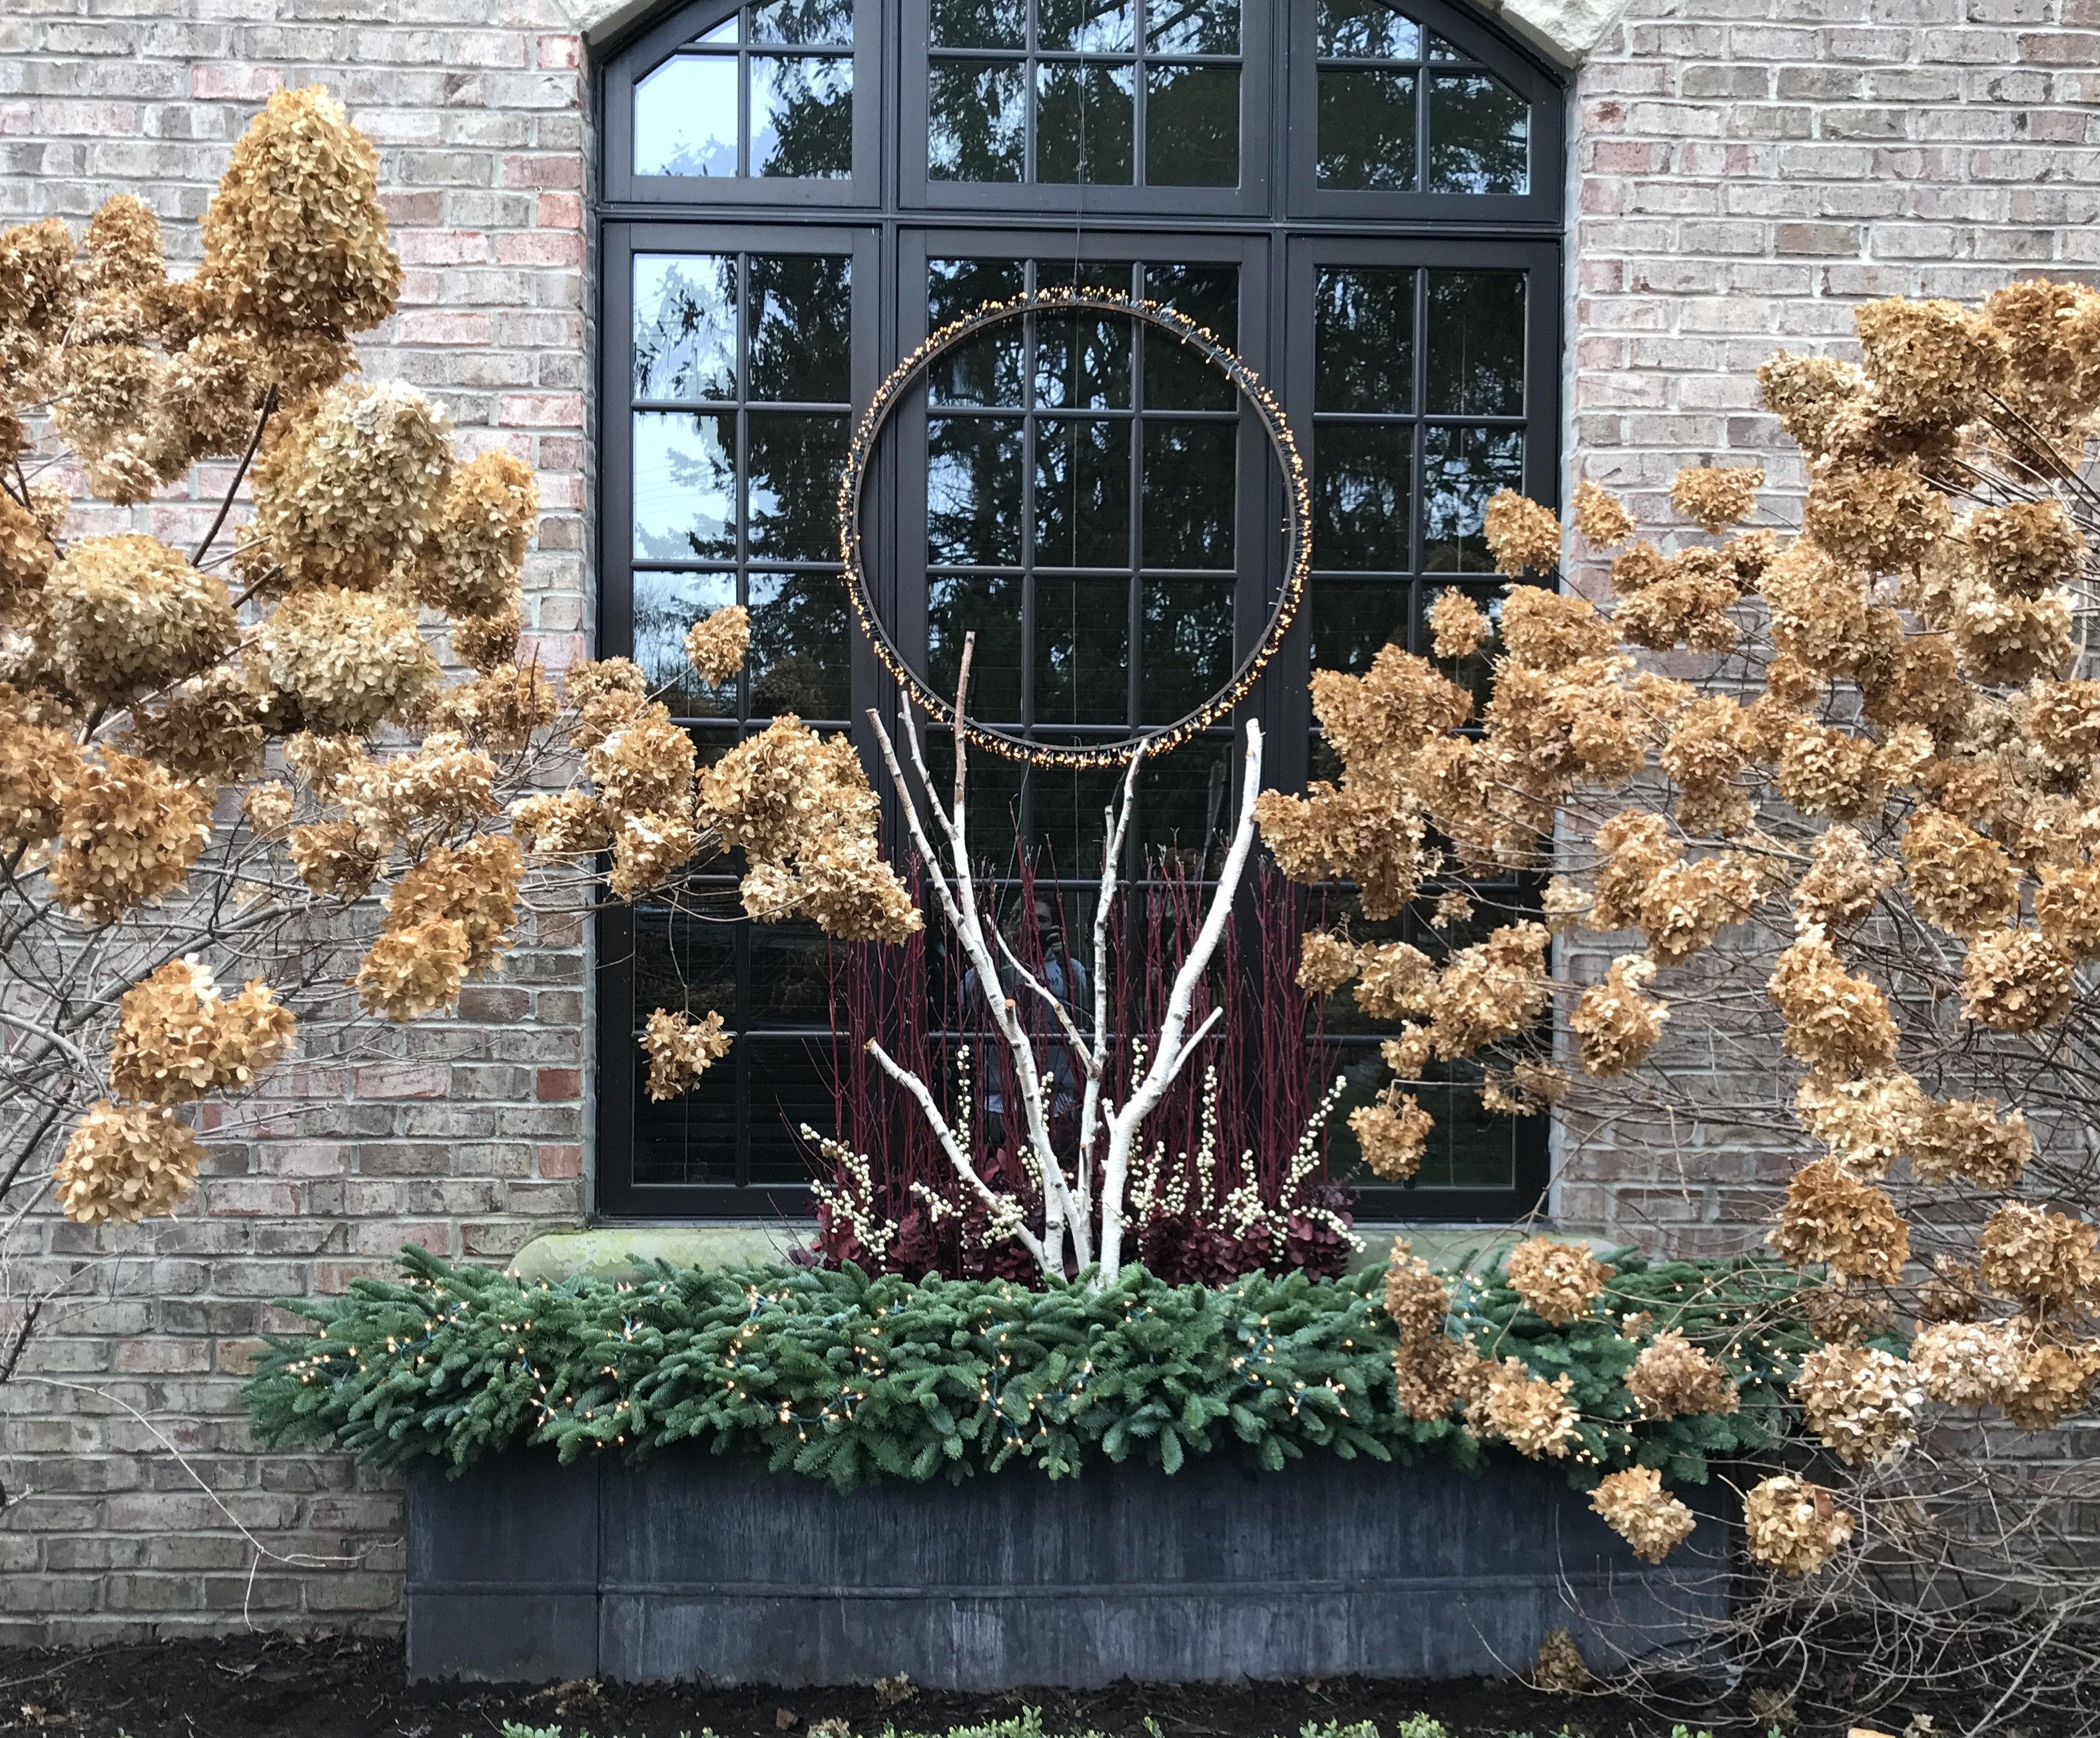
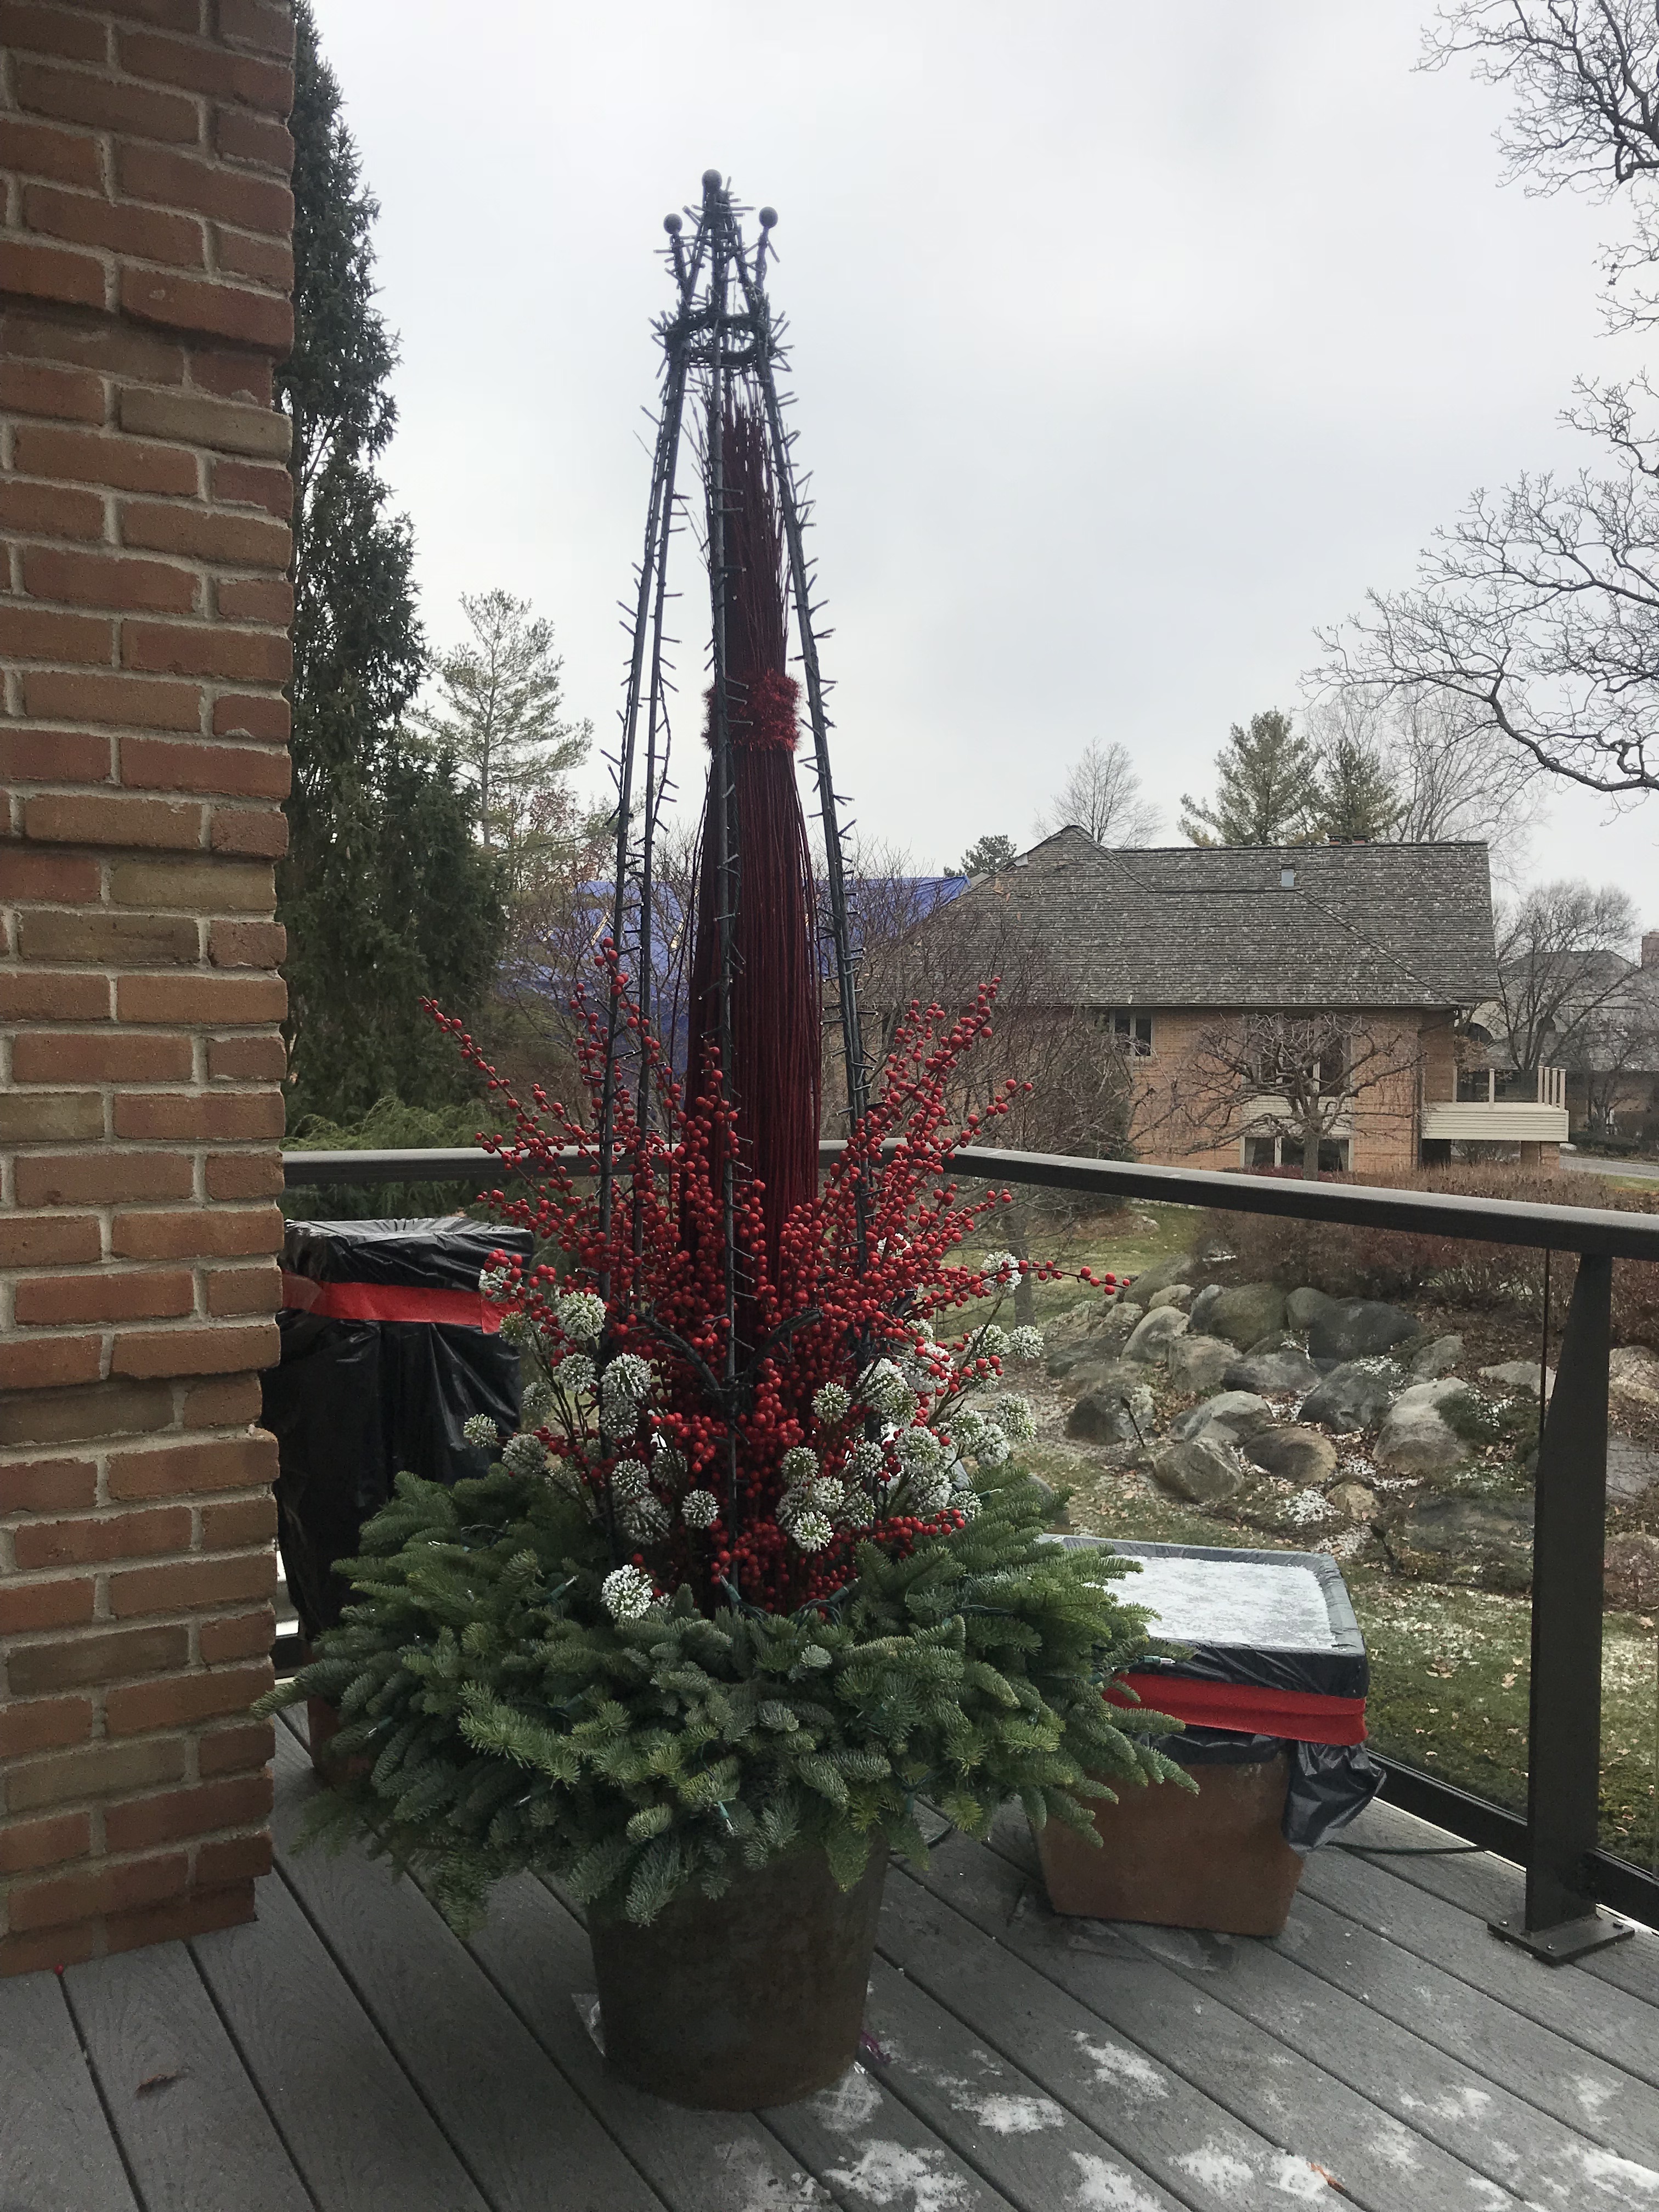
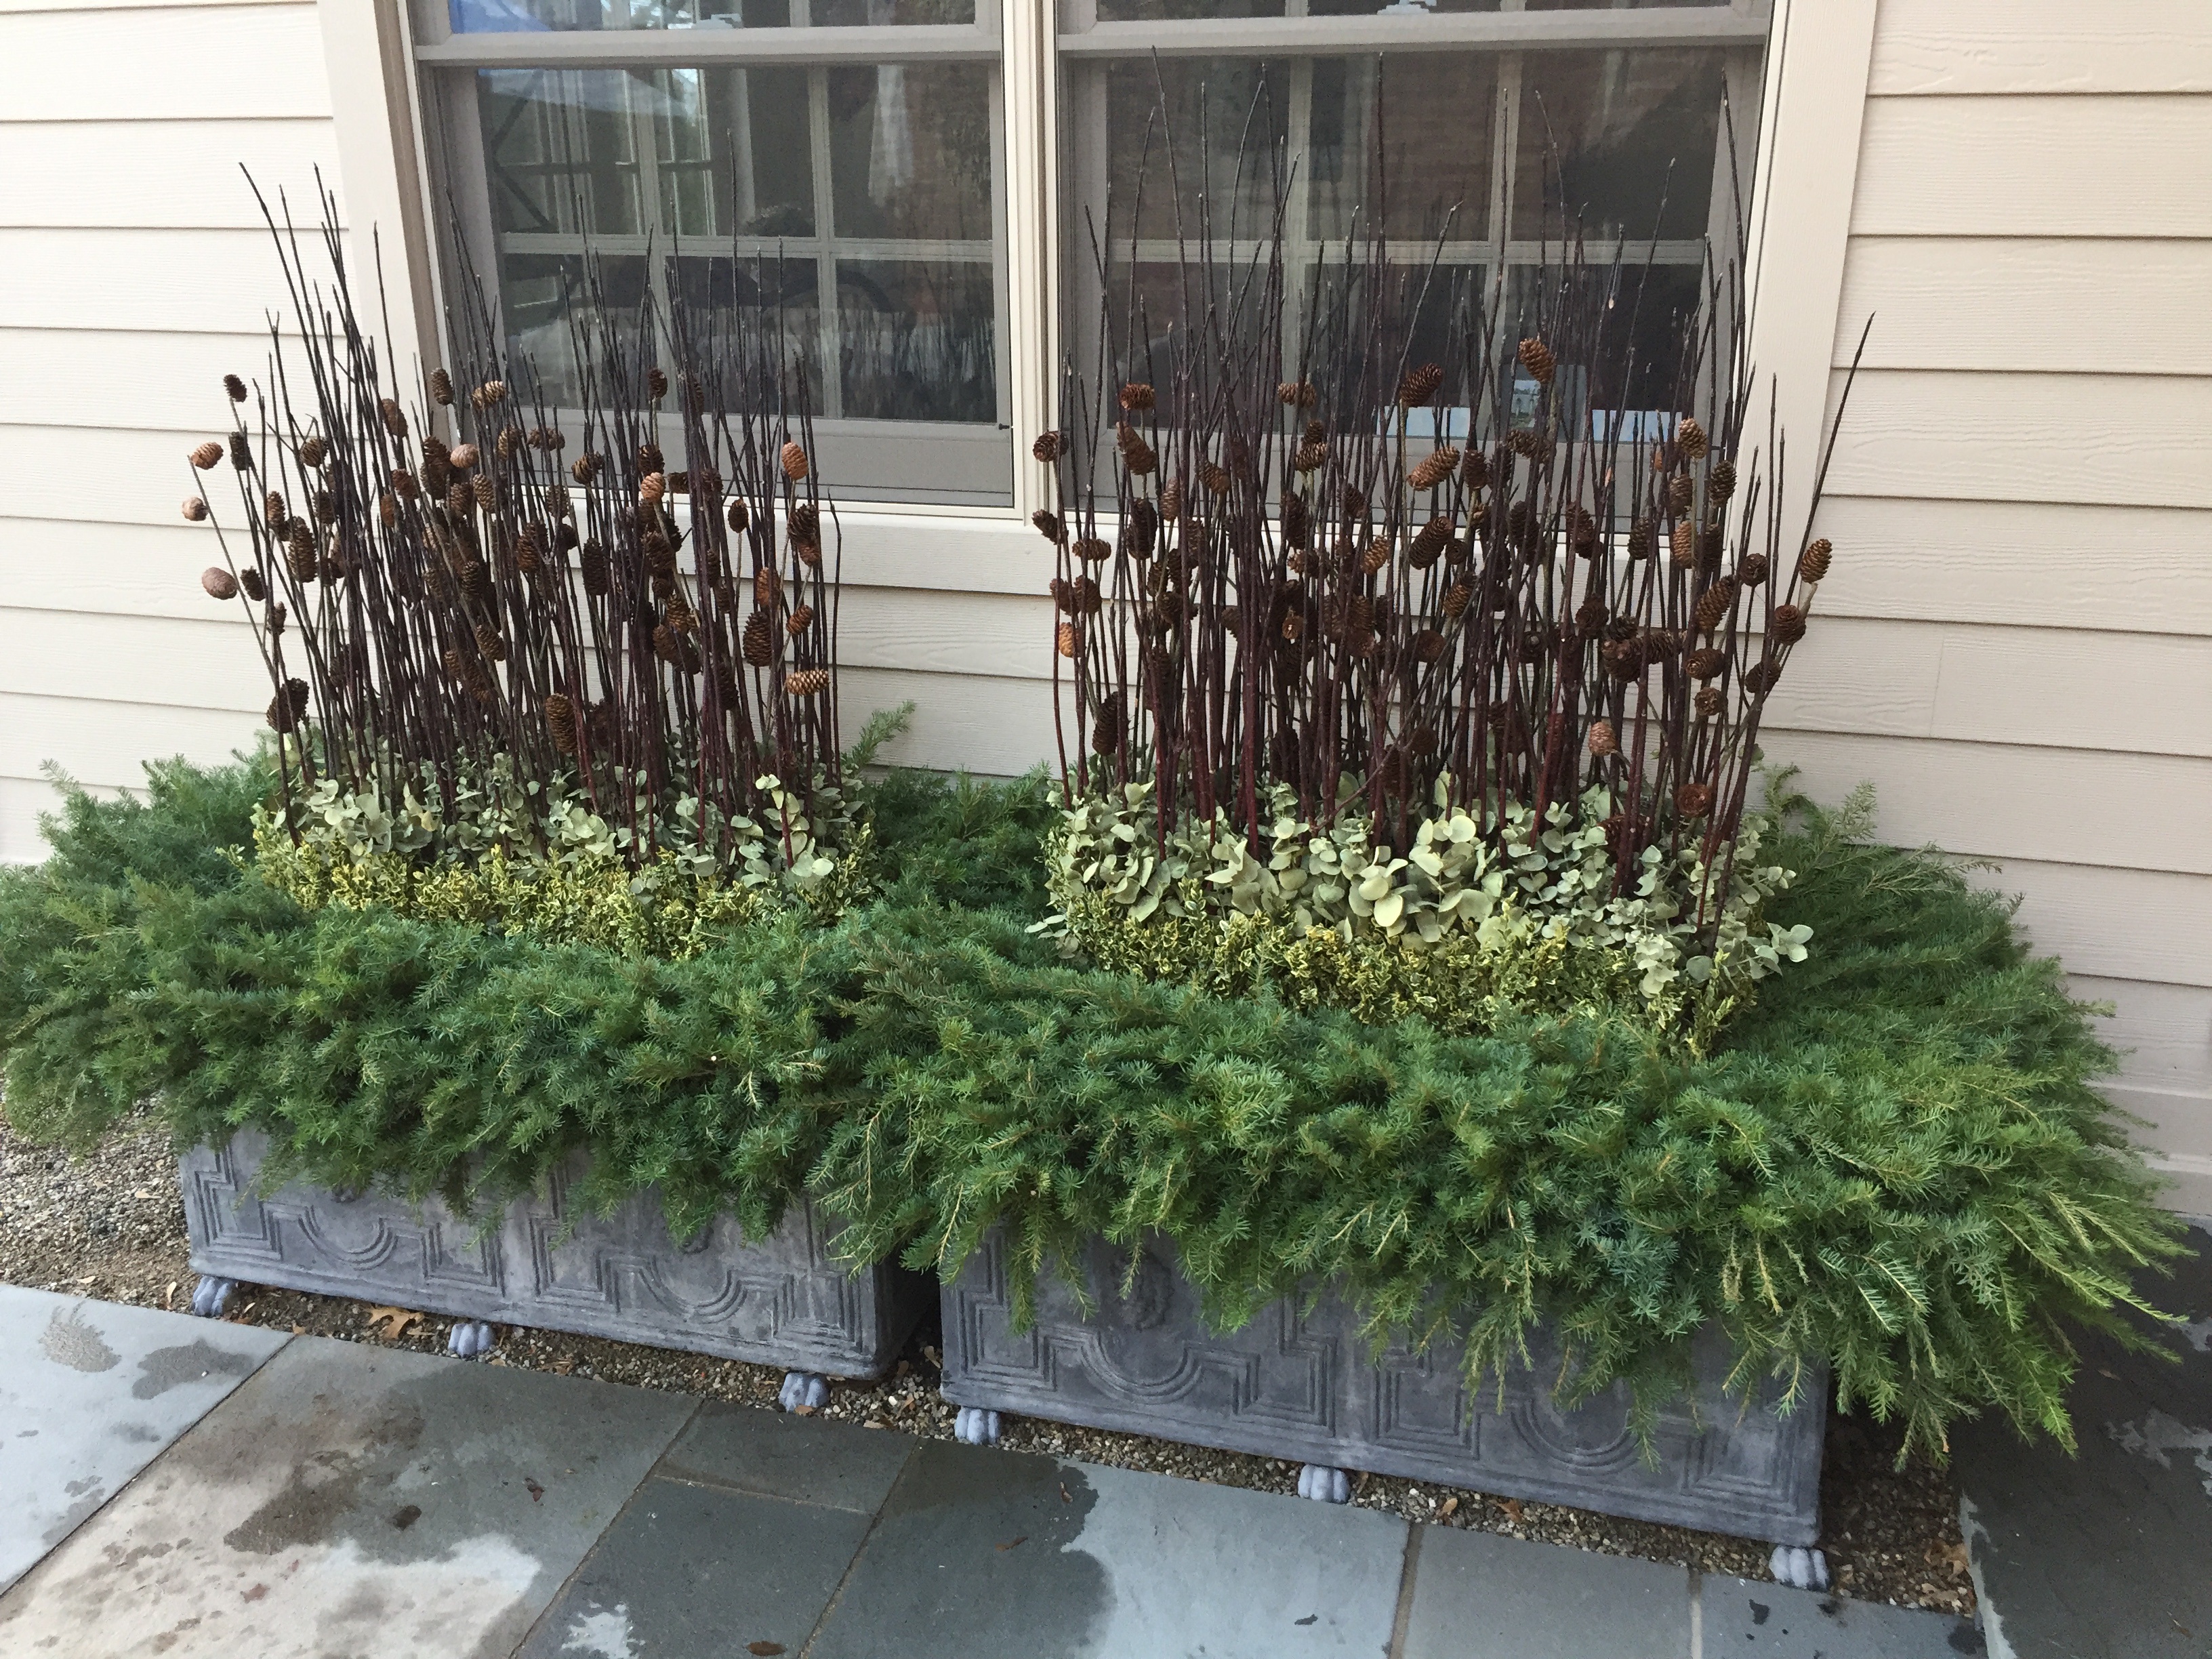
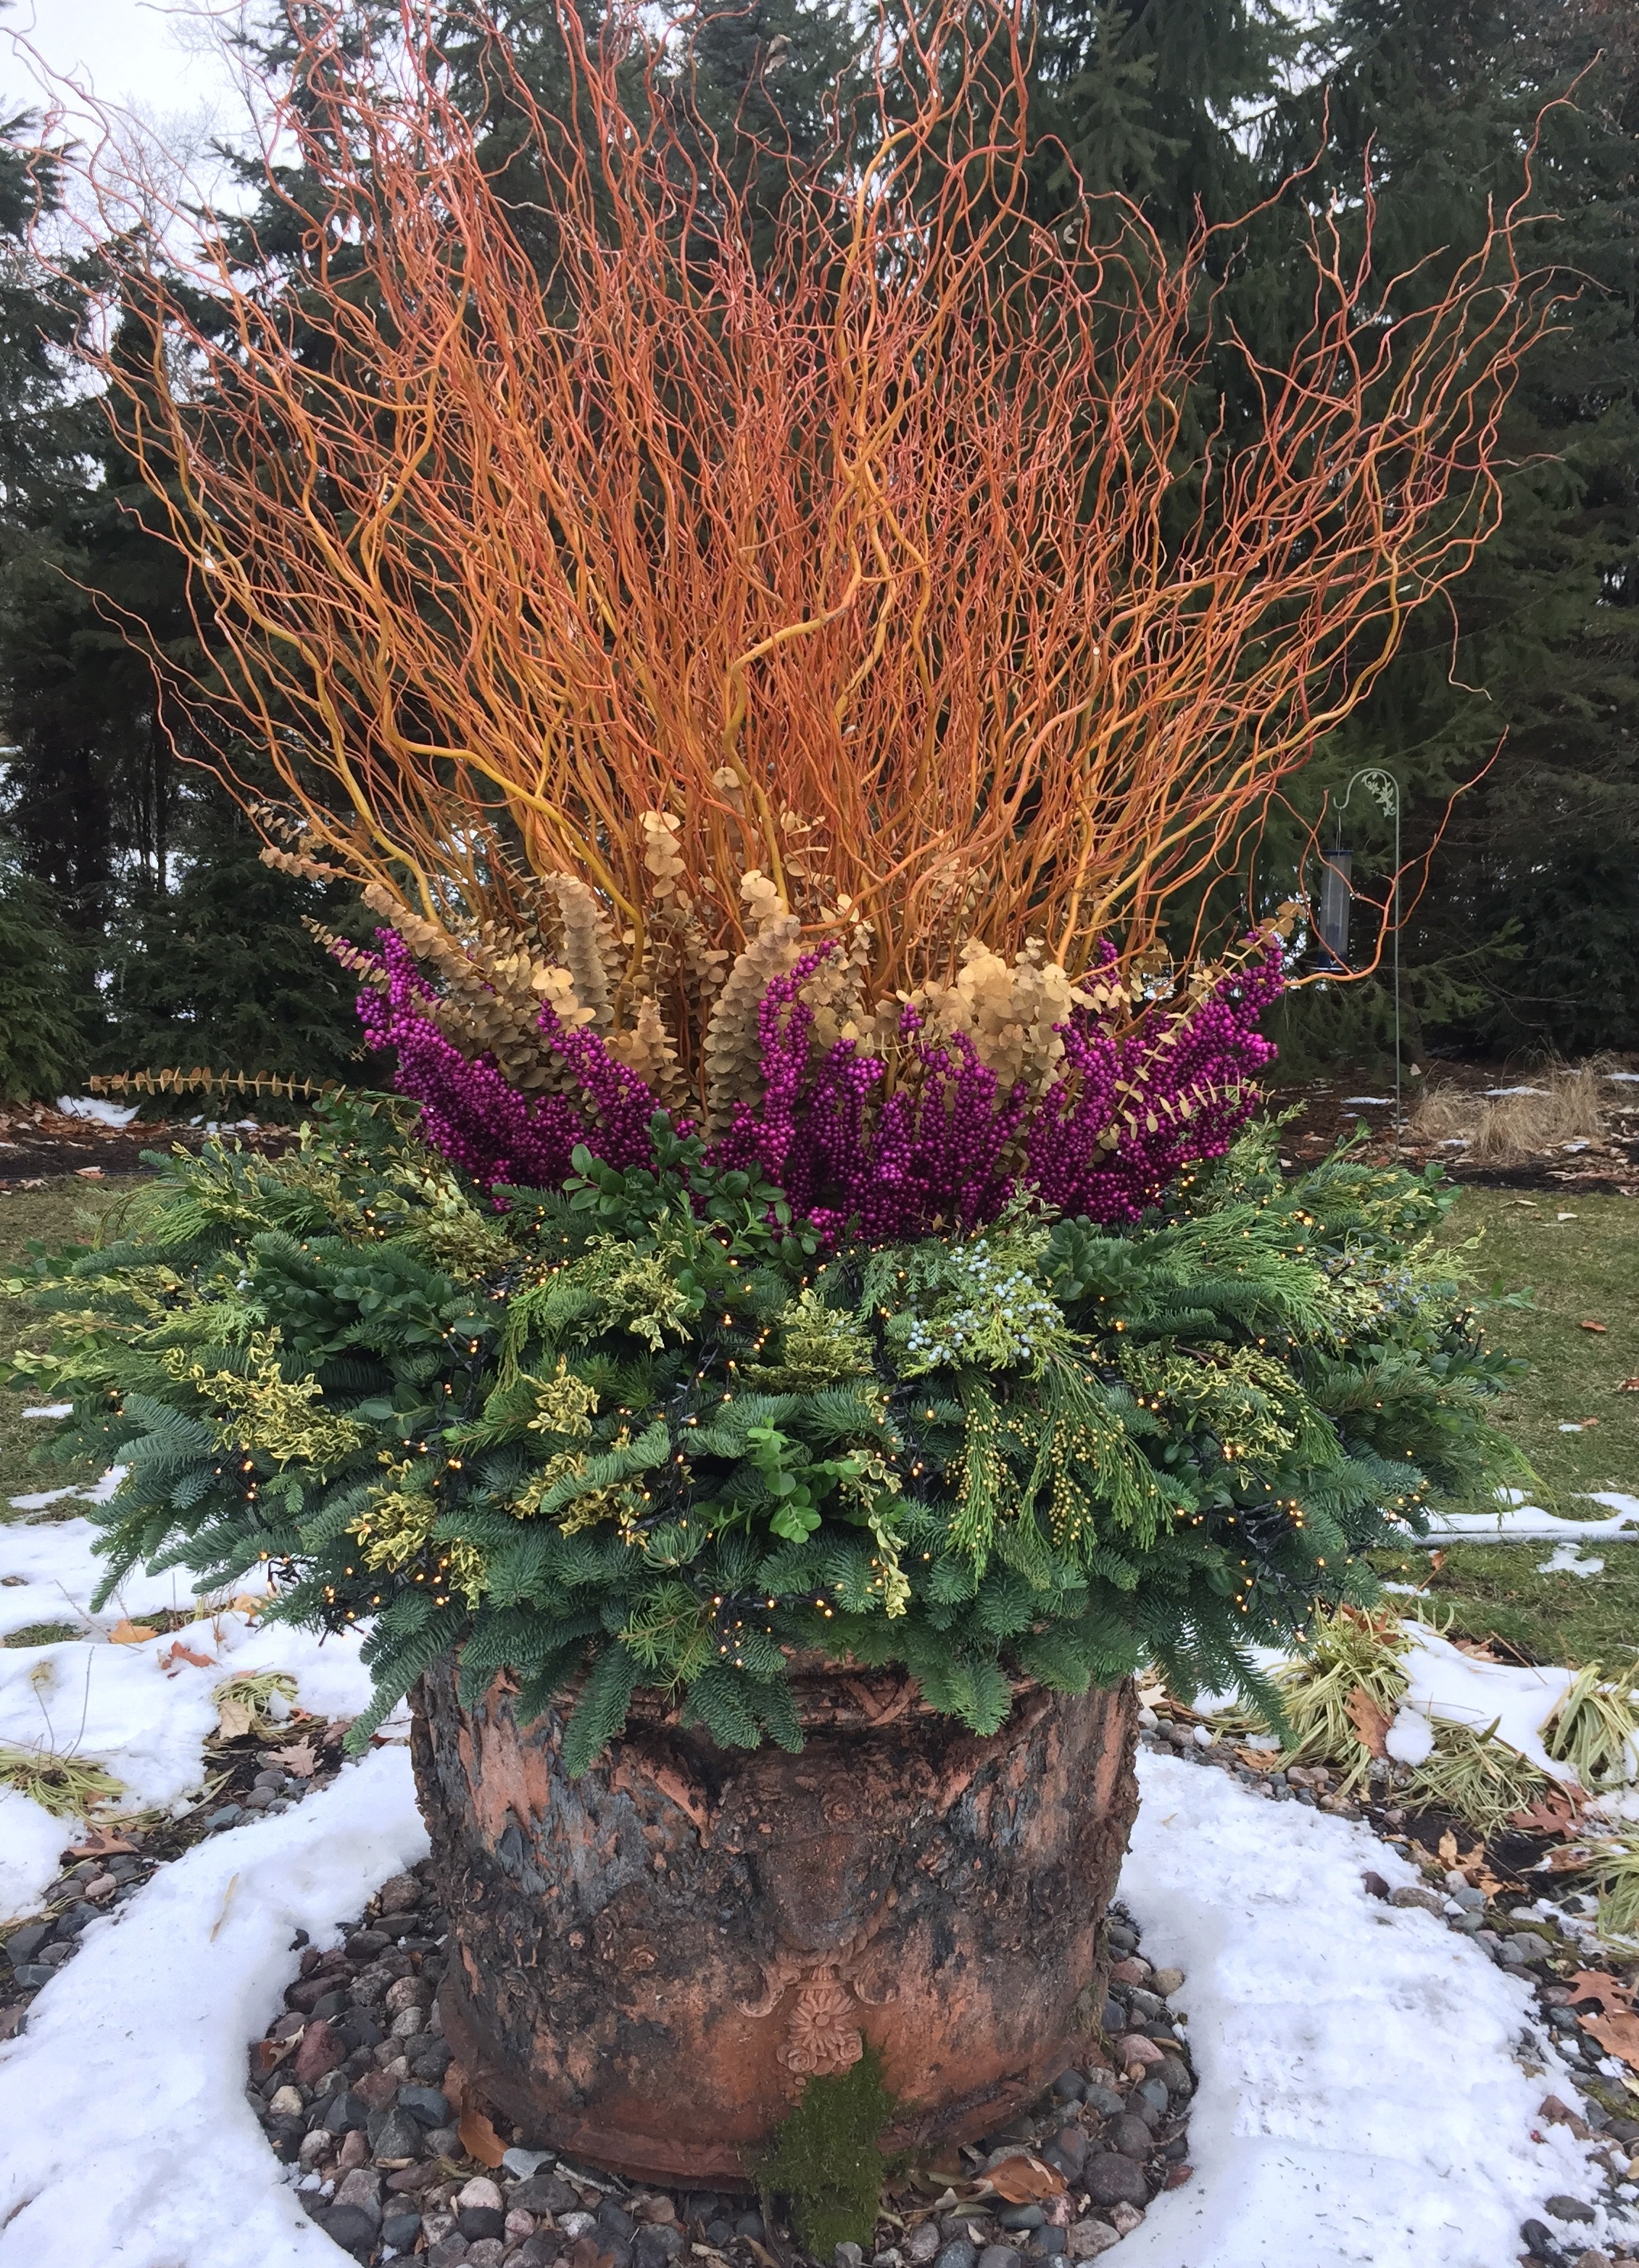
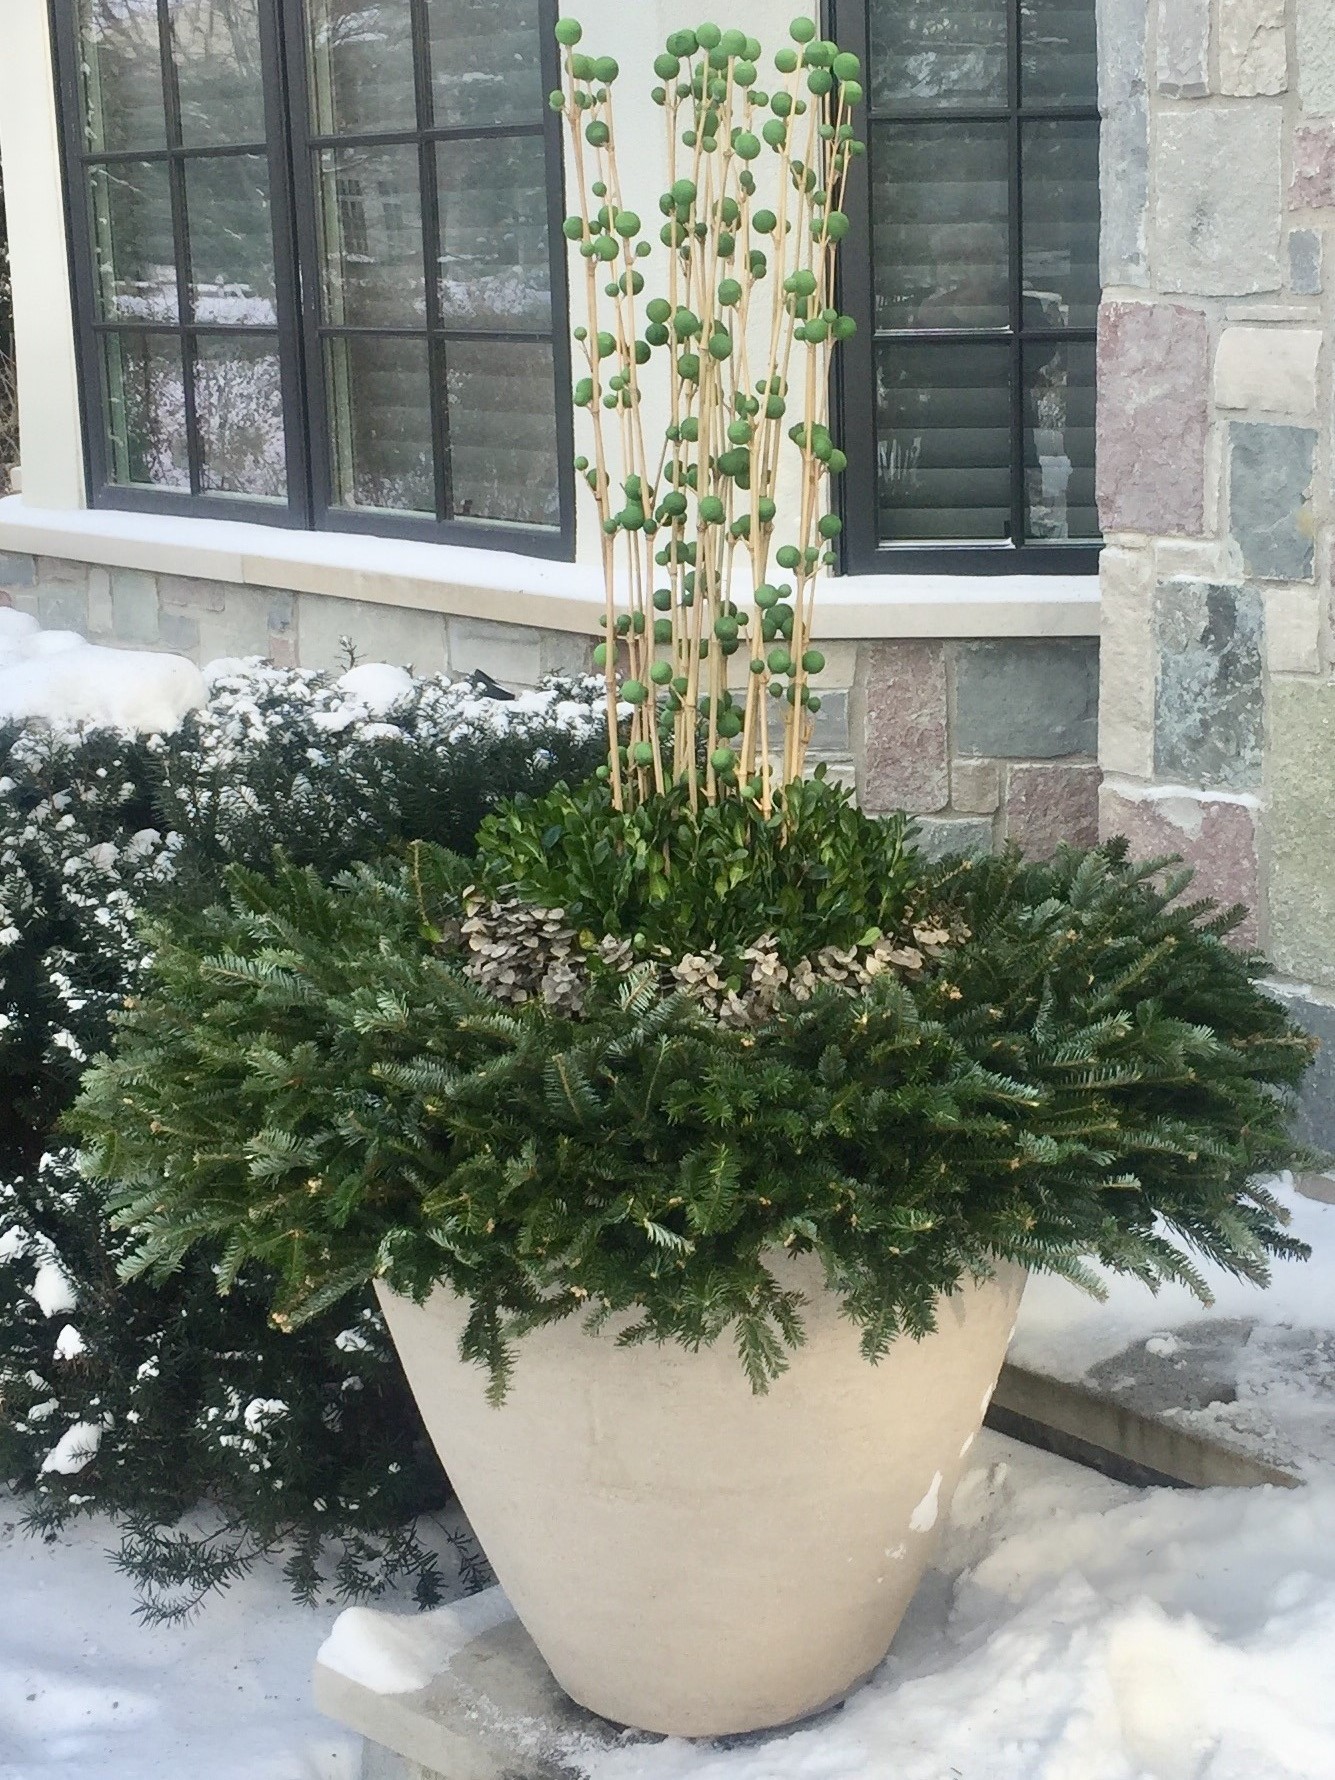
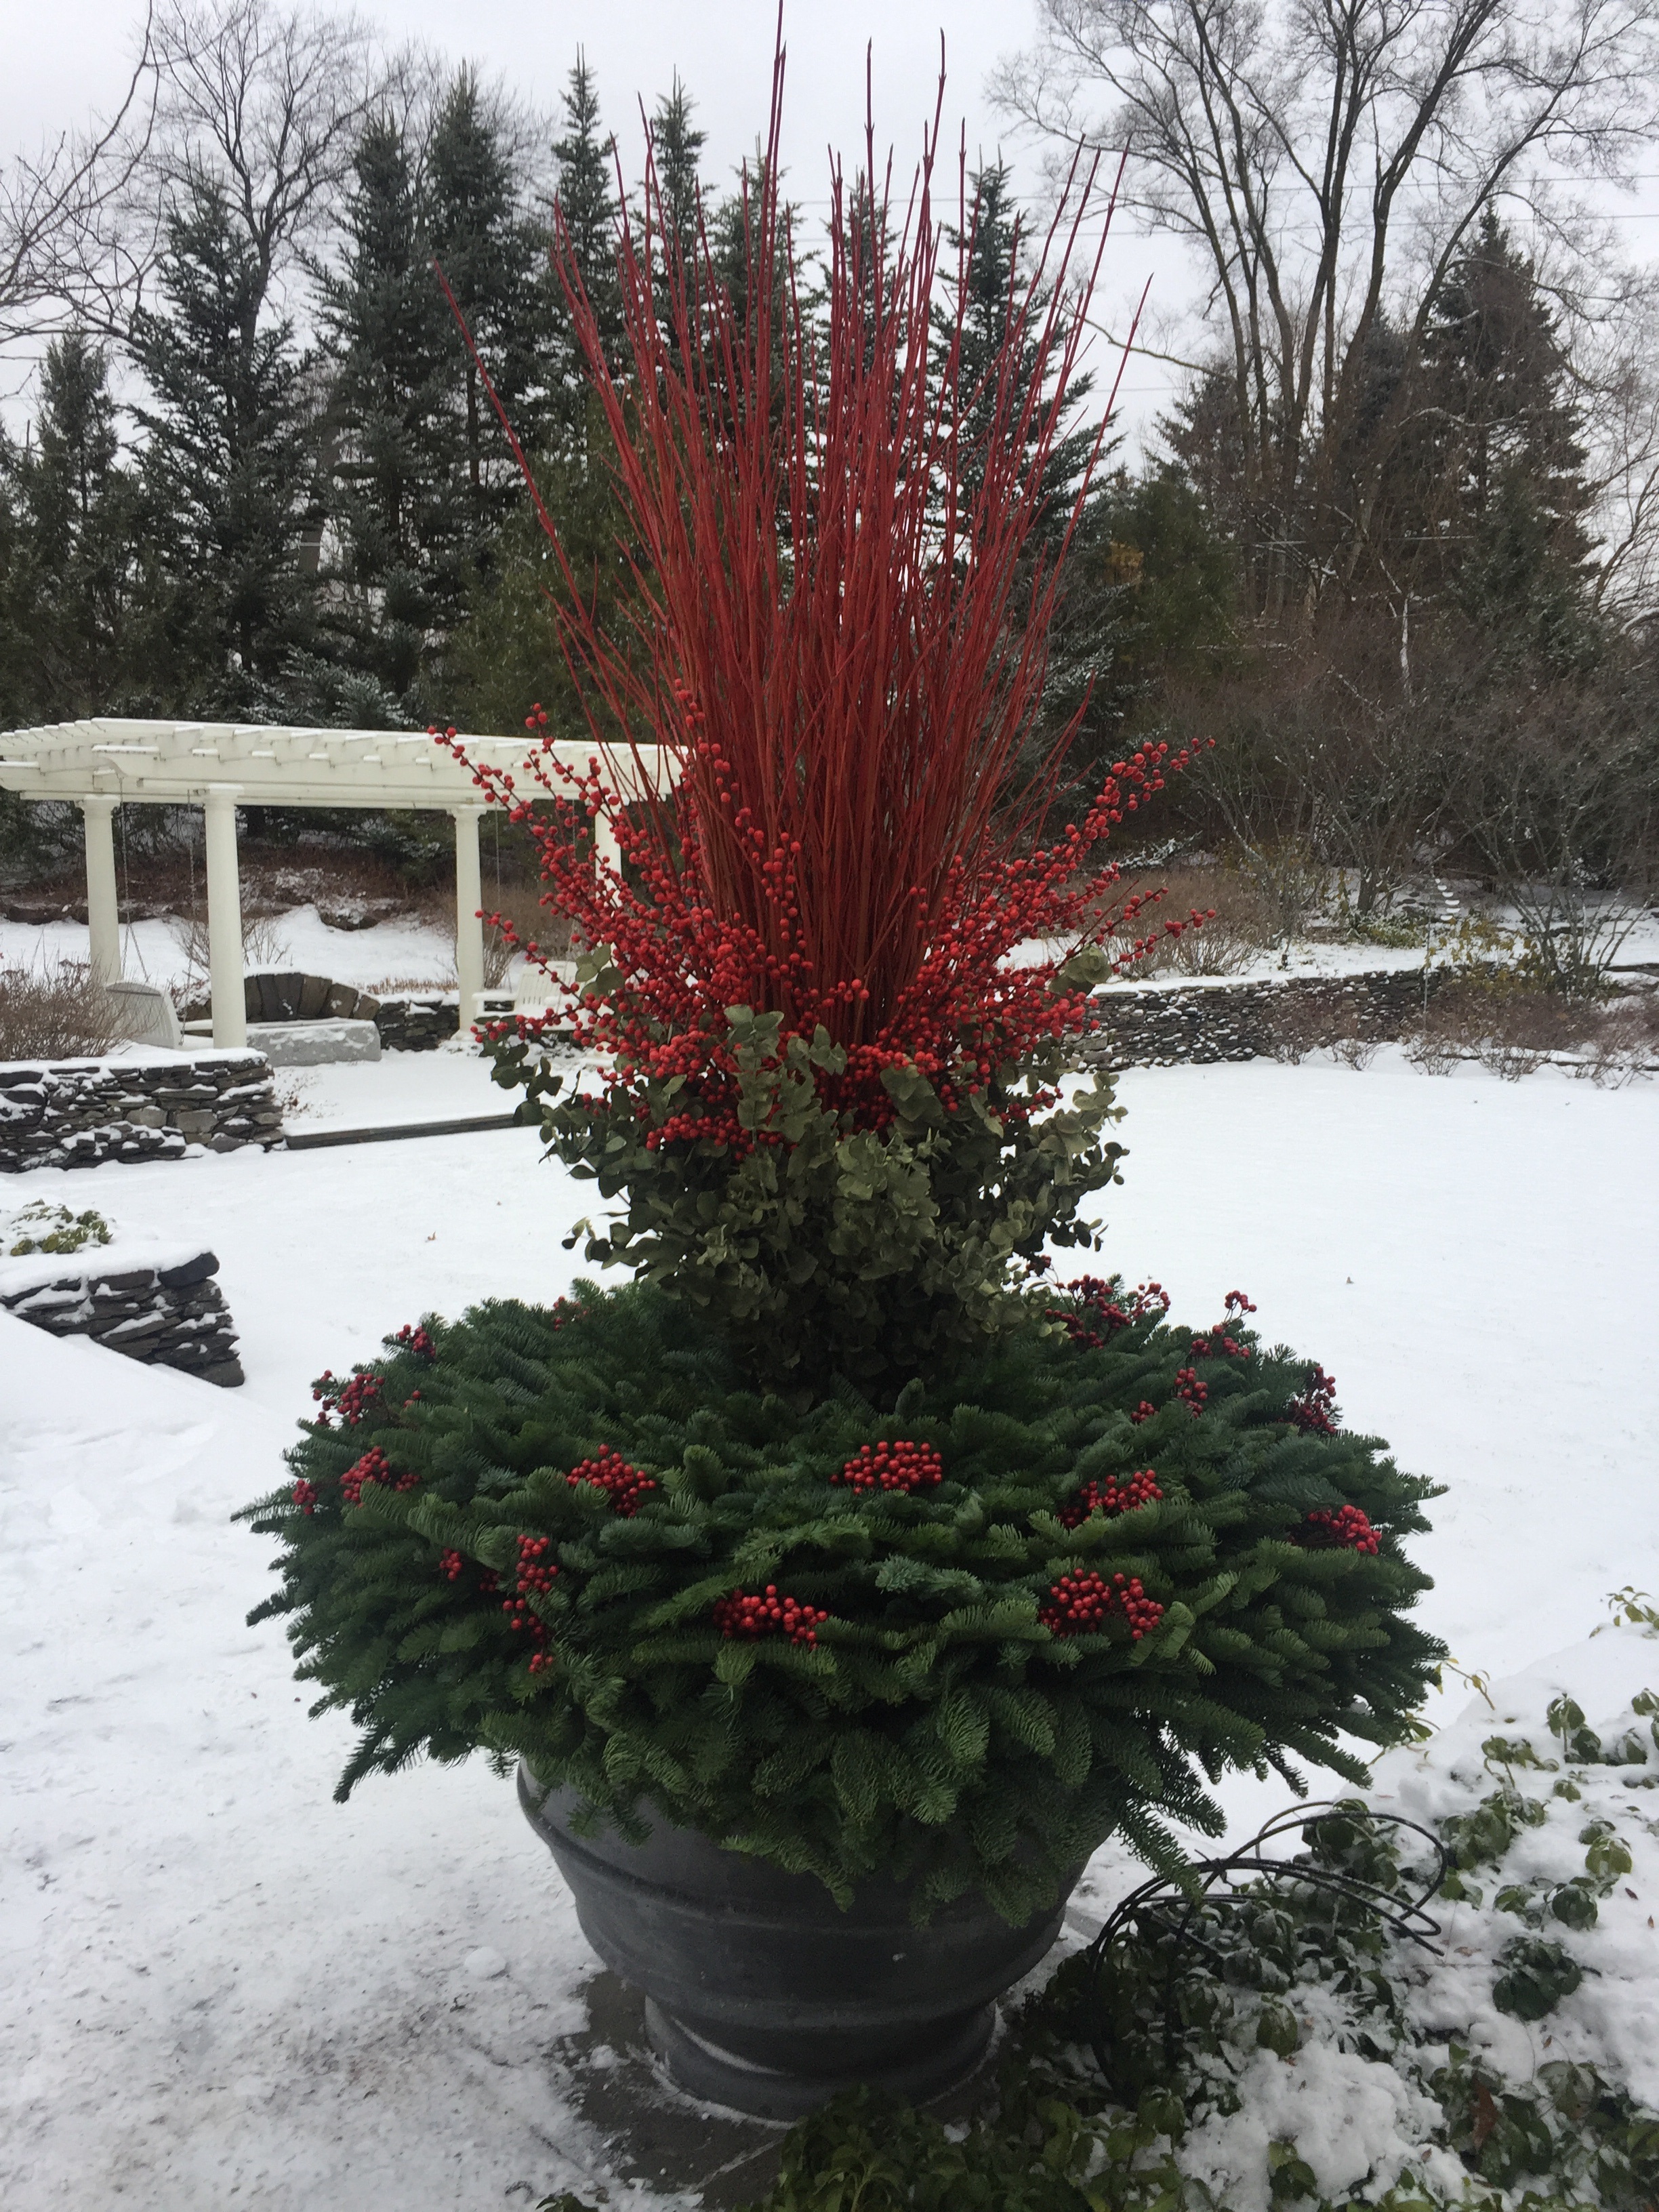
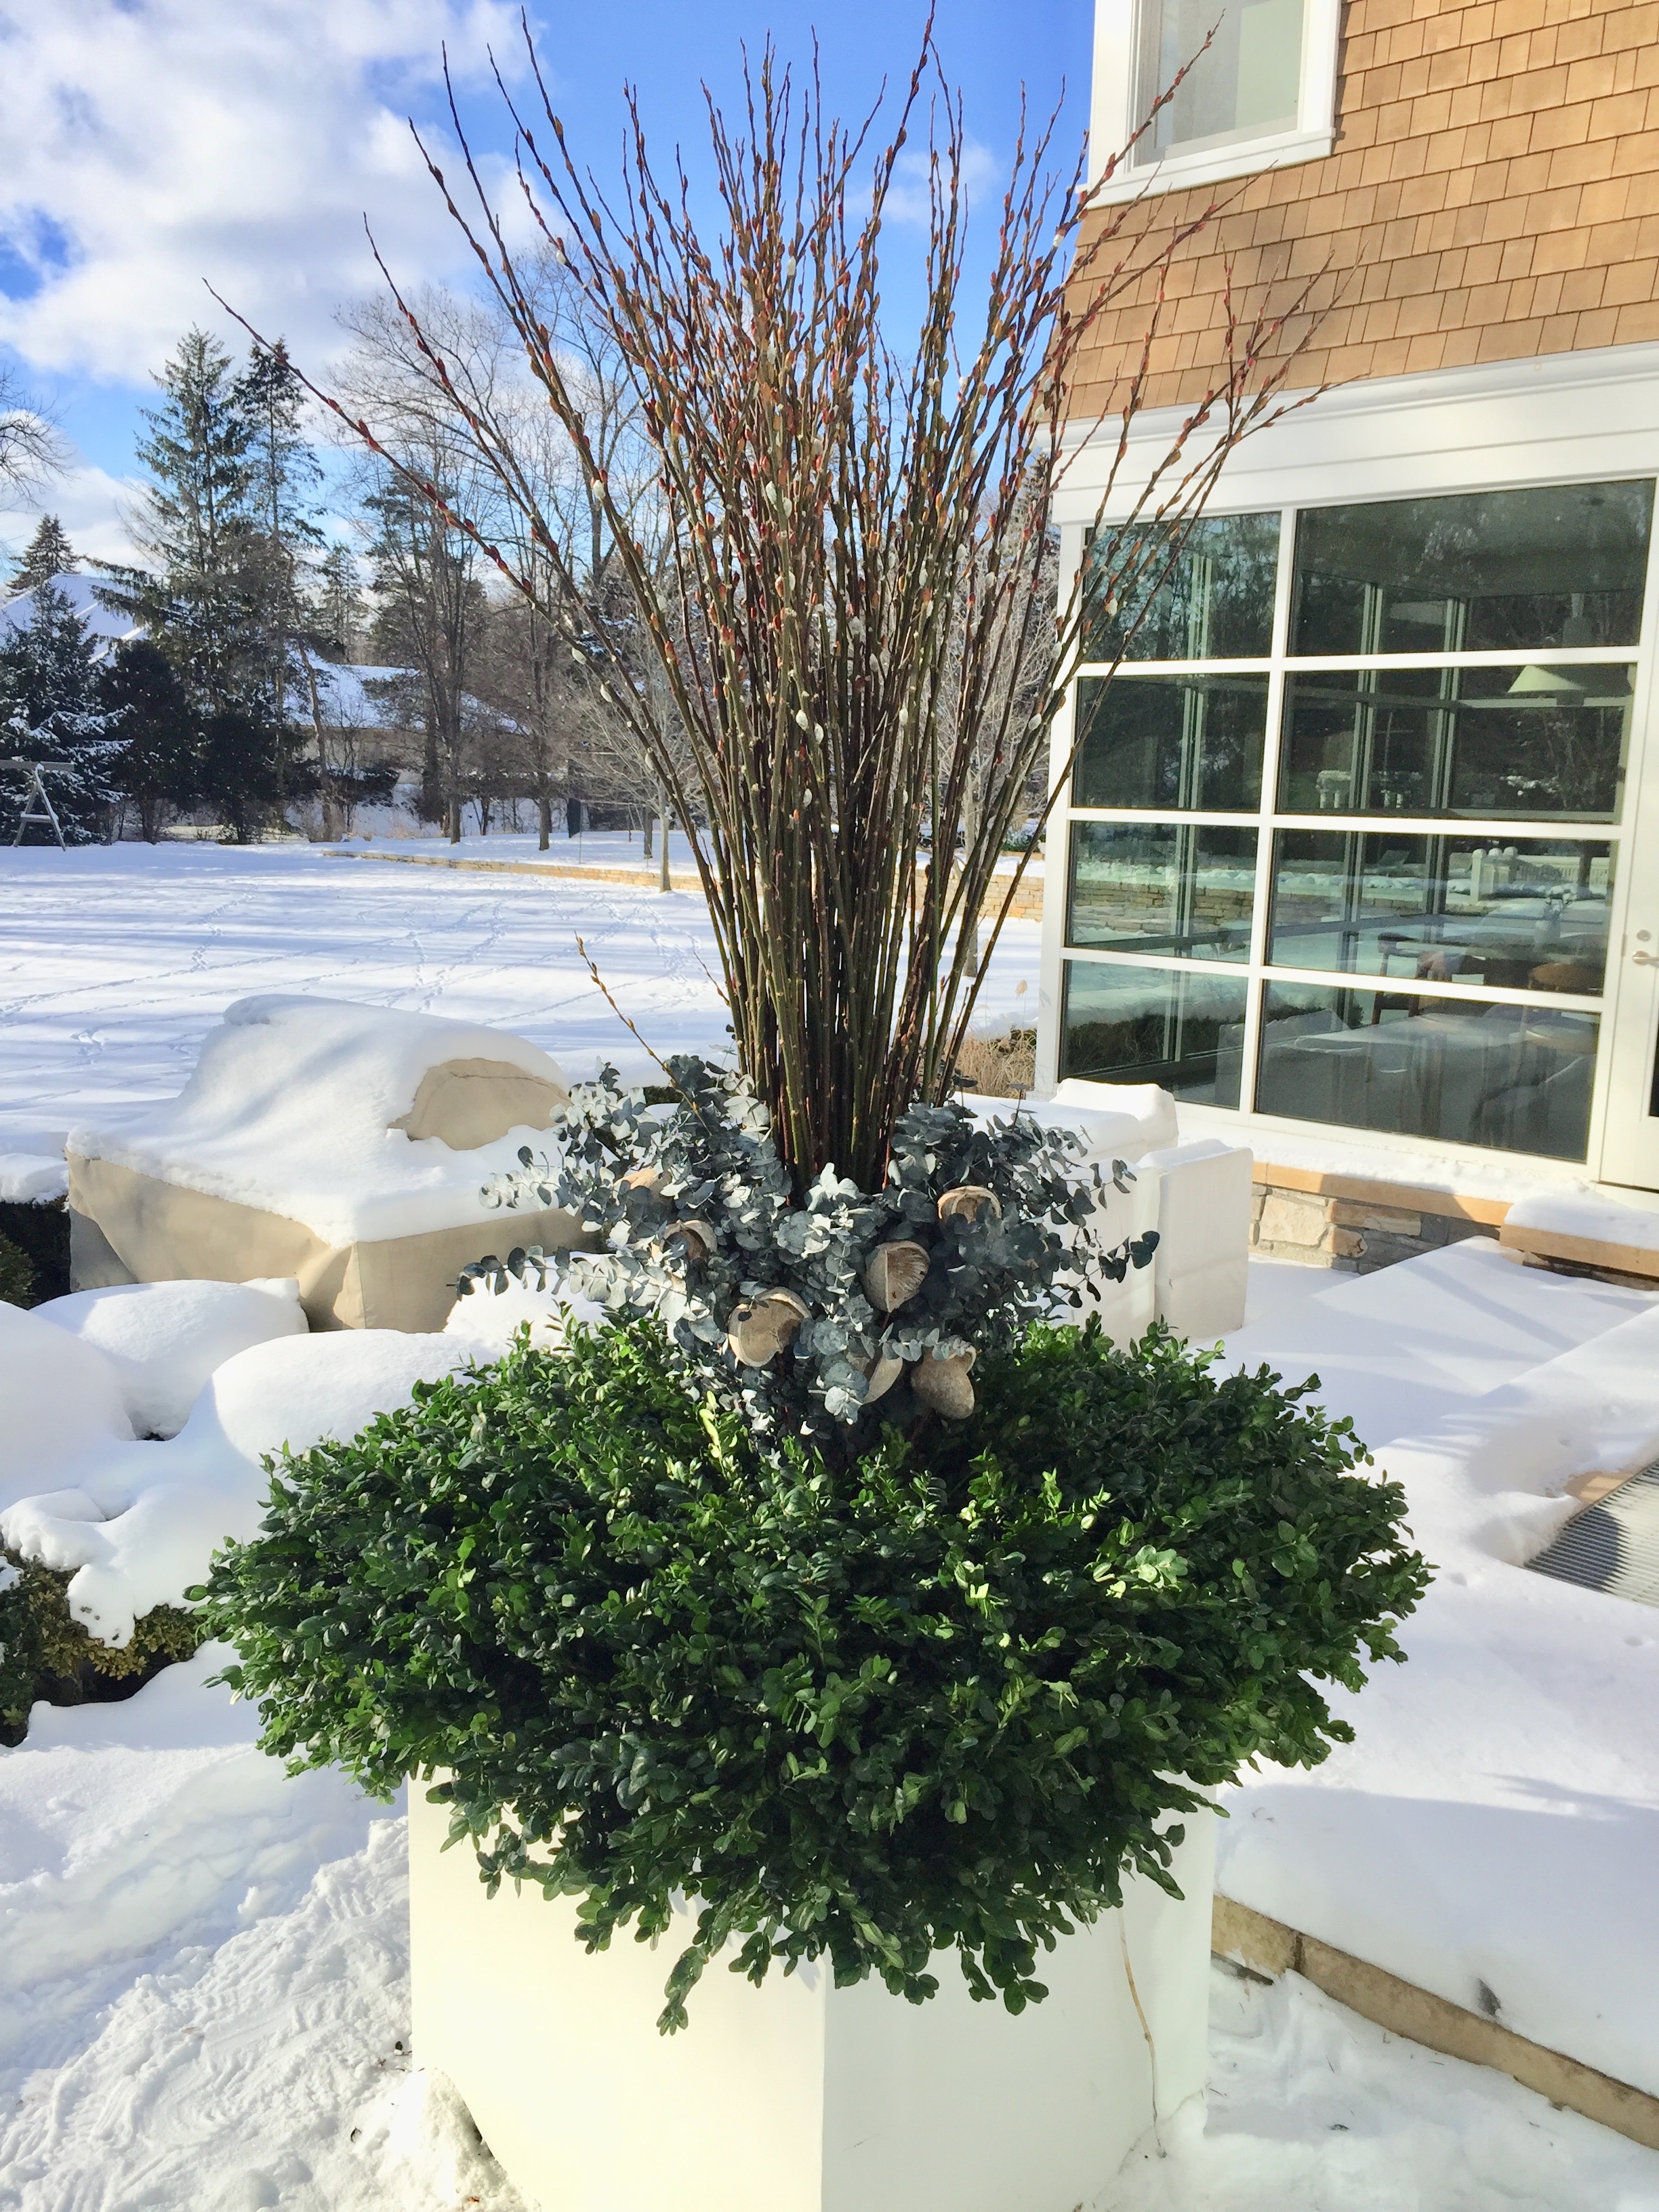
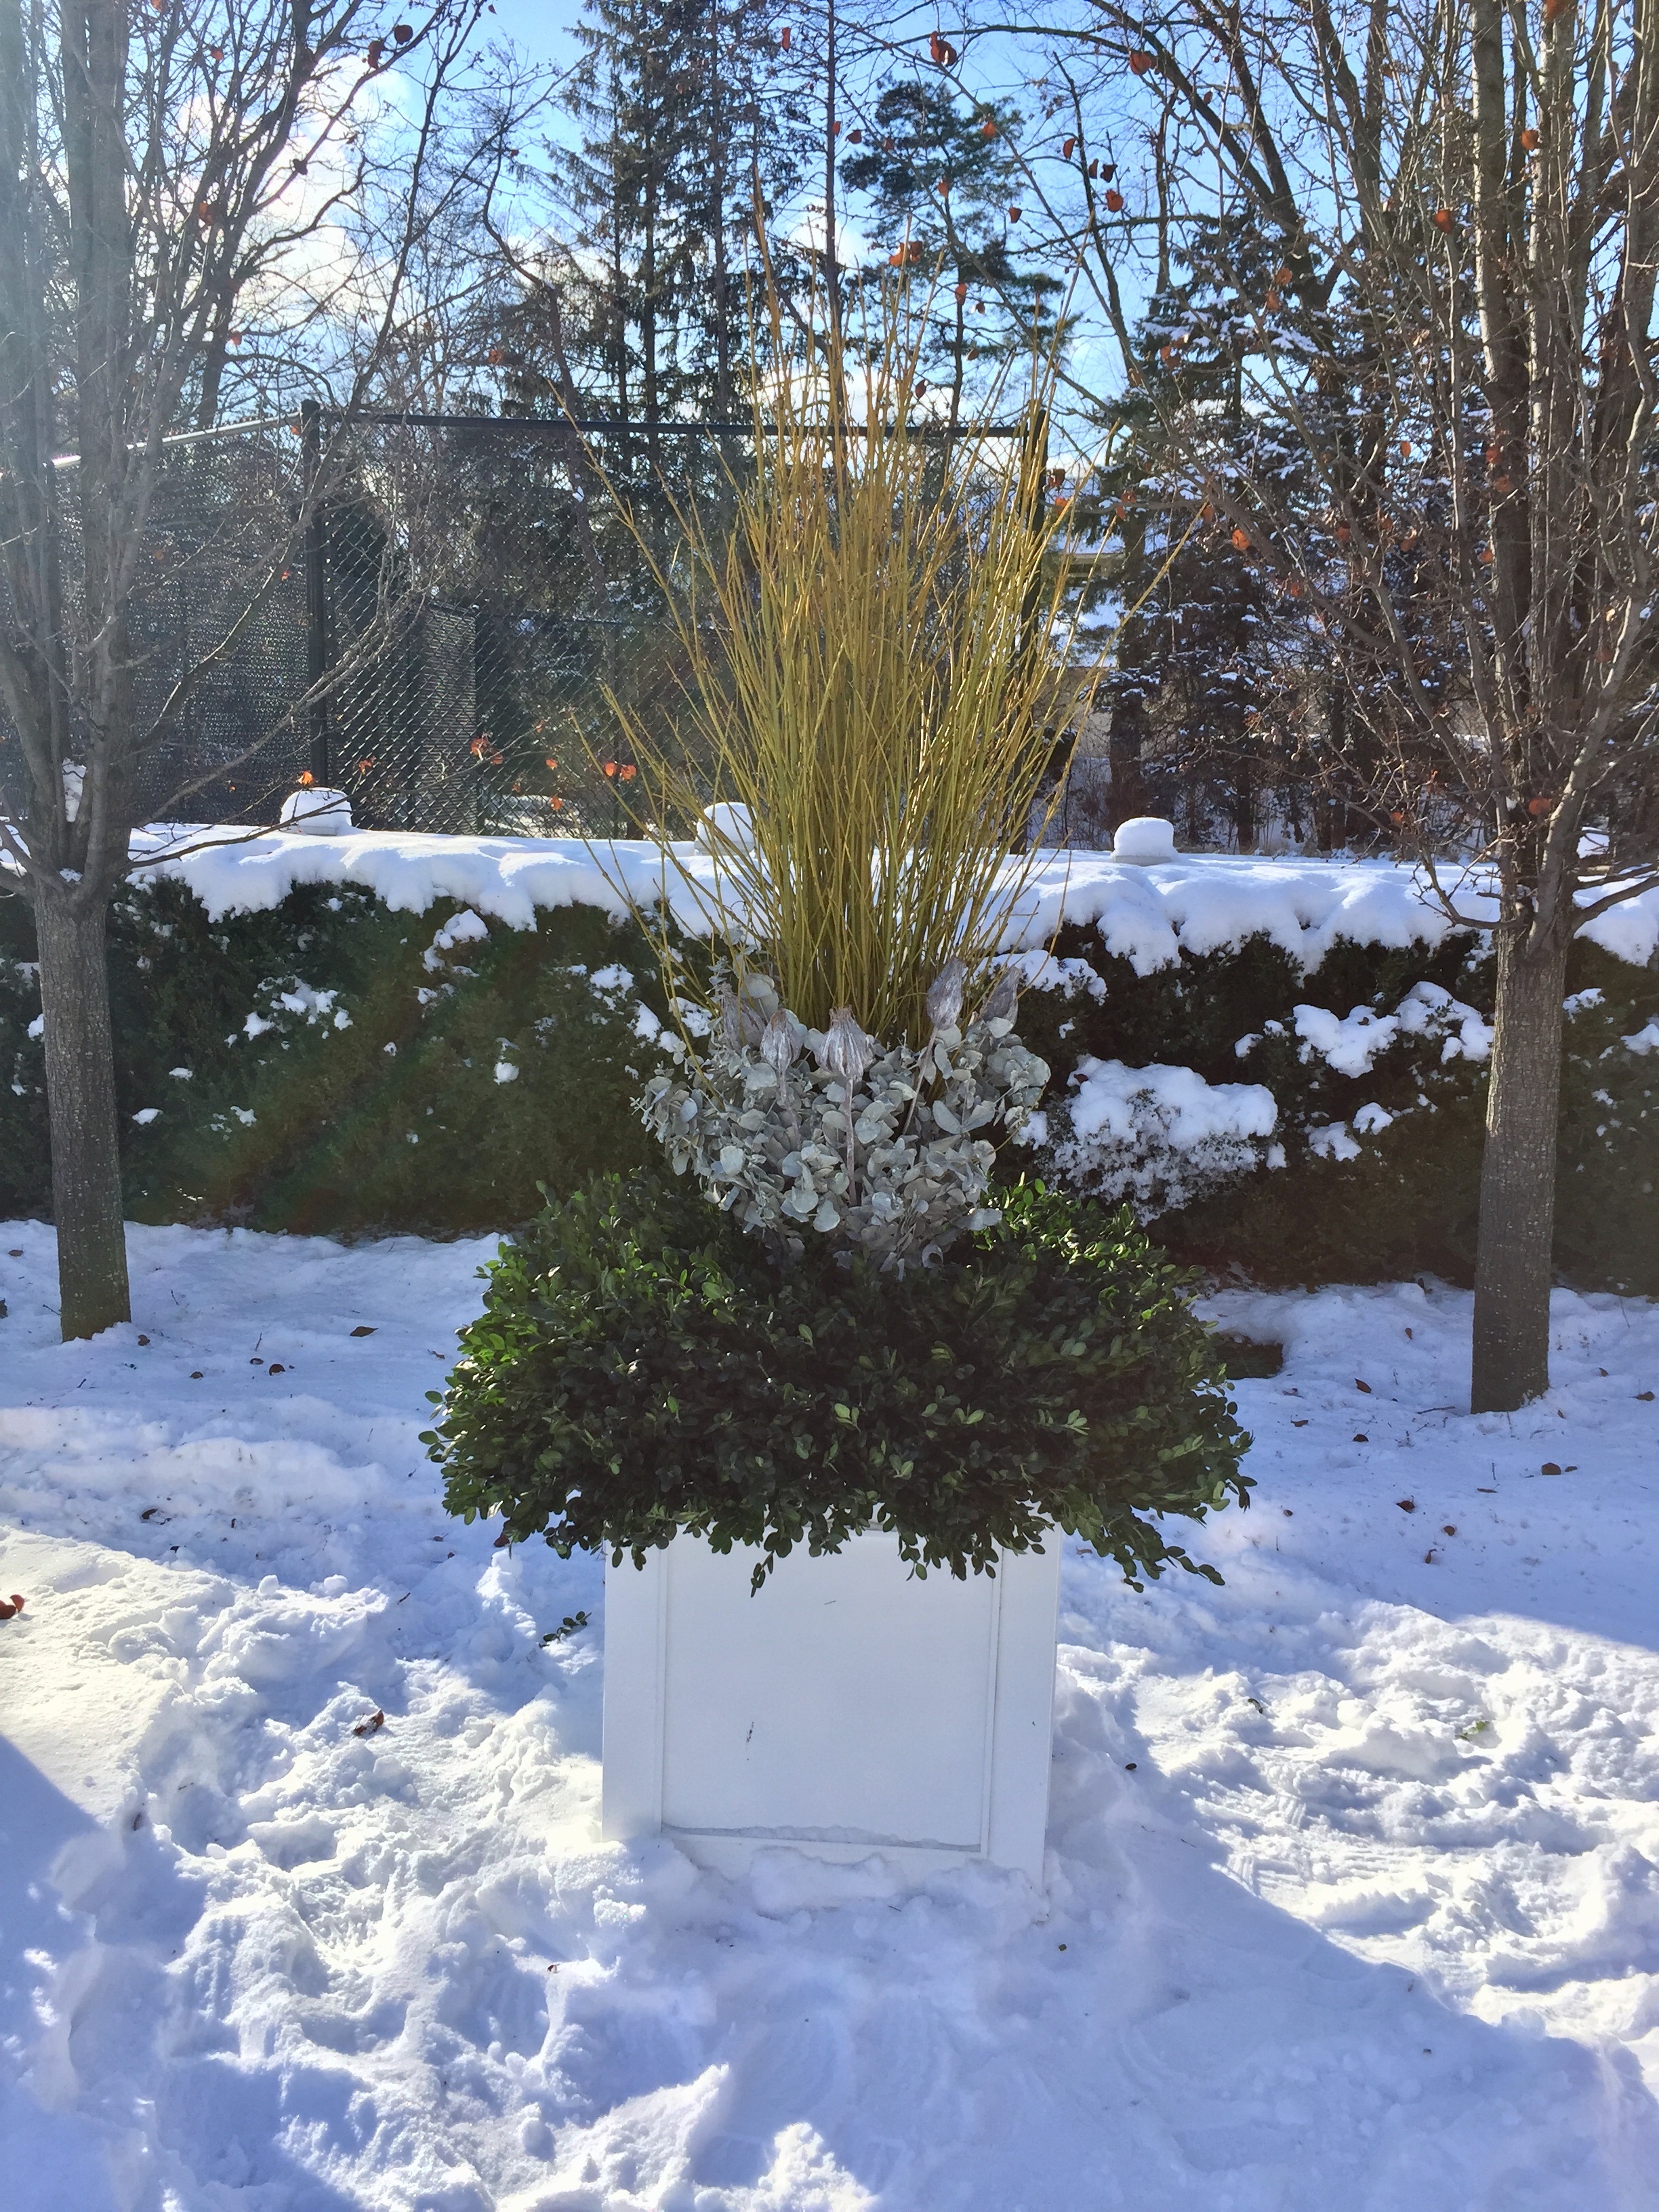
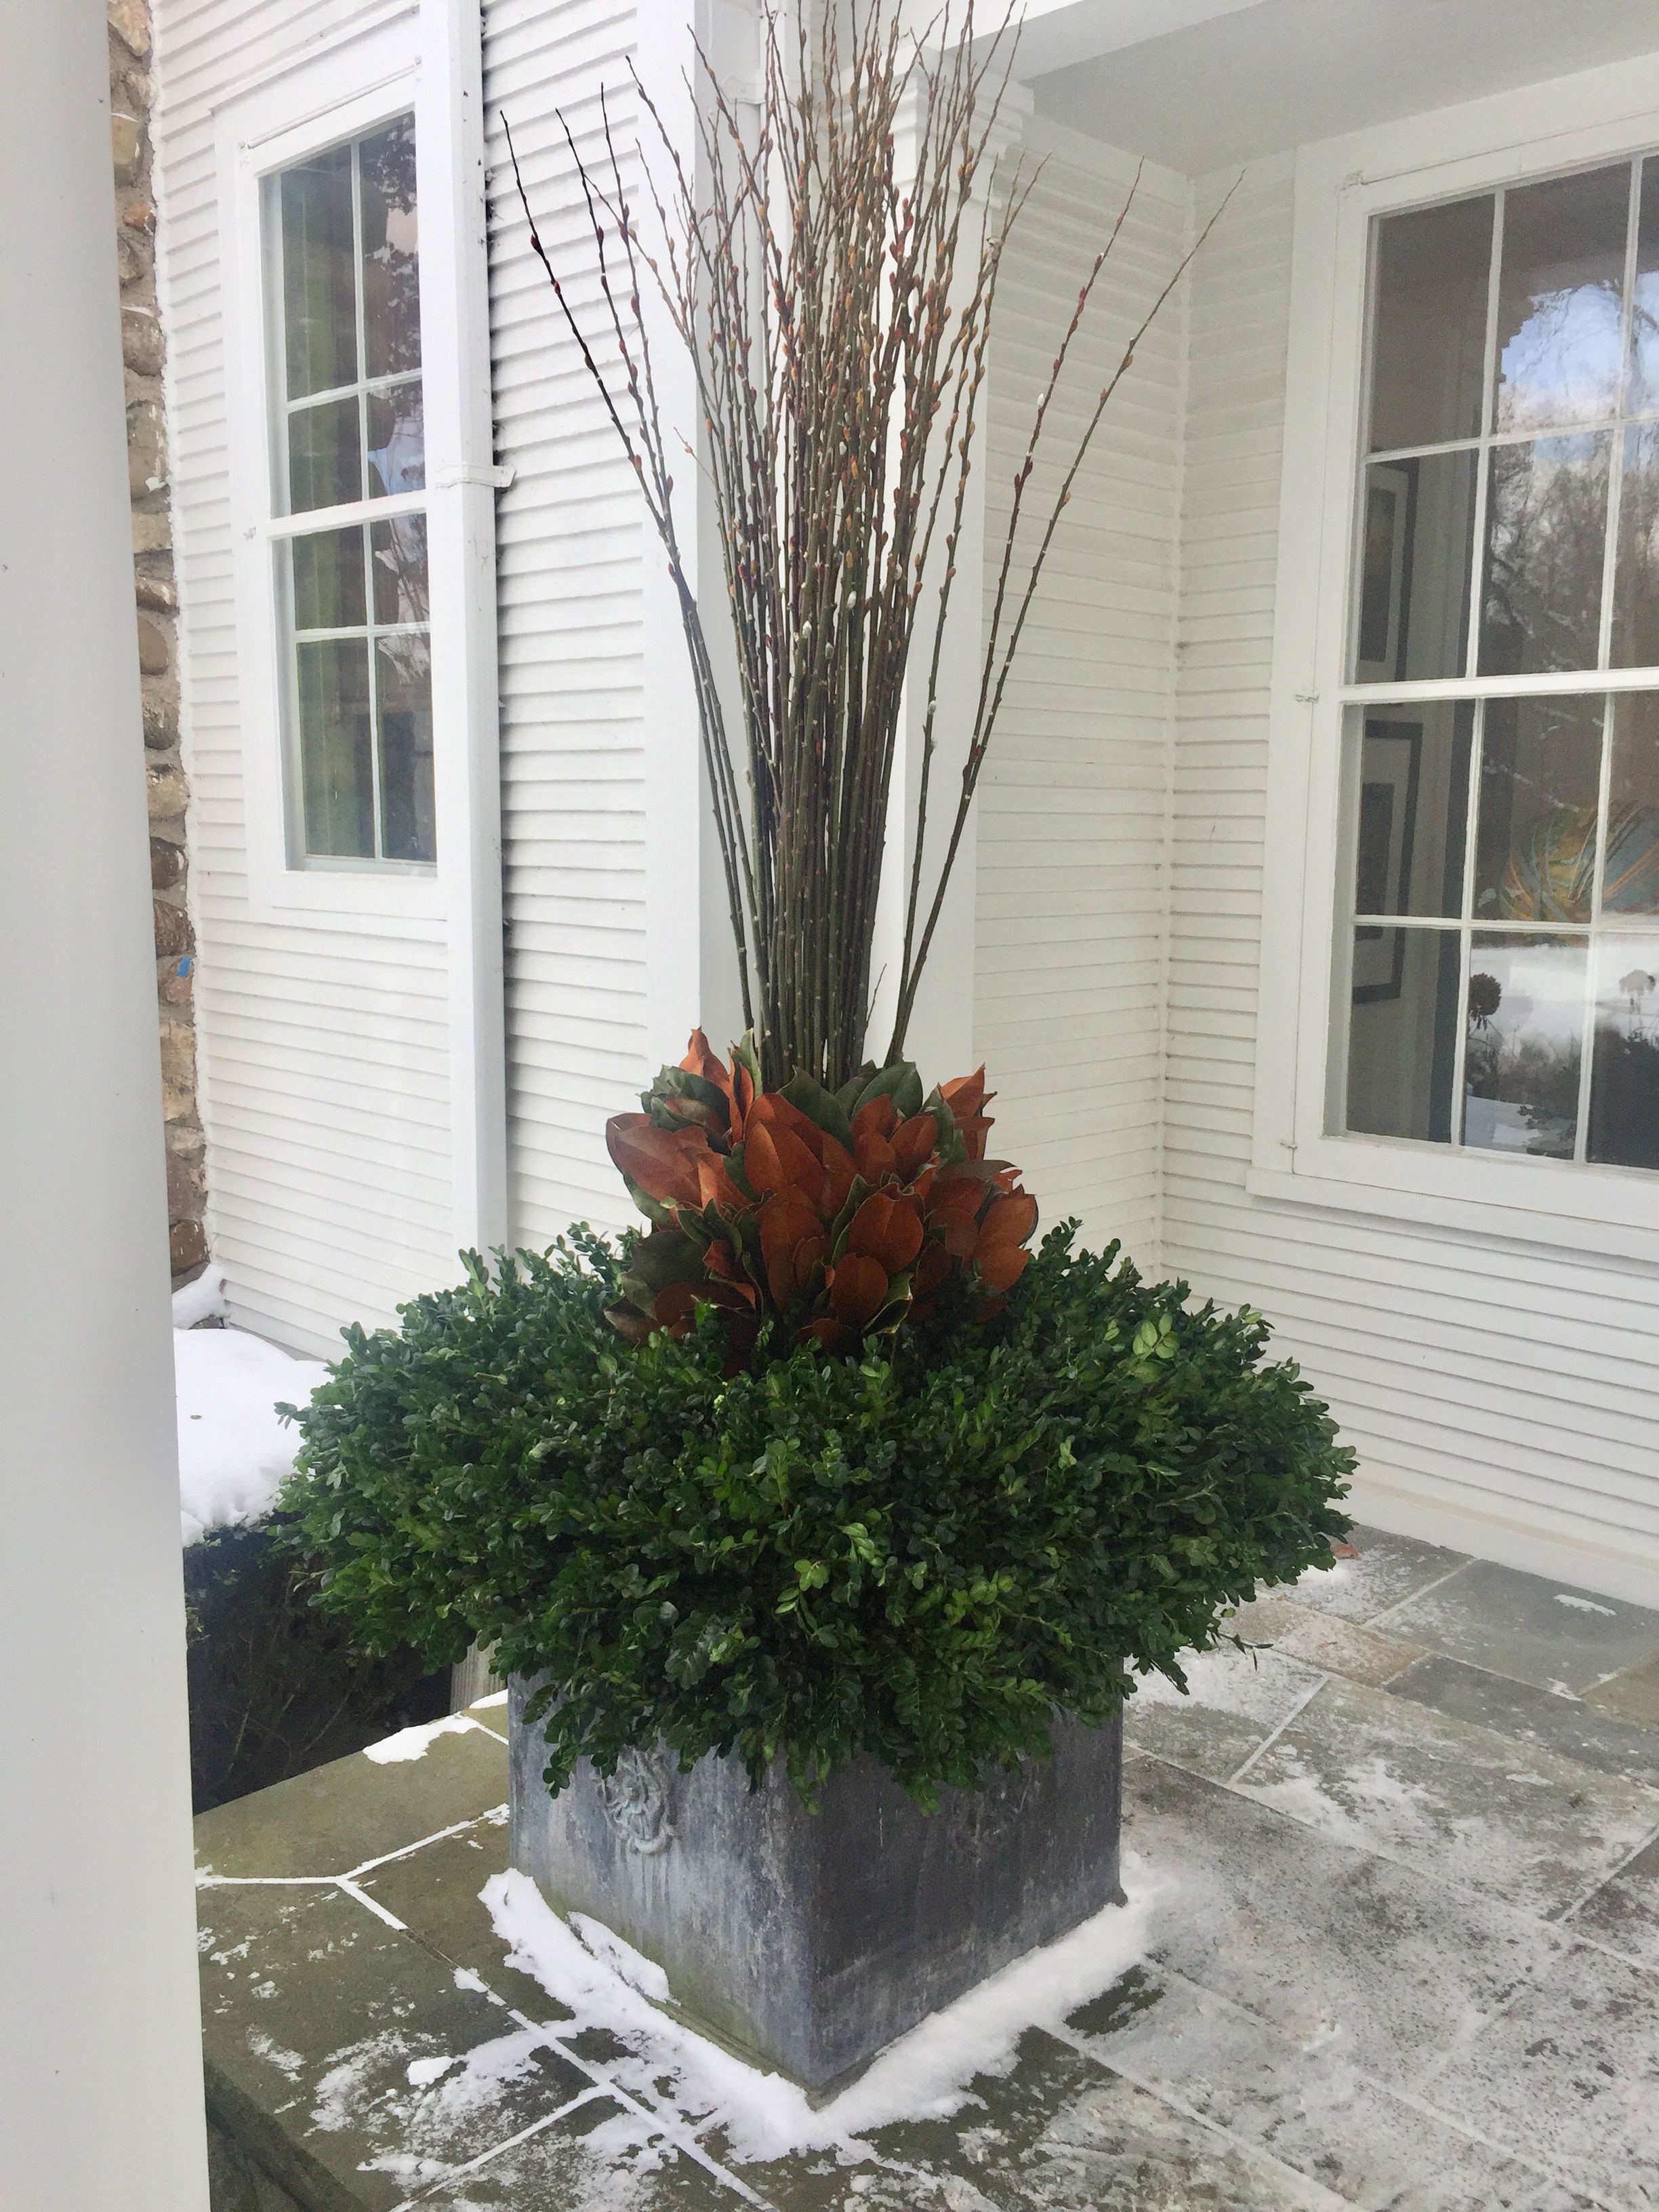
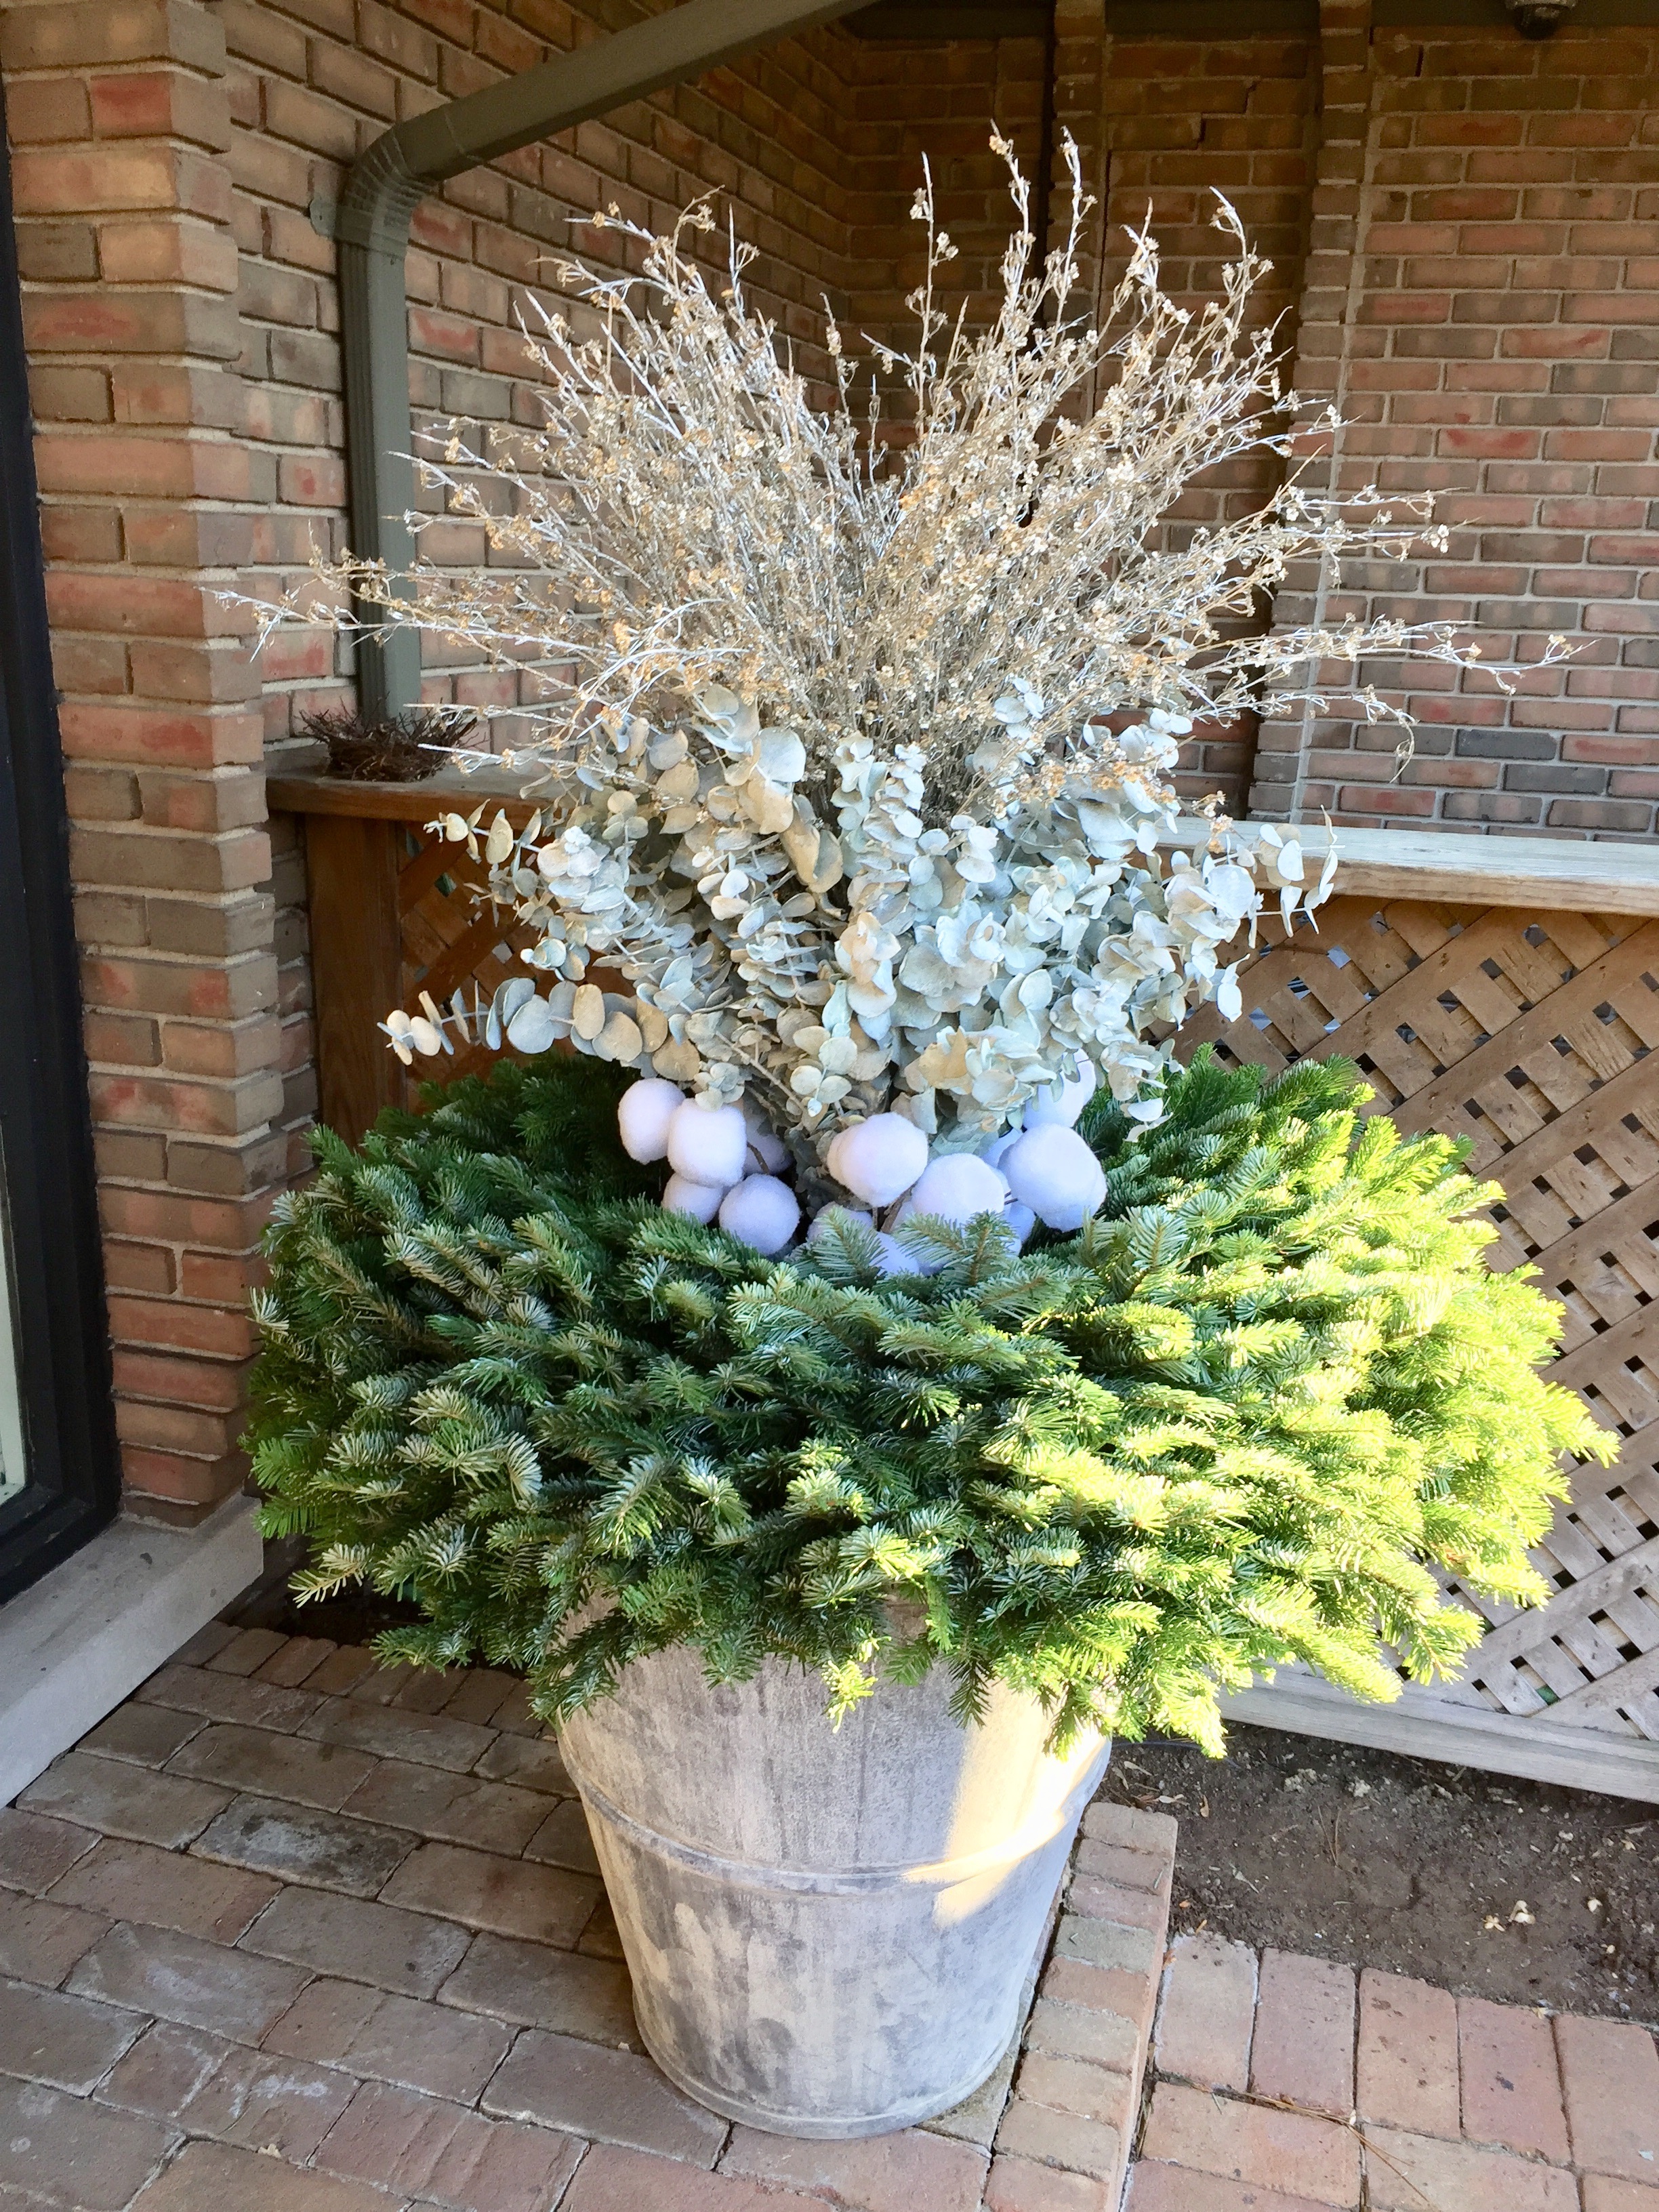
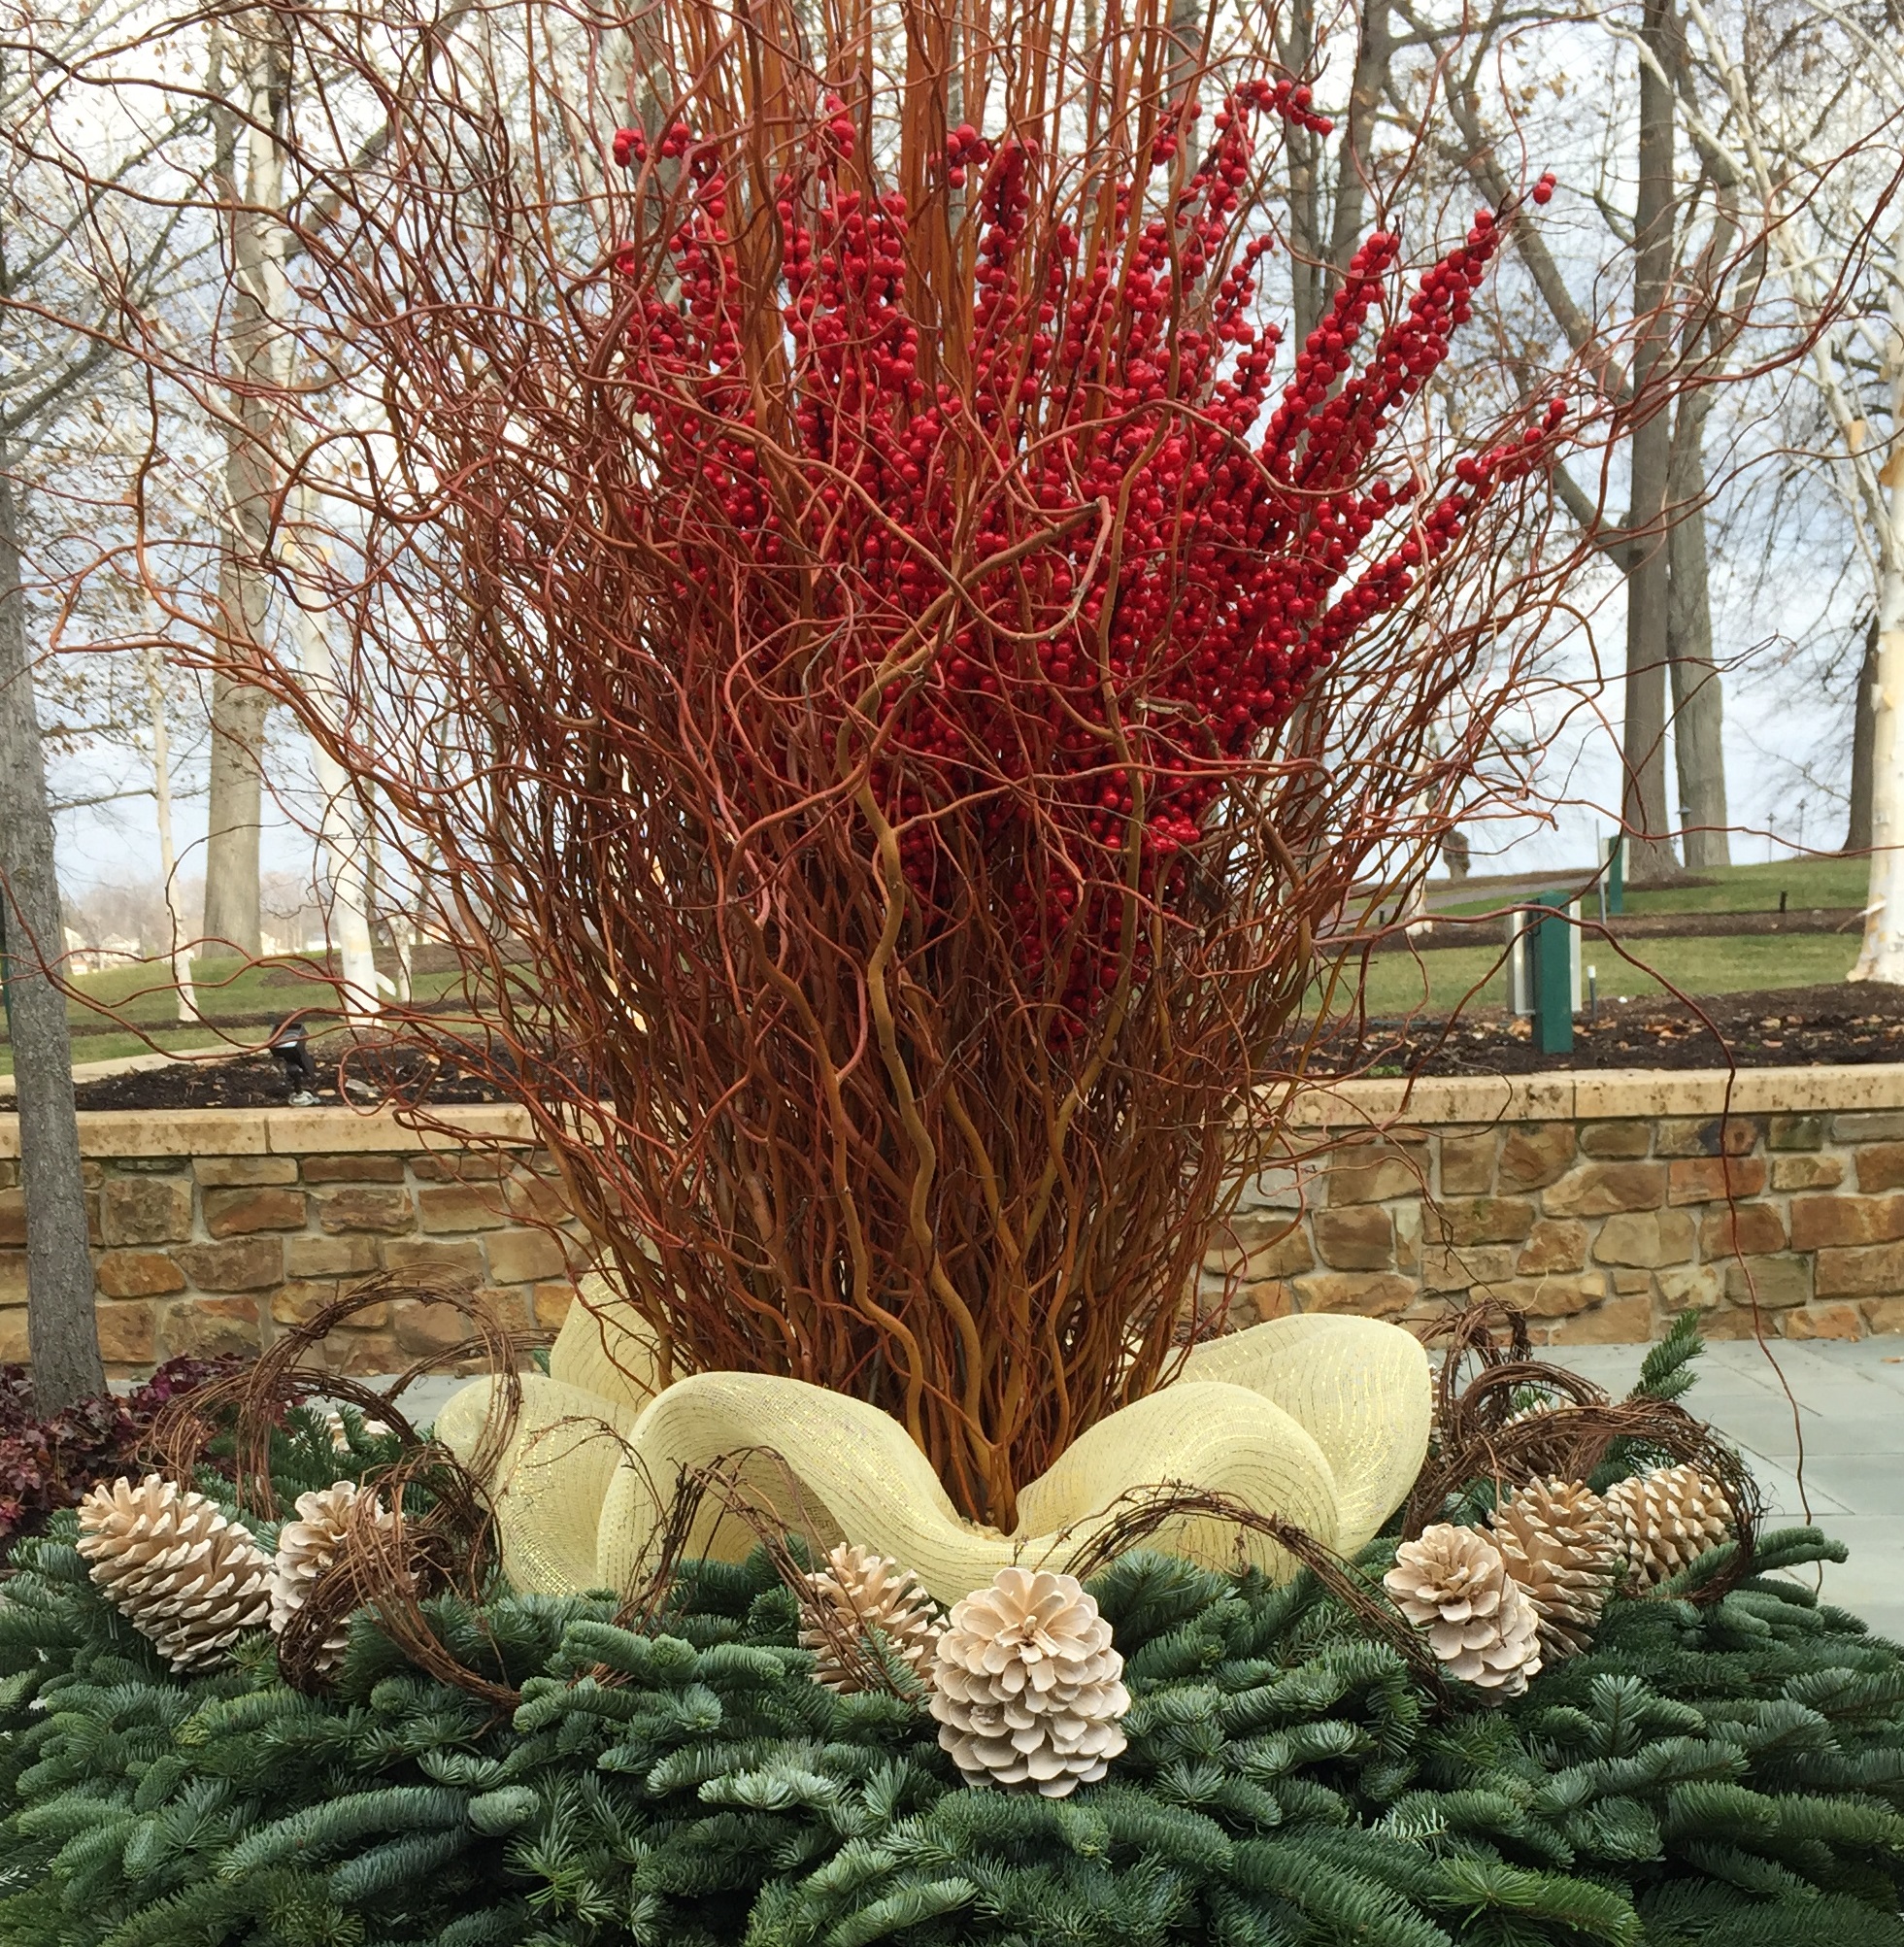
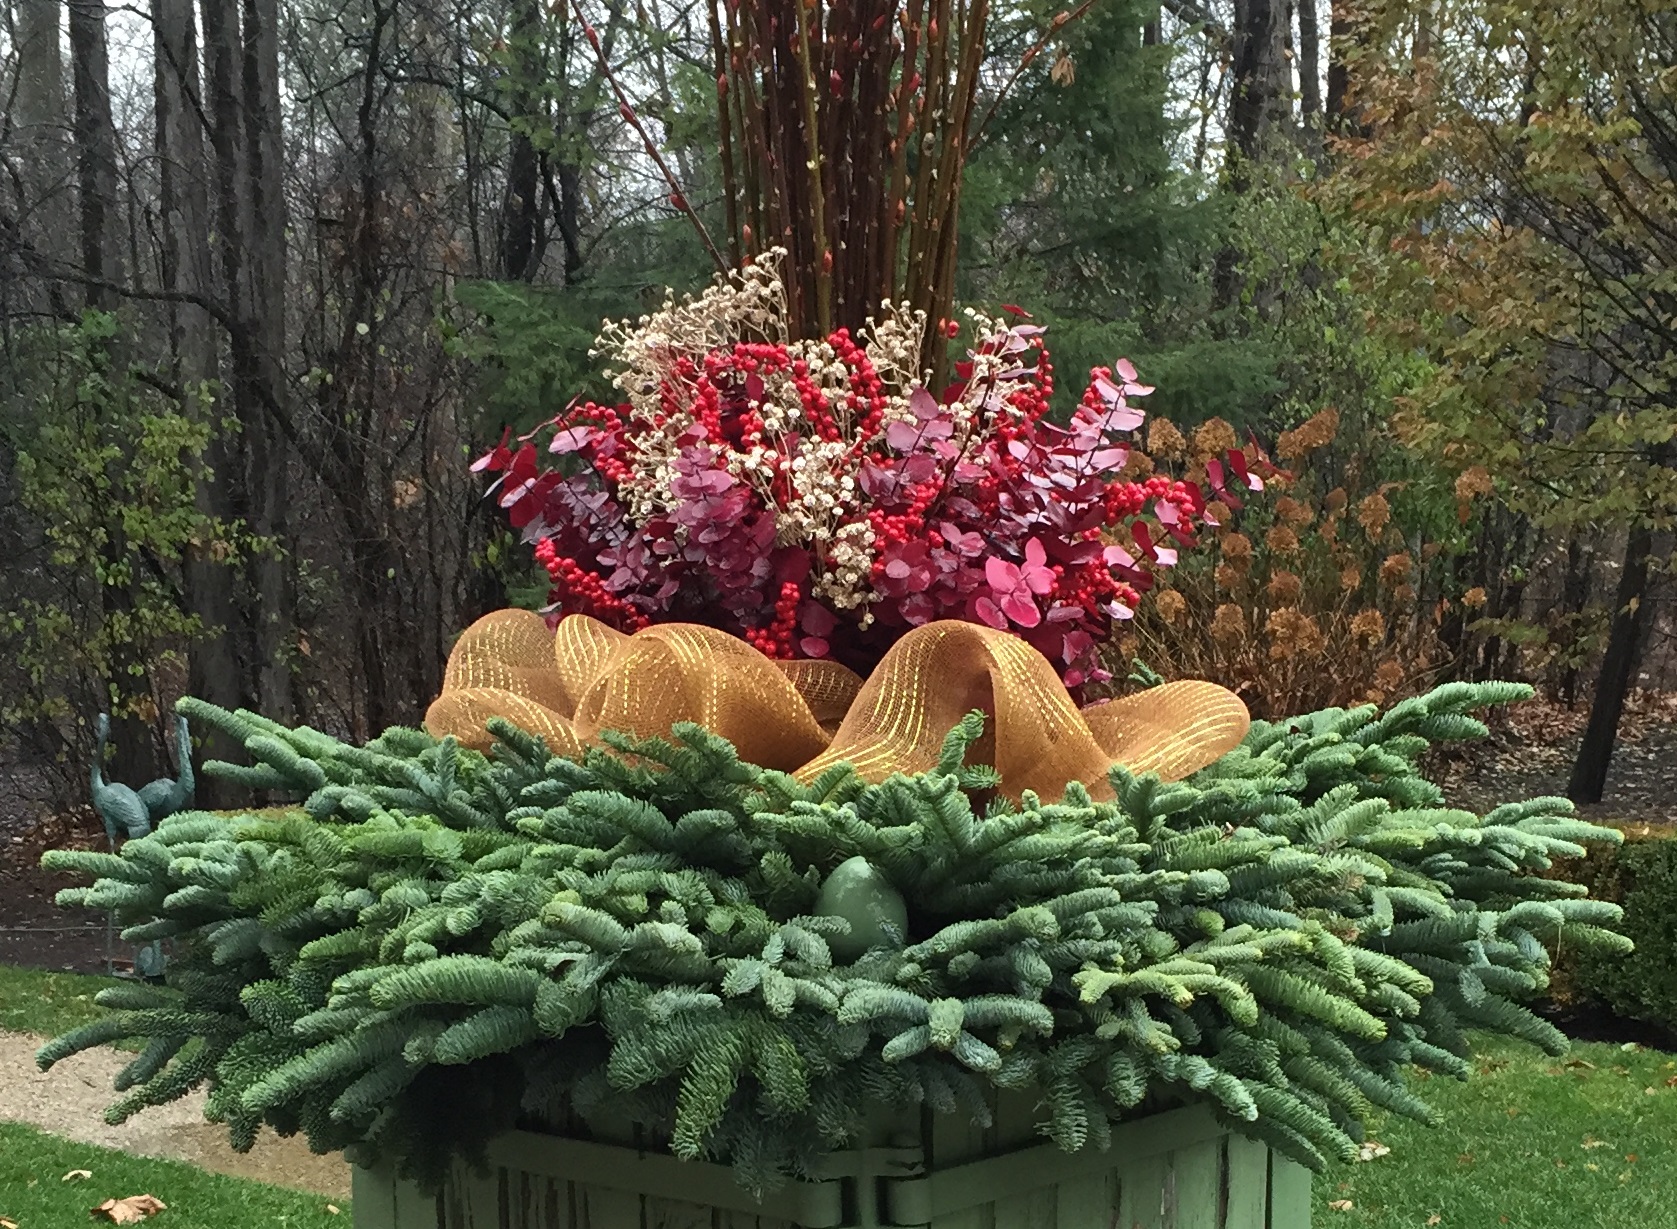
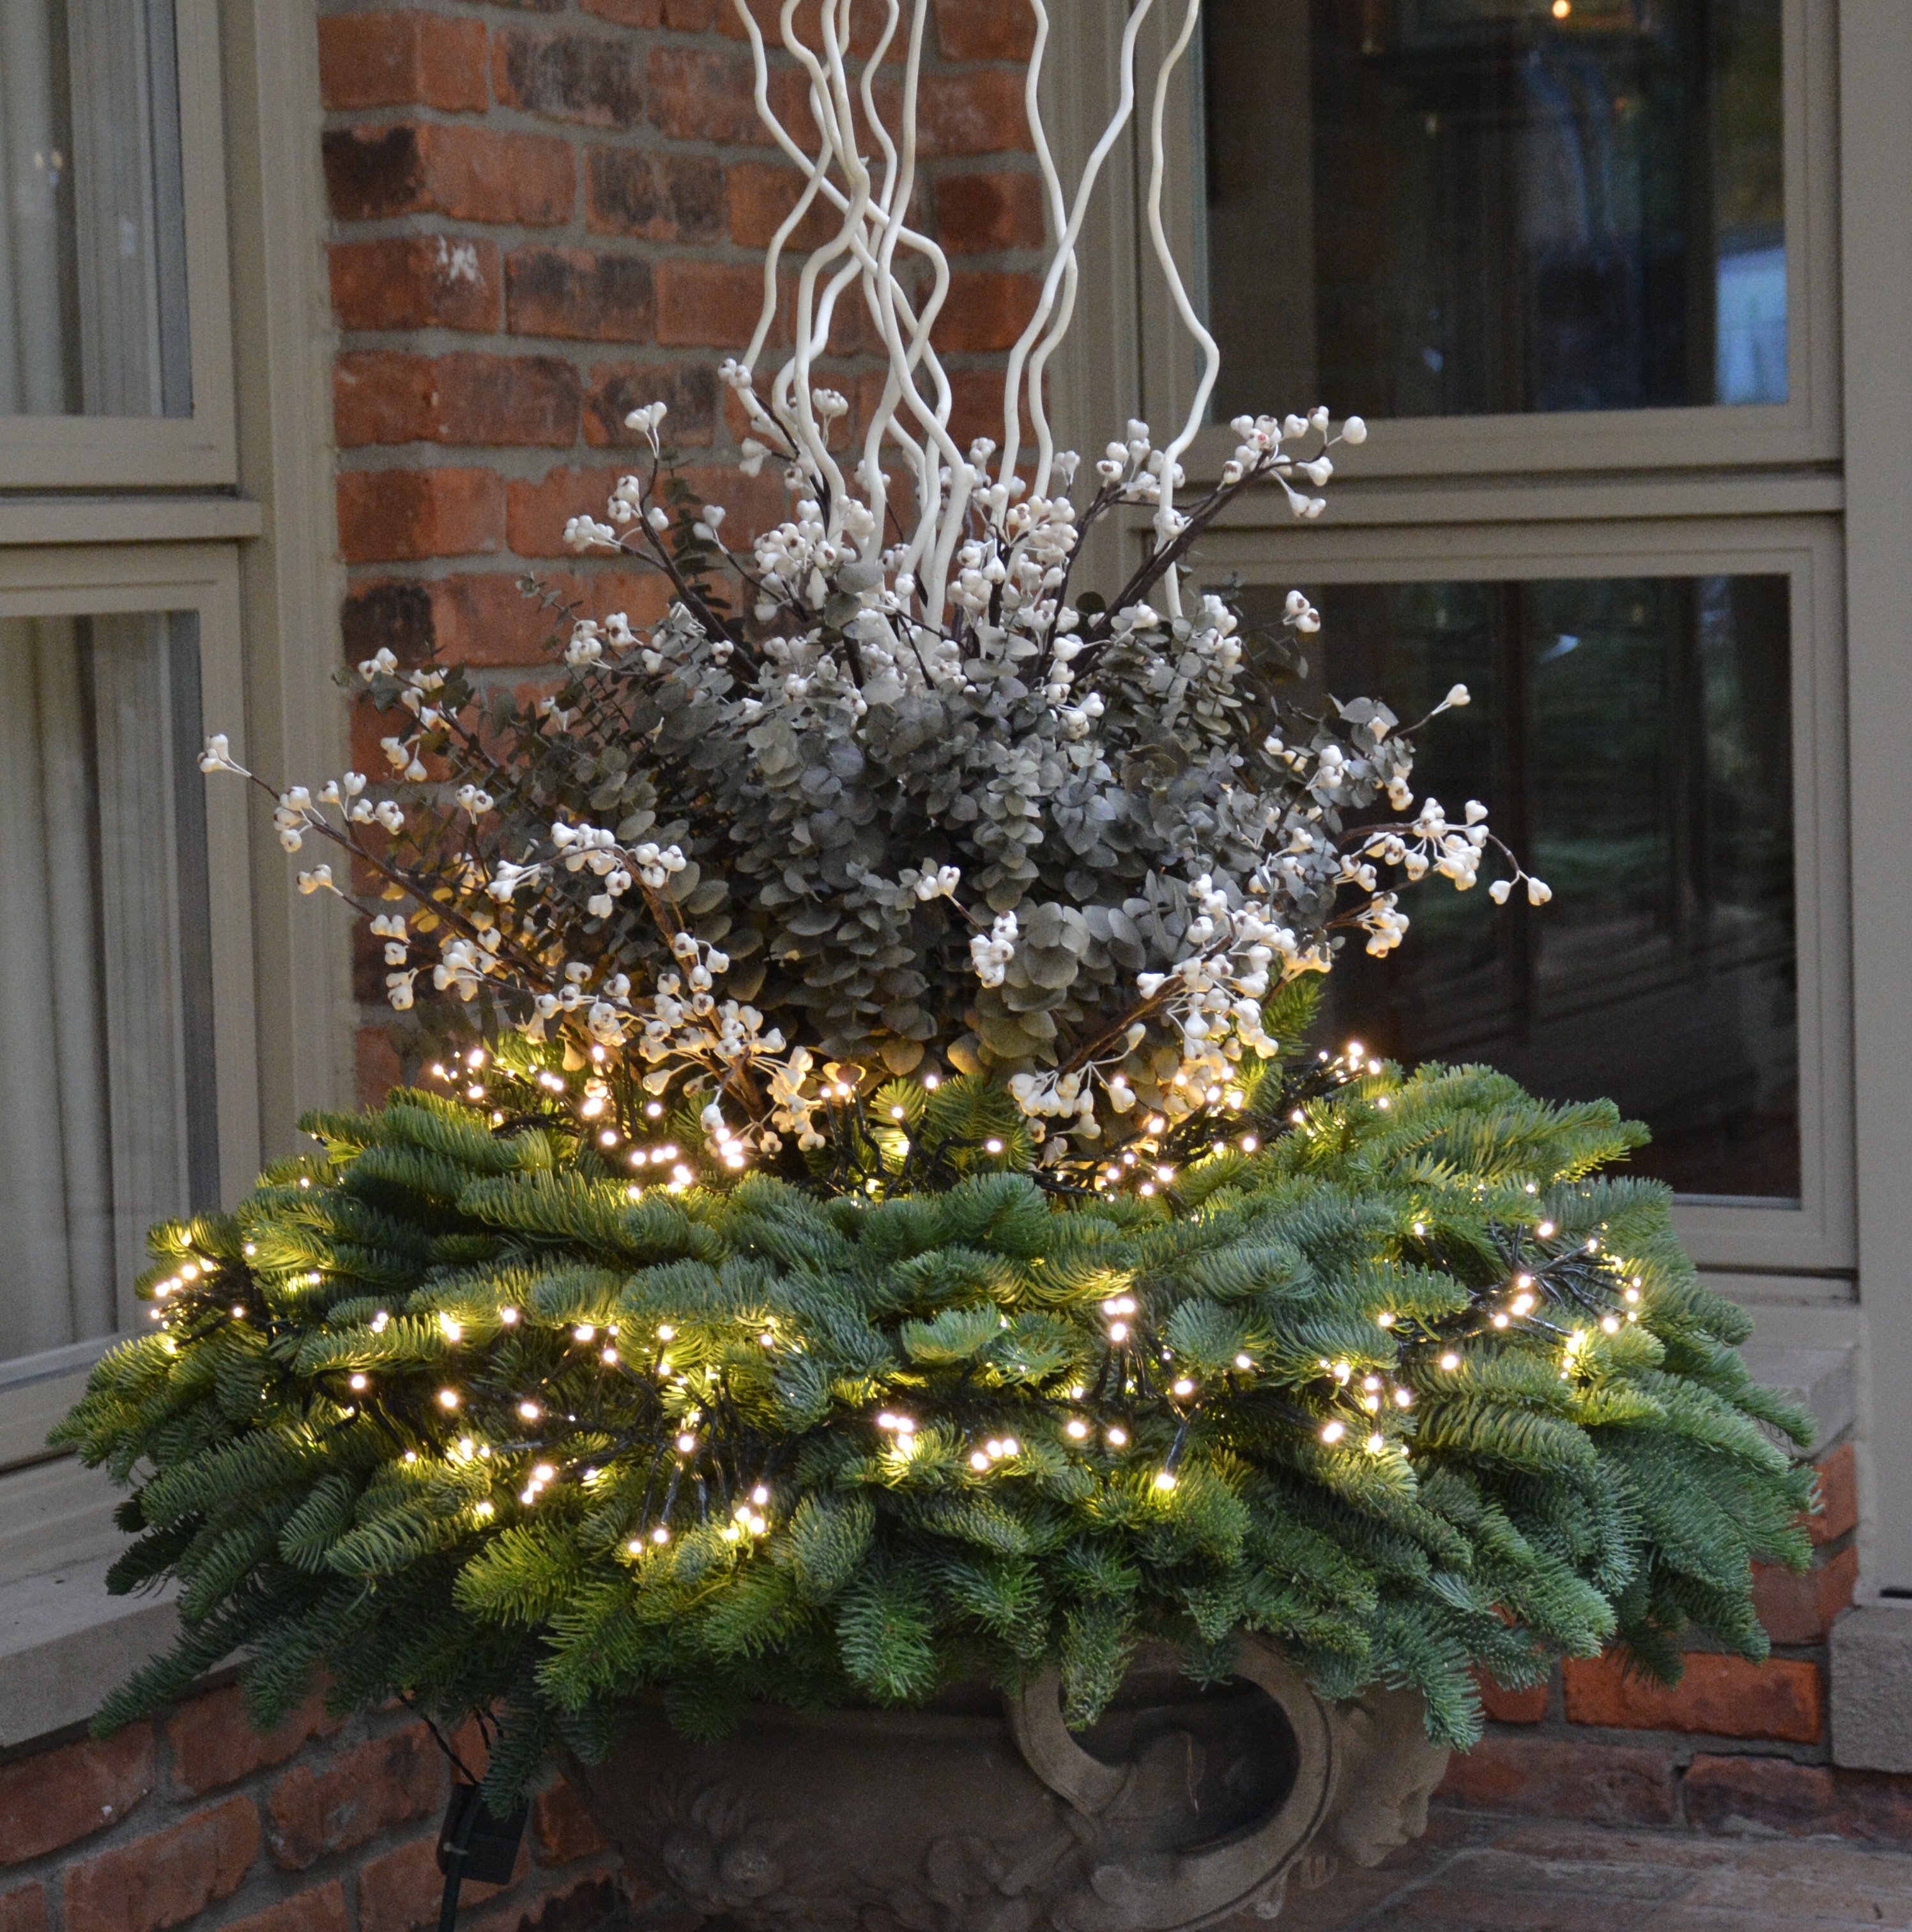
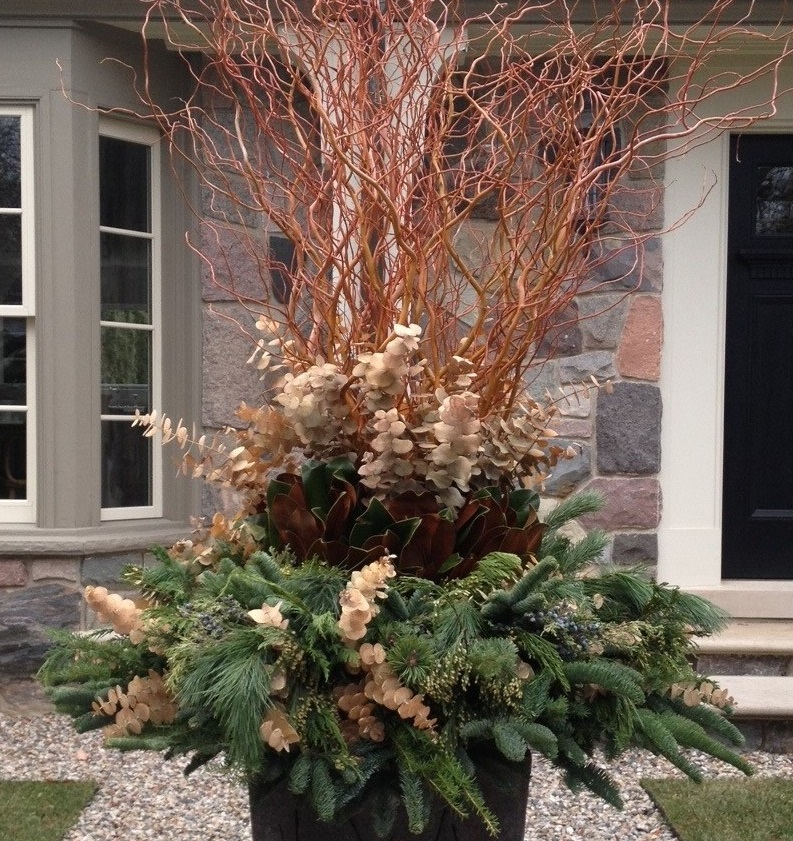
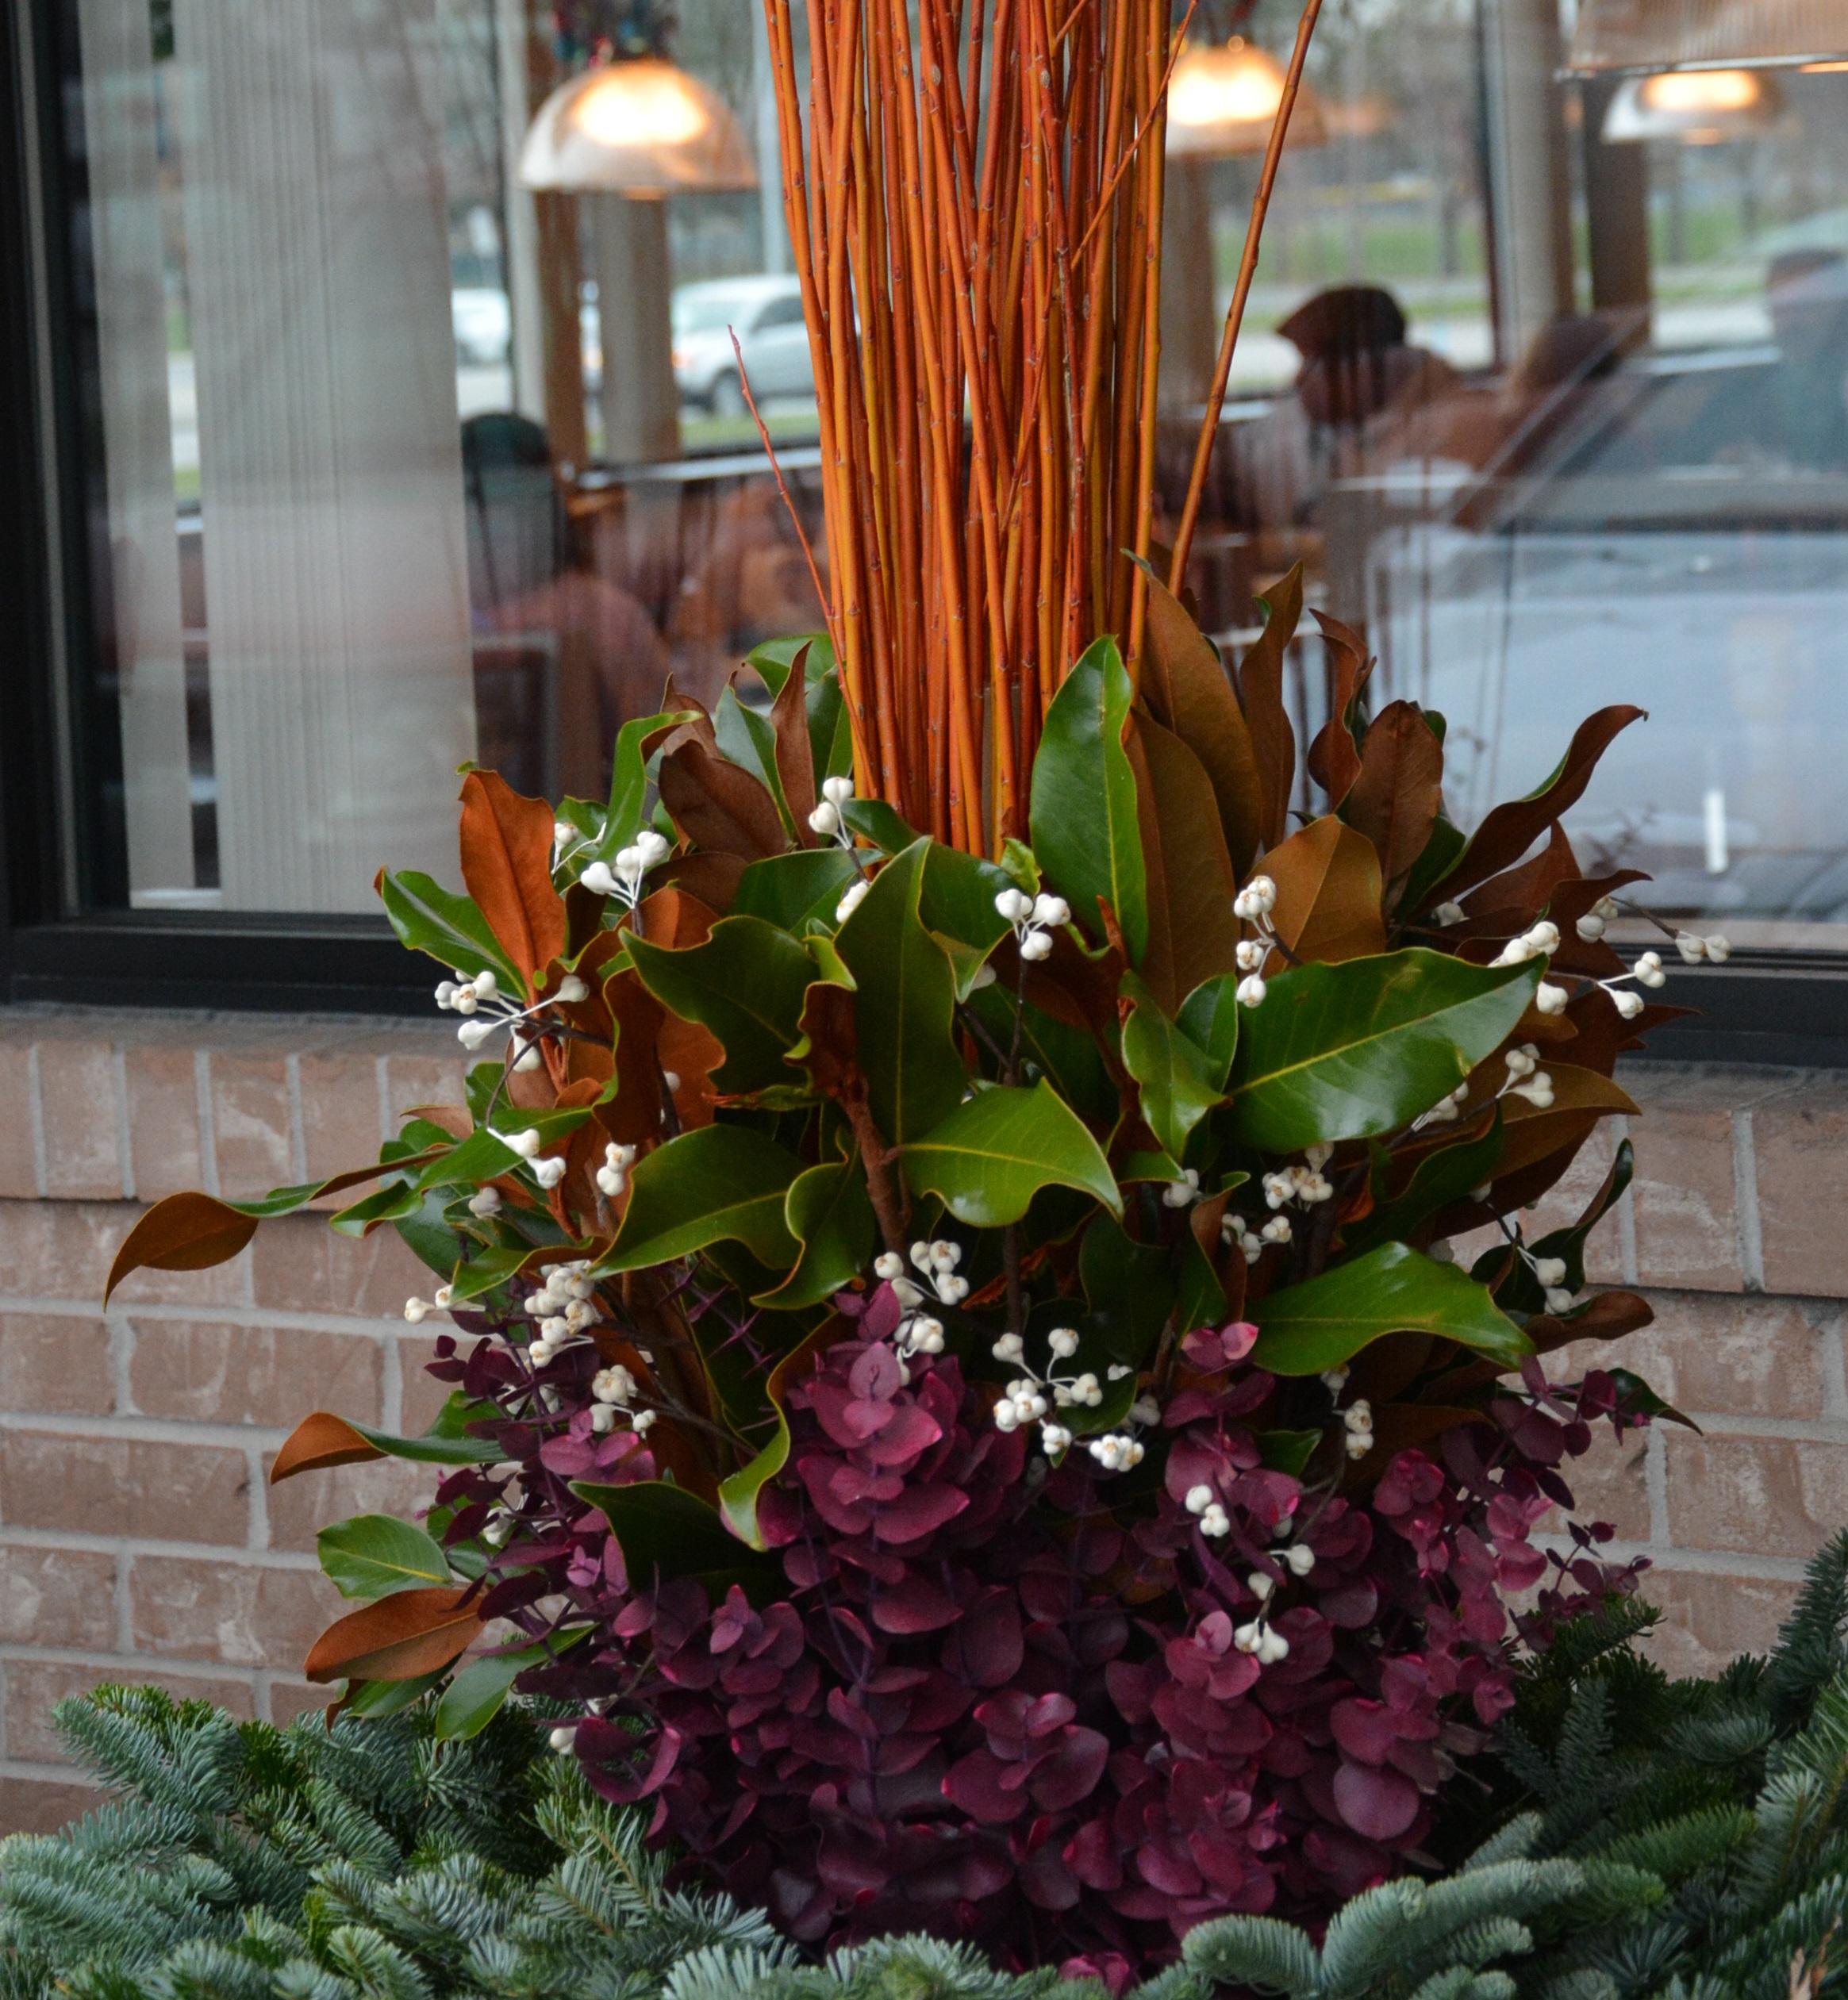
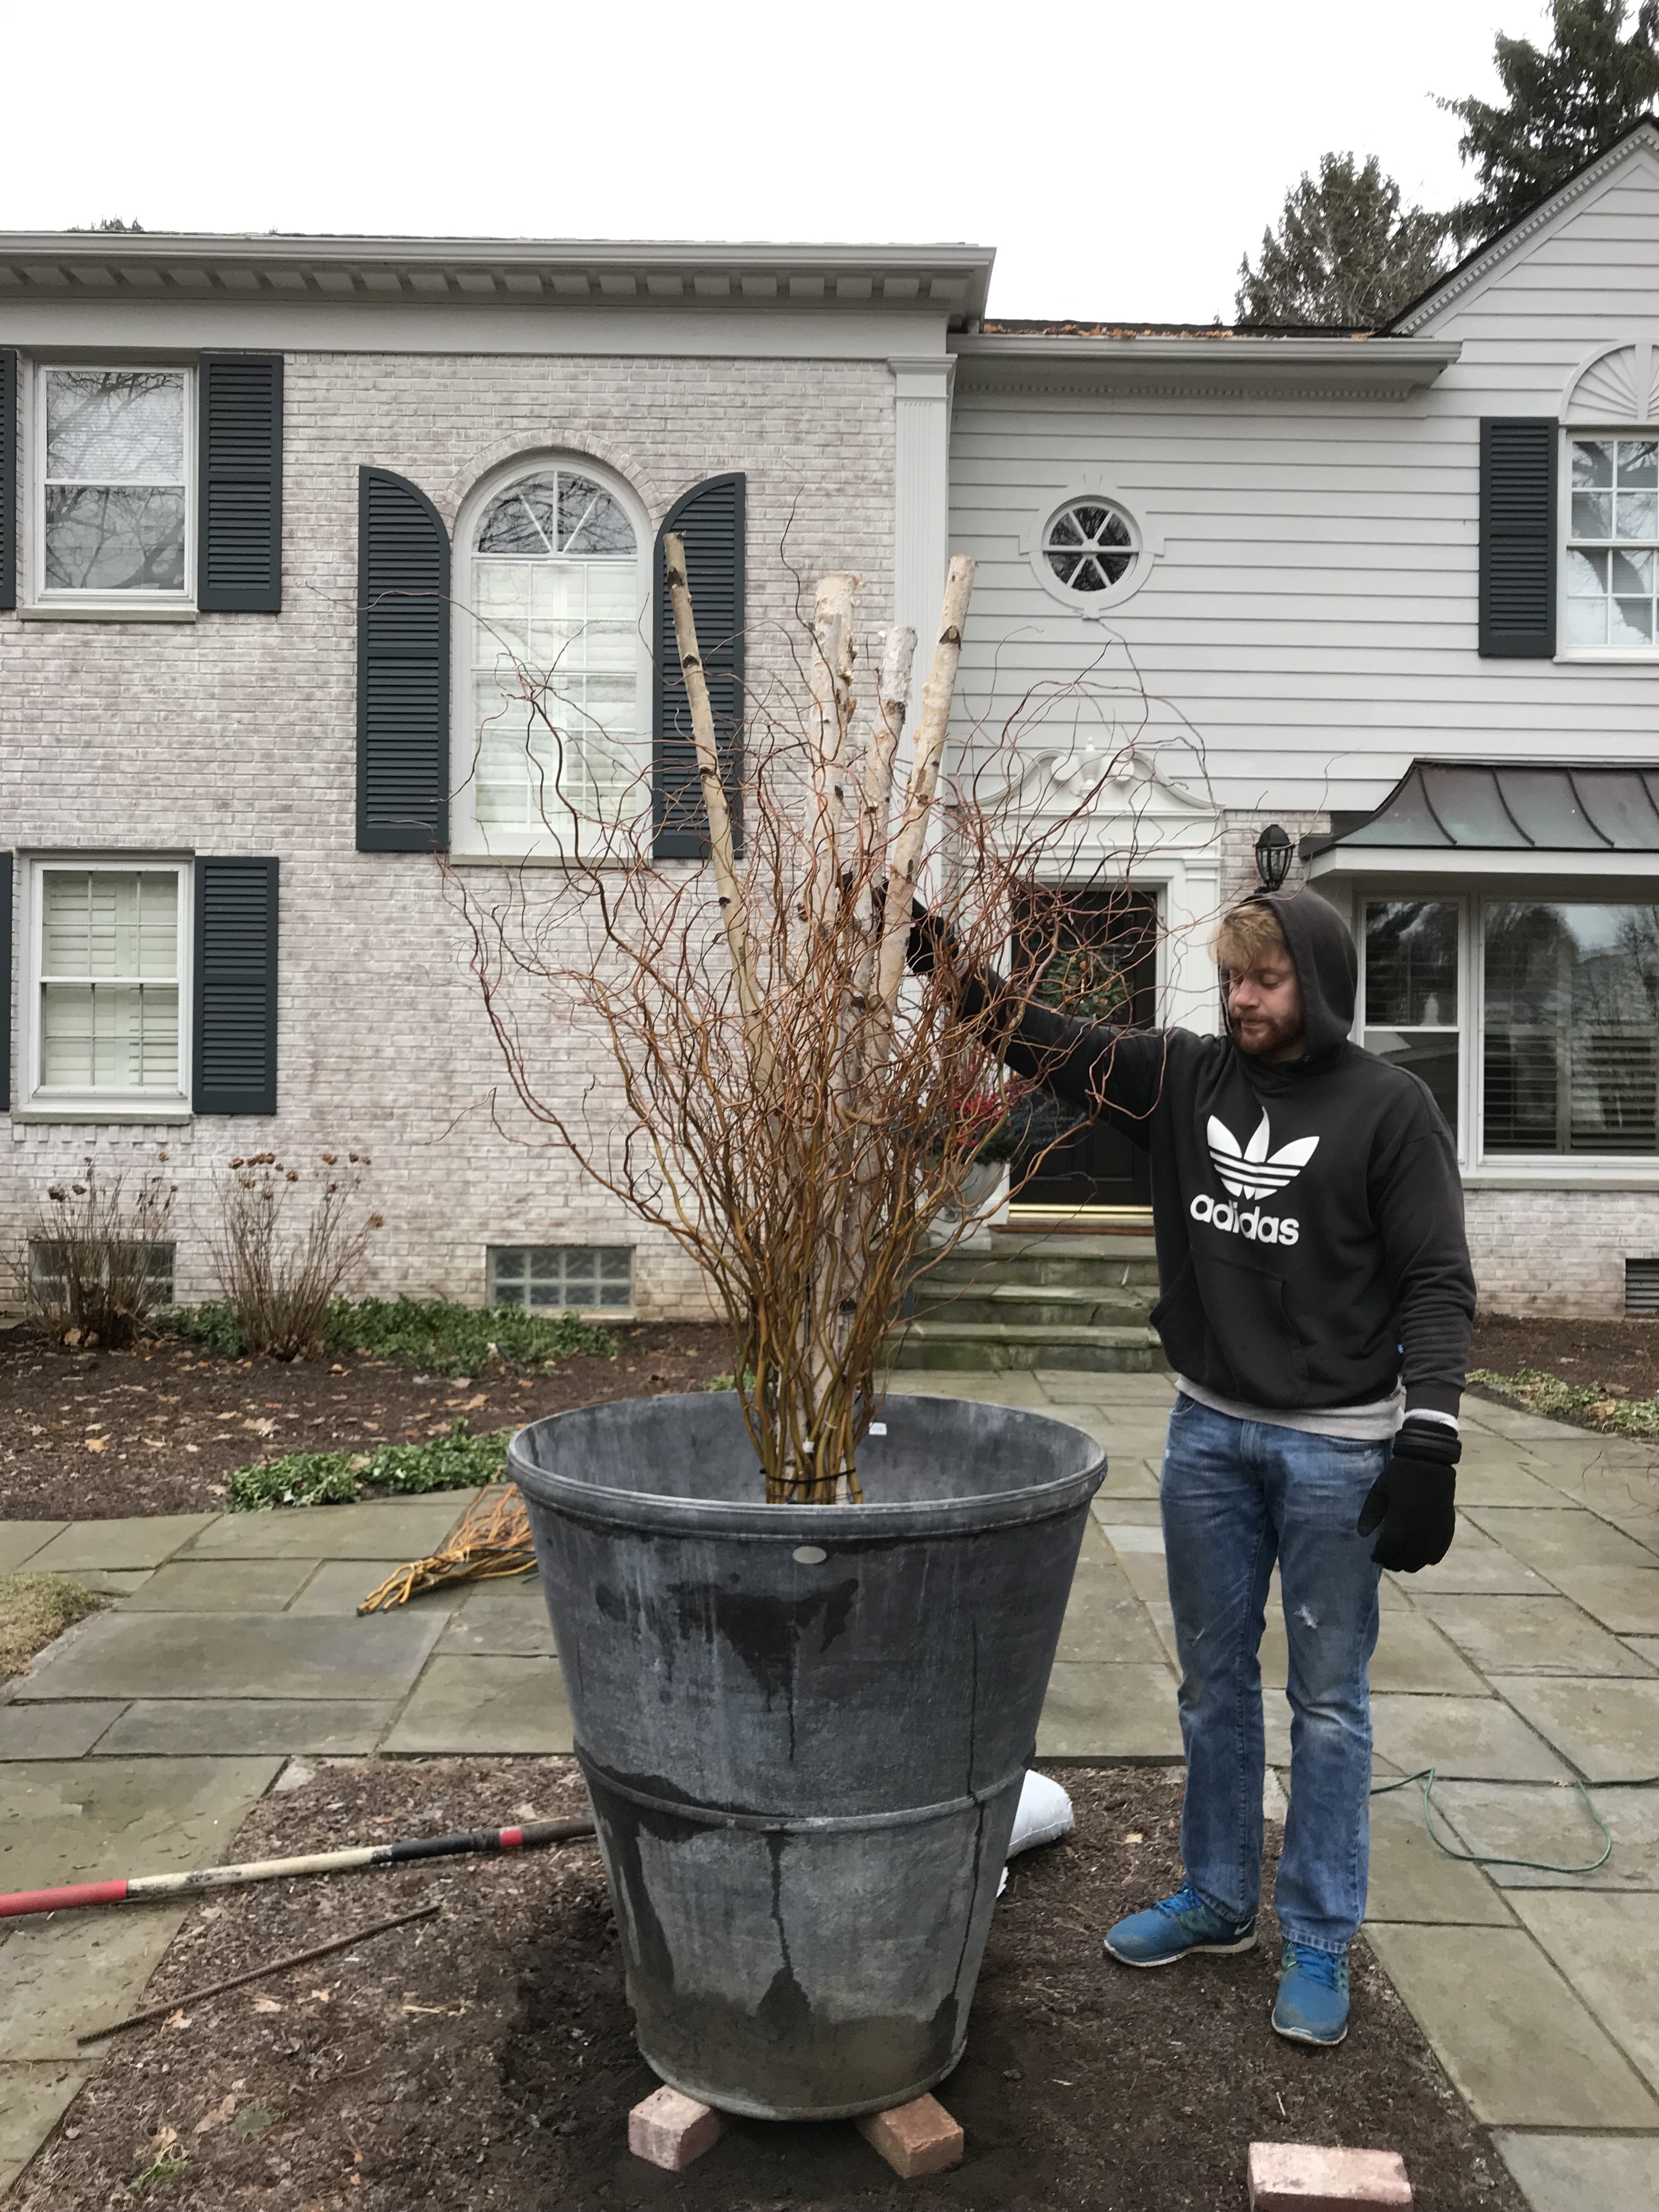 The centerpieces needed to be big and tall, to be proportional to the size of the pots. A group of tall birch poles would provide plenty of substantial height. We filled the pot with cypress bark mulch to the center rib on the outside of the pot, and set the birch poles directly on top of that bark. Having a very heavy centerpiece set this deep in the pot will help keep it secure and upright. Few things seem so forlorn as a centerpiece listing out of vertical from stormy winter weather. Once the centerpiece was set, the pot could be filled with soil.
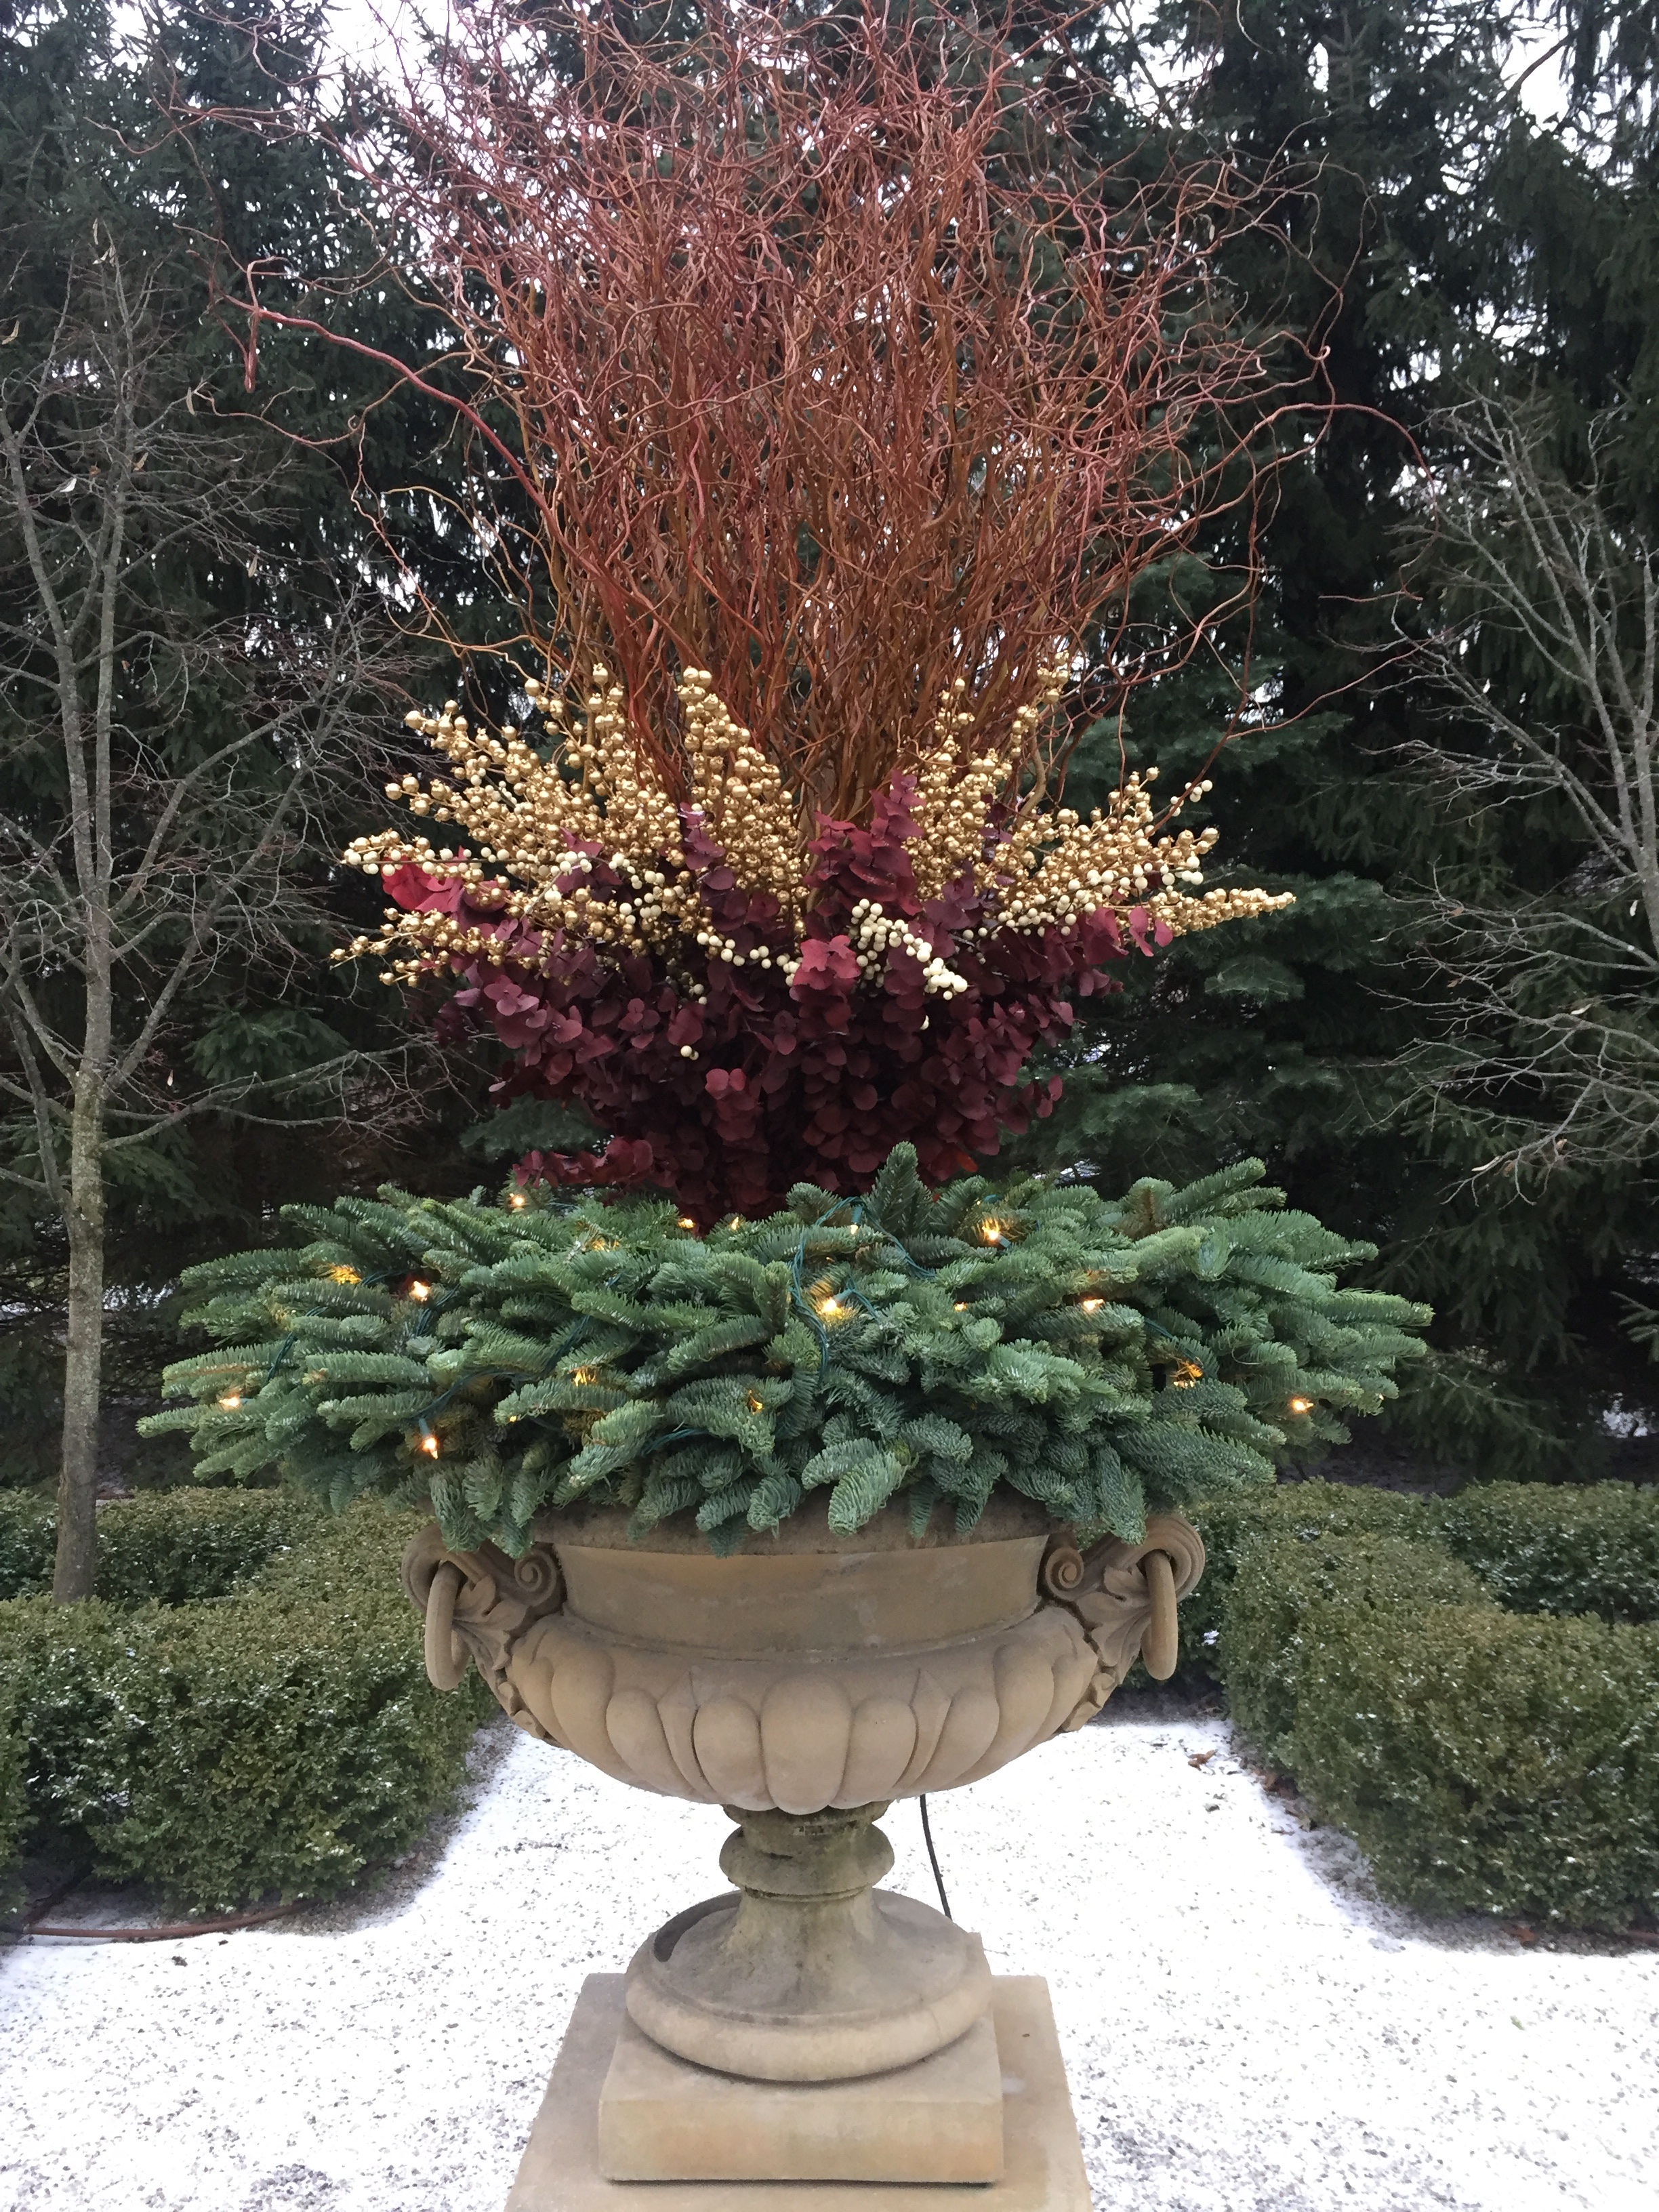
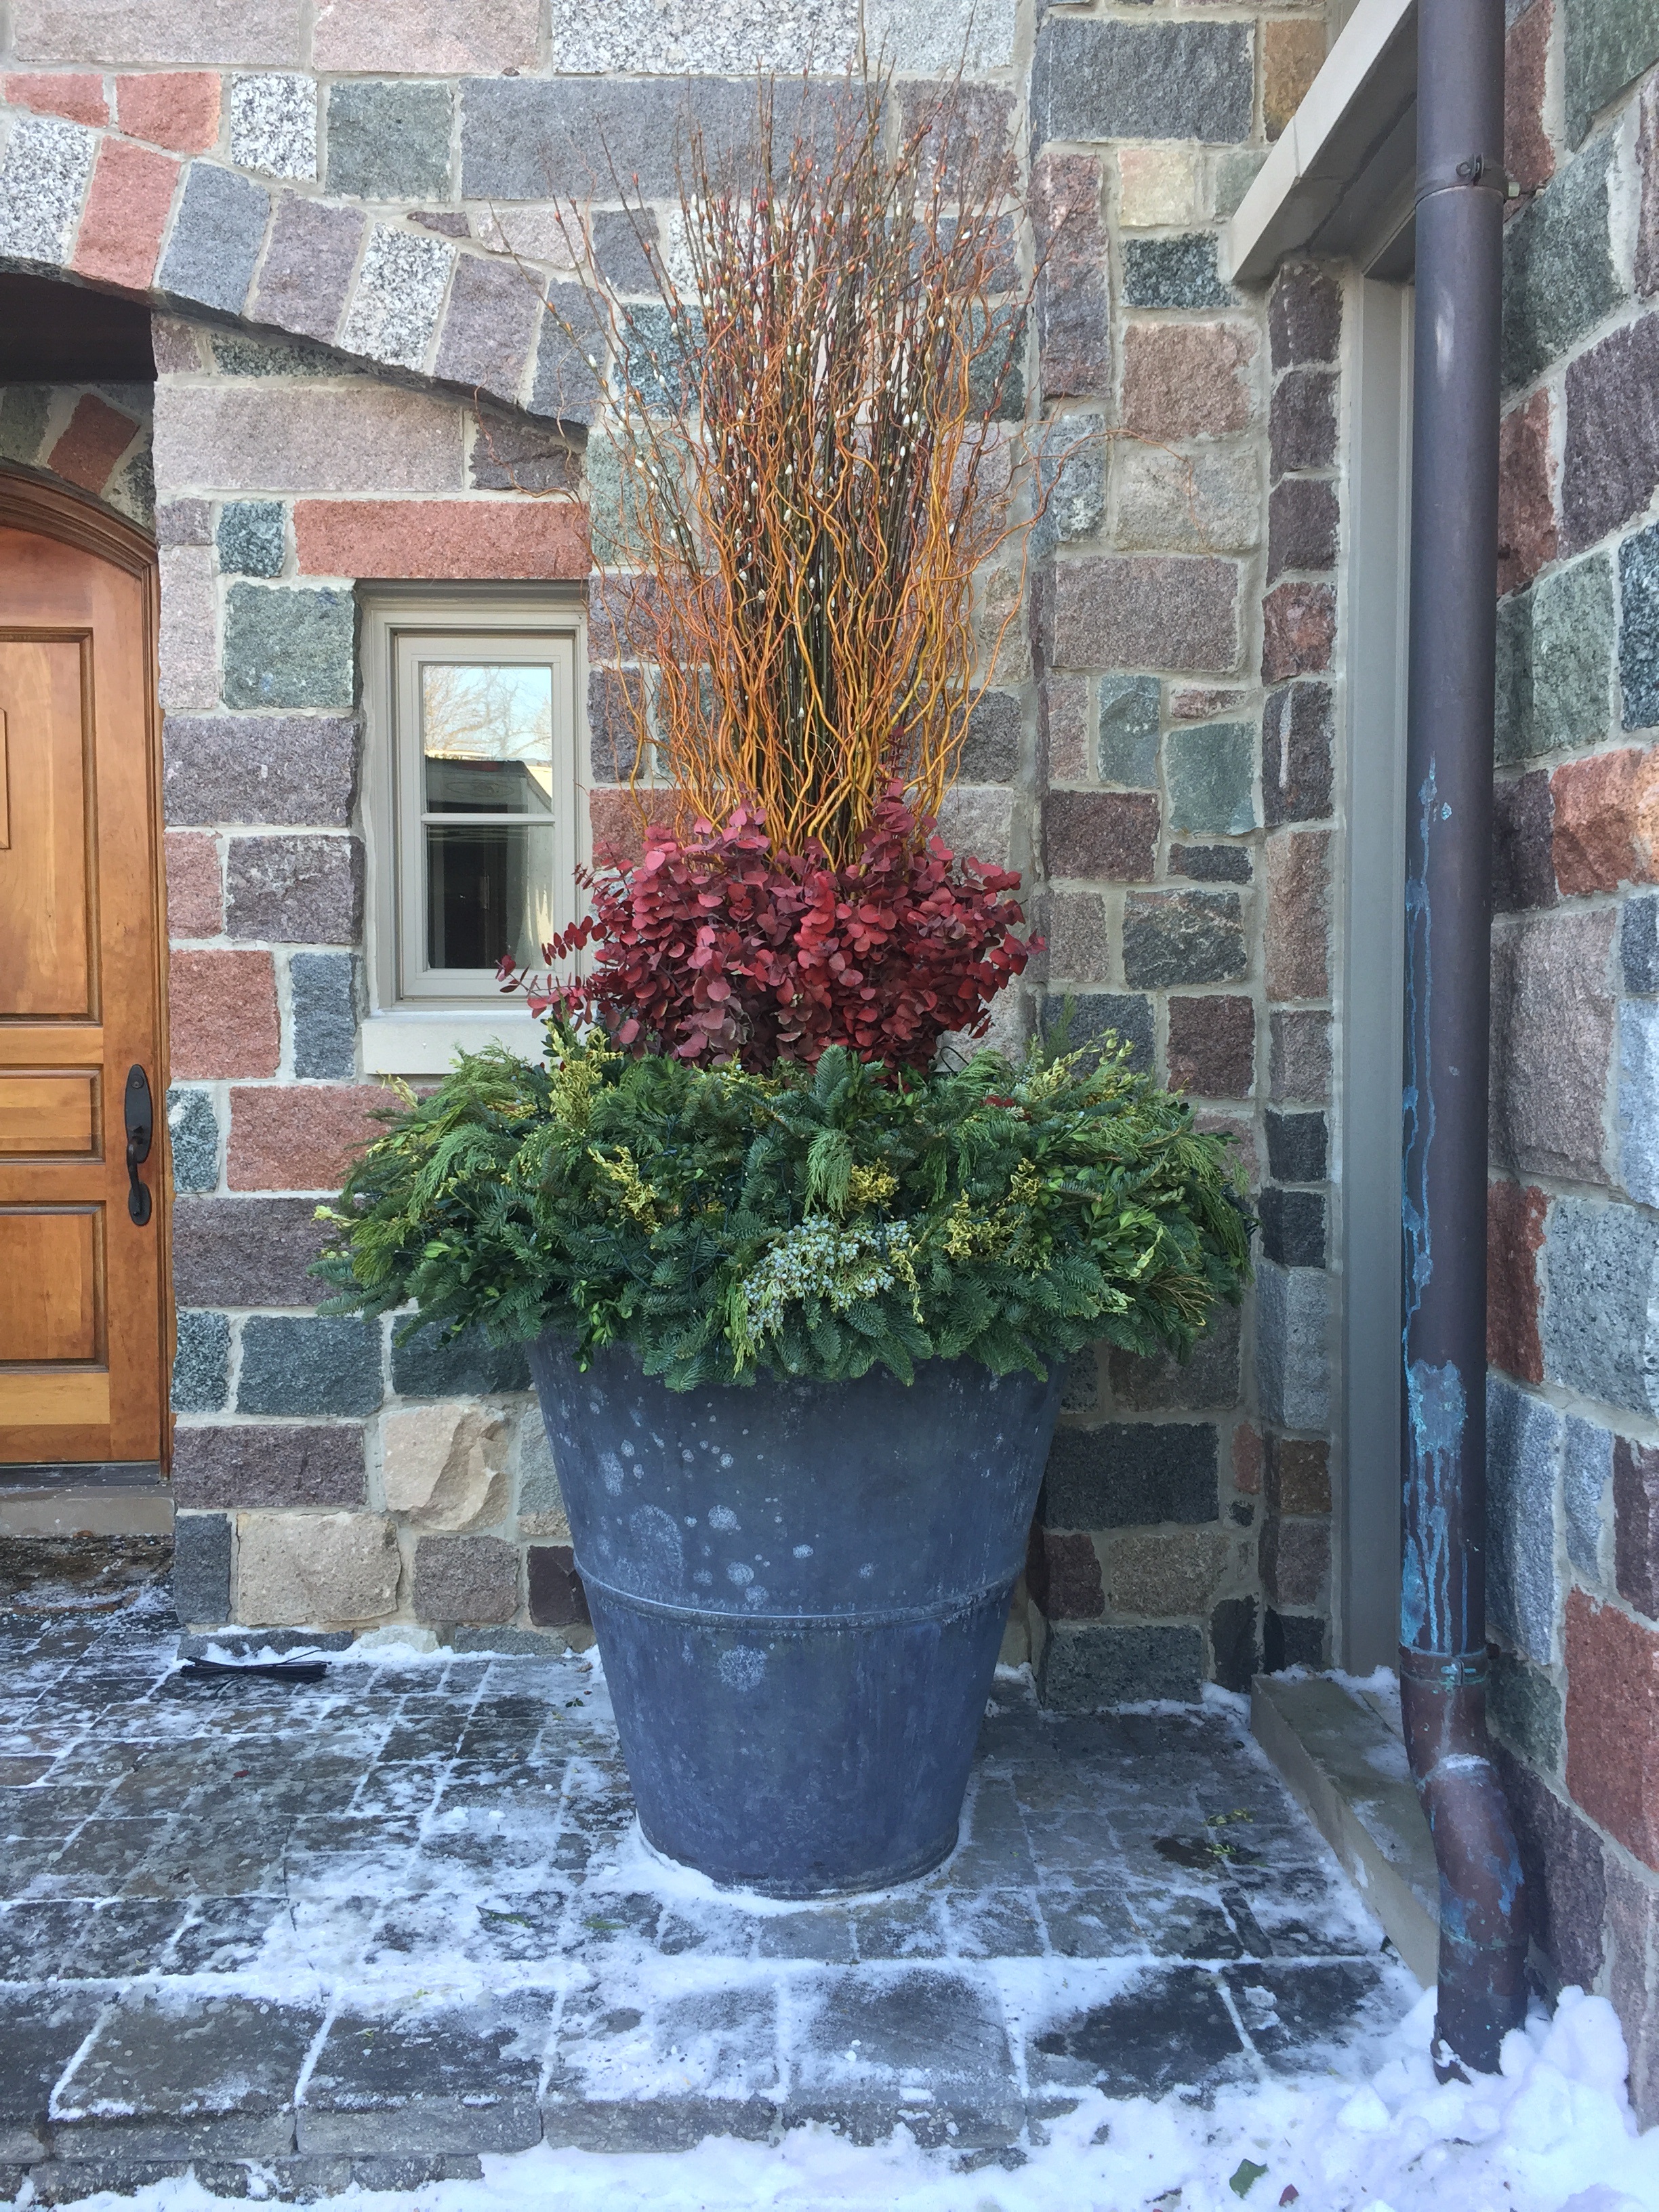
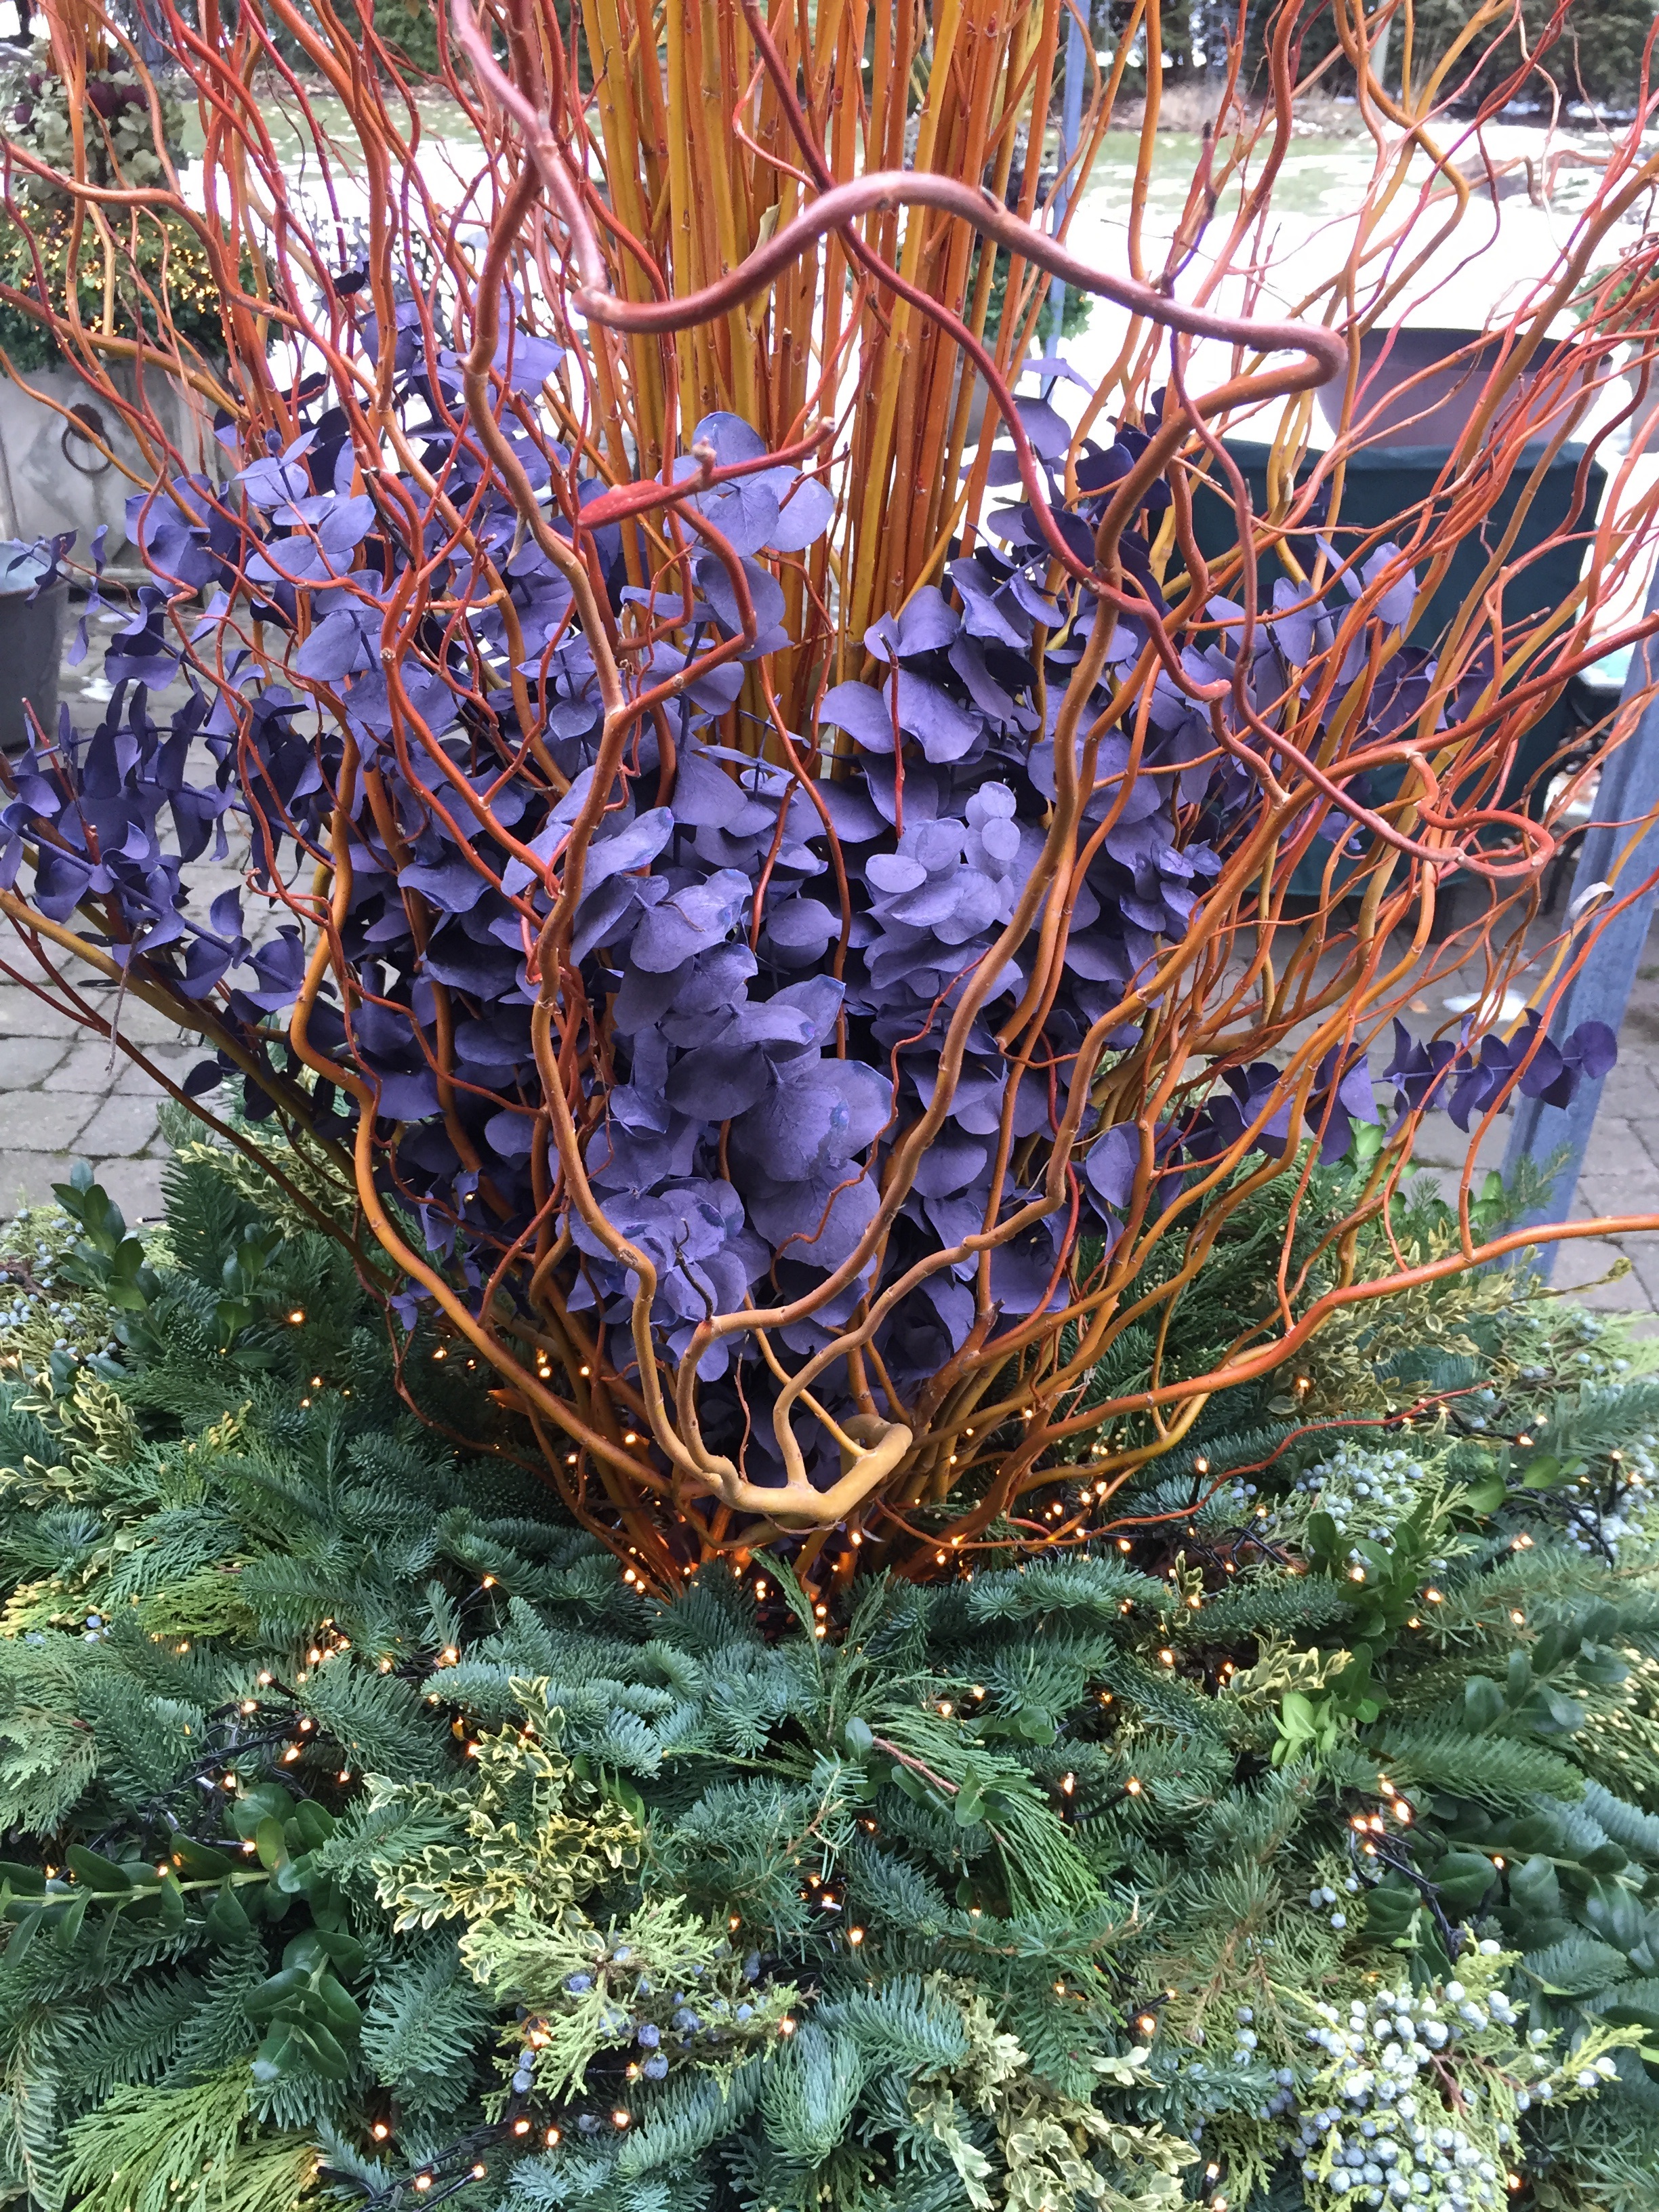
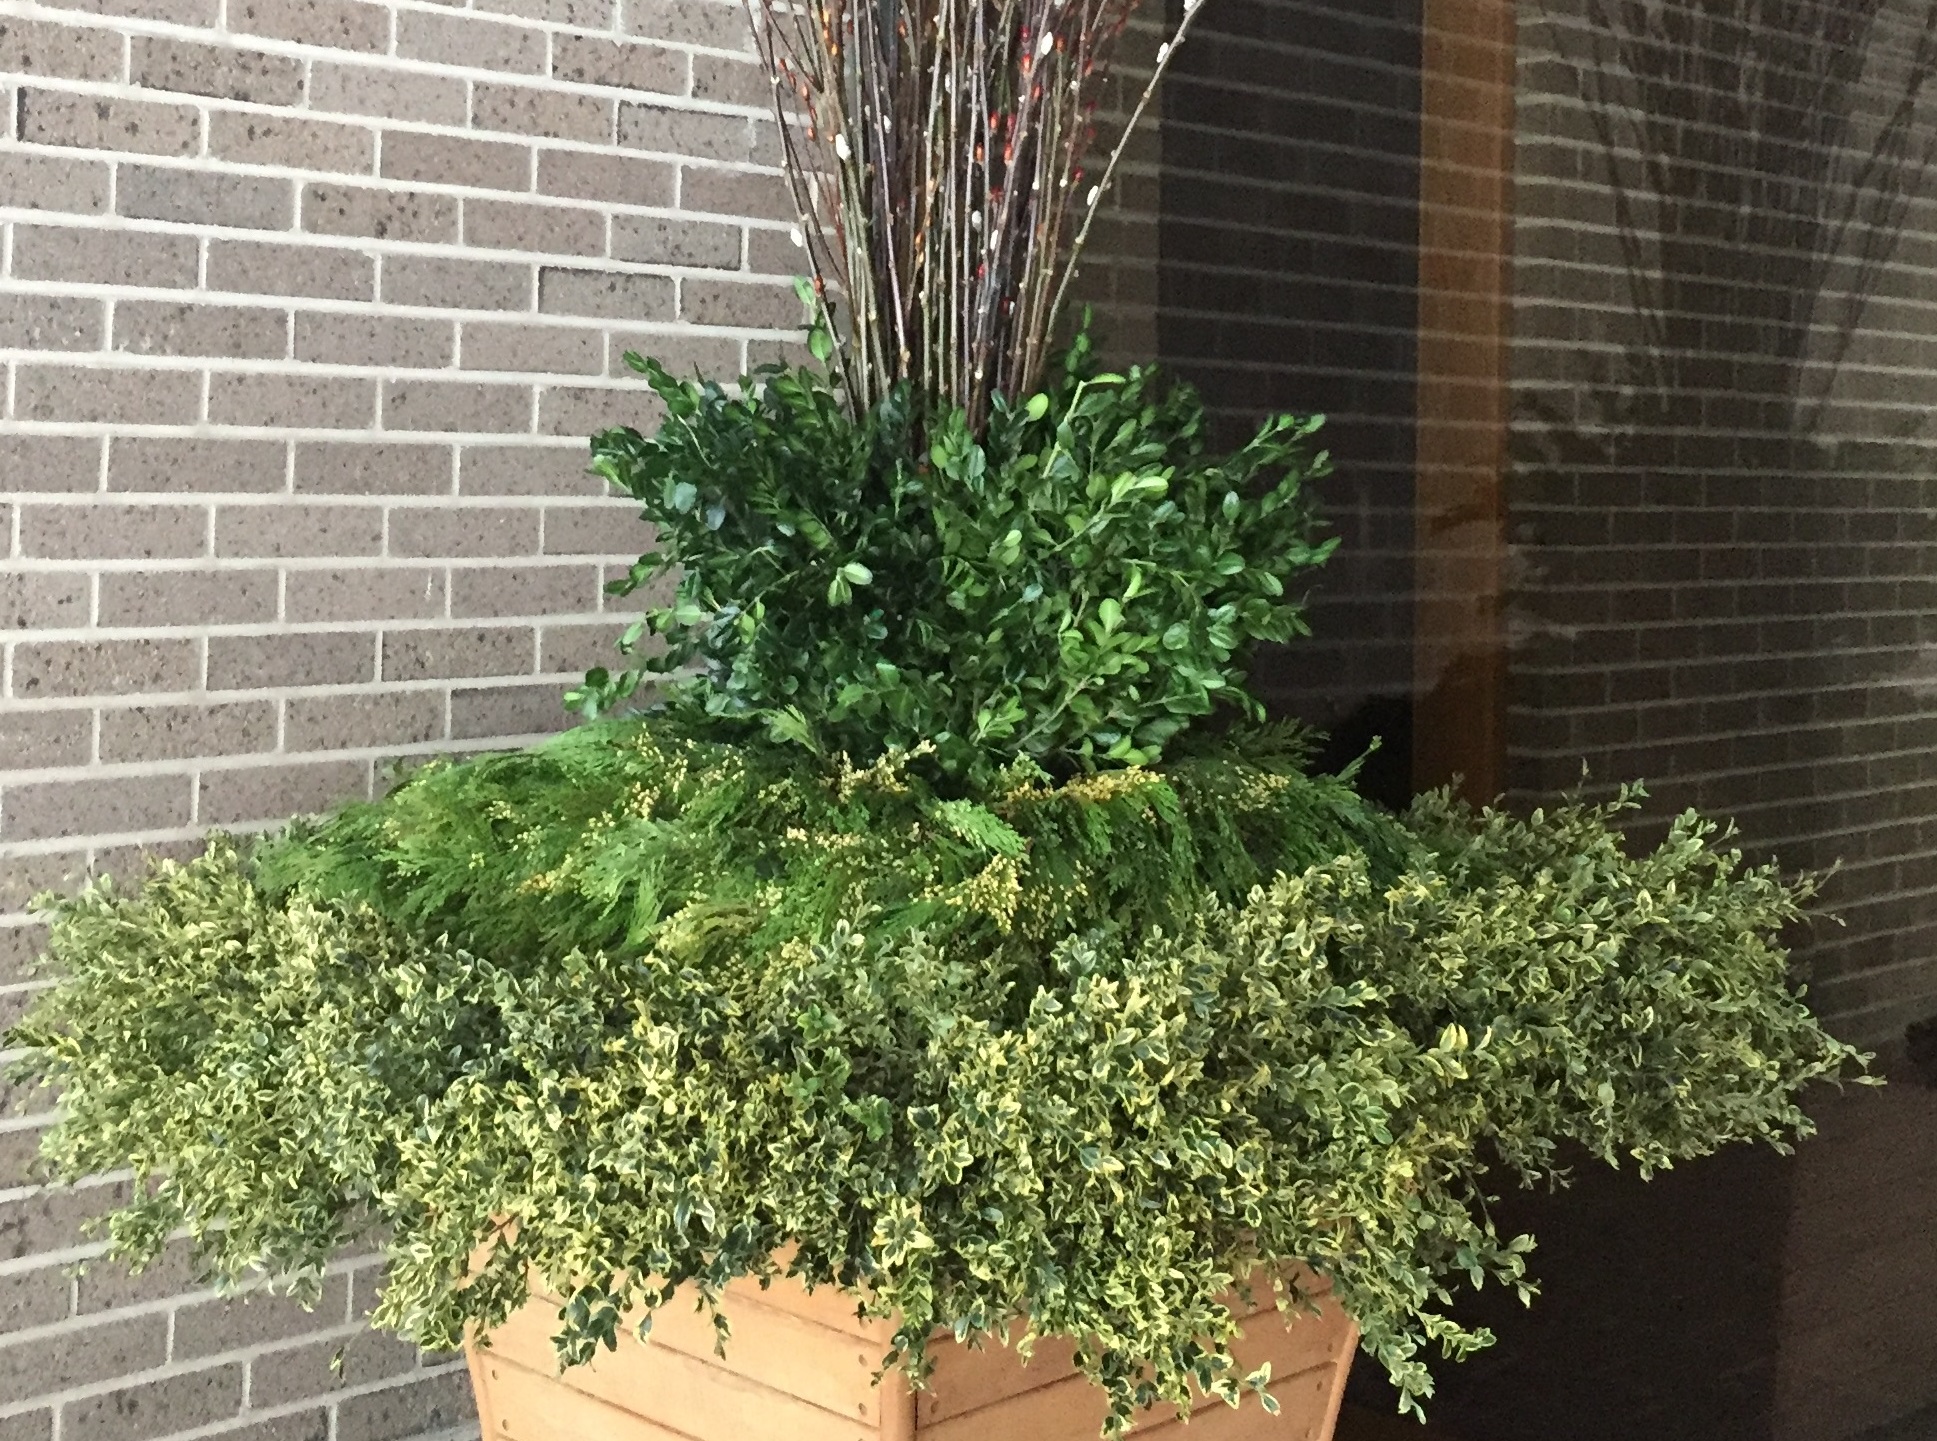
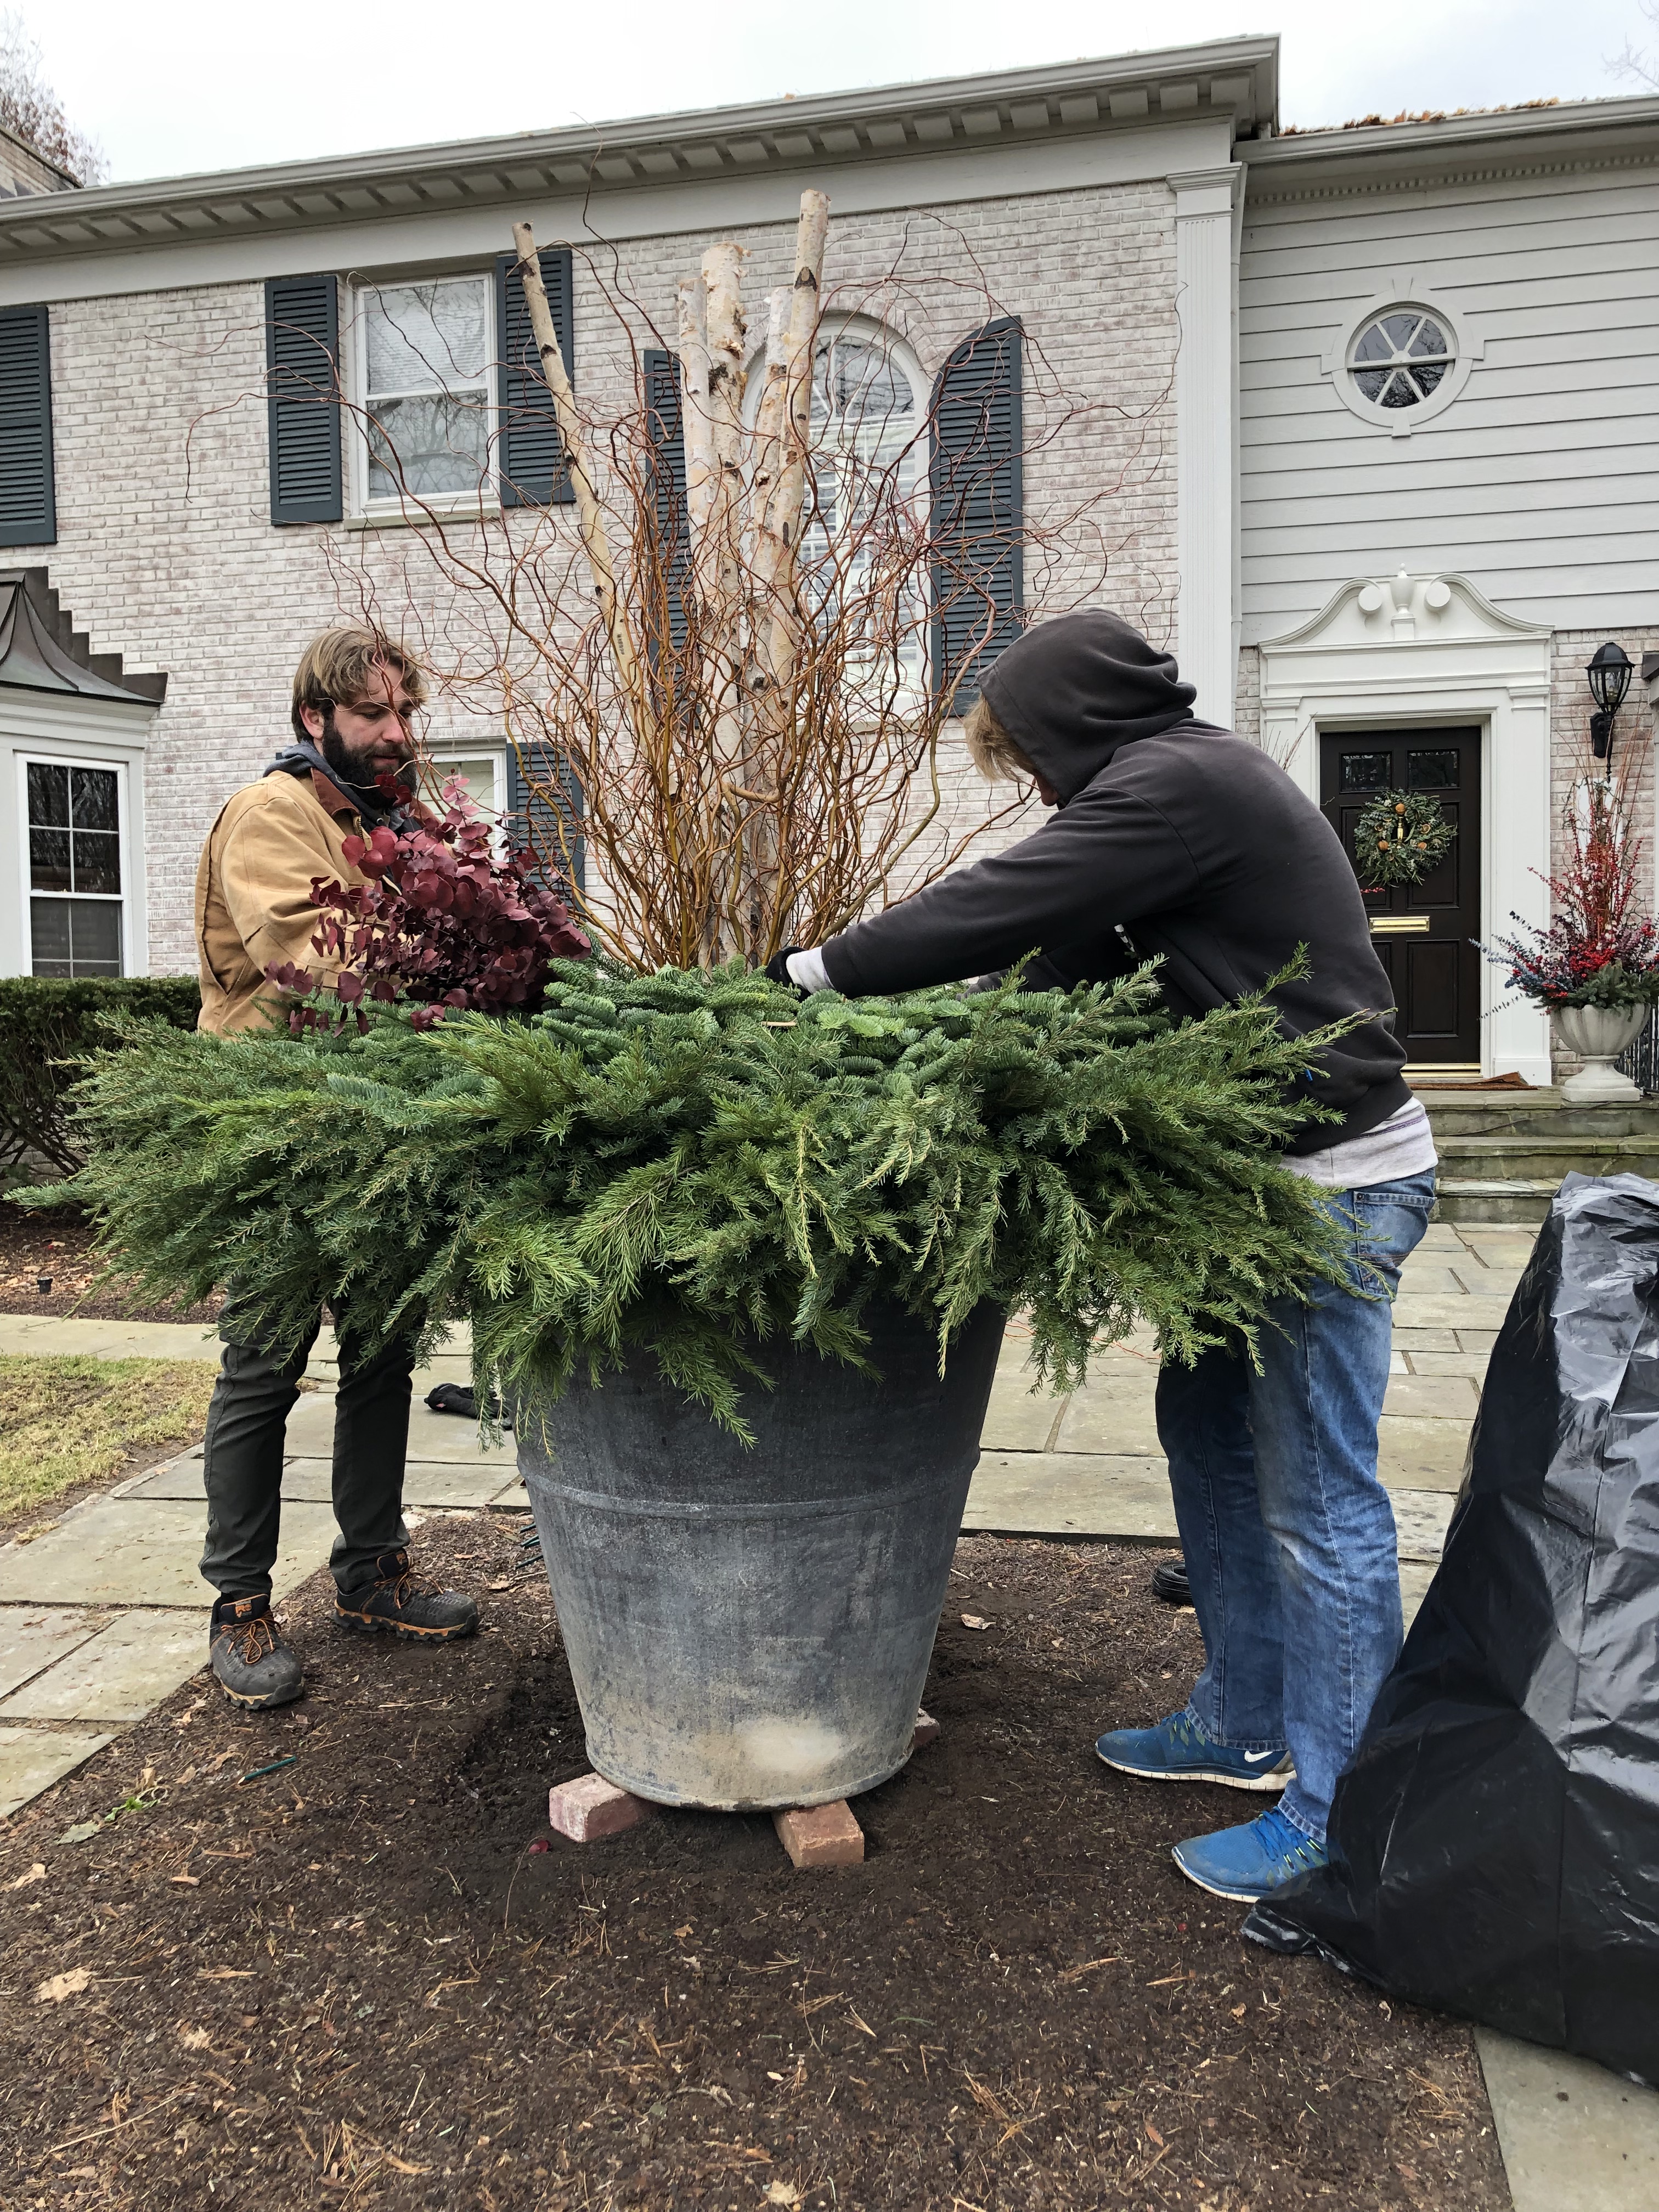
 It would not be possible to fill the pots with soil if we set the greens first, so the greens placement was out of our regular order. It came after the setting of the centerpiece. The top of this centerpiece would never fit through the hole just big enough for the birch in the center of the form. The copper curly willow we added to the birch was about 3 feet wide at the top. So we sliced the greens form into two halves. Marzela set the greens in a way that made it easy to cut through her work.
 Of course cutting the form in half impacted its strength. The weight of the greens on the outer edge would eventually pull the form and every evergreen stem inserted in it to the ground. Gravity is a force to be reckoned with. The cut form needed some ballast close to the centerpiece.
 We secured each half with a pair of long steel rebar poles pounded in at an angle opposite to the downward force of the heavy side. The rebar sits above the form about 5 inches. Concrete wire was wrapped around the four pieces of steel several times. This will keep the forms anchored, and just about foolproof once the soil freezes.
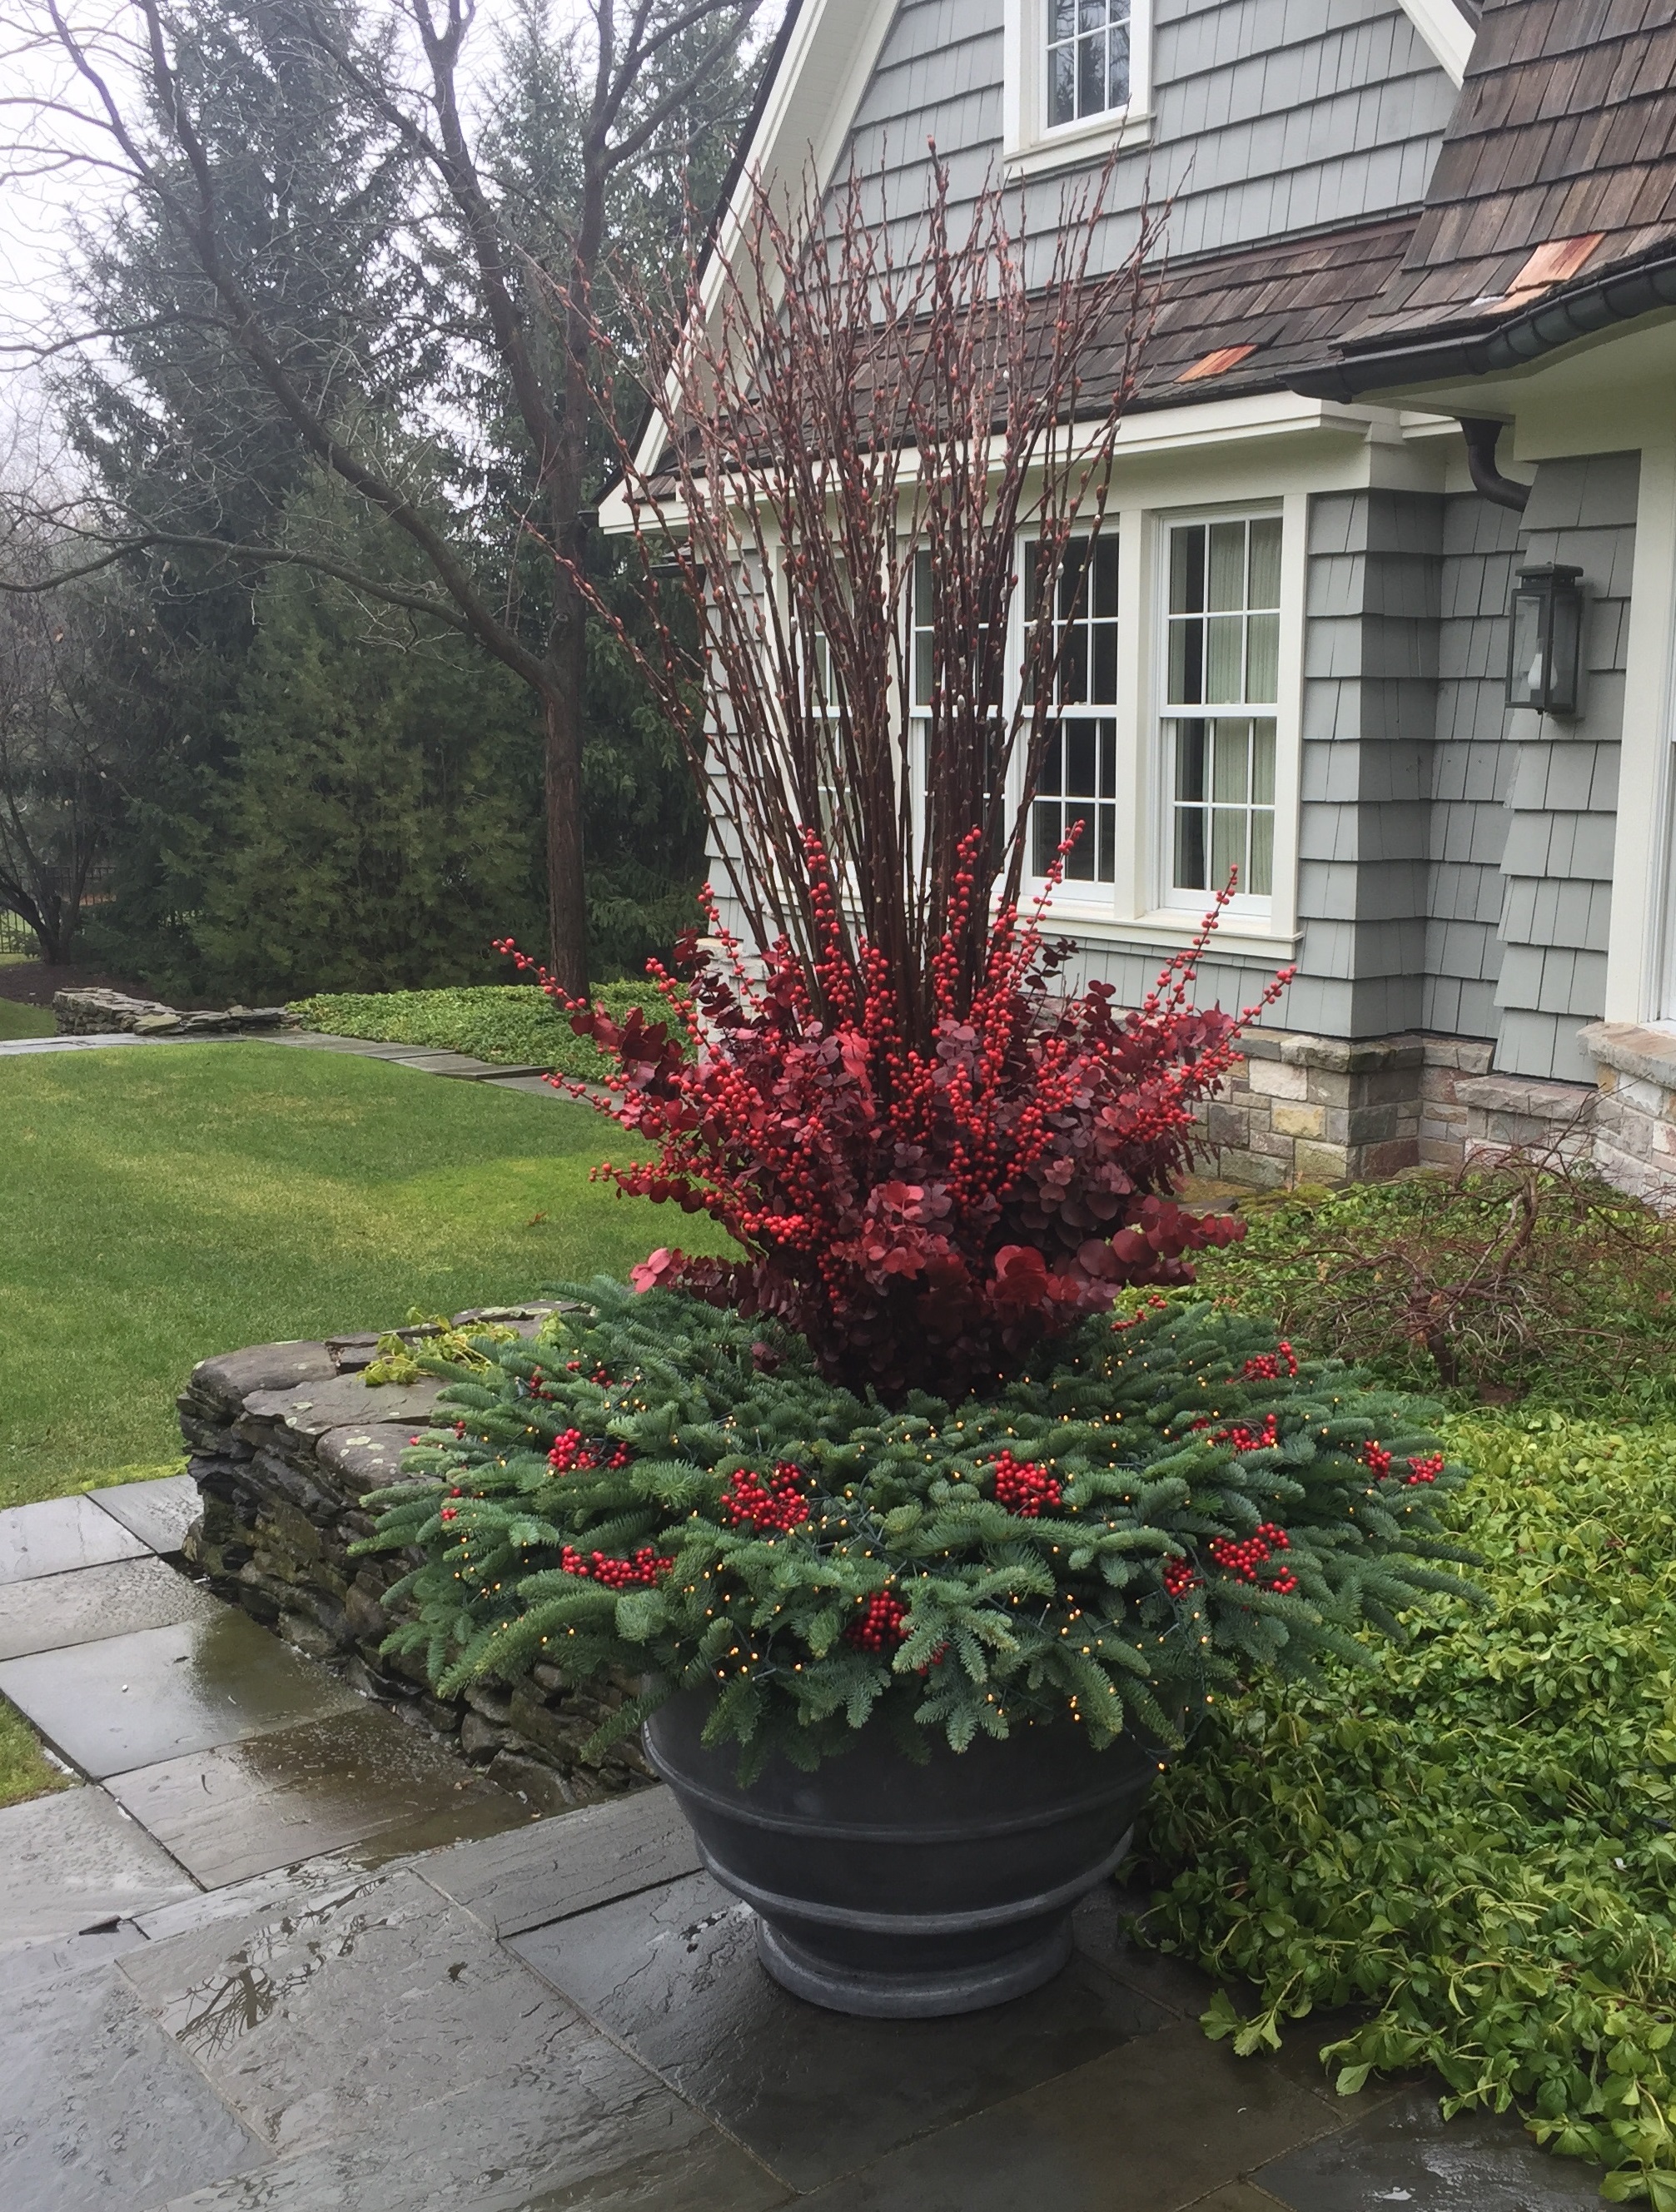
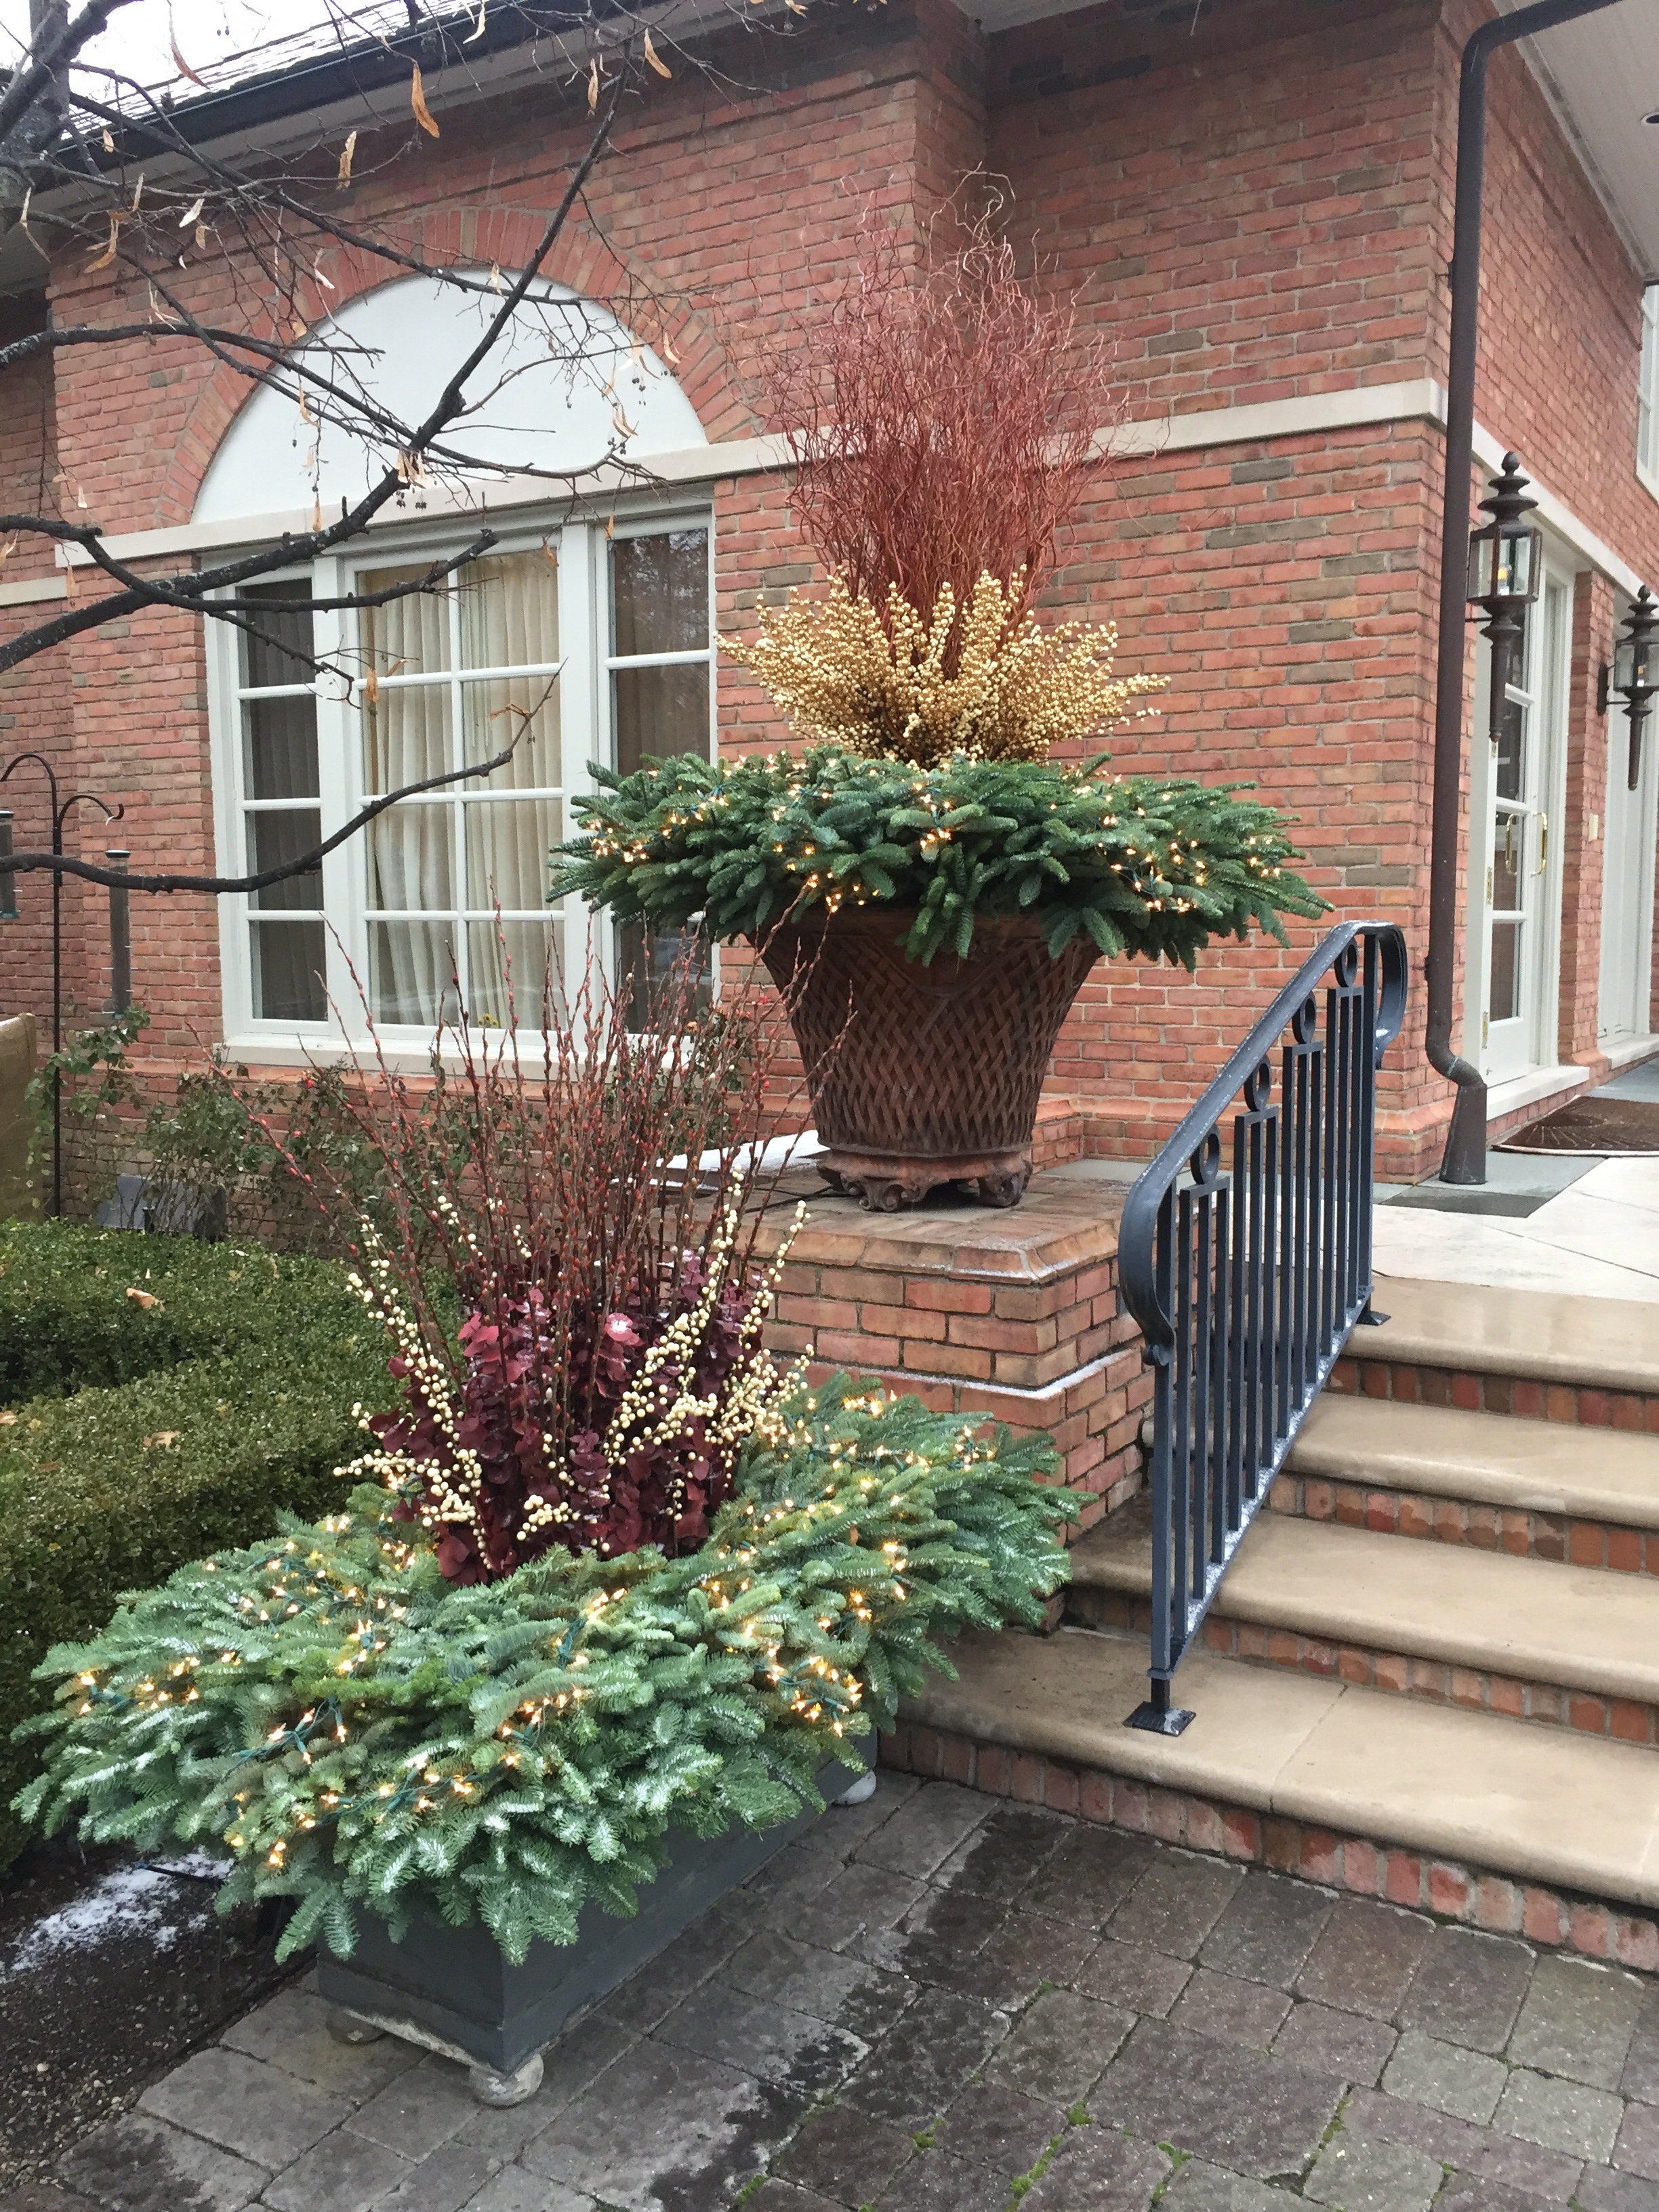
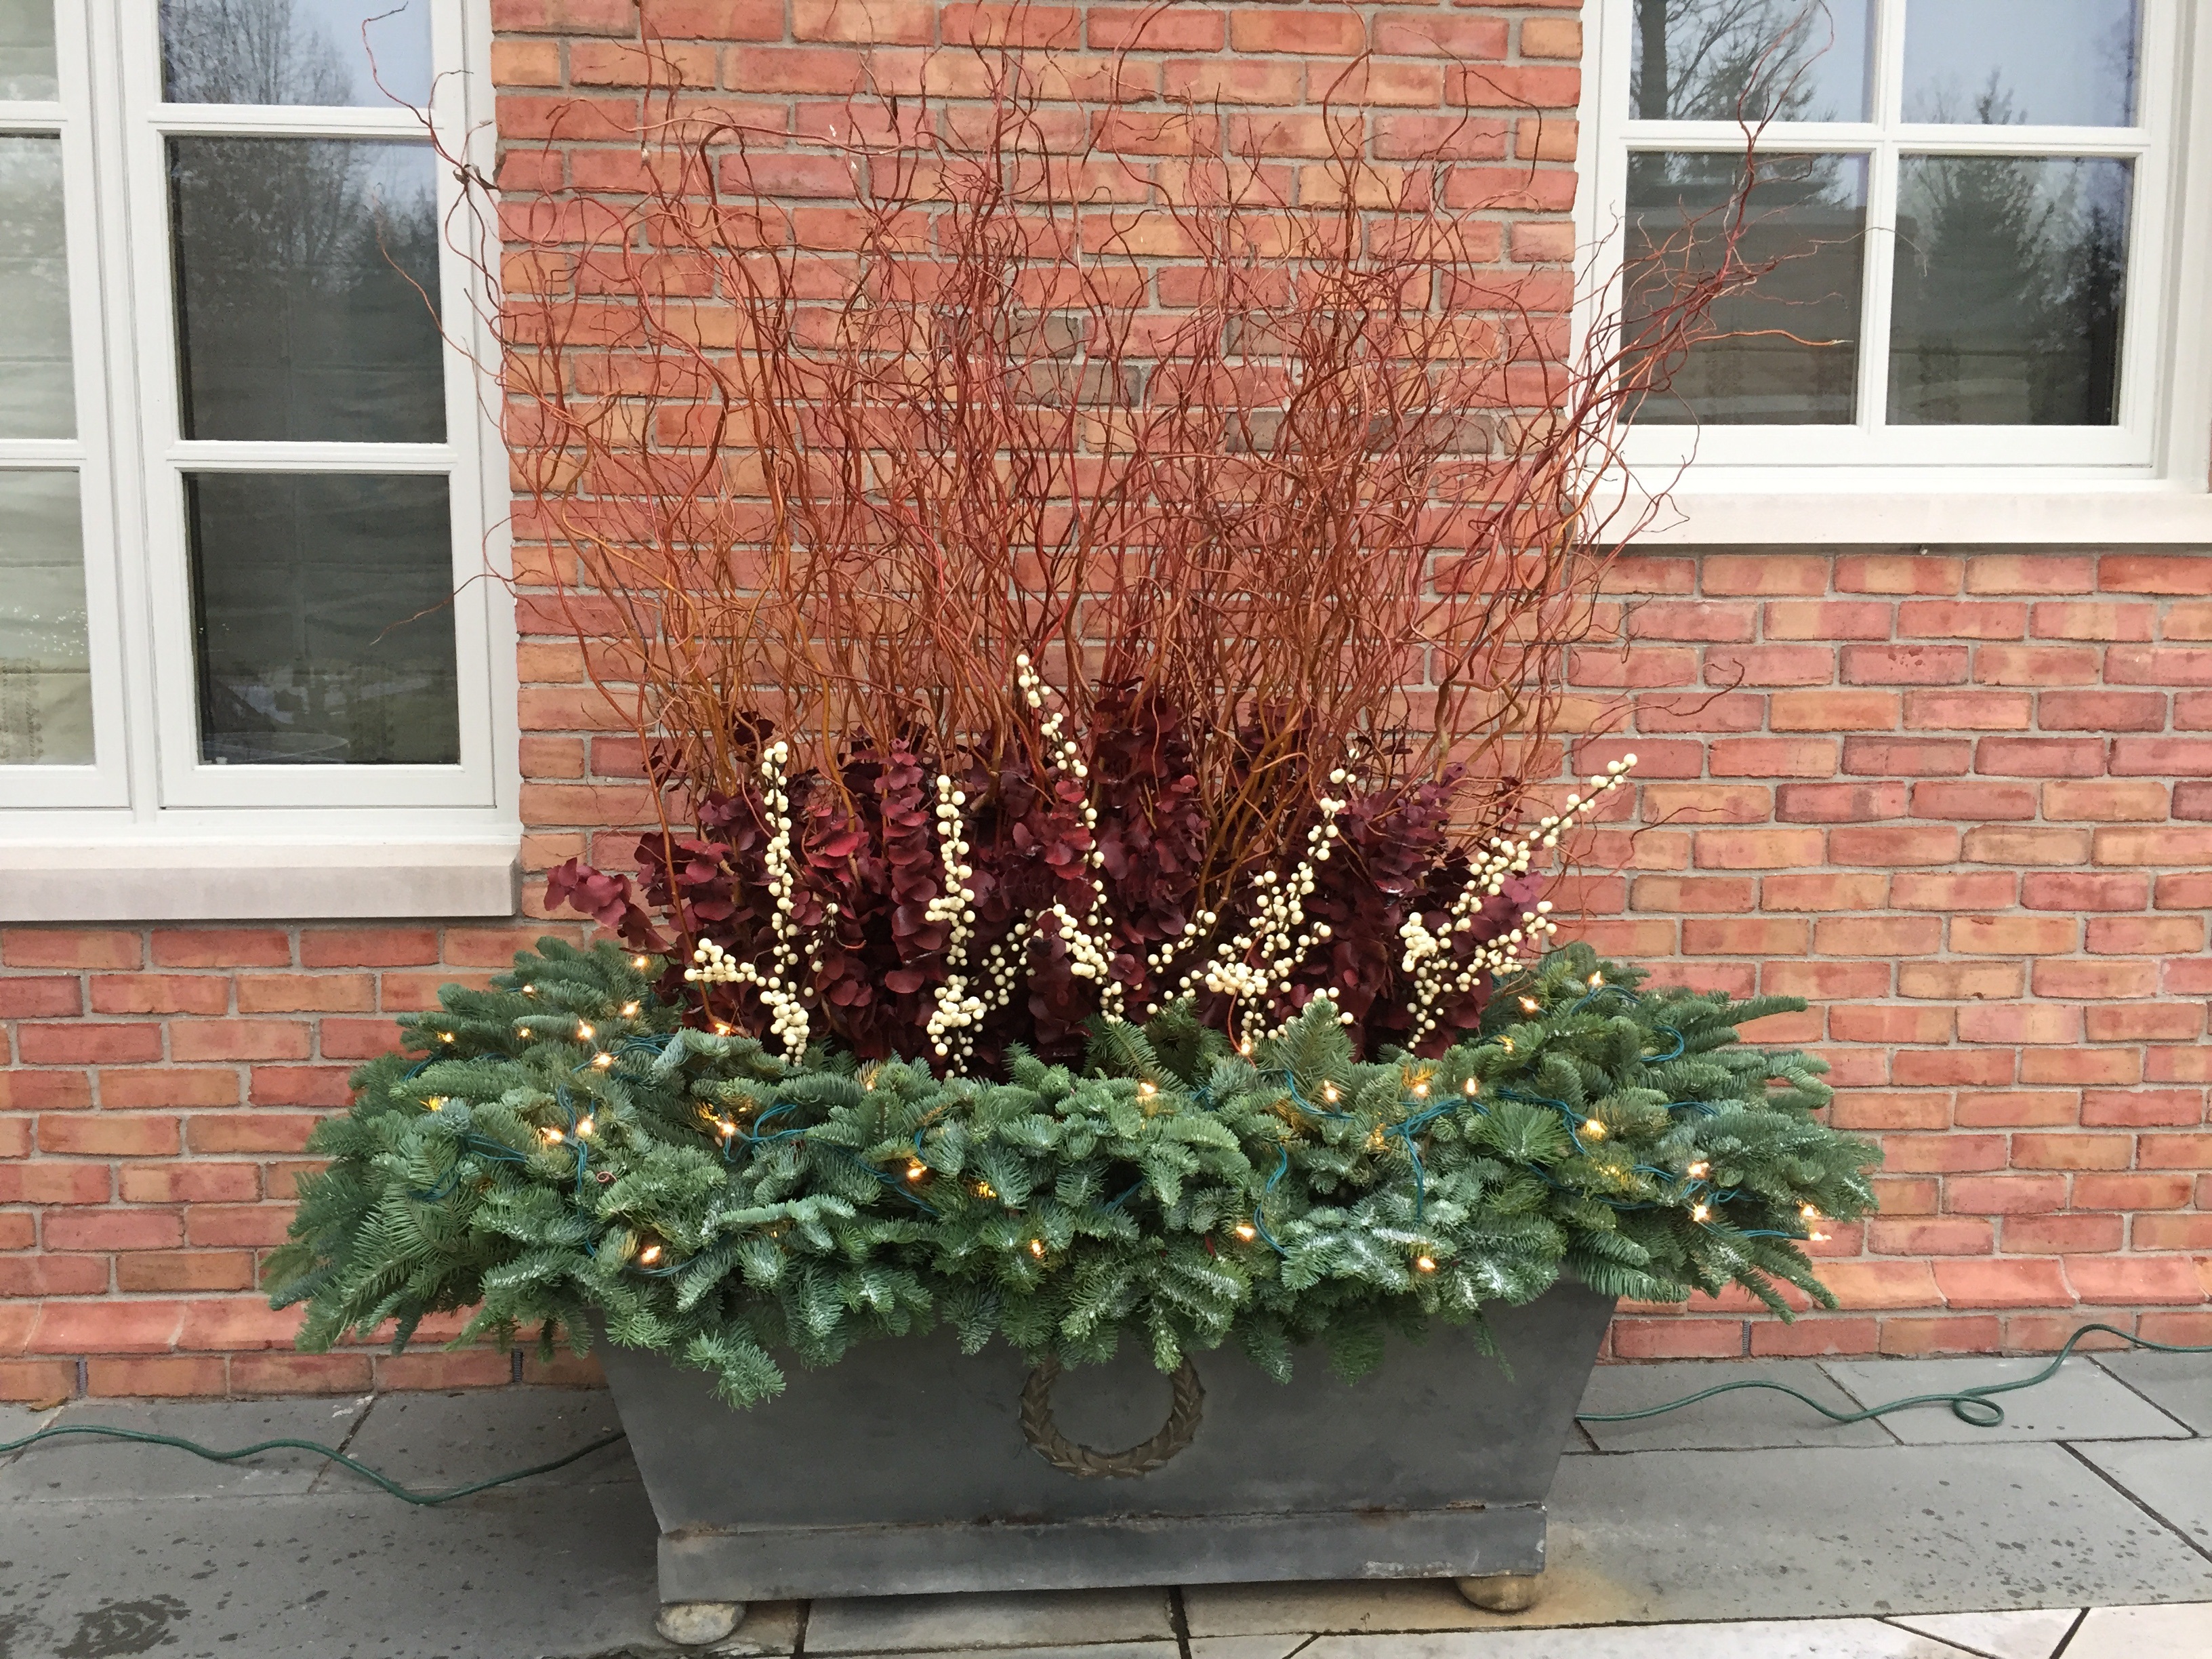
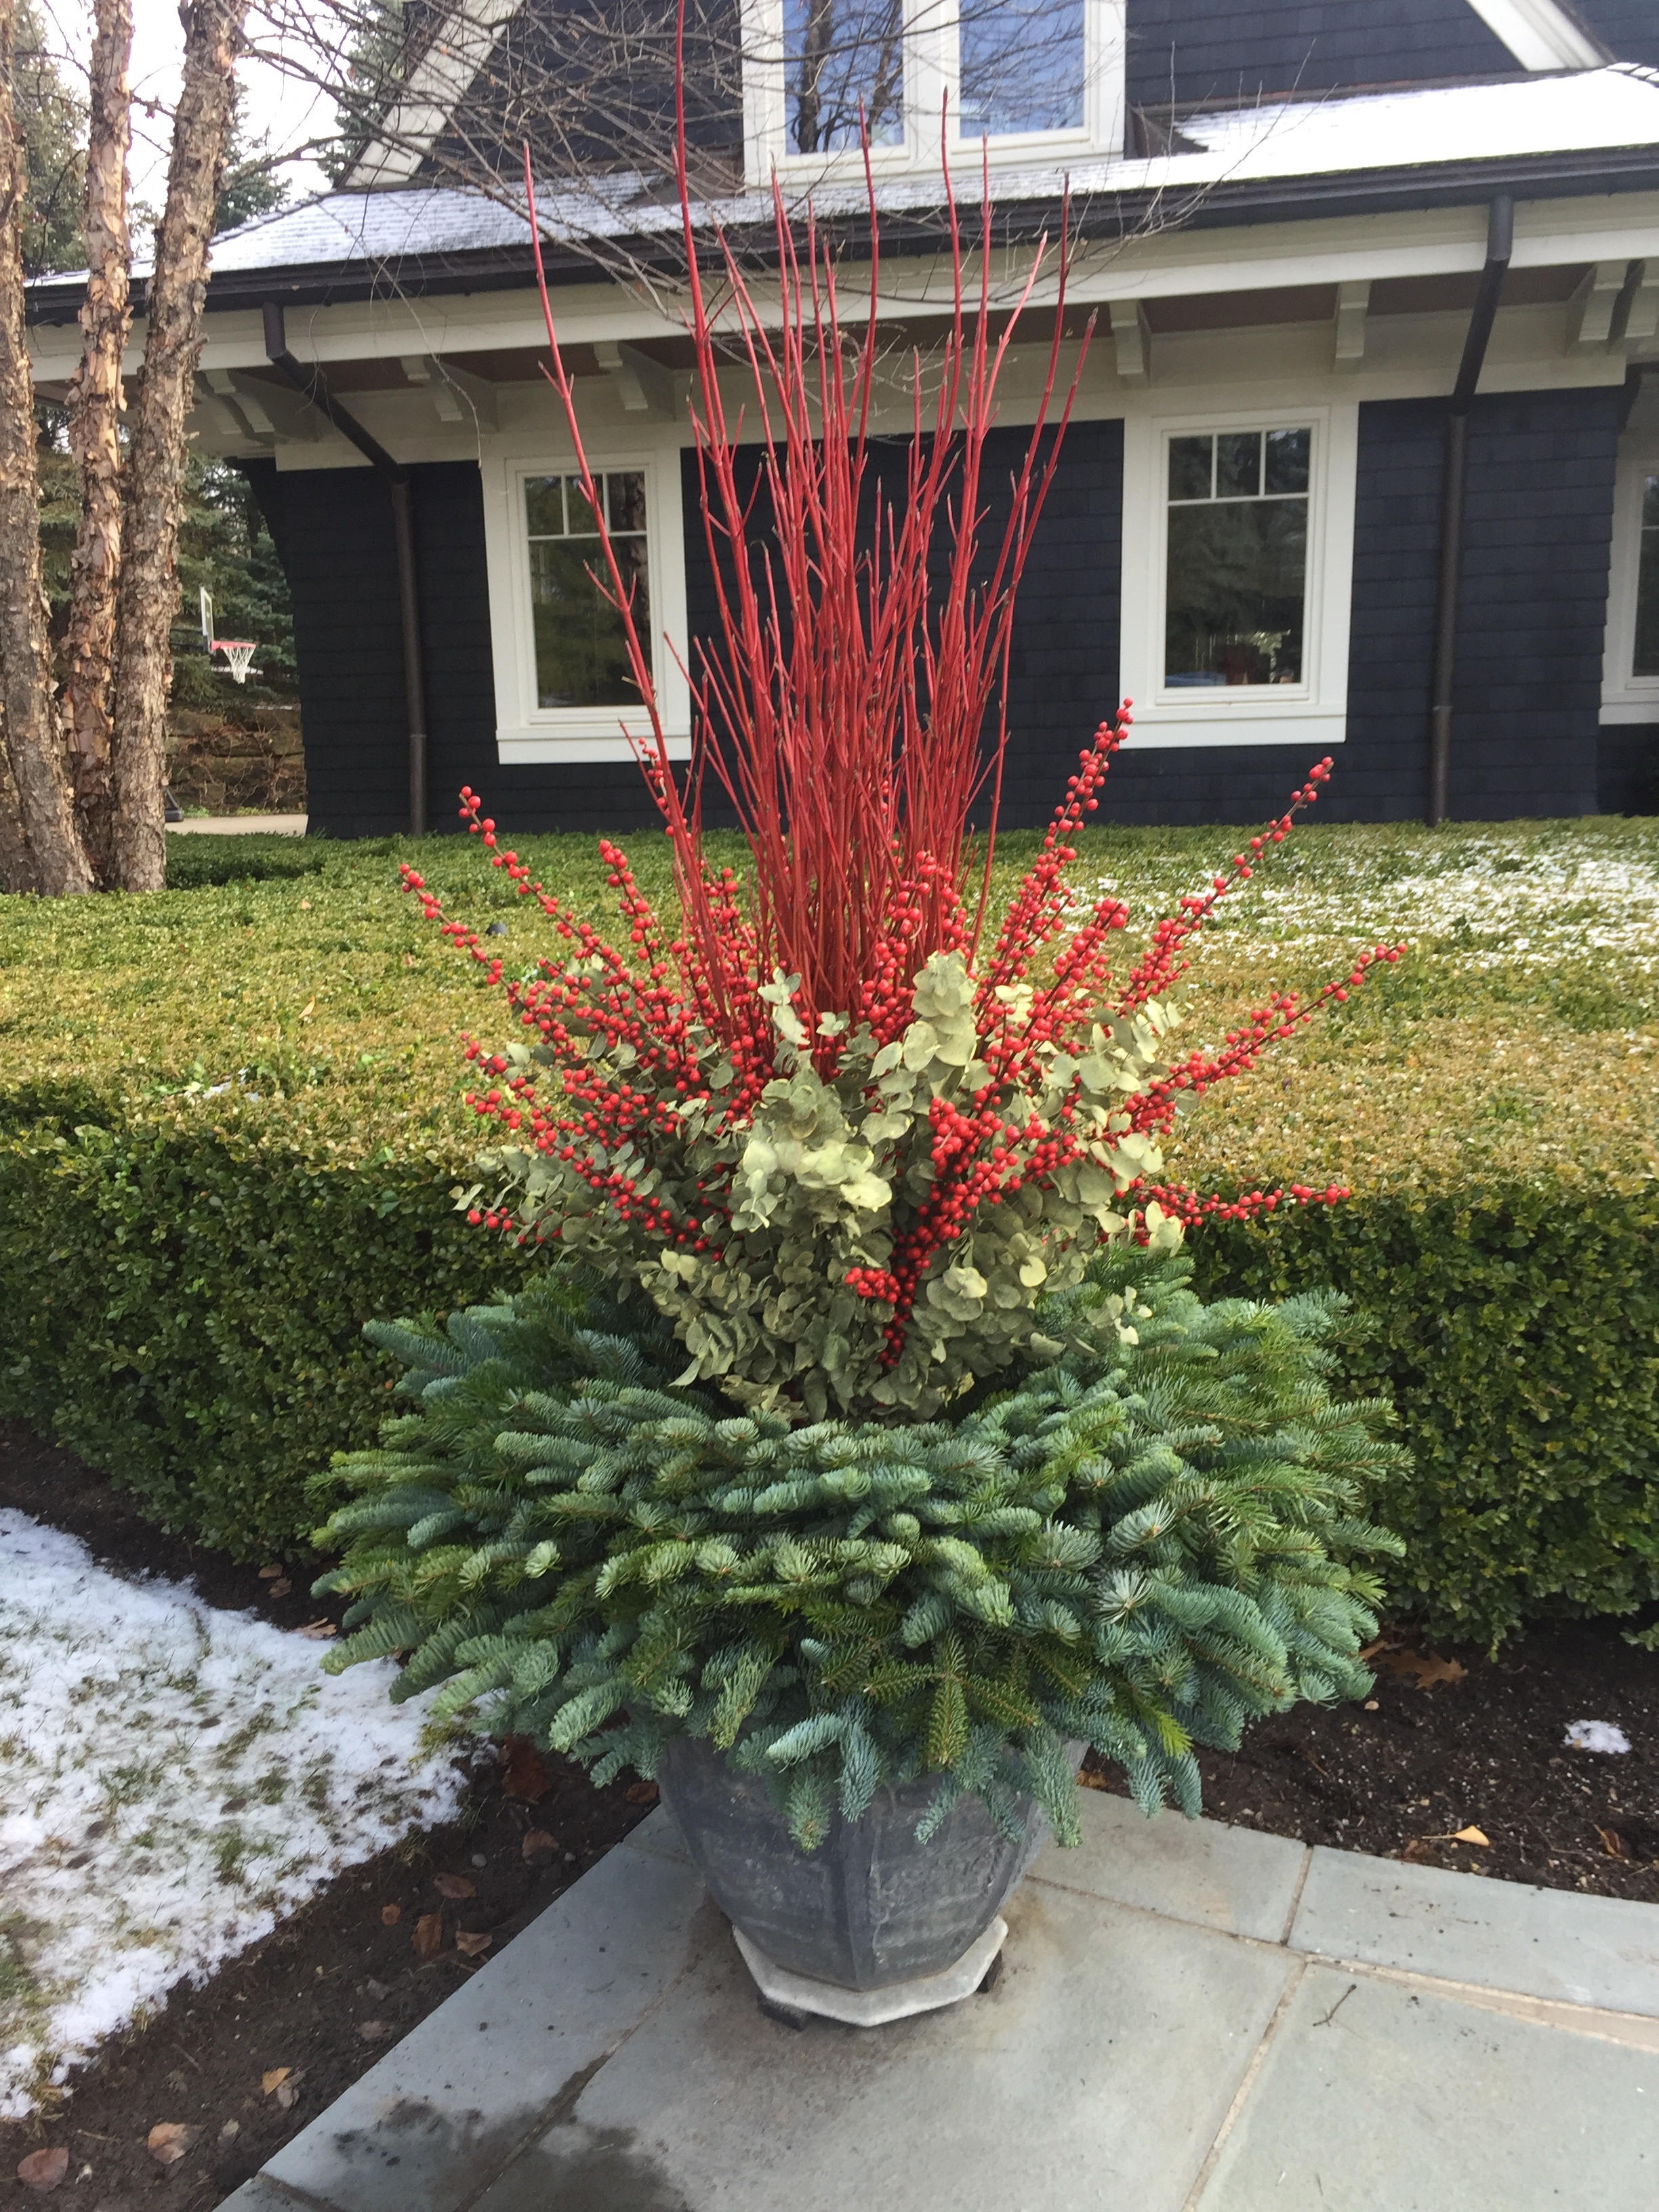
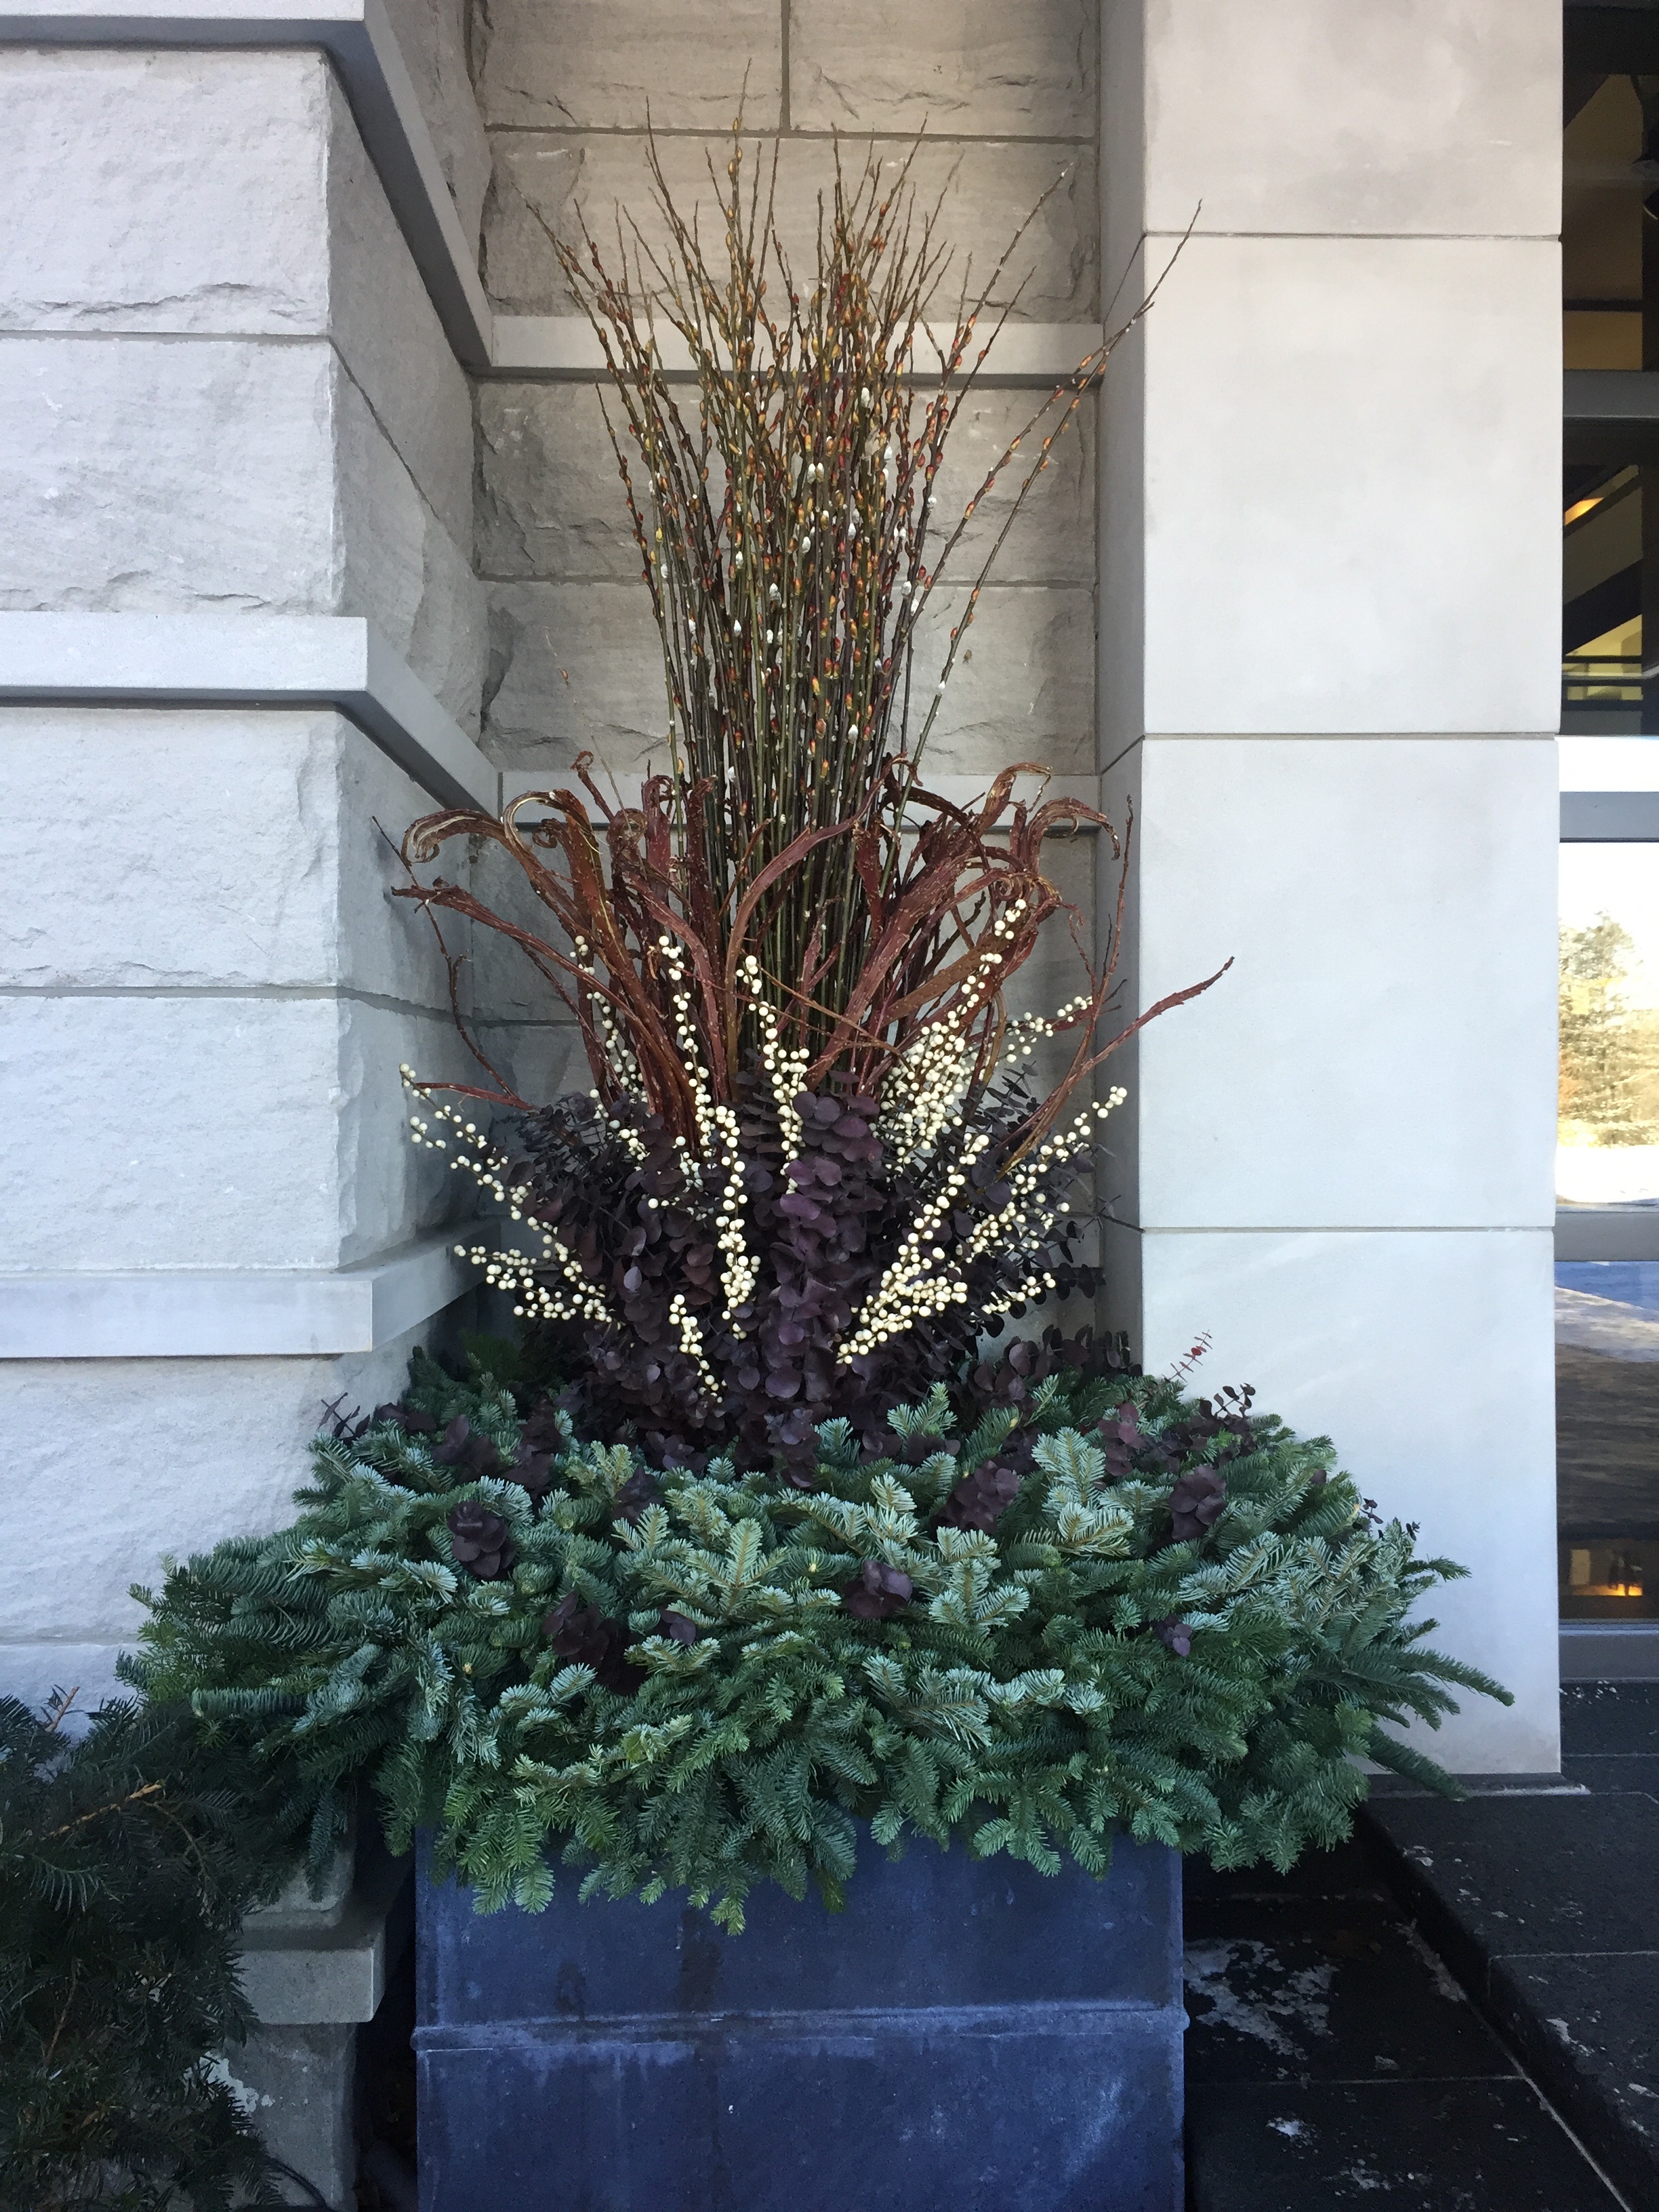
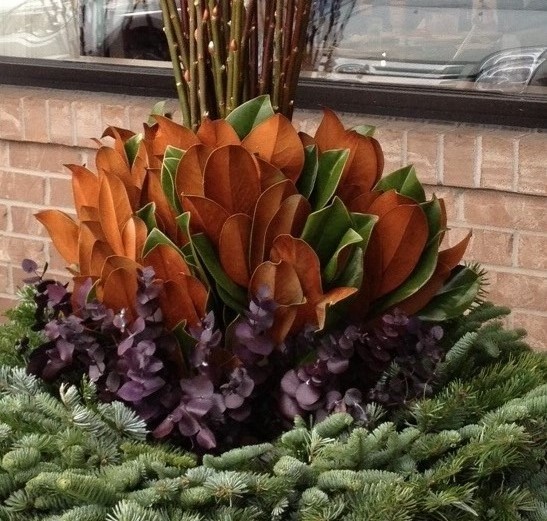
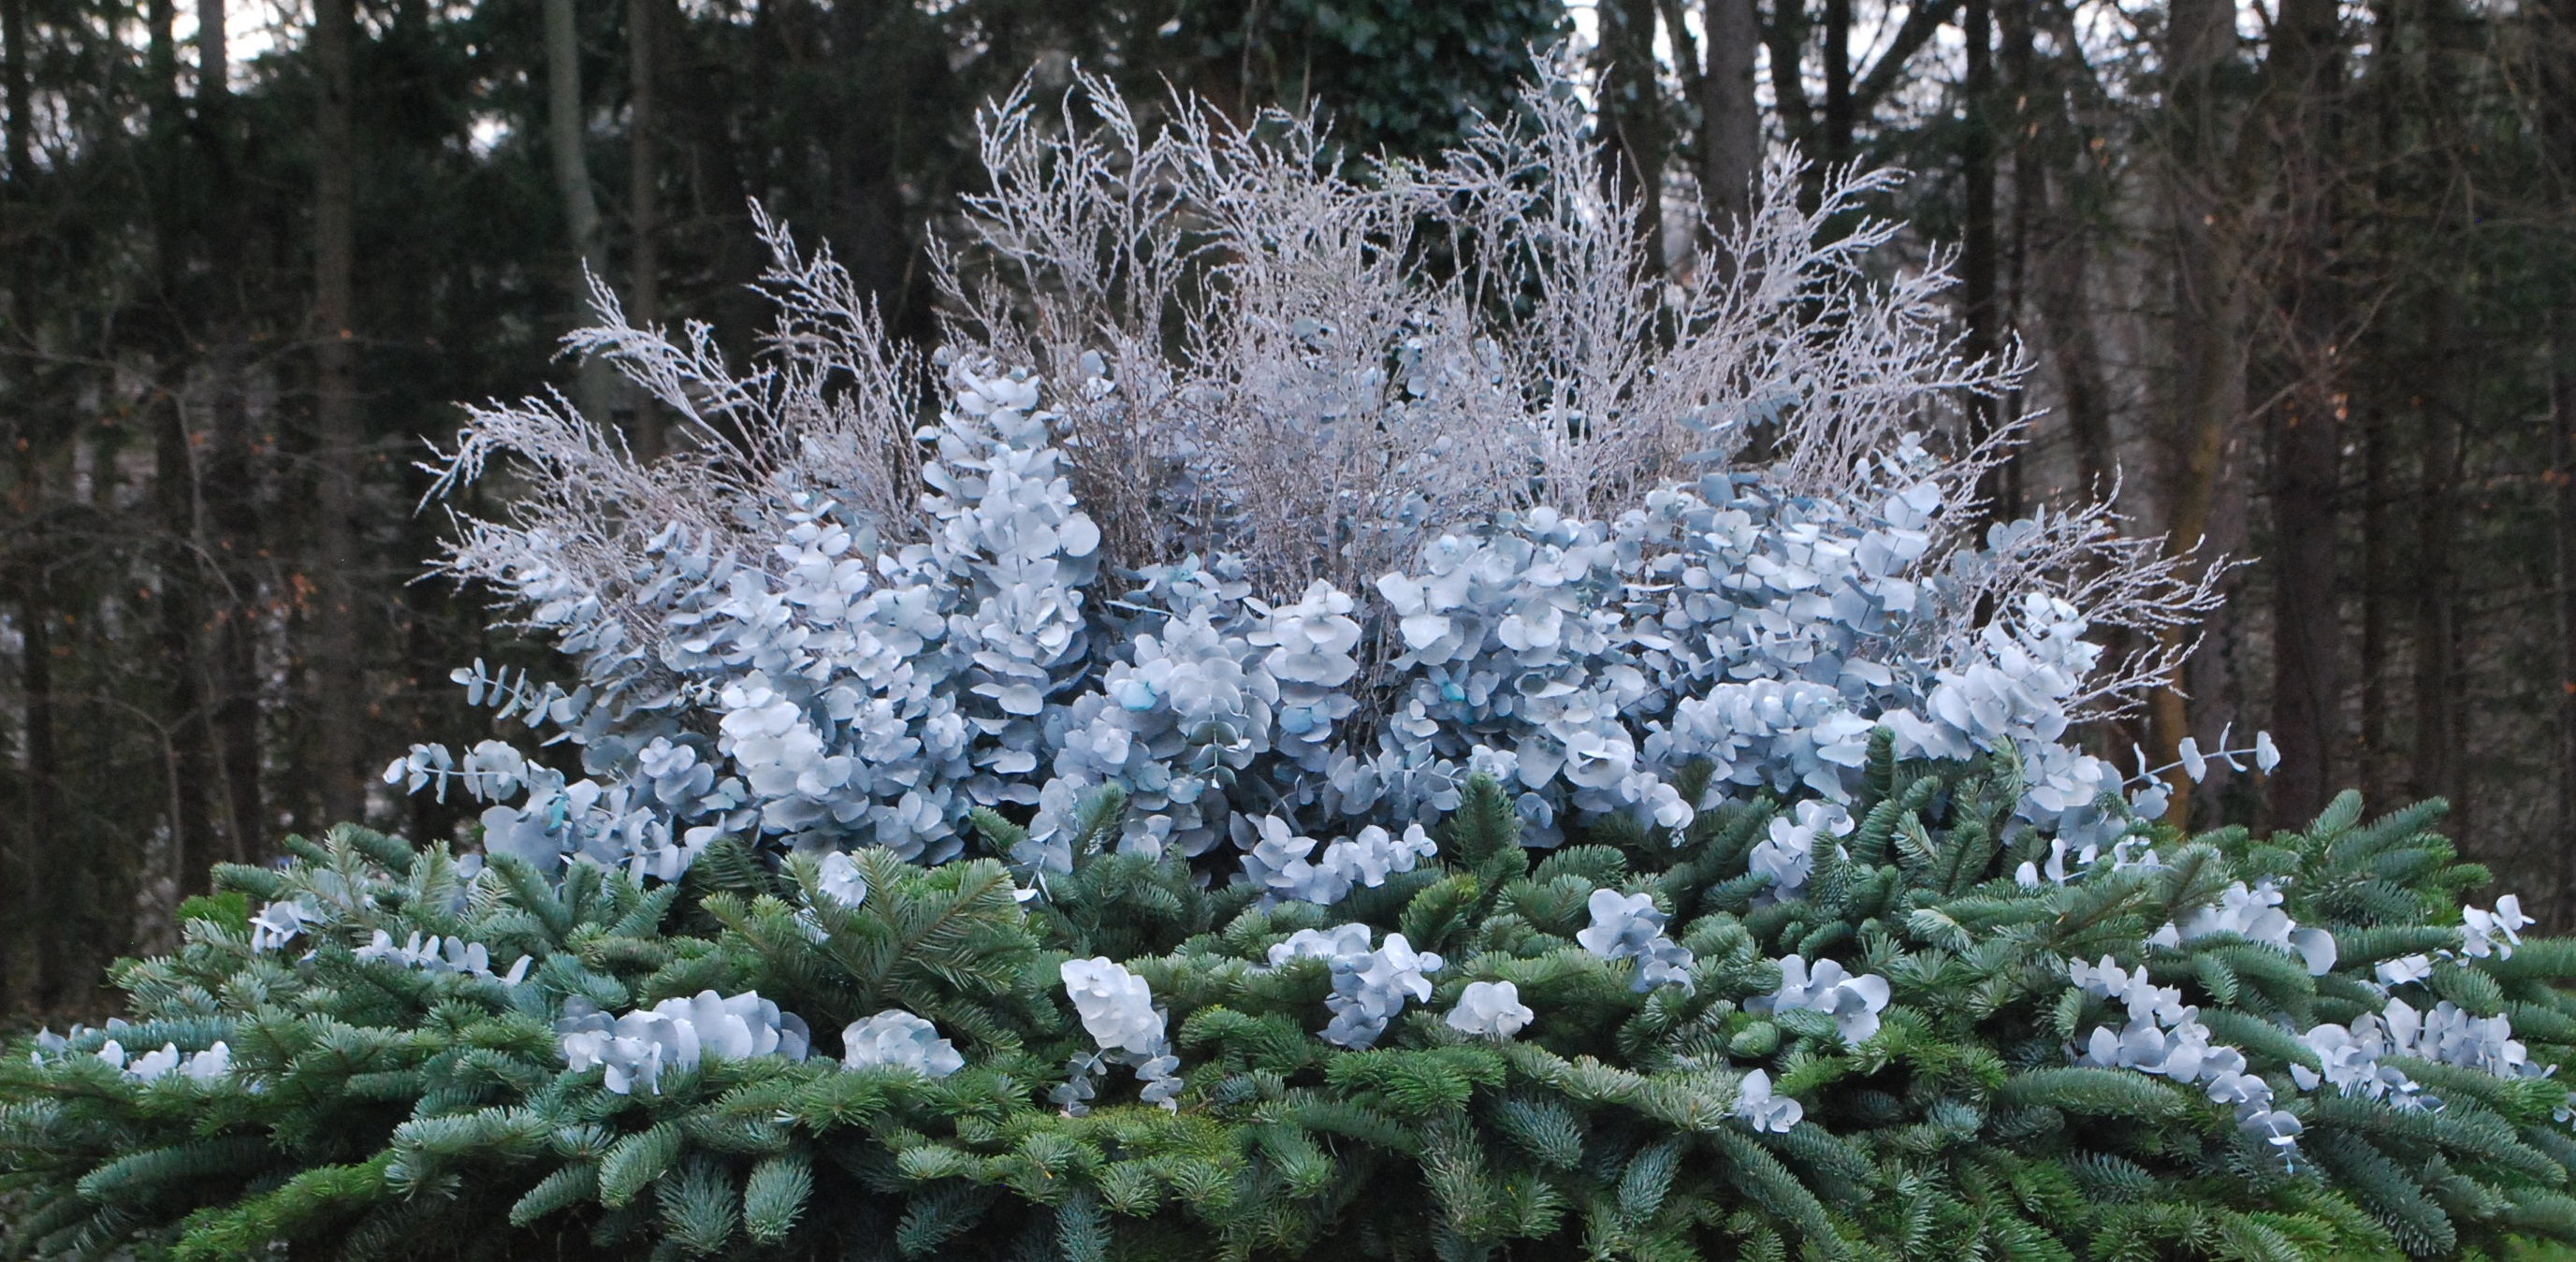
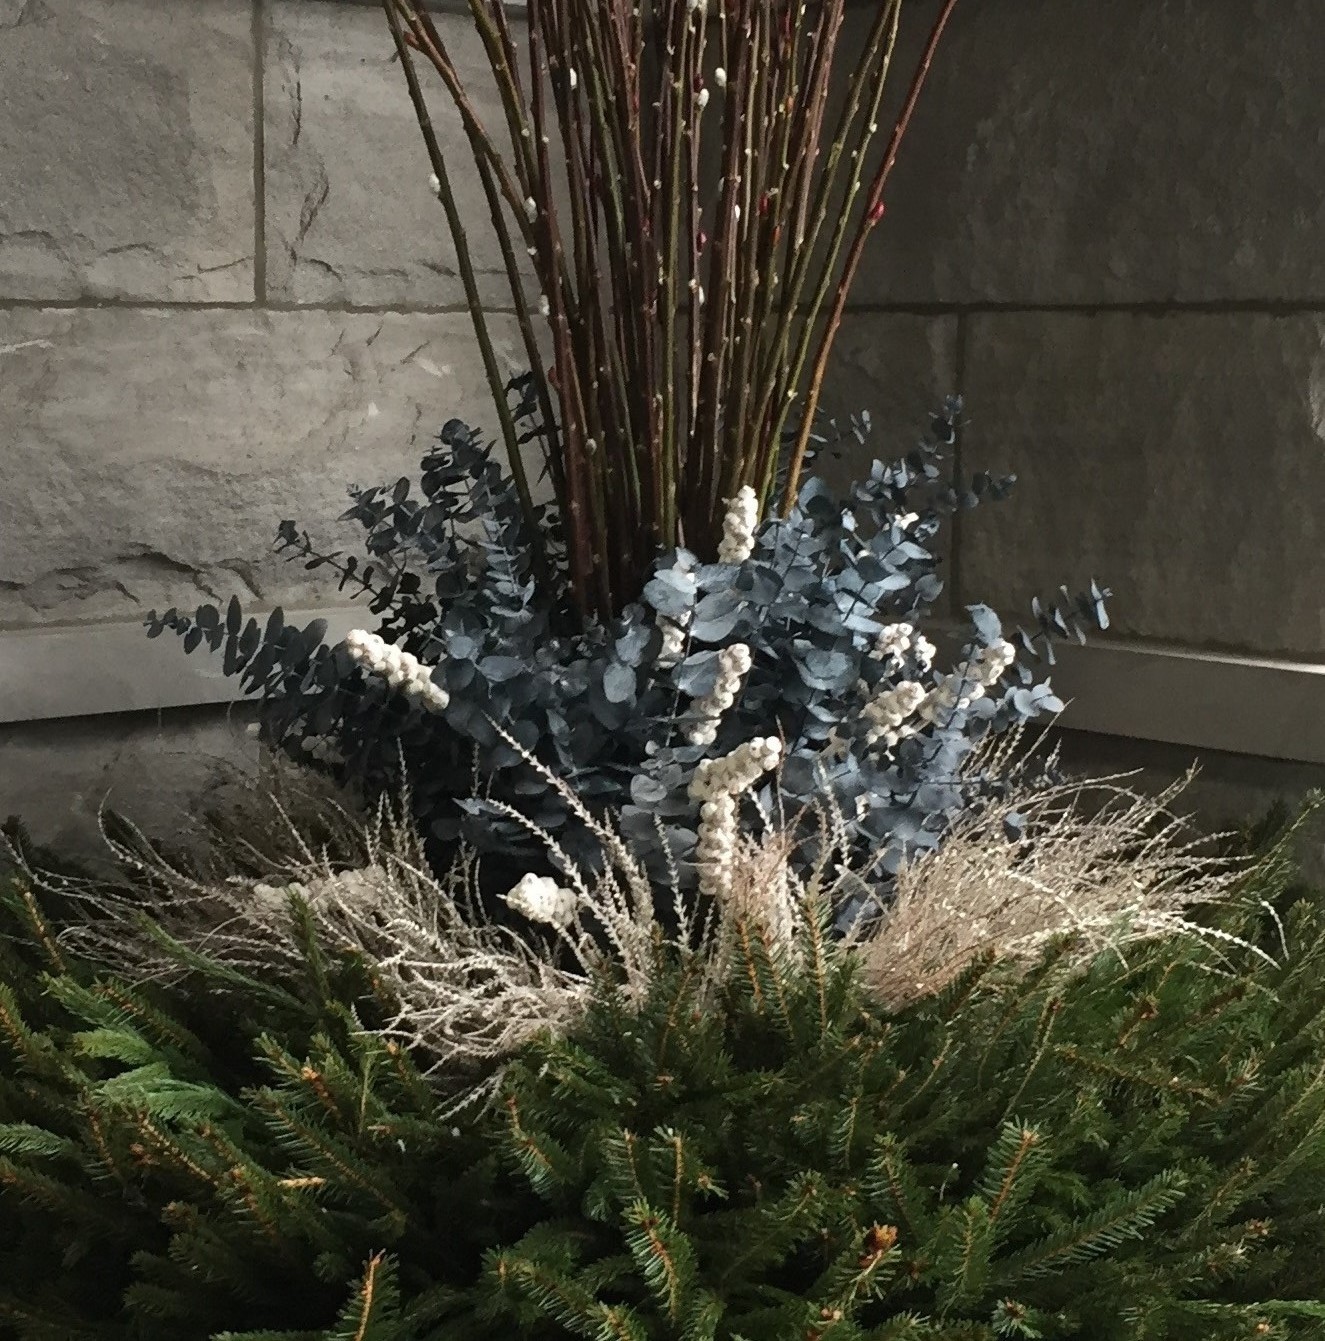
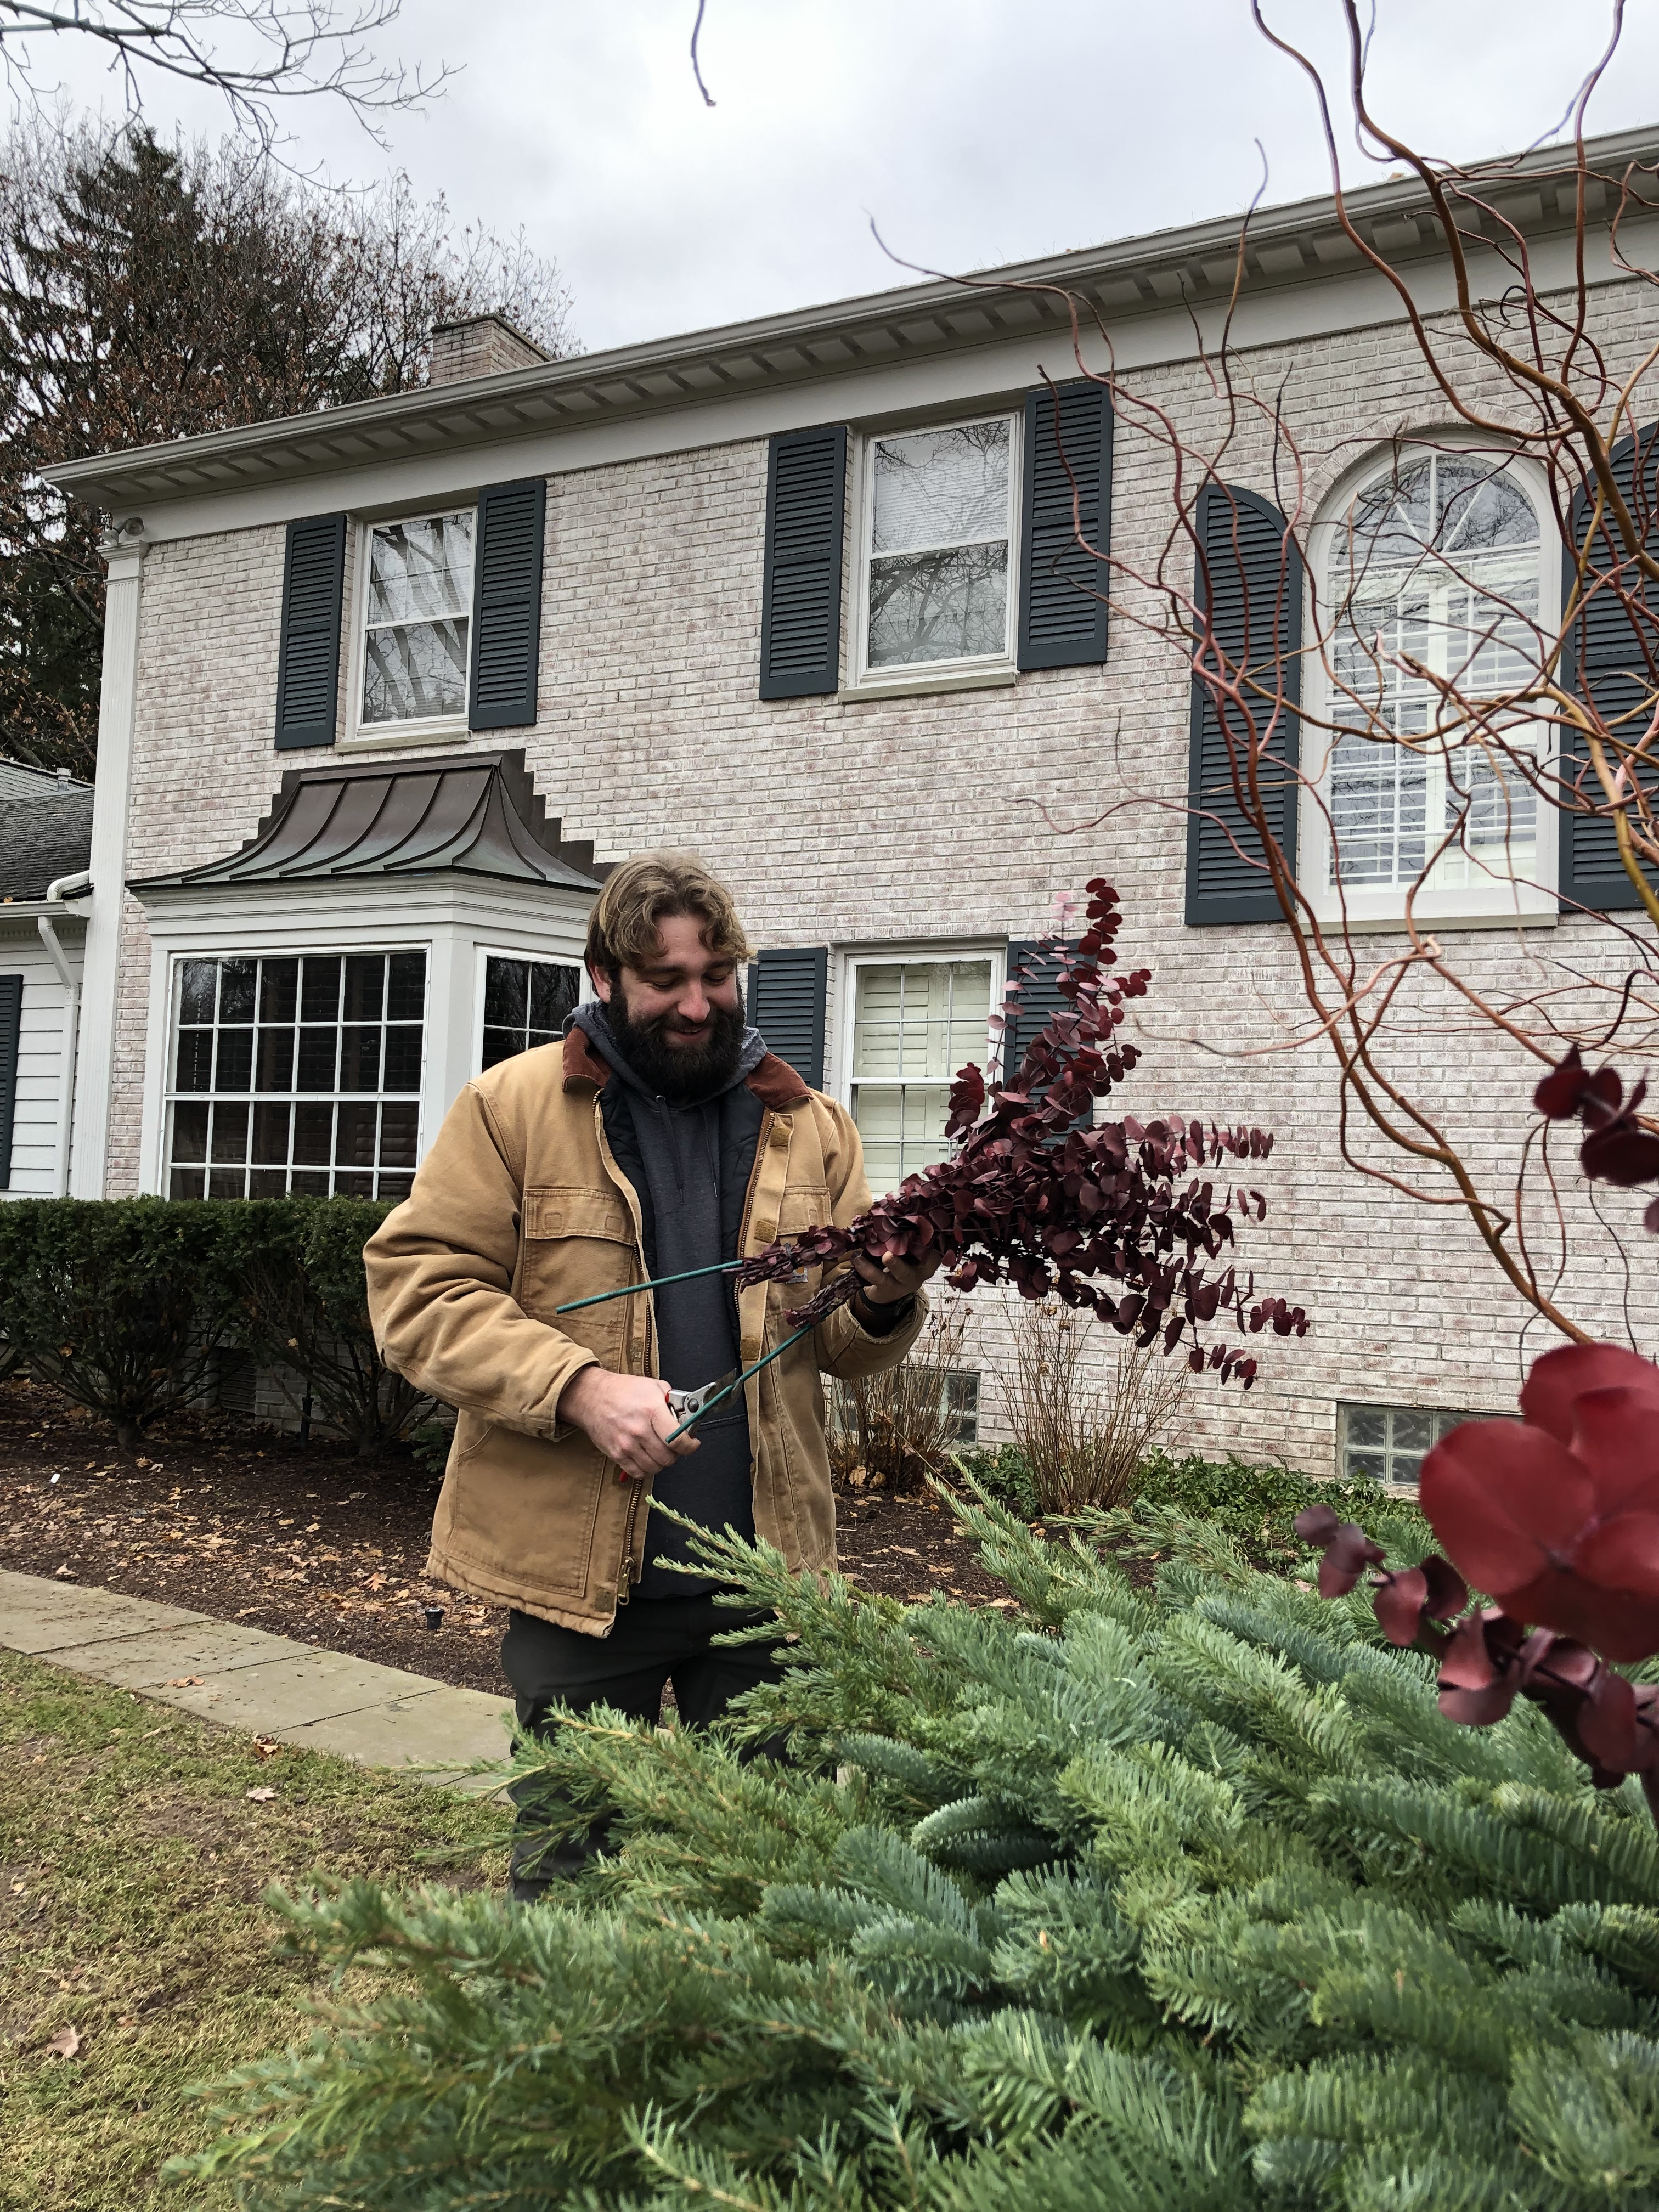 We added eucalyptus to that space between the greens and the centerpiece. That plum red is a beautiful foil to the color of the copper curly willow. We zip tied individual stems to a bamboo stake. That slender stake is much more successful an anchor than the individual stems. We also had the option of setting the stems at an angle out, rather than straight up and down.
 We also added extra short stem of the willow to the base of the centerpiece, so the hole in the foam would be completely filled. Gaps between the centerpiece and the opening in the foam are an opportunity for the stems to shift. Shifting stems mean trouble. Once the pot is finished, we look for a tight fit for every element. It should be clear by now that the engineering plays just as big a role as the design.
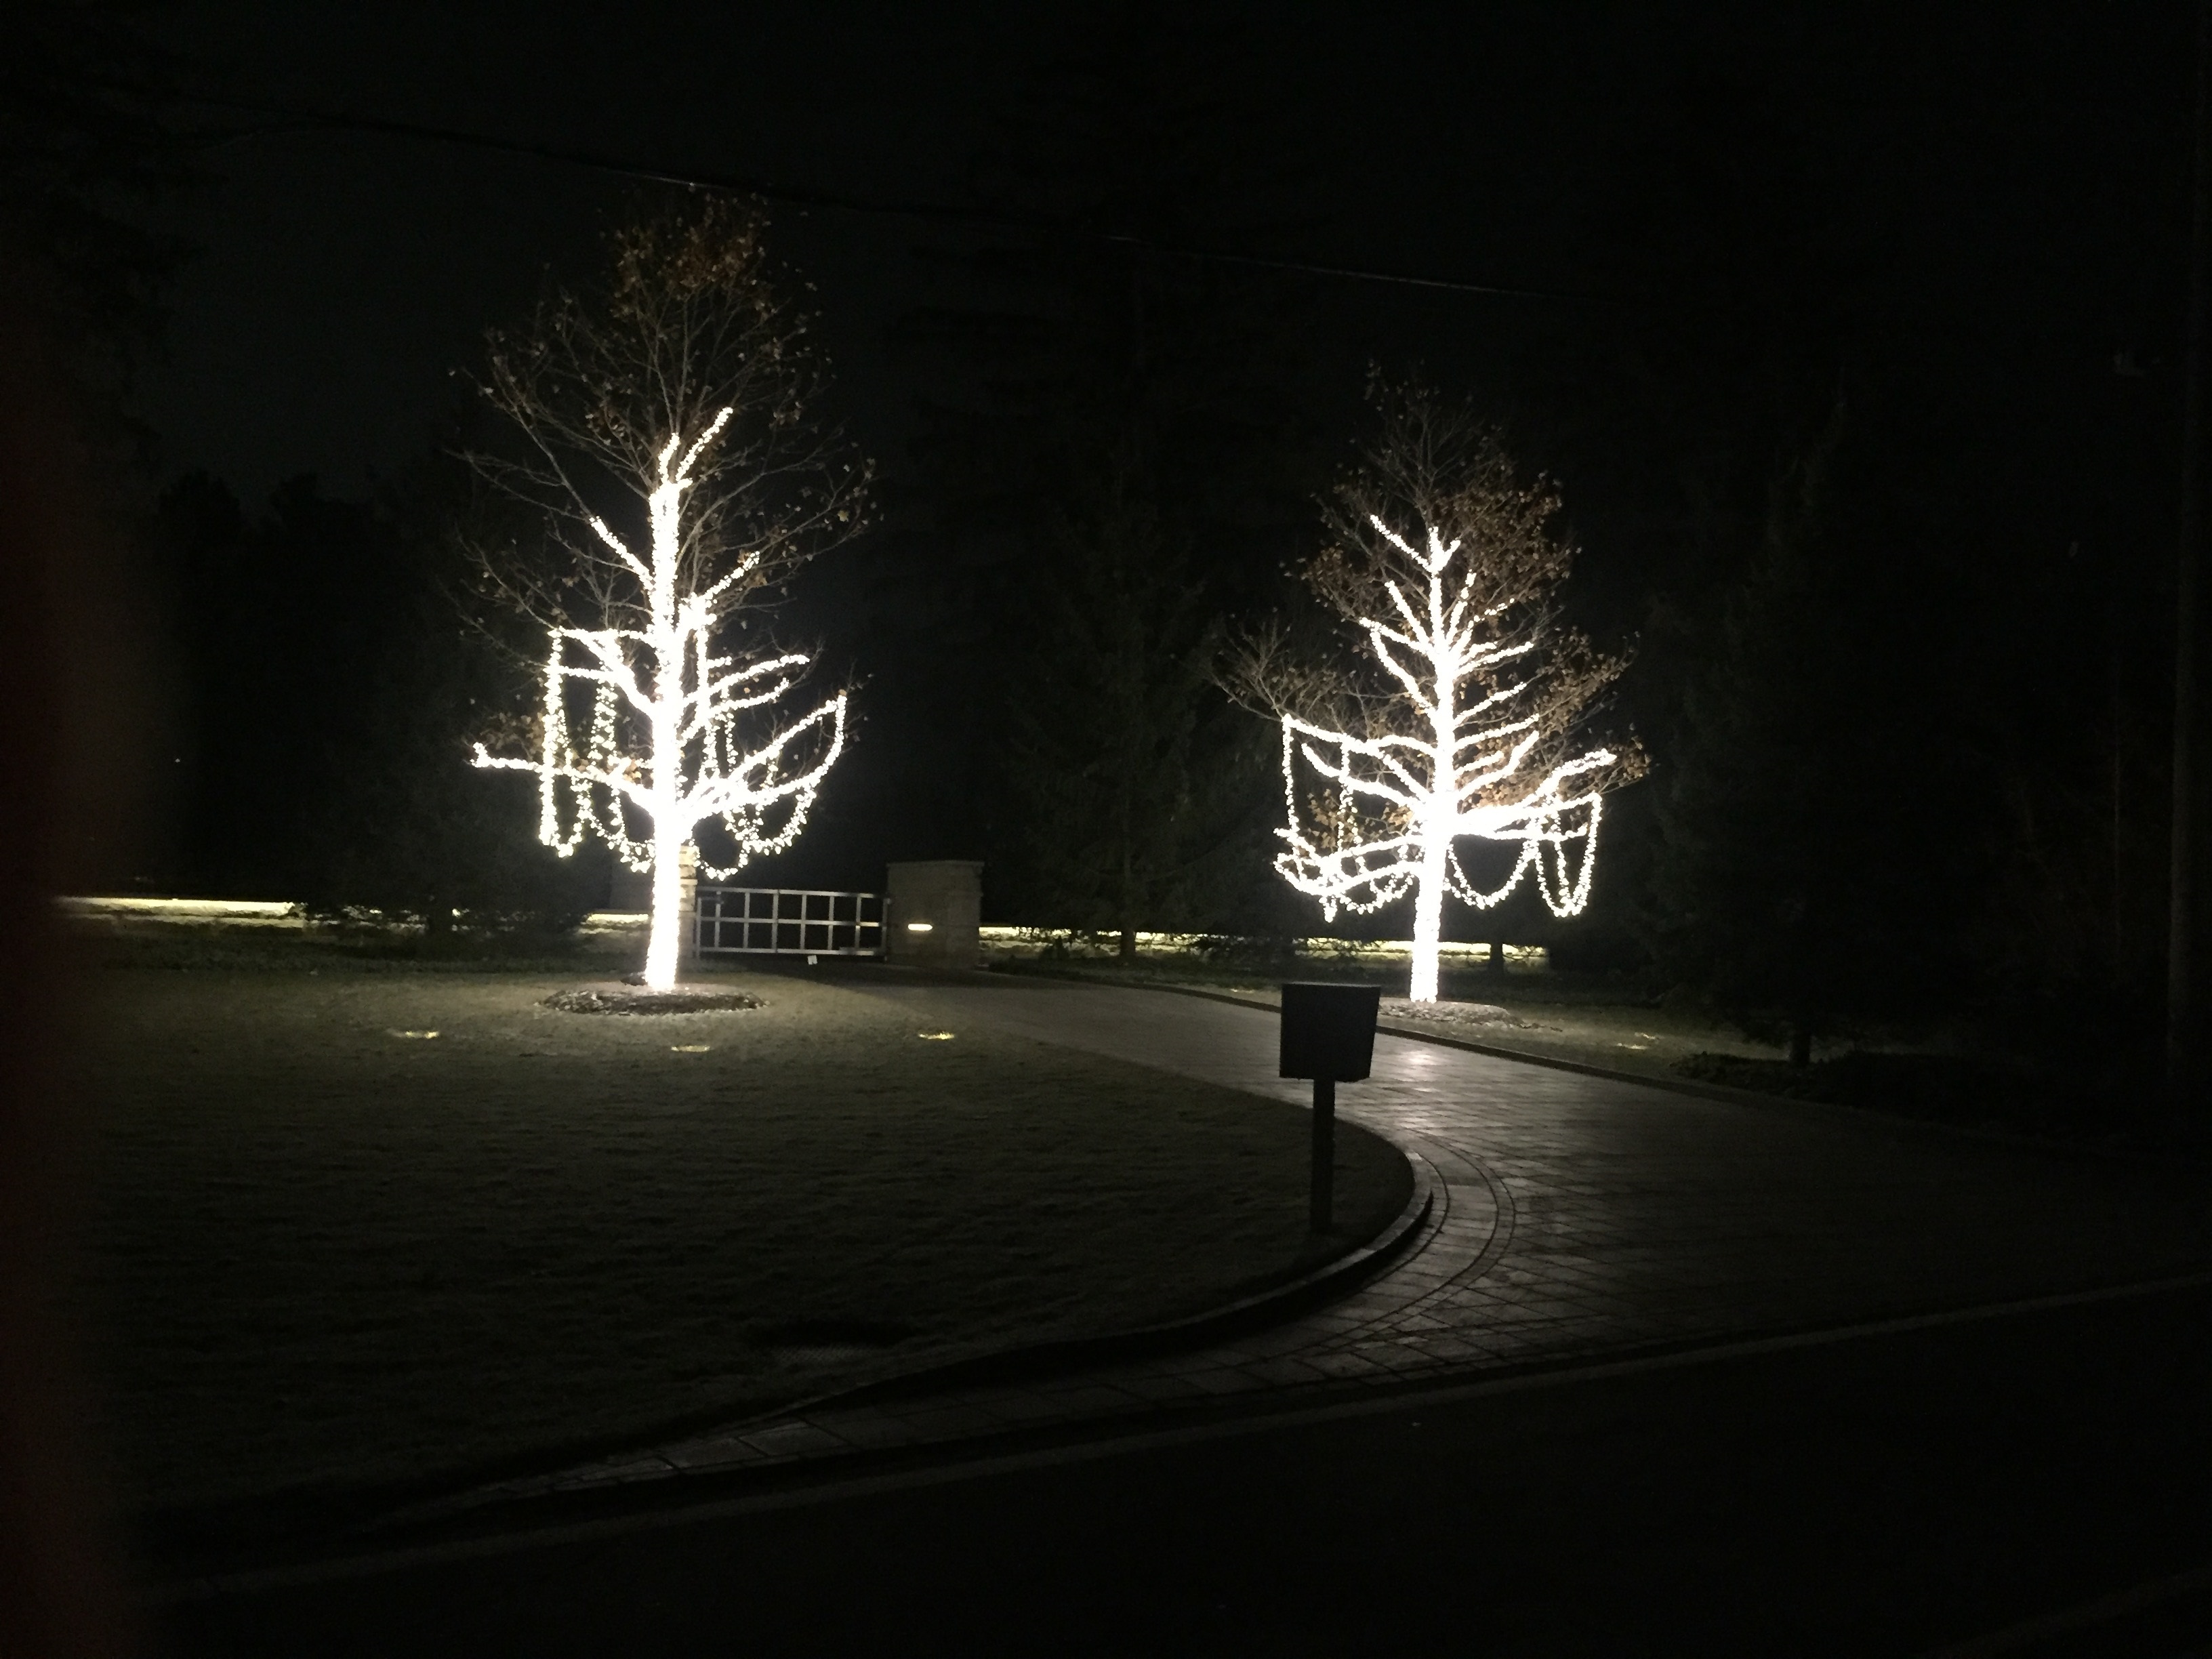
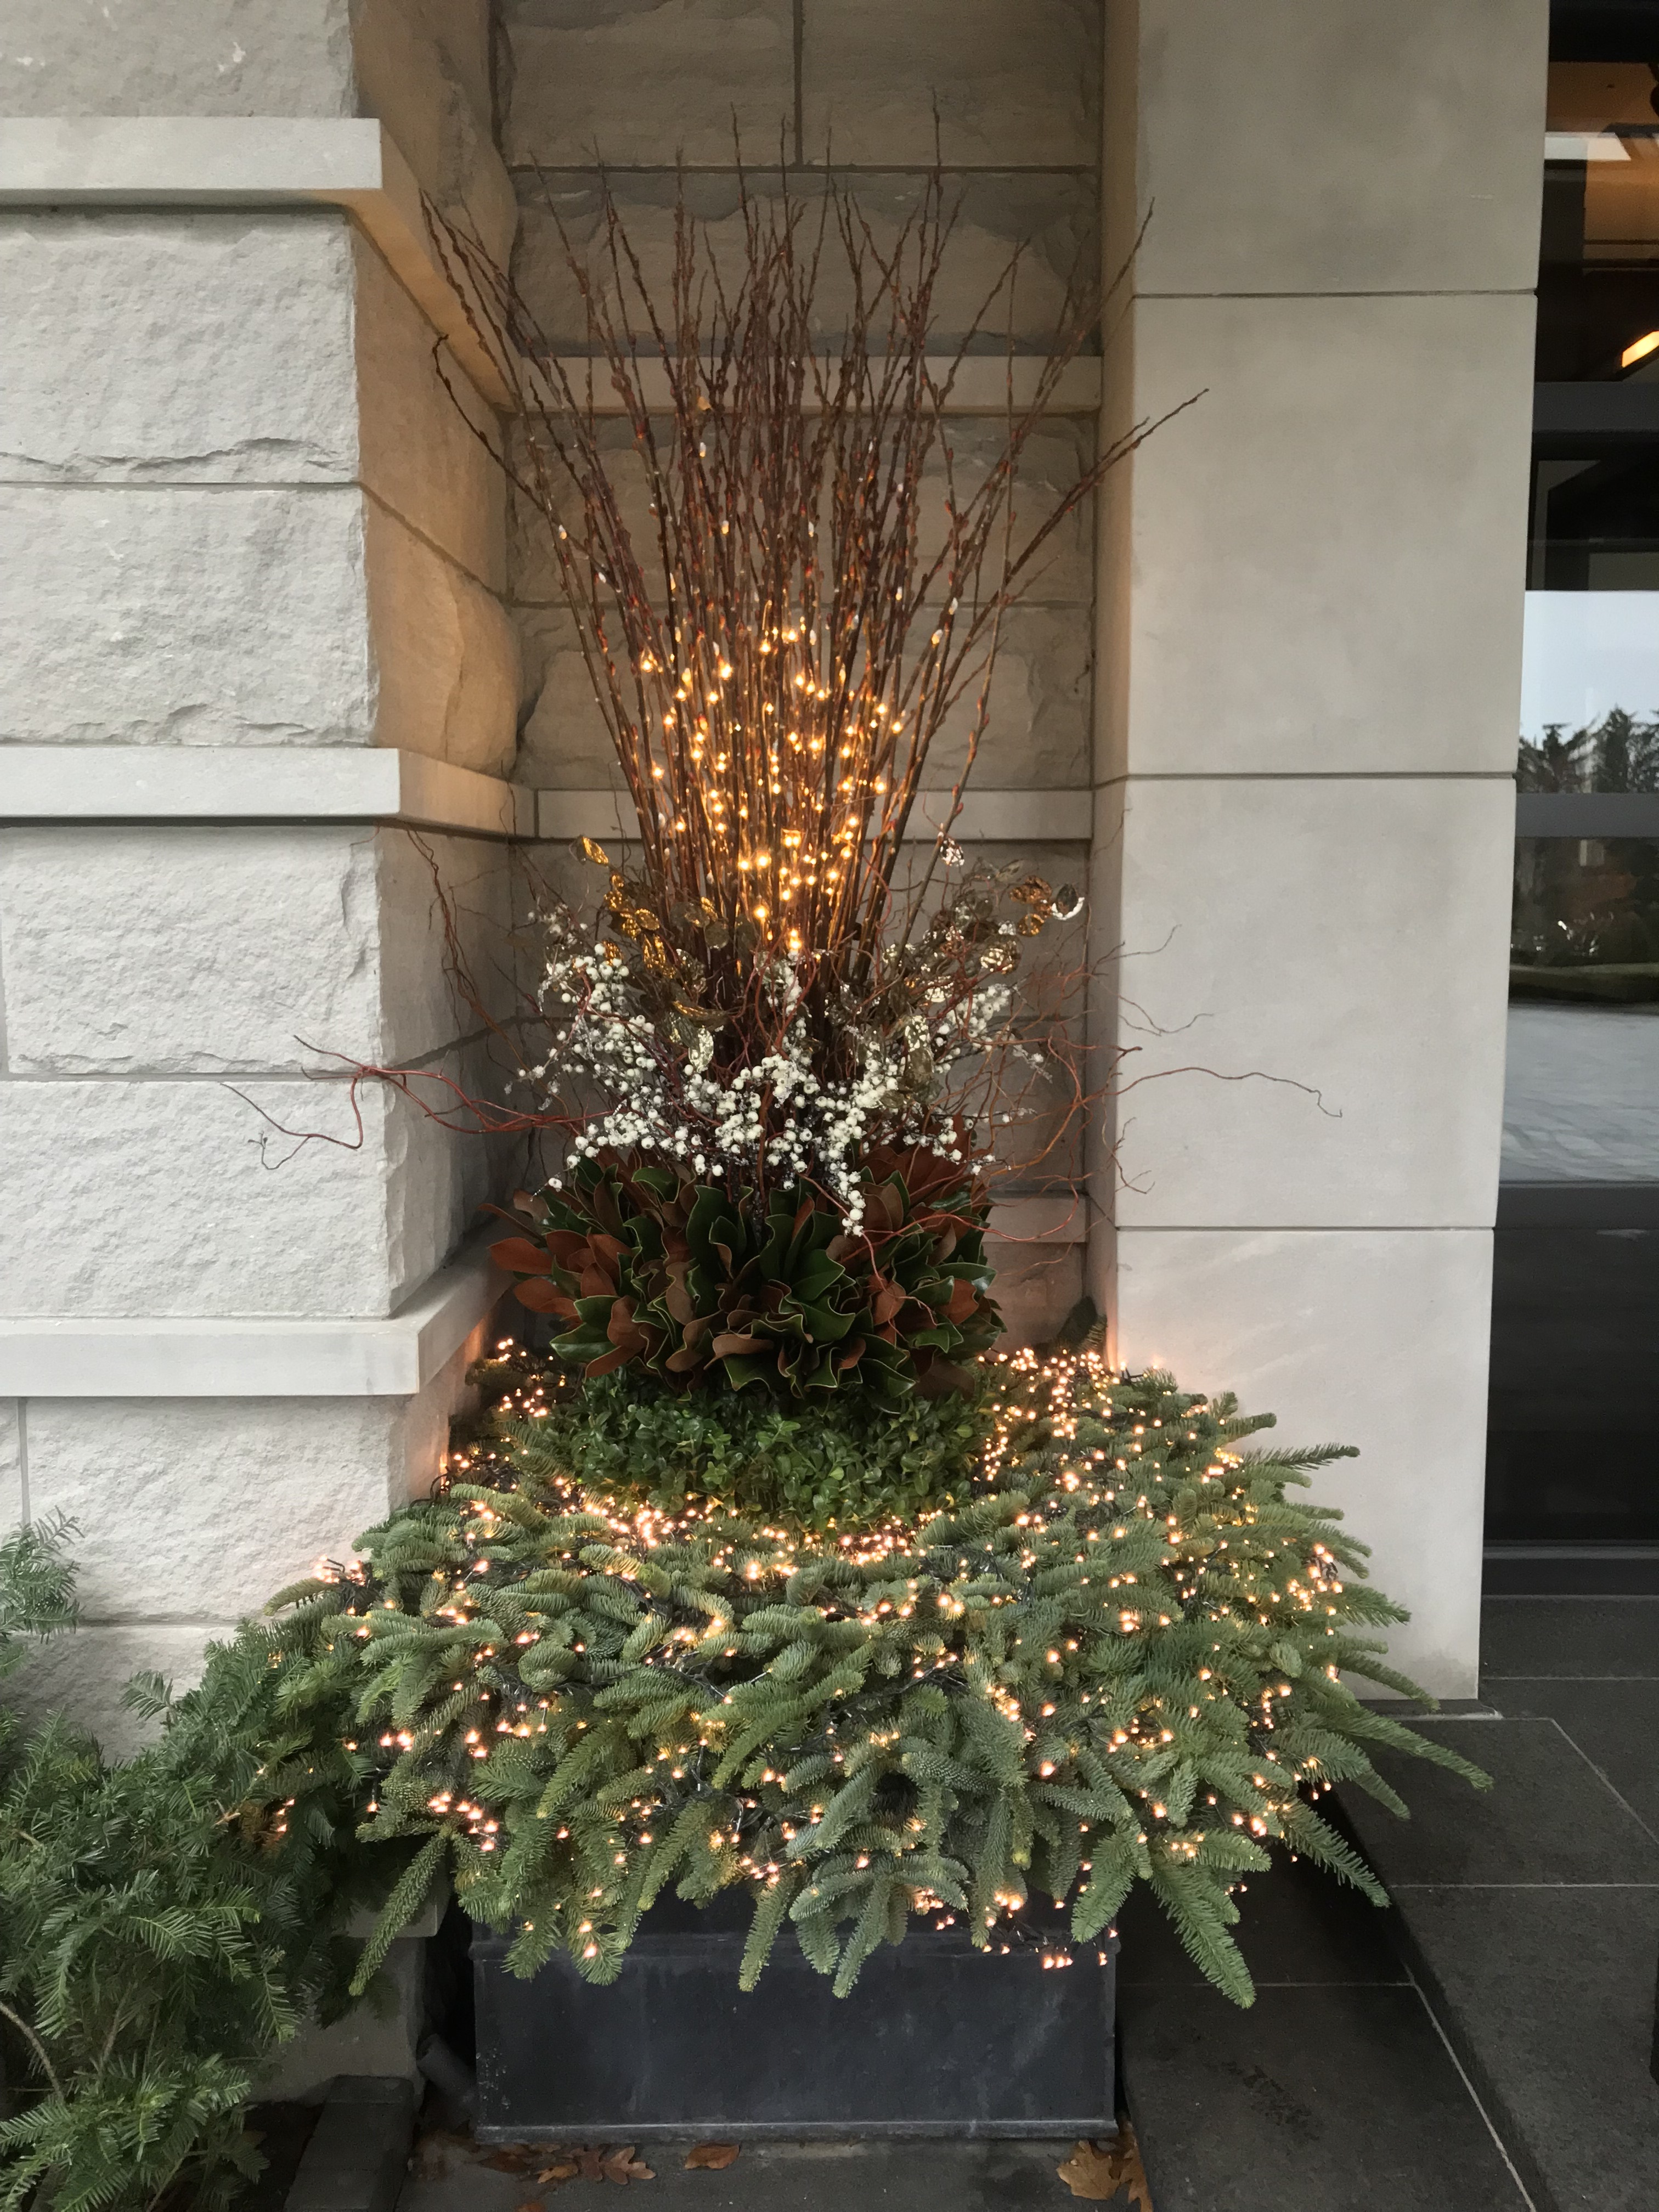
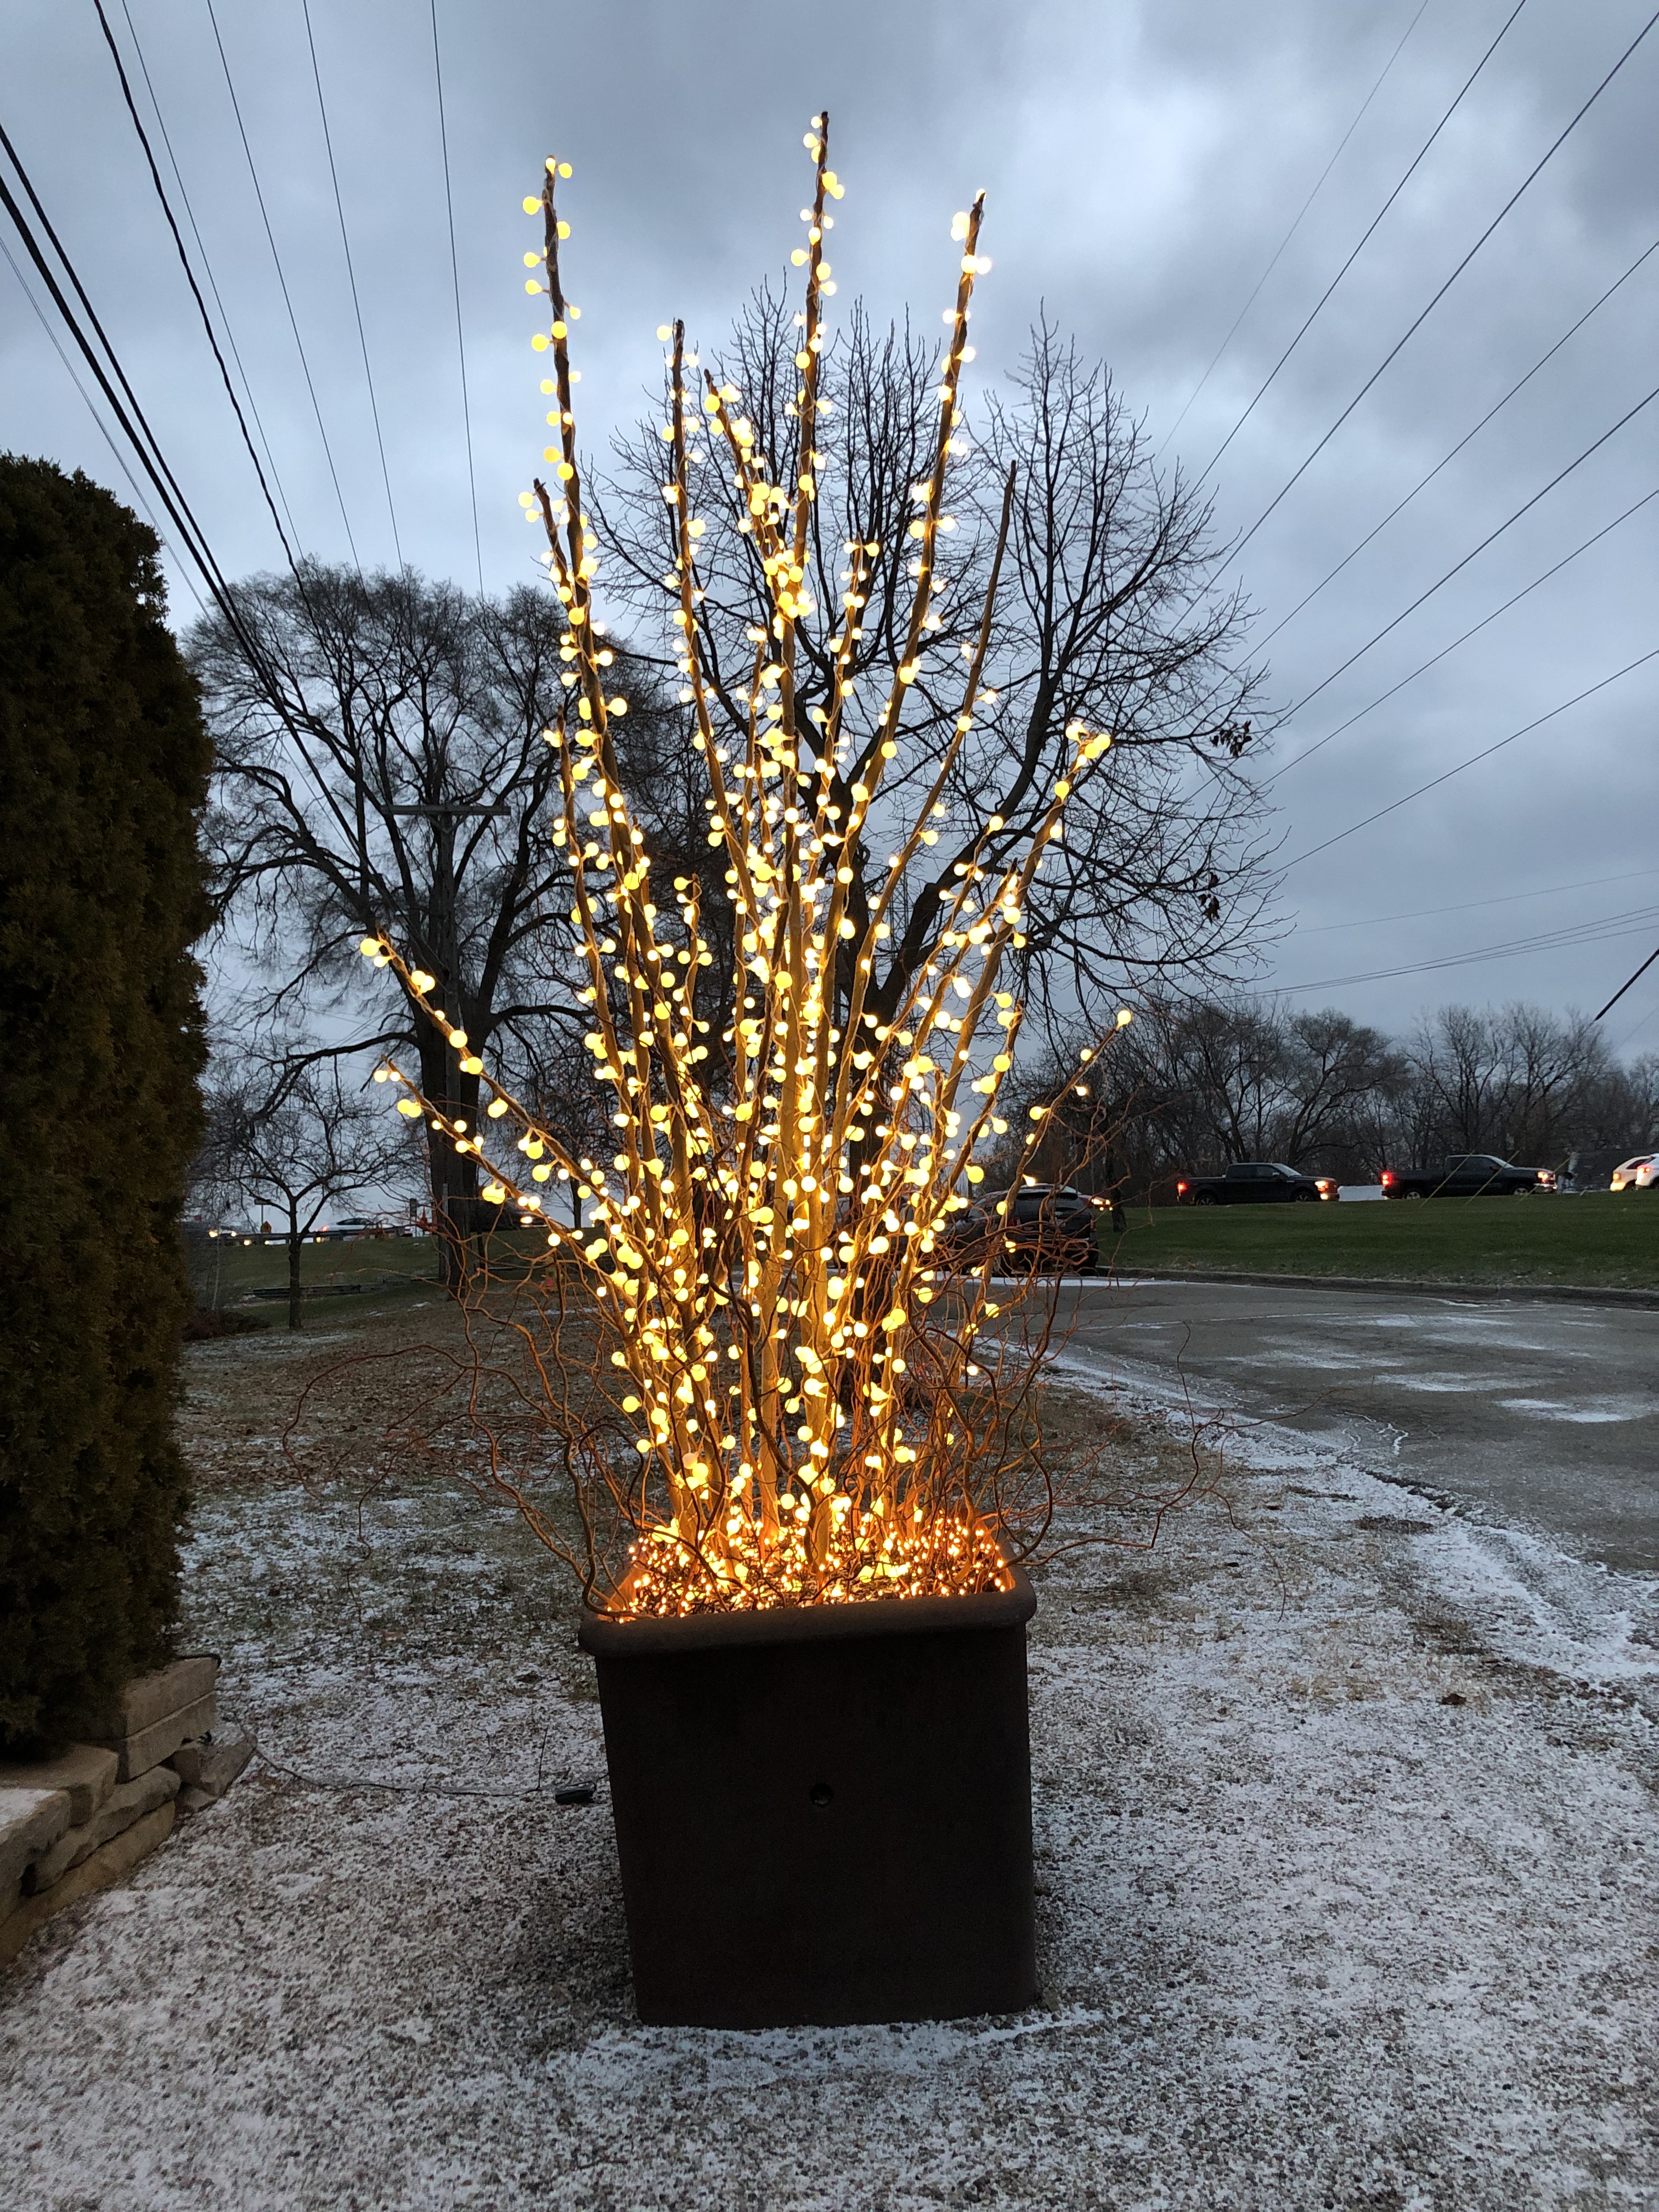
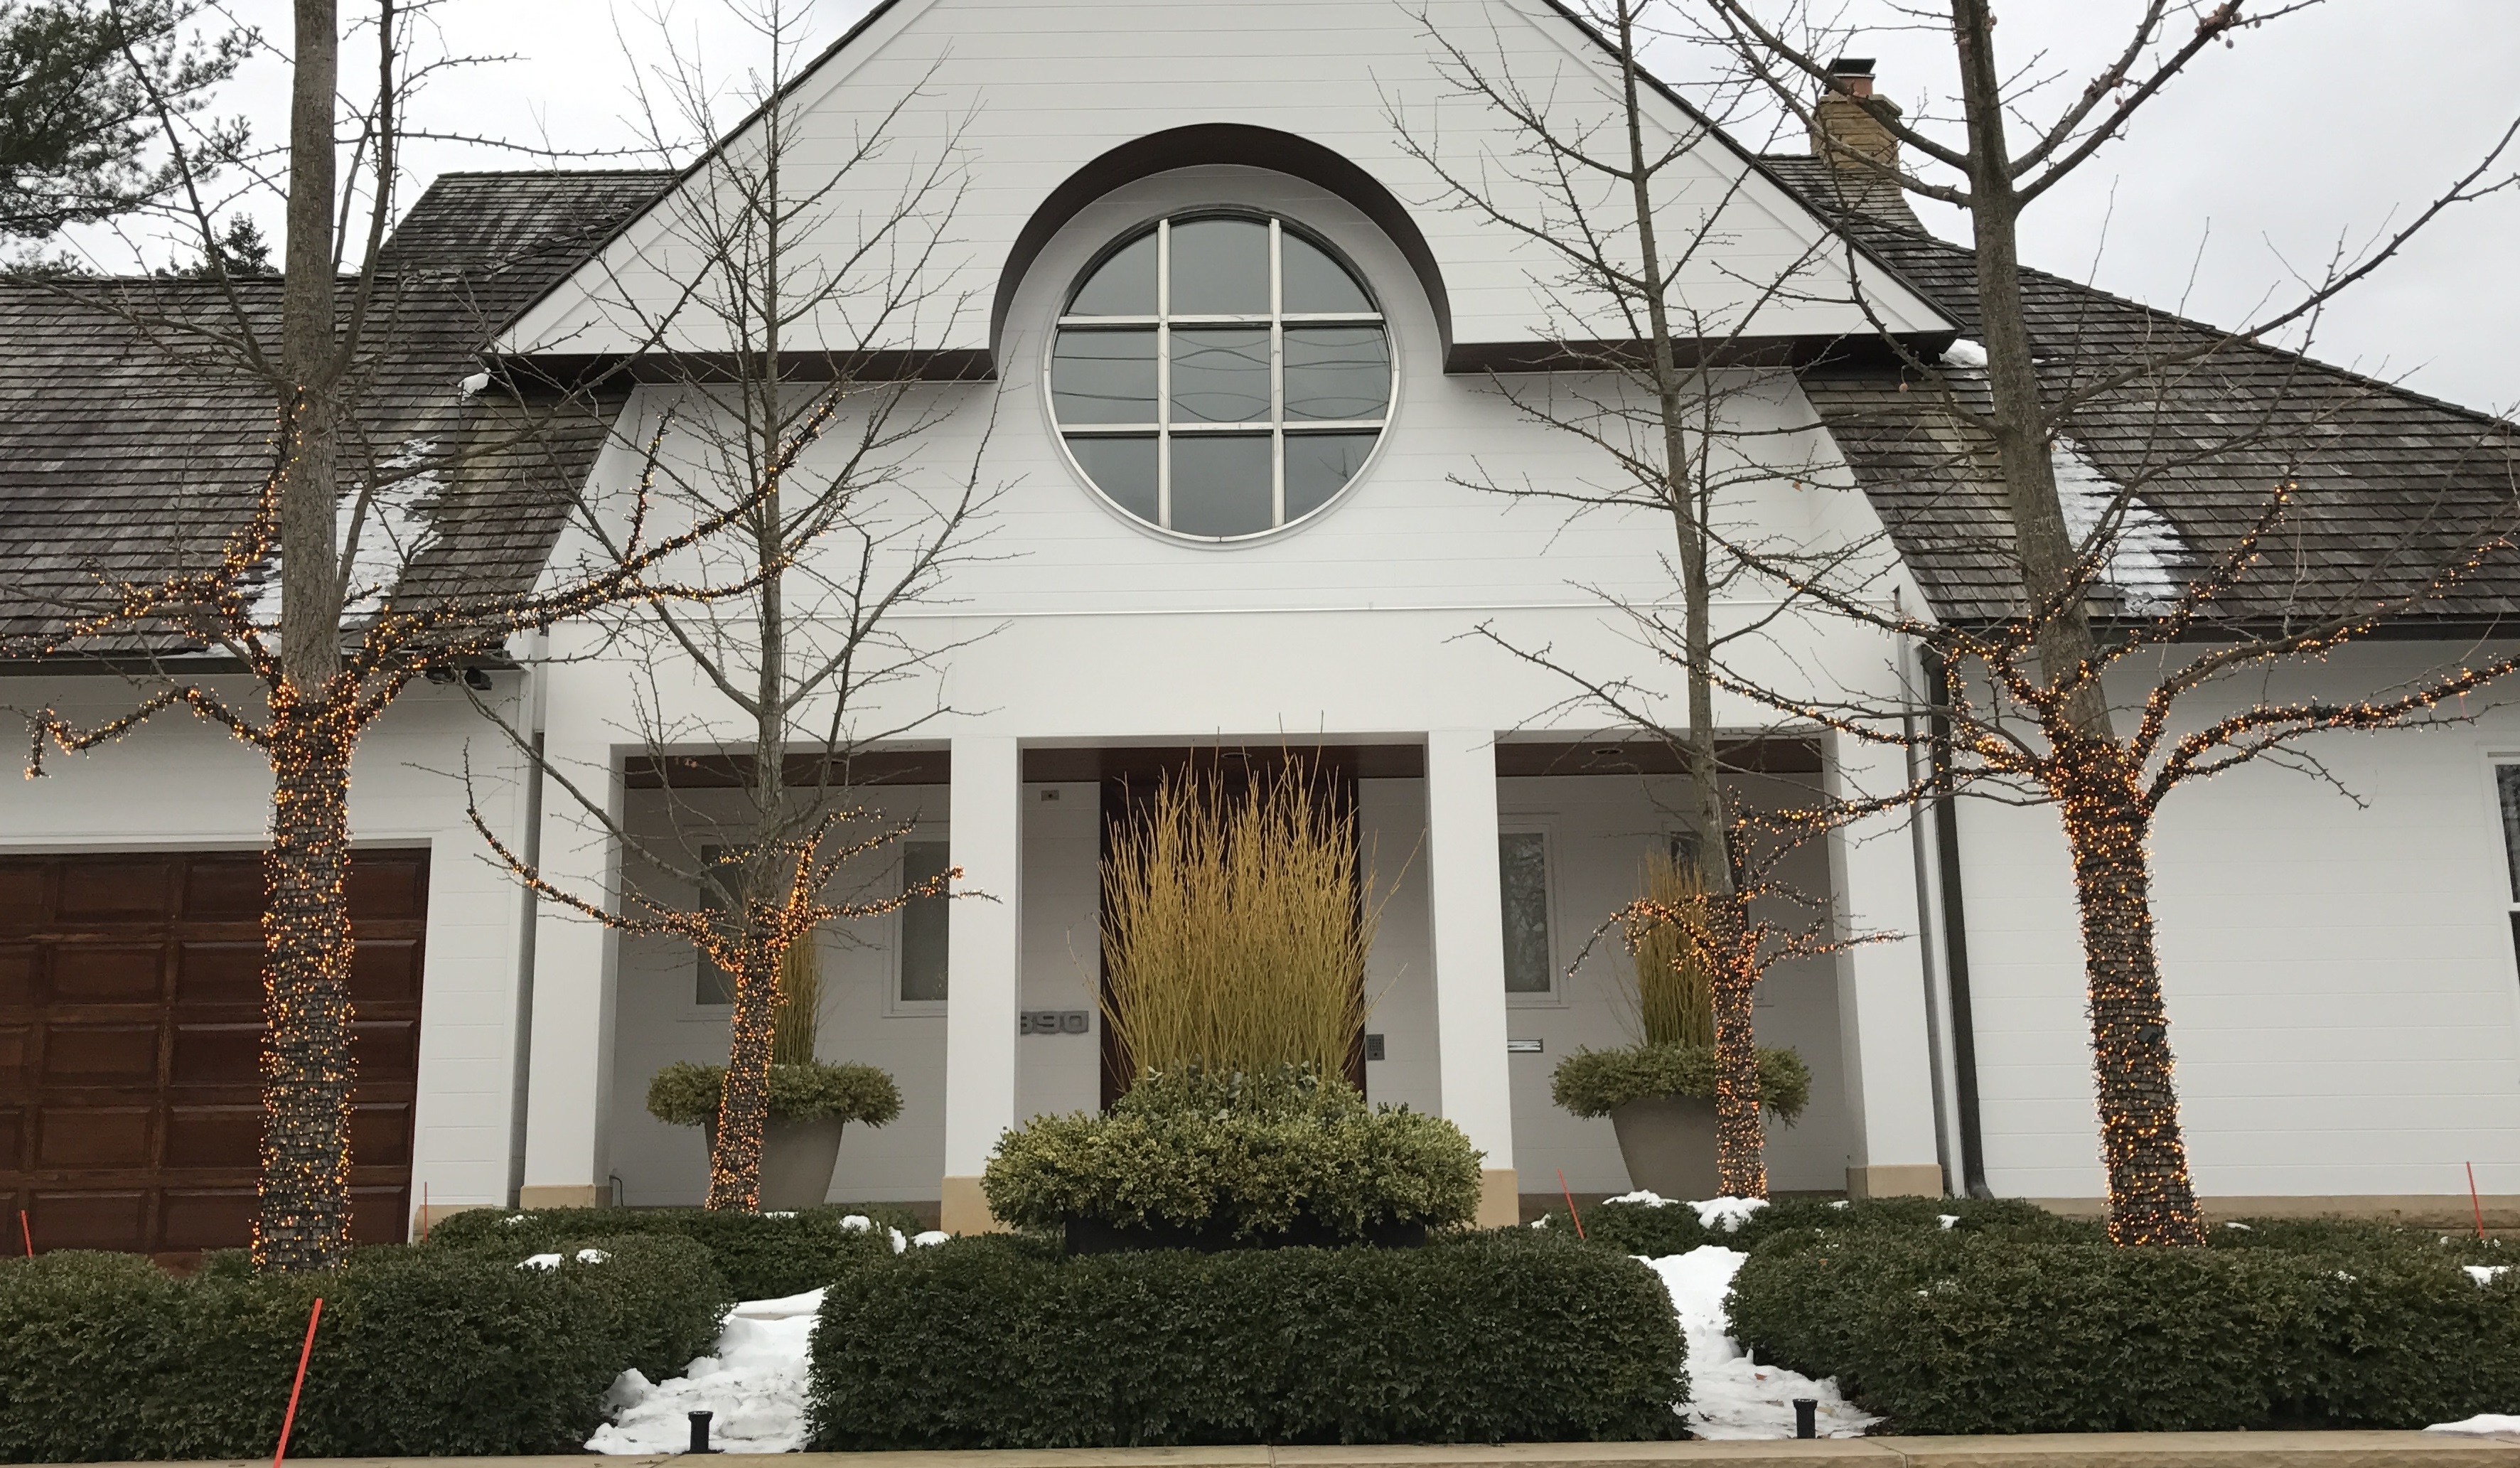
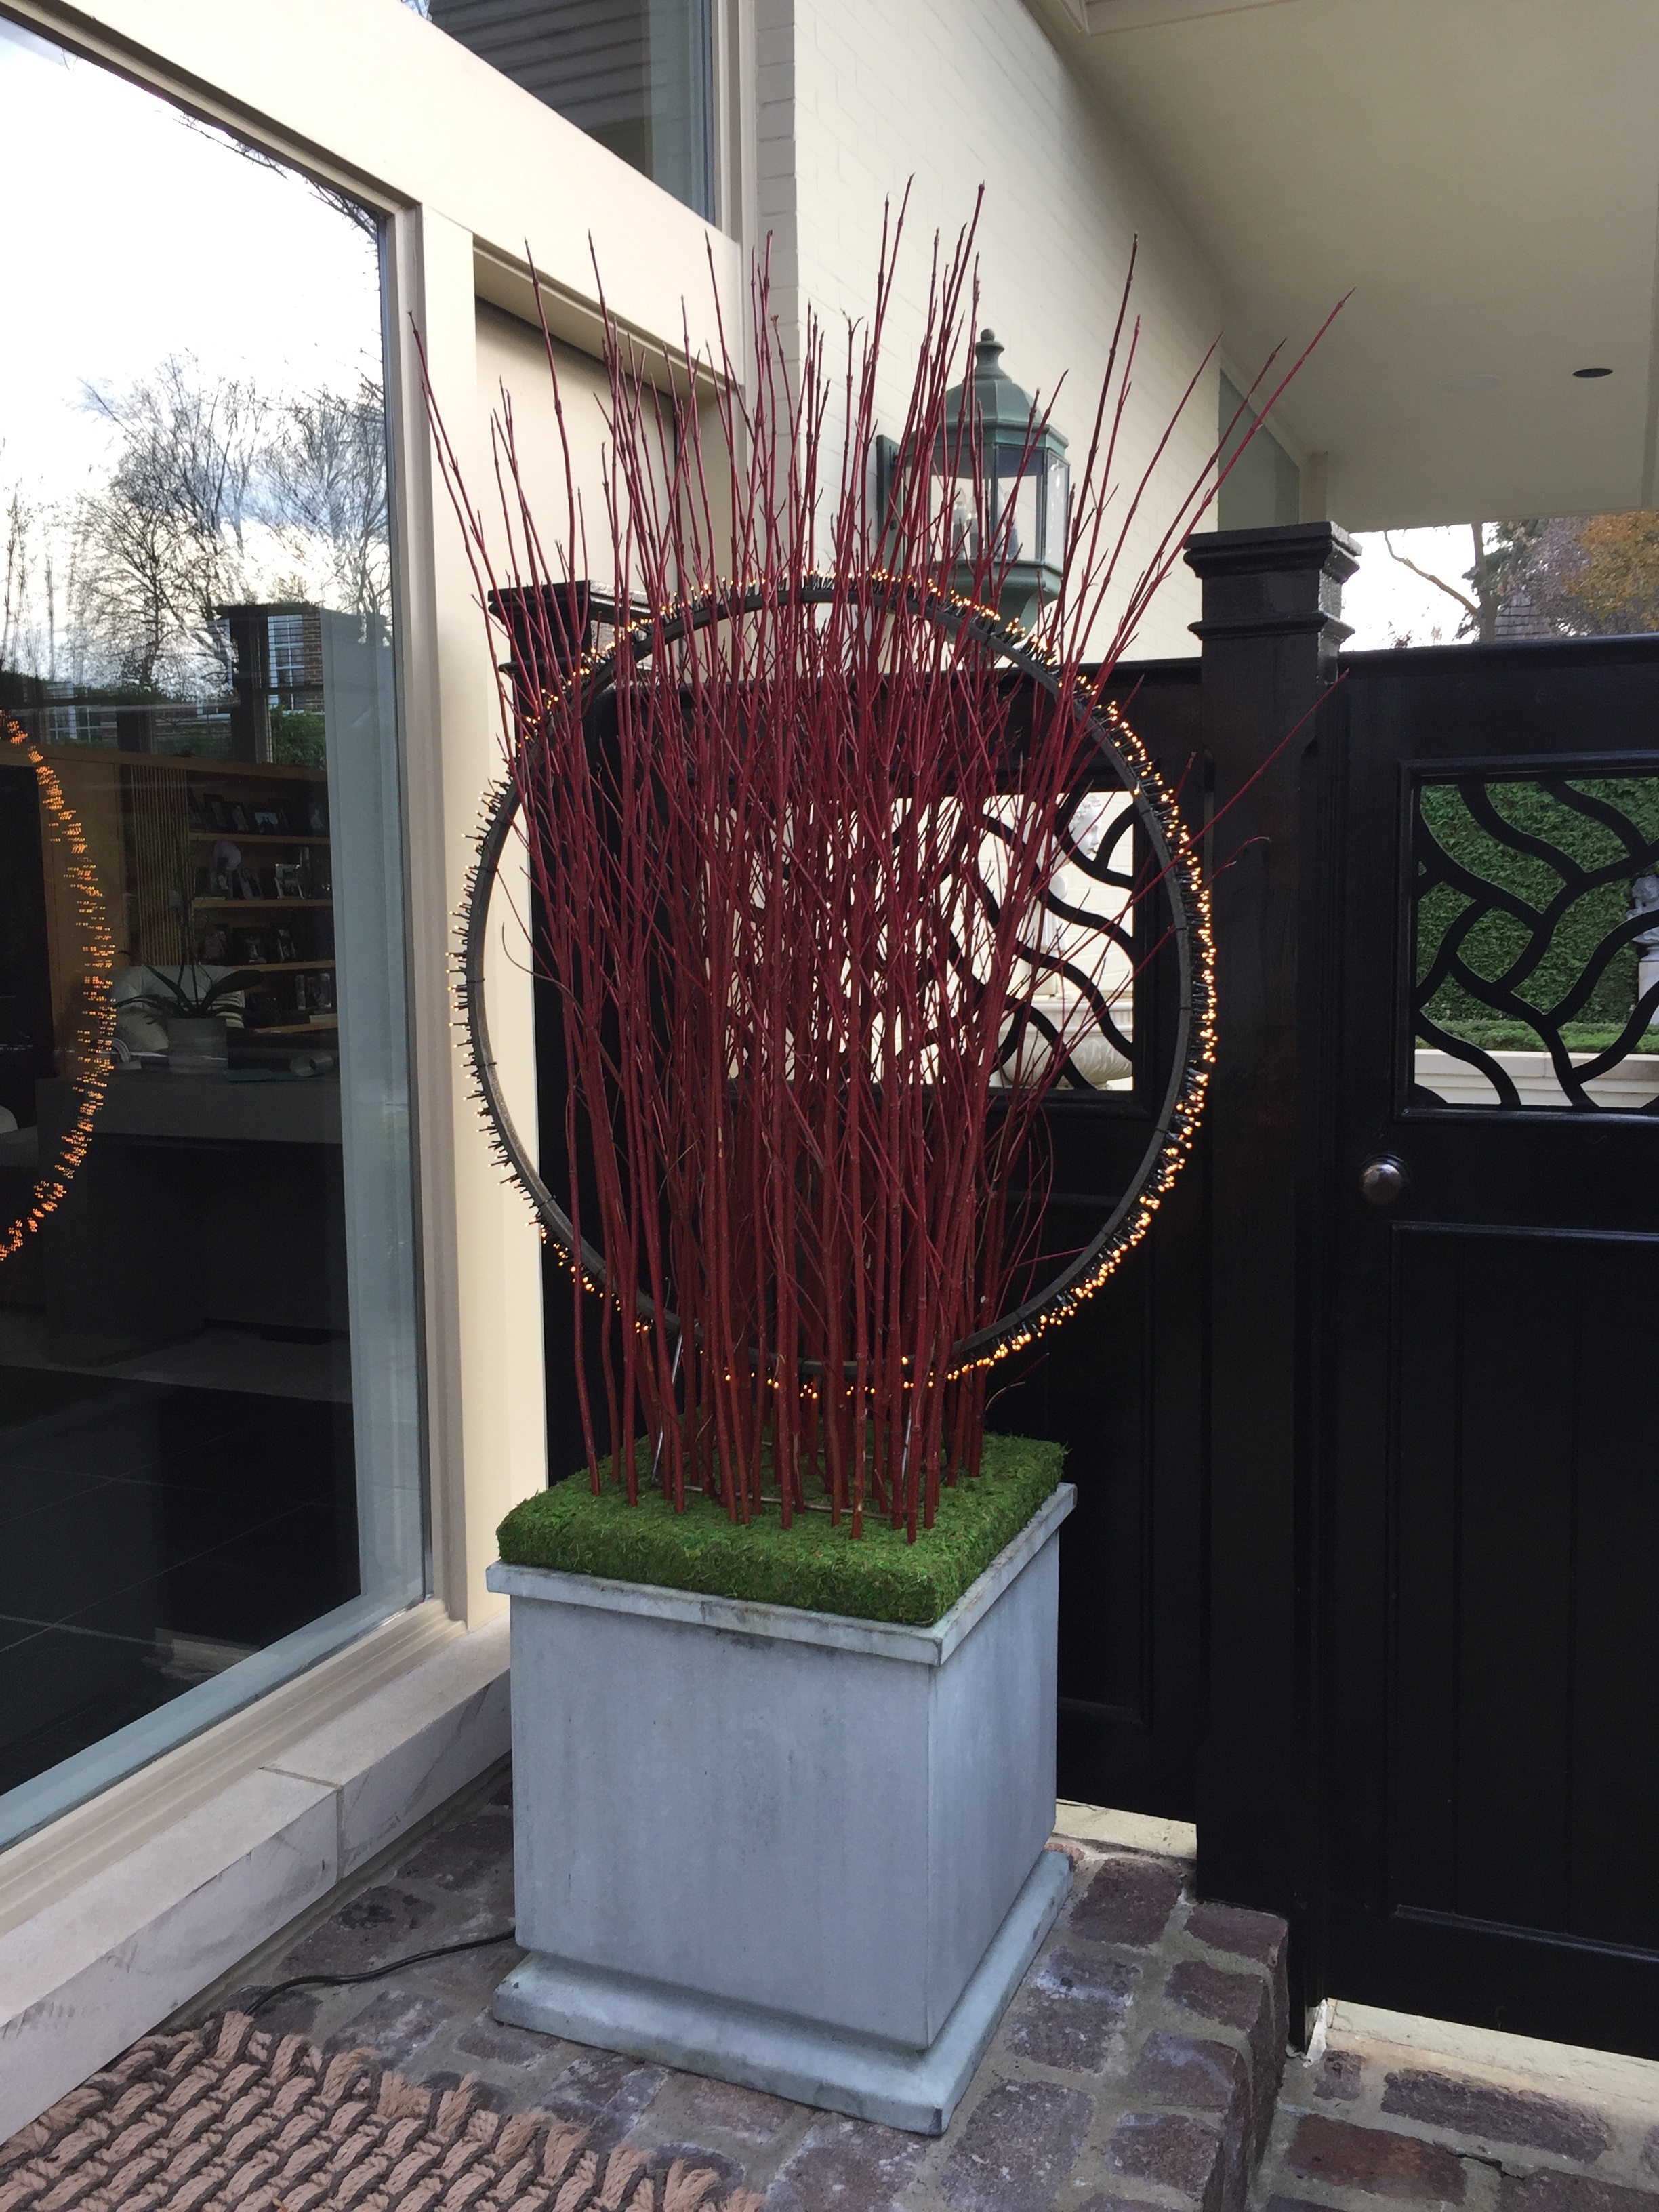
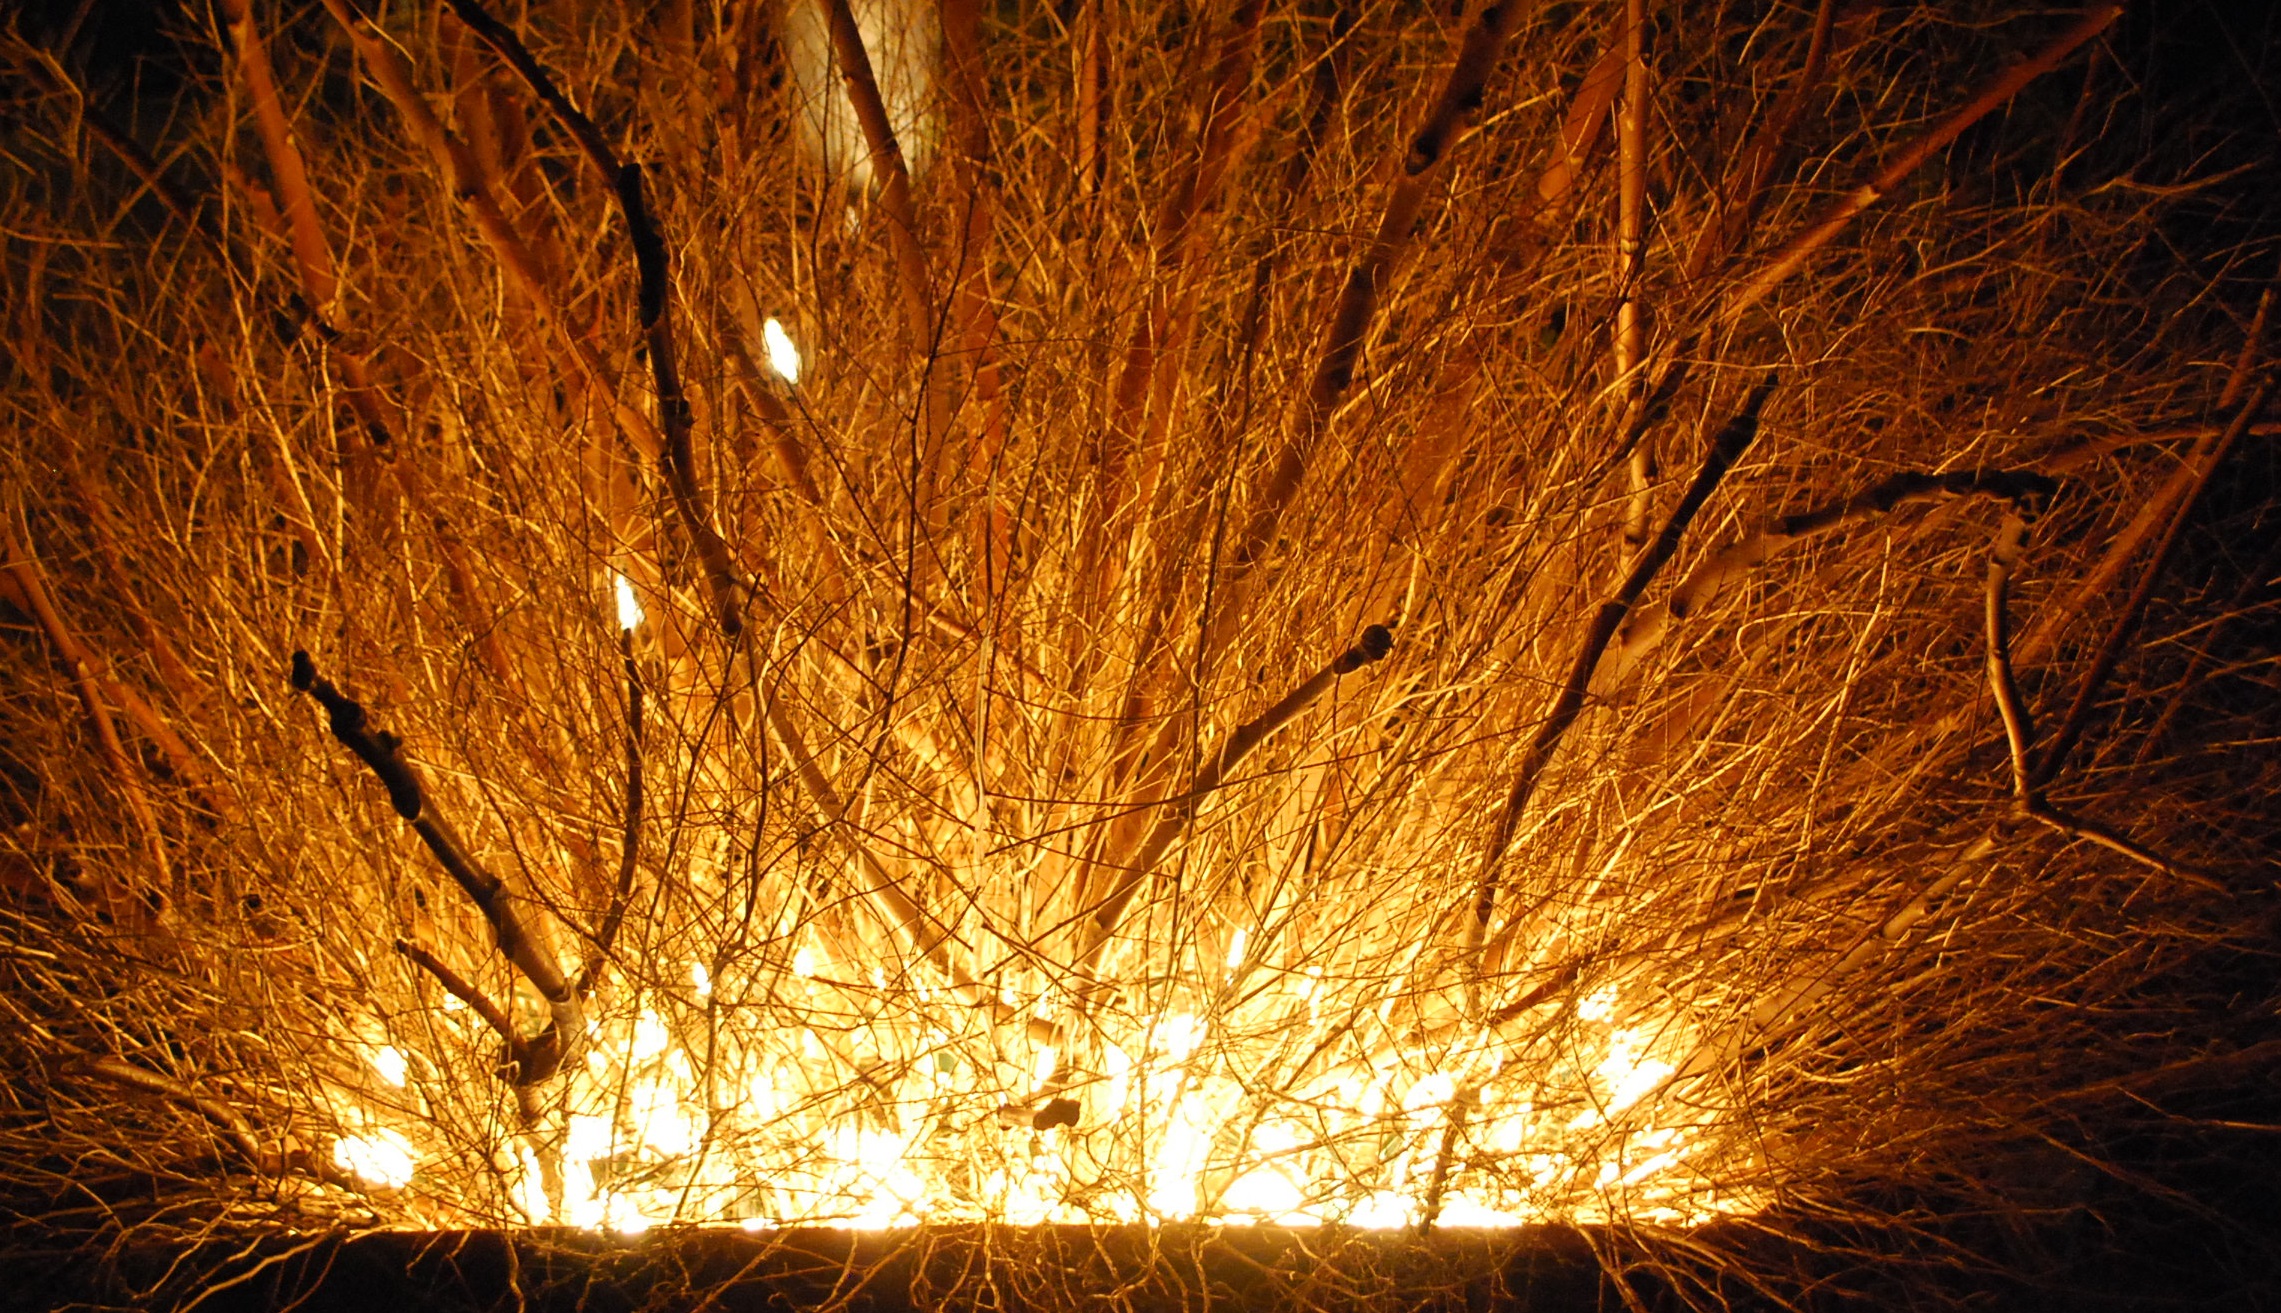
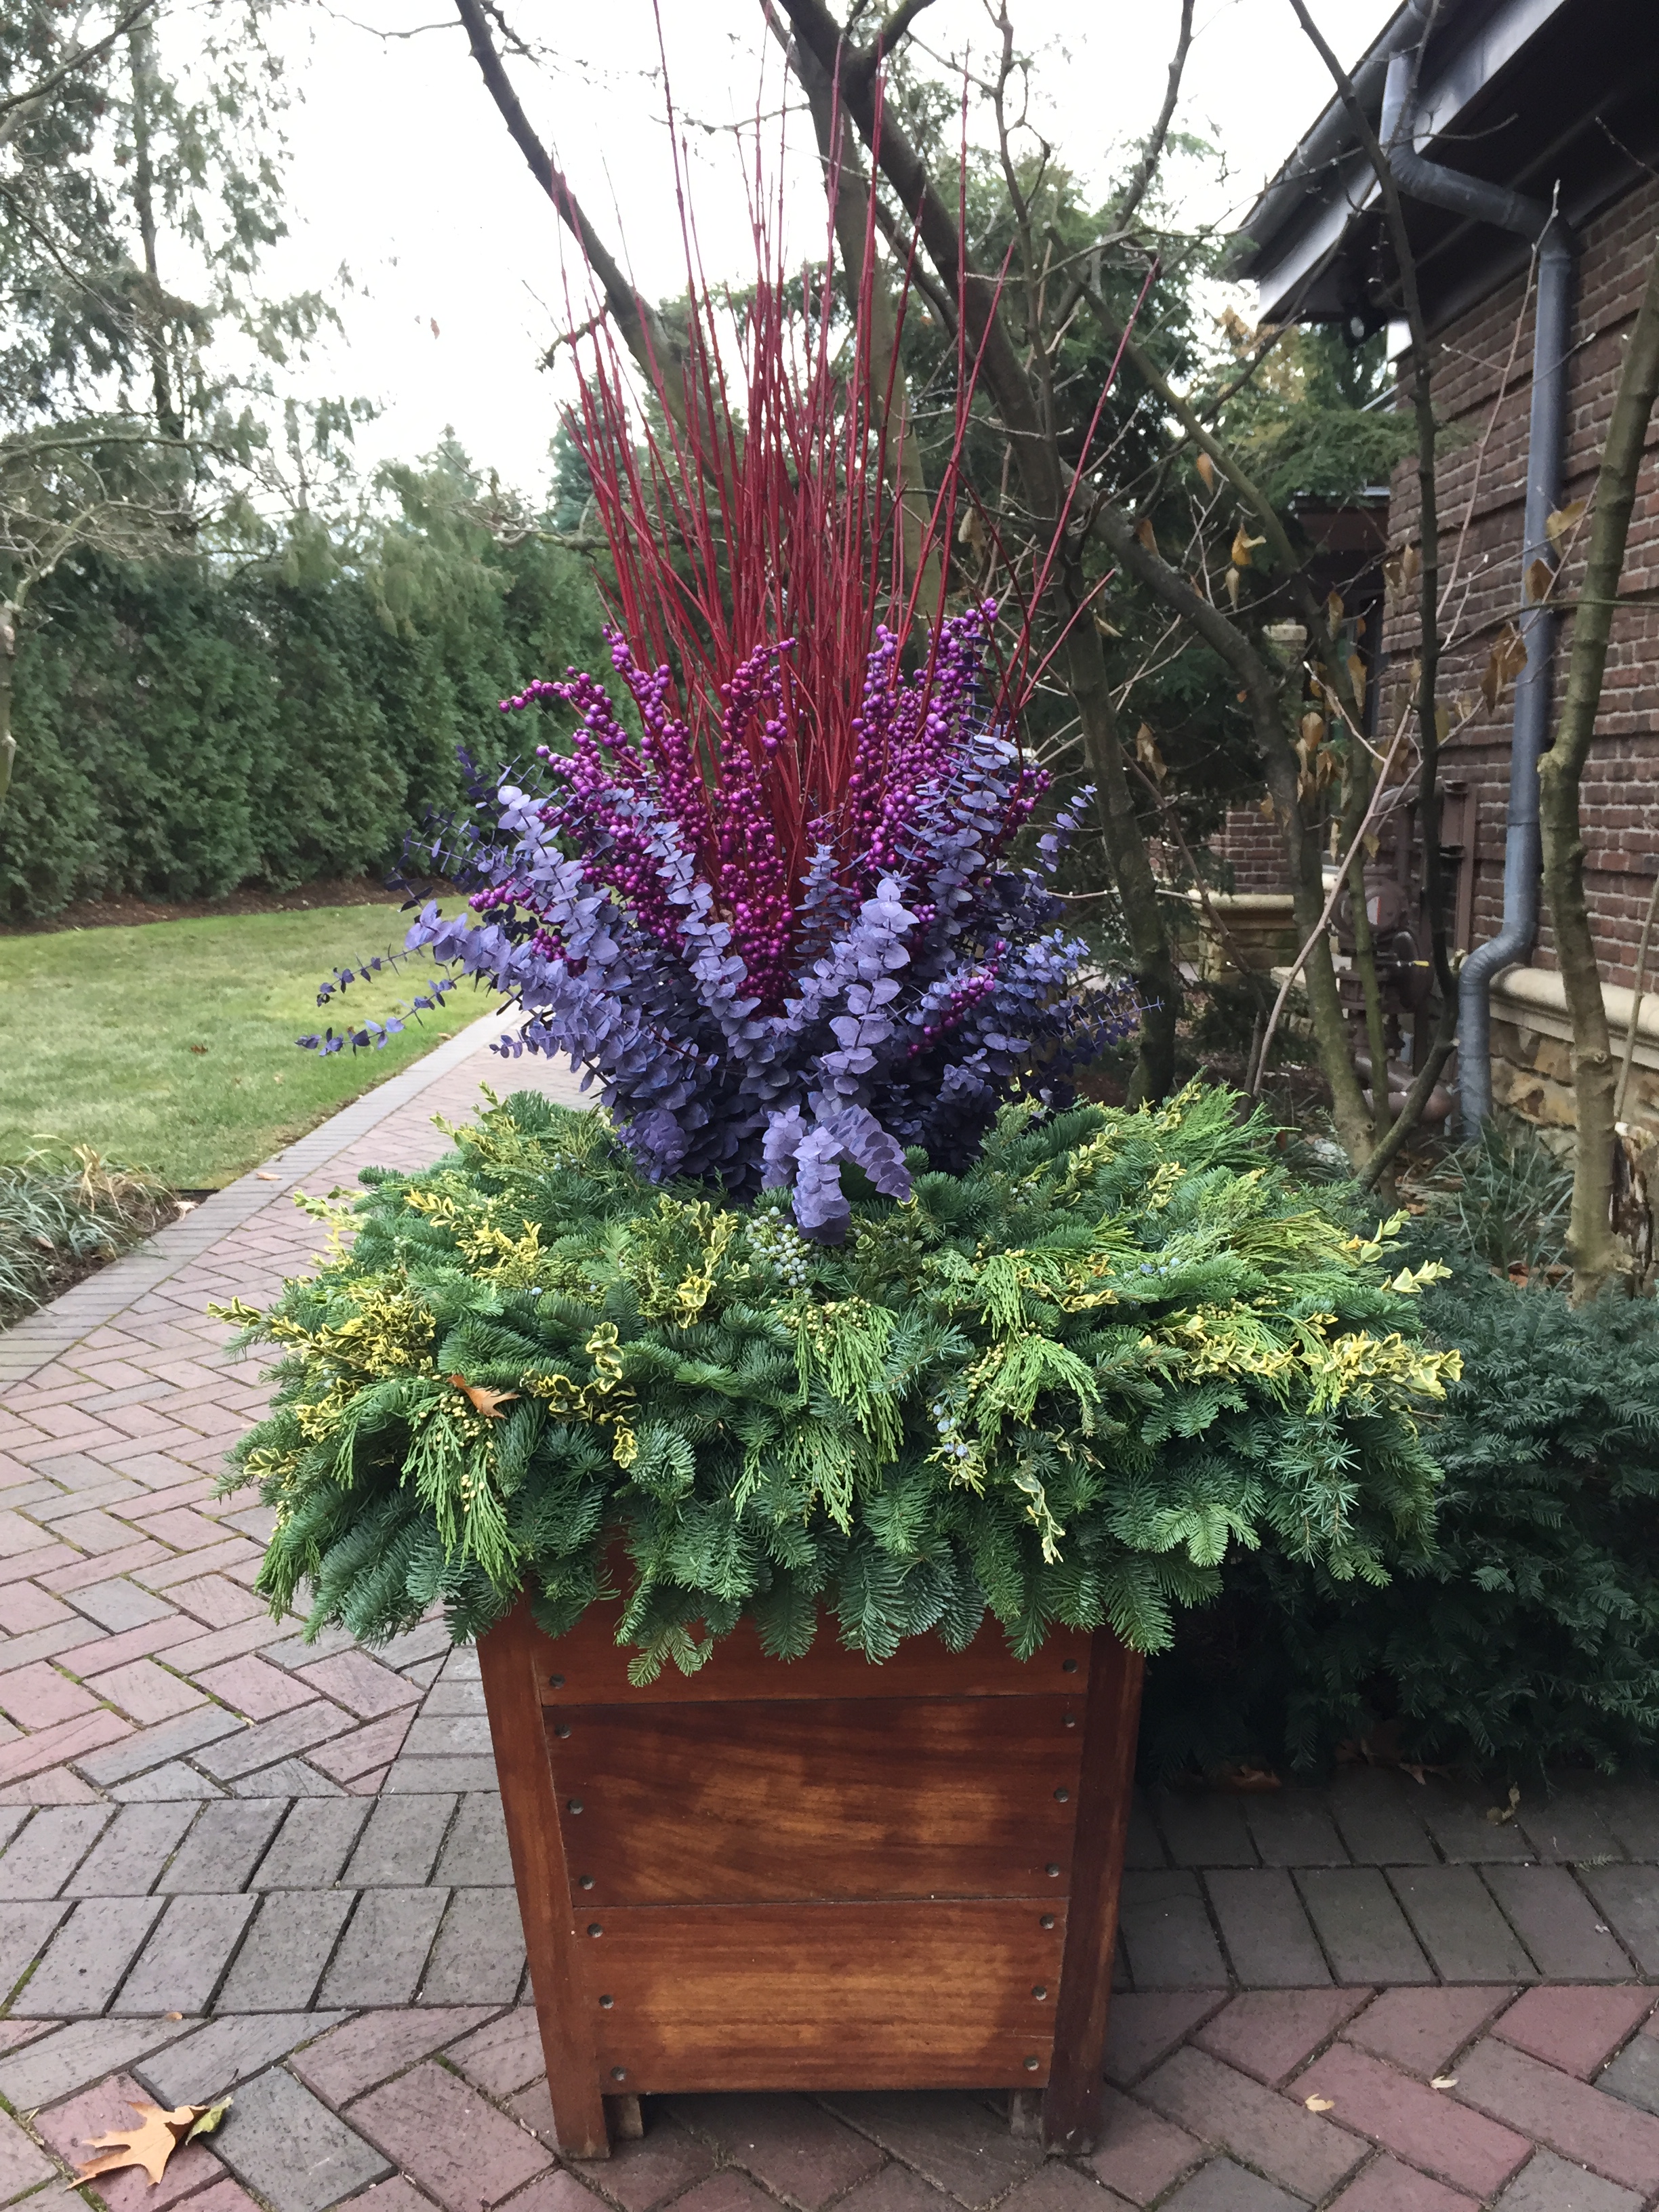
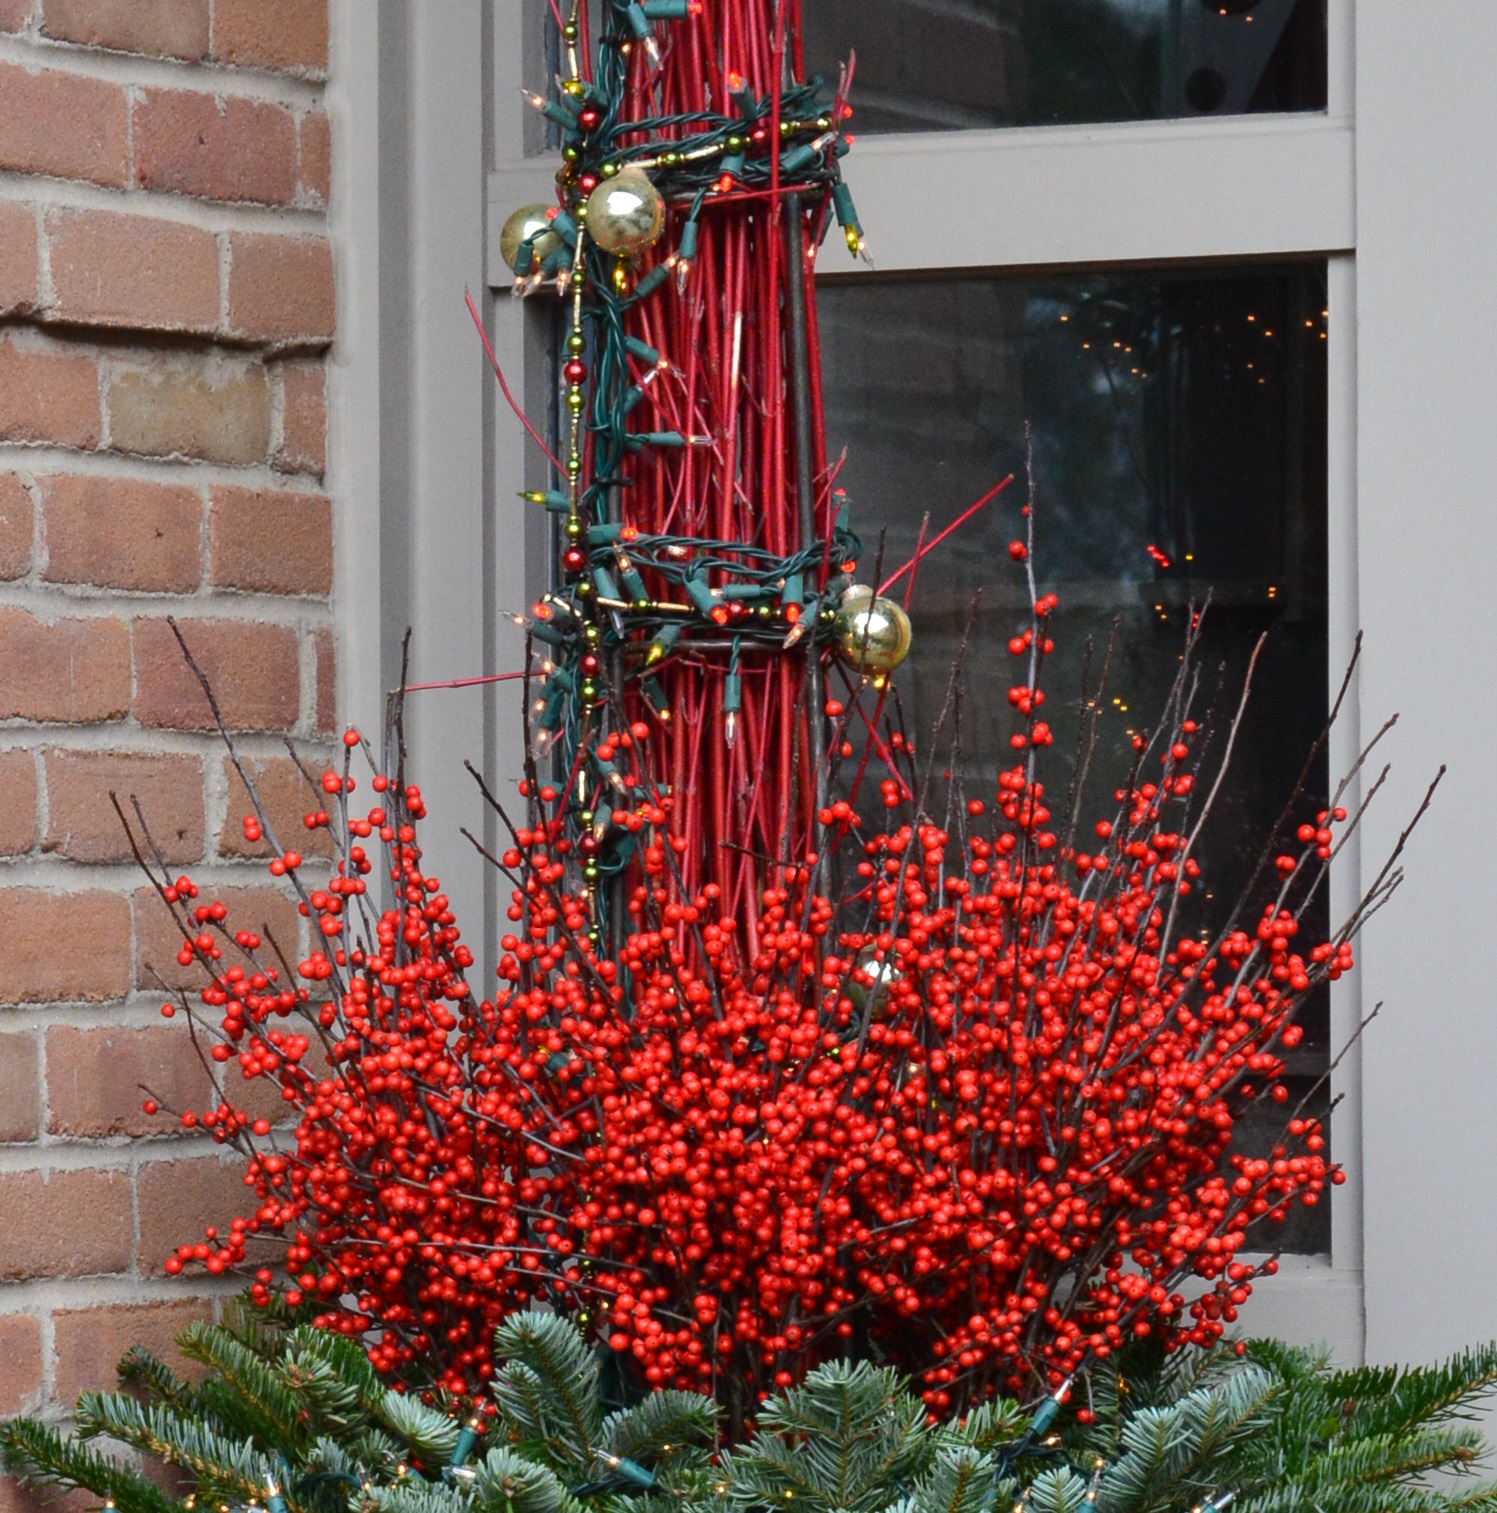
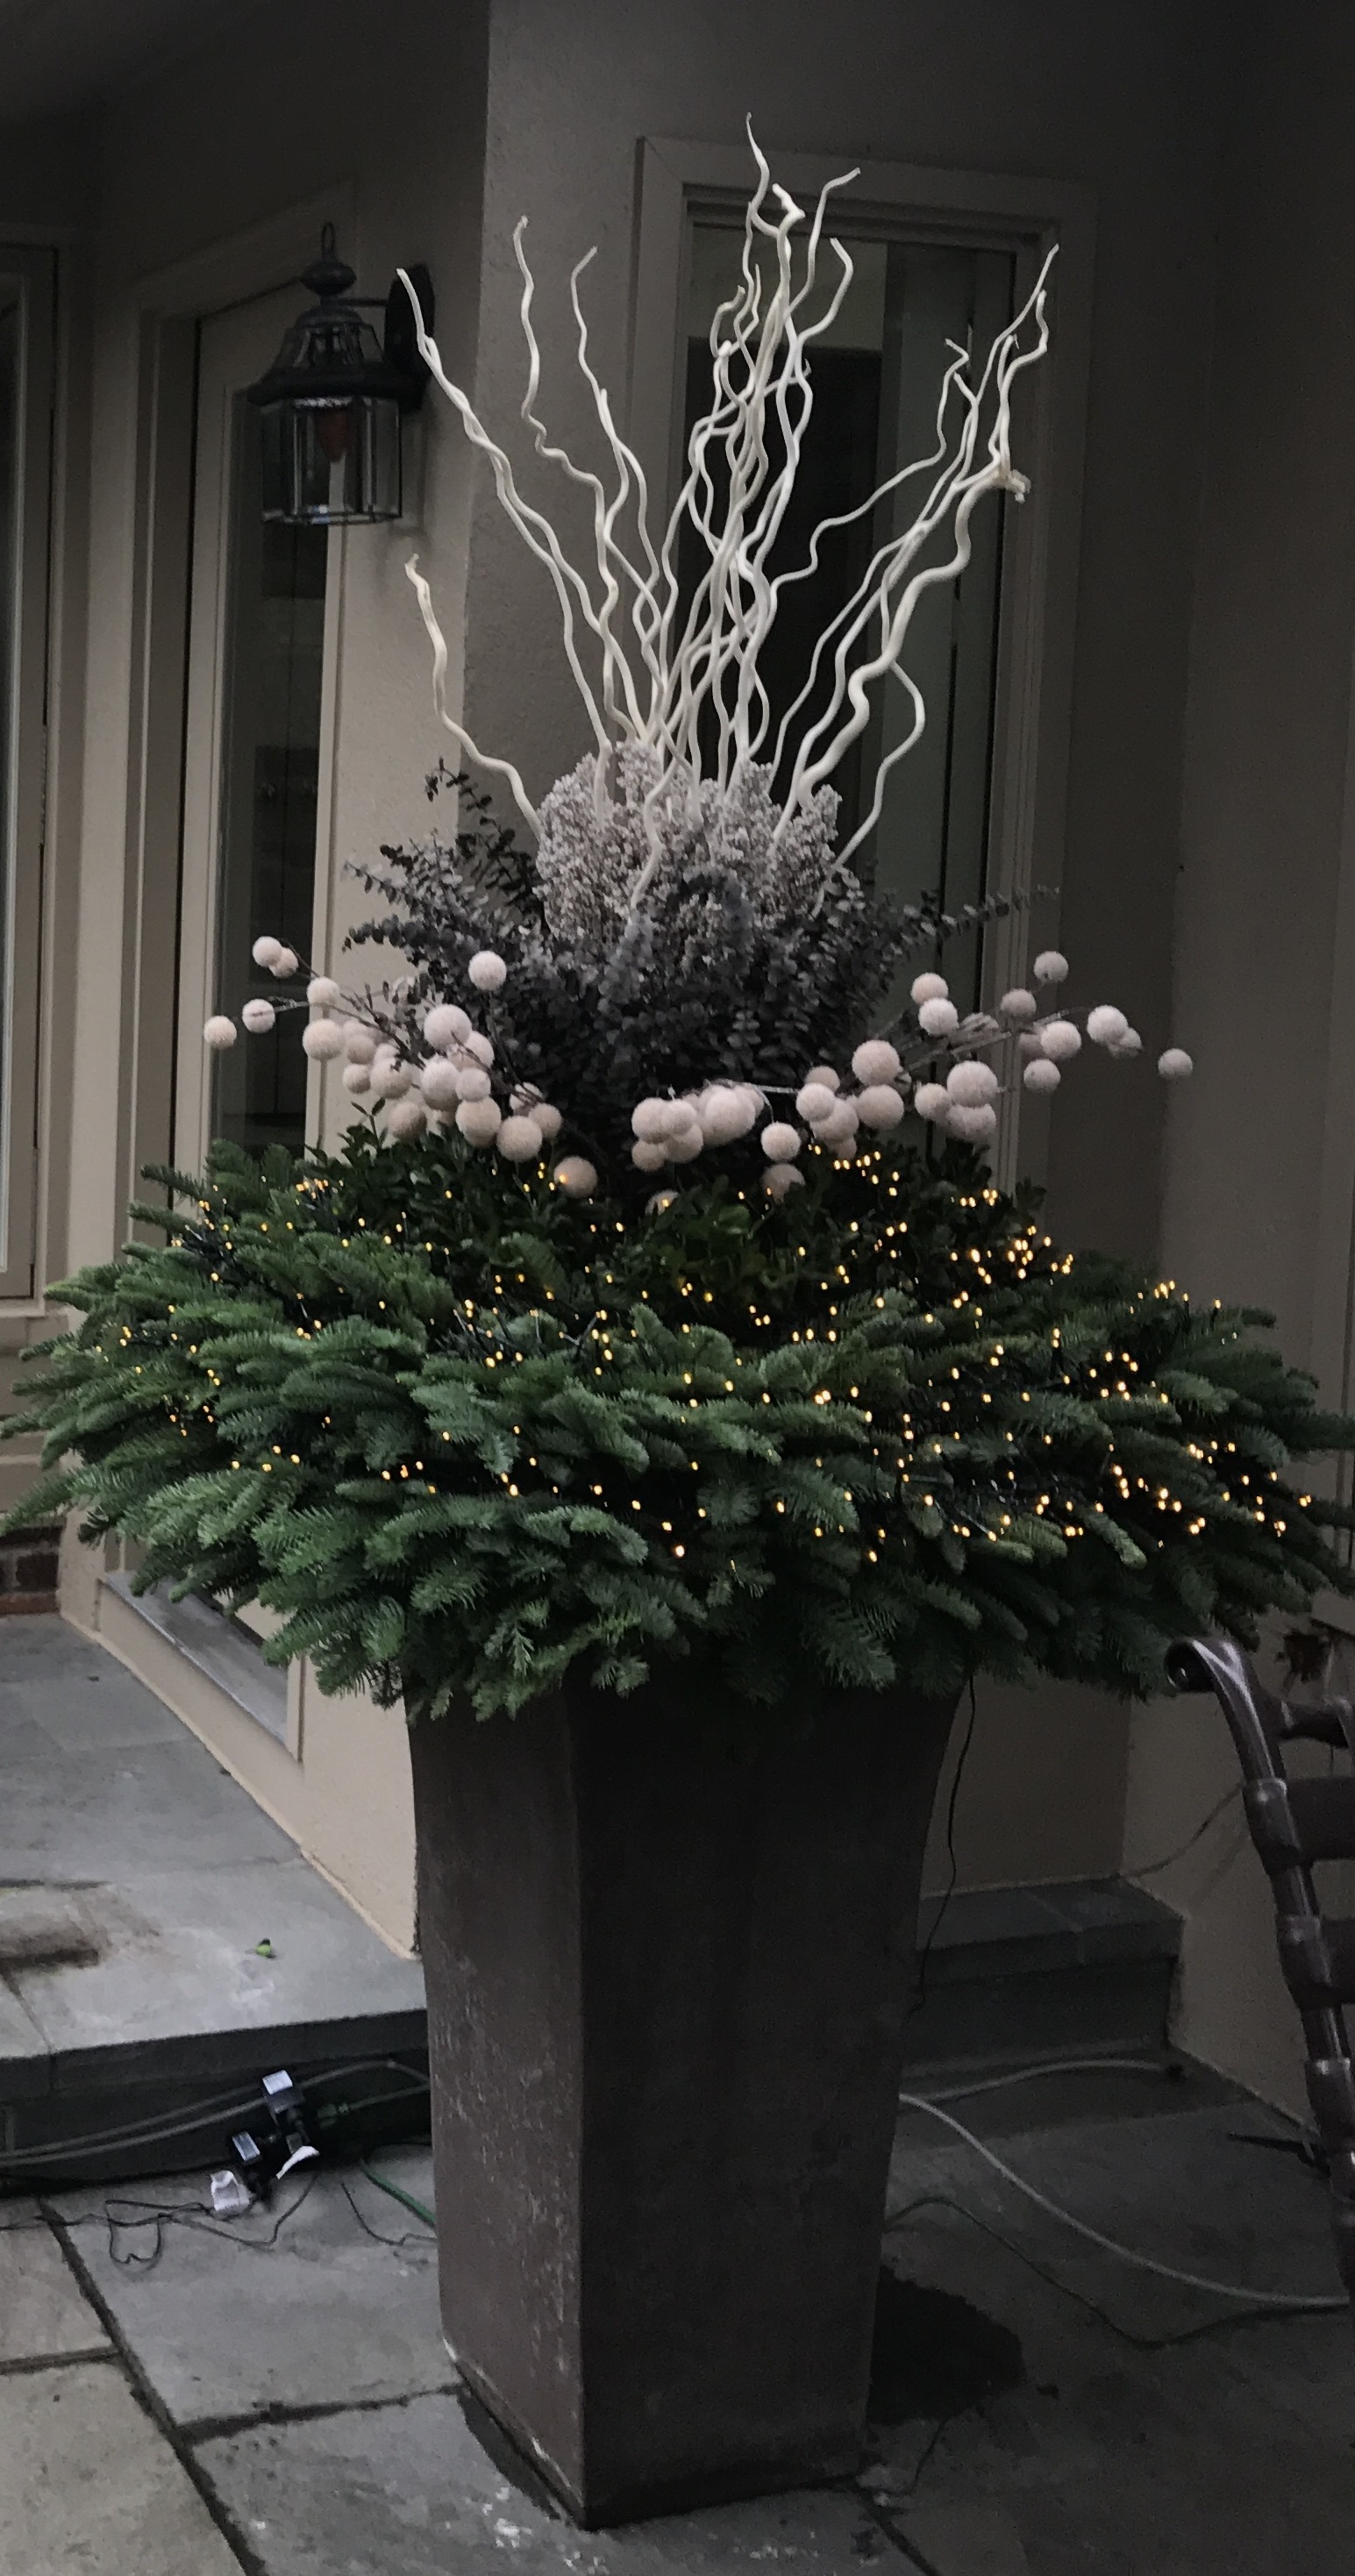
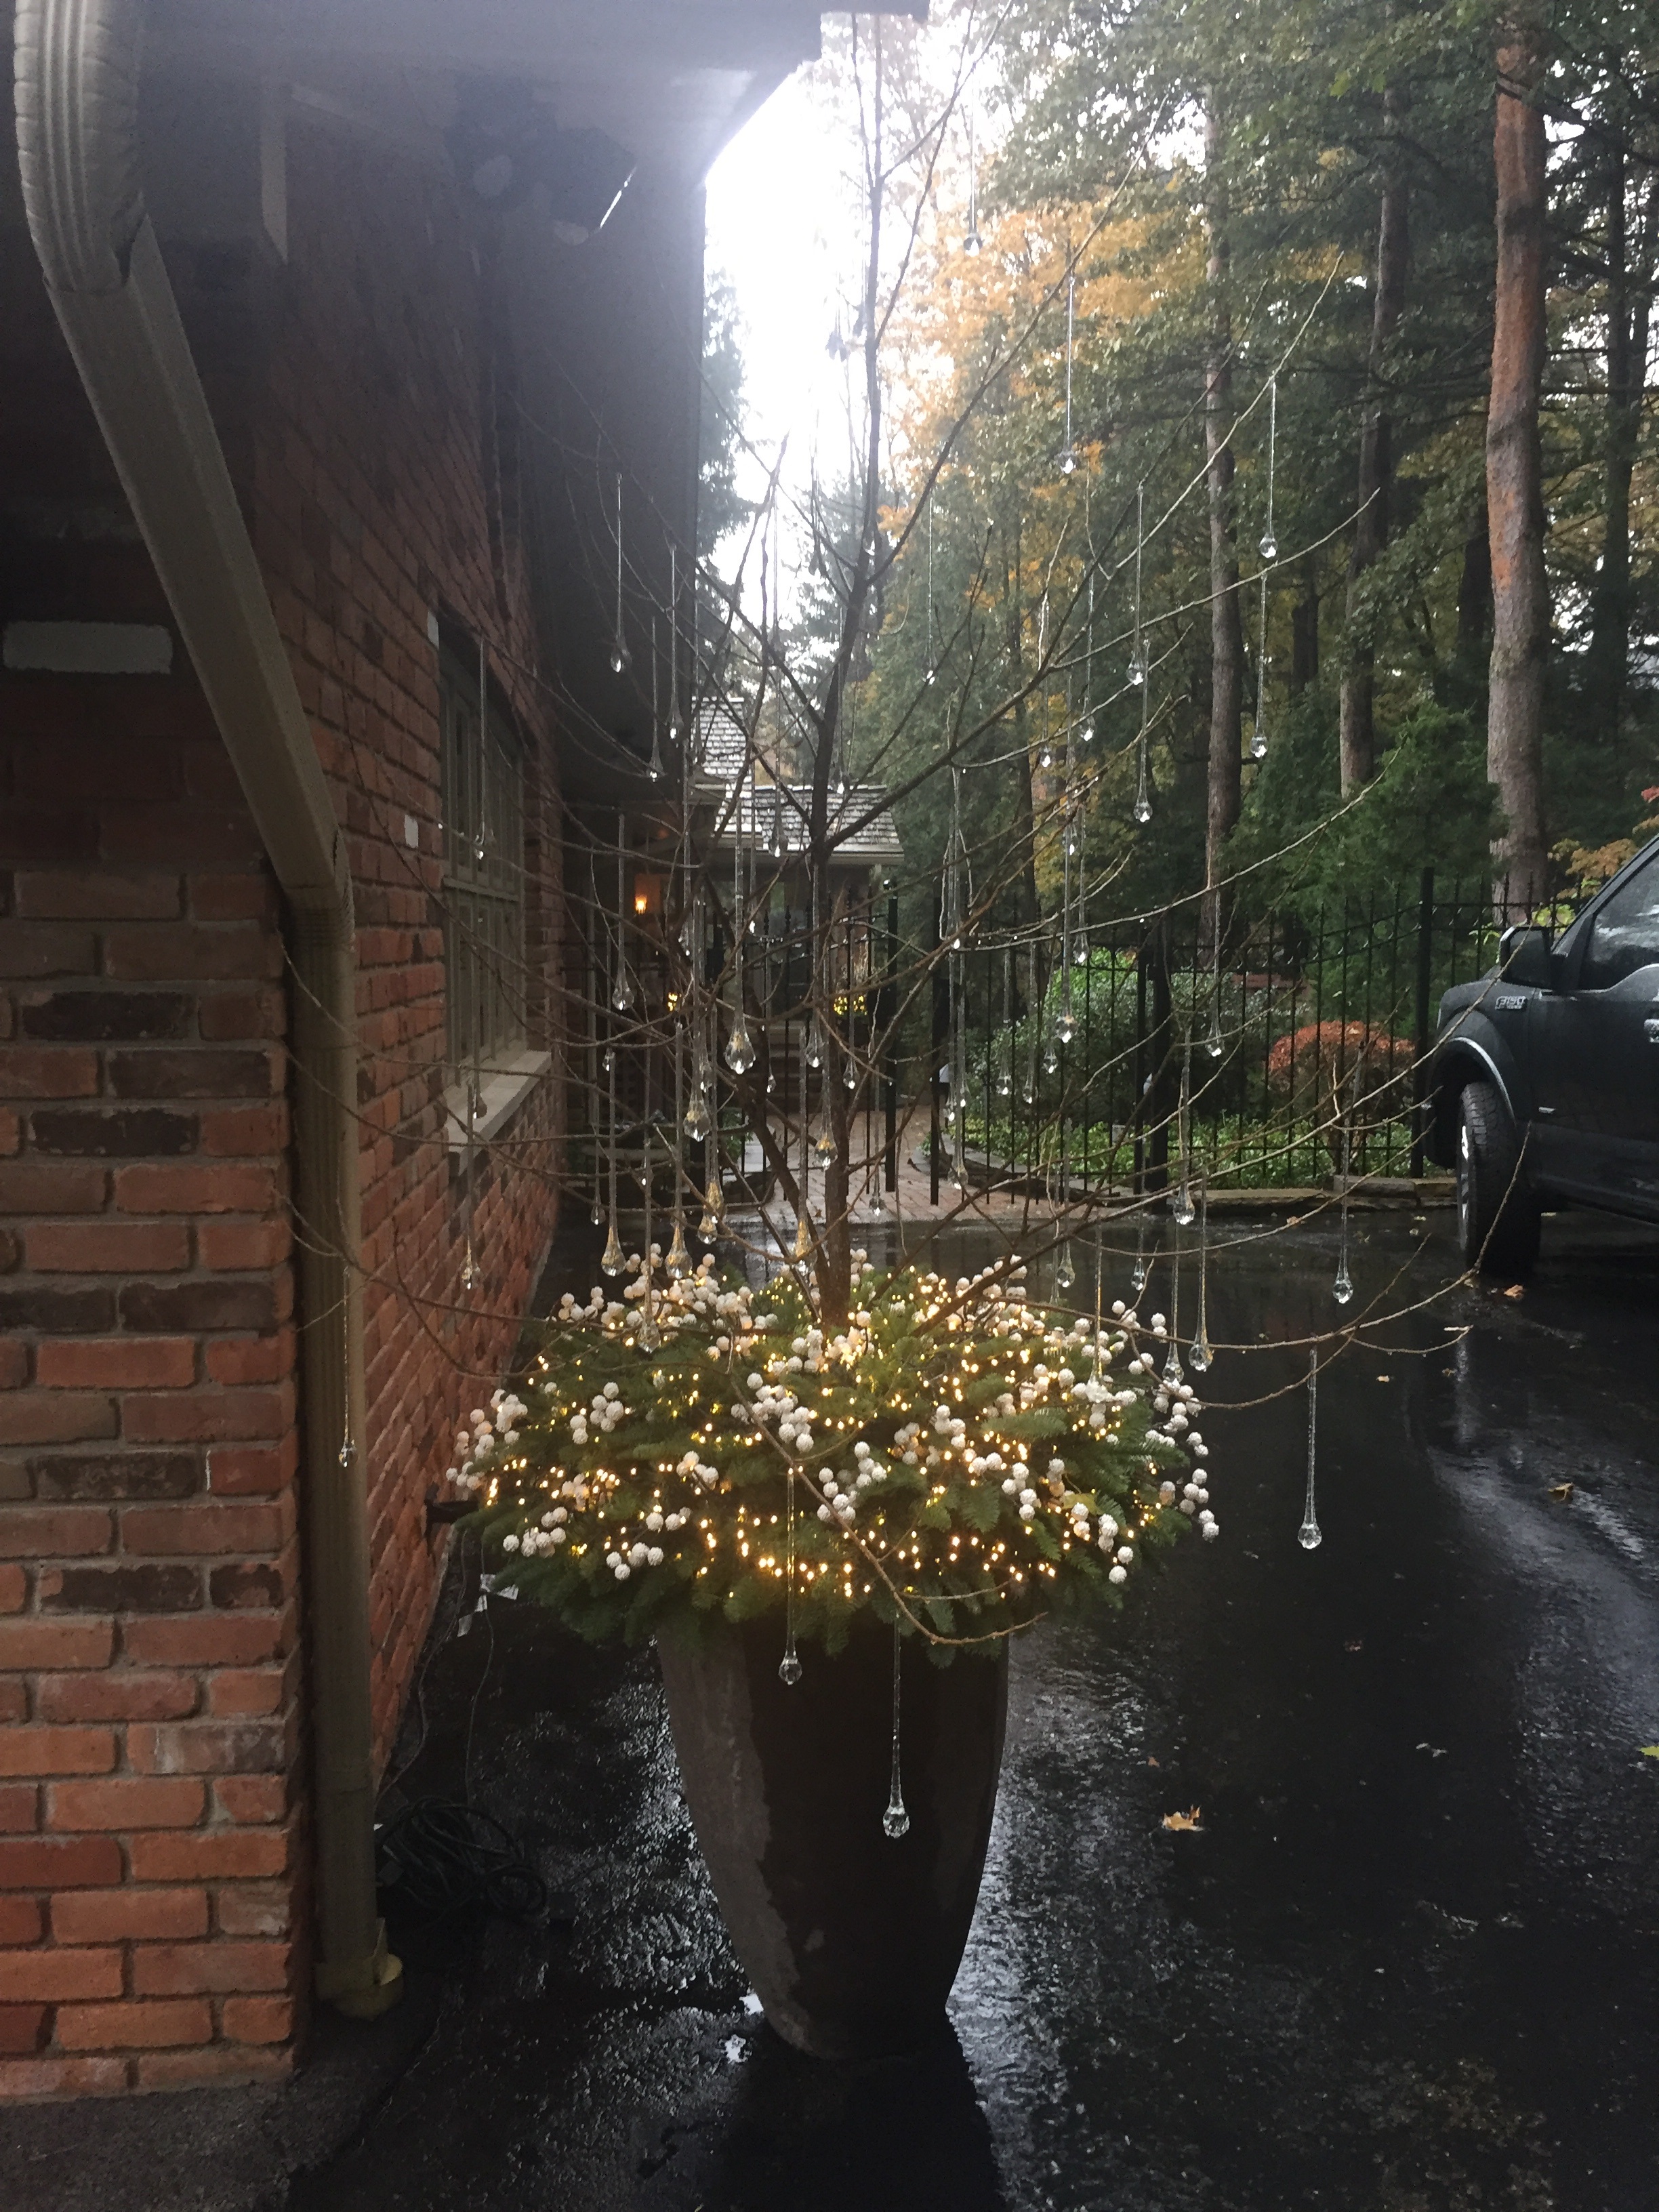
 Once the pots were close to a finish, the lighting could be added. That lighting will do a lot to illuminate this front terrace.
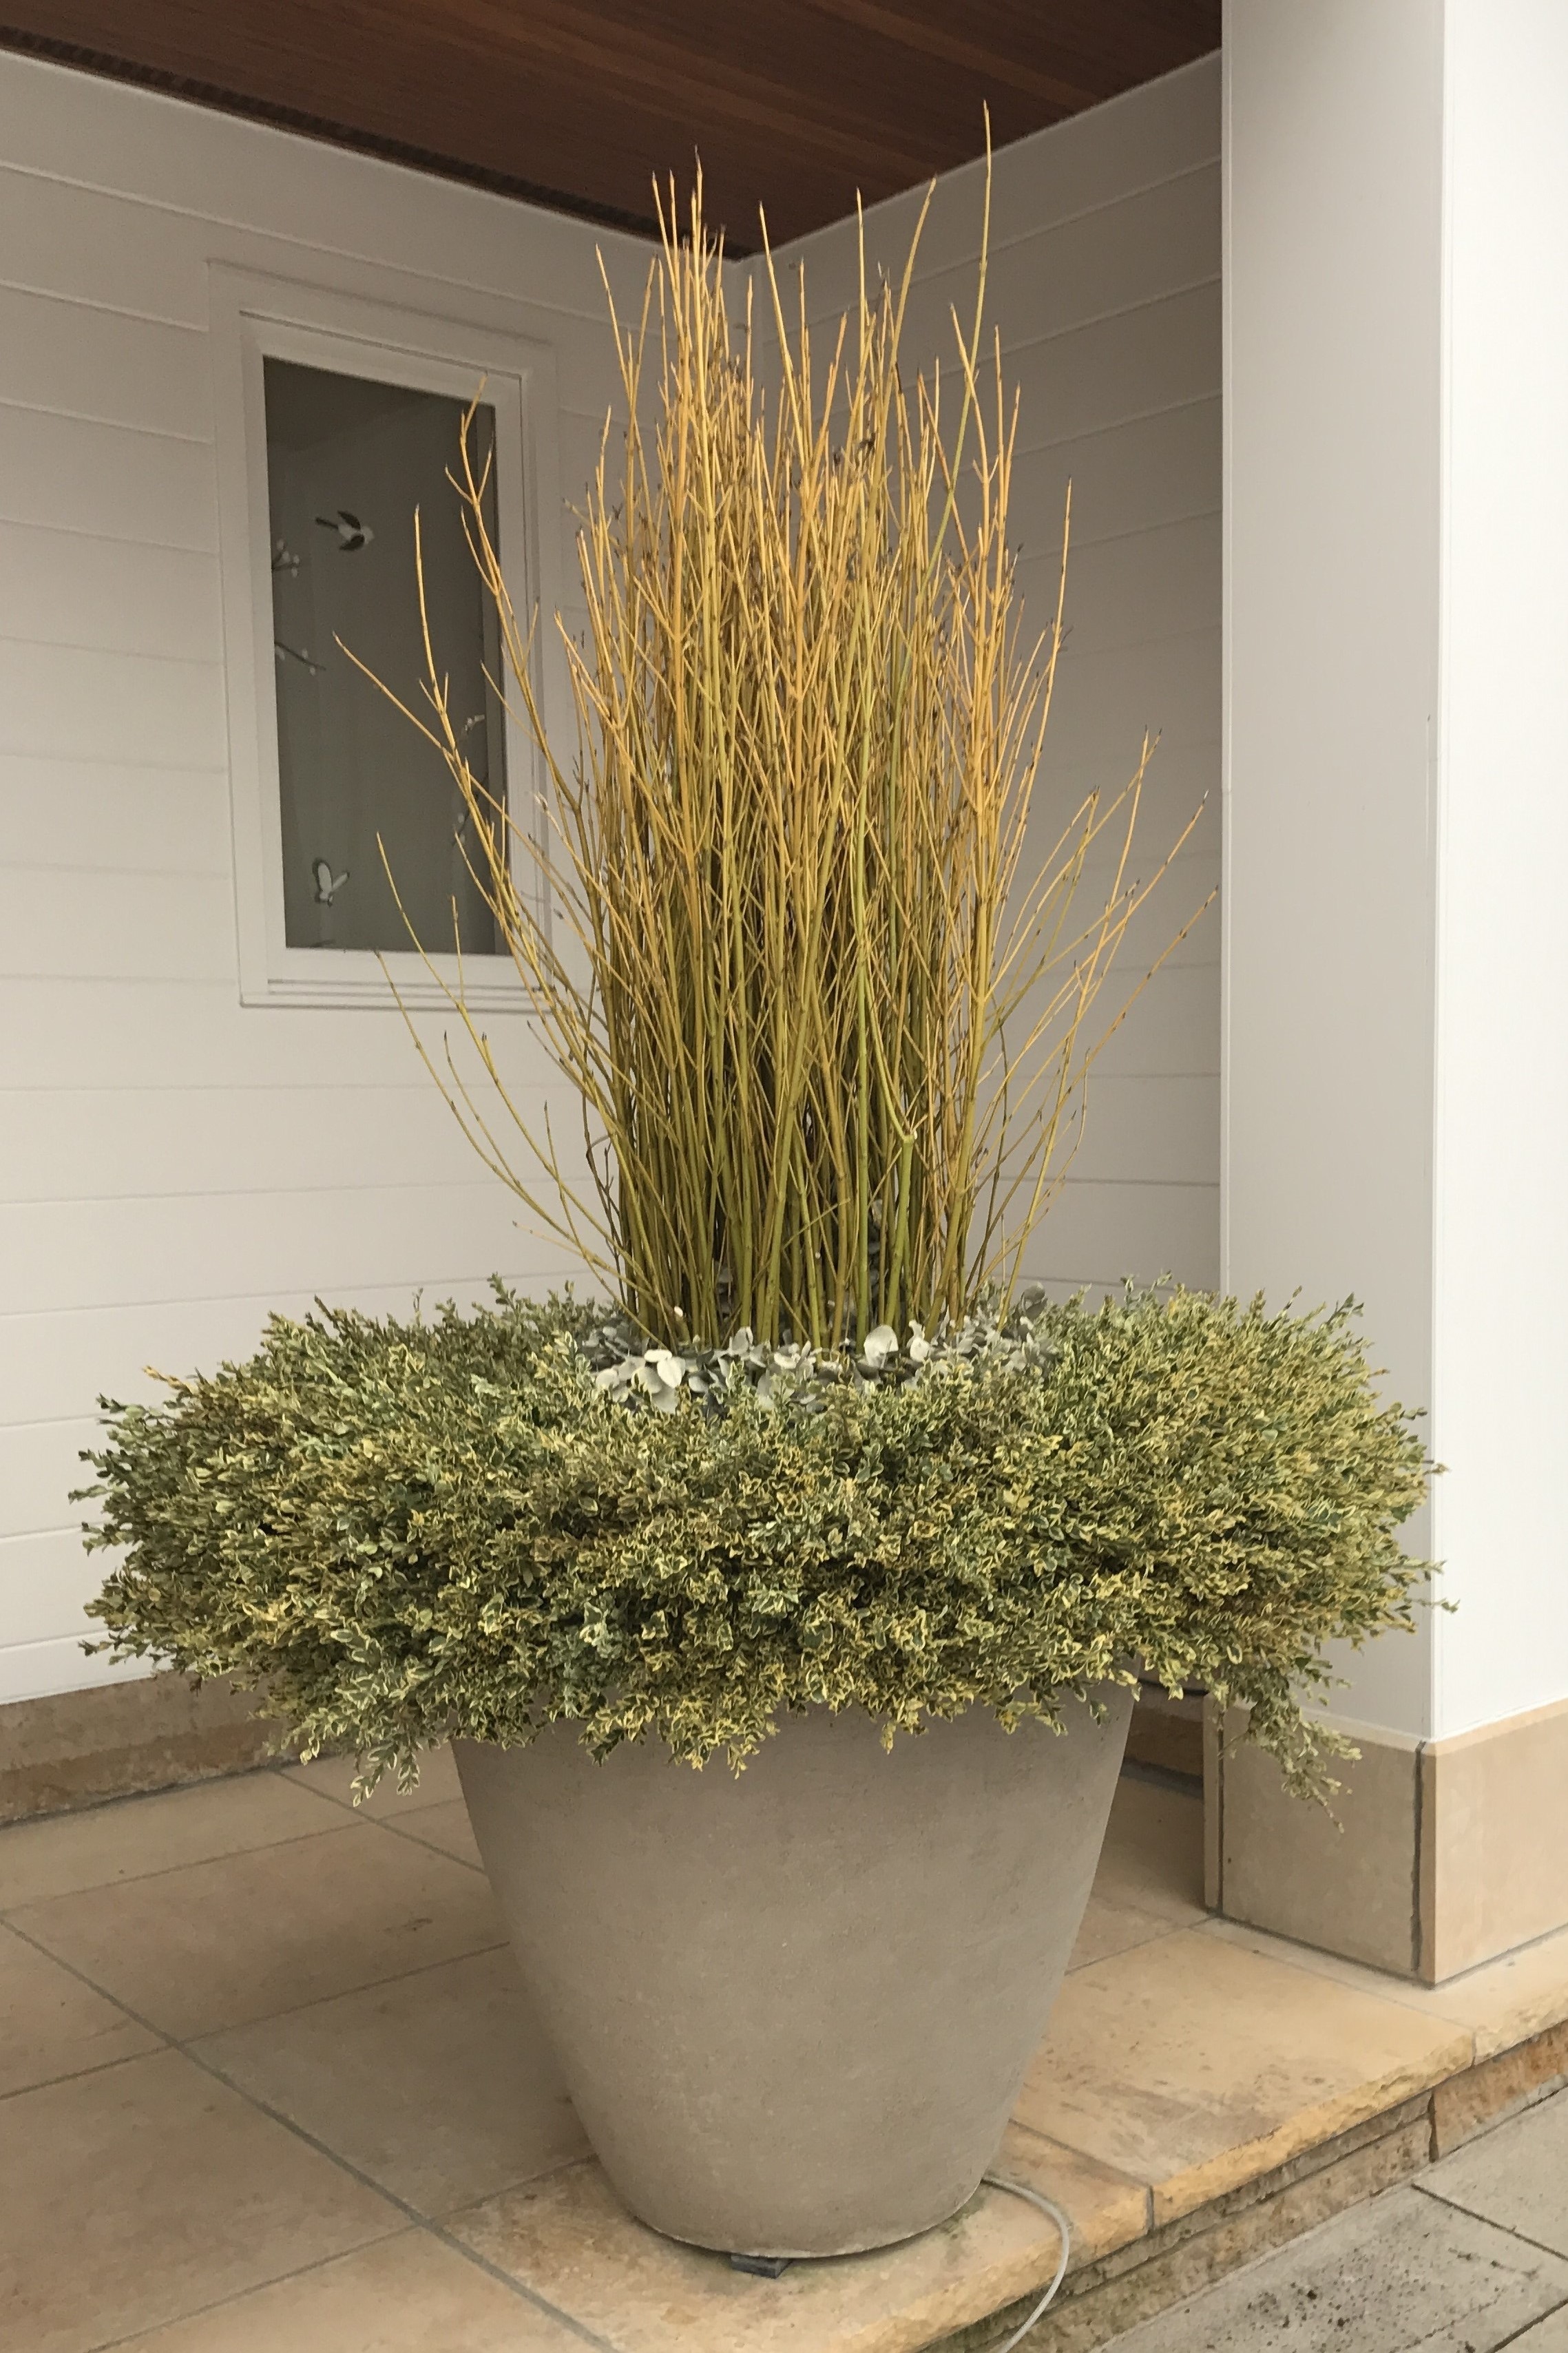
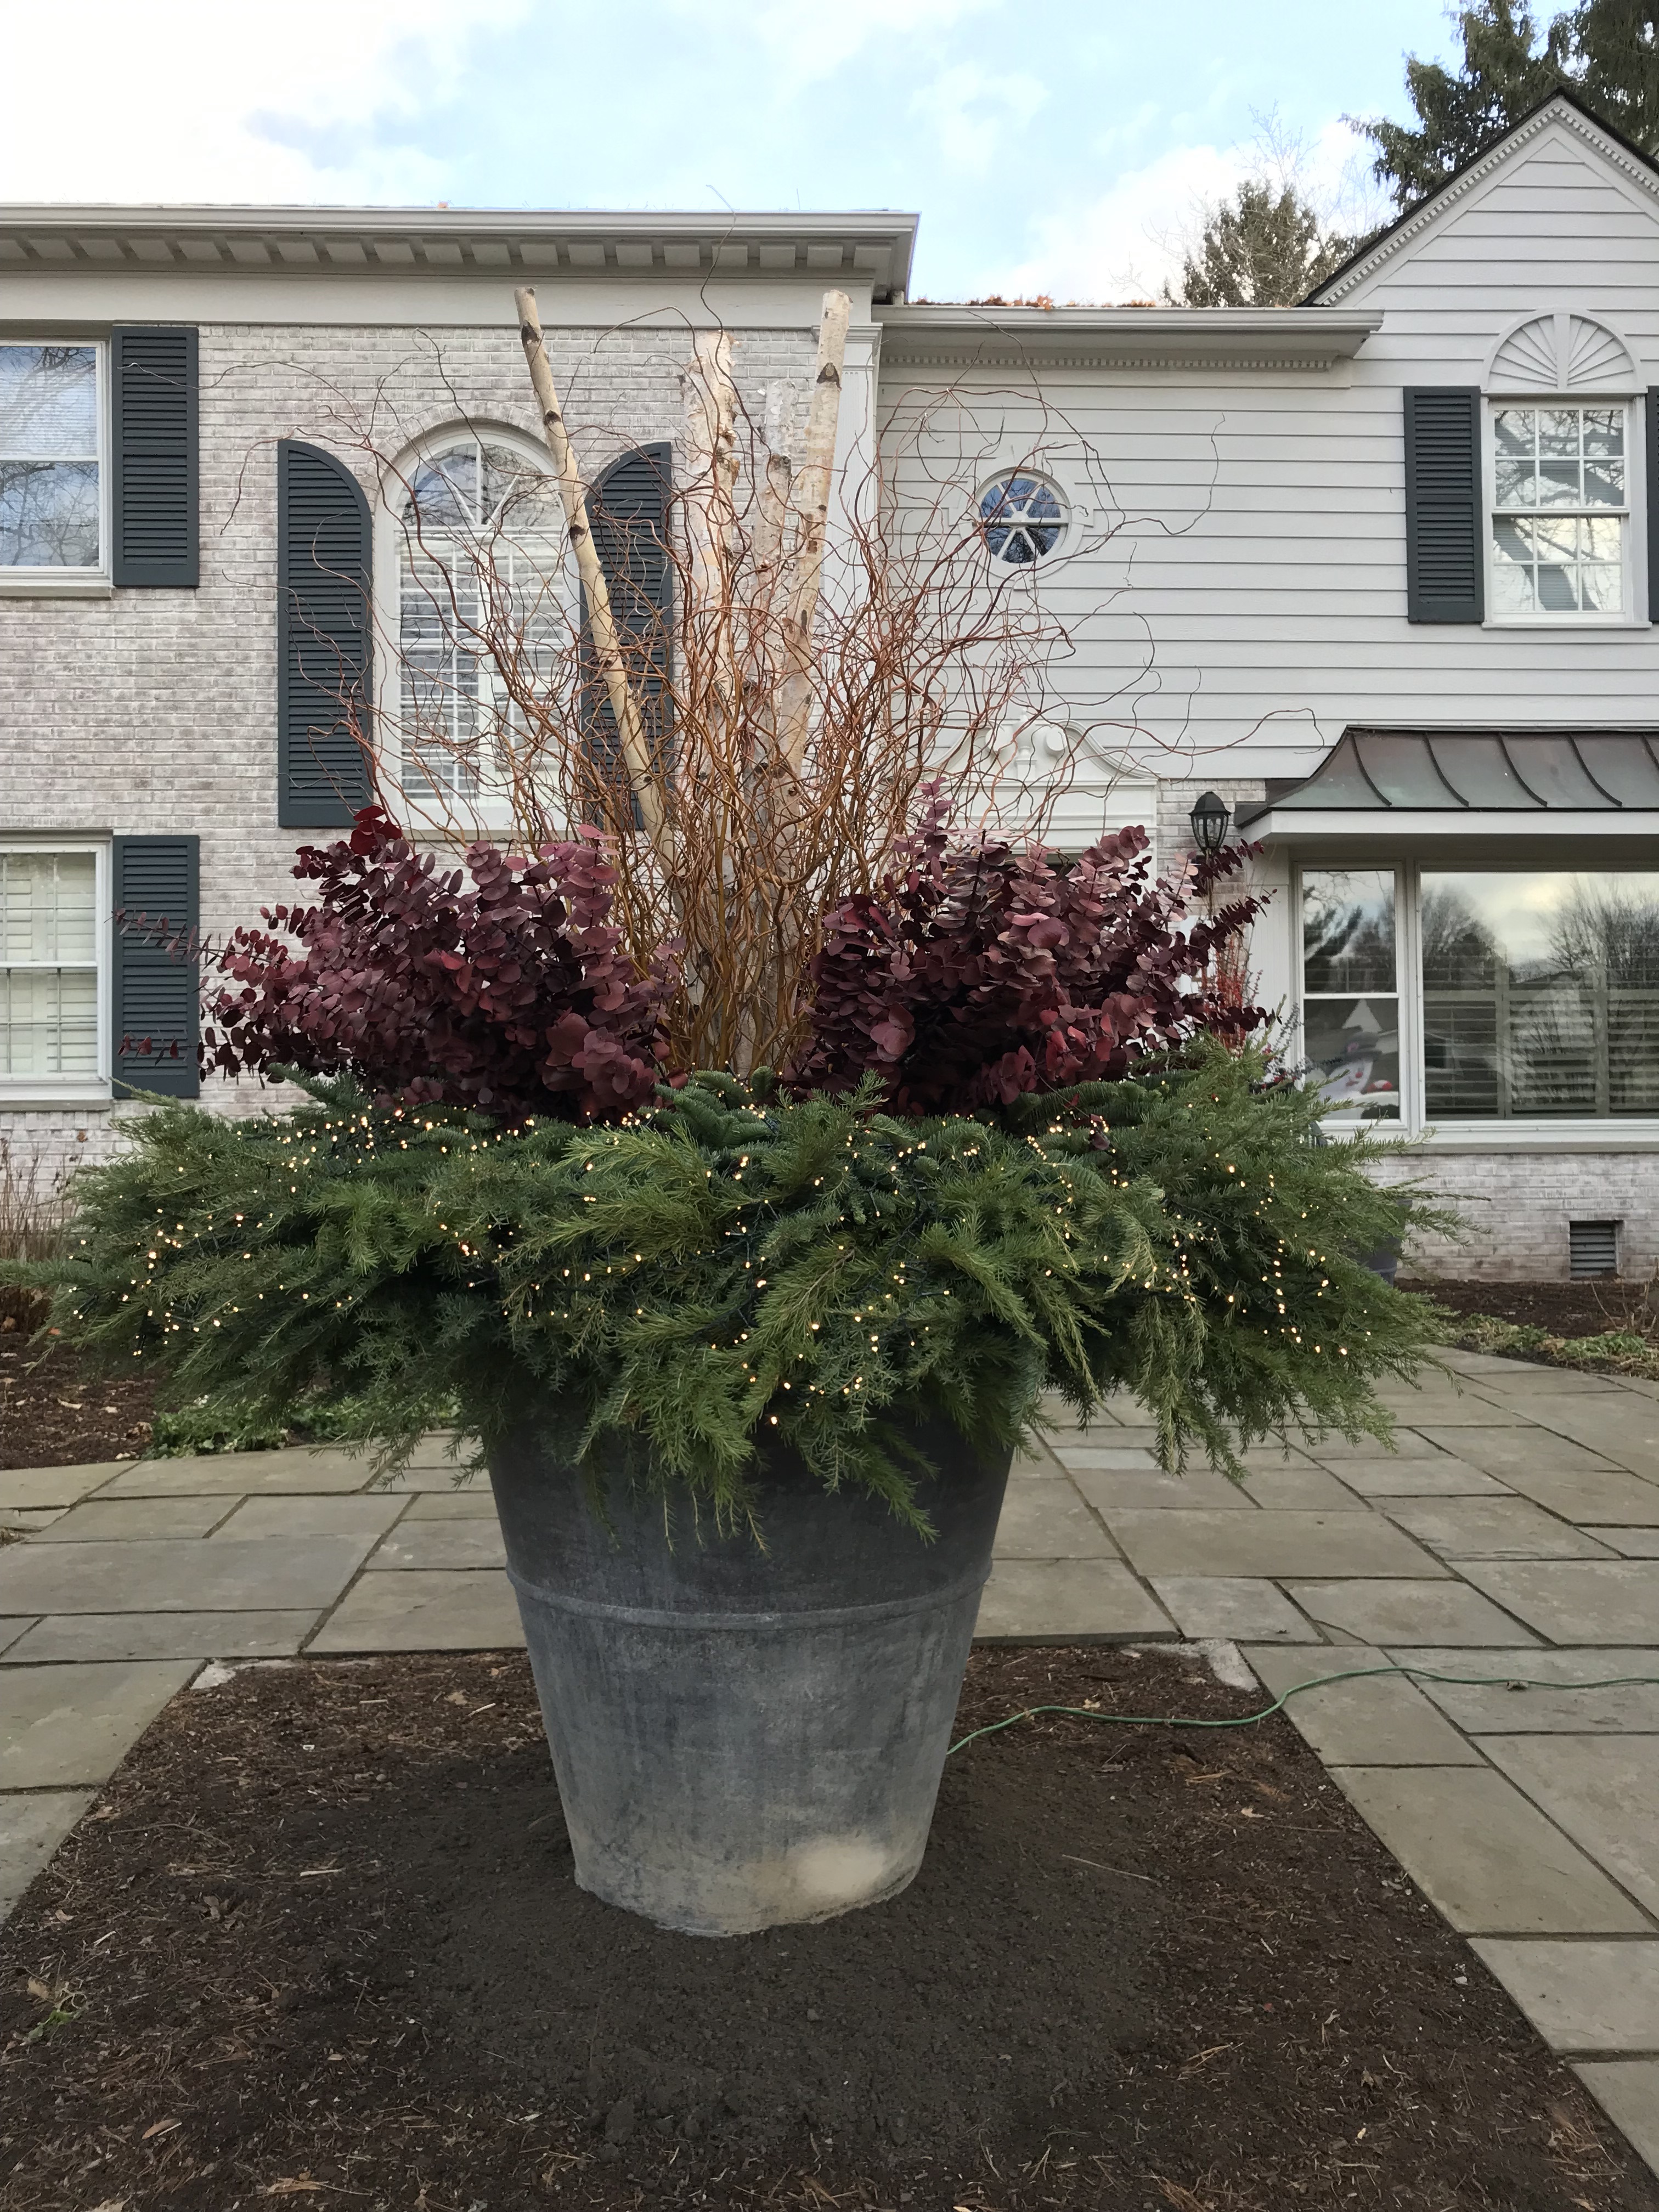 I left the centerpiece visible from top to bottom from the road side view. That seemed like a good idea. We wrapped the centerpiece with its own string of lights. The lighting plays such a big part in winter pots. A few bags of soil covered the bricks elevating the pot. We were just about finished.
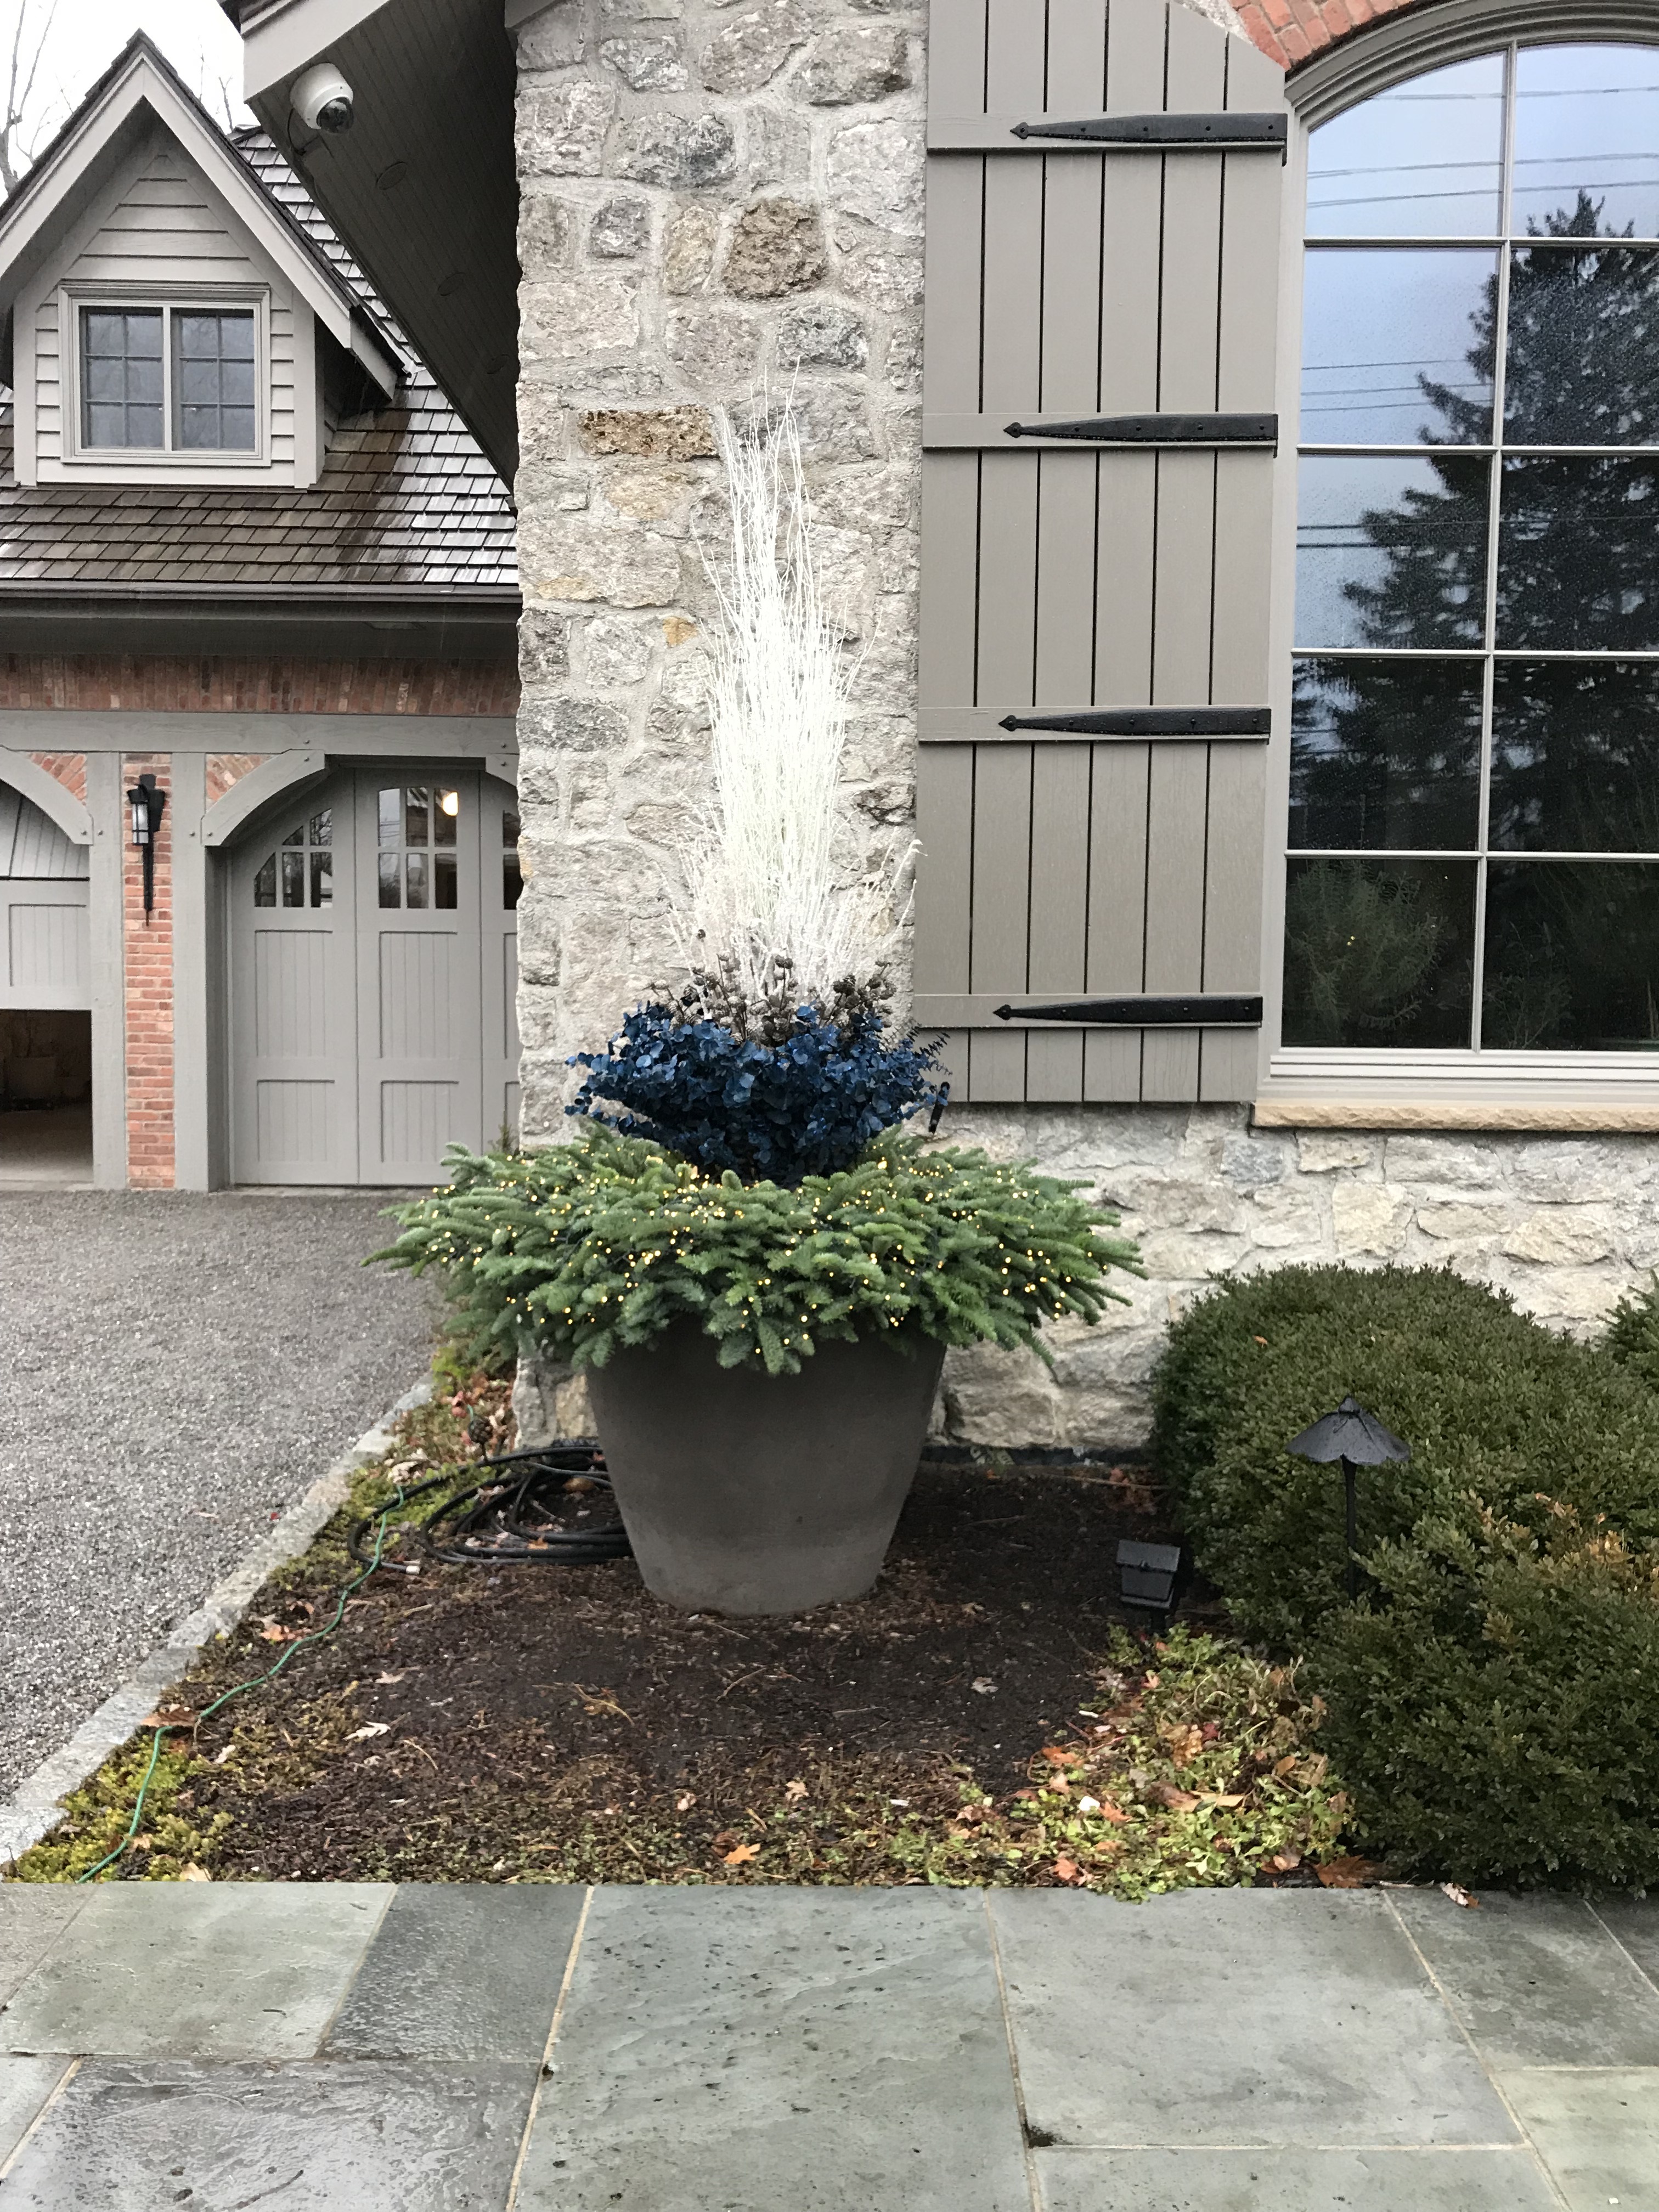
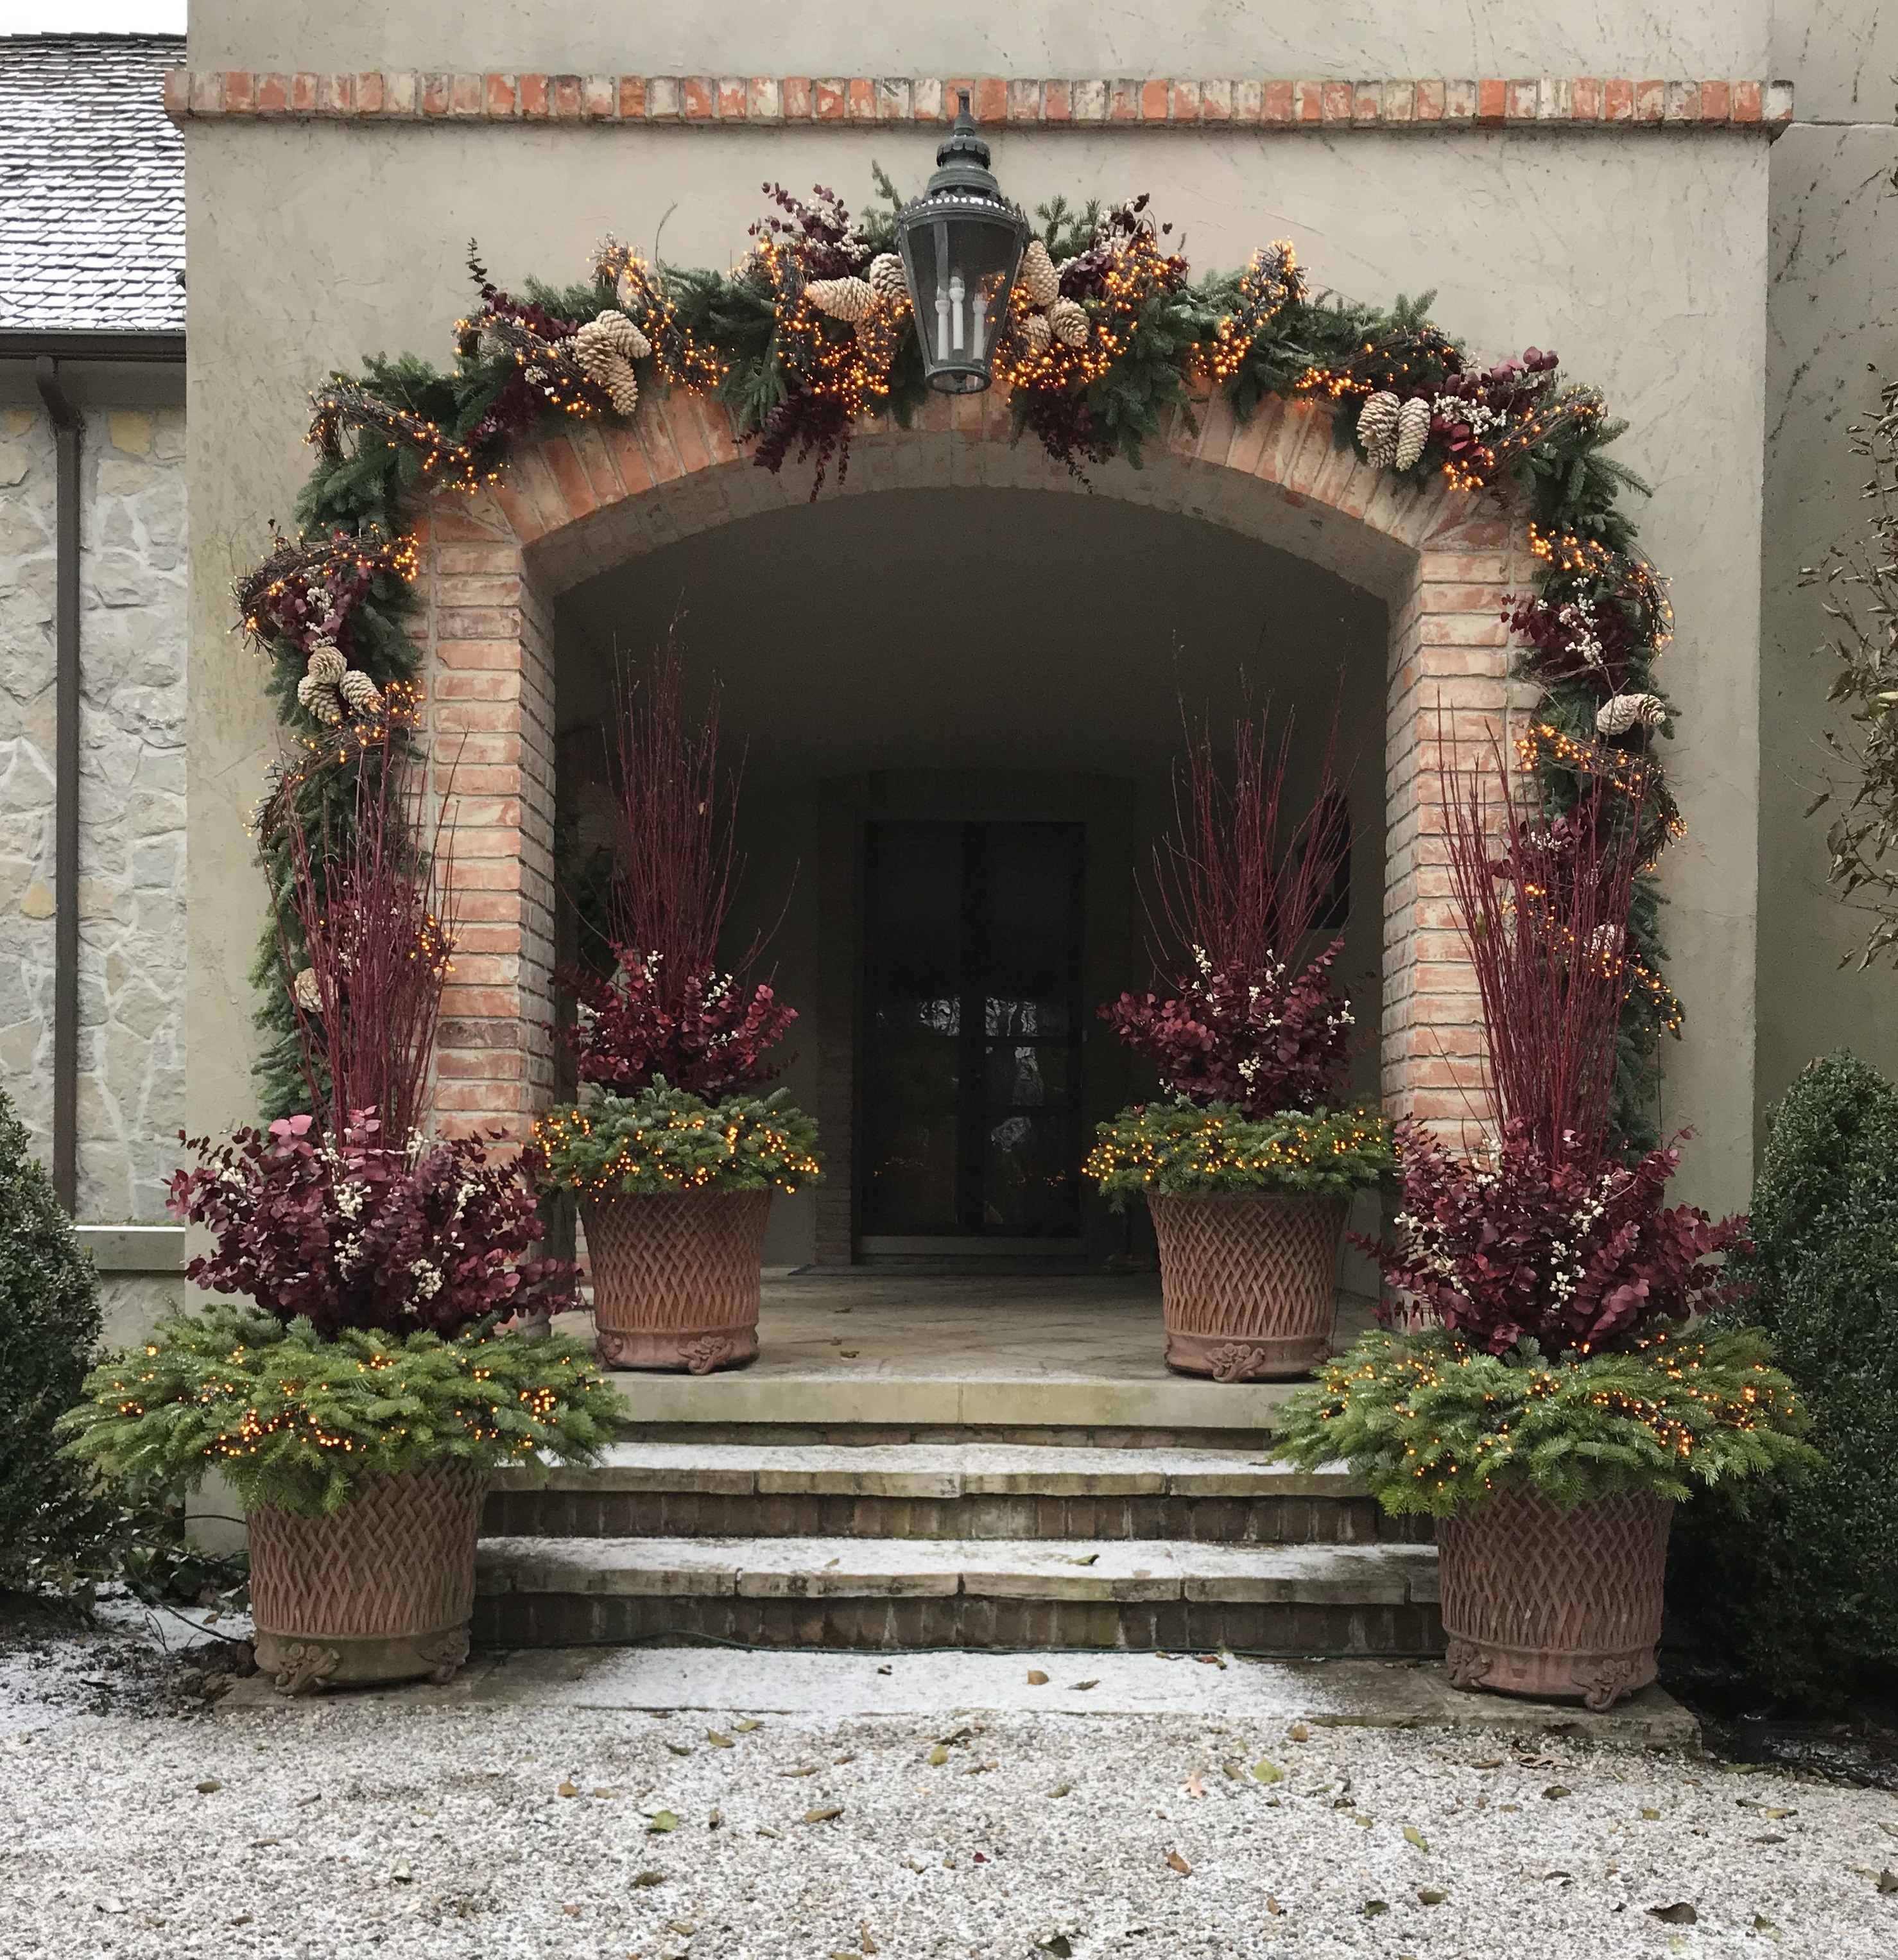
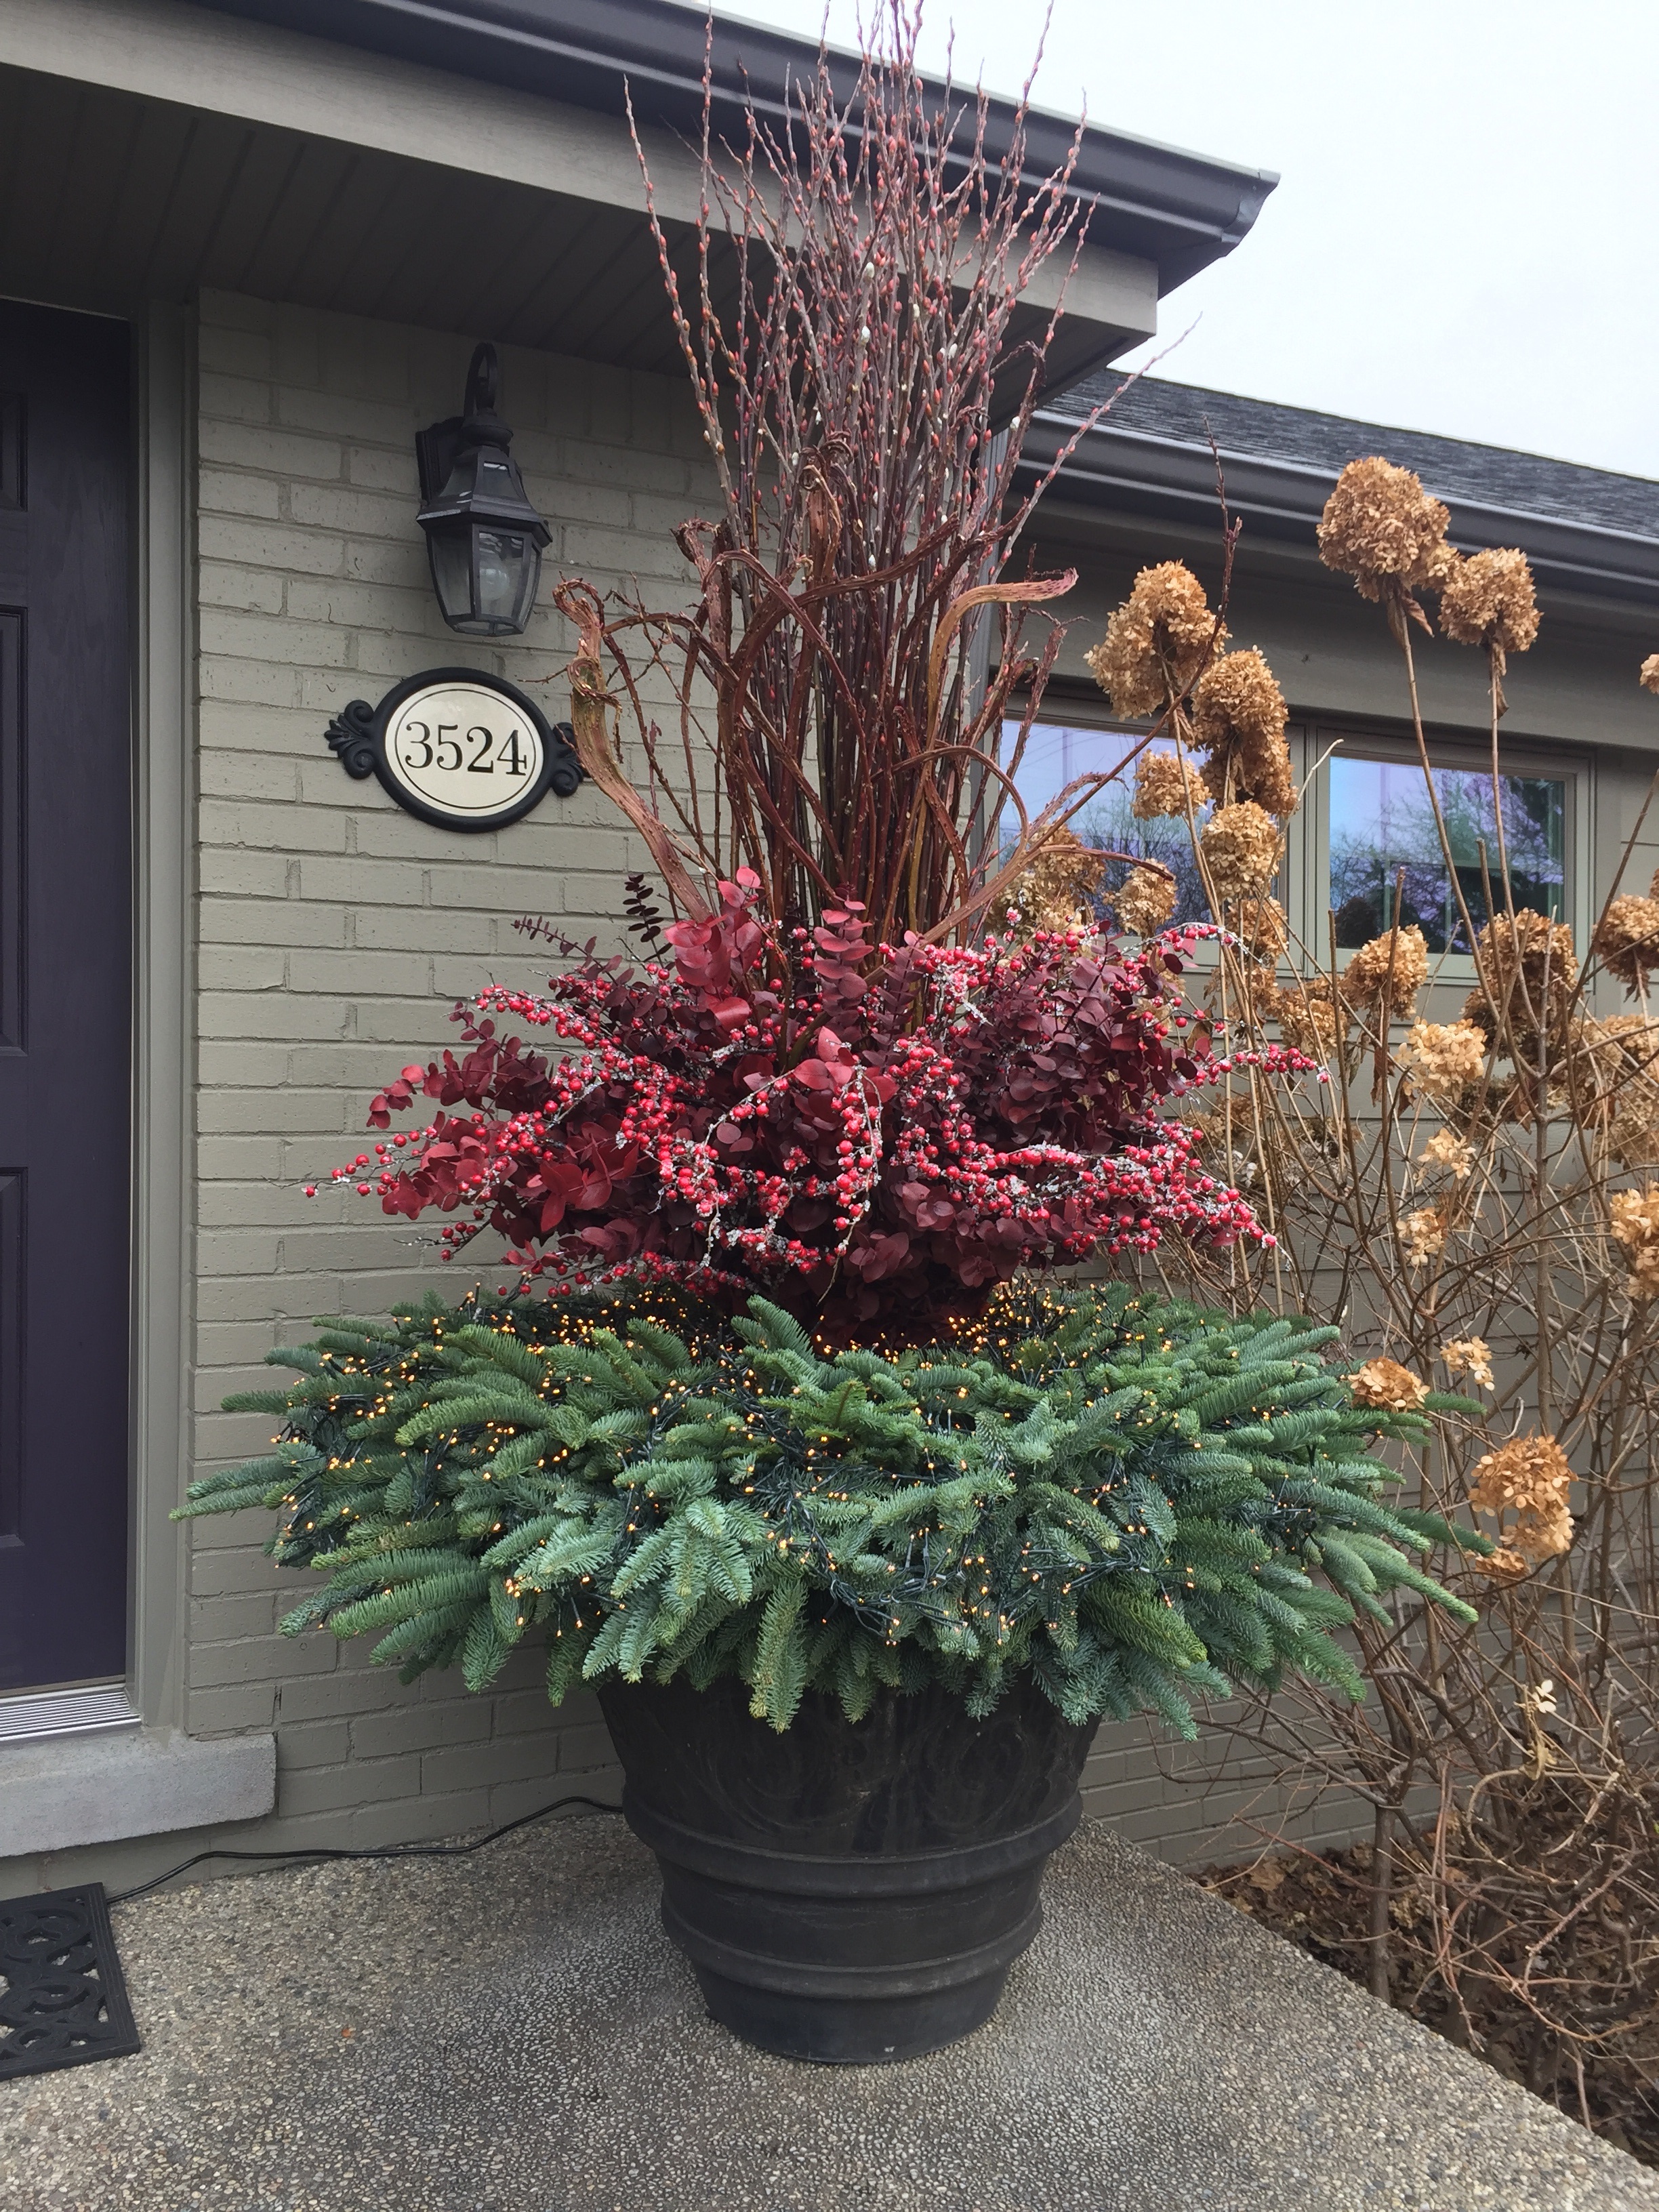
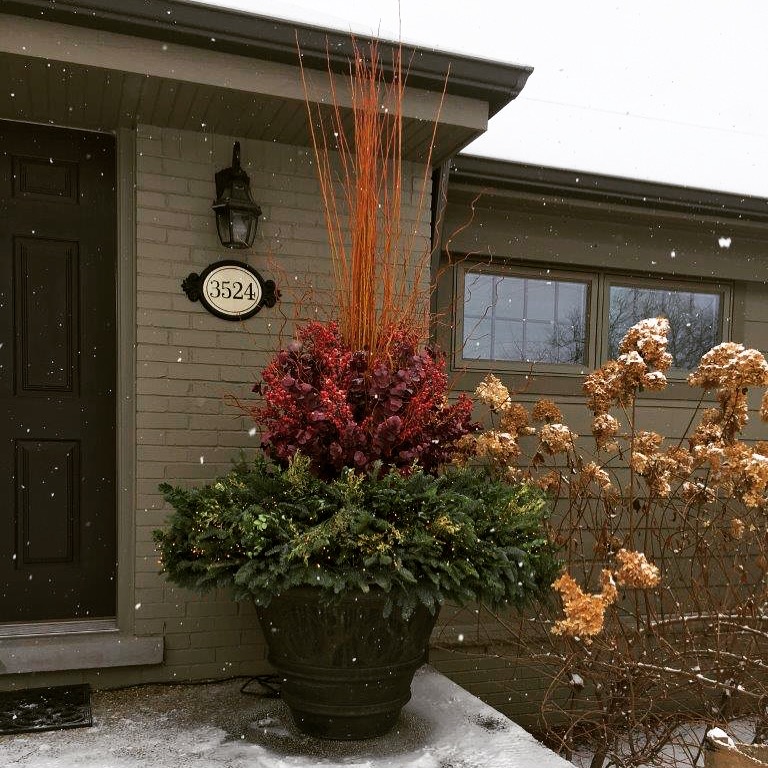
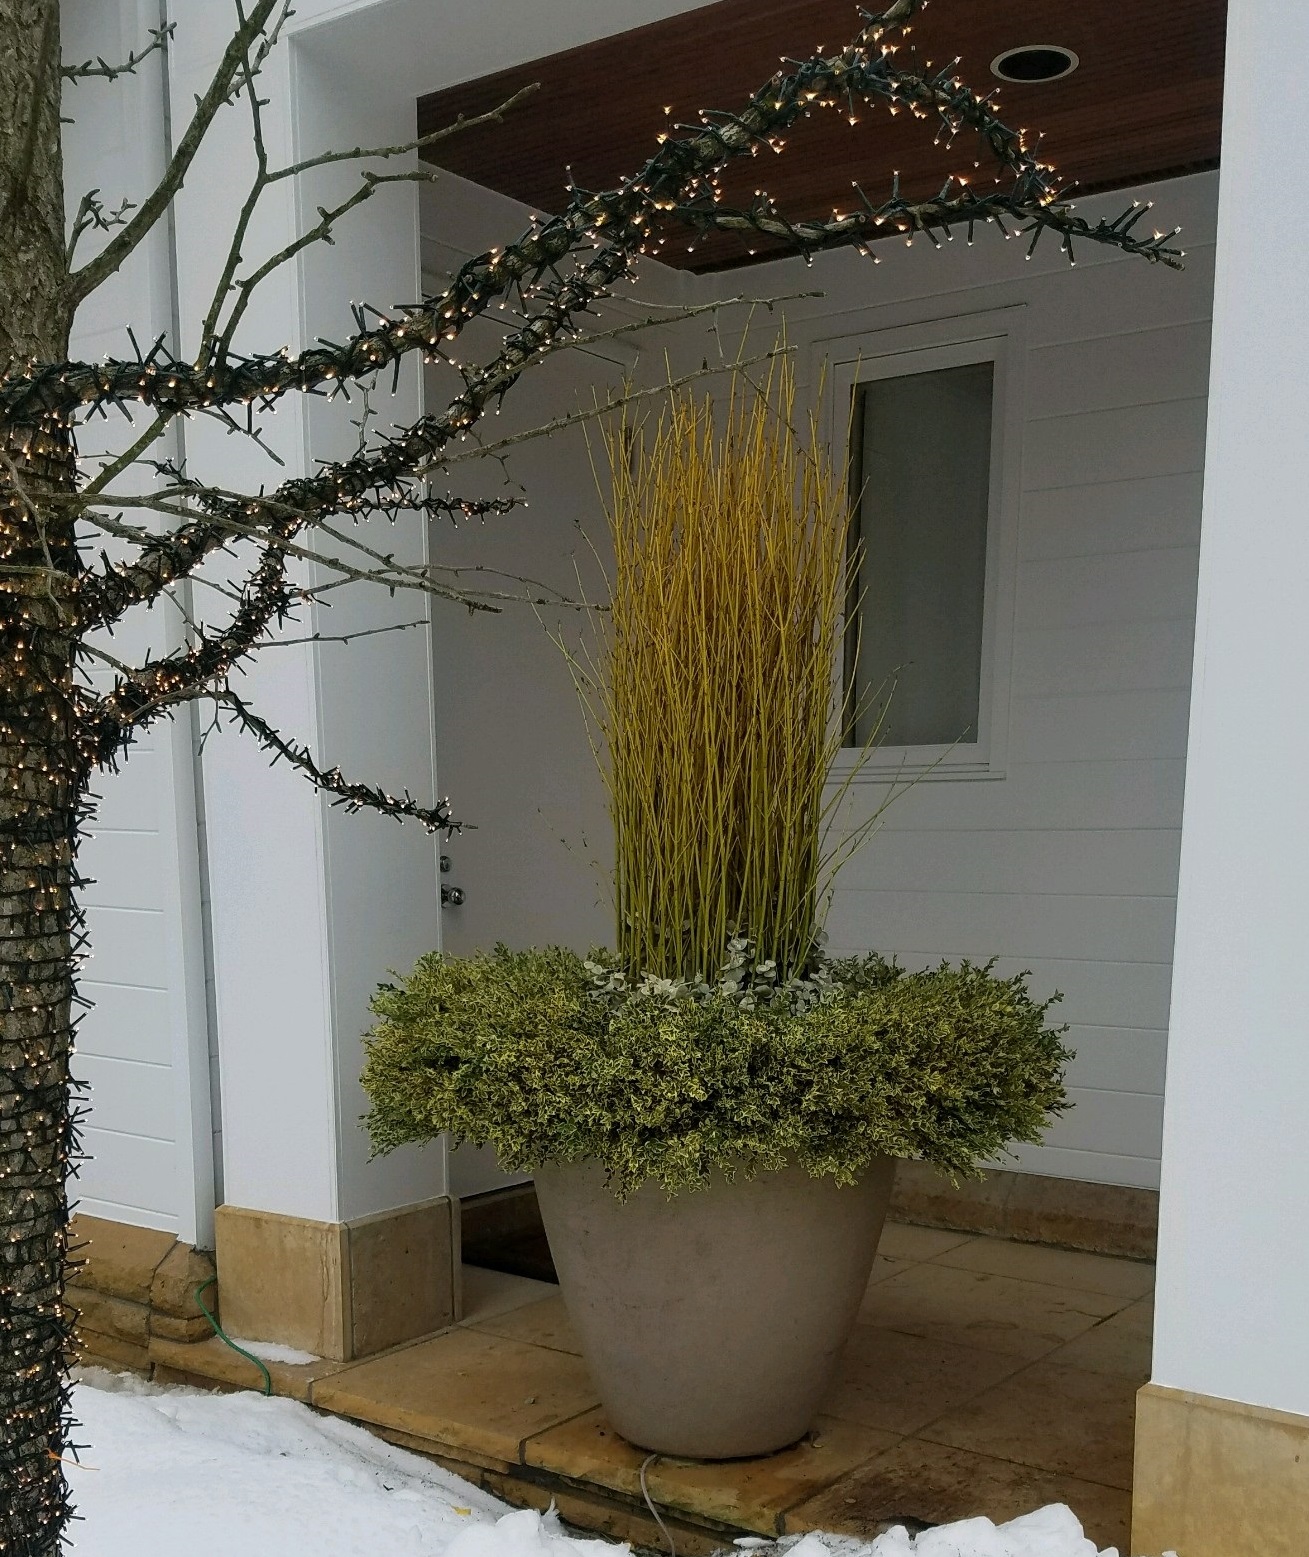
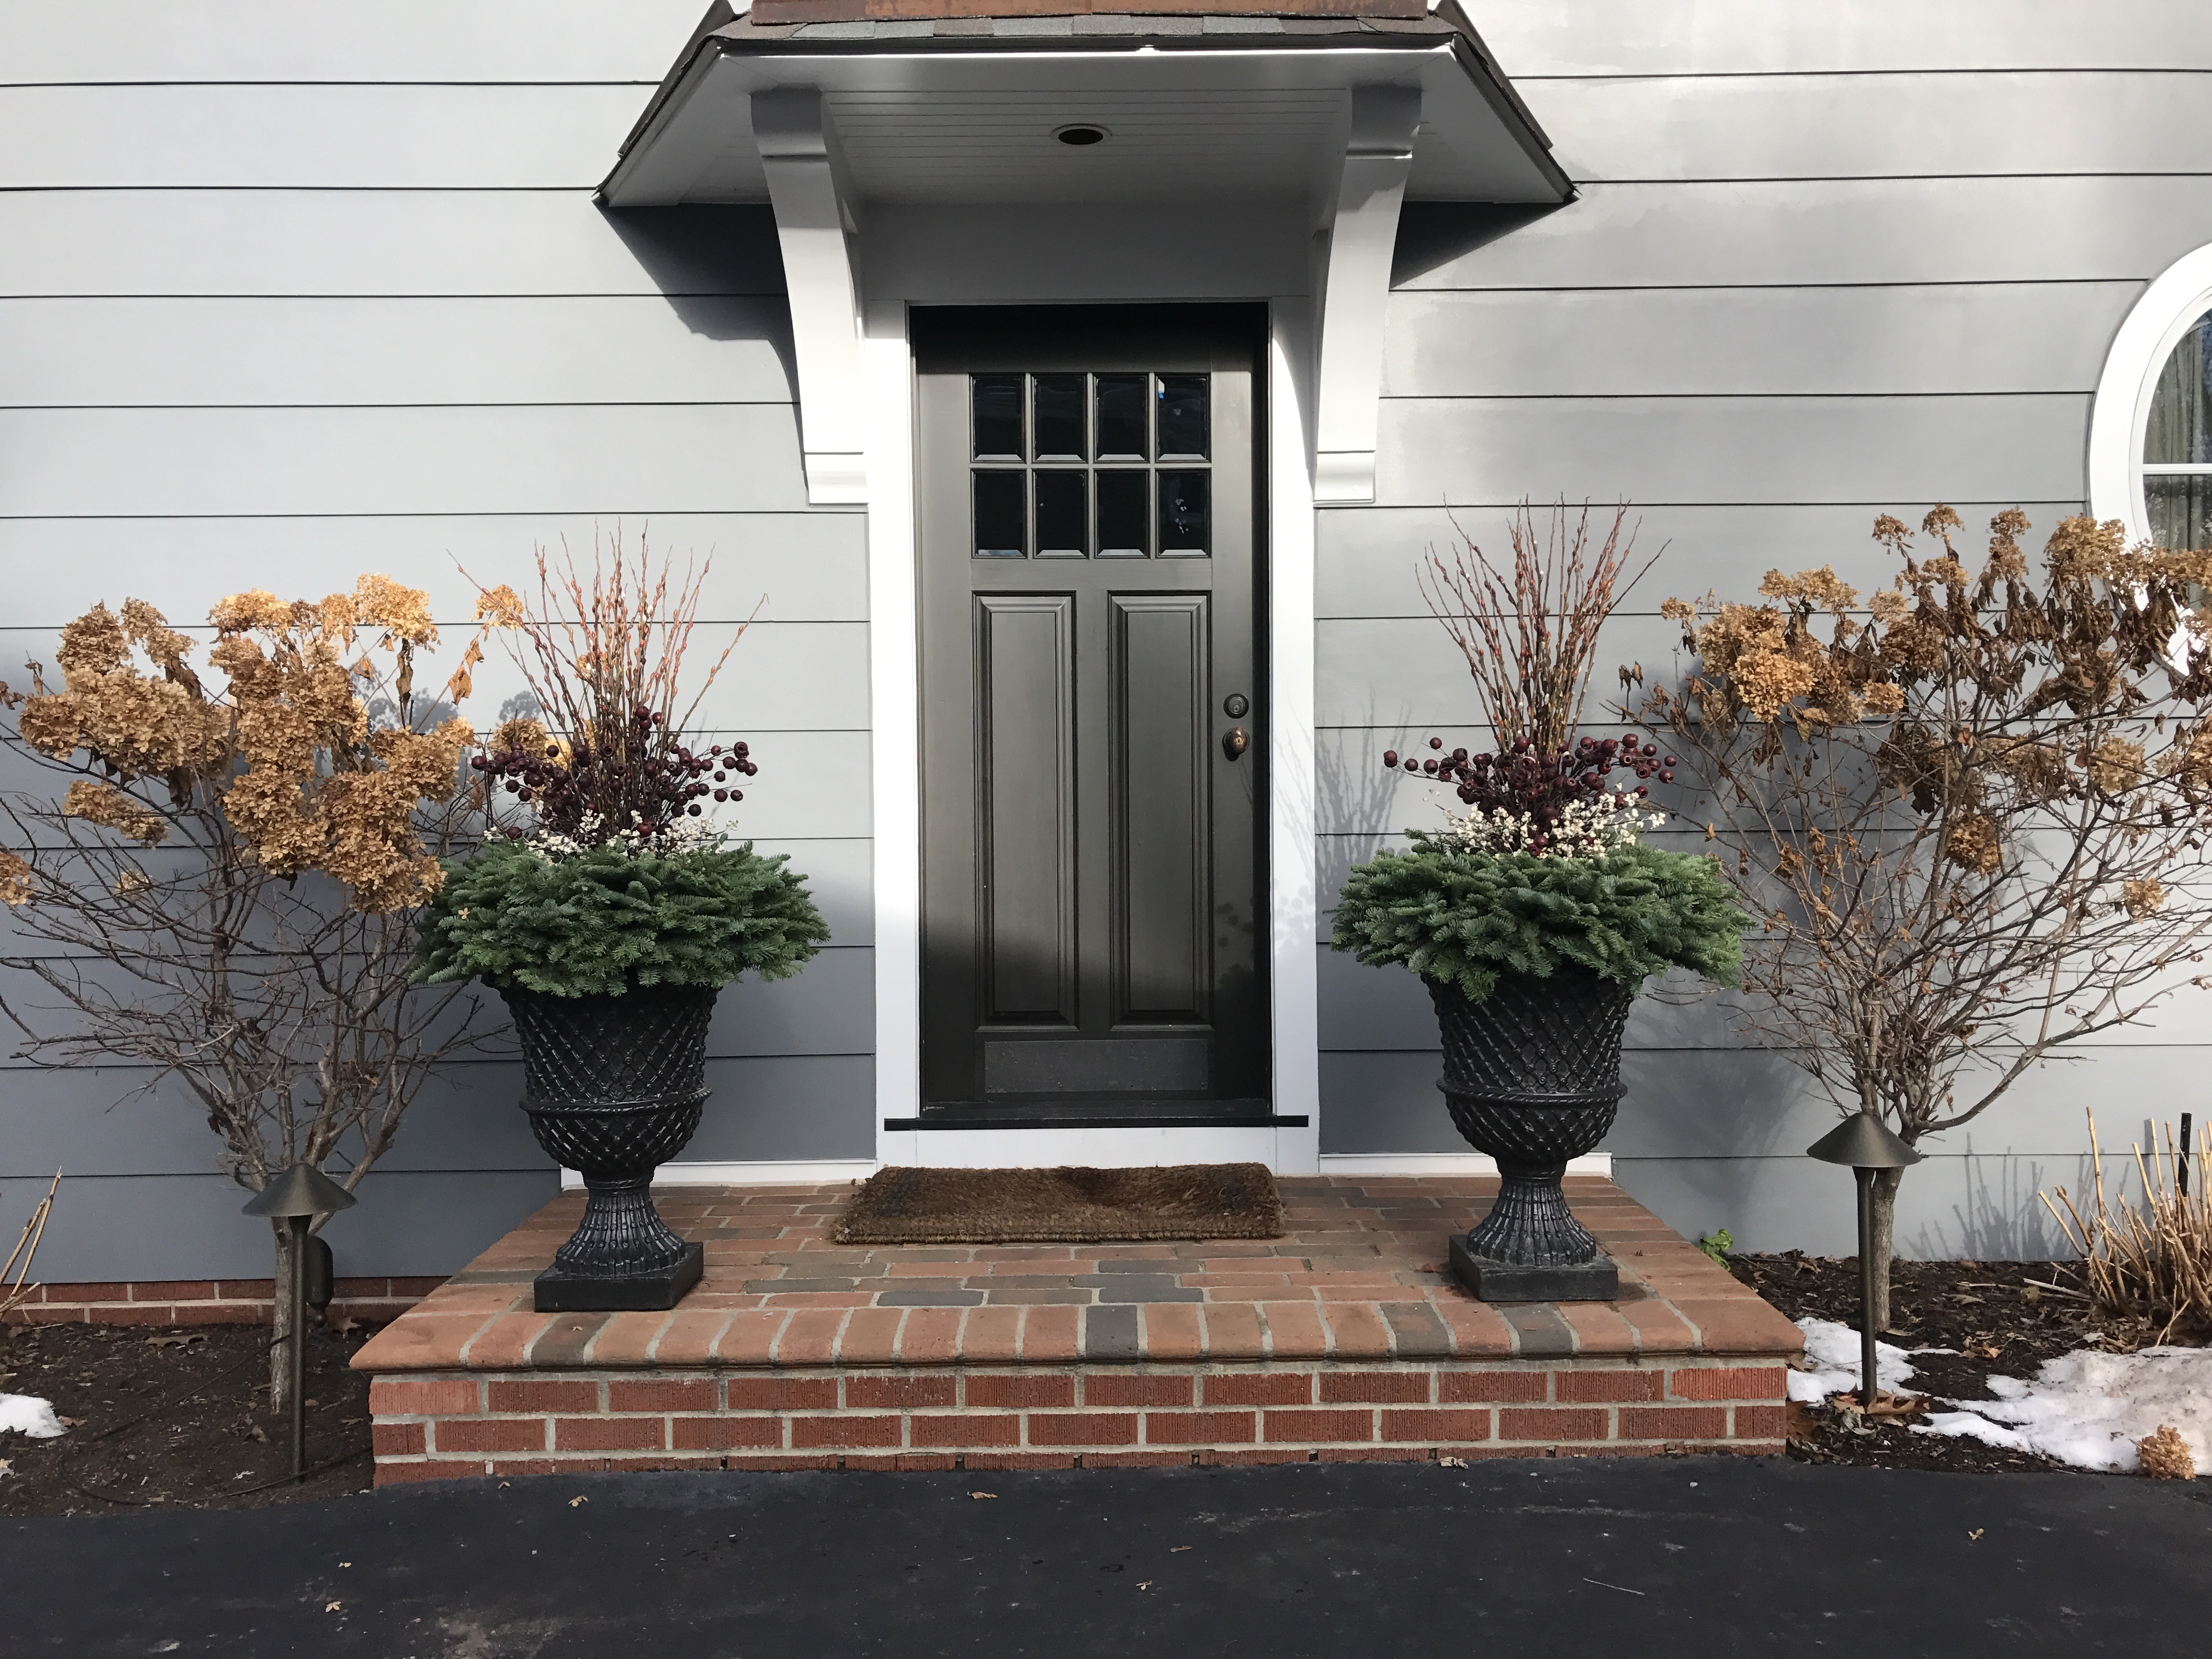
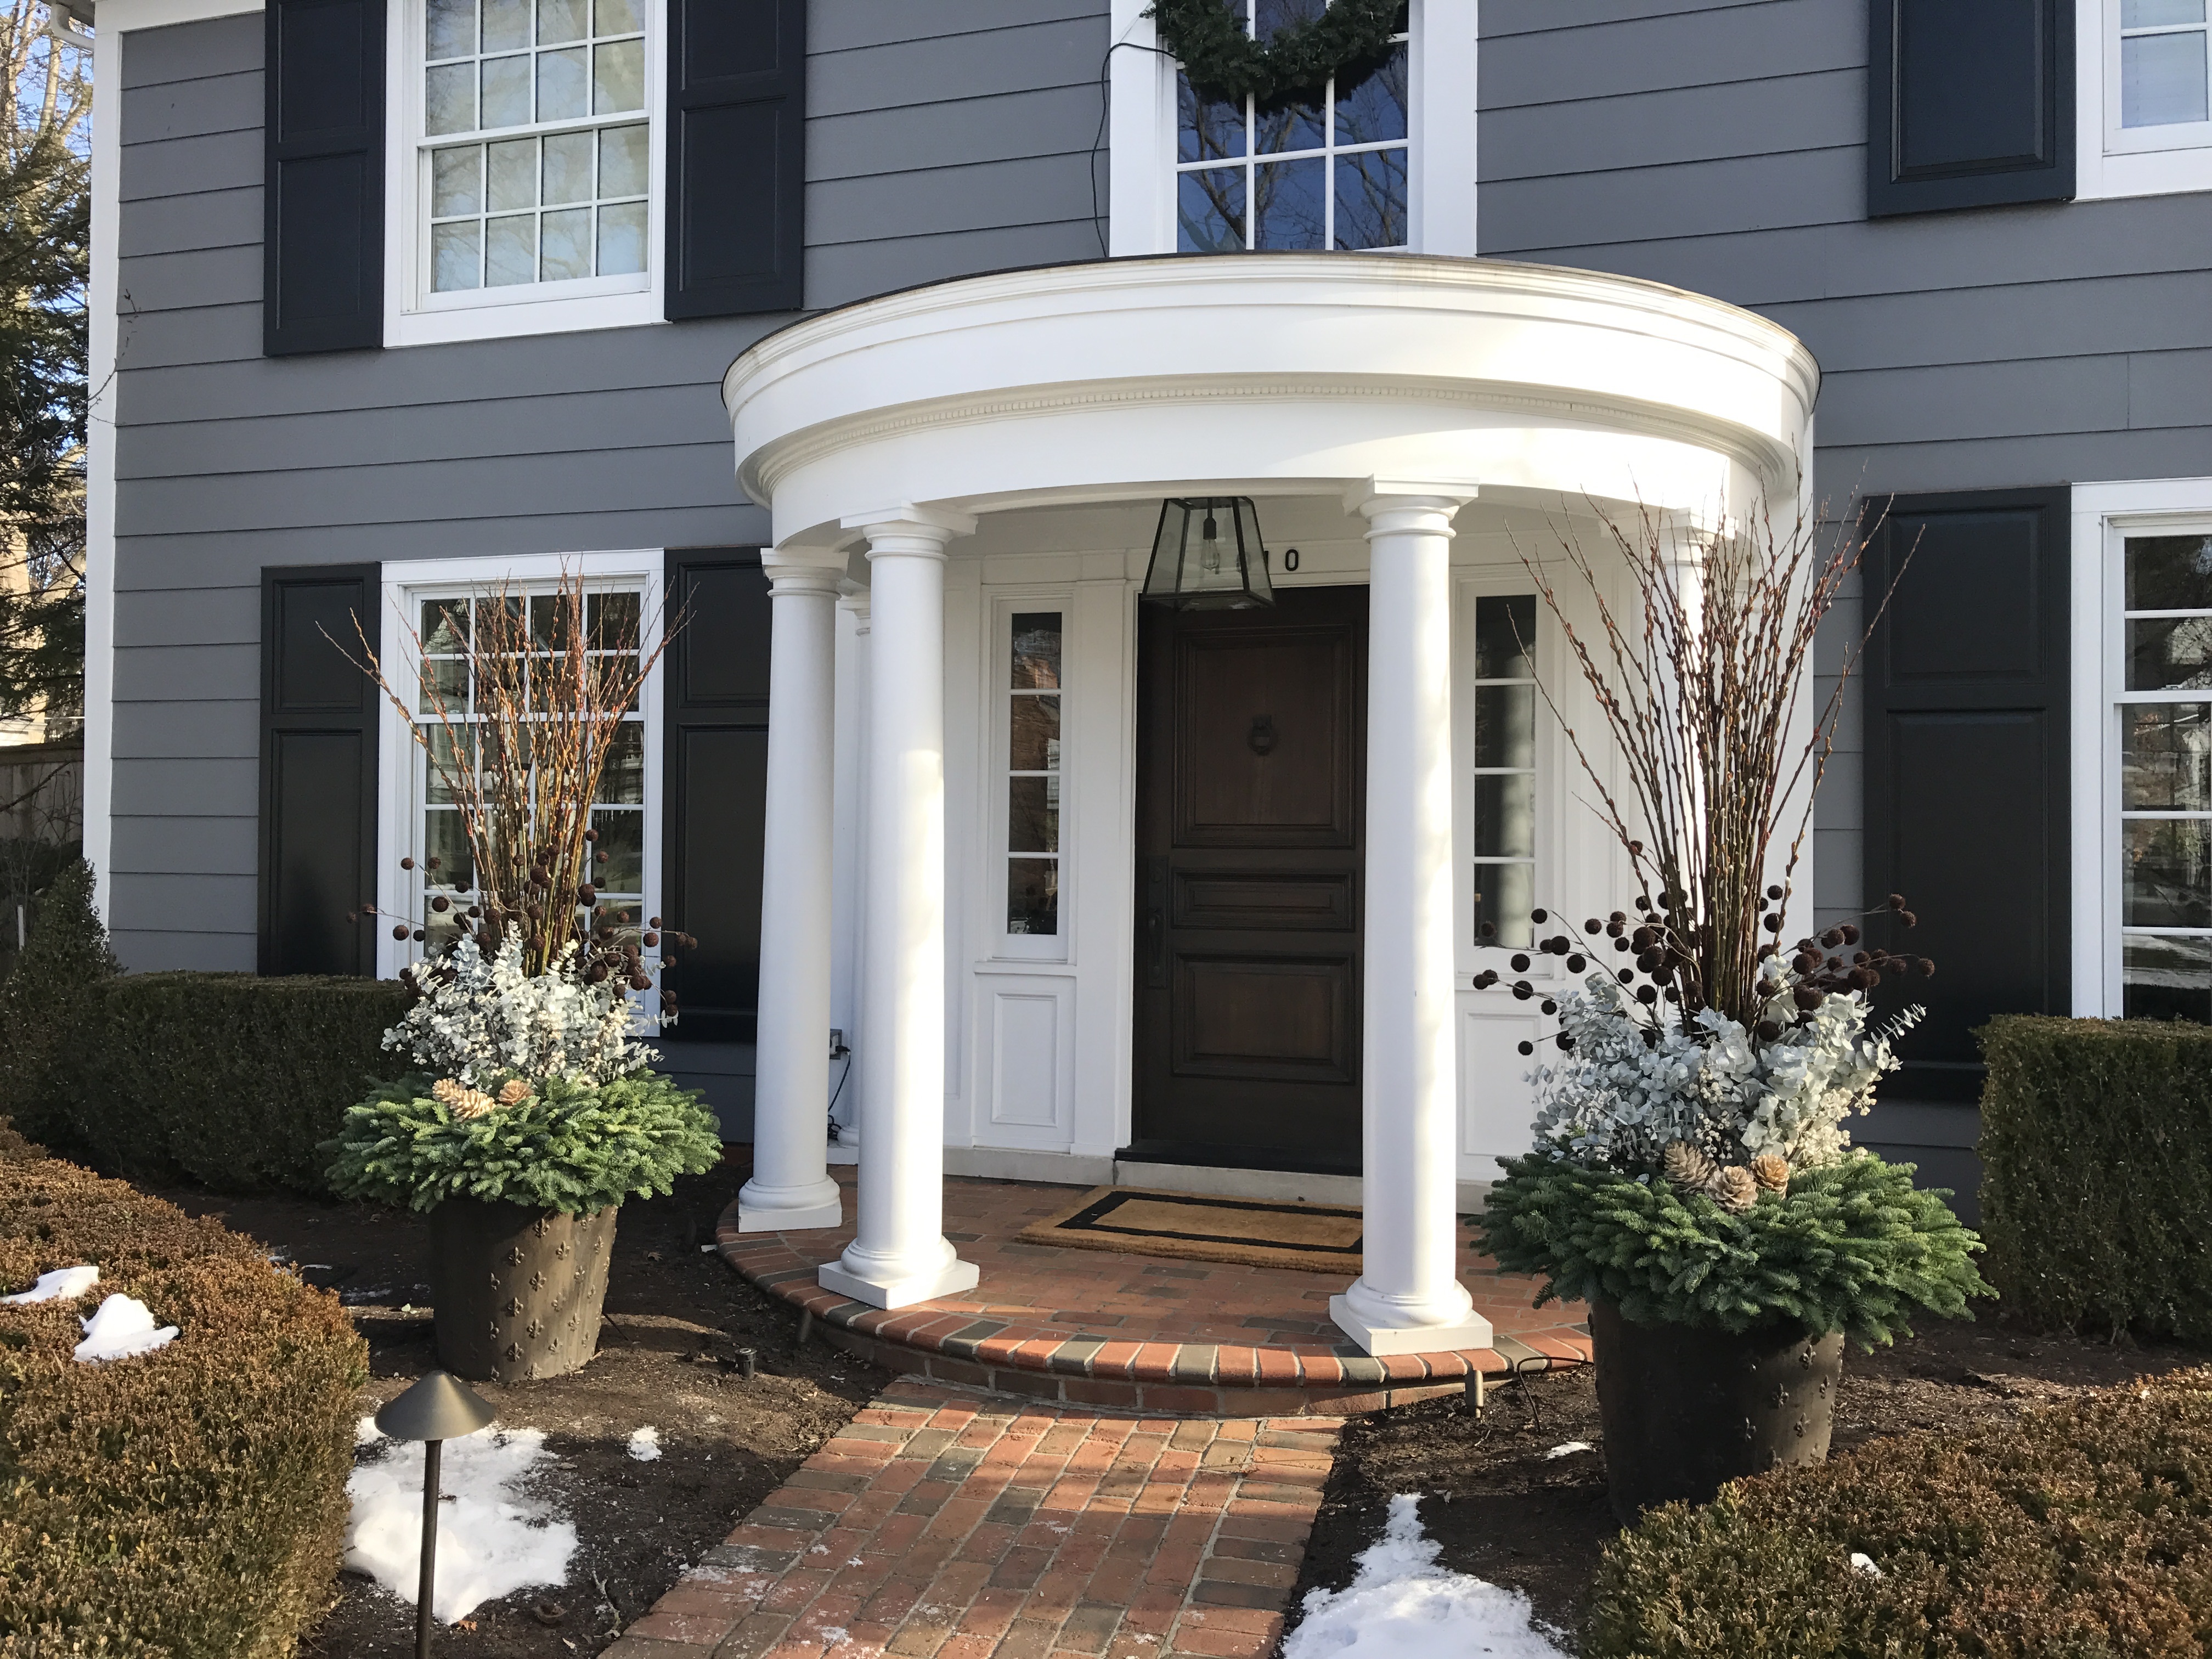
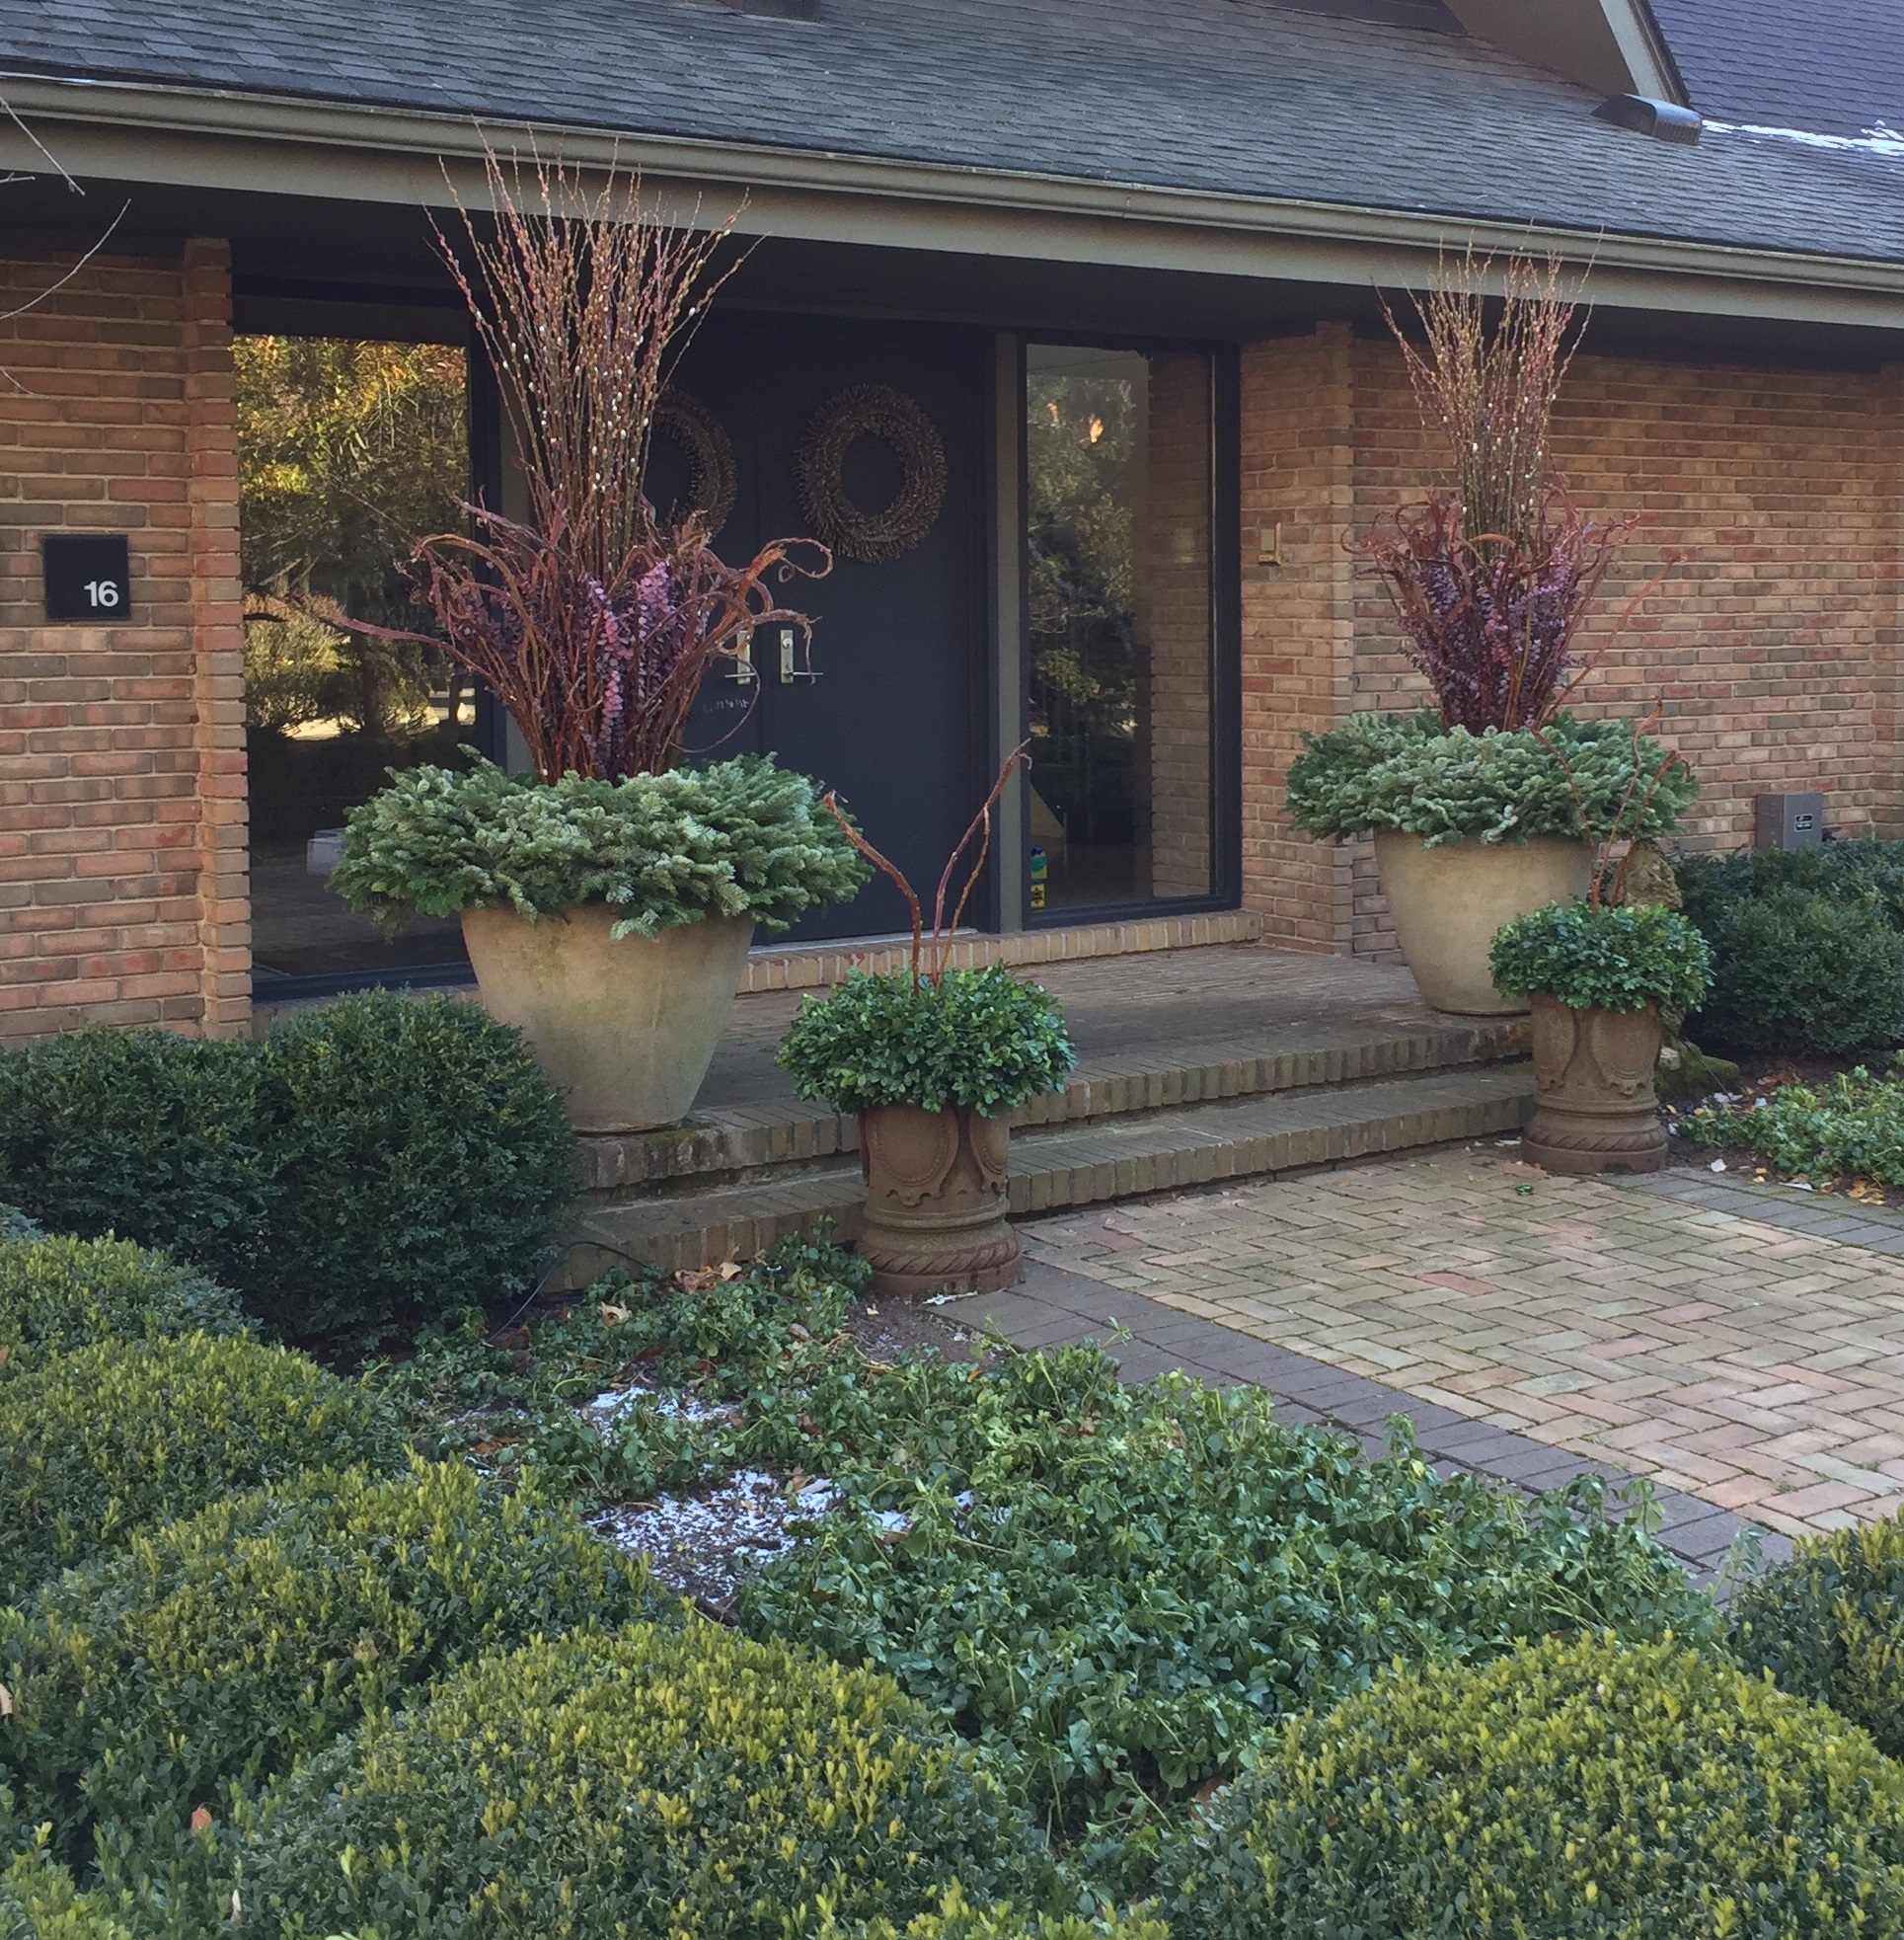
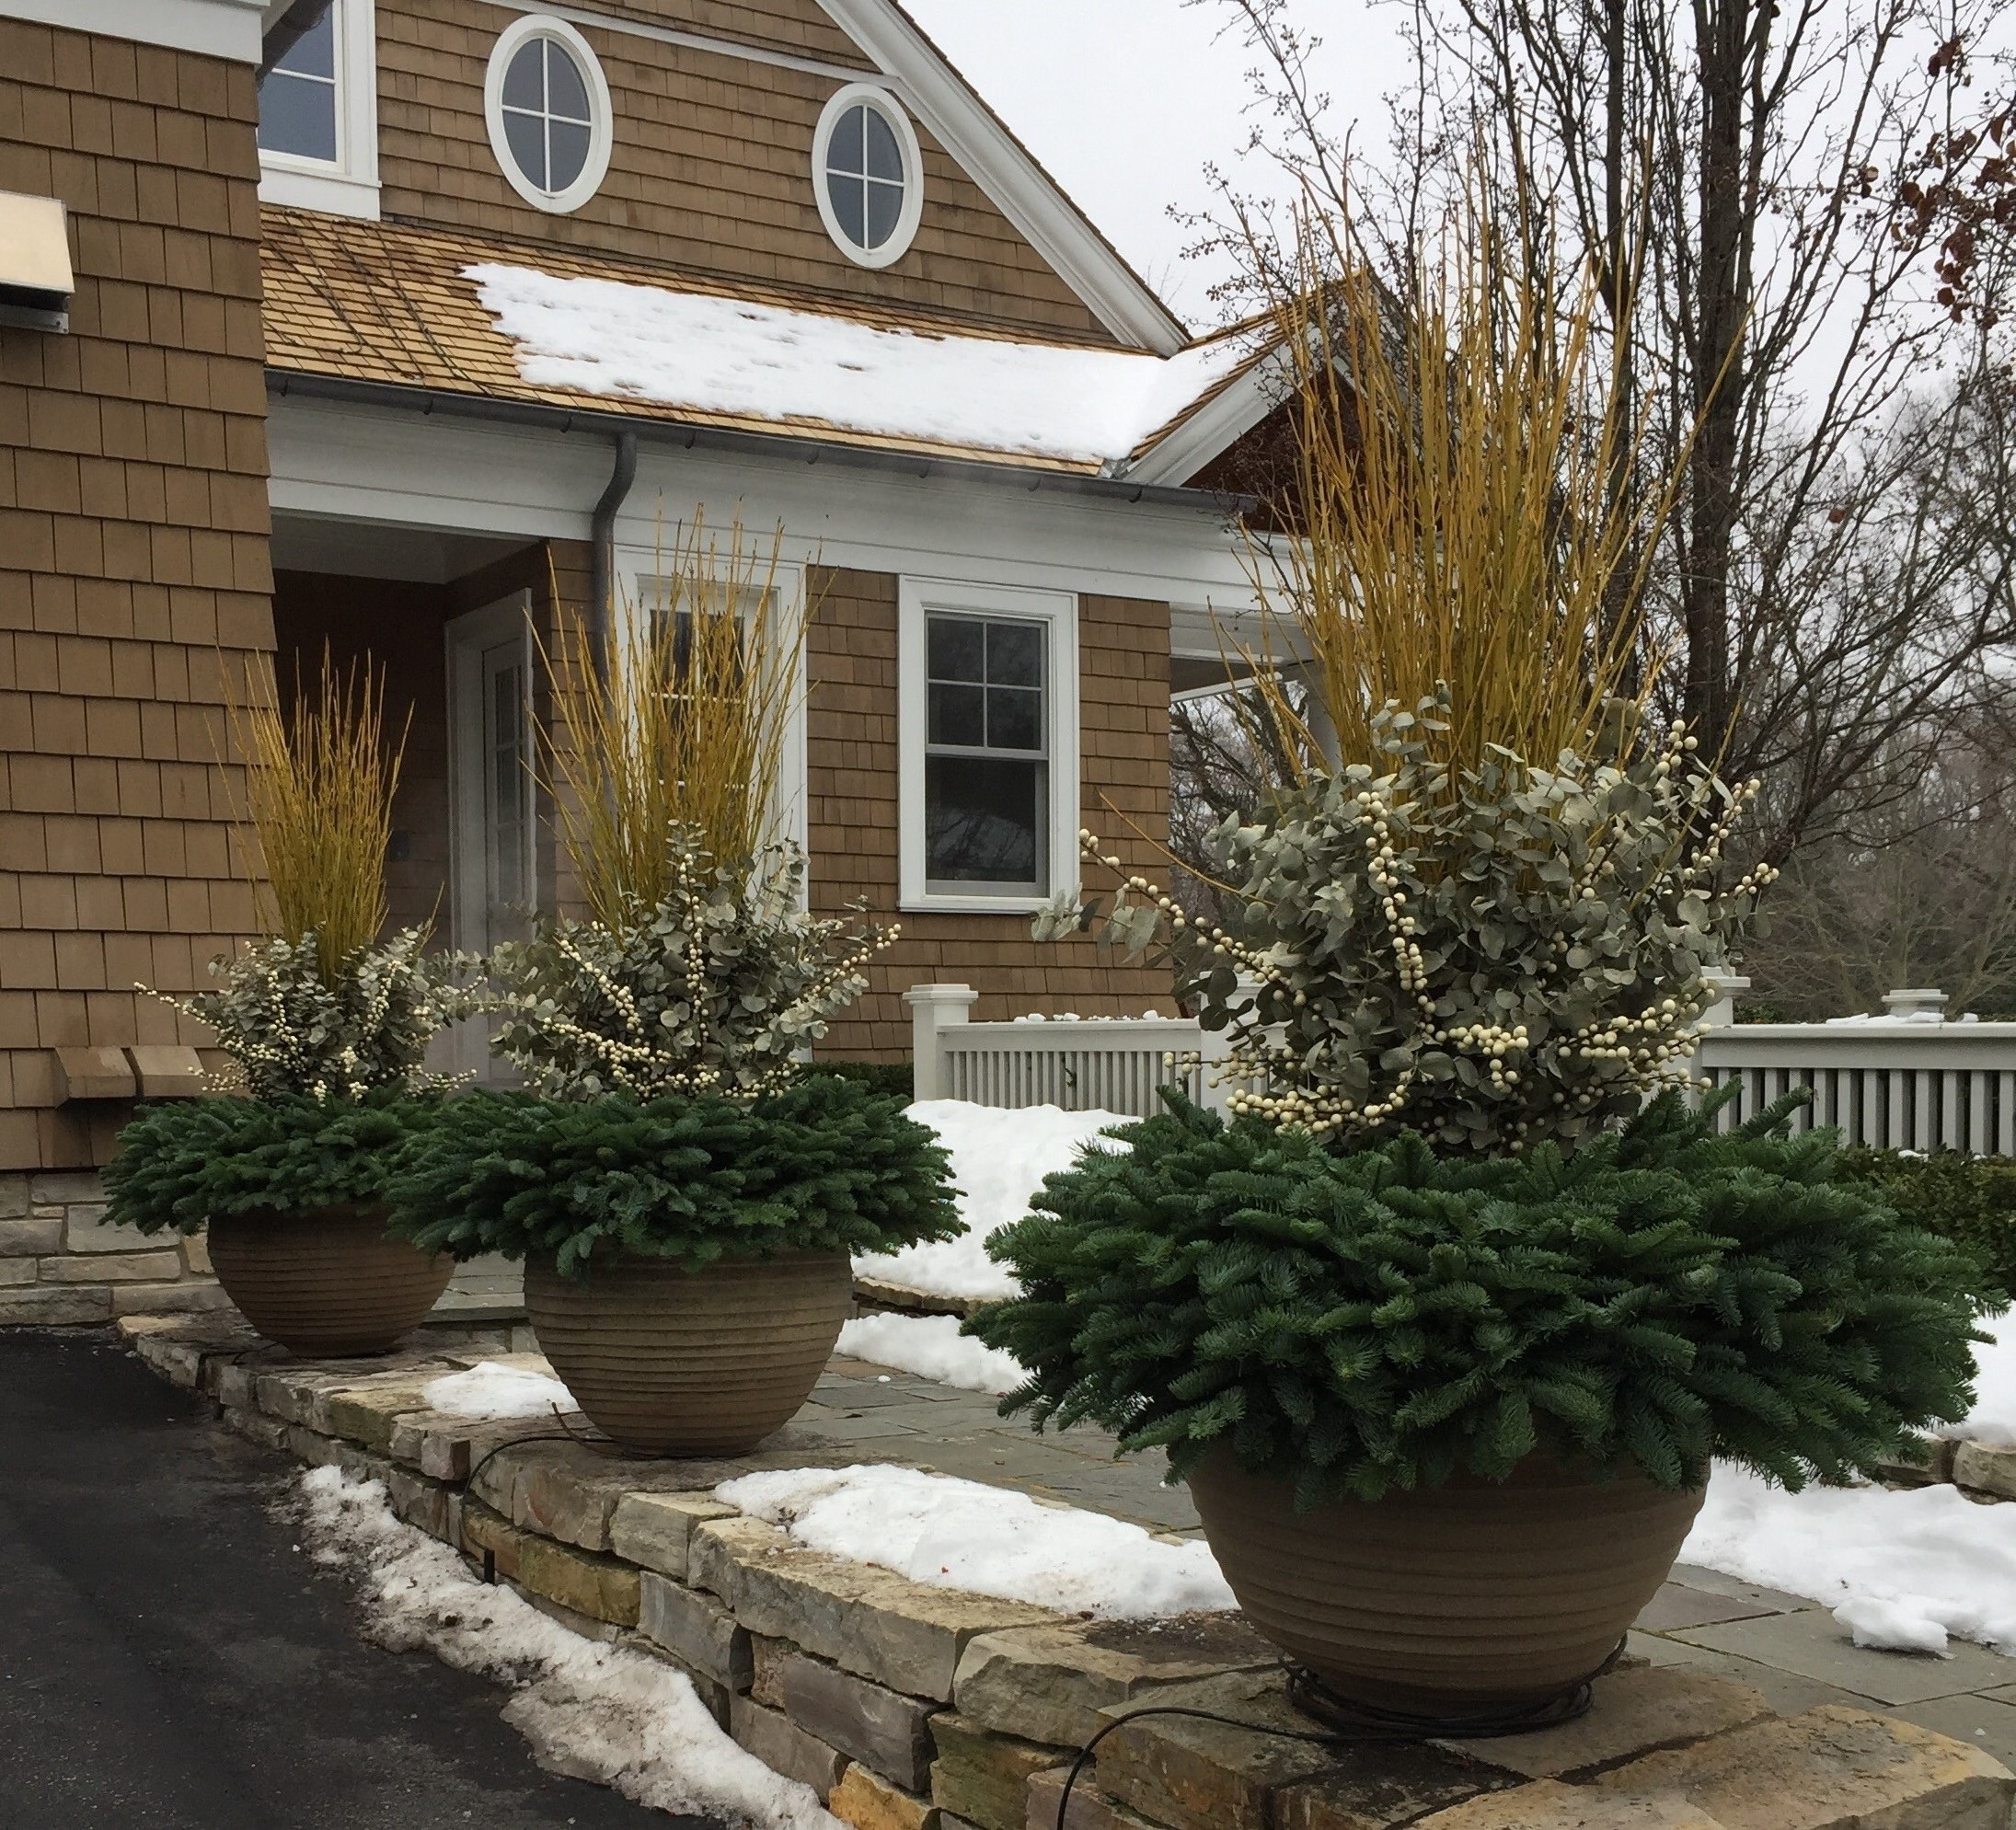
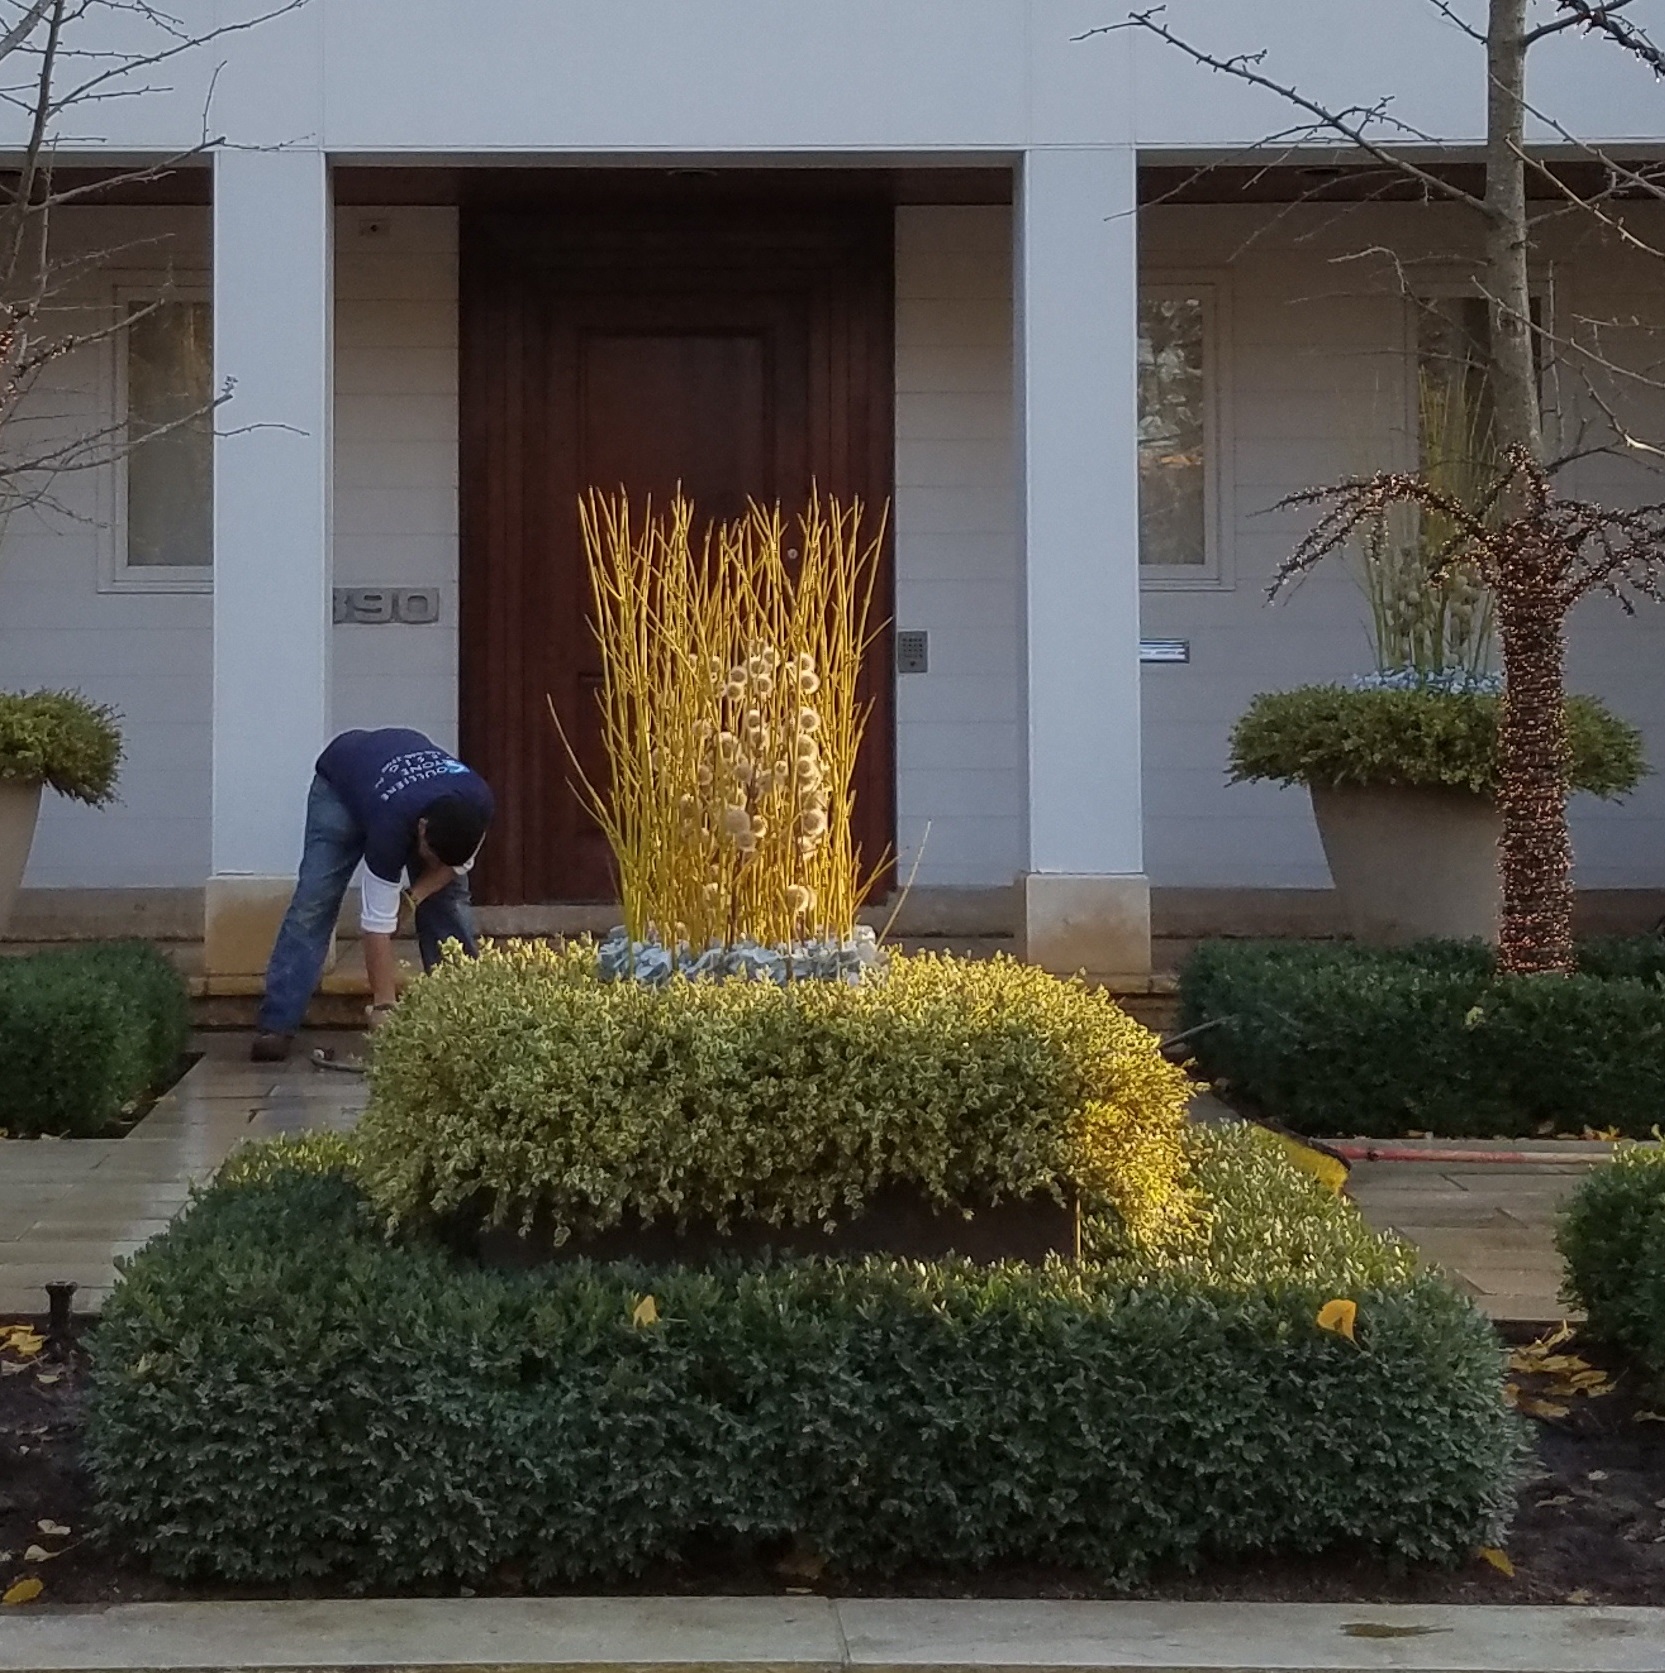
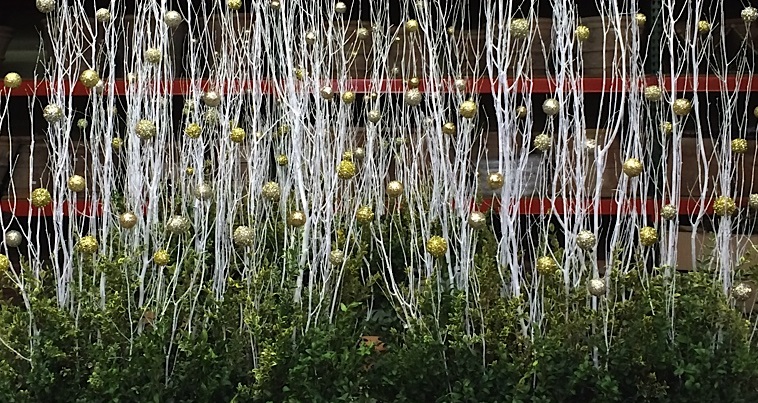
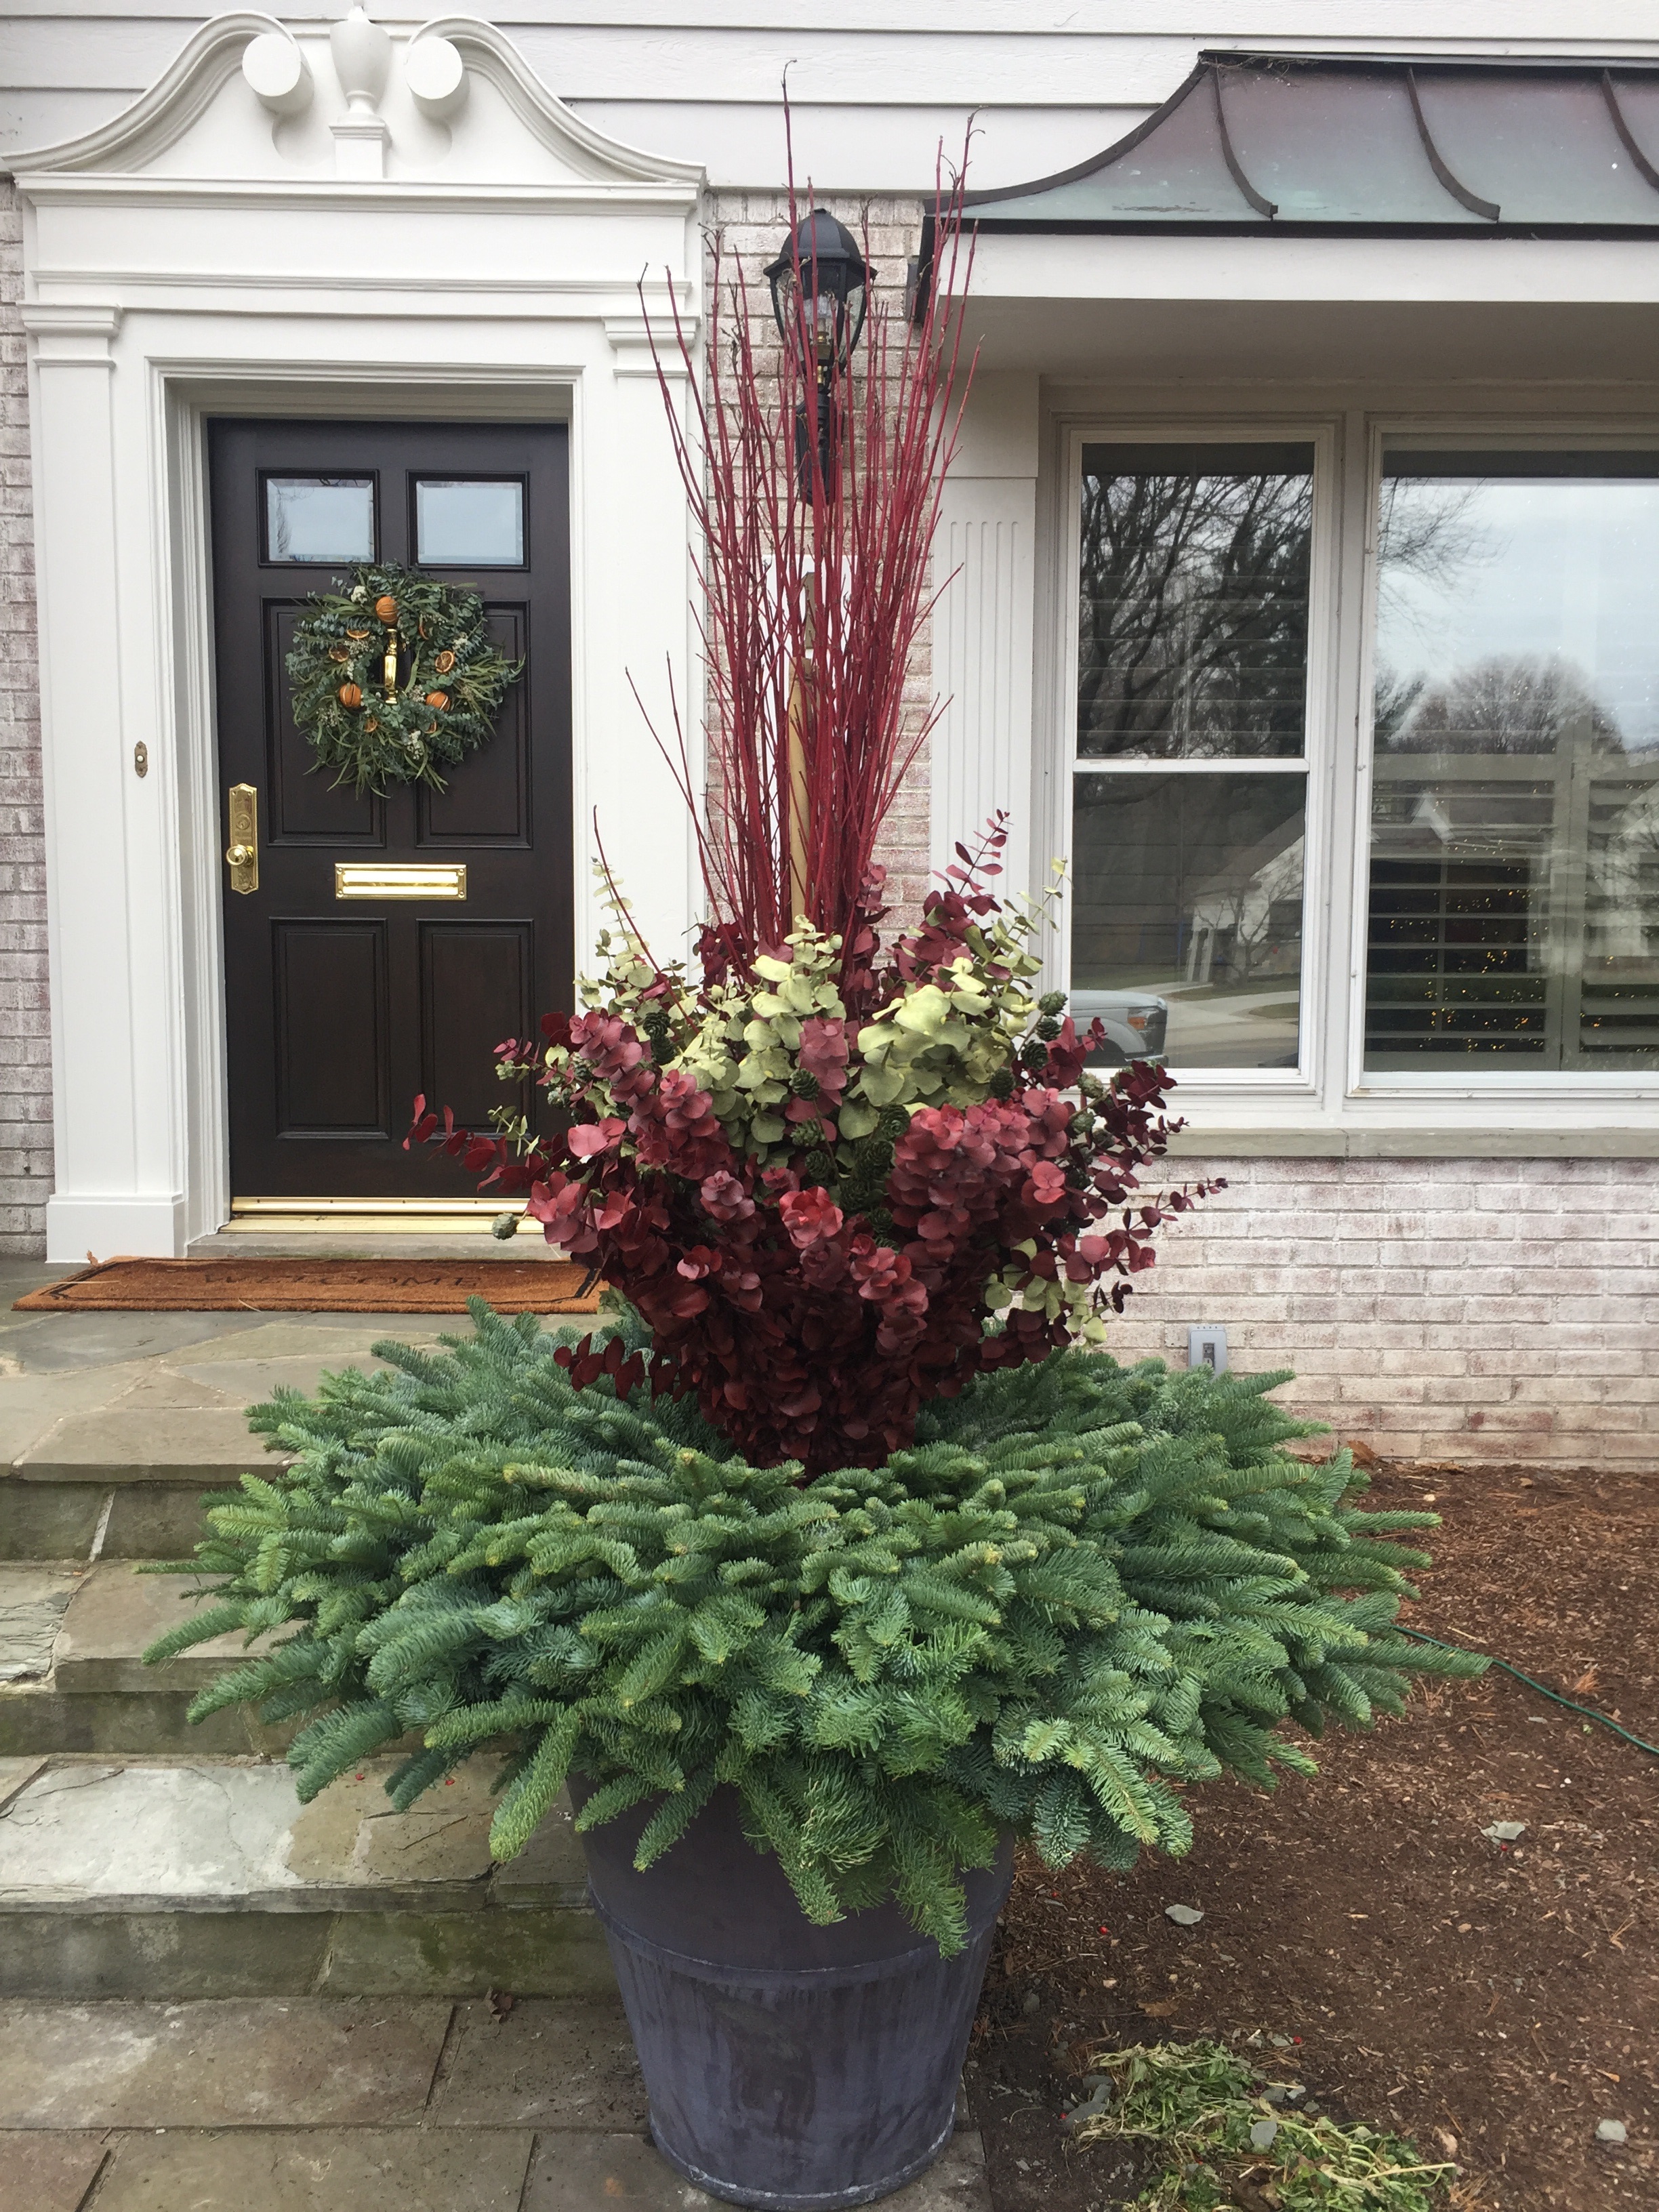 Our client felt a second pair of smaller Branch tapered pots nearer her front door would complete the look she was after. The last of this installation was about companionship. We were happy to oblige.
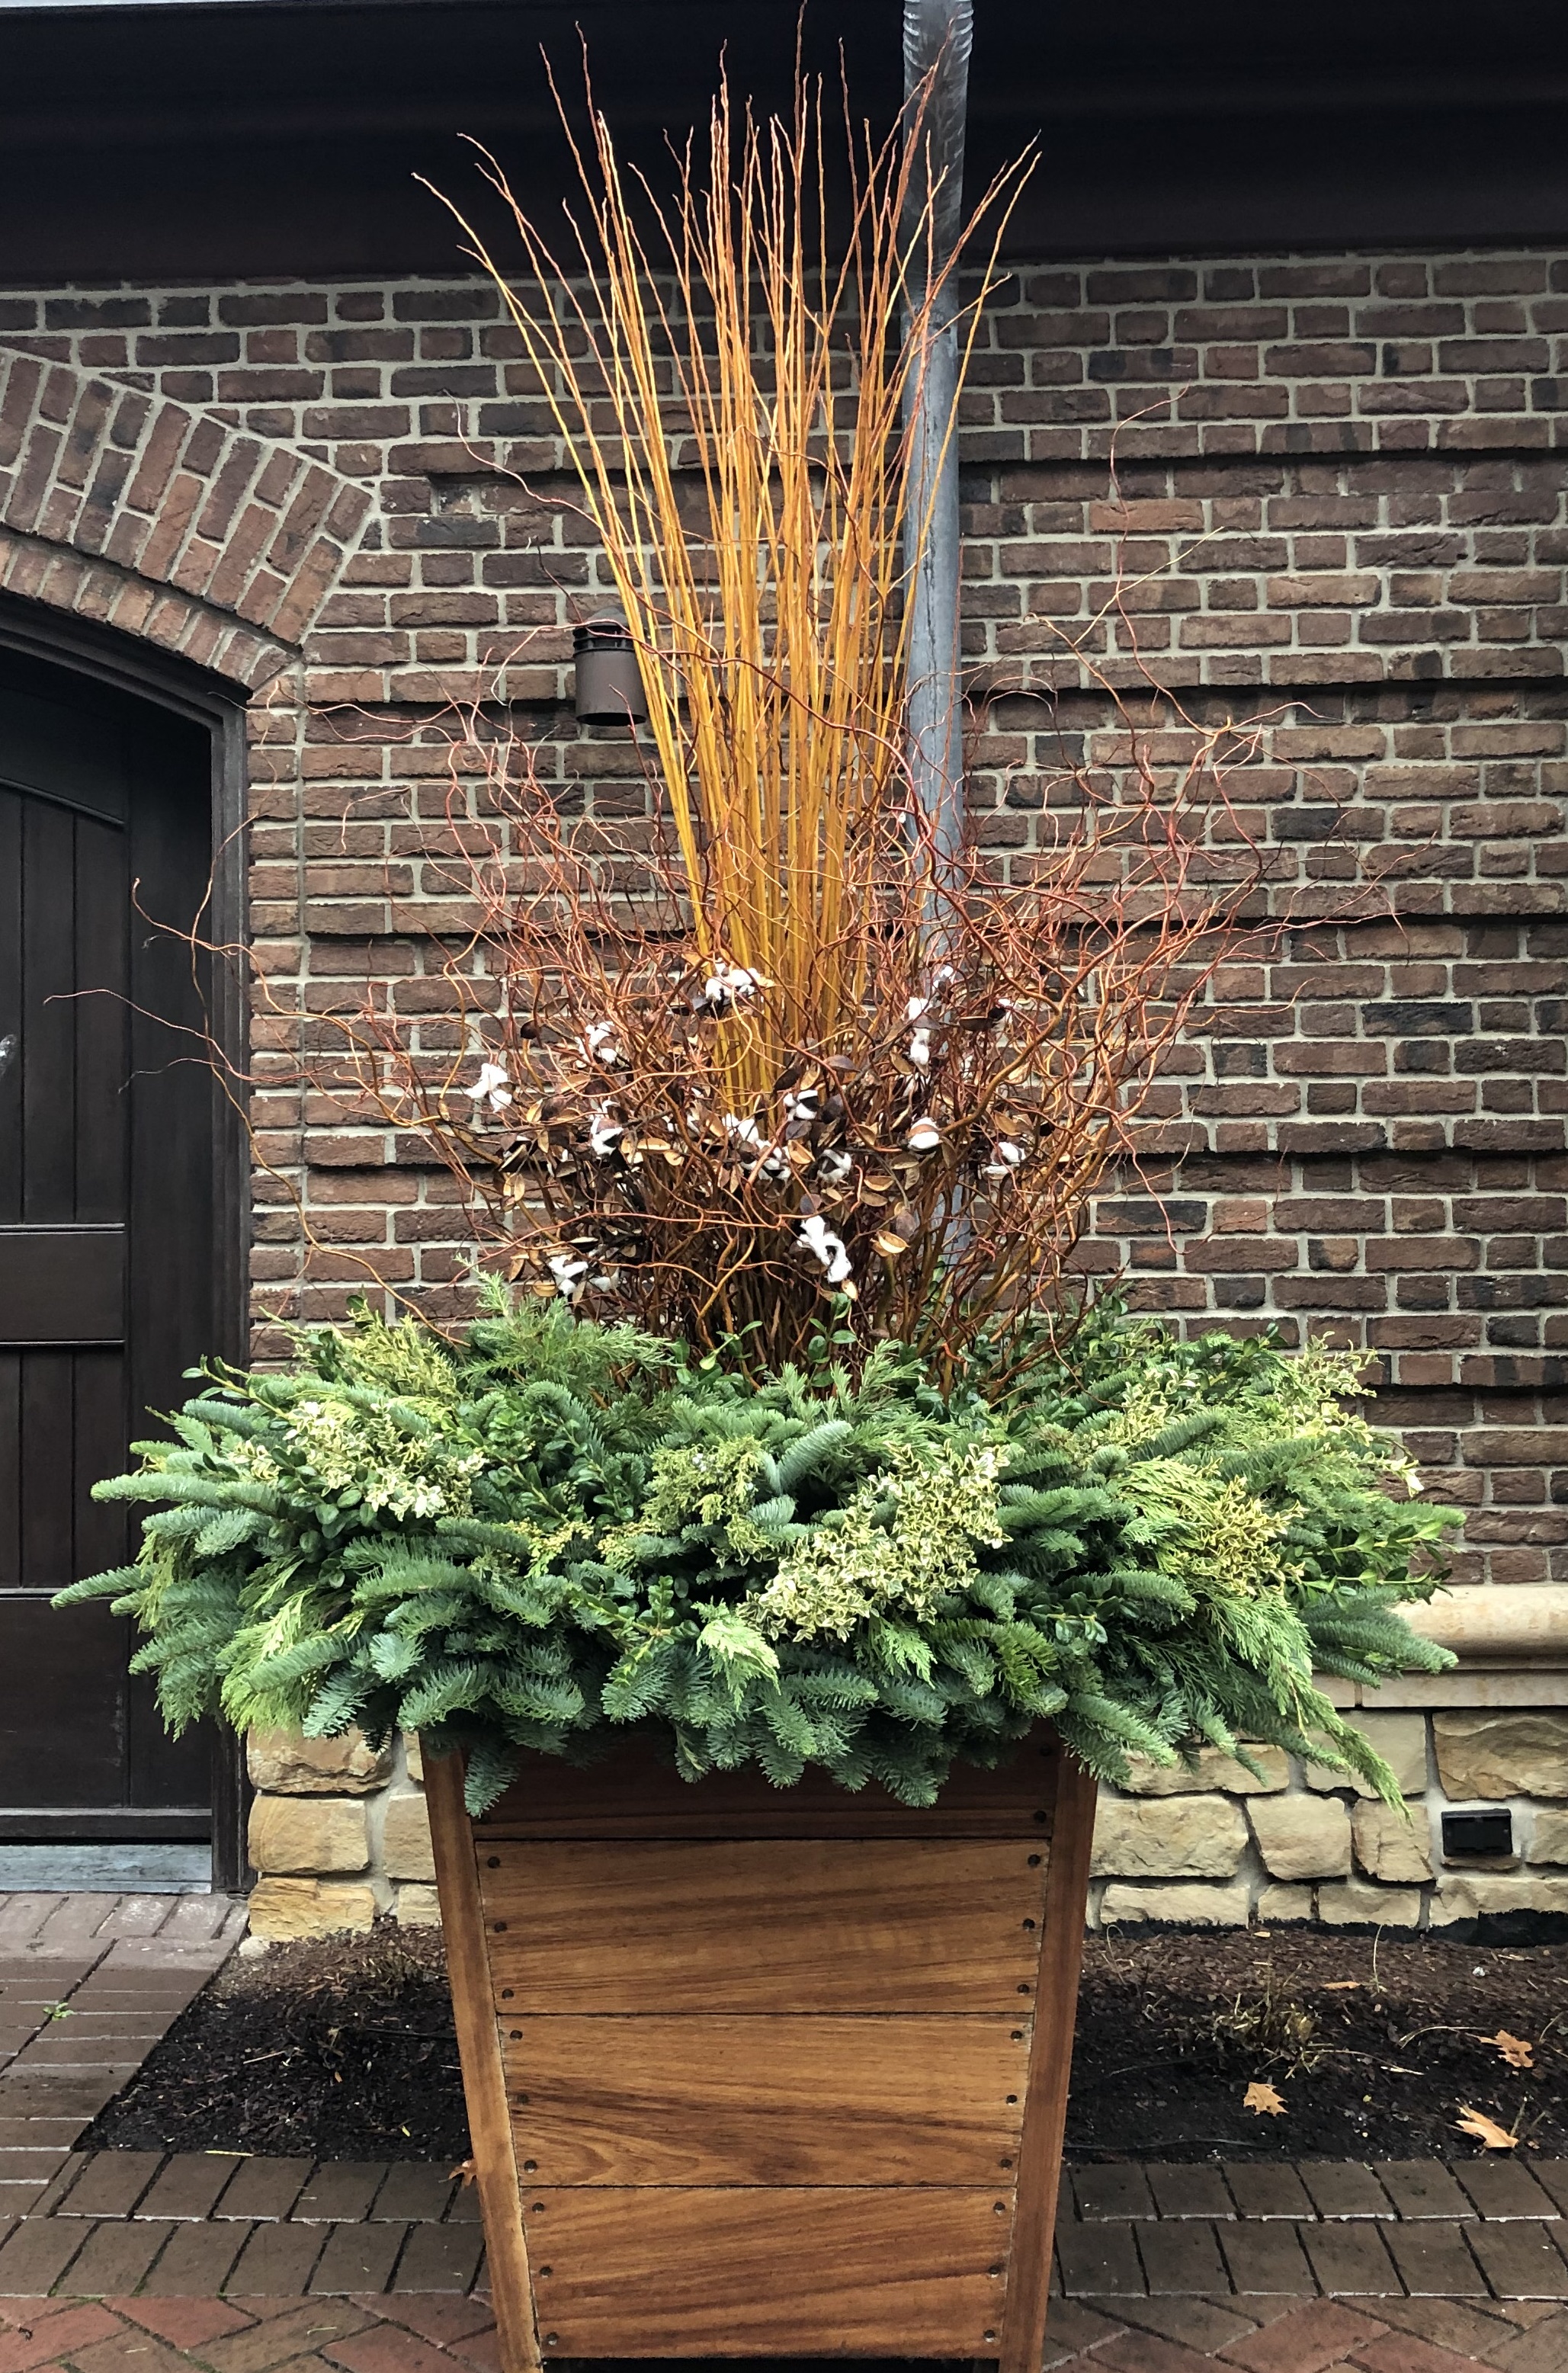
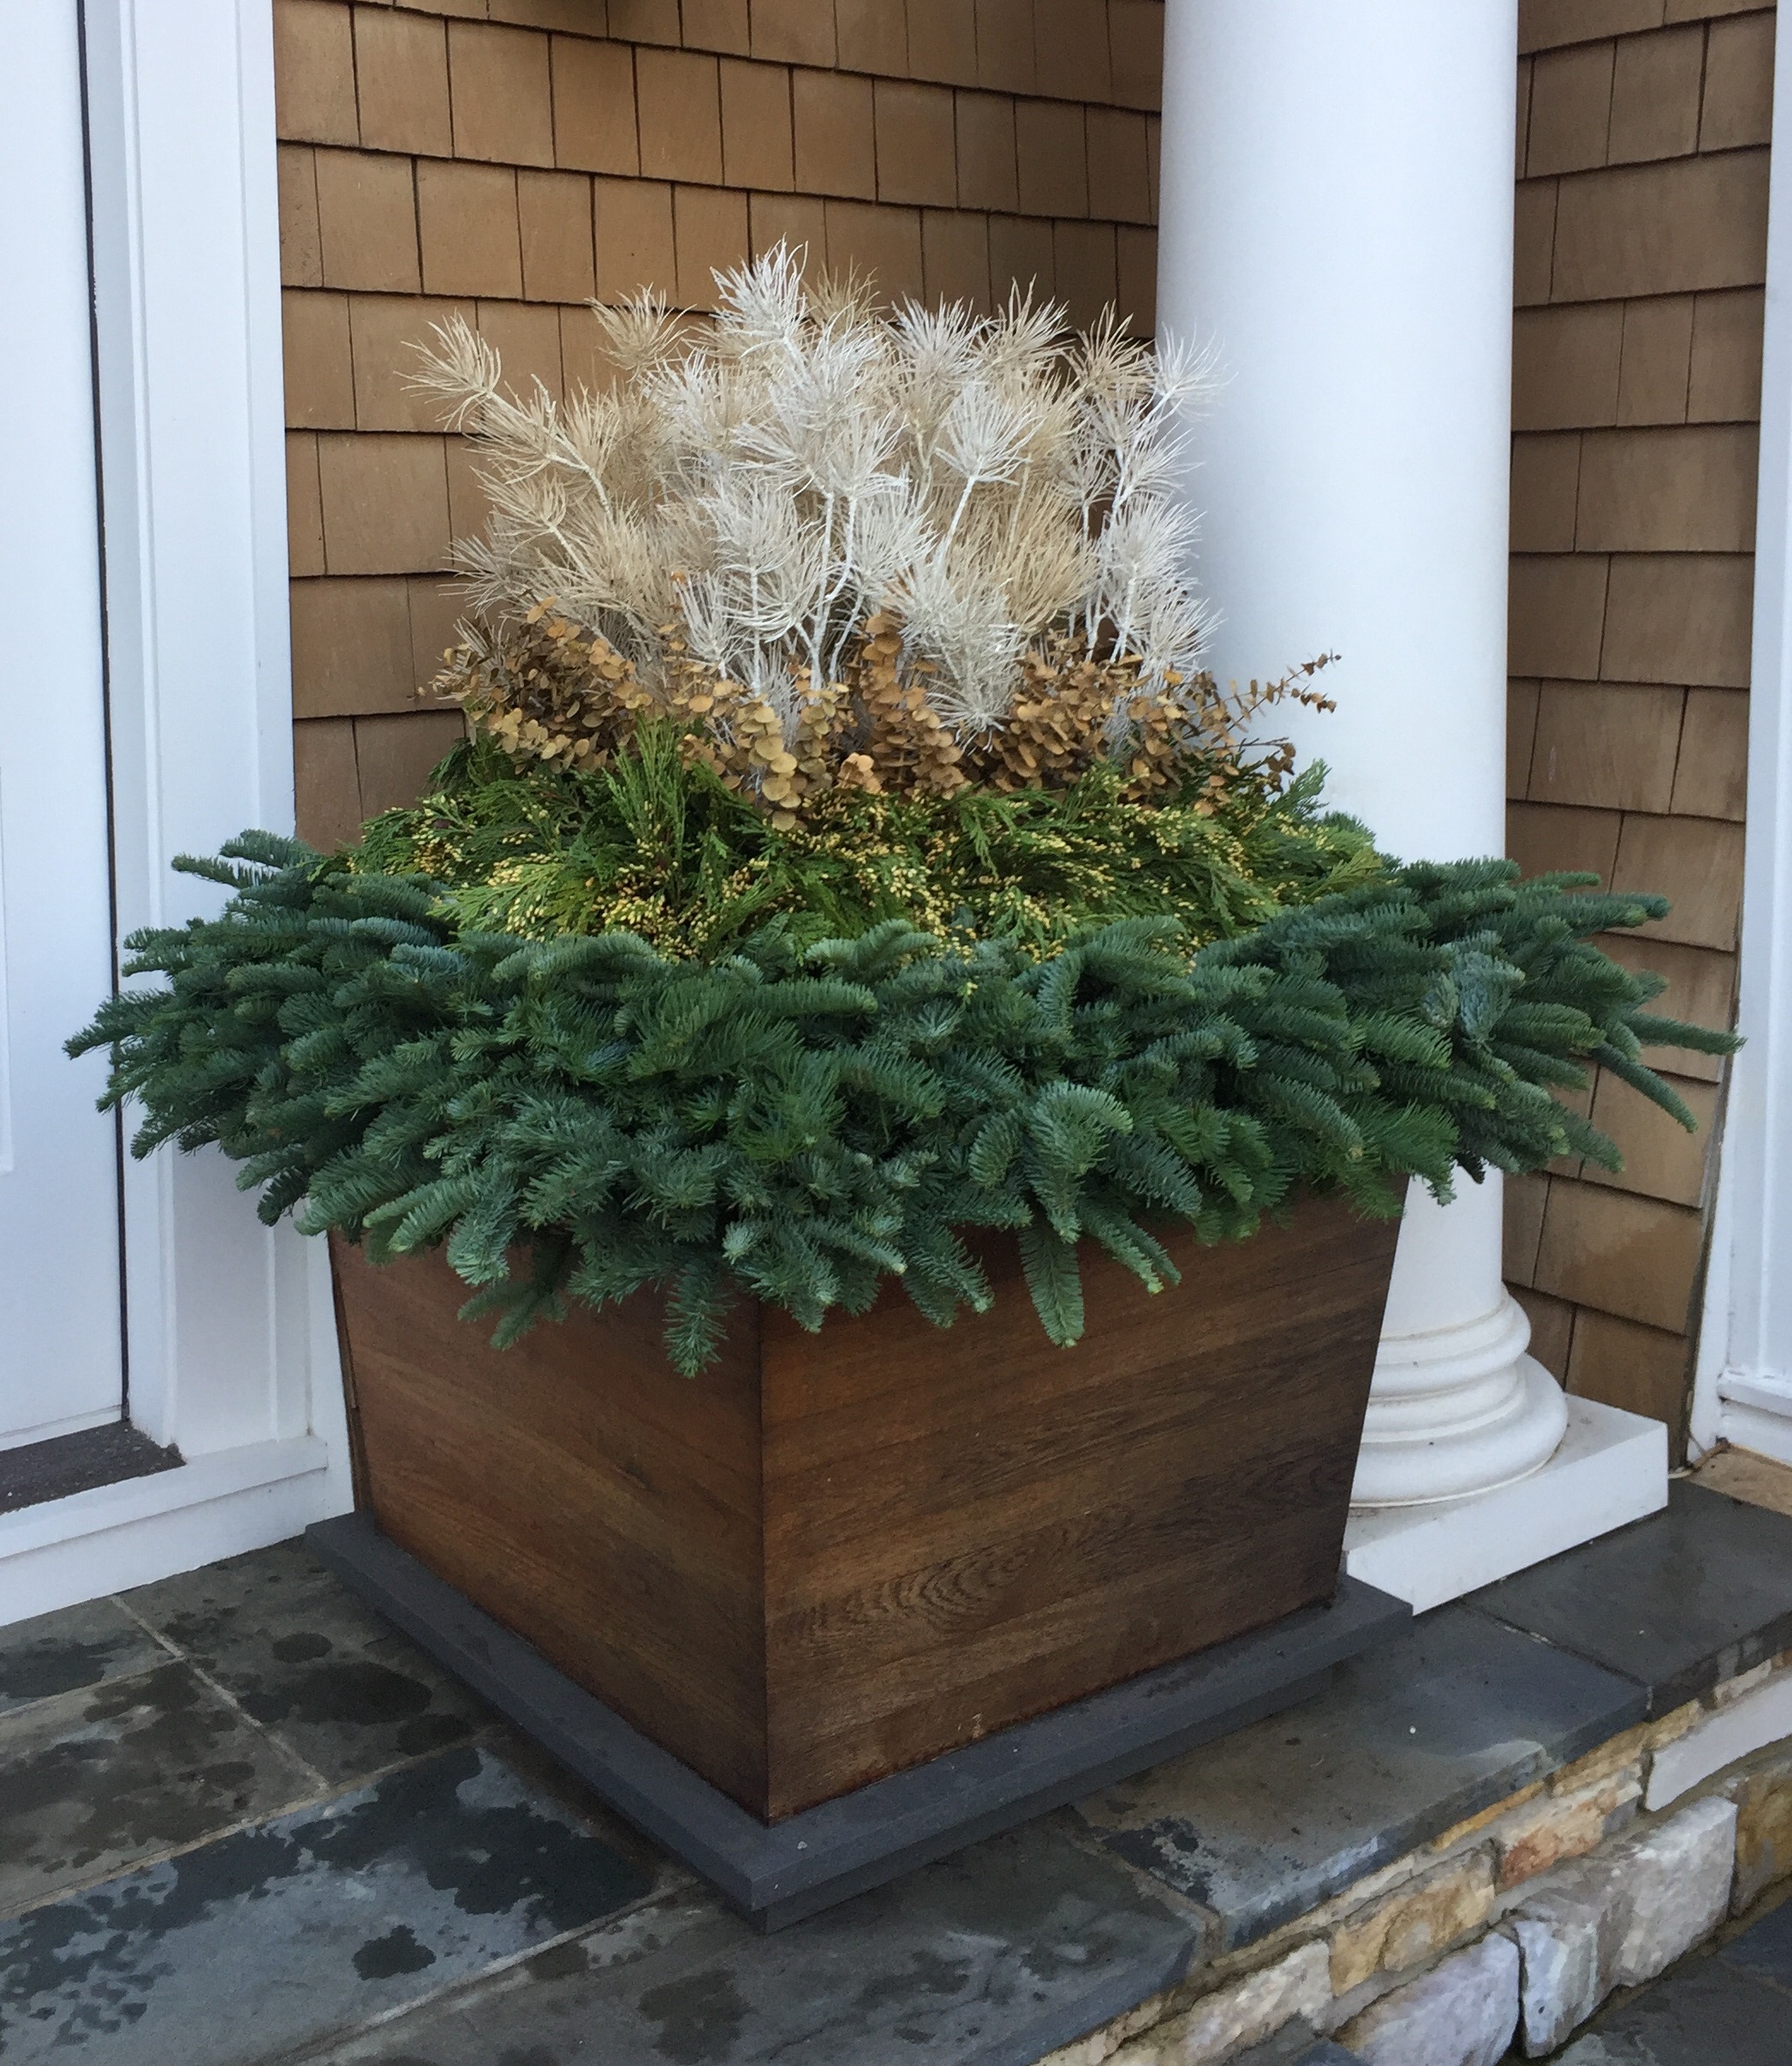
 These smaller scale Branch pots near the front door completed the project. They are smaller, but just as robust.
 picture perfect, in my opinion.