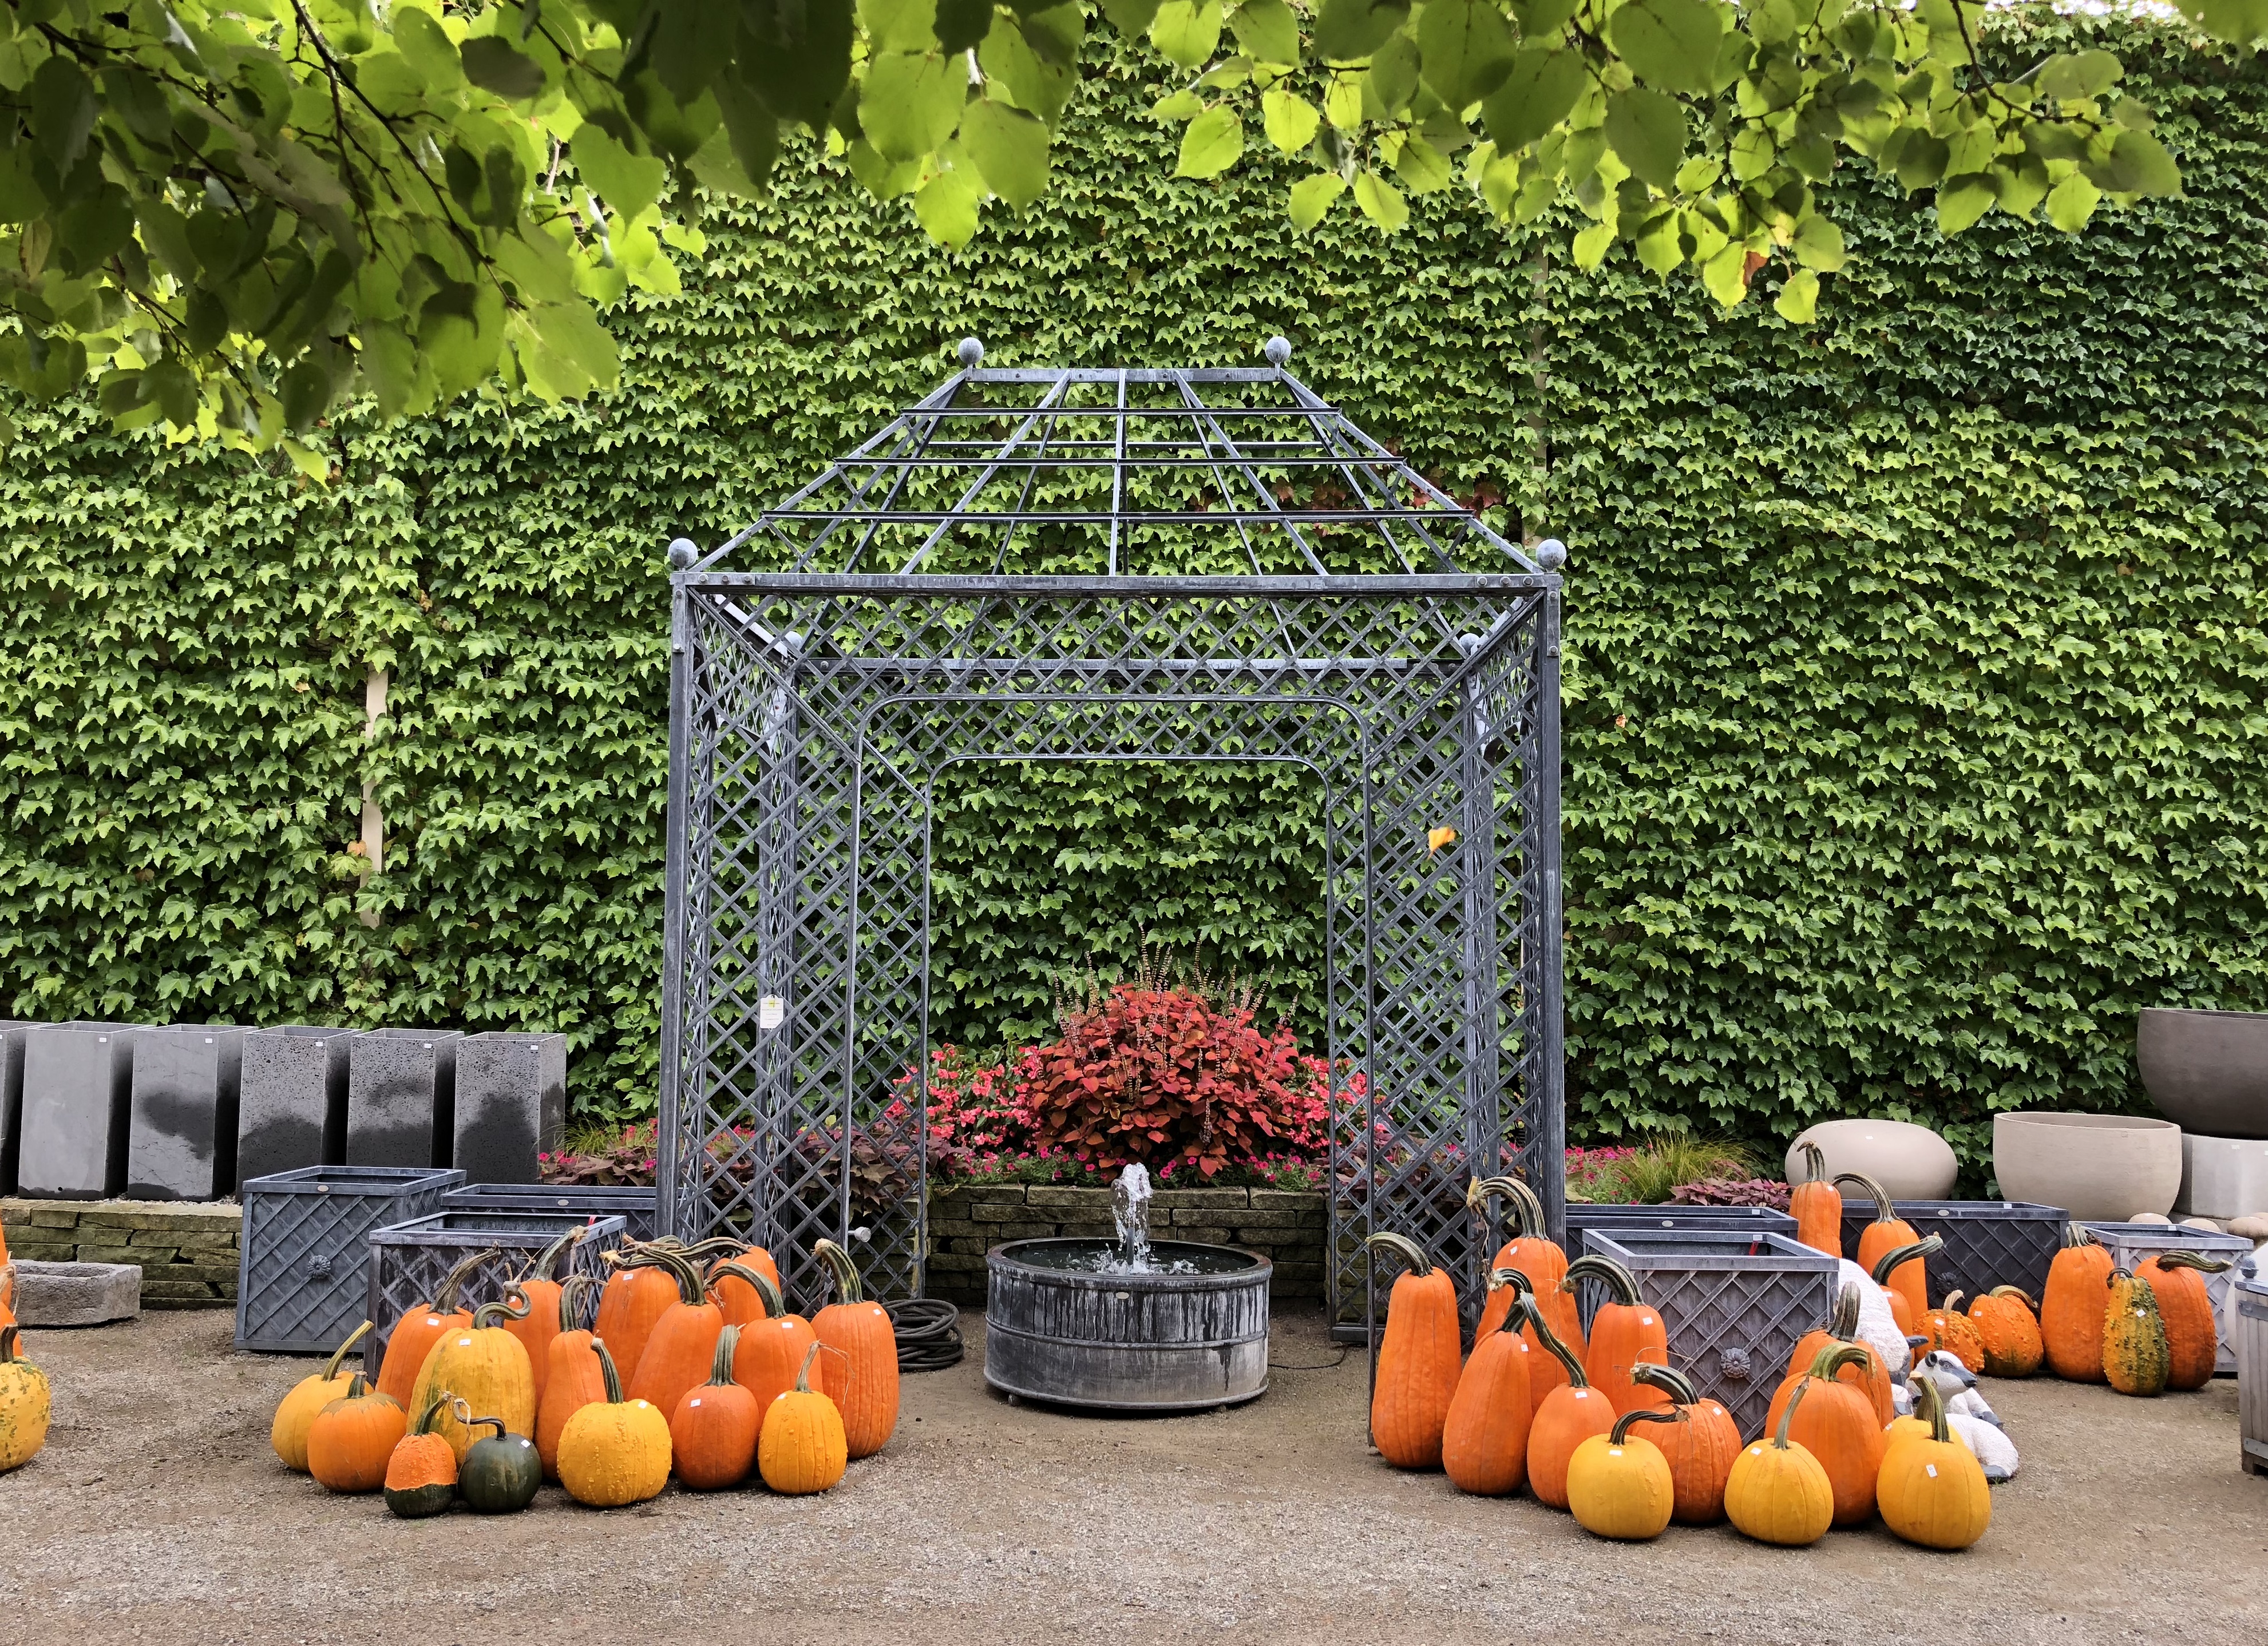
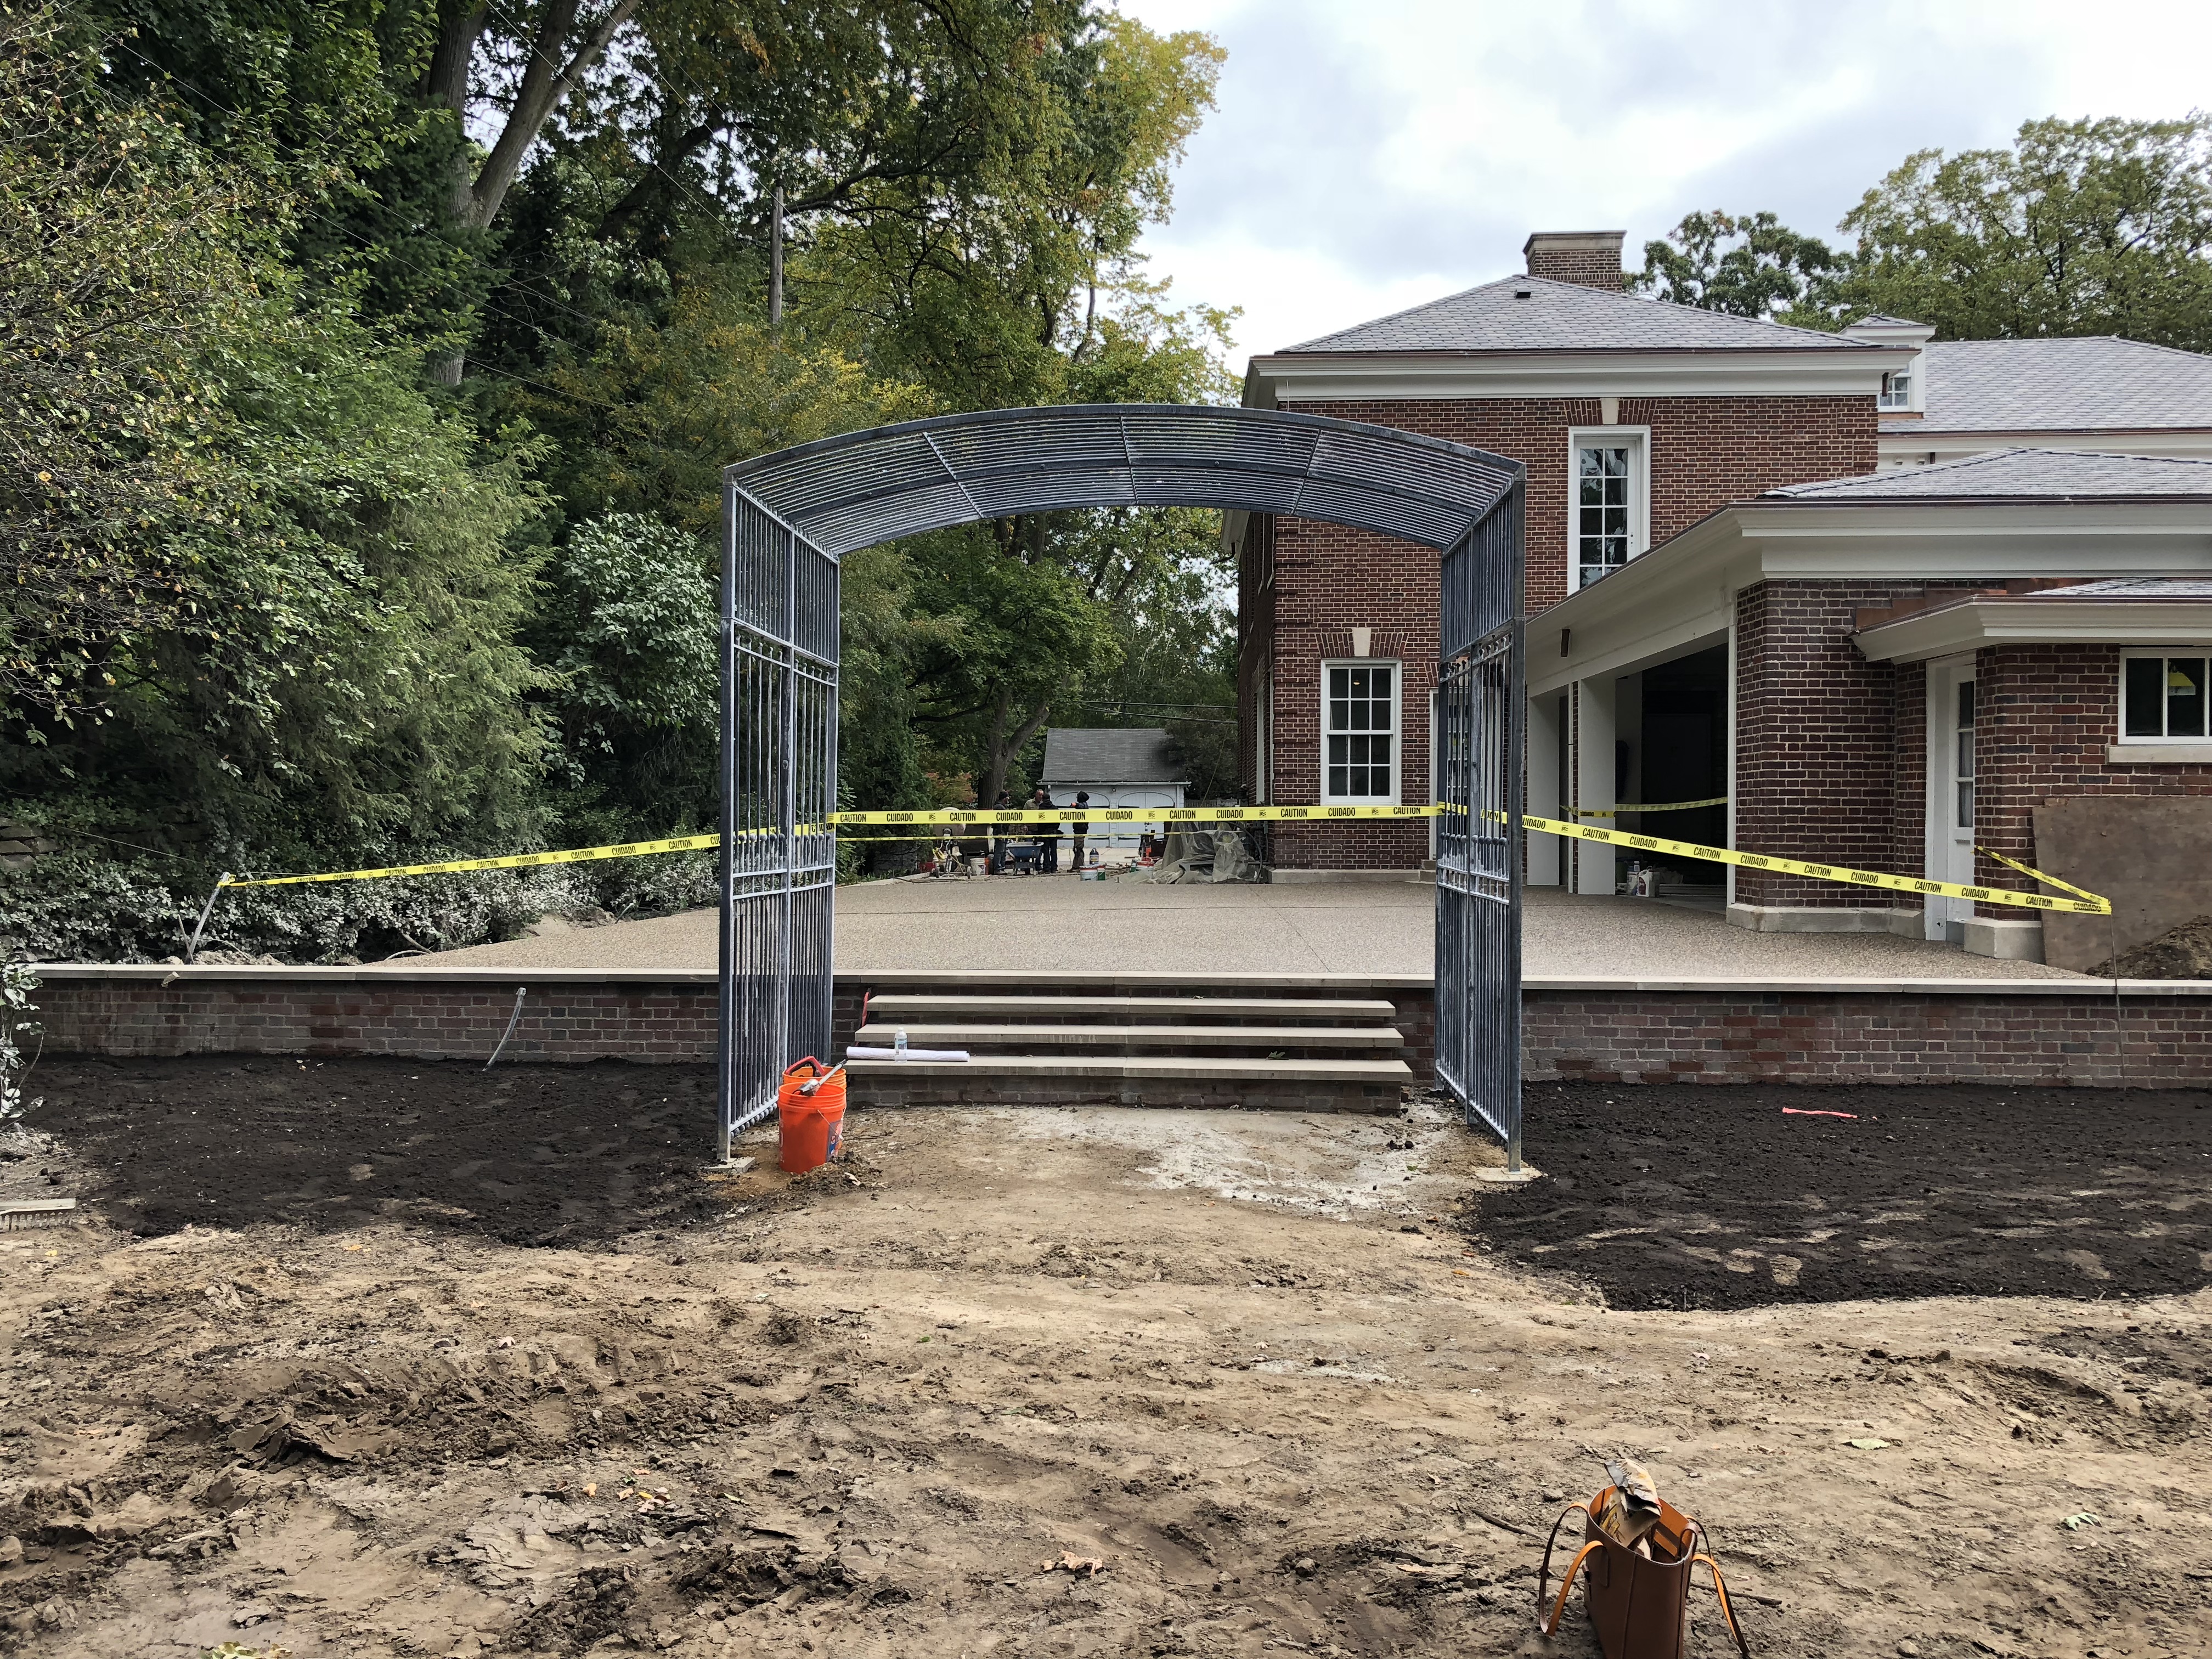
 It has been a while since I have written about Branch, so to follow are some snapshots of recent work. Pictured above is a 12′ wide by 8′ deep rose arbor.
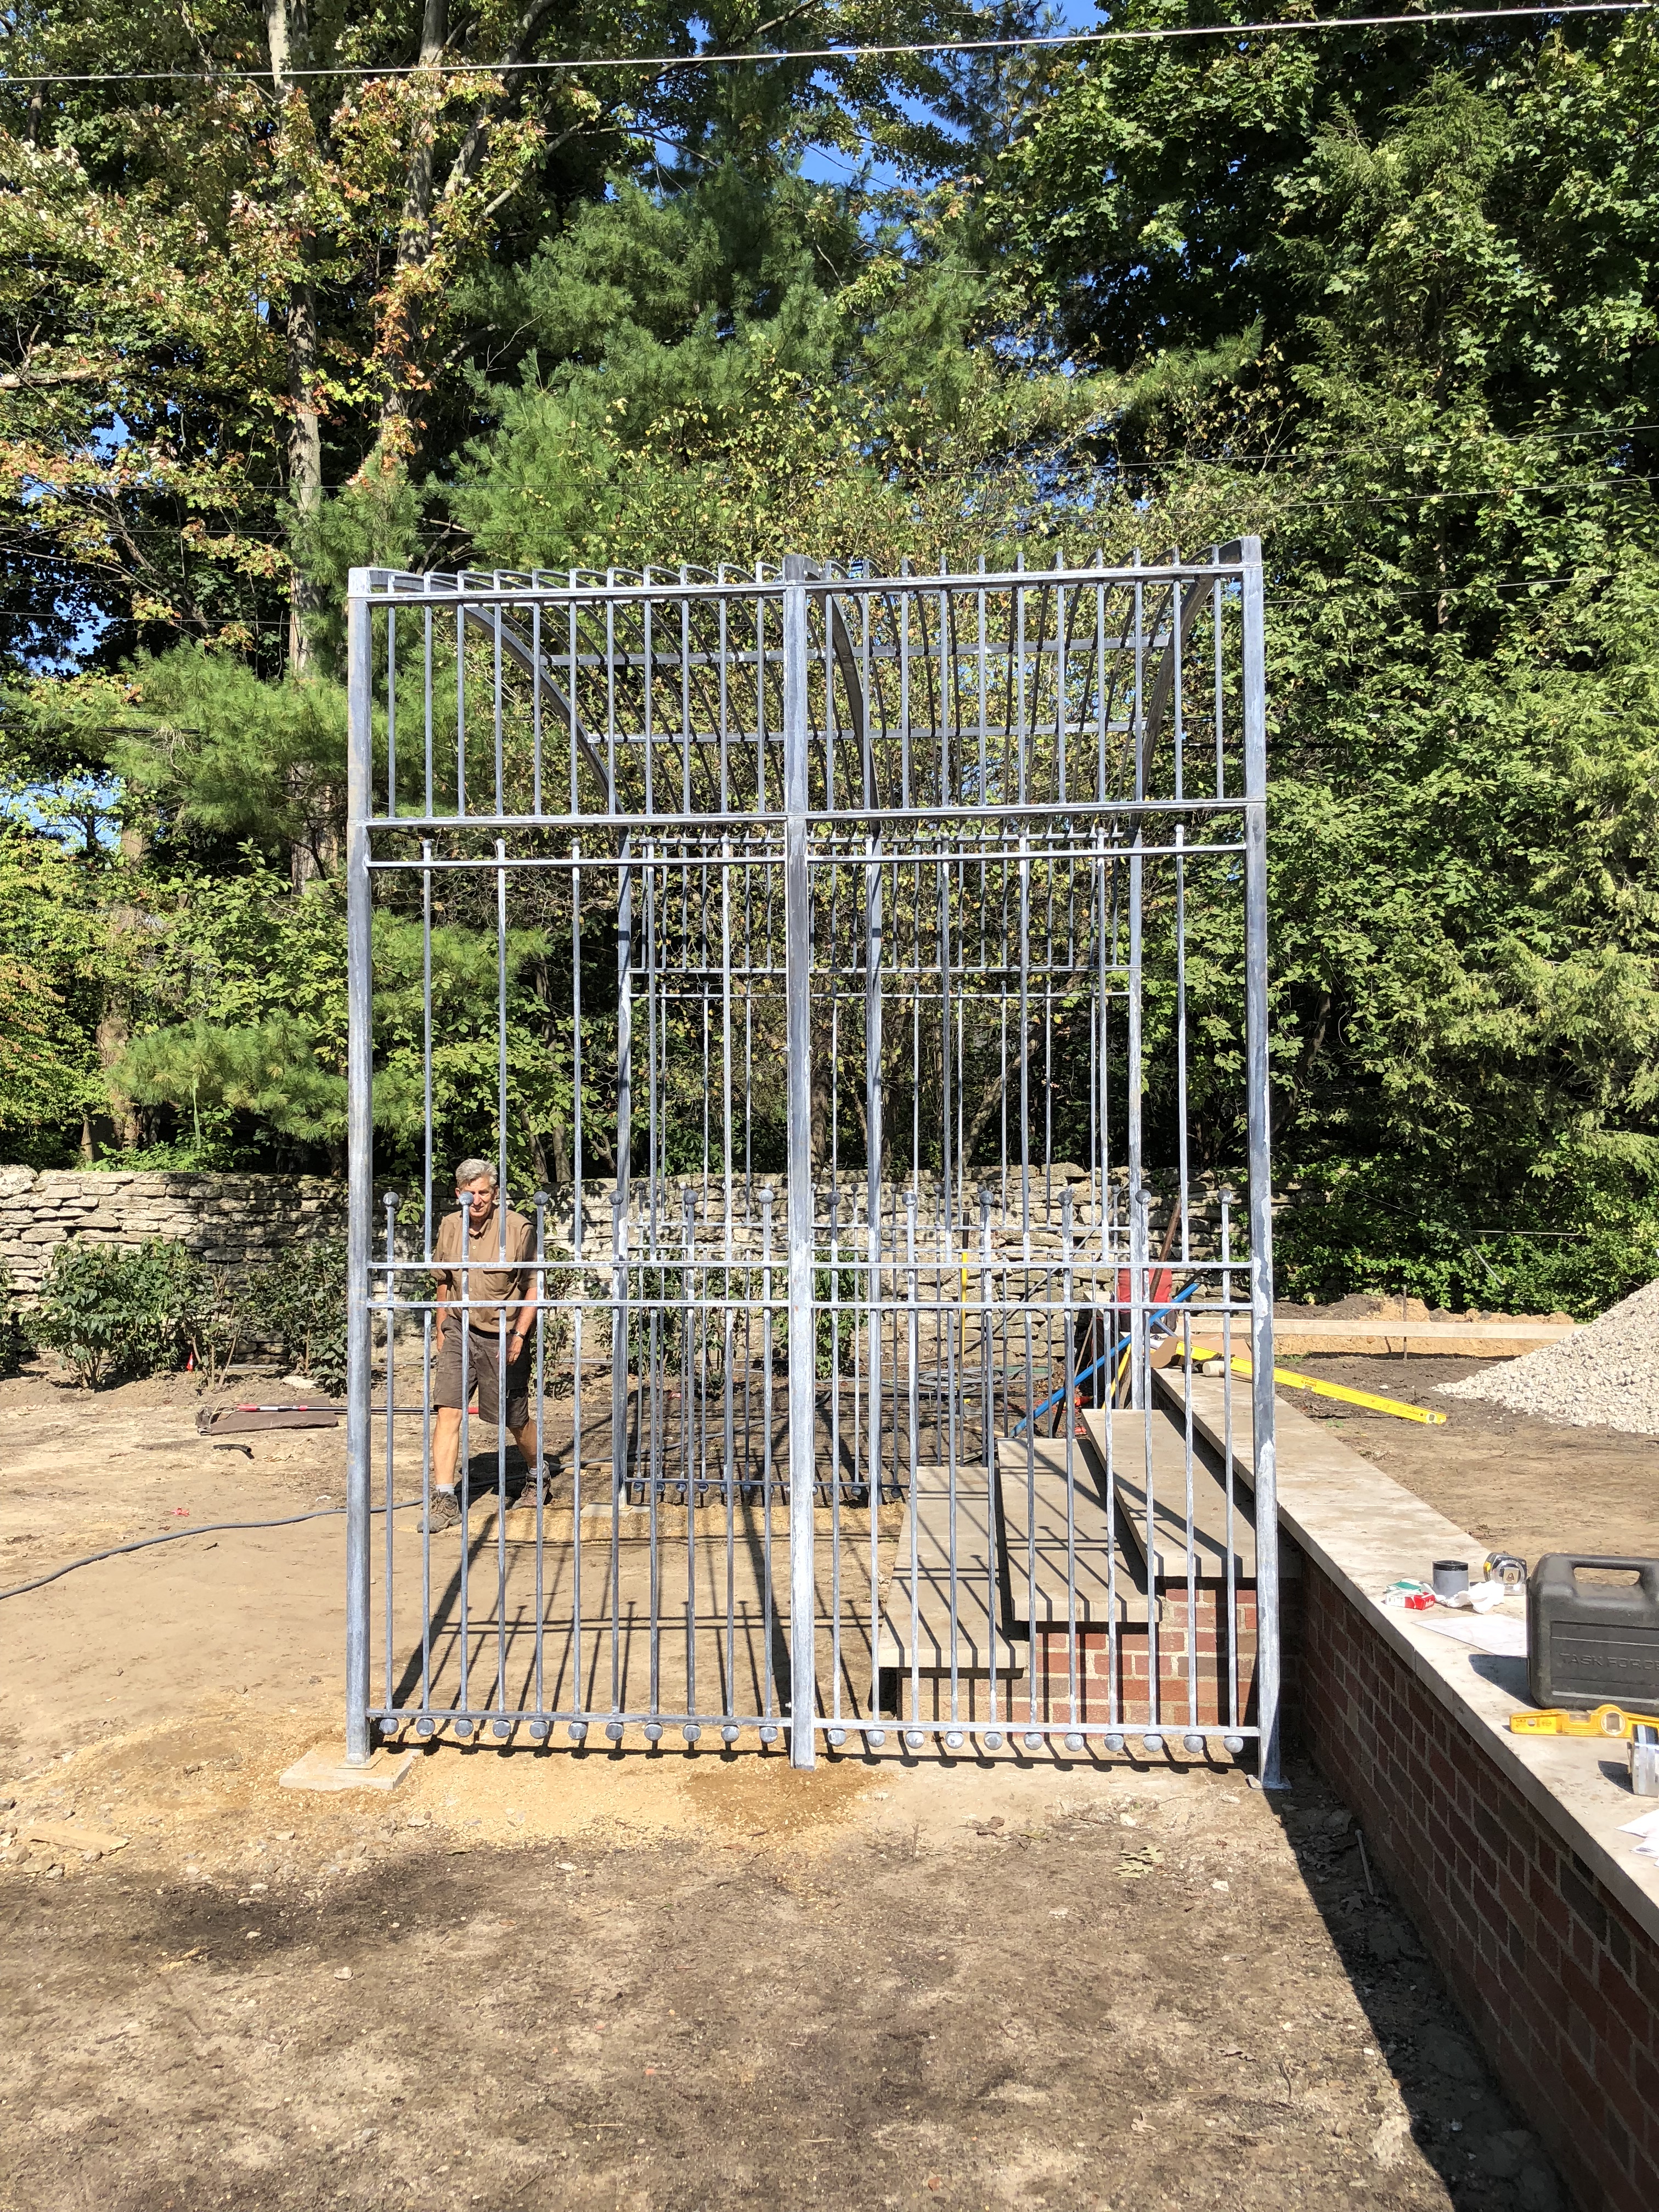 rose arbor from the side
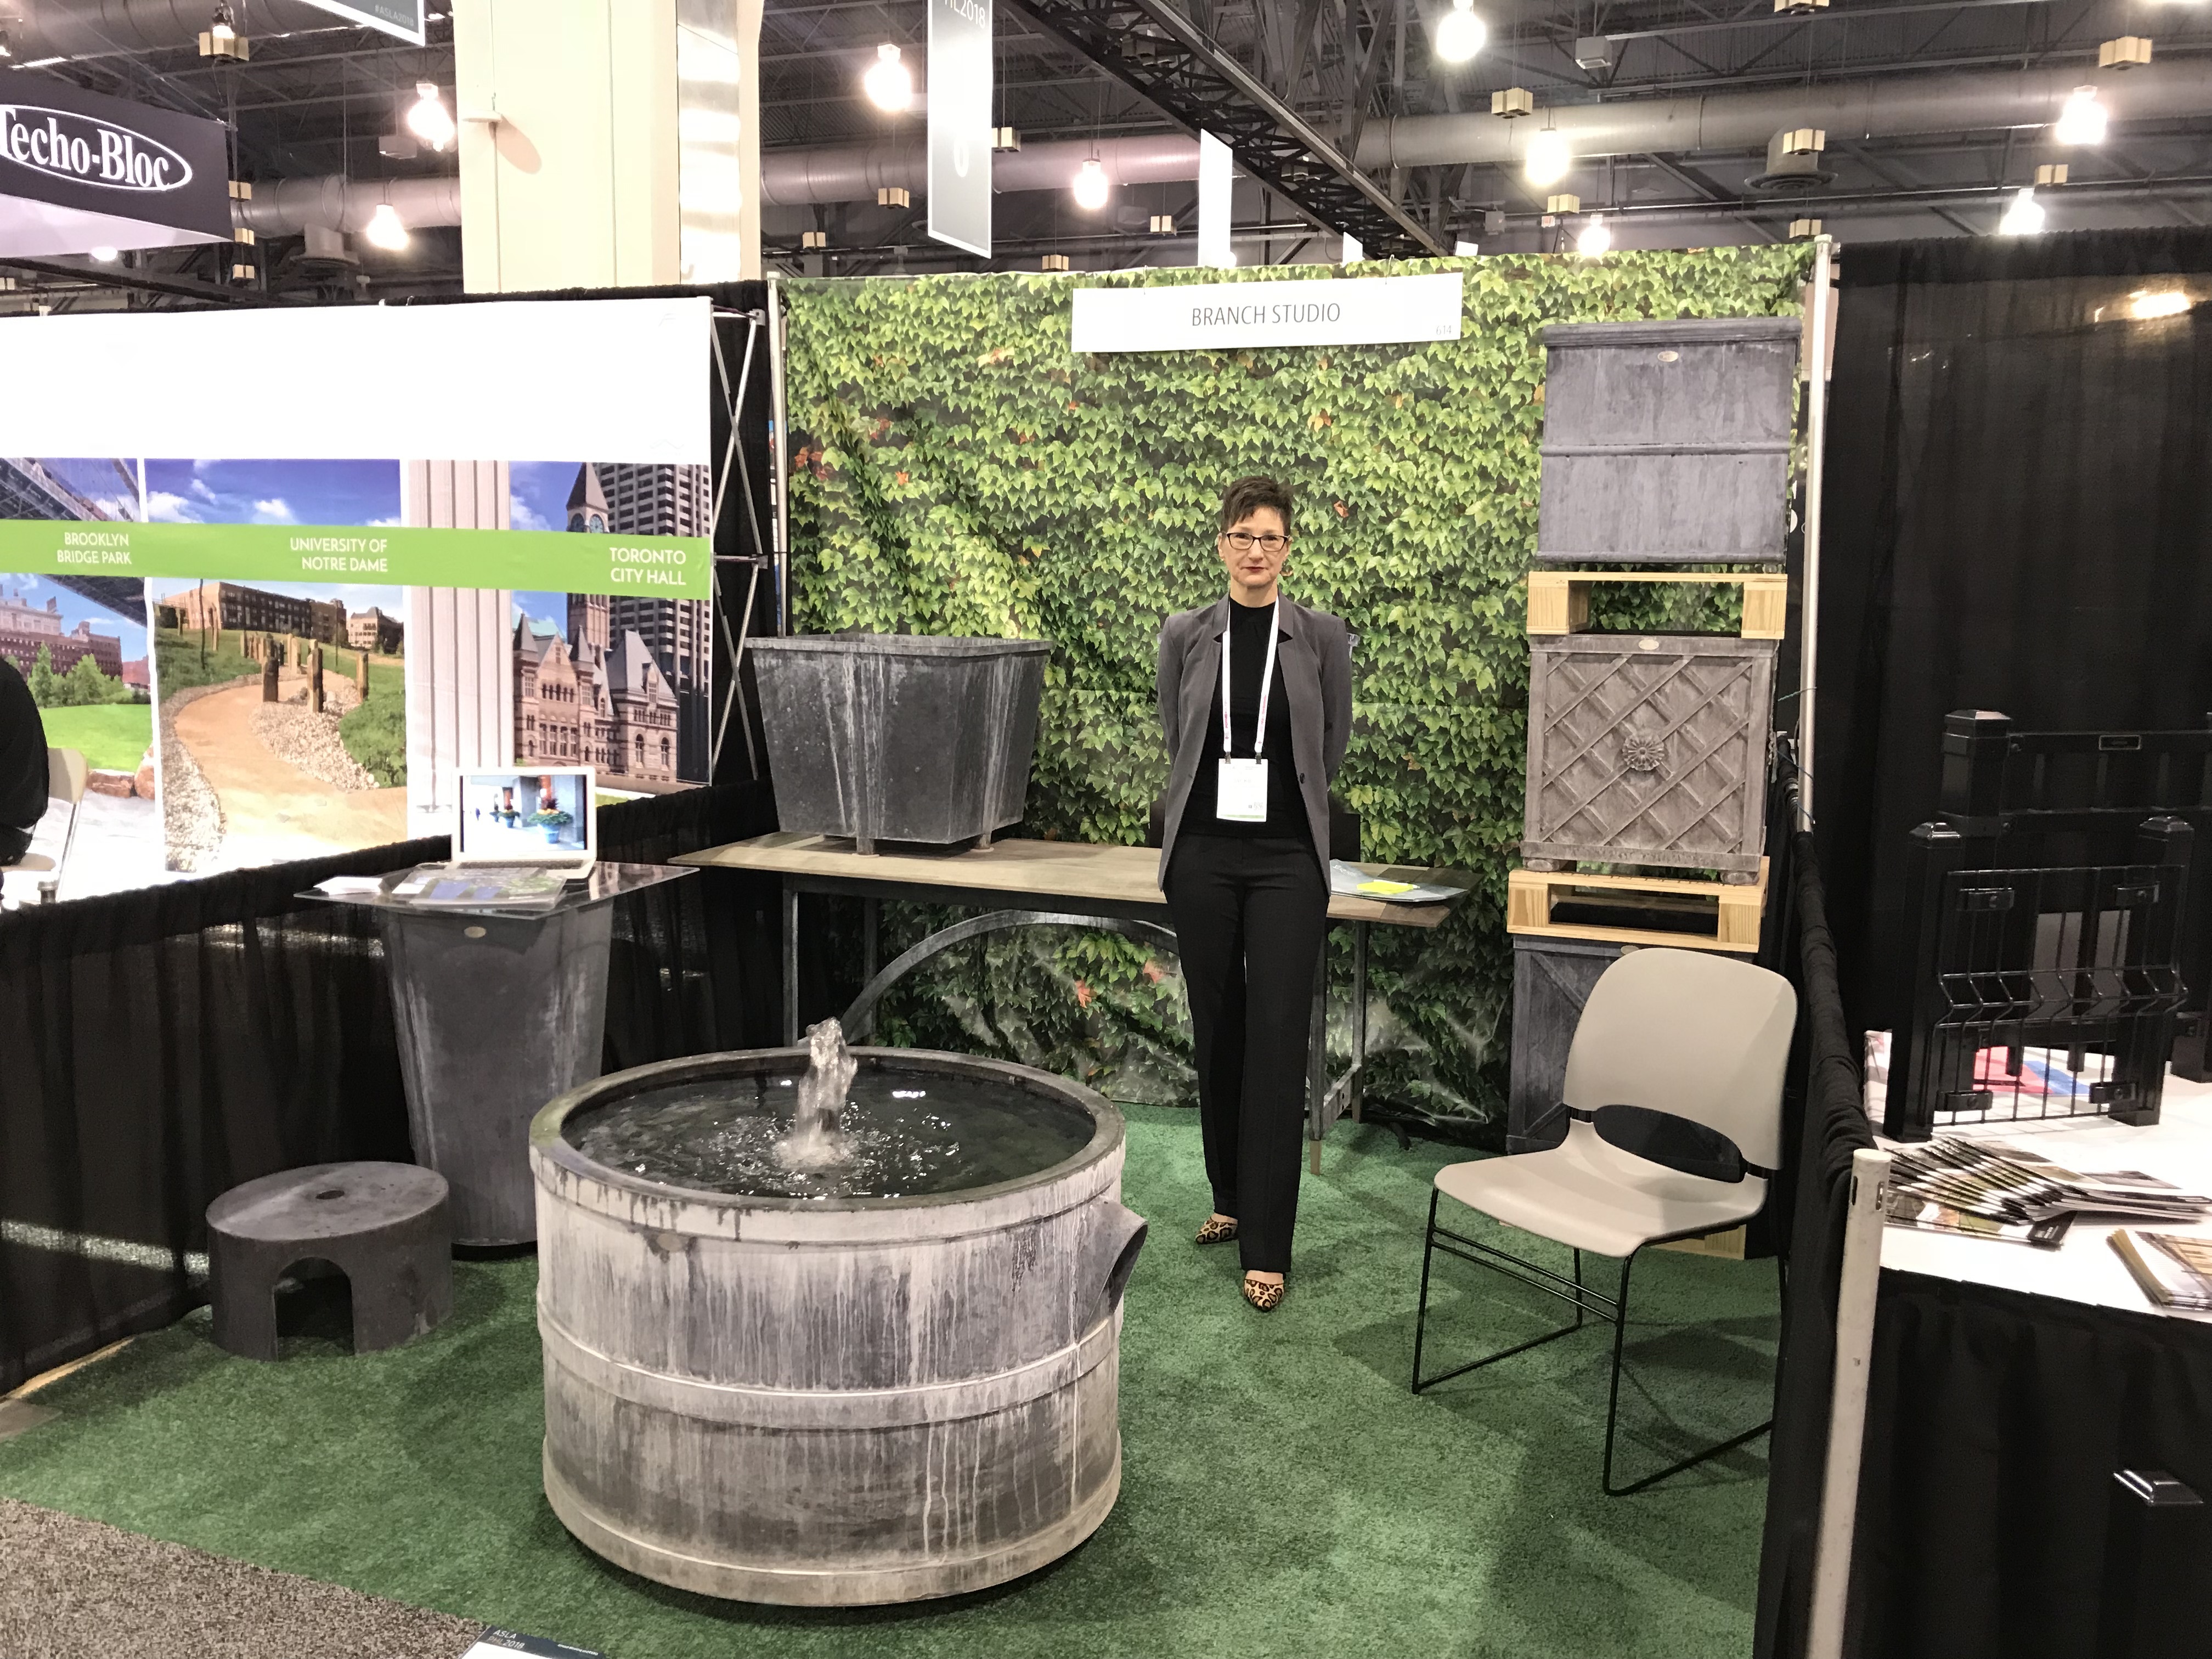
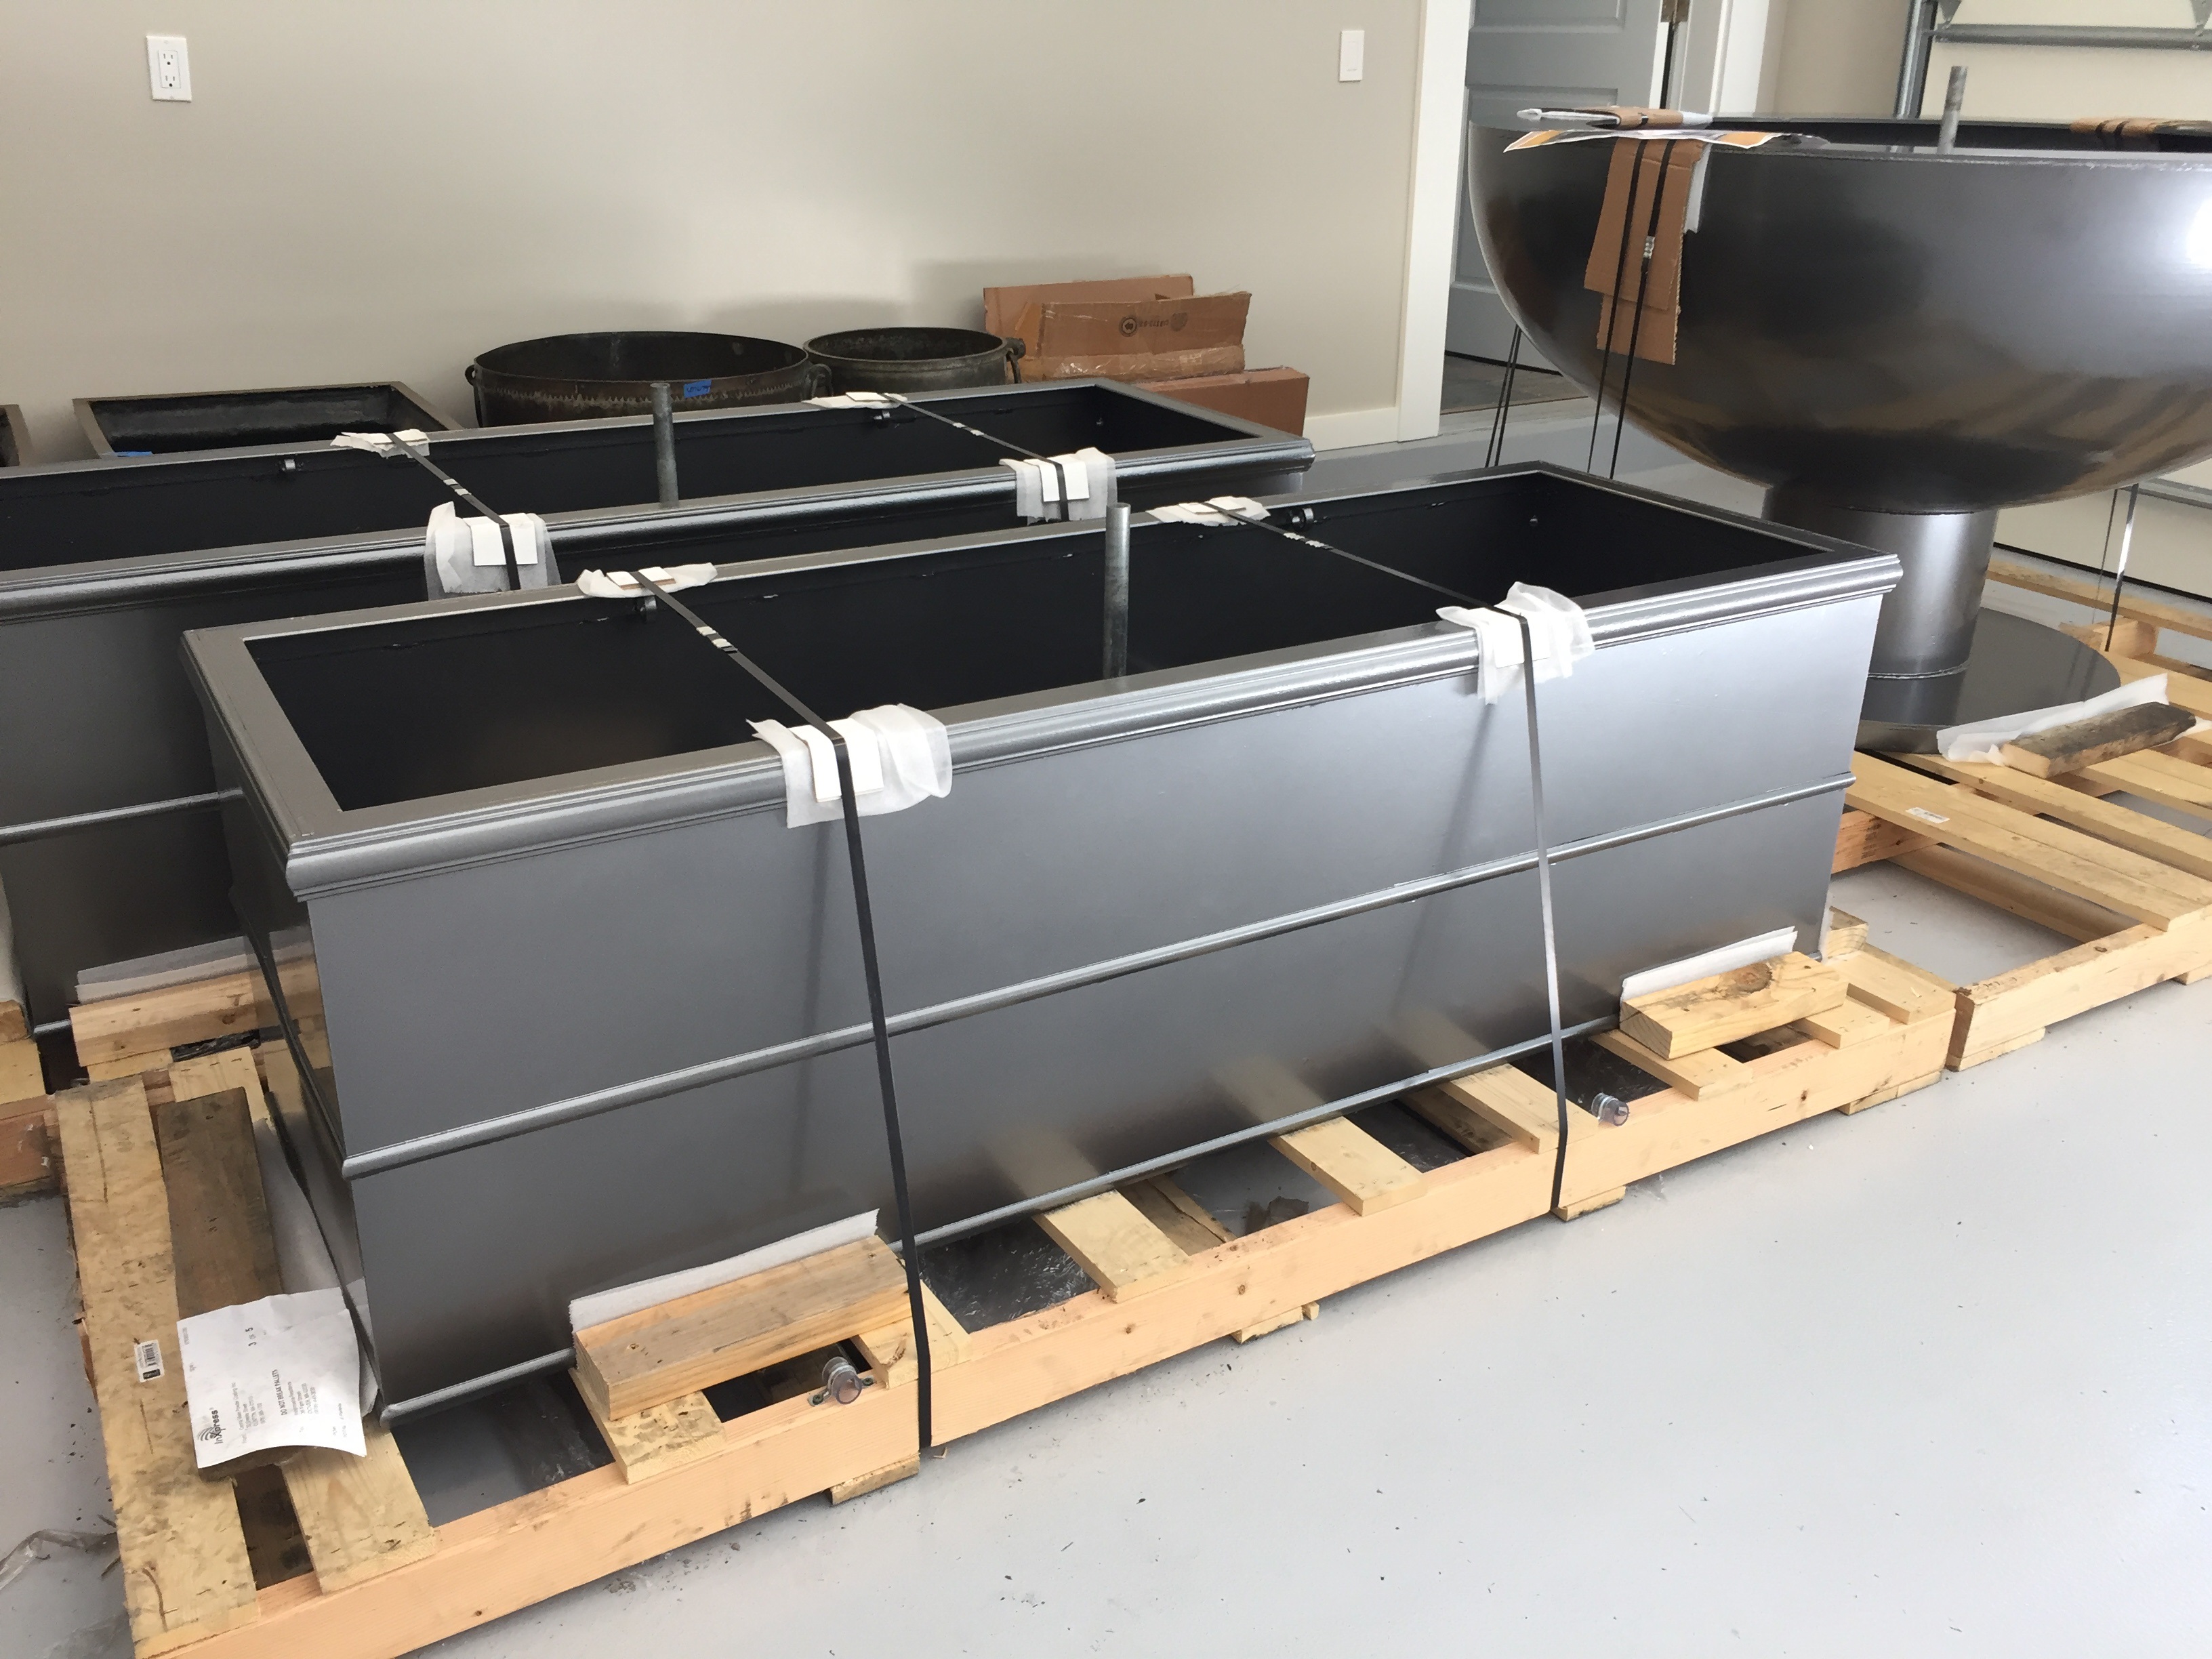 Custom made fountains with custom powder coat finish
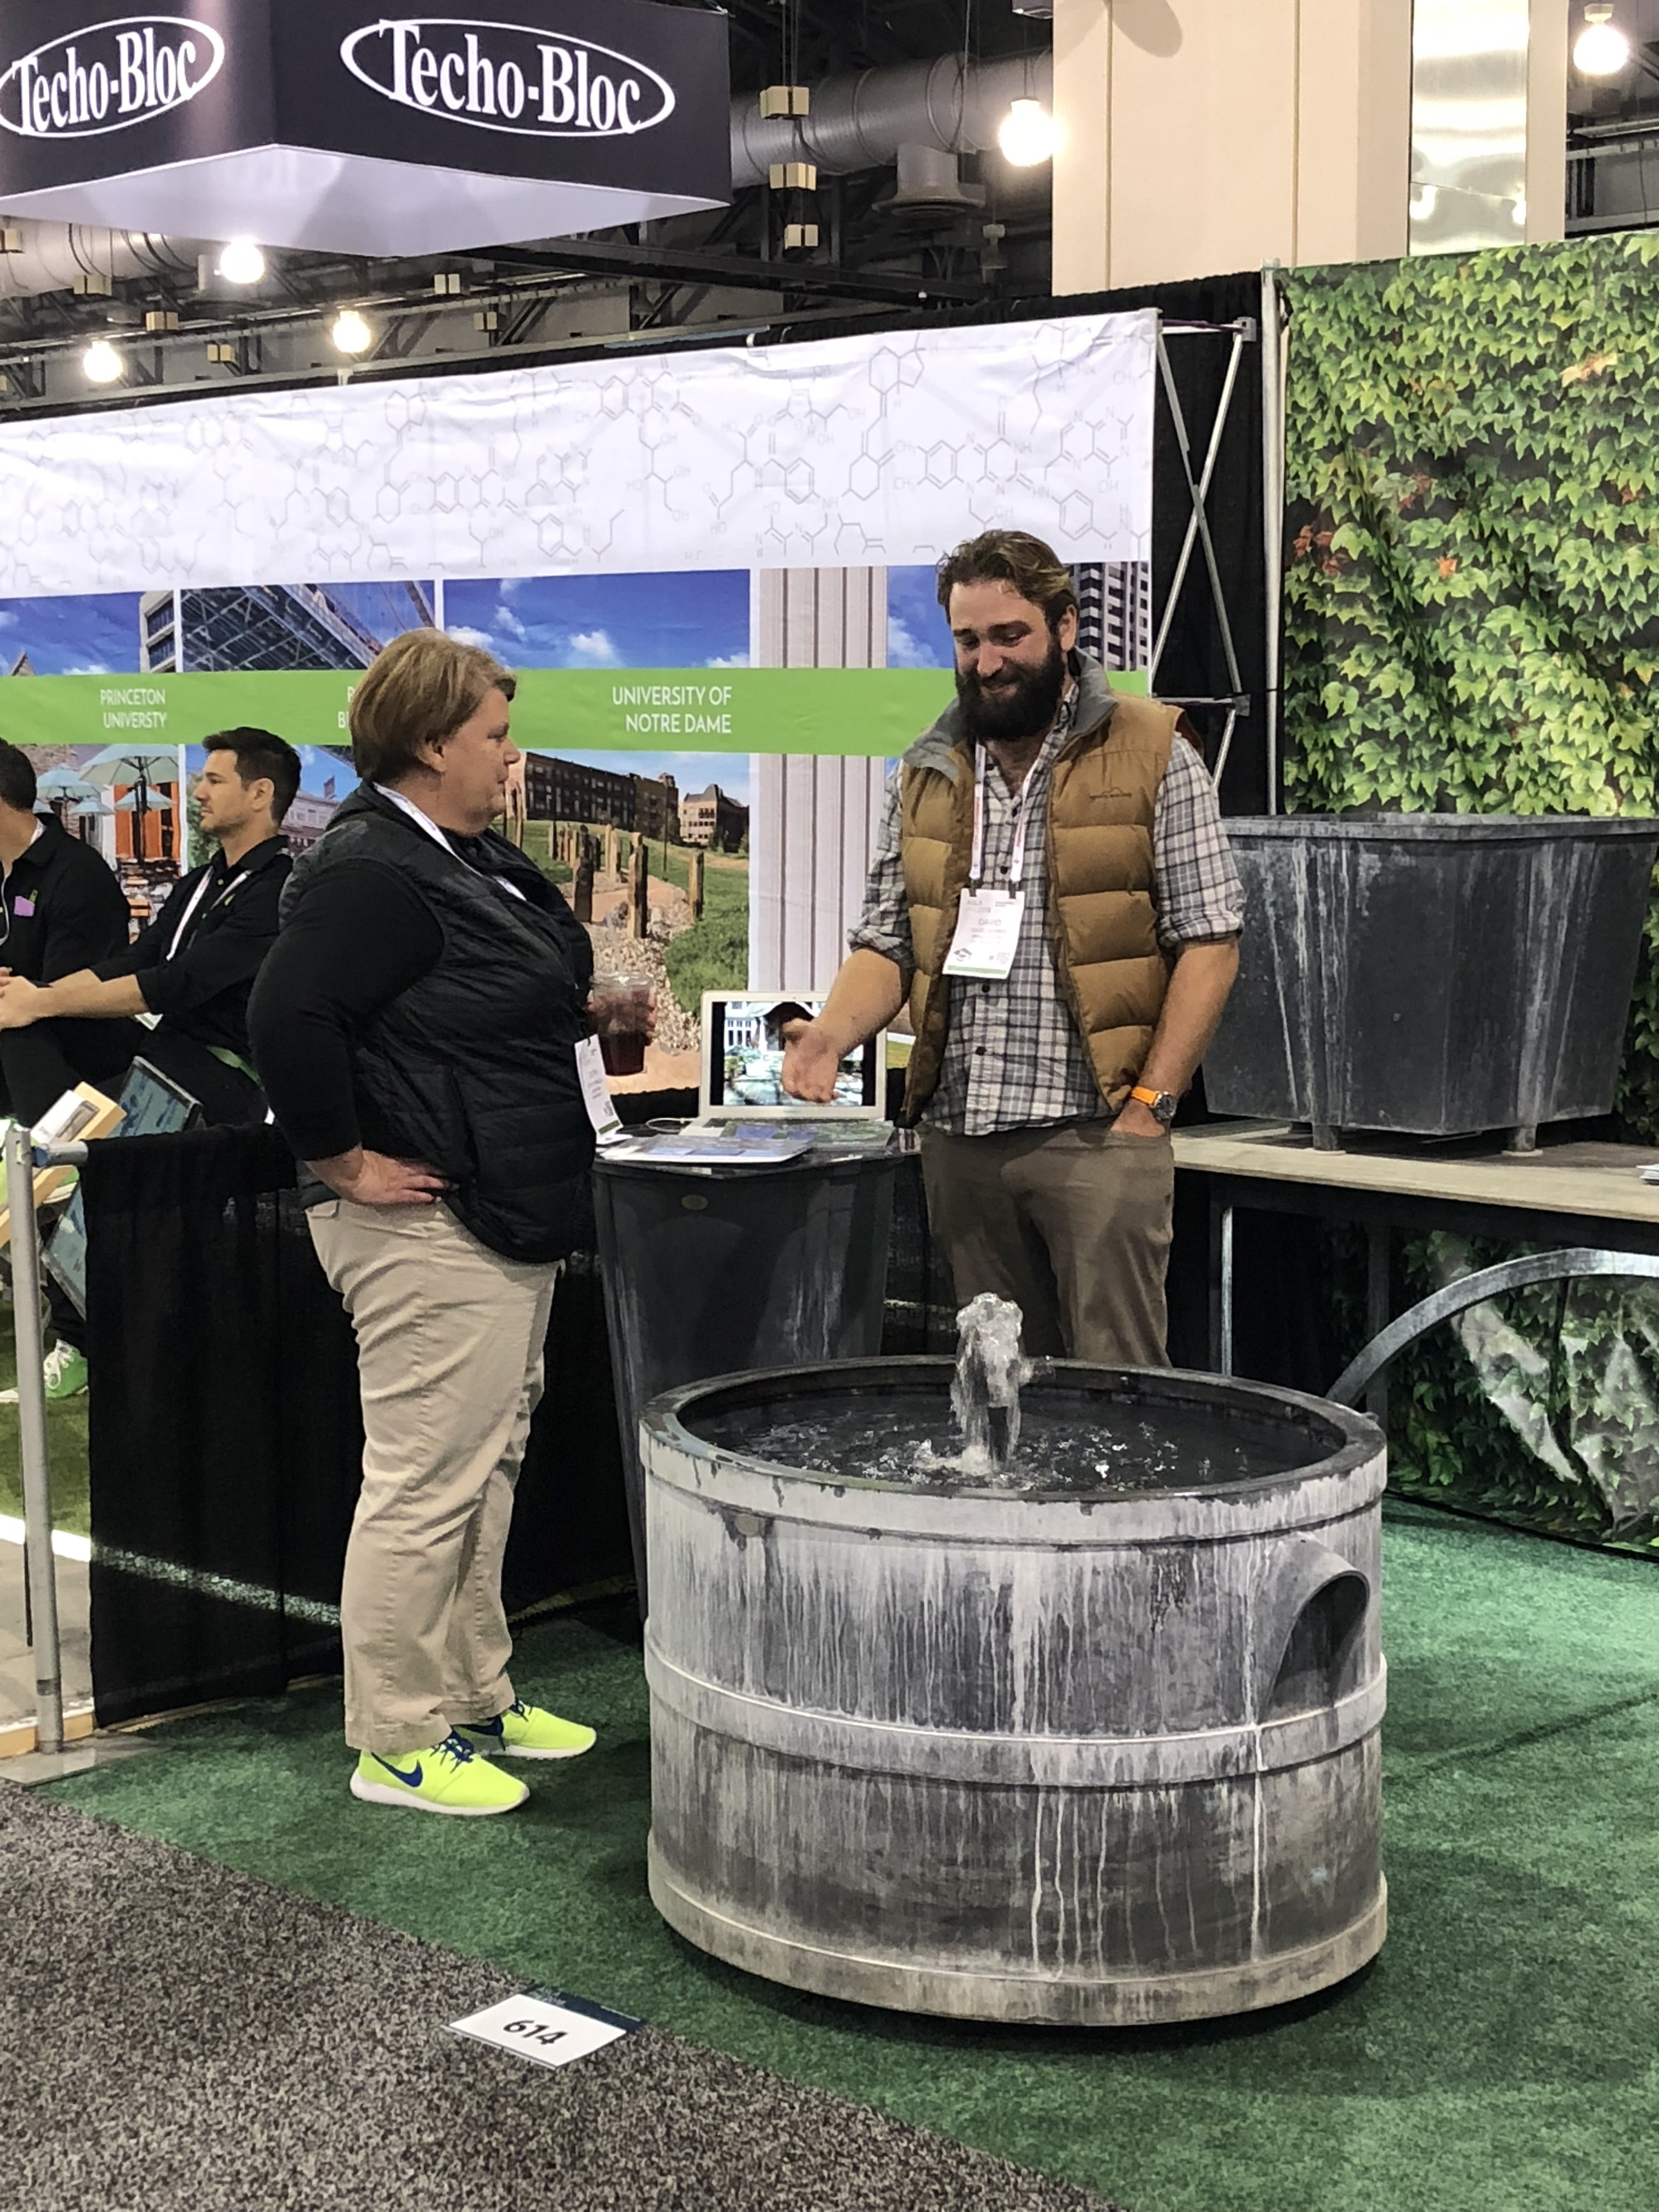
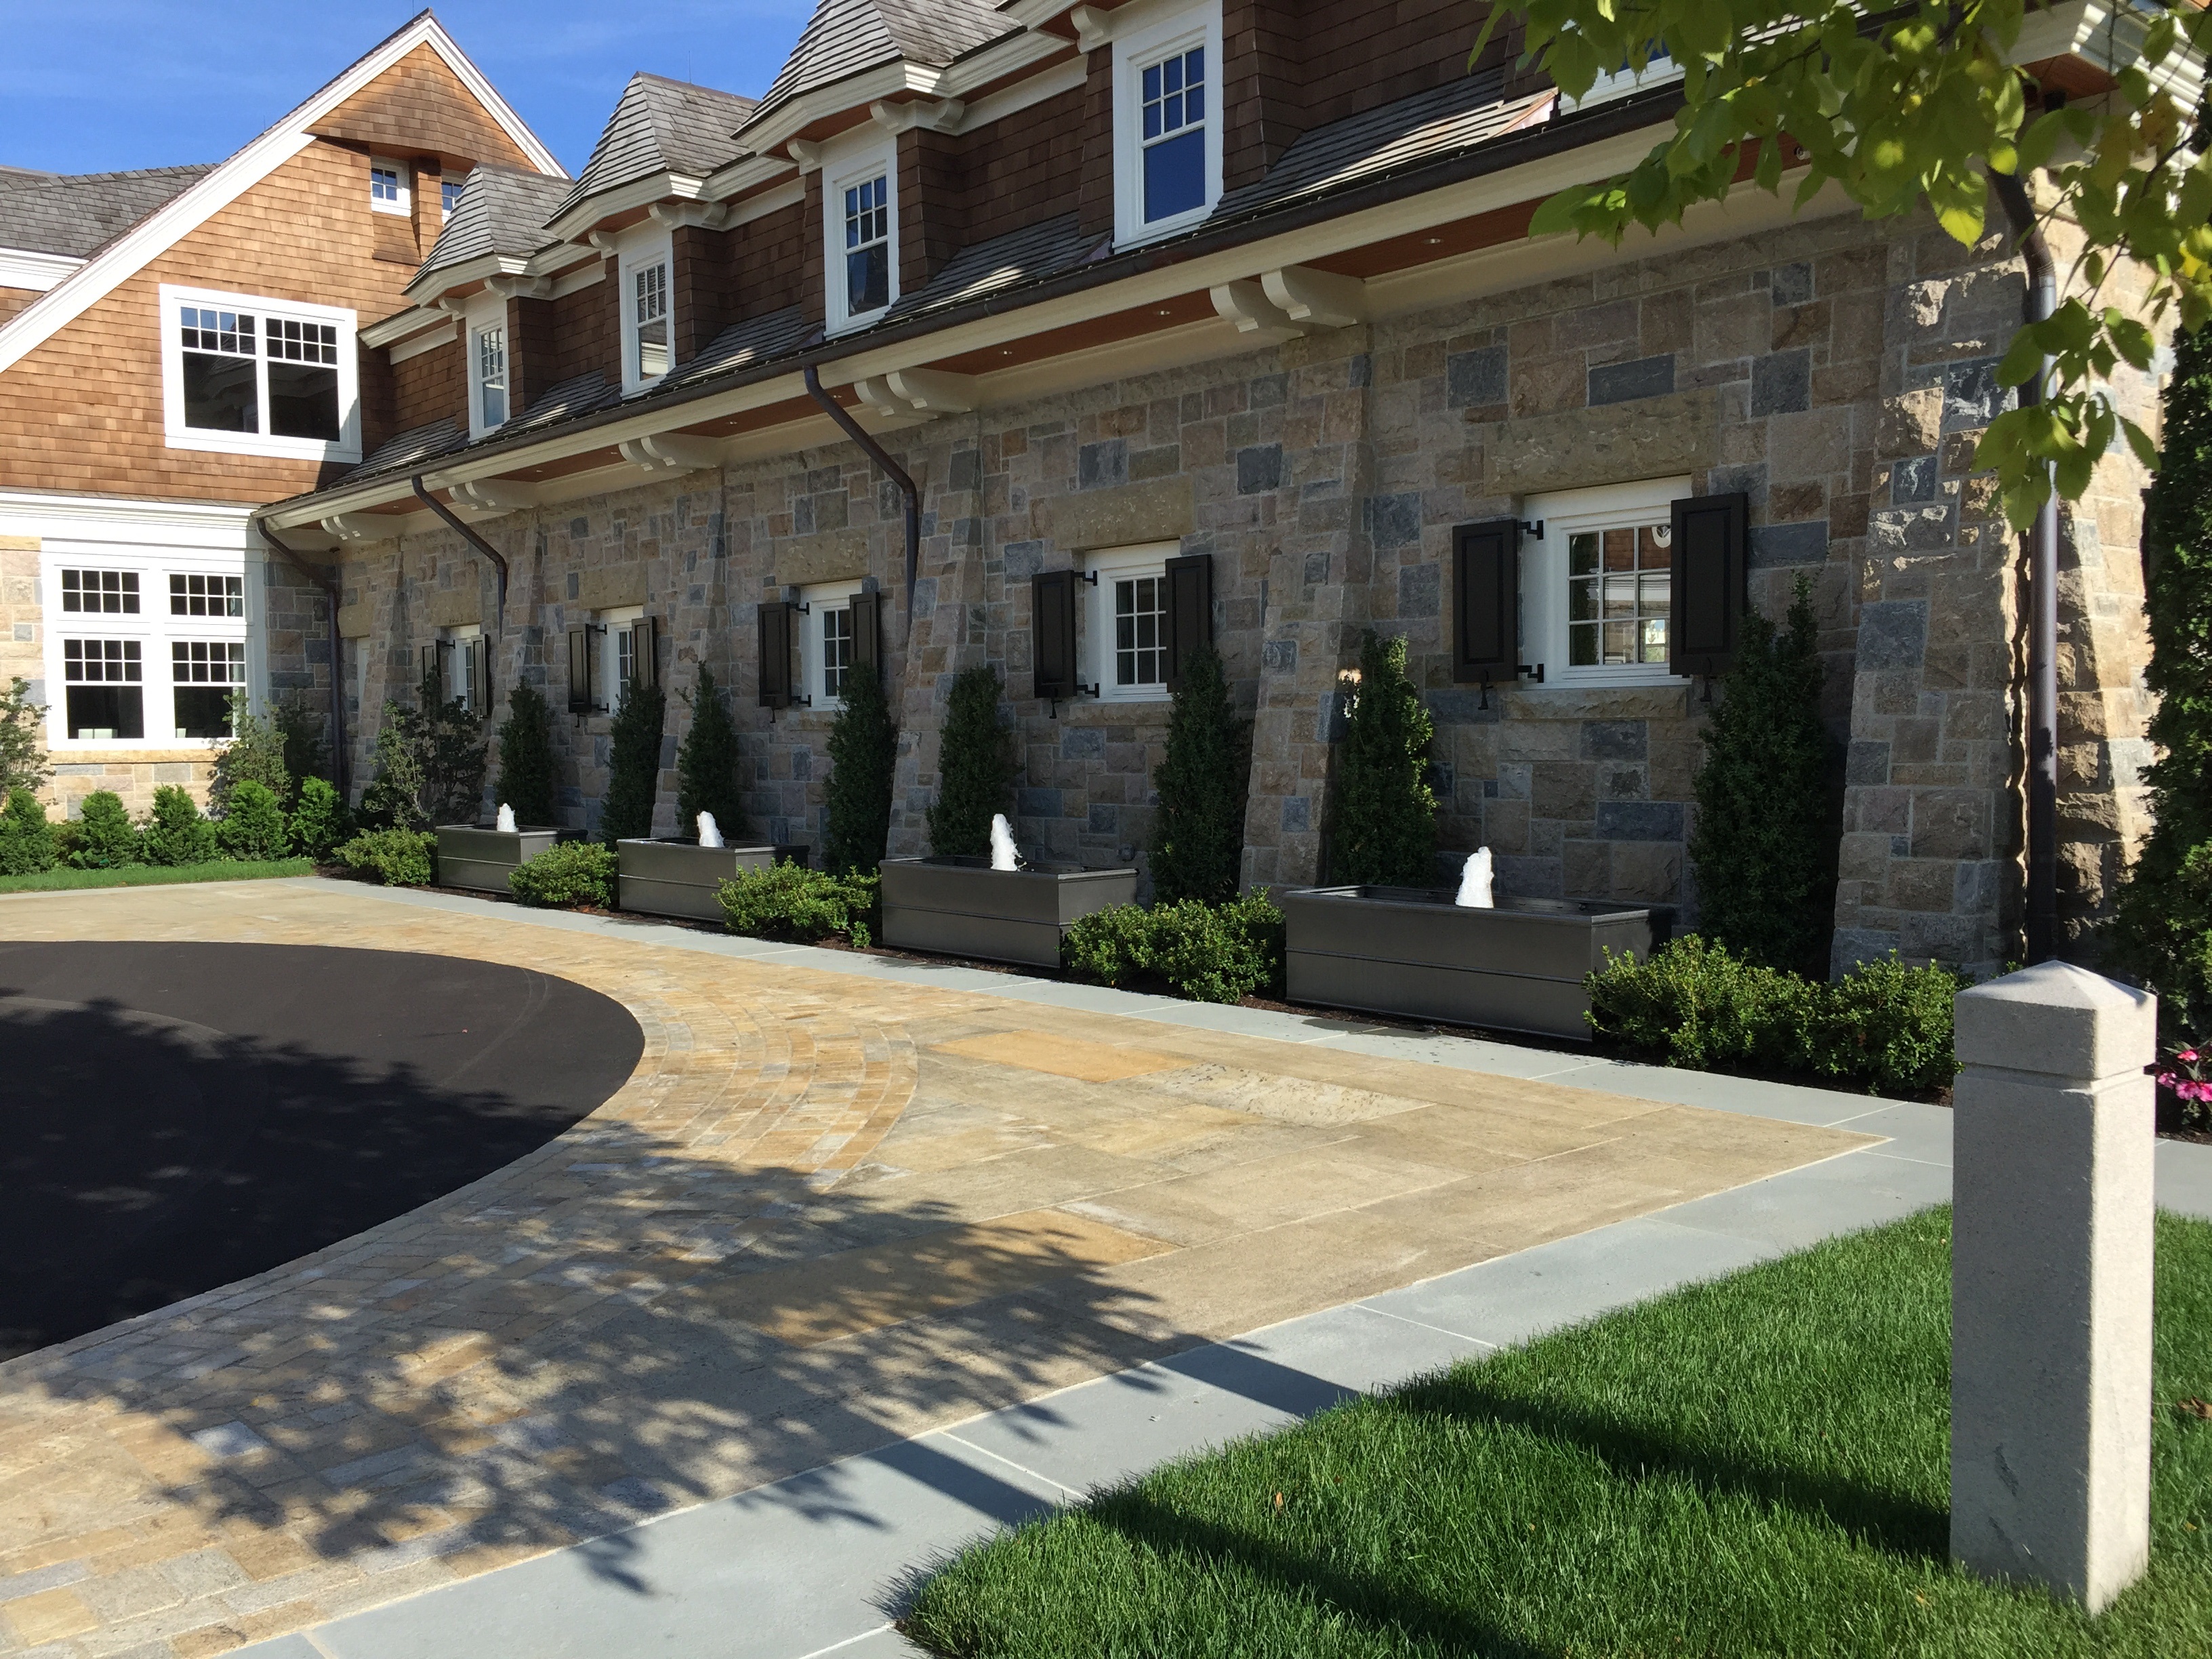 rectangular fountains in place
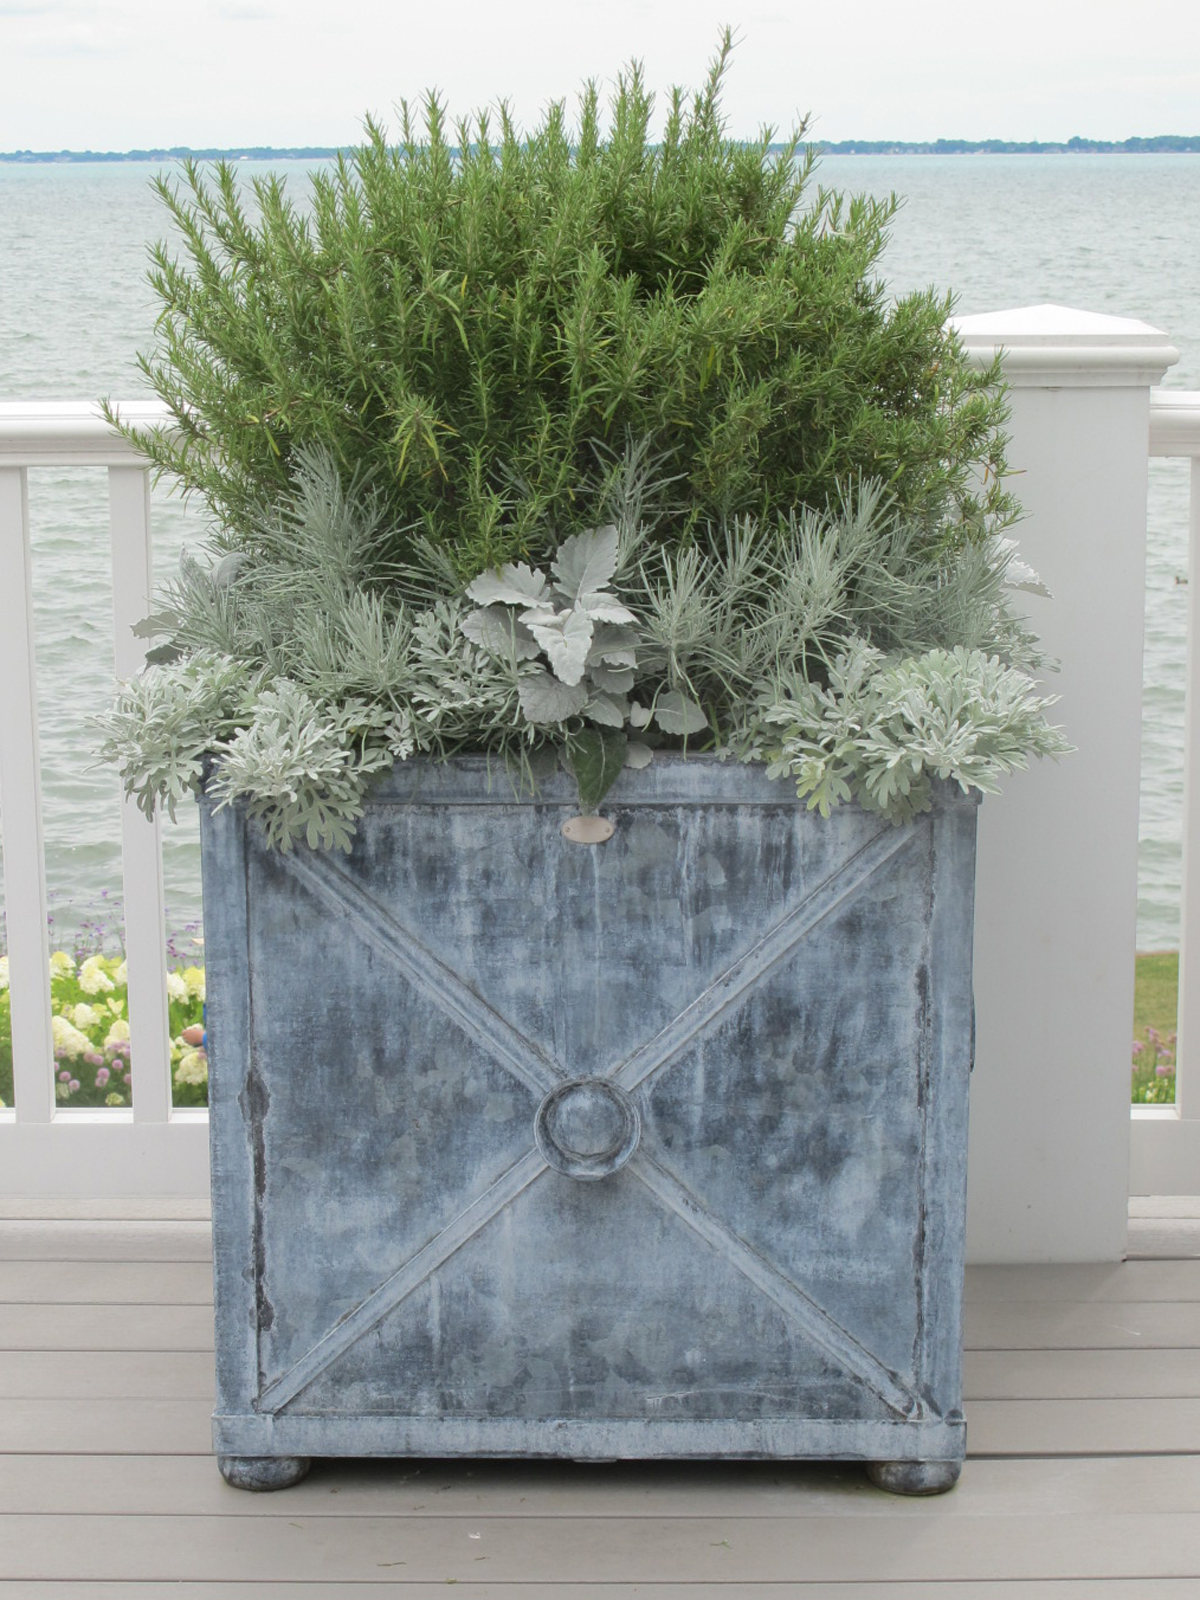 Jackie box with a polar finish
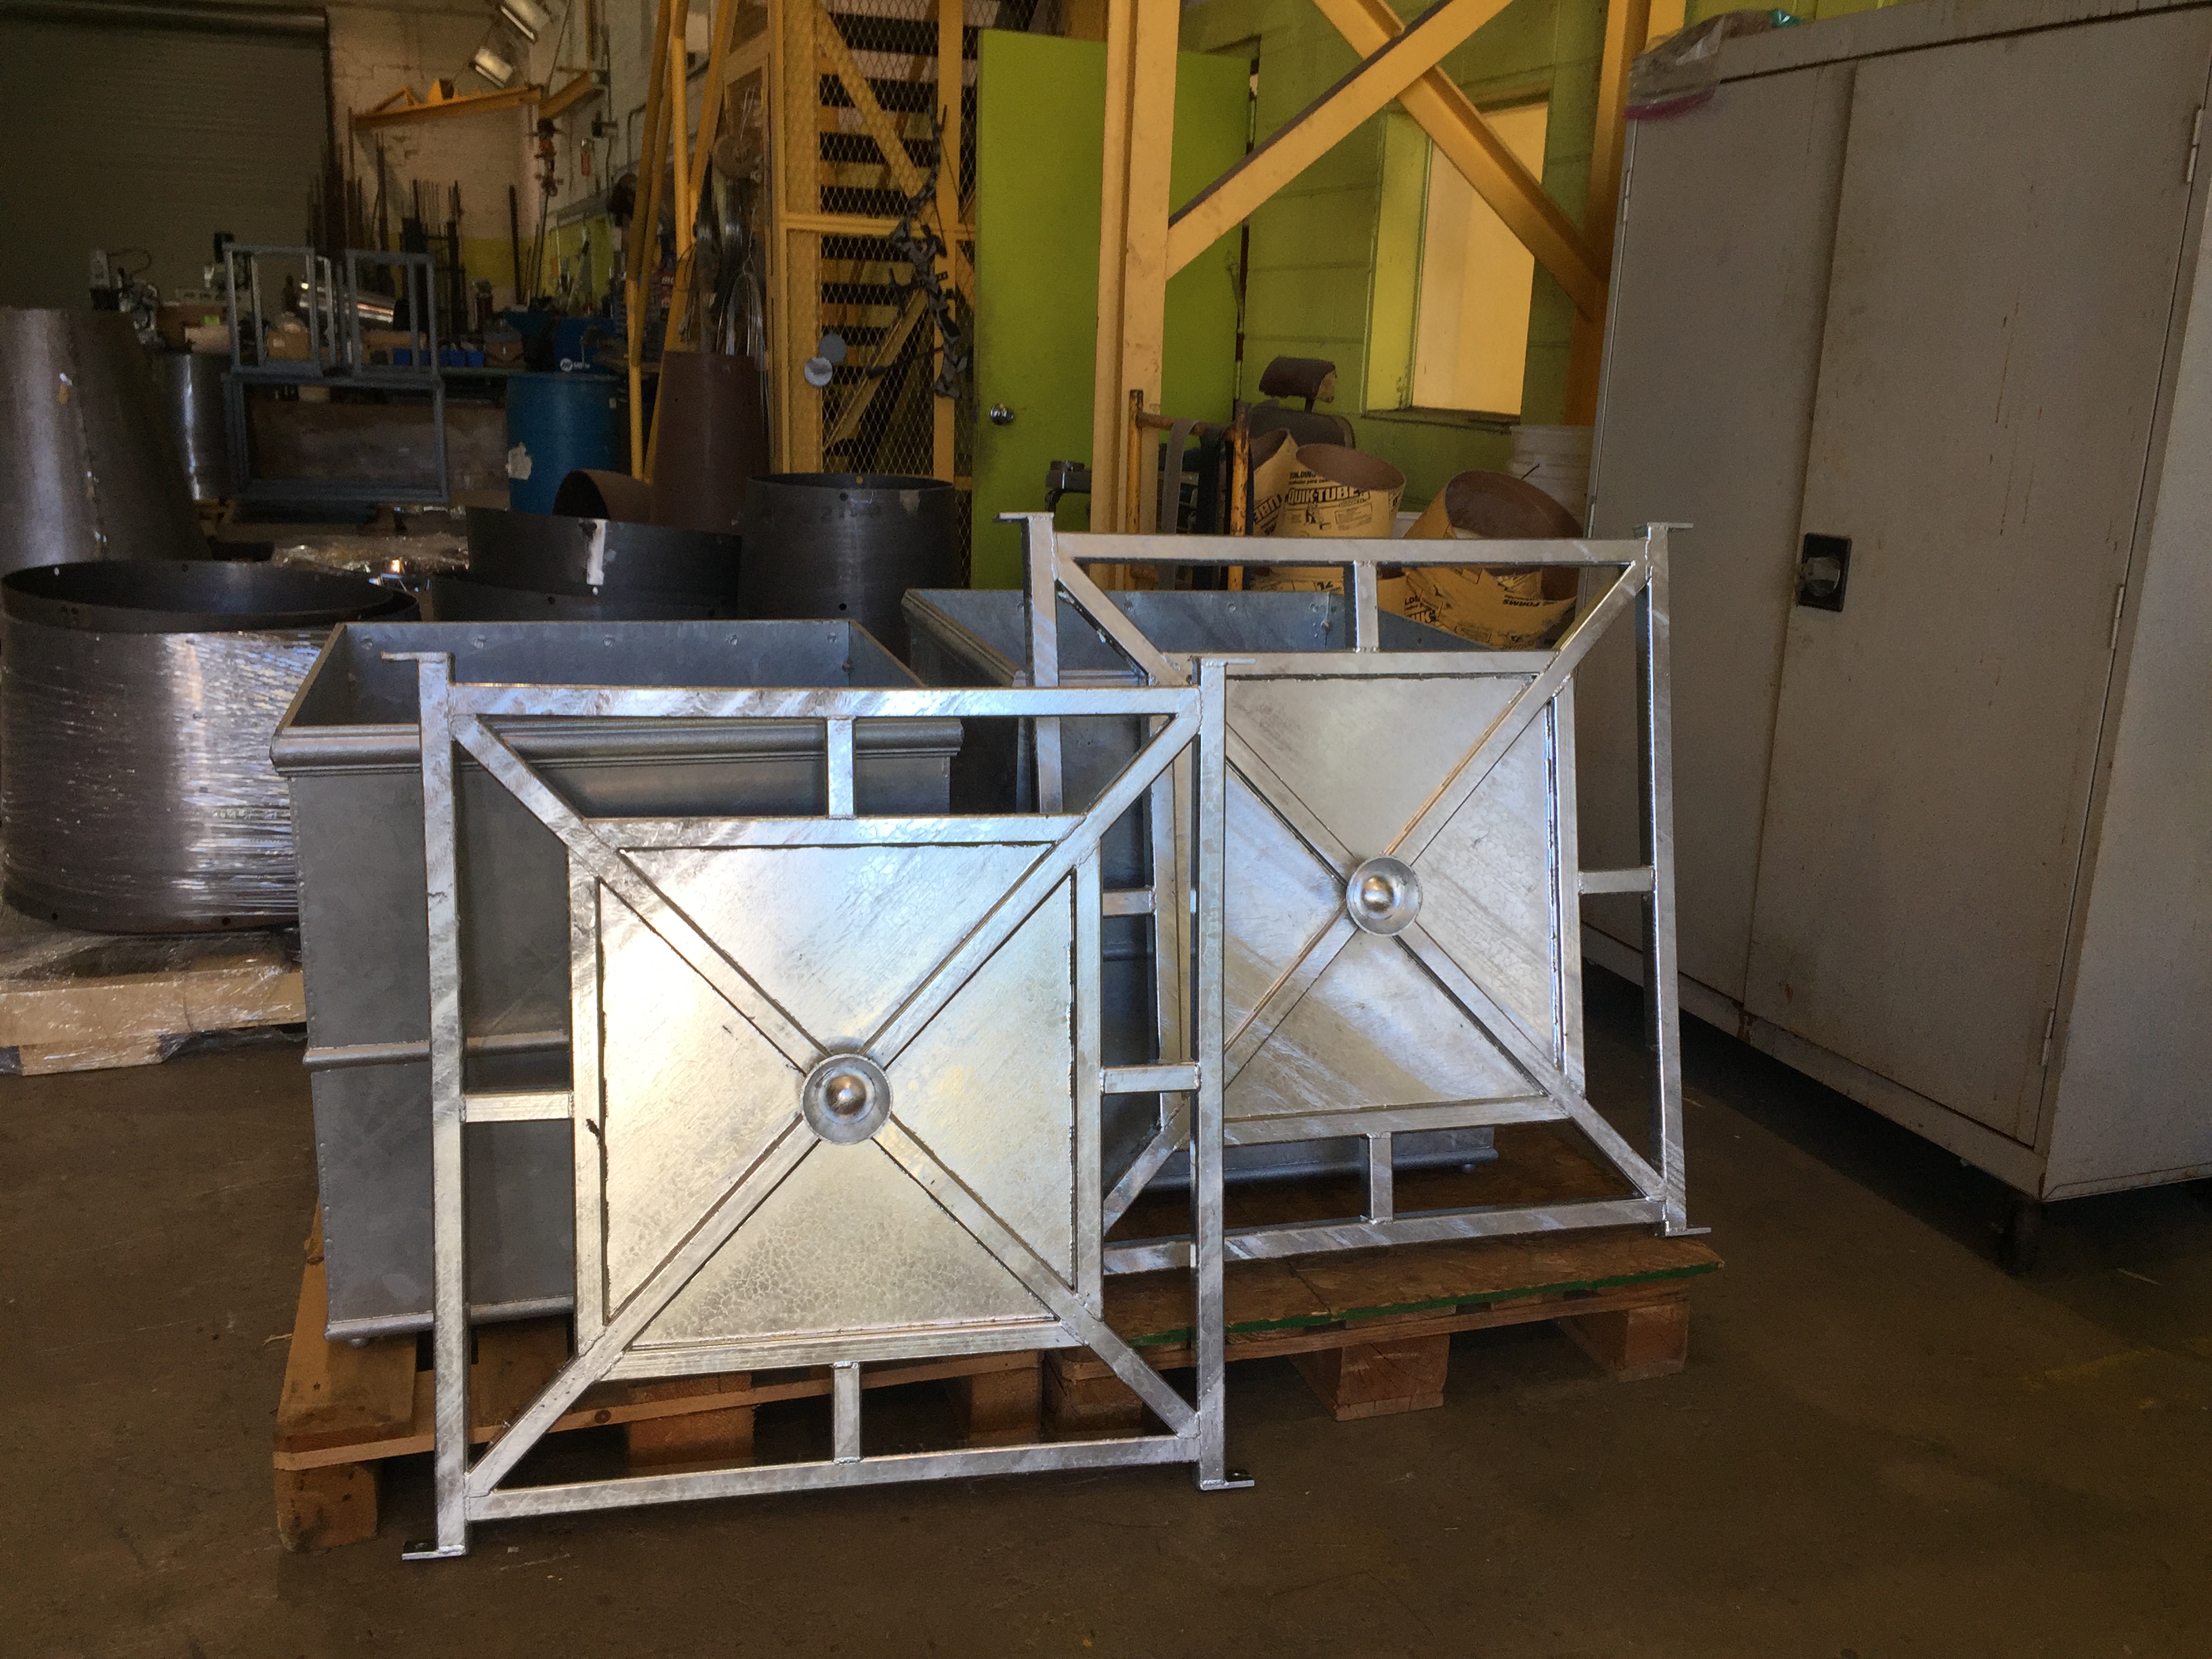
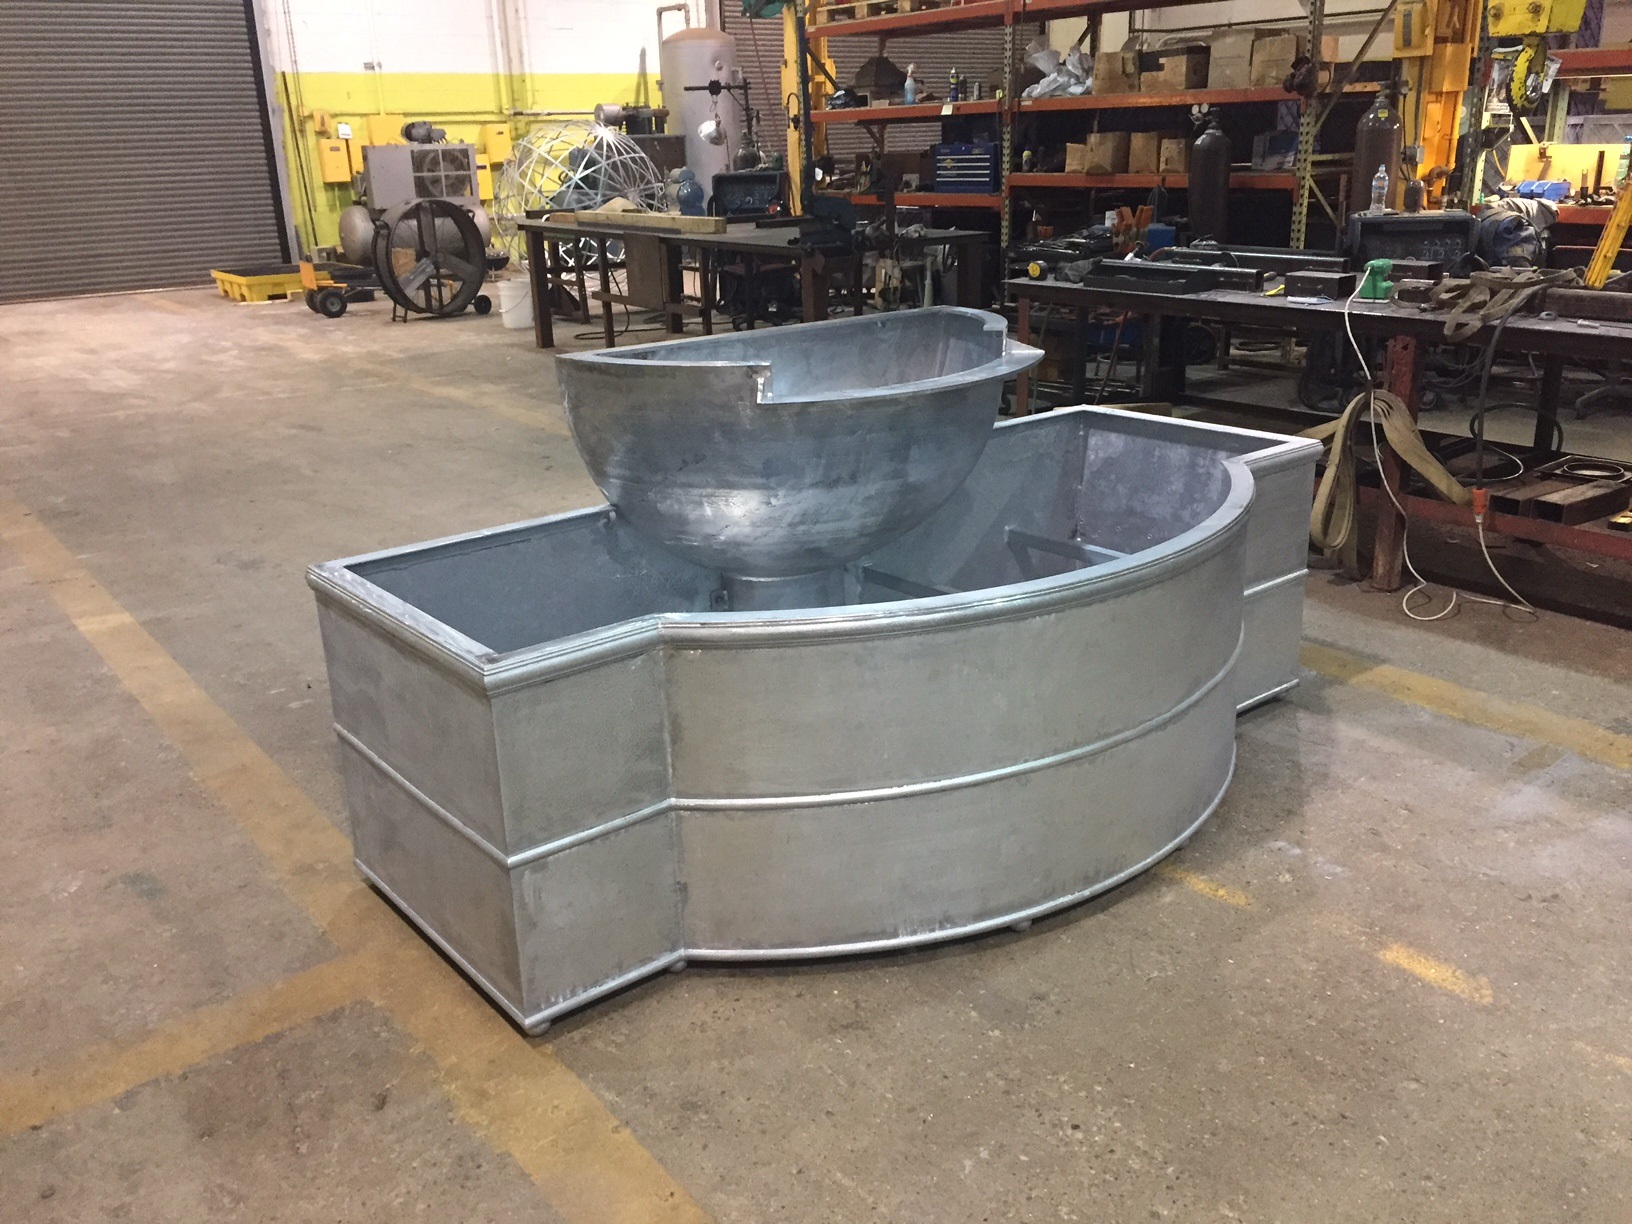 custom fountain, shown in its galvanized state prior to a powder coat finish
 garden arbor with traditional twisted steel bar
 custom rectangular lattice box
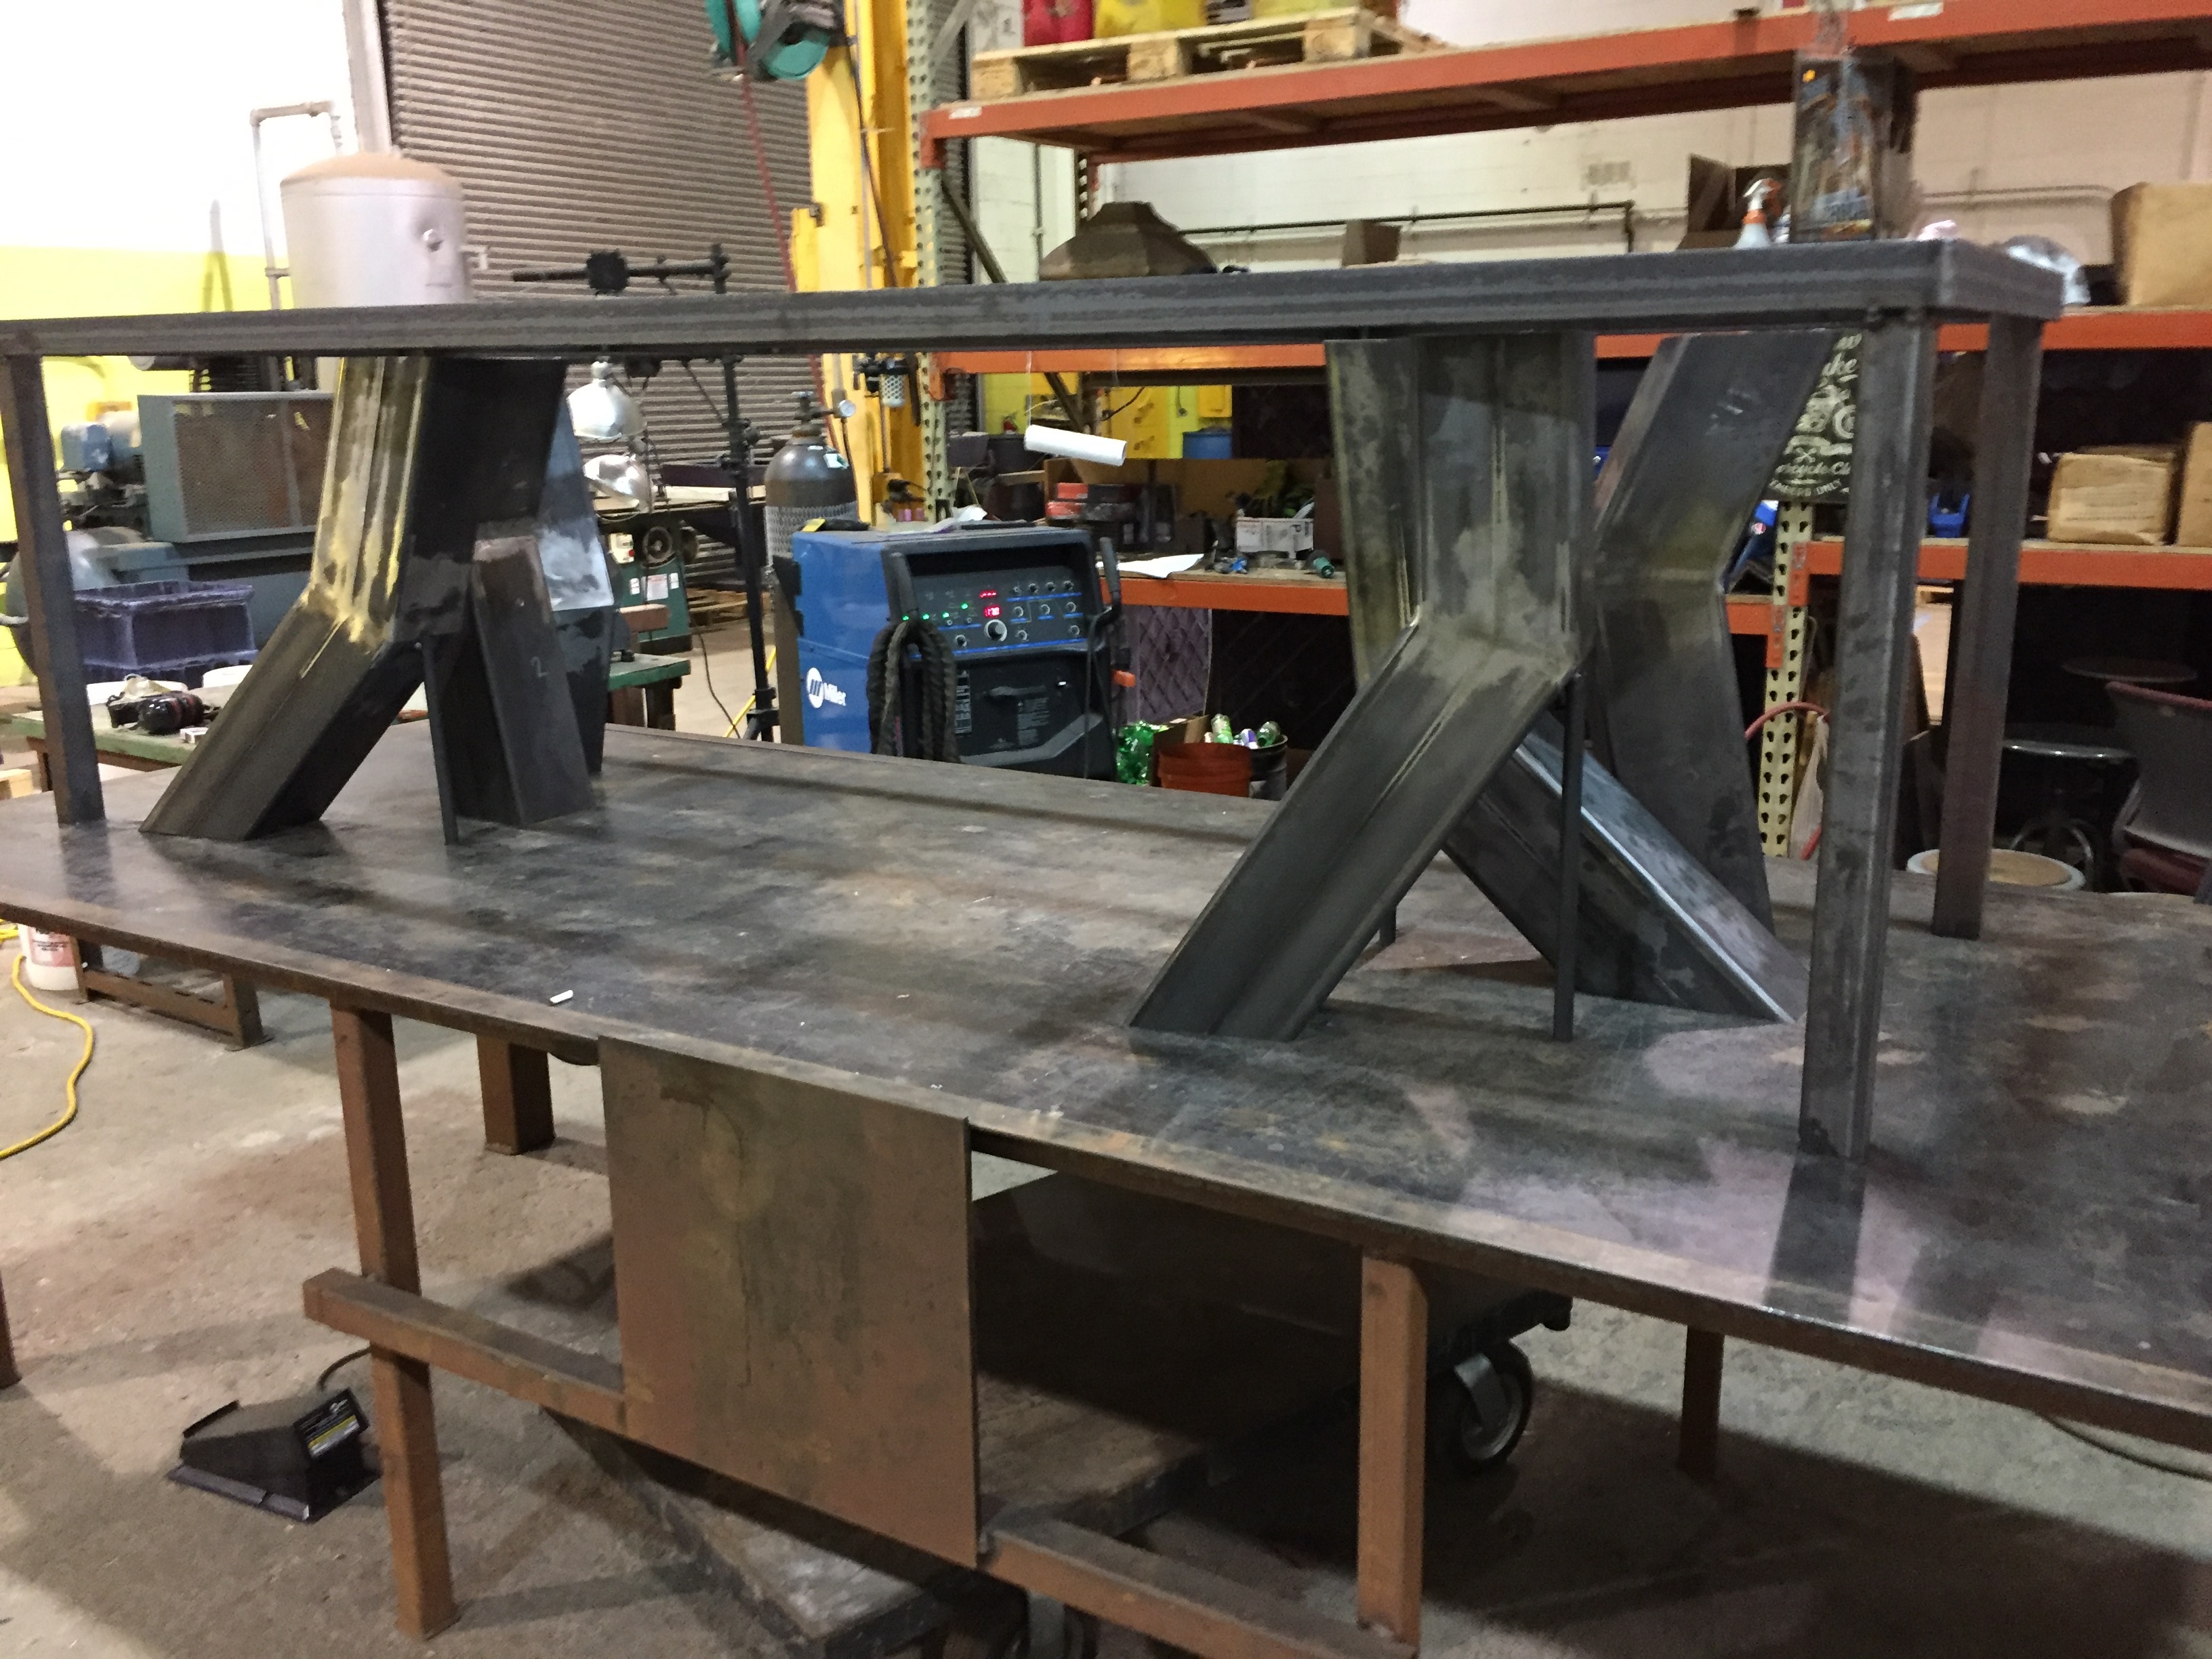 custom table base for interior table. The vertical bars at the outside corners are support bars stabilizing the base while it is under construction. As a side note, the Branch work table top is a solid piece of 1/2″ thick steel, which is perfectly flat and level.
 tapered box
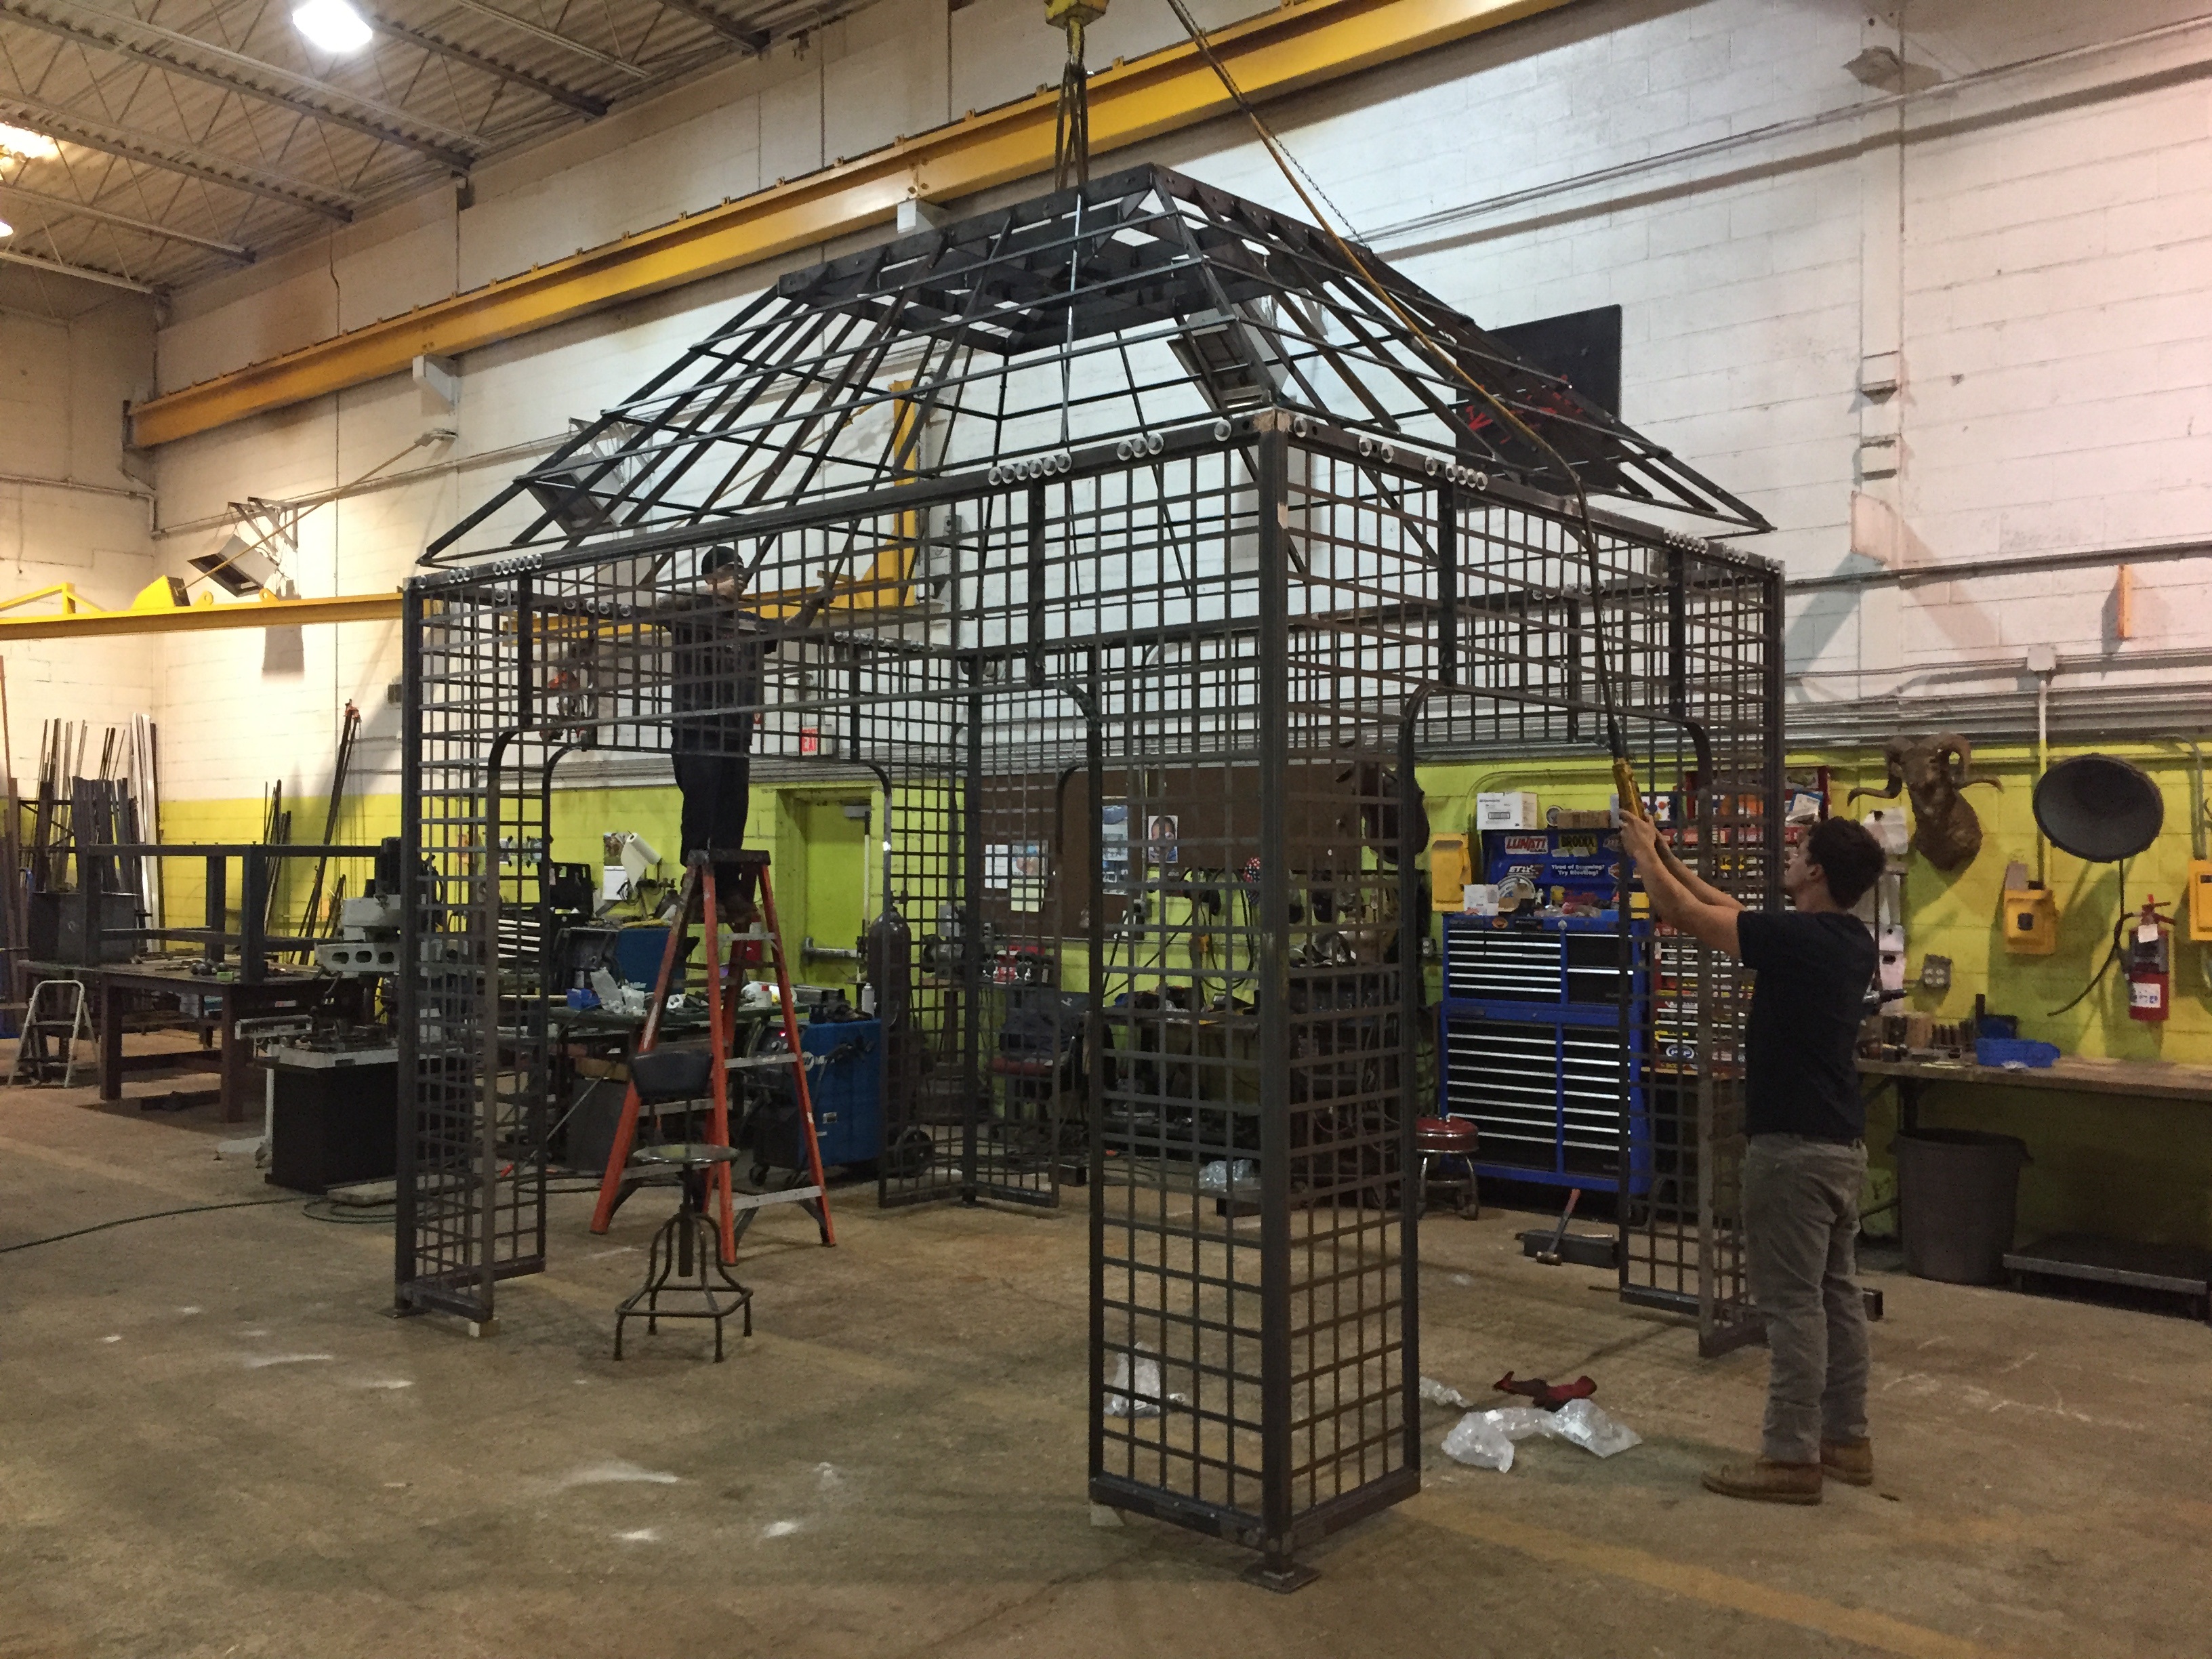 custom pergola being assembled prior to galvanizing, to be sure everything fits properly
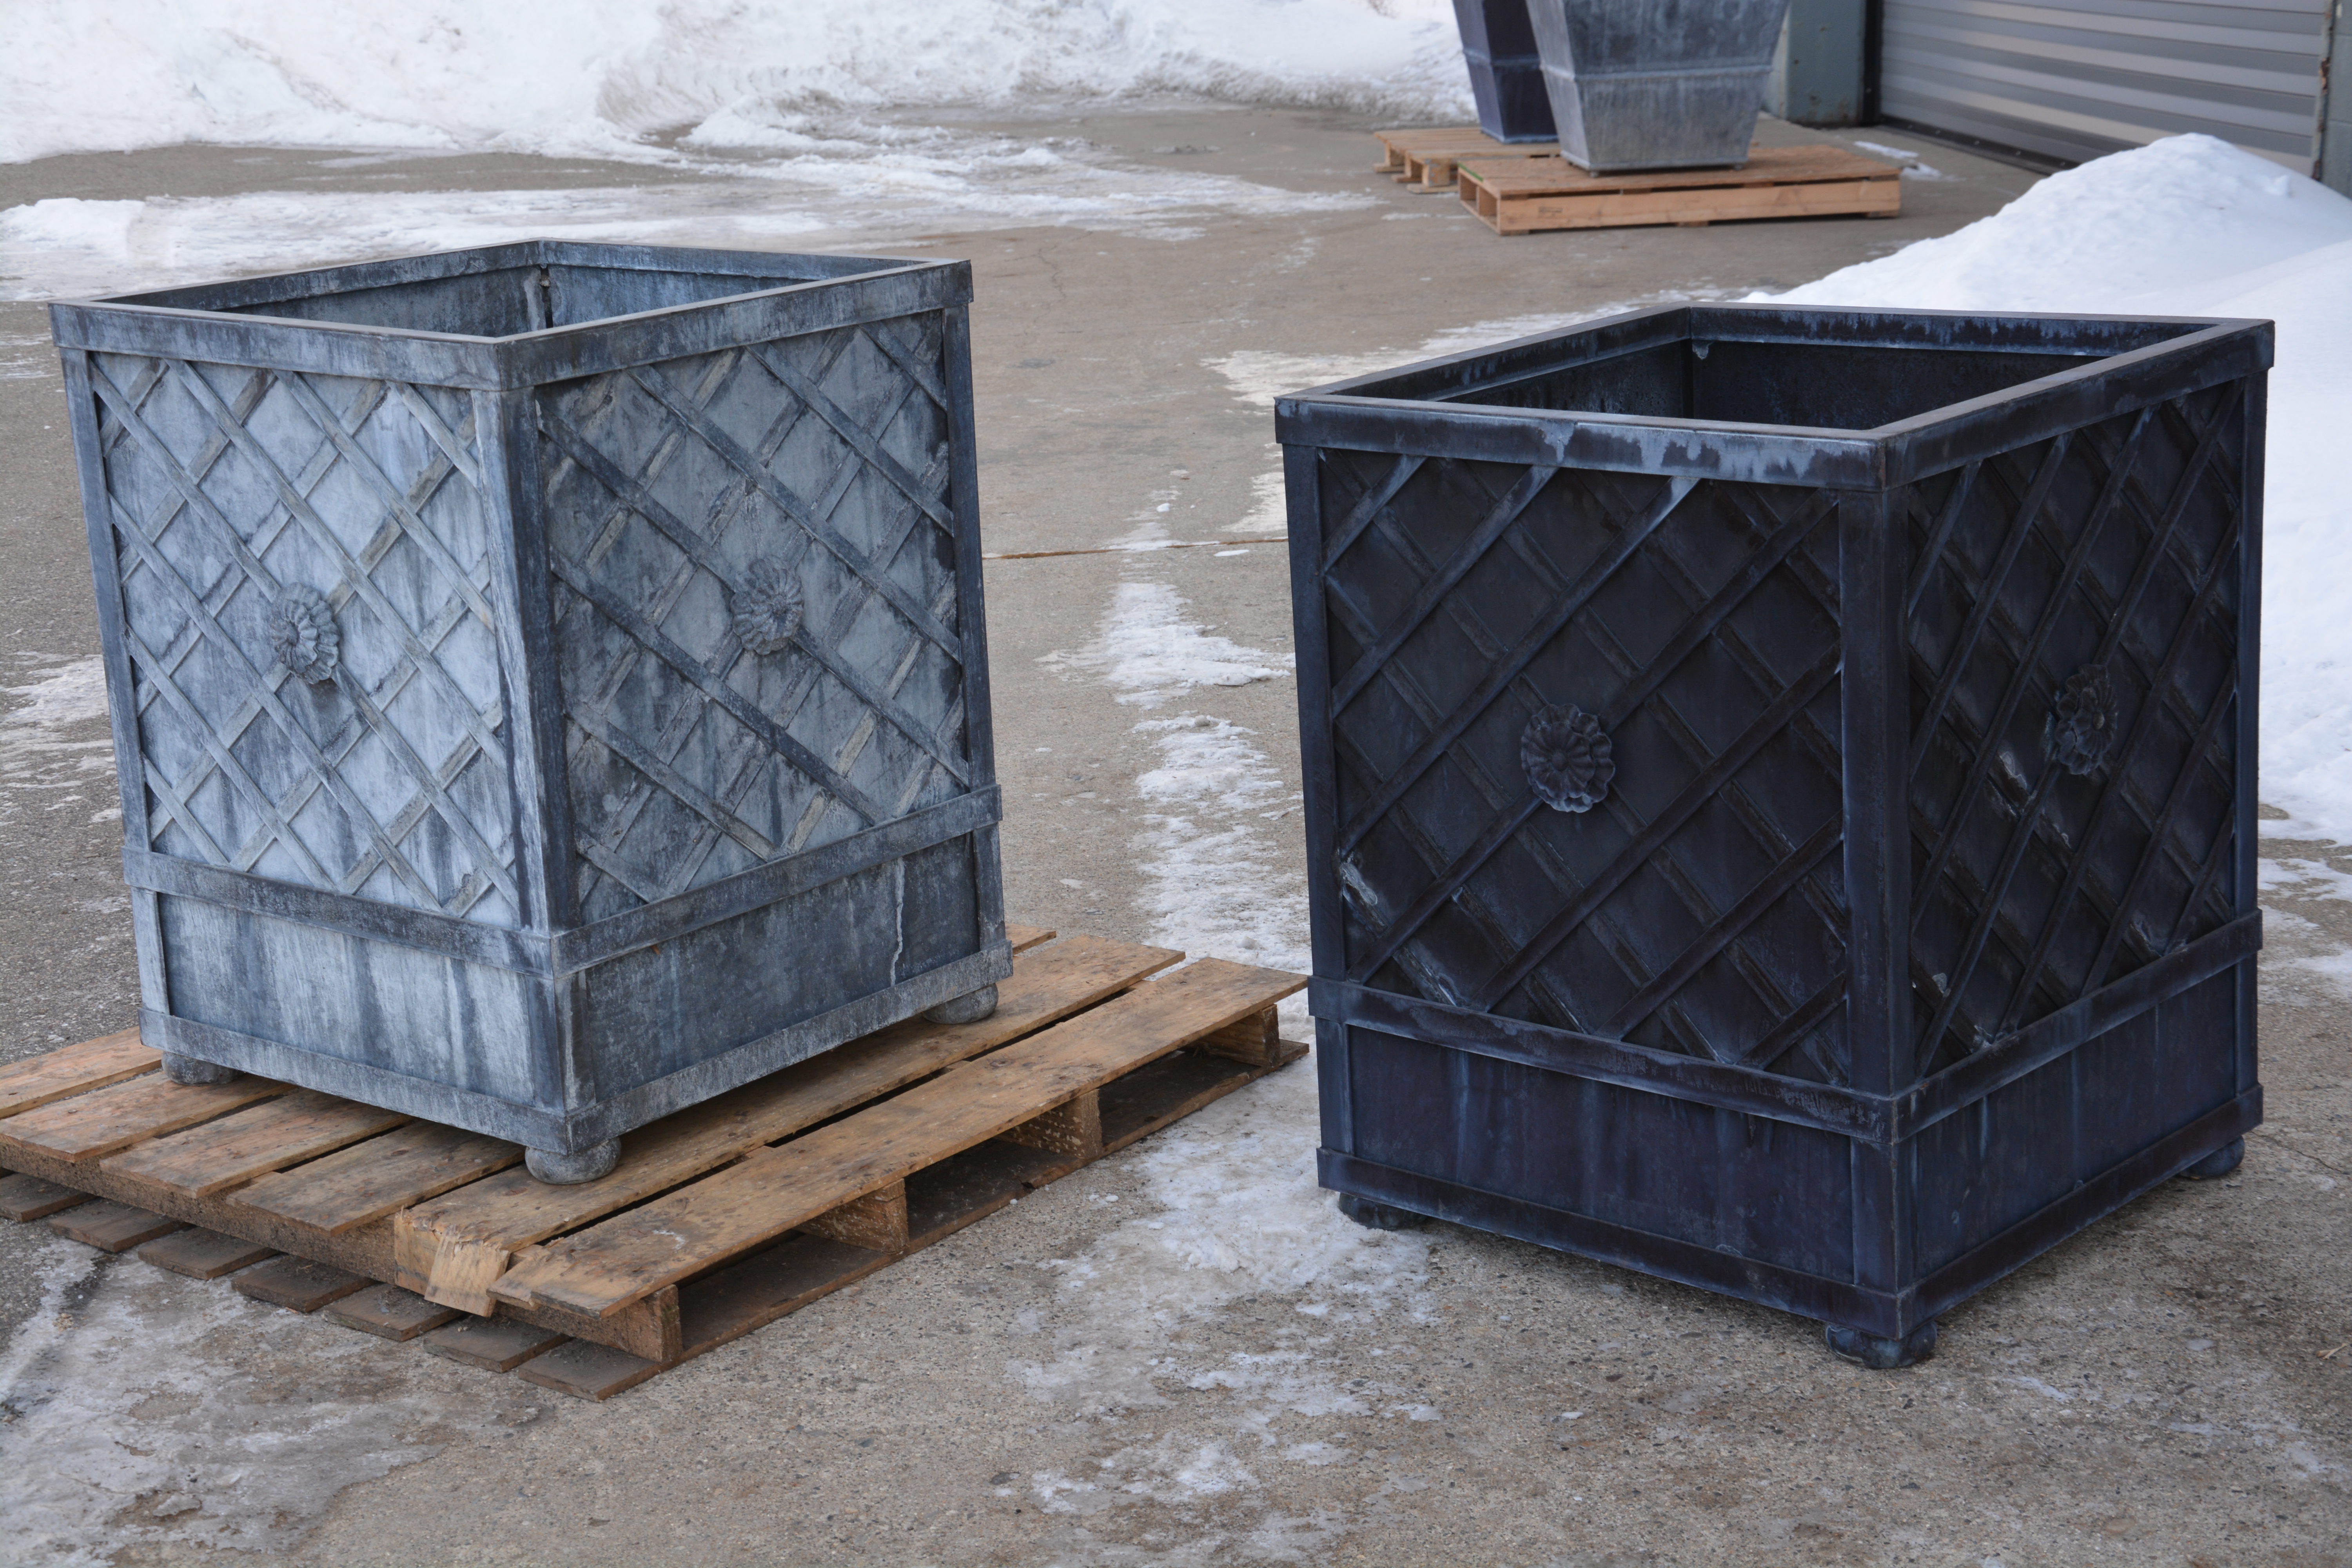 weathered Branch finish on the left box. Newly finished box on the right.
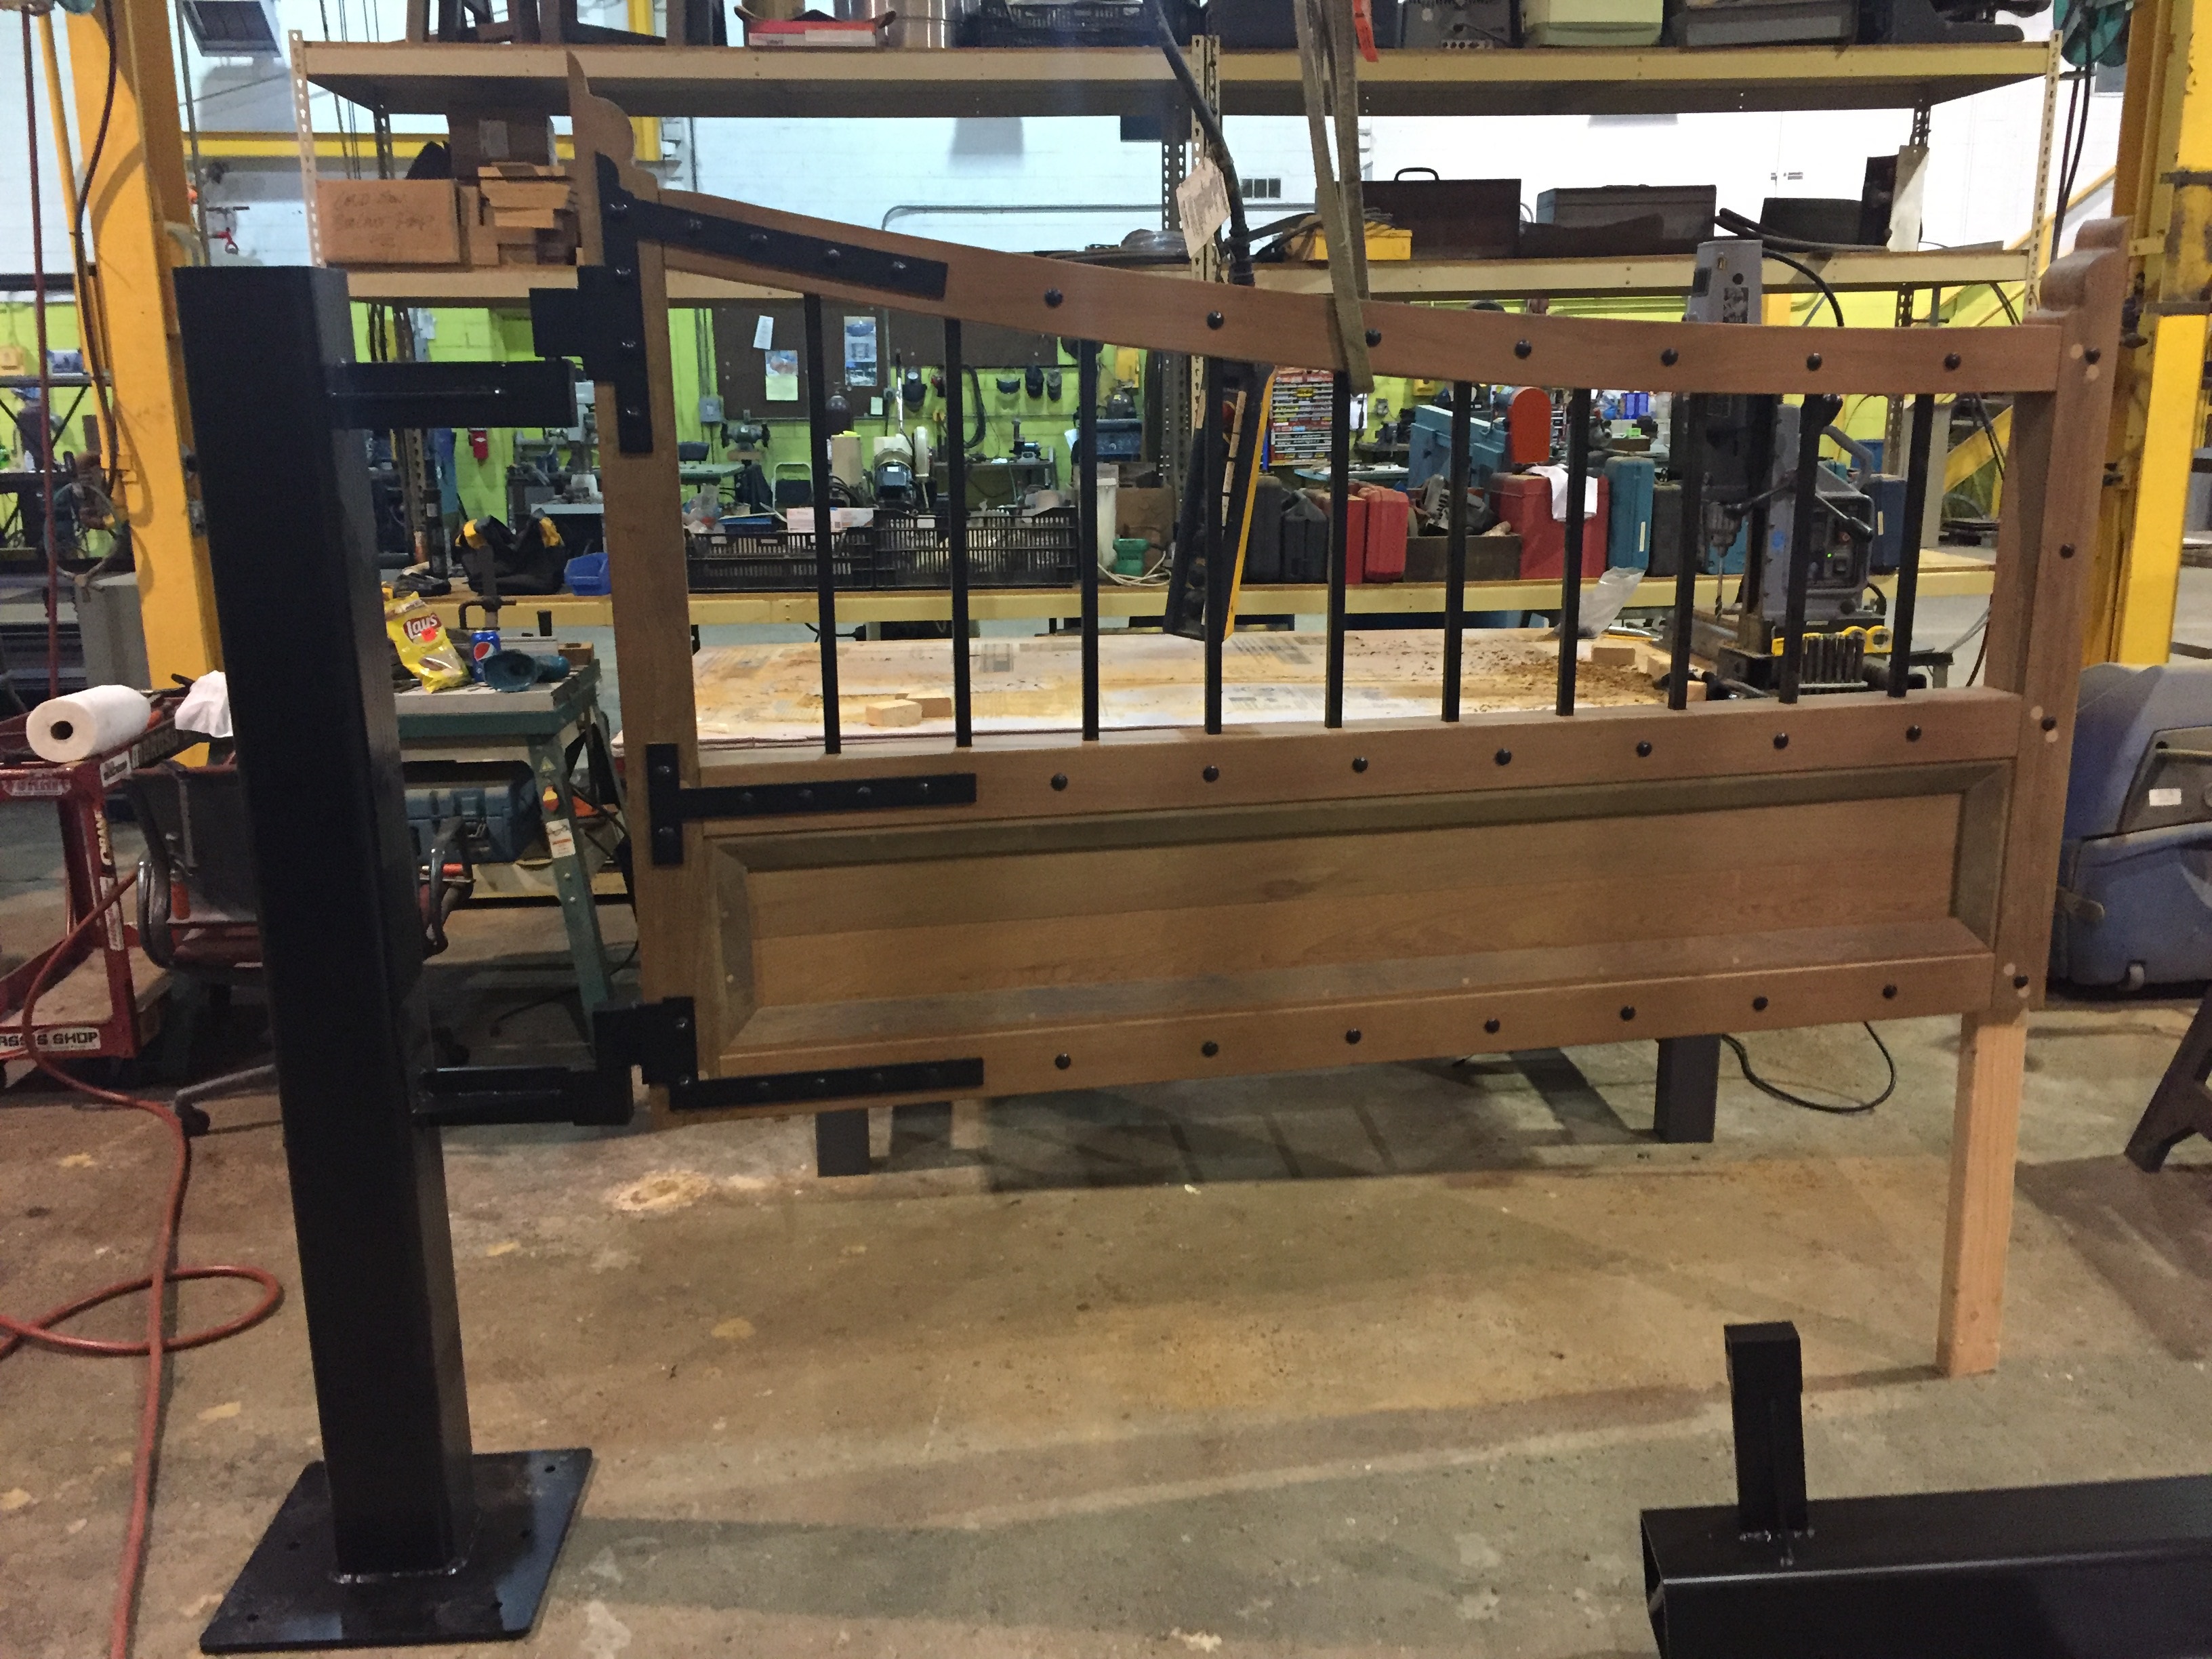 wood and steel gate designed by and fabricated for Zaremba and Company
 round tapered Hudson pots for a rooftop garden
 custom planter boxes
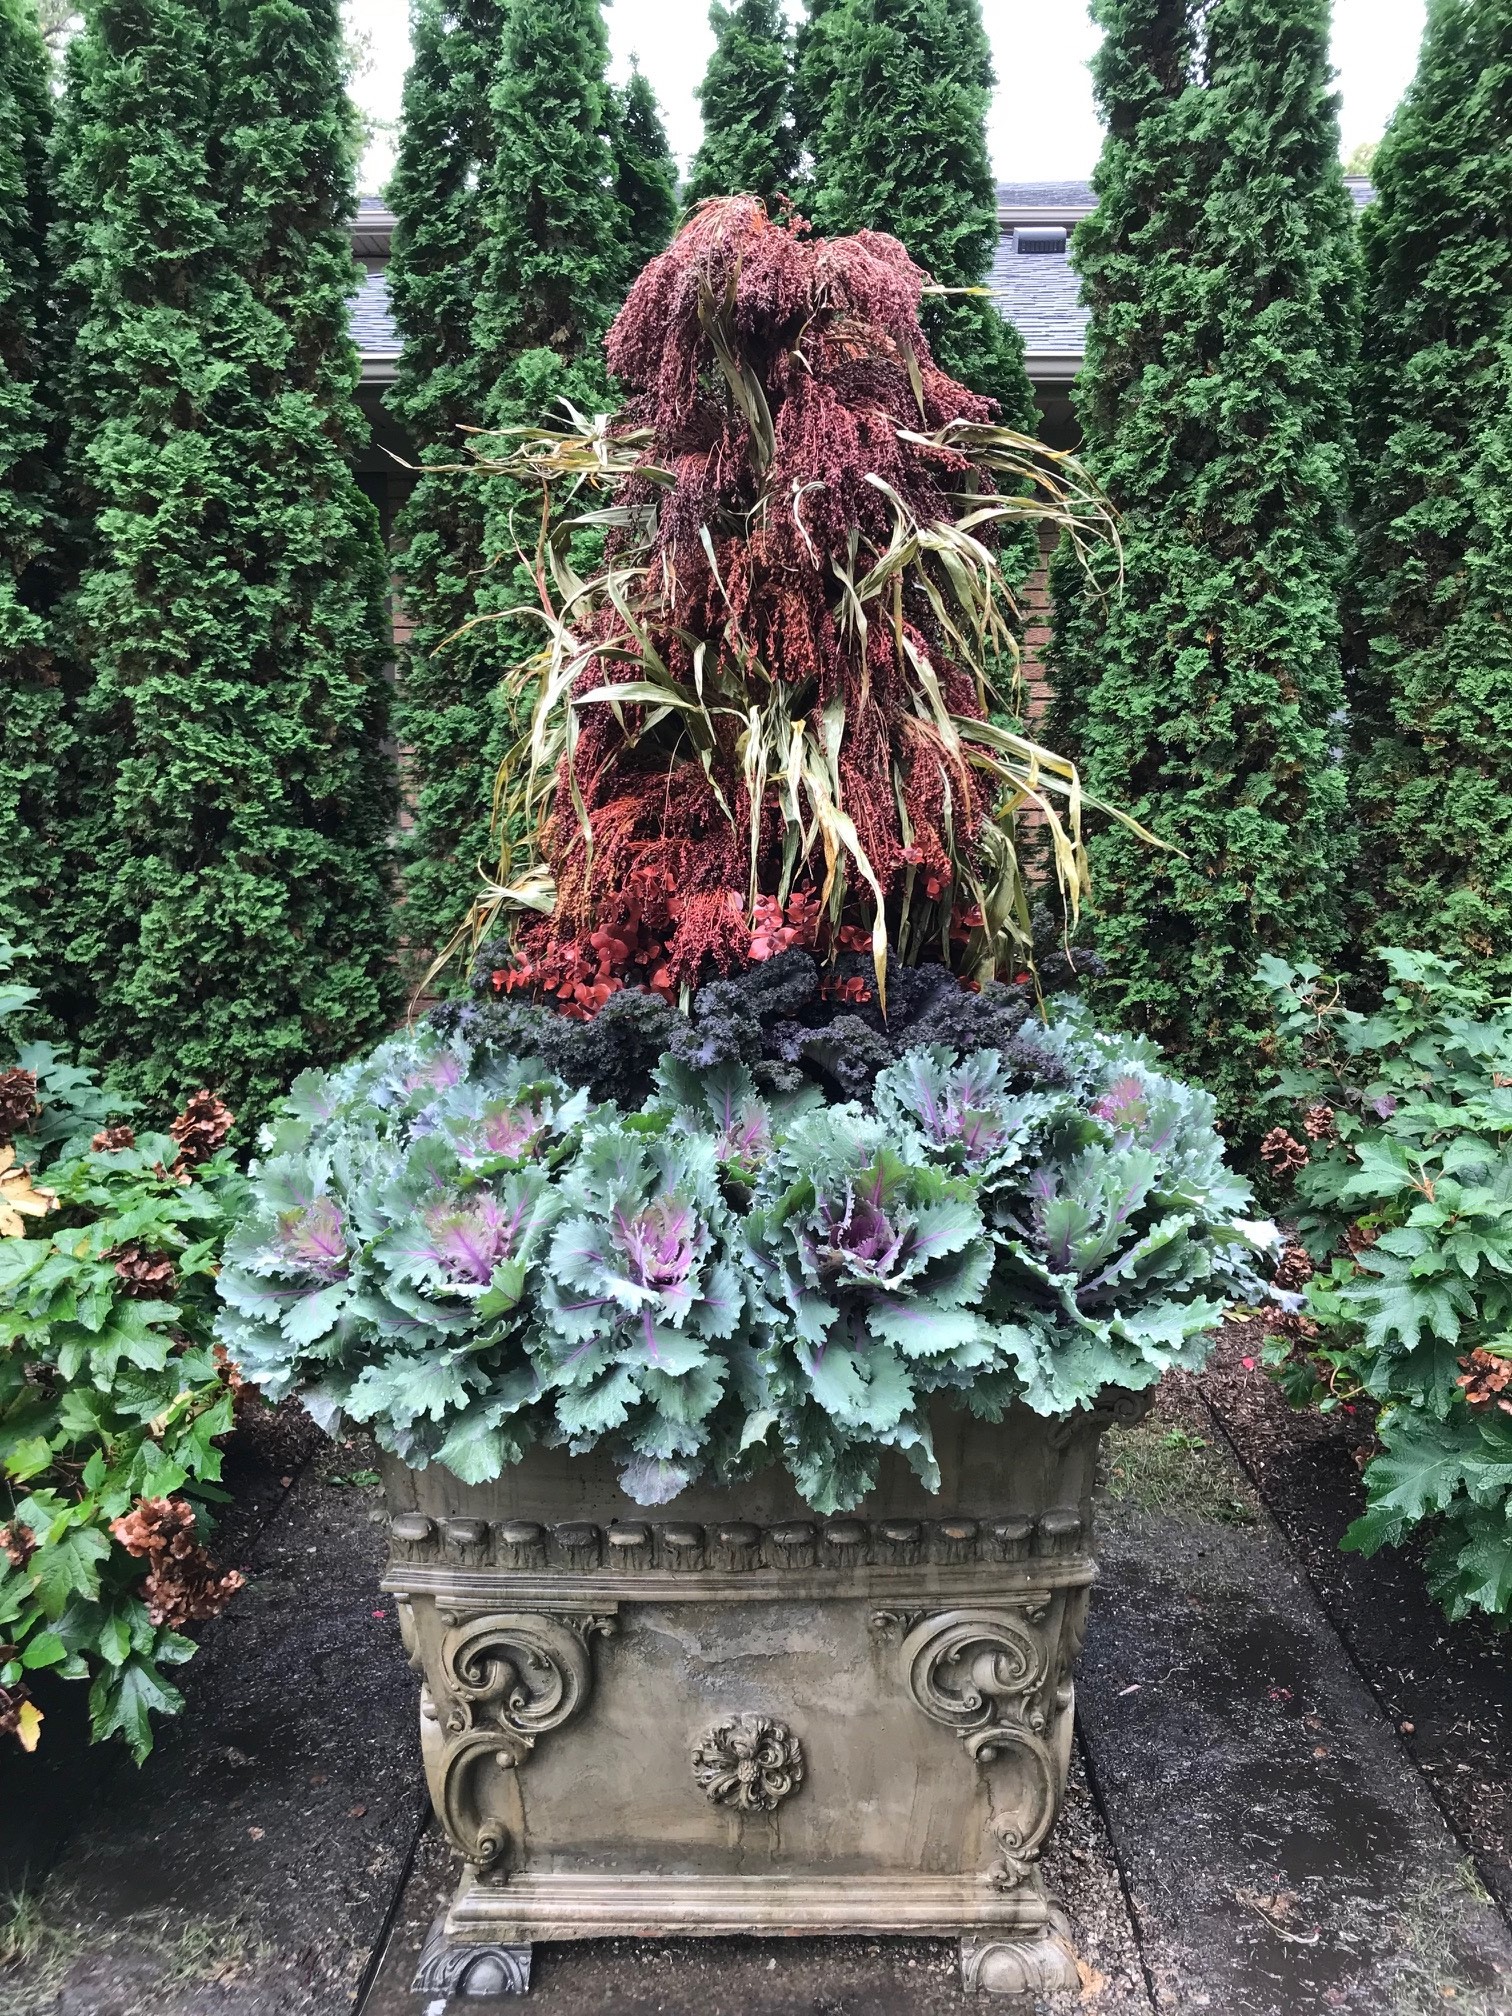
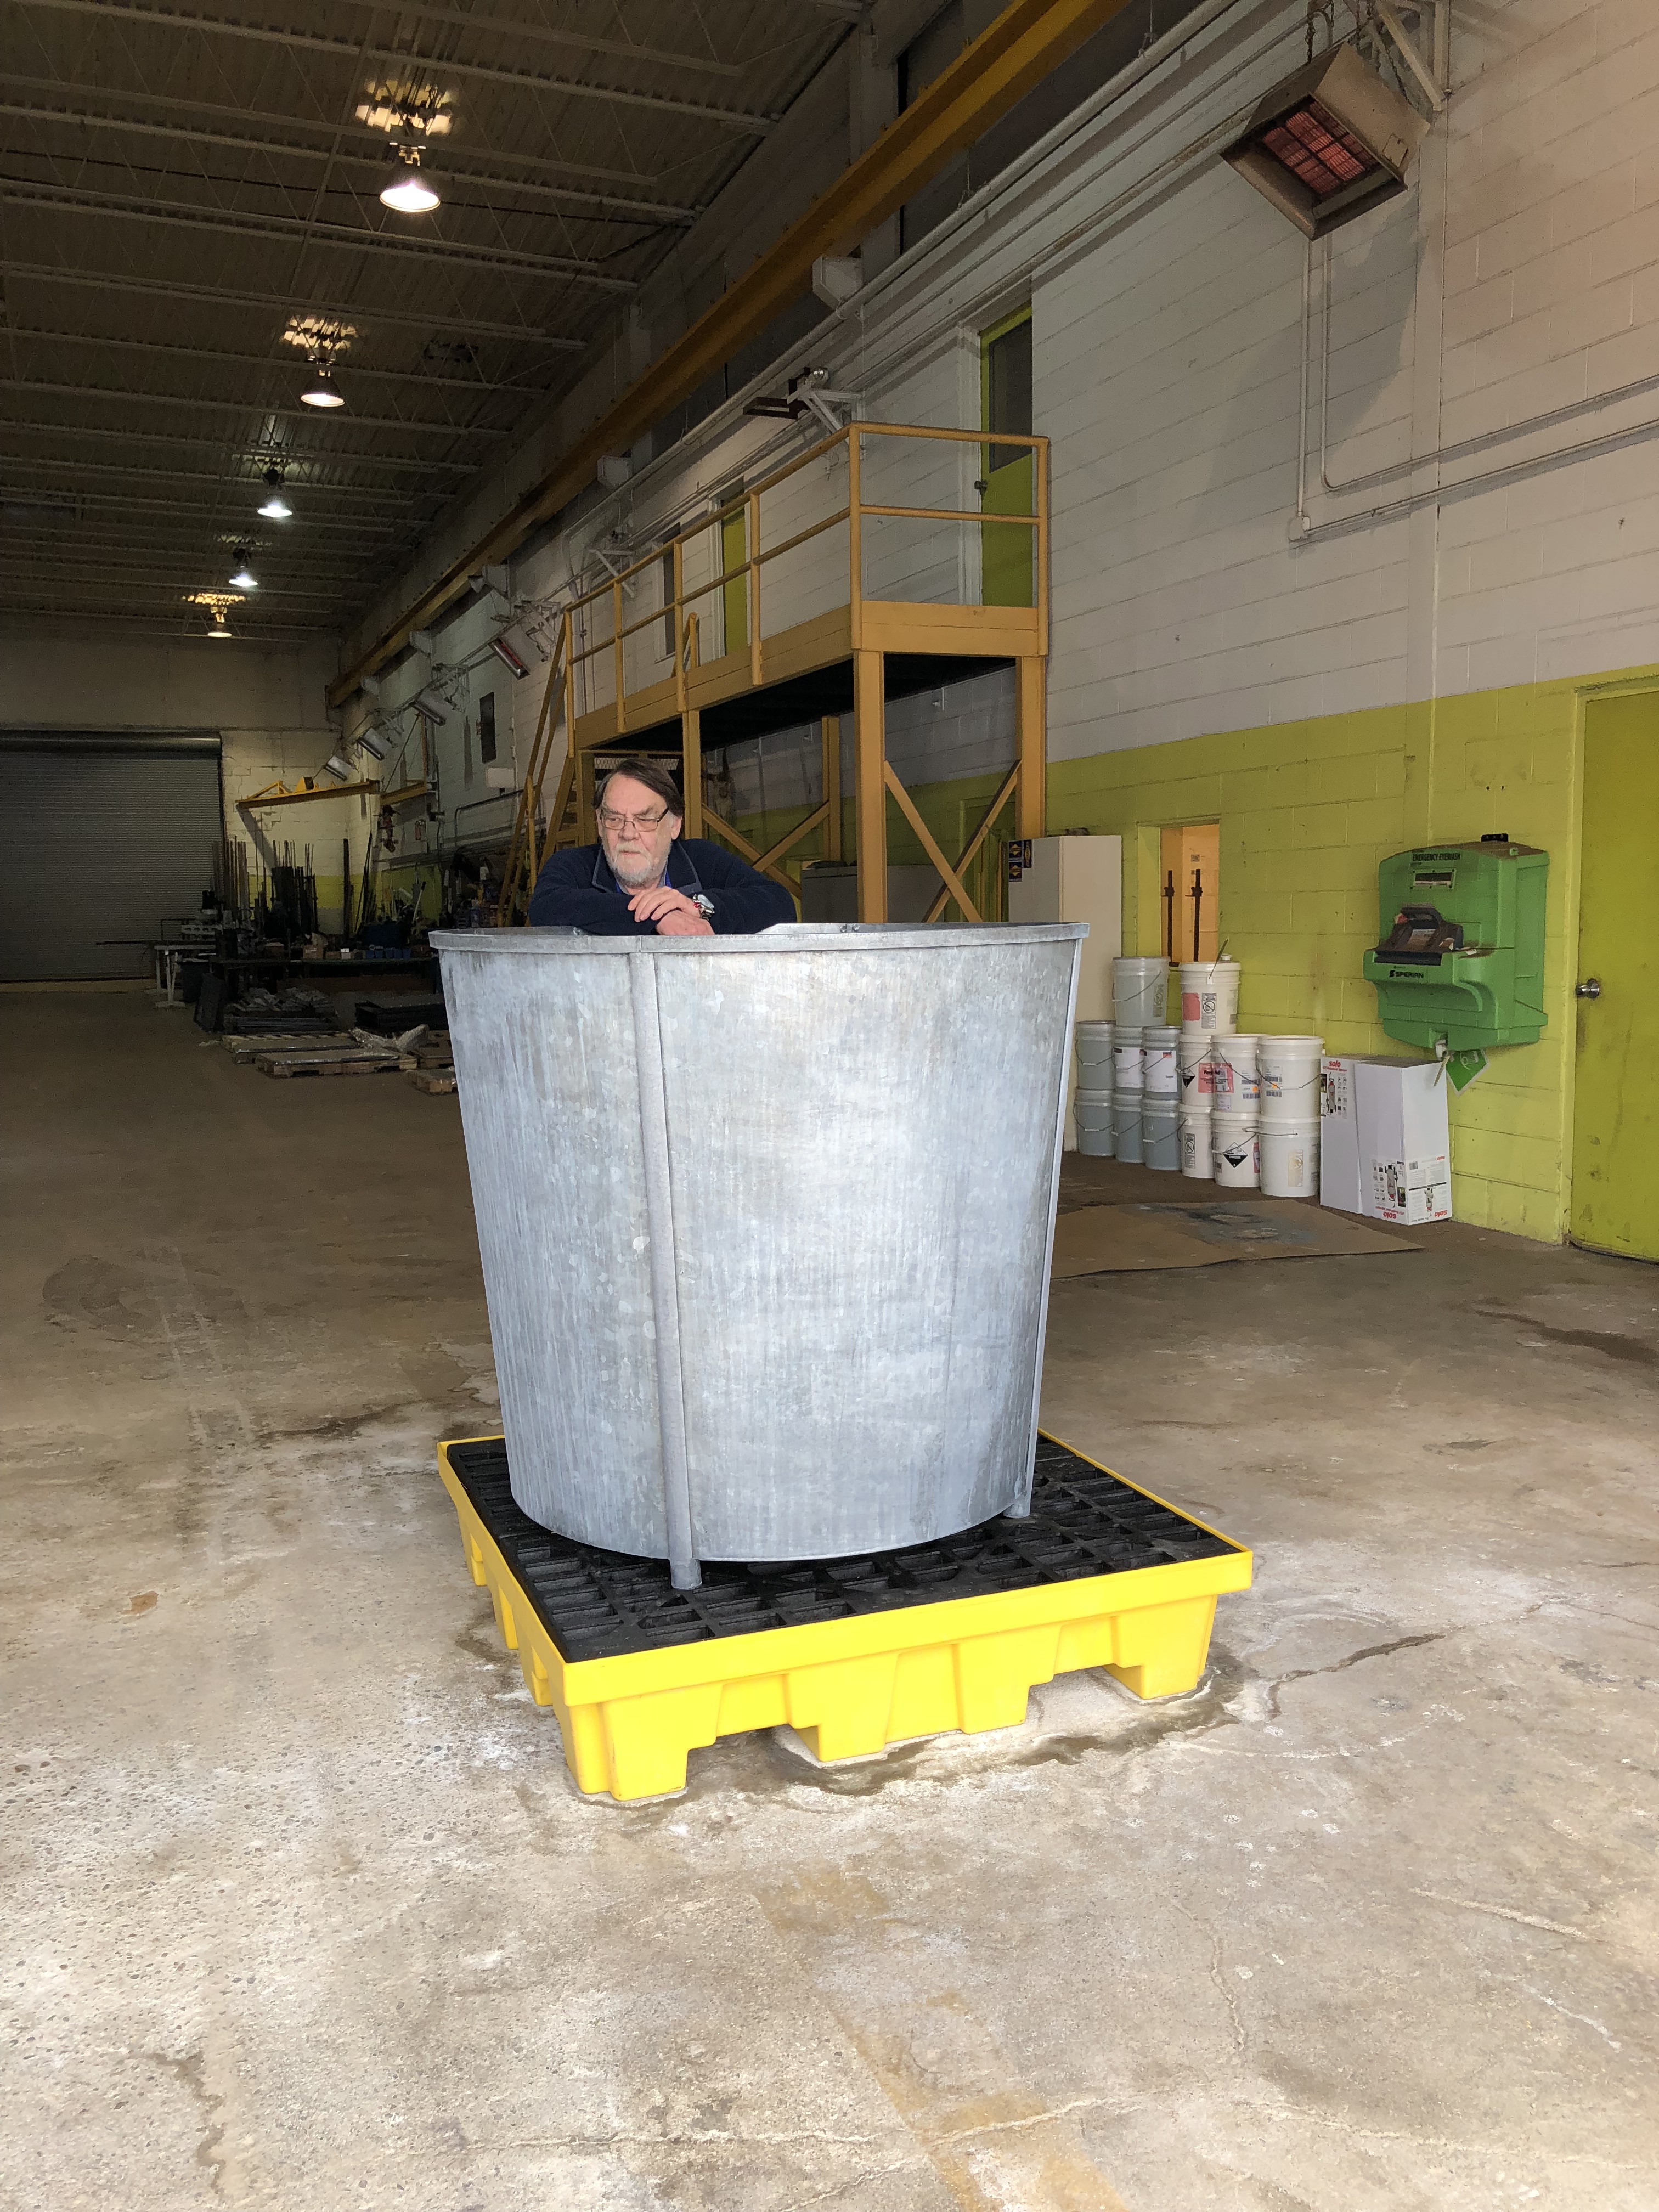 large scale custom Barry pot
 custom pergola
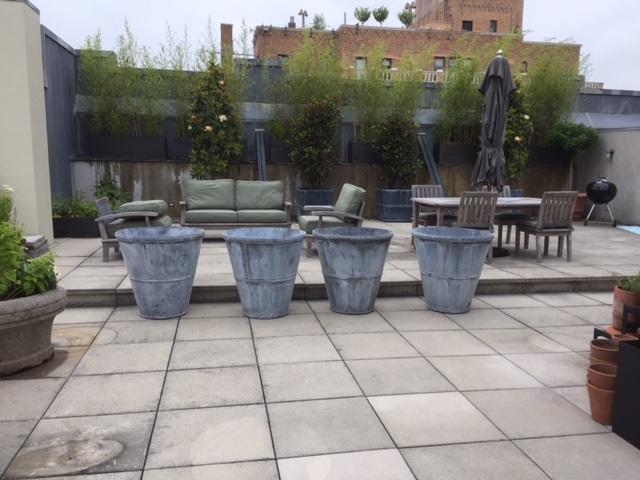
 quartet of low bowls
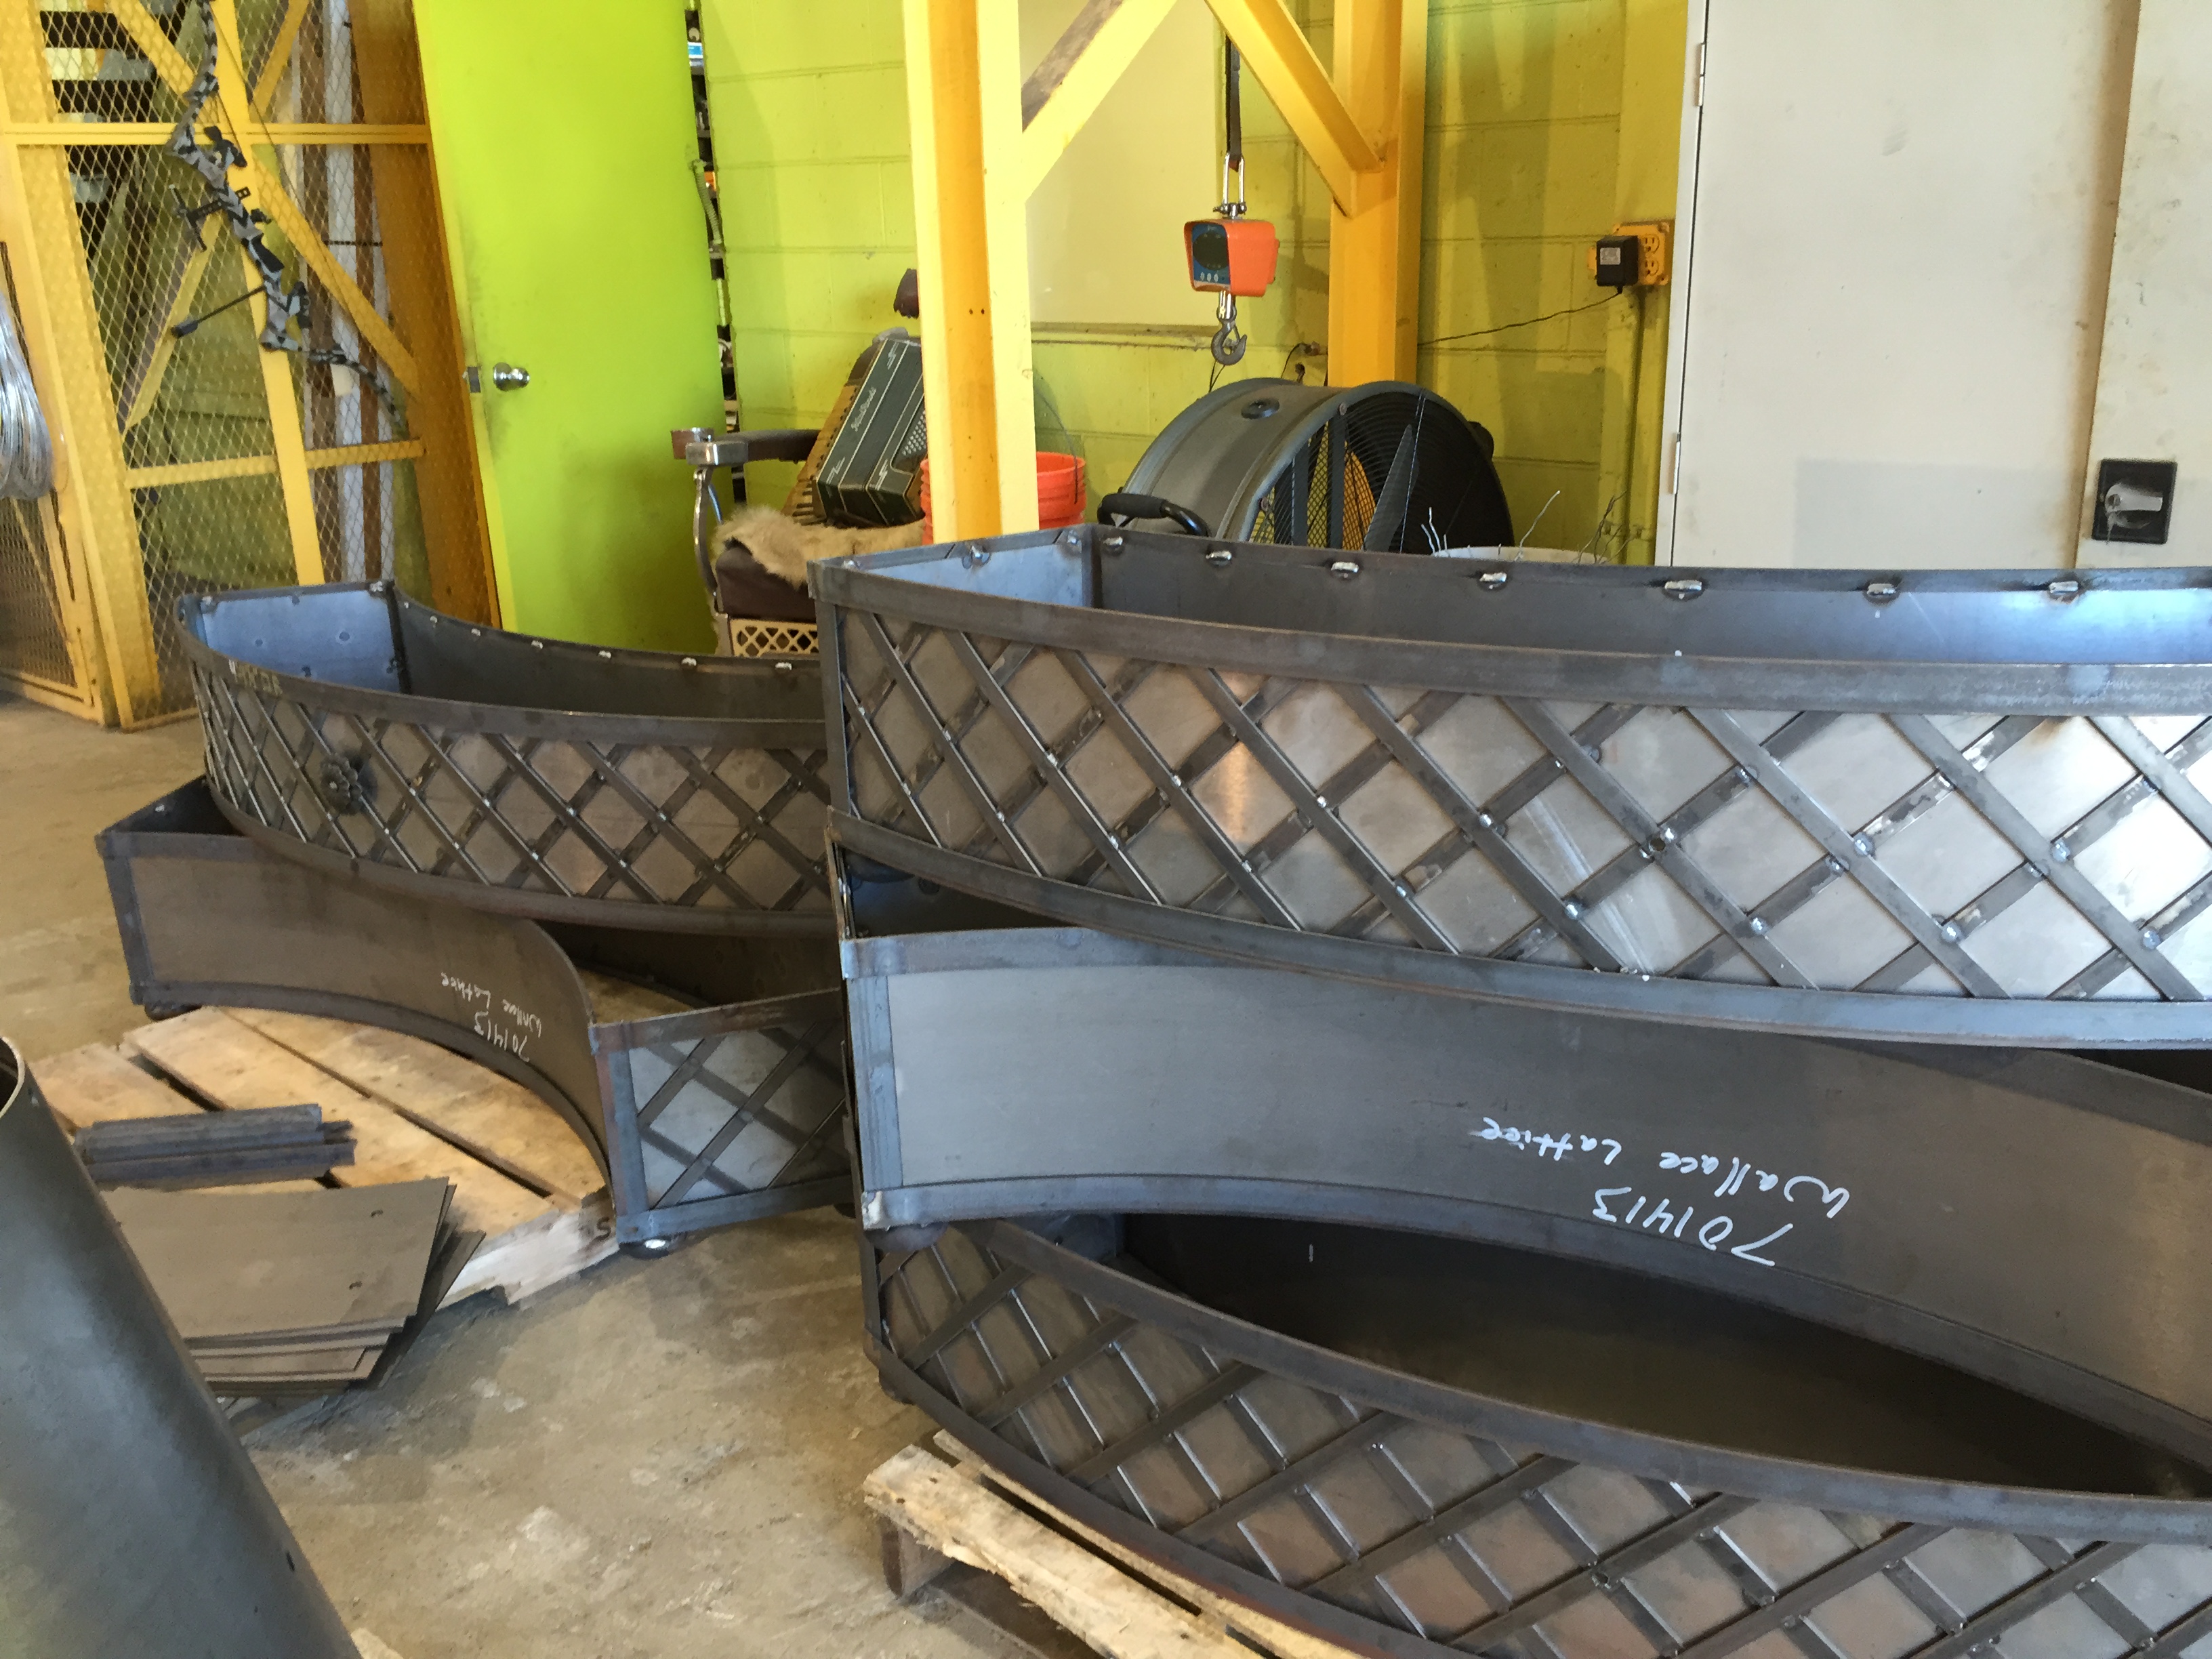 custom radiused set of lattice boxes
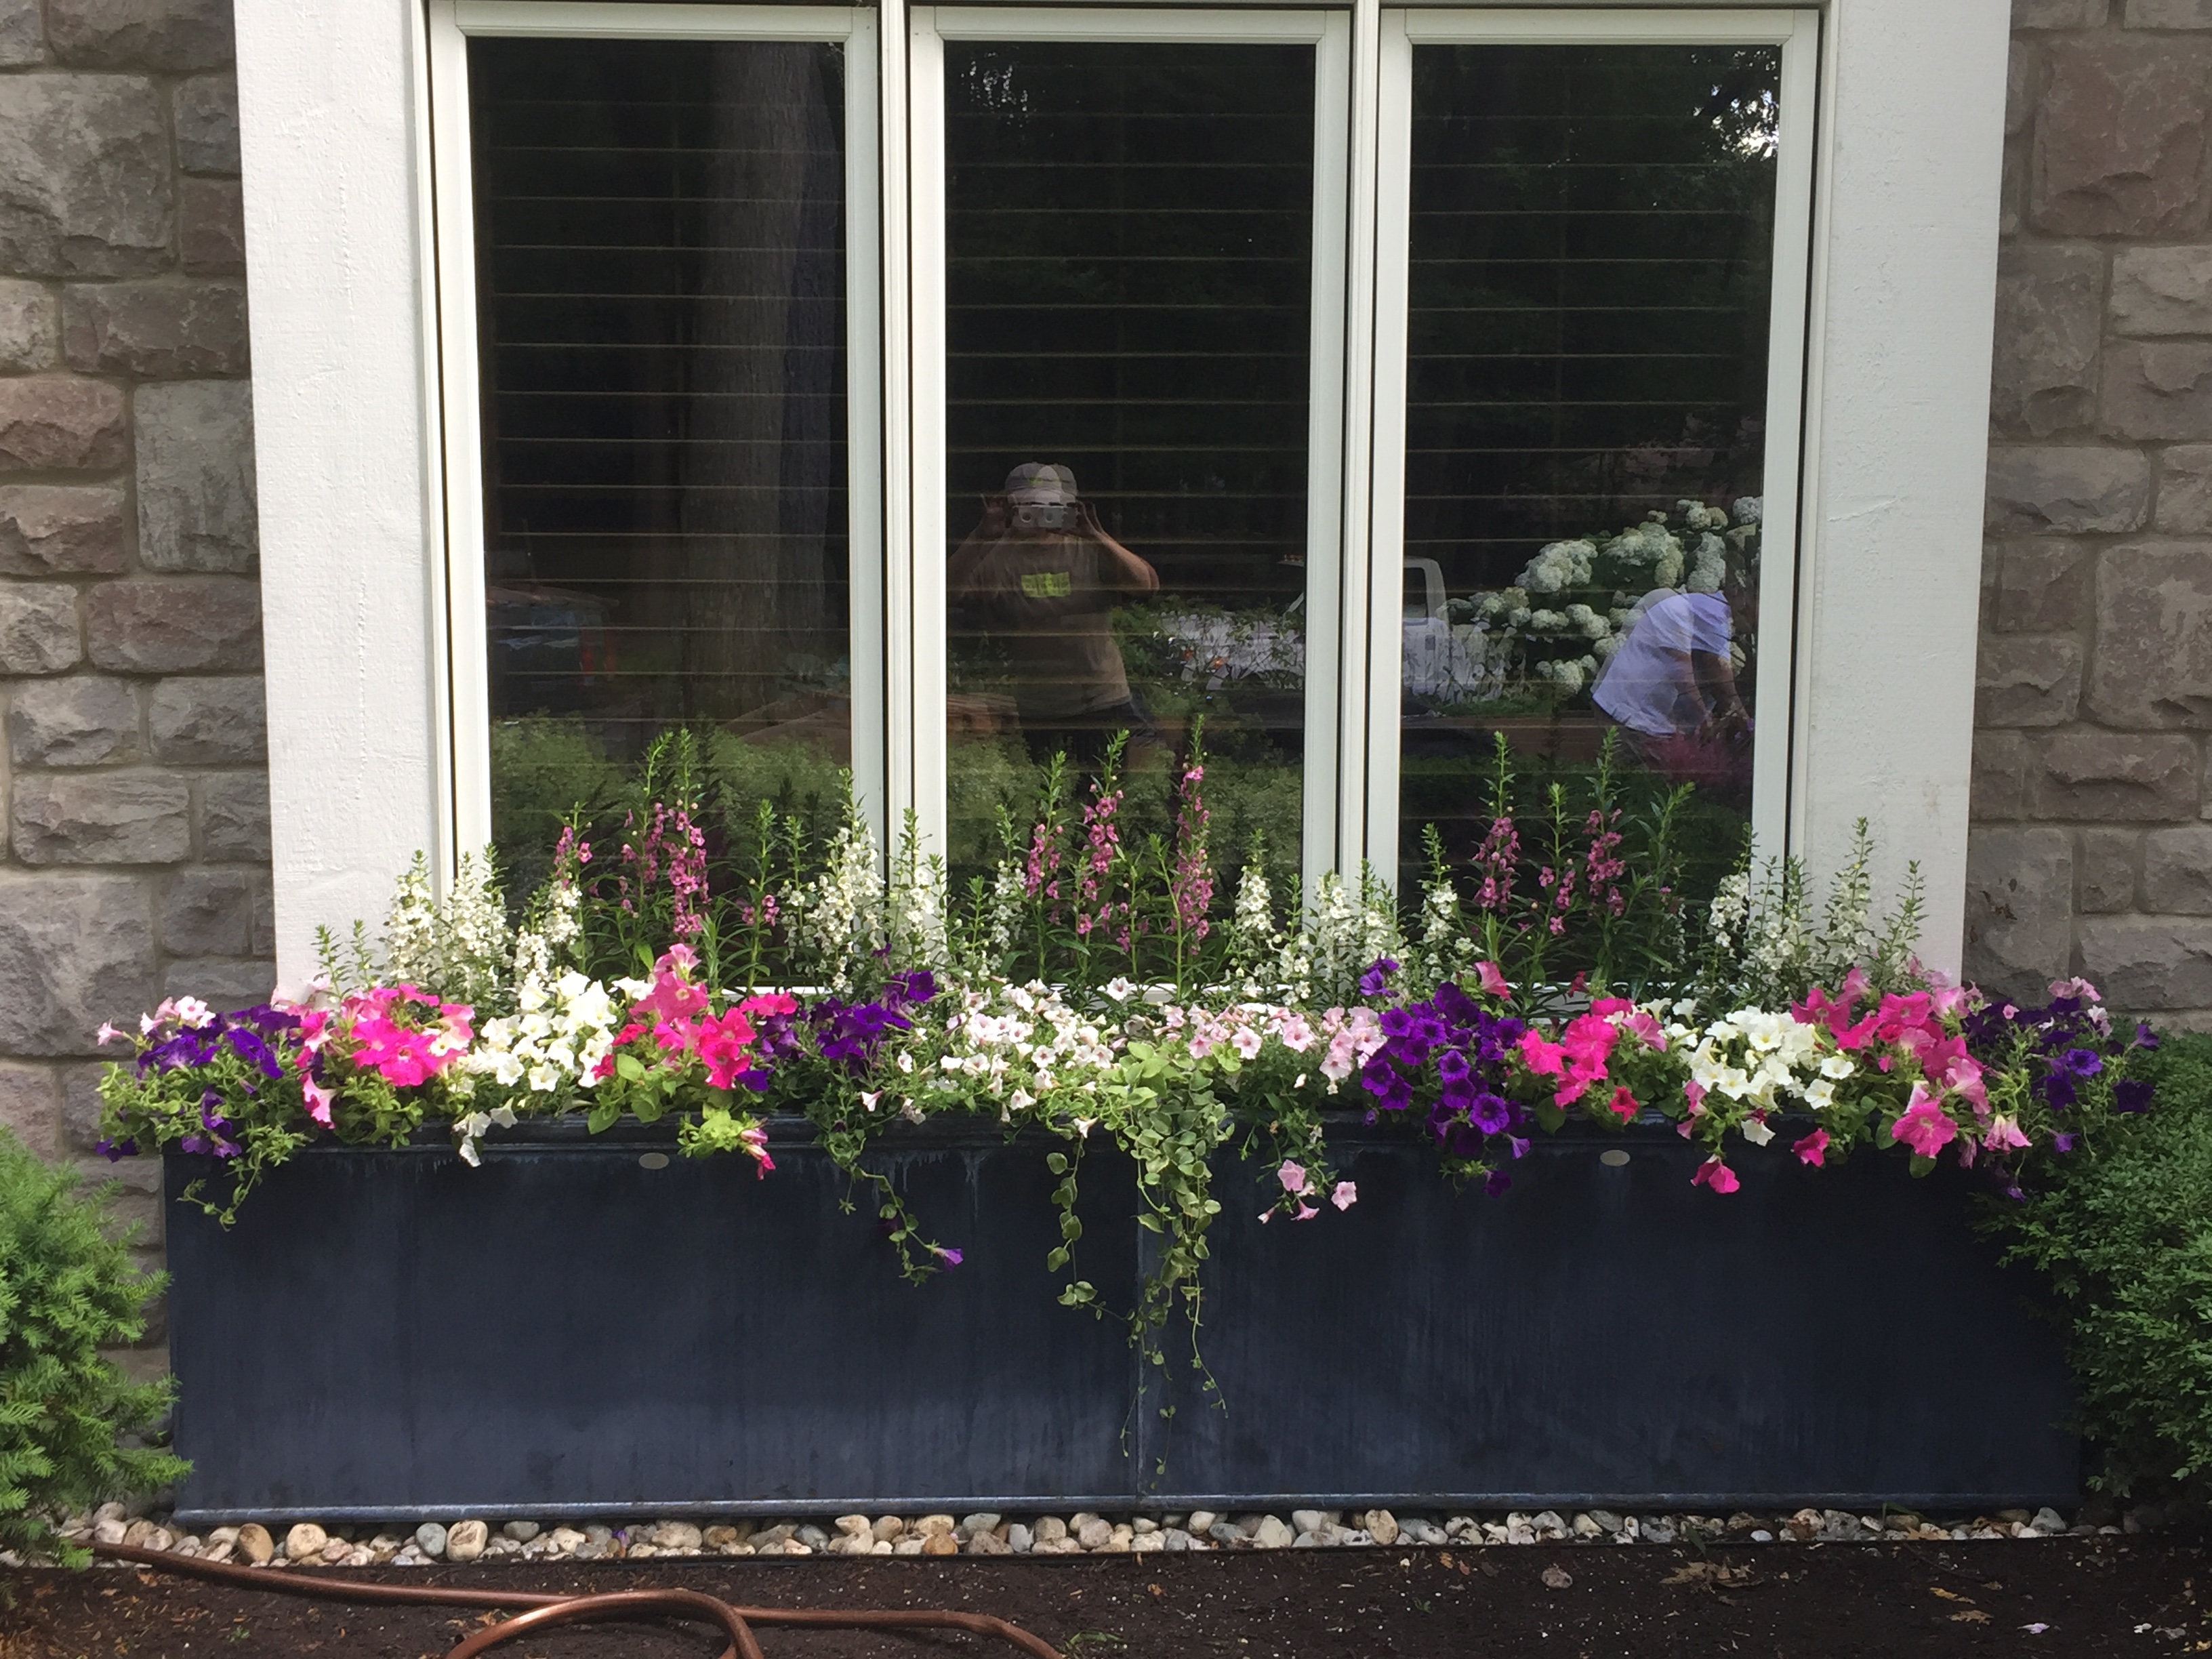
 contemporary planter box
 porch railing panels

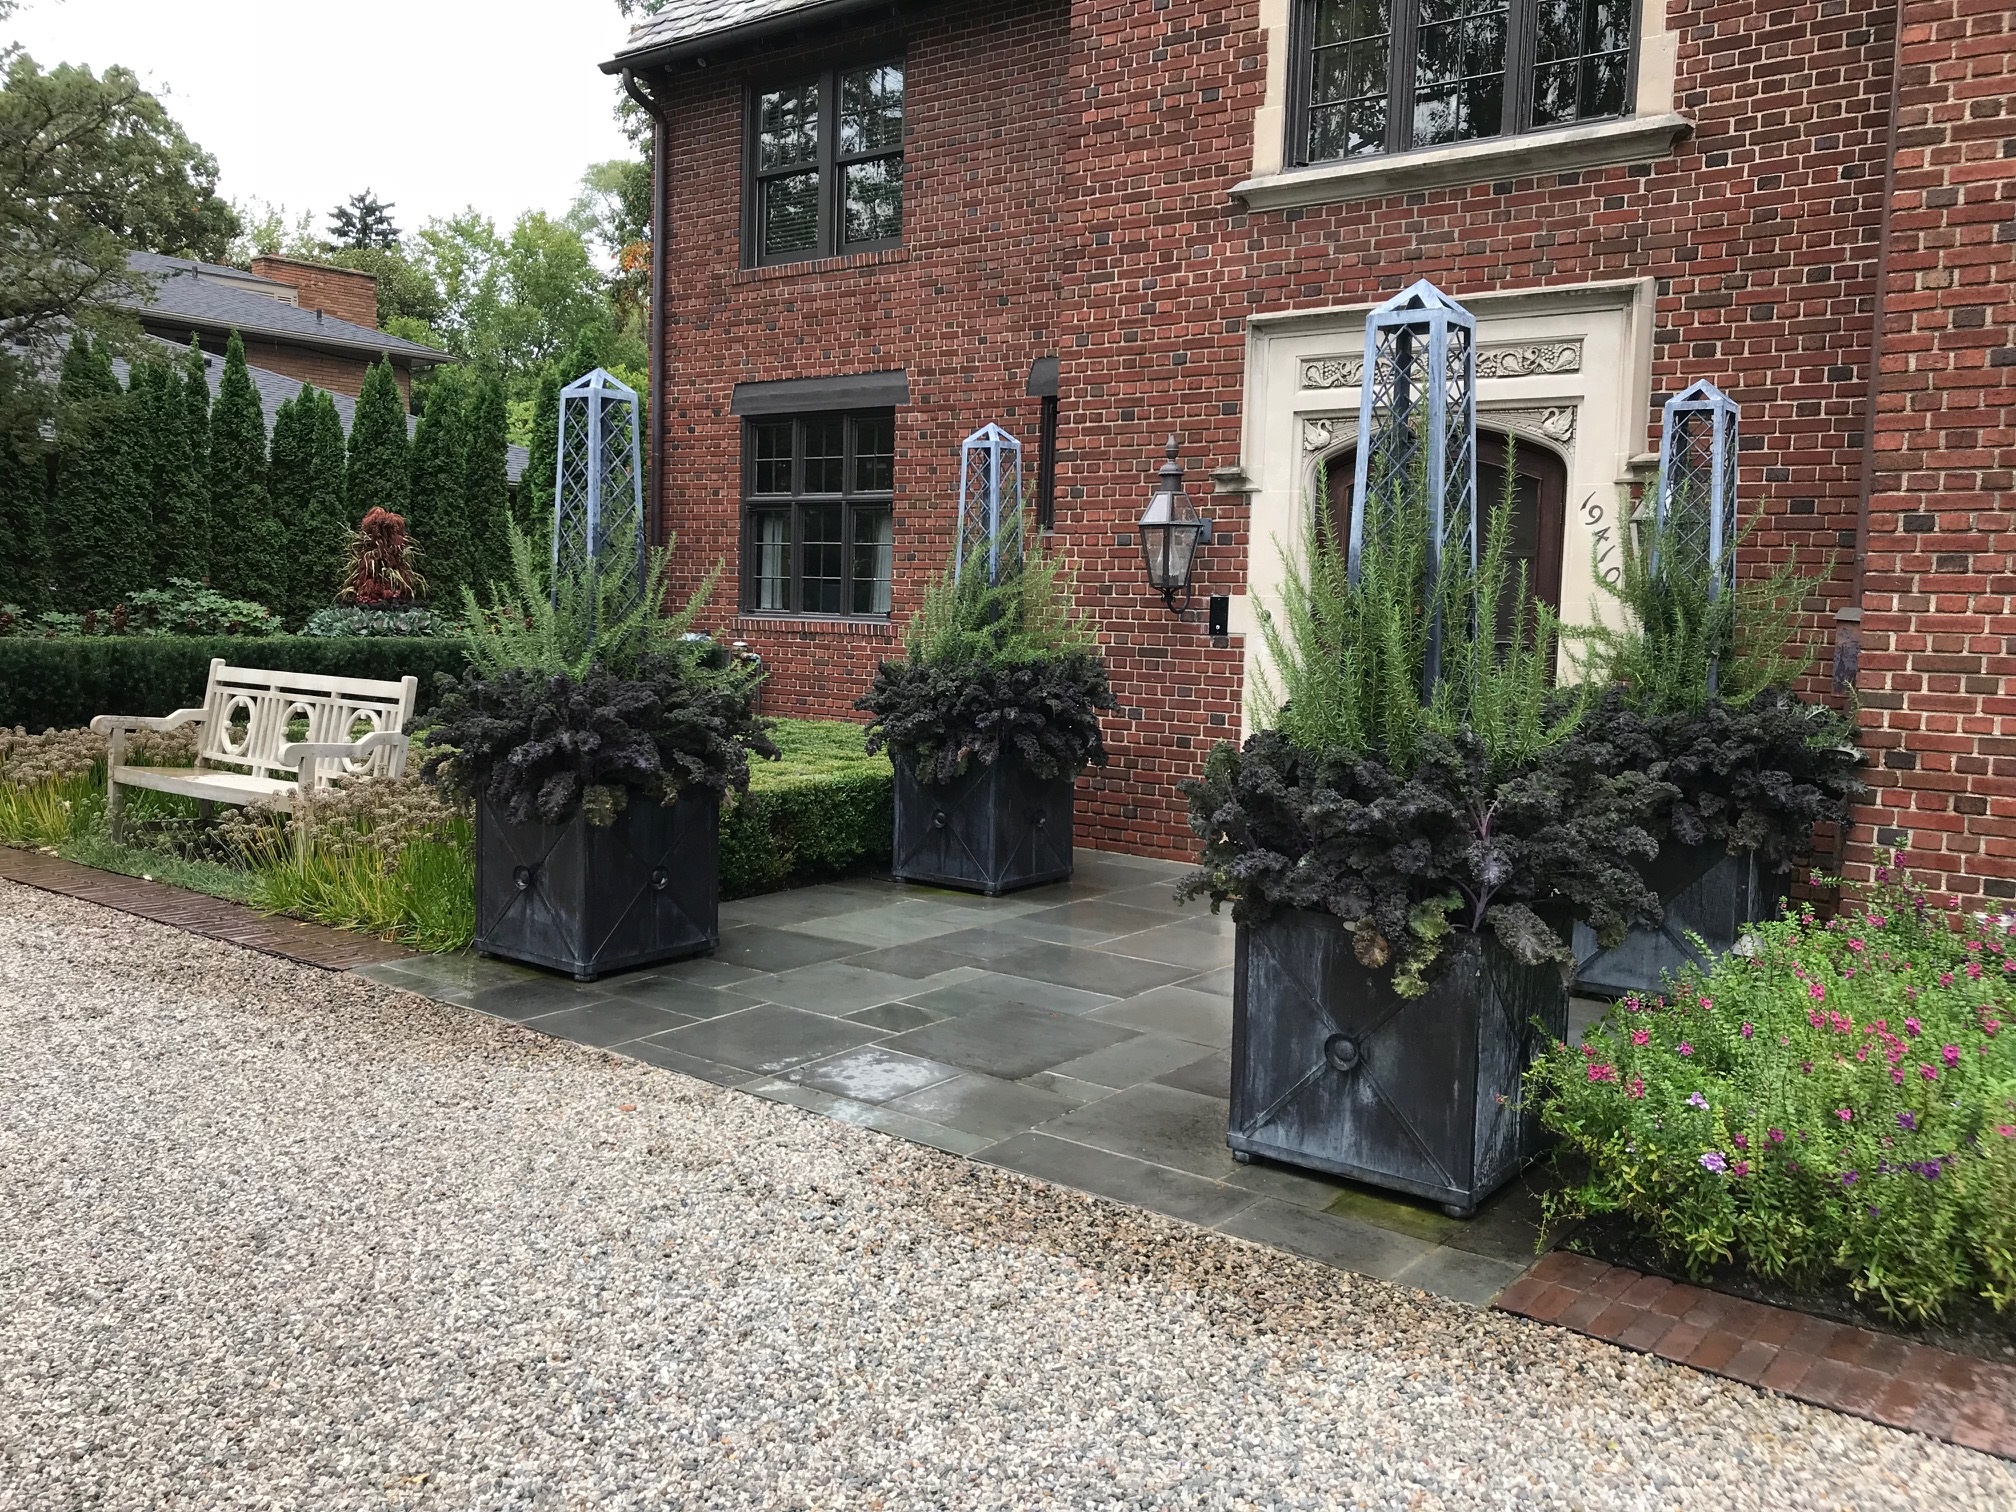
custom obelisk
 Four spout fountain
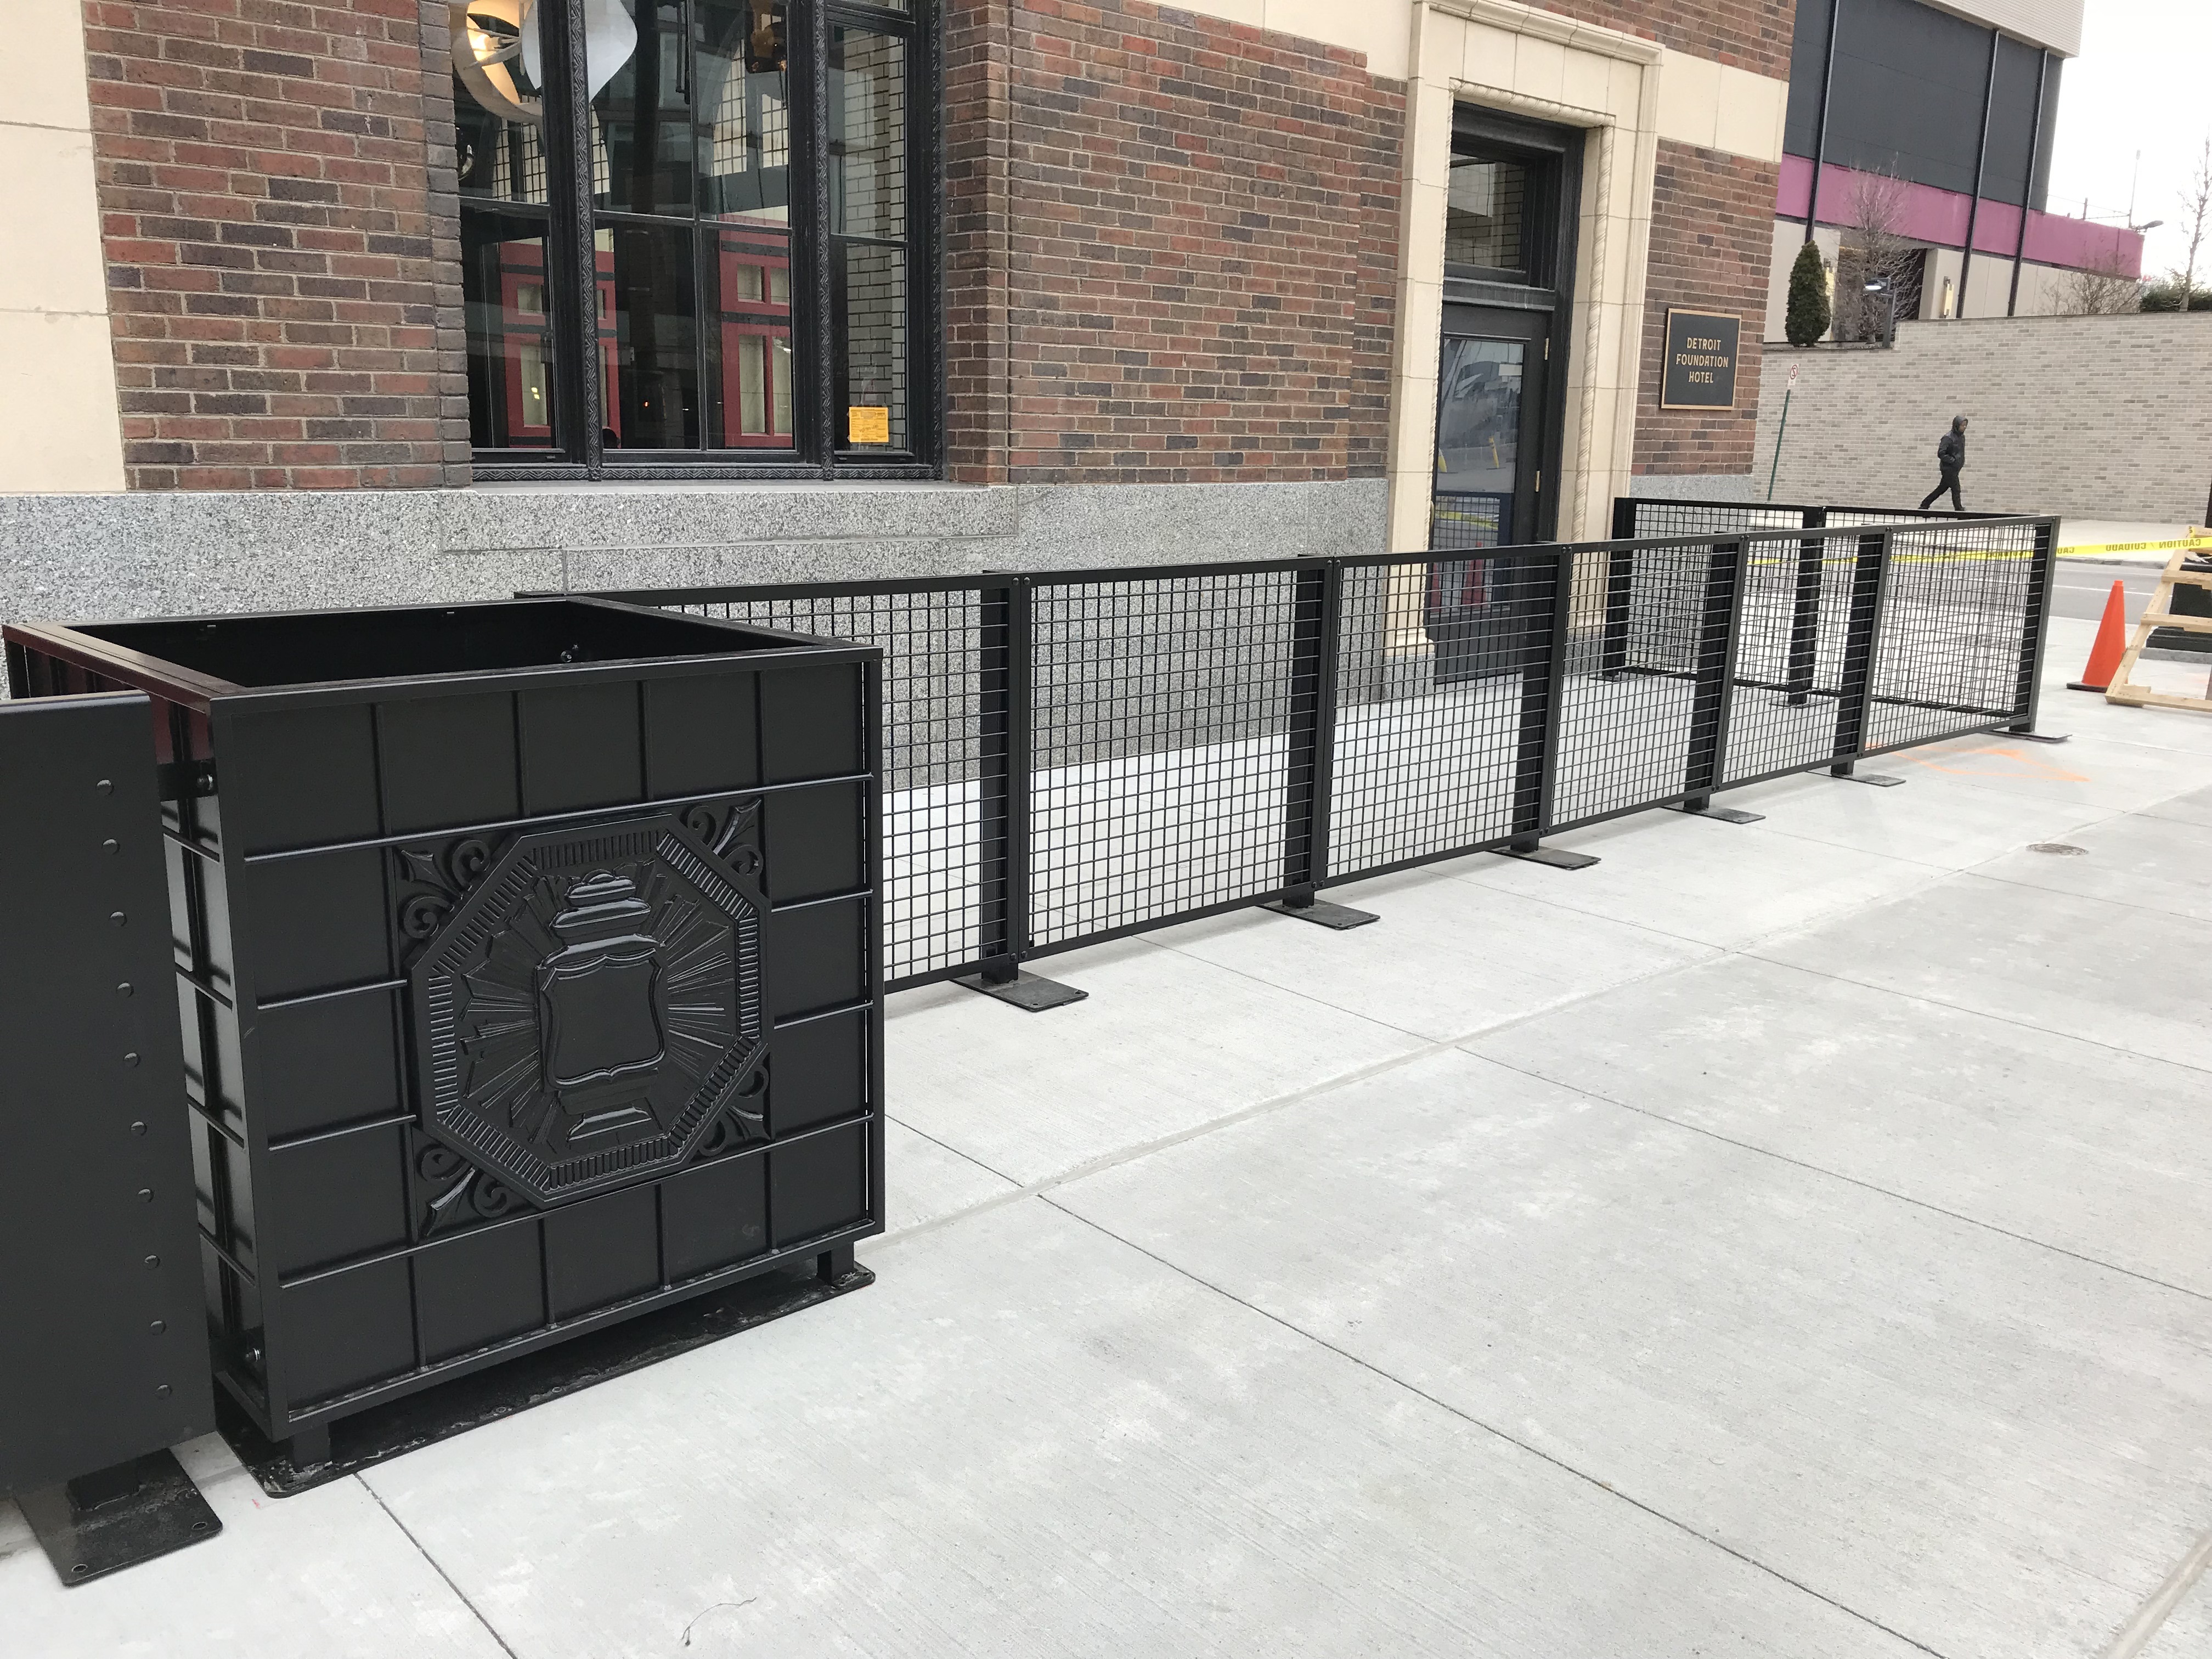 custom box and rail for the Foundation Hotel in Detroit, designed by, and fabricated for, Zaremba and Company
 custom oak and steel boxes
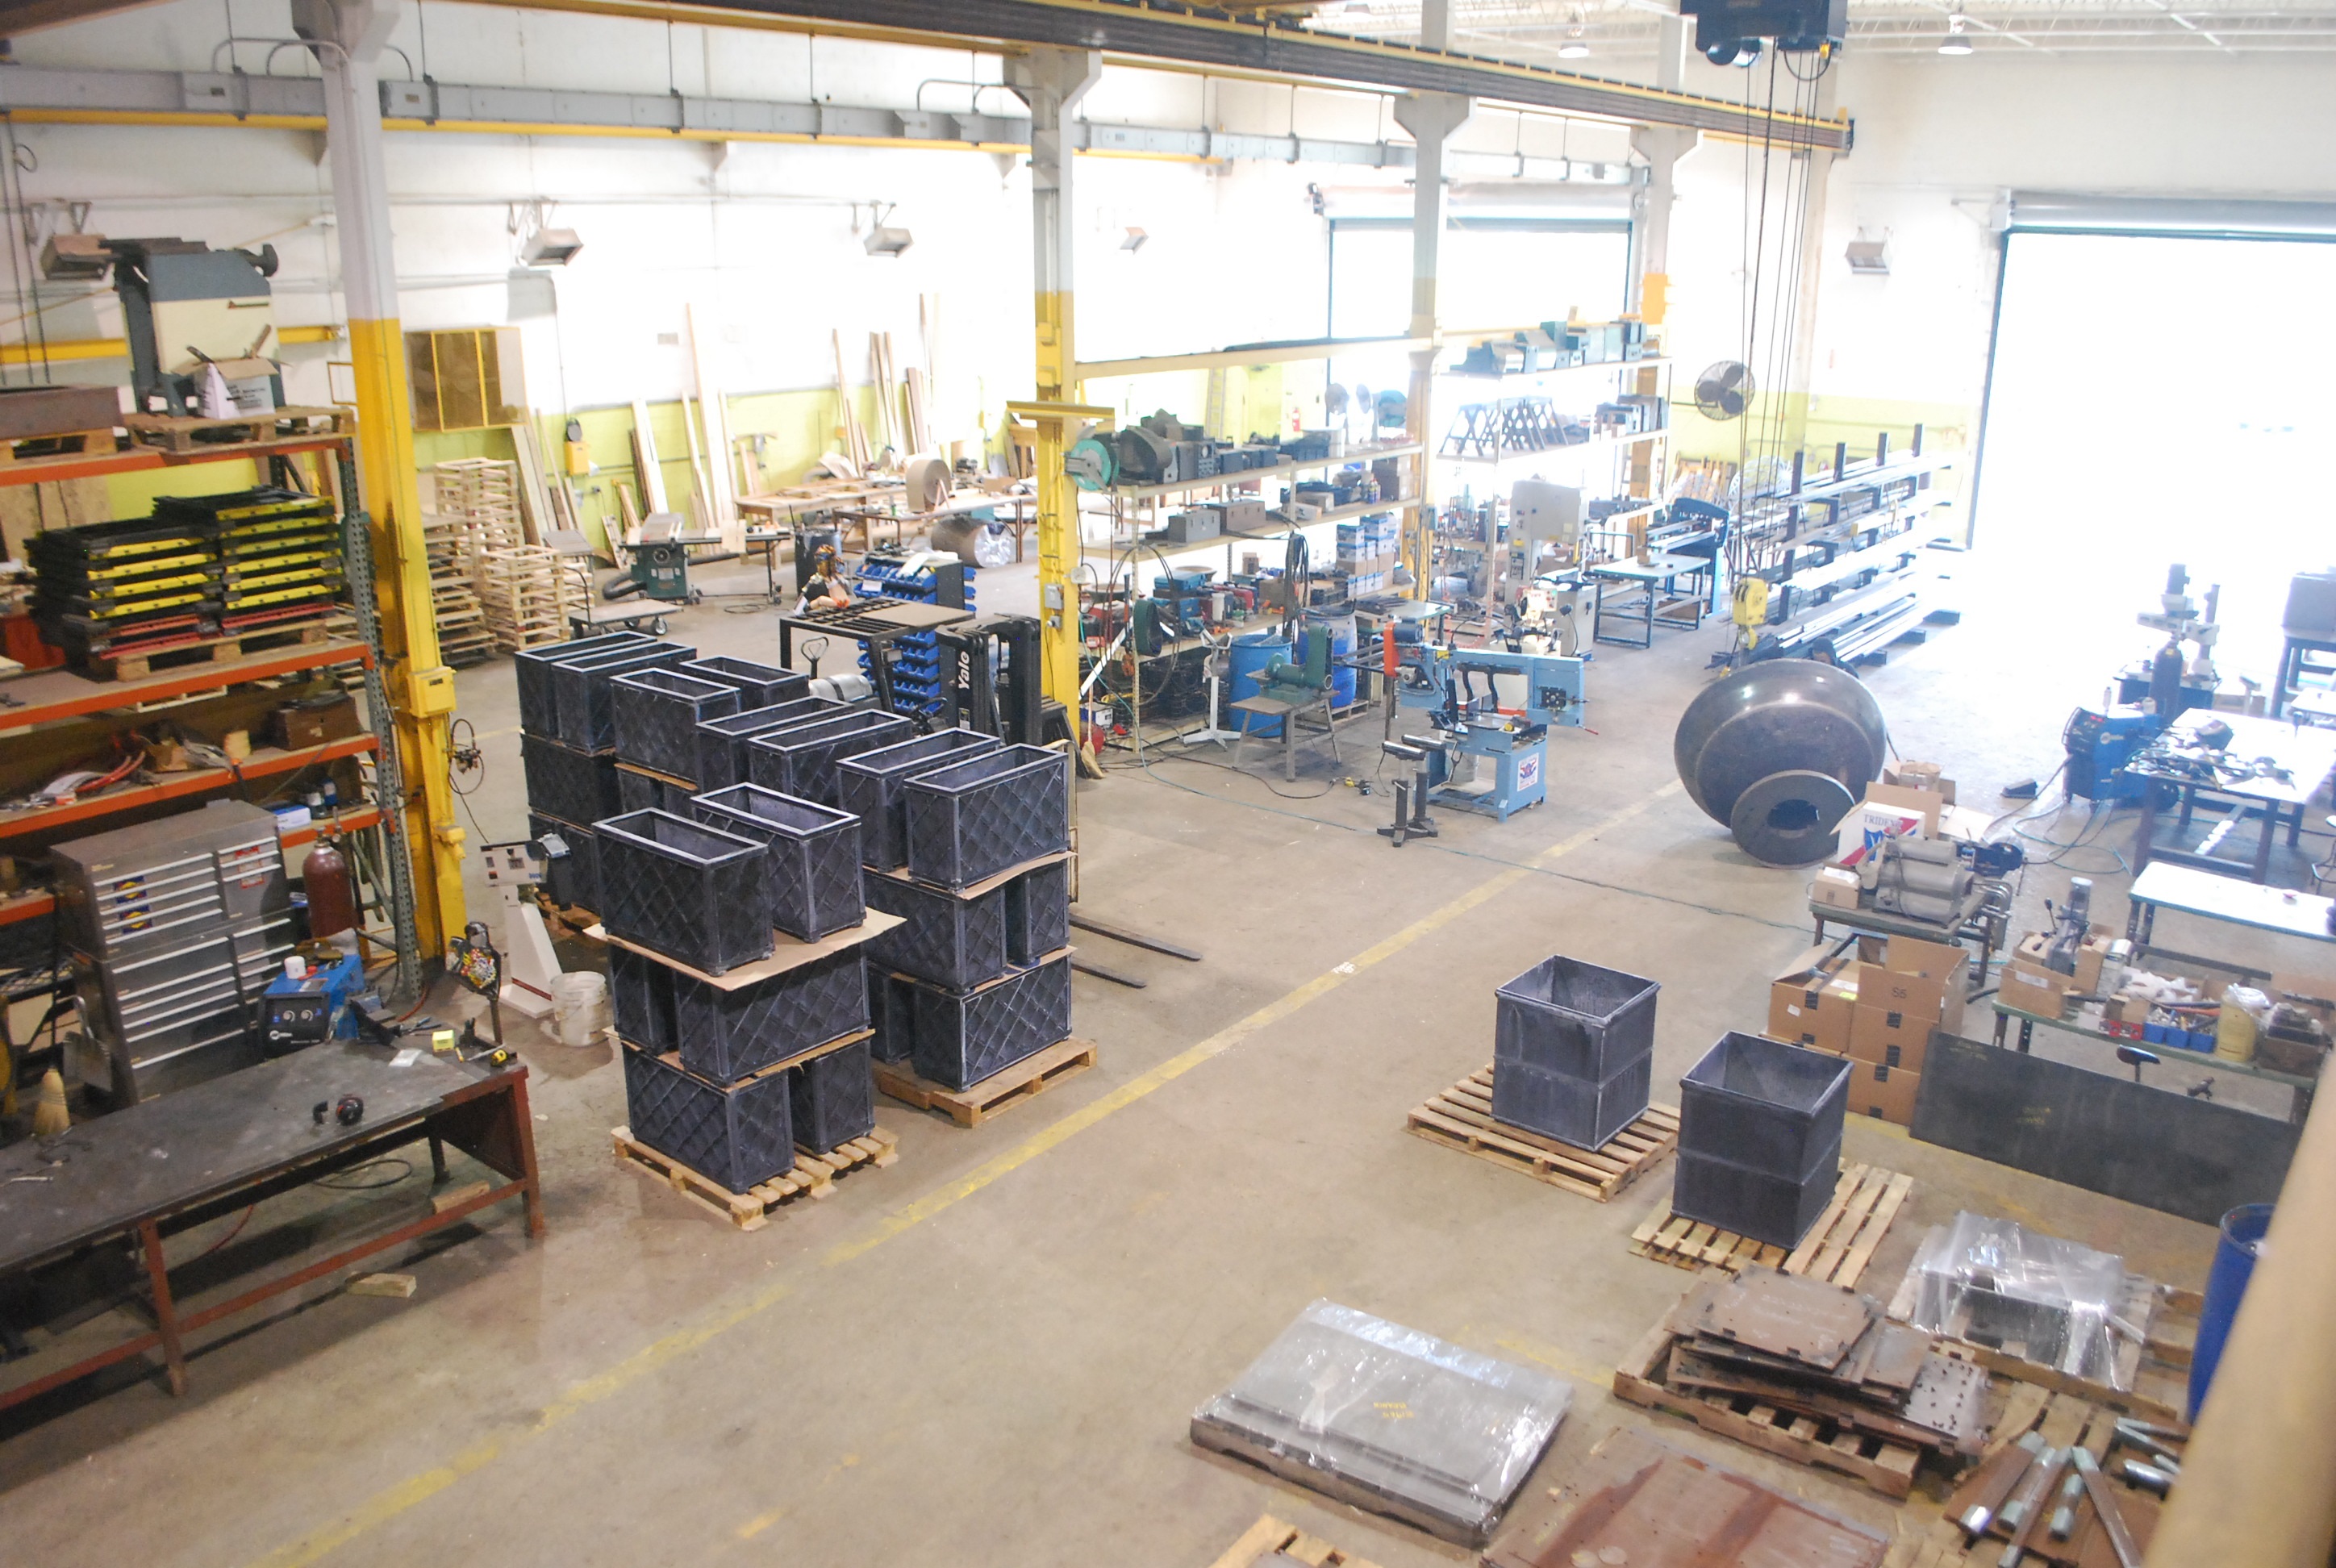 The shop