The Finishing Touch

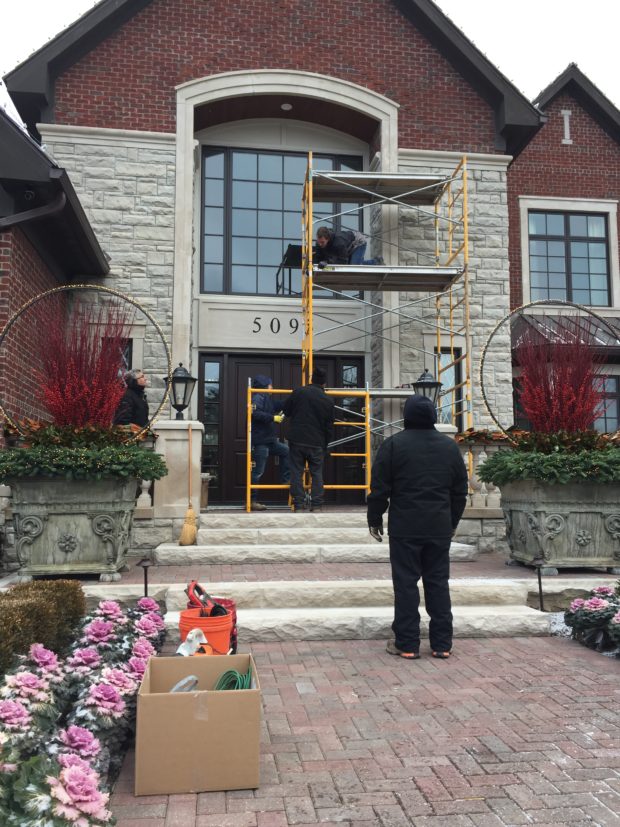
The moment I saw this winter project, I knew a lighted garland wrapped around the front door surround would bring all of the winter elements together. A garland attached to that limestone surround some 25 feet off the ground that would describe the entrance to this home is the stuff of fairy tales. I told my client it would take a lot of people and equipment to make this happen. There would be no ladder tall enough and safe enough for an installation at this height. Expecting her to say no, she said yes. Given her go ahead, Templeton Building Company was kind enough to send out four sections of scaffolding, and two of their people to set screws in the mortar over the doorway, and down the sides. Four of my crew met the two from Templeton early one morning.
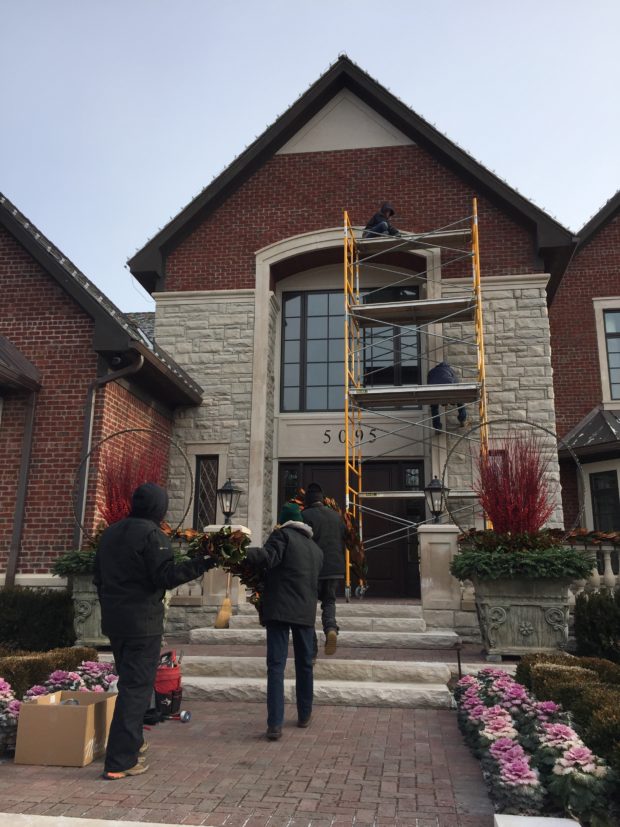
I was not especially happy about the process. The scaffolding was on wheels, for starters. Really? It got built skyward, section by section, until it was high enough to provide a place to work. Would I want to be up there working? No. Was I worried about each and every one of them climbing this expanded ladder to the sky-yes I was. It only took Matt 40 minutes to set the screws that would hold both the magnolia garland, and the light garland. So far, so good. My crew on the ground delivered the materials to those people who were aloft.
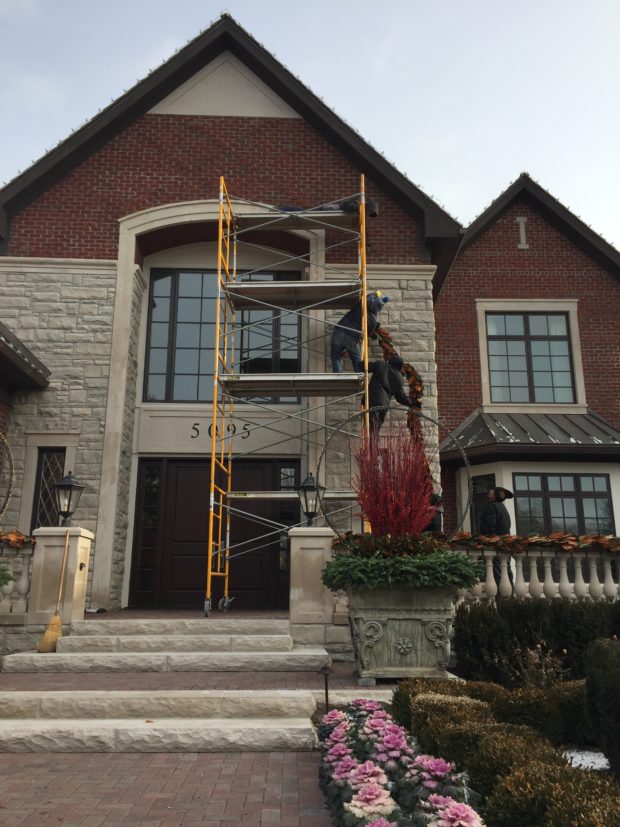
Once the screws were in place, LaBelle made his way up the scaffolding, hauling one end of the magnolia garland. David LaBelle is a leading fabricator for my company, the Branch Studio, and he has no fear of heights, or scaffolding. I cannot imagine how that can be, but he seemed relaxed about it, and I knew he would be entirely capable of wiring on the garlands. As the scaffolding was but 7 feet wide, we would have to install one side of the garland at a time, and then move the scaffolding to the other side.
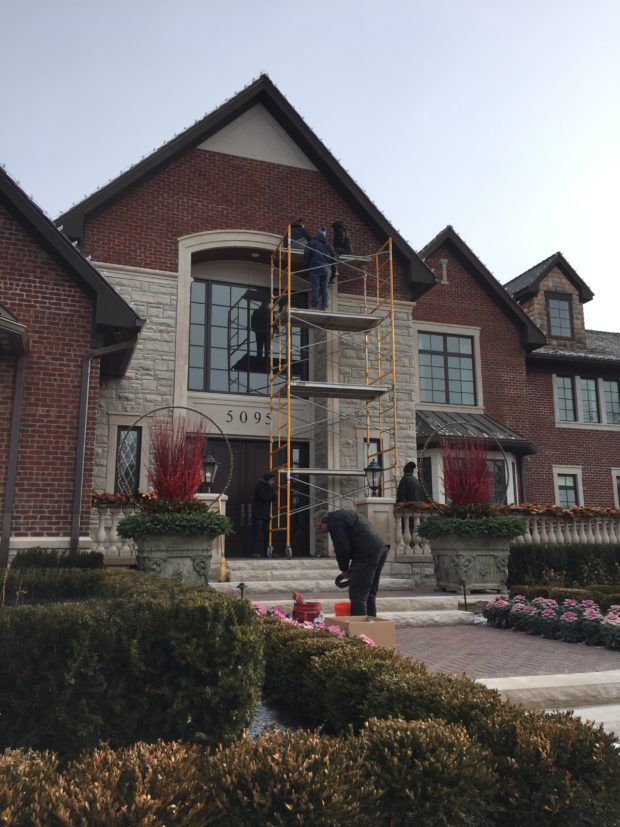
The top surface of the top layer of scaffolding was only one board wide. LaBelle was not in the least bit concerned. The best part of all of my companies are the people who make things happen. Our group of 20 something has varying skills. The variety of work we are able to do depends on this.
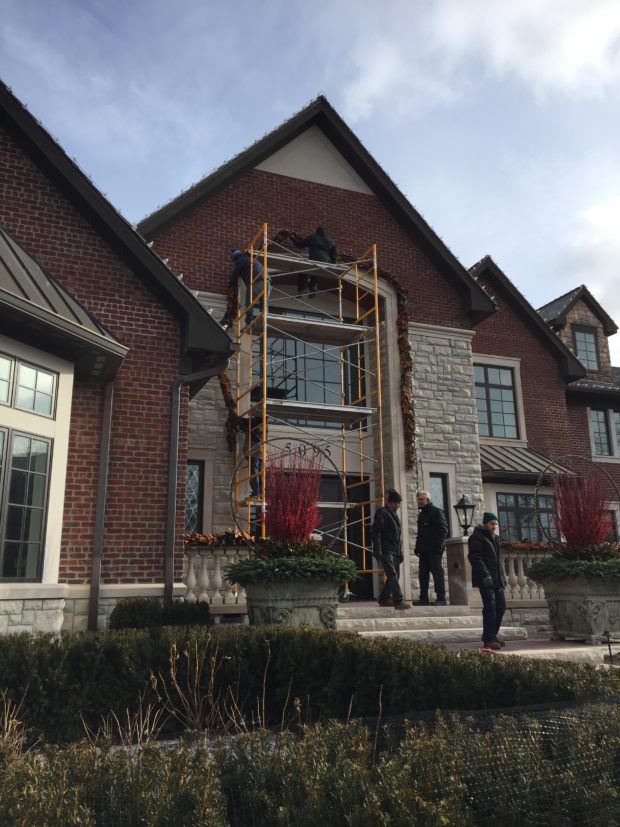
Once the first sections of garland came down the right and left side, I knew the big effort to set lighted garland over this two story doorway was a good idea. The final sections of garland could be attached from a ladder.
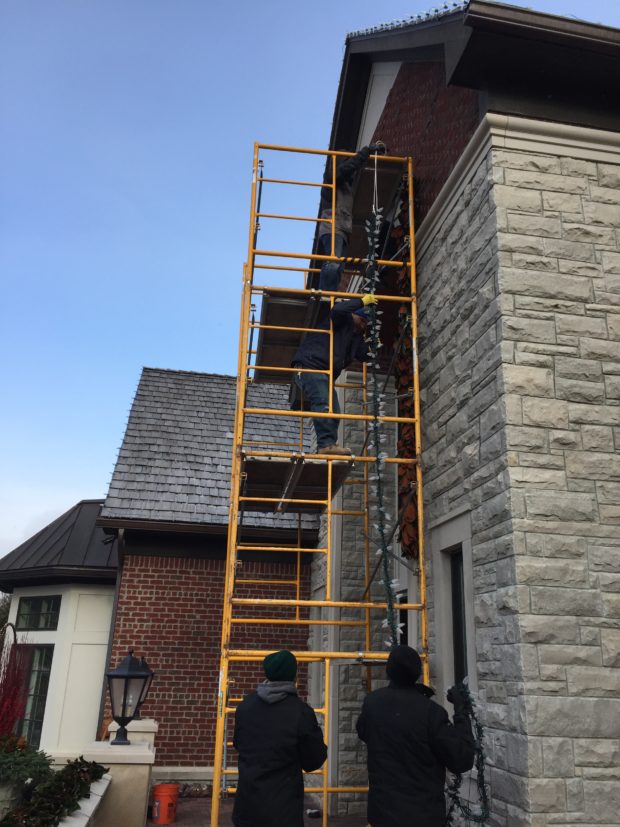
Once the magnolia garland was secured, the light garland went up next. The garland is 50 feet long overall, and is comprised of a 100 foot strand of LED C-9 lights, and a 100 foot strand of Lumineo mini LED lights, each folded in half, and twisted together. Frequent zip ties keep the twist from unraveling.
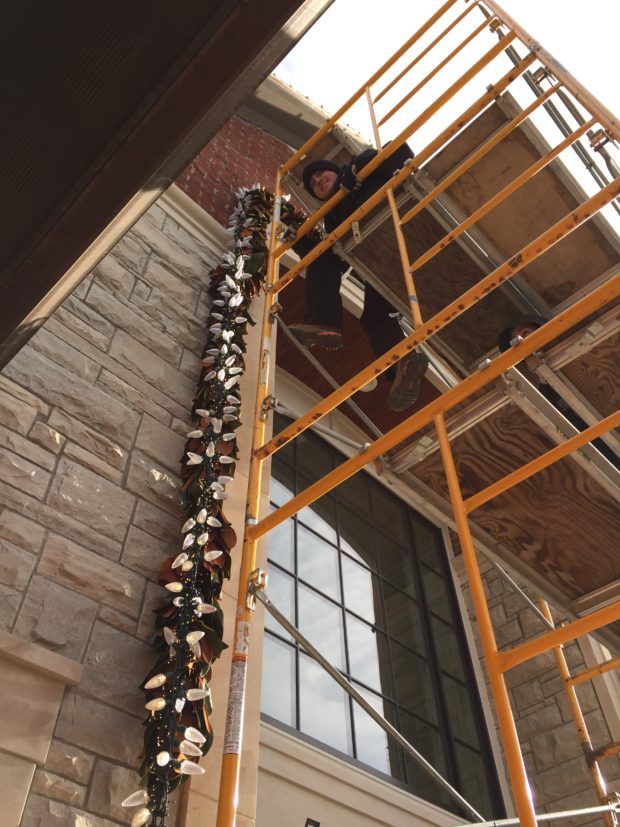
LaBelle was ready to take this light garland up high. The LED lights represent a vast improvement in exterior lighting. This garland is amazingly light weight. LED’s now have a quality of light very similar to warm incandescent lighting.  They consume very little power, and are economical to run. But the best feature for us is the fact that the light covers are plastic – not glass. They are shatterproof.  So no harm if you drop them, or bang them against a brick wall. When first introduced, the big bulb LED lights were very expensive. 1 25′ strand would run 27.00. That same strand is less than 10.00 now.
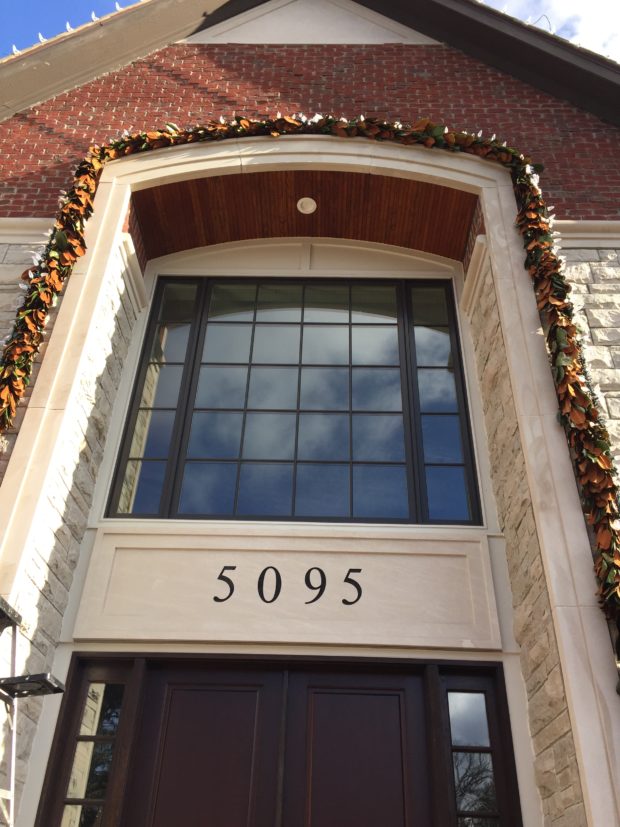
The lighted magnolia garland over this door is beautiful – day and night. The backs of the leaves echo the color of the brick and wood architectural elements.
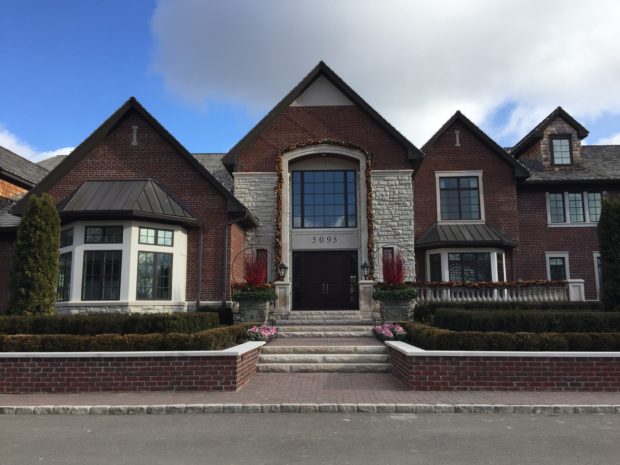
From the drive court, the scale of every winter element looks appropriate. From the ground plane to the sky, this winter landscape has a lot going on. That lighted magnolia garland better than two stories up over the front door does not look too big or overly elaborate. It is fairly simple, just sized to fit.
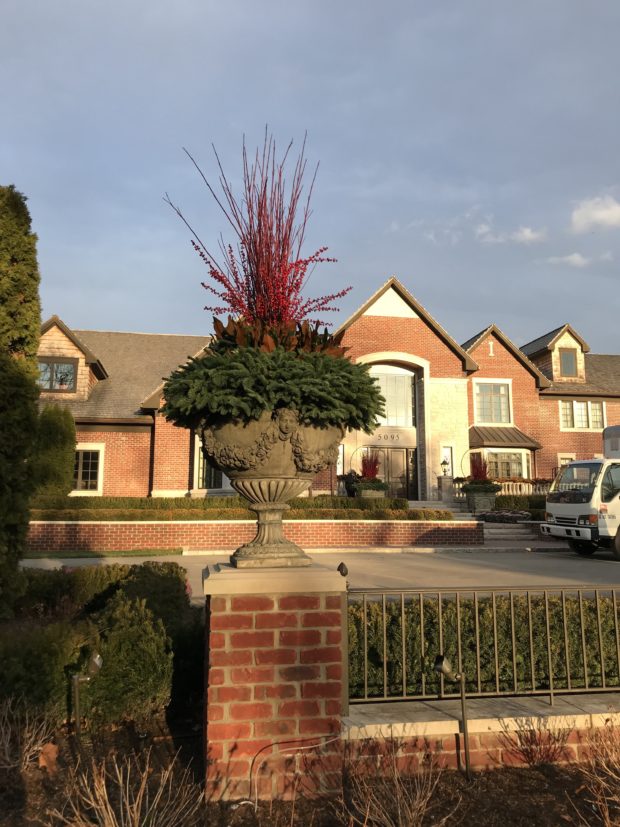
From the far side of the drive court, some rare late day December sun describes a landscape and garden ready for winter. This winter landscape has volume, structure, texture, mass, -and most importantly, lighting. A routine winter day in Michigan is gray.
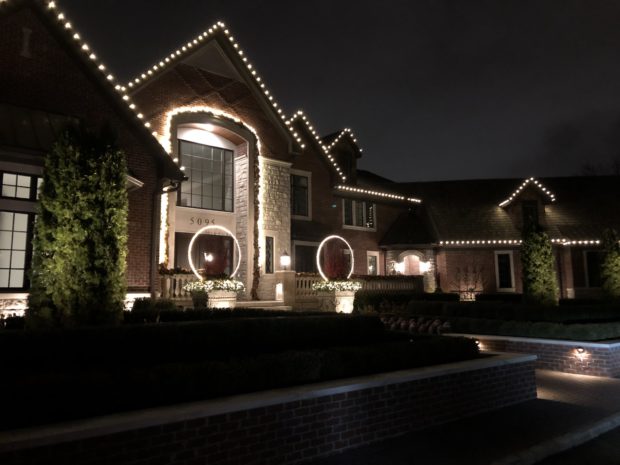
Once the December light fades, there is a garden to be seen of a different sort. Light your own winter landscape as you wish. I would suggest that any effort you make to light the landscape is well worth the effort.
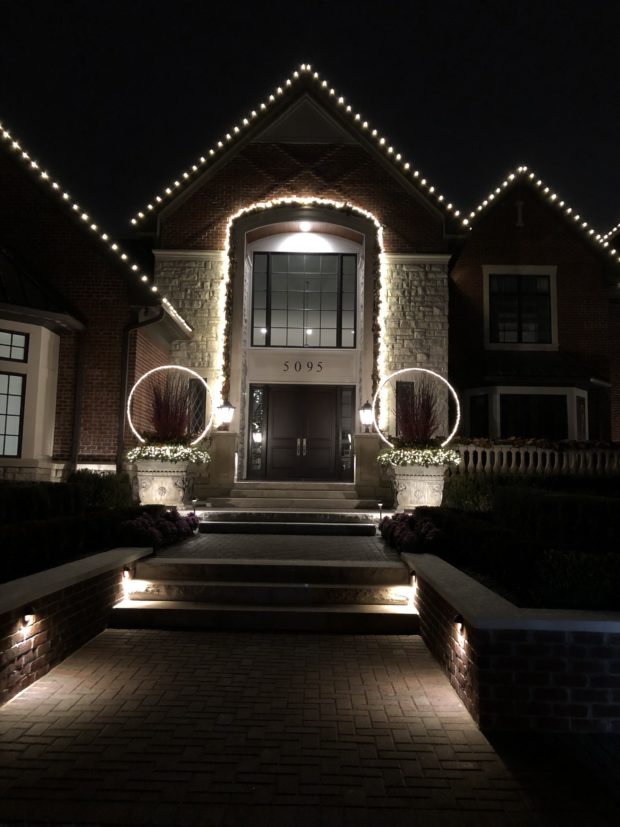
welcome.

Hooping It Up

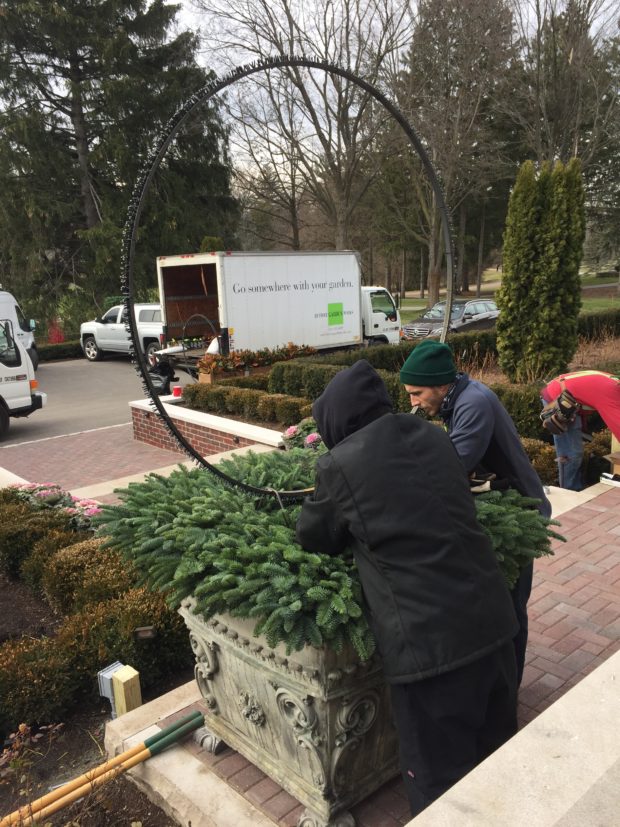
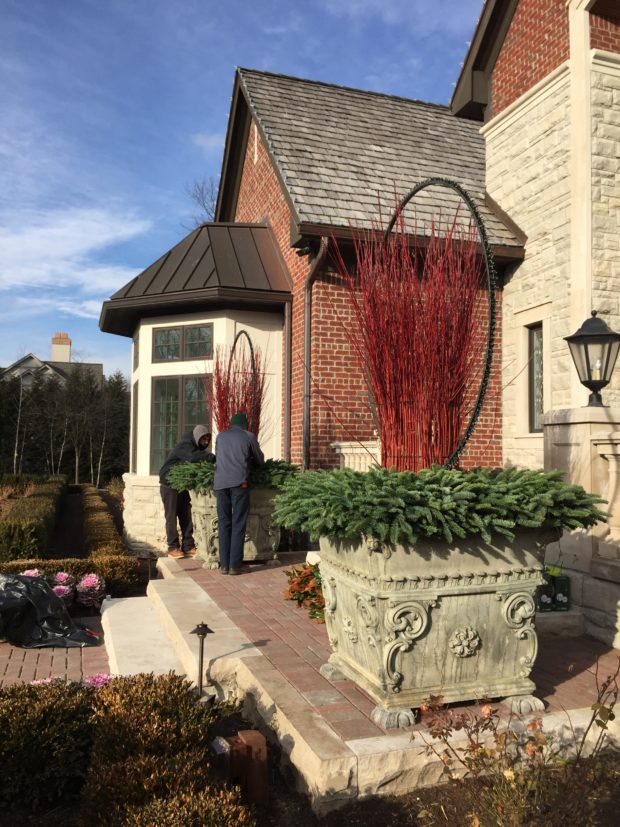
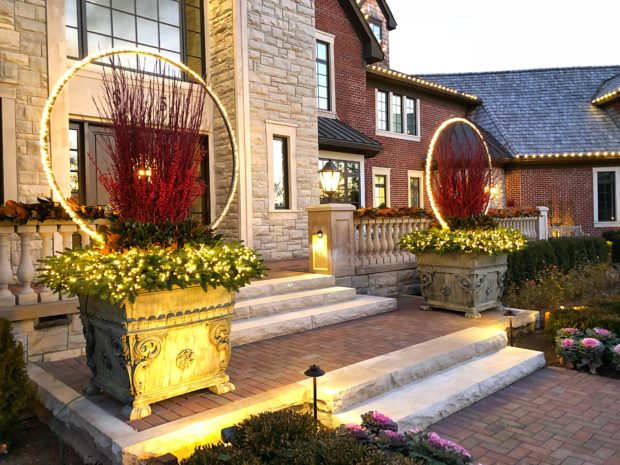
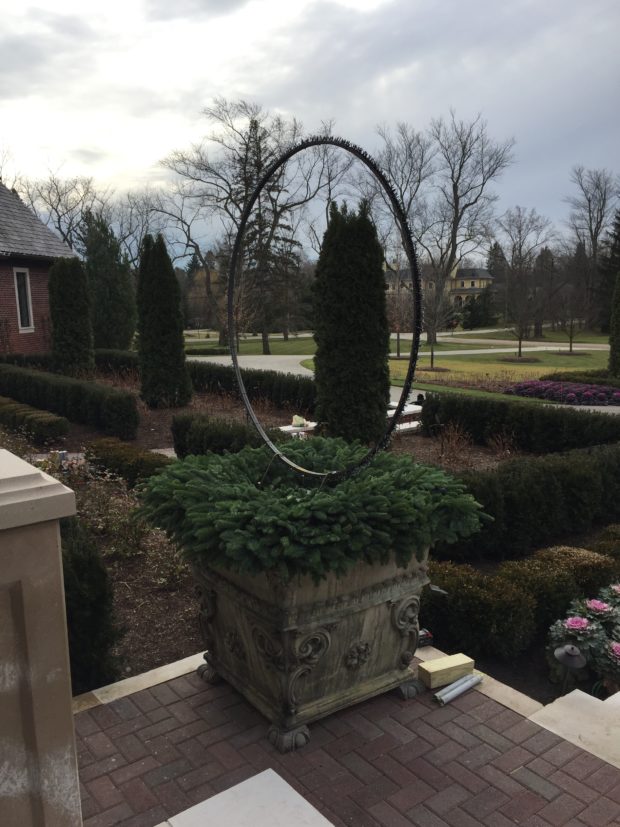
If you’ve frequented Detroit Garden Works during the winter/holiday season in the past 4 or 5 years, you’ve seen Rob’s light rings. Inspired a number of years ago to wrap a trio of vintage grooved wagon wheels with string lights, he went on to design and have manufactured steel hoops specifically engineered to light the winter night with circles of light. Our clients responded in kind. He has had plenty of fans, both residential and commercial, purchase his light rings over the years. Heavy gauge steel channel of an appropriate depth is rolled into a circle and welded.  His first rings, produced in a number of different sizes, were designed to be hung from a stout branch of a tree, or in a window. Each ring comes with a generous width and length of jute rope as a hanging apparatus. The plug end of the light strand (or strands, in the case of the really large hoops) was concealed within the jute. An exterior rated extension cord ran up the back side of the tree trunk, and was plugged into the lights from the top.  This is his ingenious way of concealing the cord. Some large hoops hung in trees were stabilized with heavy weight fish line attached from the sides of the hoop to neighboring anchor branches to prevent them from swinging in windy weather. A year later, he came out with spiked light hoops, that could be inserted into the ground, or into a pot. The bottom of that spiked hoop is welded to a steel rectangular base. Detroit Garden Works places so many of his lighted hoops in both commercial and residential settings.  I greatly appreciate the opportunity to specify them for an installation. We had occasion to install a pair of 5′ diameter spiked light hoops in some large pots this past week.
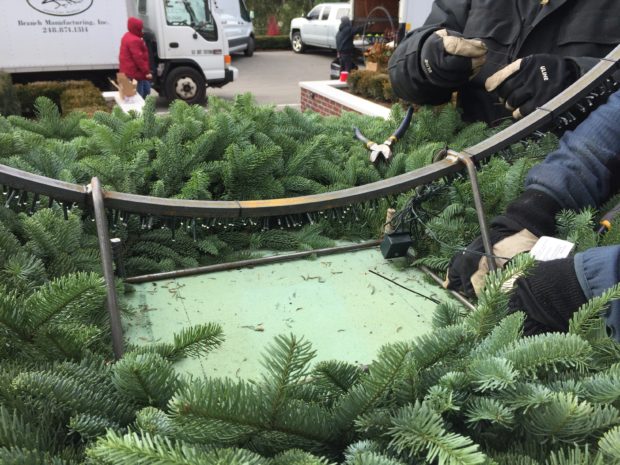
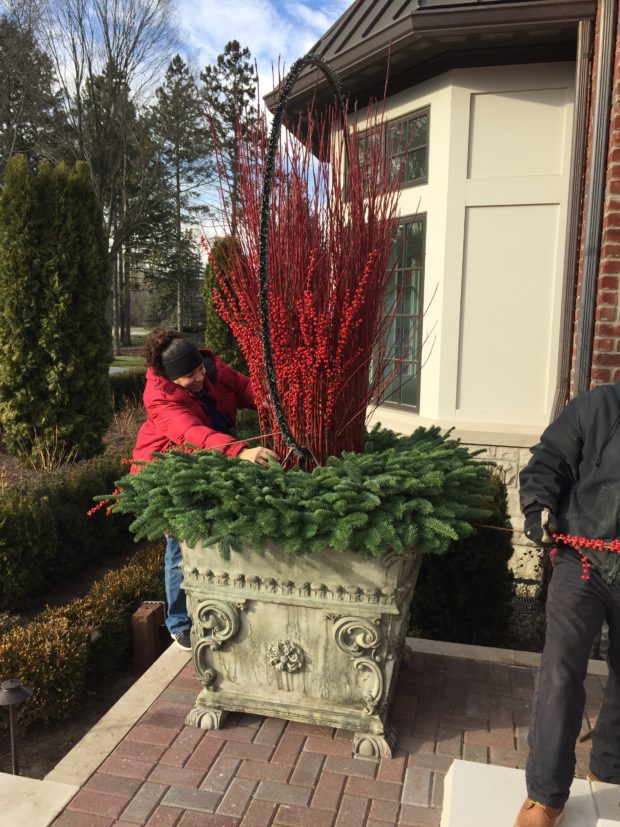
In this picture, the spikes at each corner of the frame have already been pushed down through the foam form which had previously been stuffed with greens in the shop. Given the size of these hoops, steel rebar was pounded down into the soil at all four corners of the hoop base. Each piece of steel went deep into the soil in the pot, and is secured to the hoop framework at the top of the base with steel concrete wire.

Securing the hoops take some time, but my idea is any element in a winter pot that goes sideways in bad winter weather is a poor look indeed. I like winter containers whose every element persists, in spite of whatever the winter weather has to dish out. That these lighted hoops will remain in place the entire winter is the best reason to make sure they stay put. Our winter weather can be nasty as well as inhospitable. Winter containers that endure are beautiful.  Lighting the landscape via winter container arrangements is a good idea.  Our winters are gray and blah – visually tedious. Some light and some warmth makes everyone feel better. That light makes the winter landscape look better.

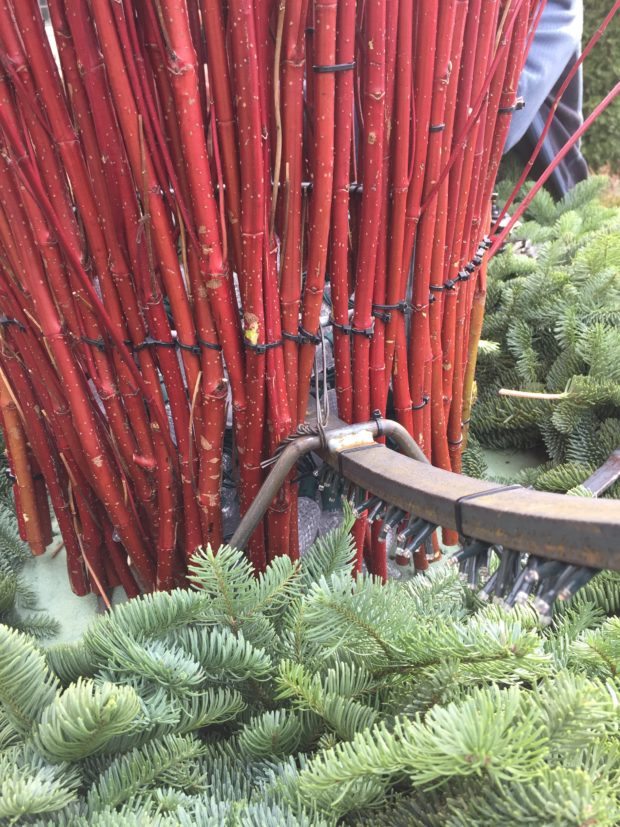
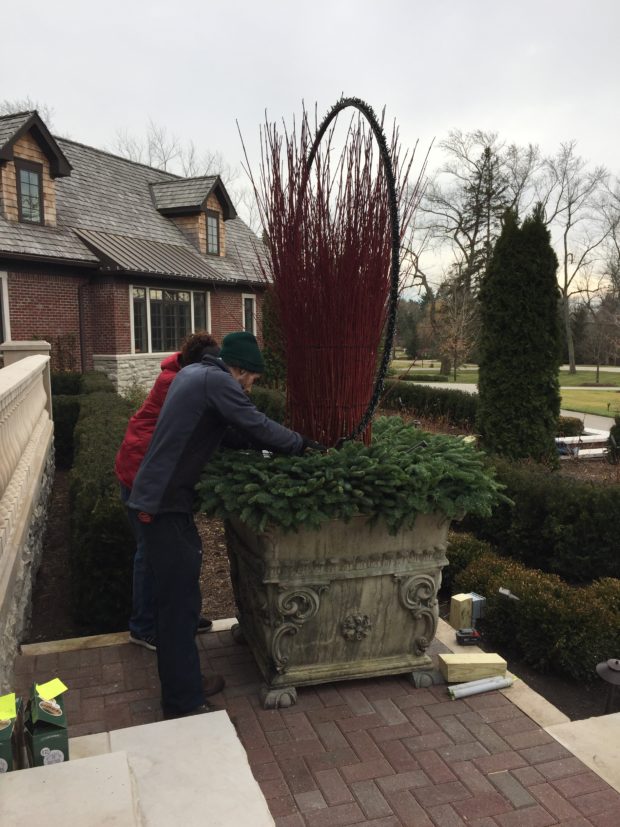
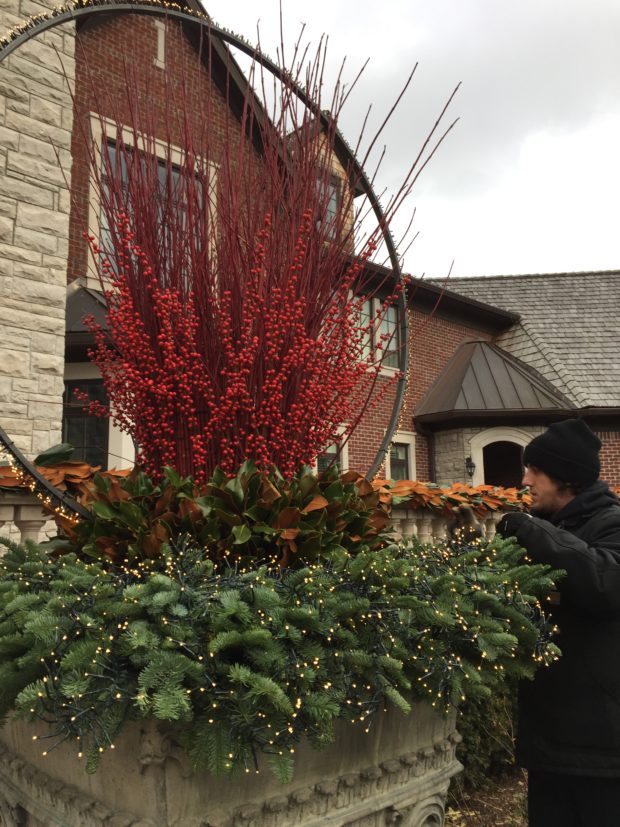
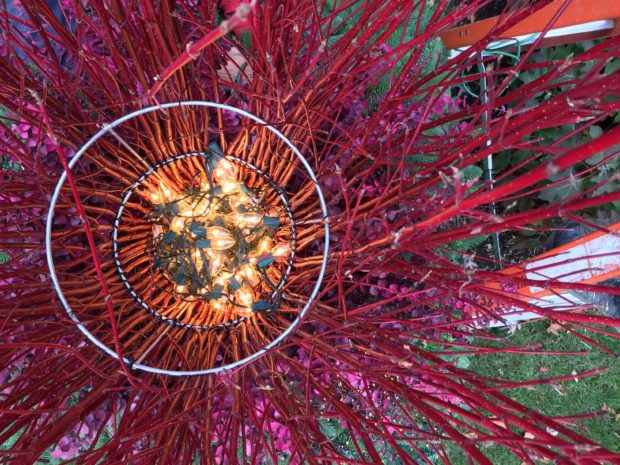
The red twig dogwood was secured to a tomato cage in a way similar to a previous project. We did have to remove the bottom ring from this tomato cage so the dogwood and cage would fit over the bottom portion of the hoop. I have the Branch staff to thank for their adaptation that made this installation work. The middle ring of the tomato cage is attached to the base assembly of the hoop with more concrete wire.

A 50 light strand of C-9 LED lights was installed inside the funnel of dogwood. It is remarkable how much this gesture adds to the glow. Someone once said that the difference between very good and stellar in any gesture amounts to about 10 percent. This additional string of lights is a gesture aimed at stellar.

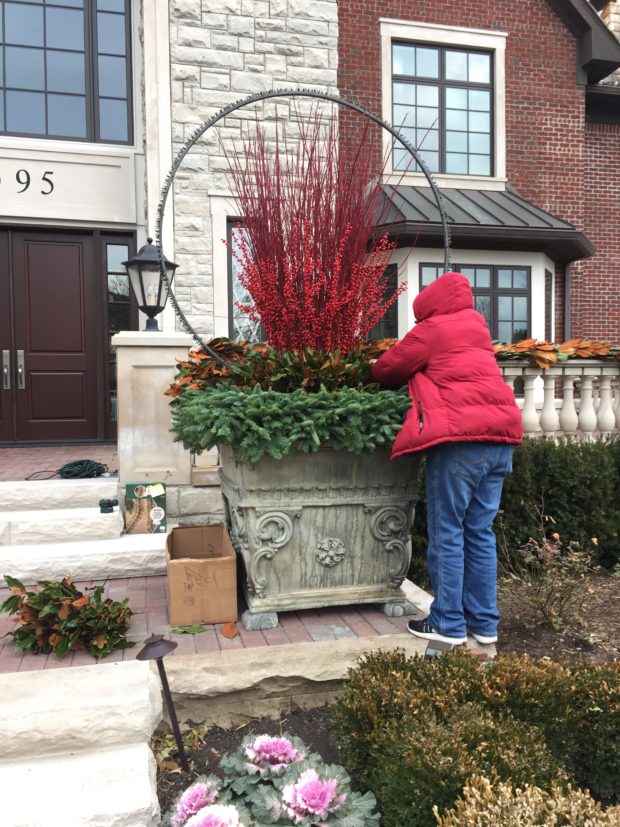
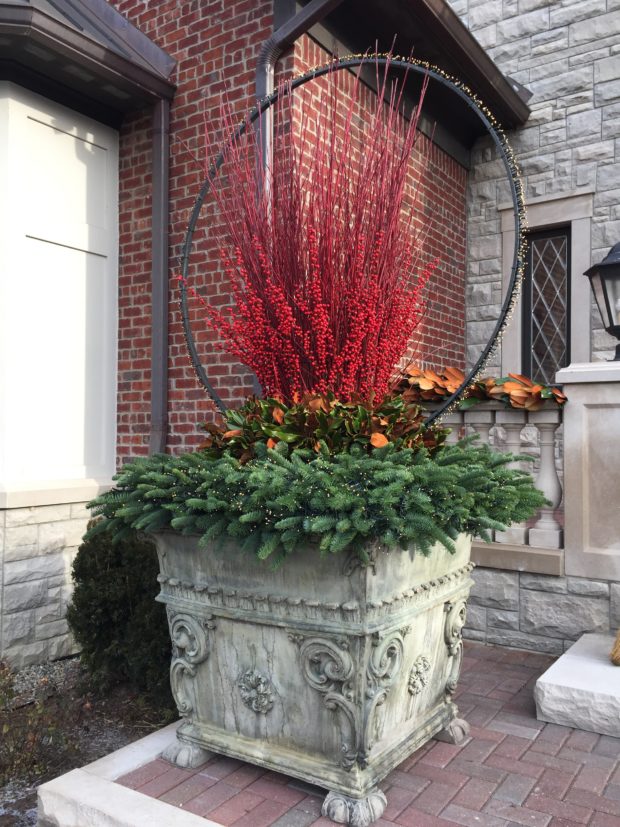
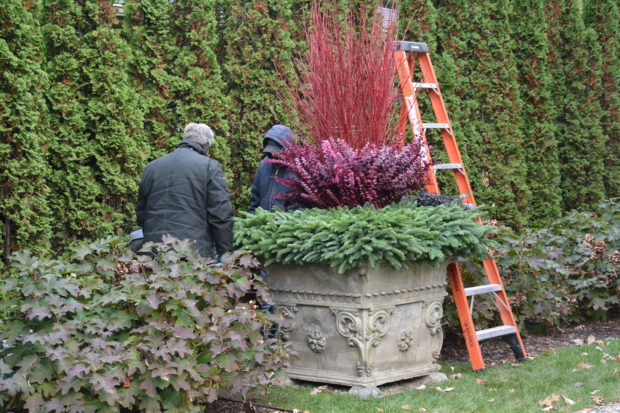
Once the centerpieces were set, several more layers of materials would be added. Those intermediary layers soften the intersection of the vertical centerpiece, and the horizontal blanket of greens. That intersection needs some intervention. Though our winter containers are engineered, they don’t need to look like it. An installation of this scale asks for thoughtful construction, but the look needs to be graceful and natural. Additional layers are cozy and warm. These boxes measure 40″ by 40″ on the outside. This is a very large space, calling for appropriately sized containers. They look like they are the right size in this environment. Only when people are photographed next to these pots do you realize how large they are.

A layer of red berry picks were inserted into the foam base.  The height of these berries conceal the top ring of the tomato cage, and the zip ties that hold the dogwood to the form. Bring on the red! Oh yes, these are faux berry stems. They will see service for a number of years, unfazed by the sun or the winter weather.

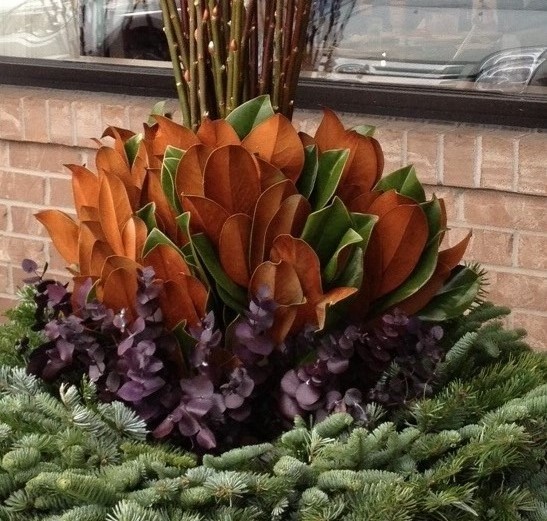
A final layer of tall fresh cut magnolia branches cover the lowest ring on the dogwood form.  The large size of these glossy green leaves is an effective contrast to the smaller texture of the other elements. Magnolia is one green that dries beautifully. That dark green will fade to a beautiful pale green, and the reverse side of each leaf will hold its cinnamon brown color for a long time.
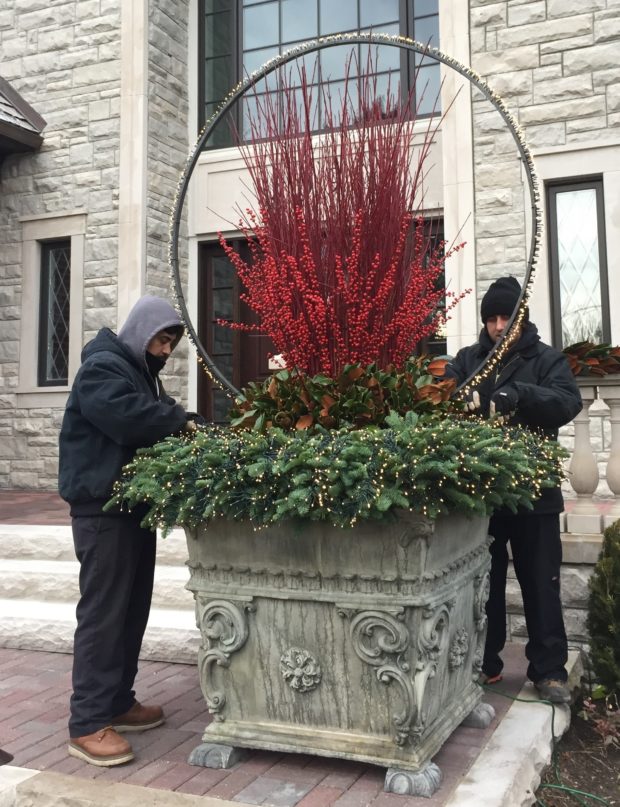
The lights in the greens come last. Each small dot of light sits atop a dark green stalk which is easily an inch long. That stalk is attached to  base of wire. We thank the Dutch for these well designed light strings. Their longest strand is 110 feet, and features 1500 lights. Their design makes it possible to have the wiring and stalks set into the greens and out of sight, with just the dots of light on top. We lay the light strands on the surface until there is a pattern and coverage we like. When their are multiple pots, the same person does the layout for all. This makes for a consistent appearance from pot to pot. This may seem like a very small and unimportant gesture, but it does in fact contribute to the overall formality and quality of the installation. Though many hands take part in most of our projects, the finish needs to look focused and polished.

Once the lighting is arranged, we tuck in as much of the wire and light stalks as possible. Our daylight begins to fade at 4pm this time of year, and dawn straggles in about 8am. The challenge of winter pots is to design them them to work both day and night. All of the day time materials need to be natural and believable. A mechanism by which the pots can be appreciated at night is a big plus.


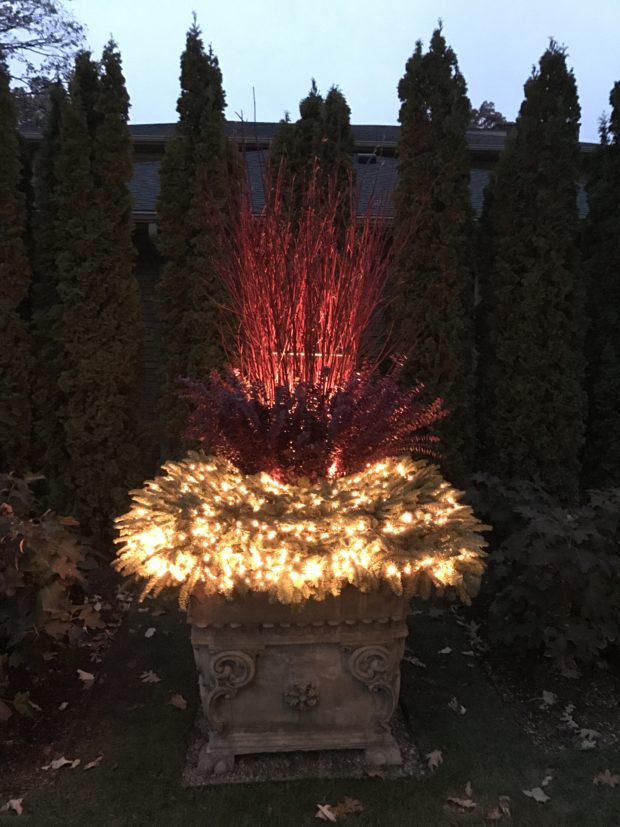
This finished container was photographed during the day. As for the size and scale of this container, I can assure you that two of my staff people were behind this pot, hooking up the final electrical. I am not surprised that I cannot see them. I am satisfied that we addressed the issue of scale and proportion accurately.

This late afternoon photograph was taken by my client. She is a passionate photographer, among a whole host of other things, including a keen interest in the landscape and garden. I love this picture from her. It tells me she feels like she got what she was looking for. The result pleases the both of us.

The Details

Better than twenty years ago, before a cell phone had been invented or a world wide web established, I would drive Rob to the airport for a buying trip to Europe. In those days we could have a cocktail in the lounge, and I could accompany him all the way to the boarding chute for a goodby. It was an emotional experience, that send off. The trip itinerary was sketchy at best. He had little idea where he was going, but that his plane would land in London or Paris or Brussels. Our main clues for overseas shopping came for foreign language magazines and travel books. I would be lucky to hear from him every 10 days for a few very scratchy phone moments. Few hotels had overseas phone service.

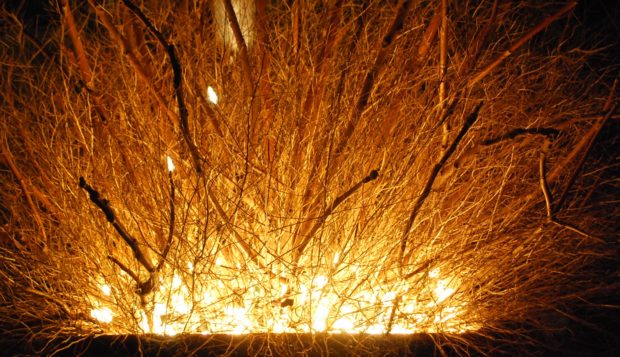
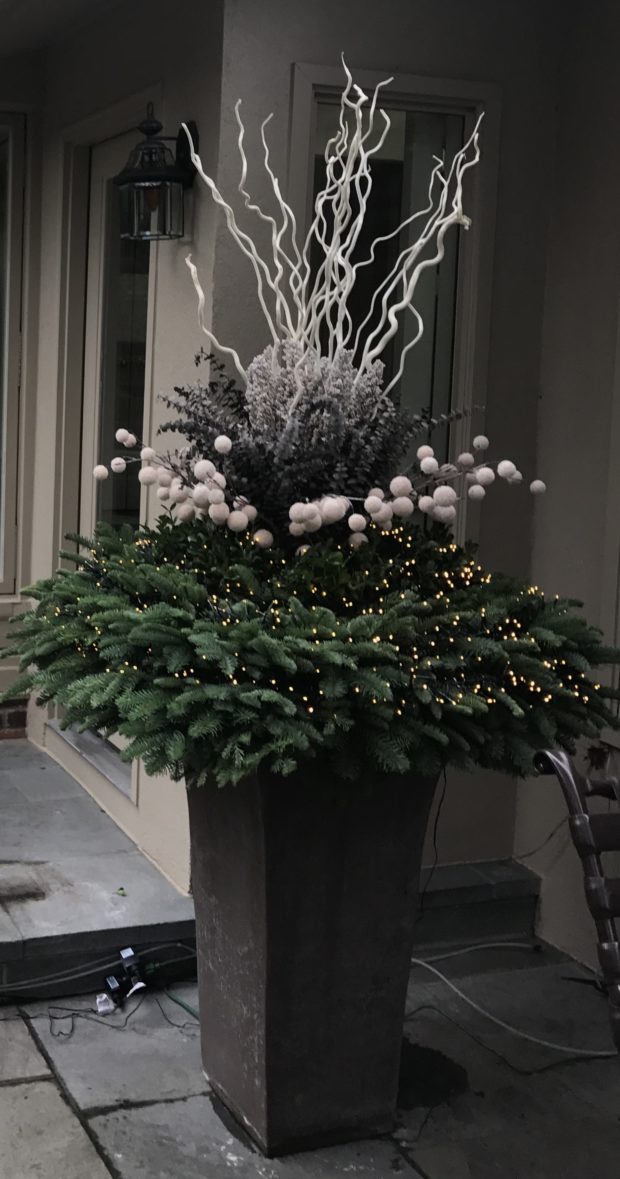
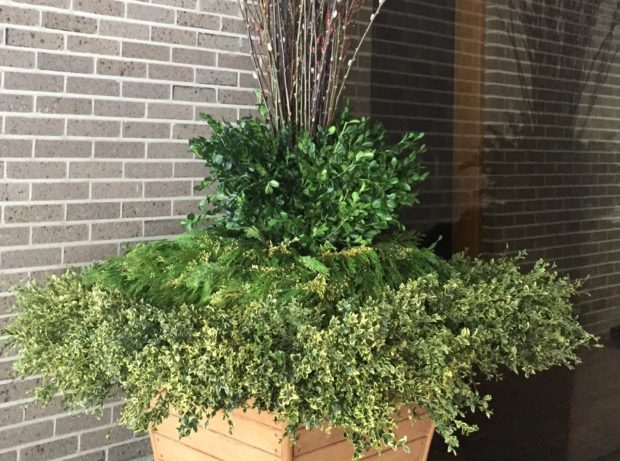
As anxious as I was to hear from him once he was abroad, he had his hands full, trying to locate his car and his lodging, driving in a foreign country, driving to shops that were either impossible to find or no longer in business. By the time he was able to call, I was beside myself with worry. He dealt with that in his usual bemused way. No one can dial down a fret fest better than he can. In retrospect, I incredibly admire his raw determination and courage. I doubt he knew at the time that he was charting unknown waters. Why would he? We were in the thick of trying to establish a shop devoted to fine objects for the garden. If you know Rob, you understand that his idea of fine objects and good design is never about money. Some things he purchases for the shop-ouch.  Others are eminently affordable. Witness the lighted winter pot detail above-all those weedy sticks came from the field next door. Add some lights, and voila.

Once he would return home, I would pour over his photographs. I was keen to absorb every detail. These were places I had never been. I wanted to experience his travels as best I could.  In those days, I studied his photographs with a magnifying glass. That close up view revealed so many of the details of the places he was seeing.  Those things that he arranged to have shipped home – that magnifying glass helped me to see those details that won him over. I cannot really explain this, but the magnifying glass helped make the photographs seem a little more real.

Our IT person extraordinaire Jenny explained to me how I could crop my photographs to make the details clearer. I will admit I have been playing around with the idea of magnifying certain details, given her instruction.  What I like is that I am able to focus on details that speak so much to the evidence of the human hand, and the relationship of one material, color, mass or texture to another.

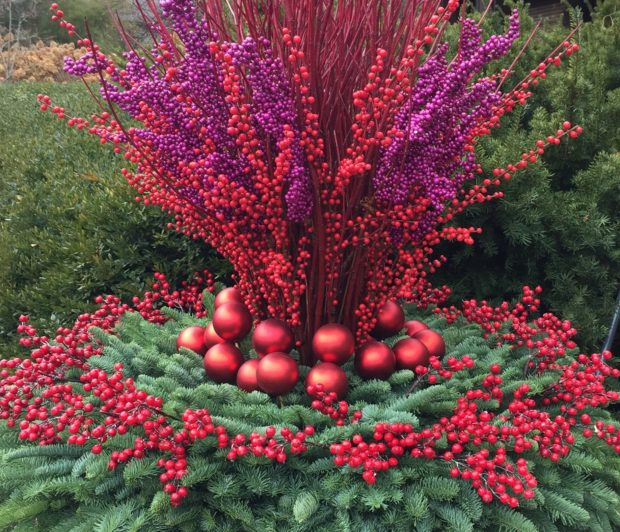
This winter container arrangement was photographed in place after we installed it in the box.

The details are much magnified and easier to see now.

My crews are on a 6 day a week schedule right now. We have taken over the shop stock room for all of the construction. People who find there way back there are able to see how much time and skill it takes to put it all together. Then there is the installation phase, which we always hope is as quick and efficient as possible. The pictures of the finished work do not always do a good job of describing the details, both visual and physical. When it comes time to do this project next year, I will mark up the picture with the new design.

To follow are are some photographs of previous work under a digital magnifying glass. To any gardener who reads my journal, I suspect that the looks close up are the most descriptive view of the work. If you click on any of these pictures, you will get yet a closer look. Not all of them are in sharp focus-that is why I call them pictures and not photographs.

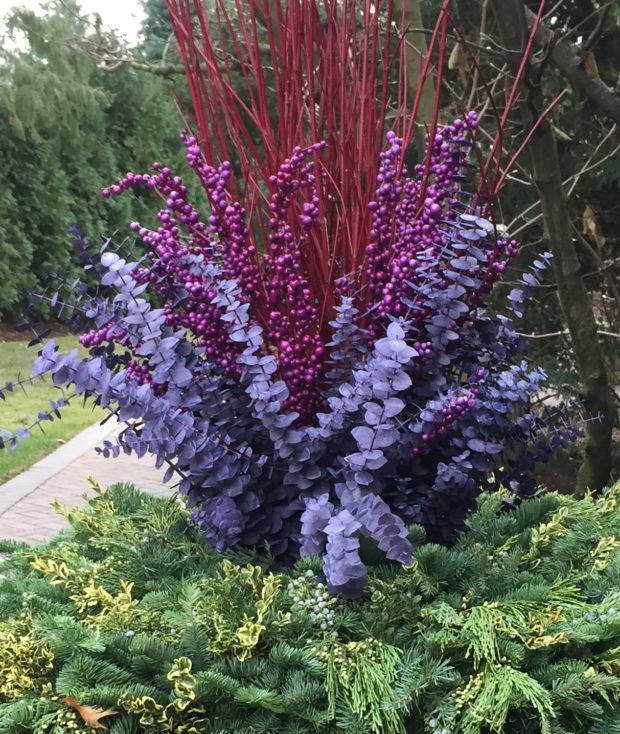
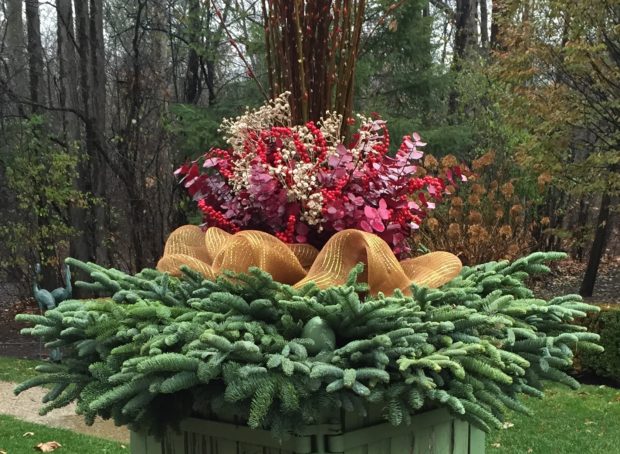
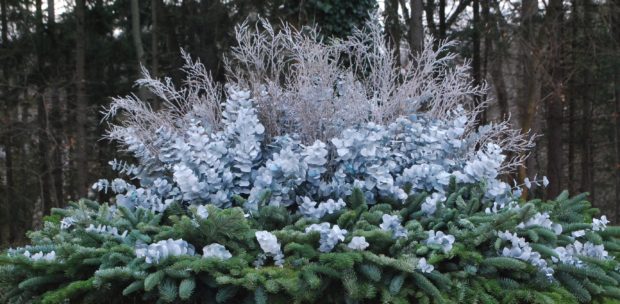
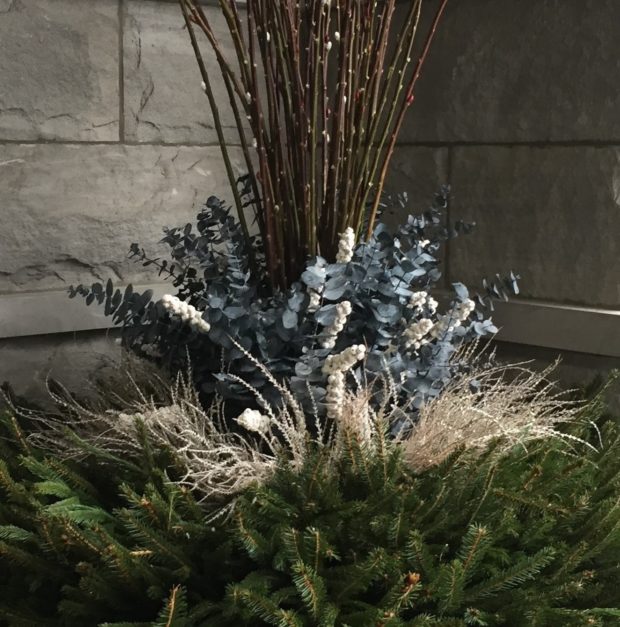
eucalyptus drifting down into the greens

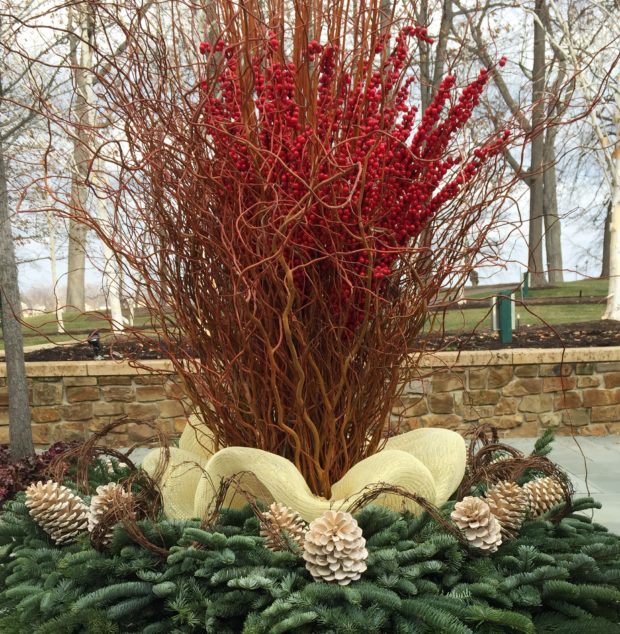
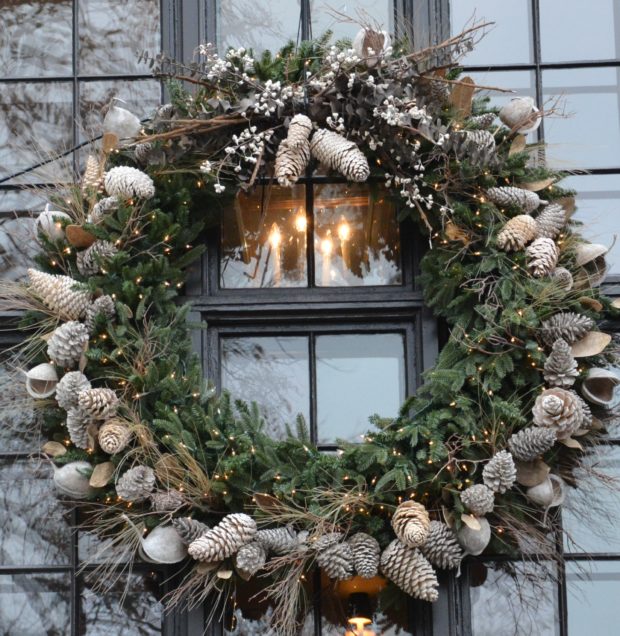
a wreath on a second story window is artificial-“store bought”. We added 2 pine cone garlands in neutral colors on the edges, and spiced up the top.

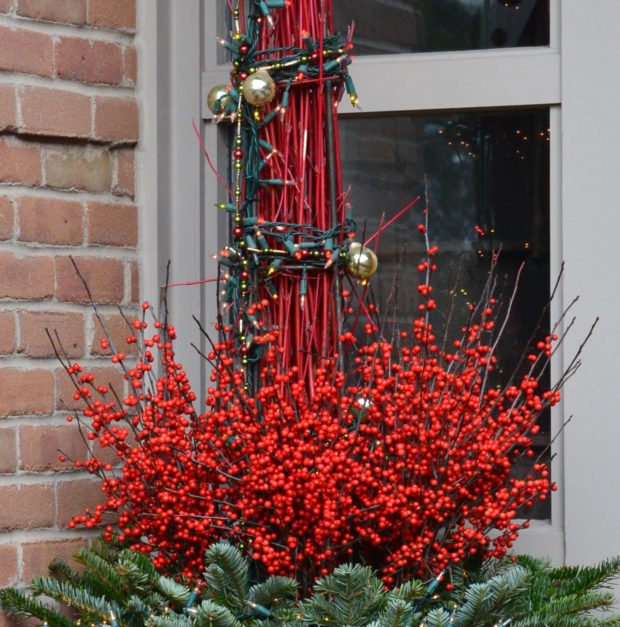
winter berry

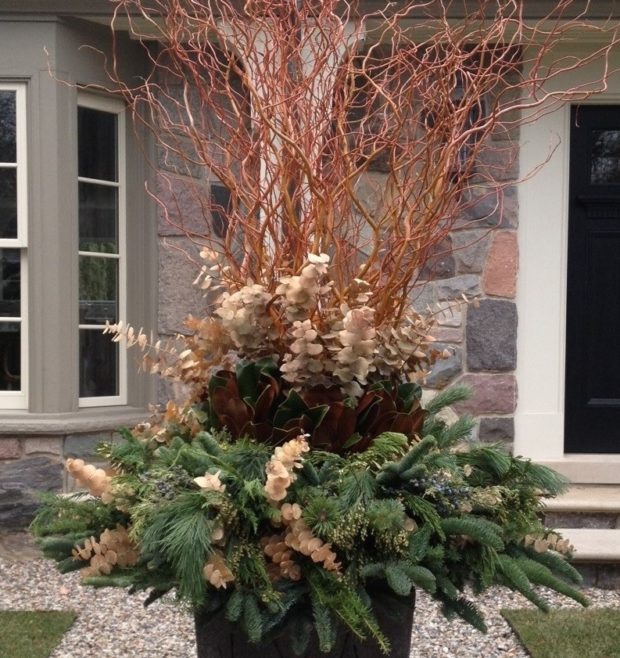
a layered look

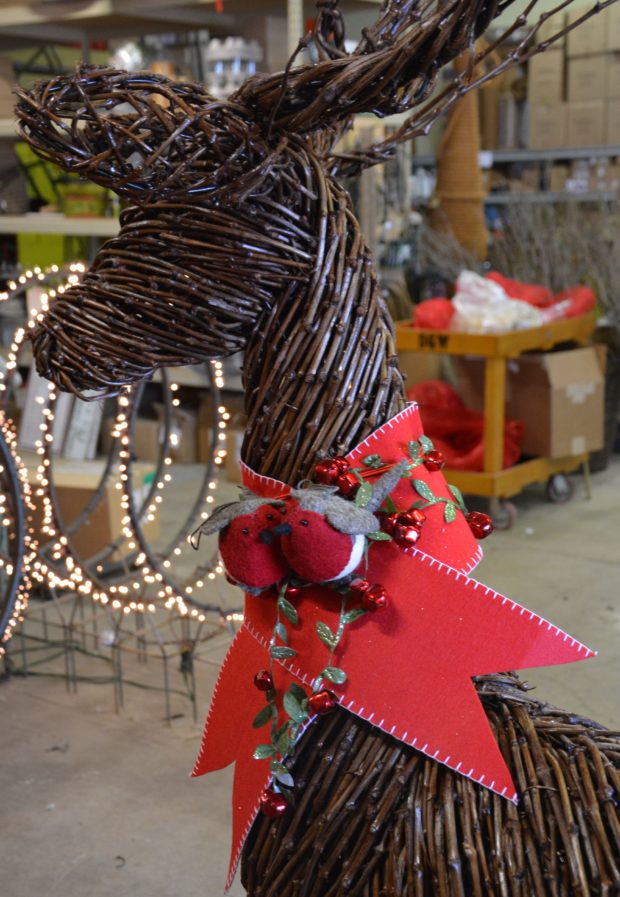
grapevine deer with a holiday collar

white grassy picks

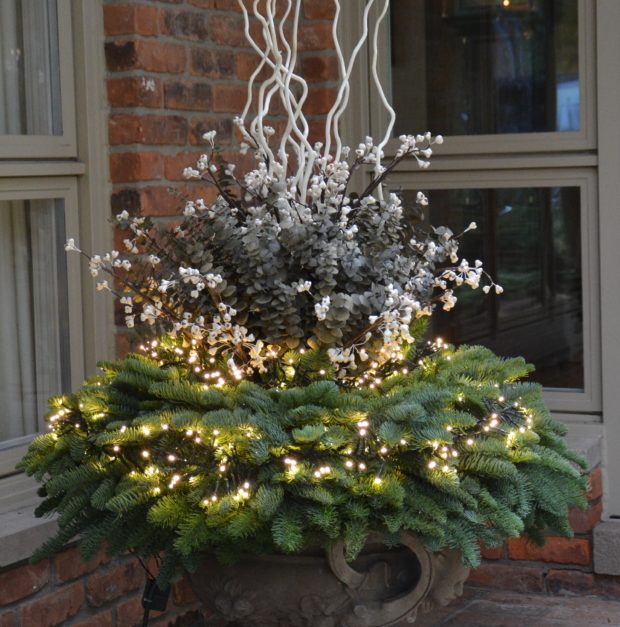
lighted

asymmetrical

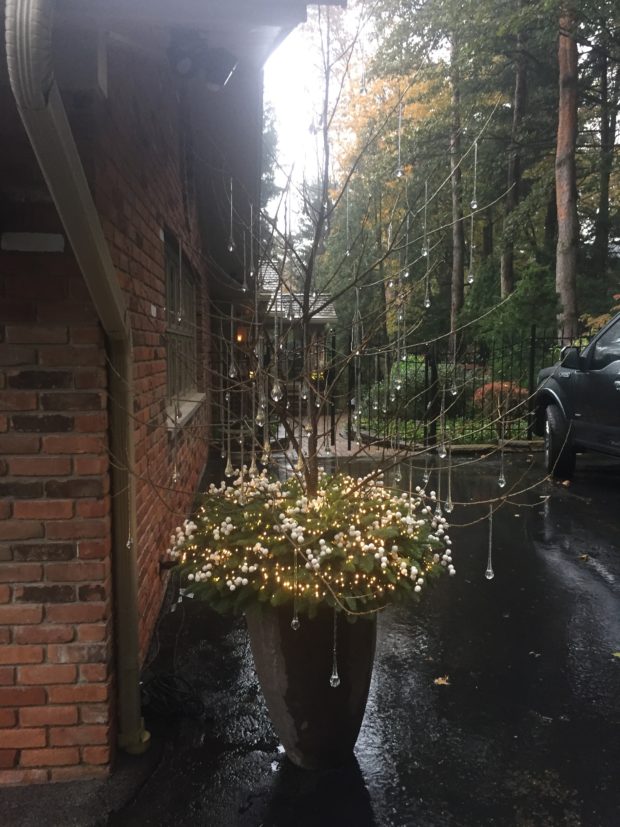
glass drops in the rain

the natural shape and drape of the greens create an overall shape

detail

We get to see all the details up close, just like this.

Winter Red

Our second winter/holiday project comes with a story, just like our first. If you were to ask how I schedule all the work, I am sure I would hesitate before I answered. There are many factors, some involving the availability of materials and other logistical issues. But personal issues for clients play a big part in the scheduling.  A client whose daughter was getting married as I began writing this came first.  No doubt someone else will be first next season. Our second project involves a landscape client who is hosting 19 members of his greater family for Thanksgiving at his home. They live a long ways away; the earliest arrivals are tomorrow. Shortly after Thanksgiving, they are leaving on an extended trip. They wanted their holiday/winter pots to be in place well in advance of the Thanksgiving holiday with family, as they would be celebrating both holidays at once.

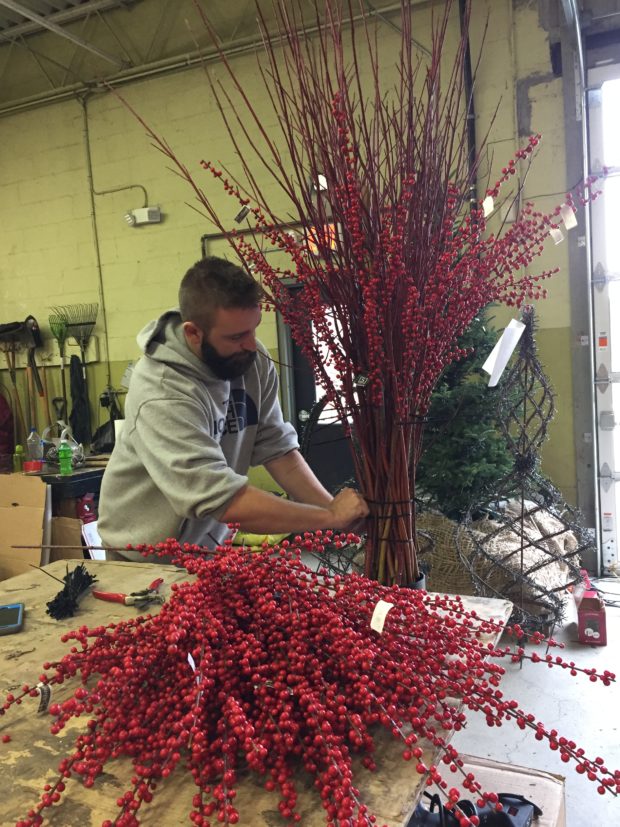
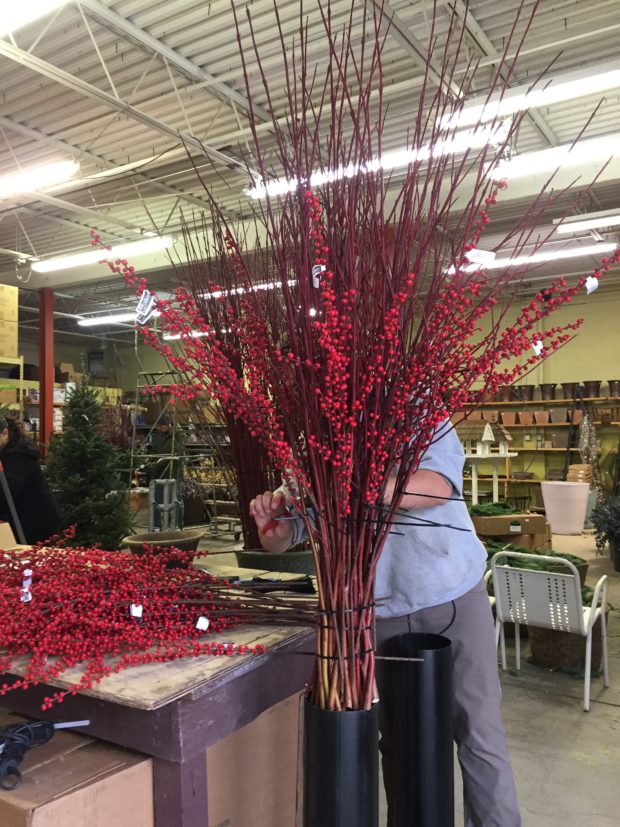
We began the fabrication of all of their pots and holiday decorations this past Wednesday. They had a specific request for red, in any form we might manage.  I understand that. The winter landscape in Michigan is varying shades of brown set against interminably gray skies. Our winter daylight is watery and wan. Some of my favorite shrubs and trees feature a red berry set for the winter.  A well grown stand of Michigan holly (ilex verticillata) in full berry mode electrifies our winter landscape. Funny this – I have a love for red in the landscape at the visually hungriest times of year.  Red tulips in the spring are such a welcome and cheery burst of color. A plan for red in our winter landscape is equally as celebratory. Our second year red twig dogwood bunches are especially beautiful this year. We rarely have the opportunity to purchase old growth red twig of this caliber. The thick stems are heavily branched, and arch outwards as if they were still growing. Long faux berry stems zip tied to the natural twigs make a big statement about winter red. Our winter and holiday container arrangements are as much about sculpture as they are about nature.  We know whatever we fabricate has to endure a entire winter’s worth of windy and snowy weather, unfazed. A construction site in our garage means we are able to recreate natural and graceful shapes that are able to endure the worst of our winter weather.

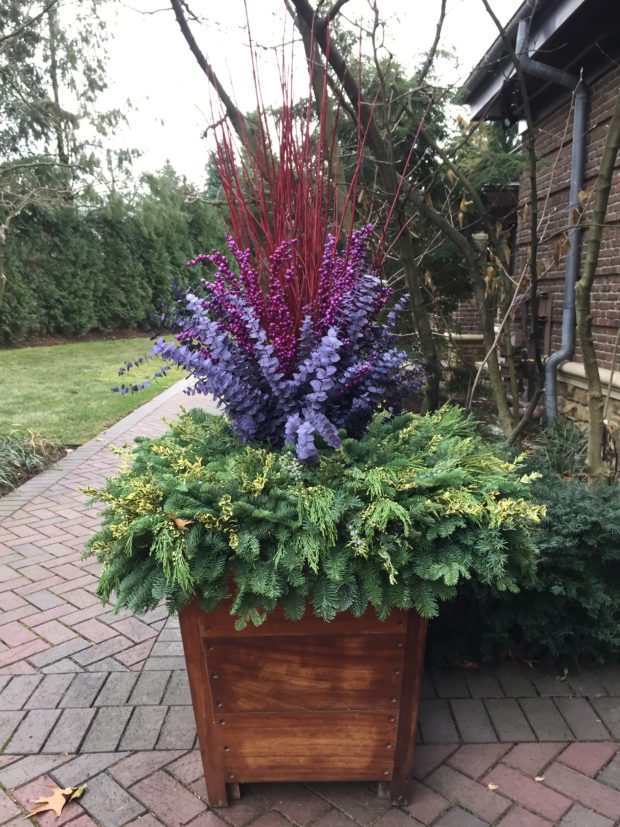
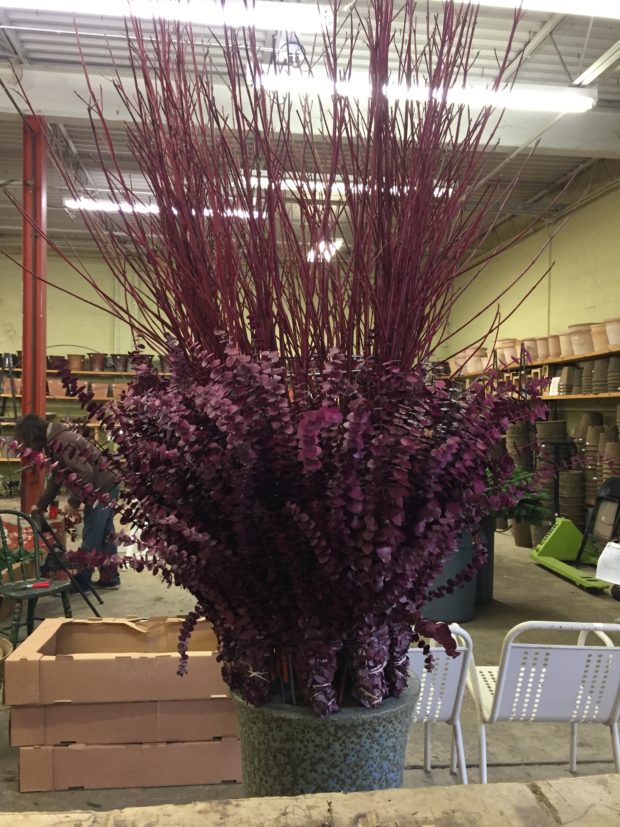
Our clients have one container that is 42″ by 42″ square, by 40″ tall. This is an incredibly large container that is home to a tree sized banana plant over the course of the summer.  Of course the size of a container asks for an arrangement of a proper and proportional size. The centerpiece for this pot needed a good deal of mass and volume. A galvanized tomato cage was perfect for zip tying individual cut stems of second year red twig dogwood all around the outside to create the illusion of great mass. It took 8 bunches of fuchsia eucalyptus to match the scale established by the height and diameter of the dogwood centerpiece, and the size of the container.

The upper galvanized steel ring of the tomato cage is evident in this picture. Topiary forms, or in this case, a heavy gauge galvanized tomato cage, can provide a key sculptural element to a container. I am grateful for topiary forms that enable my mandevilleas to climb skyward during the summer. Those forms can be strung with lights and grapevine for the winter season. In this case, the tomato cage provides an unseen structure for the twigs. Am I concerned that I can see this top ring? No. As you will see in the following picture, this pot is viewed from afar, rather than up close.

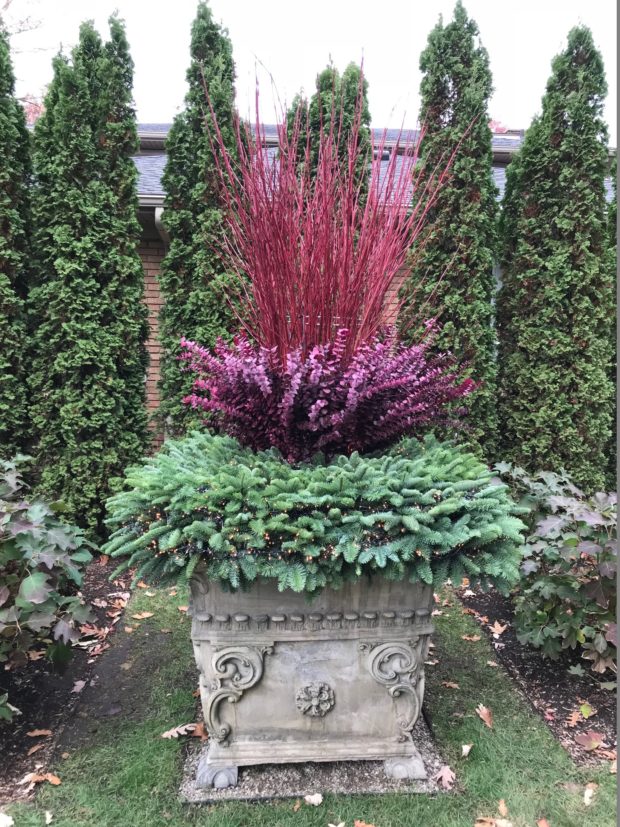
Not all tomato cages are created equal. Rob buys very heavy gauge galvanized steel rod cages in a variety of sizes. They provide significant support for vines, and in this case, twigs.  This very large container has a centerpiece appropriate to its size. The fuchsia and red echoes the late fall color of the hedge of the oak leaf hydrangea “Ruby Slippers”.

I asked Dan to take this picture down into the centerpiece from high on the ladder. The red twig is zip tied to the form at the soil line, and again 2/3rds of the way up. This takes some time to do, but it insures that the twigs will stay put throughout the winter. Illuminating this centerpiece from within would take a lot of light, so we installed four strands of 25 count C-9 incandescent lights.

The greens were liberally dosed with Lumineo LED light strands. Barely visible during the day, they will do a great job of illuminating the greens and exterior of the centerpiece at night. This pot will light up a fairly dark spot on the driveway all winter long.

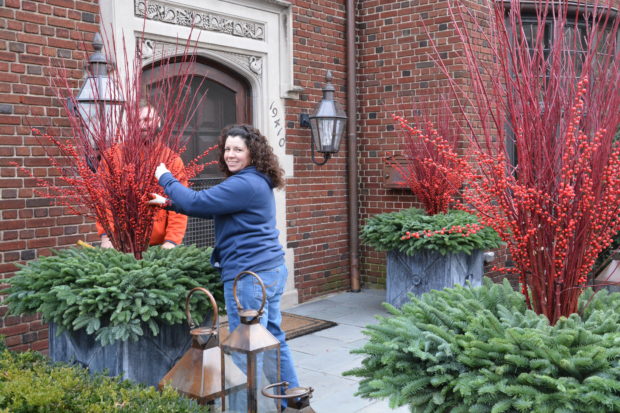
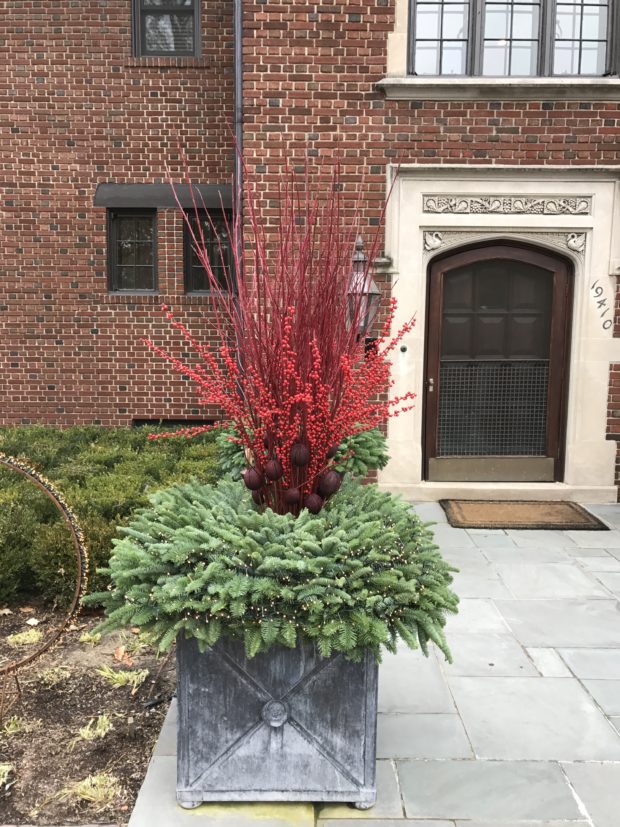
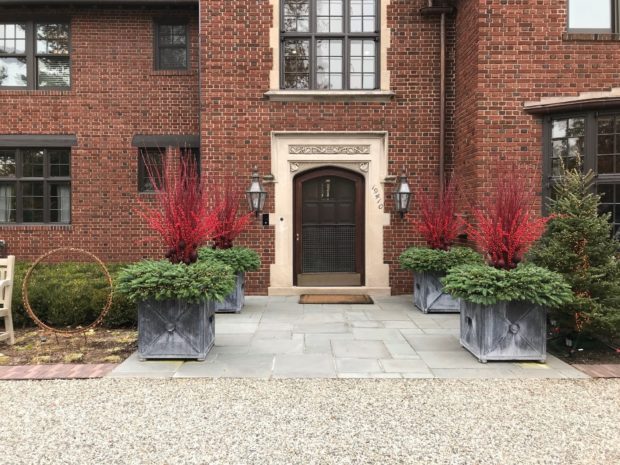
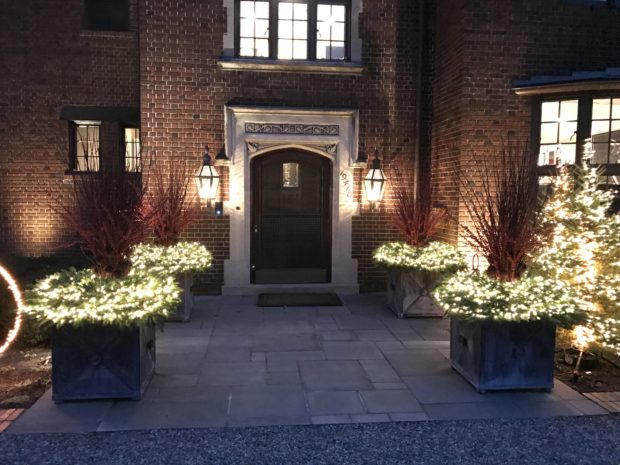
The four boxes at the front door feature lots of that winter red. Marzela stuffs the noble fir into dry foam in the studio, and David constructed all of the centerpieces. The centerpieces are secured with steel rebar and concrete wire. The bottom portion of the foam form is wedged into the box.

 Marzela adds the last element to the pots on site.

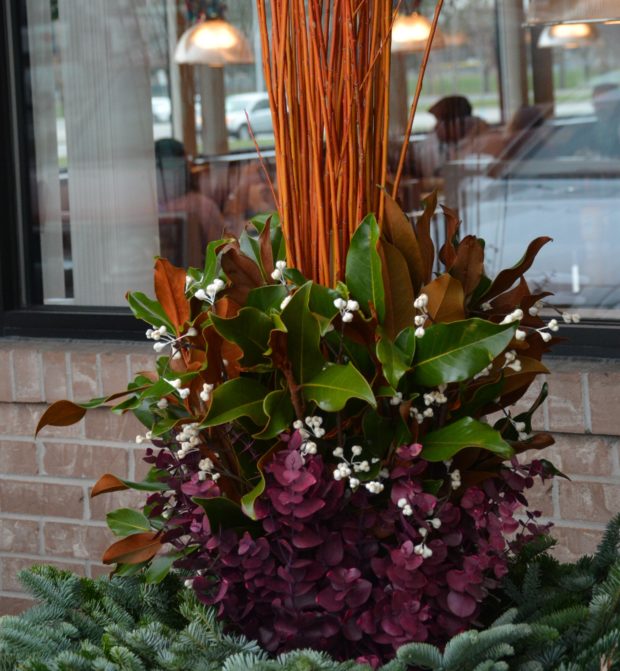
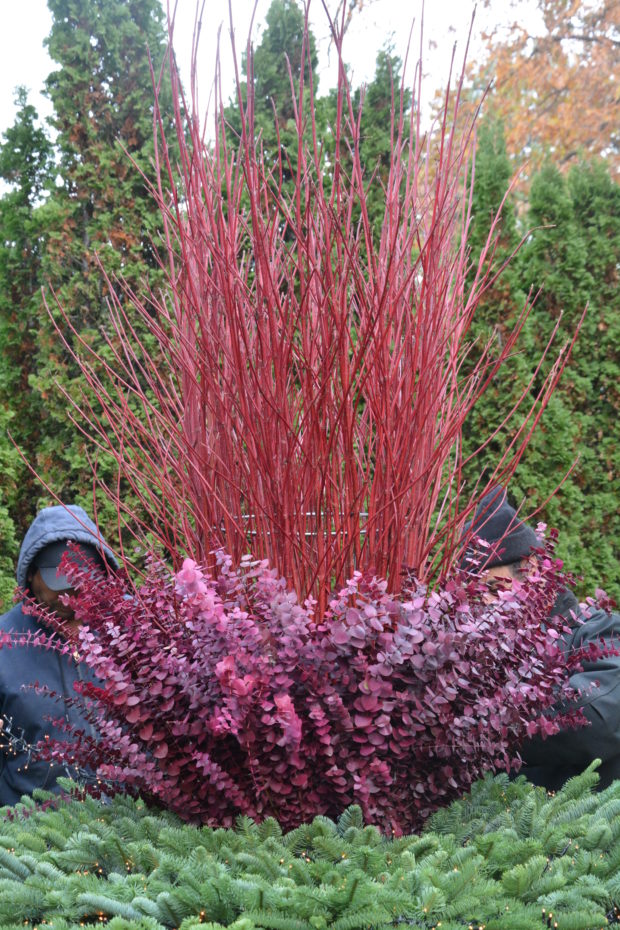
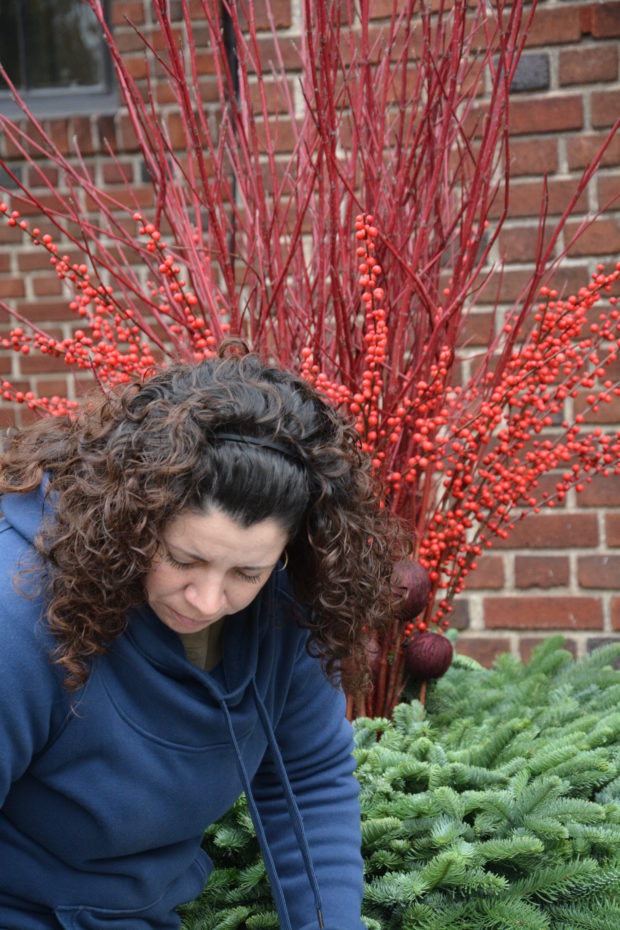
The red/red violet seed pods on stems provide a transition from the greens to the centerpiece, and conceal any zip ties from the centerpiece construction. The greens are deliberately shorter in the center, so the entire centerpiece can be seen.

The lighting of the pots comes last. The light fixtures on the house are large, but their light is more glowing than illuminating. The lights in the pots will brighten the entrance walk with lots of light.

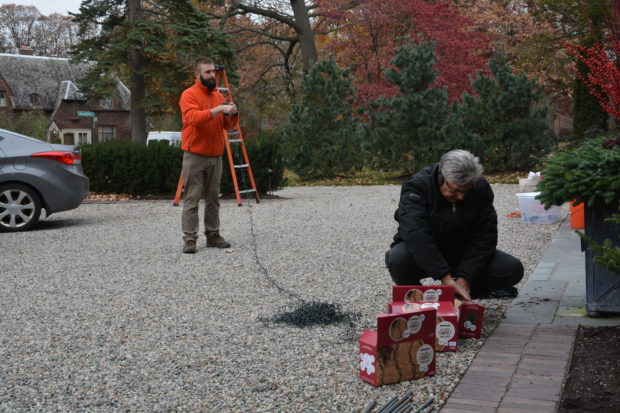
David and Dan rewind all of the strands for the pots, so they are easy to install.

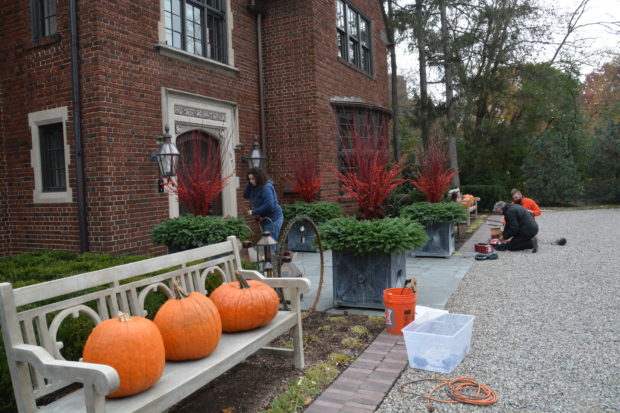
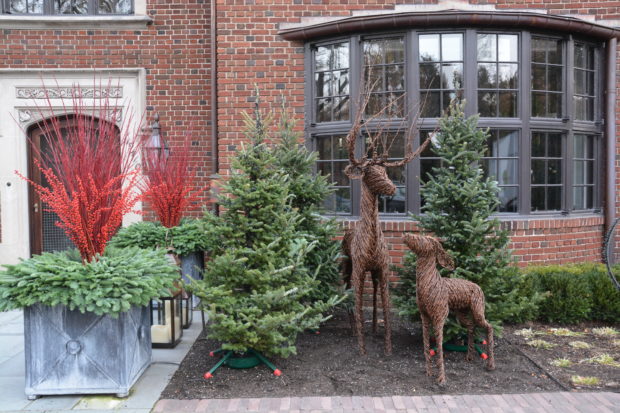
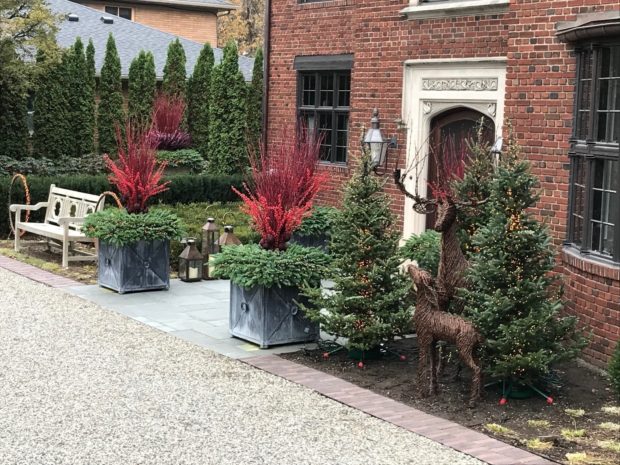
The bed to the right of the walk is already planted with tulips for the spring.  It is planted with seasonal plants in the summer and fall.  This year, my clients requested a winter vignette with cut trees and grapevine deer, to add to the festivities. The trees were lighted in the garage before we brought them. The heaviest concentration of light is on the trunk. The lighting on the branches is lighter, both in density and color. The Lumineo strands are designed to be as unobtrusive as possible. That design works. It is hard to spot them during the day.

This is the finished installation, as seen from inside our box truck.

the finished front walk

At 5pm, the natural light has all but faded. The length of the exposure taking the picture intensifies the light more than what it looks like in person, but you get the idea.

Their landscape is ready for their holiday, and their winter.