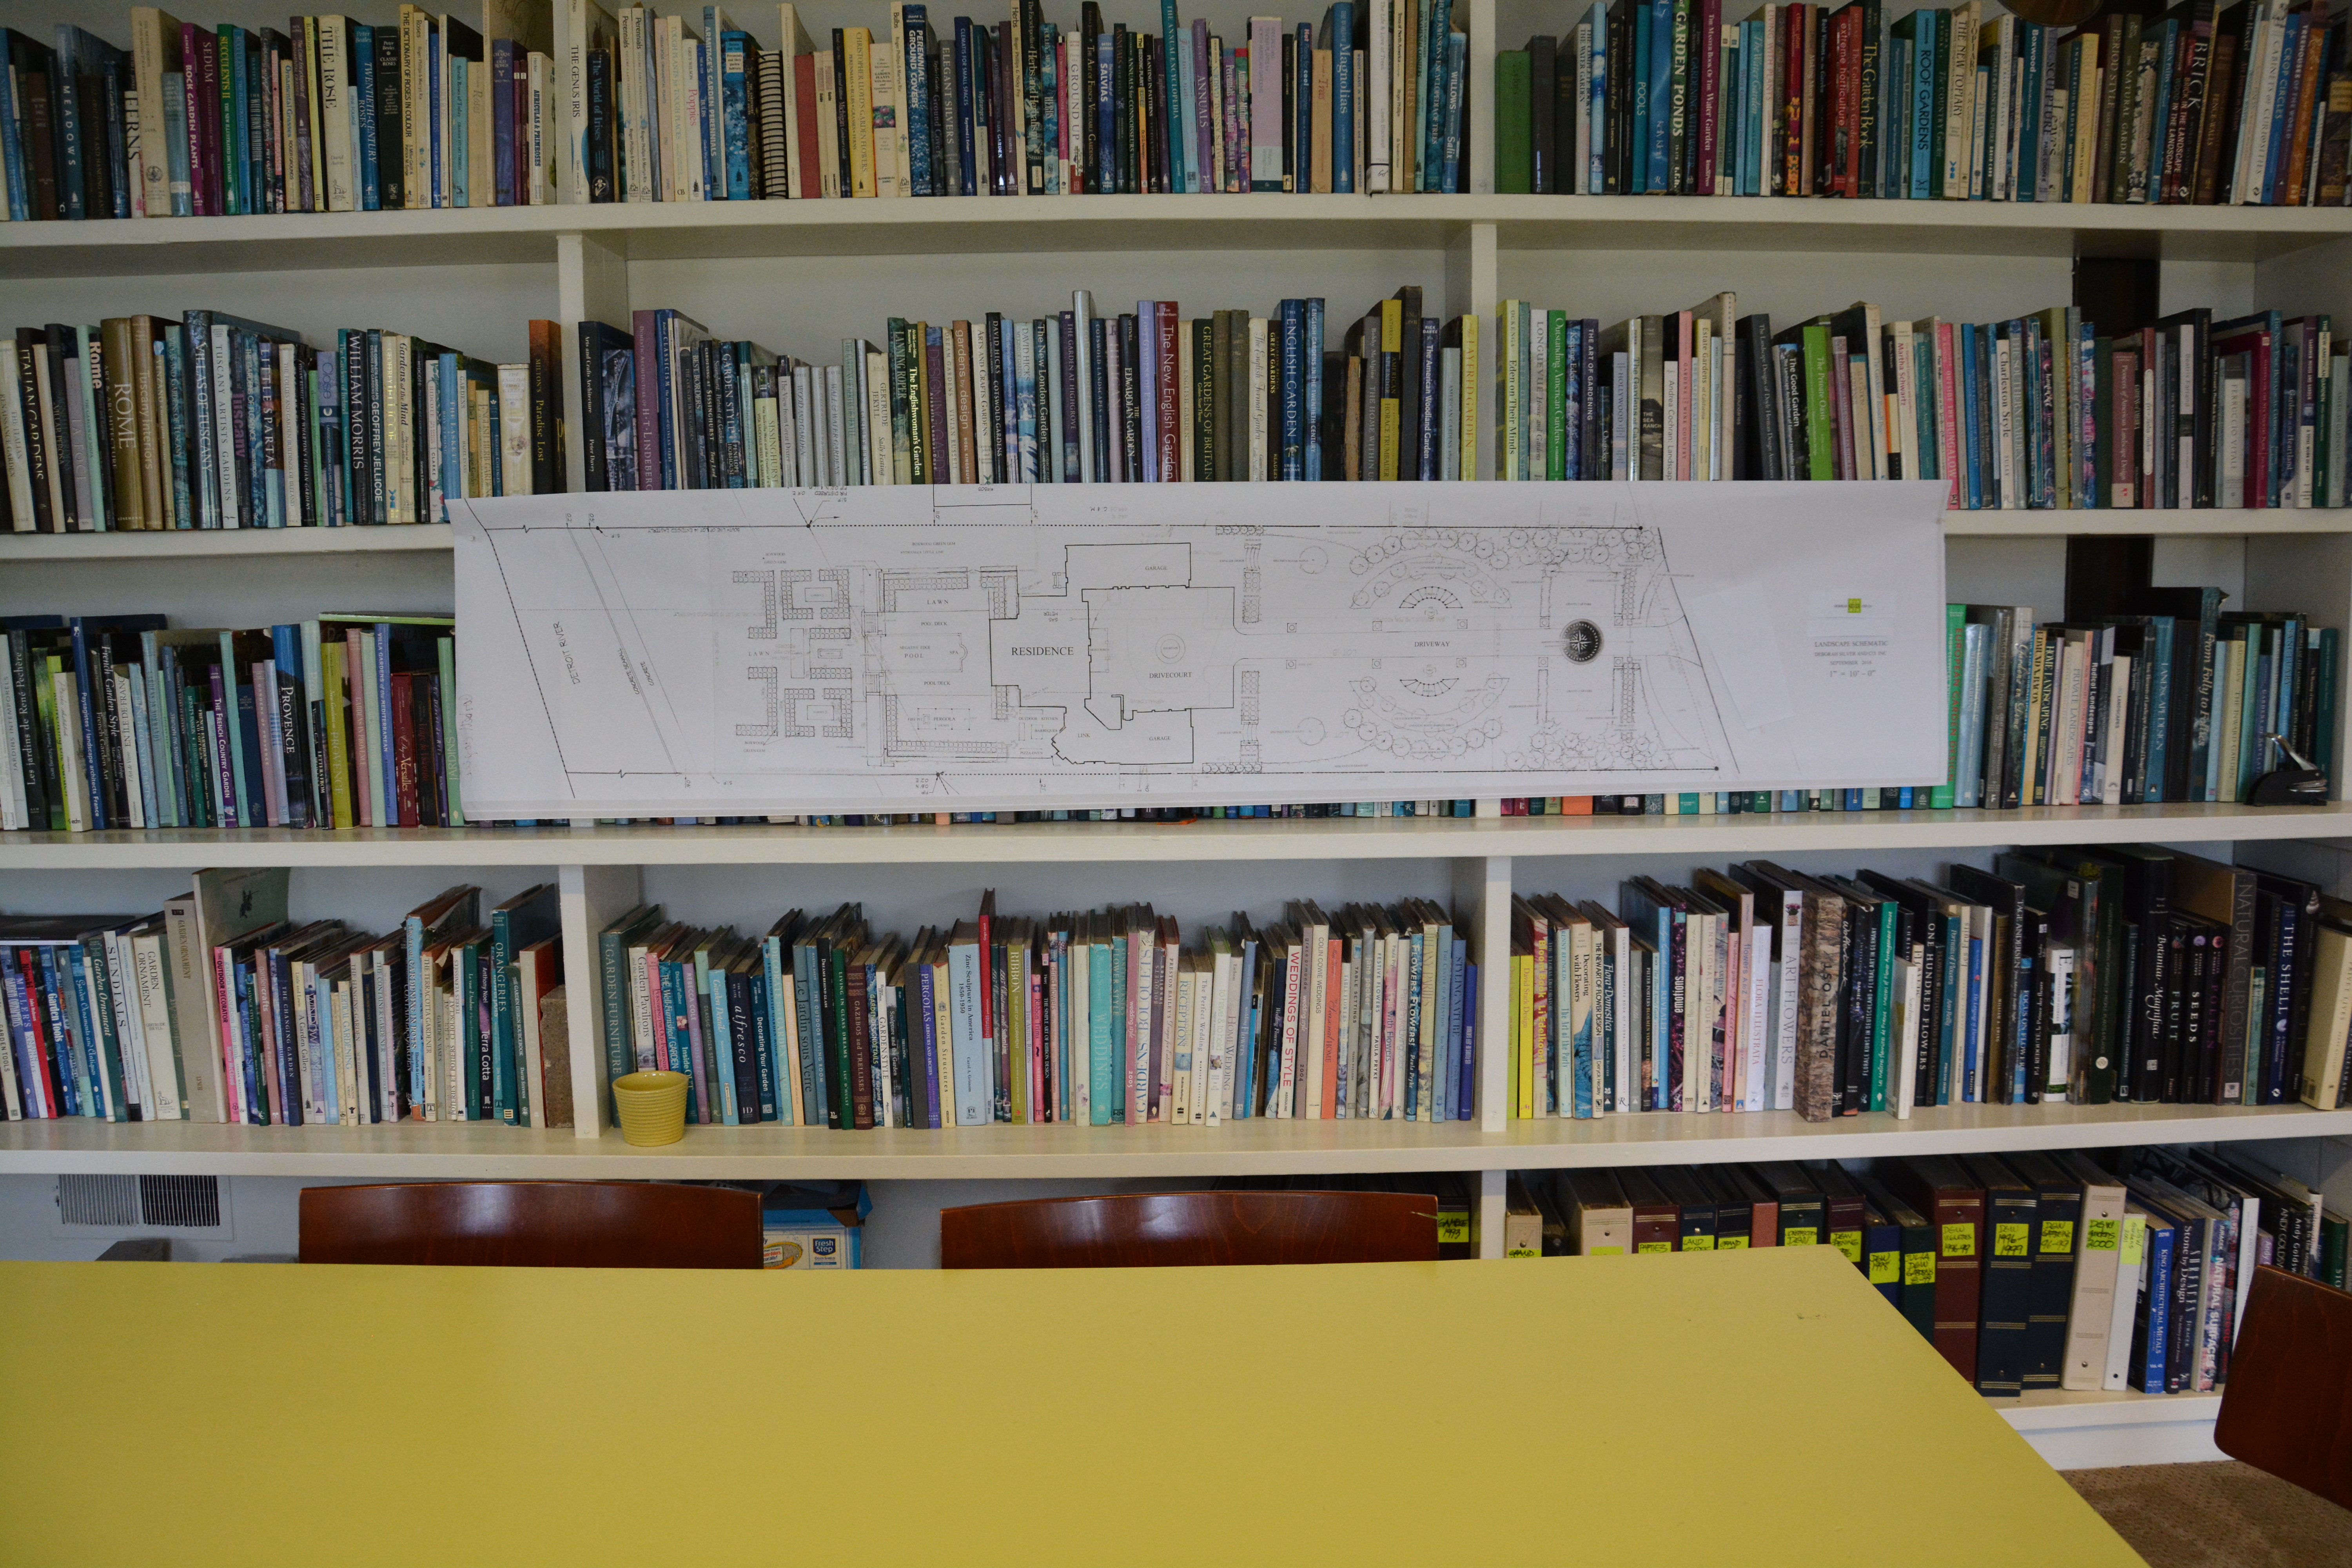
 Some landscapes not only require drawings, they require multiple drawings. My initial meeting with these clients was in March of this past year. They had had a mind to renovate or remake every inch of their home and landscape. My initial visit revealed little in the way of landscape, beyond a random collection of neglected and weedy looking trees, and an equally patchy lawn. They assured me that the landscape portion of the project would be their favorite. There are those clients for whom the first choice of a place to be is a place outdoors. This is a very large property. The distance from the river to the road is 680 feet; the footage on the river is 150 feet – 2 and 1/3 acres in all. Based on our discussions, I would draw what I call a schematic plan.
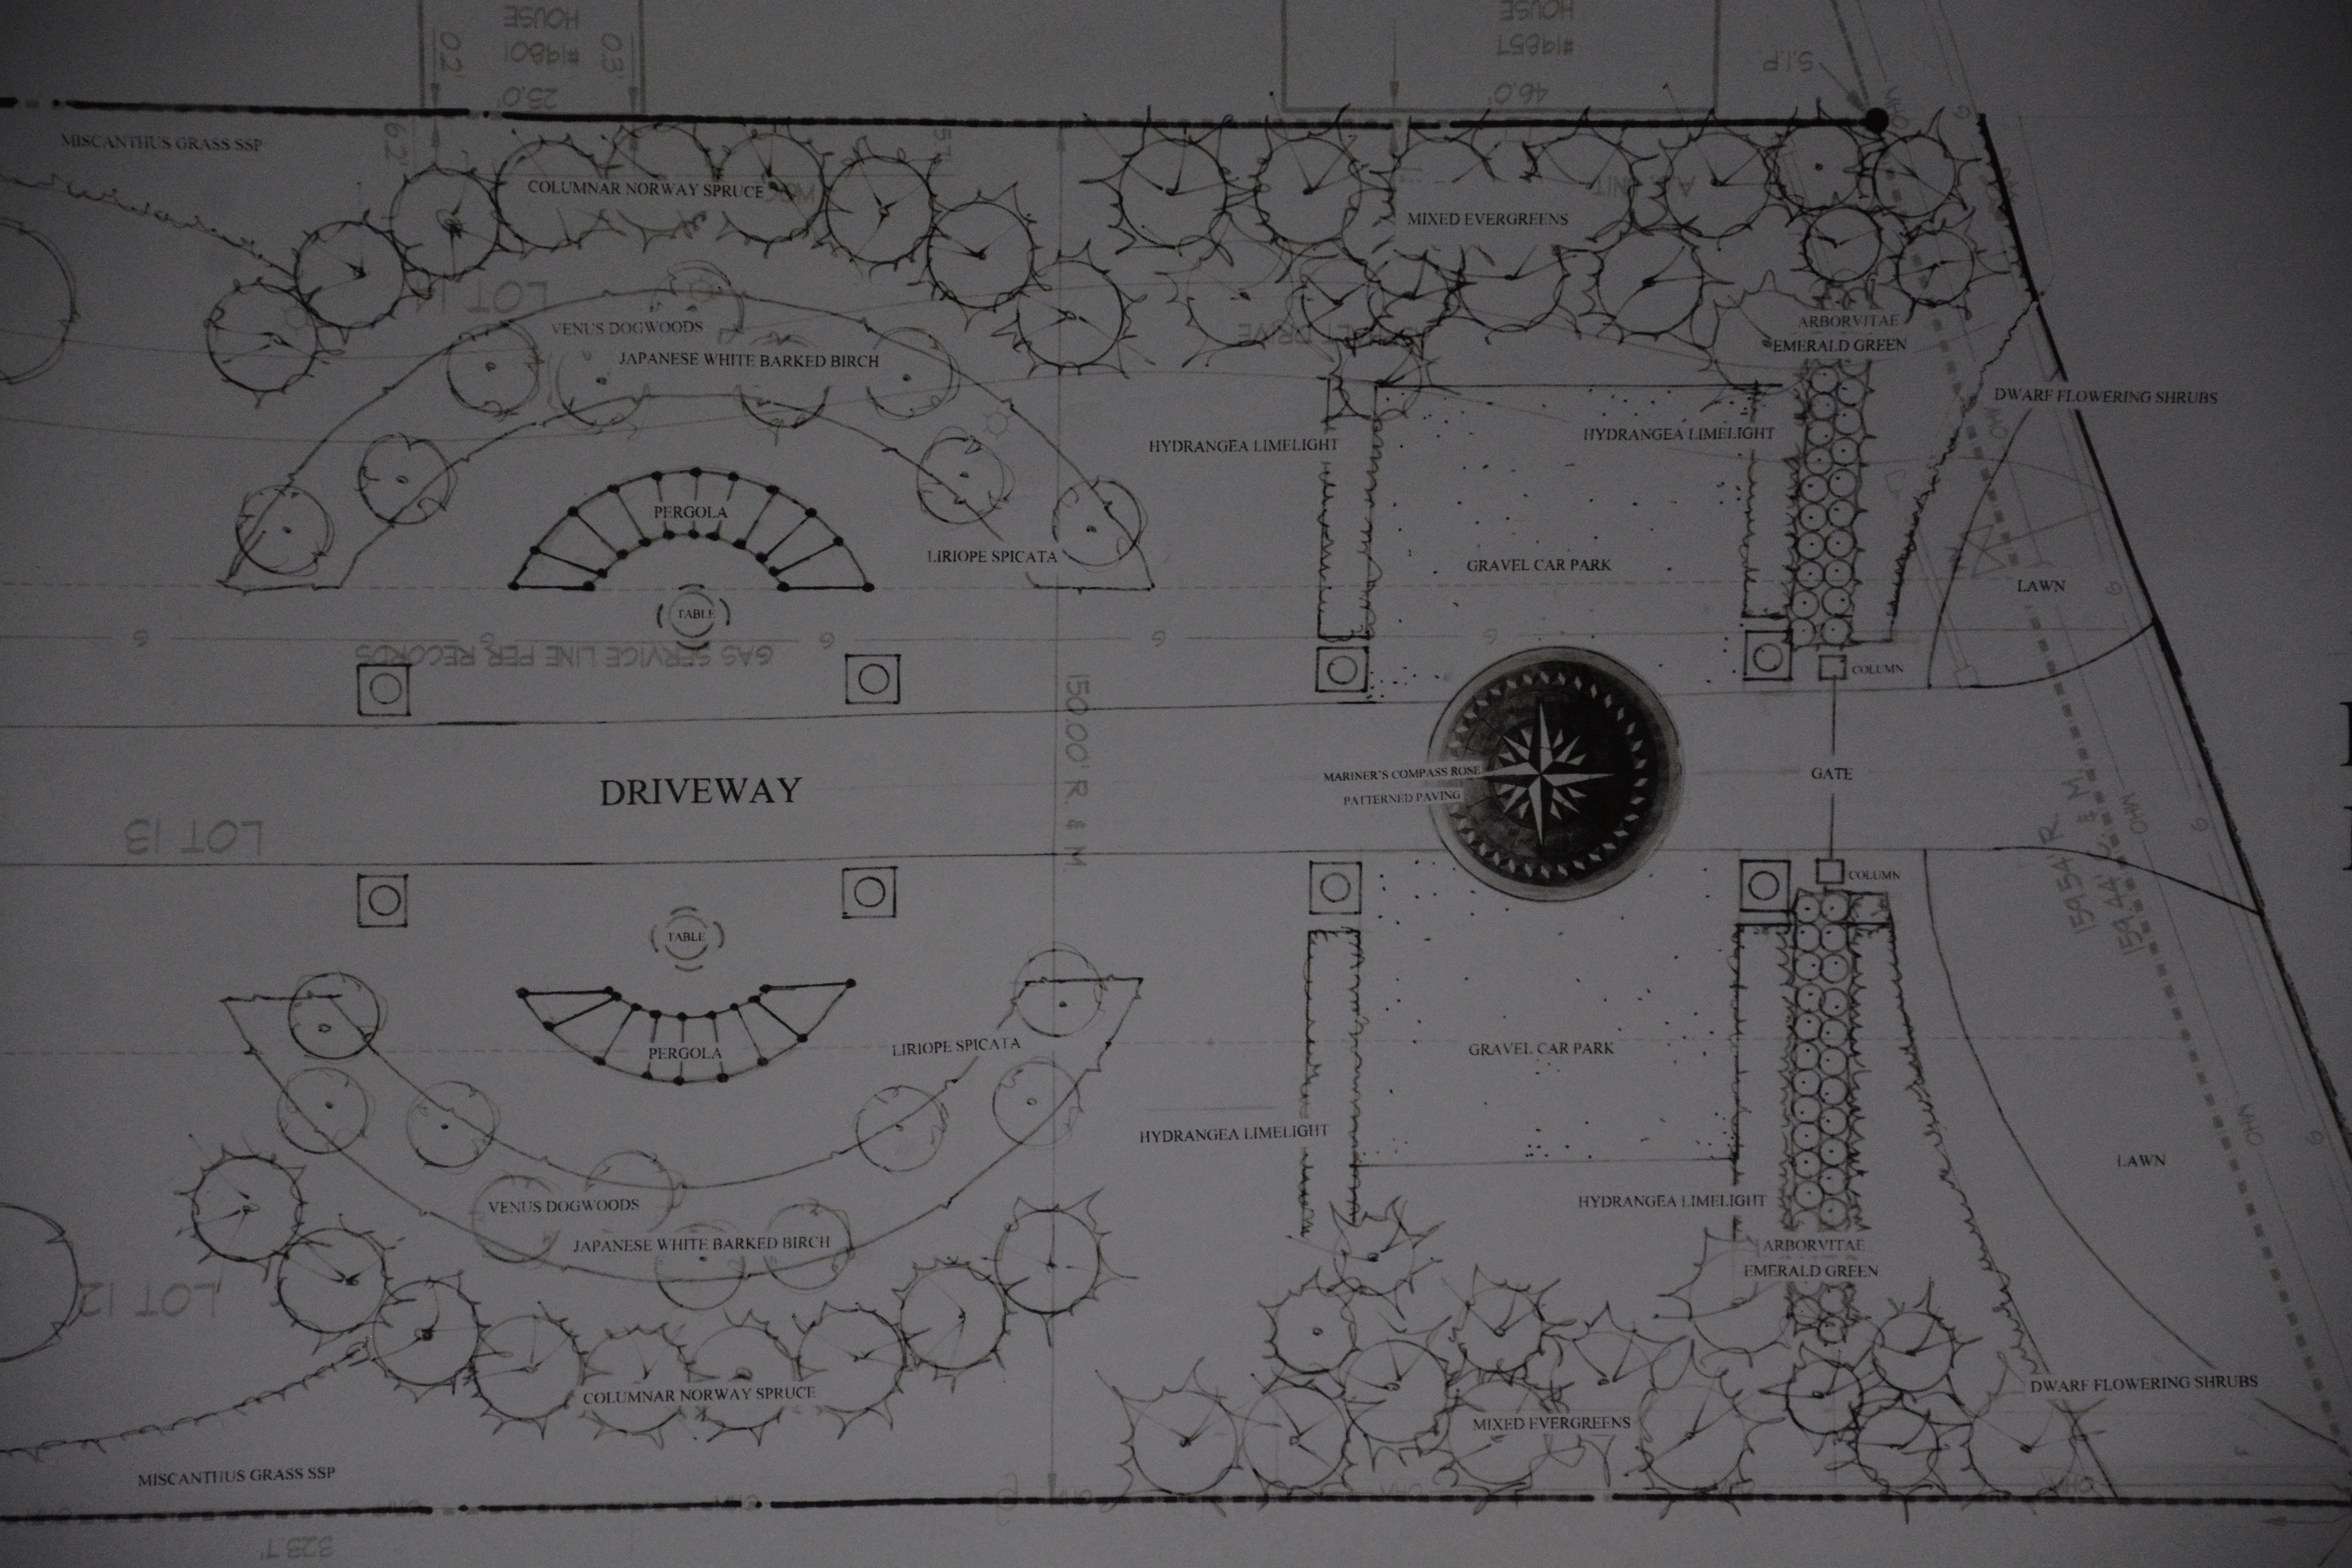 A schematic plan details and addresses the location and shapes of various spaces and places with a fair minimum of detail. It does address specific needs. In this section of the plan which includes the the road, a request for privacy at the road is addressed with a gate and gate piers, inset 40 feet from the road to meet local code. A hedge of double wide arborvitae stands in lieu of a fence. Groupings of large evergreens finish and cap the ends of the arborvitae fence. Low but broad plantings will soften the arborvitae wall. Just inside the gate are graveled areas for parking both to the north and south to accommodate guest parking. A picture of a mariner’s compass is a placeholder for a medallion to be determined in the drive.These parking areas will be screened with parallel hedges of limelight hydrangeas. Due east of the parking areas is a landscape feature which is bisected by the driveway. Successively smaller radiused beds will be planted with columnar Norway spruce to the outside, flowering trees or Himalayan white barked birch to the inside, and a pair of curving pergolas planted with roses and vines. As the plan does not call for any gardens in the front yard, large pots are planned in regular intervals along side the drive. What these pots will look like, and what will be planted in them is a decision to come.
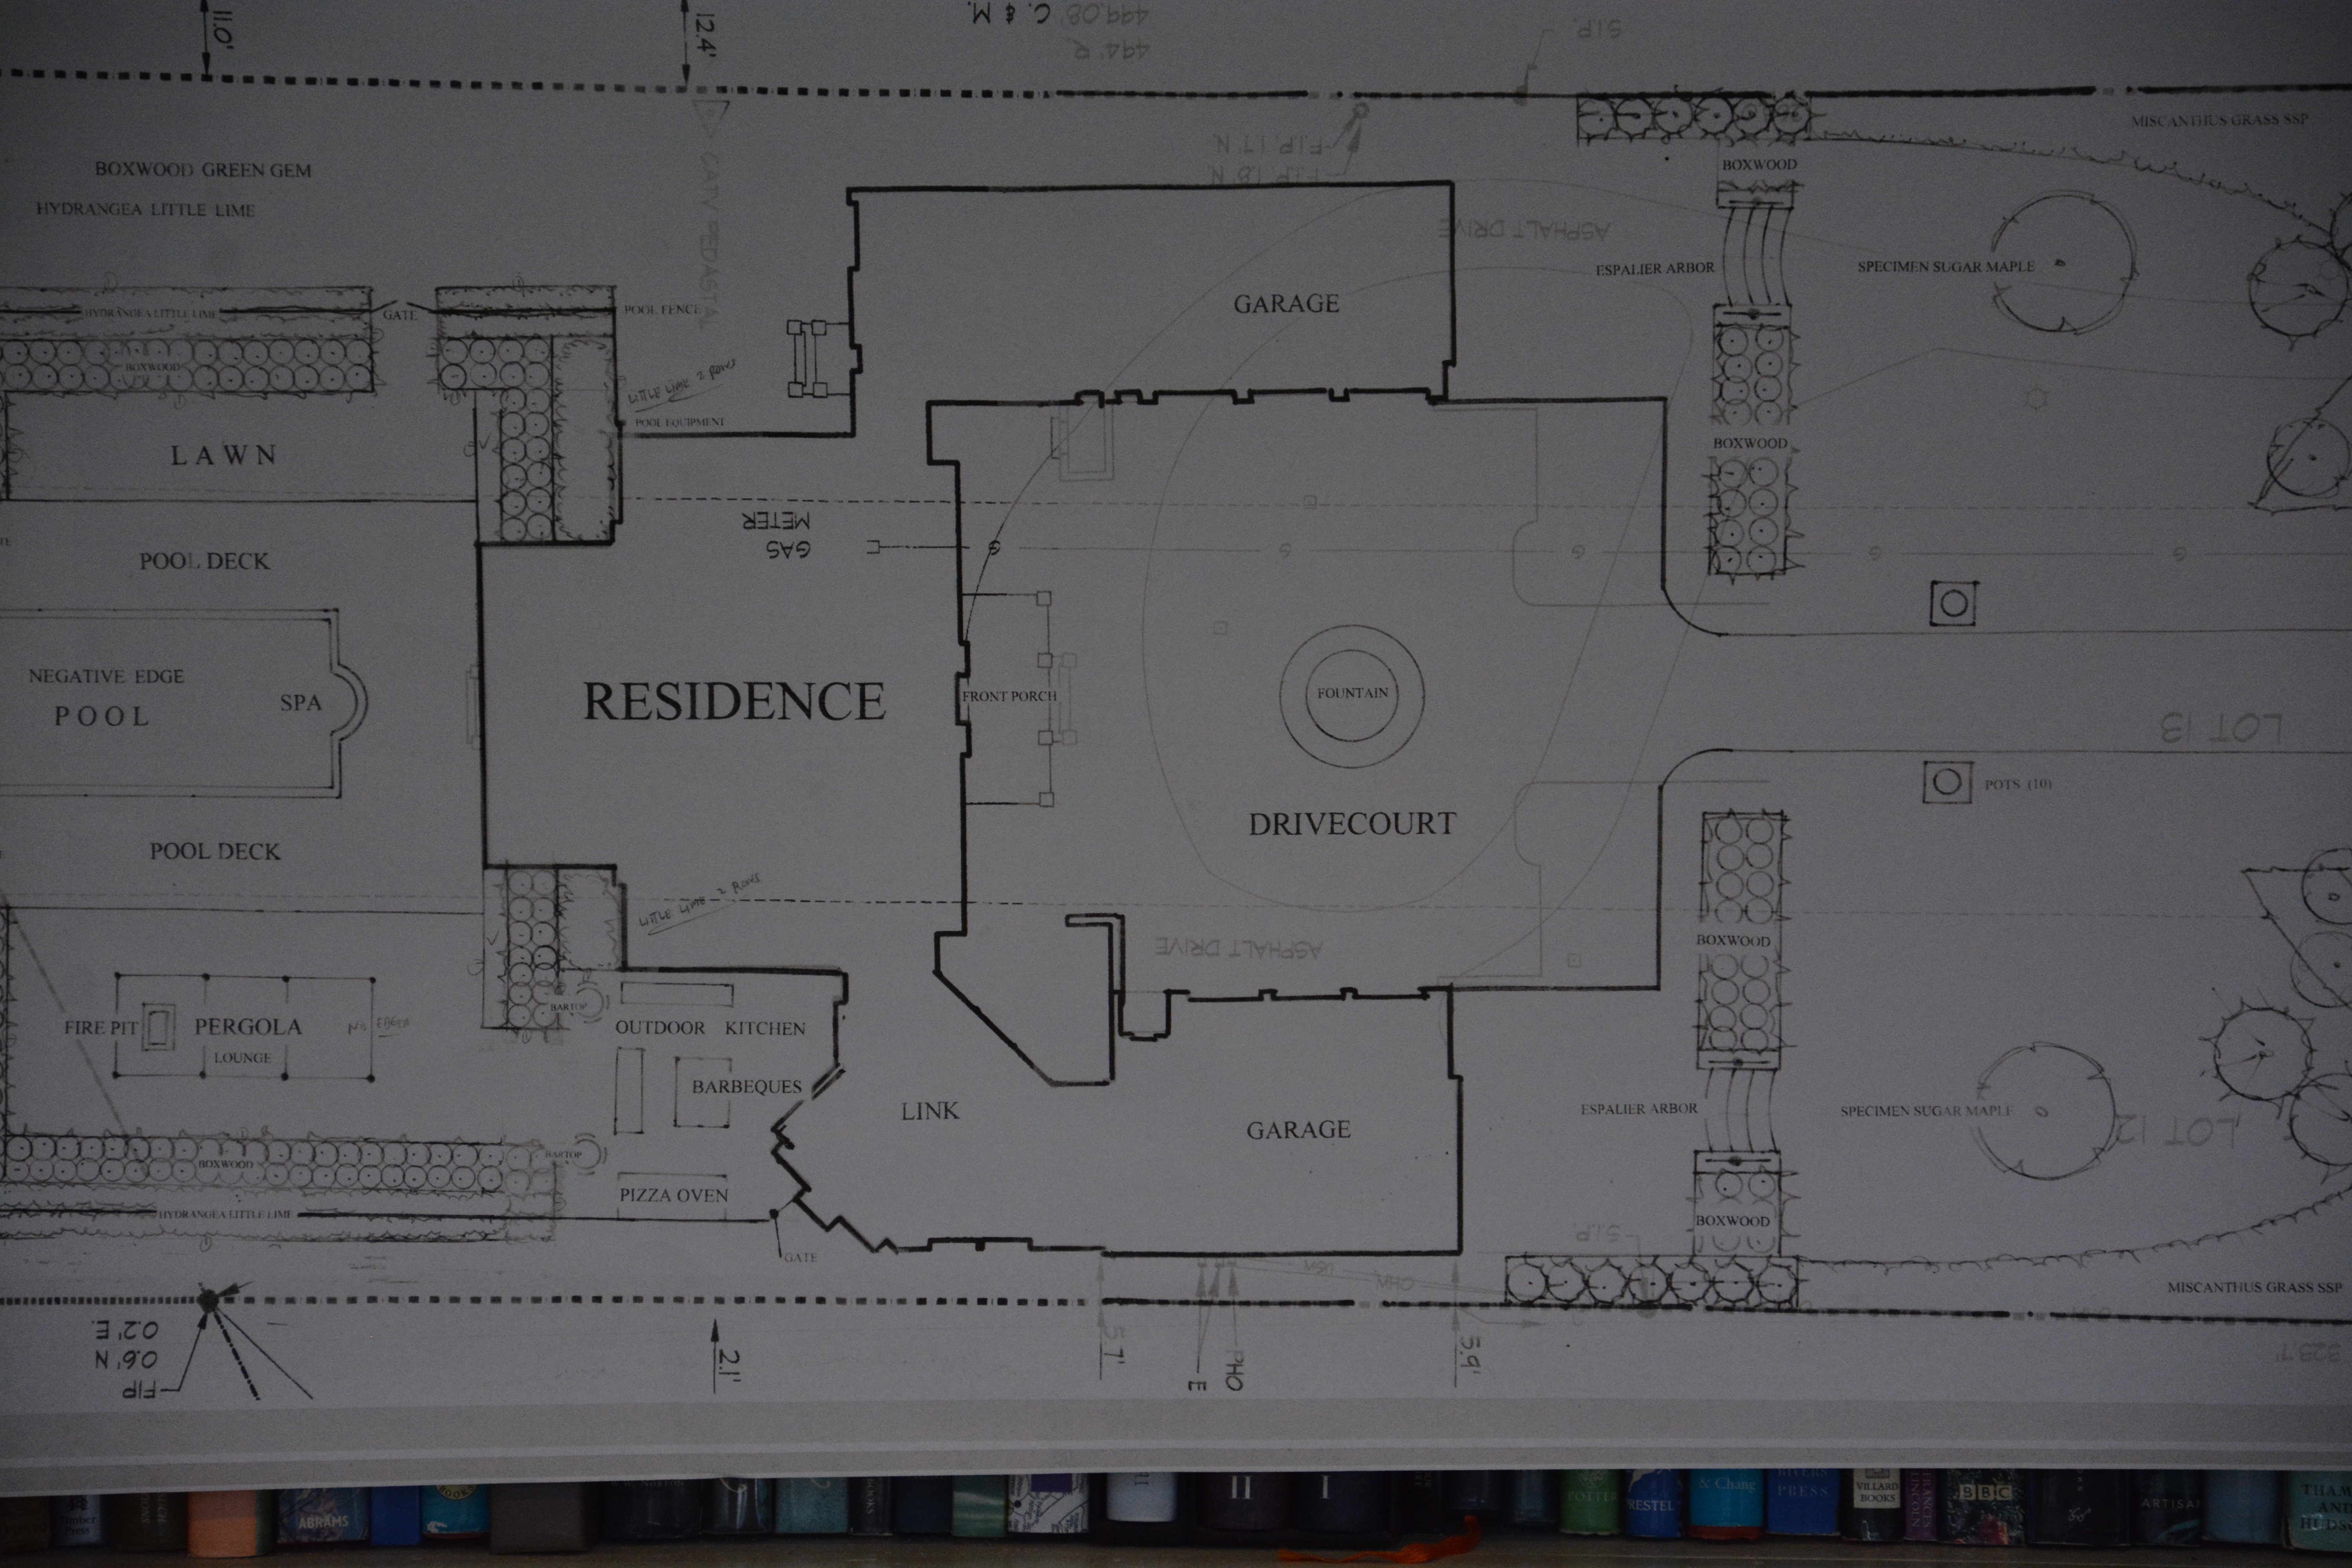 My clients have added a second garage with apartments upstairs for their extended families and guests. A large drive court will permit parking and a space for events. The center fountain was a specific request. grass areas bordering the west side of the drive court will provide a place to put snow. To the north, that lawn area will permit the passage of a golf cart from the garage to the dock.
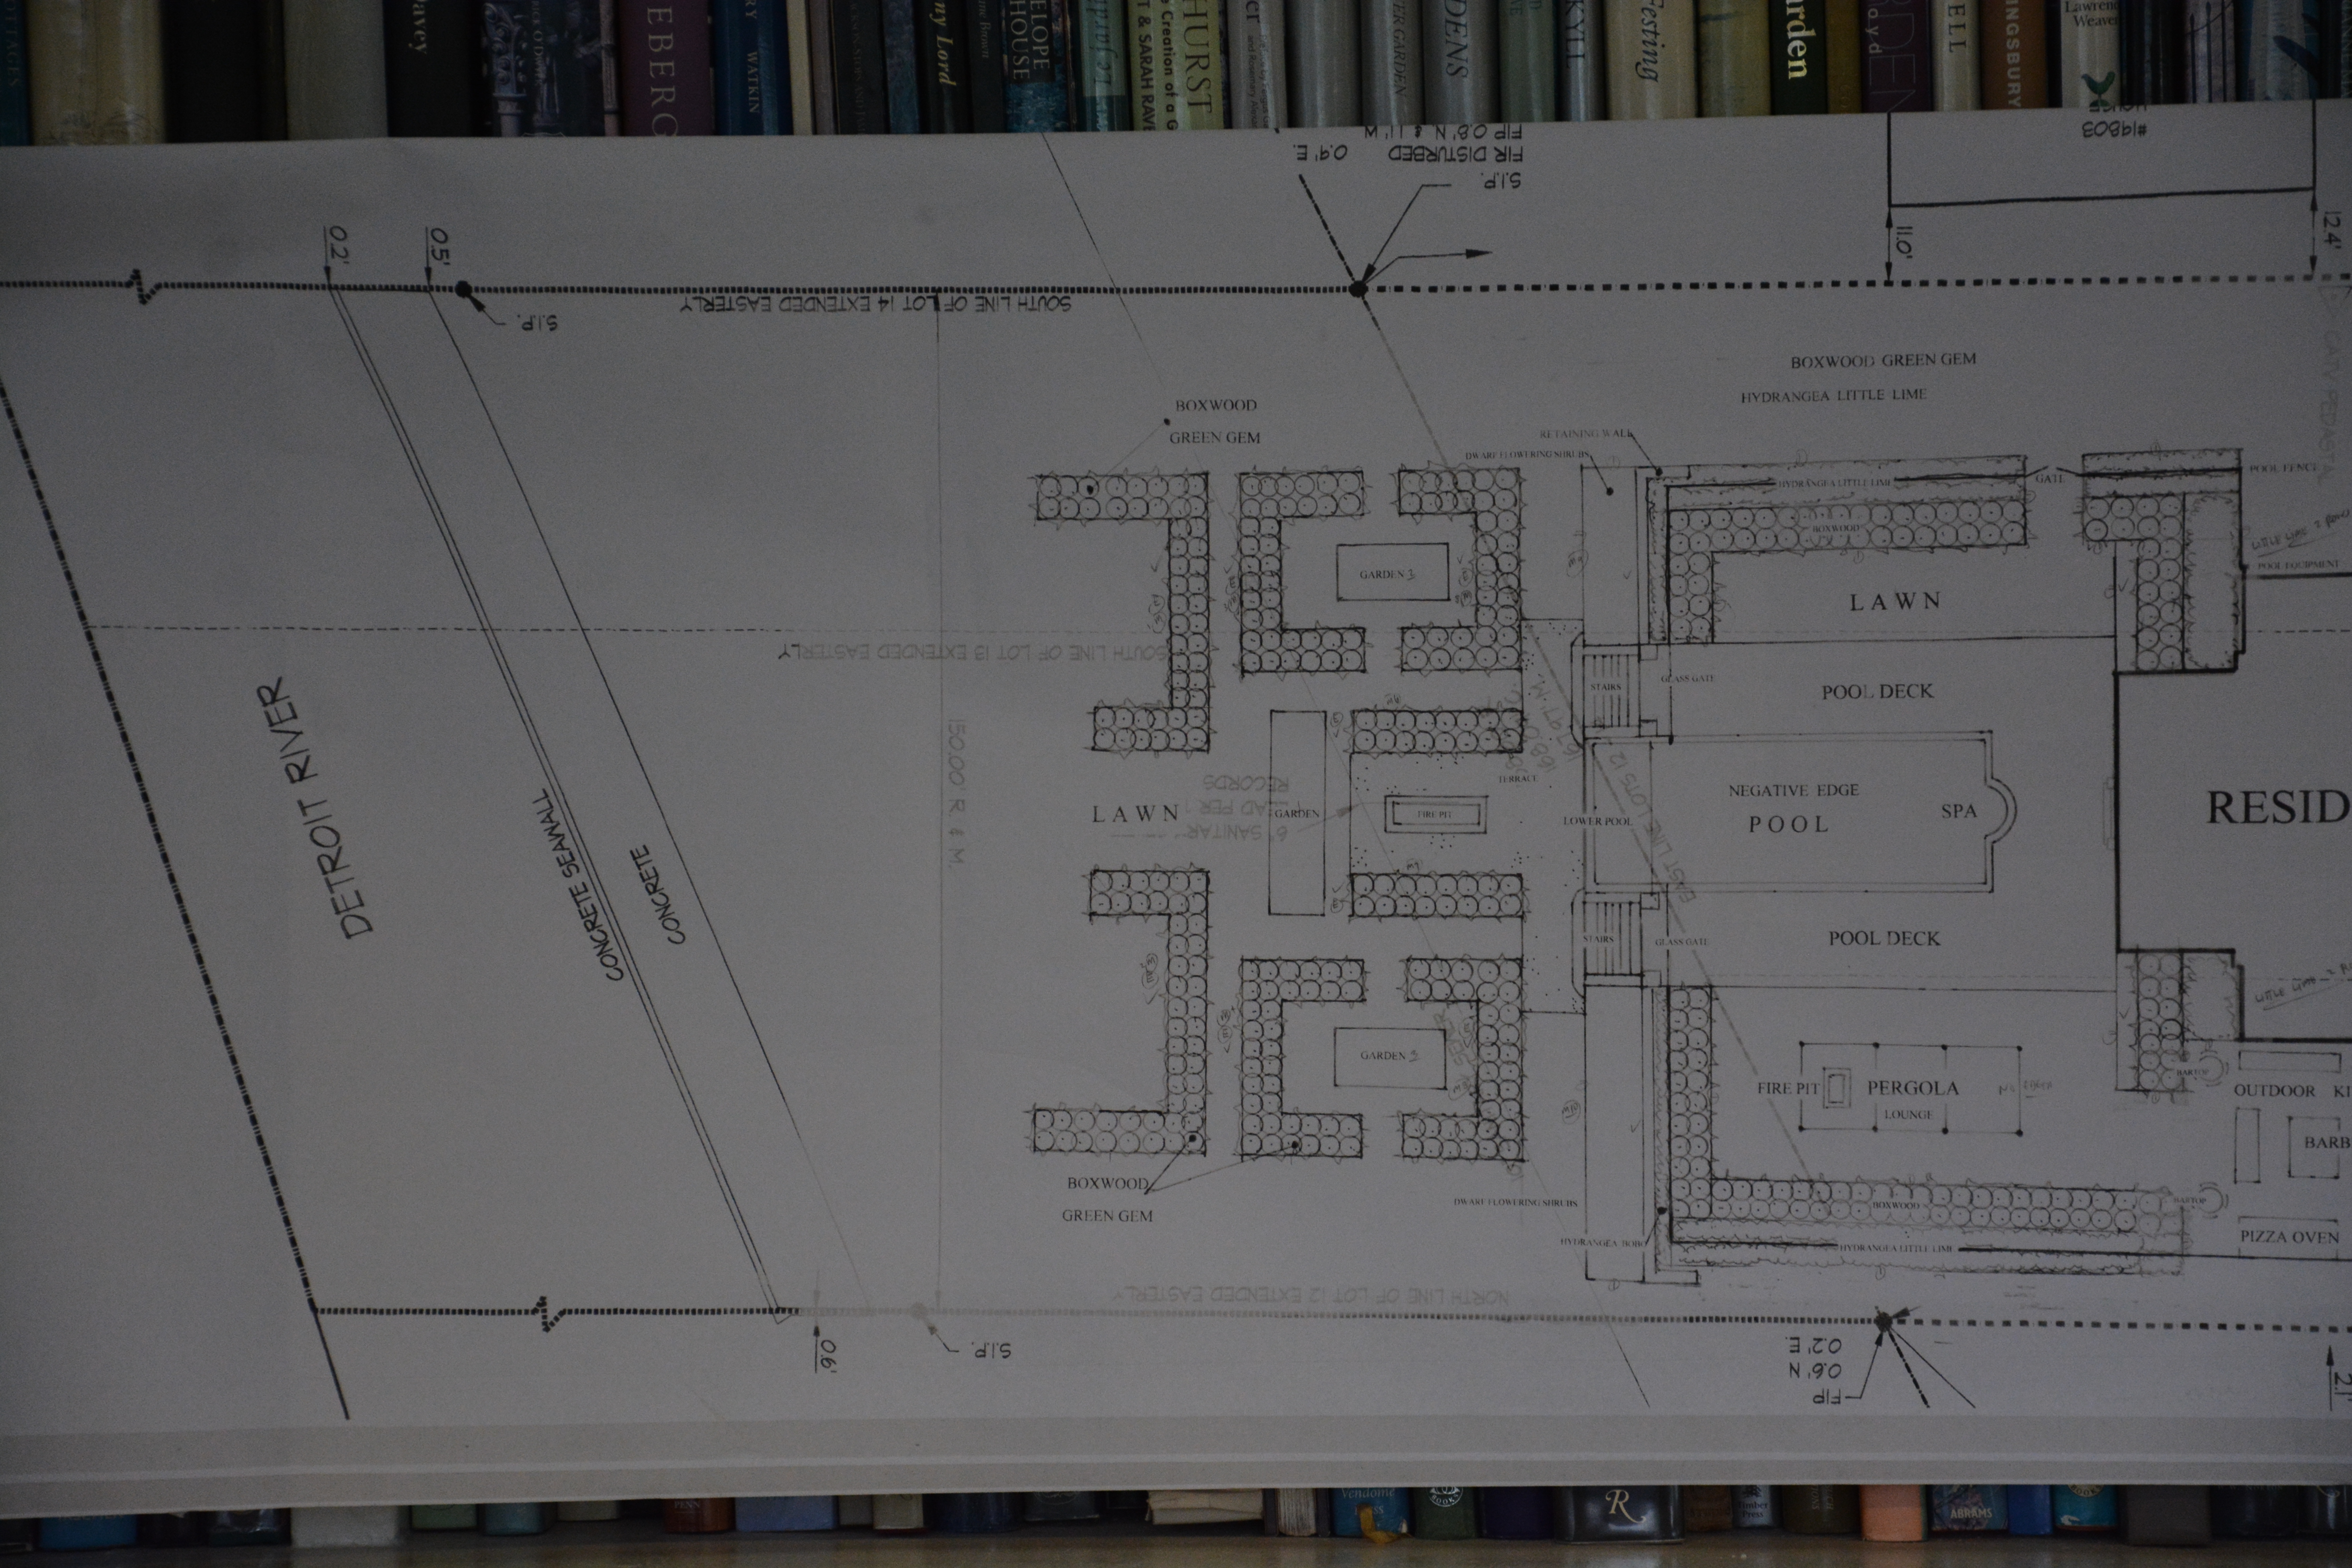 The rear yard drops sharply from the grade of the house to the river. The upper level landscape was designed with an infinity edge swimming pool on 3 sides. Water would drop over a 5.5′ tall stone retaining wall to a lower pool. The pool landscape would be built on flat ground, courtesy of several adjacent stone walls. Dual stone staircases would provide access to the rear yard. A formal landscape of boxes planted in geometric shapes would be punctuated with 3 garden areas, and low shrub beds along the stone wall.
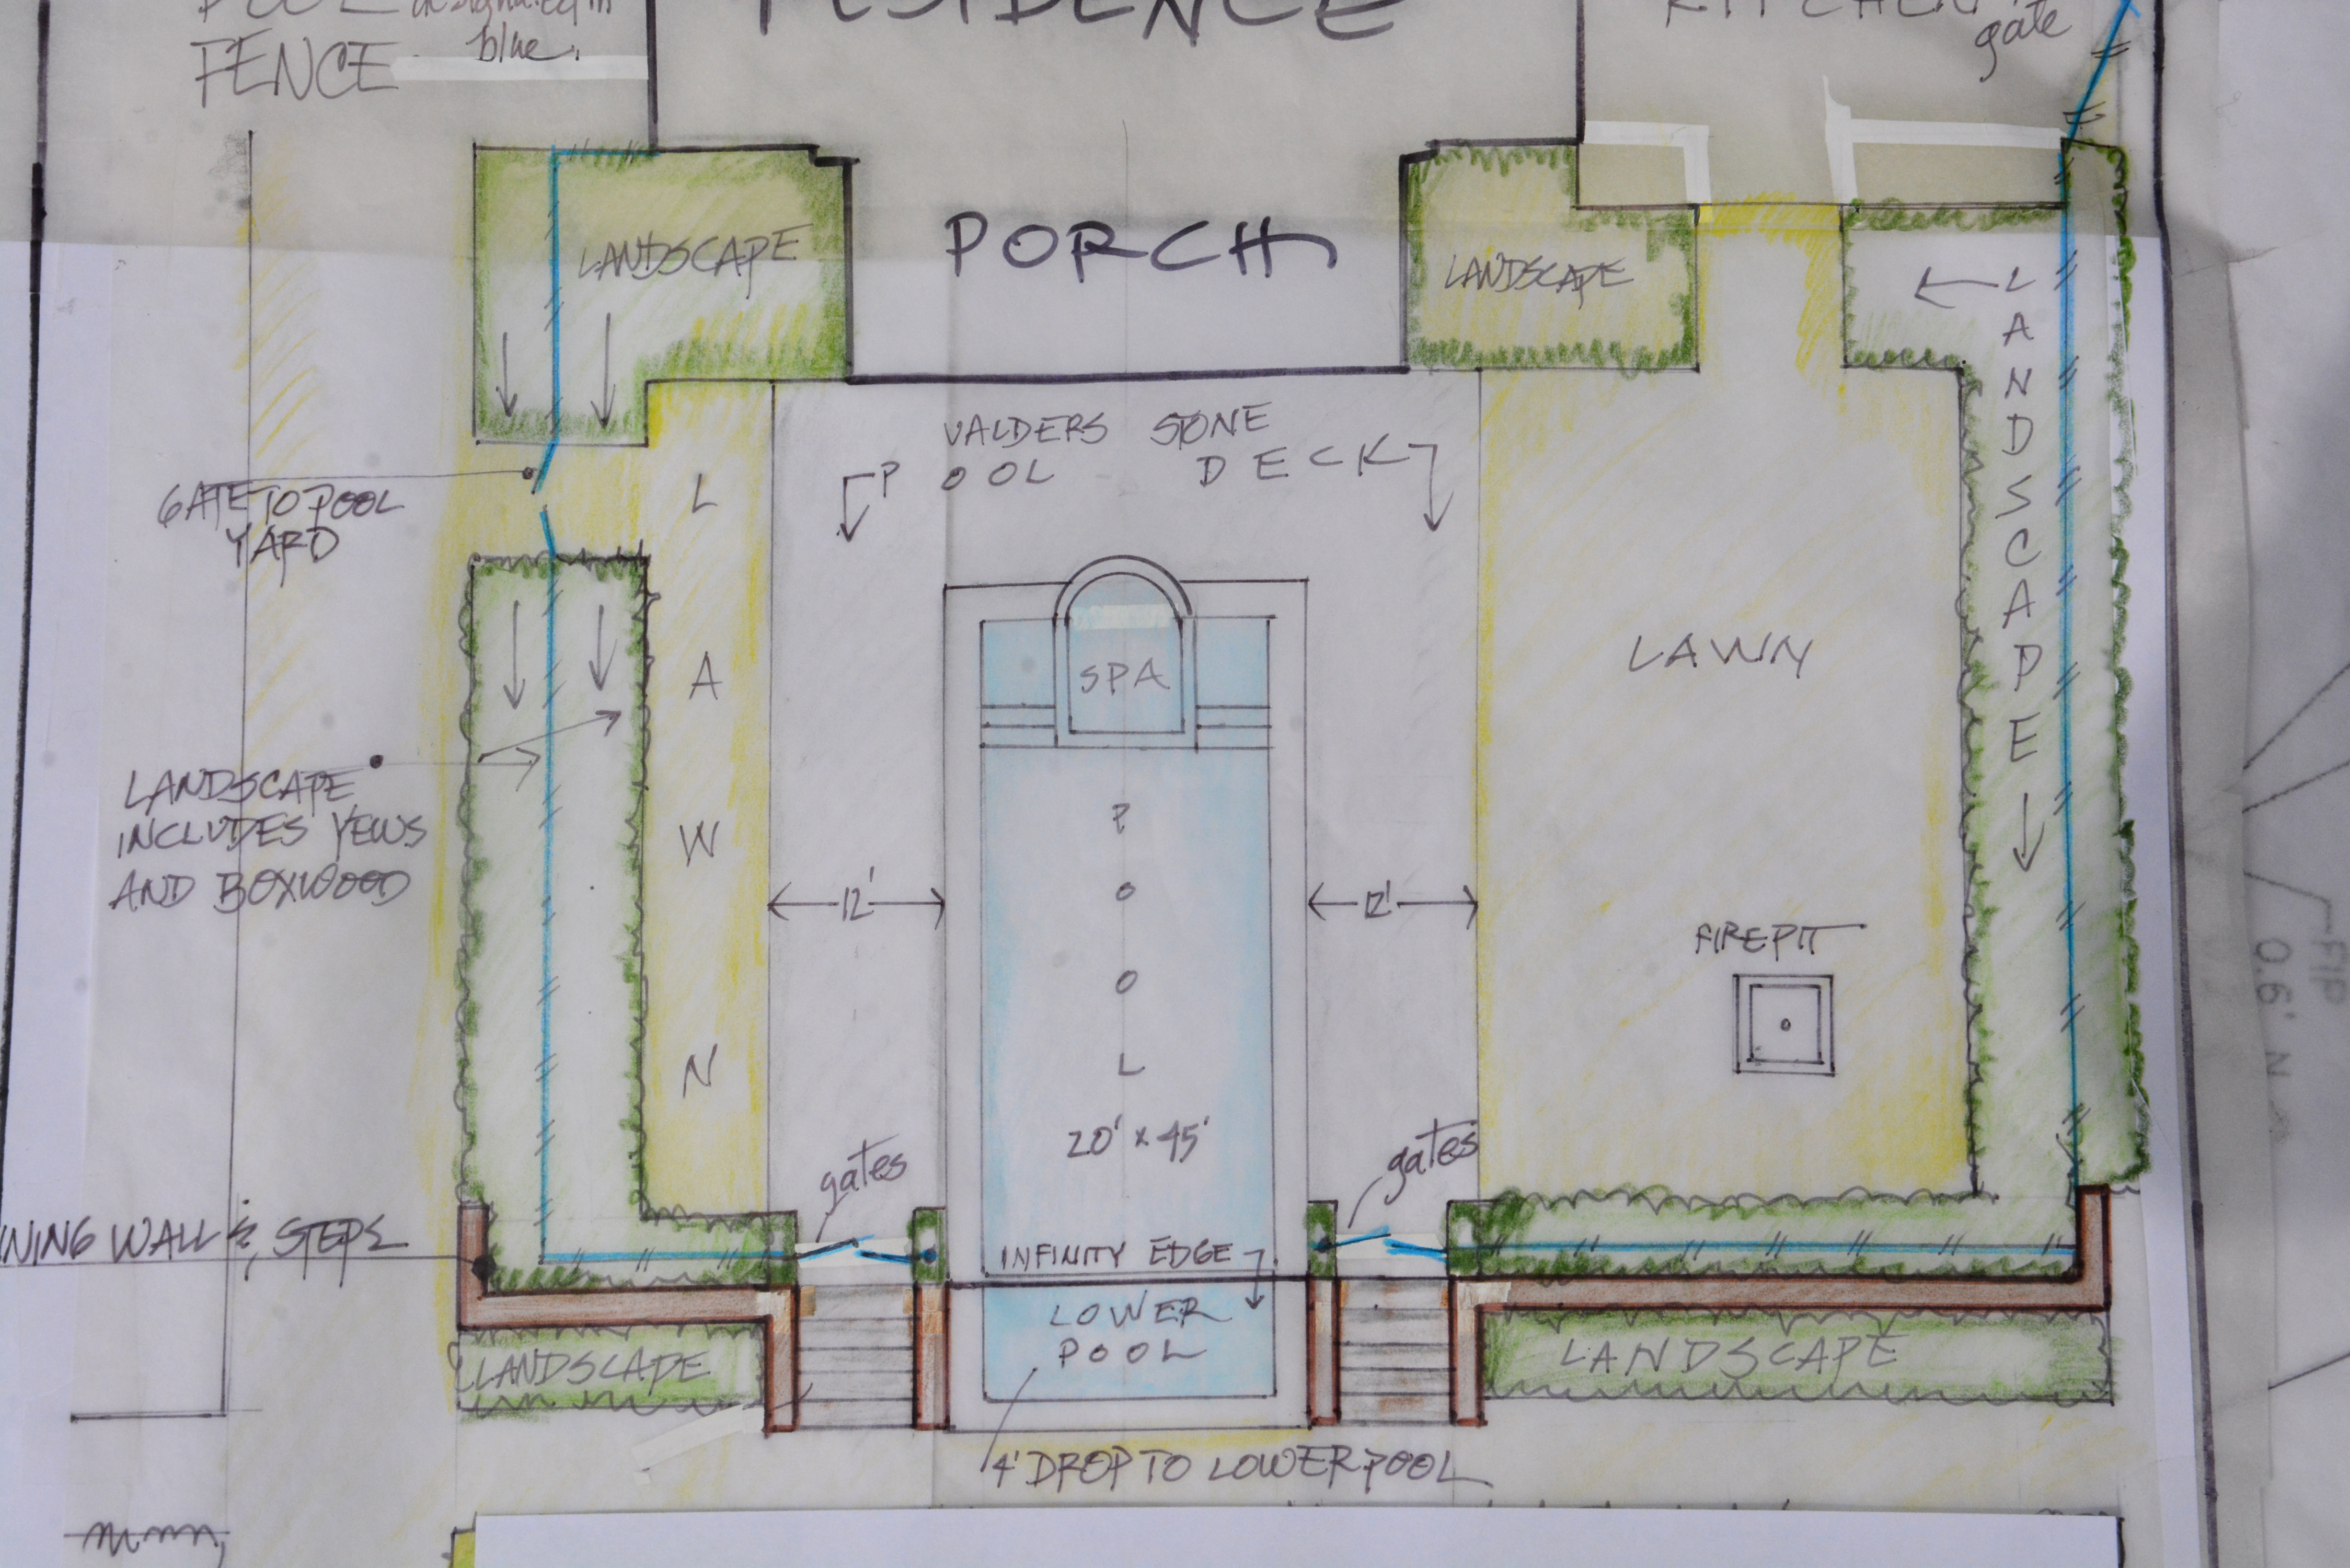 This drawing is a schematic plan for the pool. The pool is on axis with the rear porch, and features a spa facing the river, and an in pool seating ledge at the infinity edge. The pool fence would be screened on the north and south side with landscape. Subsequent to this drawing, it was decided that the fence between the pool deck and river will be glass, with a mechanically operated sliding glass gate which will cover both the staircases to the lower level. Once the client had approved this scheme, it would be the job of the pool and stone contractor to produce more detailed drawings in order to actually fabricate what this schematic plan suggests. It would be my job to present options for materials for the walls and pool deck. A drawing is a series of lines and shapes on a piece of paper. Dealing with the reality of the land would be another issue altogether. I favor initial schematic master plans. It gives the client the opportunity to commit to or change the big picture first, without being visually burdened by countless details. I have seen landscape plans that are so detailed in the initial phase that it is impossible for a client to see the underlying structure upon which all the details will be built.
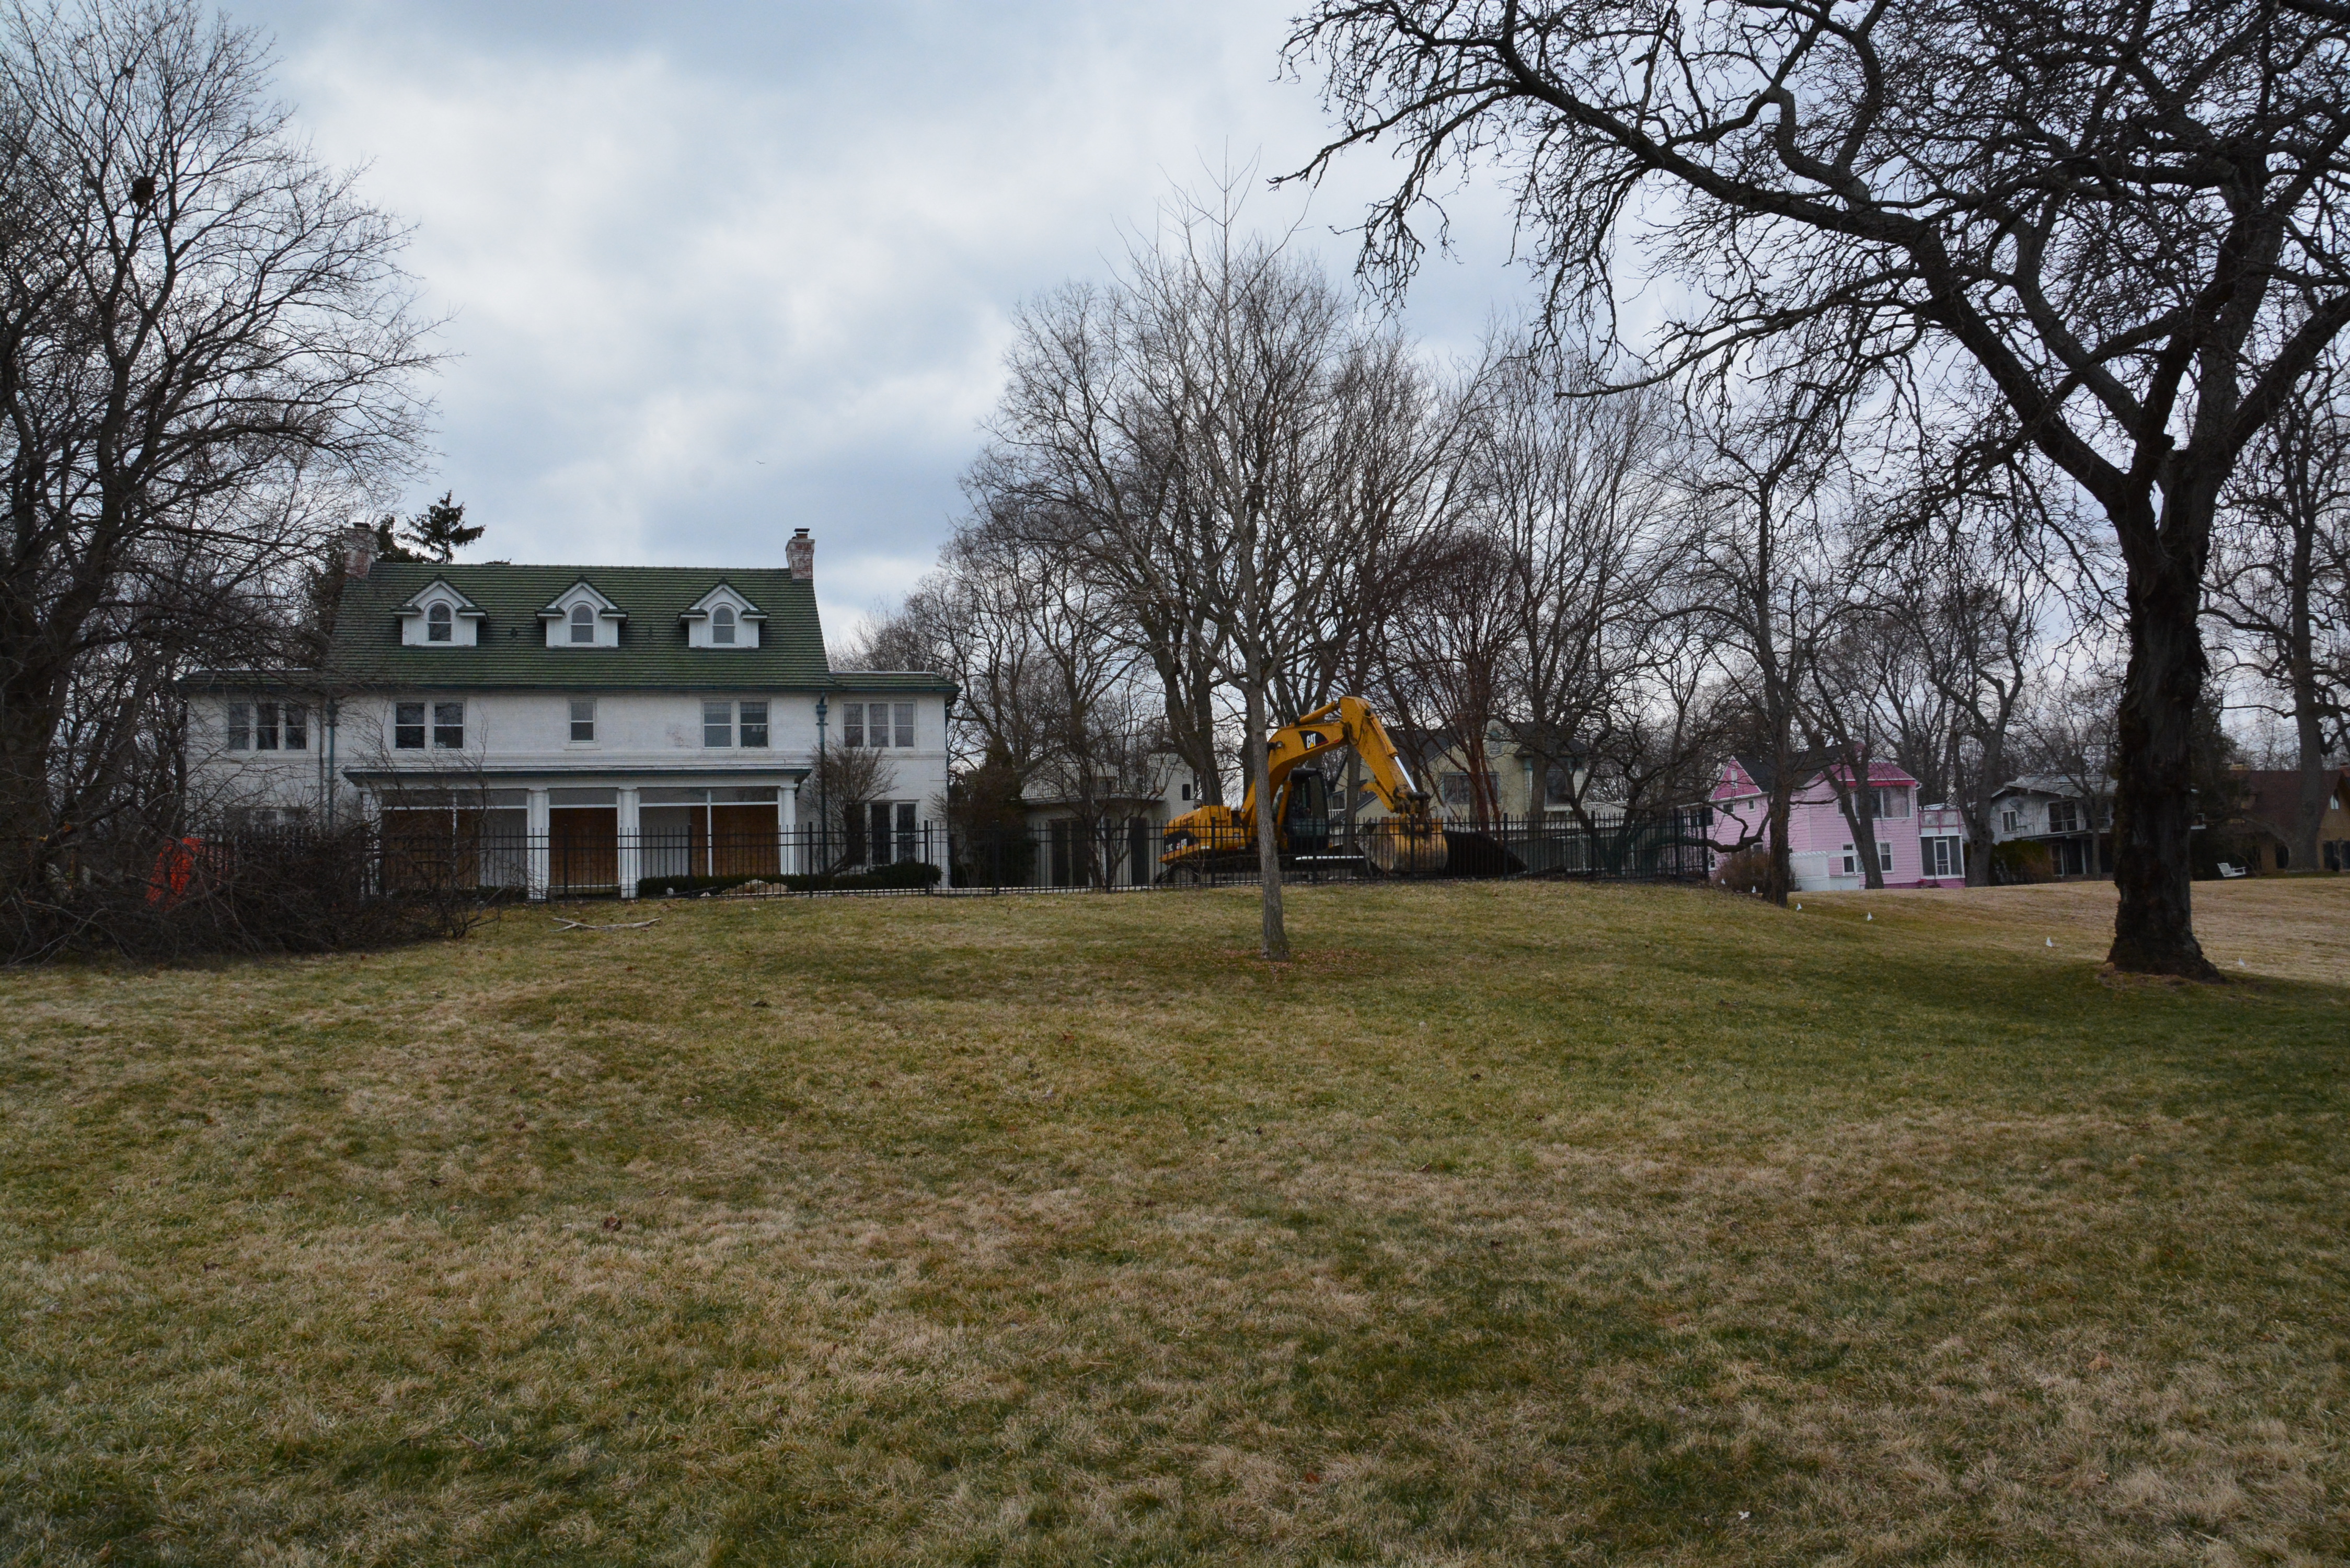 To follow are a series of photographs detailing the first phase of the landscape installation – the construction and installation of the pool, retaining walls and stairs. This picture, taken last March, makes clear how little flat ground existed near the house, and the steepness of the drop to the river.
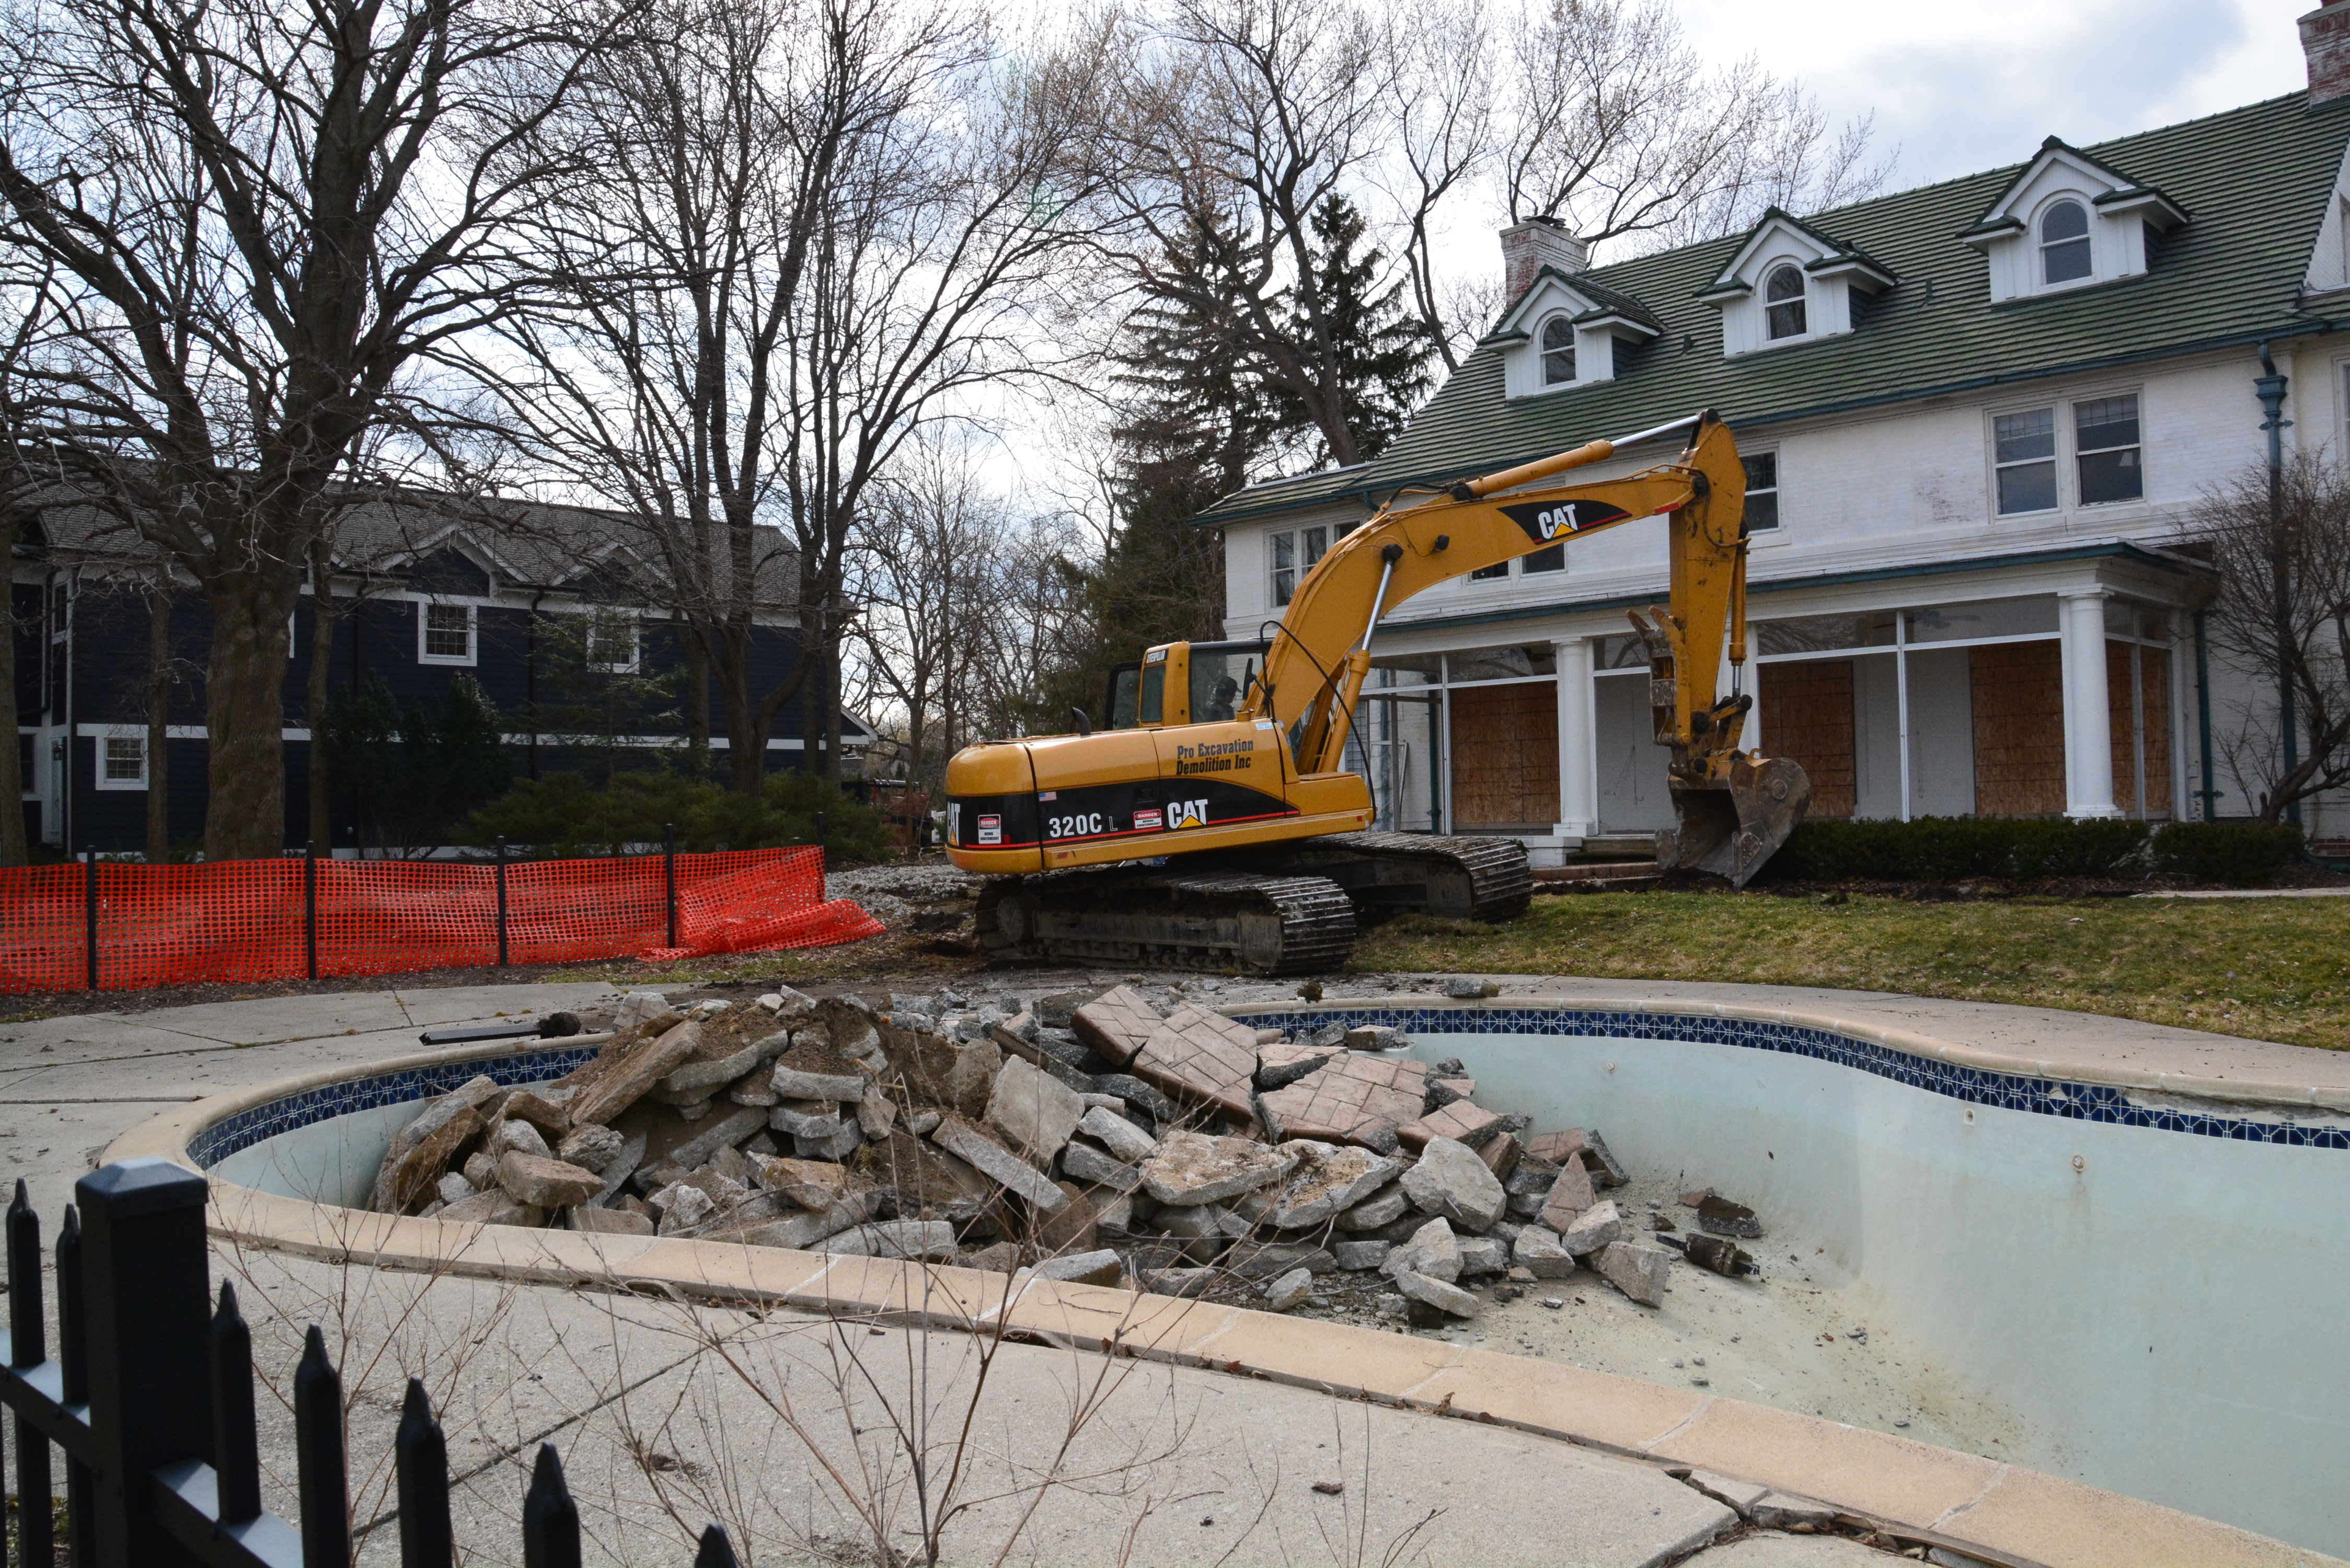 the original swimming pool under demolition.
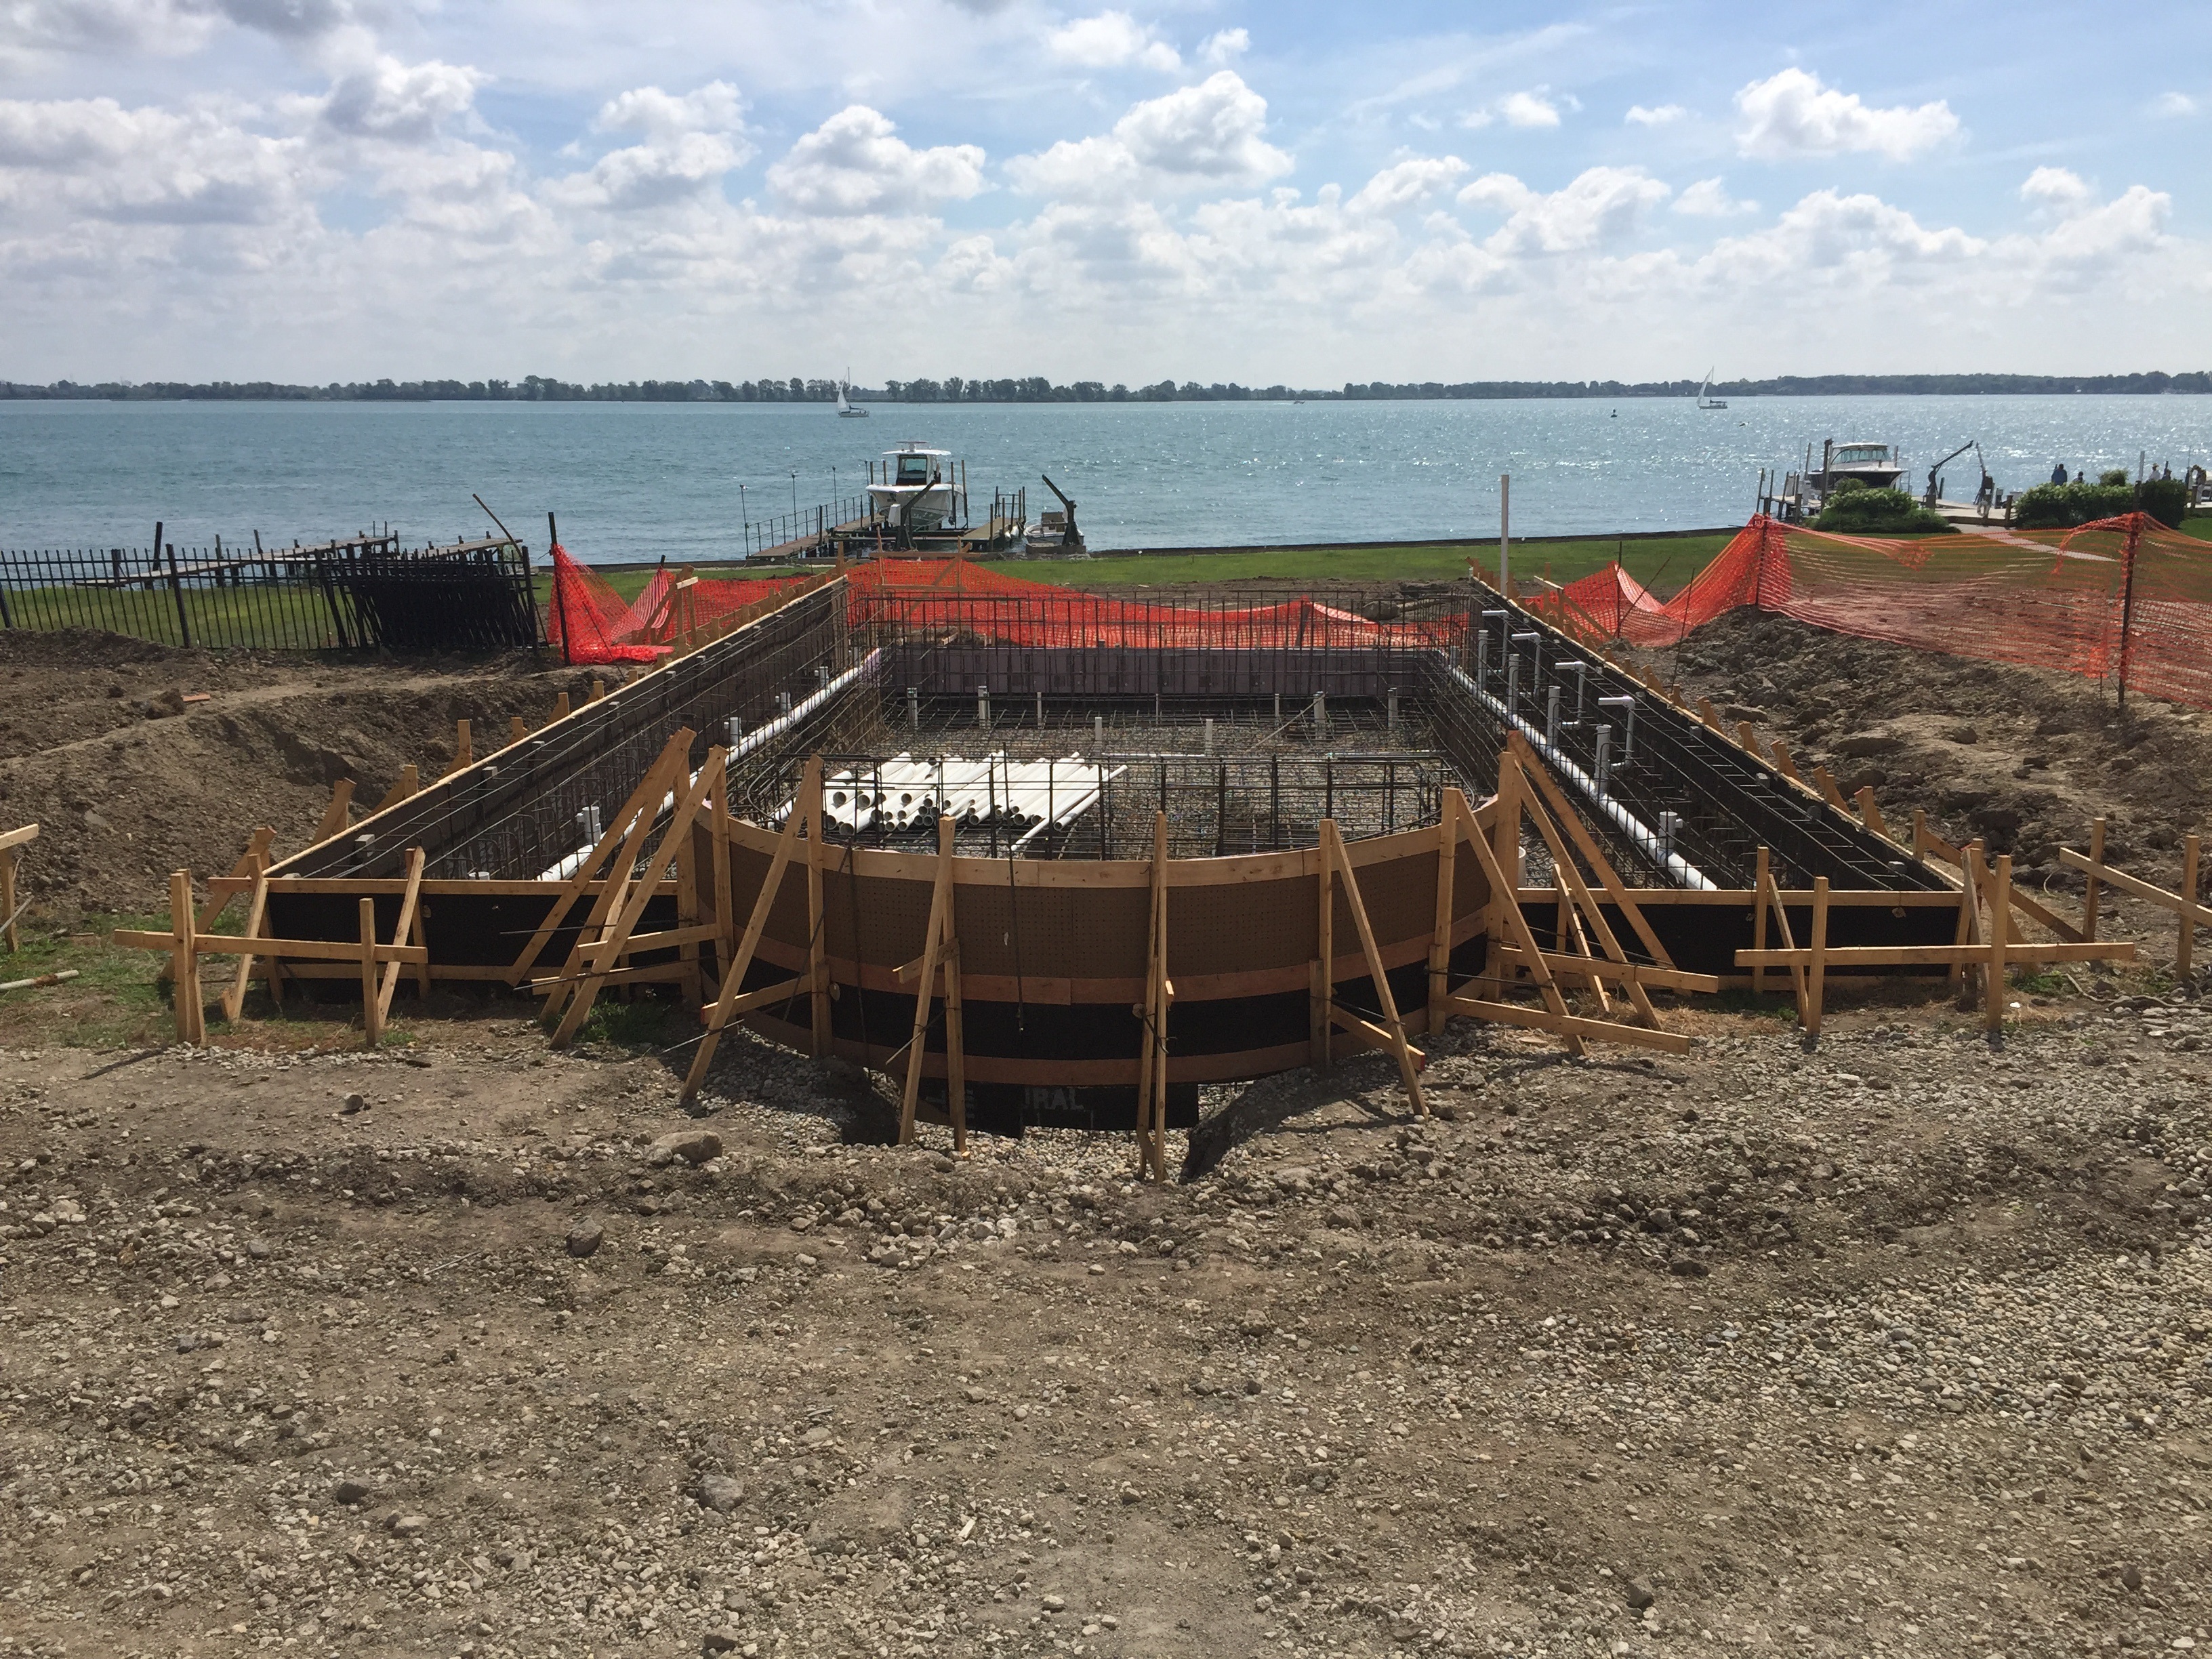 forms being built for the new pool
 pool construction
 pool and spa walls poured
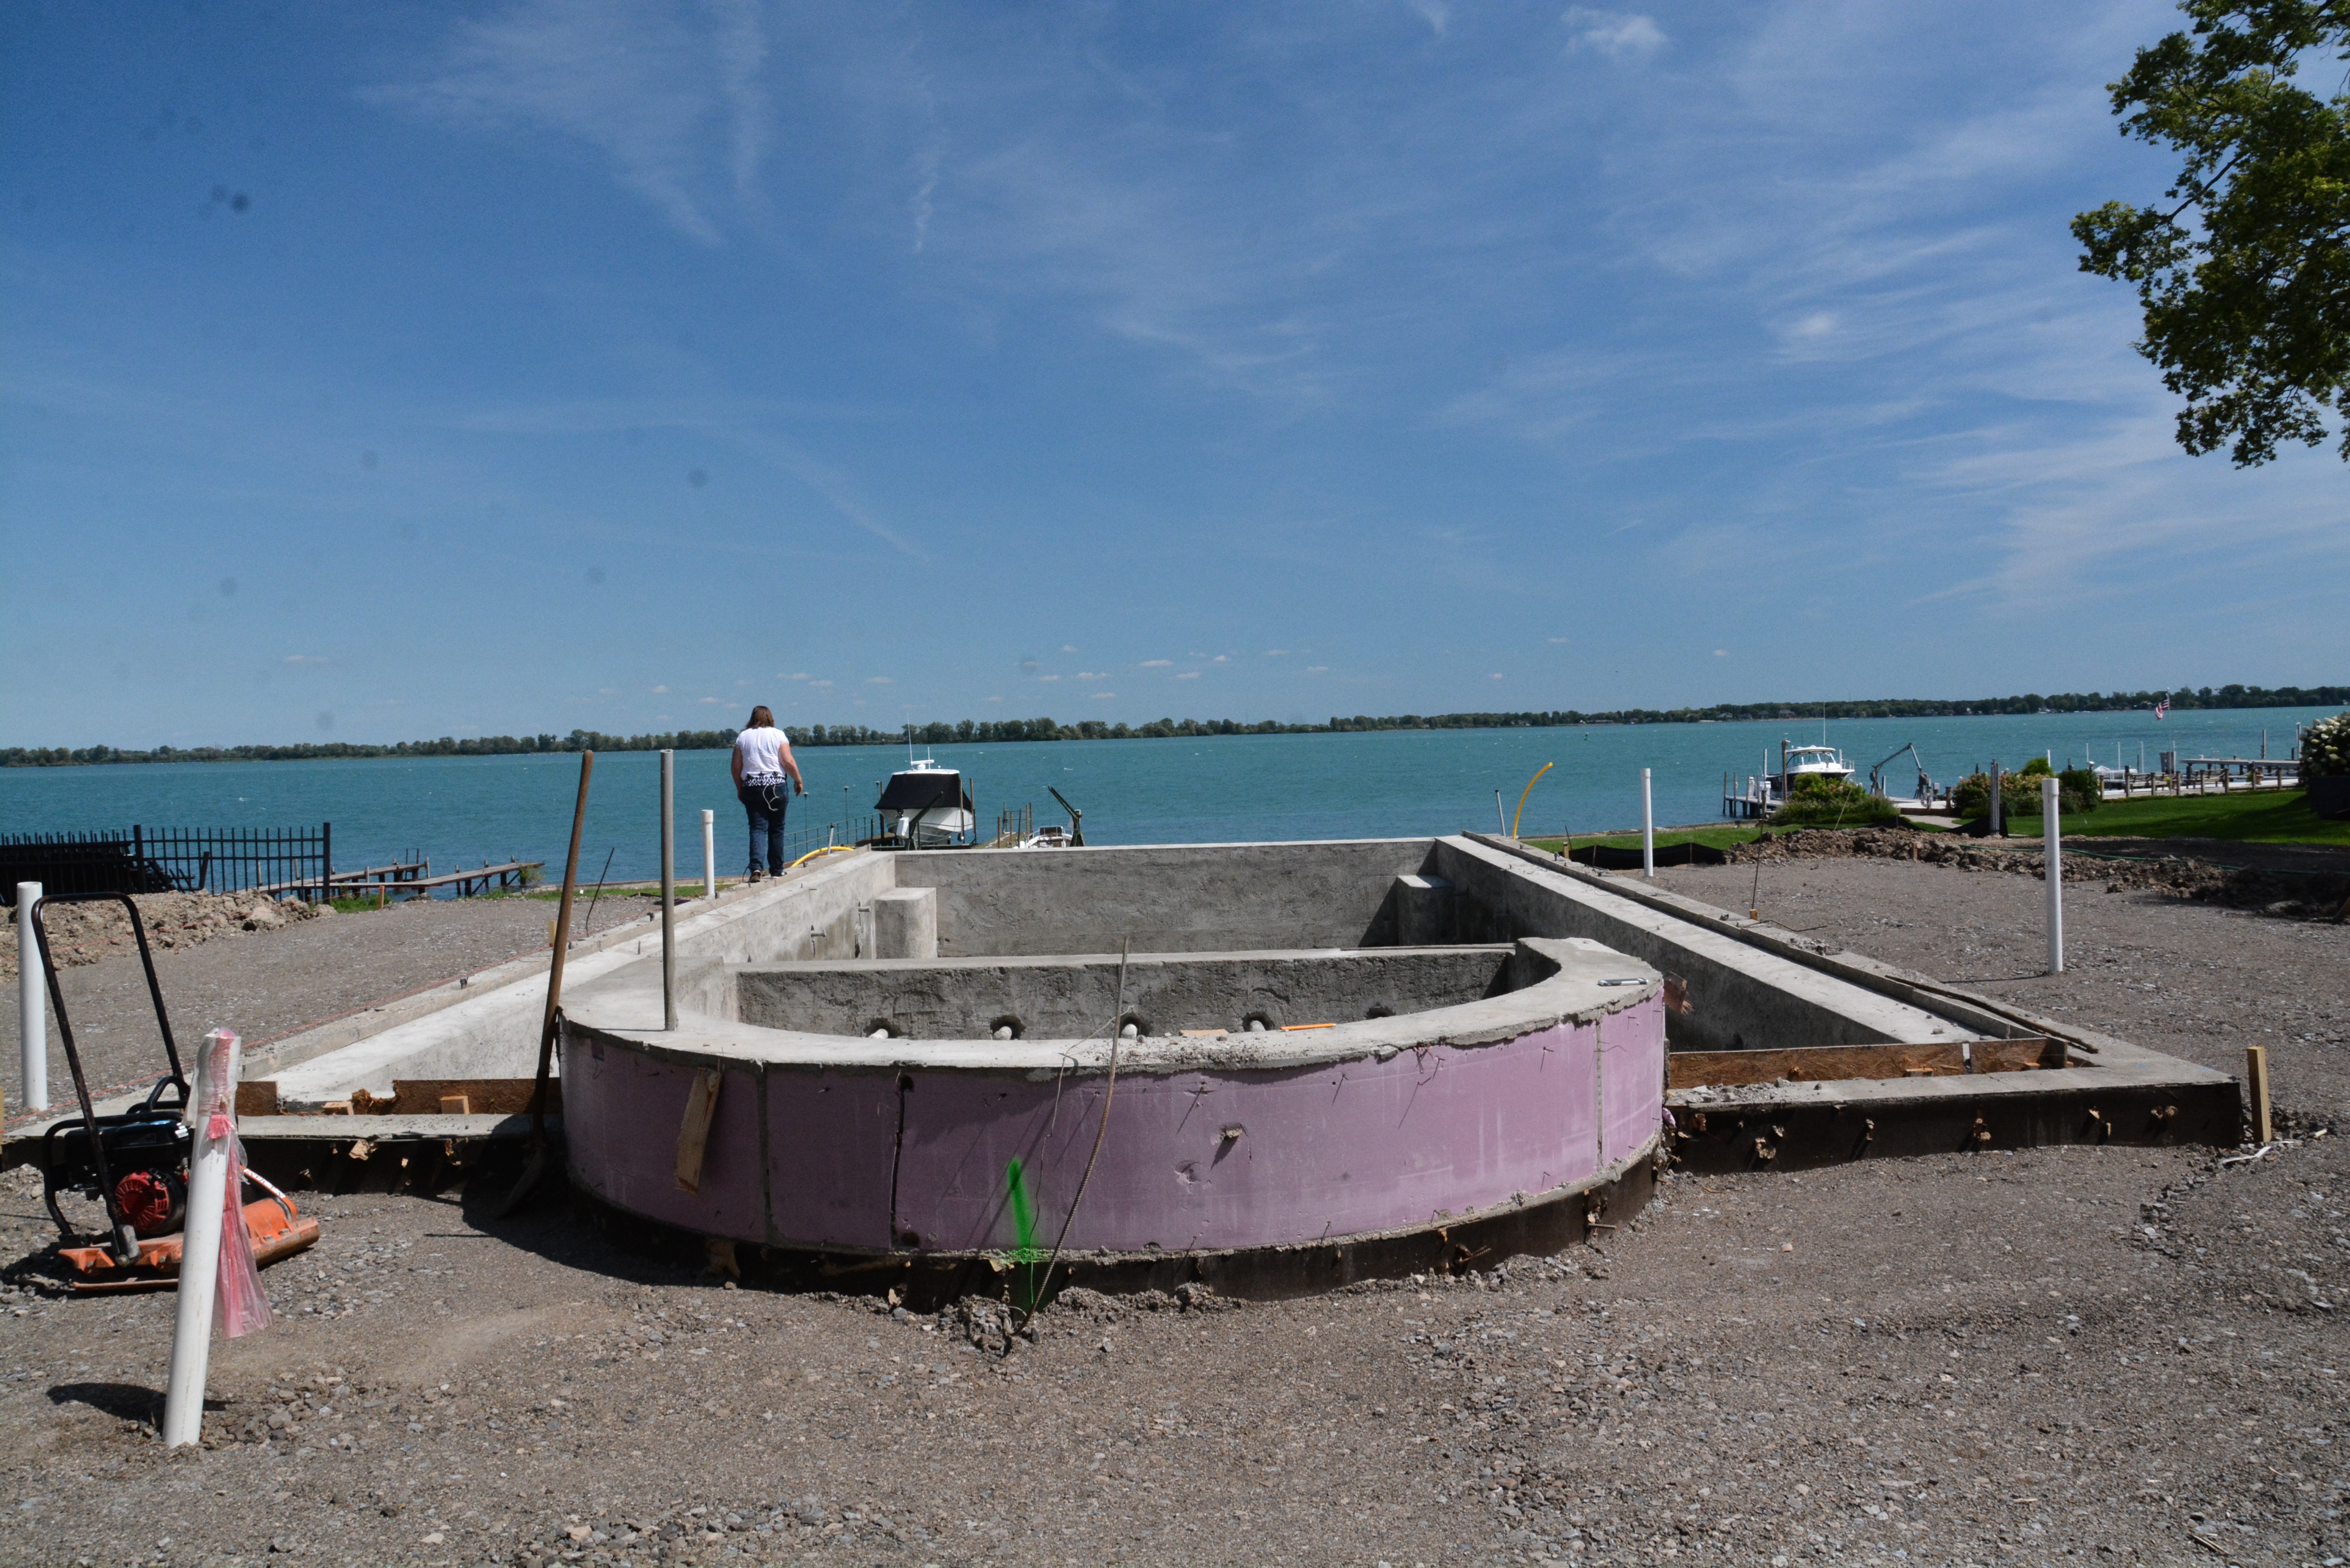 spa insulation layer
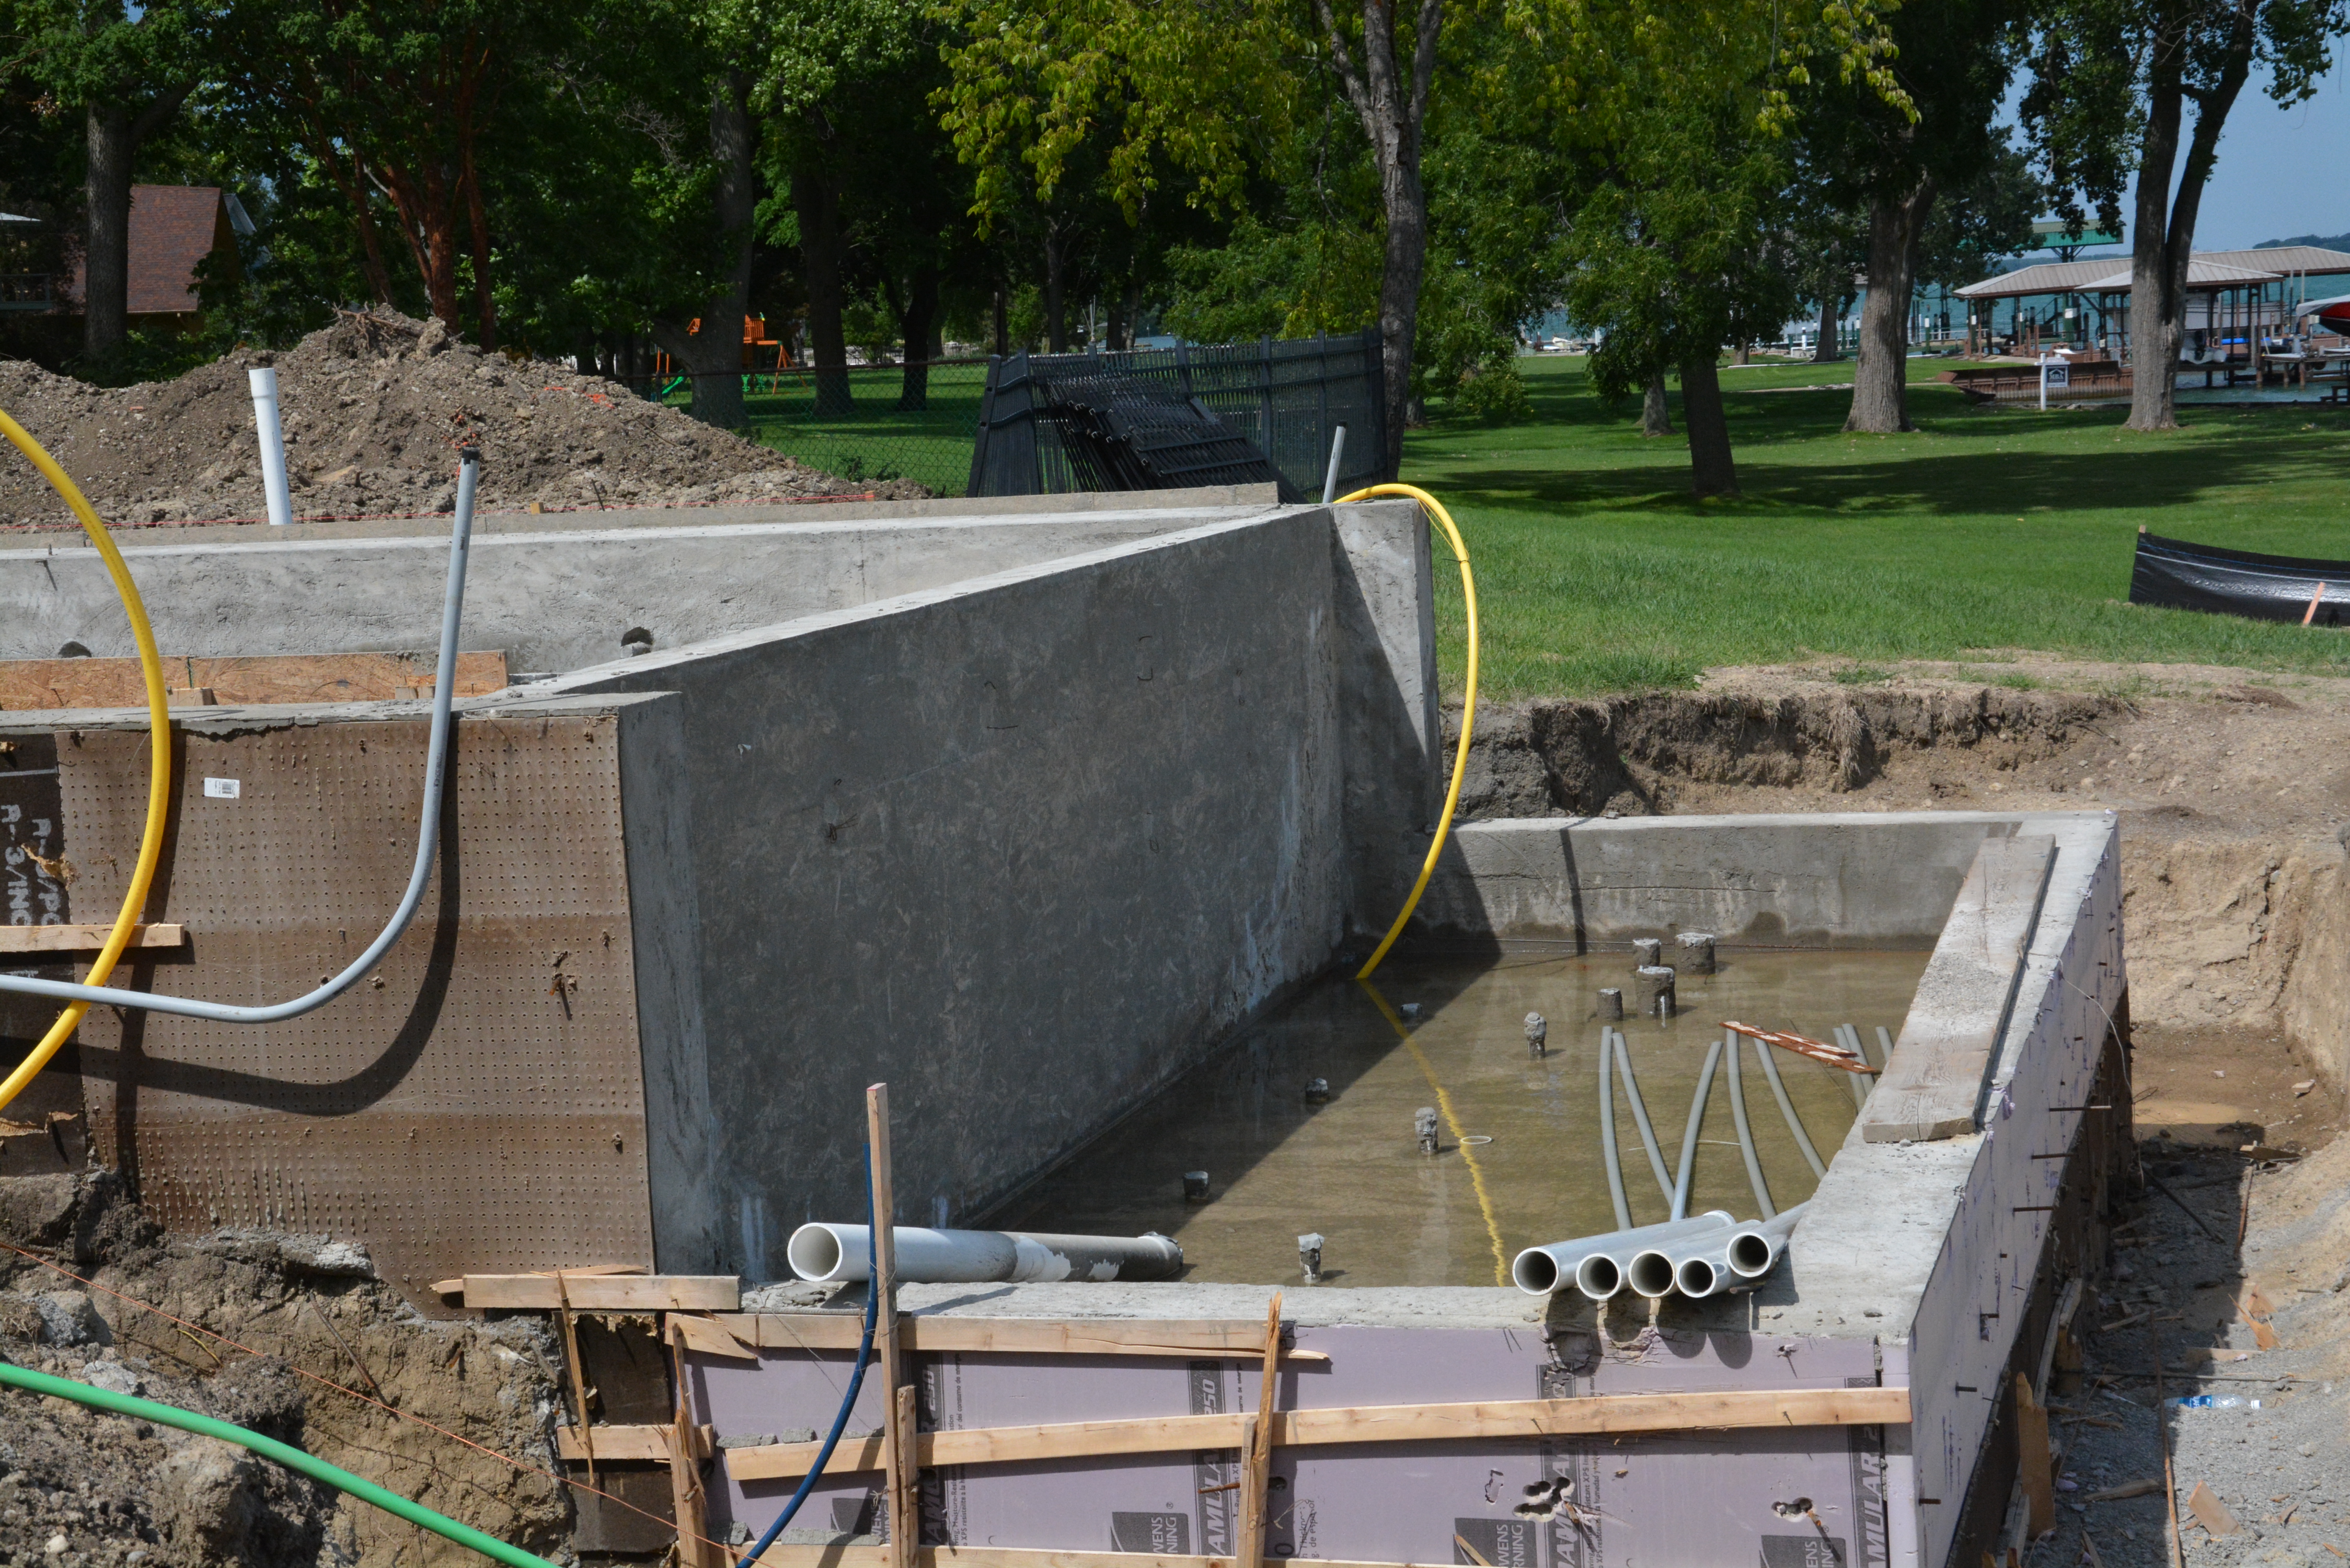 the shell of the pool and lower pool
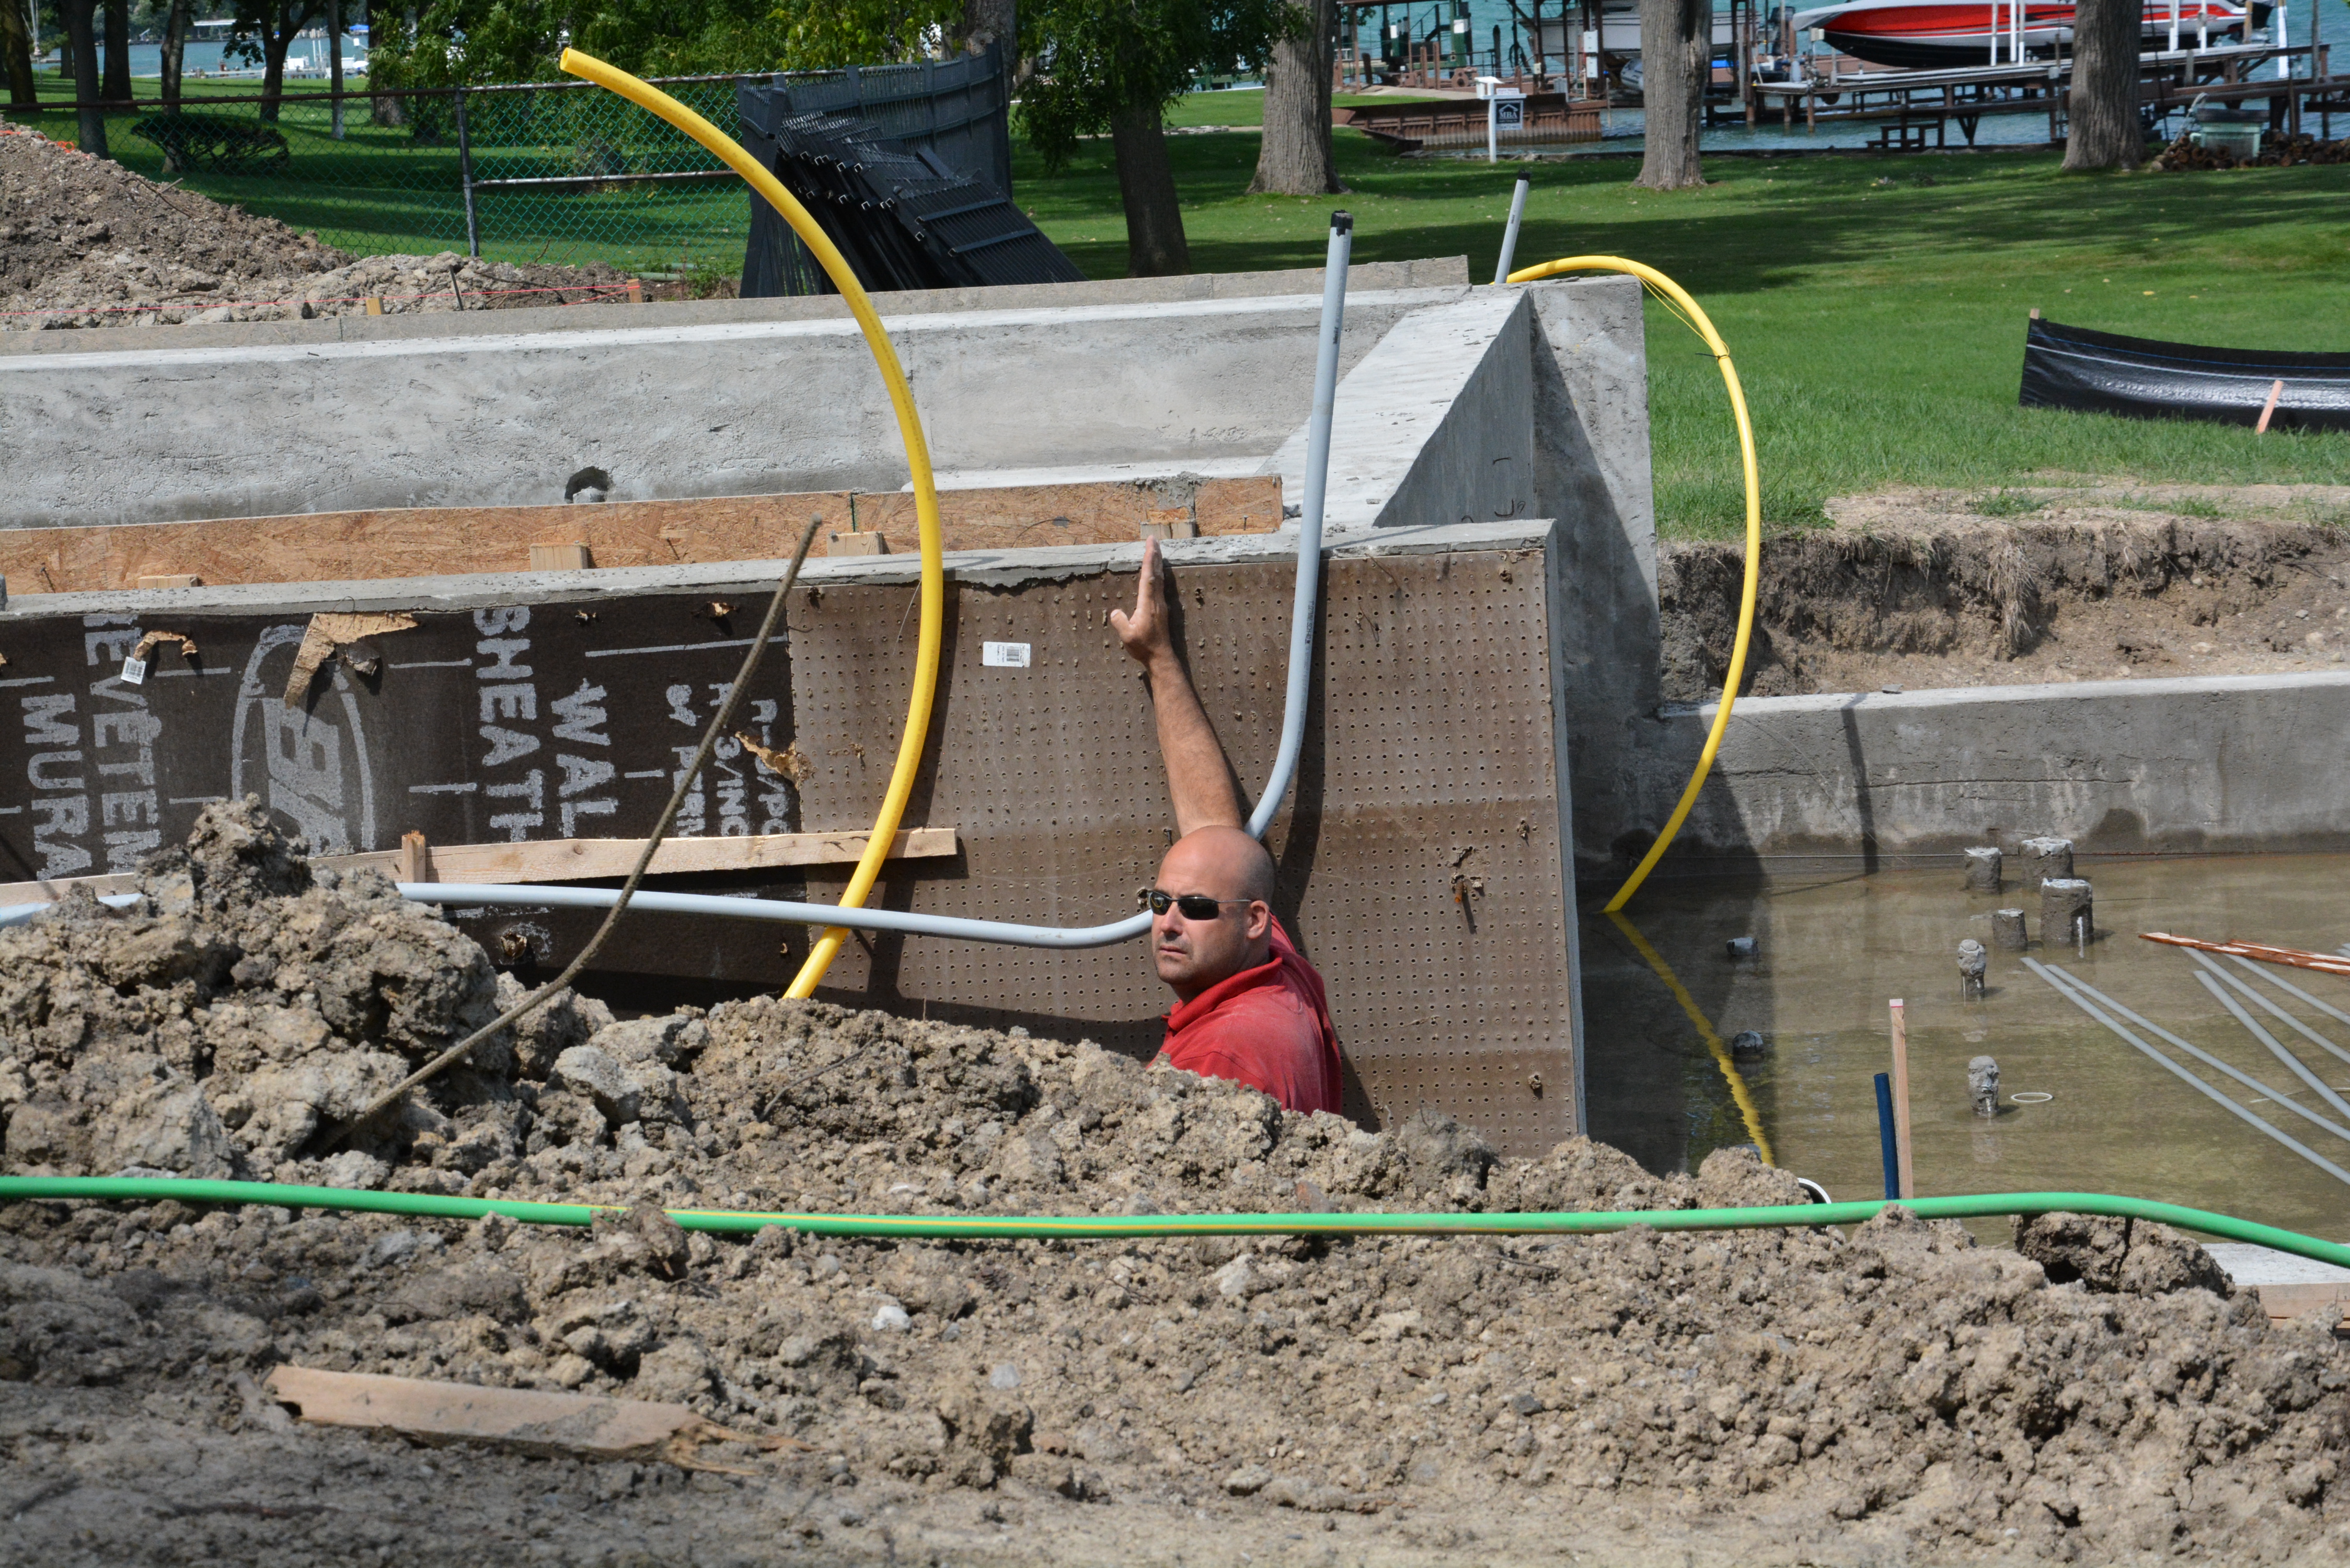 working with the general contractor on the step location, based on the pool, as built.
 stone for the spa exterior
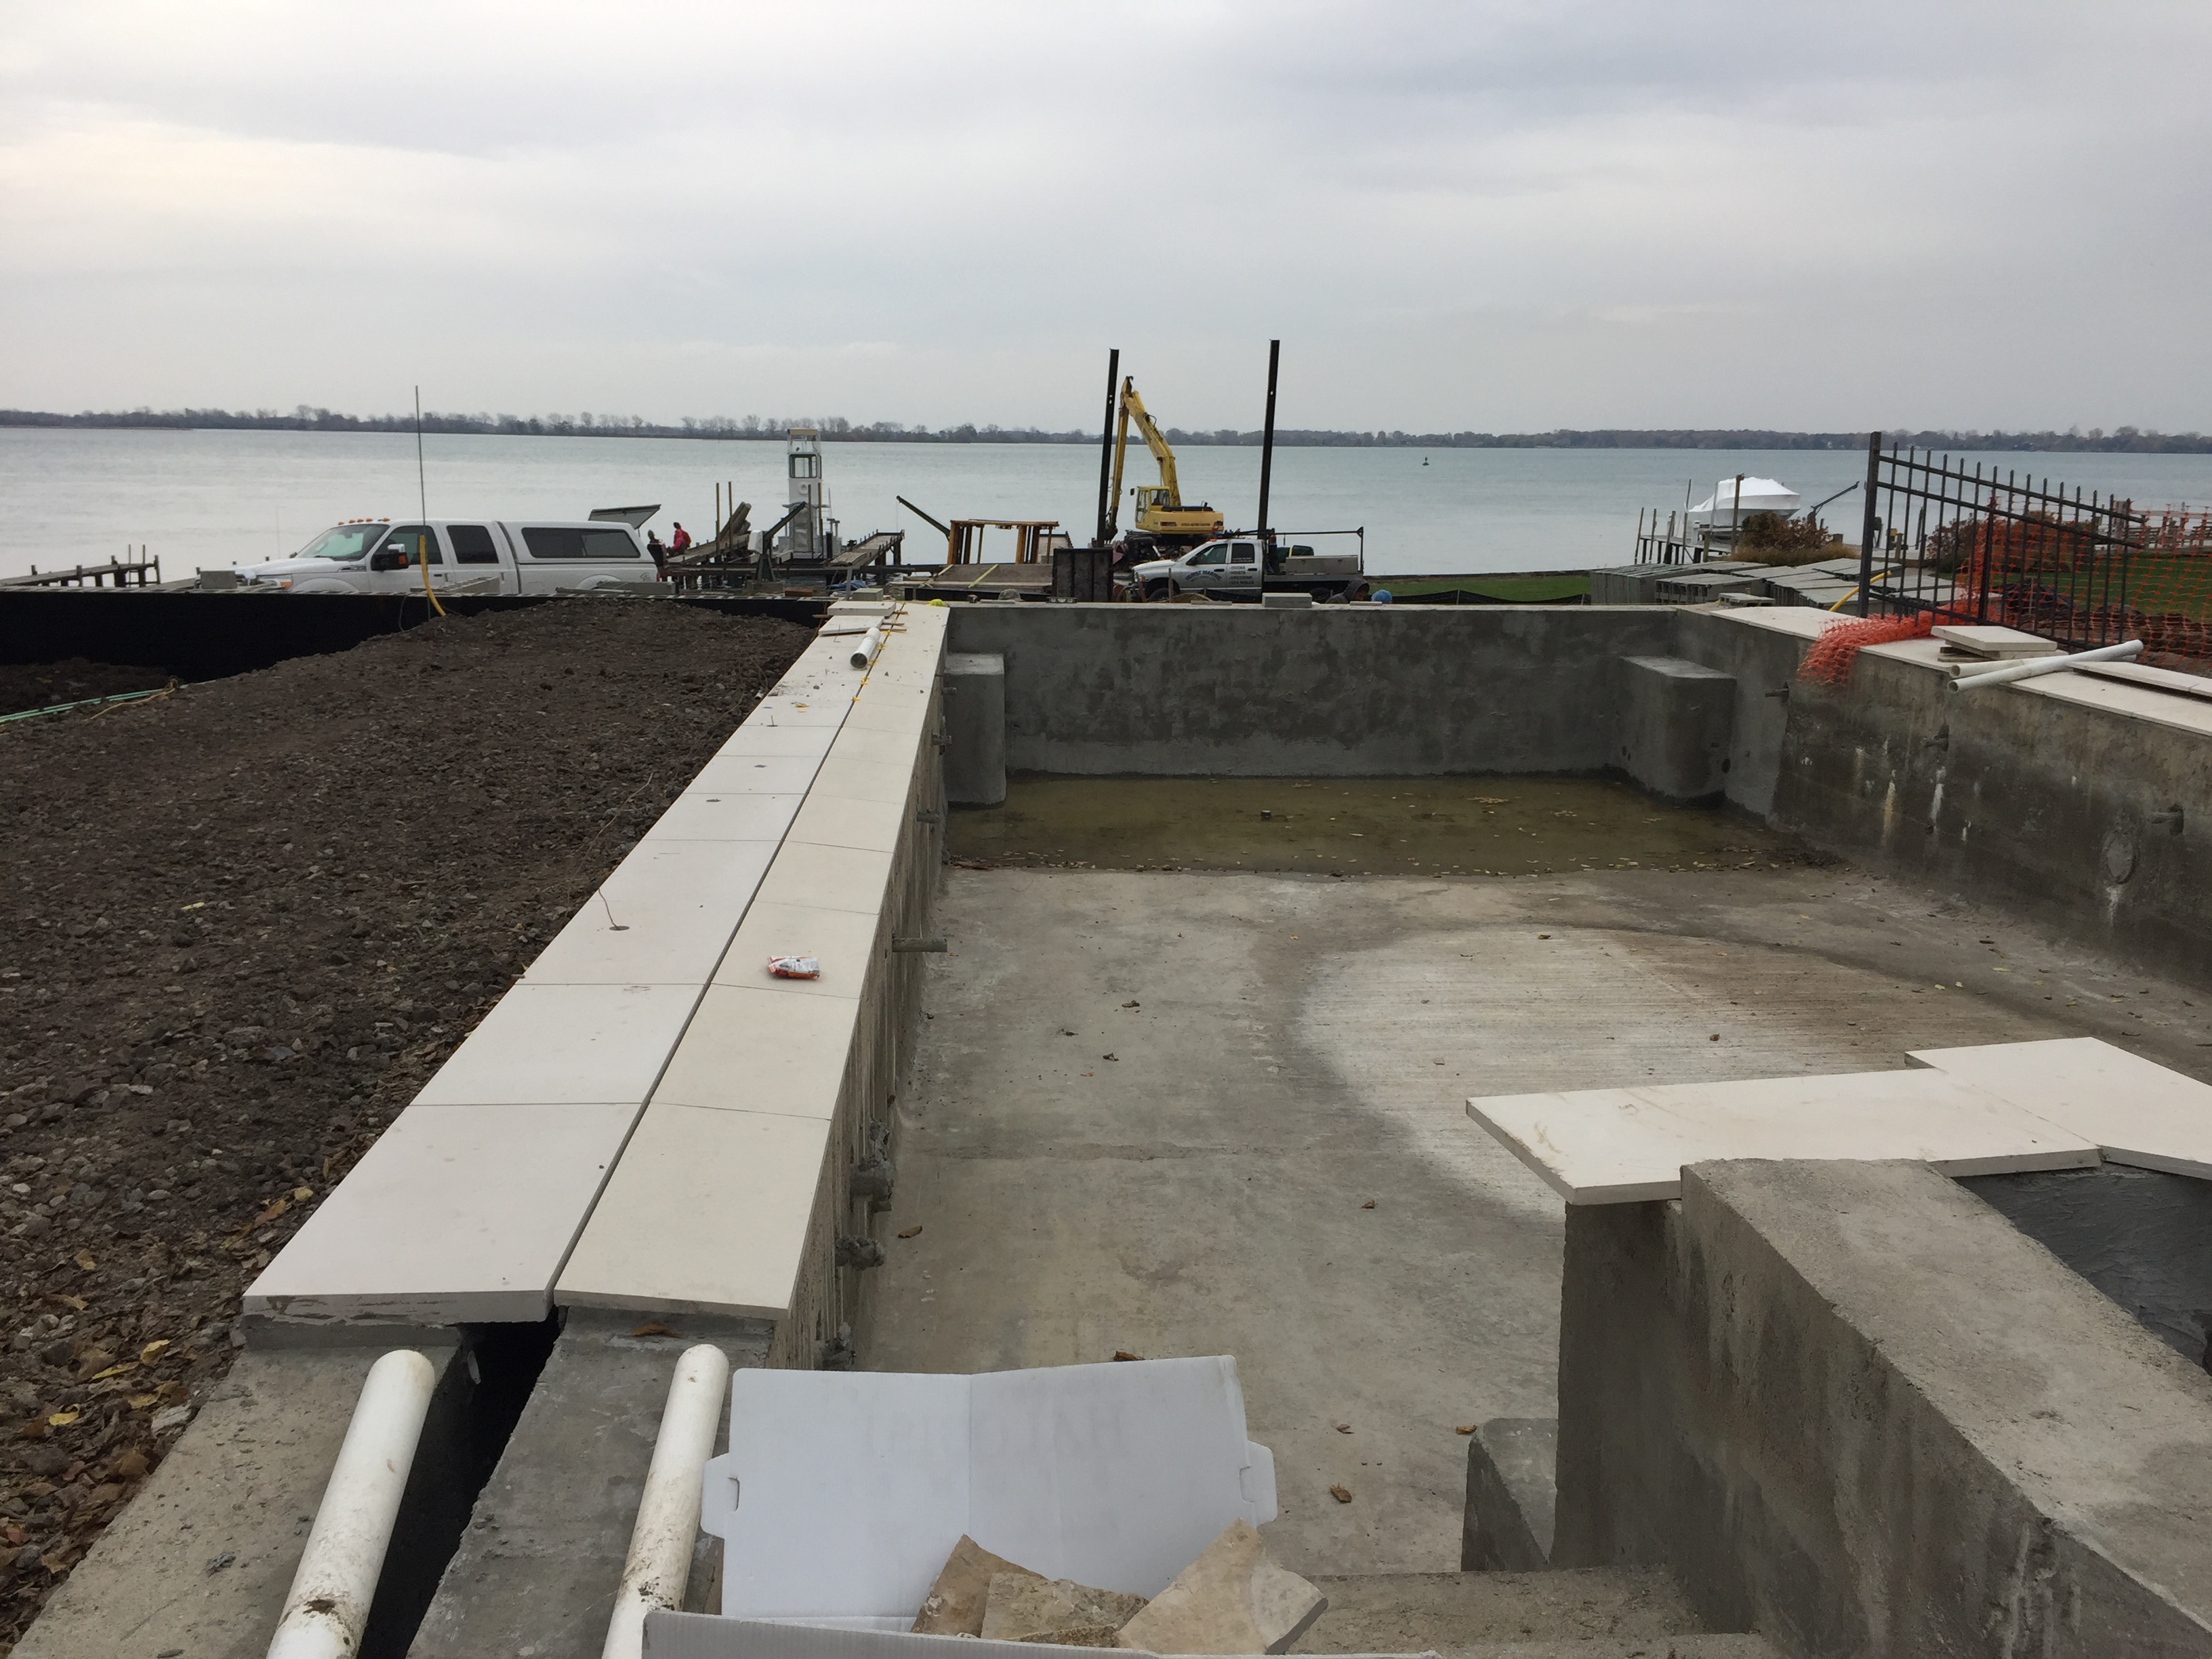 The construction of a negative edge such as this is very complex, and requires an expert installation. The pool coping is constructed in 2 parallel rows. The row adjacent to the interior pool set at a slight downward angle, and will always have a slight amount of water over it. When the pool is full, a series of pumps pushes the water over the slot between the 2 rows of coping.That water is then recirculated back into the pool. This keeps the top layer of water at the same grade as the outer, dry pool coping. This fine detail came after the determination of the size and location of the pool.
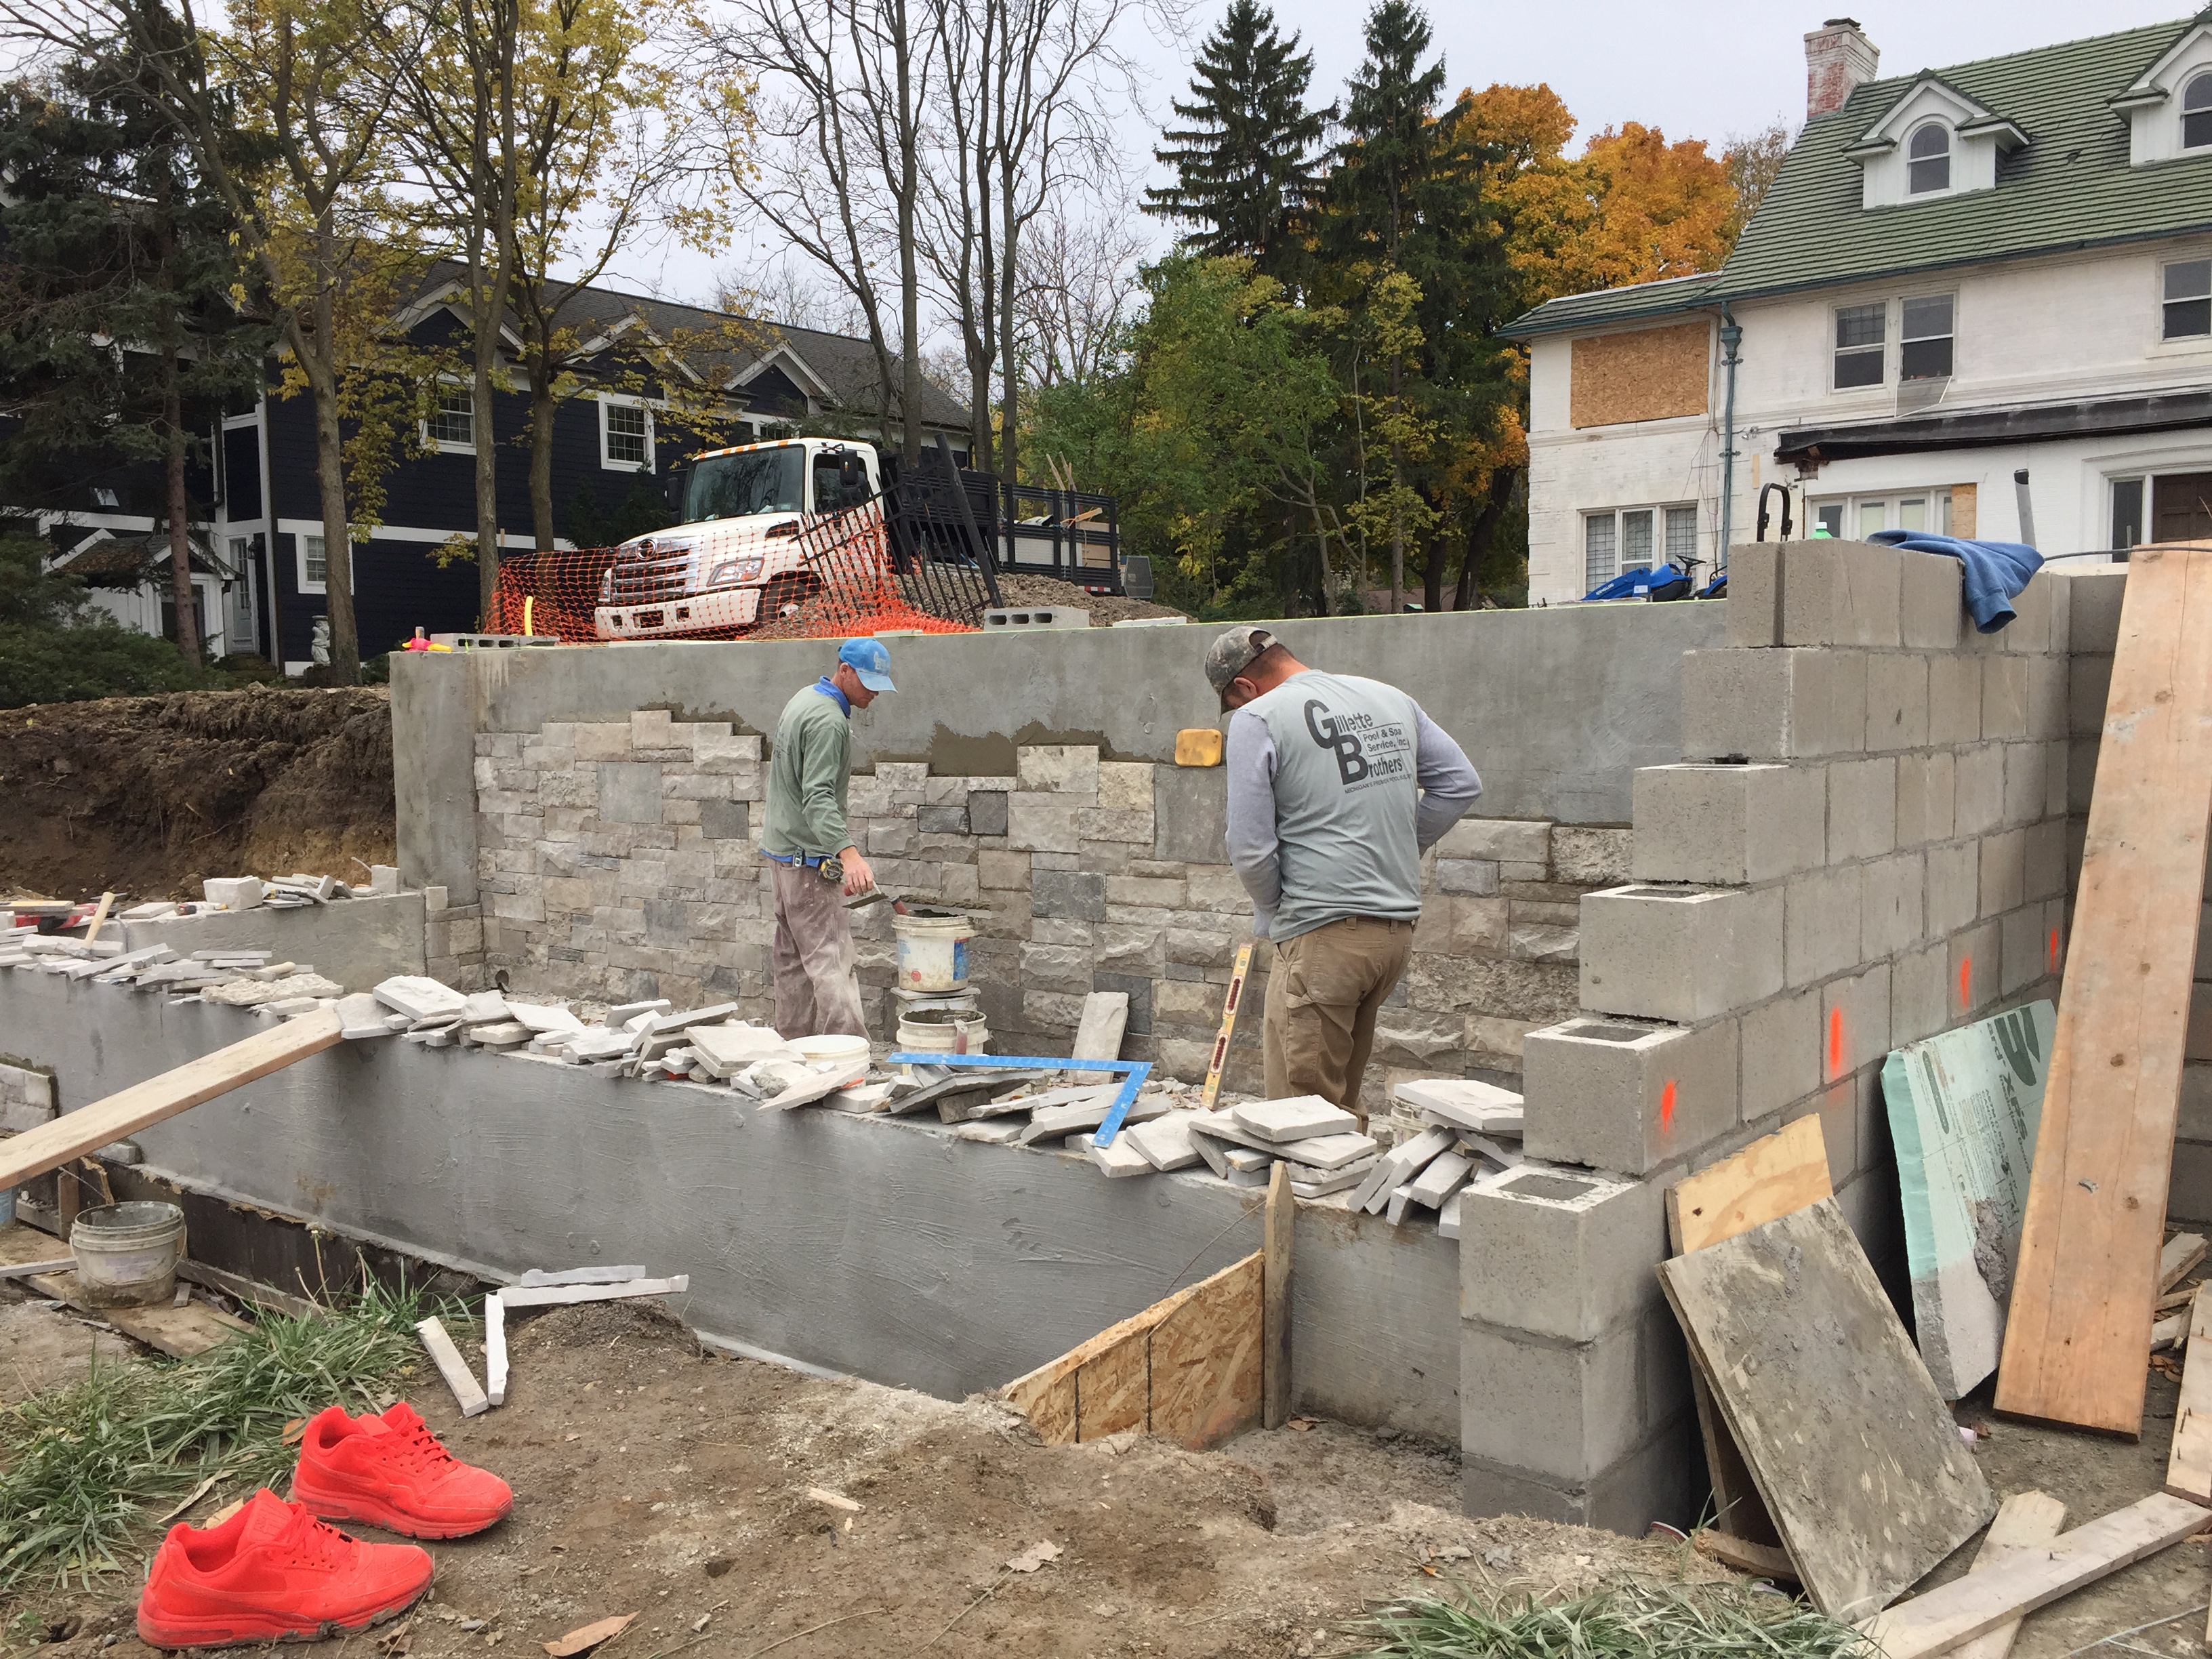 Adding the finish stone to the water wall. Gillette Brothers Pool and Spa fabricated and installed the swimming pool, water wall, and lower pool.
 the water wall
 pouring the concrete base for the pool deck
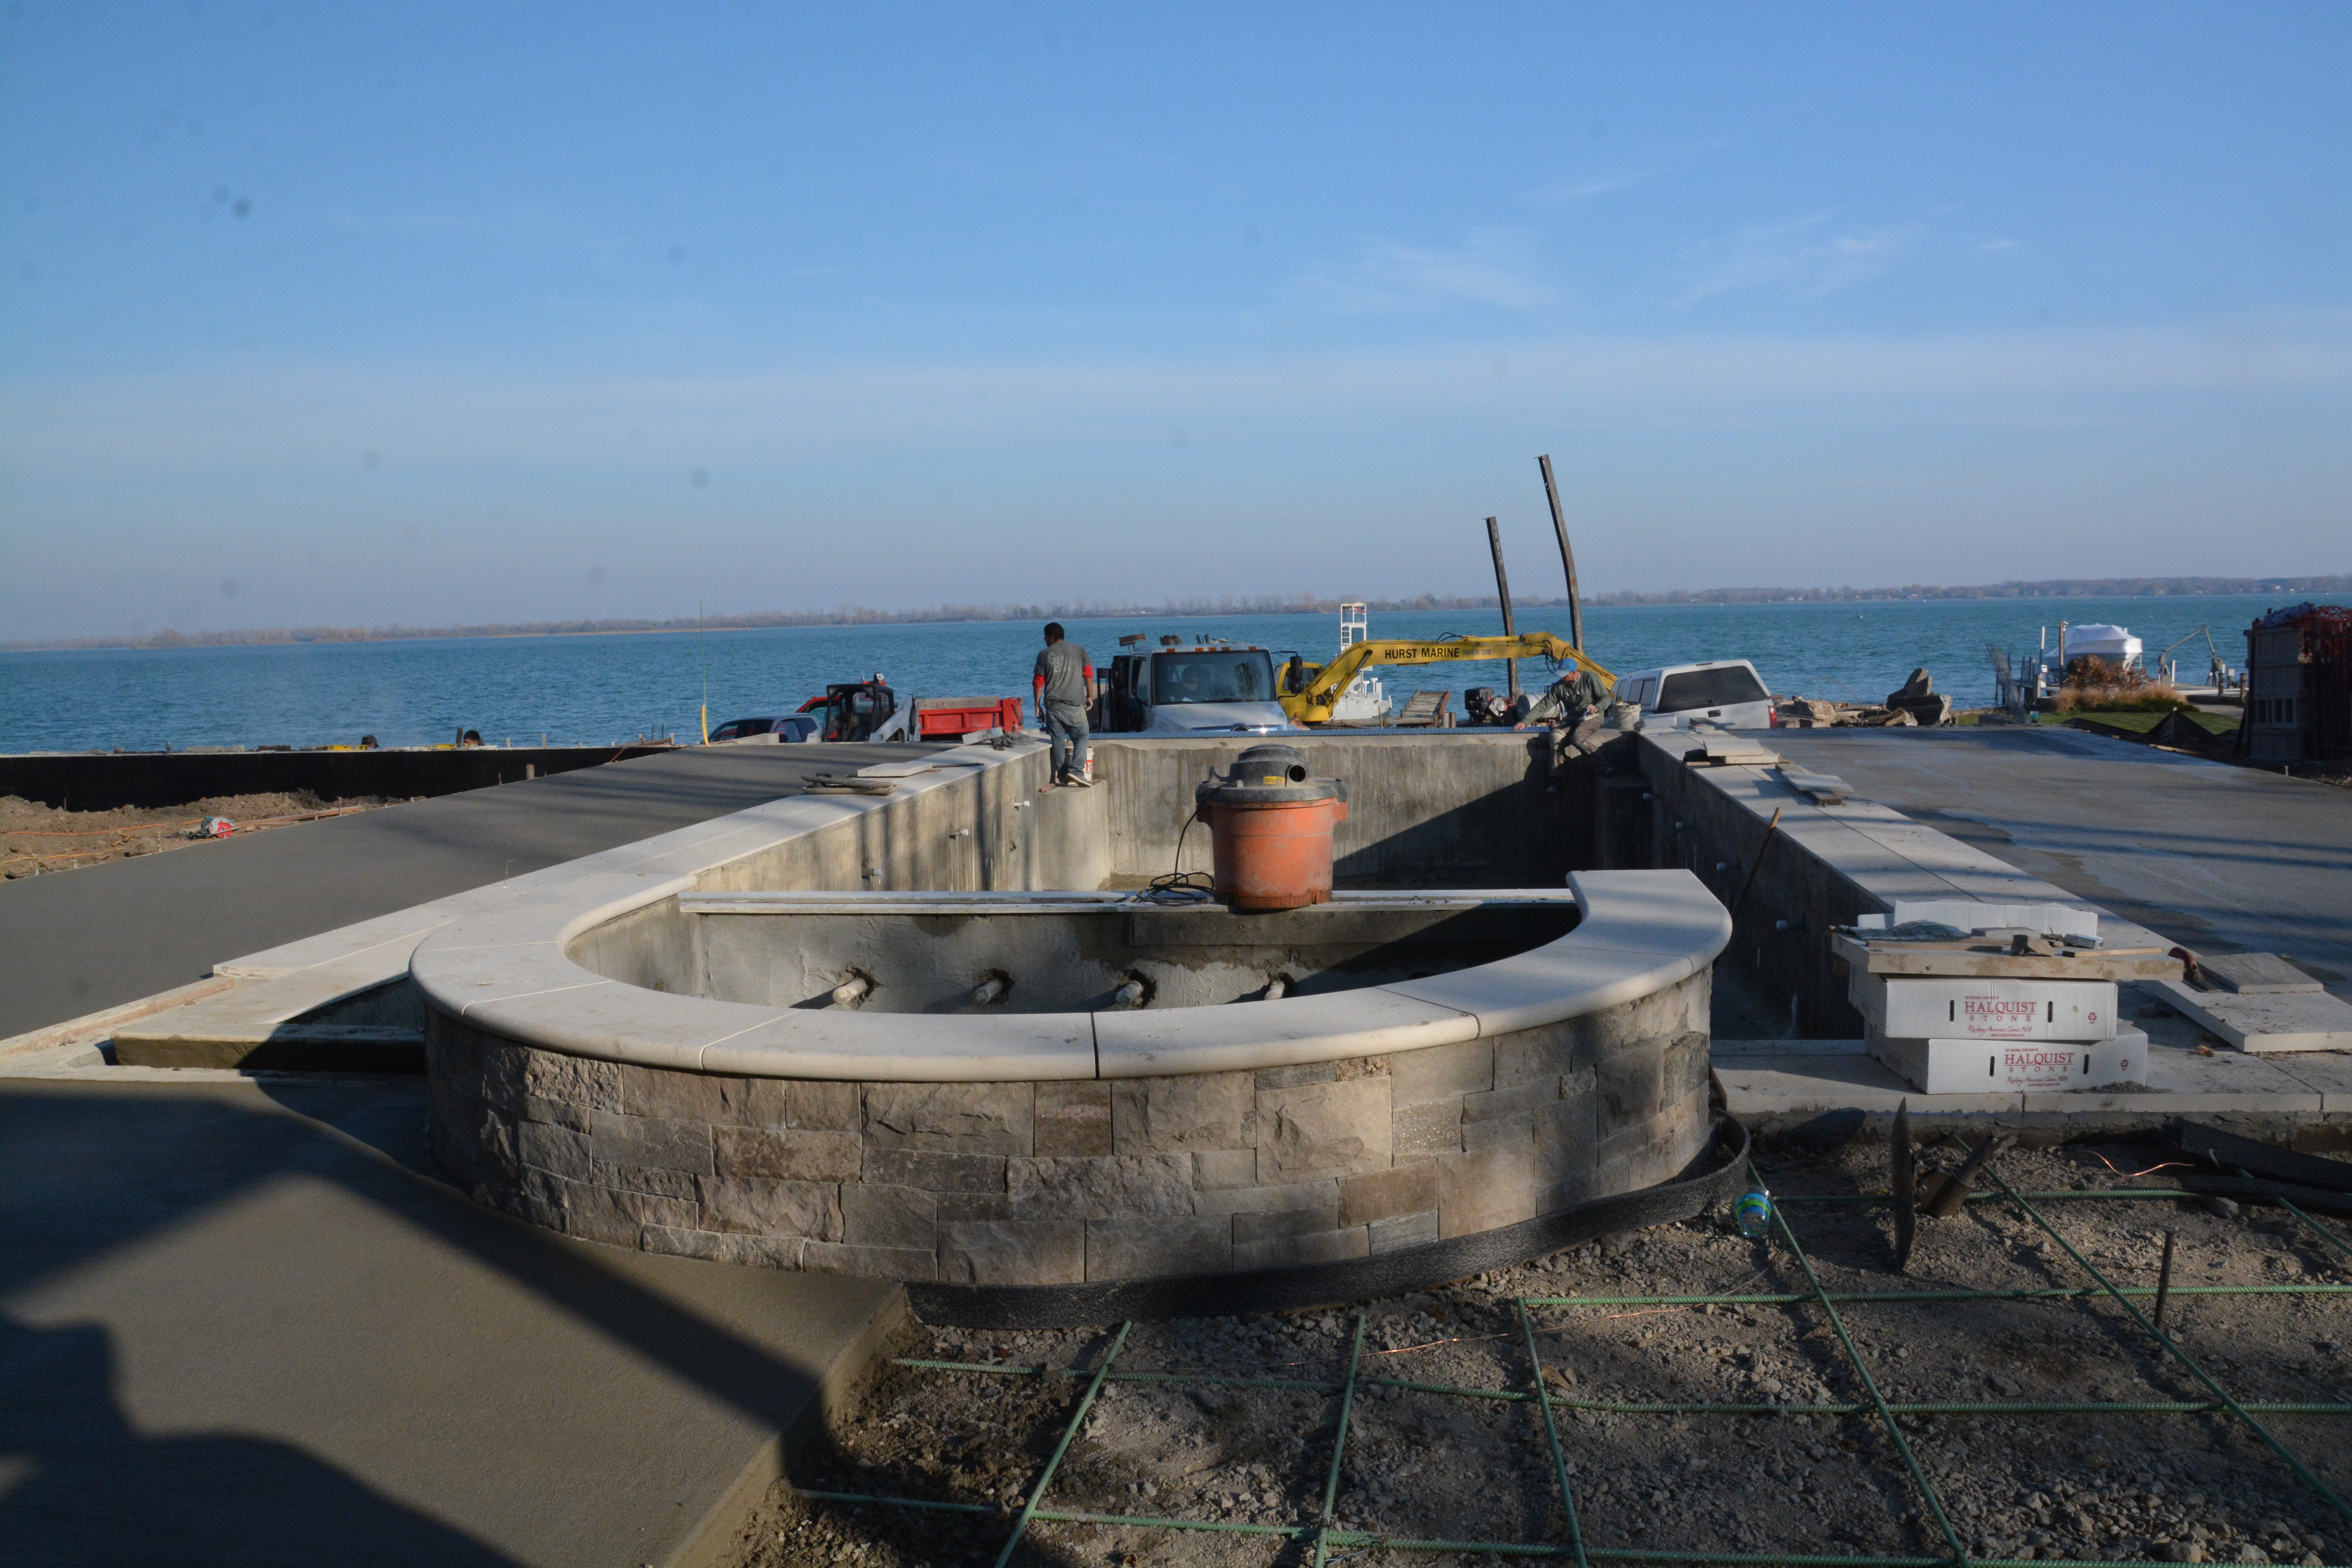
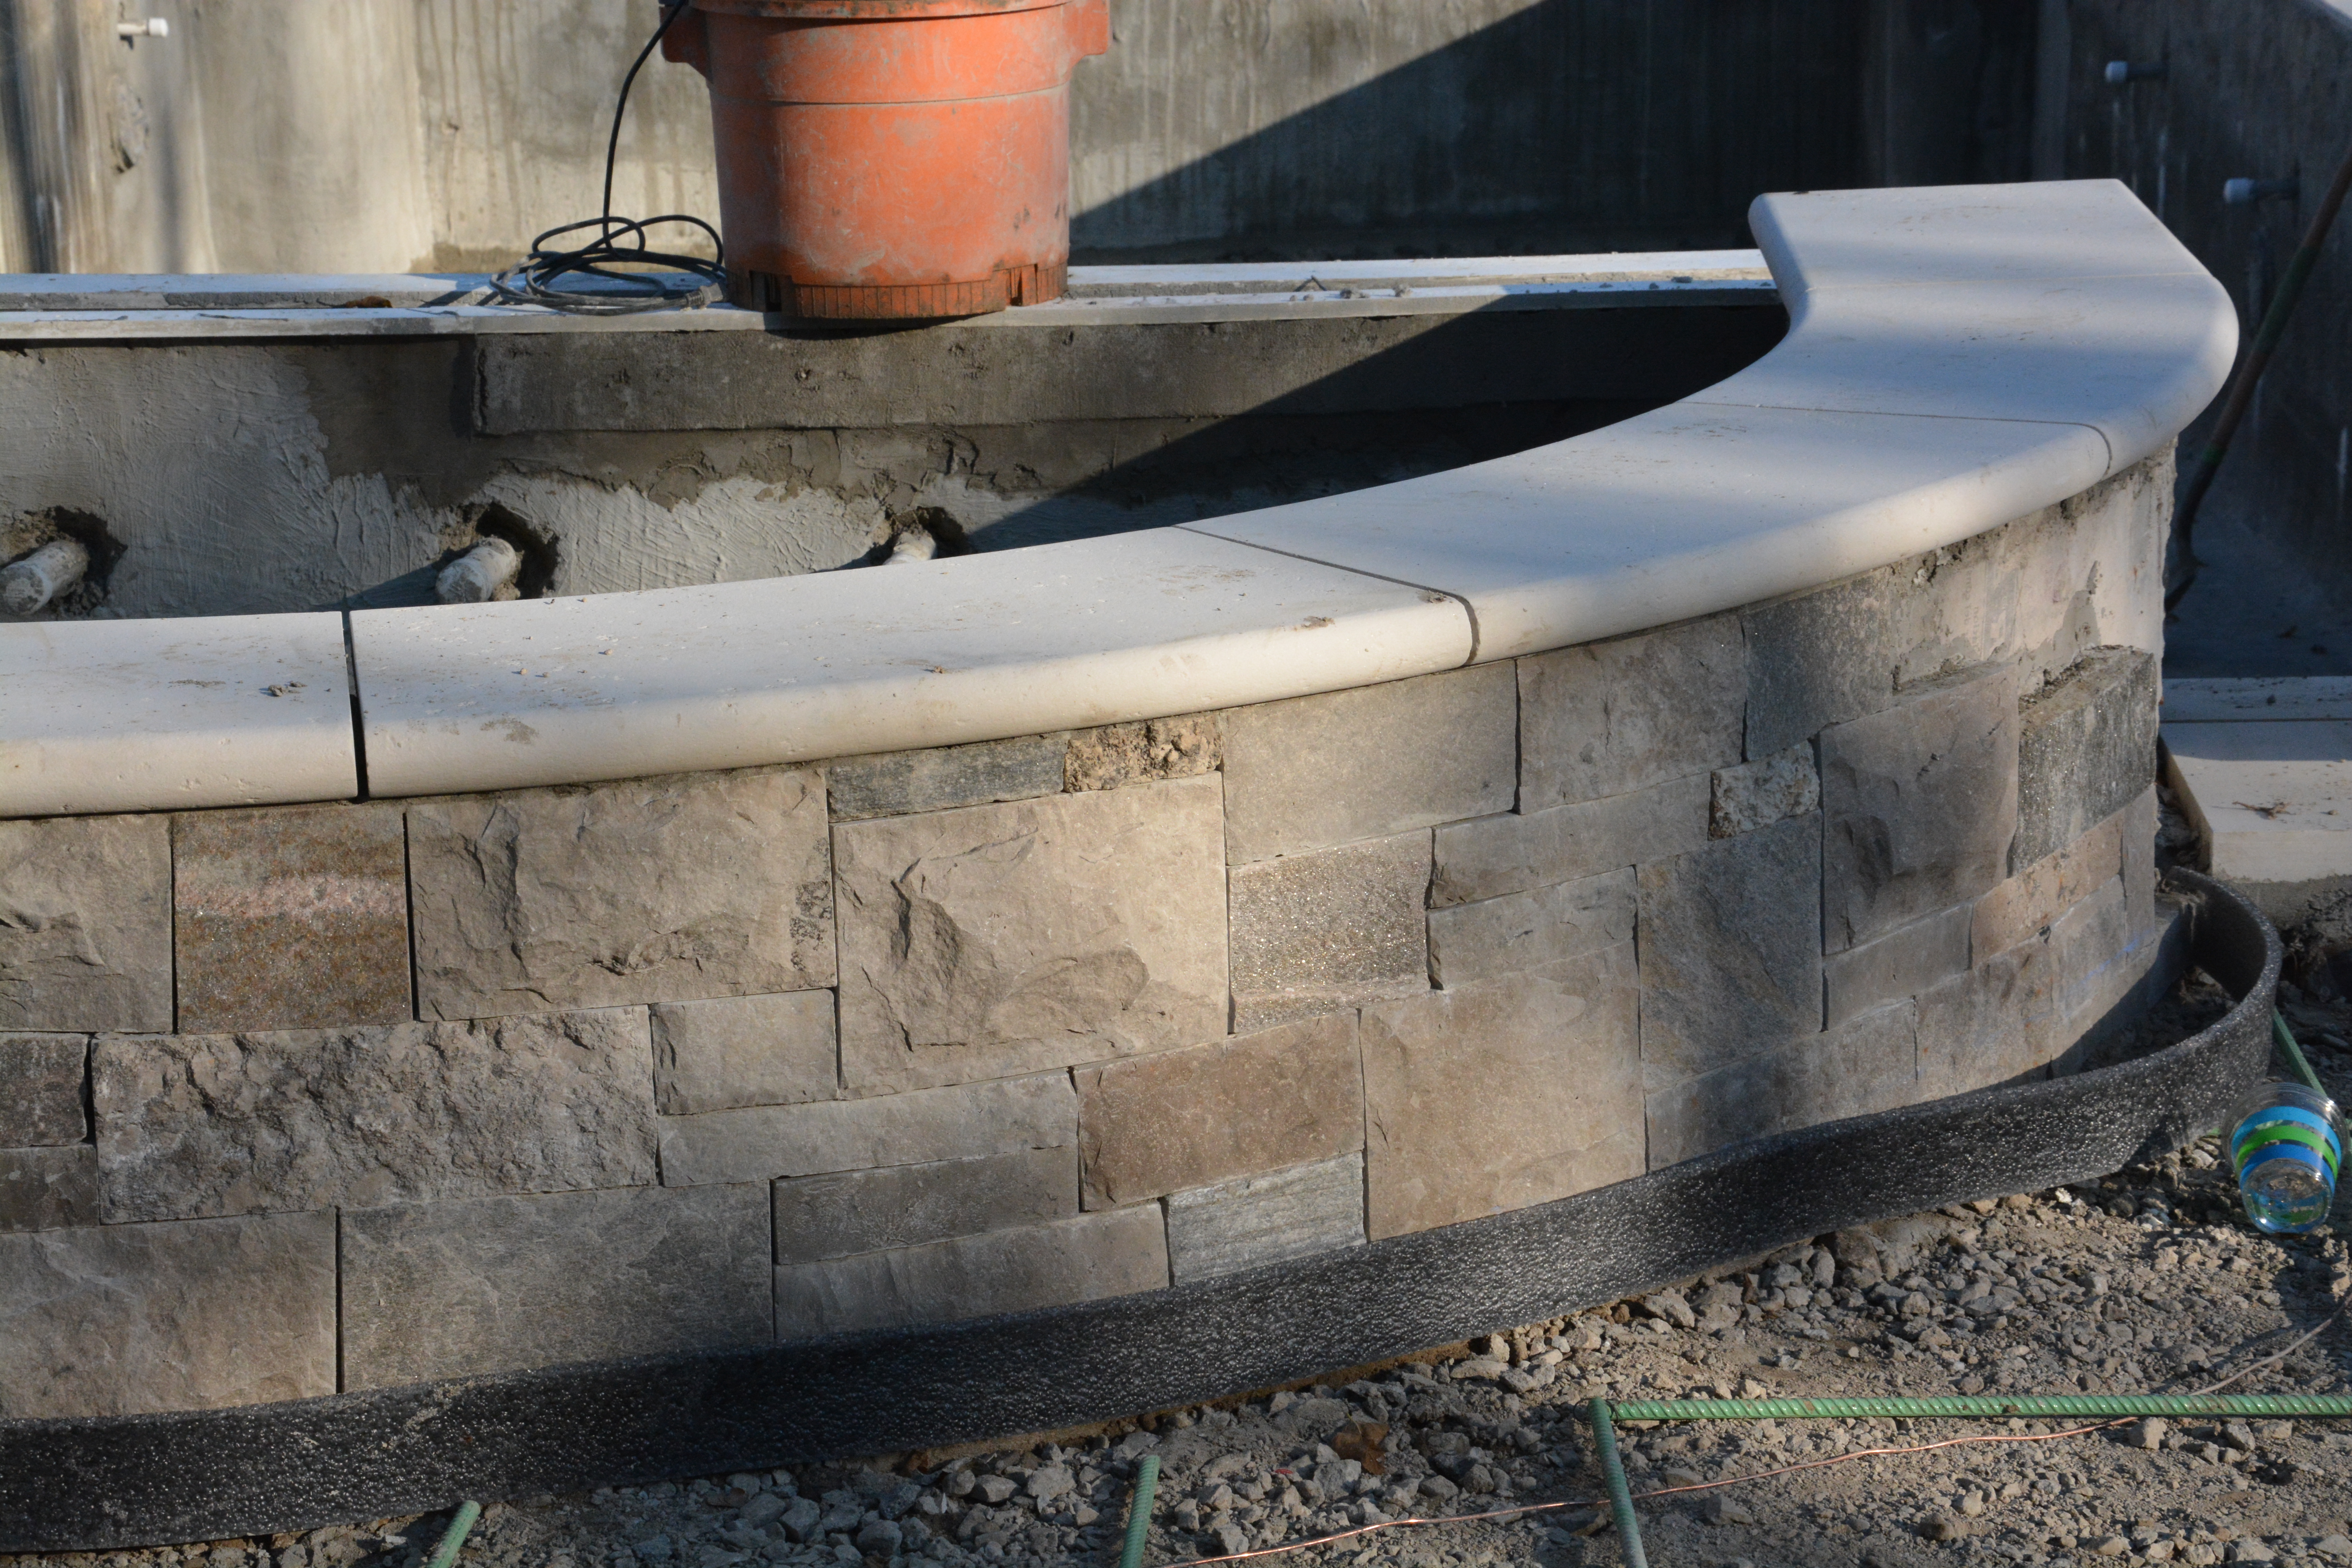 spa stone and coping
 Valders stone pool deck
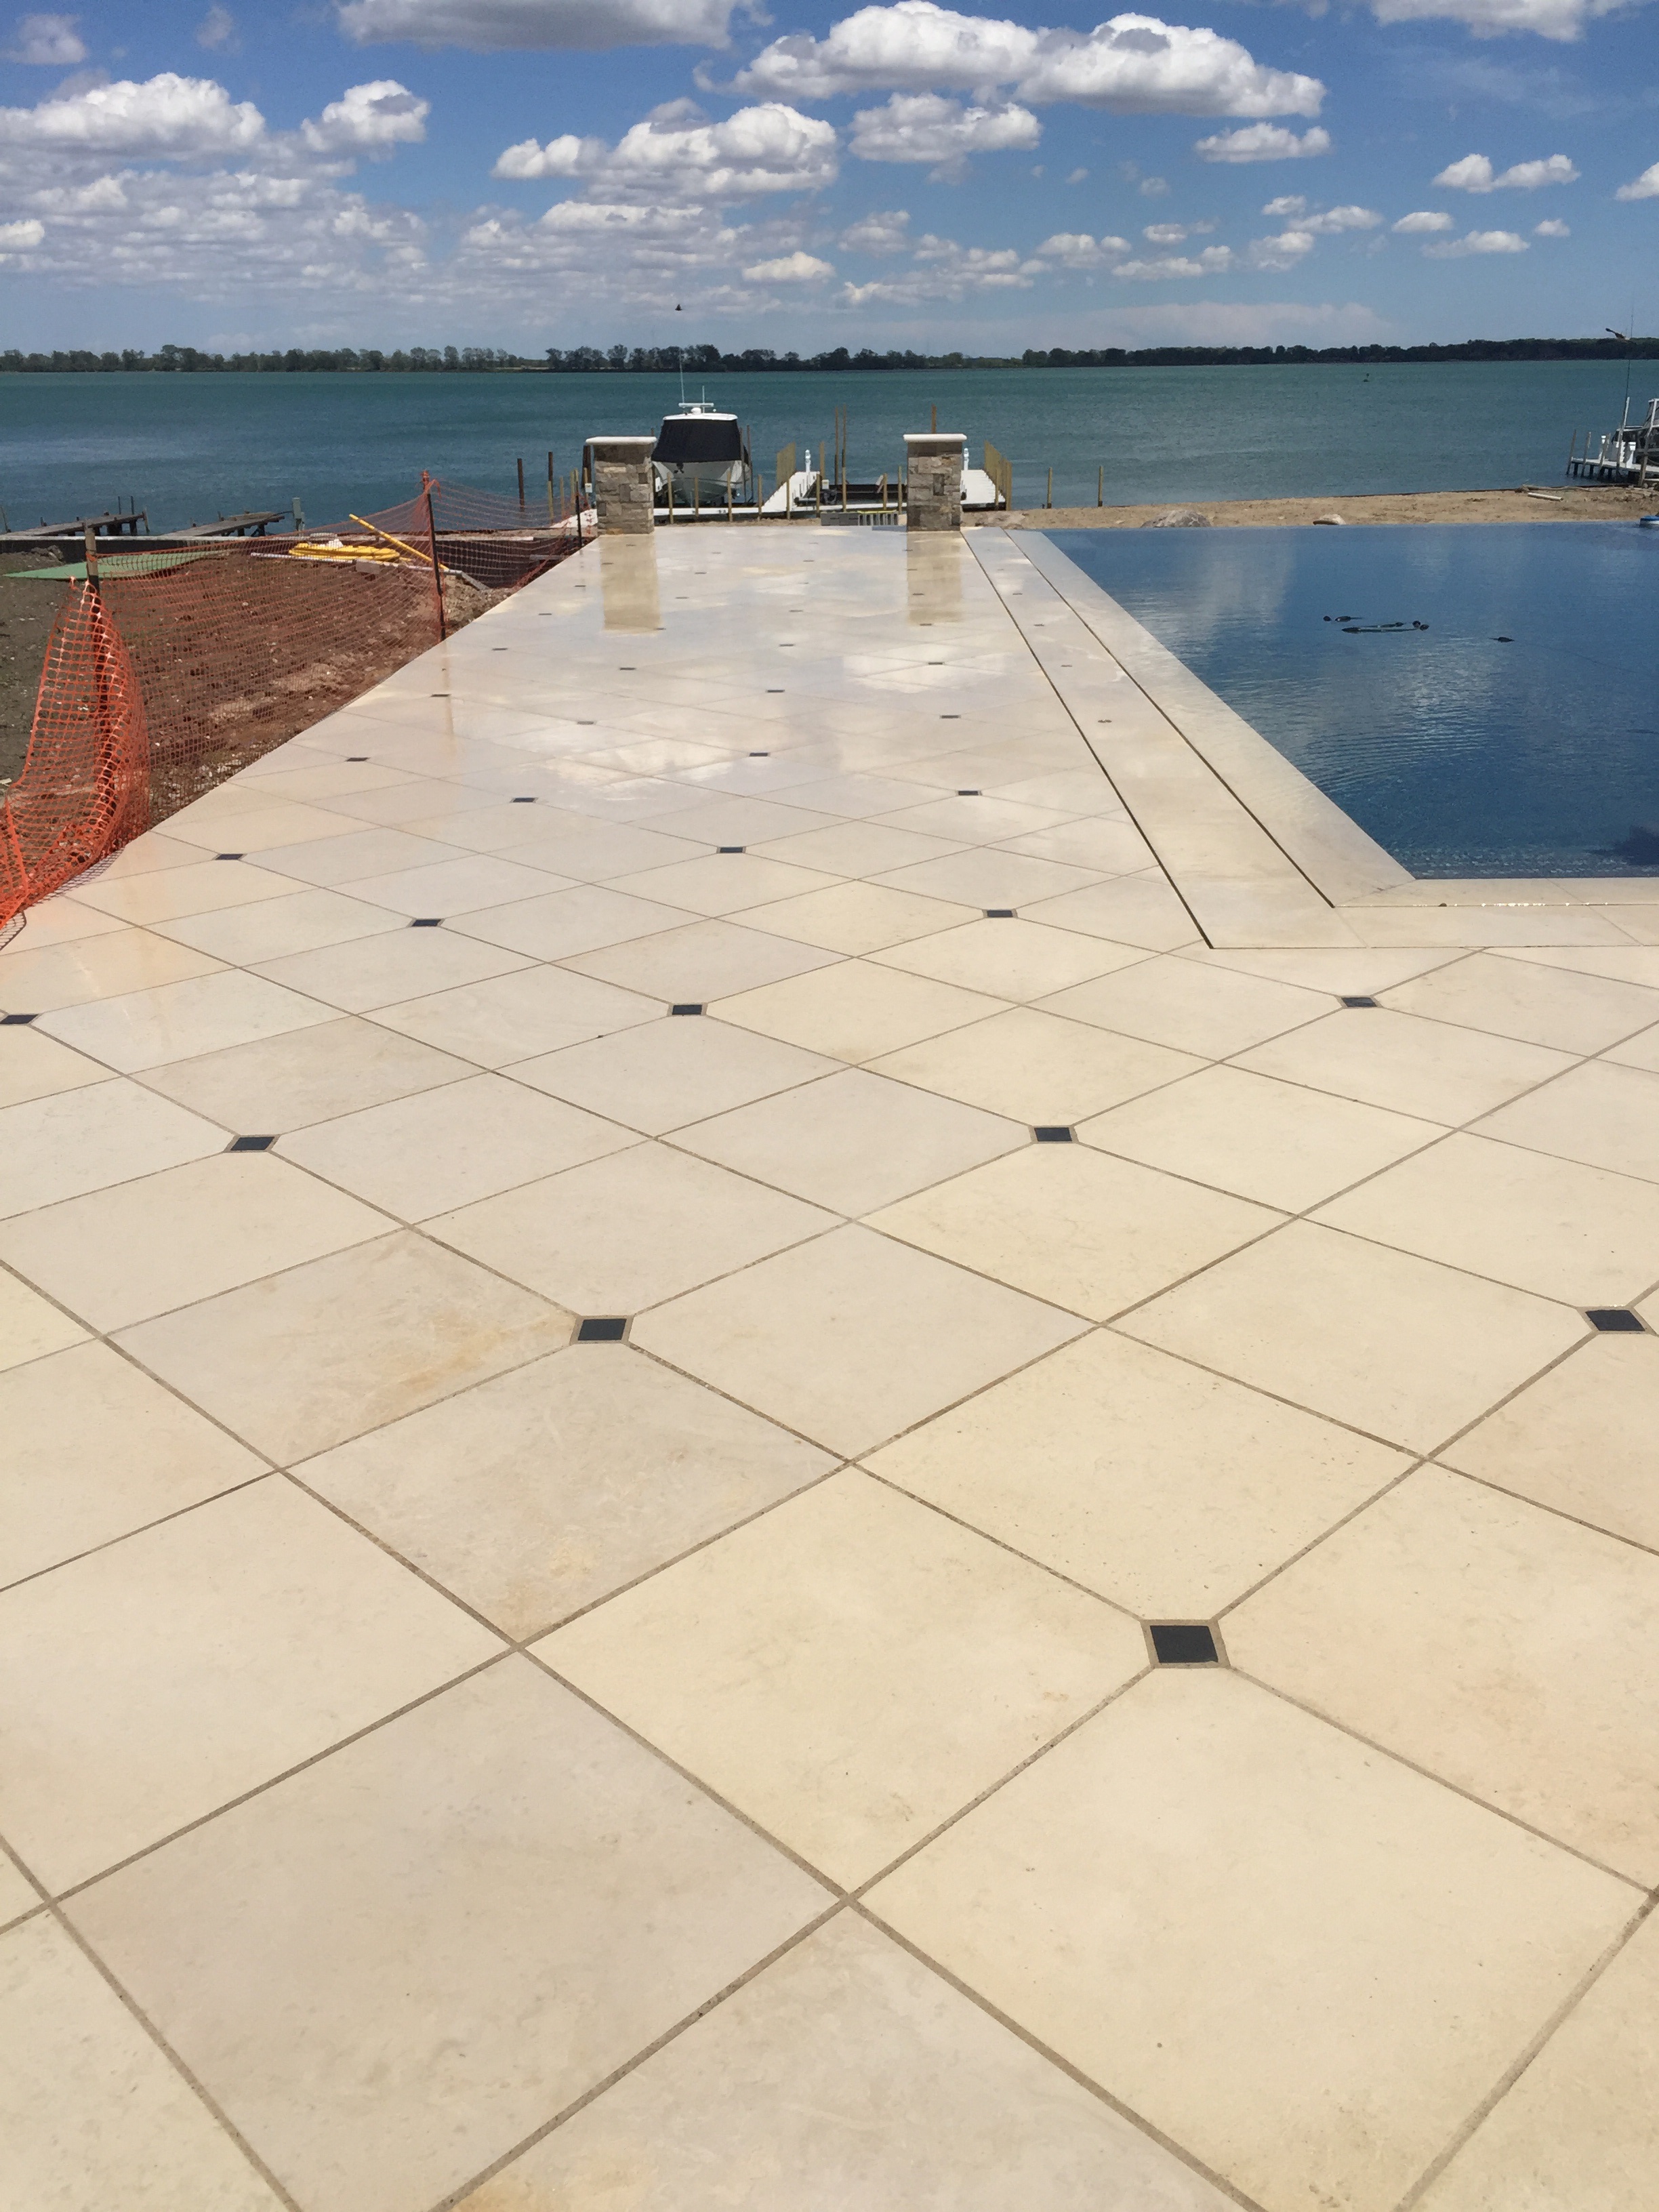
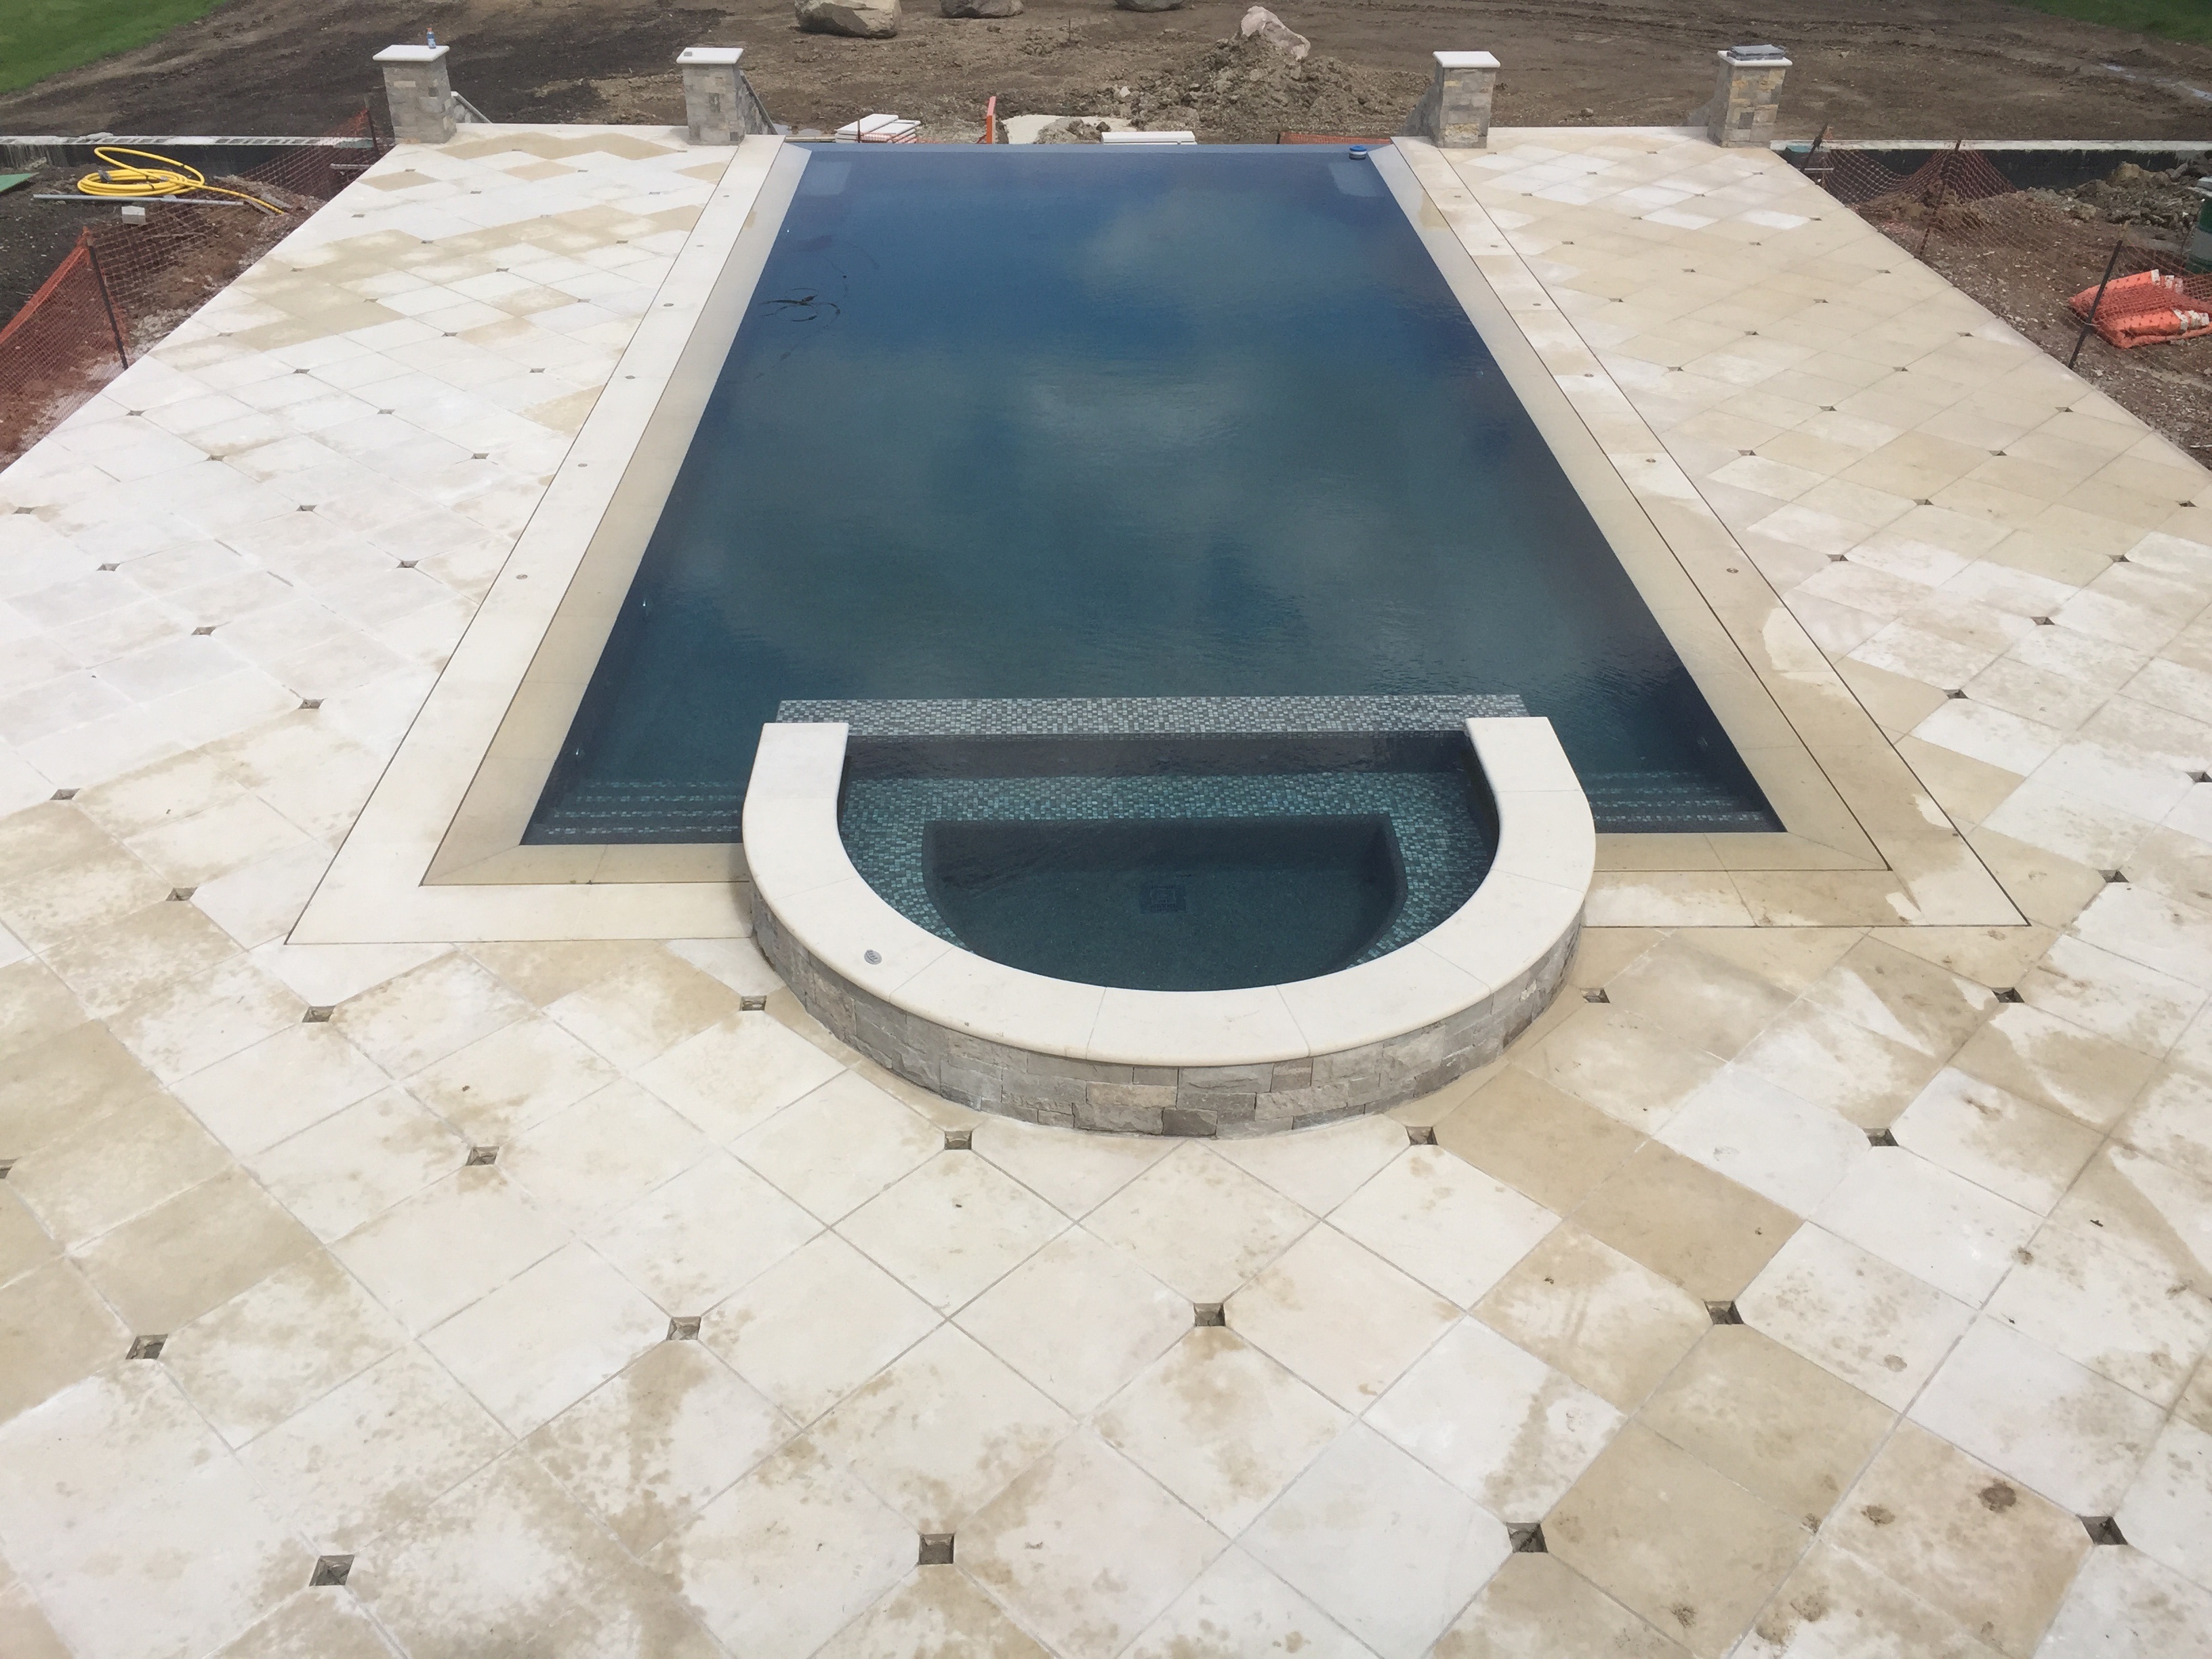 3″ blue stone dots were installed in the inside corners of every other group of four tiles. Each square tile had to have a corner cut off to accommodate the blue stone dot. This pool deck, as well as the retaining walls and stone staircases were installed by Mike Newman, who owns Mountain Paver Construction. The installation is incredibly beautiful and precise. What you see in the above picture are the finished cut outs, prior to installing the dots.
 Once the blue stone squares were installed, the entire stone surface was sanded and sandblasted to insure that water would drain away from the pool.
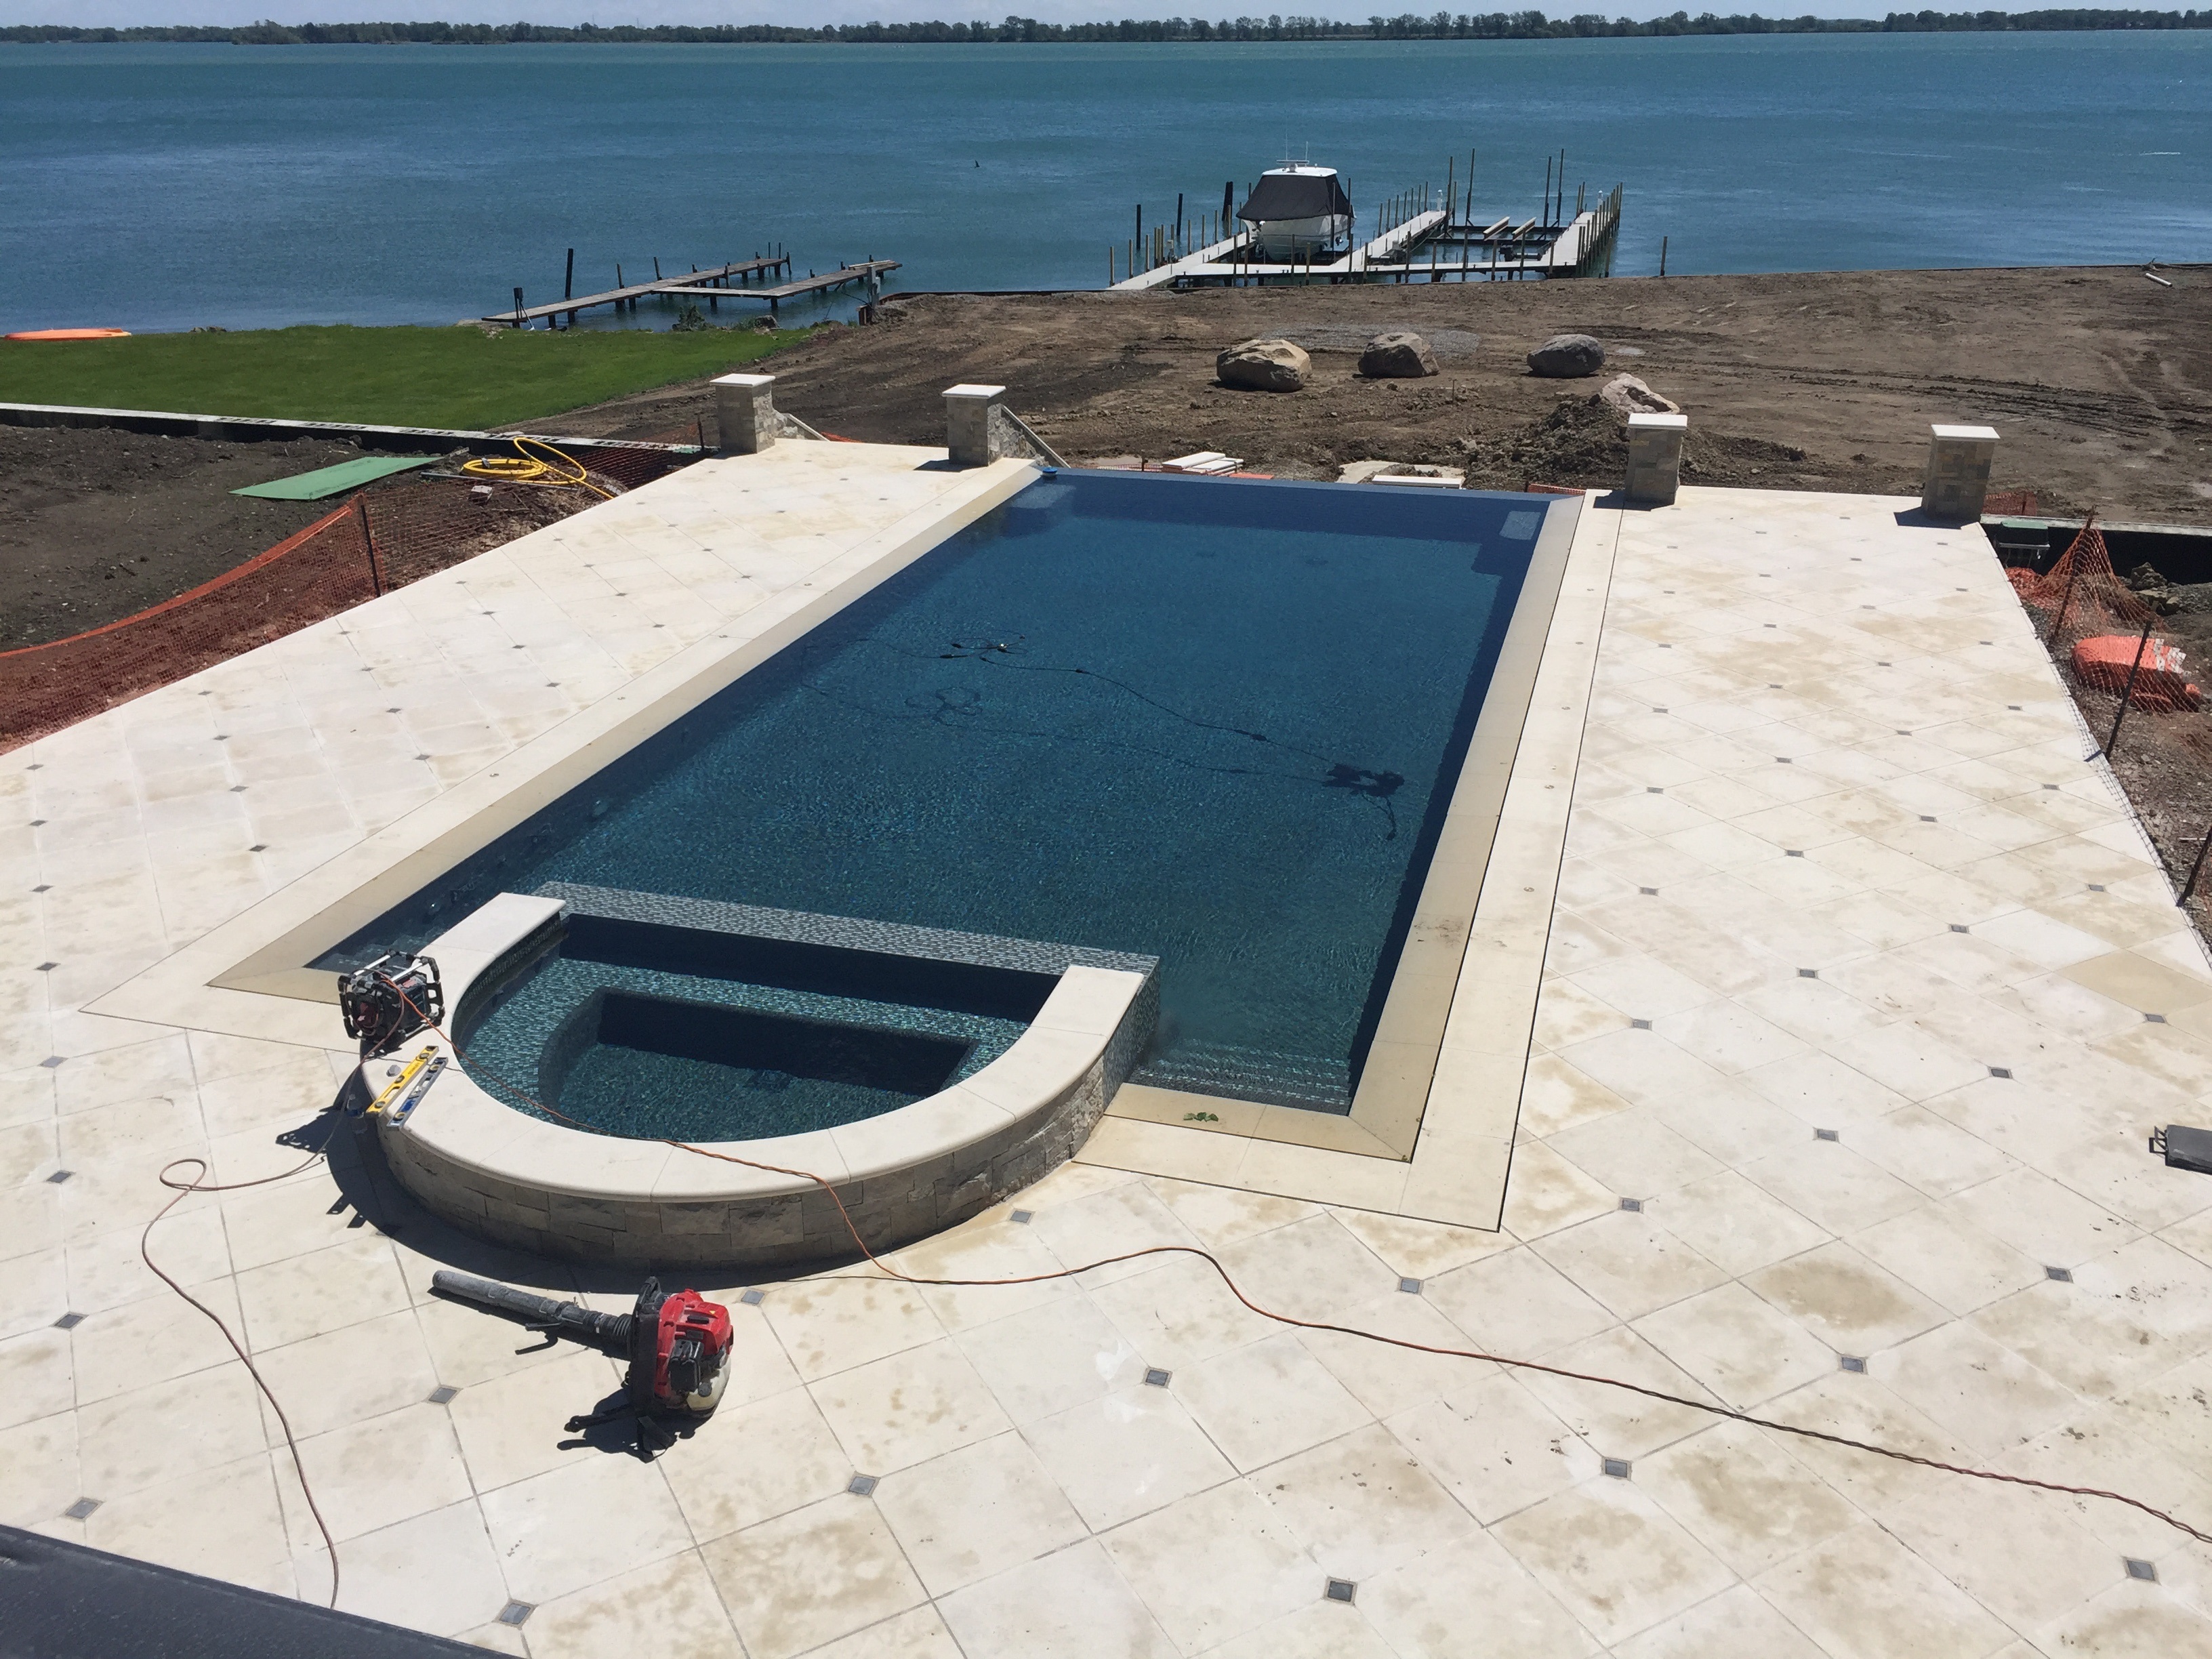
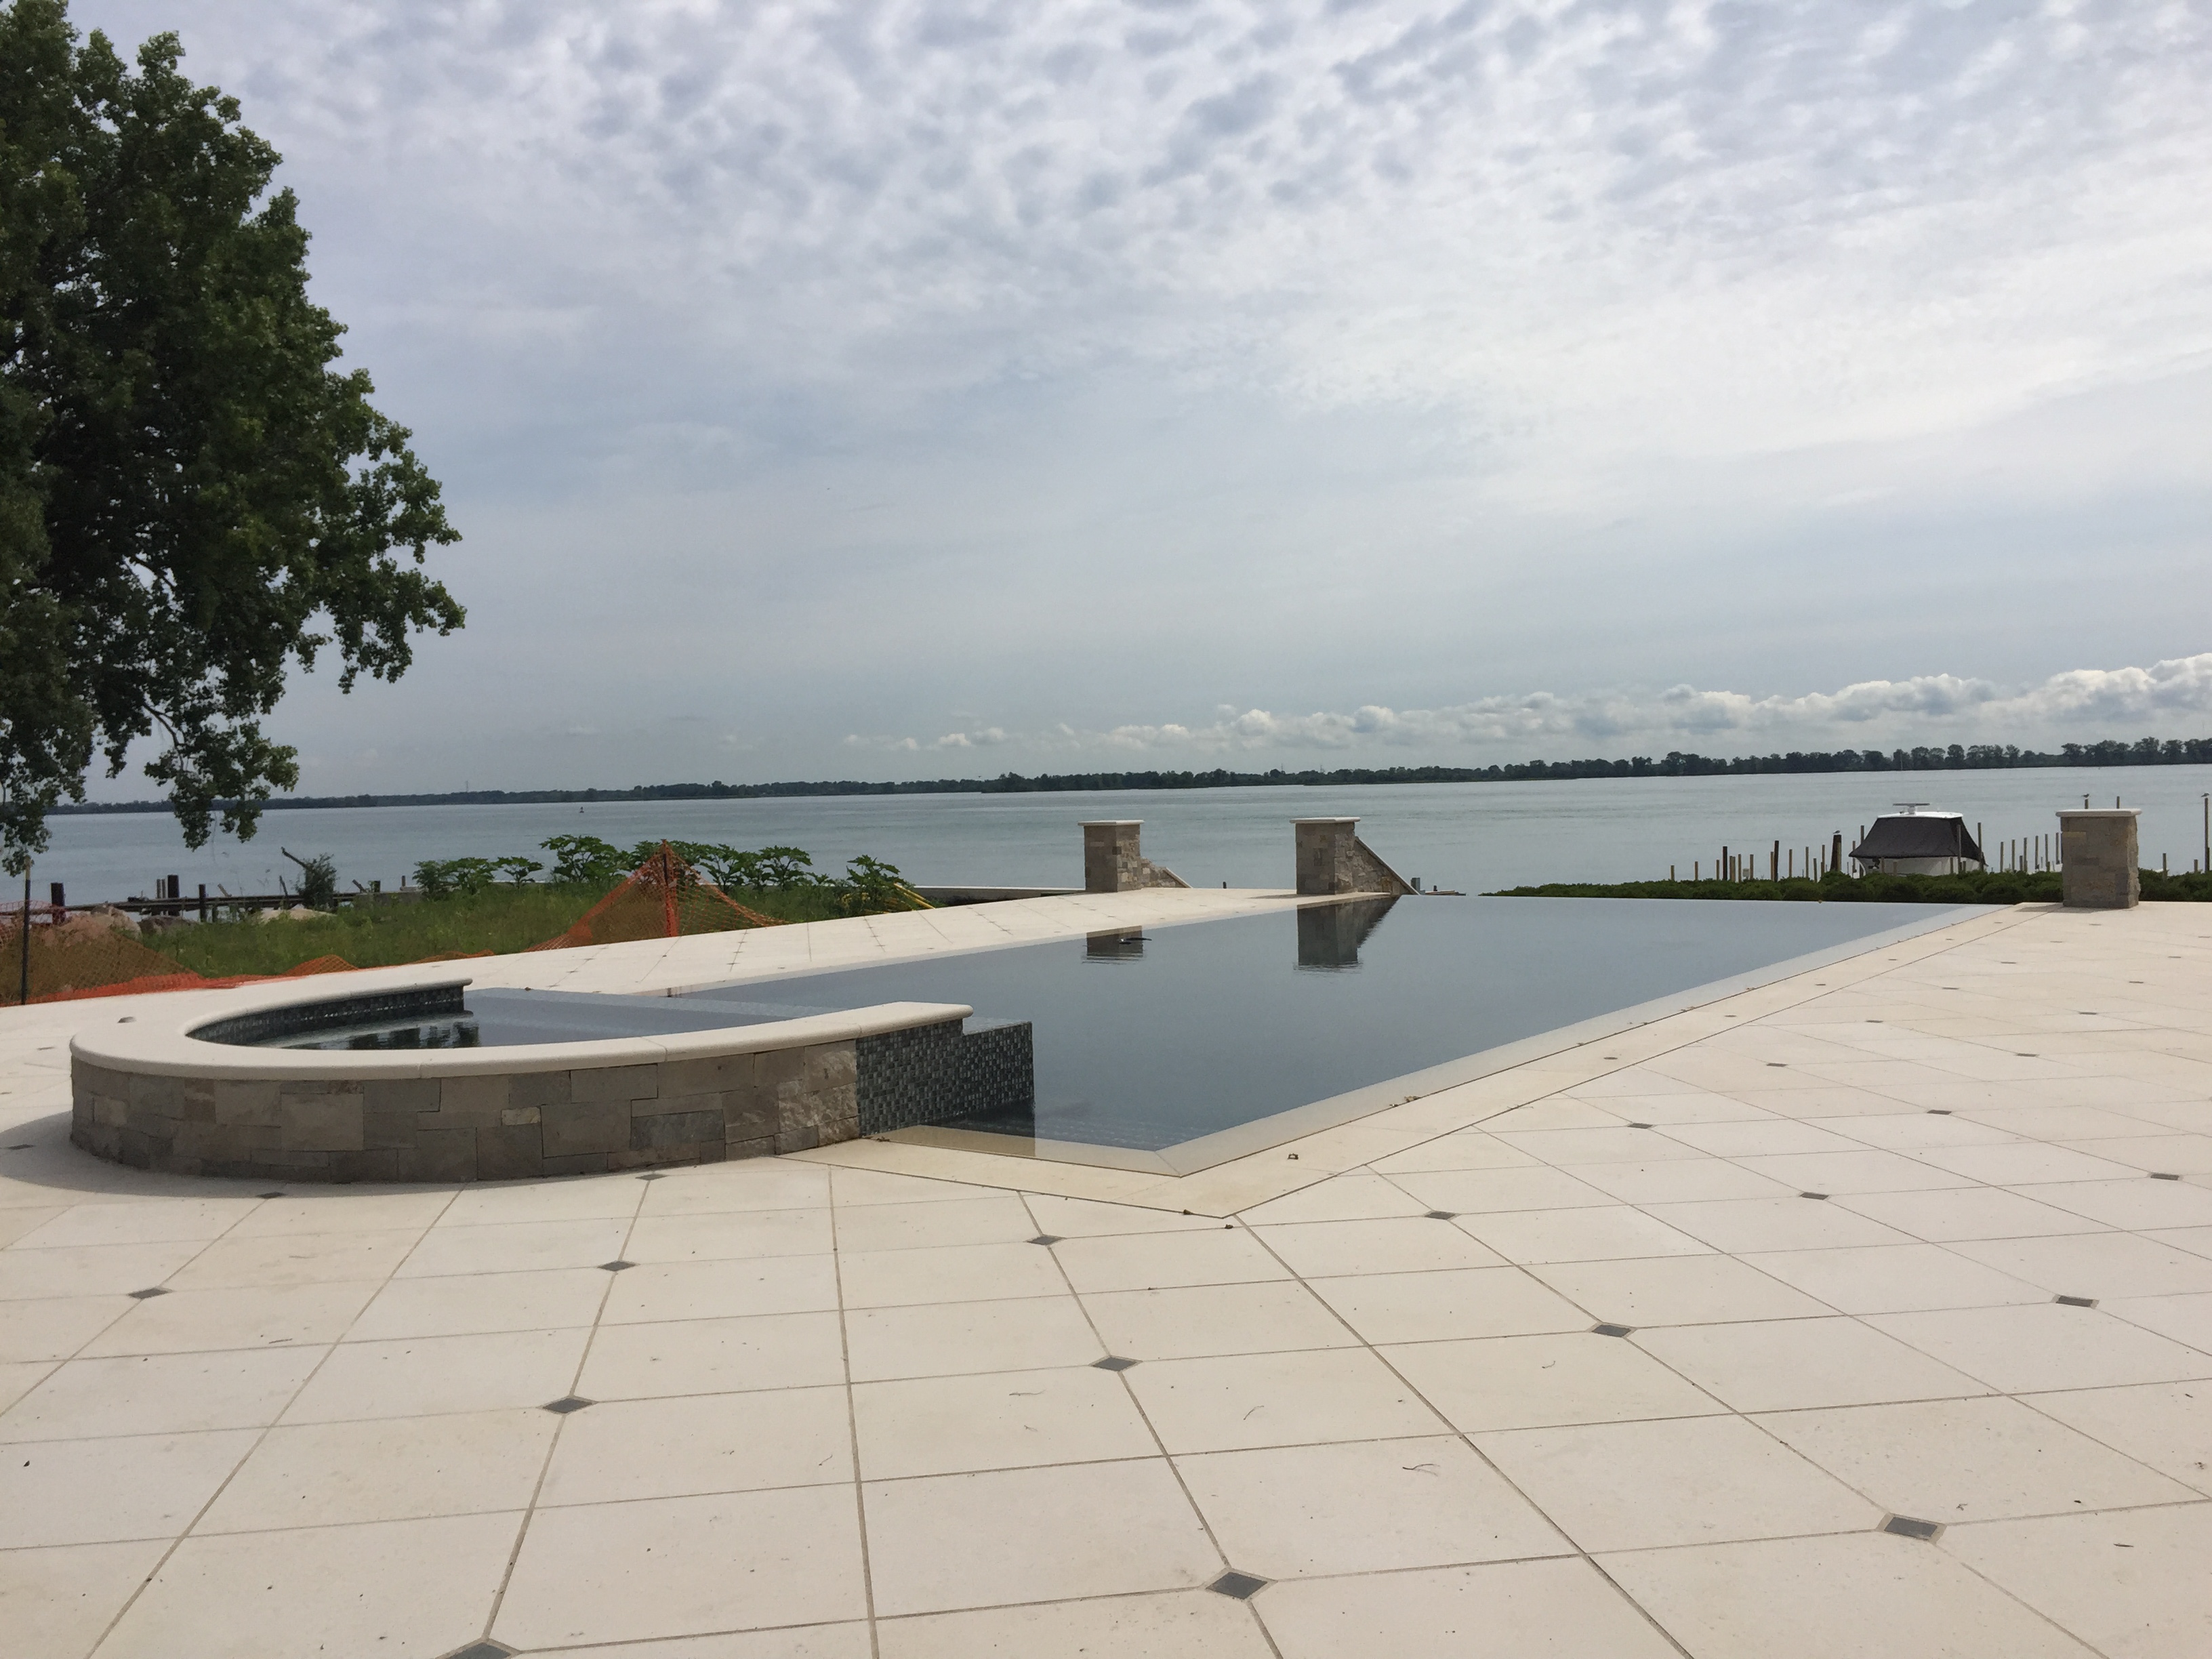
 finished pool and pool deck
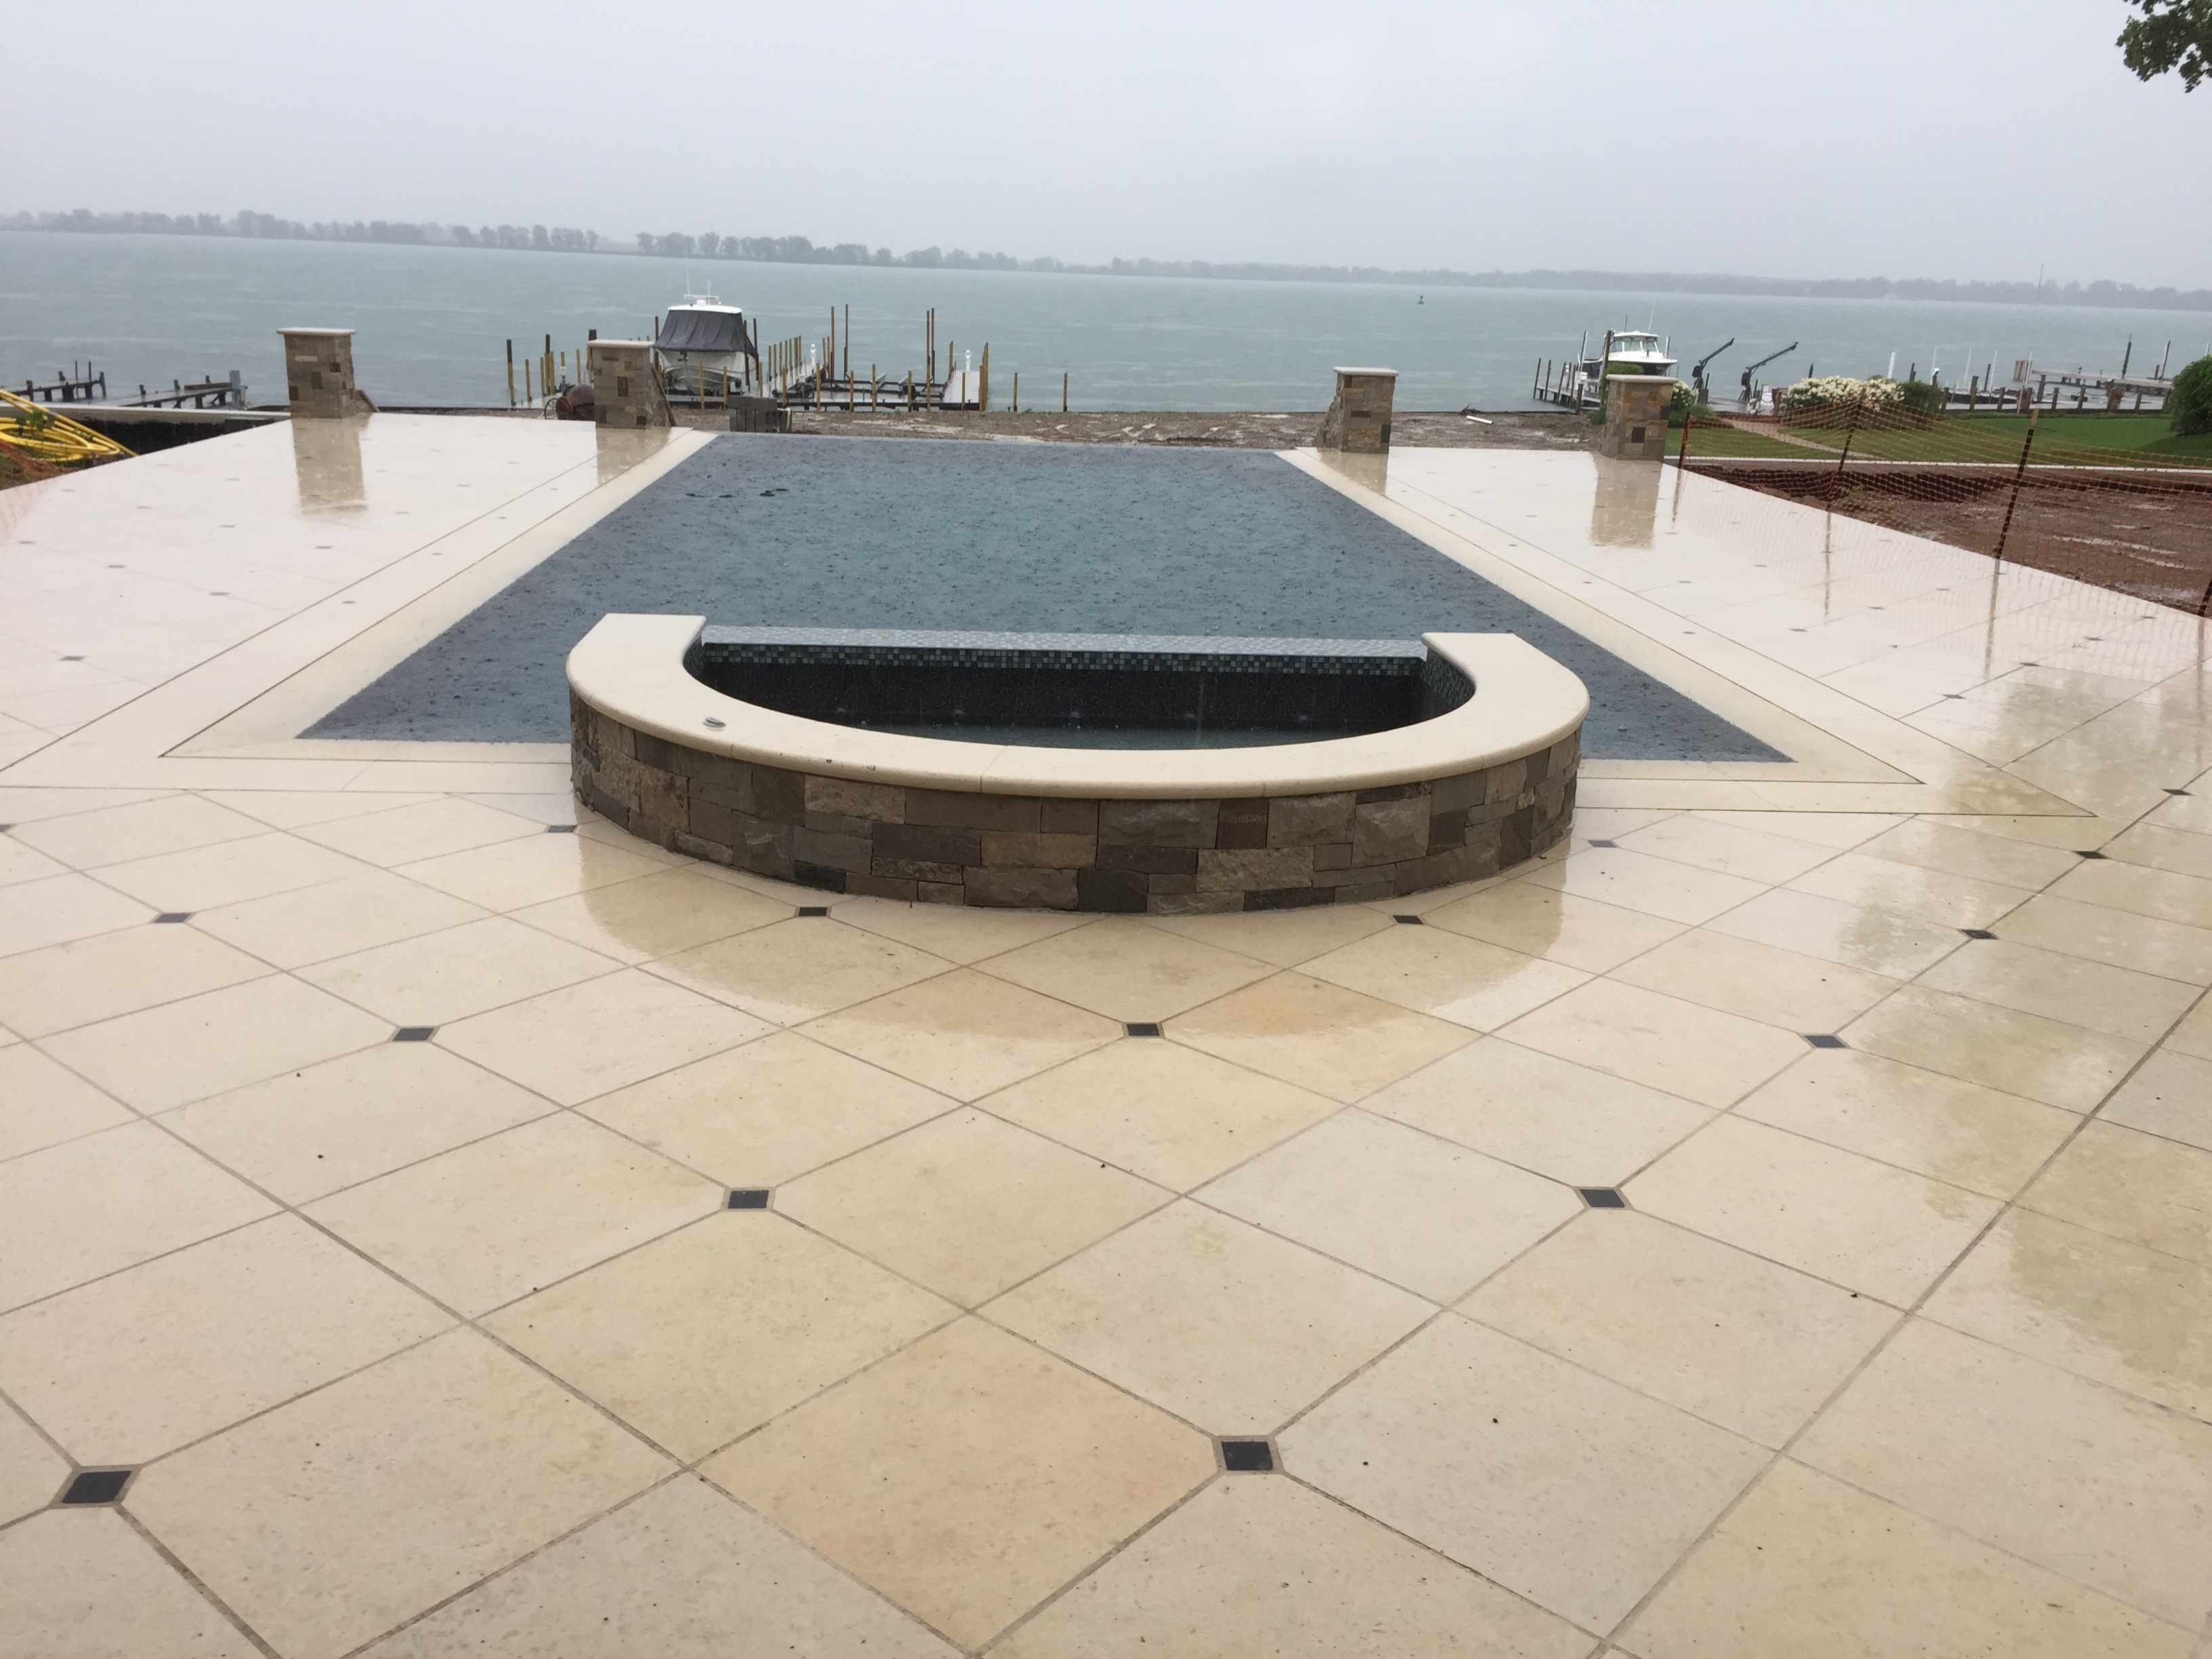 rainy day
 Next up in my discussion of plans, the retaining walls and staircases to the lower yard.
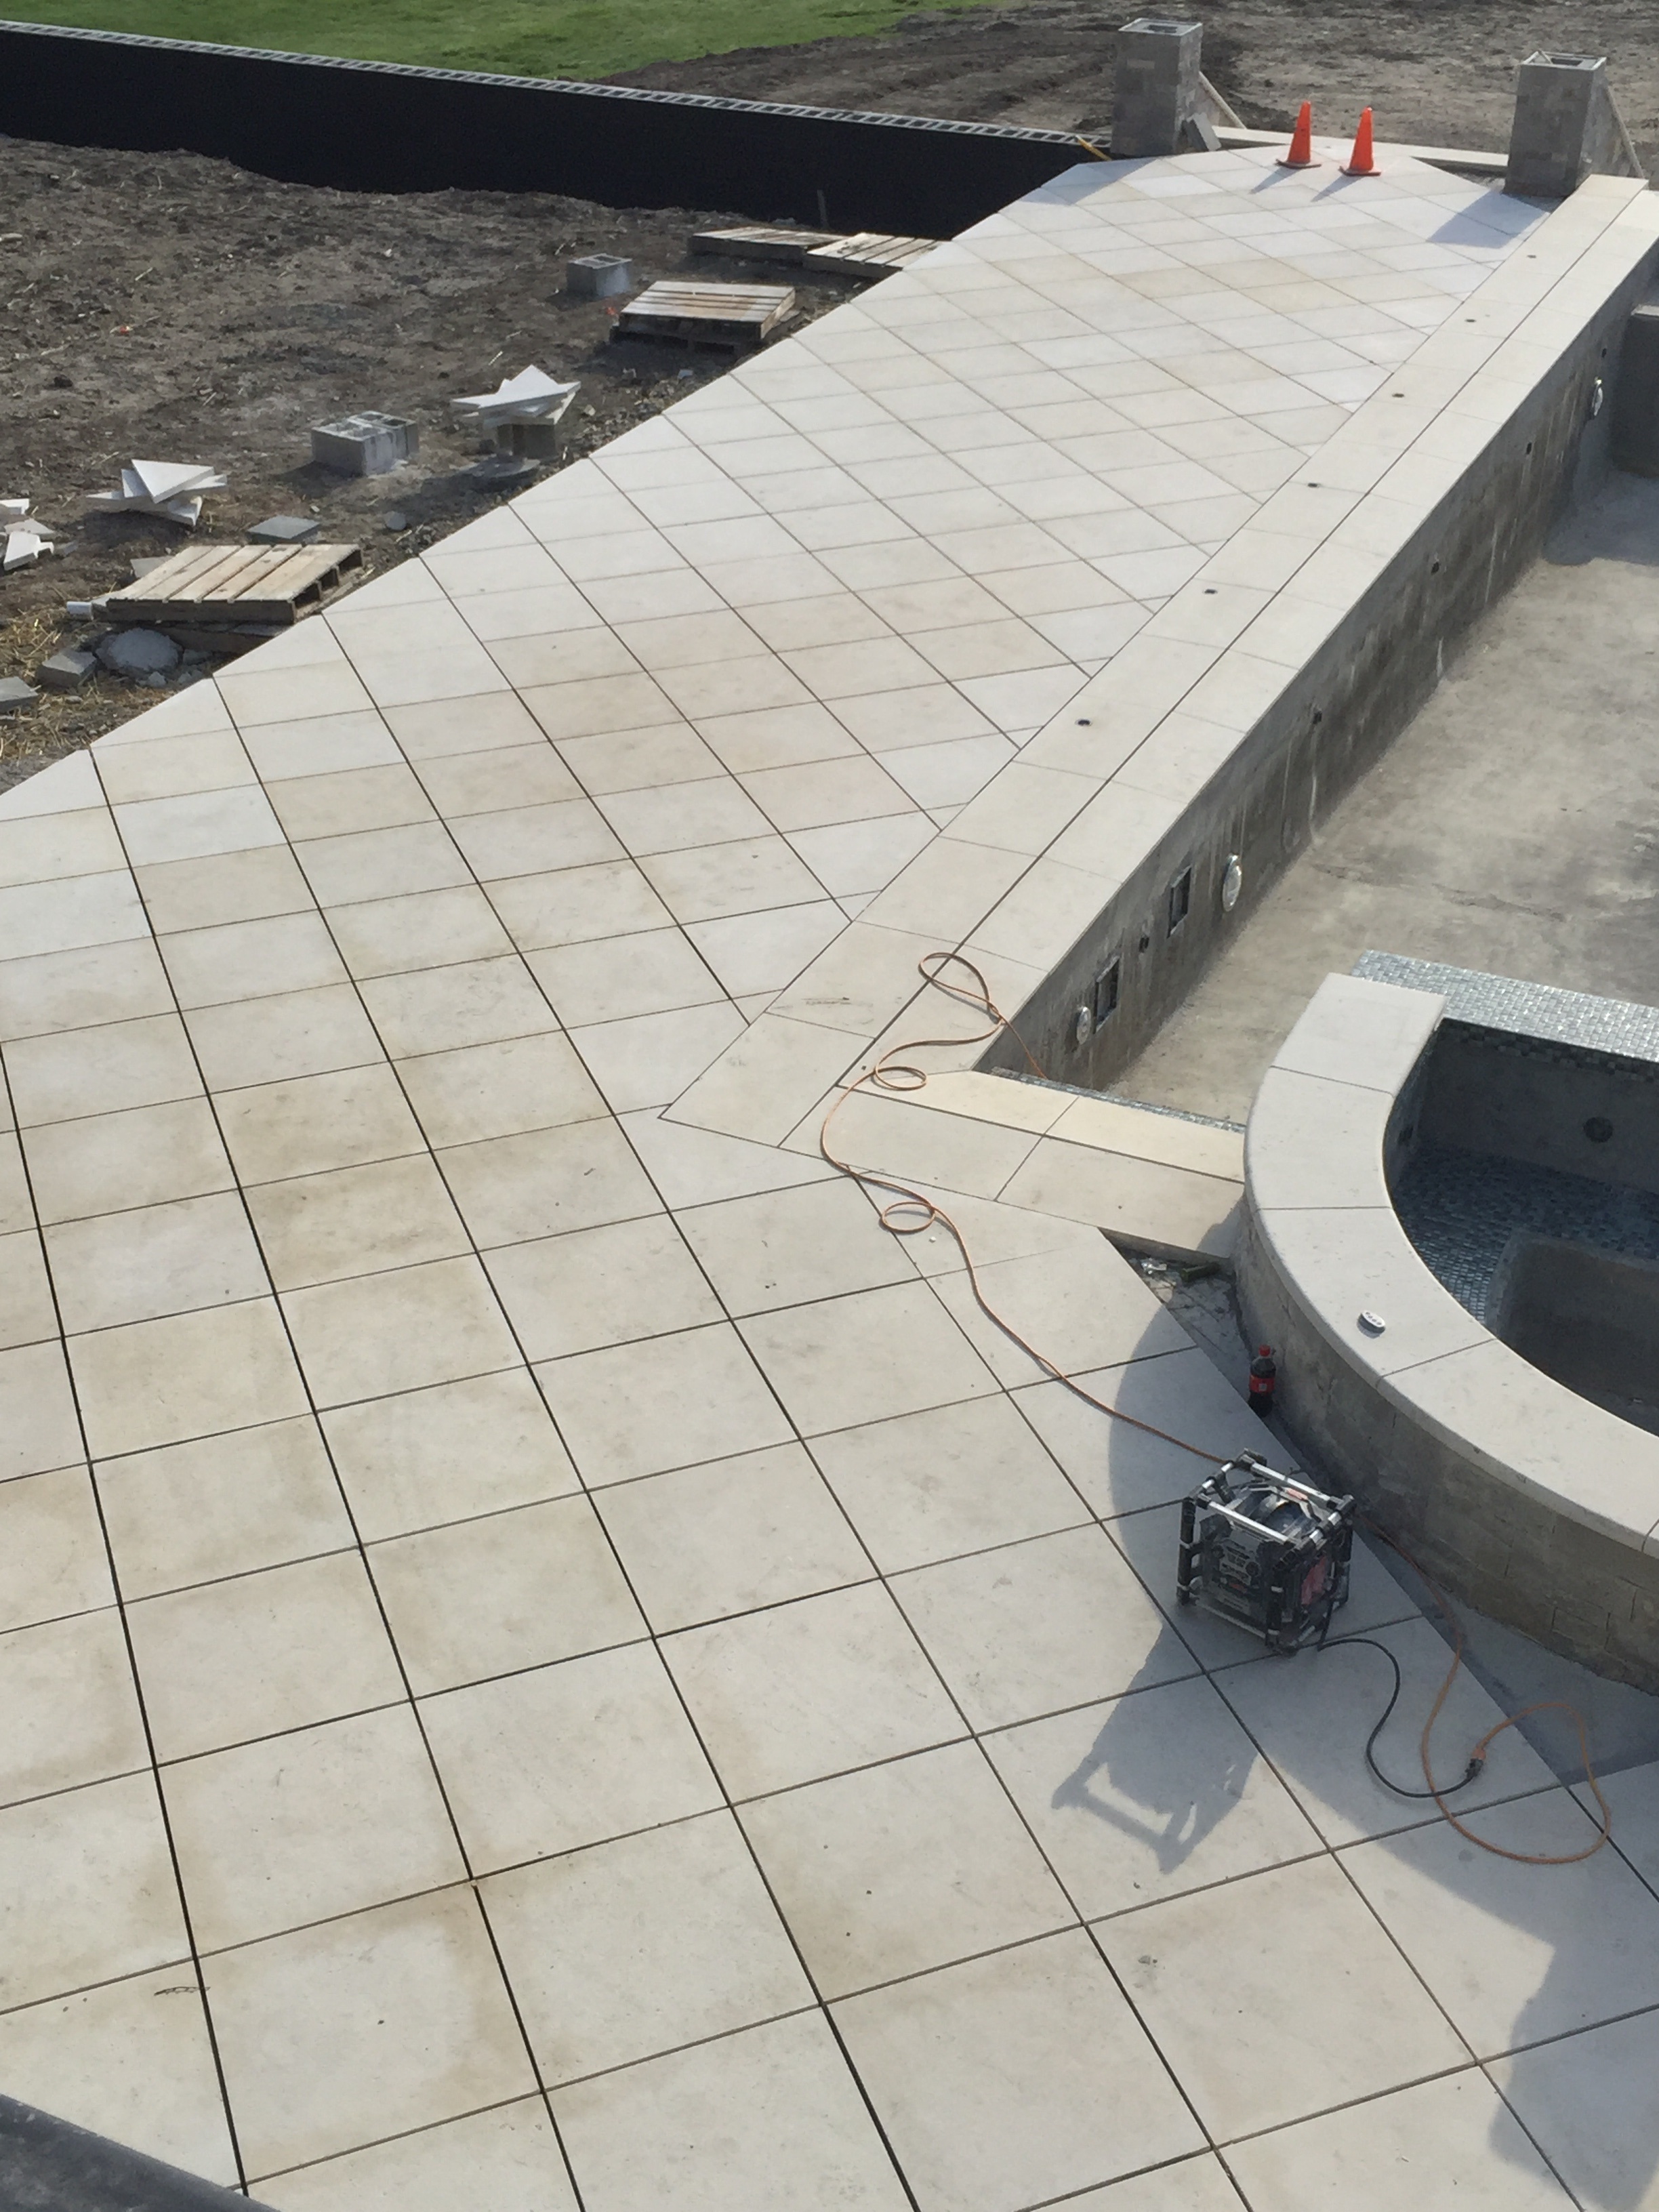
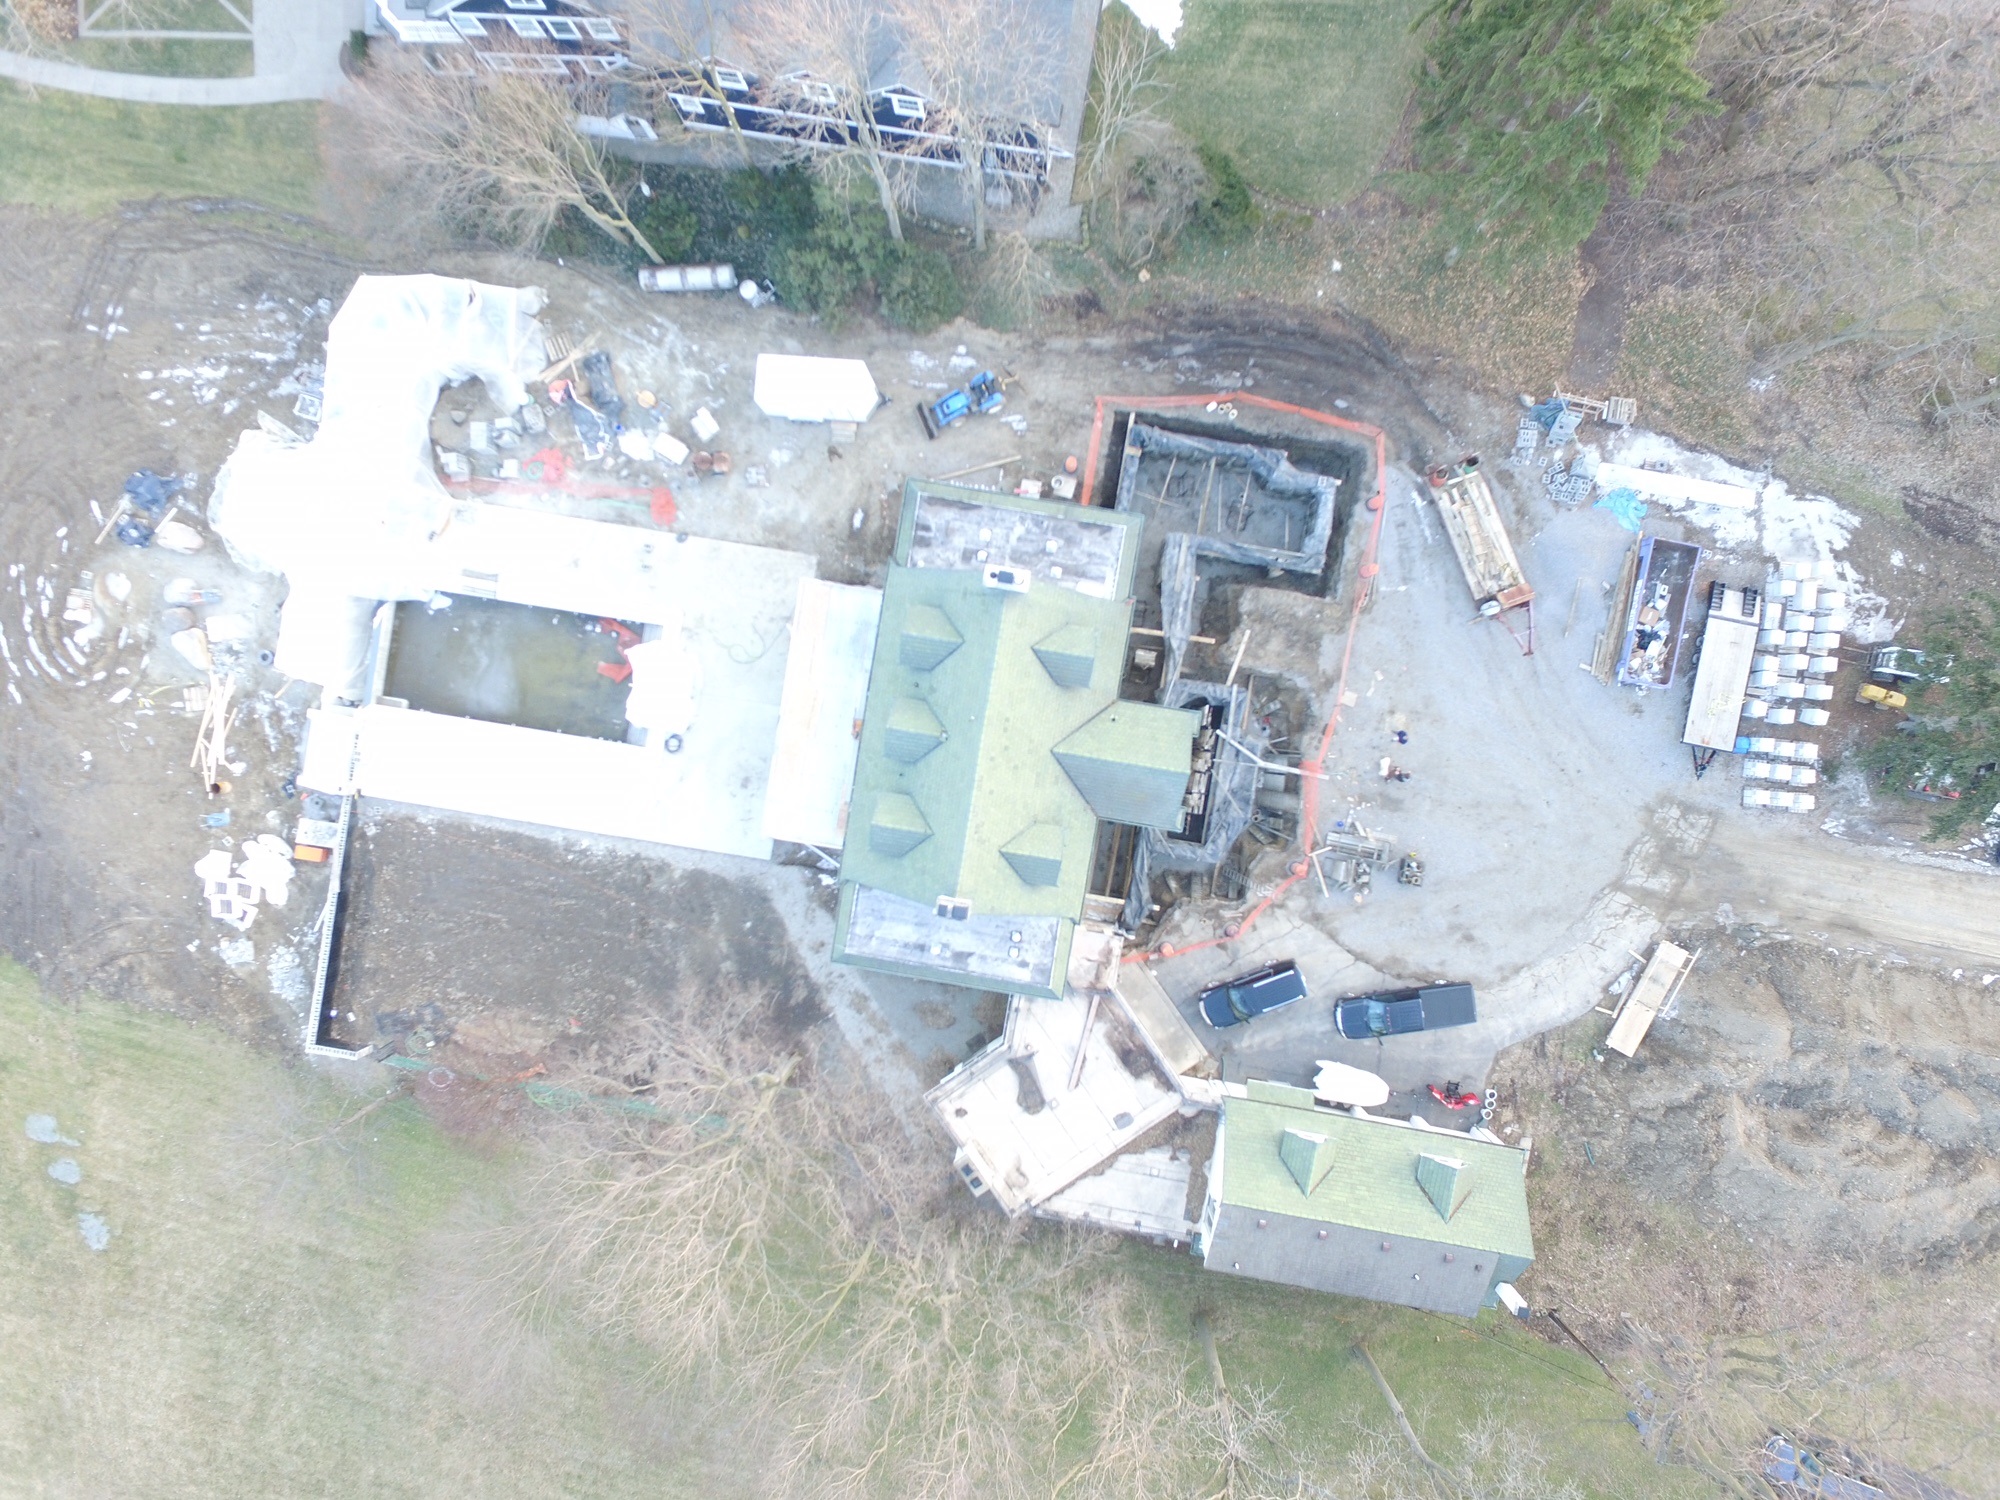 This aerial photograph was taken by my client, after the basic installation of the pool, and during the construction of the stone retaining walls last winter. The retaining wall to the north you see in the top left of this picture was tented, and heated so the stone work could progress over the winter. I am so very pleased to be a part of this project.
Save