Archives for December 2012

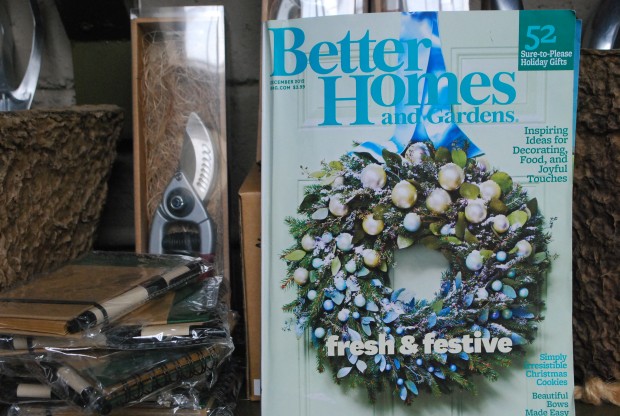
The December Better Homes And Gardens


February last, Jane McKeon, garden editor at Better Homes and Gardens called-would we be available to host a photo shoot of my winter containers?  Why wouldn’t we?  Better Homes and Gardens reaches an astonishing number of homes all across the US.  Even better, they have been publishing, and encouraging great design for many decades.  BHG came every month in the mail to my house when I was a child.  My Mom poured over every issue.  Home, garden, design, health, food-a compendium of articles and pictures about daily life, touched by design. 

I am not sure I read any of the articles as a child, but I am quite sure I studied the pictures.  BHG has evolved over time, but a few things are quite the same.  They have the idea to share, explain,  teach-and support.  What could be more American in nature? The magazine had run an article about my spring container plantings, but I was excited about this article that would feature containers in winter.   

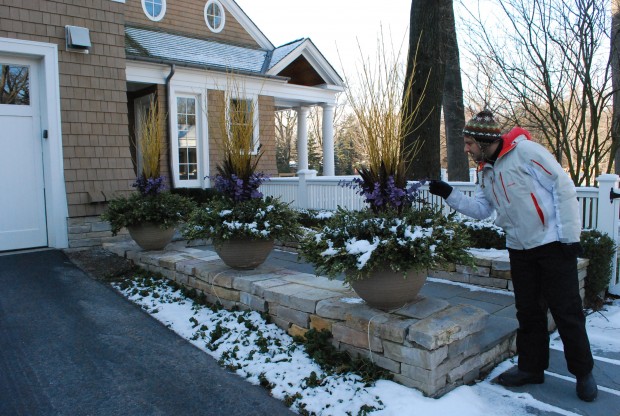
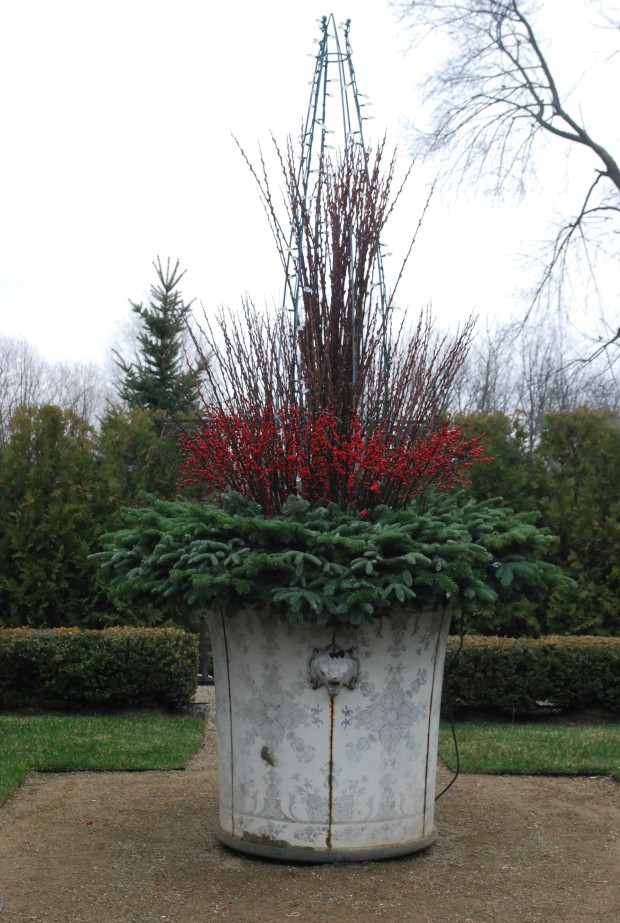
I have to credit Rob for the seminal idea that no container should be empty over the winter season.  Many years ago he described a plan to offer materials in the shop that could be placed into containers, and not only survive, but enrich our winter season.  What a gifted idea!  The containers that make a home for summer annual and tropical plants could be a home for cut greens, preserved and dry natural materials during our long winter months.  We take such great pride that this idea has spread, both to other designers, and to clients who like to do for themselves.    

No gardener loves the winter.  The frozen ground, the deep freeze, the dead stalks and the gray skies are daunting.  If you are like me, you are longing for spring.  But spring is an impossibly long way off.  Every gardener needs a big idea to occupy at least part their winter.  Seed catalogues, plant research, forcing bulbs, design planning-these things help.  But dressing the garden for the winter season takes such a lot of thought and effort- this extended activity helps to keep the fire burning through the end of the year.

 Our winter 2011 was anything but ordinary.  Warm.  No snow.  BHG wanted a little snow.  The shoot-on hold.  We considered fake snow.  Once that idea was nixed, we held our breath-hoping for snow from the sky.   

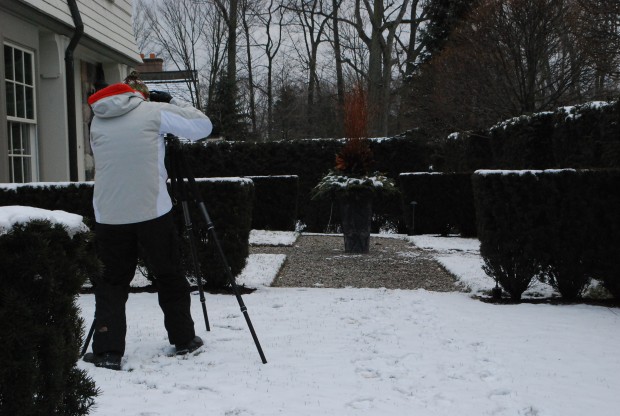
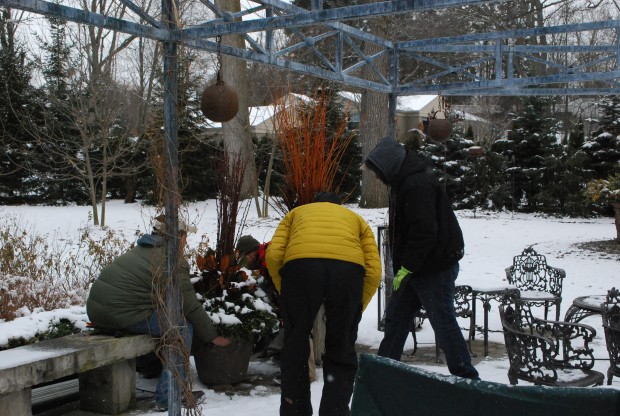
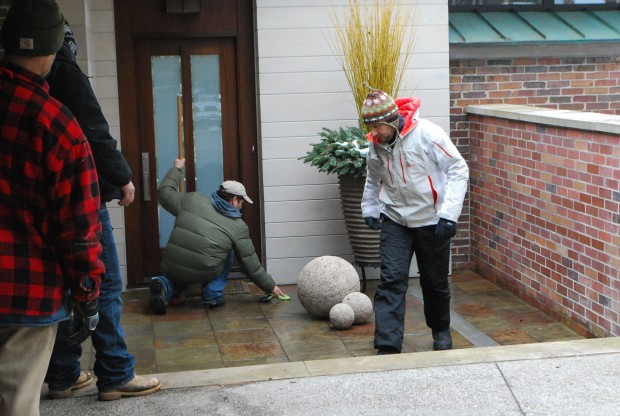
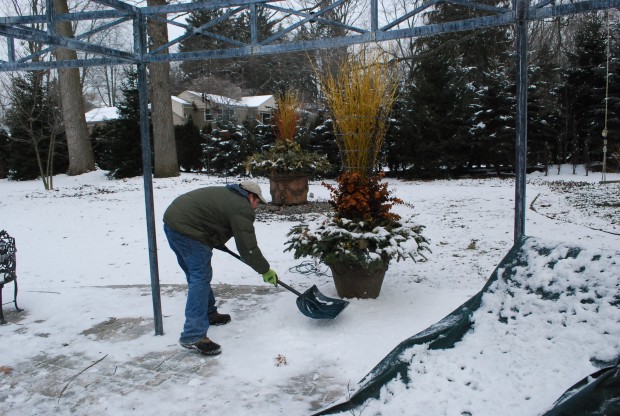
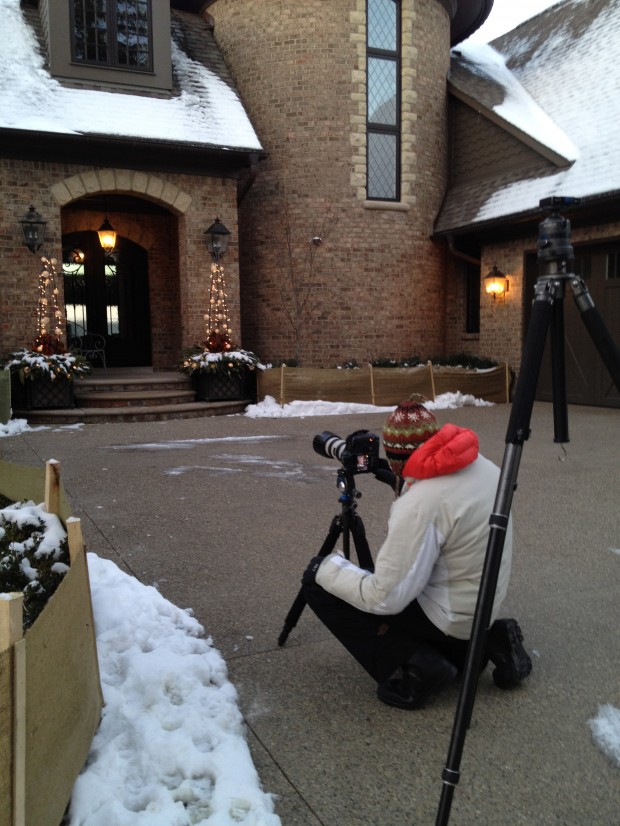
At the first sign of an inch of snow, BHG put Chicago based photographer Bob Stefko on the road to our place.  We had but a moment to record the winter pots, in an environment that looked momentarily wintry.  One of my landscape crews was most obliging-moving pots, snow and lights. 

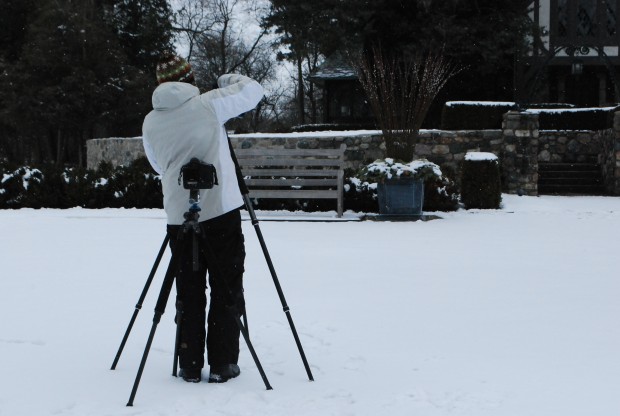
I will admit that both my crew and I about froze,  styling Bob’s shoot.   I was amazed by him-he shrugged off the long hours of cold, and focused on the work.  His photographs-each and every one of them-were beautiful. A great photographer creates opportunity and invention despite trying circumstances.  Bob was no exception. 

Though we had no idea what he was seeing, we kept him company. 

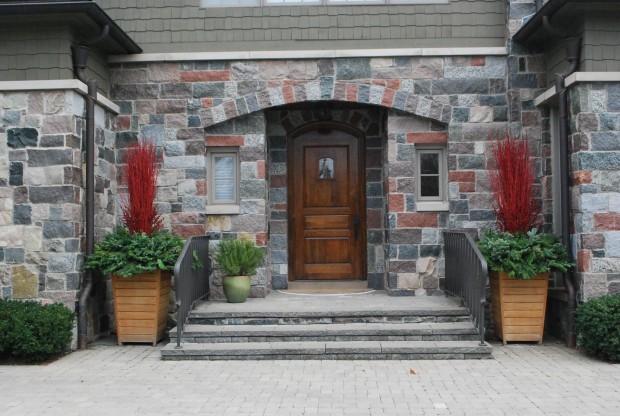
We have had lots of calls and emails from many places, about the materials and techniques used in the creation of these winter arrangements.  All of the excitement, discussion and expression generated by those 5 pages in Better Homes and Gardens-such fun.  

This year’s winter containers-I try to post pictures as soon as they are done.  Any gardener interested in yet another expression featuring the garden needs a timely nudge.  You see it when I see it.  I try to keep up.

Our work is just about non stop this time of year.  No matter that the time frame is short.  We plan to give every project its just due.  All of our clients rightfully feel as though their project is a one of a kind.  No matter how busy we are, we take the time to make every holiday and winter container specific.            

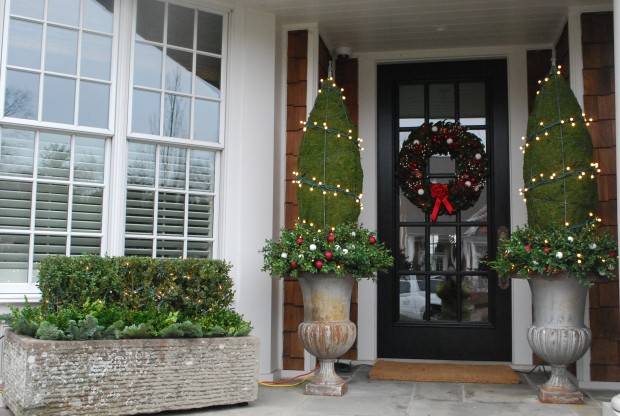
Your winter containers and holiday decor is specific to you, and your point of view.  An original and personal winter display enchants-your family, your friends-and your neighbors.

The creative process is very hard to describe, much less document.  What I like is the idea that so more creativity goes on than I could possibly absorb.  Great winter displays and design are world wide.     

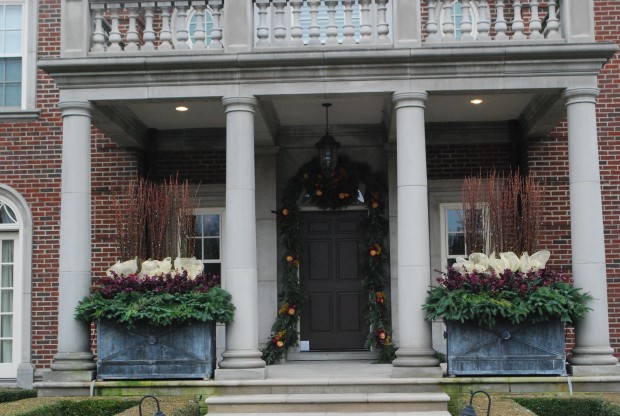
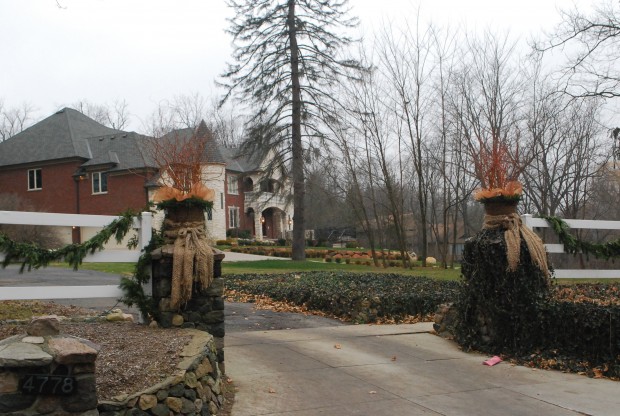
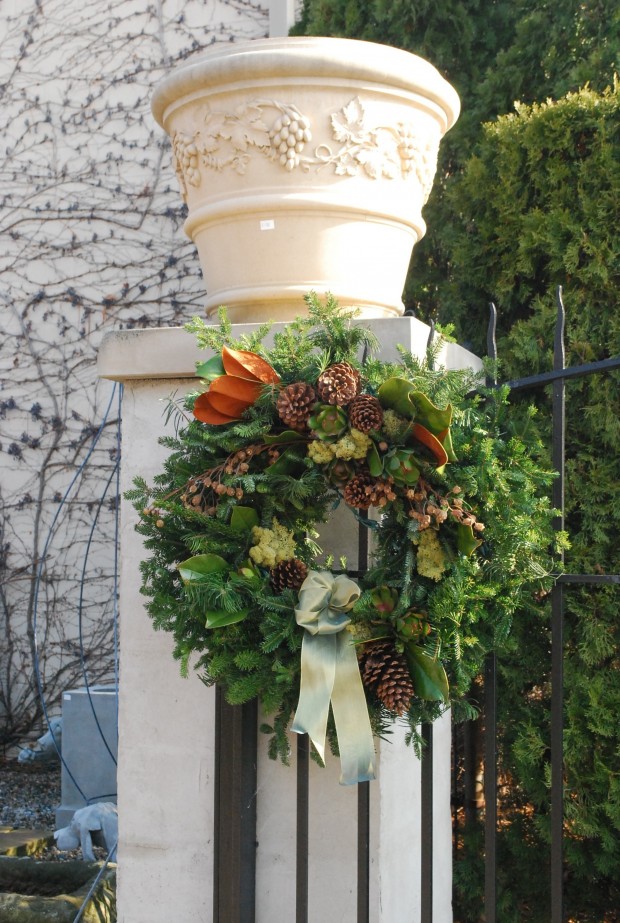
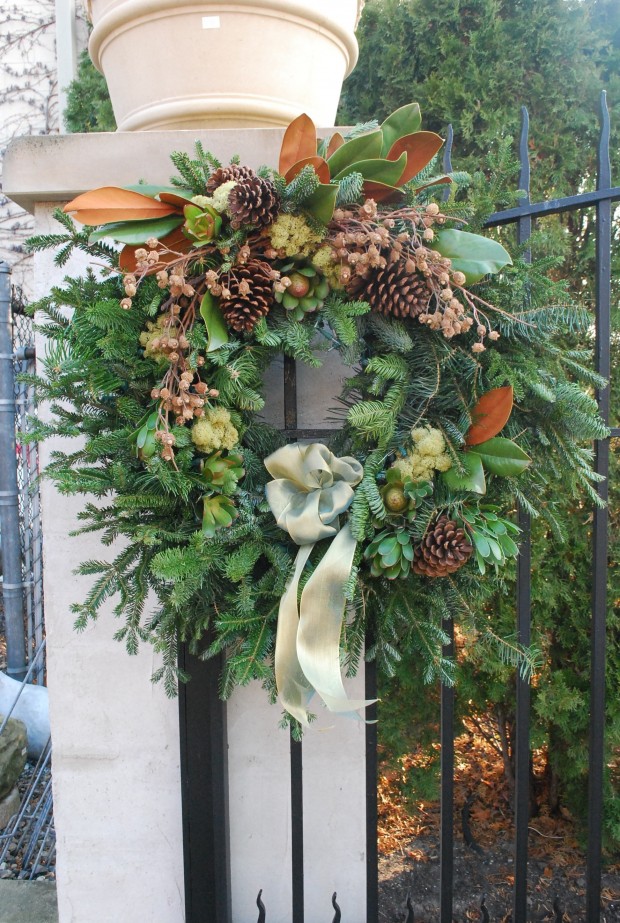
This client came in for a consultation.  In the end, she did all of her own work.  Her holiday display on top of these pillars dating back to the 1920’s-personal.  Singular.  Swell.  Gorgeous!  What we do every day at the shop, Better Homes and Gardens made available to every gardener everywhere.  Many thanks for your confidence and interest, Better Homes and Gardens.   
At A Glance: More Holiday Wreaths


I suppose I could have exercised a little restraint in the numbers of pictures that are posted here, but this time of year, who wants to edit?

A Holiday Wreath


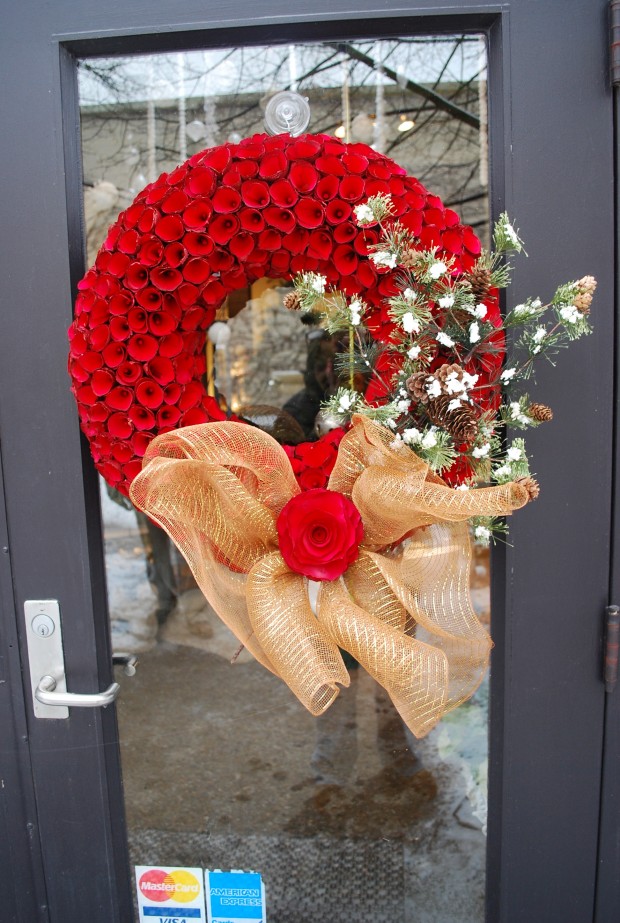
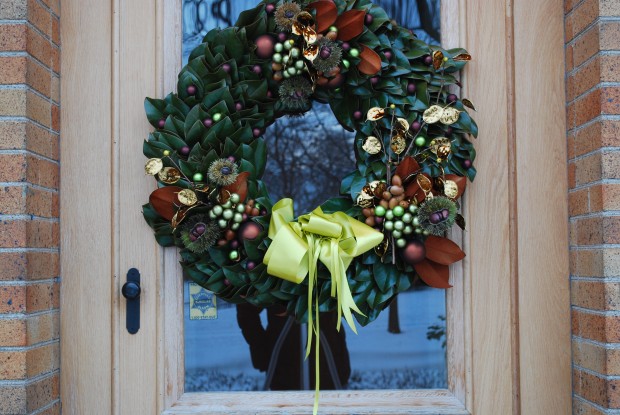
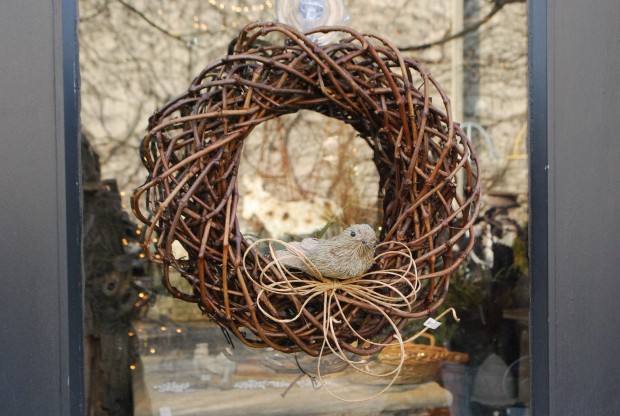
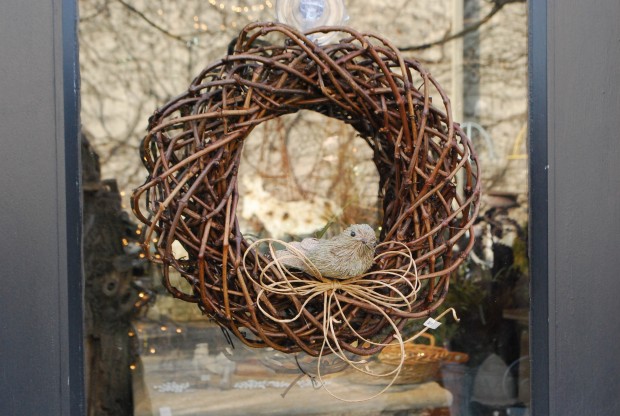
A wreath is first and foremost an expression of unity.  No matter the materials used or style, every wreath begins as a circle.  A circle is a complete, continuous, and visually satisfying form. That decorated shape displayed at the holidays expresses the sentiments of the season, as well as a point of view about beauty.  This simple grapevine wreath adorned with a few dried bits from the garden and a wired paper bow says hello and welcome.

The history of wreath making is long, dating back centuries.  Holiday wreaths traditionally begin with a circle of evergreens.  The evergreens last a long time, despite being cut.  There is a strong element of hope associated with evergreen wreaths-that despite the quiet winter season, the natural world is still very much alive, and will persist through the winter. 
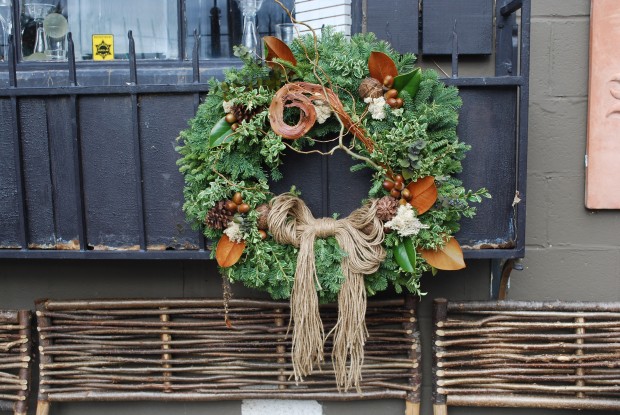
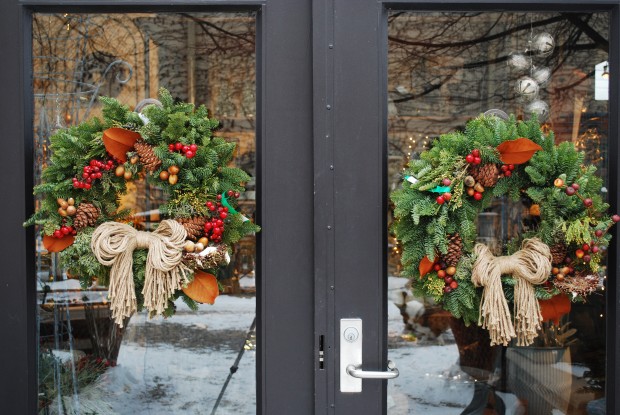
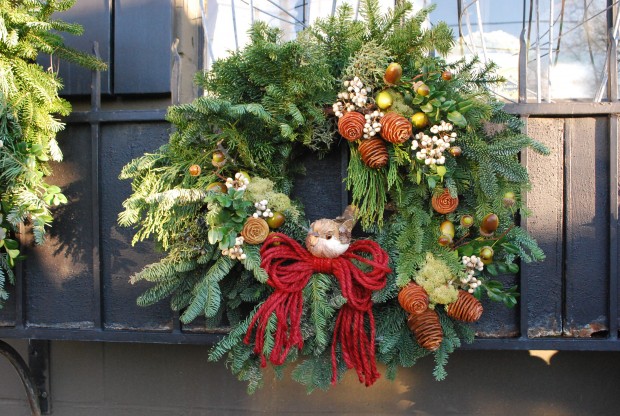
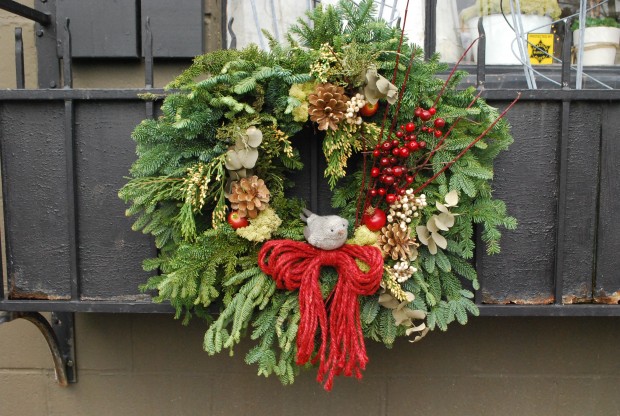
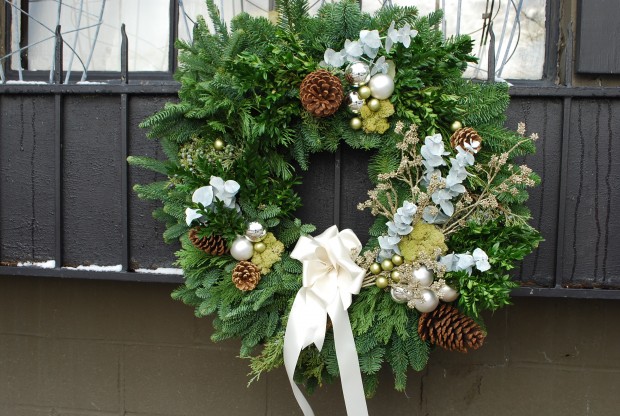
All of the evergreen wreaths at the shop are locally made to a certain size and heft that will keep its shape, no matter how much I may add to it.  The handmade part of them is obvious-they are not perfectly round, and they have a lively textured surface.

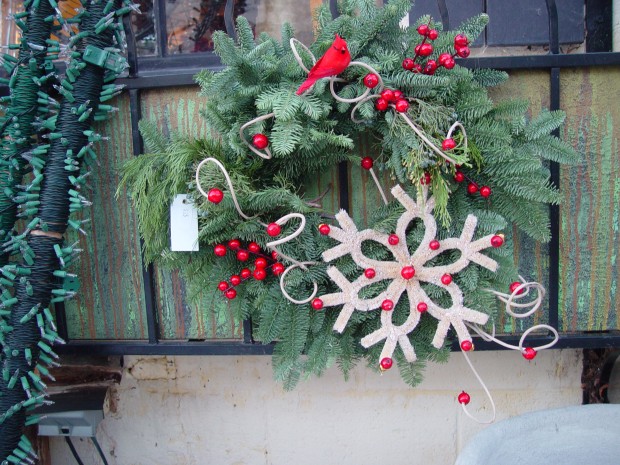
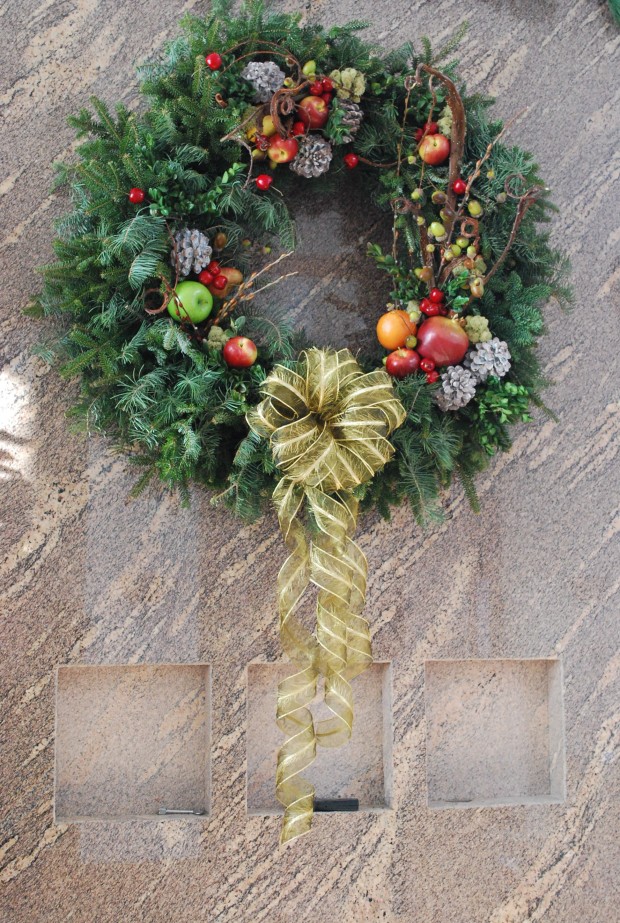
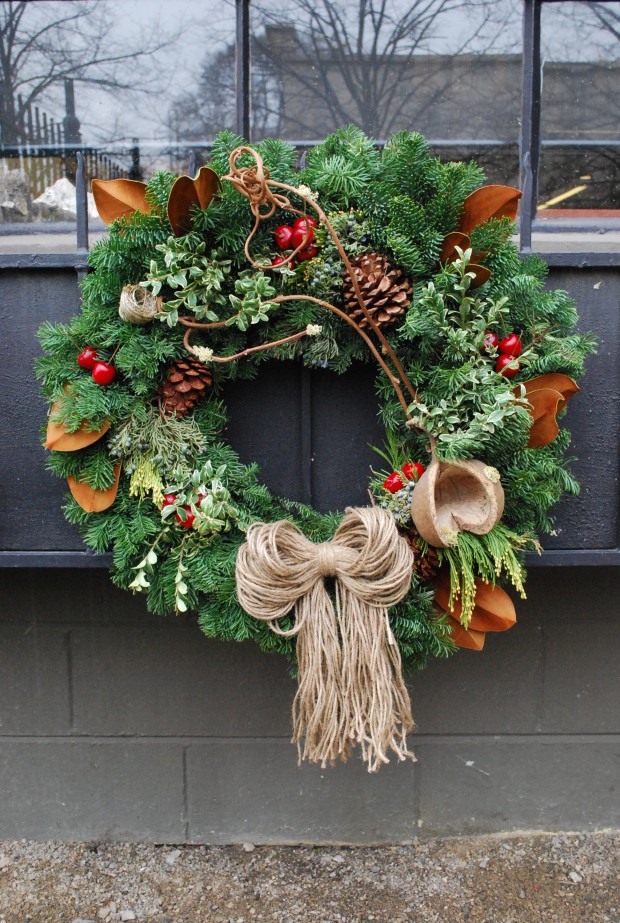
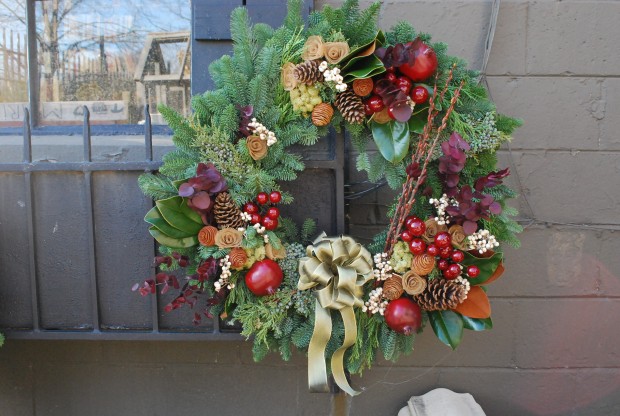
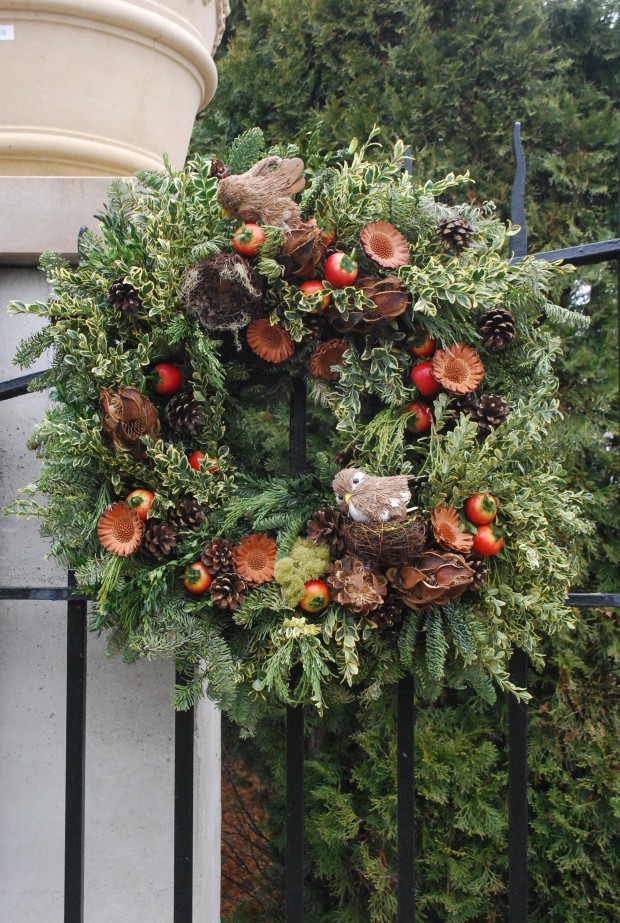
I like a basic mix of different types of fir.  Douglas, concolor, silver, noble and frazier fir stay fresh looking a long time.  Adding bits of other greens, such as boxwood, incense cedar, berried juniper and the like makes each wreath different-more personal.   

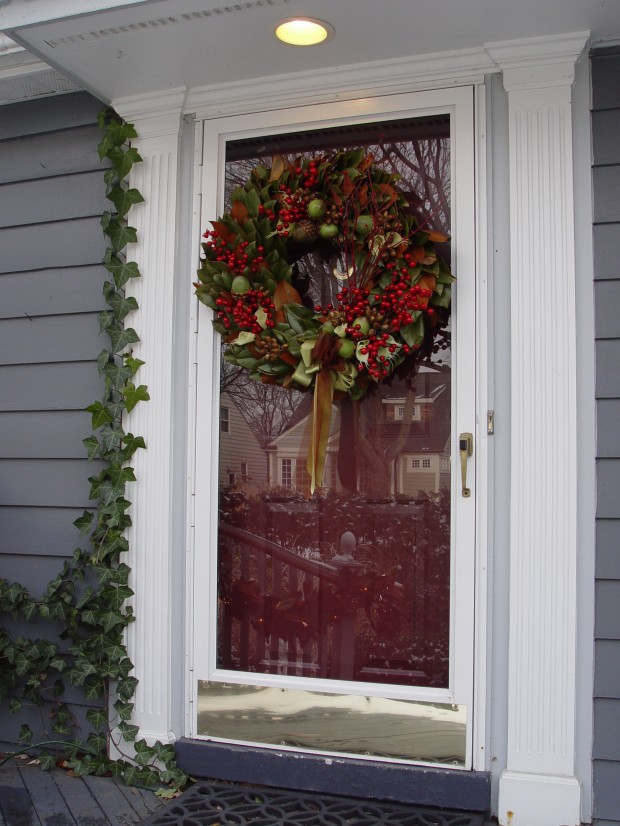
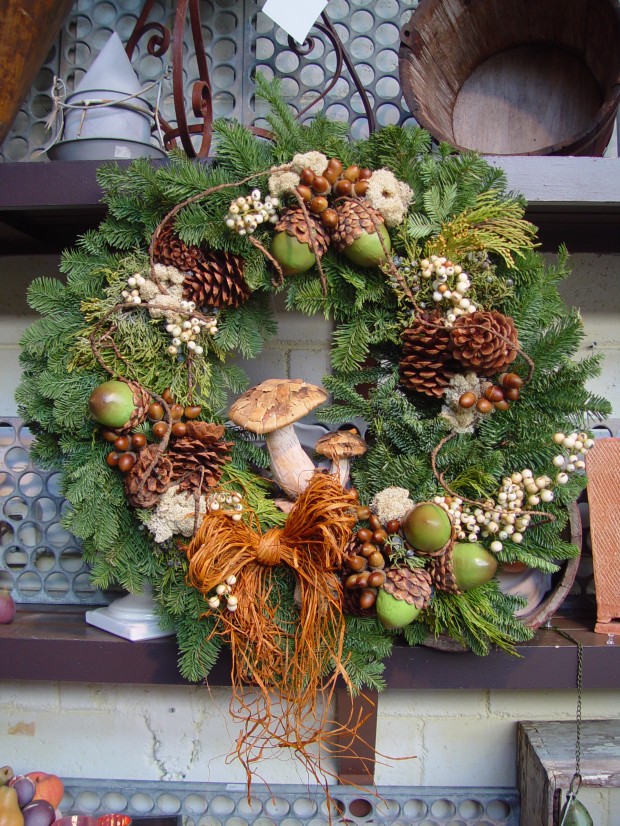
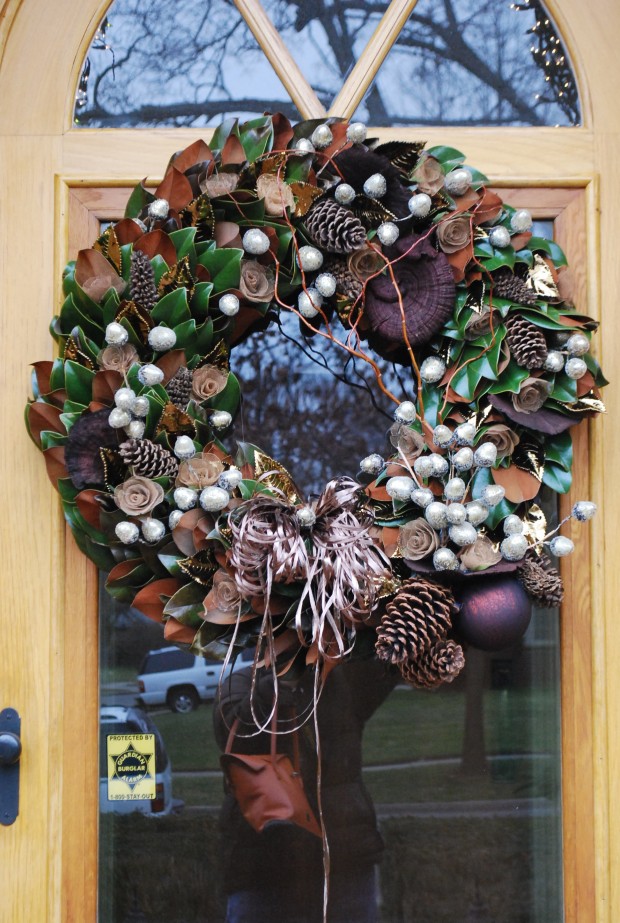
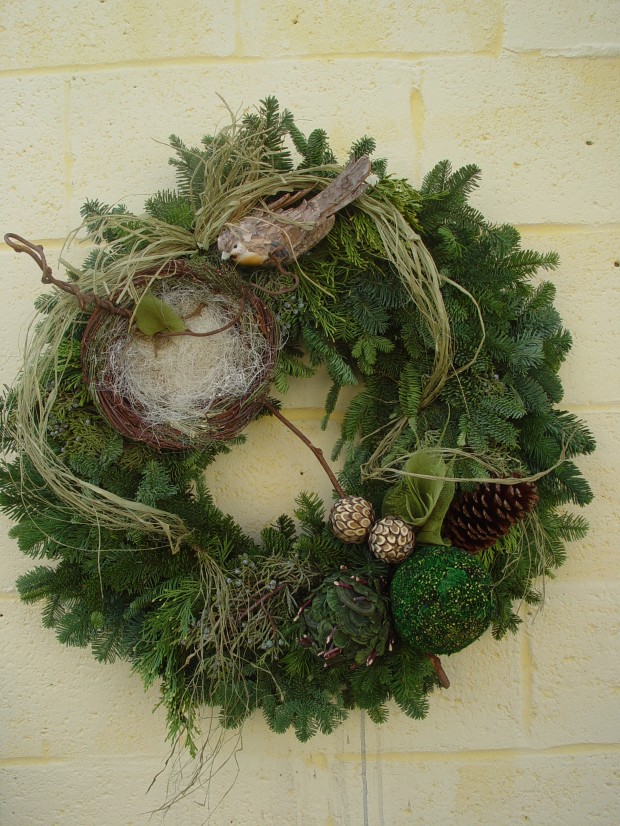
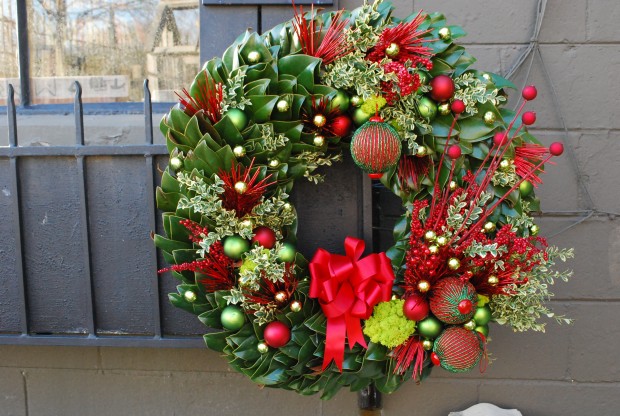
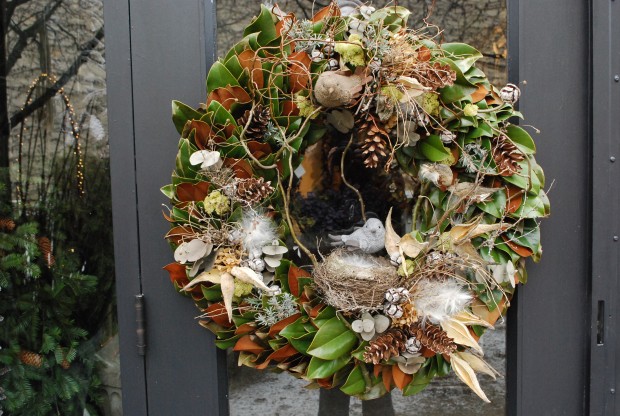
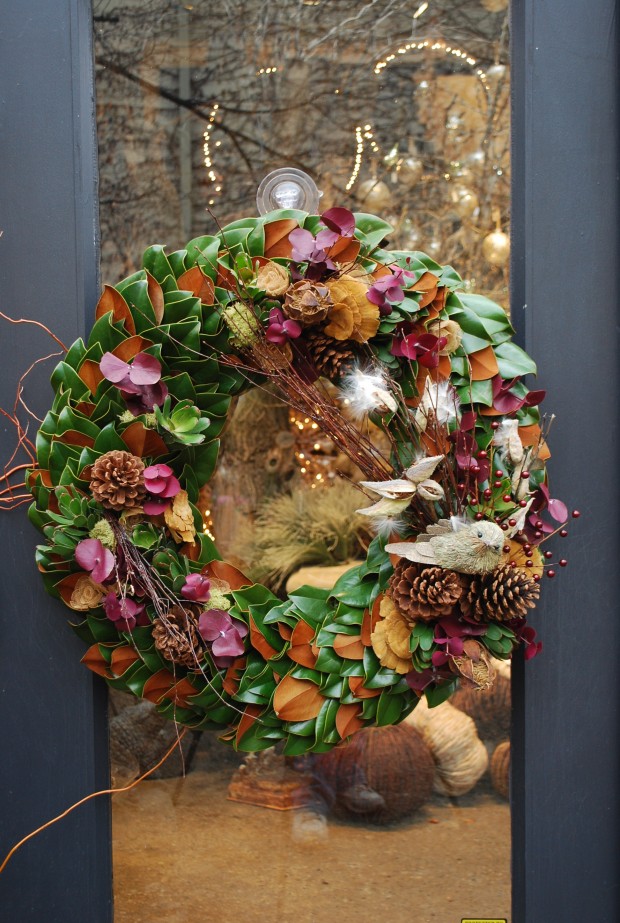
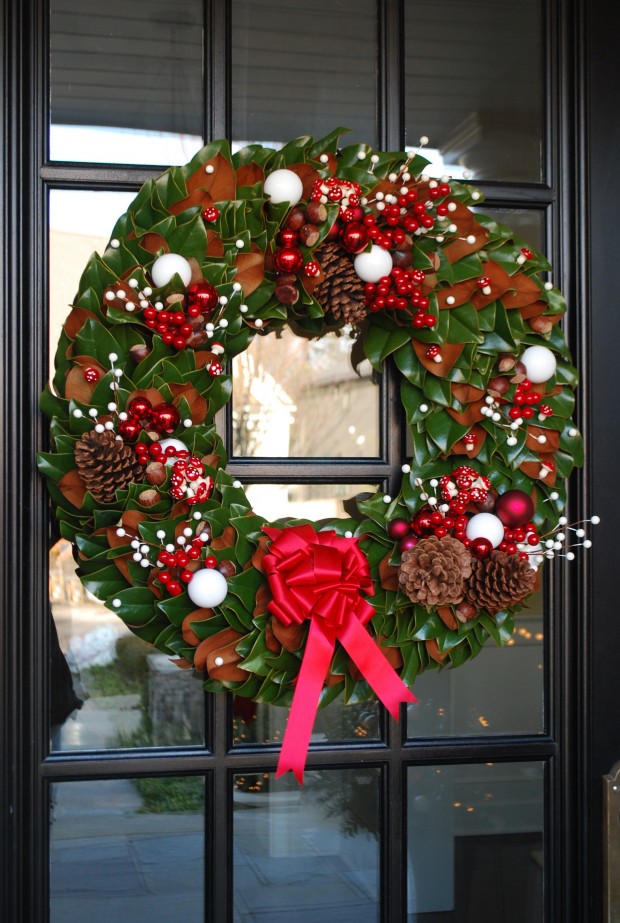
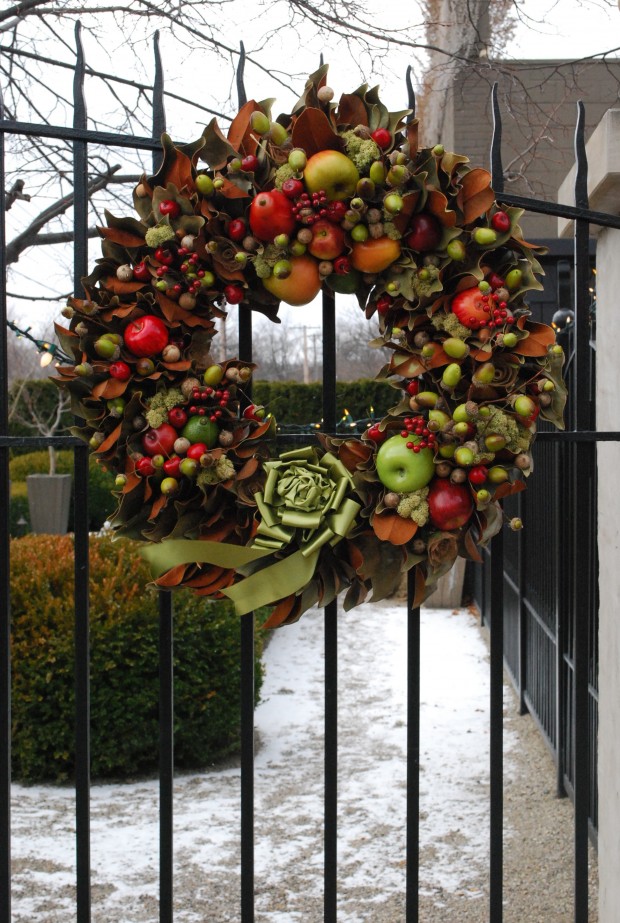
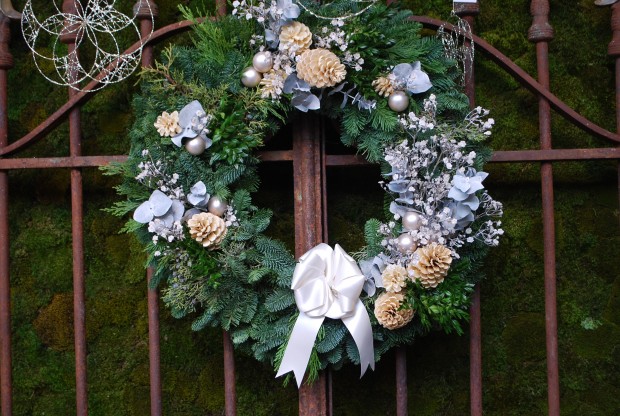
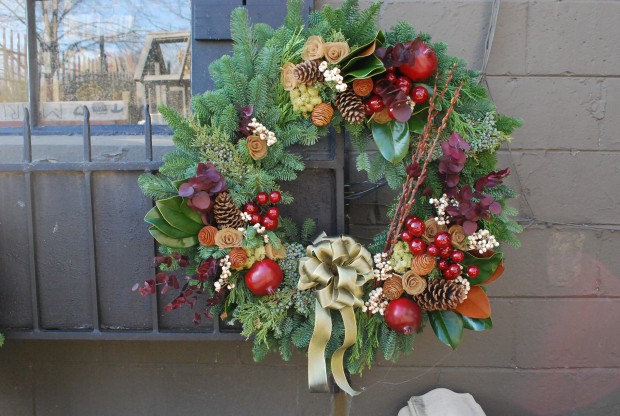
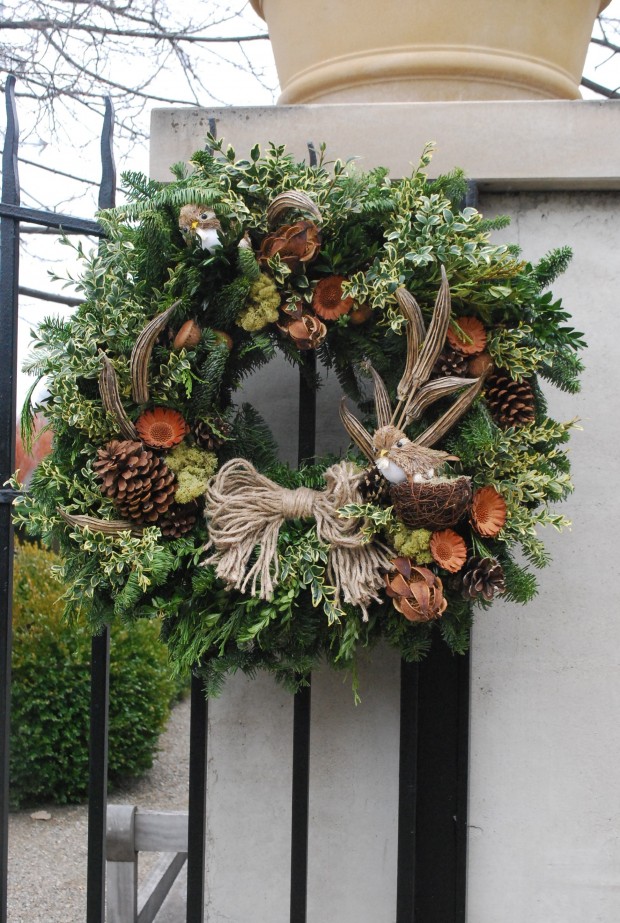
Decorating a wreath spices up the evergreen stew.  Natural materials-cones, mosses, dried berries, magnolia leaves, twigs, and eucalpytus provide color and texture of a different sort.  Arranging all of the materials-a satisfying and contemplative exercise in composition.    

I probably make upwards of 50 wreaths a year-how I enjoy this.  Each client has a singular idea about what they like in terms of color, materials and style.  Some are quite formal-others more low key.   

The mechanics of fastening has everything to do with the weight of the material and size of the material you are trying to attach.  Wire can be wrapped around the base of a pine cone, and poked through to the back of the wreath.  Anything that gets wired to the steel base of the wreath will stay put, no matter how blustery the weather.  I buy rolls of paddle wire.  The 22 gauge green wire is a continuous length wound round a paddle shaped spool.  I always have the perfect length of wire available.

Florist’s wire comes in different lengths and weights.  The advantage of this wire-it is straight.  A straight wire can be easier to poke through the evergreens.  Smaller materials like twig bunches can be easily fastened with a single piece of wire. 
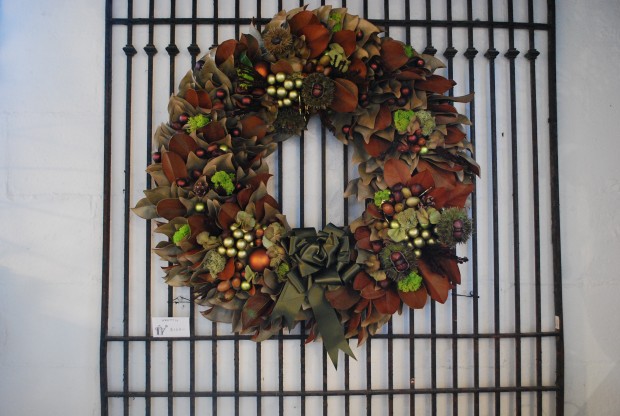

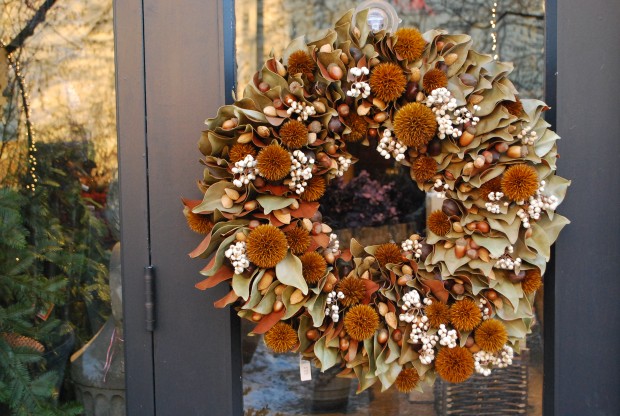
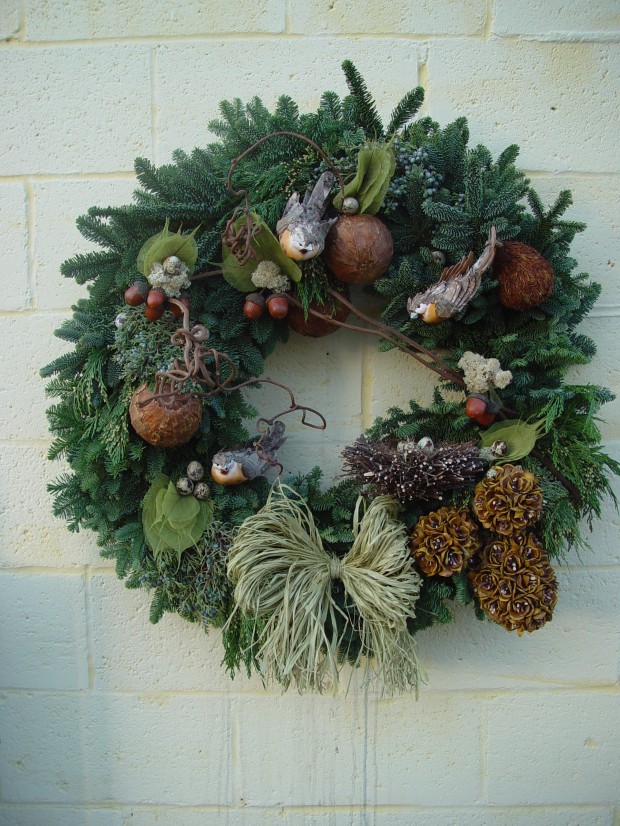
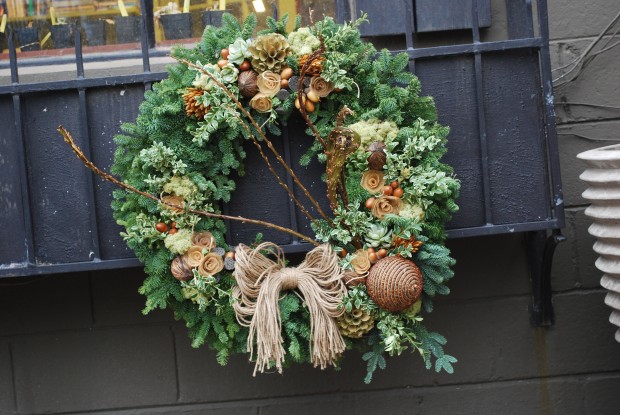
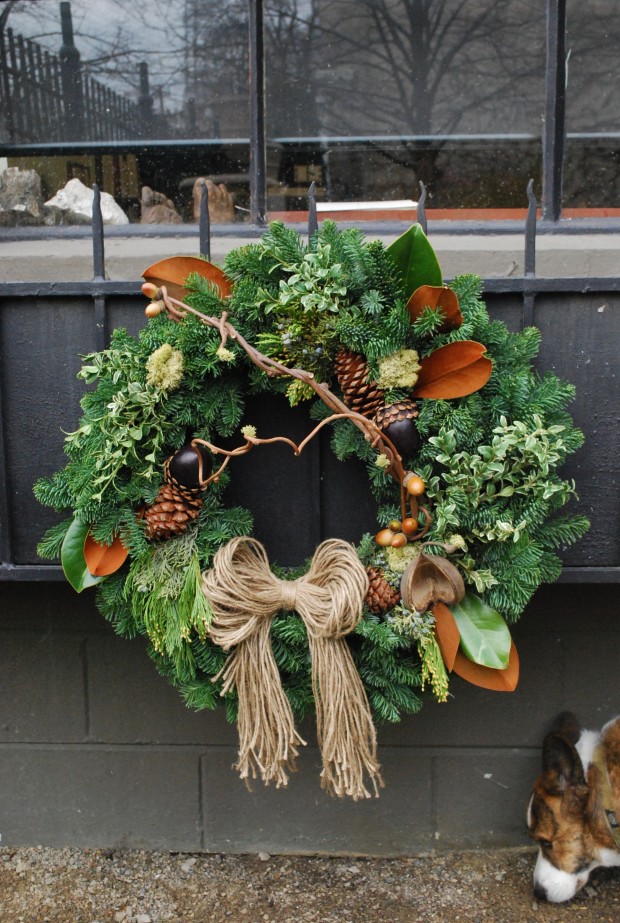
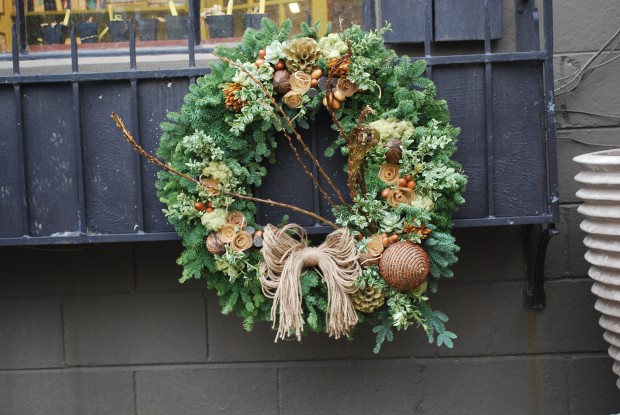
Some wreath materials are available already attached to heavy wire stems.  They can be wedged in between the evergreen branches. More often than not, I take the picks apart.  Many are just too large, or too long for the spot where I need them.  The acorn branches in the wreath pictured above came from a single pick.   
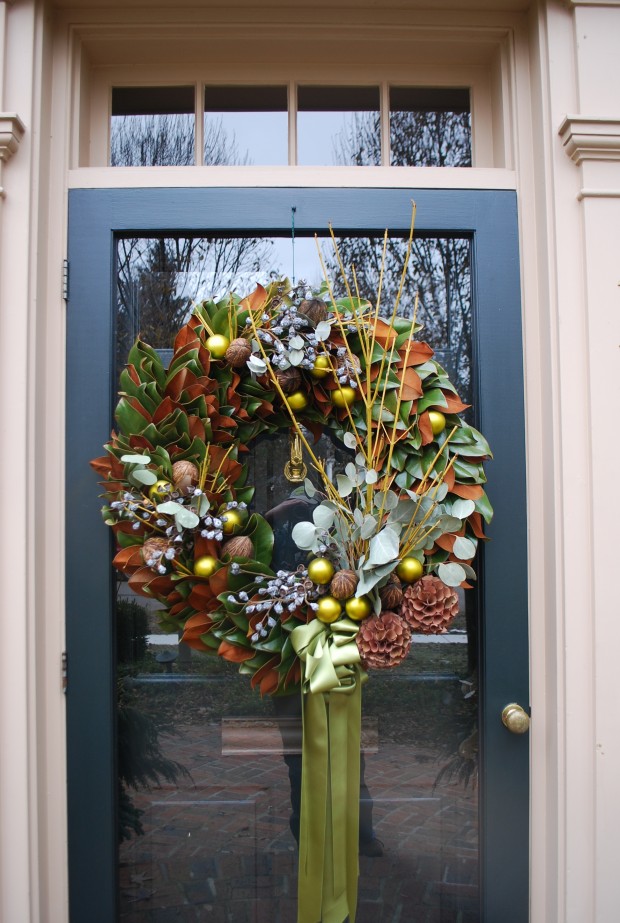
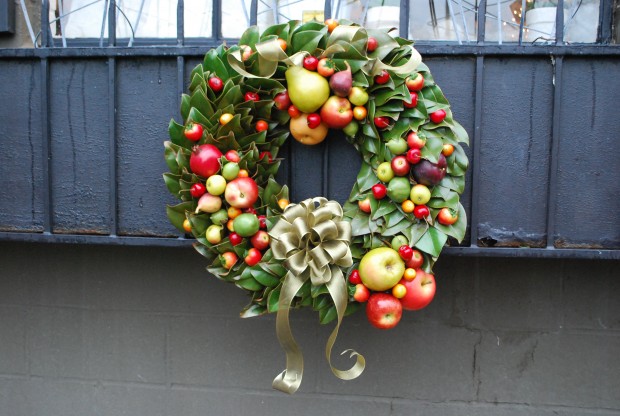
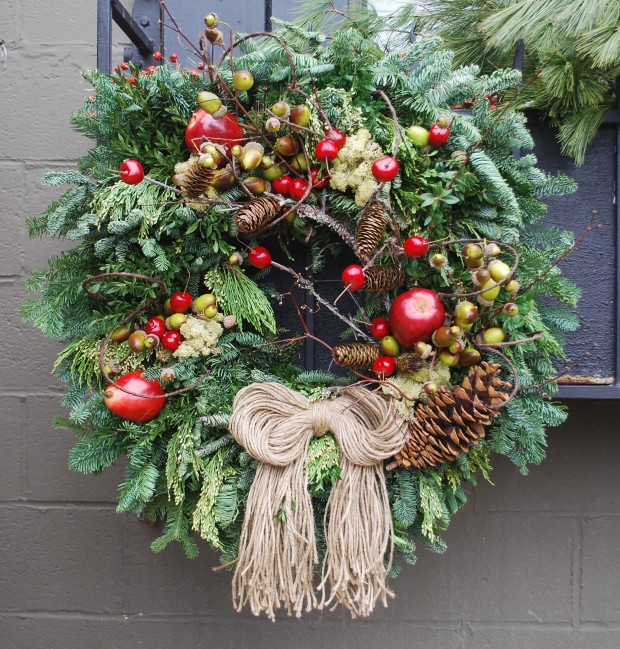
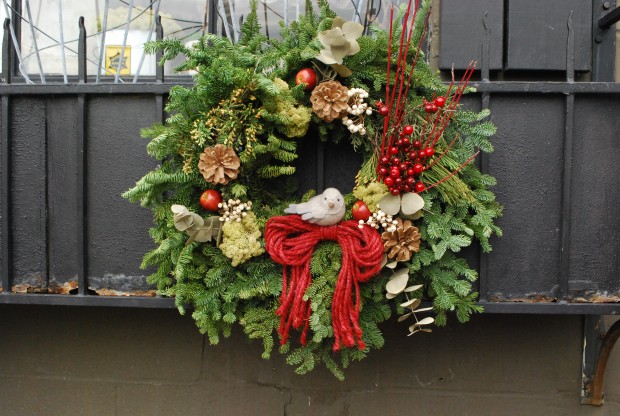
A jute bow is easy to attach with a zip tie that goes through the center knot, and around a stout branch.  Really heavy materials, such as faux fruit or ornaments like the bead ball pictured above need a fastening device that is both strong and rigid. Floral picks, or skewers come in various lengths, and can handle the heaviest ornament with ease.  Faux fruit is really tough skinned.  I pierce the surface with a steel awl,  butter the pick with hot melt glue, and insert the pick.  The wood pick can them be wired to the steel wreath frame.

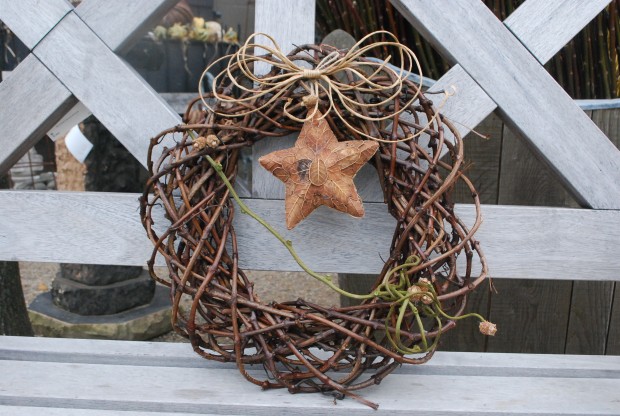
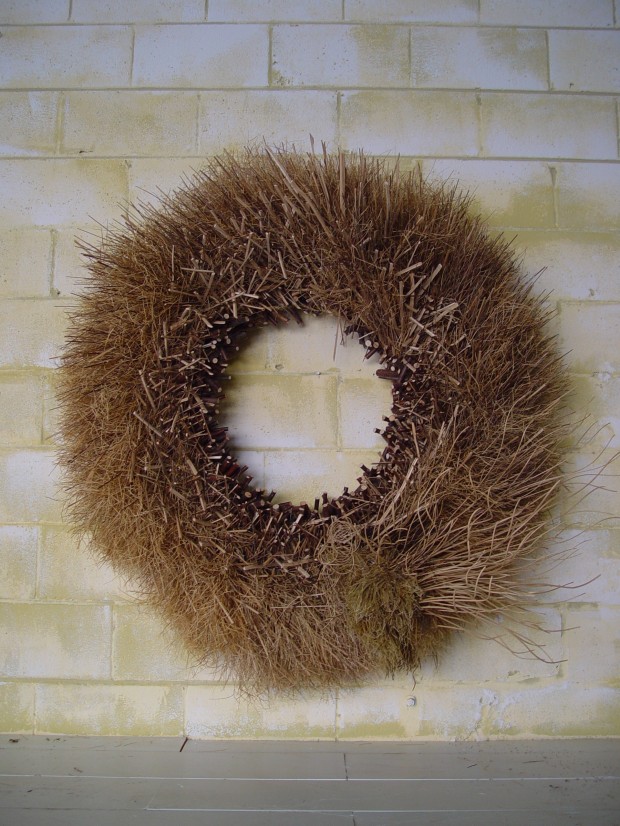
The hot melt glue gun is an indispensable, albeit dangerous tool.  Hot melt glue will stick to your skin just like anything else it touches.  My downfall almost always involves gluer dripping from the back of a piece of moss.  If you are using a glue gun more than 1 step from a sink, keep a bowl or glass of water handy, so you can put out the fire fast.  Gluing the sticks in the wreath above-not so dangerous.  The glue is at the other end.  This gluing project just took lots of time.  A wreath like this can last many years-and can be repaired if need be.   

I don’t really have a favorite wreath.  The favorite part is in the making, not in the end result.  Having some time, and a good sized space to make a mess is a big help.  Wreath making-a primitive form of cutting and pasting.  Much more ends up on the floor or table, than on the wreath. 

Hand made holiday decorations have a very special feeling about them.