 If my last post was convincing enough to make you entertain the notion of filling your pots for the winter, you might appreciate a description of our process. Every pot begins with dry floral foam. I cannot really explain how liberating it is to have foam, and not soil as a medium, except to say that that a soil base dictates the overall shape. We take the soil down in all of our pots 4 inches, and put a thick layer of foam in top. In big pots, we may anchor the foam with steel rebar driven down into the soil. A winter pot needs to stand in spite of winter wind and snow. I like greens that are much wider than the pot. That generously sized blanket of greens has warmth written all over it. No soil based construction can deliver much in the way of width. Constructing a winter pot on site in freezing weather is slow and uncomfortable. It is just about impossible to clean up. We make the mess in our garage, and only go on site to install. A garage heated to 50 or 60 degrees means you can concentrate on what looks beautiful, rather than the cold that is making you miserable.
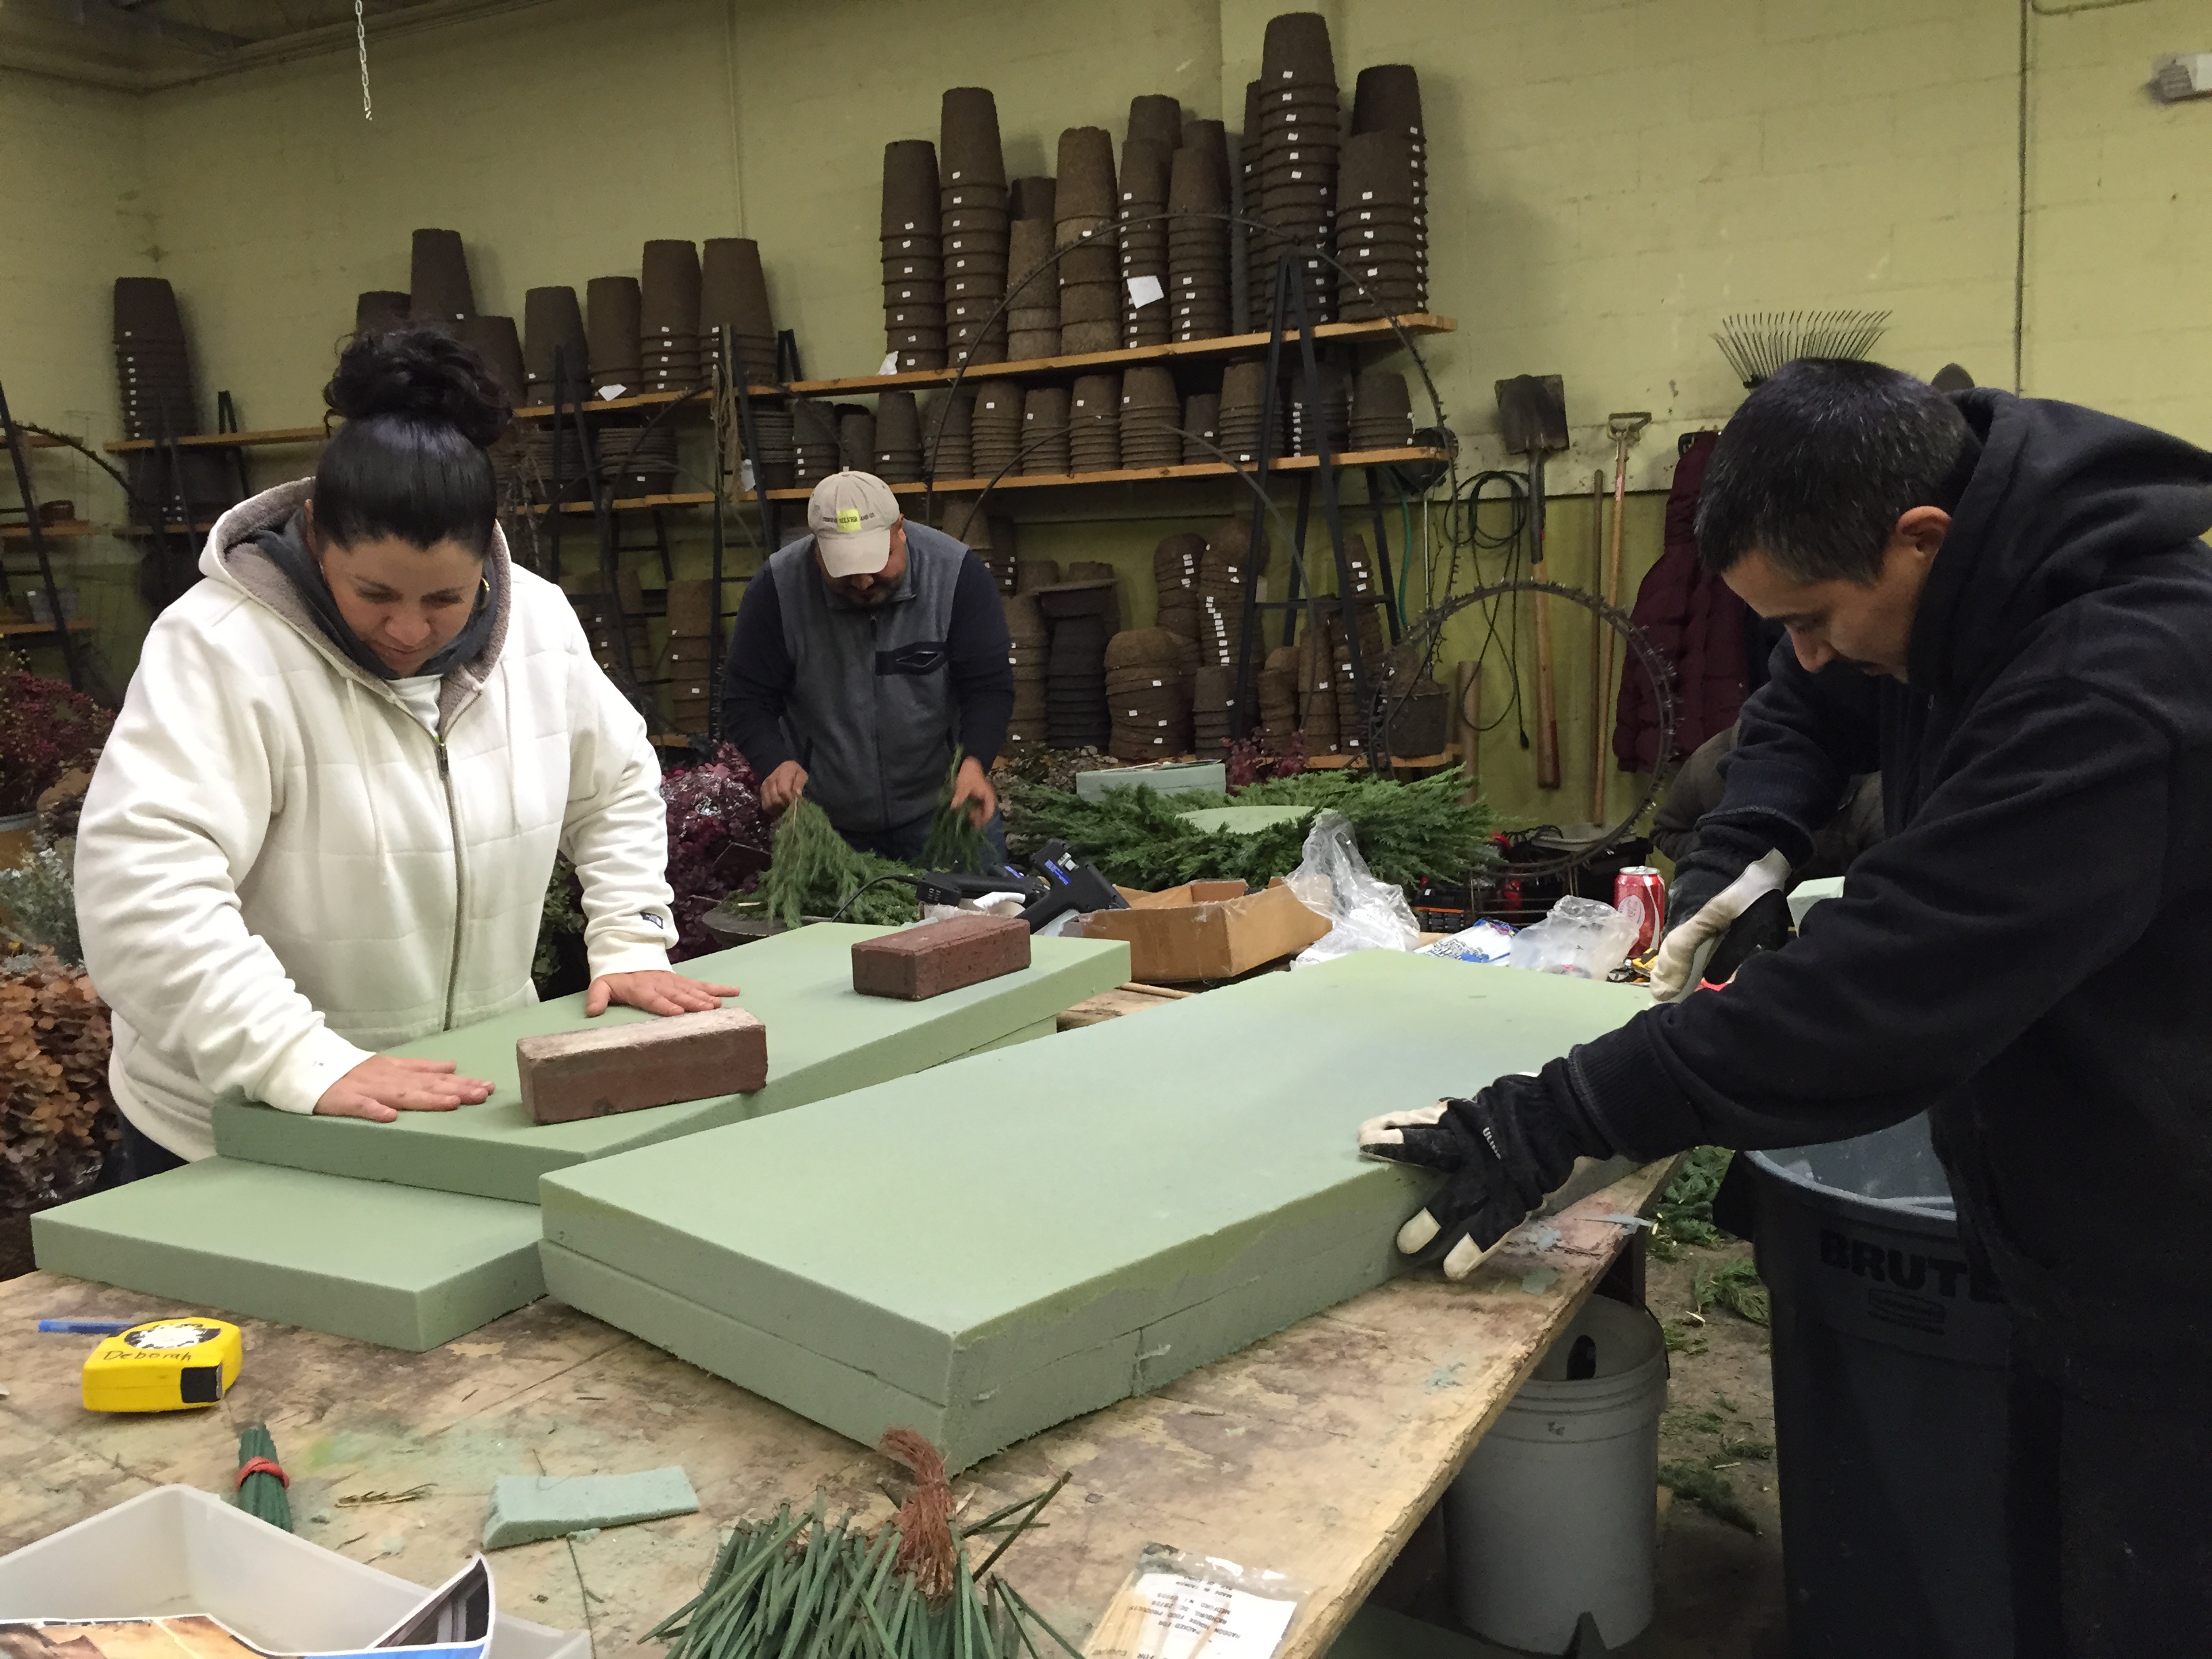
 We buy the dry floral foam by the case, in big sheets. But craft stores usually carry dry floral foam in bricks. The bricks will need to be glued up with hot melt glue. If you use bricks, floral picks or skewers can be used to further secure all of the pieces. Wedging the entire assembly into the top of the pot will also help keep it together.We use a giant wood compass to scribe the interior diameter of the pot on the foam. We glue 2 sheets together. The bottom sheet goes in the pot. The top sheet goes above the rim of the pot, and will have evergreens stuck all around the edge into it. The width of those greens all around the edge of the pot will determine the proportions of every other gesture. Ready to stick?
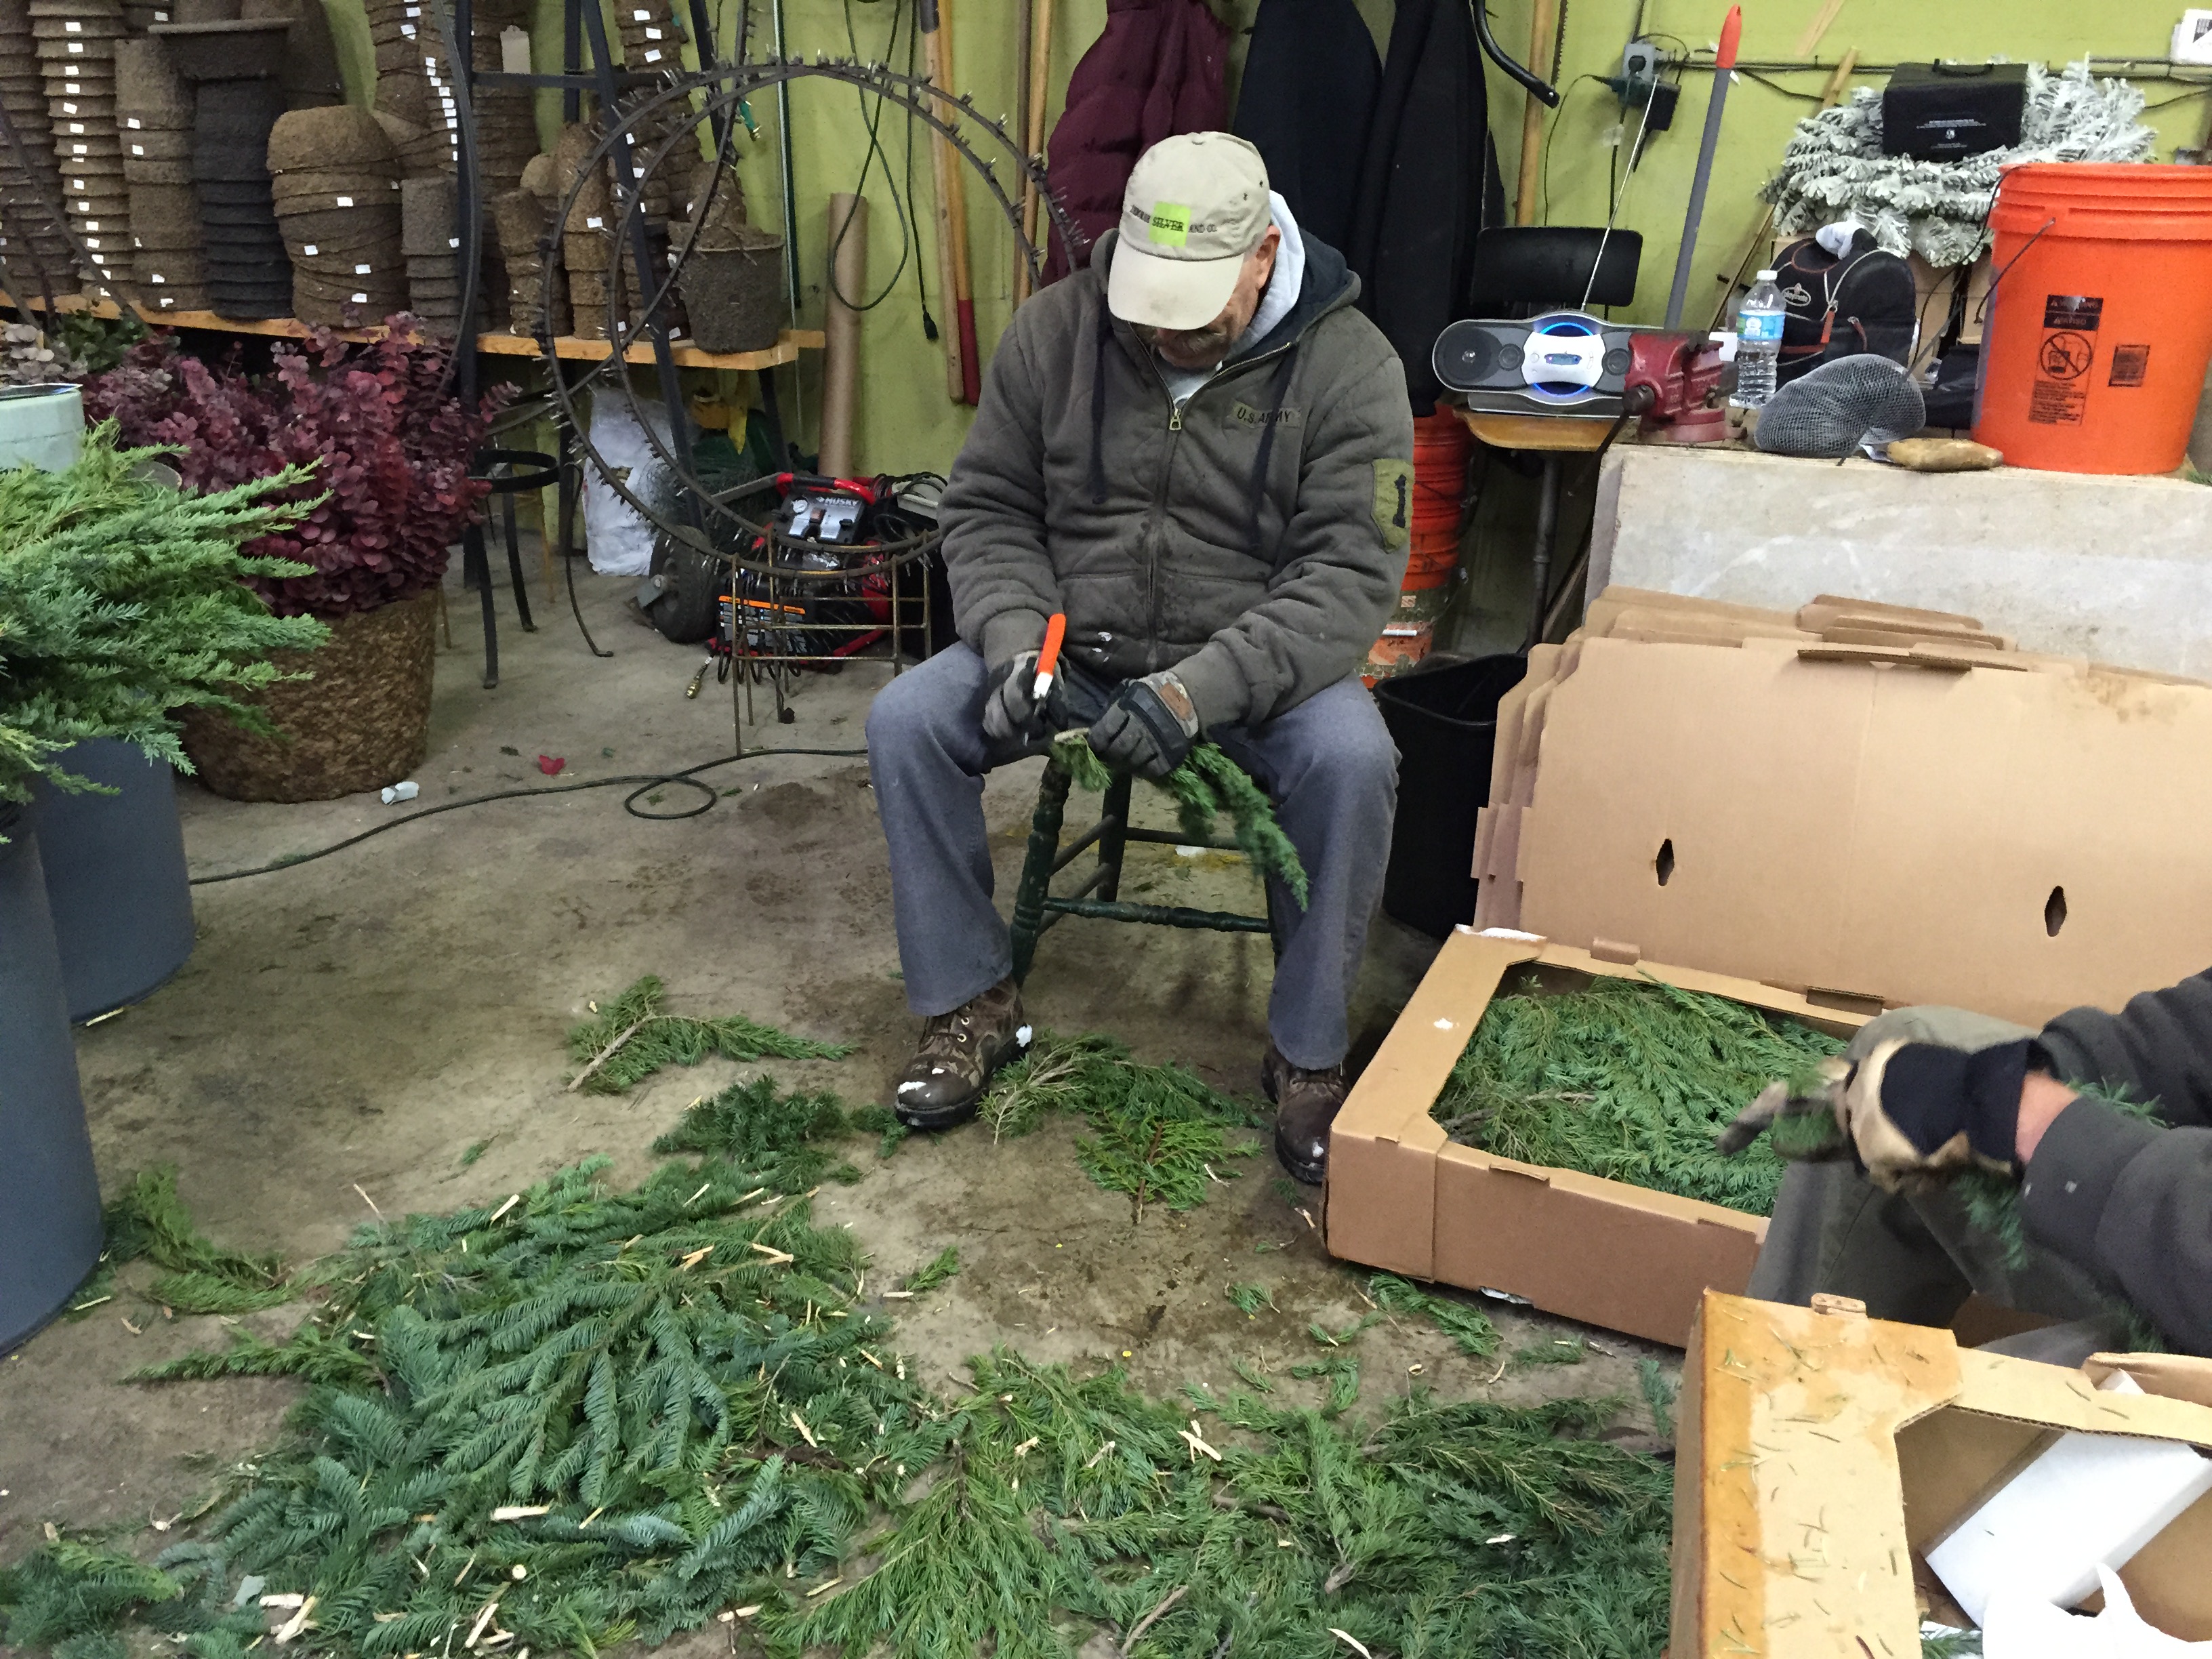 We sharpen our greens down to the wood with the blade side of a pair of pruners. Stuffing an evergreen stem with the needles still on it means the hole in the foam will eventually be too large. As the needles loose moisture, they will shrink. A heavy bough in a hole that is suddenly too large may fall out. We only insert sharpened wood into the foam. A tight fit is a fit that will last throughout the winter, no matter the weather. When we have a lot of pots to do, we have at least two people who sharpen evergreen stems. We buy evergreen tips that are 18″ long. Short evergreen stems suitable for wreaths and table arrangements are not long or hefty enough for what we do.
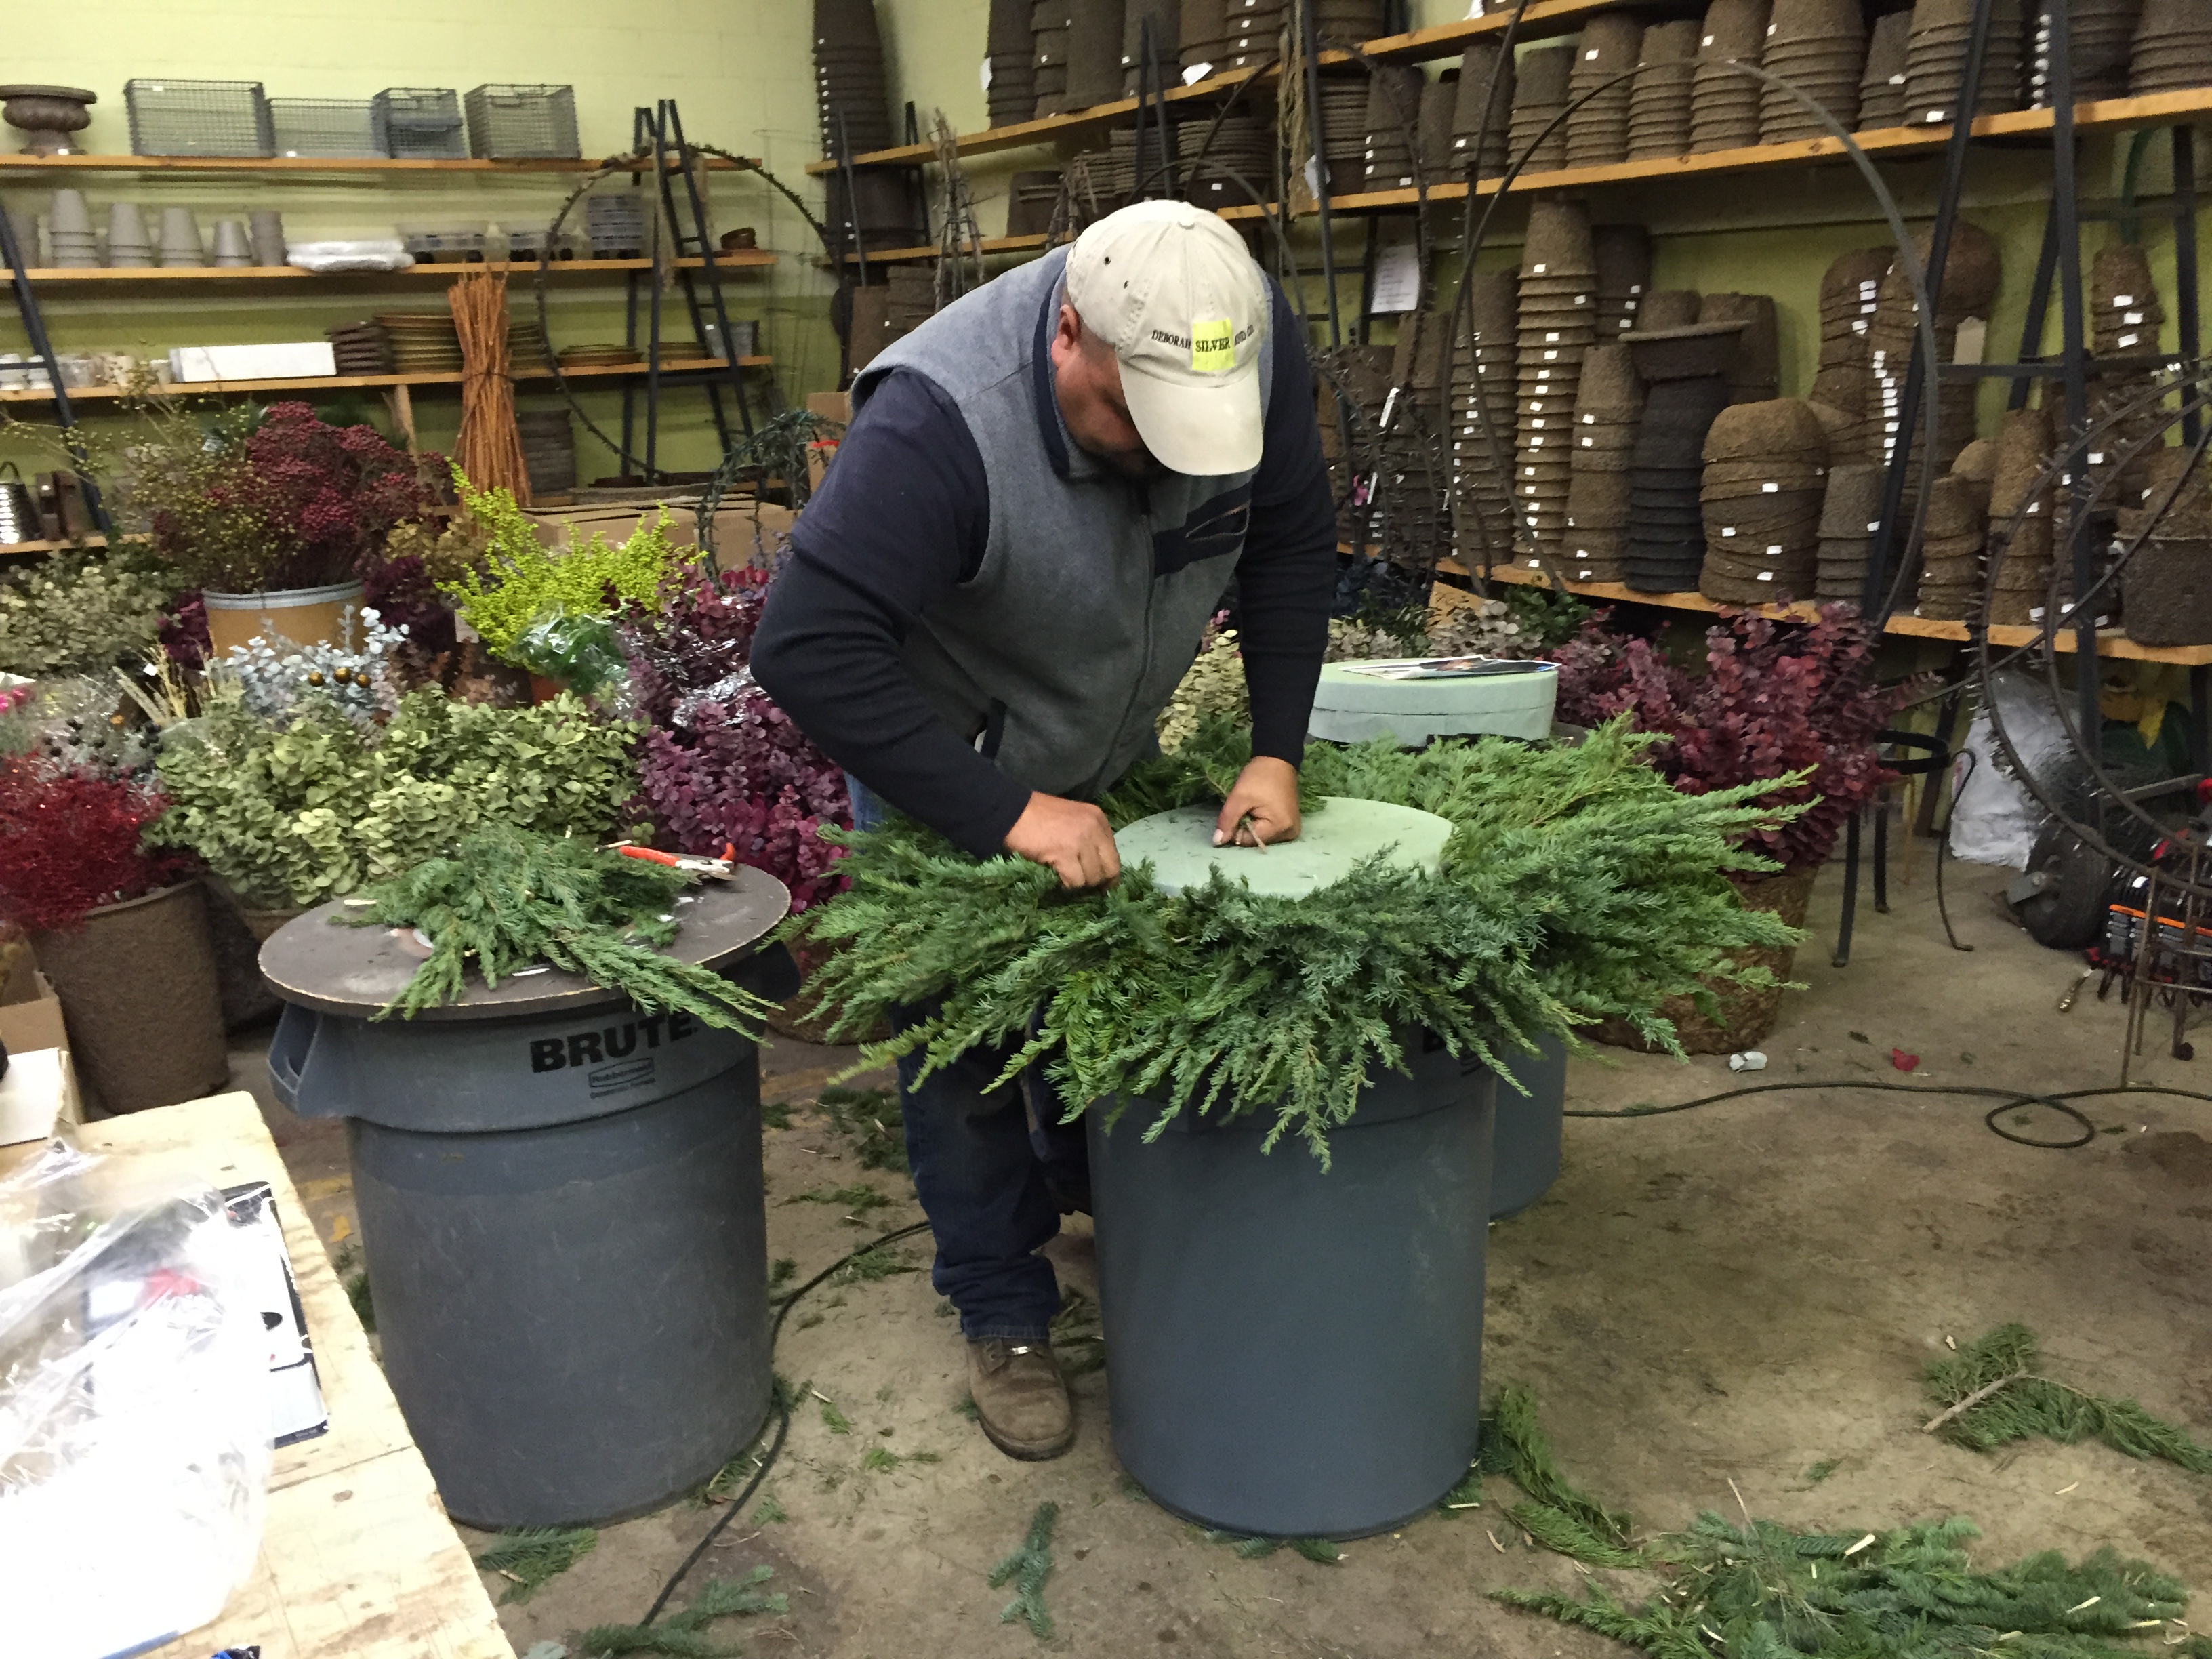 Stuffing the stems into the foam is an art. My landscape crew does an incredible job of it-better than I could. All their years planting means they have a feeling for how the cut stems should look in a winter pot. They need to have a loose and natural look. This is not to say that we do not do more contemporary pots that are more about design generated by the human hand than nature. This client prefers a more natural and traditional look.
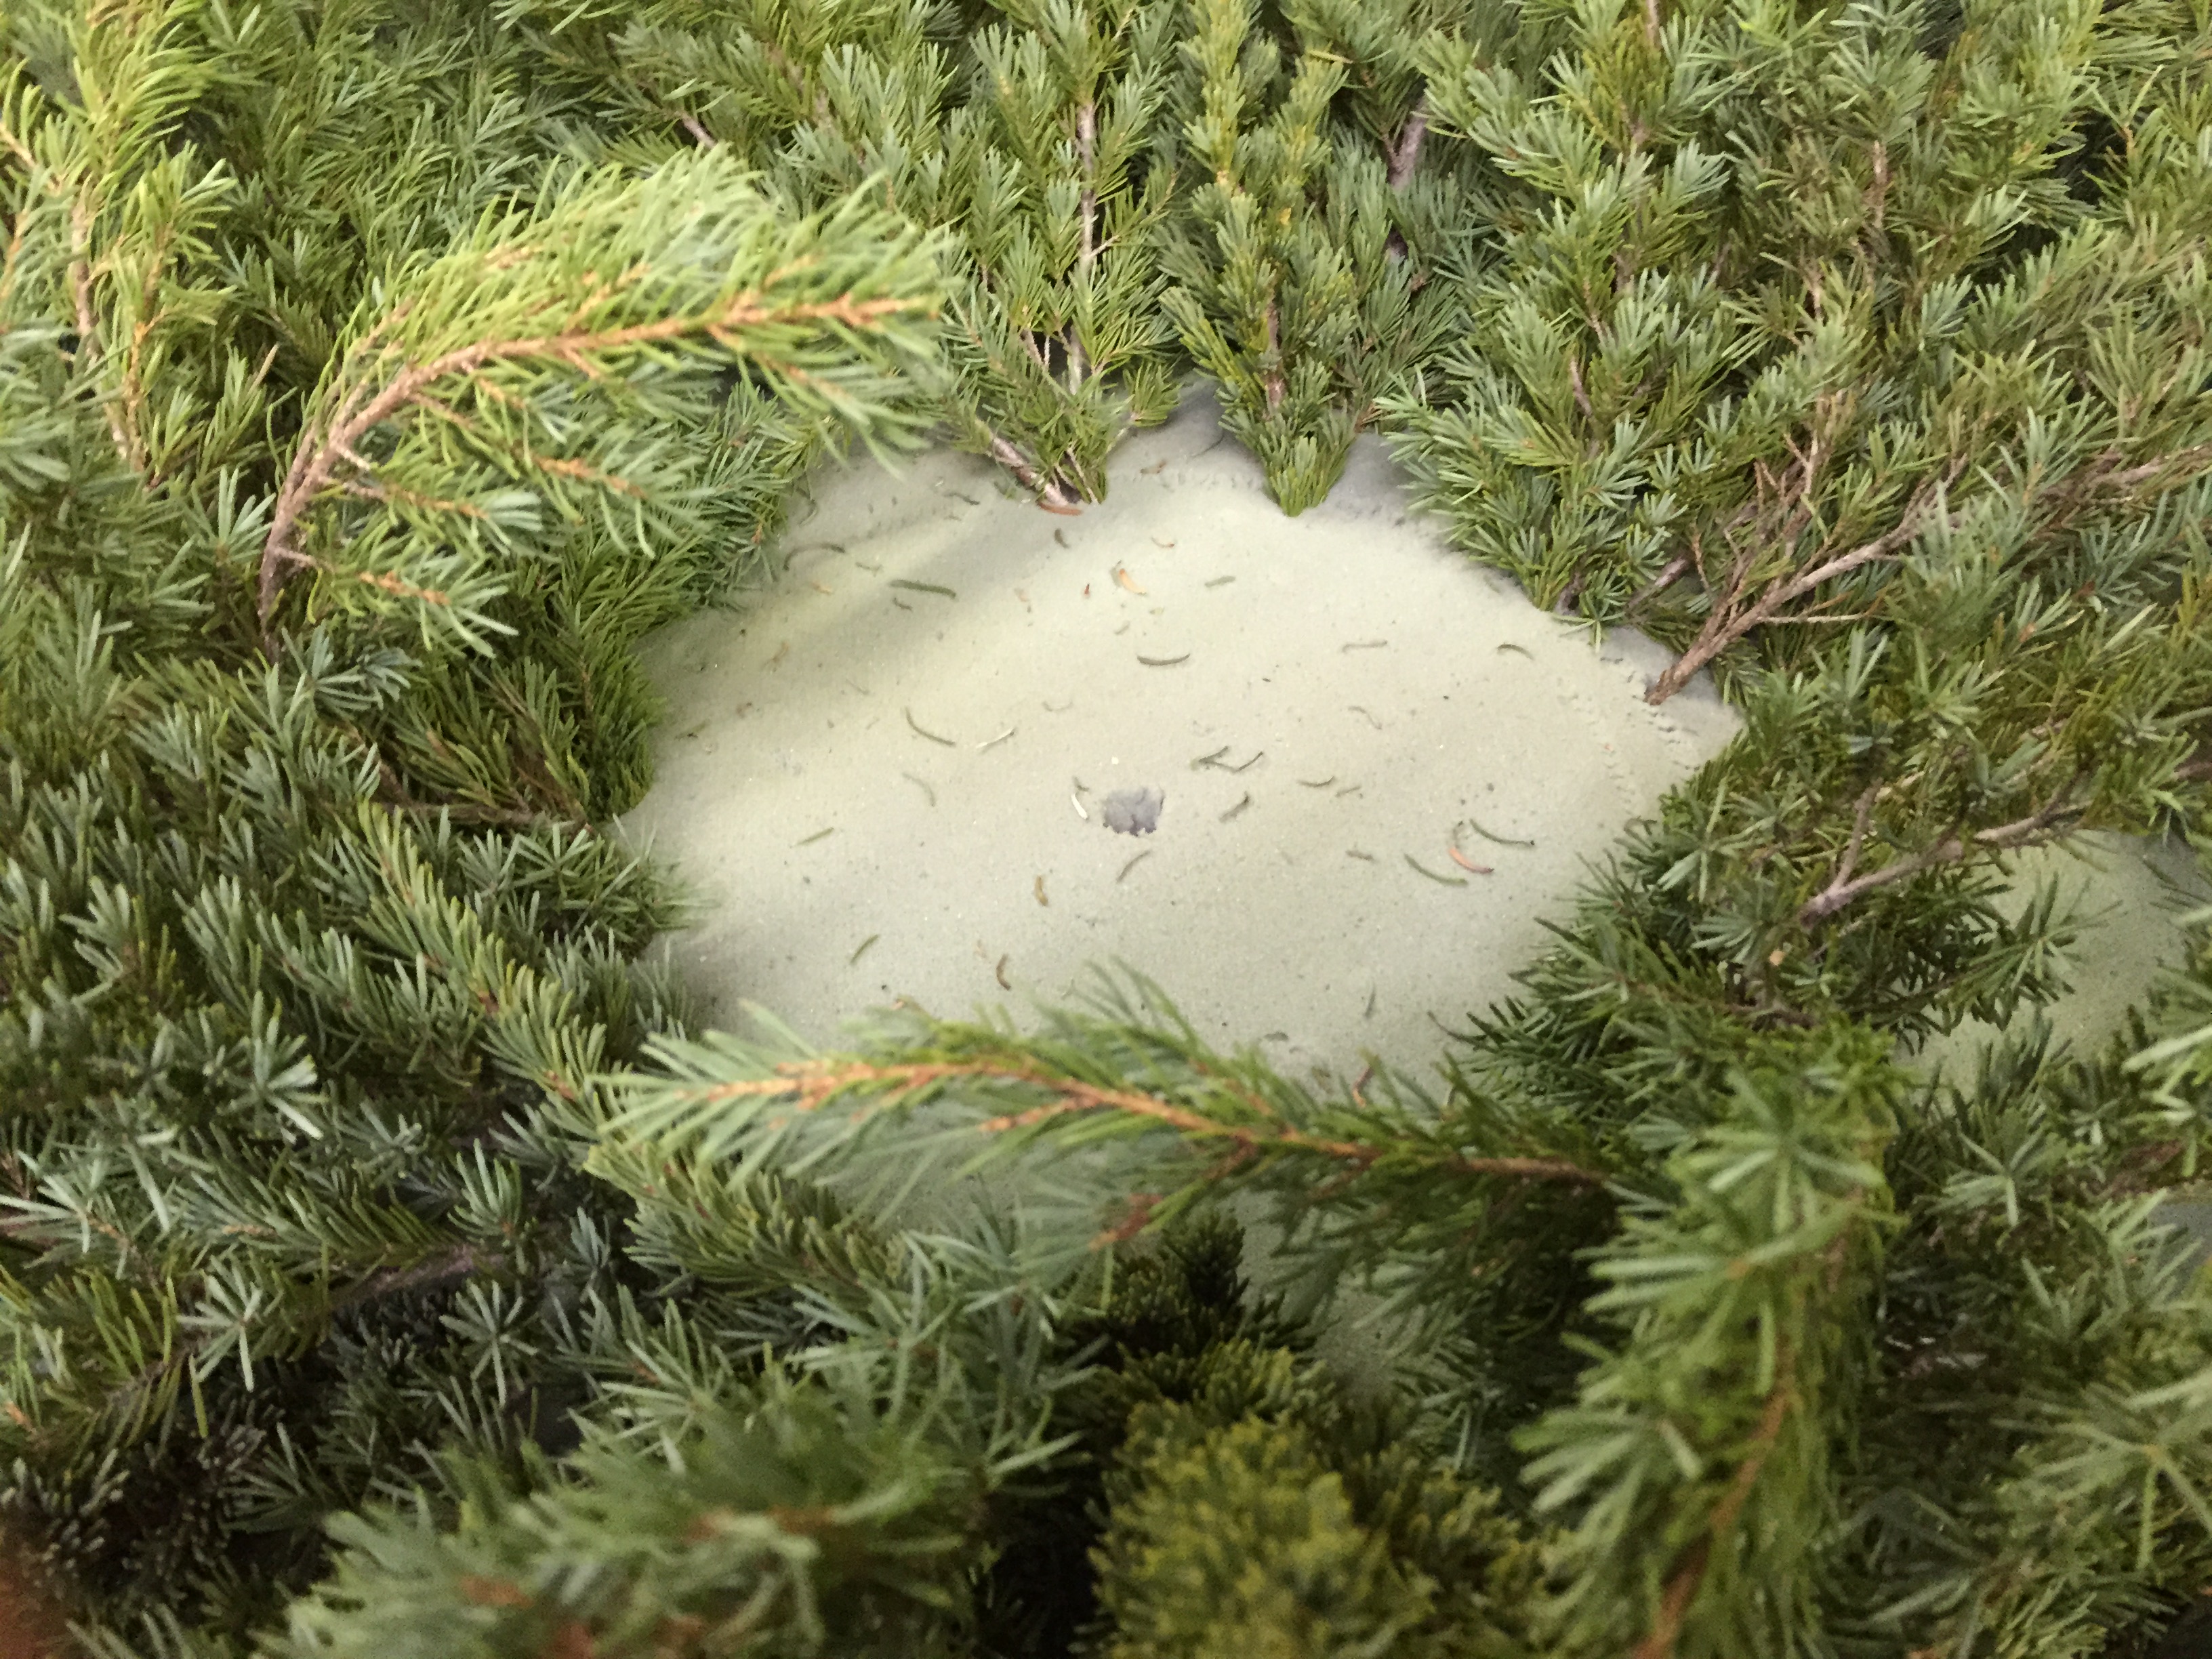 A bamboo stake marks the approximate location of the center of the form. We leave a big empty space in the middle-that will be cut out to hold the centerpiece. Or perhaps the centerpiece is comprised of twigs or picks set individually. If we set a big centerpiece through the greens foam, we will have to go back and stick individual evergreen branches around that centerpiece to soften the transition from the horizontal plane to the vertical plane.
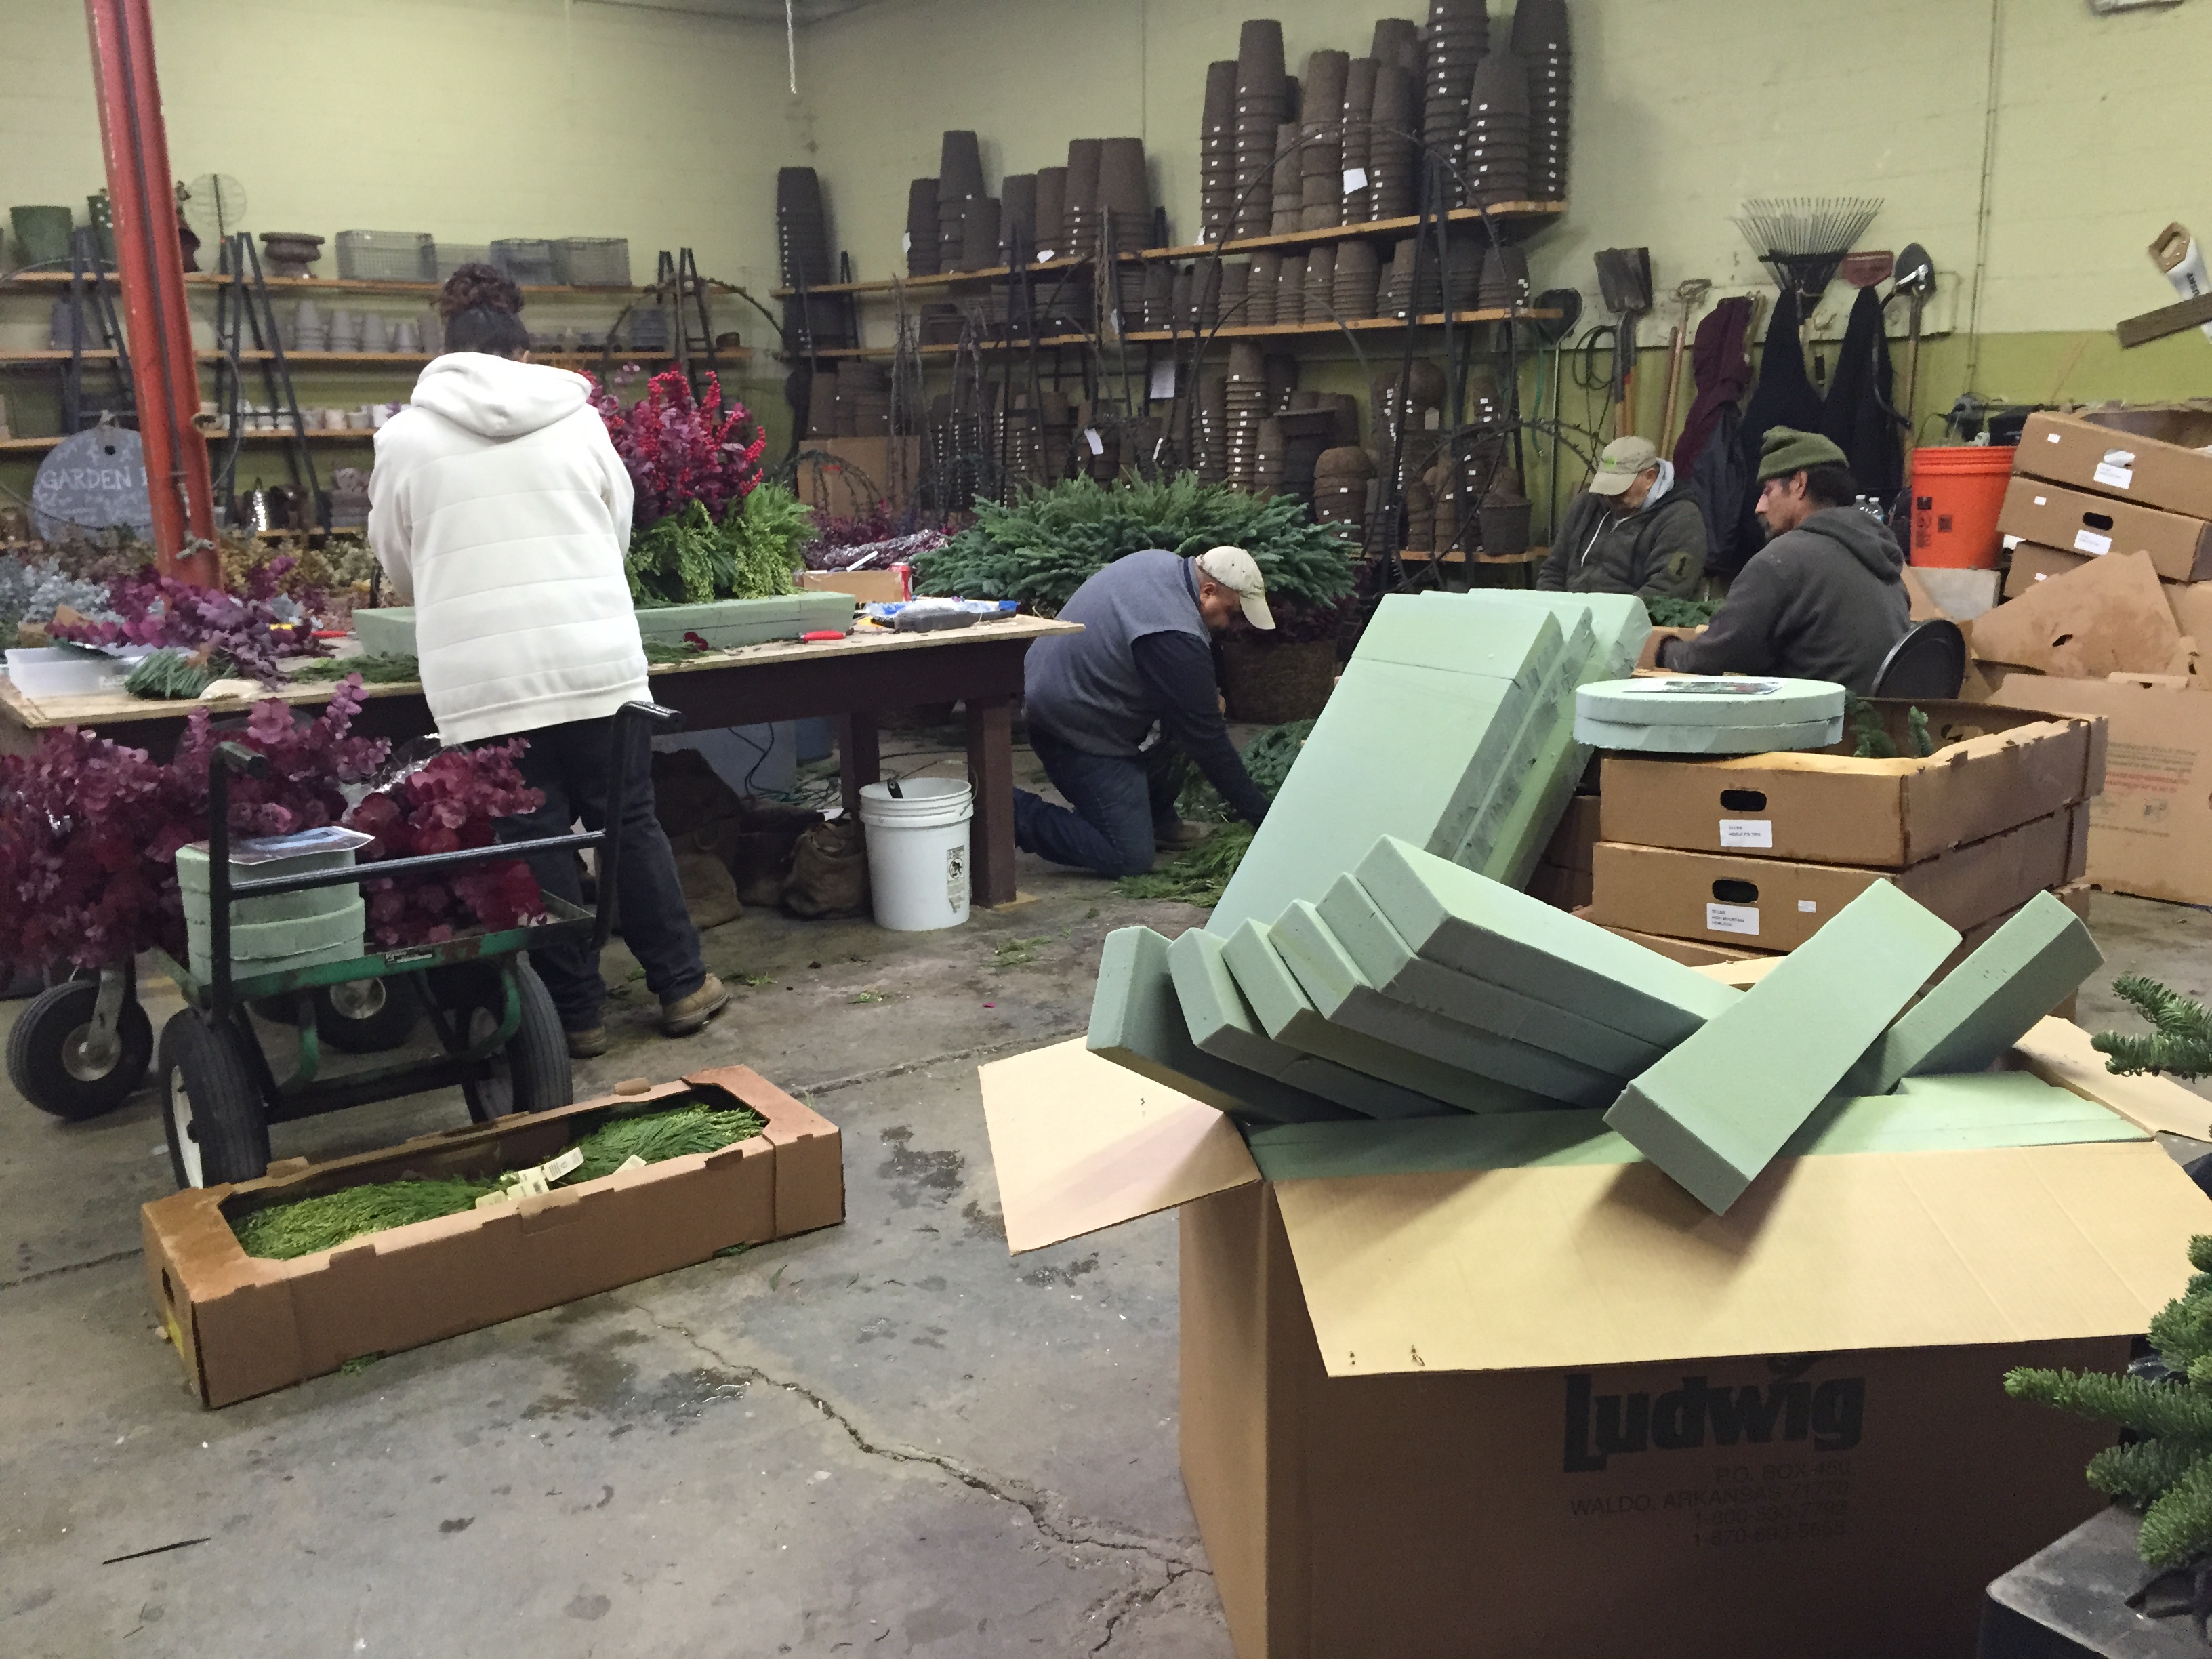
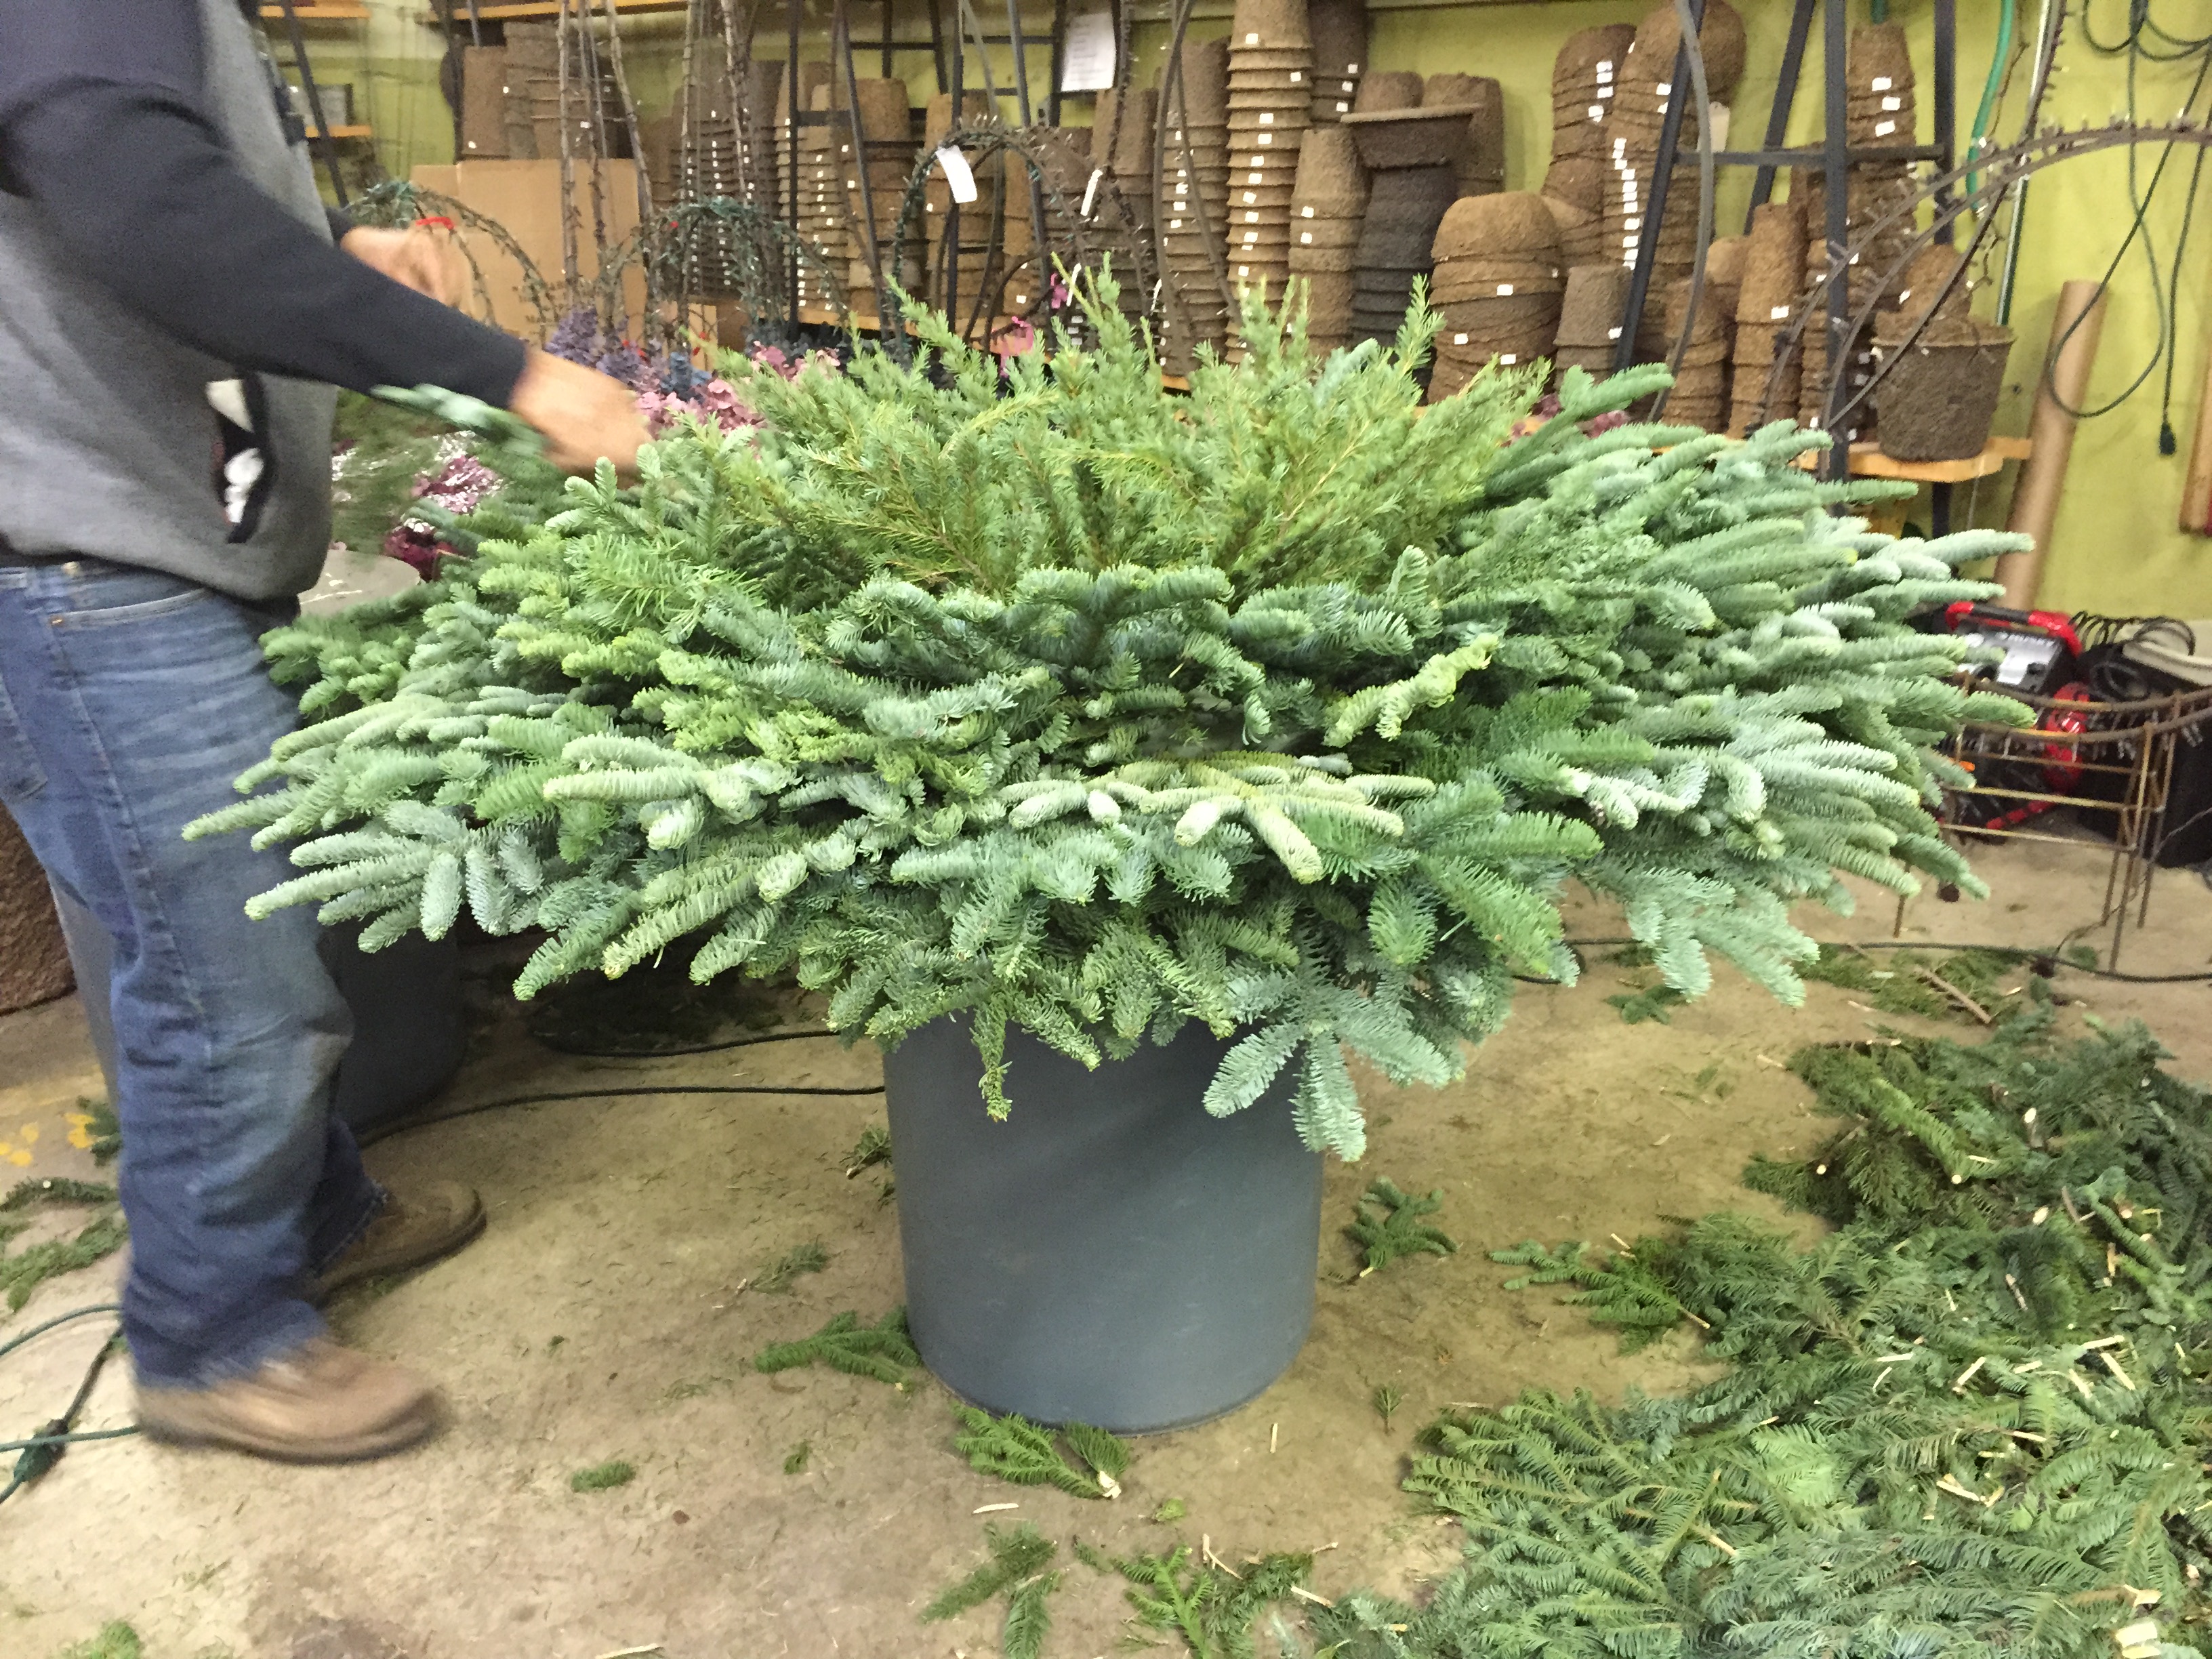 We have 2 very large pots to dress for winter on Monday. The outer layer is noble fir. The inner layer is mountain hemlock. What else will go in these greens to to be determined. It could be the large leaved German boxwood. It could be branchy twigs, or pine cones. It could be mini grapevine garlands. It could be no end of winter and holiday picks. The greens are the foundation upon which all else will be built.
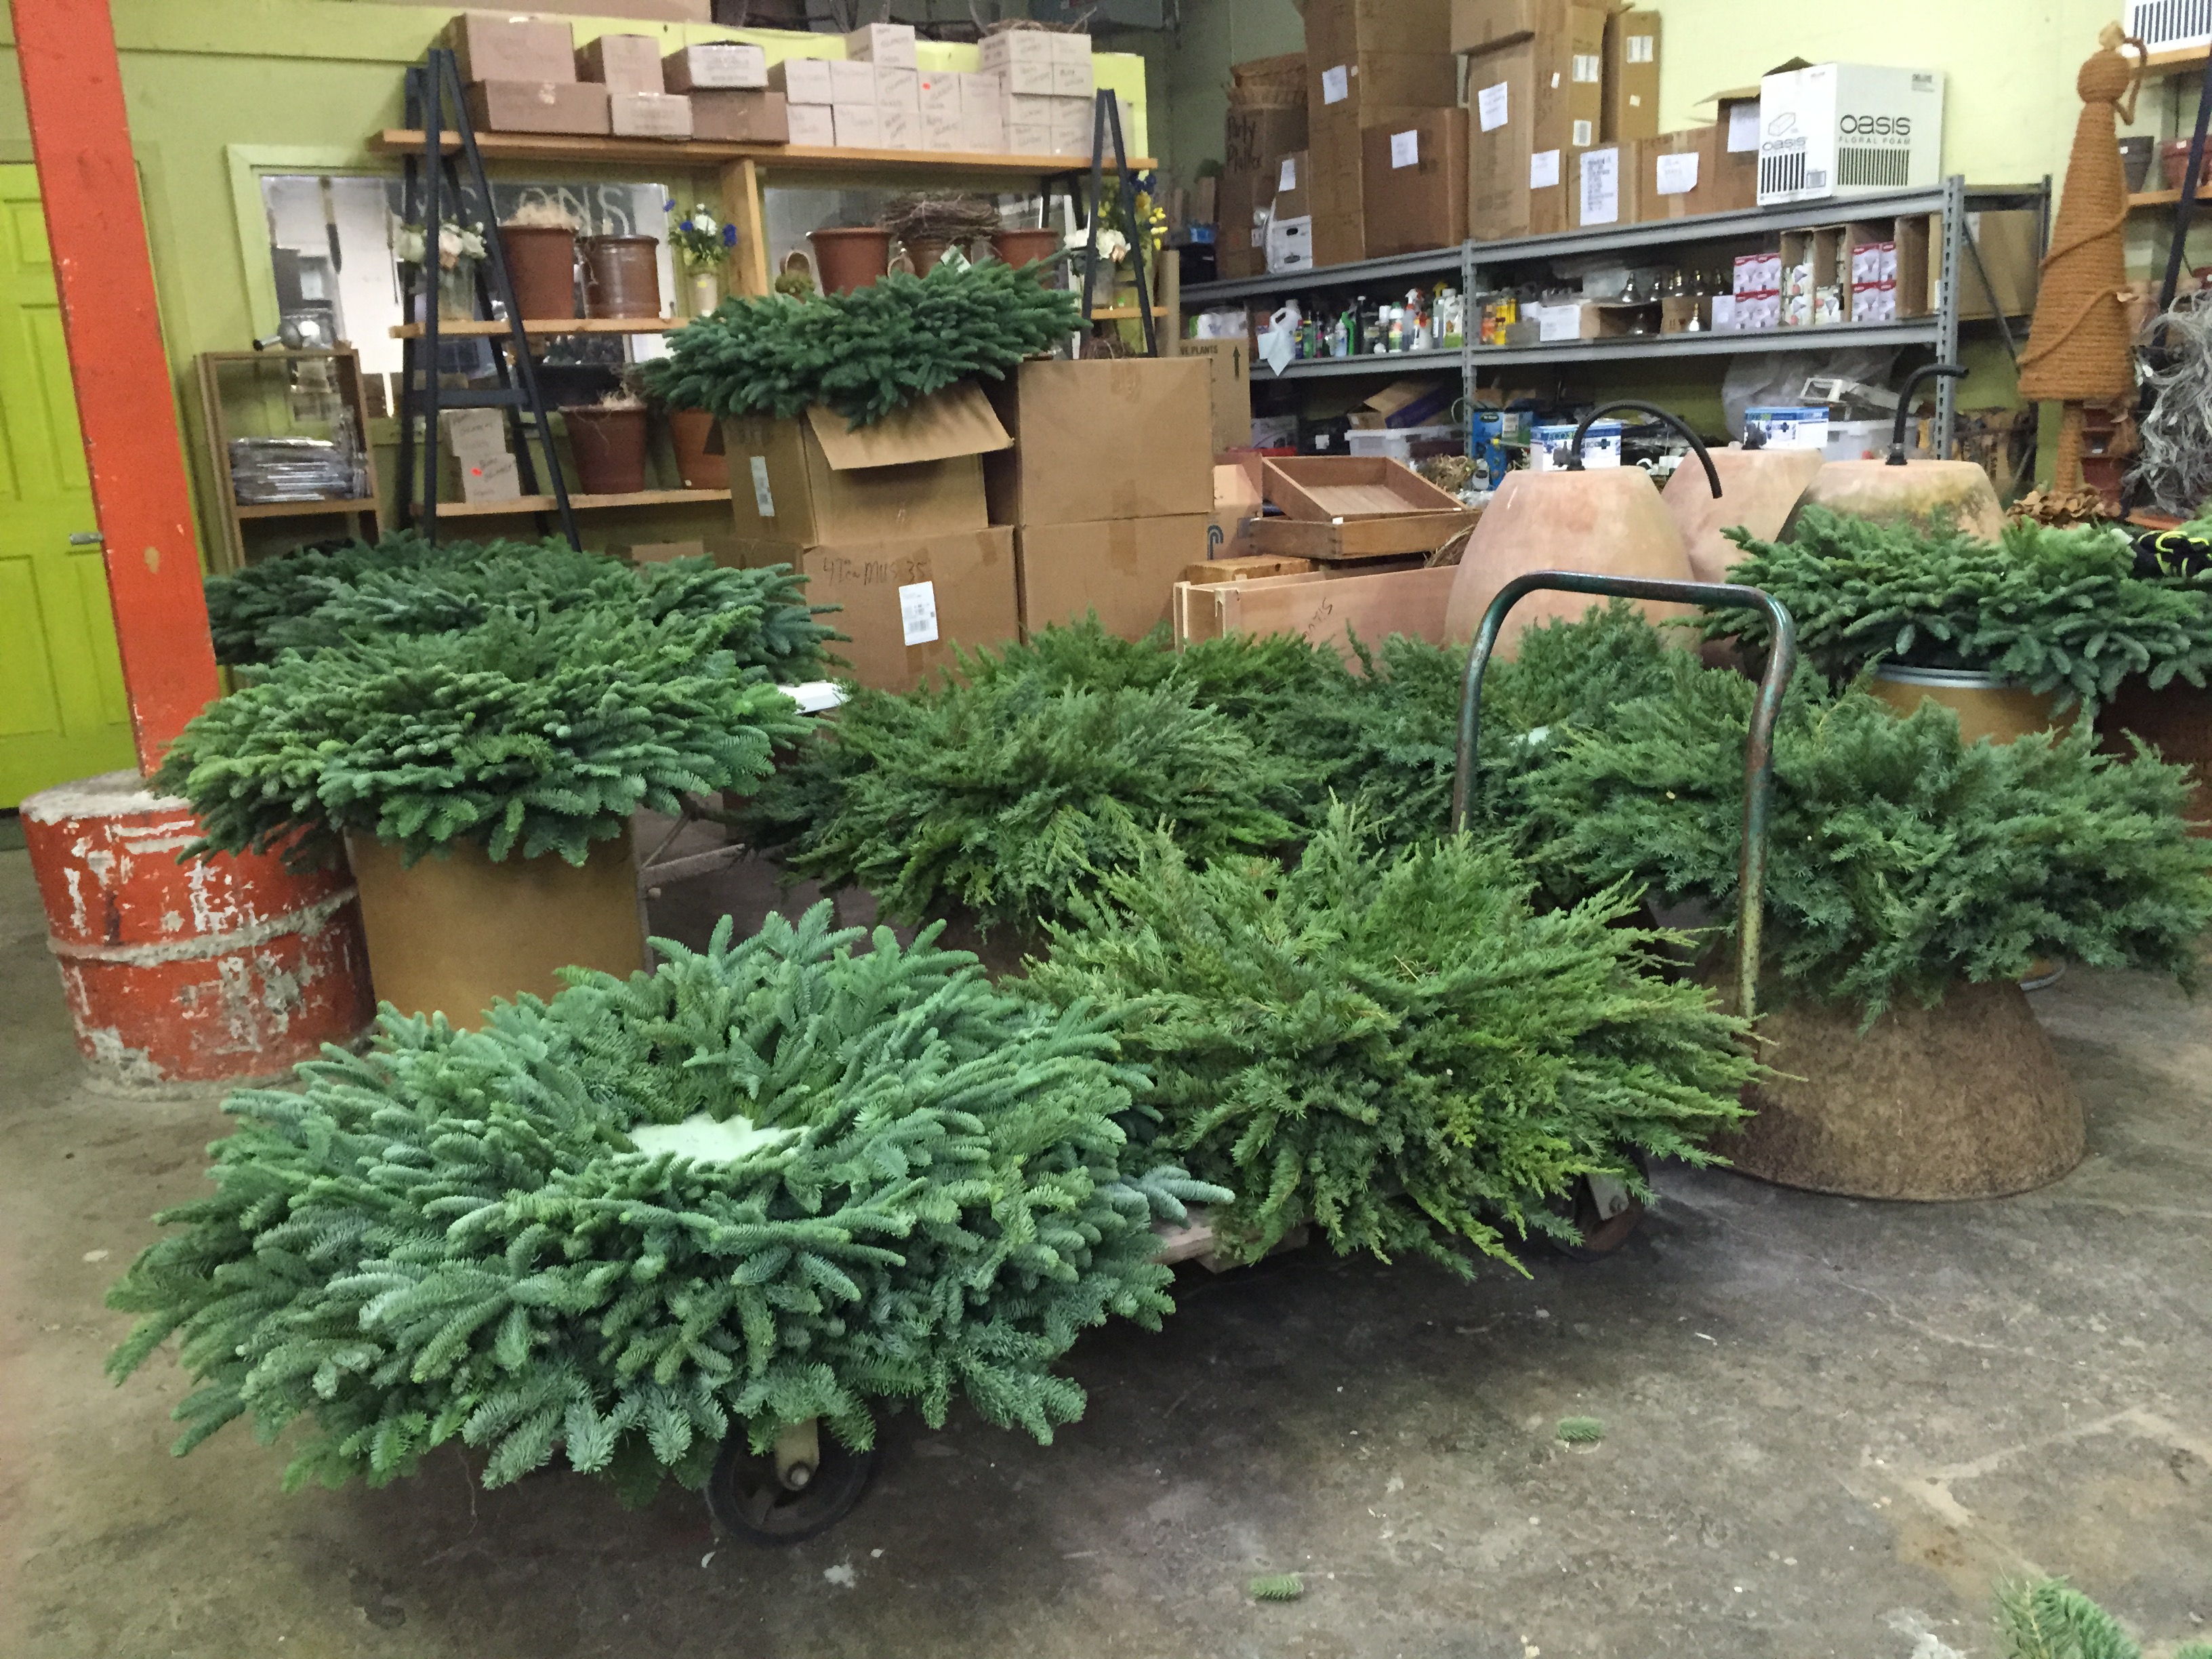 All of the fir family branches hold up and sail through the winter. Even winters with heavy snow. The mountain hemlock is the toughest green I have ever used. The stems in my pots on my driveway were as green and lush the end of March as they were in November. For gardeners that live in northern climates, the longevity of cut greens is important. I stay away from cedar and white pine. They dry out and turn brown so fast.
 Some winter and holiday pots begin with the centerpiece. These are some pots that need something other than a center of interest. They need a wider ranging area of interest. The floral foam is a perfect medium for this.
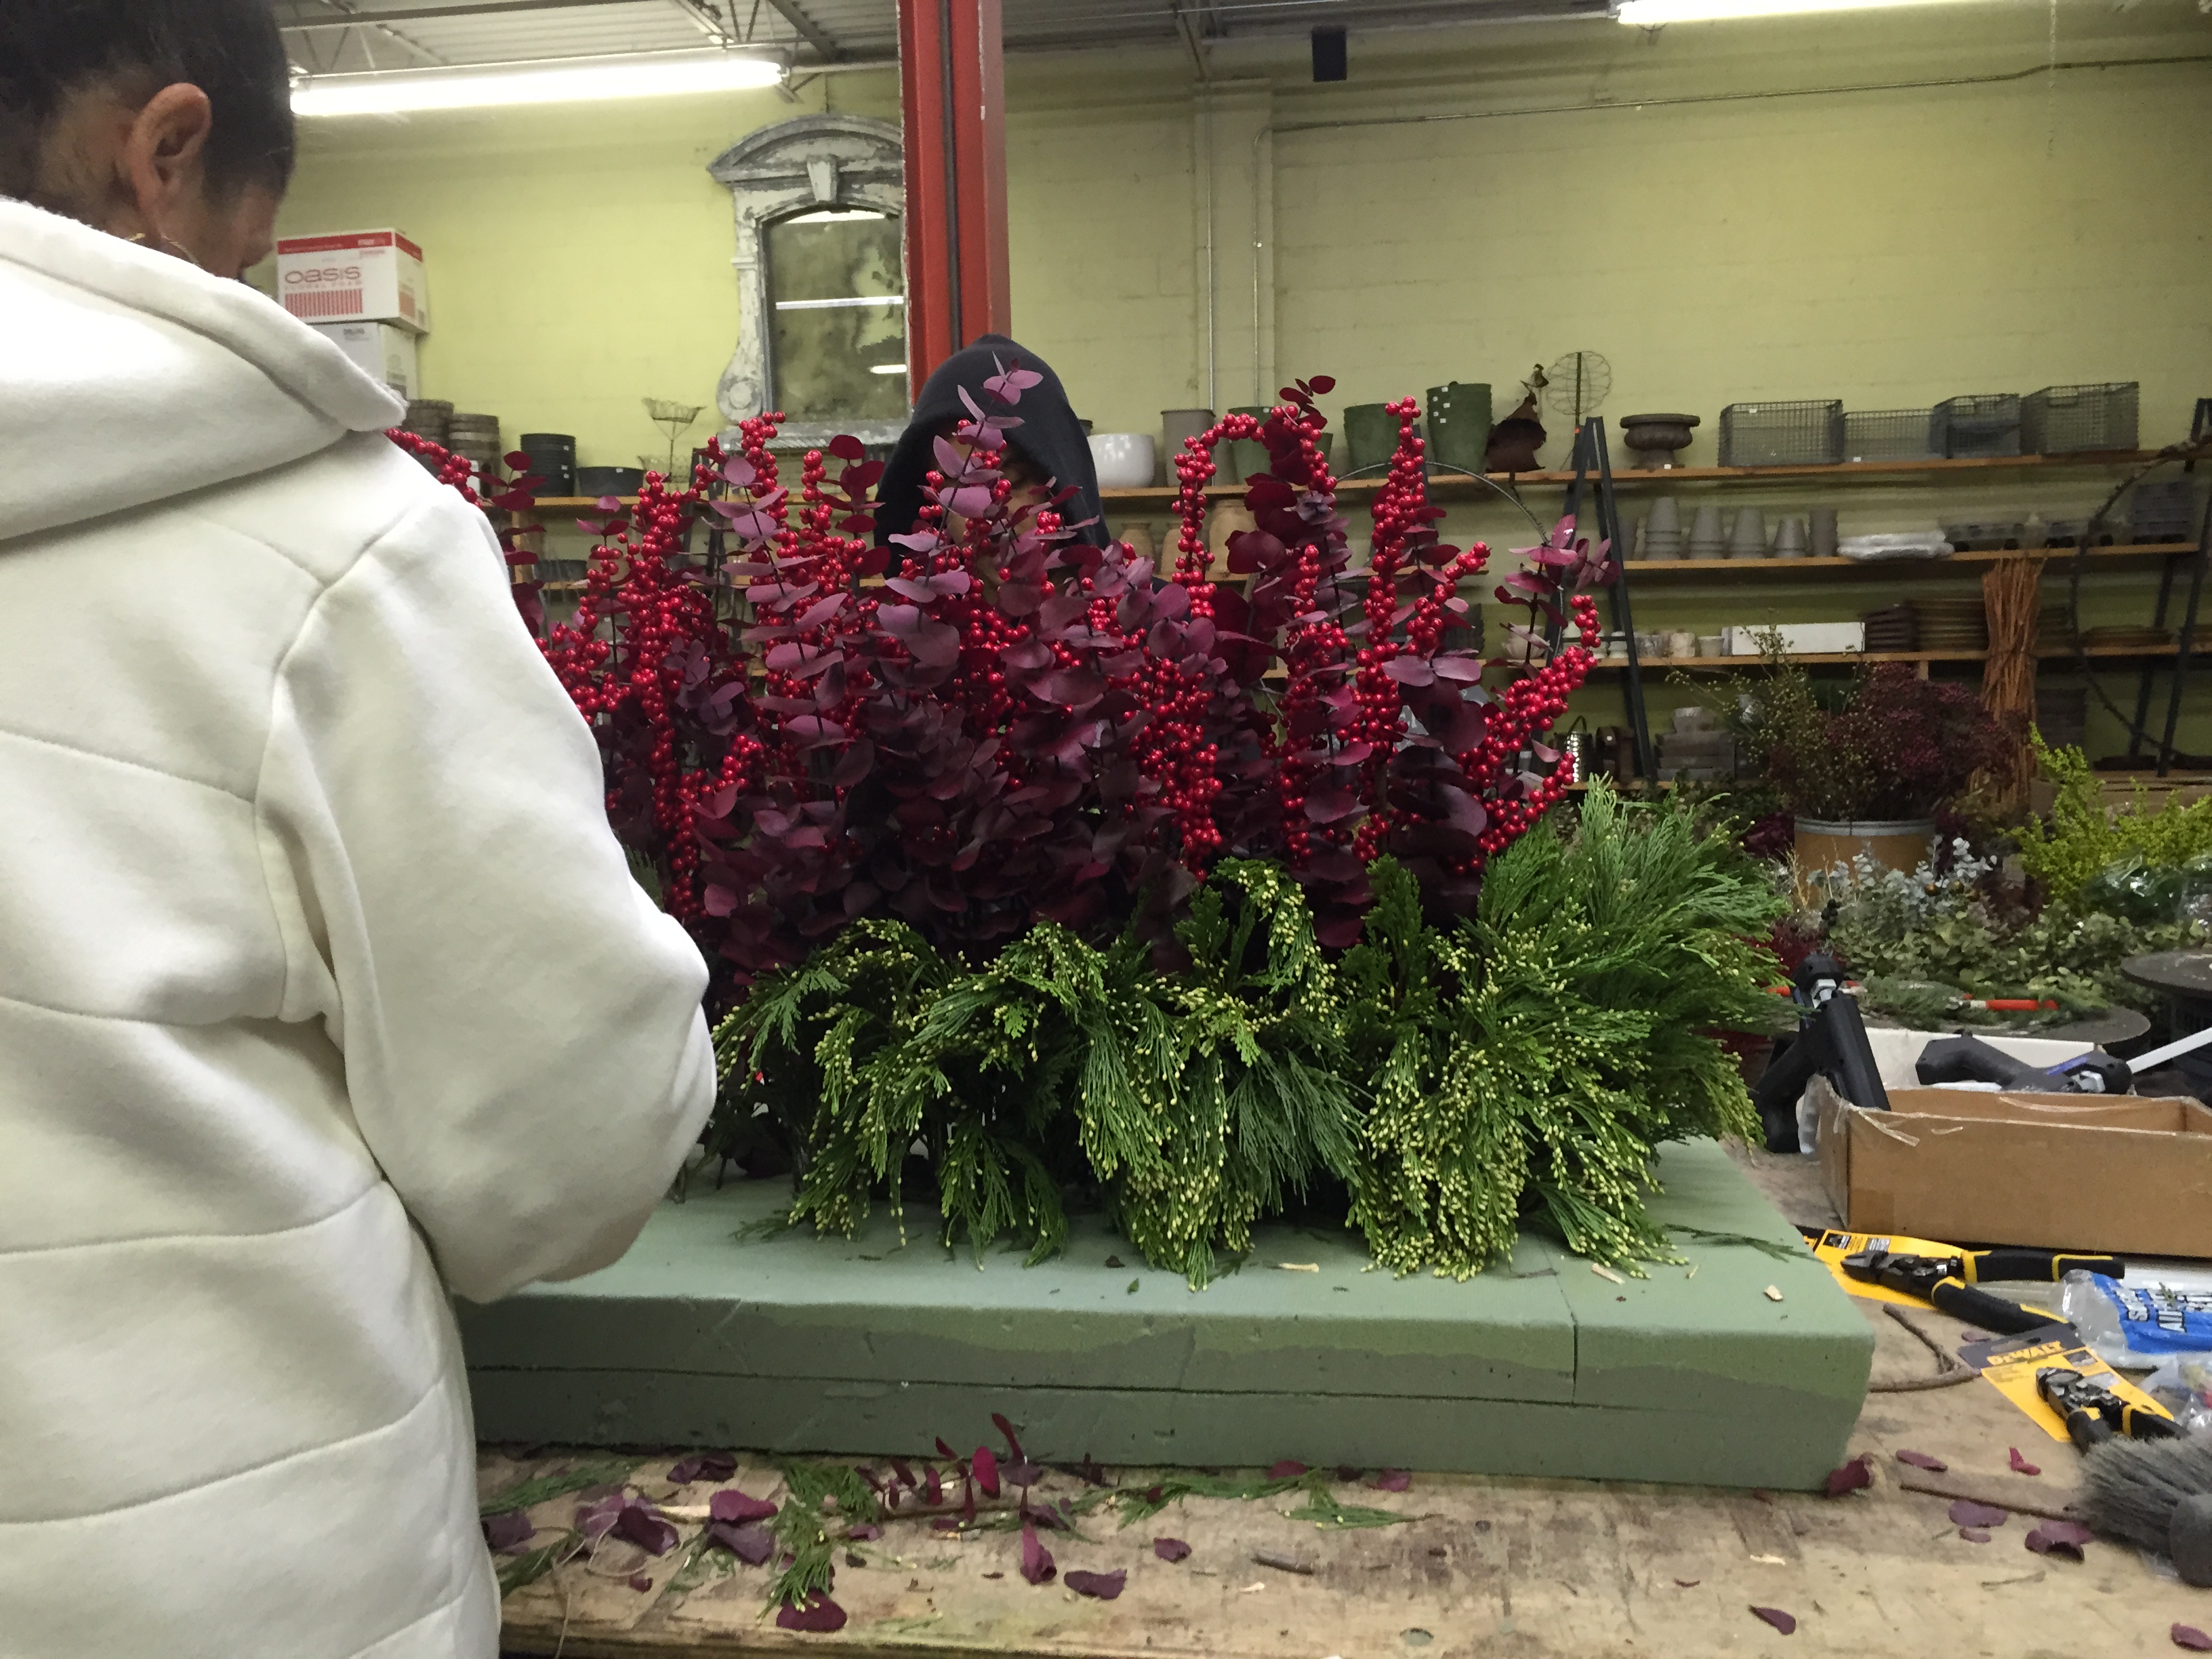 This arrangement will go in a rectangular pot. That rectangle is a strong geometric shape that asks for an answer that resonates. We set the center in some pots before the edges. Why? The foam will adequately hold a shorter centerpiece. A very tall centerpiece has a bamboo stake which gets driven down in to the soil for stability. It goes through the foam, it is not supported by the foam.
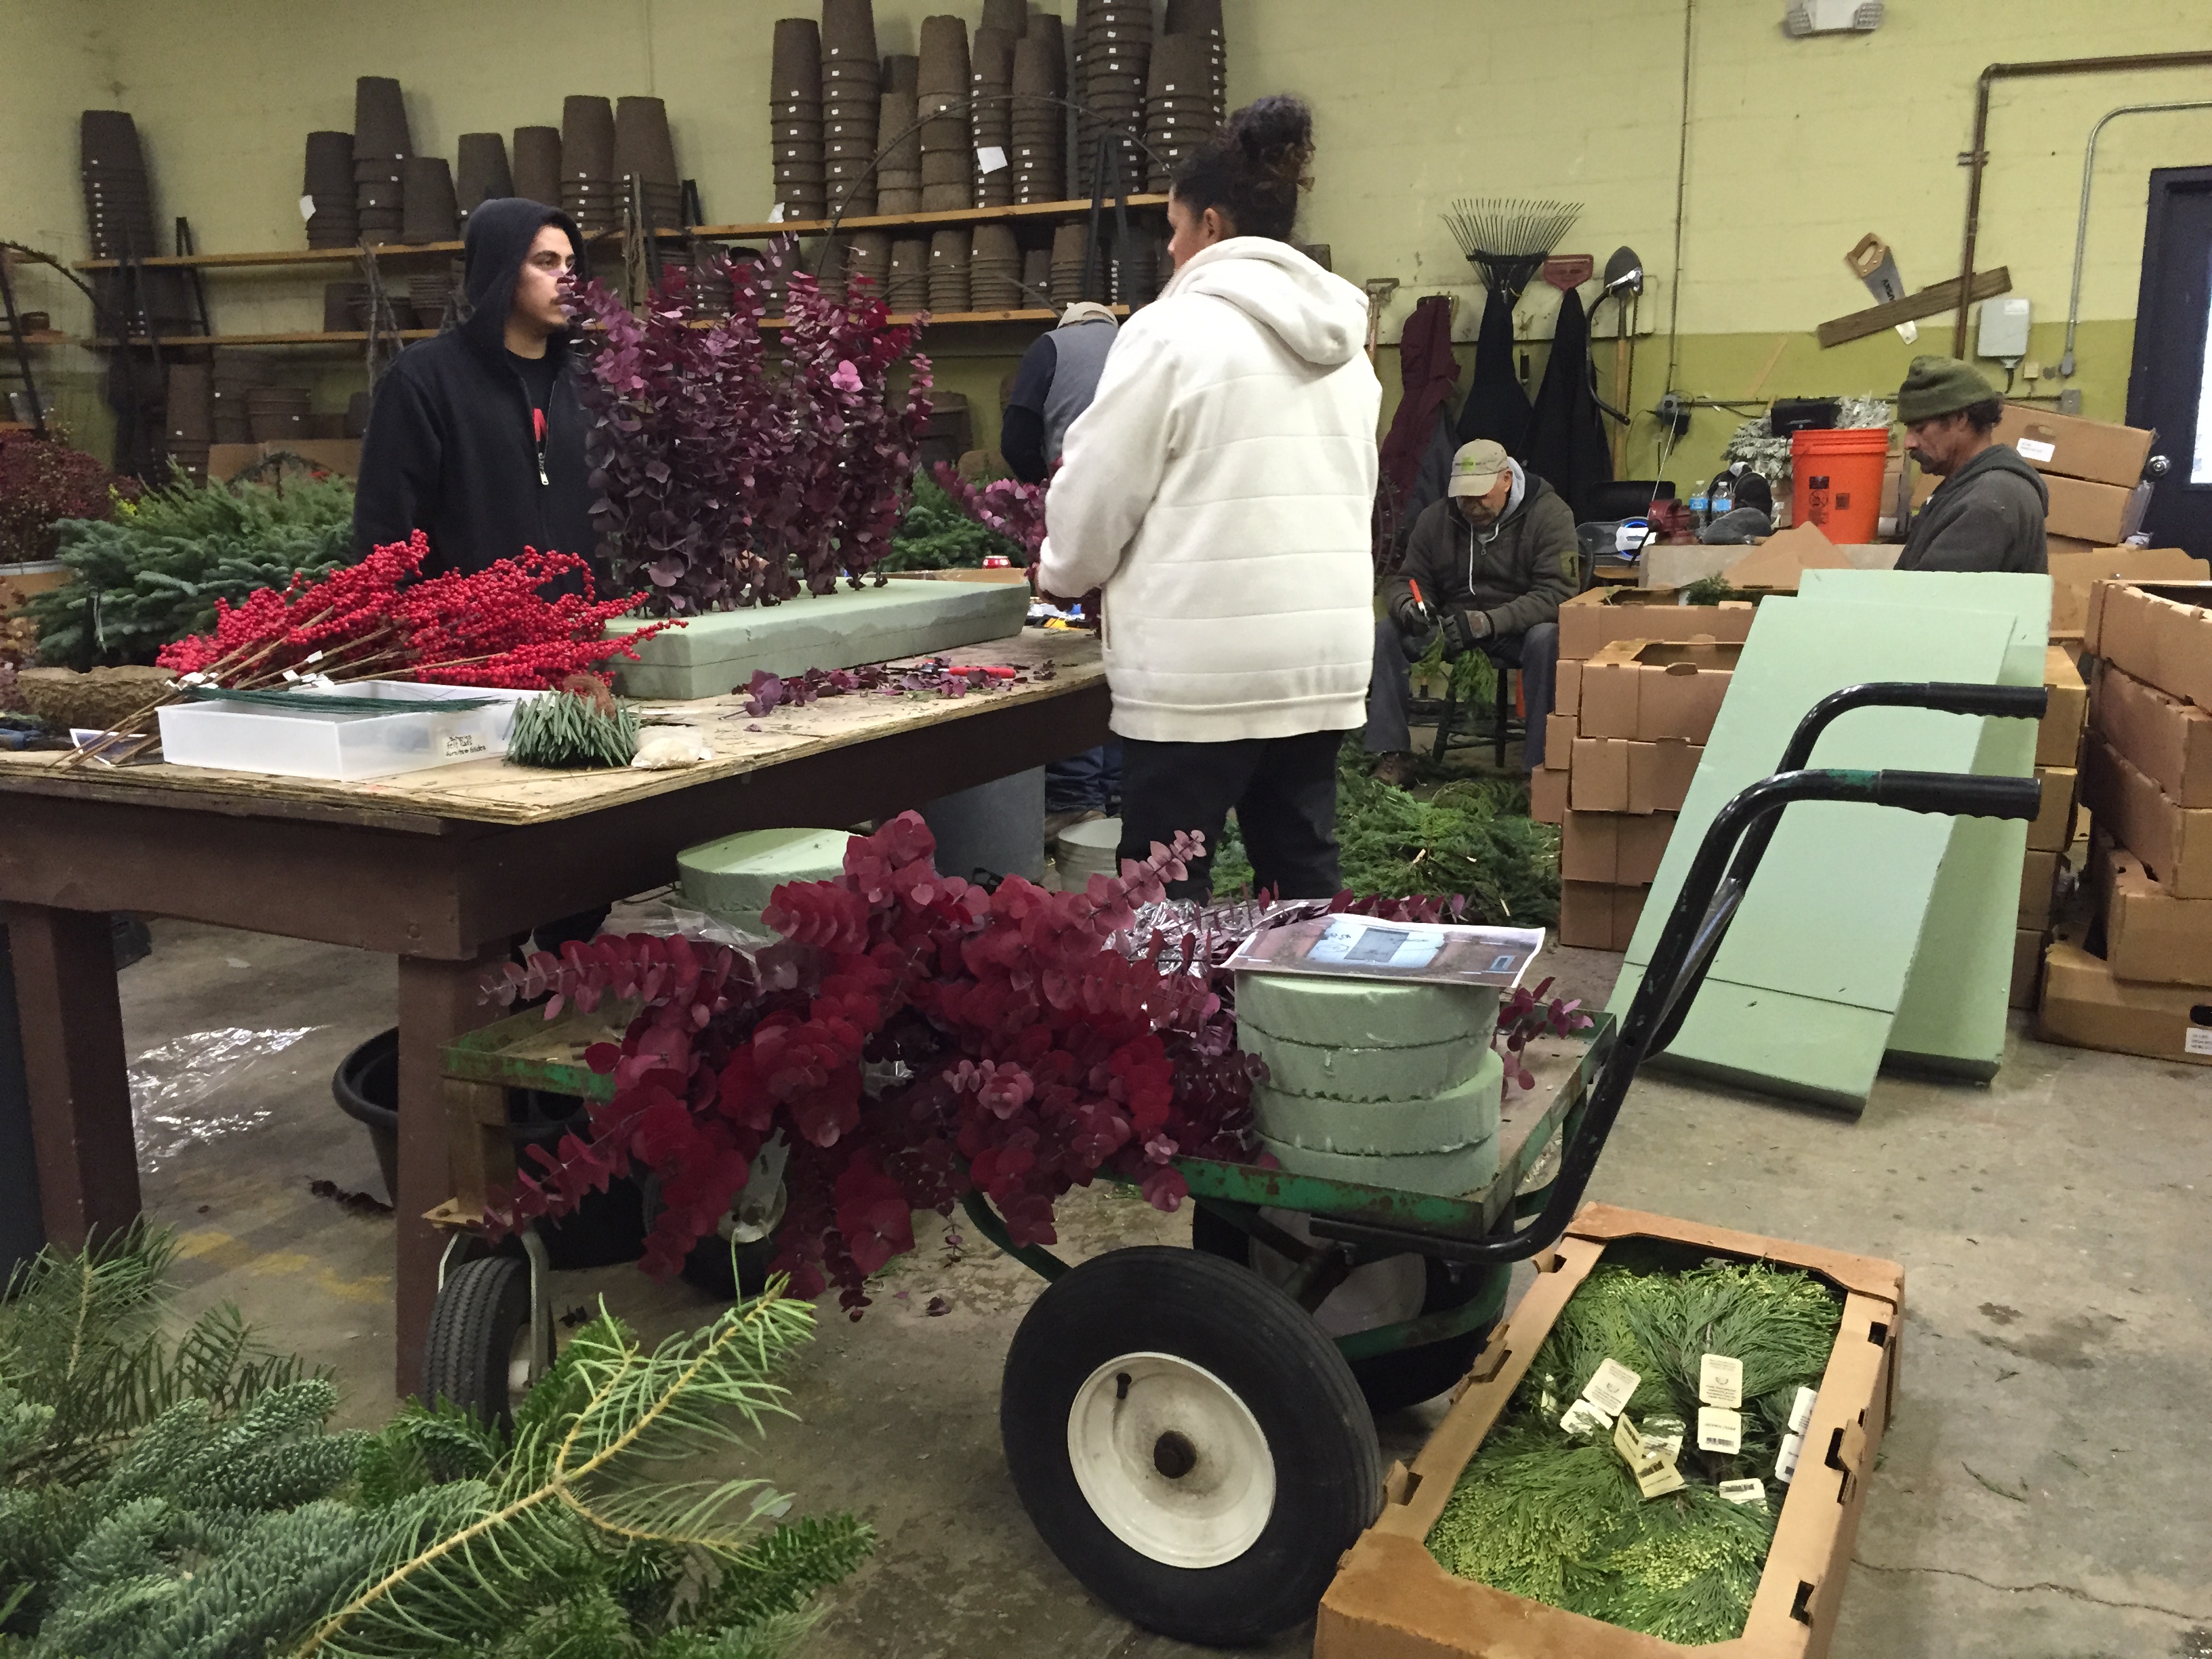
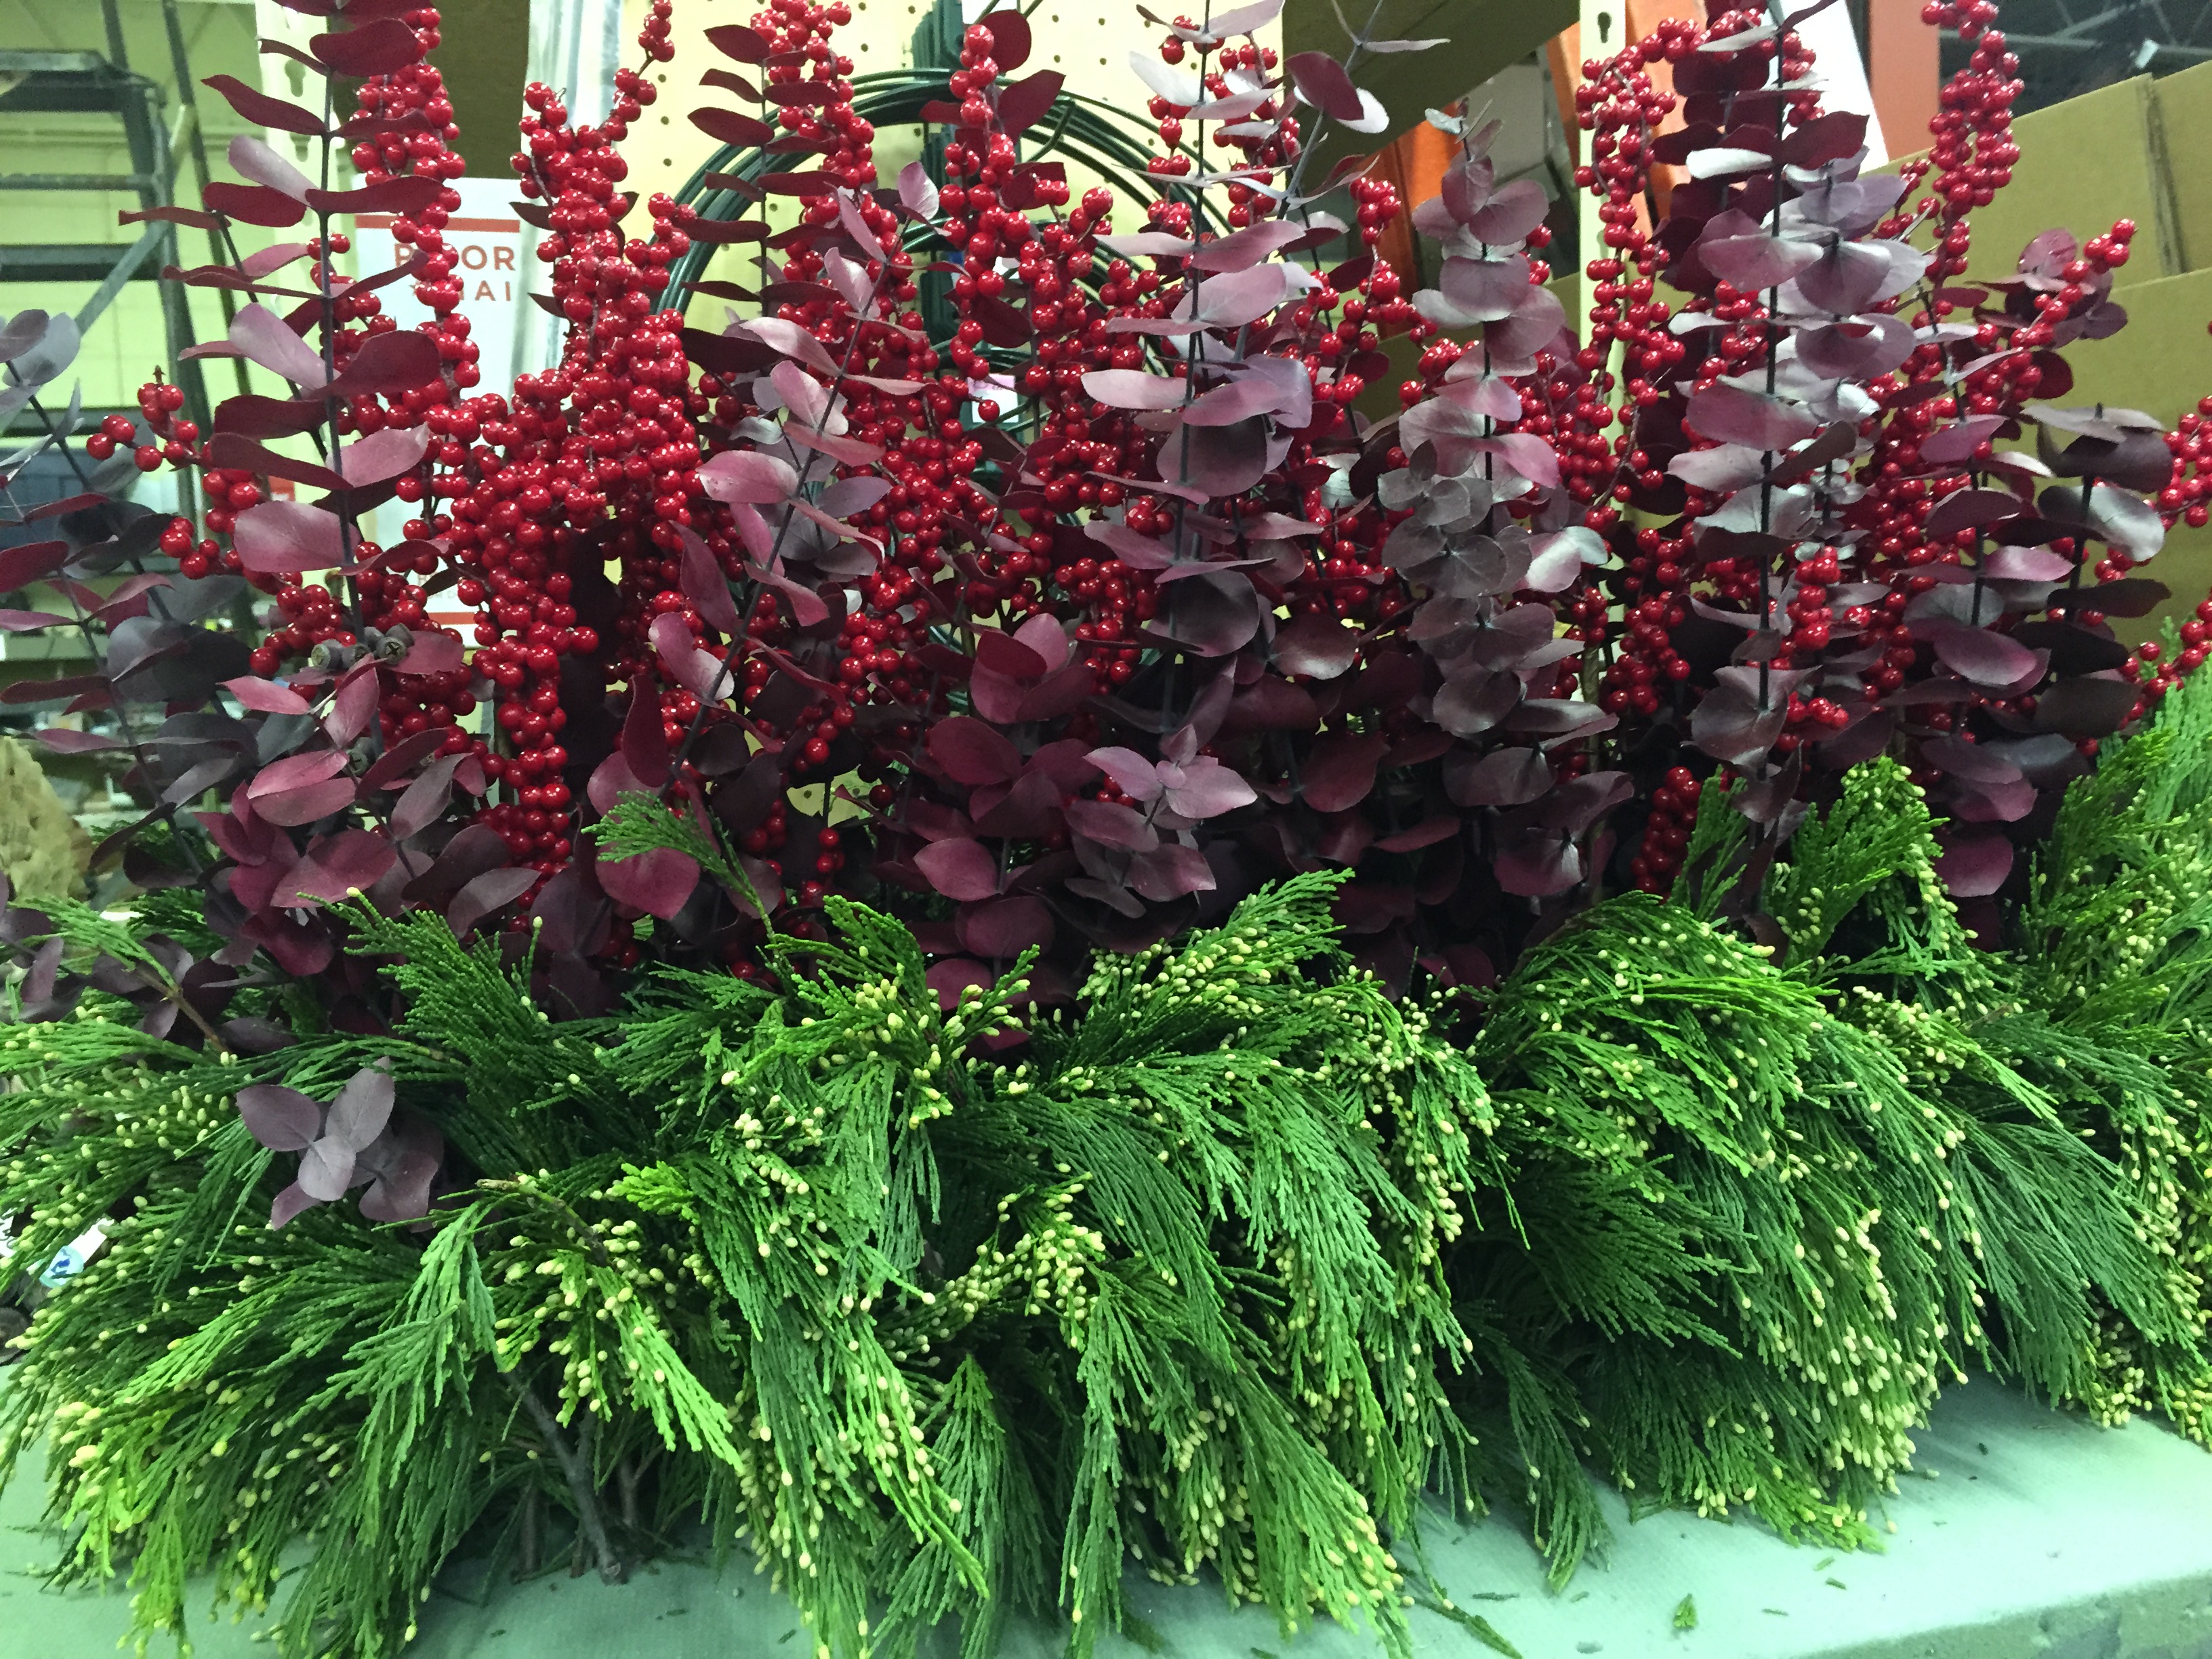 This center is diffuse., but roughly rectangular. The red berry picks and plum eucalyptus make for a mix of reds that is interesting. The port orford cedar is a strong contrast. We will finish the edges with mixed evergreens, with lots of port orford cedar in that mix. Anything else? I am not sure yet.
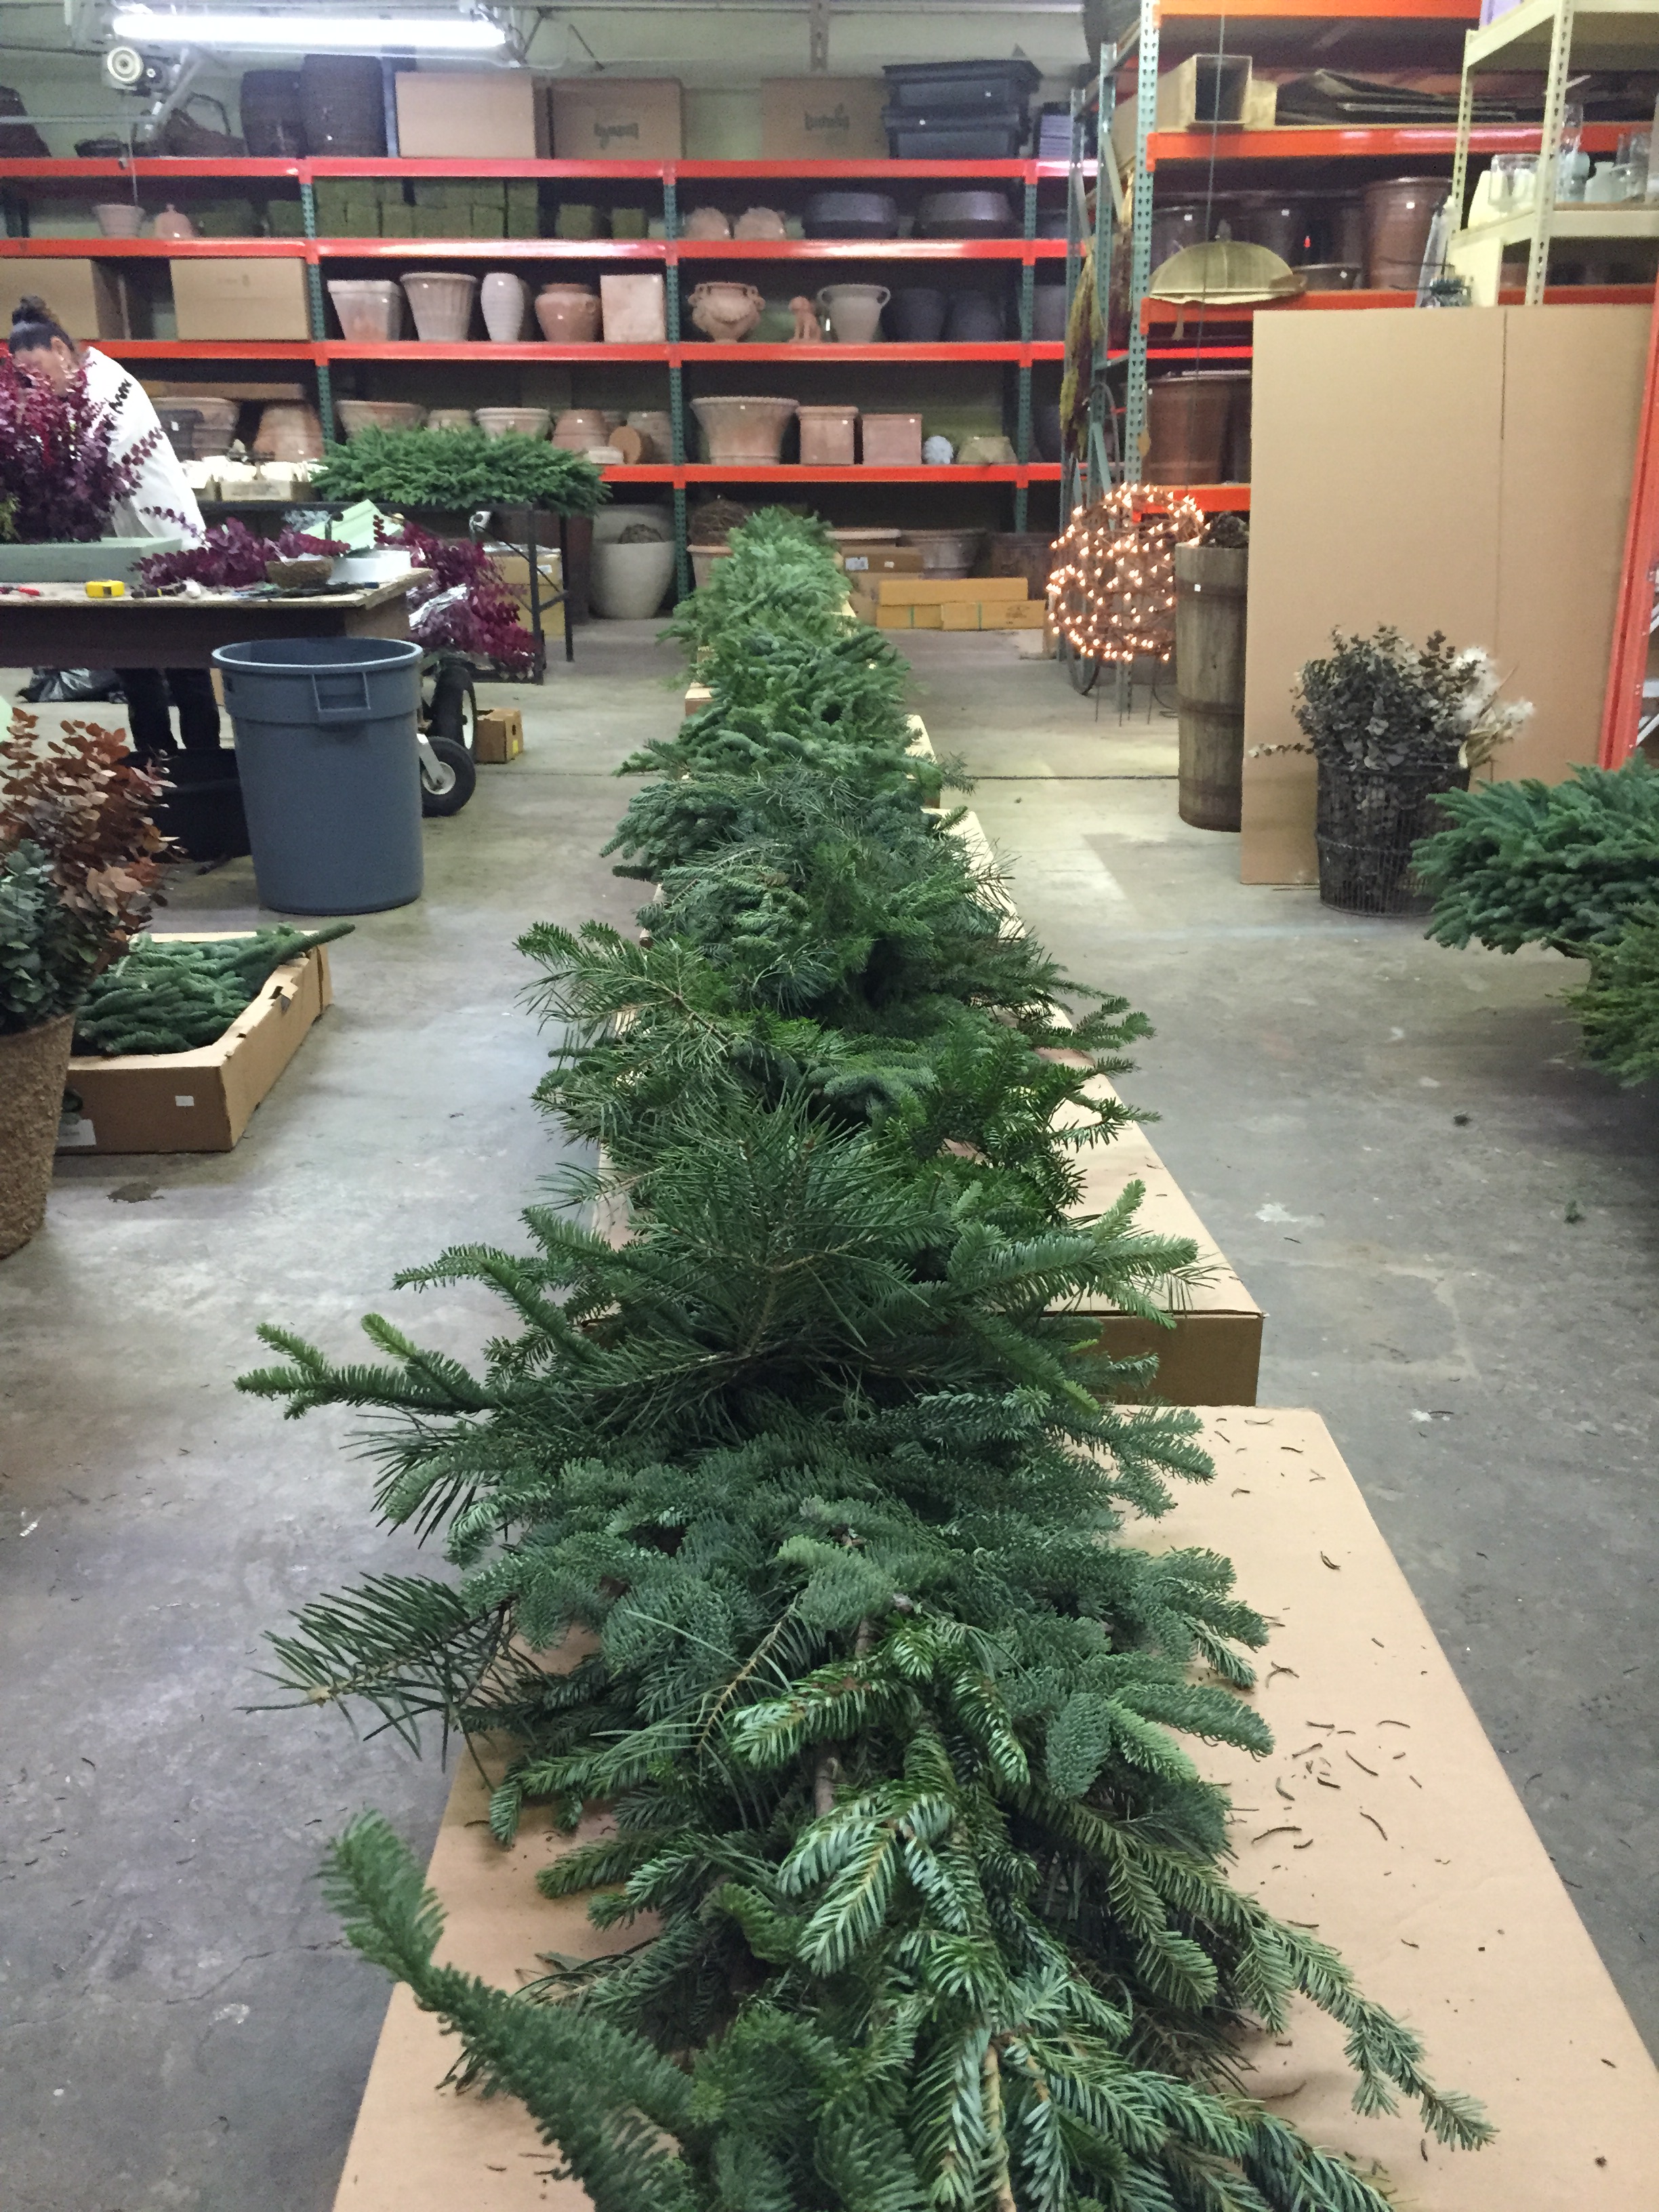 Winter and holiday pots are not all that we do. The place where today’s pots will go have a garland to go over the door. We buy garland, and then zip tie our evergreen boughs to it. This doubles the heft, and the places where other ornament can be attached. For winter, I like every gesture to be generous and warm. I would not want to be resigned to the coming of the cold and the gray skies. I would rather fend off the dark and dreary in whatever way I could. This garland gets set on an army of cardboard boxes, so the work is at a convenient height. Convenient to see and think over, and convenient to work on. I will so enjoy all the making that lies ahead.