 As promised, here is part two of the story of this landscape installation. The limestone terraces and wall caps were next up. I am very fortunate to have a stone mason that is as capable of building walls as he is installing flat work. That is not always the case. I suspect all of the trades are much more specialized than they were years ago. I have no doubt that the craftsmen that built this house to begin with had design skills. By that I mean, they could design their way past a problem to a functional solution. And they had a broad range of knowledge. I absolutely ascribe the visual success of this hard scape project to just such an old school craftsman, Mike Newman.
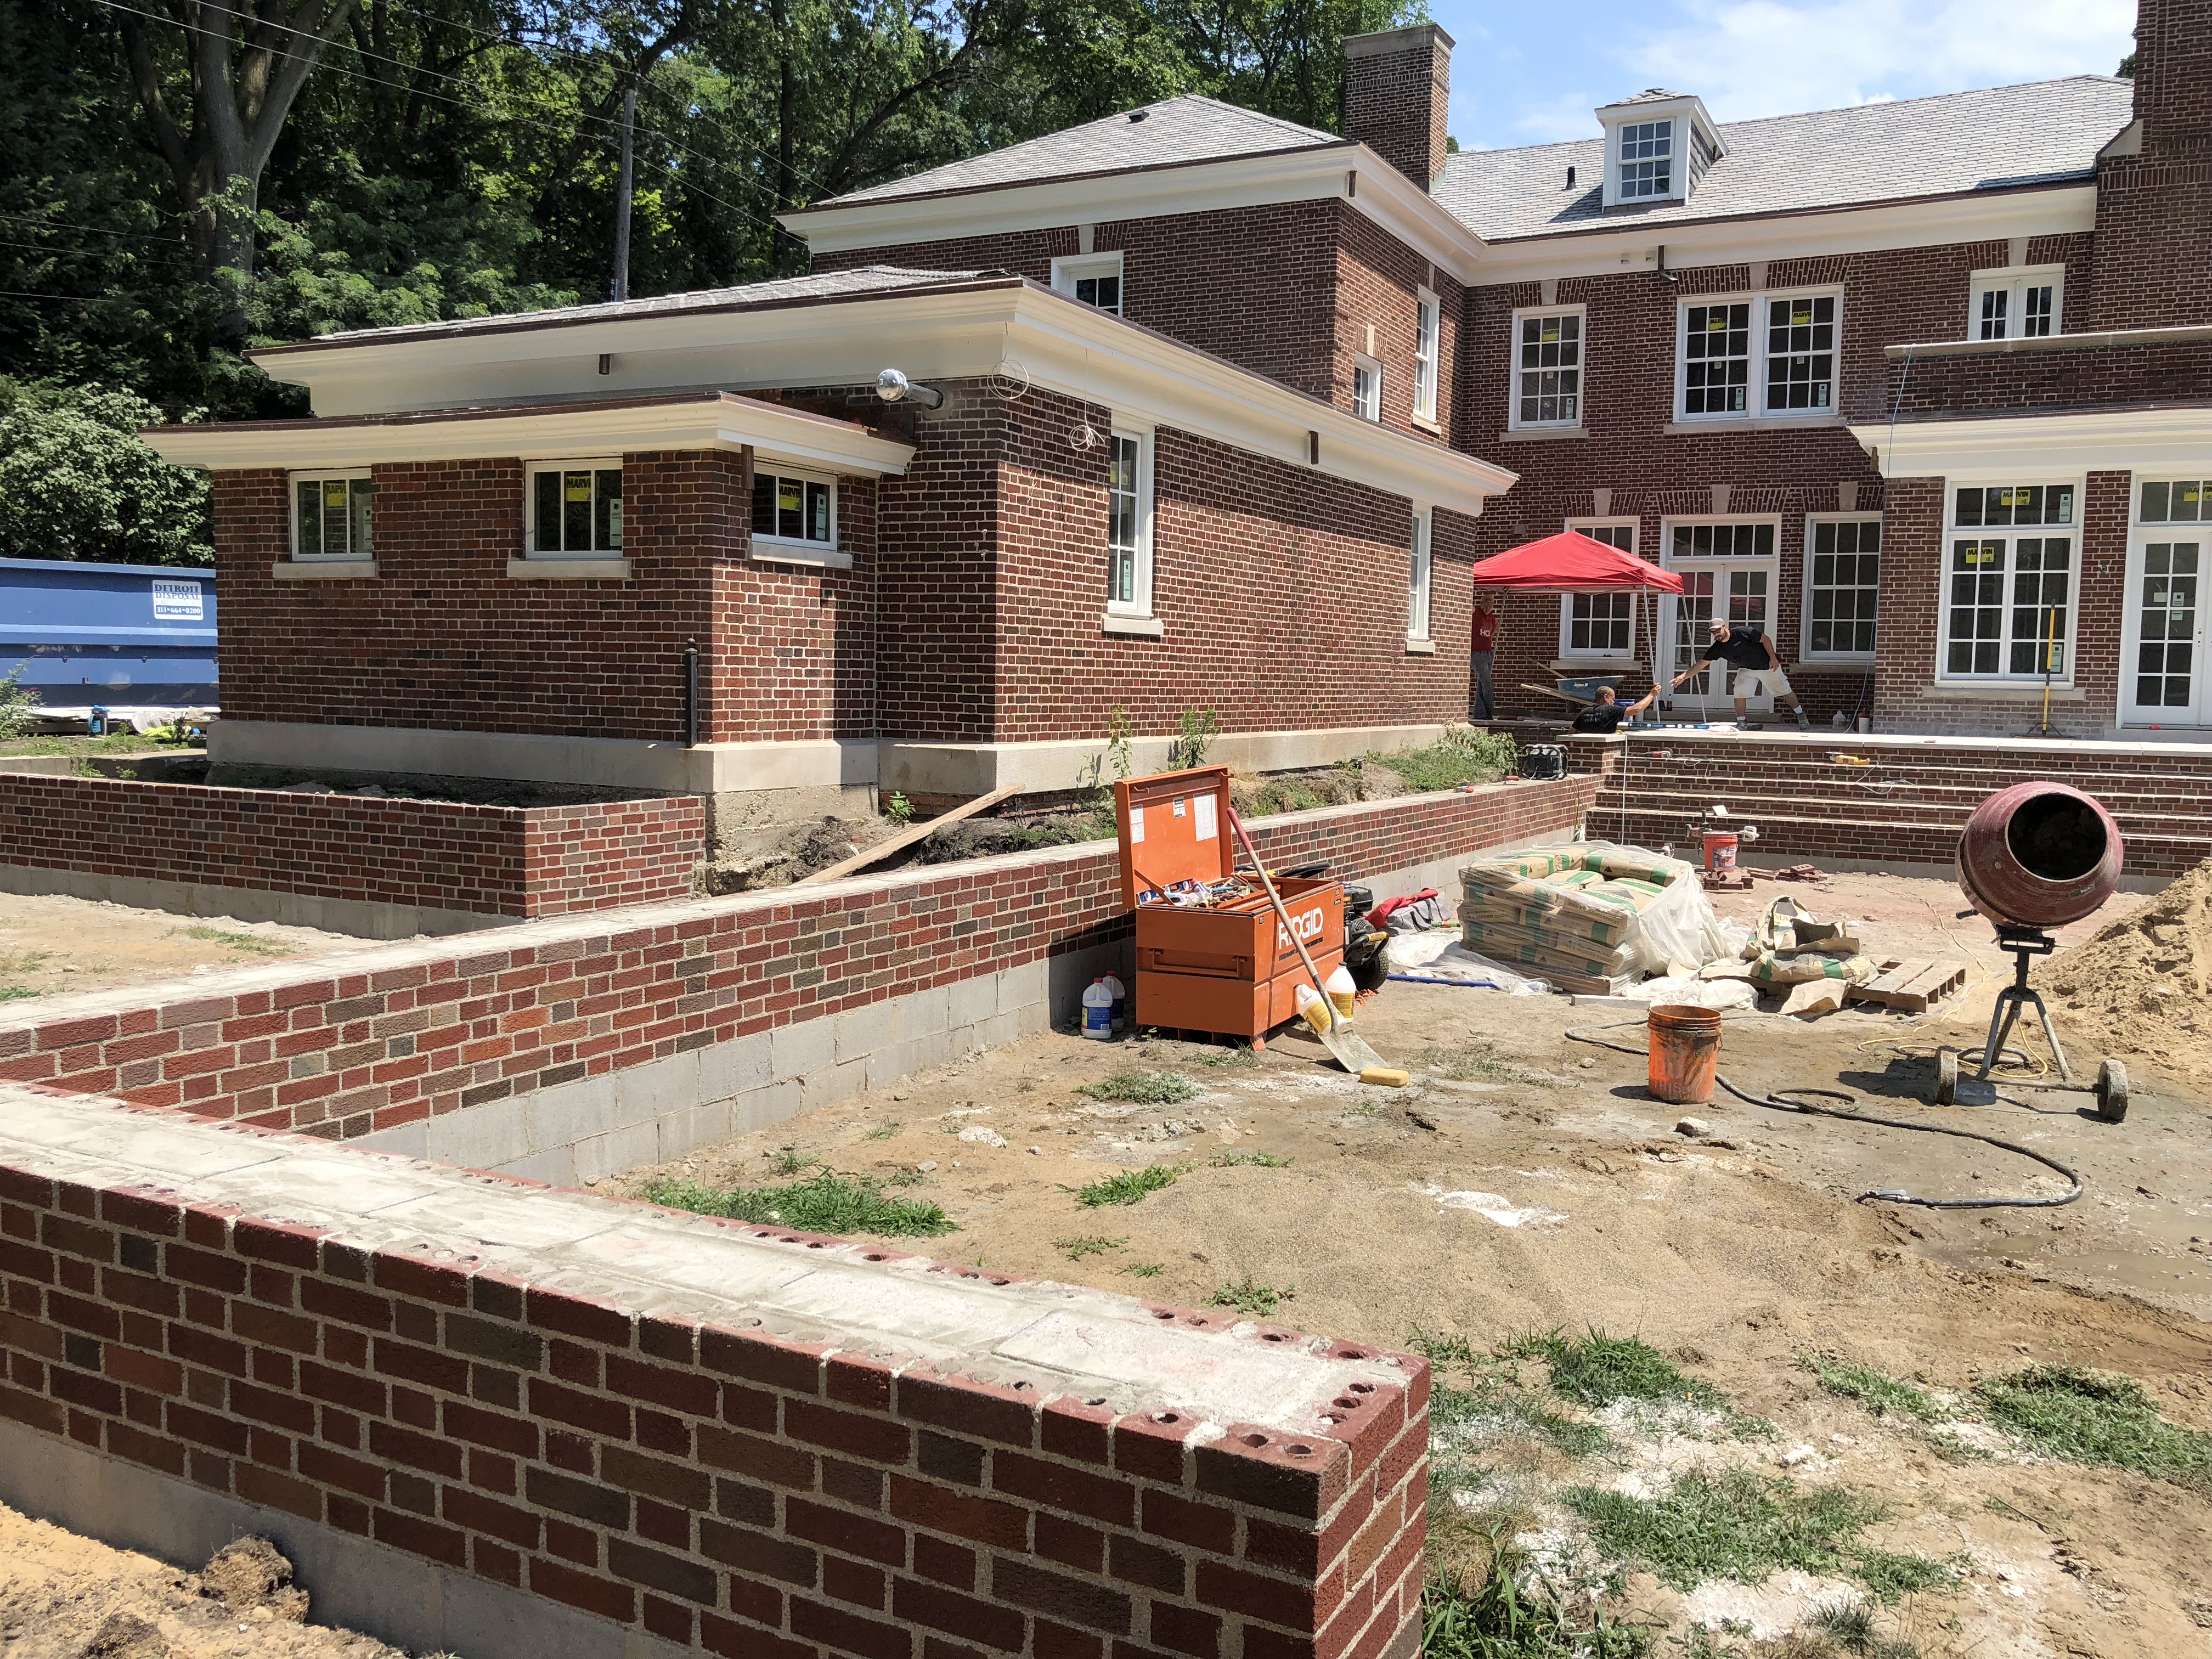
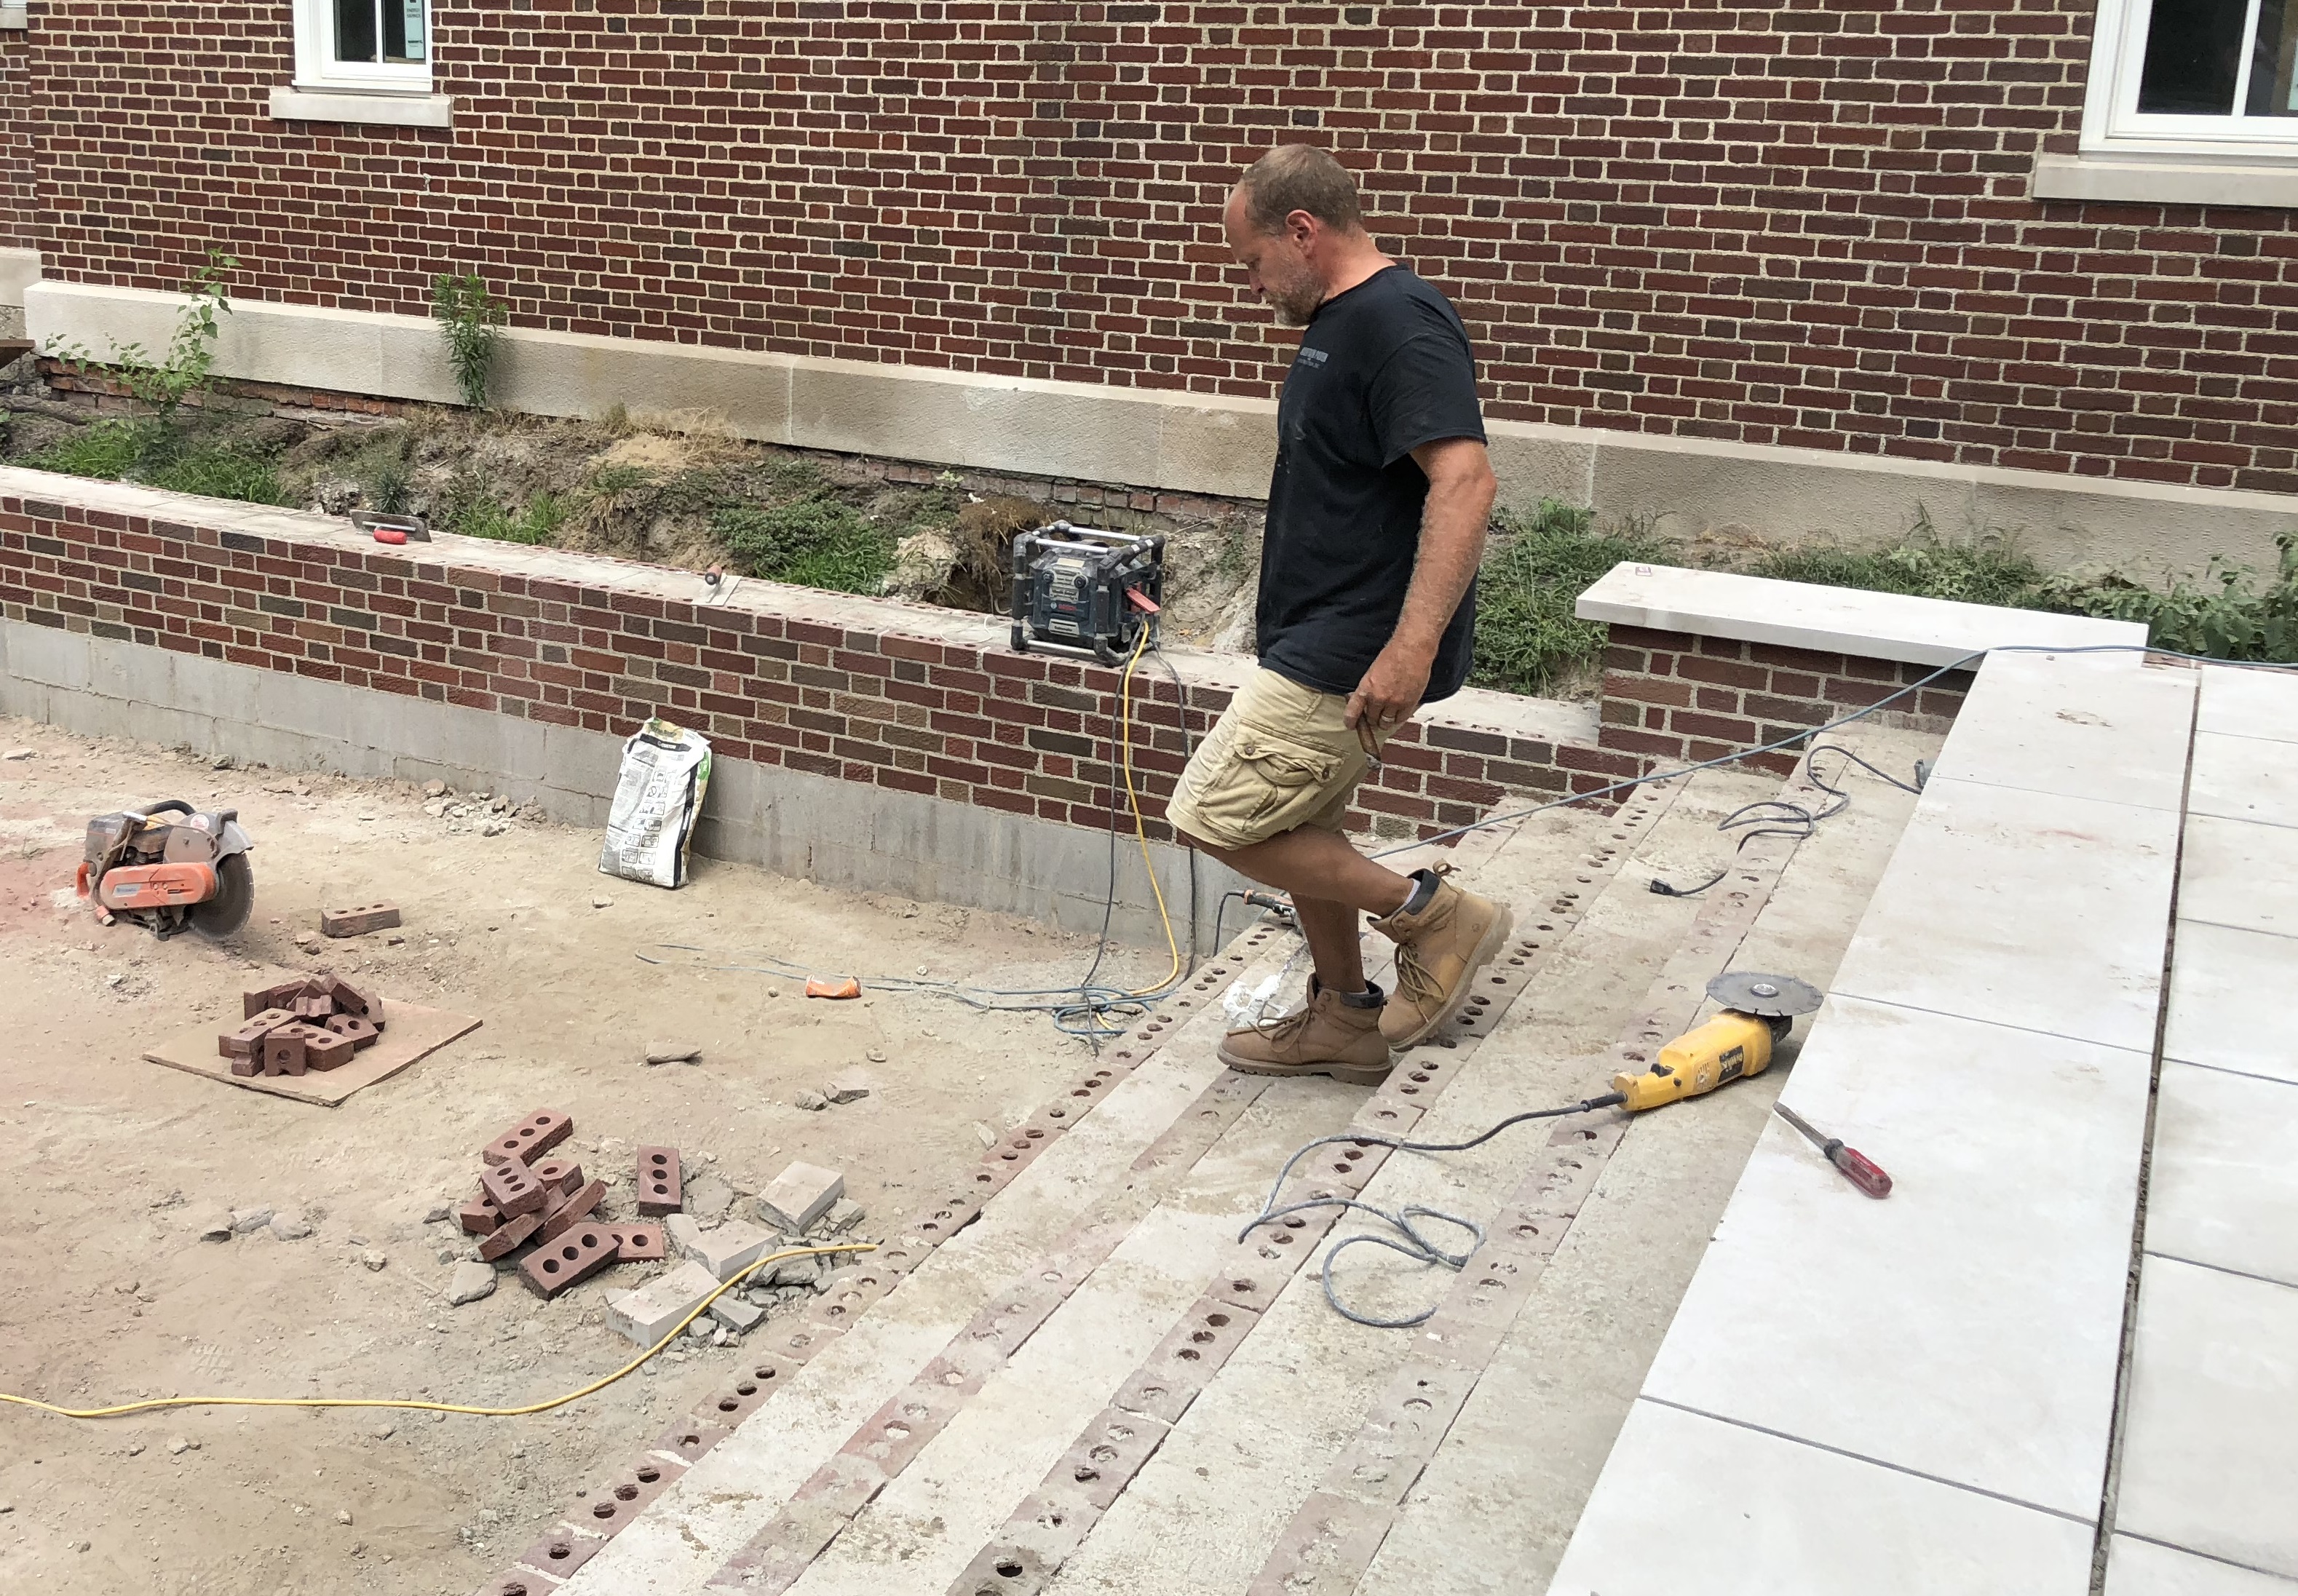
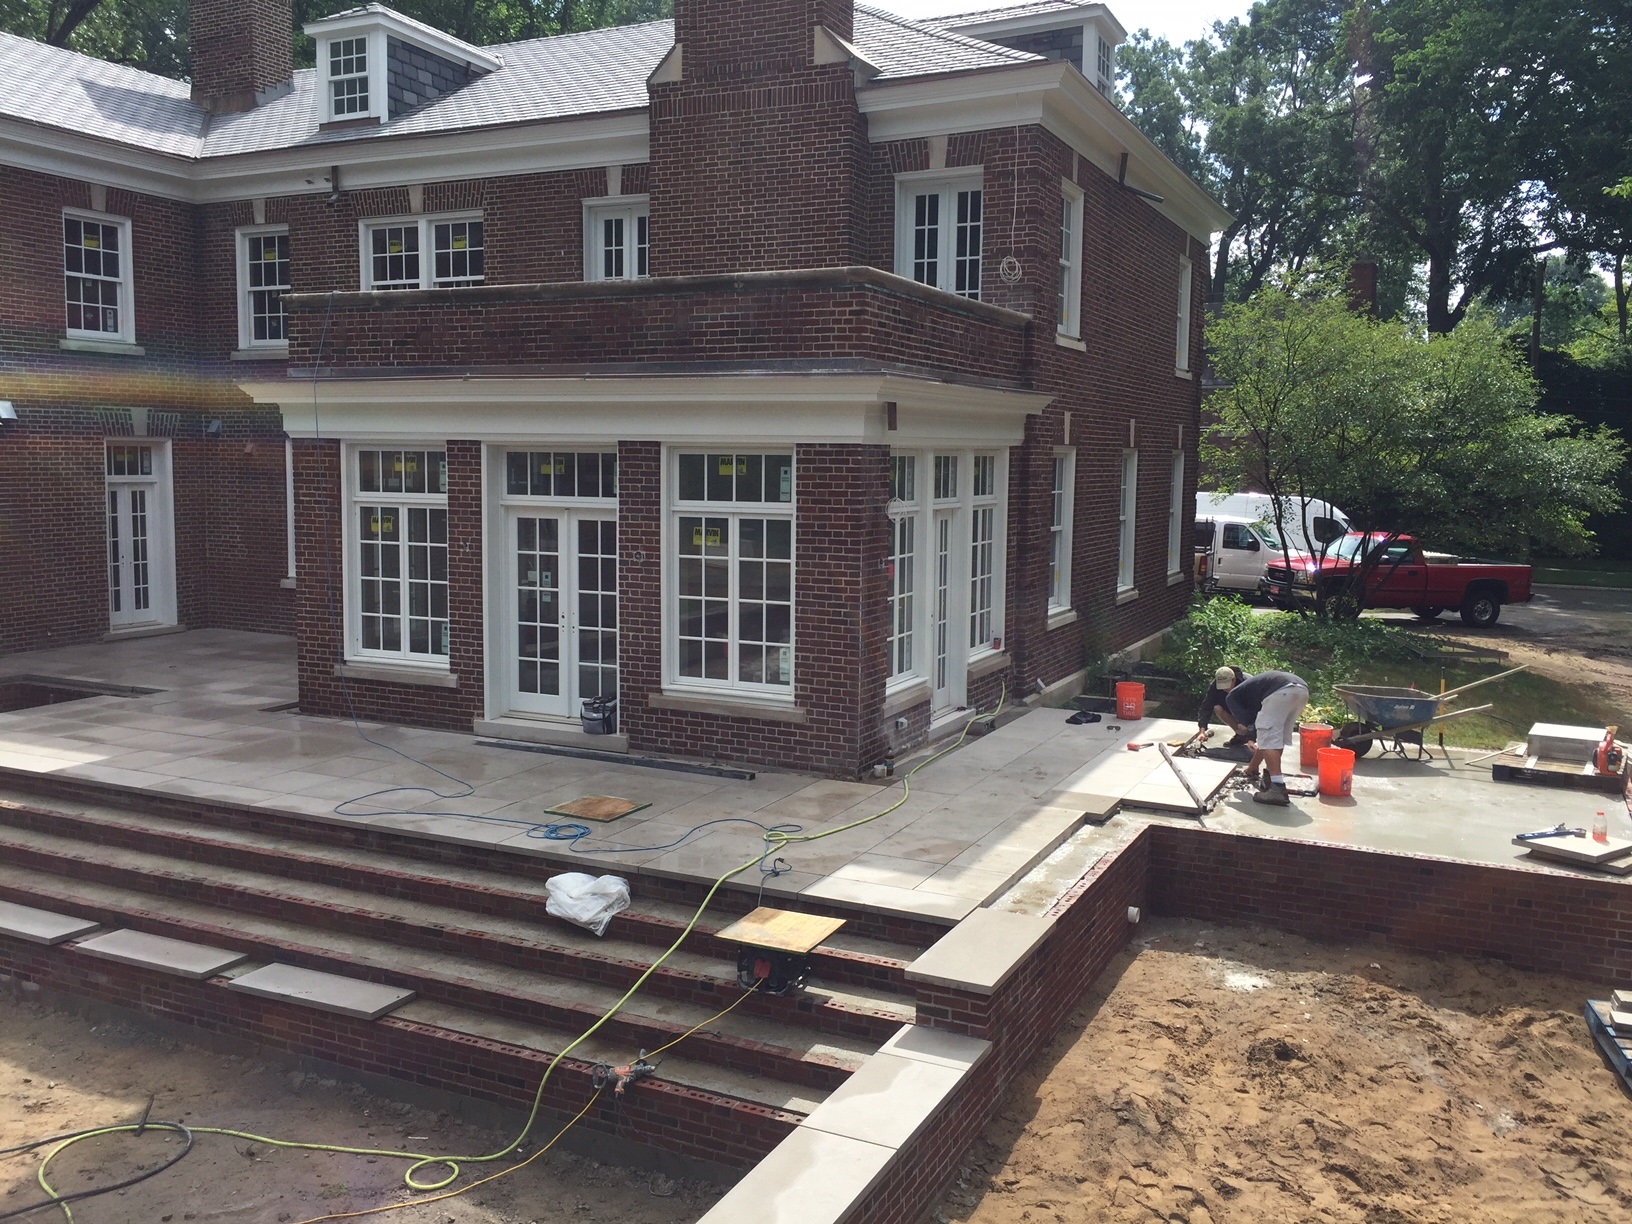
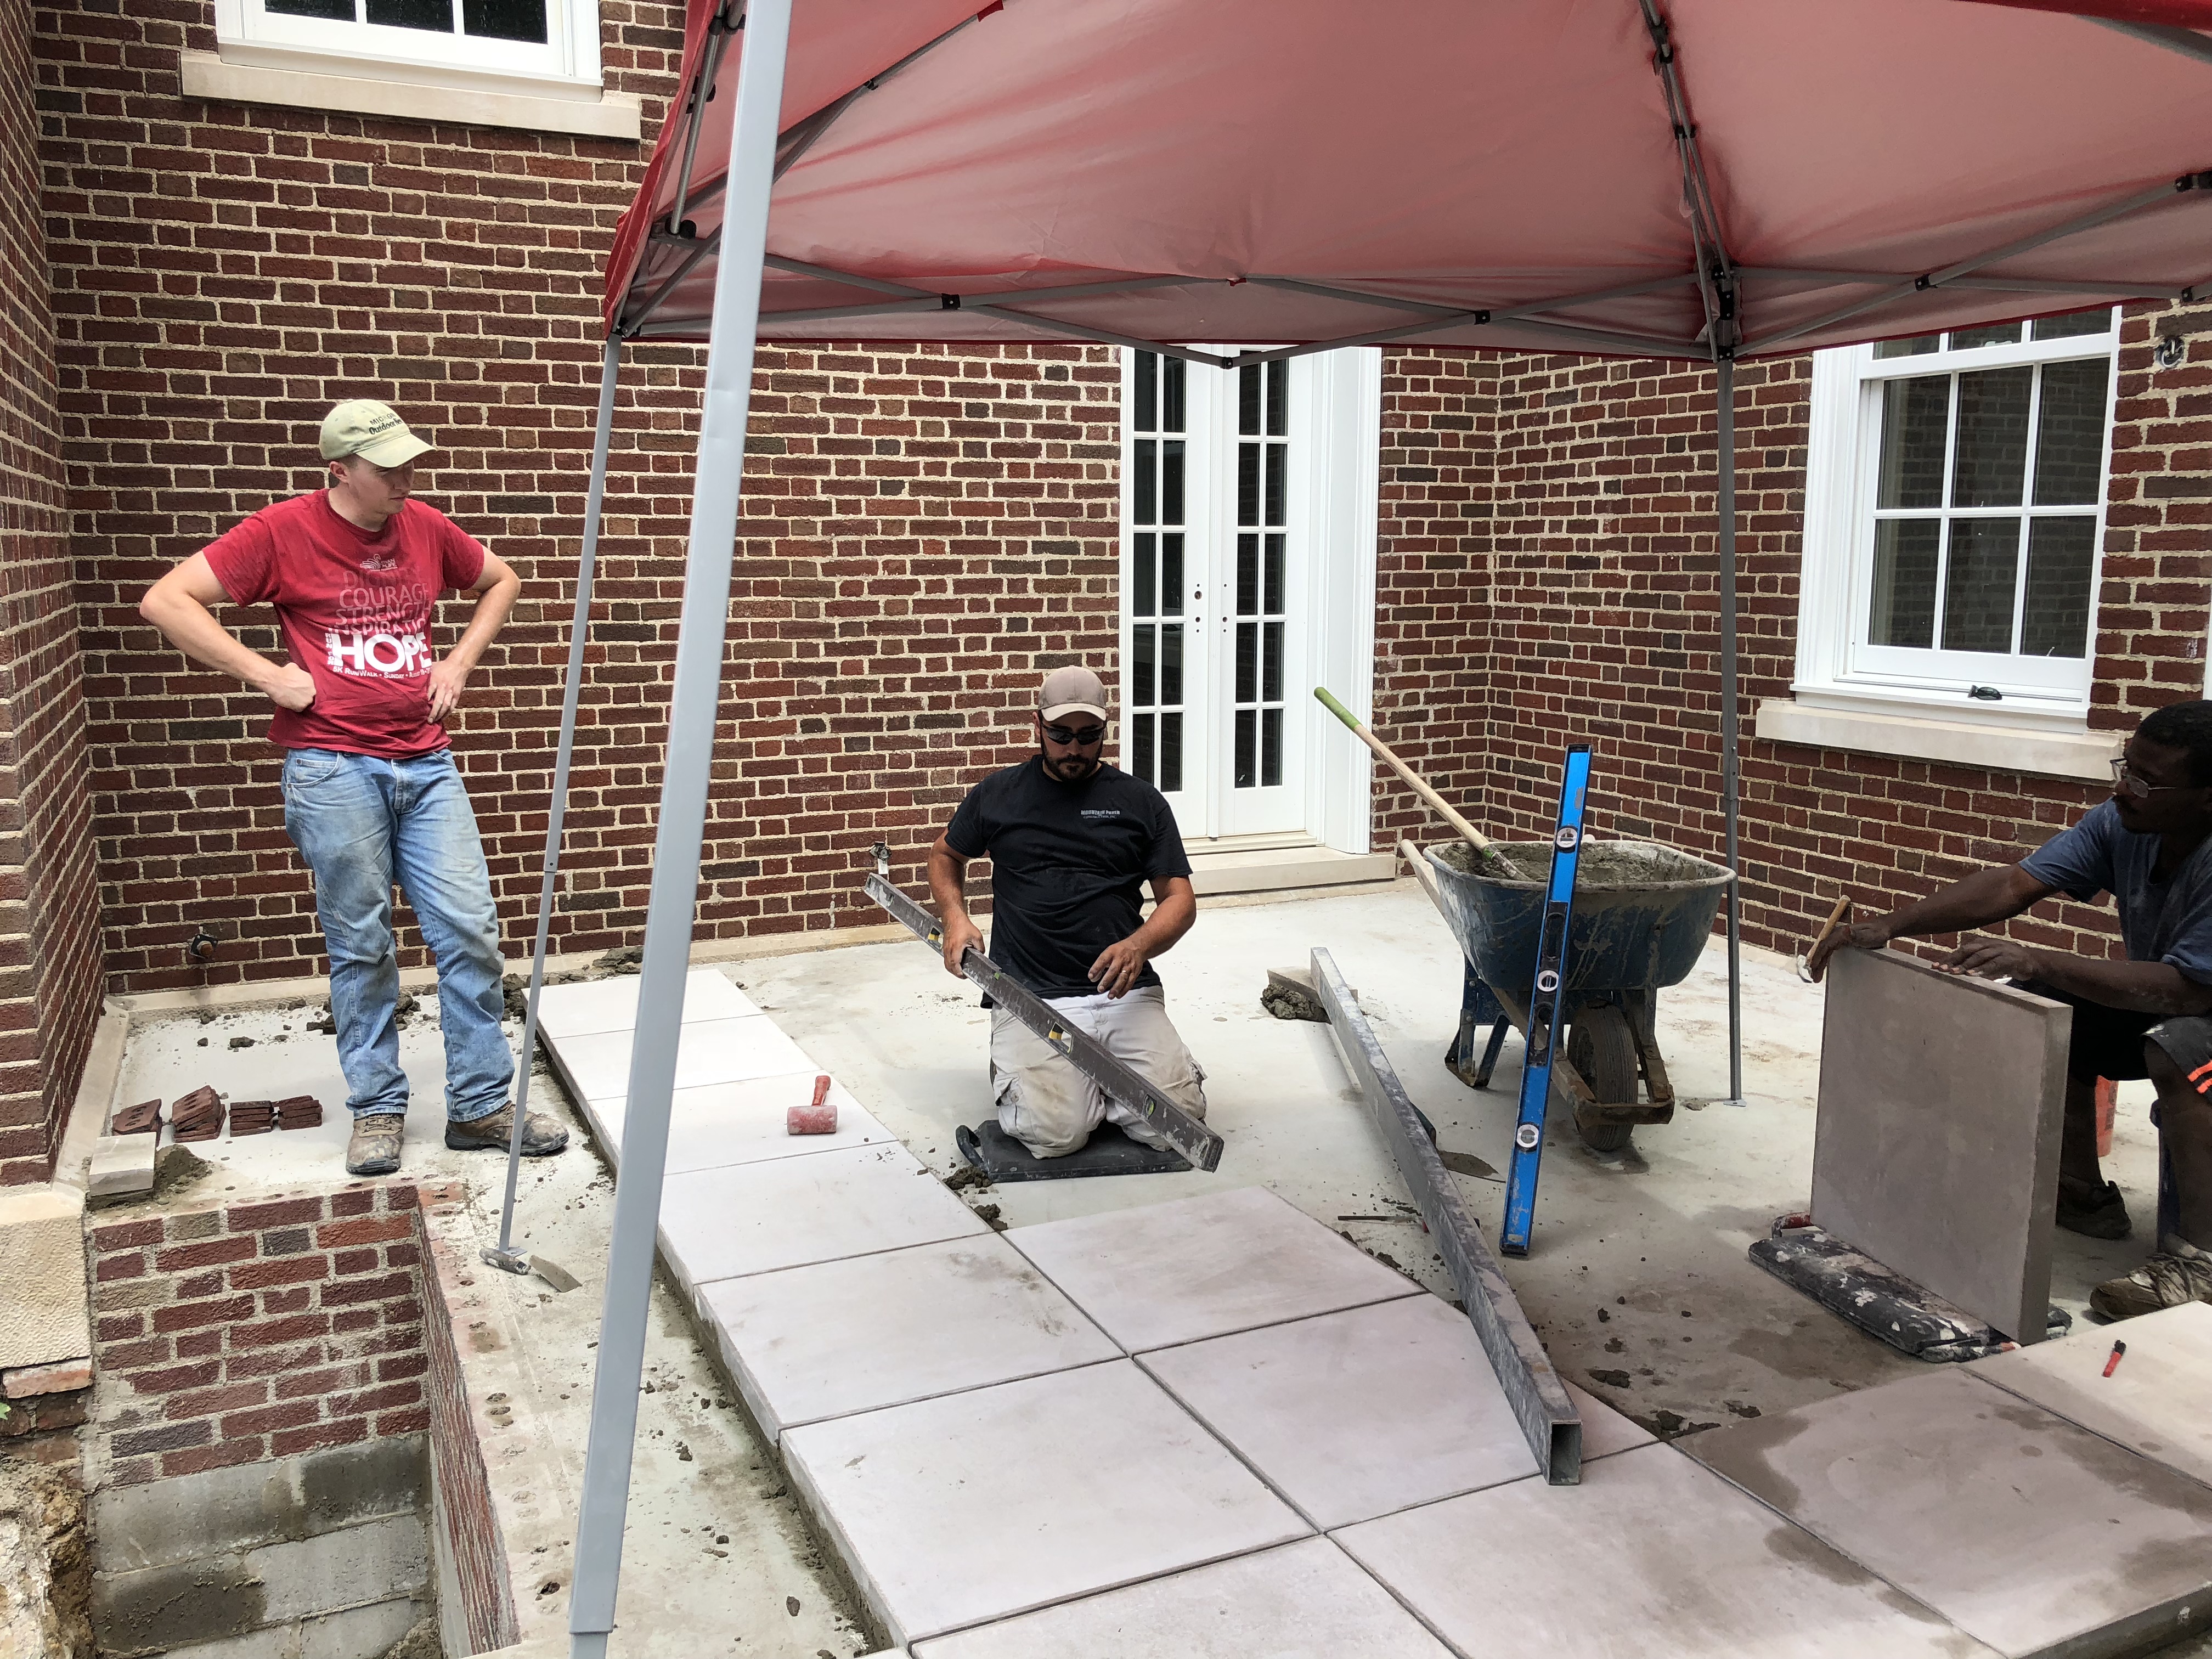 The contribution he and his crew made to this project is enormous. Their work is completely appropriate to the style and period of the house. We had several discussions about the pattern of the limestone, and the sizes of the stone. Choosing 24″ square limestone tiles for the body of the terrace had a residential and more vintage feel. This smaller area, designated as the grilling and dining terrace, would have been overwhelmed by larger pieces of stone. I associate larger pieces of limestone with commercial projects, and more contemporary projects. The terraces would have a 16″ by 48″ border of limestone all around. The purpose of the tent? It was 92 degrees and sunny this day.
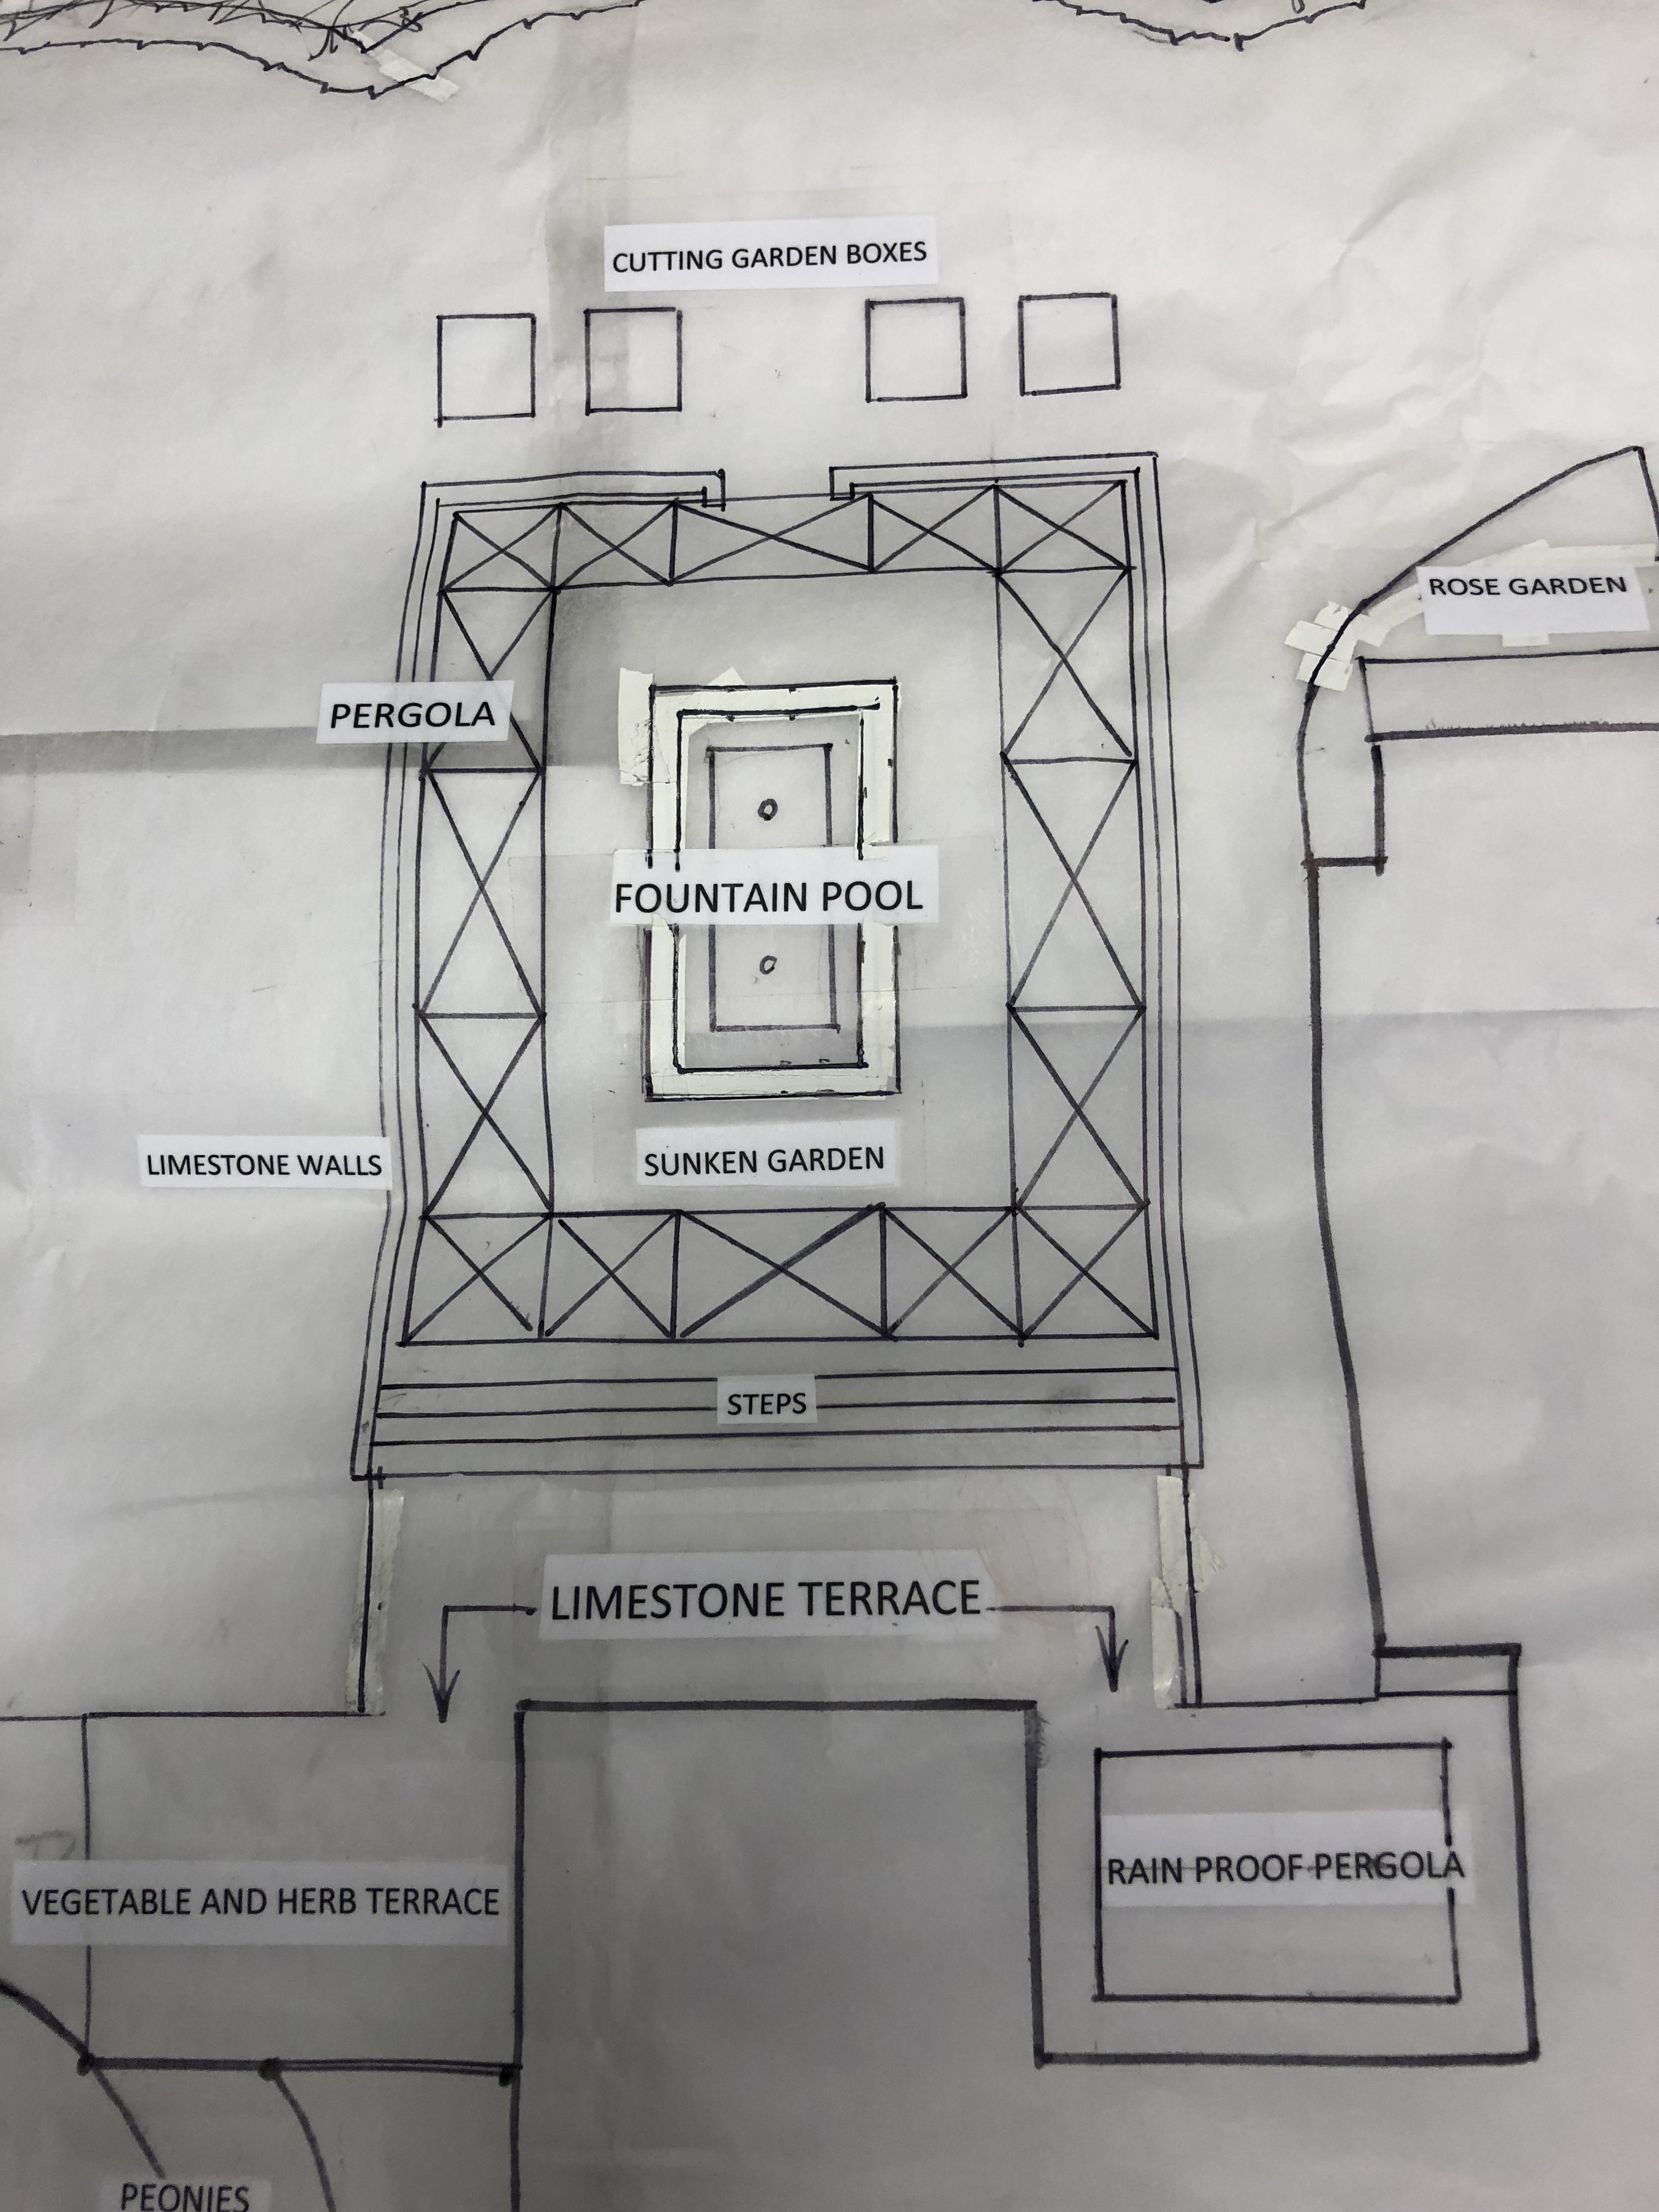
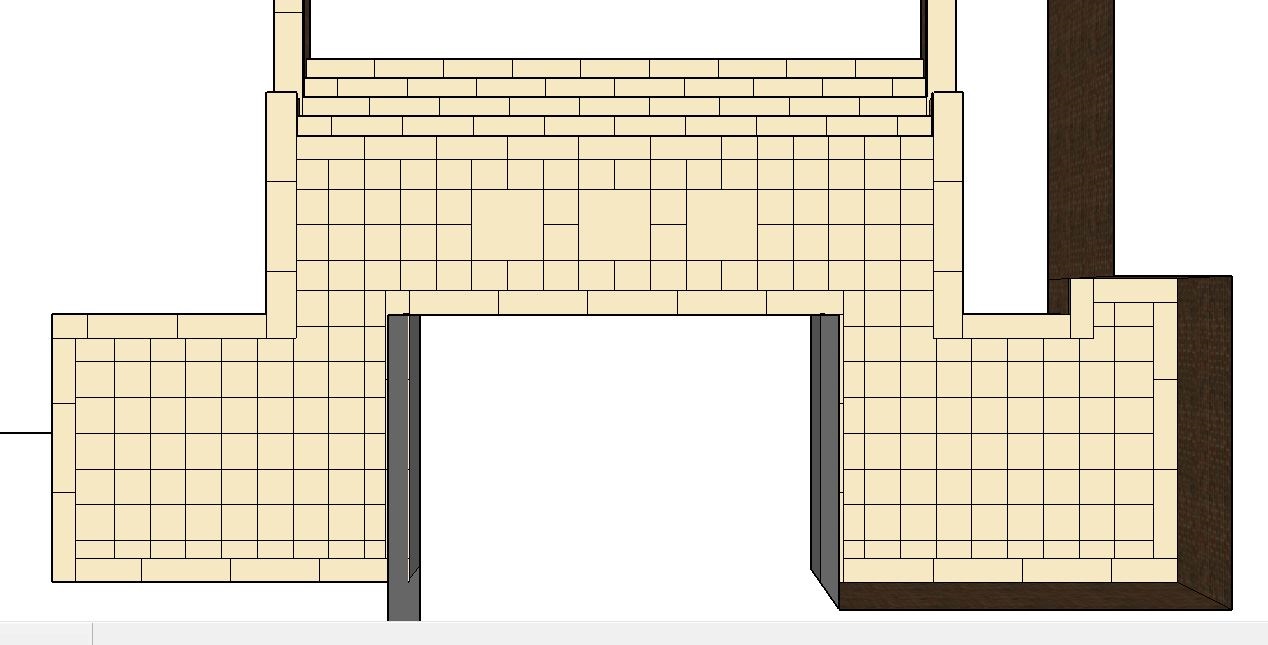 Mike did do this drawing for me showing the sizes and pattern of the stone. This drawing reveals that centered on both windows and the door are 48″ by 48″ limestone slabs. I like a client being able to walk out a door onto a solid piece of stone, rather than a mortar joint. The adjacent slabs centered on the windows gives visual weight to this detail. The large slabs as a group indicate the center of the space. There is strength in numbers. A house built on symmetry such as this one is asks for that kind of centering. Though Mike is a craftsman of the old world sort, he is perfectly capable of producing a CAD drawing to verify the pattern and dimensions. Verbal explanations can be misinterpreted.
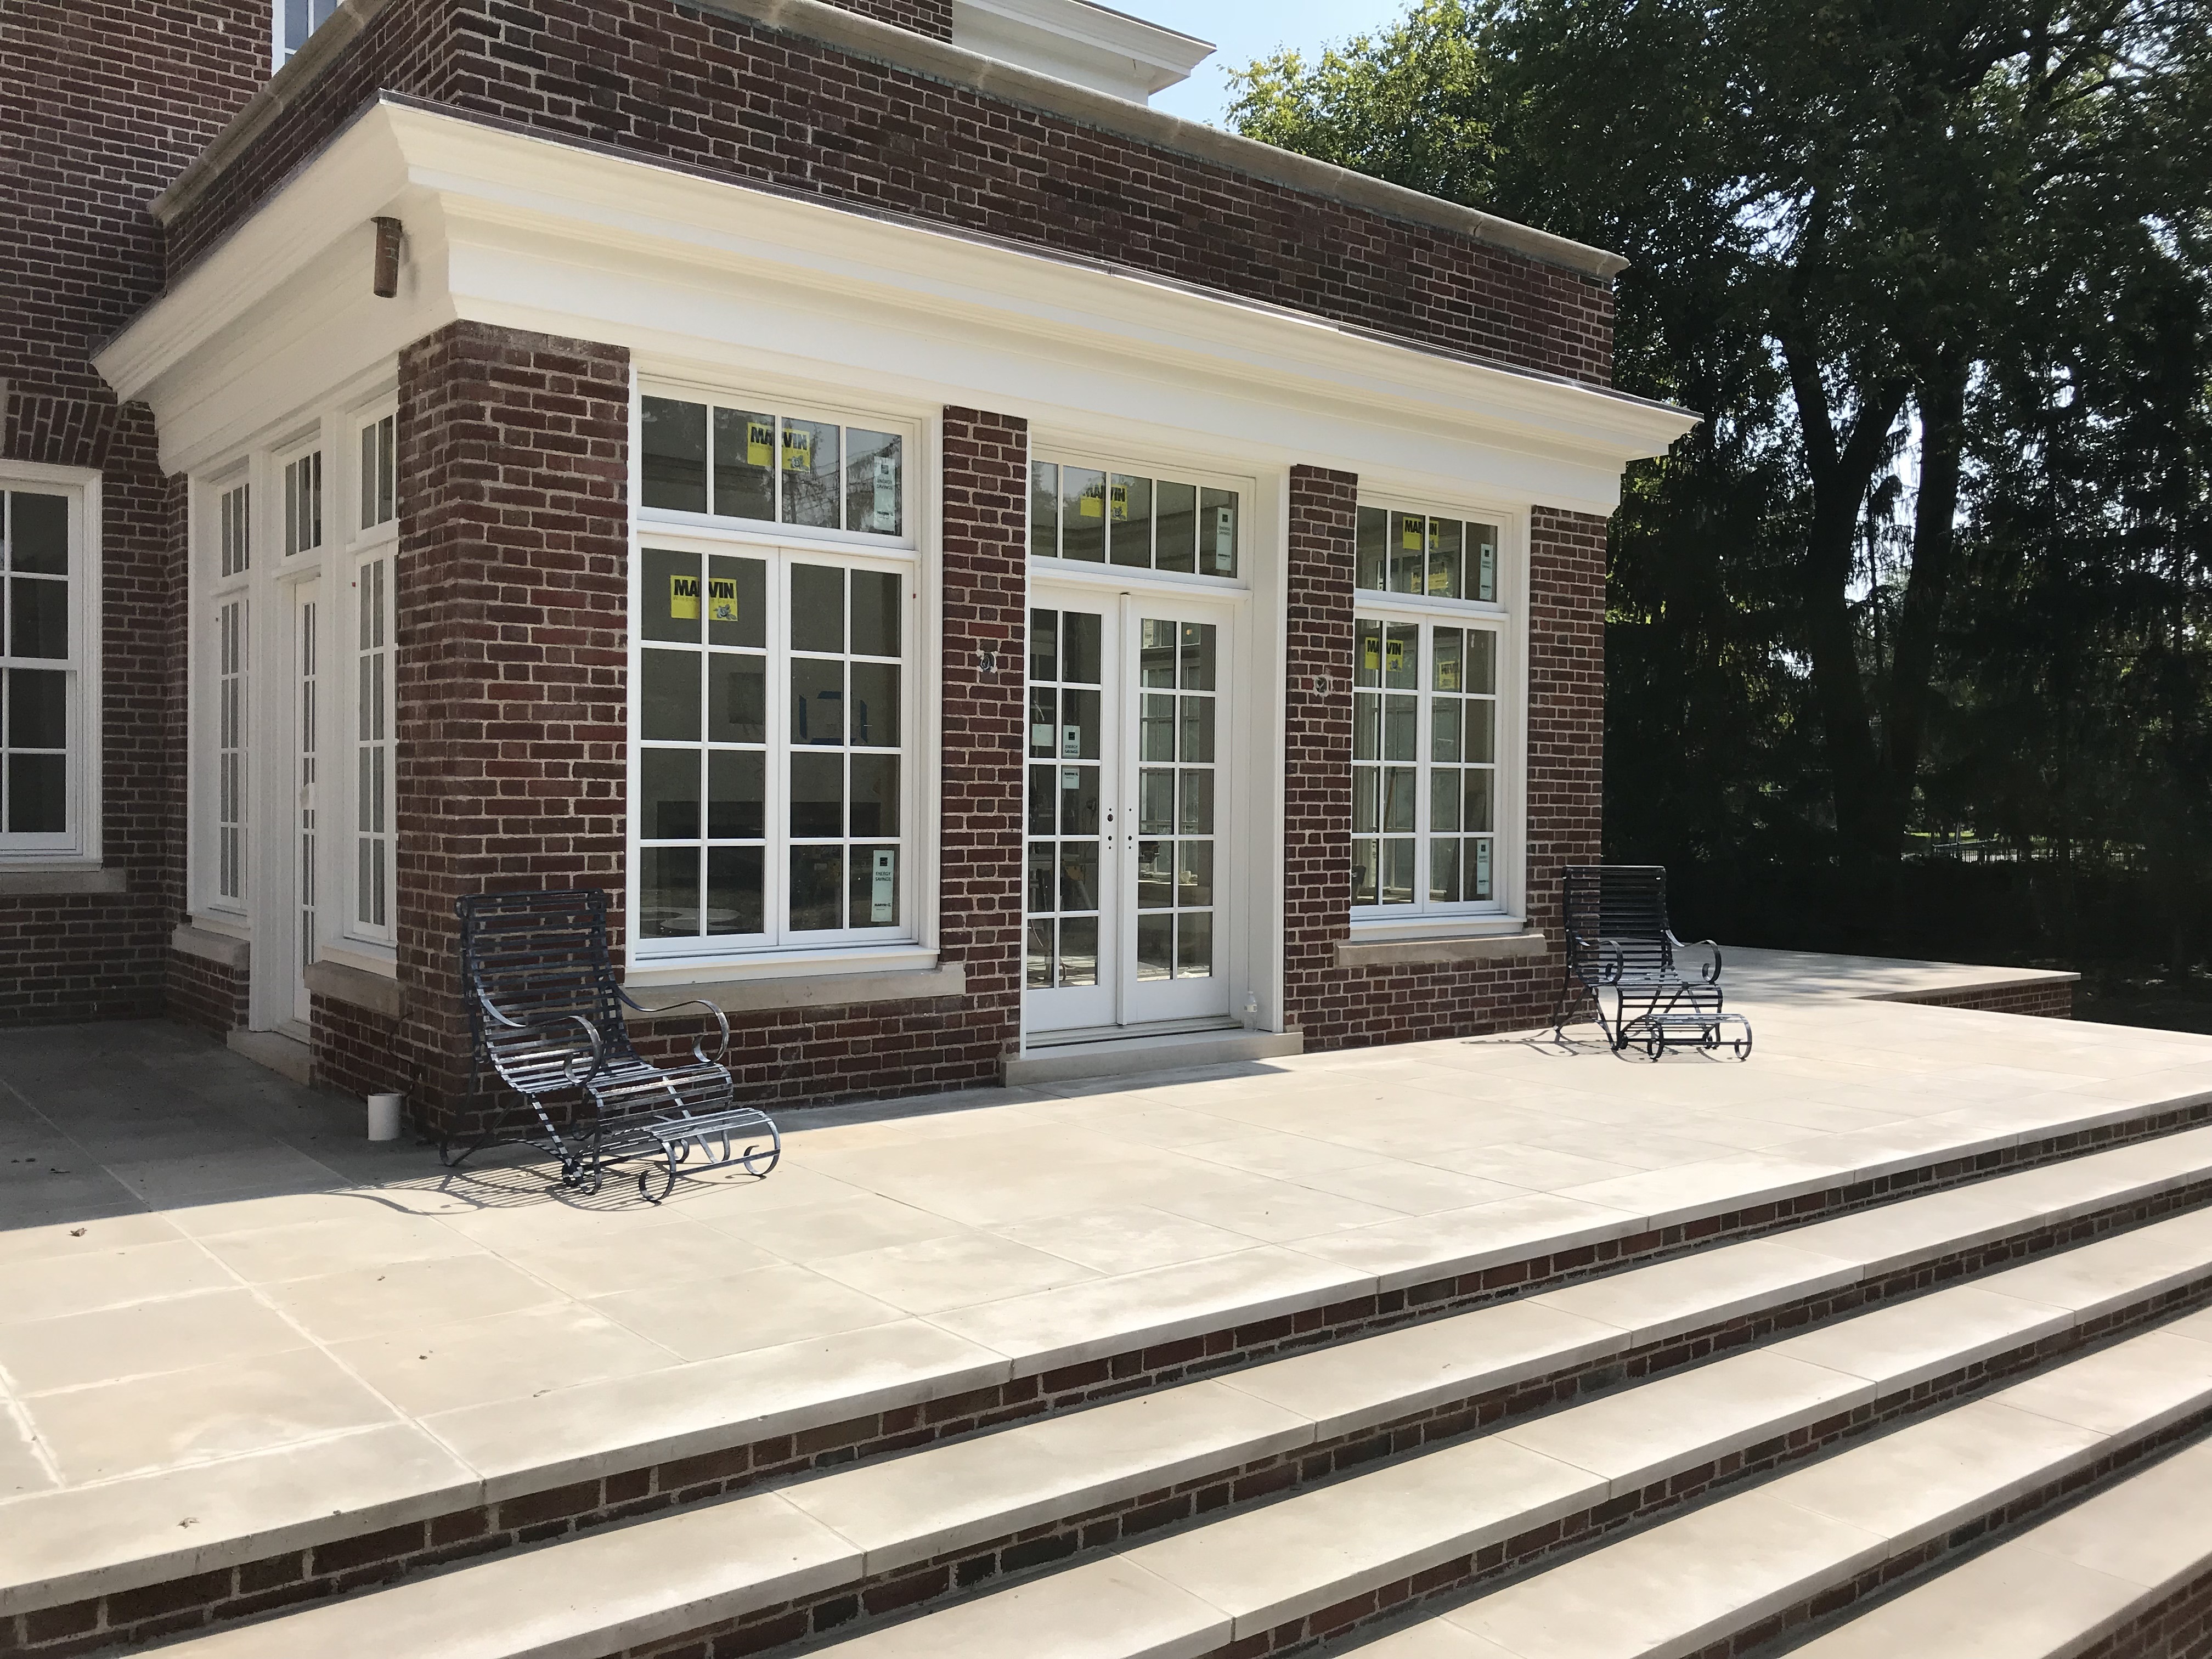 The sizes of the tiles and the pattern is a very subtle detail, as the mortar color matches that of the stone. But those subtle details are what helps to make a landscape project visually believable. The size of the border tiles is repeated in the size of the step treads.
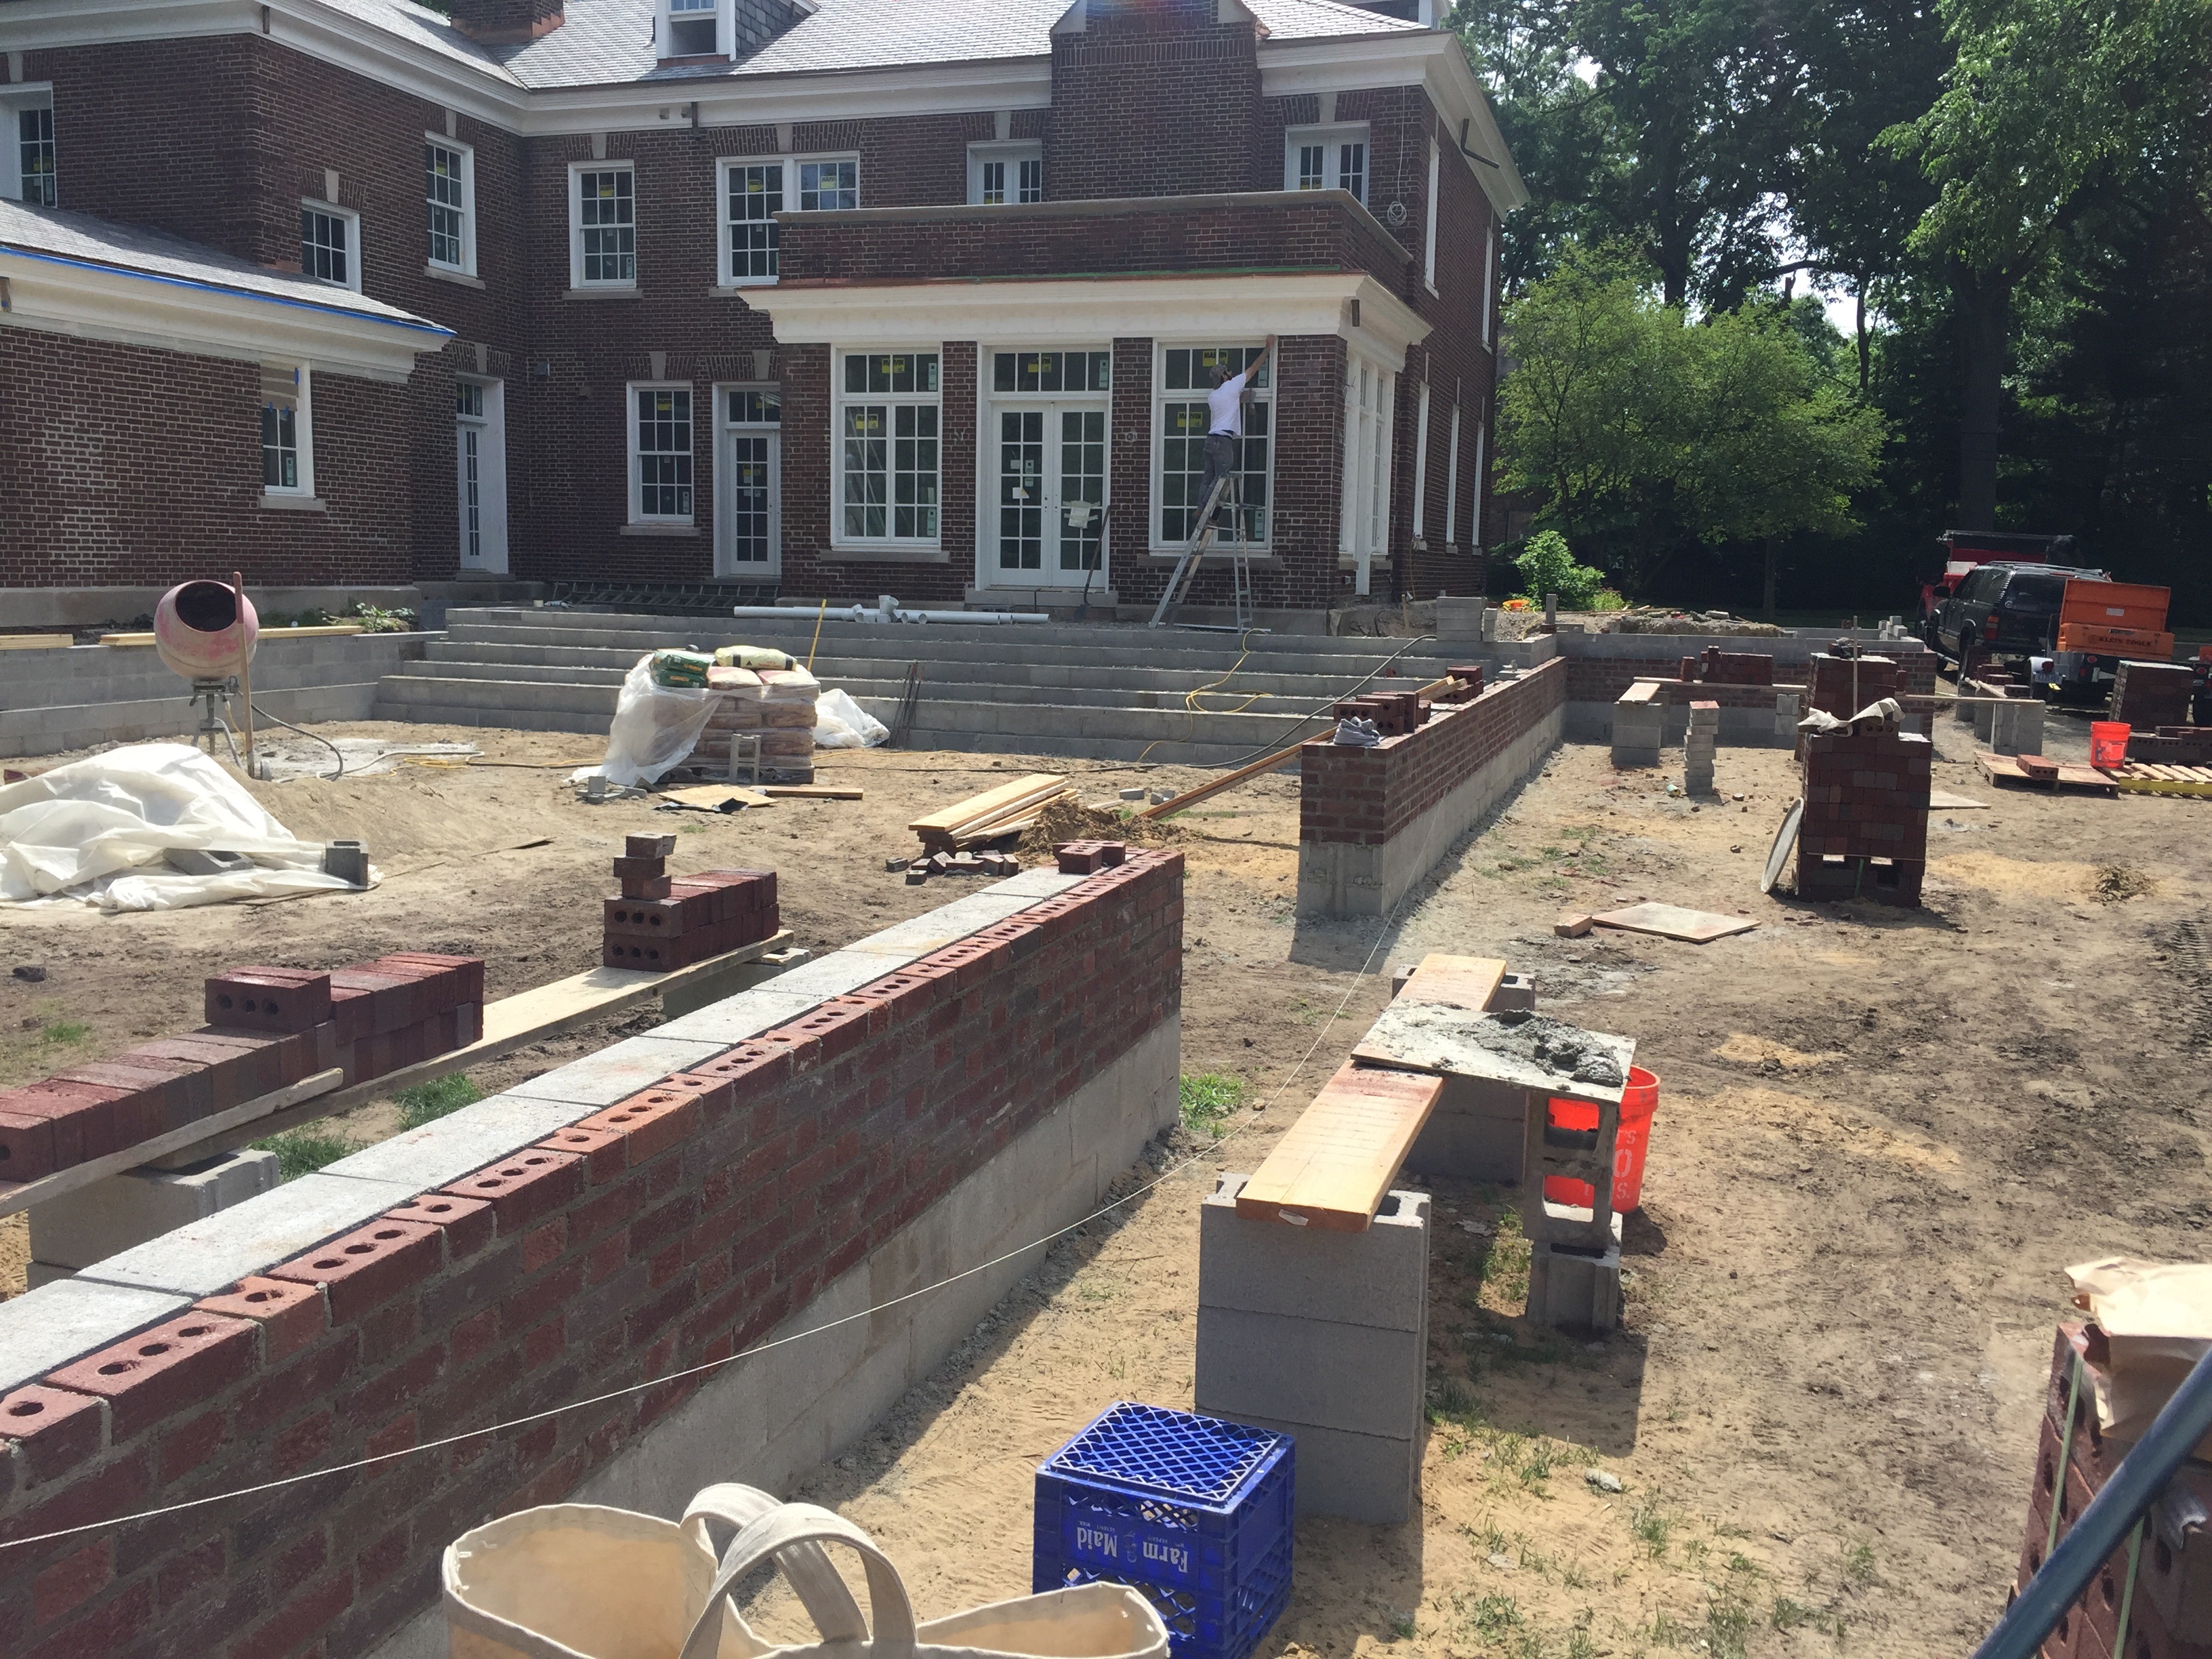
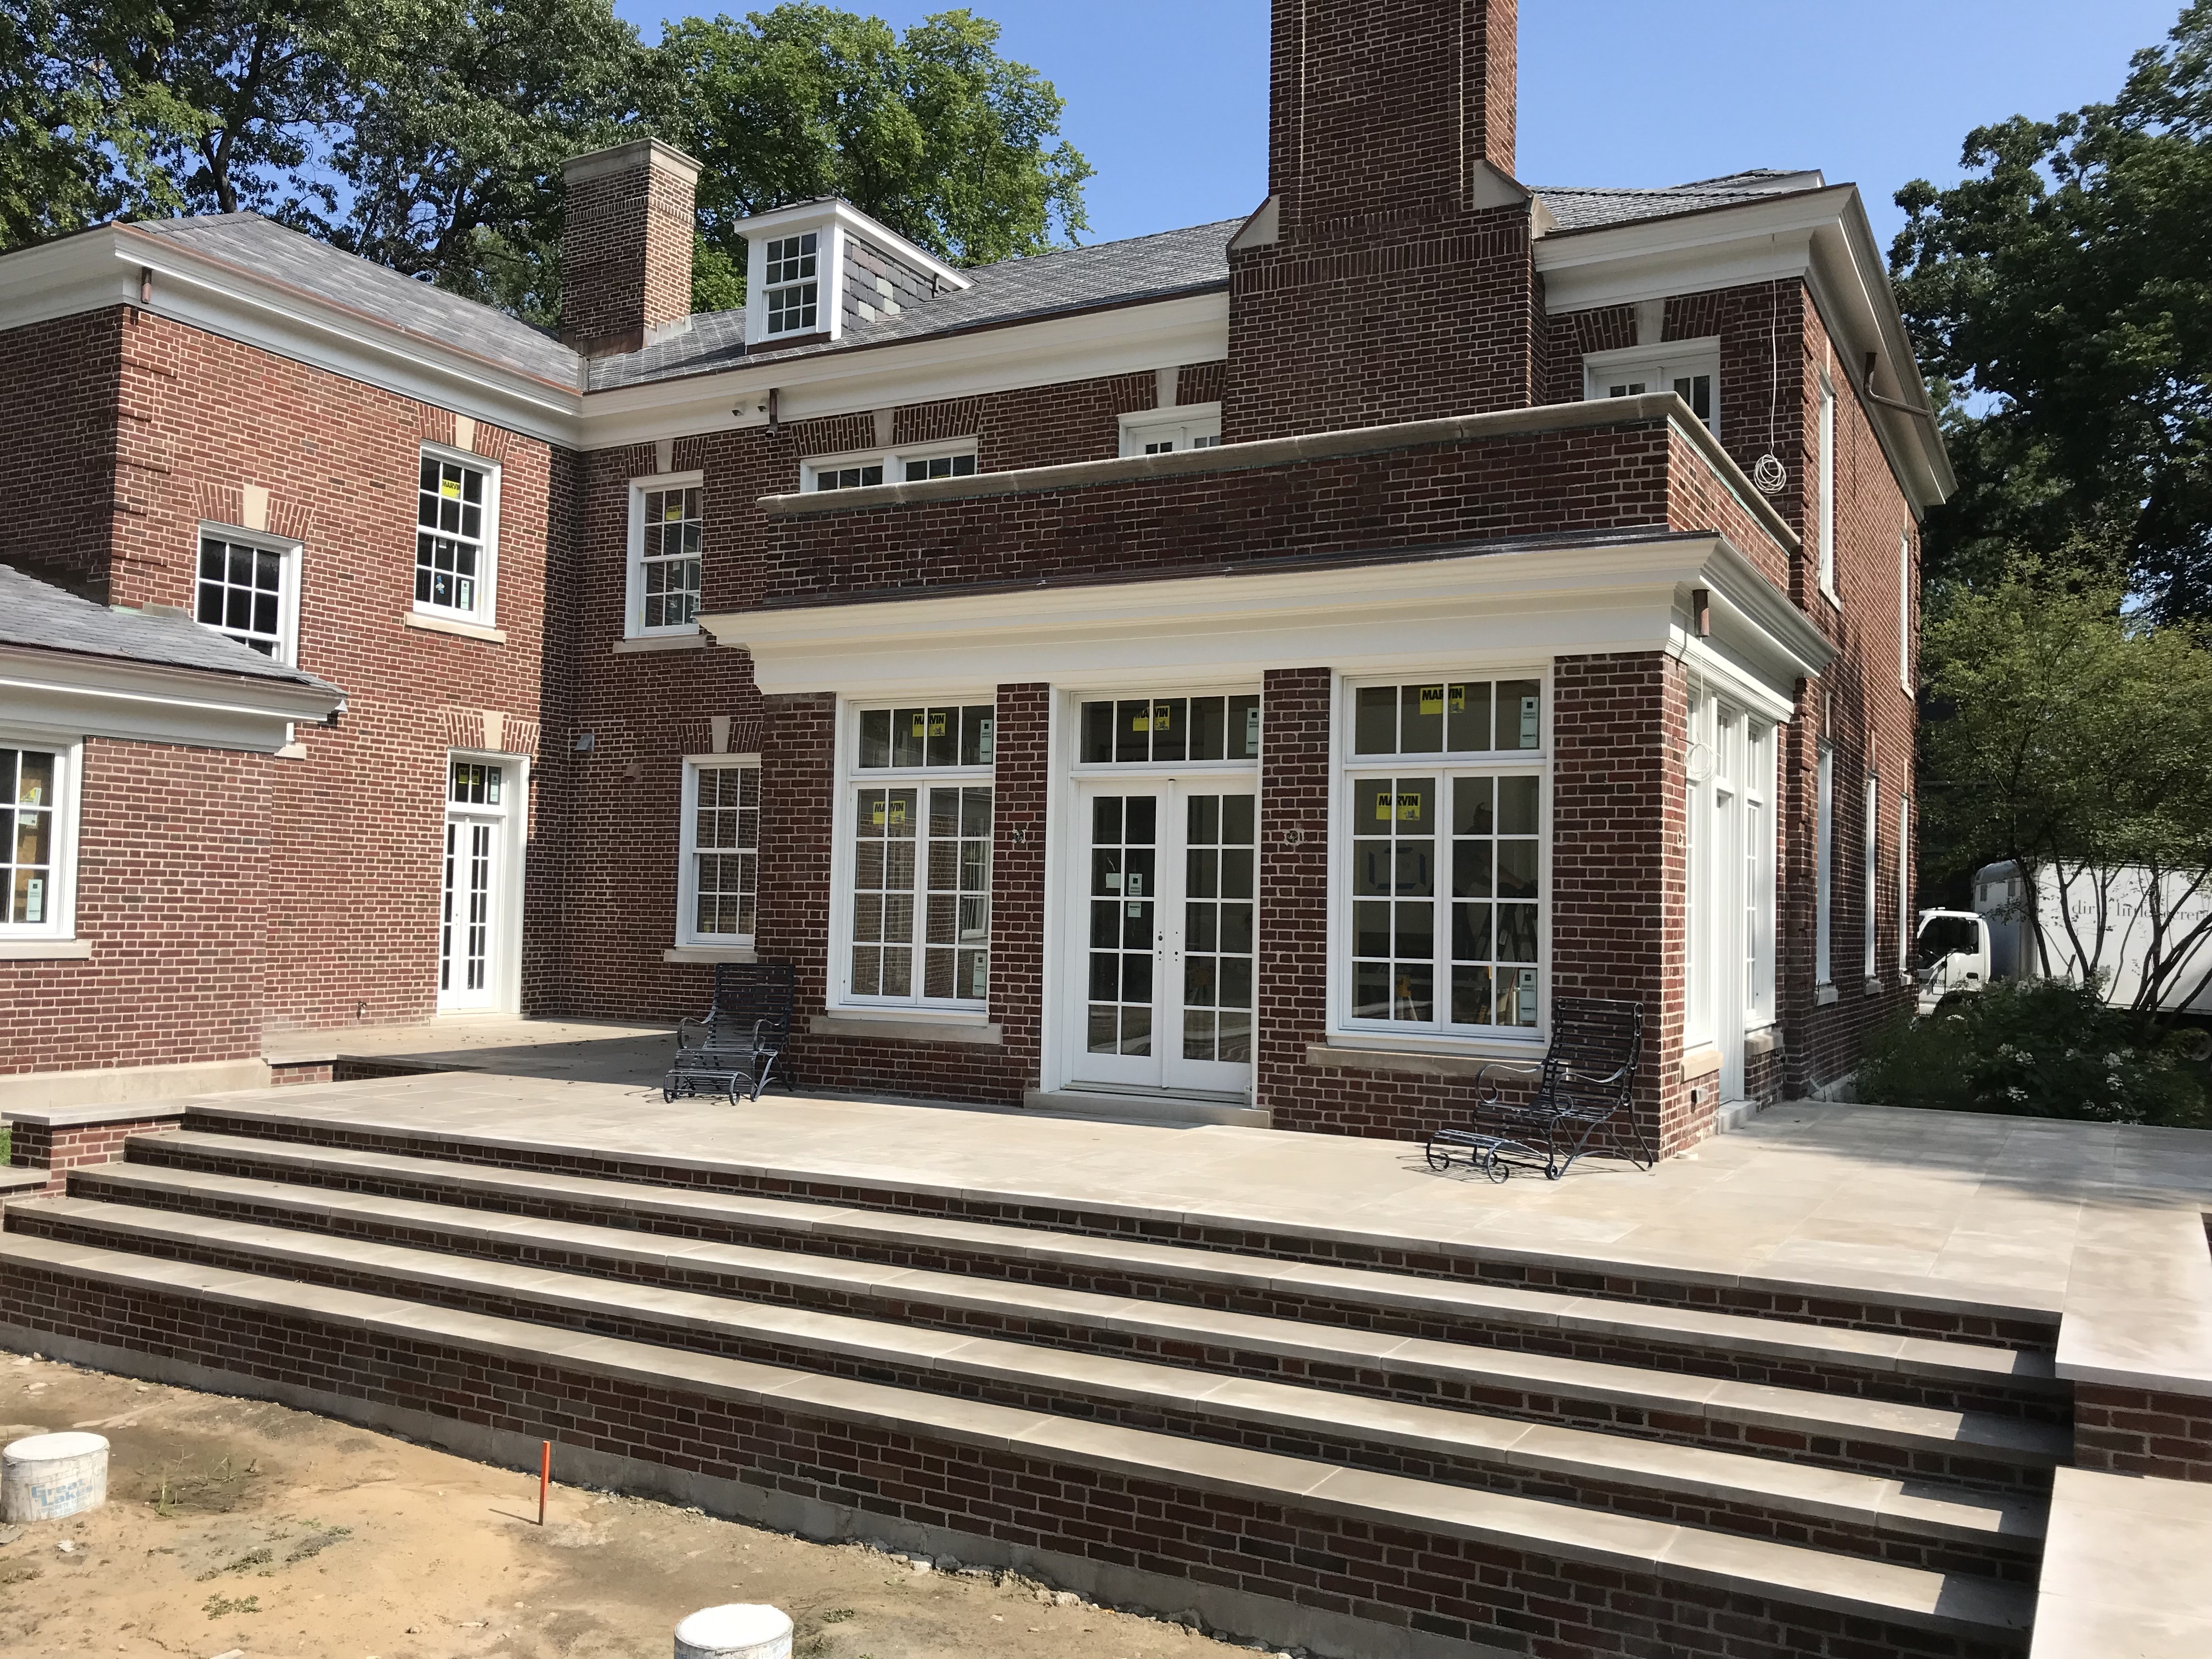 We brought a couple chairs out, so our client could sit up there, and get a feeling for what was to come. There is yet a long way to go to complete the project. I am sure some landscape issues that will have to wait until spring for completion. After finishing the flat work, Mike installed 32 concrete footings for the cloister pergola. They look like stools, in the lower left of the above picture. Once the soil in this area is brought up to the proper grade, these footings will not be visible. Each of 32 columns that hold up the cloister roof will be bolted to these 42″ deep footings. 42″ is the outermost typical depth of the frost in the ground in our zone in the winter. When the frost comes out of the ground, it can heave around anything that is not securely anchored below the frost line. A large steel pergola gone out of level would not be a good look, nor would it be easy to fix.
 The next order of business in this area would be the fountain. That fountain will double as a spa, meaning it would be heated, and have spa jets below the water line. Decorative water jets will arc from the sides of the fountain towards the center, rather than having jets in the middle. The center of the fountain will be open, like a swimming pool. I know very little about the construction of a pool, except to say it is complicated and messy at best. A fountain that is a spa which is also a pool is even more complex.
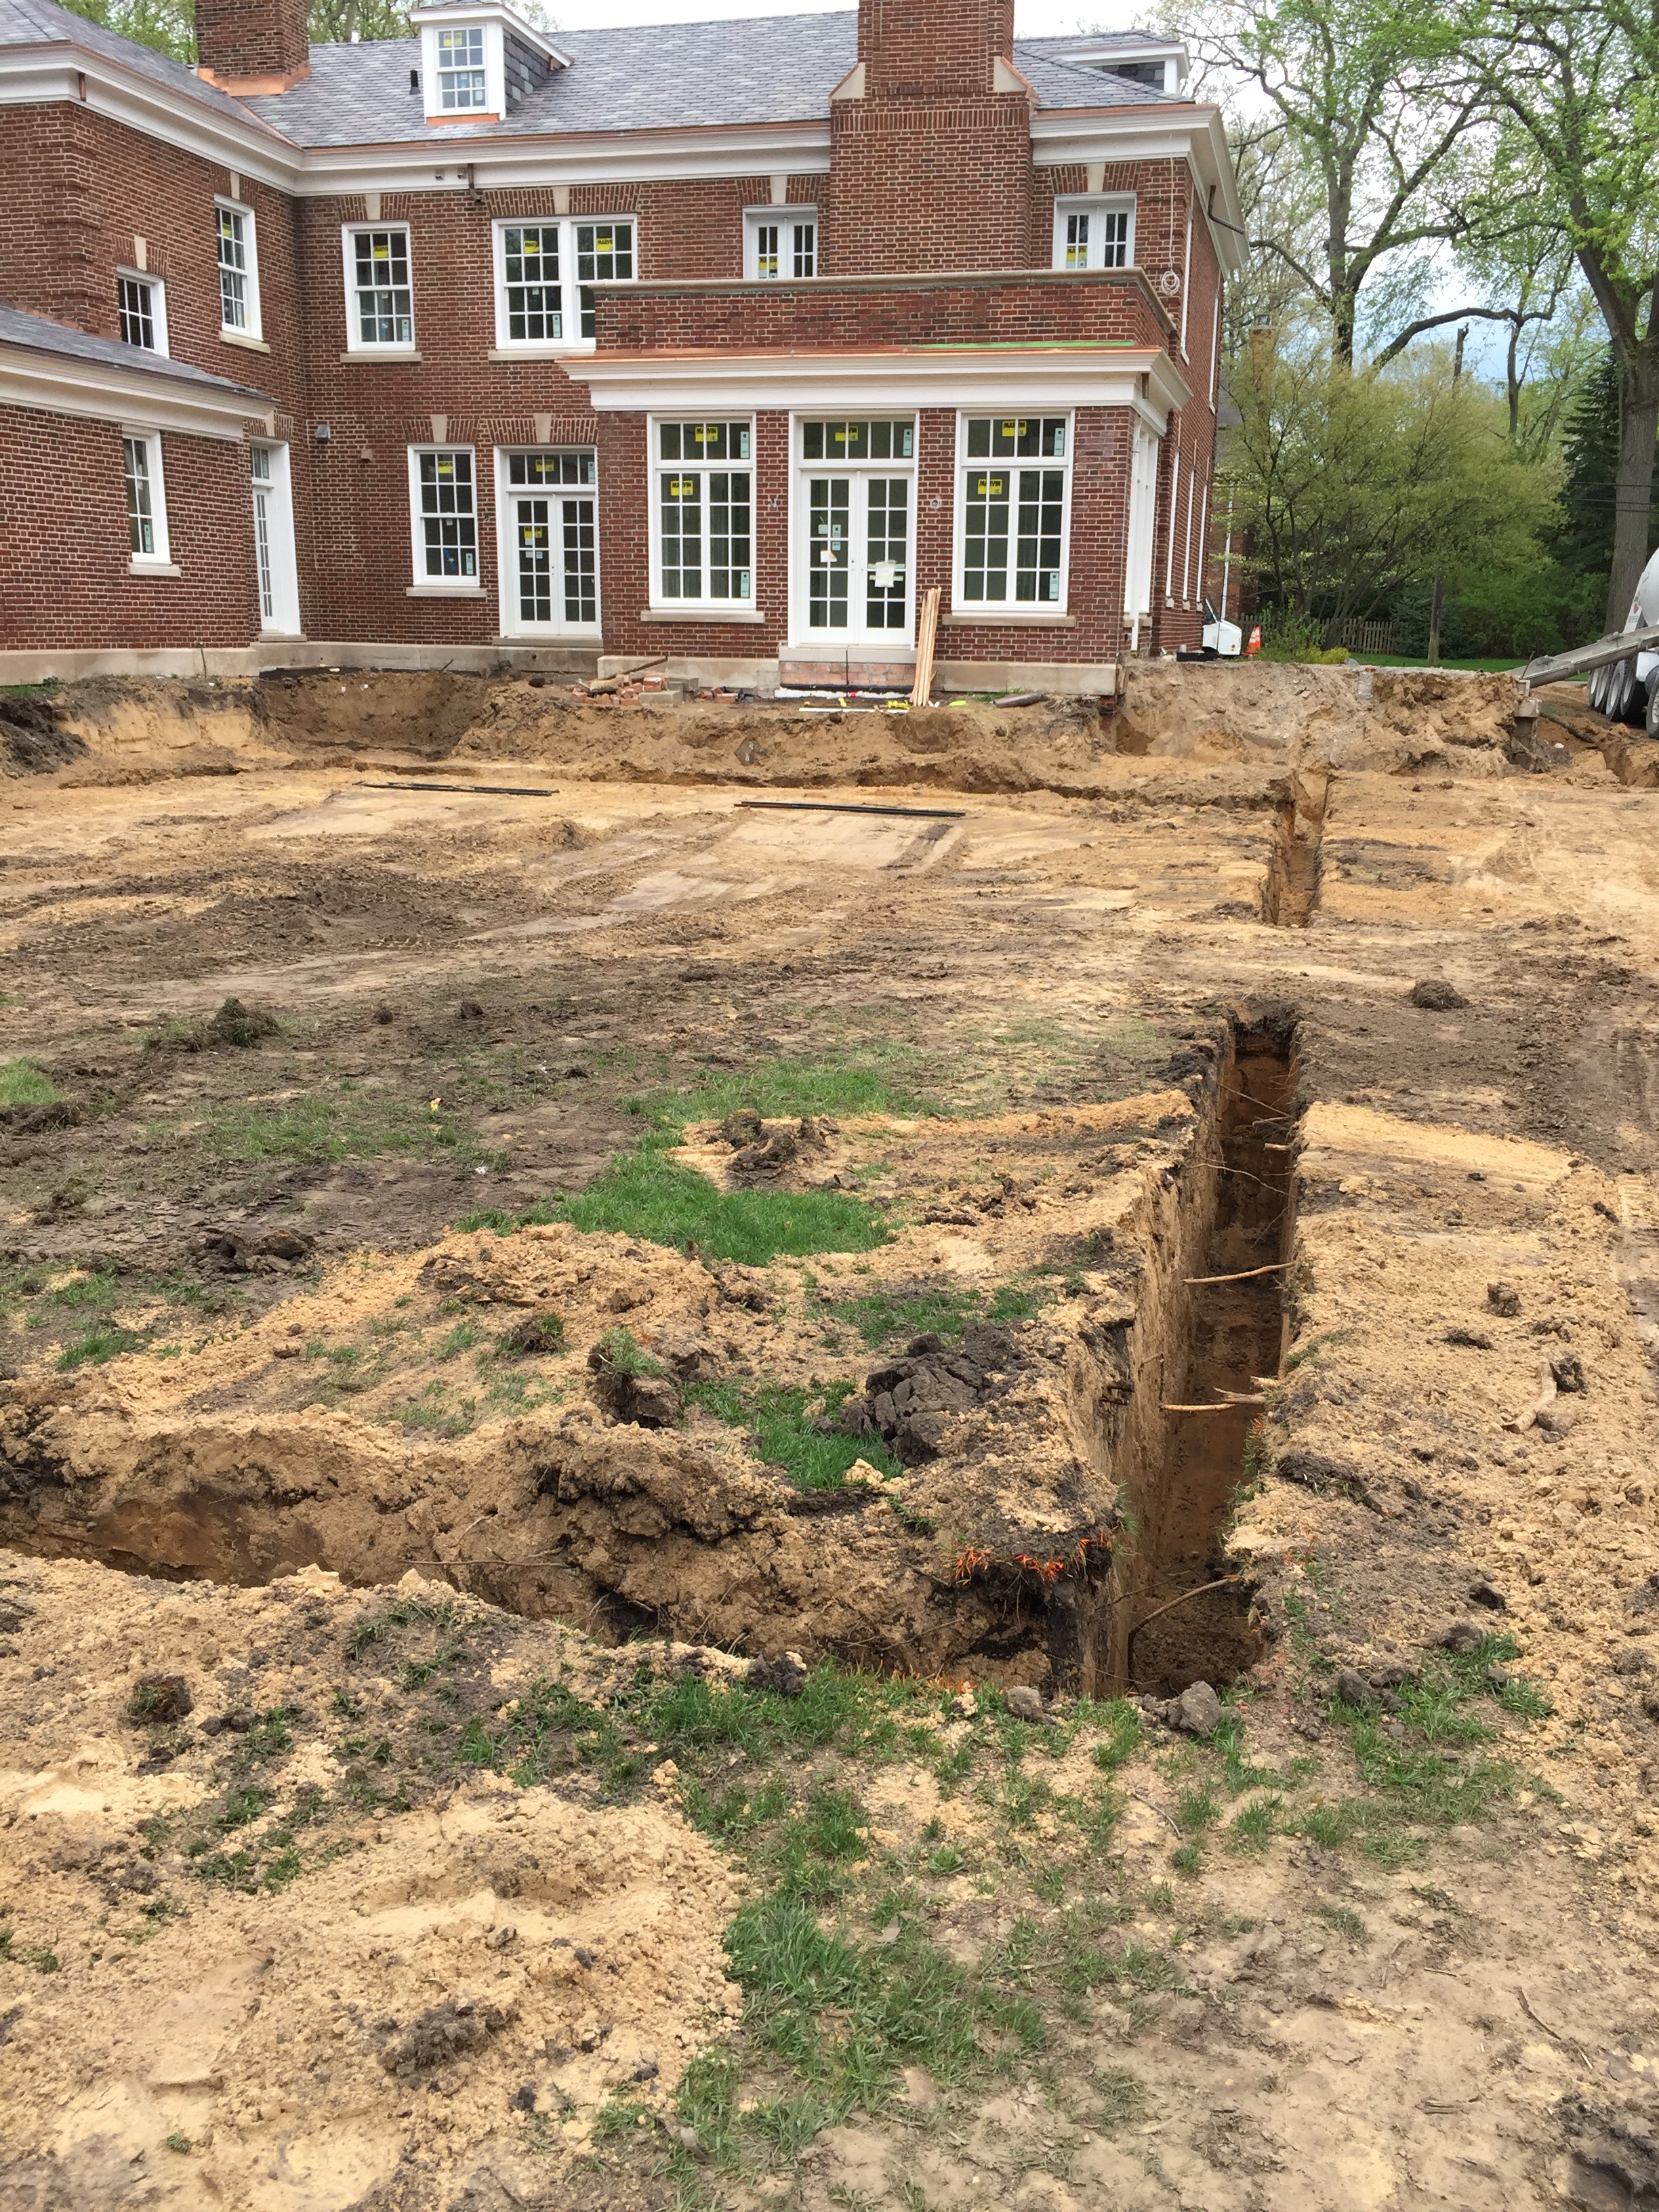
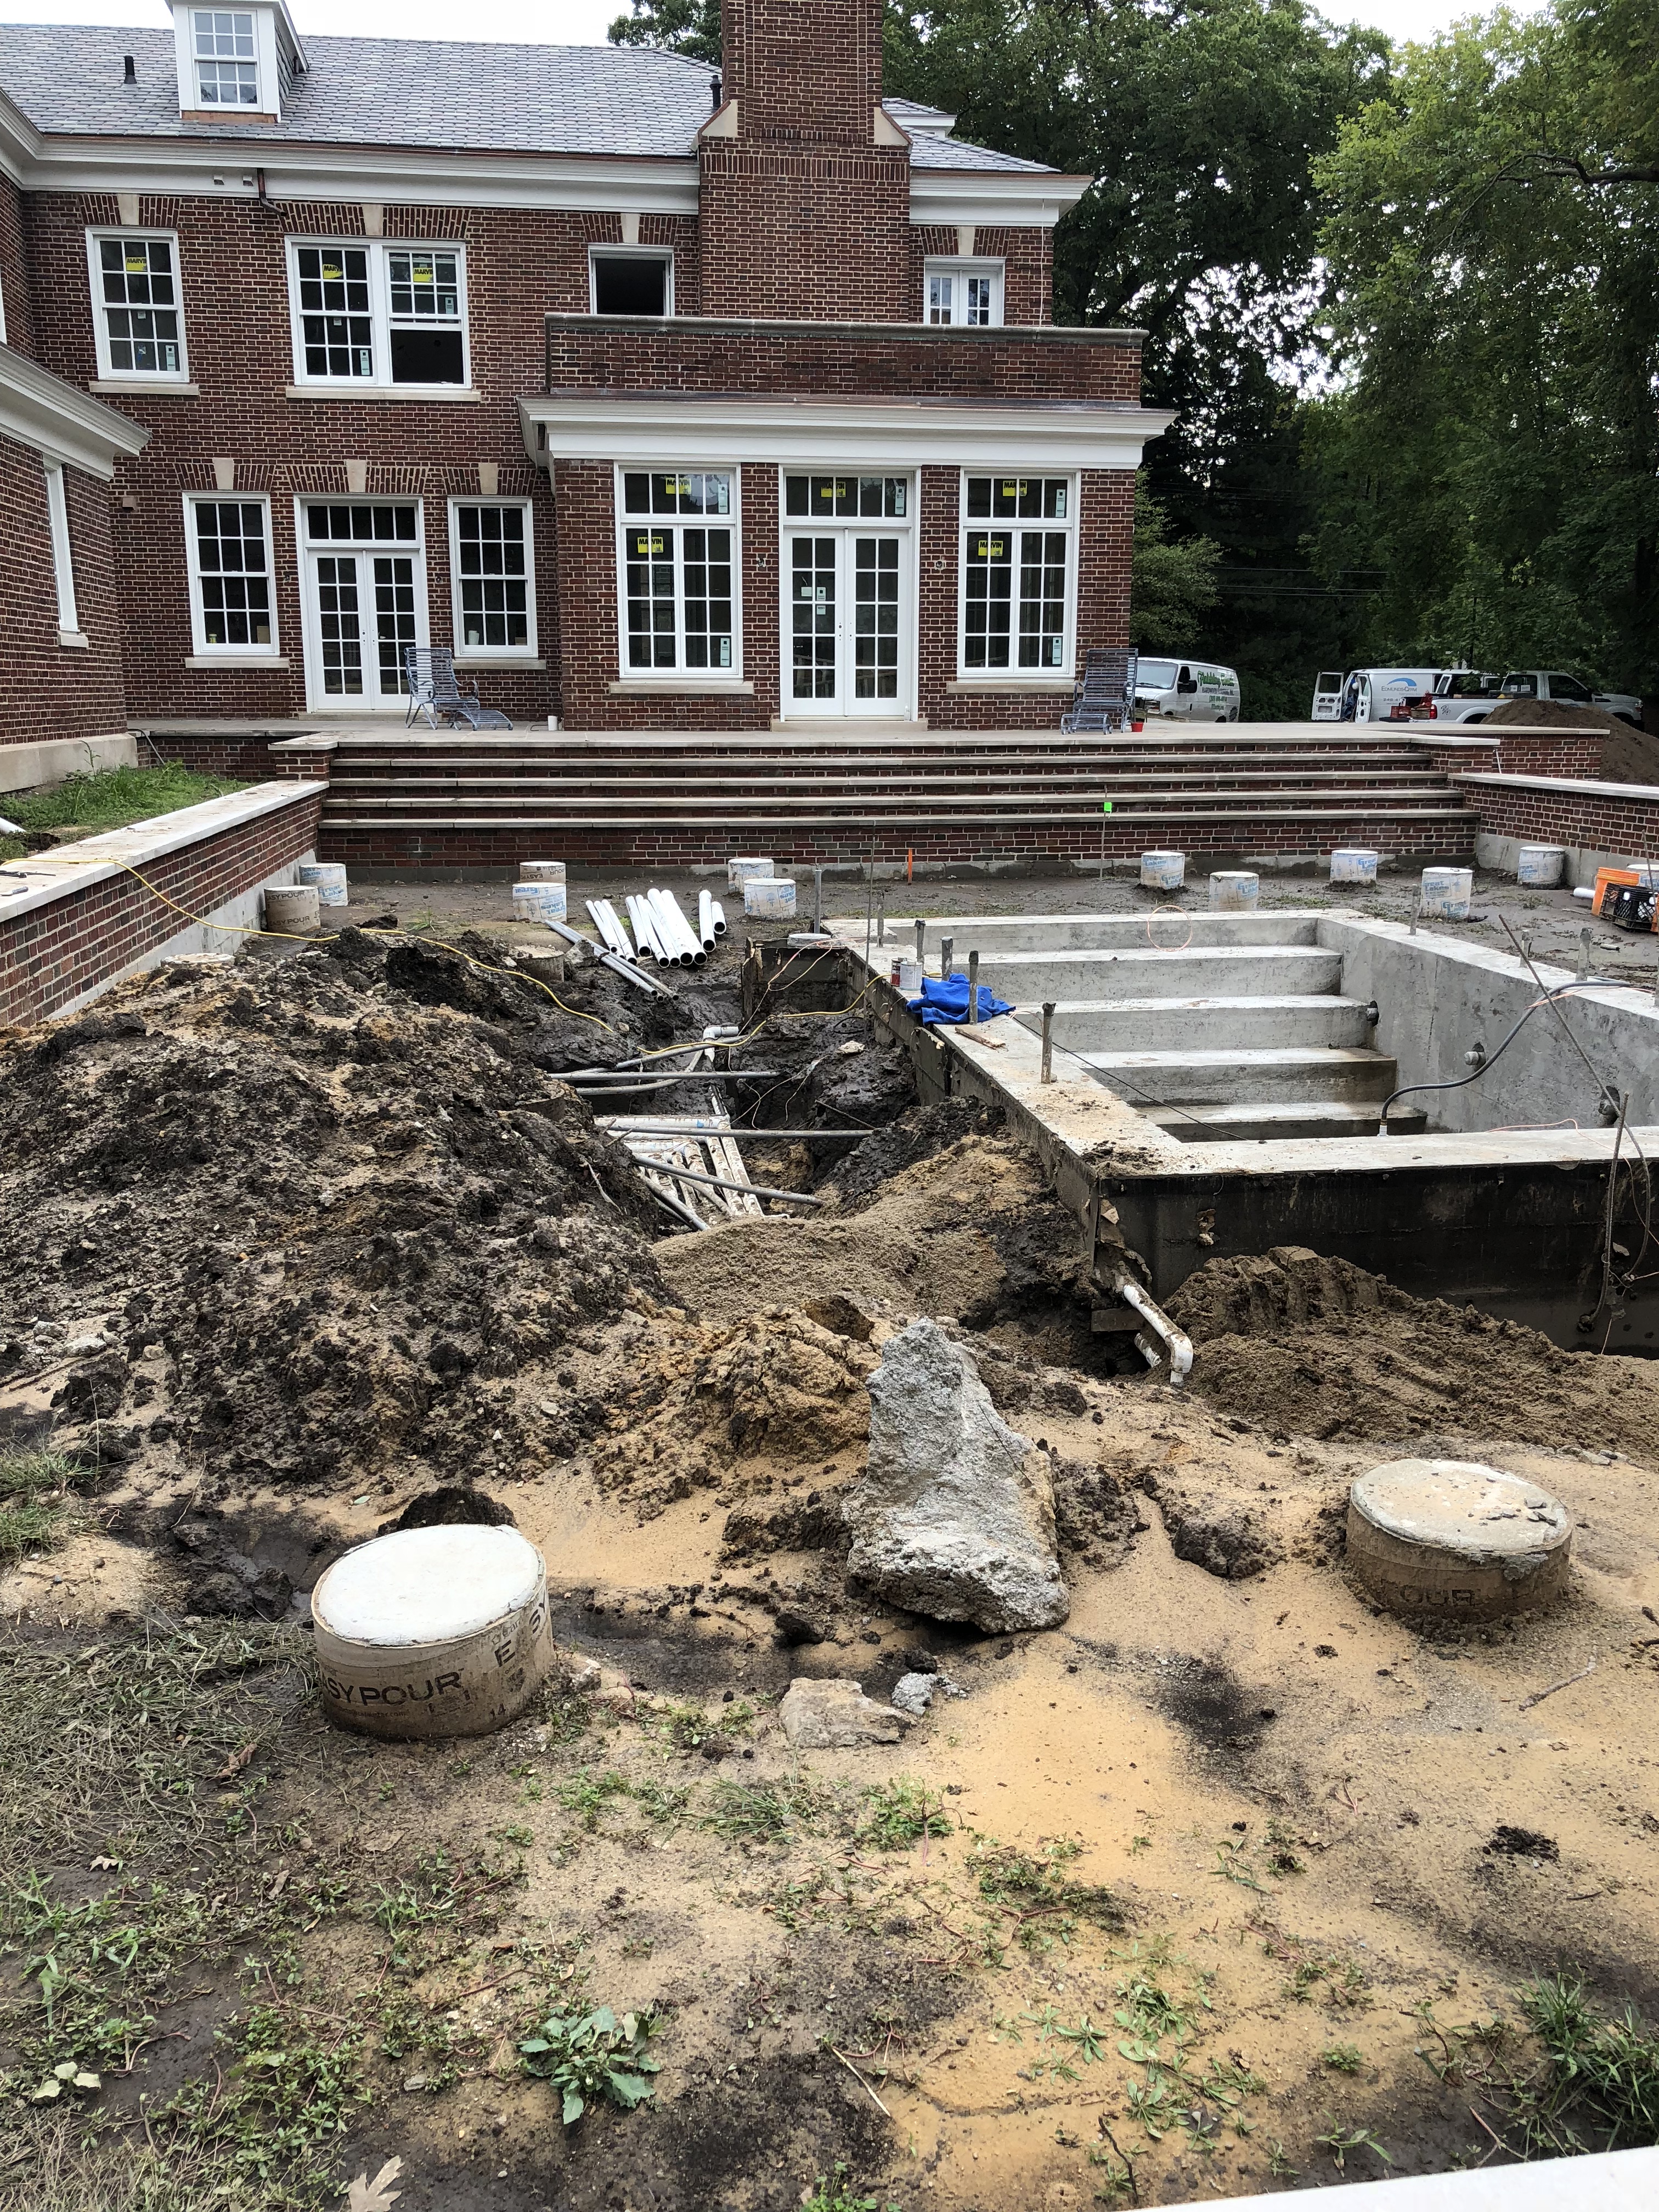
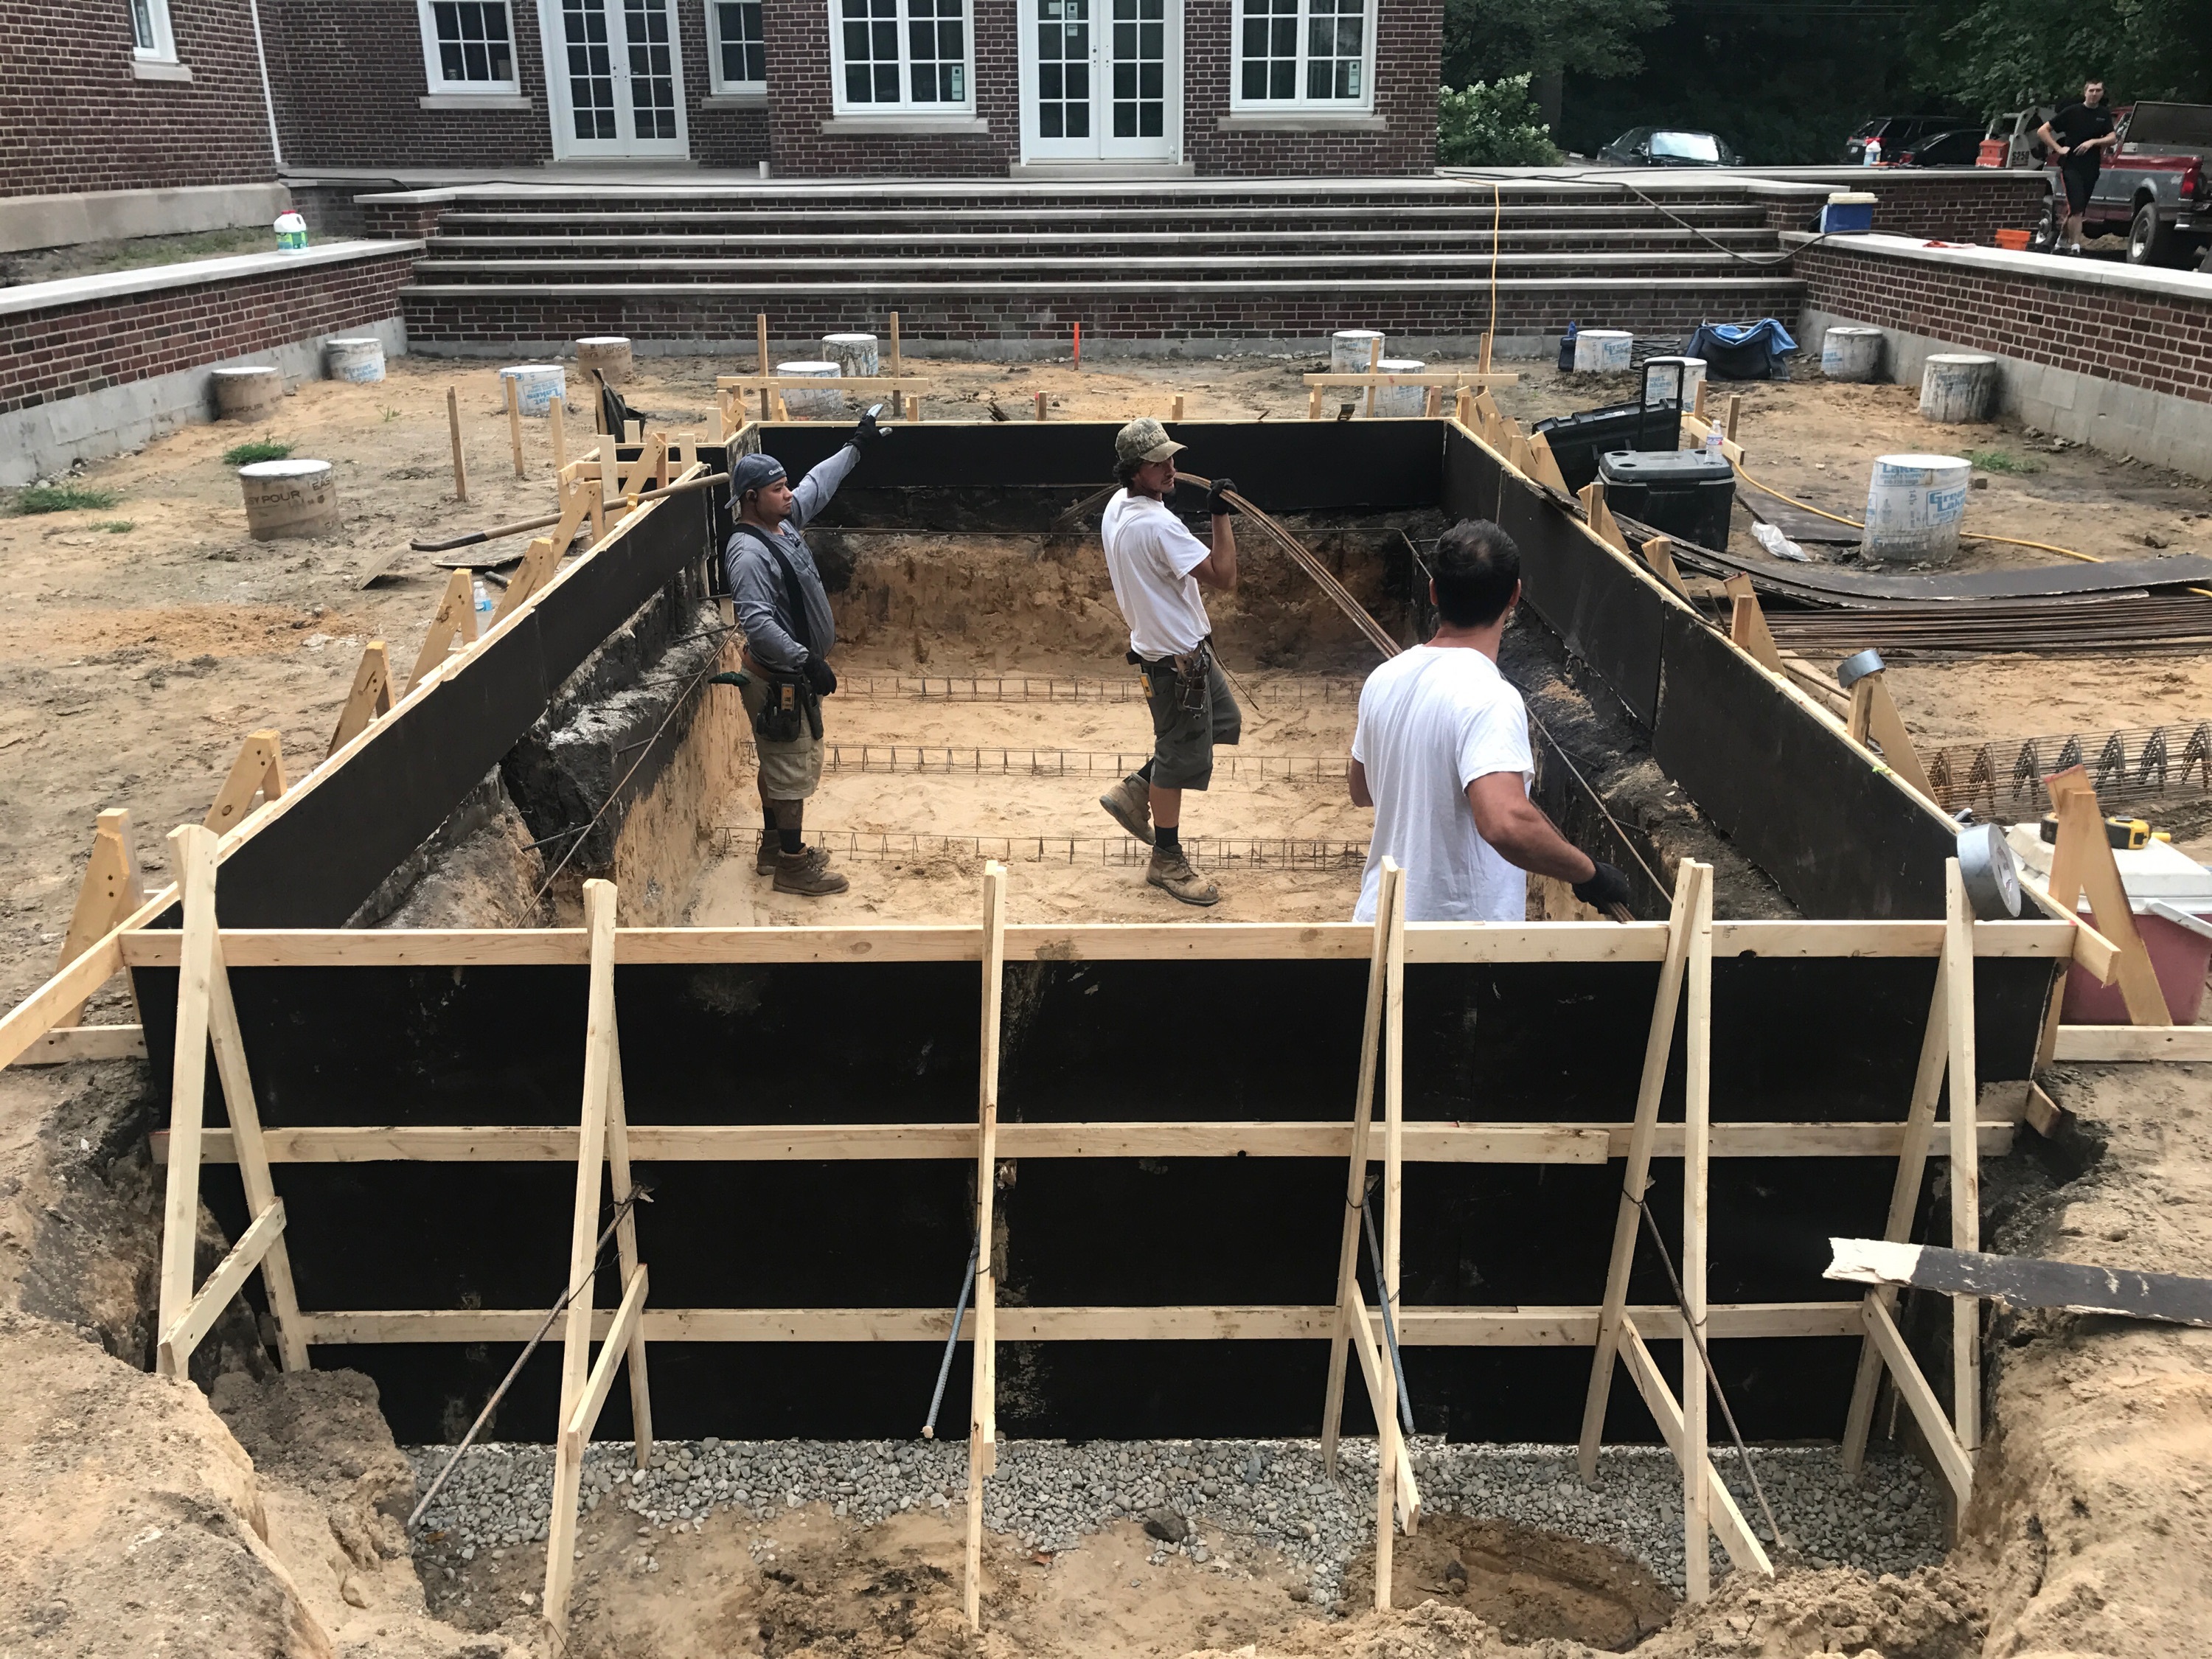 The first step is to build a form which is deeper, wider and longer than the finished interior dimension. This assumes that the pool has been designed, and the plans submitted and approved by the city.
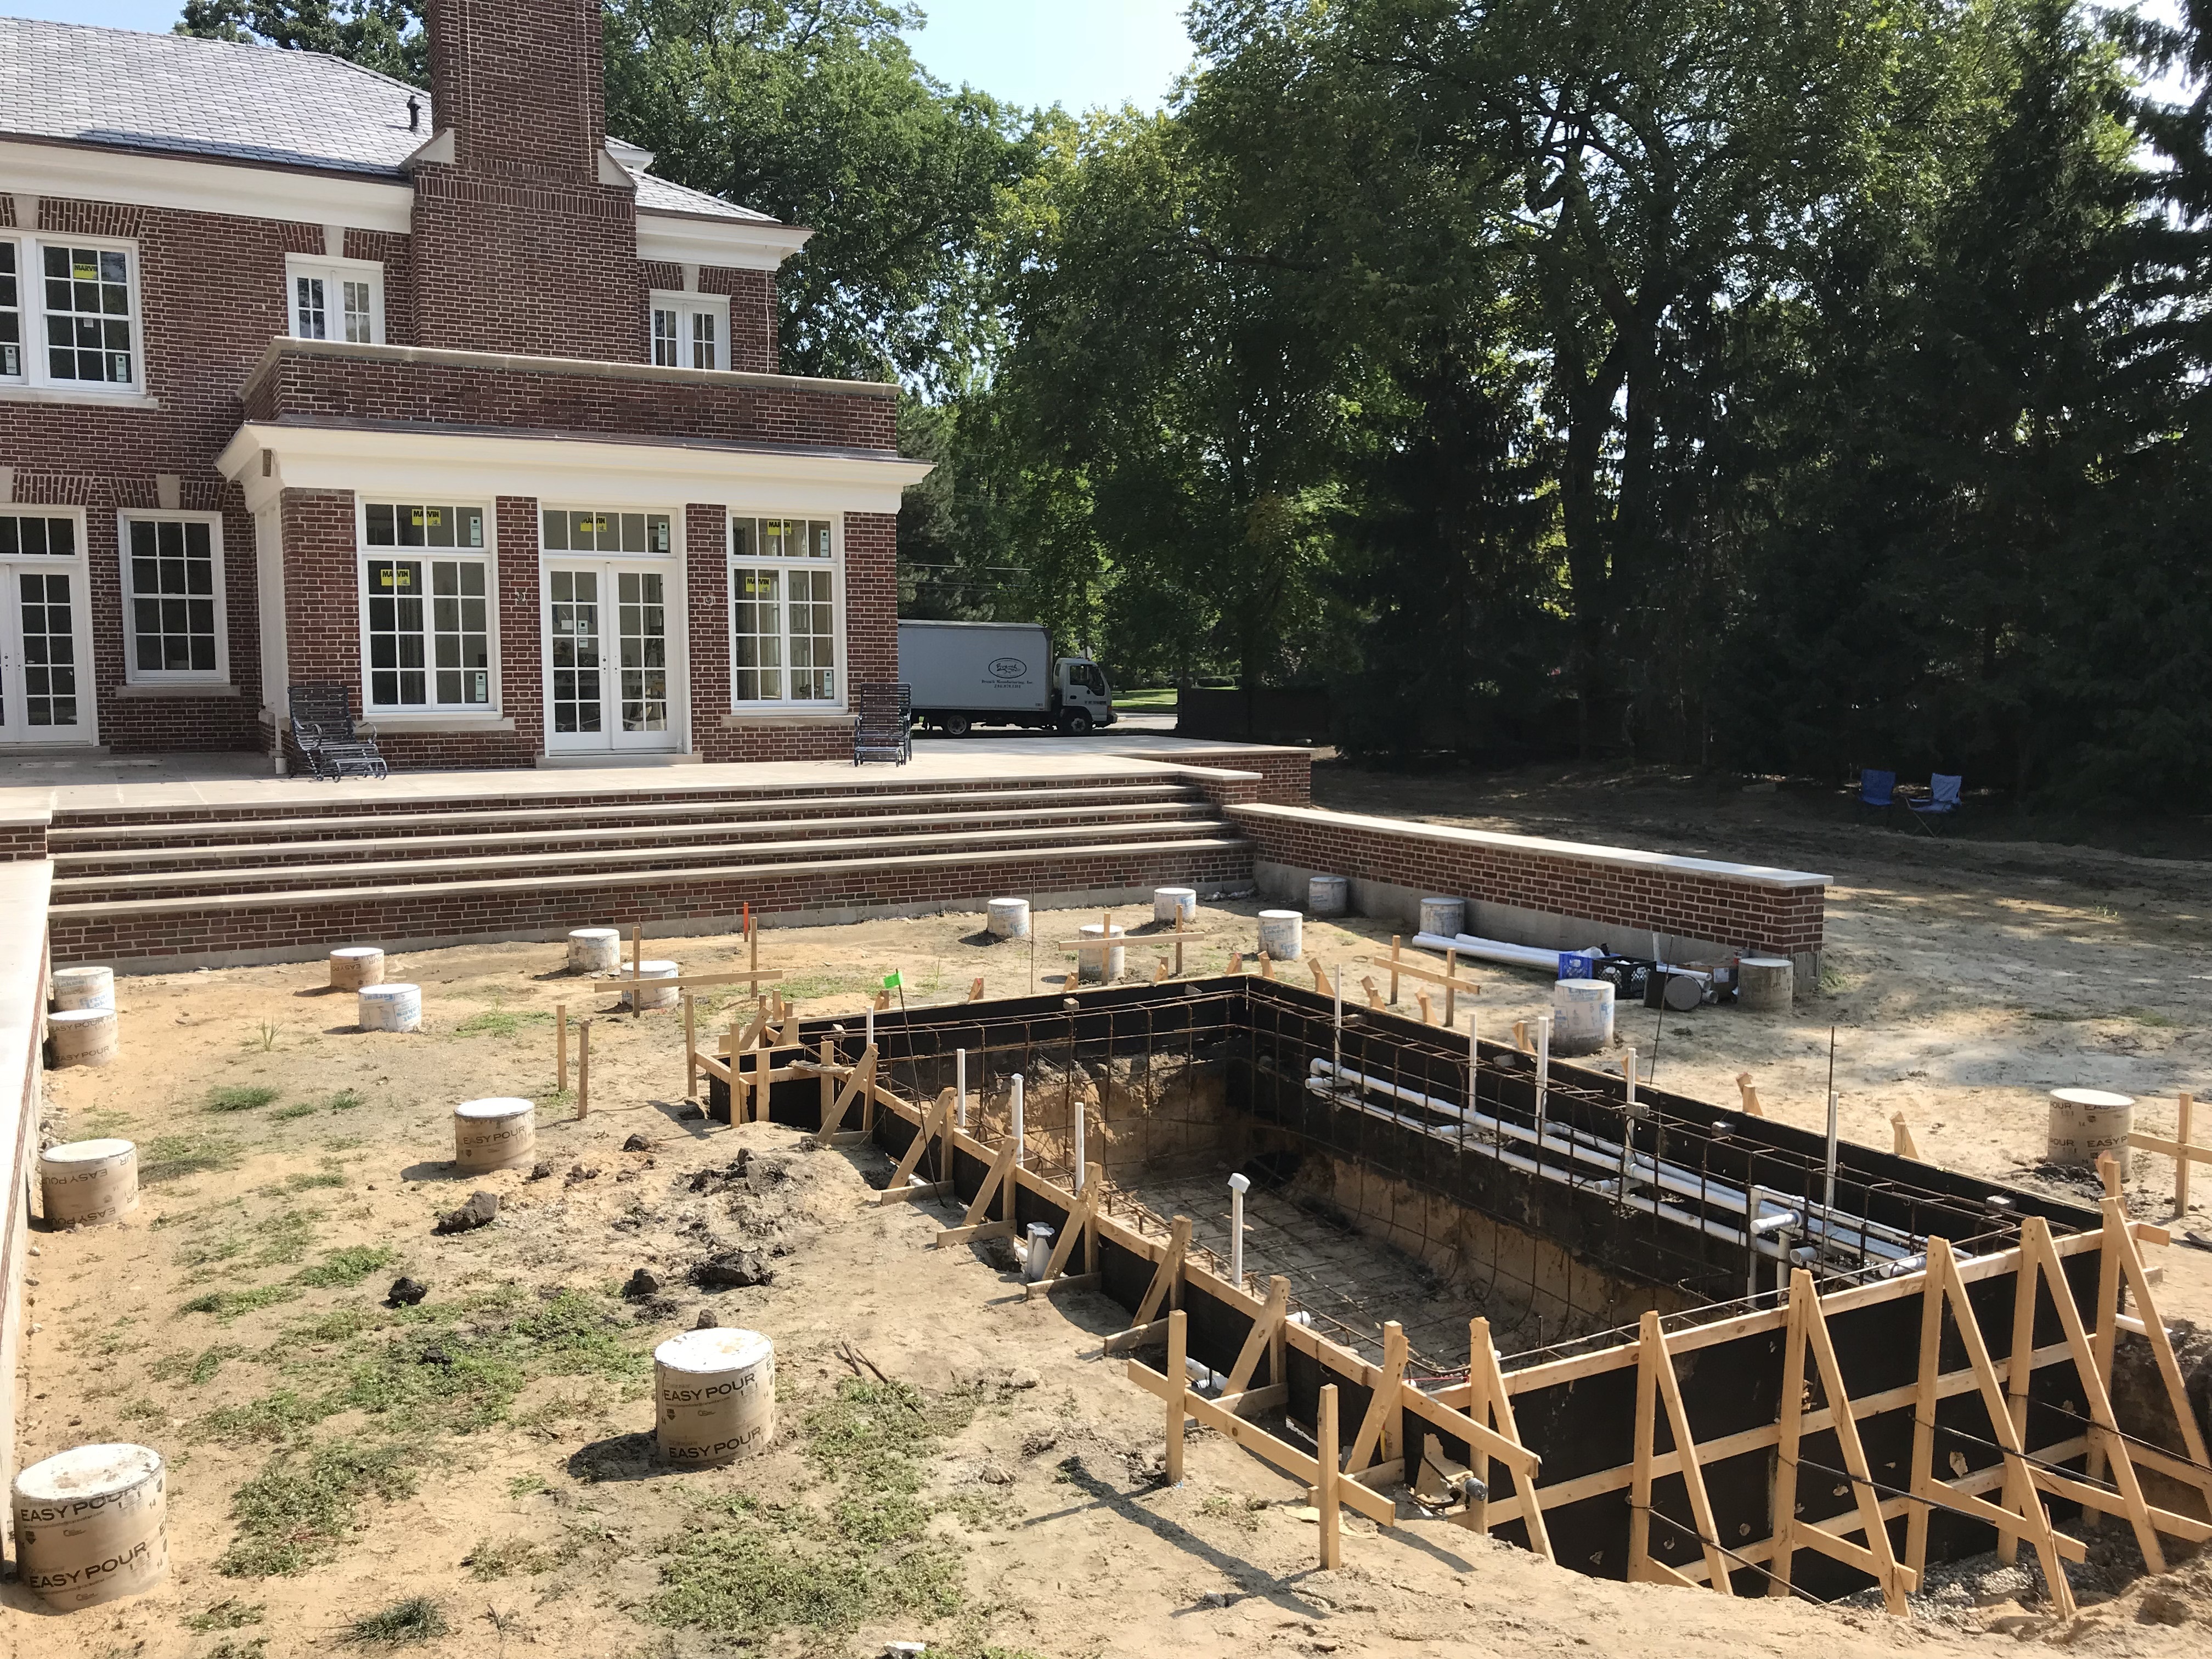 Once the form is in place, all of the plumbing work can begin. You can see in the above picture that each fountain jet will be operated by its dedicated pipe. Each water function is plumbed.
 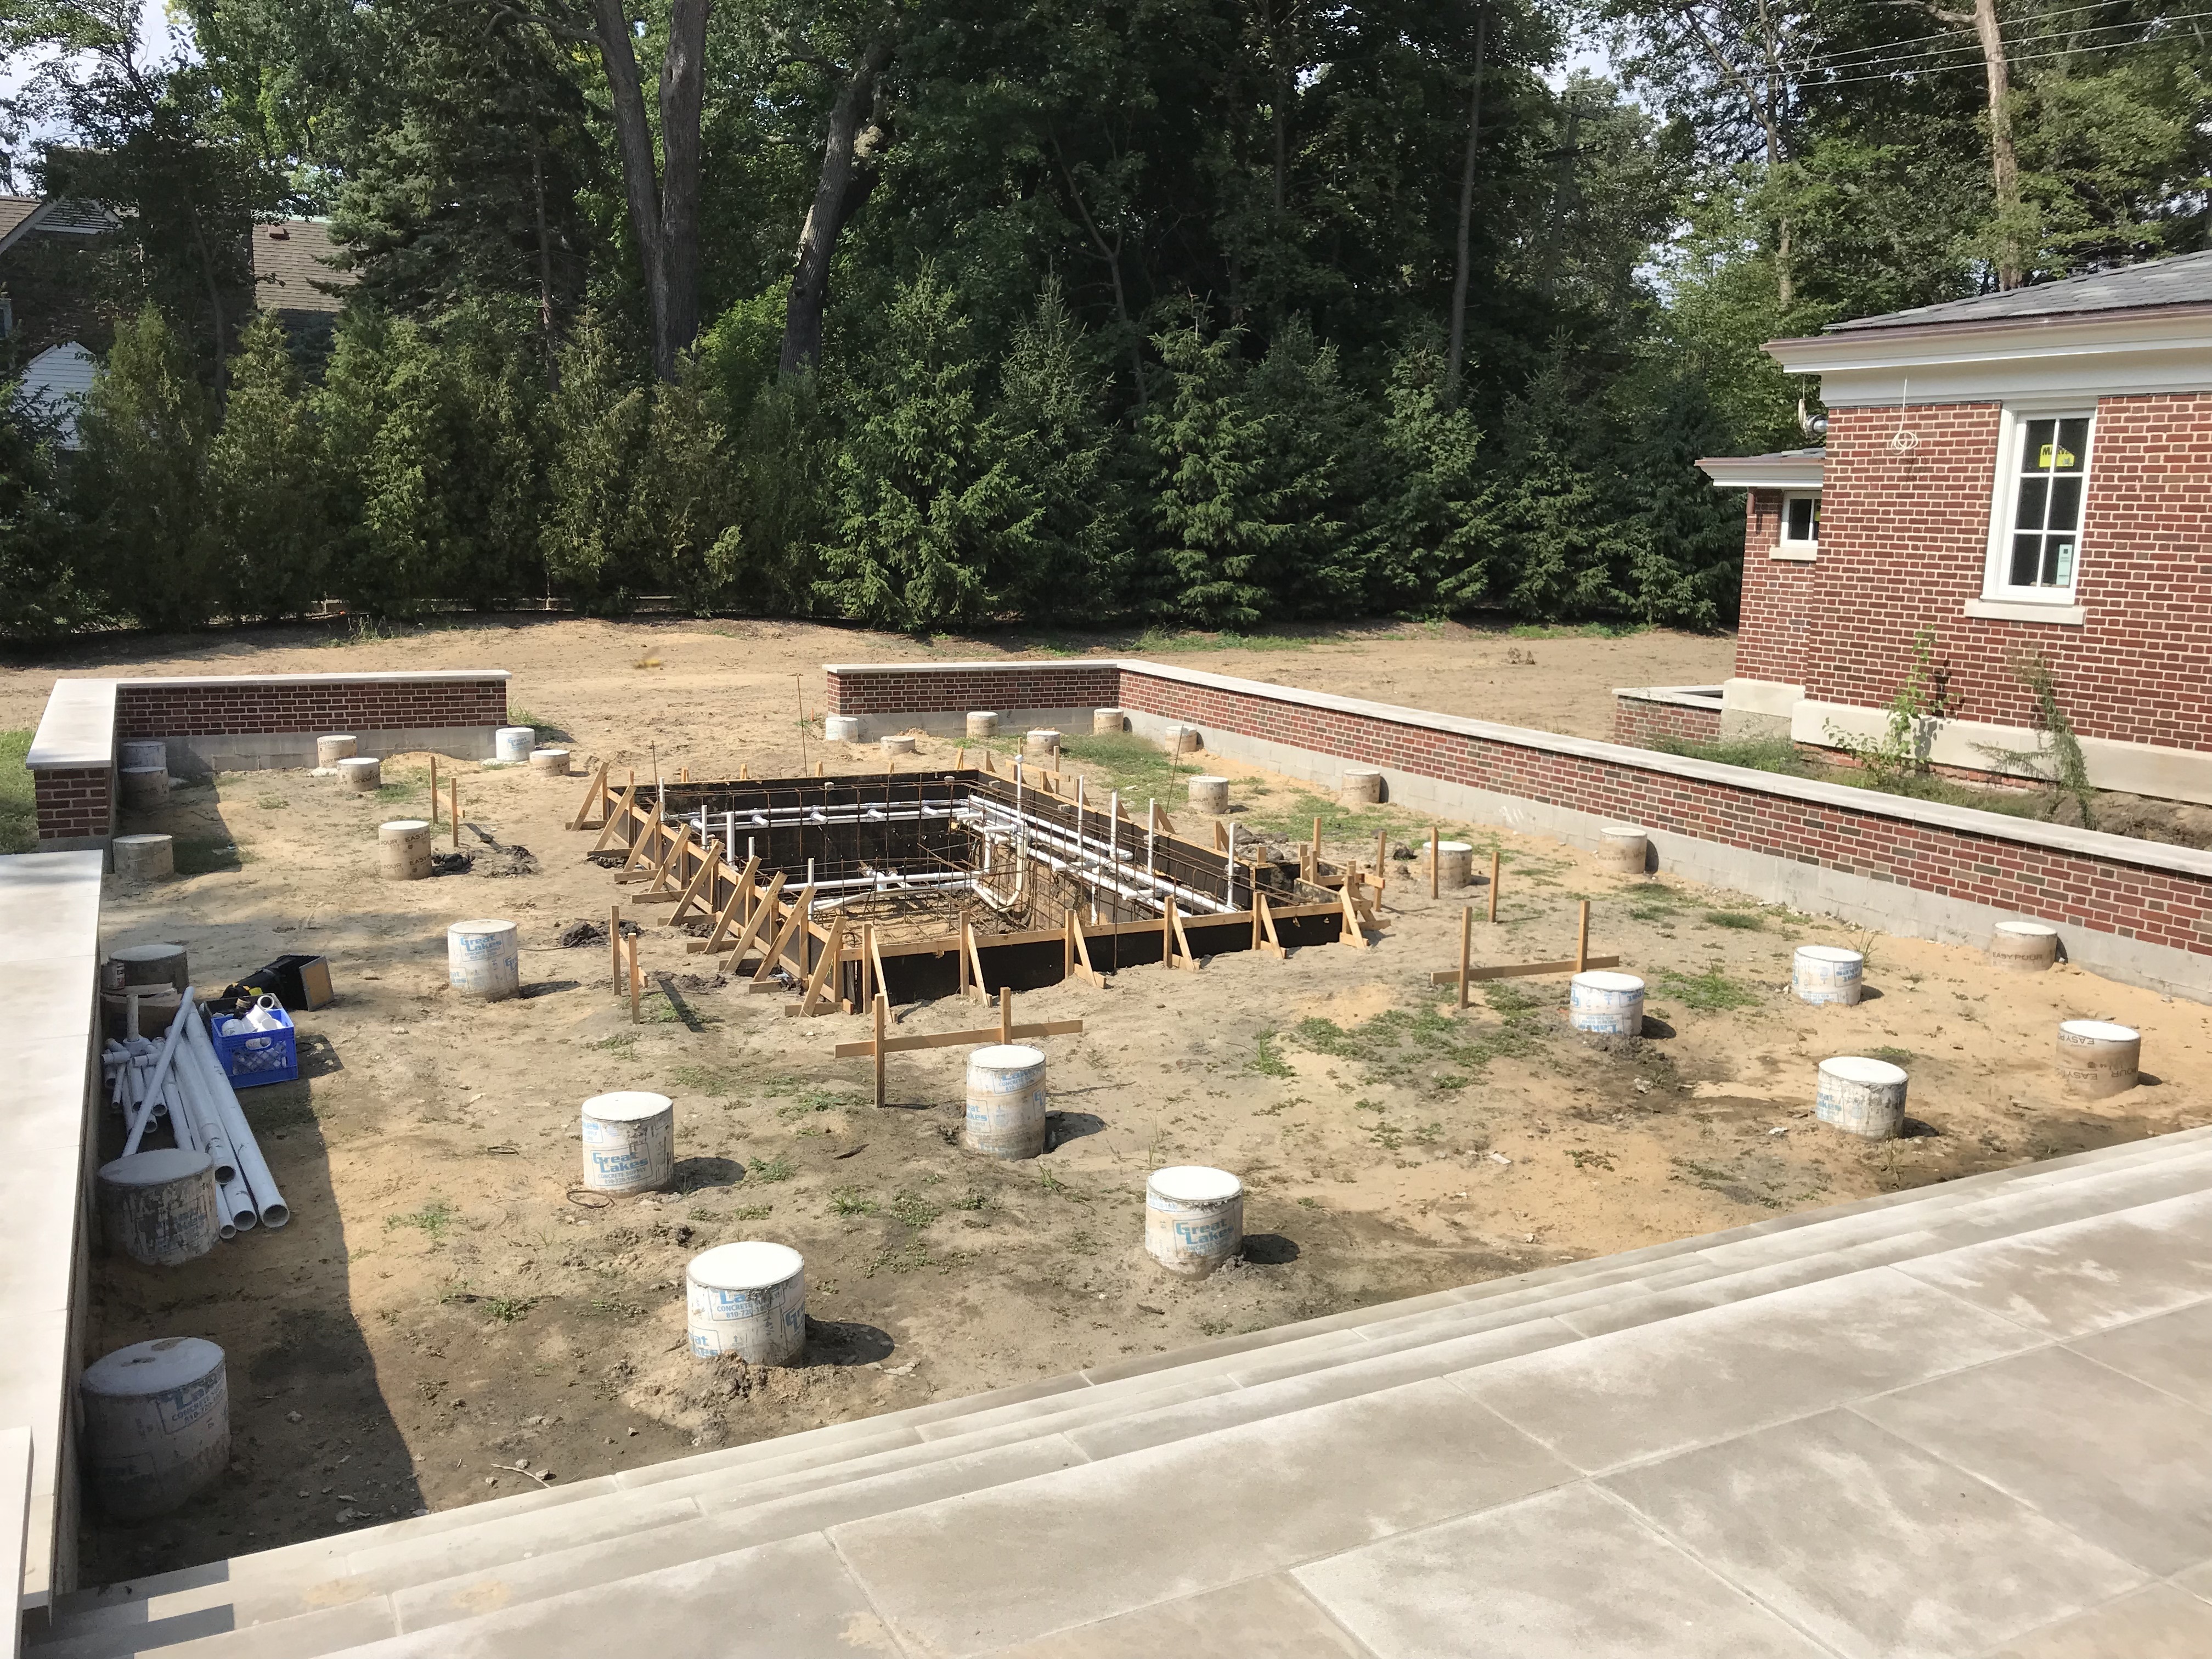 It was a little easier by this point for my client to see that the pergola would have a roof around the perimeter, and be open to the sky above the pool. Once the interior plumbing is finished, the inside would be sprayed with a thick coating of concrete and sand called gunite. This process insures that the pool is water tight.
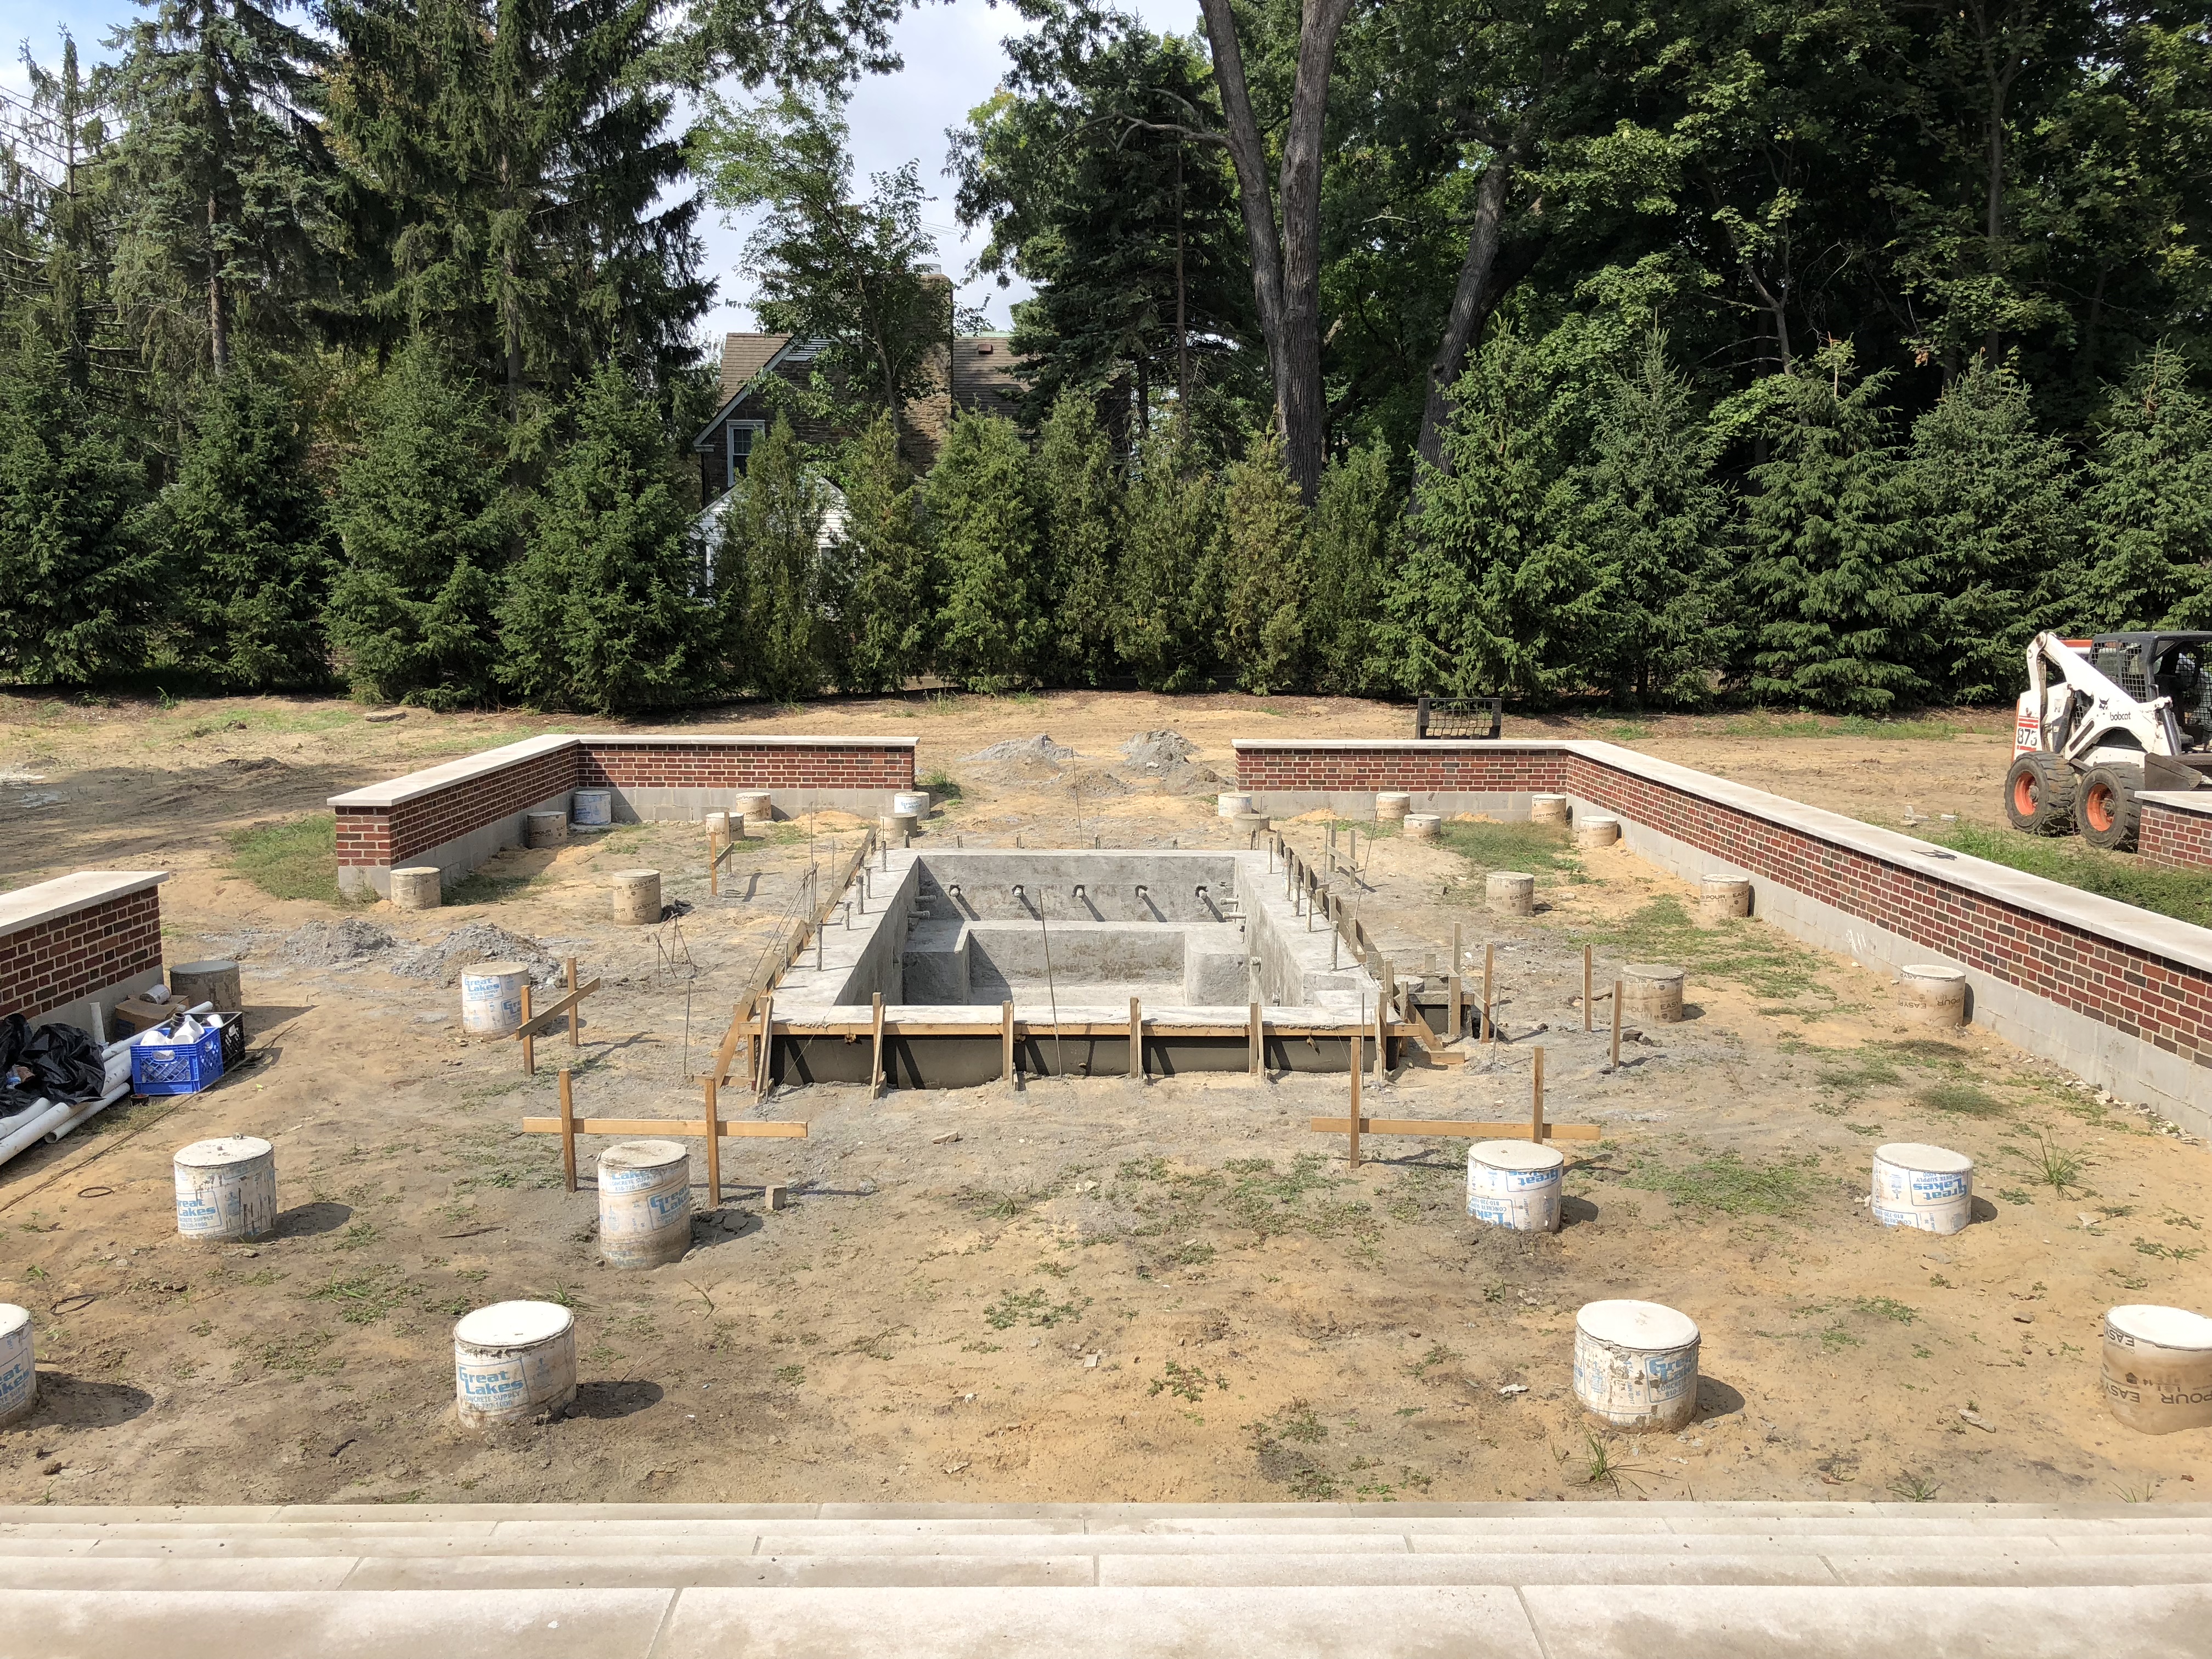 One would think that once the concrete had been sprayed on the pool, all that would be left to do was the final finish and hardware. In fact, the process of hooking up all of the plumbing and filtration was just about to begin.
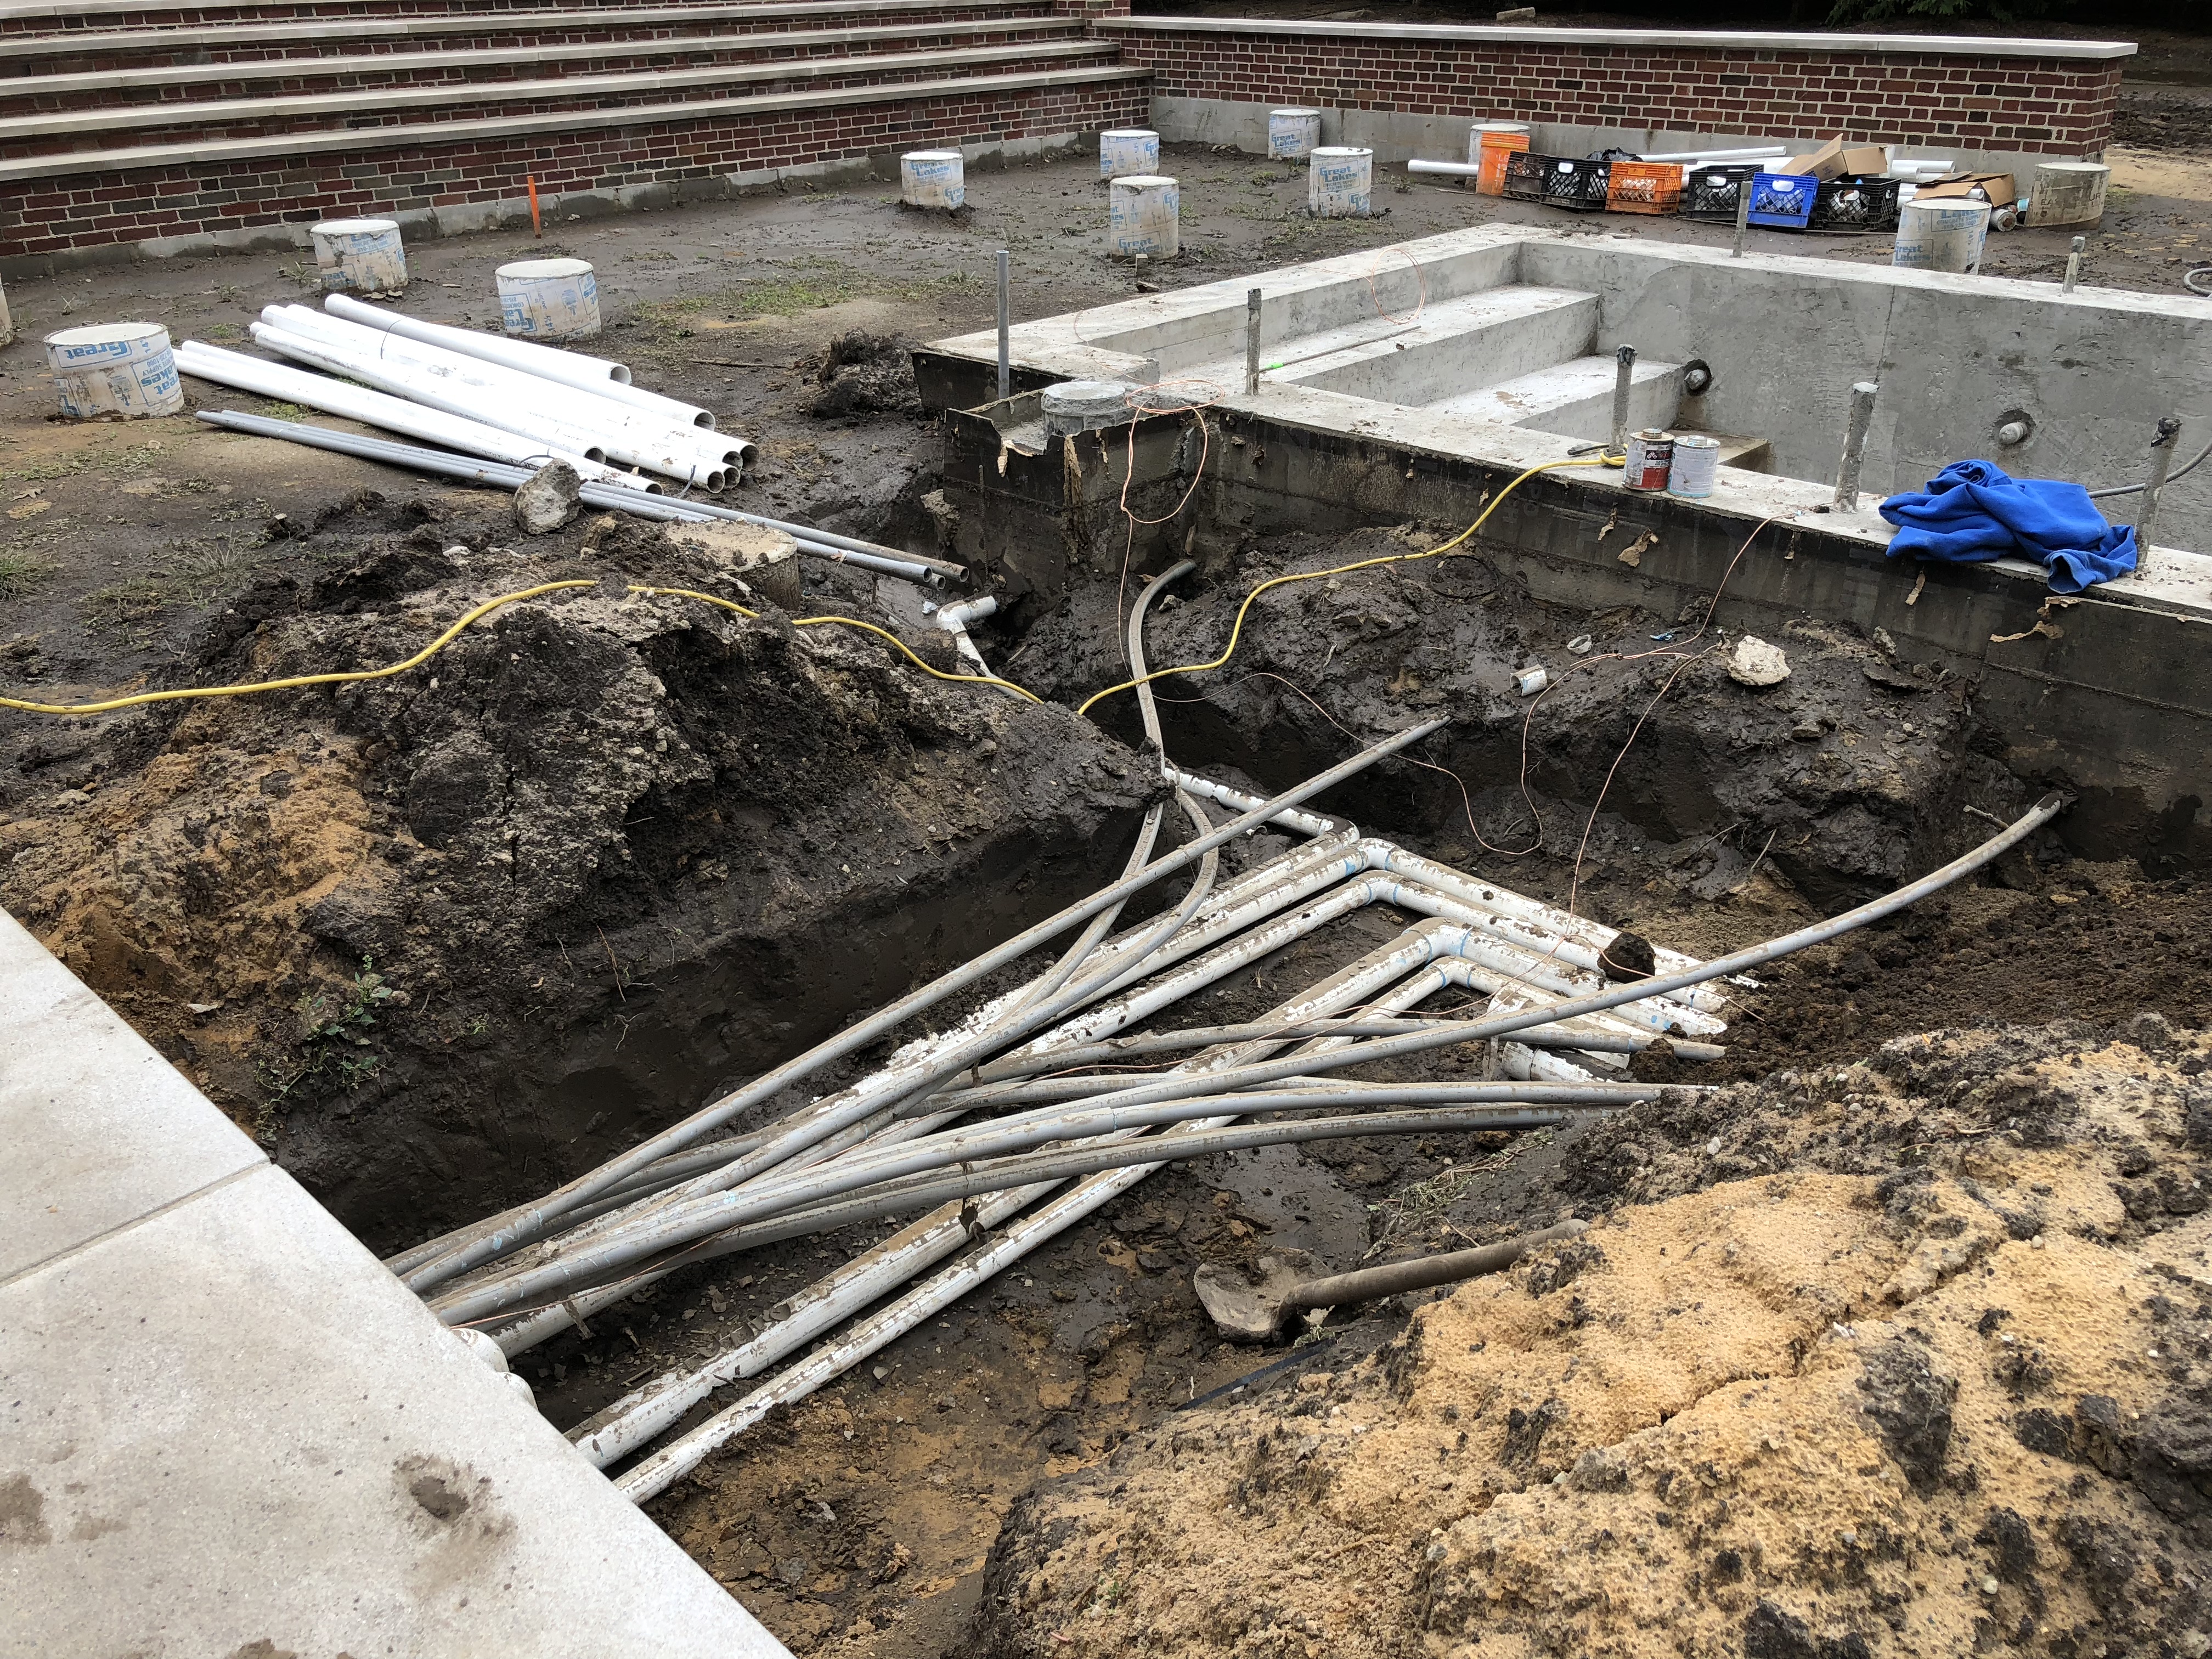
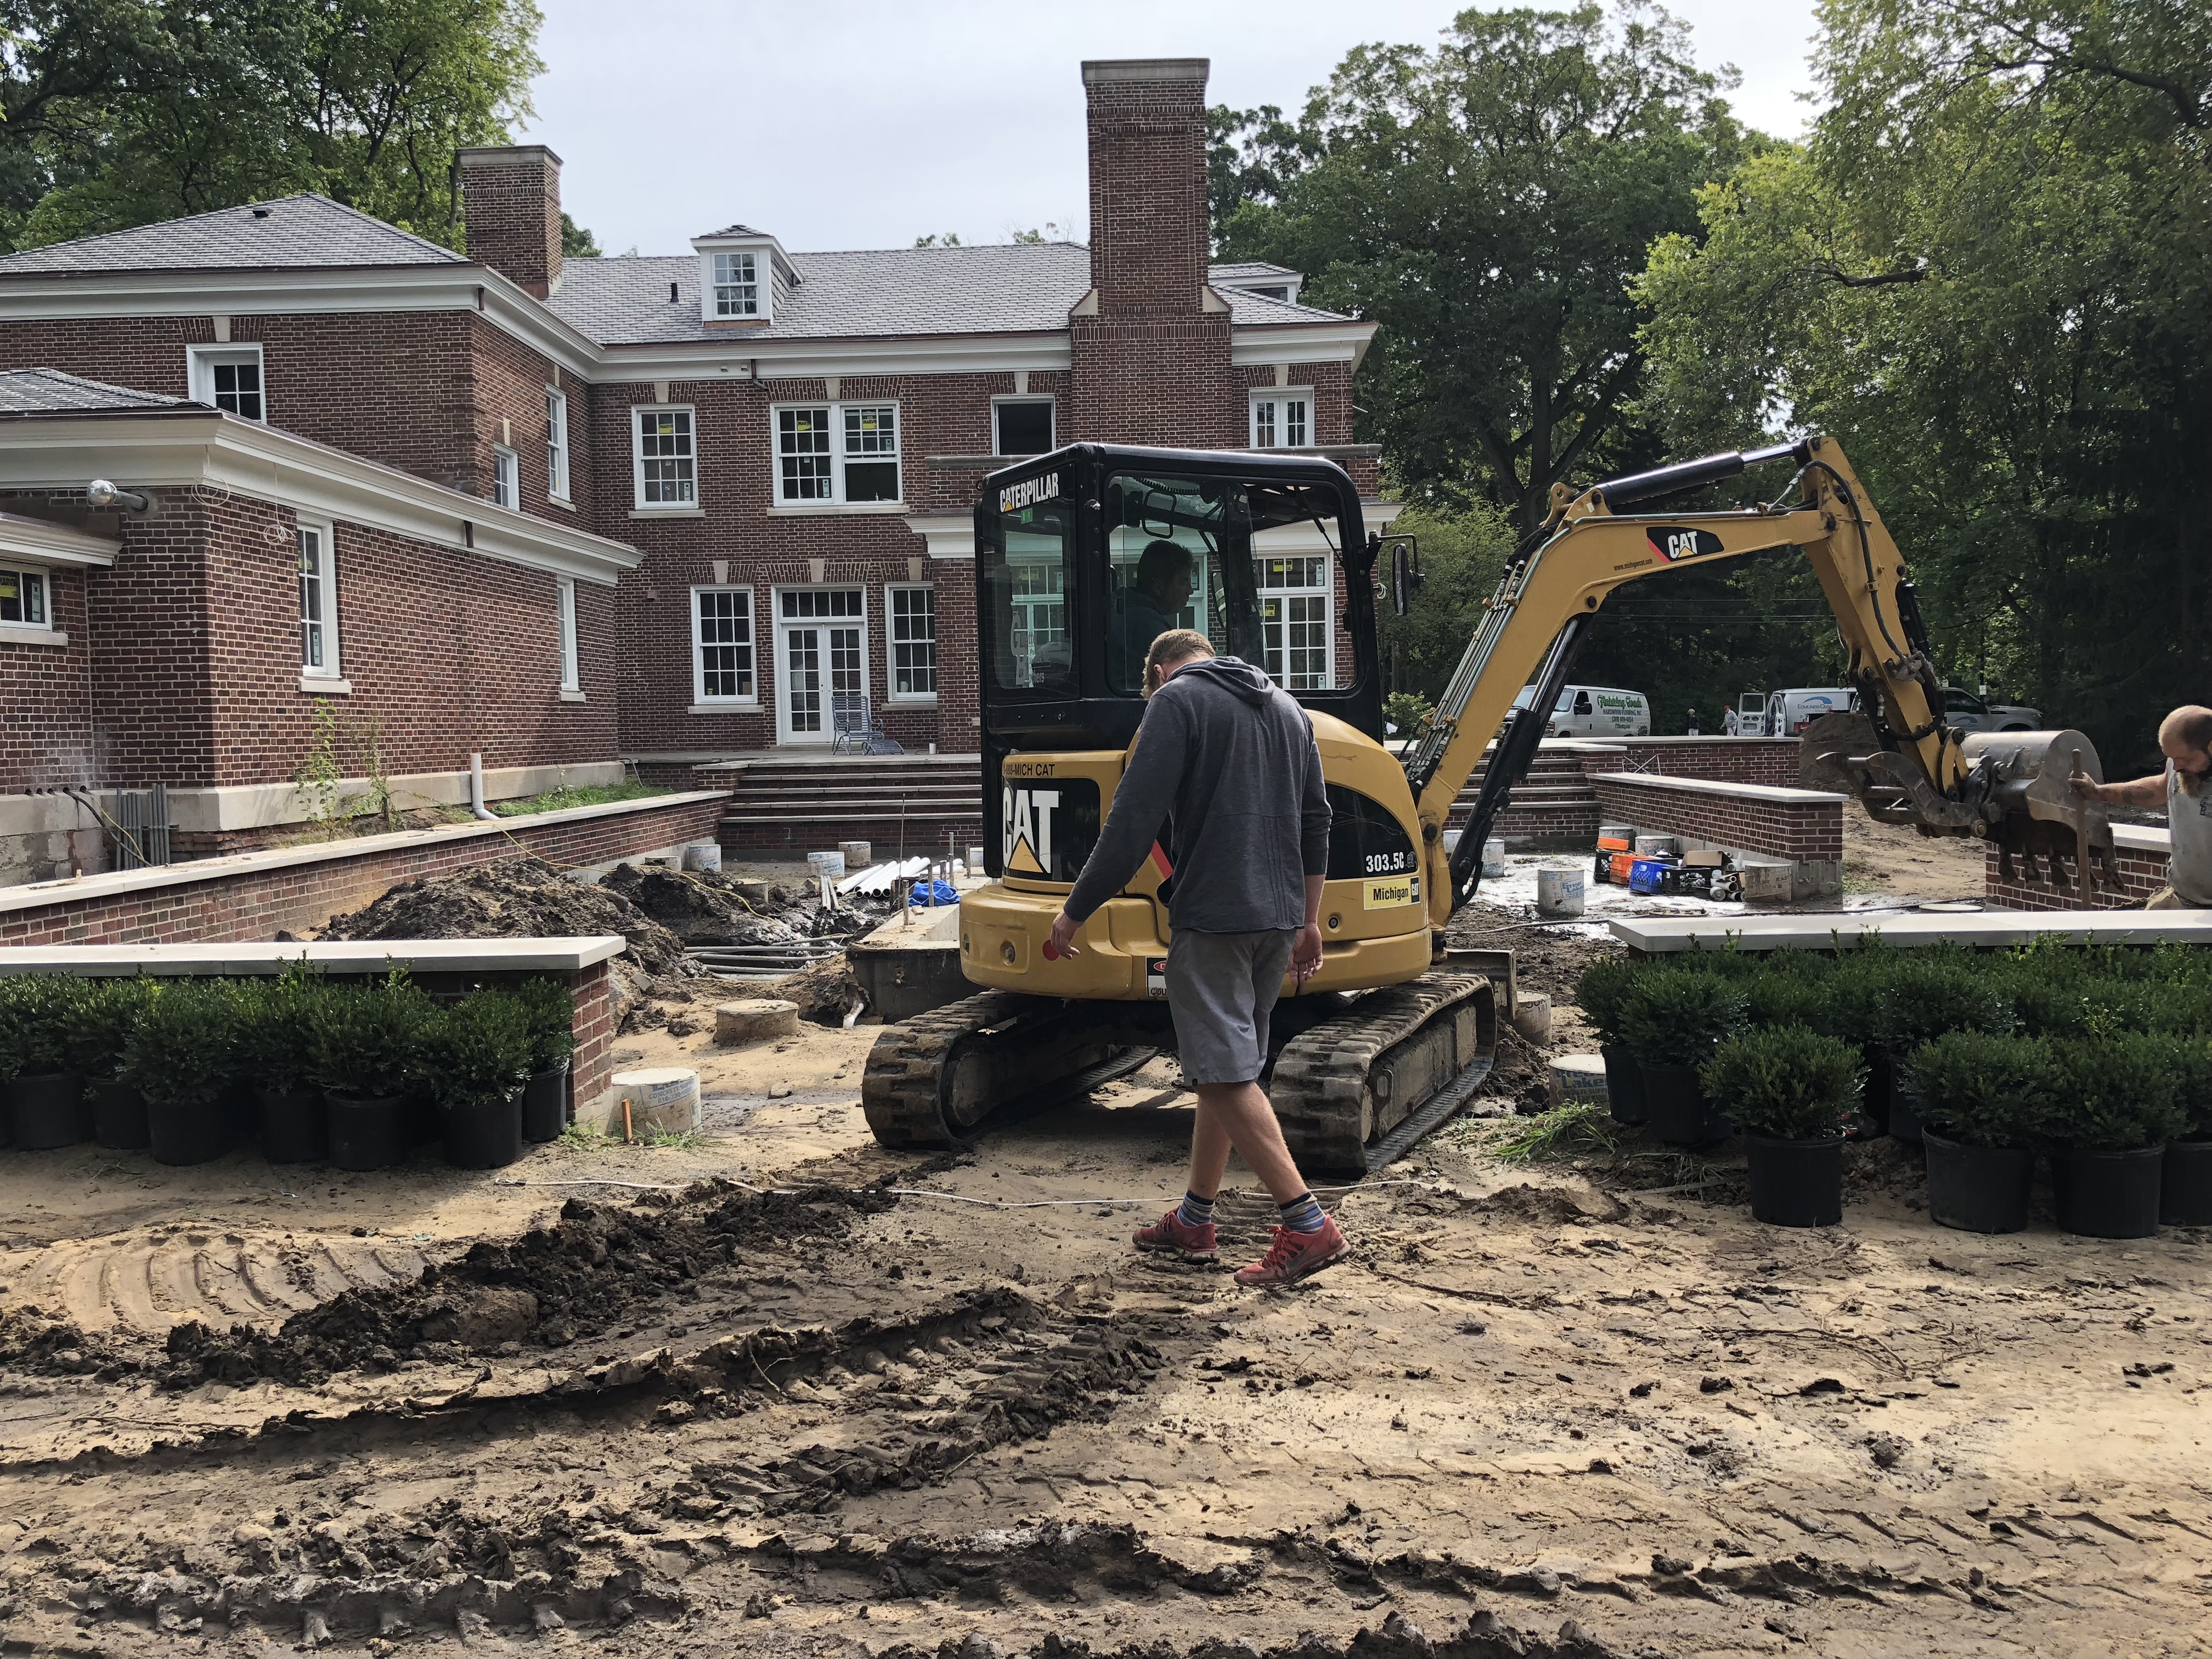 Once the gunite is finished, the process of running all of the pipes to the pumps began. This is the messiest and the longest phase of the construction. The small structure that had been added onto the garage from my previous post would house all of the pool equipment. A mini excavator was used to dig the trenches required for all of the pipes. The operator did an amazing job of navigating that machine around the pergola footings. At this moment, I was relieved that most of what would be planted in this area is grass.
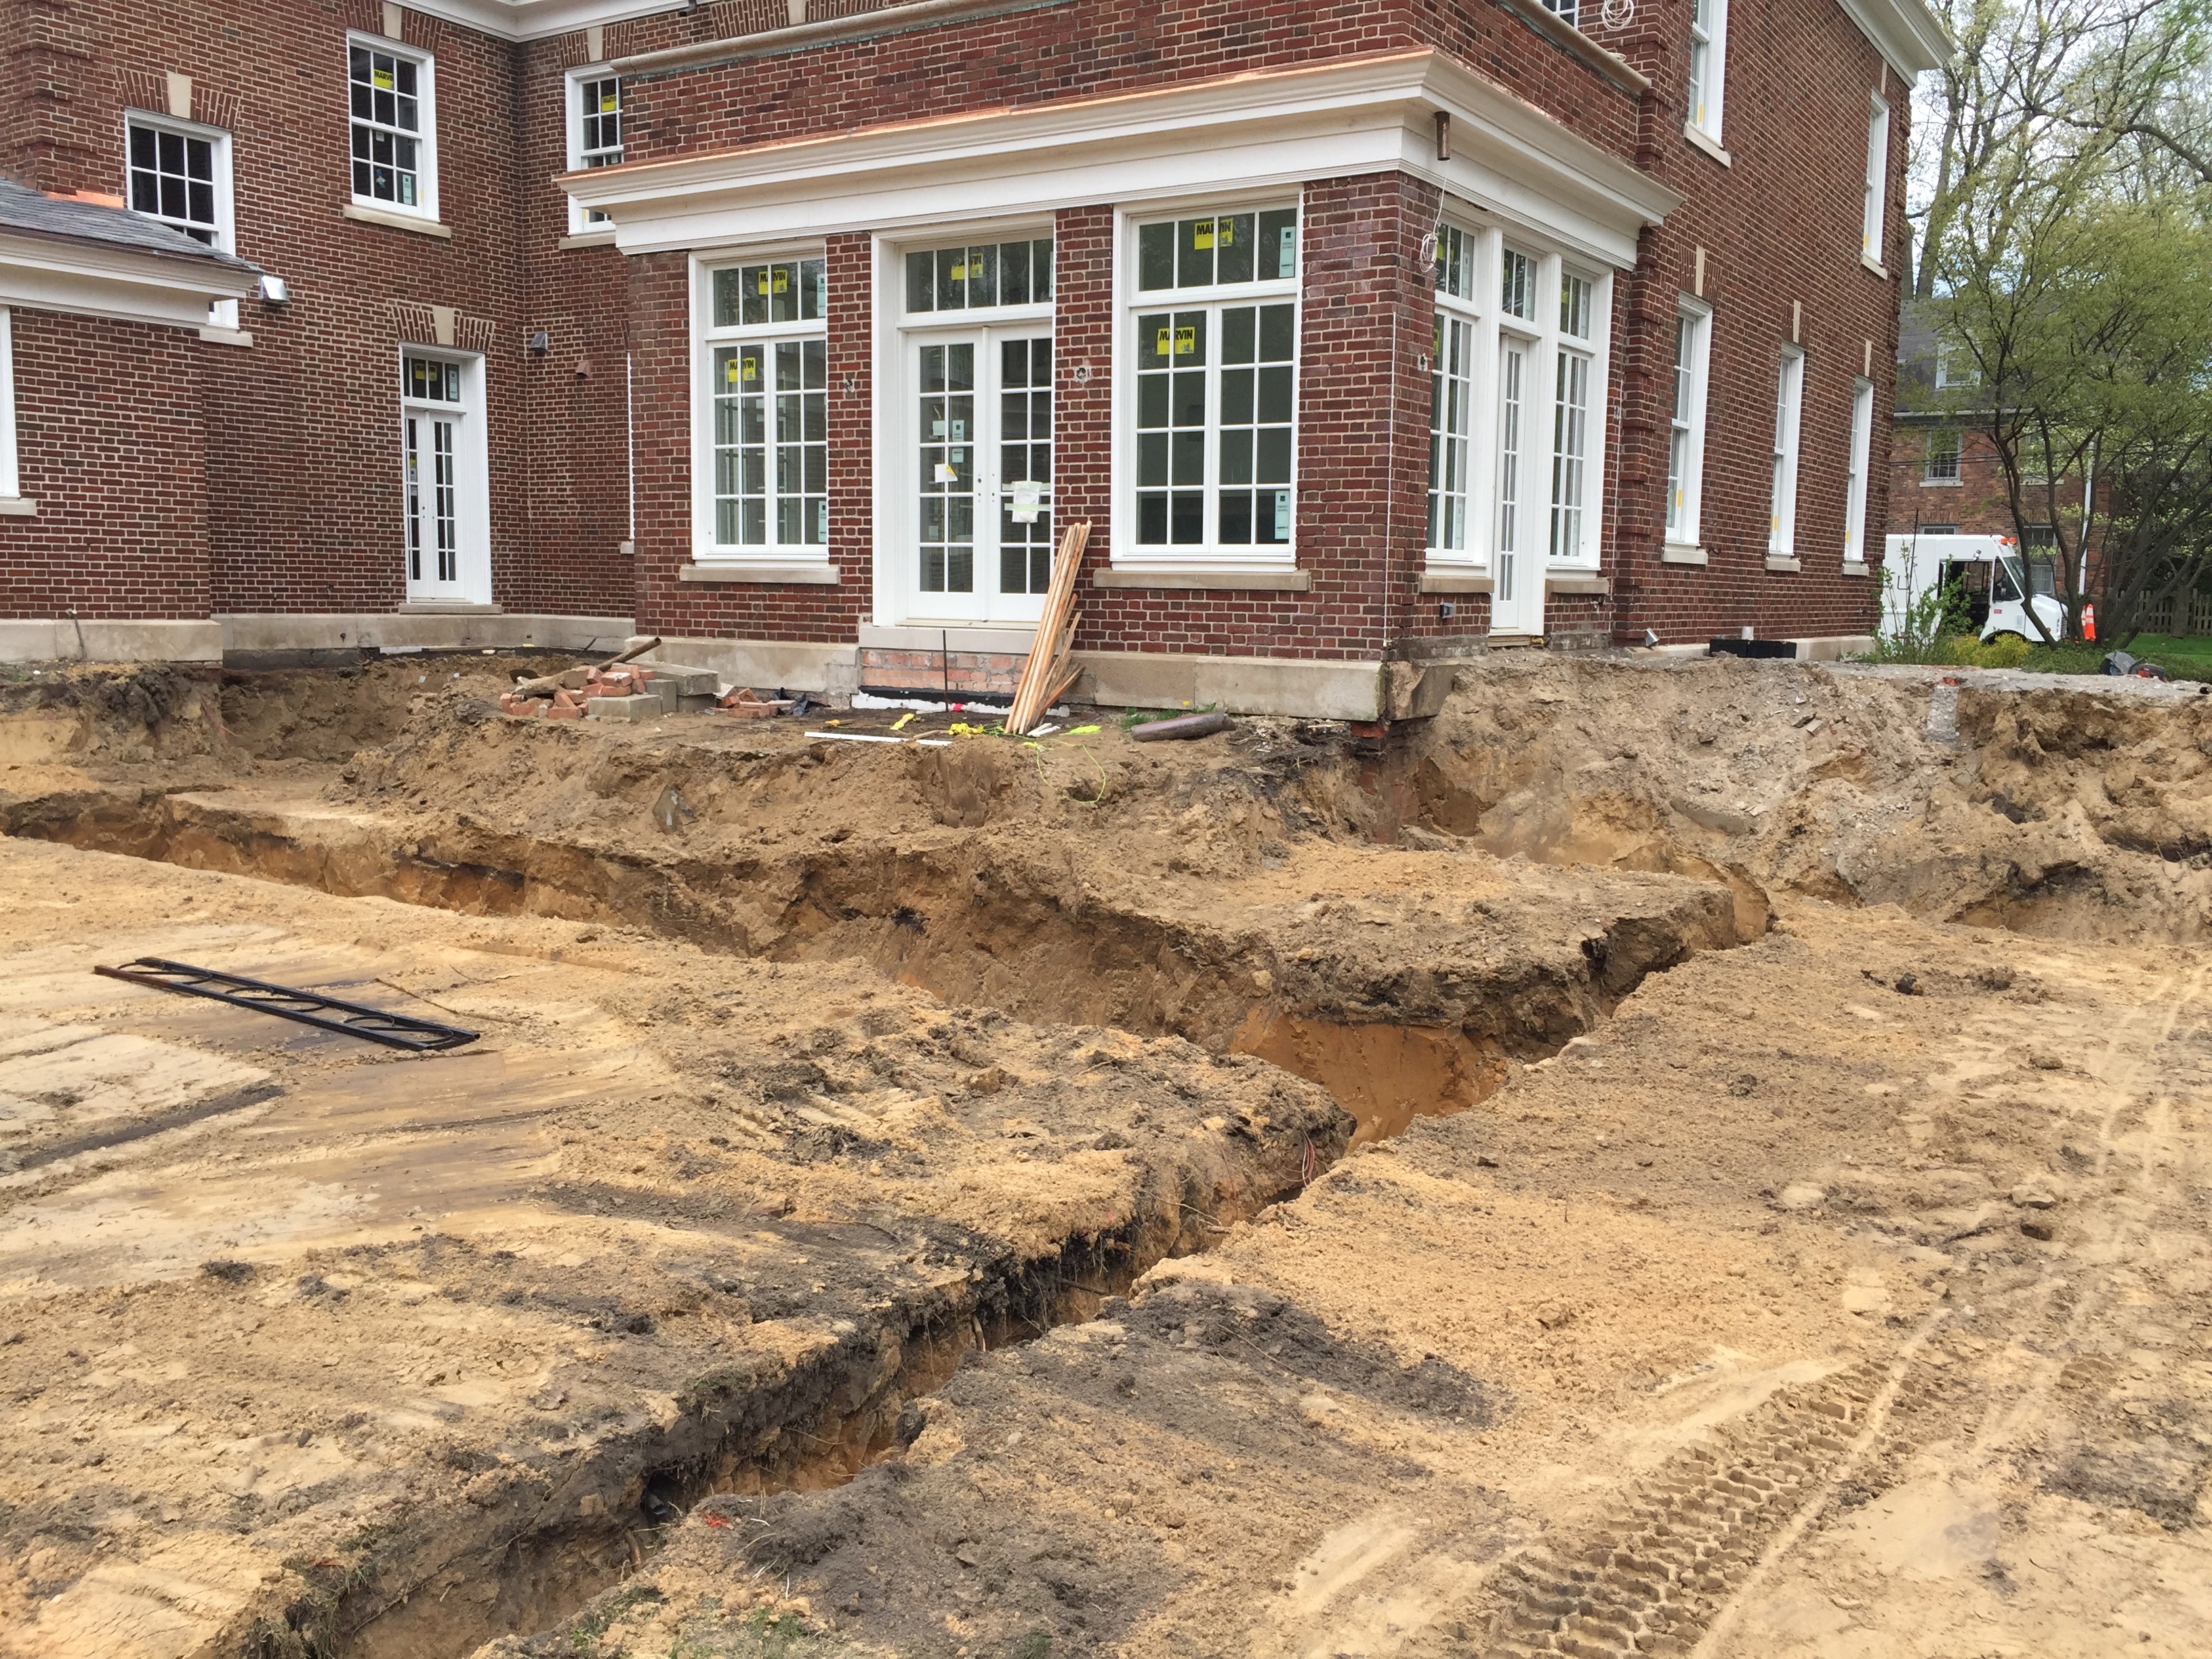
 It is fortunate that most of the construction part of this project was confined largely to this area. We were able to begin the landscape installation in other areas not affected by this level of upheaval.
 Once all of the underground pipes were installed, this area would be ready to back fill with the existing piles of soil. Great care was taken not to disturb the footings.
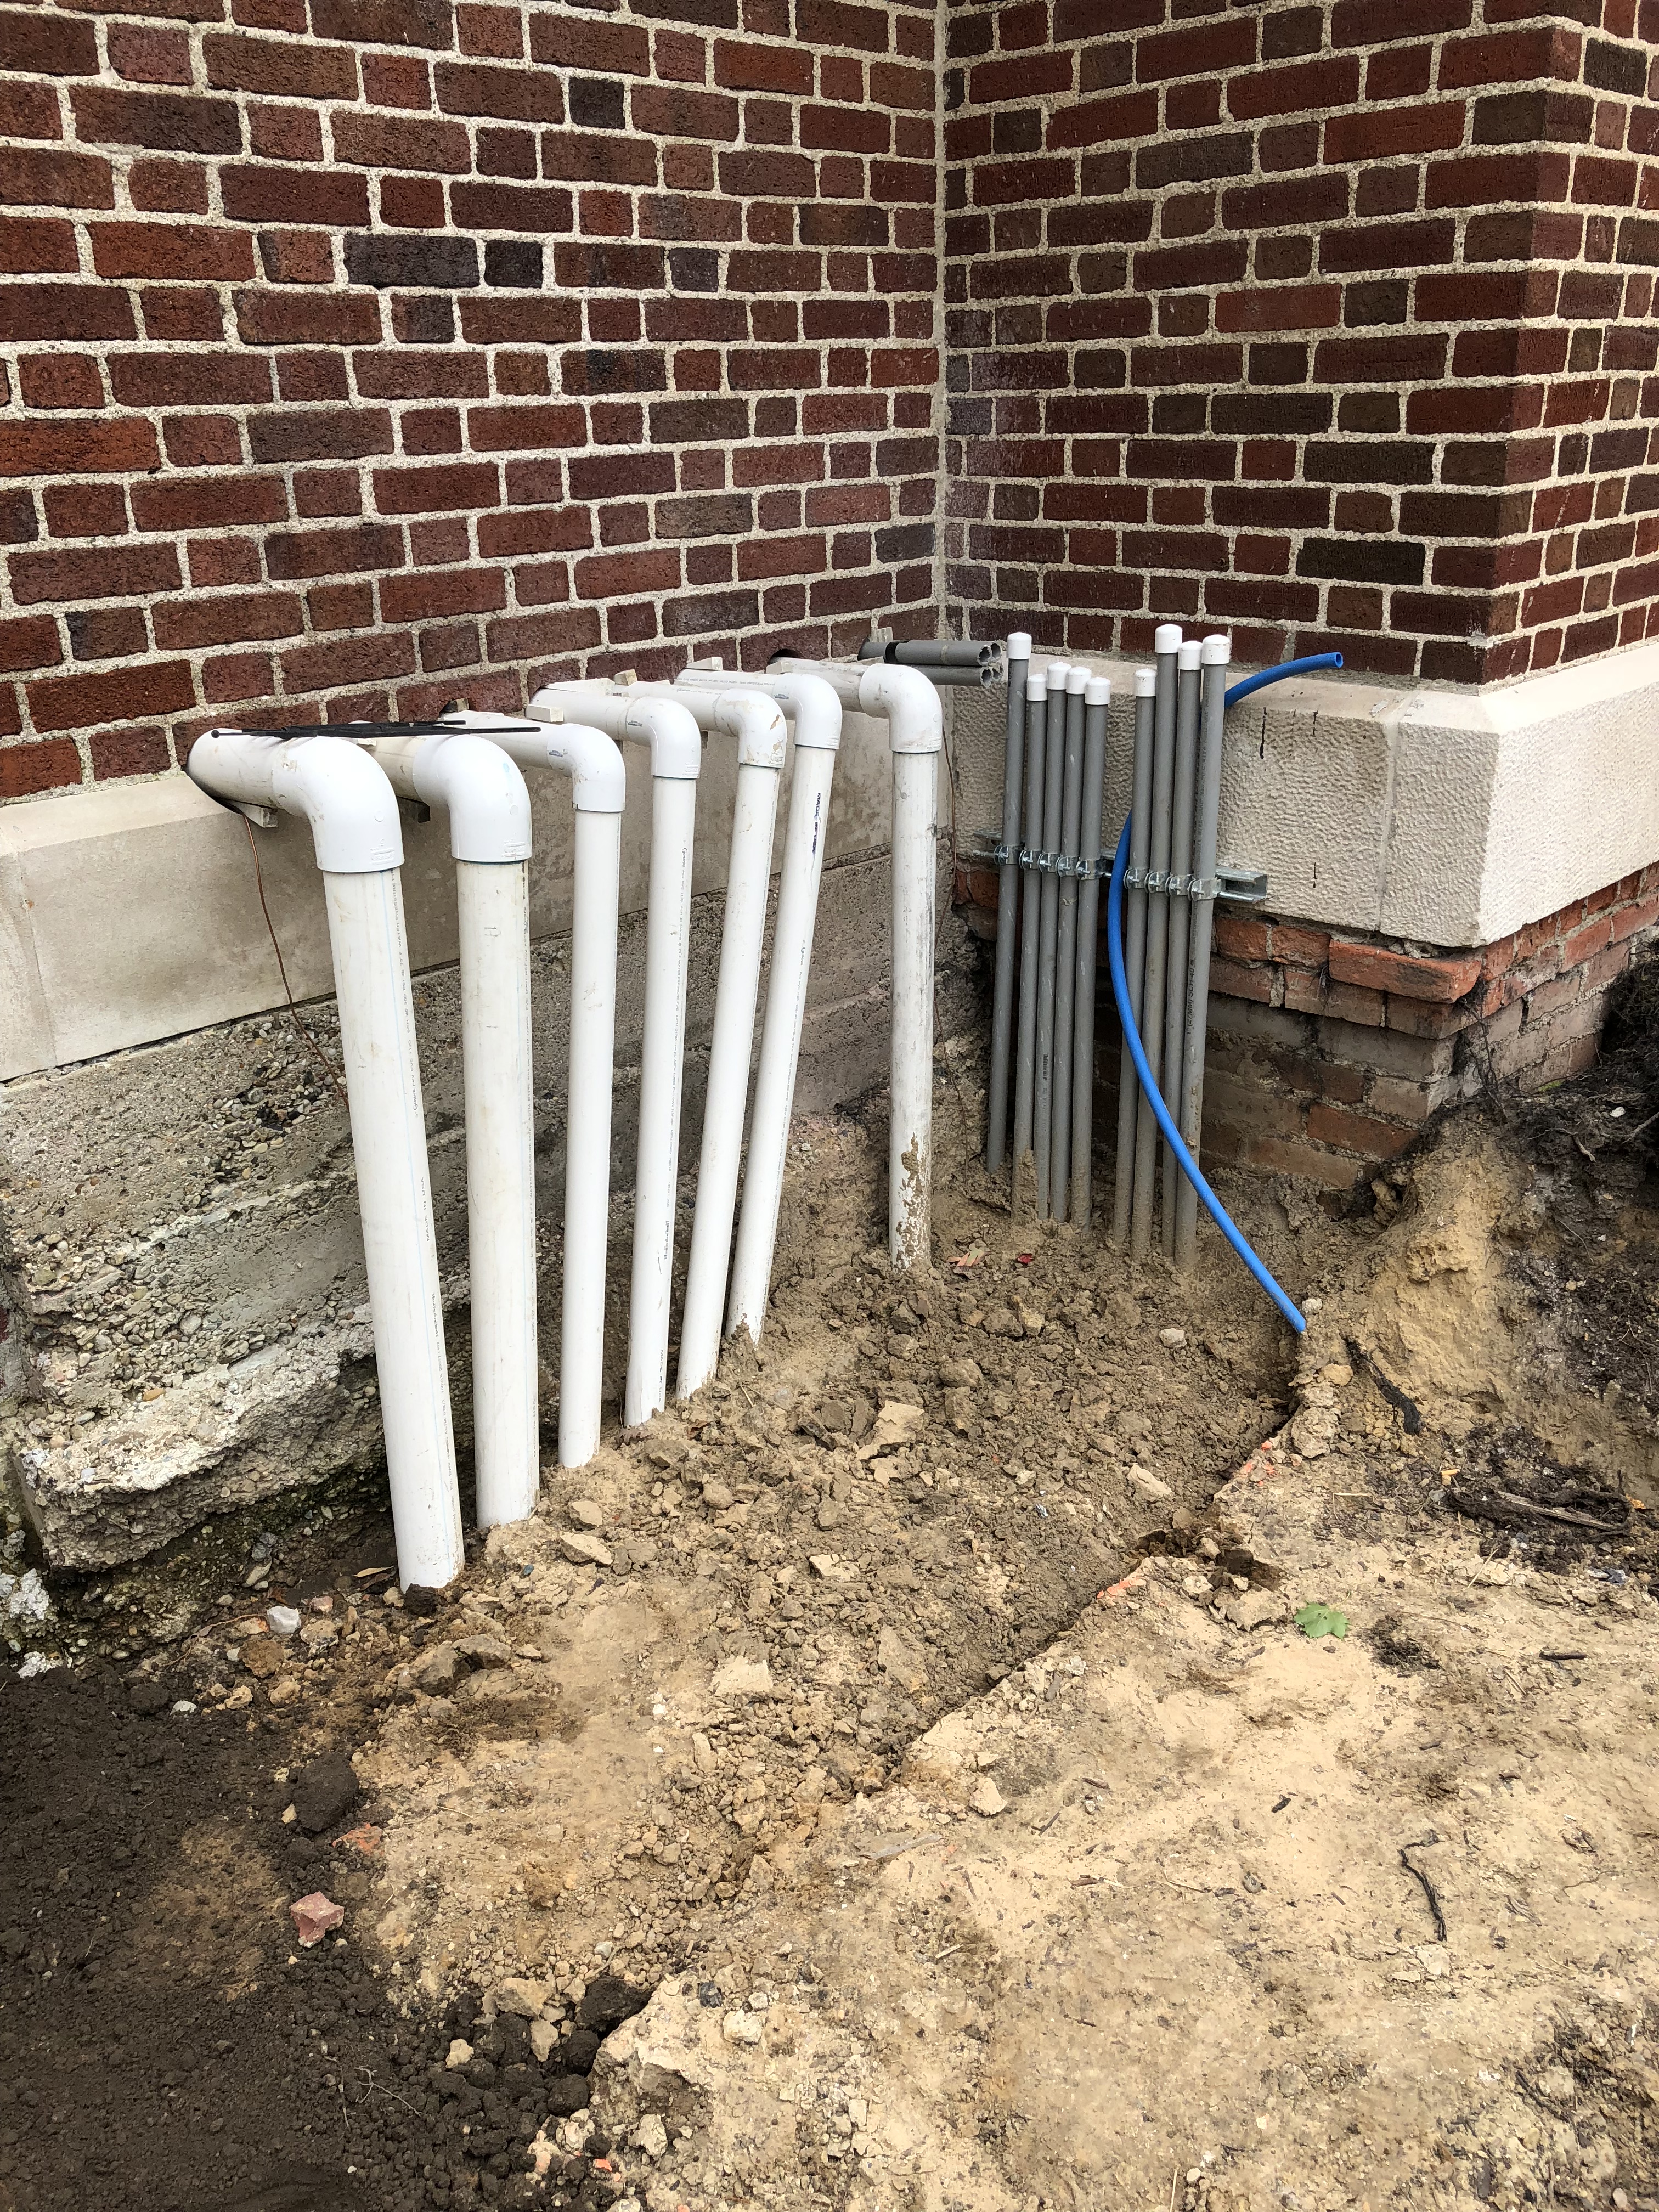 Hiding these pipes going into the pool equipment room would be a landscape issue. We have had worse to deal with than this.
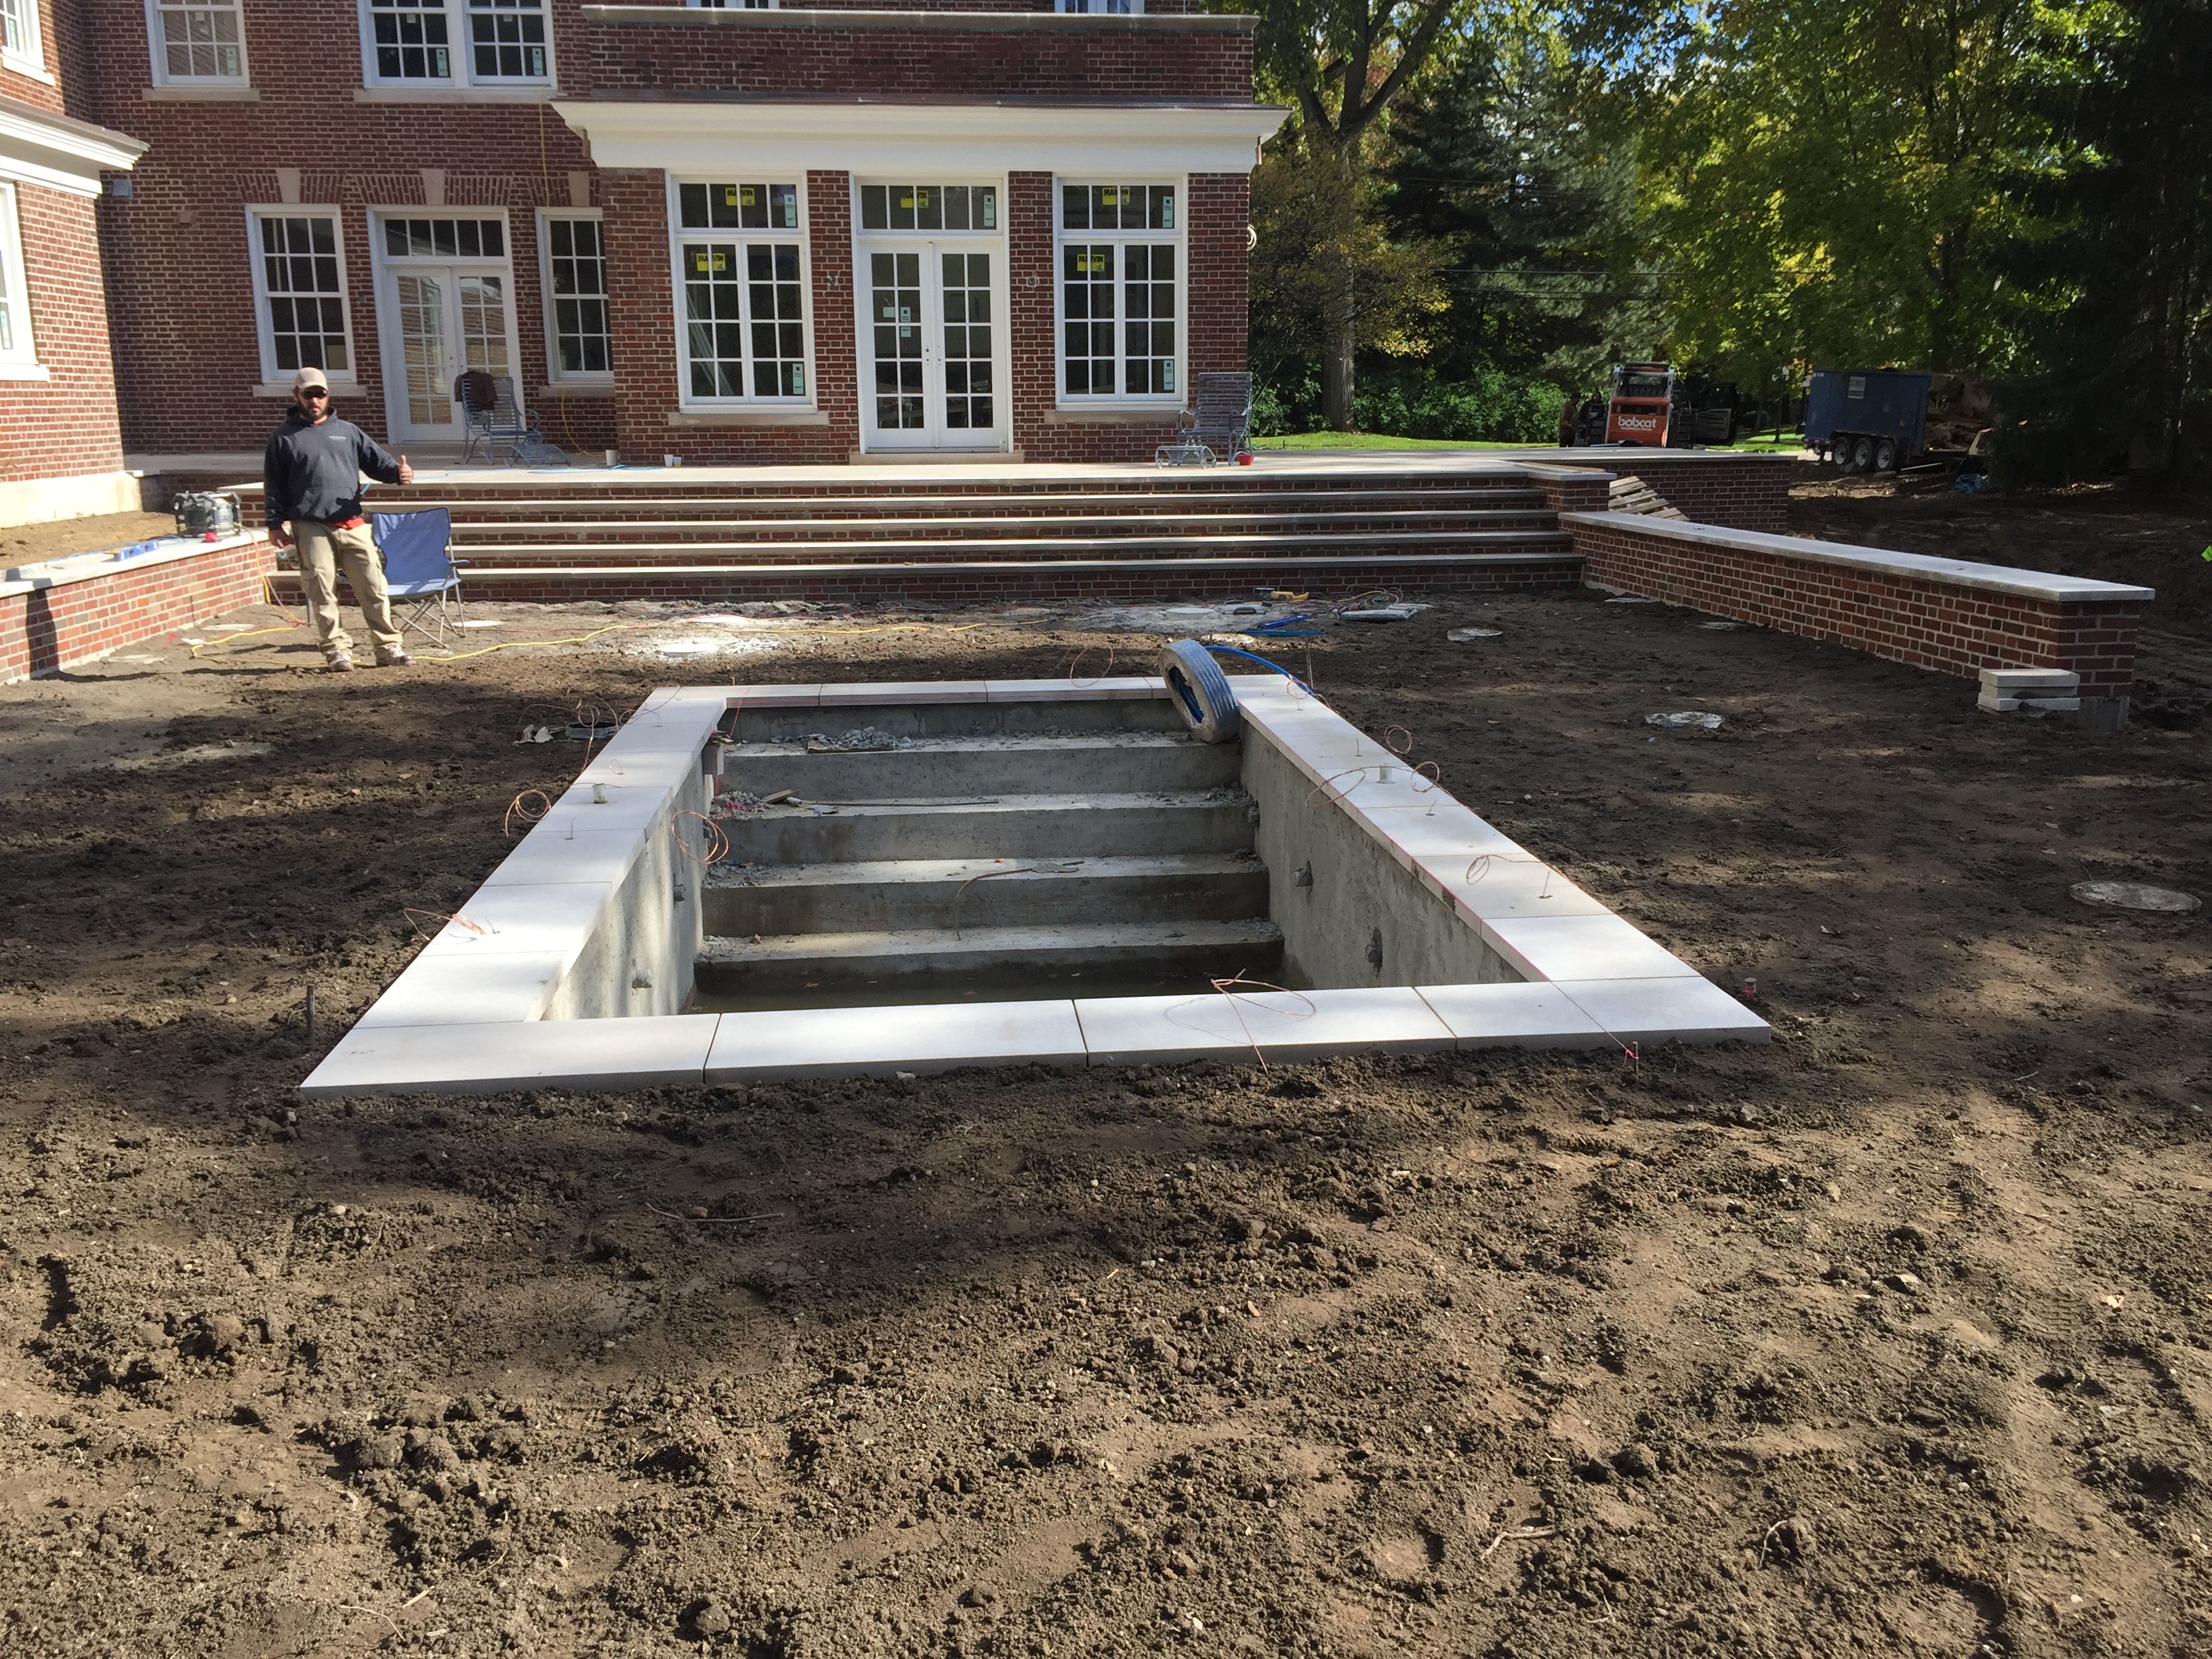
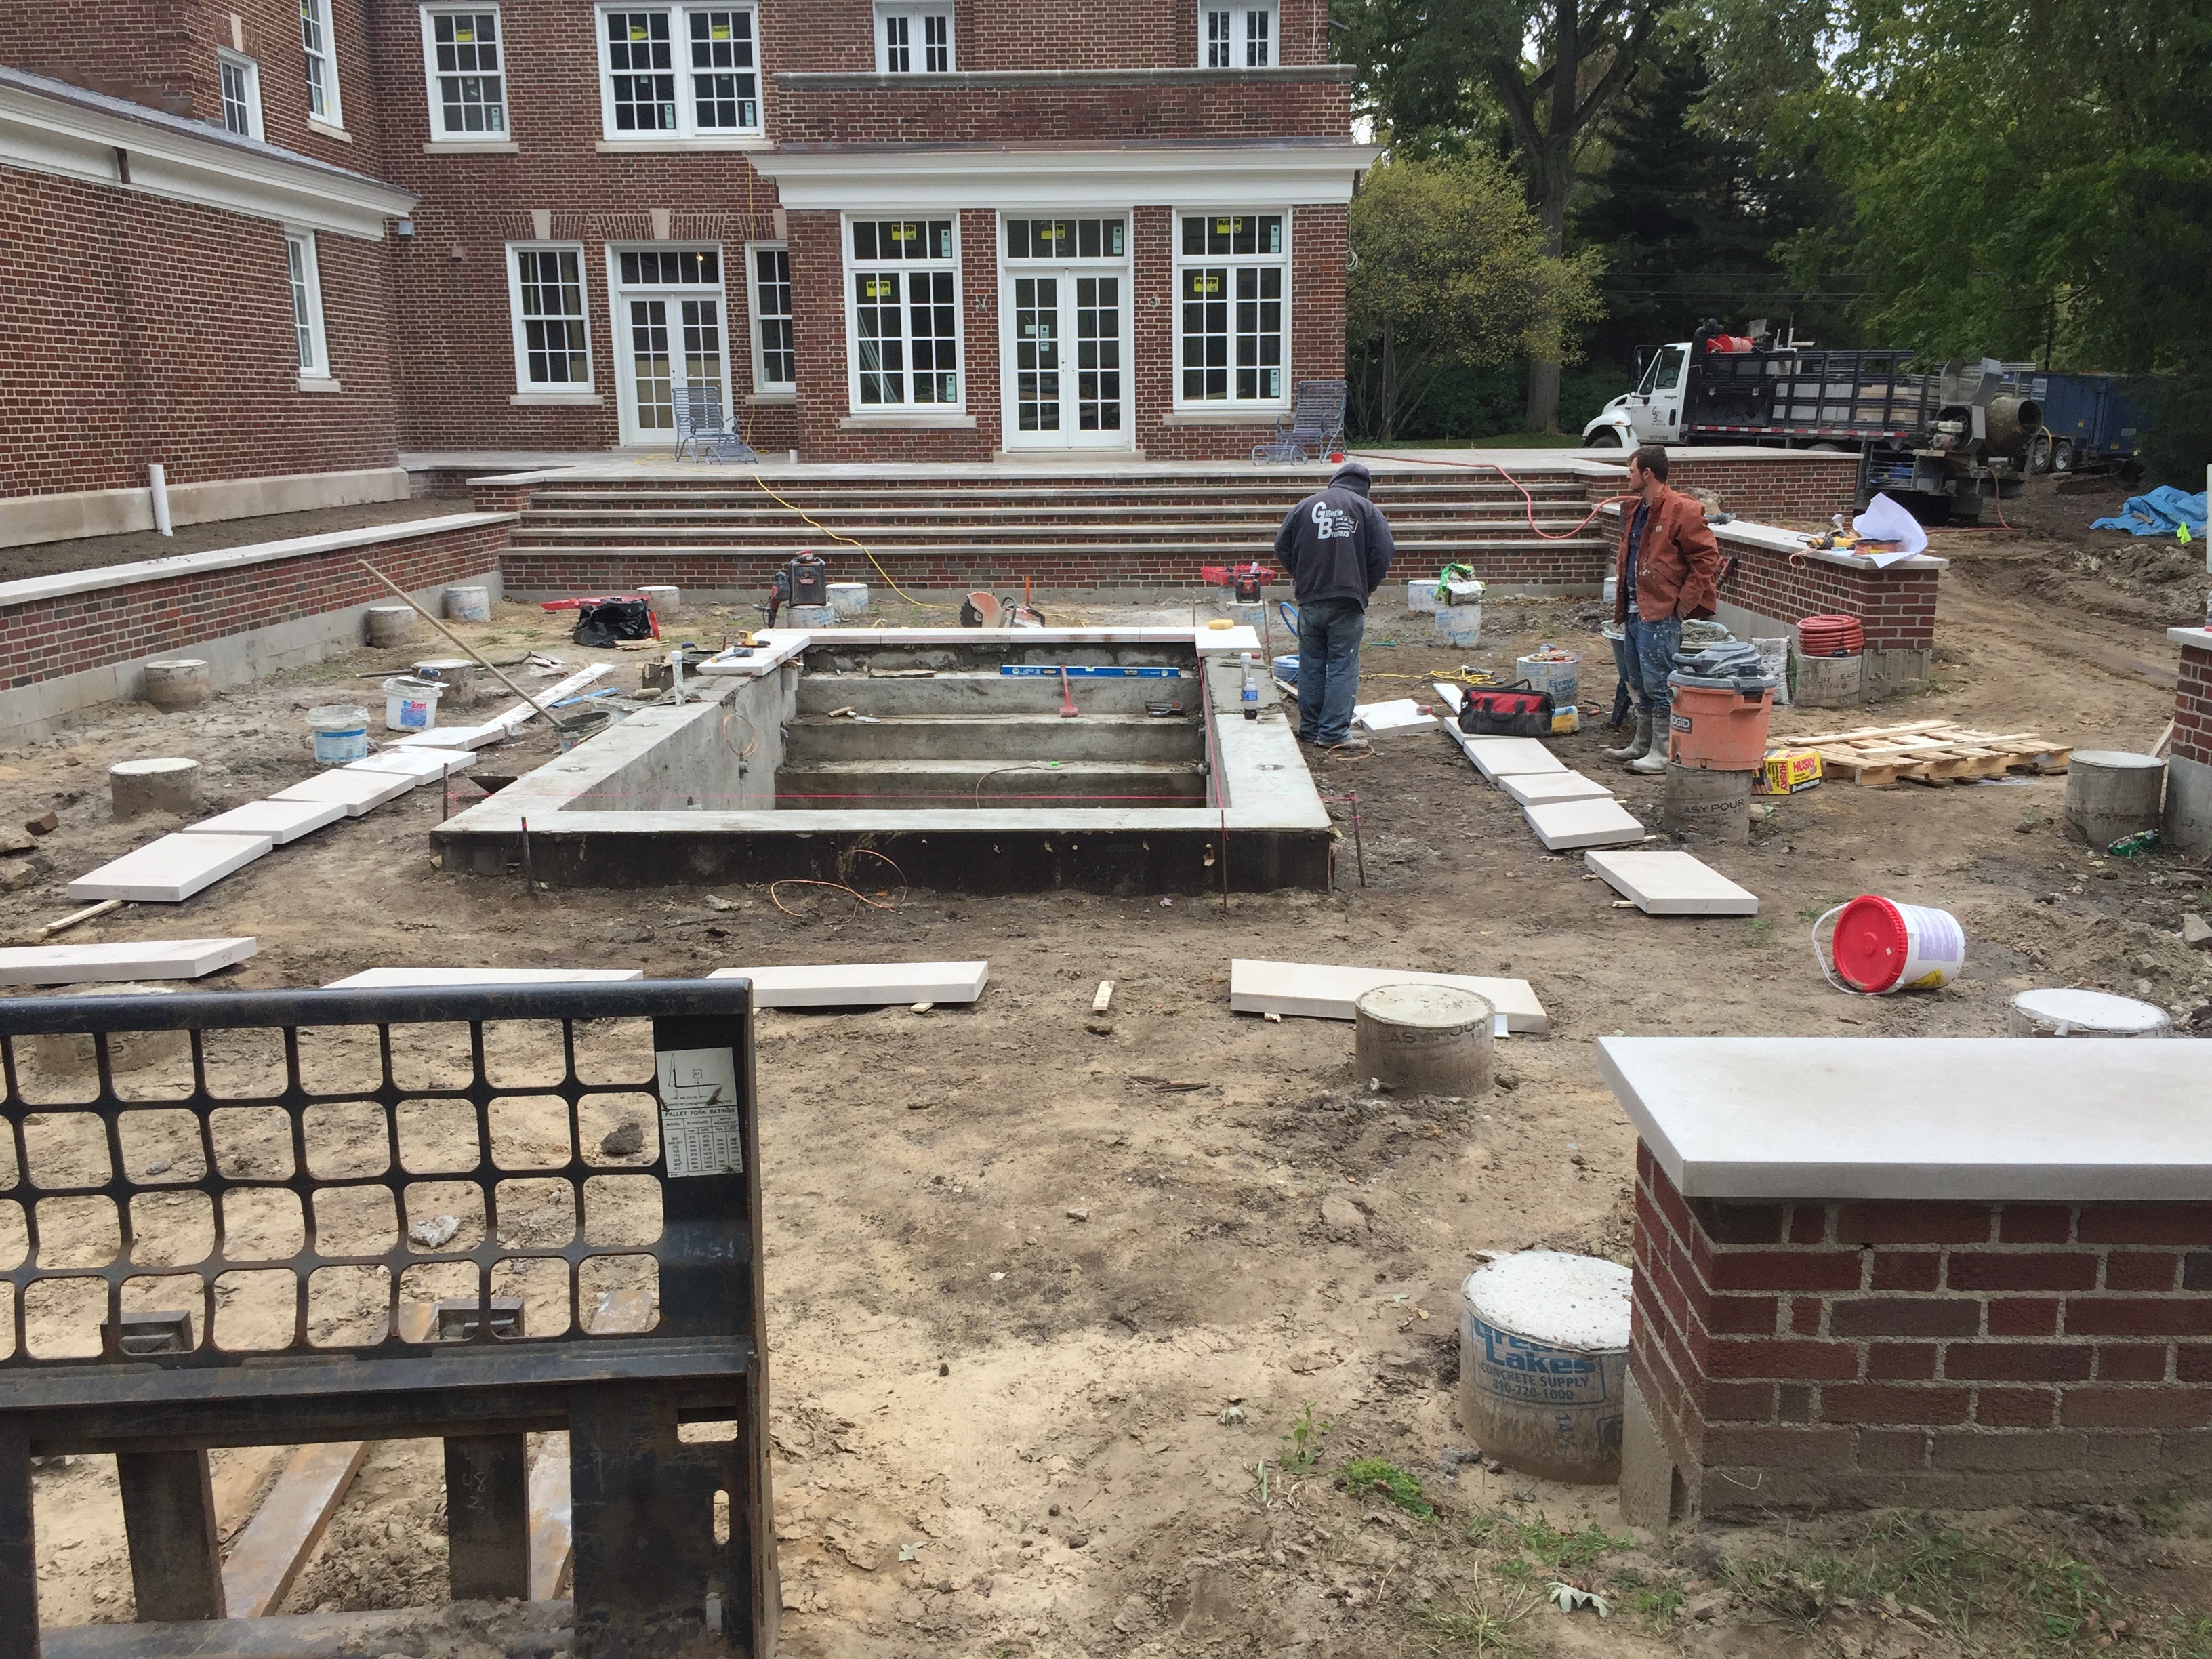 Once the back filling was complete, and the area cleaned, the limestone pool coping could be installed. The pool coping was installed by the pool contractor, Gillette Brothers Pool and Spa, as opposed to the stone mason. Any element of the pool that touches the water is installed by the pool contractor, as he is responsibility for the warranty on that work. The best way for them to insure the quality and integrity of that work is to do it themselves. Once the coping was installed, the copper grounding wire that ran all the way around the pool had to be inspected. You can see that wire laying on the ground in the above picture, just in front of the pool wall. Every pool has to be grounded, as the combination of water and electricity can be dangerous.
 It eventually was time for my crew to come in, and bring the soil up to grade. A lot of the filling had to be done one wheel barrow load at a time, as we could not drive the skid steer over the footings. The difference it made to have the footings buried and the pool coping installed-considerable. Five months worth of work had been finished, and I am very pleased with how it looks.